Leaderboard


 Subscriber


Popular Content
Showing content with the highest reputation on 06/11/2022 in all areas
-
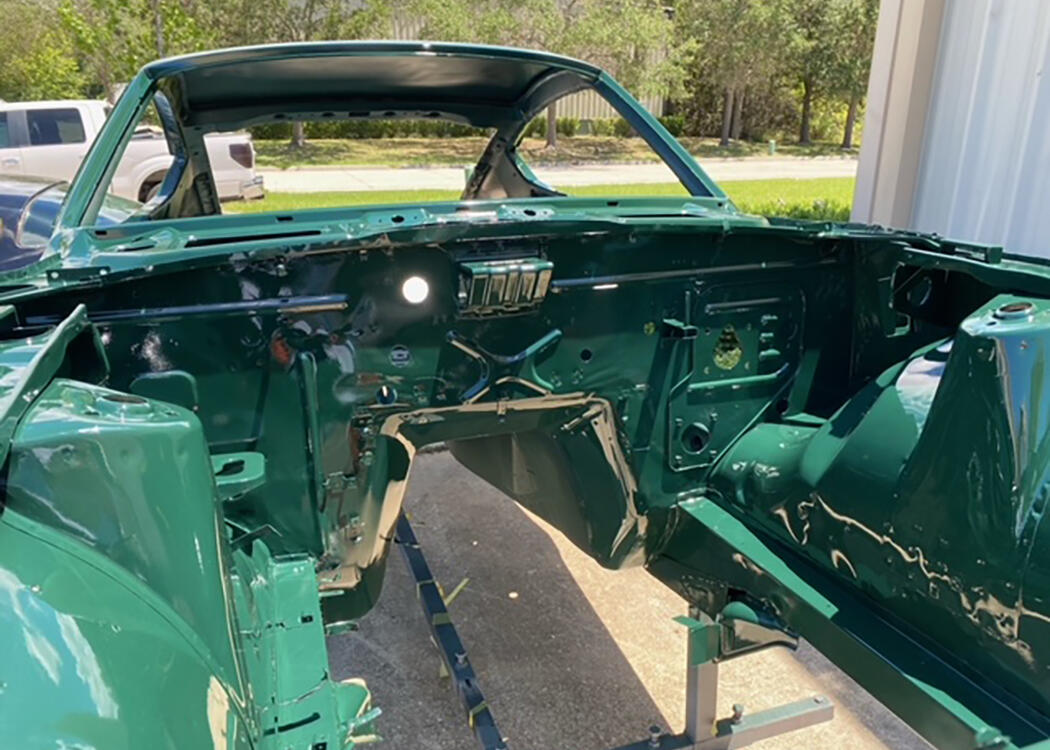
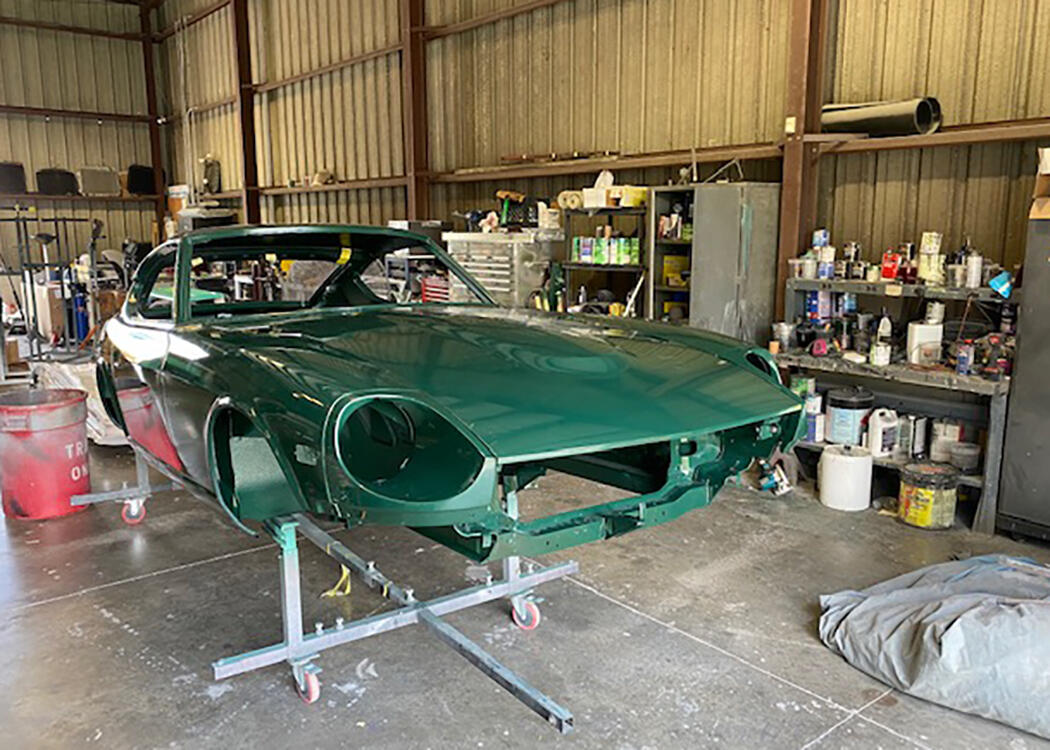
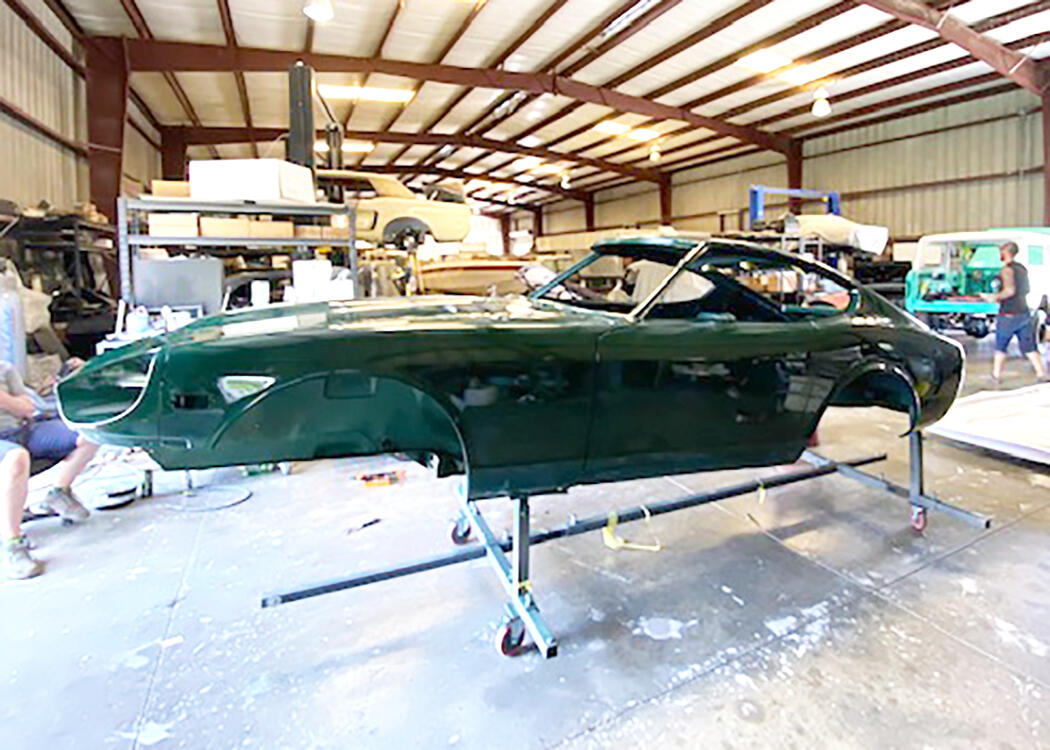
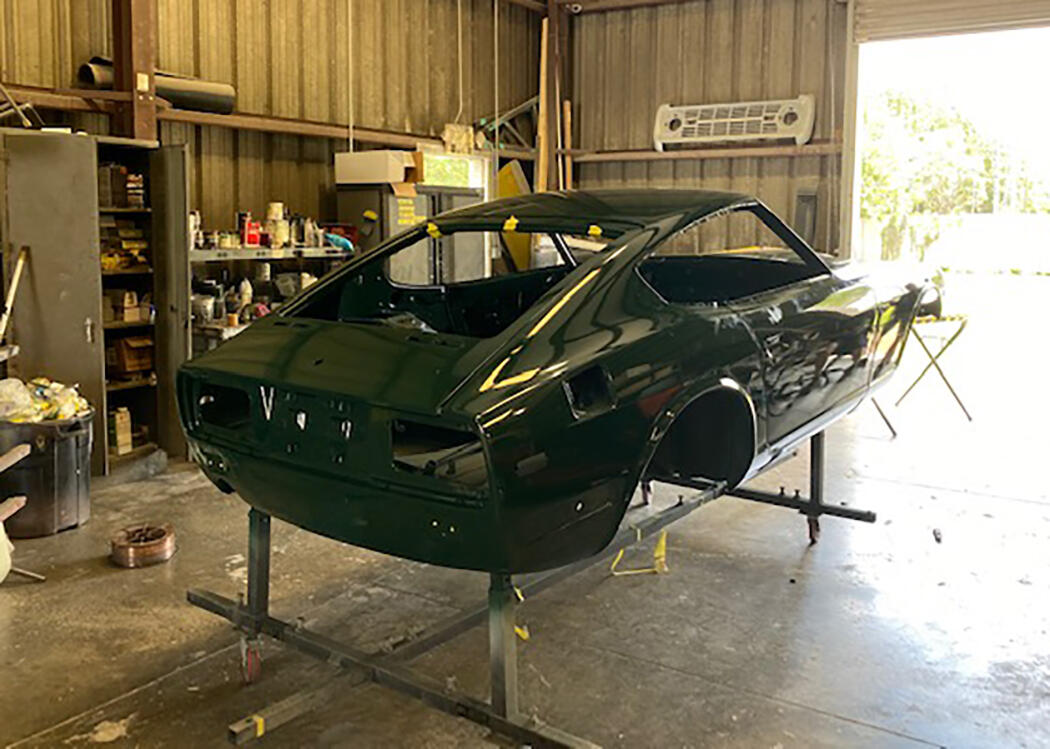
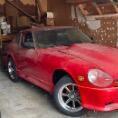
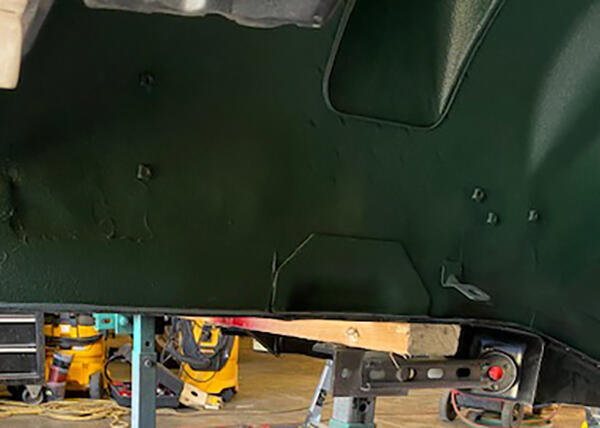
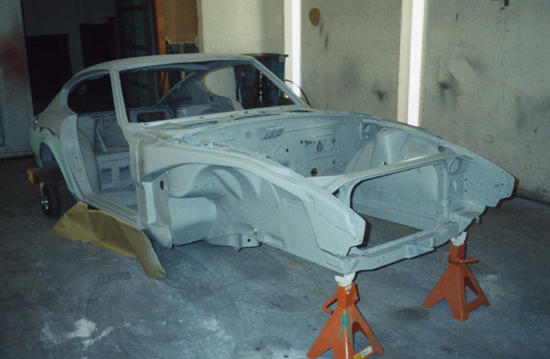
6 pointsIt has been one long journey. Three different body shops, years of storage, but she will be coming home next week to begin the reassembly process. Finally!


 6 points
 -
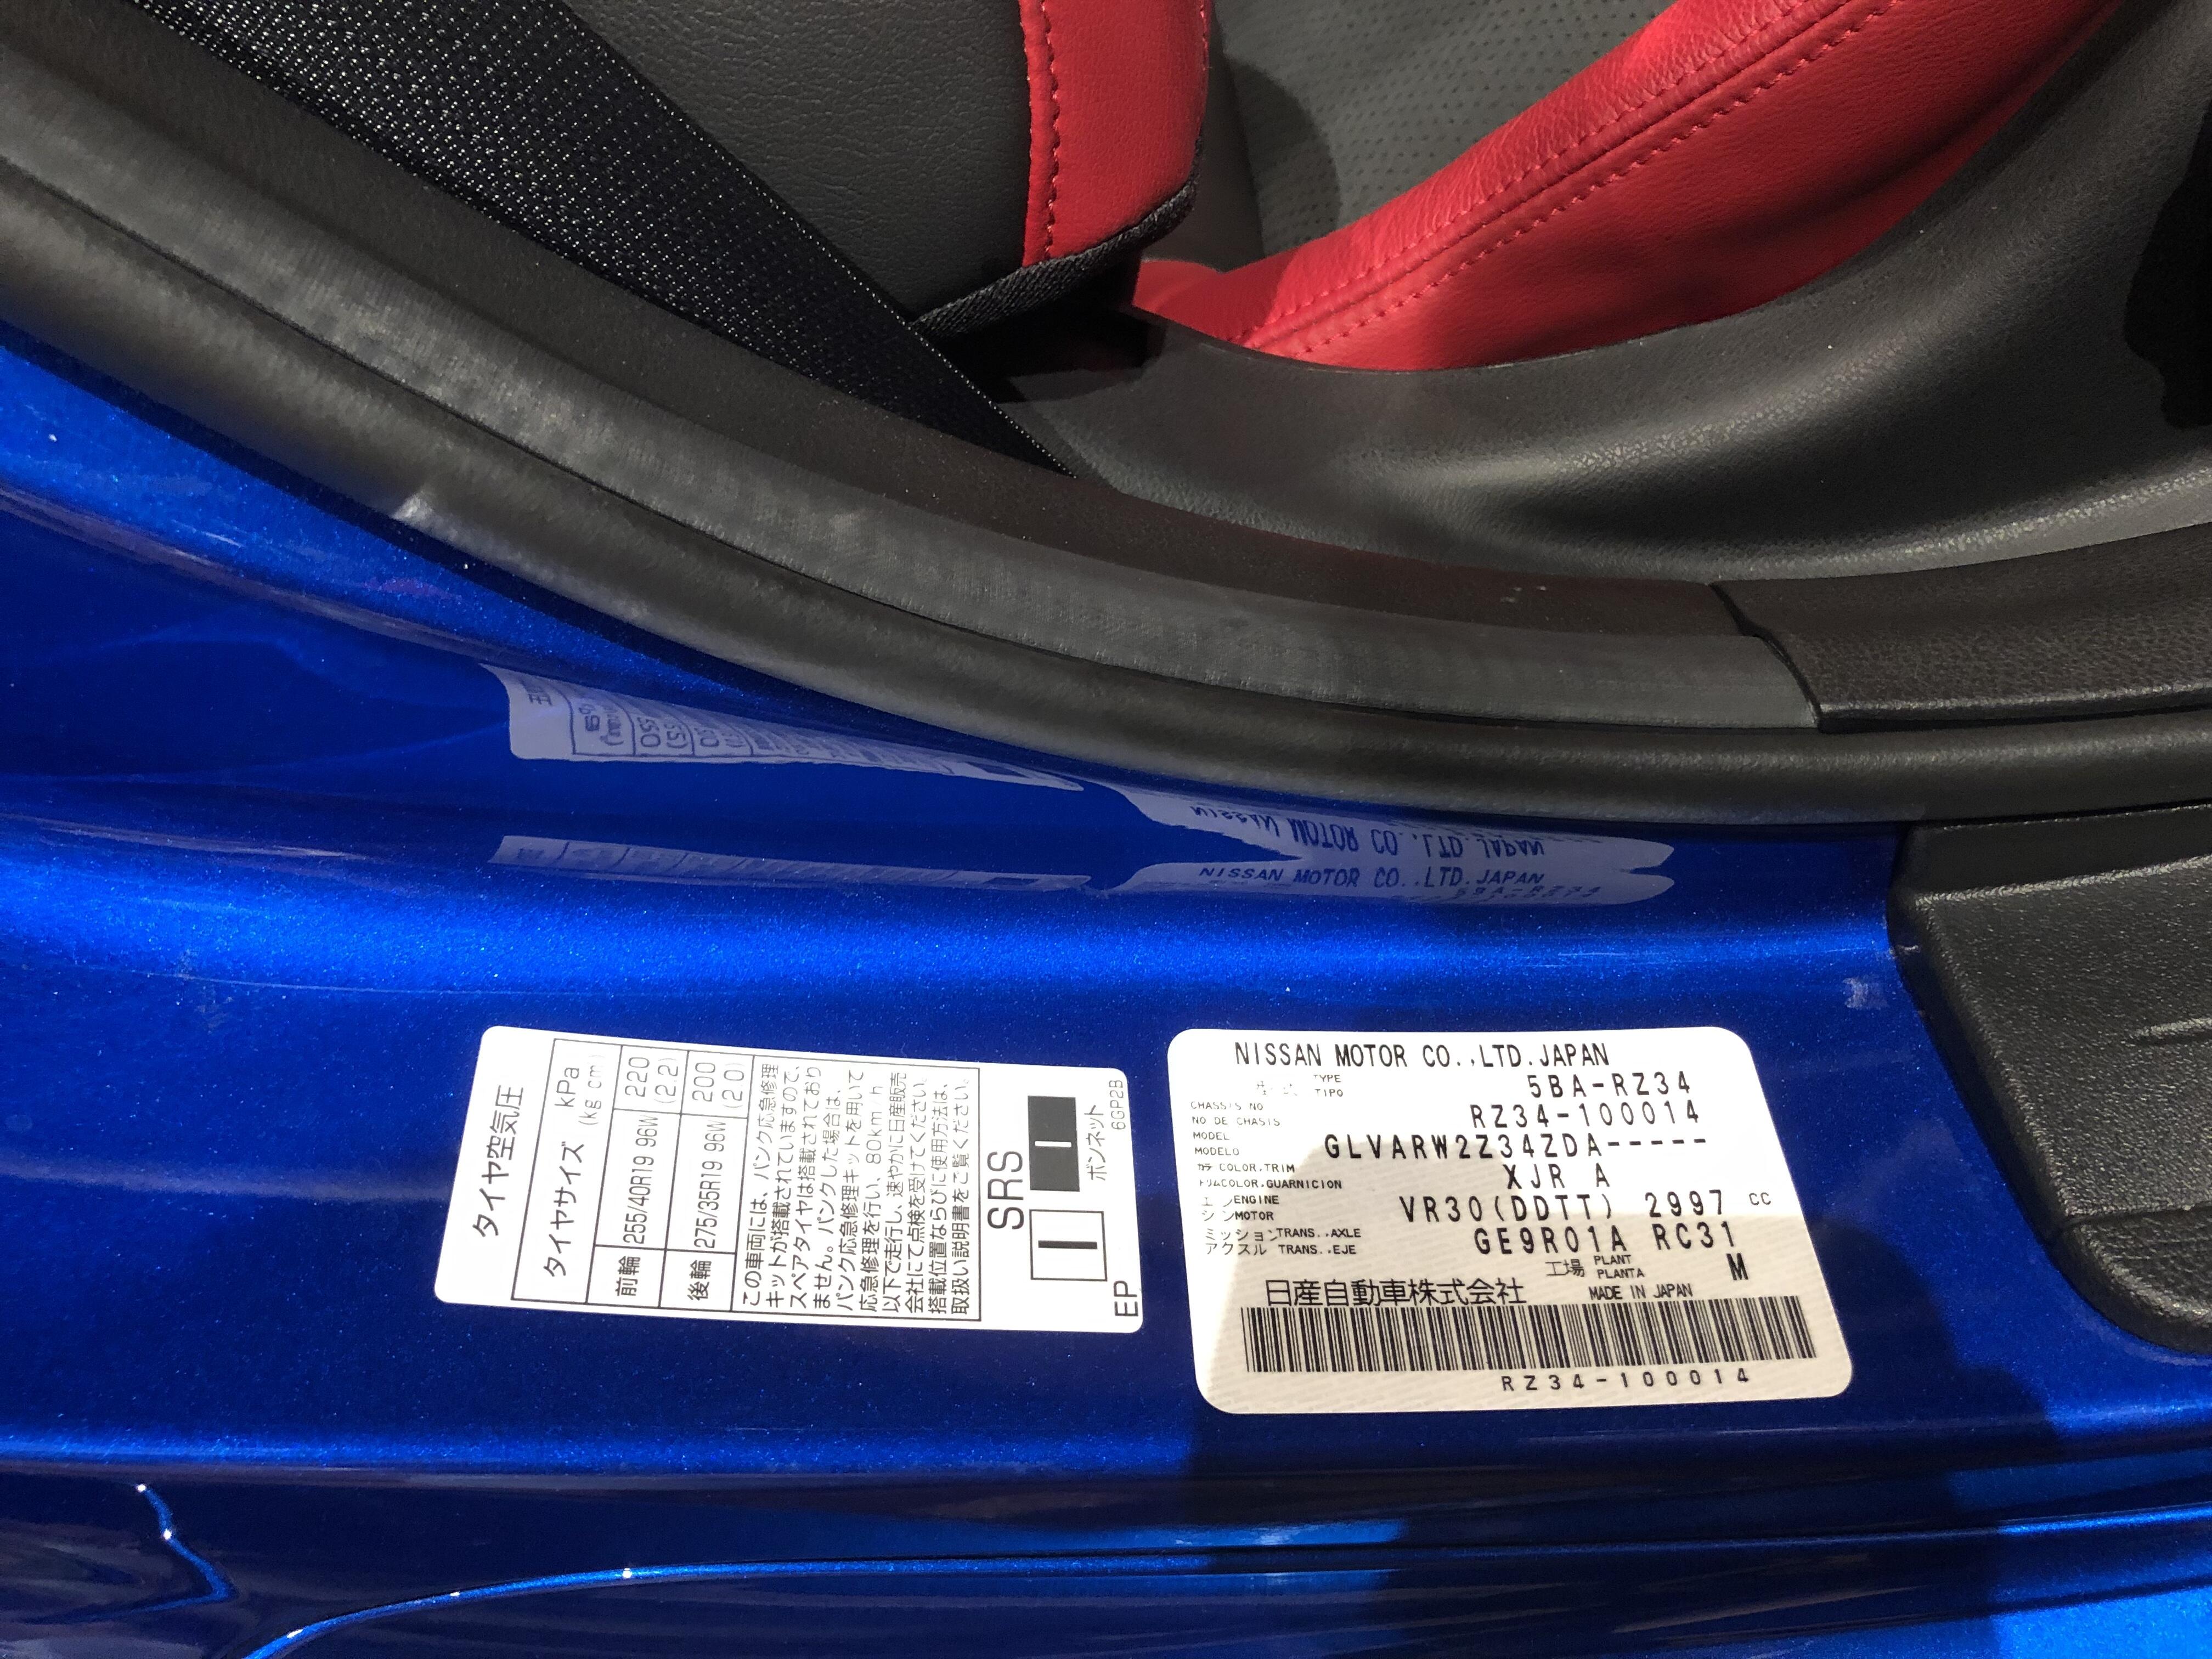
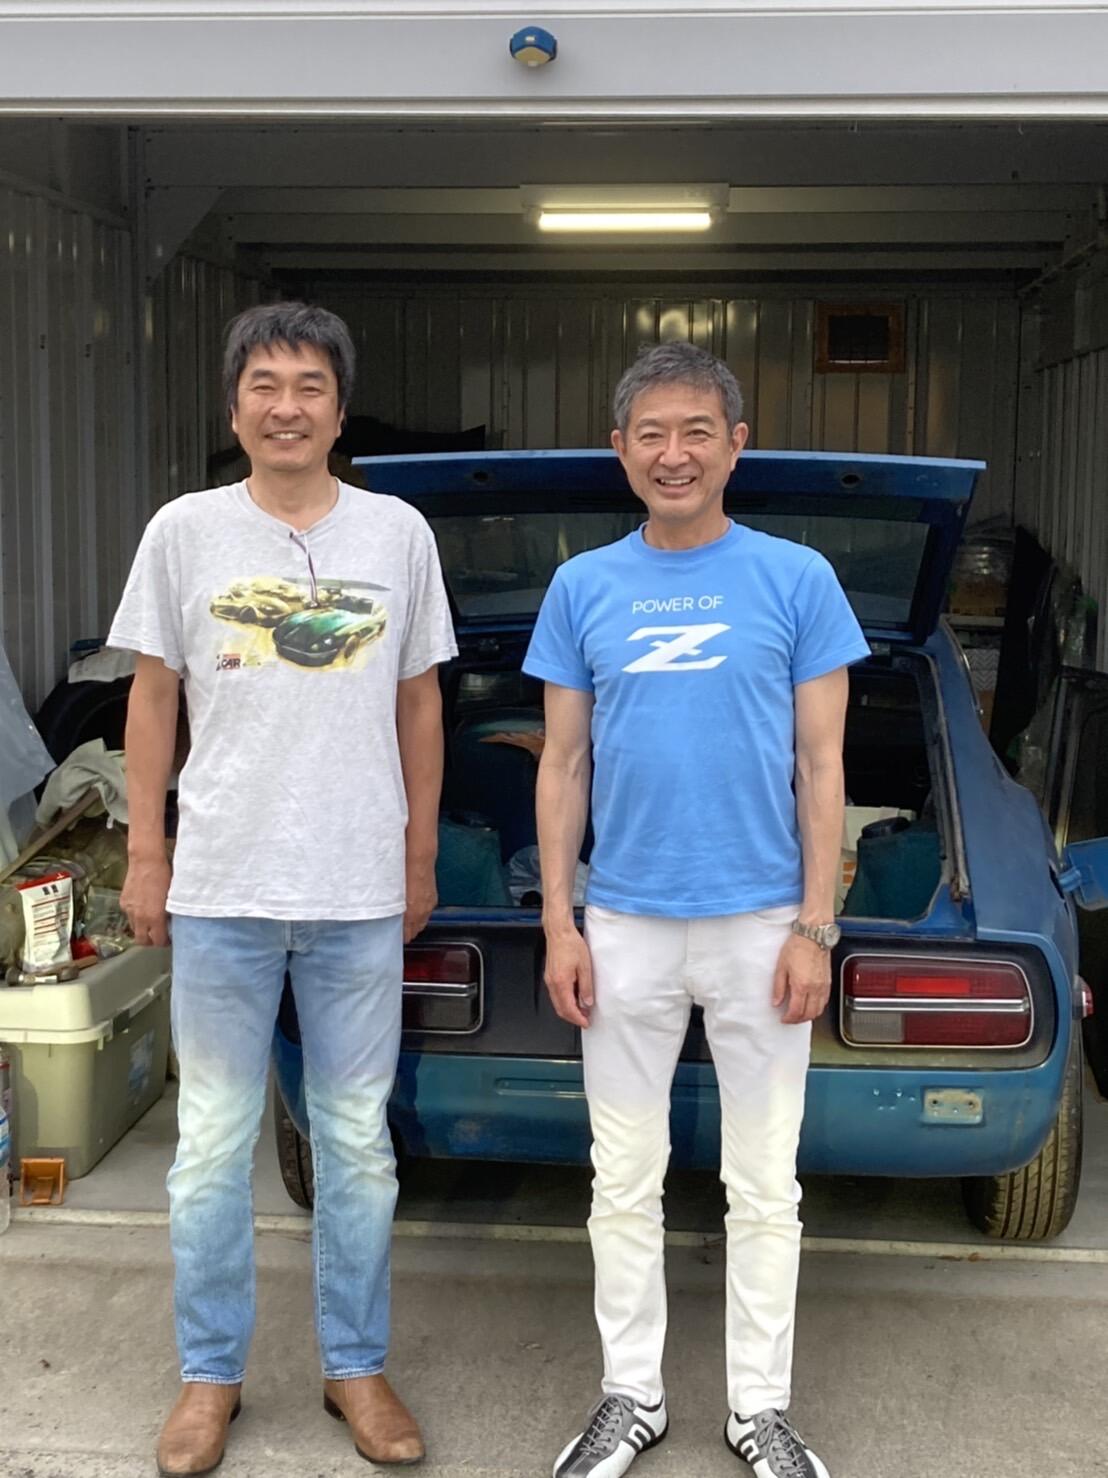
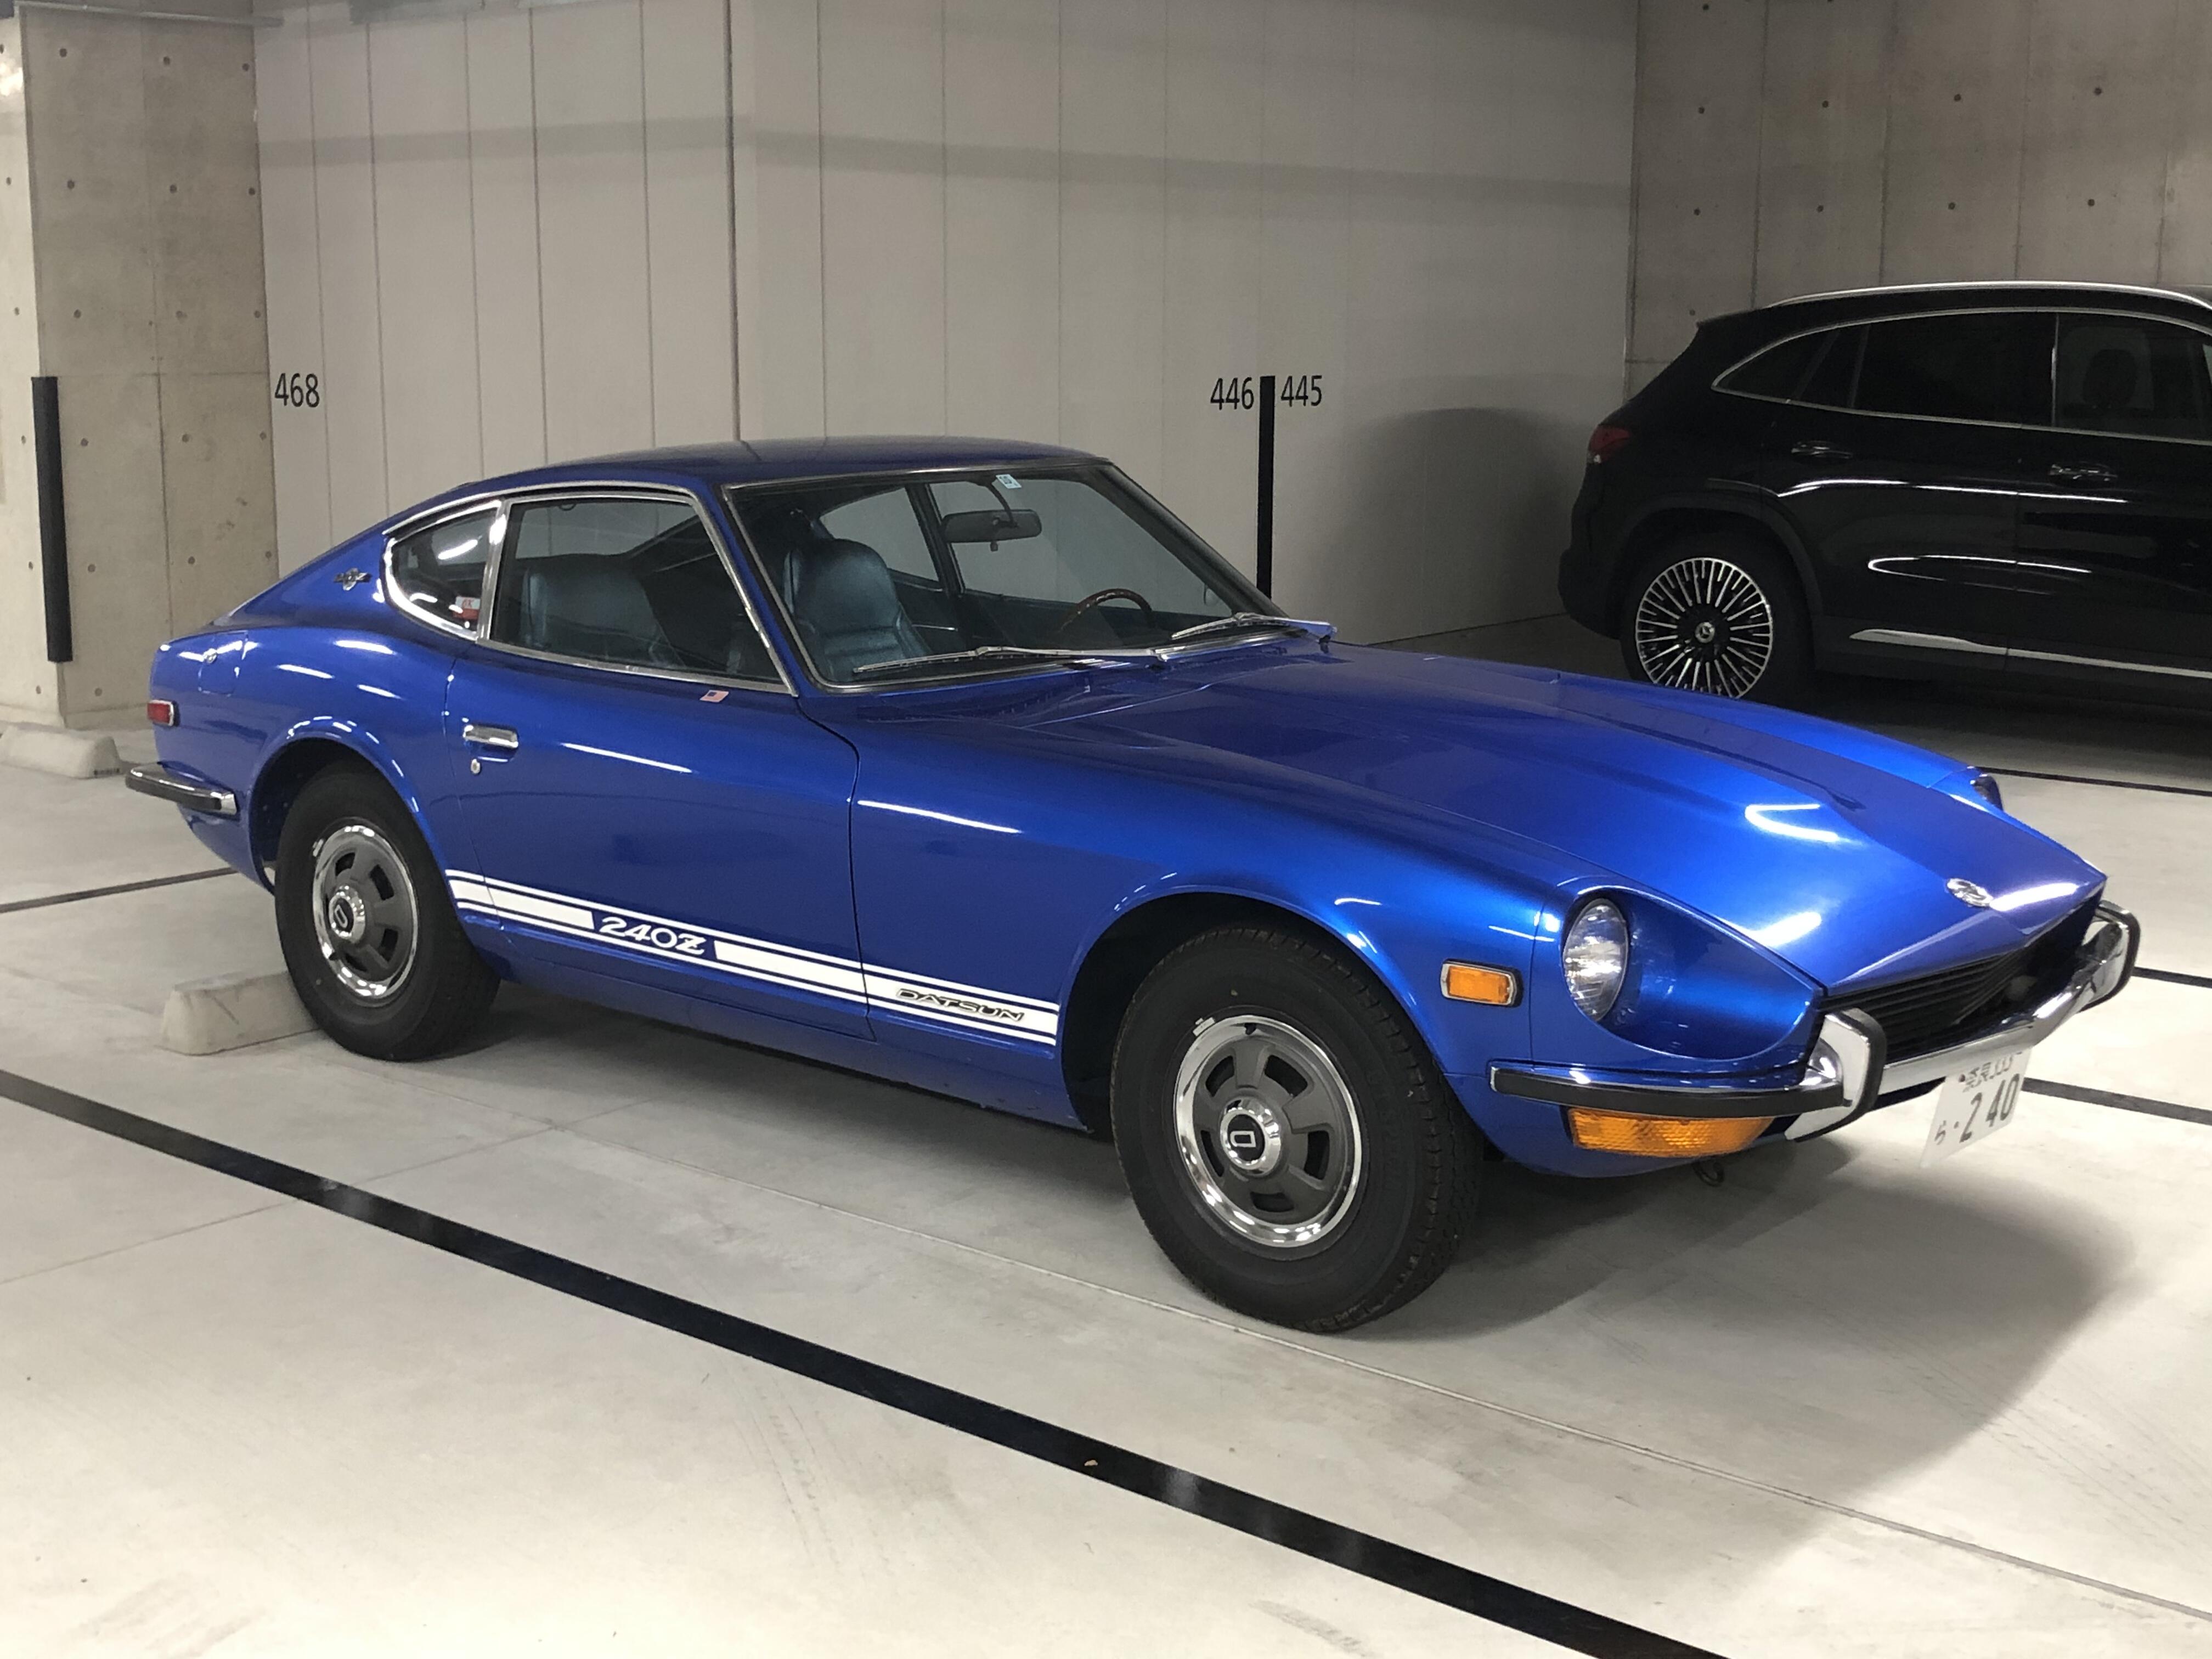
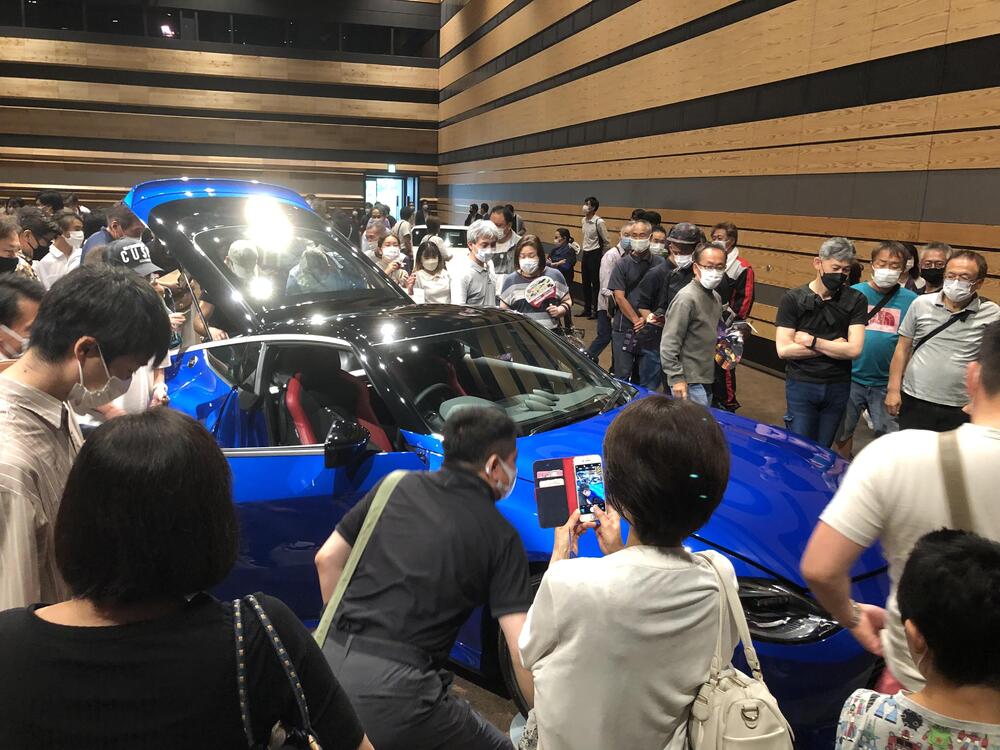
5 pointsHi, not a S30 topic . Today I was in a Nara convention center for new Z show time . It’s just about 15 minutes drive from my home . I really like this new Z , this is the first time that I would want a newer Z . I got into a cockpit, very nice ! And I didn’t forget to take a shot of a chassis number tag on the kicking plate . It is a RZ34-100014 , very early!! This will mean 14th of RHD RZ34 , I think 😍 A Nissan employee said this car is for testing, displaying, so never will make it on the road , sadly. Tamura san kindly visited my home and my garage , he said he really likes blue , so this time new Z blue is his strong recommendation. Also Tamura san started to talk about he dedicated his passion and time and money everything to L-series engine modification in younger days , he used to be wild on the street. Kats


 5 points
 -
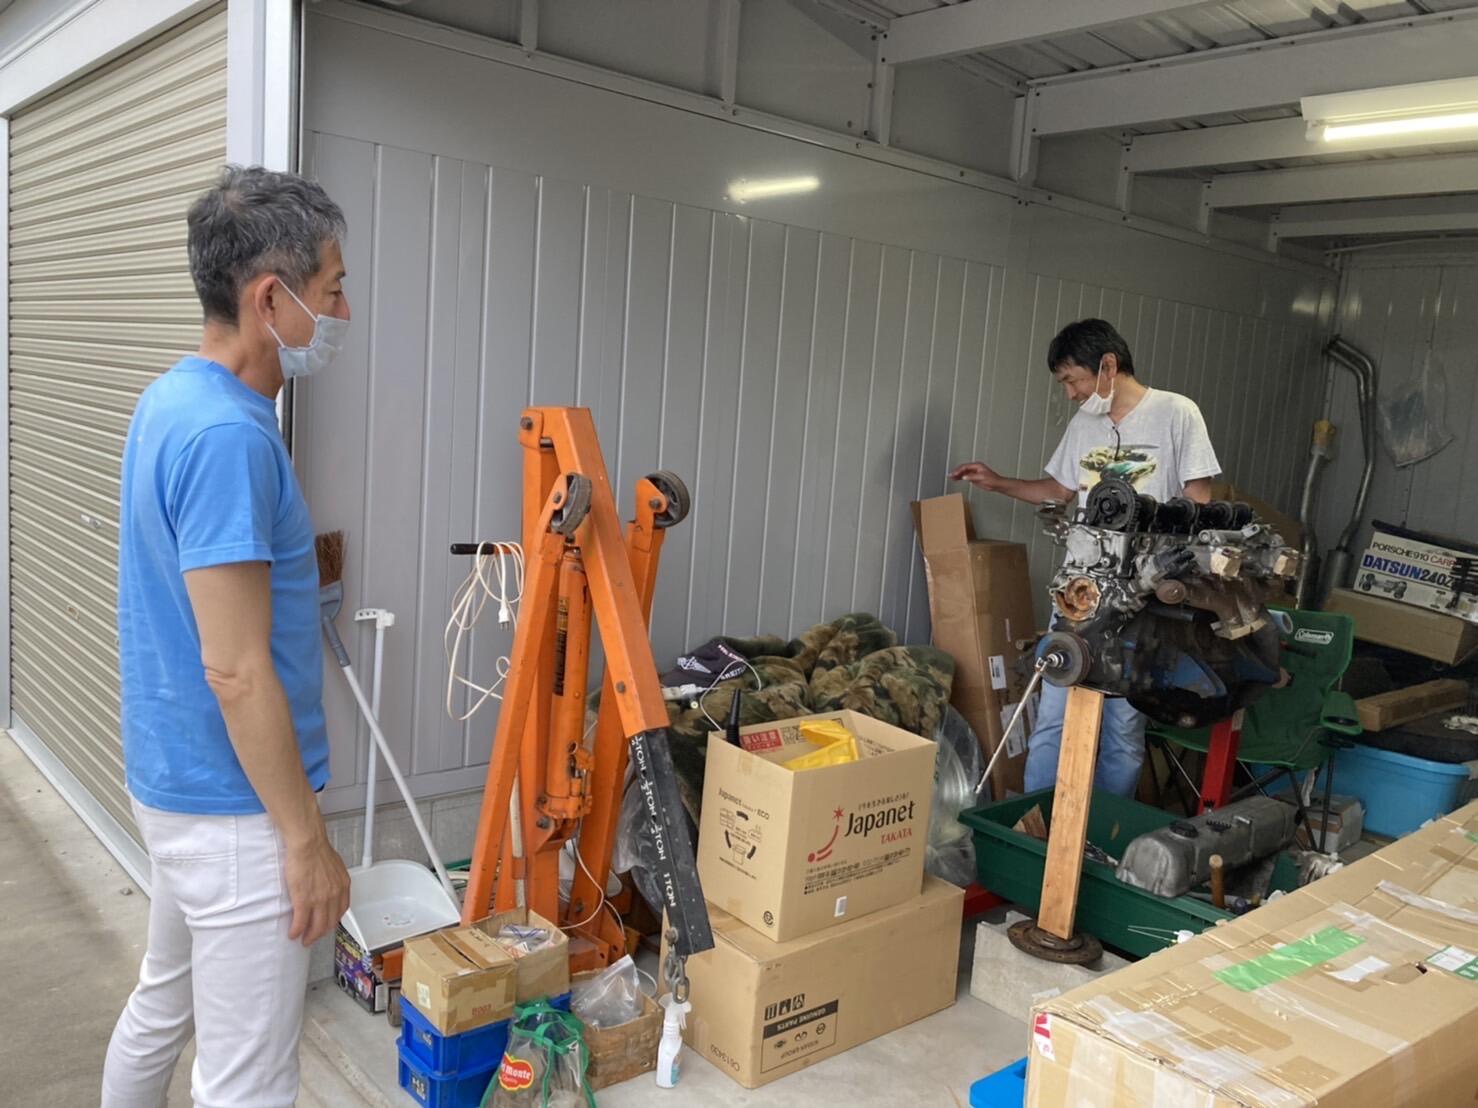
3 pointsthought I would start a fresh thread to document my journey on getting a turbo engine to run and perhaps install in my 1975. I say perhaps since at this point my main interest is to learn about turbos, and if I like what I learn I may install but will make sure its reversible since my car is an excellent example of a survivor. So now that all the qualifiers have been stated... as titled its a 1983 i assume based on the P90a head with the hyd lifters. So far all I have done is mount the engine on a test run stand that and I have attached manifolds and EFI for NA testing. I will be swapping out the dizzy drive to use the standard dizzy since that is what i have used on the last NA engine that I had on the stand. The plan is to eventually run the stock turbo and turbo EFI, but for now I just want to get some NA base line runs. The engine is extremely dirty with carbon both all over the valve train and in the pan. I cleaned out the pan and picked out the large carbon chunks from the top of the head under the cam. I have started to clean the lifters, found an excellent video on youtube as guide. Its very satisfying so I will finish up that before test firing the engine. I have a new oil filter and oil (15-40 rotella T4) for the initial test. I spun the engine on my test stand to confirm oil, At 1st there was no pressure so I pulled the pump and filled it, after that the oil pressure came up fine. I had one cam oil hole not producing any dribble so I poked it with a fine wire, and cleared. Based on the overall dirtiness I can see I will at the very least need to pull the cam, and flush with brake clean and prob use a gun bore brush to clean it, or else risk re fouling the oil feed holes in the cam. The head had an excellent leak down test, the compression test on the stand was 2-6 all about 150 psi, 1 was 125. I am not sure if my starter was just getting weak at that point so I will test again after running. I have seen this before with engines that were left sitting for long times in storage, so not too worried about it at this time. during the NA test run phase I plan to check for exhaust gases in the coolant and coolant in the oil, standard stuff to see if the block/head are ok. If all those test check out the next step will be to remove the engine for a complete tear down and assessment of things like bore condition, bearing wear, rings etc... Based on the condition of the oil I would expect to find some pretty dirty rings. I have had the stock turbo rebuilt by a local shop. It looks GREAT will post up some pics later. The turbo was really trashed, and the oil supply as the culprit. The oil line is really filthy so before any turbo runs I will need to get the engine block hot tanked, the oil gallery plugs removed and clean out any junk in the galleries. The turbo is just too nice to even consider bolting on until I am sure it will have a clean supply of oil. I have some early video on my channel of just mounting up the engine to the stand if you would like to see. they are on my youtube channel stay tuned as I progress. I will need some help on ideas about getting a clean oil supply line as the old one is I think beyond cleaning. Its on the back burner since so much else has to happen before the turbo as mentioned above but I would like to start planning.3 points
-
It is a 240Z with strong demand and weak supply. In #1 Concours Condition they sell for over $125K, in #2 Concours Condition they sell for $90K+ This example would be a good #3 Condition example. Yes, it was missing the “near perfection” mark on several counts, that the fanatic perfectionists can demand and are willing to pay for. On the other hand $60K for an excellent (not perfect) Series I Datsun 240Z, running, driving and done; for less money than it would take today to duplicate it, is a good value for the buyers in that price range.3 points
-
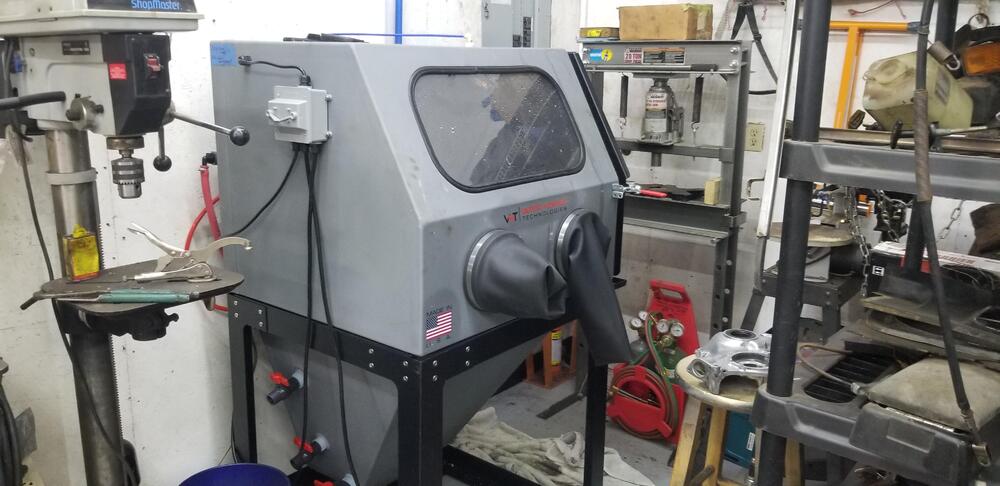
3 pointsPicked up my vapor honing blast box today. Had some time to try out a few parts. Not too bad. I think I am going to like it. I have made a good bit of progress over the last few weeks. I will post up some pictures tomorrow.

 3 points
 -
3 pointsI went through the wiring diagram I have, which I downloaded from this site, and captured the wire colors running to each component in the stock system. I am planning to use this list to figure out what color wire to change to when I am unable to source wiring in the stock colors, but I thought I would post it here for anyone who wants it. Item OEM Wire Color Water tank • Black • Black w/ Yellow Side Marker Lamp RH • Black • Green w/ Blue Inspection Light • Ground • Red w/ Blue Horn Relay • Green • Green w/ Black • Green w/ Red Battery • Black • Black • Ground Accessory Relay • Blue • Black • White w/ Red • Blue Choke Switch • Black • Red w/ Blue Map Light • Black • Red w/ Blue Rheostat • Green w/ White • Red w/ Blue Fuel Pump • Yellow • Black Defrost Relay • Blue w/ Red • Black • White w/ Red • Red w/ Black Glove Box Light • Ground • Red w/ Blue Room Light • Black • Red w/ Blue Tank Unit • Yellow • Black Step Light RH • Black • Red w/ Blue Side Marker RH • Black • Green w/ White Ground • Black Rear Combination Light RH • White w/ Black • Green w/ White • Black • Red w/ Black Rear Combination Light RH Rear Combination Light RH License Light RH • Black • Black License Light LH • Black • Black Heat - Glass • Red w/ Black • Black Rear Combination Light LH • White w/ Black • Green w/ White • Black • Red w/ Black Rear Combination Light LH Rear Combination Light LH Auto Antenna • Blue w/ Red • Blue w/ White • Black • Antenna Lead Antenna switch • Blue w/ Red • Blue w/ White • Blue Side Marker LH • Black • Green w/ White Step Light LH • Black • Red w/ Blue Comb. Switch • Green w/ Blue (1) • Green w/ White (2) • White w/ Red (19) • Black (3) • Blue w/ Yellow (4) • Blue w/ White (5) • Red (20) • Blue (6) • Red w/ Blue (7) • Blue w/ Red (8) --- • Green w/ Yellow (9) • White w/ Red (10) • White w/ Black (11) • Green w/ Red (12) • Green w/ Black (13) • White (14) • Red w/ White (15) • Red w/ Black (16) • _____ (17) • Green w/ Black (18) Hand Break Switch • Ground • Yellow w/ Blue Speedometer • Red w/ Blue • Red w/ Blue • Red • Red w/ White • Yellow w/ Blue • Red w/ Blue Tachometer • Green • Red w/ Blue • Green w/ Black • Green w/ White • Black w/ White • Green w/ Red • Red w/ Blue • Black Oil Pressure / Water Temp • Black • Yellow w/ White • Green to Yellow w/ Red • Red w/ Blue • Green to Yellow w/ Red • Yellow w/ White Fuel Gauge / Ammeter • White w/ Red • White • Red w/ Blue • Yellow • Green to Yellow w/ Red • Black Clock • Black • Red w/ Blue • Blue Choke Warning Light • Red w/ Blue • Red Defrost Switch • [MISSING] • Blue w/ Red • Blue Seatbelt Warning Light • Black • Green Fog Light Switch • Red • Red w/ Green Door Switch RH • Black • Black • Ground Cigarette Lighter • Blue w/ White • Black Seat Switch • Red • Green w/ Black Seatbelt Switch LH • Green w/ Black • Green Seatbelt Switch RH • Green • Green w/ Black Neutral Switch • Green • Green Buzzer • Green • Black Door Switch LH • Black • Black • Black • Black • Ground Indicator Lamp (Auto T/M) • Black • Red w/ Blue Hazard Switch • Green w/ White (1) • Green w/ Red (2) • Green w/ Black (3) • Green (4) • Green (5) • Green w/ Yellow (6) • Green w/ Yellow (7) • White w/ Black (8) • White w/ Red (9) Ignition Switch • Black w/ Yellow (1) • Black w/ White (2) • White w/ Red (3) • Blue w/ Red (4) • Green w/ Blue (5) Steering Lock Switch • Red • Black Wiper Motor • Black (E) • Blue w/ Red (B) • Blue (L) • Blue w/ White (M) • Blue w/ Yellow (H) Buzzer • Yellow • Red Inhibitor Switch (Auto T/M) • Black w/ Yellow • Black w/ Yellow • Red w/ Black • Red Air Con Power • Red to Blue Blower Switch • Red • Black • Black Heater / Blower • Red • Black • Black • Ground Side Marker Lamp LH • Black • Green w/ Blue Parking & T/S & Side Front LH • Black • Green w/ Red • Green w/ Blue Head Light LH • Red w/ Black • Red w/ White • Red w/ Yellow Horn L • Green • Ground Fog Light LH • Black • Red Fog Light RH • Black • Red Horn R • Green • Ground Head Light RH • Red w/ Black • Red w/ White • Red w/ Yellow Parking & T/S & Side Front RH • Black • Green w/ Blue • Green w/ Black Voltage Regulator • Black (E) • White (A) • White w/ Black (F) • Yellow (N) • _____ (L) • _____ (–) • Black w/ White (IG) Thermal T/M • Yellow w/ White • Ground Oil Pressure • Yellow w/ White • Ground Fuse Box • Green w/ Red (H) • Green w/ Yellow (S) • Red w/ Blue (PT) • Red w/ Blue (PL) • Red (HR) • Red w/ Yellow (HL) • Blue w/ White (C) • Blue (A) • Blue w/ Red (W) • _____ (F) • Black w/ White (IG) • Blue w/ Red (C) • _____ (–) • _____ (–) • _____ (–) • Red (–) • White w/ Red (A) • White w/ Red (A) • _____ (–) • White (B) Starter Motor • Black • Black • Black w/ Yellow • Ground Fusable Link • Black Radio • Ground • Black • Red w/ Blue • Antenna Lead Reverse Switch • Red w/ Black • Red Turn Signal Flash Switch • Green • White Four Way Flasher • Blue w/ White • Green w/ White Brake Indicator • Yellow w/ Blue • Ground Stop Switch • Green w/ Yellow • Green w/ Yellow Ballast Resistor • Green w/ White • Black w/ White Thermo sw (Auto T/m) • Black w/ White • Green Alternator • Black (E) • _____ (A) • White w/ Black (F) • Yellow (N) • _____ (–) • _____ (–) • _____ (–) • _____ (–) • _____ (–) • _____ (–) • Fusible Link (A) • Black (E) Fusable Link • White w/ Red Thermo Relay (Auto T/M0 • Green • Black • Black • Red w/ Black to Black Coil • Black • (To Distributor) Distributor (Manual T/M) • Black • (From Coil)3 points
-
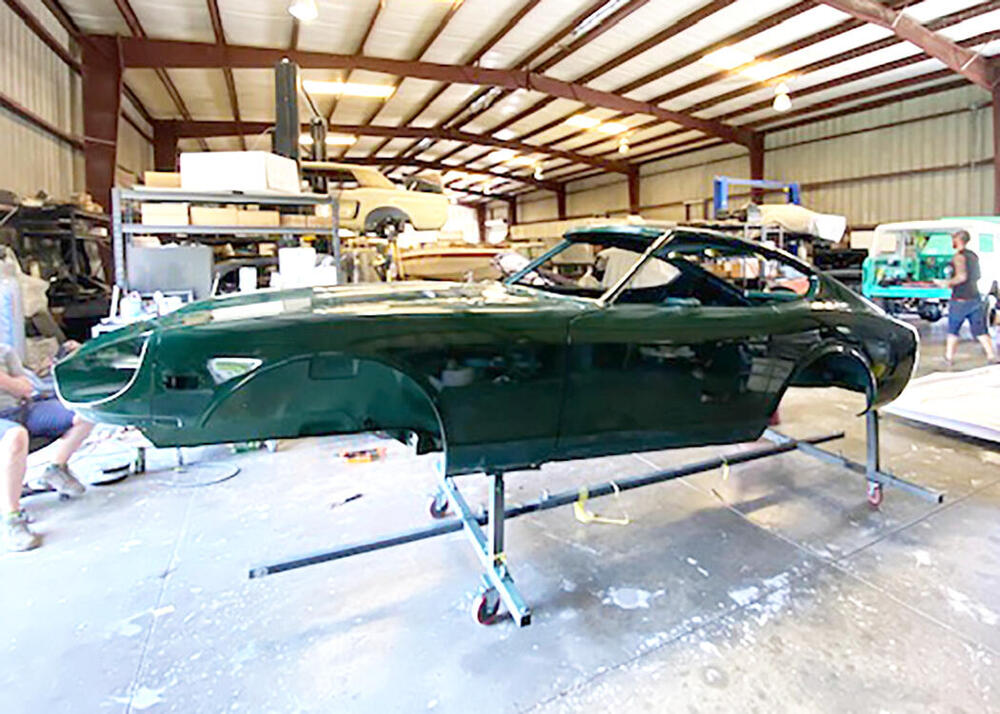
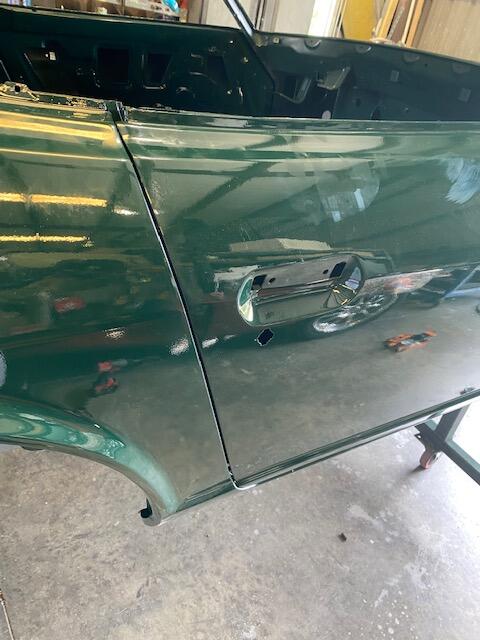
3 pointsThis restoration shop is a full service business. Classic Car Restorations in Bradenton, Florida. Complete services from paint and body work to interior work to full reassembly. Many thanks to Brian and his crew for excellent work and specific attention to detail. They fixed some poor welding work and fixed some other metal that had been covered over in Bondo. Once I get the car rolling and running, she will go back for the interior installation - butterscotch. For 26th, I chose a two stage acrylic with a clear coat. The underside is textured in a colorised product called Raptor. I decided to texture the wheel wells and inner fenders. The interior finish is just the base coat which is why it looks a little dull


 3 points
 -
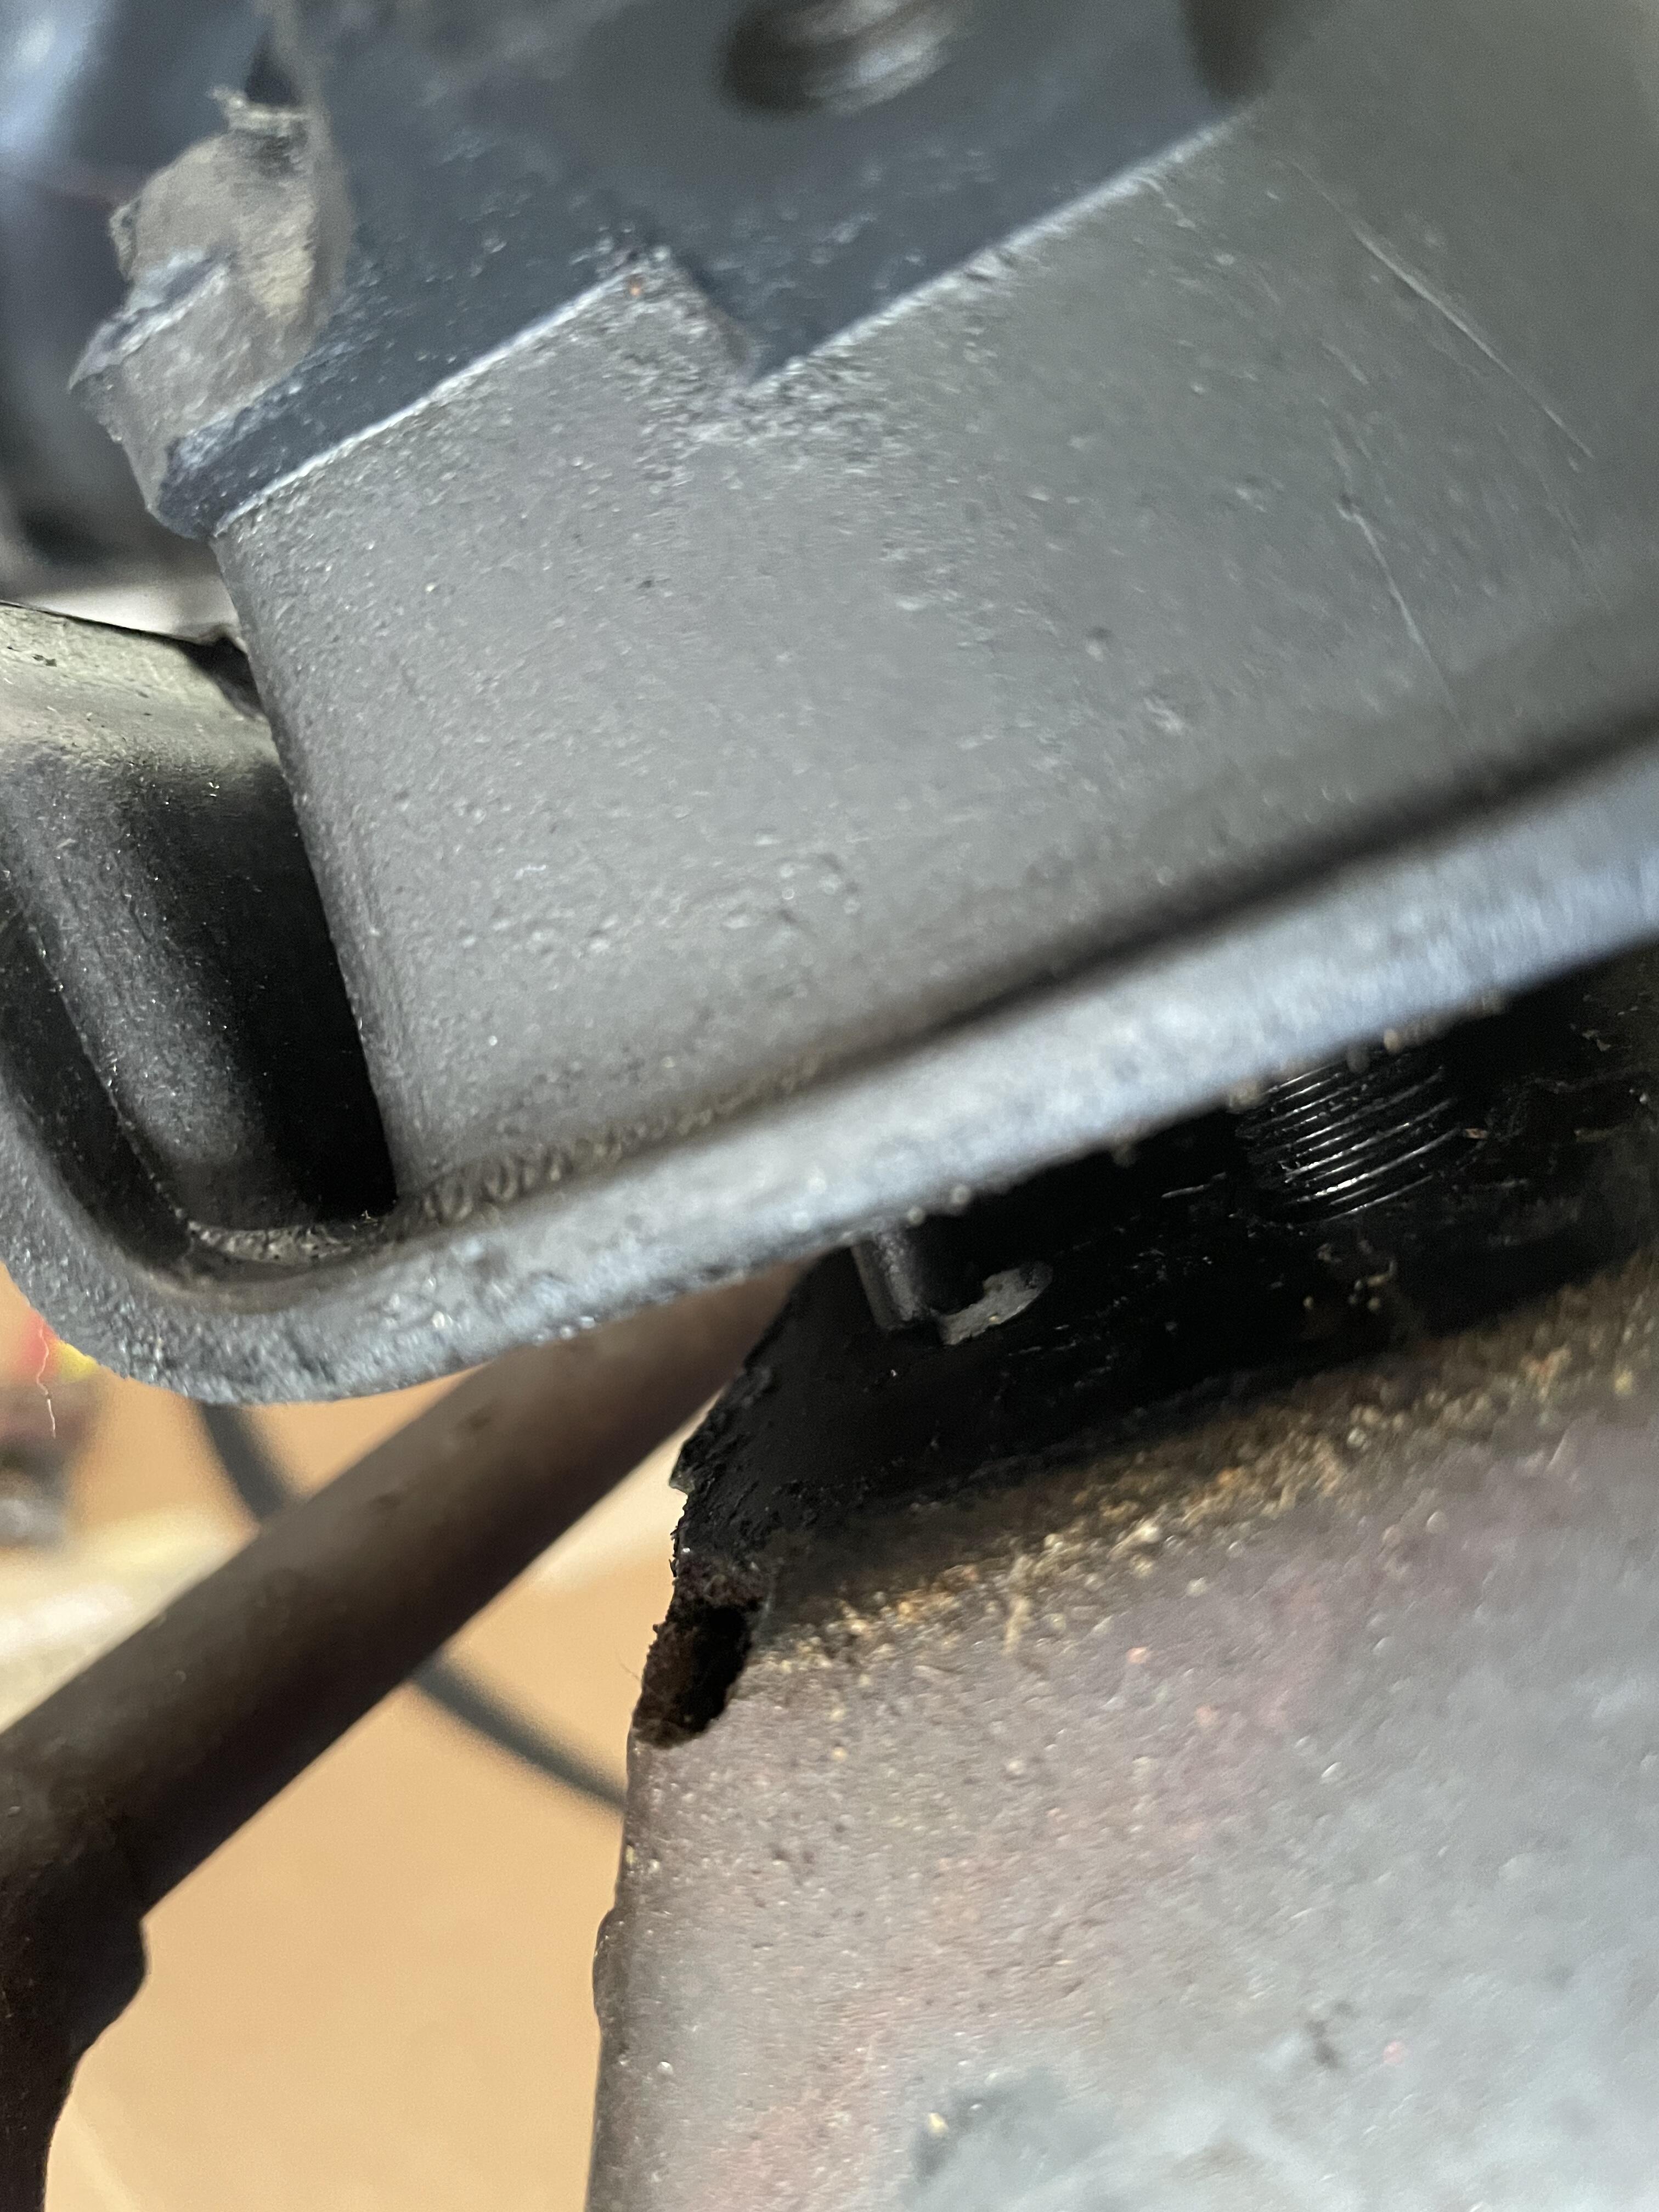
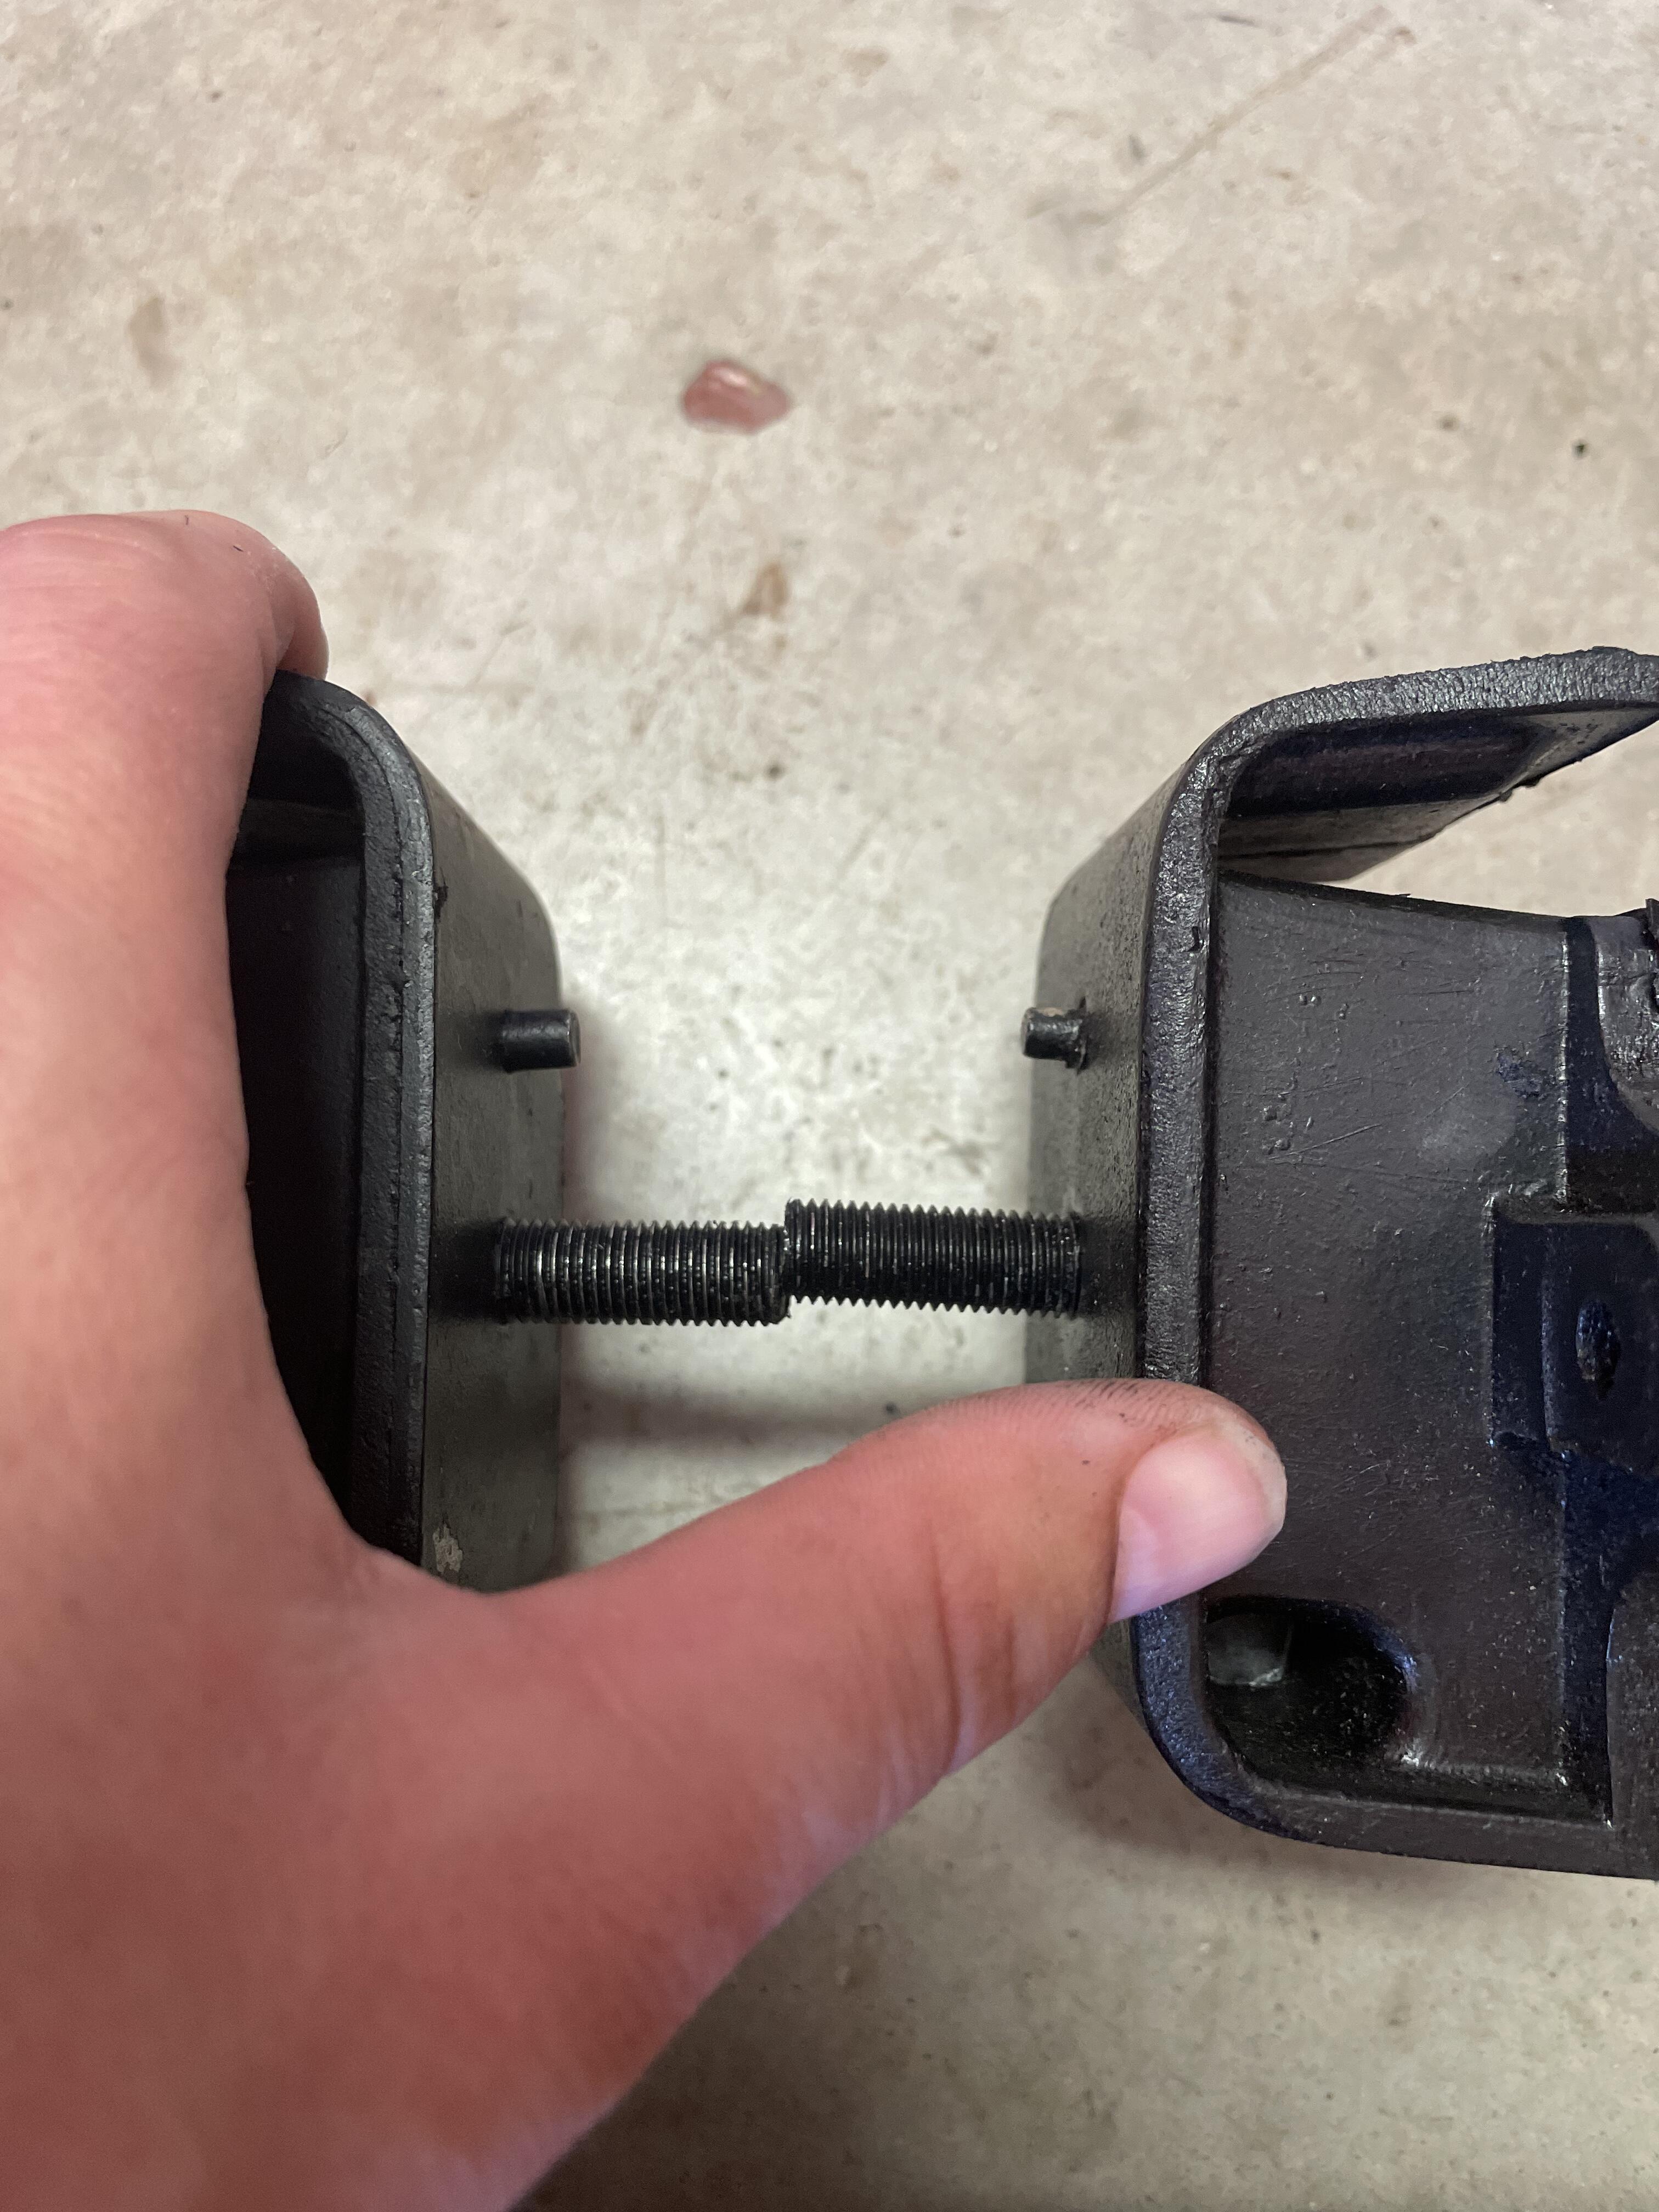
2 pointsHeard back from fidanza. They have a replacement friction plate I can purchase. new engine mounts came in, one wasn’t a perfect fit so I can to do a mod. Now I need to fund beer, pizza, and friends to bring the engine over, assemble the transmission, and drop it in.


 2 points
 -
2 pointsMy dream is trip around the world visiting all my Z friends. I definitely stop and say hello to your 26th and 27th . Kats2 points
-
2 pointsI did a stock rebuild on the original N42 engine that was in my '80 ZX( I have since installed another motor). Before I pulled it out of the car, I was running 20W 50 to mask a knock at idle. Upon disassembly I found some main bearings that were pretty thrashed. No big surprise. The PO probably abused it and ran it low on oil. The 20W 50 was very effective in masking that knock, although it hadn't progressed into the out of control stages yet. It doesn't sound like you are having any issues like that, just wanting to know if higher weight oil is ok to use for extra protection in desert heat. All of us on the west coast U.S. have been getting heat waves. Even here in Seattle(as I type this it's 59 and raining).2 points
-
I have decided that the wiring on my '73 is going to be complicated enough to warrant it's own build thread. I will post the high level stuff in the full-car build thread (https://www.classiczcars.com/forums/topic/51541-1973-rebuild/#comments), but the details and back and forth conversation will be here. This is going to be a huge learning process for me since I have no experience in this area. With that said, this is where I am with this so far… When I got the car, the harnesses were installed, but the car was otherwise stripped. I pulled the harnesses, gave them a cursory dusting off and stuffed them into a box. The dash harness is still on the dashboard, which is on a shelf. I have been tracking an inventory of modifications I want to make to my electrical system over the past few years as I work on the rest of the car. I had a lot of ambition when I first put this list together, but I have backed off from my initial list of additional components over time. This is what I am still thinking about doing: Anti-Theft Kit / Alarm (Mostly because I have one laying around that I never installed on my motorcycle) Auxiliary Fuse Box or an Upgraded Fuse Box Bluetooth Speaker Electric Radiator Fan, plus maybe a thermostat controlled switch that would allow it to run after to car is turned off. GPS Third Brake Light Under Dash / Footwell Lights USB Socket / Phone Charger LED Exterior Lights 100-Amp Alternator Radio Delete LED Headlights Rally / Fog Lights 12-volt Socket (Replaces Cigarette Lighter) Door / Step Lights (These are super rare and way too expensive) Other Considerations… Figure out where I am going to do this work (it's getting hot) Decide which type of wire for each component (TXL, SXL, GXL, etc.) Choose connectors (Original style?, Deutsch style?, AMP style?, Weatherpack style?) Decide which colors to use for each color in the original harnesses Find amperage / voltage / wattage for each component Determine ideal wire size for each component Choose distributor Choose fuse box, distribution block, relay upgrades Identify fuse and relay requirements for each component Draw up new / modified wiring diagram Choose wrapping material Find shrink-wrap labels for label maker Find retailers ___ Right now I have a pretty solid spreadsheet put together with all of the components I need, mapped to the wiring diagram, and tracking the parts I plan to buy. Oh, and I’ve never done automotive wiring before, so this will be an experience.1 point
-
10w30 down here. That high milage valvoline has the best additives from my reading without going with the diesel oil. It's got some extra zddp for worn engines and supposedly keeps the rubber conditioned? Walmart has a high milage brand also that I run in my d21 pickup with 350,000 plus miles. I have great oil pressure in my 240, always. When it drops down a little I check my records and it's always time for a change out. Can't explain that but it never fails to be true.1 point
-
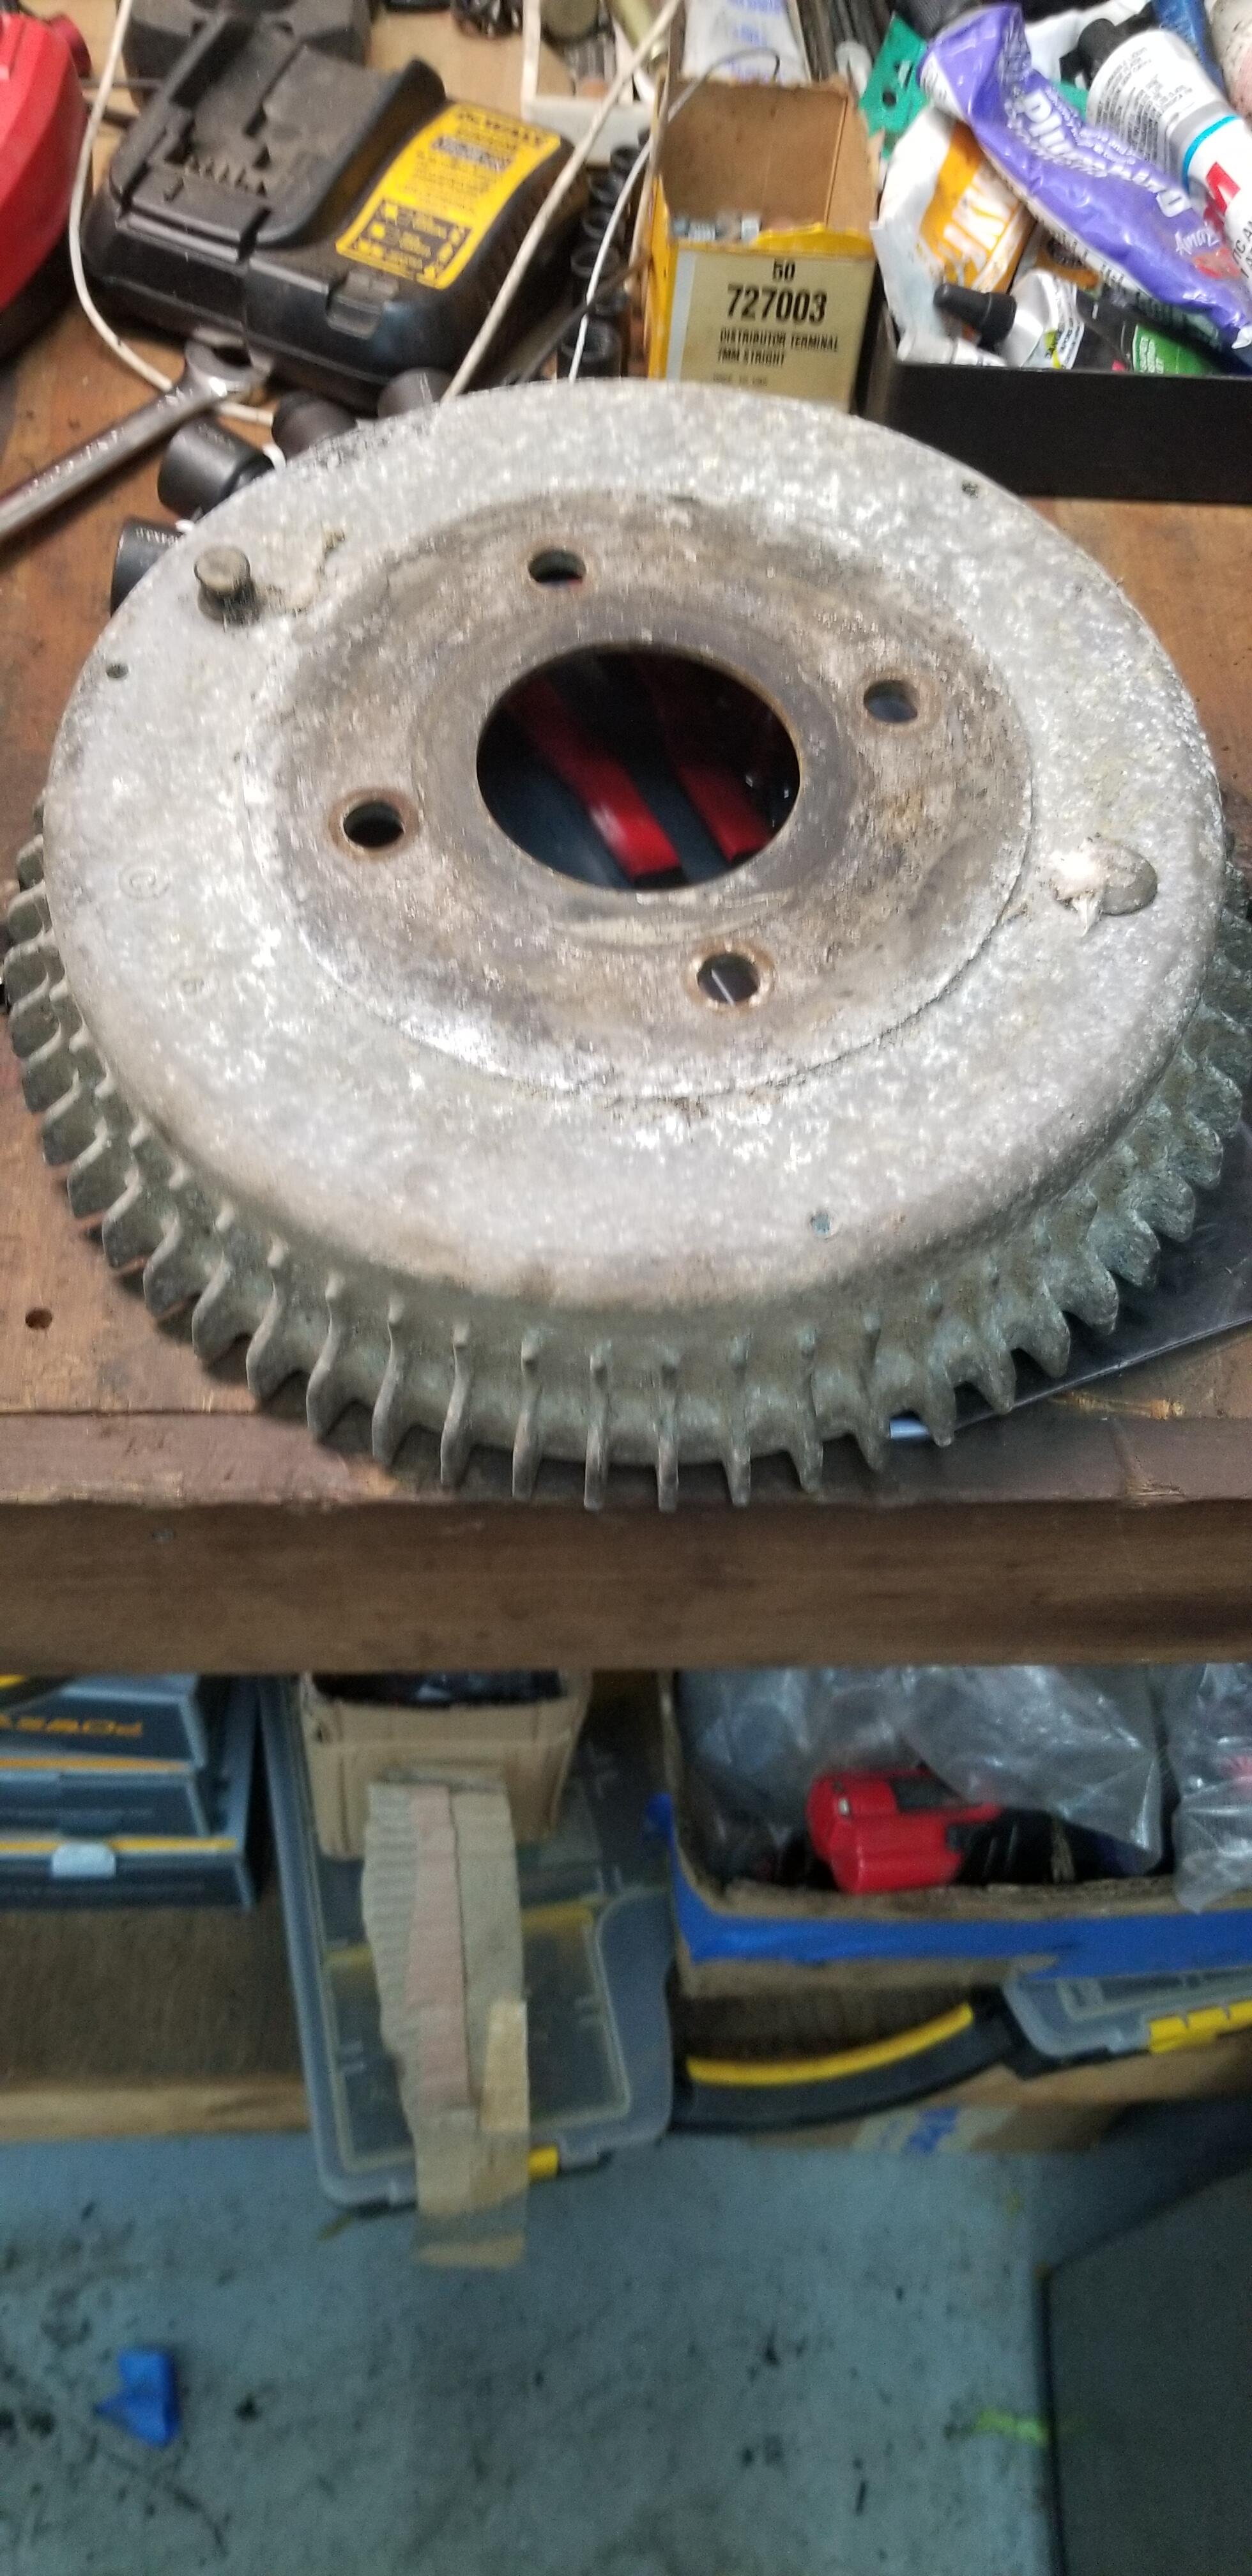
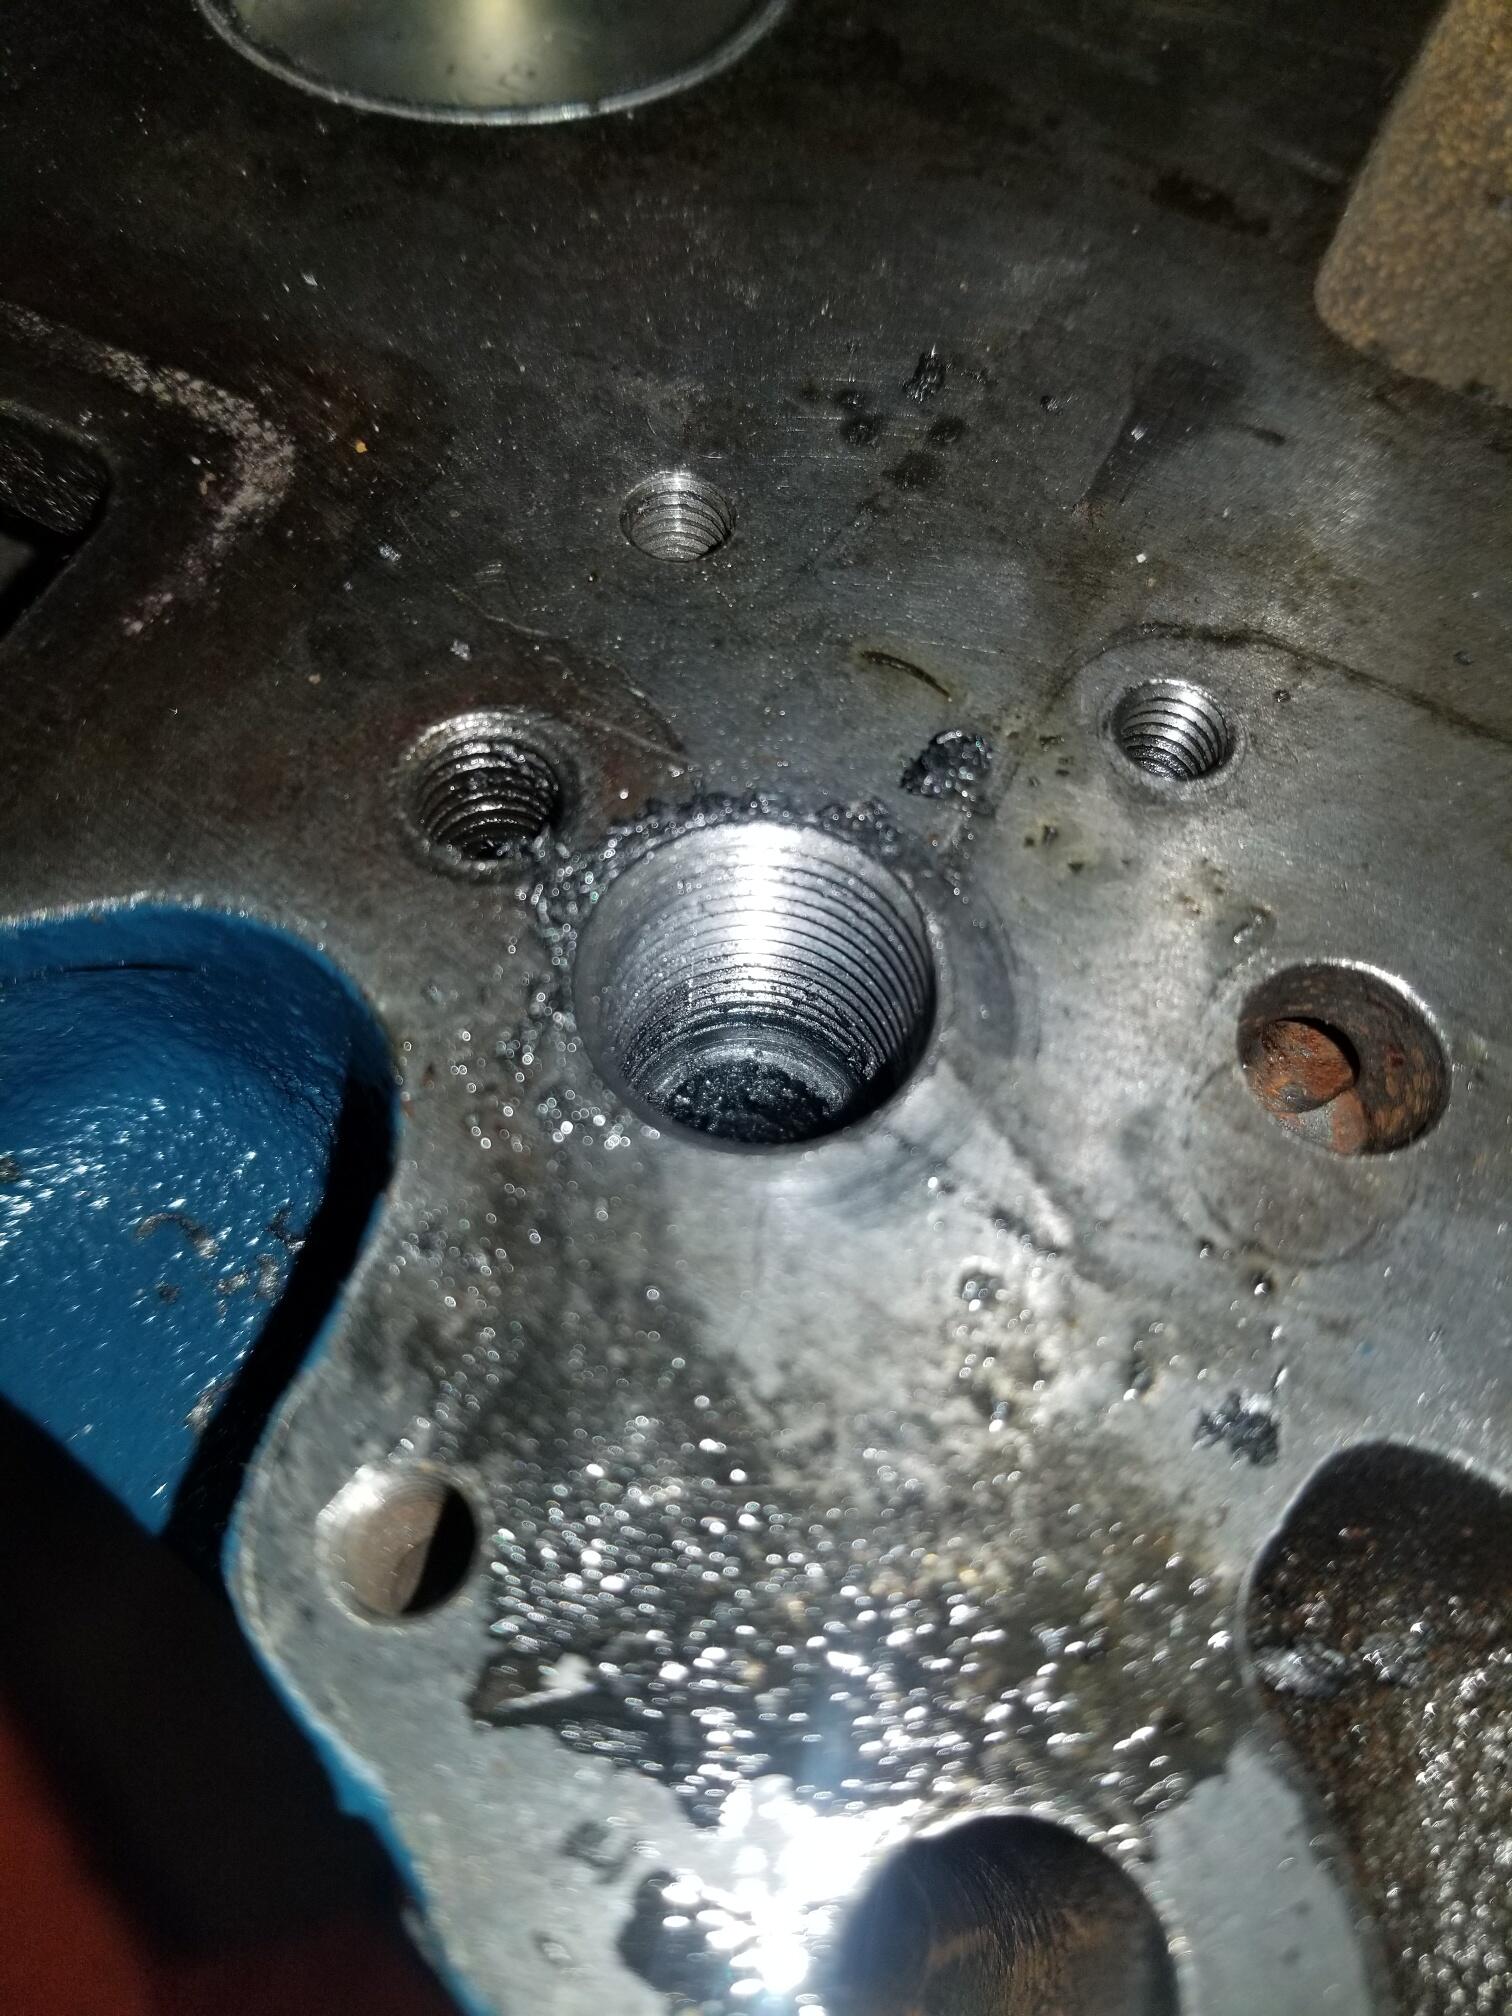
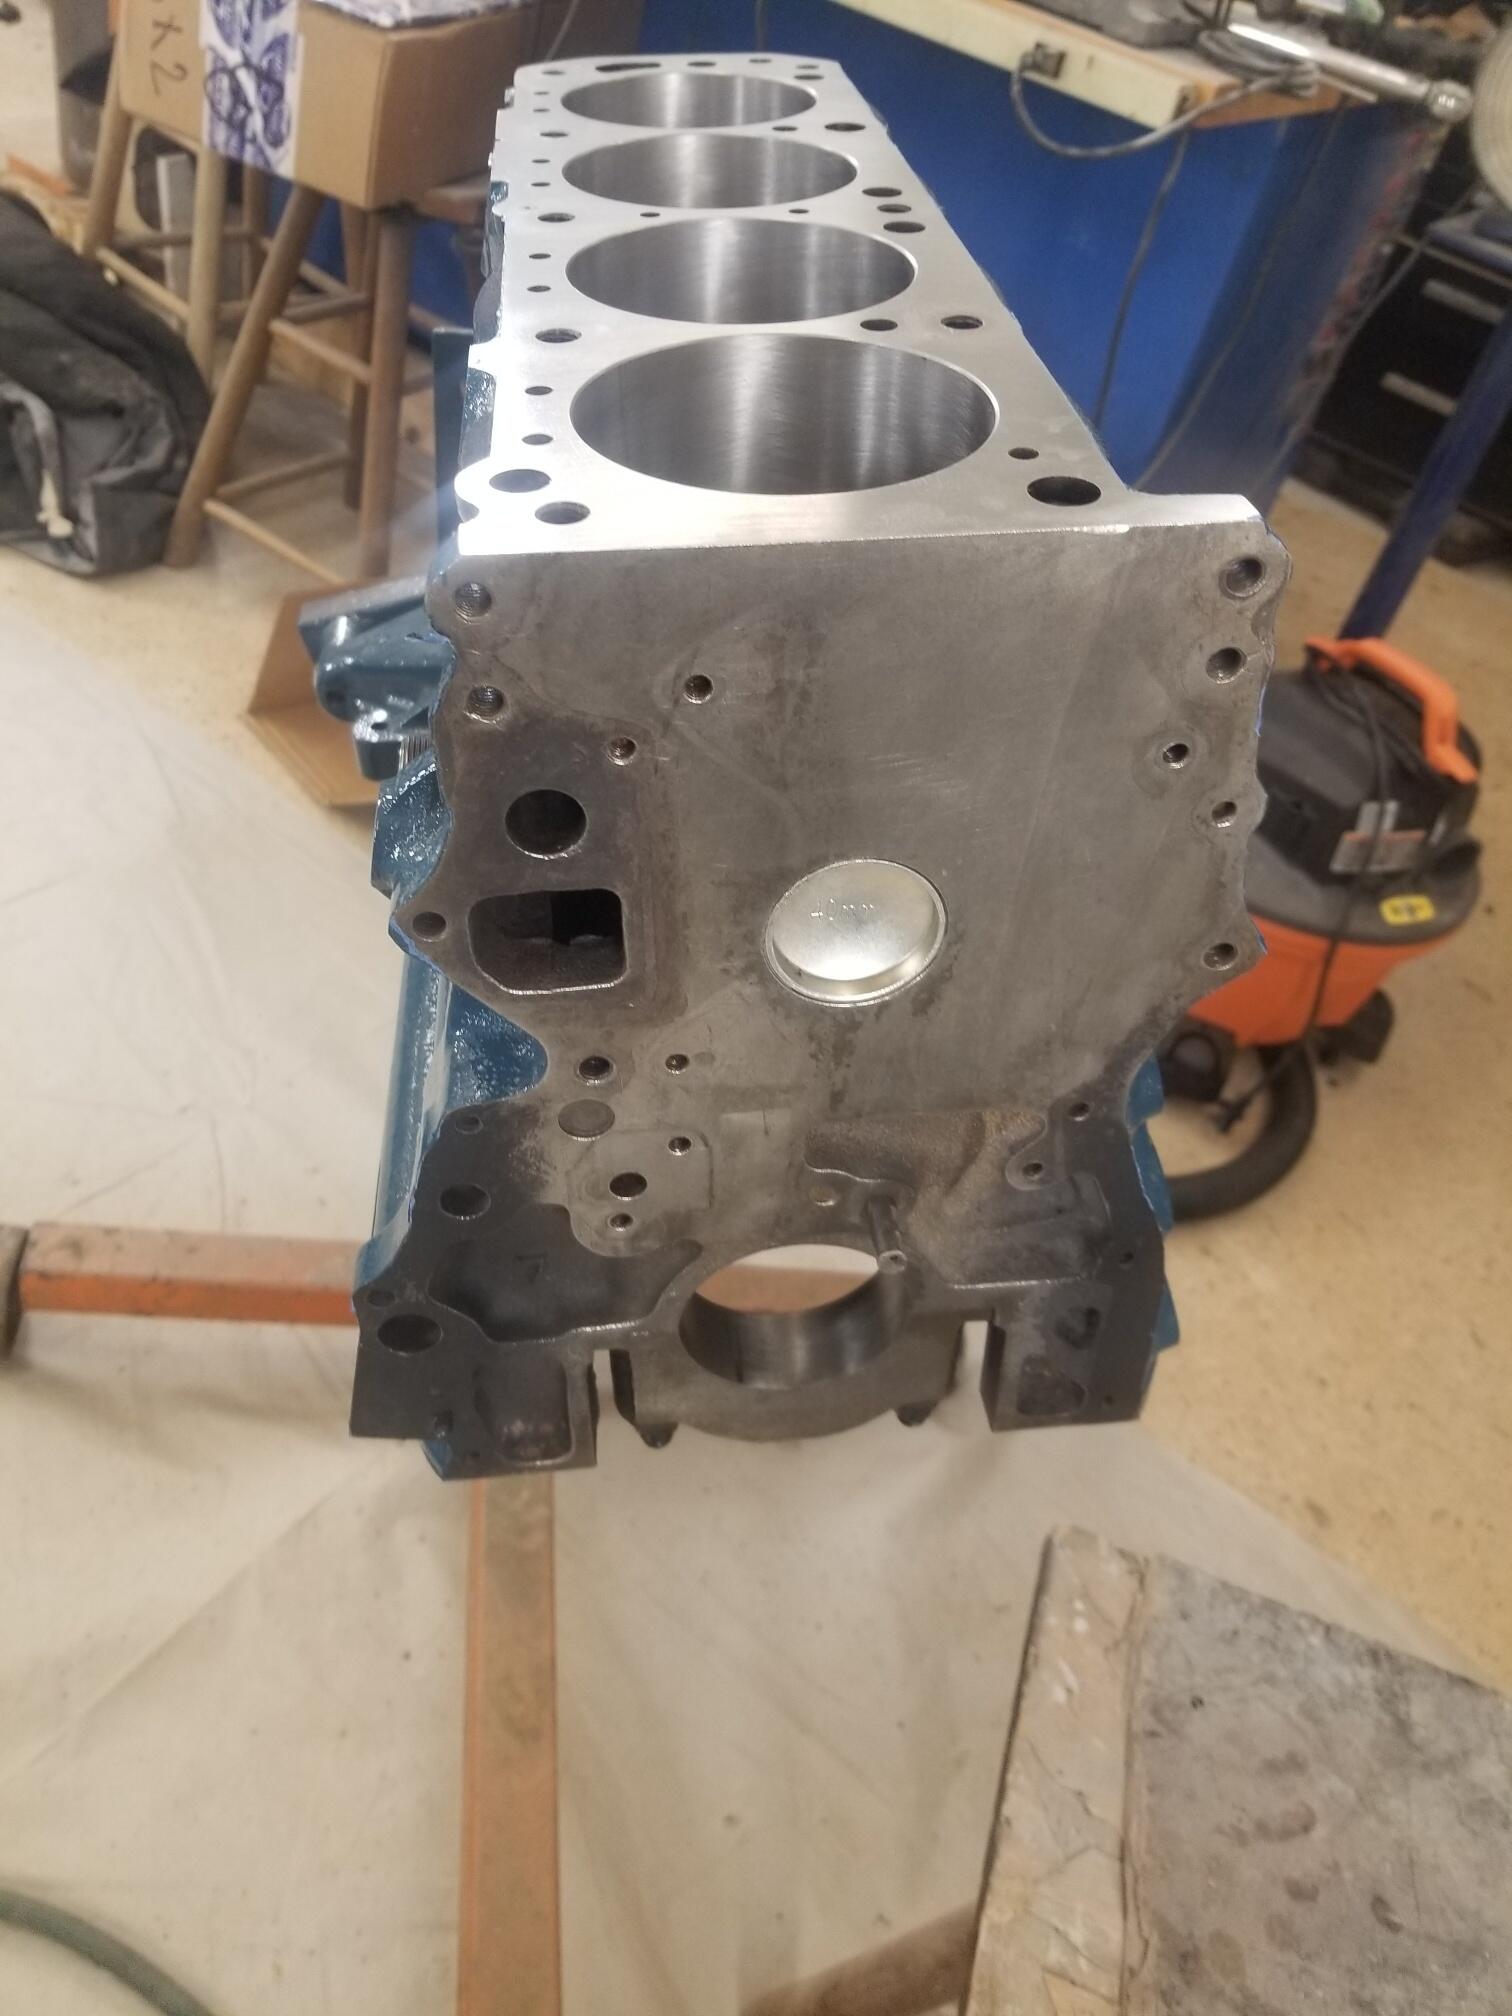
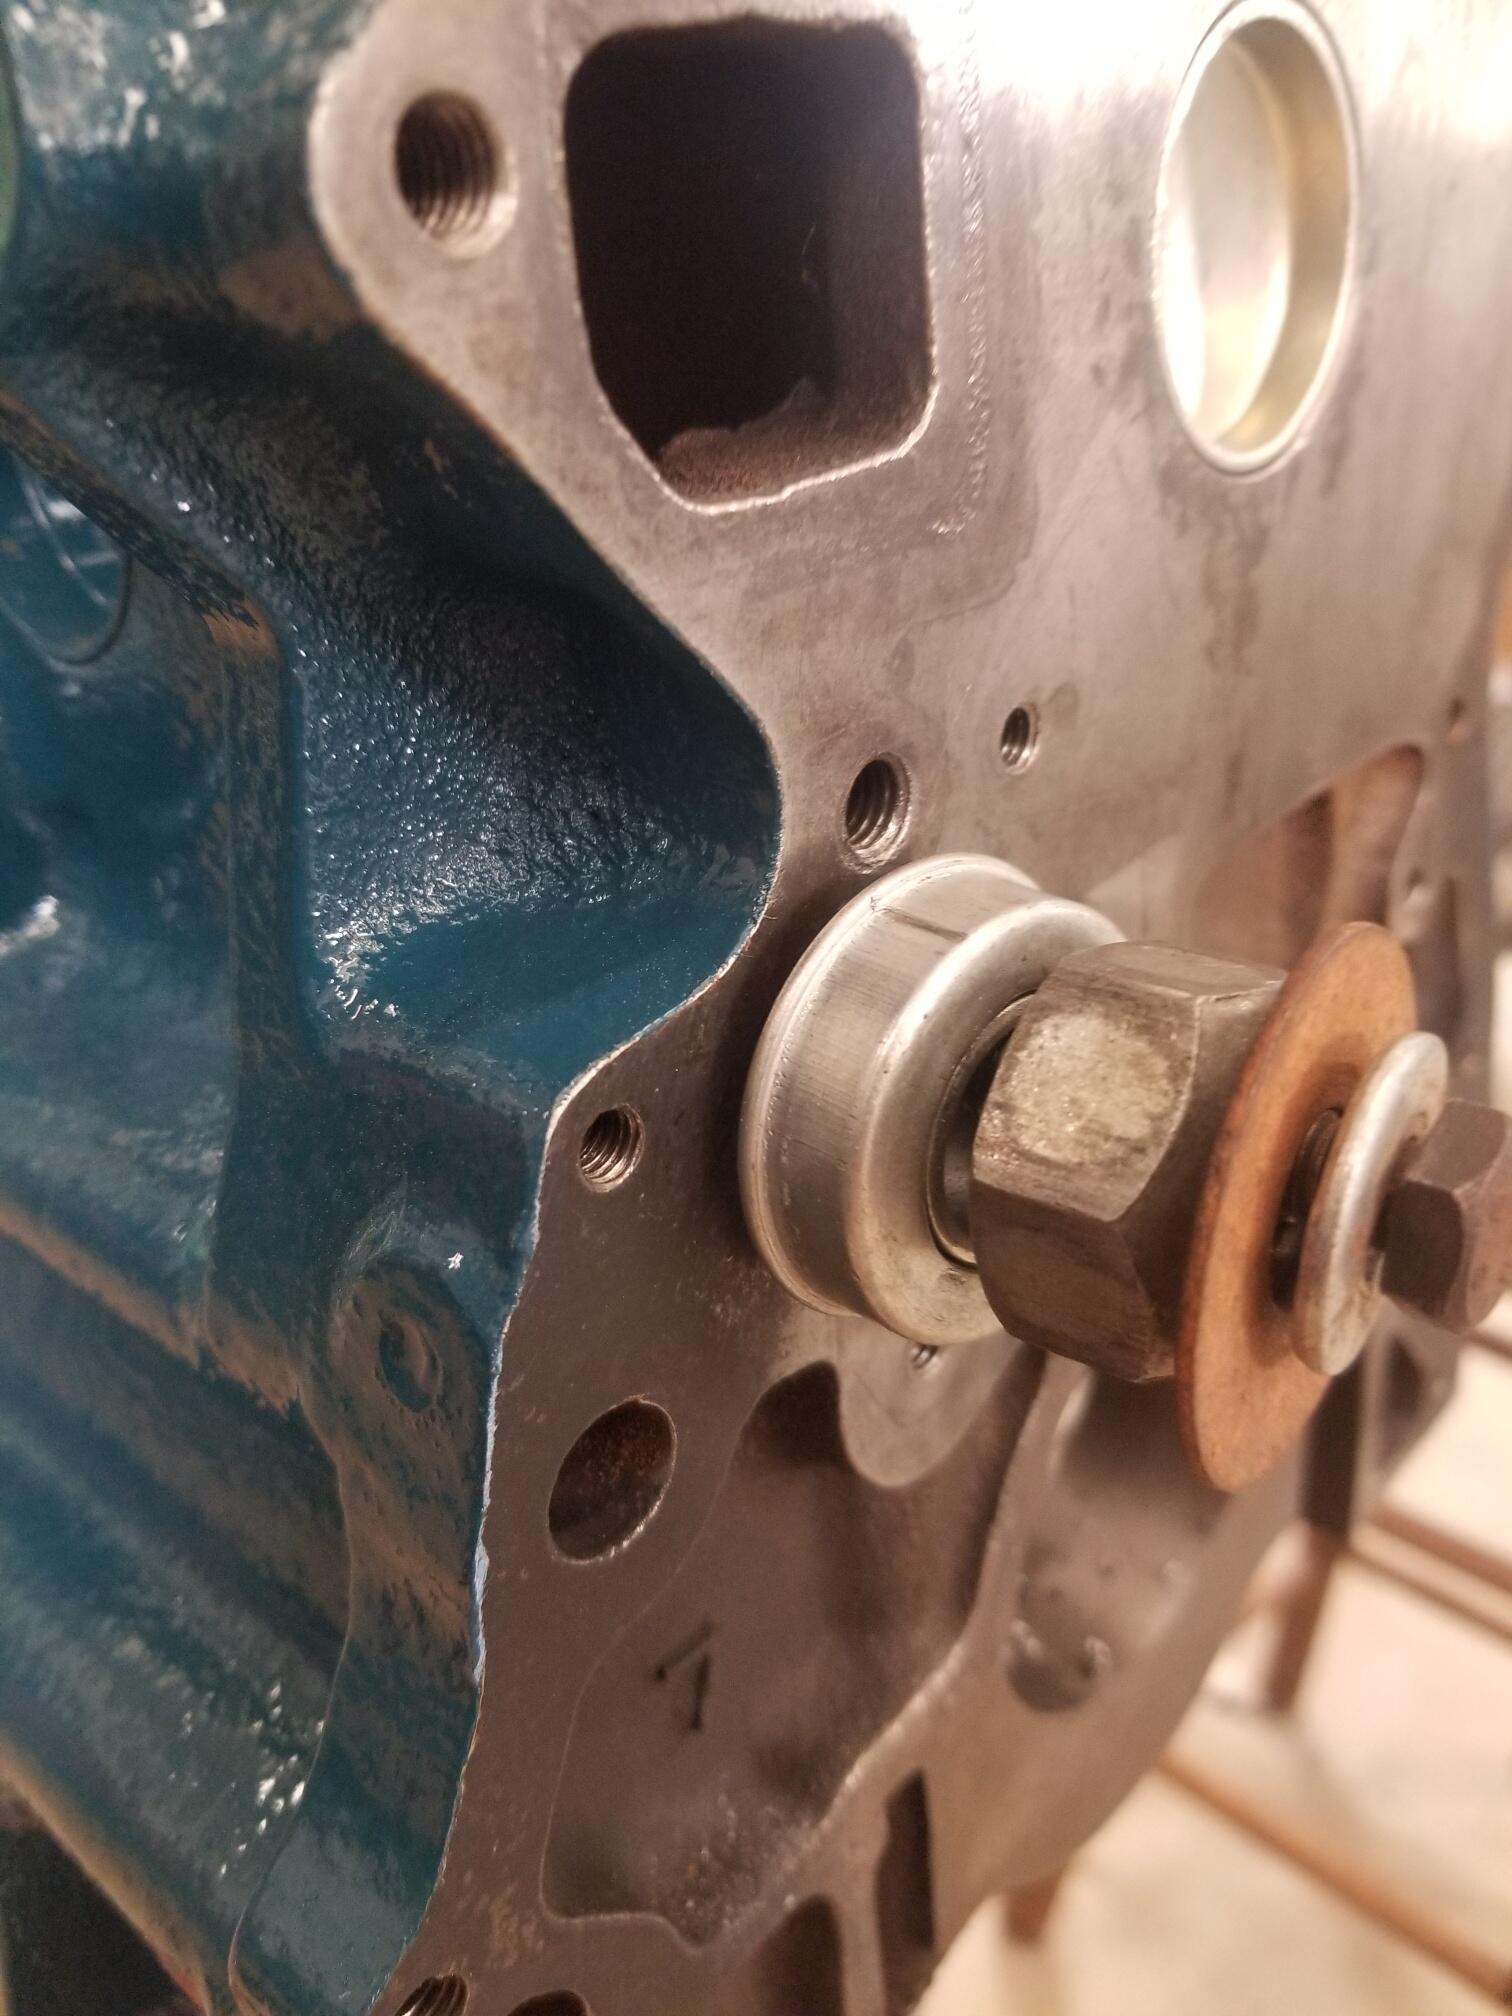
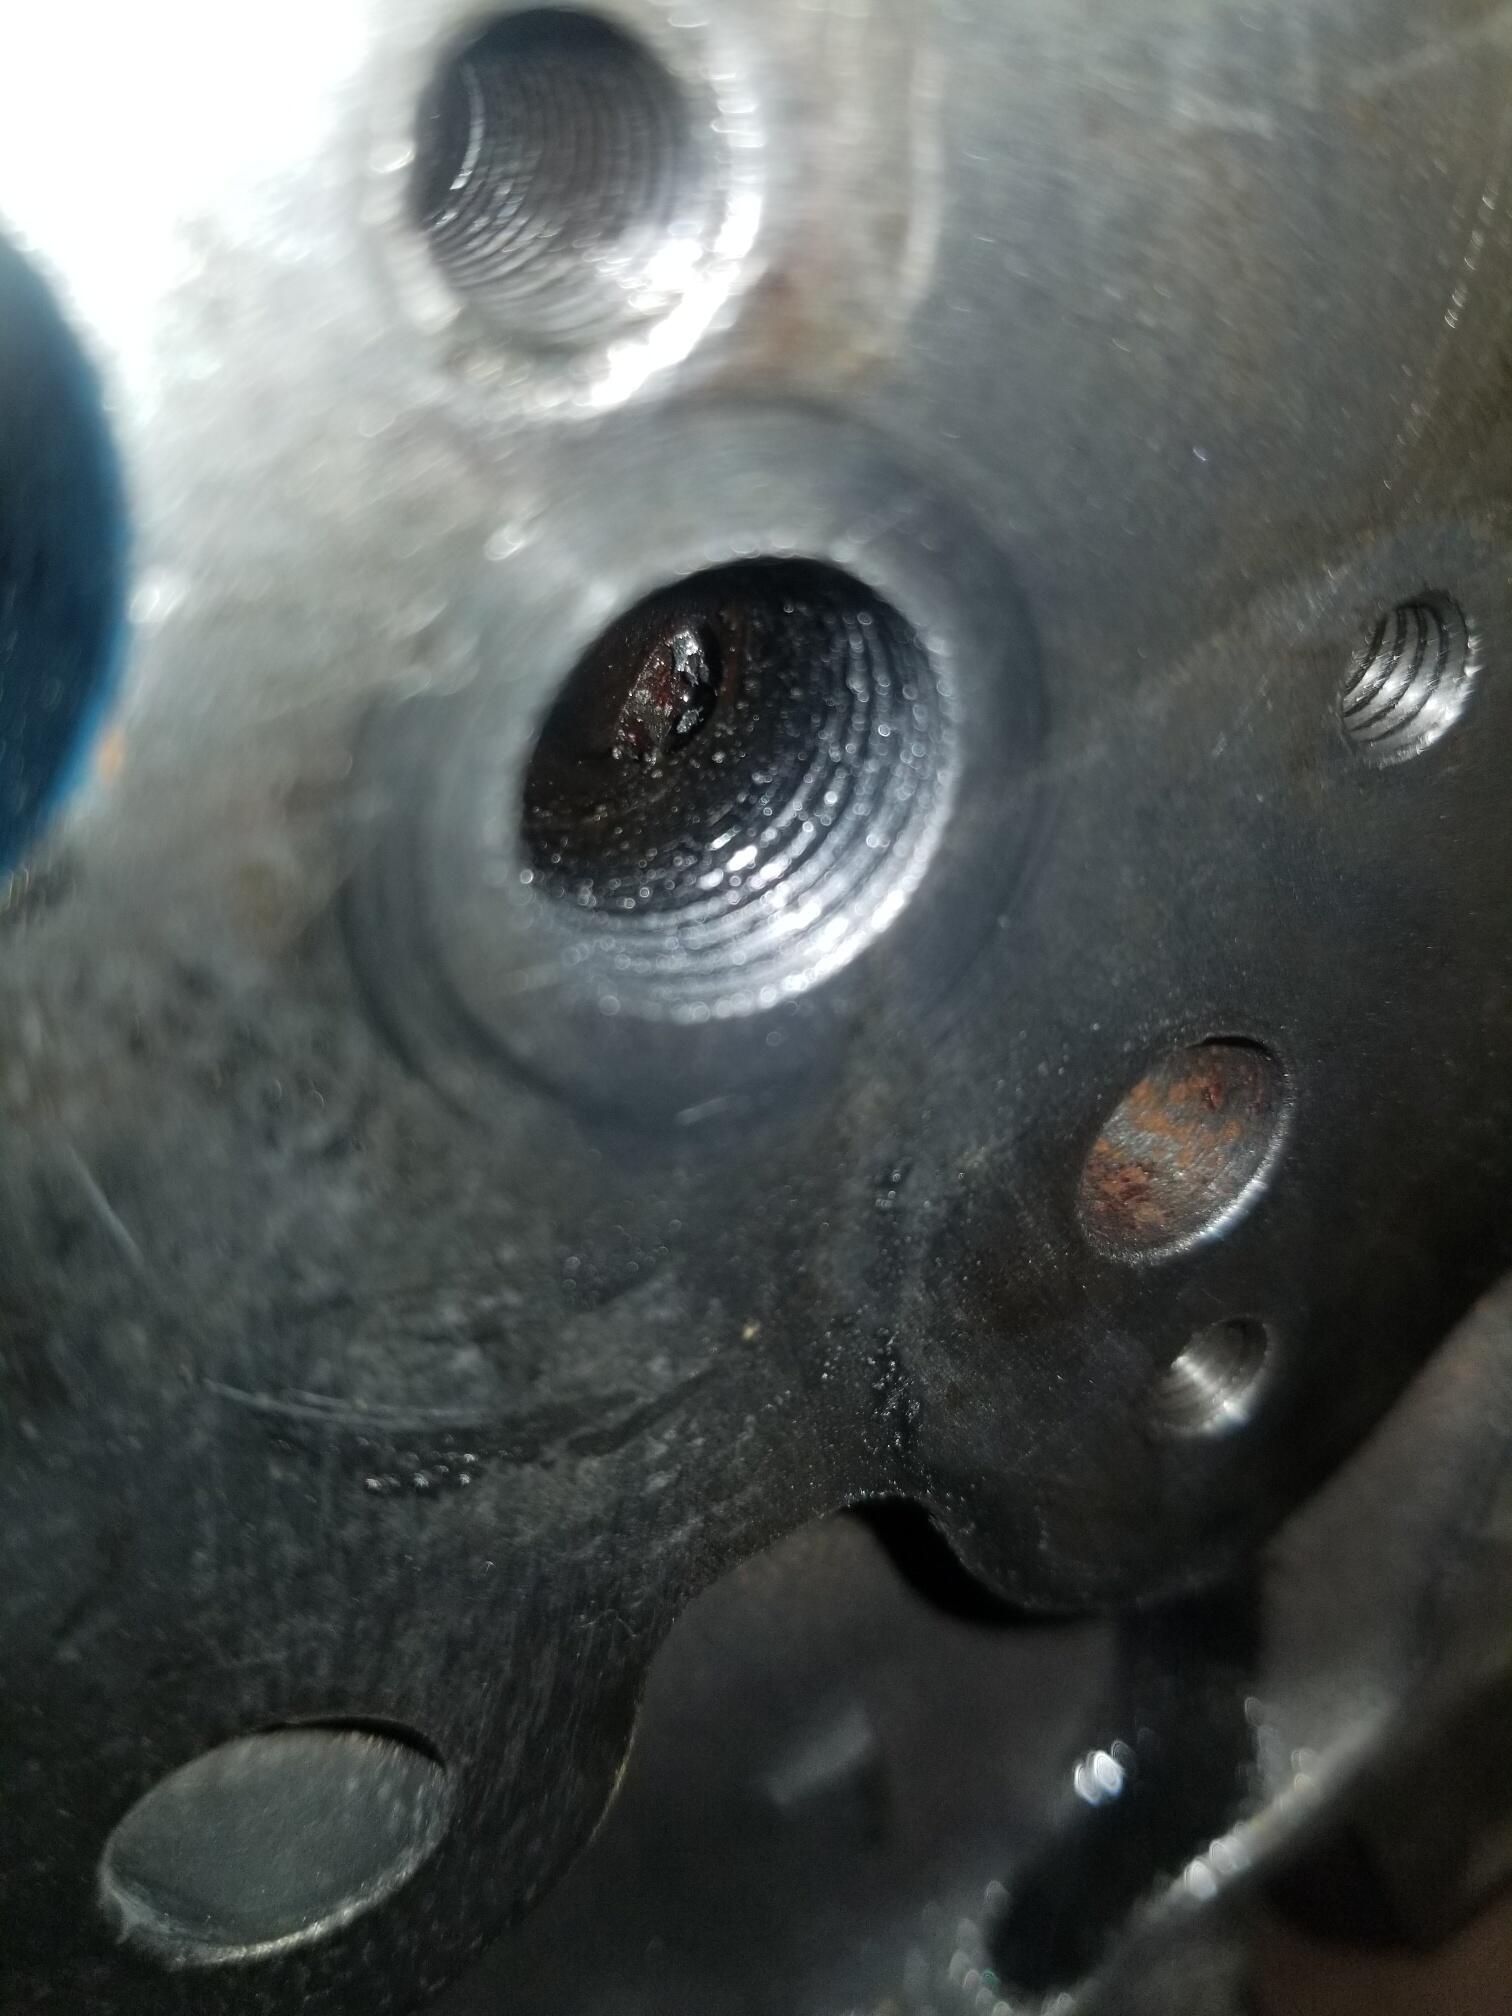
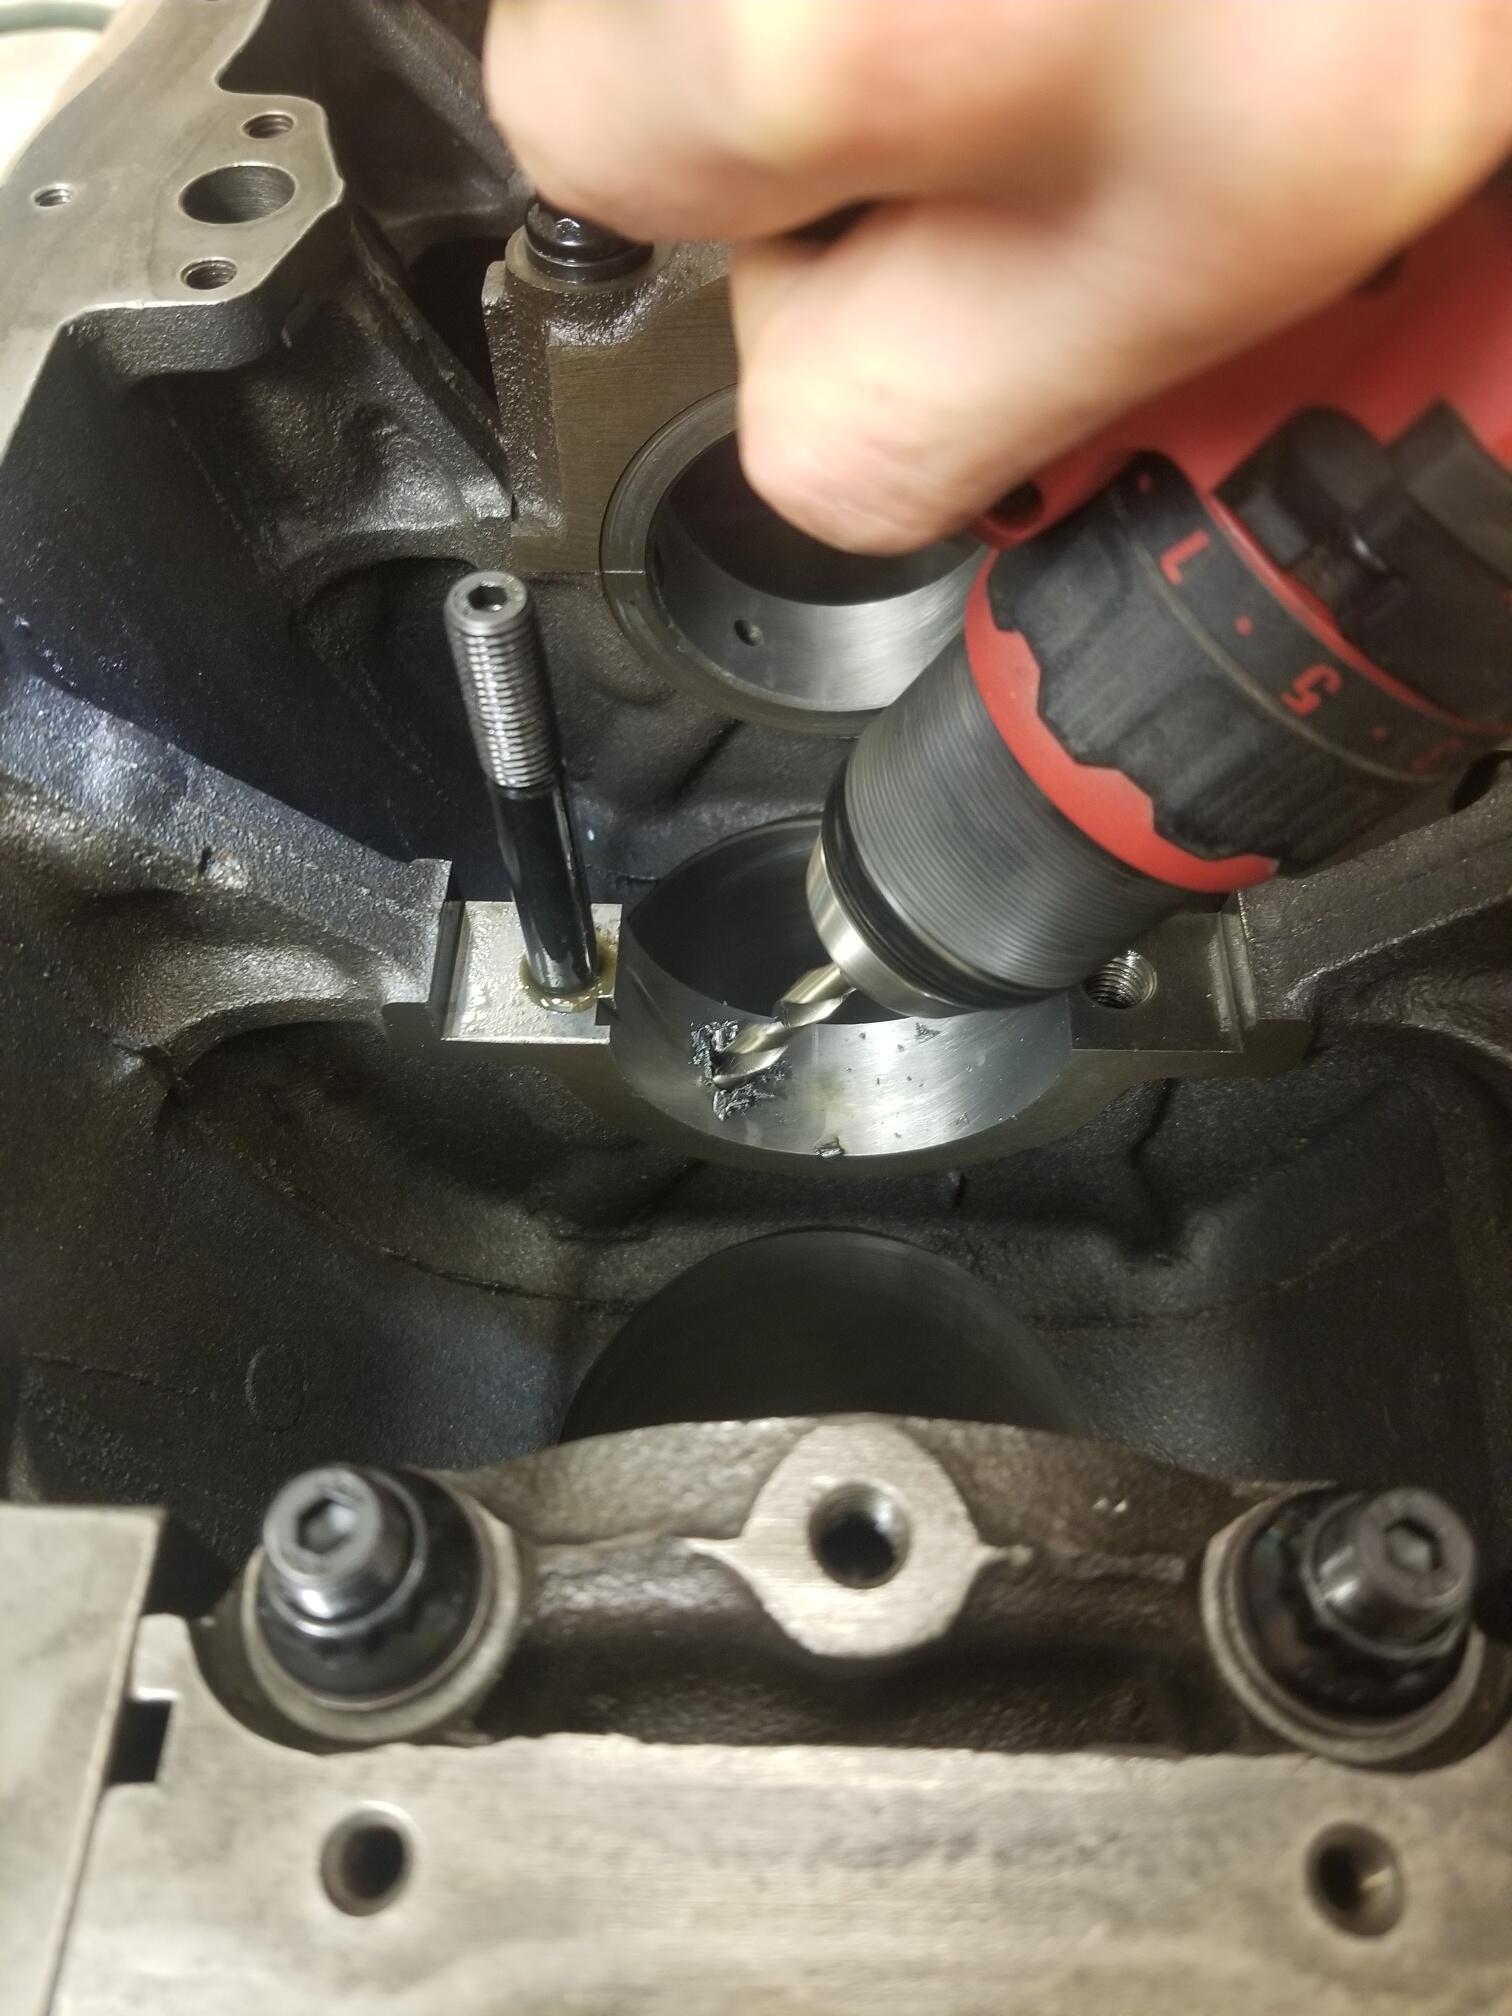
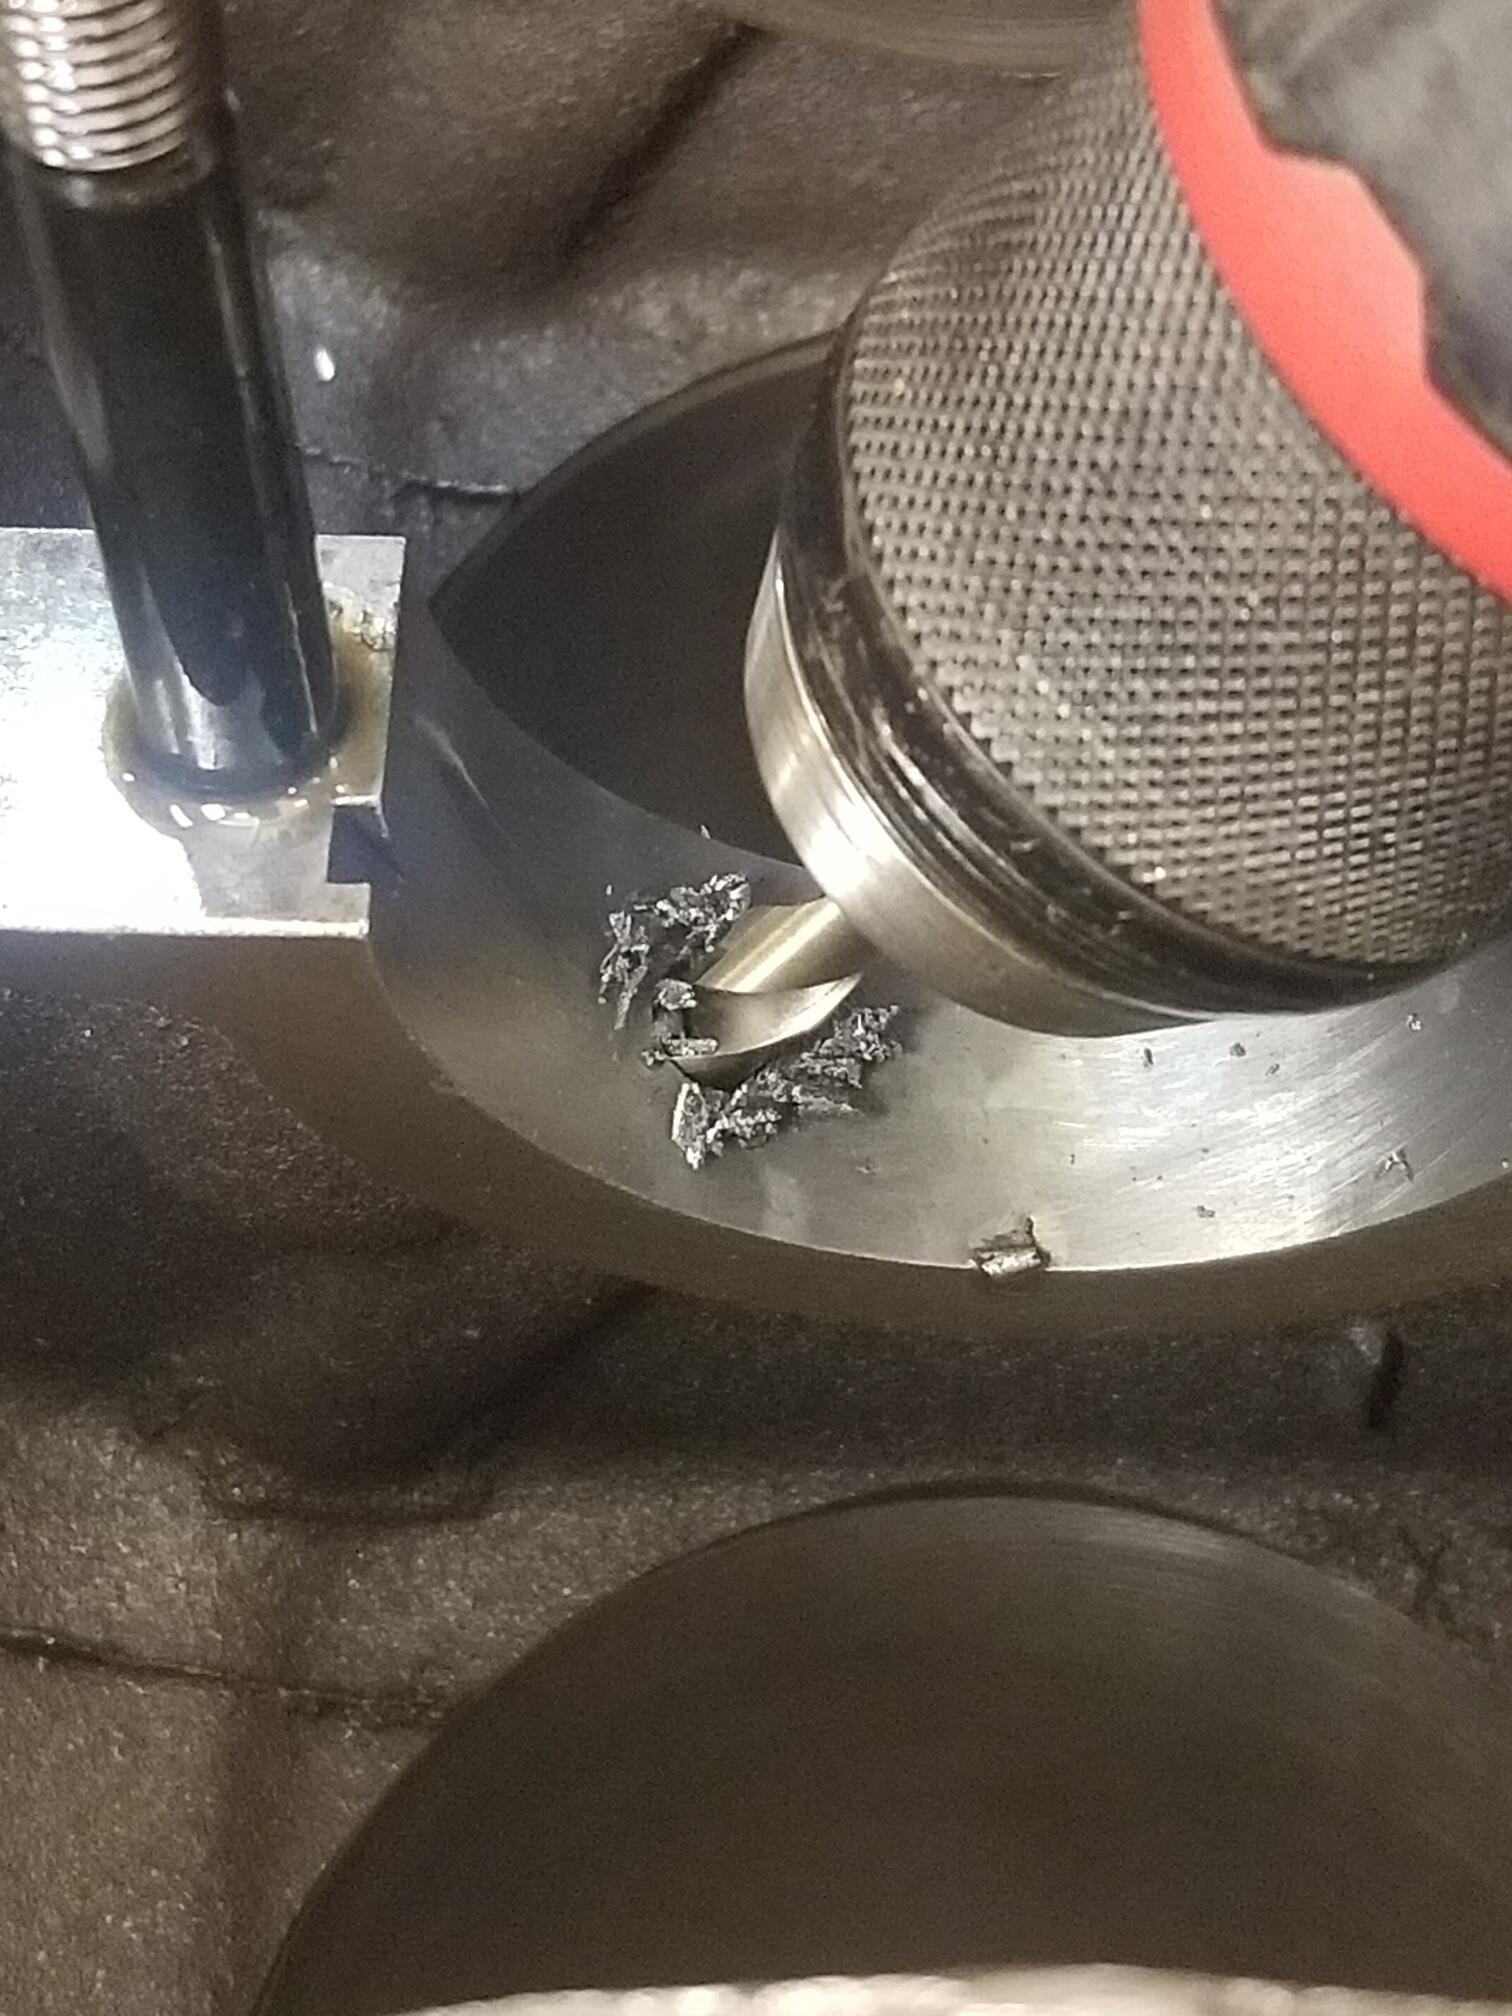
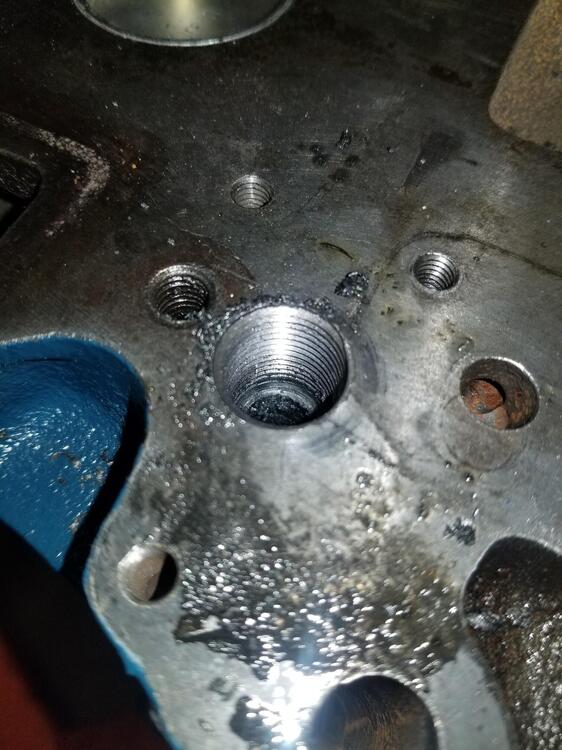
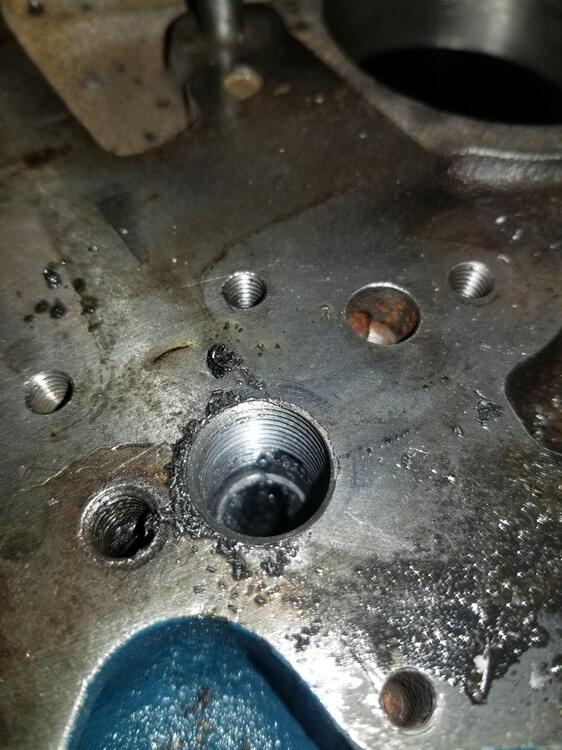
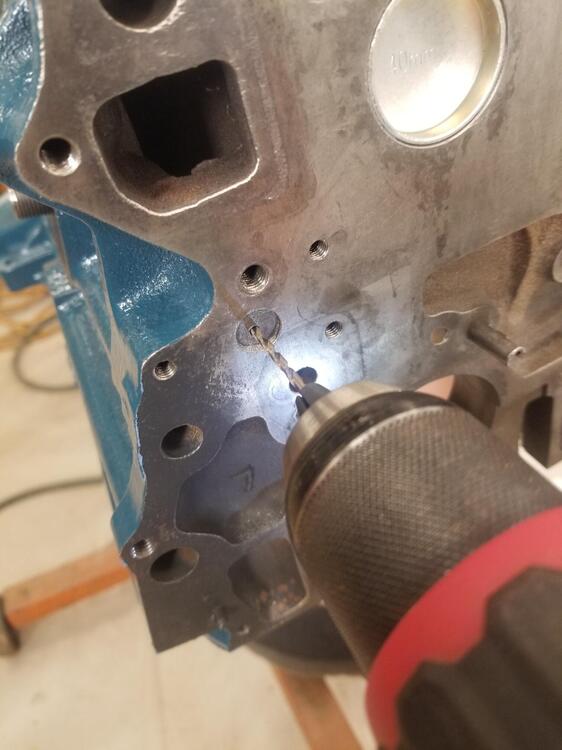
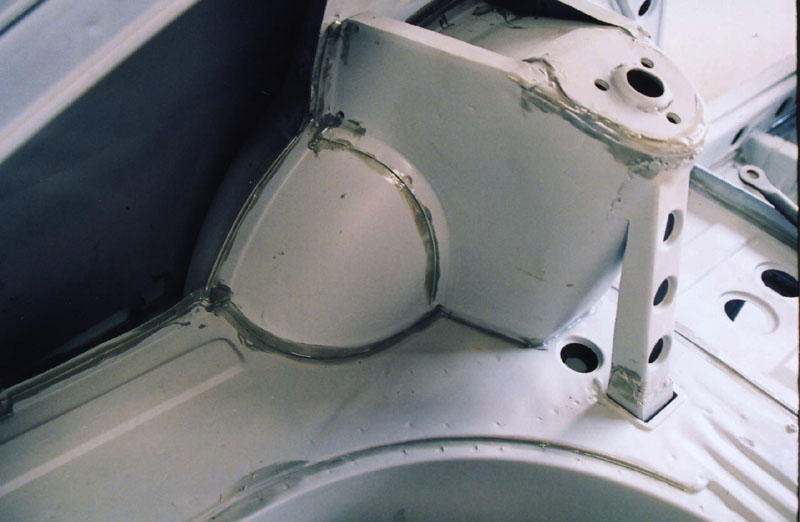
1 pointSo we had to rework the end of the oil galleys. The holes we had drilled and tapped weren't big enough for a 3/8 plug. So I found a 9/16 bit; it called for 27/64 and we drilled them again and tapped them. You have to drill them and tap them pretty deep so the plug will go in flush. You can see one of the feed holes in the threading. the plug doesn't actually go in that far. We measured for clearance.
 1 point
 -
Here in Utah where we regularly see 90+ in the summer I've been running Driven (Joe Gibbs) HR1 15 / 50 and have had no issues with great oil pressure.1 point
-
1 point
-
1 point
-
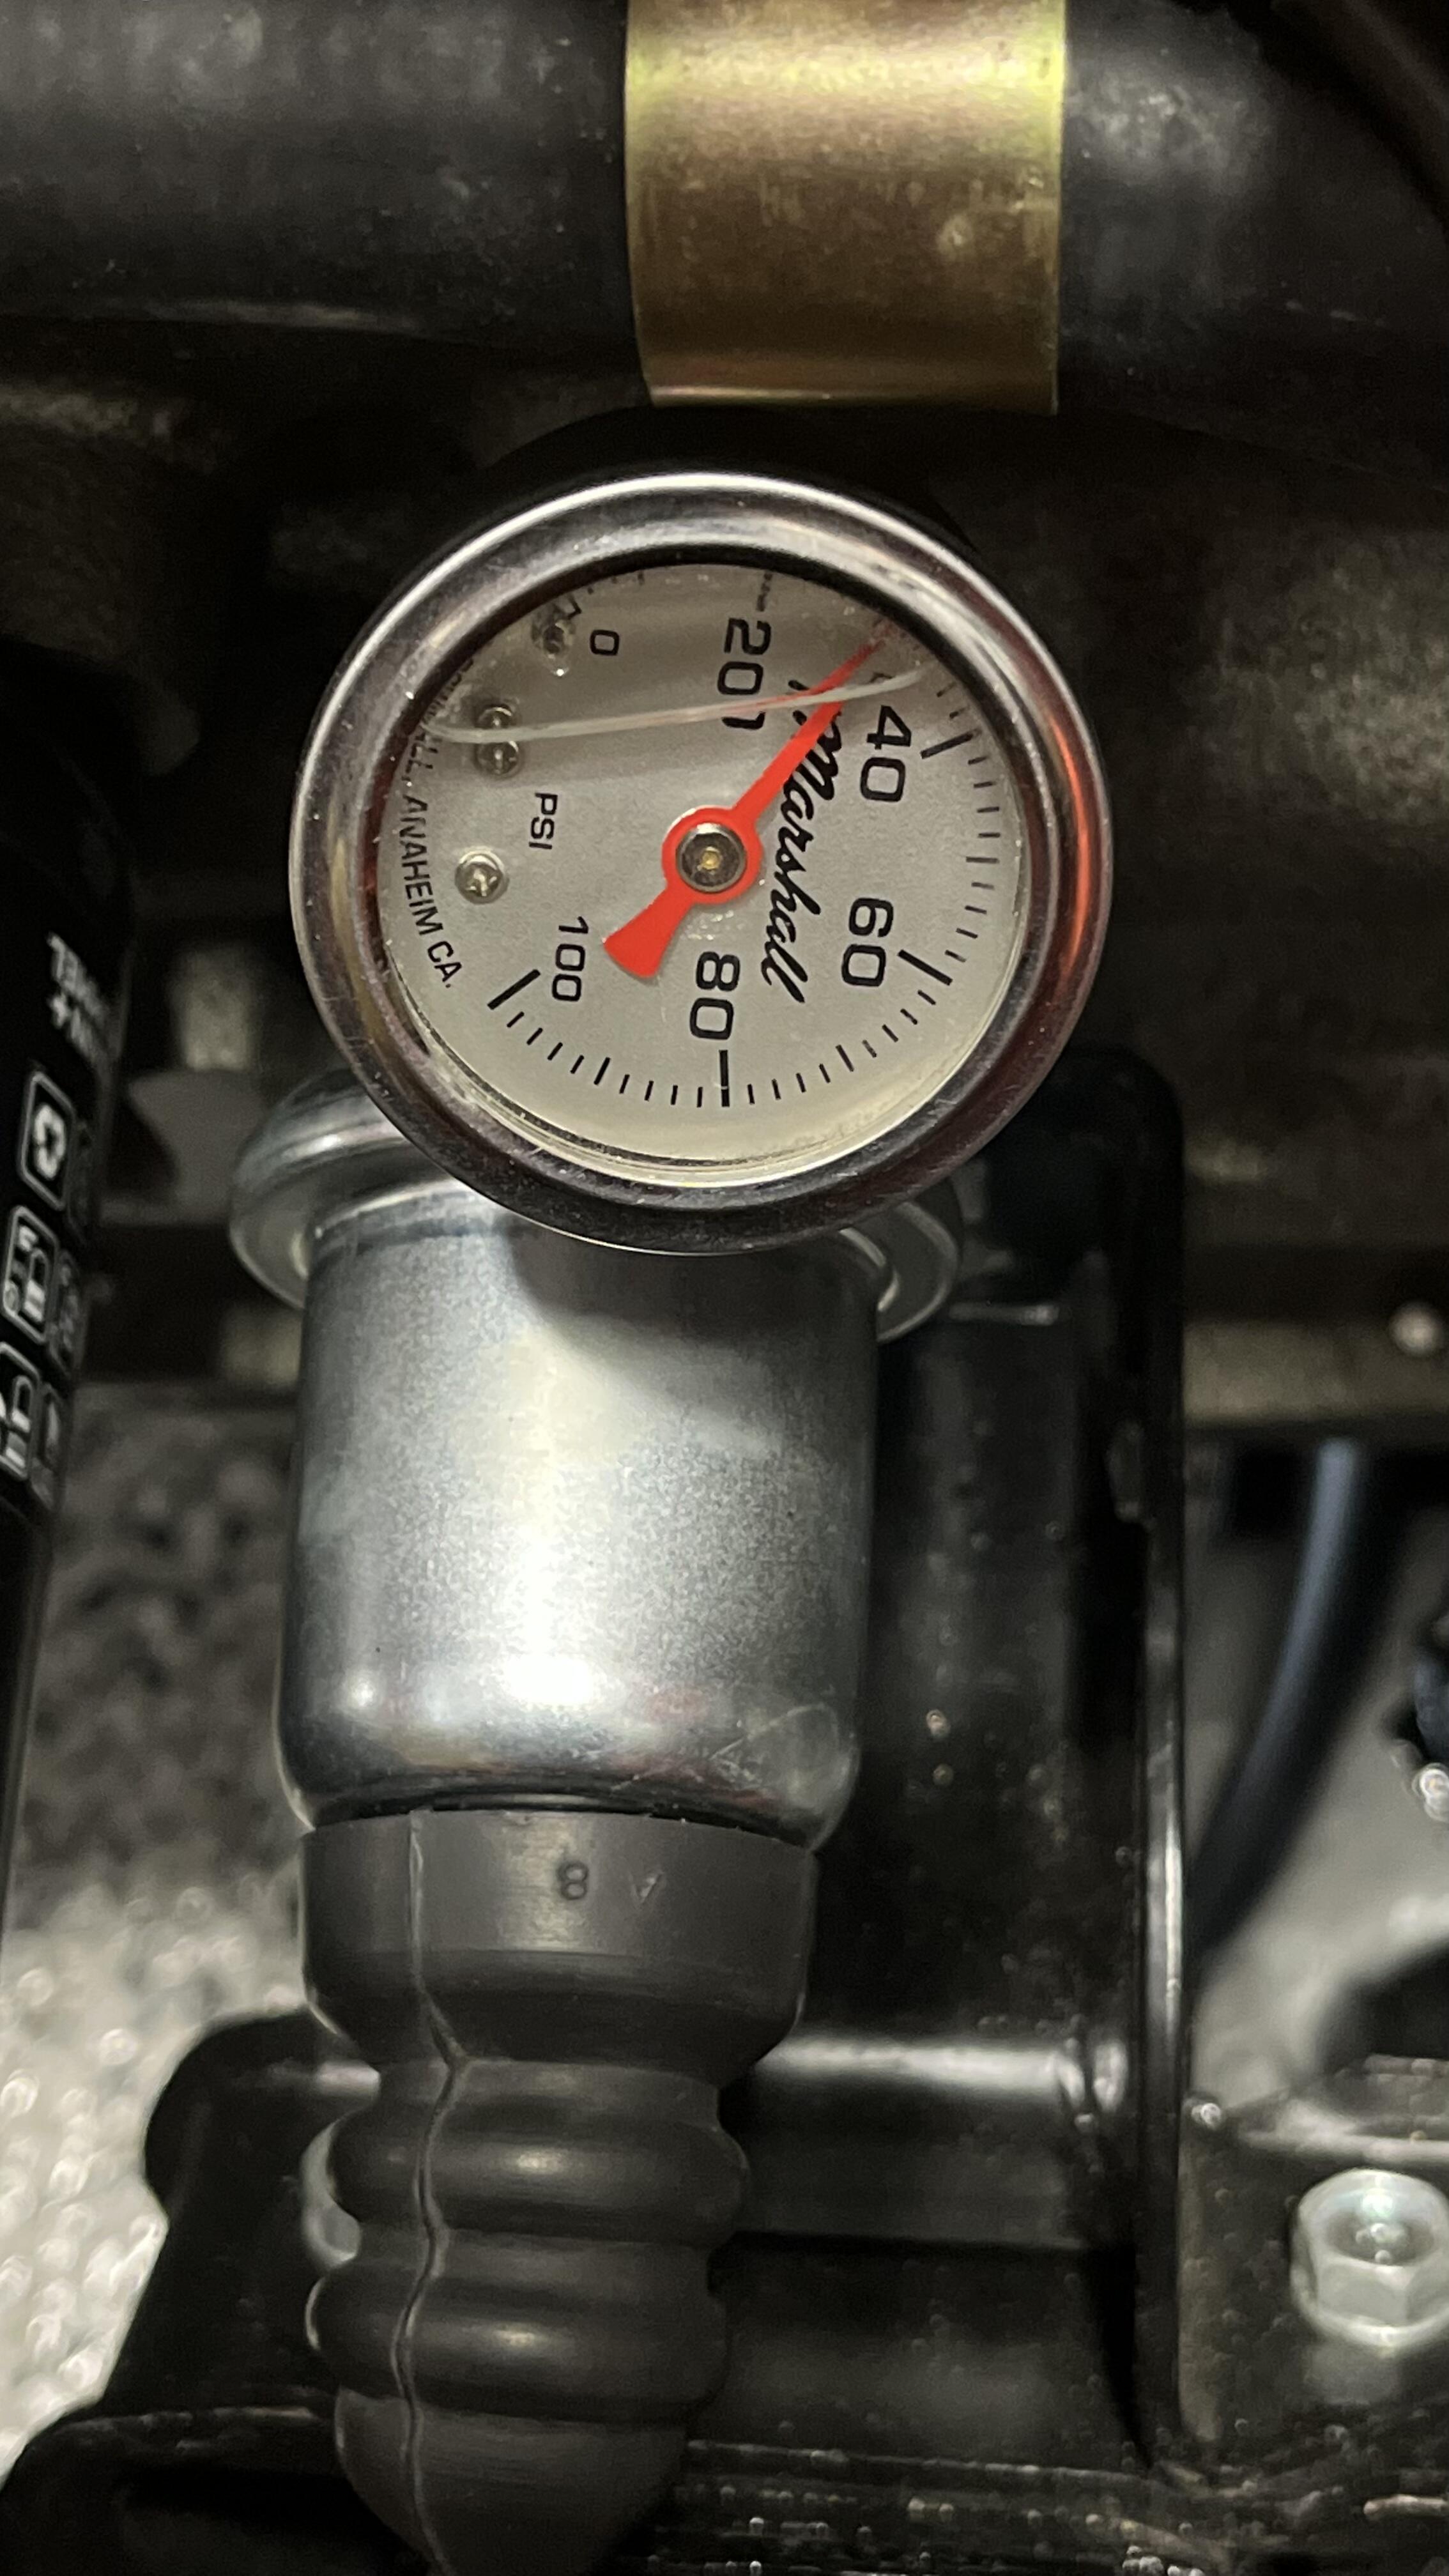
1 pointIn a previous post I mentioned I was concerned with low oil pressure. Even after buying a new sender it was still reading low. I took advice from a few of you and installed a gauge off the block to check my readings. First, the gauge and the adaptor recommended worked perfect. On start up the block gauge show 50 psi (cold engine, cold oil). At operating temp it was stable at 30 psi. Revving it goes up linearly with RPM. Saw as high at 65-70 psi. I’ve been working like a dog recently, operation baby formula has eating up plane cargo capacity so they’re not letting people drop trips. Once crisis after another. I haven’t been able to work on the car for a couple weeks now. Soon it’s going to hot and humid as hell out and without my AC up and running it’s going to make engine break in driving a little sweaty and not fun. Texas AC (windows down) doesn’t work enough and make the interior more prone to exhaust fumes too.. IMG_8909.MOV
 1 point
 -
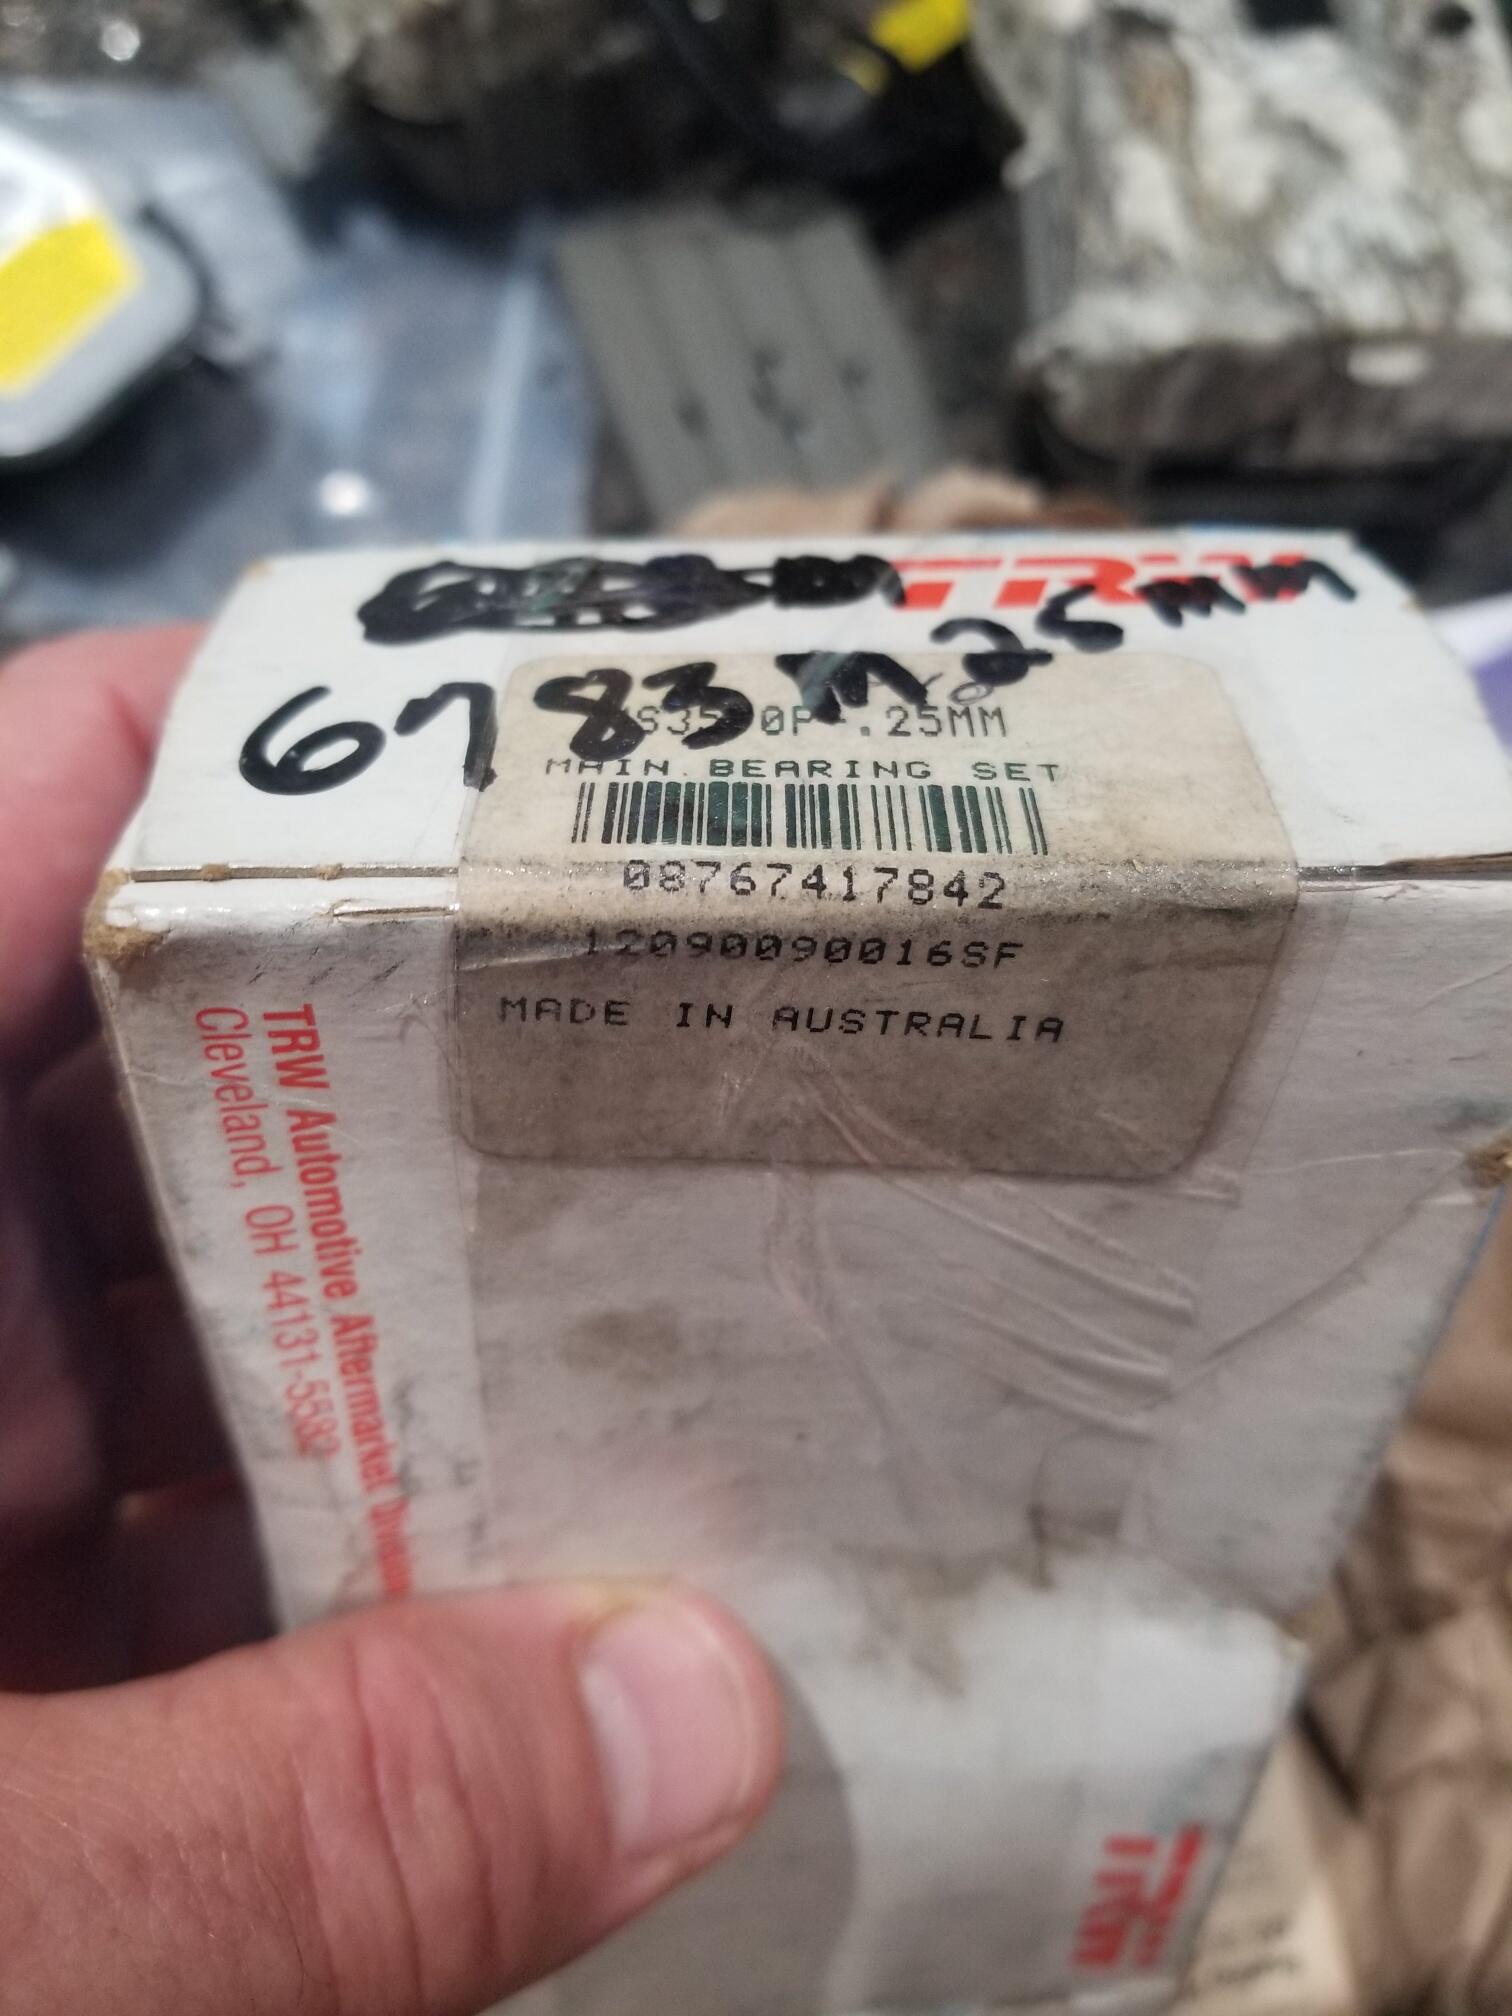
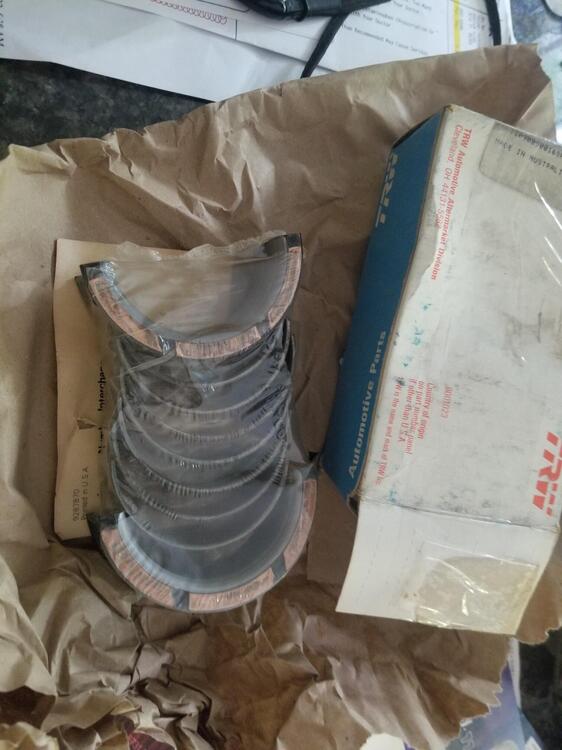
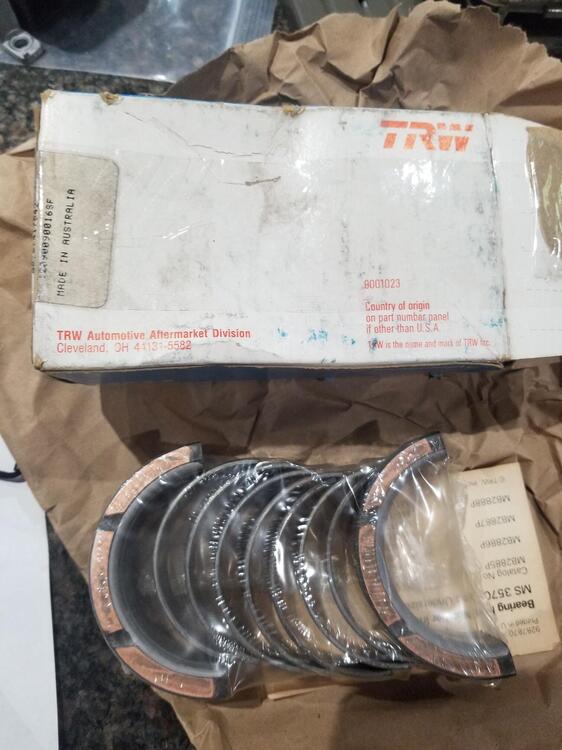
1 pointSo I received the vintage TRW bearings yesterday. We may end up using these. We'll see
 1 point
 -
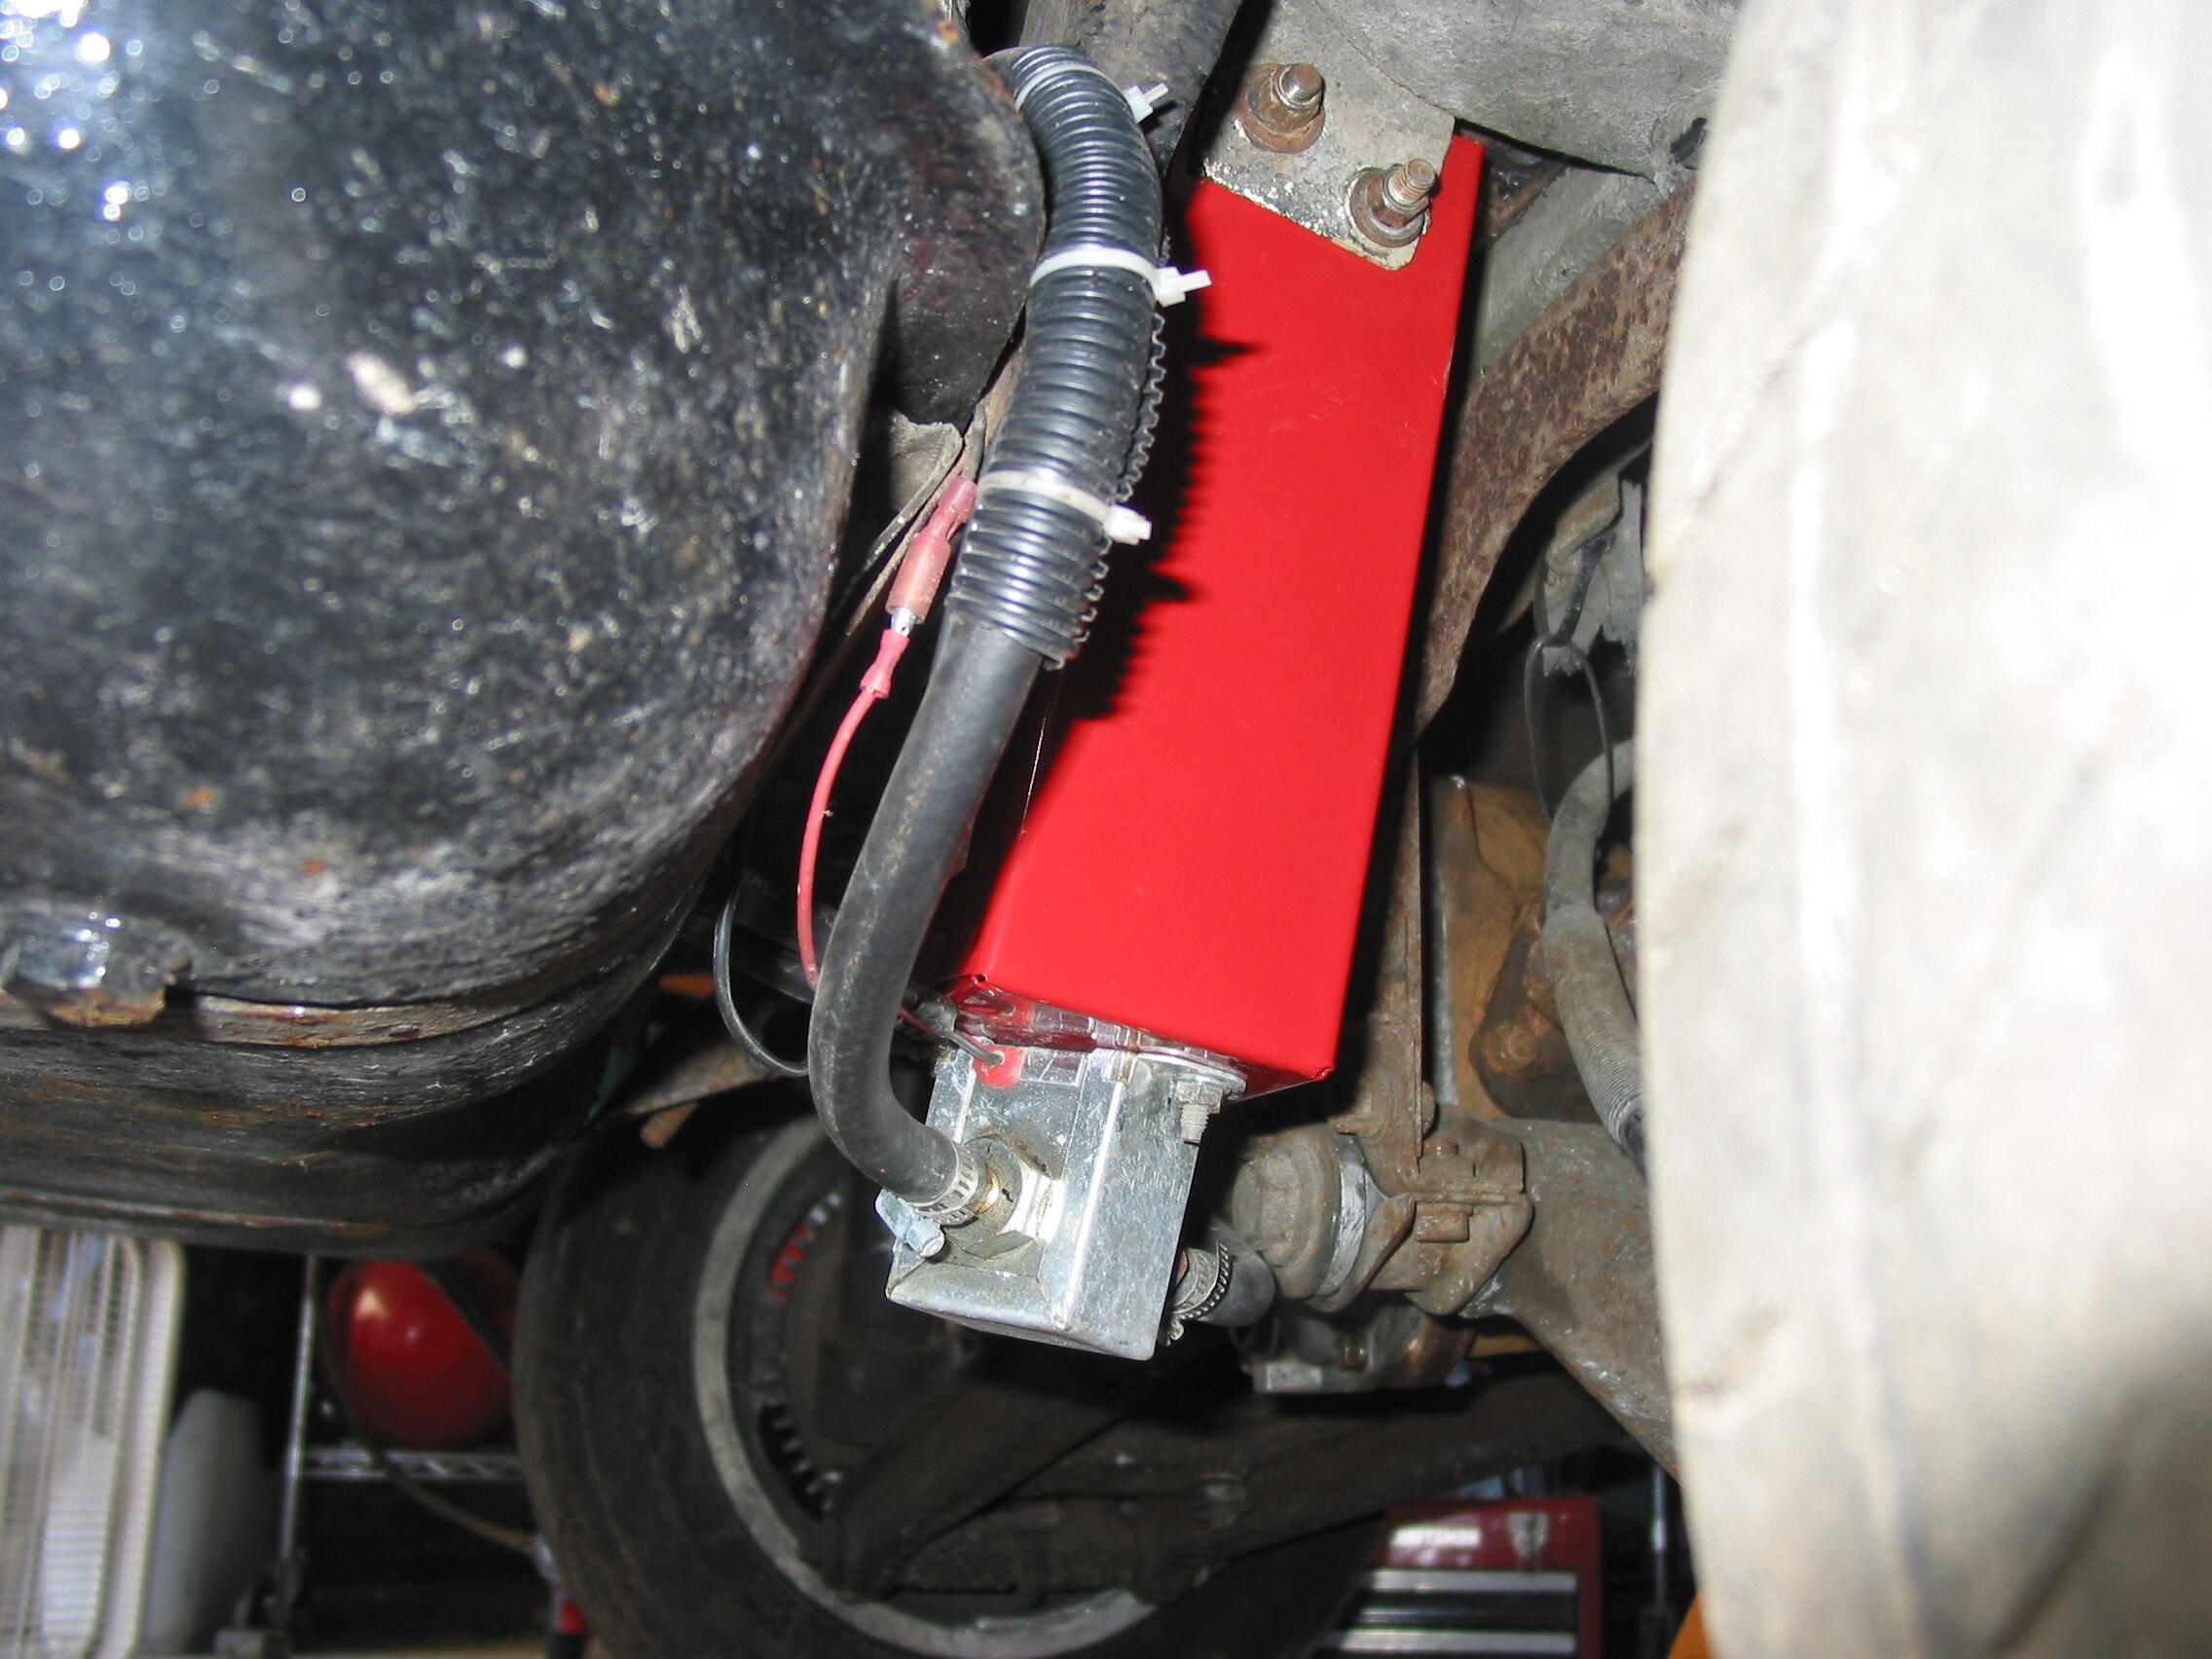
1 pointAgreed and it's a 10 minute job that is completely reversible. I came up with the idea for this mod and did the install during a pit stop in a race. It took less than 2 minutes and the car was back on track. It was the first time in years that the car ran right. We completed the last 8 hours of the race and climbed from 36th place to 9th place after the fix.1 point
-
1 pointUnbolting the fuel rail would remove the heat path that Jeff G described. Insulation won't help that. Conduction, convection, radiation.1 point
-
Did you do these three things at the same time? Maybe there's a problem with the transmission, not the rims or tires. Or maybe something got bent when the car was lifted to put the wheels on. If you used the rebuilt transmission with the old wheels and didn't have the problem then you can narrow it down to what happened when the wheels were put on. Since it worked well before it is most likely a problem that was created when the recent work was done. Don't get distracted by other things. Look at the work that was just done.1 point
-
1 pointI grew up up 20 miles south of SF in a city called Belmont. Went to HS in San Mateo. I was asking because I’m flying into Sacrament next week for work and if you were near there I could hand the part off to you.1 point
-
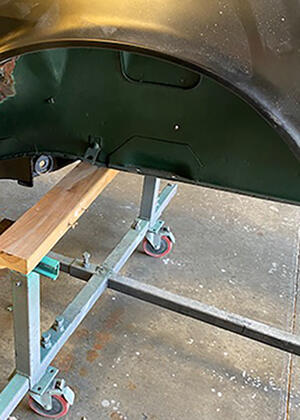
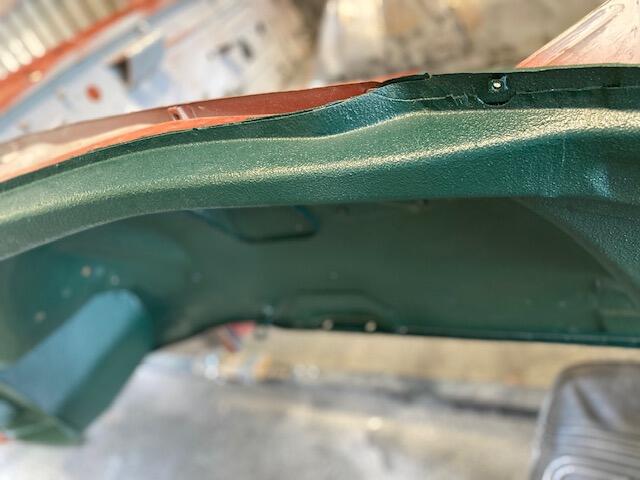
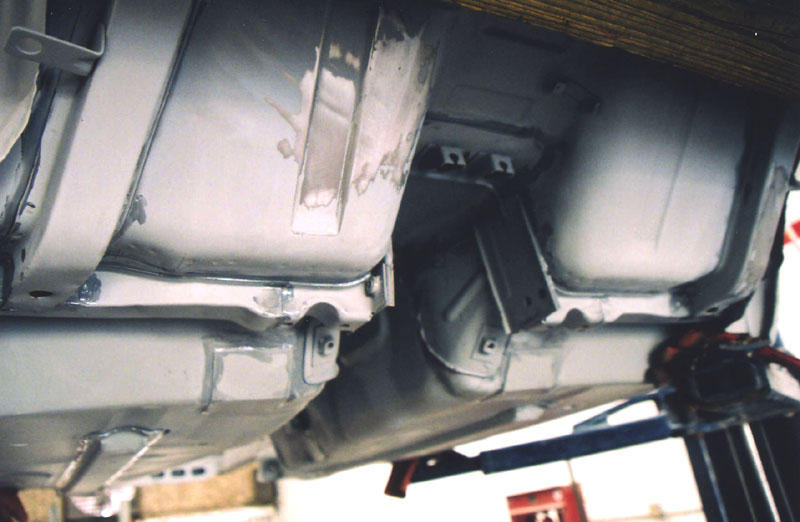
1 pointLet me begin by saying that this was an experiment to capture what I believe was the original 'finish' of the bottom of an early 240-Z. Originally, 26th was covered in a dealer applied bituminous undercoating that covered everything down there. Fortunately, a good amount of original factory build stuff was preserved. Factory markings and paint dabs, for instance. When I scraped all that off I noticed a texture to the original paint coating - a real heavy orange peel texture. 27th was not undercoated and exhibits the same. For 26th, I did not try to mimic any masking of the application that may have defined the areas applied at the factory. You have to take the car apart or crawl up underneath to criticise. The Raptor has a lot more texture than I expected however I am quite happy with it. I think it's going to be a bitch to clean. Raptor comes in black color and this was mixed with 907 green. I would say it is a shade darker, but it shows well and I am happy. Next time, I'm going to thin the paint a little more and try for a smoother texture.
 1 point
 -
1 pointA few comments in response to questions/comments. Fan shroud:YES Test conducted sitting in Sun, hood closed on 90+ degree day. No I did not try adding choke as engine stumbled but I will. my floats/needles were installed and set by Mike at Banzai Motorworks. My car is “bone stock” and I would like to keep it that way. When I next get a chance I intend to add fuel pressure gauge to monitor fuel pressure. Might try temporary insulation in various locations. also plan a test on a 75 degree day, see if there is any difference. Thanks Jim1 point
-
1 point
-
I probably wouldn't go 20 weight unless my oil pressure seemed really low or I had knocking1 point
-
1 pointthis looks a lot better as far as the oil supply line. L28 Turbo Stainless Steel Braided Oil Supply Hose — Godzilla Raceworks1 point
-
1 pointTry this simple test. Buy about 4 feet of fuel hose and a T fitting to bypass the fuel rail entirely. Run a hose from the fuel pump output to a T fitting at the front carb and then run hoses from the T to the two carb inlets. Finally, clamp off the return line with needle nose vice grips so it doesn't drip what's left in the rail. I had terrible vapor lock issues with my race car and this mod solved the problem after I tried every other possible fix. Prior to ditching the rail, I also ran an electric fuel pump at the tank mounted on a drop bracket so it was gravity fed from the tank. Ethanol fuel doesn't like being "pulled". By being gravity fed, the pump could "push" the fuel to the front of the car. This helped get the car started hot, but did nothing to fix the vapor lock while on the track. Different carbs did nothing, shielding the heck out of the exhaust did nothing, eliminating the return line helped a bit, but not enough.
 1 point
 -
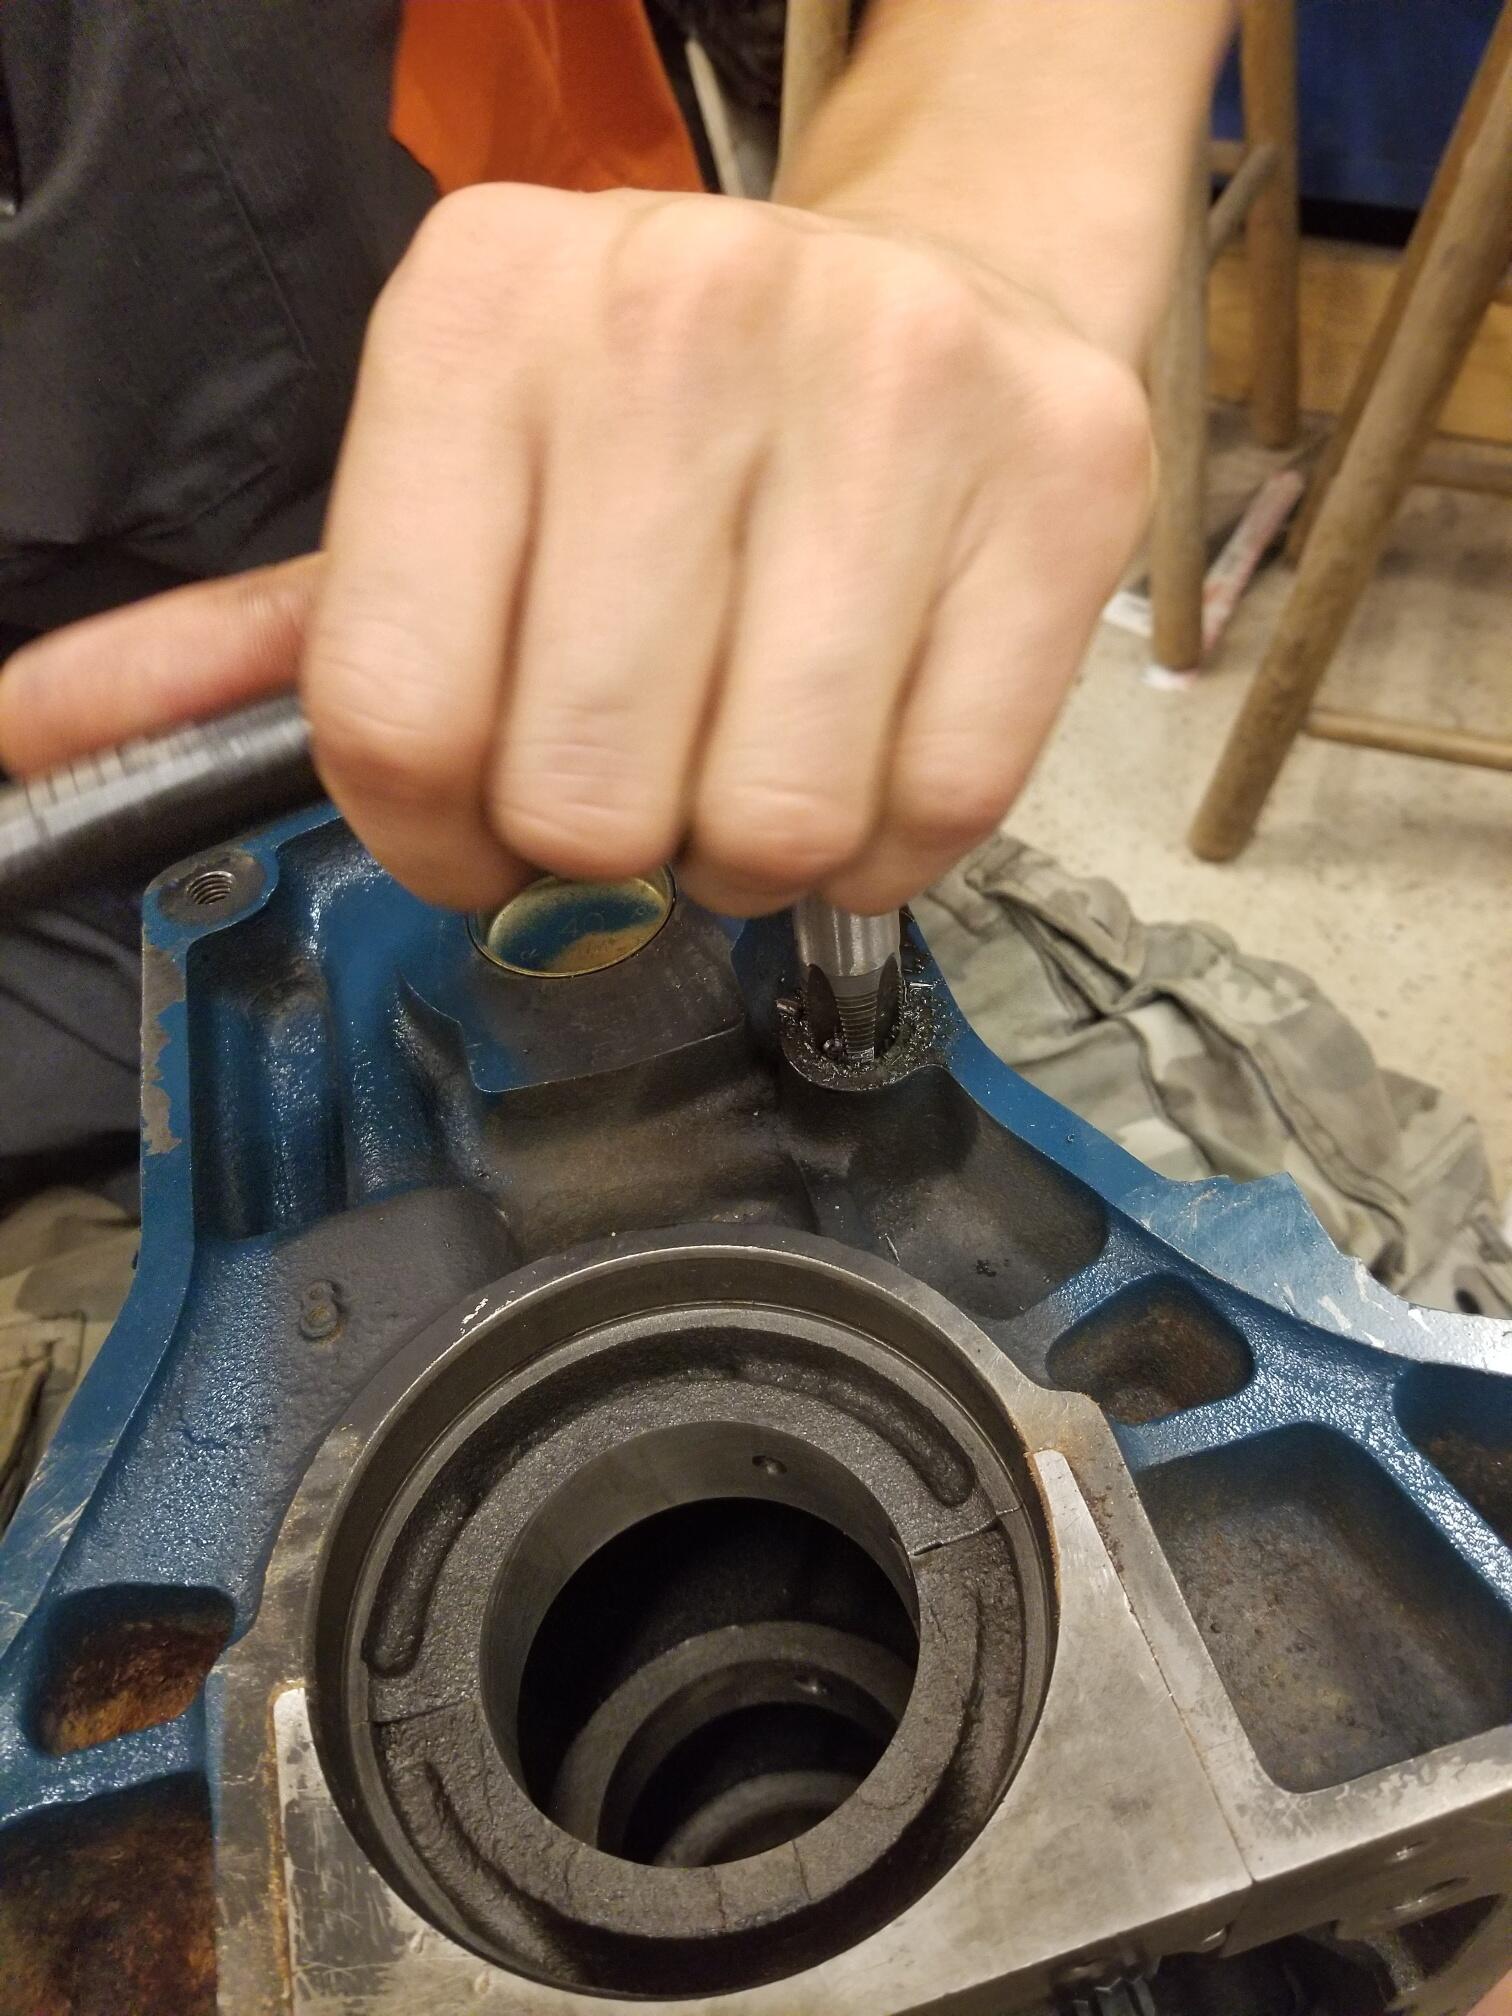
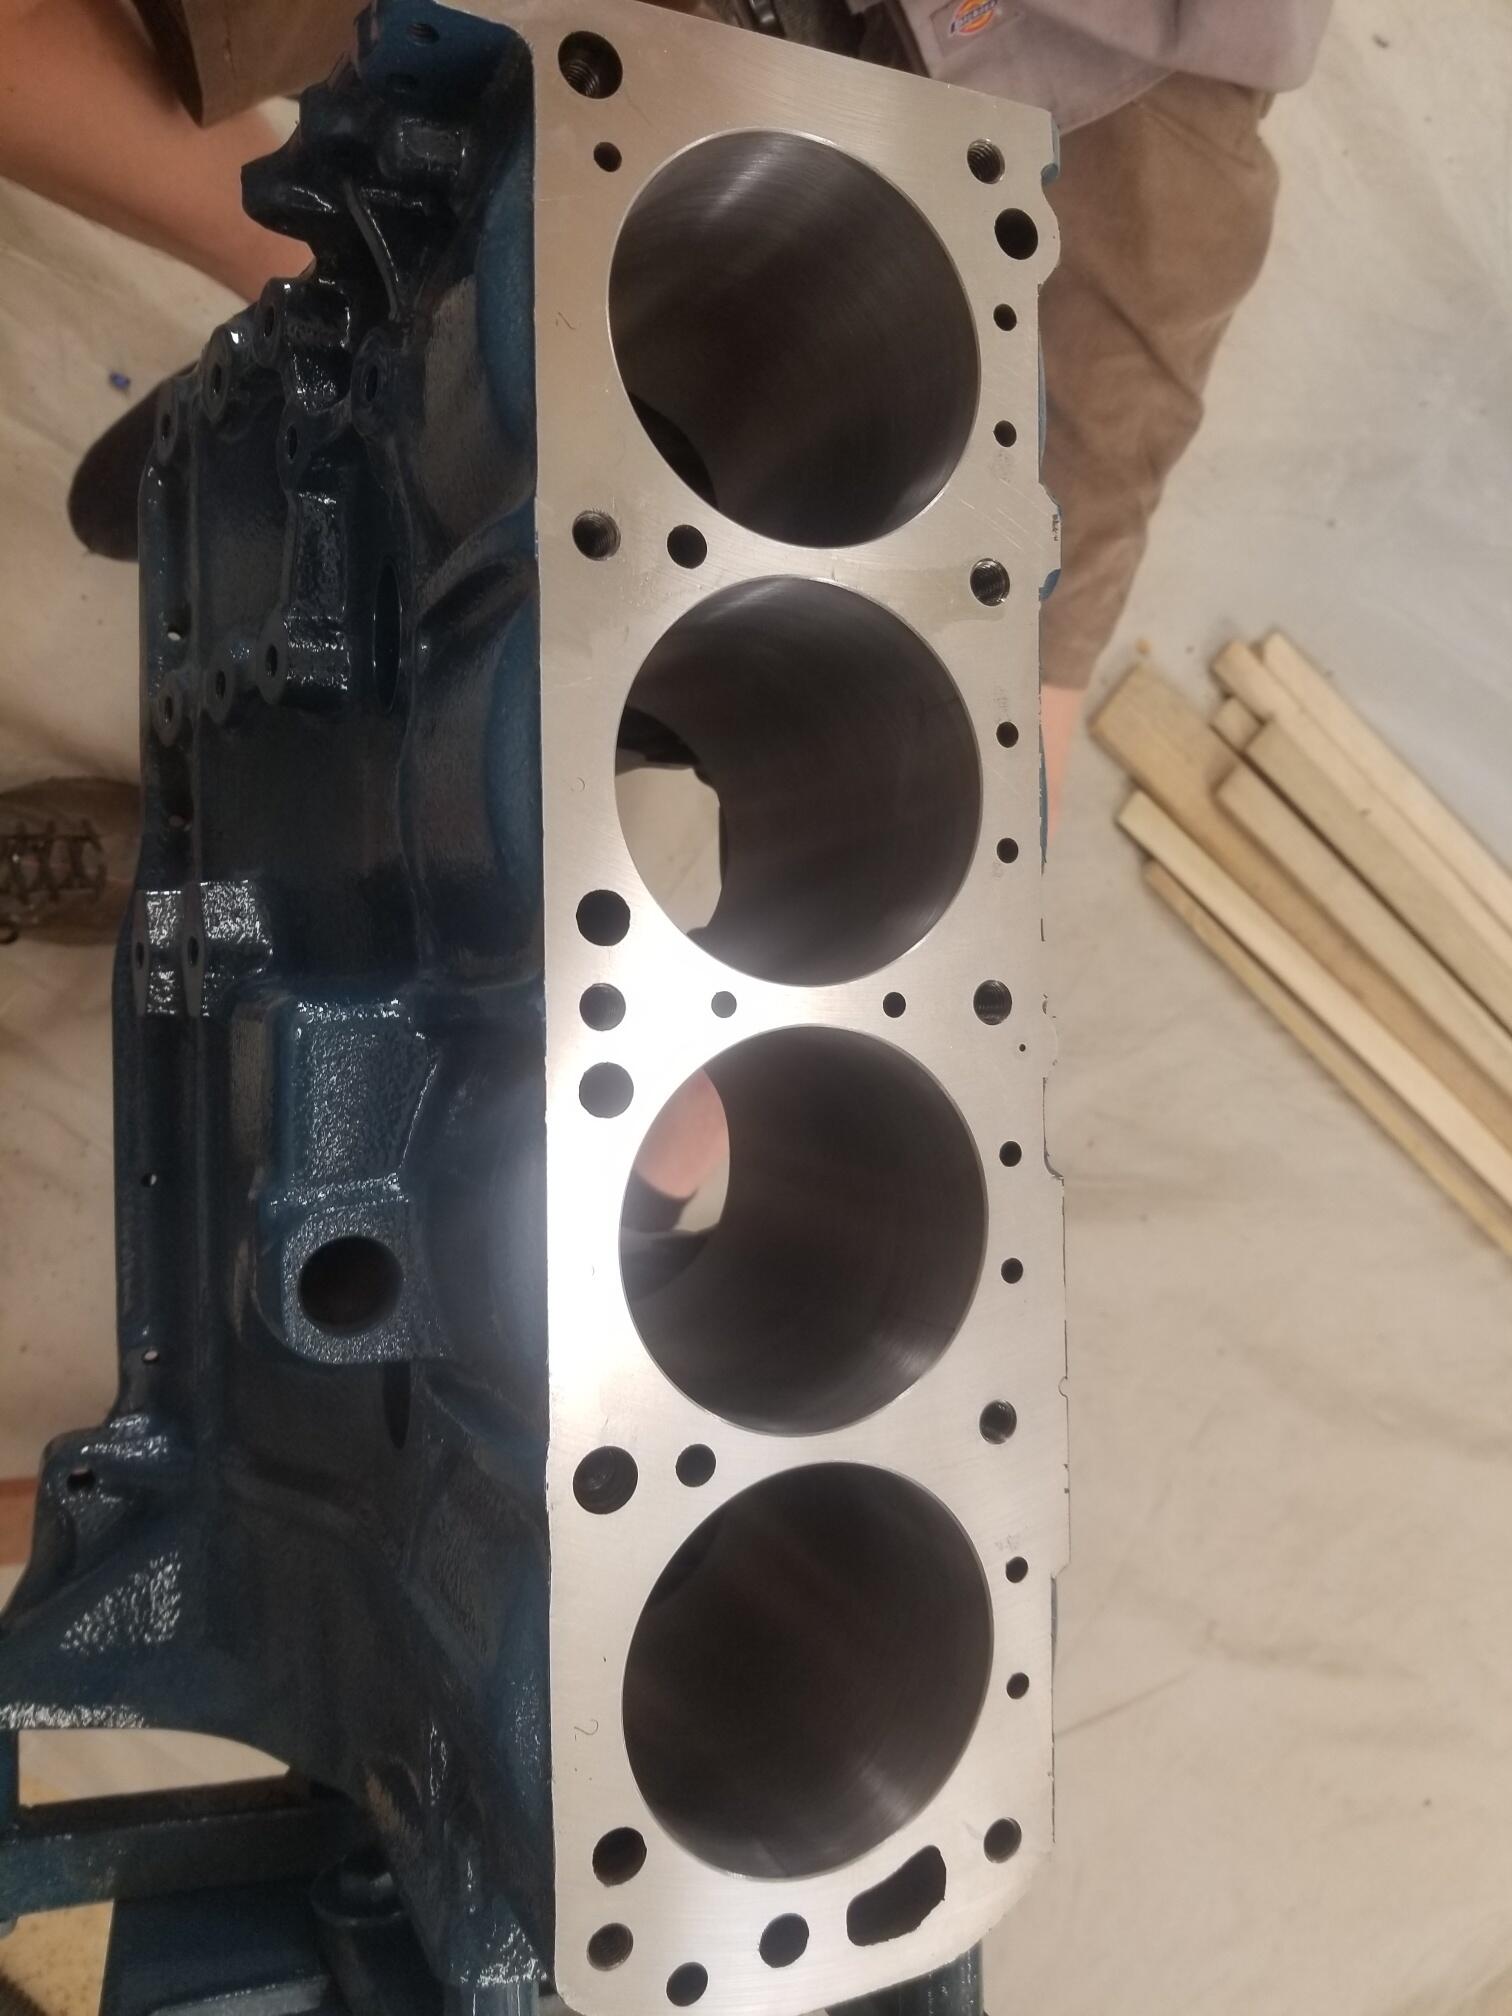
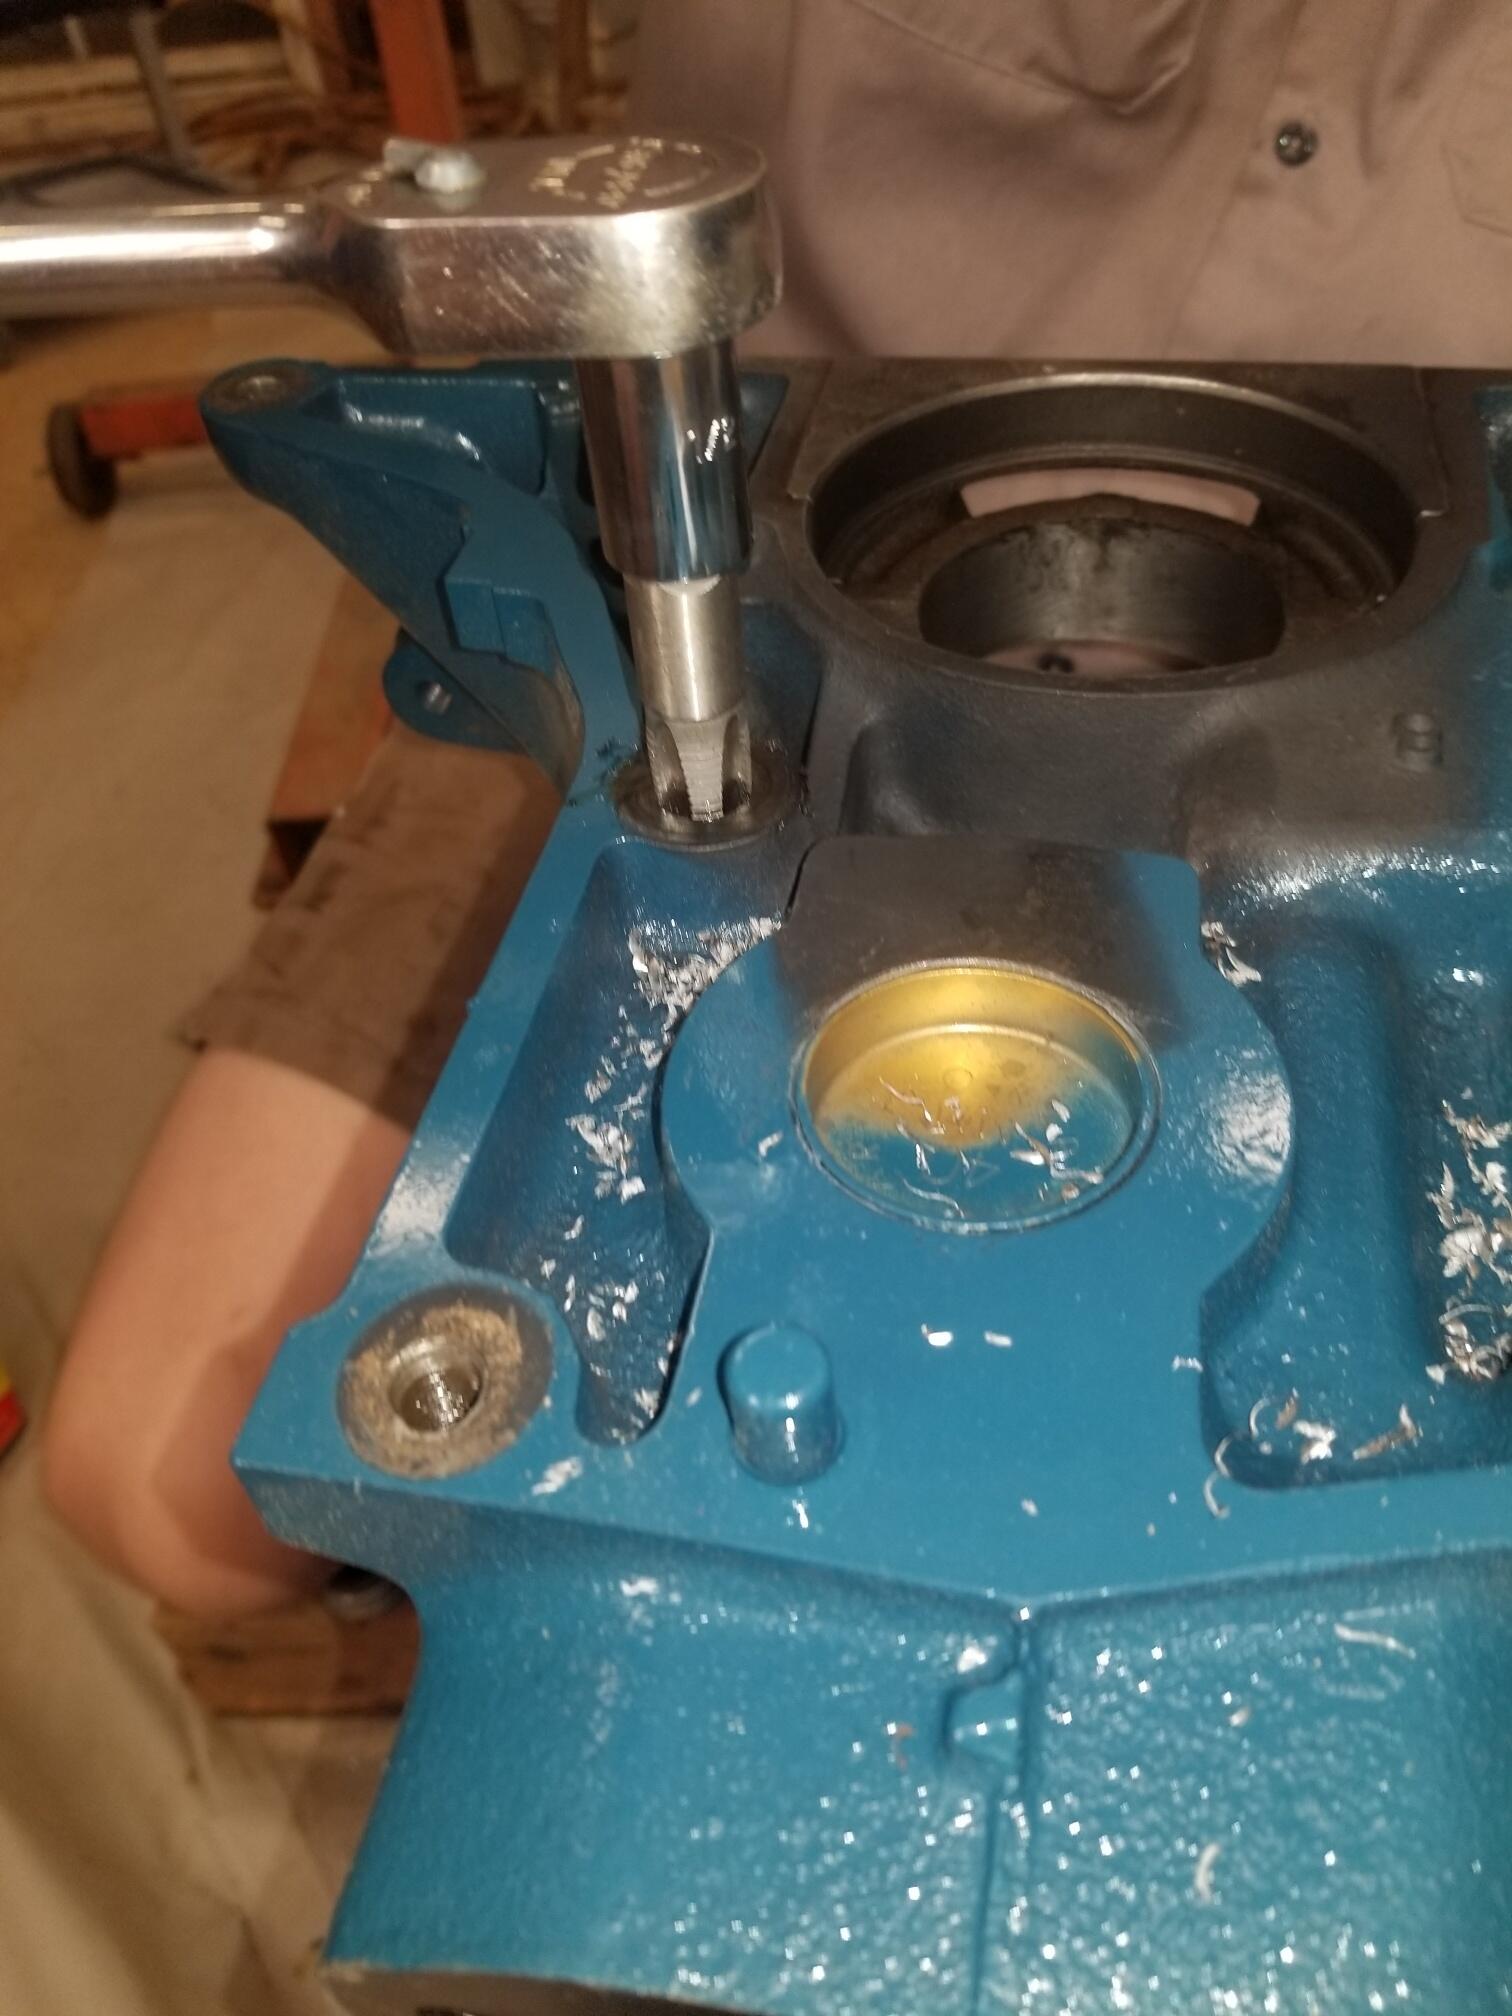
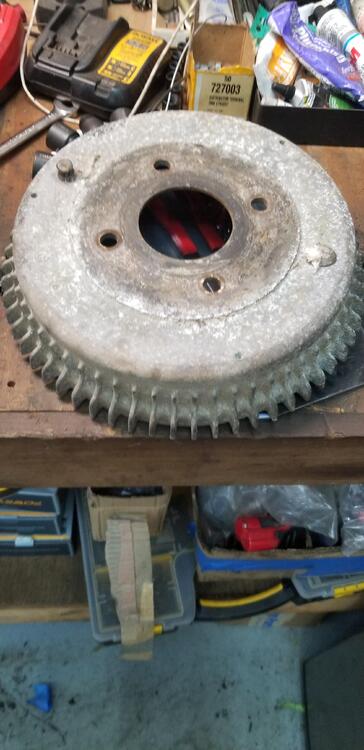
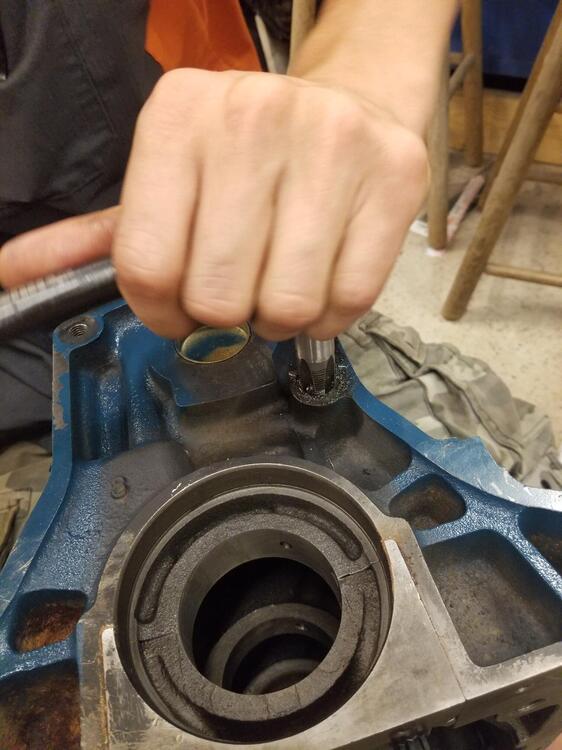
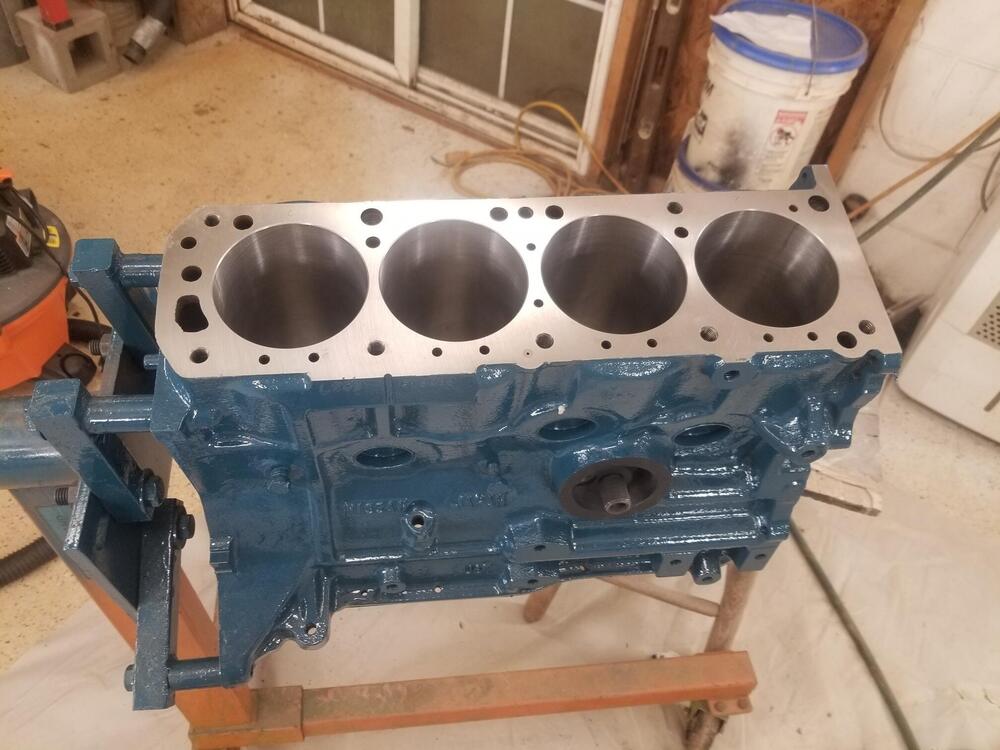
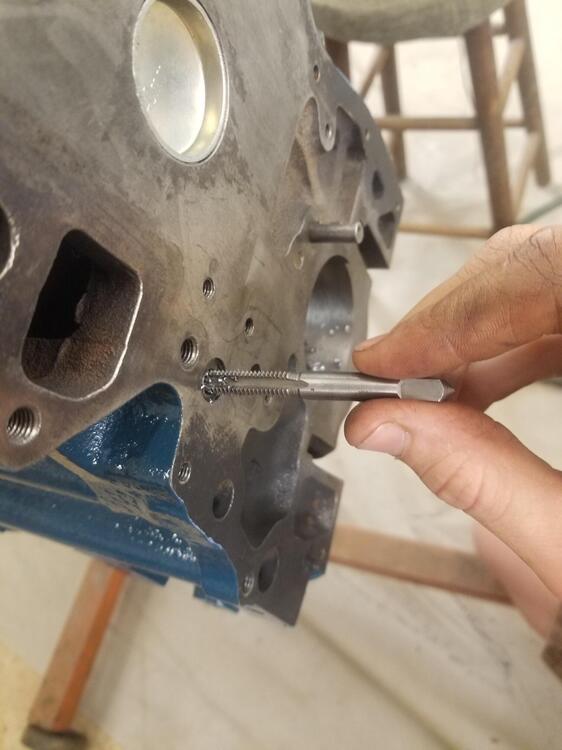
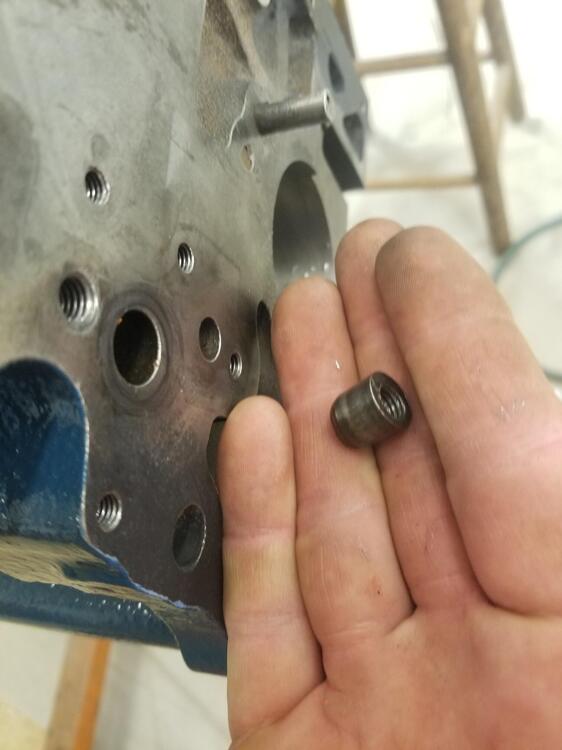
1 pointSo let’s see about a little update: Cody and I started working on his motor maybe a week ago or so We had to decide if we were going to drill the mains out or just slot the block side of the main cap and add a feed hole in the bearing. I looked in Honsowetz’s book and he recommends opening those feed galleys up to 5/16 or 0.313”. Which if I calculated it right is a 62% increase. So Cody and I discussed it and felt more comfortable with drilling the mains. Partly because we’re not making a lot of grit in the engine block. We started by getting the end plugs out of the main galleys. That way we could properly clean and wash the block later. They were stouter then I expected… A little homemade puller big enough for the plug to pass through it We didn’t want to drill the supply mains and realize we couldn't get the main galley open to clean it out. Then we worked on tapping the ends of the main galley for brass plugs We may have to make these deeper but I didn’t want to make them too large since the 3/8 NPT tap is tapered. On to drilling… So this is really sketchy because the metal drills pretty easily but only the very edges of the bit are cutting. We used 3 different sized bits to work up to 5/16”. They didn’t need to be special because you’re not drilling overly deep. We were concerned we might break a bit but with a little cutting oil it went pretty good. We were going to clean the block up and get ready for setting the rotating assembly but I can’t find the main bearings I bought! I went by the machine shop last Tuesday and he didn’t have them. Even though I’m pretty sure I took them, but I can’t be sure I didn’t pick them up. The problem is, right now they seem to be unavailable everywhere. Neither Clevite or King. I found some vintage TRW’s on ebay I have coming my way and I have an order in for some Kings from another place. Hopefully one of them will get here soon. Cody would like to have a running car by Zcon. He will have to hustle! It’s doable but he will have to focus to get it done.


 1 point
 -
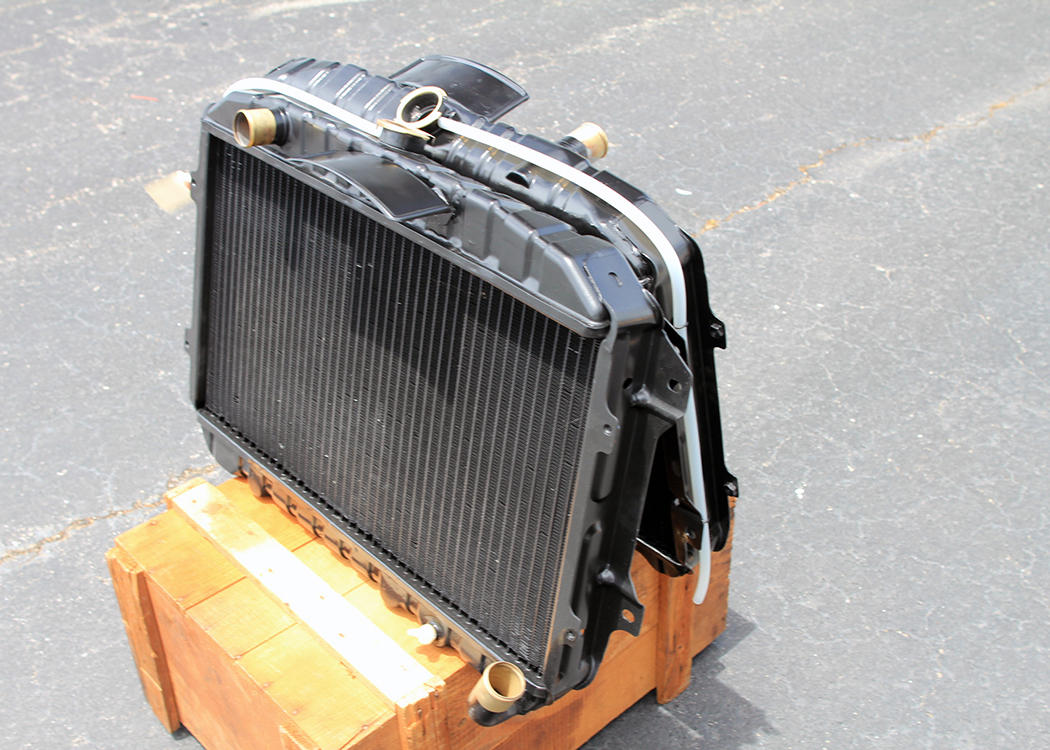
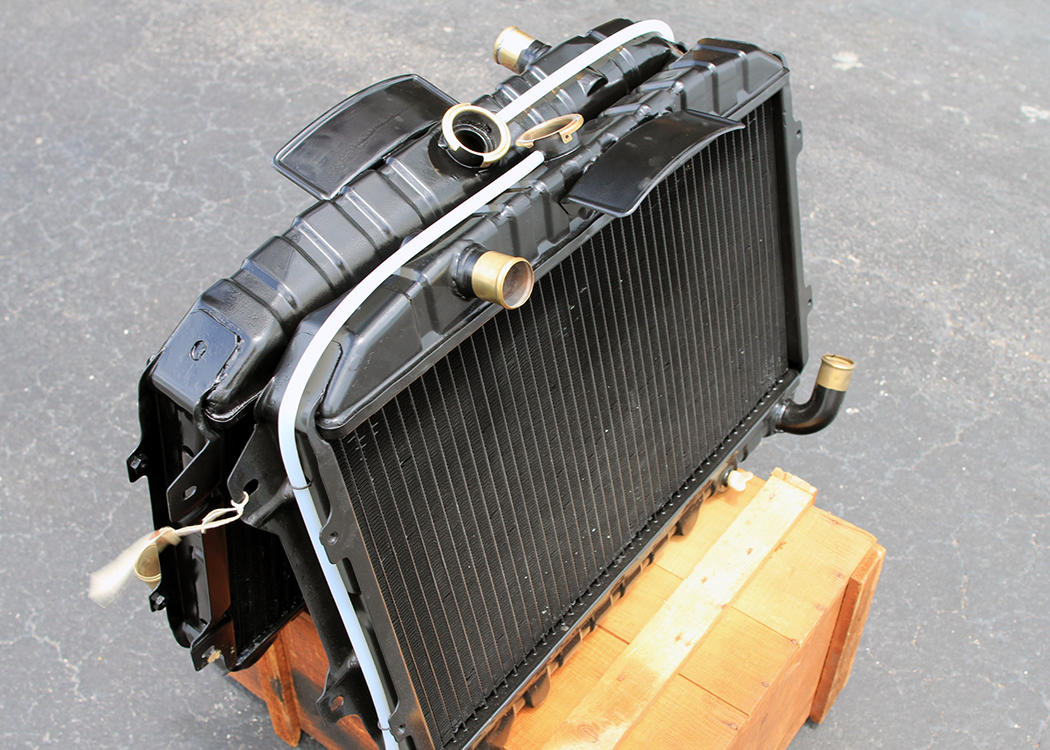
1 pointThanks for all the great replys. I drove 26th for years before I took her apart to restore. I consider her 'my car' and as such do not intend to restore her to stock because I intend to drive her. I have 27th to restore stock. That's the plan. Both cars are originally 907 racing green with tan interiors. They will be restored that way. 26th is going to get my competition 5 speed and some other nice period correct do-dads like headlight covers and Watanabe wheels. I'm toying with the idea of recreating the tan interior for 26th in leather. Something like what Len Welch did. So today I have a tale of two radiators. I had the radiator for 26th re-cored some time ago and it has been sitting on a shelf in storage. I took the radiator out of 27th to find it damaged and had it repaired last week. My, what has happened to the price of copper and brass! The radiator for 27th also needed a replacement bottom and before I knew it, the radiator for 26th had a new bottom pipe replaced. All painted and cleaned up. New overflow hoses and I have ordered repro decals for both from Banzai.

 1 point
 -
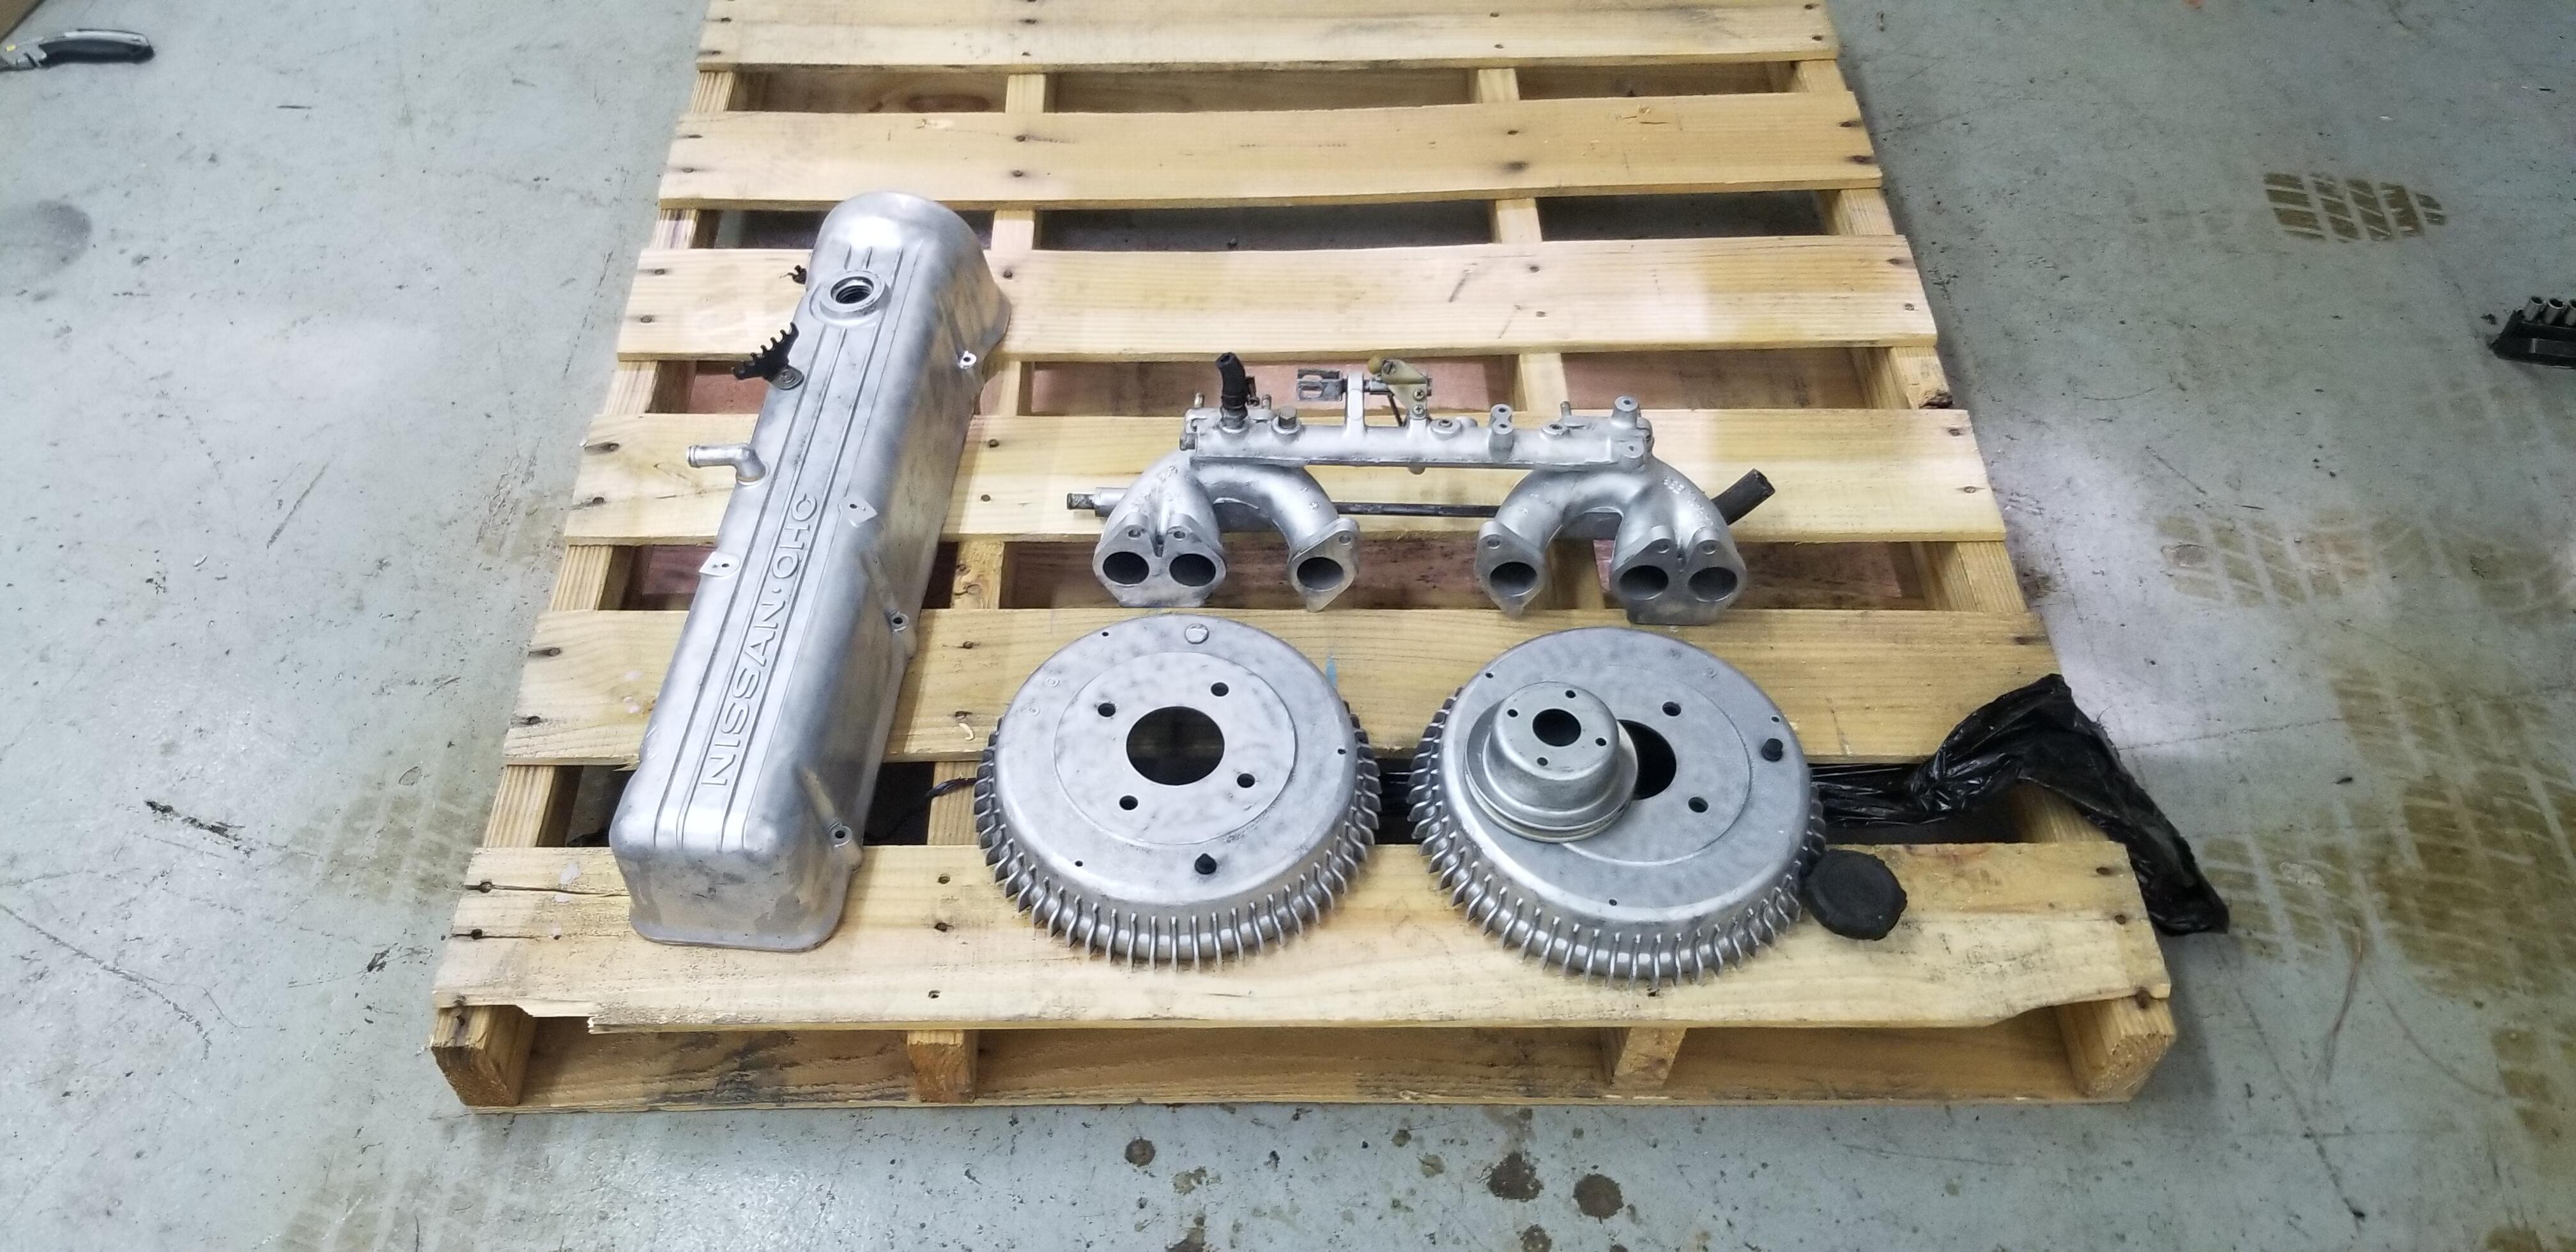
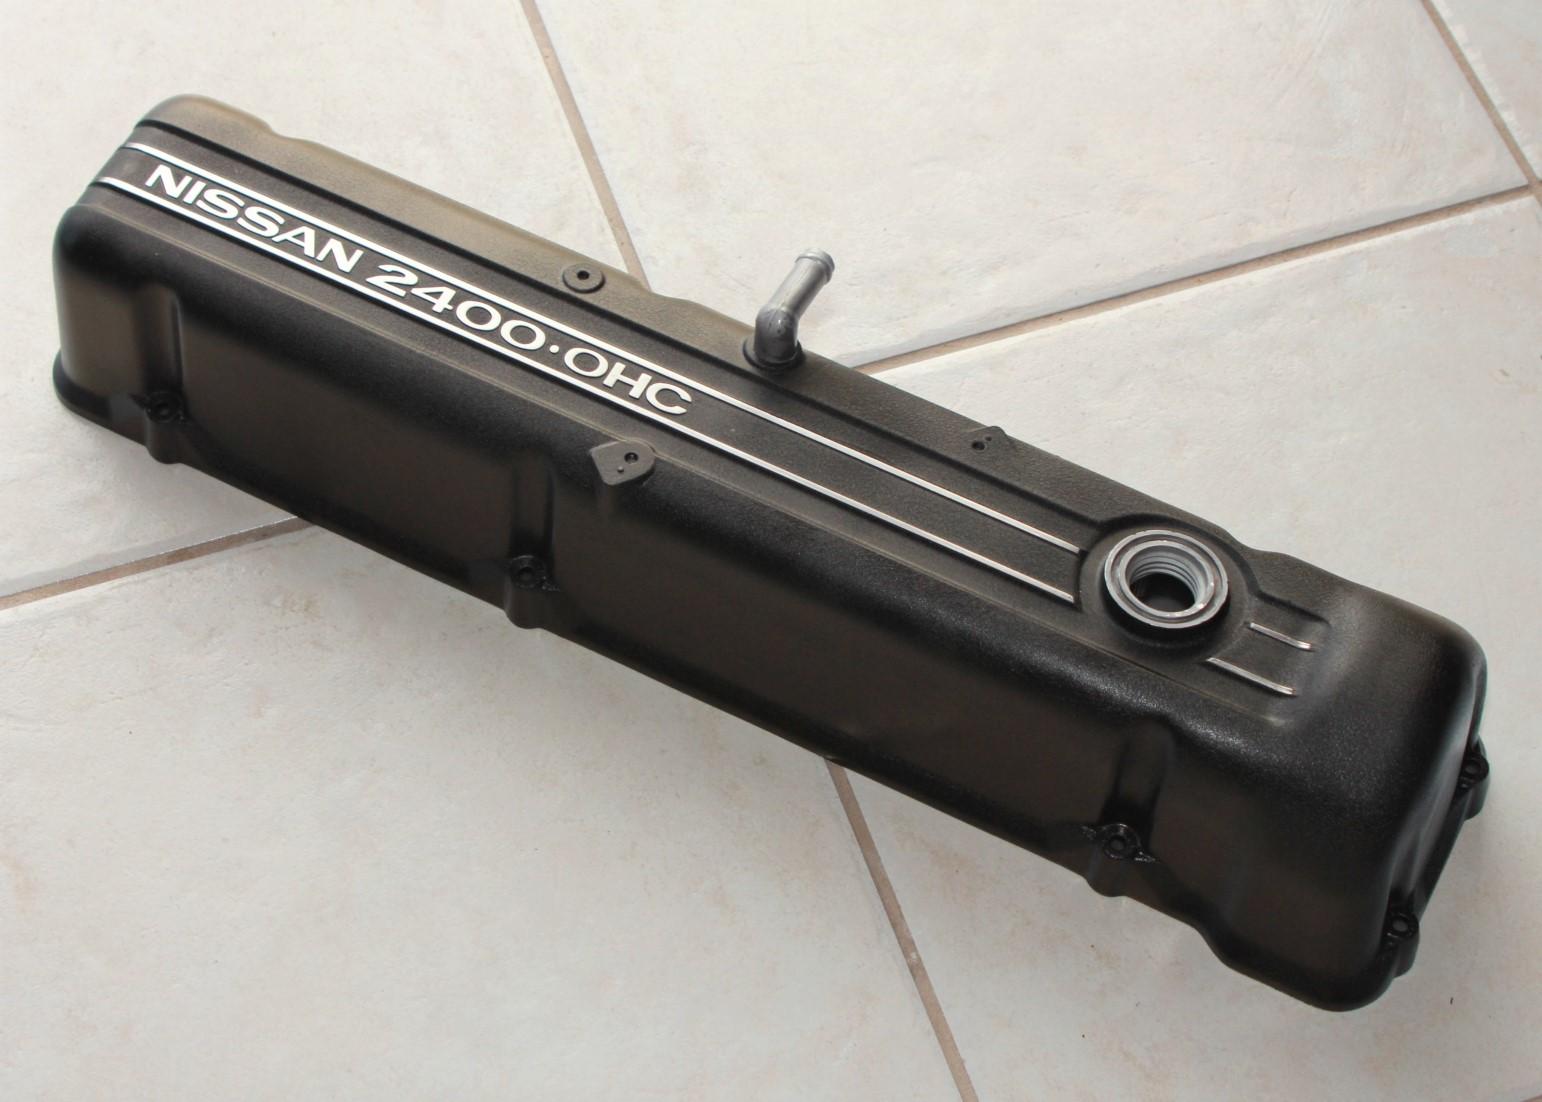
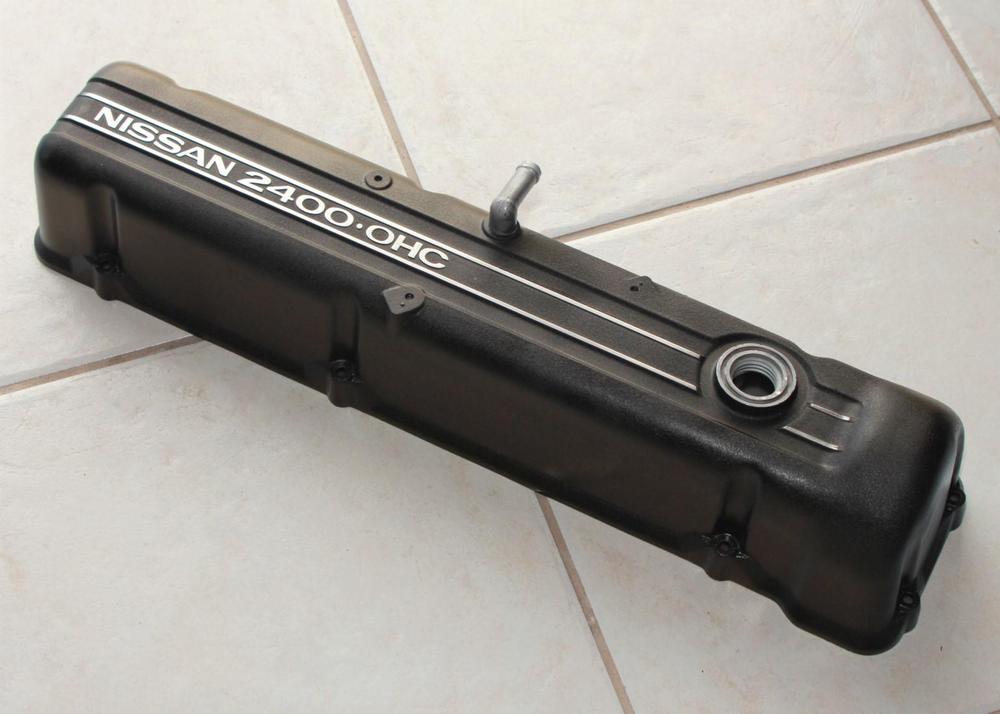
1 pointThe engine is going back together without the emission control hardware. I have an exhaust manifold without the air injection ports and the non-emission intake manifold. I happen to really like the Hitachi carburetor design, have worked with them during my British car SU days and will use Z-Therapy rebuilds (perhaps slightly modified). I decided to paint my valve cover wrinkle black as a throw-back to my racing days. I'll post more pictures of other completed components soon. I have to start taking pictures!
 1 point
 -
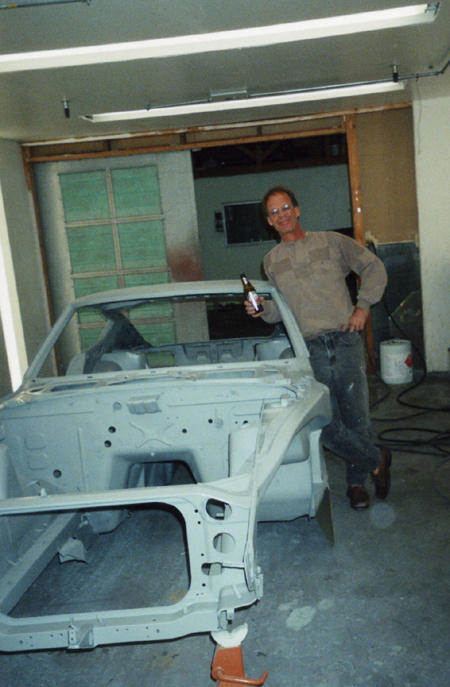
1 pointYep, that's the place. It was called Revivations at the time. While all this body stuff was going on, I took the engine up to a machine shop in Tampa run by a guy named Tom and his son, Tommy. A real dirt track racers place, these guys were good machinists. The engine was cleaned and checked. The cylinders spec'd to standard bore. The crank shaft, fly wheel, and front pully were balanced together and Tom told me that I would notice the difference. The engine was way out of balance. The connecting rods were weight balanced and the original pistons were reinstalled with new wrist pins. Now, in spite of what you might think of my stockafied approach to what is correct and what is not, I'm not a huge fan of the "stock" HLS30 / 240Z. Great starting point, but... The engine was assembled (new freeze plugs) with a Schneider (mild) can and an Arizona Z adjustable timing sprocket. The combustion chambers in the head were cc'd and equaled. A competition front pulley was installed along with a competition oil pump. The early engines have an odd assortment of head bolt lengths and I was fortunate enough to find them new from Nissan. I'll bet they are all gone by now. Blue paint came from Banzai.
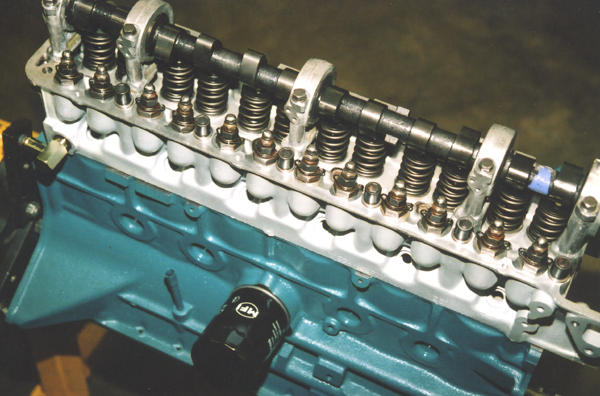
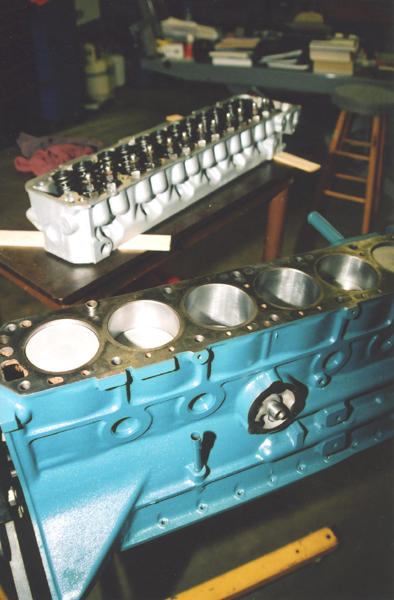
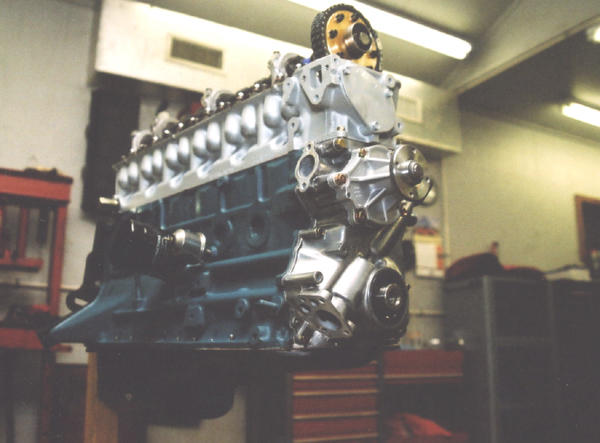 1 point
 -
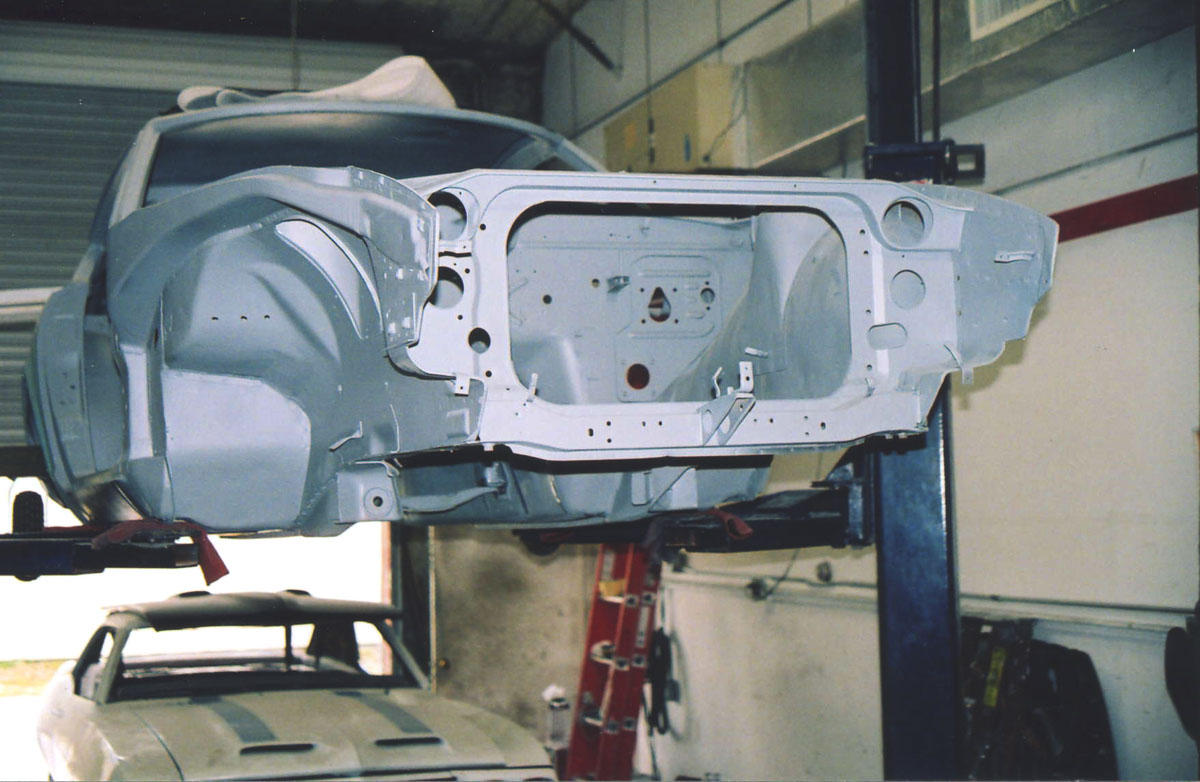
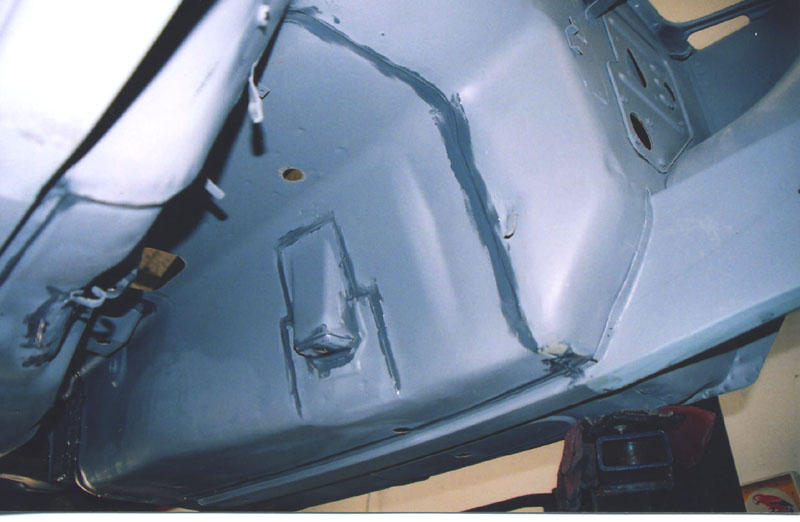
1 pointFinally the whole chassis was sprayed in a continuous primer. I started to place the sound deadening "tar mat" sections, but didn't like the material and that's about the time that the economy fell on it's ear and my income went to hell.
 1 point
 -
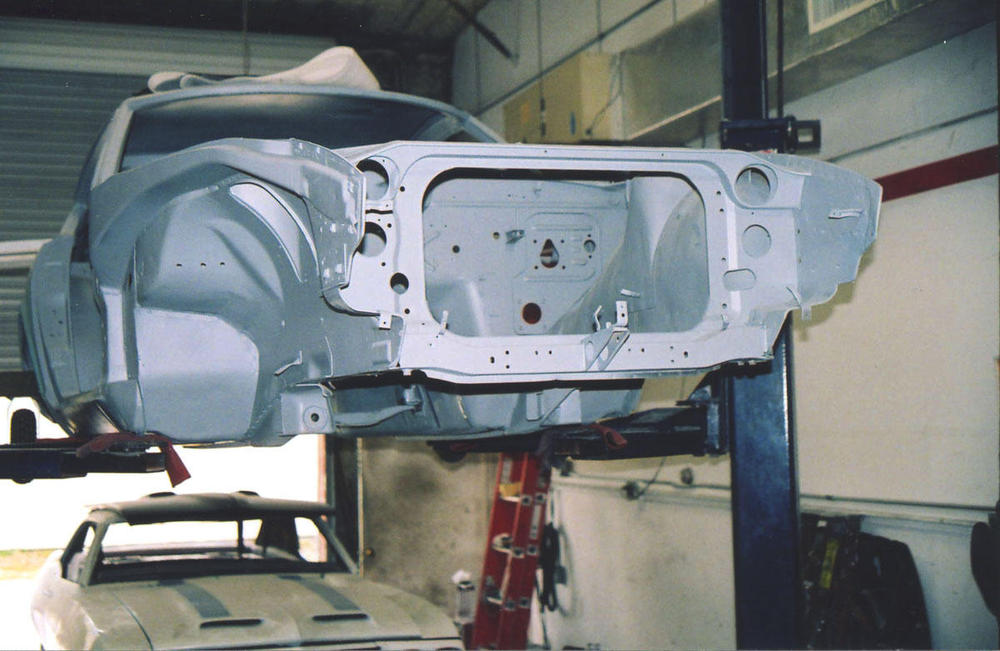
1 pointTo insure that the interior chassis areas would not start rusting again, etching primer was sprayed inside the body panels with a garden pump sprayer and a long plastic wand. All the seams had to be sealed. The complete body had to be wiped down with a metal prep etching wash. This was all done on a lift.

 1 point