Leaderboard
-

siteunseen
Free Member6Points15,115Posts -

Av8ferg
Free Member6Points1,538Posts -
zKars
 Subscriber
 5Points3,770Posts
 -
Richard McDonel
Subscriber4Points381Posts


Popular Content
Showing content with the highest reputation on 11/09/2021 in all areas
-
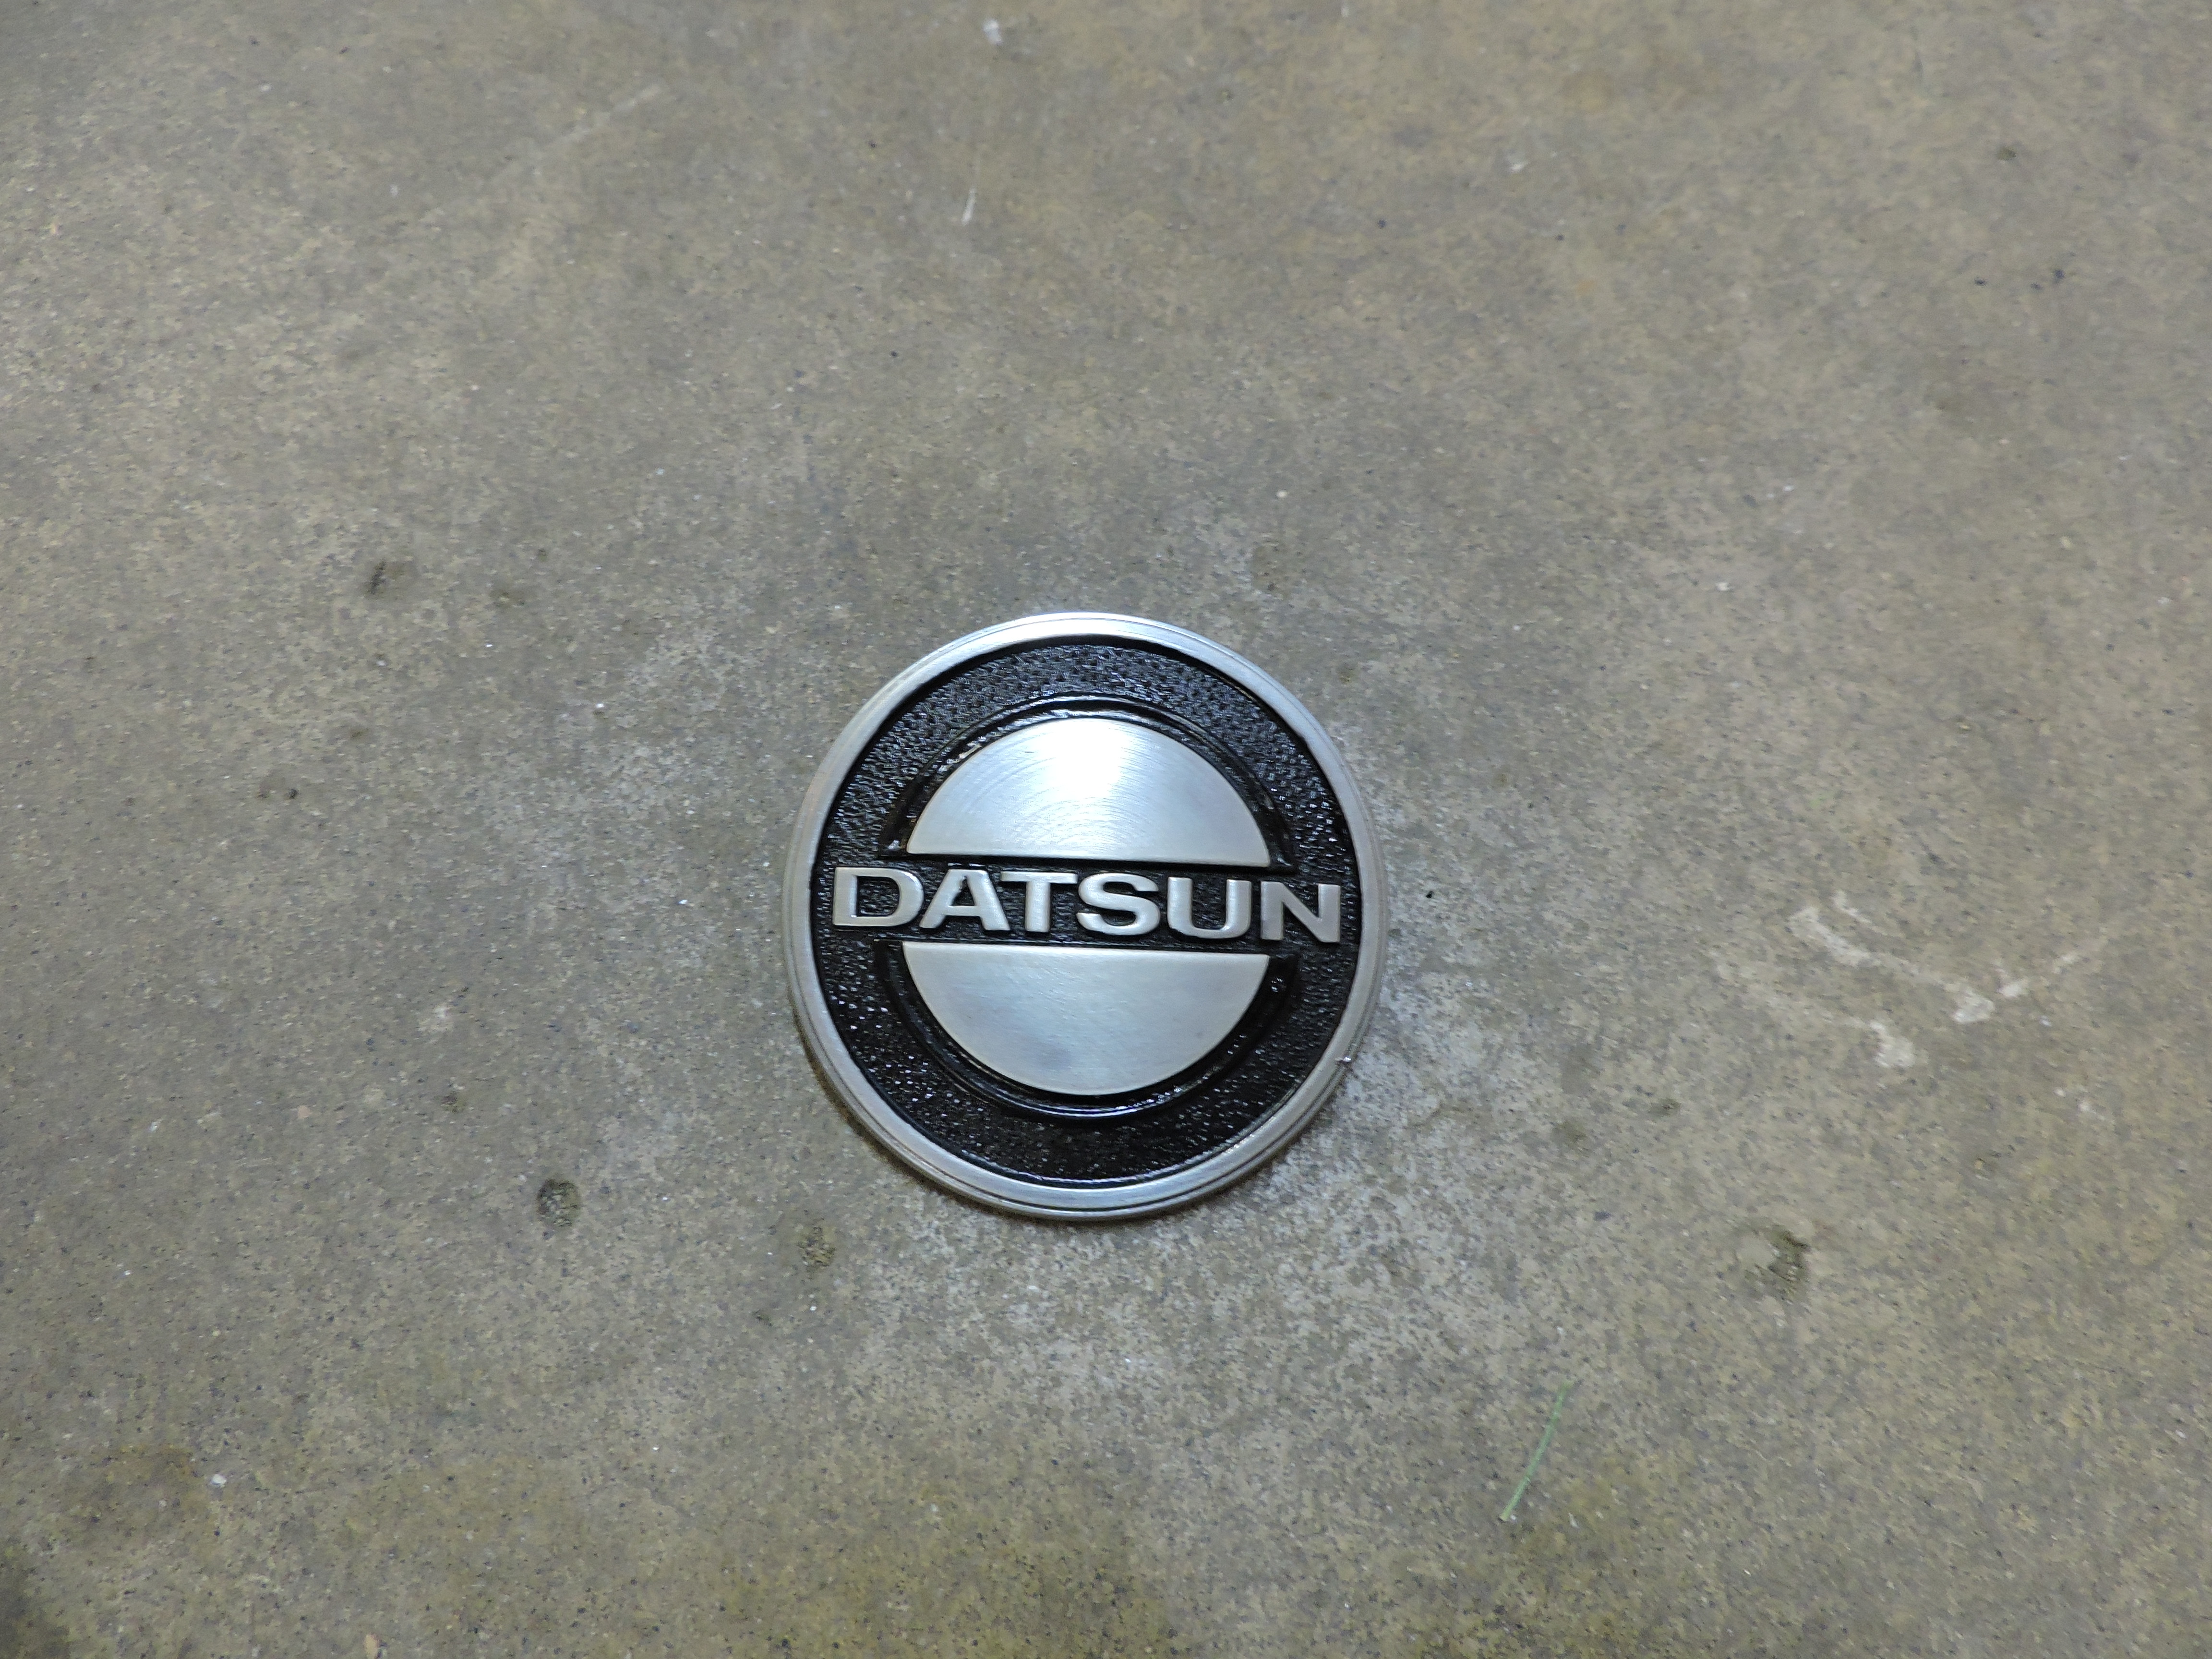
4 pointsI can't say whether this bright idea of mine has been offered by others before, but here goes: The metal badge on the front of the hood has a raised centre section and DATSUN letters that are chrome finished. The recessed areas are painted black. Over half a century the black paint had faded to pretty much nothing. I briefly tried to paint the recessed areas, but getting into tiny areas like the interior surface of the "A" was beyond my artistic skill level. What I came up with was to take a very thin touch of vaseline on my finger, and run it over the raised chrome areas, being careful not to get any on the black areas. Again, a very thin layer on the finger. Then spray paint the badge - three coats in my case - let it thoroughly dry, then wash off the vaseline with soap and water. It worked! Attached is the finished product. I regret not taking before and after pics, but I think any 240 hounds will have a pretty good idea of what it looked like when I started.
 4 points
 -
4 pointsSo as luck would have it I had to take a different route. While I have 4 different thermostat housings, there are compatibility issues with all of them. Some are in rough shape with locked up fittings. Some are Z some are ZX and each believe it or not have some variation in opening sizes for sensors. It’s bizarre what Nissan did here but It creates problems. Some ports have tapered threads and some don’t. It’s a mystery what they did. So I when with a ZX one that was in nice shape, used various sensors I don’t need to plug holes I won’t use. I added 26” of wire an ran it the ECU temp sensor to the head near cylinder 5. Sent from my iPhone using Tapatalk4 points
-
3 pointsNice job with your solution. Another way to do it is to spray the entire emblem and then wipe a pad lightly soaked with paint thinner across the high spots before the paint dries - that's a process I've used in restoring lettering and emblems on vintage metal dealer style license plate frames.3 points
-
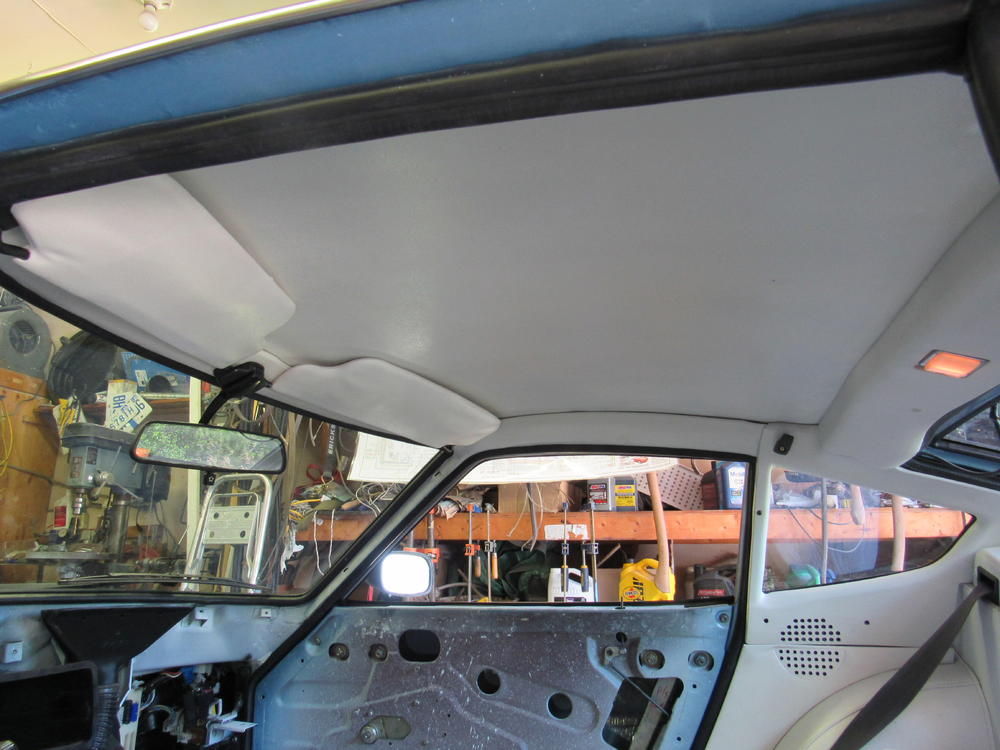
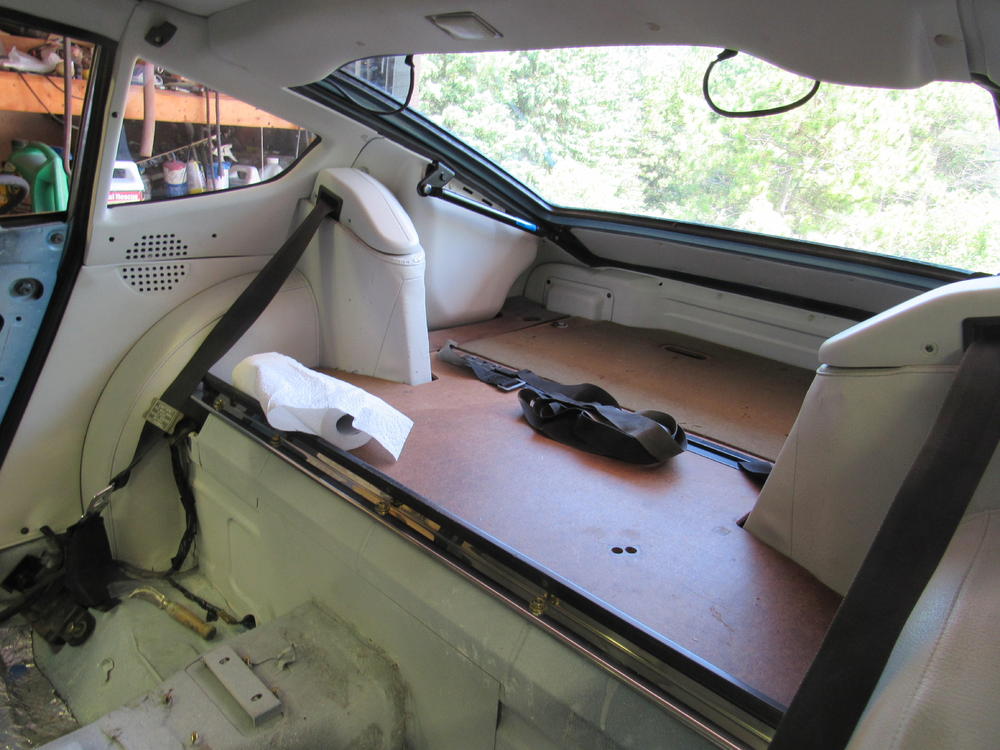
SEM automotive interior paint works very well. These are a couple of pics of a 77 280z I did a couple of yrs ago.
 2 points
 -
2 pointsSo here’s a view of all the sensors in this housing. Only using the two on the right. The other two are because it’s next to impossible to find a plug to fit in these holes. You think you find one and as it tightens you can feel it wiggling so it would more than likely leak. My ECU temp sensor is on the head, you can see it in the second pic. BTW, I’m not happy with MSA right now. I called today to ask them where my heater and Rad hoses are. They haven’t mailed them because some little other item in my basket was back ordered so they decided to sit on all the other parts. It’s been 4 weeks since I made the order and they didn’t even email to tell me what was going on. That’s really all I’m waiting for. Apparently the hoses are being mailed tomorrow. Sent from my iPhone using Tapatalk2 points
-
Hey there @240260280 !!! Happy Thanksgiving if I don't see you before. You are a Pilgrim. I always think about you turkey. Context for the newer crowd. Mr Pilgrim got me hooked on 240s. He helped me get my '77 running perfect then started me on the heavy dope of the 240Z. I'm forever greatful too.2 points
-
Small addendum to complete the thread. After hooking up the stock mechanical fuel pump, and getting the car started last night (another victory to discuss elsewhere) the dang thing would run for about 5 minutes then run out of gas. Change pump, same thing. It took several rounds of back purging with compressed air into the tank, then circulating the 20 litres of fresh gas I bought from back to front using a nice big external 12v fuel pump to finally get the line to flow freely. There is likely still some spooge in the tank that was getting sucked up and partially blocking it, but its fine now. Hopefully it will dissolve in the fresh gas. Point here is, it might take several days and persistence, but you too can save a gas tank. Now if it’s rusty, that’s a whole ‘nother ball of wax. Or flakes.2 points
-
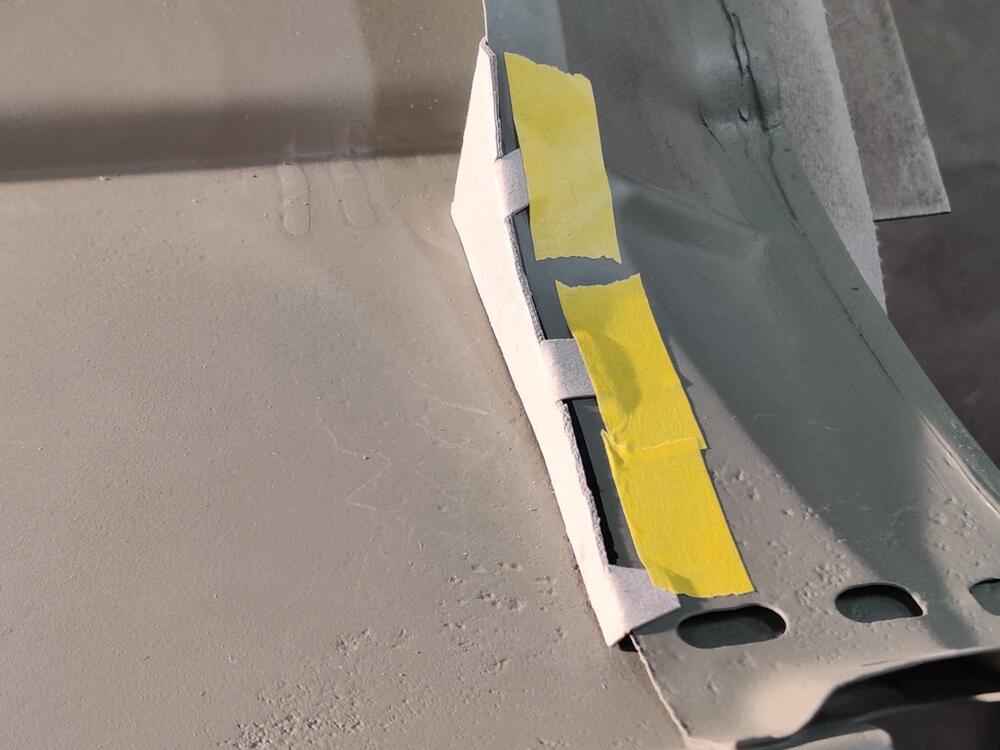
Deep! That said, I think the worst option is spray coatings into this deep crevasse and hope for the best. My fabricated parts will direct water away from this area and therefore, keep them dryer than they would be otherwise. Additionally, I have coated these areas on more than one occasion with epoxy primer. Feeling good about it. 😎2 points
-
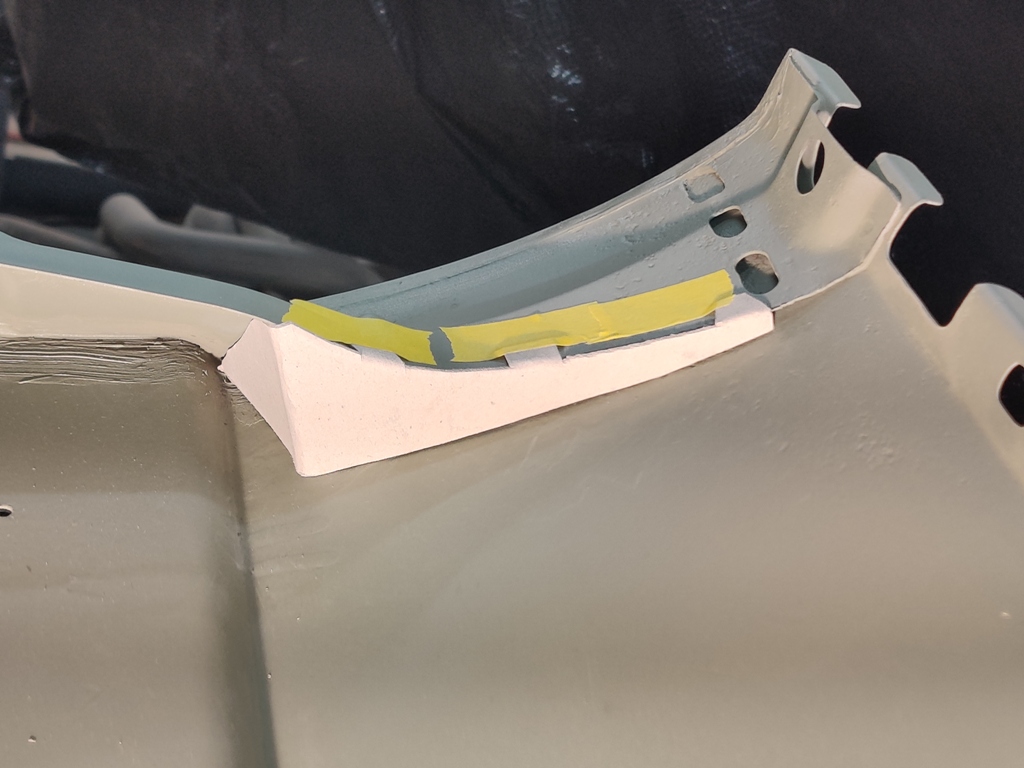
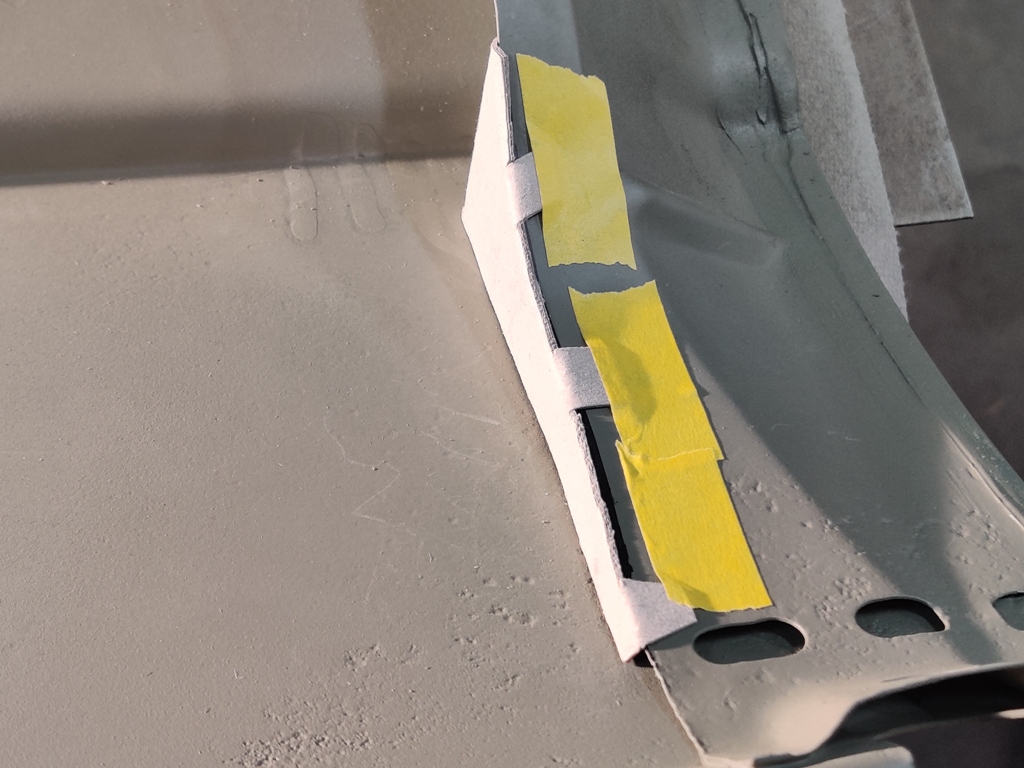
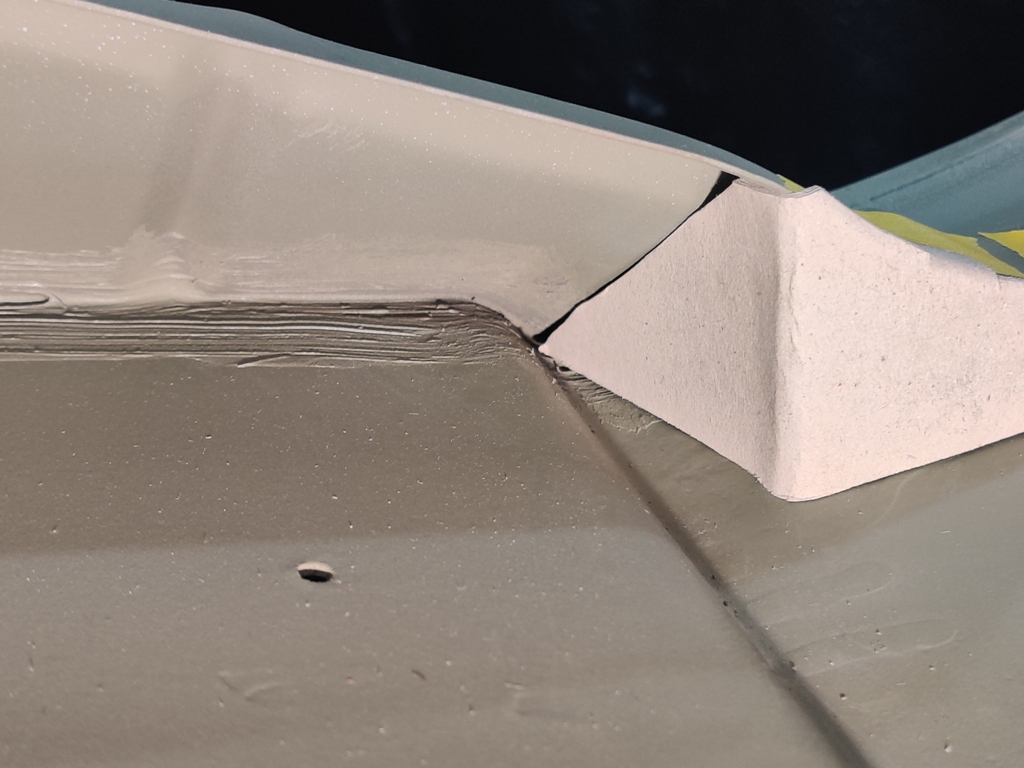
I've been thinking about how best to address one of the most common rust out areas on our cars, the bottom corner of the front fender. There is a reinforcement panel which is crimped into the back edge of the fender, and where it twists at the bottom of the fender, it creates a trap for dirt and debris, which over time, collects in the bottom rear corner. The debris which gets trapped here allows no air circulation so it holds moisture for extended periods of time, over and over again. Eventually, bare metal gets exposed and rust starts. On my first 240Z, I bought brand new OEM fenders, and I sprayed epoxy primer inside this area along with paint. That was in 1993. Even though that car has seen relatively little weather (it has been stored in a garage for most of the years since), the lower corner of the passenger side fender started showing some raised bumps (indicating rust through from behind around 2011. I also, unbolted the bottom of that cars fenders and blew out the debris and dirt a few times over the years with compressed air. Still, these preventative efforts did not work. With the 240Z I am restoring now, I want a better solution. Initially, I thought I would address this problem area by cutting some oval vents to allow additional drainage from this corner, and additional air circulation for drying. However, I think that would only be a slight improvement. Instead, I now have in mind fabricating a small metal panel which will seal off this area completely, and therefore, not allowing any dirt or debris or moisture to collect in the corner at all. Here is a cardboard mock up: I will extend the actual metal piece I fabricate a little further down than this cardboard template, so that the gap is closed. I may pop rivet this piece on using the little tabs. Once secured, I will use seam sealer to seal all the gaps. Of course, I now need to do something to seal up the oval holes that I cut into the reinforcement panel, or water and debris will enter there and I will still have the same problem for the bottom inch or so of the fender corner.

 1 point
 -
I have decided that the right thing to do for my Z is rebuild it. I had planned to do so eventually, but much later down the line in my ownership. Here is why: Rust on Floor Pans needs replaced Rust on Lower Front Fenders and Dog Legs needs replaced This post resulted in this: Broke head off of bolt in exhaust manifold that connected EGR to exhaust manifold which means I need to remove the intake manifold to replace the exhaust manifold Discovered more surface rust that is on the cusp of becoming cancerous rust Needs repainted After discovering more rust when working on the EGR, I could no longer avoid what I knew was coming. I love these cars so much, that I would not feel right letting this one get in any worse condition. It is a real bummer too, because the engine and transmission have less than 70,000 original miles on it. I do have logistical problems though. Primarily being that I live in Lodo of Denver, Colorado and do not have a garage to work on the car. My brother offered to let me use his garage in his new house, but he bought the house a week ago. And I have never done a rebuild before, so I am learning as I go So...does anyone want to rebuild a 280z with me? I am sure I am going to need tons of help any way, but wanted to see if anyone wanted to work on a car for sport!1 point
-
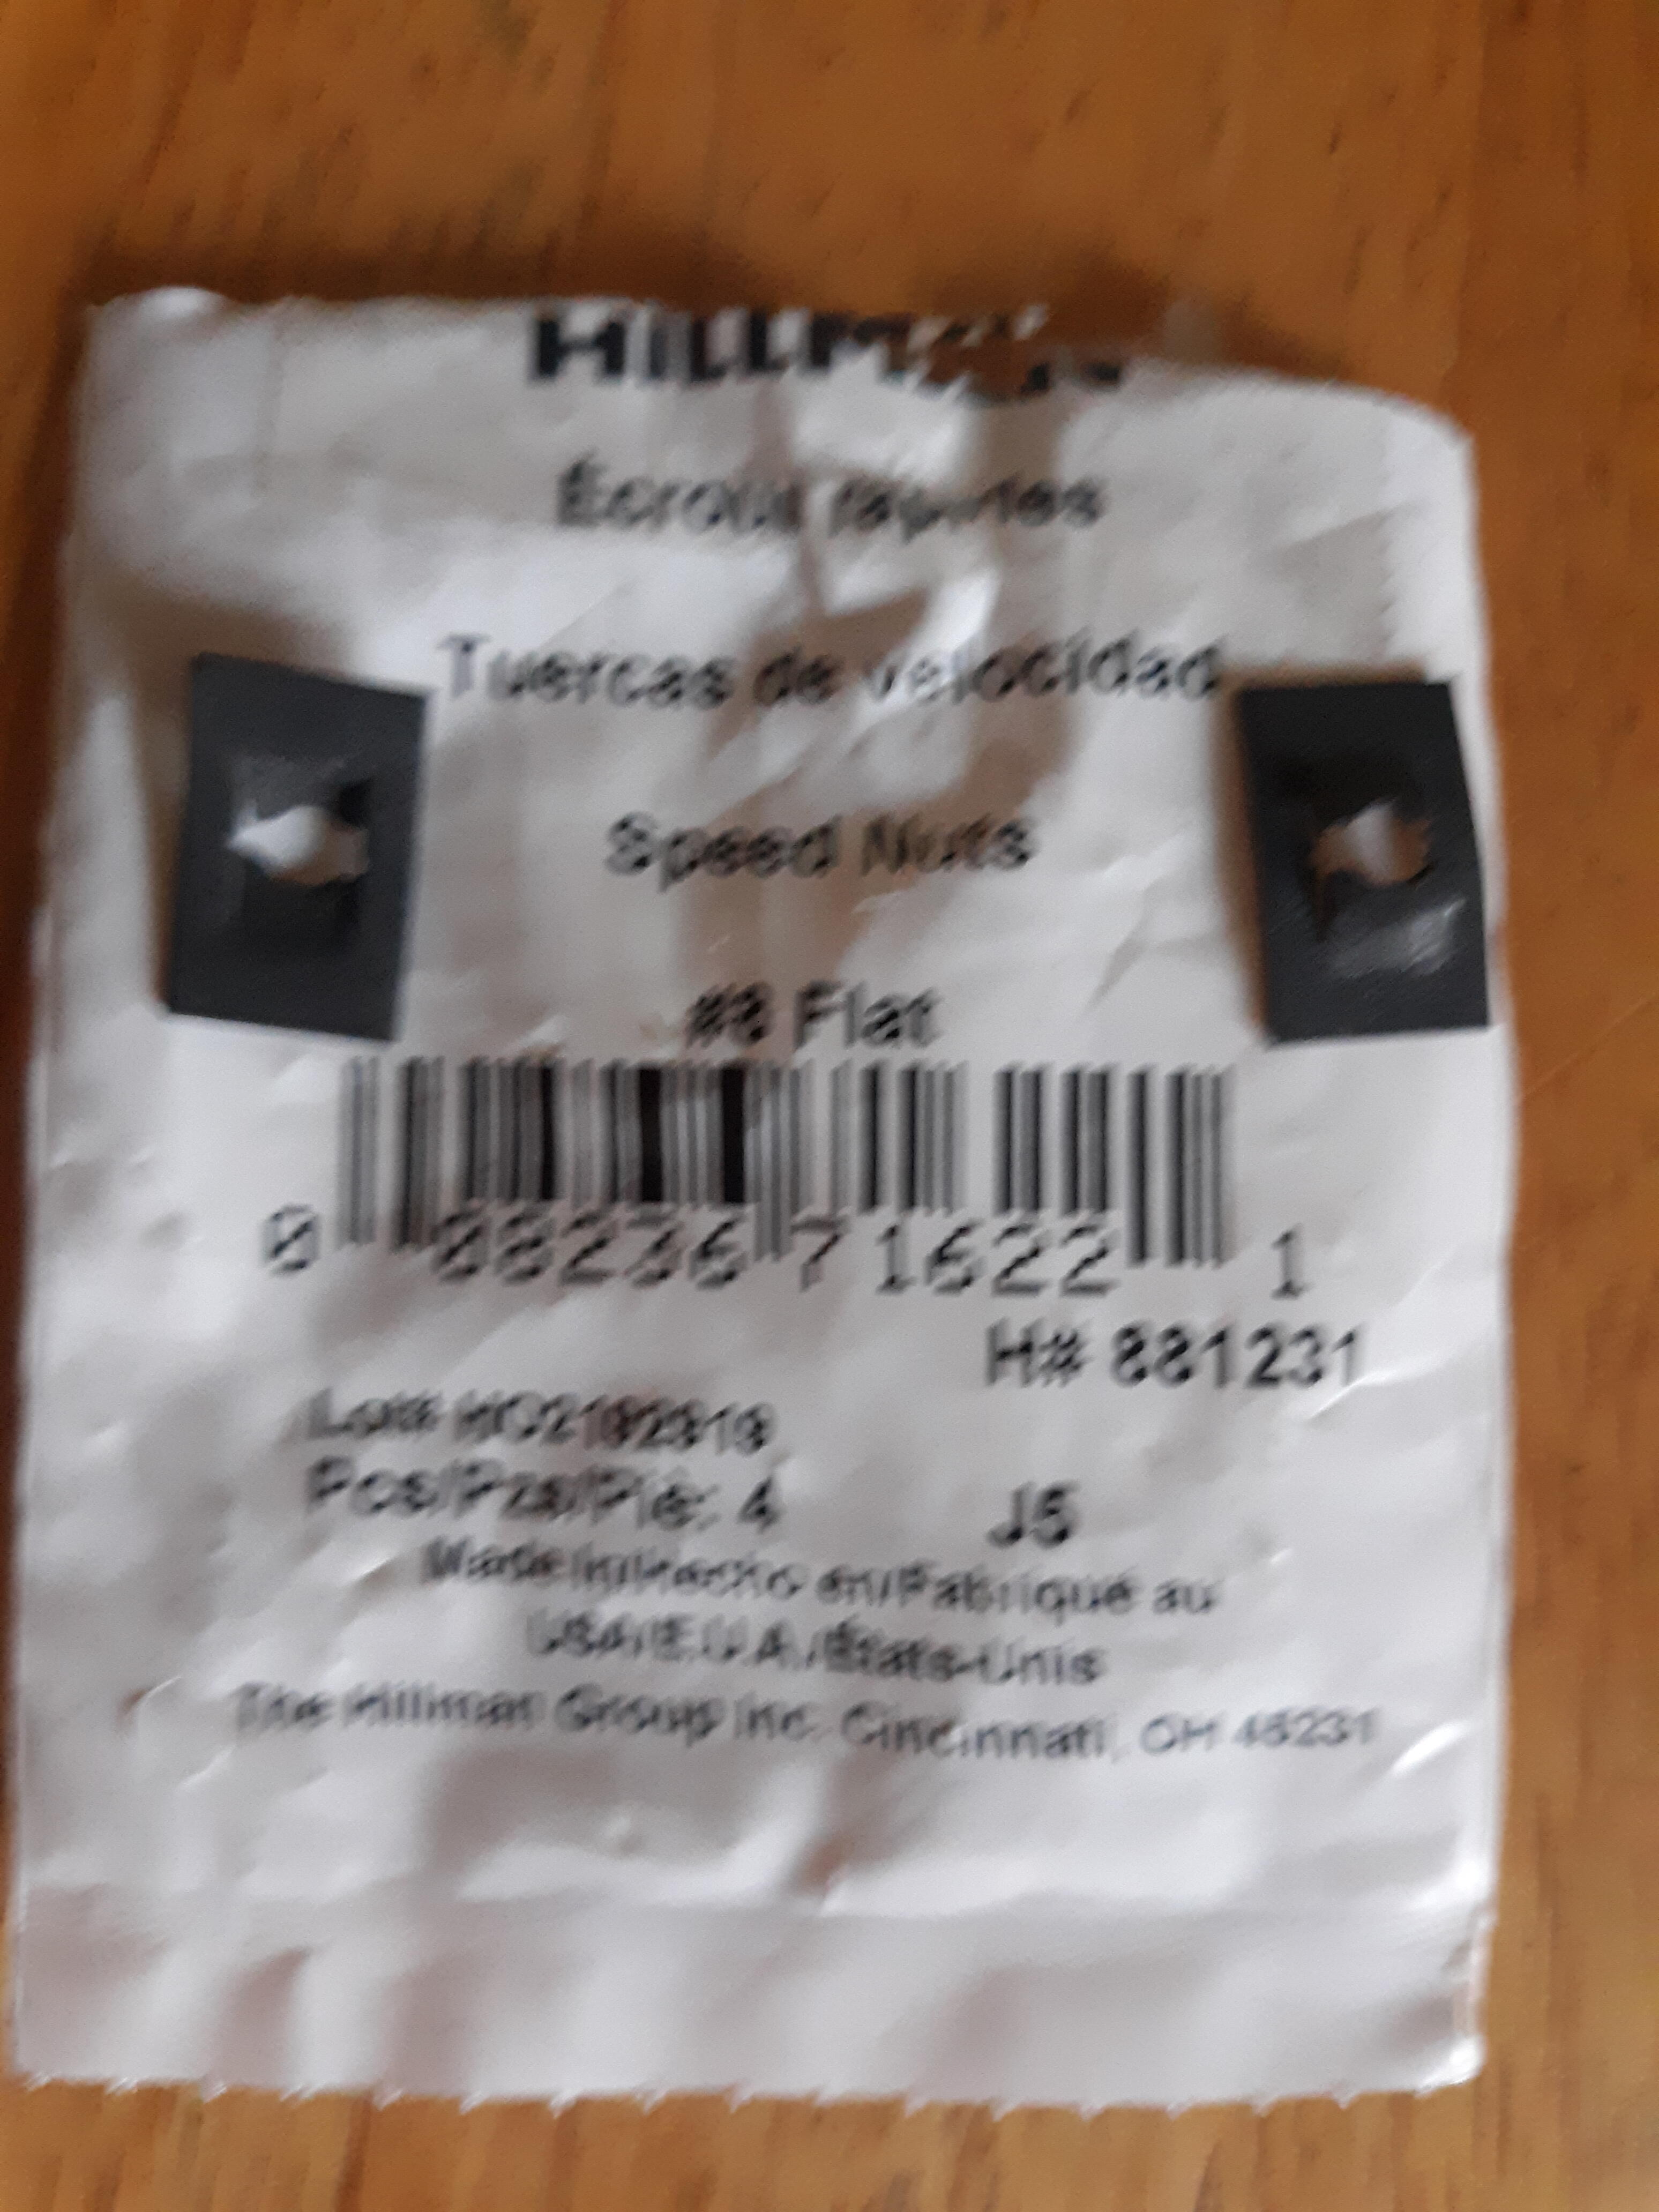
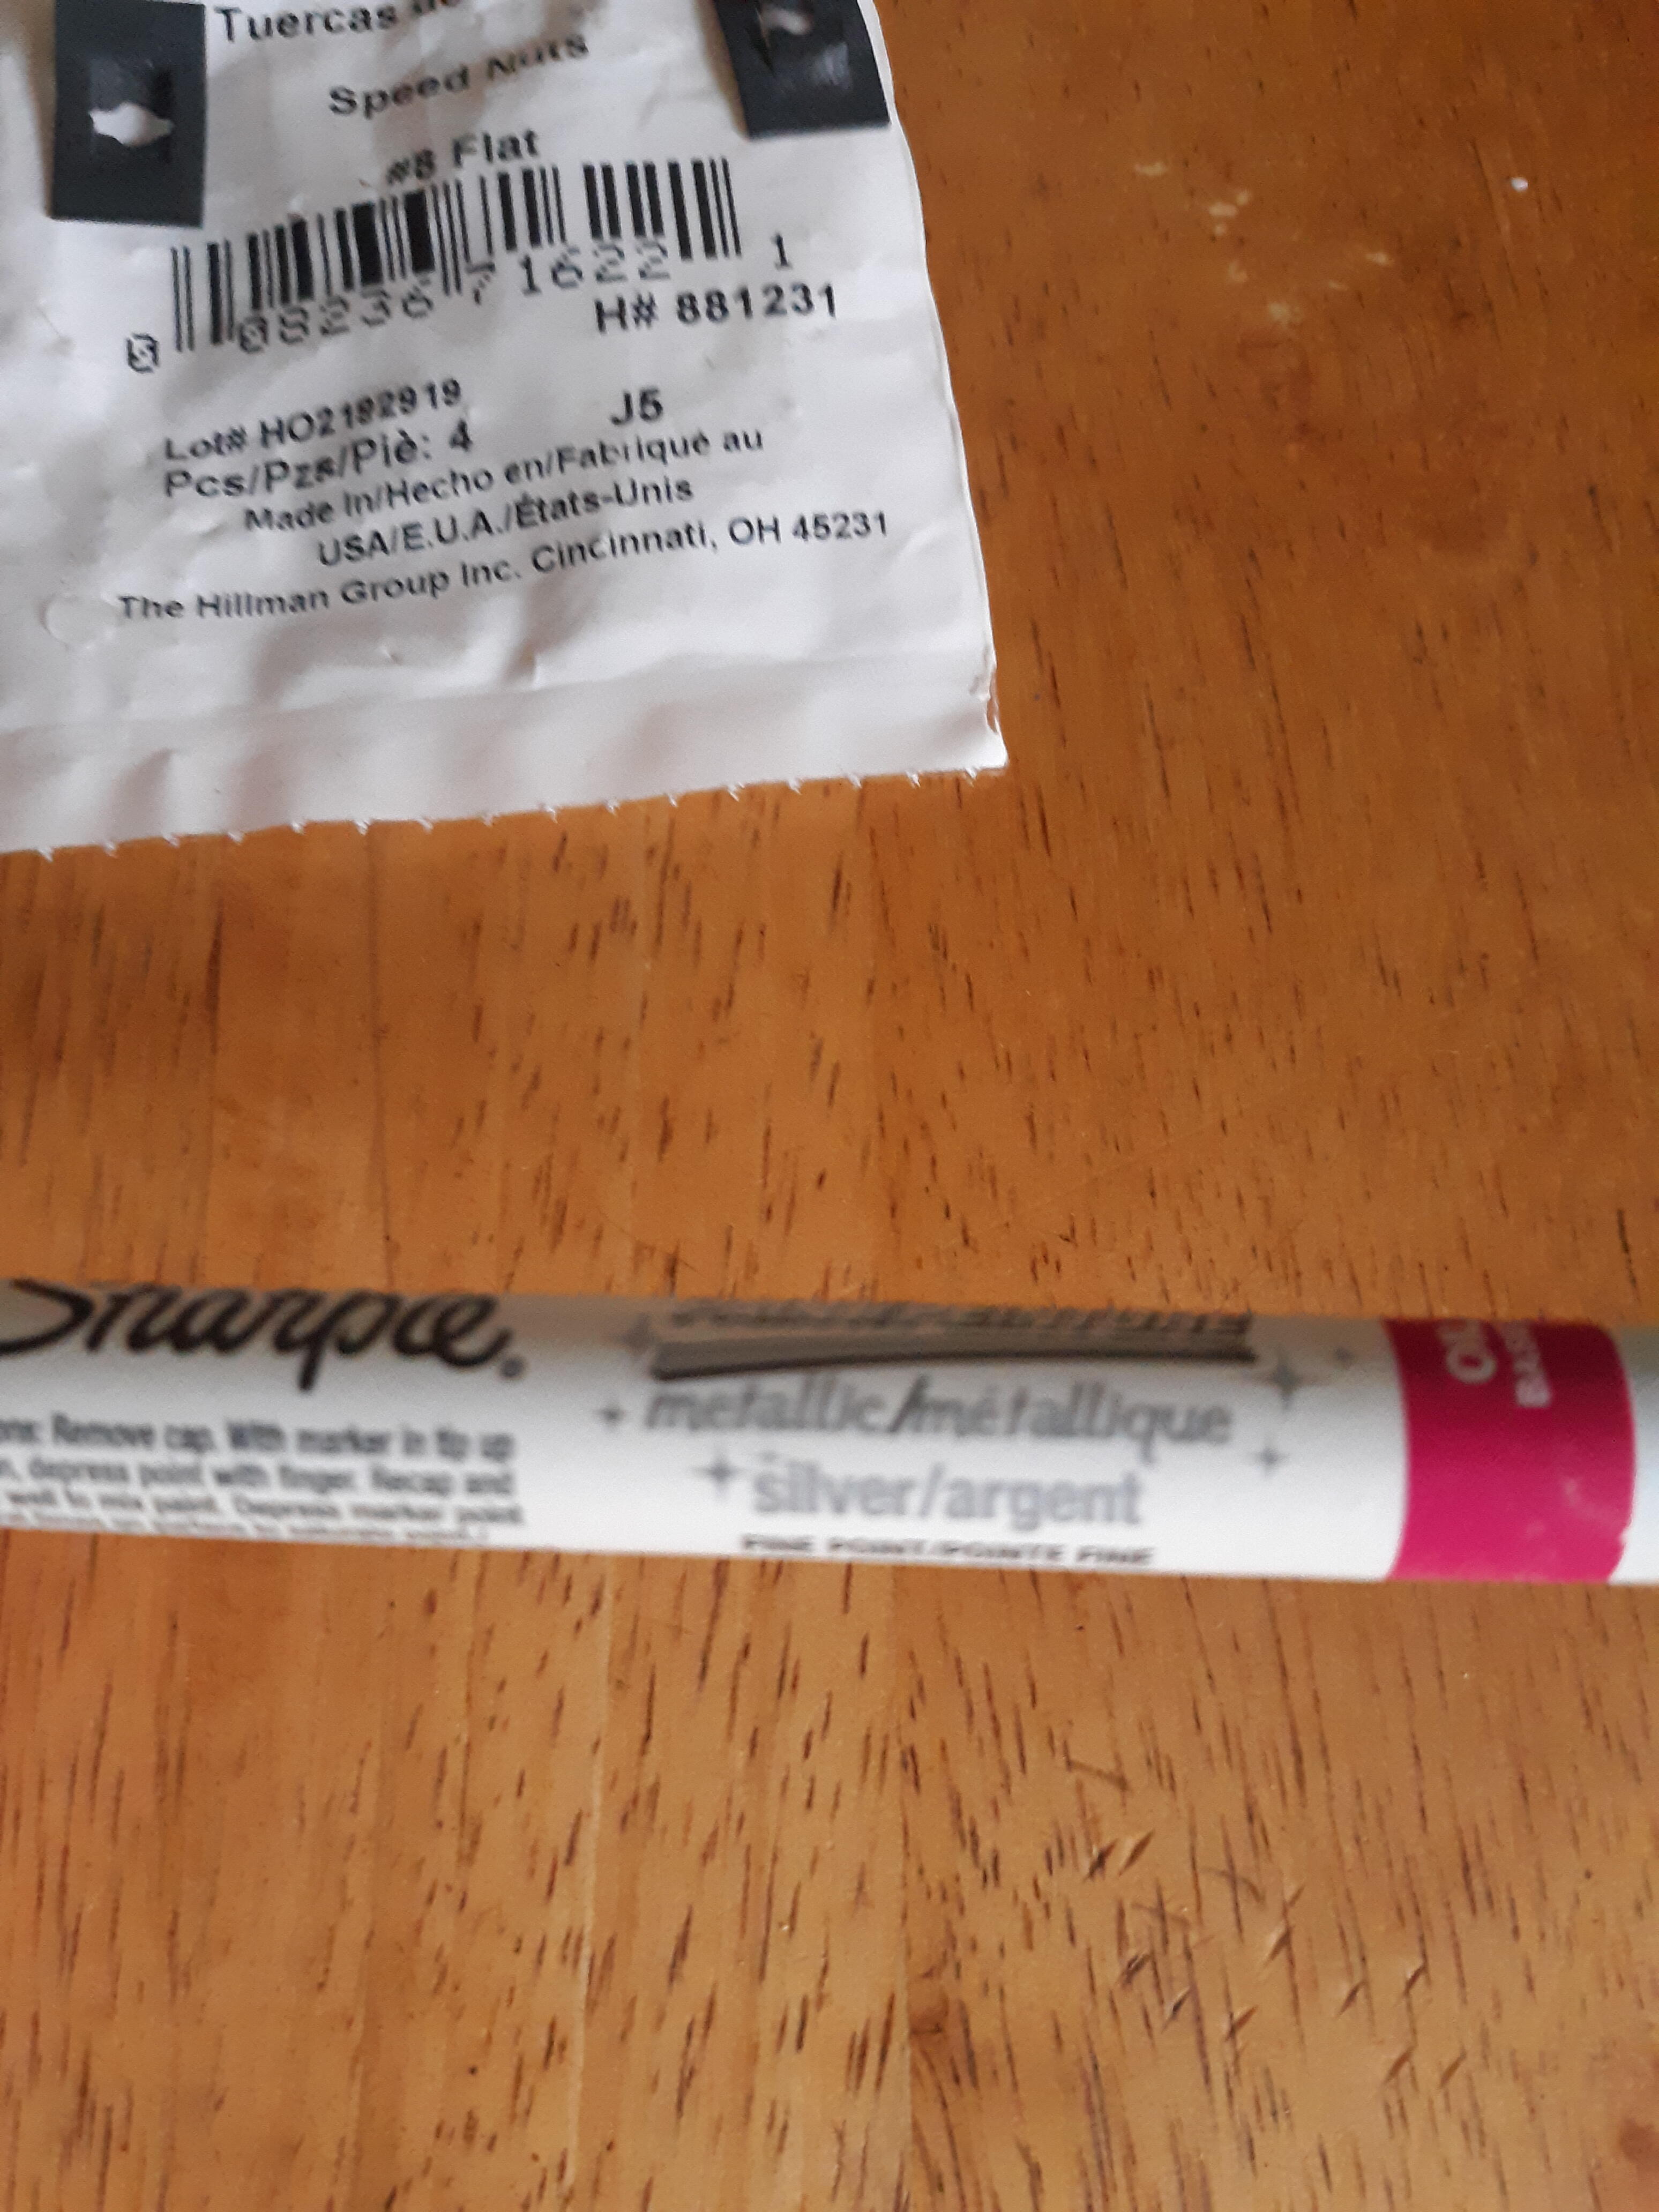
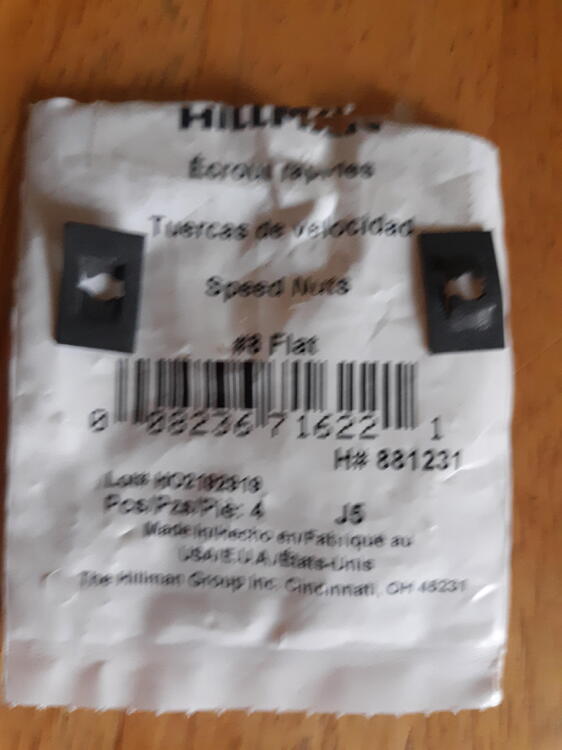
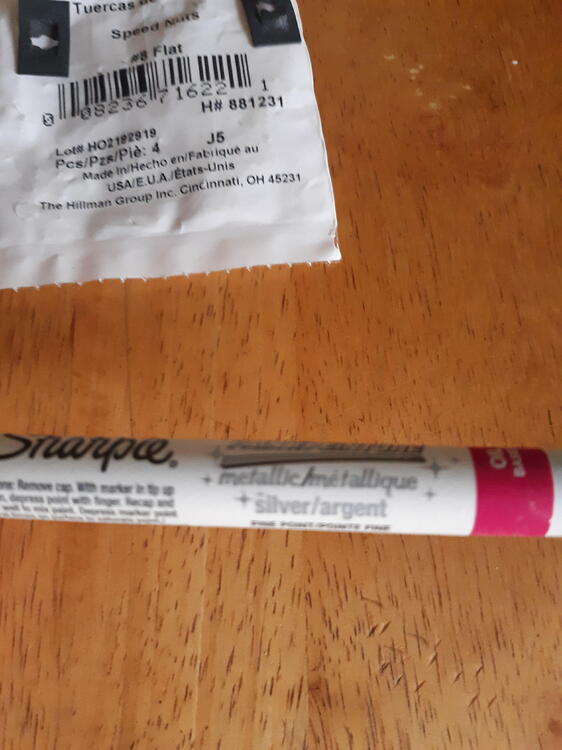
1 pointThose backside clips are available at Lowe's in their Hillman drawer isle. I did the vaseline on my horn pad too. Another good tip thanks to @psdenno is a silver Sharpie for all the silver around the radio and console. I bought mine at Hobby Lobby fyi.
 1 point
 -
1 point
-
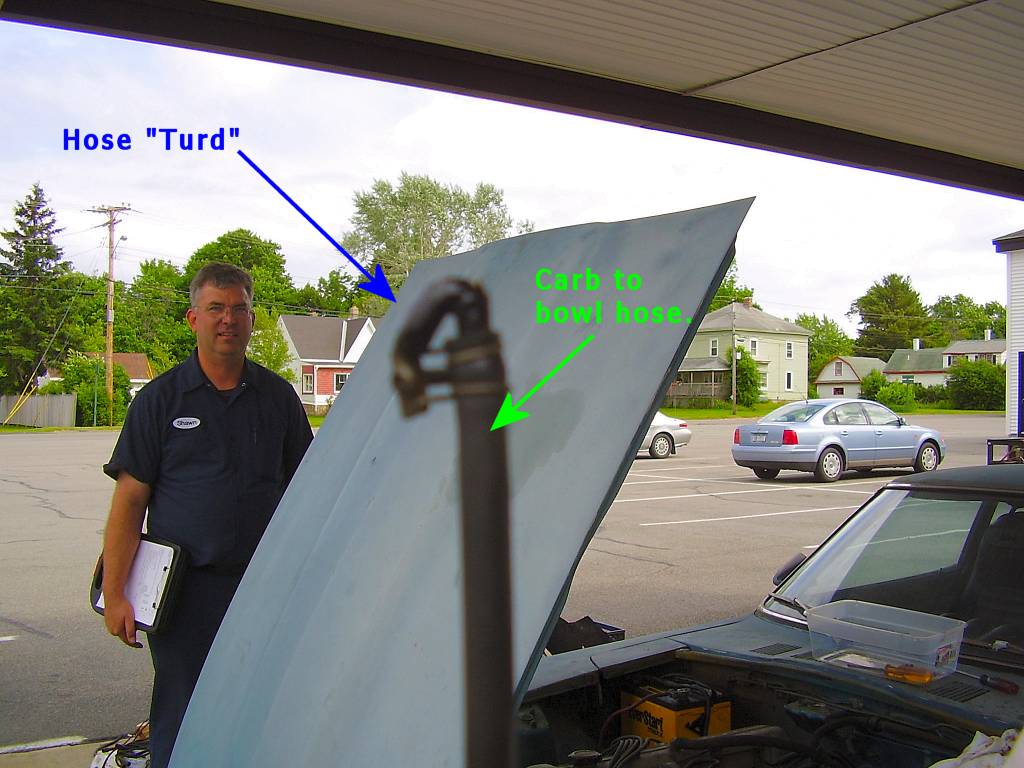
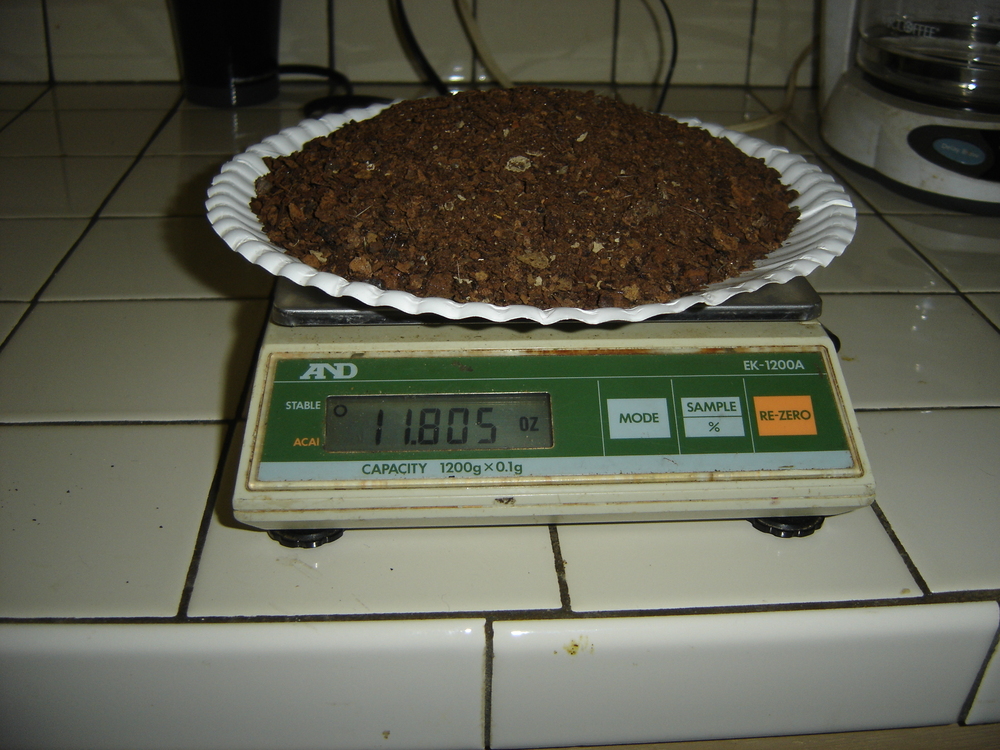
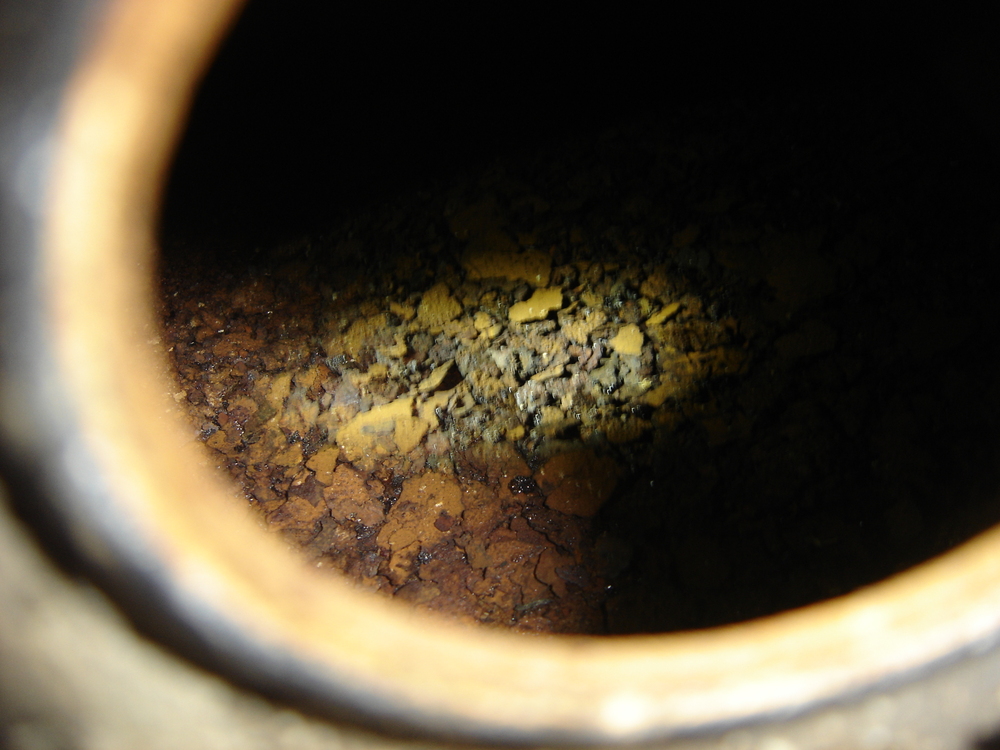
You've most likely seen this before Mr Zkars but for the later guys I thought I'd post them again. It's not rust as it wouldn't stick to a magnet just 20 year old gas that lost it's octane.
 1 point
 -
Is this what you're referring to? https://www.thezstore.com/page/TZS/PROD/34-11521 point
-
Cold air for the vents comes from the front ahead of the rad support. Those rubber tubes are for the cowl drains, here is a good discussion on the subject. See post #6 by @Terrapin Z.1 point
-
Btw.. it's a good way to prevent a robber from stealing your car while standing before the traffic lights! Pump the clutch 3 times and get out! He will not get away with it!!!1 point
-
So it only makes noise when the drivetrain is turning? Not when you rev it up. If it were me, I would support the rear on jack stands and chock the front wheels securely, then spin the drivetrain up and see if I could locate the noise. A helper to drive would be good or a friend with a dyno might be good too.1 point
-
I once had the problem that if i "pumped" the clutch a few times (very fast) , while having a new type clutch slave-cylinder on a early 1971, the clutch became constant detached! I had to bleed the slave-cylinder to get it working normally again.. so if you want to test this, keep a wrench handy! (12mm i believe..) Love to hear if there are more cars that have that "problem" ? (just pump the clutch three times.. haha)1 point
-
1 point
-
your distributor spindle looks right now 👍🏻 the leftmost (or most anti clockwise) marker on the pulley will be 0 or TDC. the marks to its right are in 5 degree increments. the 0 marker should be aligned with the pointer on the timing cover at TDC. is it? depending how your timing gun works, 0 may be the correct marker to line it up with.1 point
-
1 pointI ended up fabbing my own drivers side bracket I already had the center console piece but not the one that attaches to the panel.. I know you are going to be blown away and be like that must be OEM but it’s not lol
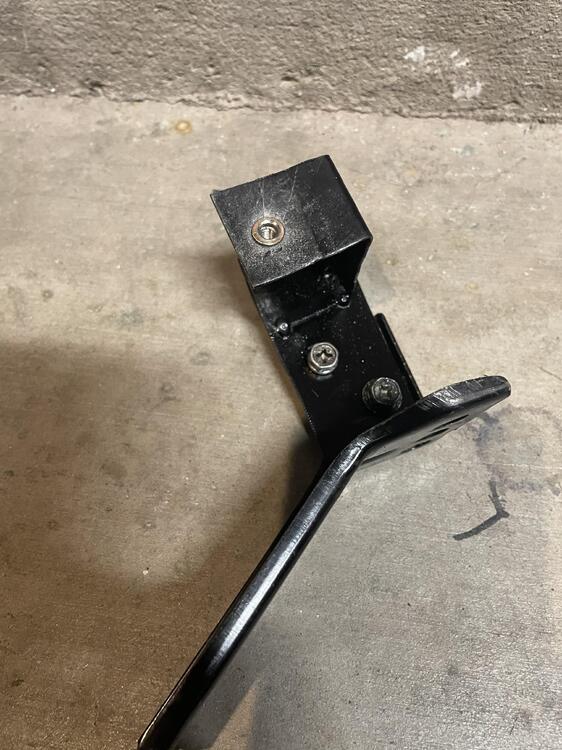 1 point
 -
Thanks Mark! All of these convoluted instructions and it comes down to "Adjust the rod length so there's about 1/16" of movement before it starts pushing on the lever."1 point
-
I guess you guys are on LOW speed, right? I'd hate to read about "a new way of burning down my shop".1 point
-
This part would make me a little nervous haha. This is another creative approach:1 point
-
Just let it run out. It is highly evaporative and won’t stick around long. Blow compressed air through to get it all I suppose. I’m hoping whatever is left in the gas tank will add a little octane boost!1 point
-
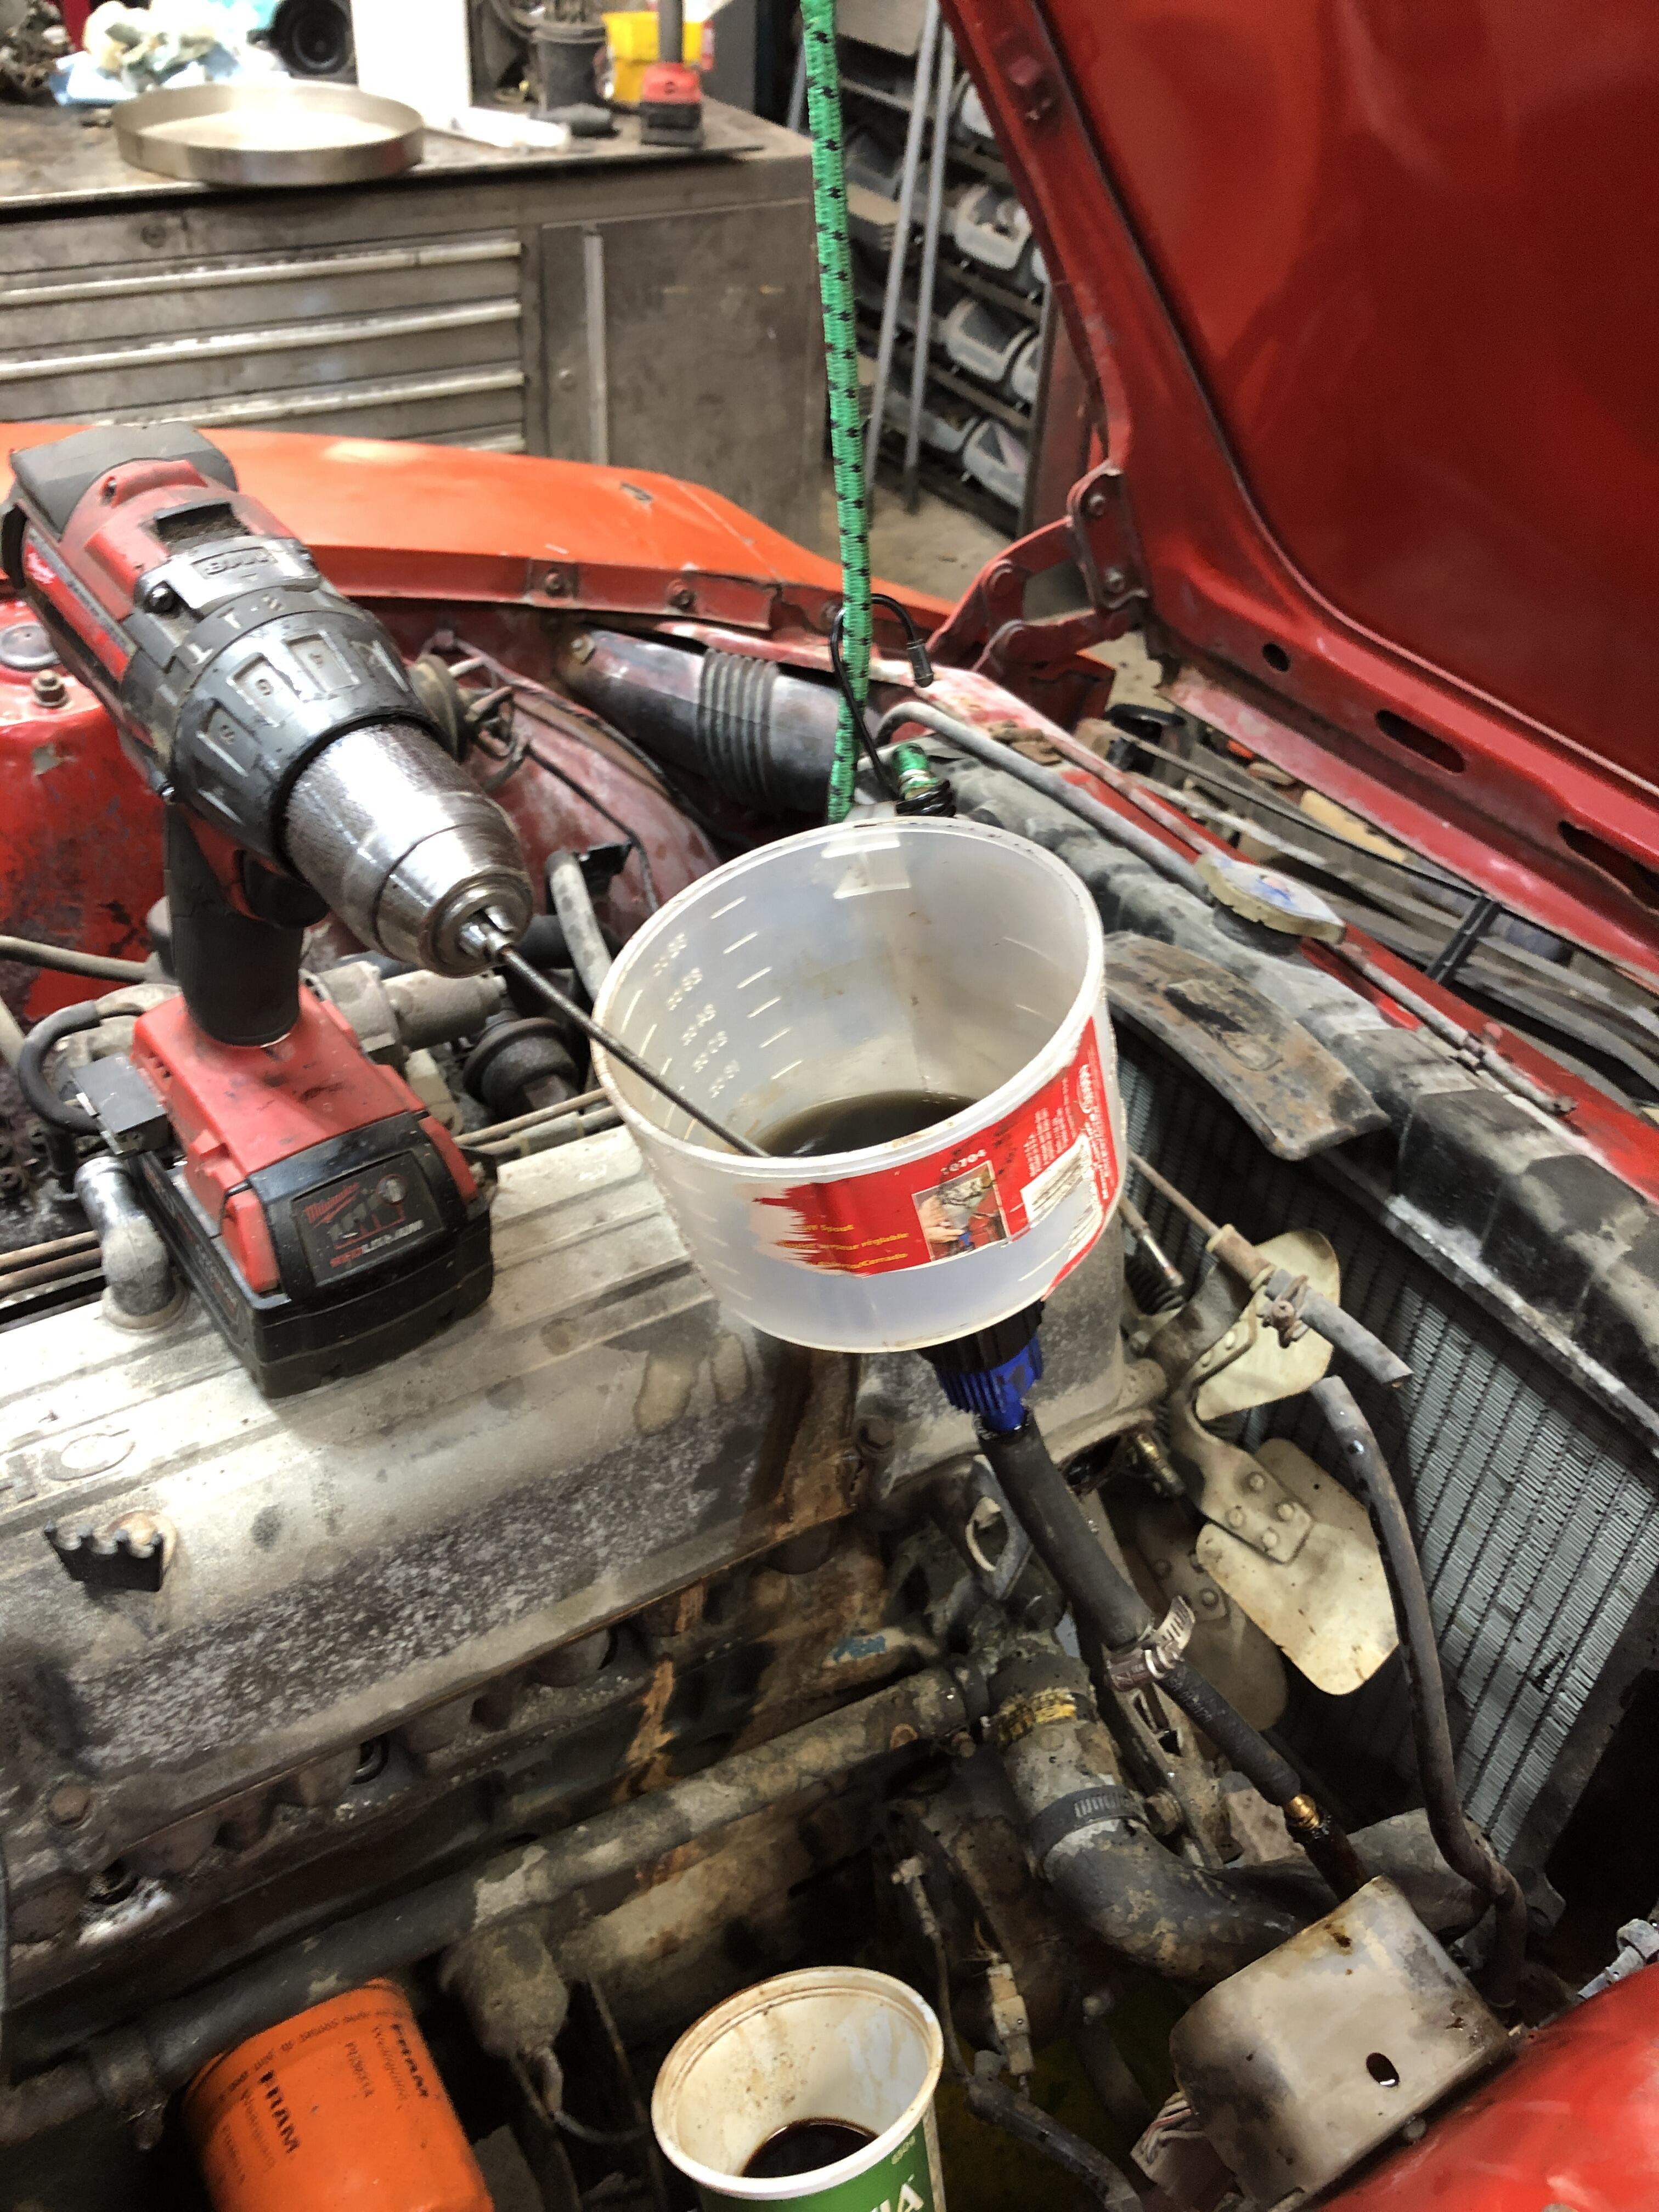
Now the pretty pictures cause you’re getting bored of my lengthy explanations….. Now I have to explain something. While I could drill the line, it didn’t clear it. I had to then move to stage two, which was to hook up my lacquer thinner soak funnel and line, then drill down through that, which got the thinner down into and distributed through the fuel line. 11D0252B-B714-45B5-8269-D969D272A91C.MOV
 1 point
 -
Adjust the rod length so there's about 1/16" of movement before it starts pushing on the lever. You'll be close.1 point
-
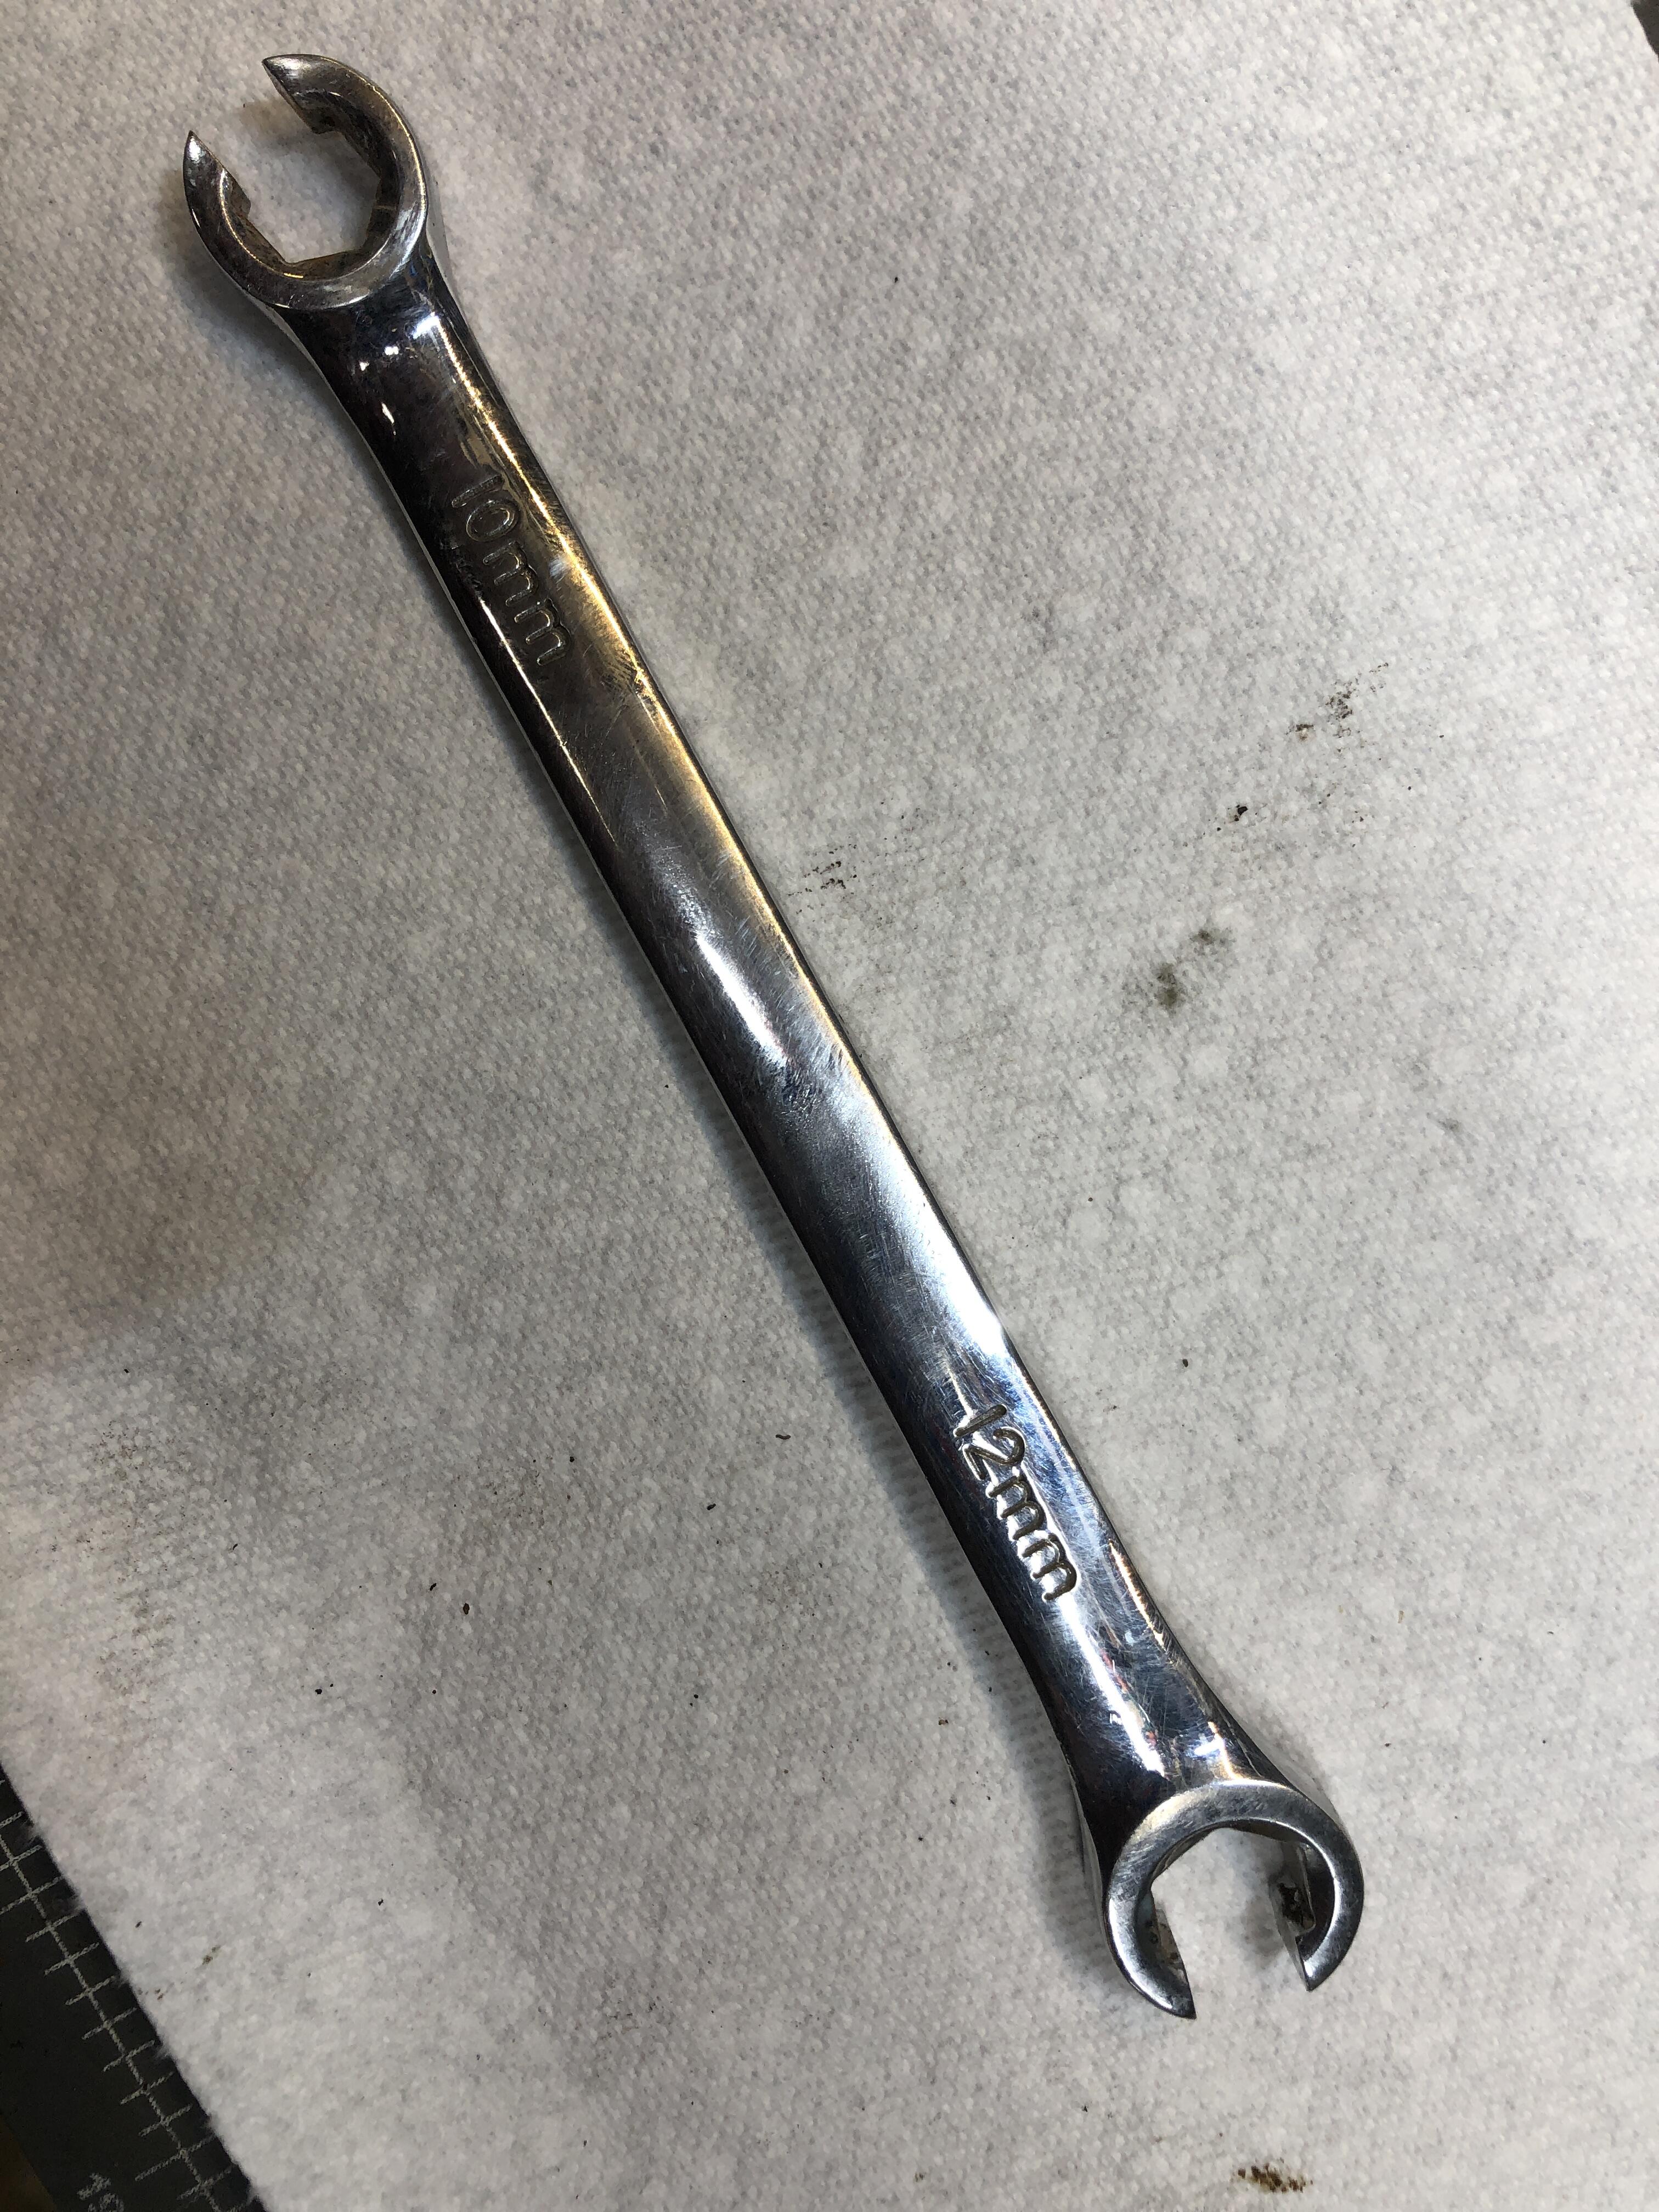
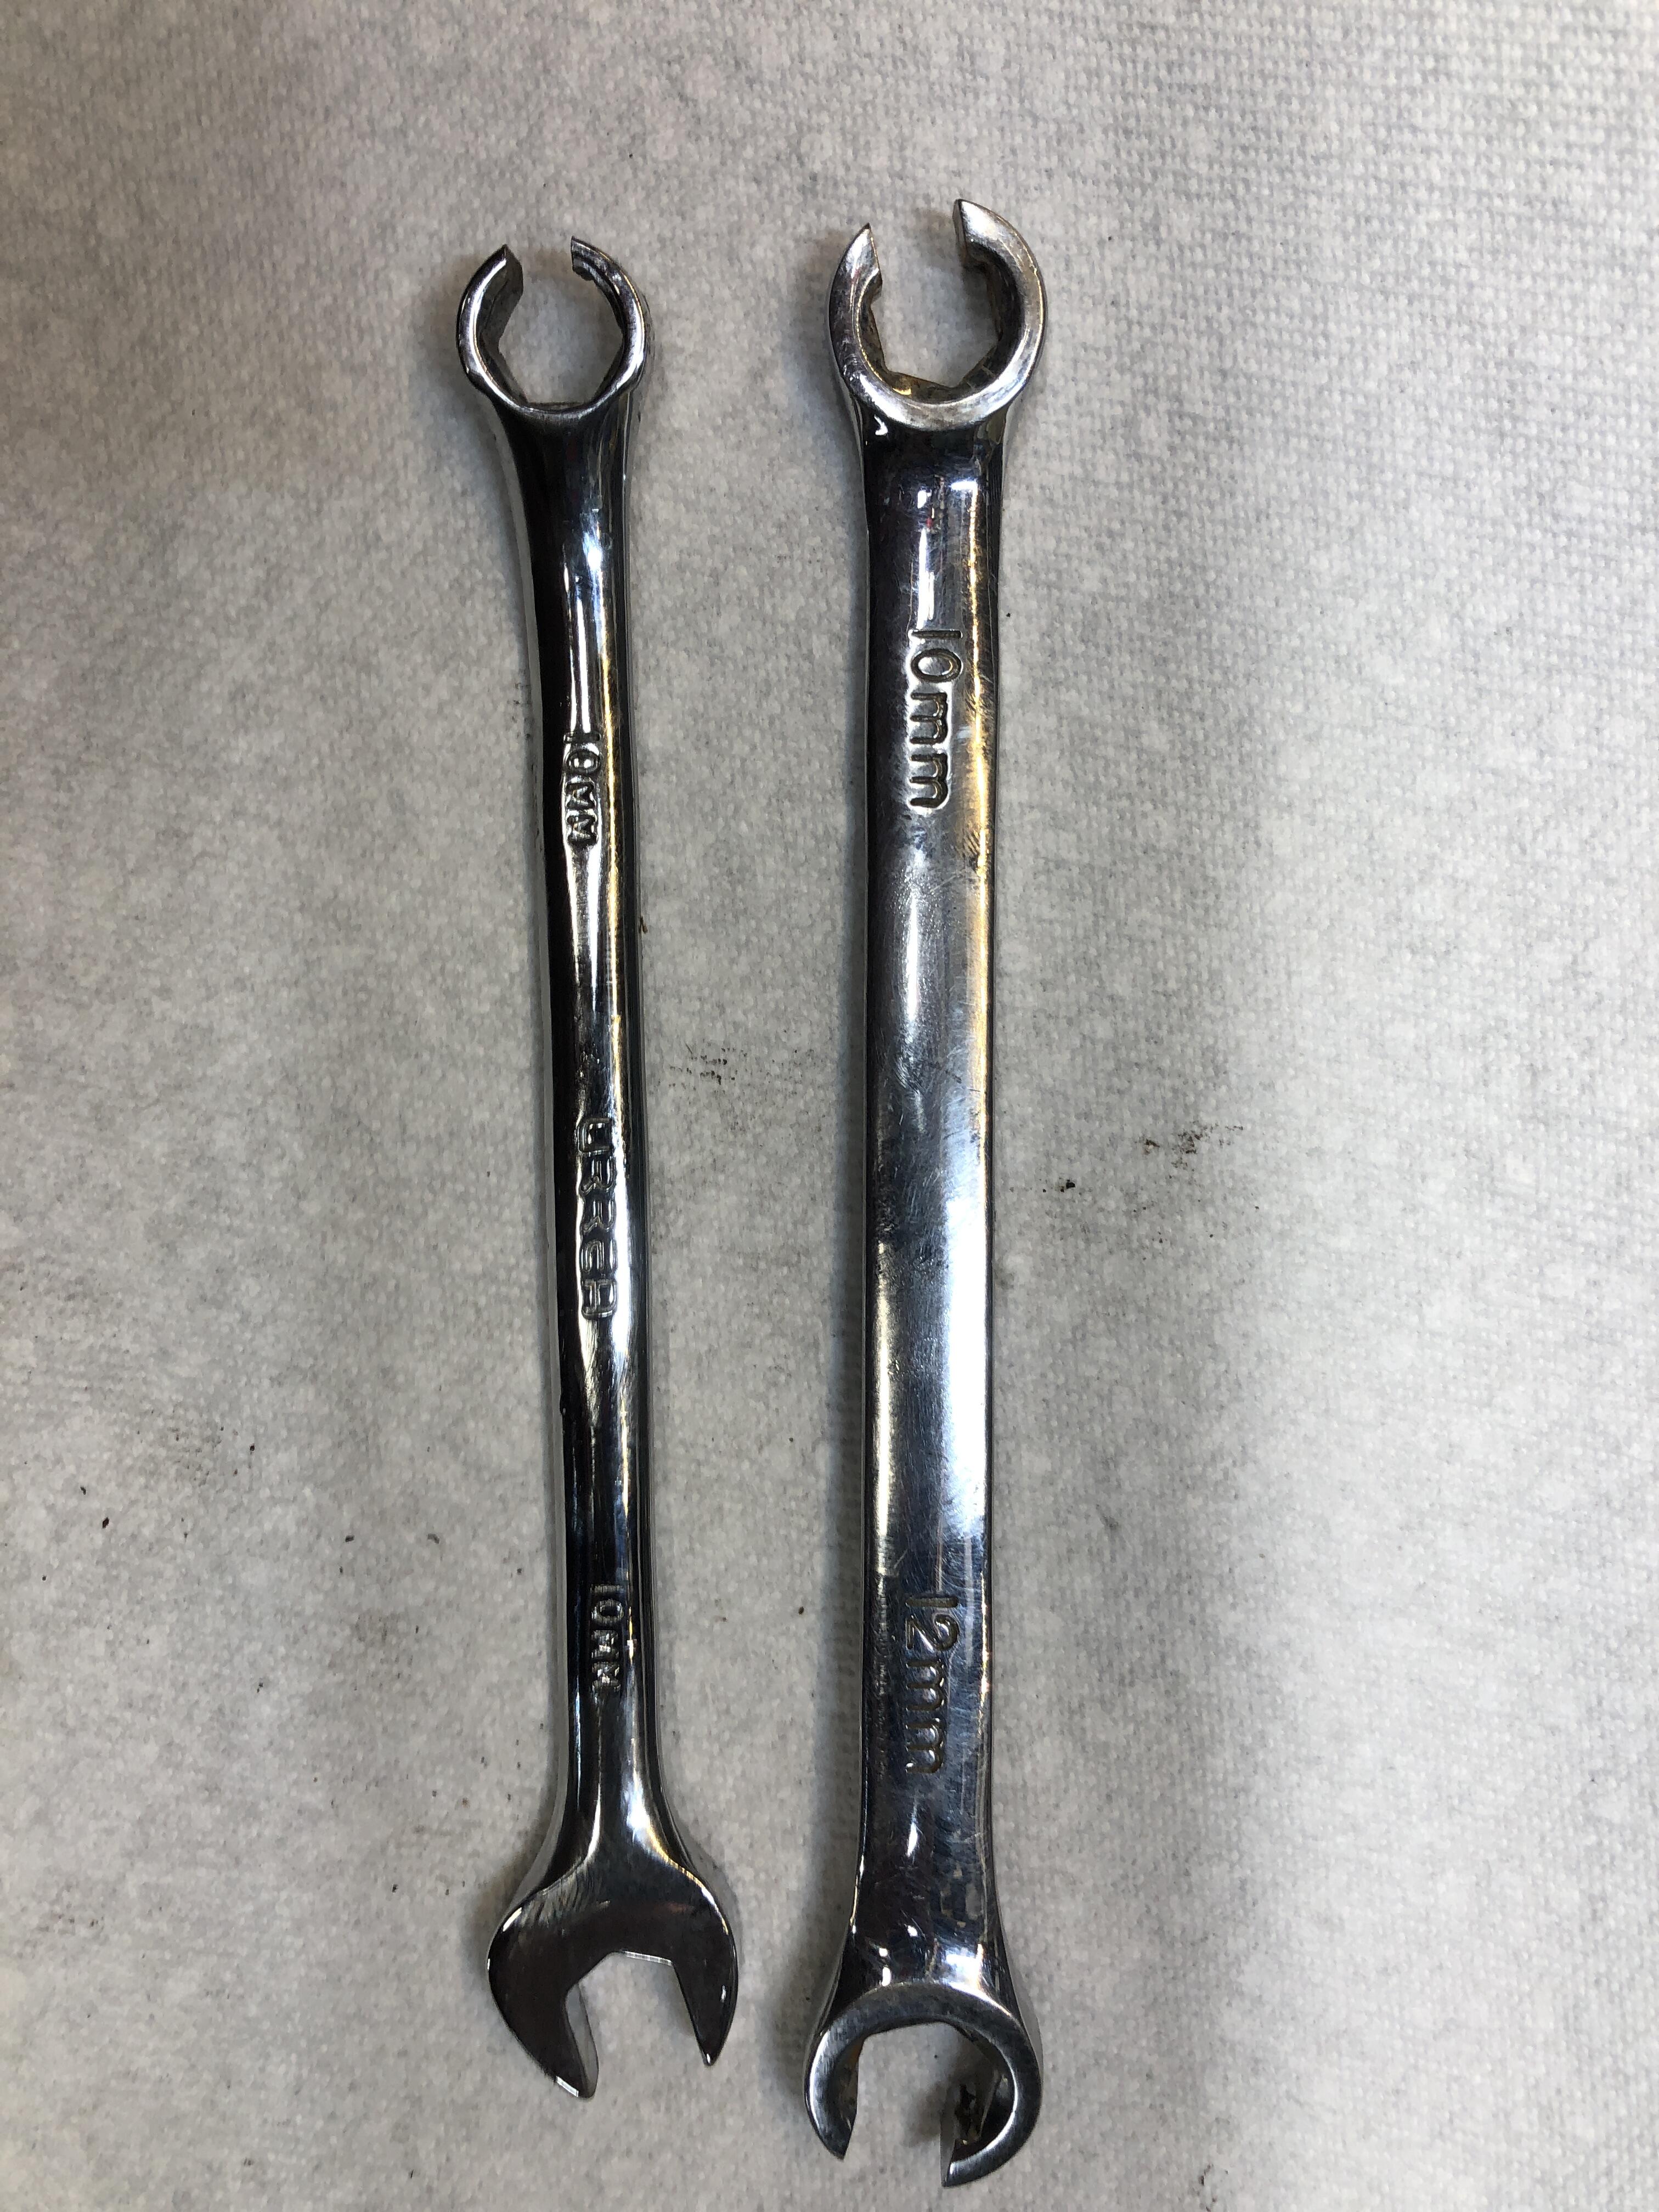
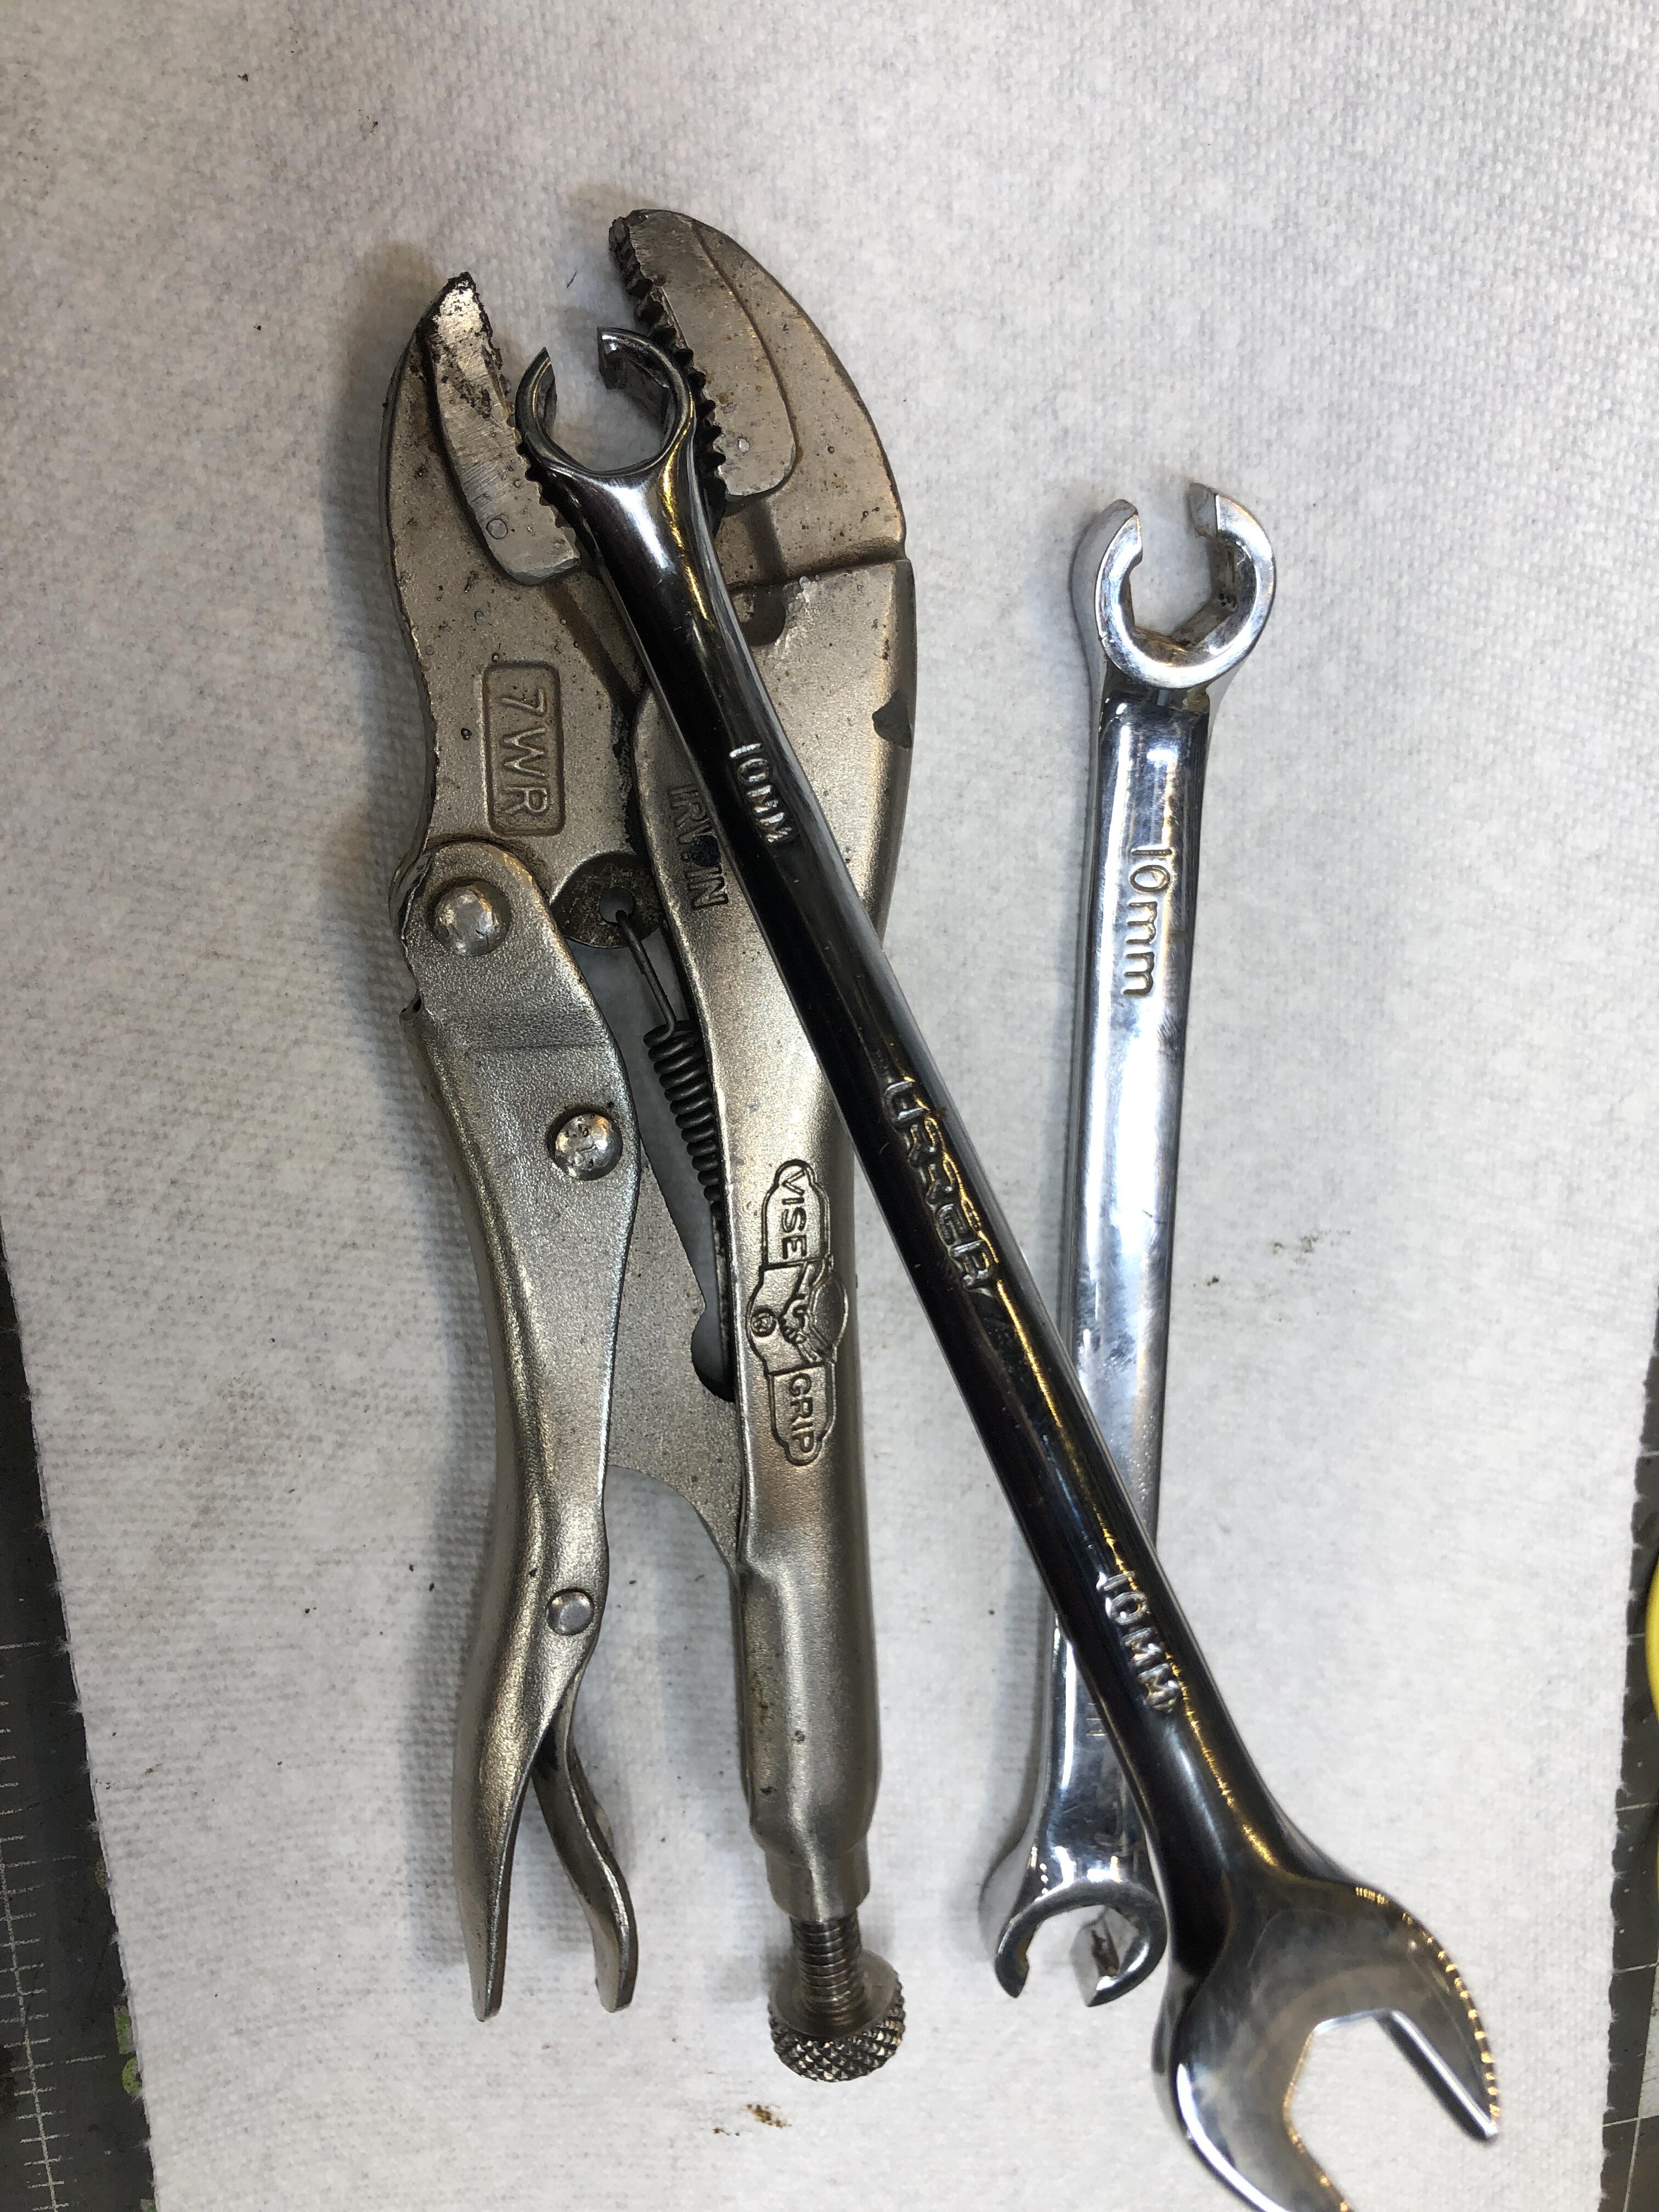
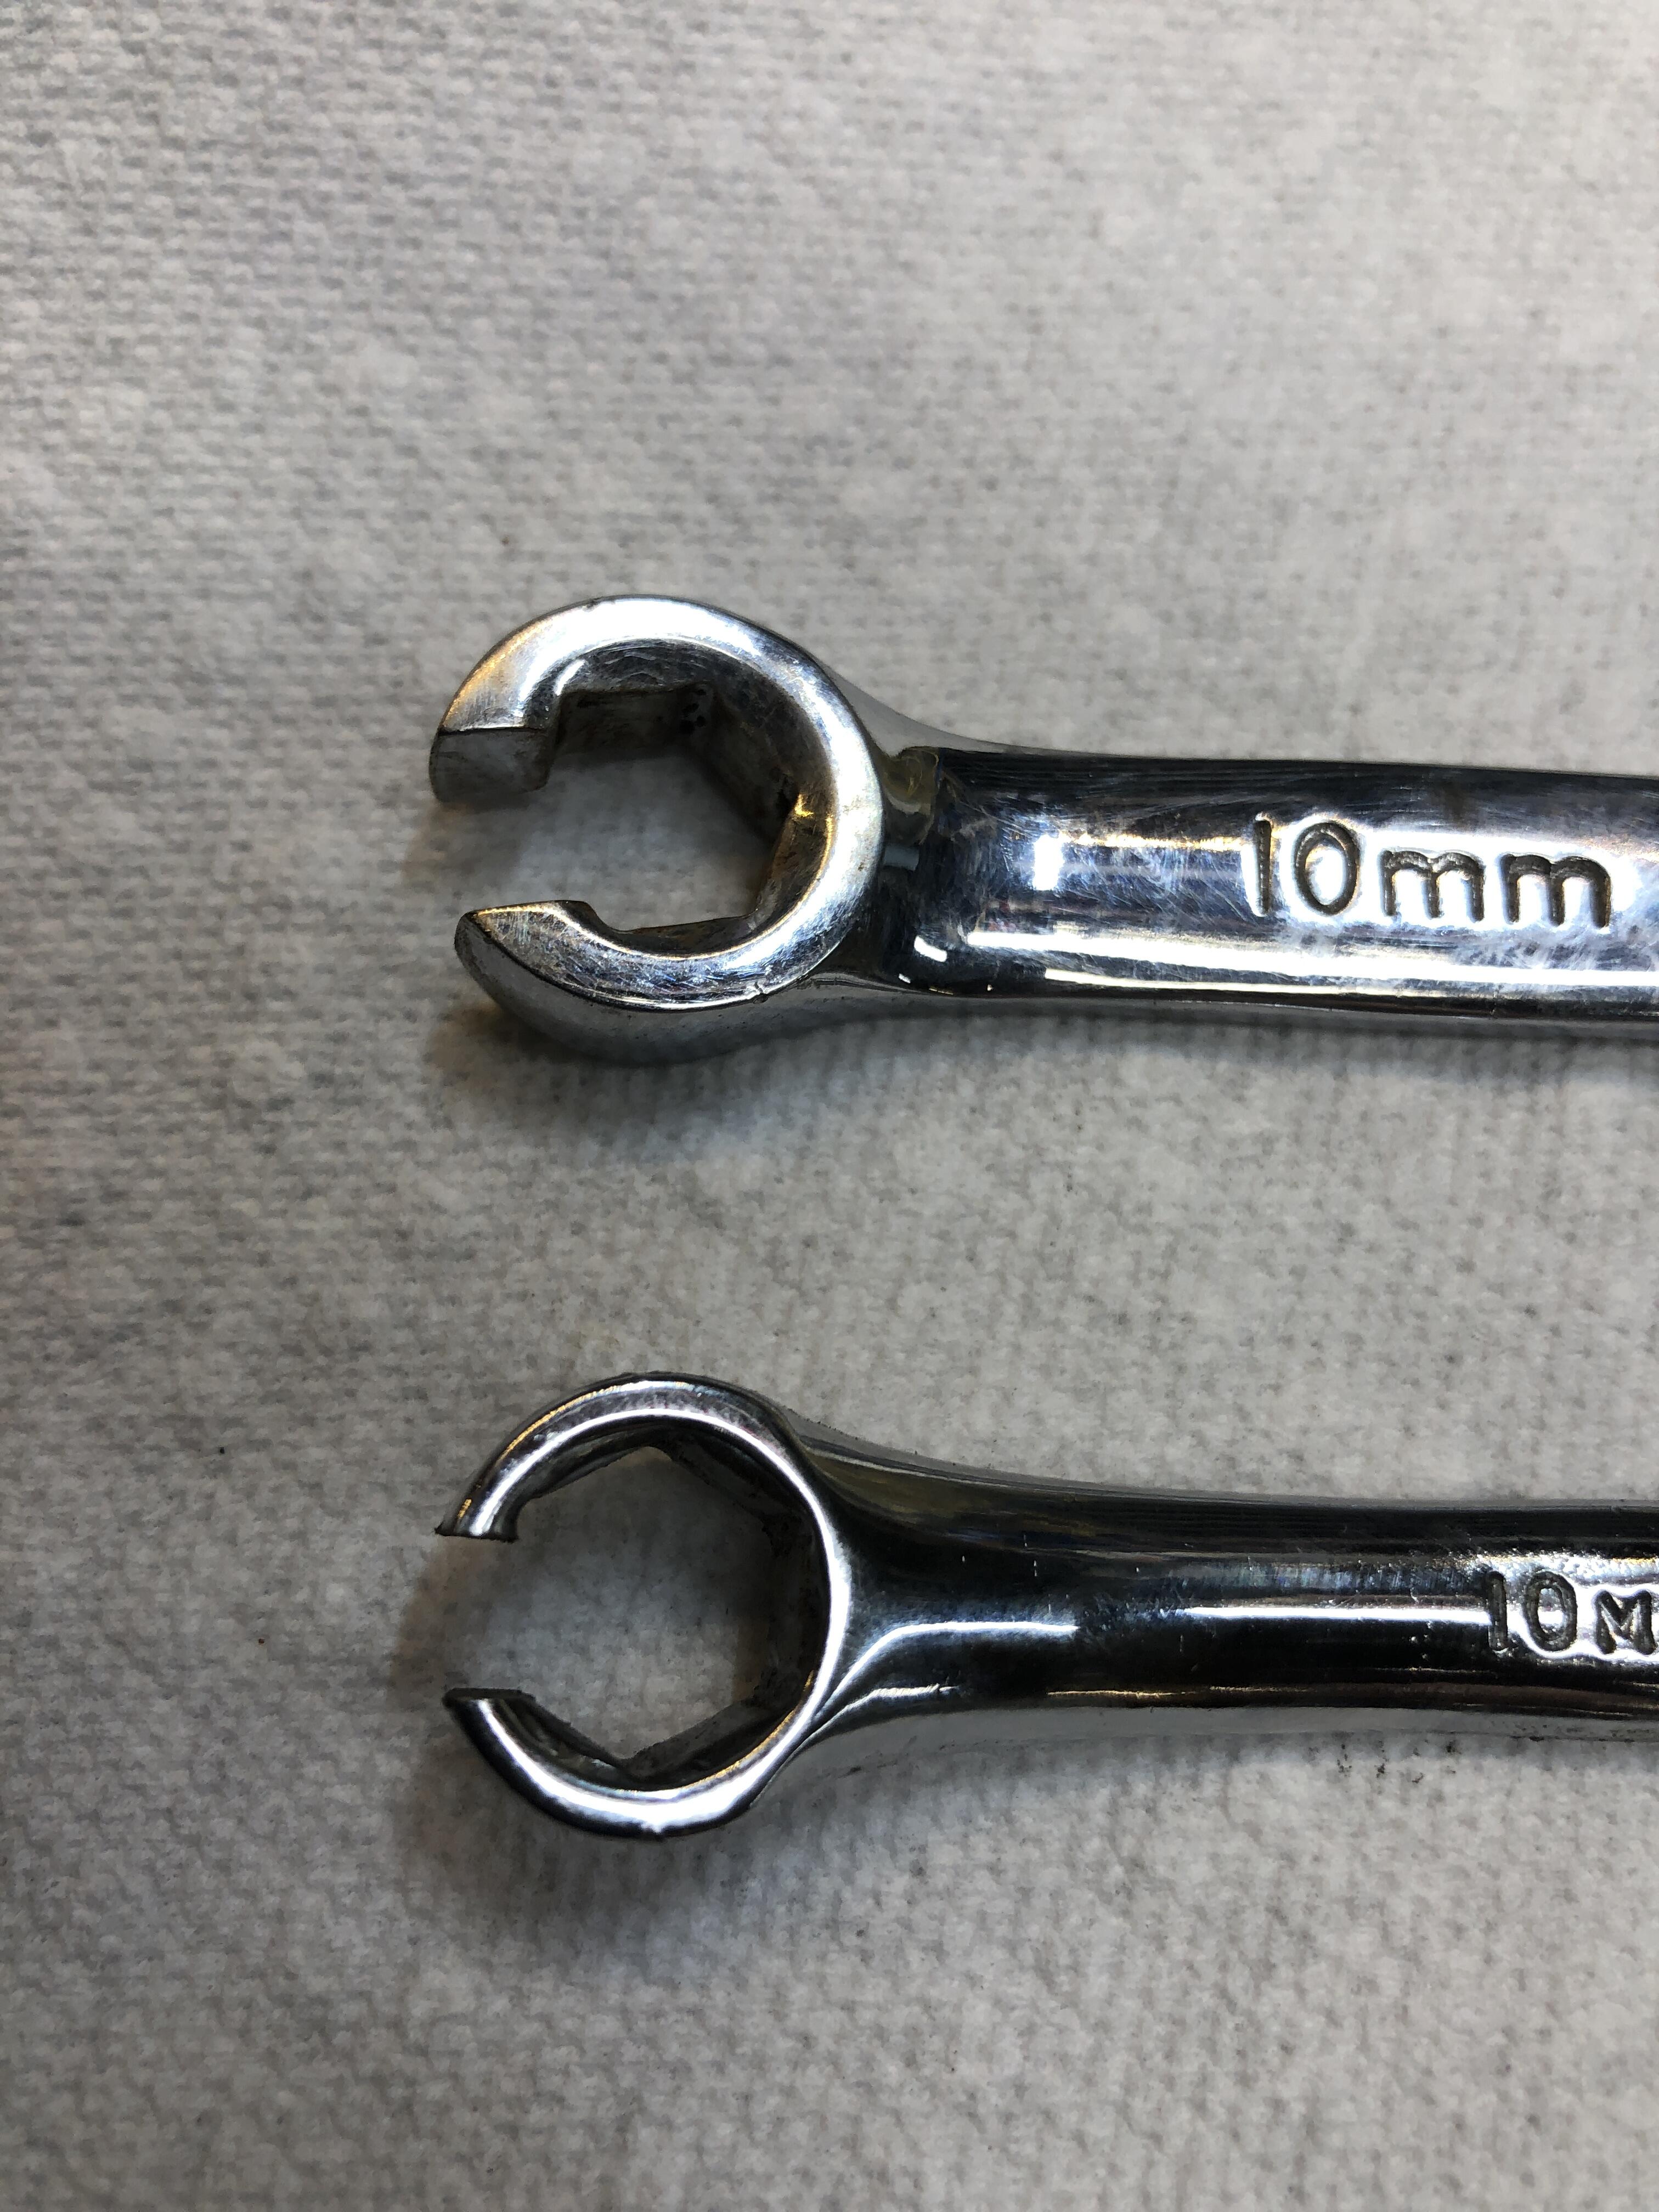
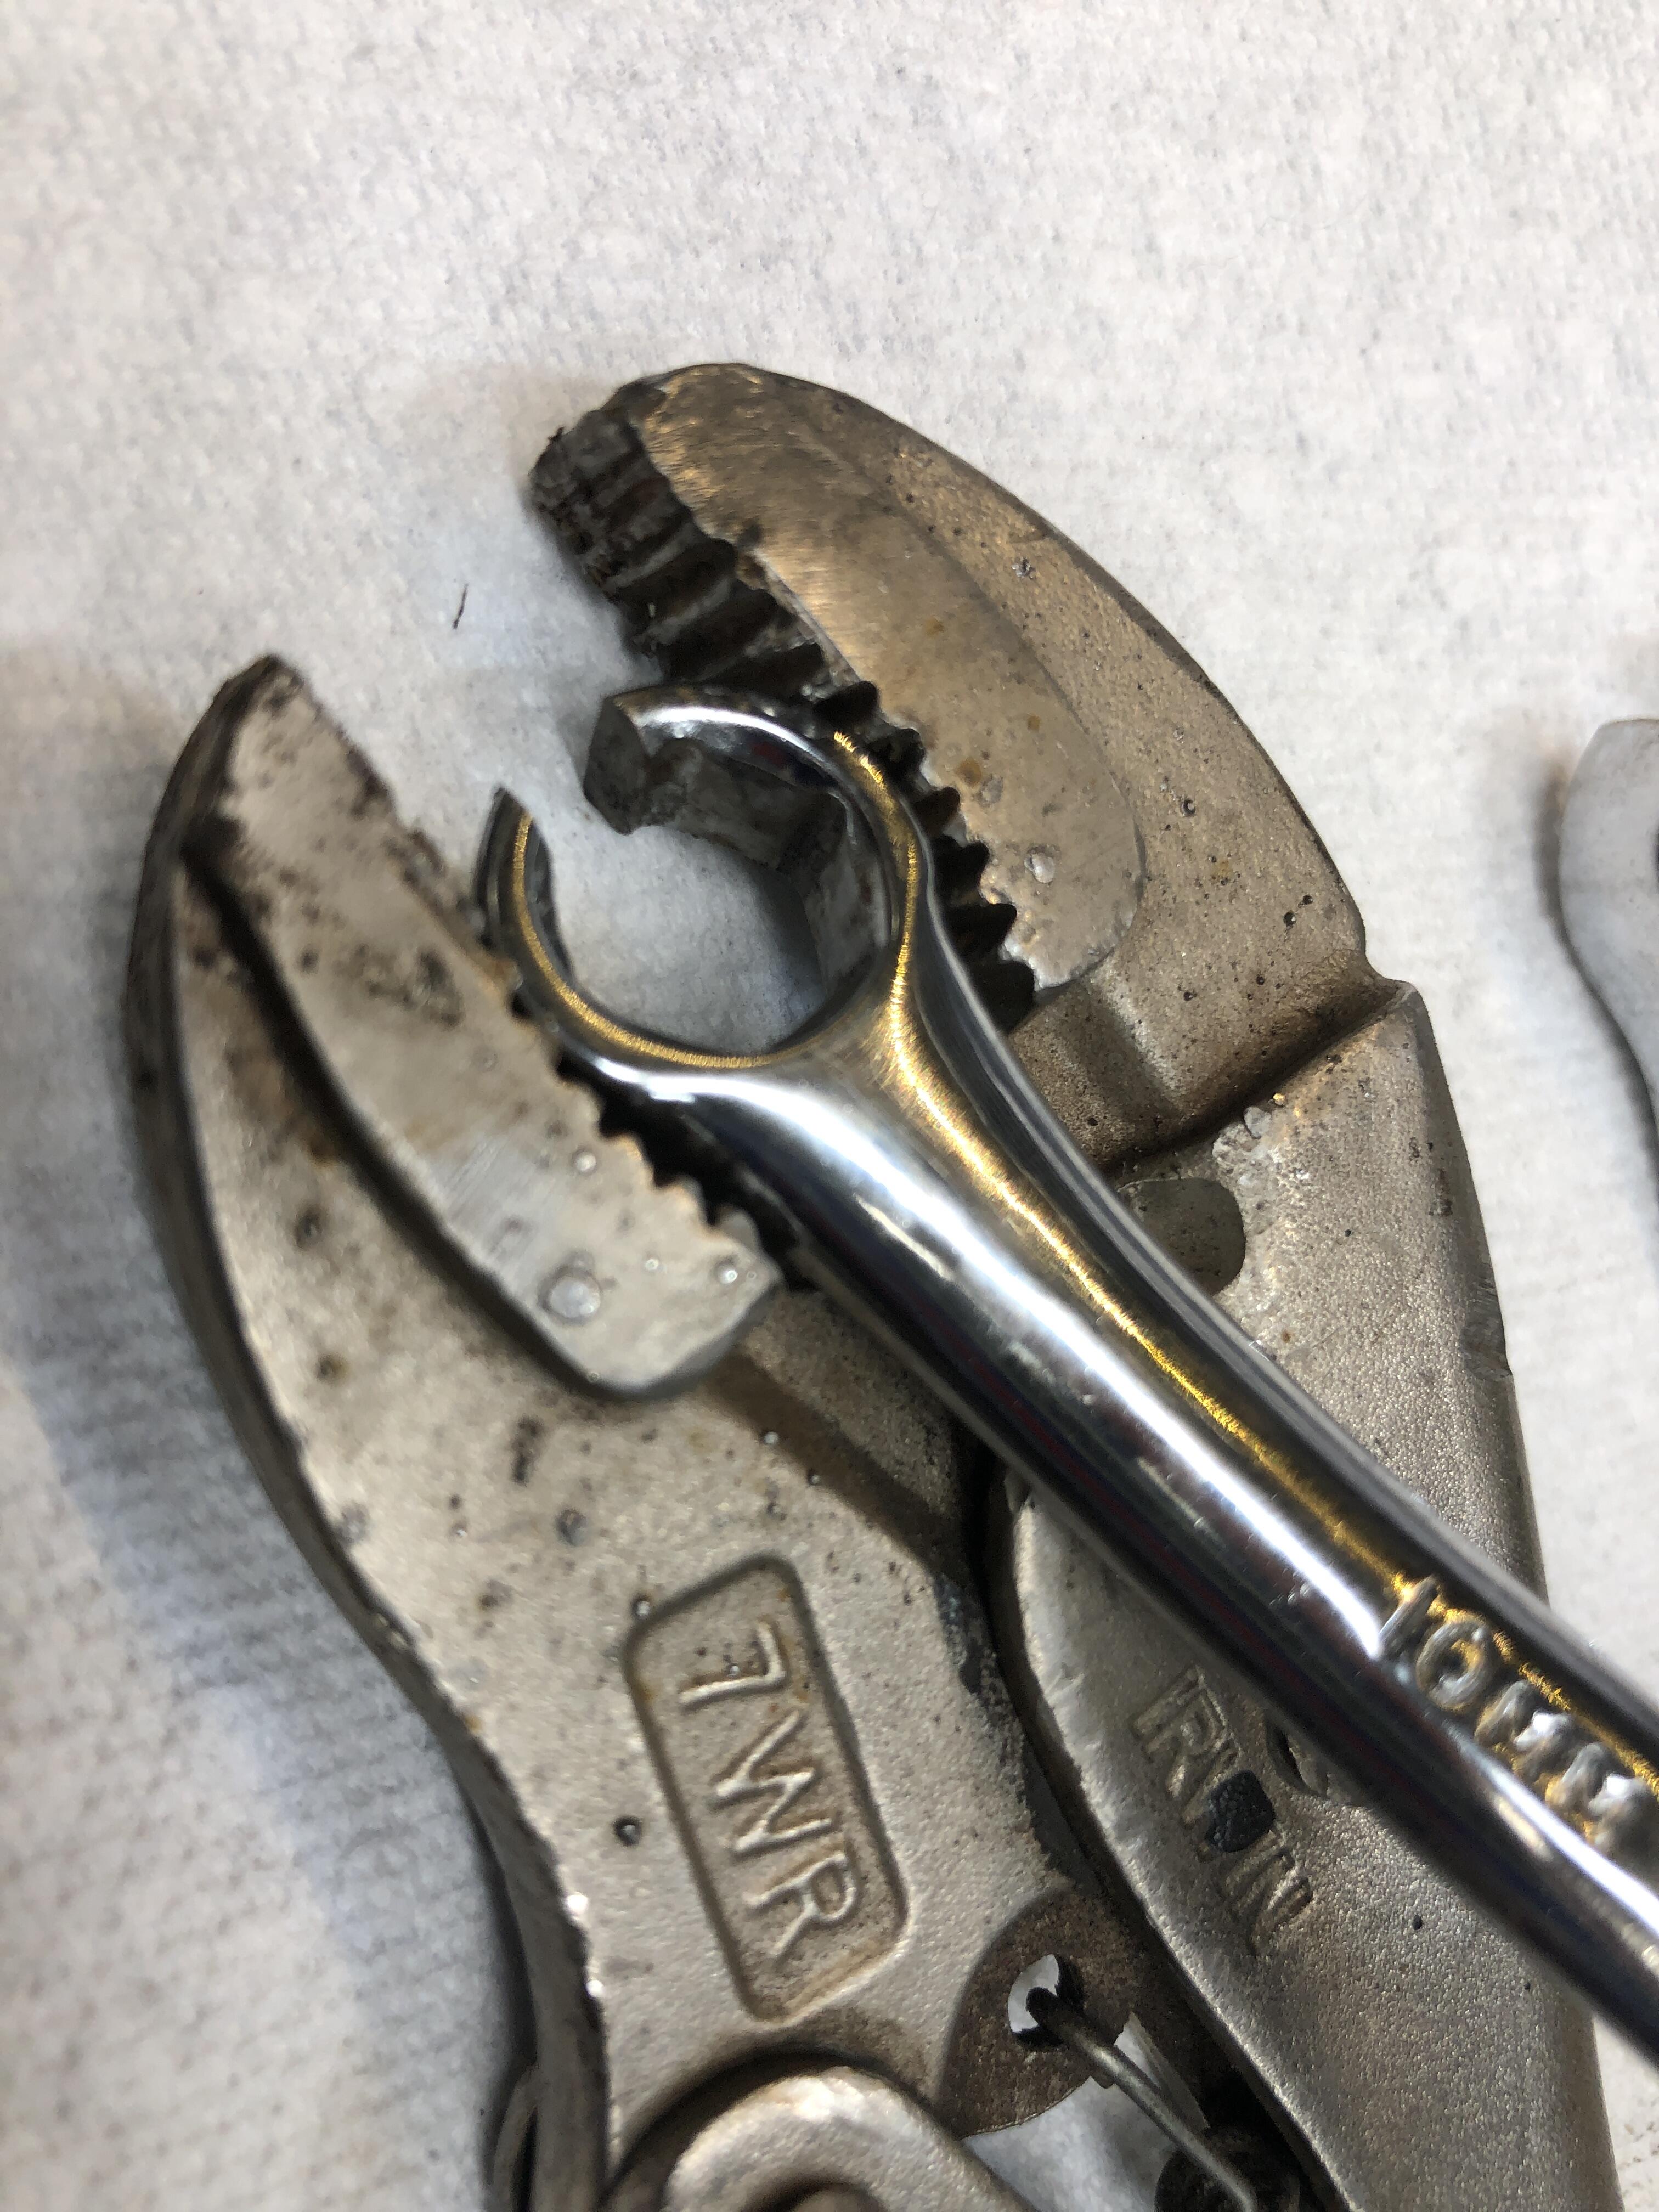
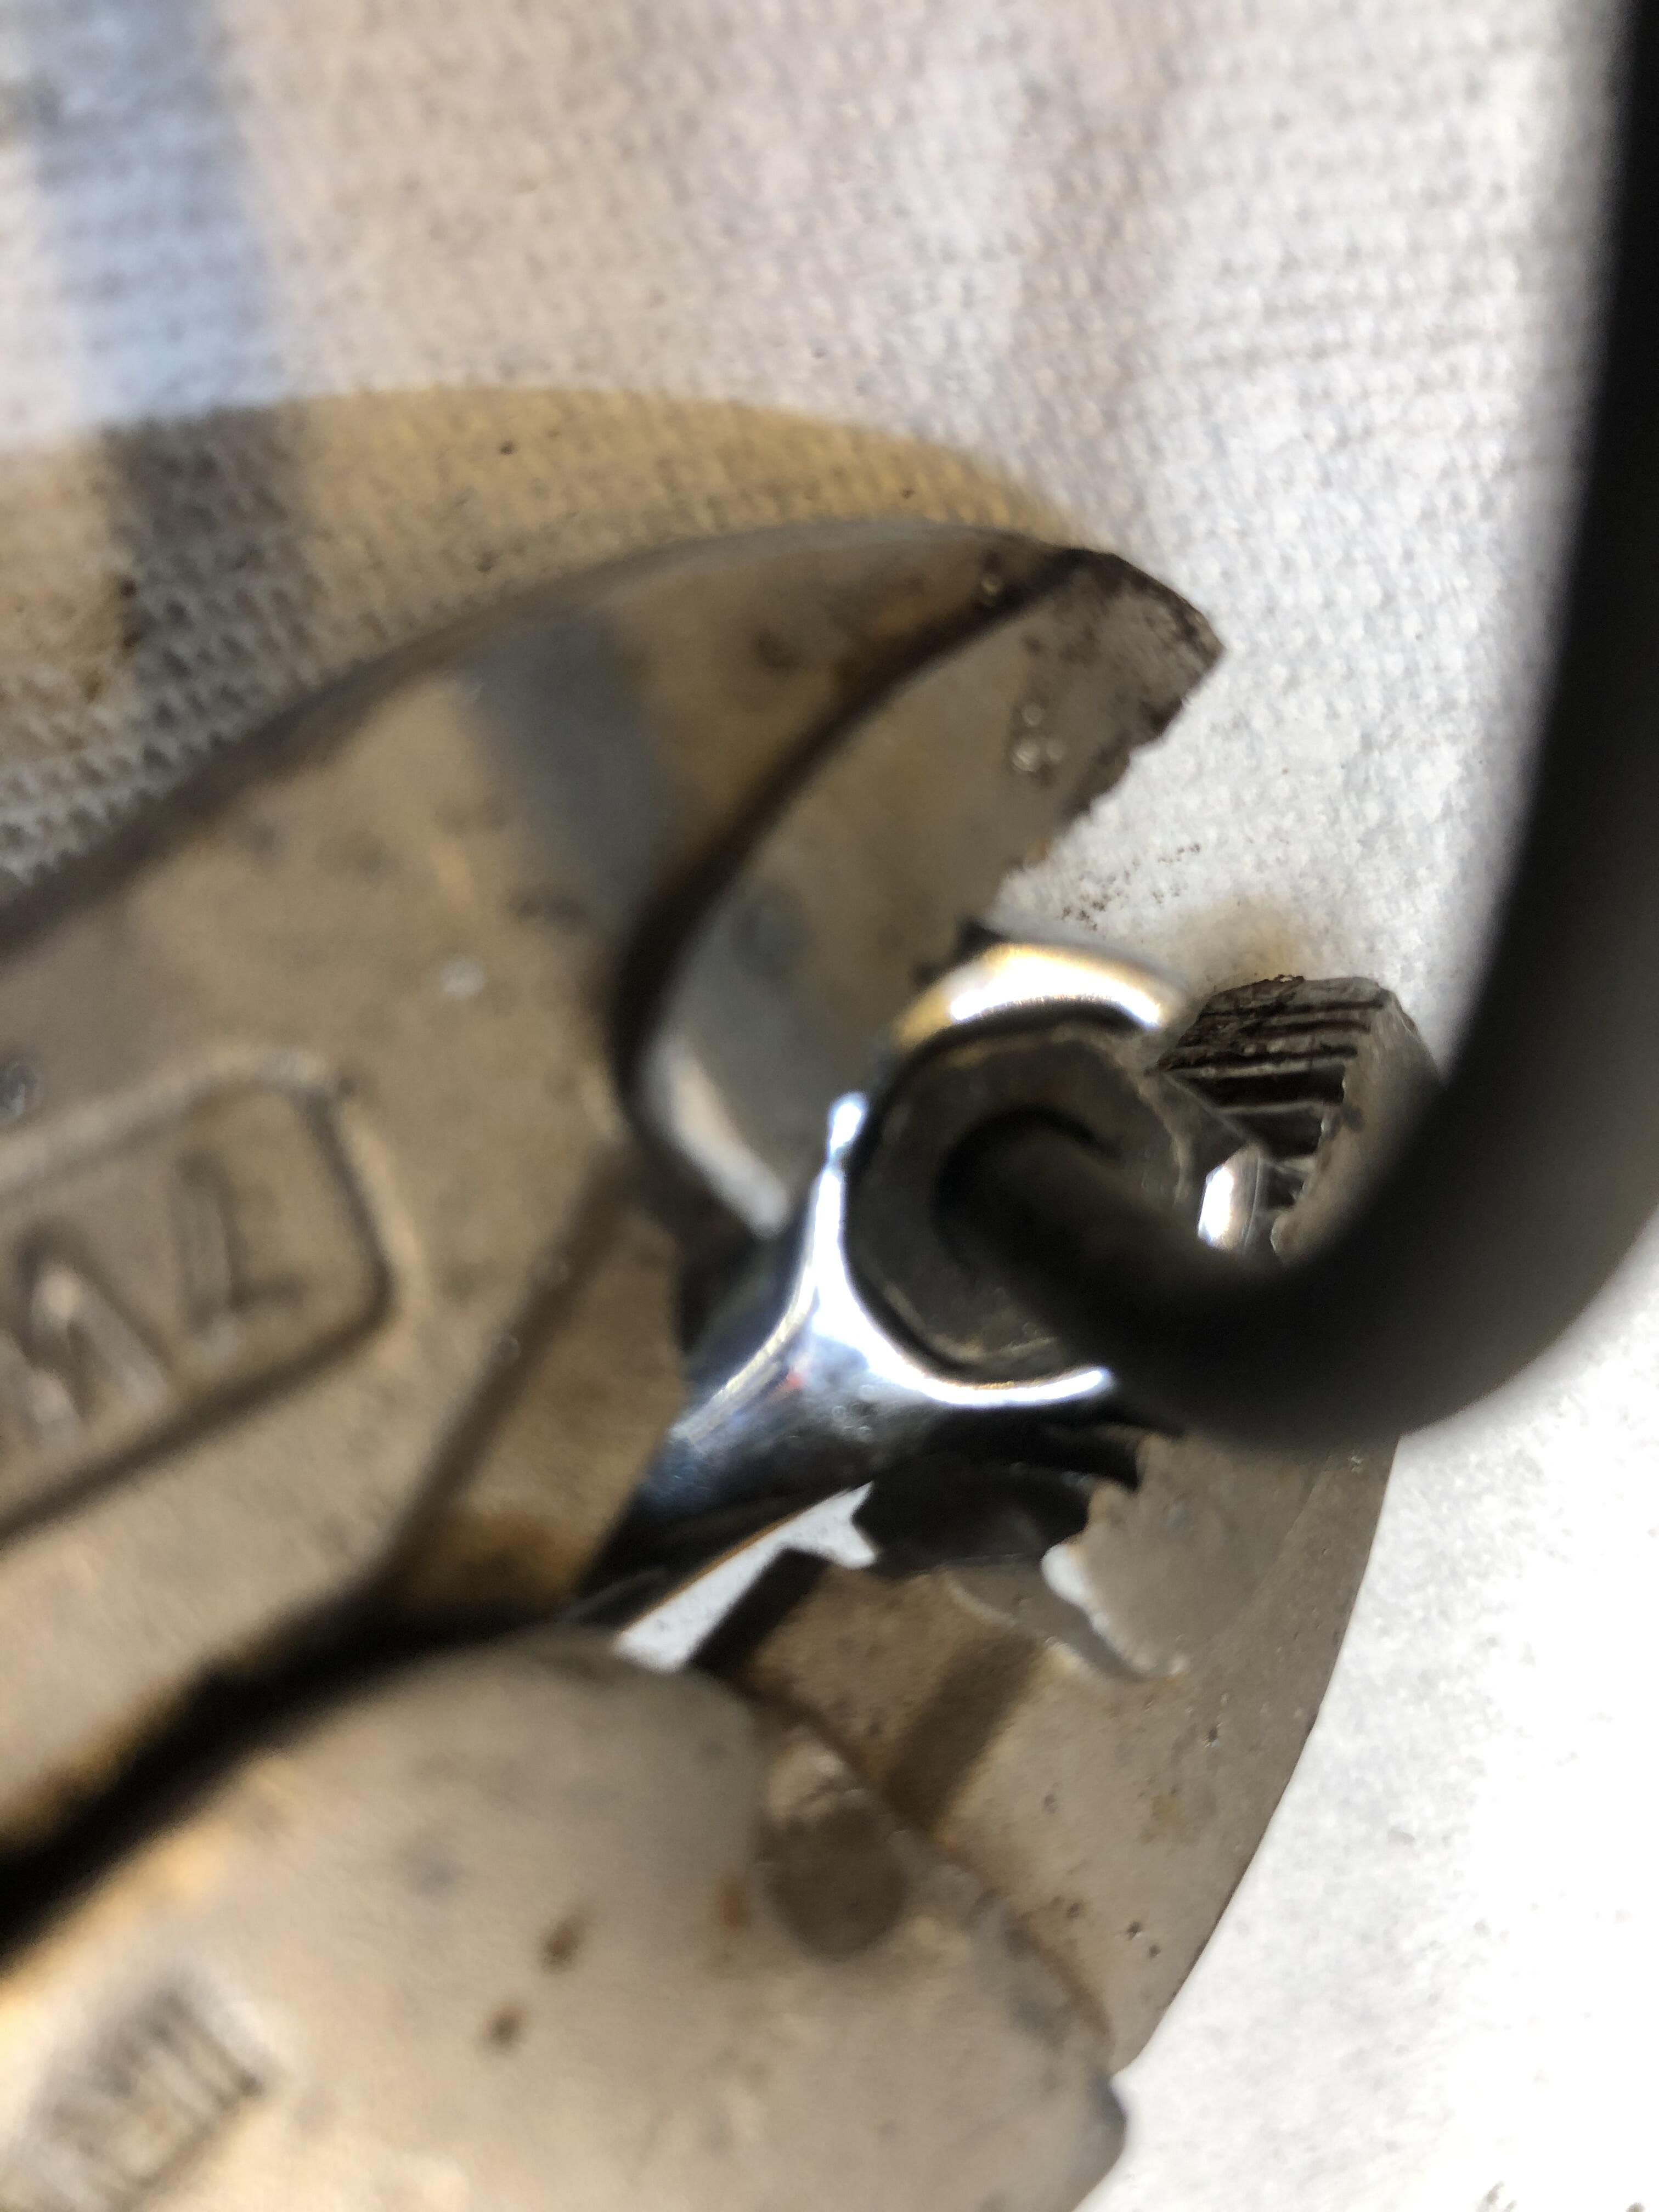
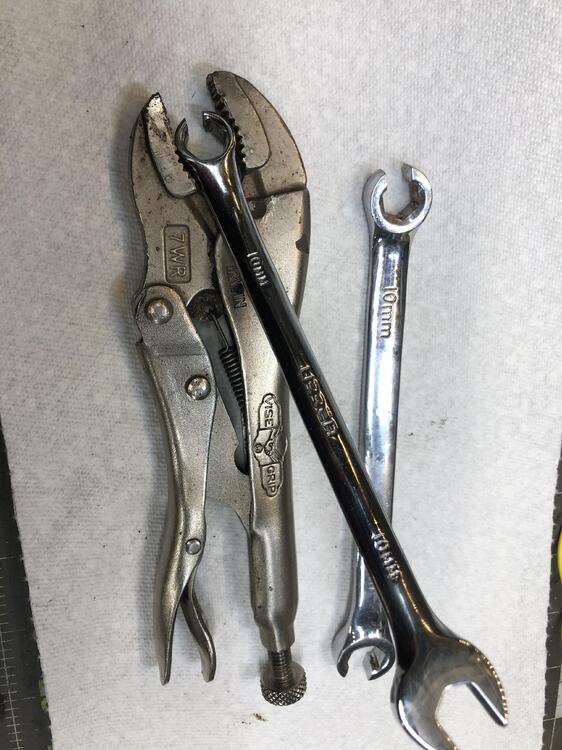
1 pointOk here is the second tool I promised. Didn’t have pics last night. It relates to loosening old rusty brake line nuts. How many of you have been forced into vise grips on a brake or clutch line nut because your fancy flare nut wrench spreads and slips around a really old and tight one? Come on, fess up, we all do it. You get it loose, sure, maybe with some heat, but the hex of the nut is invariably wrecked. When you go to put the line back on, now you HAVE to use vise grips to tighten it, and the hex soon becomes a circle…… I have tried MANY brands of flare nut wrenches, all are simply not good enough. So, I made my own! With a special feature. Here is the standard heavy walled flare nut wrench. My idea was to add some way of squeezing that wrench hex closed to tightly grip the hex of the line nut, so it CAN’t slip around. First approach was to dream of fancy levers and threaded things to apply the needed force to close down on that heavy open “C” and squeeze the nut, but even with my largest vise grips, I really couldn’t apply enough force to collapse the opening. Ok, so maybe grind down the wall thickness until its thin enough to give? Maybe, but why not find a thinner walled wrench to start with? Well there is no such thing. Unless…. So I just bought a cheap Amazon 10 mm 6point box end wrench and turned it into a flare nut wrench by using a thin cutoff wheel and making a 3/16 gap in the end! My creation on the left, standard flare nut wrench on the right. Now its easy to squeeze that gap with a 8” vise grip So you just place the wrench on the line nut, then close the vise grips over the “C” and squeeze it shut. Then apply all the force you want with a hammer or pipe or whatever it takes to break the nut loose without fear of stripping the hex. After extensive testing on several cars recently, this little jewel is working perfectiy! The only thing I need to do is make the handle longer so I can tug on it by hand without beating on it with a hammer all the time, especially when the room around nut is tight.


 1 point