


Leaderboard
-
DatsunZGuy
Free Member4Points930Posts -
Captain Obvious
Free Member3Points10,081Posts -

CW240Z72
Free Member2Points229Posts -
jfa.series1
 Subscriber
 2Points2,734Posts


Popular Content
Showing content with the highest reputation on 03/30/2021 in all areas
-
4 pointsBring a Trailer has taught the pedestrian novice that a green 240Z is worth upwards of $300,000, regardless of condition 😊4 points
-
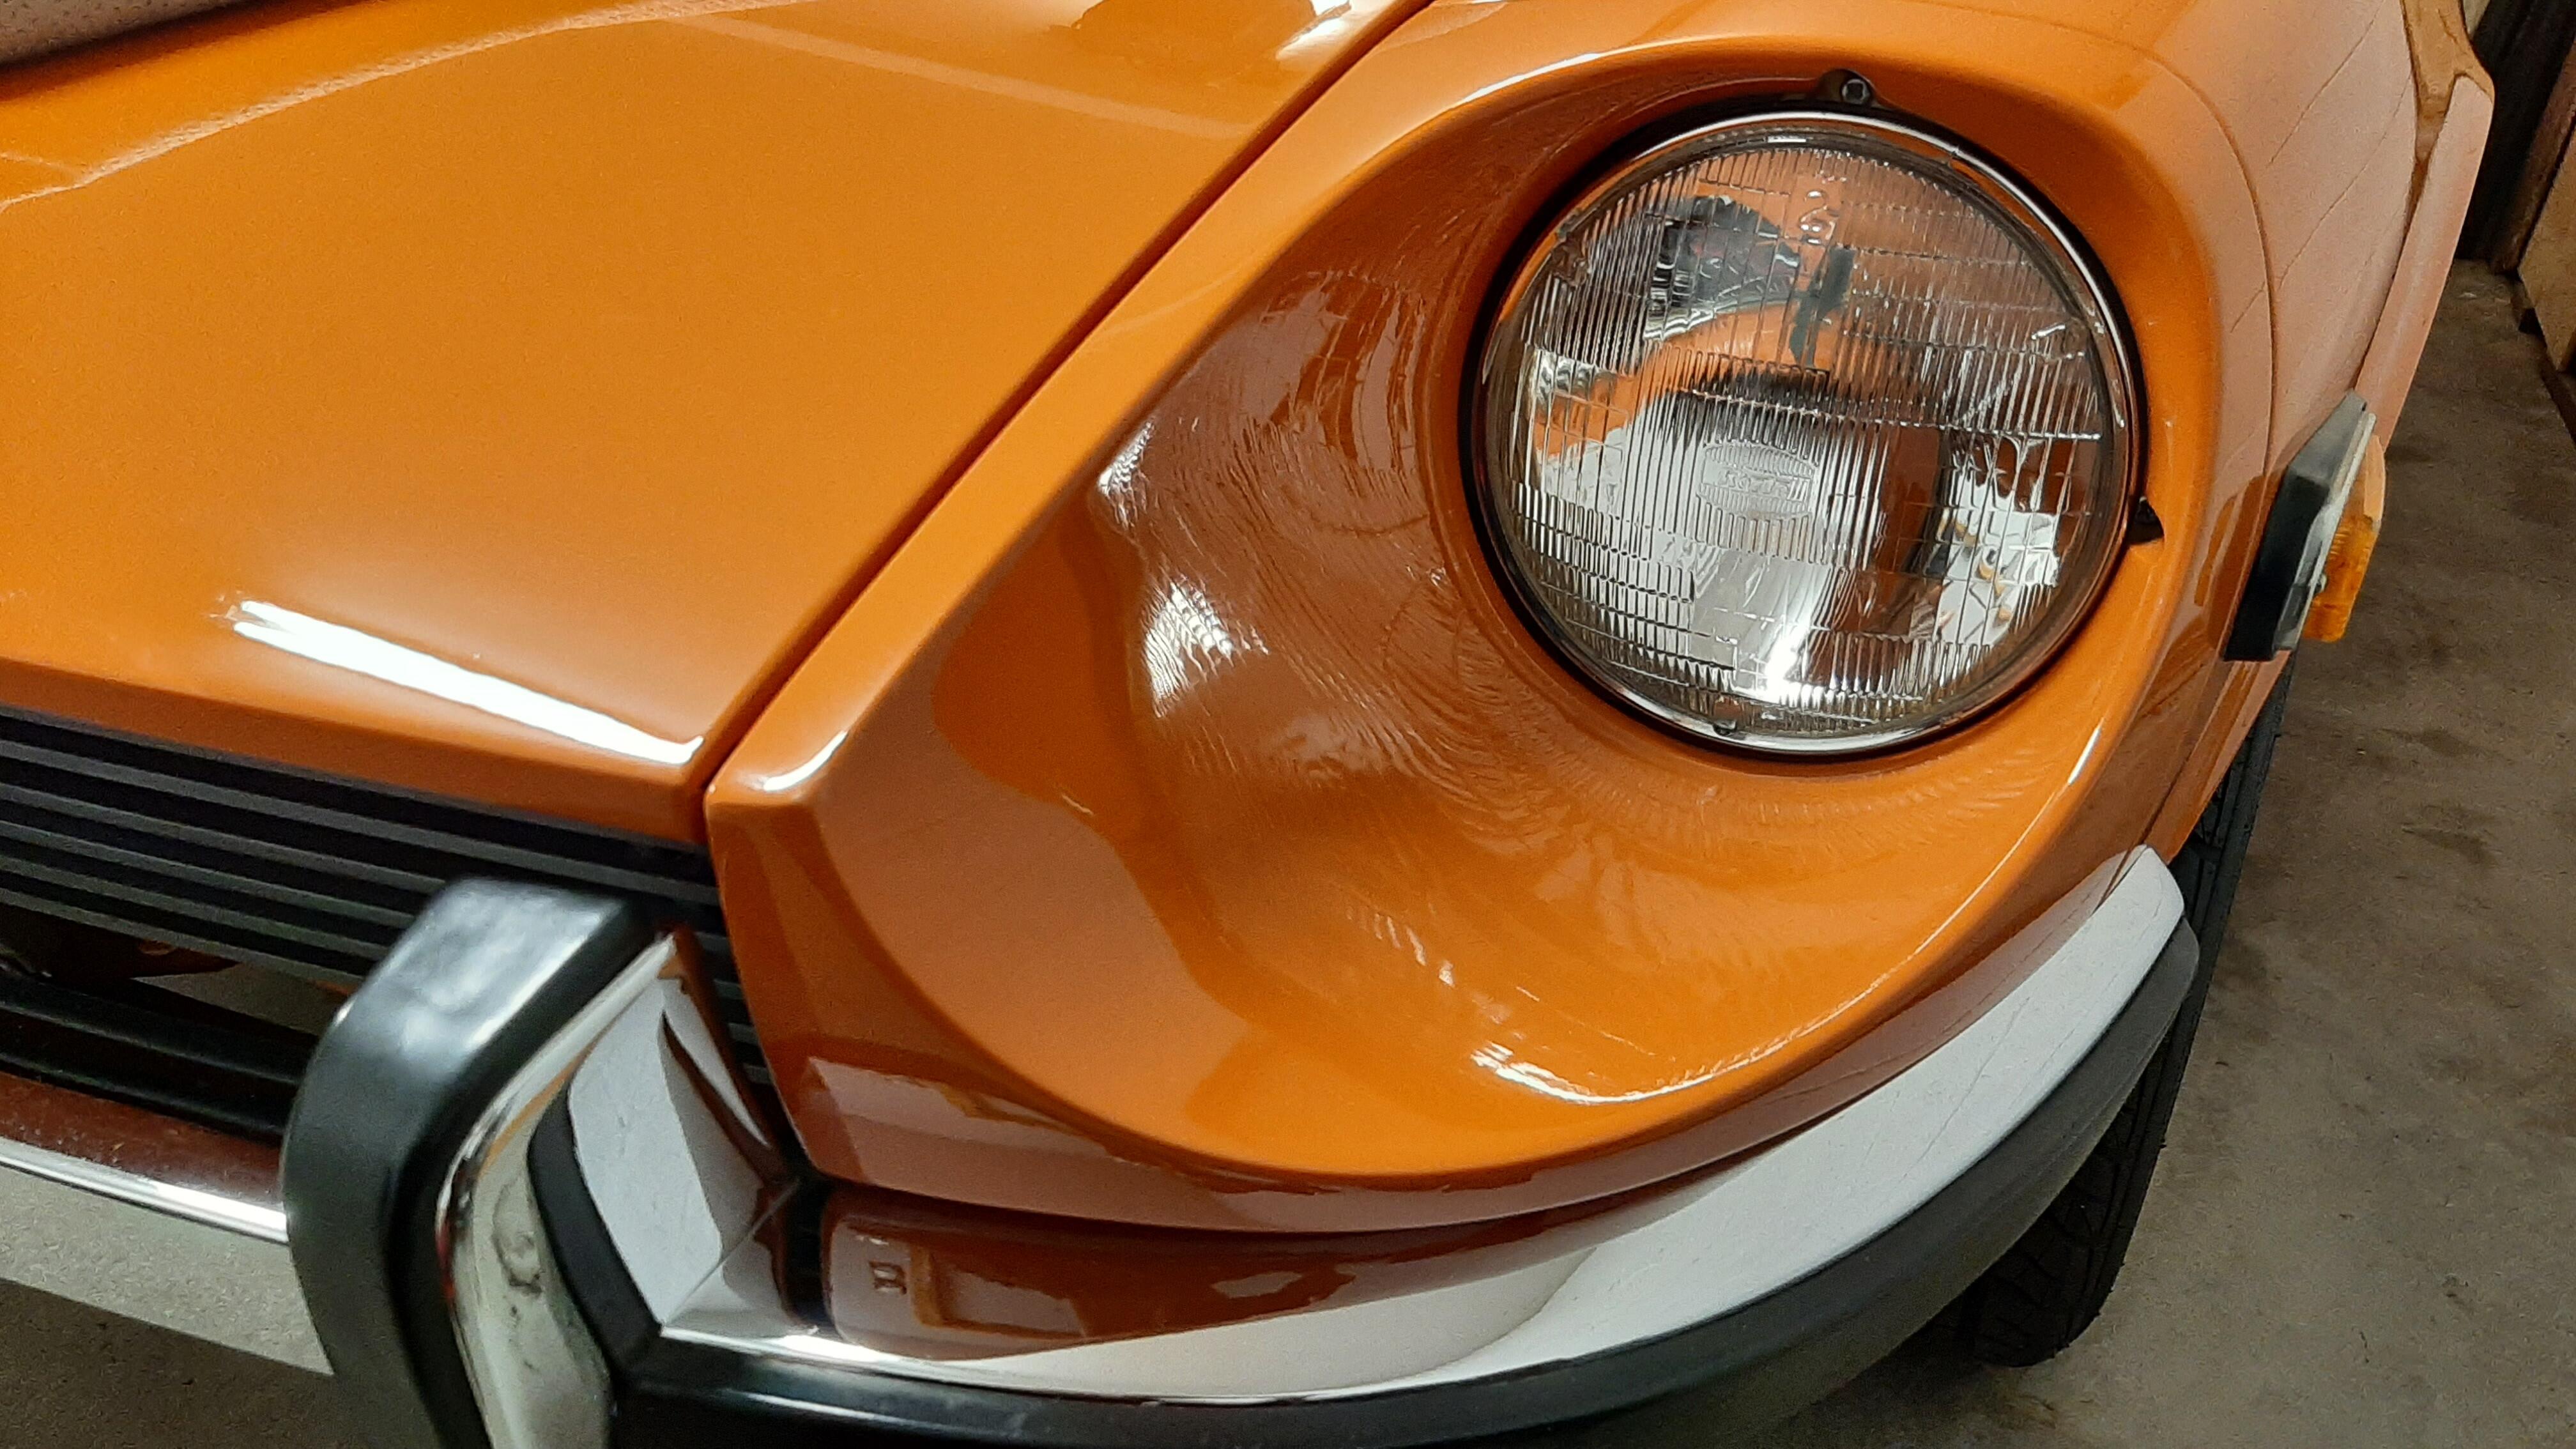
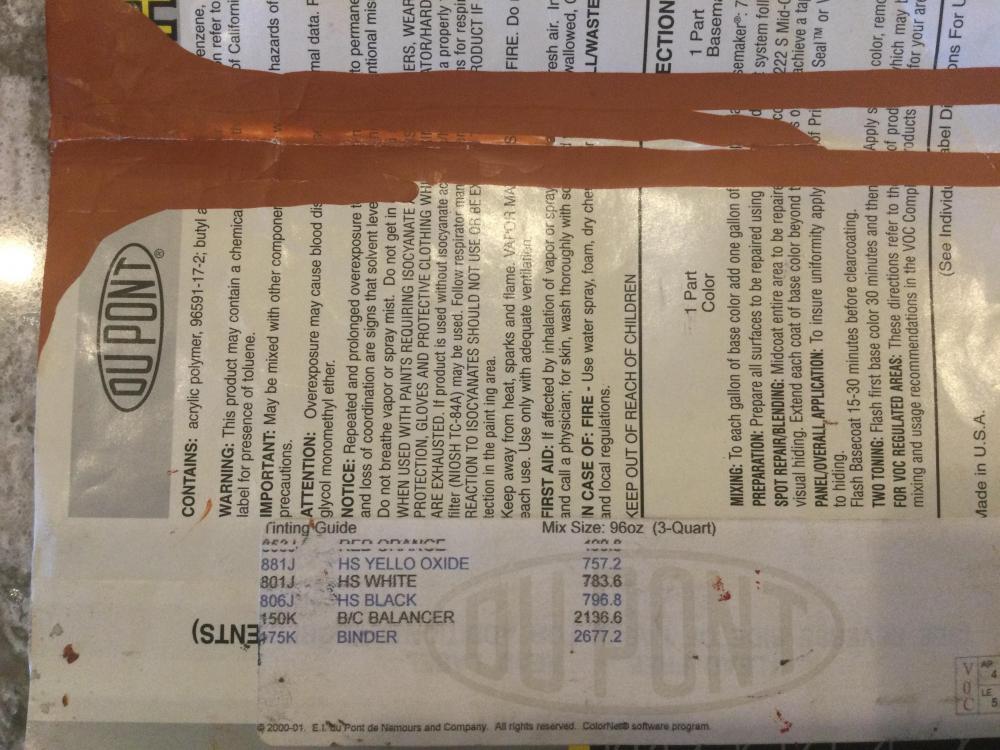
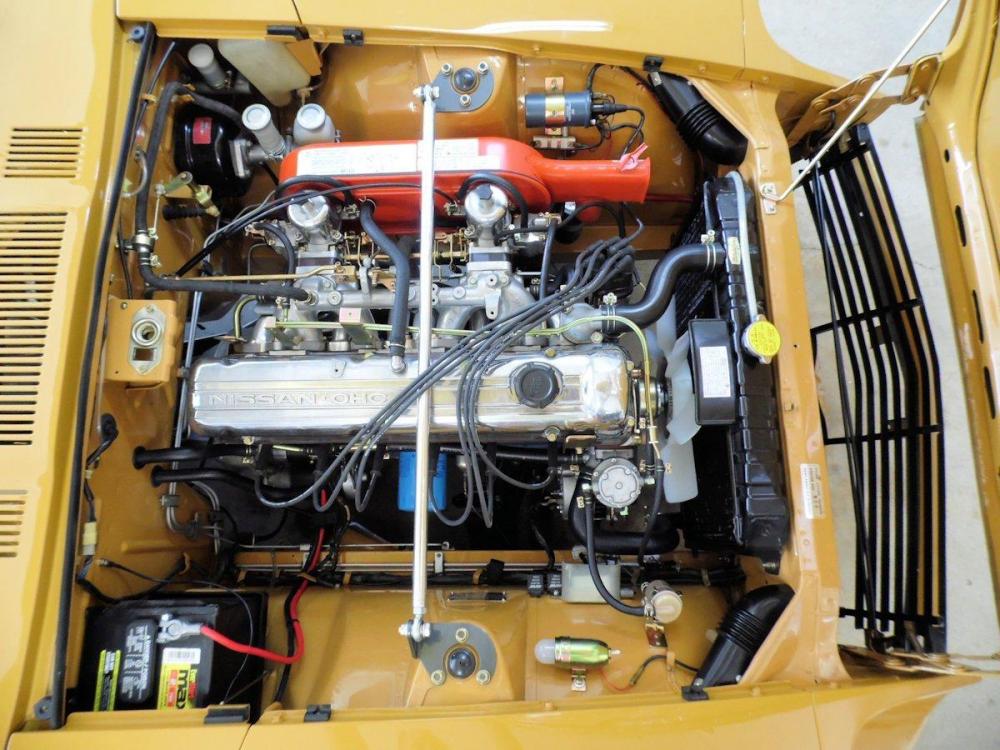
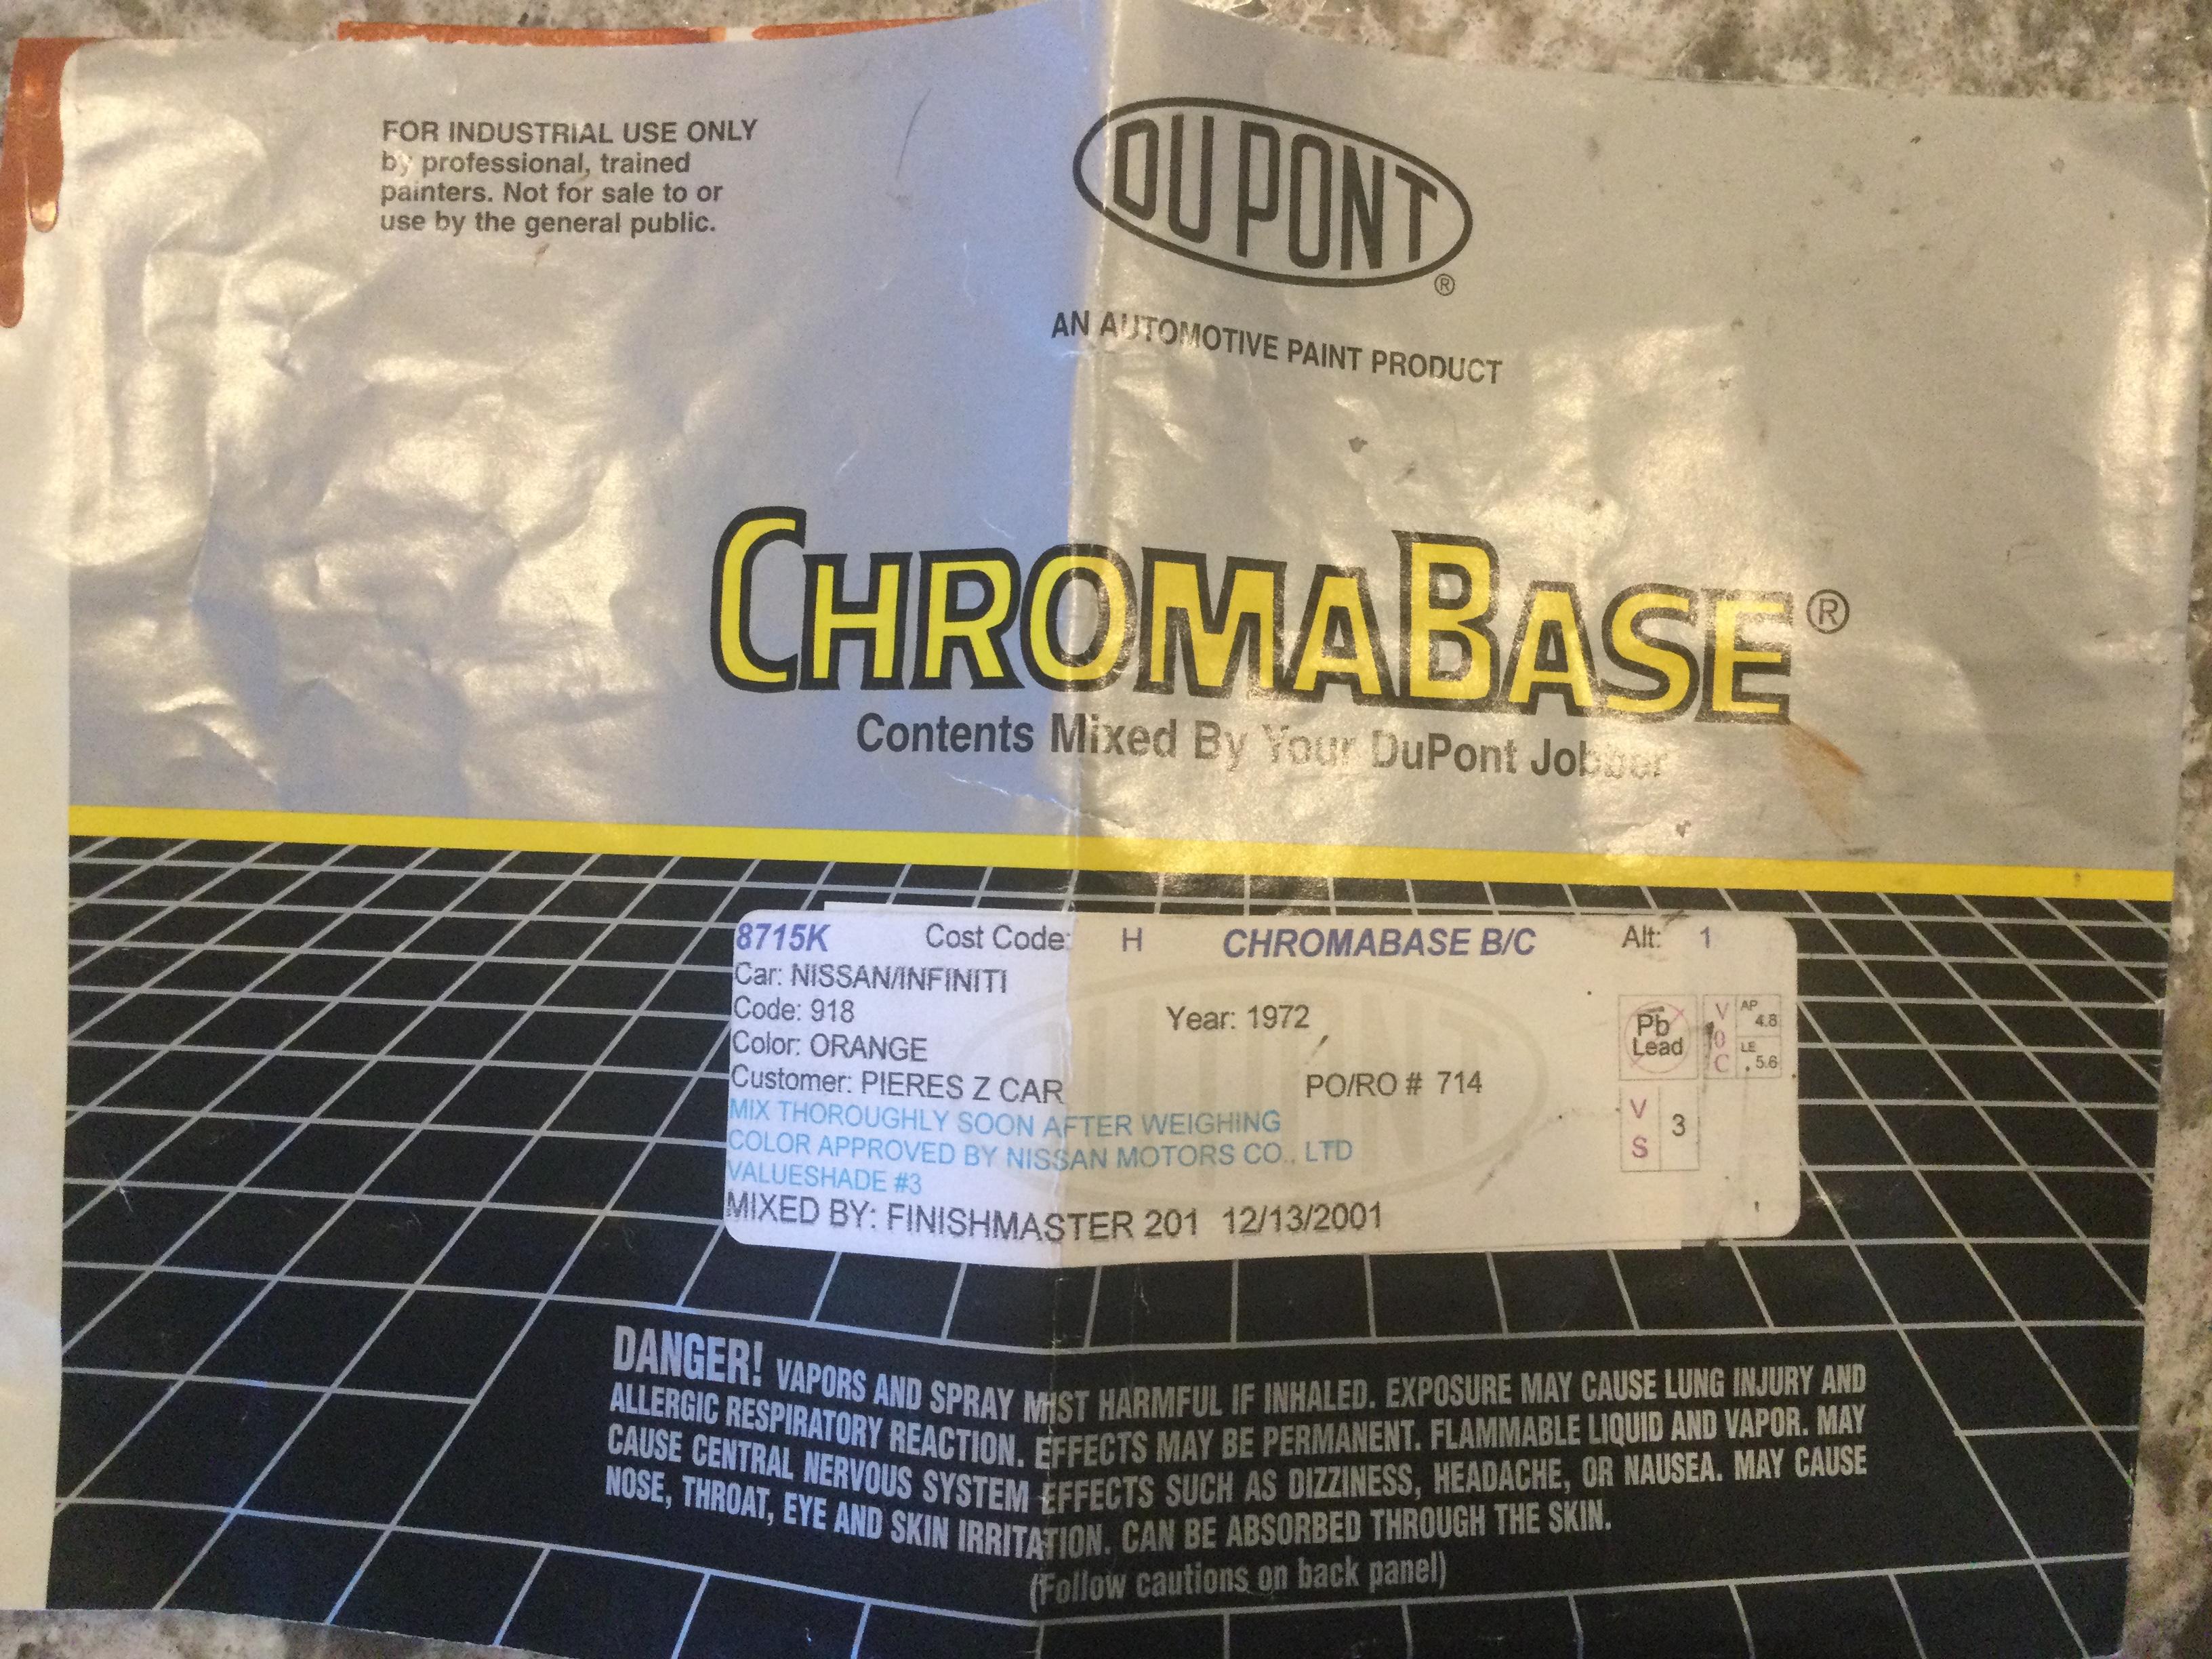
2 pointsWally, Pierre Z did my car restoration about 19 years ago, and he also did most of the restorations in the Vintage Z Restoration Program just before my car. Needing some touch up paint myself, I just came across this label and believe it to be the base coat paint used on my car. The label, seen below, includes the formula and manufacturer. Disclaimer if you decide to use this, but thought it may be of interest to everyone. Dan

 2 points
 -
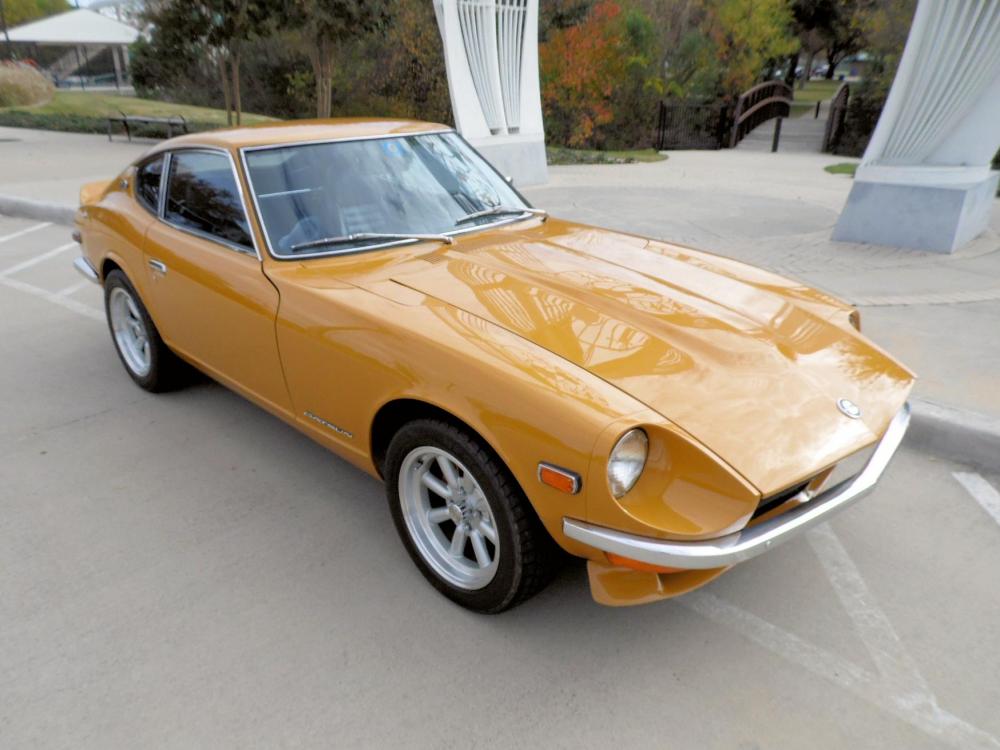
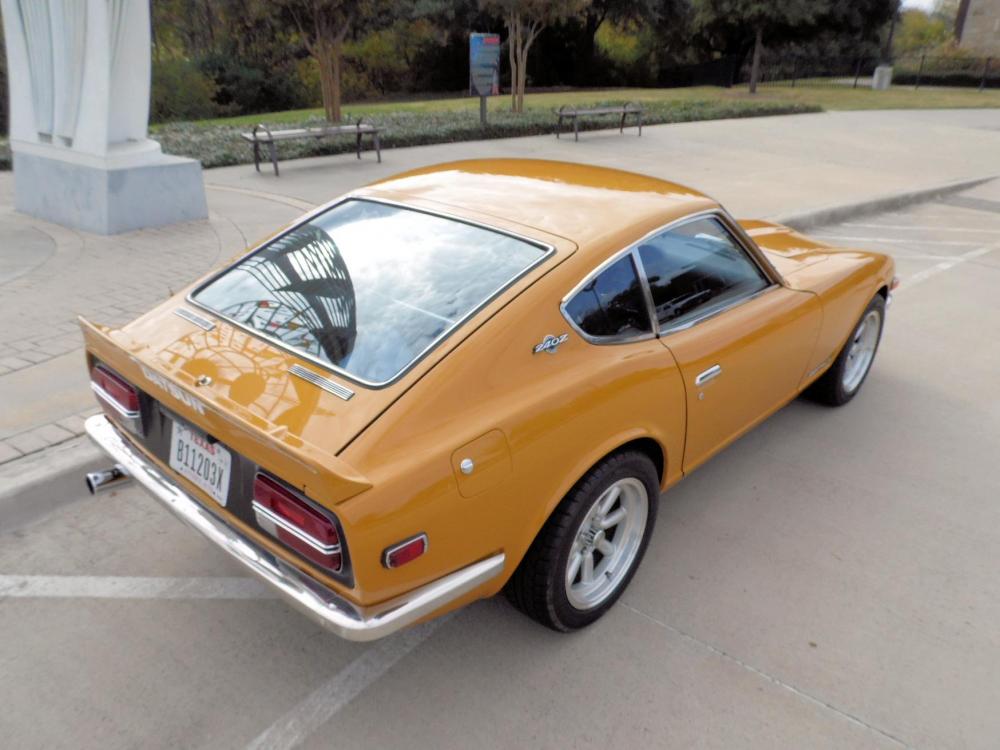
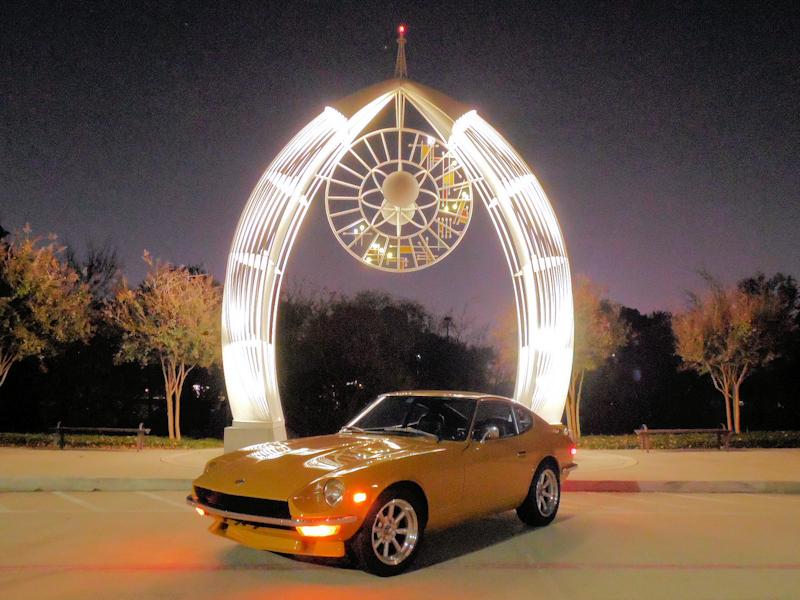
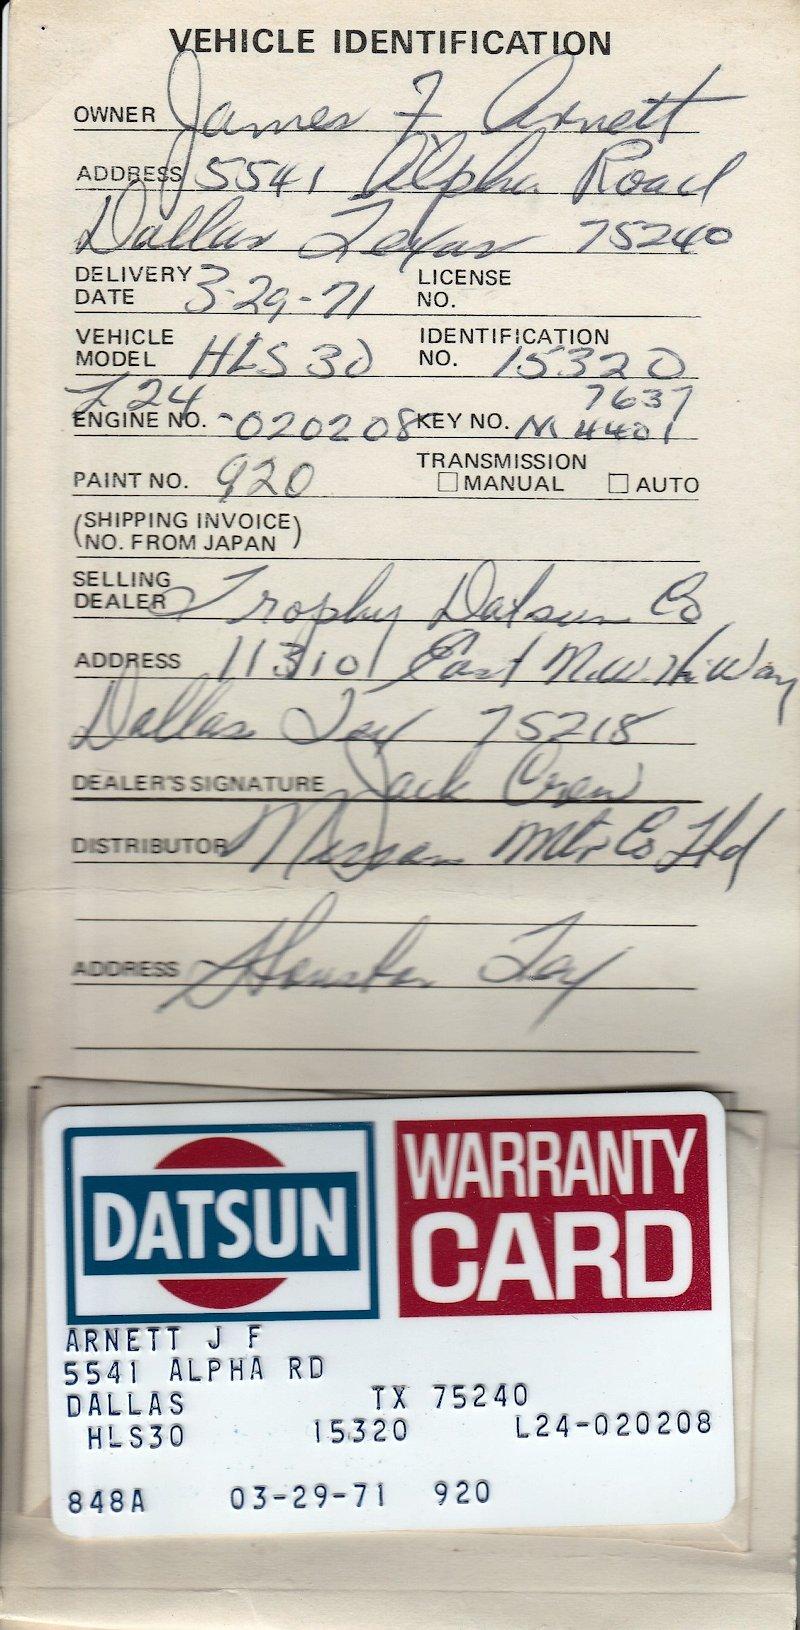
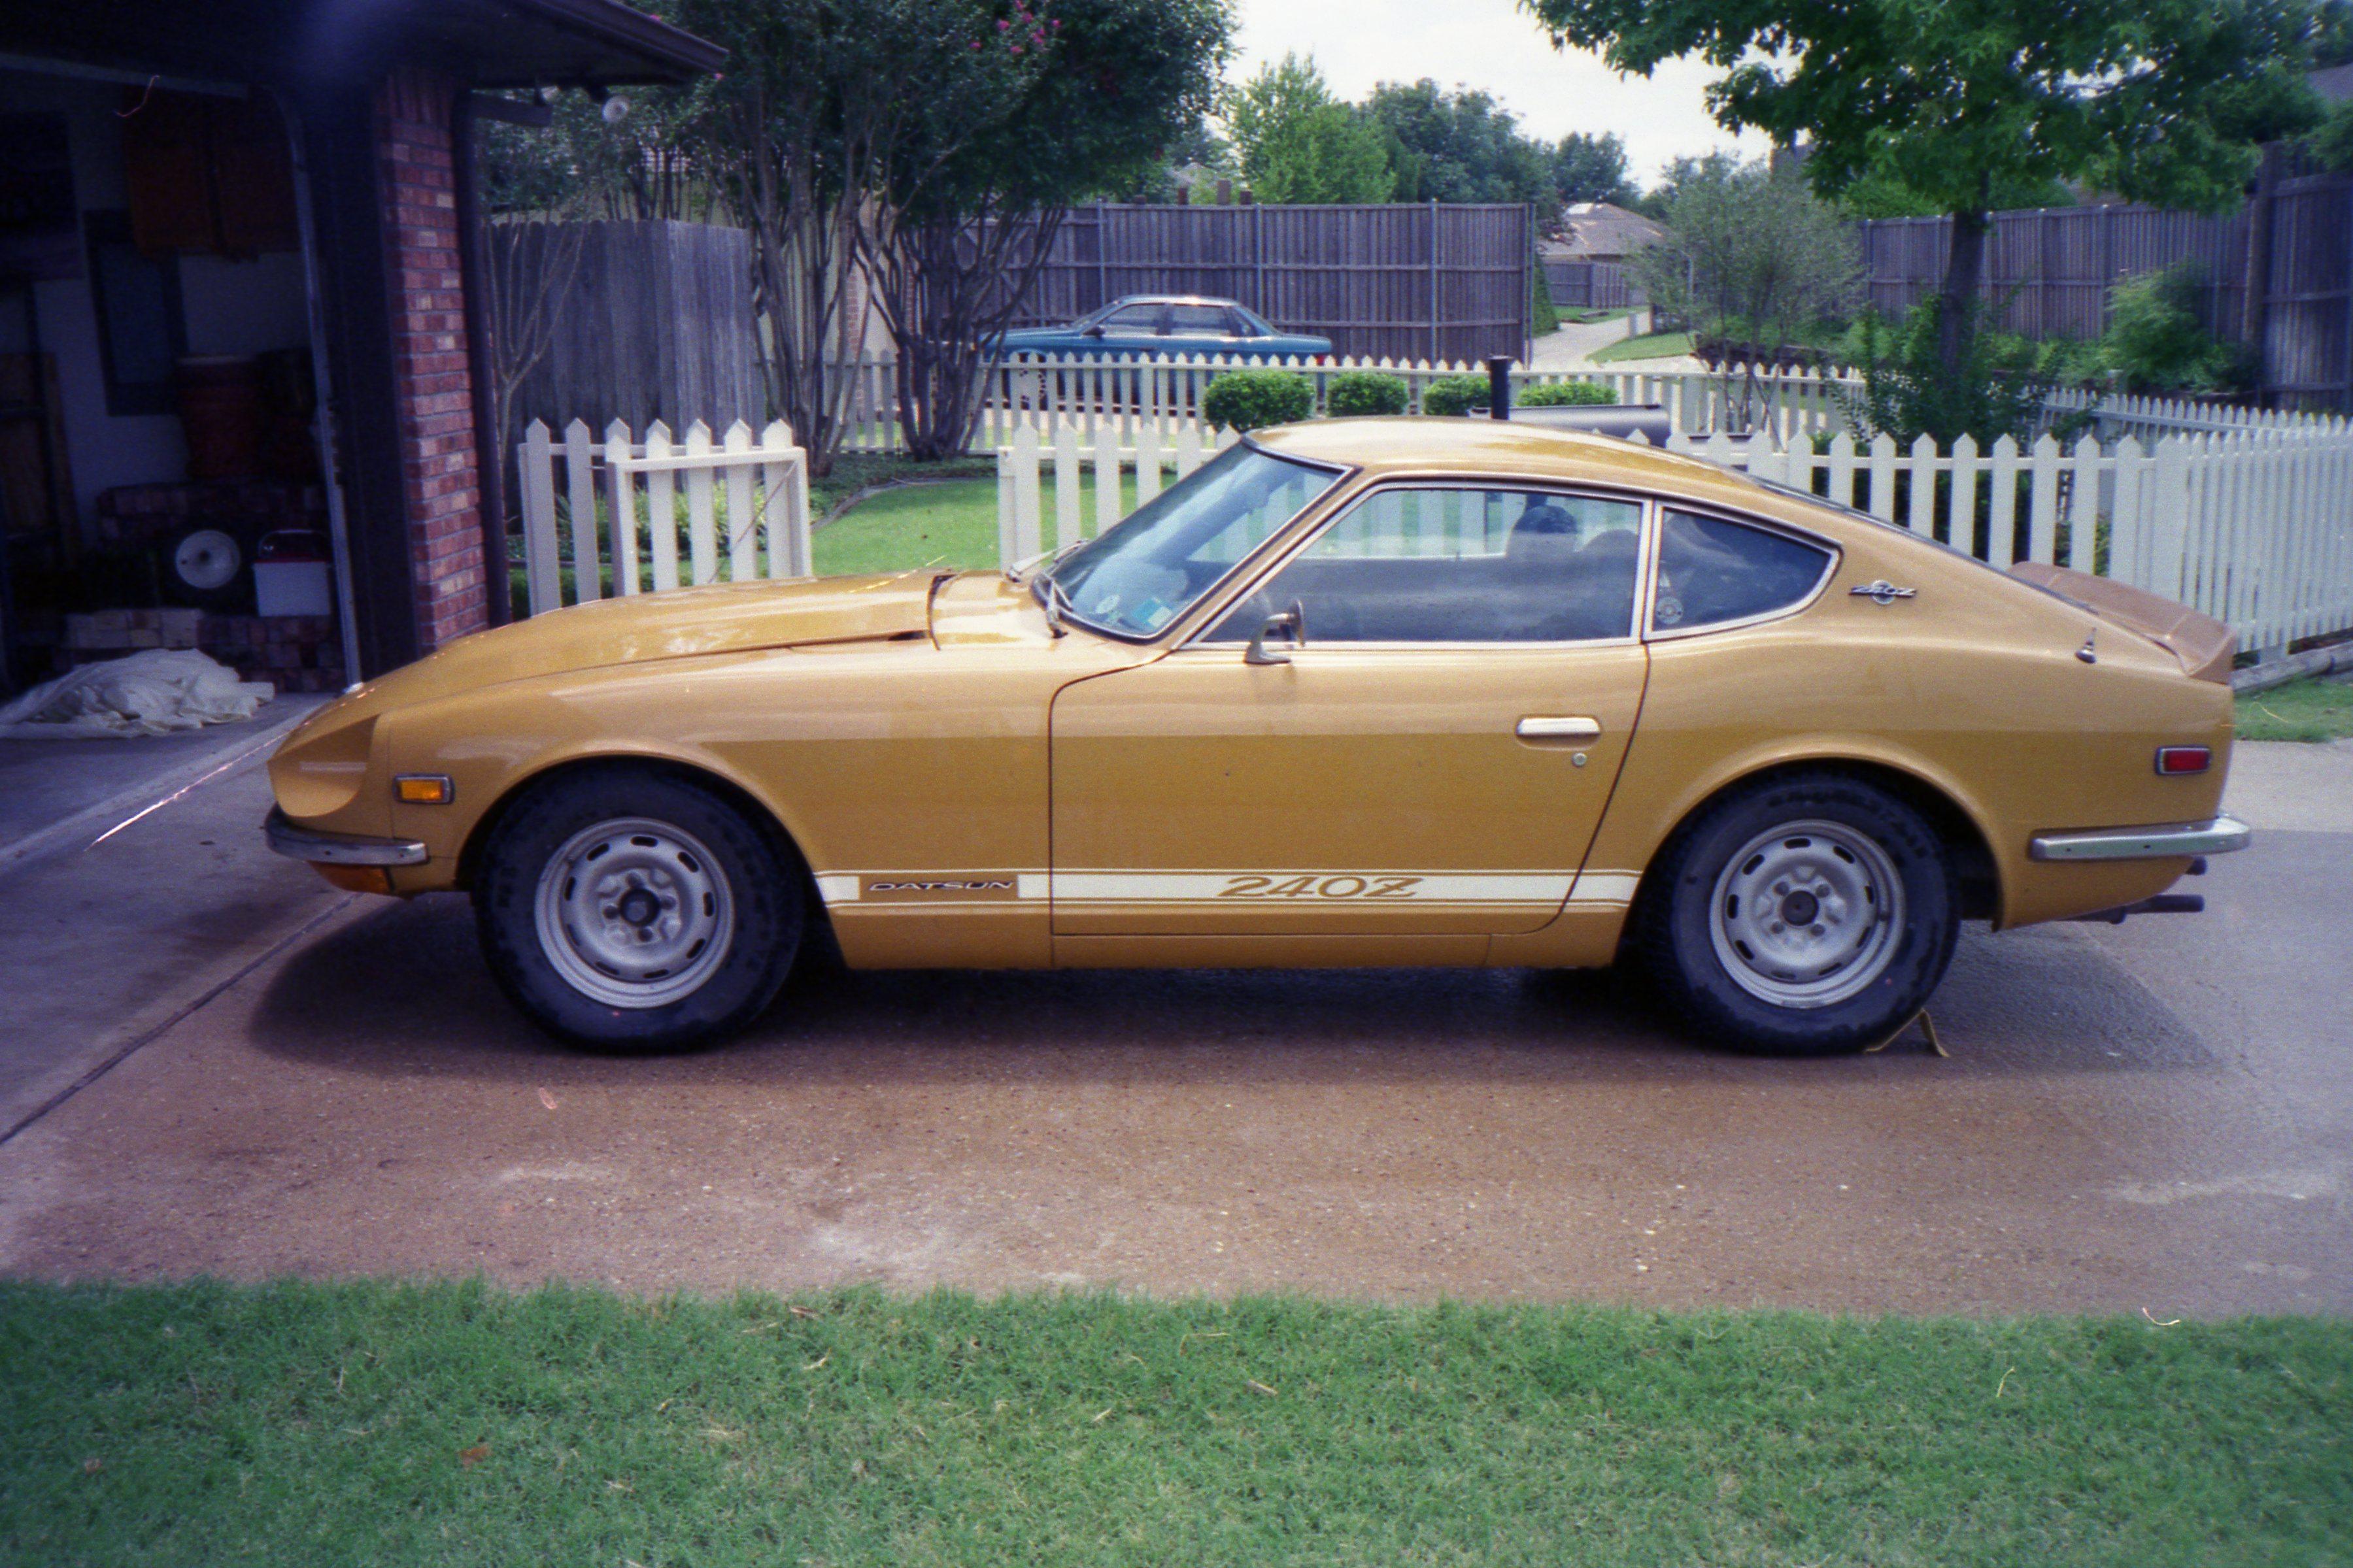
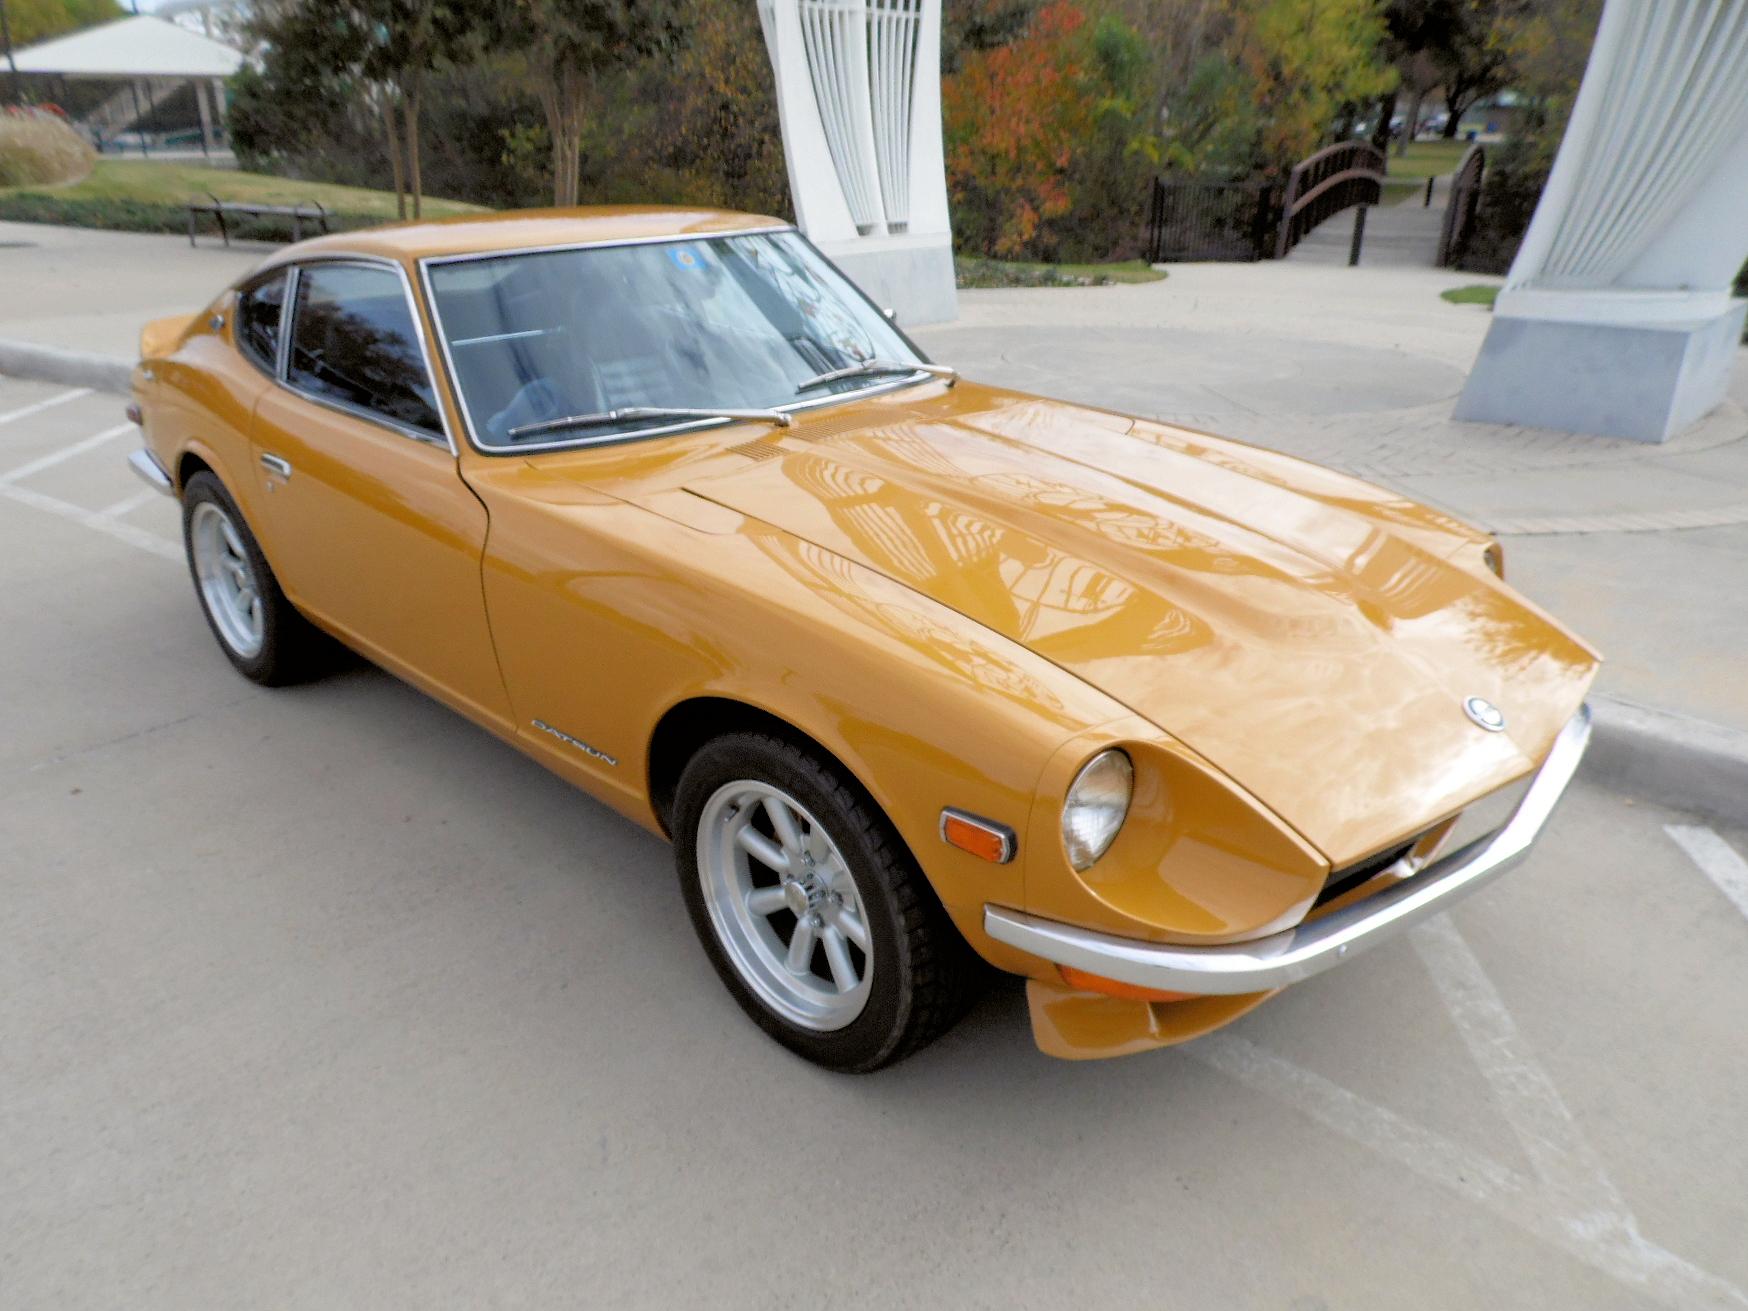
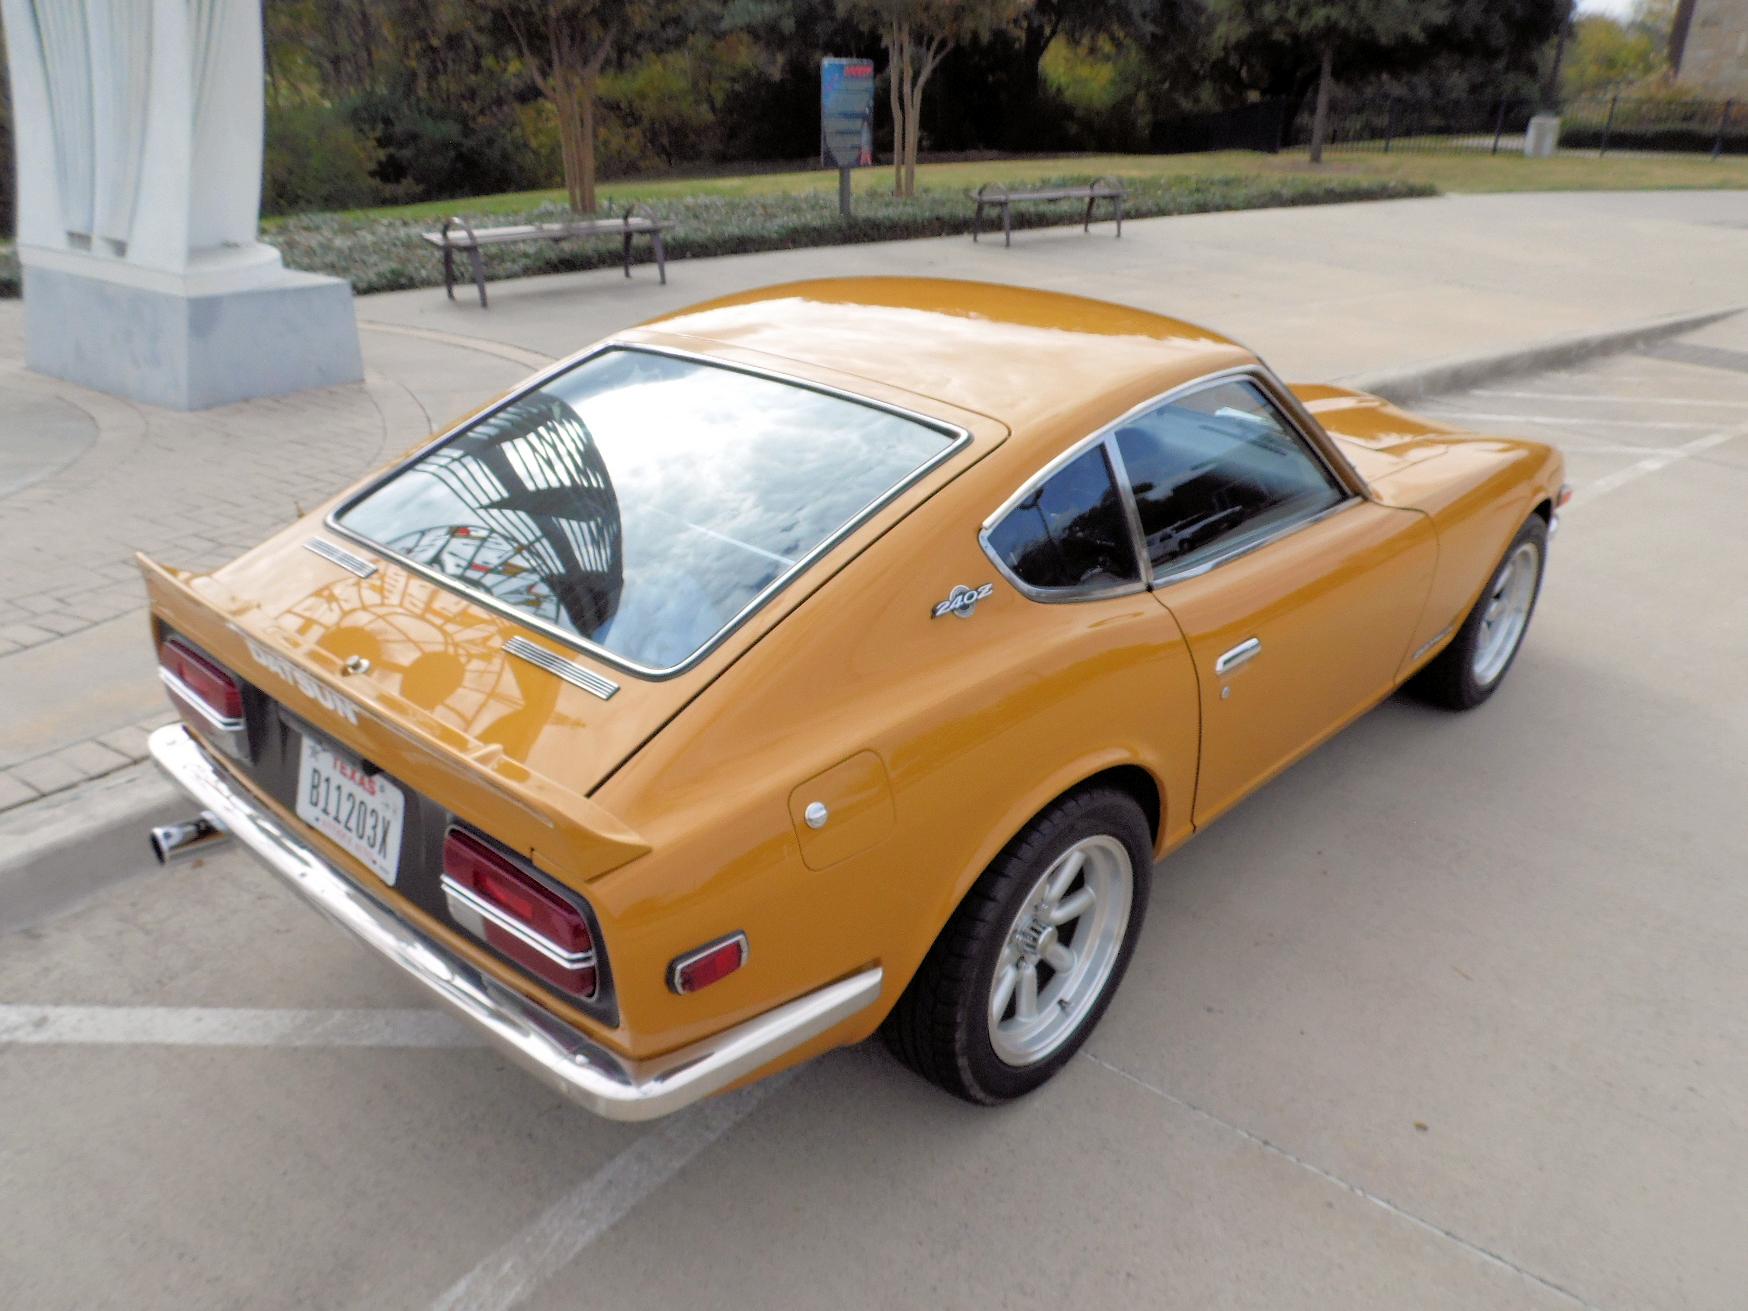
Today marks the 50th anniversary of closing the deal on my 240Z. It did not start out as a "forever car" but thoughts of a '66 Mustang Fastback I let go of to quickly always tickled the back of my brain, telling me to never make a quick decision on this one. Glad those tickles kept me honest! 1999 - Getting the car out of the garage after 16 years of storage and a bath before starting the teardown for the restore. 92k miles at the time and other than the first two years when I was in an apartment, always garaged. Recent pics celebrating the car's 50th birthday. ZCON 2015 - Our first trip to the big dance worked out pretty good. Unfortunately there are no cool, curvy, country roads near my urban residence so I had to make do with a run on a nearby toll road to get a fix of the Symphony In Straight Six. Enjoy! 50th Anniversary Clip.mp4


 2 points
 -
2 points
-
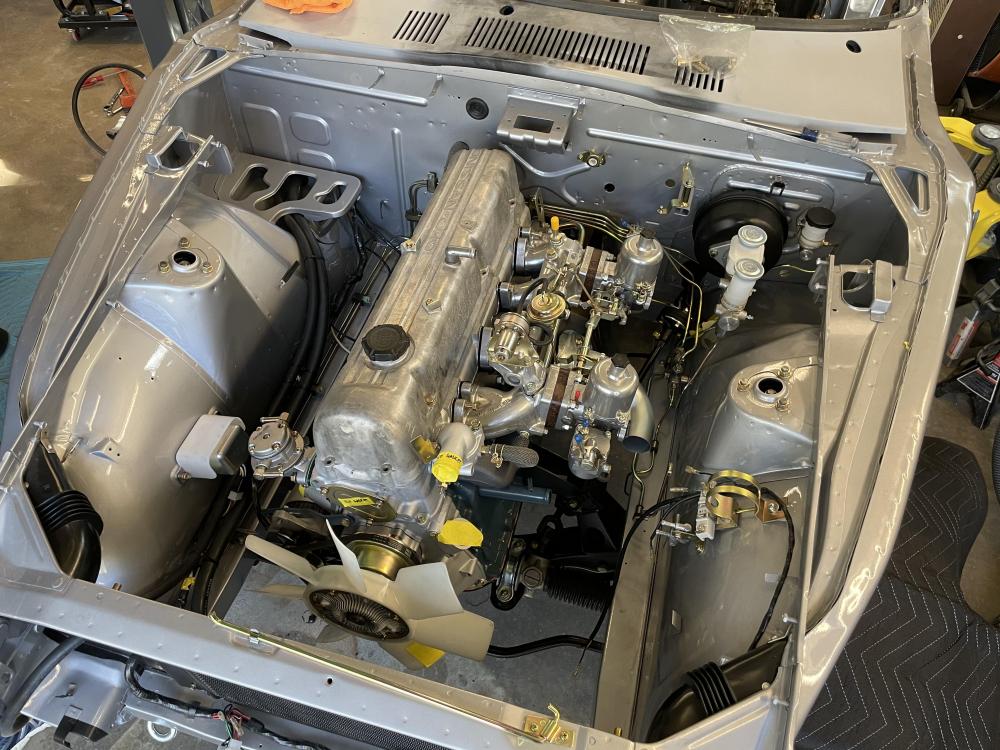
2 pointsQuick shot of the drivetrain install that was completed over the weekend. Now that there’s no worry about scratching the valve cover, I’ll pull it and finish cleaning it up. Z Therapy carbs mocked up and looking good!
 2 points
 -
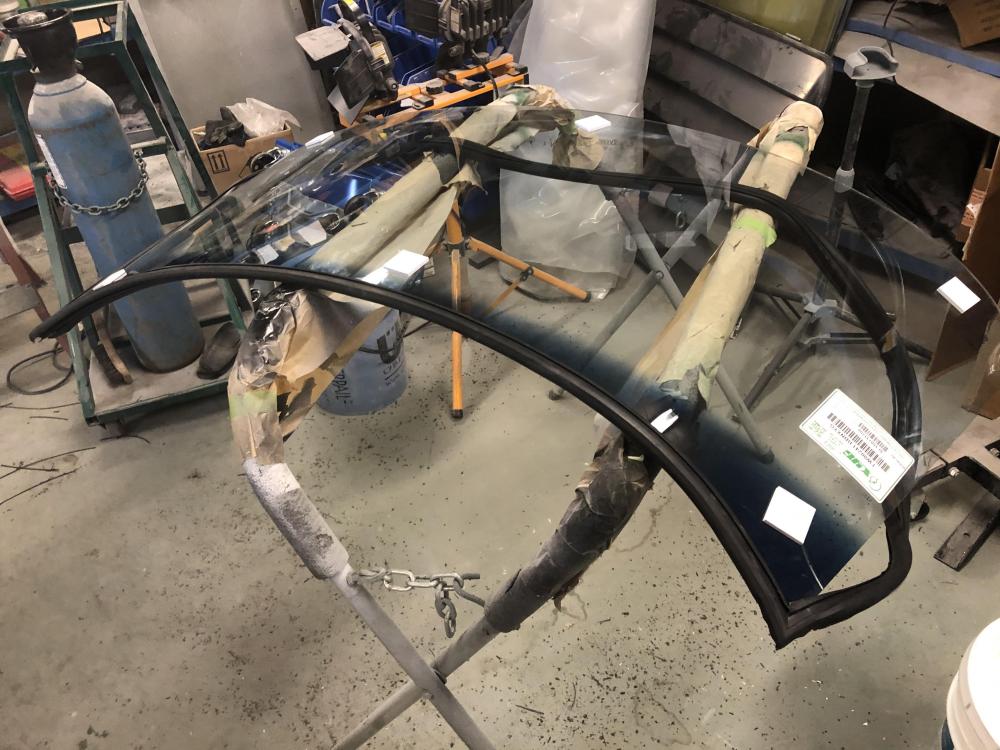
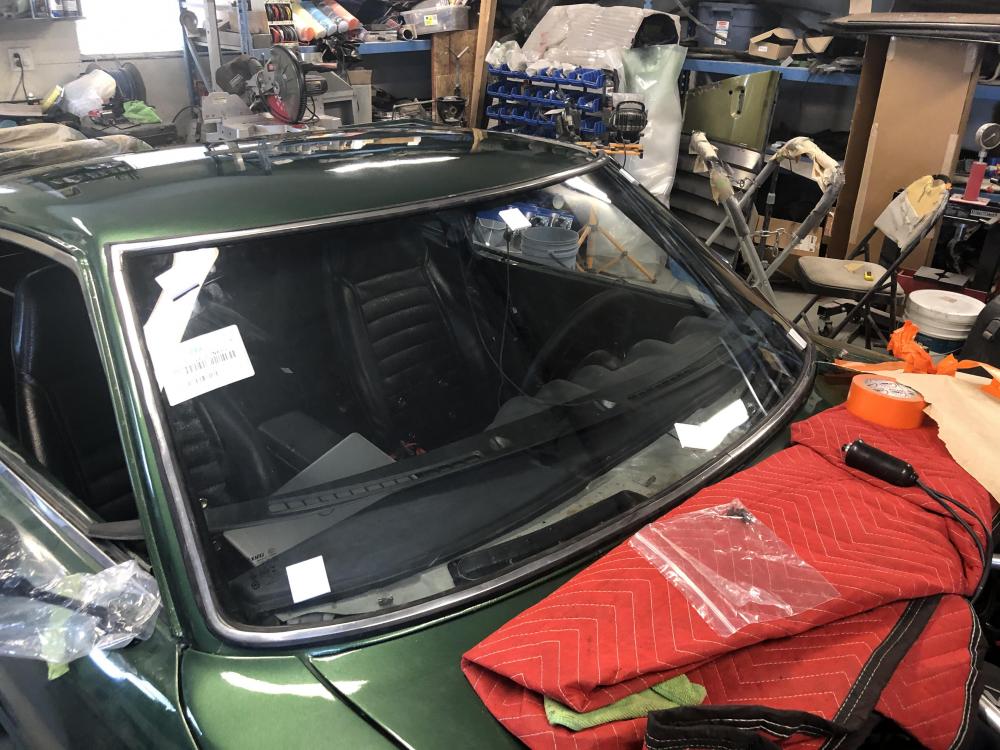
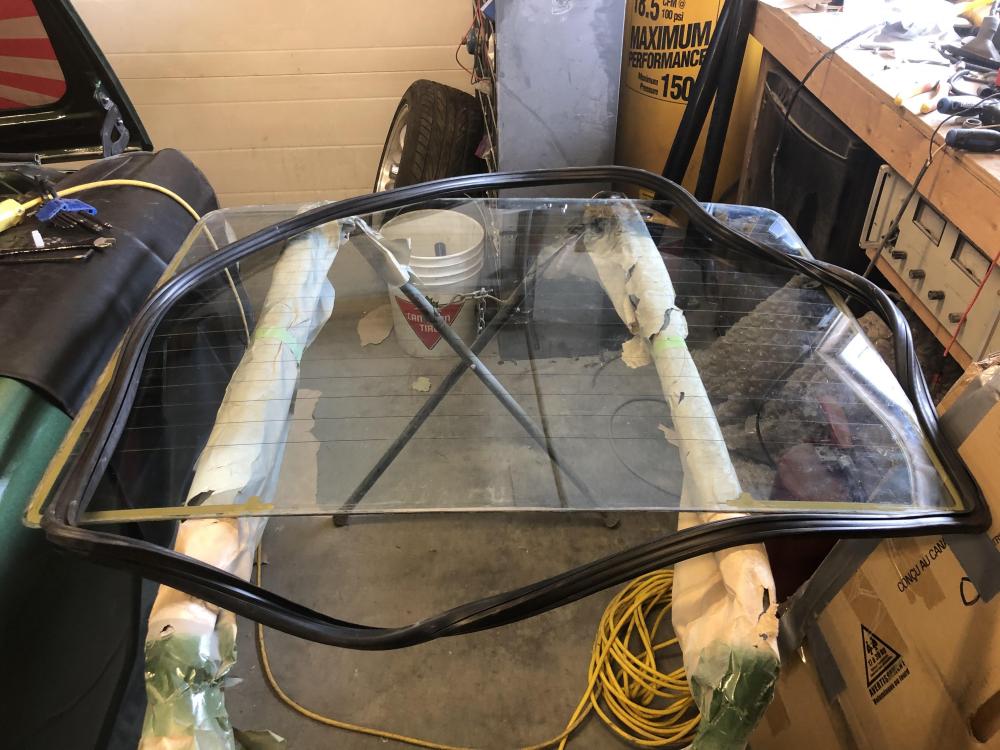
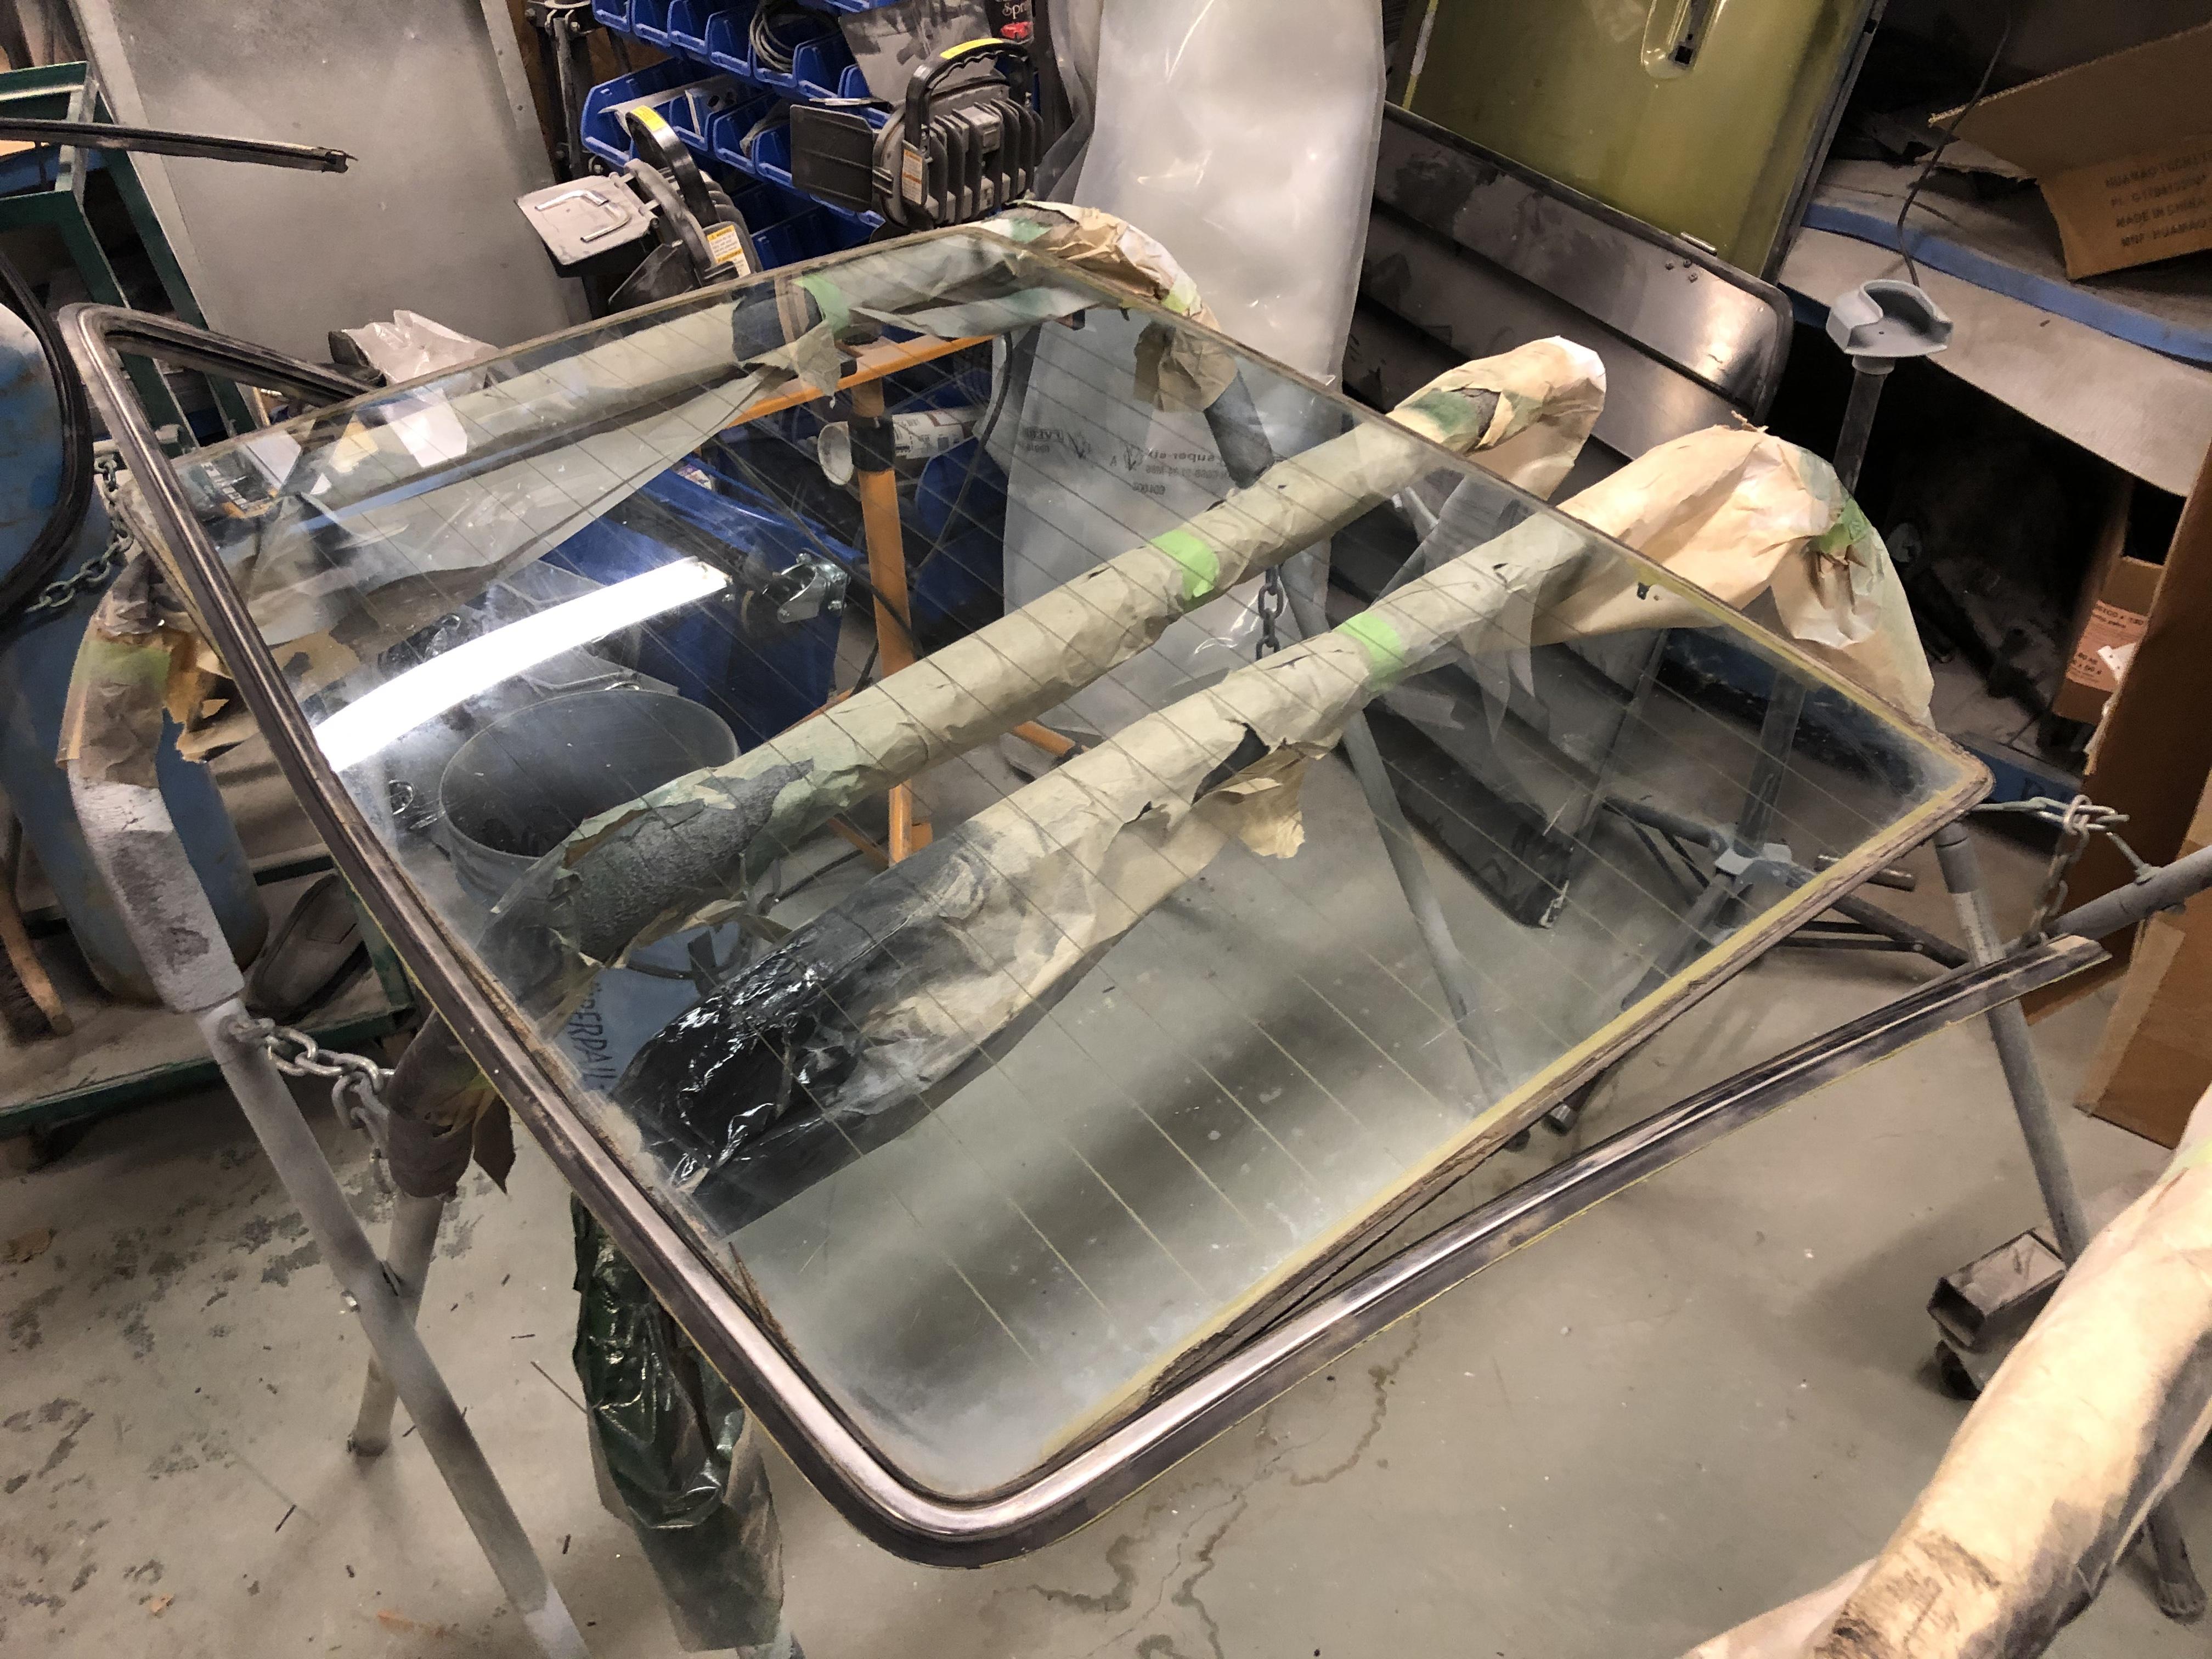
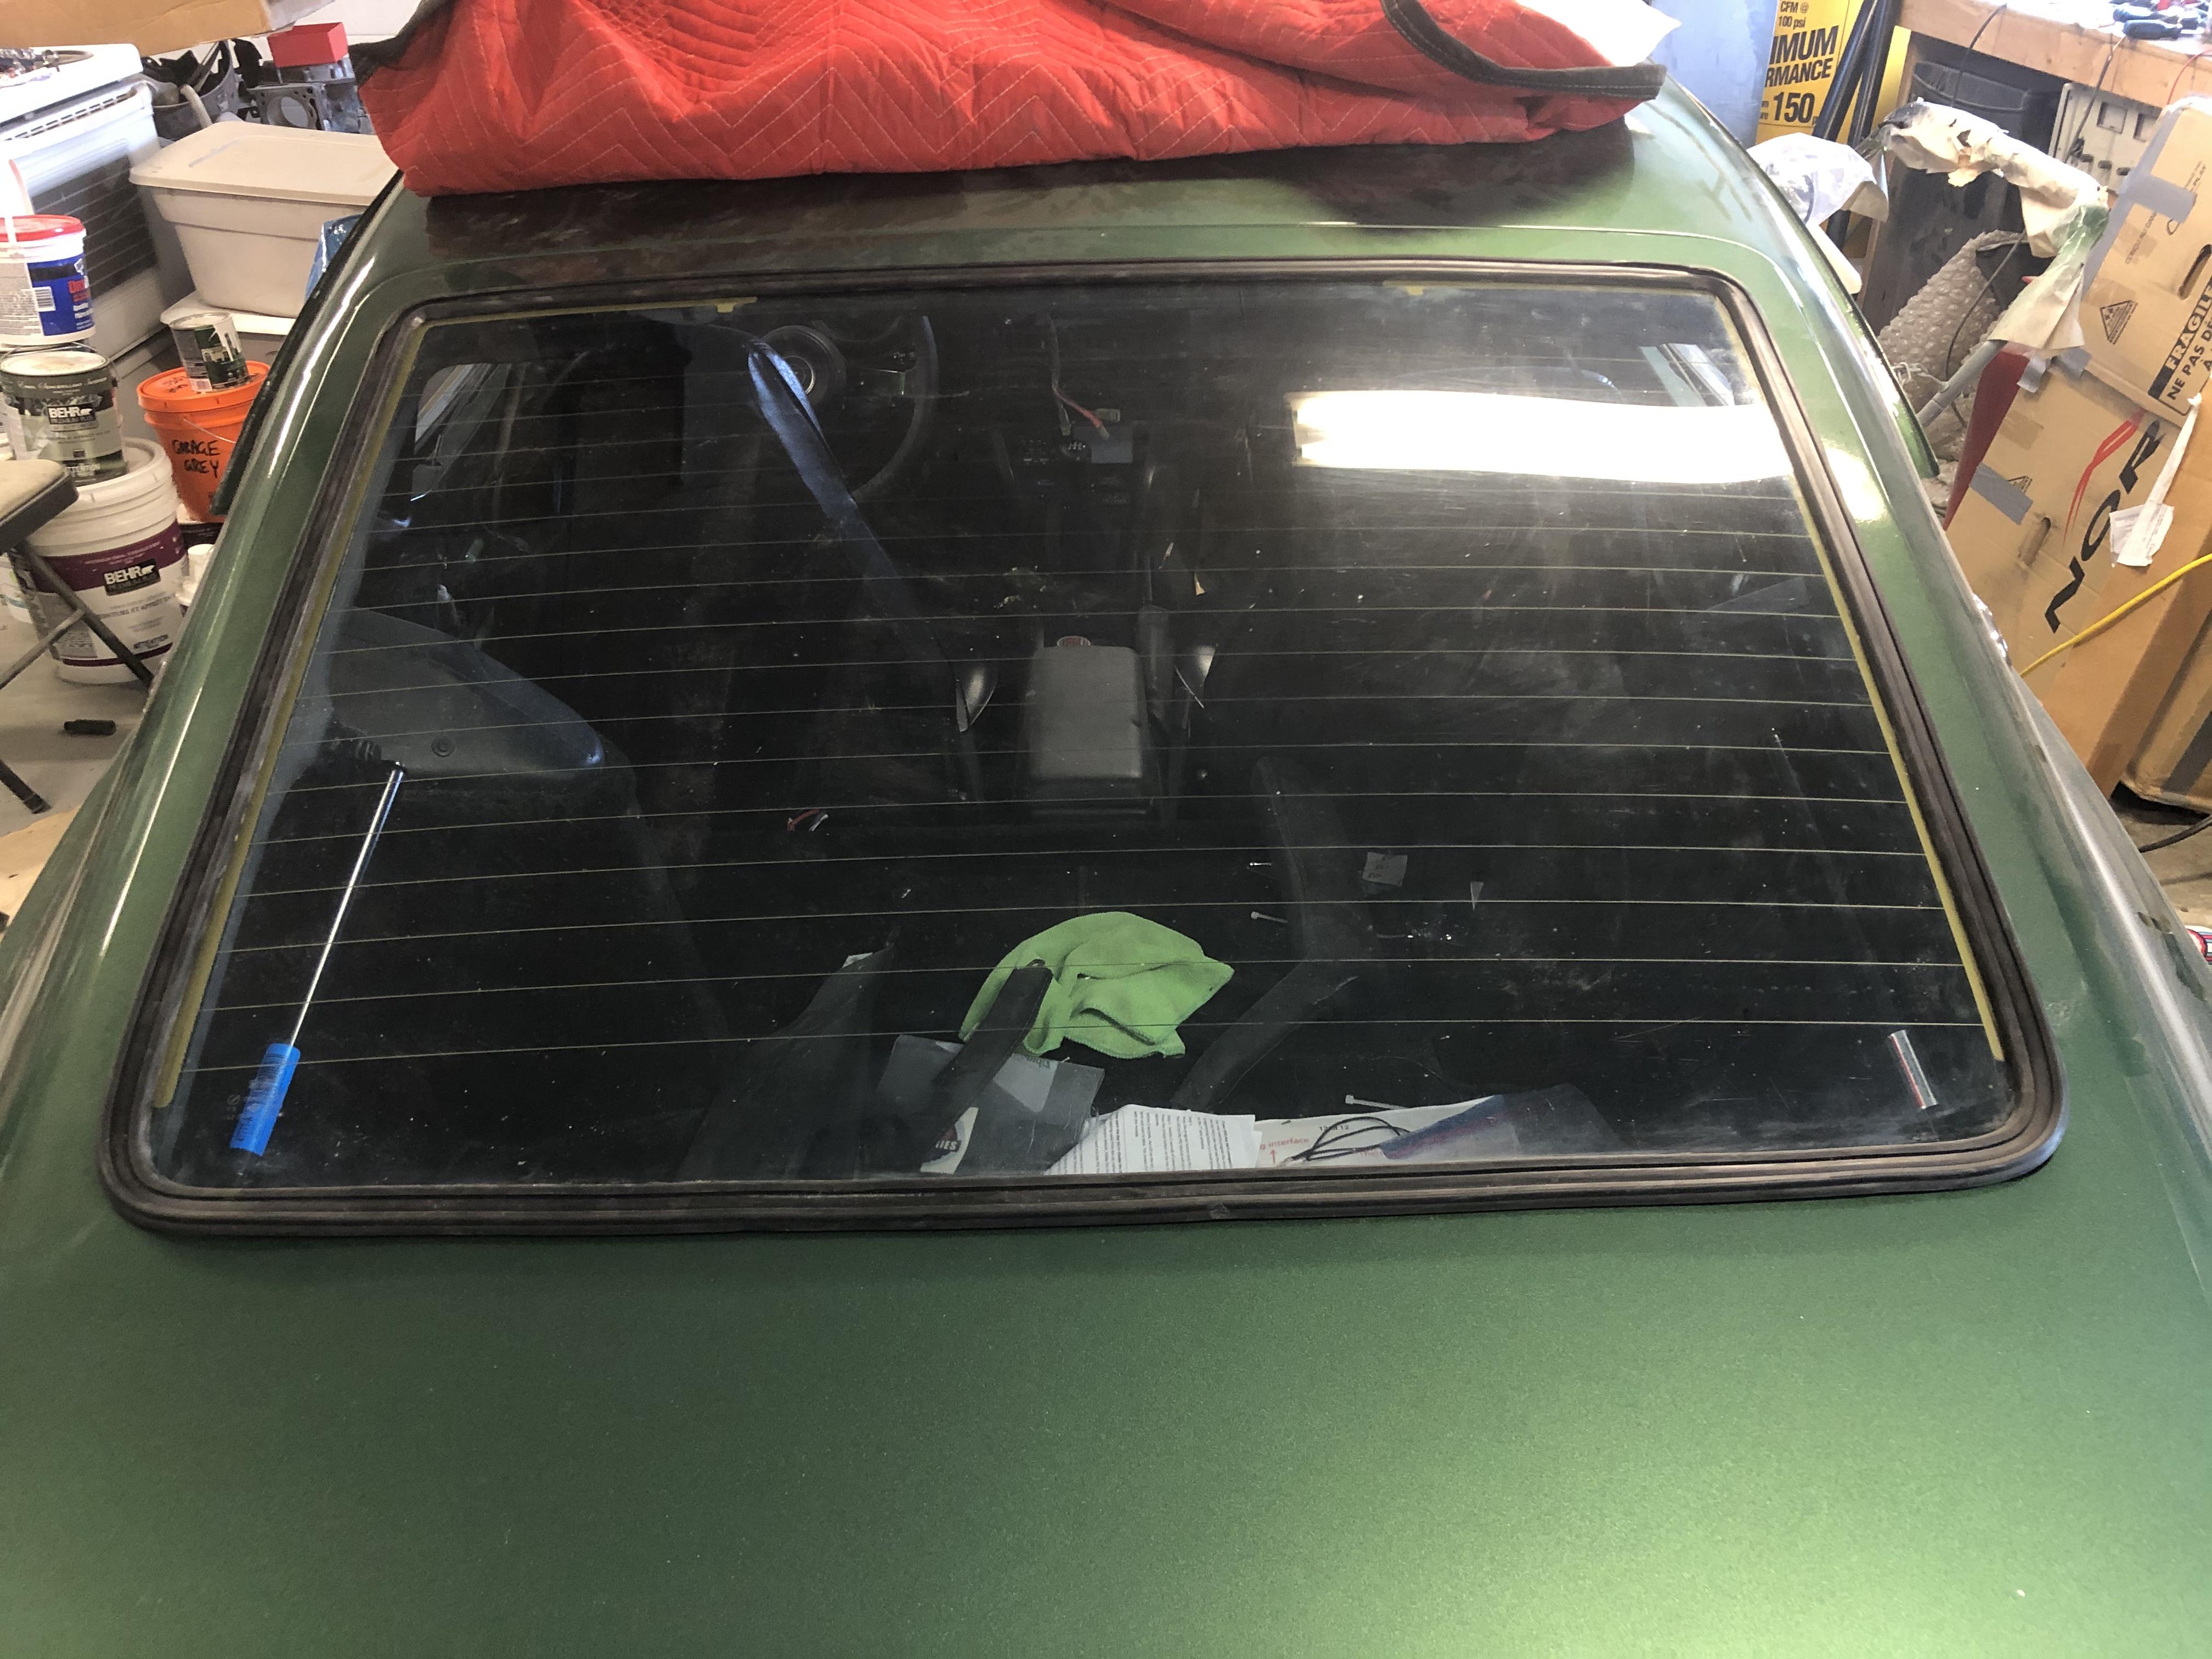
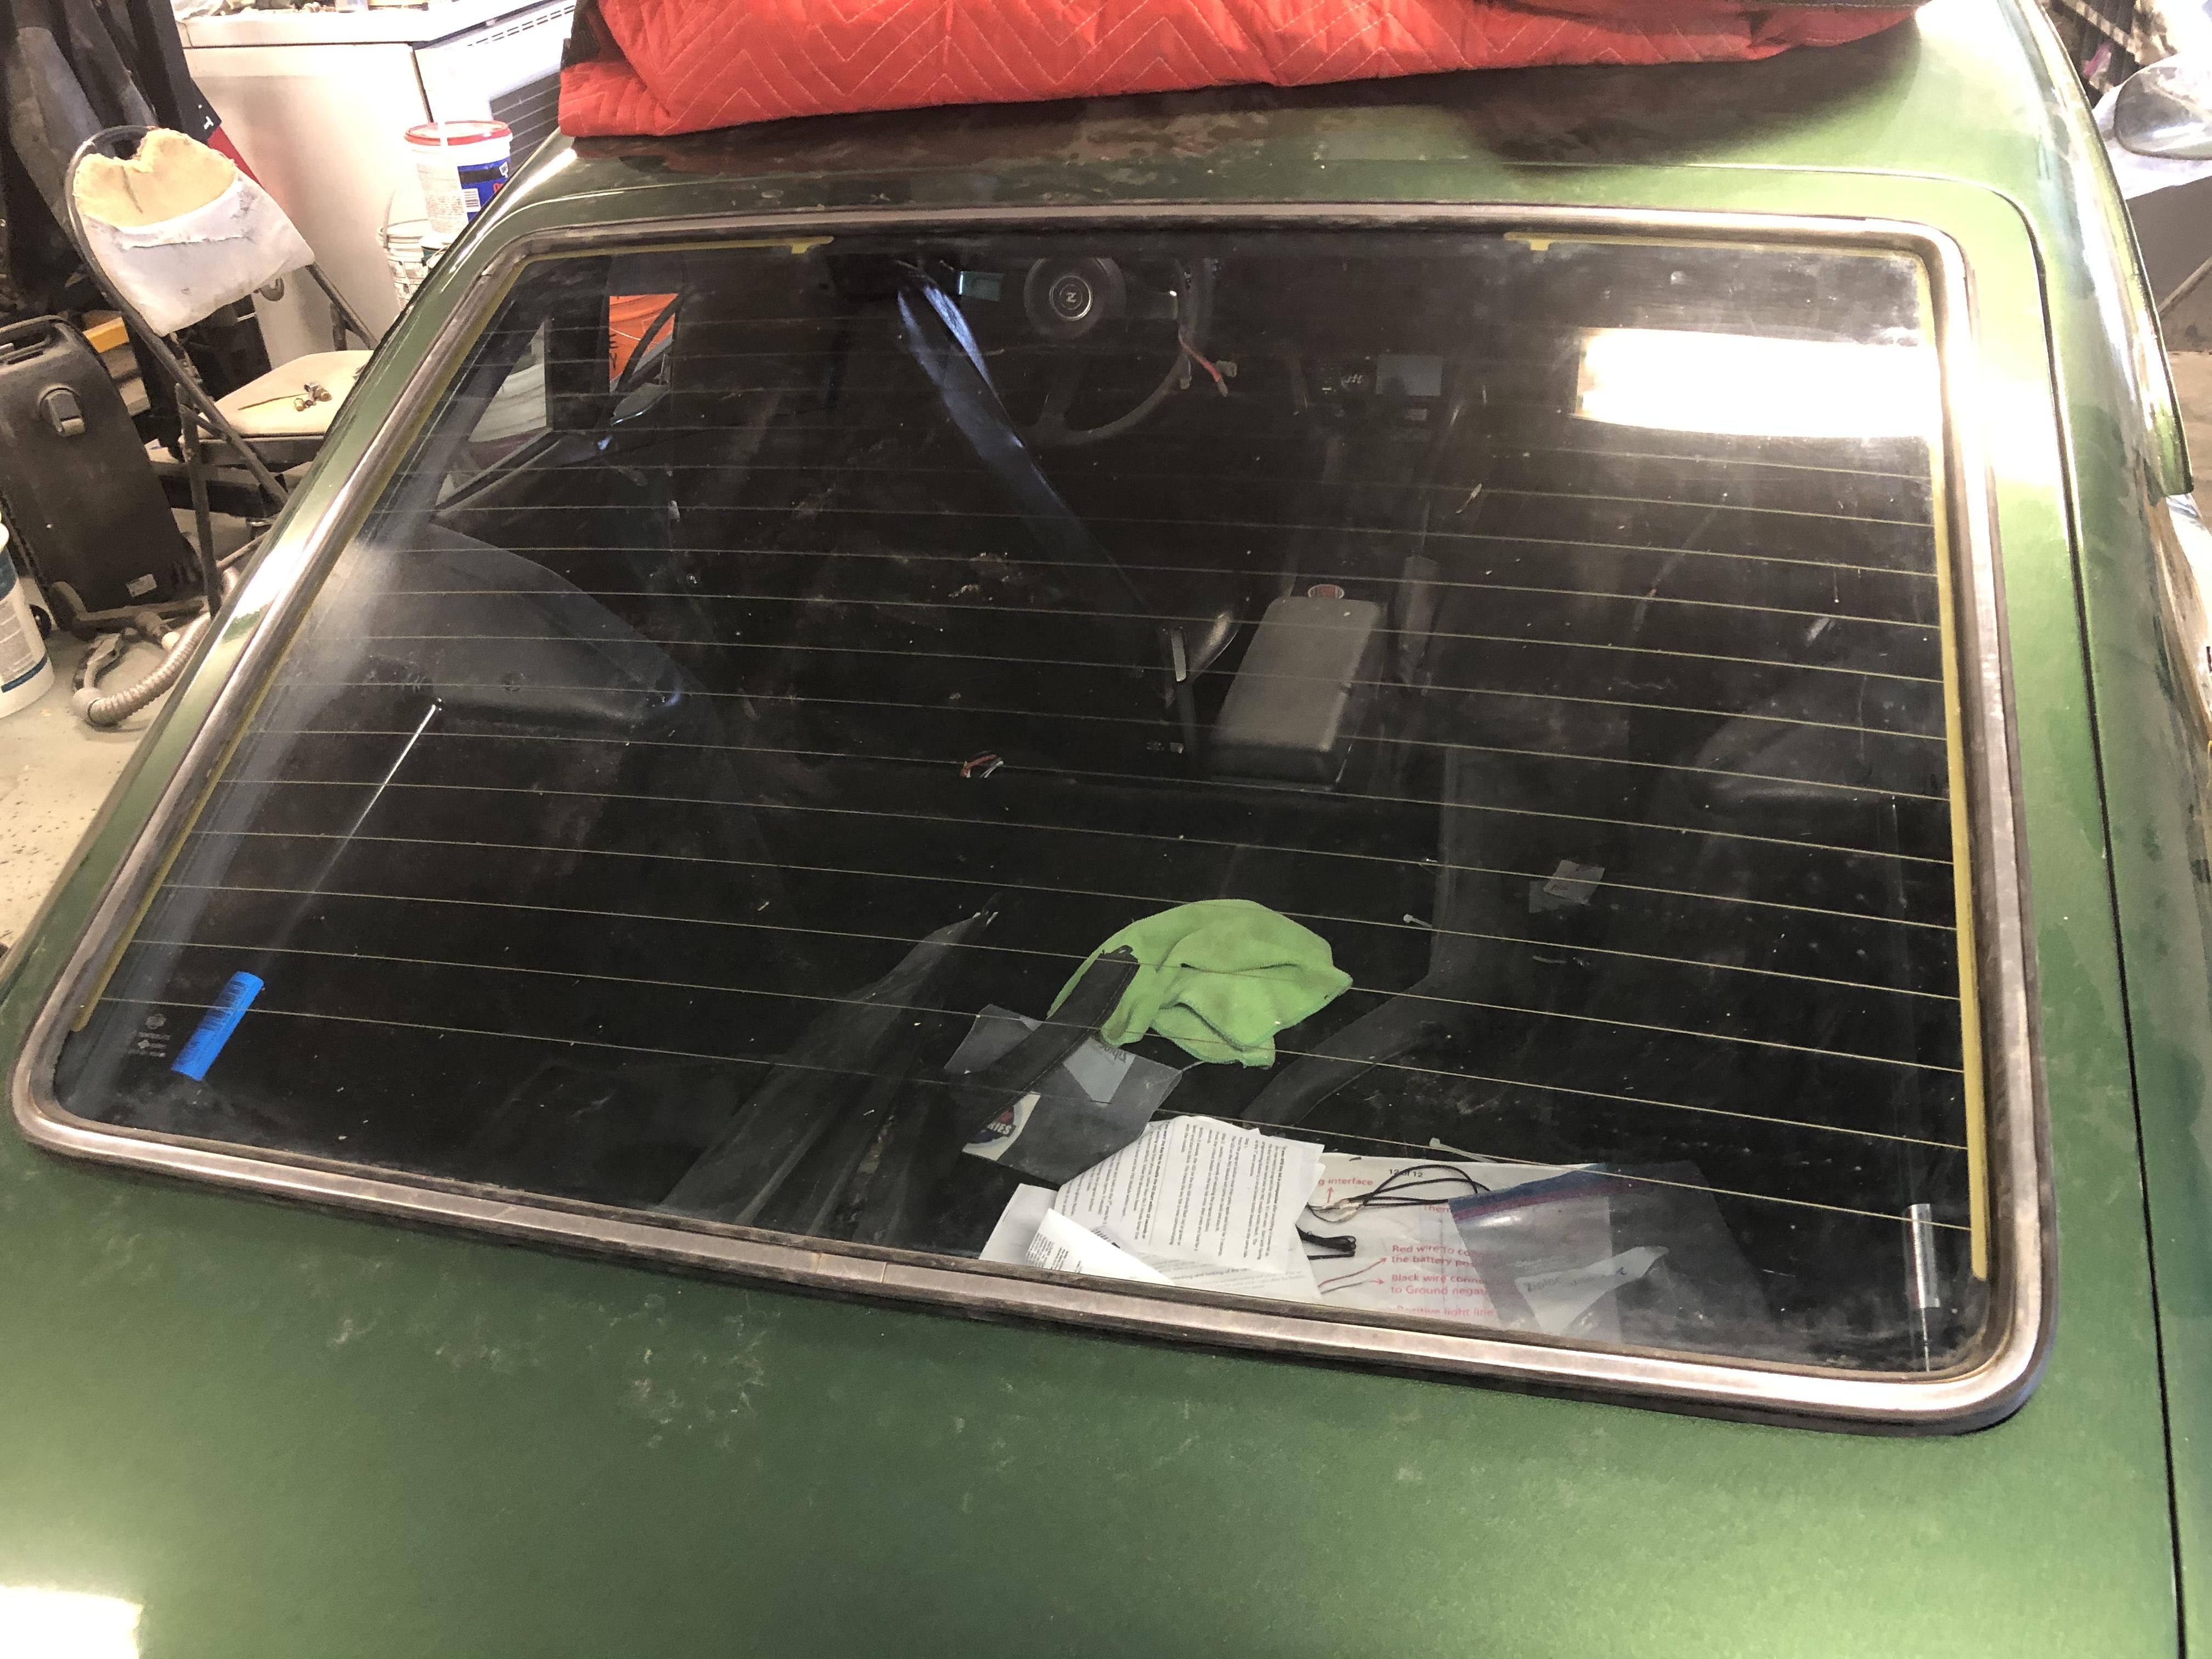
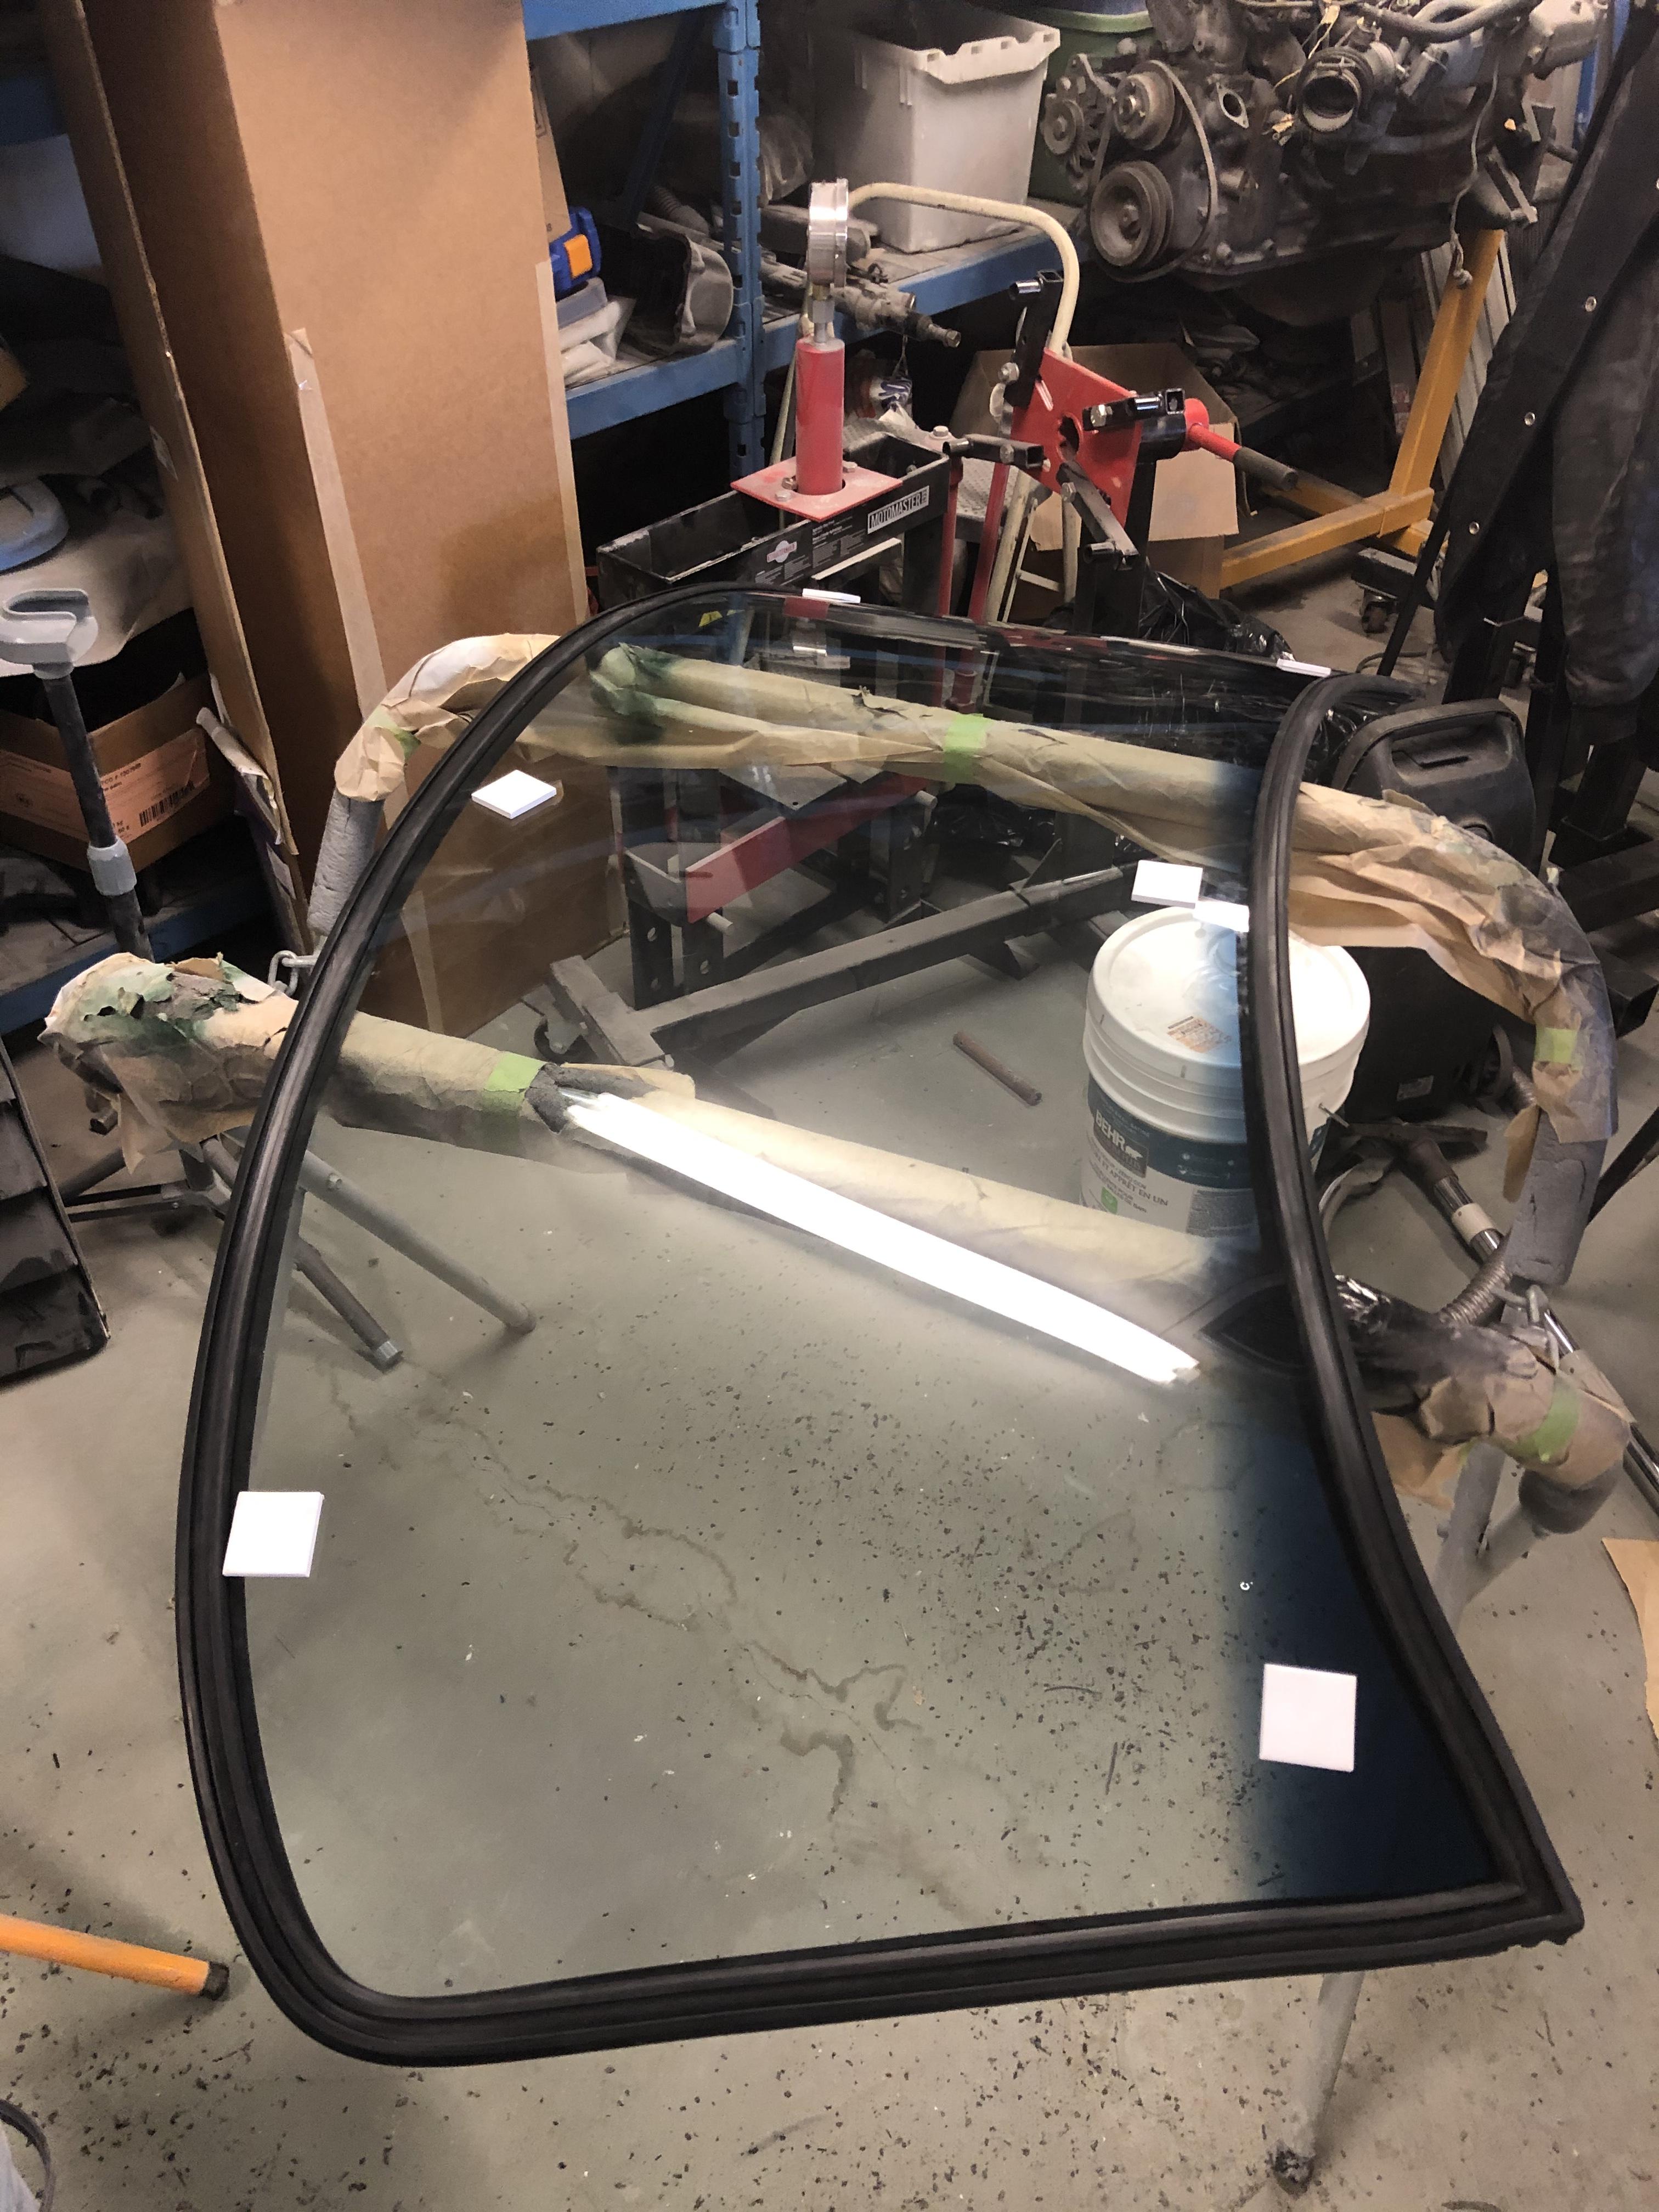
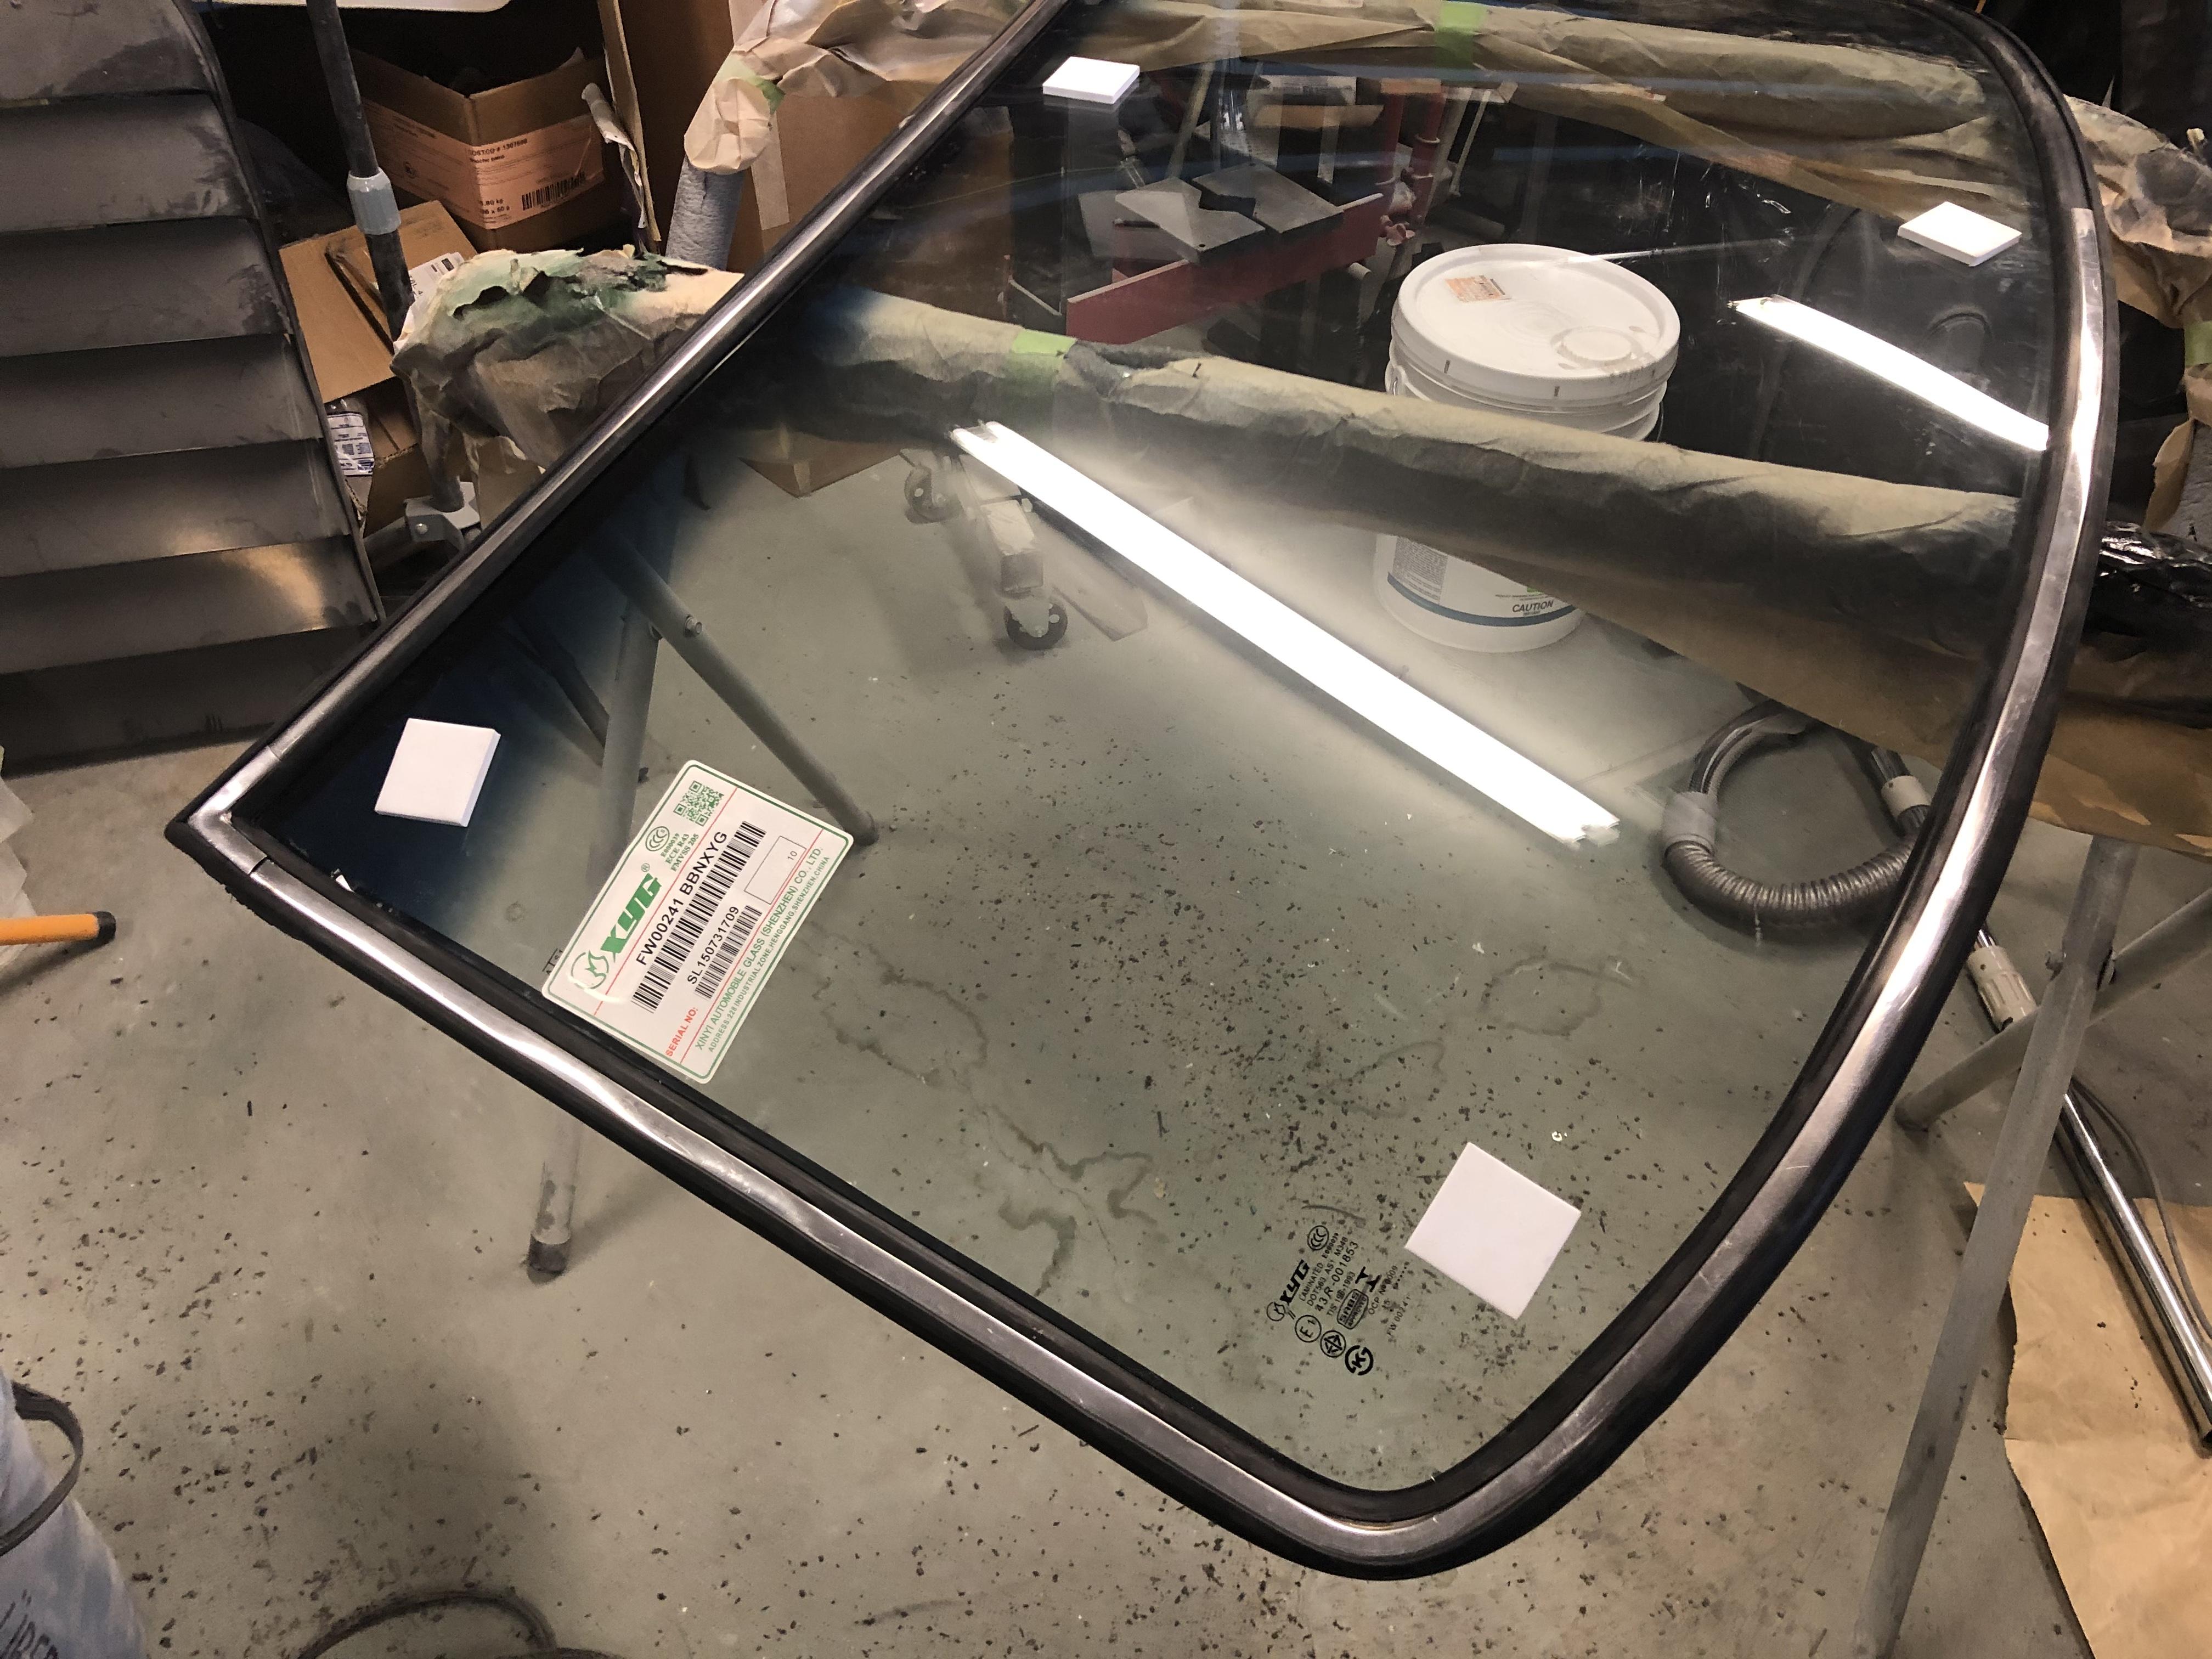
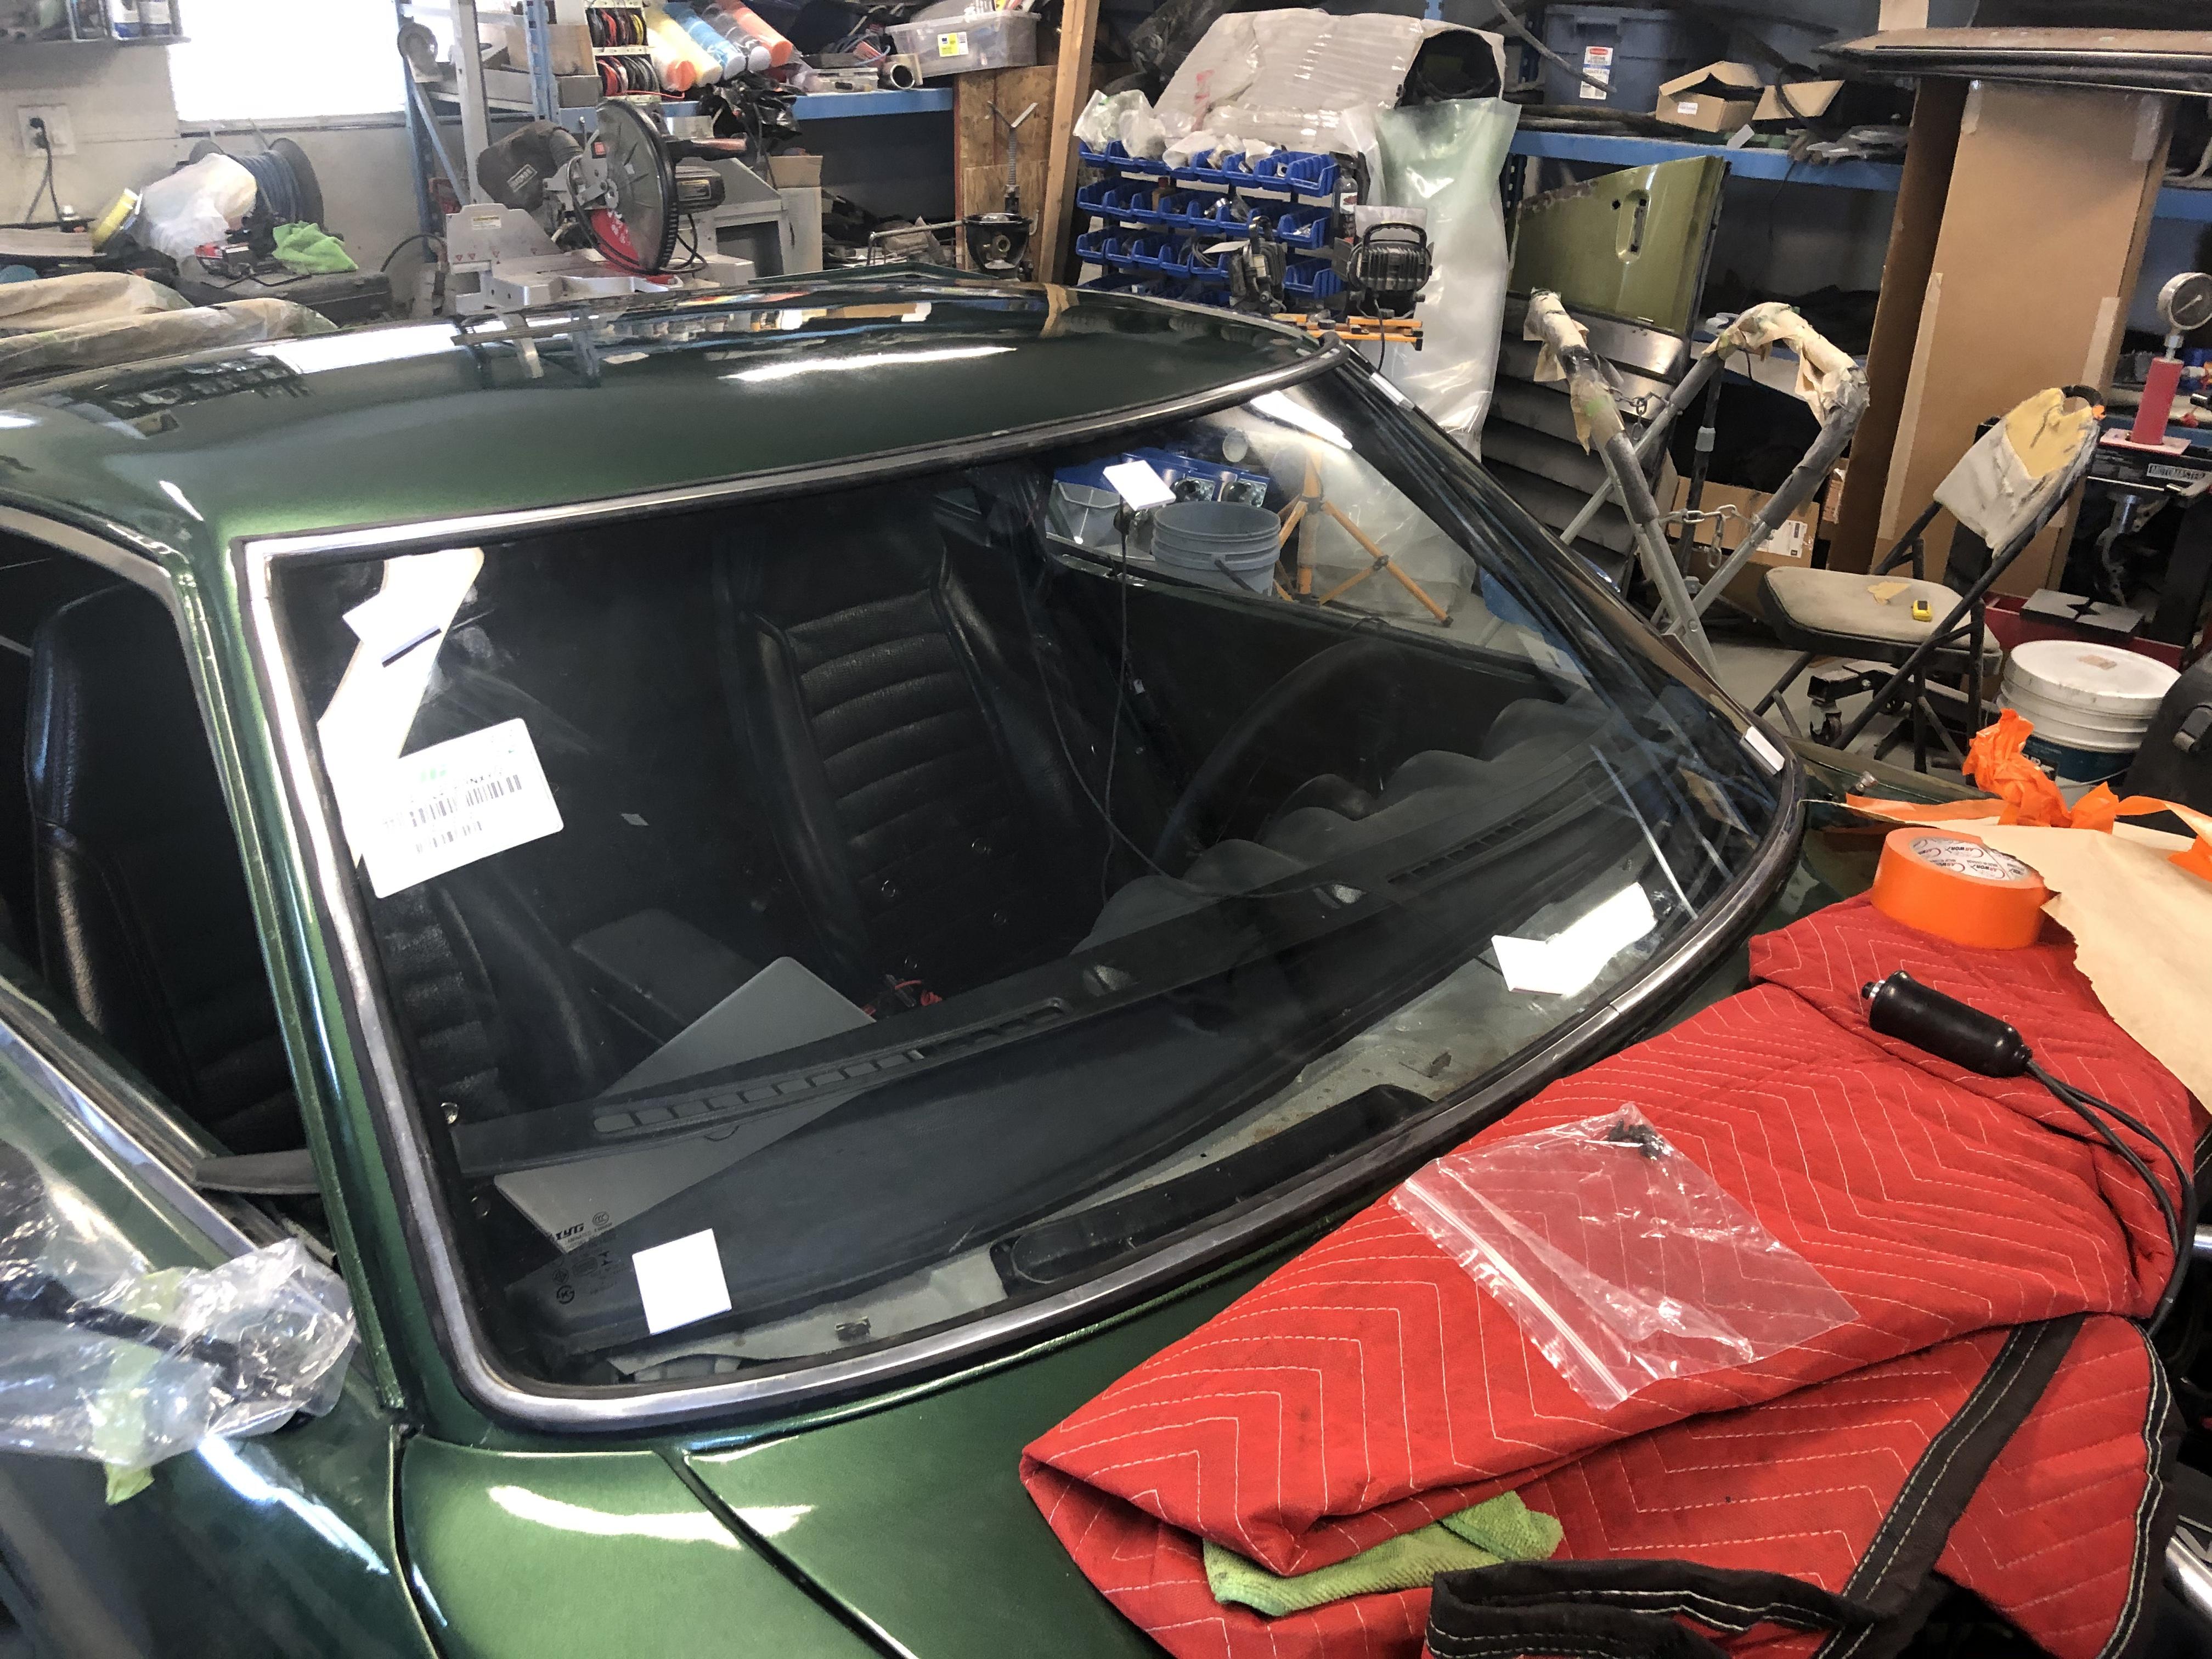
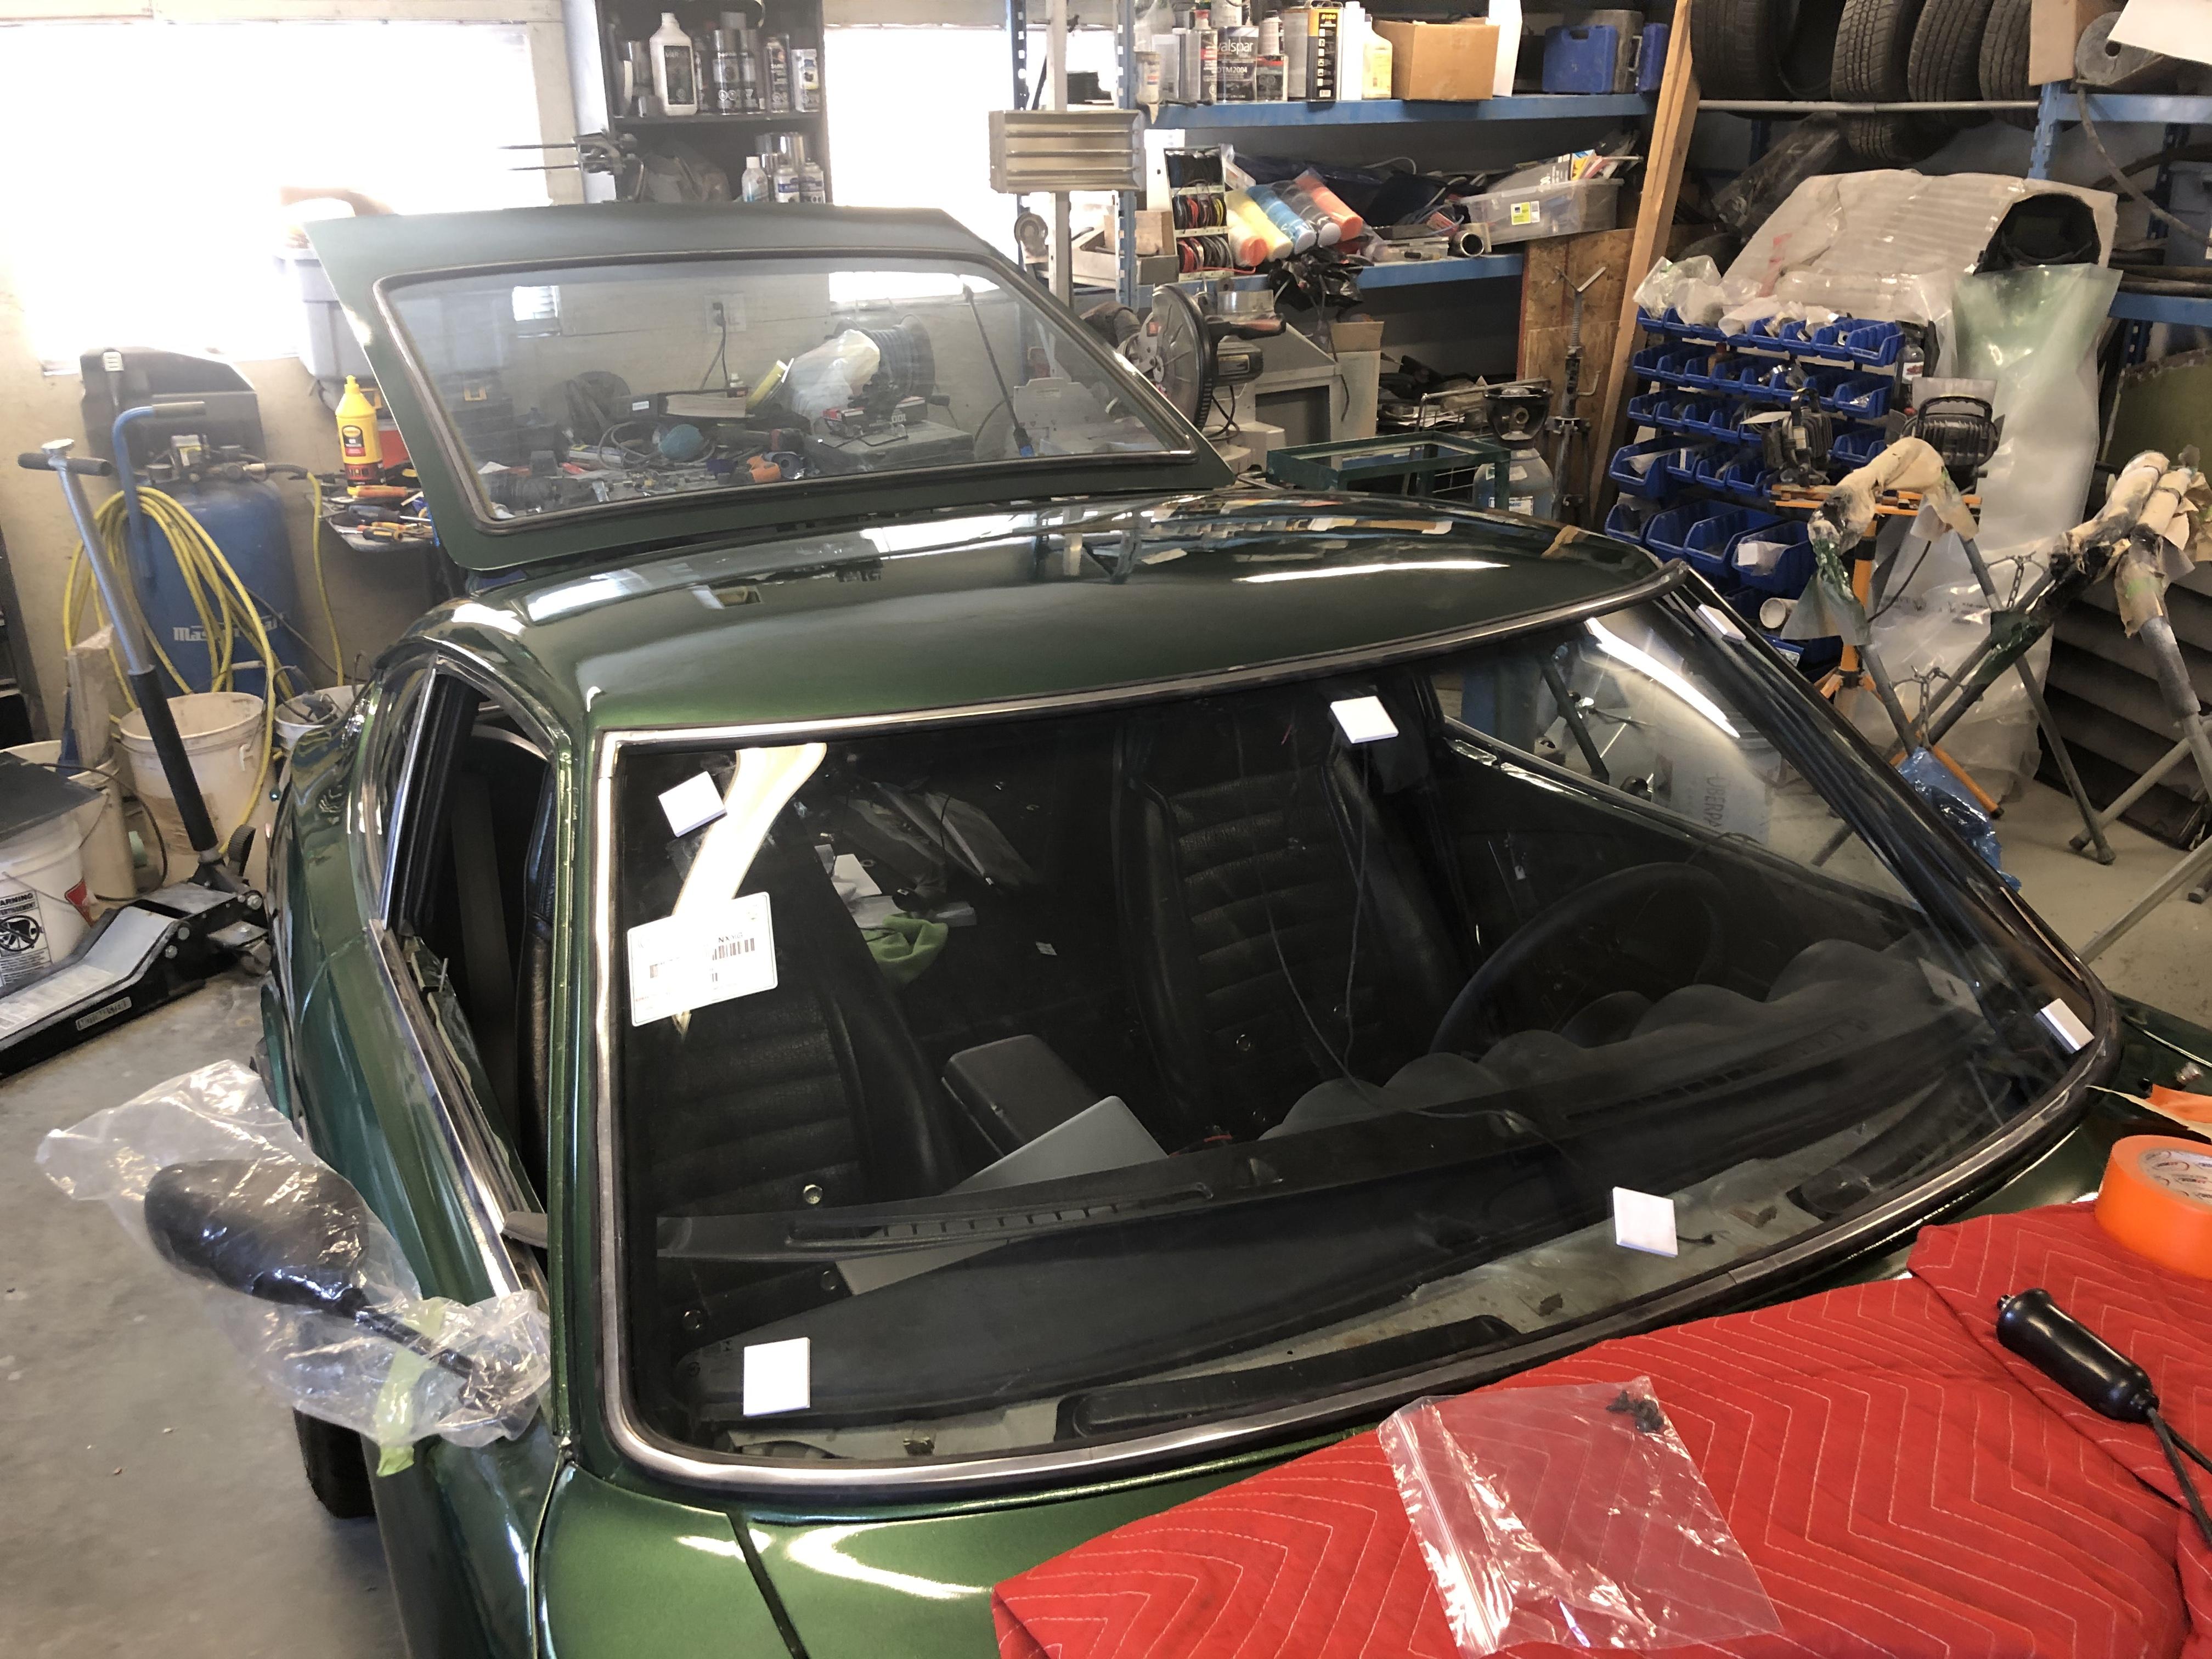
2 pointsStarted the windshield and hatch glass install today. Will finish it up tomorrow hopefully!


 2 points
 -
1 pointCar starts and stays on now, changed the fusible links, new battery, the fuel pump is a little low on the pressure but works, and messed with the idle a bit. Oh and also cleaned the grounds. Sent from my iPhone using Tapatalk1 point
-
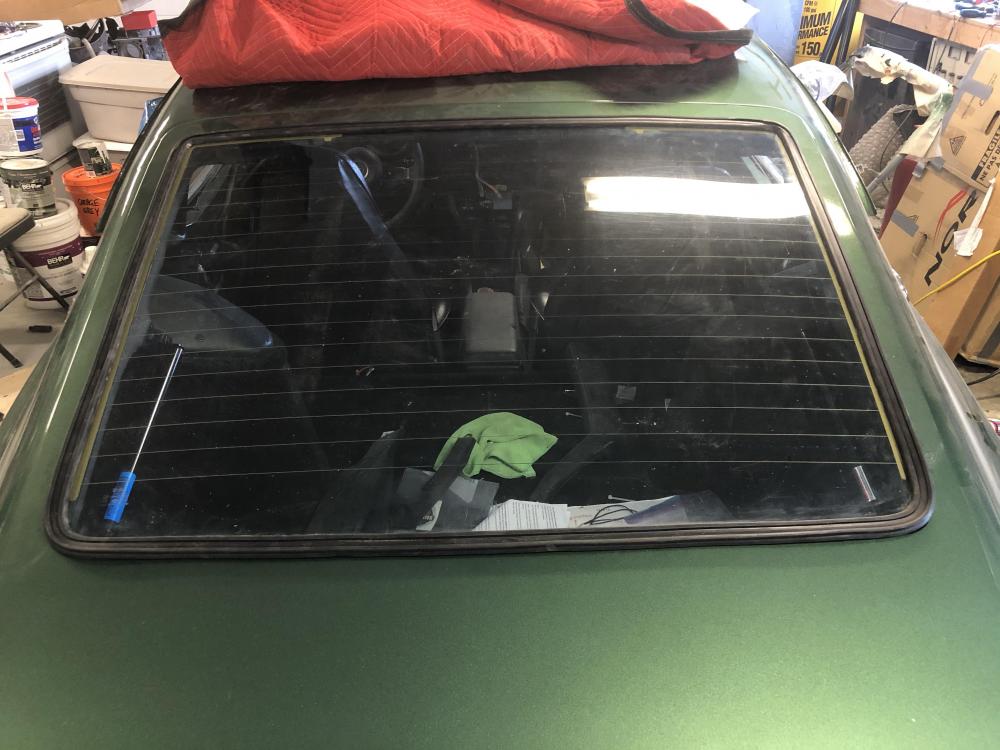
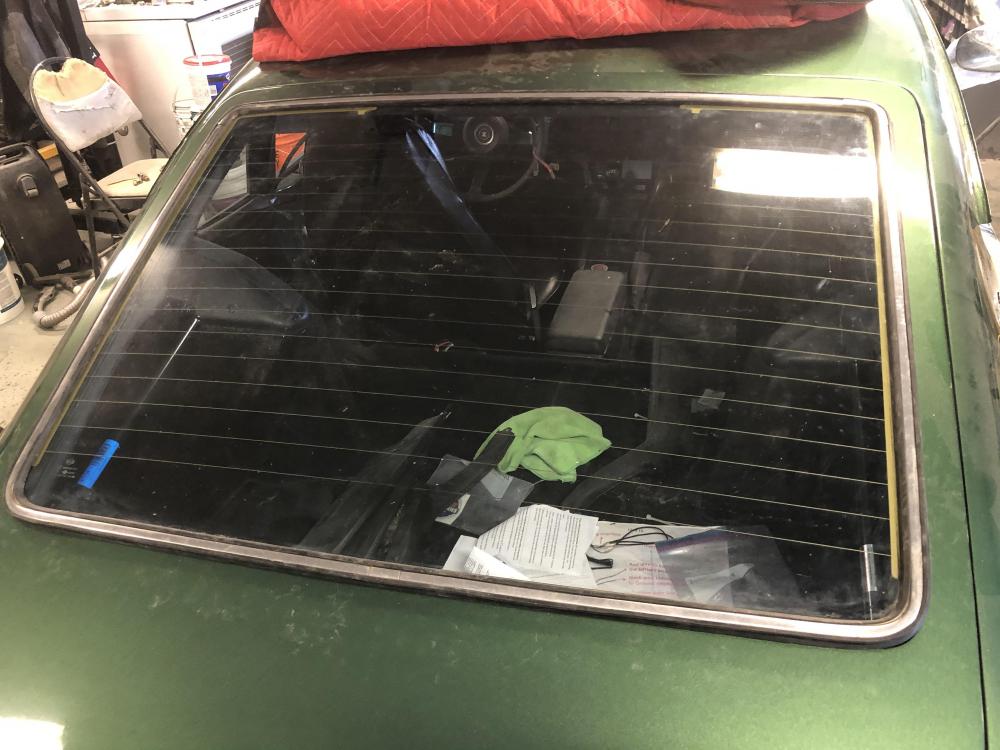
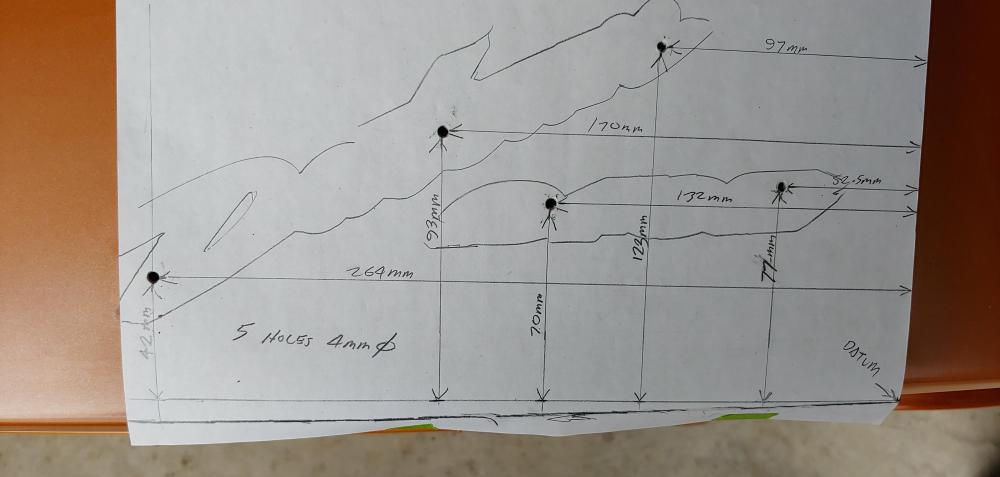
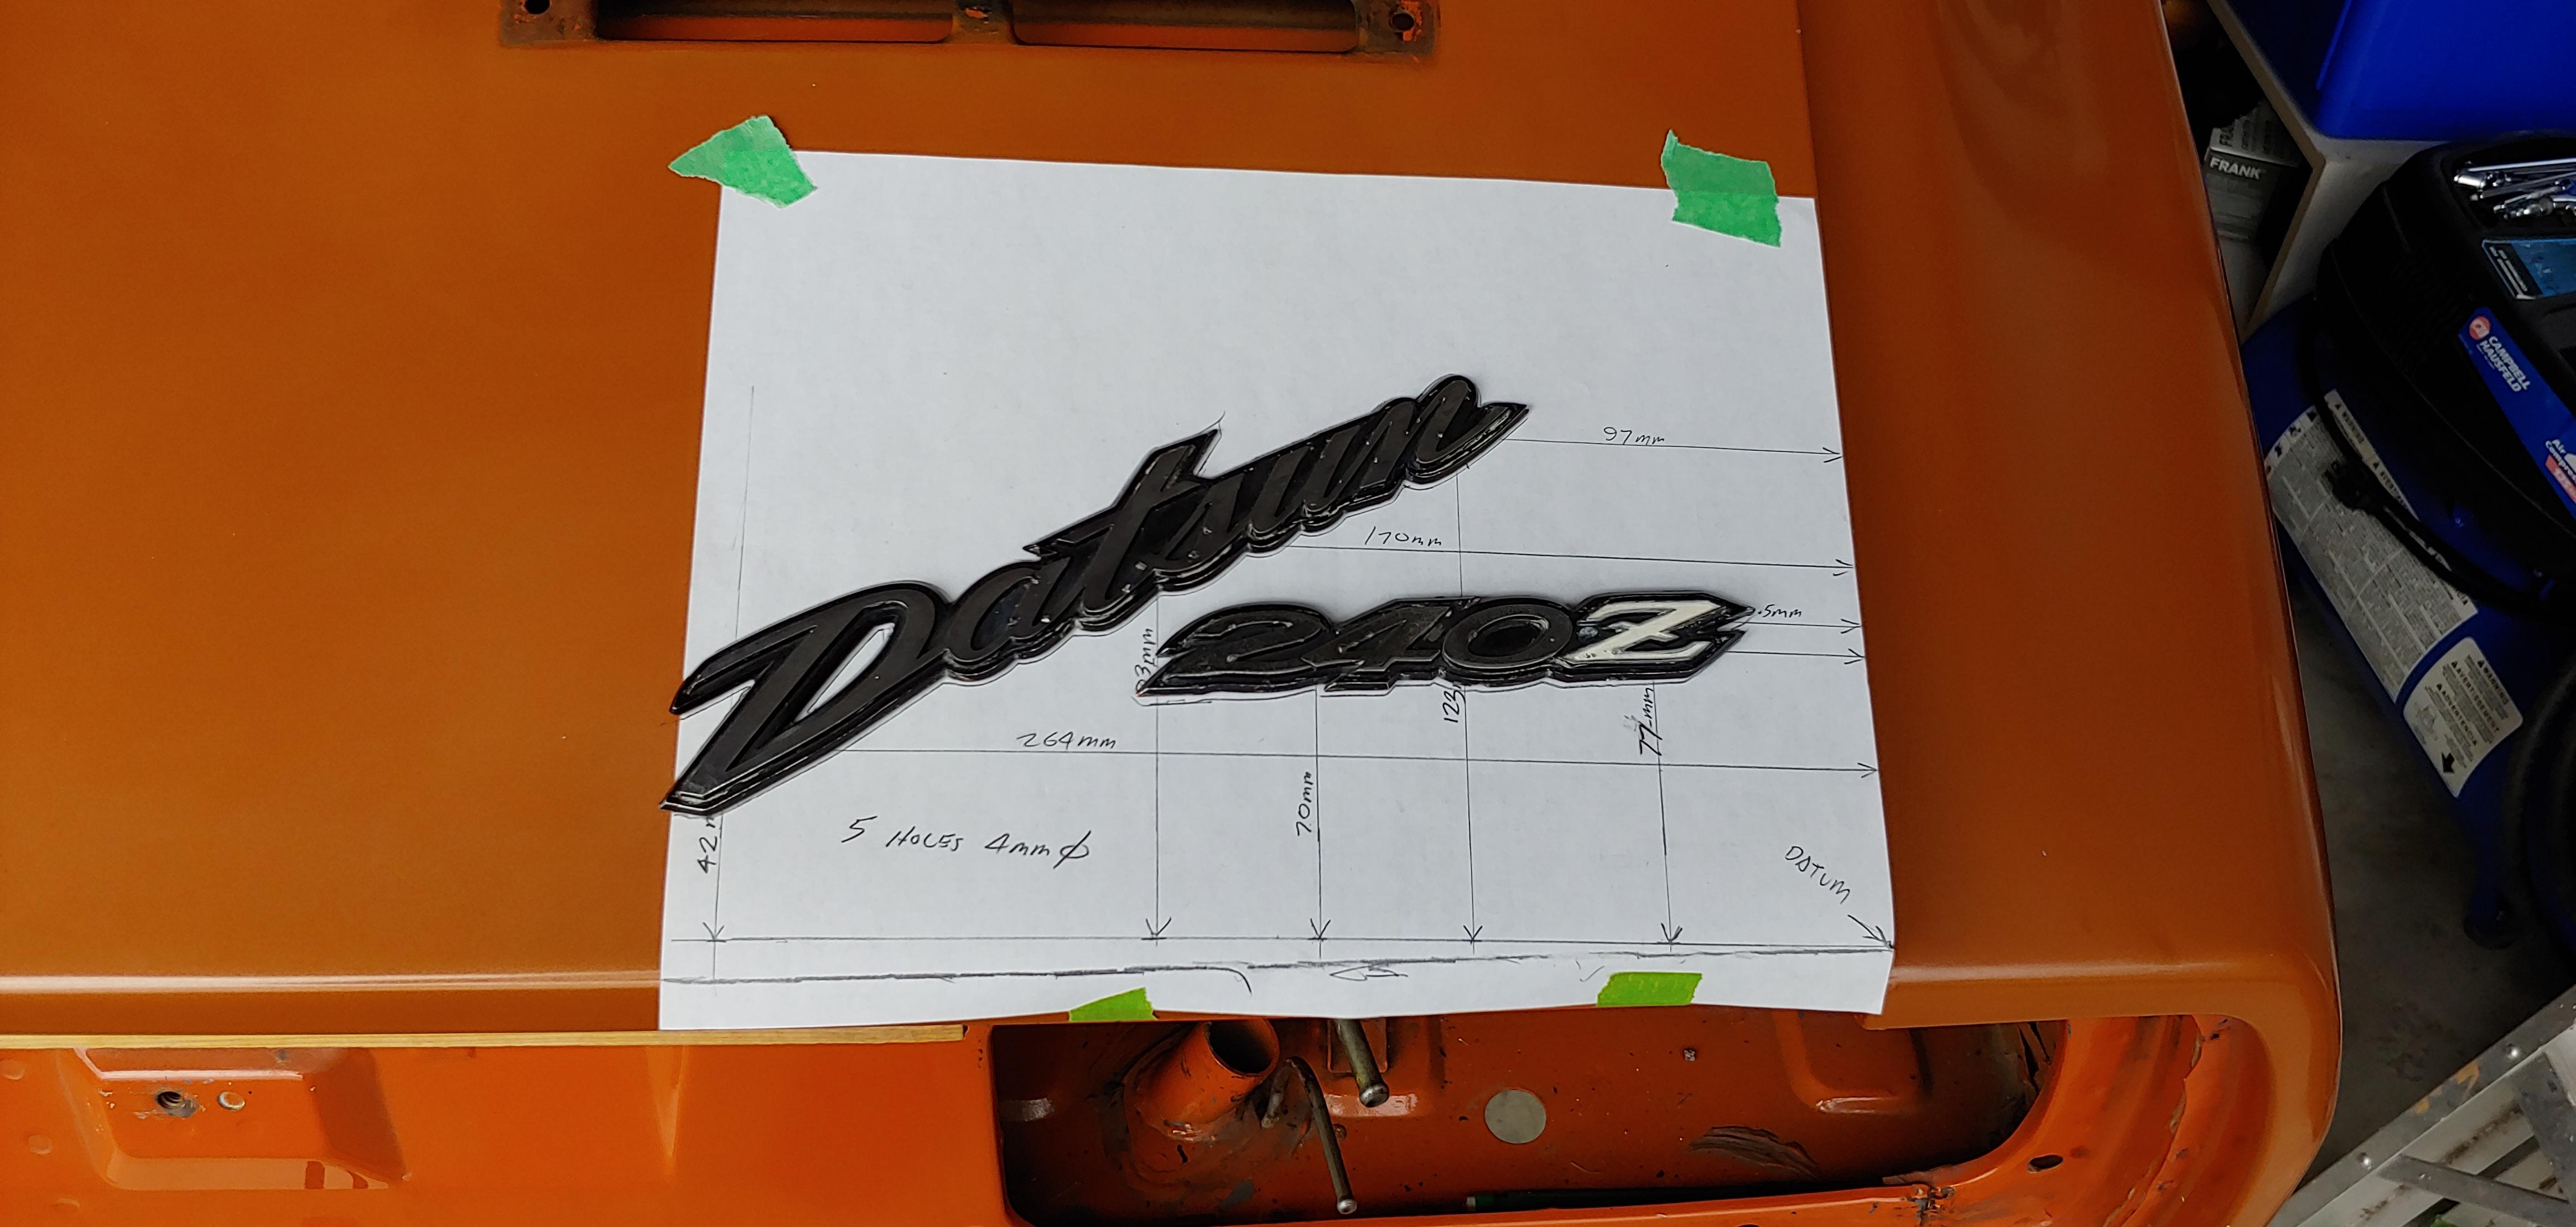
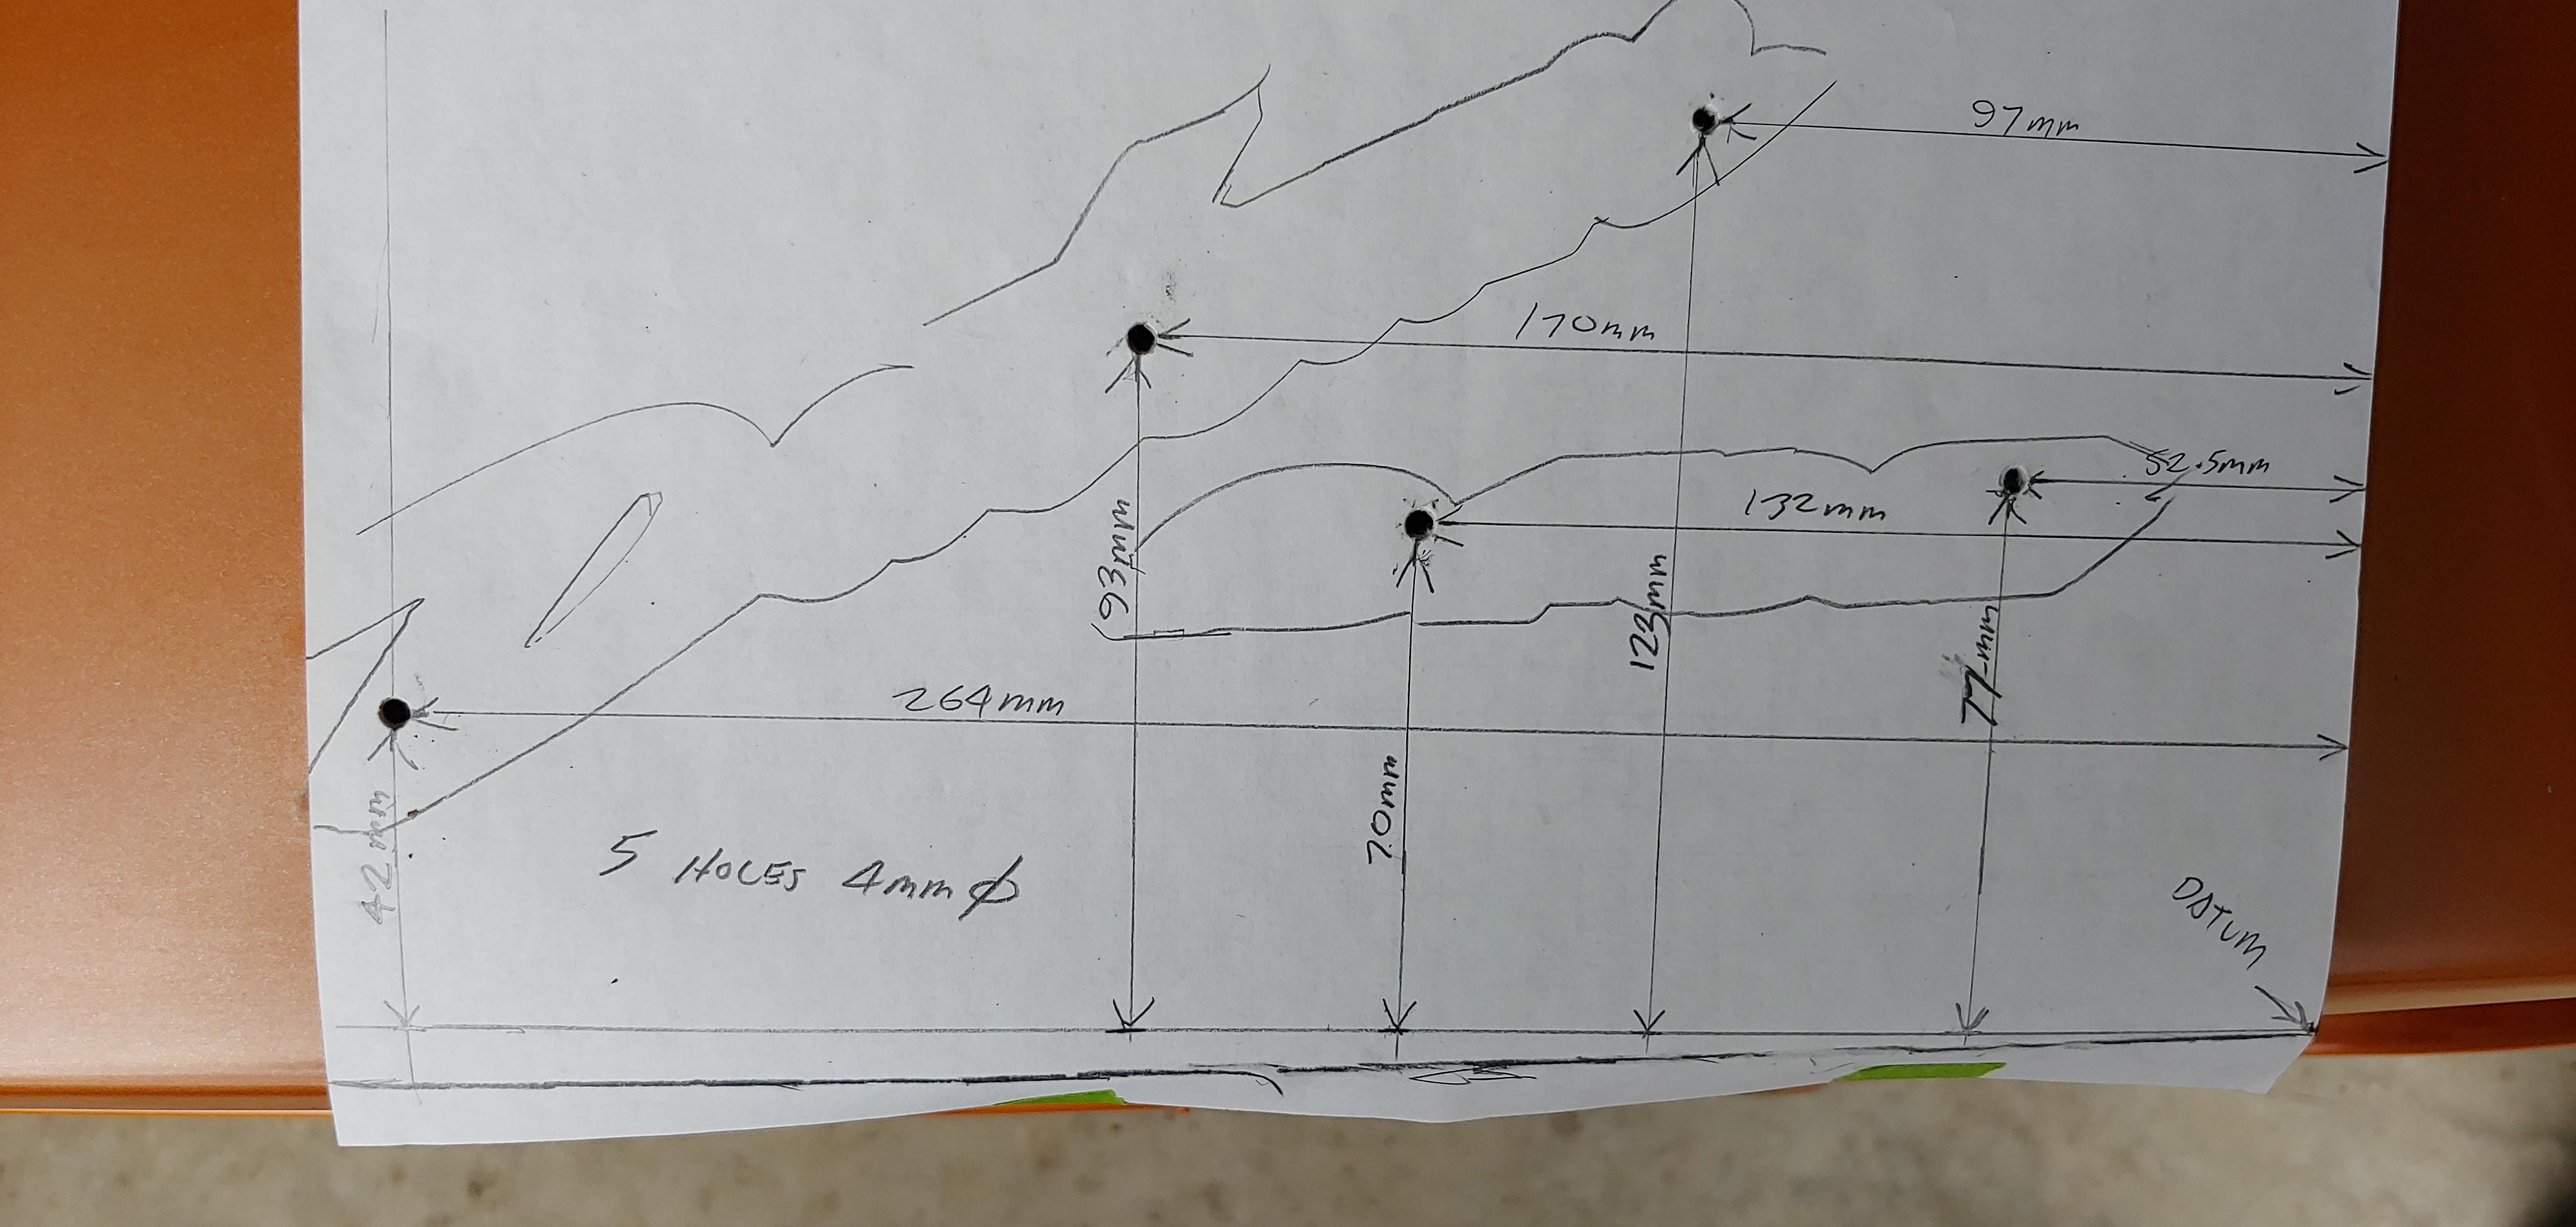
1 pointI'm pretty sure they are the same for series 1 and 2, here are measurements from my 1970. The datum for measurement is the lower right corner of hatch. The bottom edge of the hatch is curved so instead of the that edge I drew a line at right angle to the right edge for the vertical dimensions. I hope that makes sense.

 1 point
 -
I did, but I know the guy pretty well, so we talked a while about what I wanted. It's a wrinkle coat and we just masked up the lettering.1 point
-
1 pointI checked fuel pressure, and received about 20-25psi, I believe its supposed to be 36psi so I will be getting a new fuel pump. I already installed a new battery and new fusible links car seems to want to turn a bit faster, won’t stay on still but its getting there. Sent from my iPhone using Tapatalk1 point
-
1 pointI don't lift the carb pistons. I remove all the spark plugs, adjust the valves, turn the engine over with the starter until the gauge shows oil pressure, install the c gauge, open the throttle all the way and turn the engine over until the c gauge needle won't go higher. I always start with #1 and the #2-#6, then I repeat #1. Frequently the reading on #1 will improve slightly because of increased oil circulation after repeated engine revolutions.1 point
-
Dang that looks good! I want to do that to mine, did you just drop it off at the powder coat shop to get that done? Sent from my iPhone using Tapatalk1 point
-
From the serial number of the car it should have the body vents in the hatch. I'd be more inclined to go with @Racer X and the quarters replaced.1 point
-
Sounds like you have the tail shaft casing apart. There is a small seal that the shifting rod goes through . Available through Nissan. This keeps gear oil from pooling into where the shifter mounts. Easy to replace with the housing and shift rod removed. Pull it out with a small pic and insert the new one. I recommend you replace it. Same with the speedo assembly. That you can do any time.1 point
-
1 pointOh, and about the number stamped on the top of the pistons... The stock pistons should have a number on them, and there should be faint stampings on the block deck surface for each cylinder and the numbers should match. At least the first number. The stock stamping numbers represent "size", not "location". That "3" stamped in your piston does not look like a stock stamping to me though. Here's a couple pics from my engine:
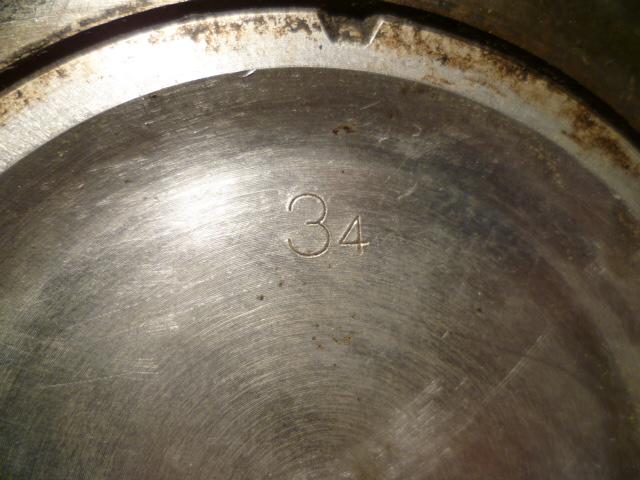
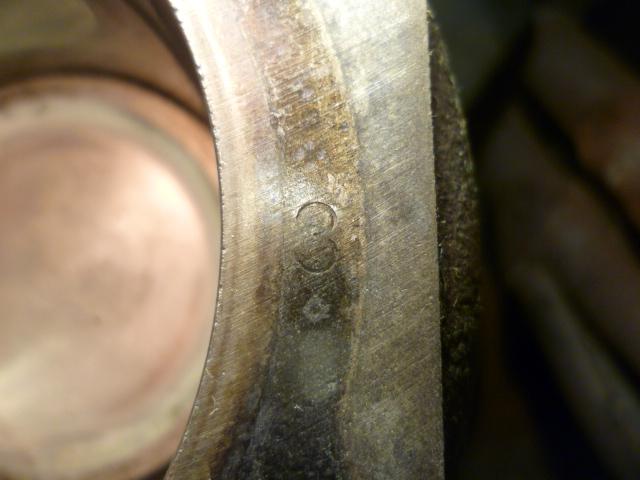 1 point
 -
1 point1 point1 pointYou should just do a light sanding and a clear coat on the exterior. It has character.1 pointIt is also possible that a previous owner may have replaced the hatch at some point in the past 50 years (the paint job is not original).1 point1 pointYea, thats my main worry going into it. Maybe I'll stick with a good freshen up for now and worry about cams if I go with a stand alone.1 pointNice work Ryan! Way to stick with it! So i would cut out all the rust on the jig, fix the floor and rockers and then go to the rotisserie personally. The jig holds everything straight. I did each rocker and the front rails separately, but I am certain I could have cut more away at once. The floors basically attach to the trans tunnel and the inner rocker. I had patched my inner rockers but once I got it on the jig I actually cut it all the way out and replaced it. The frame didn't budge. Same thing when I did the front rails. Have fun!!!!1 pointI am a structures mechanic. Anything that is part of the airframe is what I (we) work on. As aerospace machinists our job is to fit and assemble commercial jet airliners, freighters and tankers (for the military). So far I have been part of the manufacture of the Boeing 777 (wings and fuselage), 777X (fuselage), and the 767 freighter and its derivative the KC-46 tanker (fuselage). The airplanes are assembled in huge jigs, we call them “the tool”. The 777 wing assembly jig is huge, 4 stories tall, with a footprint larger than an American football field. 4 pairs of wings are assembled simultaneously. So the machinists are working “in the tool”. The wing spars are also assembled in a tool, about 60 feet wide and 120 feet long. The 767, 747 body sections are assembled into larger sub assemblies in large 4 story high tools, similar to the wing assembly tools. The legacy 777 (metal wings) was assembled in a similar tool, which was removed and replaced by crawlers for a “moving” assembly line to also build the 777X. After the wings and fuselage sections are complete they get joined at wing/body join, then final body join. At each step the various pieces are loaded into the tooling, positioned using indexes and checked with lasers to the nearest 0.001”. Still, when an airplane is complete, due to manufacturing tolerances, each one is different in length. I’ve read that a 747 can vary in length by as much as 18”. So I suppose that none of them are perfectly straight, but all modern airplanes have provisions to trim, or adjust the airplane for straight and level flight. The engines are manufactured elsewhere, and installed on the airplane by engine technicians who specialize in the hookup and installation of the engines.1 point1 pointThe roll pin holding the fork has been known to loosen up or fall out. The fork from a 4 speed would work. Somebody will have a used fork on the forum or eBay. Hard to imagine that you won't be able to find one. You can figure out a lot without tearing it down very far. Once you get the front case off you can manipulate the shift rods and forks and gears and see what's happening. Then you'll know how deep to go. Plus it might save on having a pro fix it if it's half torn down already. You can always do what a typical Z owner does and just buy a whole transmission, fix the other one anyway, and feel good knowing that you have a spare. Then buy another shell to put all your spare parts in.1 point


Important Information
By using this site, you agree to our Privacy Policy and Guidelines. We have placed cookies on your device to help make this website better. You can adjust your cookie settings, otherwise we'll assume you're okay to continue.