Leaderboard
-
grannyknot
Free Member5Points5,158Posts -
Richard McDonel
 Subscriber
 3Points381Posts
 -

Diseazd
Free Member3Points3,362Posts -
Captain Obvious
Free Member3Points10,081Posts


Popular Content
Showing content with the highest reputation on 03/07/2020 in all areas
-
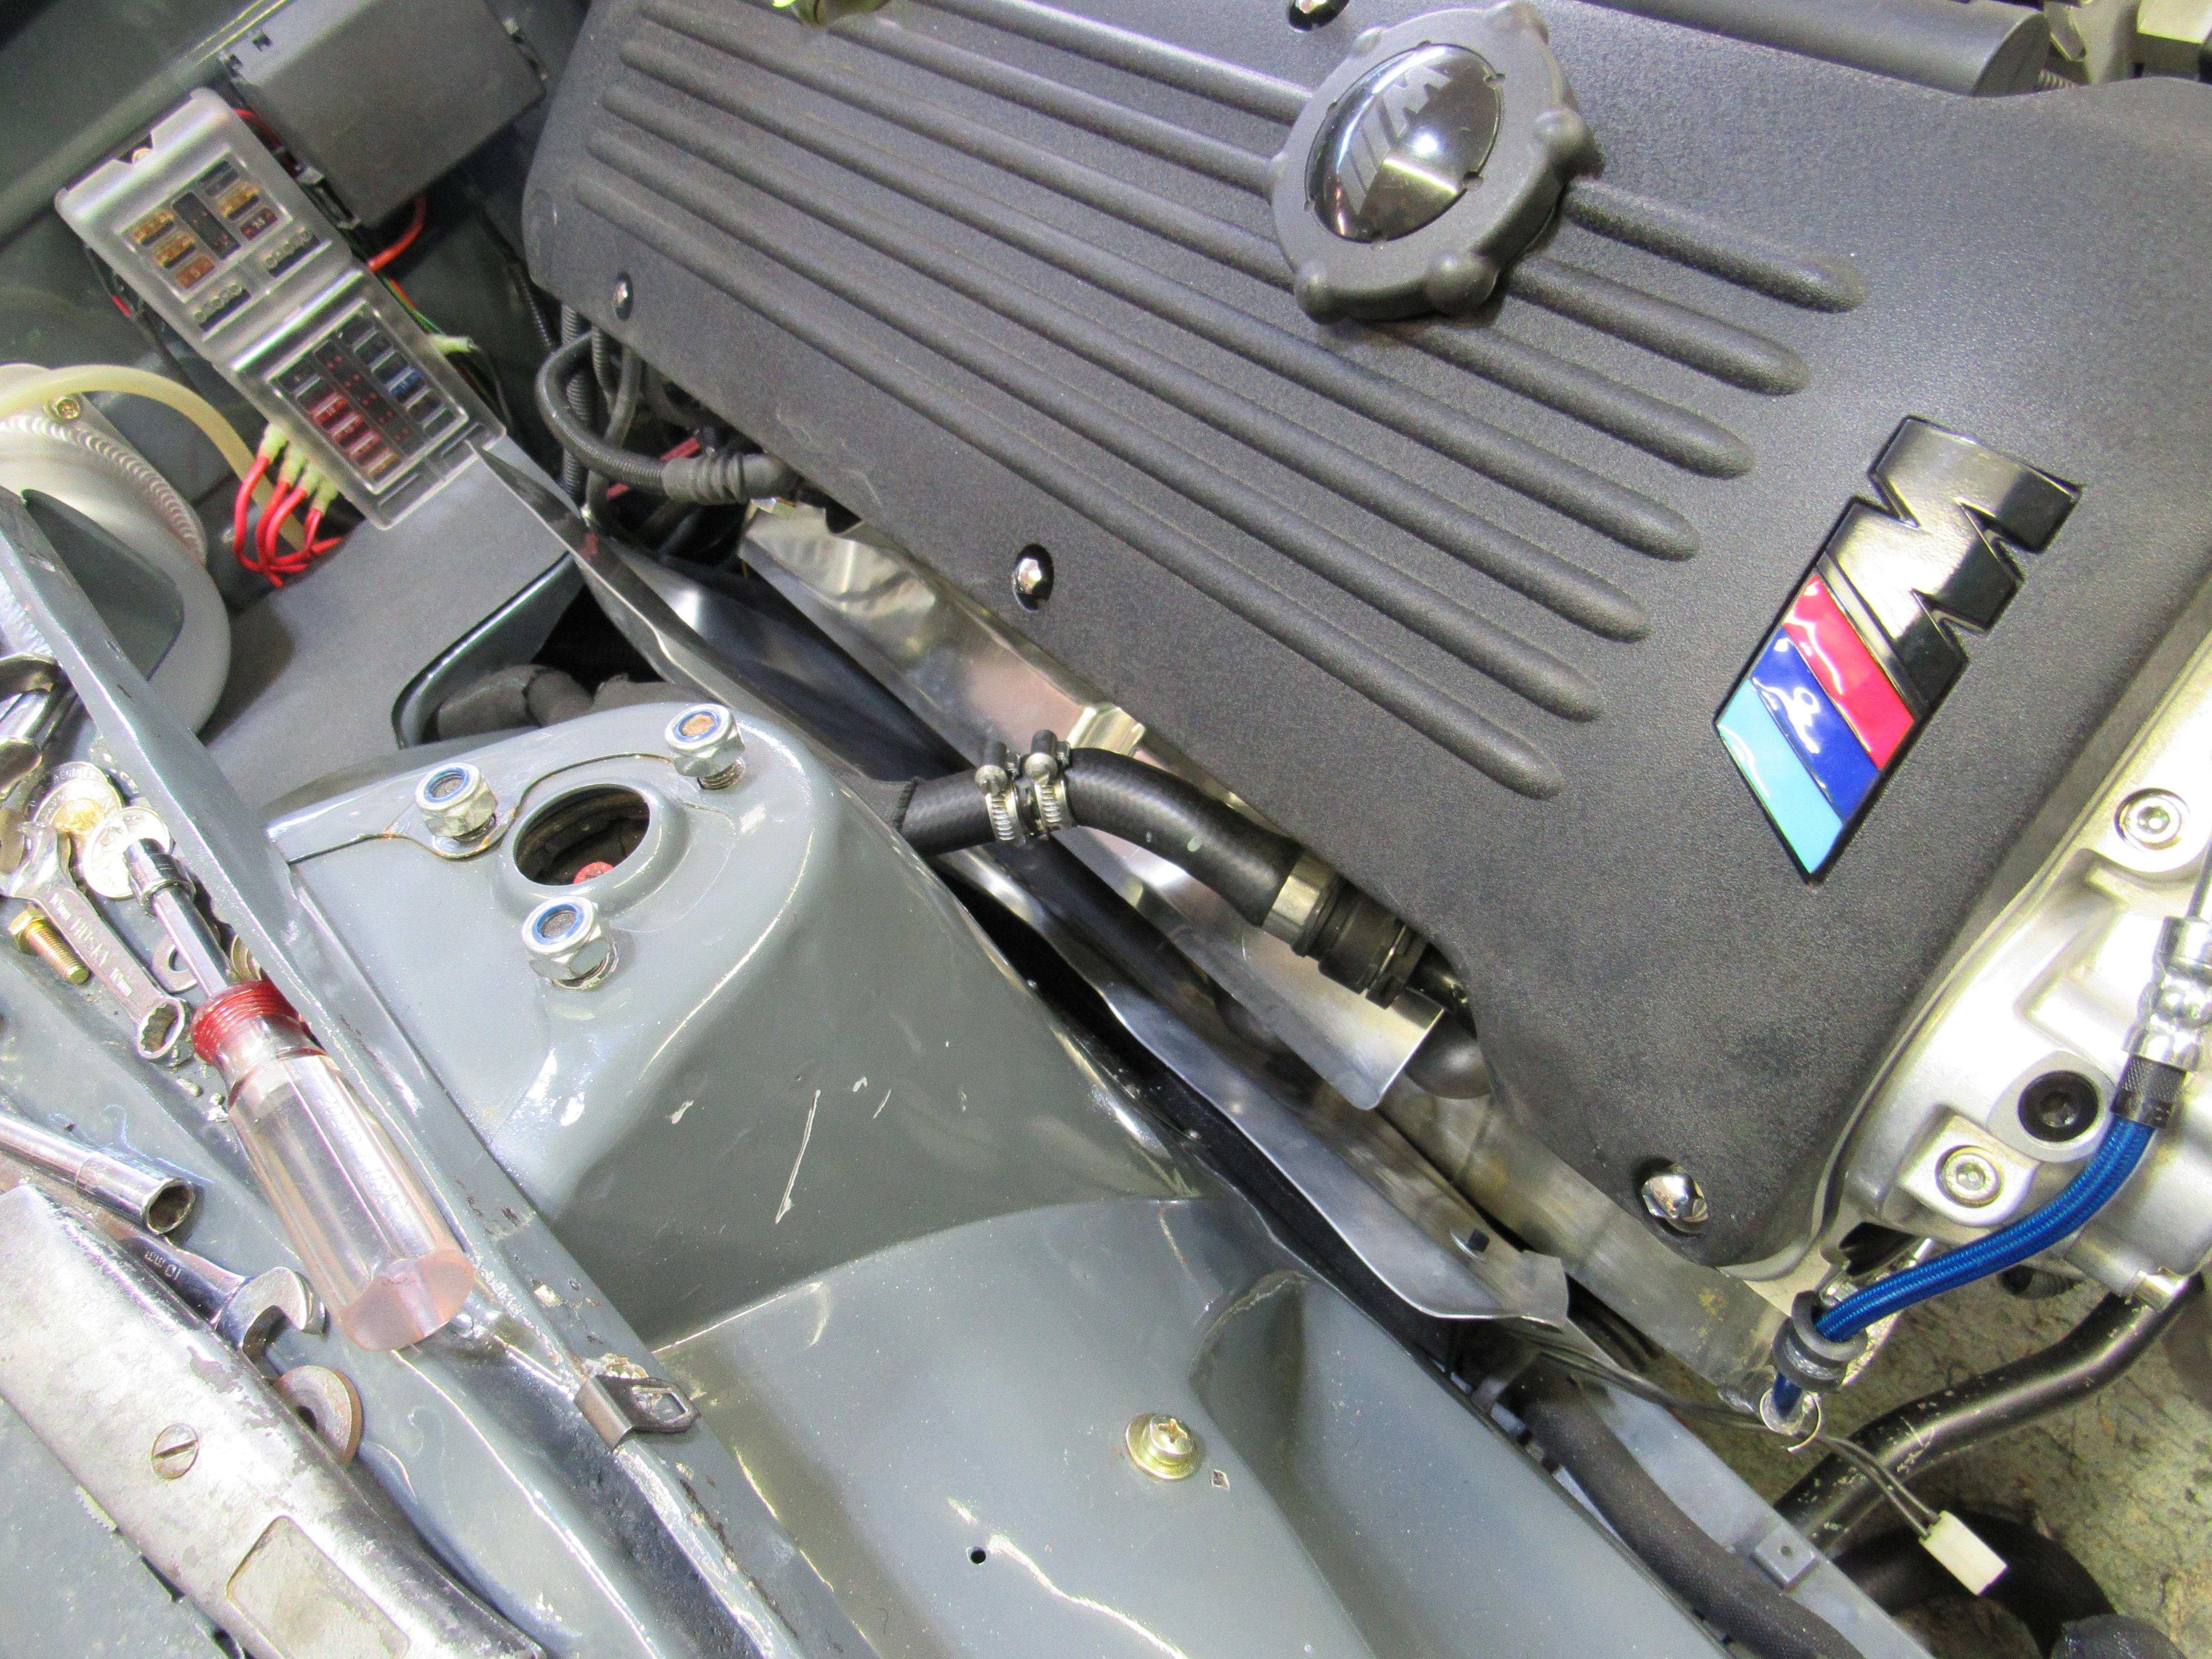
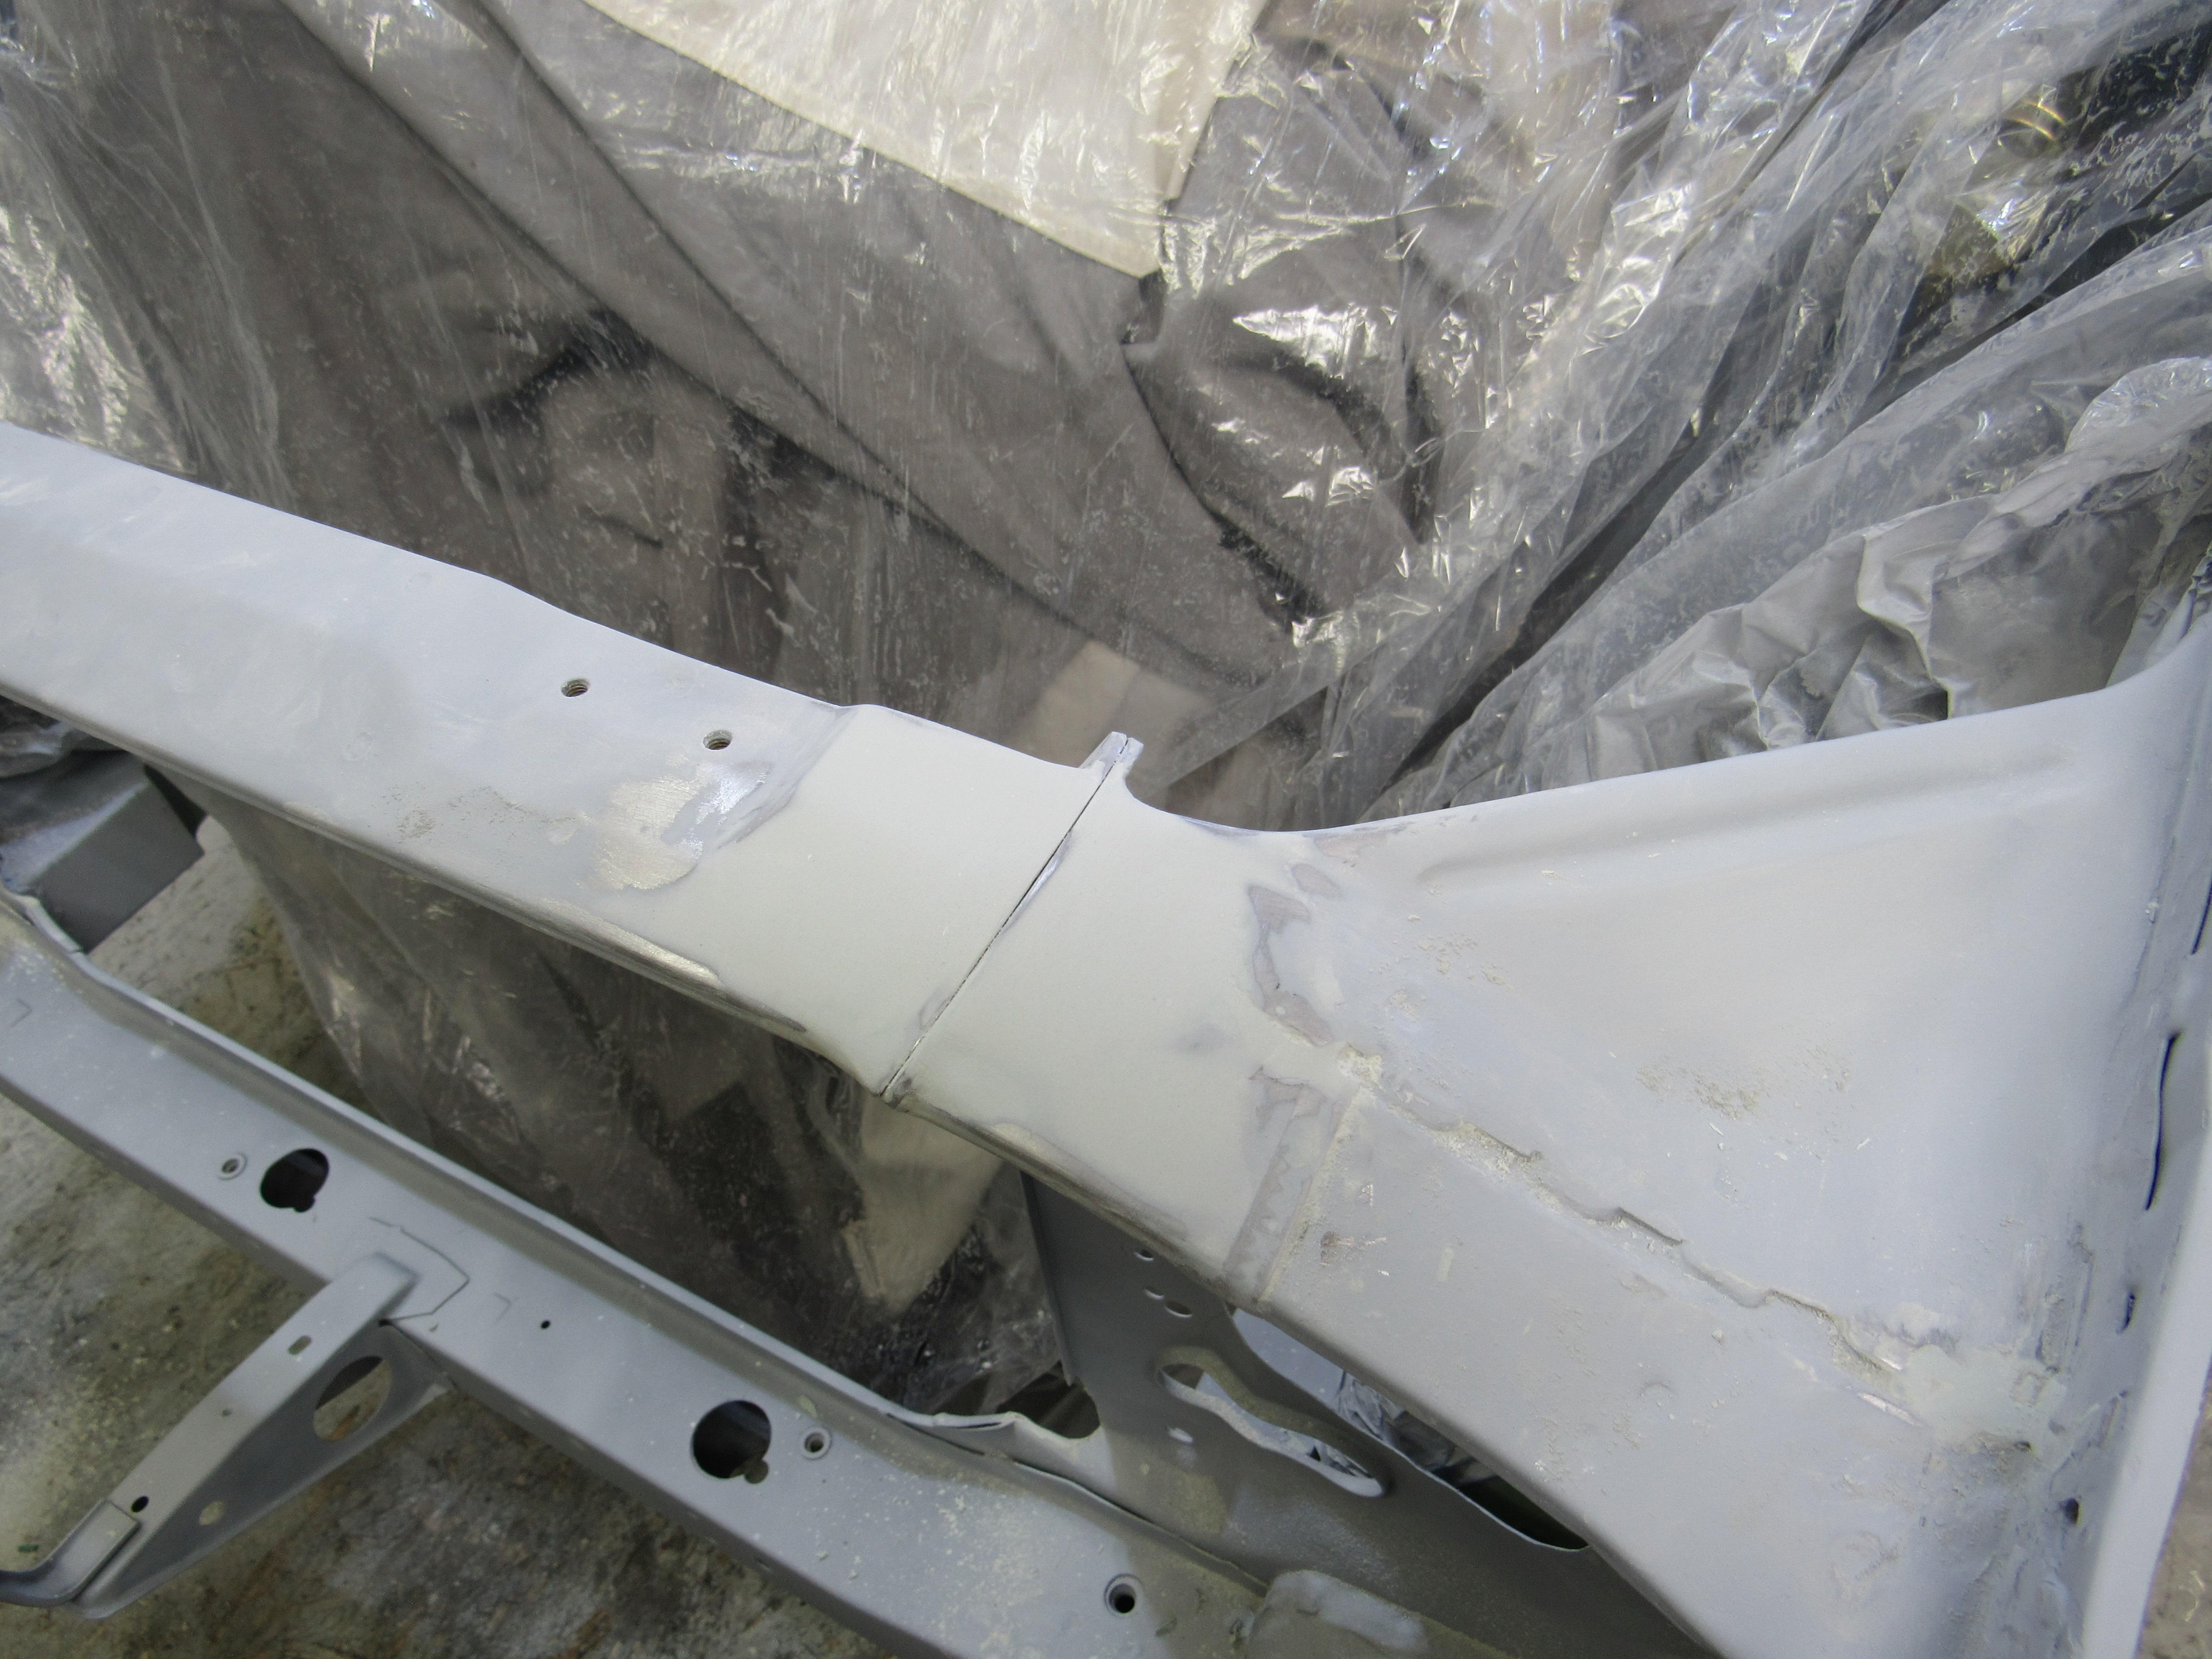
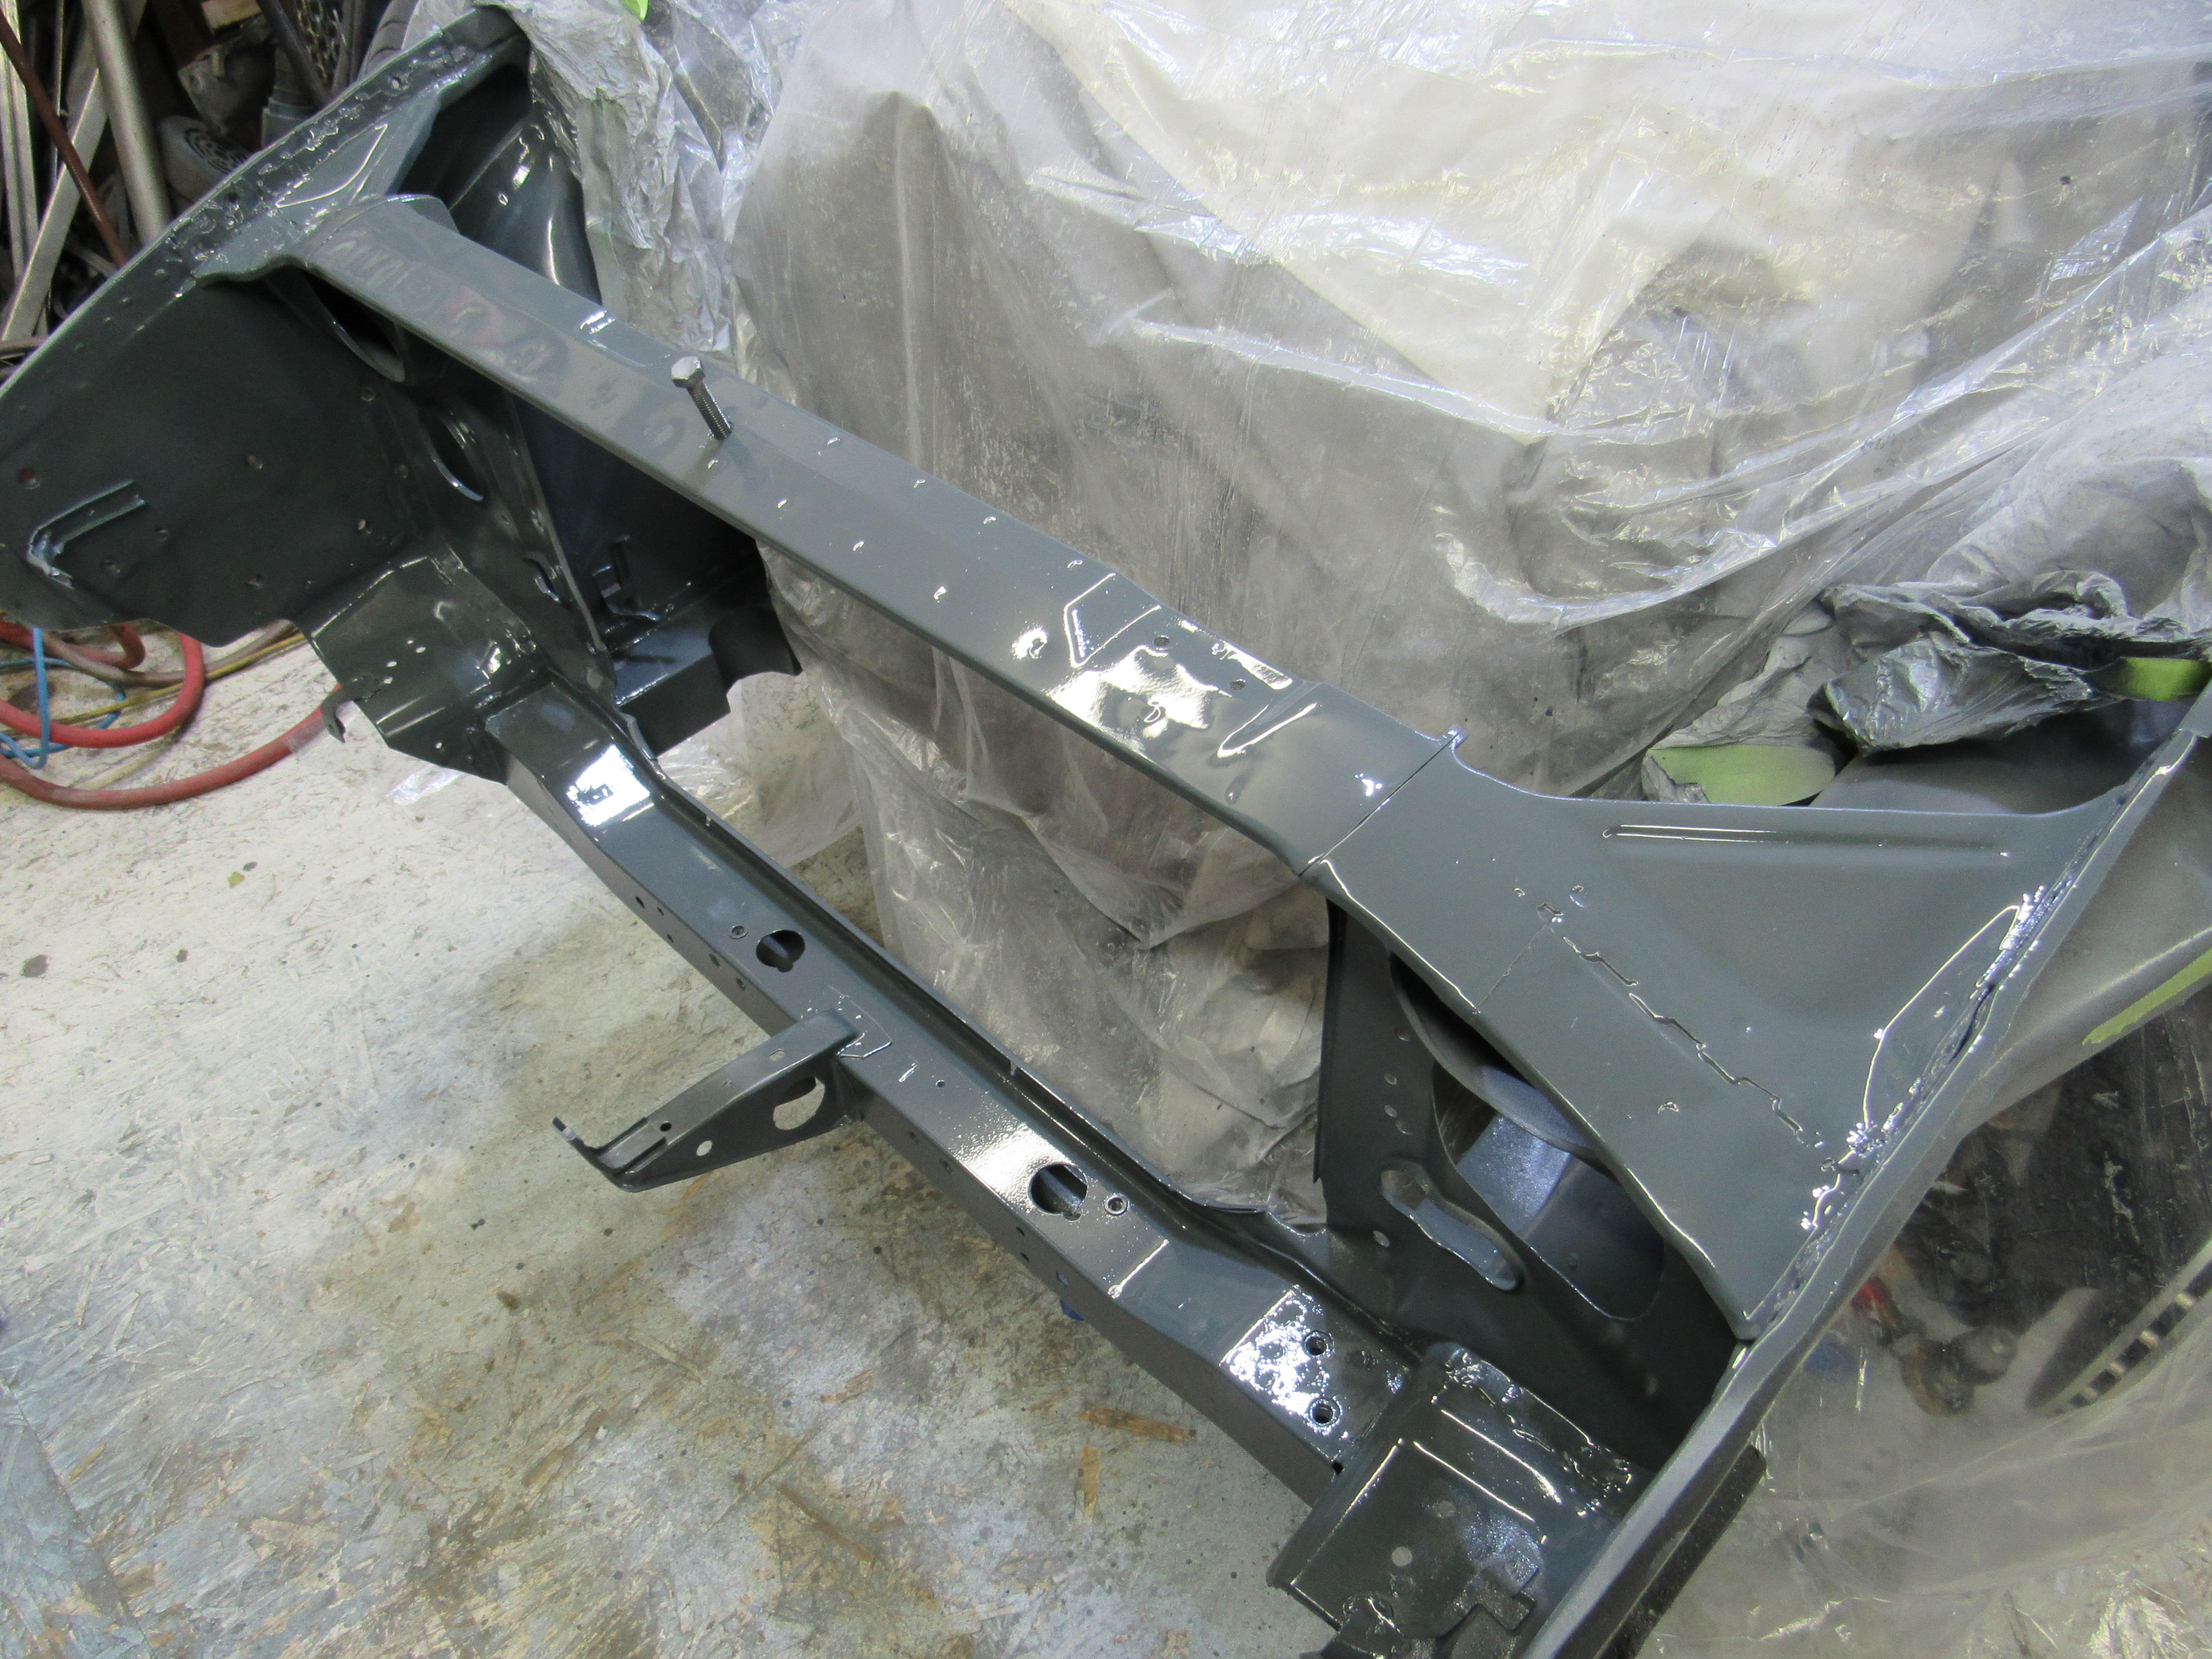
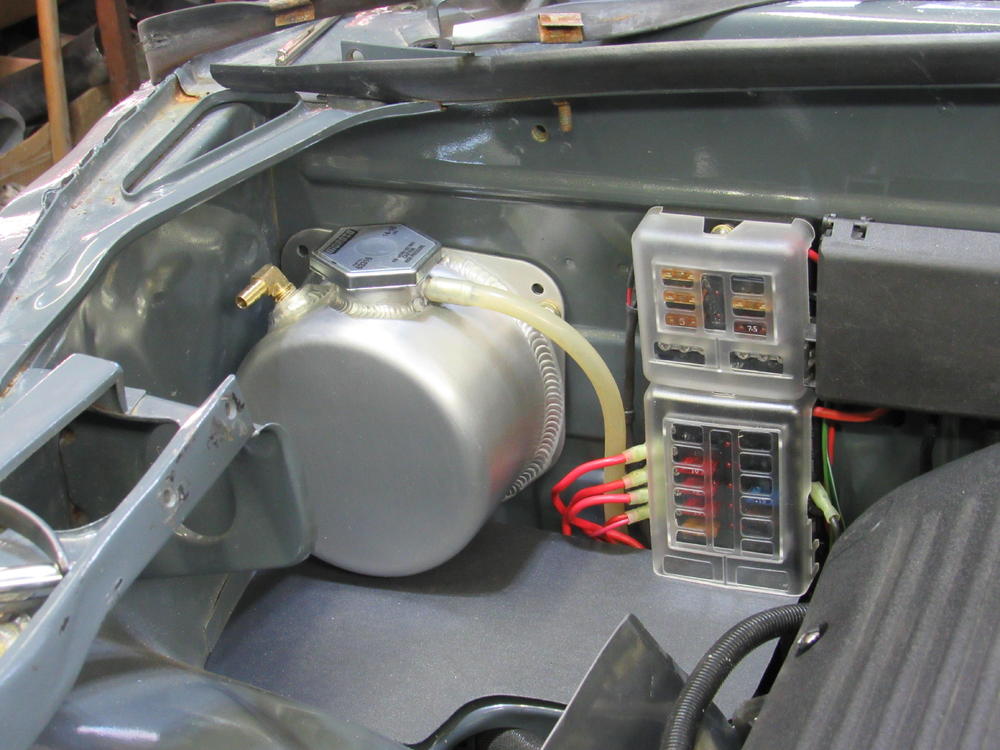
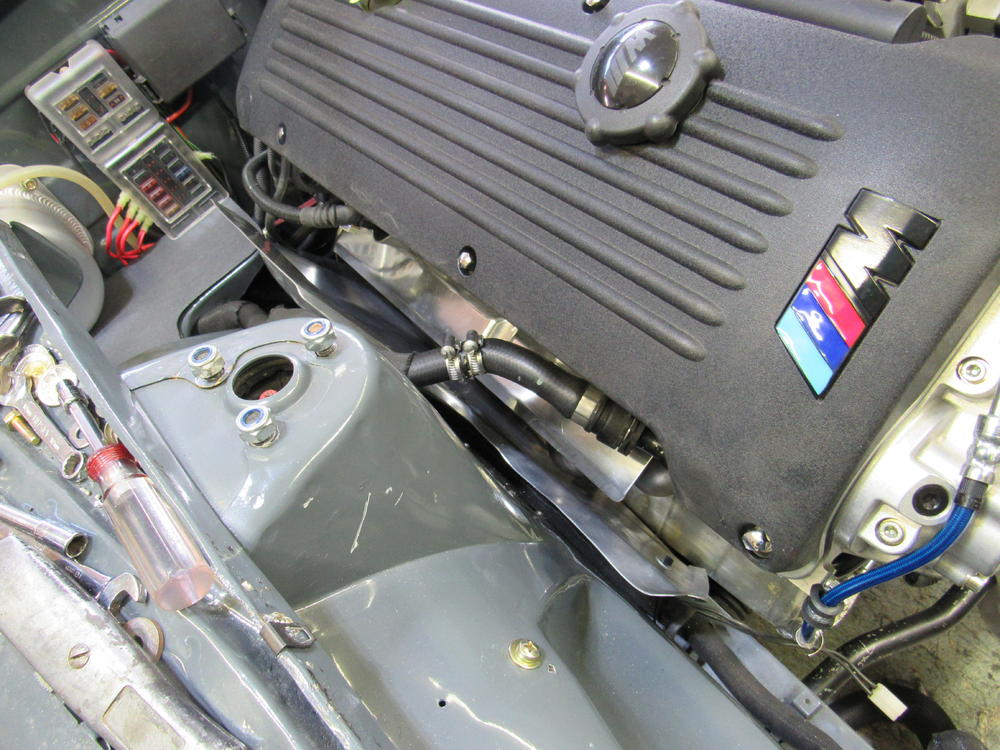
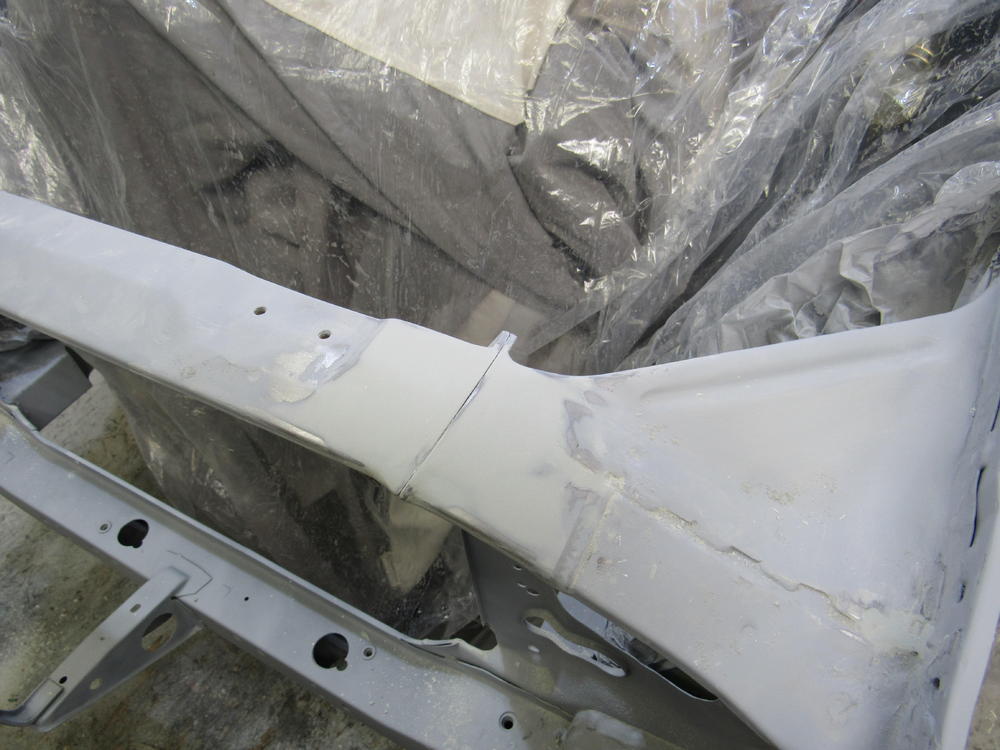
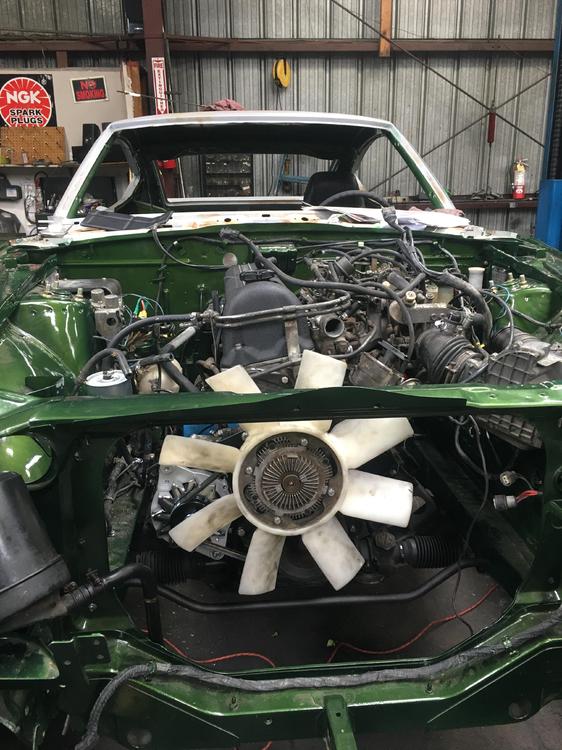
Big milestone today, the exhaust system is finished and installed now which allowed me to move along with installation of the heat shields, coolant pressure container and finish up the engine bay electrical. The rad support crossover got some filler, primer, colour and 2 coats of clear today so the rad and oil cooler can go in now, just waiting on one more fitting for the new fuel system and I think I will be ready to turn the key! Of course then I will spent the following week trying to track down why it won't start, that's my usual MO.

 4 points
 -
3 pointsKent, "A very nice gentleman." Would you mind if I shared this with my long suffering wife? Cheers, d*** McDonell3 points
-
3 pointsJust my opinion, but I doubt that the defect in that lobe is your source of noise. If it were mine, I would inspect the rocker for that lobe and if intact, I’d continue to run what you got.3 points
-
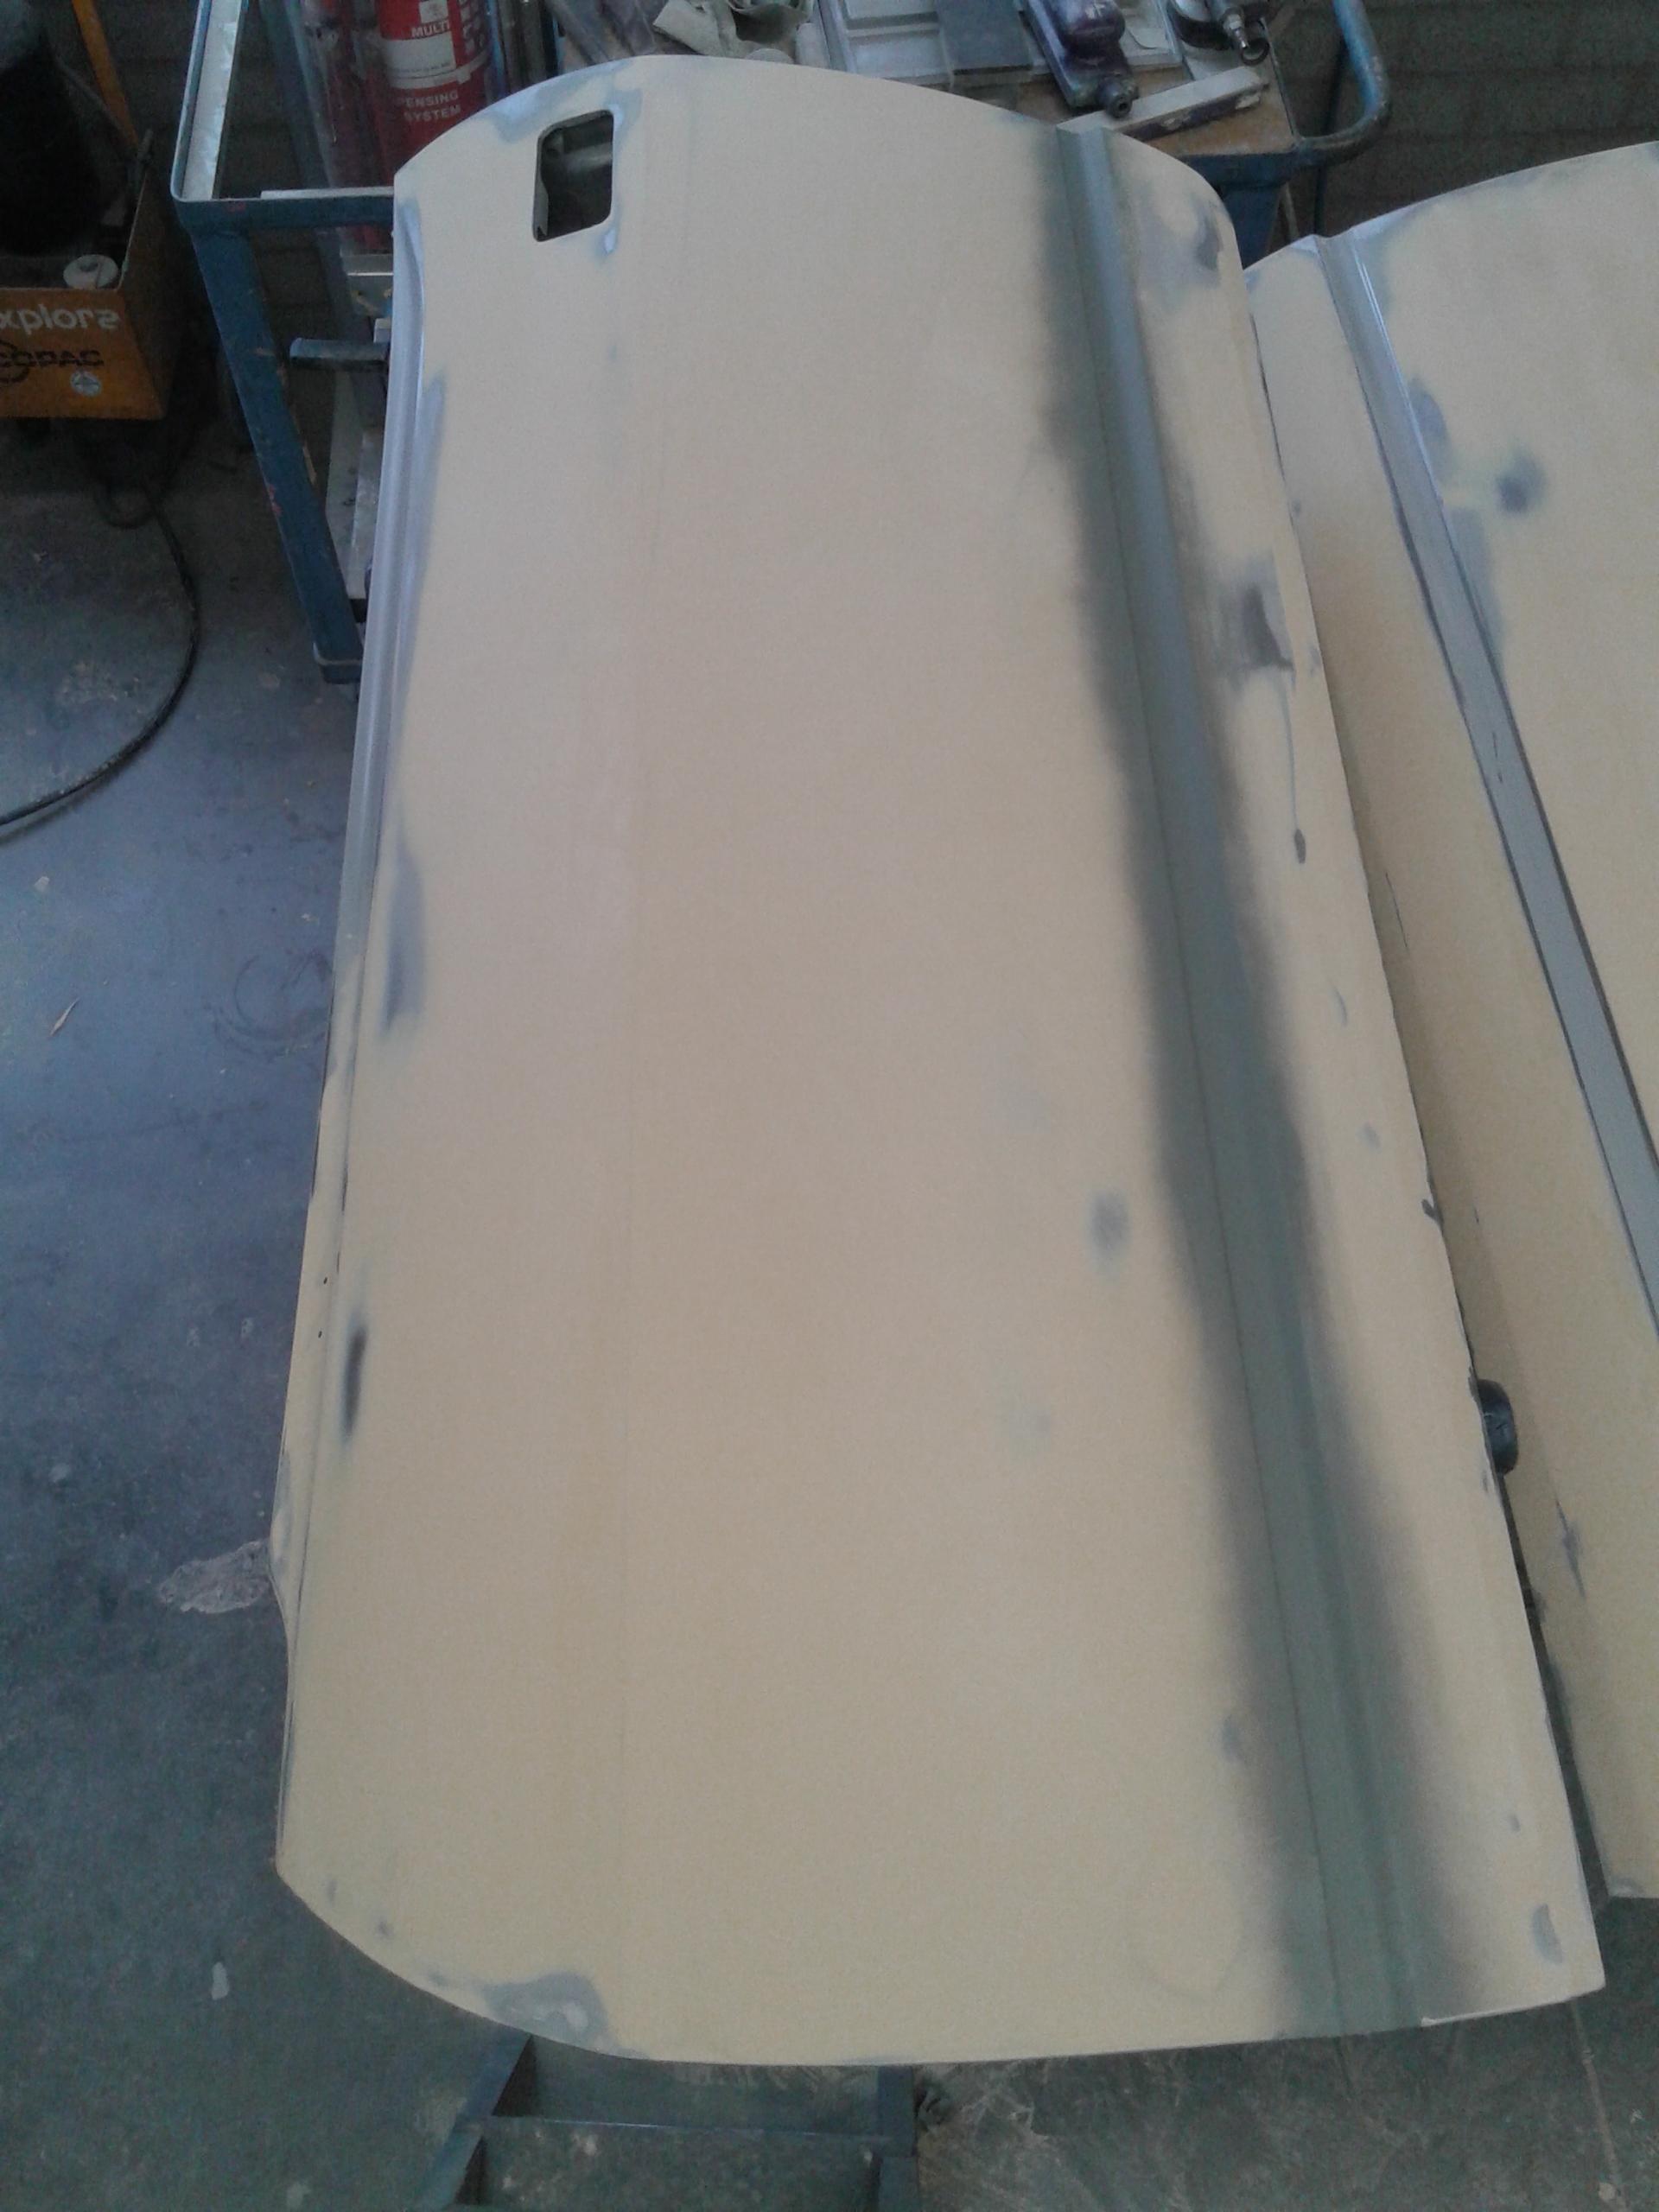
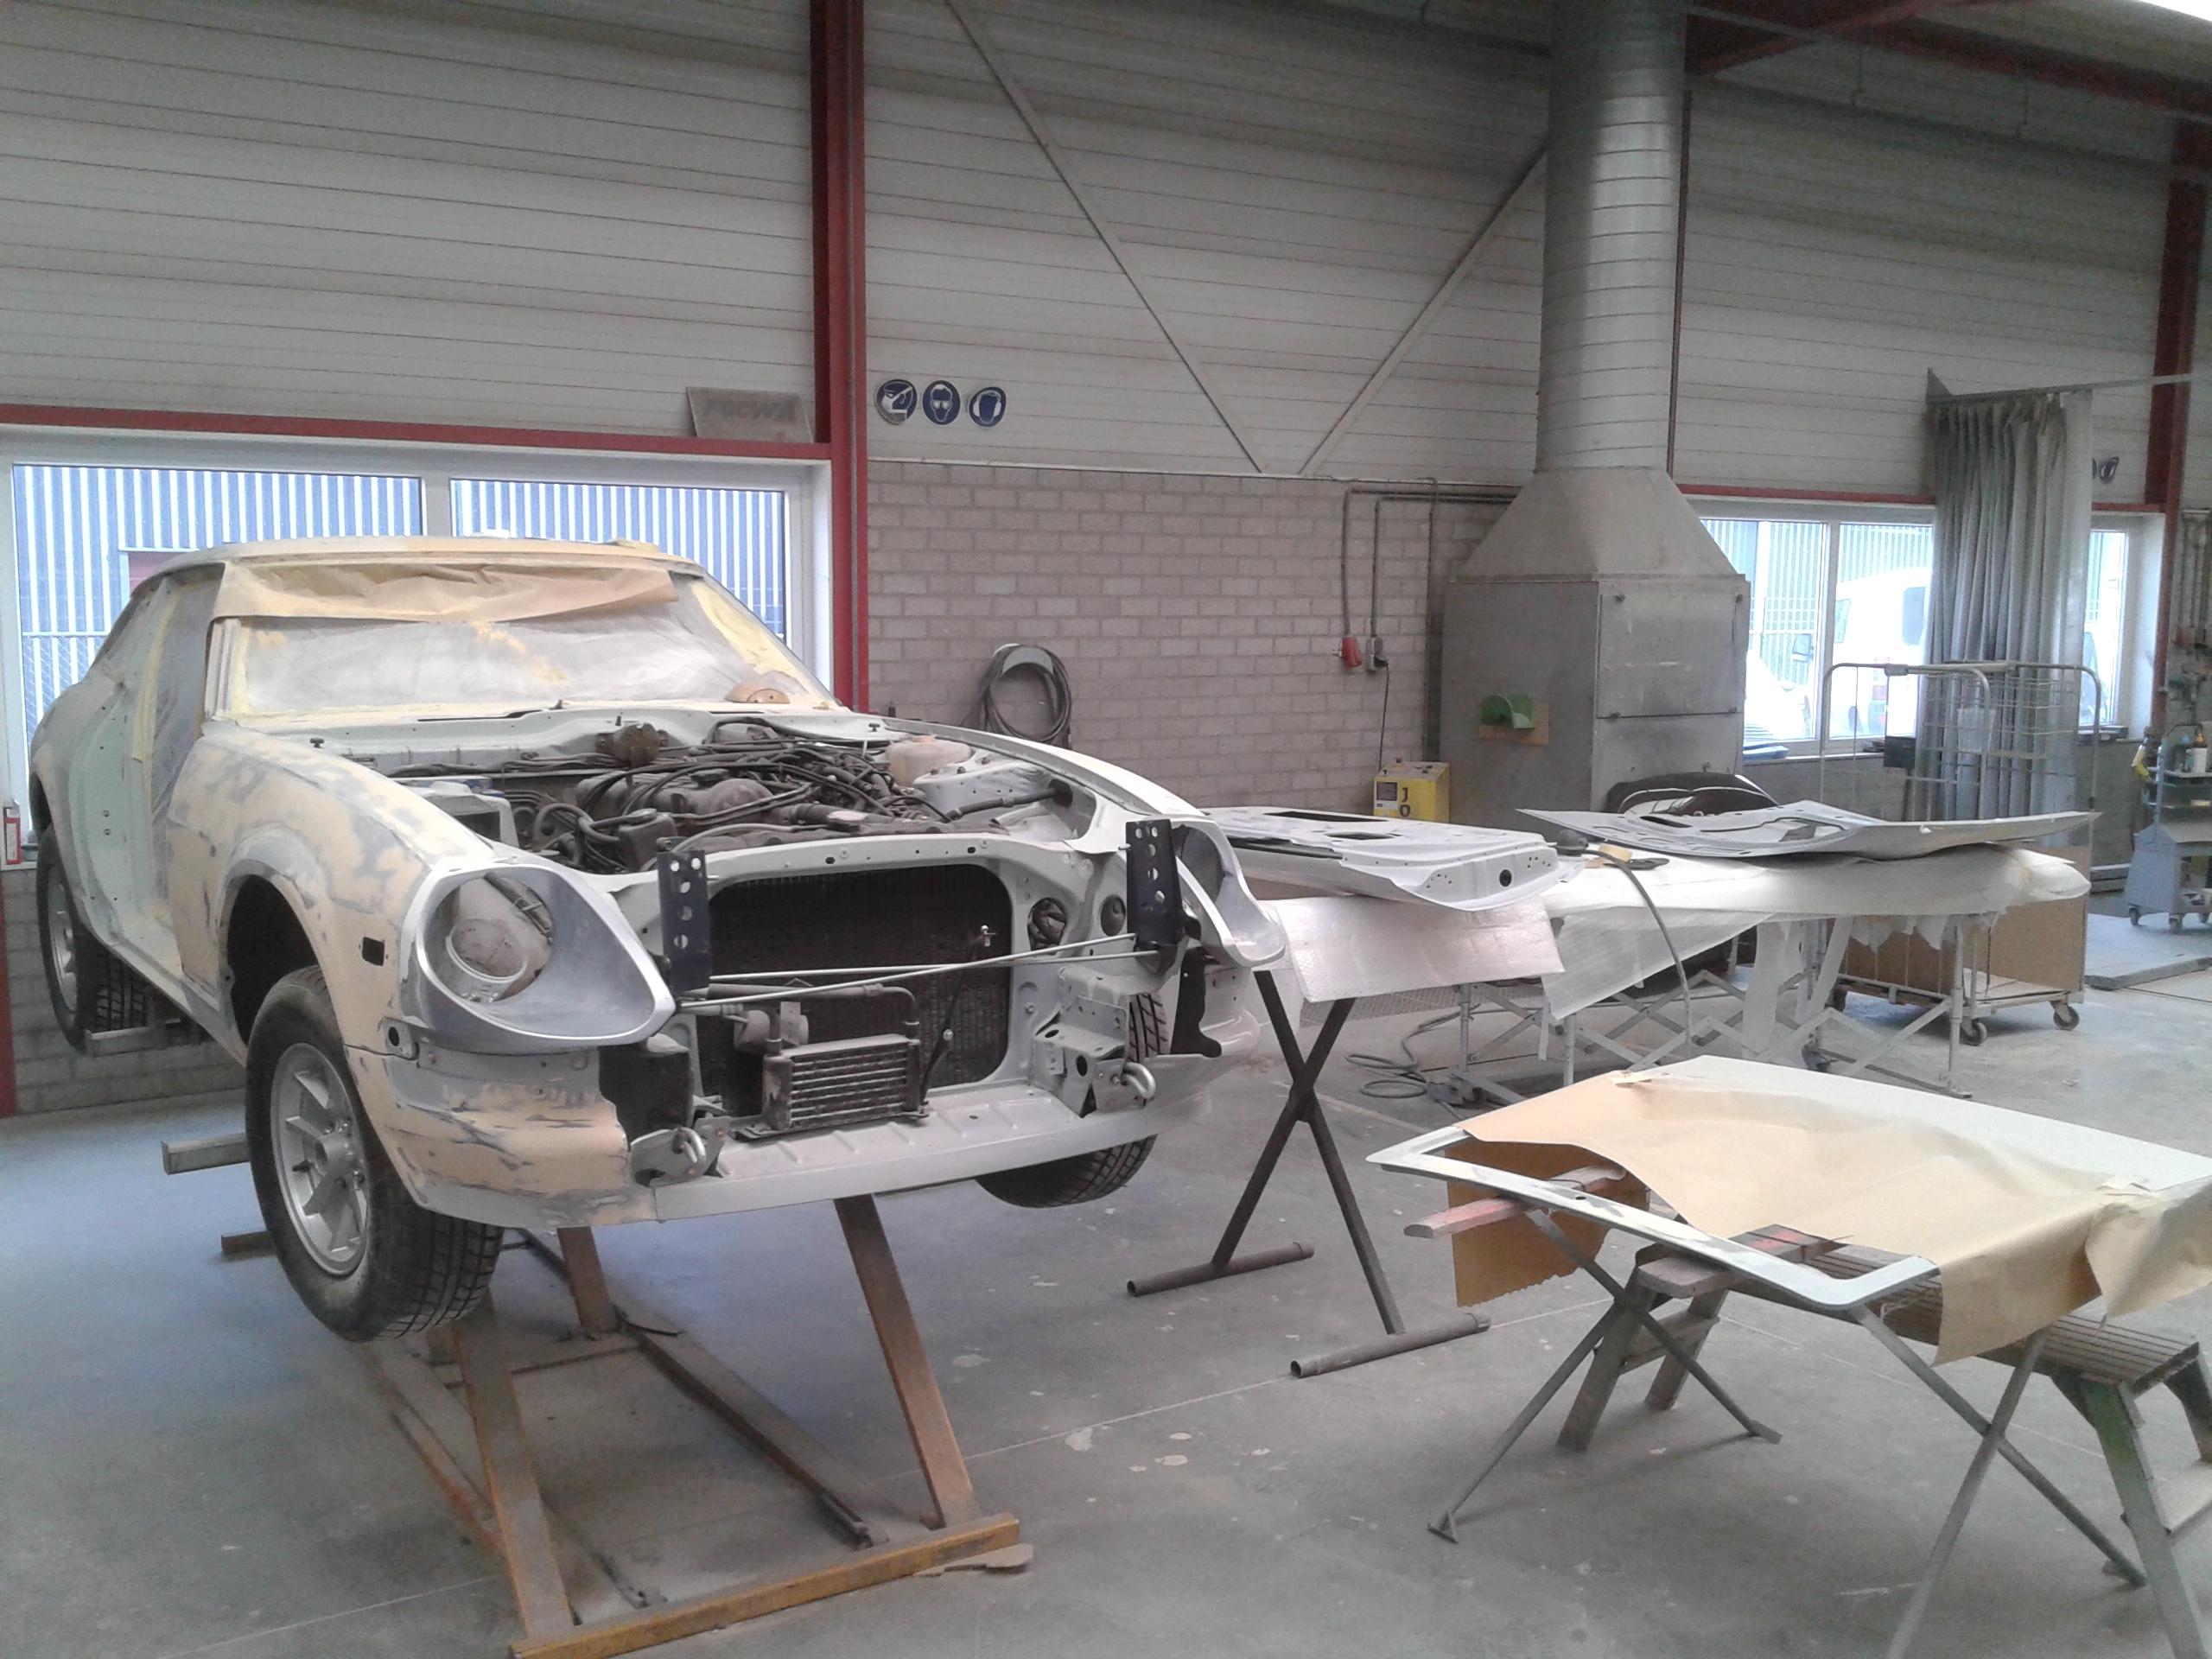
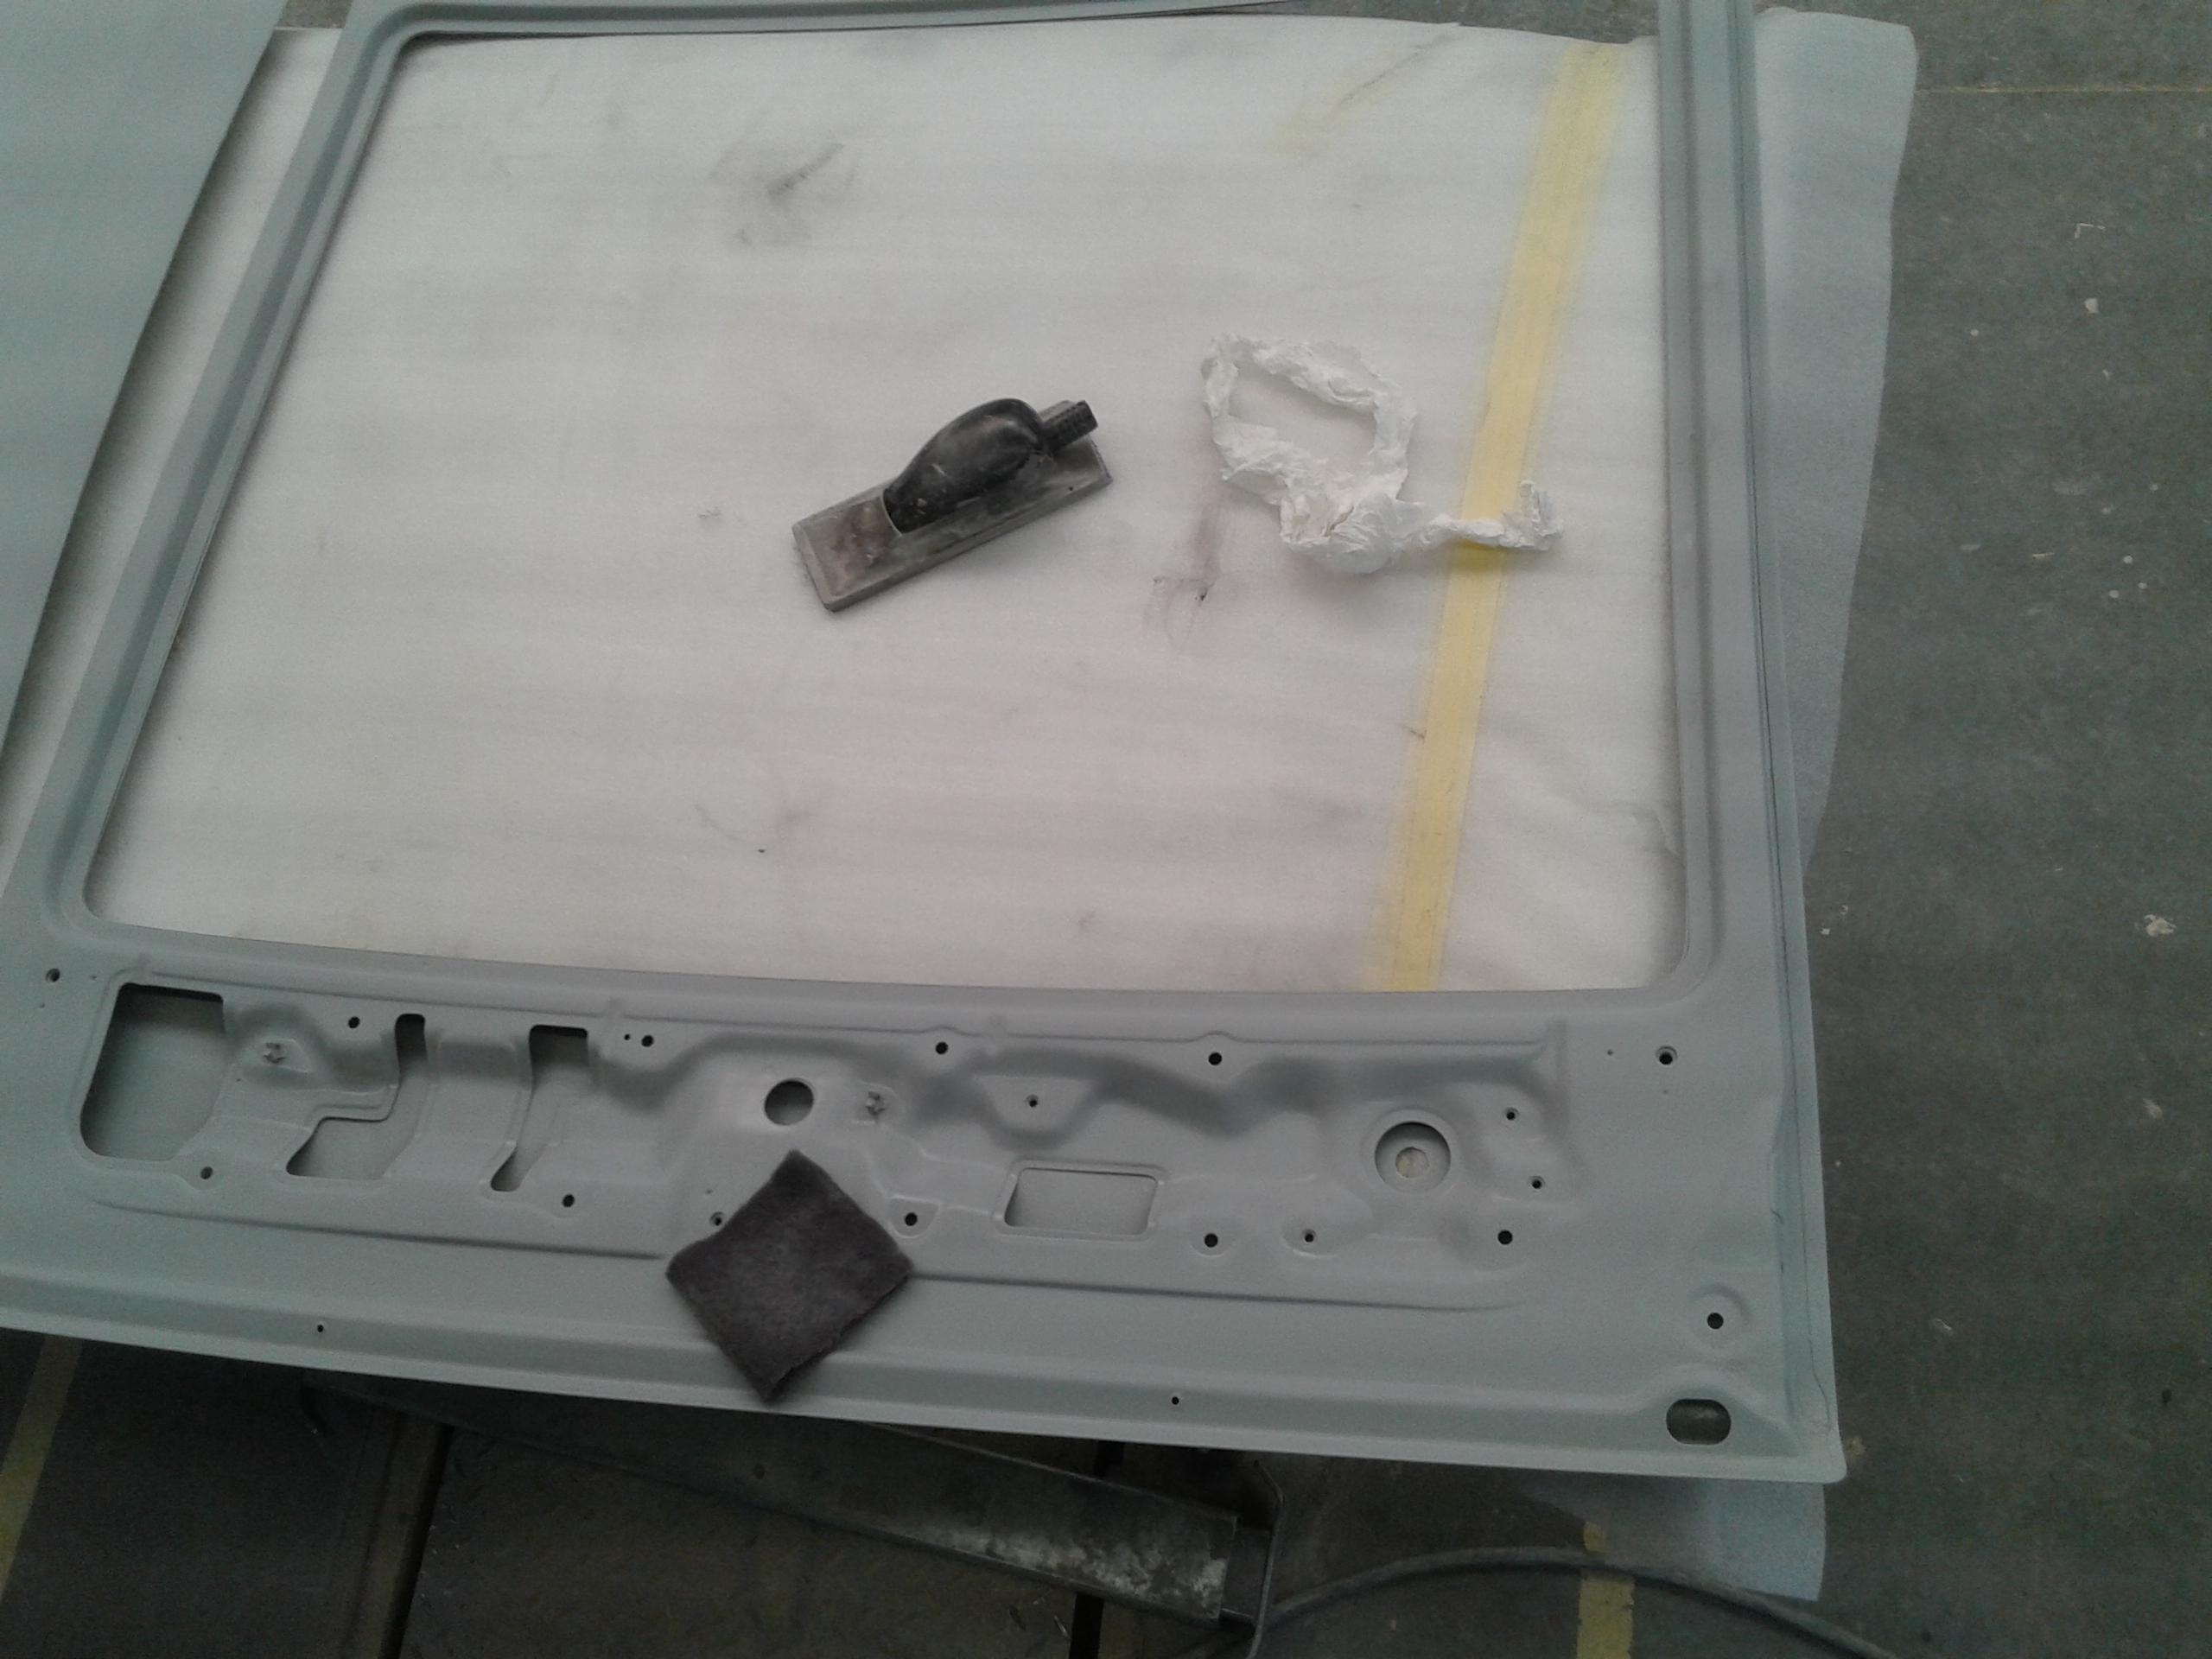
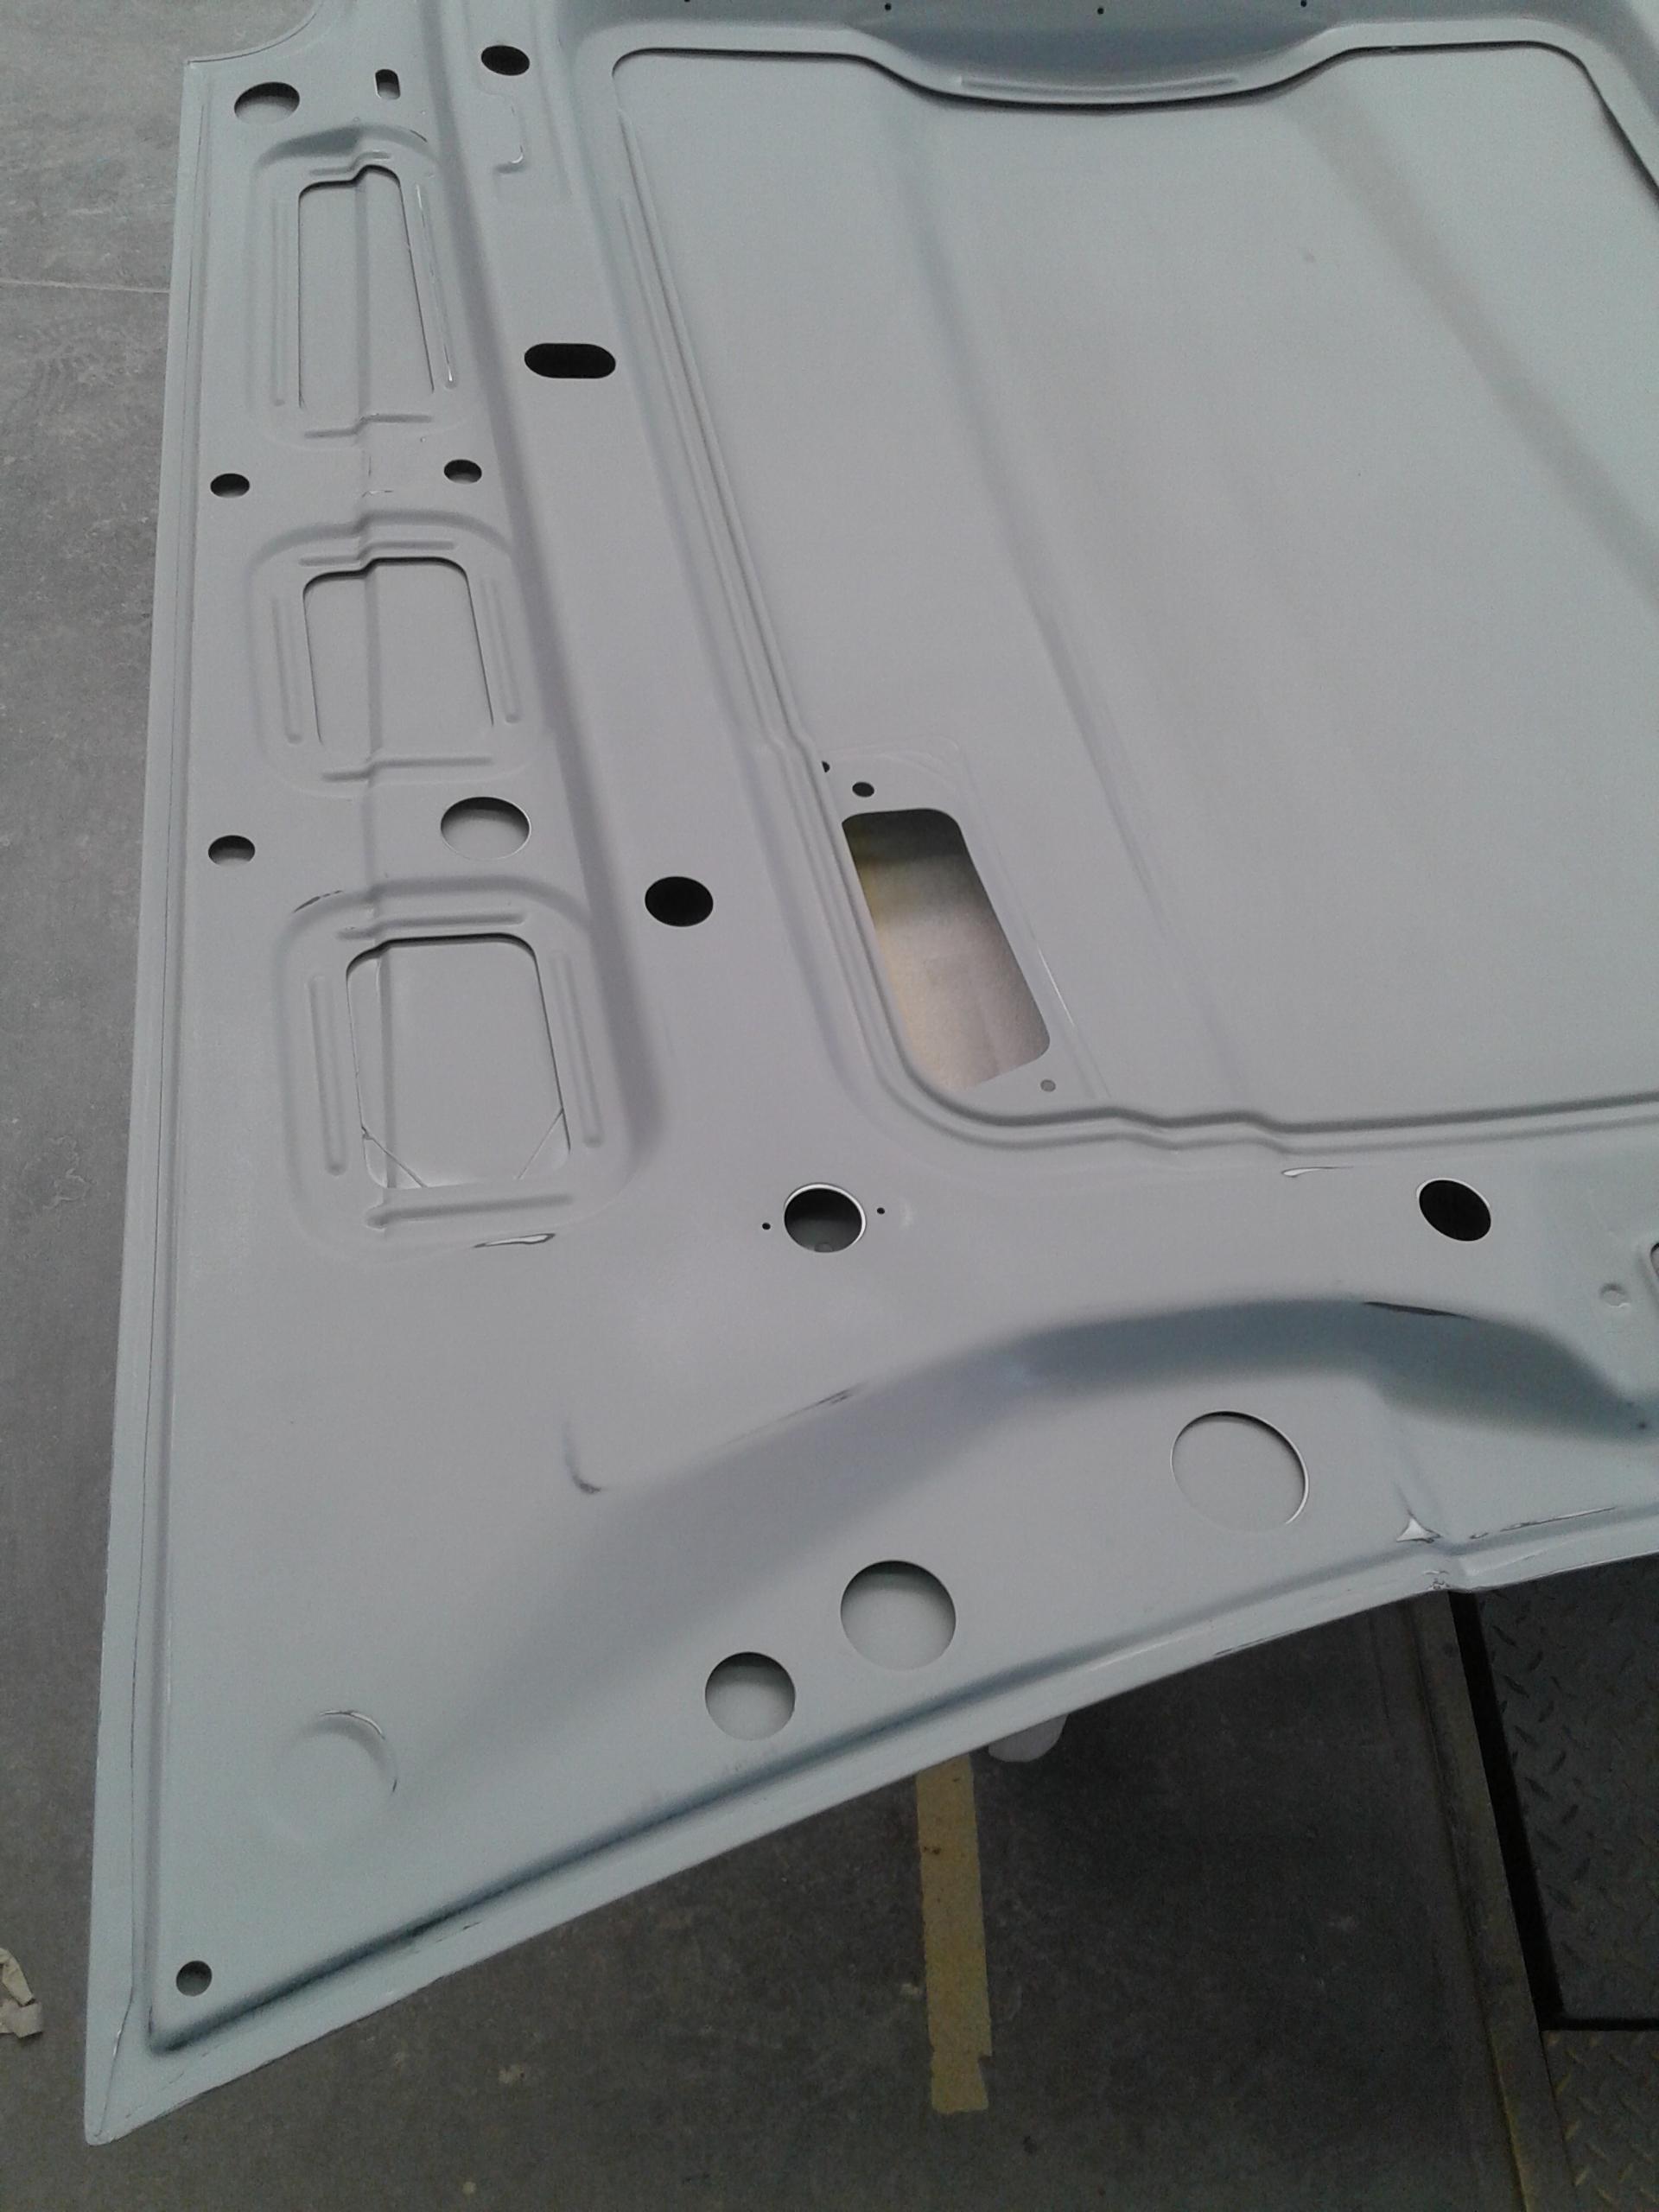
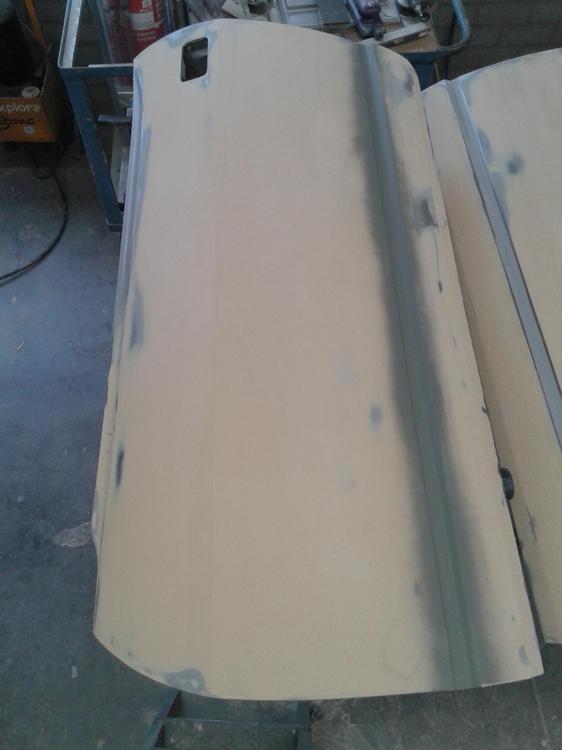
This past week, lots of sanding was been done… my favorite hobby... NOT!! Giving me trouble with my shoulder.. eating pain pills for breakfast.. But somebody has to do it. Paint was already ordered and now we are discussing who is painter haha.. me or "them"? I sprayed over a 100 cans and used a prof. paintergun a few times.. I think.. if i can do the inside doors and hood in a perfect way i'm the painter of my own car!! (It can't be THAT hard...? the only thing you have to look after is putting paint everywhere and at the same thickness.. HAHAHA...) some pic's of the progress.. Doors.. Rear hatch.. Hood.. Difference in sanded and not sanded.. clearly to see.. Here a pic of the workshop.. all kinds of zx stuff. Front of the car is done and the roof also.. I think paint this month.. at least the colorcoat in the edges (post of the doors and hood etc.) and inner side.


 2 points
 -
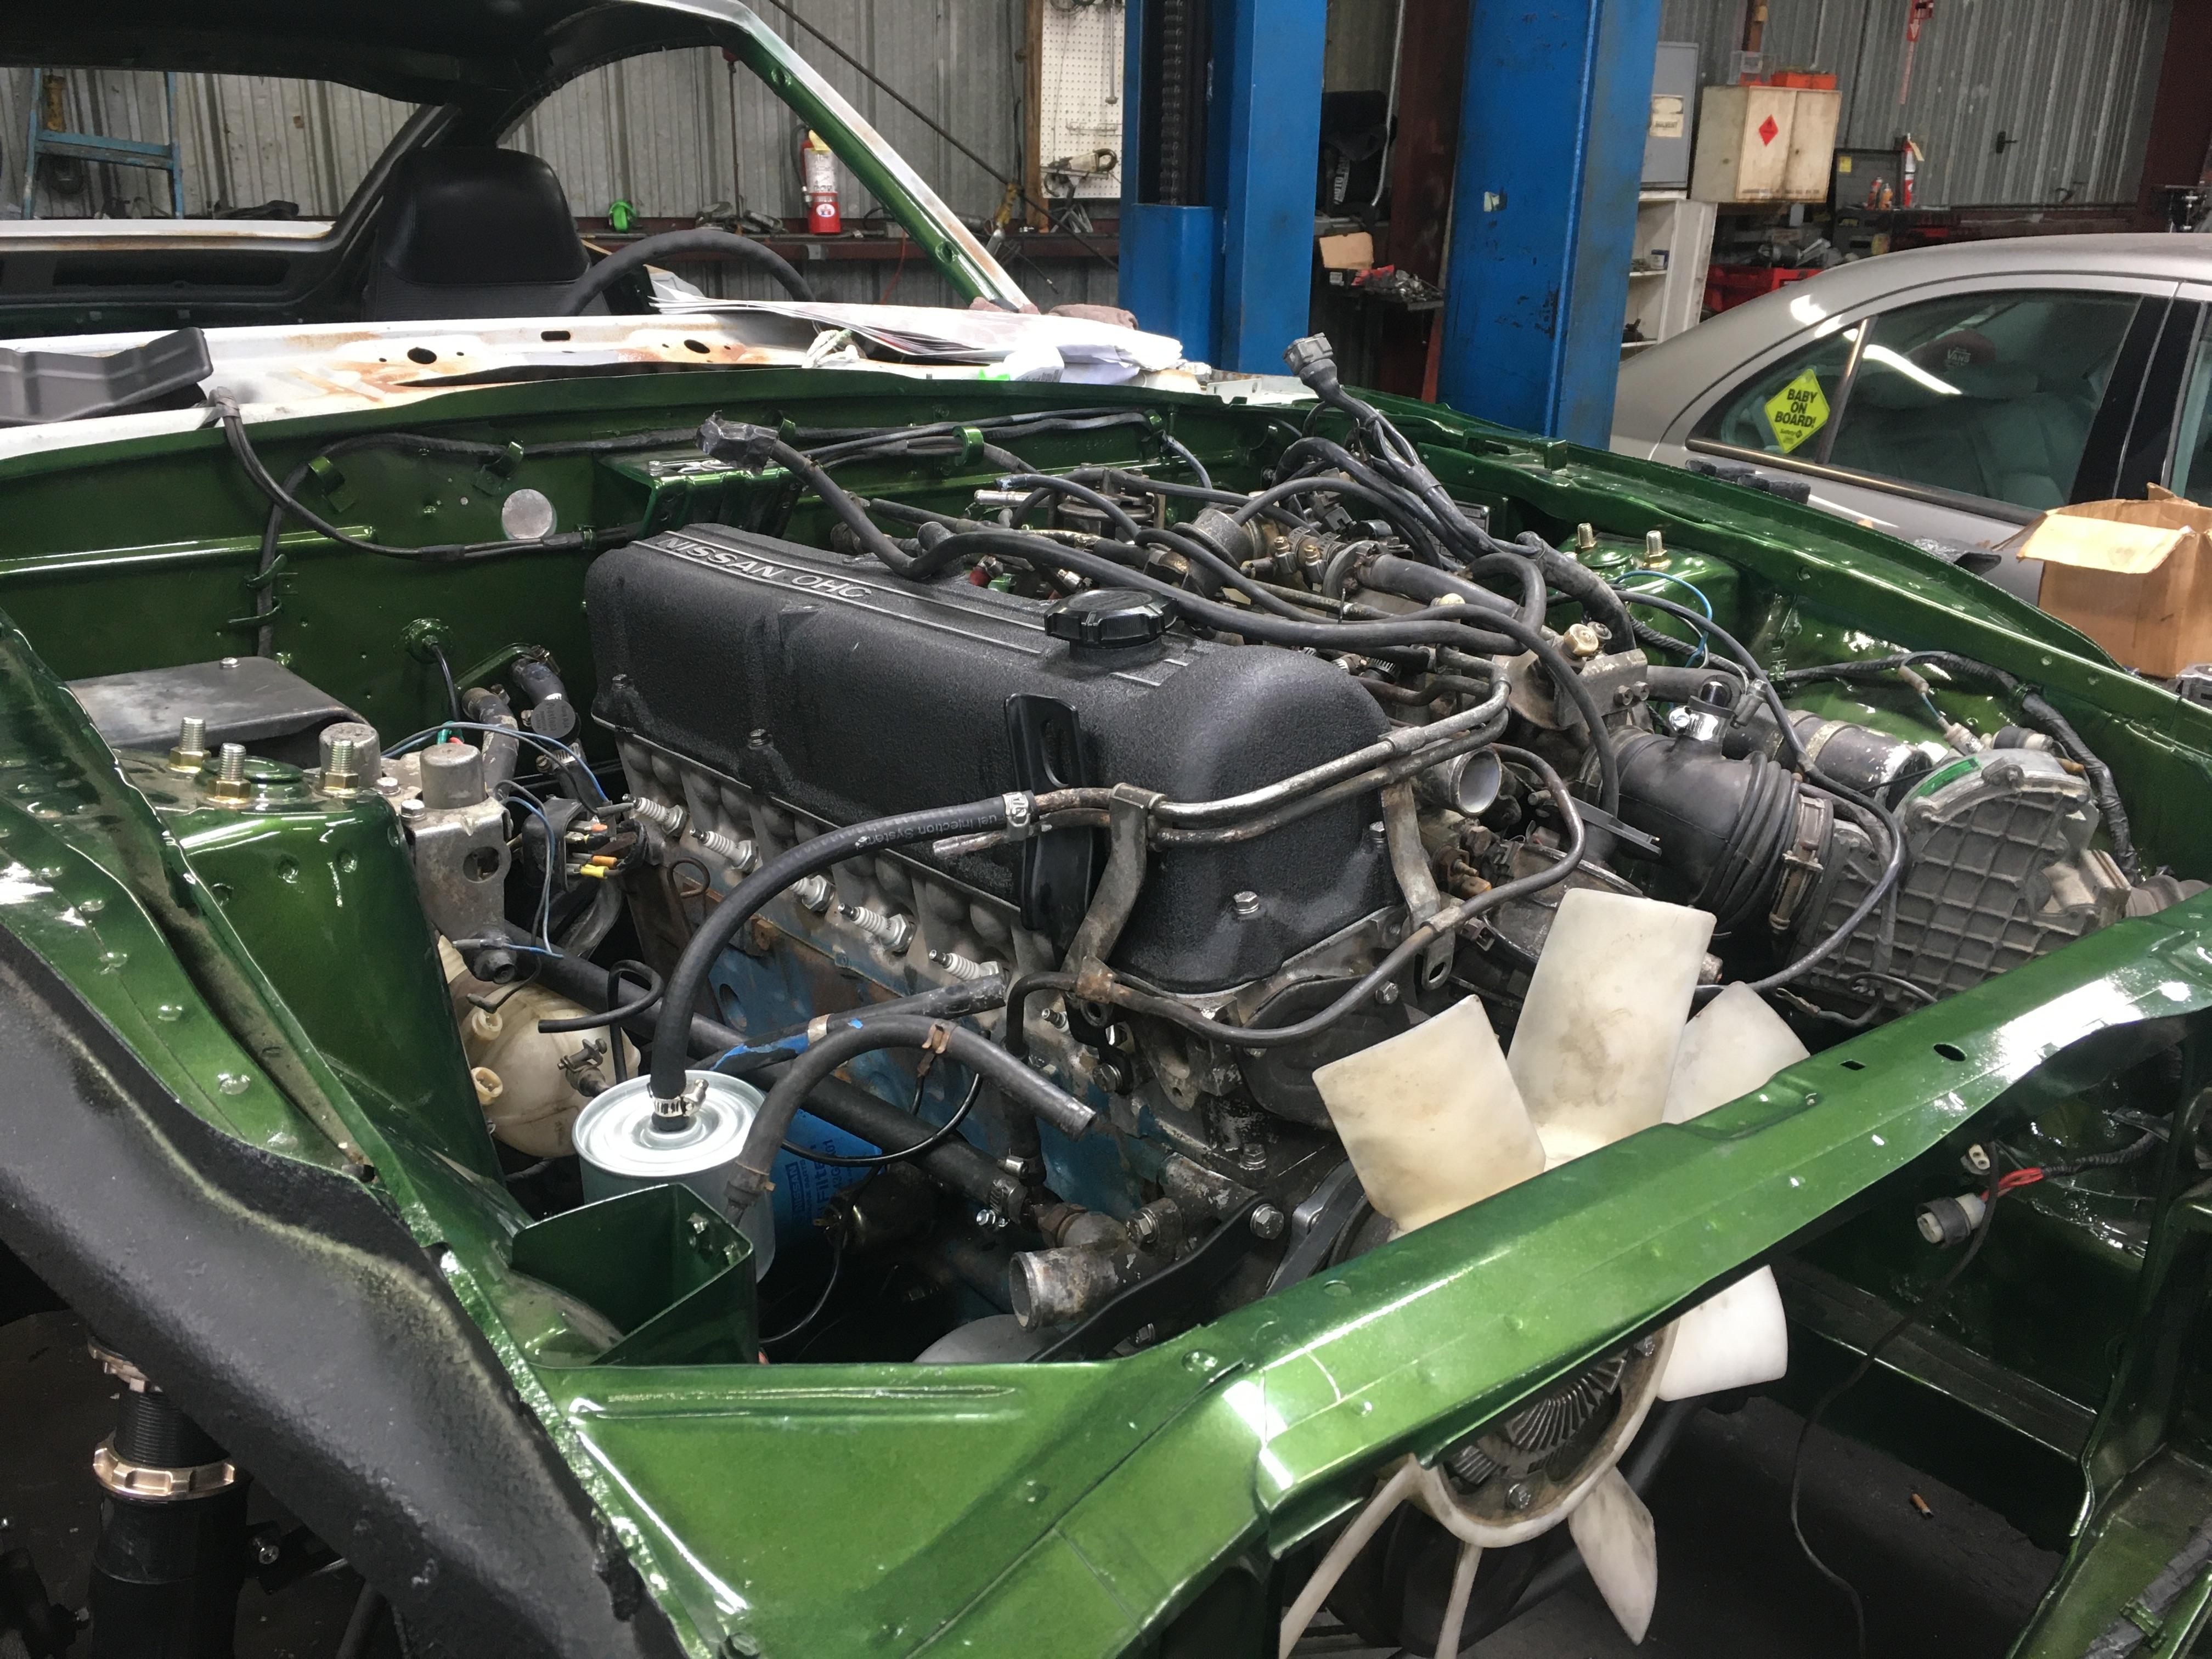
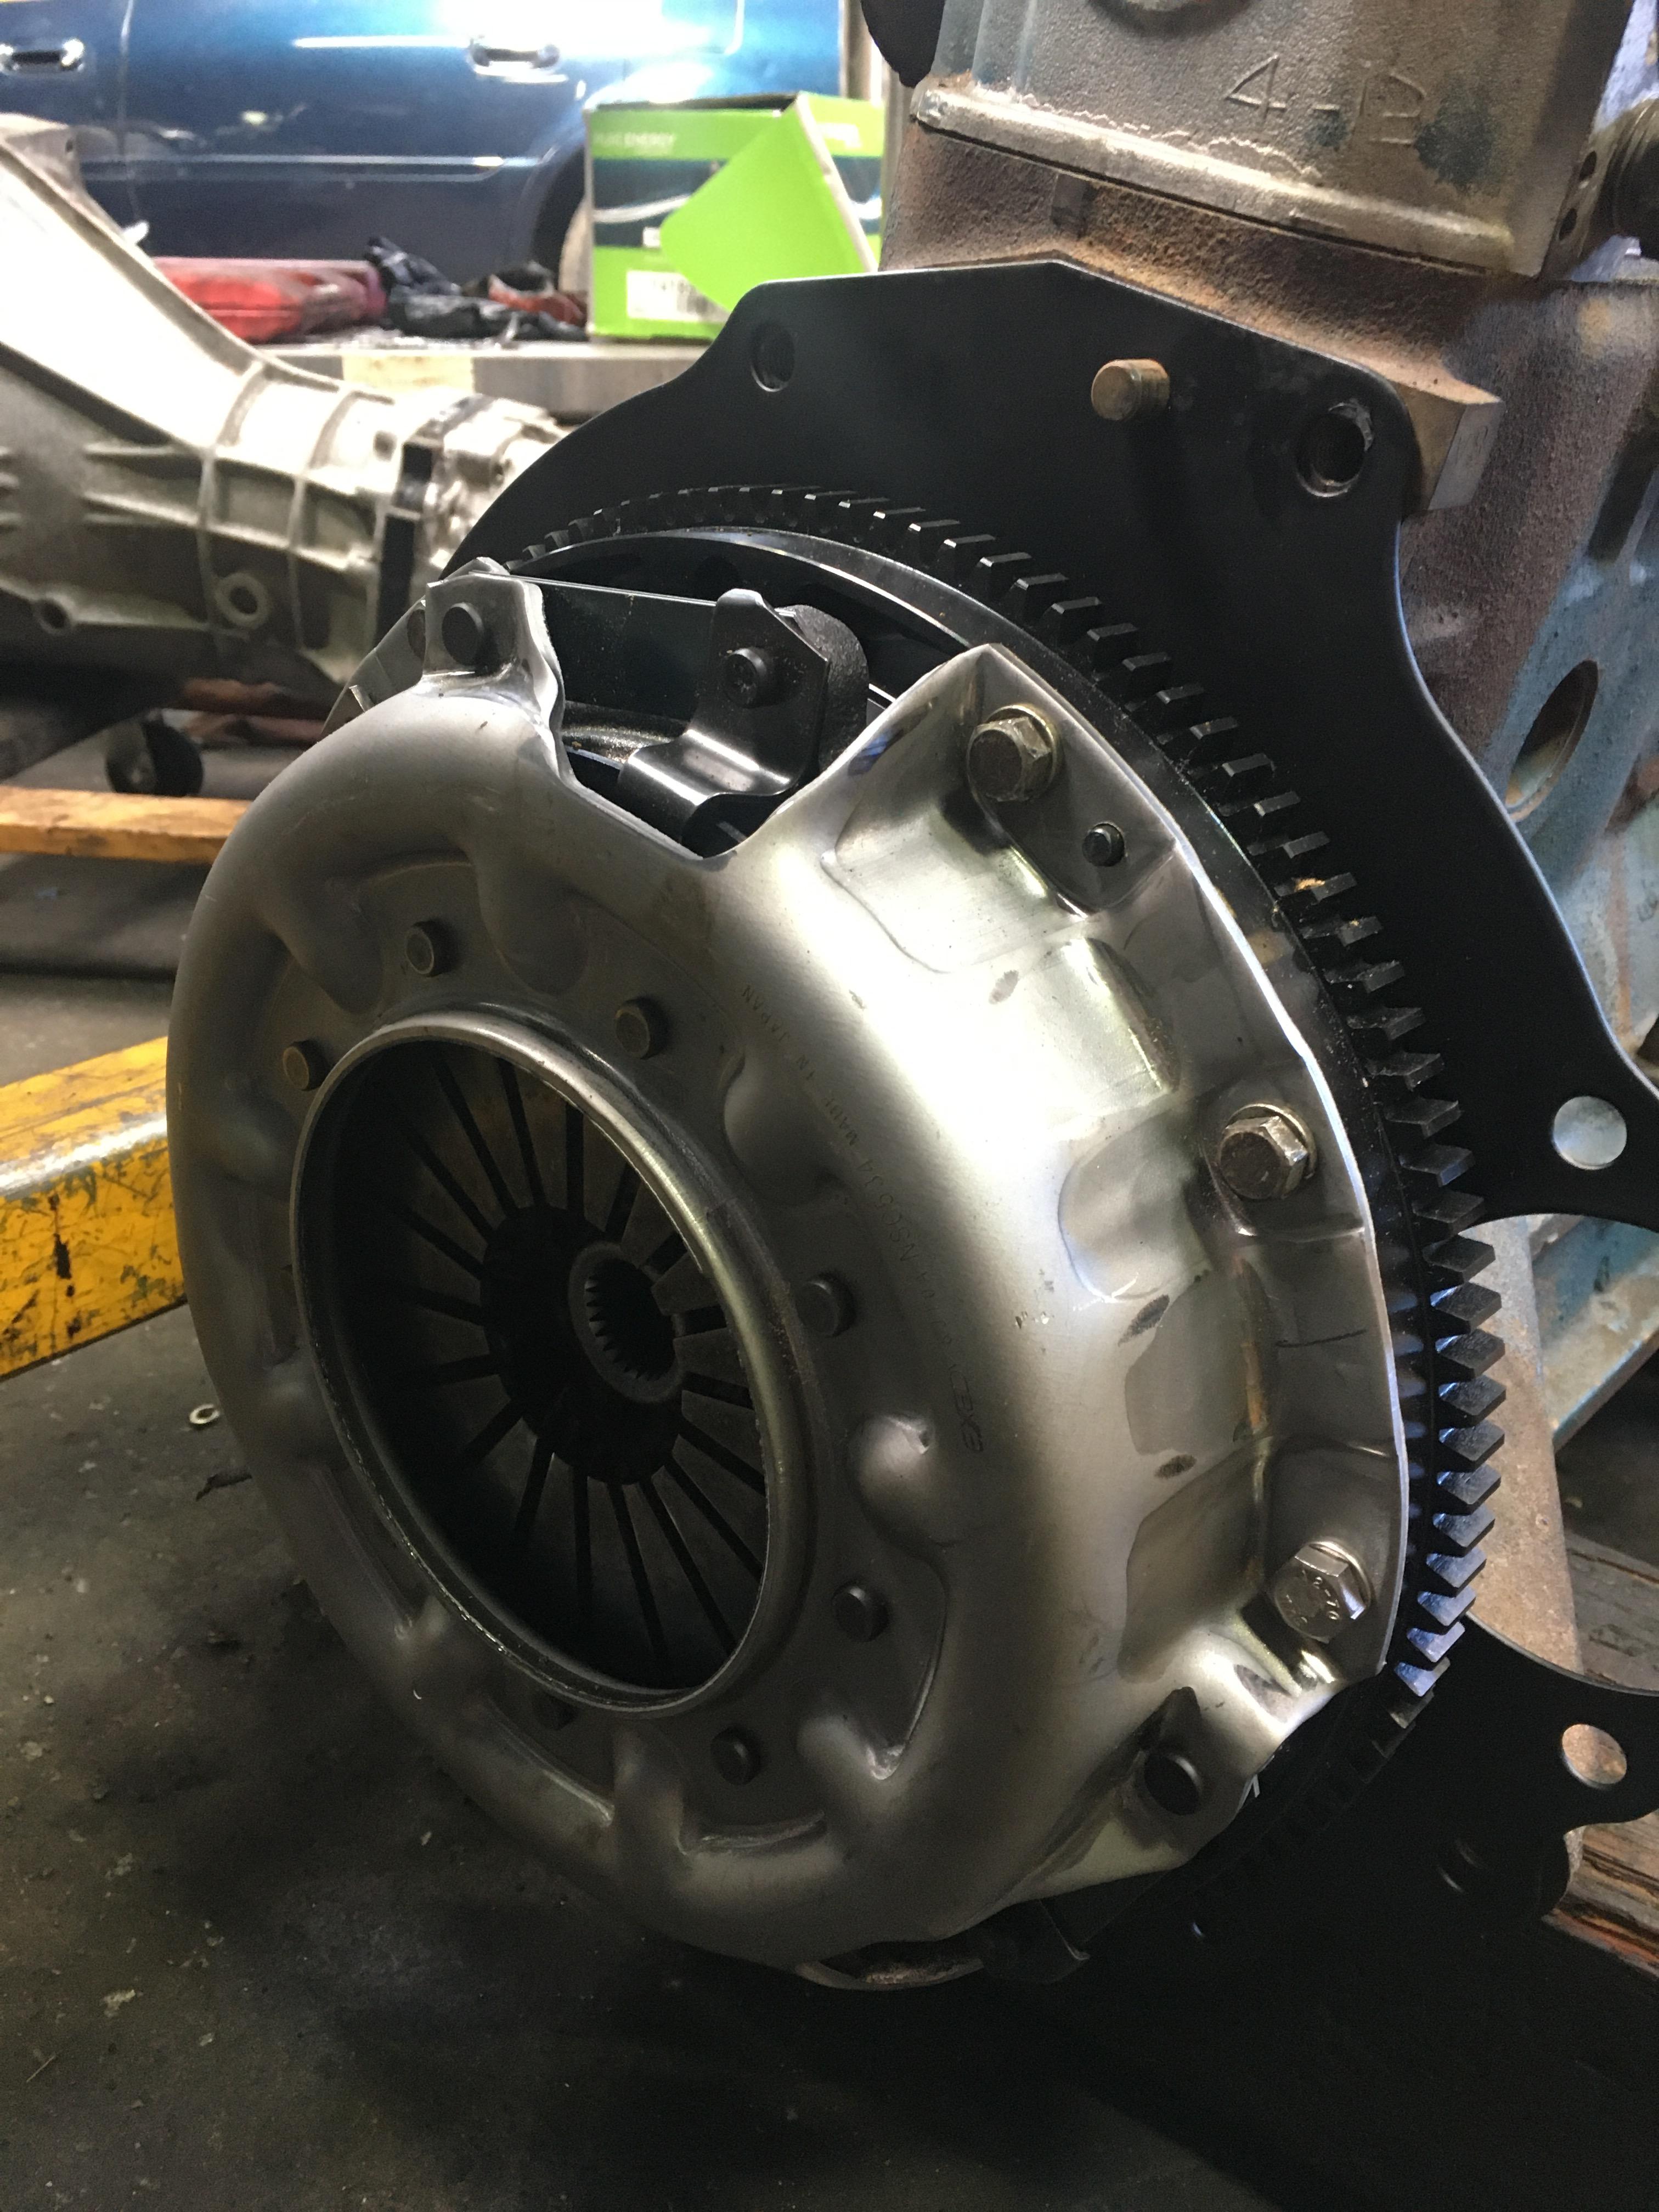
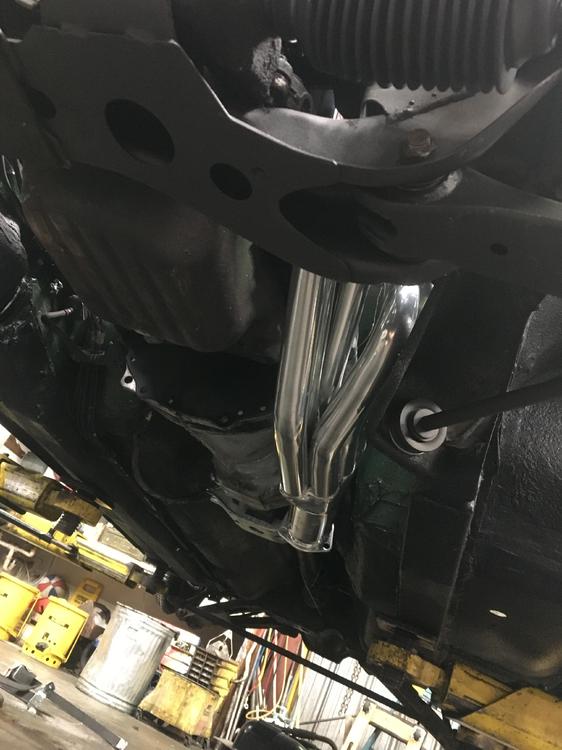
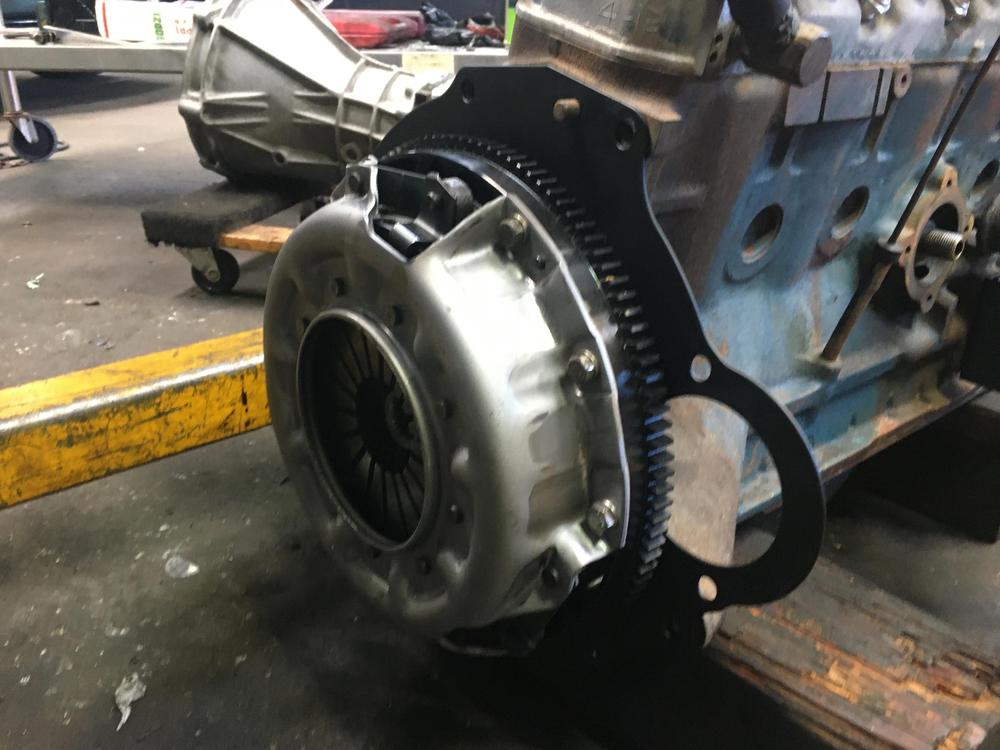
2 pointsIt's been a long time since I updated this, but I have been working on it between actual paid work, moving house, travelling, buying another Z (Z32 Twin Turbo) etc. Anyway, drivetrain is back in! Yes, I wish it was a more complete rebuild - but as I said in a previous post - I do want to actually get this on the road this year, and I'm building a second motor on the side. For now, we have a new clutch, flywheel, driveshaft, cleaned up transmission. Motor has new front and rear main seals, timing set, water pump, oil pump, valve cover gasket, alternator and belt, oil and fuel filters, etc.. Also got the ceramic coated 6-1 headers installed. Waiting on my MSA mandrel bent system and Zstory JDM muffler. I do have a Pallnet fuel rail, but decided to install the stock one for now until I get things up and running. Wiring still a bit of a mess, but getting closer.


 2 points
 -
1 pointSure, it sounds like the best solution but is it really worth $545? That seems steep. Sent from my iPhone using Tapatalk1 point
-
You will keep waiting. Bruce Palmer sold me a couple of tubes with fittings a couple of years ago. I would try and see if i can manage with those.
 1 point
 -
1 point
-
1 pointSo, I’m tired of researching this distributor issue. There are obviously many solutions to this, if my I have my facts right. BTW, both of the old 280zx distributors are probably not salvageable. I’ve stripped them down and both have broke parts, and significance rust. I’m not confident the work will be worth the effort. Here are my options as I see it. My expectations are alway best performance and reliability for the $$. I don’t want to ever have go back and buy again because I chose poorly the first time. Buy it once...do it once. 1. Buy and rebuilt ZX Cardone Distributor. Not sure if they are worth a crap. Many don’t come with the module. 2. Buy a rebuilt 280z Distributor, maybe put the Pertronix pickup in it and use one of my ZX e12-92 modules. - option 1 : try the GM HEI mod (I read they aren’t very reliable and might have an RPM limit) cheap and easy. - option 2 : use Pertronix hi perf HEI $50 - option 3 : buy an MSD and set it and forget it. 3. 123ignition ( will have to hide the check book from my wife option) You smart guys that have been discussing this stuff at the PHD level for the past few years before I ever owned a Z...I’d like you opinion. Sent from my iPhone using Tapatalk1 point
-
1 pointWith a solid valve train they say a noisy lifter is a happy lifter. You can set valve lash cold. The specs are in the earlier FSM's, like 1976.1 point
-
Solved!!! 1 of the Hazard fuse holder was corroded on the outside and inner side...generating bad continuity. After cleaning...i activate hazard switch that worked fine and battery indicator stayed still! Thanks for the support and big up for Steve! Culprit:
 1 point
 -
Solved!!! 1 of the Hazard fuse holder was corroded on the outside and inner side...generating bad continuity. After cleaning...i activate hazard switch that worked fine and battery indicator stayed still! Thanks for the support and big up for Steve! Culprit:
 1 point
 -
Wow!! 17 with a 280z? You are one cool teenager! [emoji106][emoji106][emoji106] I only had a Ford Fiesta 1.1 Popular Plus with 40-50BHP. I think lawnmowers have more punch these days. Classic Zs are great cars to learn on as most things are easily accessible and they are pretty simple mechanically.1 point
-
1 pointI’ve got extra stock cams for early heads - spray bar . That doesn’t look terrible but could be source of tick. Sometimes these motors tick a little . Rocker condition should be inspected . Stay with stock cam - cmon - cam it !!!!!1 point
-
Another easy check with no tools required: Once on the lift(or at the least front wheels off the ground) set the key so that the steering wheel is not locked(ACC position). Grab either of the front wheels with your hands placed at 3:00 and 9:00 and give it a good shake back and forth. Any serious play will require further investigation. After that, you can move your hands into the 12:00 and 6:00 positions and repeat the shaking motion from the previous test. Any major slop(or arguably any slop at all) will require a closer look at the source.1 point
-
Try and find a long screw driver, pry bar, steel rod, something that you can use to pry between suspension parts to see if there is any slop or movement. When you have the car up on jack stands you may not be able to find a problem just by using your hand, a little extra leverage can help. It could just be that your shocks are worn out and need replacing. Post some pics if you can.1 point
-
Your all good my man I’ll take any advice I can get I’m 17 and want to learn as many things about my z as possible I will bring it on the lift tomorrow and start looking around for anything that sticks out thanks for the help :) Sent from my iPhone using Classic Zcar Club mobile1 point
-
Forgive me for stating the obvious but jack it up and have a look. Make sure all suspension bolts / nuts are present, check for broken spring, dead or leaking strut, broken anti roll bar mounts, damaged ARB etc etc1 point
-
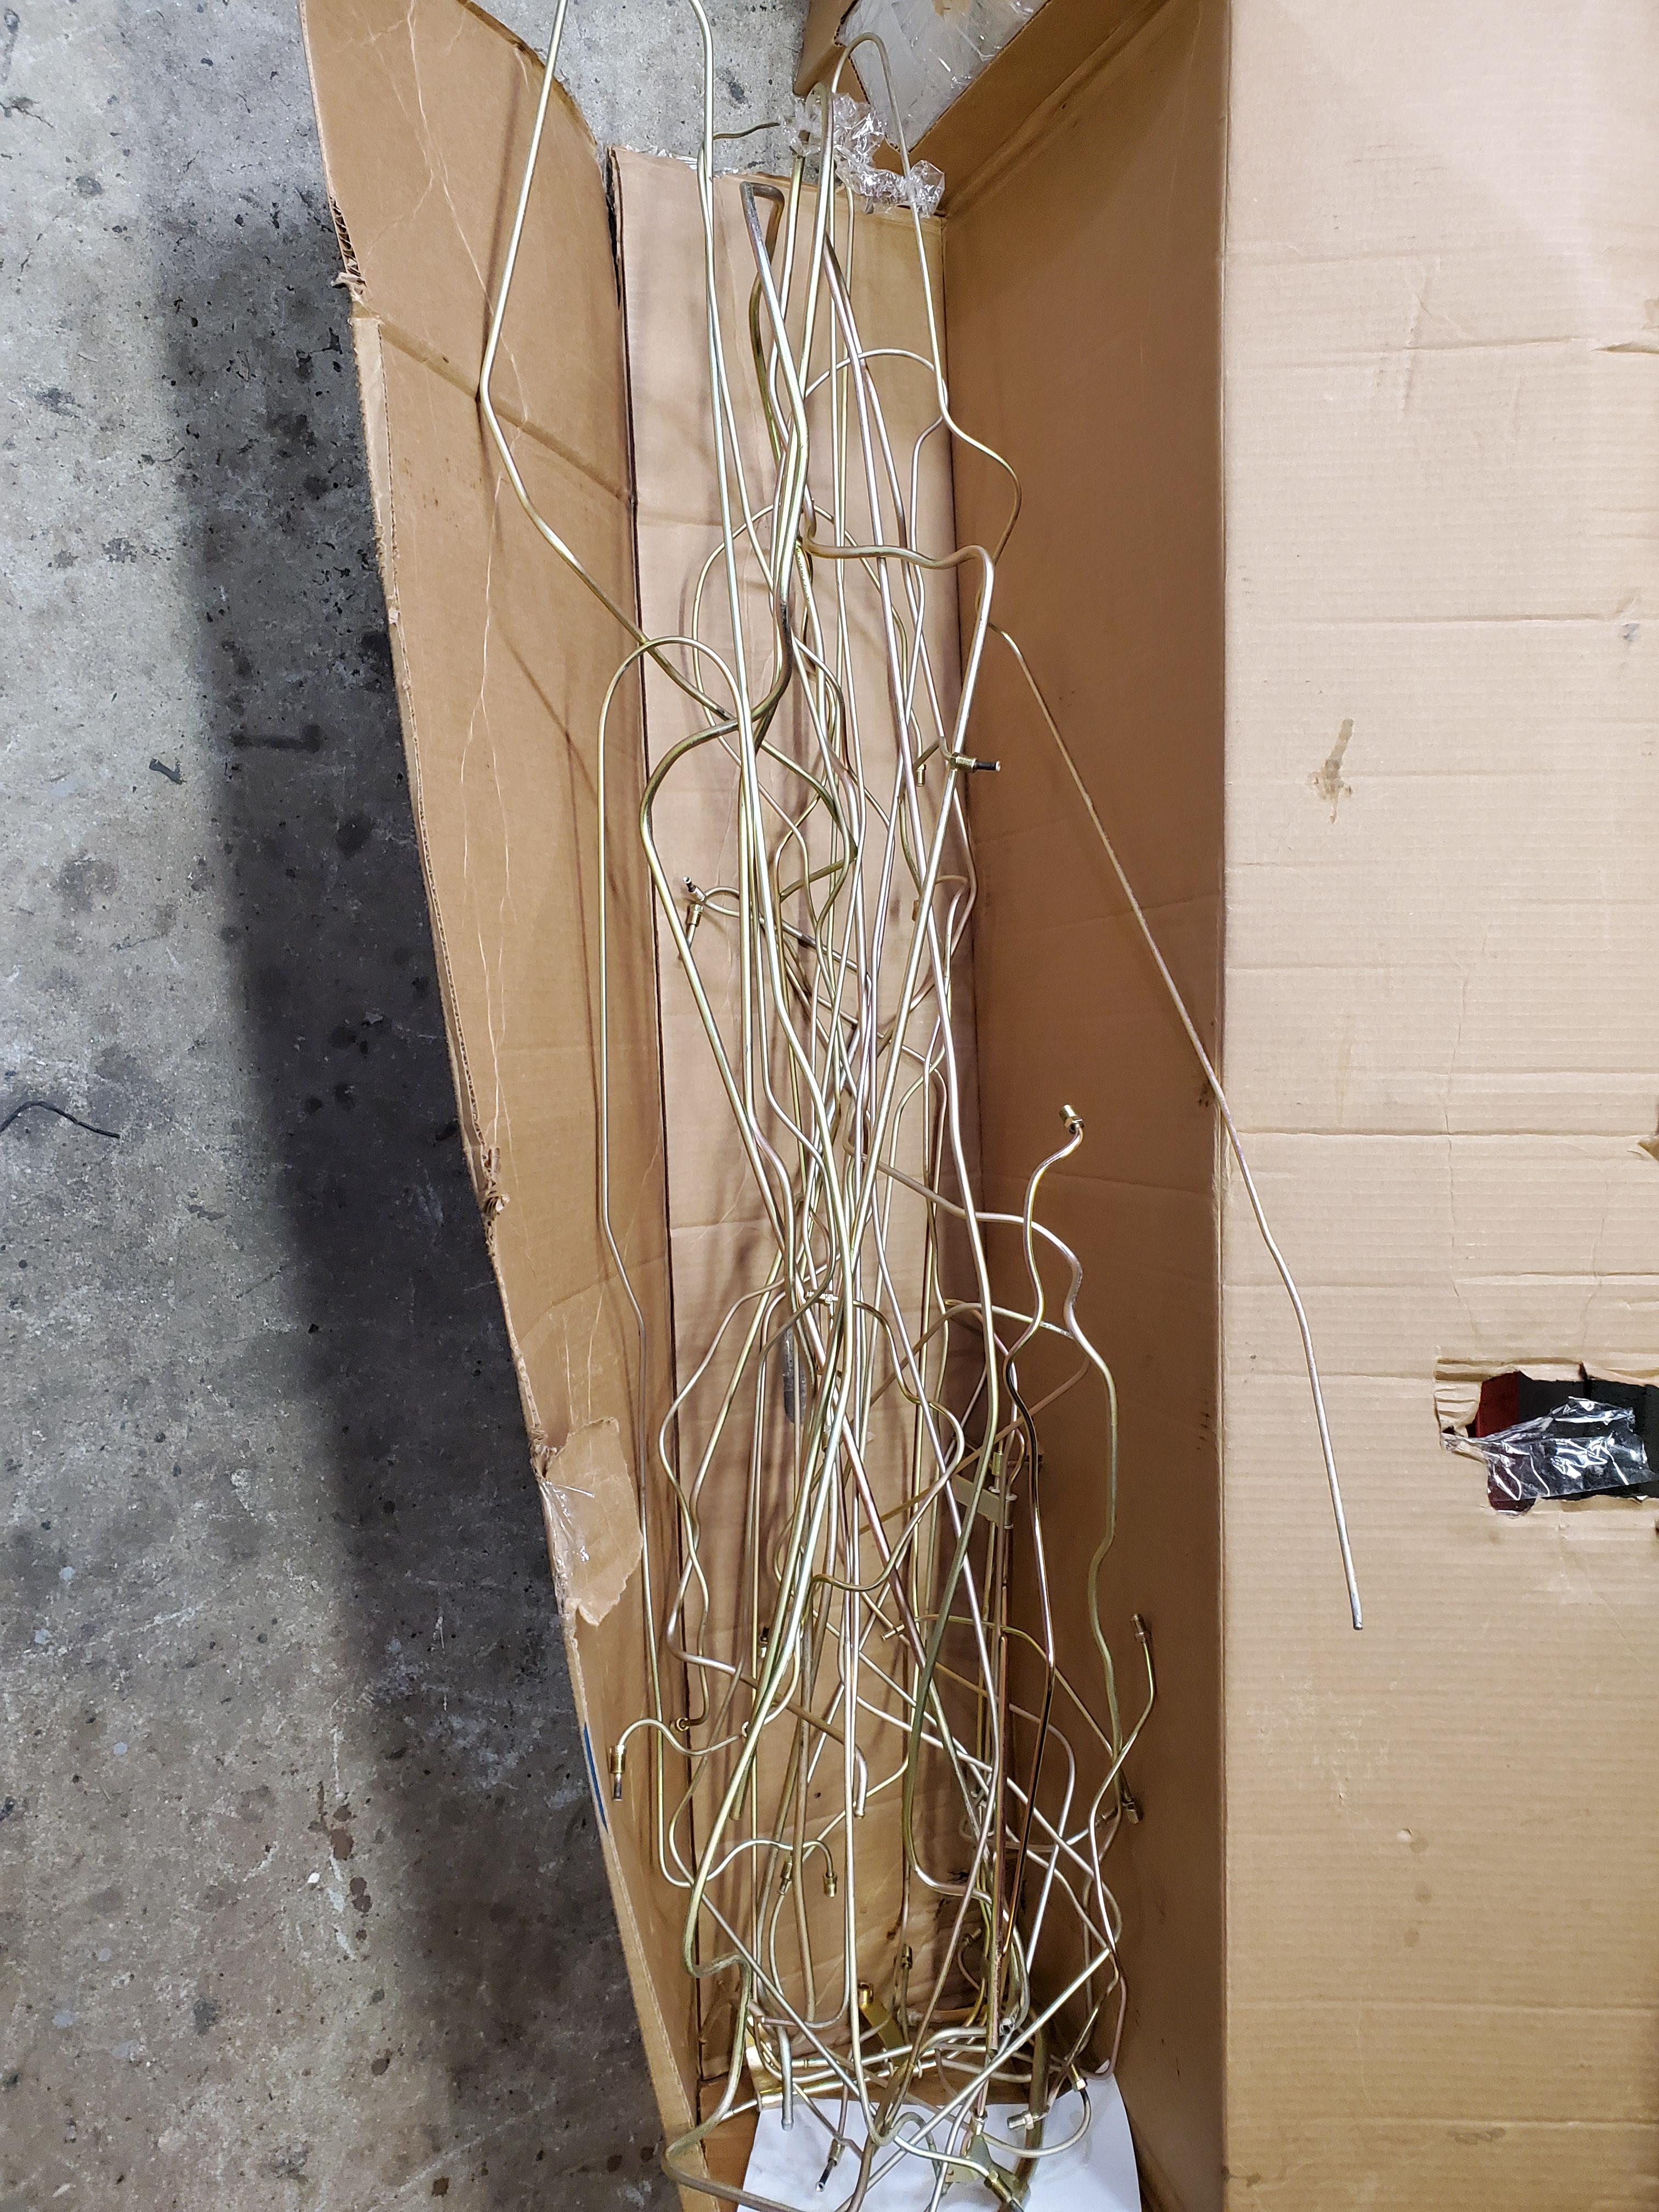
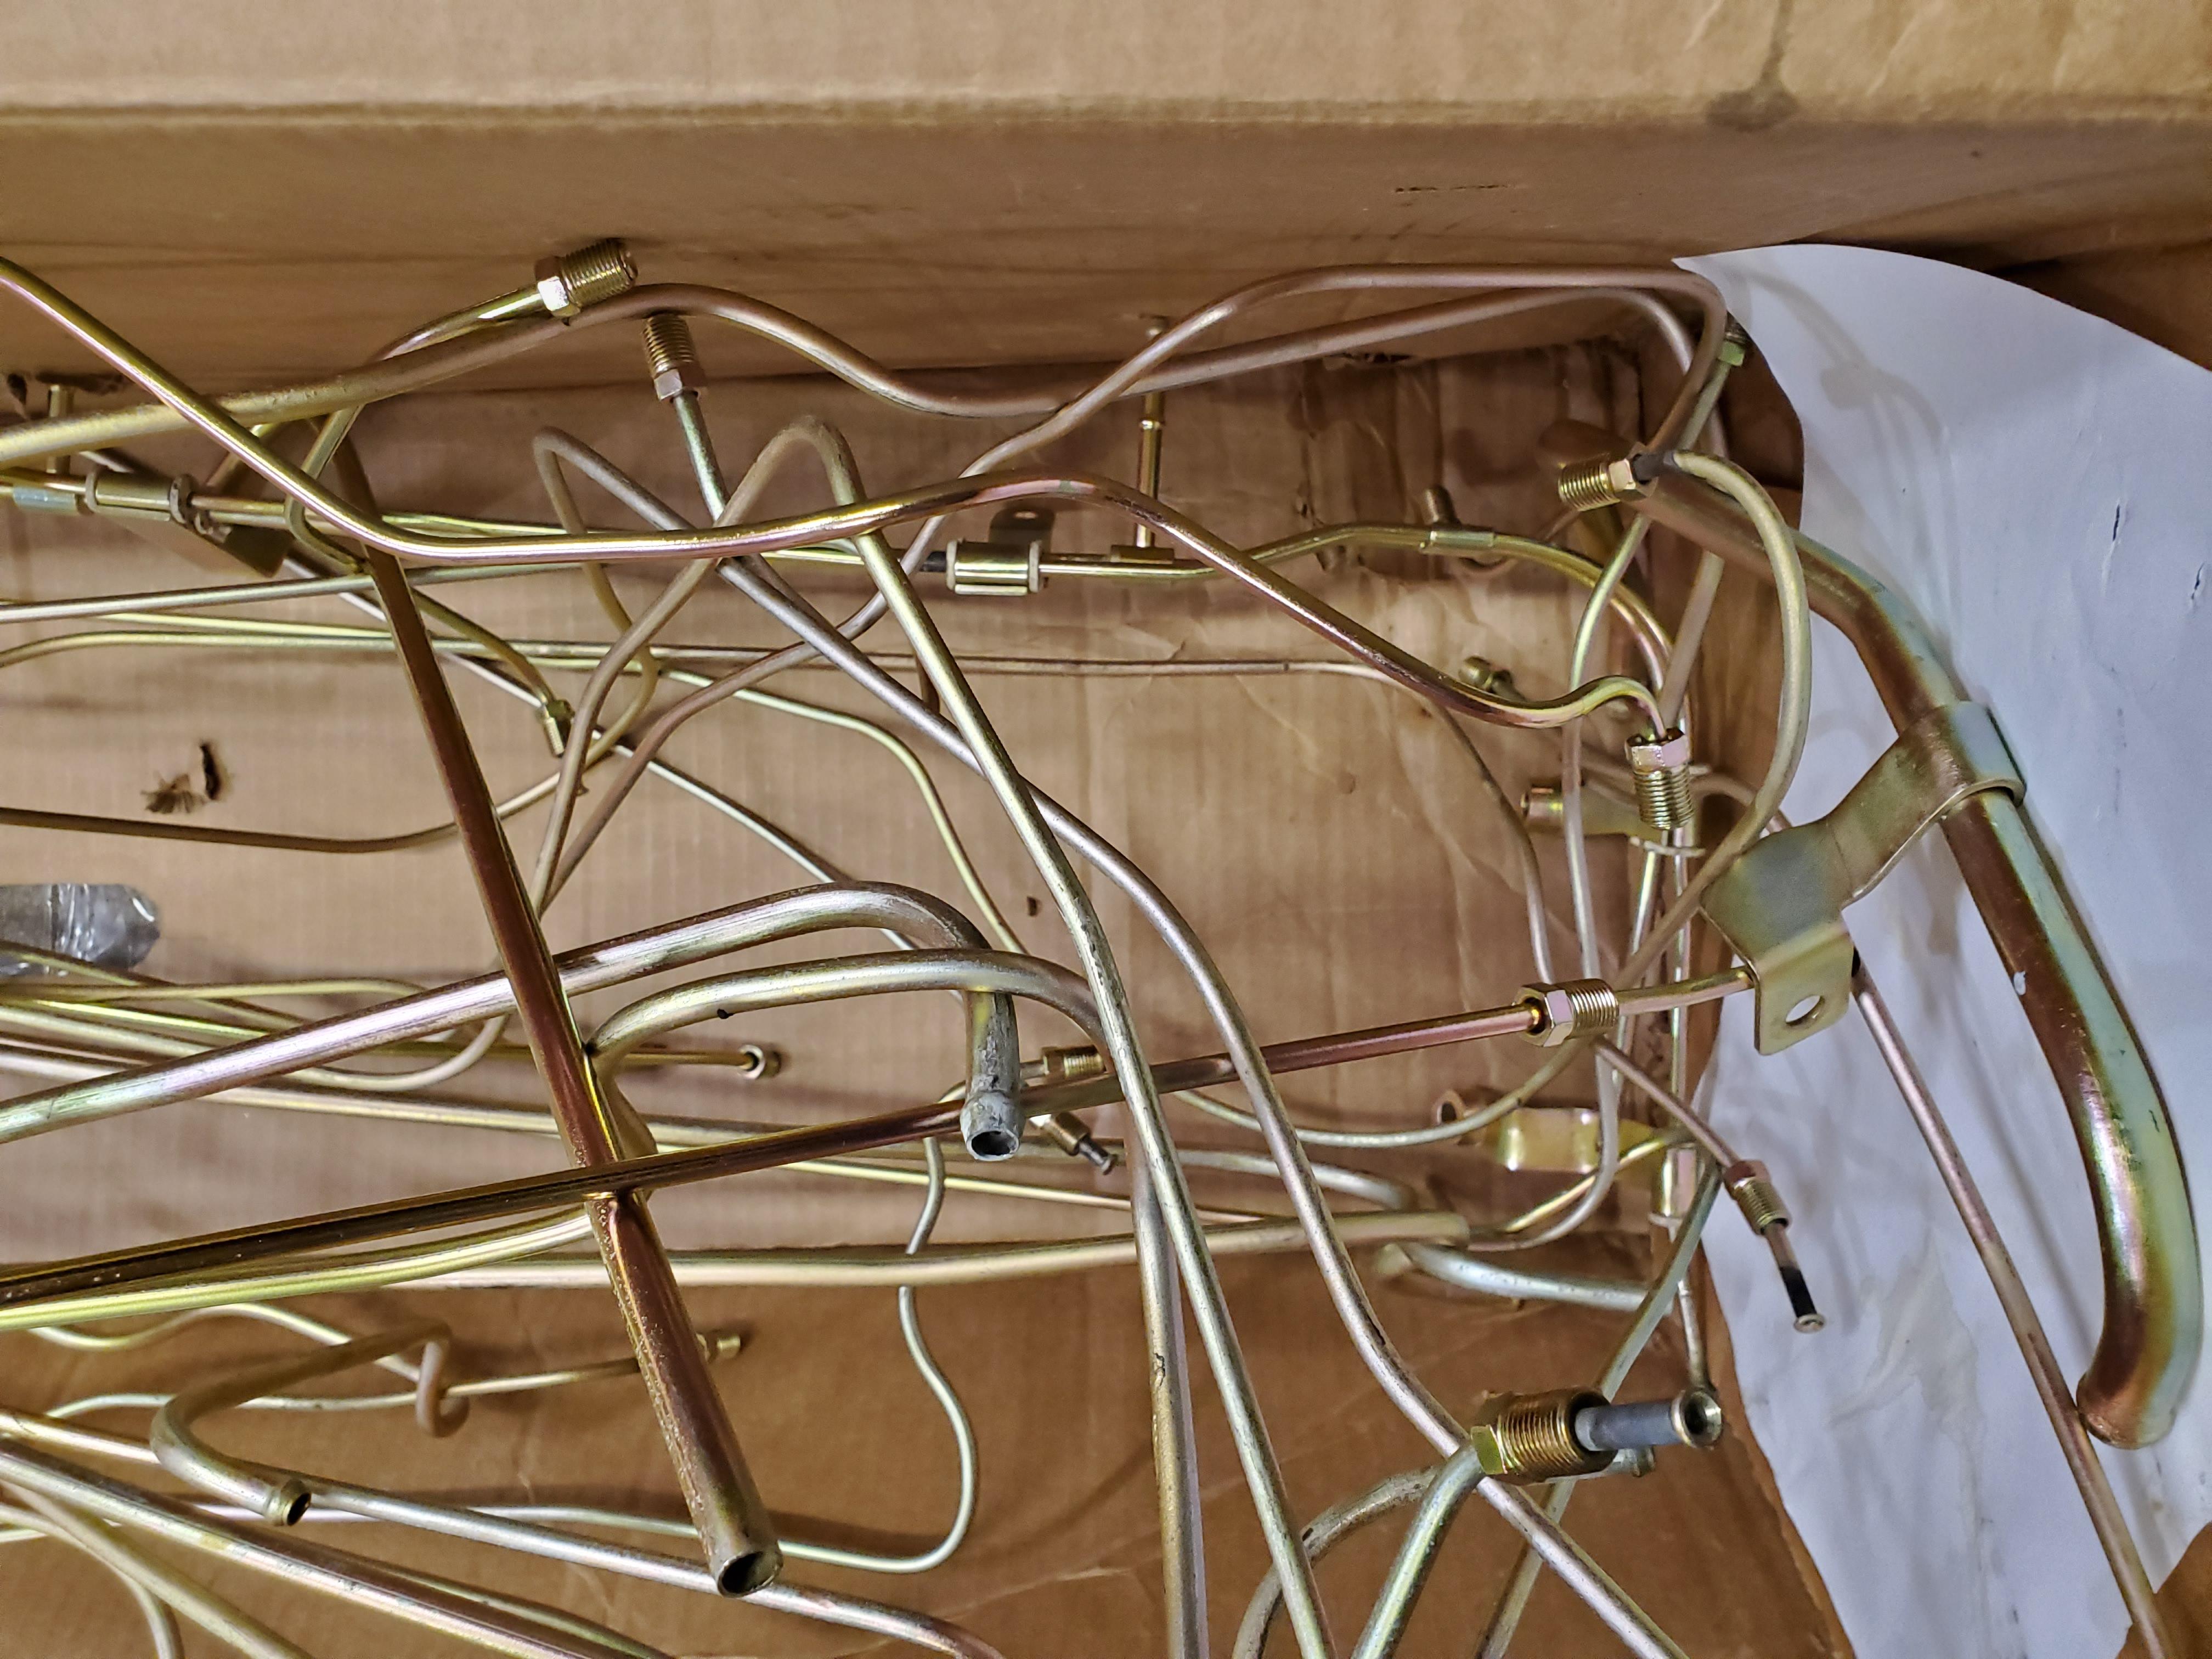
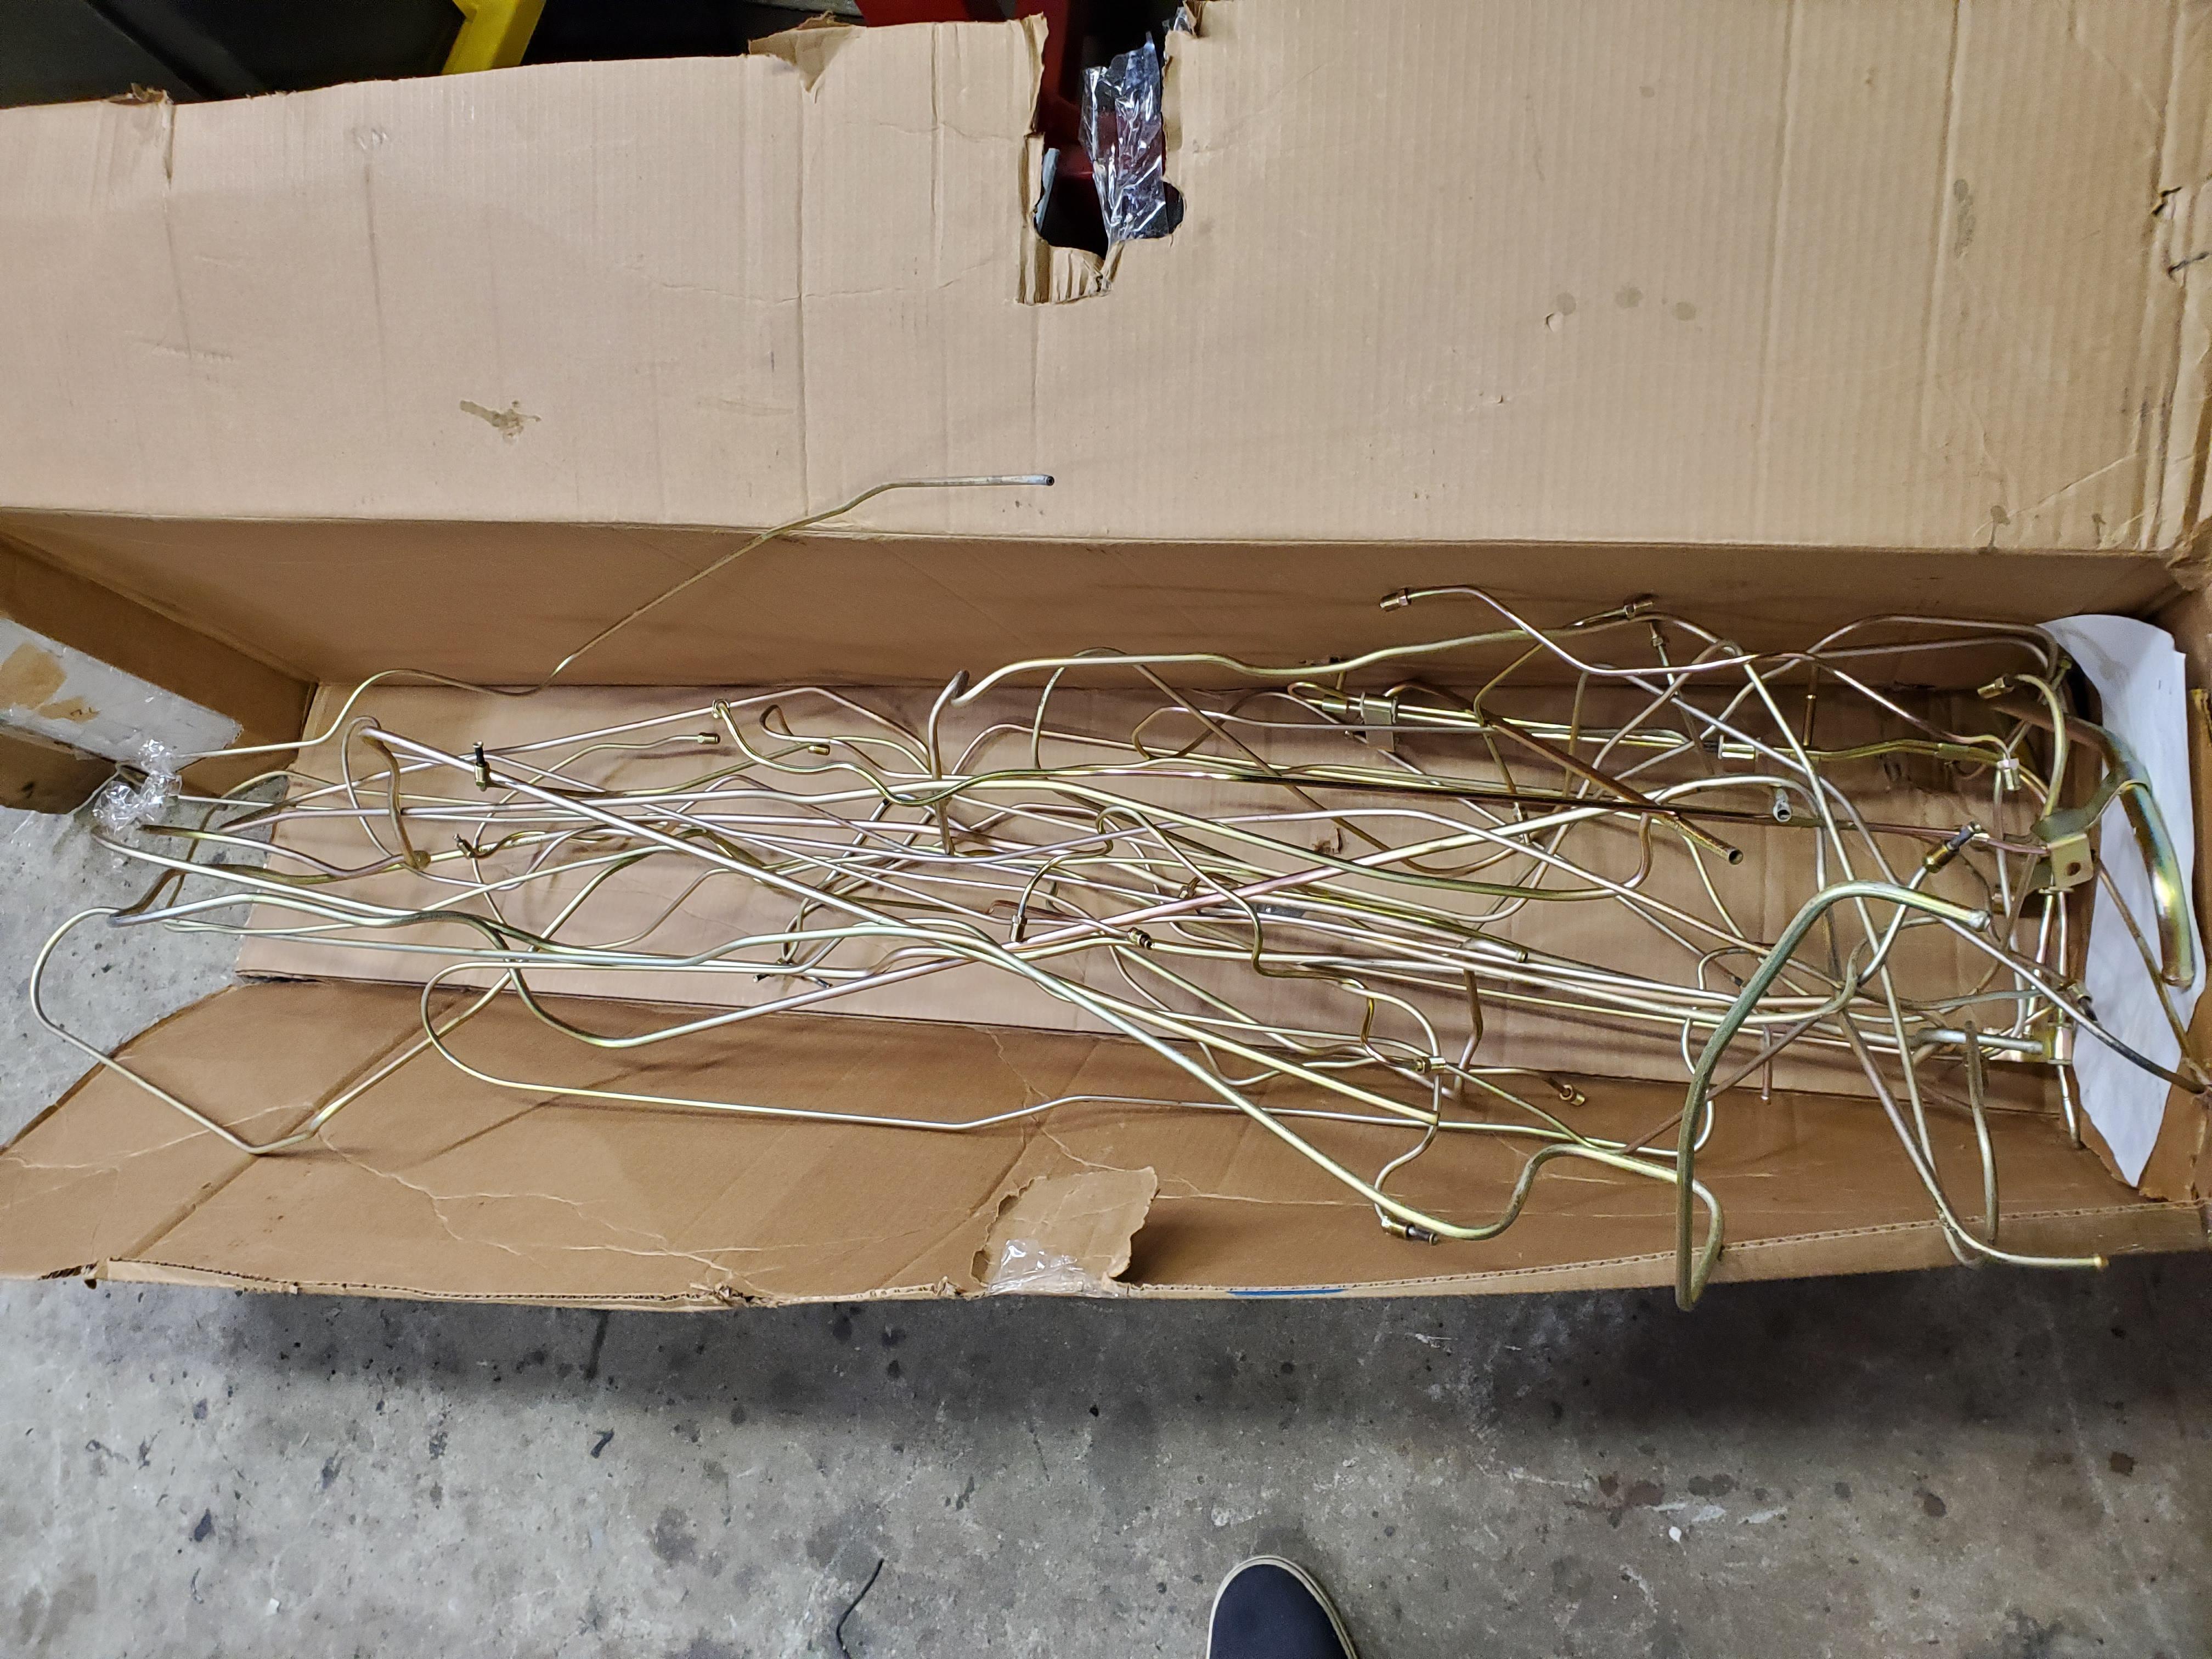
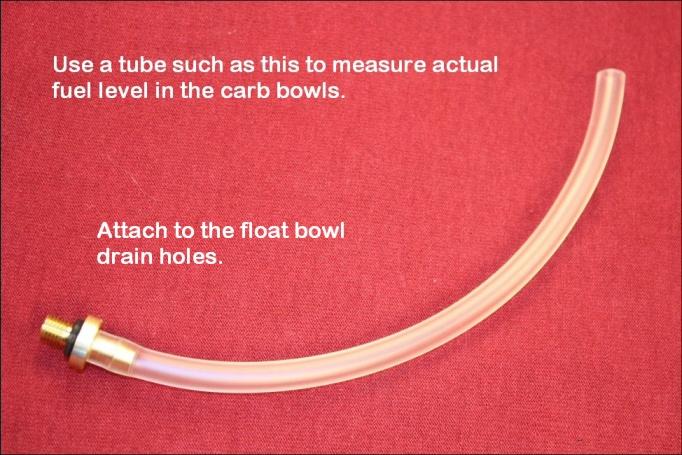
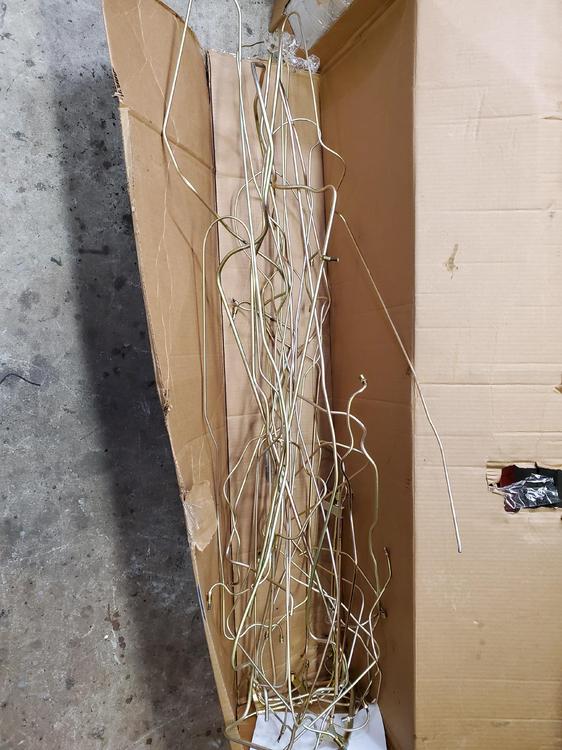
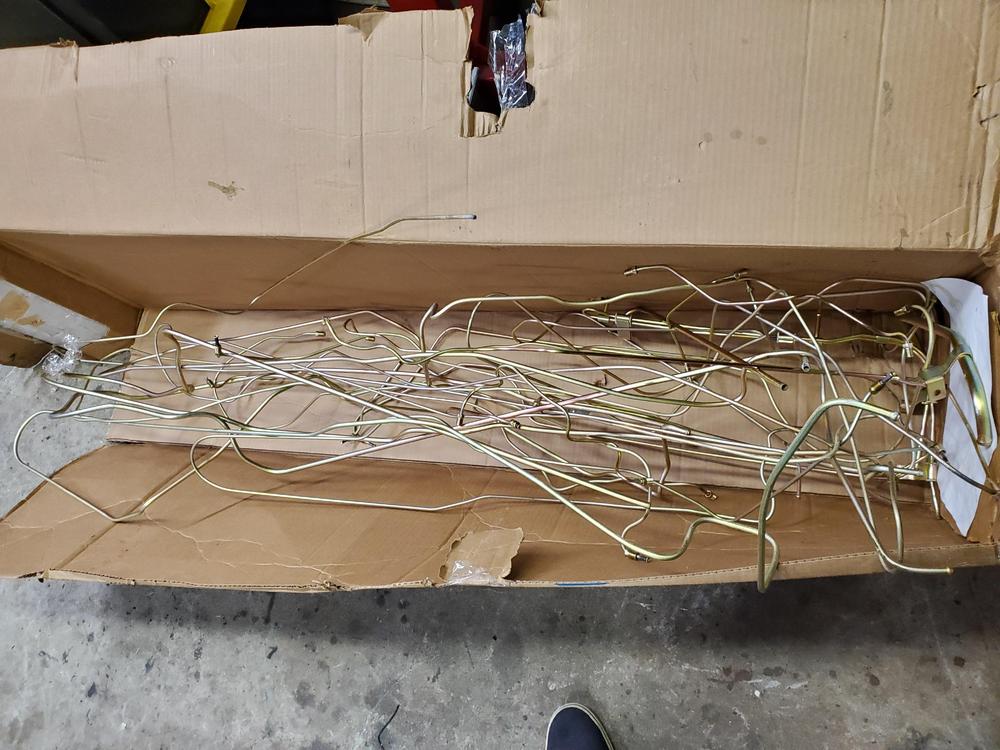
1 pointFuel and brake lines came back from Sav-On Plating. Parts look awesome and cost was very reasonable.


 1 point
 -
1 pointOne last thing to consider, and I consider this an item that ALL L series engine owners should consider. Look a the timing chain guide on the tight side (thermostat side) next time you have the valve cover off. if you see grooves worn into it from the chain, do yourself a favor and replace the chain guide (as a minimum, check the chain for wear and replace that too if needed) but really just replace that guide. On my long trip, the guide must have been worn enough to allow the chain to rip into the metal part and tore if off completely. I got lucky, the guide fell harmlessly down inside the timing chain cover, but I consider that just luck. Its not too difficult a job to do, can be done with the engine in the car (remove the rad for access, relocate the compressor if needed but keep it connected of course to not vent Freon). replace both guides and tensioner would be best practice, and the front seal of course. I would look at this with any engine with 100k or more miles. Its a few hours if you are only replacing guides and seals, don't even need to remove the chain if its not worn.1 point
-
Yup. It was @grannyknot. I used a similar technique to your home-made die experiment to punch and replicate the dimple radius for my rad support repair. Neat how metal behaves if you are stubborn enough ? Cheap home made dies1 point
-
Excellent. Glad to help. I did a quick web search on the process and quickly came up with the following. This should help you get it right with fewer iterations: http://thelibraryofmanufacturing.com/deep_drawing.html Lots of good pictures and helpful rules of thumb. I should have looked first!1 point
-
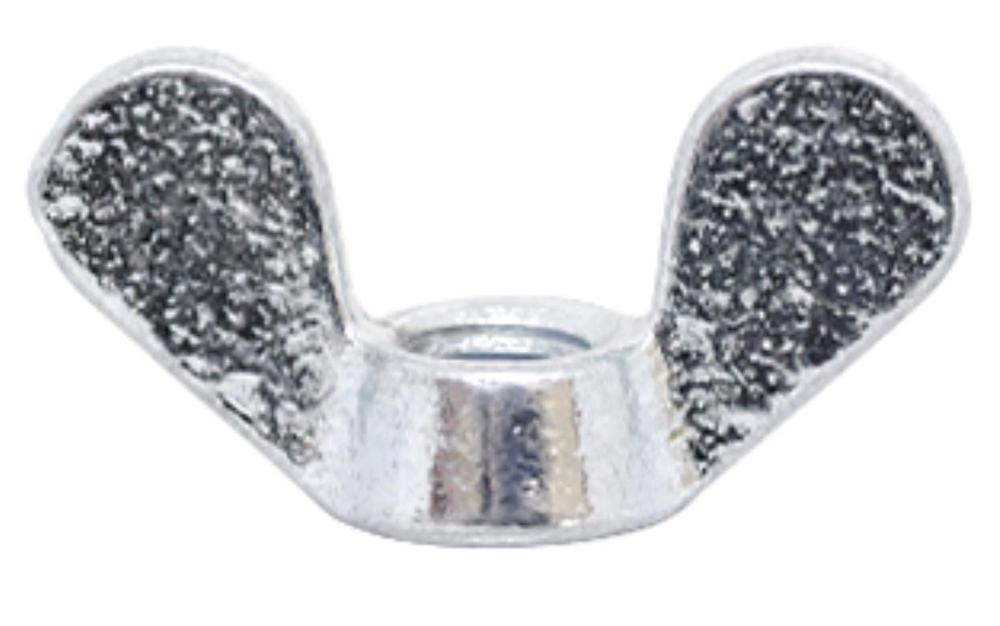
Well that was too easy. A lesson on hardening, a lesson on materials, a lesson on drawing, what more can a guy ask? Thanks! Now I have to go try. I got the project car in the garage easy, parts gathered, getting all gung ho. Gotta slow down and turn a little stuff on the lathe first and take my time. Think I’ll use 5/16 fender washers as the raw materia (assuming they are 1” or more in diameter)l and put a 5/16 nose on the male side of the press and a matching 5/16 hole in the FM side of the pocket to guide the process. Need to make a nice flat bottom 7/8 hole for the FM side to get started. Hope the radius of the corner is nice and tight like the originals. Should be able to press hard enough with my 15 ton press. Fun! Looking for hardware, I even found some nice metric wing nuts with the right kind of “mickey mouse” ears that look like the originals. Apparently they are “German” style... Maybe I can work toward making replacement for the whole bolt assembly.
 1 point
 -
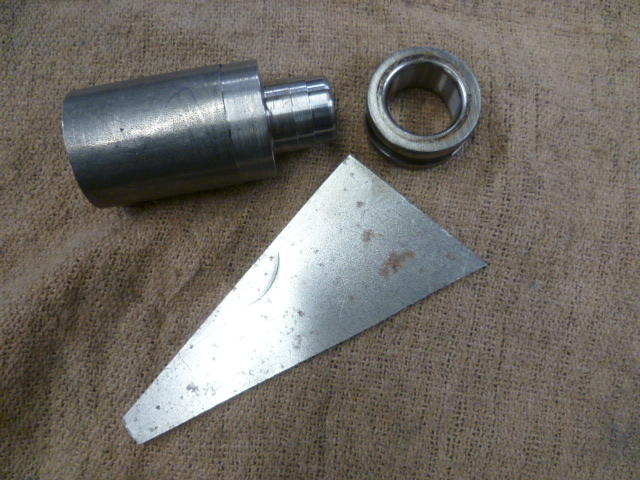
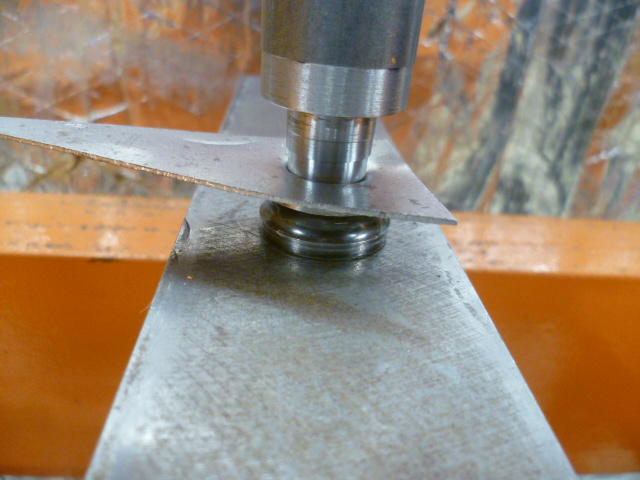
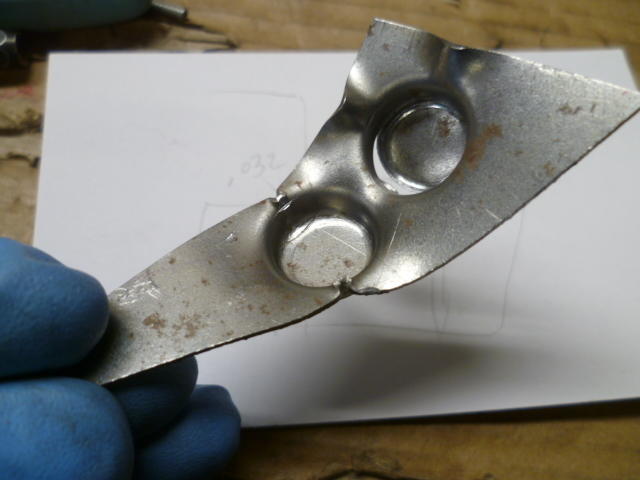
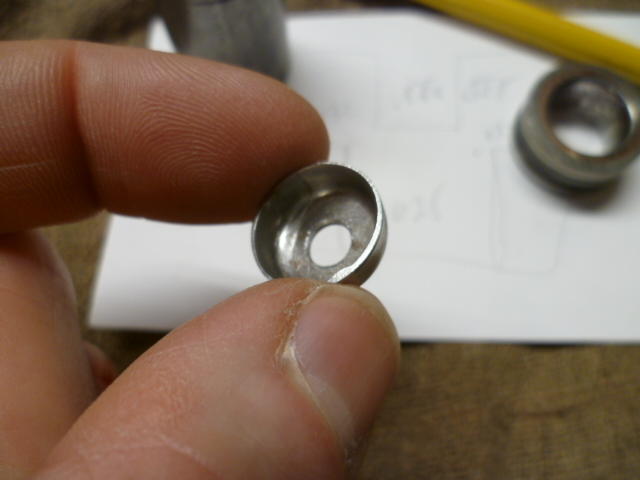
Yes! Yes!! That's the one! Thanks! I was pretty sure it was you or convertt, but finer details continue to slip. They say it won't get any better... So I guess now that you've already answered the process question, that half an hour I spent in the shop this morning doesn't add much more to the discussion. But for the record... For the female portion, I used an old bearing race because its what I had laying here, and it's hardened. For the male portion, I used a previously machined drop of 12L14 steel because it was already machined to close to the size I wanted. For a real product, 12L14 is definitely NOT what you would want to use as pretty much it's only claim to fame is it's ease of machinability. Doesn't heat treat, doesn't weld well, isn't particularly strong, but boy it sure does machine nice. Anyway, hardened race with .625 inch ID. 12L14 male mandrel with .555 inch diameter, and .032 thick steel sheet. It took two tries to get the mandrel diameter correct, and I suspect this is where all the skill and experience comes in. You need the correct clearance between the mandrel and the die for the thickness material you're working with. Not enough clearance and it acts like a hole punch. That's what my first try did. So I took ten thousandths off the mandrel and things got a lot better. And by the way, this forming process is known as "drawing". I assume there's oodles of info on the web if you want to research. On the hydraulic press. My 2 ton arbor press wasn't enough and I didn't want to rip a shoulder out of the socket: Here's the result. Note the tear through on the first attempt and the better draw on the second (lower) form: Trim the excess material off and put a hole in the middle just for show:
 1 point
 -
1 point
-
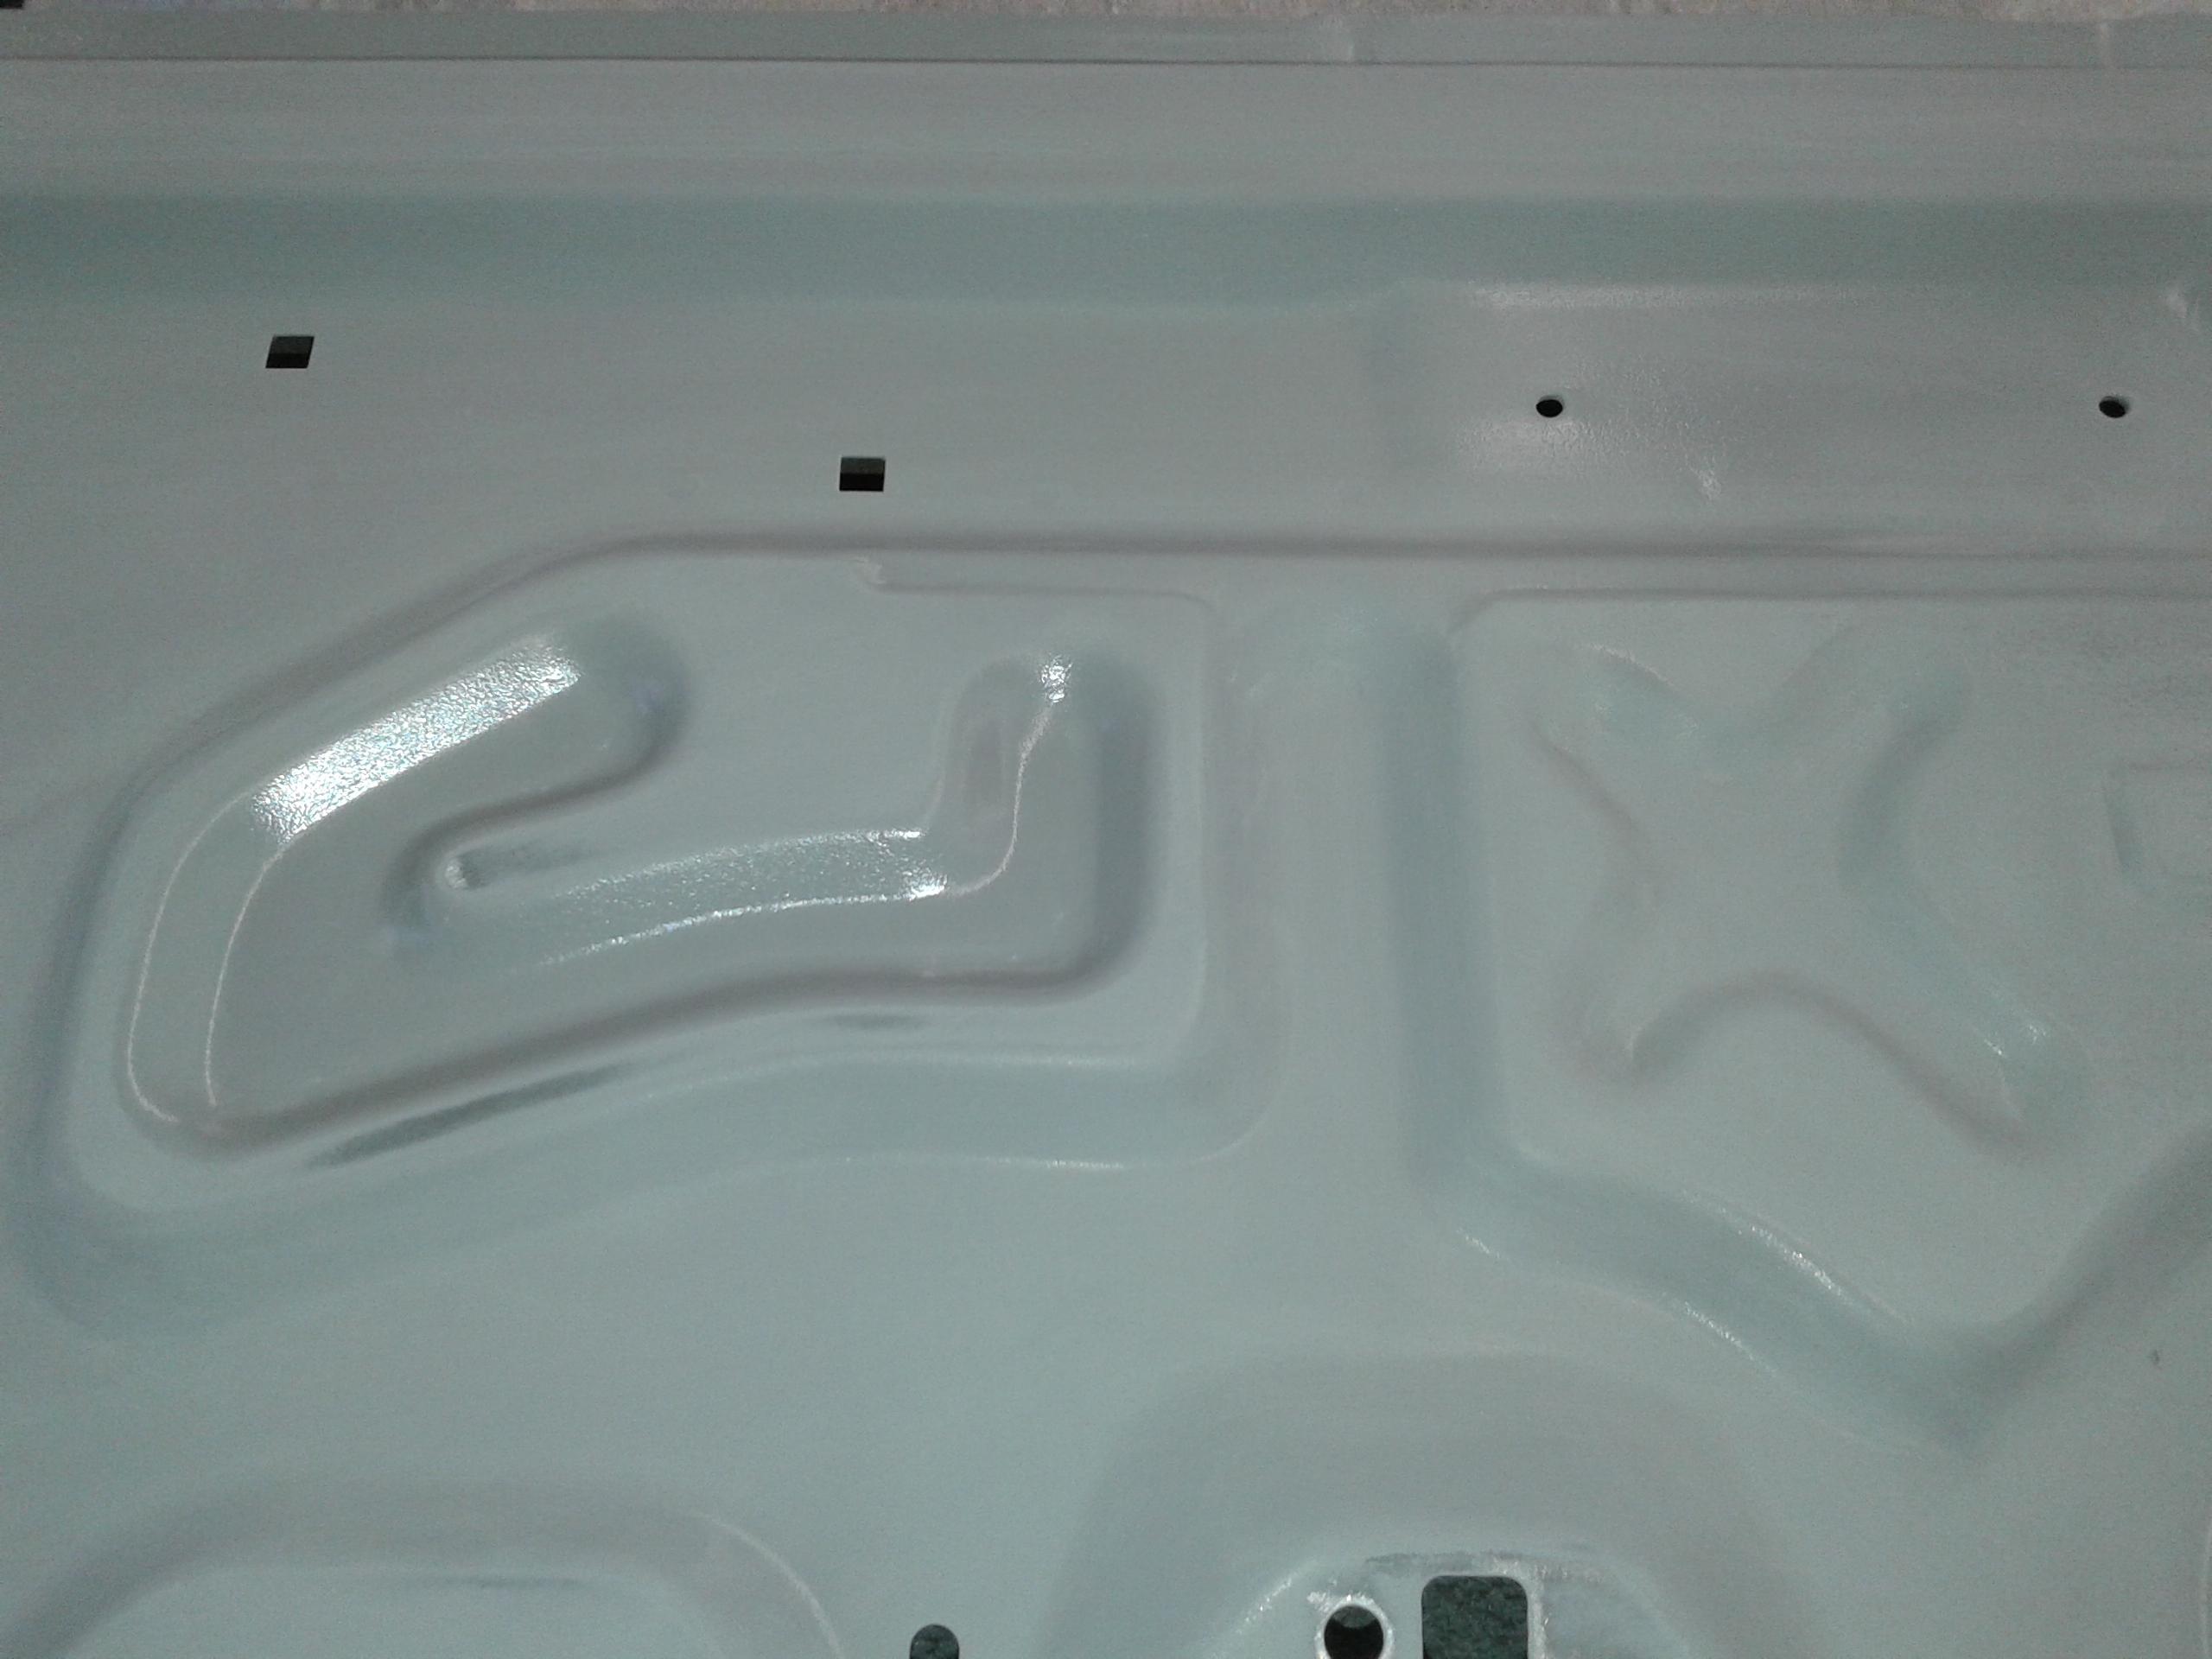
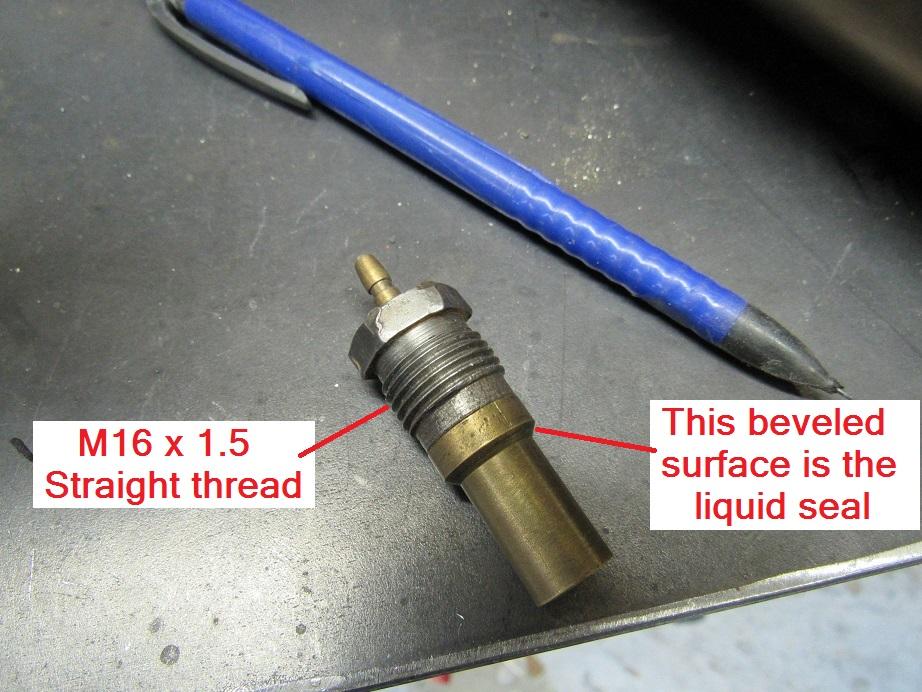
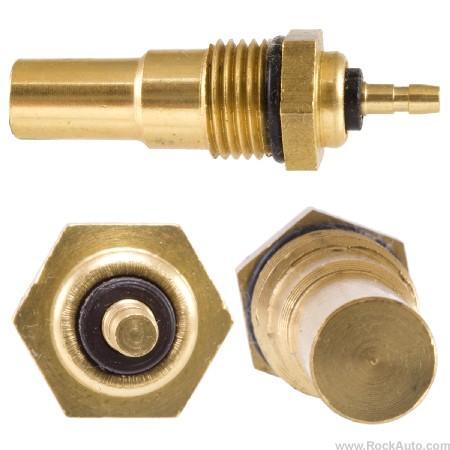
1 pointAnd although nobody asked (rarely stops me), here's some additional info about those sensors. The original sensors are actually two pieces. A steel threaded portion and a brass sensor portion. The steel part uses a straight thread and the reason they can get away with a straight thread (not tapered) is because that's not what holds back the coolant liquid. The liquid sealing surface actually has nothing to do with the threads. The liquid is sealed by the small beveled edge further down the sensor. Taking liberties with Granny's photo: Some of the newer aftermarket sensors are all one piece brass like the below. Note that the O-ring does not hold back the coolant. All it does is keeps dirt and junk out of the threads. The same beveled surface is what keeps the coolant in:
 1 point
 -
1 pointYet another consideration is a mig liner. They're available in many diameters. Last time I bought one it was about $1.00 per foot.1 point