.JPG.cfcada9cf1c1b502df3f5f2f2ca3ff36.JPG)
SteveJ
Community Member
-
Joined
-
Last visited
Everything posted by SteveJ
-
I bought both sets of seat foam from Banzai Motorworks and both sets of seat covers from Black Dragon. I don't know if the covers and foam came from different manufacturers, but I didn't have any real problems.
-
The headlight swap and battery cable change actually went as expected. Sometimes the breaks go your way.
-
I forgot to mention that you should consider getting LED bulbs for your running lights and turn signals. Also inspect the bulb sockets for corrosion. That will reduce the chances that you will melt down the 9 pin connector in the future. If you replace all of those bulbs with LEDs, you can also change the middle fuse on the right side of the fusebox with a 10 amp fuse. That will further reduce the chances of melting down the connector.
-
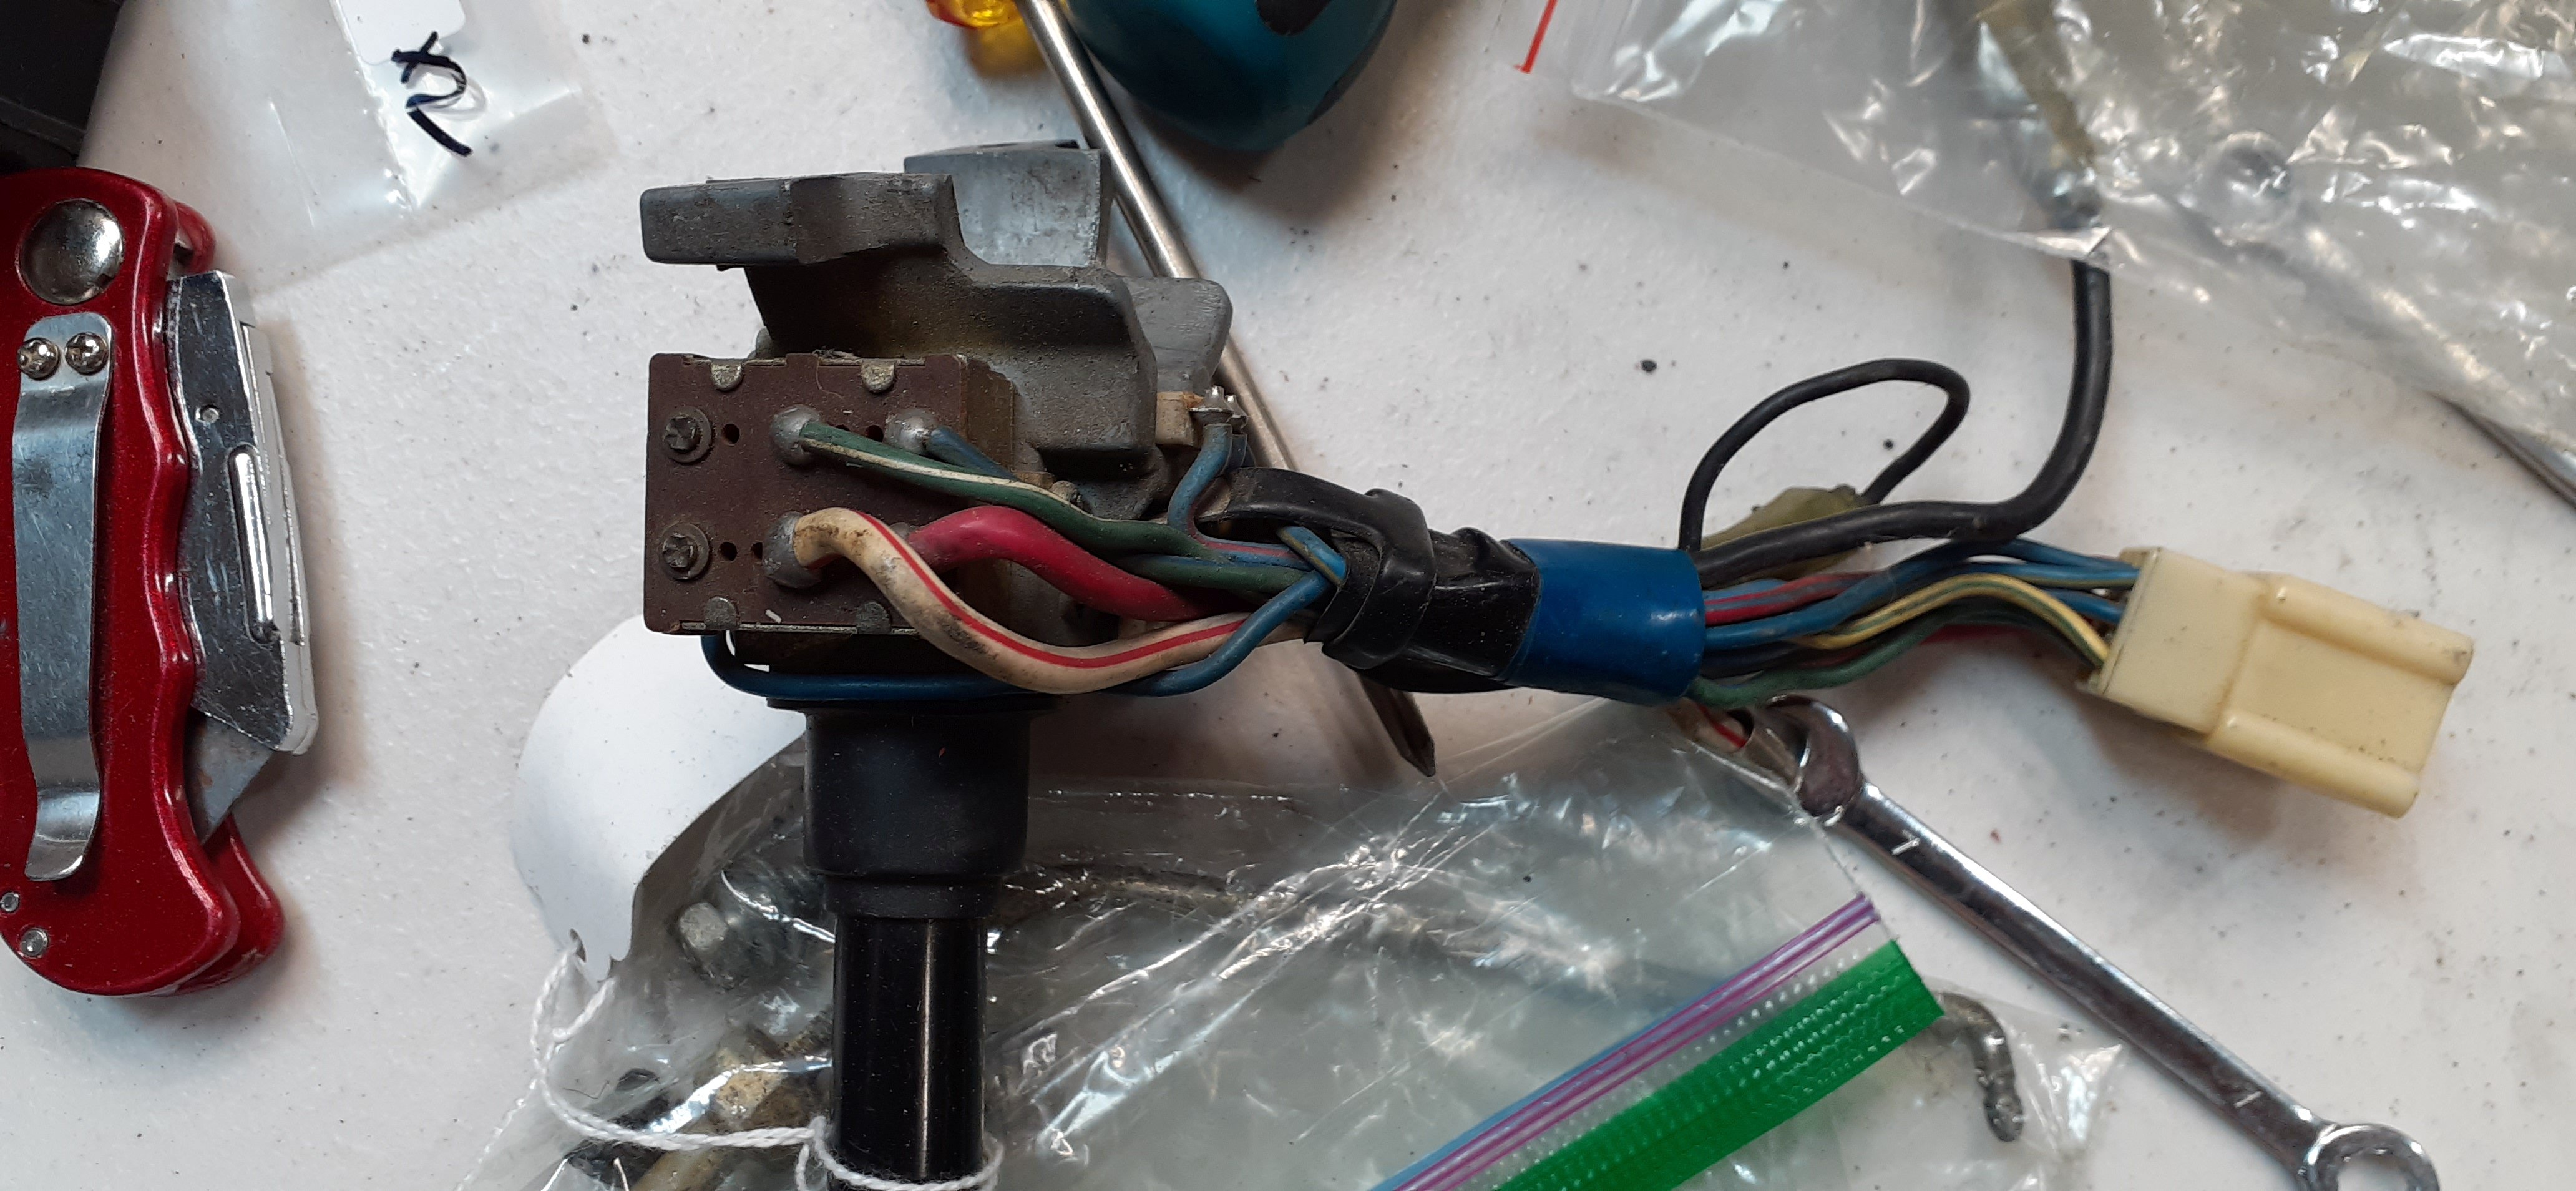
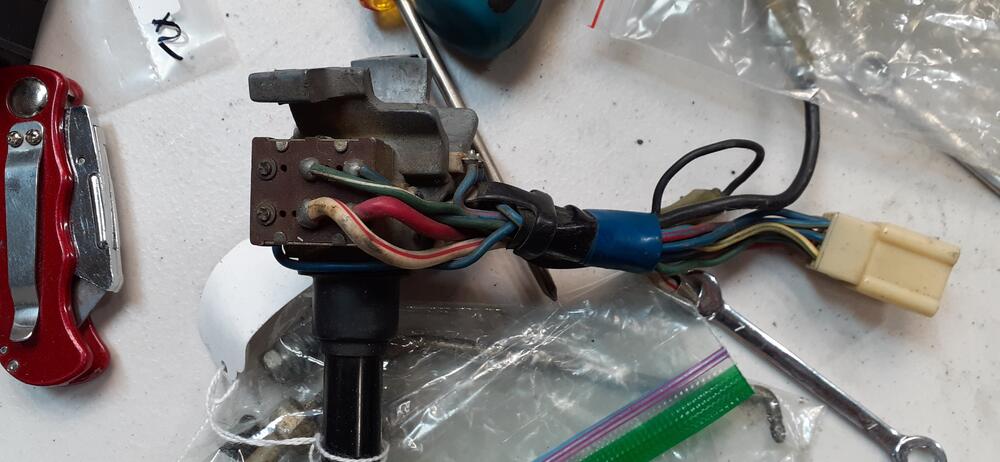
Okay, here's a photo of an intact switch. You can see that in addition to the missing wires for the headlight, the green/white wire on your switch is in the wrong location. The green/blue wire should be on the terminal closest to the wire bundle. The 9-pin wire connector needs to be replaced. You can get a replacement connector from Vintage Connections: http://vintageconnections.com/Products/Connectors. I would suggest getting some spare 2.8mm terminals if you don't have experience with crimping wires: http://vintageconnections.com/Products/Terminals. Get the 2.8mm male spade and 2.8 female non-latching. For a crimping tool, I like to use one like this: https://www.amazon.com/Pc-Accessories-Terminals-Crimping-D-Sub/dp/B007R2JLJK The biggest hurdle is to find what else the IPO chopped up. If the high low beam switch is on the floor, that means those wires have been diverted from the turn signal switch. Be sure to download the FSM for your car so you have a good wiring diagram. Also, go to Account Settings. It's in the drop-down at the top of the page by your username. After you get to account settings, choose Signature and put in the year of your car. It helps us tailor answers to your specific model.
-
The plan for today was to start early with bleeding the clutch...yeah, here's how that went. No fluid moving through the hydraulic circuit. Lots of time spent removing the hose between the slave and hard line. Got lots of gunk out of the hard line and clutch hose. I used air on the hard line and 14 gauge solid wire on the hose. Wrestled to get the hard line and hose reconnected. Bleed the system only to find a leak between the hose and slave cylinder. Researched the problem and found this thread: https://www.classiczcars.com/forums/topic/46057-slave-cylinder-hose-gasket/ Found my sealing washers and got everything reassembled. Got the clutch bled with no leaks. Don't you love it when a simple task takes several hours? I also replaced the old battery cables and installed the H4 housings with LED bulbs for the headlights. It doesn't seem like much, but it ended up being a long day. I decided to put off the startup until next weekend.
-
I regret that I didn't join ZONC after I bought my Z in 93. I was stationed at Travis AFB from 93 to 96, and I graduated from high school in the East Bay.
-
I'll respond later. You've also had a meltdown in the parking light circuit. I can tell from the photos. Let me give you a detailed response.
-
And you can find double crimp rings here: http://vintageconnections.com/Products/Terminals
-
Use a double-crimp ring terminal with heat shrink. Slide the heat shrink over the wire, crimp the ring terminal onto the wire, and shrink the heat shrink over the crimped area. If you still want spacers, you could get a kit like this and determine how small of a spacer you can get away with. https://www.amazon.com/Wokape-150Pcs-Standoff-Assortment-Prototyping/dp/B0936WHCLK
-
So the Fast I91 coil has 4 screws. The positive and negative terminals are below the post for the coil wire. I would look to mount the coil with the terminals toward the front of the car. You might want to post some photos of the coil with you holding it in the engine bay in the orientation you like vs the orientation as I suggested.
-
Okay, but I'm not sure it will help with solving the original question.
-
For those of you who will be at ZCON 2021, after the NY reveal of the new Z on August 17, Nissan will be taking the car on the road...to arrive in Colorado Springs to be shown on August 20.

-
Yeah, about the only time I've seen them on a Z is for a concours level restoration.
-
Download the 72 FSM and look in the EC section. You want to start looking at page EC-11.

-
Year? Have you looked through the EC section of the FSM? Have you downloaded the FSM? The link is in my signature.
-
@Tweeds never said more than one person was involved...
-
I would think more along the lines of it being damaged and owned by someone with a small budget. Maybe a tree fell on the hatch/rear panel. Owner: "Dang it! A tree hit my car. Can you fix it?" Body Shop: "Yeah, but it will cost $5,000" Owner: "No thanks. The car's only worth about $1,500. Let me find some sheet metal and junk parts and see what I can do with it."
-
You are correct. That's not unusual. https://www.classiczcars.com/forums/topic/63655-source-for-the-cup-washers-on-the-su-air-cleaner-wing-bolts/?&page=2#comments
-
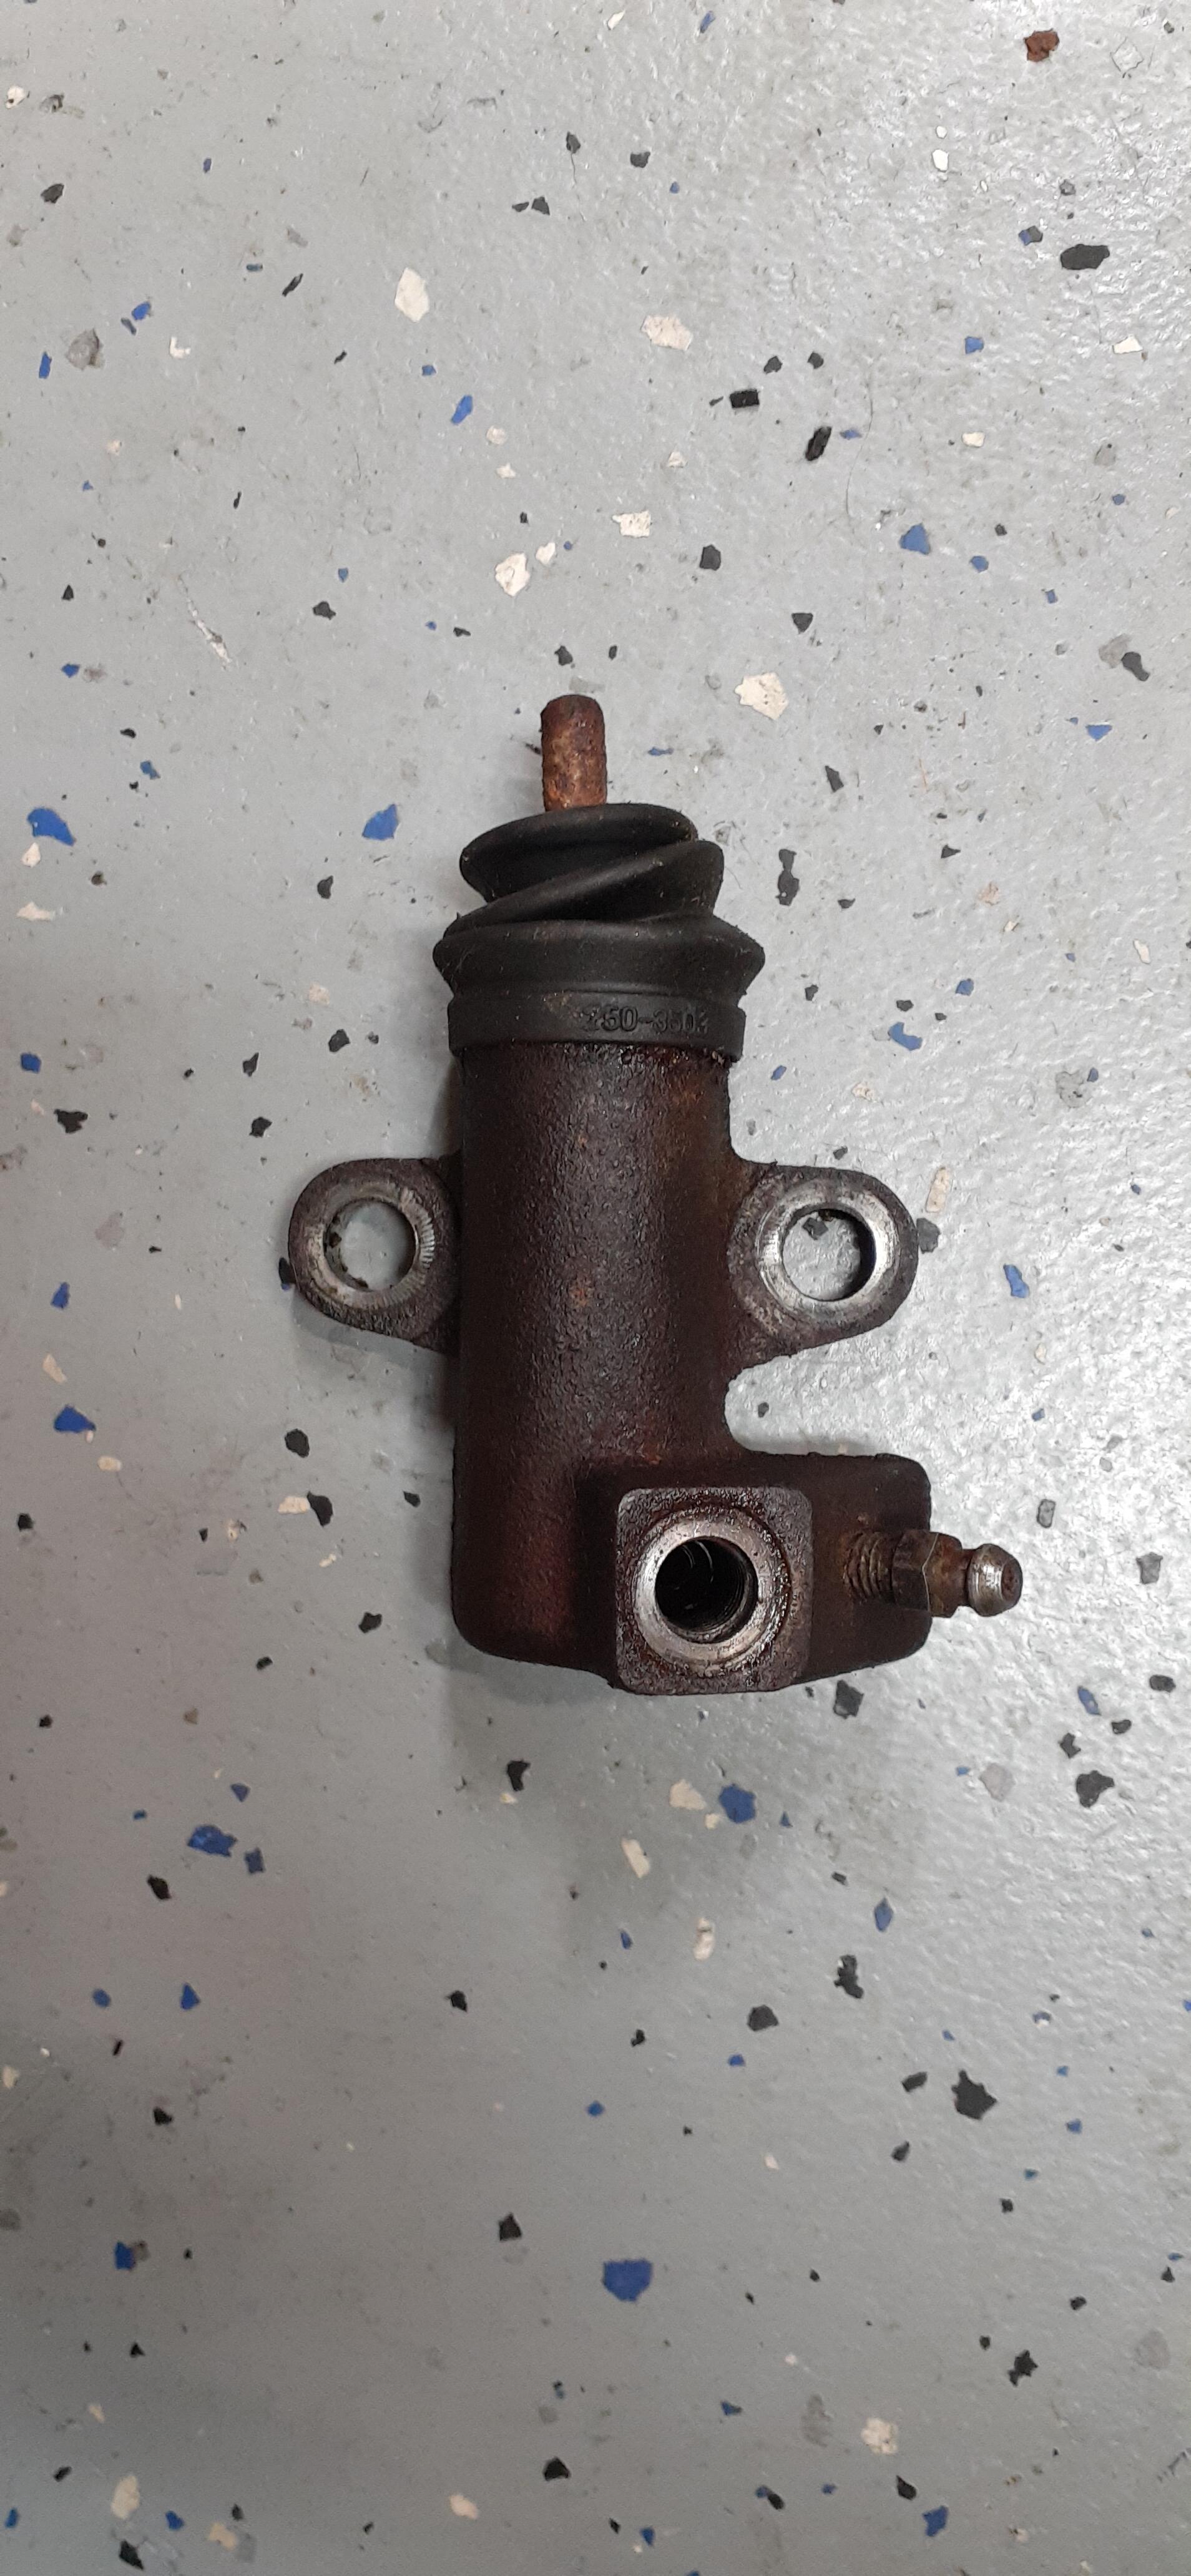
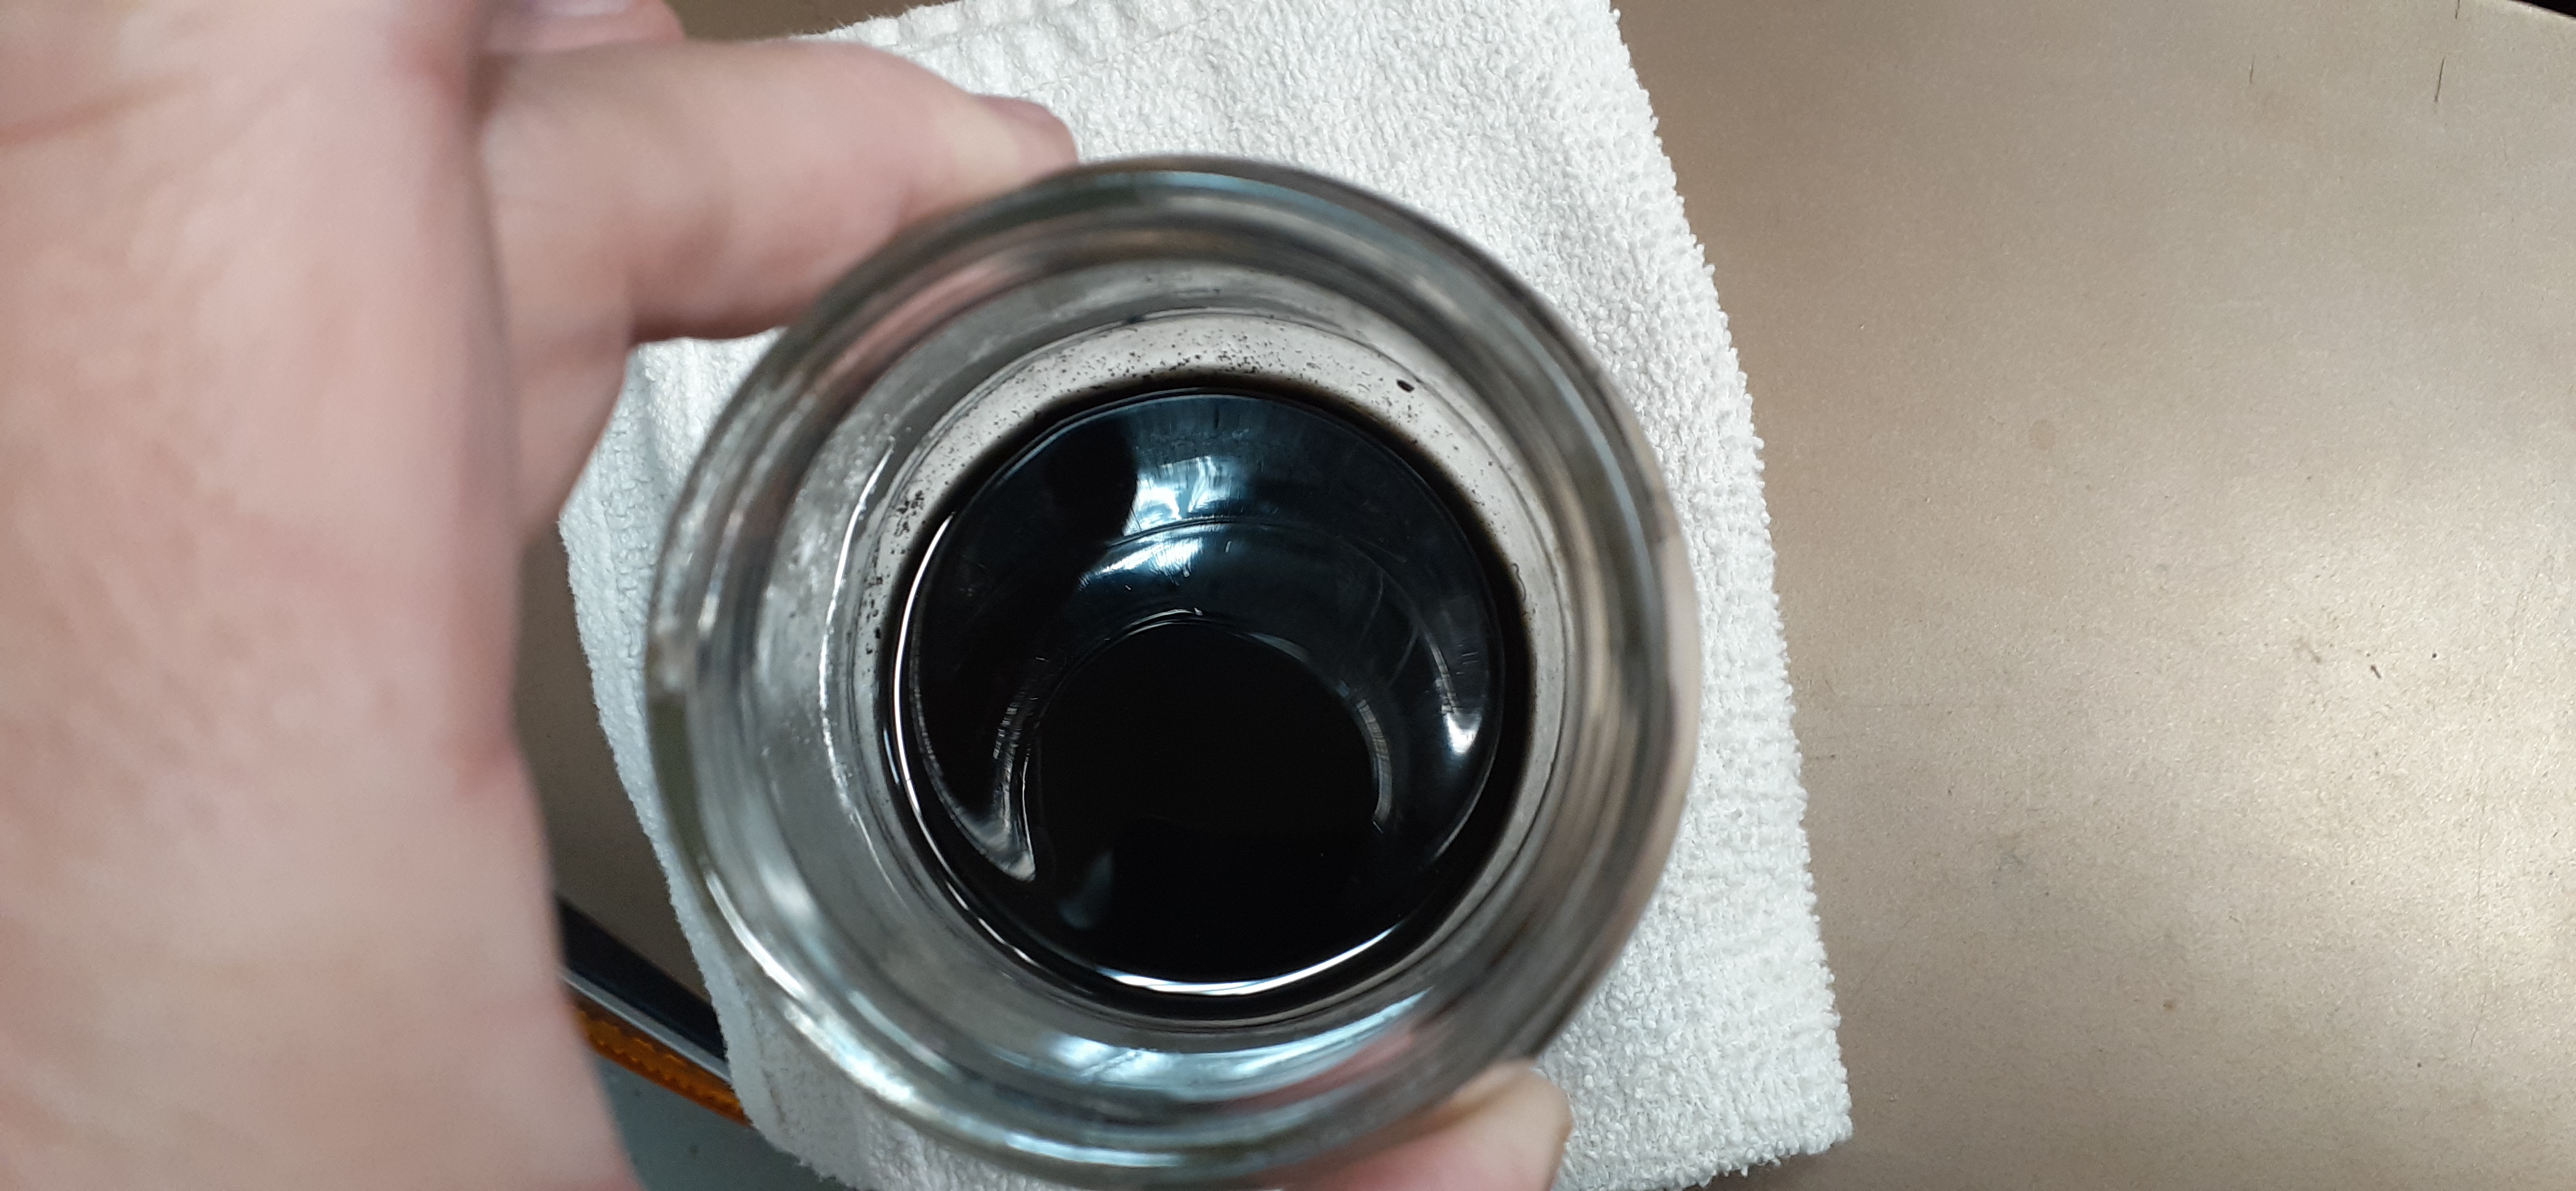
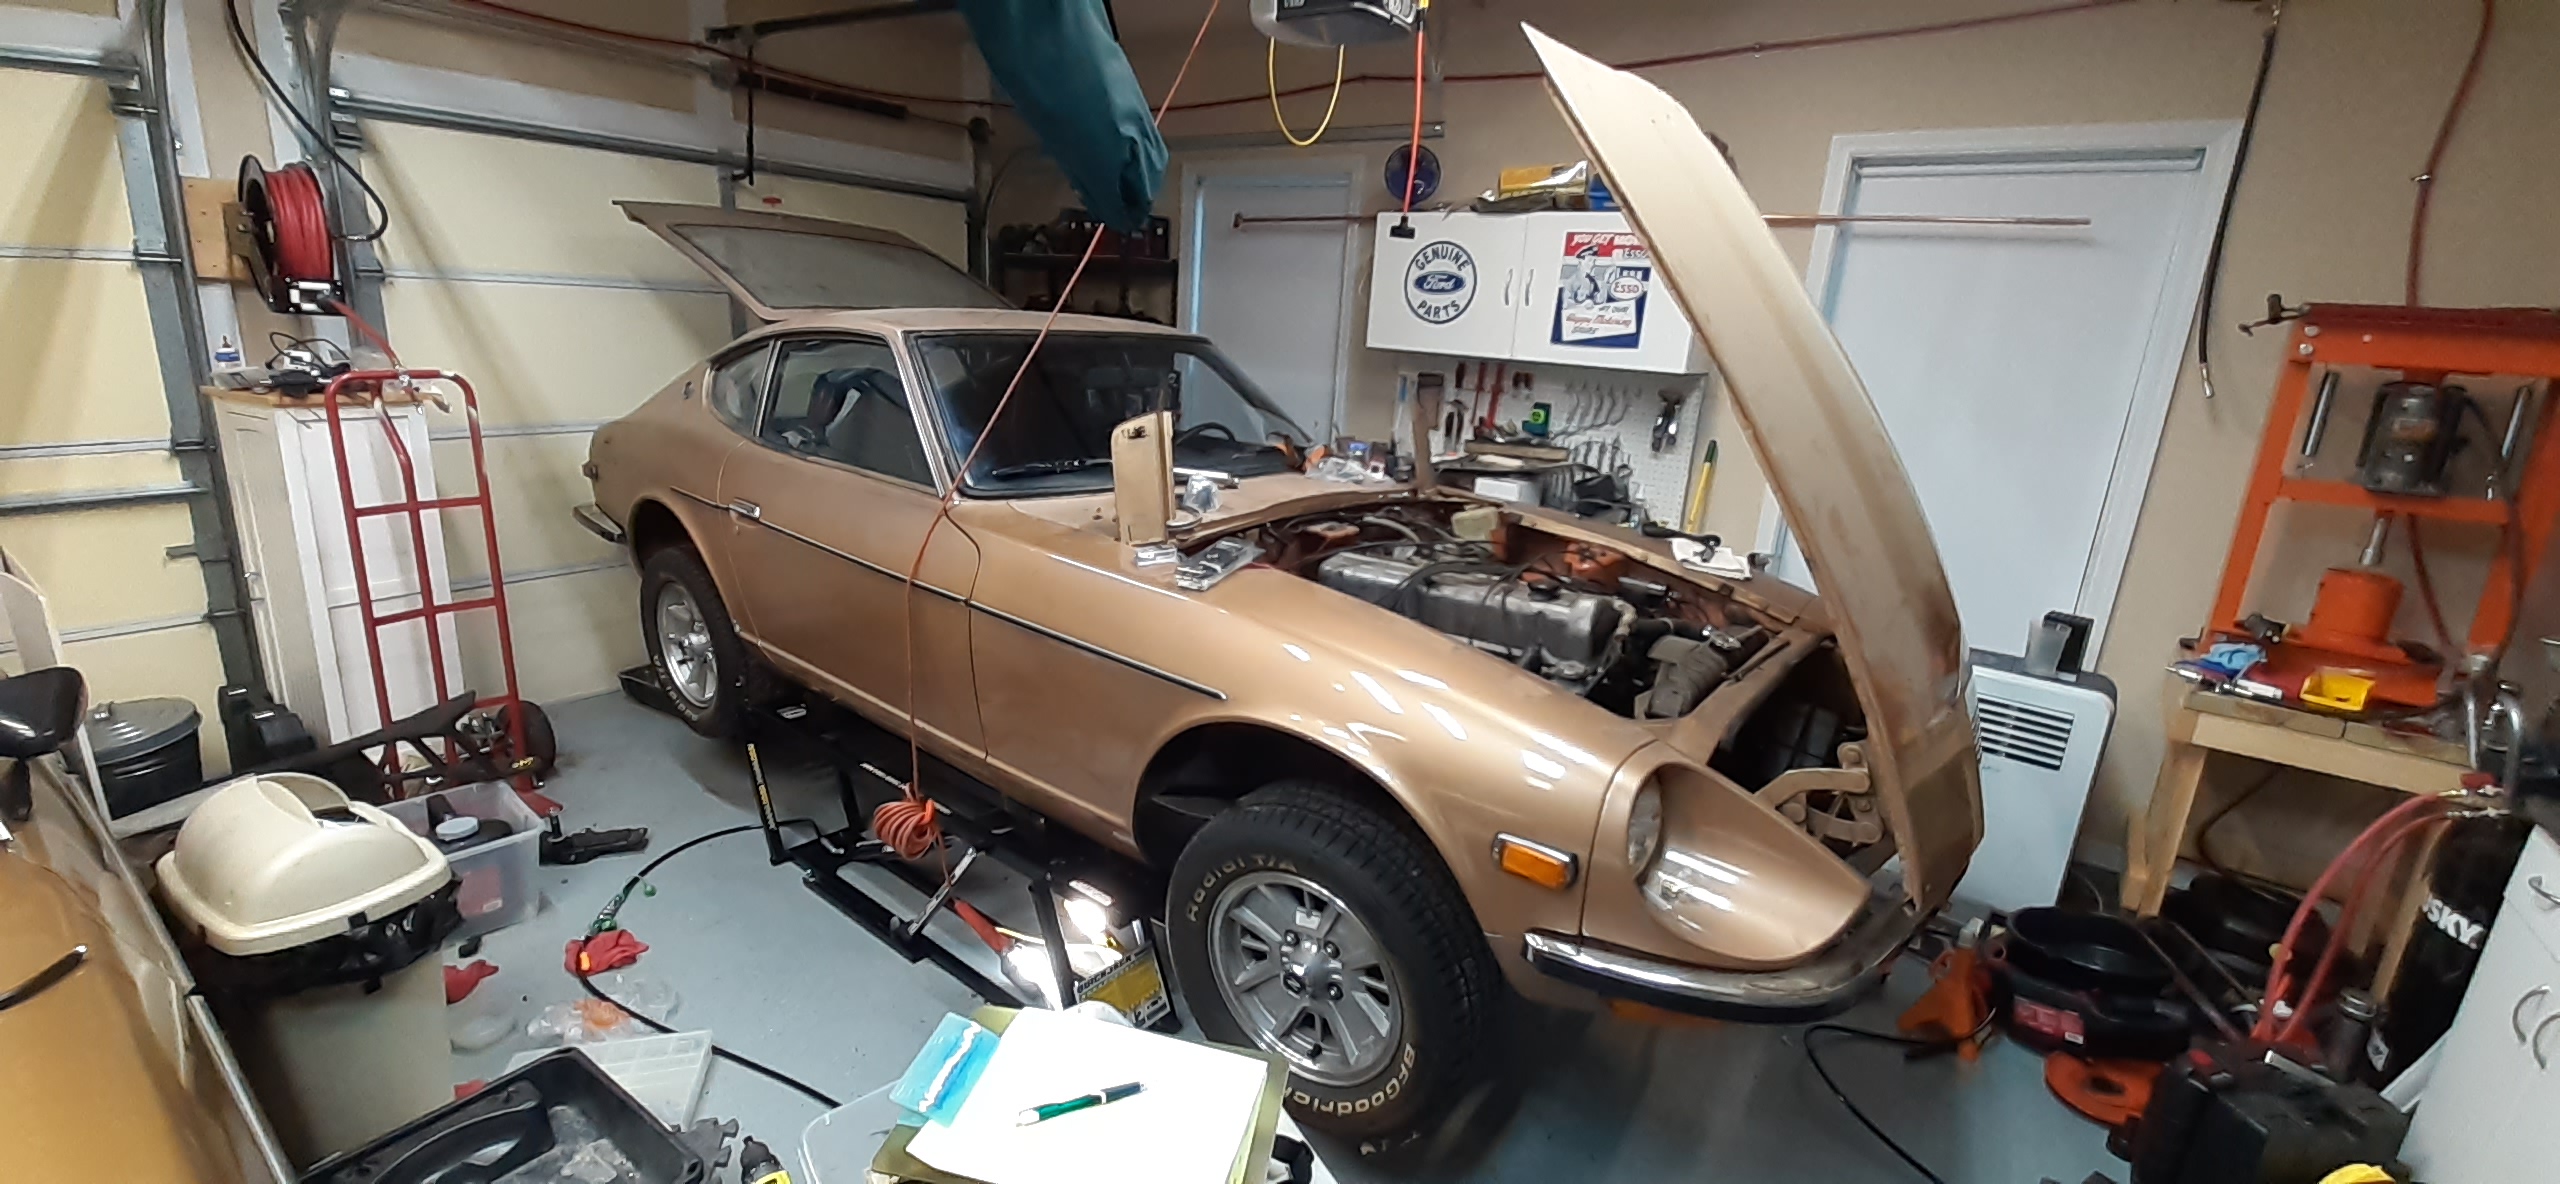
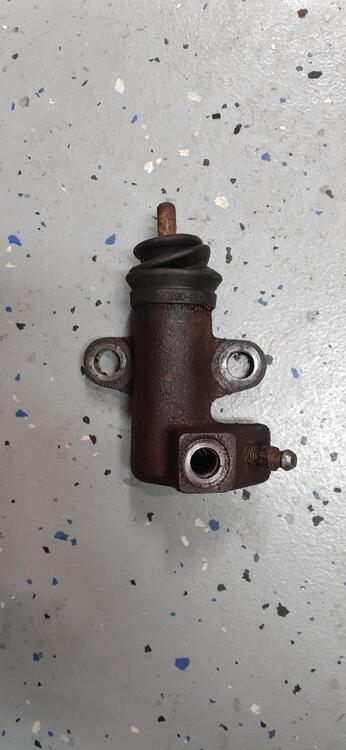
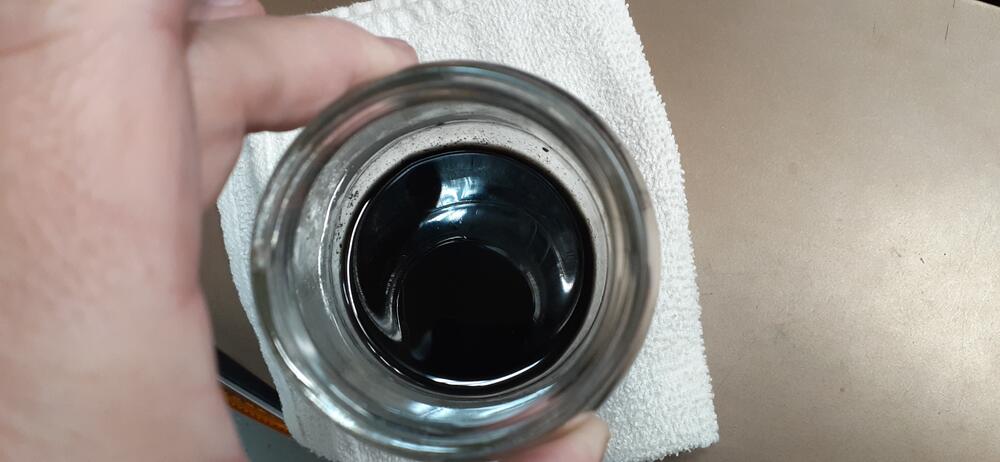
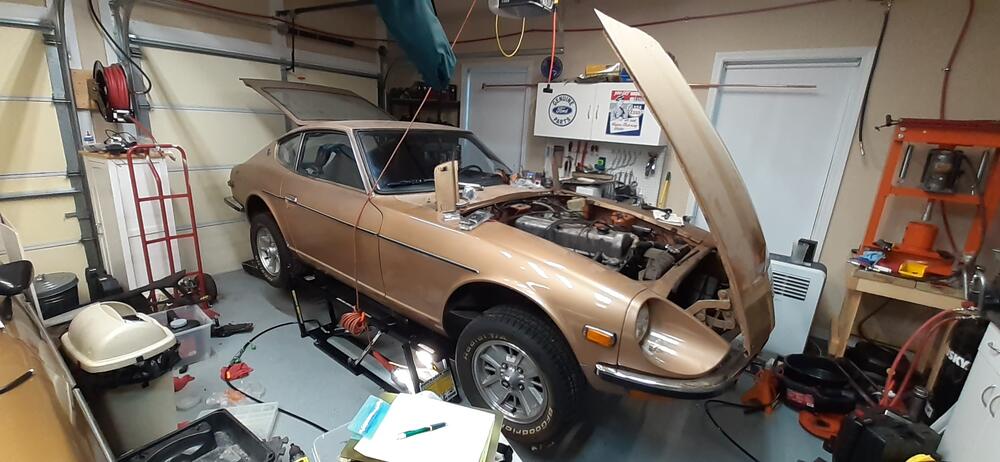
I received the master and slave cylinders today, so I decided that would be on this evening's agenda. I used my master cylinder fluid removal tool, known colloquially as a turkey baster, to remove the remaining fluid from the clutch master. The fluid was approaching vantablack in coloration, though it was still reflecting some light. I then decided to move to replace the slave cylinder. I put the car up in the air with the Quickjacks. I can't say enough good things about them. I slid under the car to evaluate the task at hand. I grabbed my wrenches and bleeder bottle and set about trying to pull any fluid through that I could coax out. Of course, none came out because no one was depressing the clutch pedal. Okay, so then I broke the connection loose at the soft hose. For this, the 17 mm banjo wrench I grabbed could not get a good grip on the nut on the hose. Fortunately, I managed to use a conventional open-ended wrench without rounding off anything. The bolts holding the slave to the transmission did not put up a fight, and soon I was able to remove the old, grungy slave cylinder. It was on there for 27 years, but I did not drive the car very often since 2002, and none at all since 2010. However, brake fluid is not too kind over the years, especially when it is probably the same fluid that was put in 27 years ago. Assembly was the opposite of disassembly. (Thank you, Haynes manual.) It was a little tricky to get the slave lined up over the bolt holes in the transmission, but that's more a function of a shoulder punished by years of American football and rugby. With the slave cylinder in place, it was time to go after the master cylinder. With the car up in the air, it was pretty easy to tackle this. I broke the hydraulic line free, removed the clevis pin from the pedal, and removed the two nuts holding the master in place. I adjusted the arm in the new master to match, got fork in the arm in place around the pedal, and replaced the nuts. Next came replacing the hydraulic line, and I finished off with reinstalling the clevis pin. I'll get the wife to help me with bleeding the clutch on Saturday morning when the temperature in the garage will be more to her liking. The nice thing is that I got another thing crossed off the list without adding anything more to the list.
-
To be honest, I didn't vocalize the "Vroom! Vroom!", but it was definite loud inside my head.
-
With a helping hand from my wife, I got the new window channel glued into the window frames. The fit is good, not great, but that's fine with me. I reinstalled the window frames and buttoned the doors back up. There are fewer and fewer straggler parts lying about in the garage. After I was finished with the doors, I got in the car with the windows rolled up. It was blissfully quiet in the cabin. I situated myself into a nice driving position to get the feel of how it will be after the motor is back running, and I pressed on the clutch pedal to feel ABSOLUTELY no resistance. D'oh! A new master and slave are now on order. They were added to my task list, too. I'm thinking that the first attempt for engine start will be this weekend. Keep your fingers crossed for me.
-
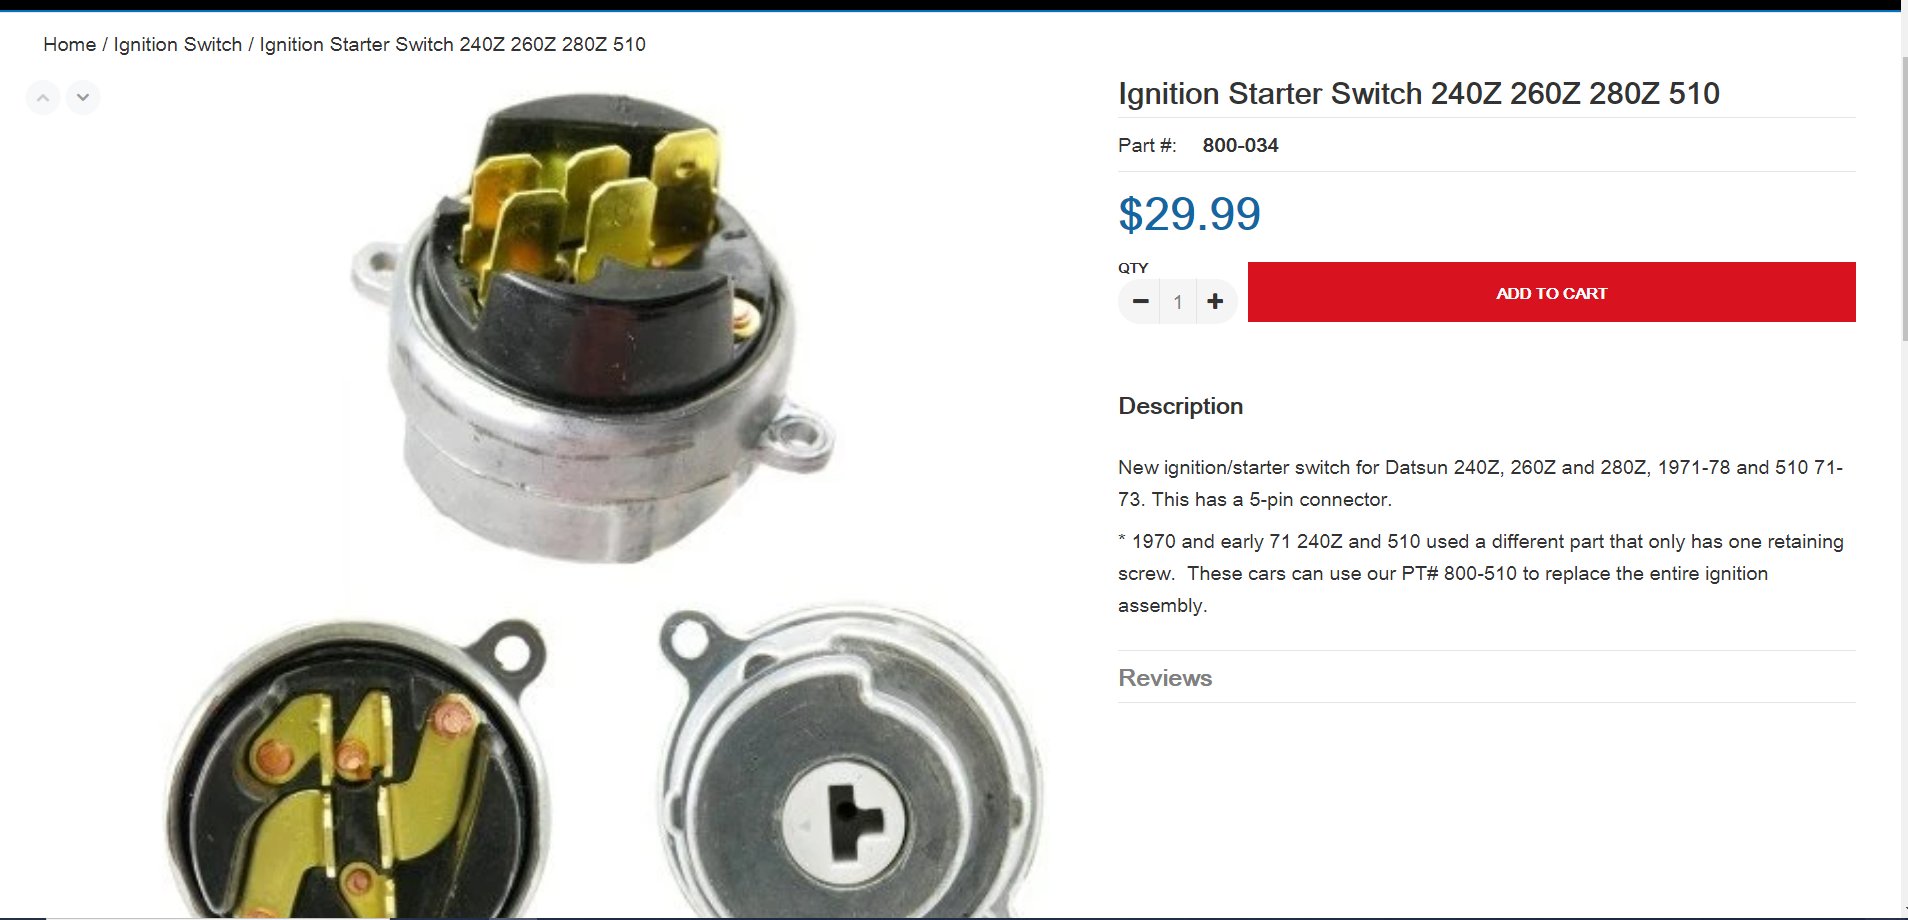
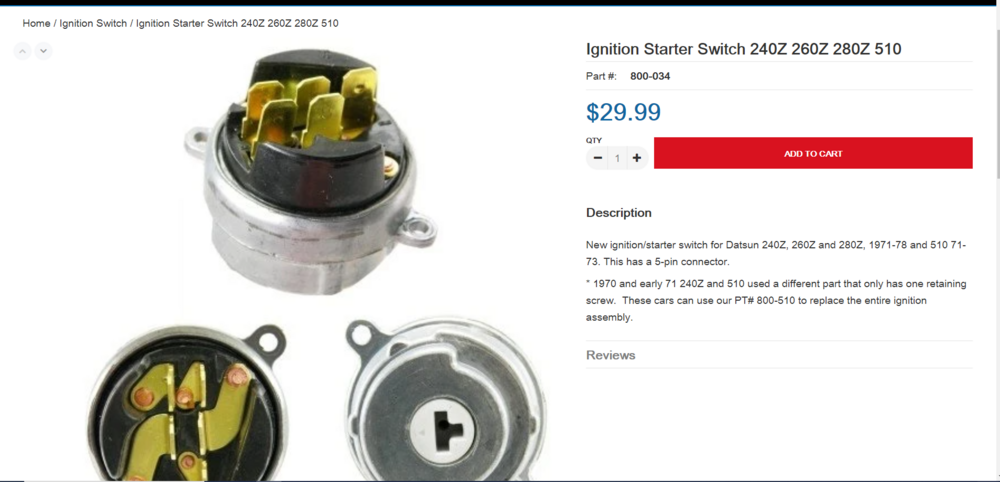
From ZCarDepot.com: You might as well get the other switch. Also fix the wiring before you burn up the car. Vintage Connections has a 6 pin connector that will work.
-
To piggy back on @Captain Obvious's post... The white/red wire goes to the ignition switch and is connected to the black/white wire coming out of the ignition switch when the key is in the ON position. The black/white wire travels down the dash harness to the engine harness. As you noticed, there are 3 black/white wires at the dash harness/engine harness interface. 6-wire connector - Also has a green/white wire. 4-wire connector 3-wire connector - I believe that is the switched source for the voltage regulator. My 73 has a different harness, so I can't help you with tracking down the connector directly. What you could do is disconnect both the 6-wire and 4-wire connectors. On the engine harness side, measure resistance between the black/white and green/white wires. The black/white that has low resistance (3 ohm or so) with the green/white wire is the one that connects to the ignition switch. Anyway, the black/white wire travels out to the ballast resistor, and there is the green/white wire on the other side of the resistor. (Do you see why I suggested checking for resistance on the engine harness side?) The green/white wire travels to the tachometer and comes out black/white. The black/white wire goes back through the dash harness, to the engine harness, and on to the positive terminal of the coil. I hope this helps.
-
When I hover over the icon, "jeffsnook recently joined" pops up.
-
Ha! I've got you beat by a country mile. Before I reinstalled the seats in the 73, I lifted up a mat under the passenger seat and found a 1972 quarter and a 1960 penny. Both were likely there before I bought the car in 1993.