AZ-240z
Supporting Member
-
Joined
-
Last visited
Everything posted by AZ-240z
-
My apologies, you are quite right. Its been a long time since I took the hood off, and there are adjustment slots on the hood mounting brackets I had forgotten about. My technique for hood removal as I remember is: 1. Cover engine bay and fenders with some heavy duty padding. 2. Loosen all four bolts holding hood onto hinges. 3. Remove the forward two bolts while holding the hood open. 4. Then, allow hood to rotate on the aft two bolts and rest hood on padding 5. Remove aft two bolts, then lift hood and place on pads for storage. This way it is a one-man-job. Dan Dan
-
siteunseen, wouldn't it be easier to just unbolt the hood from the hinges, two bolts on each side? Then, no hinge adjustment required.
-
http://www.classiczcars.com/forums/interior-s30/31214-dashboard-removal-help.html
-
I'm in the exhaust manifold leak camp.
-
mjr, OK, right up front, my disclaimer is I know nothing about your problem. I am going to recite what my mechanic found when my '71 was having similar, but not nearly as violent, a problem. Just some occasional missfiring, backfiring, jerking, etc. I don't know how similar your '75 dizzy is to my '71, but, there is a white plastic insulator for the electric wiring that attaches to the top edge of my dizzy just below the distributor cap mounting. He found that this insulator had cracked and generally degraded from time and heat to the point where it allowed some electrical arcing causing my poor engine performance. If you have a similar insulator, it may be worth checking, FWIW. Dan
-
midman, When you get to the door panels, something that may save you distress later has to do with the little metal clips that fasten to the door panel backer board (masonite) and clip into the metal door frame. The part of these clips that press into the little plastic cups placed in the door frame are adjustable. I found it very helpful if, before attachingthese clips to the door panel, insert them by hand into the metal door frame to test tightness of fit. If too tight, pinch them with pliars slightly so that, when installed with the door panel, the panel can be removed at a later date without breaking out the holes and damaging the masonite backer board. I may be talking about the obvious, but it never hurts to revisit techniques that can prevent damaging parts down the road. Dan
-
I did a quick search and came up with this. http://www.classiczcars.com/forums/interior-s30/4523-parking-light-switch-console.html
-
Motorsport! OEM Quality Tinted Windshield, 70-78 240Z-260Z-280Z Coupe - The Z Store! Nissan-Datsun 240Z-260Z-280Z-280ZX-300ZX(Z31/Z32)-350Z-370Z Parts
-
-
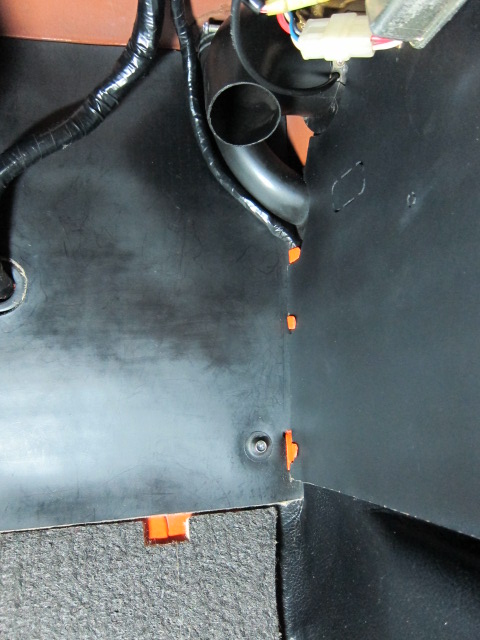
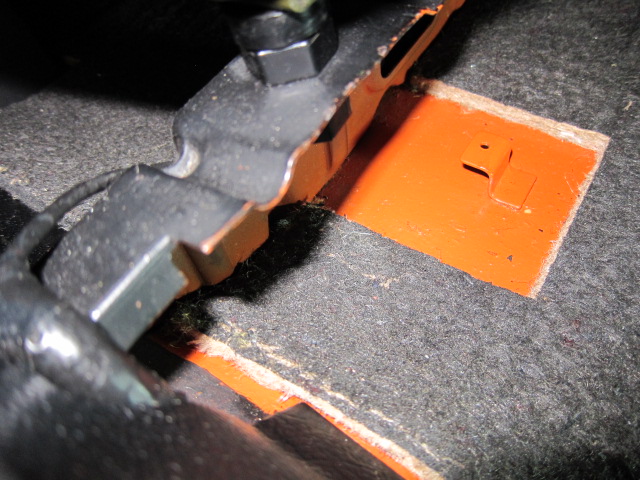
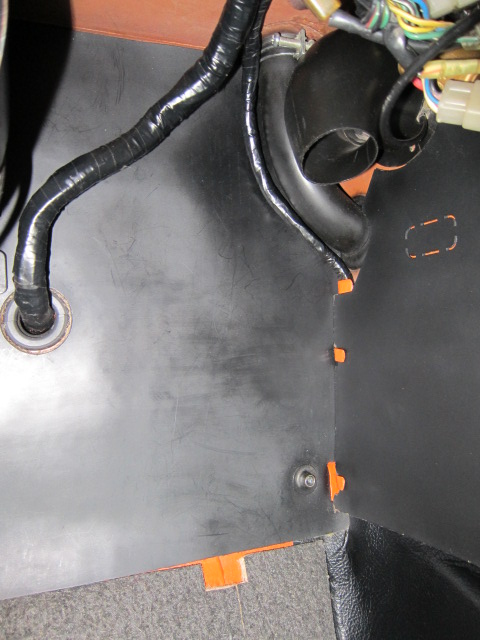
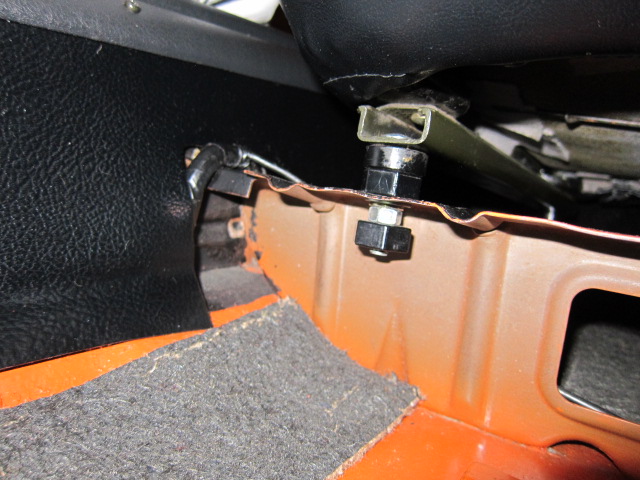
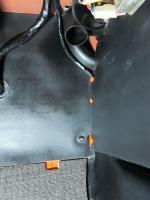
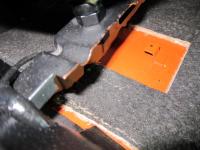
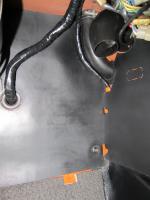
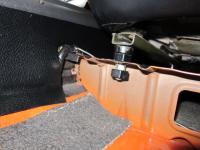
If it didn't show well enough in the pictures, the harness runs from under the kick panel, to beneath the vinyl rocker finisher along the seam of the interior rocker panel and floor panel to the front passenger seat support. It then runs over the seat support as shown, and the emergency brake wire come off at that point and runs behind that passenger front seat support over to the brake light switch on the brake lever.
-
If it didn't show well enough in the pictures, the harness does run, as shown, under the passenger side kick panel, then underneath the vinyl interior rocker finisher at the seam of the rocker panel and floor panel.
-
Here are a few ppictures that may help!
-
This may, or may not, be related to those blue wires, but thought I would add it to the conversation. The dealer added FrigiKing air conditioning incorporated a micro-switch that may have utilized one of these wires. The mirco-switch was mounted at the intake duct actuator located behind the blower motor in the passenger side footwell area behind the dash. When the top slide lever on the heater control panel was moved from the center "vent" position to the left "off" position, the intake duct door moved to close off fresh air intake and open to allow the air from the evaporator to pass through the blower assembly for cabin distribution. Also, with the movement of this vent lever to the off position, a circuit was completed via this micro-switch throught the dealer added A/C ON-OFF/ RHEOSTAT switch to allow electrical actuation of the A/C compressor. This on-off switch was mounted to the bottom of the dash below the hazzard switch. The micro-switch assembly on my car is incorporated in a red plastic housing mounted next to the cable actuator for the intake duct behind the blower motor. I mention this for informational purposes only to help expand this discussion. This is just my personal understanding of this switches function, as I do not have the original installation instructions provided for dealer installation. Dan
-
I've got the same vintage car as jfa.series1 does, and have a plug in that hole, also.
-
One day, when I was detailing my engine, I noticed an oily residue surrounding each of the spark plugs. I pulled all the plugs out and could see a buildup of oily grime around each plug hole where the plugs seat into the head. I meticulously cleaned this area, along which the plug threads and threaded hole in the head. Since that time , there has been ZERO oily contamination at the plugs and that was over a year ago. I surmised that the grime would not let the plugs completely seat allowing some blow-by of combustion byproducts.
-
Mike, What everyone has said. Your creation has at times been a safe refuge for me, a welcome distraction when life's losses experience by a more "mature" member are sometimes difficult to cope with. Thanks, Mike, for all that you have done for the Z community. Dan
-
That is exactly the wiring setup that is on my voltage regulator. My car is a 1/71 series 1 car. Don't ask me why, but I don't think this is ABBY-NORMAL!
-
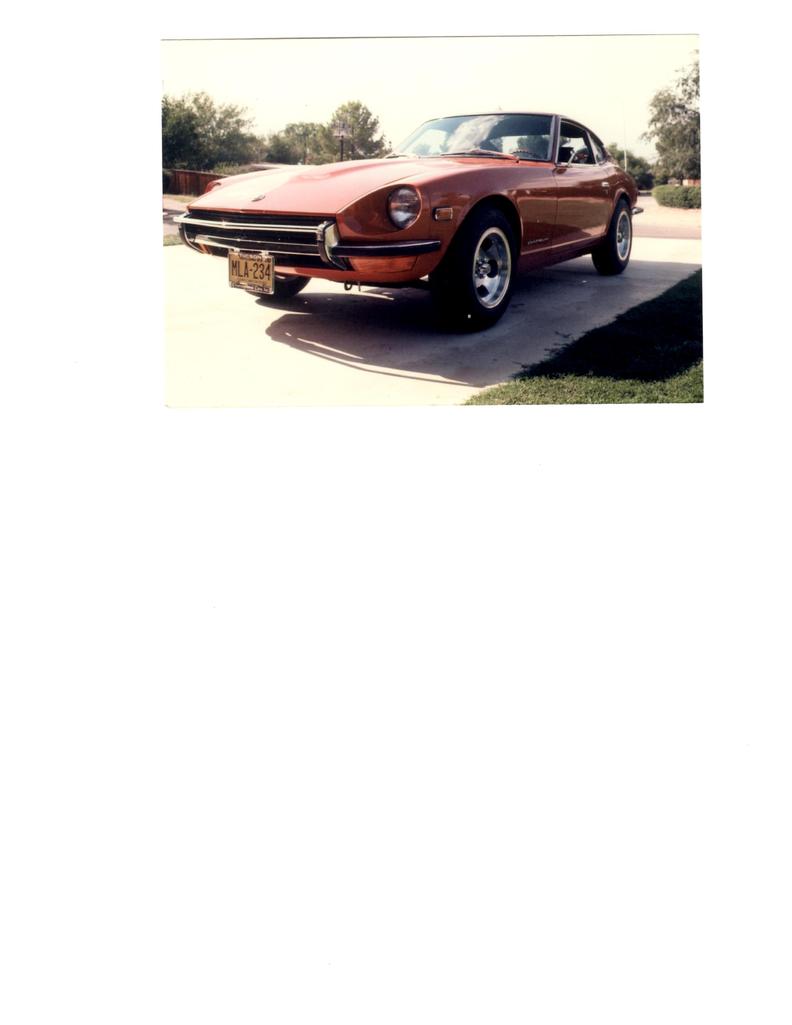
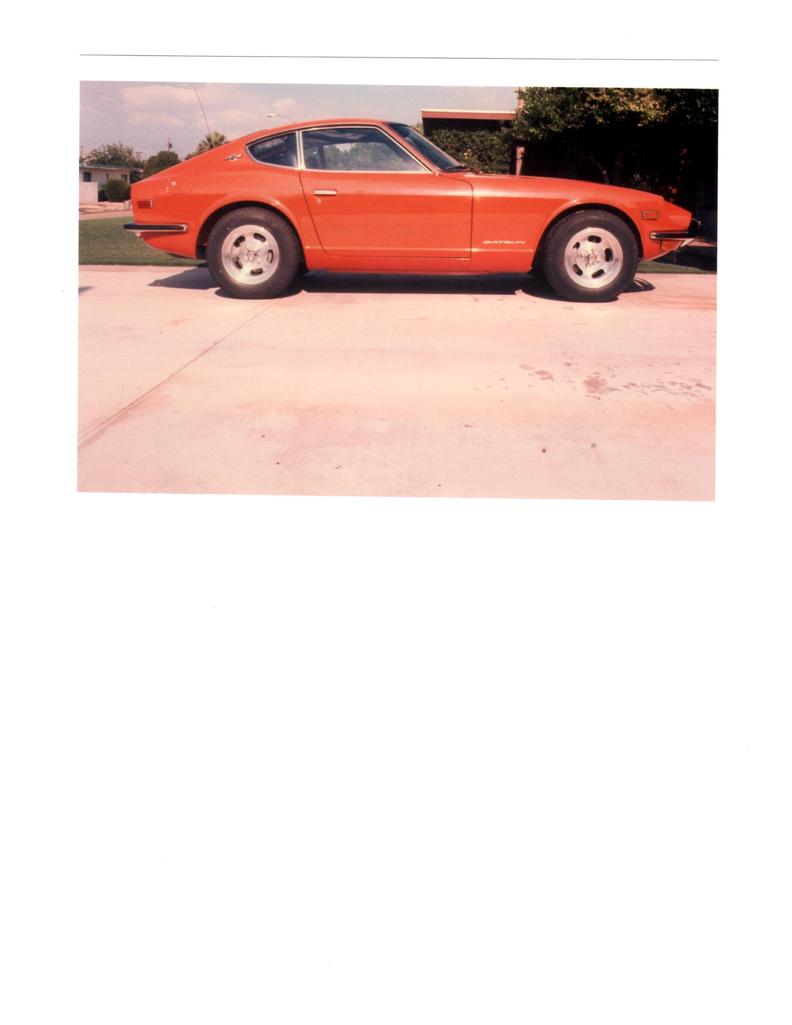
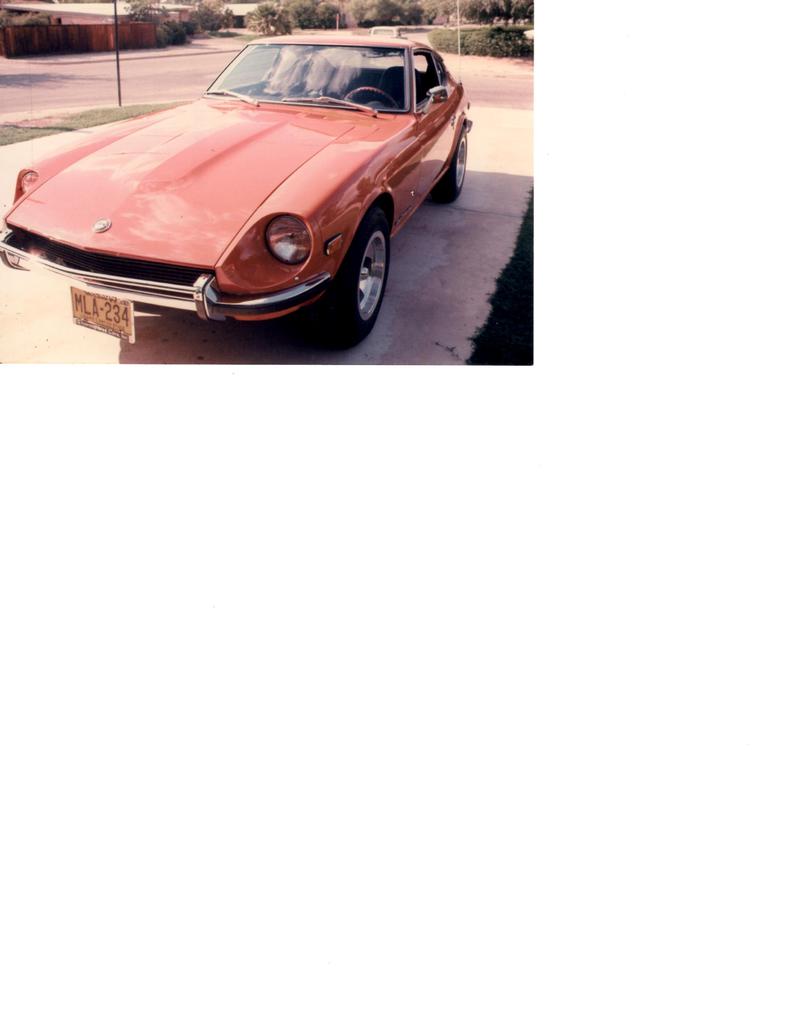
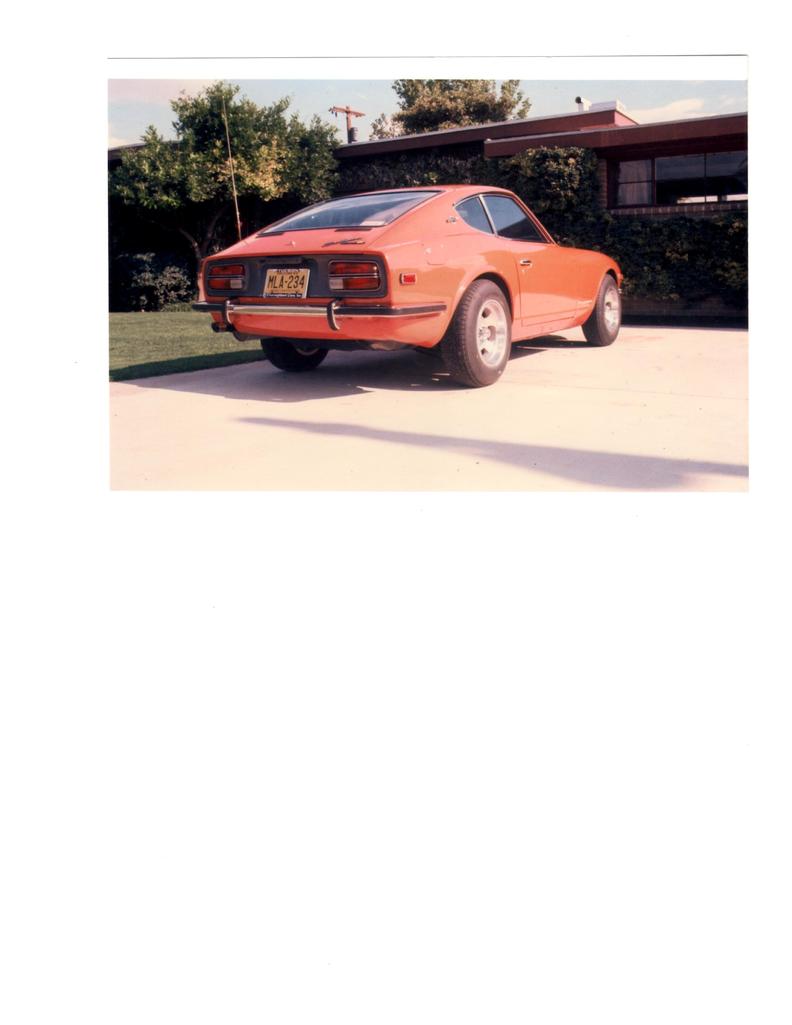
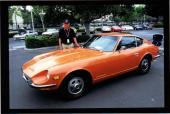
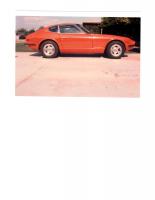
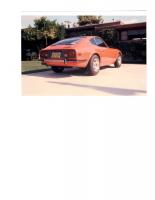
Pictures of my car just after purchasing new on March 25, 1971.


-
Nice find, Jerry. How many mounting holes are in the scuff plates? The part number indicates there should be five in each. If so, those are REALLY early parts!
-
STeve, Do you have an illustration of where this handbrake dust boot is mounted? I couldn't find a part number or reference on my parts CD. On my last fun drive, I did notice a cool breeze of air coming from the handbrake boot, but couldn't determine the source. This probably going to be added to my shopping list. Dan
-
Steve, Is this the grommet that protects the sending unit wire harness where it passes throught the rear deck floor? If so, I'll add it to my llist. Dan
-
Mossy, I have a repro console from MSA from about 10 years ago. Could you tell me what you intend to use it in? Are you doing a concours resto or a nice driver restoration? This console looks very nice and is a legit repro in appearance. The issue I had was that the ashtray fuse box cover didn't allow a perfect fit of the ashtray without a little adjustment. Not a real big deal, but I was looking for perfection which I found in a nice used console. If you would be interested, PM me and we could talk about a very reasonable price. Dan
-
Thanks, Jim. You are perfectly correct. I was just being all inclusive for the single hatch support use. I think we are twins. Both original owners, and cars are within a month apart. Mine is hls30-20419 with a prod. date of 1/71. I guess that makes us both really old, too. Dan
-
Looking at my parts CD, it looks like 240z cars up to july/73 had single deck lid stays, or supports.
-
Really nice work! When my car was put back together, I noticed that a gap of about 4mm was, also, left between the rubber bumper block and crossmember. Pierre-Z in Hawthorn, CA did the work, and was one of the primary restoration contractors used for the factory restoration project. I mention this only because he may have been following, and held to, correct and required factory installation tolerances. I was wondering if one of the rubber donut hood bumpers would work in place of the rubber block. Just a thought for a possibly easy option in place of the original rubber block.