zKars
Supporting Member
-
Joined
-
Last visited
Everything posted by zKars
-
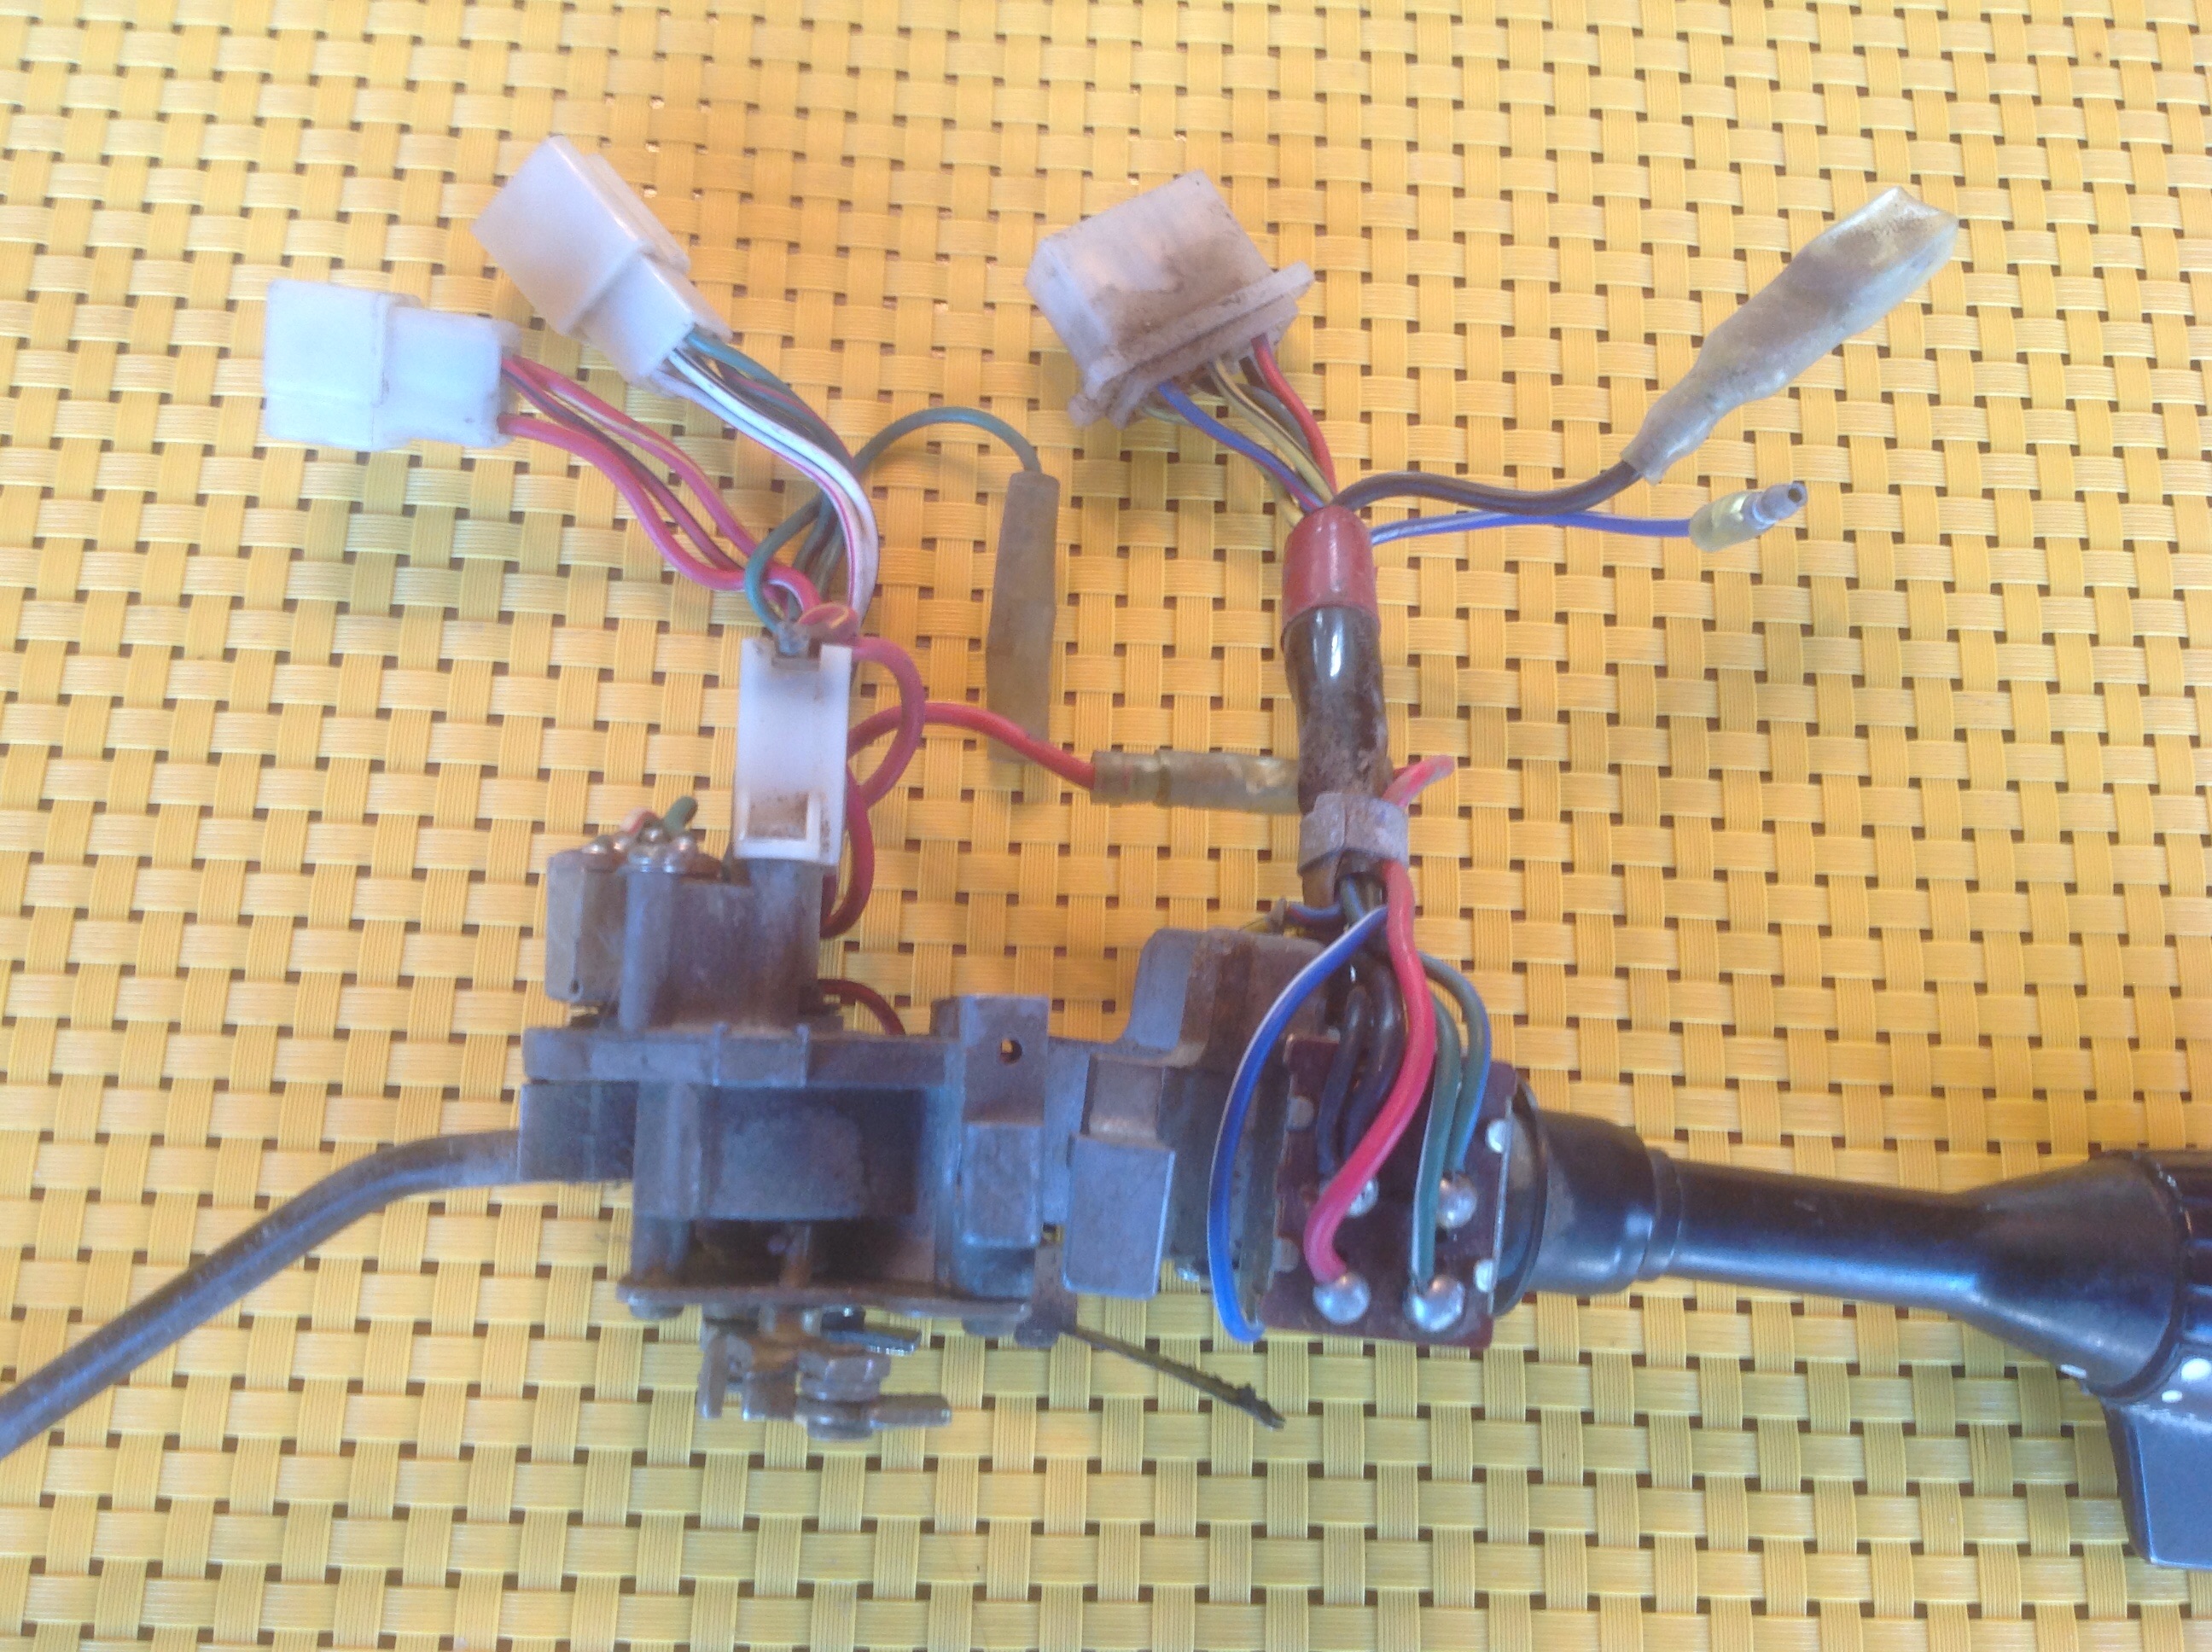
First post a picture of your switch from a few other angles. I need that to id which year it comes from. Also post your build date. drivers door jamb. Make sure the pictures show the connectors. The 73 switches after 1/73 I think have intermittent wipers. You will see three white dots on the wiper switch rather then two on earlier ones.
-
-
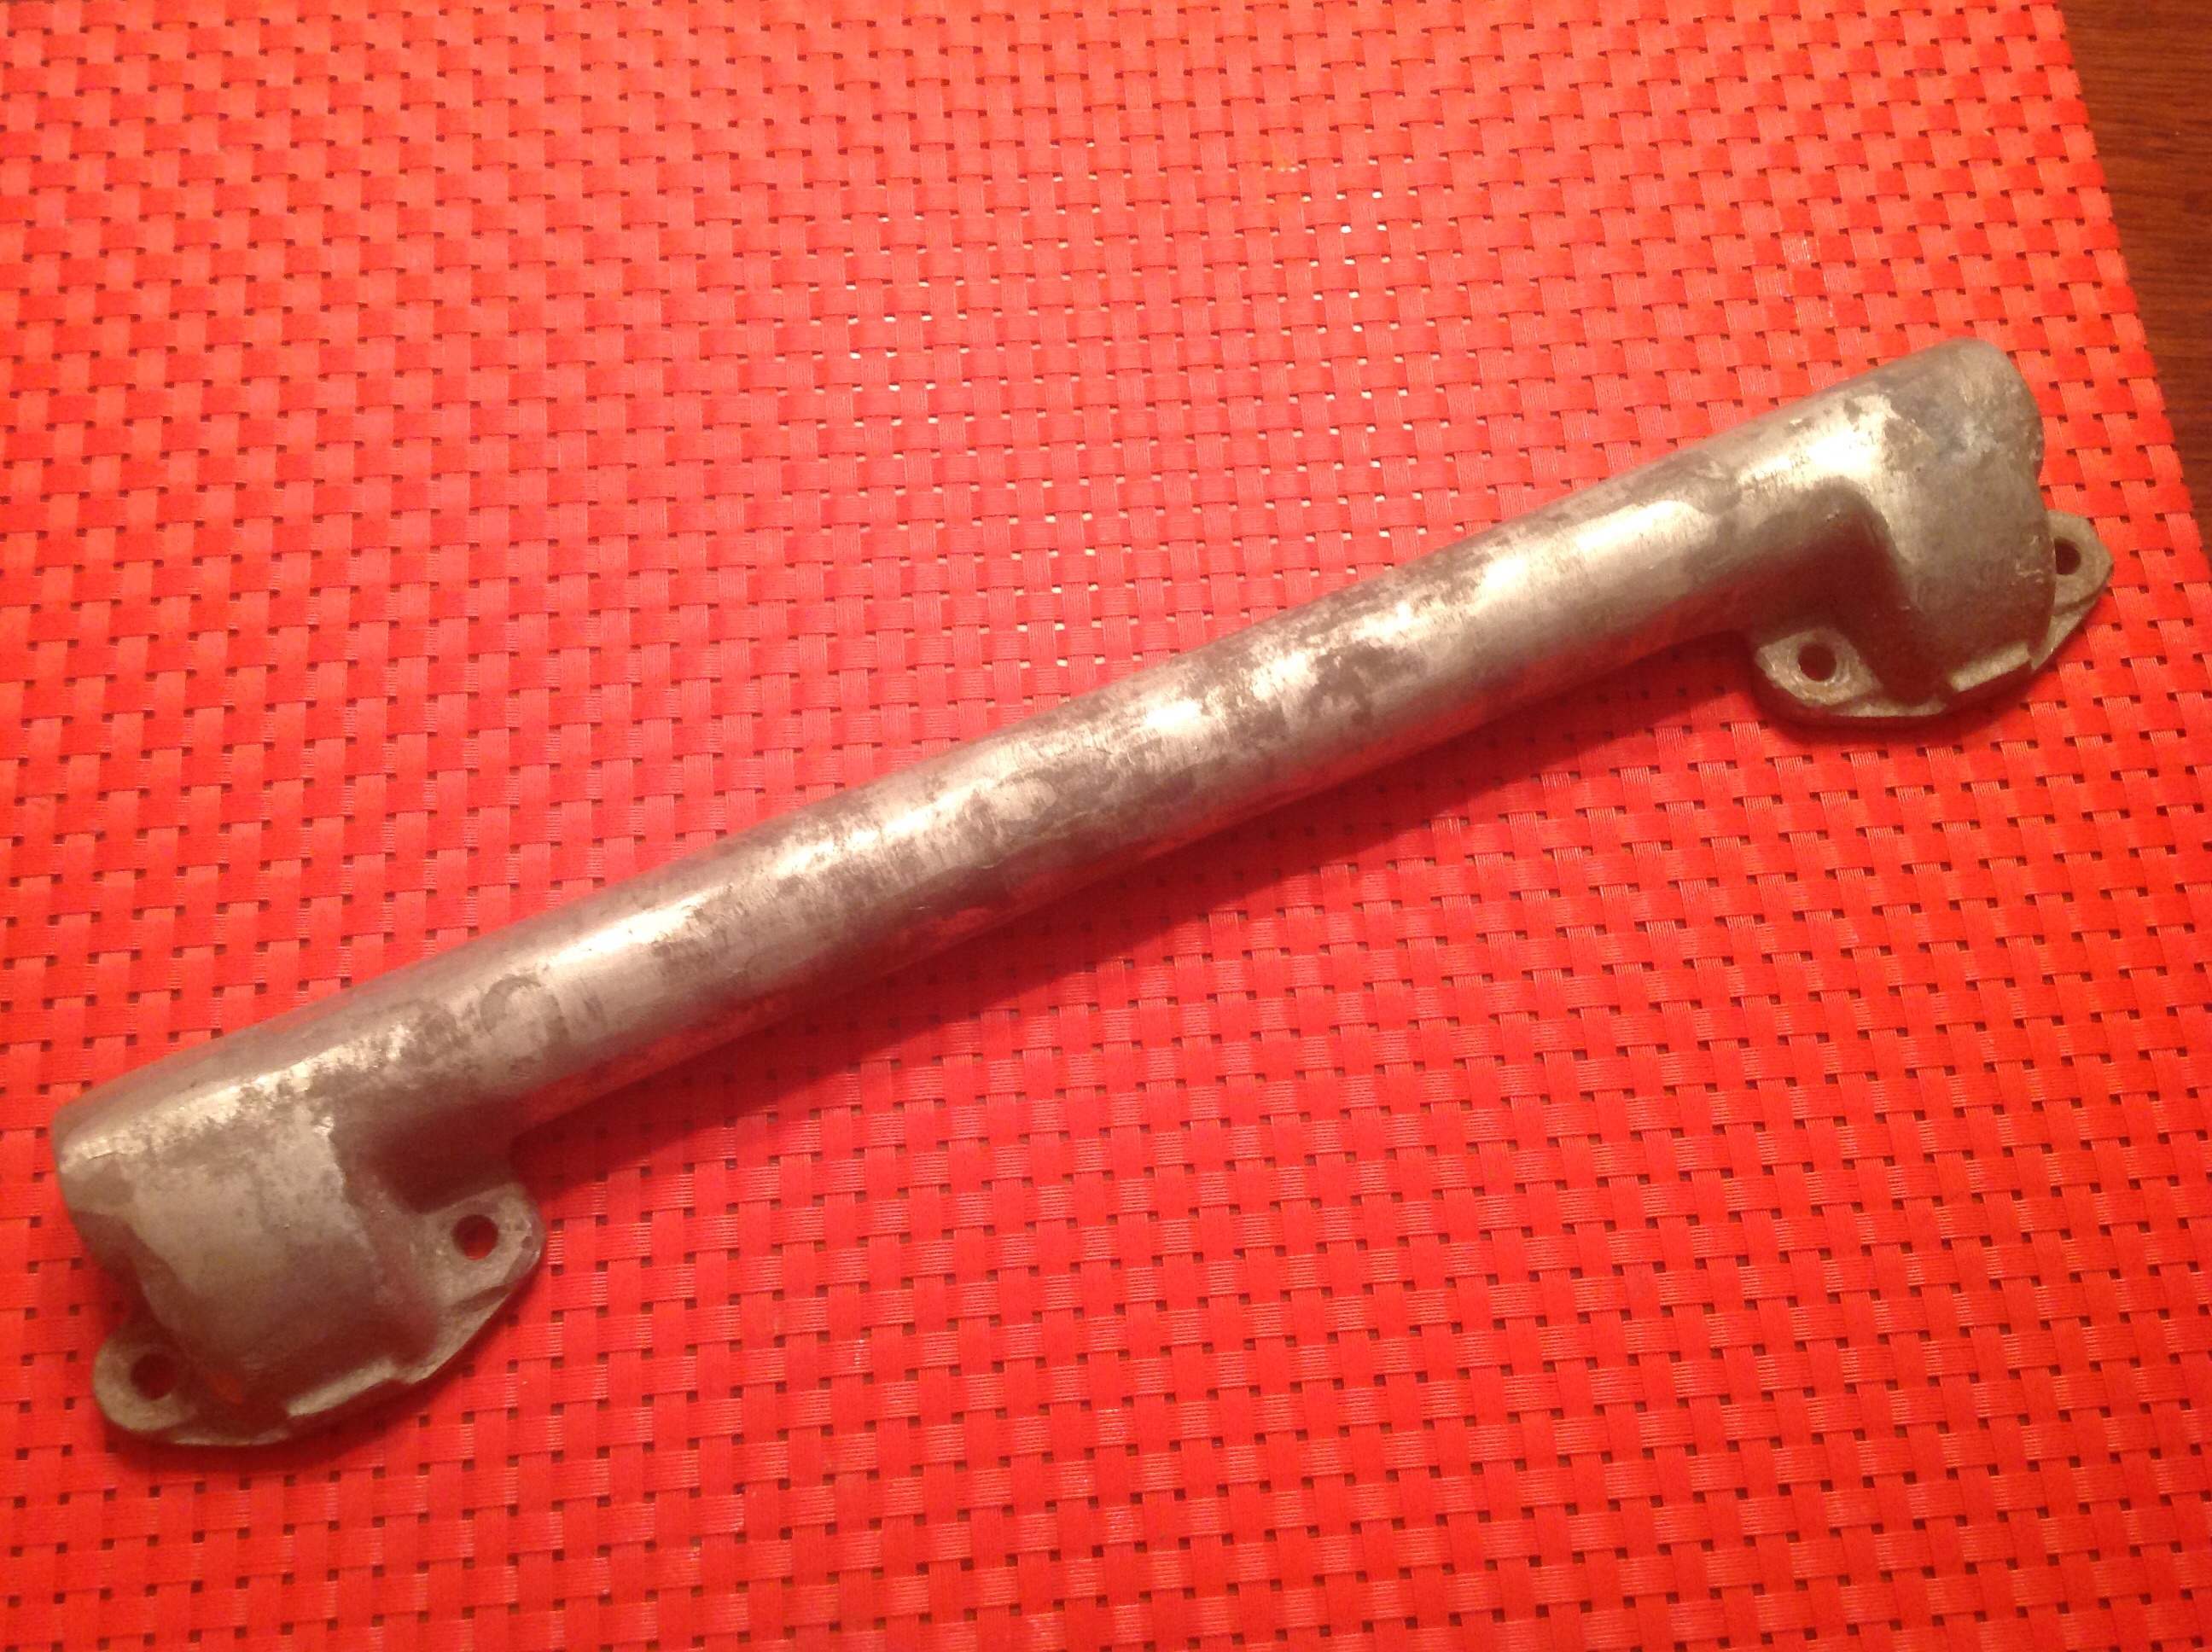
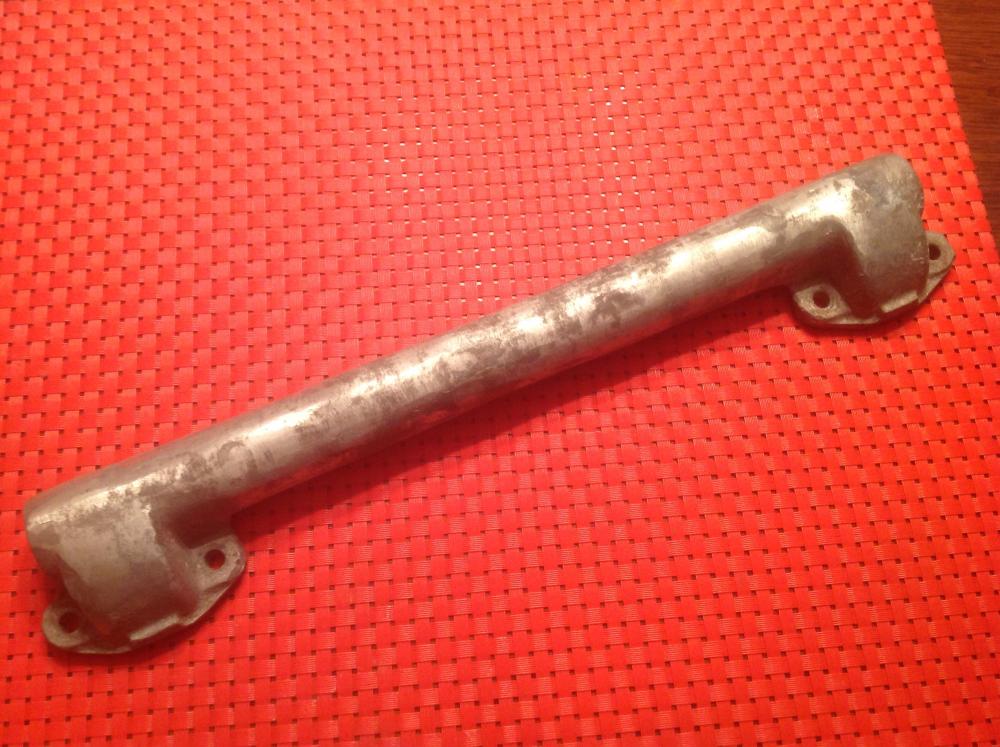
Thanks for the mention Zup, but I don't have one at the moment. I have modified later ones to look like the clean early ones. I love to TIG and grind and polish. About the only downside is the finish isn't a perfect match to the stock cast aluminum look. For example, here's one of my early attempts where I got slightly carried away. You might notice a small problem with it...
-
All contacts on the switch check out with a VOM for continuity and insulation. It's in very good shape. I've felt/used many of these switches and this one is "tight" so the "mileage" is realitively low. I've done nothing to clean it up. I really hate pricing stuff. There are just so few prior sales made known of these switches to use for comparison. That's why I made all the noise about letting the market speak. I'm tempted not to put an asking price in at all, just take offers, but I think a number has to be mentioned, and clearly it has to be "high" as very few people will offer more than asking. I will be taking the high offer, whether it's $50 or $5000. I've promised to post the finally selling price to let the market know this data point for future reference. Anyone please feel free to post what you think it's worth. Remember the asking price does not determine the value. The finally selling price does that. How many sellers have been raked over the coals for crazy high asking prices for stuff, when in fact that number has nothing to do the value. Please be kind.
-
They don't look too bad. The only real test is connect them and apply hydraulic pressure. Remember this is a metal to metal seal on that 45deg inner bevel you just made, so look for symetry and even shape on that inner bevel and ignore the outside. I can help with the tubing prep. Three things are crutial. 1. Straight cut with perfect tubing roundness. ie must use a pipe cutter, never a saw. 2. Inside must be deburred. You must remove the natural inward ID reduction that happens with pipe cutters. I use a tapered round file 3. File a 45deg camfer on the outer edge all around. Doesn't have to be much, just try to make a nice consistent pass with a fine file. 4. Blow the tubing out to remove debris before assembling. Ok four things....
-
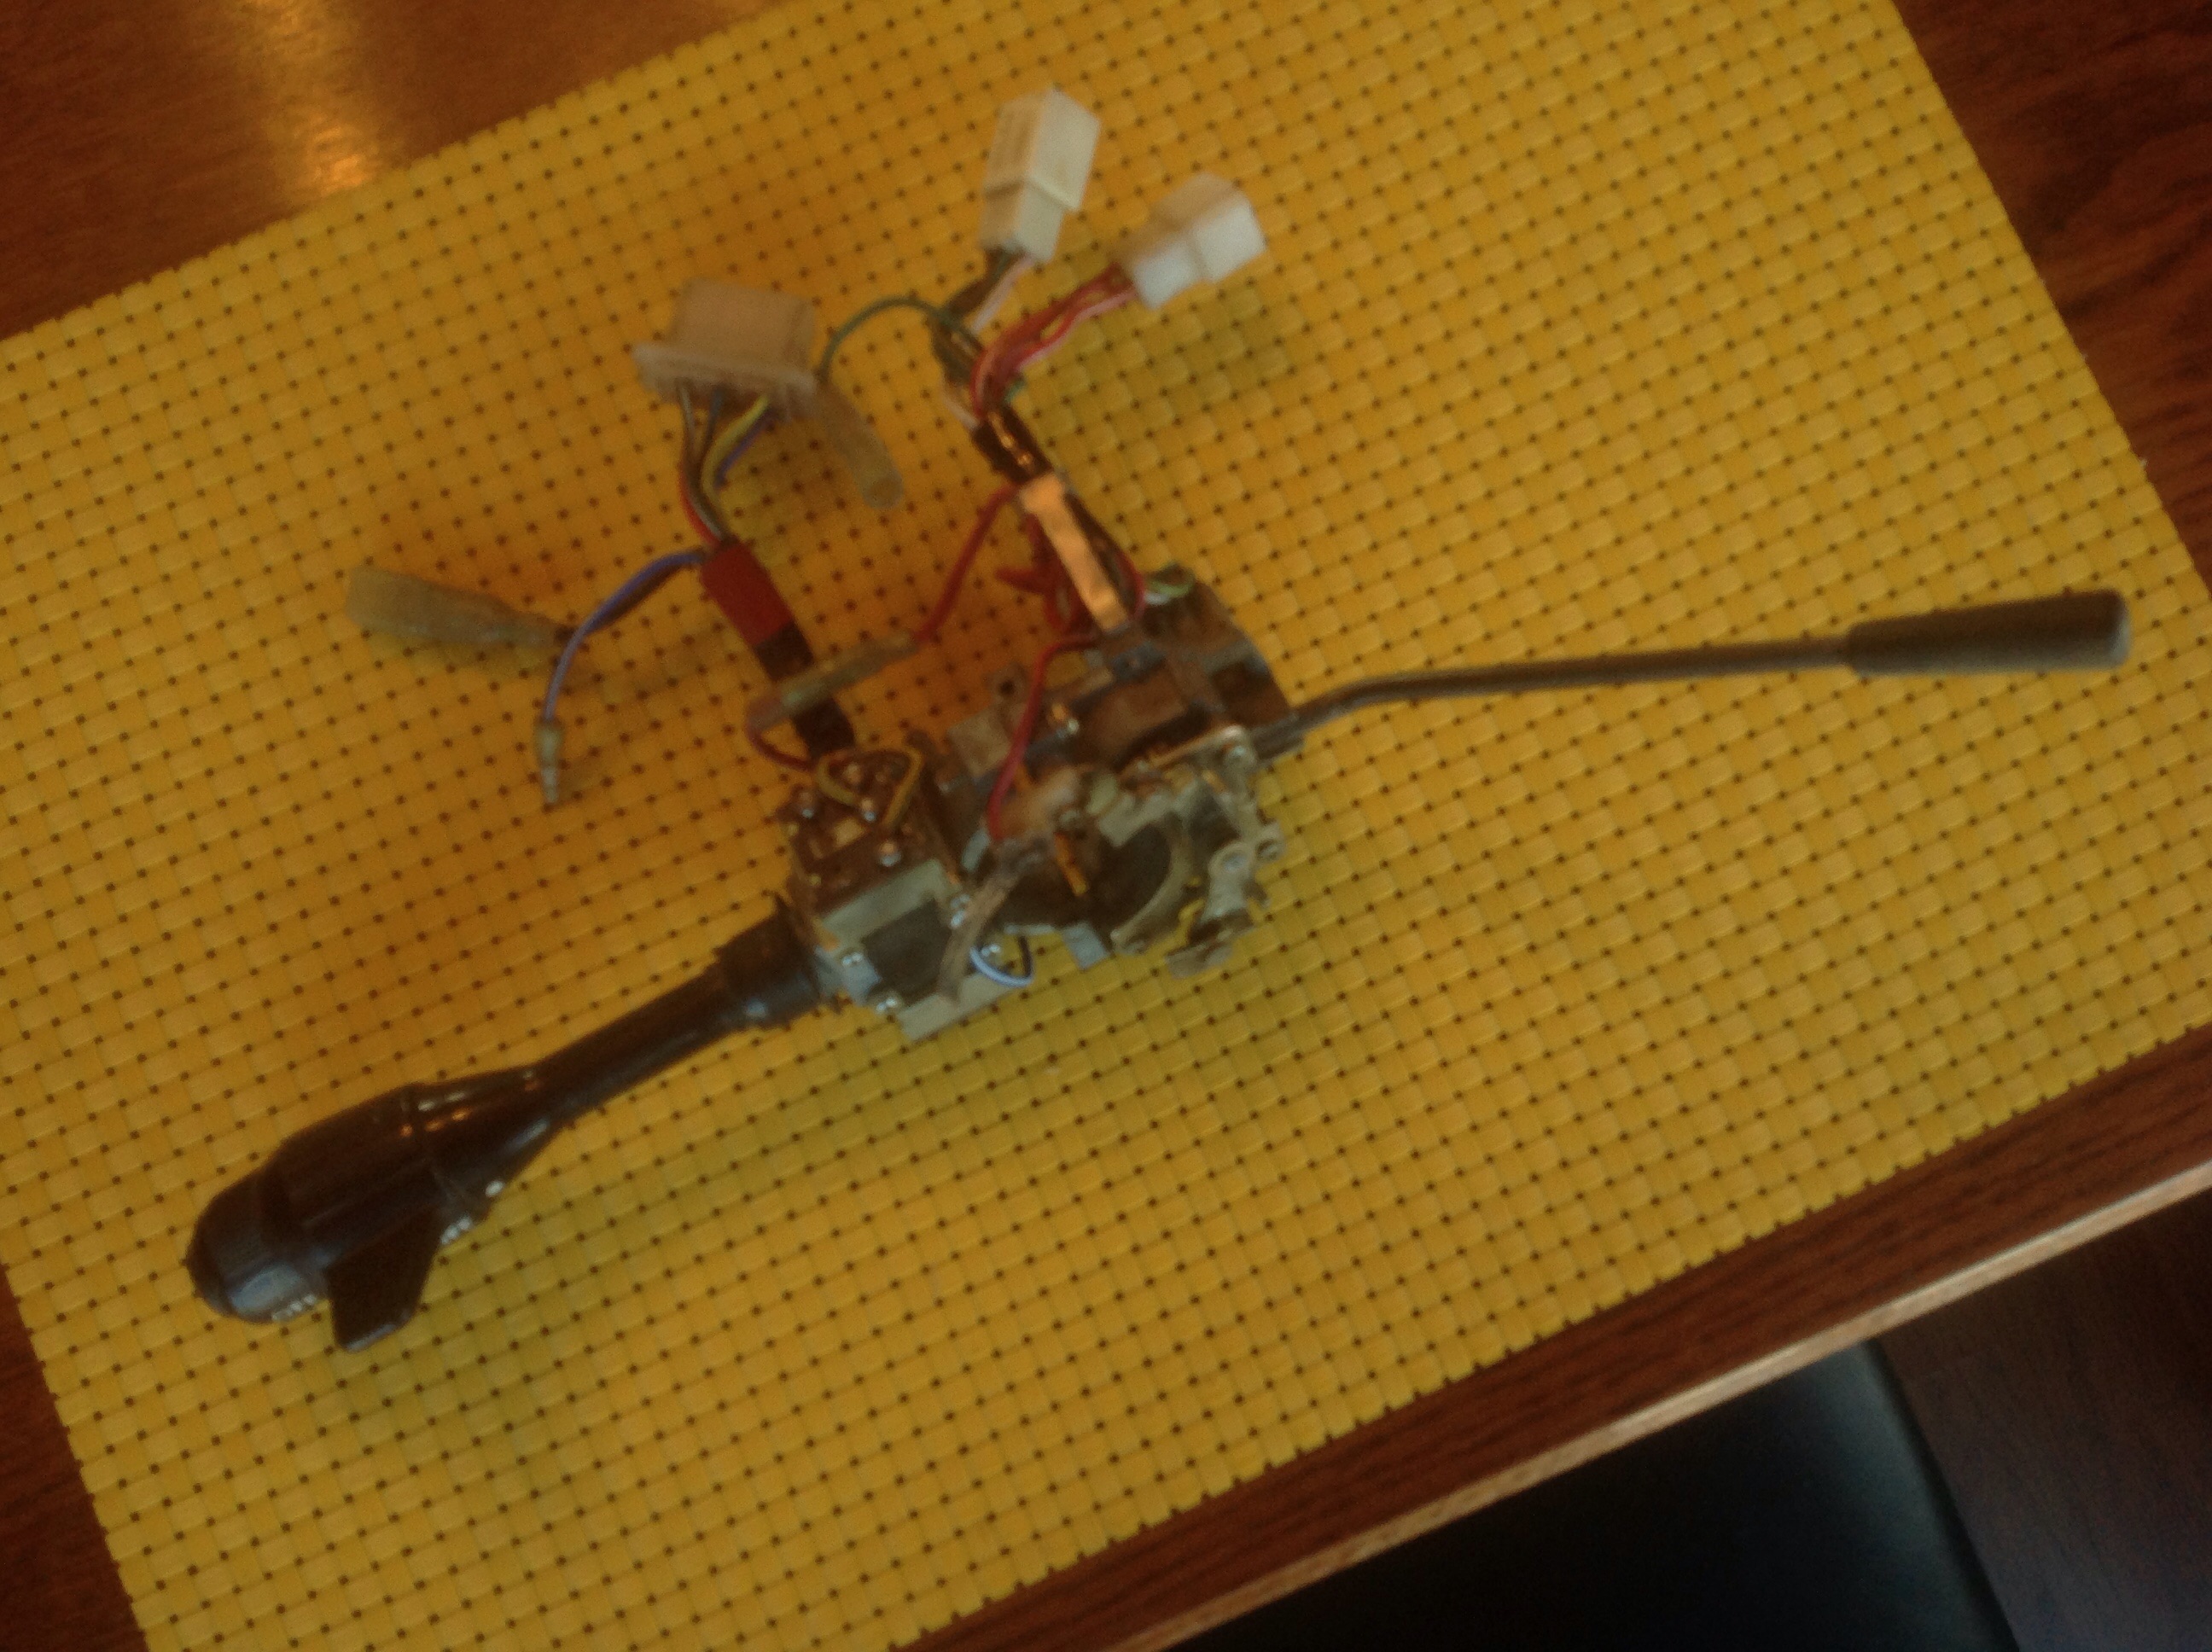
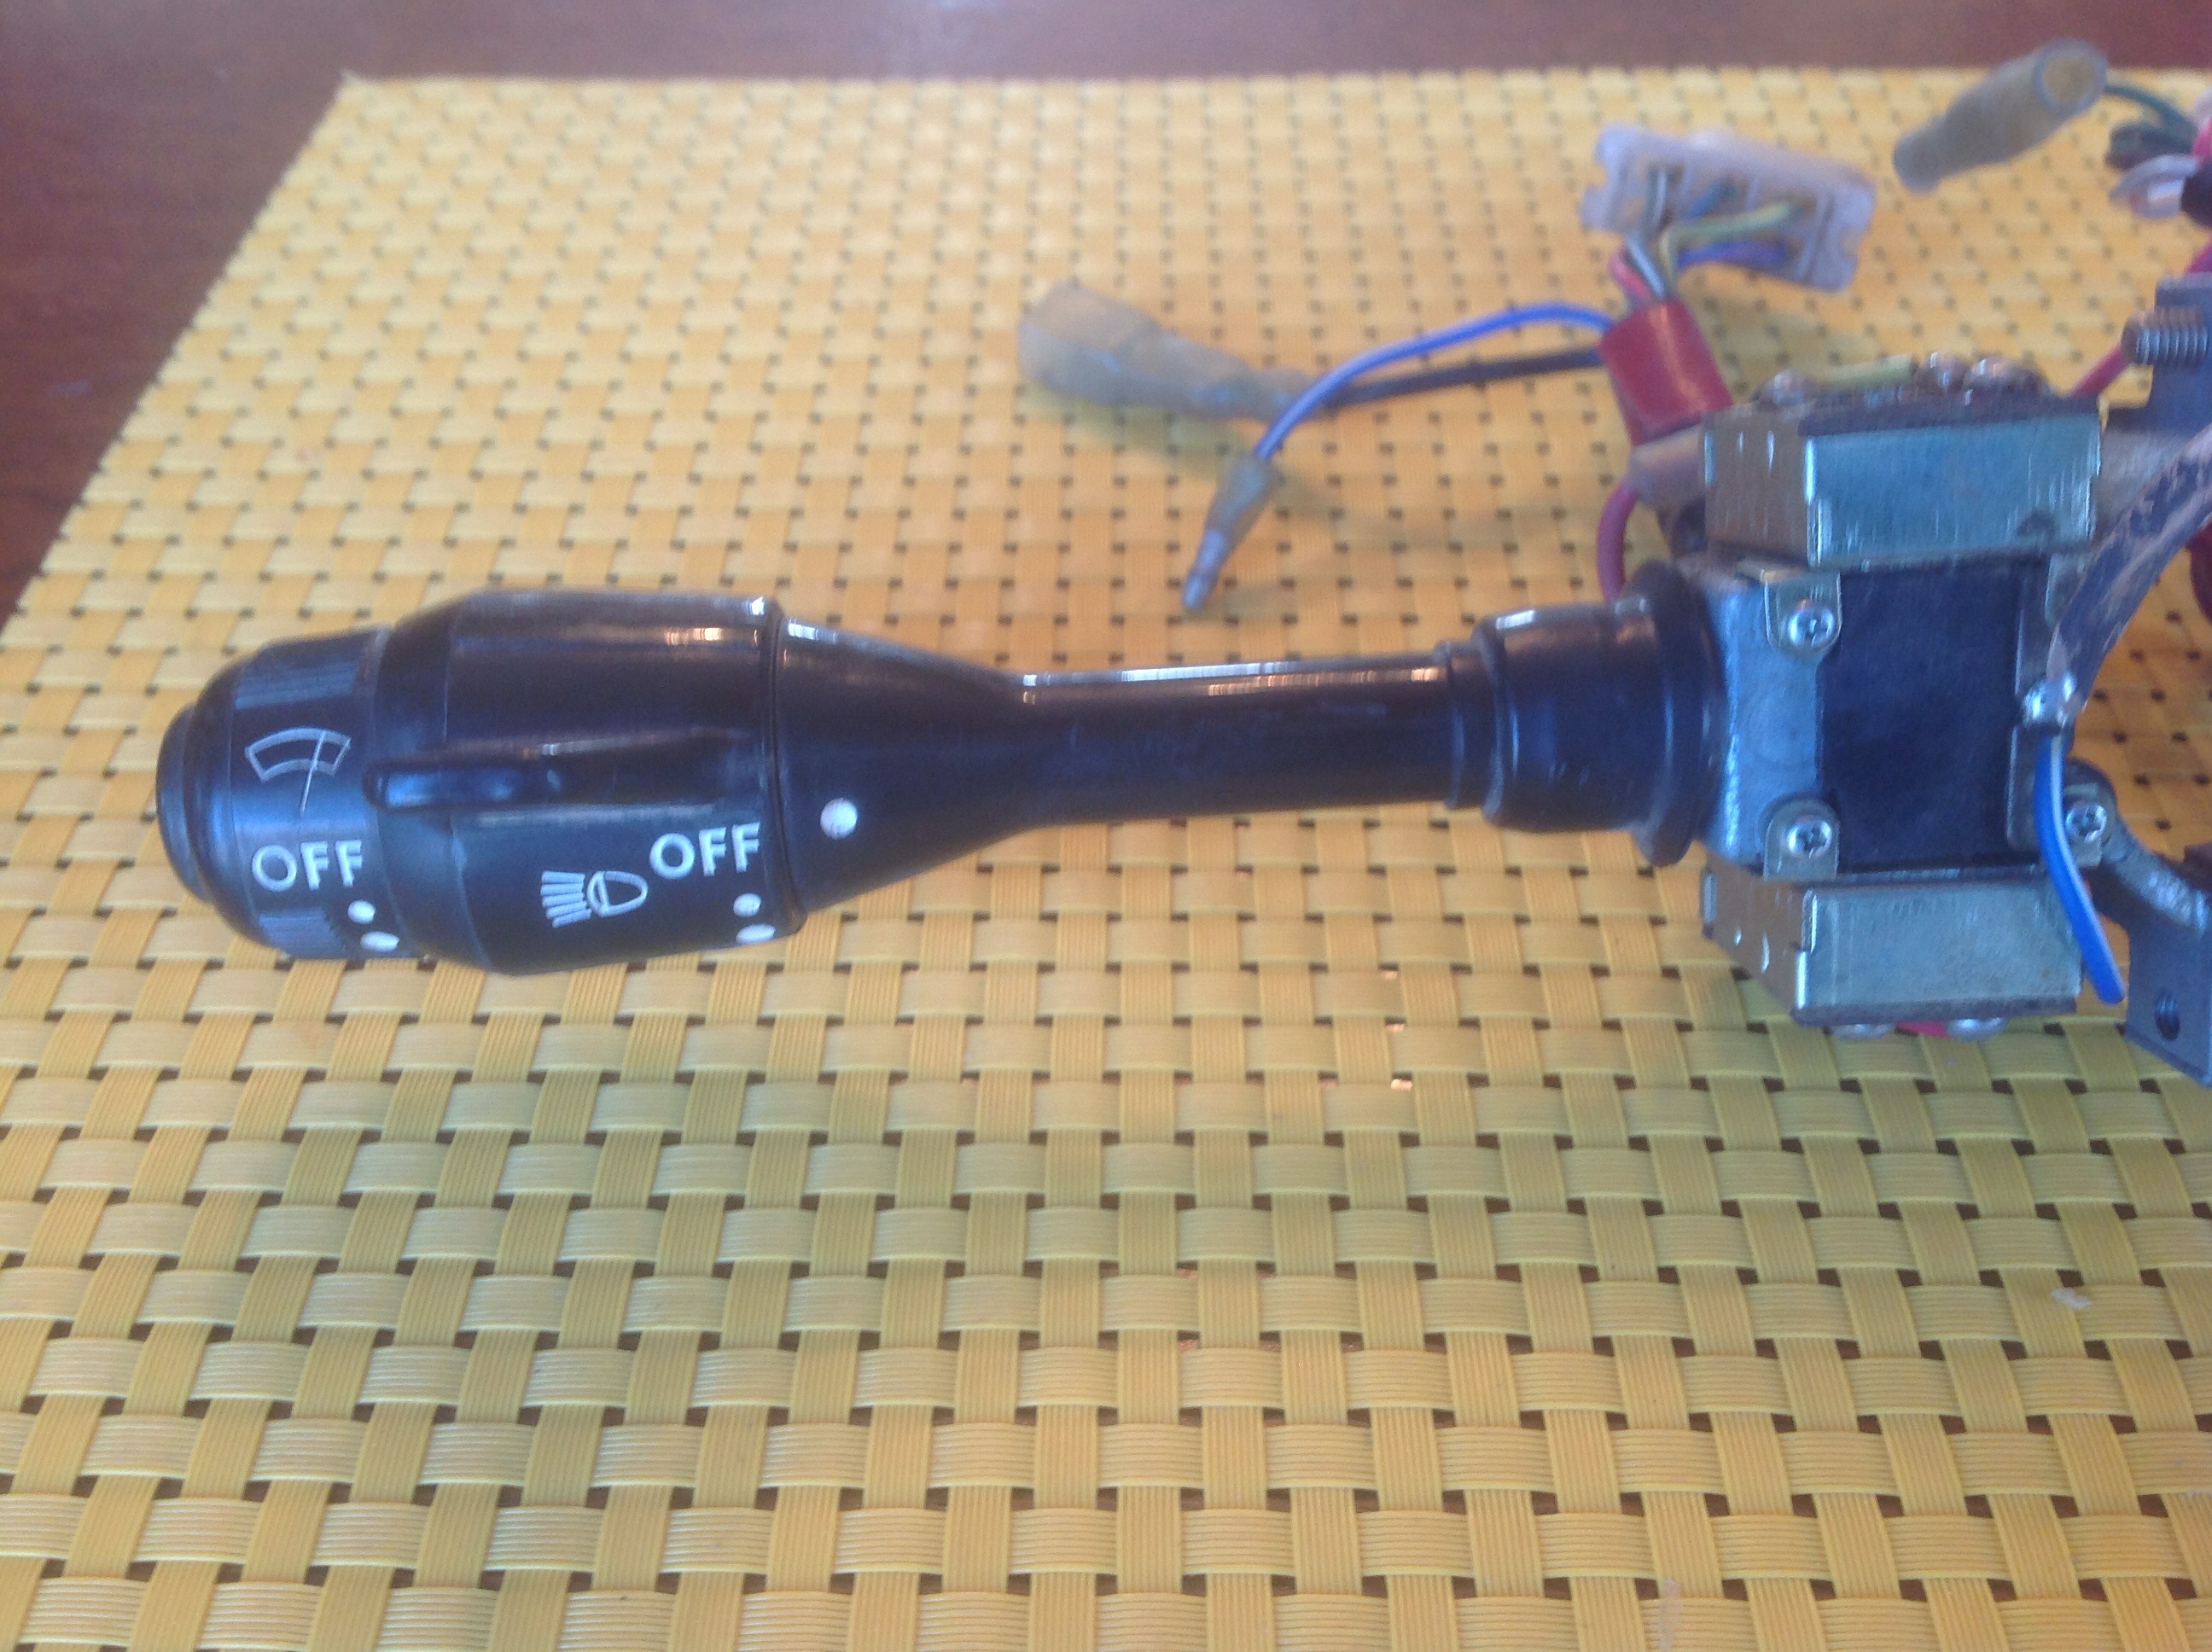
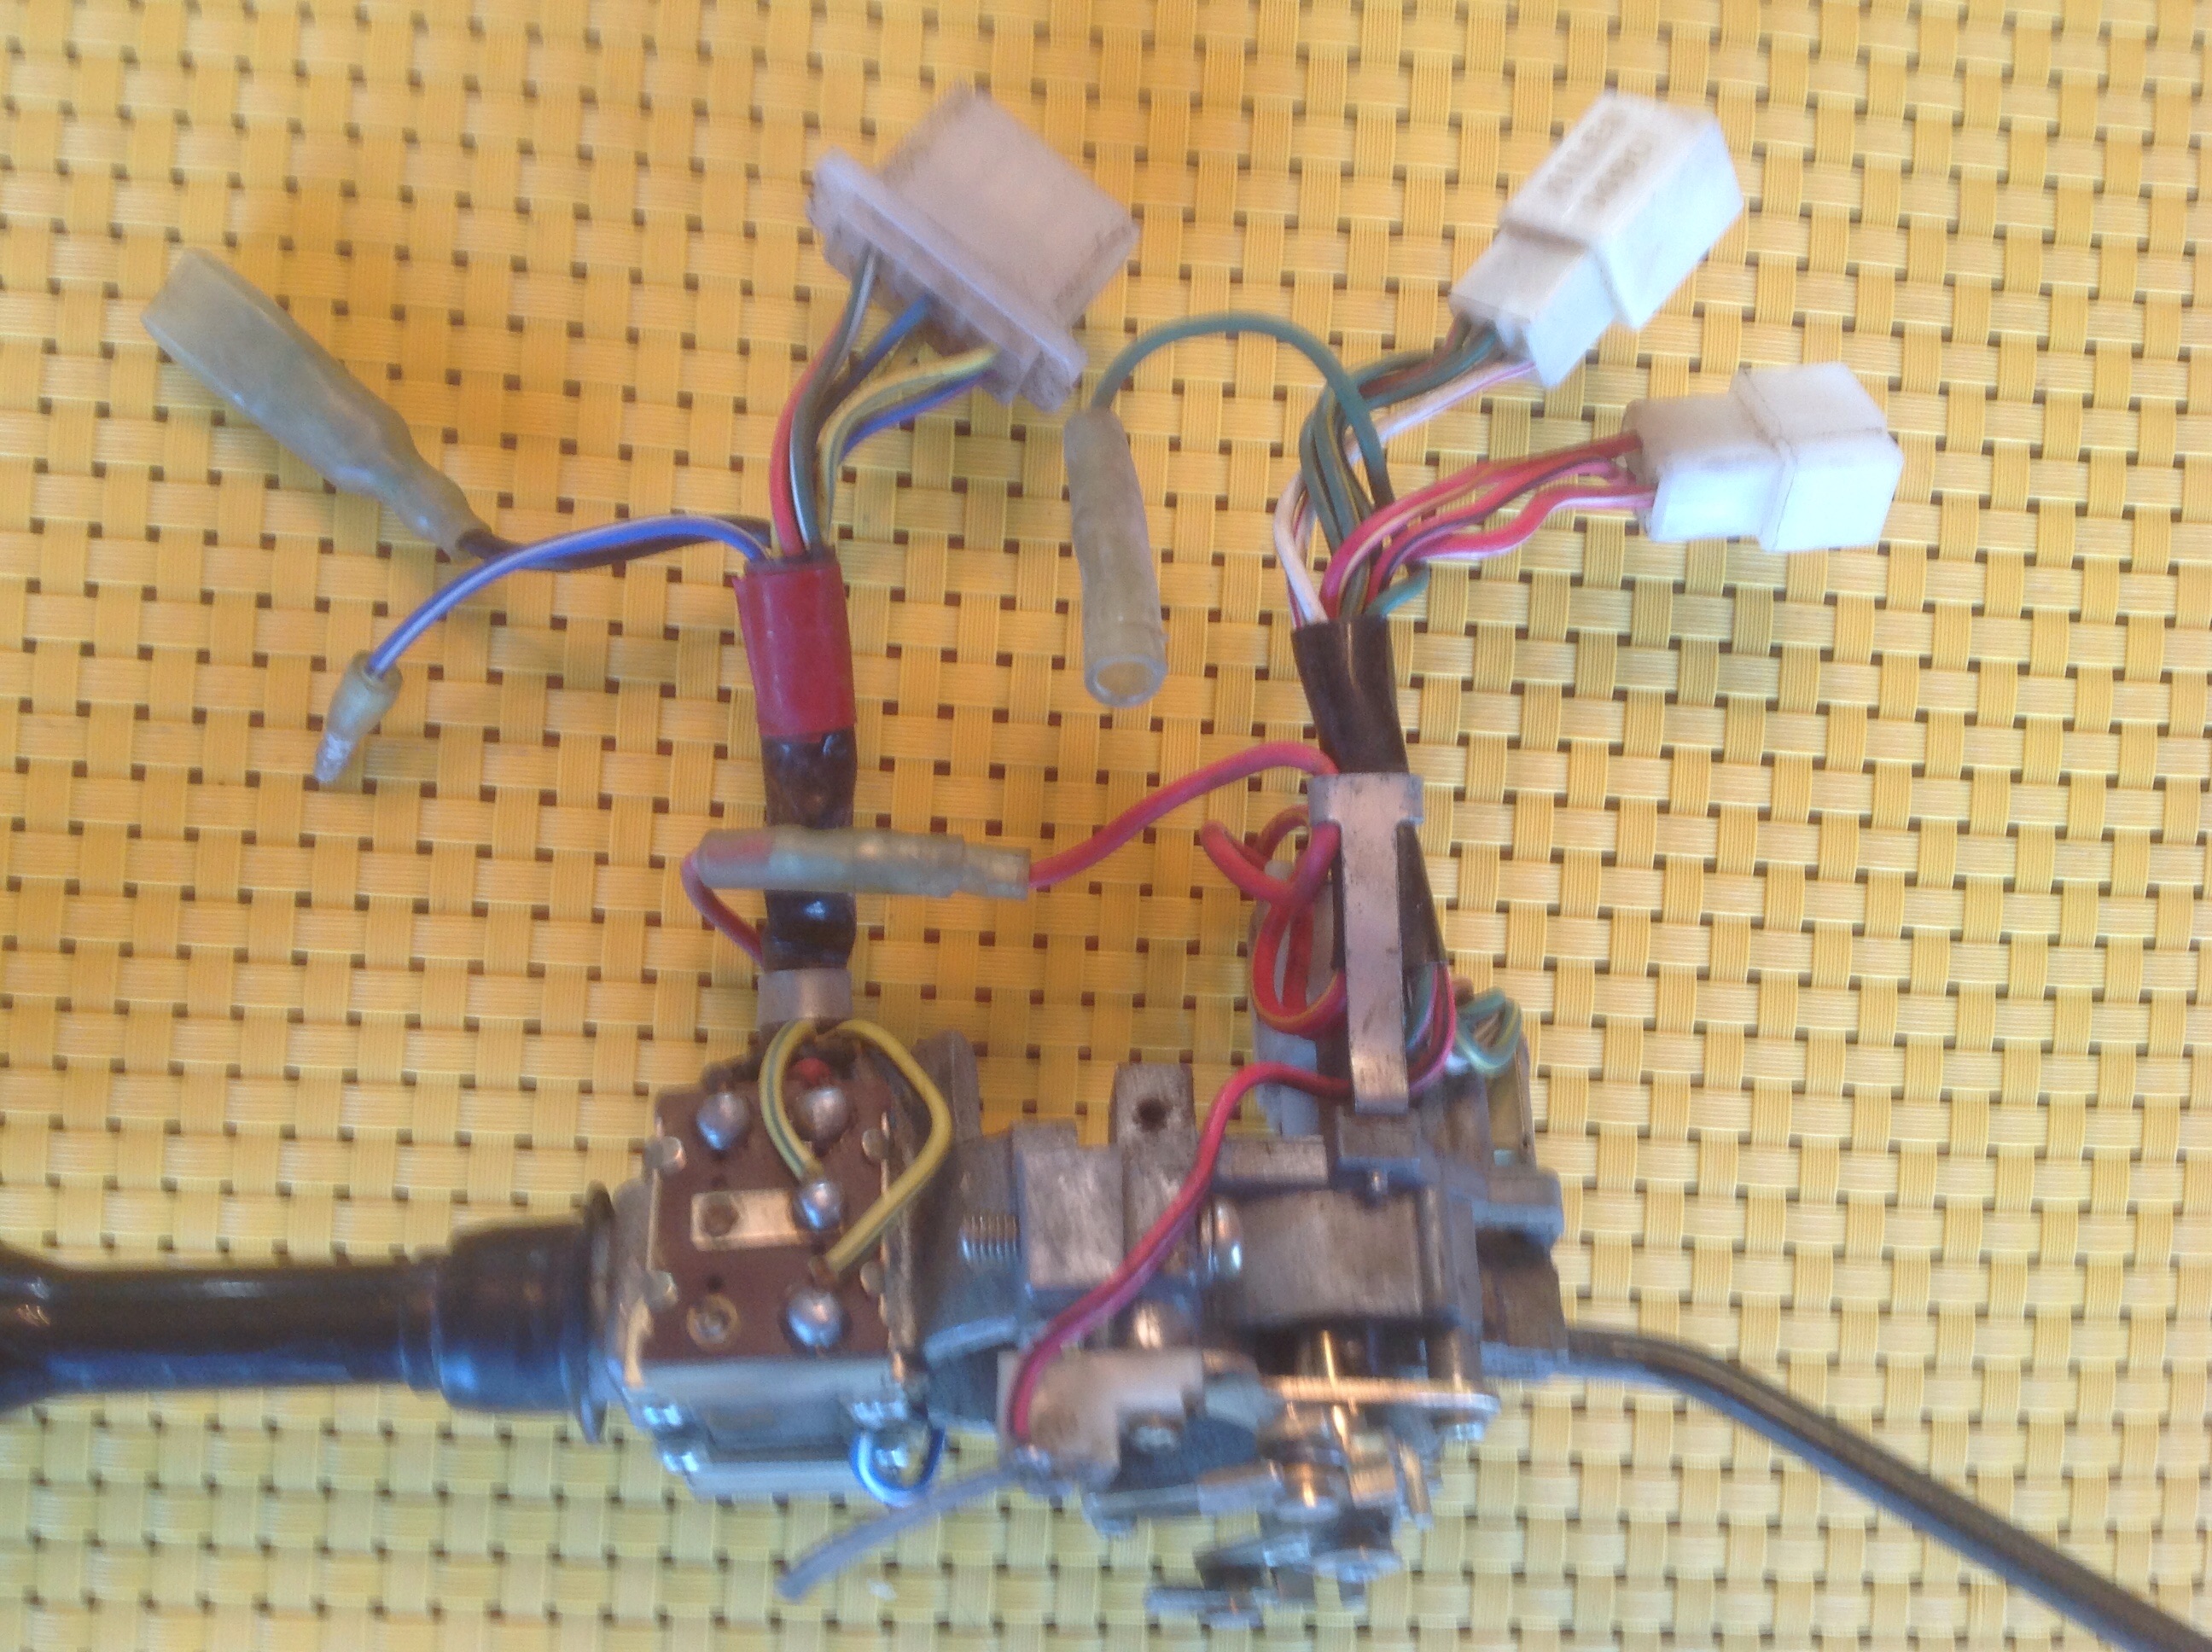
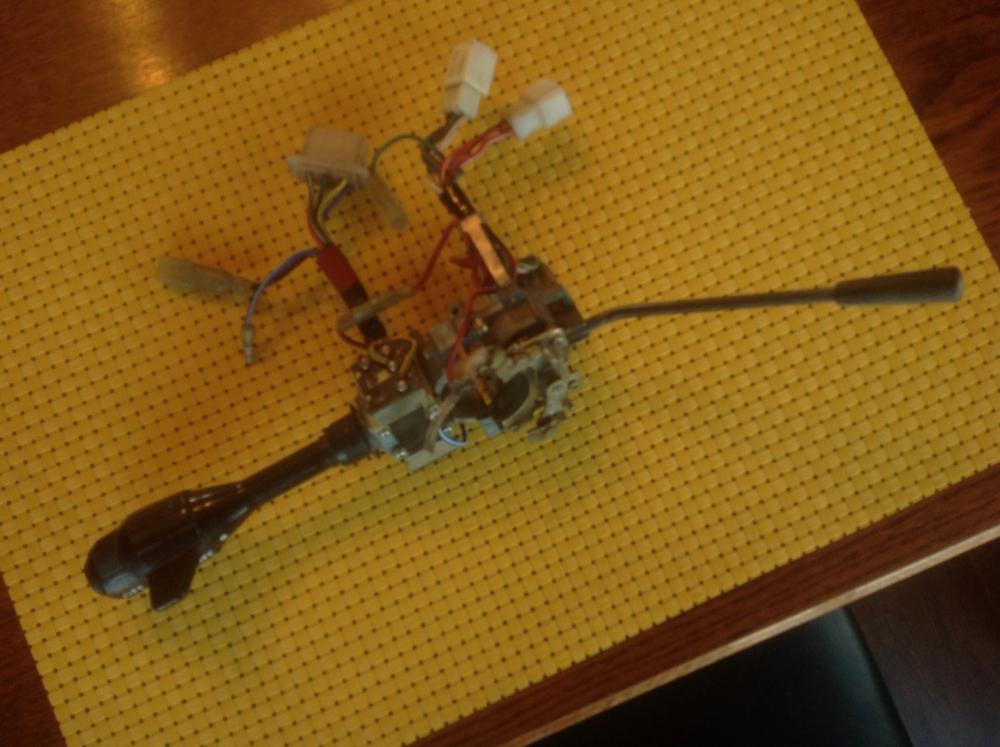
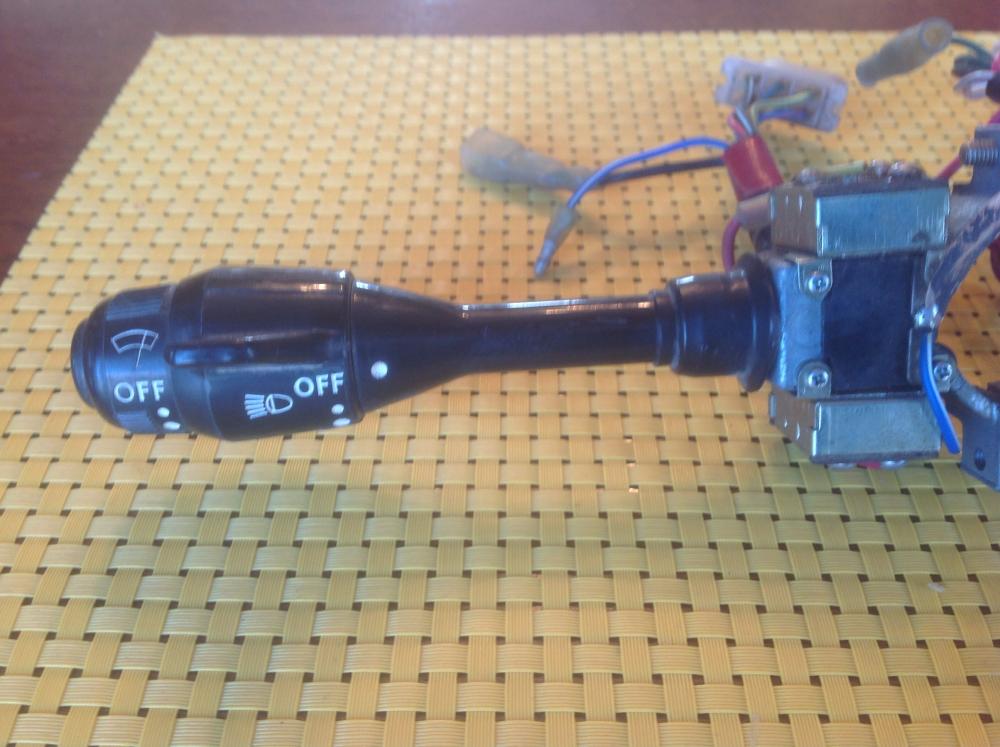
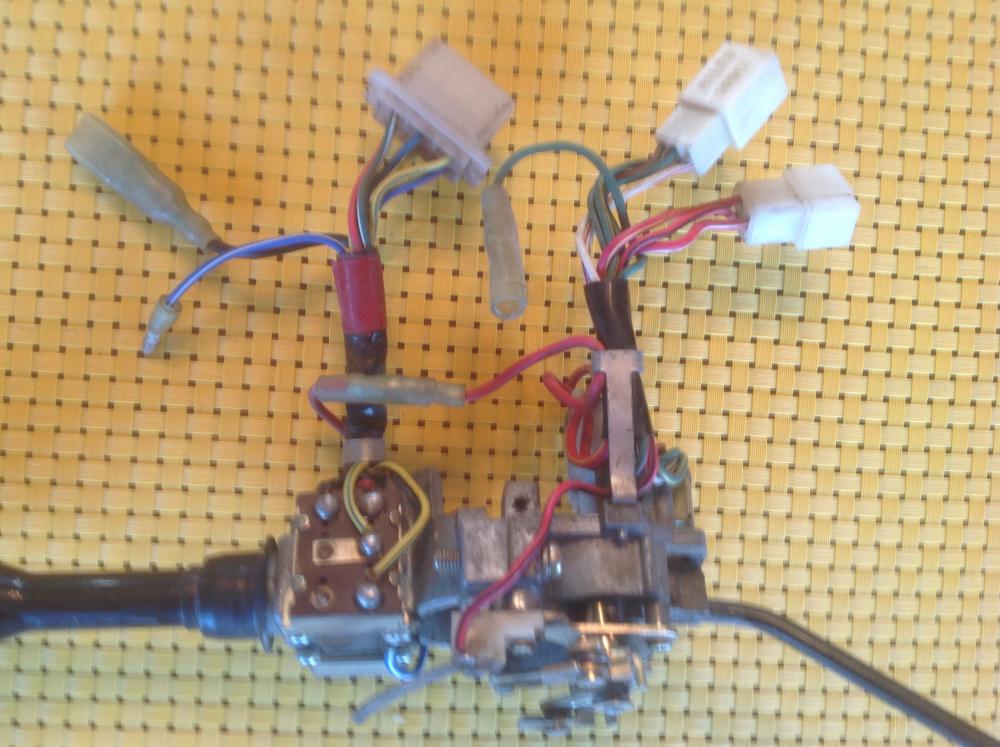
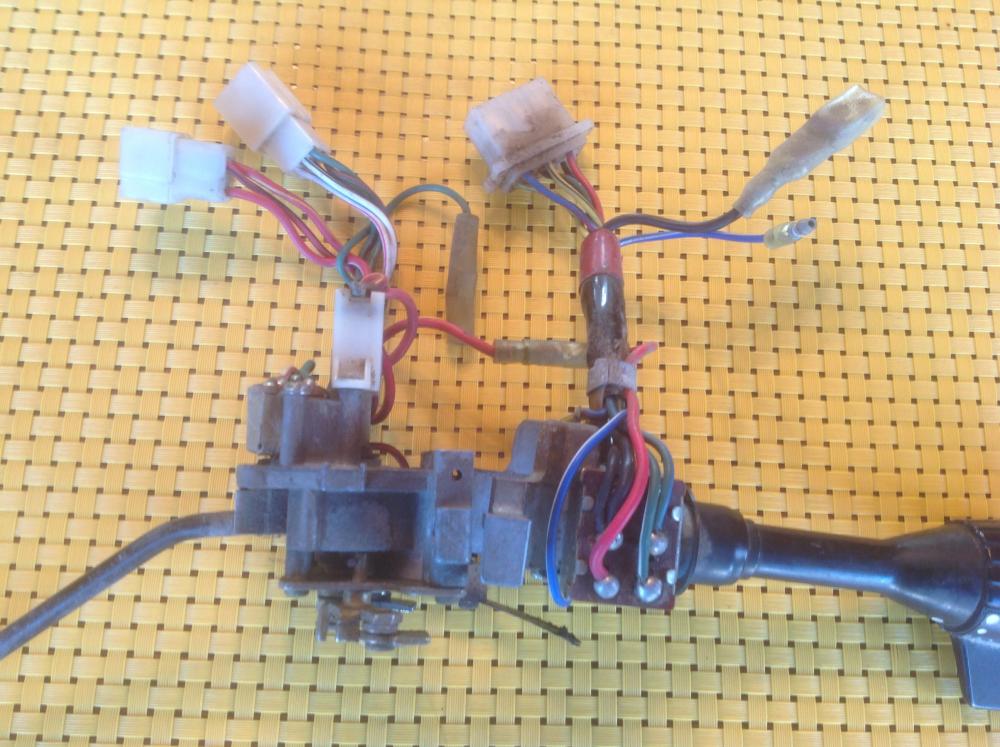
I was rooting through my collection of Z combo switches looking for a 70-71 set for my '71 project and I grabbed this one and was mightly confused for a minute (not all that unusual actually....). Everything seemed to be a mirror image, then it dawned on me. RHD! Now where the heck did I get this???? No clue actually. But I can't imagine needing or using it. So it's up for grabs. This is definitely a series 1 switch, it has the ground side head light switch wiring. Nice condition. All switches work smoothly, even the high beam. Turn signal lever is tight, none of the usual slop. I have not opened the switches to clean contacts. Connector plugs are all in really good shape. It all needs a good cleaning, but nothing other than age related dirt. No clue what this puppy might be worth, but I'll start with a $400 USD asking price, and take offers and see what the value is by polling the masses and let the offers define the value. Let me know what you think. Get me at z240@shaw.ca for fastest response. Remember the proceeds are going toward the resto of a nice early '71, not to party supplies. Well, maybe a little, man can't sand and weld and re-wire all day for heaven's sake!
-
I'm having trouble imagining where it is "hitting the strut towers". Can you describe where this contact occurs? Given what I know about the front sway bar, being 1" or so wider than stock would do nothing more than slightly increase the angle of the links at the end of the bar that connect it to the control arm. The thing fits under the car, how can it interfere with the strut towers?
-
Thought I'd fill this thread out a bit. Discovered this item on ebay. Fibreglass one piece valance. From a Canuck no less! http://www.ebay.com/itm/1970-1975-Front-Valance-fits-Nissan-Datsun-240z-and-260z-/111788128159?hash=item1a0717779f:g:LEwAAOSw7ThUmOph&vxp=mtr
-
Many thanks to Zup for the valance panel. Now the 71 gets it's smile back!
-
Read EF-14 in the FSM to get real clear on how the Thermotime switch works and how it controls the Cold start valve. It's most important function to ensure the CSV is only used during cranking when the engine is cold (<14-22C) and to prevent the CSV from being on for too long if you do a lot of cranking before it fires. Given all the enrichment control the MS gives you about starting and cold operation, there is no "need" to use the CSV, but it may be an interesting exercise.
-
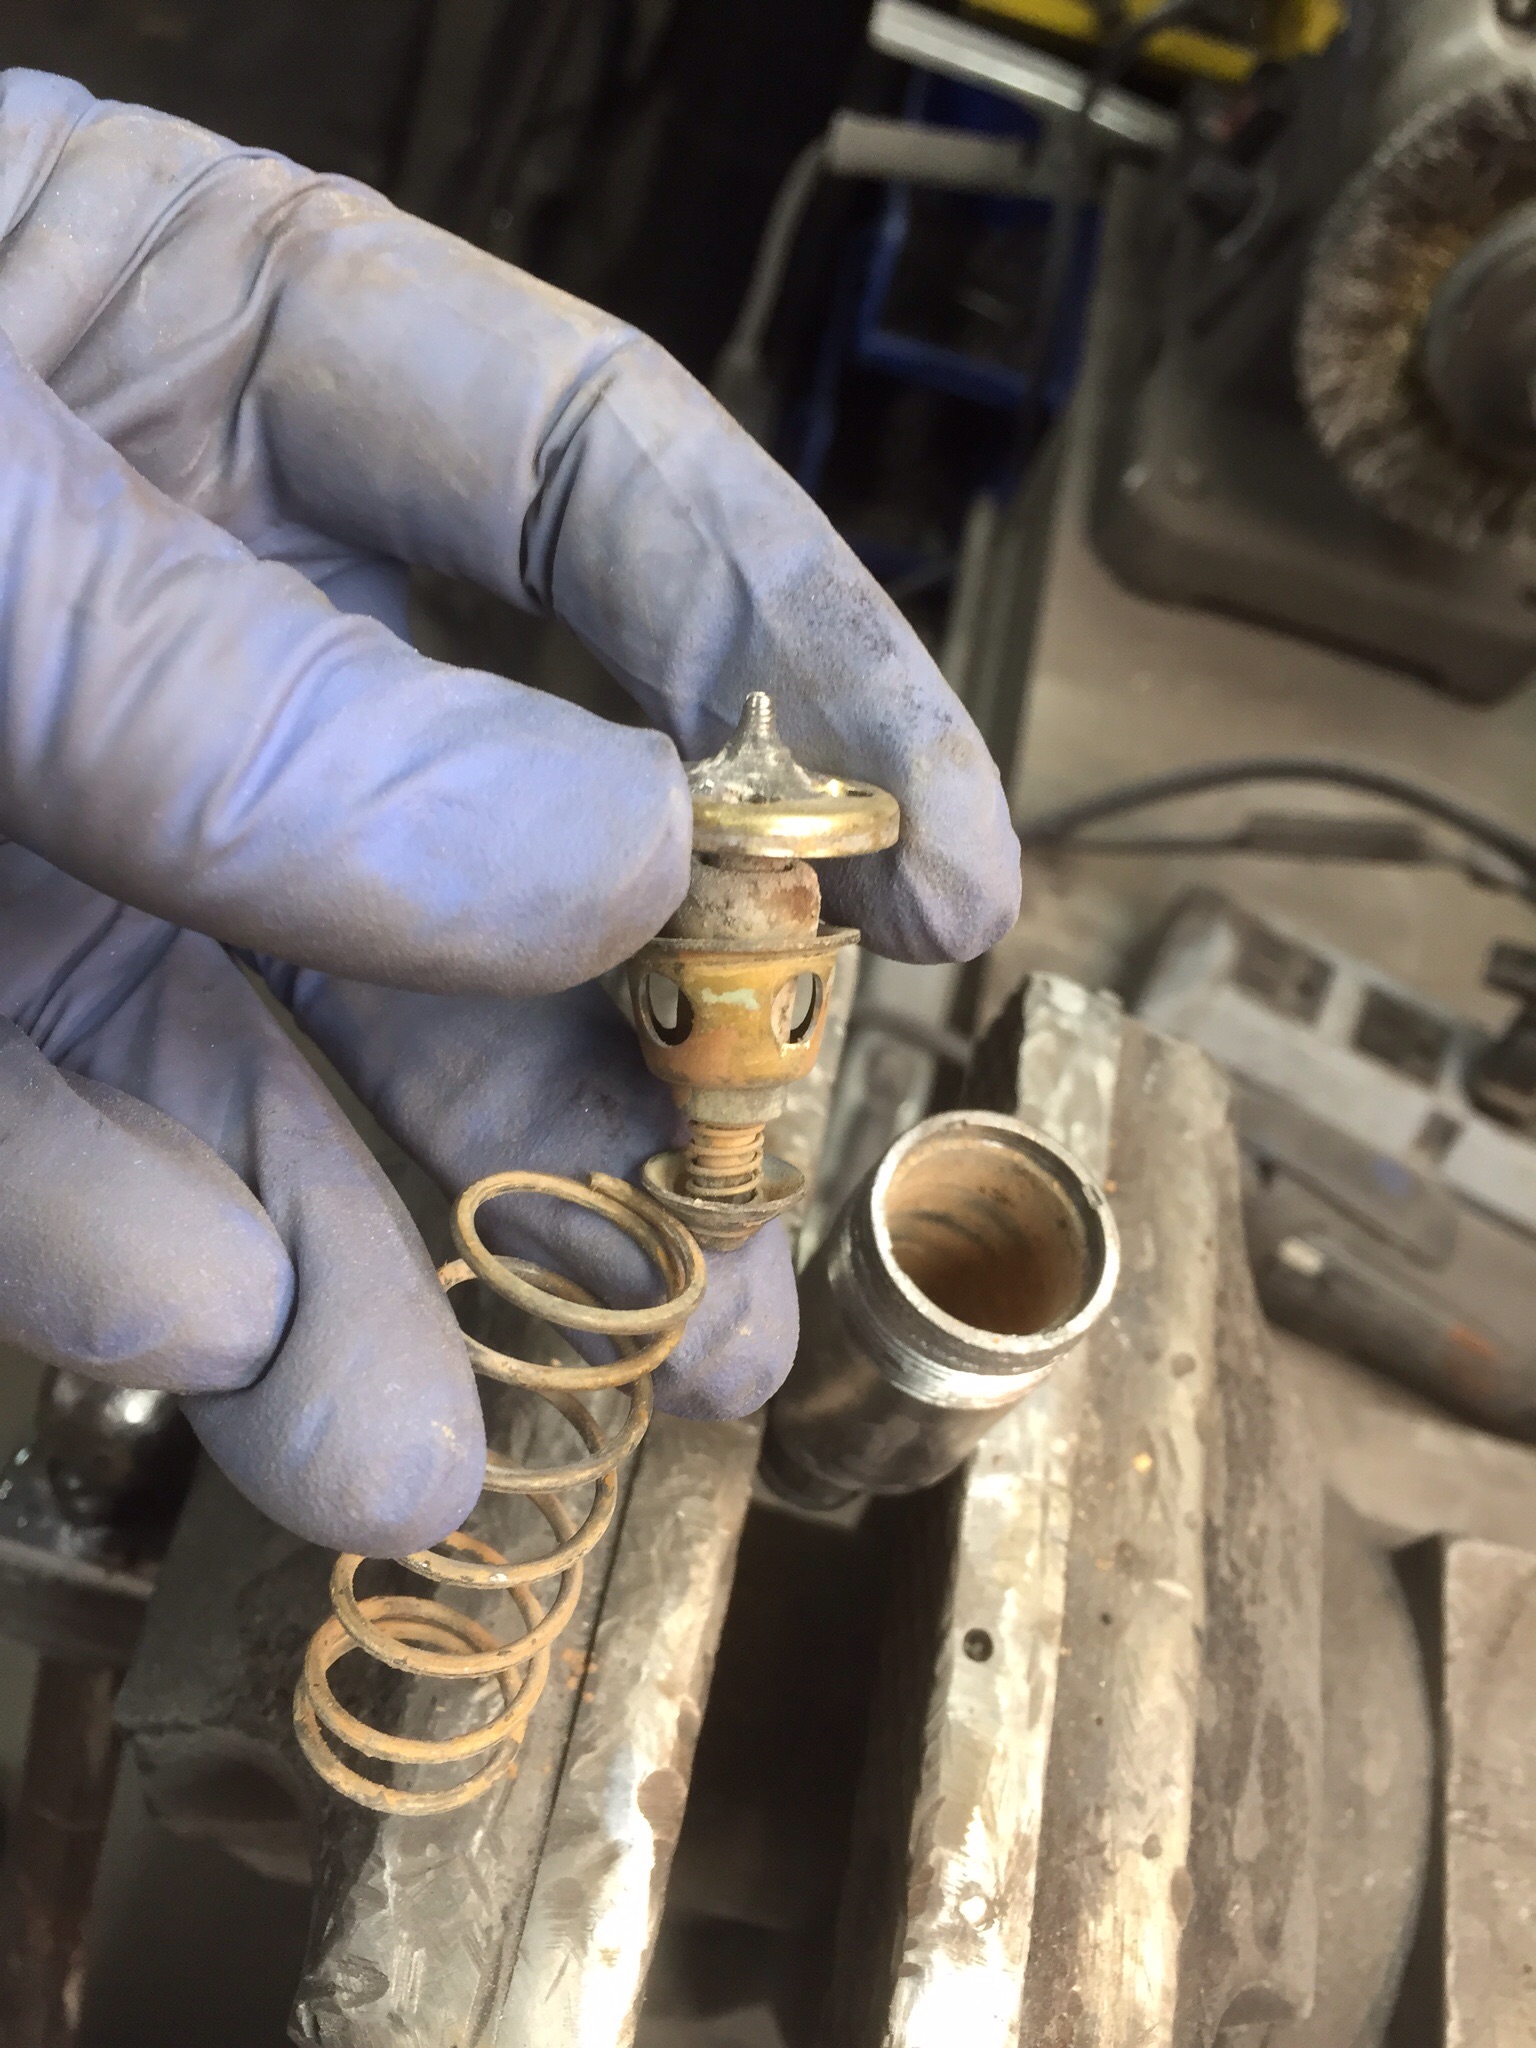
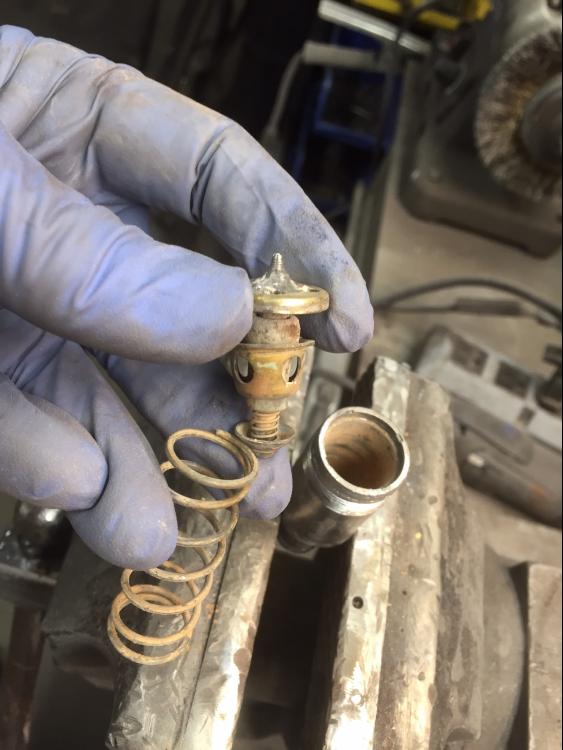
Alrighty. Found my stash of these valves. Discovered there two slightly different ones, the cap on two are aluminum, the others are steel. All bodies are all aluminum. I took the cap off one of the aluminum ones, the threads didn't survive. Took one steel cap off, no problems. Clean threads. All my valves are plugged with deposits, but they disolve quickly with Muratic Acid. CLR is slow for sure. Since the aluminum capped one is toast, I attempt to extract the guts. Success! Came right out. I used a set of bent nose c-clipp pliers as a pin wrench. Just twist until it gives. Now I can clean and rebuild the interior bits. Can't see why most of these wouldn't be restorable as long as body threads are good and the inside bits are badly corroded. One more observation. The fluid sealing cone is metal, likely brass. It seals against a tapered section of the body. No way this would ever made a perfect seal. Note the FSM statement above in the test proceedure about "little or no bubbles". Makes sense now.
-
I thought I remembered this discussion from hybridz. Interesting reading at least. http://forums.hybridz.org/topic/109345-su-carb-manifold-heat-control/?hl=%2Bthermostat+%2Bvalve+%2Bmanifold i promise to look at my valves today. was a bit chilly out in the shop yesterday. -25C in the morning, only +13C in the shop. Dang new infrared heater is not up to the task at -25C! Brrrrr...
-
PM sent for the lighting parts. thanks
-
Given the shock compression loads on these things driving on rotted pavement, it's not much wonder they don't survive long. Go back to nice new stock bushings. You'll appreciated the less percusive ride quality and not likely notice any handling difference.
-
-
-
I might help us all understand what condition car you're looking for if you wouldn't mind picking between these two cars as your preferred starting point. 1. Car is all original, complete, low miles (10-30k), only minor wear to most components. Rust free. Paint is fine as is. Everything works. Comes at high price. Series 1 car, $30-40K. Series 2, $25-30K. Less than $5k to bring car to near 300 pt perfection. 2. Car is 95% original, missing items easily available. Low rust, medium mileage. Paint and body needs to be redone, minor rust handled, as expected with age and usage. Has had some simple practical upgrades to brakes, suspension, electrical. Series 1 car. Rare color combination. Nothing done that can't be undone easily to pure stock. Running, driving, insured, safe everything works. Price is lower, $12-15K but needs time and money into restoration to make it really nice like #1.
-
-
PM's replied. Thanks gang!
-
I'll keep zcarsource in mind. I have to make a little heat escape this winter that neck of the woods so I'll bring one back if I don't find one by then. Steve, if the panel you have is for the early 260 with the 240 like skinny chrome bumper, it may be ok. THe late 260 has the 280 valence components. Definite no-fit. Can you measure the width distance between the pair of mount holes on each end? and the overall width of the panel? Maybe post a picture. Or just send all that to z240@shaw.ca. Thanks!
-
Rarely do I get to beg for assistance with parts, but I need help finding something. I'm working on a nice early 71, and need a nice stock front center front valance panel. This is the trim body panel that spans across the front under the bumper between the left and right valance panels that hold the turn/marker light assemblies on the 70-74 240/260. Straightness trumps rust condition or color, although minimal rust is best of course. Show me what you have and what you'd like for it. Sorry the 75-78 center valance panel does not work in this application. I have infinite fun things to trade, just let me know what you'd like. Remember I'm in the land of the 70 cent / US dollar up here in Canadia, so be kind with your asking price. Surely many of you have replaced the stock pieces with one of the lovely eurathane air dams. Please don't tell me you "just tossed mine", I'll cry.
-
The splines in the steering column are free to engage at any clocking. Should count those splines and see if they match the steering wheel splines. Should be pretty similar. THat way you can stuff the shaft back up the column at any clocking and adjust the wheel back to center without any mis-alignment.
-
Bring it home. Bring it home. It needs a forever family. It's Christmas! It can't be alone at this time of year.
-
That's kind of you to offer! Please check if the console is still there, especially the ash tray/fuse area cover and defroster switch. Thanks!
-
I recently reminded myself about the difference in heaadlight switch sets over the various years. I was shocked to be re-reminded of how fragile the early switch sets are compared to later ones in terms of the wiring not just the switch contacts. They increased the wire gauge after the series 1 cars that lead to the HL switches (not to mention moving the switch from the ground side to the fuse side), The switches and the contacts themselves are identical internally from 70-78. The wiring, not so much. I can't emphasis enough the need to upgrade to a relay system no matter what type of headlight you end up using. Don't forget to service (clean) the contacts where the new harness connects to the old head light connectors up front. Those things are exposed to the elements and are always grundgy.