Search the Community
Showing results for tags '280'.
Found 10 results
-
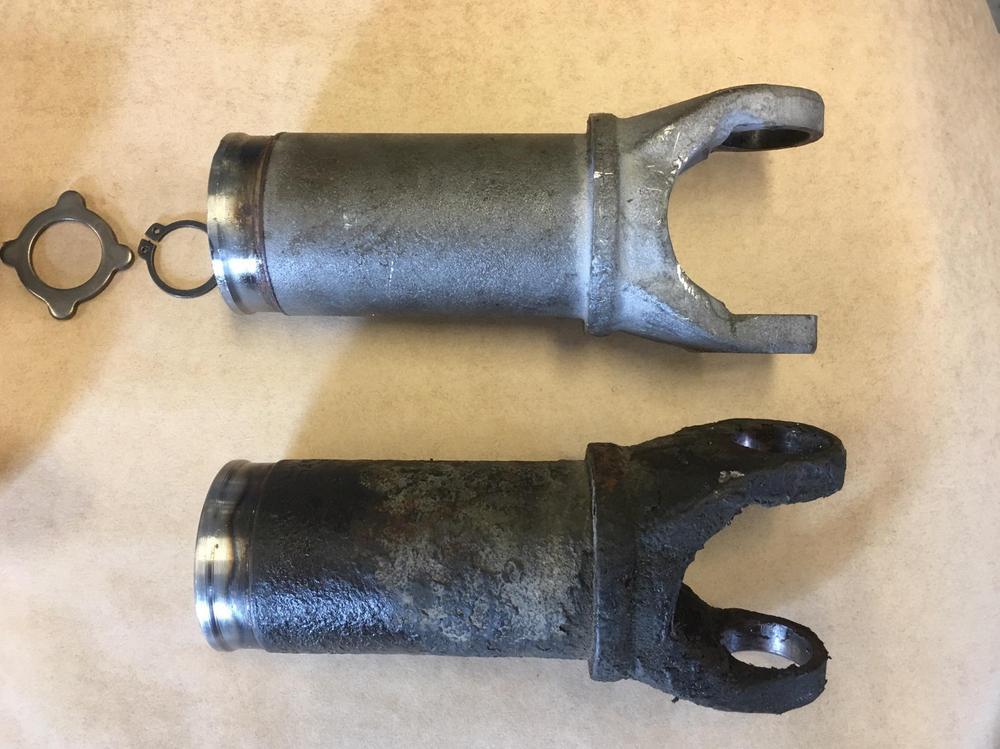
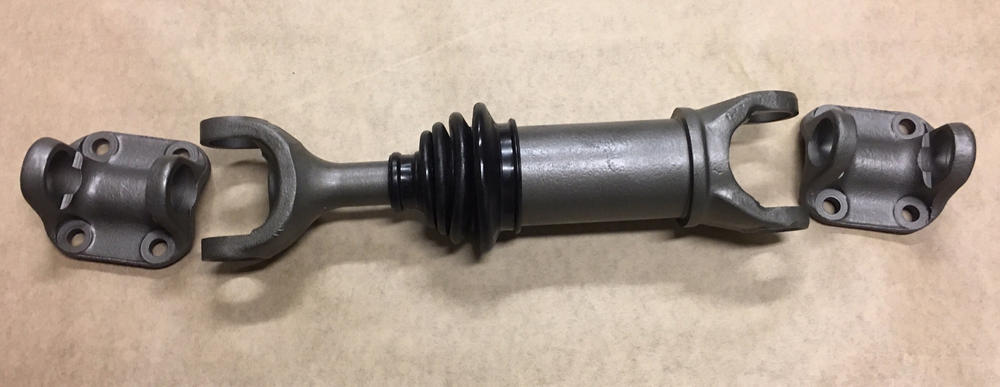
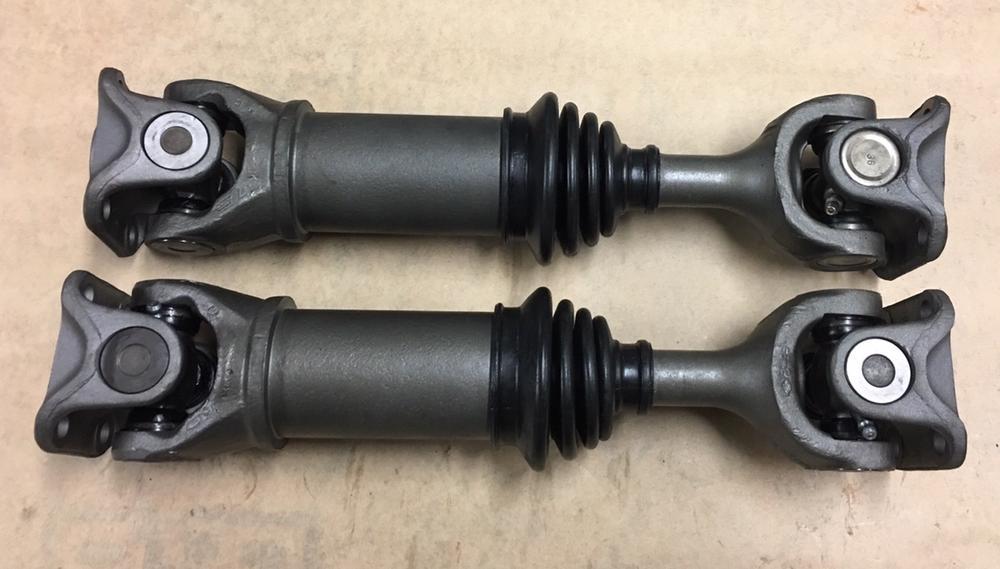
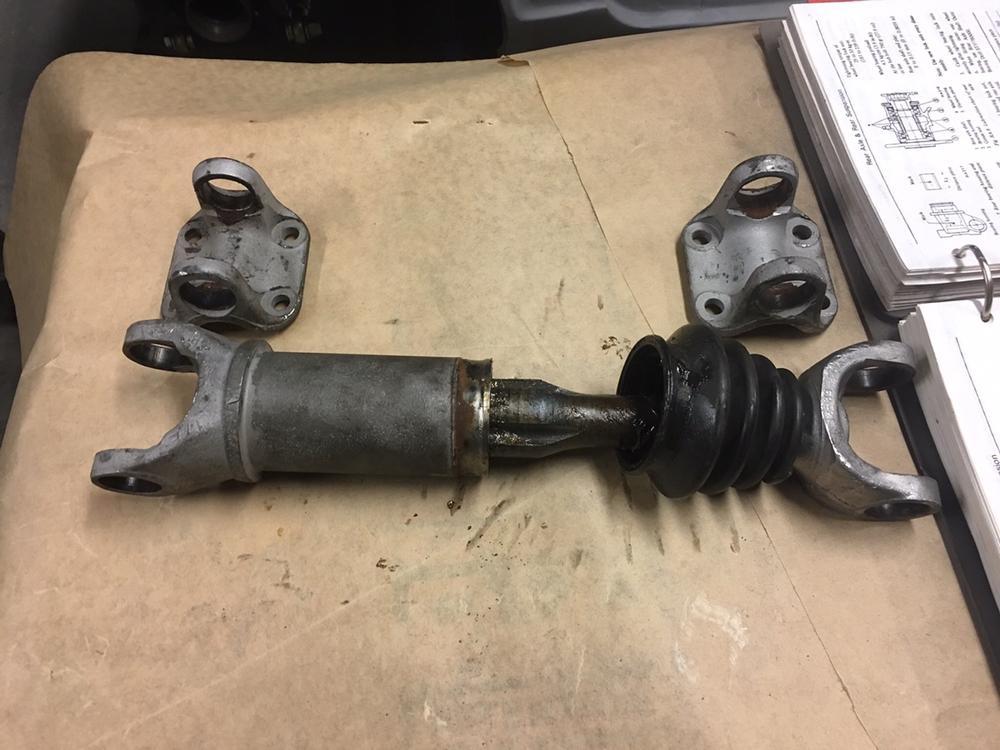
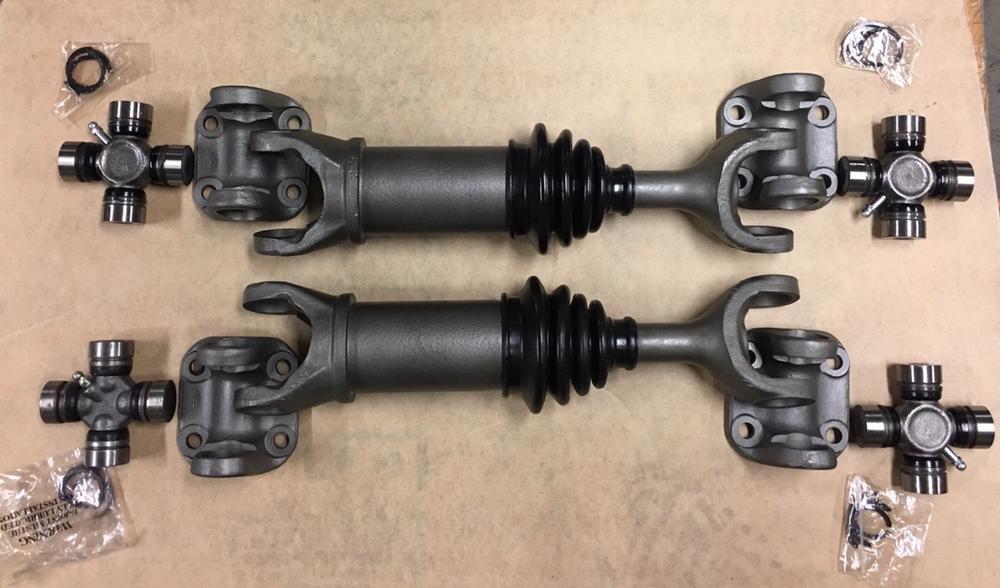
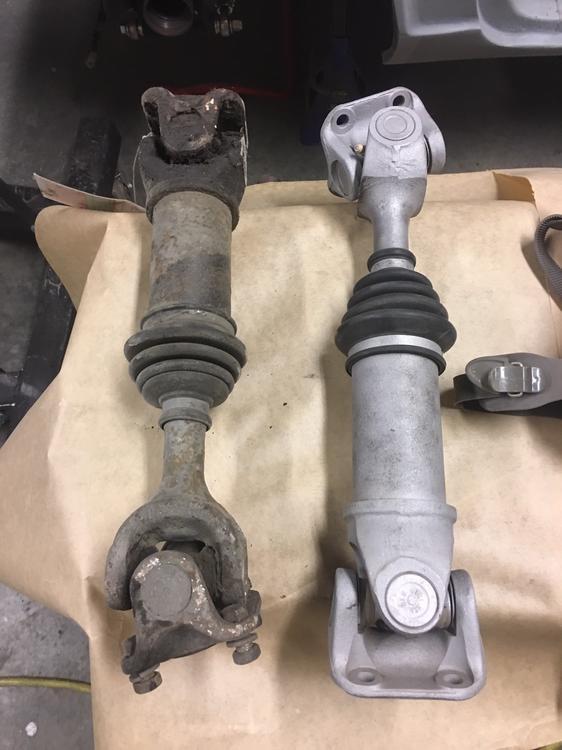
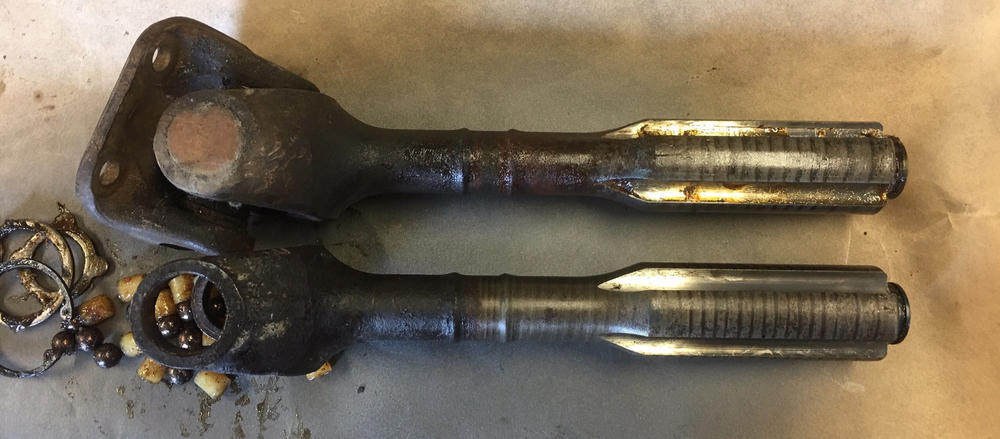
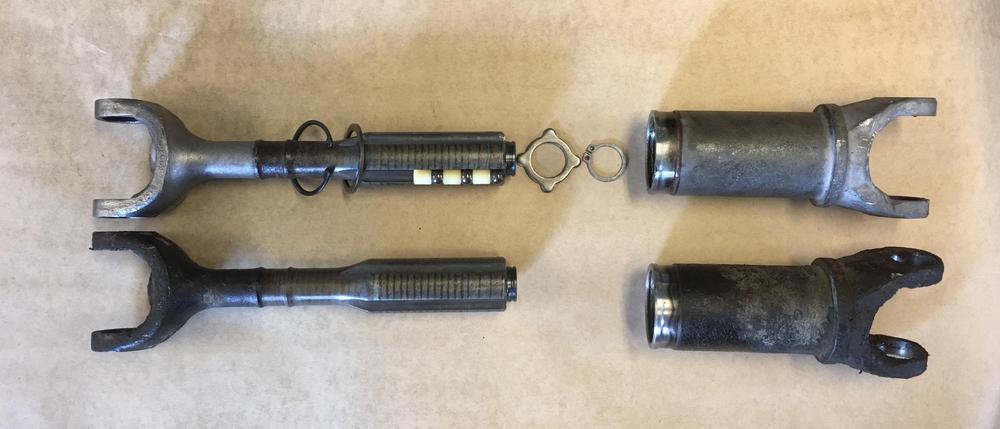
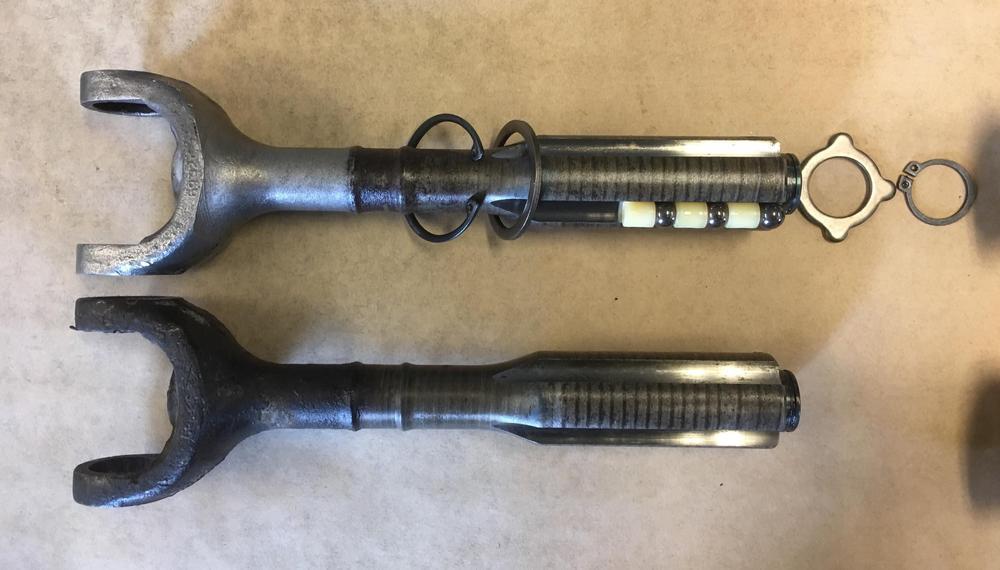
Let me start this thread by saying that I was not looking to solve a mystery or bust a myth when I started this procedure. I just wanted to rebuild my tired old 76 280Z half-shafts! I think there was a very common myth that the S30 half-shafts were different sizes. The driver side being shorter than the passenger side. Even though the distance from the wheel hub to the differential differs (more-so with the R200) from side to side, the half-shafts are IDENTICAL! The amazing amount of lateral play in the shaft allows it to expand or contract almost three inches. ...on to the pics! First a shot of the shafts after I ran one through the media cabinet next to the other. The removal of the u-joints is straight forward, several well documented methods on line if you need help there. Now the science! Here you can see that the axles are identical in each dimension. Also note the layout of the snap rings, retaining rings and the balls and spacers. And for those that were still disbelieving, a shot of a 240 half-shaft next to the 280 half-shaft. 240 shaft with the u-joint still attached. Then on to refurbishing! You will need 4 new u-joints. SKF UJ393, MOOG 393, or Precision 393 will all work or any variation thereof. I media blasted the shafts and protected the bearing surfaces while doing so. I then painted the exposed parts in Cast Iron engine paint from Duplicolor. Love the look! I re-used the old boots as they were in great shape. After blasting the shafts and painting them, I turned the boots inside out and fed the wide side over the bearing shaft. I used the cut-off top of a funnel to aid the narrow end going over the shaft and up into position. Worked excellent. Leave the boot inside out for now. Slide the upper retaining ring and snap ring on to hold the shafts together, tuck them up by the boot. Refer to the above pic for proper order. Attach the lower retaining ring and snap ring. Put the cleaned spacers and bearings into a zip lock bag full of a good quality bearing grease and ensure they are coated nicely all around. Place them in the channels in the correct order, ball bearing at the bottom, spacer at the top. The grease will keep them in place. Add about 10g of grease to the top of each channel. Carefully slide the shaft back into the axle while ensuring the ball bearing and spacers are supported by the retaining tabs. Make sure the shaft is orientated correctly, the same direction as the axle end! Try and keep the bearings at the bottom of the assembly as it goes together. Holding it vertical helps. When the shaft is in the axle, add another 30g of grease to the top of the shaft, concentrating on the open groves of the axle that did not receive the bearings. Use the retaining ring to push it all together and seat the bearings. I used a screwdriver and hammer to tap the retaining ring flat. Worked great, didn't need much pressure. Reattach the snap ring to the axle at the top. Wipe up the grease you got everywhere... and pull the boot back down outside-in , ensuring the top fully inverts and seats in the groove, same as the bottom. Attach your favourite brand of cv boot clamp over the boot ends and securely tightly. Mine had not arrived in time for the pictures. Proceed on to installing the u-joints, being careful not to damage the pretty paint! Grease the u-joints and you are done! Another 40 years of glorious torque! Thanks to Jim @zKars for his guidance and wisdom.

-
View Advert 1977 Datsun 280Z 1977 Datsun 280Z with 130k miles on the car. The car has been restored with maintenance documents going all the way back to the 80s. The car was repainted and the rust under the battery was repaired prior to repainting the car. Regular maintenance has been done to the car such as plugs, valve cover gasket, transmission fluid, etc. The car was just smogged last week for the sale and passed perfectly. If you have any questions, feel free to message me and I will get back to you as soon as possible! Advertiser aling289 Date 03/21/2020 Price $19,999.00 Category Cars for Sale Year 1977 Model Datsun Vehicle Identification Number (VIN)
-
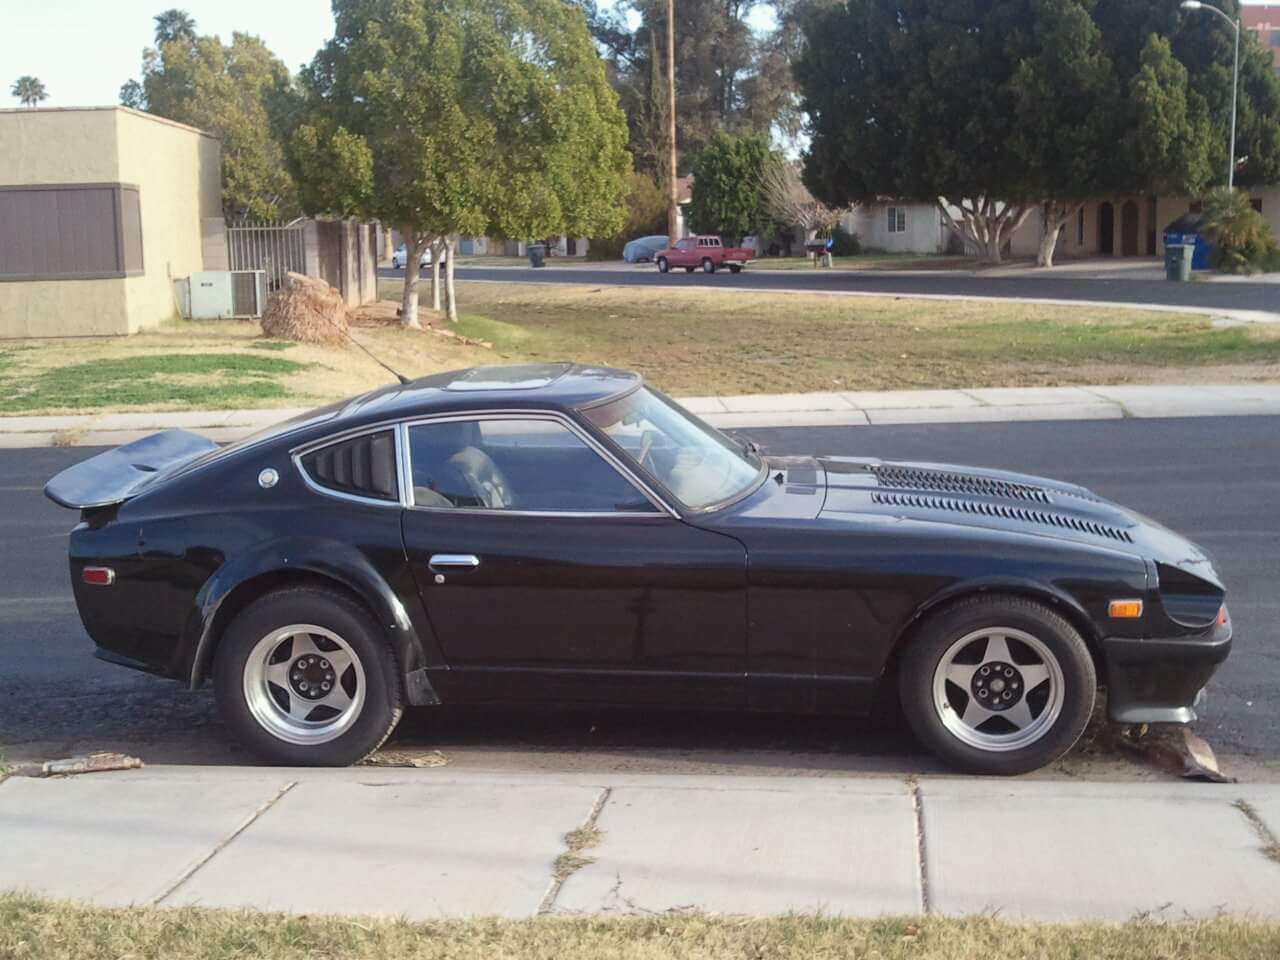
View Advert 1977 280z 2nd Owner, Mostly Original For sale is my 1977 280z in metallic blue. Just over 65,000 on the odometer. 2nd owner. Mostly original except wheels, radio, & exhaust. Manual transmission, 4 speed, factory A/C (needs to be charged). Runs and drives great. Please contact me for additional info and pictures. Advertiser Chuck Chouteau Date 10/04/2019 Price $13,500.00 Category Cars for Sale Year 1976 Model 280Z Vehicle Identification Number (VIN)
-
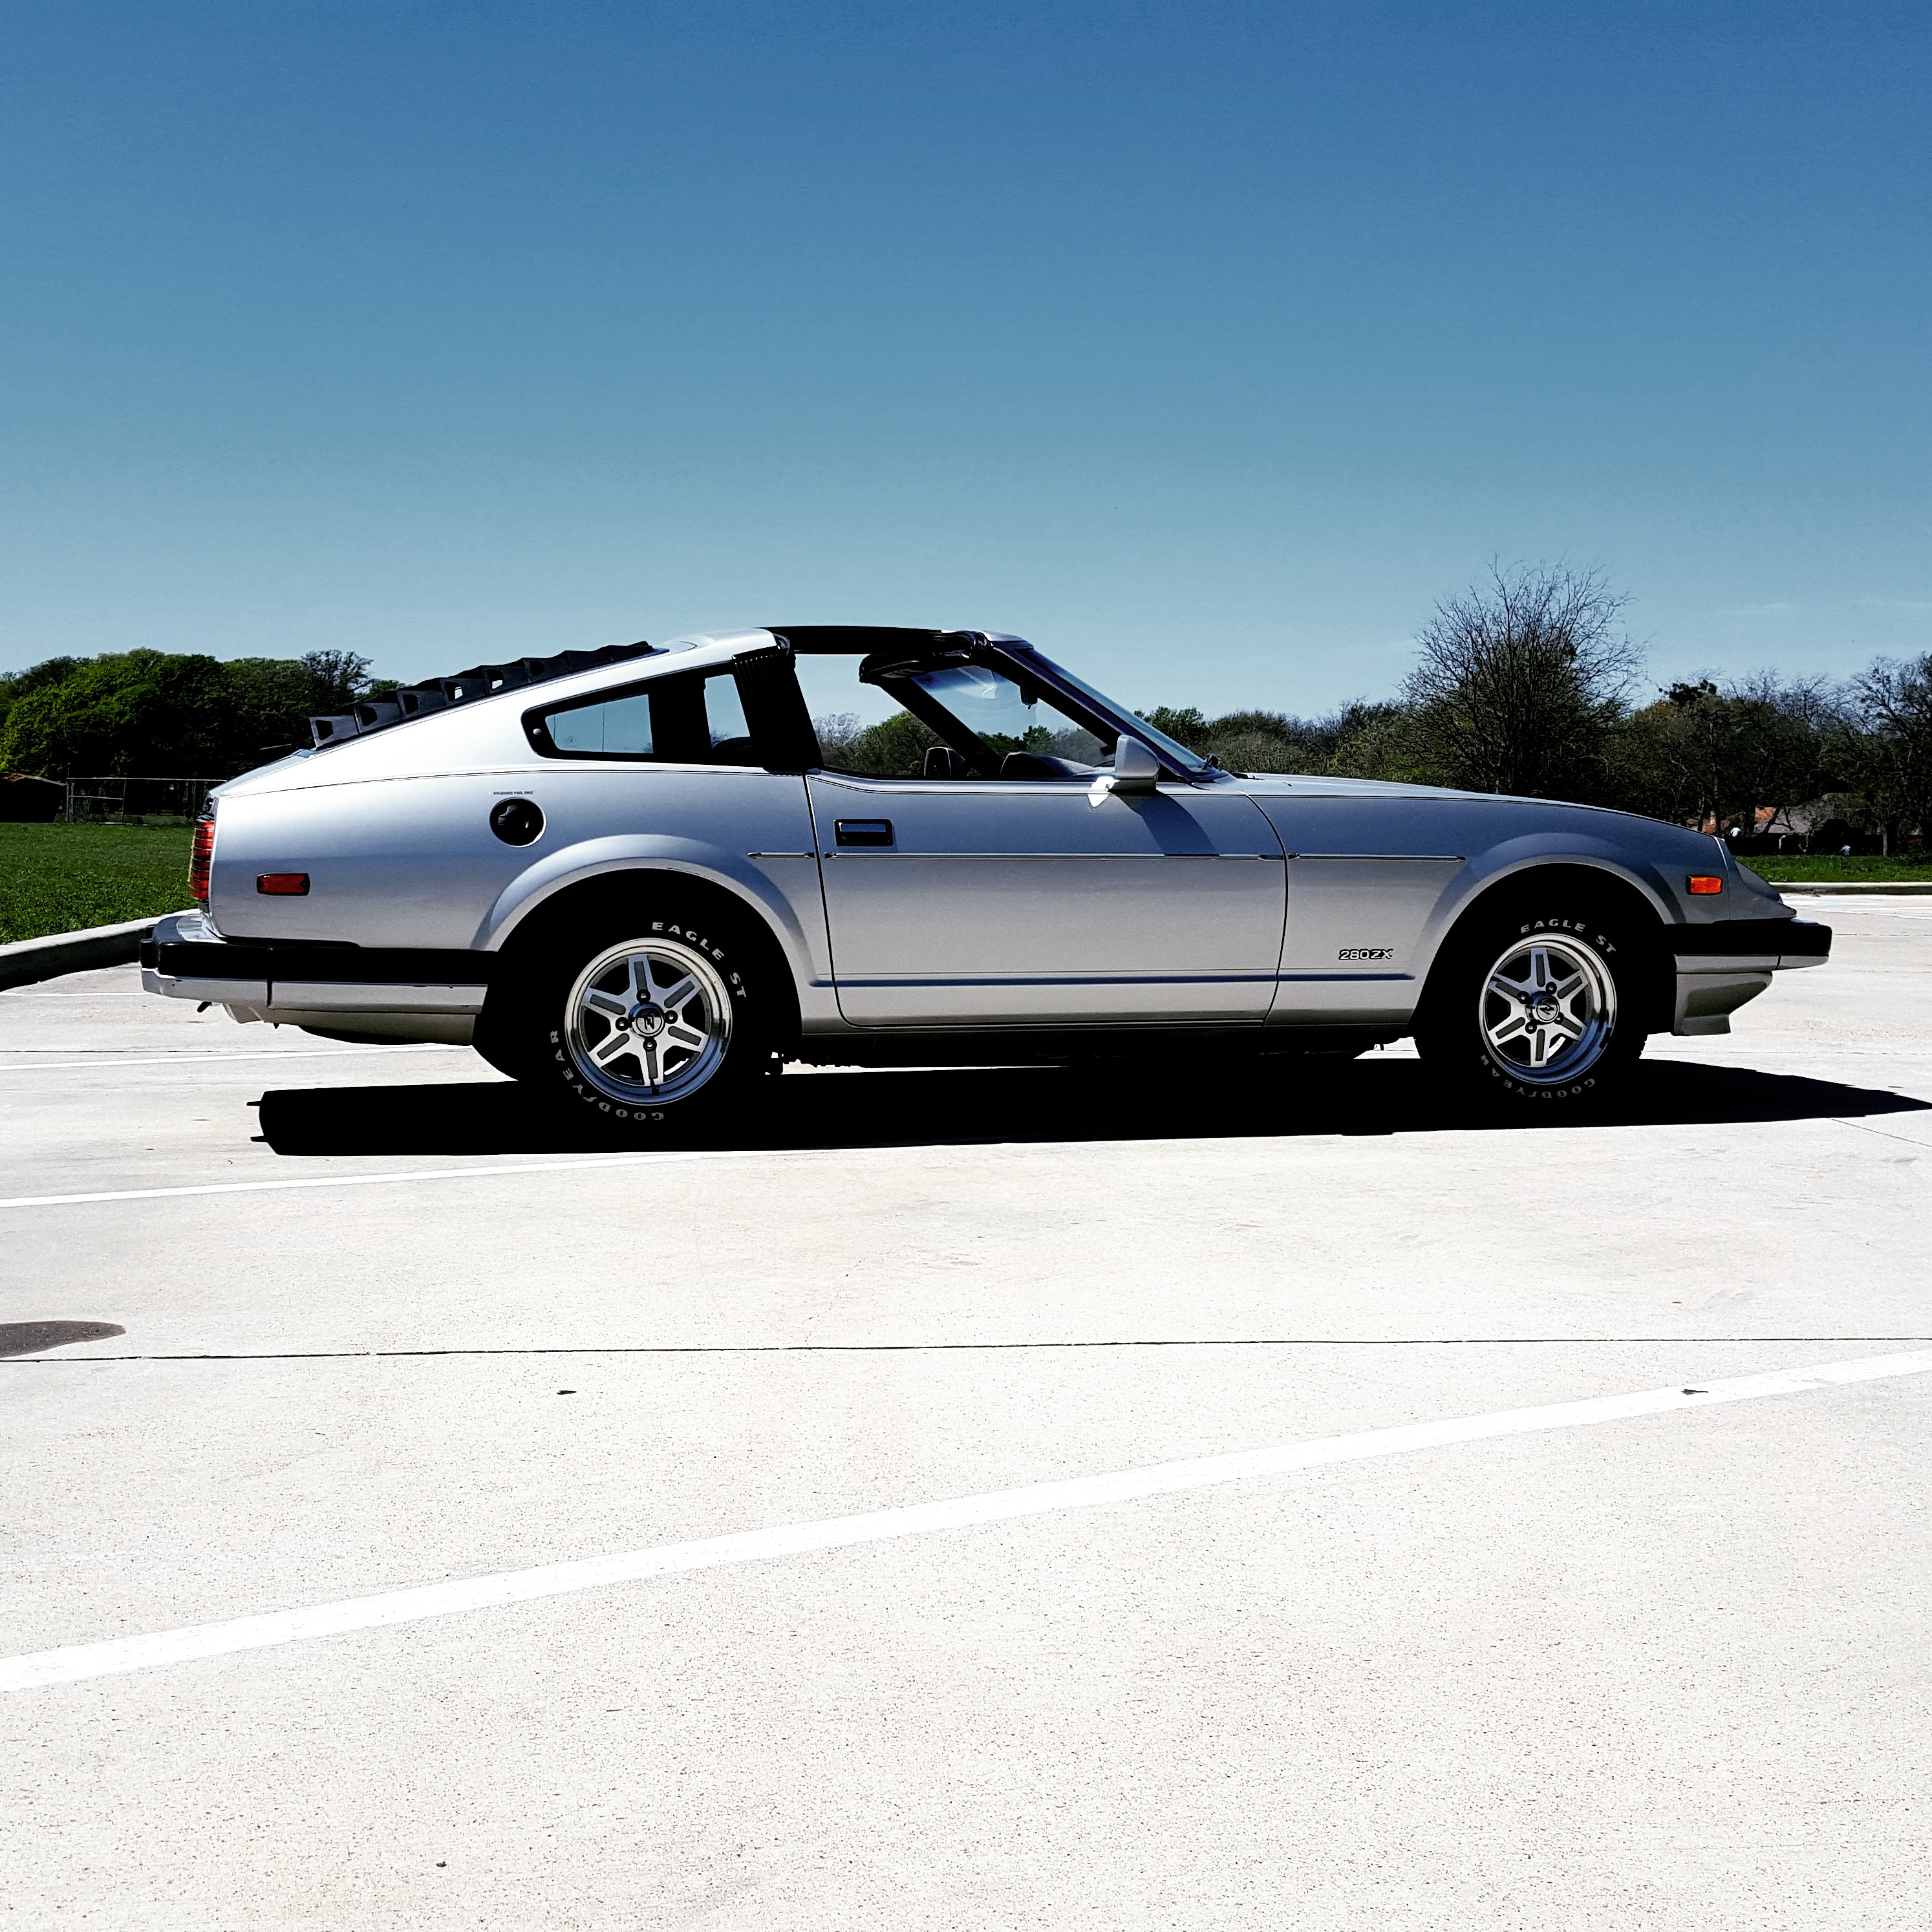
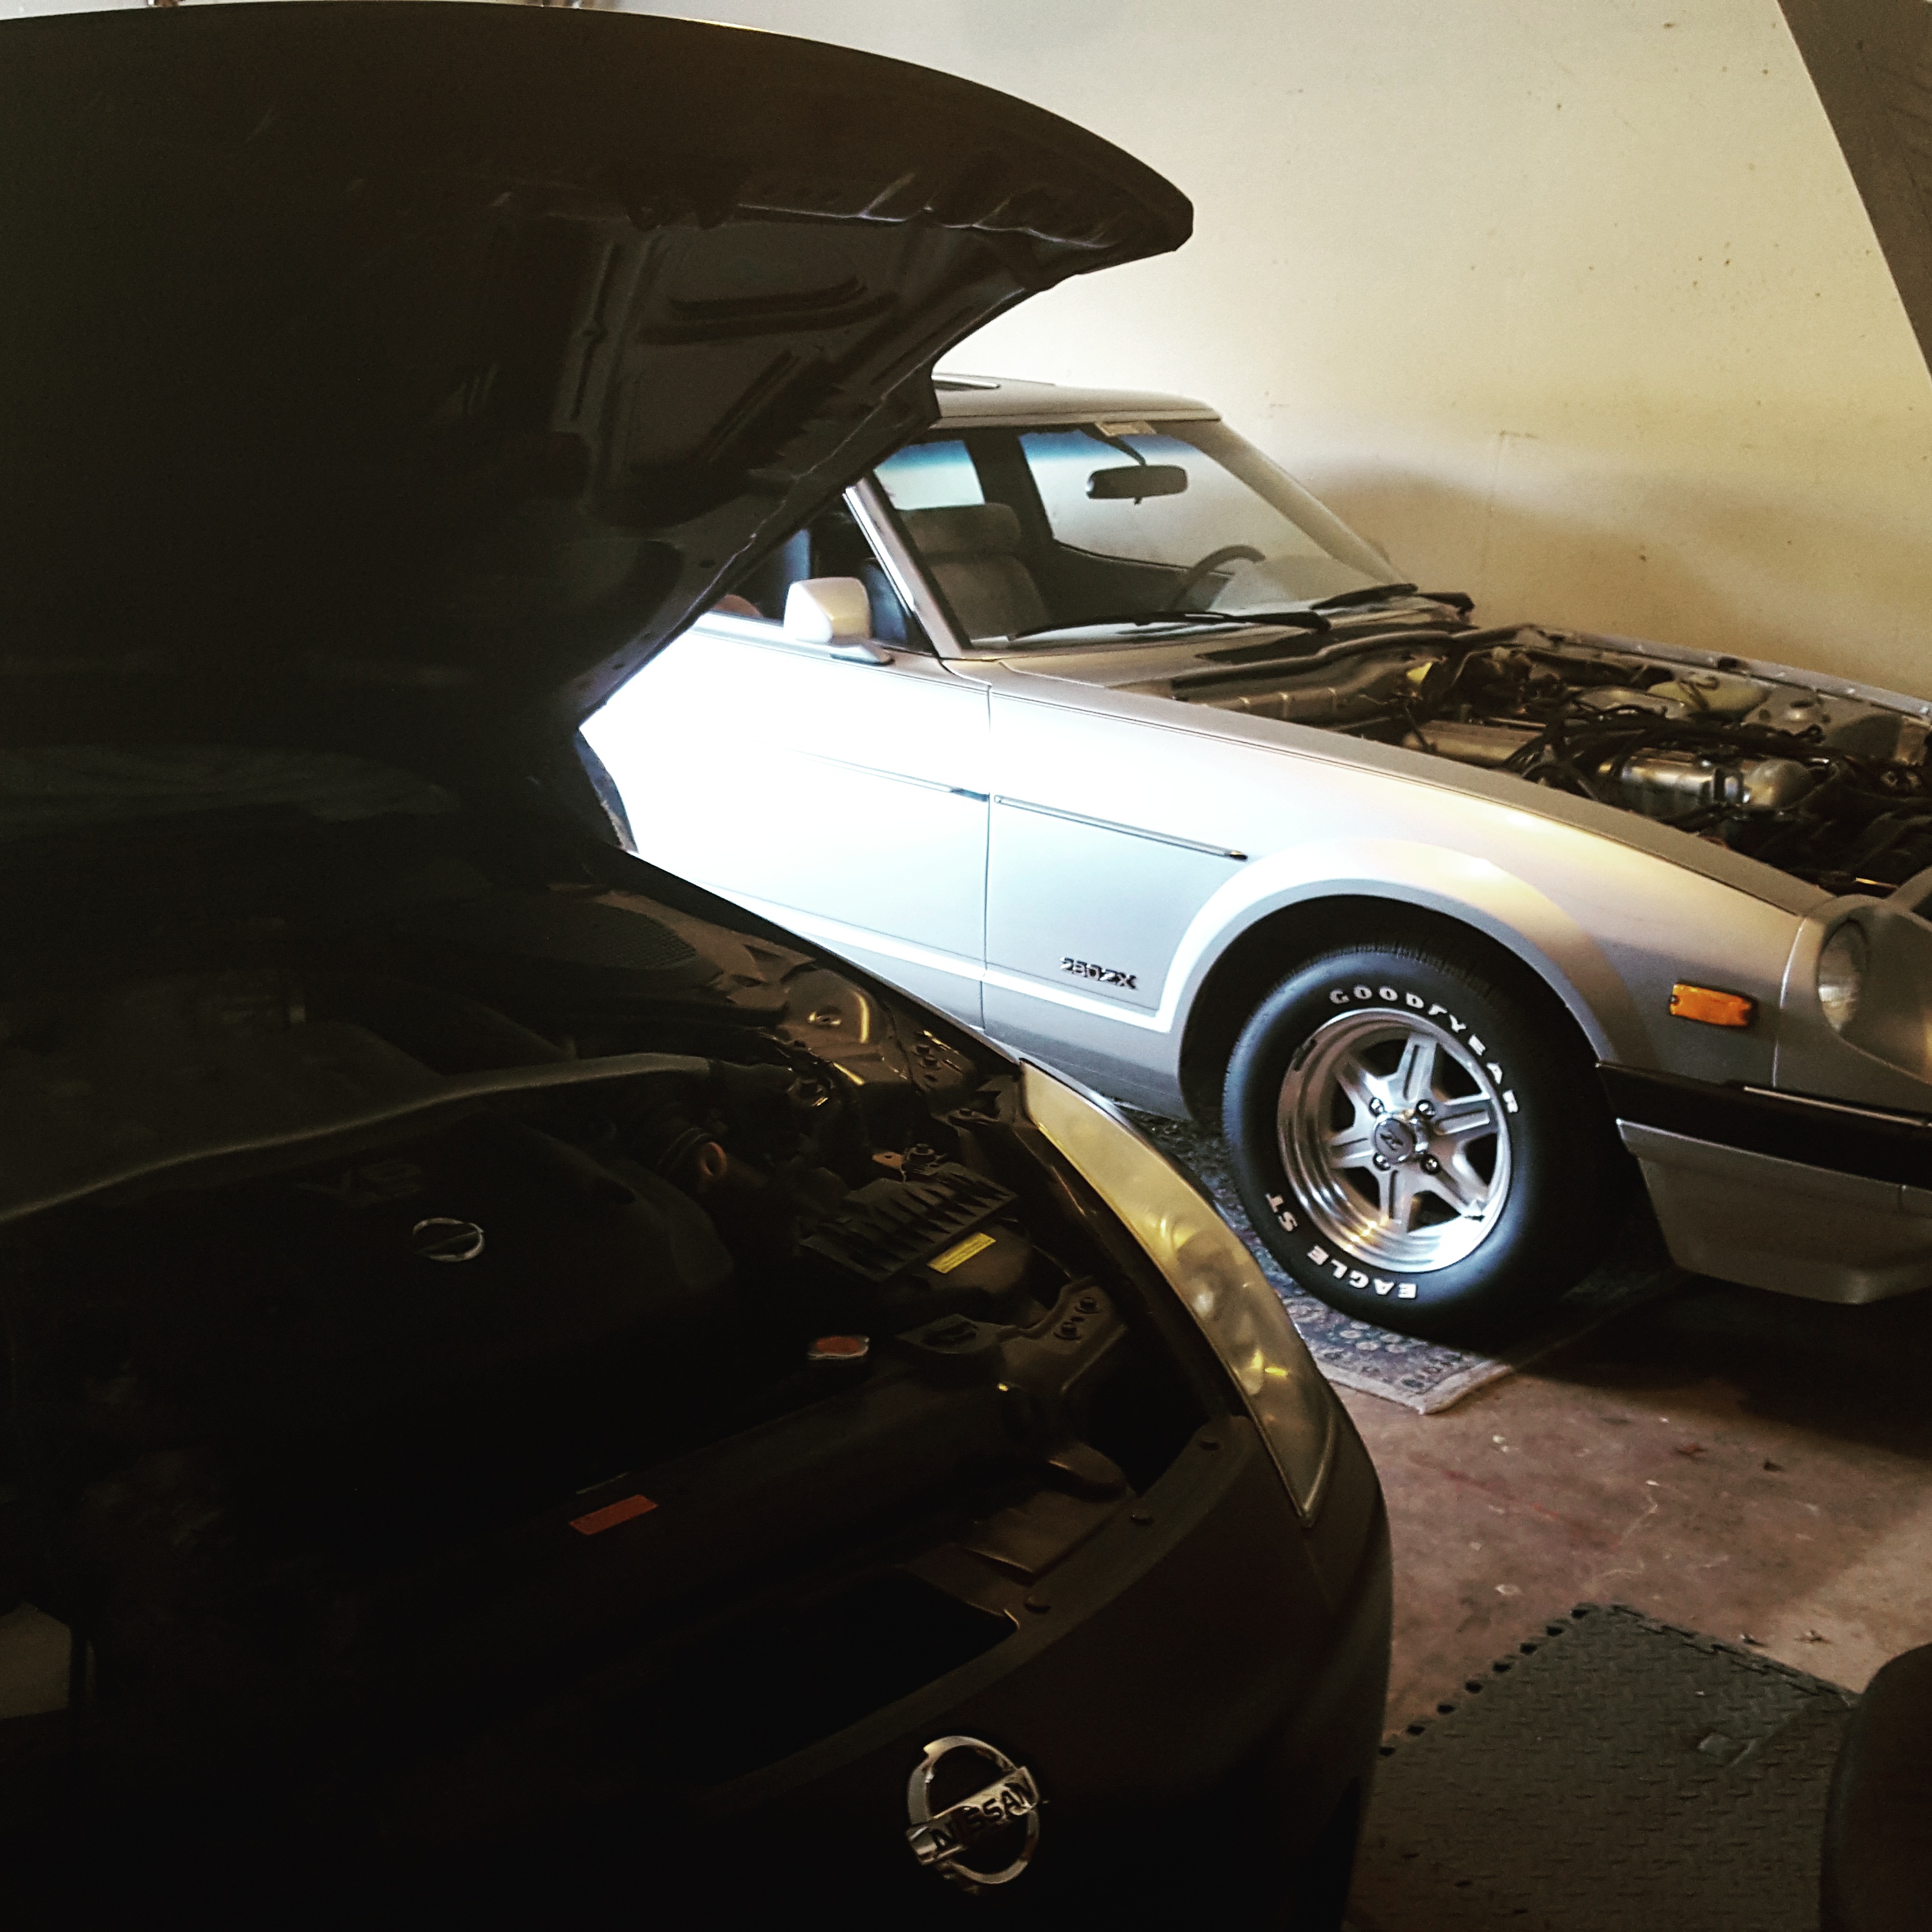
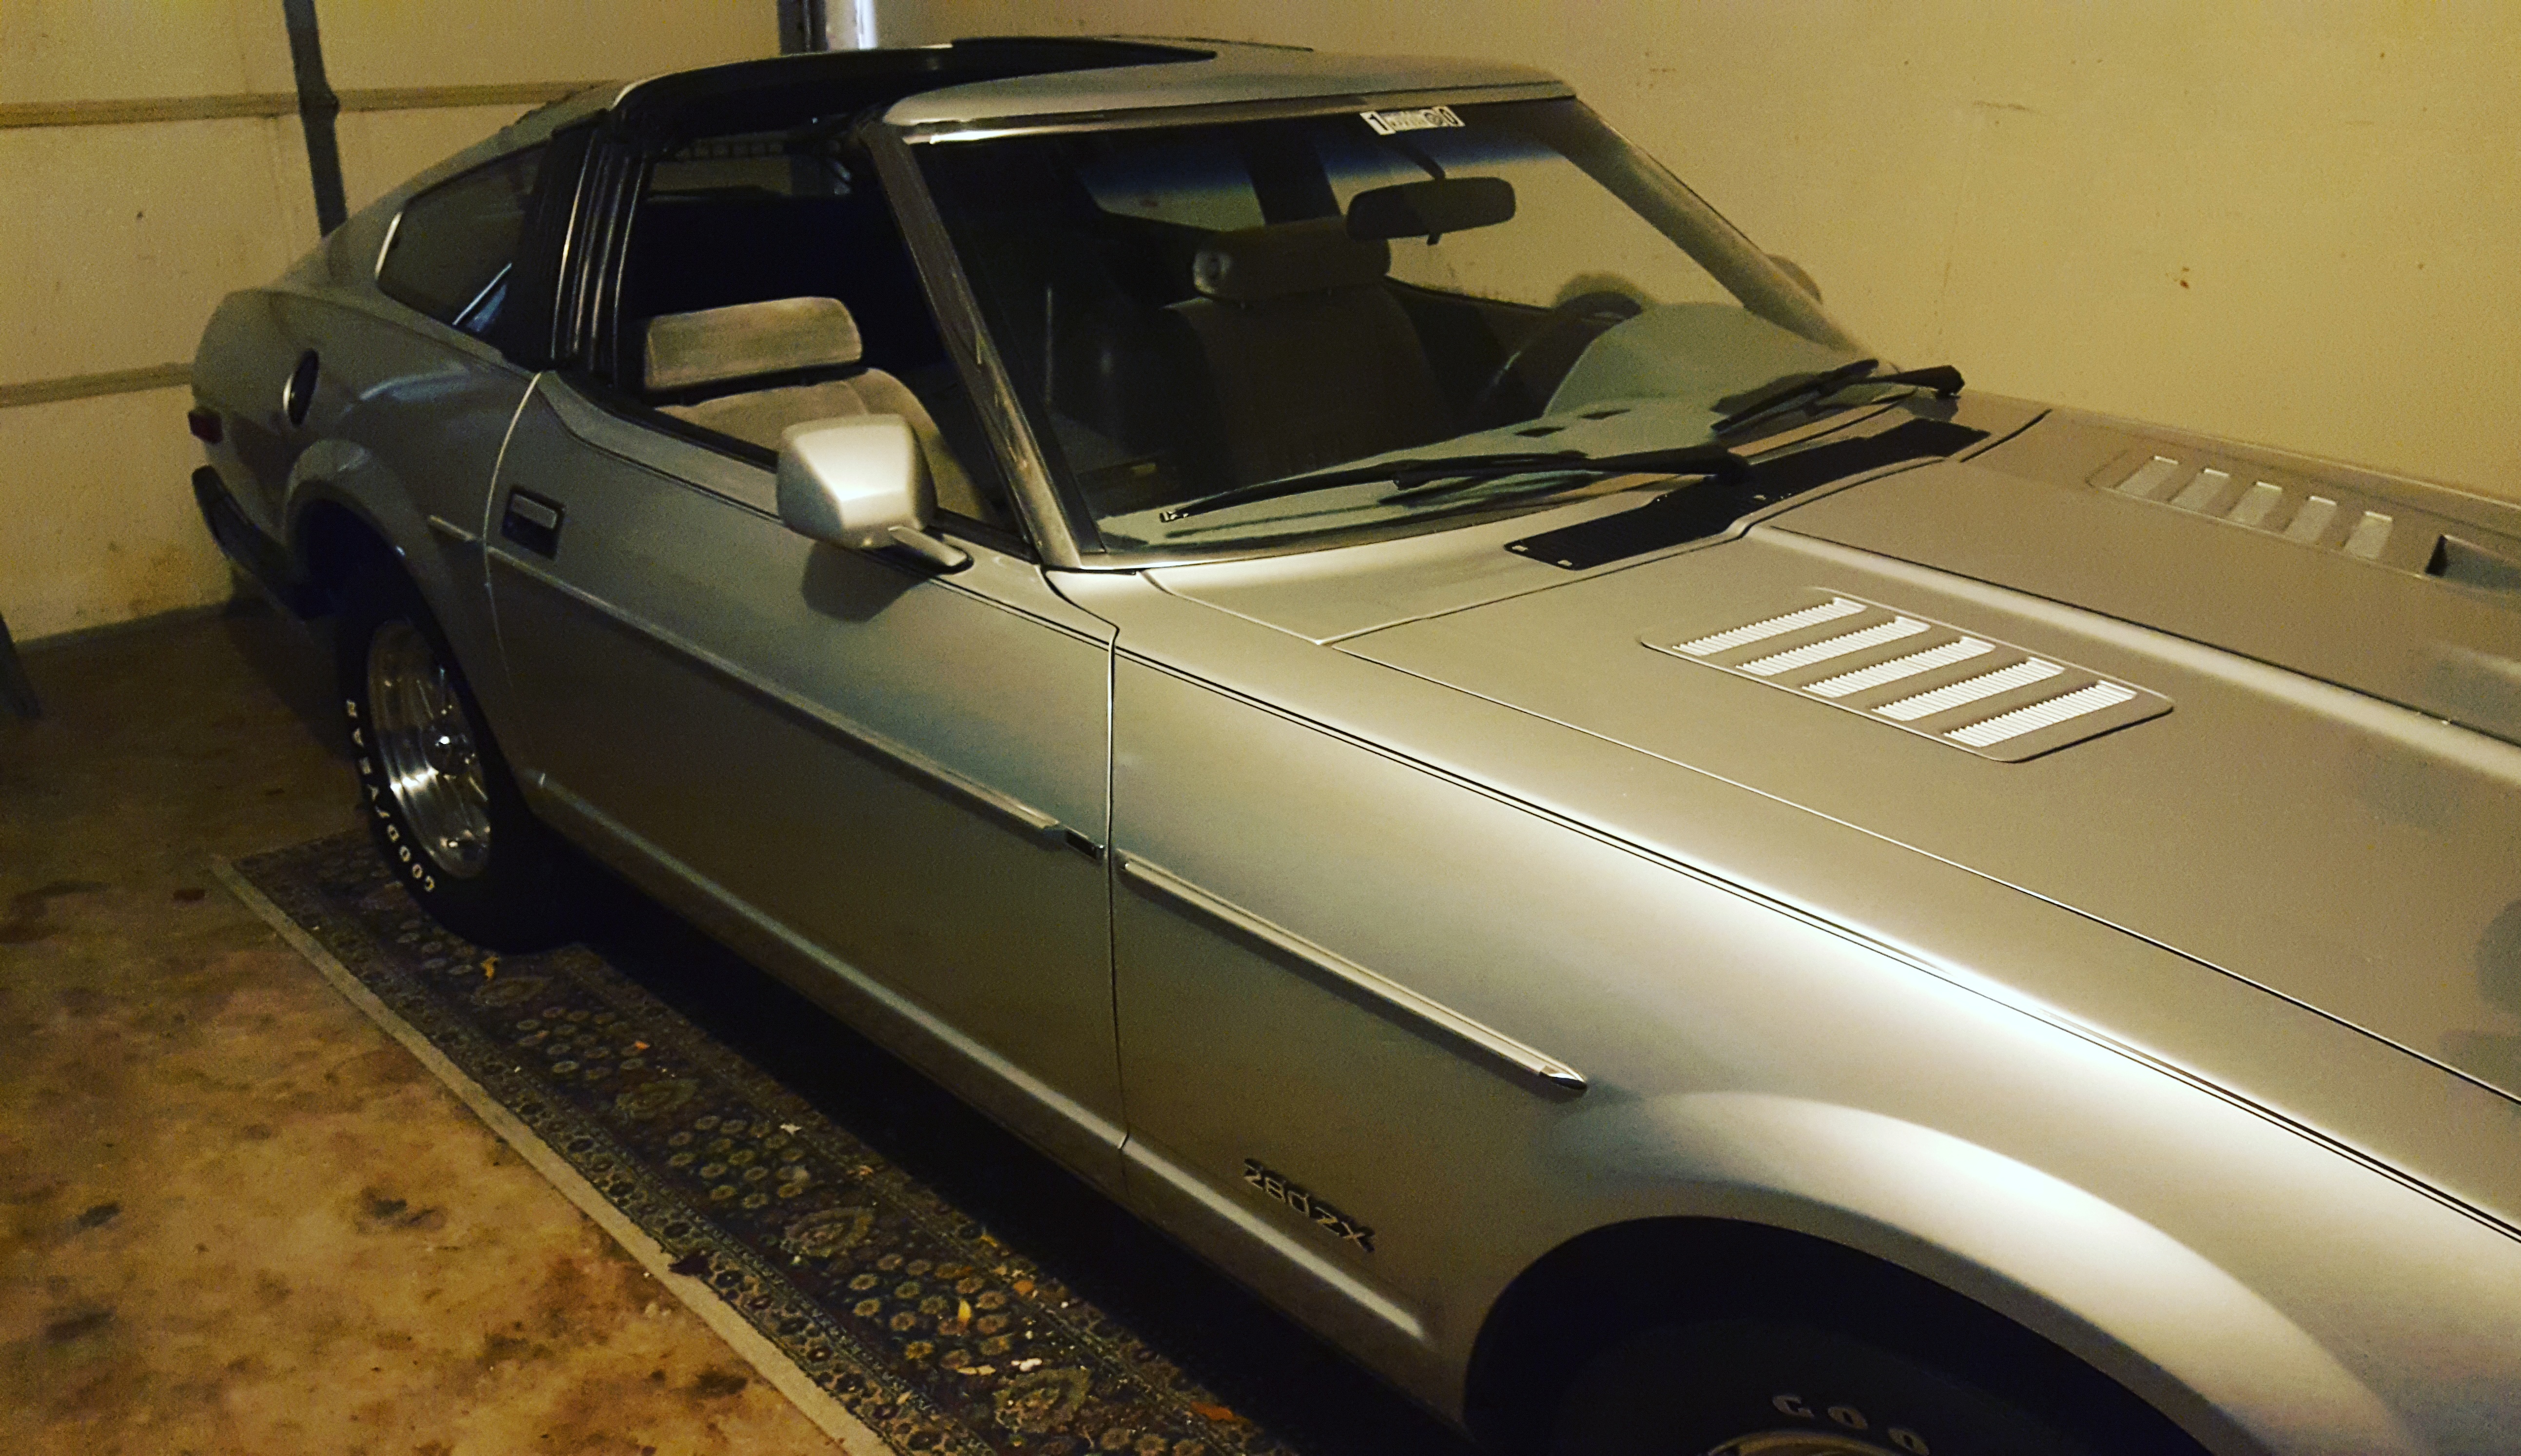
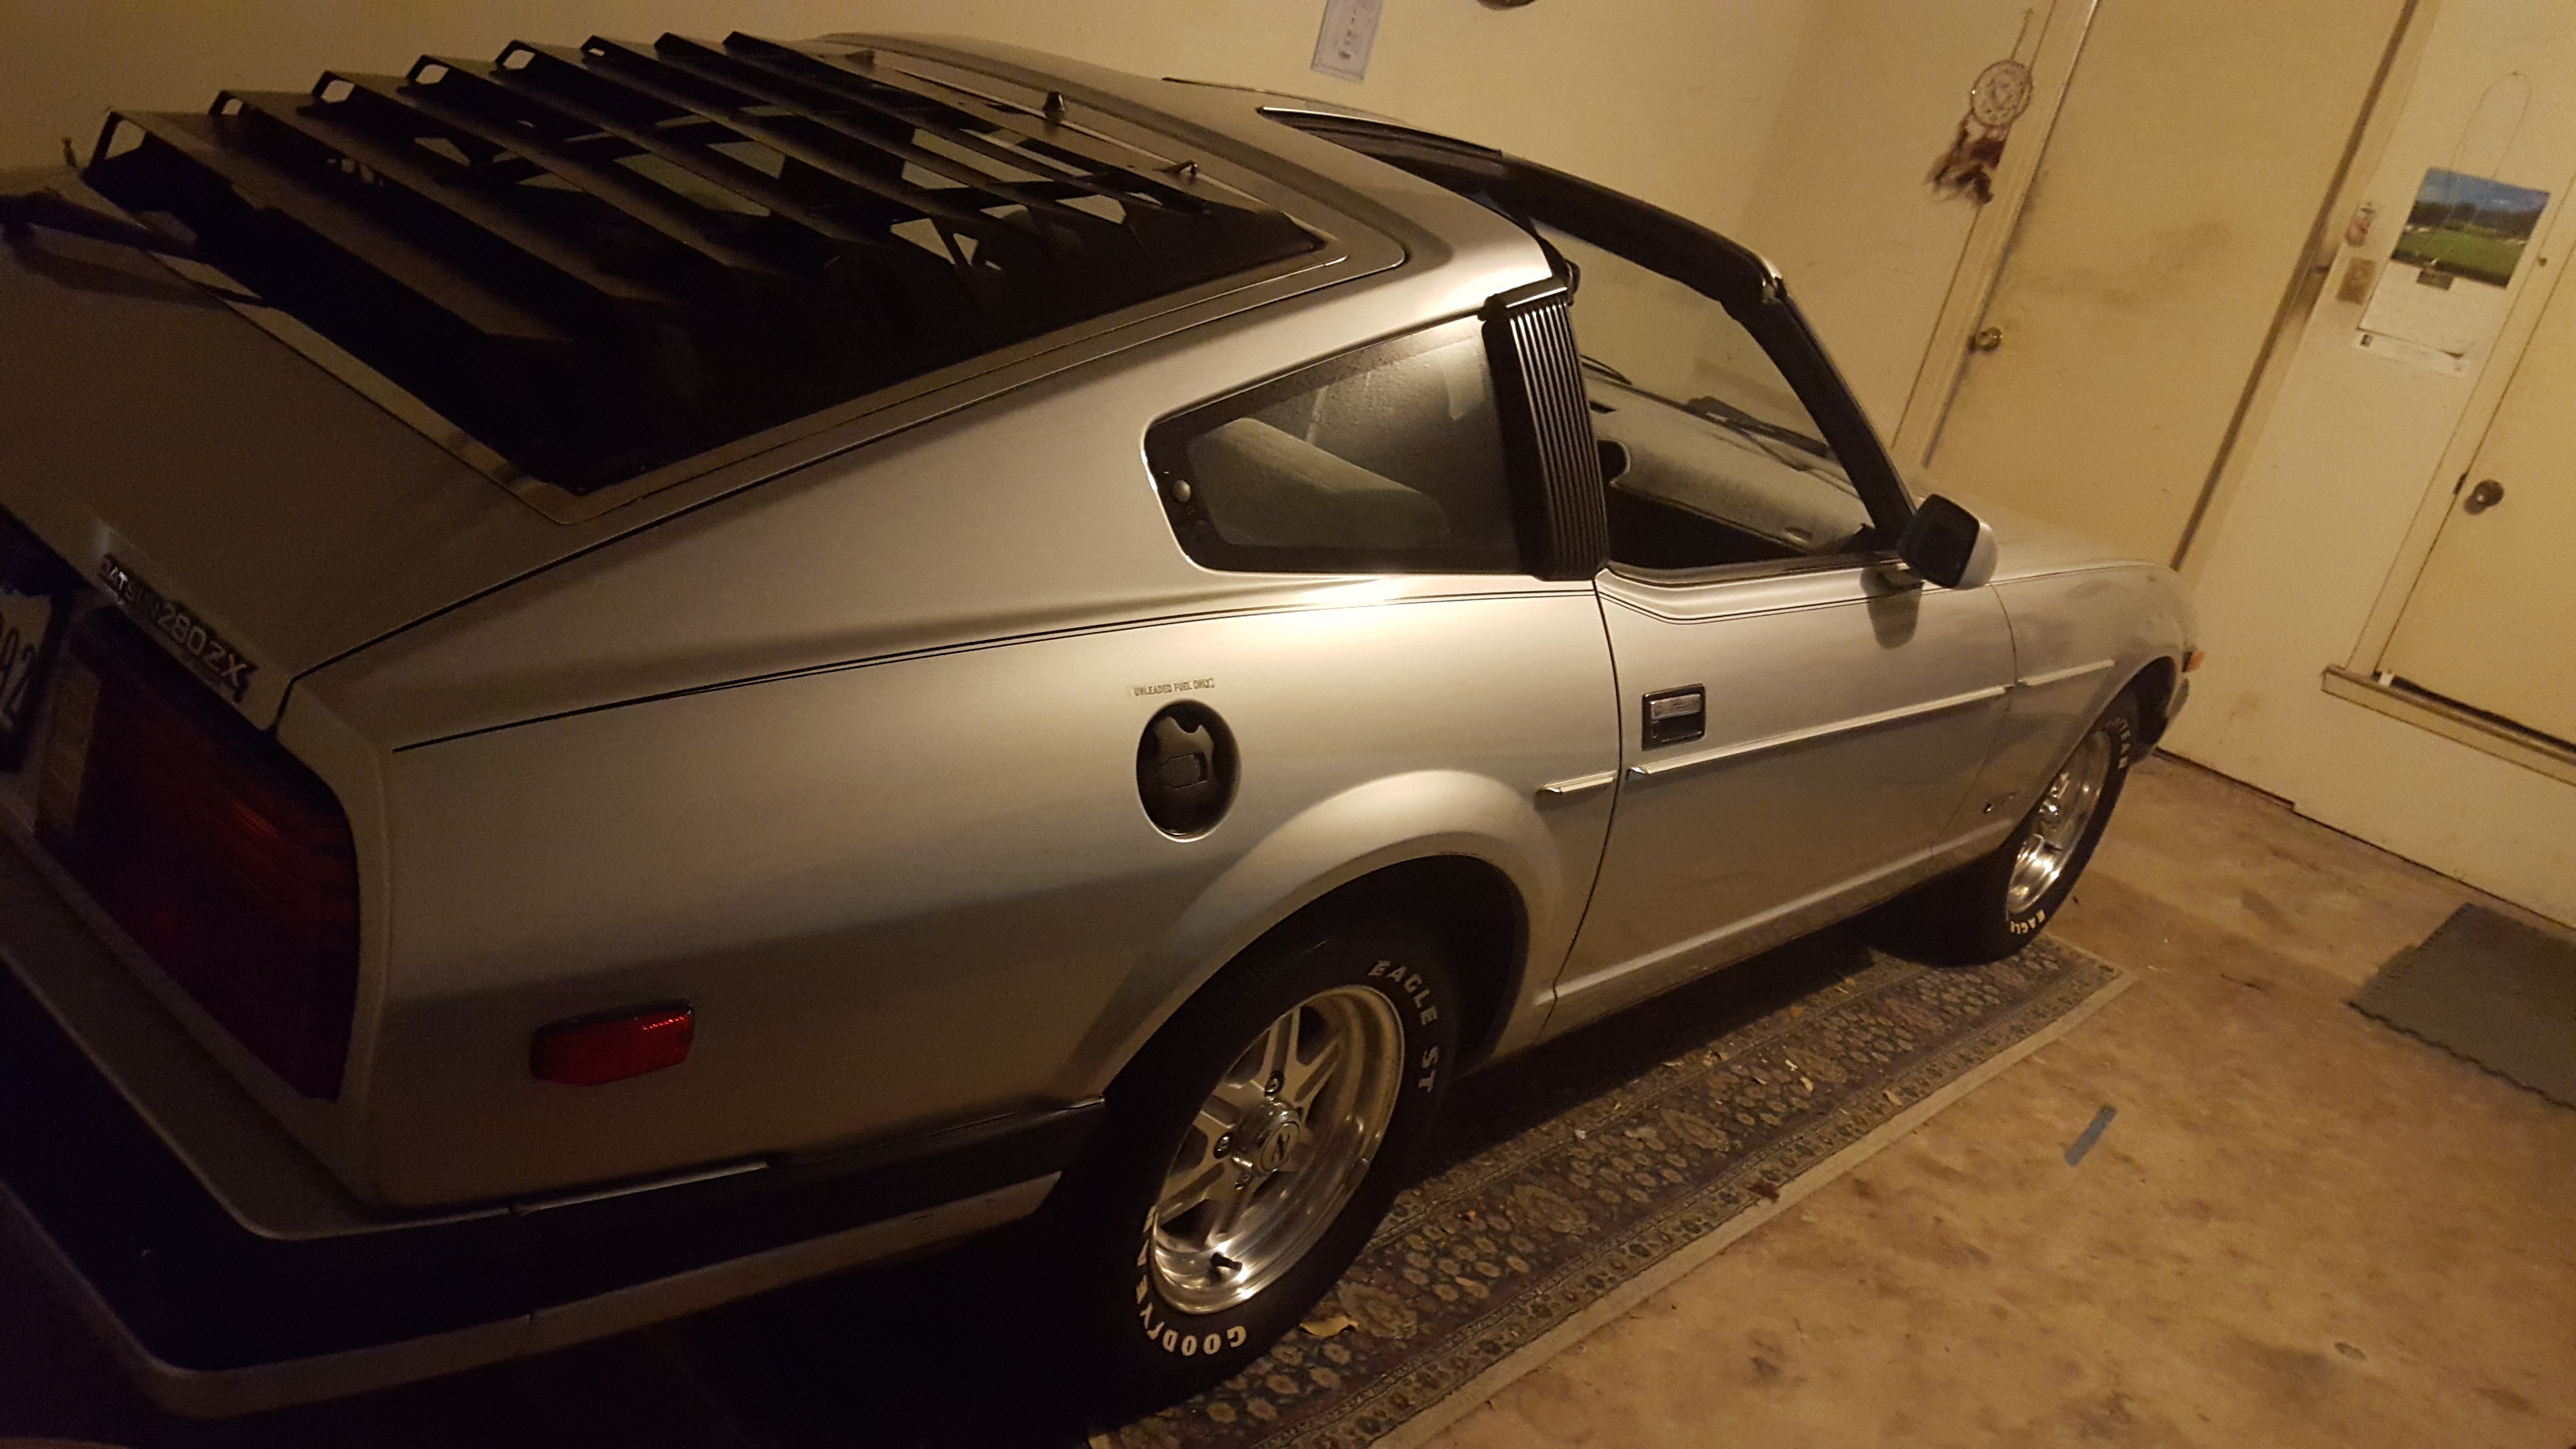
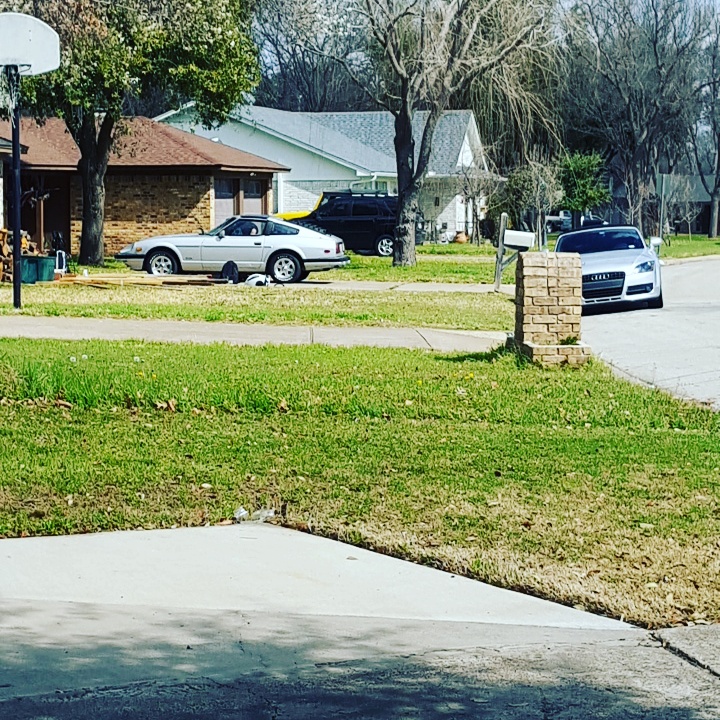
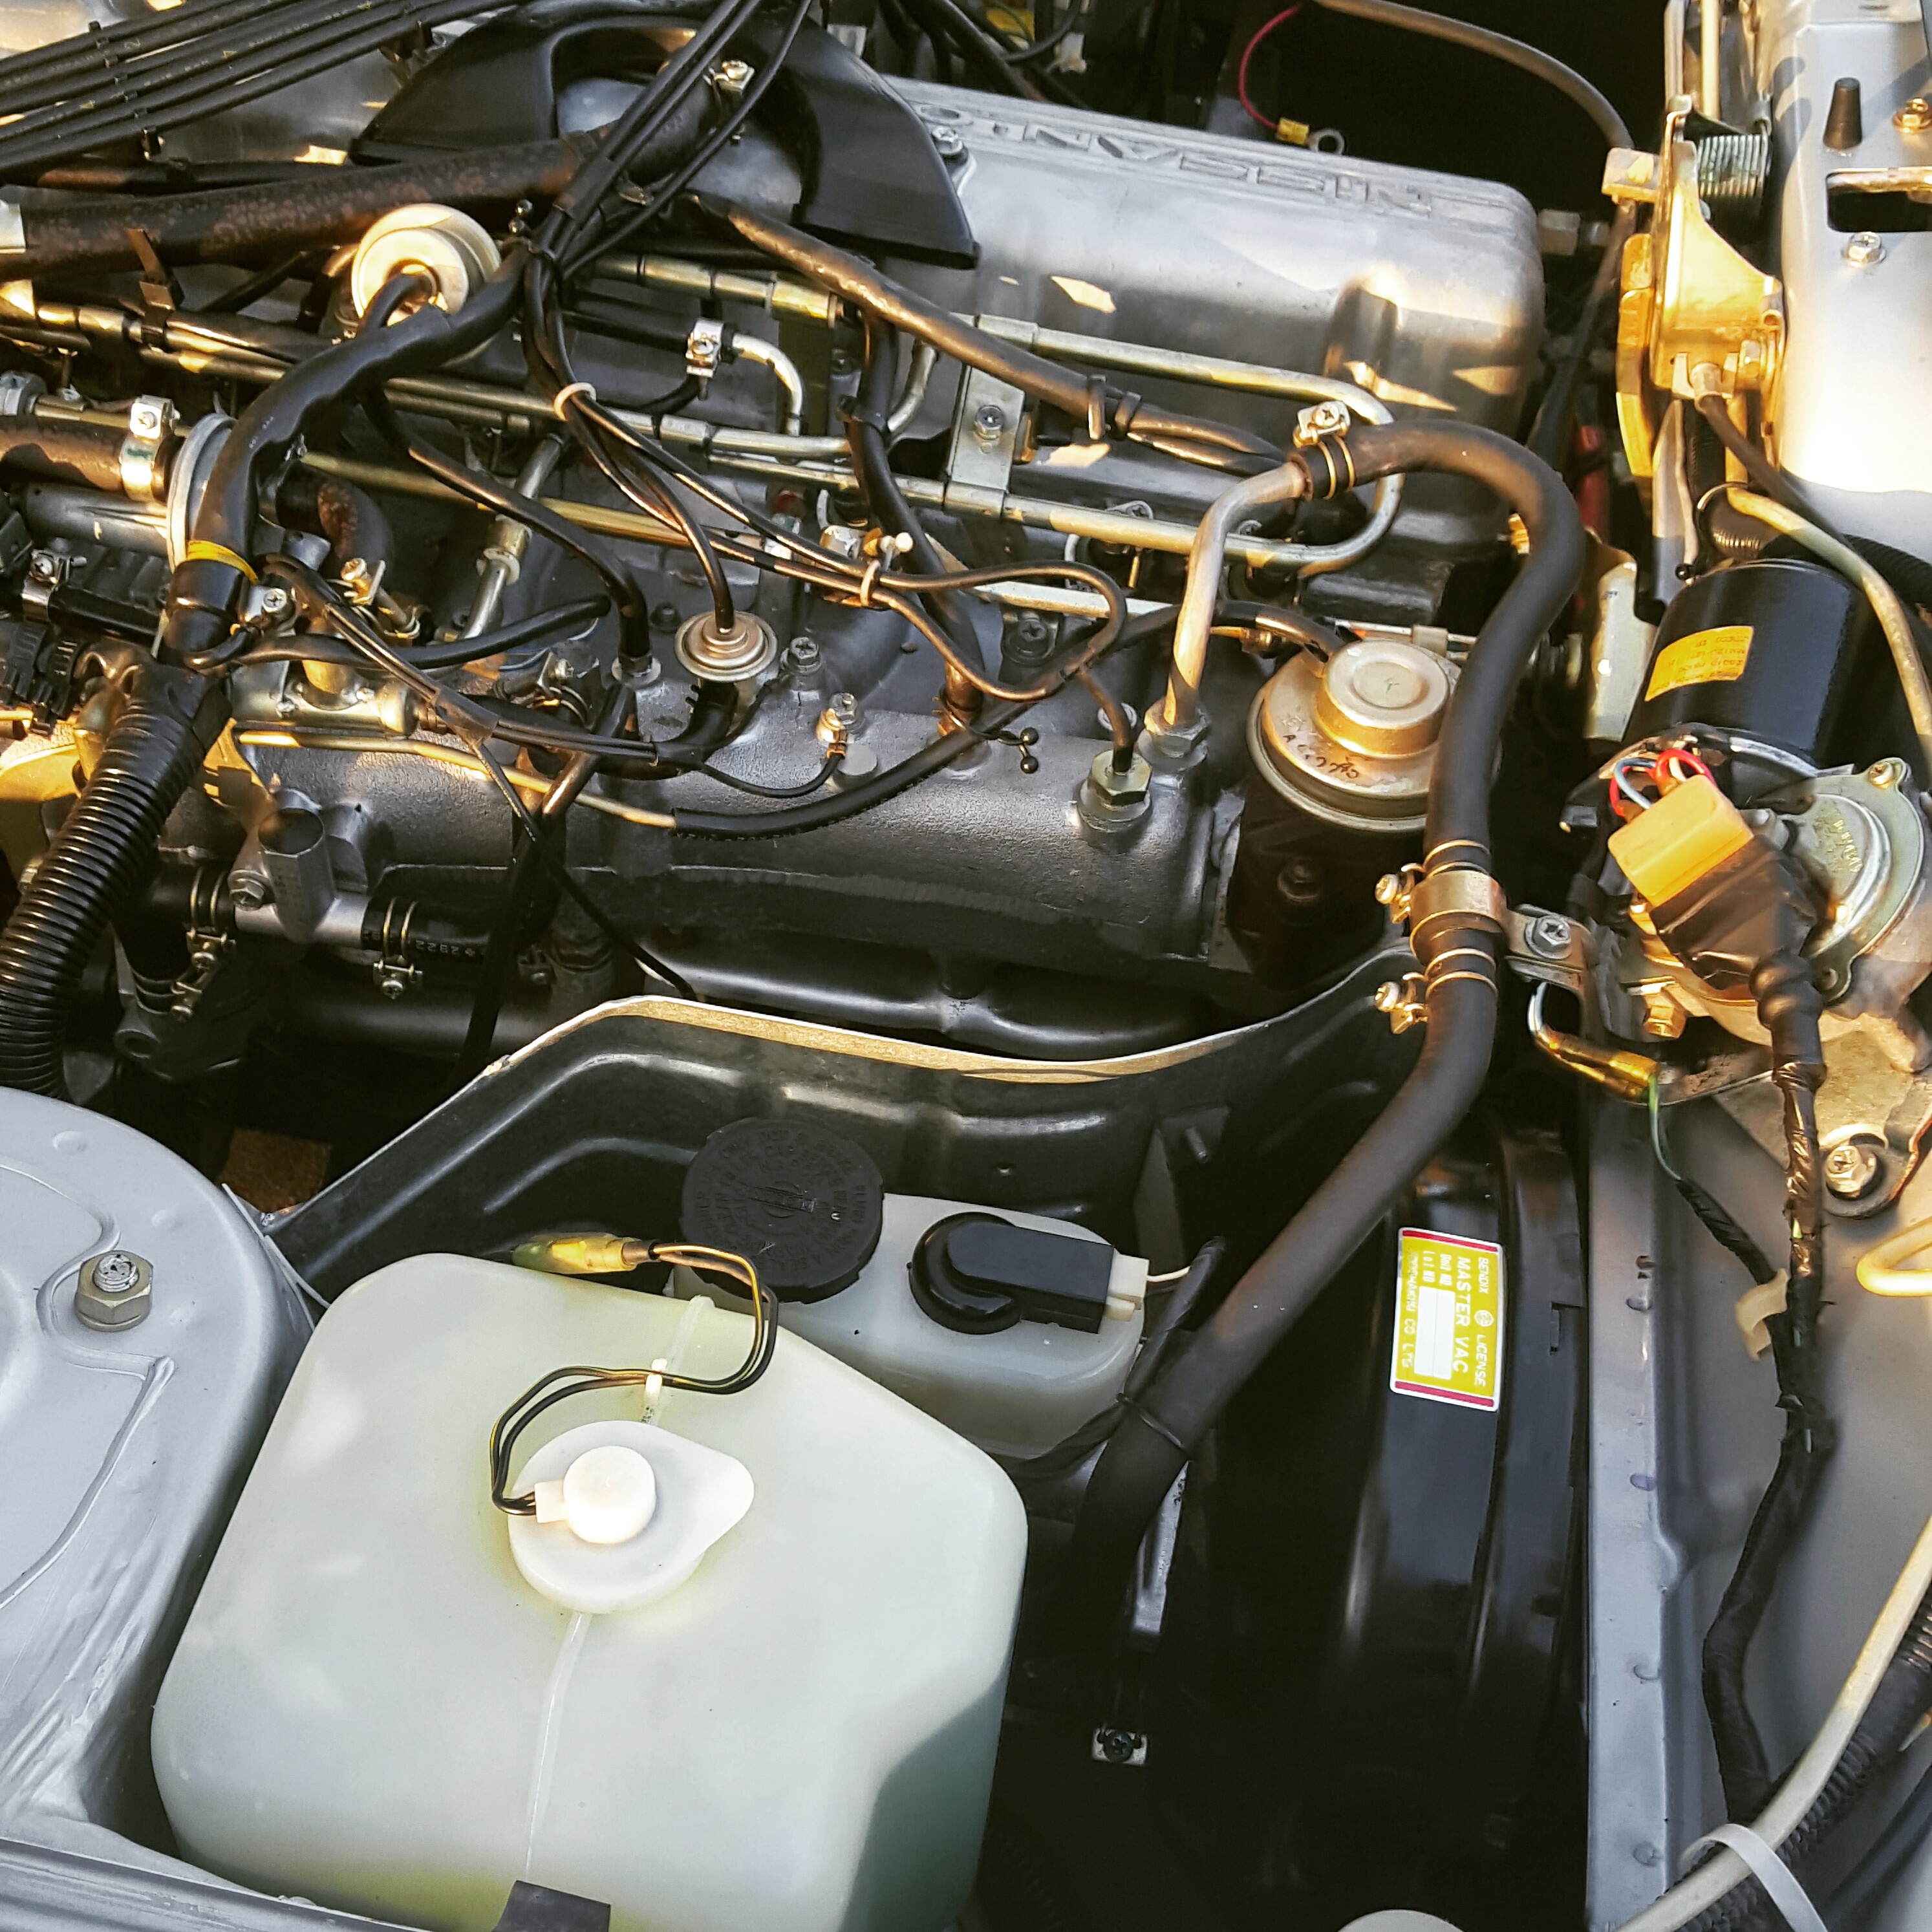
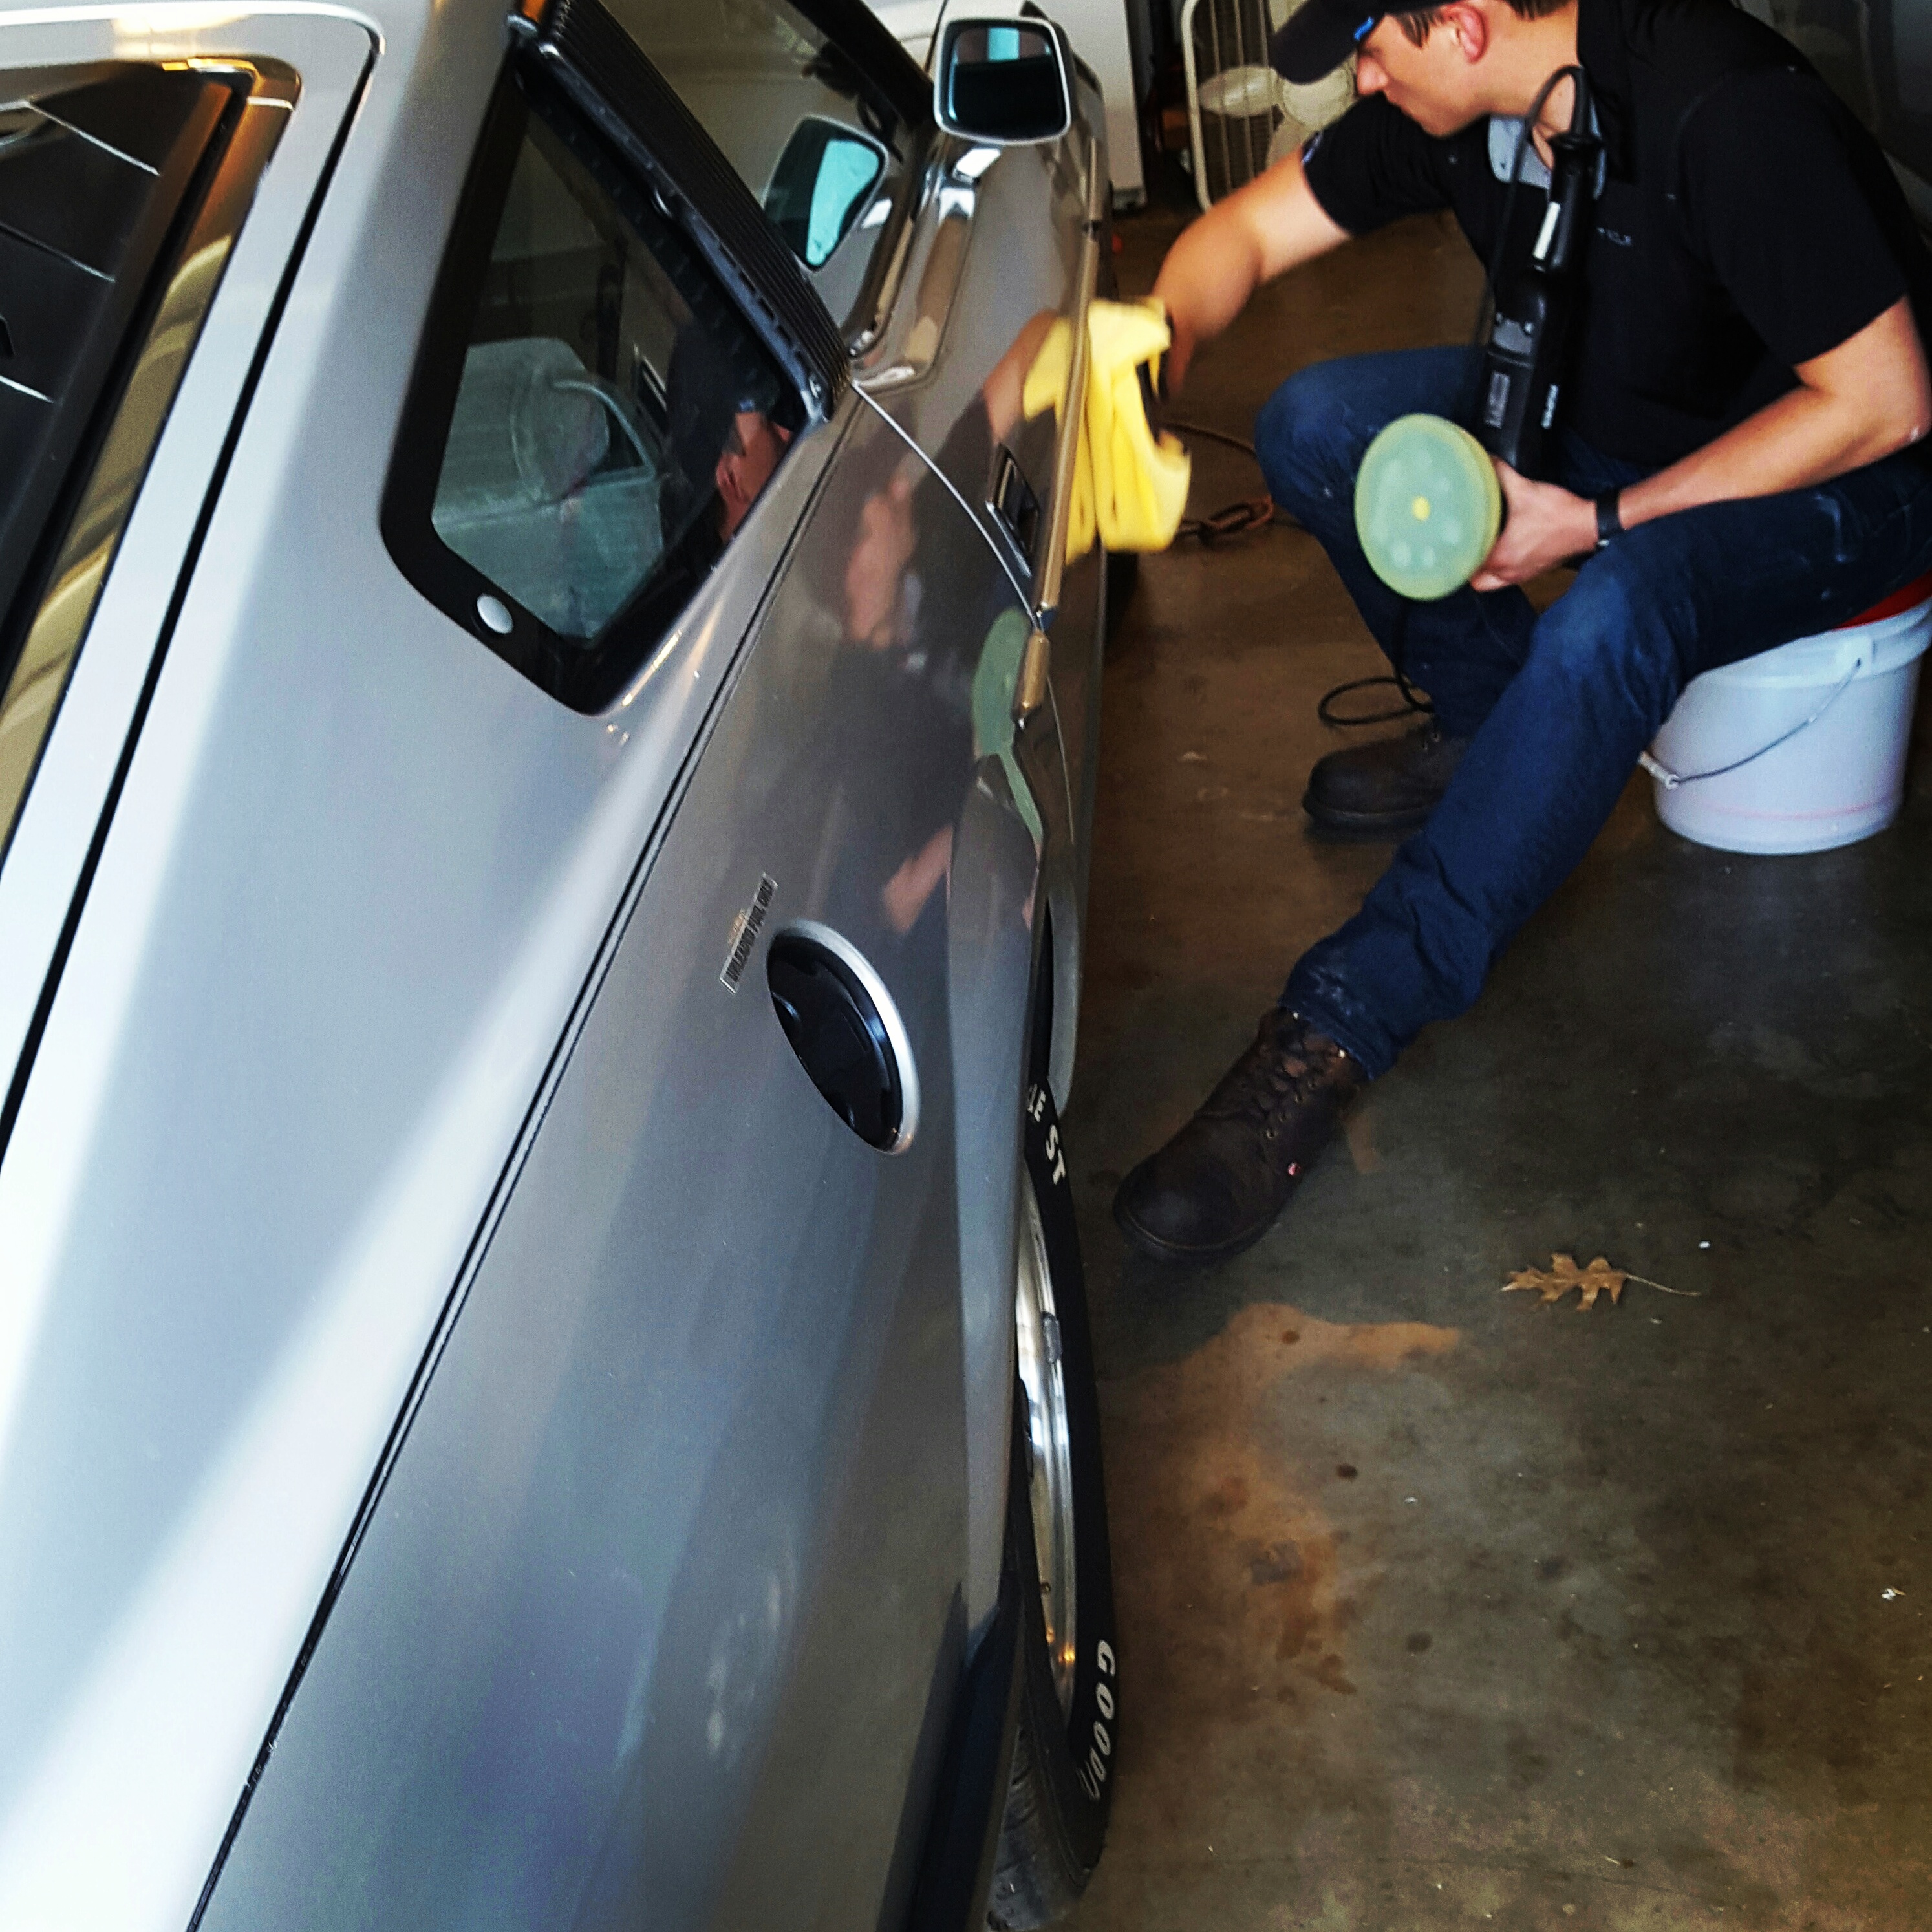
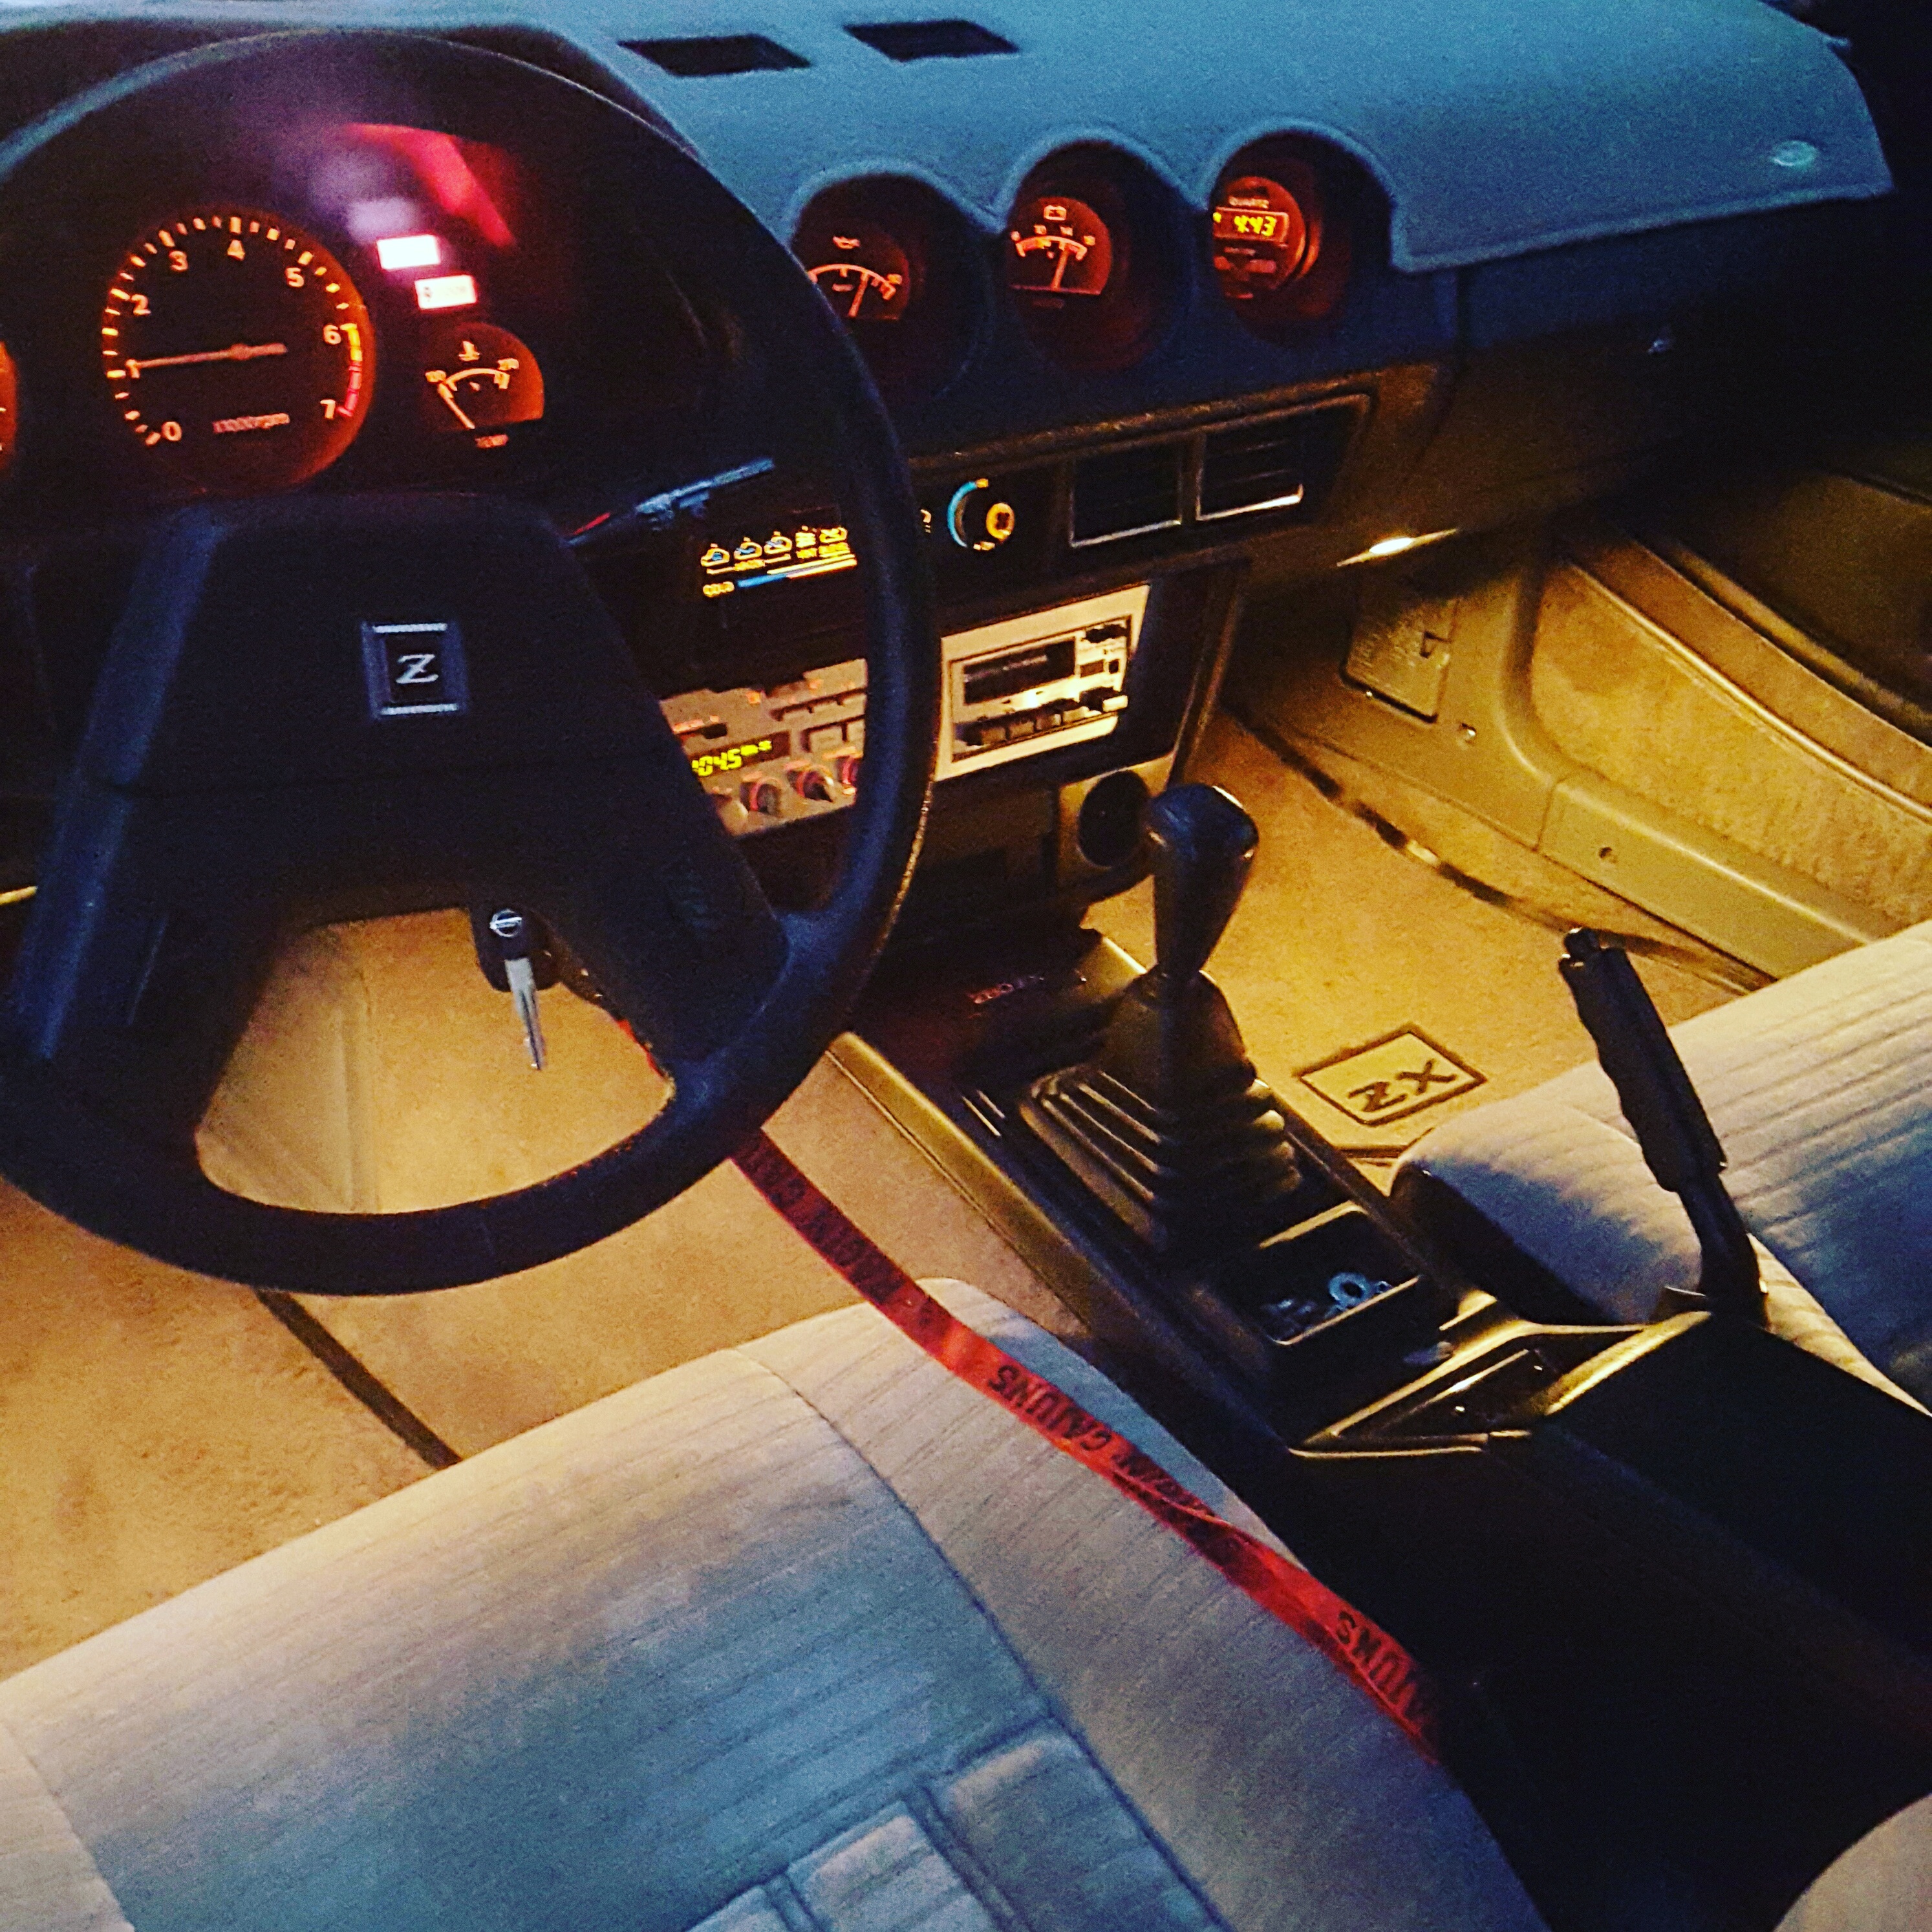
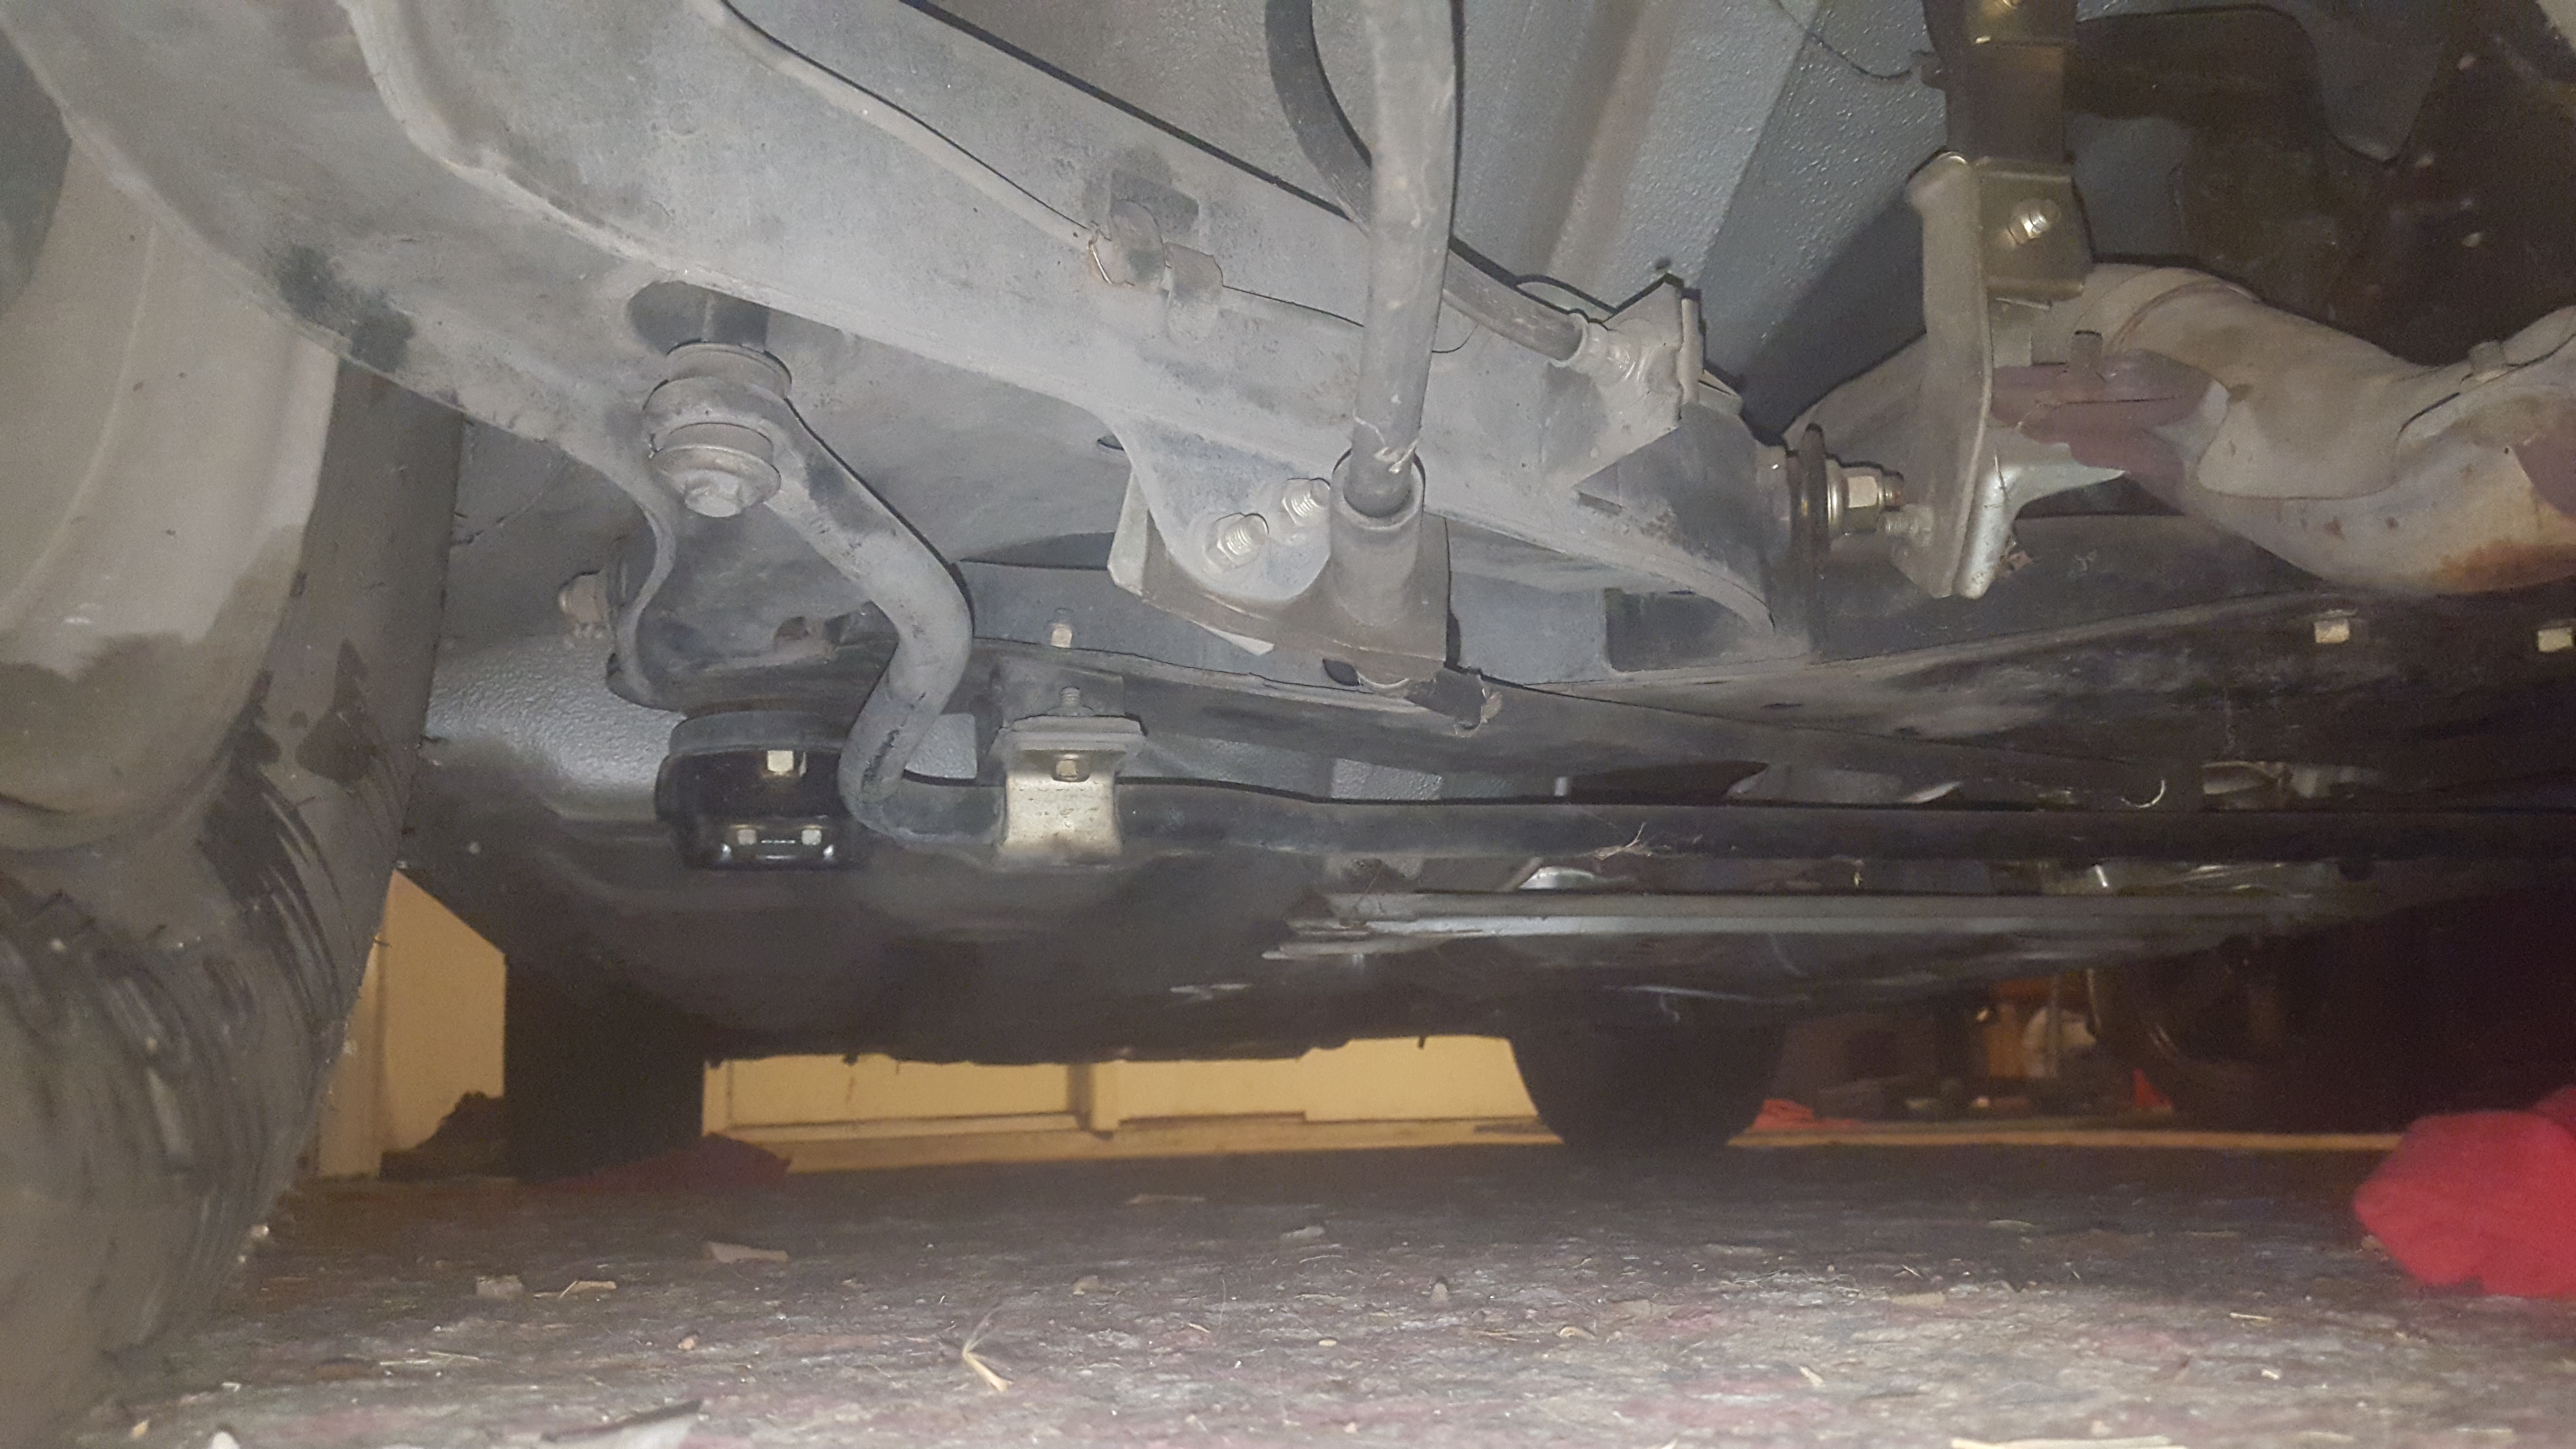
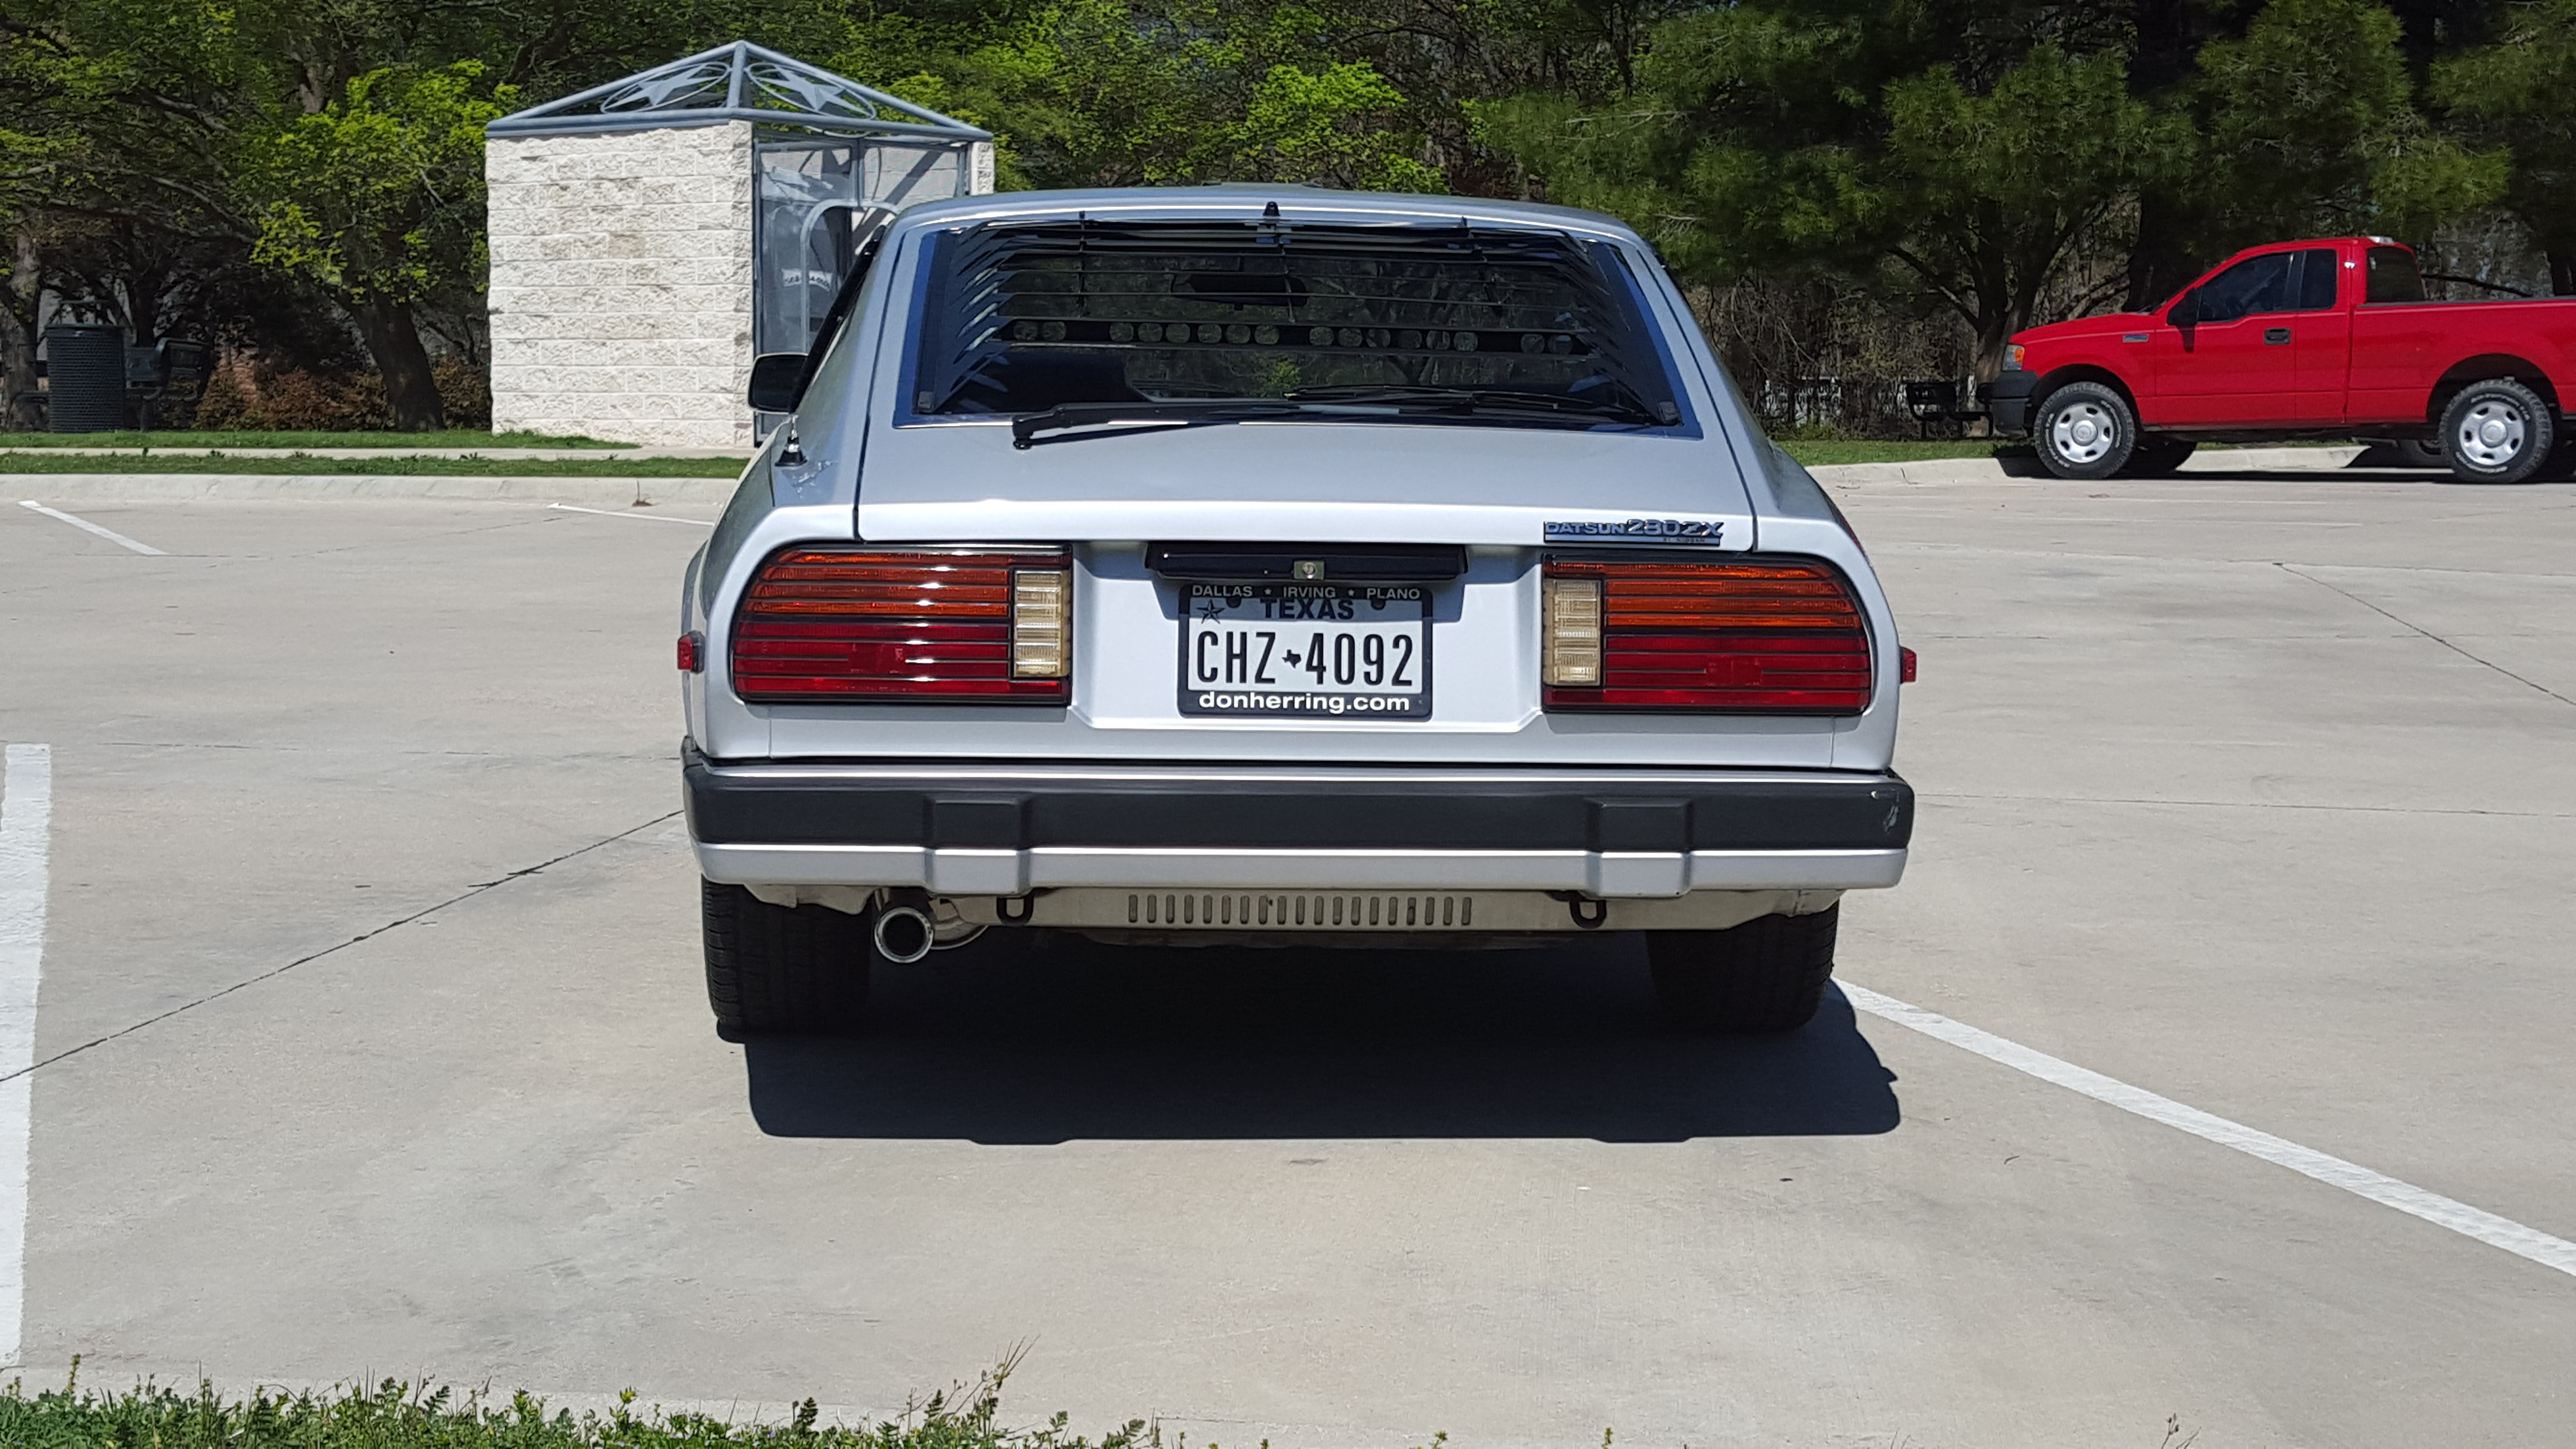
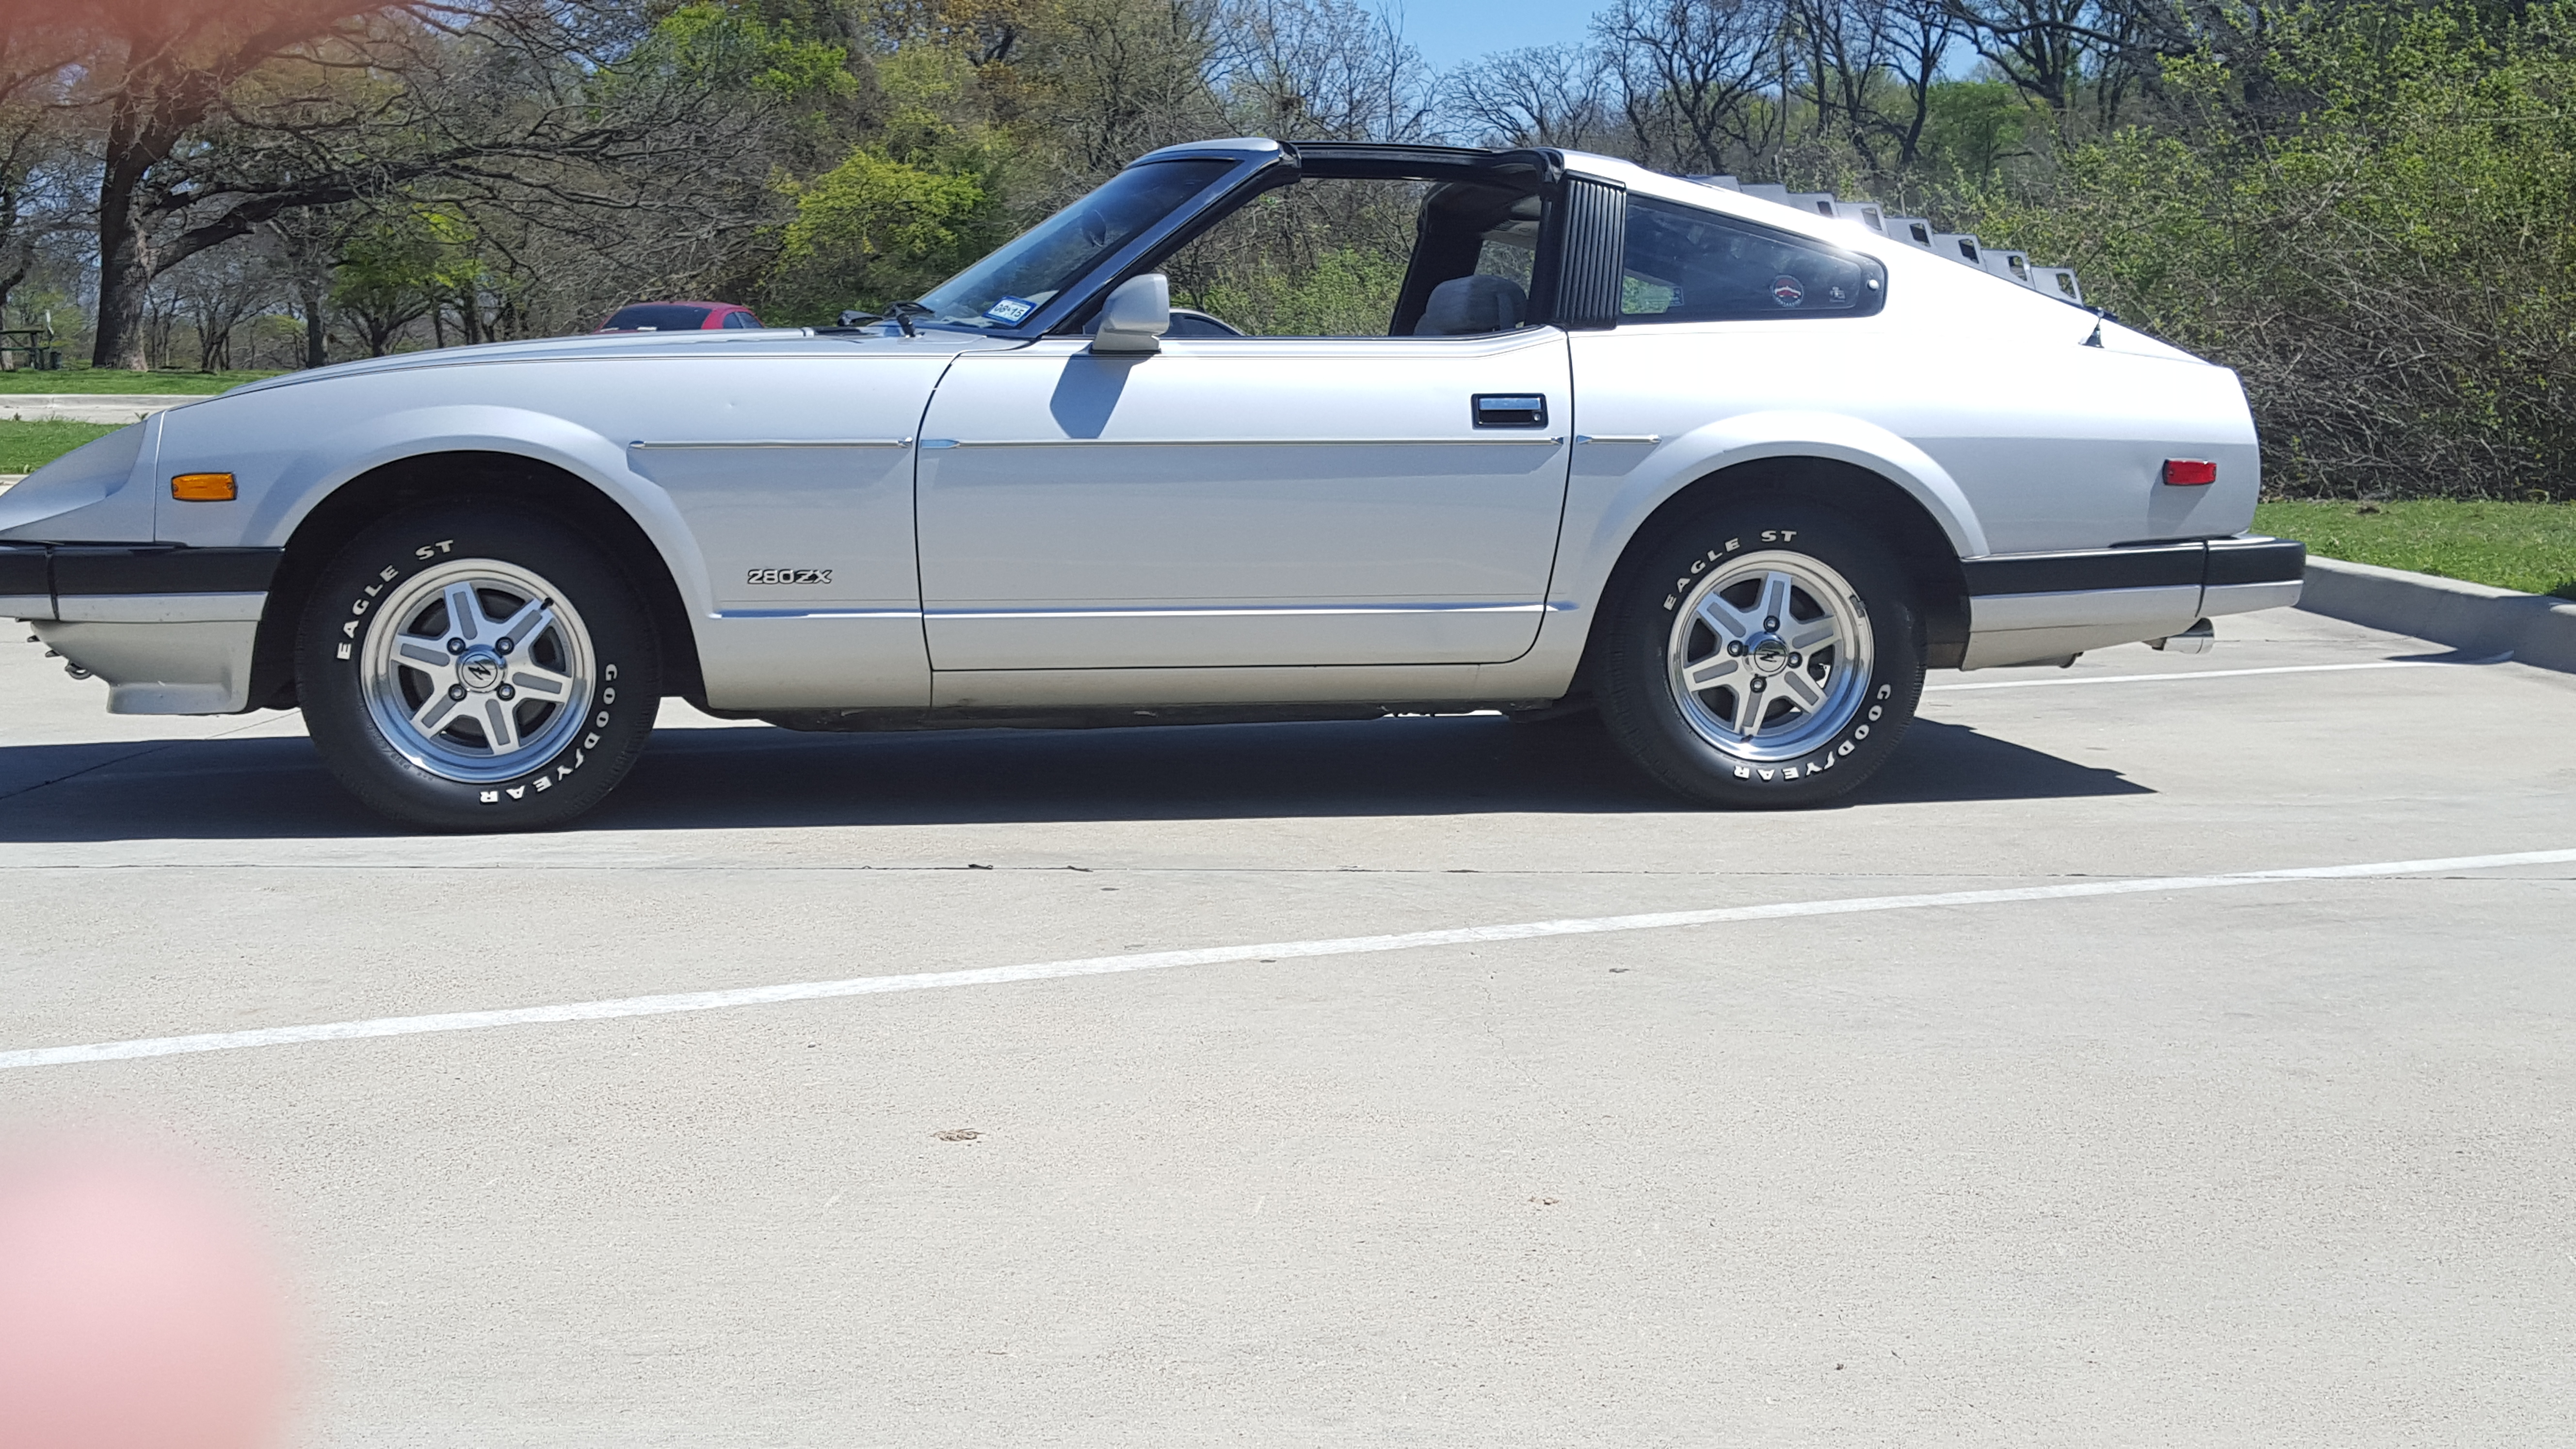
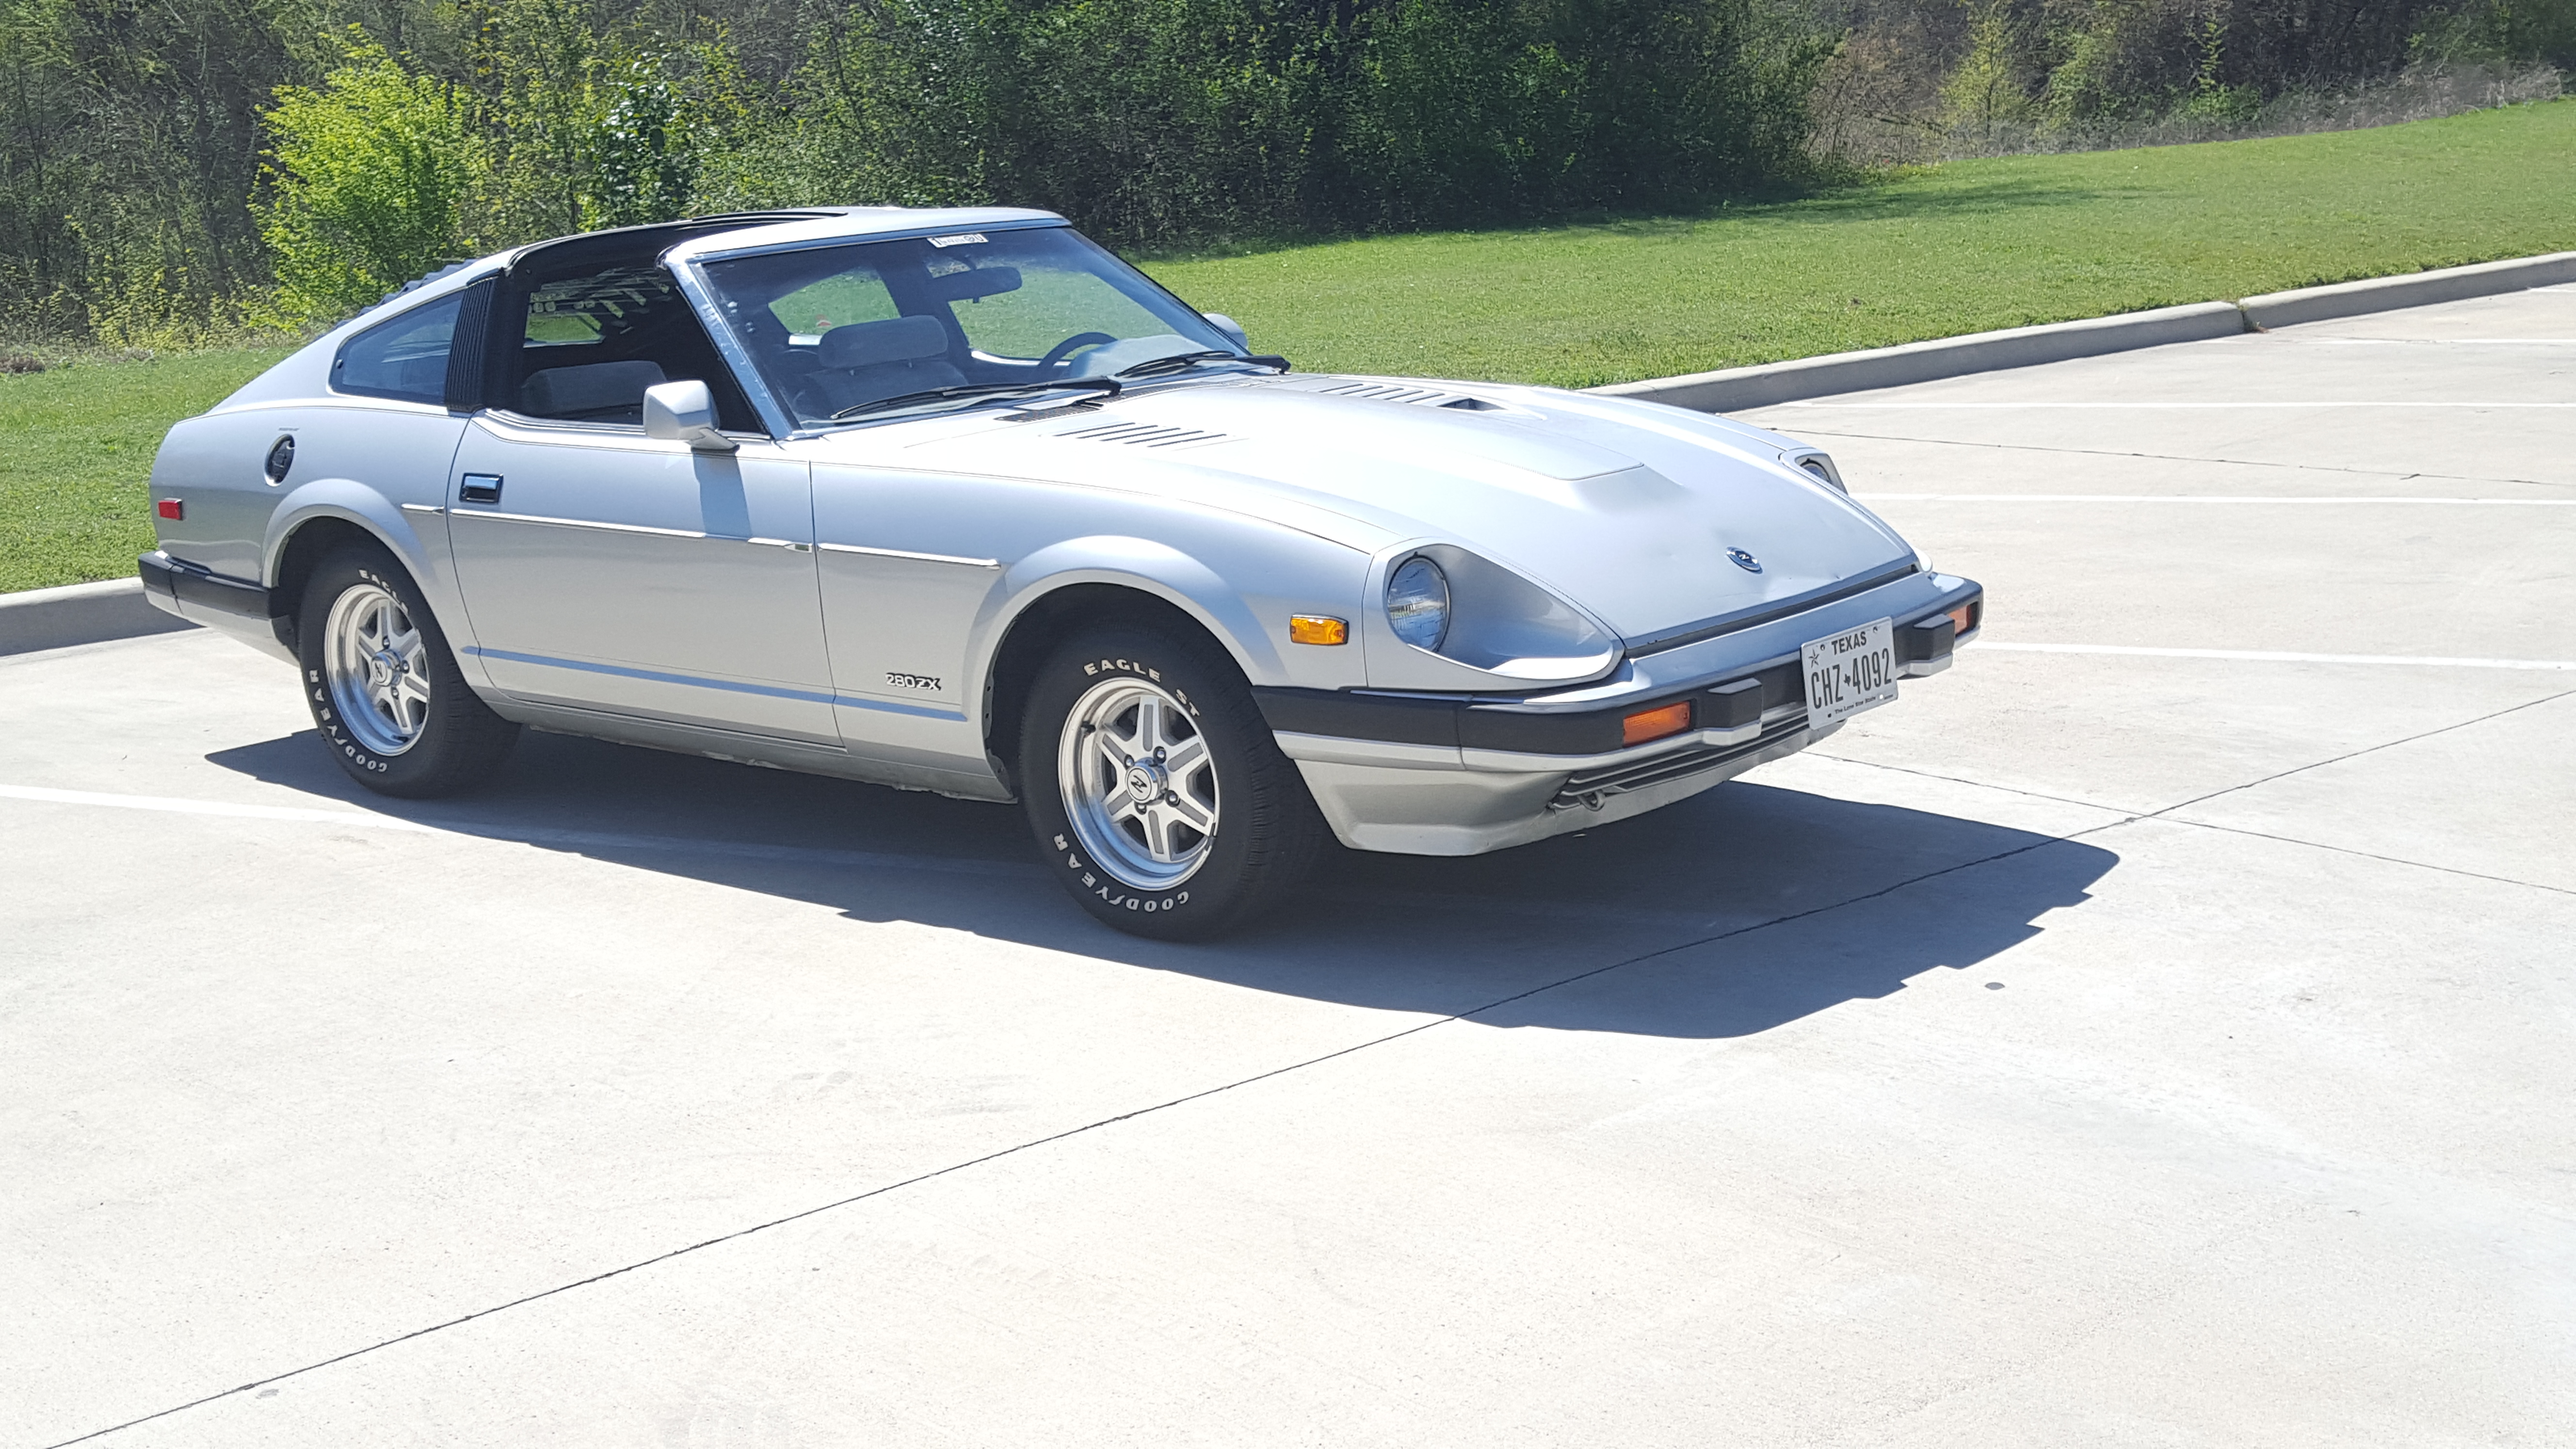
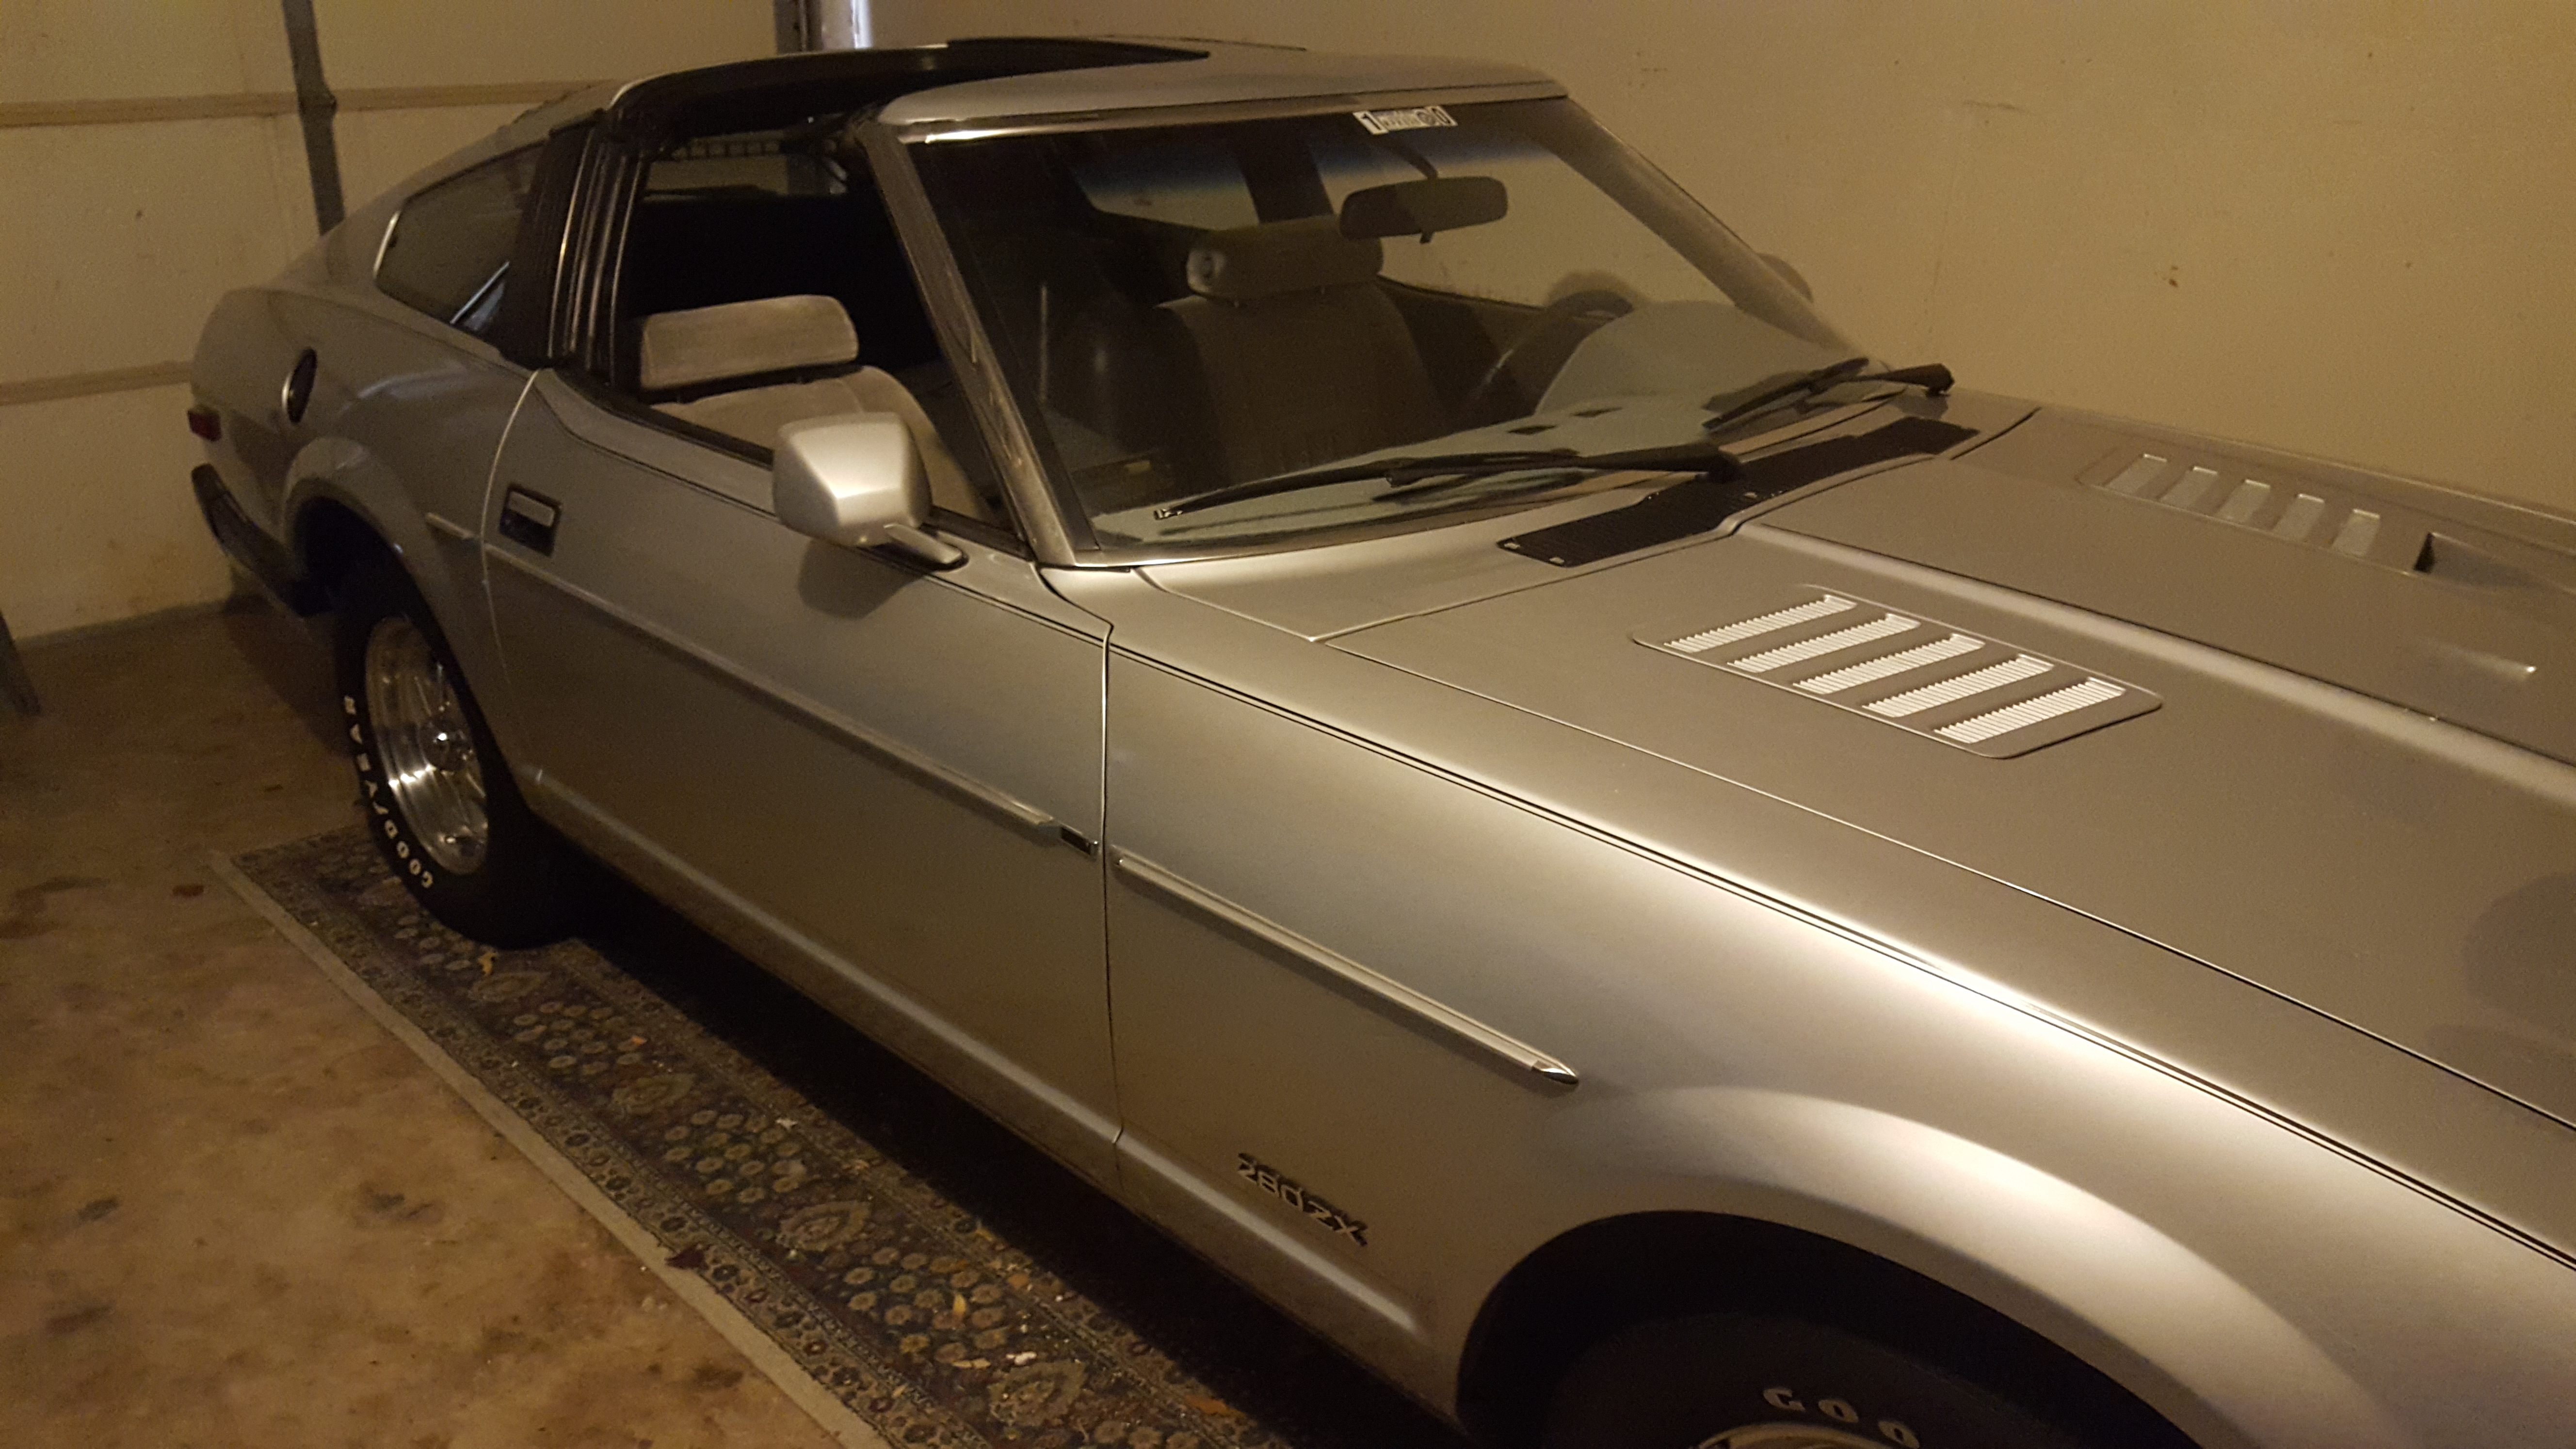
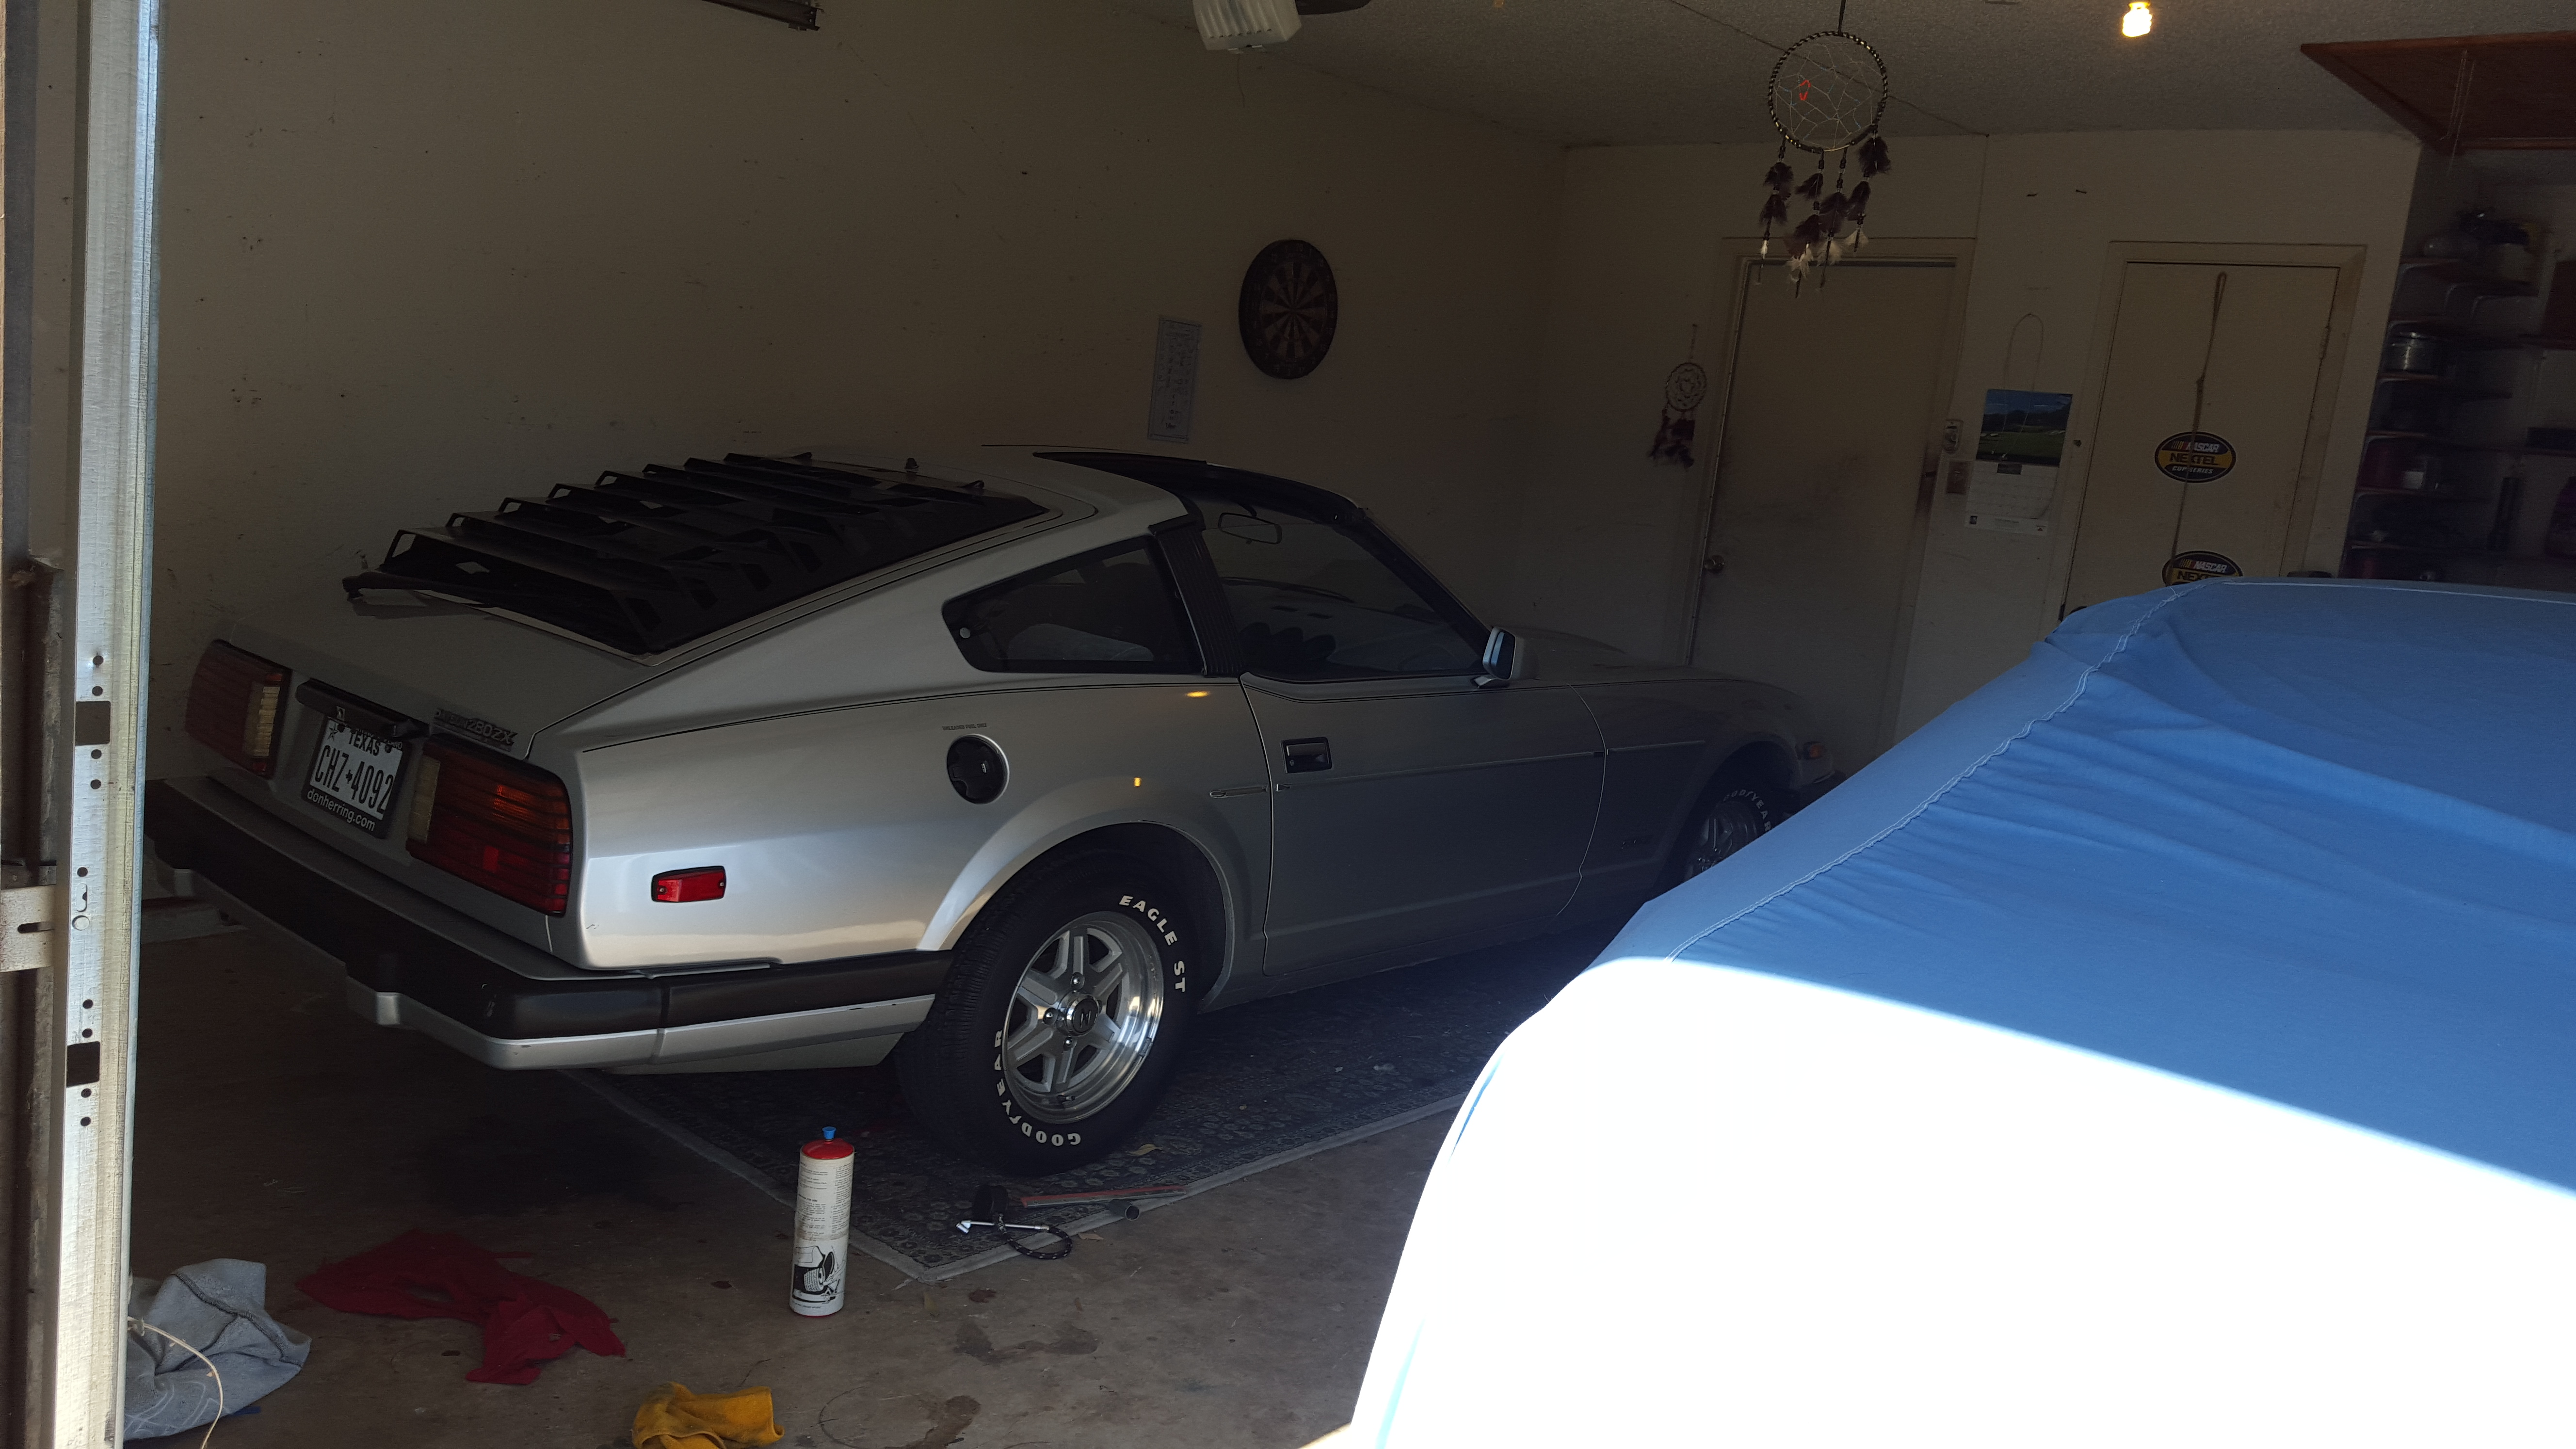
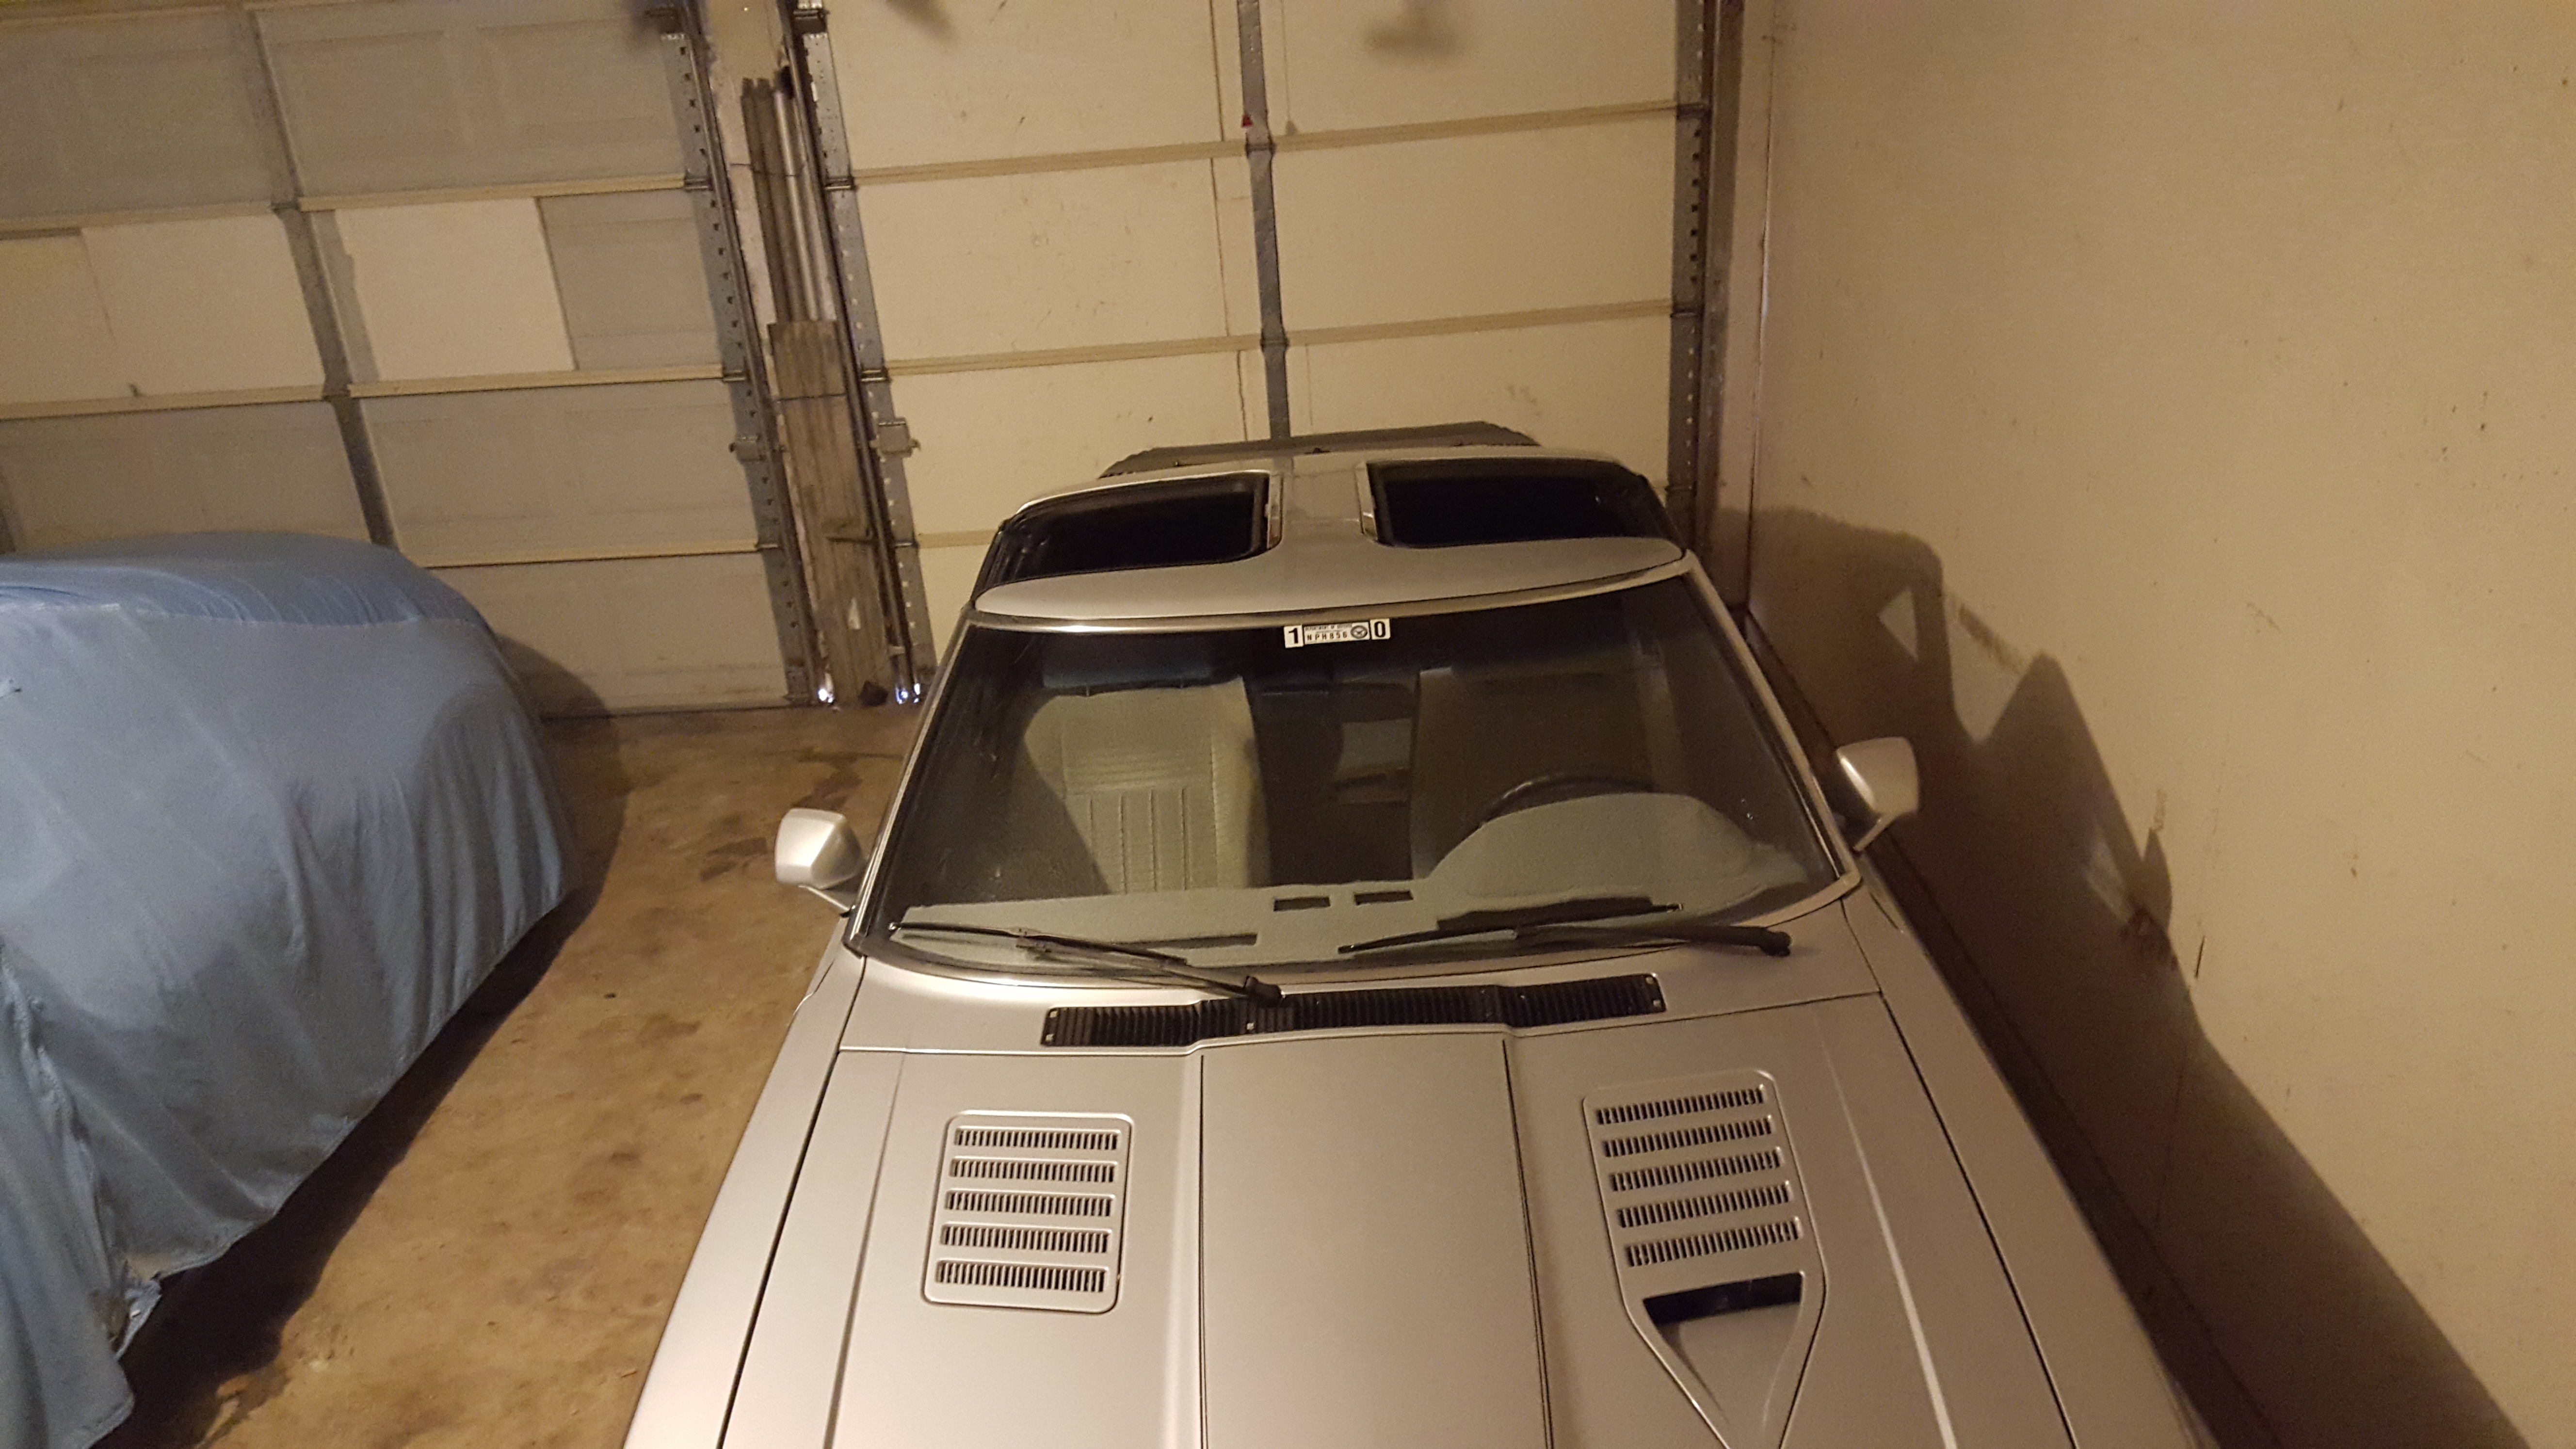
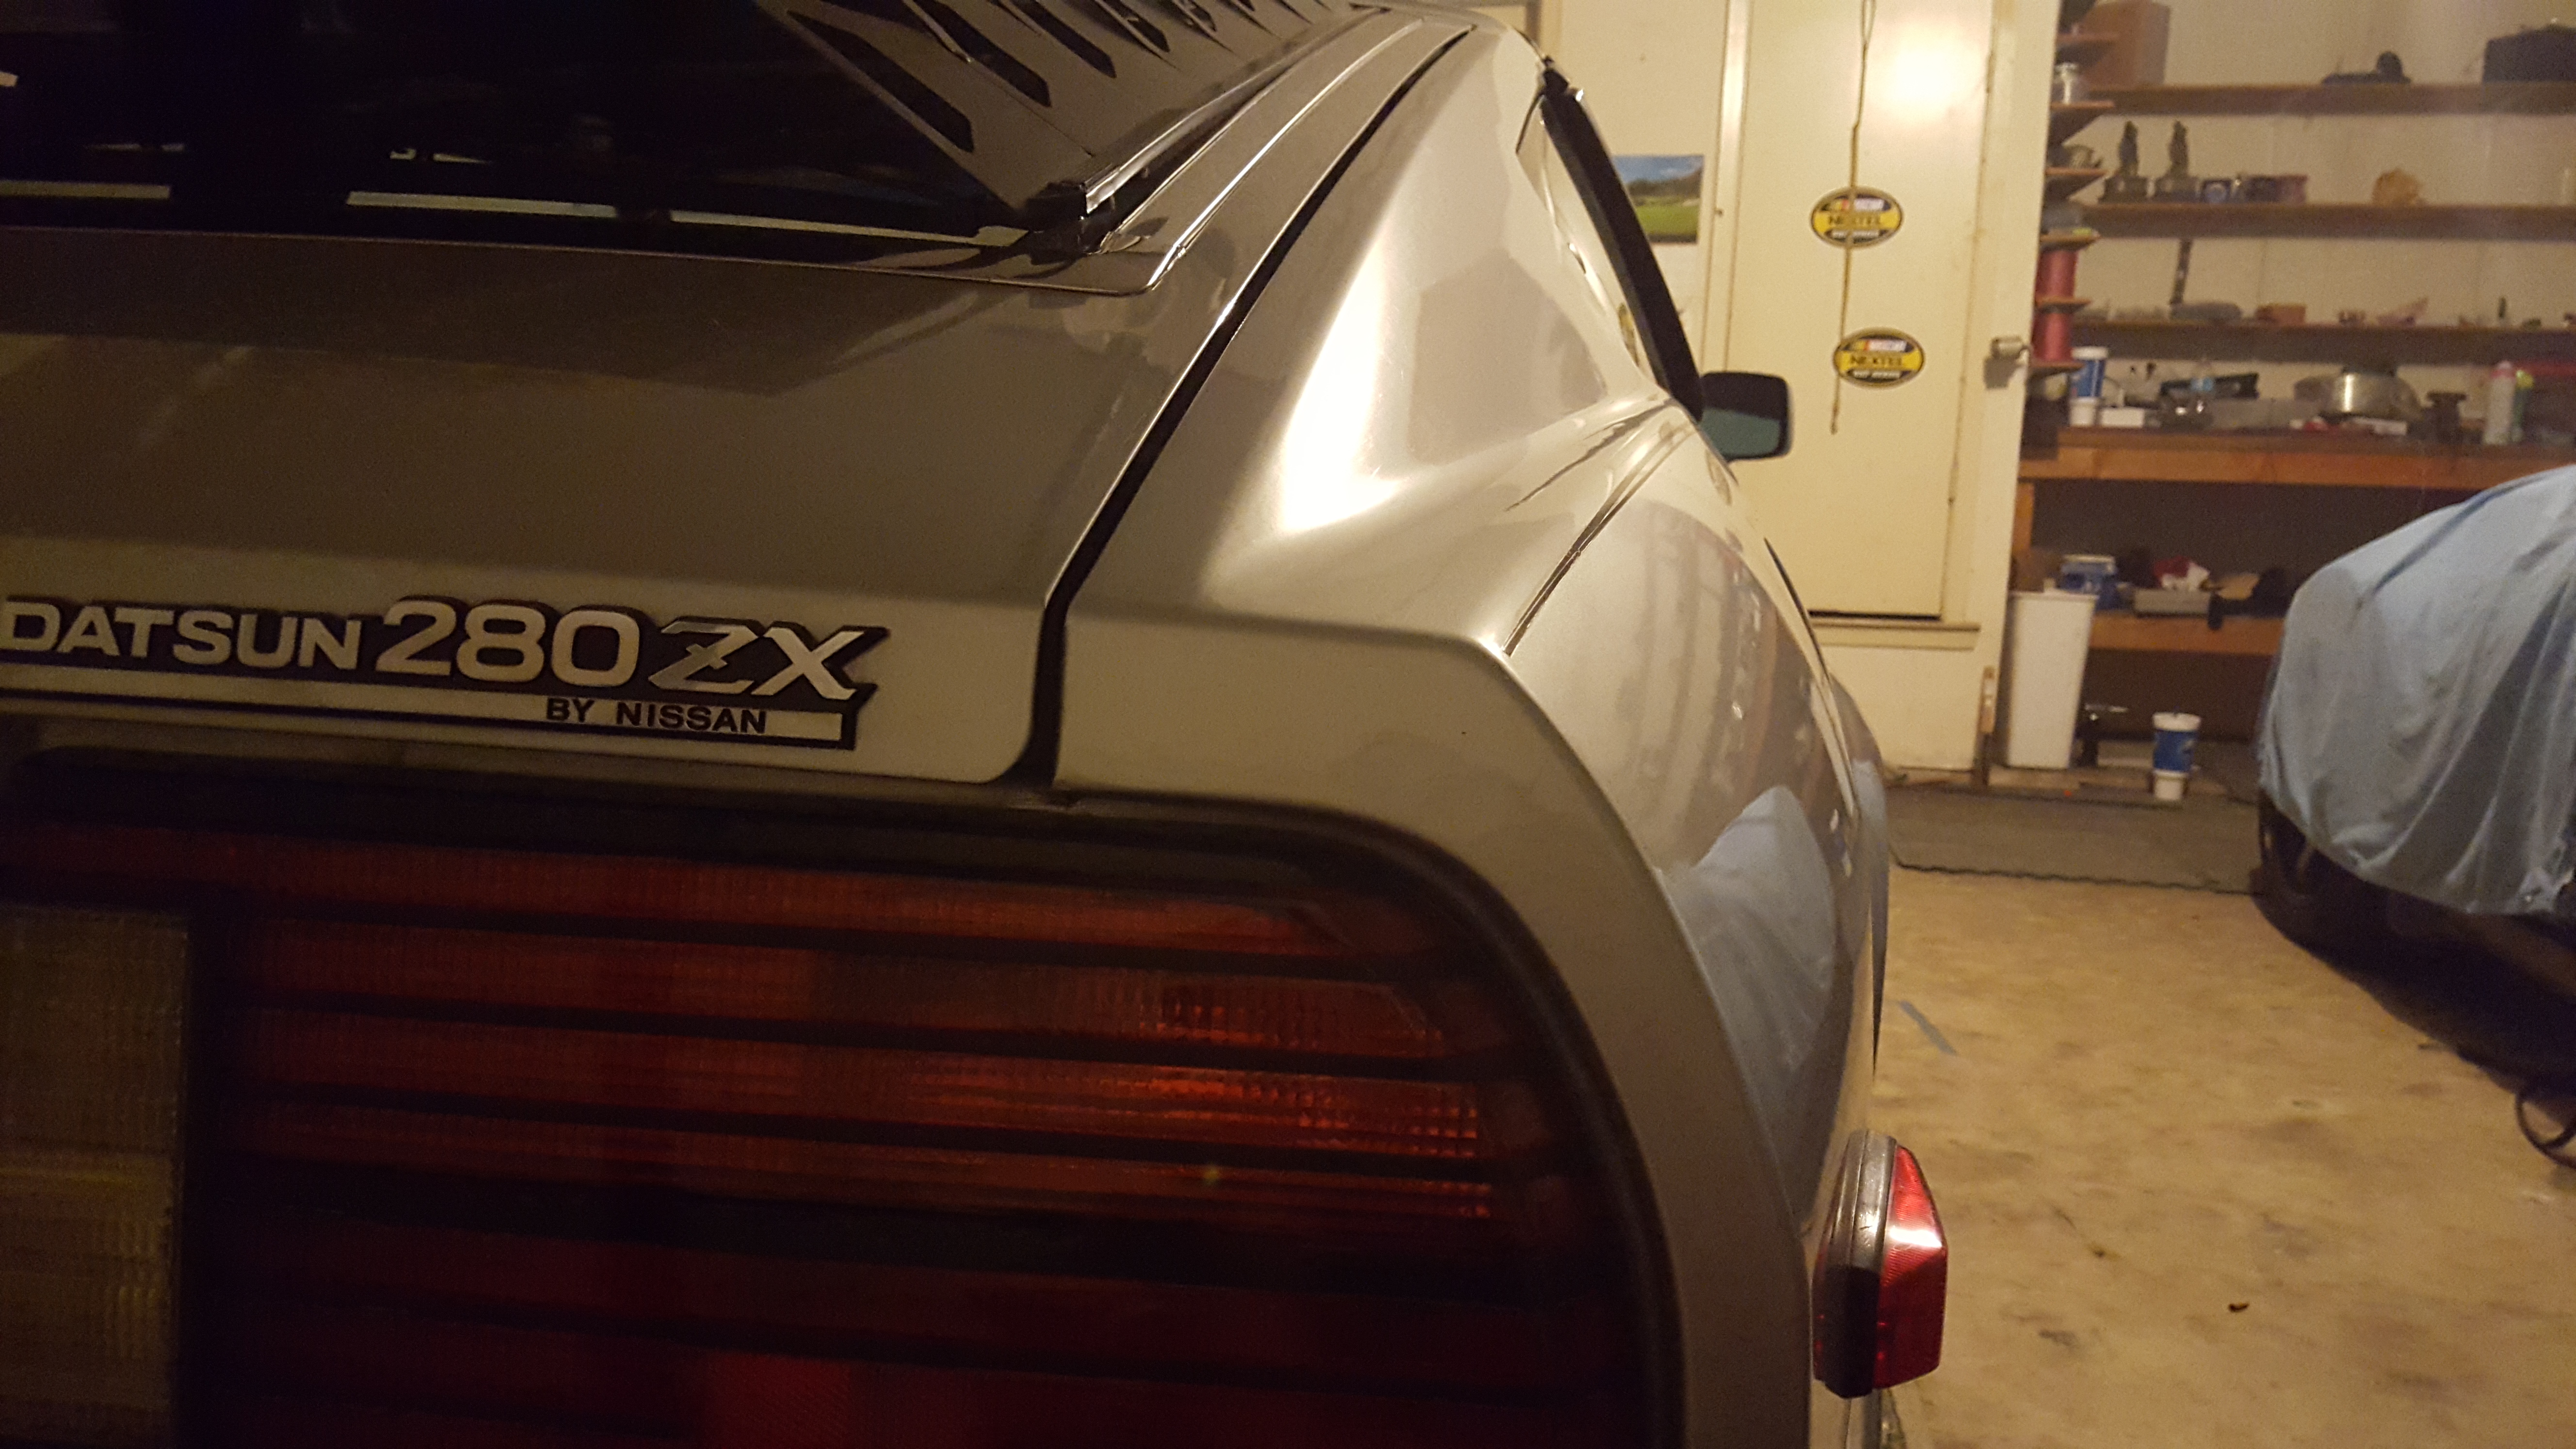
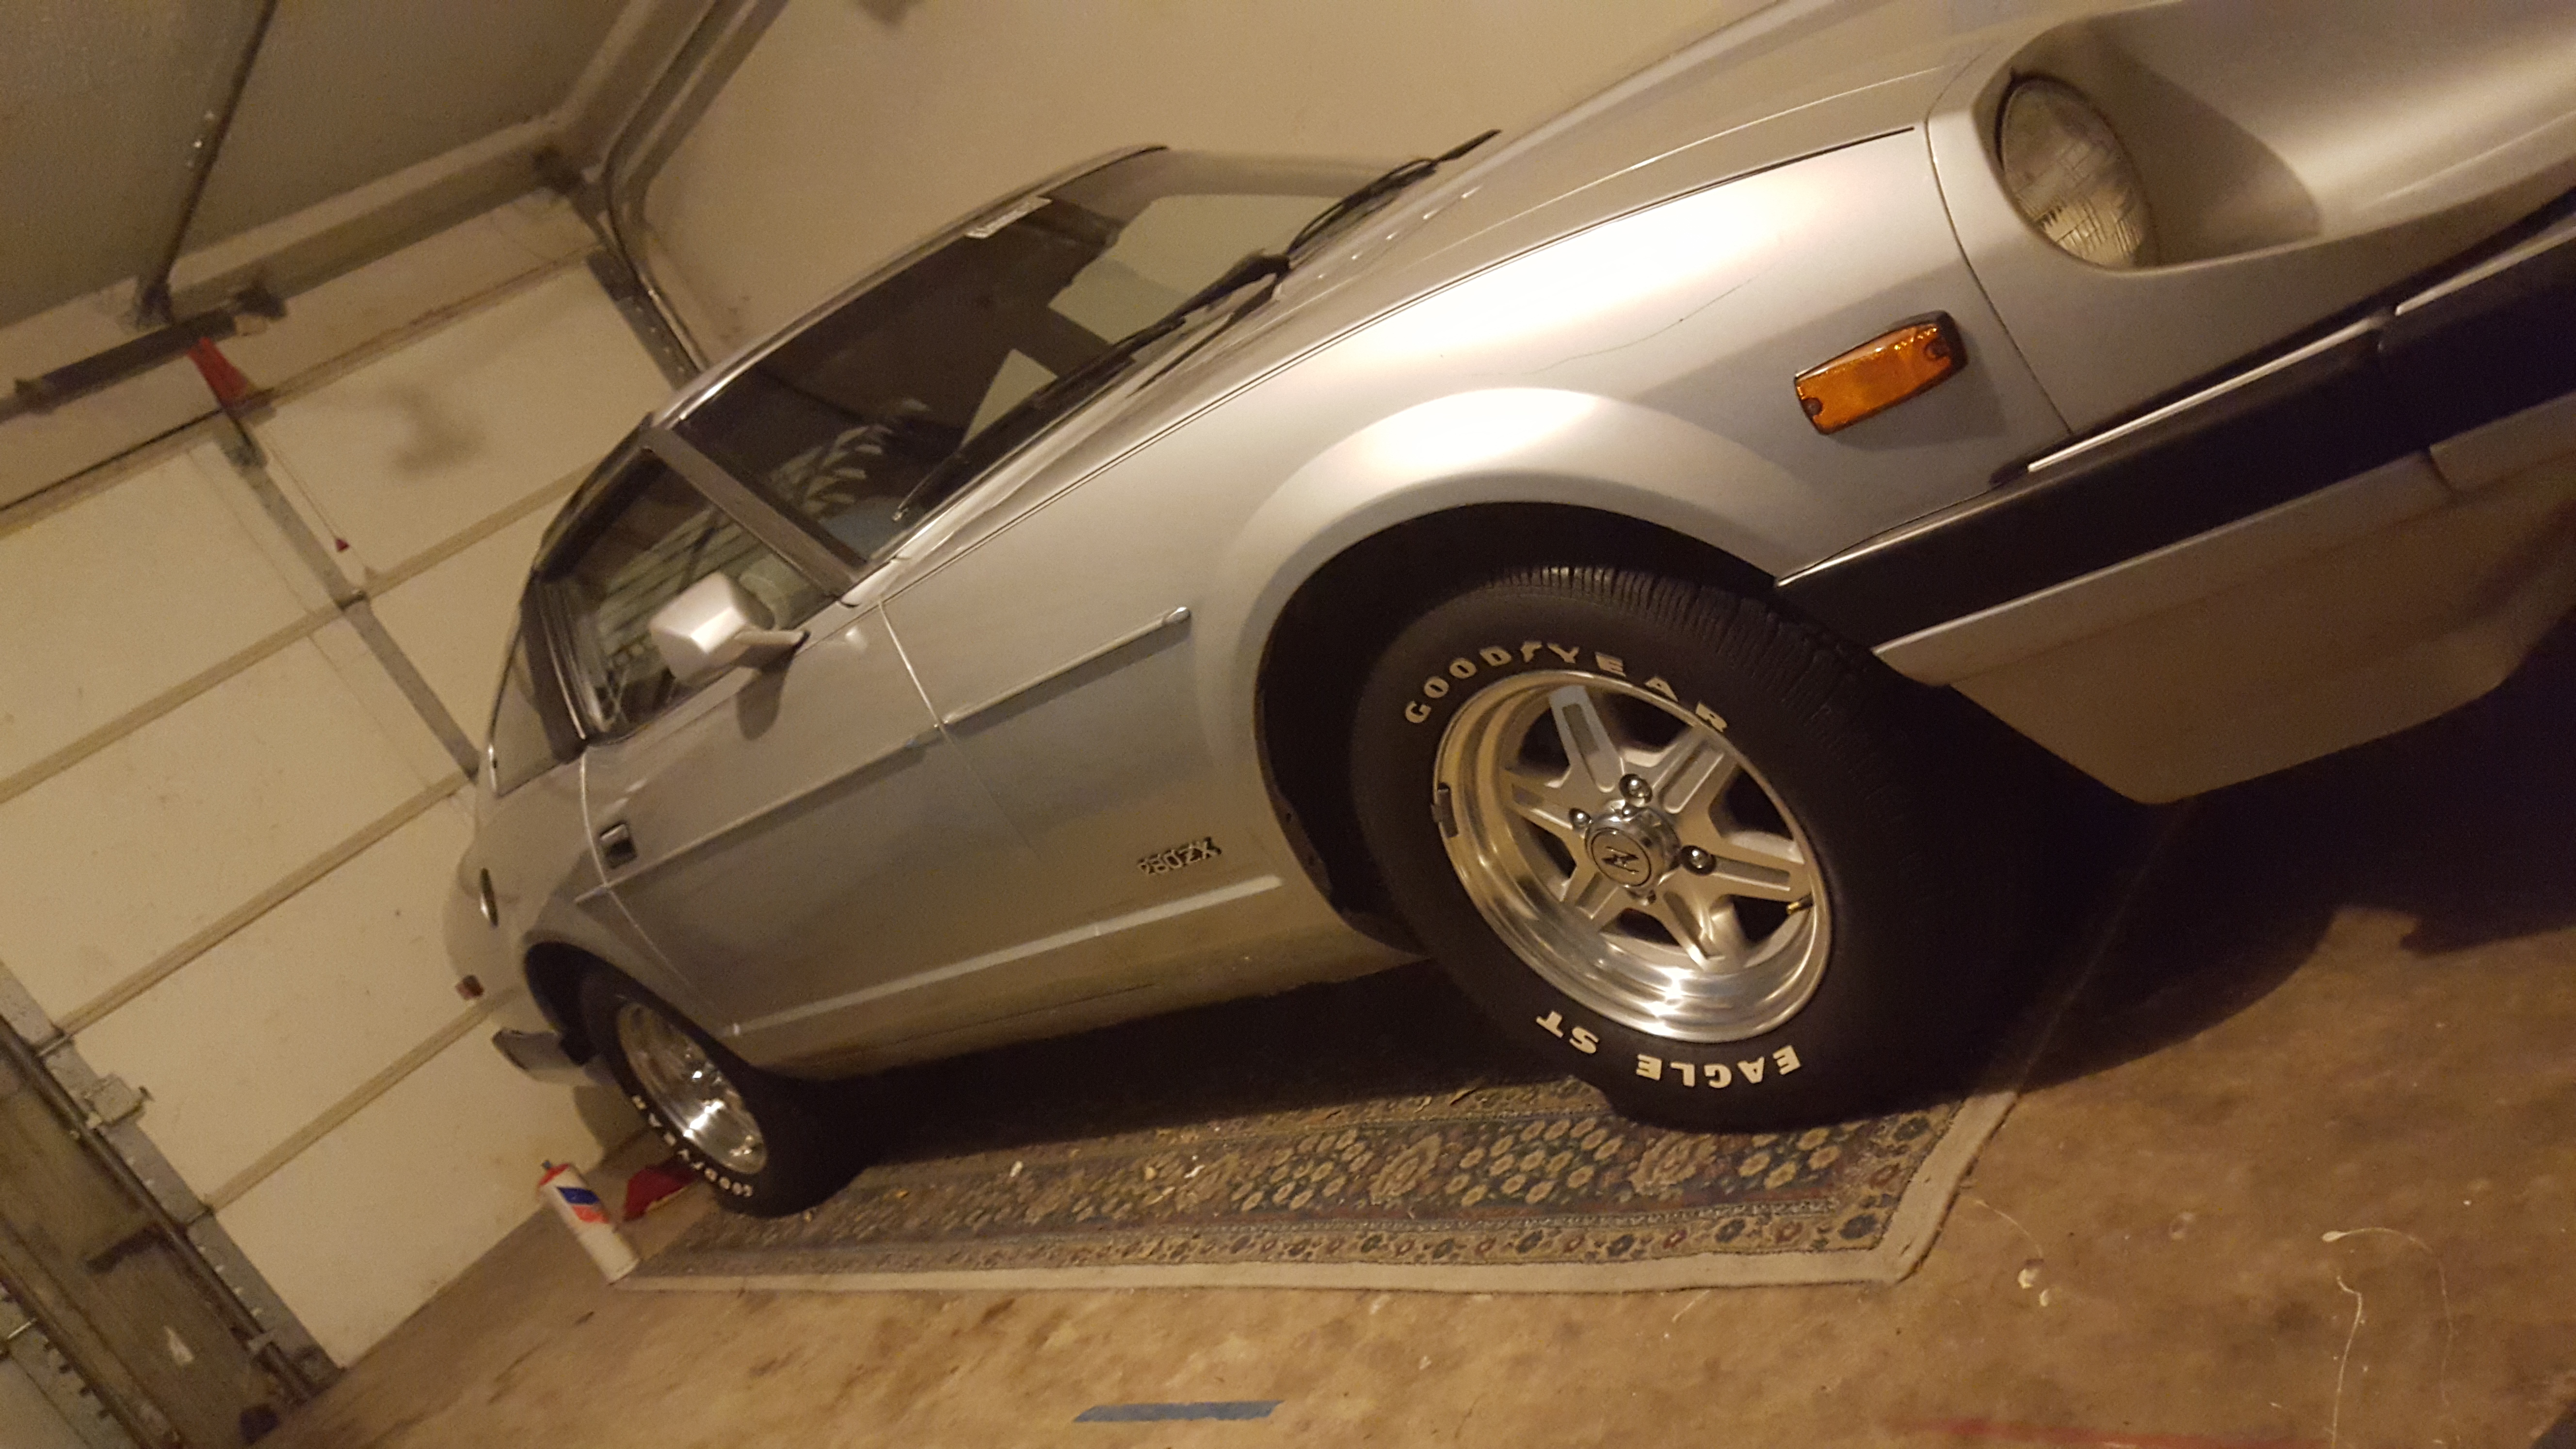
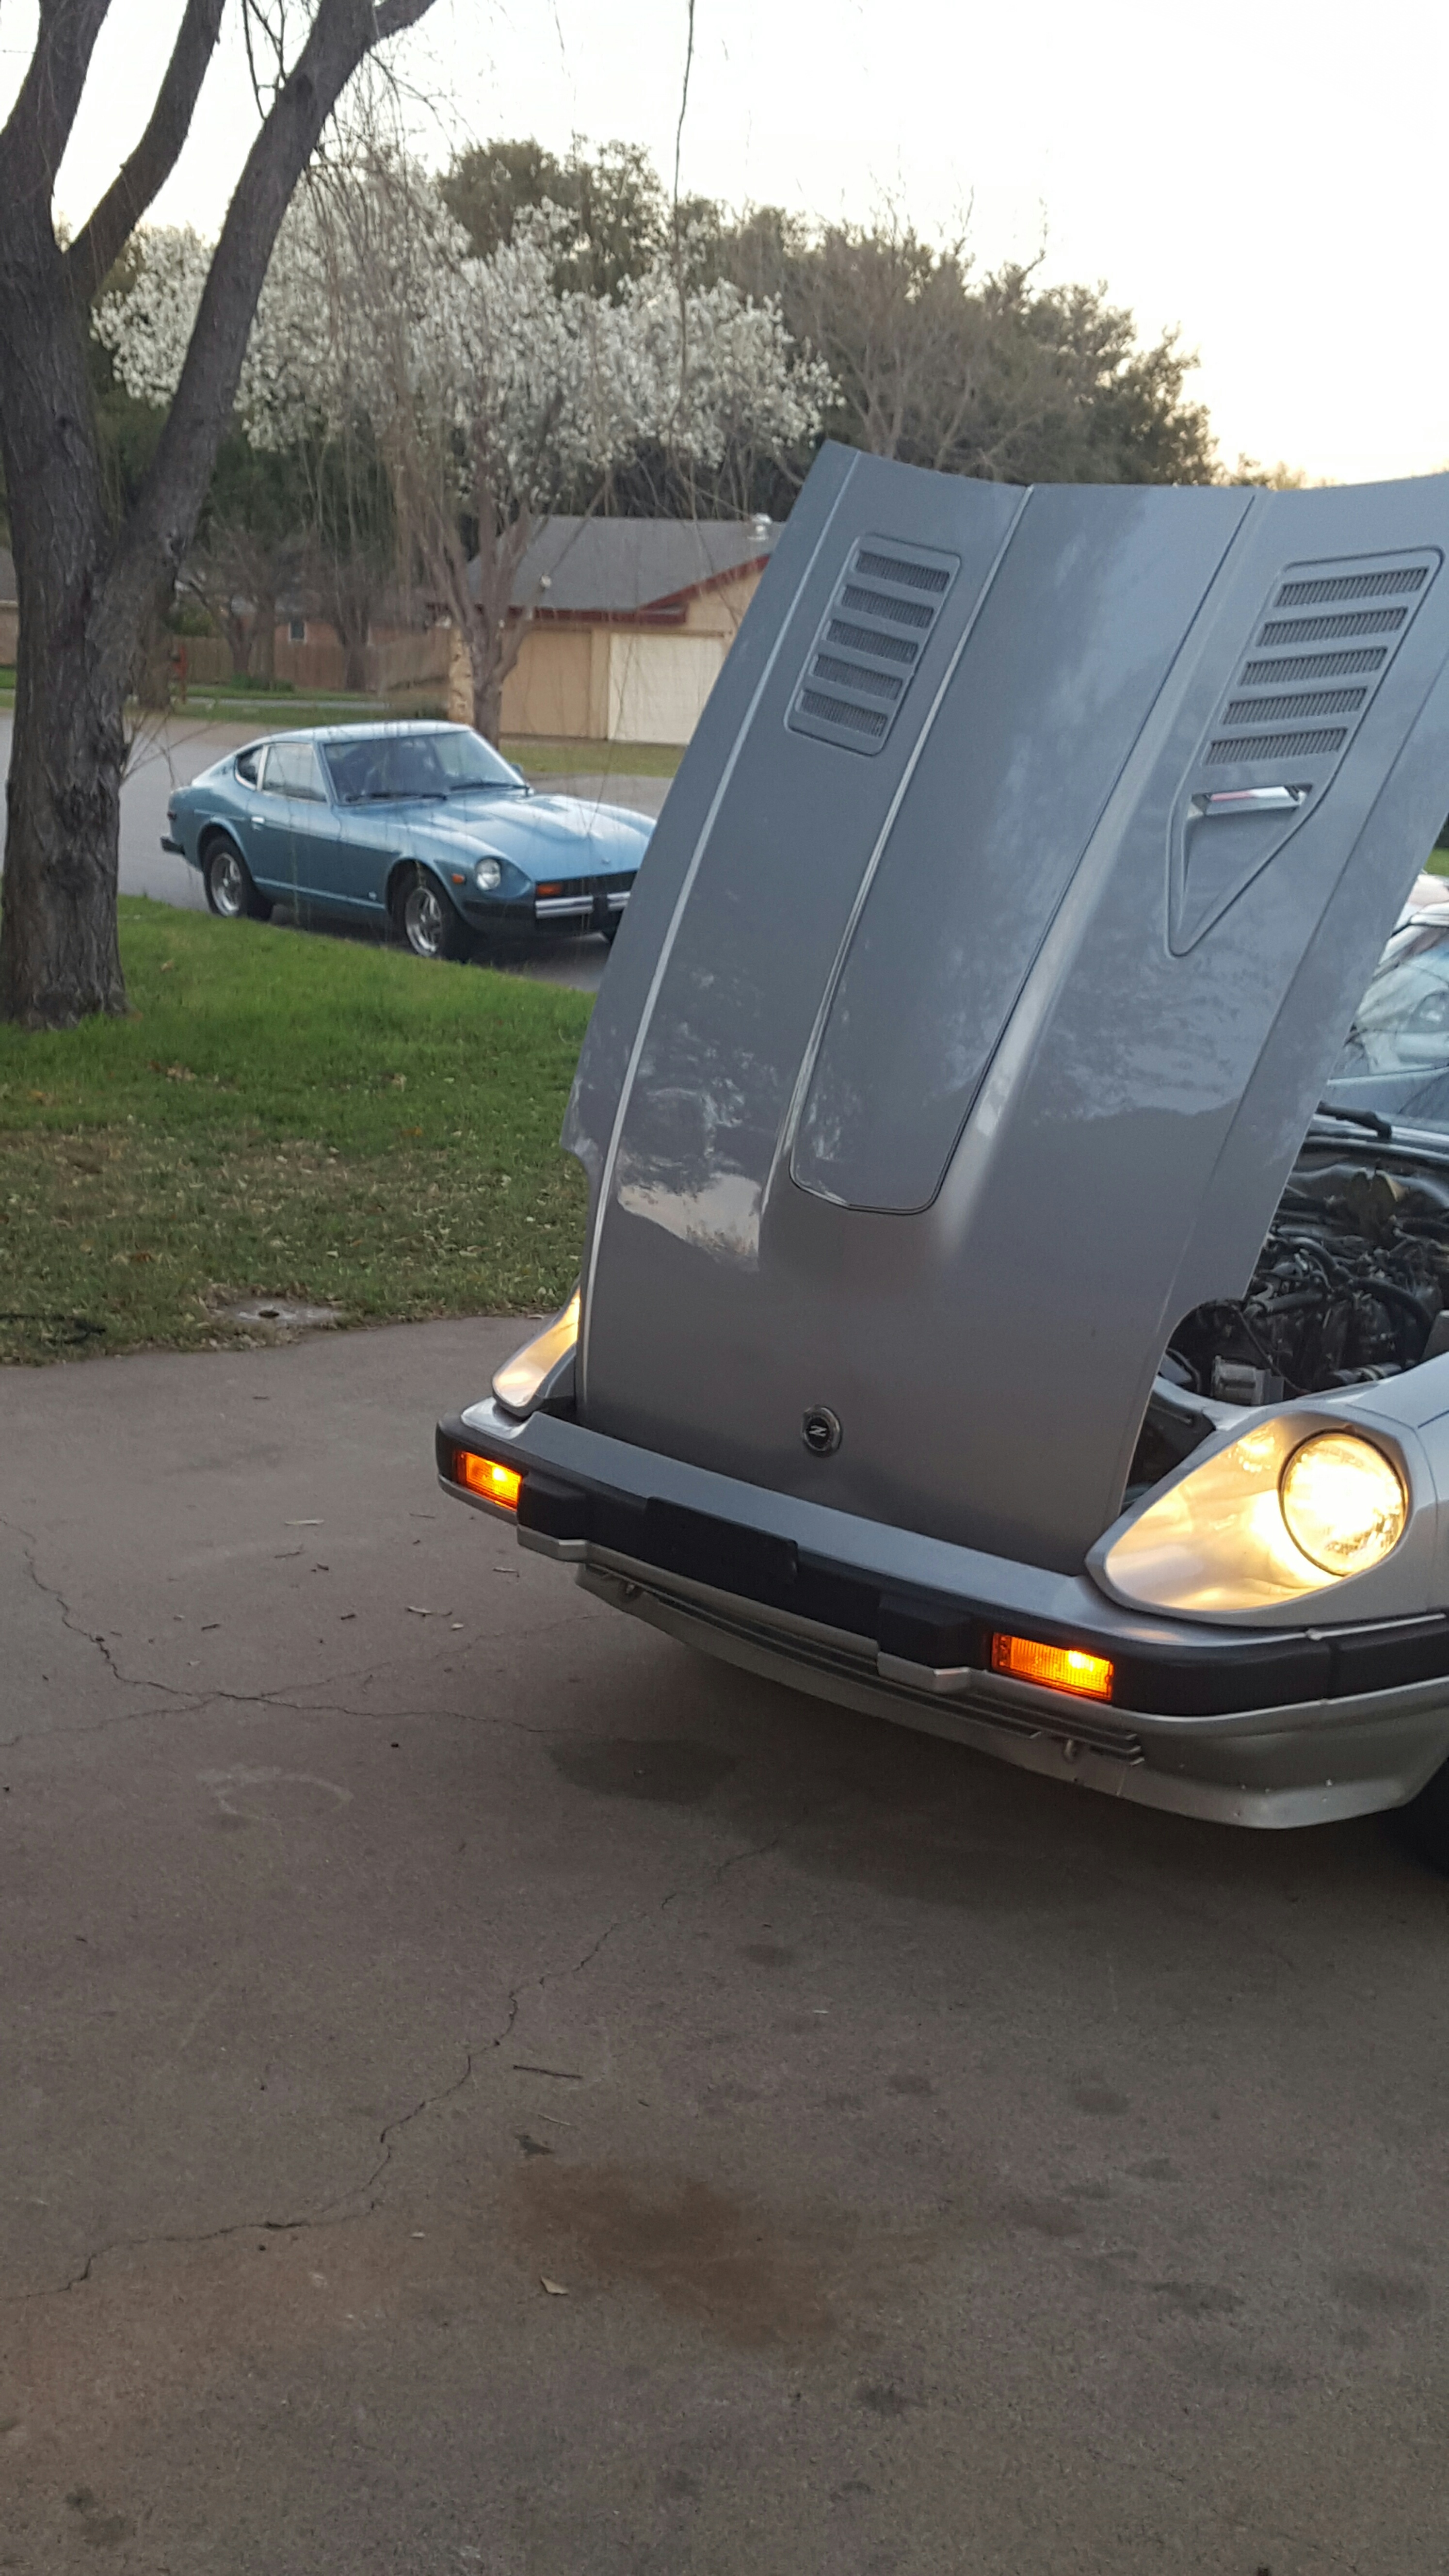
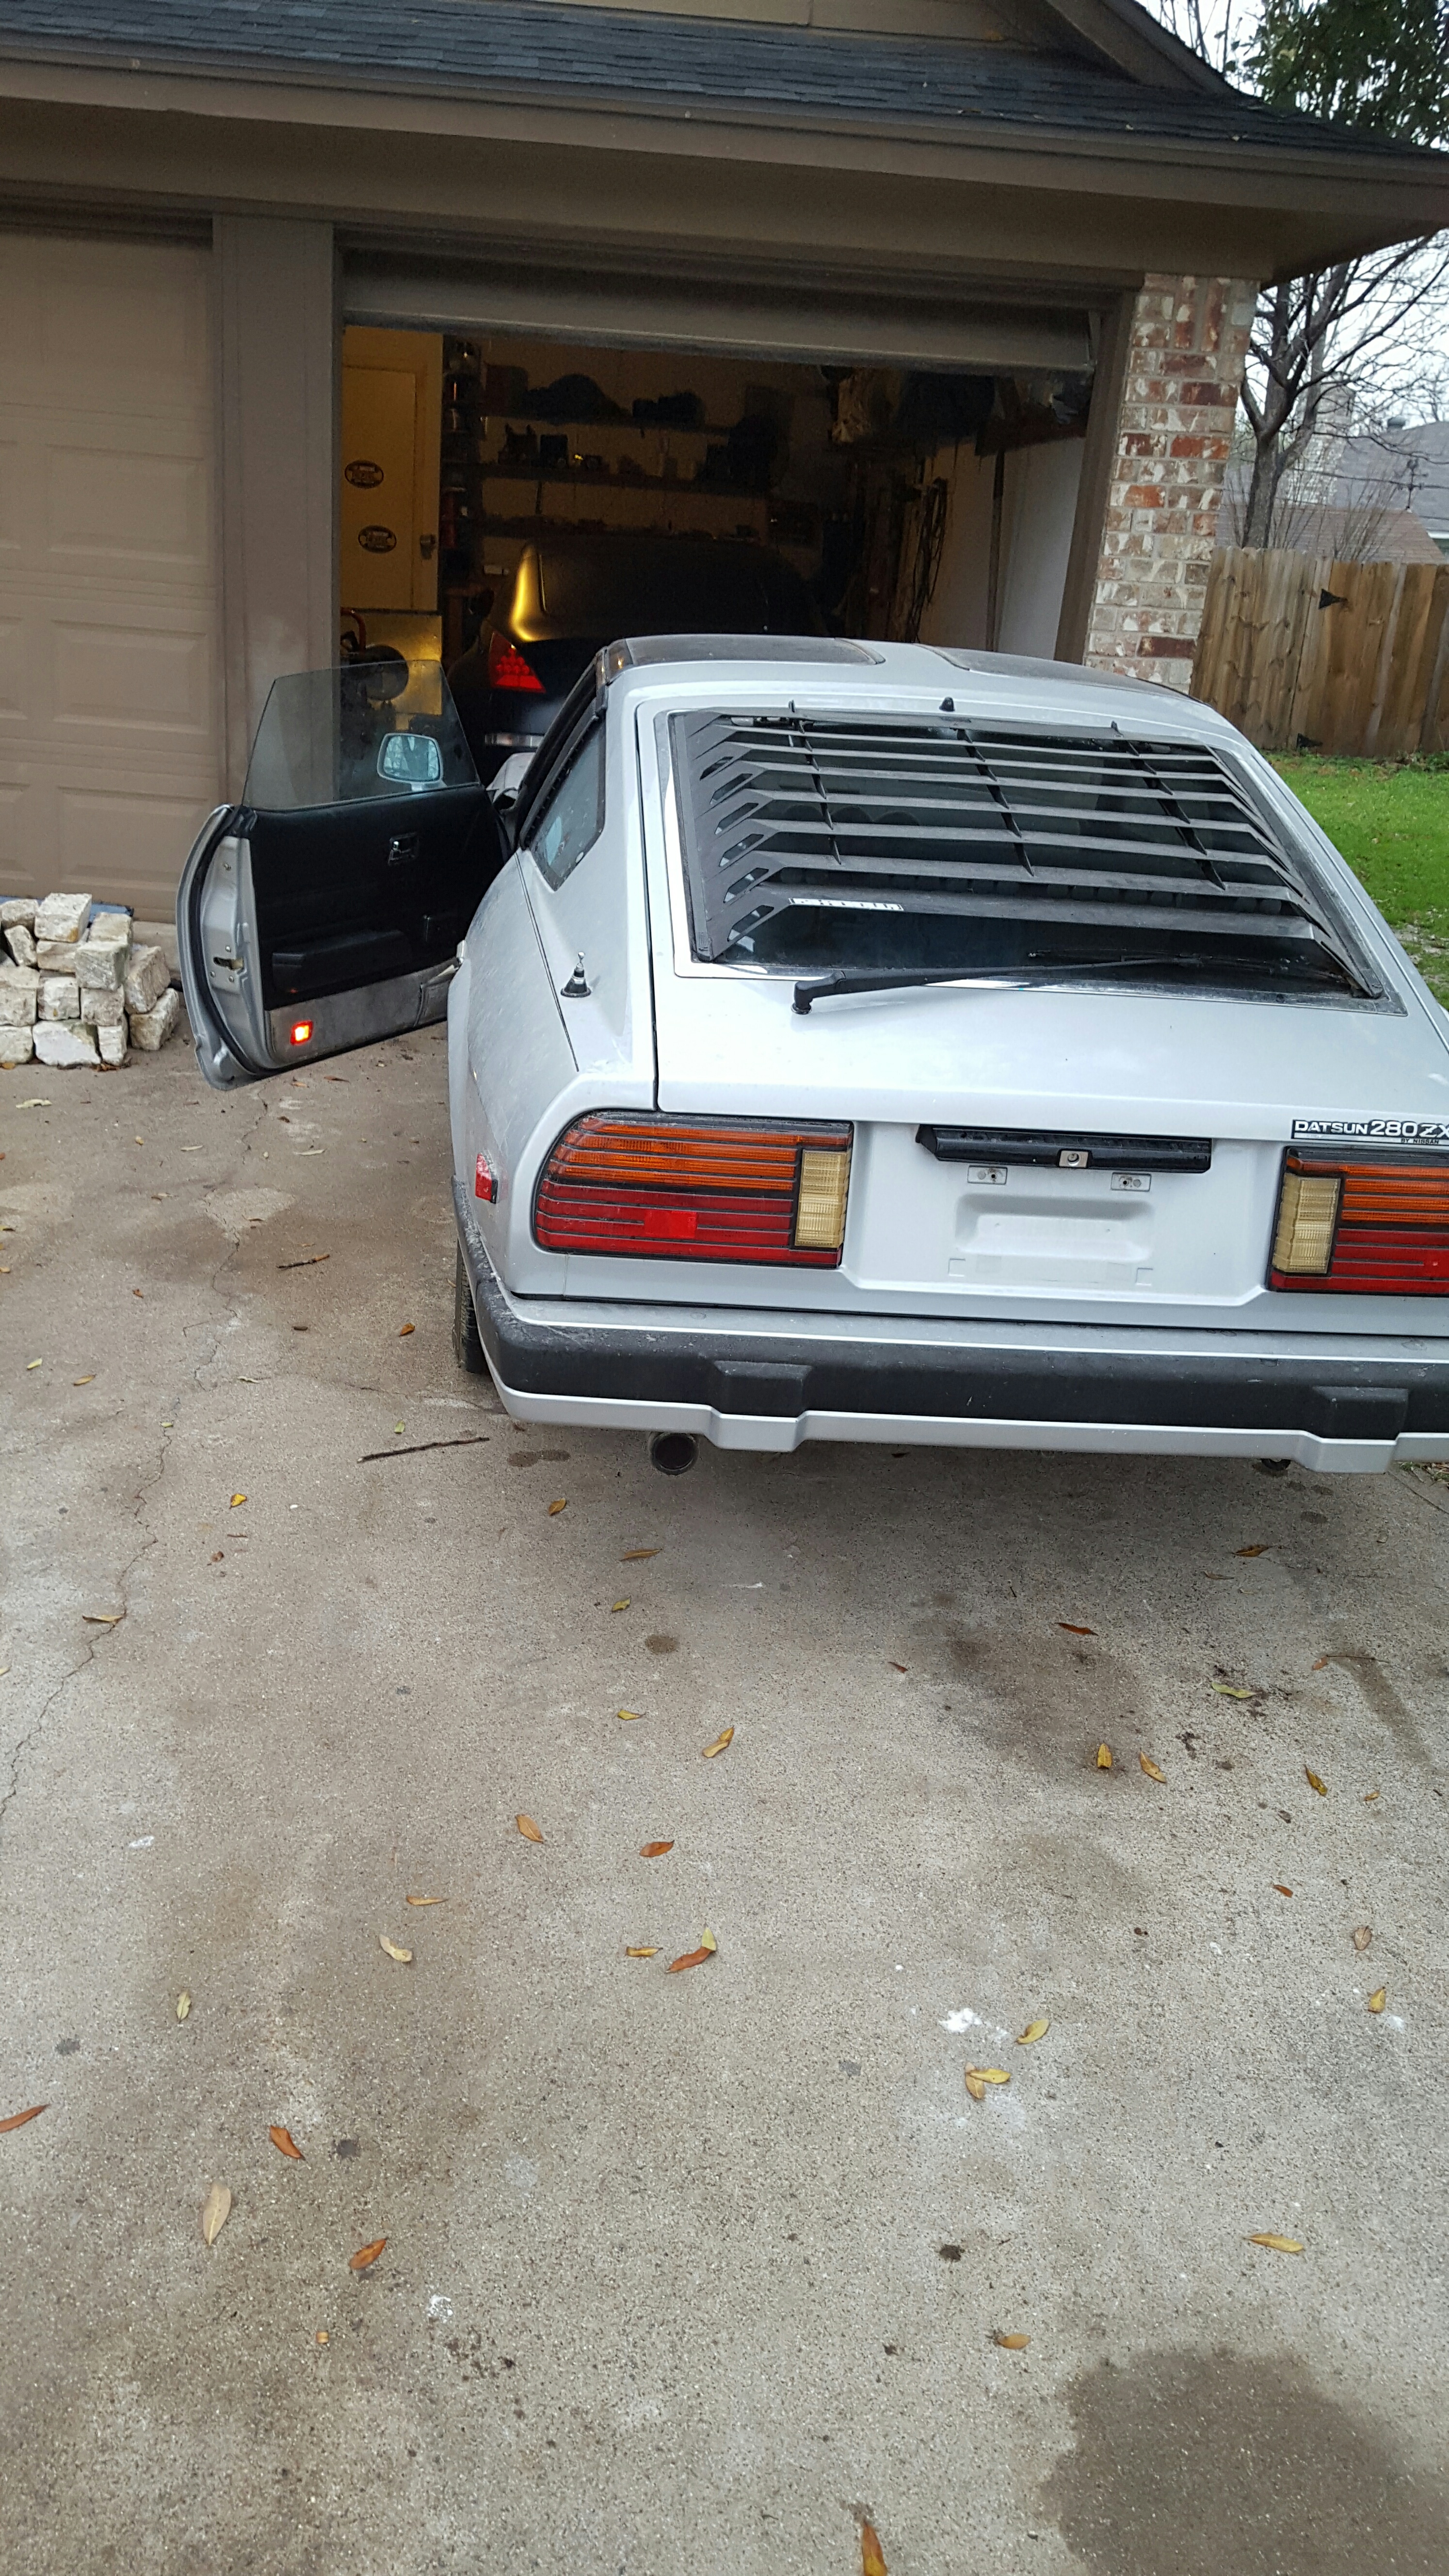
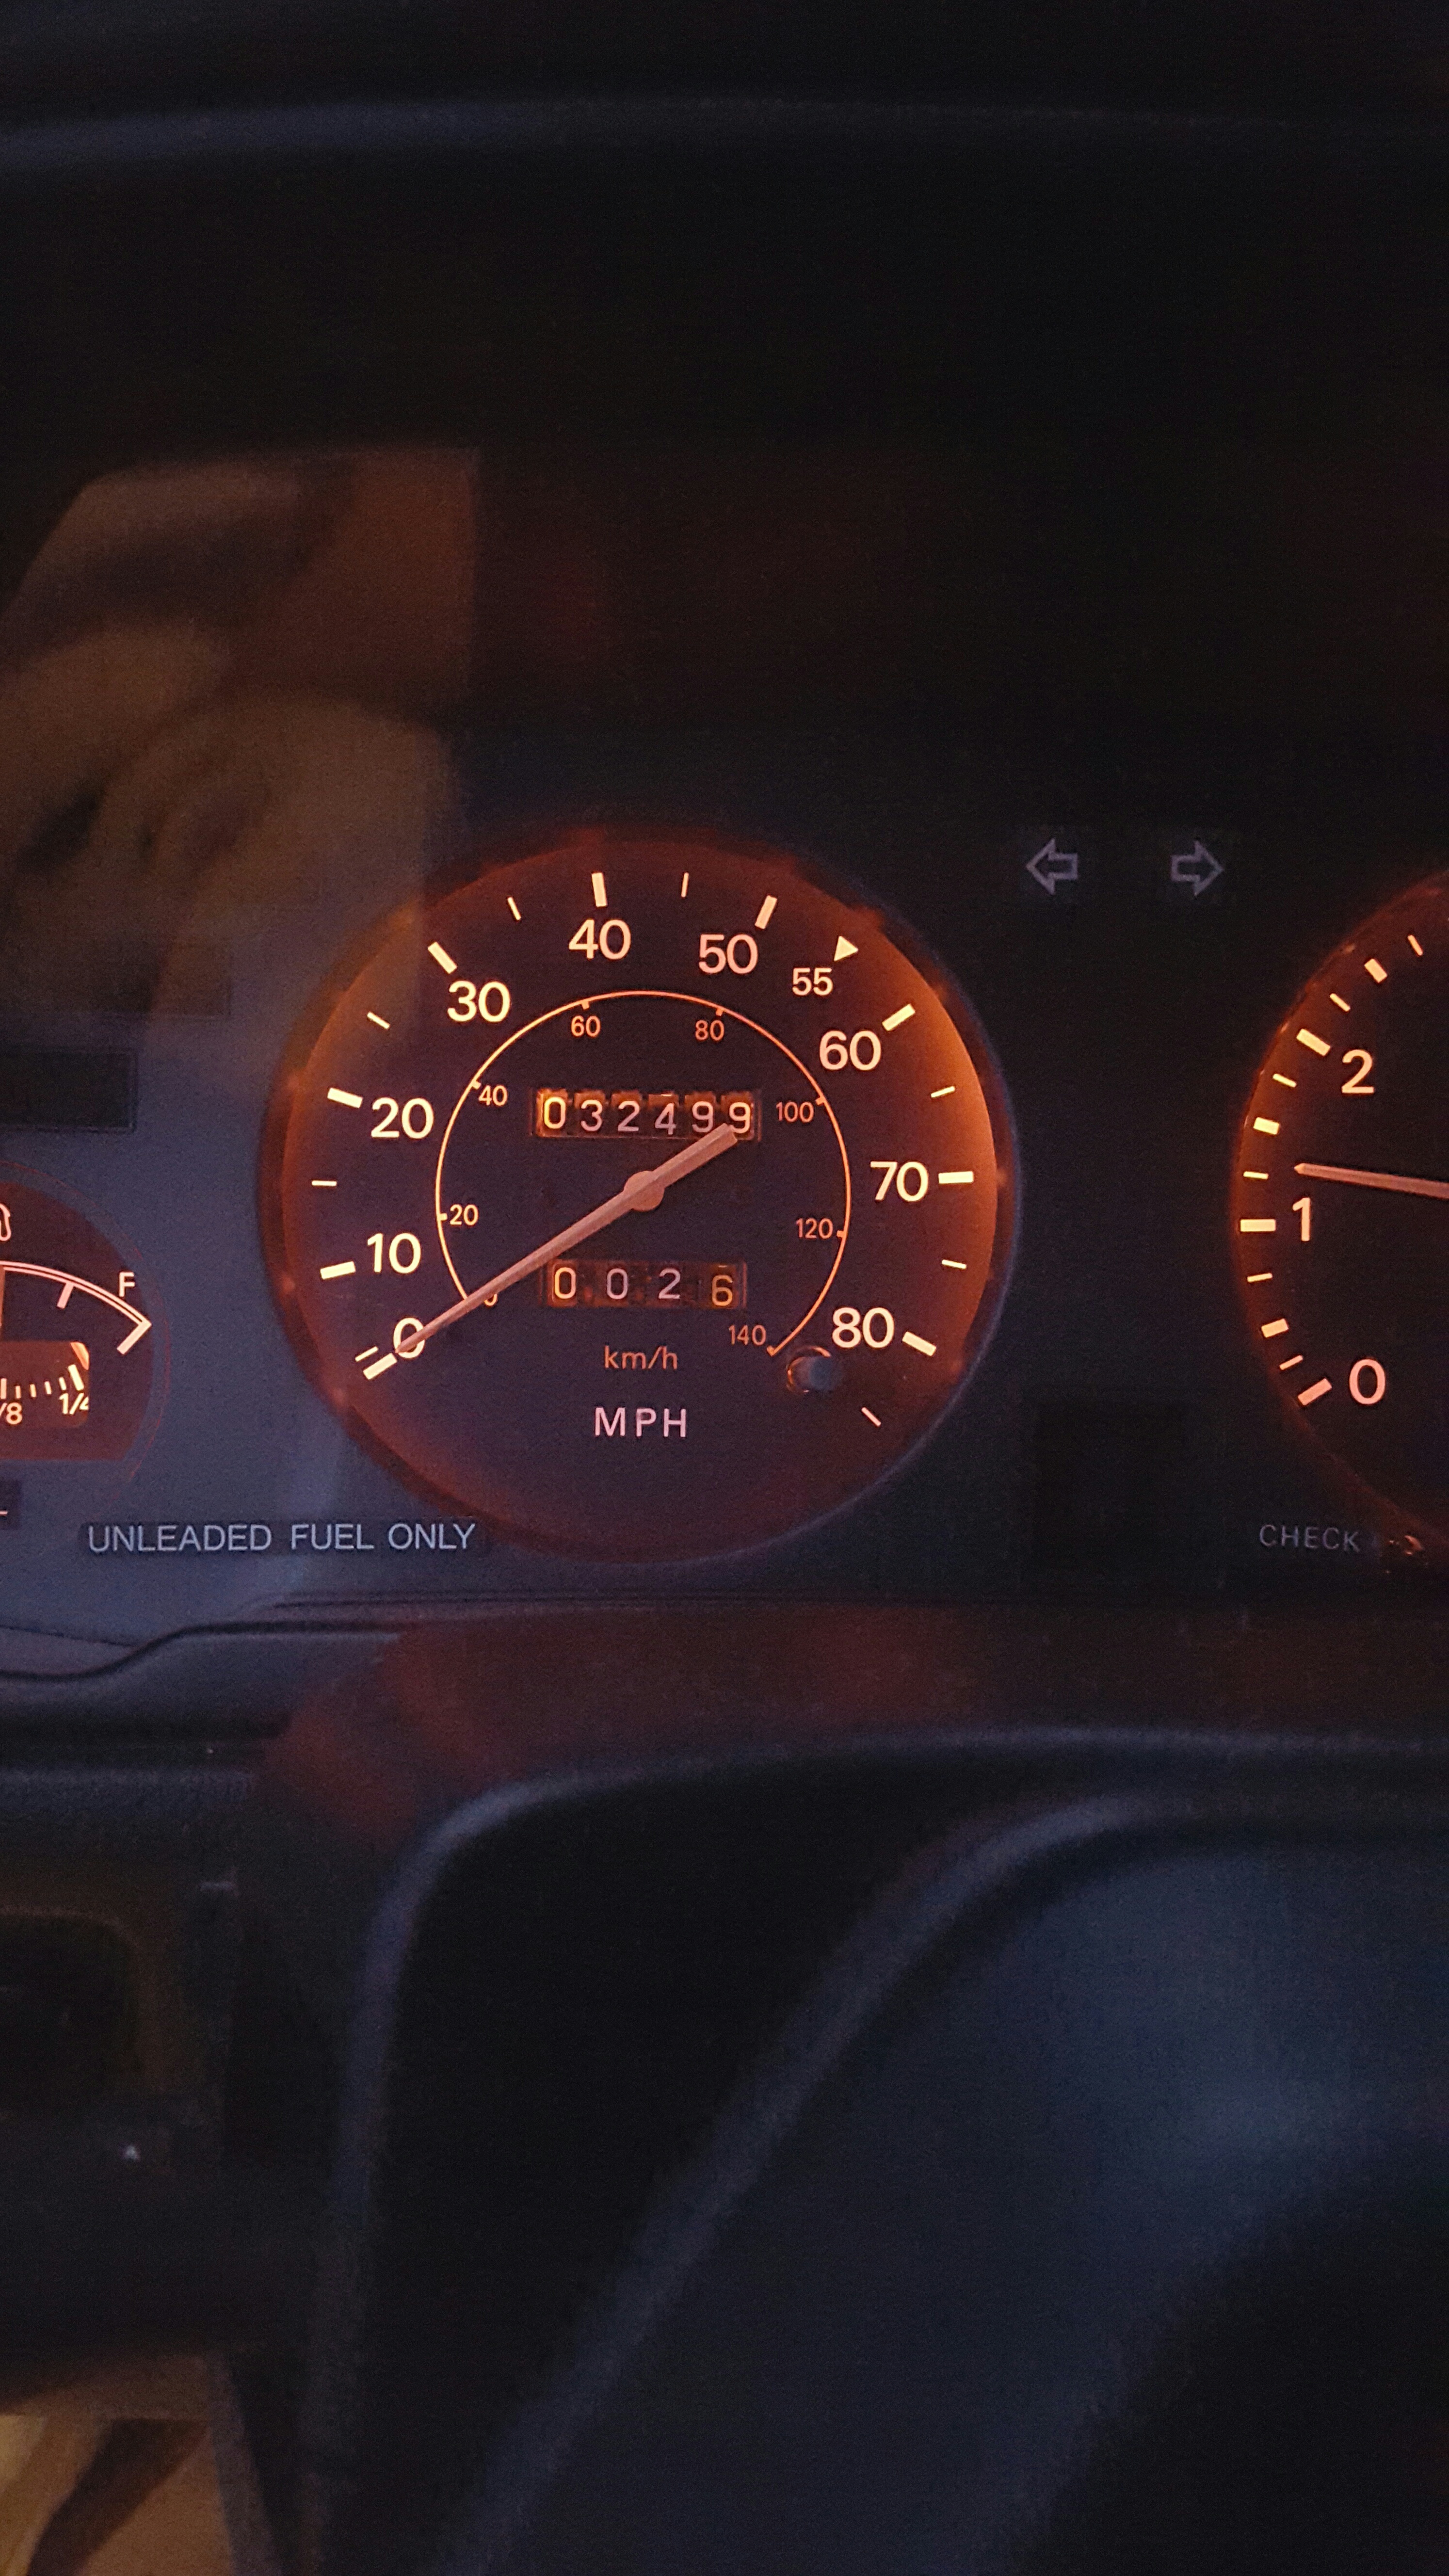
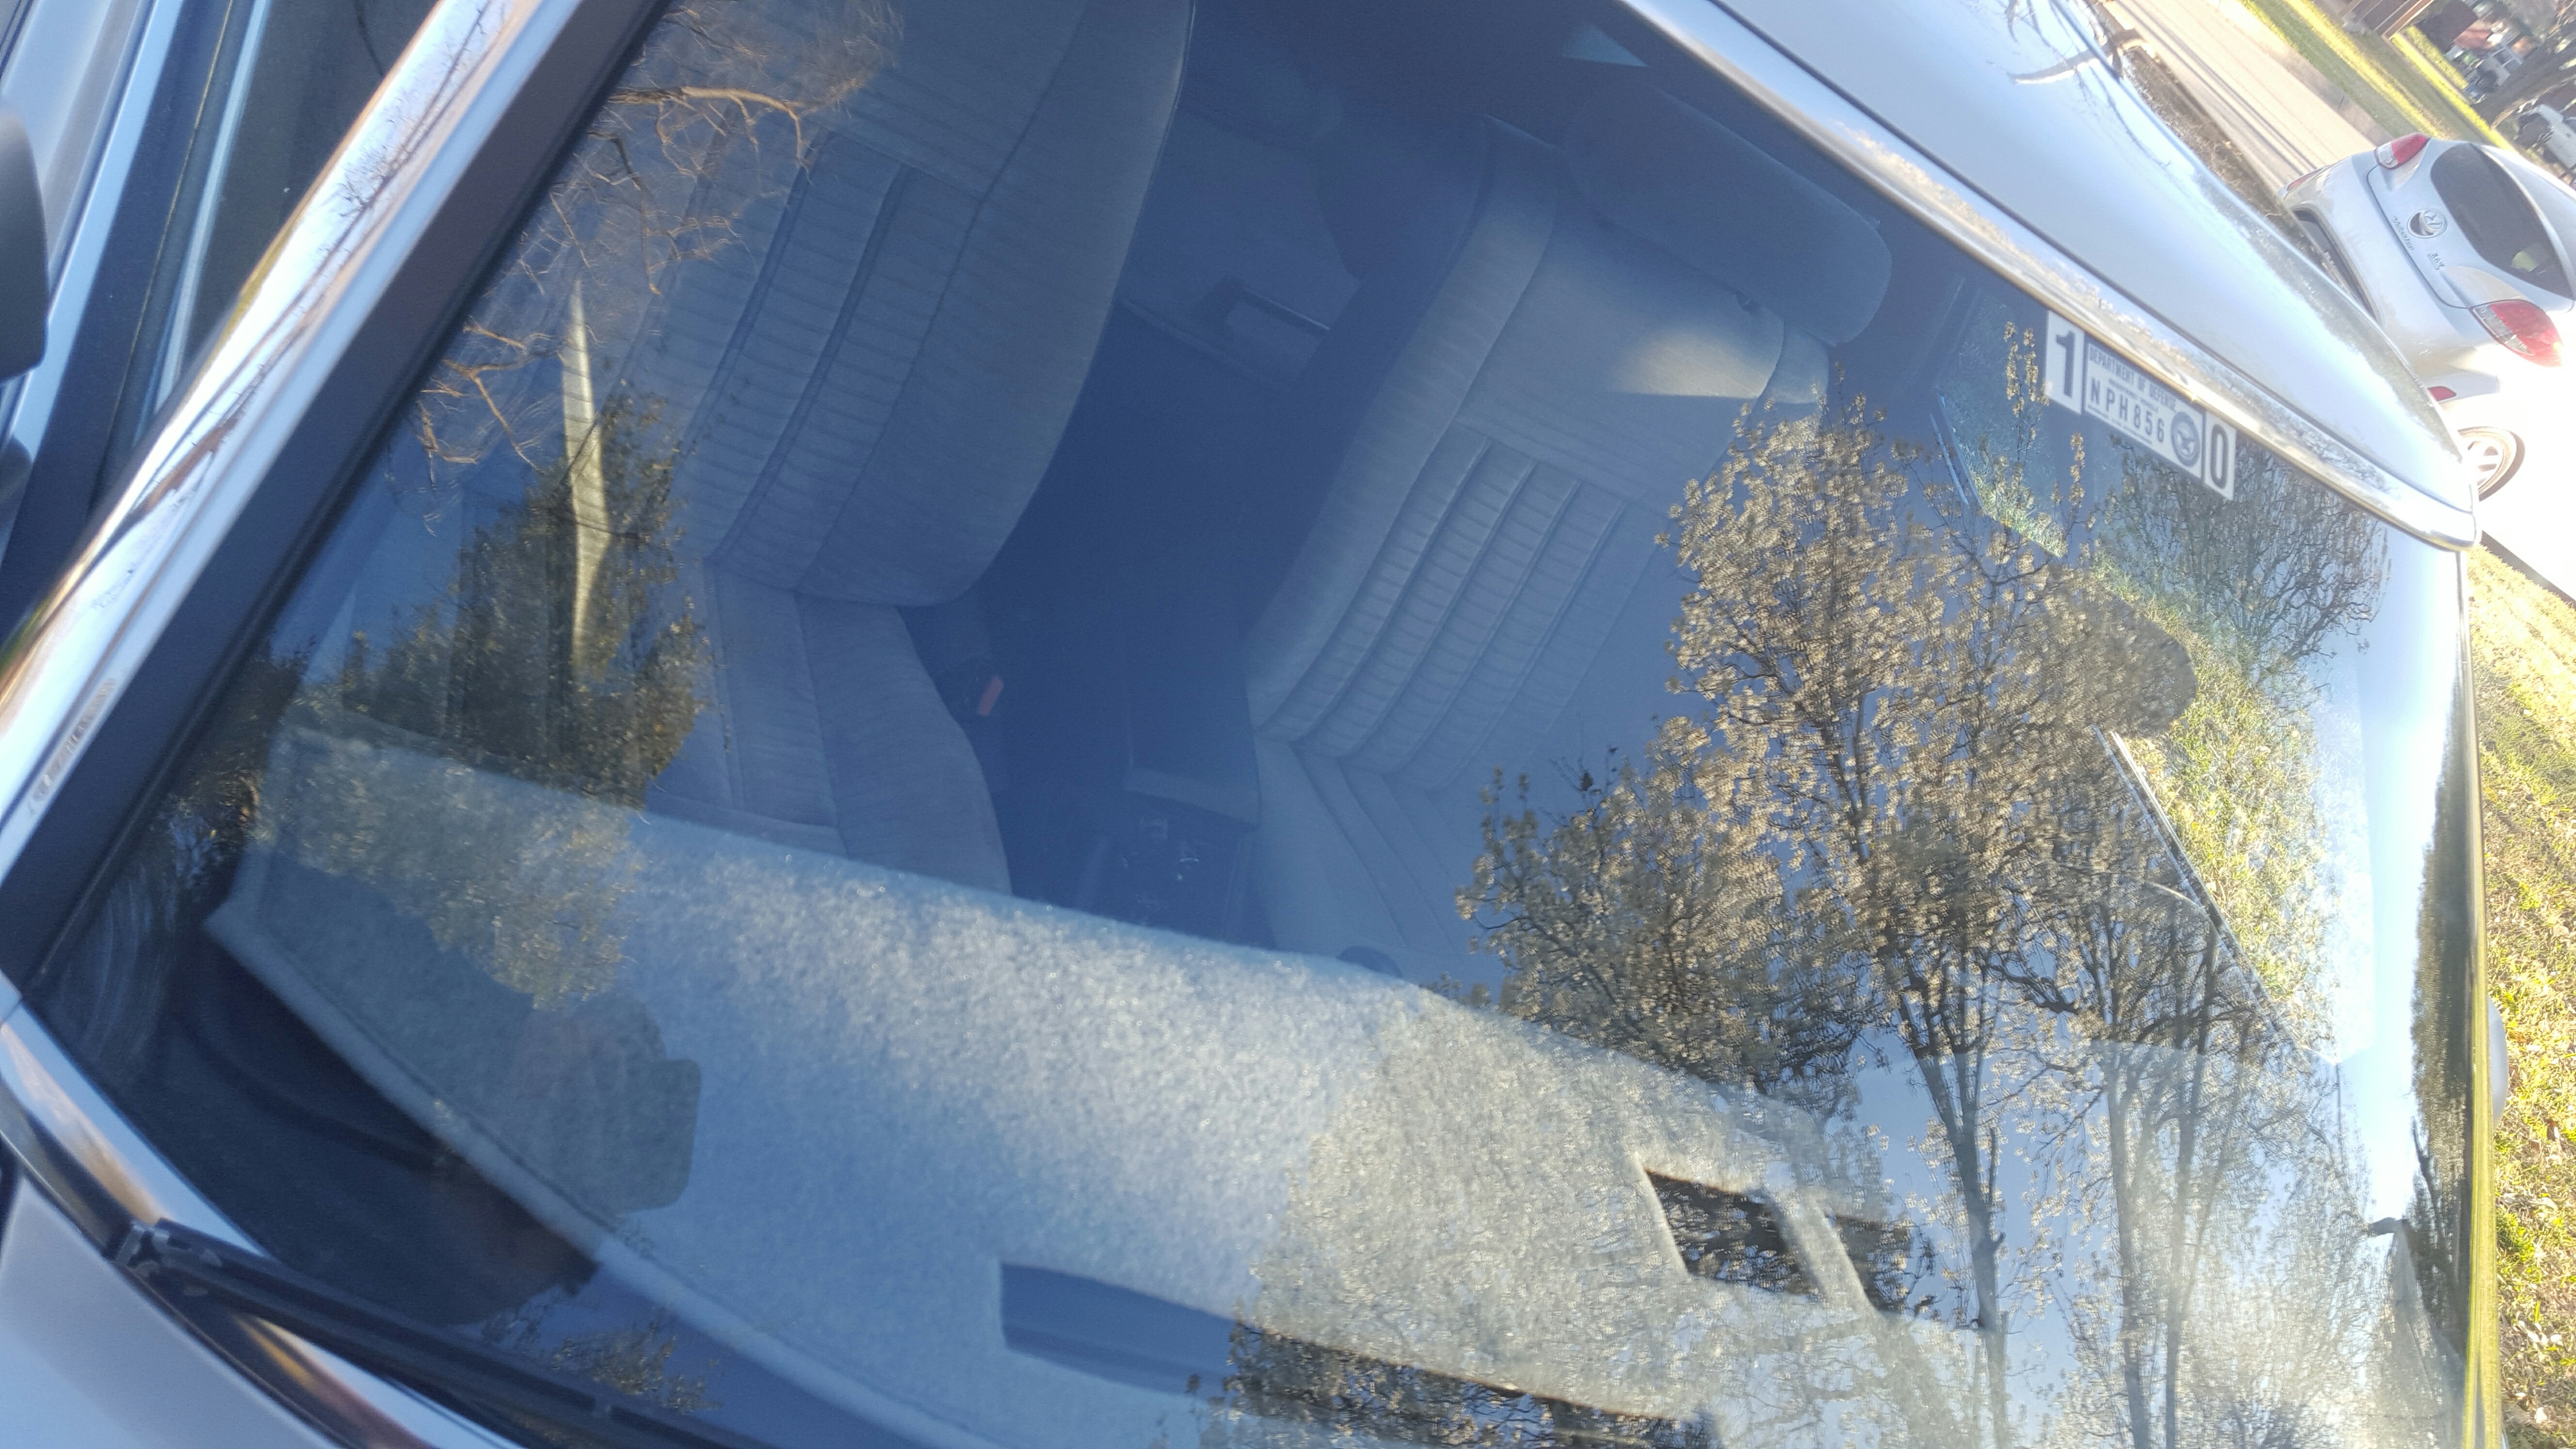
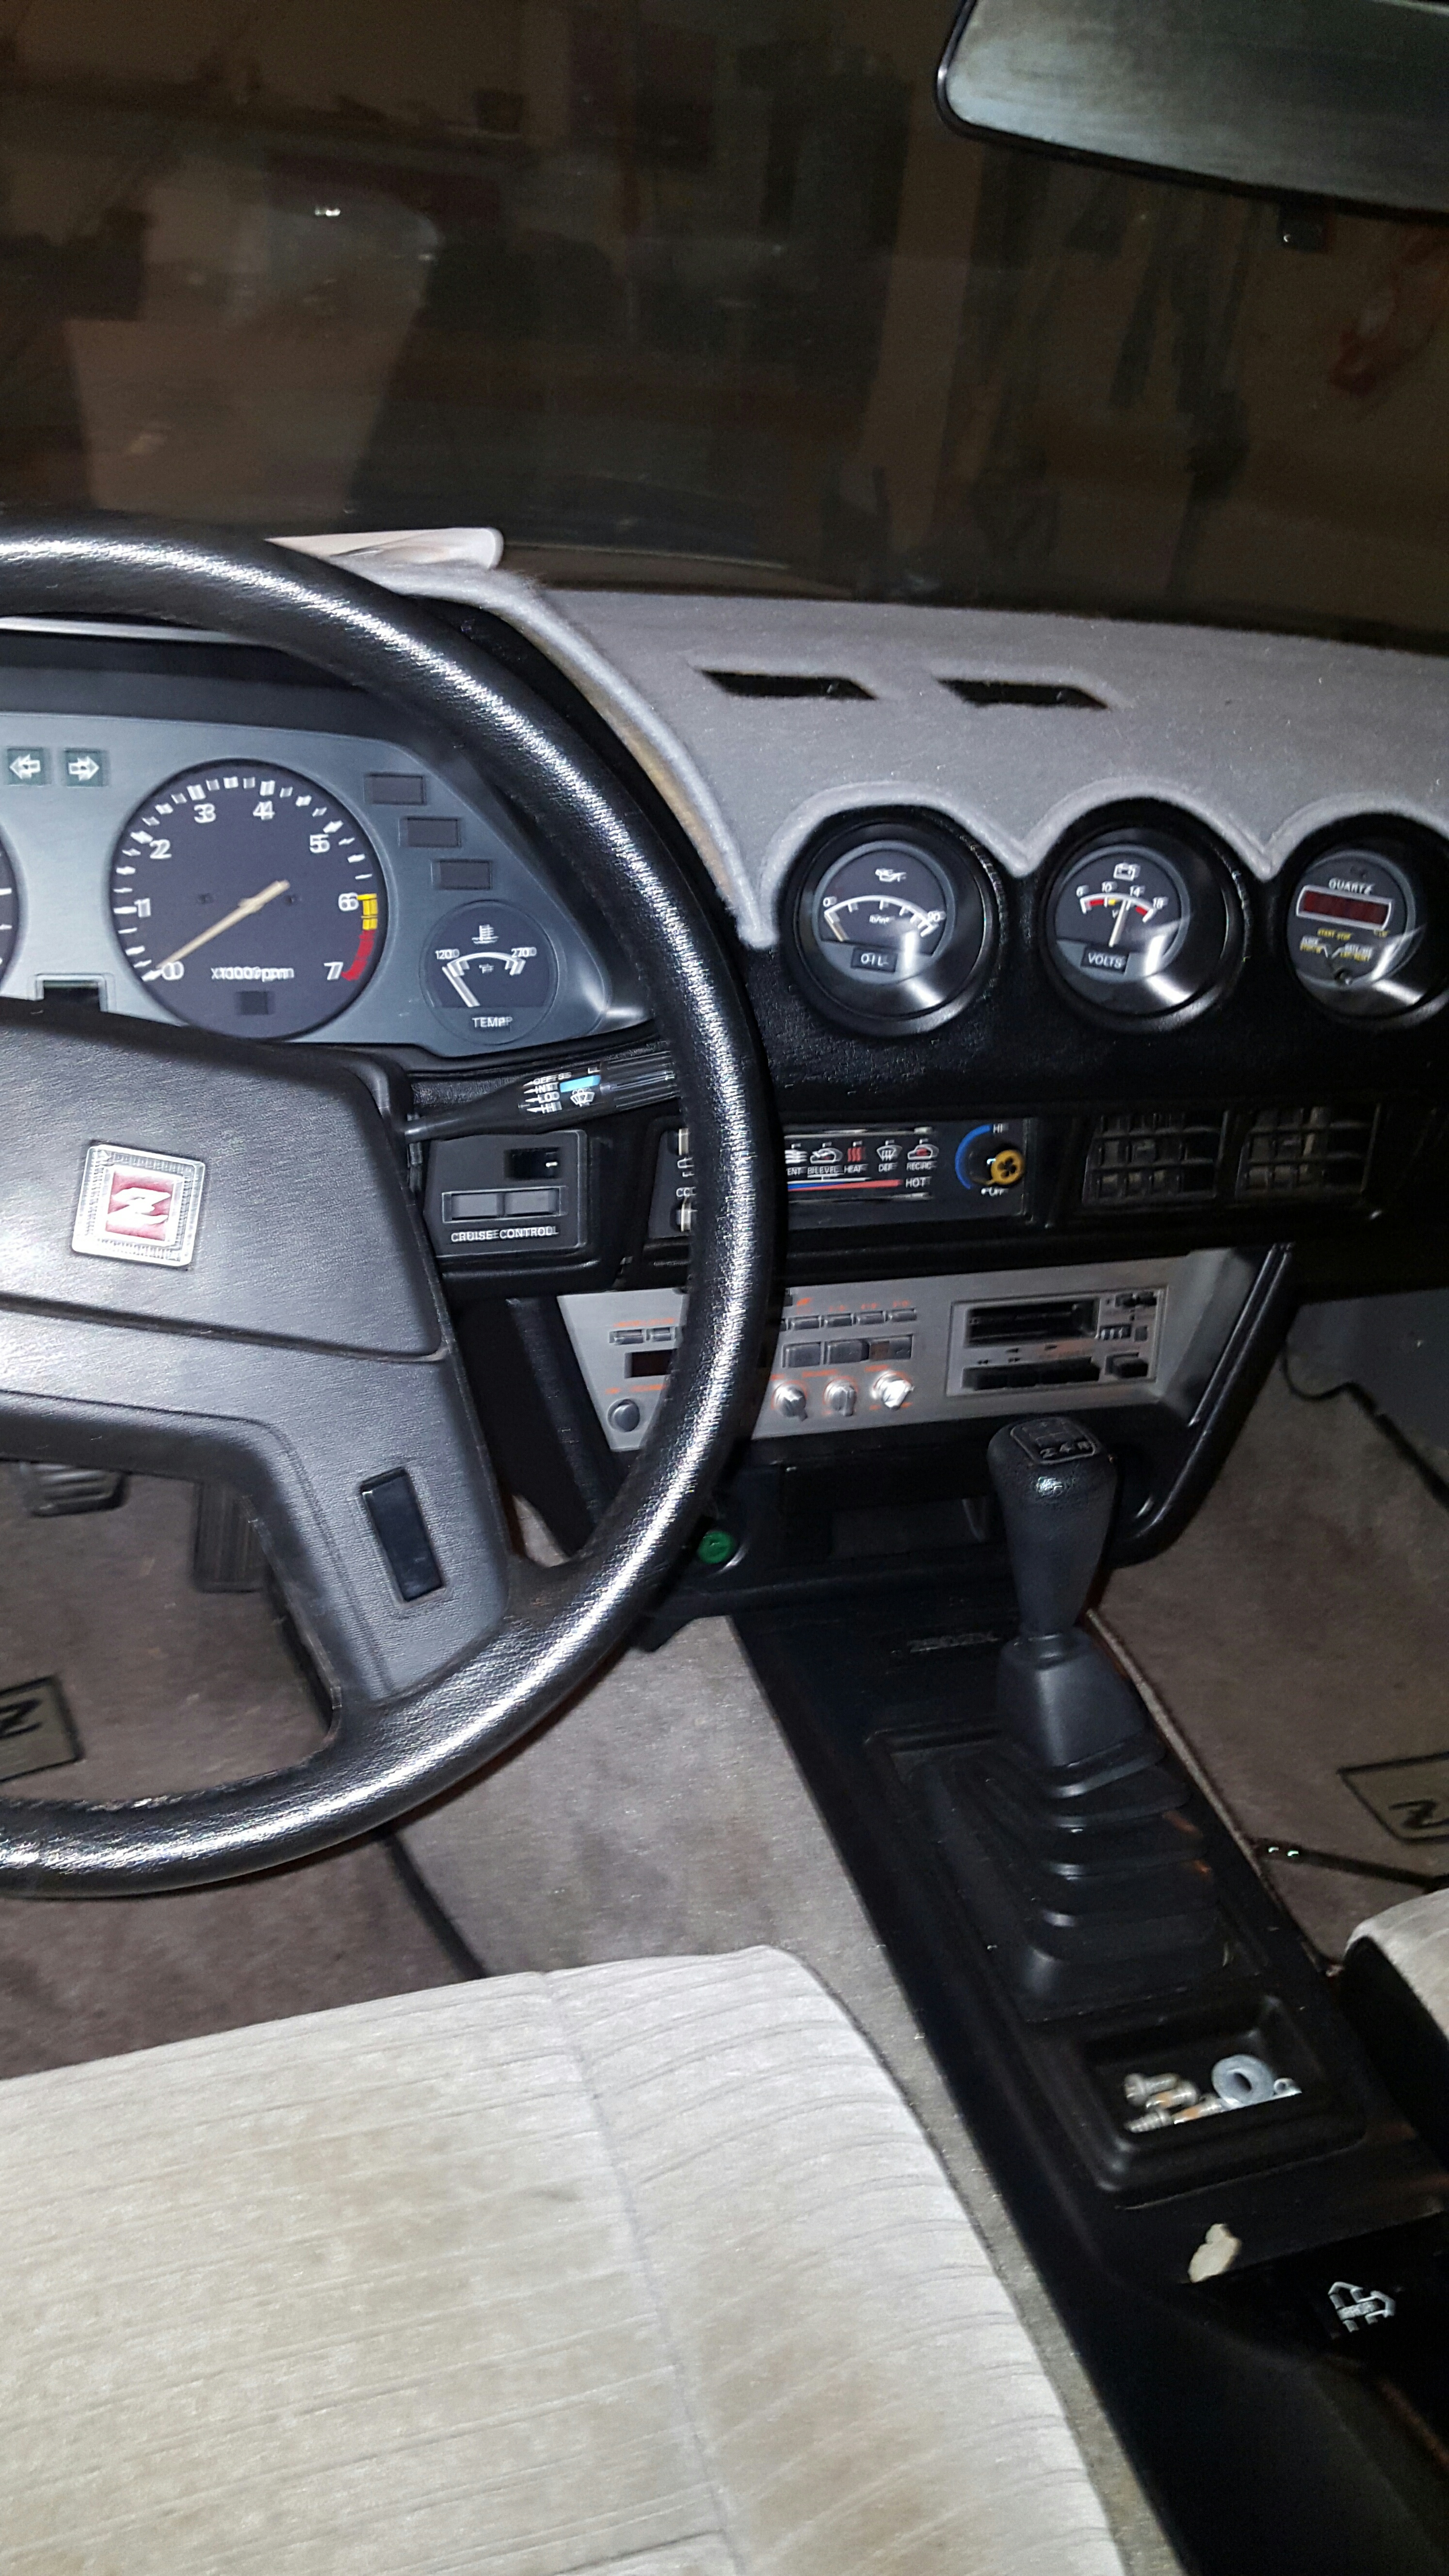
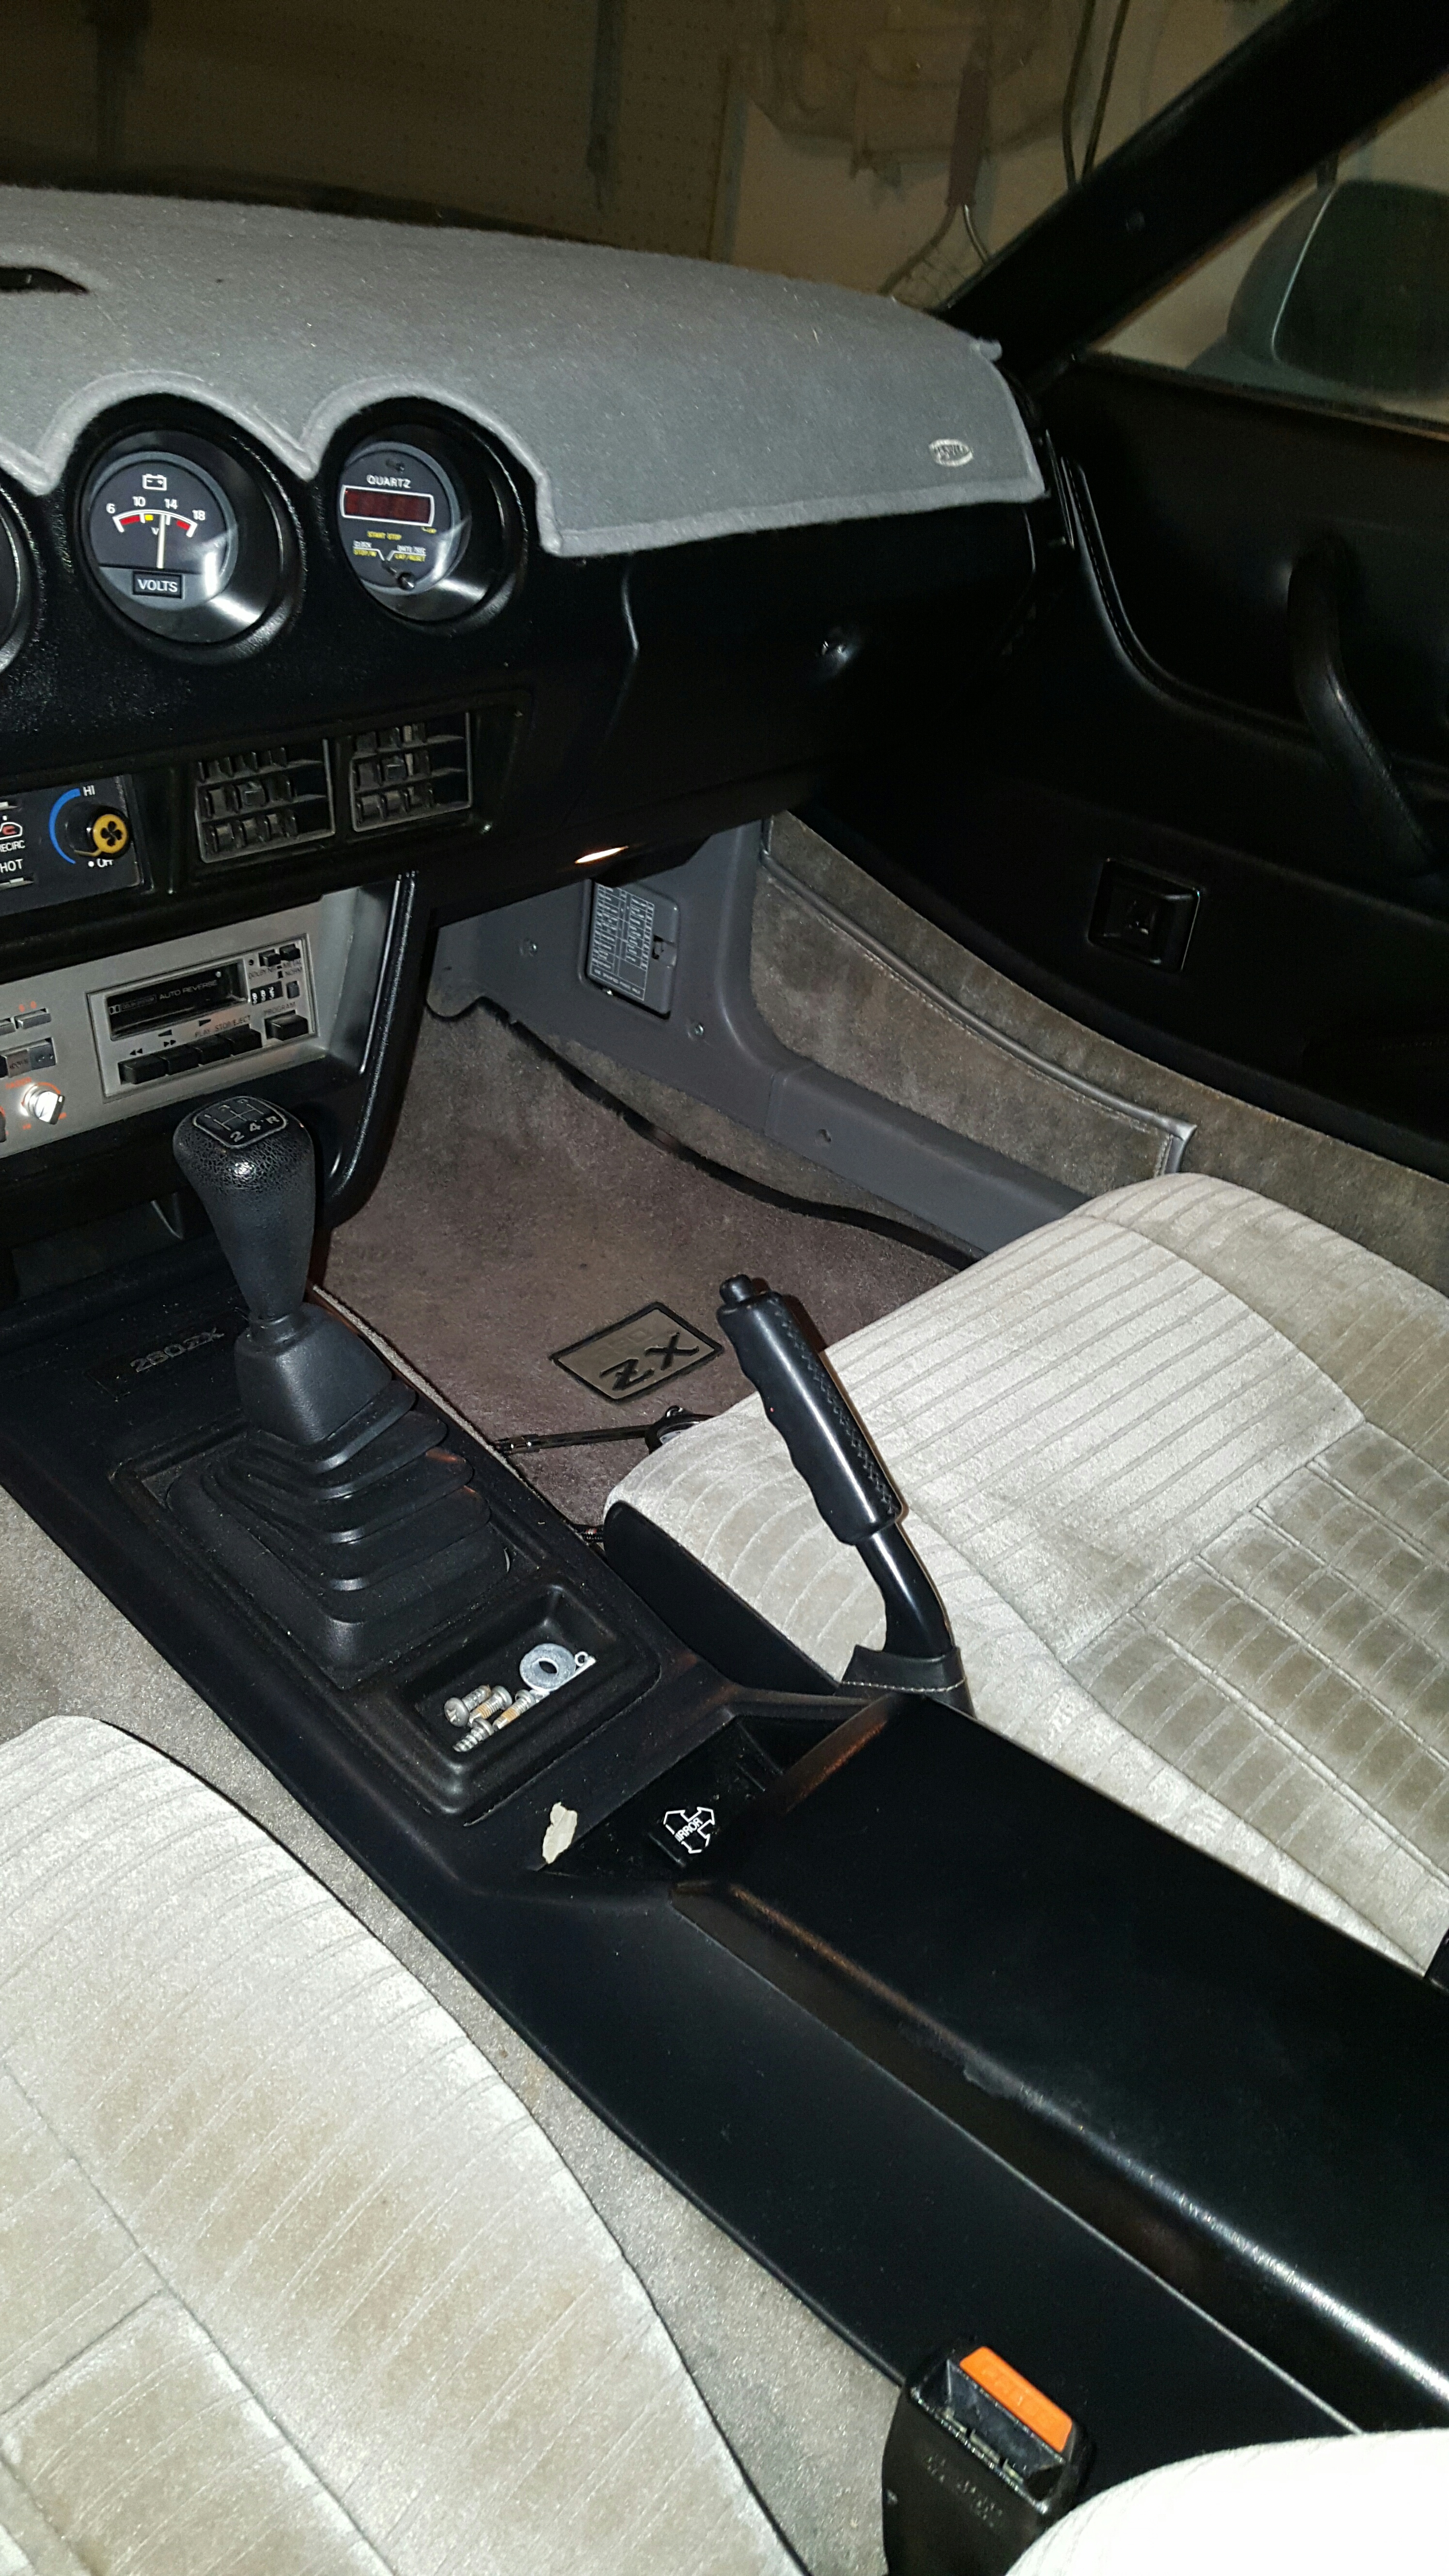
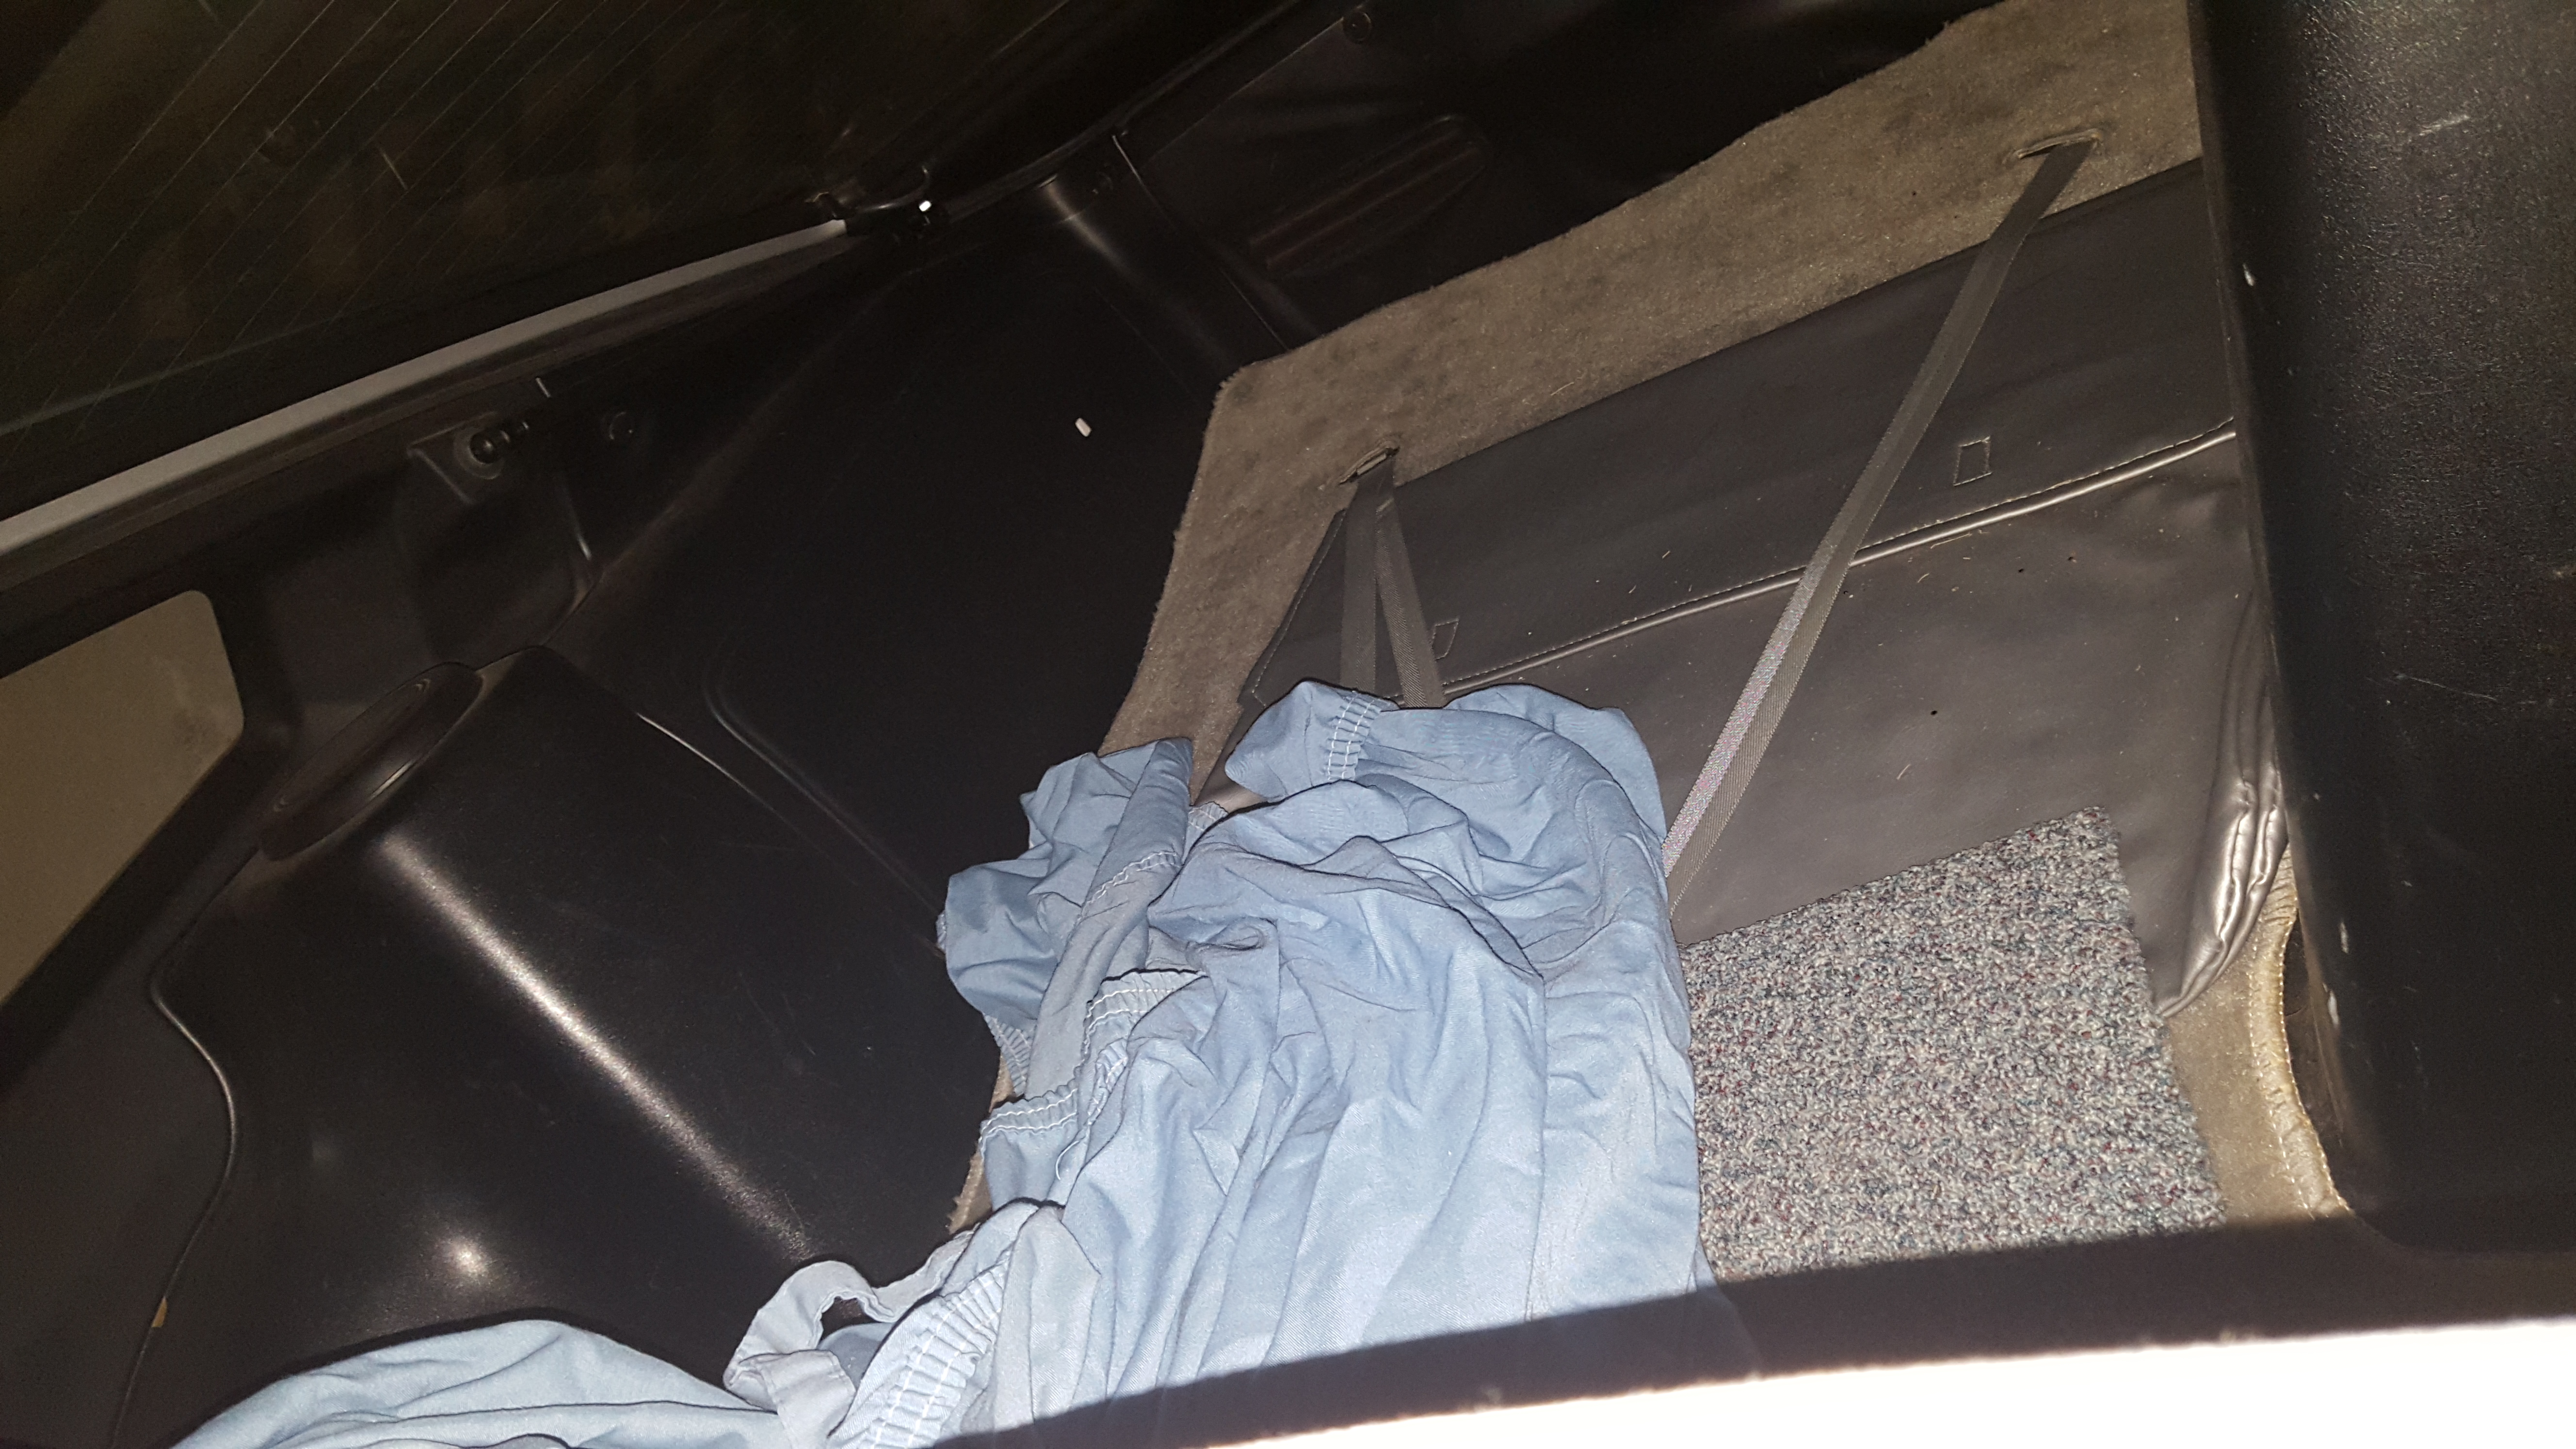
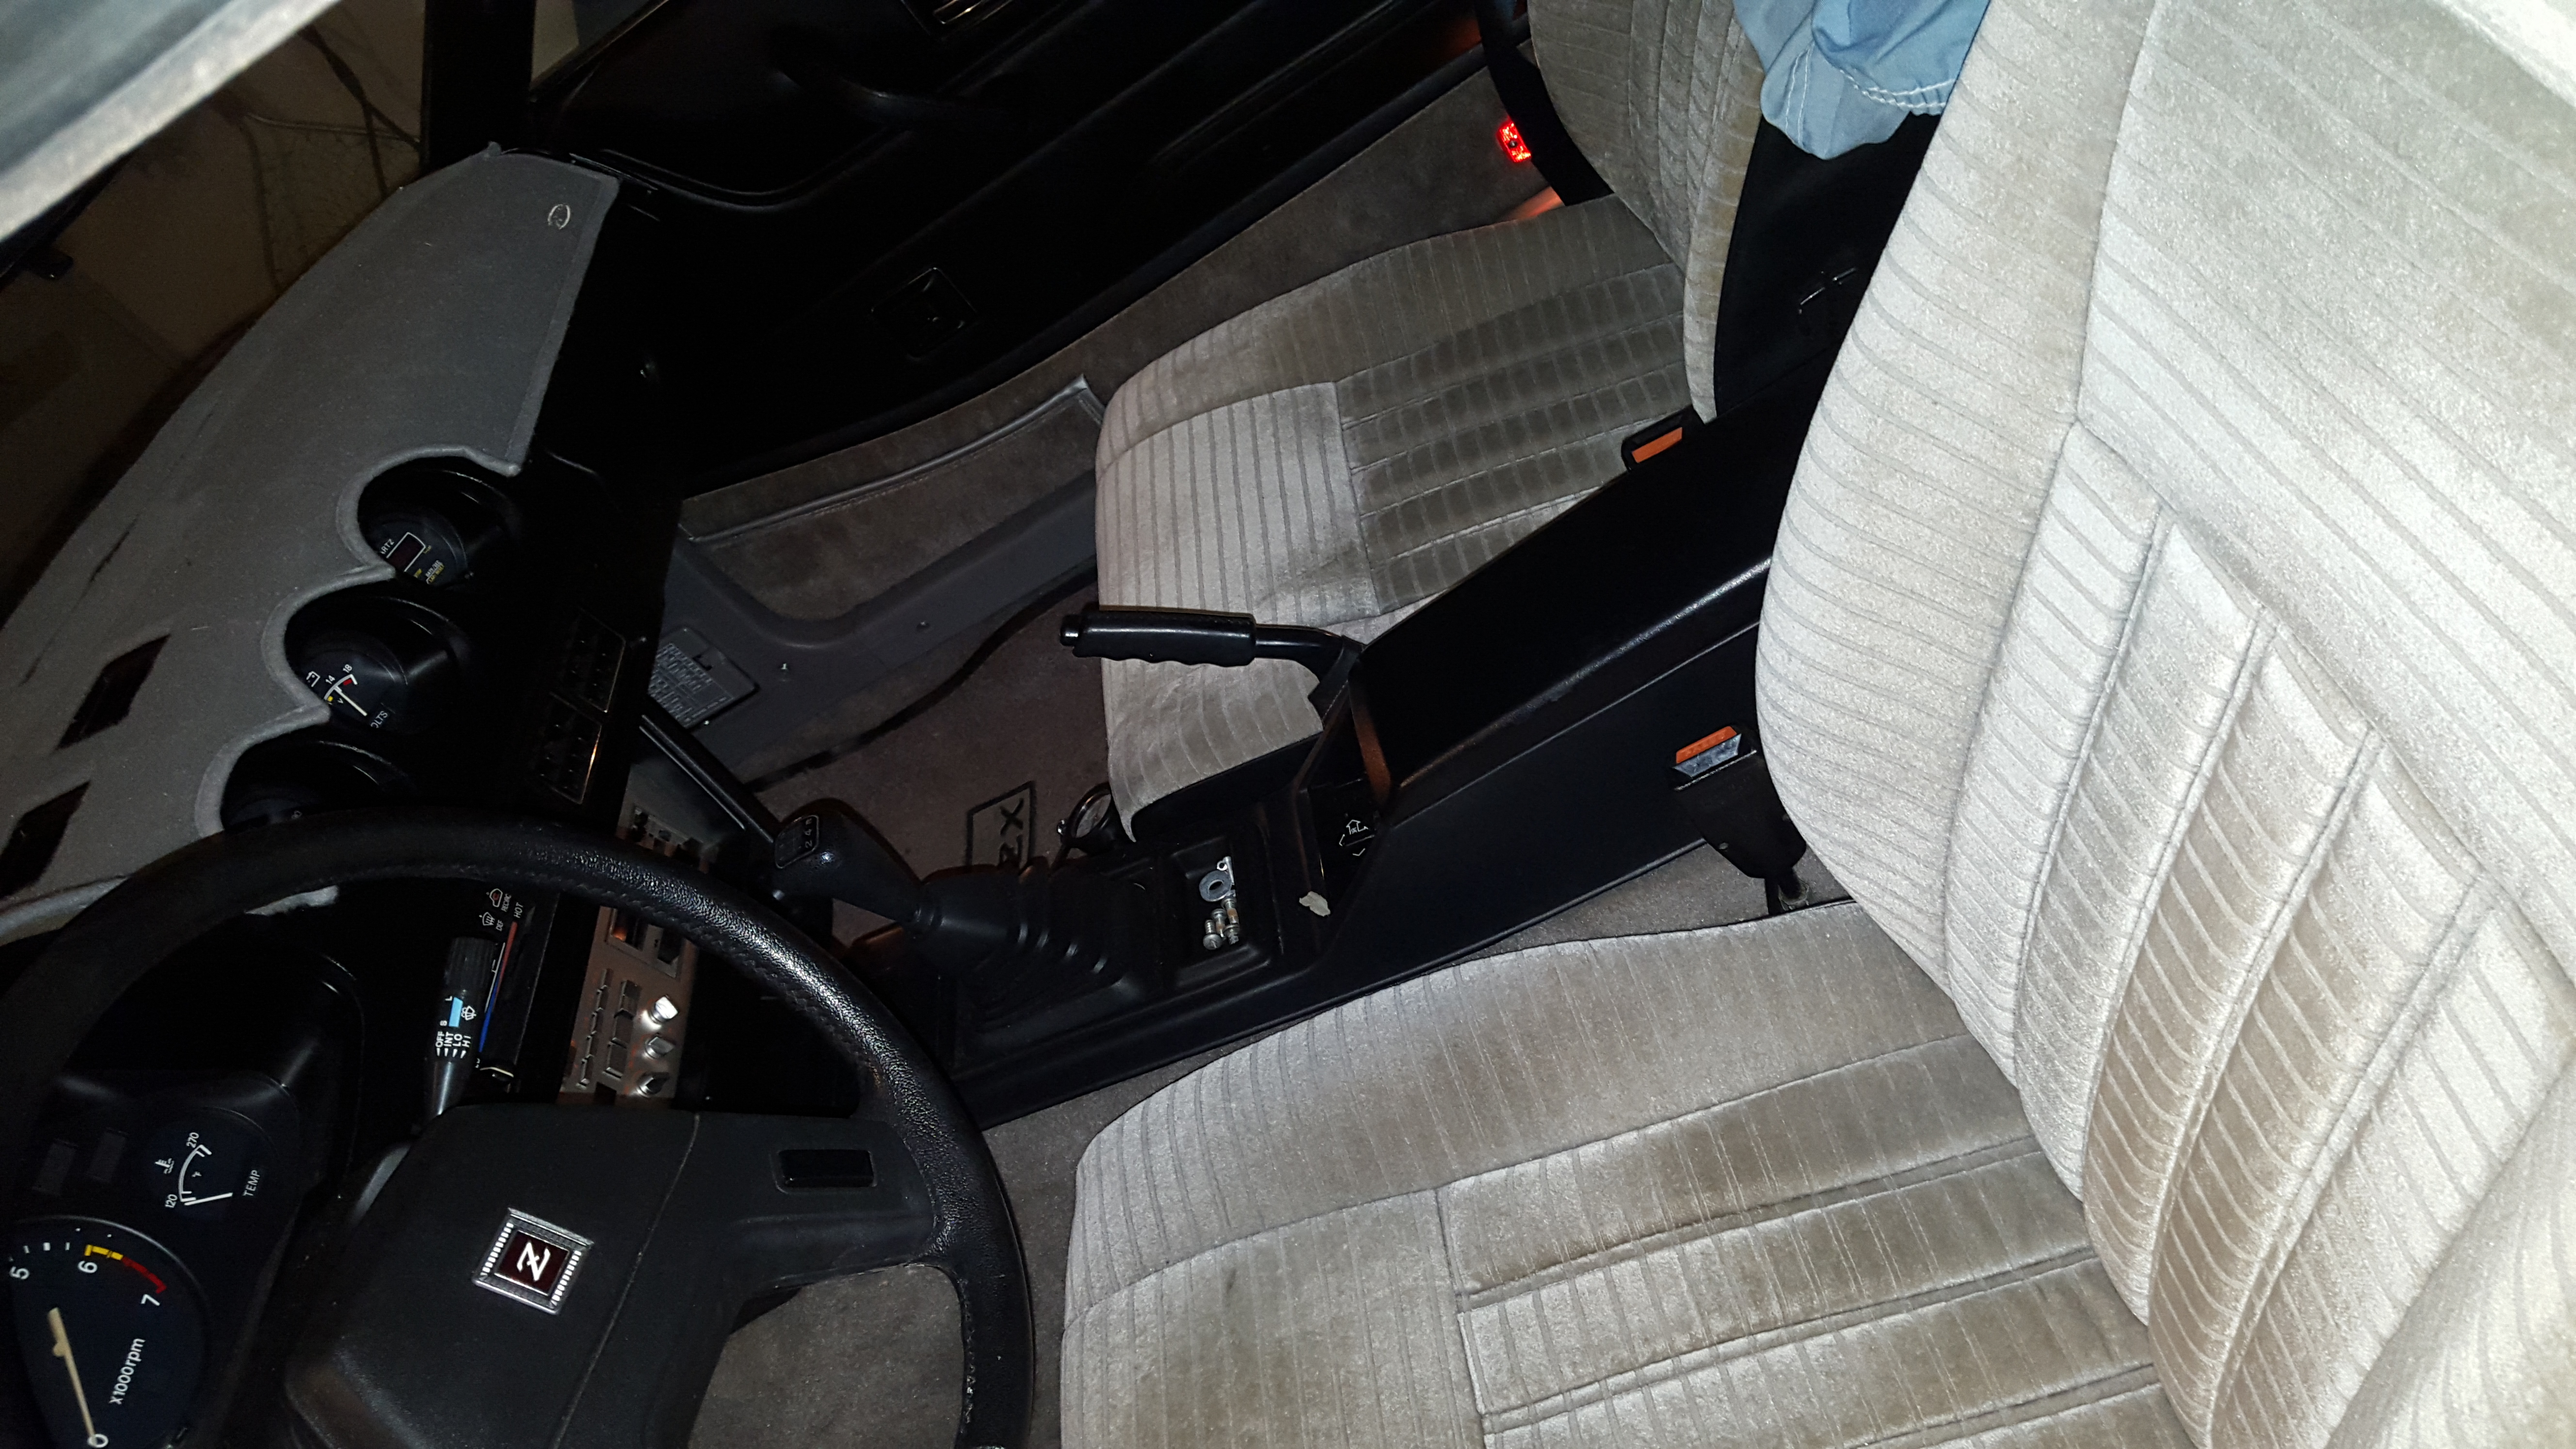
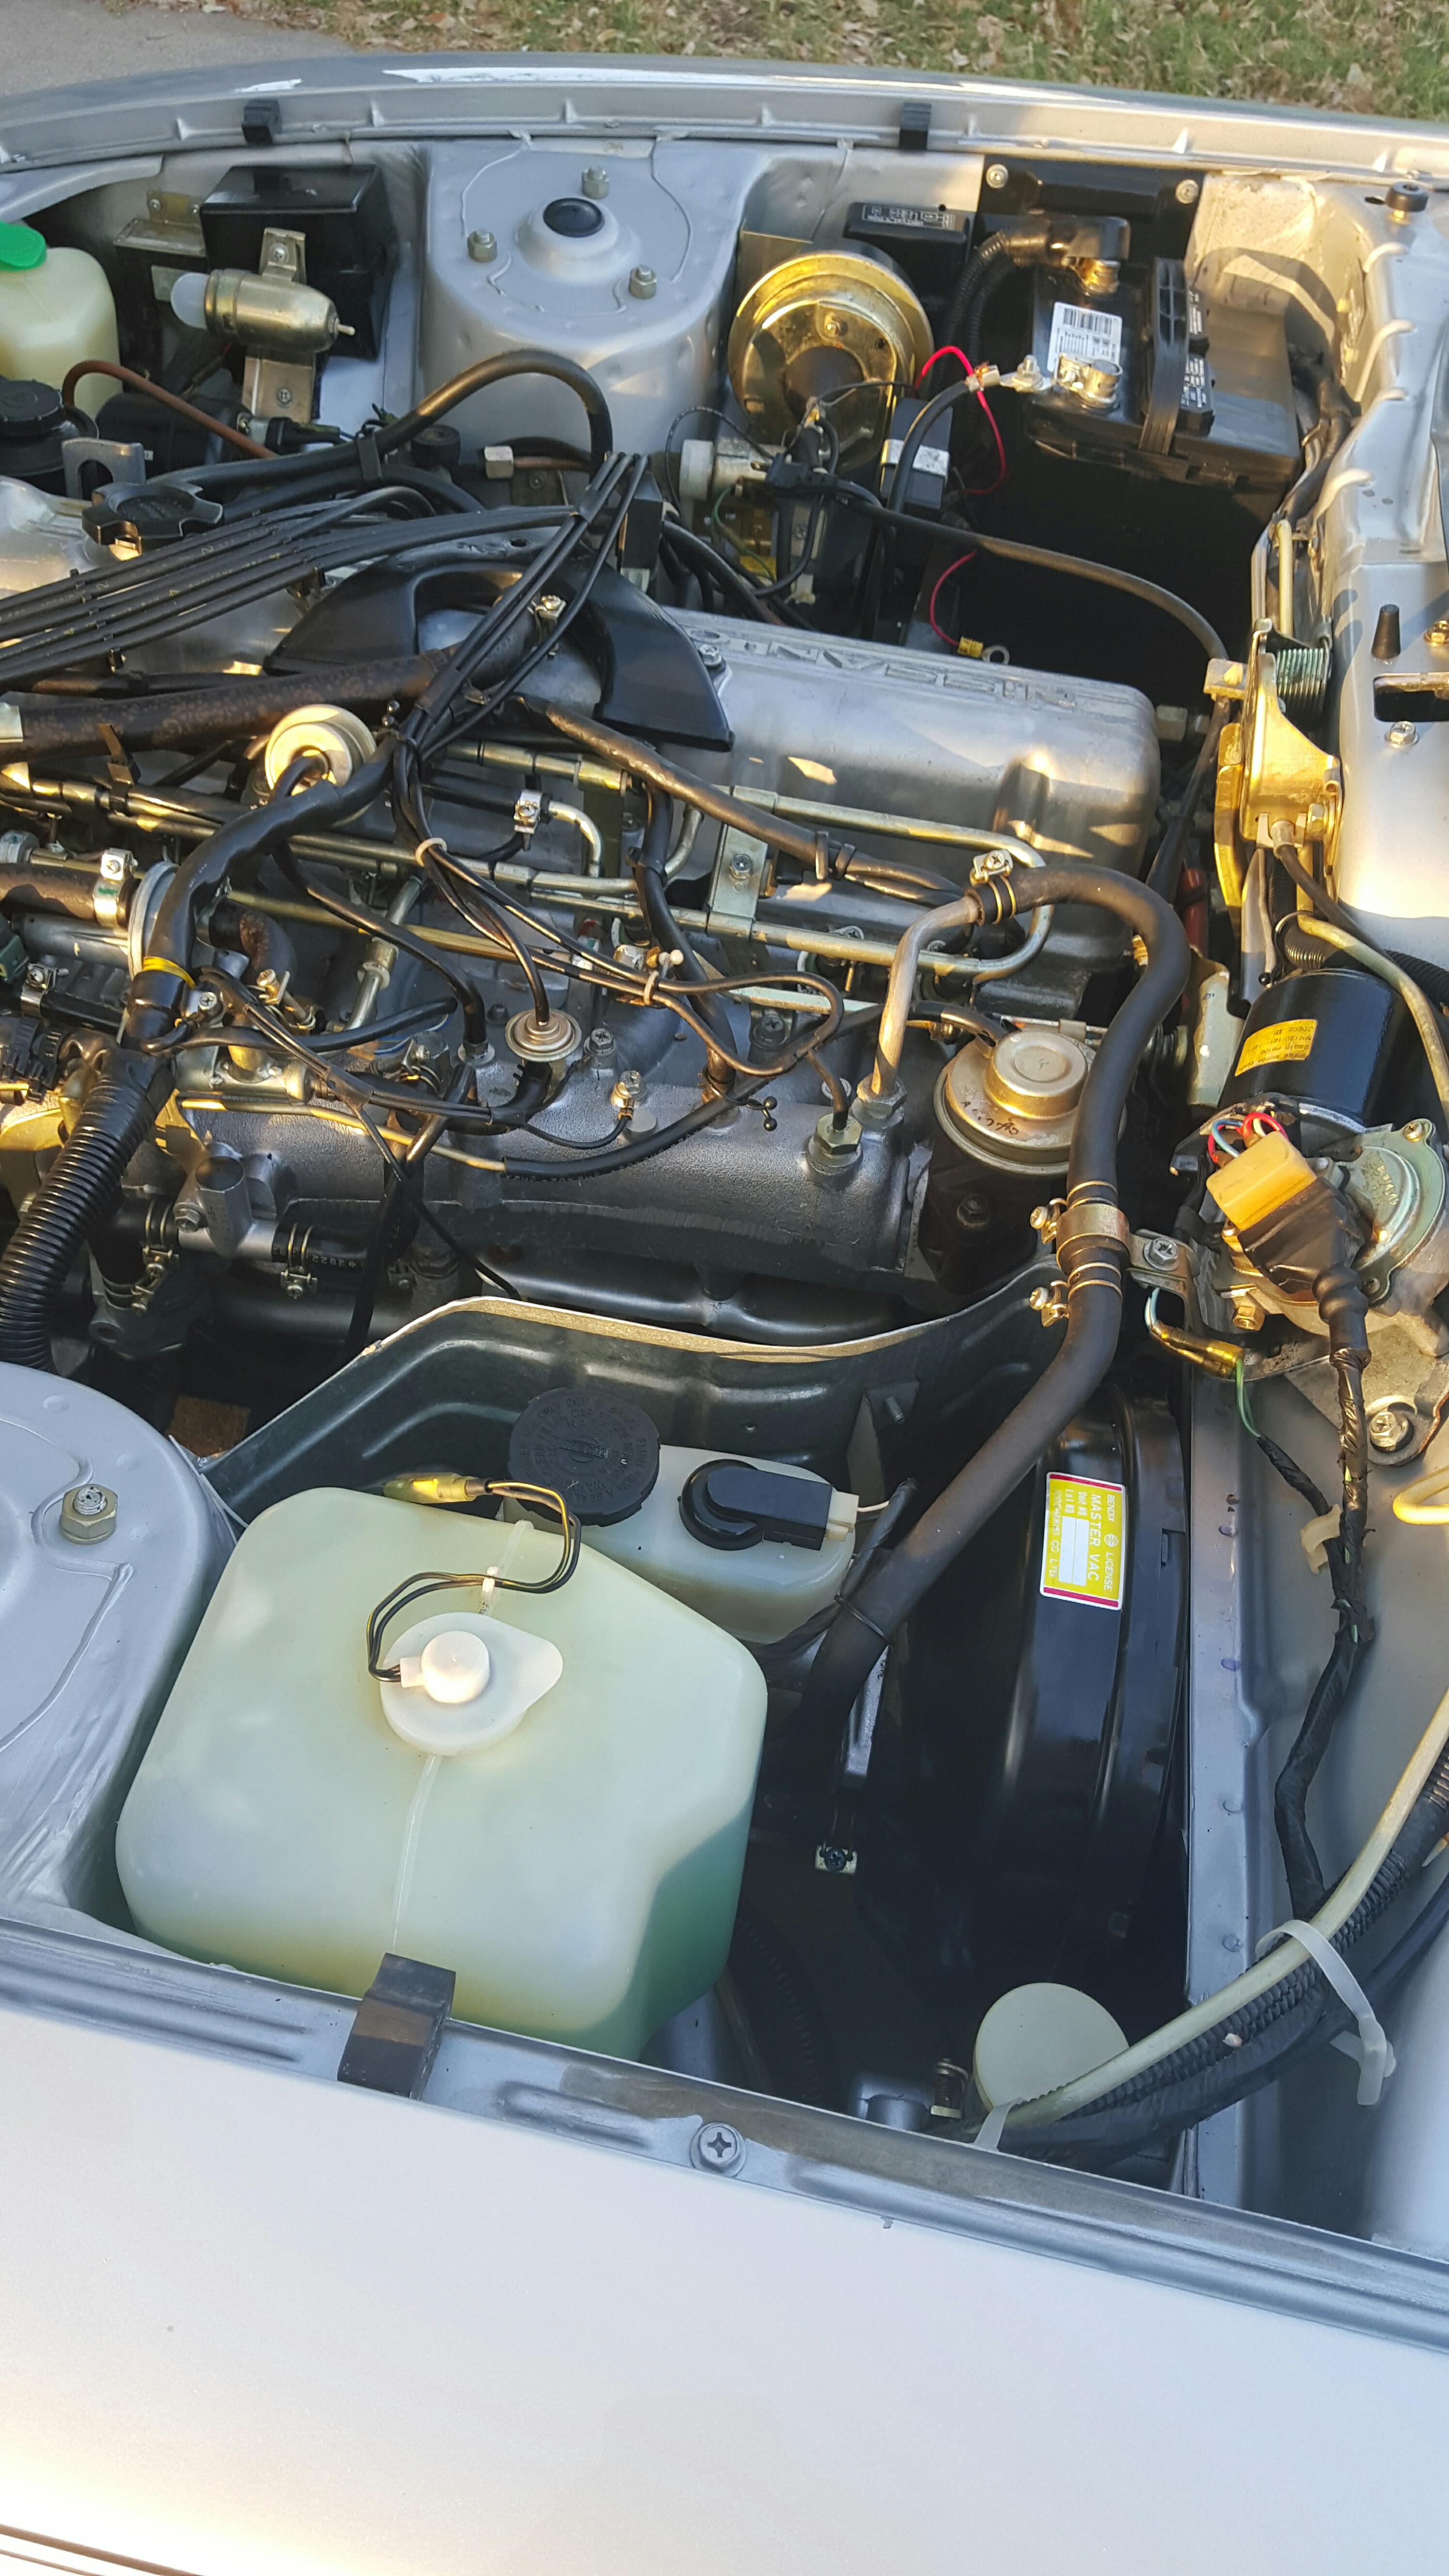
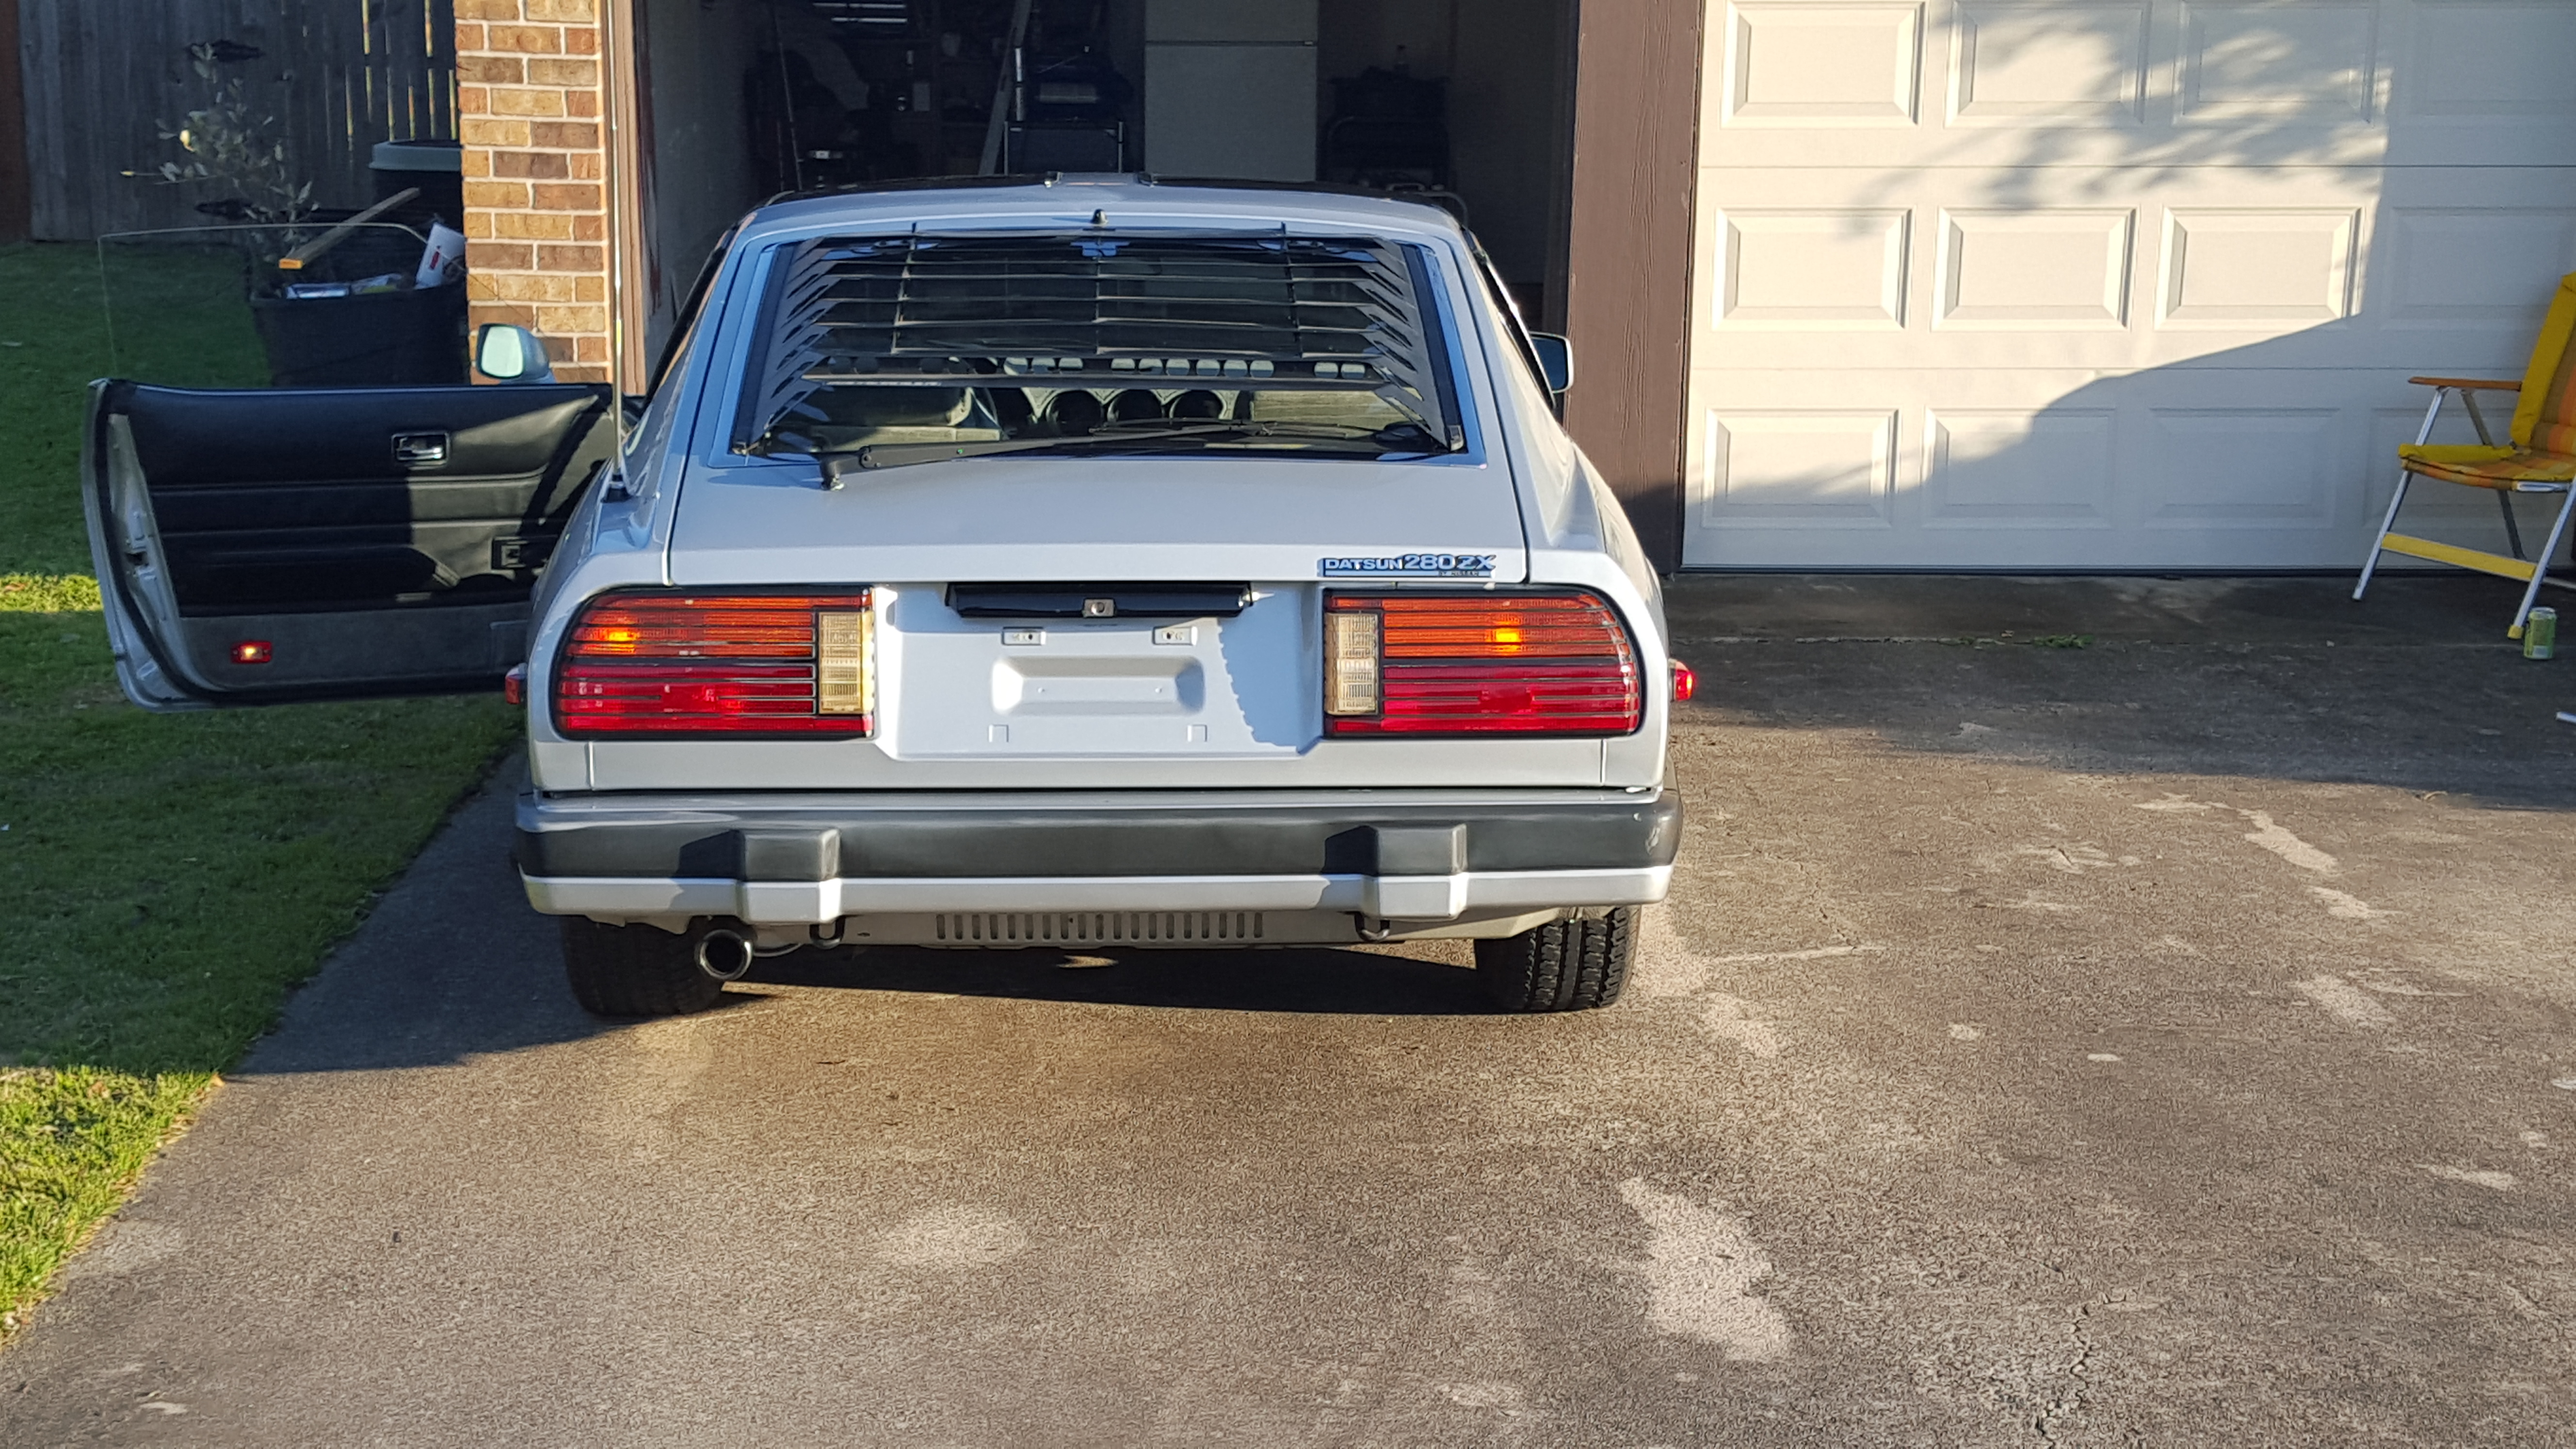
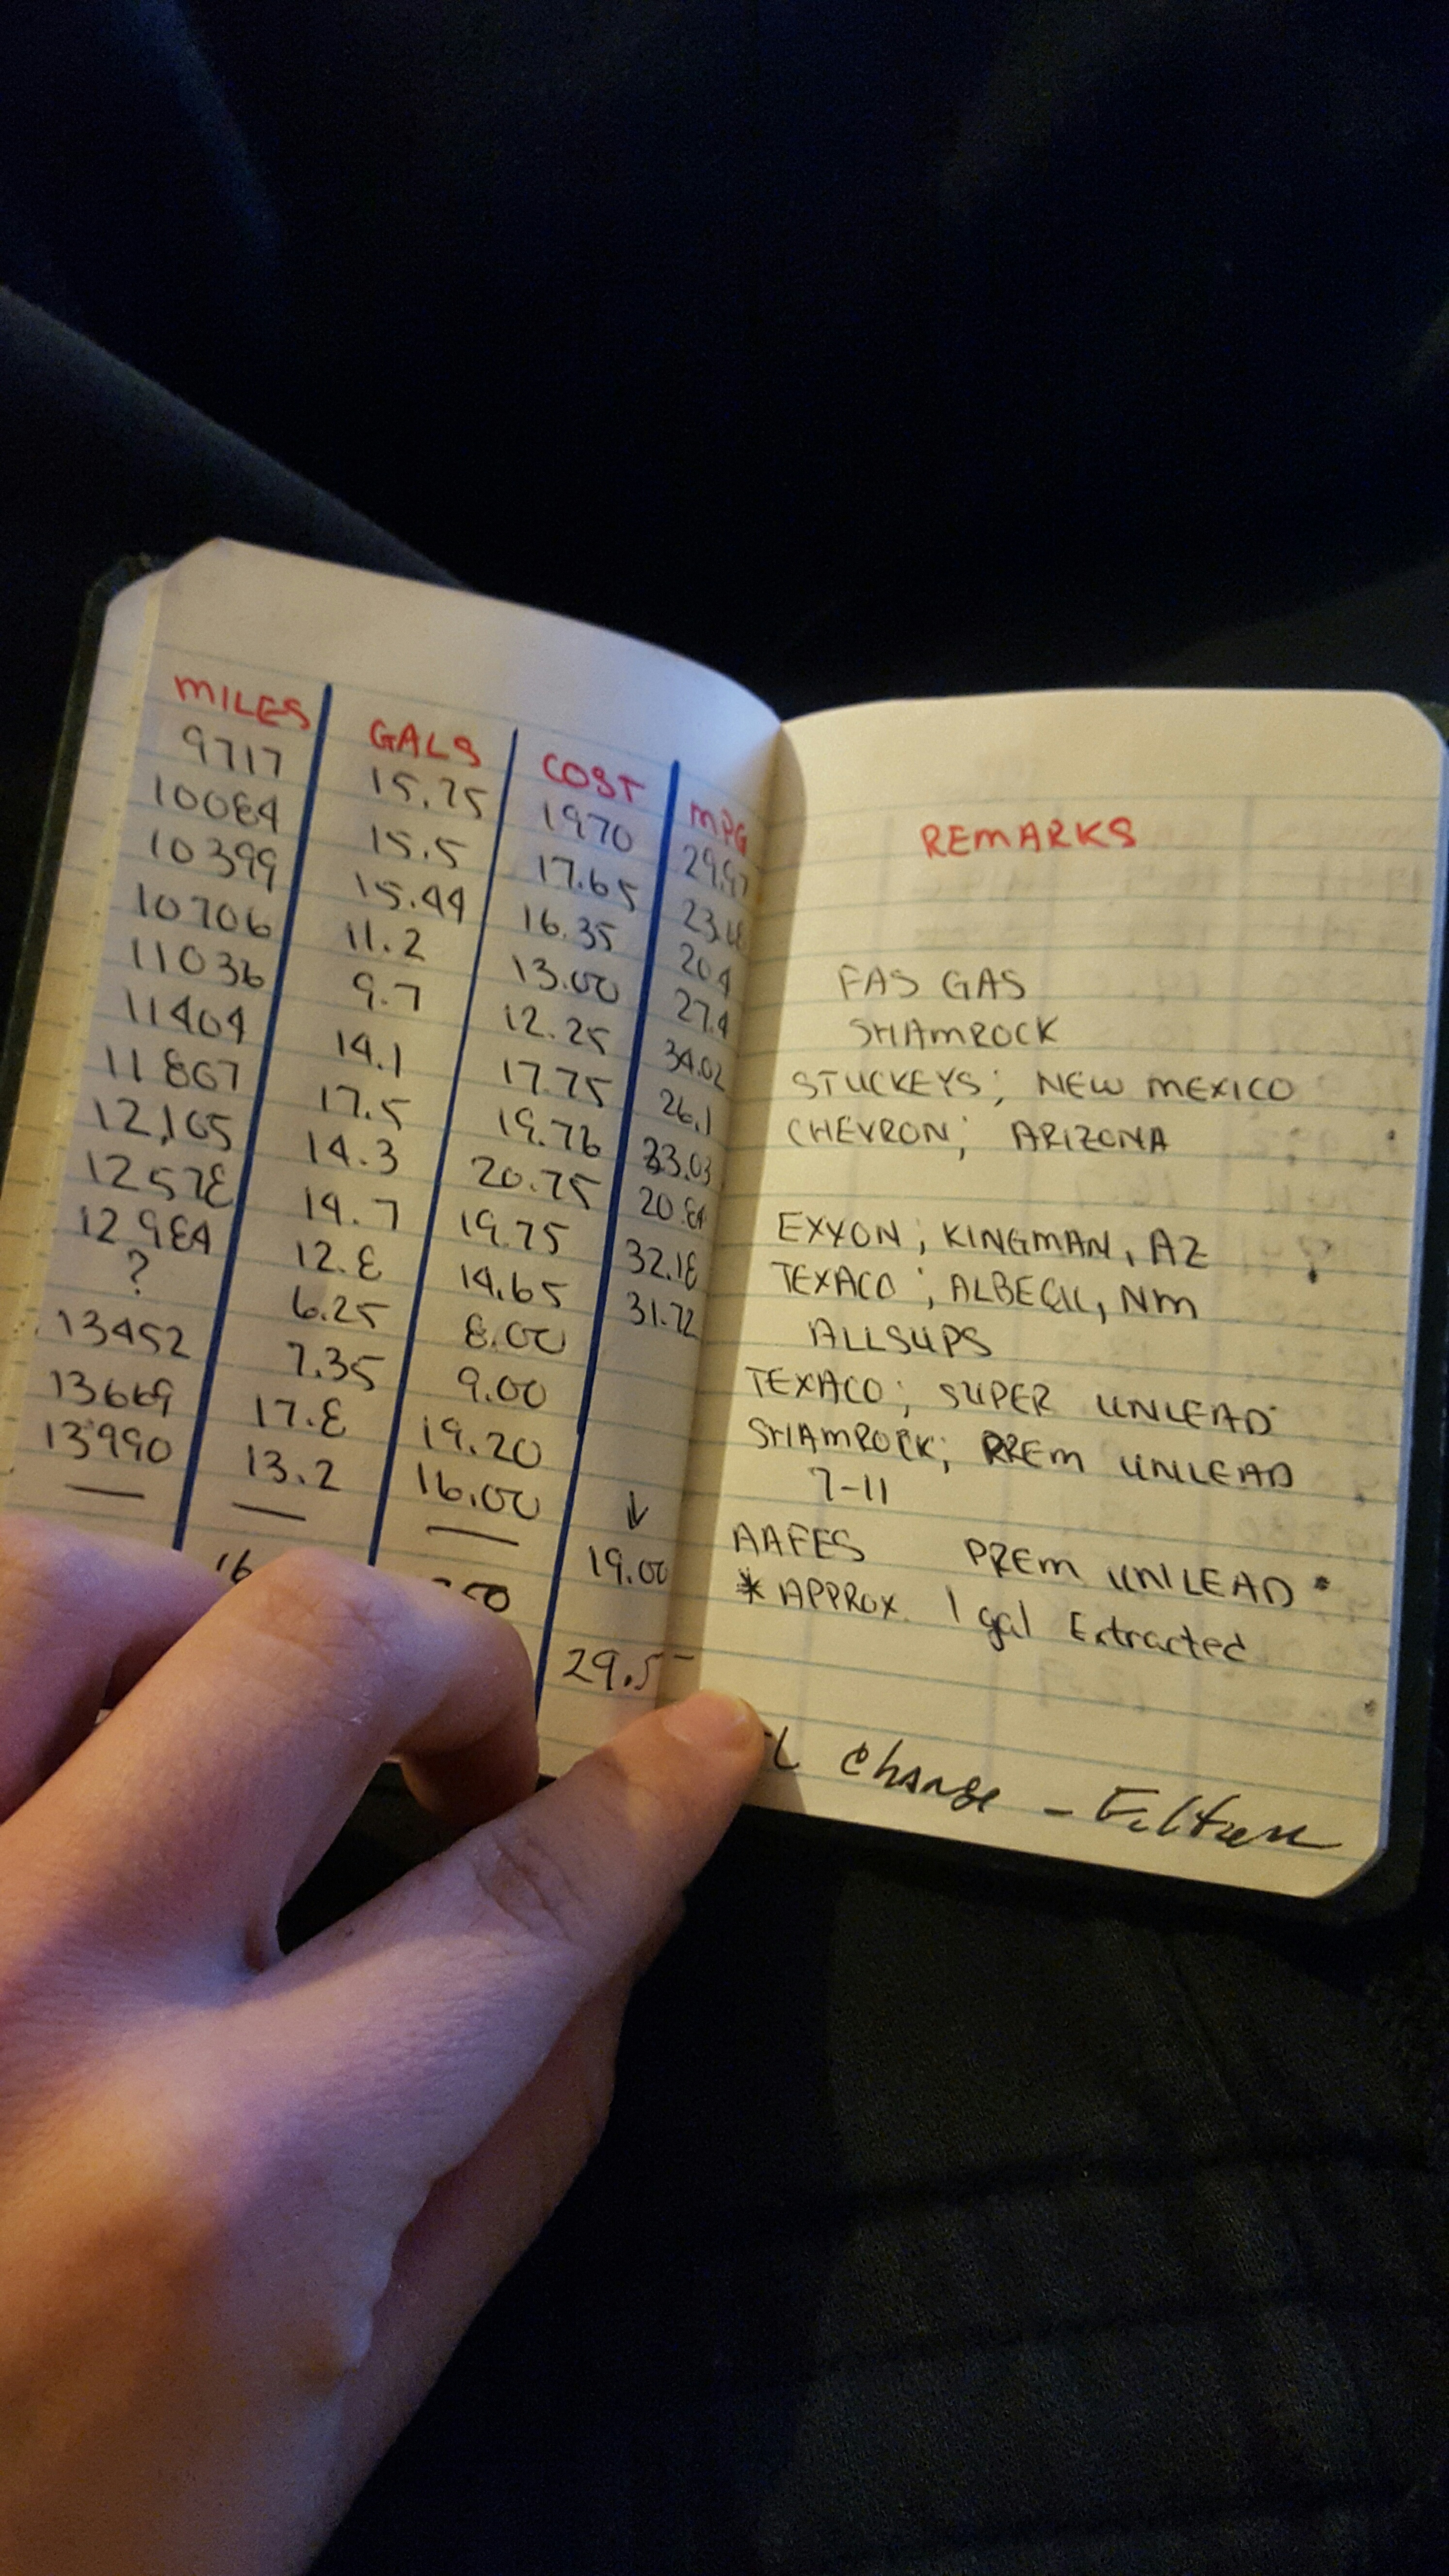
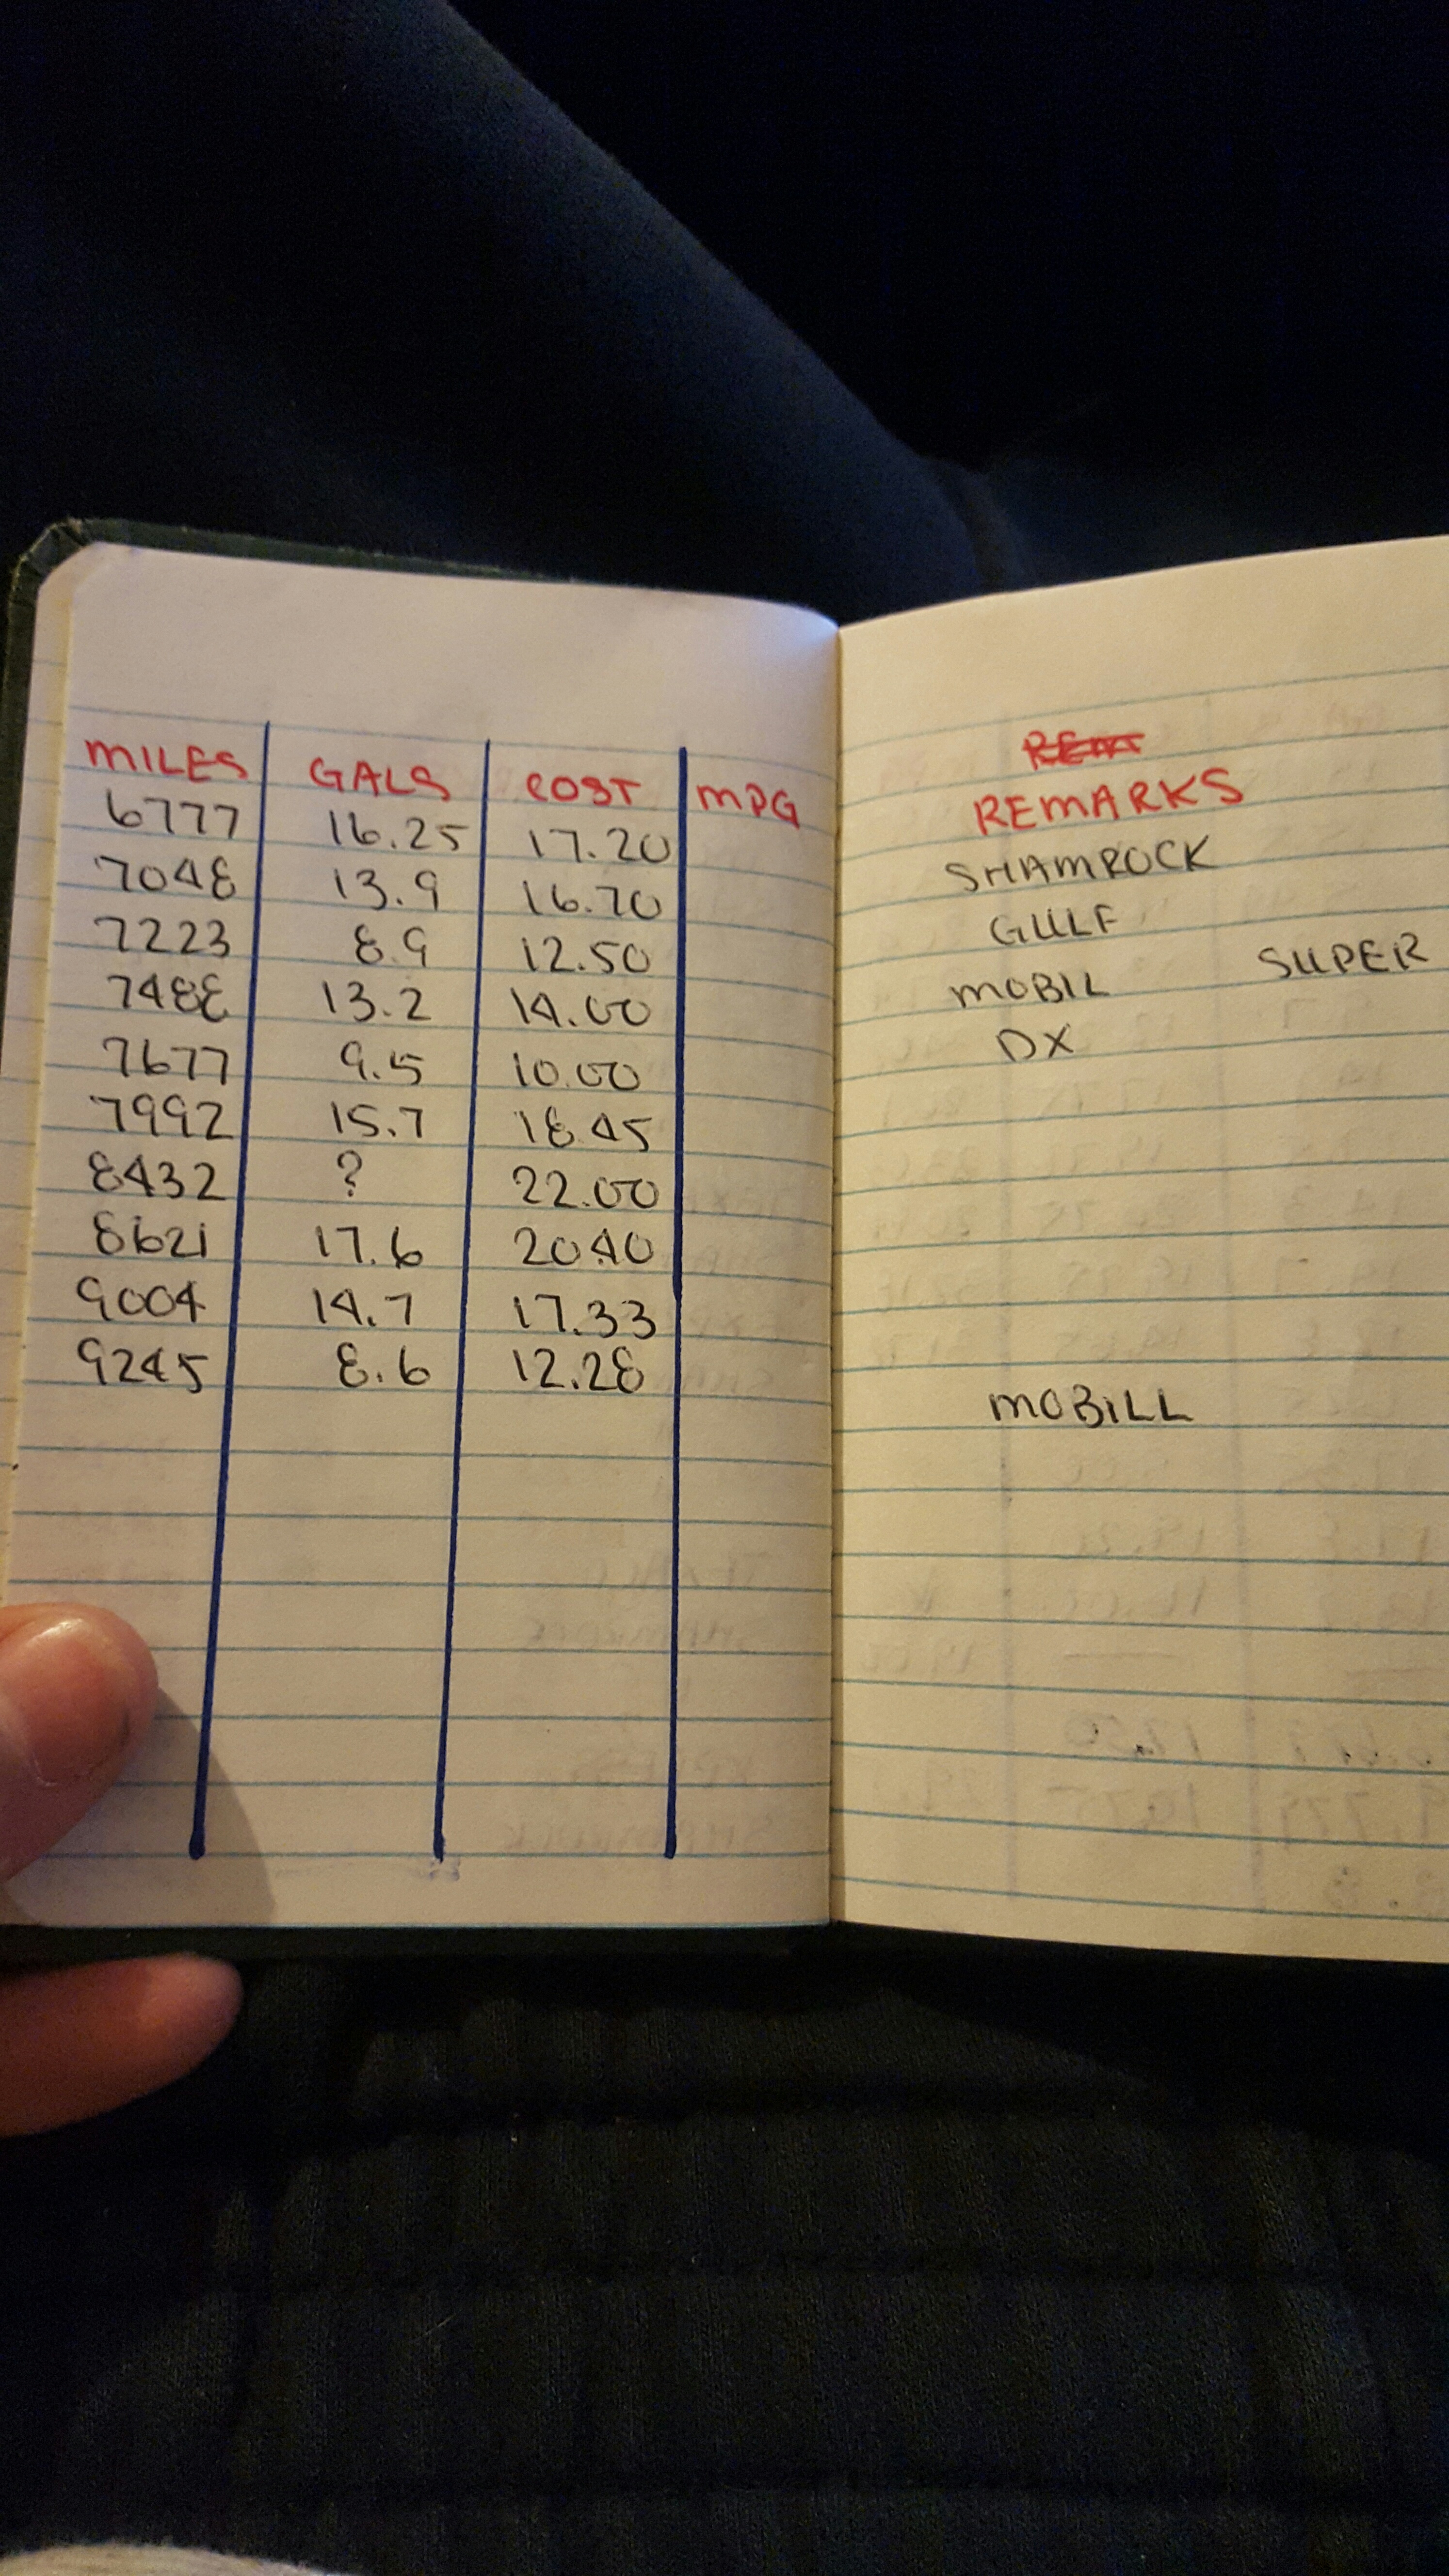
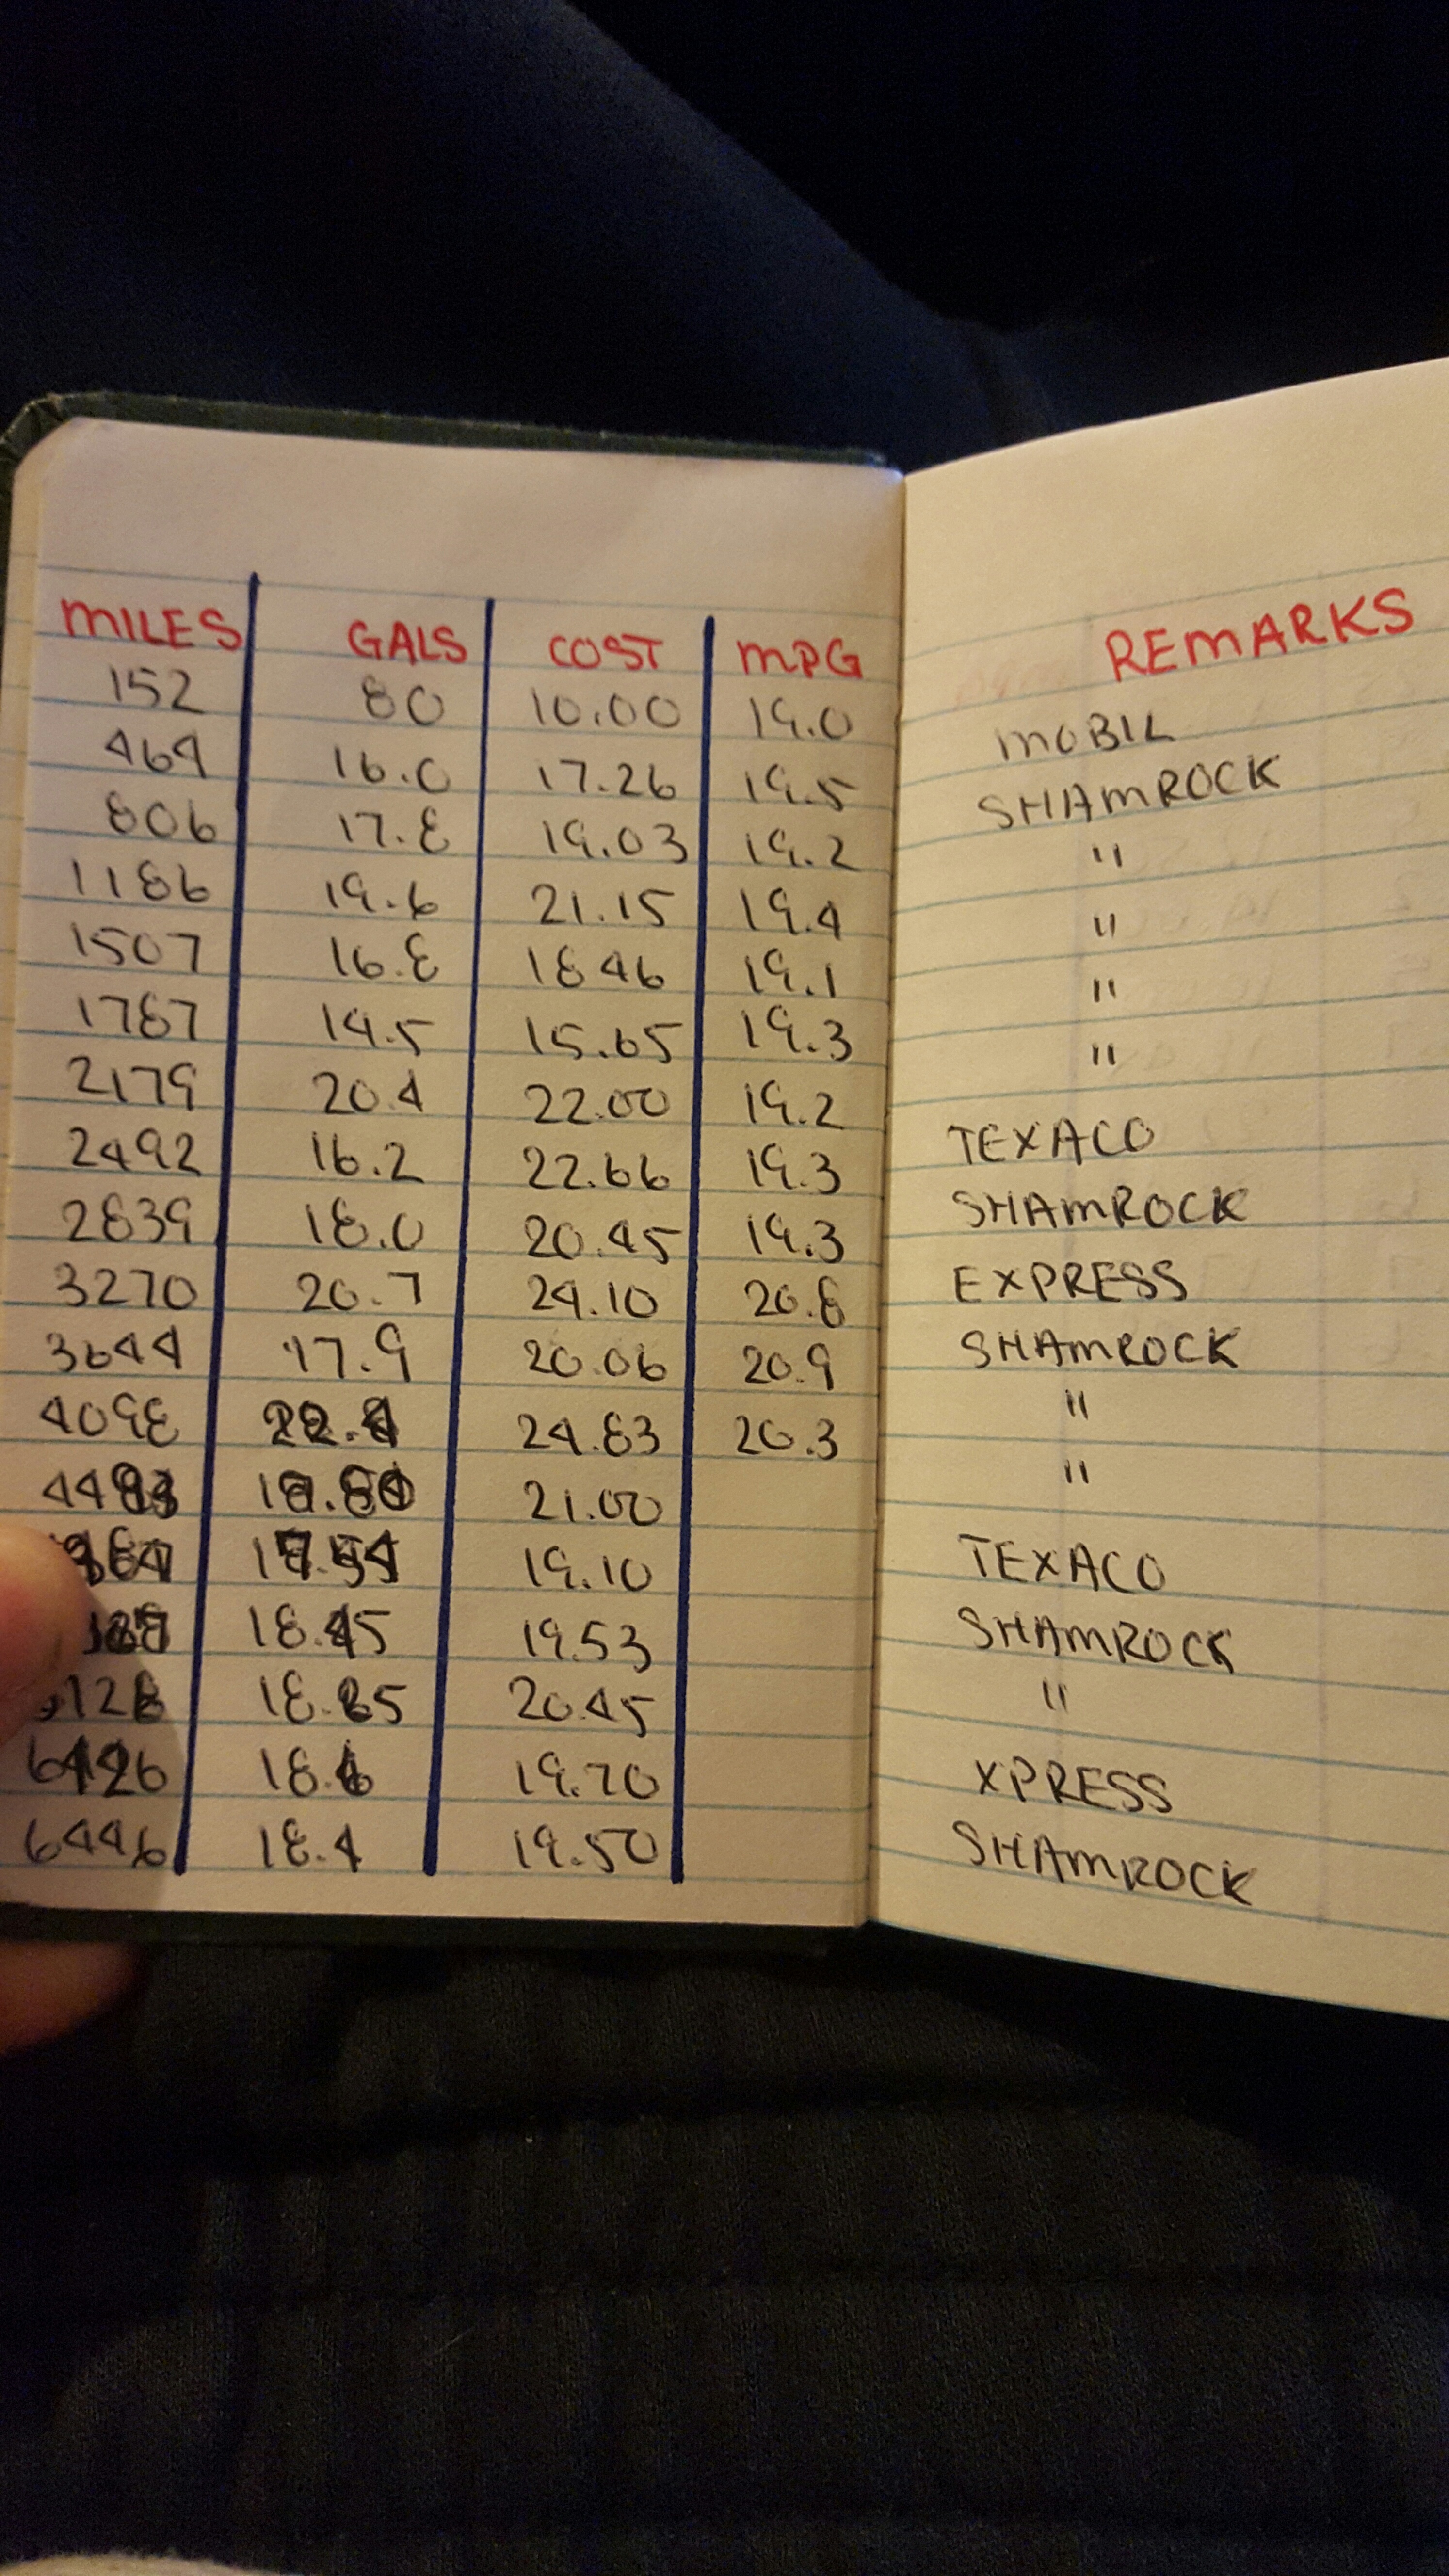
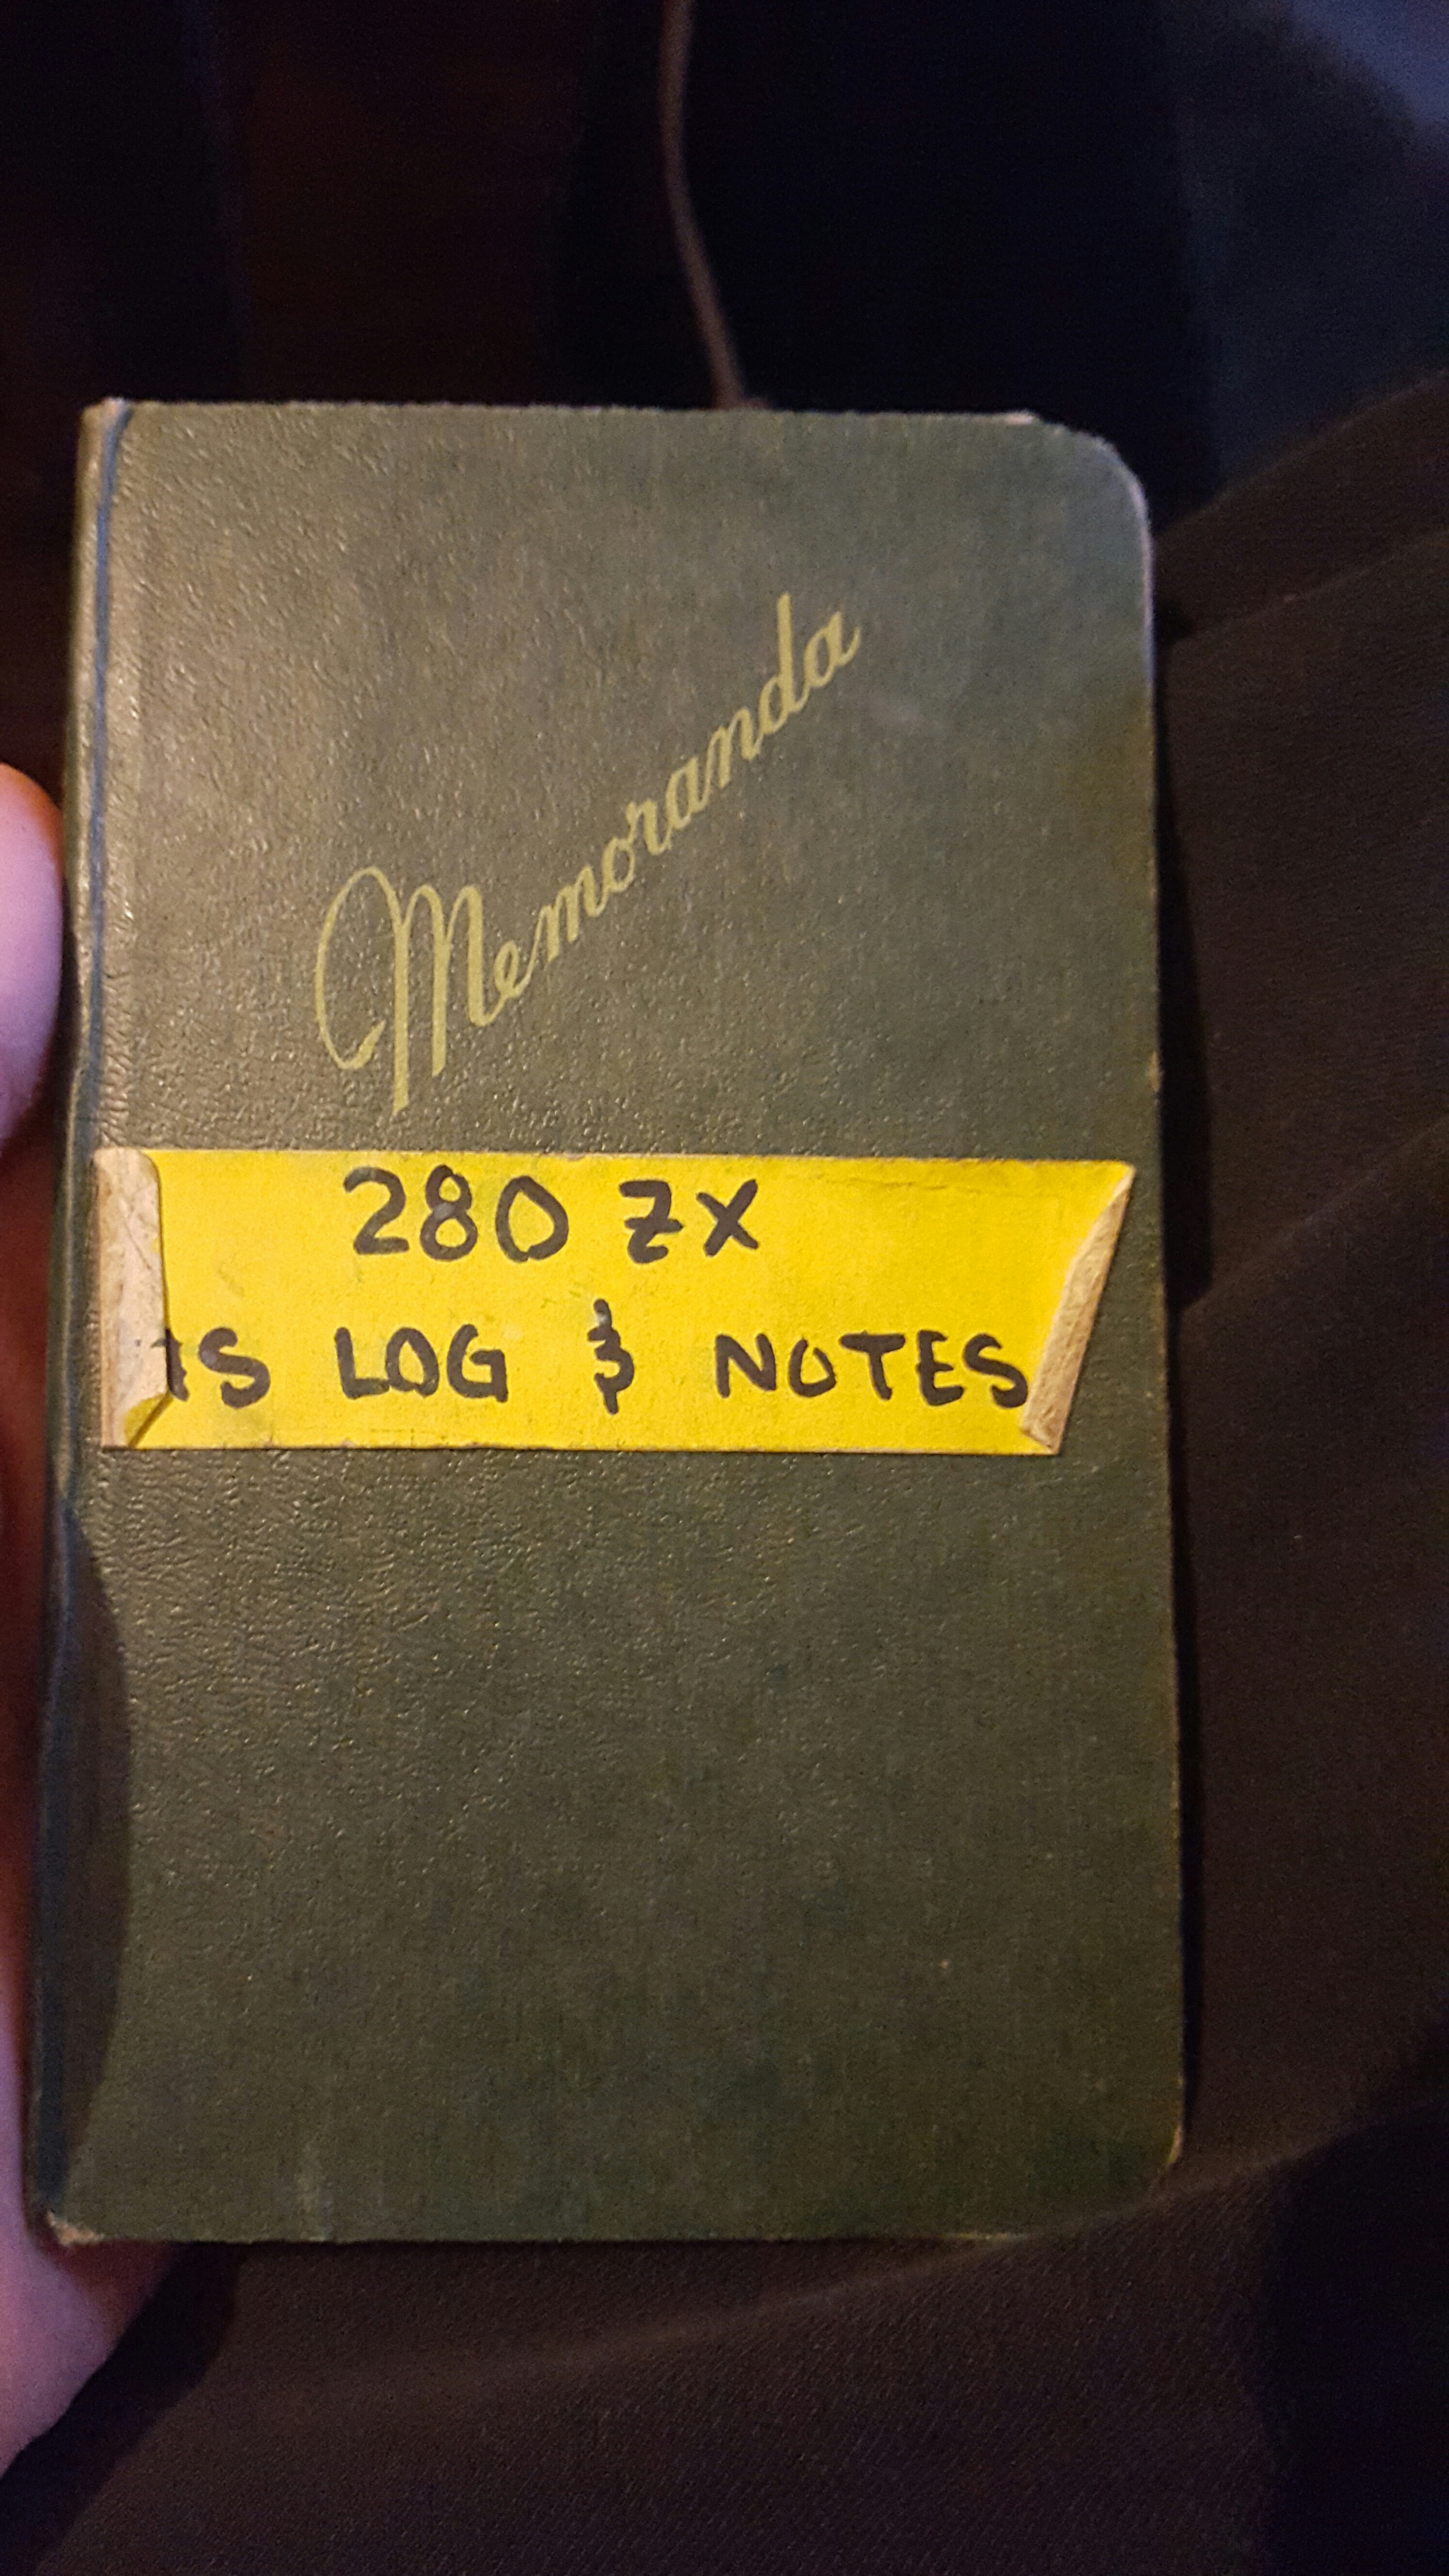
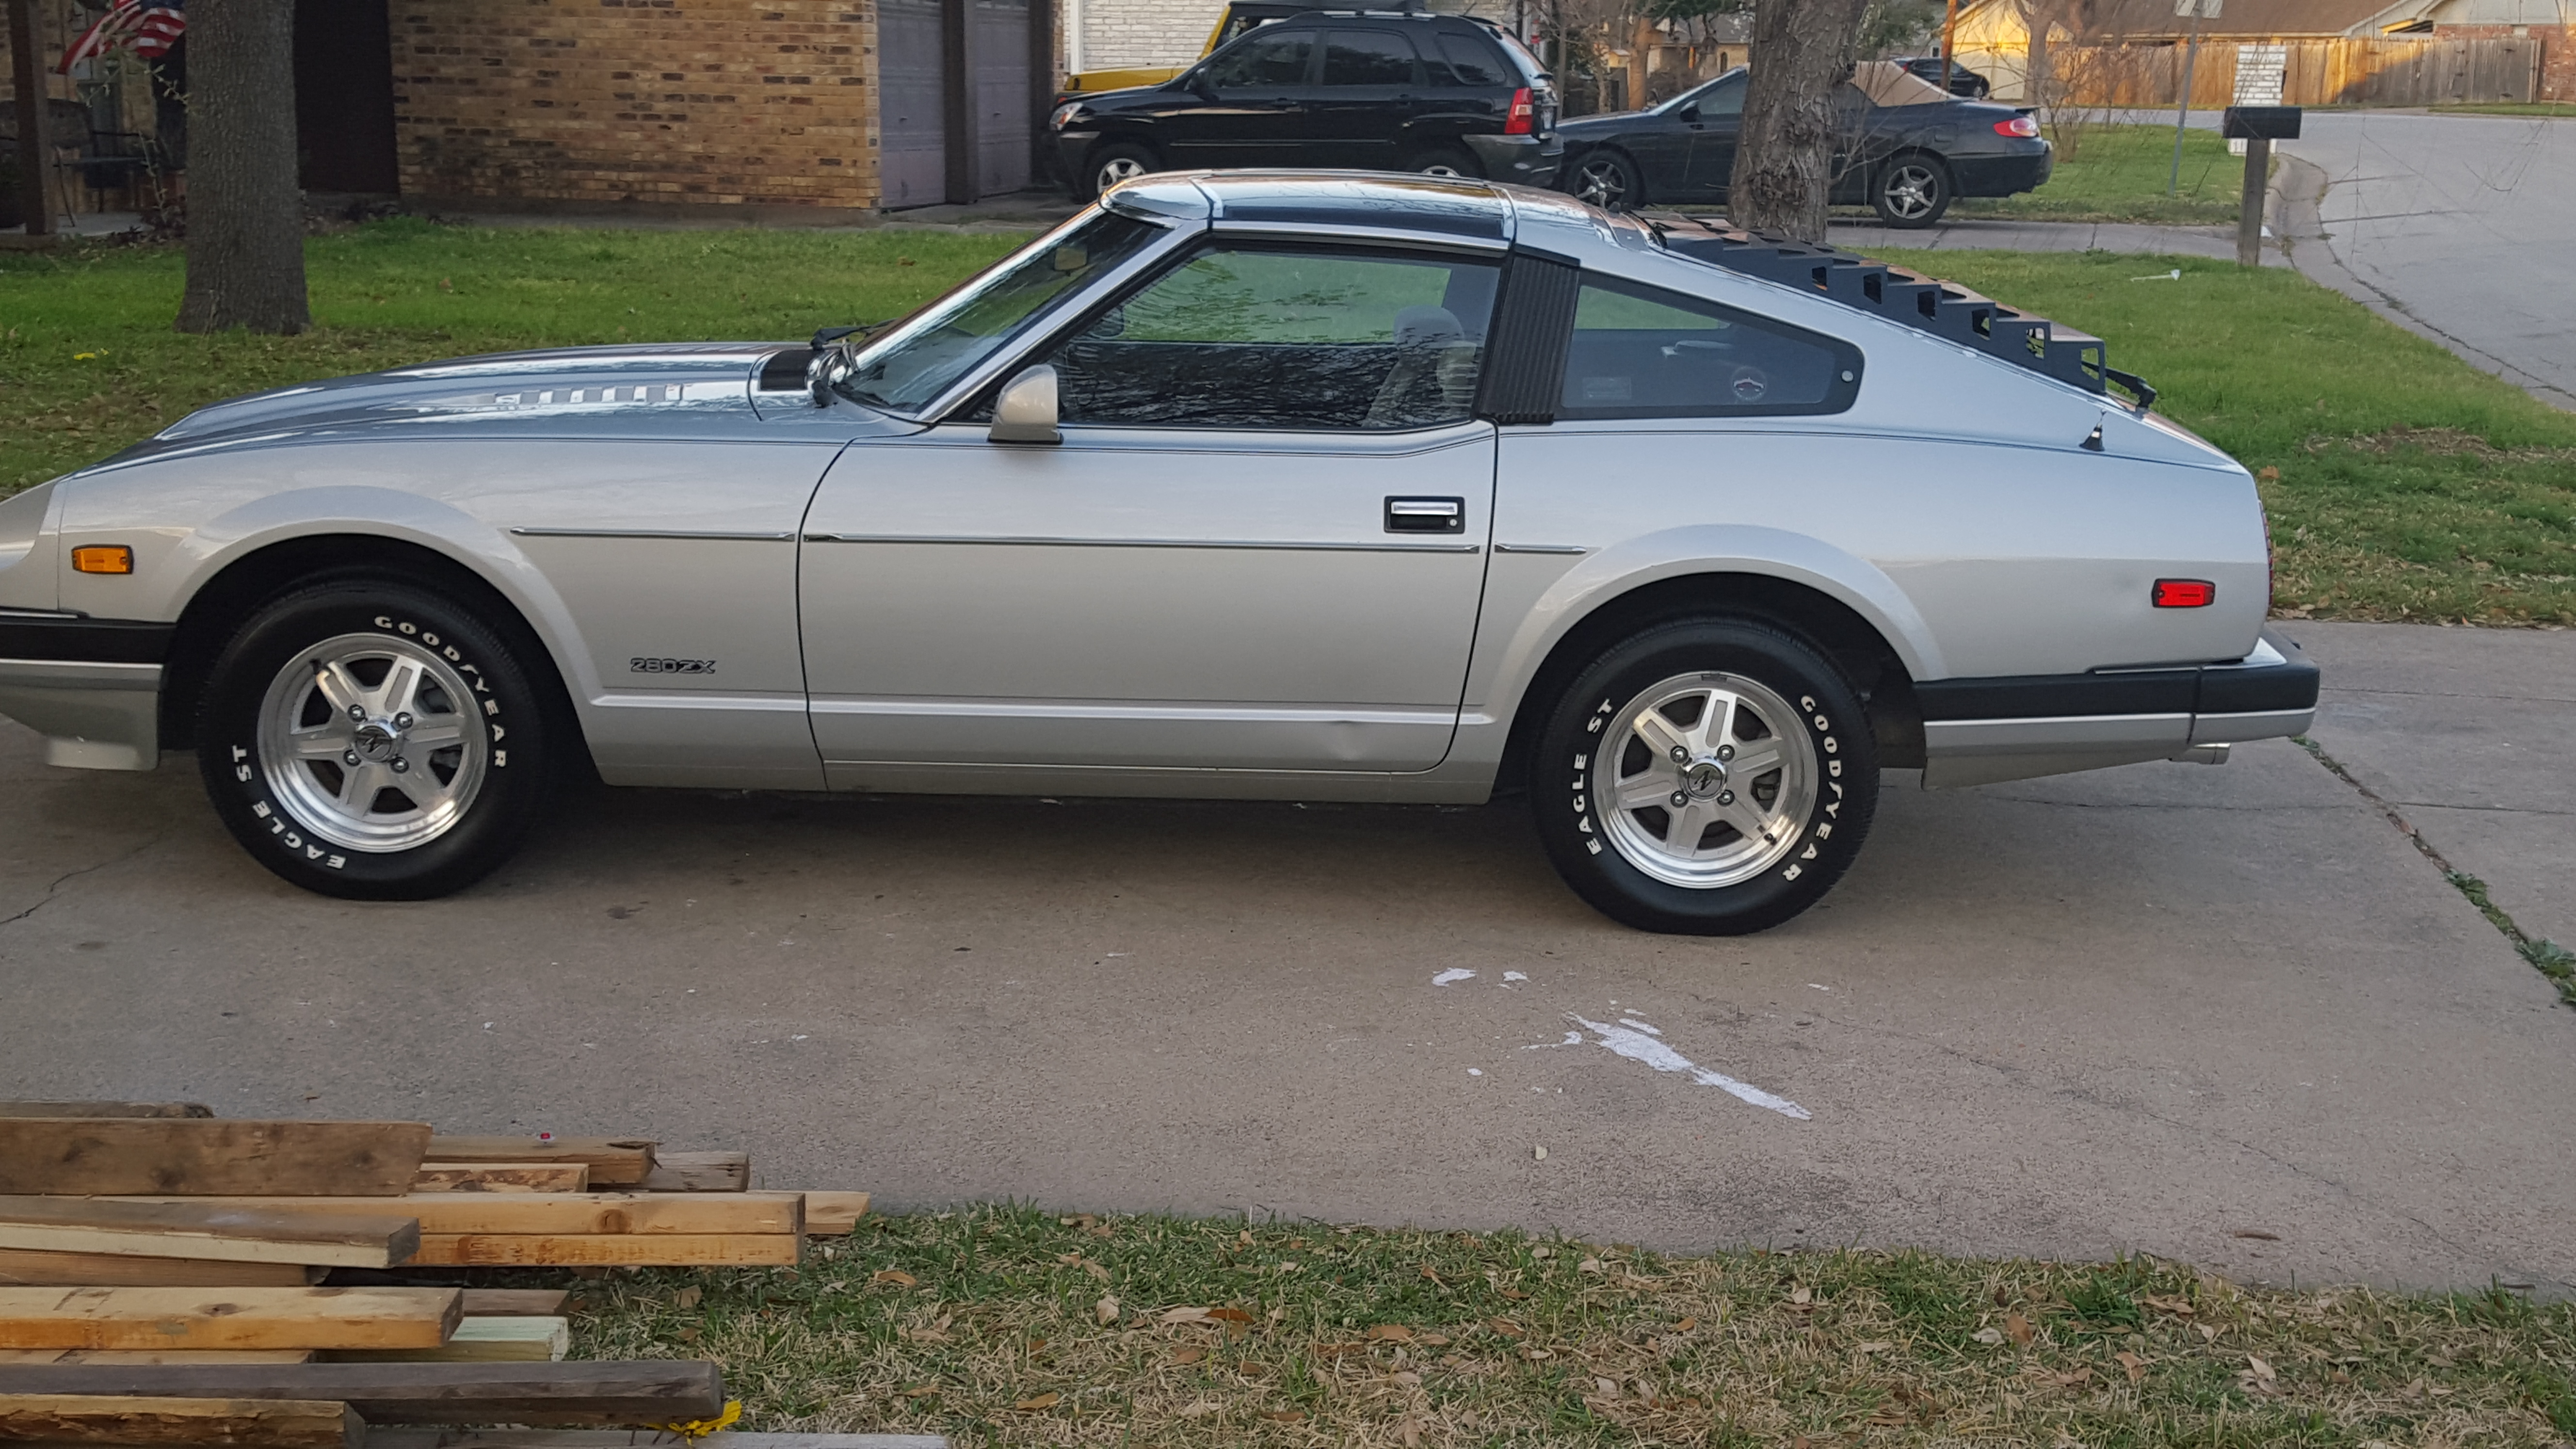
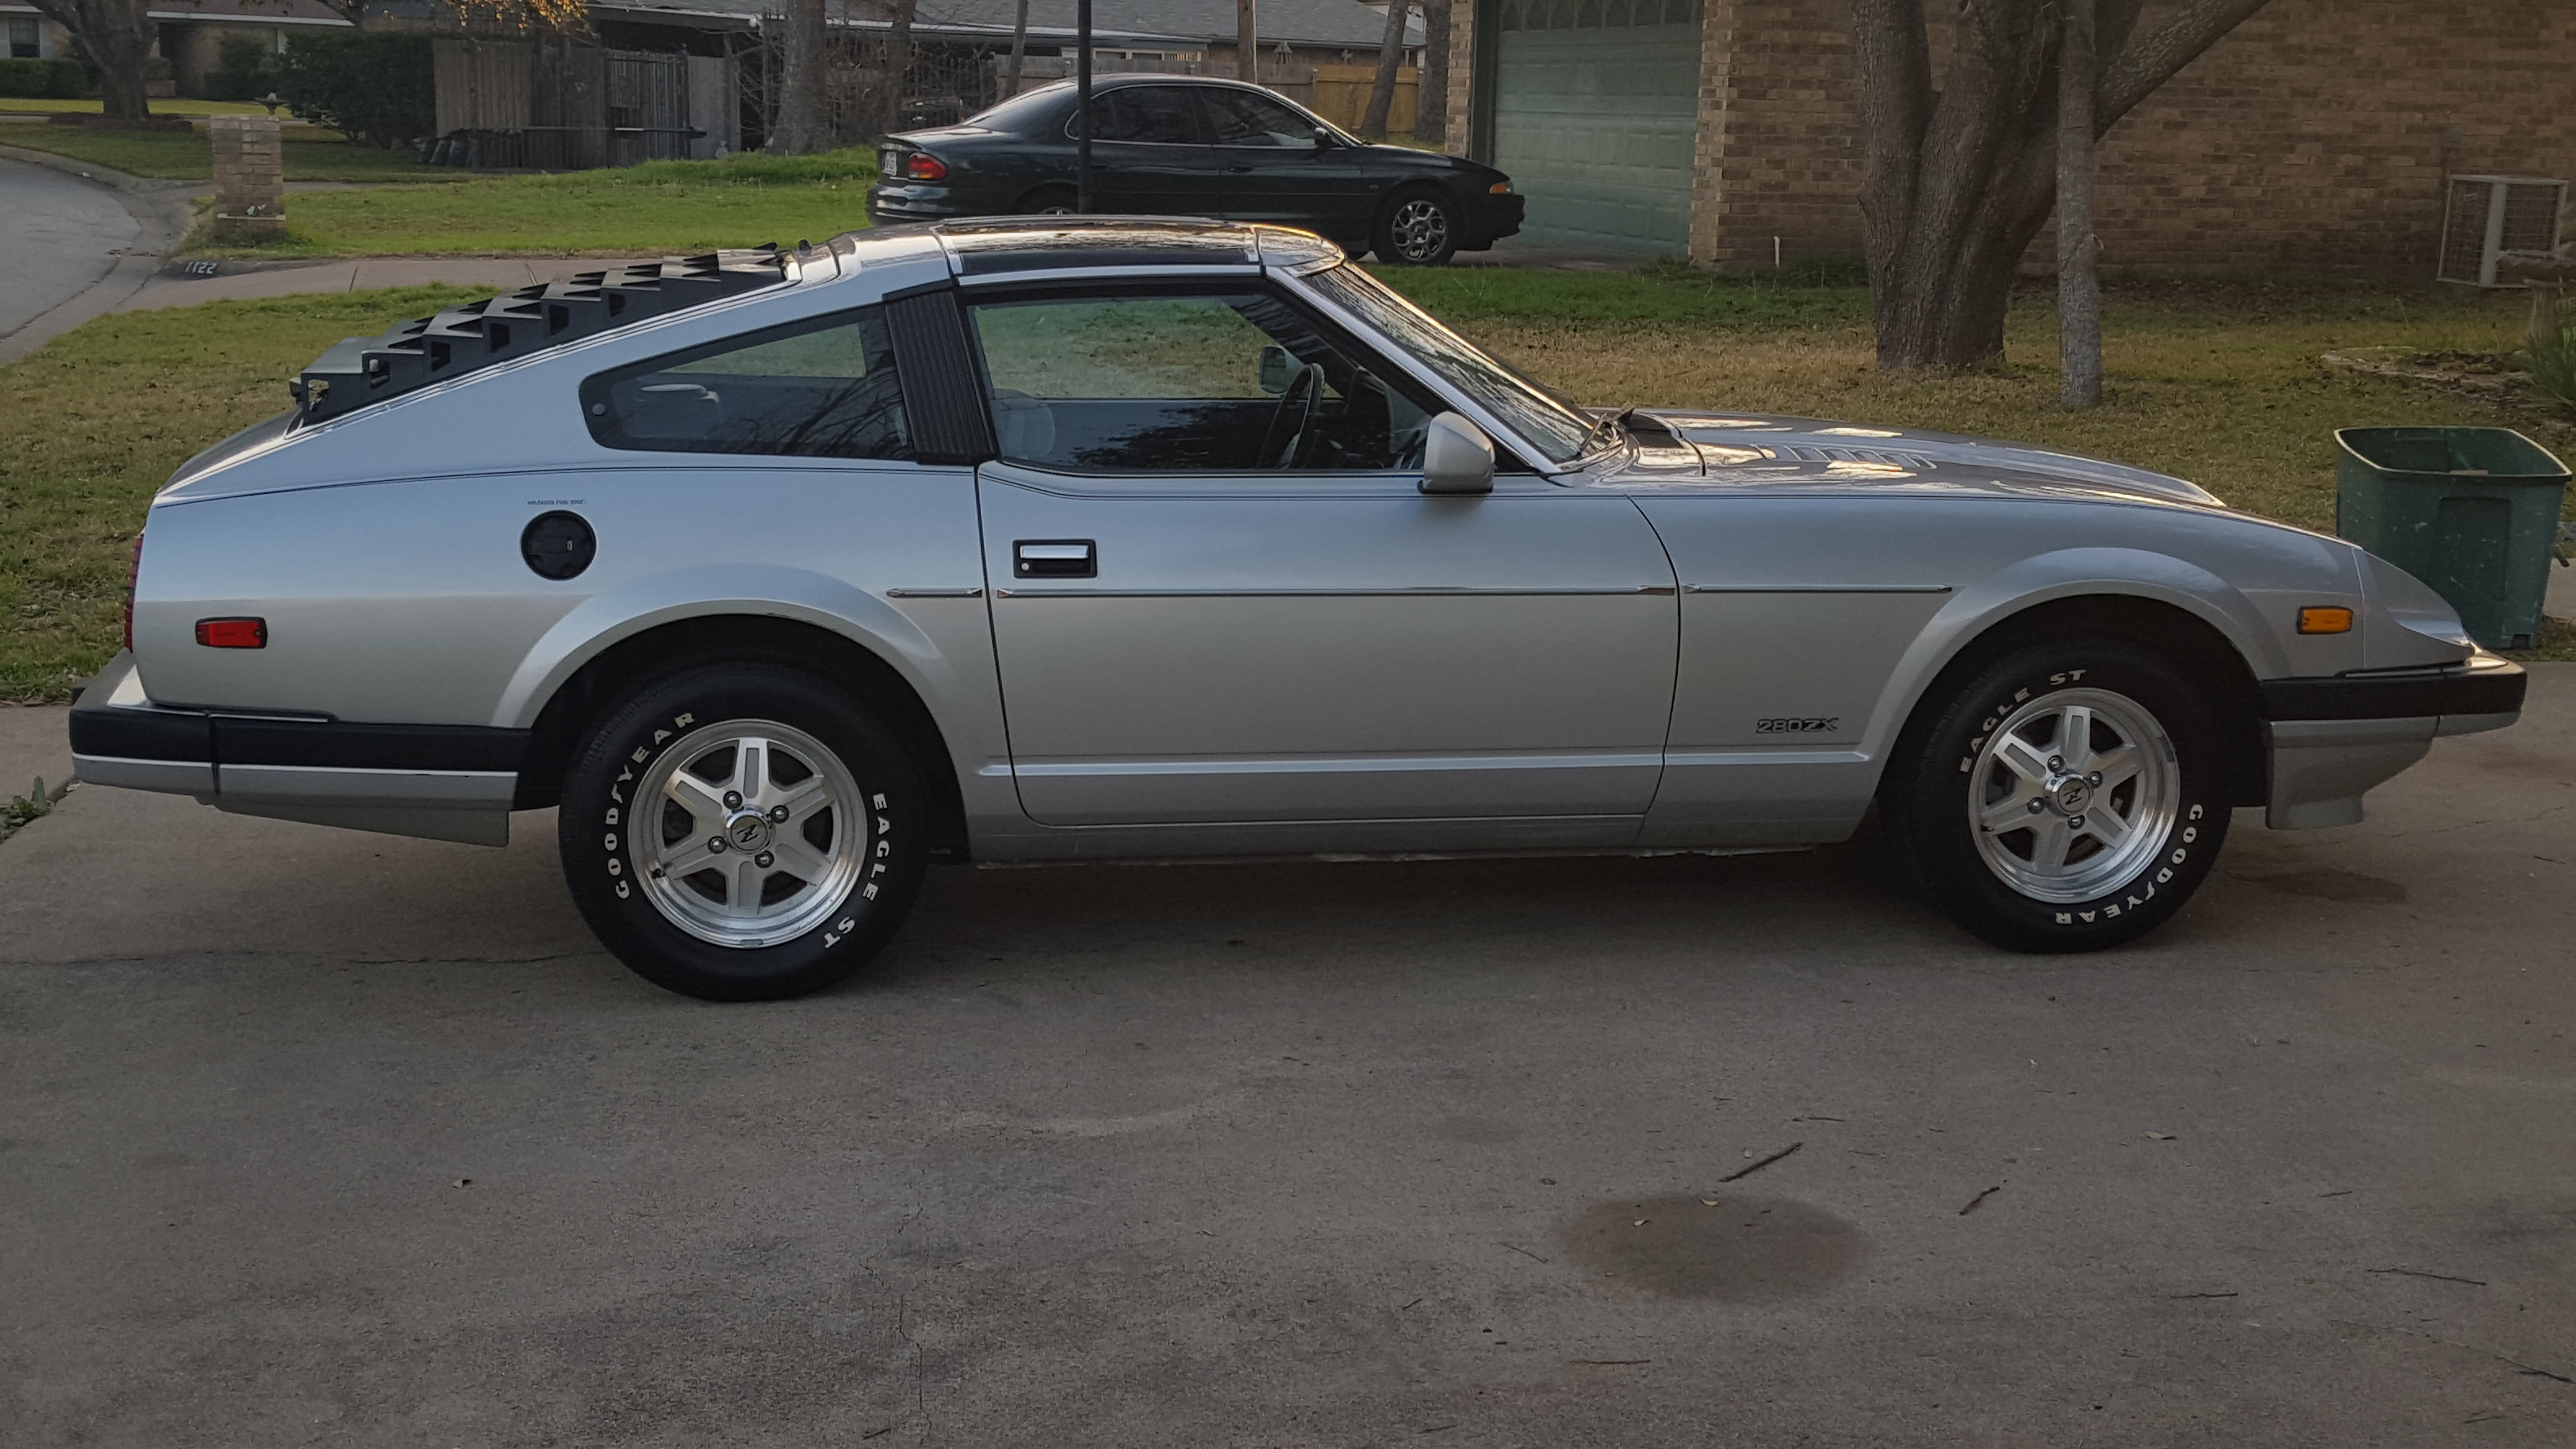
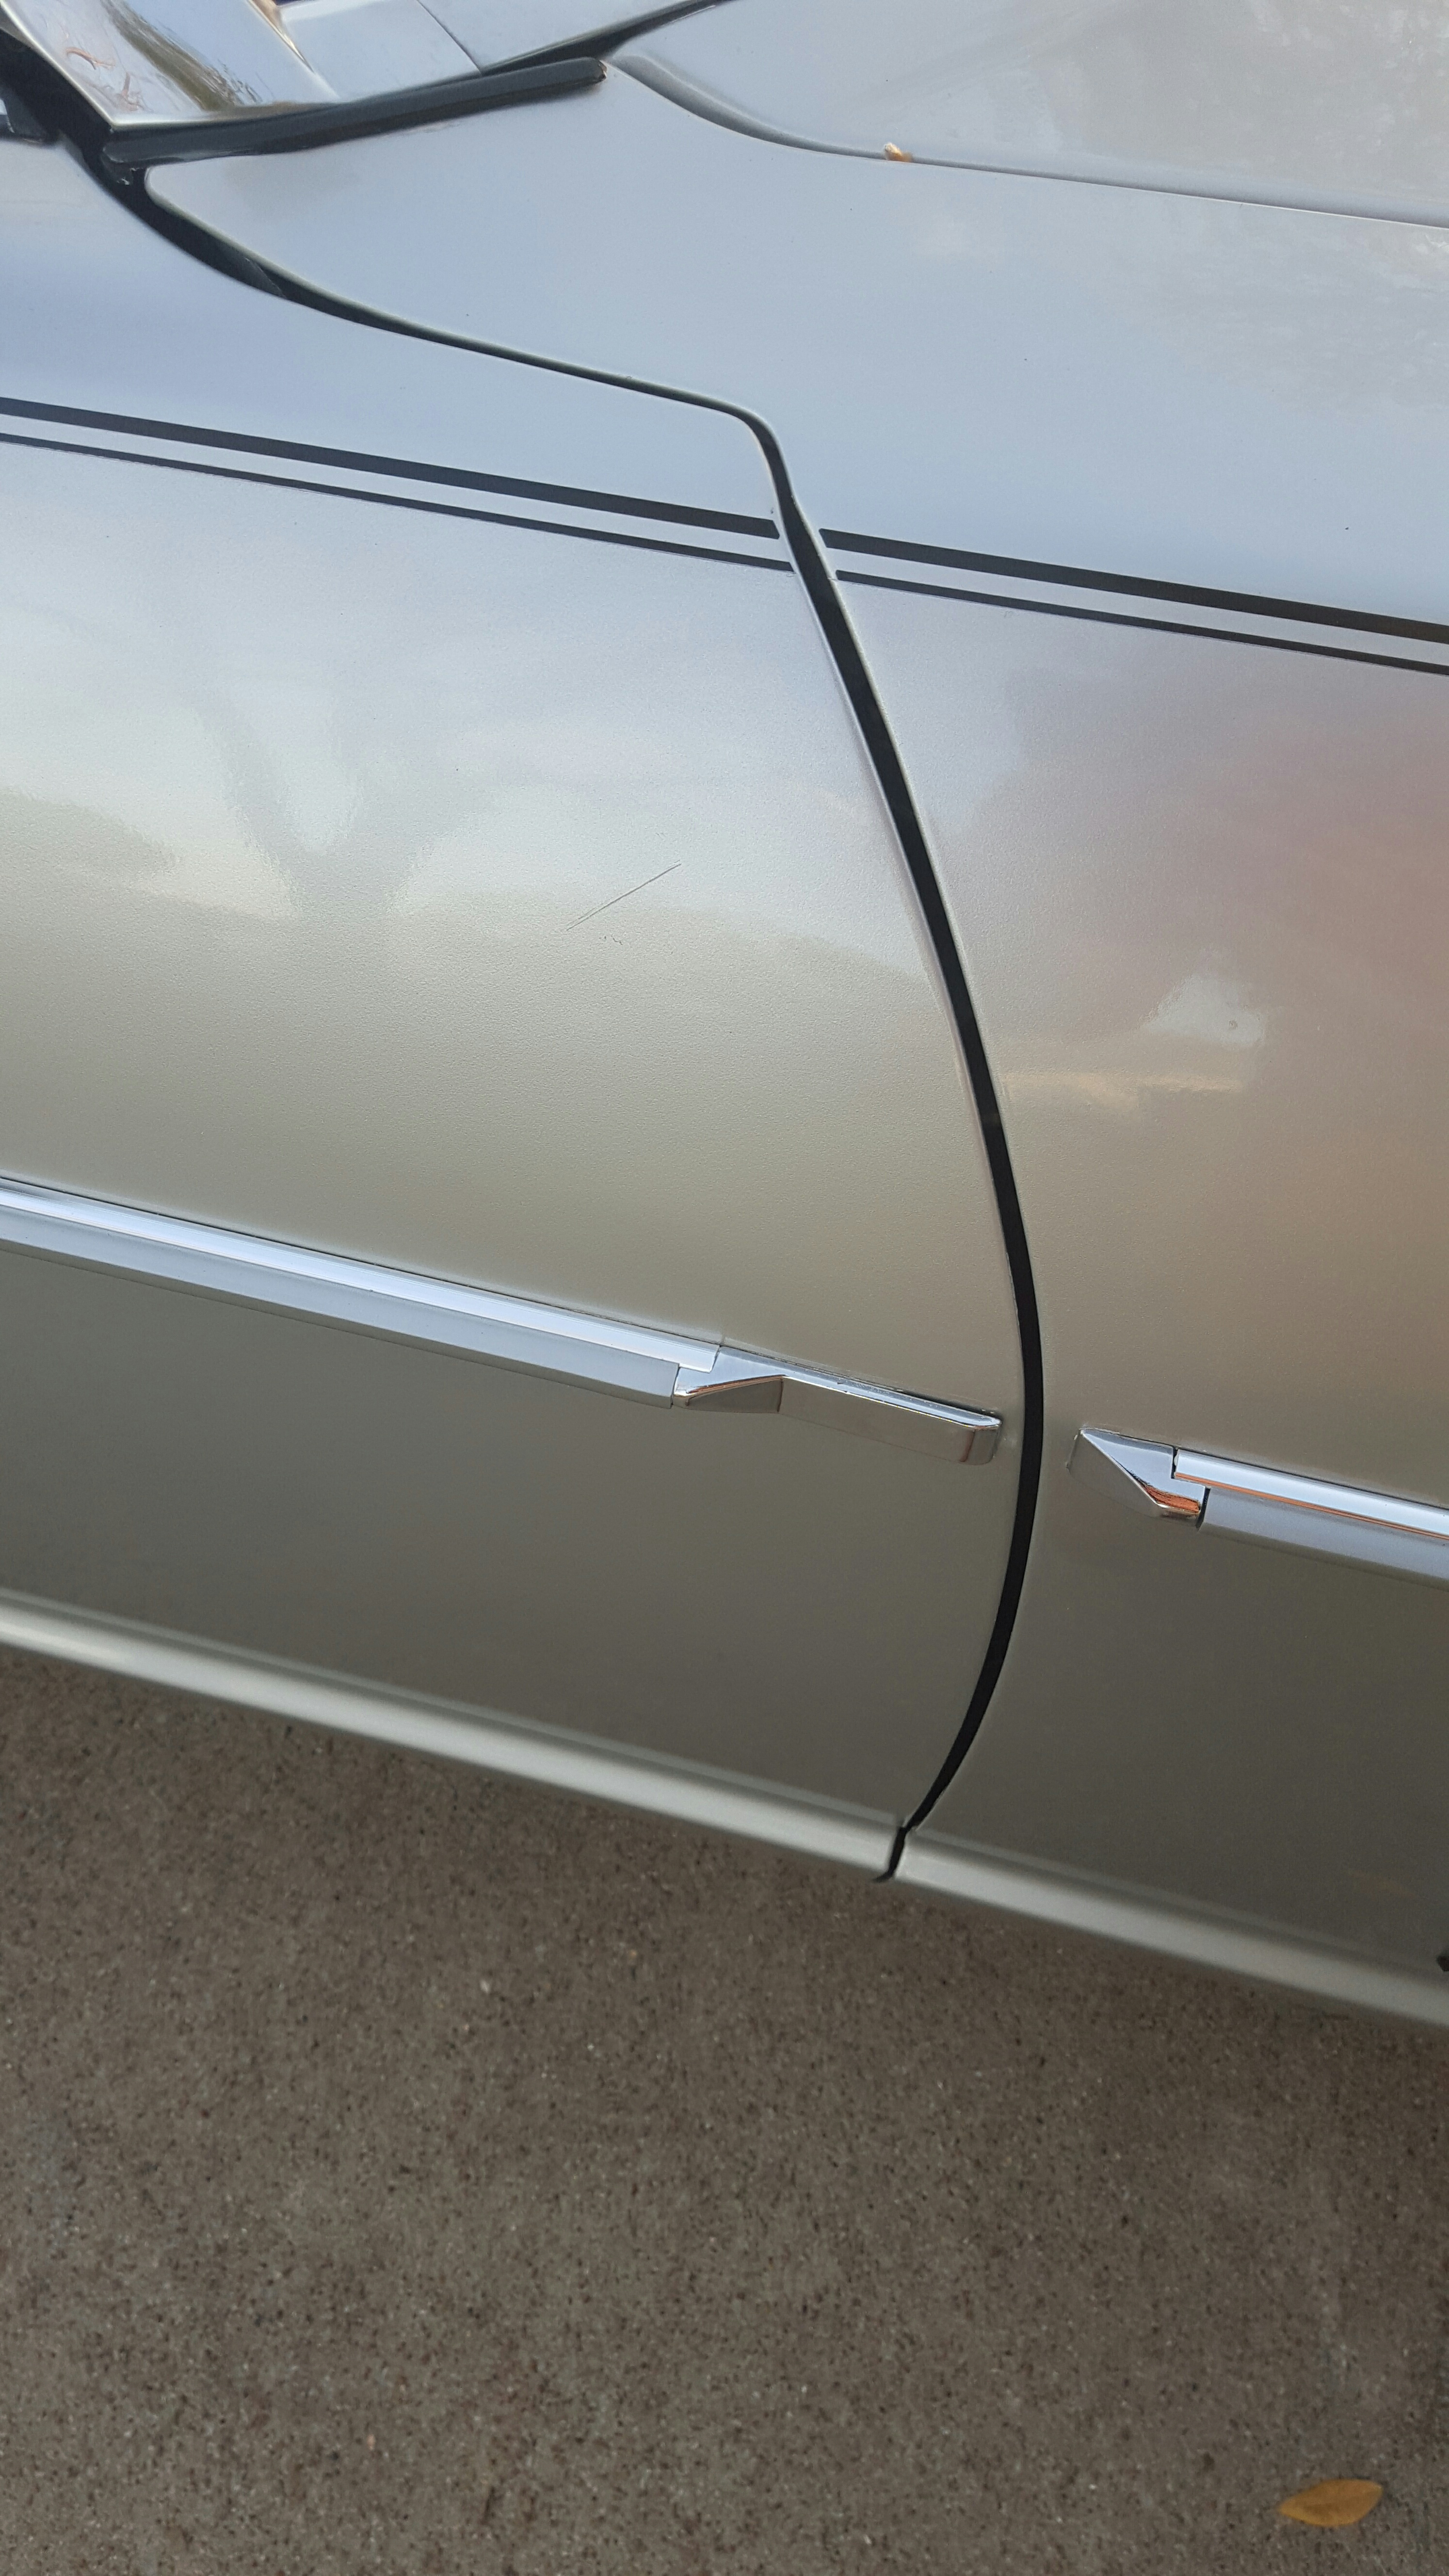
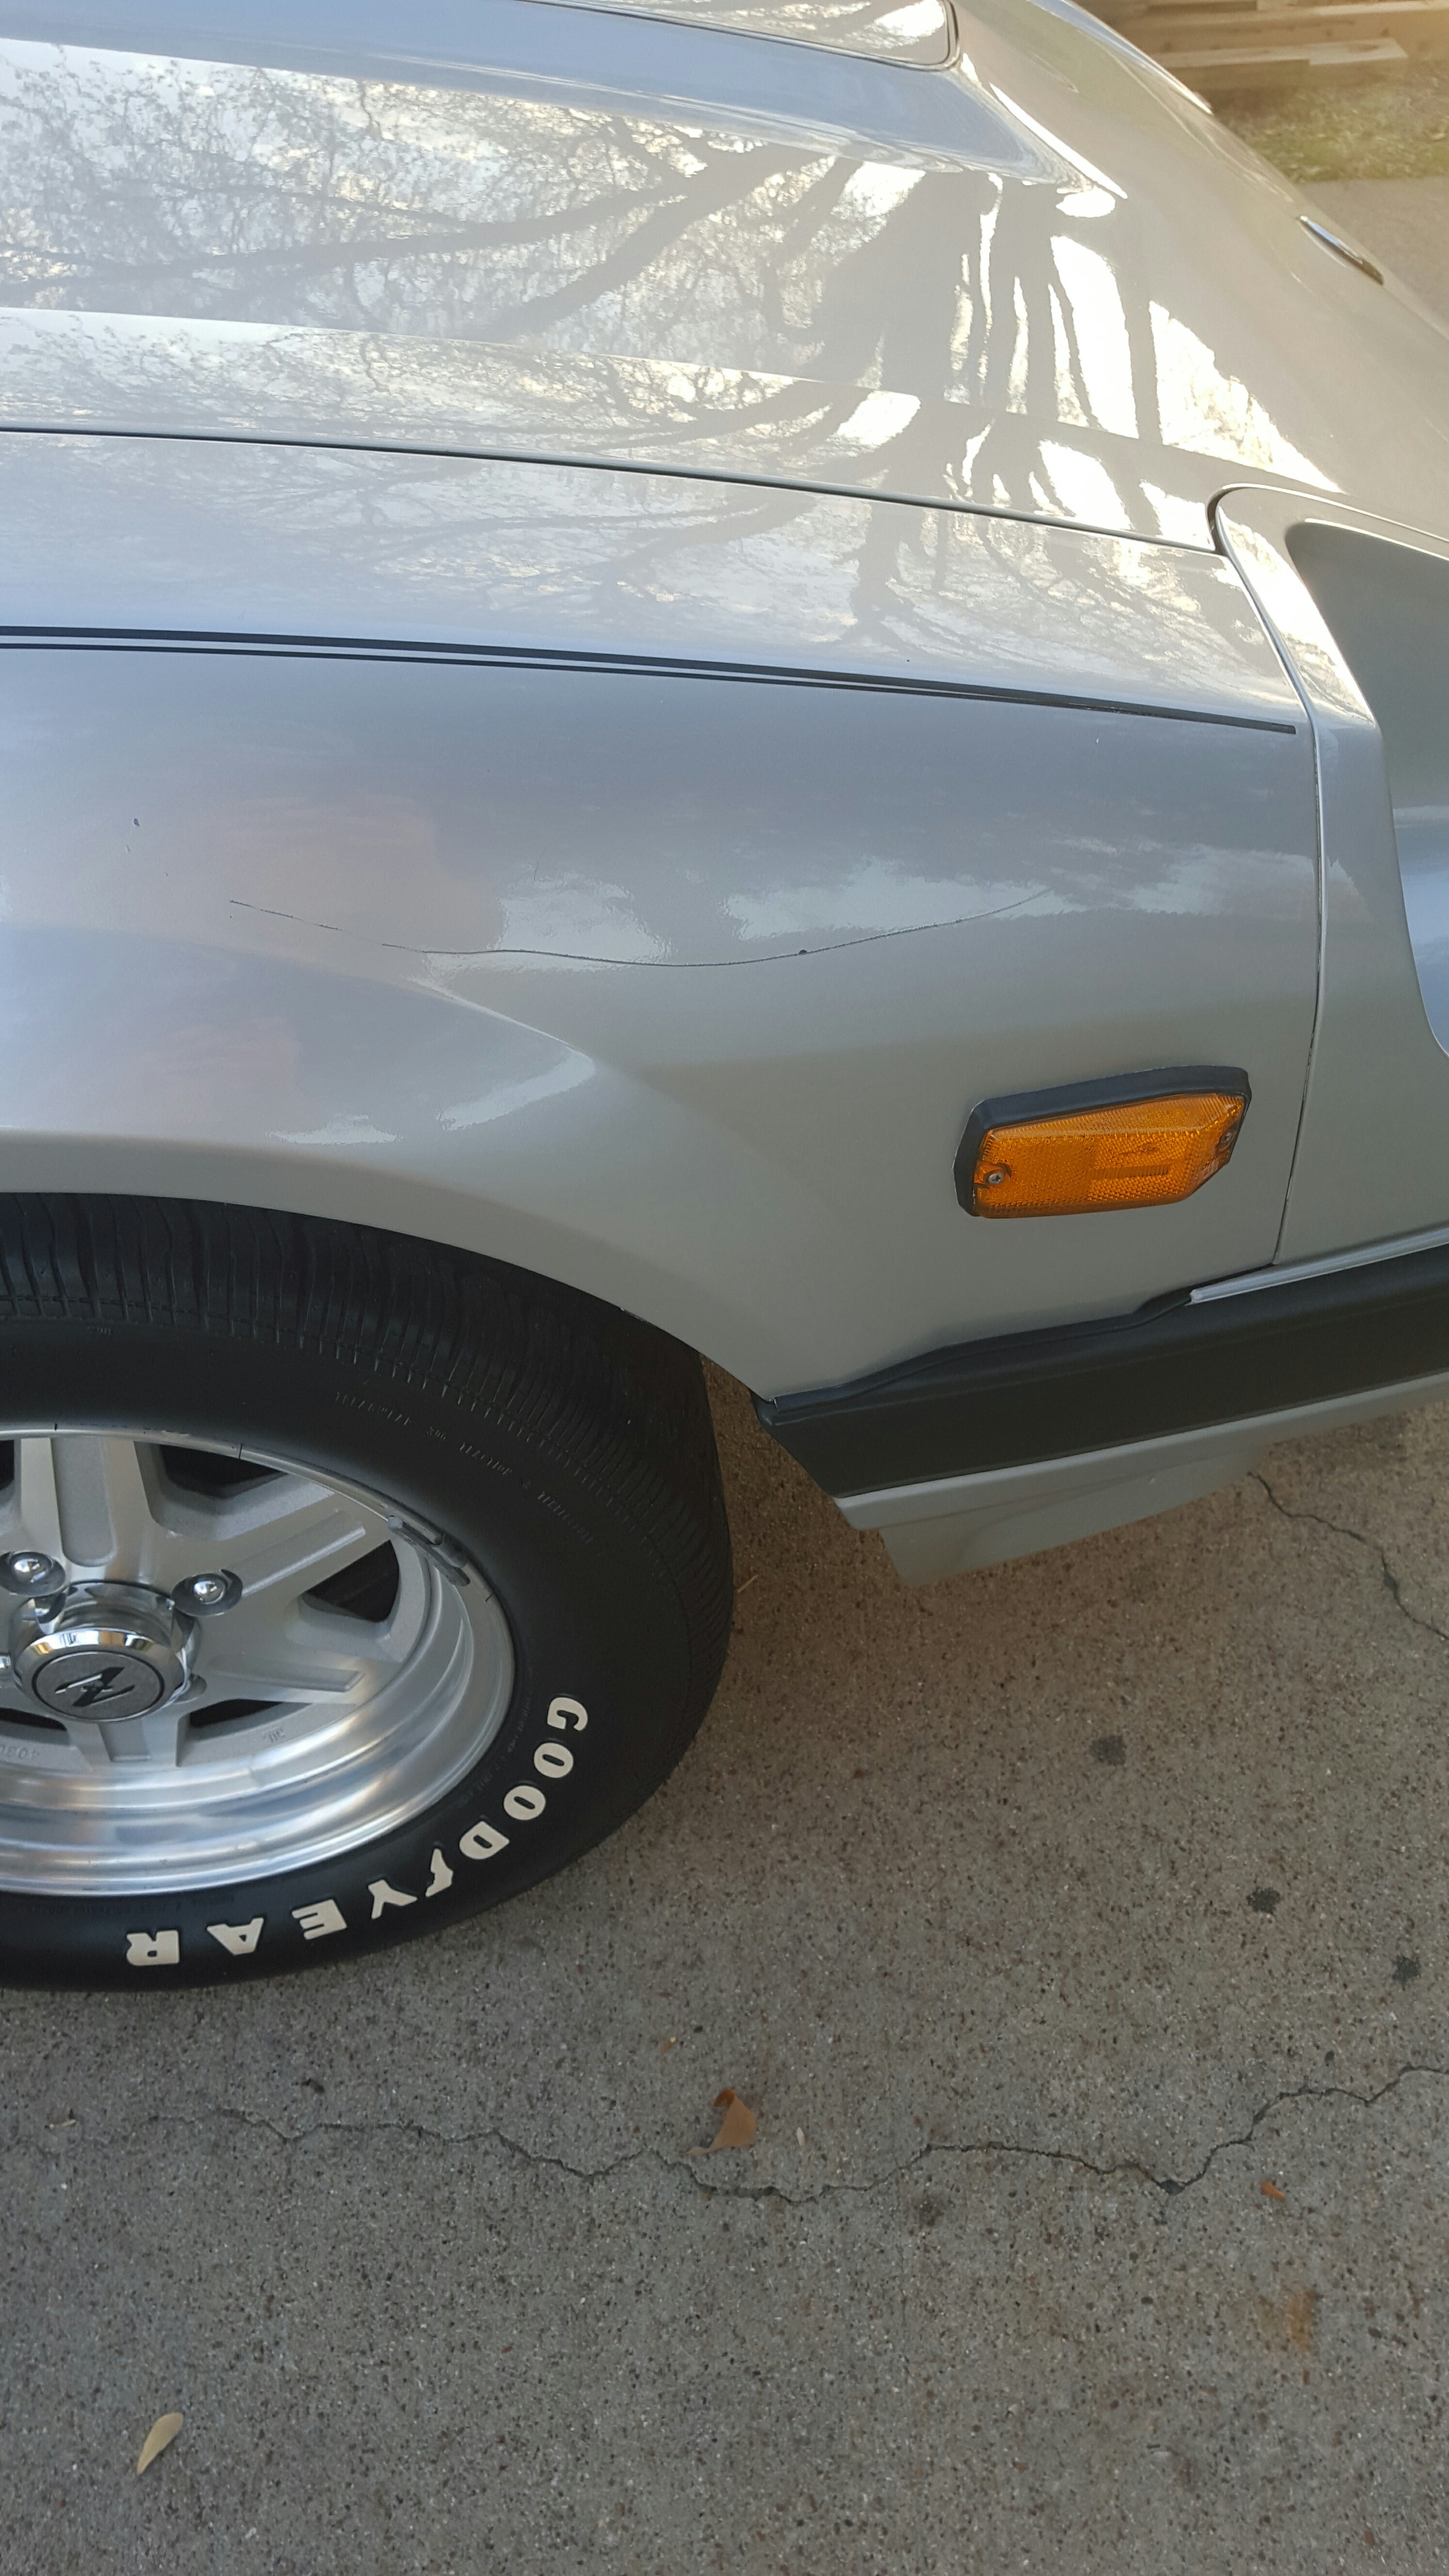
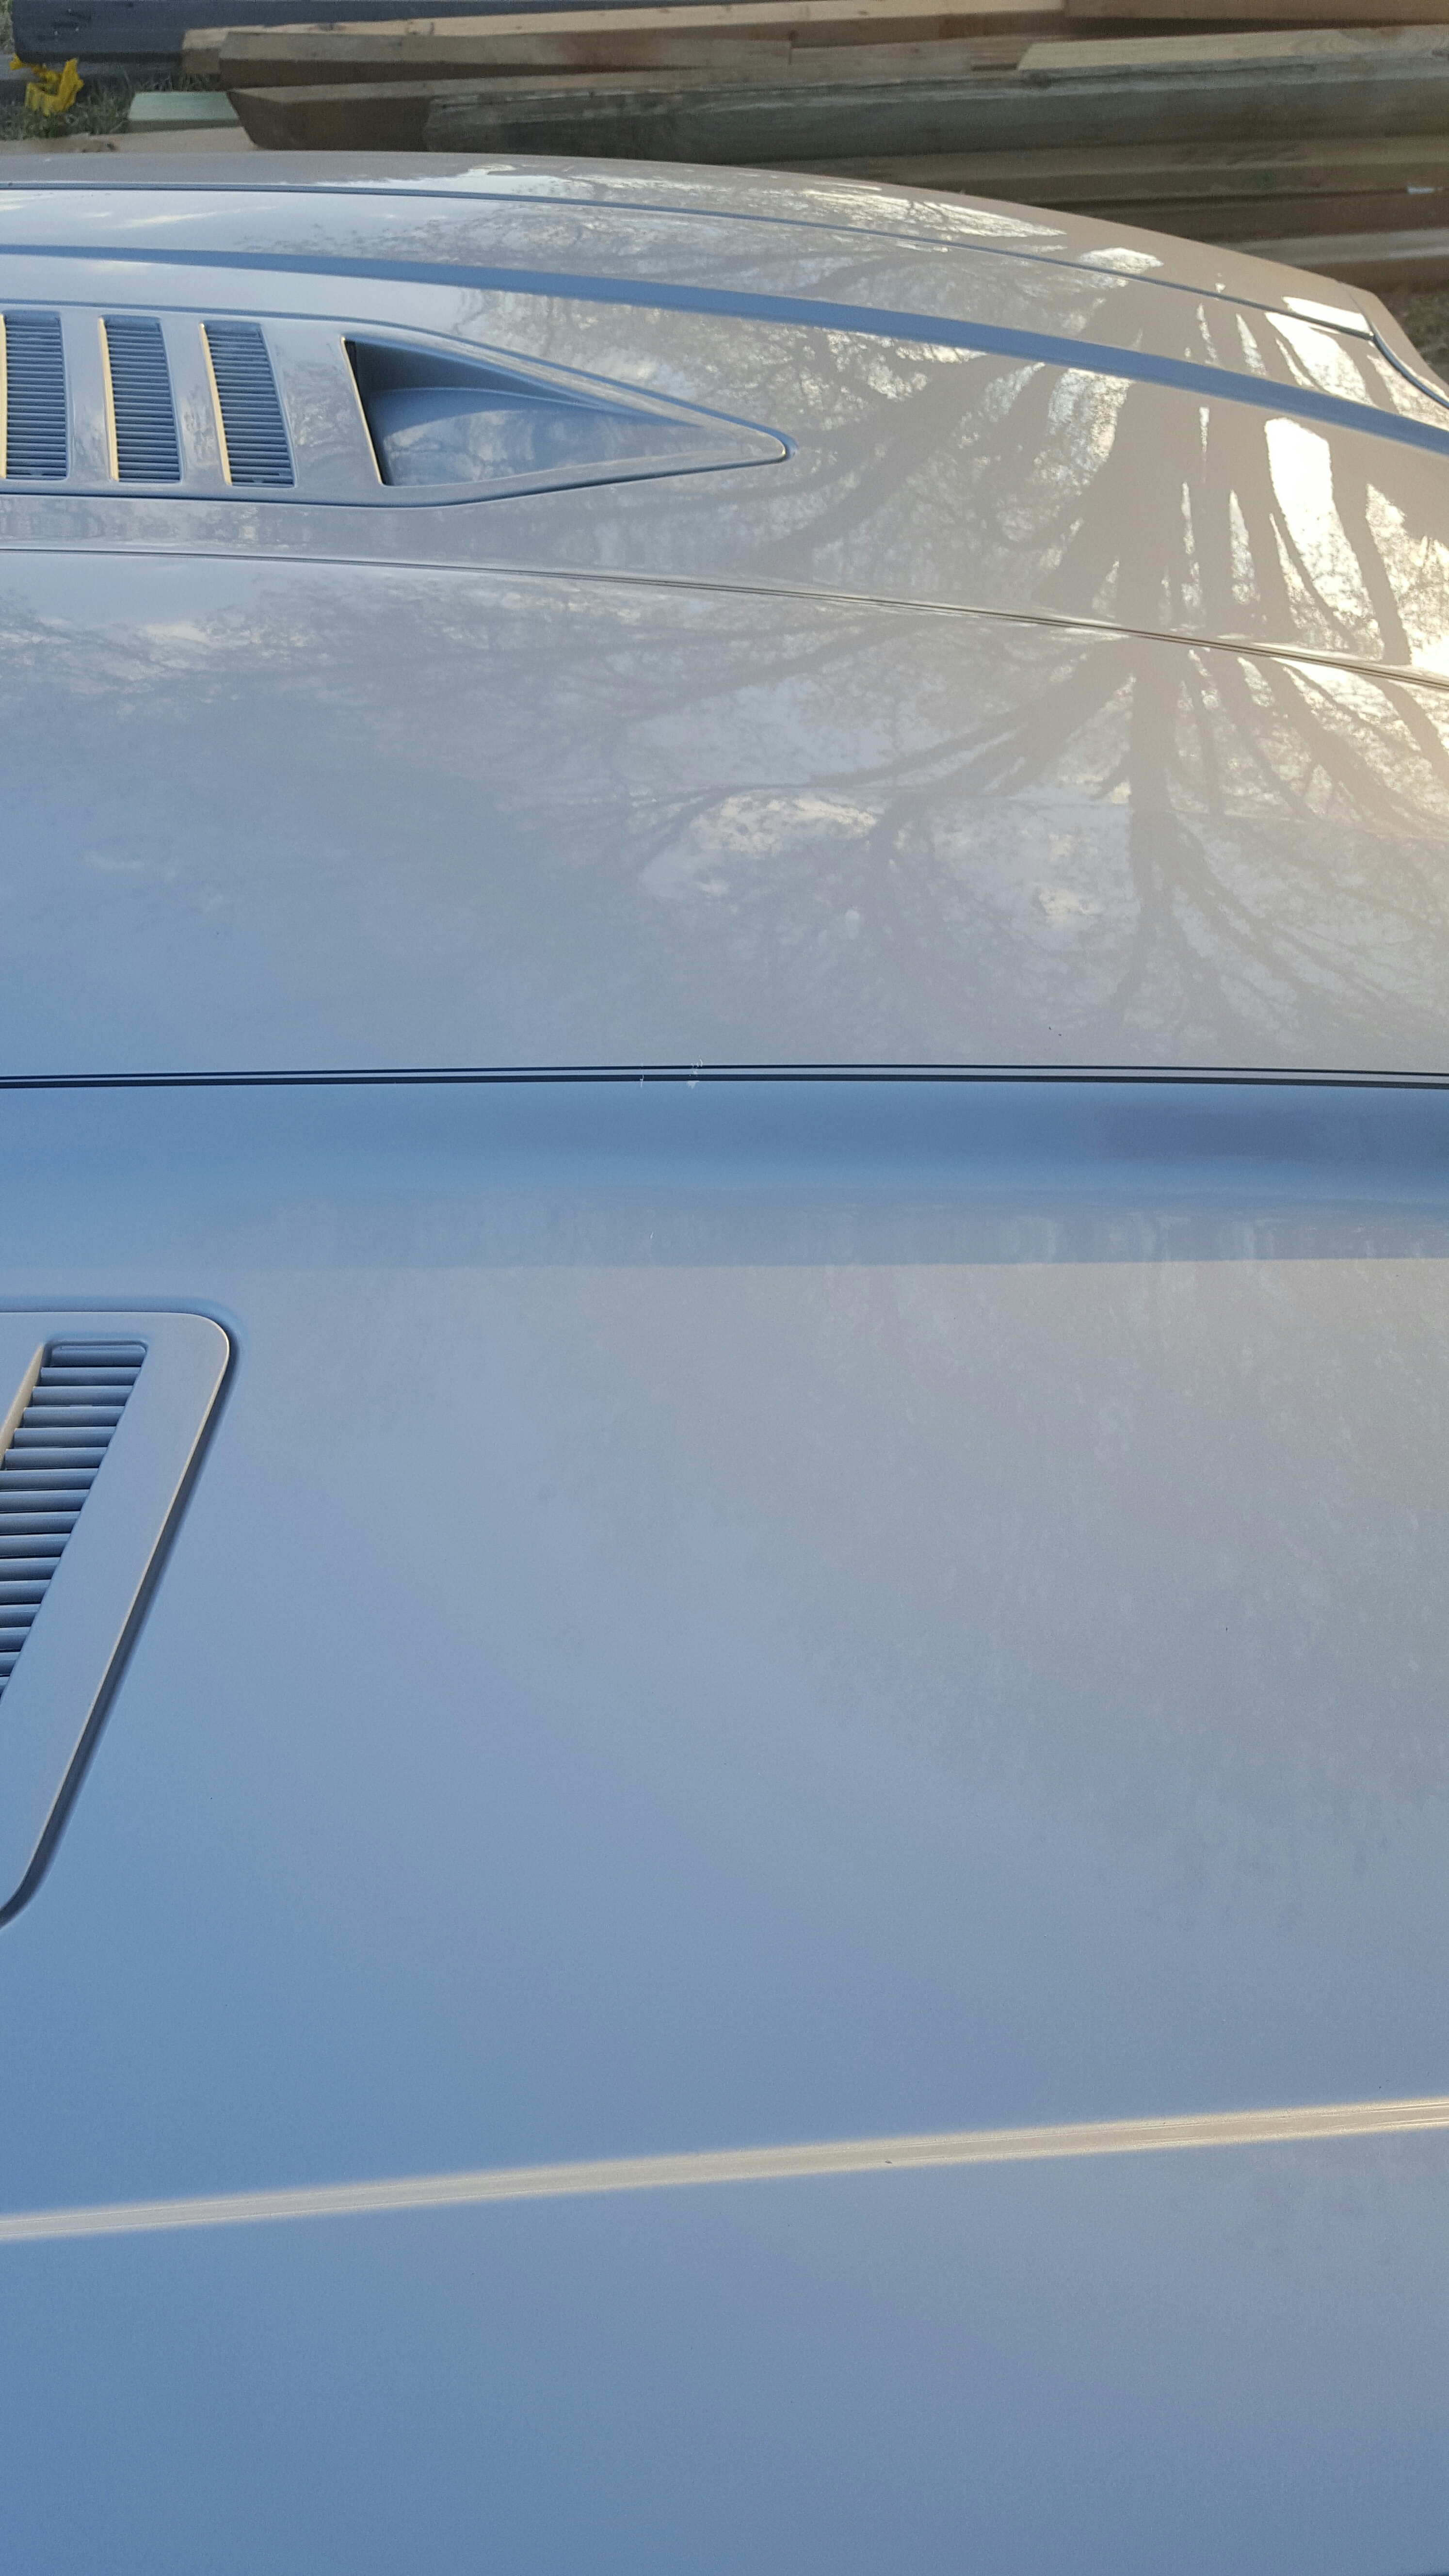
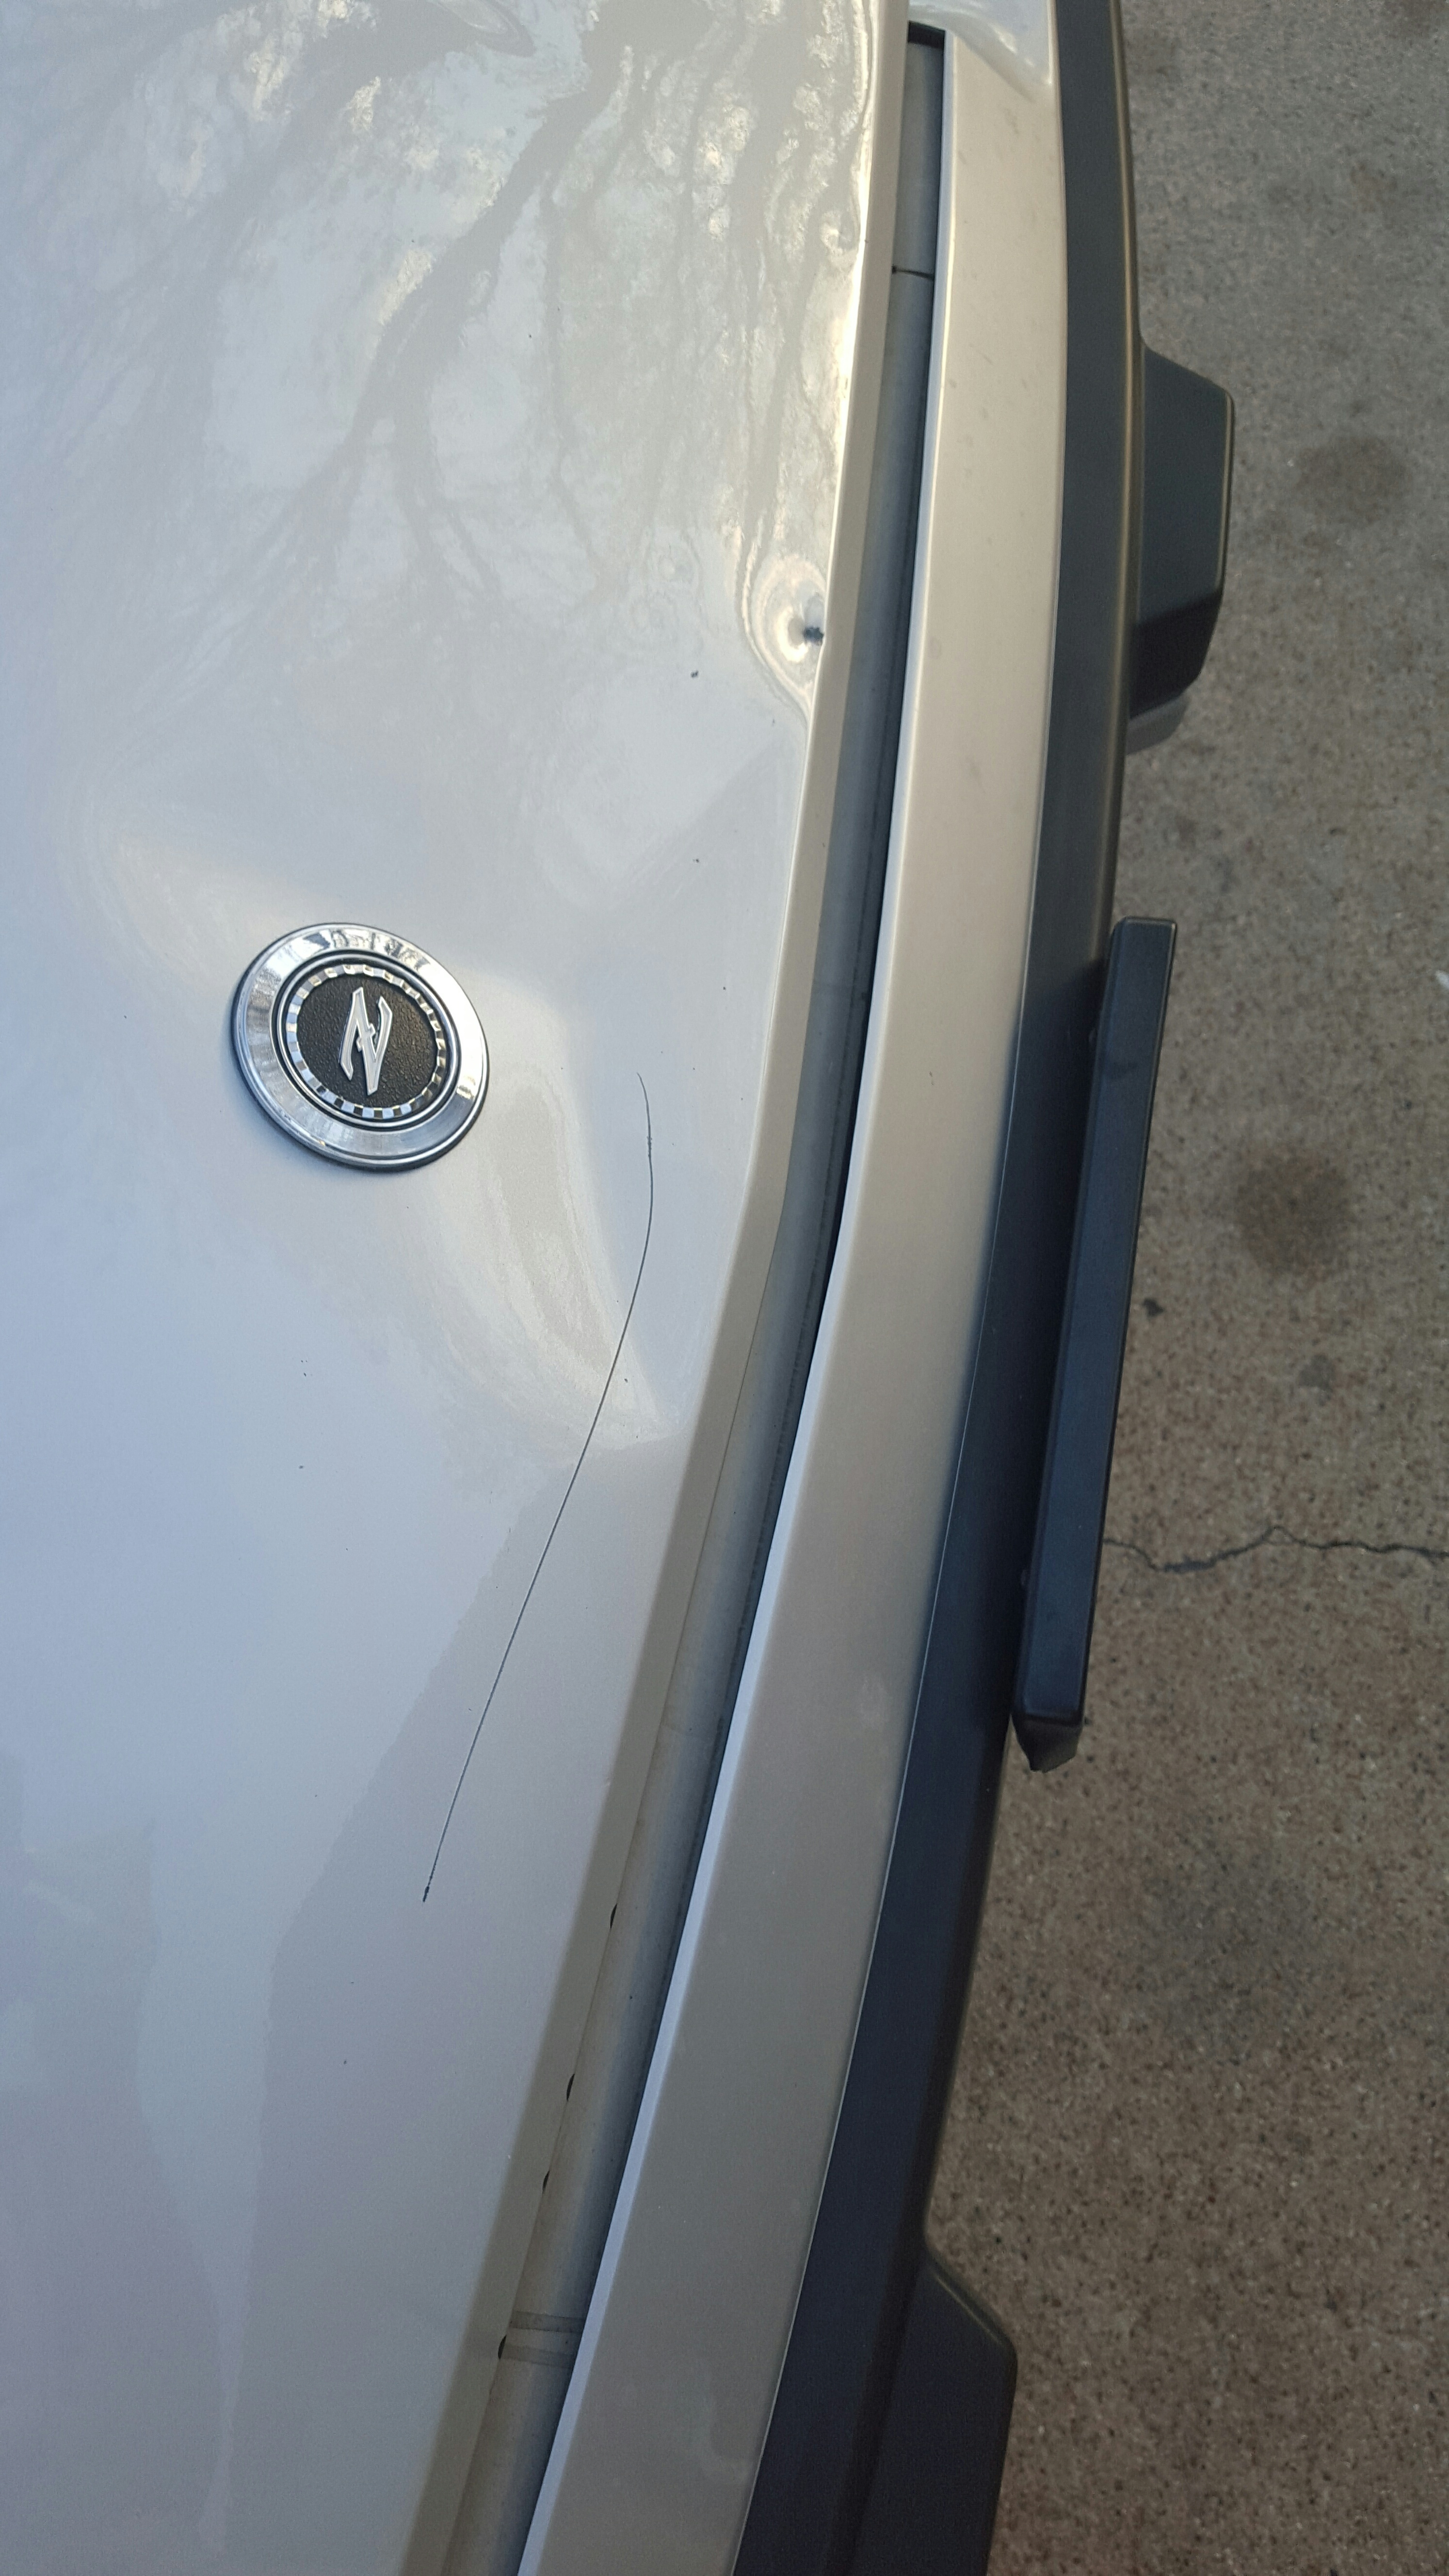
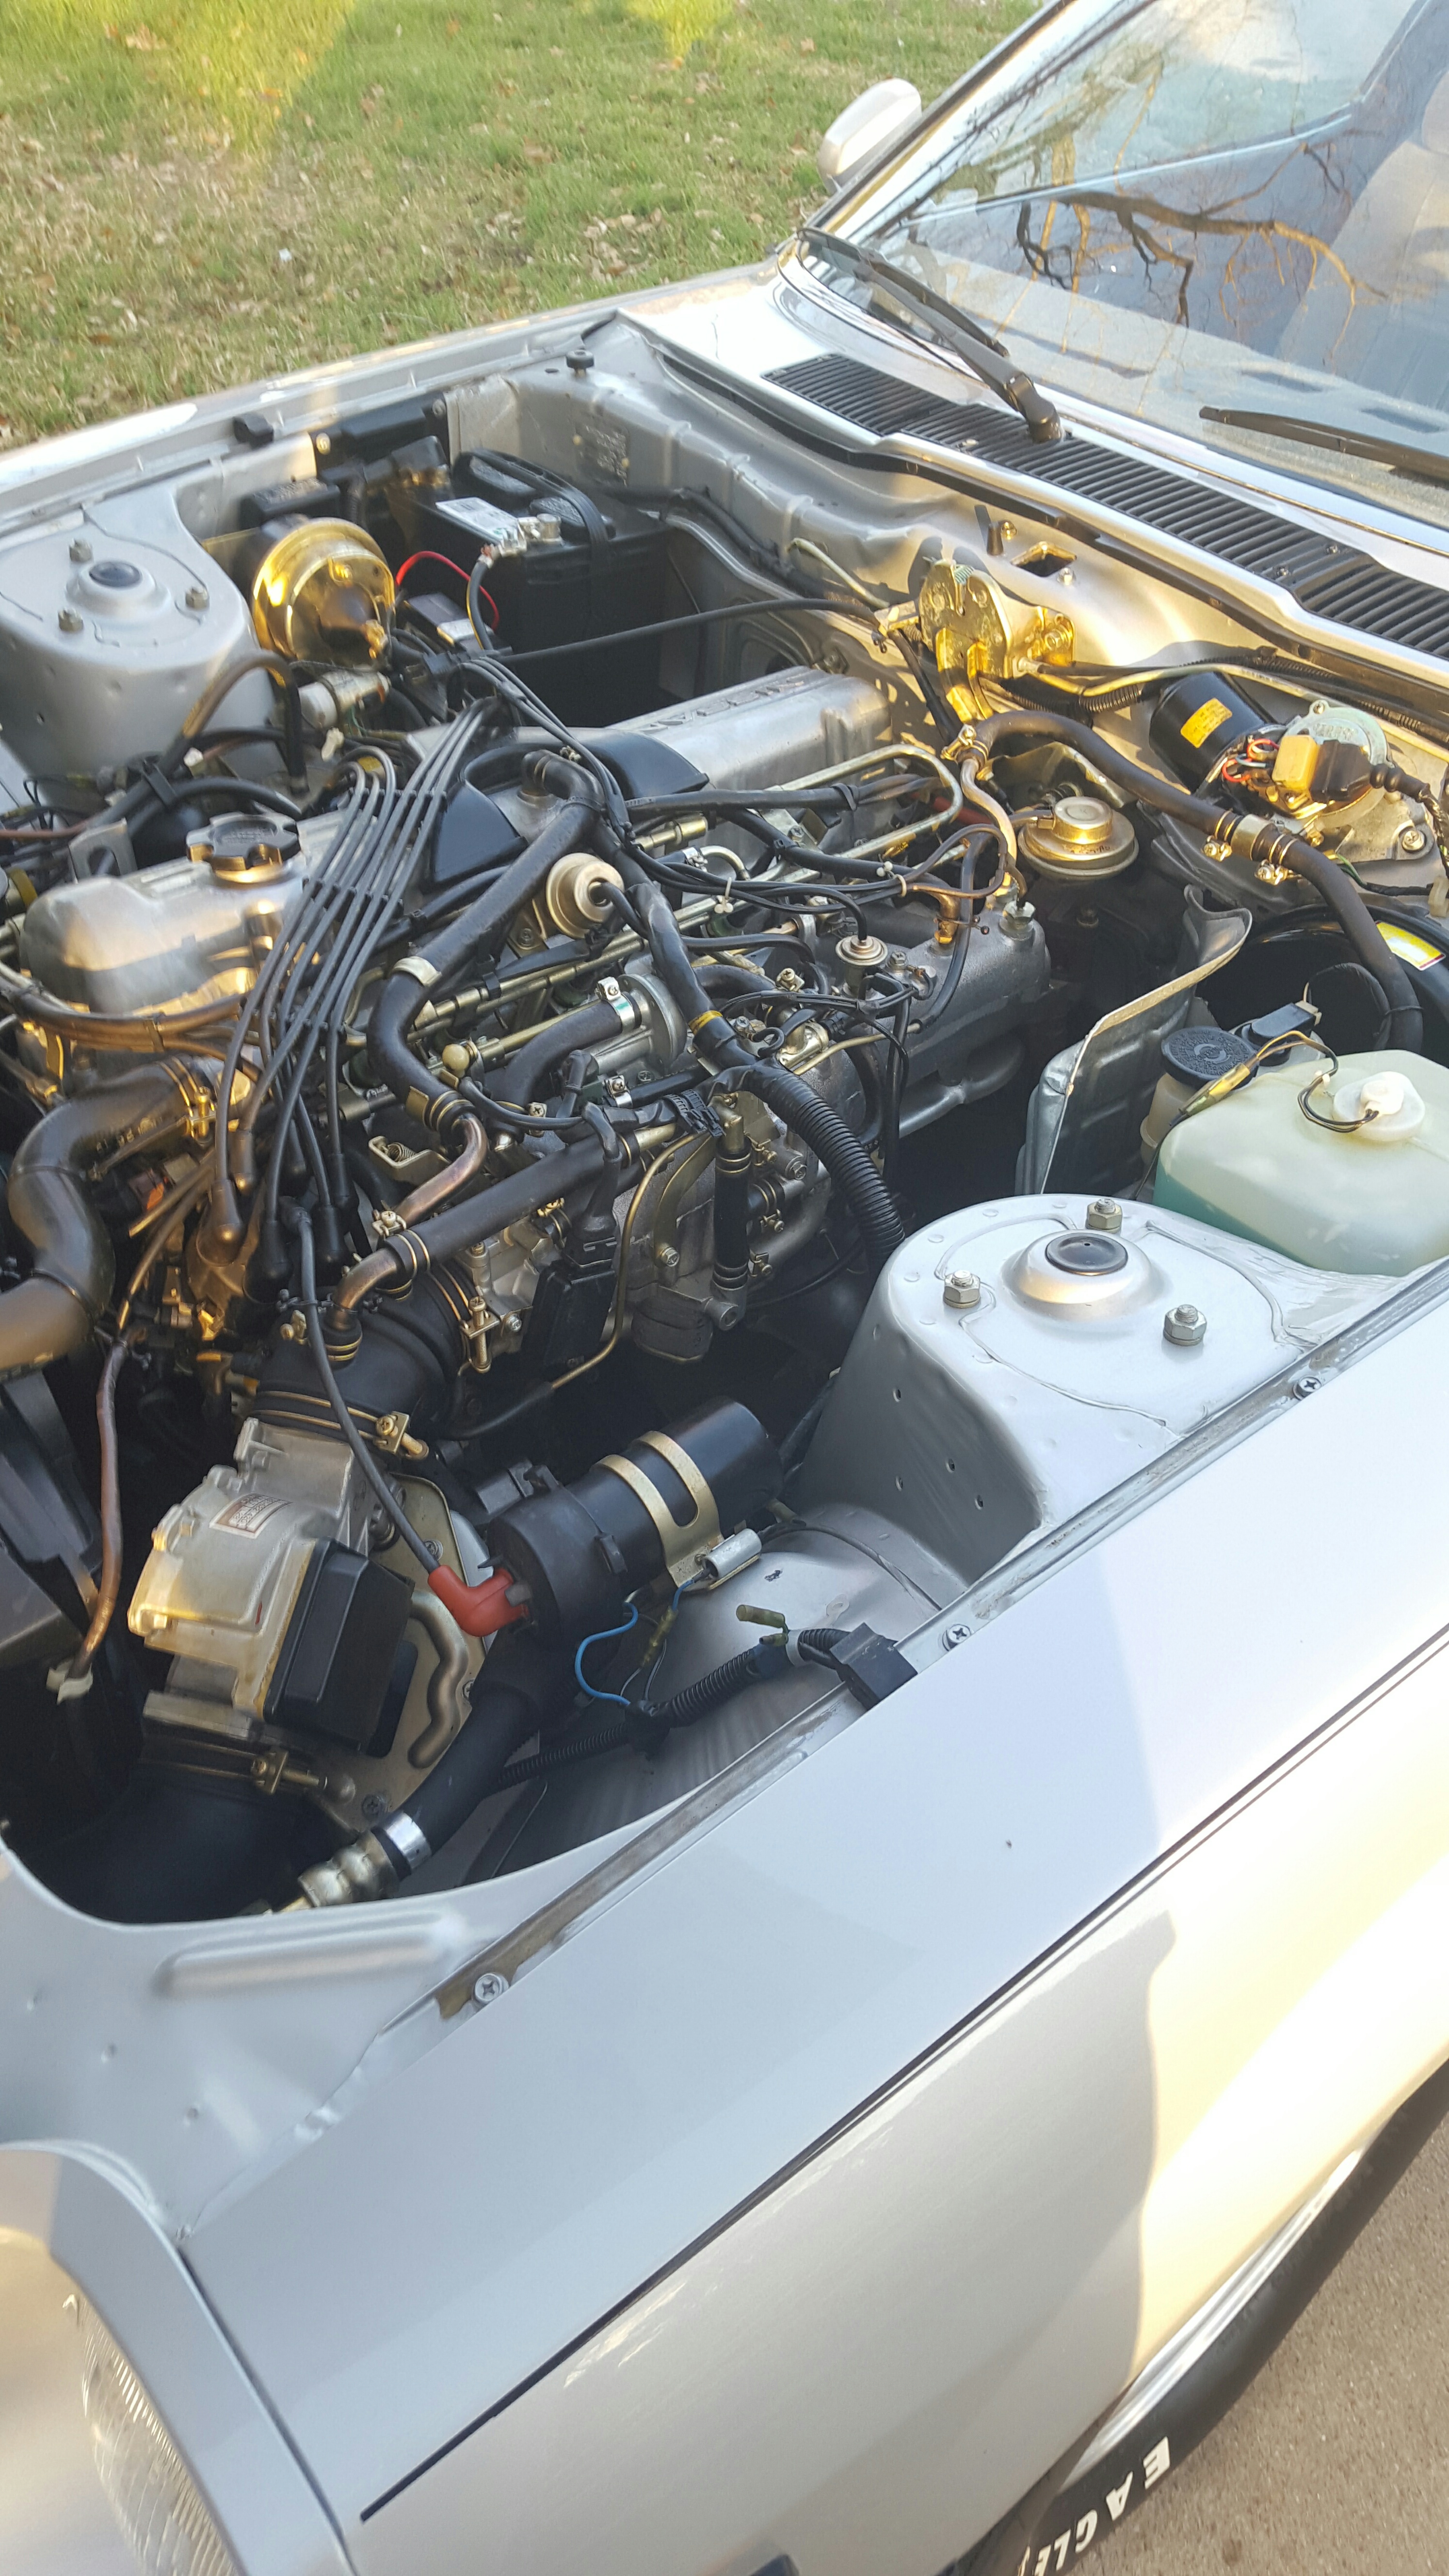
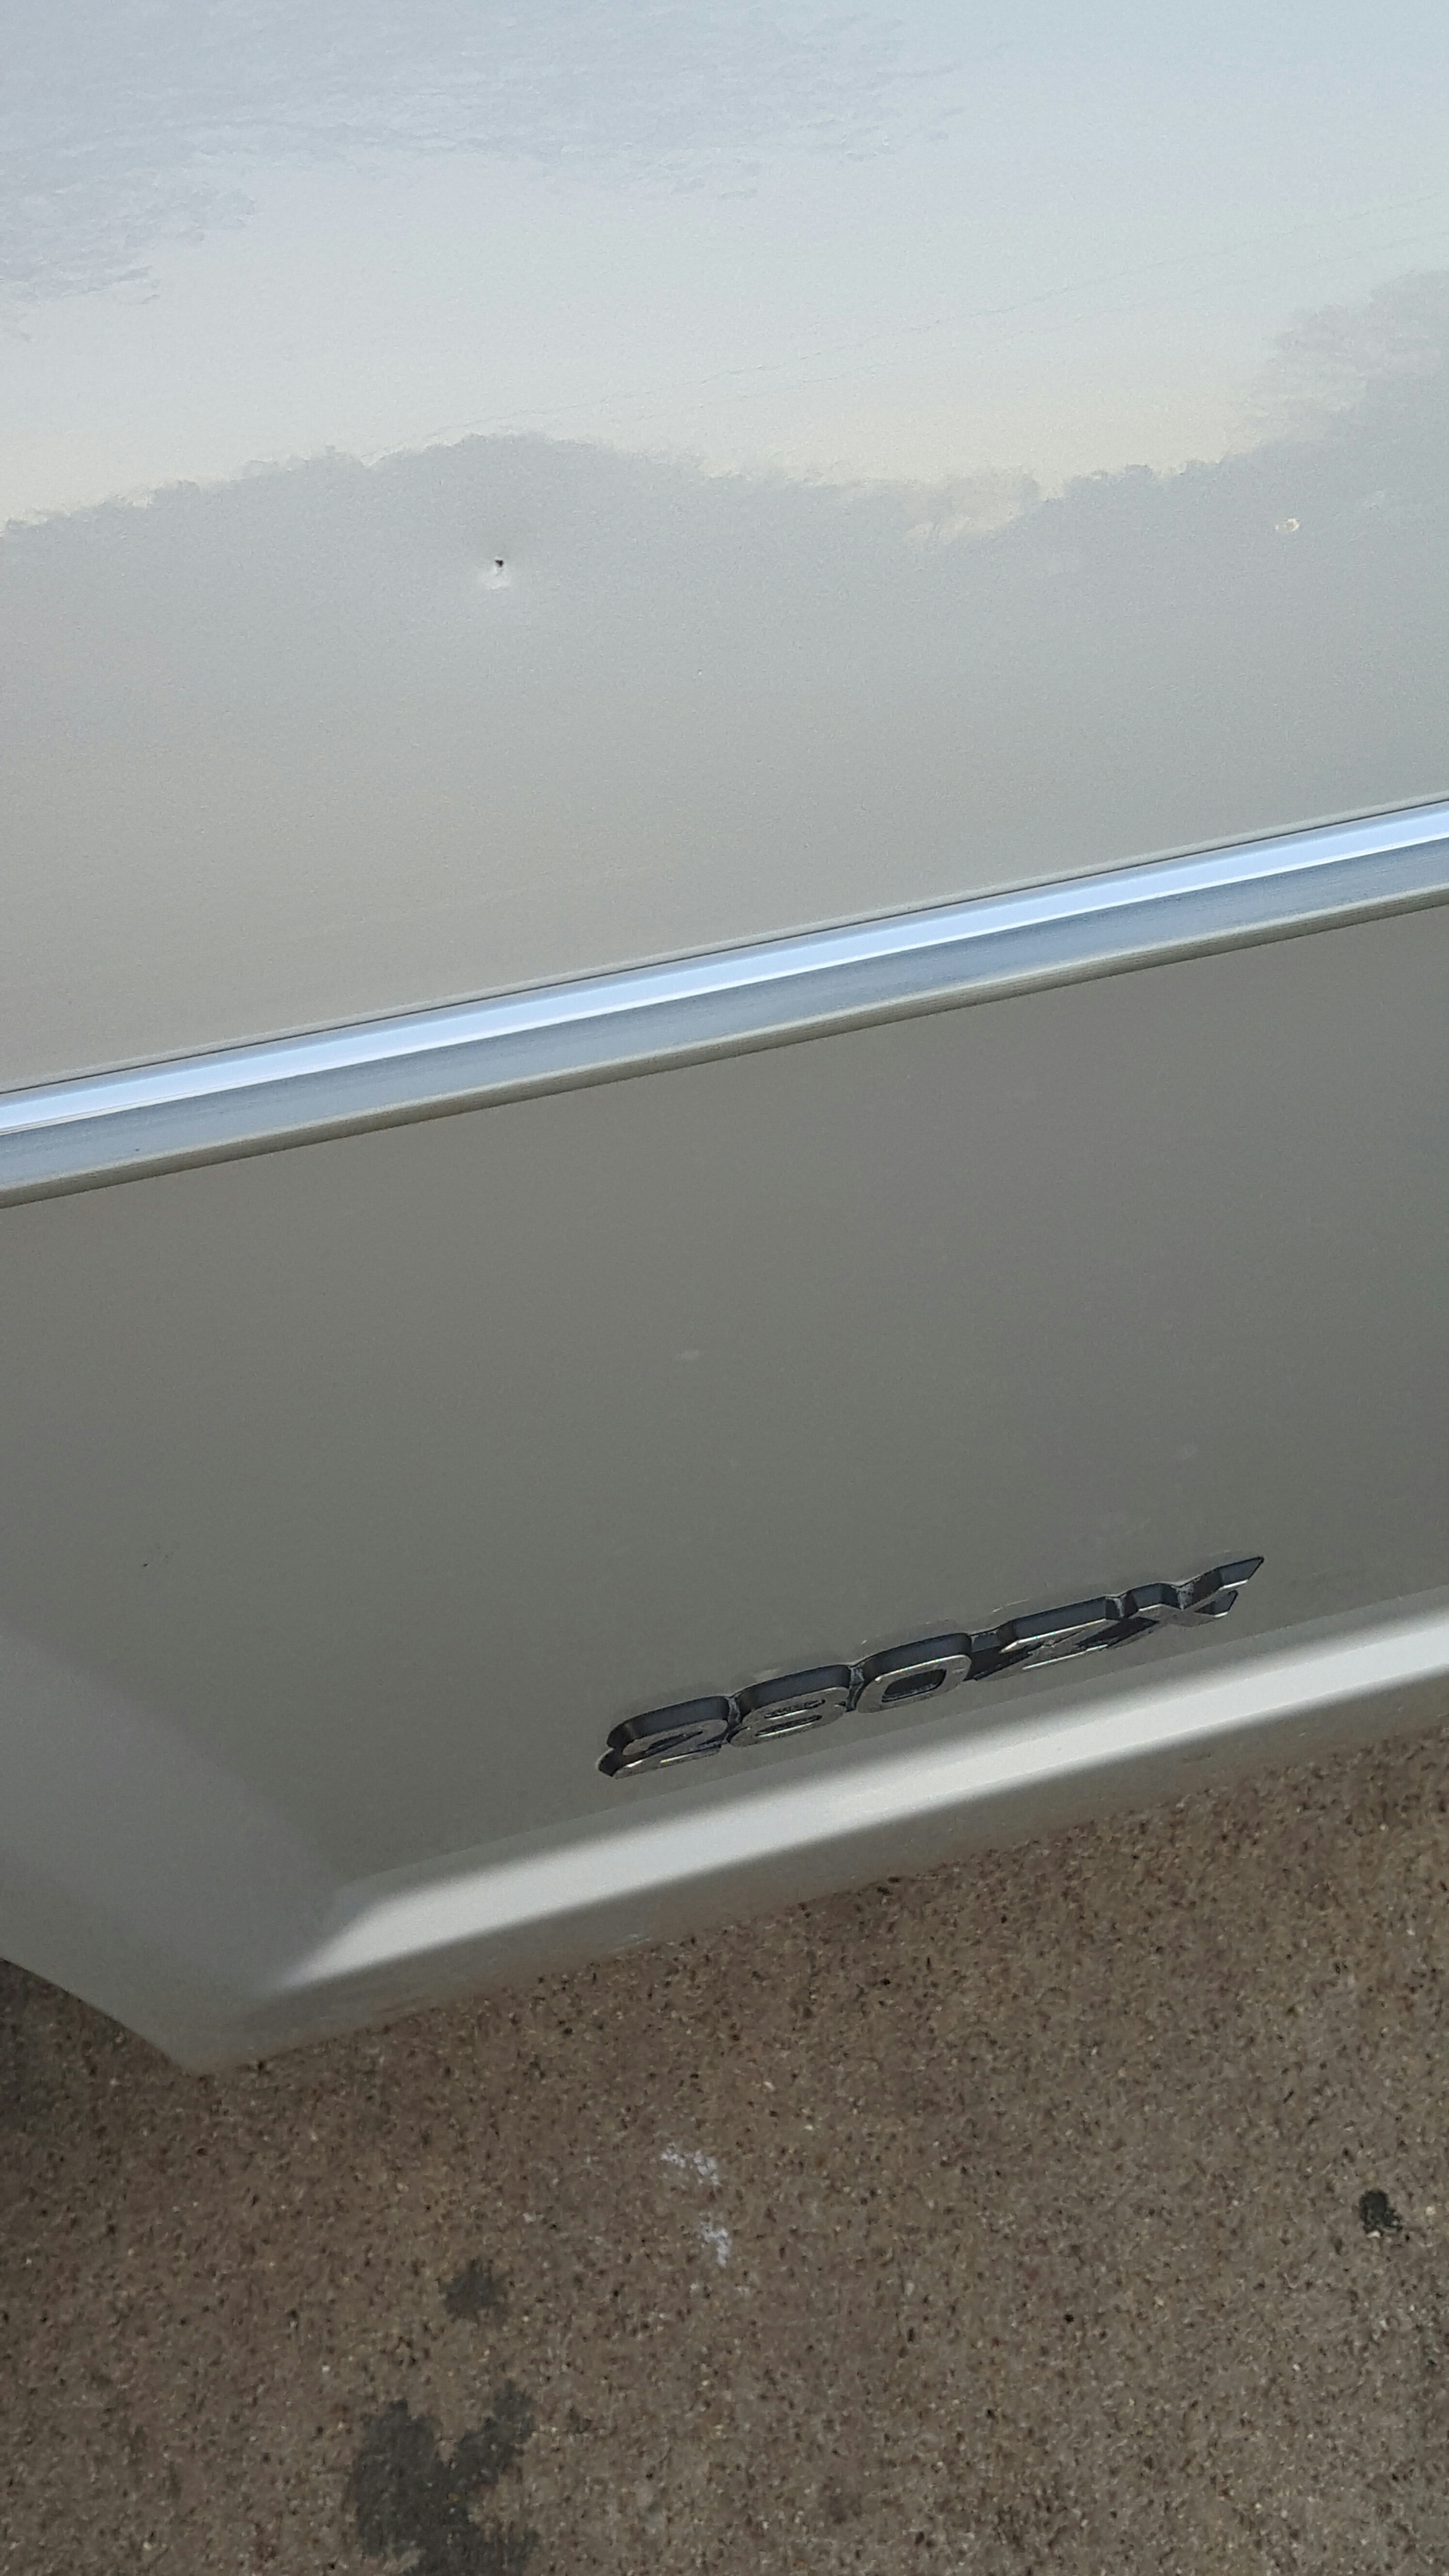
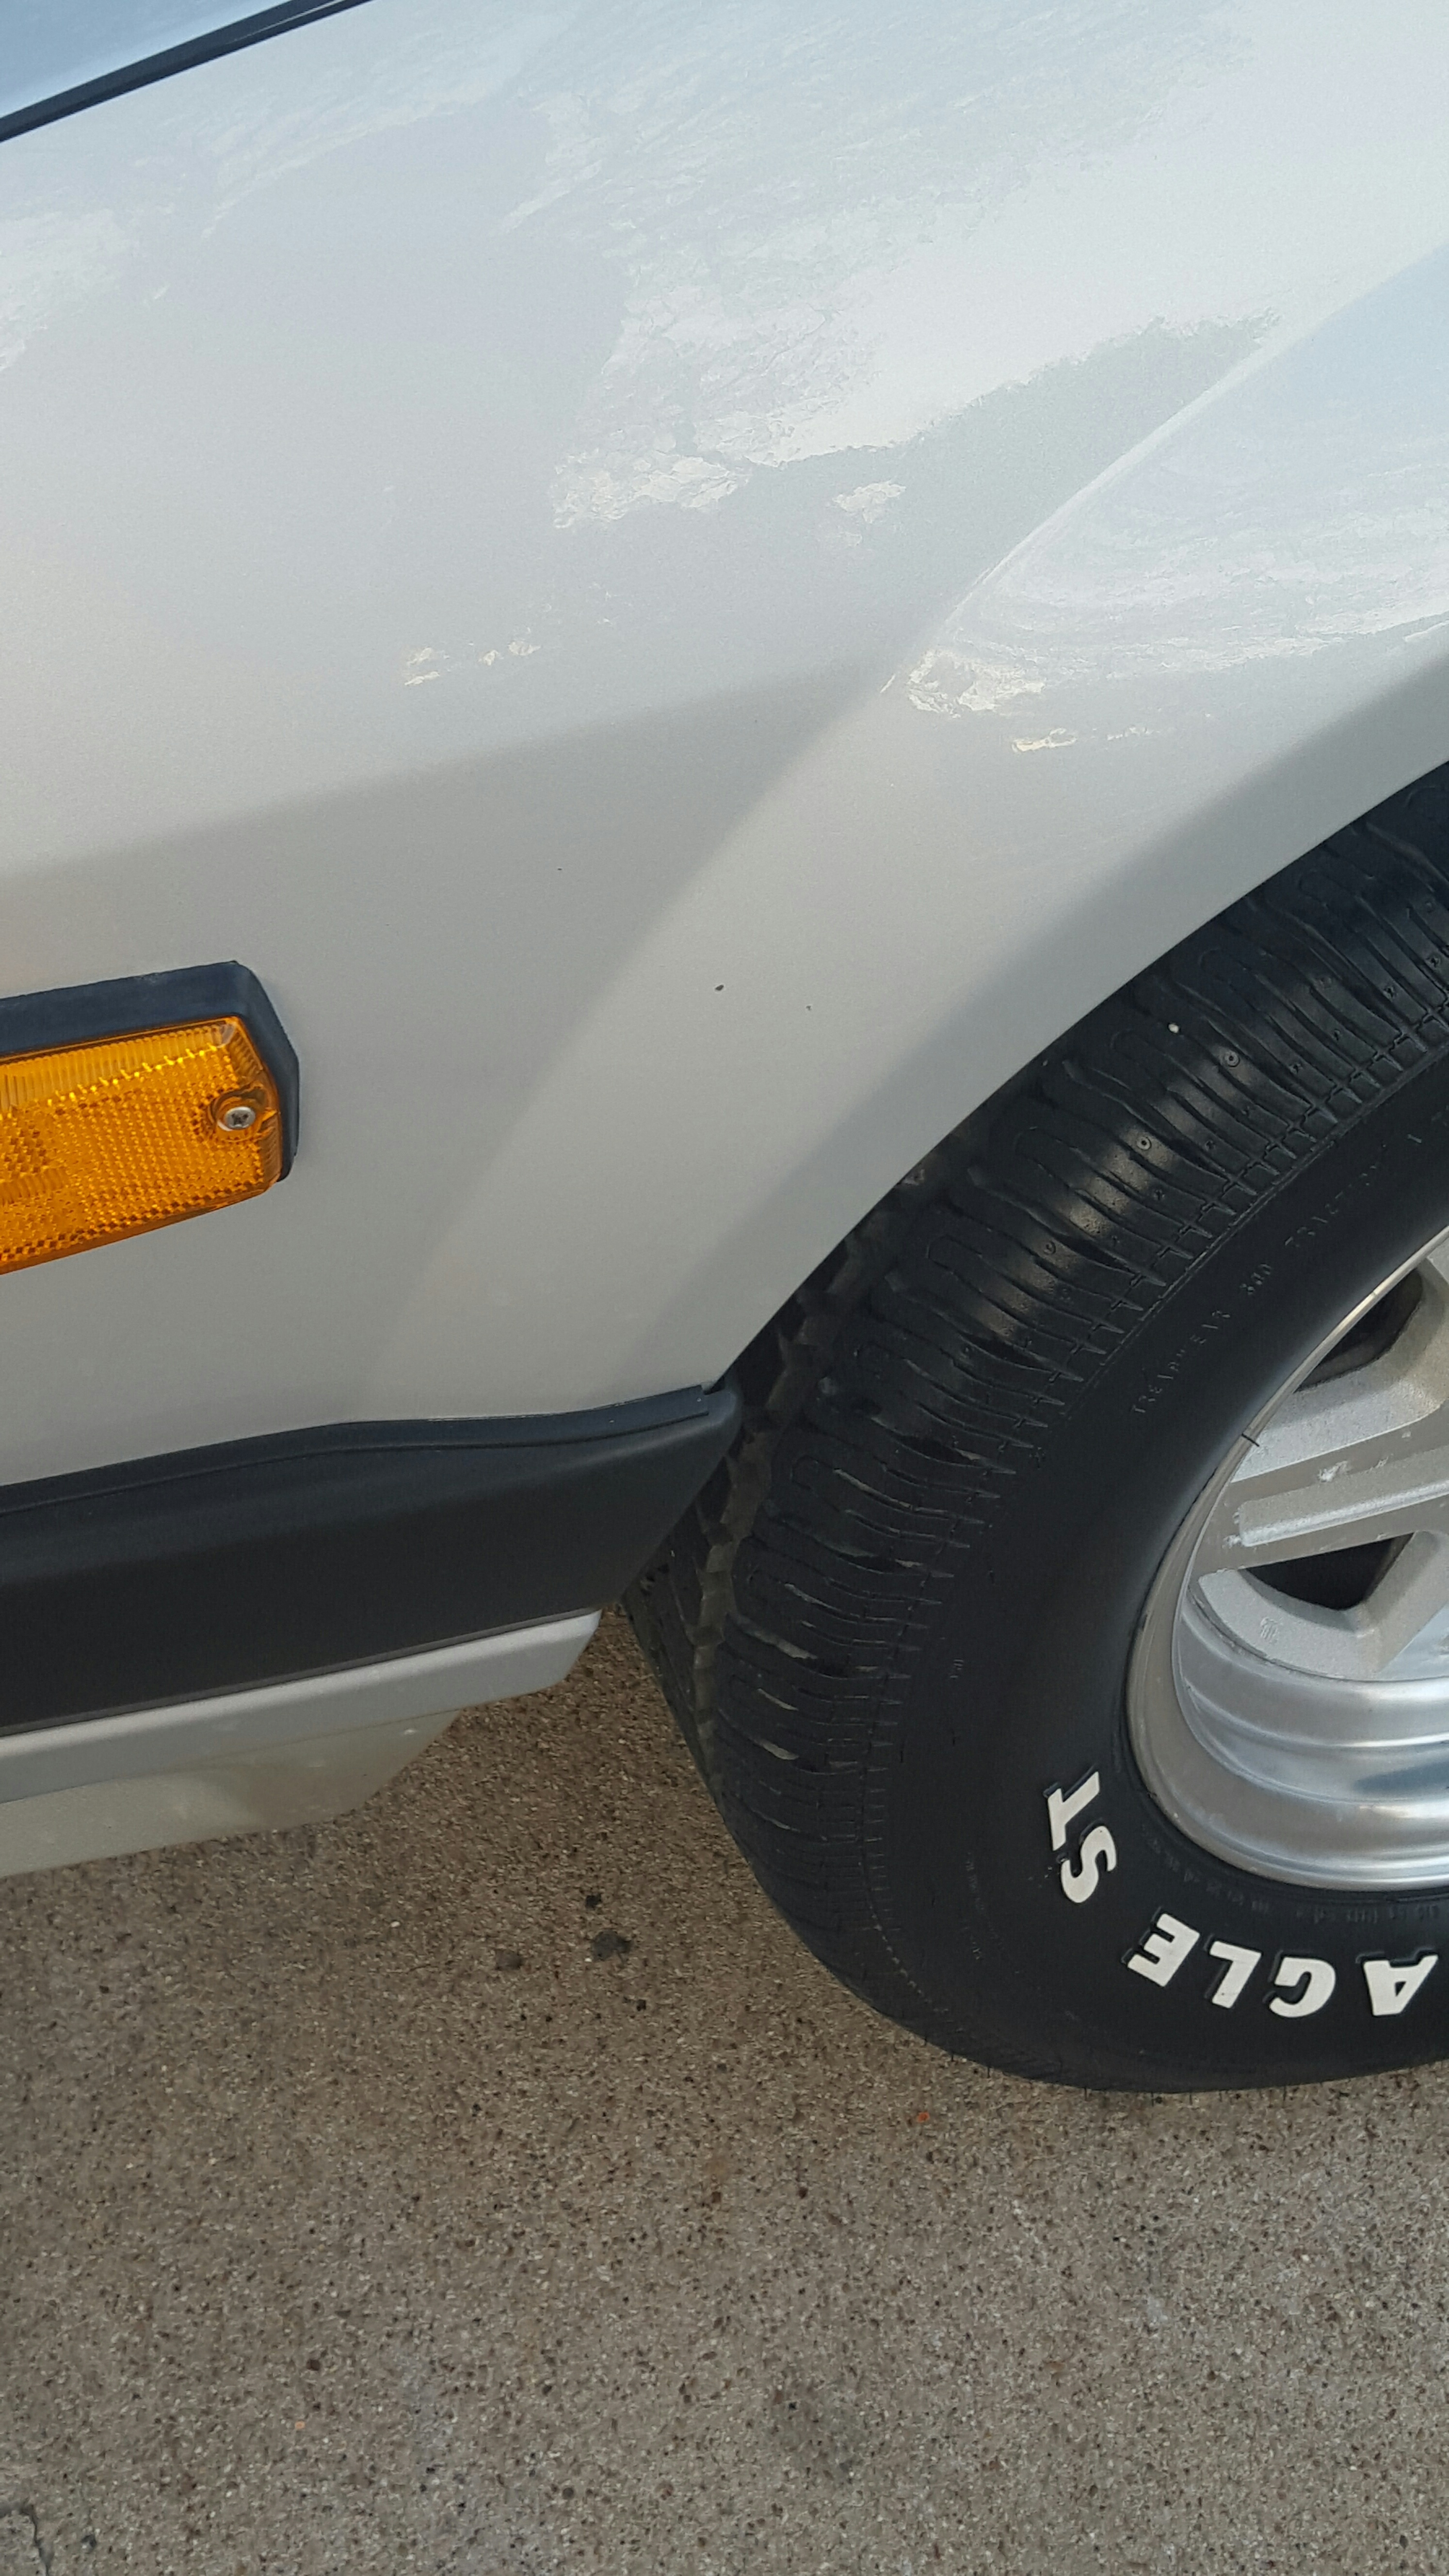
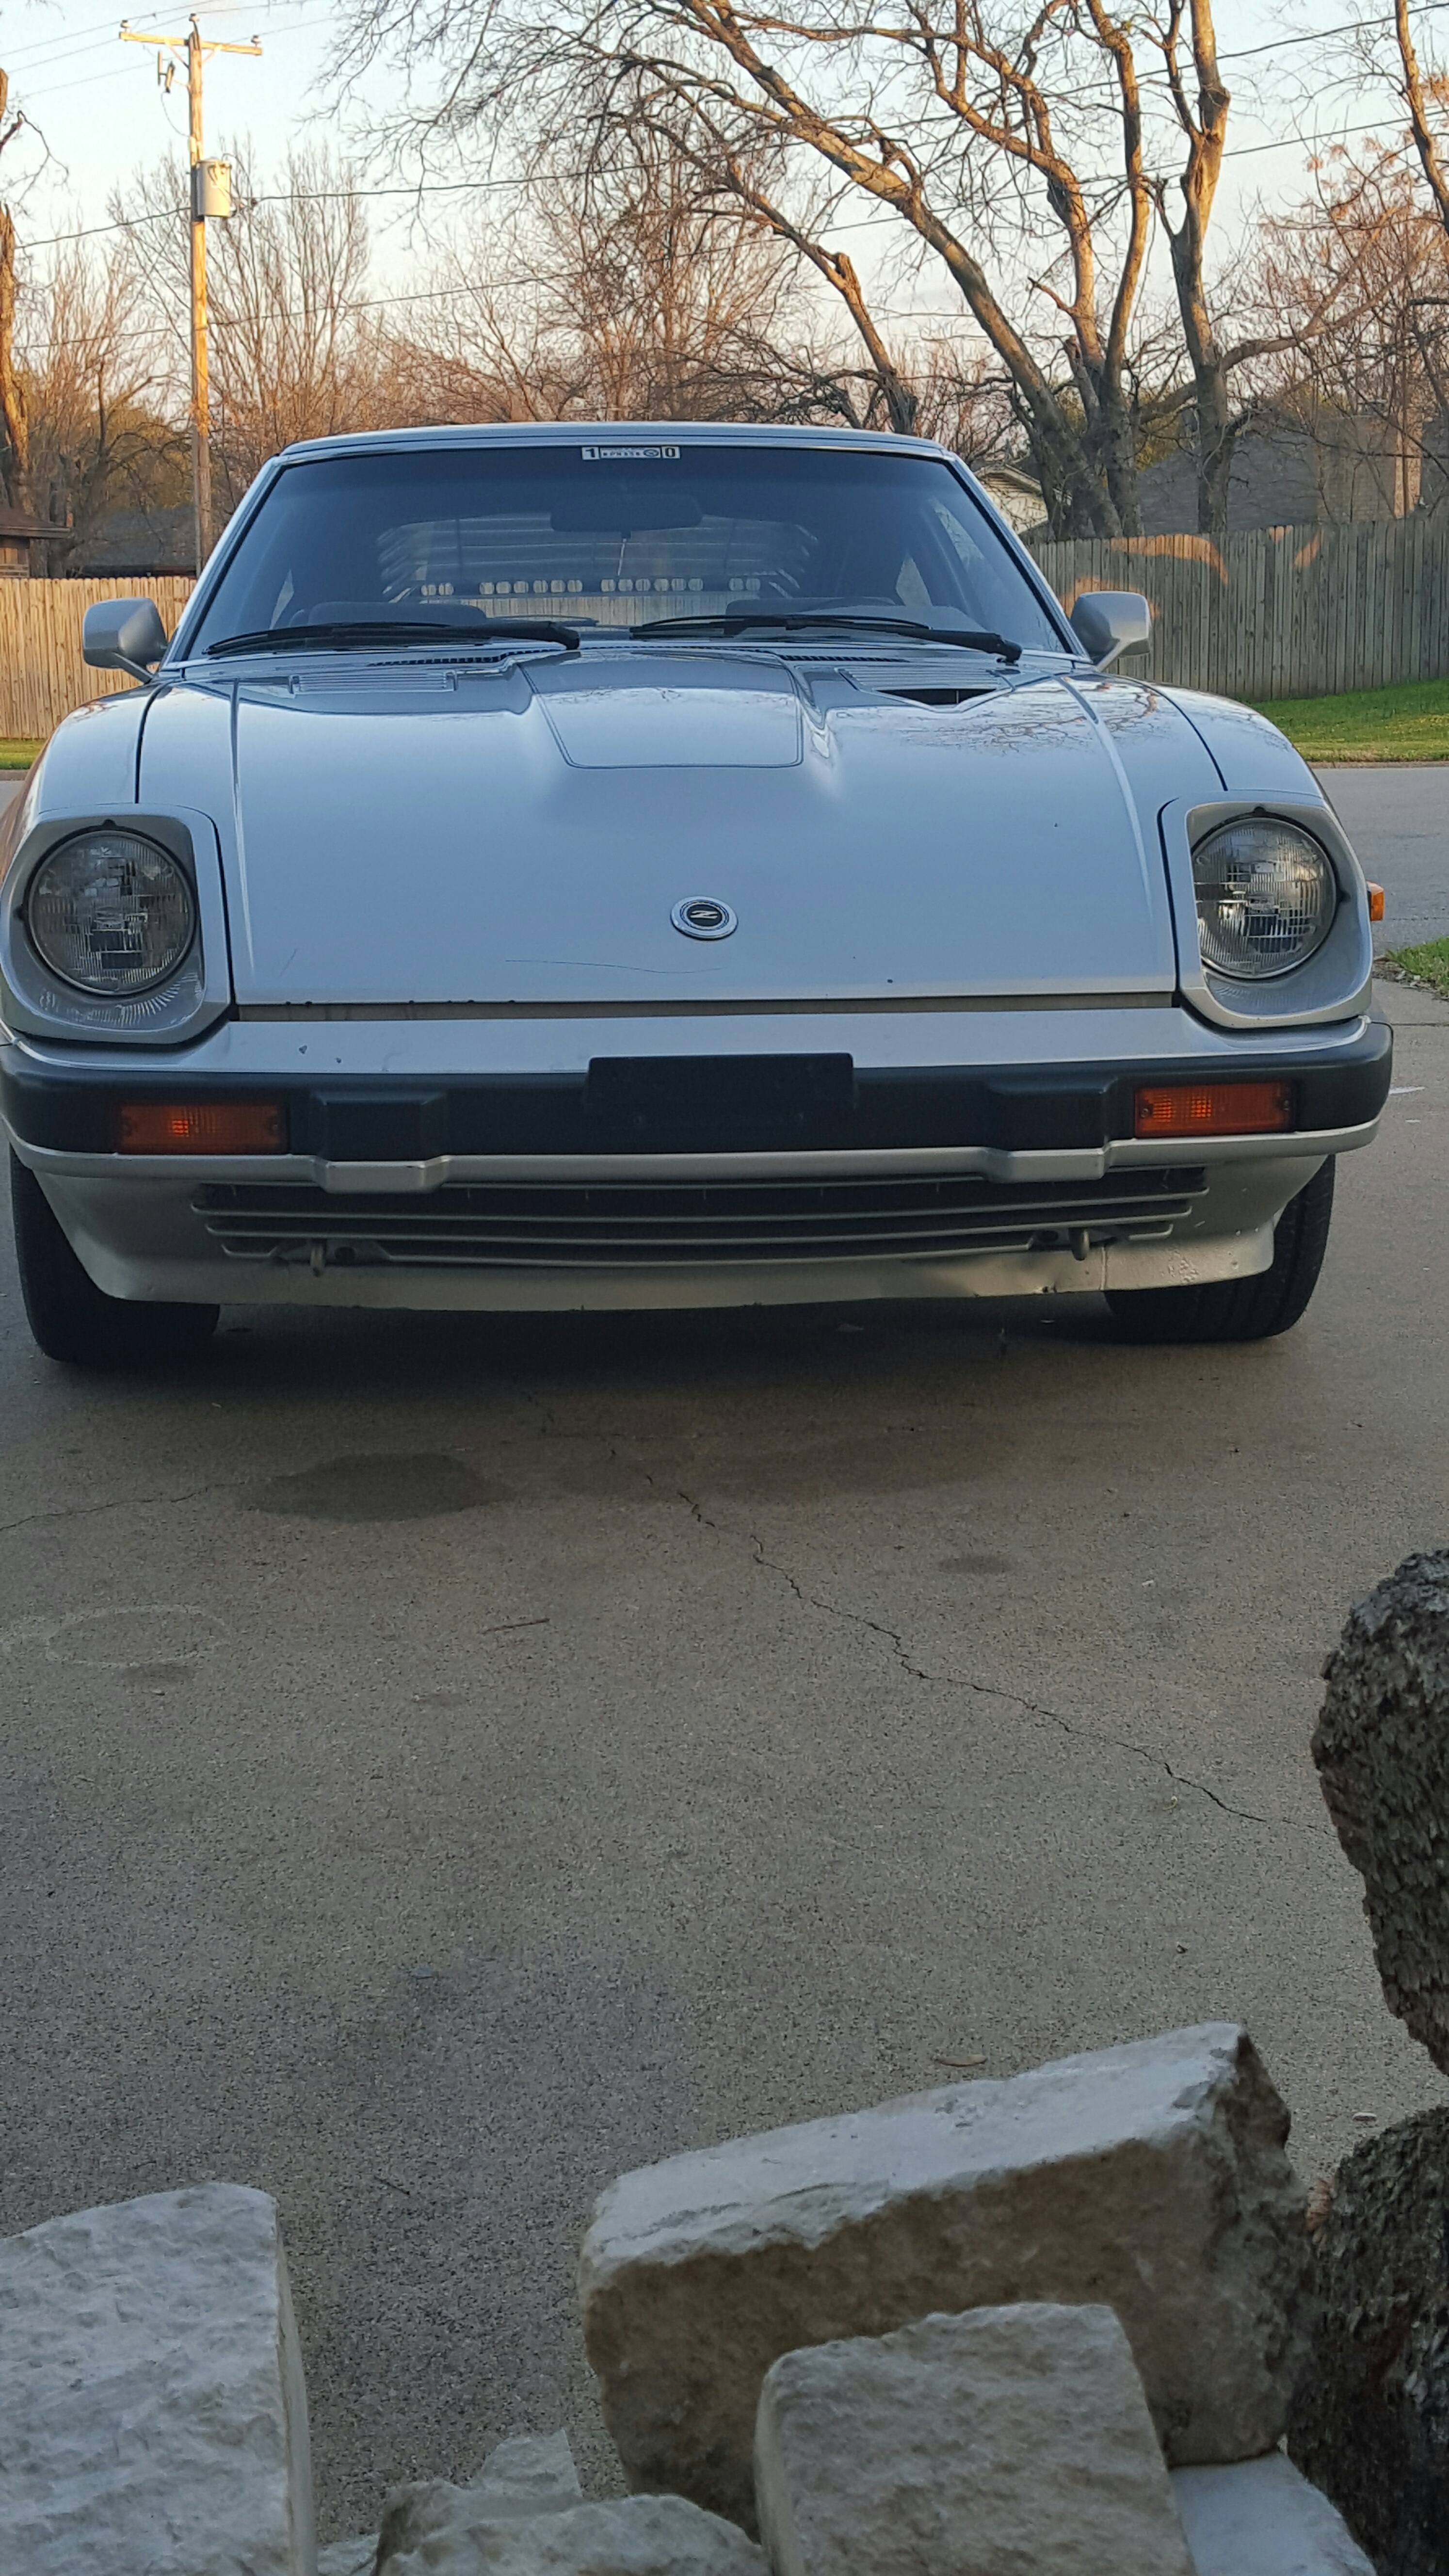
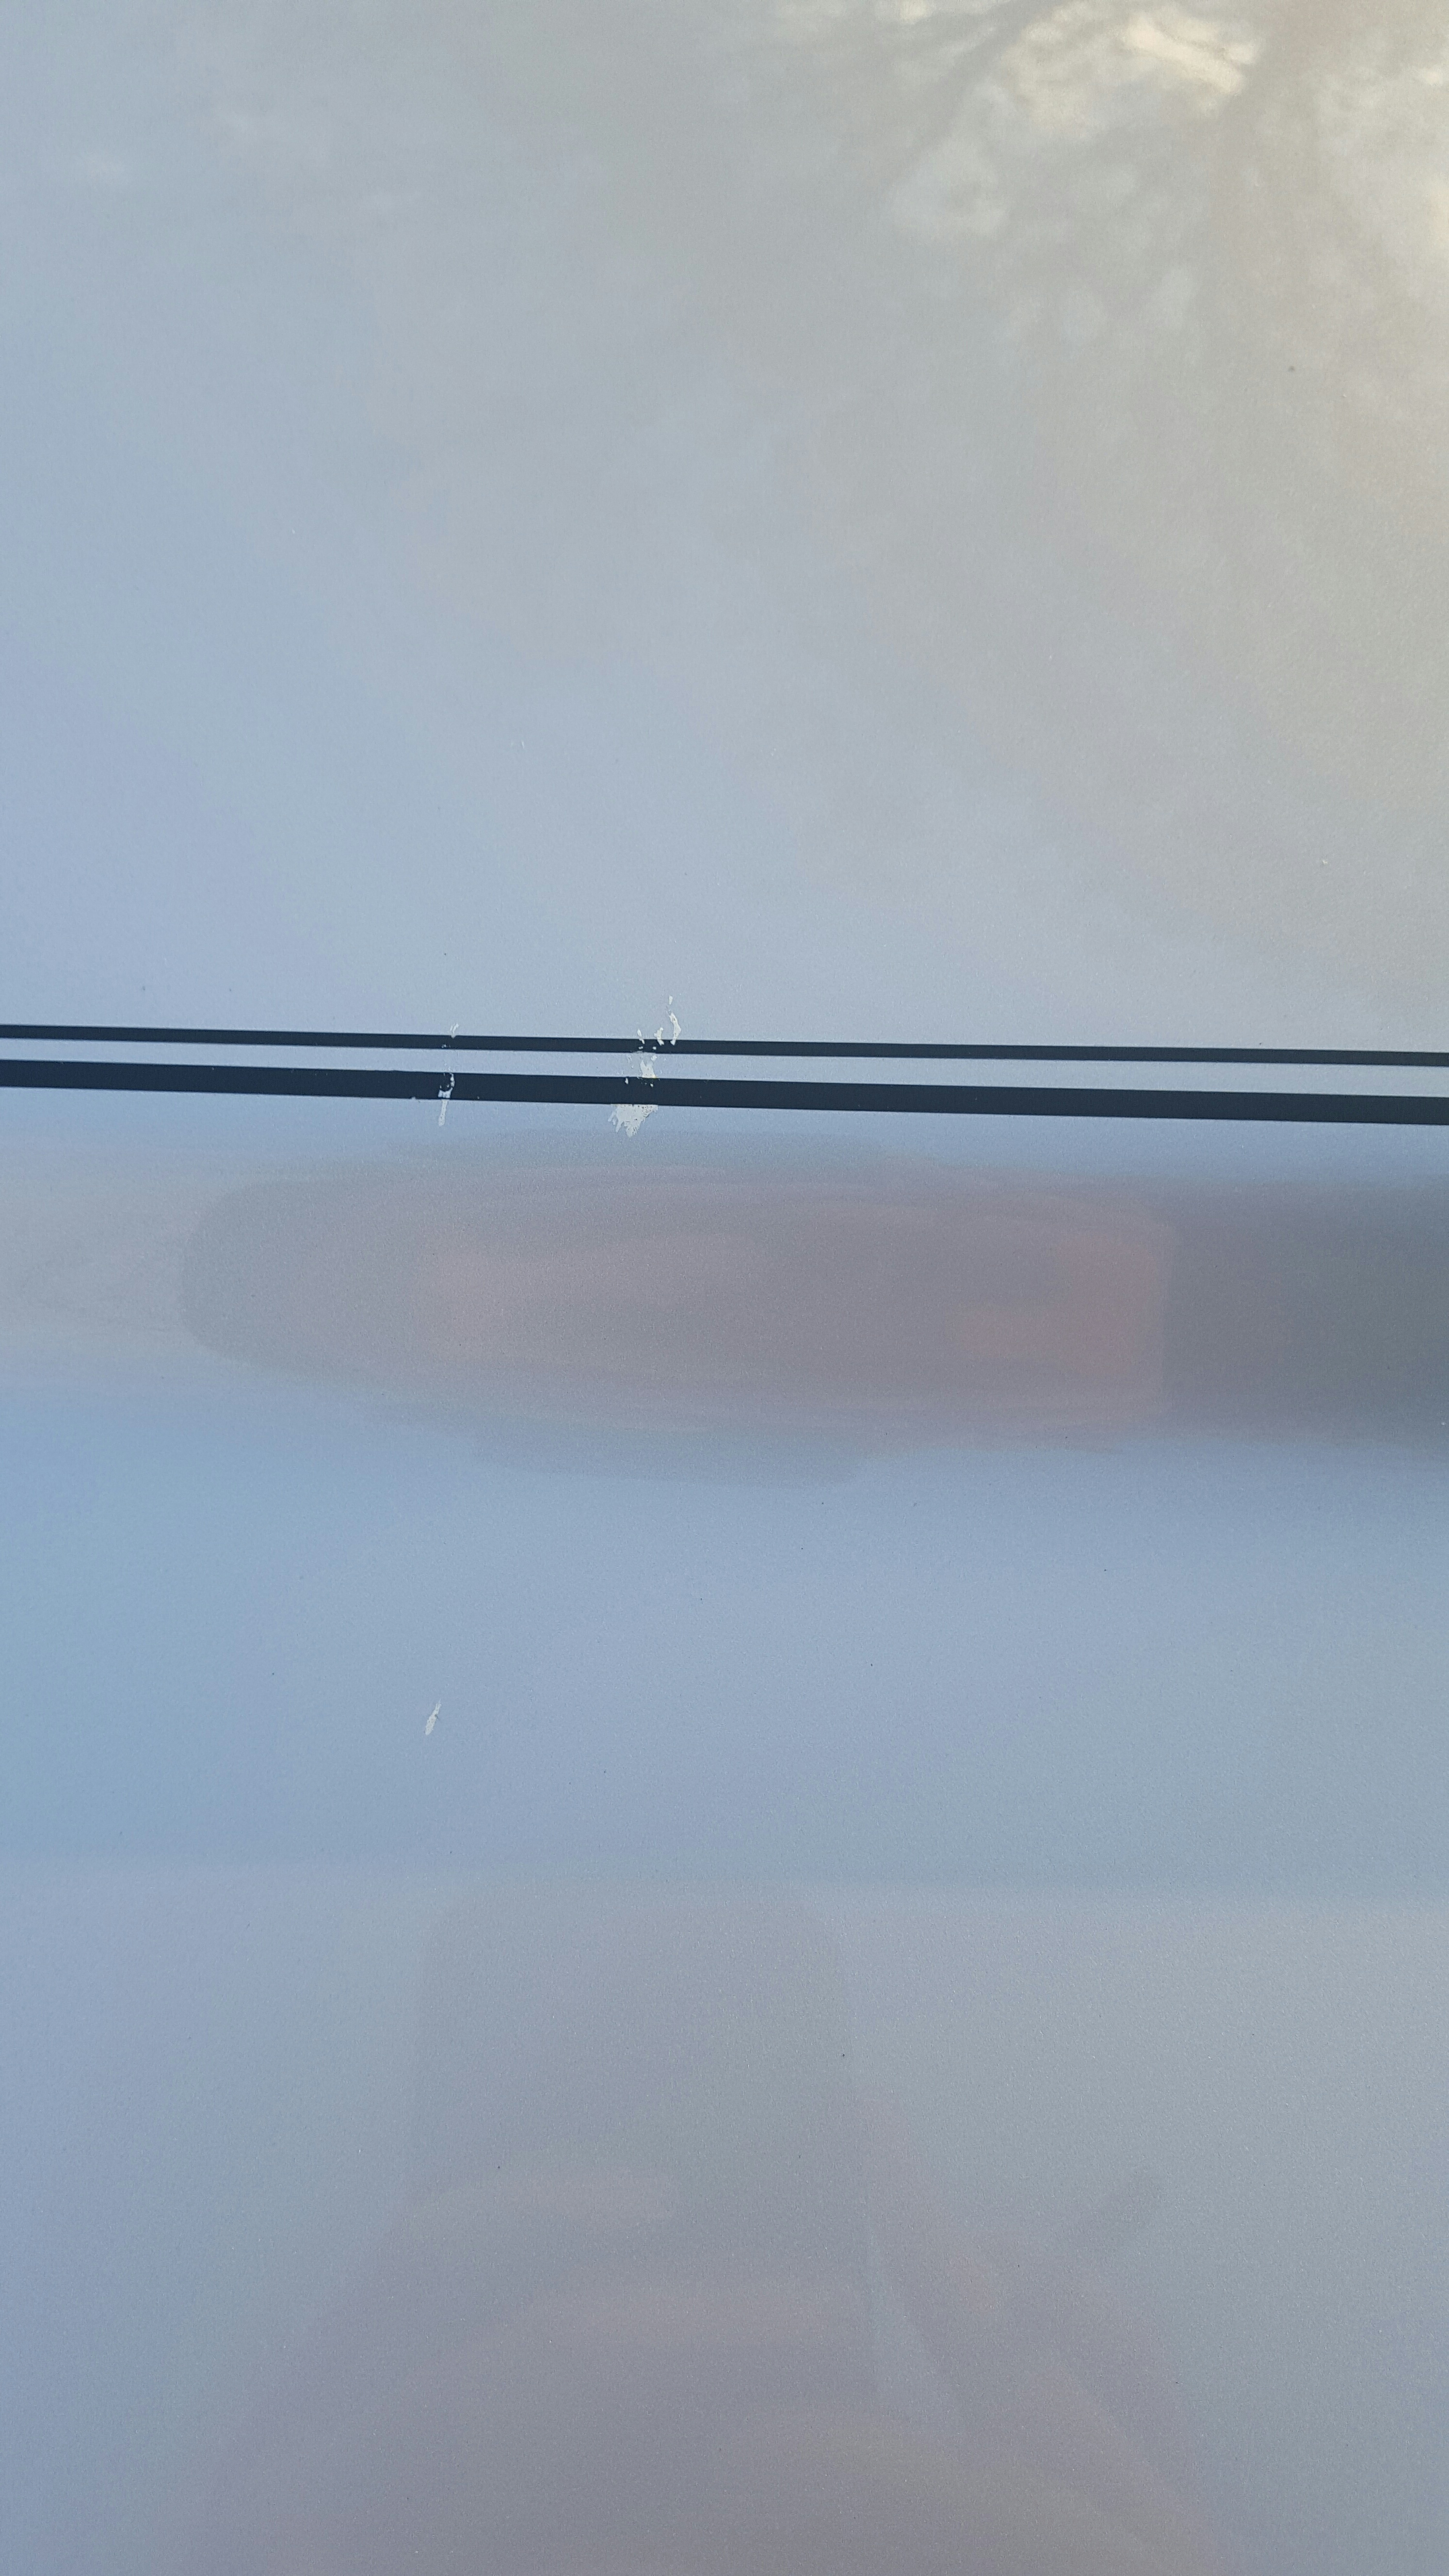
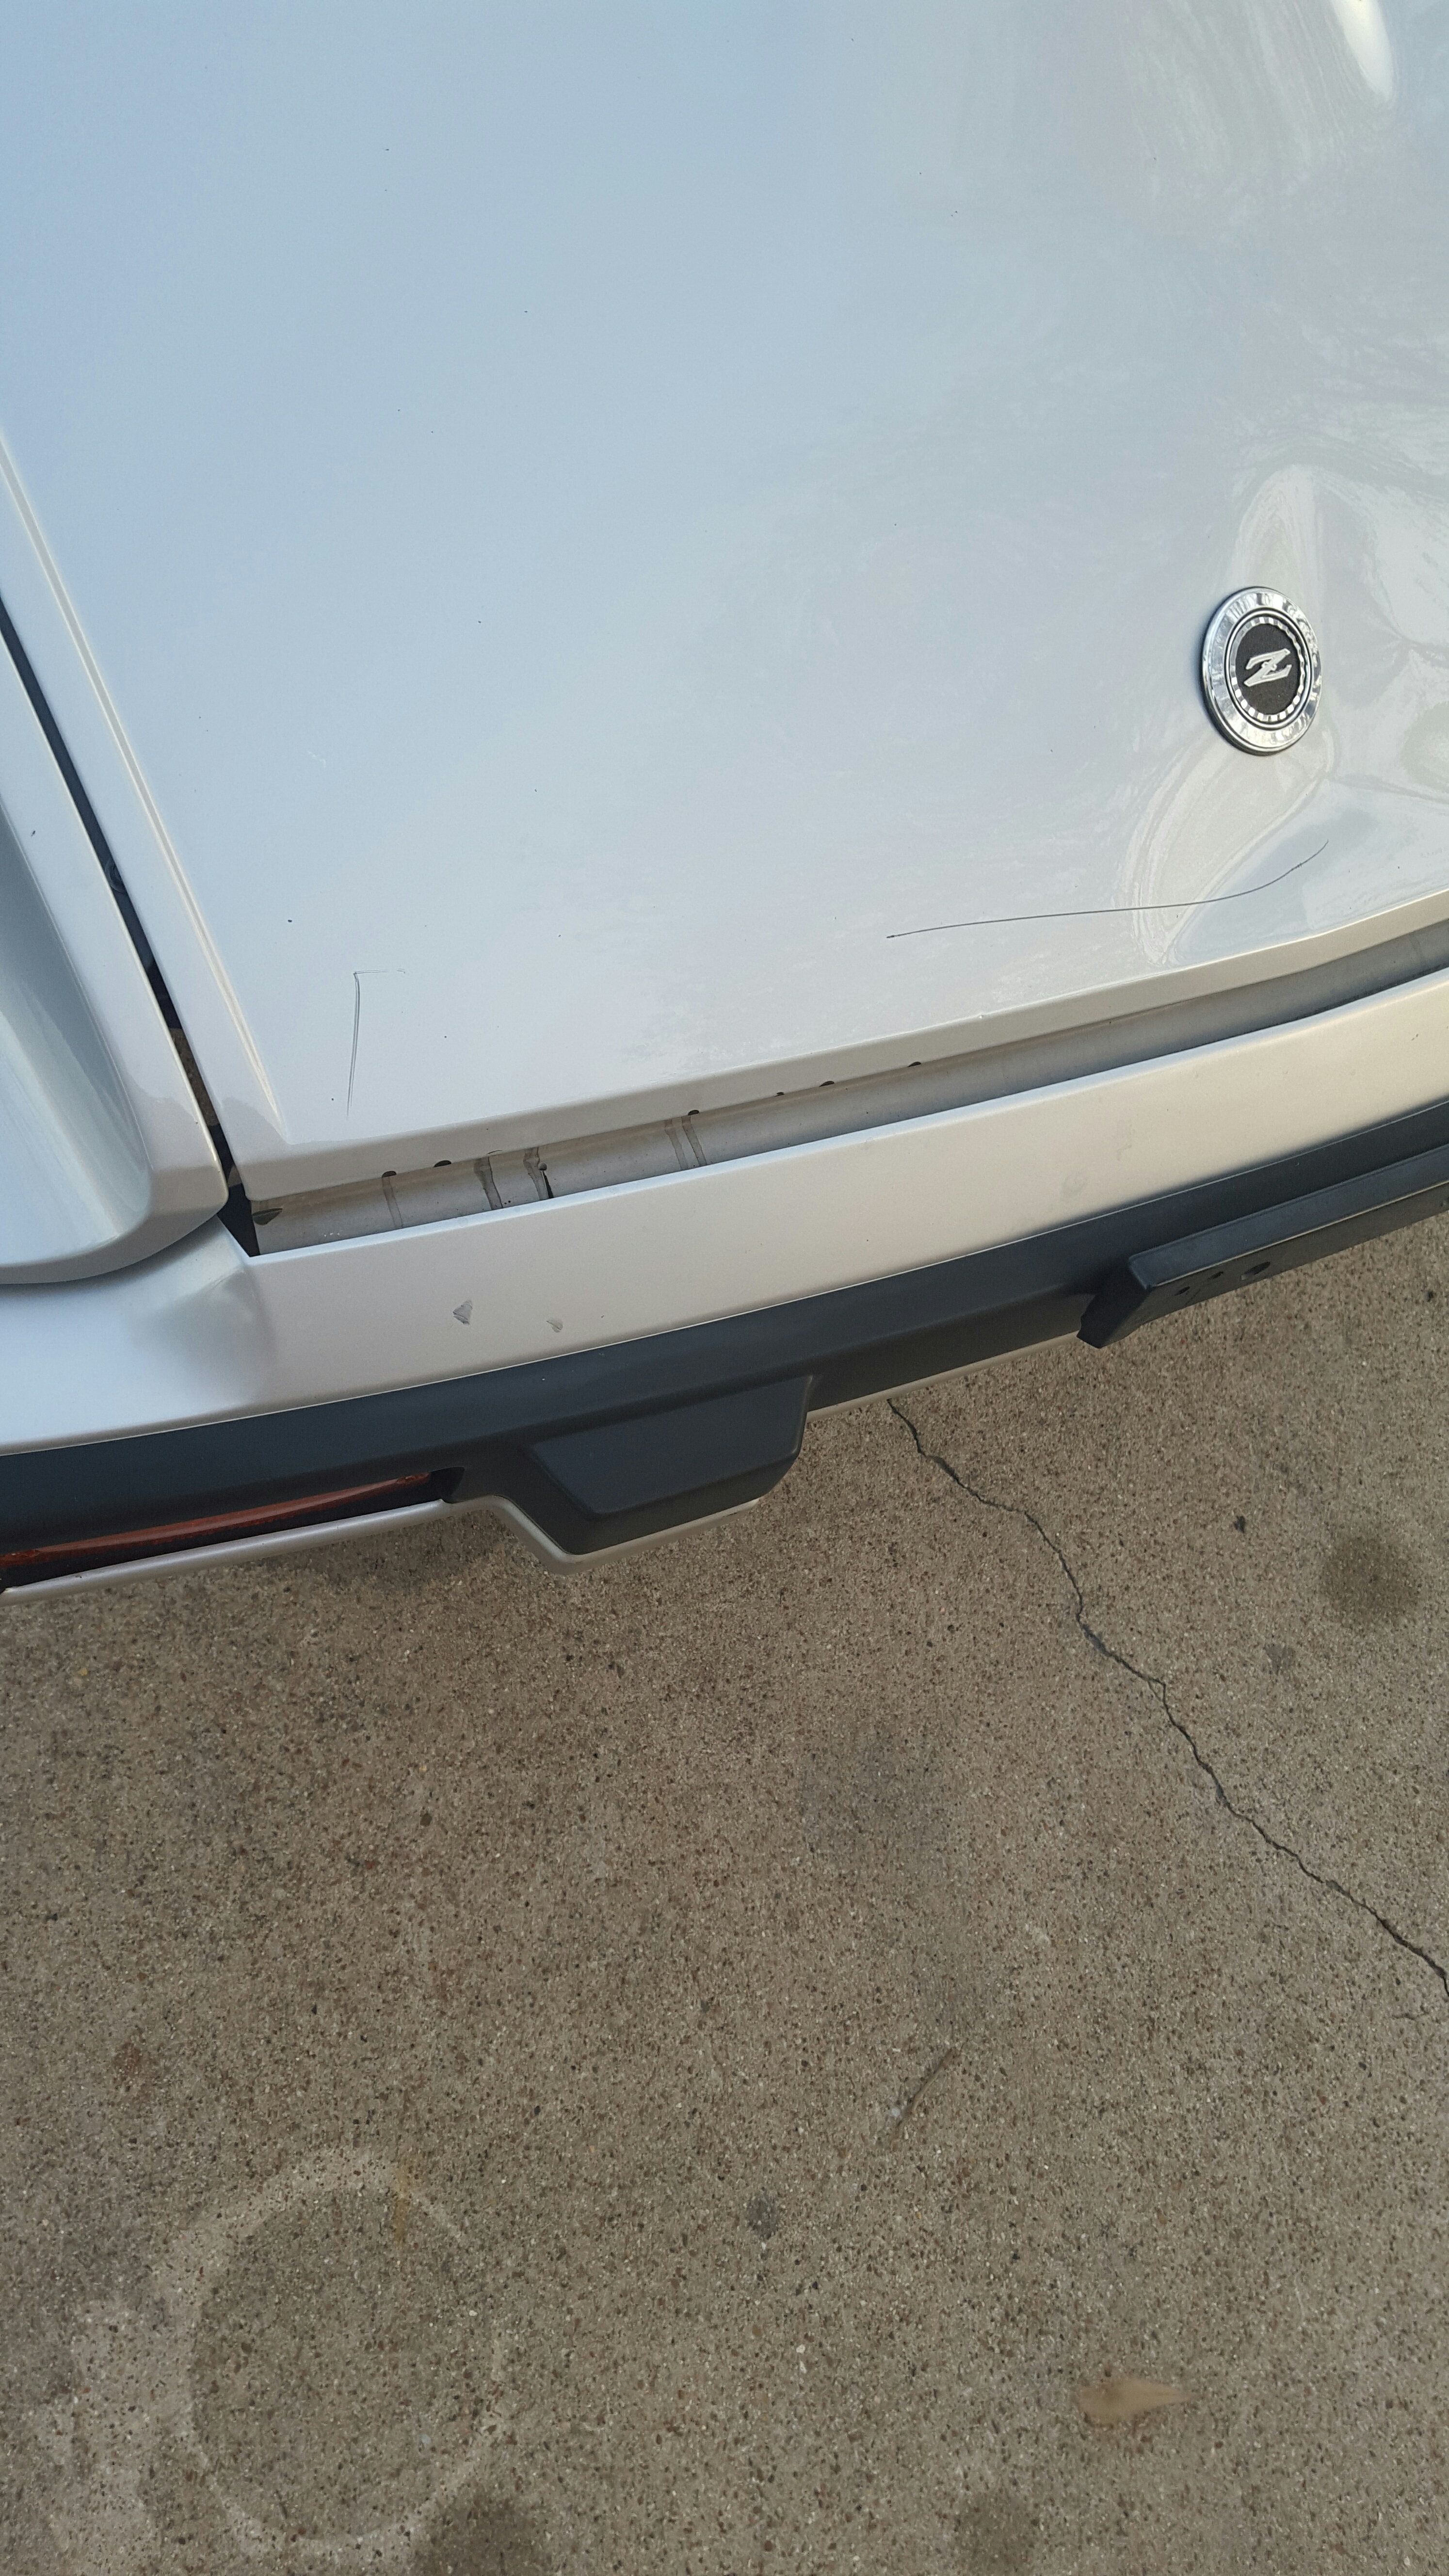
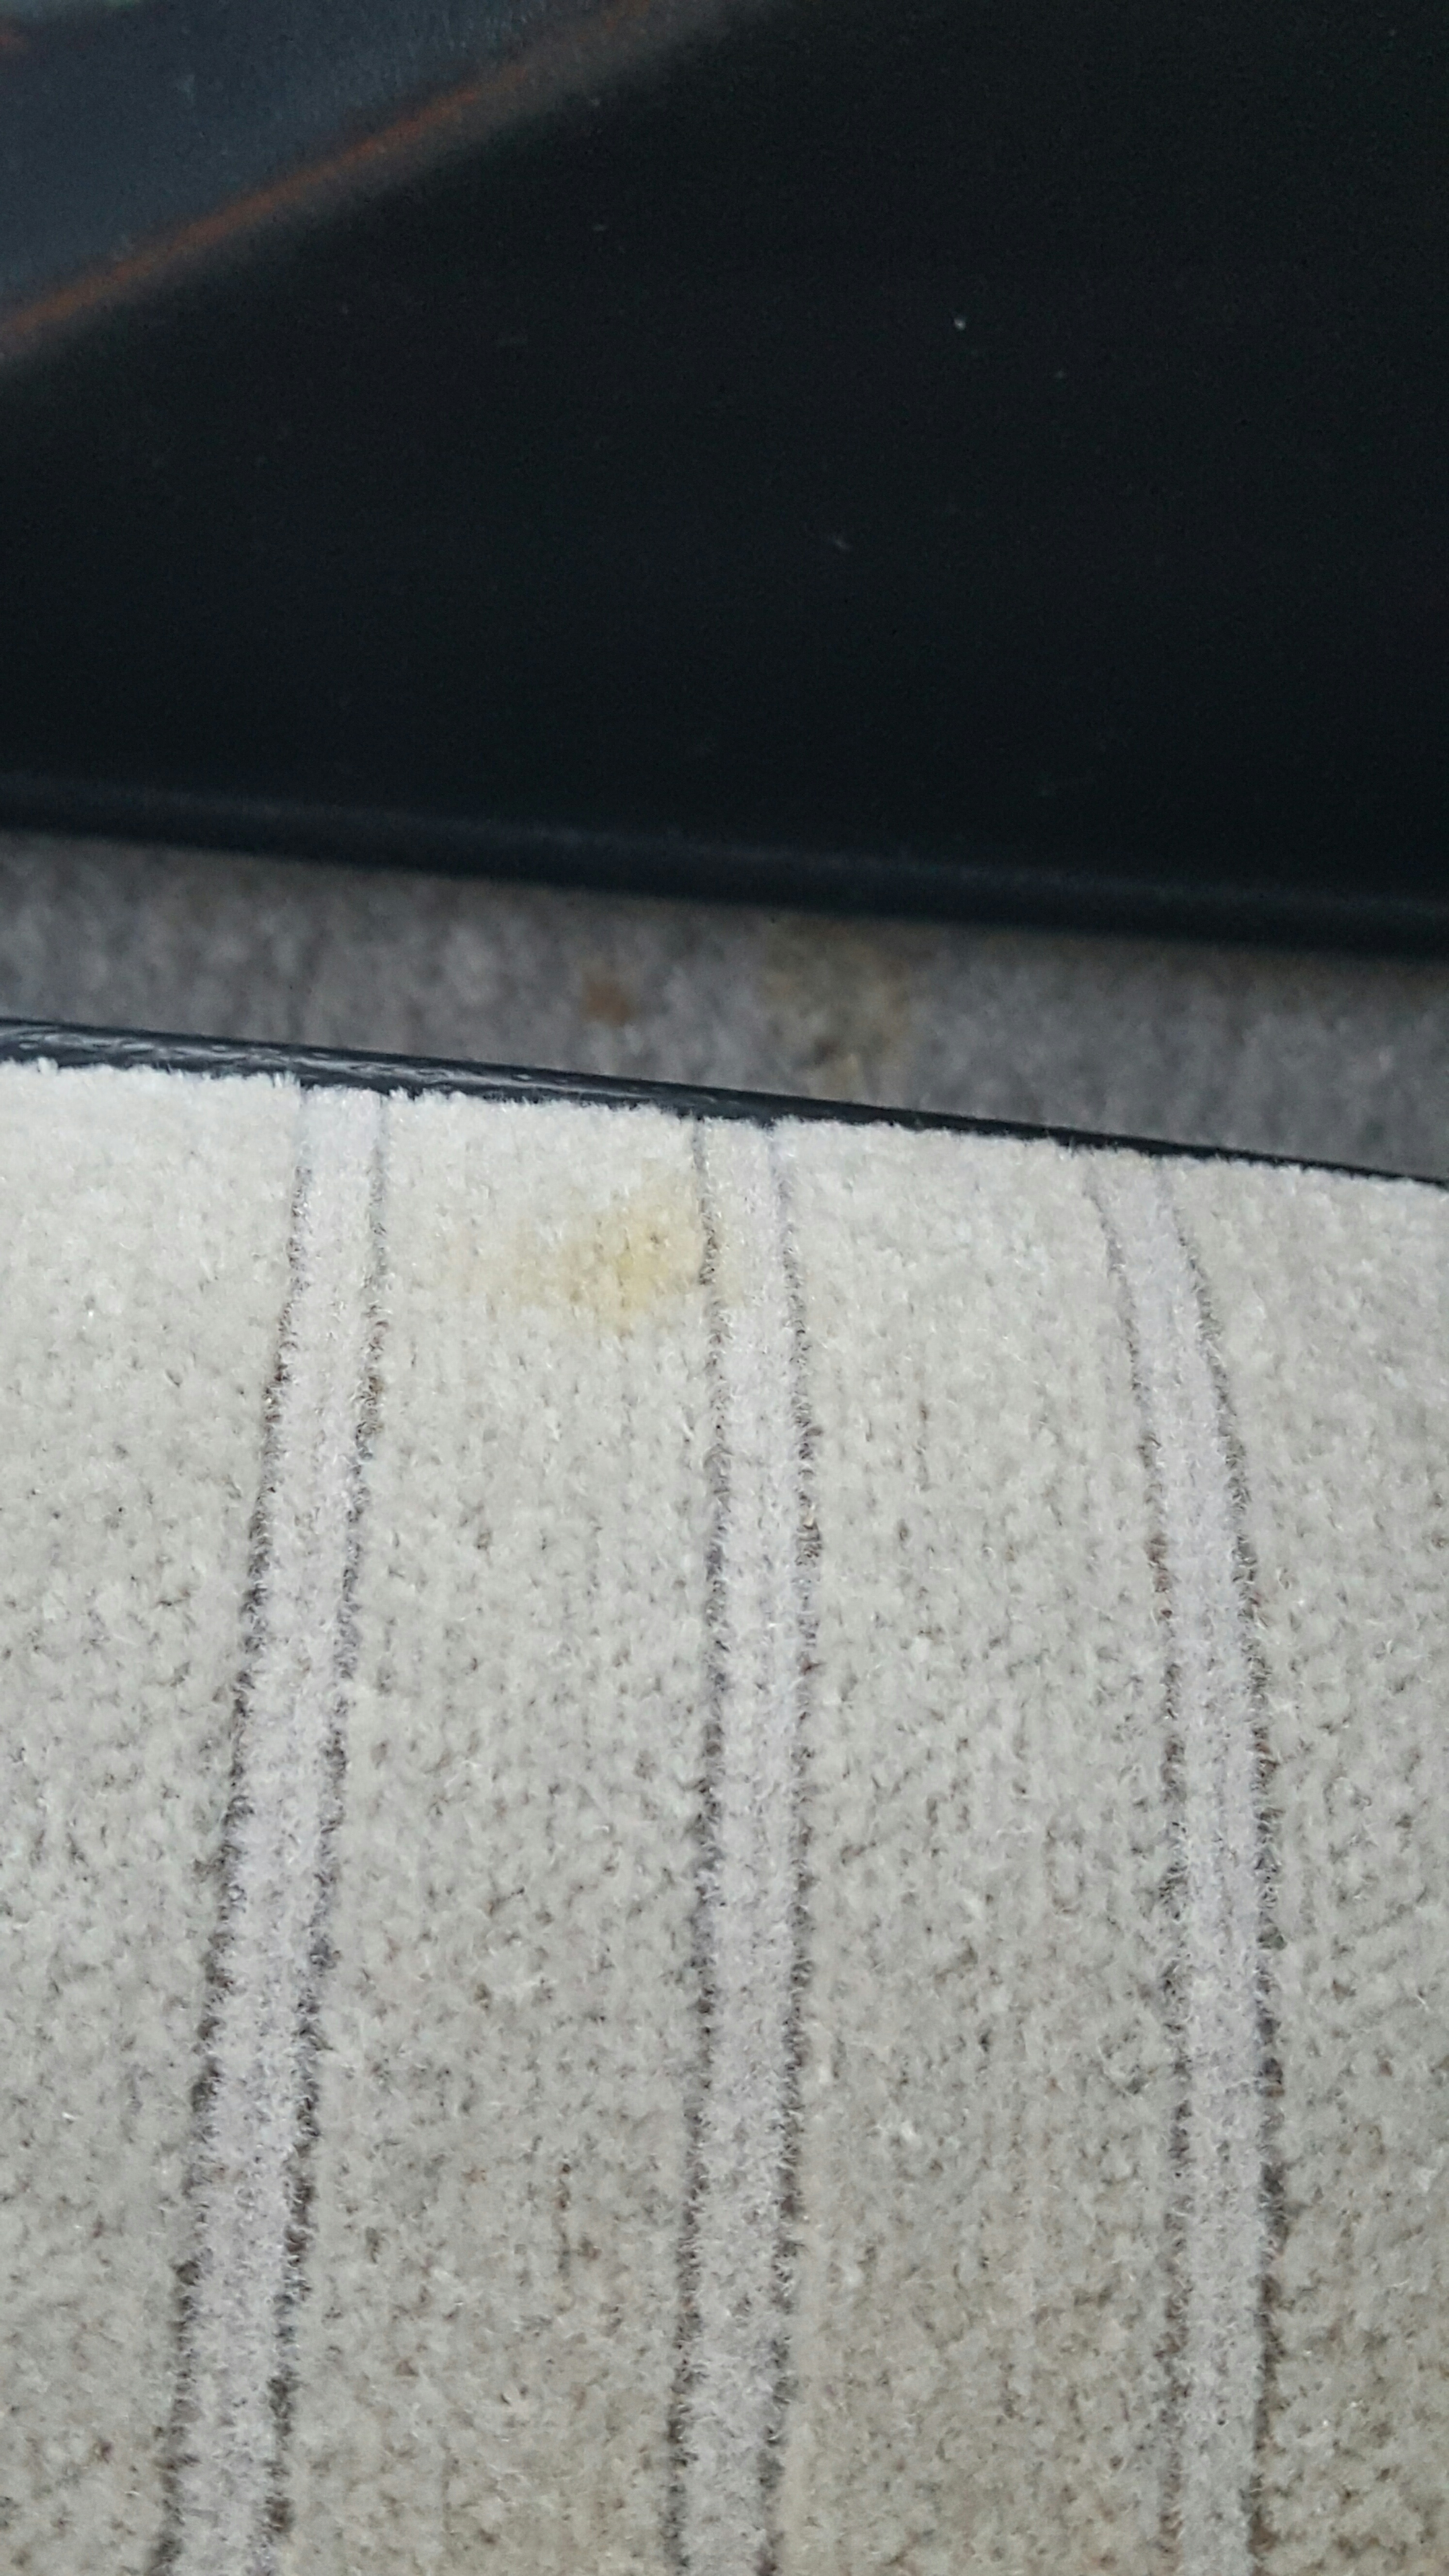
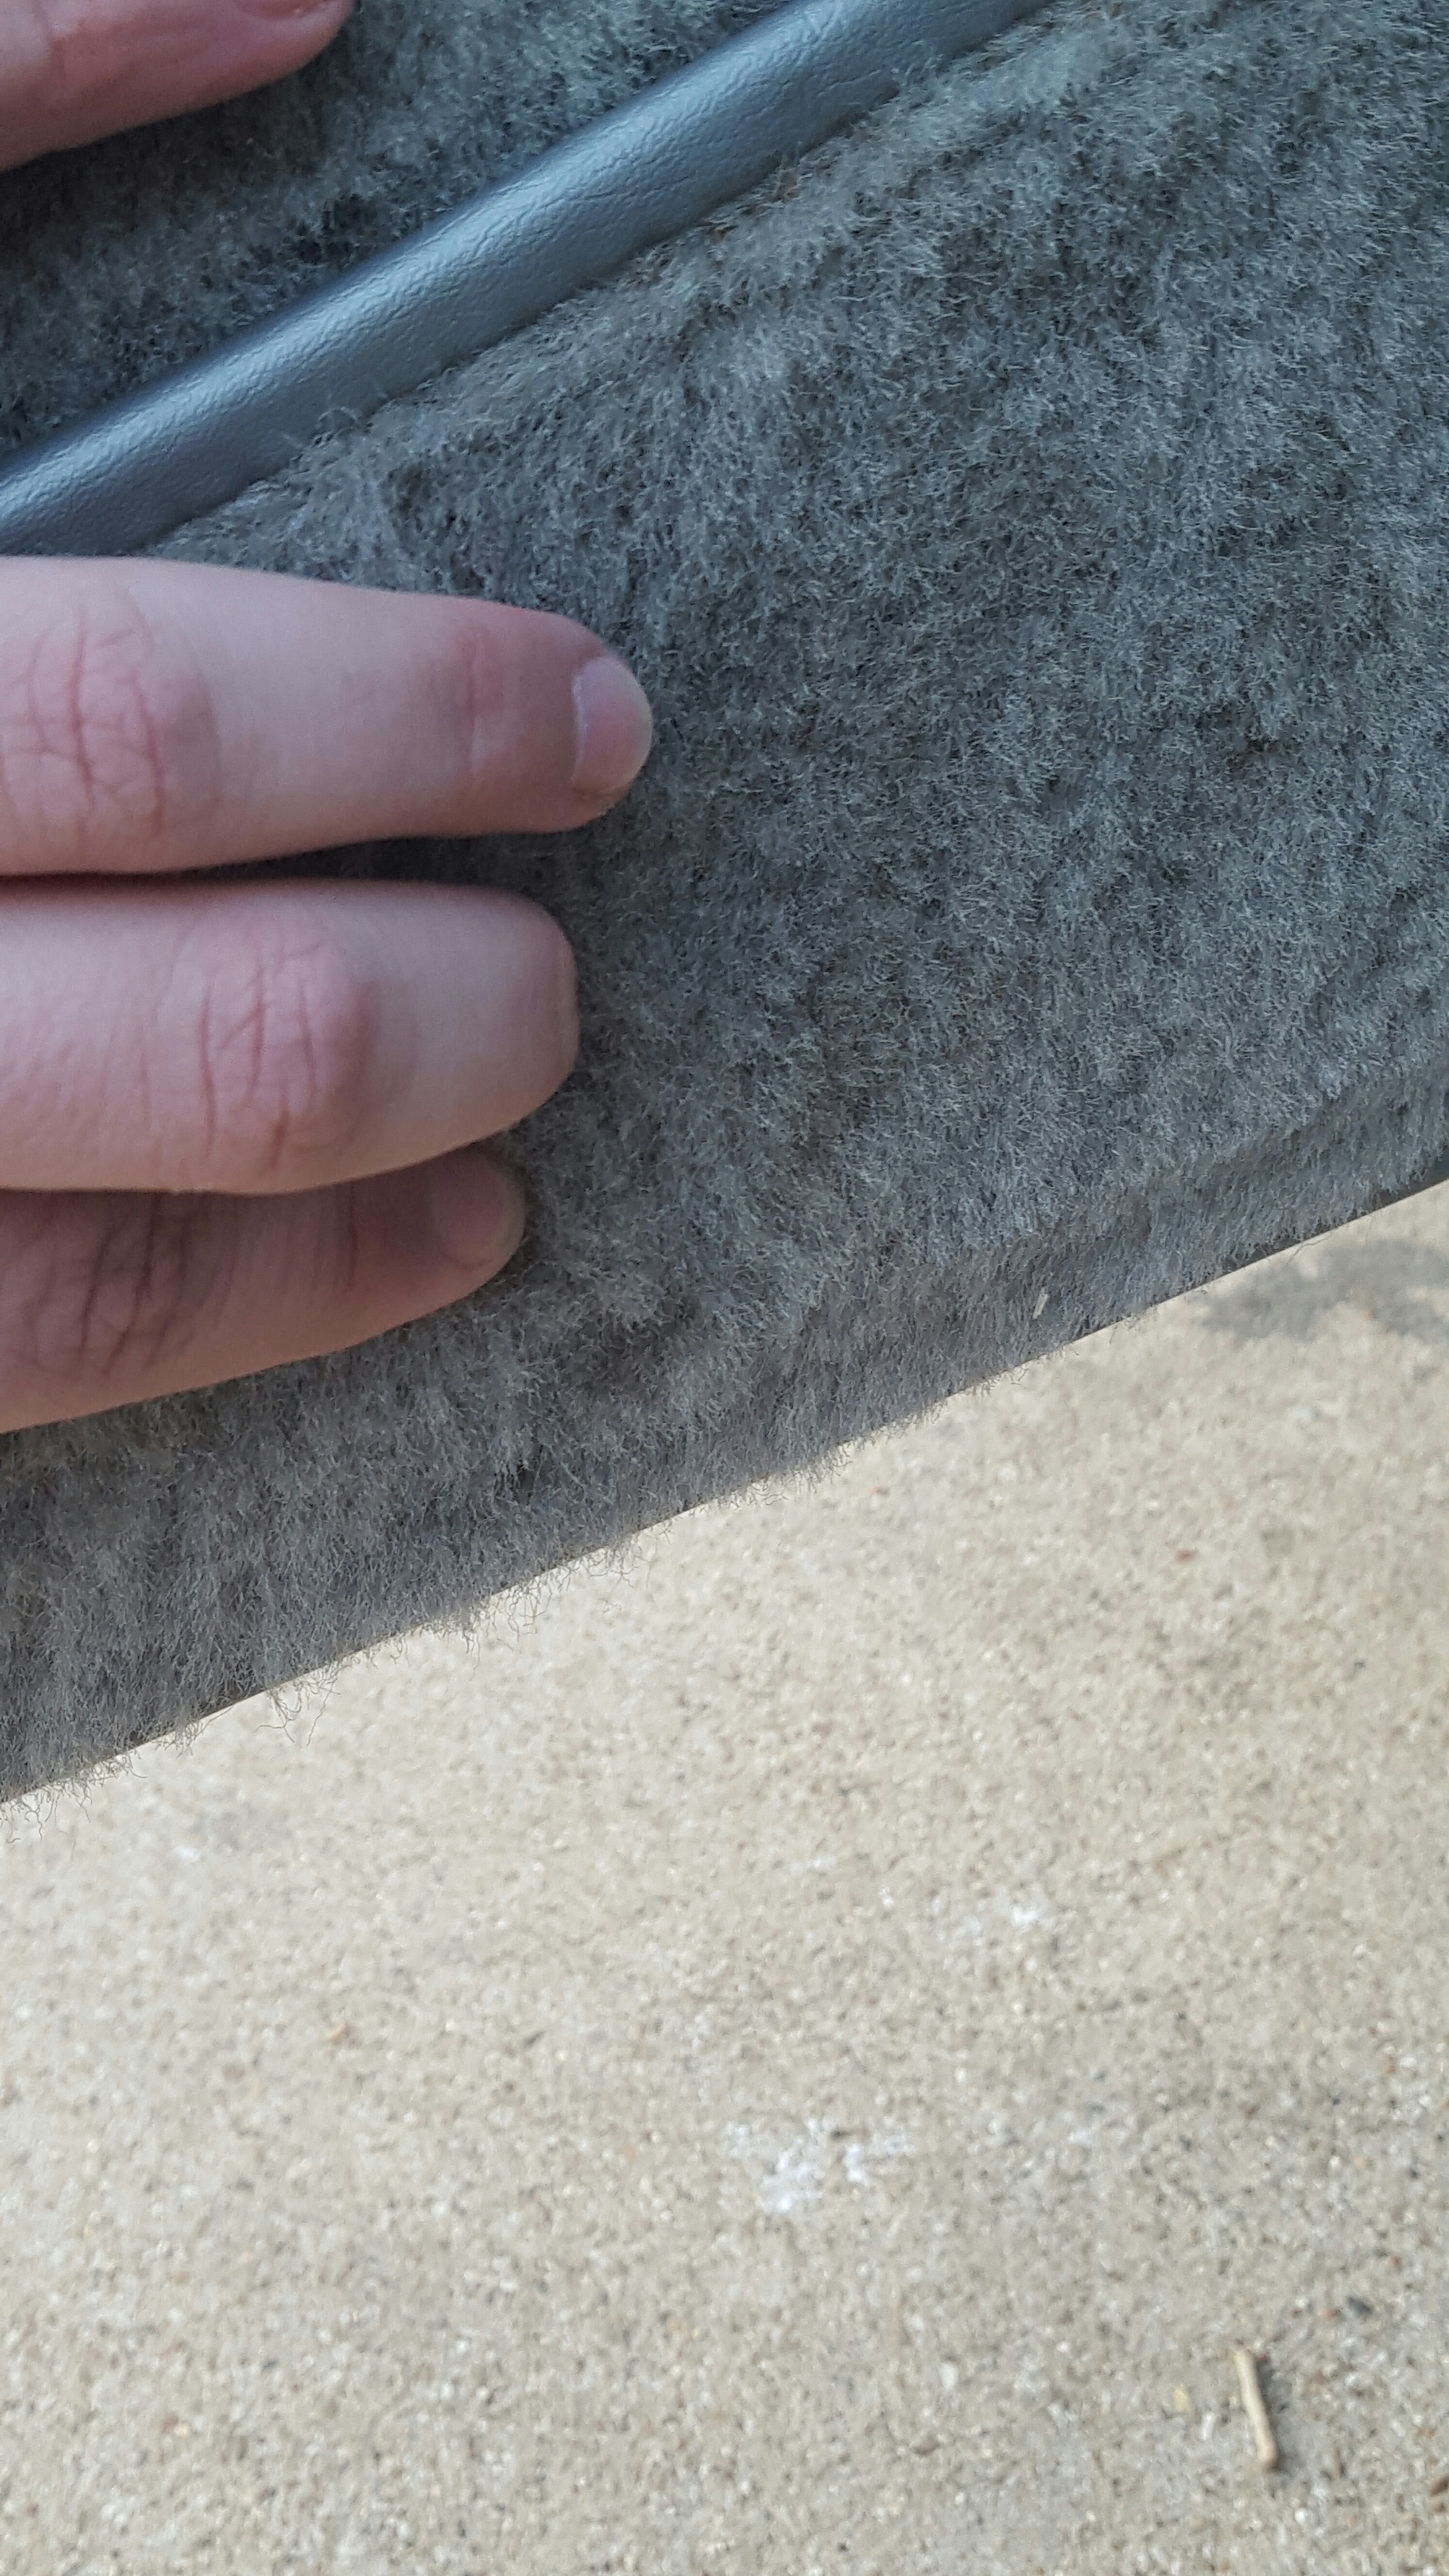
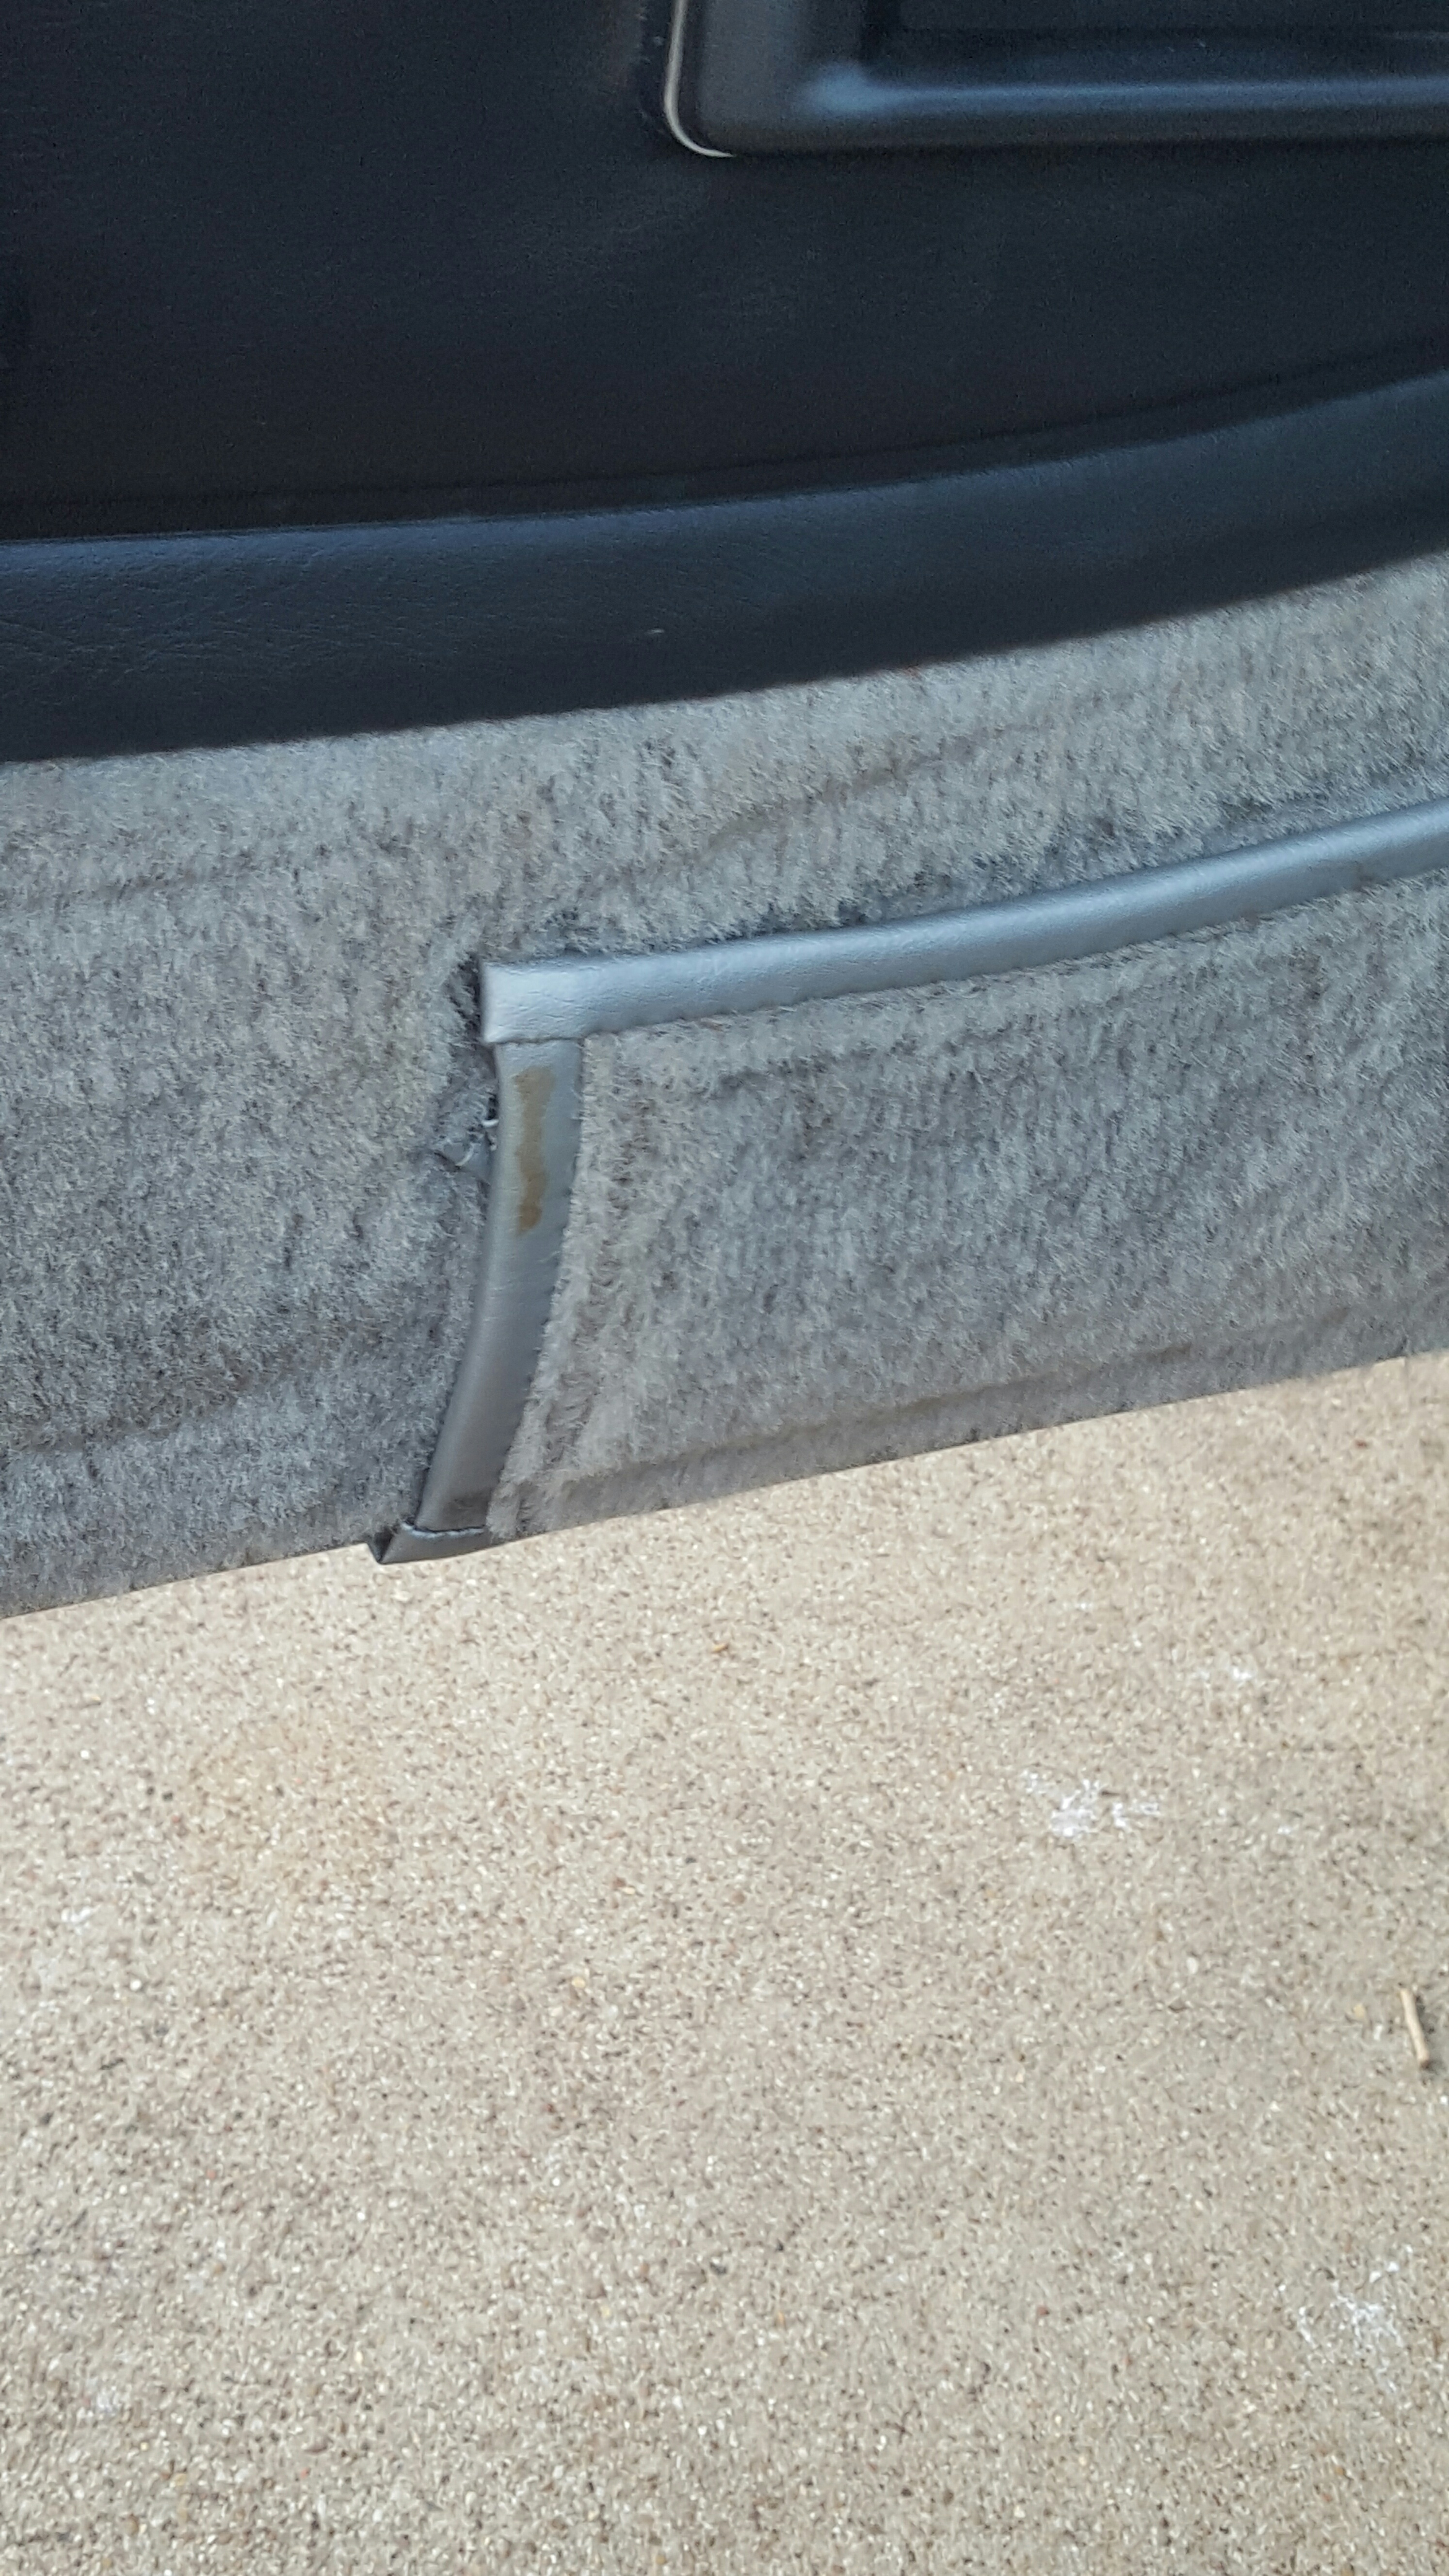
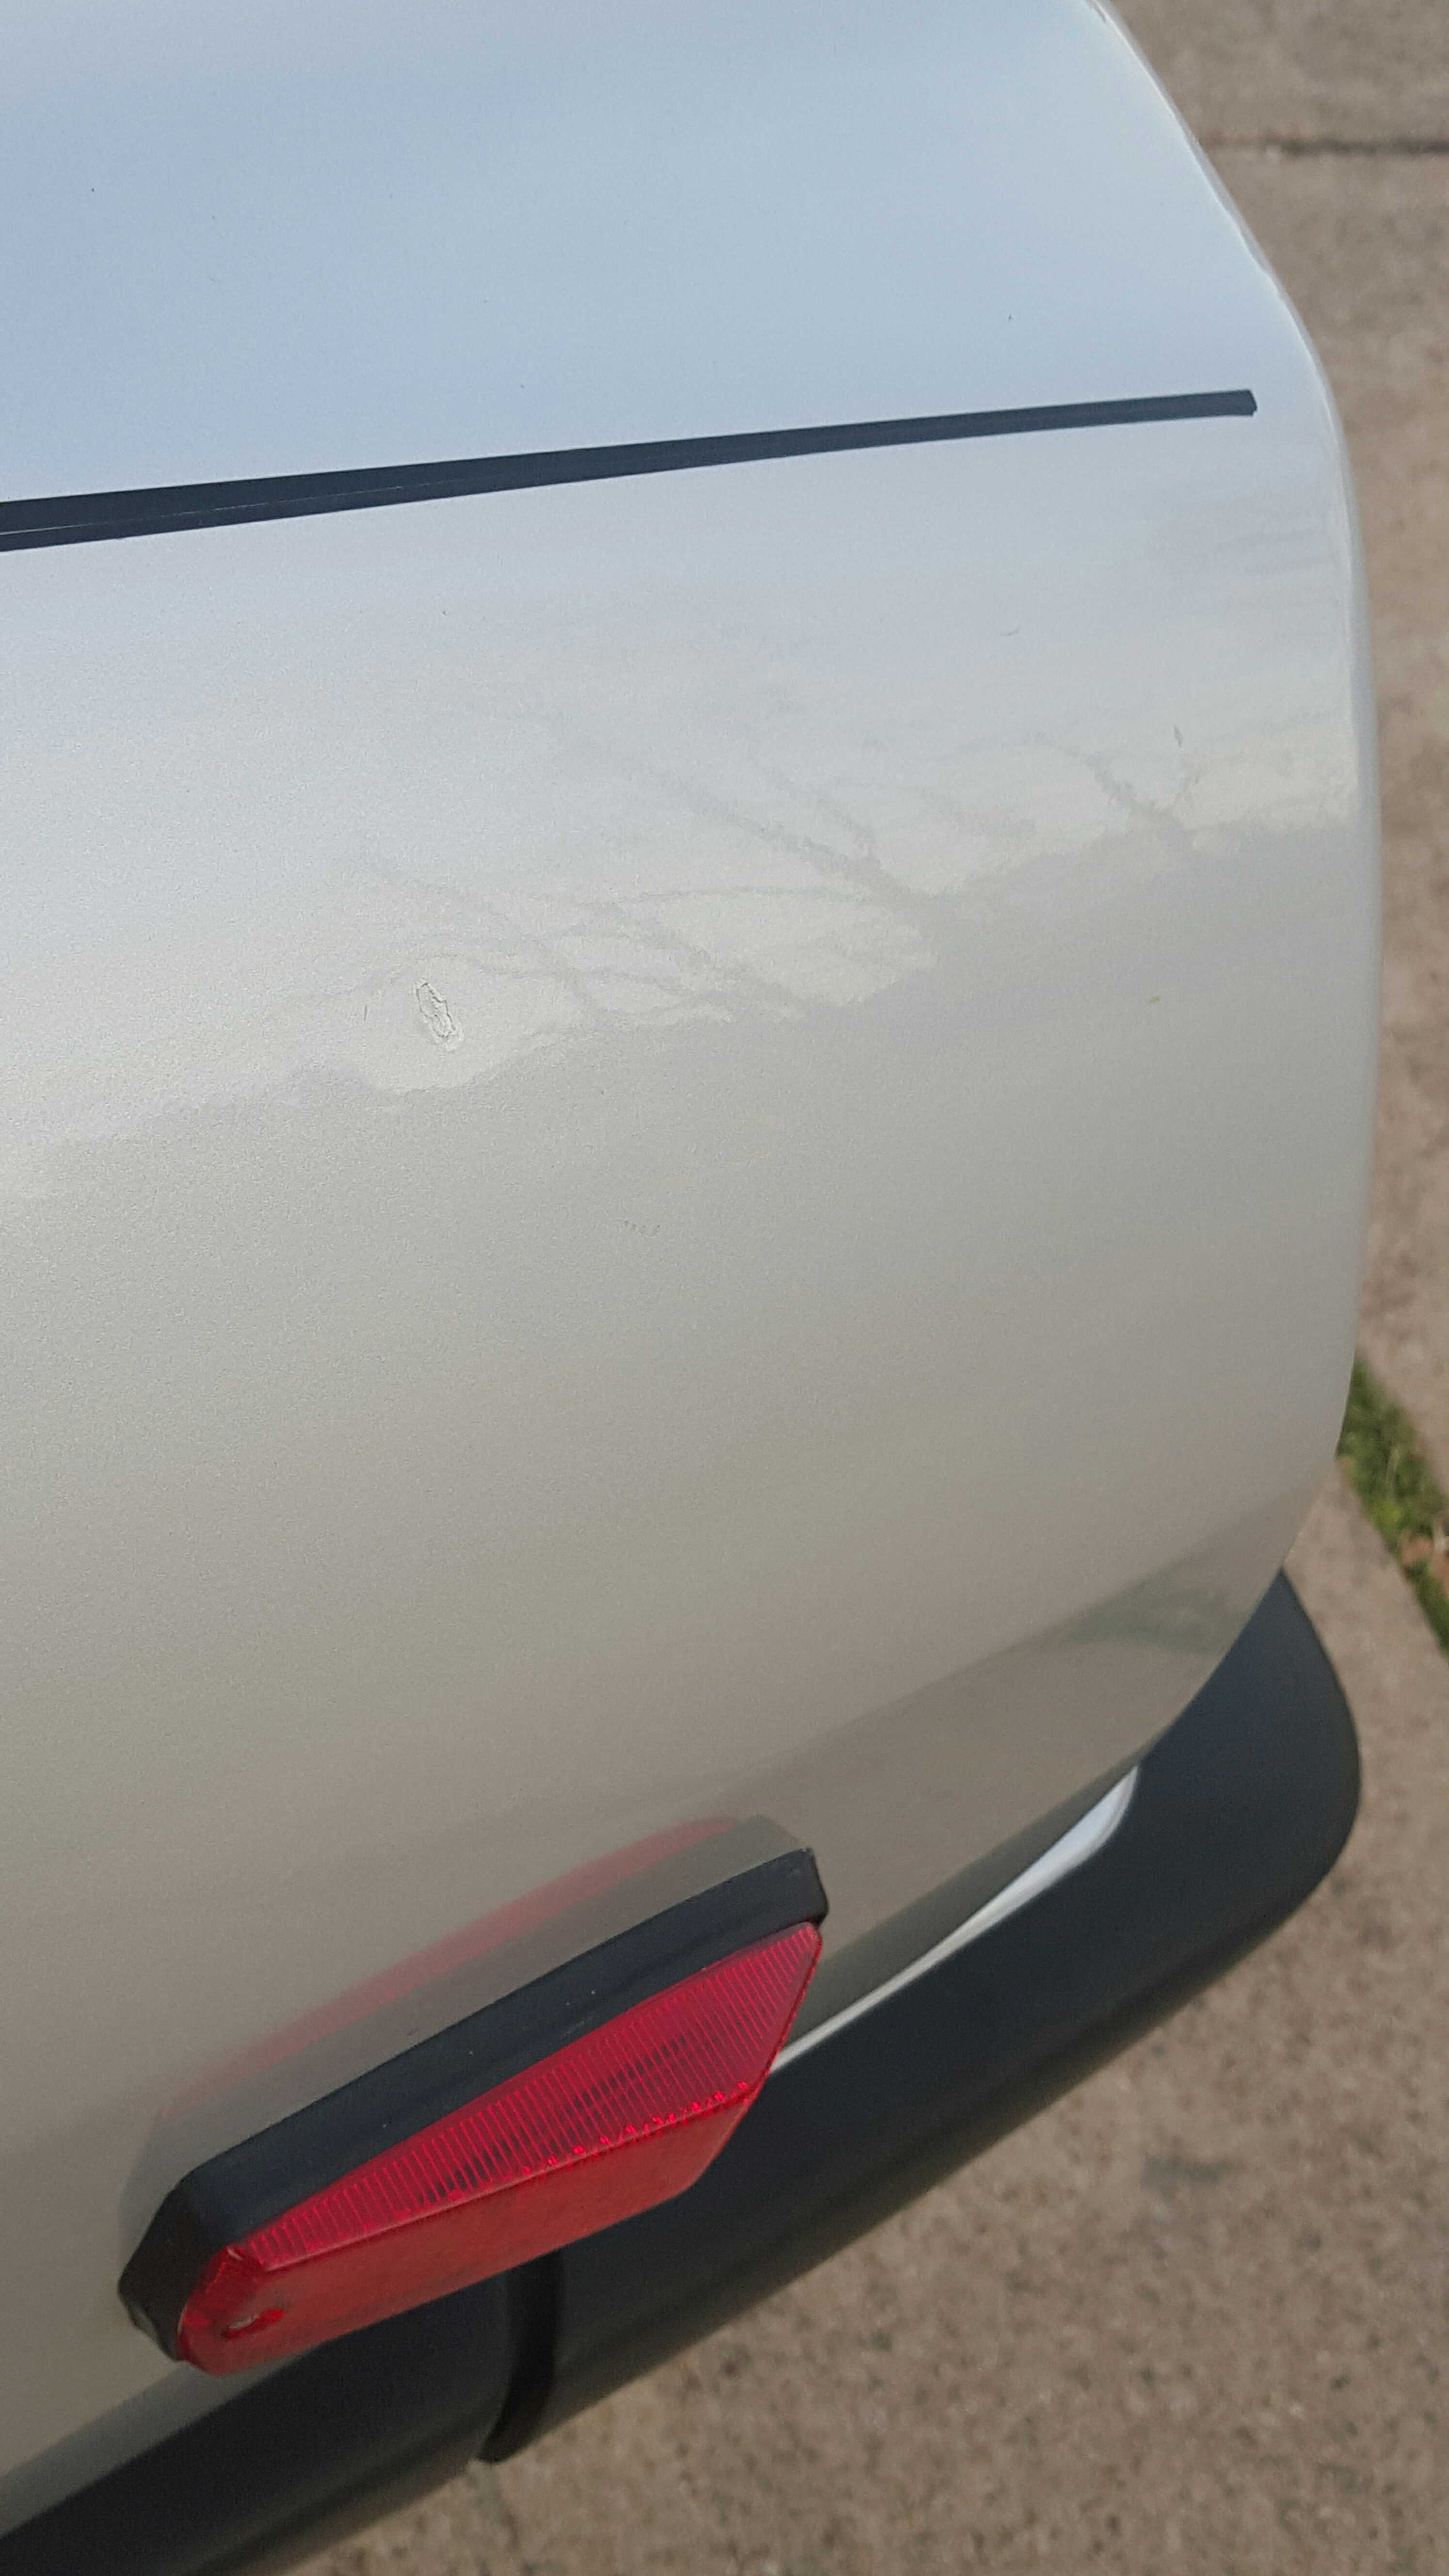
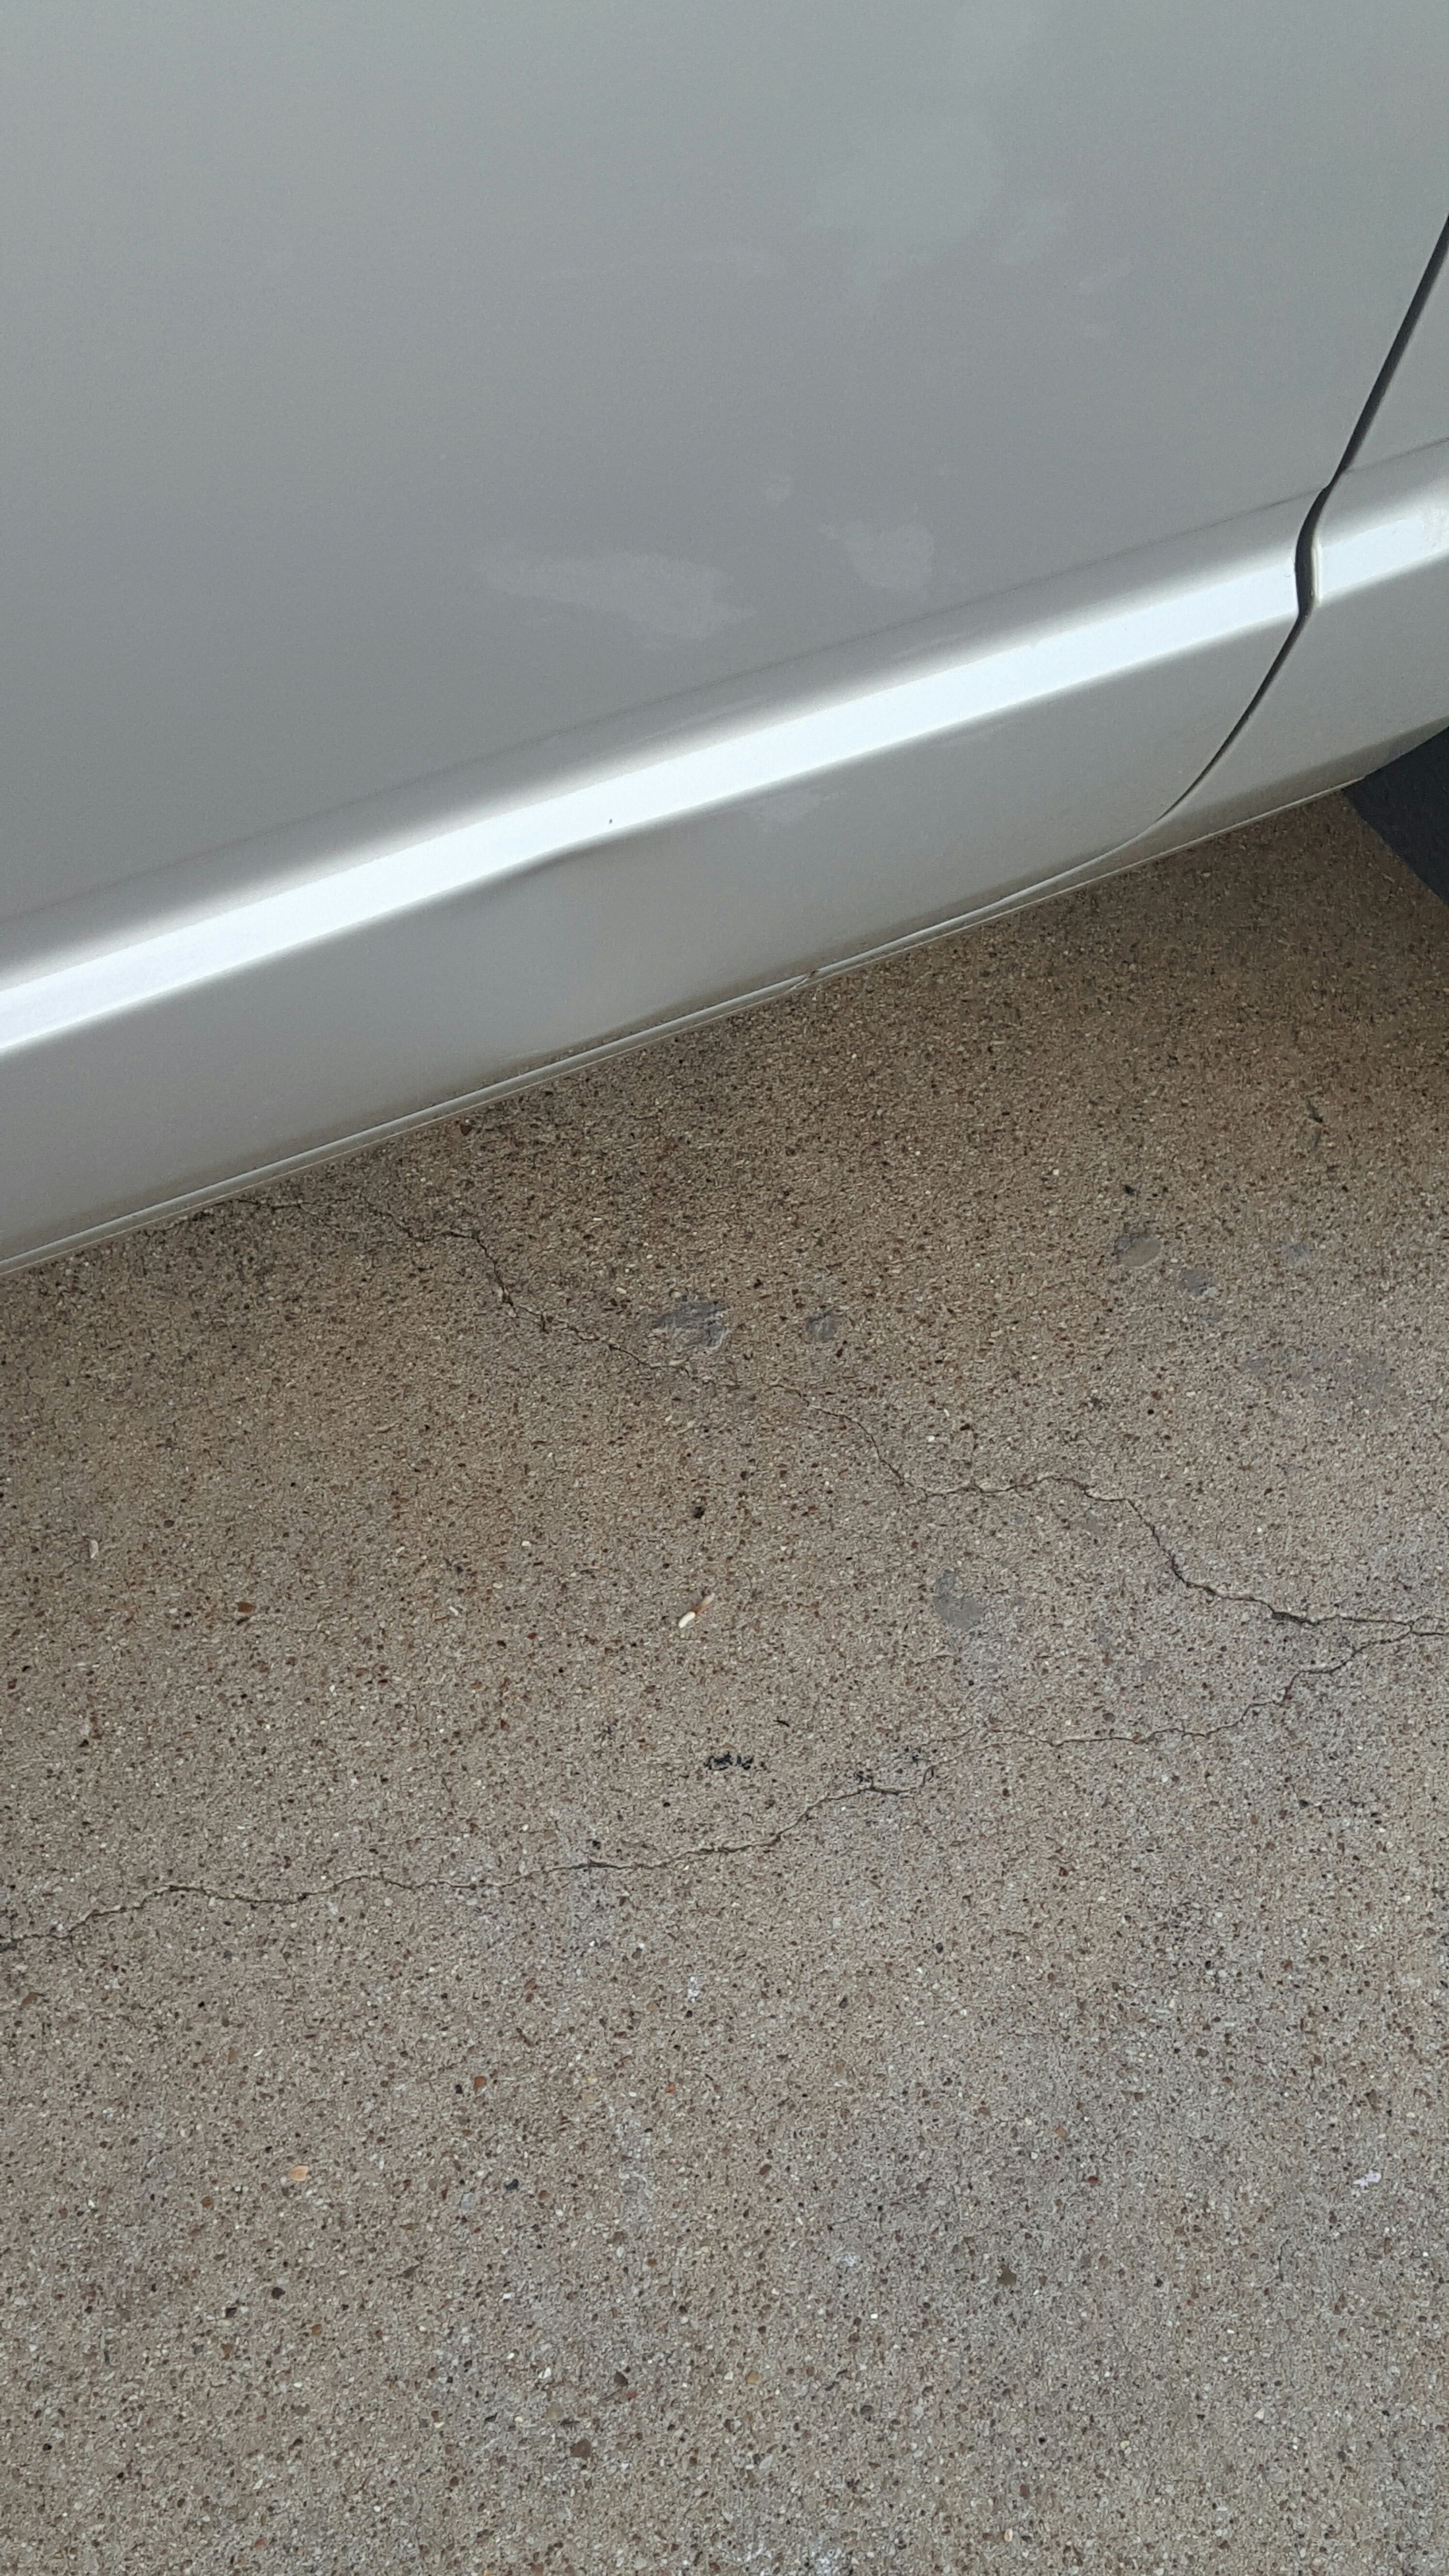
 I have a 1983 280zx with only original 32540 miles. Couple minor dents, 3 scratches. Interior has 3 stains I could find looking very hard. All paperwork back to 83. Can see more info on dallas craigslist. Clean title,no wrecks. Everything works perfect, ttops don't leak. Main eye soar is the dents on hood, I tried to include a picture of everything wrong. Mechanicaly it is perfect. Inside is perfect. Outside needs some tender loving care. Price is very fair. Have original spare, spare tire saver buddy, re-inflator can (mint) and break stops still sealed. Every inspection slip,insurance tab,service reciept, and original reciept from nissan when bought. Original cover, both keys,and manual aswel . Even have the Datsun Keychain they gave you when purchasing back from 83. Garage kept. Full detail including paint restoration stage 4 package with full clay bar,wax,polish, and sealant. Engine still has the oil from Japan on surface. Clean carfax. Only thing not original is the battery and the break light plug behind the pedal. Can reach me at, 817-995-2473. My name is slade. I'm located in Fort Worth,Texas. Not willing to meet, you have to come to me. Great chance for someone to fix her up and make a quick buck. Hurts to see her go. Best way to reach me is by text, I have issues with this sites messenging system.
- 1 reply
-
- 1
-

-
- 280zxdatsun
- nissan
- (and 6 more)
-
There don't seem to be any available in the UK What's the best fast road/track day pads for my 280 (76)? I want something with a lot more bite straight off without having to get them too warm Much appreciated
-
The car was purchased new by my Mom from a Connecticut Nissan dealer in 1982. It has been in our family ever since! Garaged since day one. Around 105k miles on it. Silver, t-tops, grey cloth interior, automatic. Few small rust spots up around the front wheel wells. Would love to keep it but it's just not being used enough anymore and we really want the garage spot available for our other daily-use car. Car is located in Rhode Island. Looking to sell as soon as possible. Don't have pictures currently (car is in Rhode Island and I'm living in NYC)...but can get pictures to any interested buyers. Don't really have a price in mind--really just want to make sure that it goes to someone who appreciates the car and will keep it on the road. Alternative for us is to donate it (little headache in doing this)...but really want to give this a try first.
-
Hi, I'm putting my 1976 280 back together after (shamefully) letting her sit for 5 years unpreped. It wasnt my intention to go for so long however, life got in the way as it sometimes does. I was wondering if anyone could please help me on the huge anxiety I am having on just getting my spark plugs. I have a turbo on the car plus she is stroked and has a bore of .90 over. I believe because of the turbo alone shouldn't it be 1° cooler? I don't know if the other mods would play in that as well. I think stock was like BP6ES? But I don't know if that would be safe to use. Any help I'd appreciate it.
-
I was offered a speedometer with mph and km/h out of a 280Z and as it is nice for me here in Germany to have the actual speed in km/h at hand (expensive pictures here) My question: Can i put a 280 speedometer into a 240 without a problem, or will the reading be wrong, etc??? Best regards.
-
Anyone here planning to go to ZFest Florida 2014? Looks like it will be FUN!!!!! About ZFest ? November 14 ? 16, 2014 | SunCentral Z Club
-
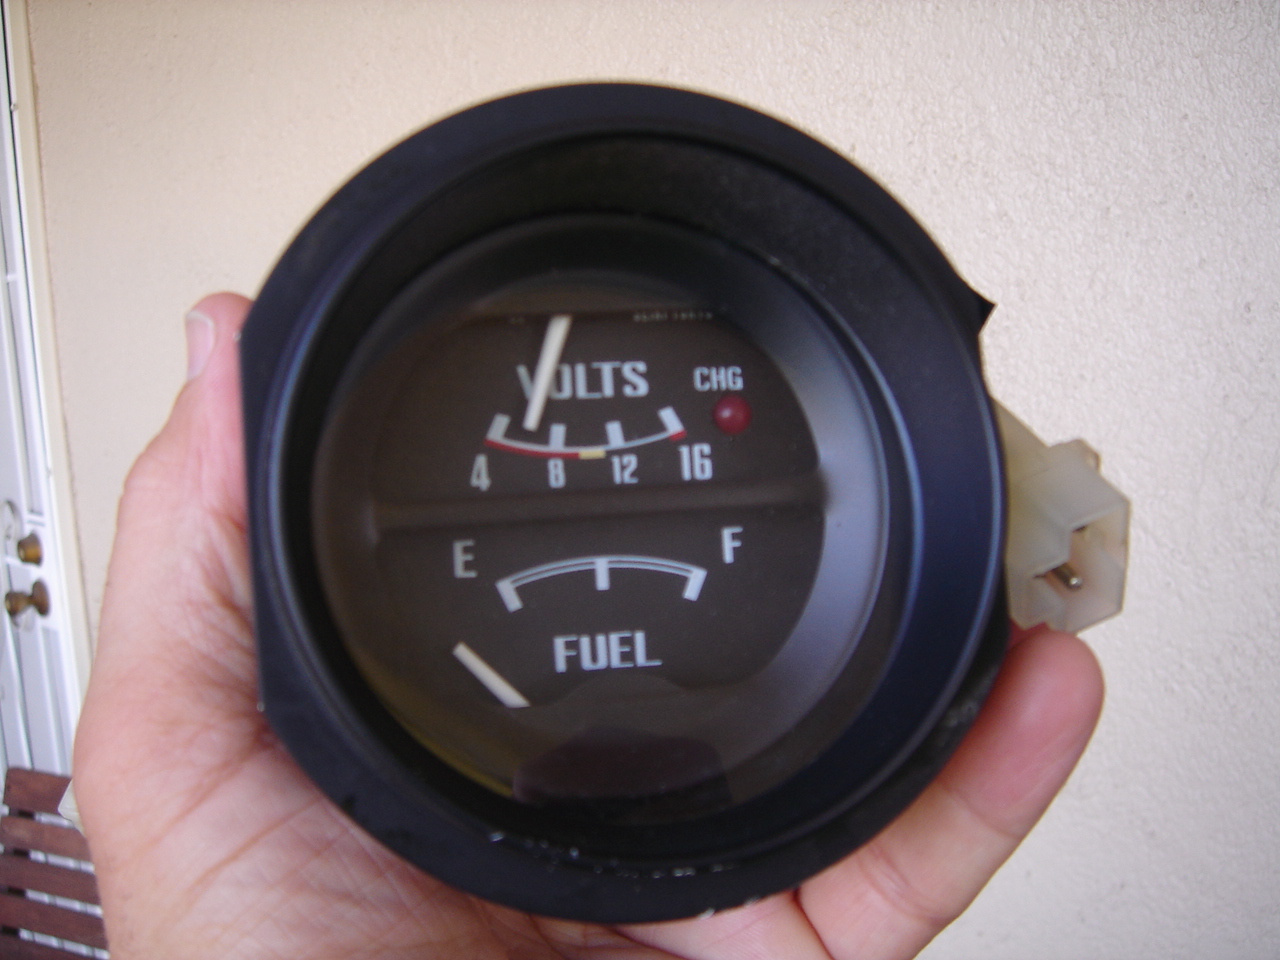
Hey there- Just inherited a '76 280z from my elderly (83) father. Of course the clock isn't working and hasn't for 15 years or so. But I also noticed the voltage gauge was almost pinned at the right of the gauge. I read the forums about bad voltage regulators, etc., so I went out and tested at the battery with a multimeter. The battery was reading 12+ with the car off. And a little more when running, and topped out at 13.7 or so when the car was held at a steady 2500 rpm. Okay, so relief there. Then I found a post about adjusting the gauge with a screwdriver from the back. This allowed me to move the needle from dead right, but the range of the adjustment wasn't near enough to get the needle where it should be. So thinking there was a short I disconnected the gauge and used the multimeter to probe the leads running into the gauge. Same reading as battery. And that's when I noticed something strange. The voltage gauge was reading a positive 6-7 volts or so while disconnected. And not coincidentally, that is almost exactly how far off it is at the other end when connected. So the gauge won't "zero". I took it out of the bezel and it looks like a very simple analog gauge. I can understand why when power is applied it is deflected to the right. But I don't understand what would cause it to float above it's little bump stop when there is no power running to it at all. And it's not frozen there. While handling the gauge it freely bounces around, and when I had it out of the bezel, I could easily push it over to the left with my finger. Any help would be appreciated. Tai