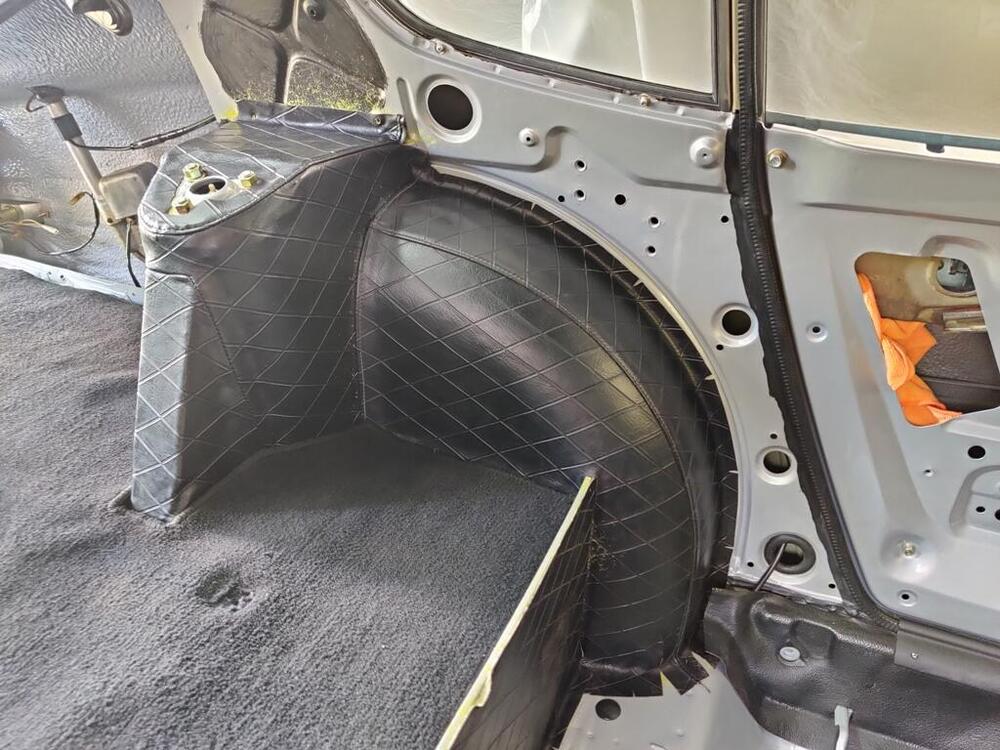
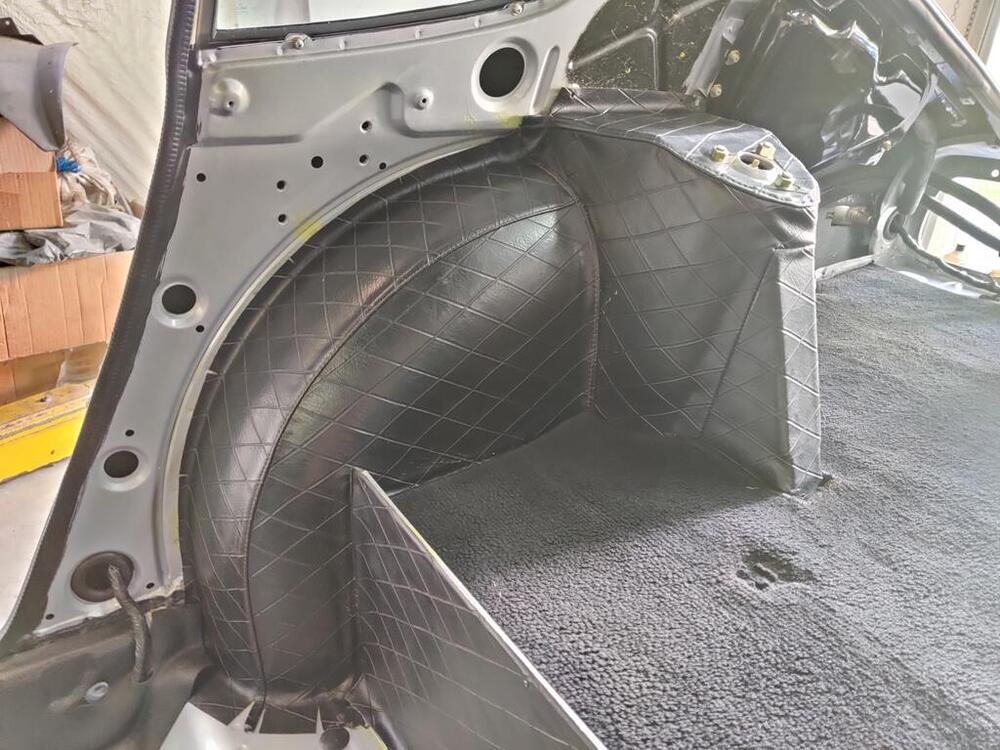
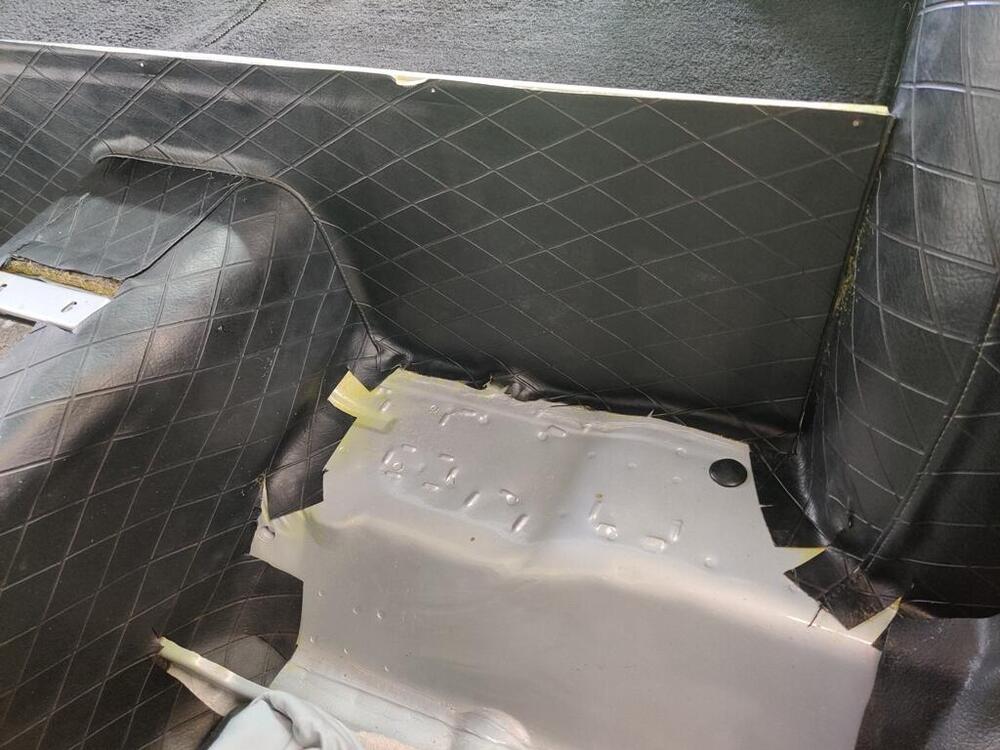
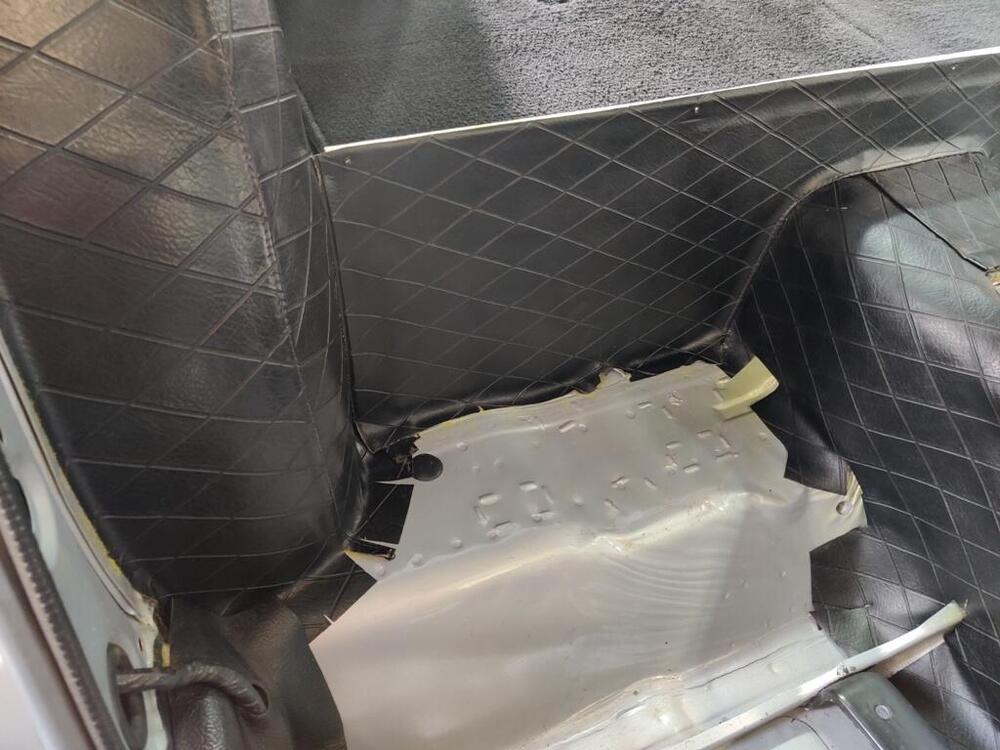
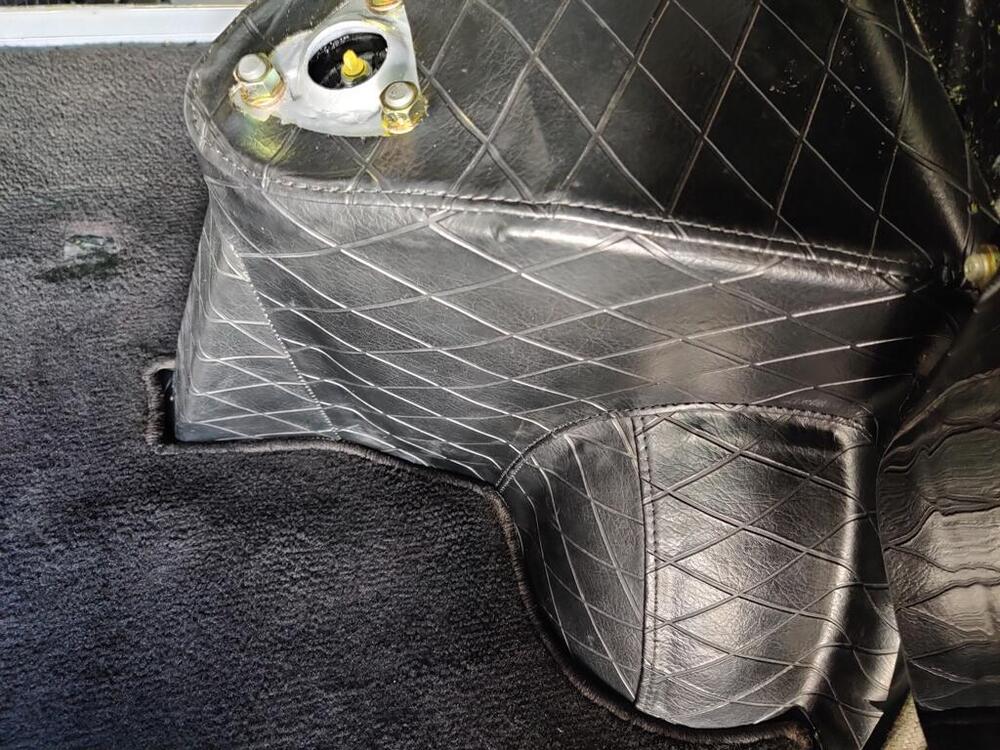
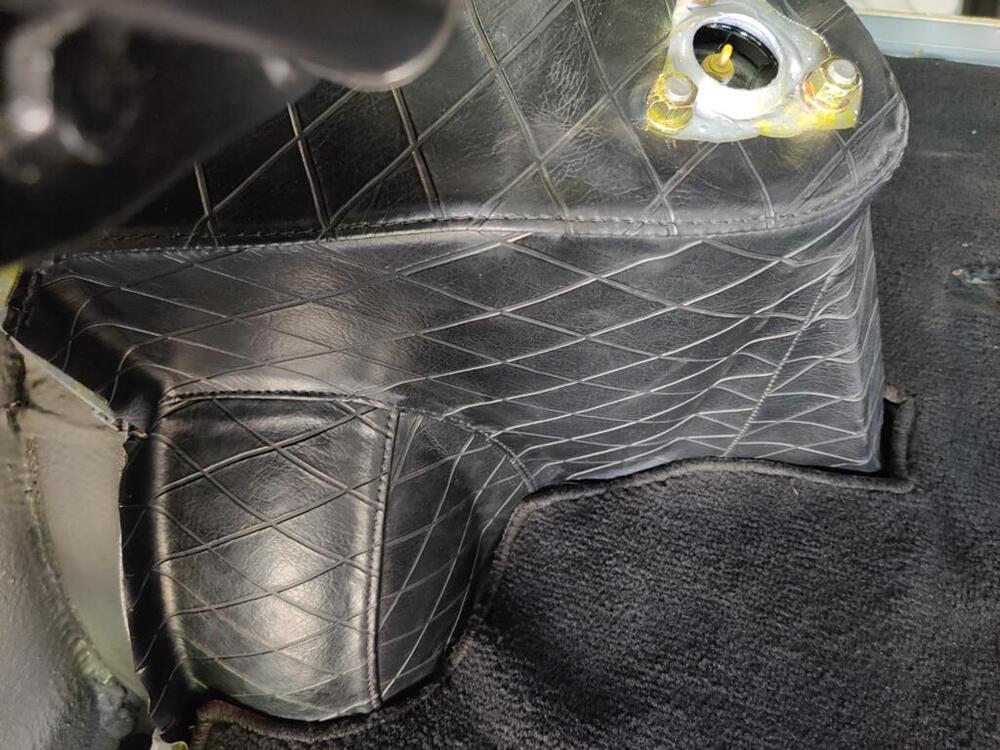
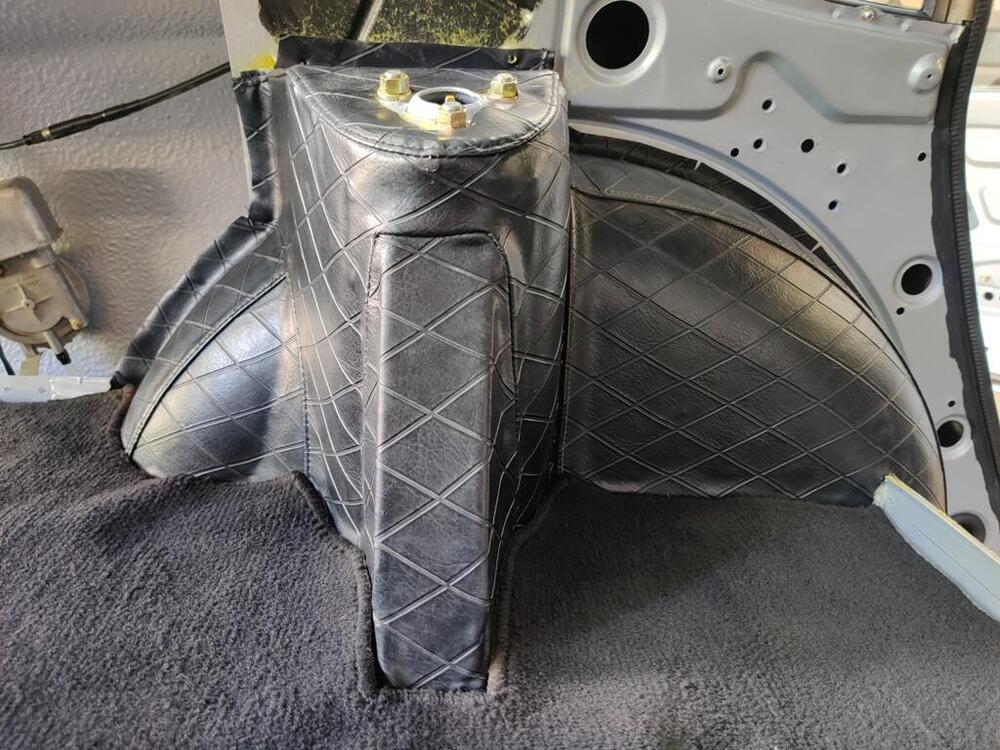
The time has come for me to install the rear tower and wheel well interior trim. The reproduction pieces have a "shallower" diamond imprint. I prefer the original. These pieces are often damaged, I think from putting in and retrieving things out of the rear hatch area, Objects nick and slice the vinyl, especially on the inner most portions that protrude.
For the rear strut tower pieces, I took three complete pairs which I had accumulated over the past few years to a local auto upholstery shop. There, we determined the best sections for use. I left them with instructions to pull them apart as necessary and to re-stitch one complete pair using the best sections from the lot.
Another "issue" I have noticed looking at 240z's over the years is that the vinyl covering the rear strut towers, if removed, often looks terrible when it is put back in. Whether, the wrong adhesive is used, or the installer lacks the necessary skills, or something else, the result often falls short vs. the other restoration work done on the car.
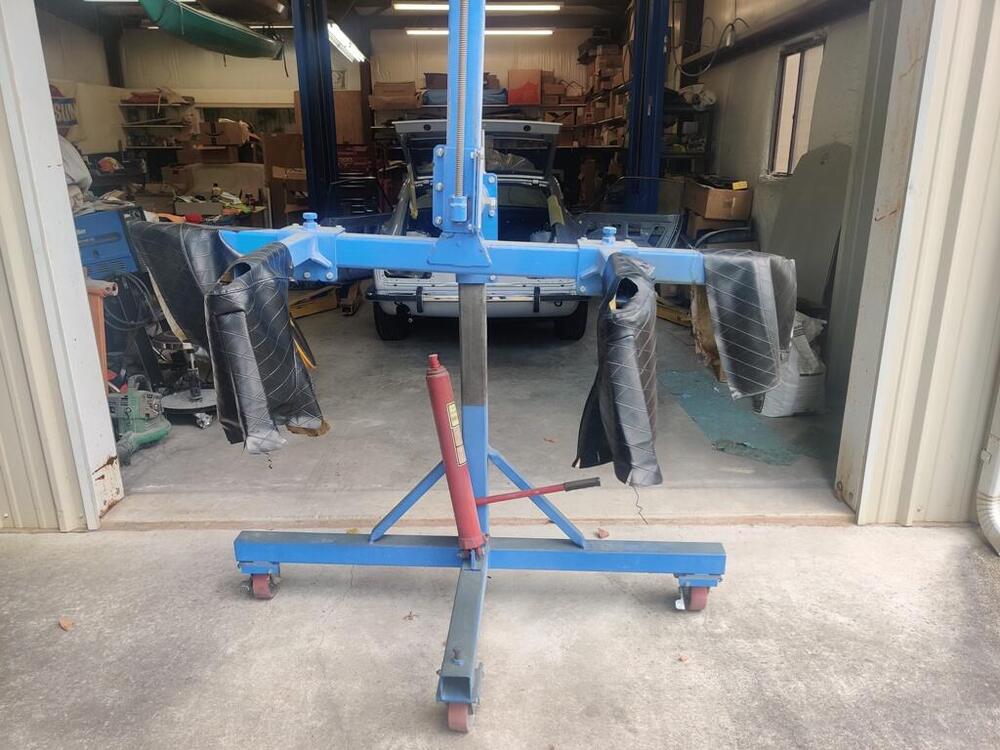
So, as I started yesterday with my plan, one that included having all of the remaining diamond vinyl glued into place on the car before the end of the day, I knew I was in for some long, and stressful hours. First, I used Wesley's Bleche-White (an ancient bottle) to clean the backsides of the vinyl trim. Over the years, the white (I assume cotton) backing wicks up water and collects dirt with it. Wesley's Bleche-White that you can buy today appears to be a different chemical composition (based on a few minutes only) of searching online. The one I have appears to be the original stuff. I was amazed at how much dirt came out of the backside of the vinyl. I rinsed them thoroughly and then hung them outside in the GA heat to dry.
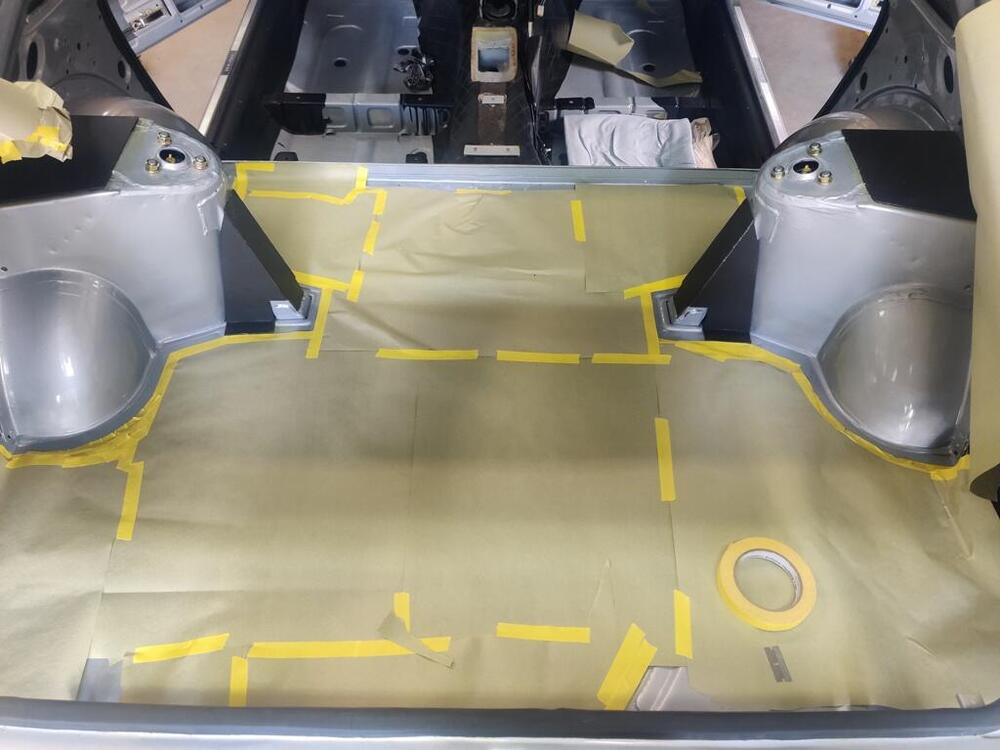
While they were drying, I taped up parts of the back hatch area to protect from glue overspray.
I once again used the Landau contact cement. When it is 90+ degrees, this stuff dries a bit quicker. That, and the very odd shape of the strut vinyl trim parts makes installation very challenging. On the first one, I struggled a bit because I didn't get the alignment right and it kept sticking to itself. With each passing second, the glue got drier and drier and more sticky. I screamed some obscenities and tried helplessly to reposition it without pulling it back off completely. Within two minutes, I realized I had failed, so I pulled it off completely.
One important thing to note about contact adhesive is that it can be reactivated by applying more. So, before it dried even more, I grabbed the gun and went with a bit of a different plan. Instead of lightly coating the entire inside of the vinyl as I did before, I only sprayed the top (horizontal) section. I resprayed the corresponding top of the strut tower. Then, I positioned the top section so that the triangular cut out for the upper strut mount bolts was in the right location. From there, I put my attention at the portion of the top surface of vinyl that presses up against the inner quarter panel. I aligned the holes (those that accept the black plastic trim clips) that were in the vinyl to the holes in the inner quarter panel. I pushed the part contacting the inner quarter panel against it firmly. When I was sure those holes lined up, I lifted up on the triangle cut out area and pulled the vinyl taut as I repositioned the top (horizontal) section. You have a bit of work time, but you have to move quickly. At that point, I had only the top section in place, but the alignment looked good.
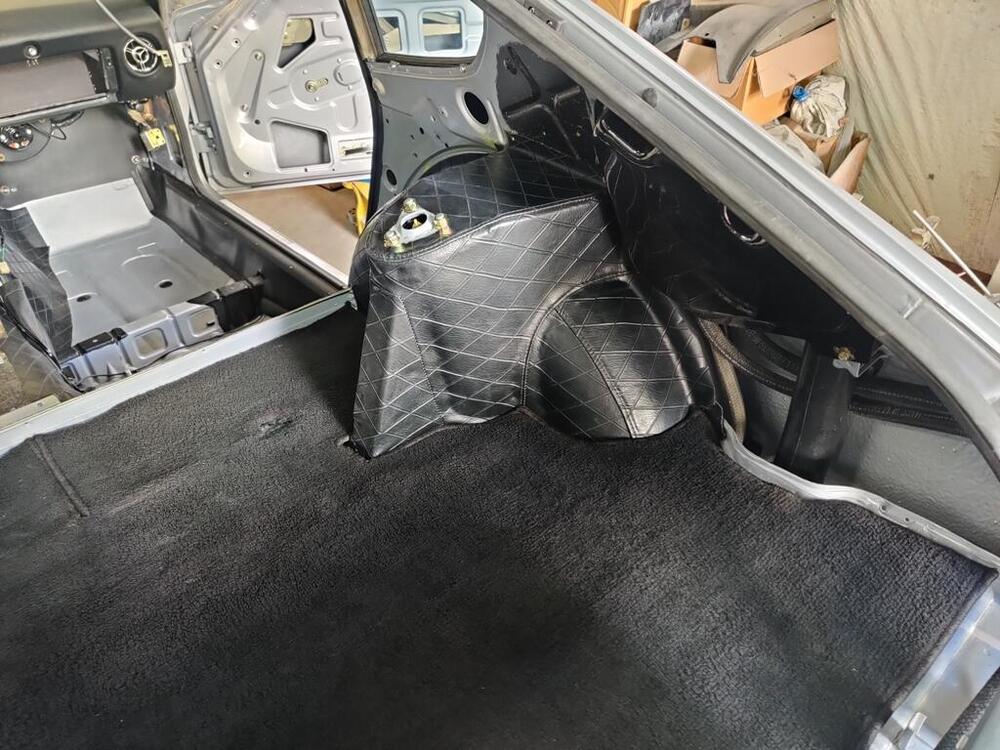
From there, I lifted the other sections up so that I could spray glue onto the backside of the vinyl and onto the metal strut support structure. I applied more glue in areas where the factory workers had. Flat expanses got less, areas of transition from one surface to another, got more. From there, it was less challenging. I focused on getting the backmost section located properly against the inner quarter panel, making sure to put some tension on it as I pressed in into place. This is necessary to keep wrinkles from forming. I did have to lift back up some and reposition, but not a lot. Anyway, for the second one, I copied my successful second effort on the first. It went well.
I still have some glue overspray, and the white haze that you see on the black vinyl to clean off. I think the white haze came from the Westley's Bleche-White, but it comes off. These pic were catching a lot of afternoon sun as well, so the black looks like it is washed out a bit, but it isn't. I think it will look nice when all cleaned up.
 Subscriber
 4Points11,142Posts


