Leaderboard
-
Captain Obvious
Free Member8Points10,081Posts -

Racer X
Free Member5Points1,877Posts -
grannyknot
Free Member4Points5,158Posts -

CW240Z72
Free Member4Points229Posts


Popular Content
Showing content with the highest reputation on 06/28/2023 in all areas
-
3 pointsIt seems you are having two separate, although somewhat related troubles. The vapor lock, which you say has been resolved. The cooling system isn’t performing well. So I have to ask, what is the age and condition of the cooling system? How long has it been since it was serviced? I don’t mean how many miles, but how many years? What do you have for a radiator, OEM style brass, or aftermarket aluminum? When was the system fully flushed and the coolant replaced? Is the thermostat performing as it should, and have you tested it to see if it is?3 points
-
Sorry. Not intending to imply that you didn't... Just highlighting the details in the design to save you the potential trouble that I went through once. I once had a leaking slave cylinder that needed attention. Since the rubber hose looked fine, my plan was to unbolt the slave cylinder off the bell housing and unscrew it from the hose and then simply screw the new slave on in it's place. The thought was that while the rubber hose looked great, the mounting tab fitting welded to the body was a little rusty crusty and I didn't want to mess with potentially breaking it off the body. Simple plan, right? So the main portion of the plan worked great. Got the cylinder off the bell housing no problem and the new one went on fine, but the problem was that it was now pointing just about 180 degrees in the wrong direction. The hose screws into the slave and stops where it stops it when it's tight. And if that happens to be in the wrong direction, so be it, You either MUST deal with the rusty crusty other end, or mount it up the way you PO did it. I'm thinking they decided that twisting the hose was better than cracking the other end free. All that said, if you're replacing the hose, you'll have both ends loose so it shouldn't be an issue. Just don't save the cylinder mounting for the very end. Save the double flare fitting for the very end.3 points
-
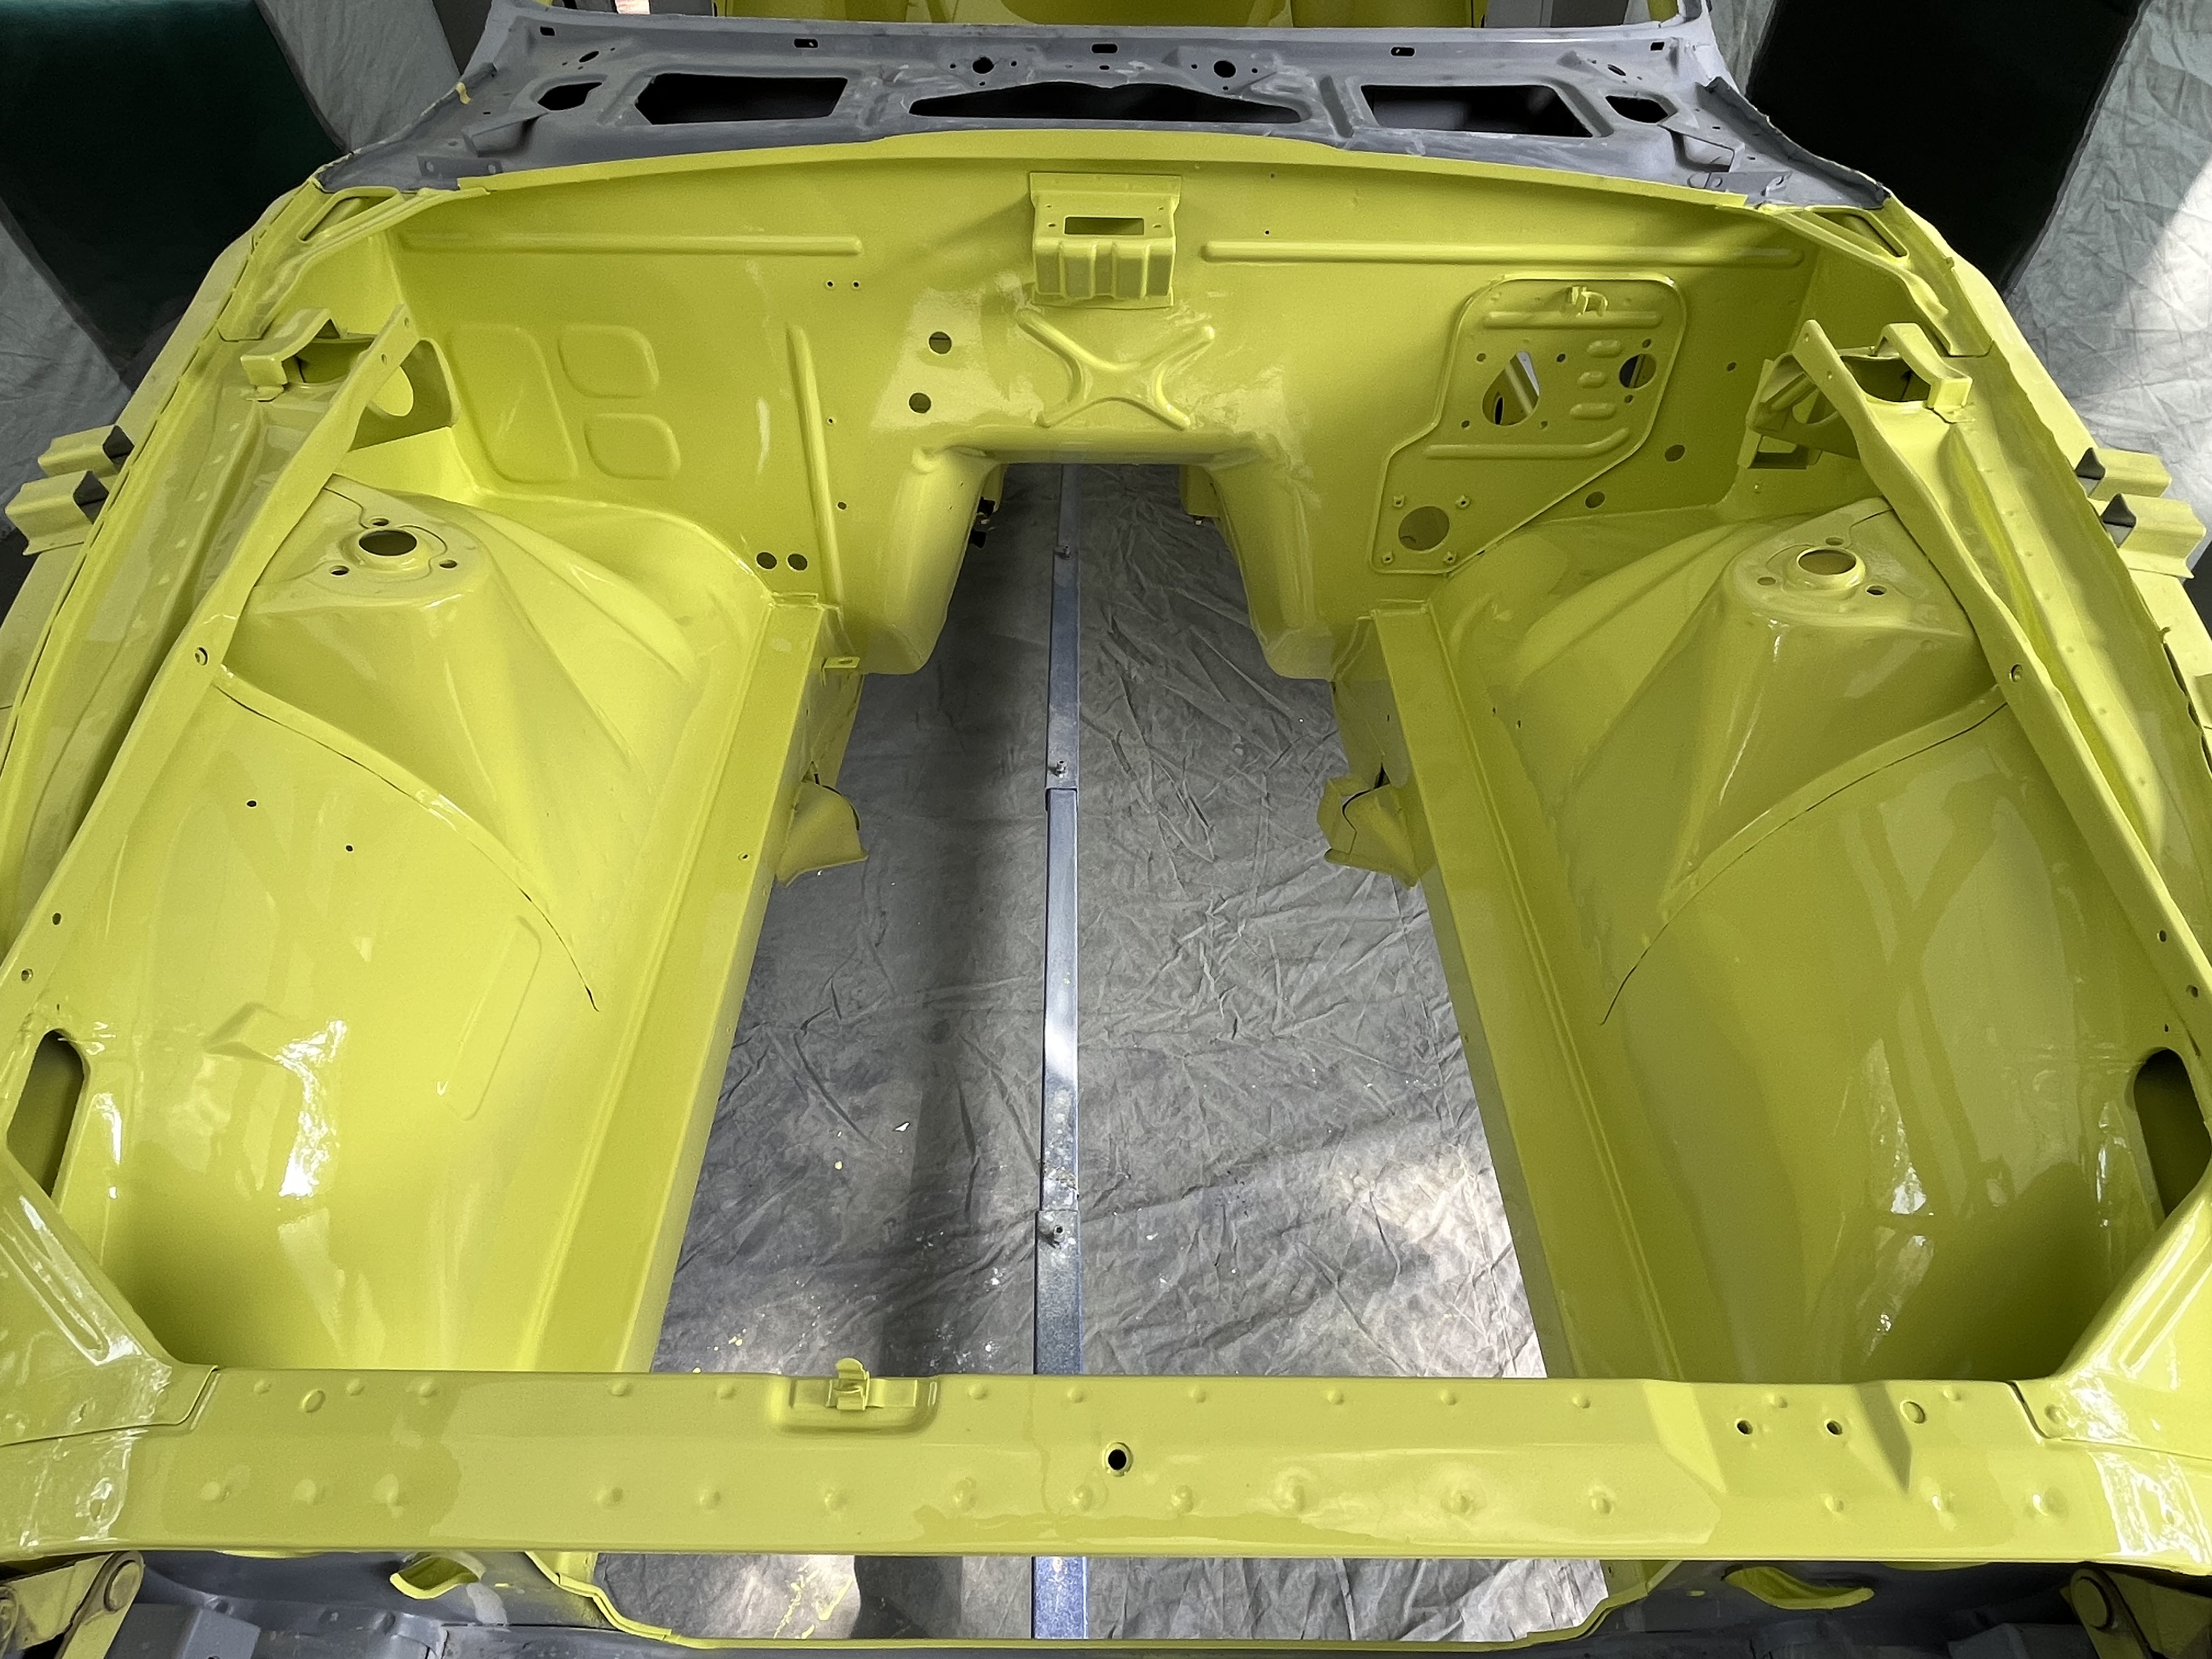
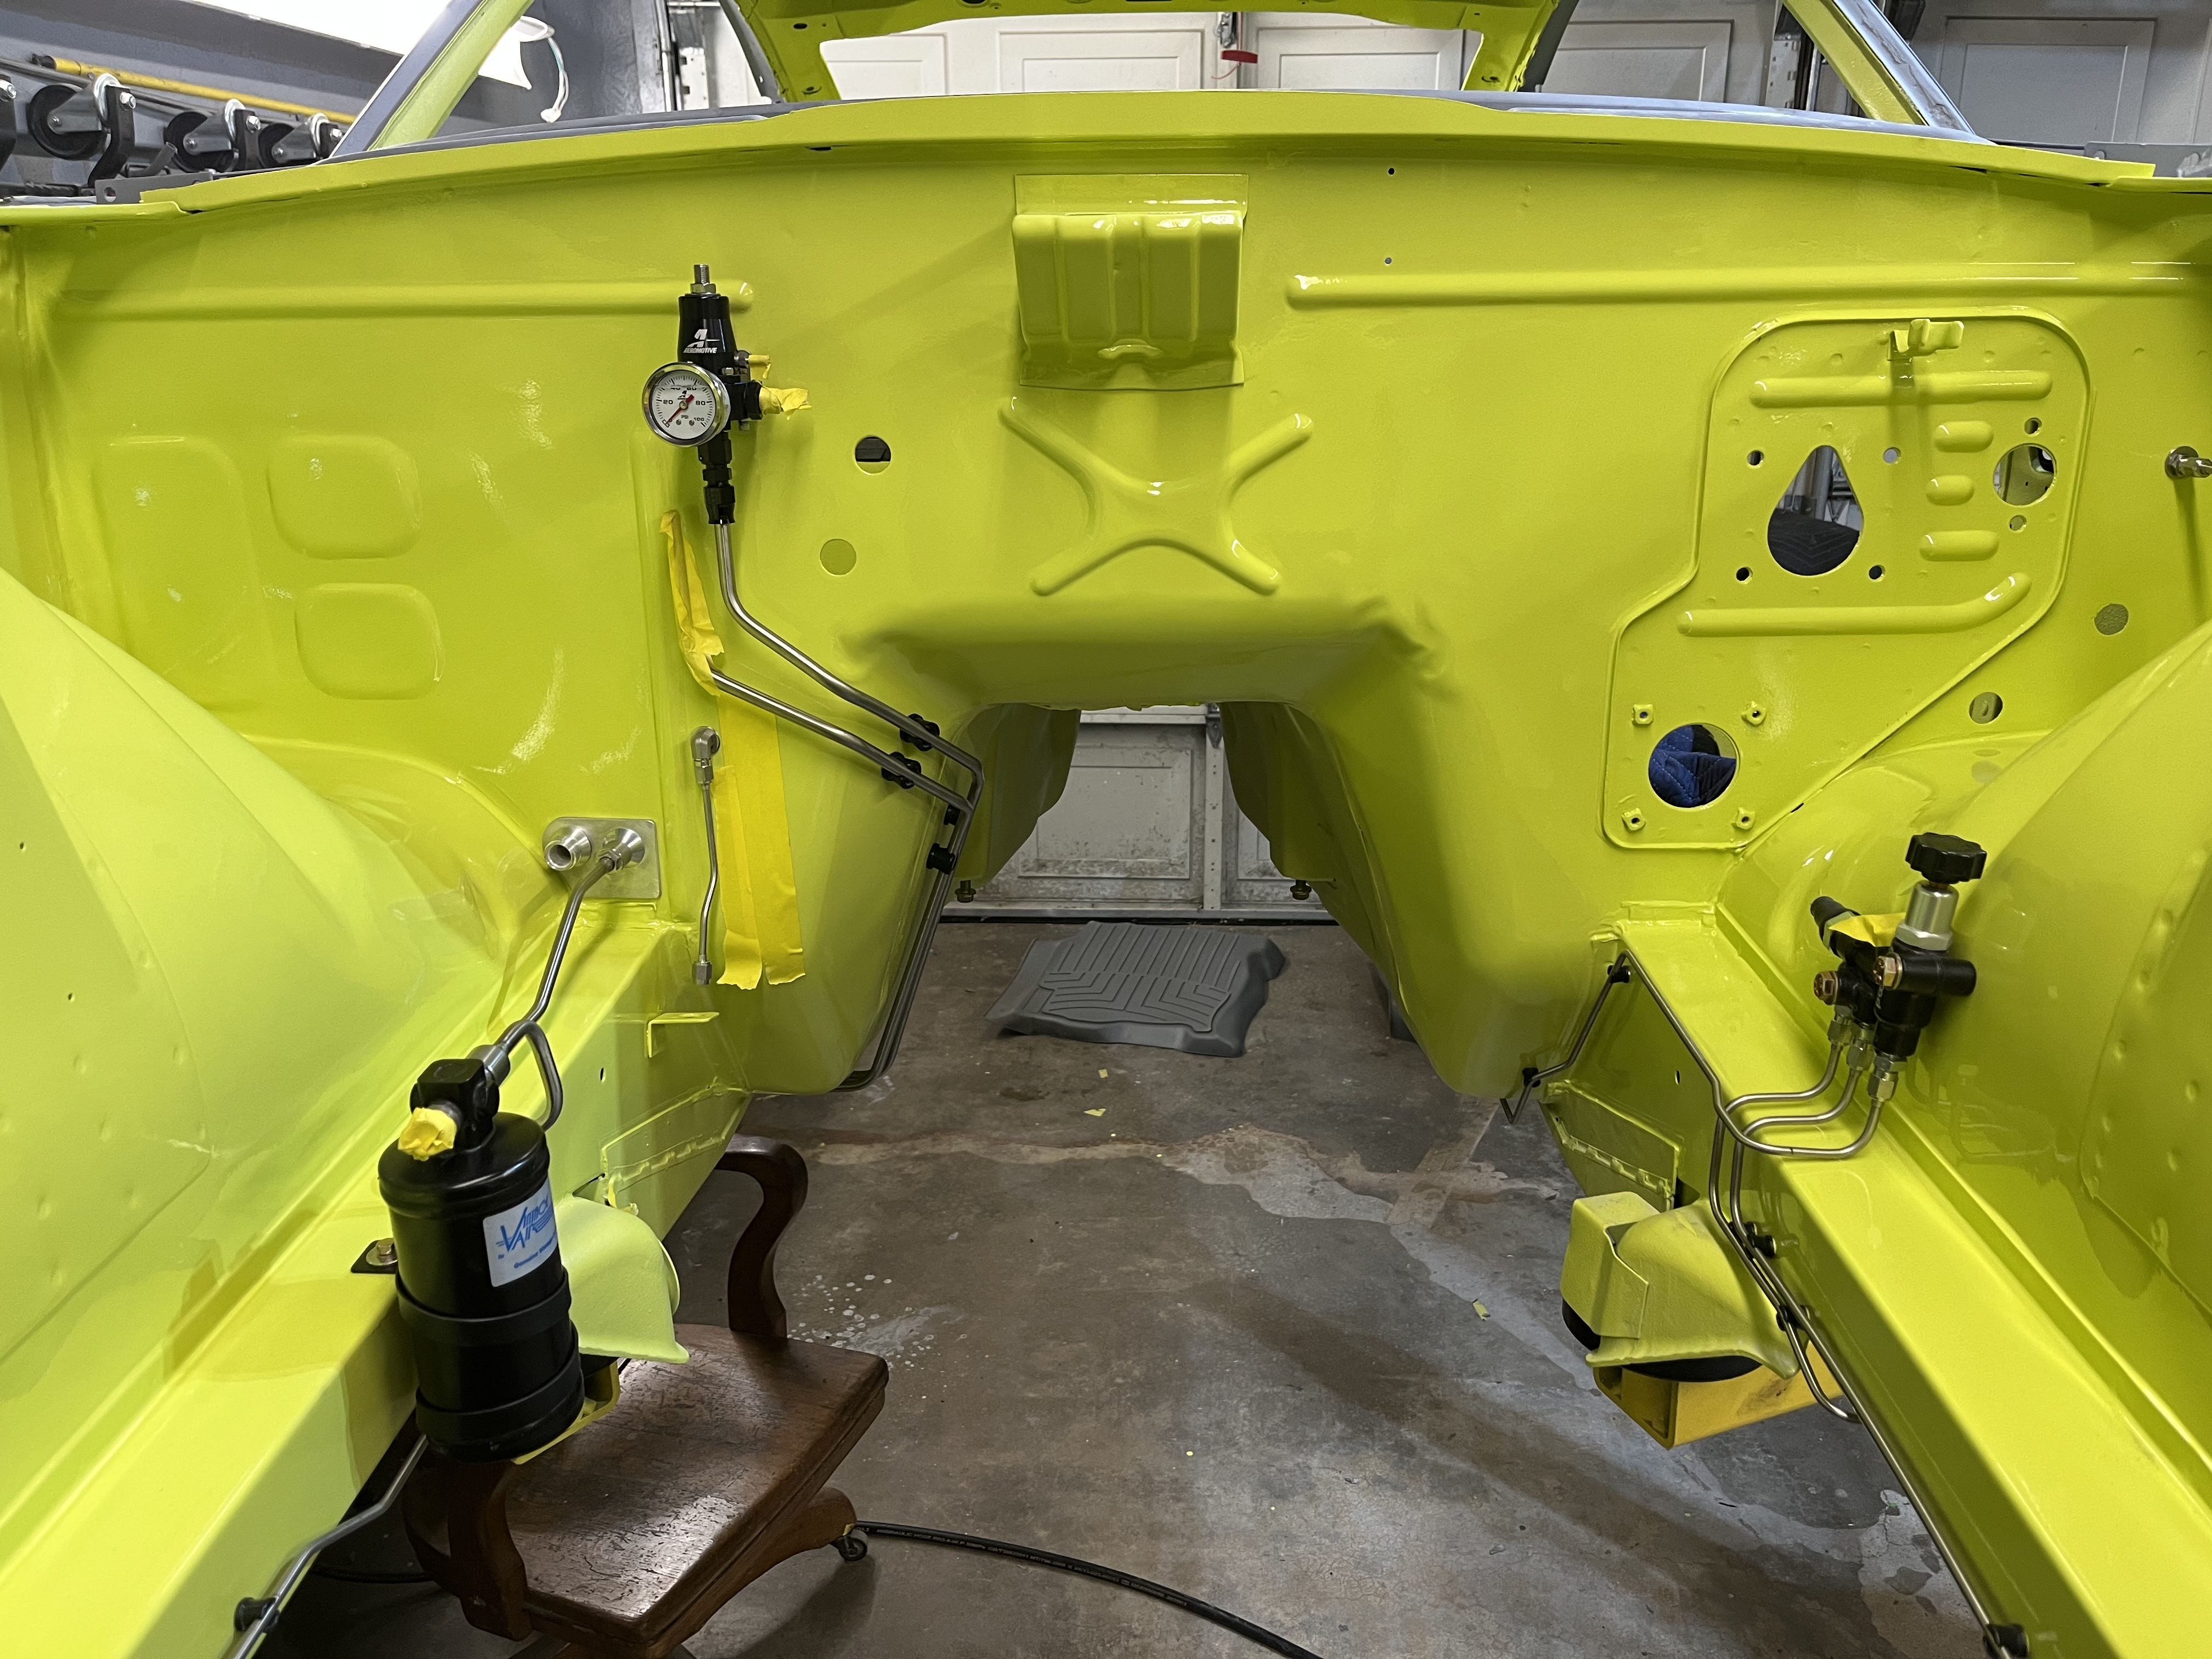
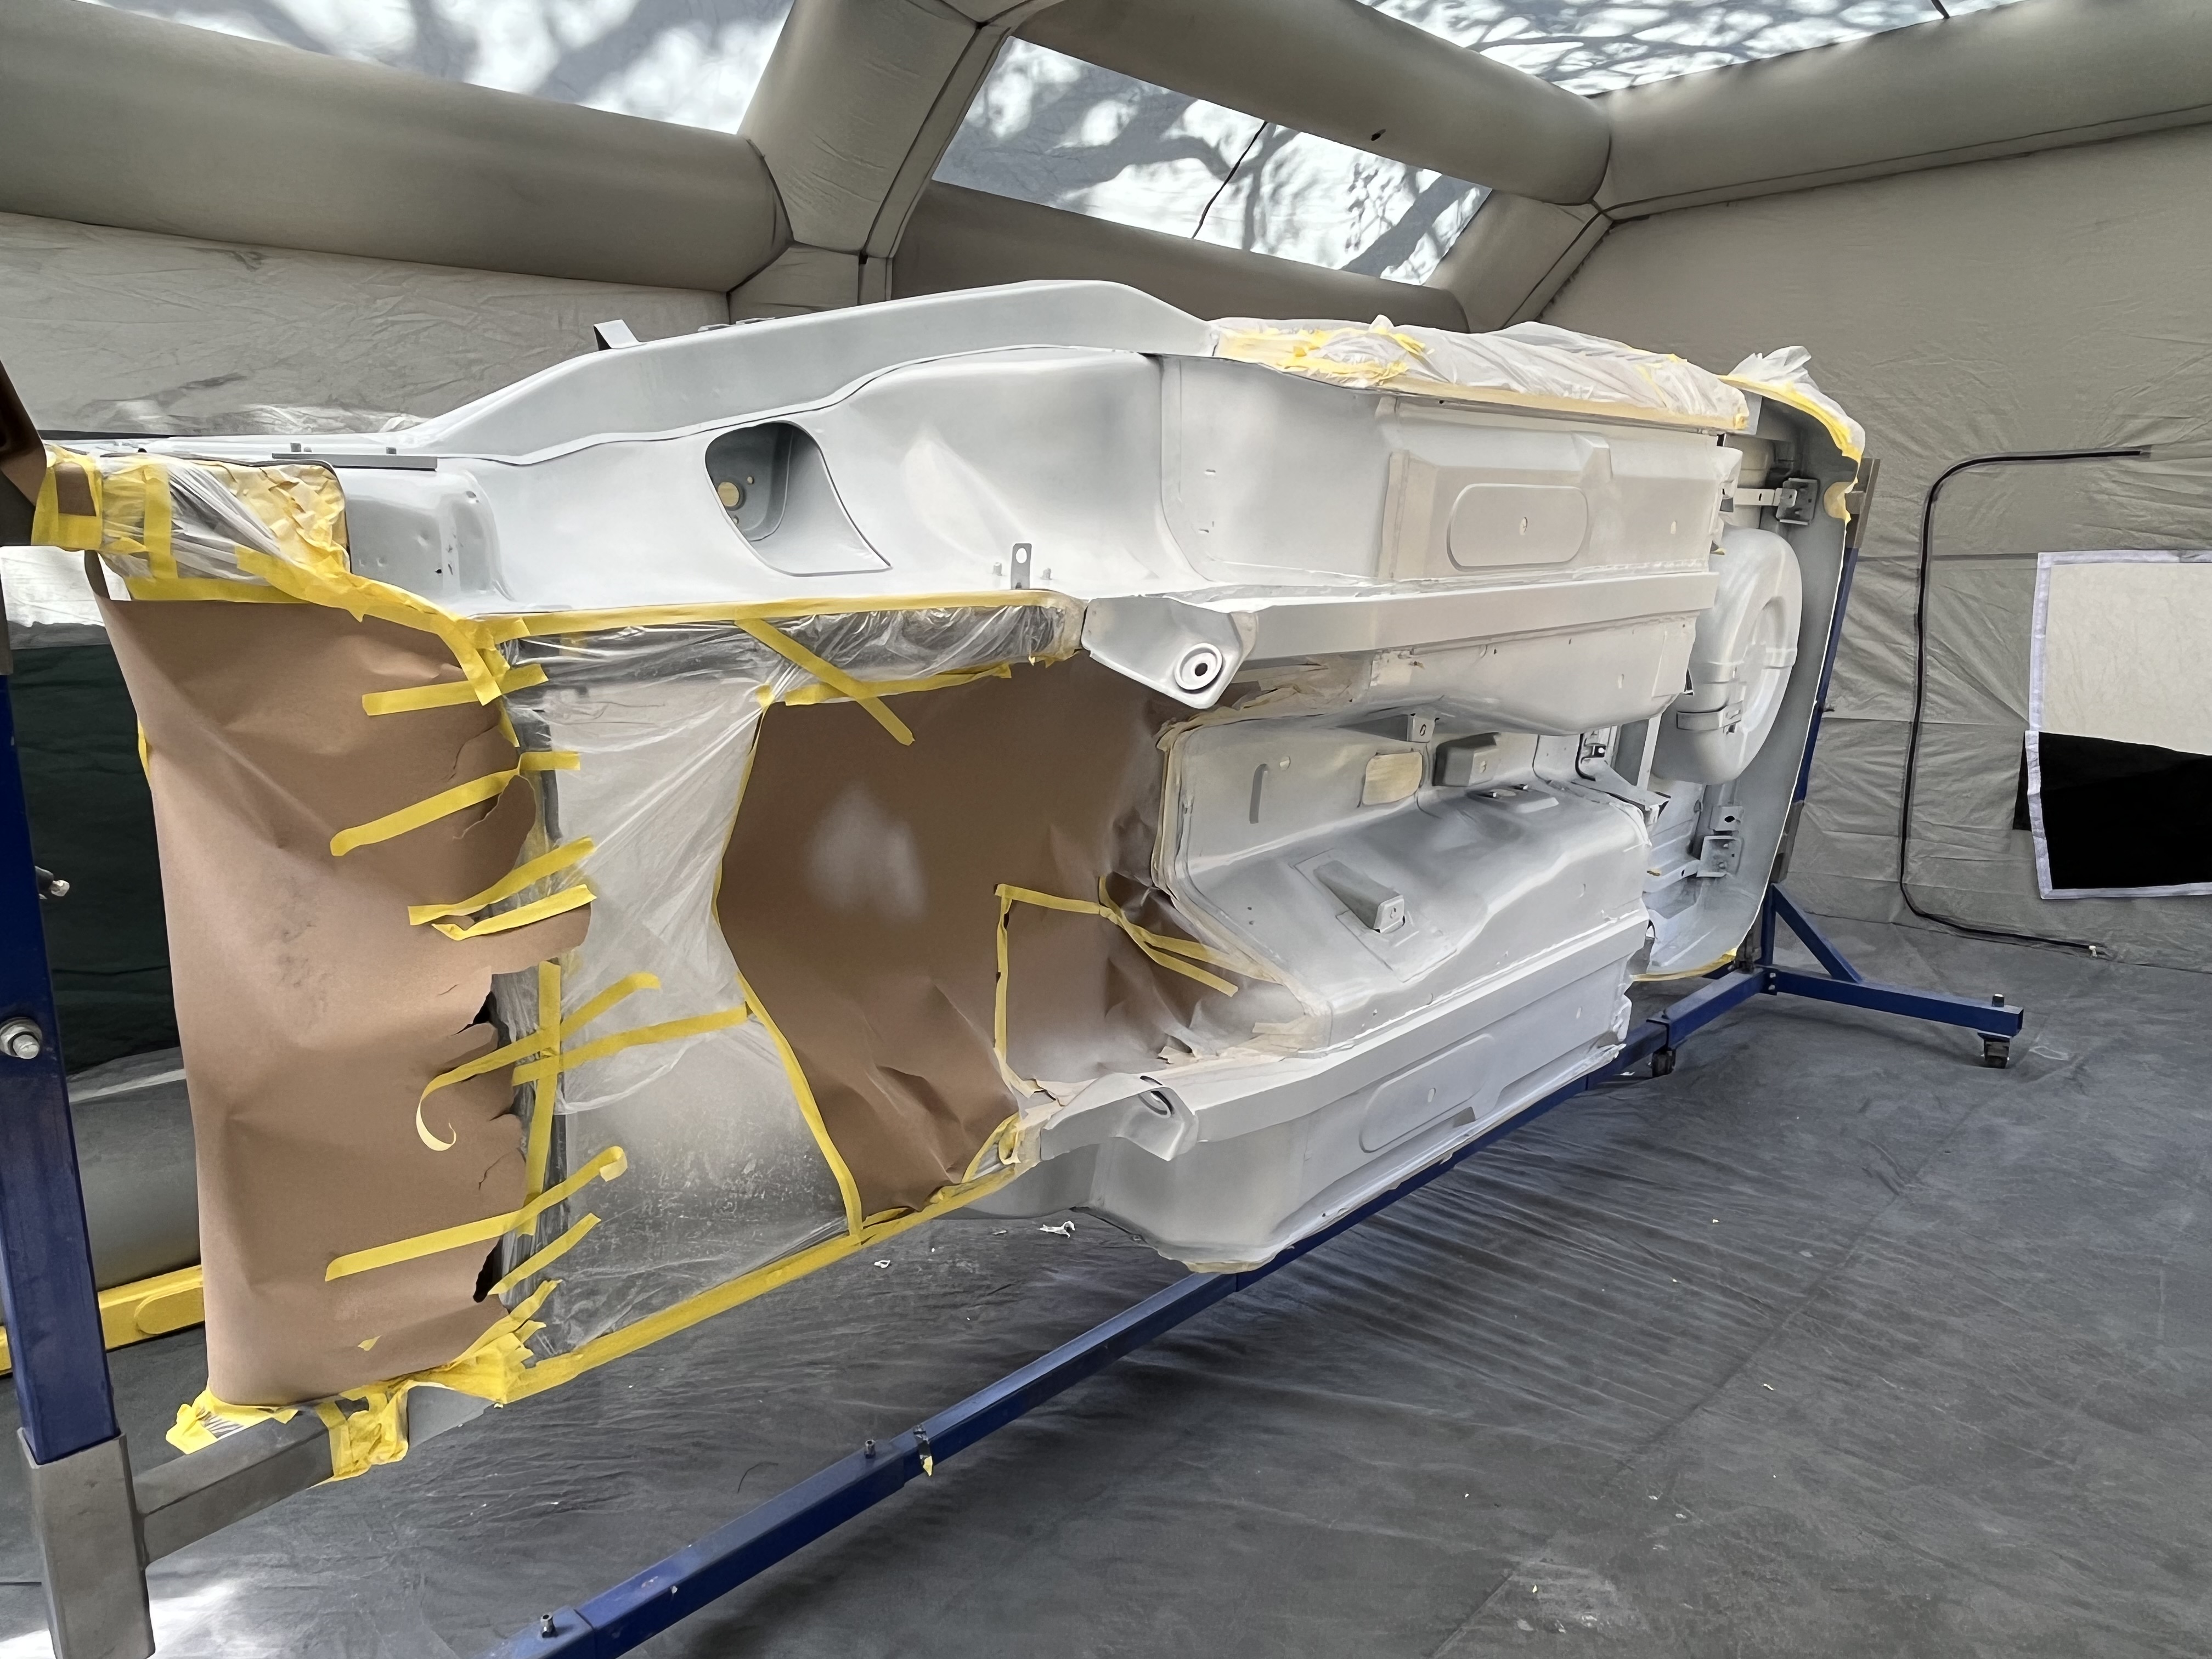
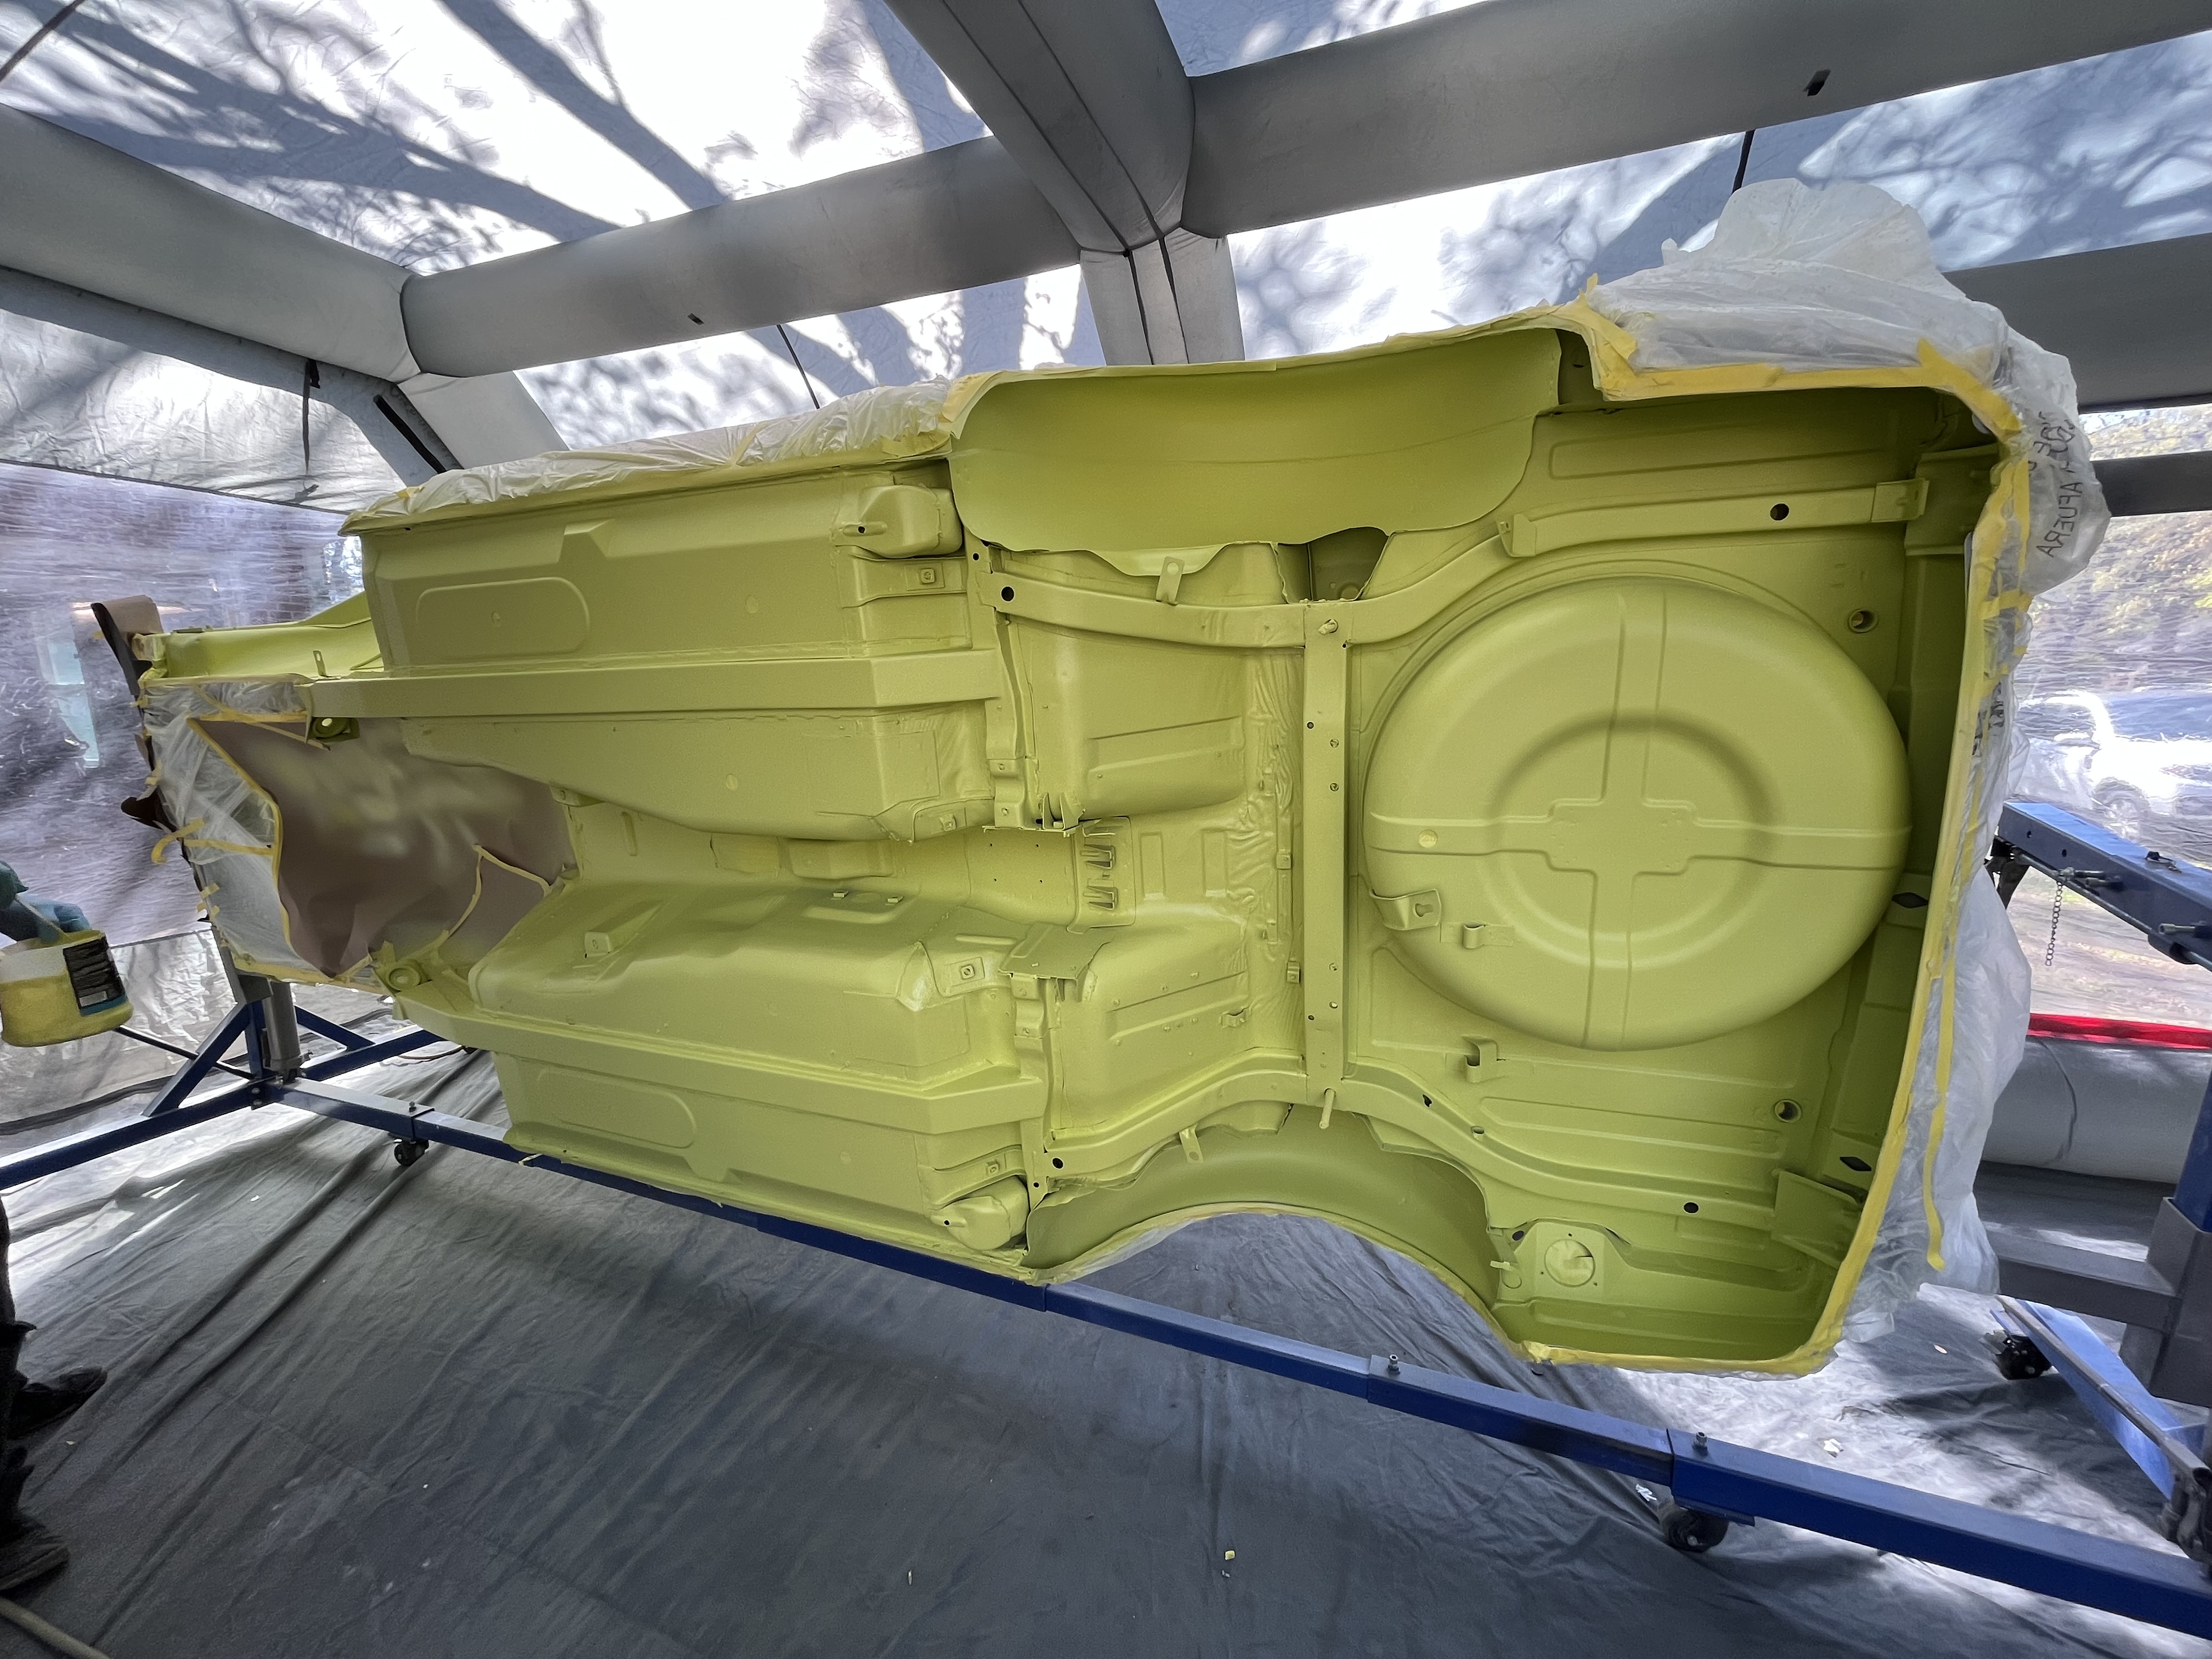
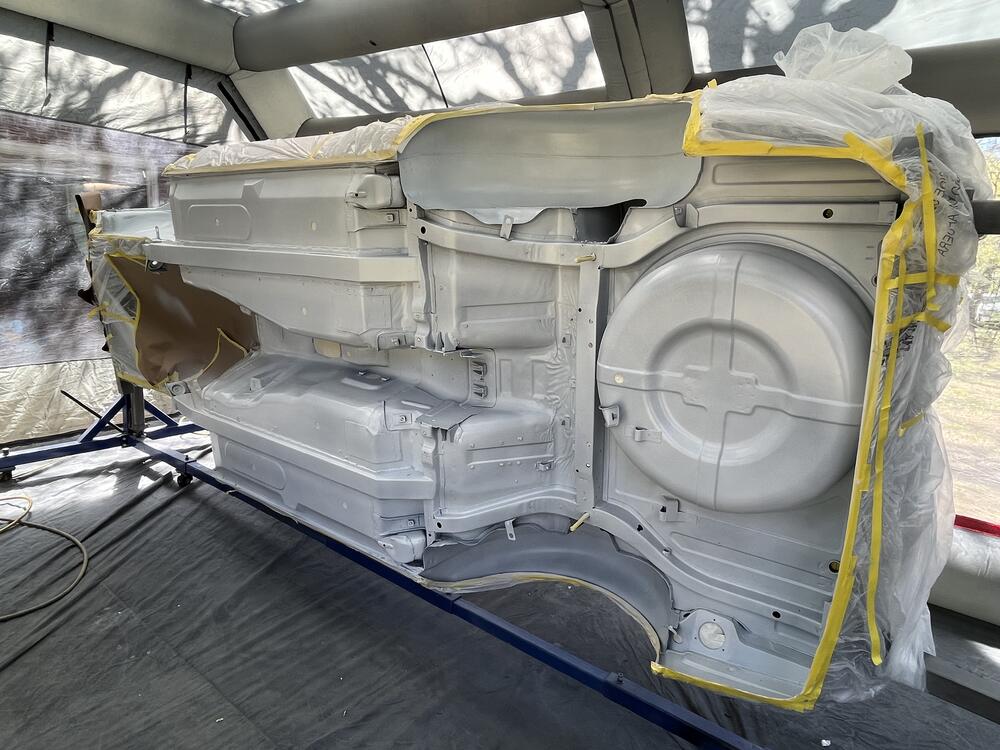
3 pointsEngine bay getting some color as well. Finally to the stage of reassembly the car, slowly.


 3 points
 -
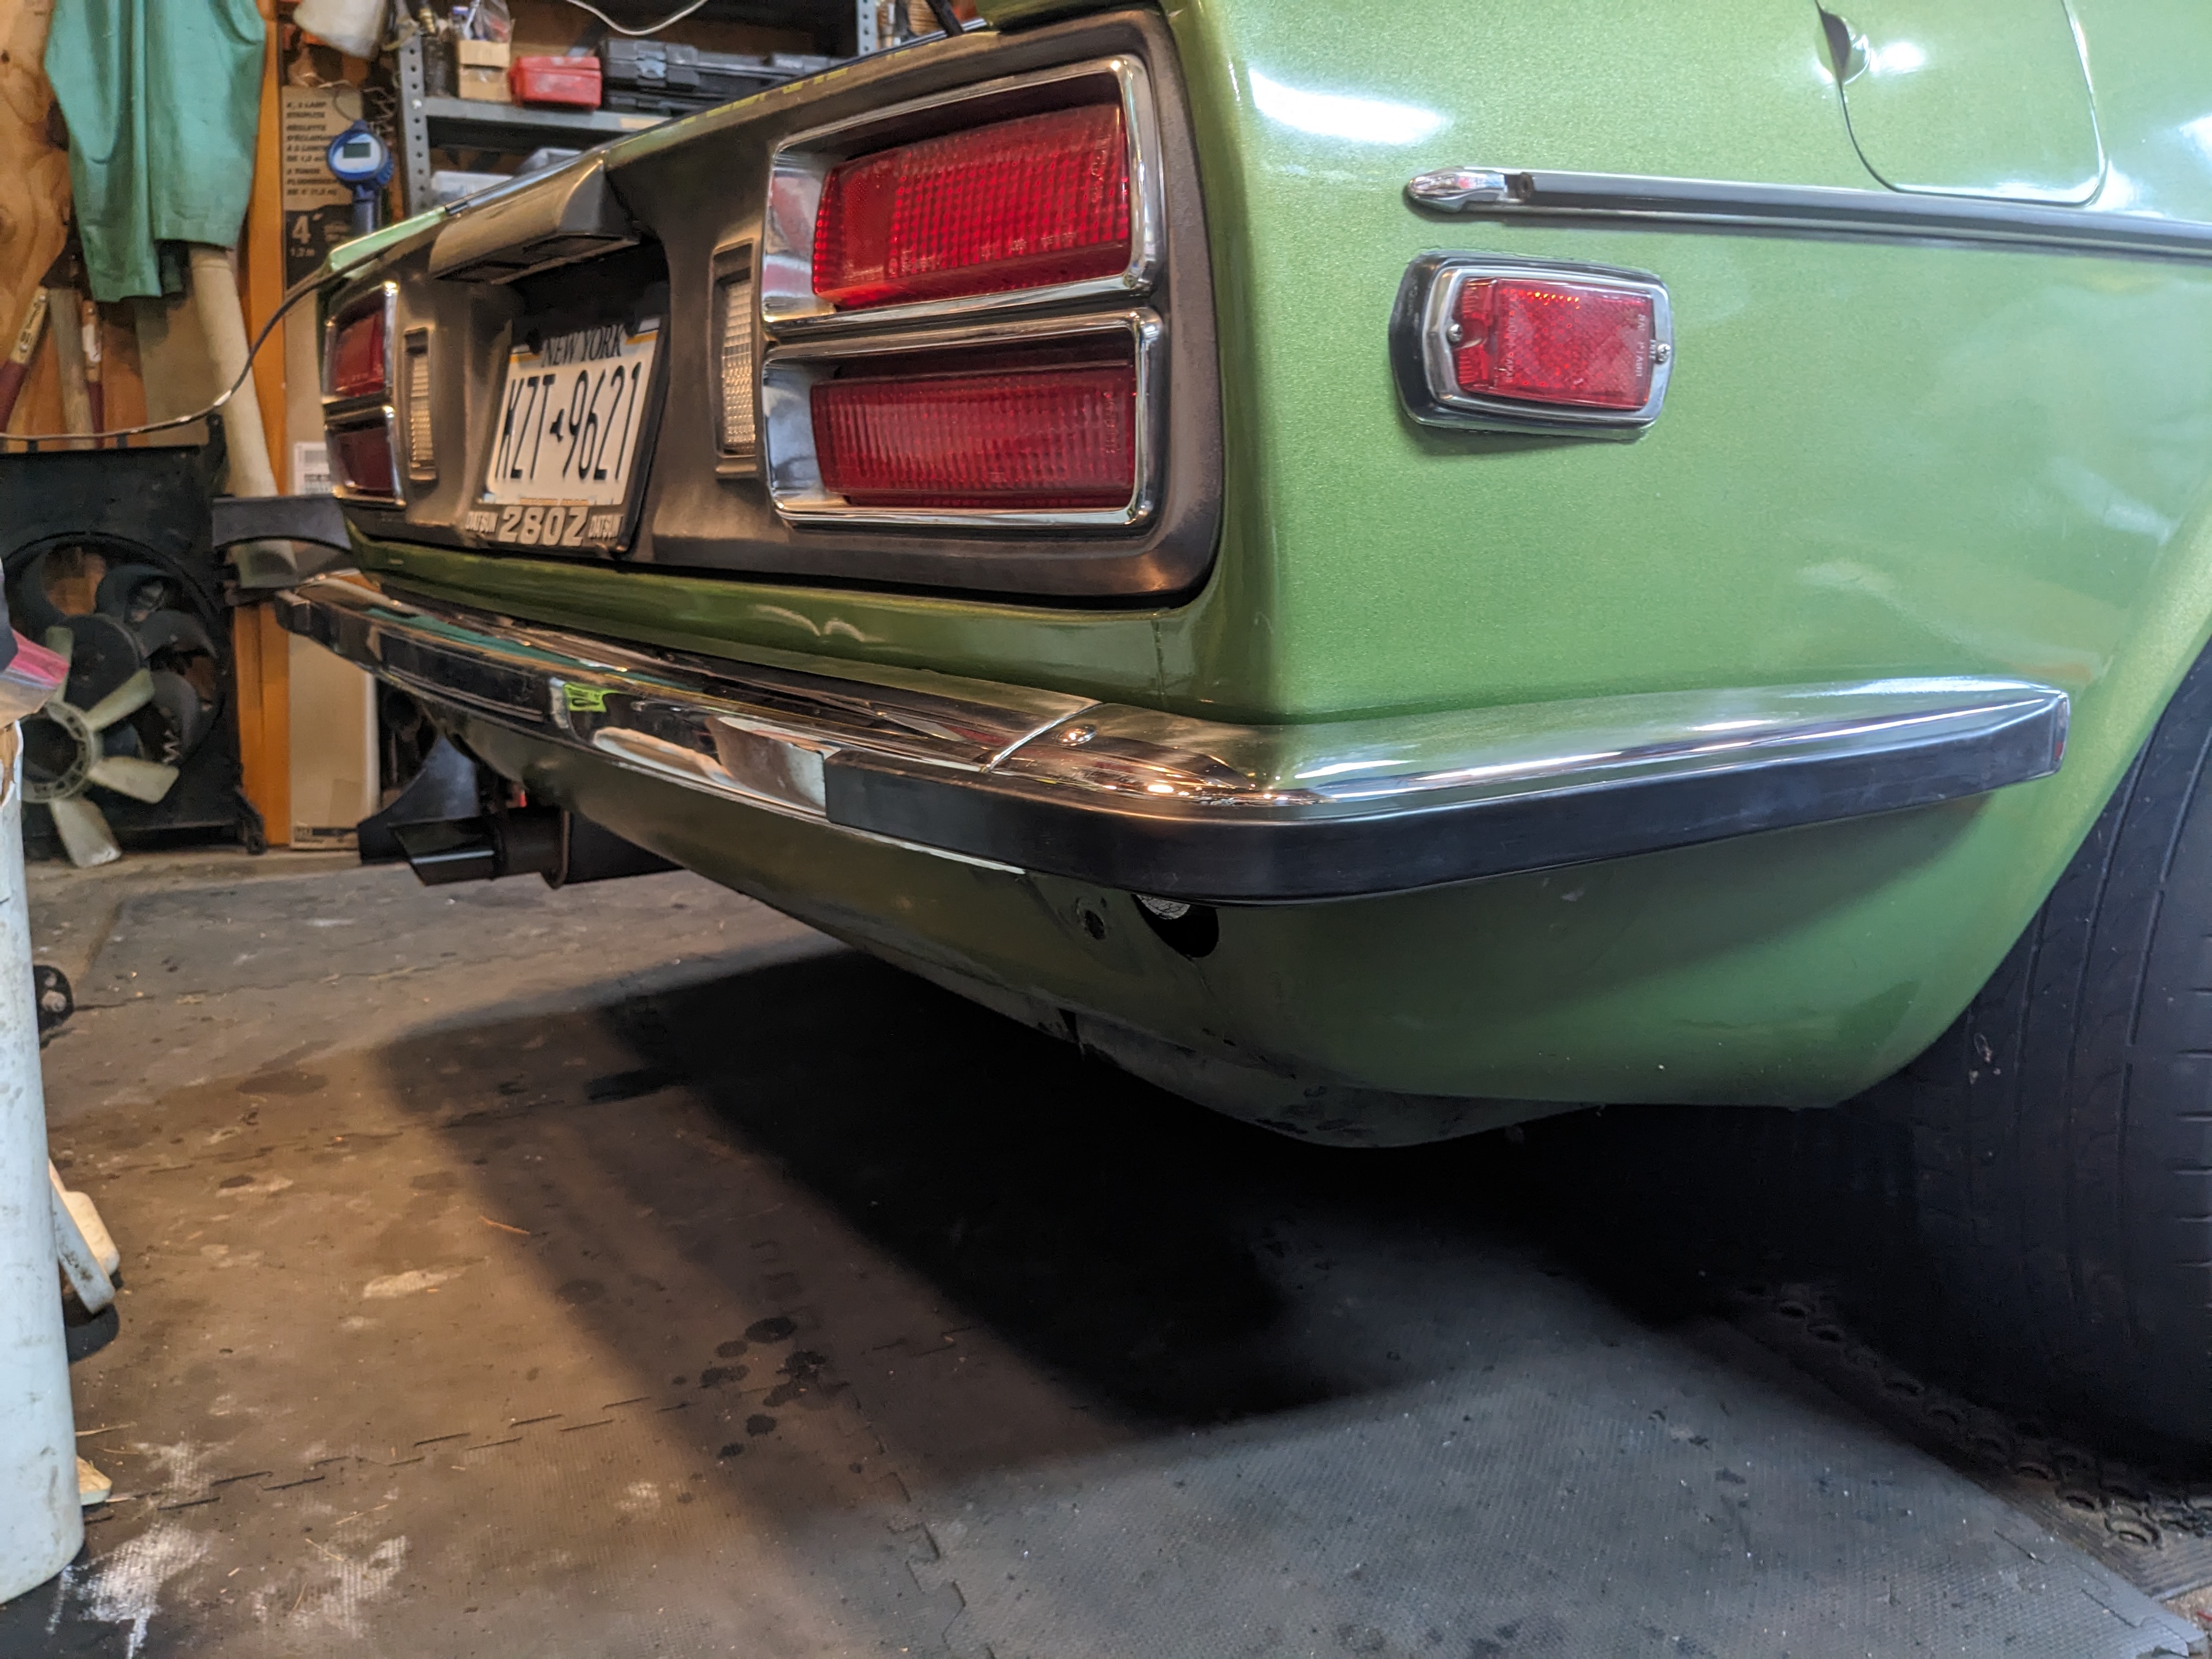
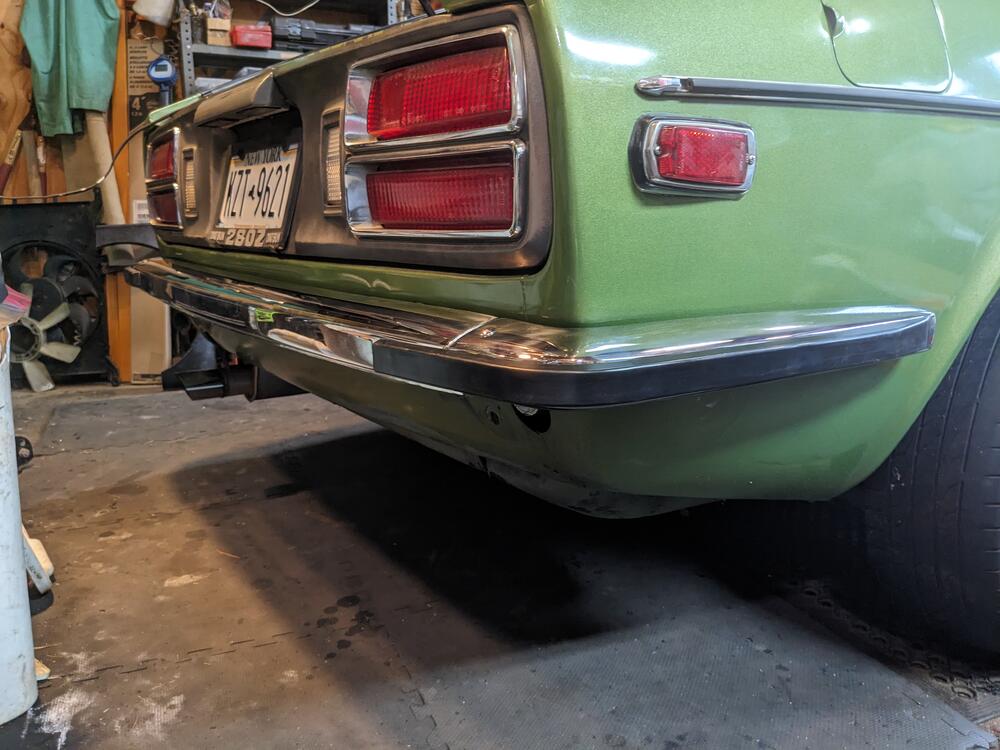
Finally got back to this - assembled & installed the rear bumper today. I test-fitted it yesterday & marked the 2 drill locations for the side attachments. Primed & painted the holes prior to assembly. Had to do it jammed in the garage, it rained all day. I had to retap both the side captive nuts - neither would accept the M12x1.25 bolts. Also had to use 3M VHB tape to secure the rubber strips - otherwise they 'flop' away from the bumper in-between the mount studs. I had removed the fronts & done the same previously. The vendor claims you just have to pull the rubber & then tighten in place. That would work if the bolt holes were elongated, which they are not. The right side I had to shorten the bolt & grind the tip to a point to guide it into the bumper bracket. Not much room given the gas tank proximity Made sure both sides were level - holes were about 9" down from the side molding, and about 5.5" forward of the existing bumper side mount captive nut rubber sleeve over side bracket
 3 points
 -
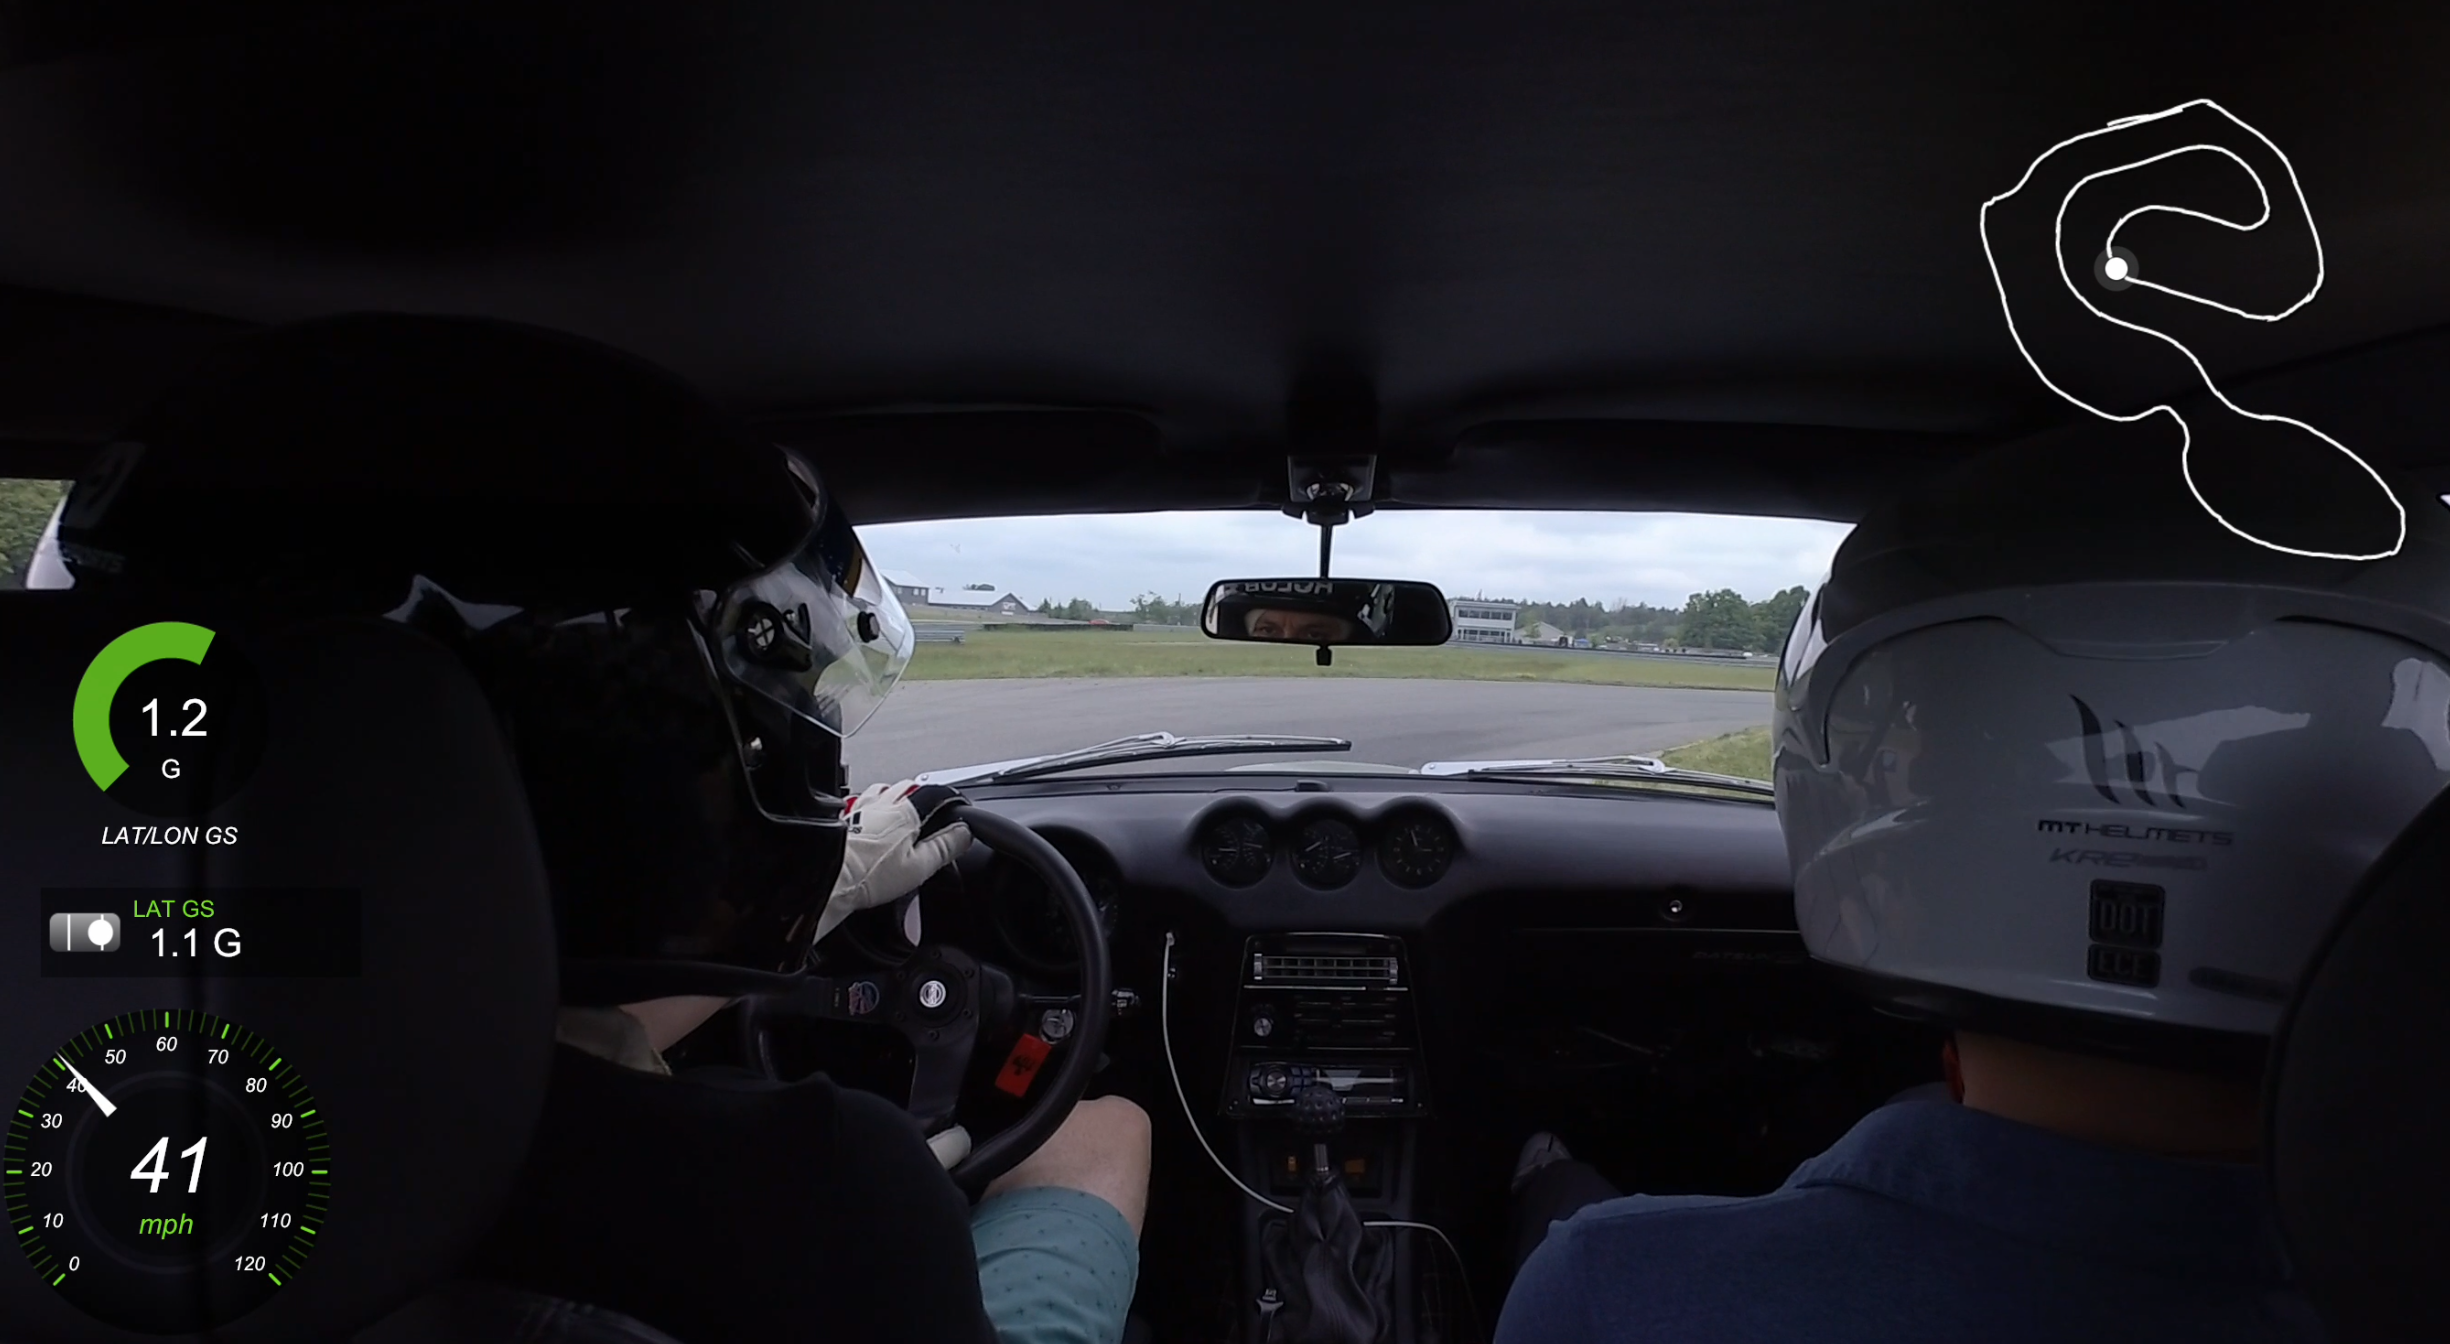
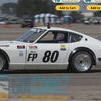
The new owner just sent me this pic from the race track, look at the G's it's pulling.
 3 points
 -
I got a message from Rockauto about a huge jobber outlet selling off a lot of S30 parts and more ? . . .https://www.rockauto.com/RSS/vehiclefeeds.php?carcode=1209204&m=wc&l=en&html=true2 points
-
2 pointsYeah, I probably should have prefaced my post with "In my limited, ancient experience...." Haha! So hope the parts work out and whether they are good enough or not, I find the fact that the people here are willing to jump up and try to help out by making parts i fantastic. One of the reasons this is the best forum!2 points
-
Starting in 77 they included a groove along the top of the stainless window trim to accept a piece of rubber stripping. I don't have any pics handy, but can snap one if you want to see it. Just another reason that the 77s are better.2 points
-
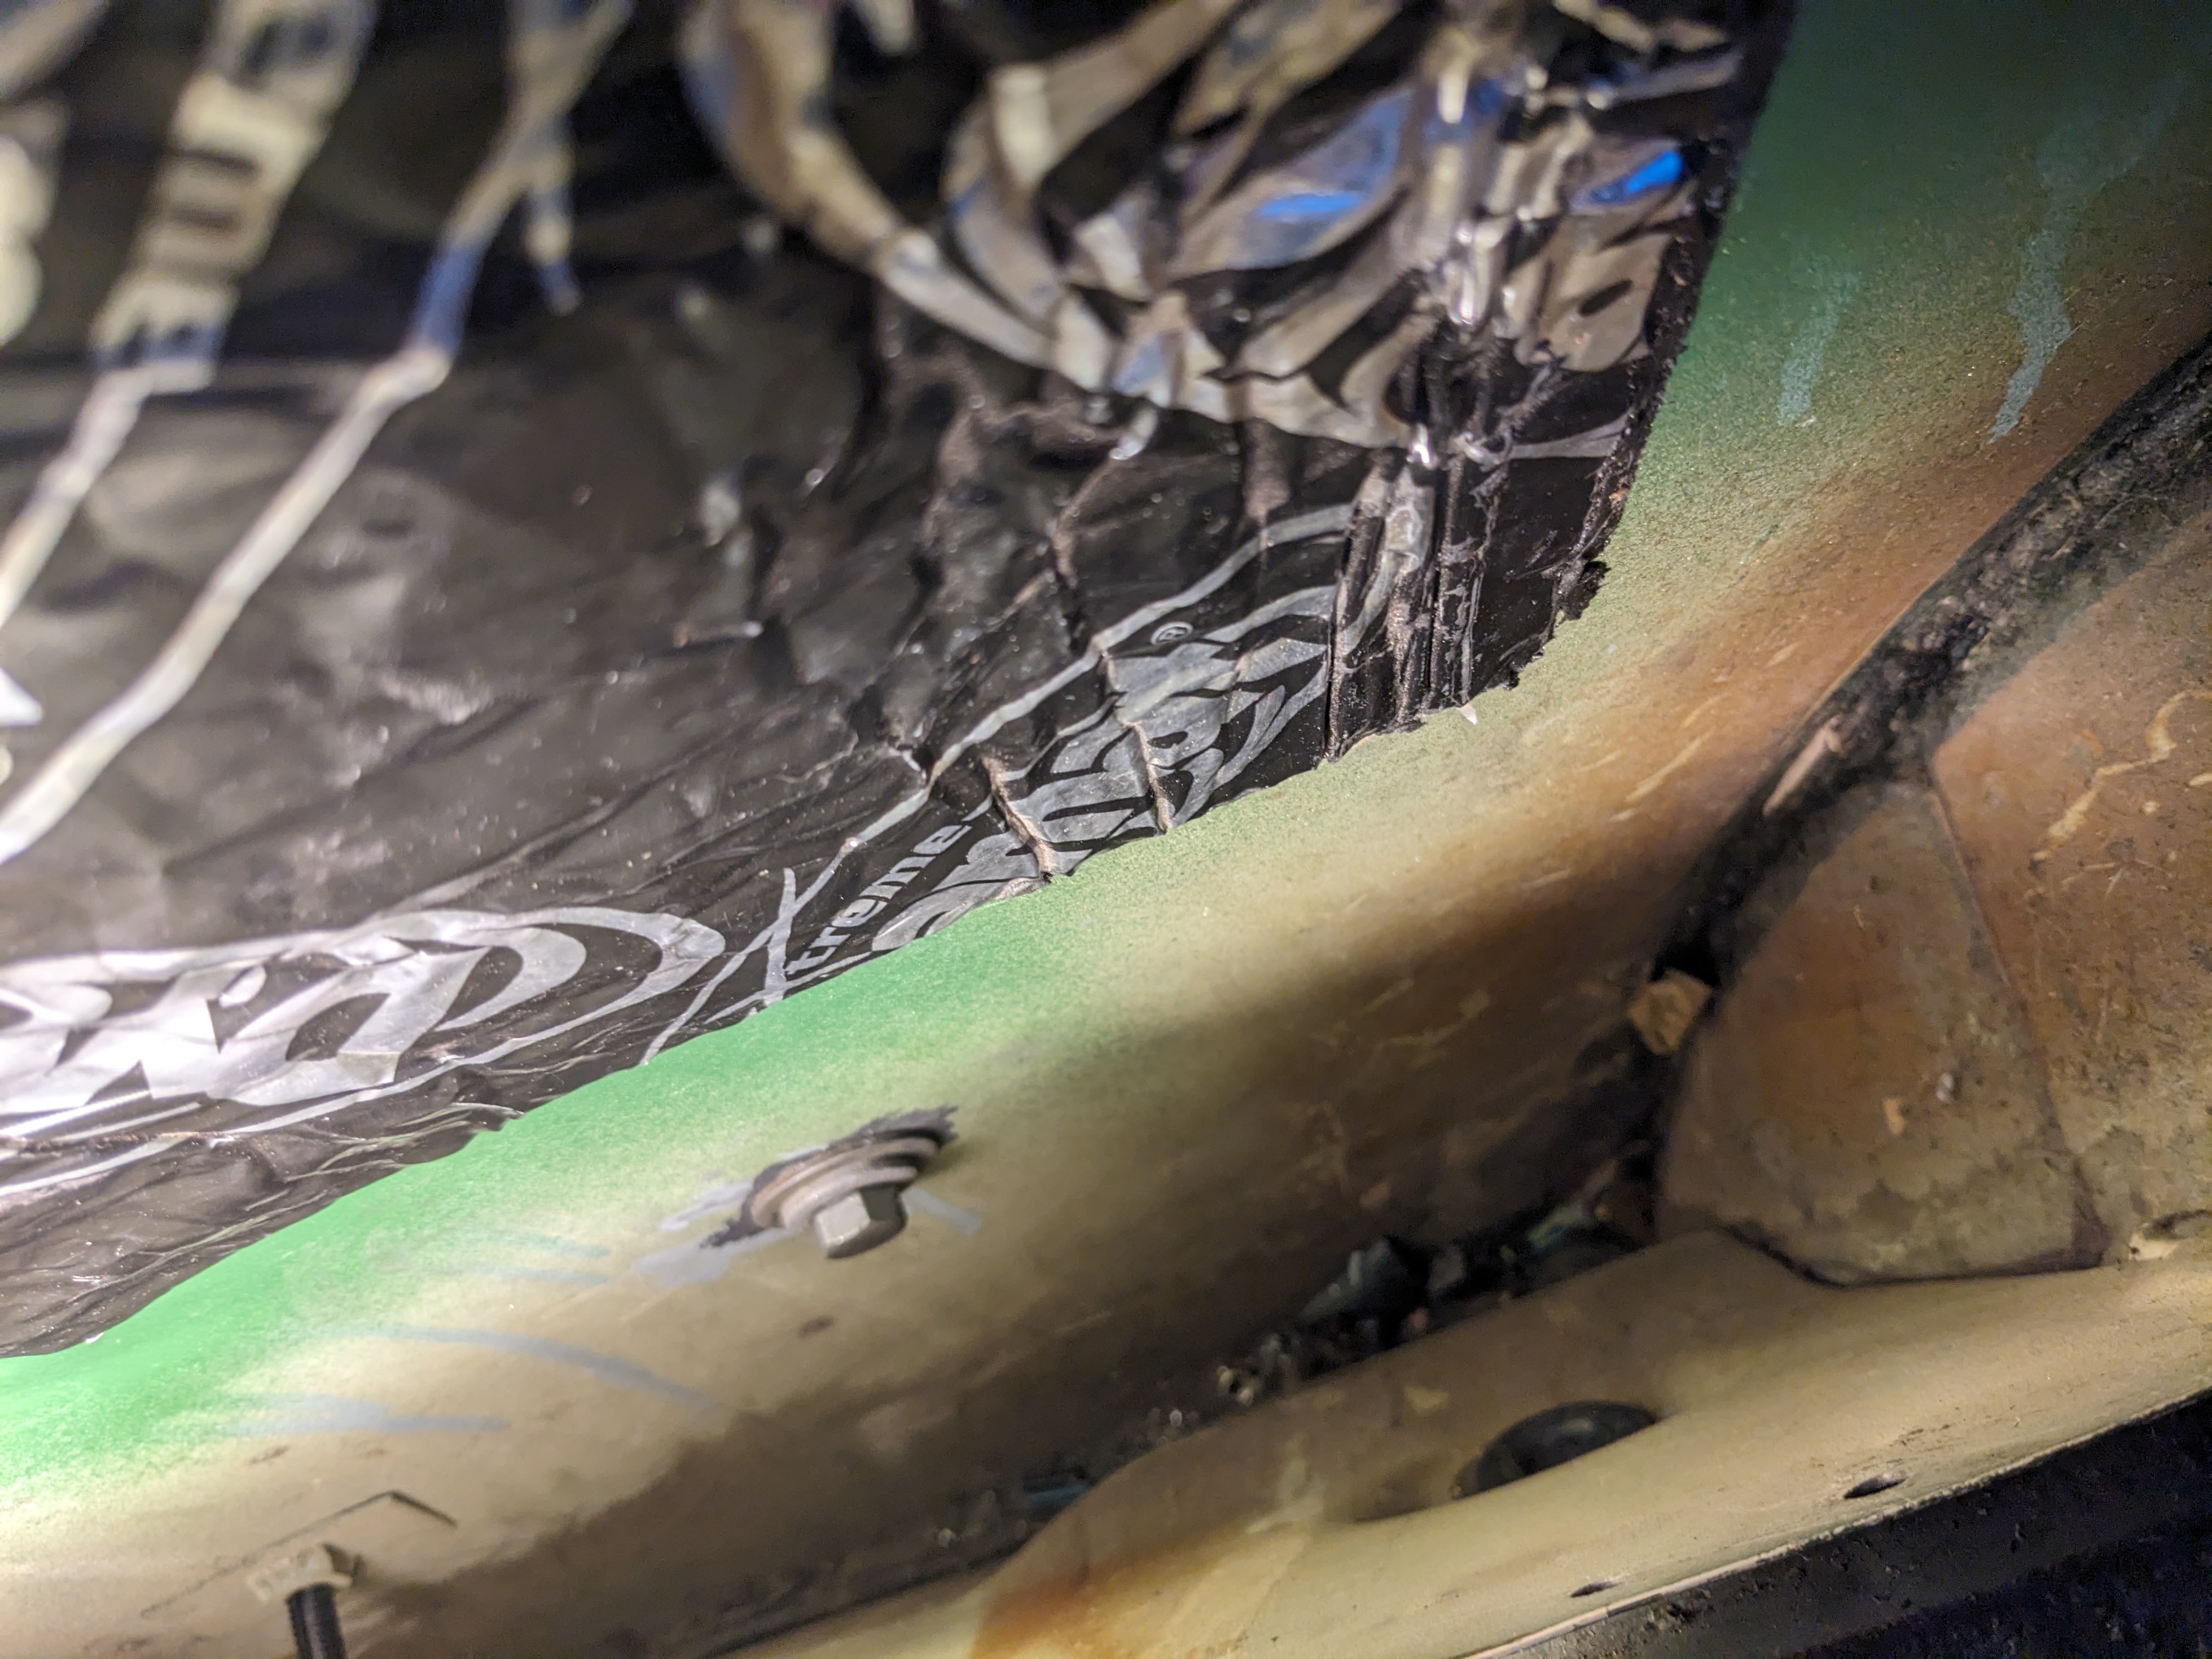
2 pointsGood news bad news. BlueZ a 2x6 was the trick for the jack/ramp situation so I got it up safely. i can't believe I didn't think of that, shameful. That was the initial; good news. Bad news tightening didn't do much if anything. There's barely any thread left and it actually feels like it wants to strip or has possibly been cross threaded all this time so I didn't want to push it. That was the bad news. I put it back down, it started sweet and easy and then i let it run for about 5 mins. As predicted the drip slowed due to a probably air-suck but not fully stopped. It's at the point I feel safe driving it (if I can find the seats lol) so in the AM I'm going to call someone whos worked on this for me before with a full lift and everything we would need. While I was under there it really doesnt have as much play as it seems in the photo and i can't really get many tools up there even to cut it out. Gary Cook out of Sacramento had helped me sort a bunch of things when I first got this back in 21. Some of you local guys may know him, he's been racing and building Z's for a while and even had some time on the Shelby team prior. He'll probably have another fuel line he can swap in a jiff. Might take a week or so especially with holiday but the panic has left and I feel ok even if I had to leave it a bit. Thanks to all.2 points
-
Cap’N thanks for the excellent thought process, yes, hard to say what caused what. So plainly I should weld the nut to the main shaft AND them both to the washer, and nothing bad can happen. Right? Anyone want to buy a slightly used 5 speed?2 points
-
2 points@Mike Thoughts on creating a knowledge / resource base area for 3d printer files? So they dont get buried in Individual threads2 points
-
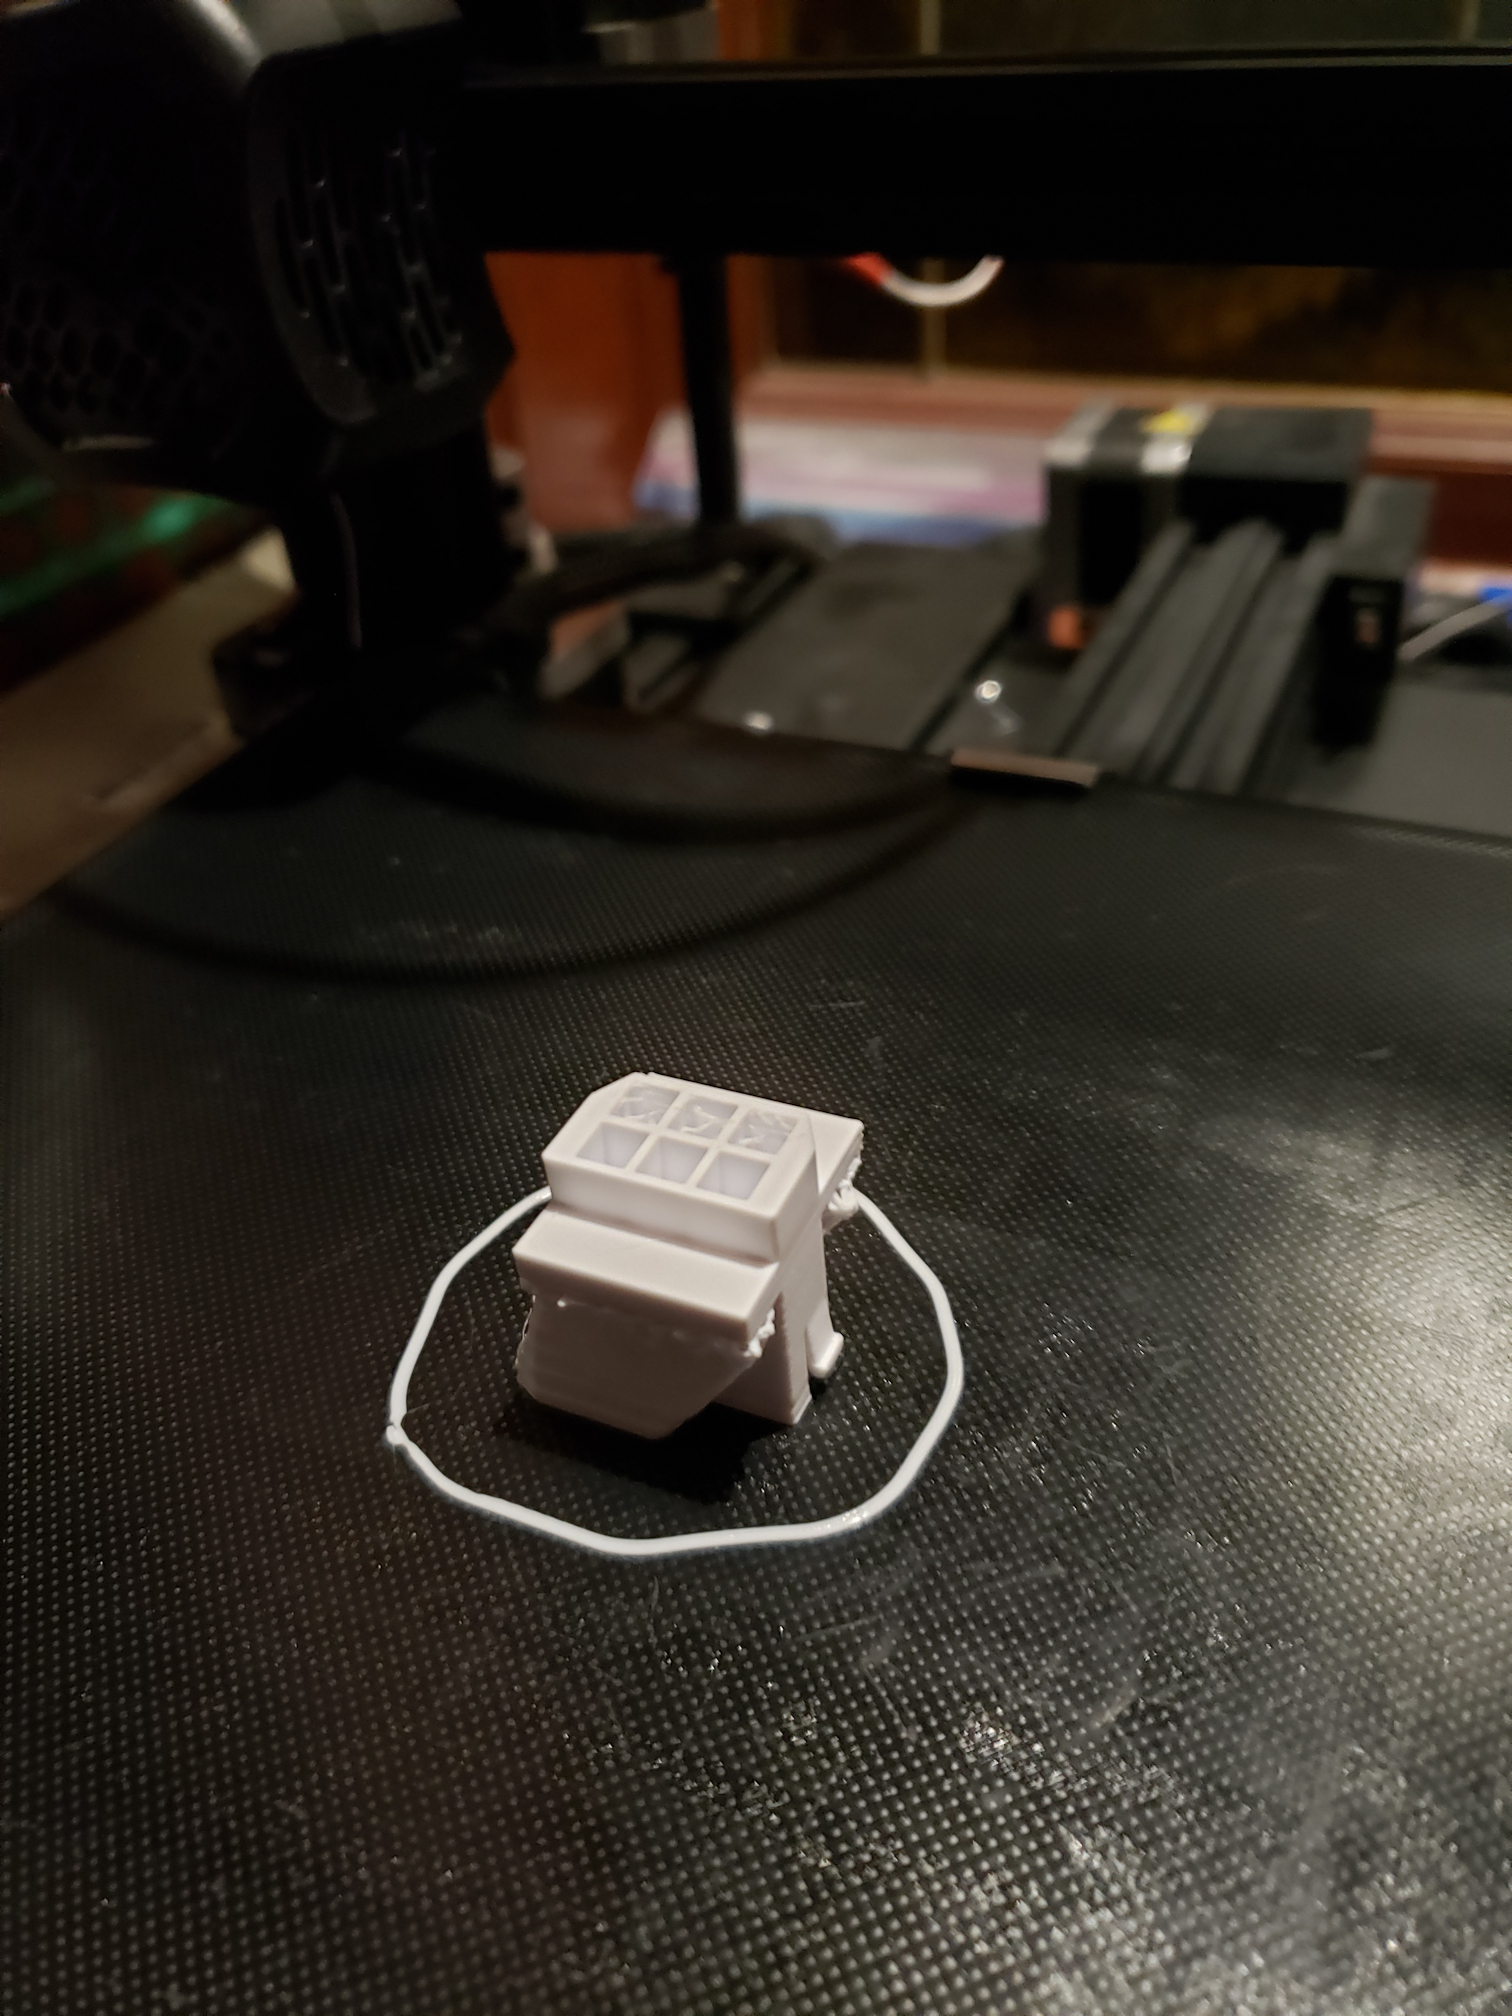
2 pointsPrint is in progress. Supposed to take about 3 hours. I will let you know how it turns out.2 points
-
The 72 with an L28 that Harmon Restorations had on BAT went for $48,300. https://bringatrailer.com/listing/1972-datsun-240z-278/1 point
-
1 pointThank you for your help Racer X. The radiator was replaced with an aftermarket aluminum unit in early 2017 just before I purchased the car. I flushed the cooling system last week after noticing the temperature issue appeared to still be with the car. When I refilled the radiator I noted that the coolant in the radiator would begin to circulate after the engine began to get hot. This suggests that the thermostat is opening when the engine heats up. Maybe the car is fine now. I'm thinking I should try an autocross in July and see if I can complete it without having to pull off to the side to cool off so I can limp home.1 point
-
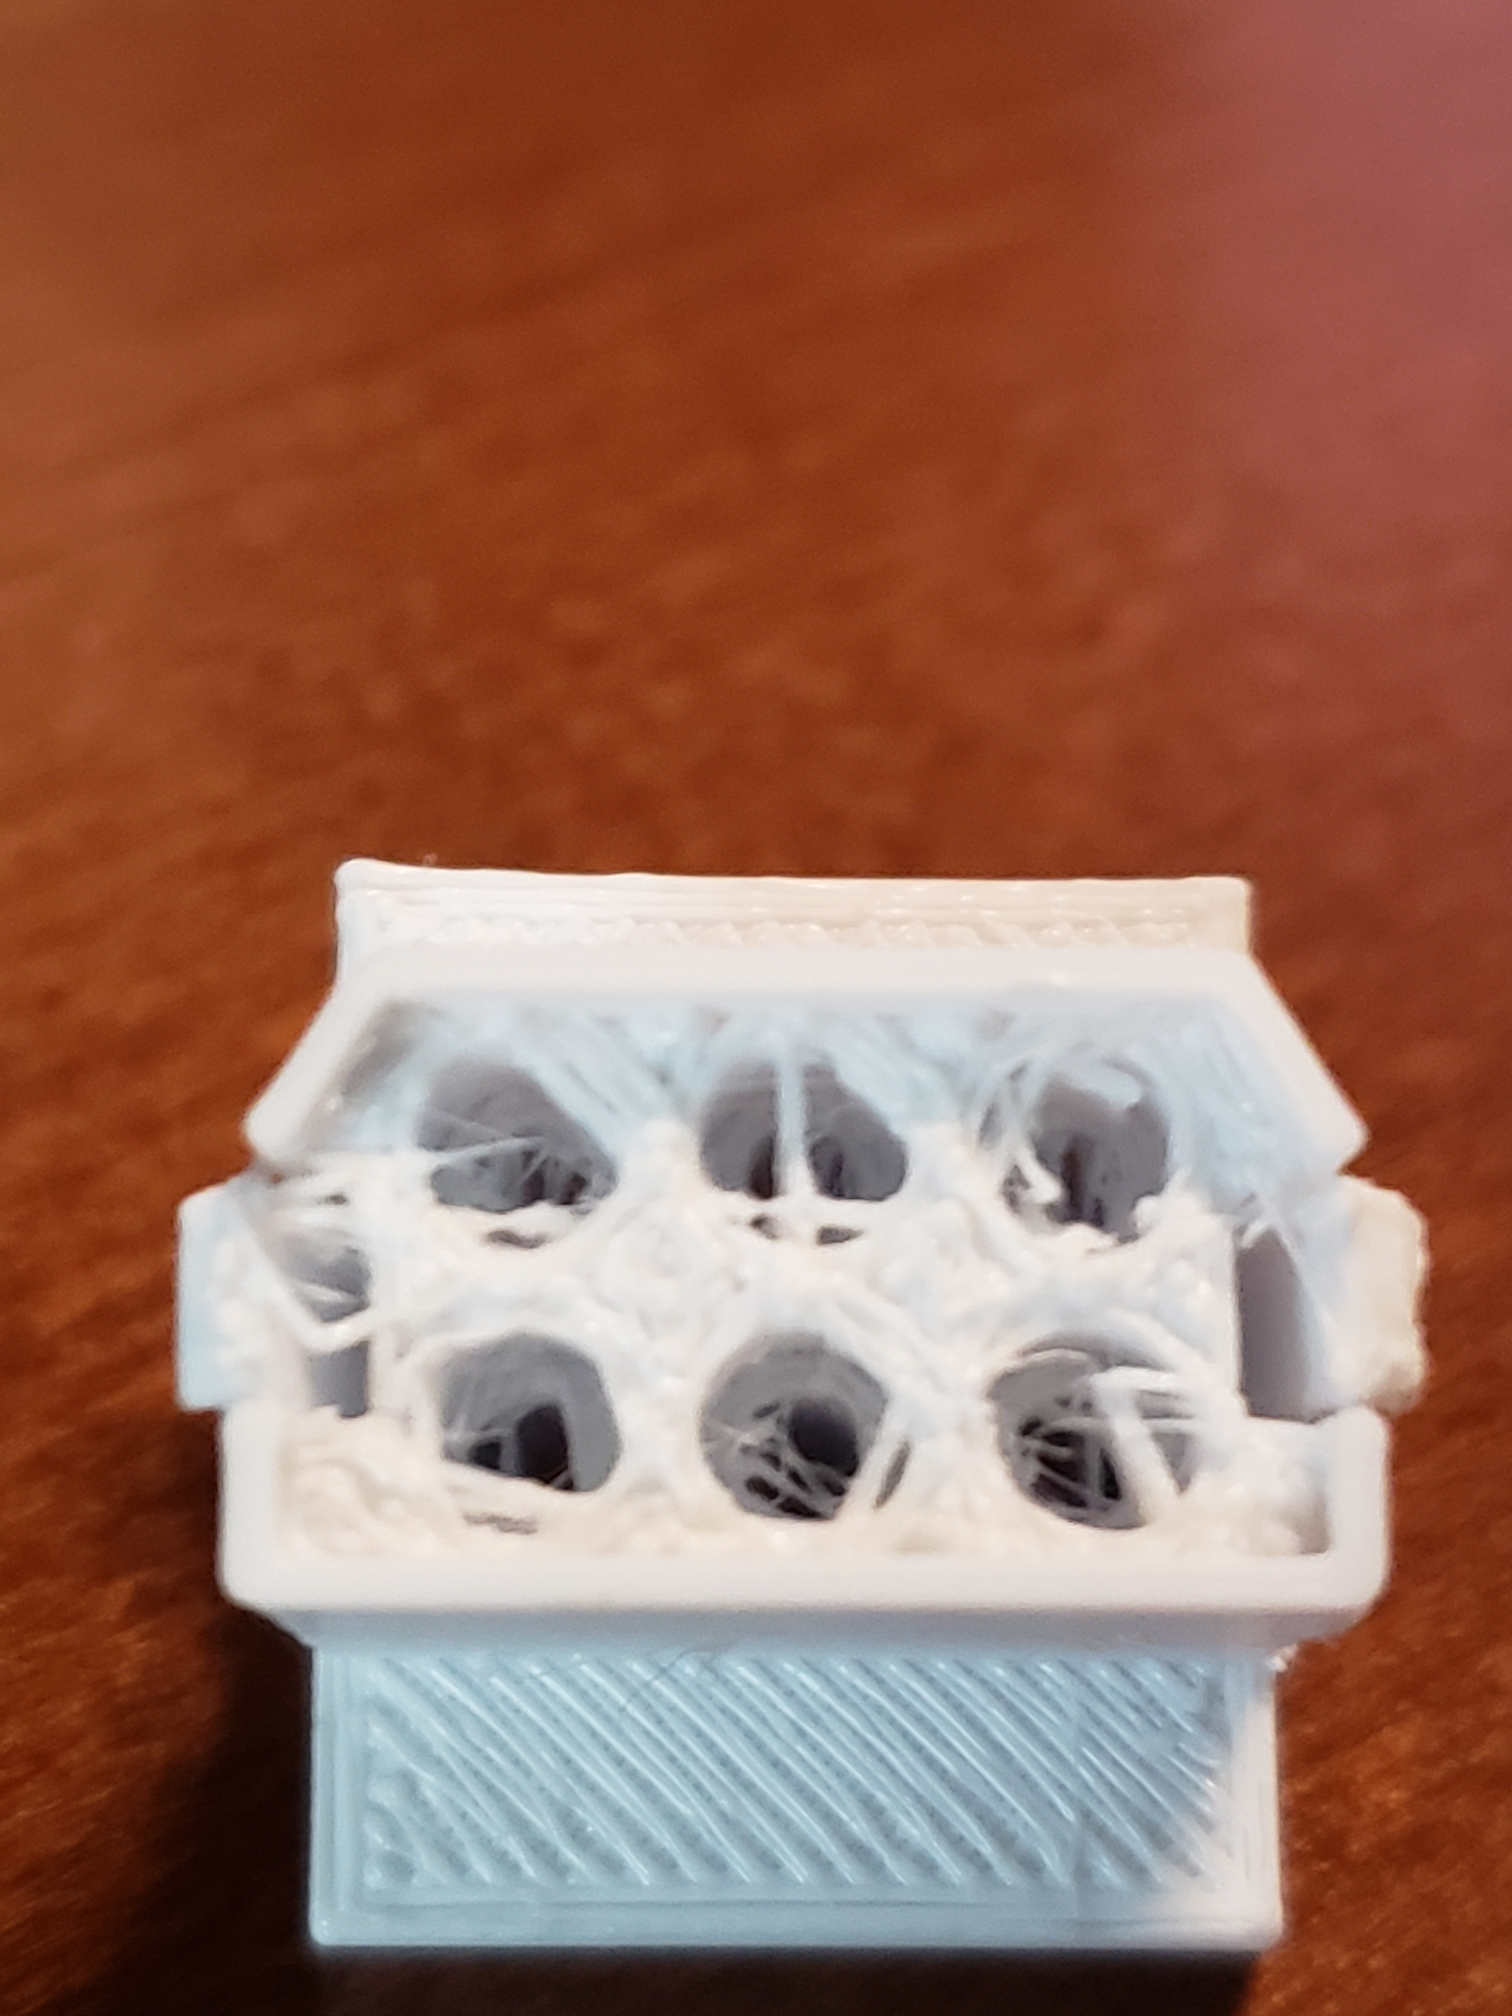
First attempt! A little stringing, but I think that most of it will clean up with a little Exacto knife trimming. I will try to tweak the settings , and print again tonight.

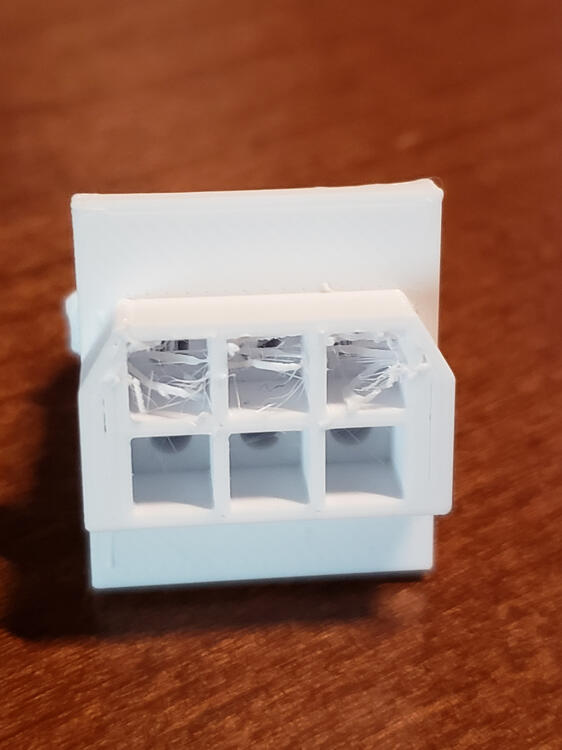

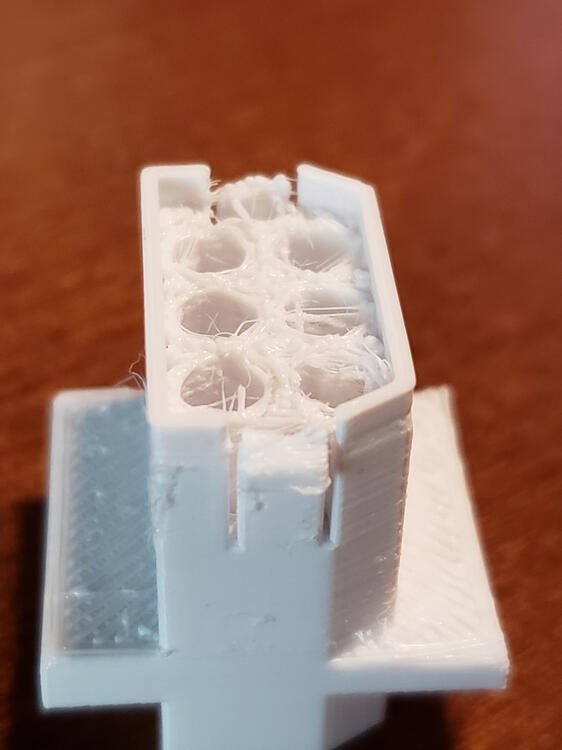
 1 point
 -
1 point
-
I believe the later 280Z door window frames had a channel that those fit into. It was supposed to address wind noise, and better seal the cabin from water intrusion.1 point
-
1 pointA few blocks of wood either under or on top of the jack should raise it enough place ramps underneath the car.1 point
-
1 pointJust saw this towel trick, will try it later tonight (when wife is asleep and she wont miss the towels) 🙂 I used to lay a towel partially under each ramp so that it stuck out at least a foot in front of the ramp so that the tires would roll onto the towel and then ramp. That would keep the ramps from sliding.1 point
-
1 pointI had a 2000 Outback on Rhino Ramps for over two weeks. No distortion or damage.They looked the same as when they went under the car.1 point
-
Anybody notice this one go by? If you're gonna modify, modify bigly. https://bringatrailer.com/listing/1972-datsun-240z-273/
 1 point
 -
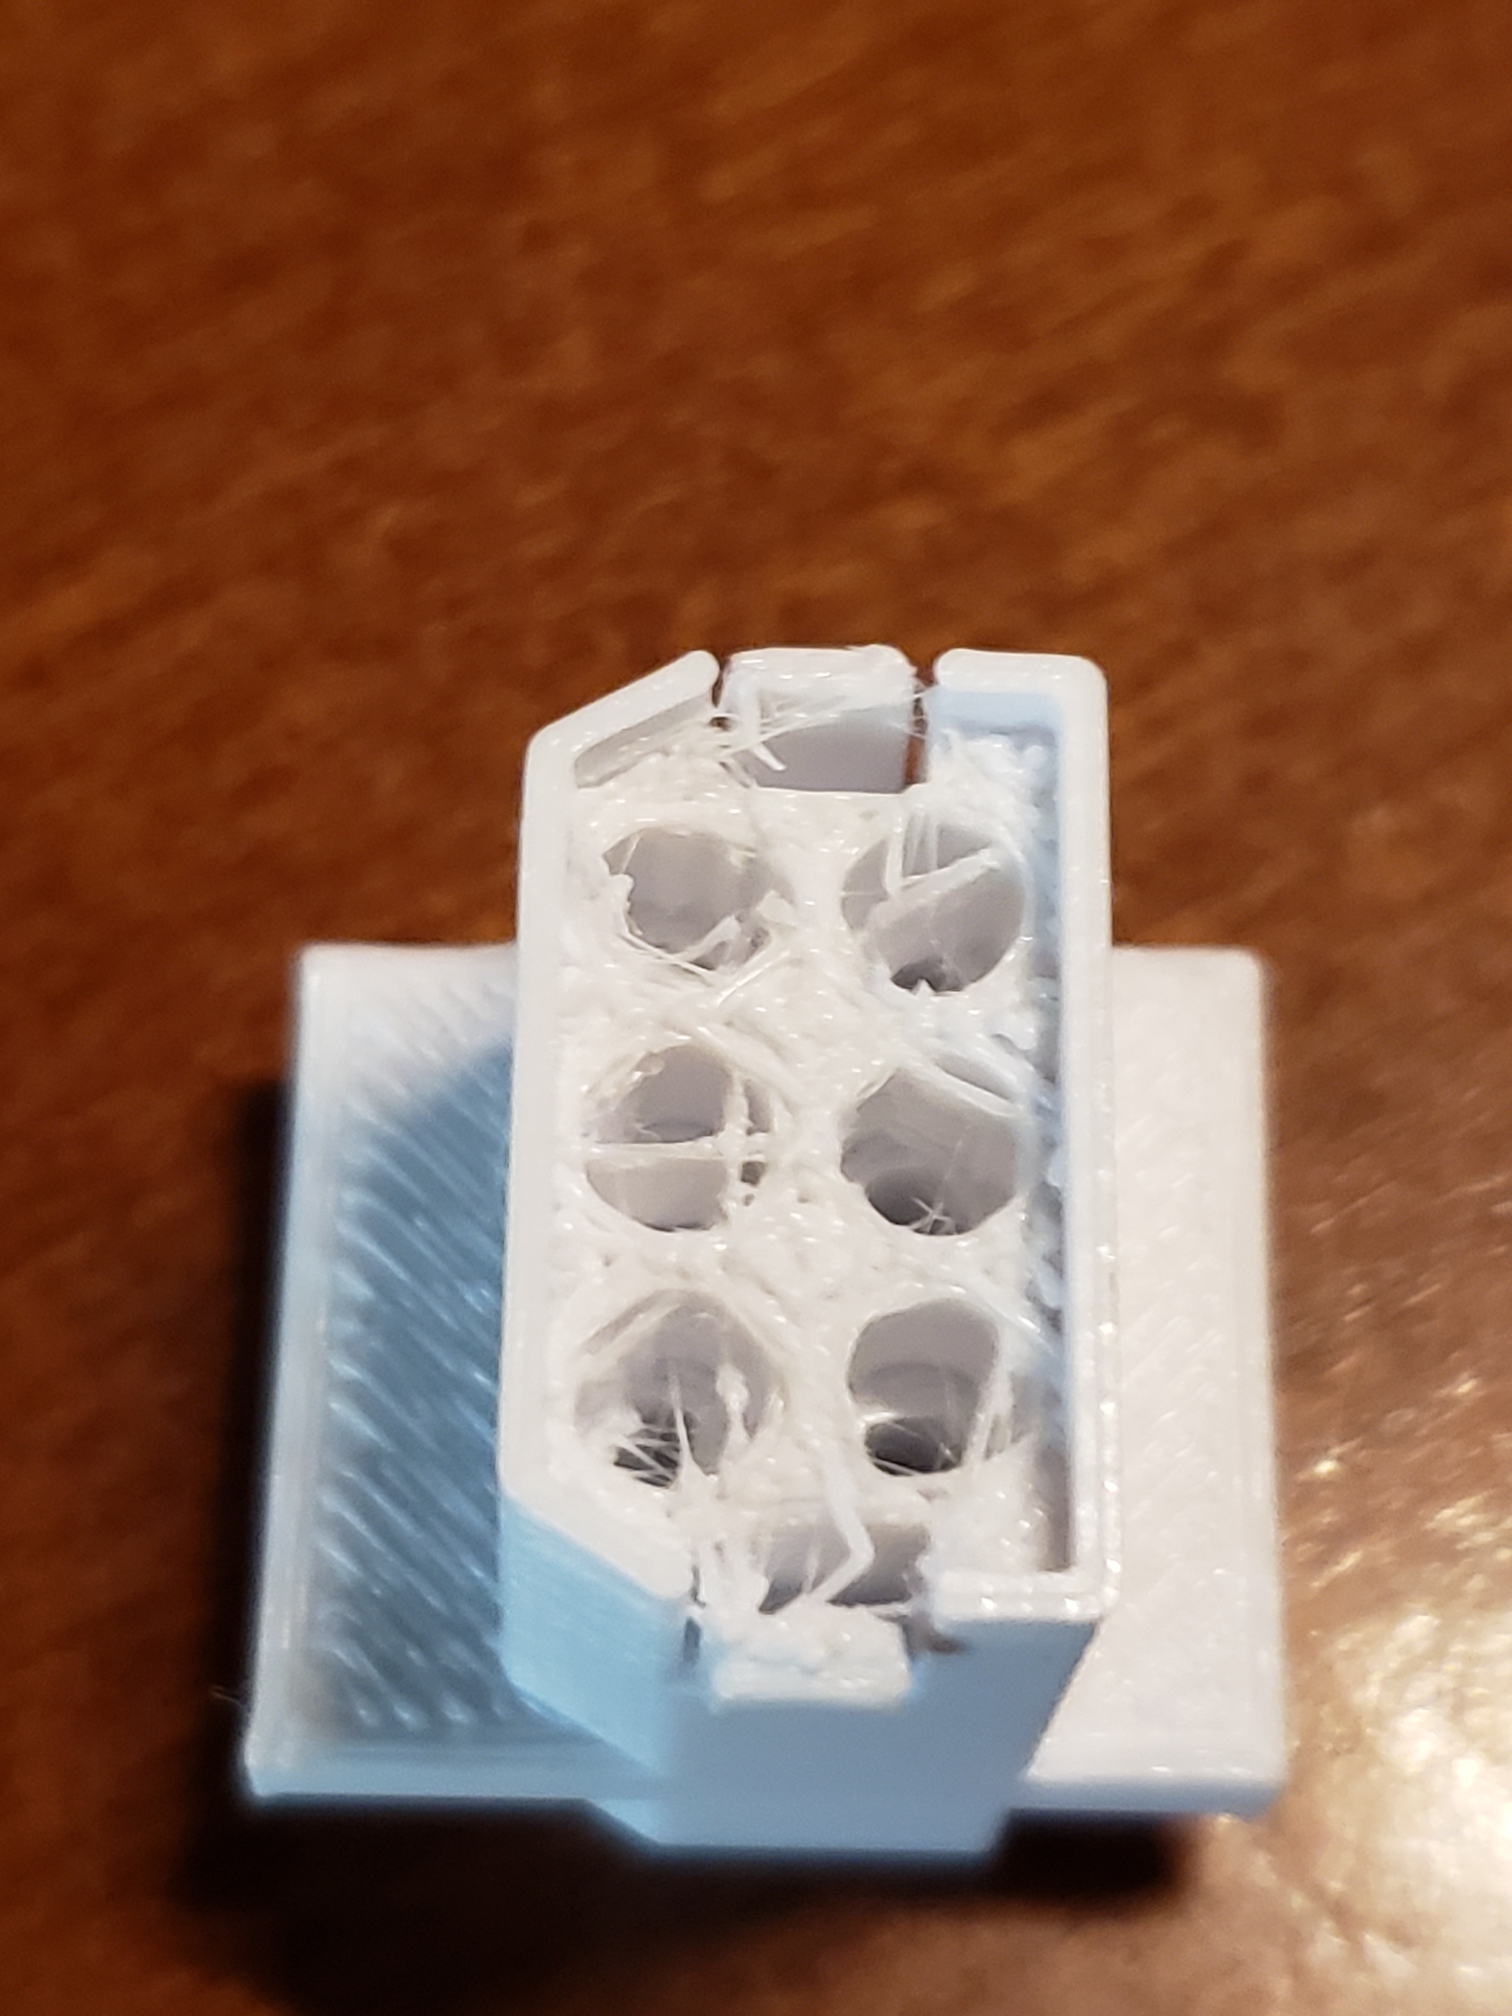
Sweet. Let me know if the STL works 280z gauge female connector STL.STL1 point
-
Brother-In-Law's is an Anycubic Kobra (I want to say the Max version).1 point
-
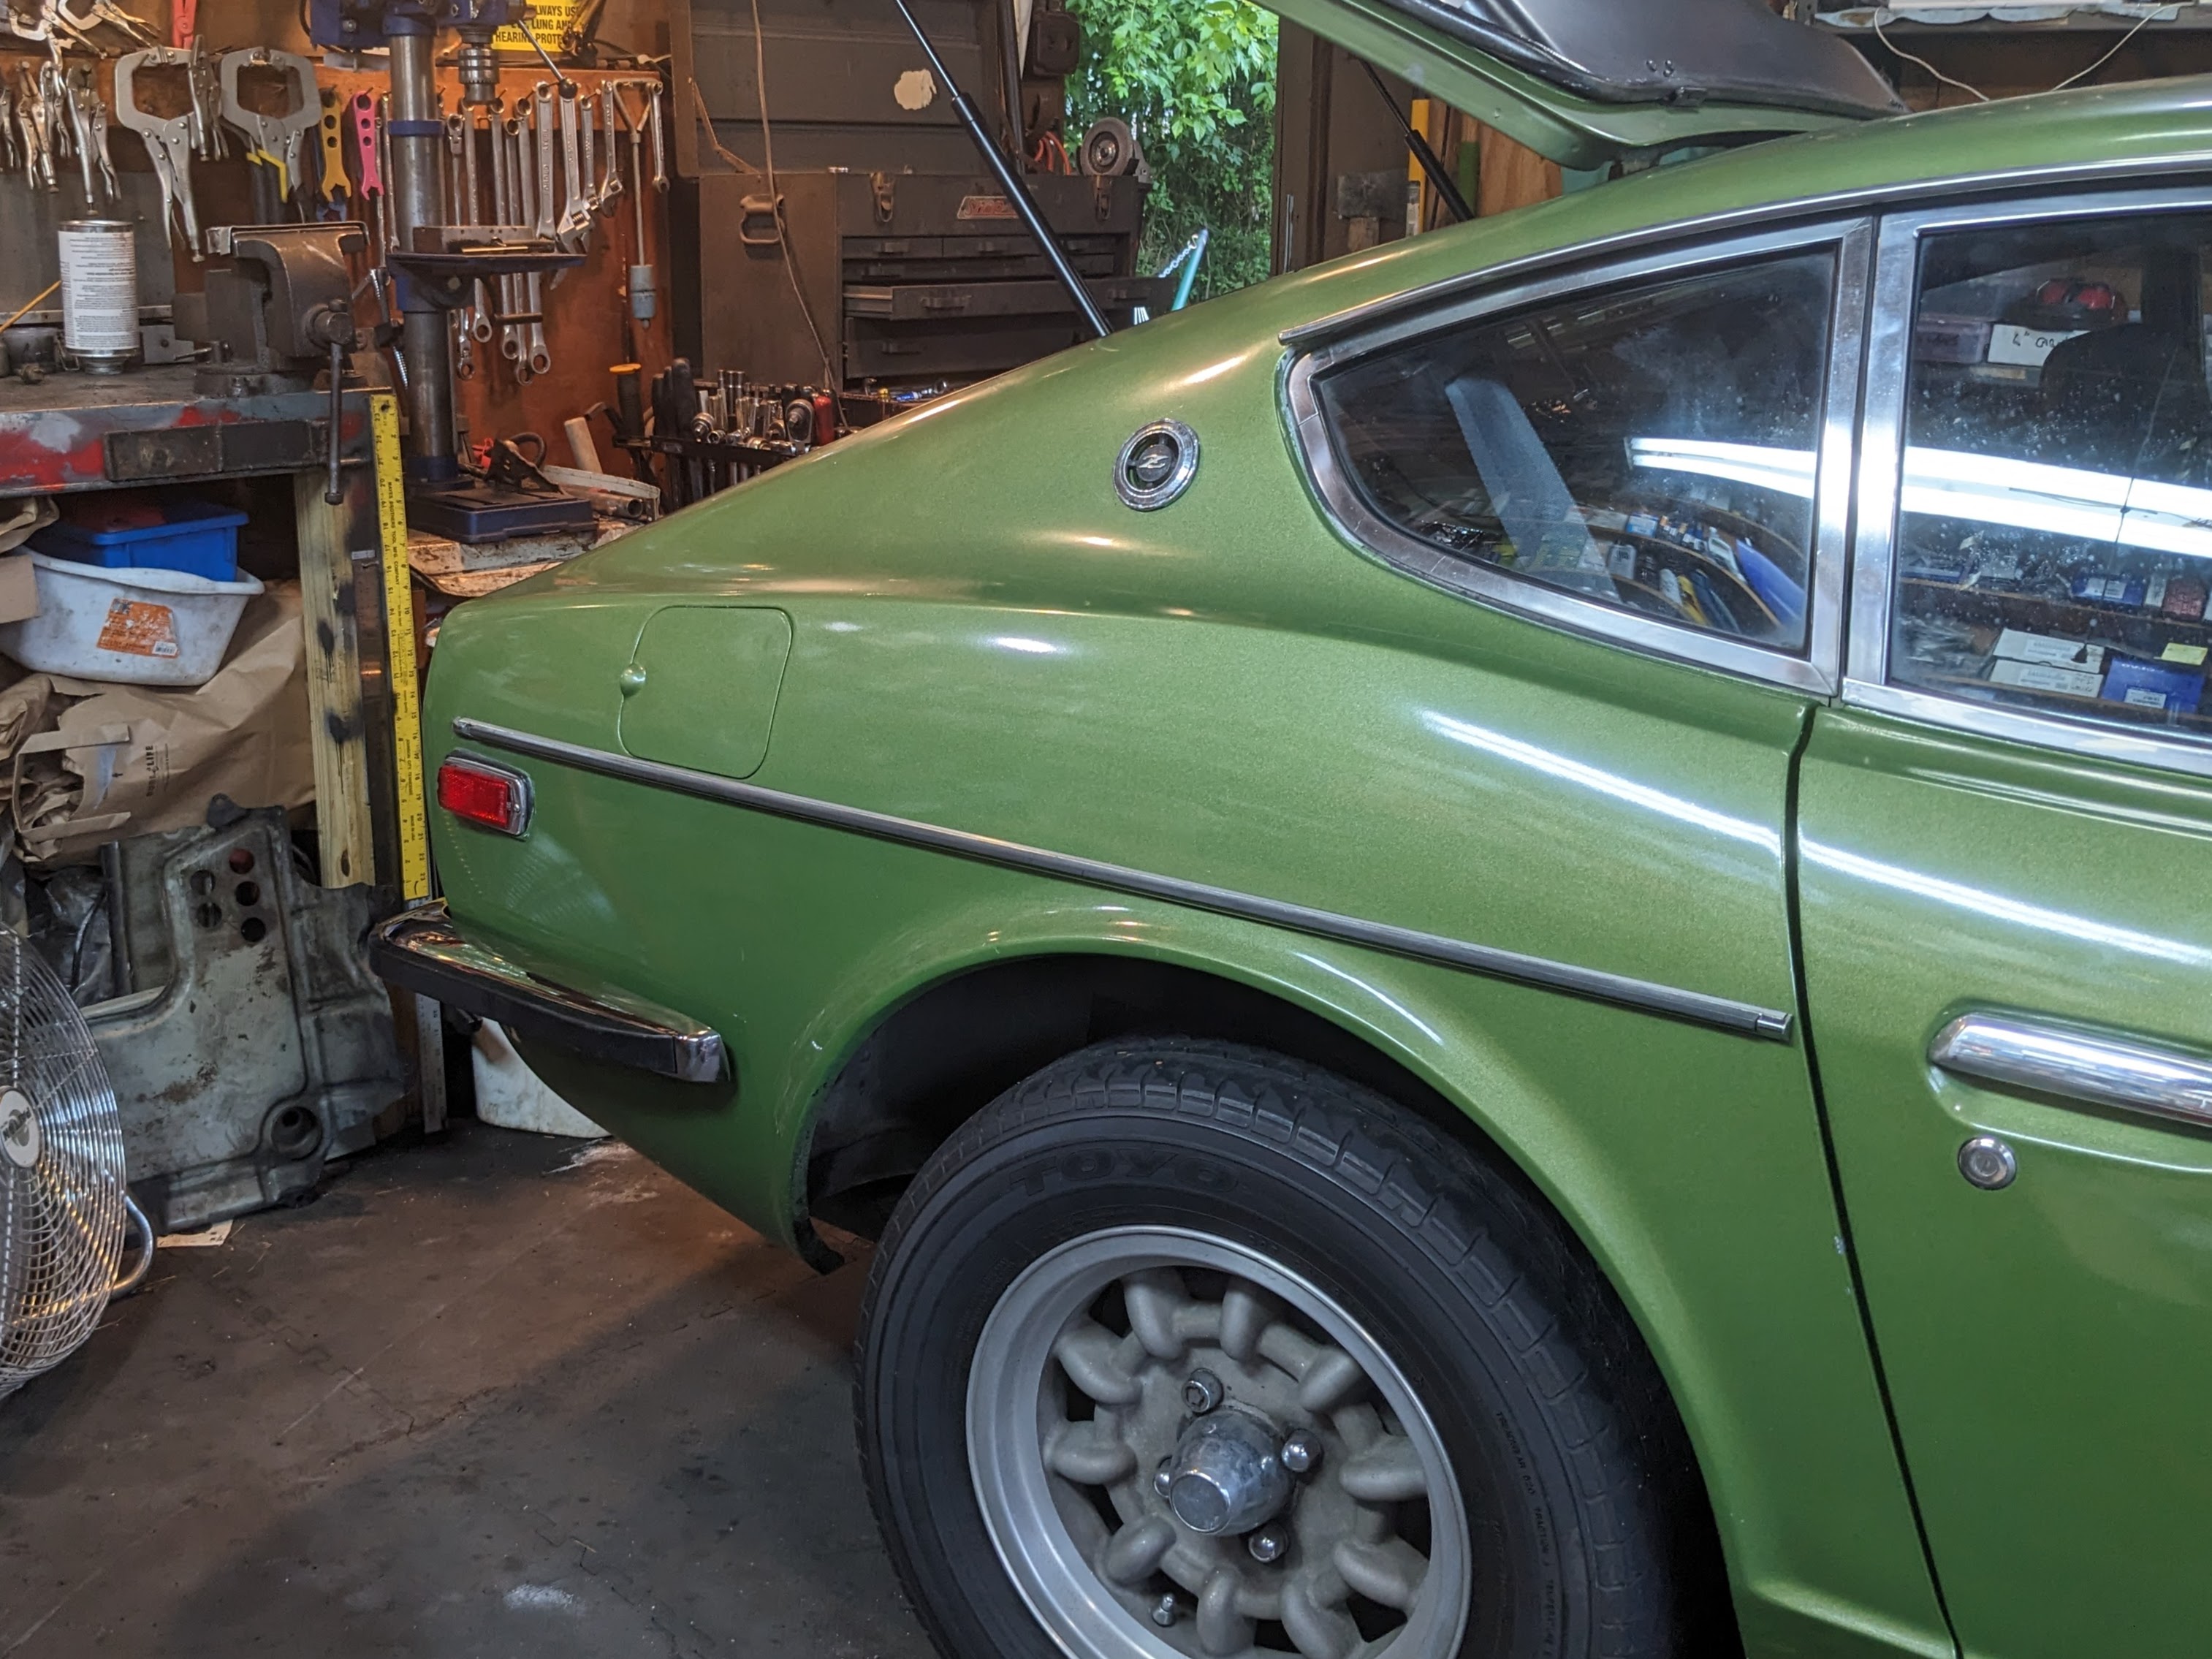
Doesn't look familiar. Hope he's not expecting much, that car needs a lot of work.1 point
-
Thinking about it a little mire... I've not been inside a Z transmission, but here's some thoughts: I'm not so sure welding the washer and nut together is a good idea. My read on the way it was designed is that locating feature on the washer (whether it's a ball or a pin like the later design) is that feature exists exactly to isolate the nut from any rotational forces from the gear on the other side. In other words... You've got this gear spinning on one side and a nut that could potentially be loosened (or tightened) on the other side. They wanted something in addition to the peen on the nut to prevent that nut position from ever changing. So they used that locating feature to keep the washer from ever spinning with respect to the nut. If you weld the nut to the washer and completely skip the locating feature, you will allow whatever rotational forces are ever generated to be directly translated to the nut. You would be counting solely and completely on the peen to prevent the nut from changing position and I'm thinking that's not a good idea. In fact, I'm thinking you've got a chicken and the egg thing going on with the failure... Did the nut loosen up and allow the ball to slip out of place? Or did the gear transmit too much torque to the washer somehow (lack of oil, burrs on the surface, debris between the two, something) and start to spin the washer. And then when that washer spun, it ripped the ball out of the hole and started to rotate the nut. So I'm wondering what happened first, did the washer (and ball) slip first which loosened the nut, or did the nut loosen which allowed the washer (and ball) to slip?1 point
-
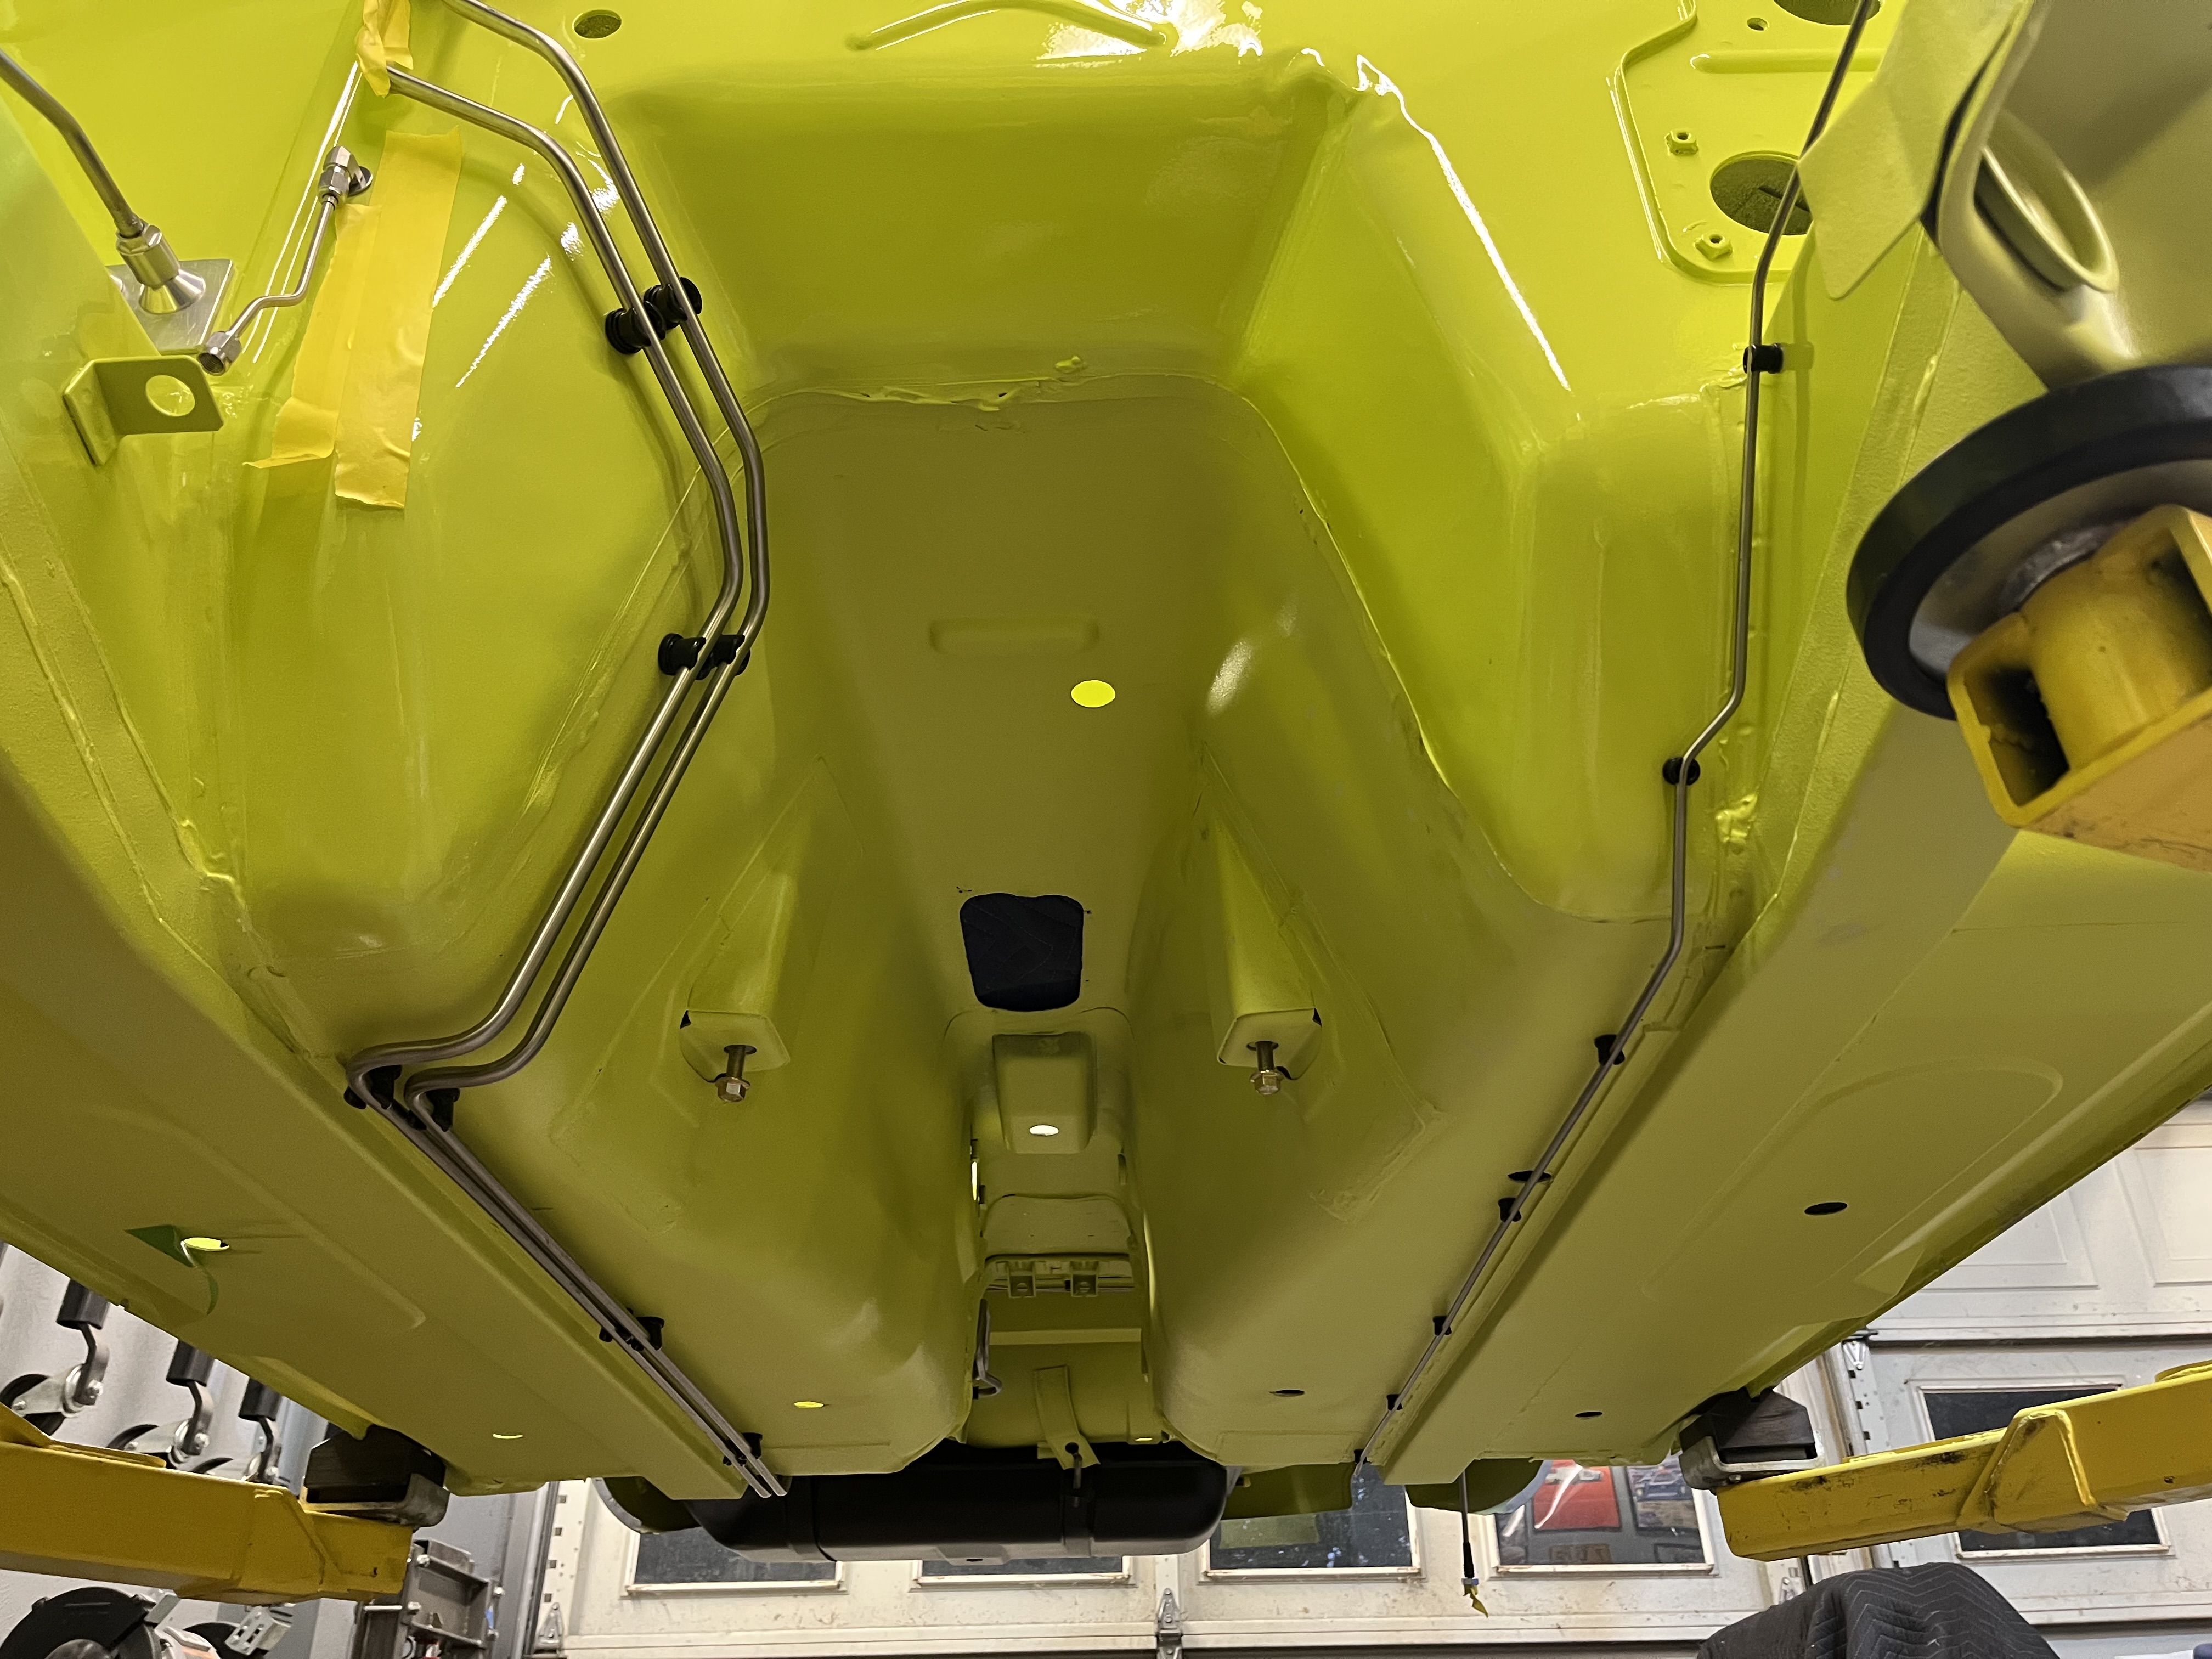
1 pointGetting color on the body. Previously on the fuel tank we sprayed the top coat with Raptor Liner, reduced enough so you could use a traditional HVLP gun. This gave a very fine texture, similar to what’s on the dash. Really liked the finish so we replicated the same procedure with the underside of the car in the factory color.


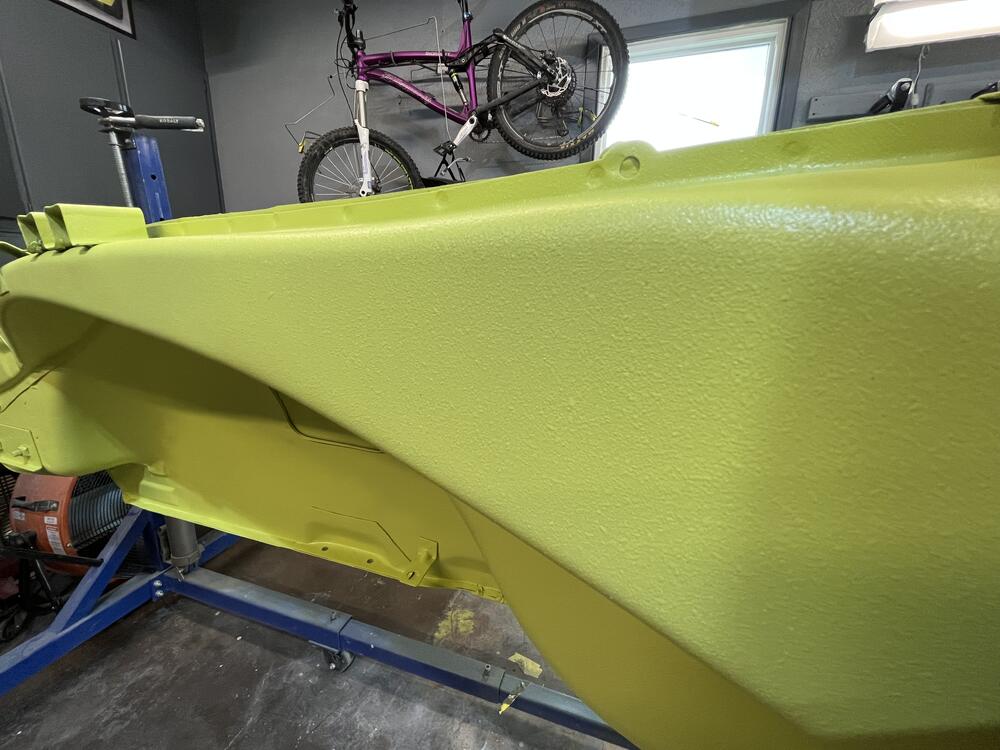 1 point
 -
Looking at just these pics is not sufficient for an assessment one way or the other.1 point