


Leaderboard
-
Captain Obvious
Free Member6Points10,081Posts -

siteunseen
Free Member4Points15,115Posts -
.JPG.cfcada9cf1c1b502df3f5f2f2ca3ff36.JPG)
SteveJ
Free Member4Points9,646Posts -
zspert
Free Member4Points384Posts


Popular Content
Showing content with the highest reputation on 08/20/2022 in Posts
-
That's one of my engine compartment ID plates!! Looks great doesn't it?4 points
-
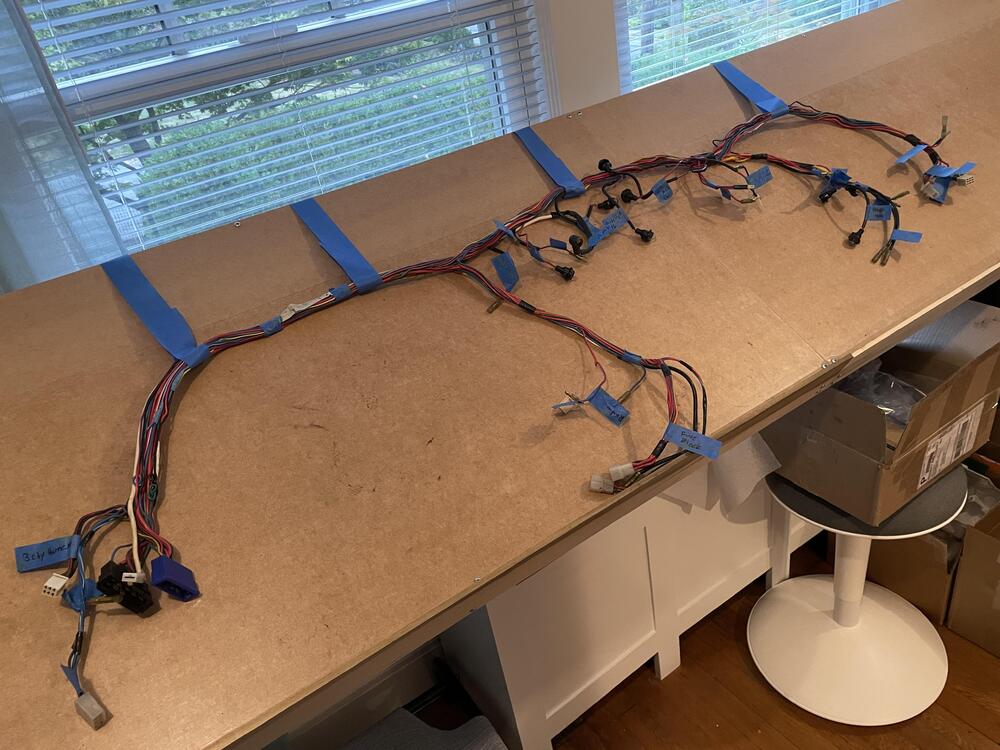
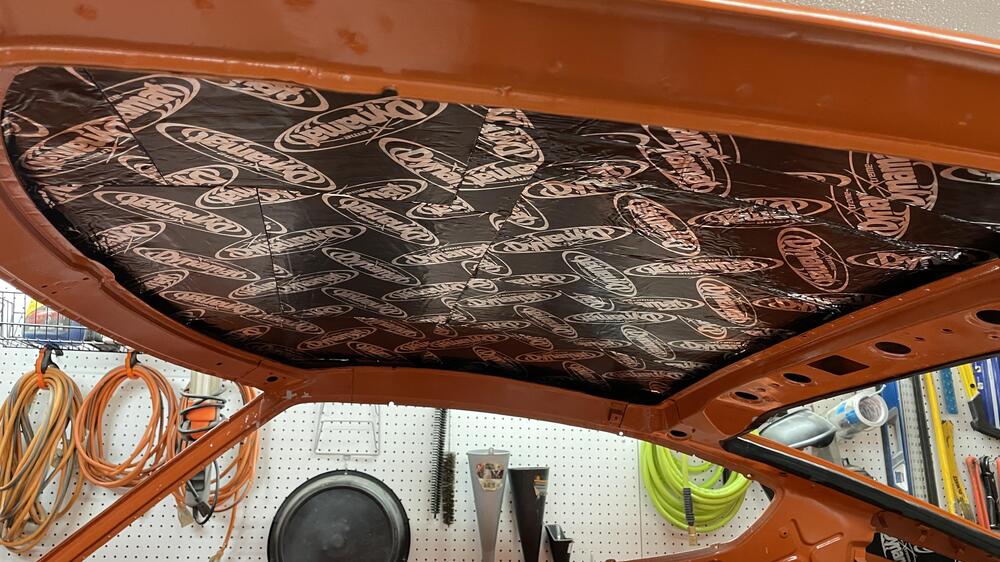
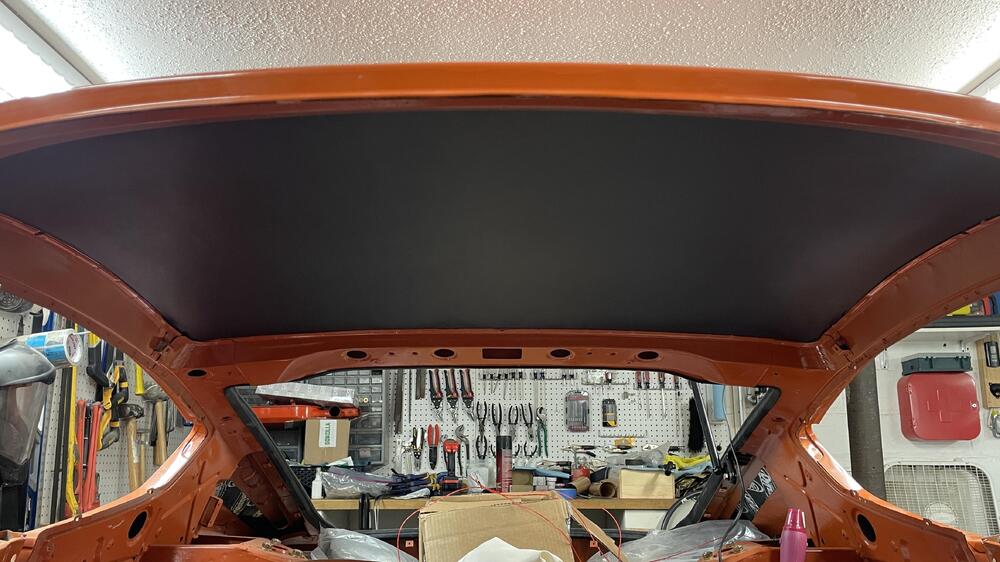
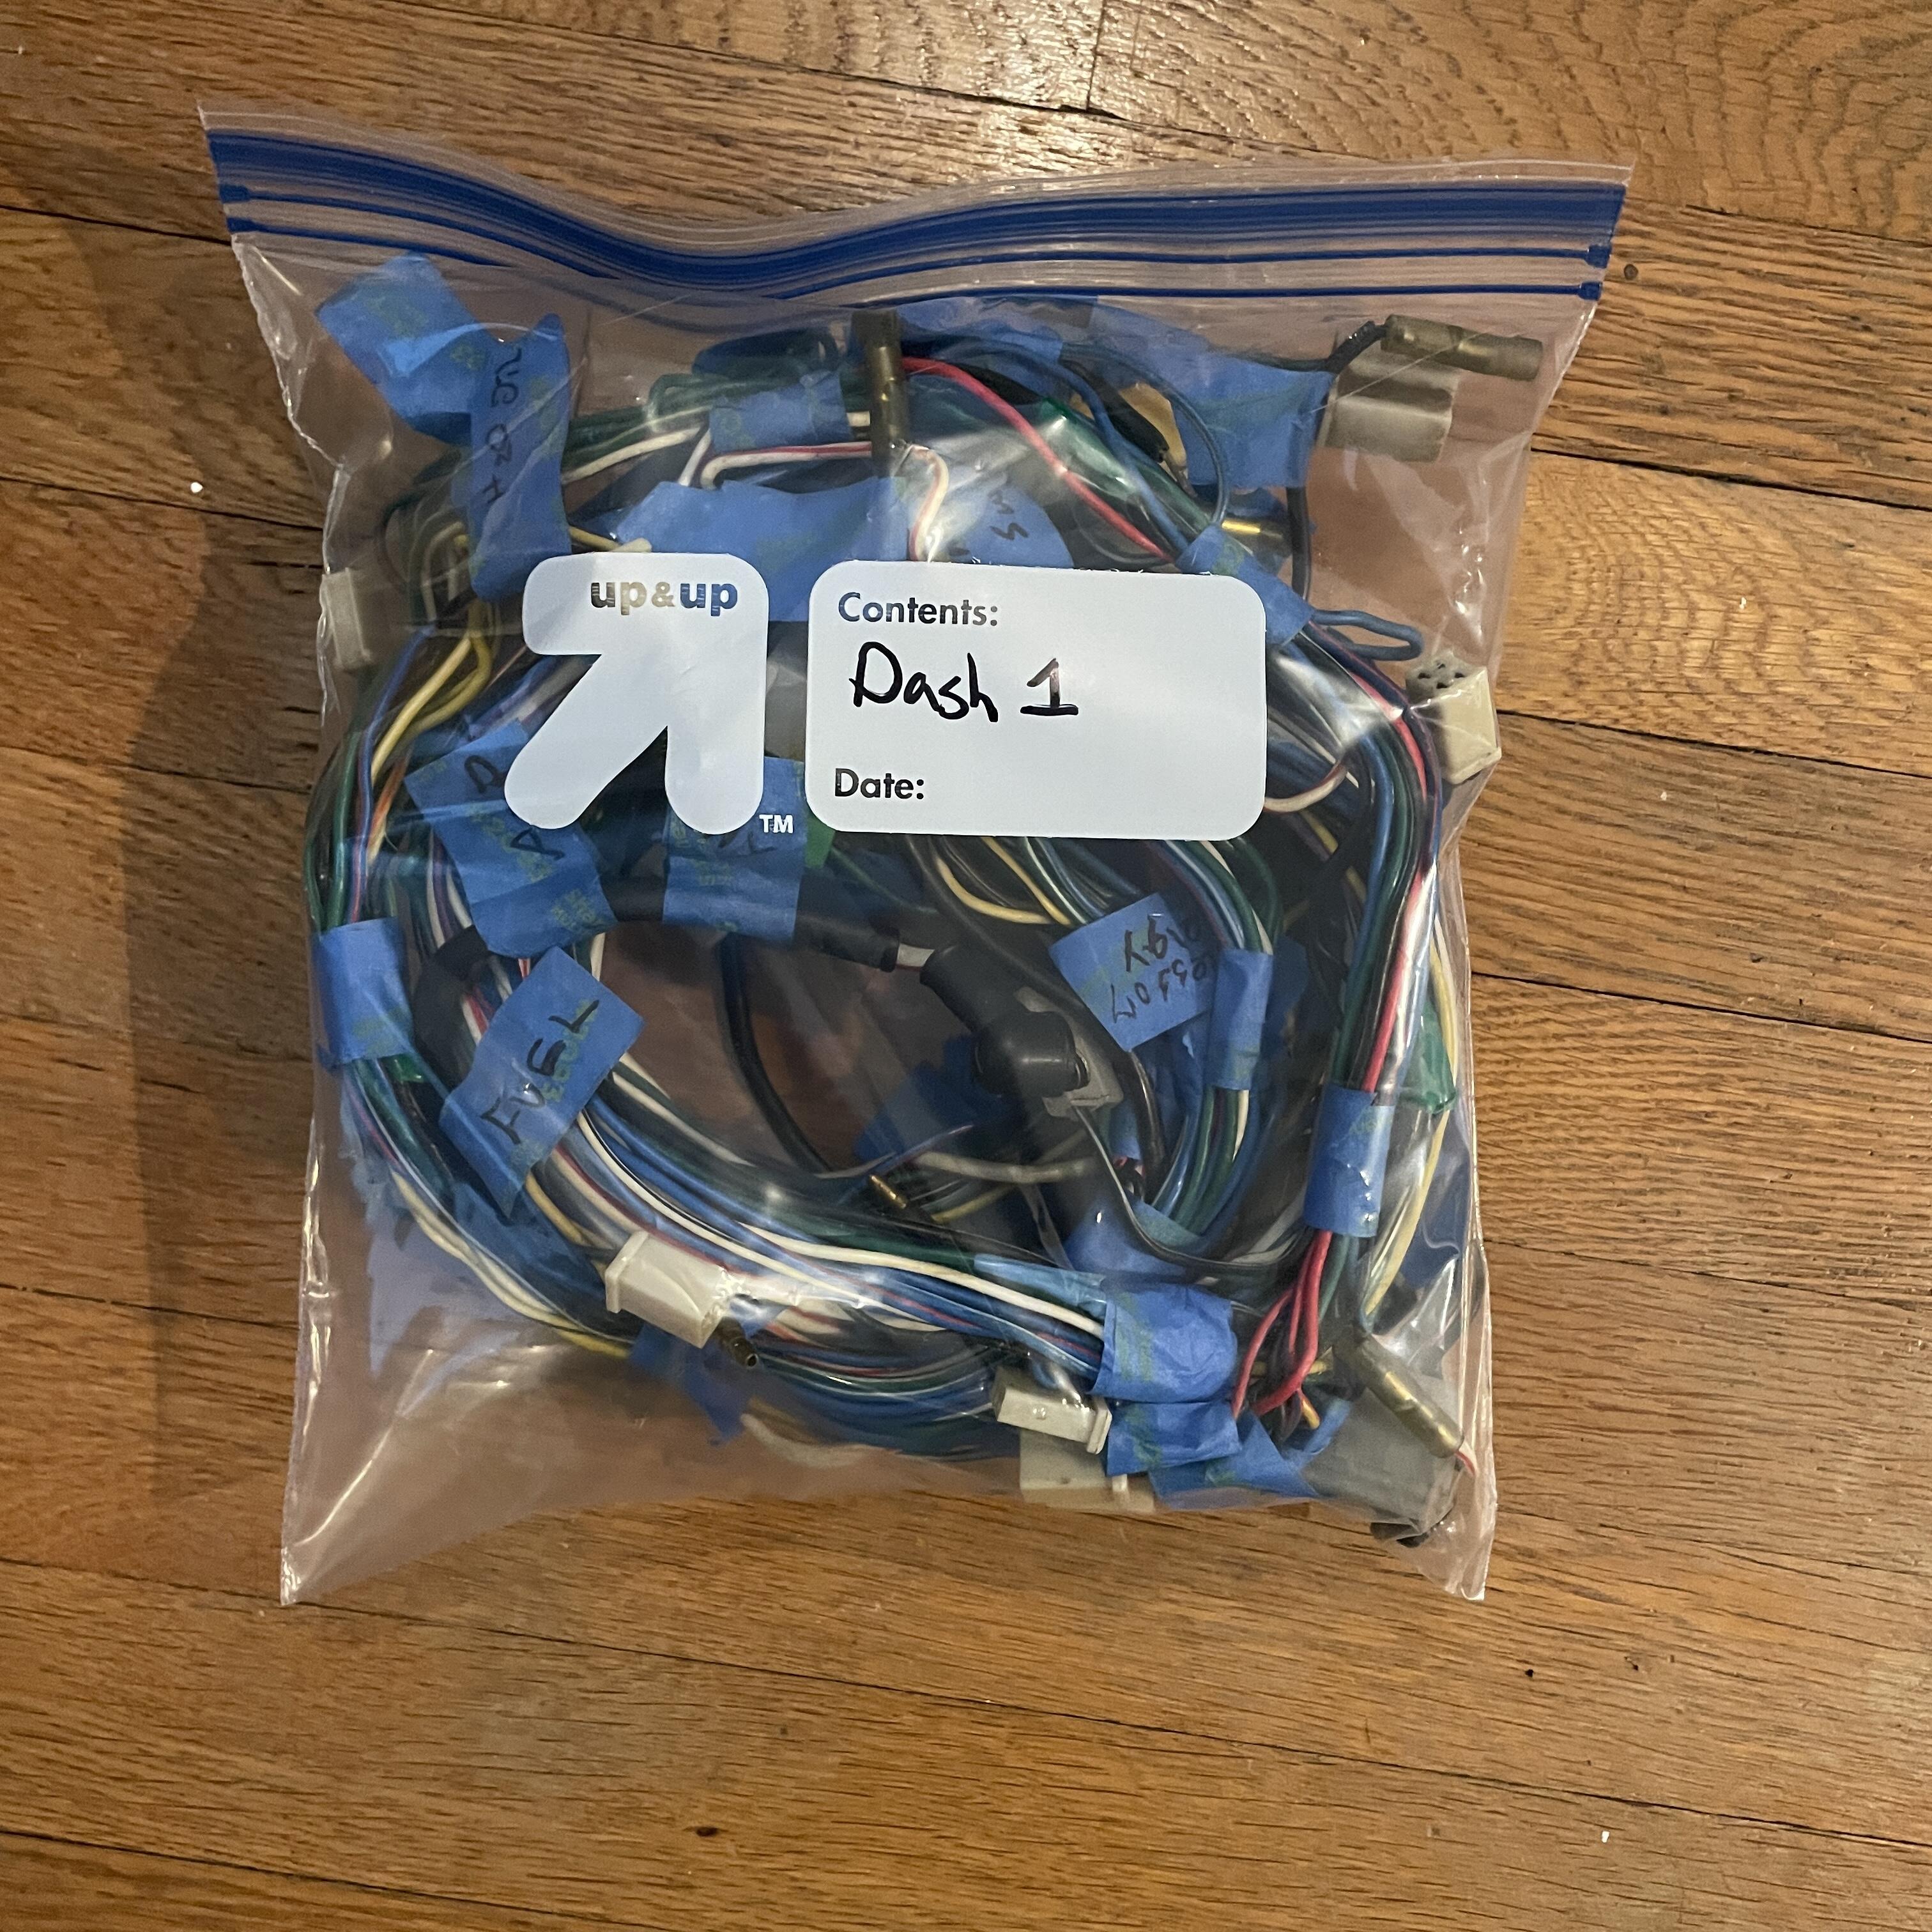
3 pointsI have a couple of updates: 1. The first half of the dash harness inventory is up in my wiring build thread. Now that that’s in the bag I’m moving on to the second half of the dash harness. 2. I’ve been trying to sneak in small things to help me feel like I’m making progress. This week’s small thing was the head liner. IMG_4916.MOV IMG_4934.MOV Nice and quiet!

 3 points
 -
Too add more info from my experience today. I've realized what I thought was a long time sitting problem where I have to tap my float chambers with a rubber handled screwdriver to get mine to crank after a month or so turns out my lids were loose, not terribly loose but the 4 screws needed a few rounds to get them snug again. That could be the reason the bowls were empty, evaporation from not snug lids? I know @dutchzcarguy said he had to pop his to. Maybe this would be helpful to you Mart. Everything is back to normal now. I had leaking lids on start up which could be disastrous out on the freeway. I assume the new filters gave me better psi and caused the constant dripping of fuel onto my 6to1 header runners. Thank you all for the help over the years. Couldn't have been a better team effort from all of you. I'll always be in debt to CZCC members.2 points
-
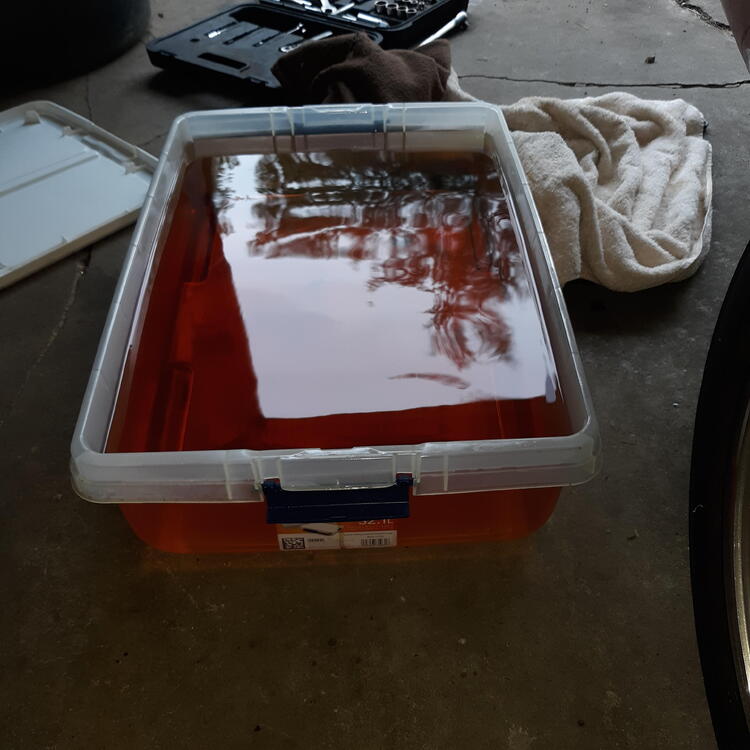
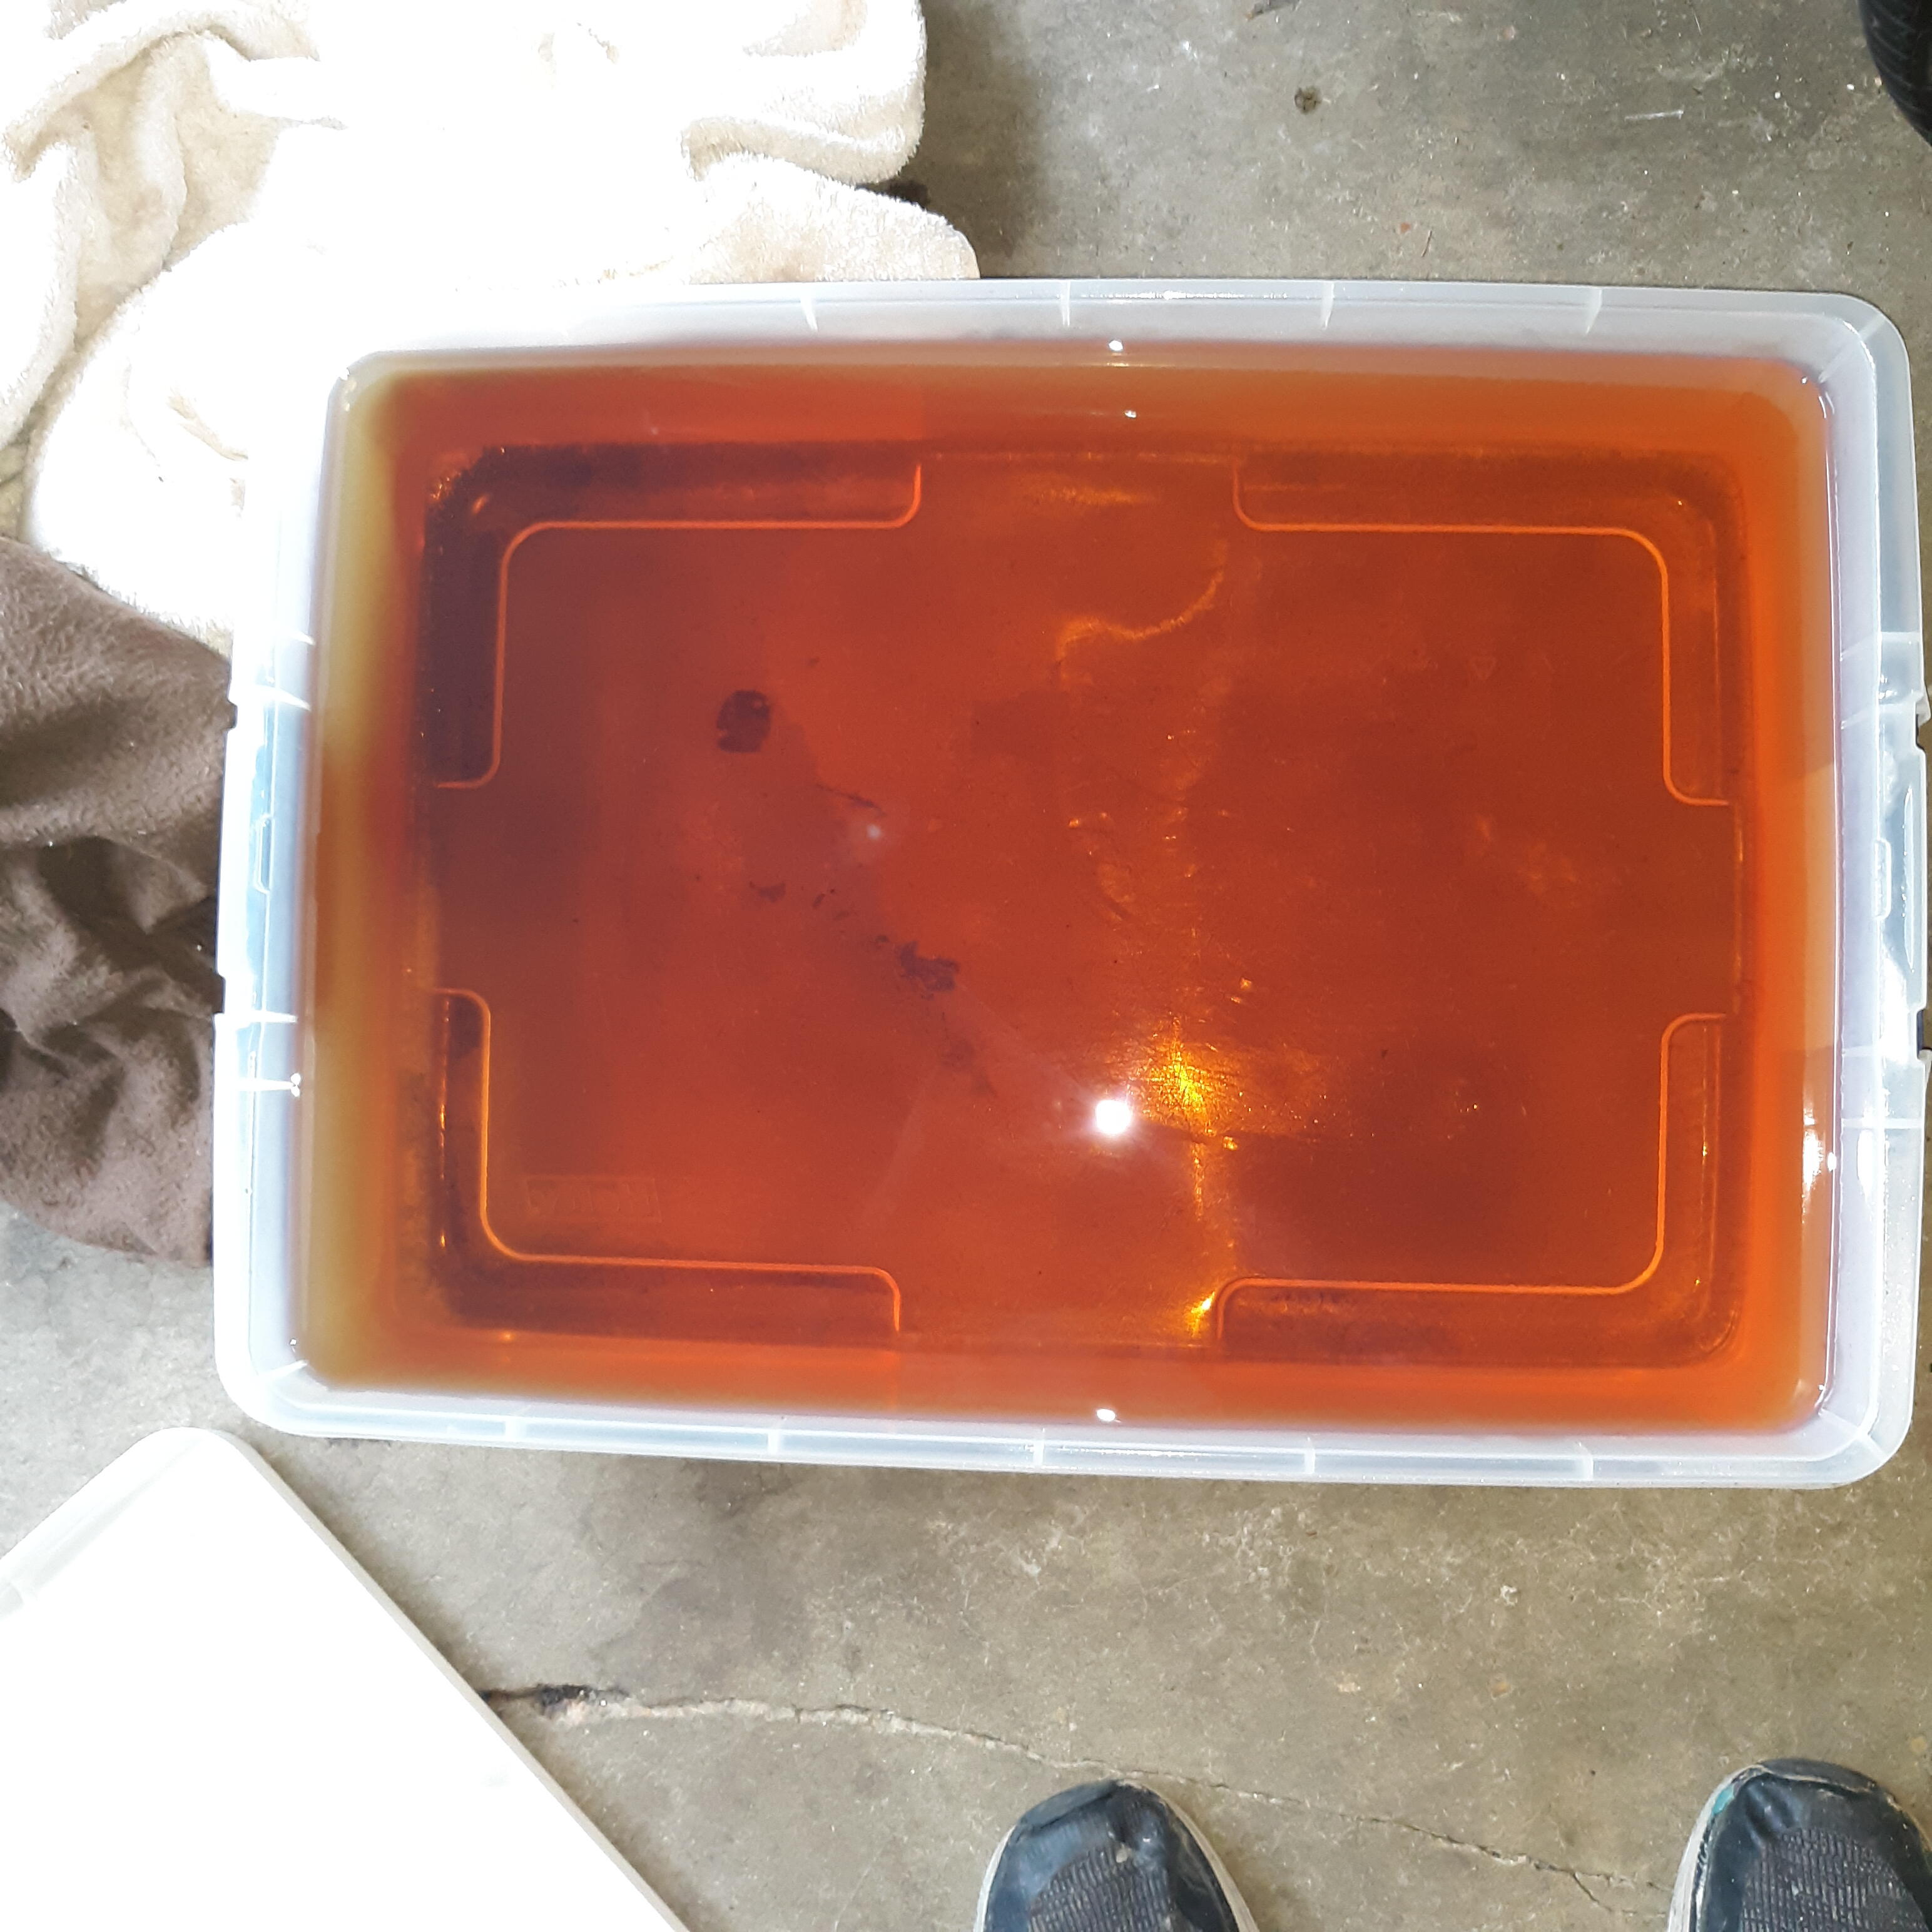
Finally got around to buttoning up this little project. Now I know for my 2/72 240Z after completing draining the tank and replacing two fuel filters, OE on the firewall and precautionary one right out of the tank, 5 gallons of fuel puts my gauge on EMPTY. When it was dry as a bone the gauge needle wouldn't move and was a quarter of an inch below EMPTY. Lesson for me going foward: when my gauge gets to Empty I still have 5 gallons of fuel in the tank. I like knowing that to be positively true for my car. And Red-Kote is a fantastic tank liner as I have not seen any type of failure since 2015 when I lined the tank. Good day.

 2 points
 -
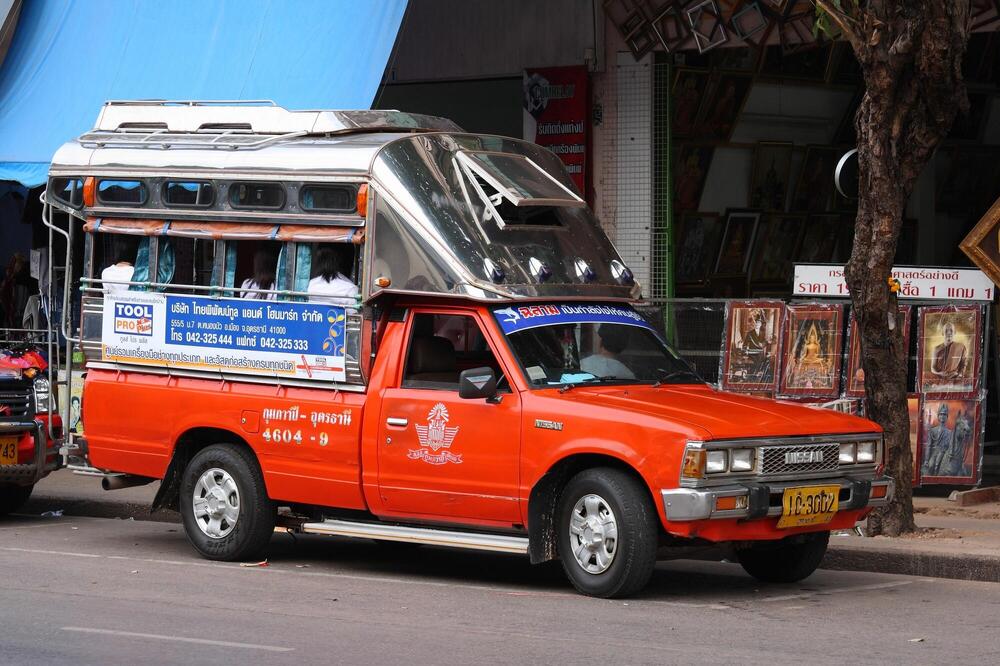
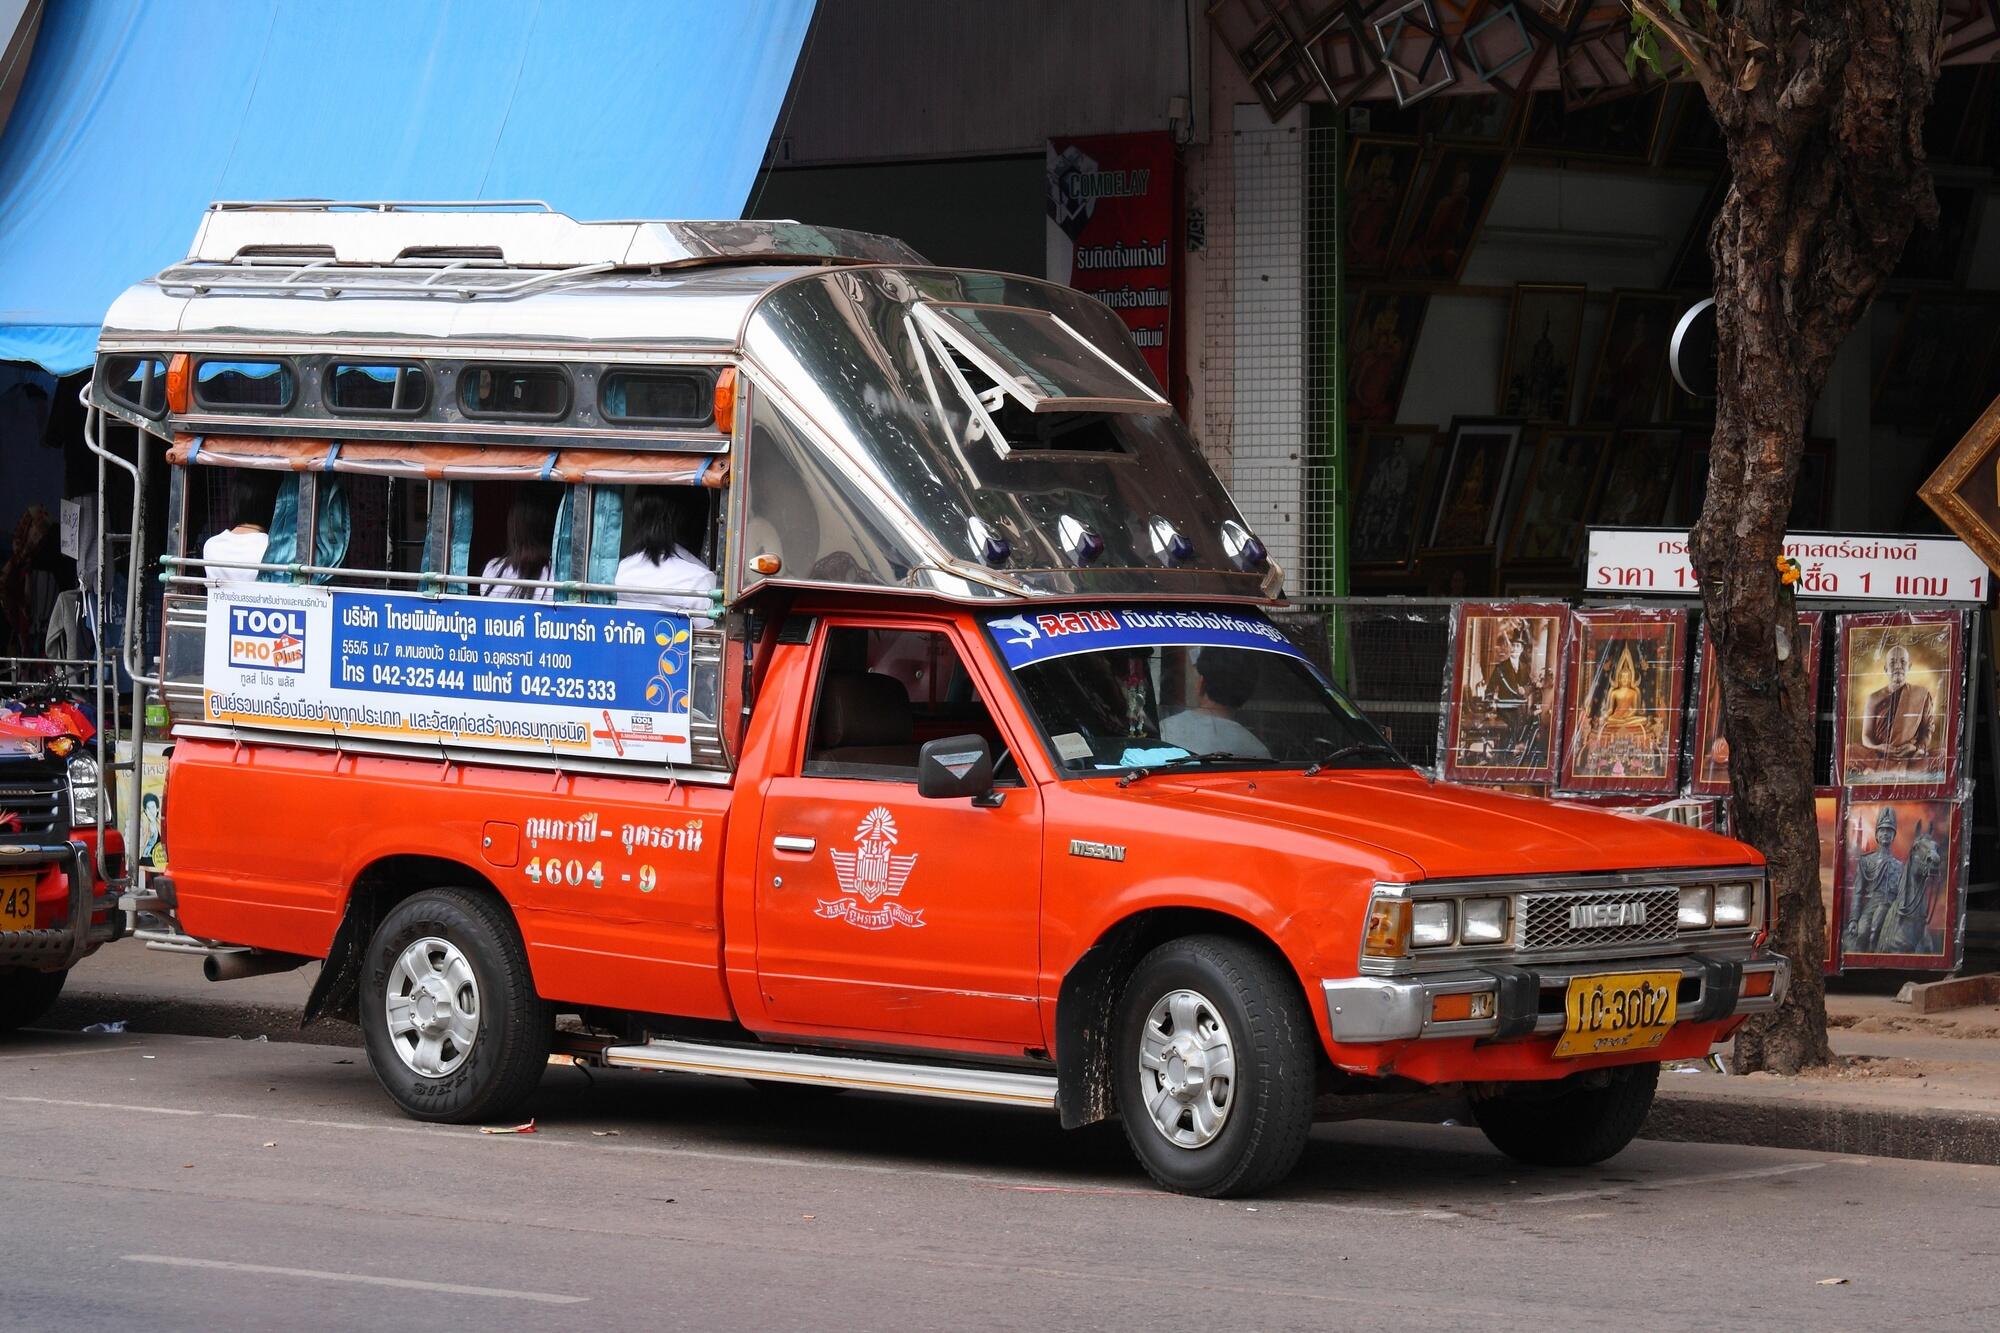
2 pointsLast time I was in Pattaya City in Thailand, sometime in 2005, entire fleets of this generation of Nissan truck(2wd, SD diesel) we're being used as taxi trucks. Open seating in the bed, no restraints. Just you, some buddies, a few locals, and the Tiger Beer in your hand that you just walked out of the pub with.
 2 points
 -
2 pointsCould you put the stock intake snout back on and run the engine like that? In other words... Run the intake tract in NA mode and pull the turbo intake stuff off, but leave the turbo installed. I'm thinking that with the turbo in place you could look inside it while the engine is running to see if the impeller is spinning at all? I'm no turbo expert, but your description of how much force is required to spin it has me concerned.2 points
-
2 points
-
1 pointIf anyone is looking for the stock expansion valve o-rings which are NLA, for the outside sealing ring use a 1-1/2”id x 1-11/16”od x 3/32”cs also known as AS568-128 HNBR. The inside ring is 1-1/2”id x 1-5/8”od x 1/16”cs also known as AS568-029 HNBR. I purchased mine at www.Theoringstore.com . It took a few tries. Hope this helps somebody.1 point
-
Yes. Here's a link to resistance values posted by someone on Hybridz. https://forums.hybridz.org/topic/114259-oil-pressure-sender-and-gauge-specifications/1 point
-
So spending all that time in the shop with the car was OK with your serpent friend?1 point
-
1 pointCan’t say for certain, but seems to me that fuel you got into the oil early on should have evaporated off at normal operating temperatures since then. Just recalling how oil dilution worked on old radial aircraft engines. When a cold weather start was anticipated, fuel was deliberately added to the oil and would evaporate off quickly once the engine was up to temperature. A bit of a puzzle because I’m assuming you’re not getting indication that you are running excessively rich. Can’t think of a path that would dump fuel into the oil that would bypass combustion. Maybe a heavier oil for now and a quick change or just pull a sample to see if this persists. If injectors were used and need cleaning they will stay open too long and run rich. Had that experience many years ago when my 76 (my first new car) wouldn’t pass emissions check here in Arizona.1 point
-
Thanks for all your comments and questions...I'm not a brake expert either, not by a long stretch...here's what I'm thinking so far: @Patcon: while the booster holds pressure until you touch the pedal, as I understand it the vacuum on one side of the diaphragm is what makes them "power" brakes. The atmospheric pressure on the "push" side makes pushing the brakes easier against the vacuum side. But, my booster looses all vacuum the second you even wiggle the brake pedal, so you don't get any assist at all. There's another test, where you pump up the brakes and then turn on the car, adding vacuum (in theory) when you should notice the pedal dips some; mine doesn't. It fails that test, too. @Captain Obvious: It's pretty tight in there, so I don't know how a tandem booster would fit. I'm assuming the folks at MSA would have mentioned that, though. @heyitsrama: Thanks for the reference. I'll have time on my side as I'll just keep up the leg workout this fall and take it off when I park it for the long MN winter. So, mailing, etc., is fine. I called a few folks in my area, and they all ship it out, too. The FSM has instructions on how to rebuild it, but I'm not sure the rebuild kits are available to individuals and it doesn't look like an easy job. As for the proportioning valve, I've turned it all the way "up" so that the rear brakes get as much pressure as they can. According to Don, who put the kit together at DP Racing, this is fine as the calipers in the kit for the rear are much smaller, so you don't have to worry about locking up the rear tires. I've never had an issue and the car has some track time. With other kits, or kits where the rear brakes are larger, you have to dial back the brake pressure to the rear to keep things balanced. I put in a call to Don with this question, too, and I'll ask about the master cylinder, too. Even though mine was replaced by the PO, I've had the car 10 years and it might be worth doing even if it doesn't have any leaks. Finally, the "tandem" has two diaphragms inside, so you get more assistance to the power brakes. As for how the brakes engage, they feel fine and the pedal is rock hard (another sign). It takes a lot of leg pressure to slow the car down, but it does slow down just fine. The pads are relatively new and the discs have very little wear. The car has about 16,000 miles since the restoration, so the hardware should be in good shape otherwise. I'll keep folks posted when I hear more...ideas are welcome!1 point
-
I'm tracking down sources of rear end noise in my early '74 260Z. So far I identified a loose stabilization bar link. I also noticed while the car is in motion that the threaded rod protruding out of the top of the right rear strut has some minor movement associated with it while the driver's side one does not move. The three bolts securing the top of the strut are properly tightened. As far as I can tell, the strut's upper end is held in place under spring tension. Is there anything I can (or should) do to keep it from moving around? Note that the struts and springs were replaced not too long ago but by the same monkey that was riding around in the trunk.
 1 point
 -
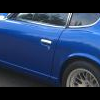
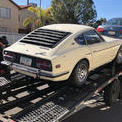
Another early one that didn’t make reserve. This one looked to be done exceptional well, body work, paint, engine, interior, all looked good. The only minus was the crappy looking frame rails, they certainly didn’t help, should be removed asap.1 point
-
Sorry the link does not work.. (But glad you found the problem..) And did it smell? 😂1 point
-
Not a brake expert by any means, but Power Brake Exchange out of San Jose CA does a really nice rebuild on the stock booster. What's the advantage of a Tandem booster, more pressure through the line on a stock master cylinder? You say that your proportioning valve is running at its limit, so you're not really getting any adjustability out of it... I've read that when upgrading to a toyota caliper you should also change from the 7/8 to a larger master cylinder to make up for the volume difference, do the willwoods also need more pressure/volume? https://www.classicperform.com/PDFs/BoosterBrakePressureChart.pdf How did the brakes feel? Where was the engagement point?1 point
-
You will see some leakage from the oil galley but it should be limited1 point
-
1 point
-
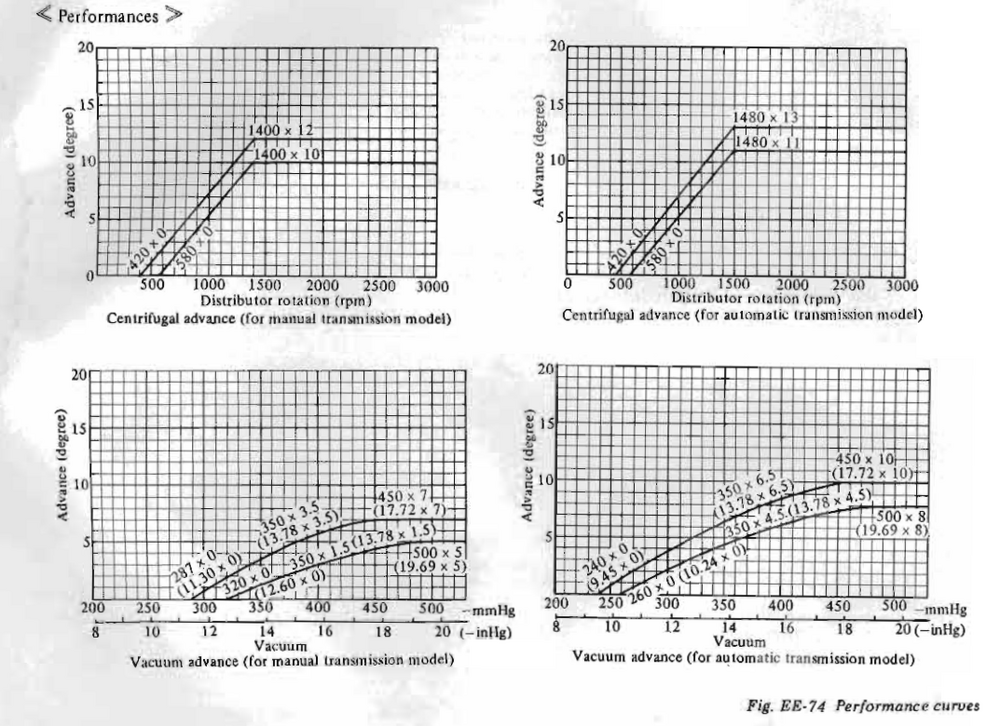
1 pointHere's 1973. If you just get close to these you'll probably be fine, for starters. 1973 was starting to lean toward emissions goals. I haven't really compared the changes to the early curves so can't say if they're significant. Edit -actually you can see that they delayed the advance in 1973. Retarded timing is cleaner than advanced. So the 72 curves probably add a little bit more mid-range power, I'd guess. That's the tradeoff.
 1 point
 -
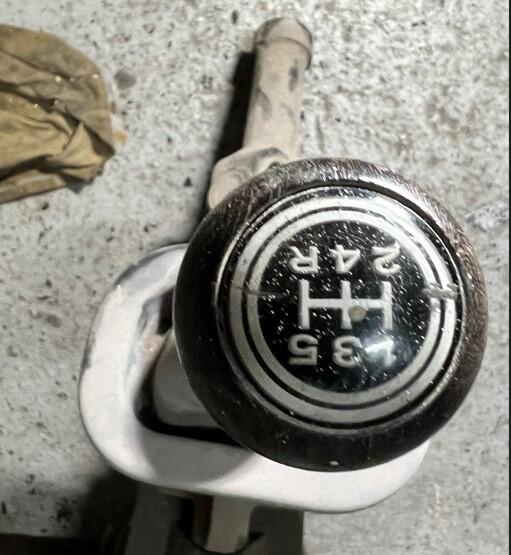
I'd look into UHMW plastic for the button. It's tough, durable and abrasion resistant. Curbell Plastics sells 5' of 1/4 rod for $10.09. That small investment would build well over 200 buttons and put you in the button business.1 point
-
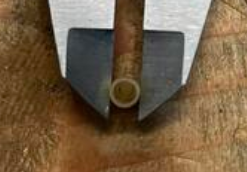
I see a brass tube with a plastic knob inserted. That is an injection molded part. Those thin walls will be difficult to replicate. The cost of machining is in the tolerances, not the dimensions.
 1 point
 -
1 pointAll you have to do is magically contort your arms to reach behind the evaporator and use your x-ray vision to see the wires & connectors.1 point
-
1 pointNo, it was just a lack of knowledge. Dumb would have been leaving it there after you have learned about how you needed things to work. And, BTW, my suggestion about de-pinning the BW wire from the engine harness connector probably would have removed that issue, too.1 point
-
1 pointSo I think I figured out the short, it was actually mine dumb idea. Originally I was using the G/W wire from behind the tach to pulse (DO) output from the ecu for the IAC. I thought (wrongly) that the wire only went from behind the tach to the coil. and it was a simple way to wire my IAC without adding any new wire. But it also went to the ignition 12v, so when it pulses a negative to run the iac, it was creating a short to the ignition. I have fixed that aspect, but boy was that dumb.1 point
-
As mentioned, the oil pressure port is above the resting oil level in the crankcase. Note where the dipstick is, and the oil level on it when checked, in relation to the location of the oil pressure port. Just don’t try to do it with the engine running.1 point
-
Yes sir, those look are the ones. Send me a PM with the $ details. Thanks!1 point
-
In the first photo, you can see the fan is blurred, so the car is running. Unless @240zadmirehad not tried to rev the engine to excite the alternator before that photo, the voltage is low. Since the alternator and battery are connected, you should see the same voltage at both. The only thing that would drop the voltage at the battery is corrosion.1 point
-
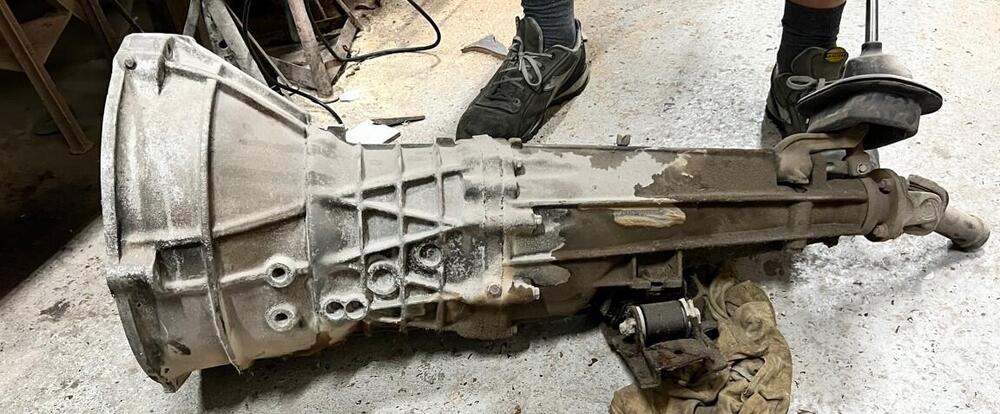
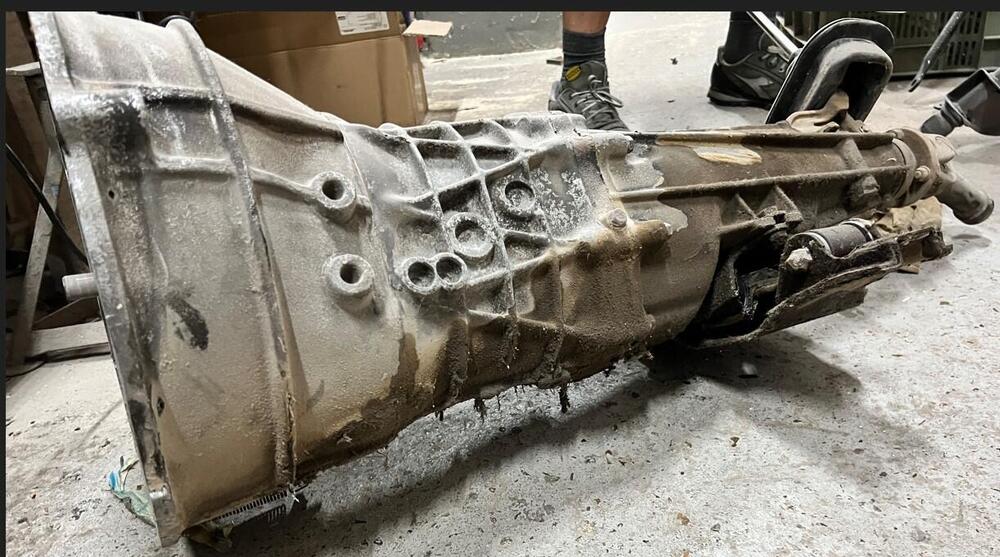
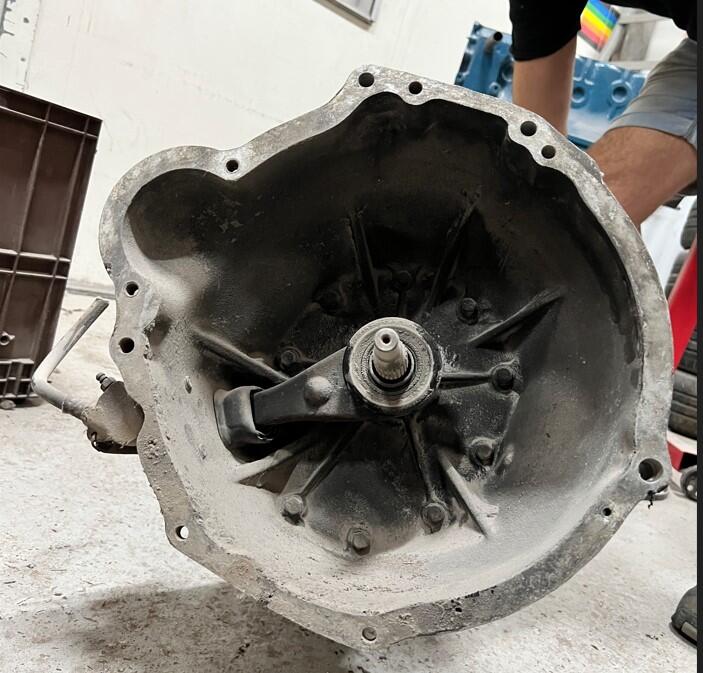
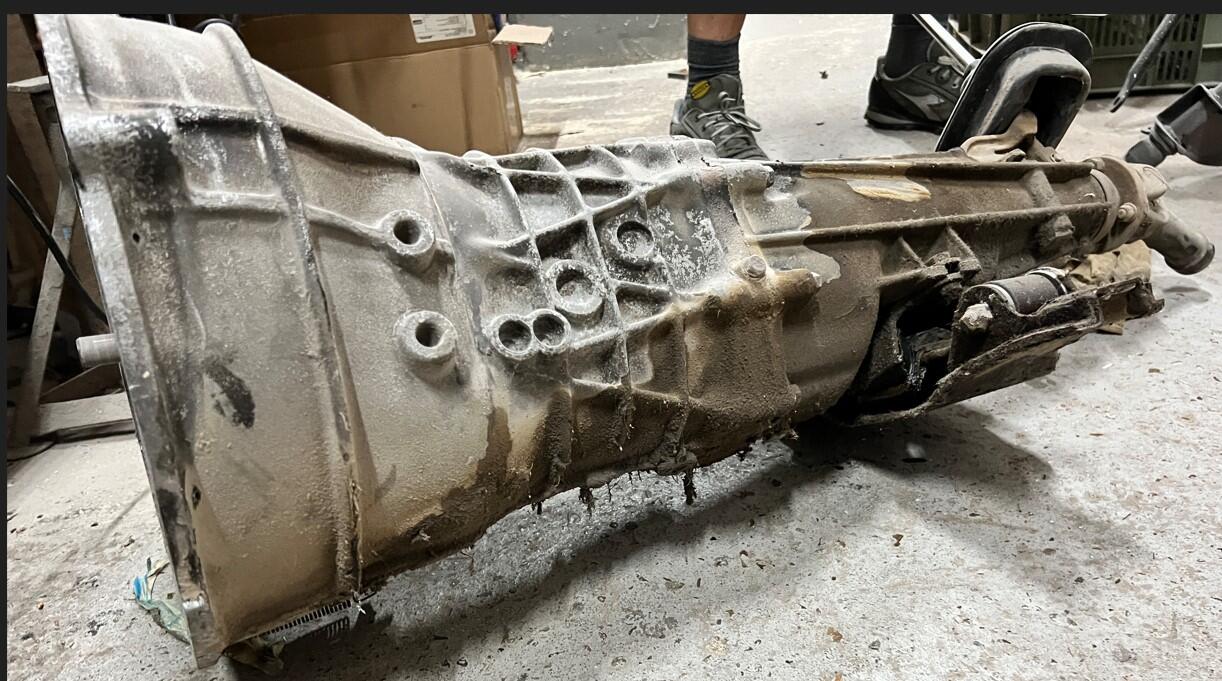
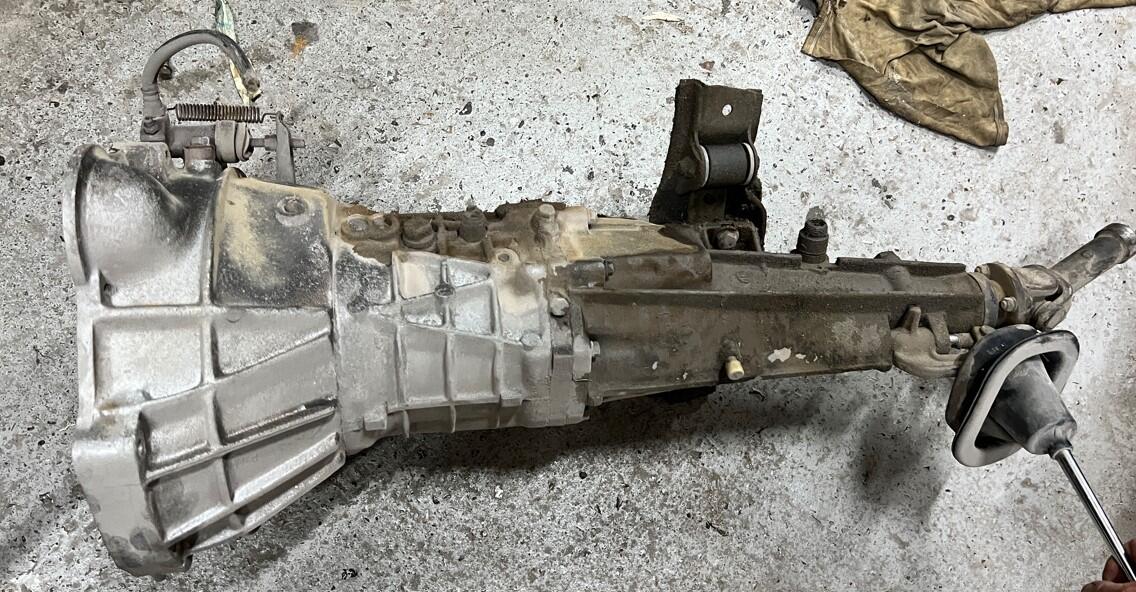
1 pointSome update: I did a lot of searching and e-mails to Datsun clubs and people around the world. Also Kats helped in this. A shop in Australia could also help me with parts for the FS5C71A. Then by luck, a garage here in Brabant Pronvince, close to Zeeland, had a complete transmission laying around ! How luck is that ? I'm going to pick it up coming weeks, then drop it off at the transmission shop so he can check it out, and then I can complete my original 240Z 5 speed swap in the future.

 1 point
 -
I would not consider either ABS or acrylic to be a good choice in the long term. Certainly usable for proof of concept and testing a procedure. Careful with the acrylic as it can be brittle and shatter if you push it too hard. Don't hurt yourself and wear eye protection! This could be done in a drill press, but it's really not the tool for the job. For the spring hole, you want the hole in the center and it probably has a flat bottom. The rounded tip is actually the easy part here... Just use a file while the part is spinning. Heck, since I don't consider it to be a high precision job, that's what I would do on the lathe. Use a file and eyeball the radius.1 point
-
1 point
-
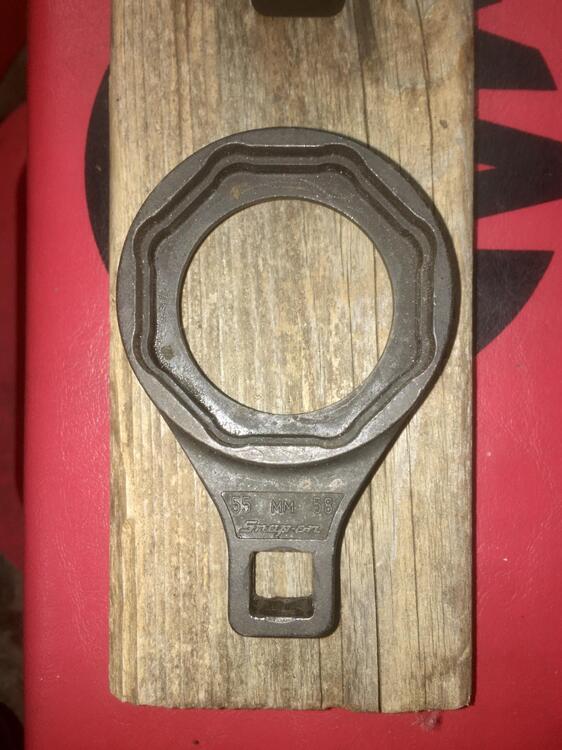
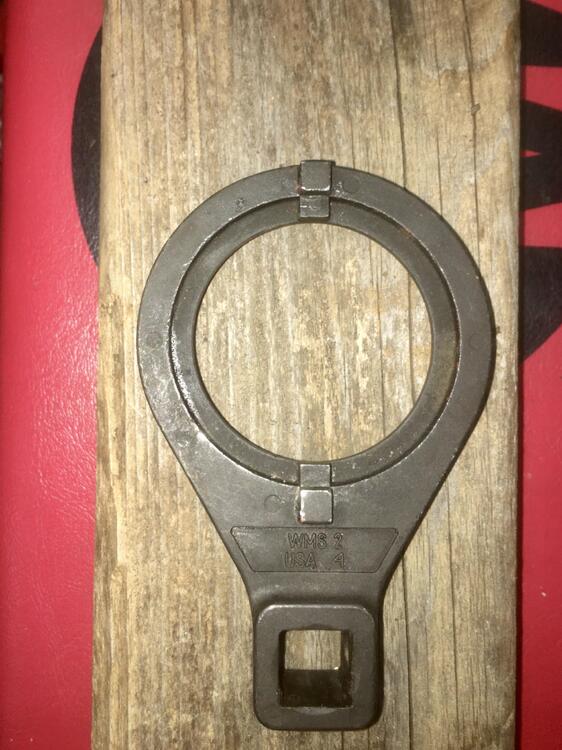
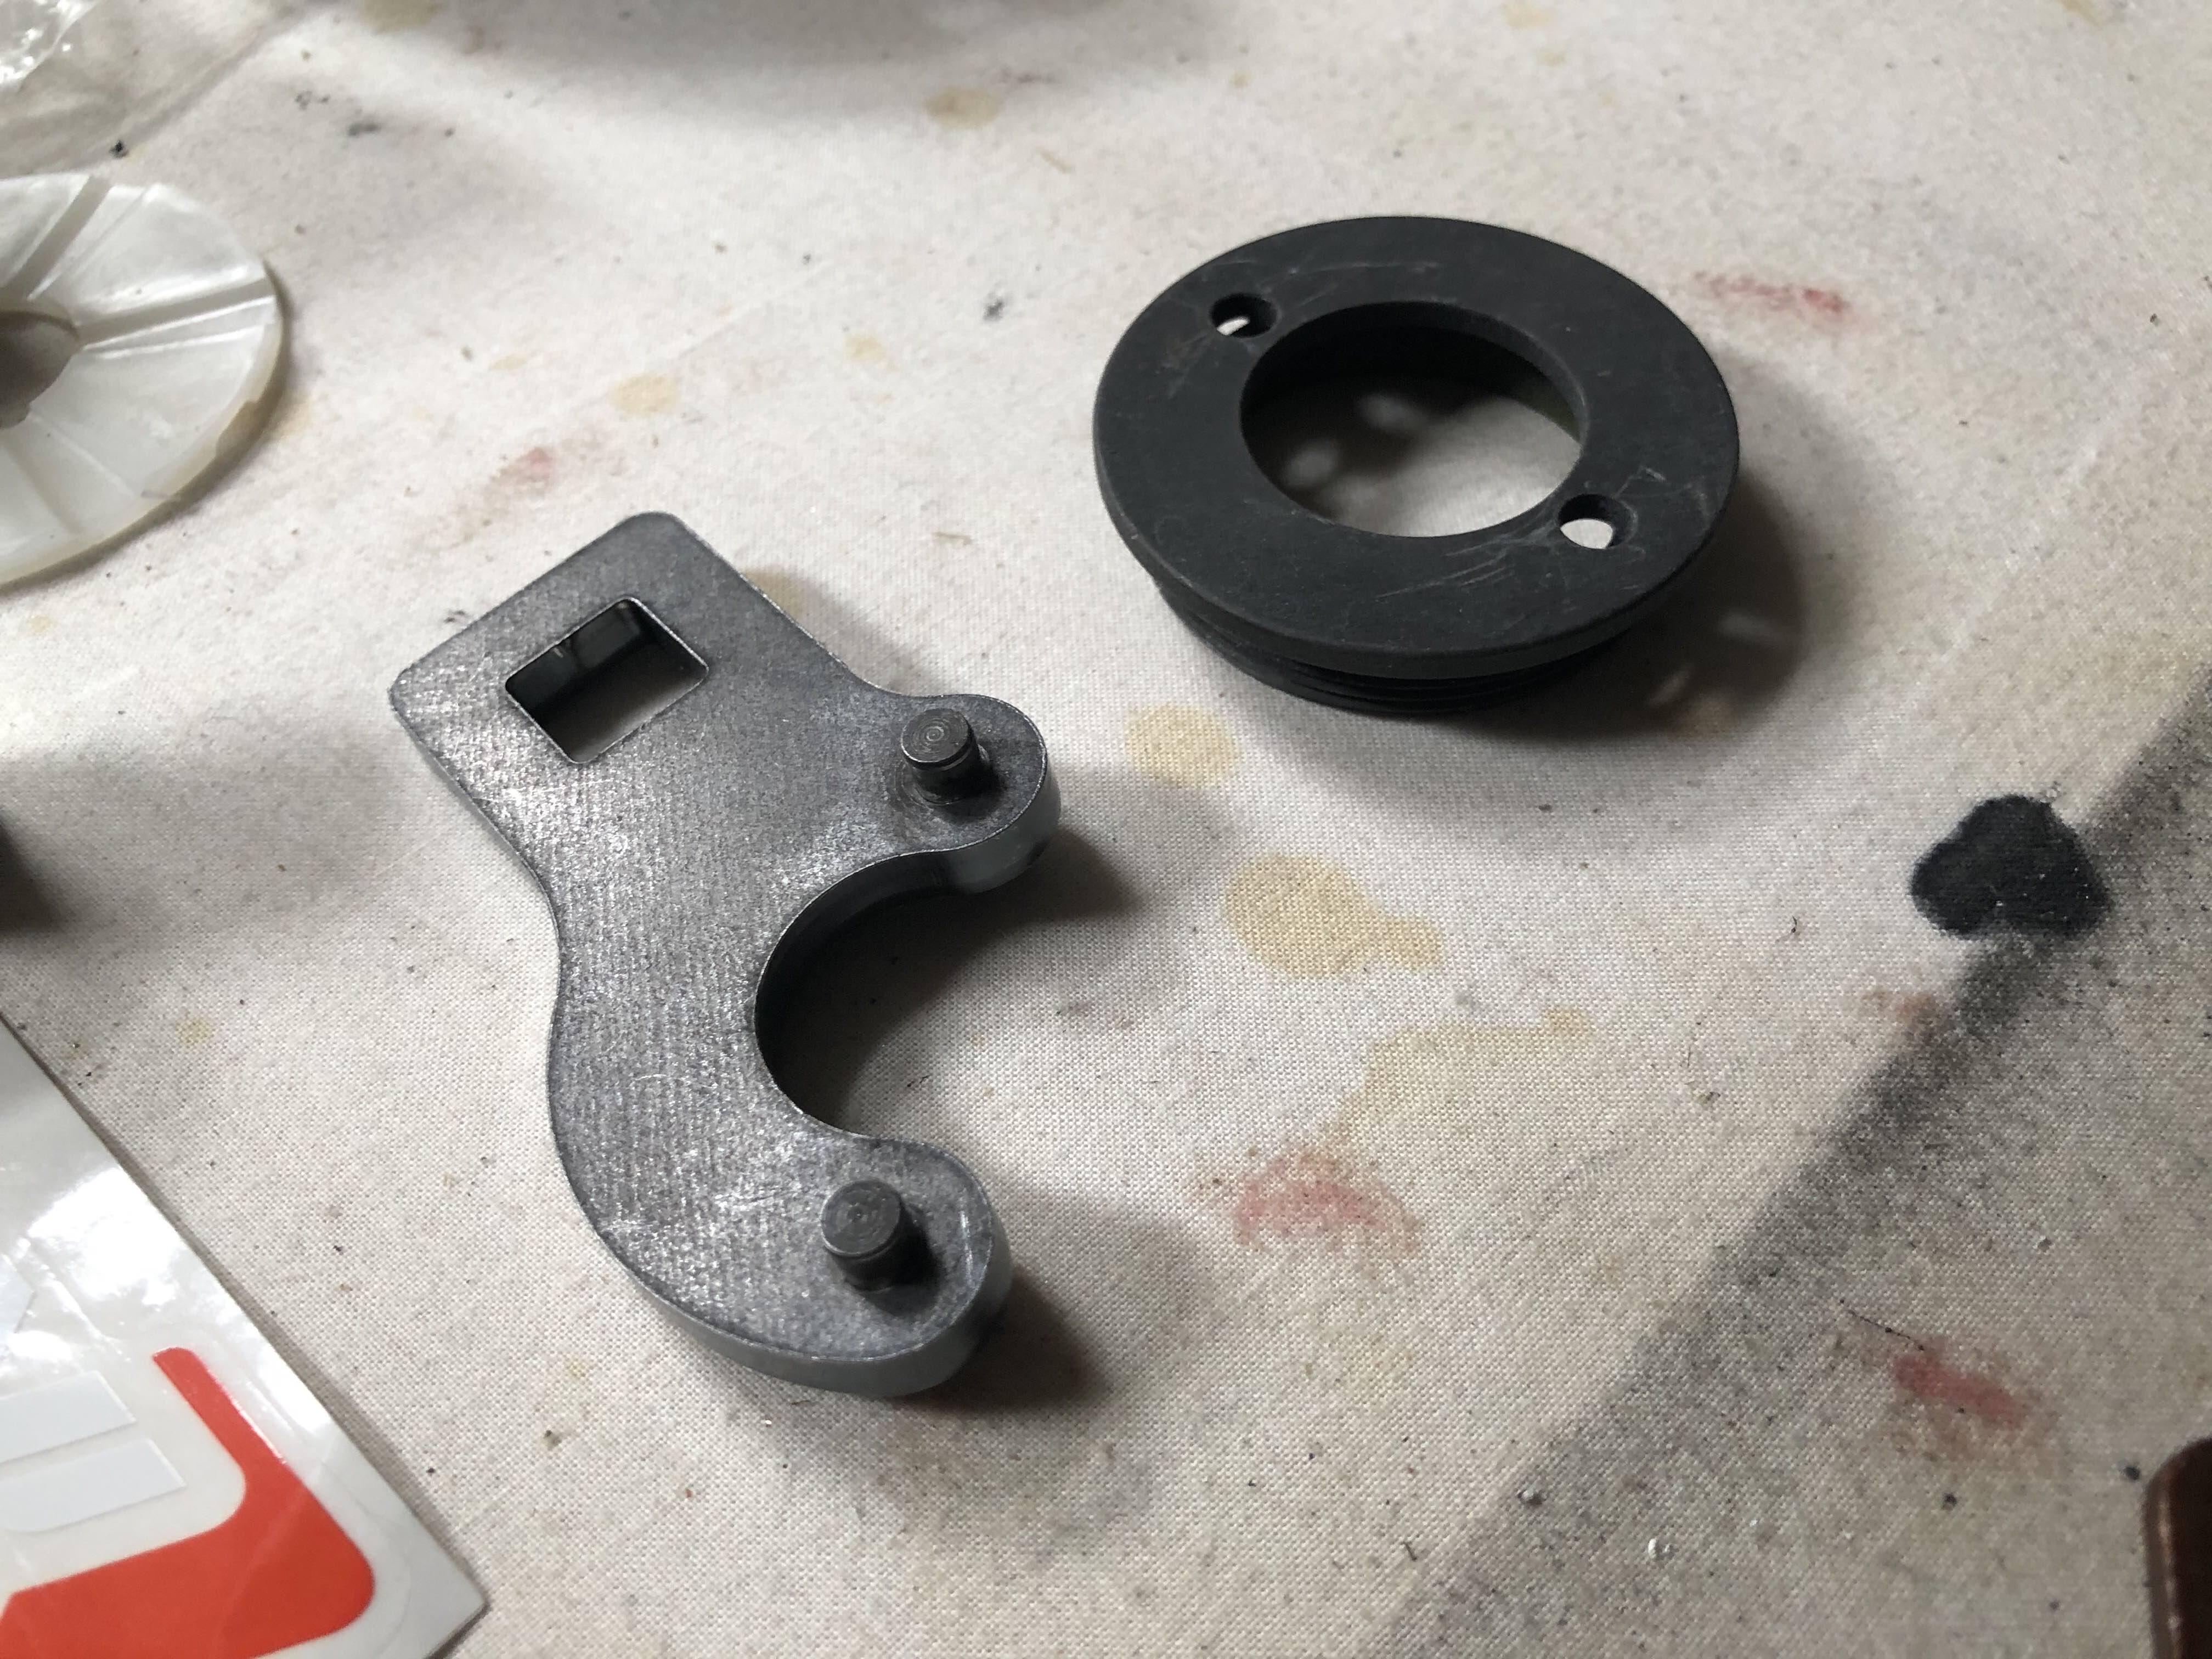
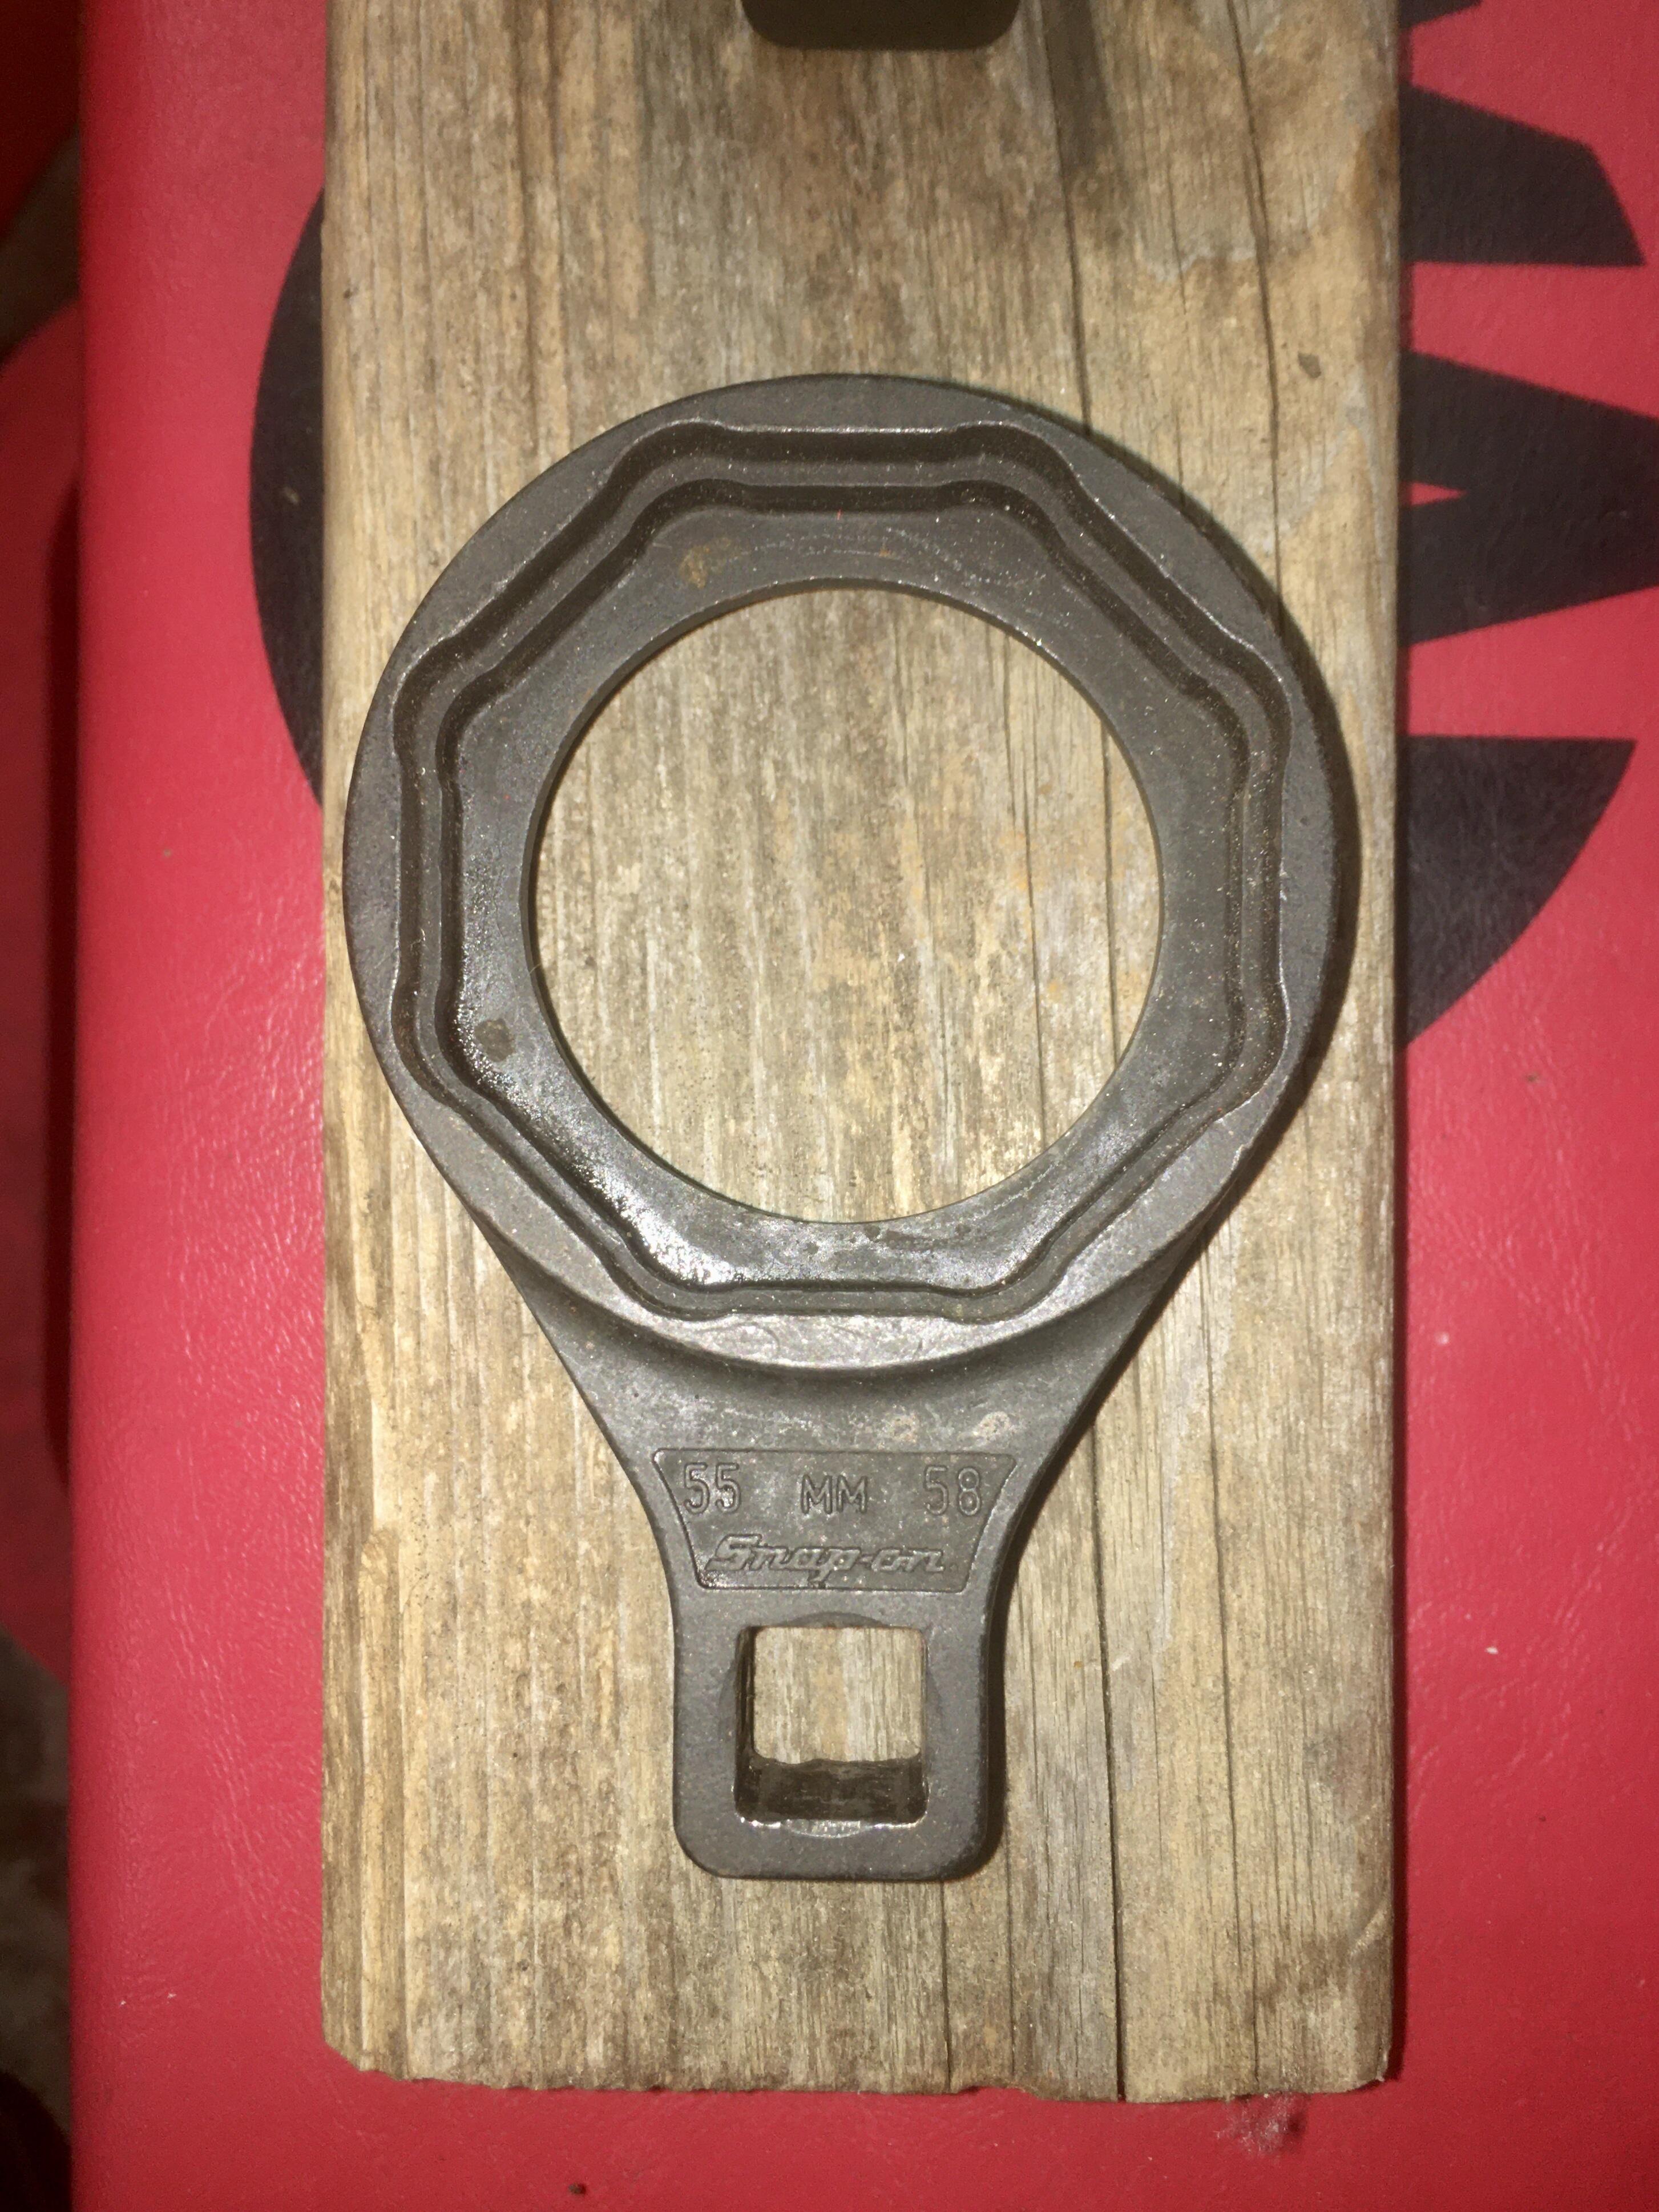
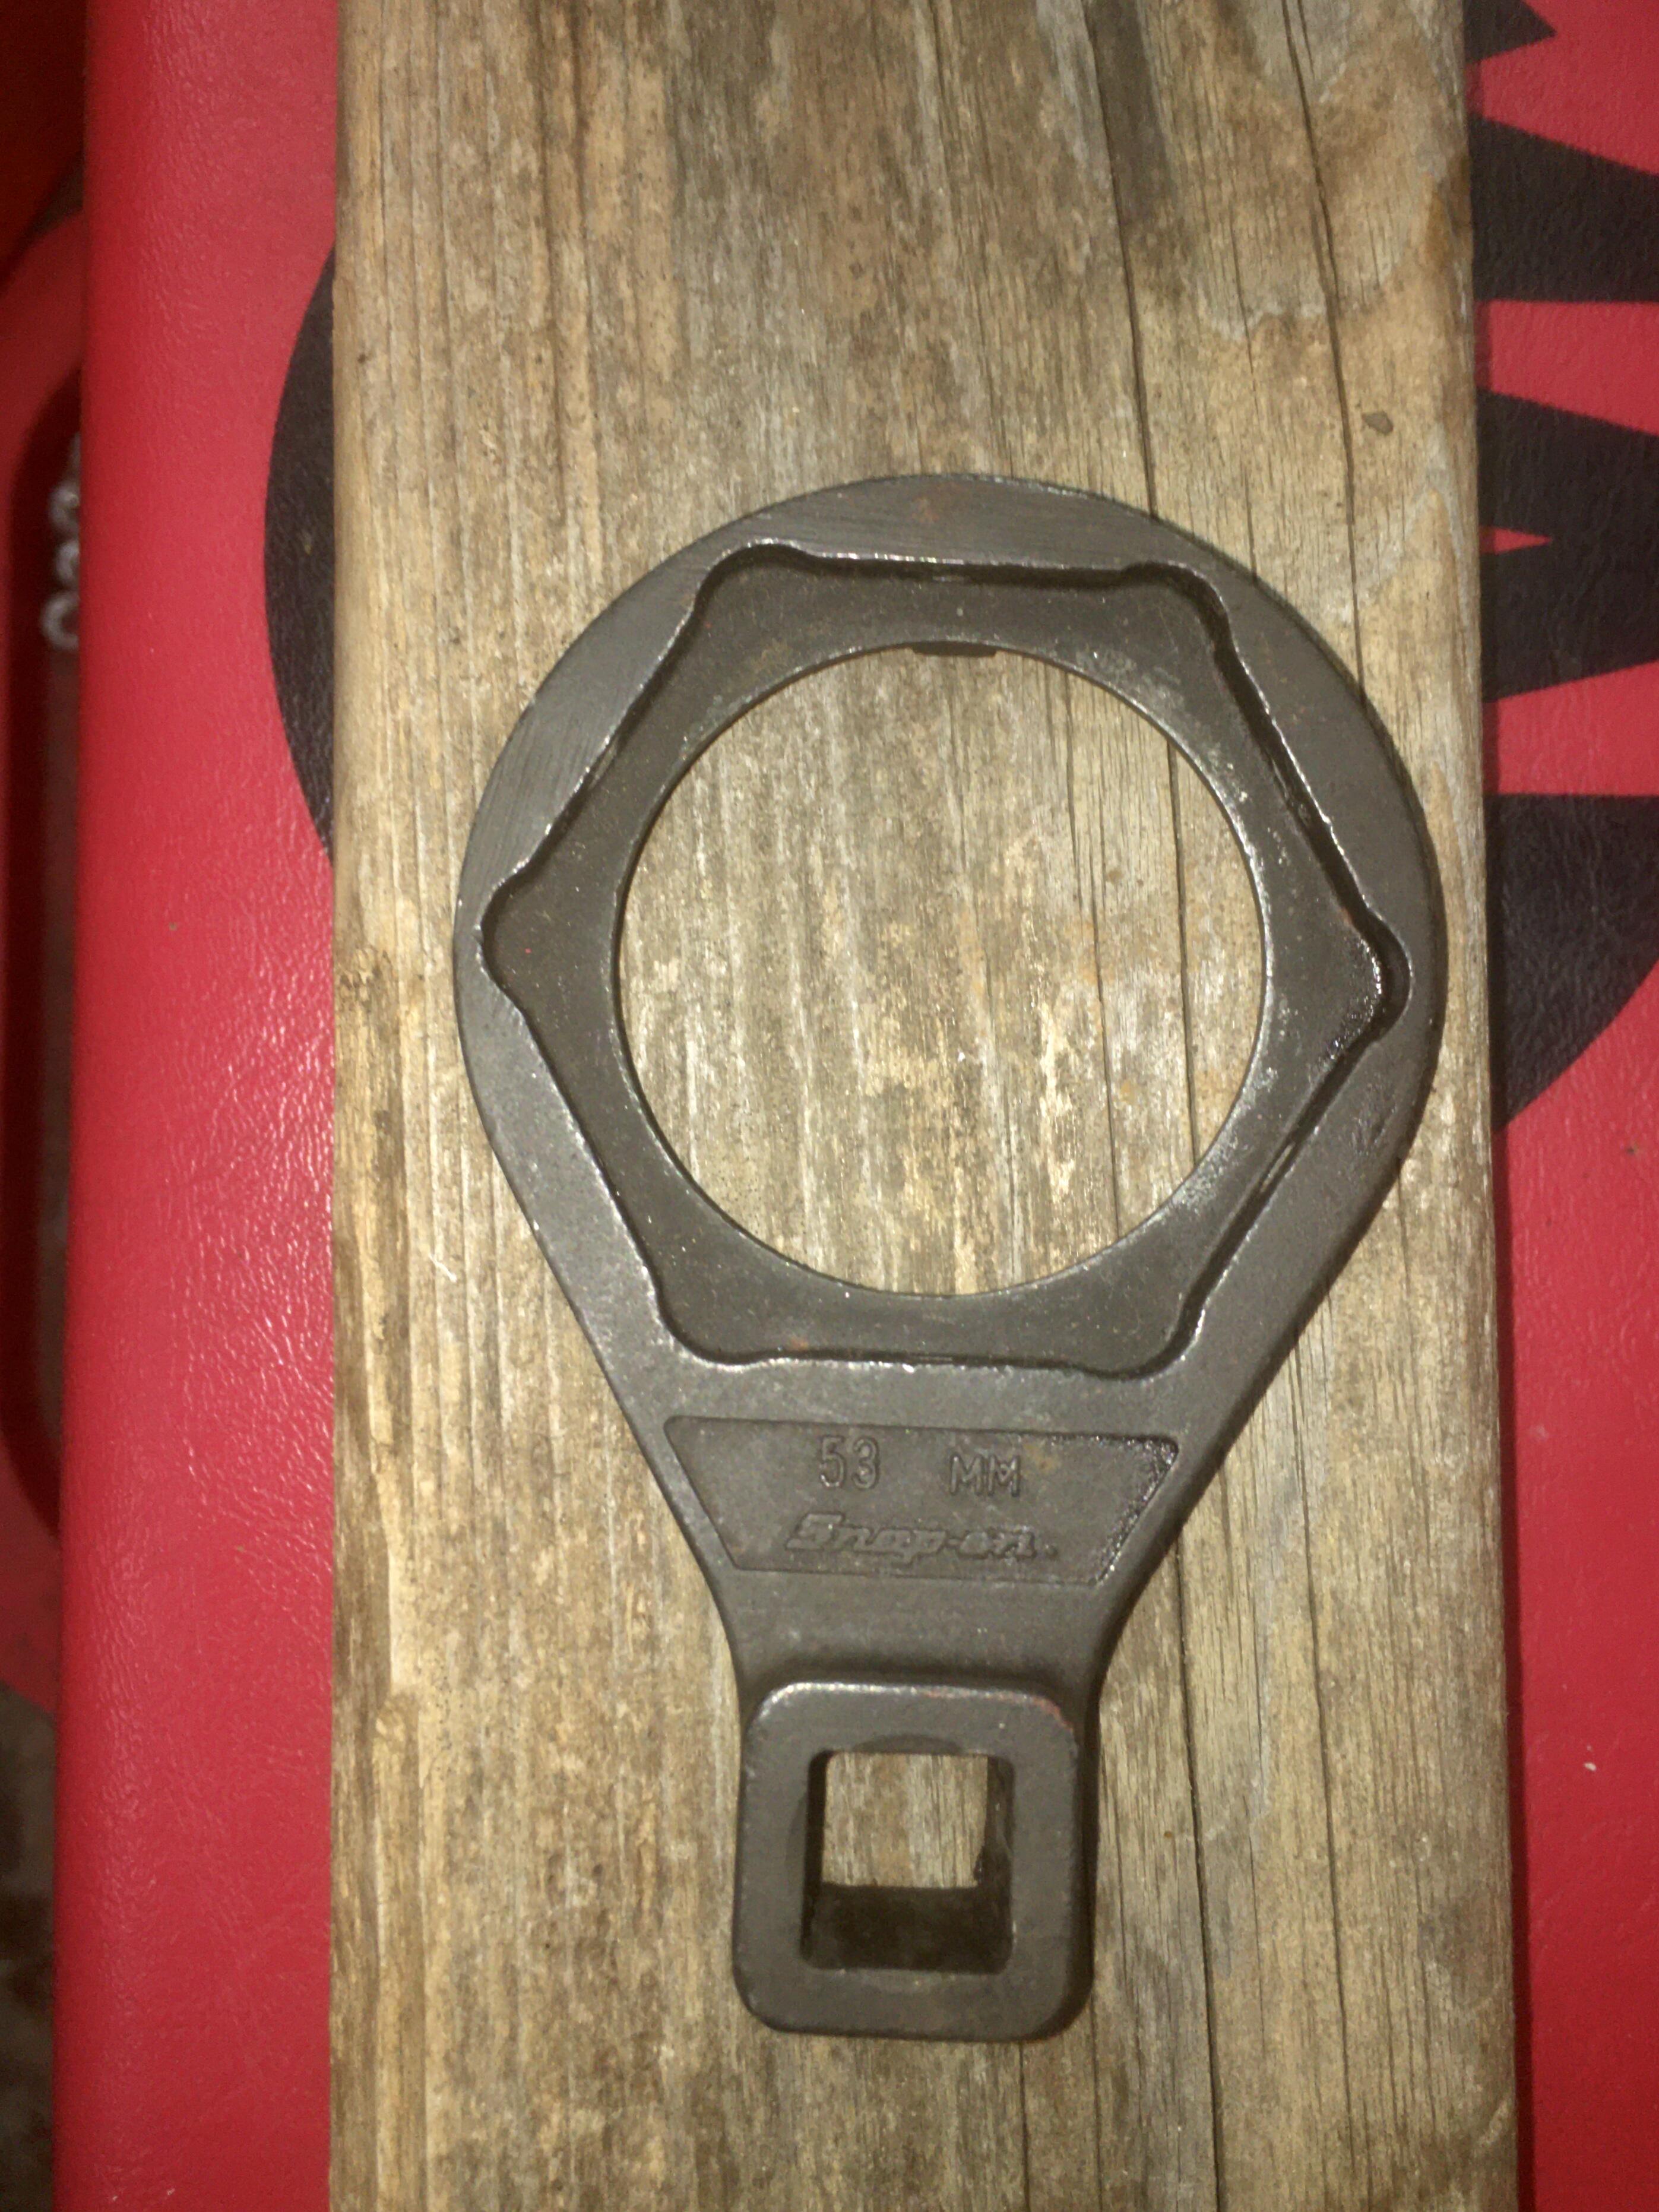
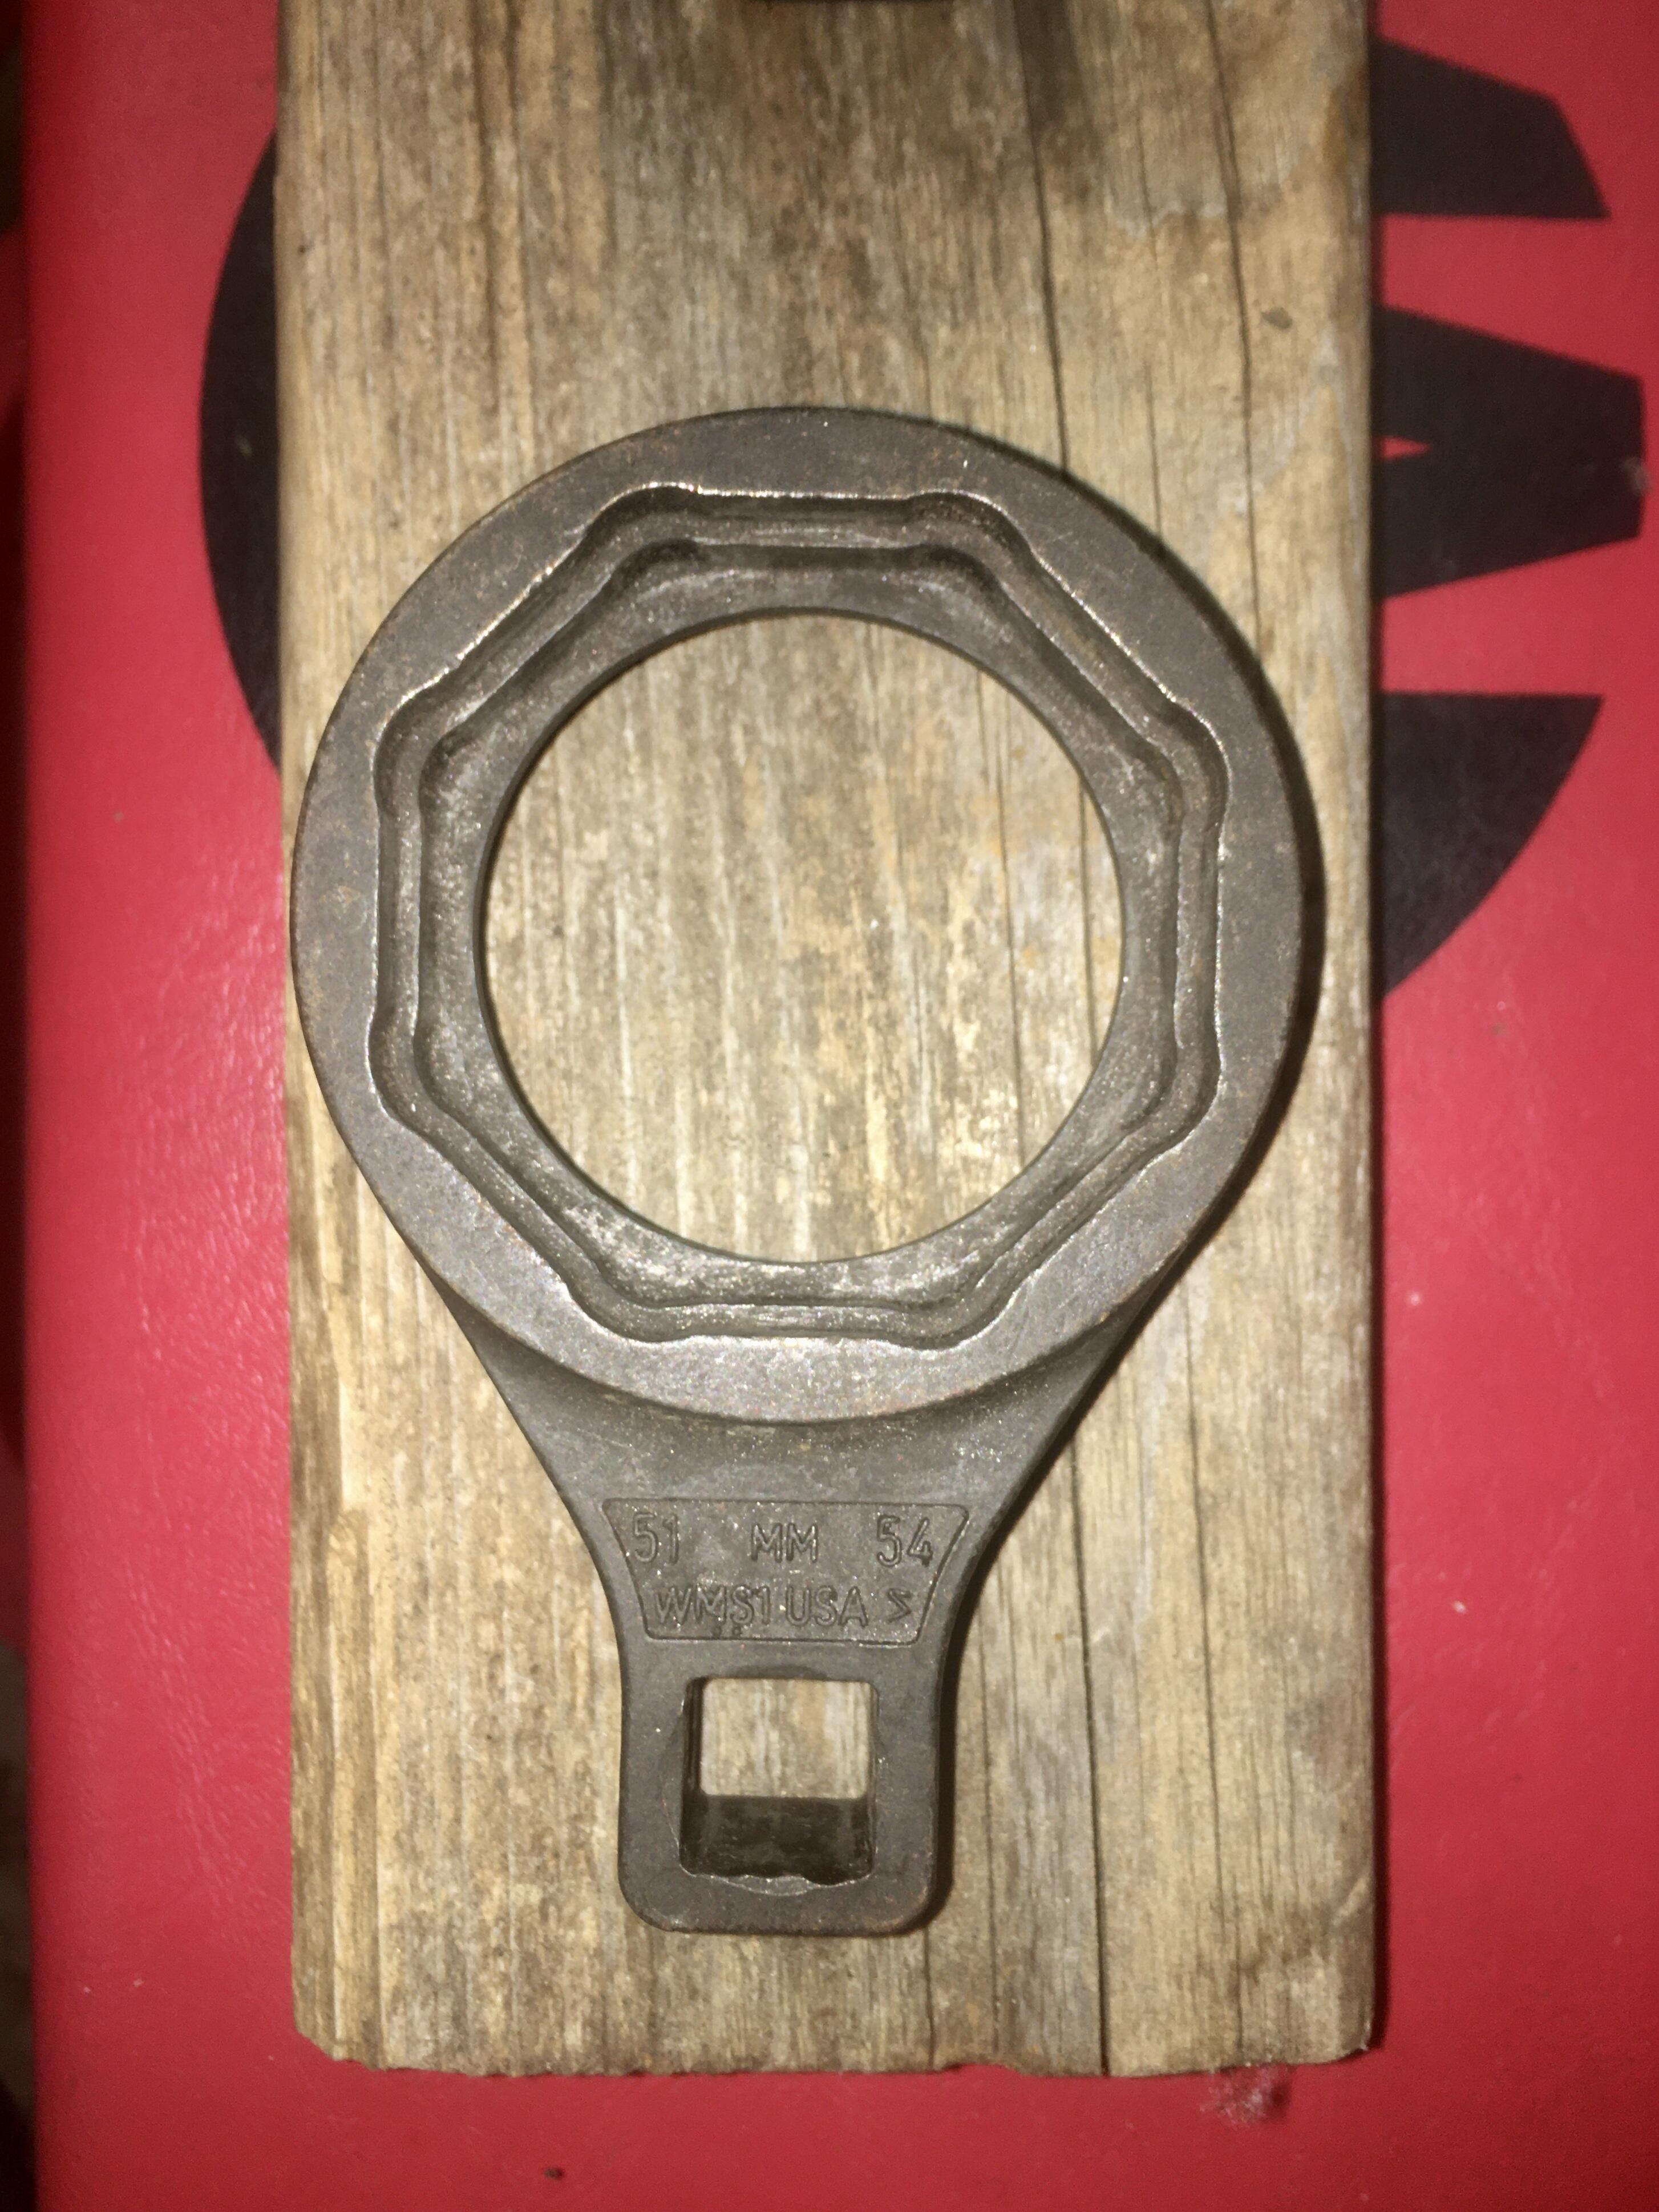
1 point1 point1 pointSnap On makes two gland nut wrenches, WMS1, and WMS2. WMS1 has four sizes, 51, and 54 mm on one side, 55, and 58 mm on the other. WMS2 has 53 mm on one side, and two sizes for slotted gland nuts like one finds on hydraulic jacks. Pictures below. The OEM strut assemblies used the strut tube as a reservoir, so oil was used. The aftermarket strut cartridges are fully self contained. No oil is required to be added.


 1 point


Important Information
By using this site, you agree to our Privacy Policy and Guidelines. We have placed cookies on your device to help make this website better. You can adjust your cookie settings, otherwise we'll assume you're okay to continue.