Leaderboard
-

siteunseen
Free Member24Points15,115Posts -
JDMjunkies.ch
Free Member5Points637Posts -

Zed Head
Free Member3Points19,238Posts -
kmack
Free Member3Points1,462Posts


Popular Content
Showing content with the highest reputation on 03/10/2022 in all areas
-
7 points
-
5 pointsI originally posted on my build thread about the different NOS Frame rails i have here: @Patcon & @CanTechZ requested that i make a special thread for it, so you can discuss. so here is the same information again: @Namerow: Since you cought my interest on this, i decided to have a deeper look into this. I have two different sets of NOS frame rails, one is grey and the other one black. one set is already sold, one grey item has already been cut up by my previous bodyshop to fix my chassis: Here you can see the two sets with the partnumbers labelled on it. The main differences are the mounting brackets (see red circles), some "wings" which were added on the grey version (see blue marks), and the extended length of the tension rod mounting "buckets" (sees green circles) Otherwise the two are pretty much the same, aside from some small clamps and brackets which have been added: -E4150 is used up to June 1972 according the european microfiches. and it also seems to match with my late 1971 production chassis i have. -N4150 is not clear. i didn't find it in any of my parts list, it seems weither to be from the 2+2 nor any other model, but because of the part numbering system, i just think it's an July 1972+ item. I didn't measure every single part, but wherever i checked on approx. 5 random spots, it was always 1,5mm thickness of sheet metal: here are some additional photos, see additional cable clamp in the black version, Additional "Wing" is well visible here: extende shape of the inside reinforcment: slightly different shape of the inside mounting bracket / reinforcement (left edge): Here you can see the end "wings" on the grey one, but it seems like the "leftower" piece on t he black ones have just been bent up in the grey version. Small additional bracket on t he grey version (center) Here you can nicely see the different style of mounting brakets: (the center one of the grey one is bent, i t would look similar as the other ones on the grey one. the additional "holes" on the left side are because the bracket on t he inside has been drilled out by the bodyshop, these wouldn't usually be there: Here's a closeup: Here the overall sisize difference of the tension rod mounting bucket is well visible: From what i can see and what i've experienced so far, the KFvintagejdm parts (no advertizing here) come pretty close to the black ones from the picture. The only part missing here is the "bucket" for the tension rod: they currently sell them only in two pieces, but if you look at the photos and drawings in the parts manual exploded view, you can see even the original ones where produced like this and then welded together. so in my opinion this is the best you can get if you can't find OEM ones. It's not well visible in my photos above, but even the "teeth" visible on this one seem to be as on the original ones (the part where the upper and the lower part join). Look closely in the last photo which i posted above, then you can see the "teeth" on the original grey one from a side view):
 5 points
 -
4 pointsI like to say "thou shalt not covet your neighbors donkey" Don't ask to borrow my weedeater you cheapskate Southern Baptist.4 points
-
I said what mine was sitting still in my garage, no air flow except the OE fan. I'm not sure he ever tried that but that would be the same as stand still traffic. This was 3 years ago... California Datsun engine sold to a guy in Panama. Move on, get a honest straight motor. You're walking over $100 bills to pick up a quarter.
 3 points
 -
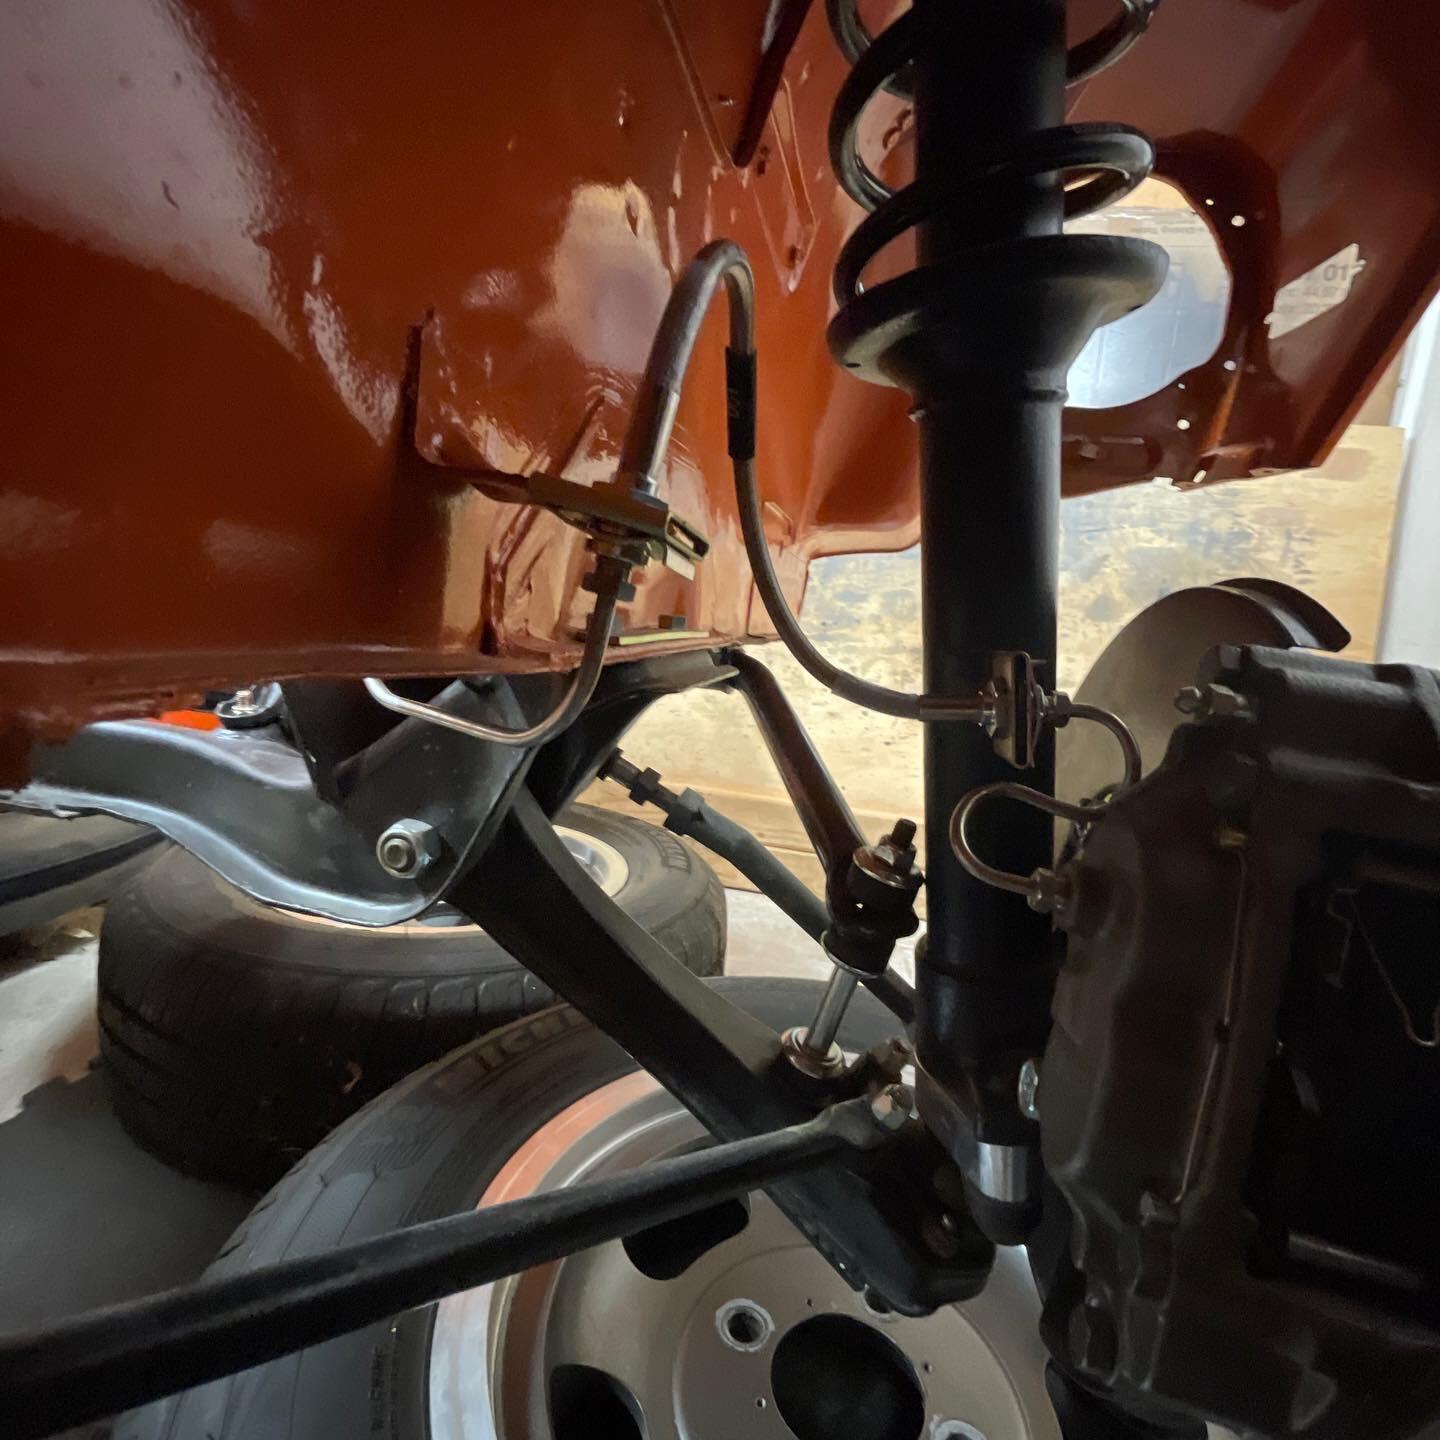
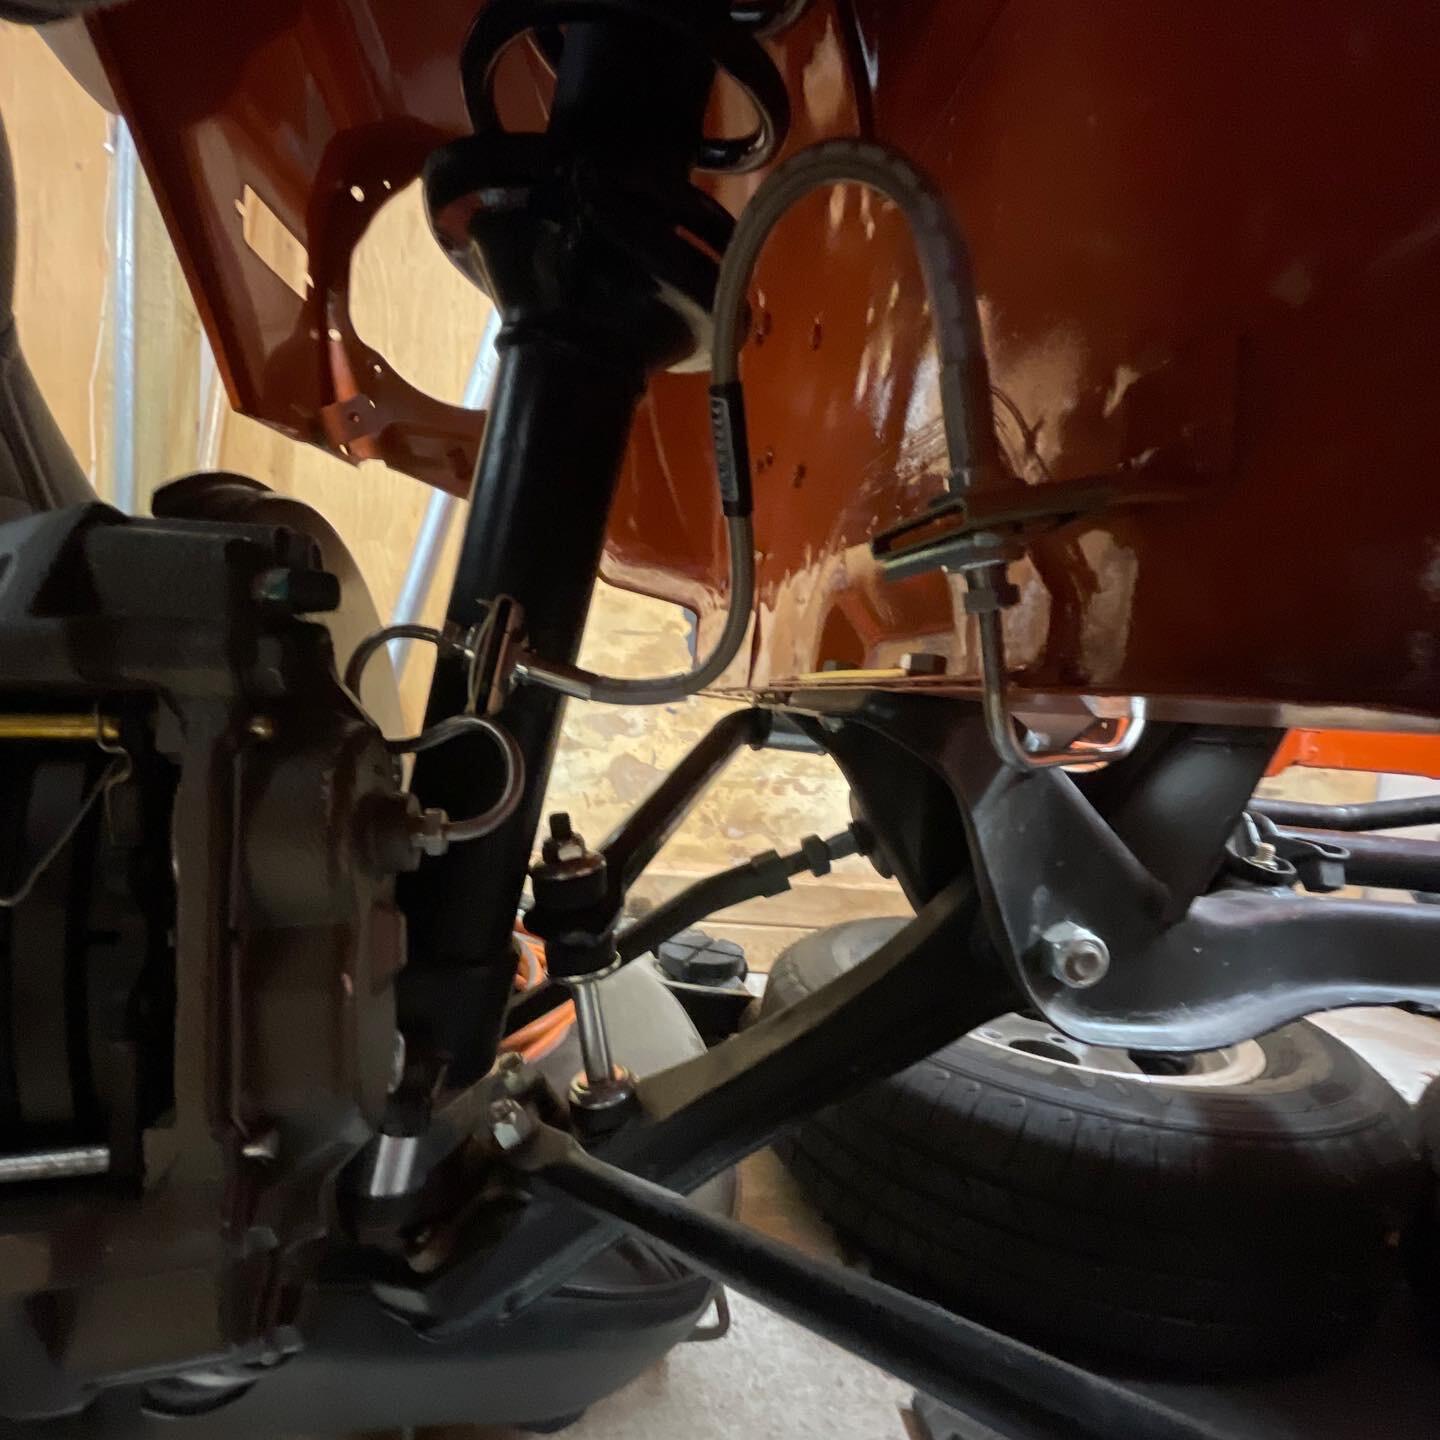
2 pointsGetting this tension rods tighter meant I could move back to the brakes. I now have a complete system between the distribution block and all four calipers. Now I will check my torque on all of the fittings. Then I can go back to rebuilding my master cylinder and start thinking about rehabilitating my pedal box.

 2 points
 -
2 pointsPut a zip-tie around the new tensior to keep it together while you get the chain on. I could only find a ZX kit when I built my 2.4. Worked great but it has different hole spots on the guides. I used the inner holes and got the chain really snug. From what I read you shouldn't be able to see any of the metal on the tensioner when it's all together. Get a new oil pump while you're at it.2 points
-
I have a memory of posting this before, but I'll do it again anyway.1 point
-
1 point
-
1 pointThere’s that ‘thou shalt not covet wife and good’s’ thing, but I’m hoping it doesn’t cover car parts, cuz I have a real covet worked up over here! Great find! Congrats1 point
-
1 point
-
1 point
-
1 point
-
The flat tops almost make it worth the money. I wonder if has a p79? When I first saw it I thought "great deal" then "carbs and intakes not included".1 point
-
1 point
-
Ha, I have enough motors, 2 F54's a few N42's and a bunch of 240's I usually get them in the cars, but I did buy one outright. A 240 with an auto trans on it for $30 The carbs on there look 3 screw? with 73-74 manifold, but they are sold separate.1 point
-
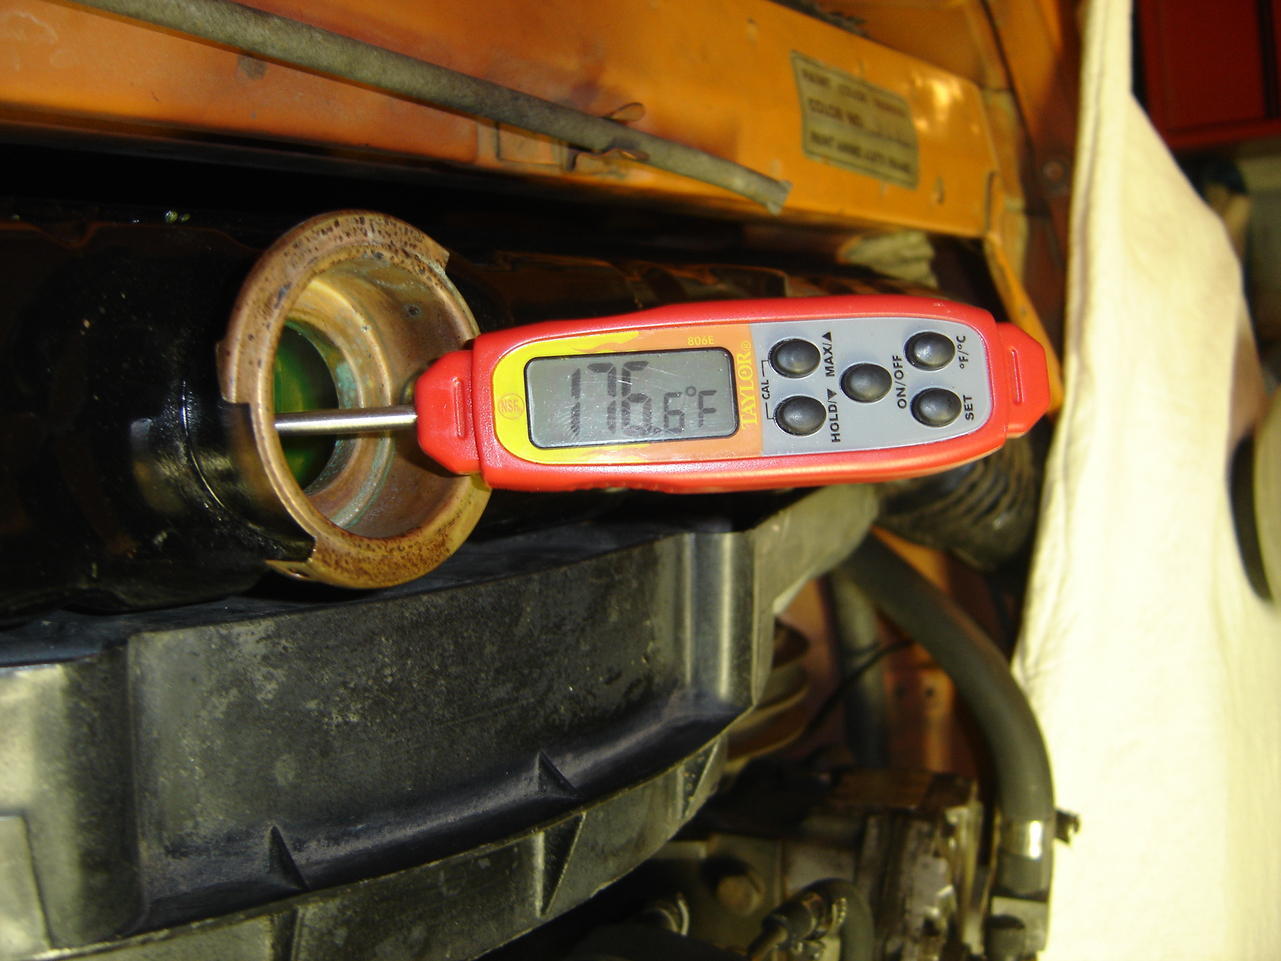
A. What's the temperature in Panama? (closer to Phoenix, Arizona temperature or Northern Utah temperature?) B. What's your WATER TEMPERATURE when you're sitting in traffic? (Is your problem with engine cooling OR heat soak in the carbs?)1 point
-
1 point@SteveJ what i had noticed was when u start the ignition, sometimes starter solenoid engages and sometimes not. Also the current draw I can feel was low. Today I had received a new ignition switch module and have tested it. It is night and day difference in terms of how the engine cranks. Changing the ignition switch and continue to operate for few more days and see if relays have any issues. Also, I am planning to get rid of those sheer screws on the new ignition switch module, not sure if there is a specific purpose for those? I am using a dremel to cut a slot on those to hopefully take them out safely and put standard screws in the new.1 point
-
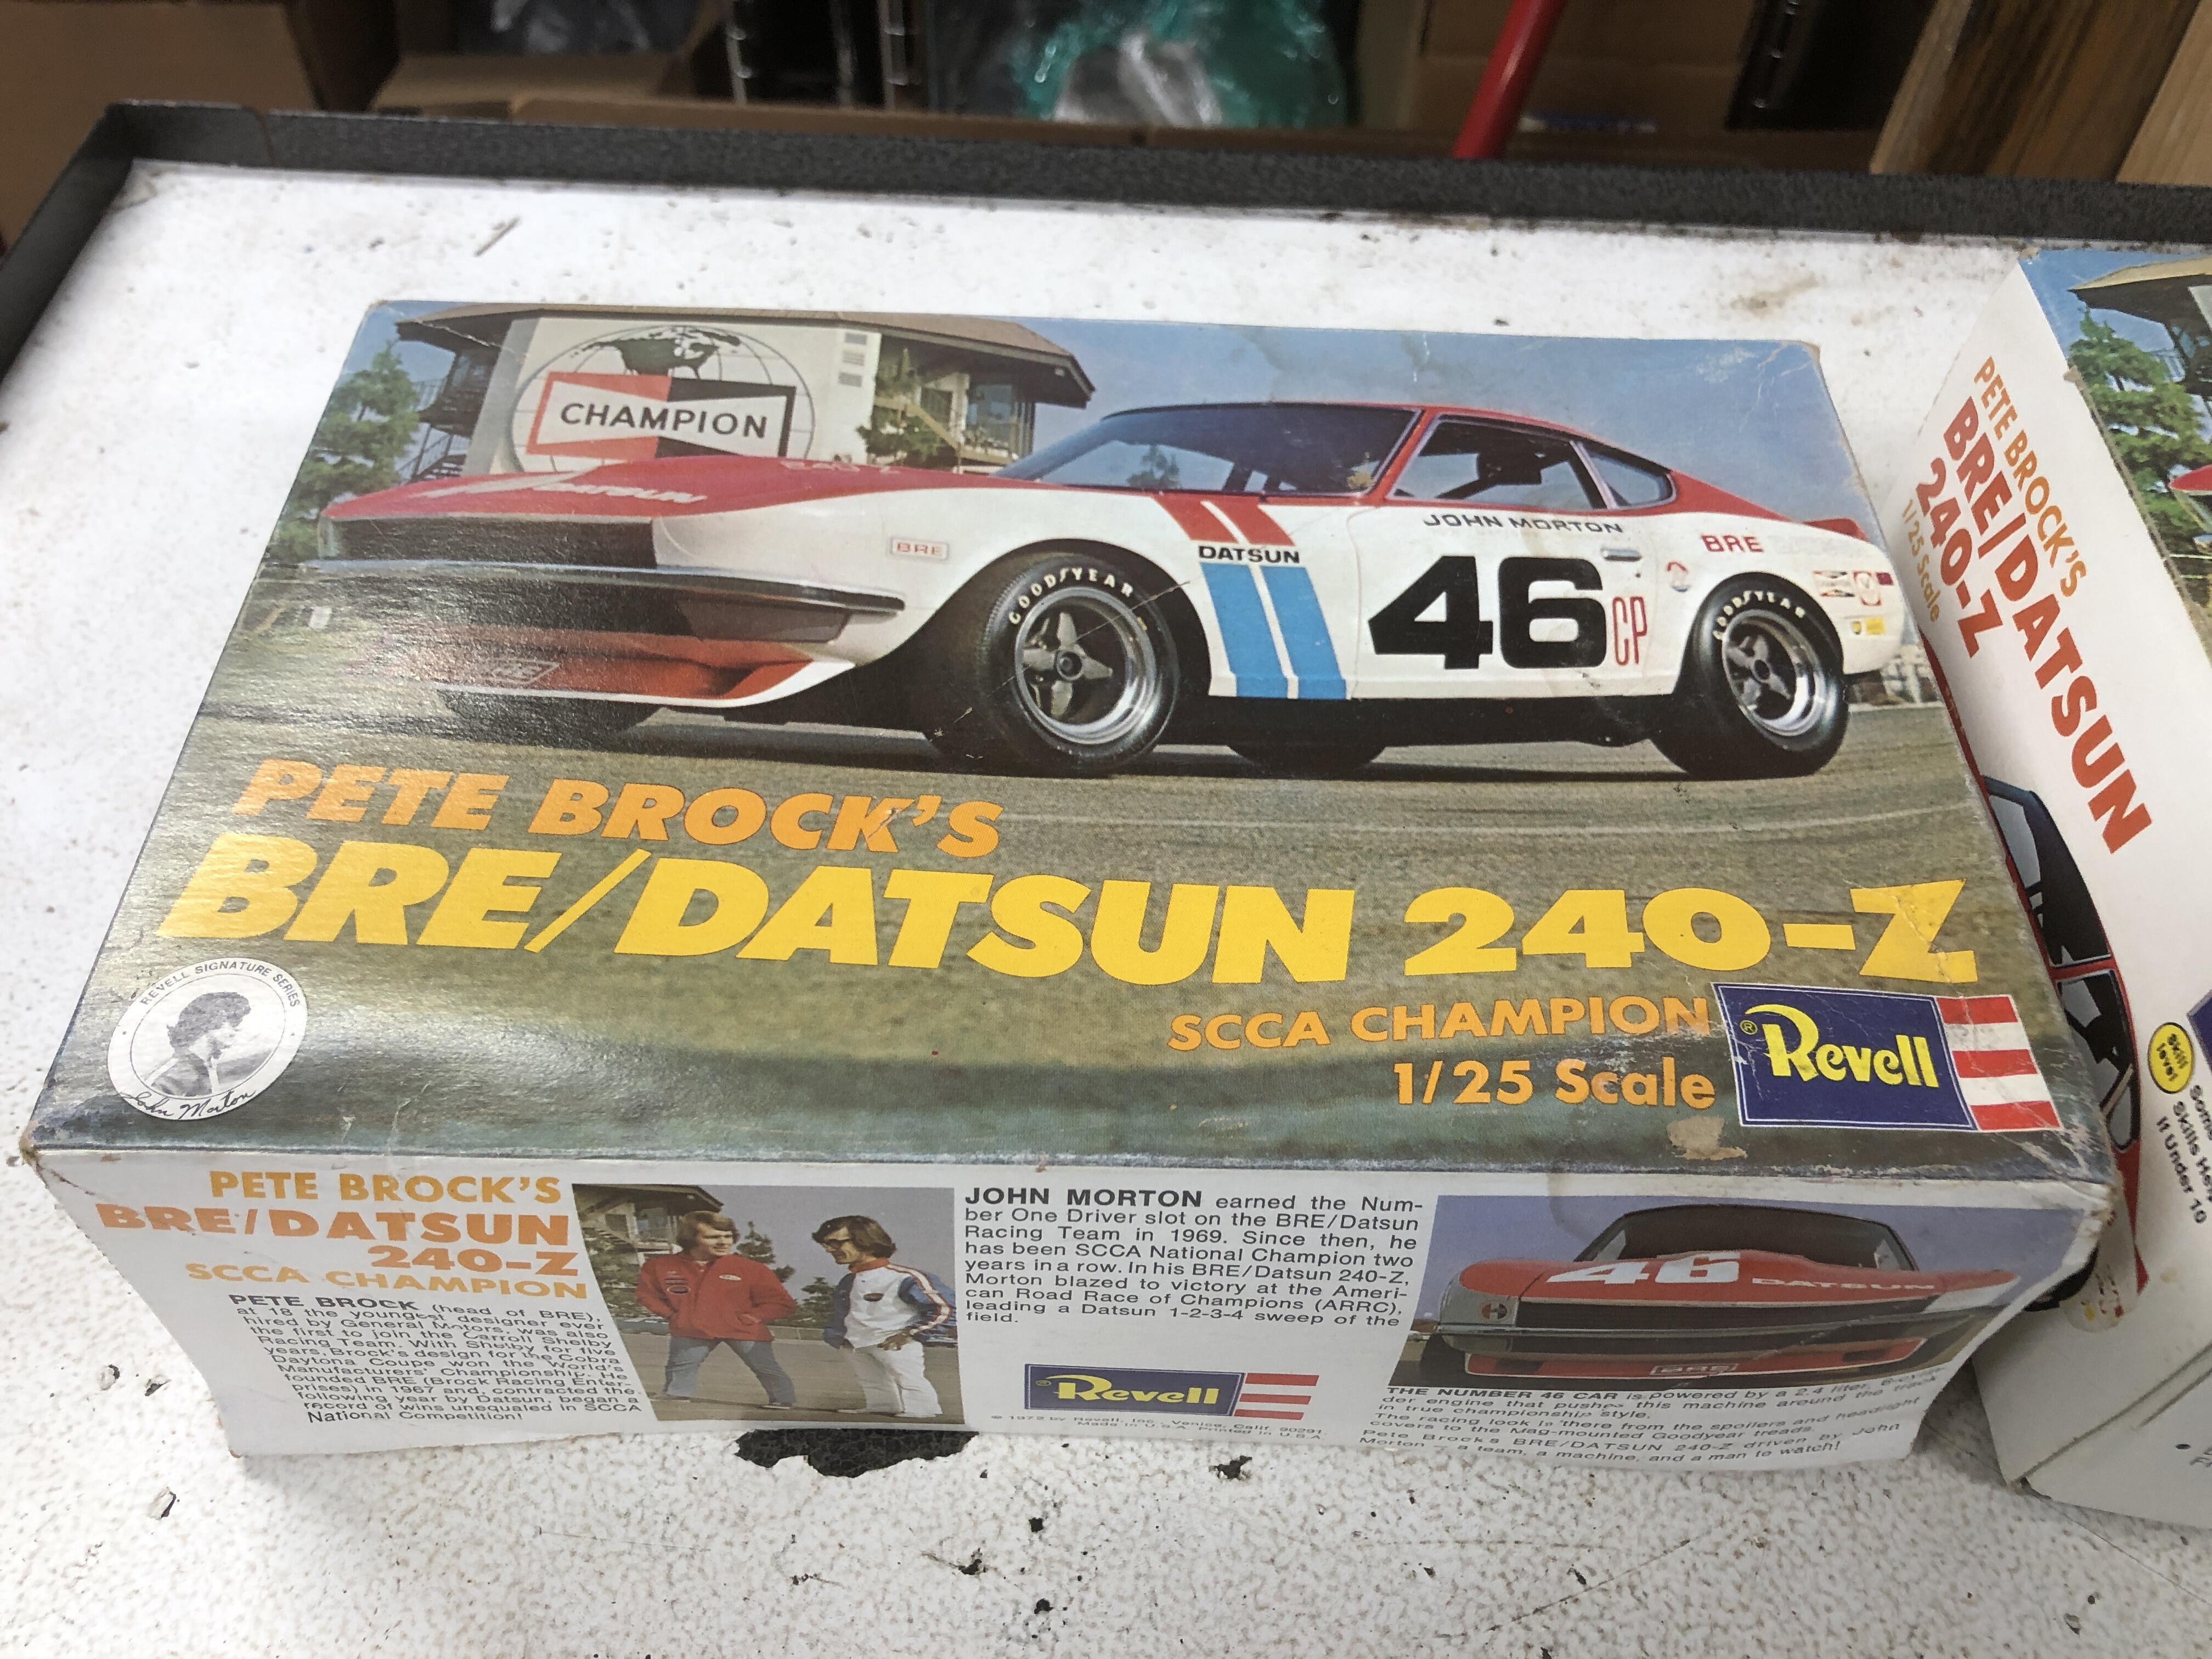
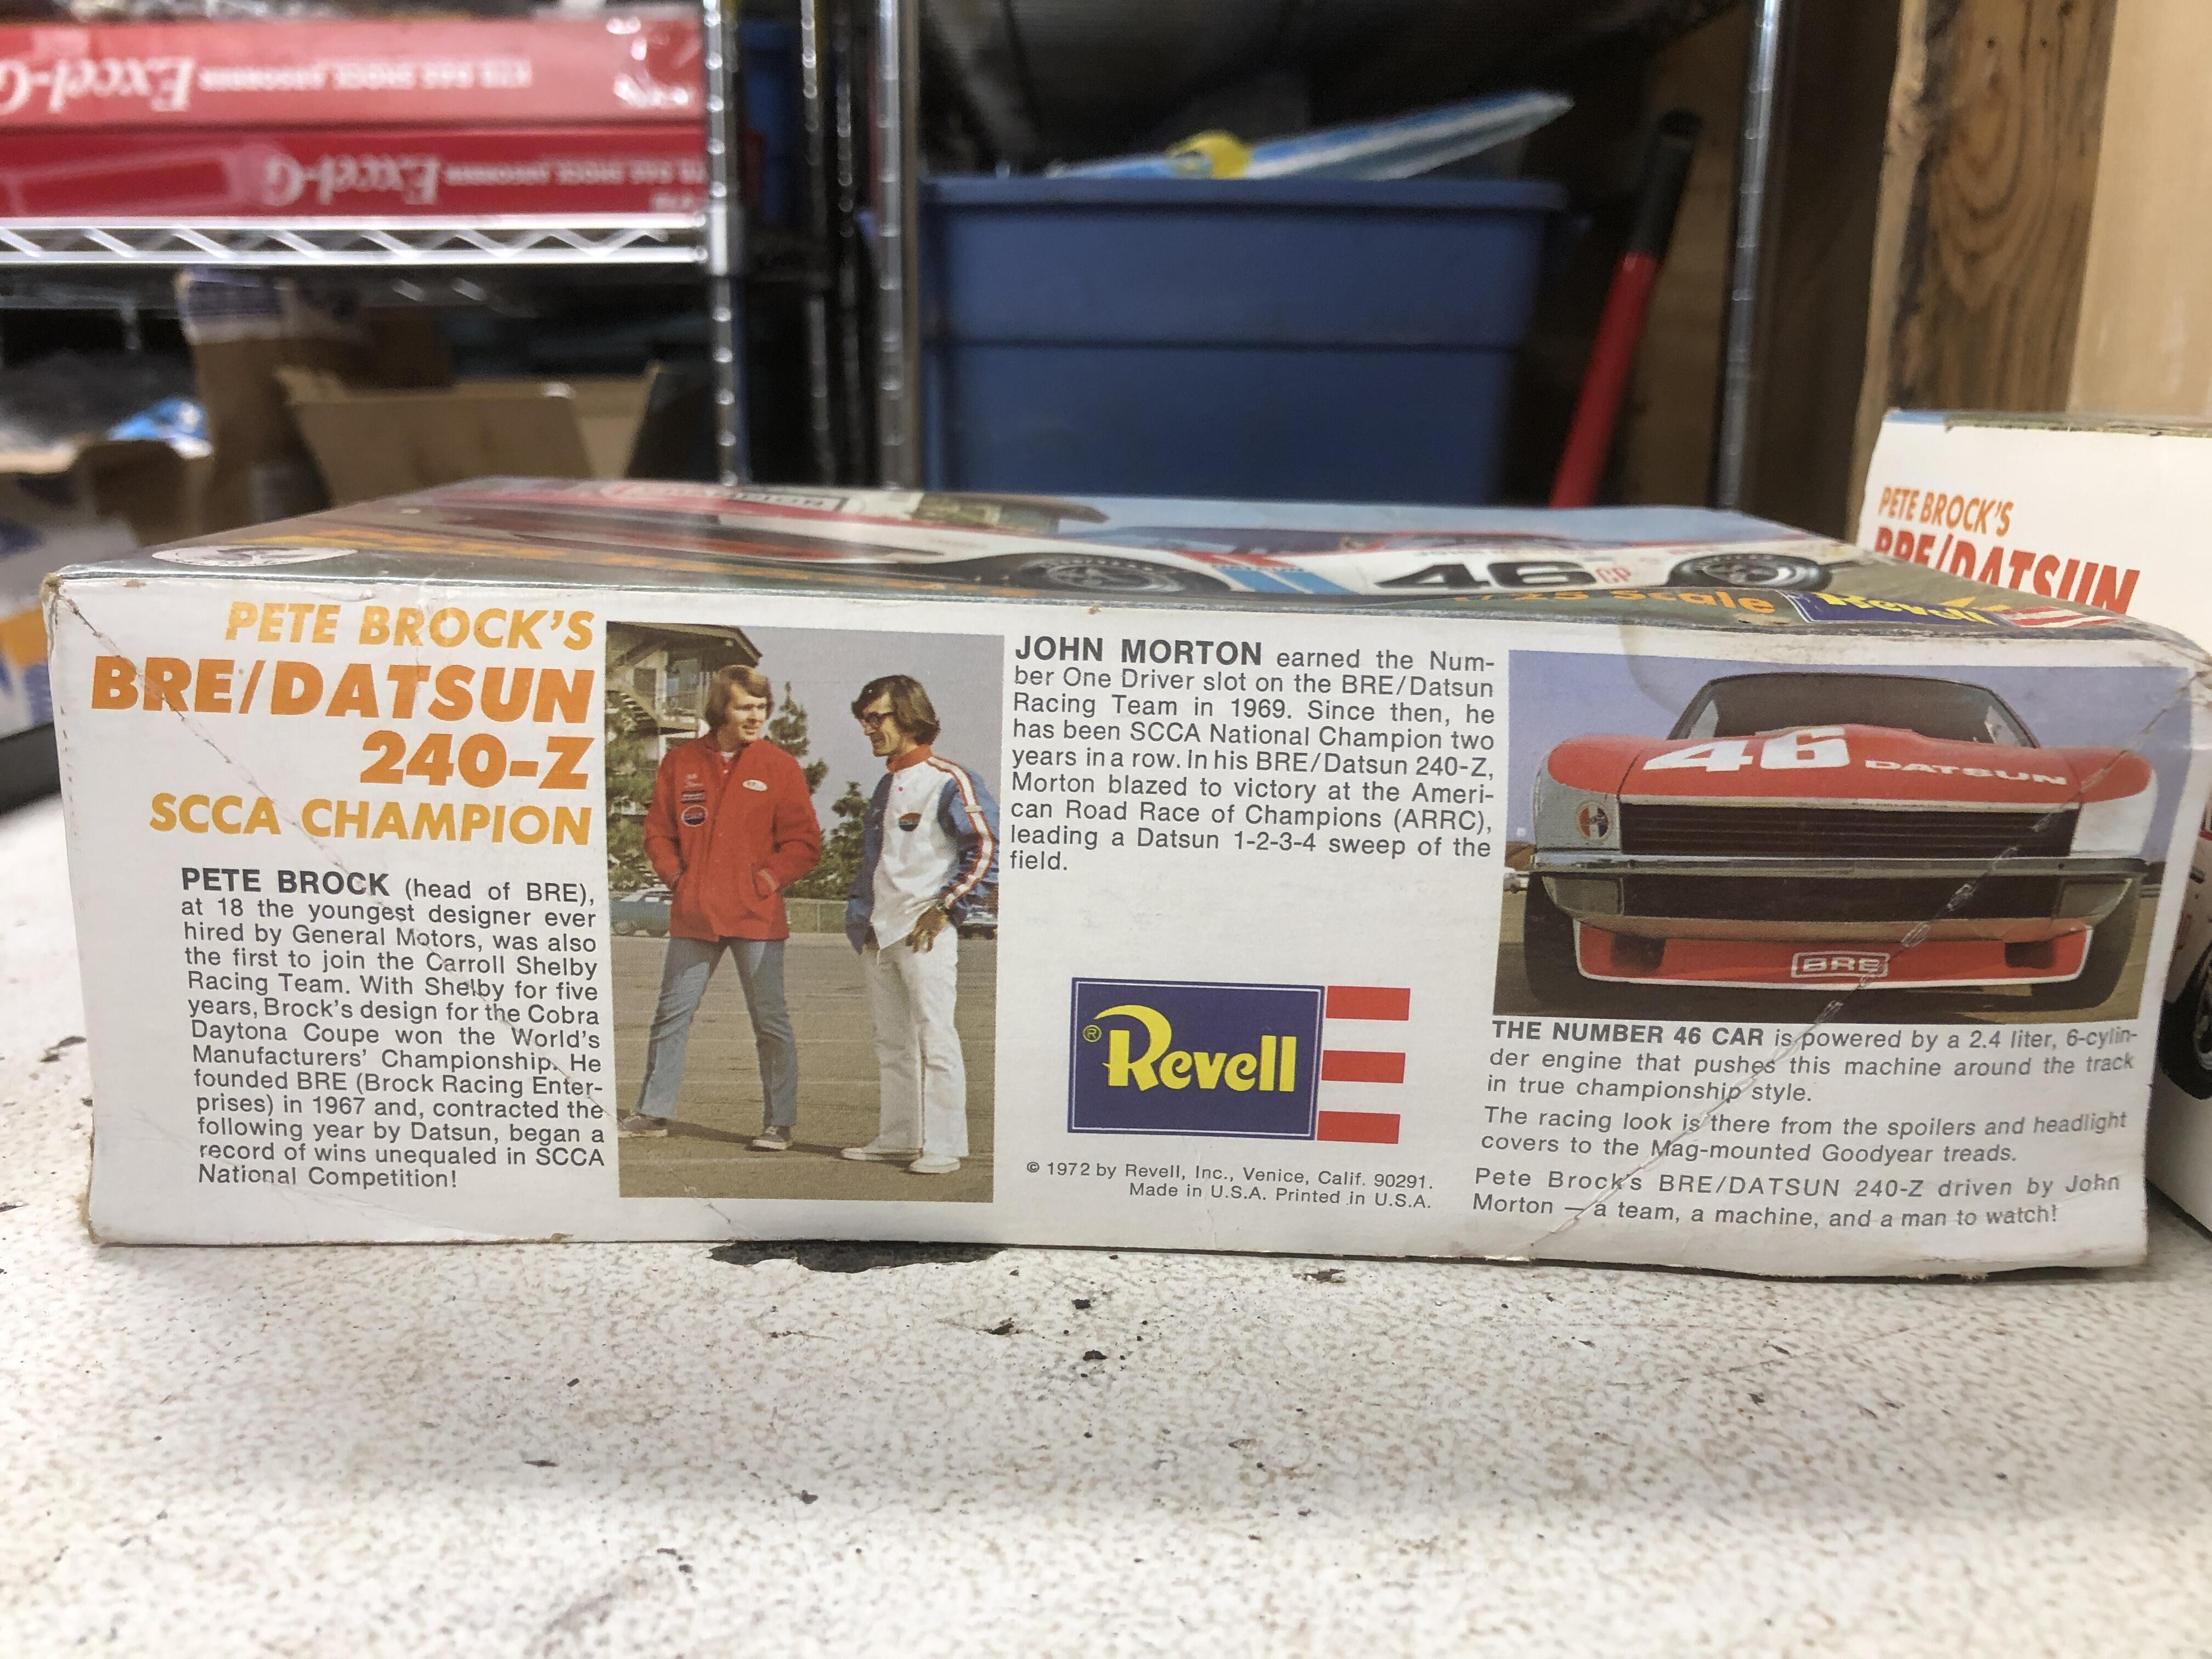
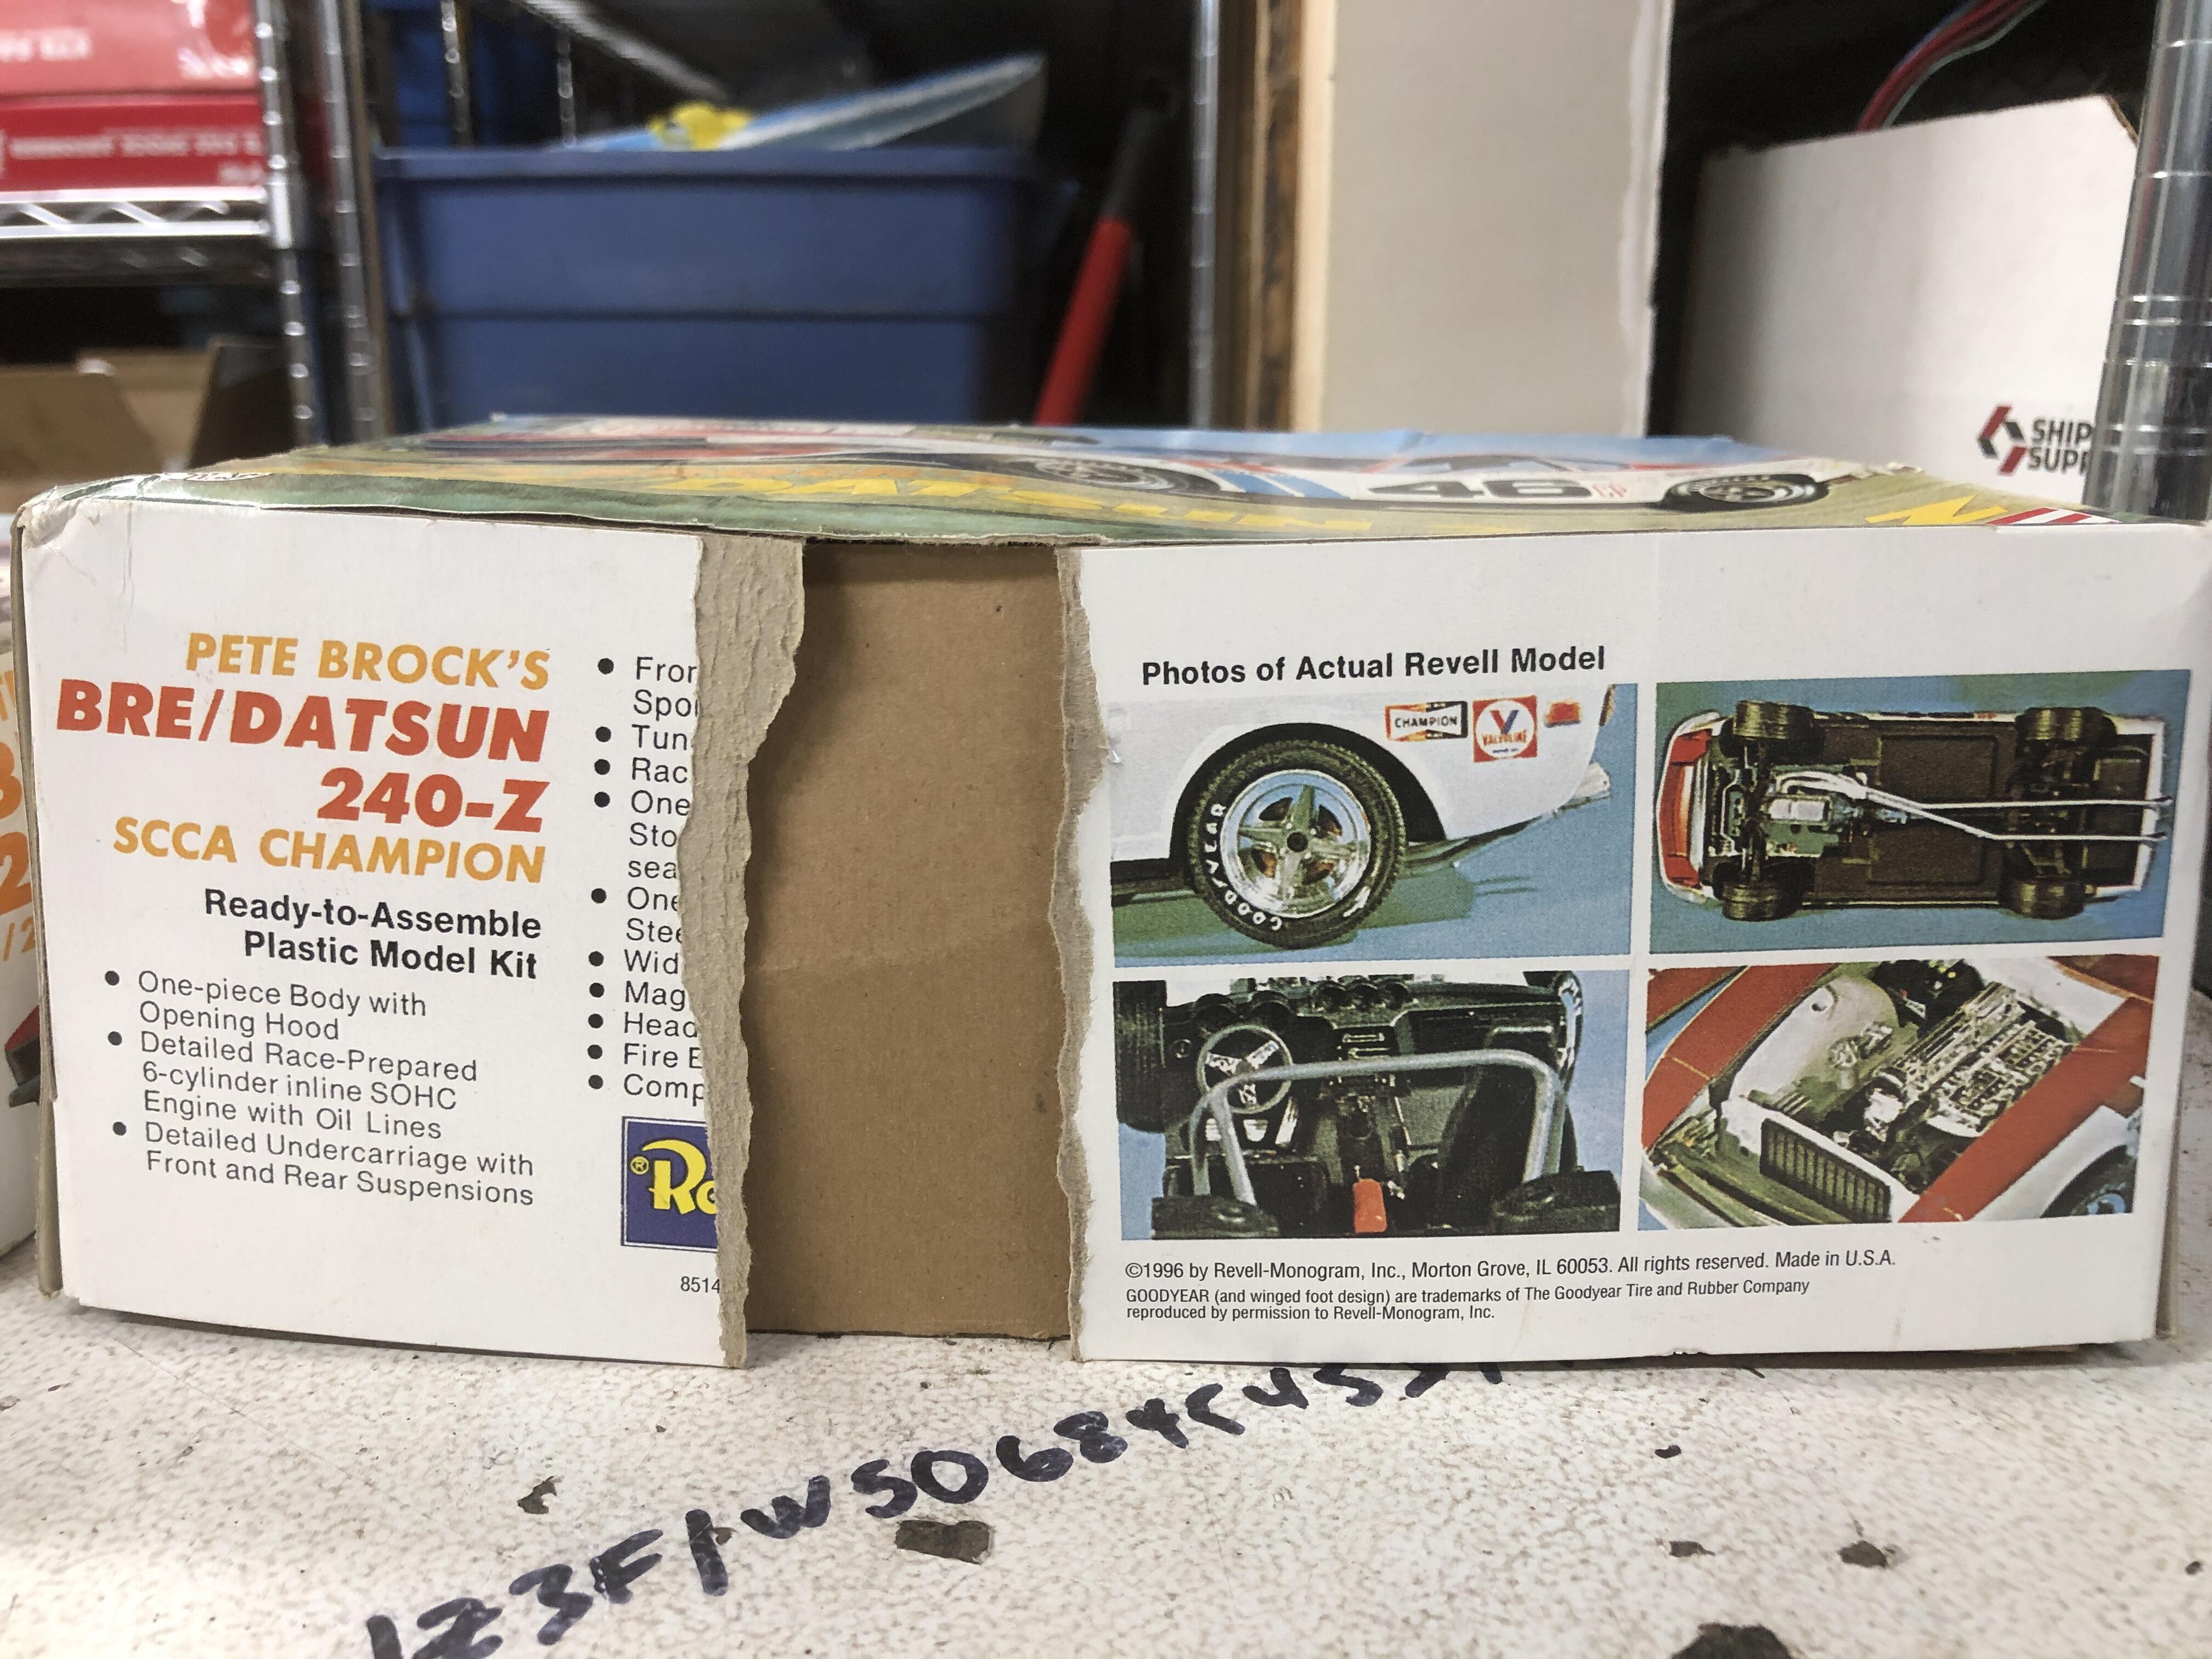
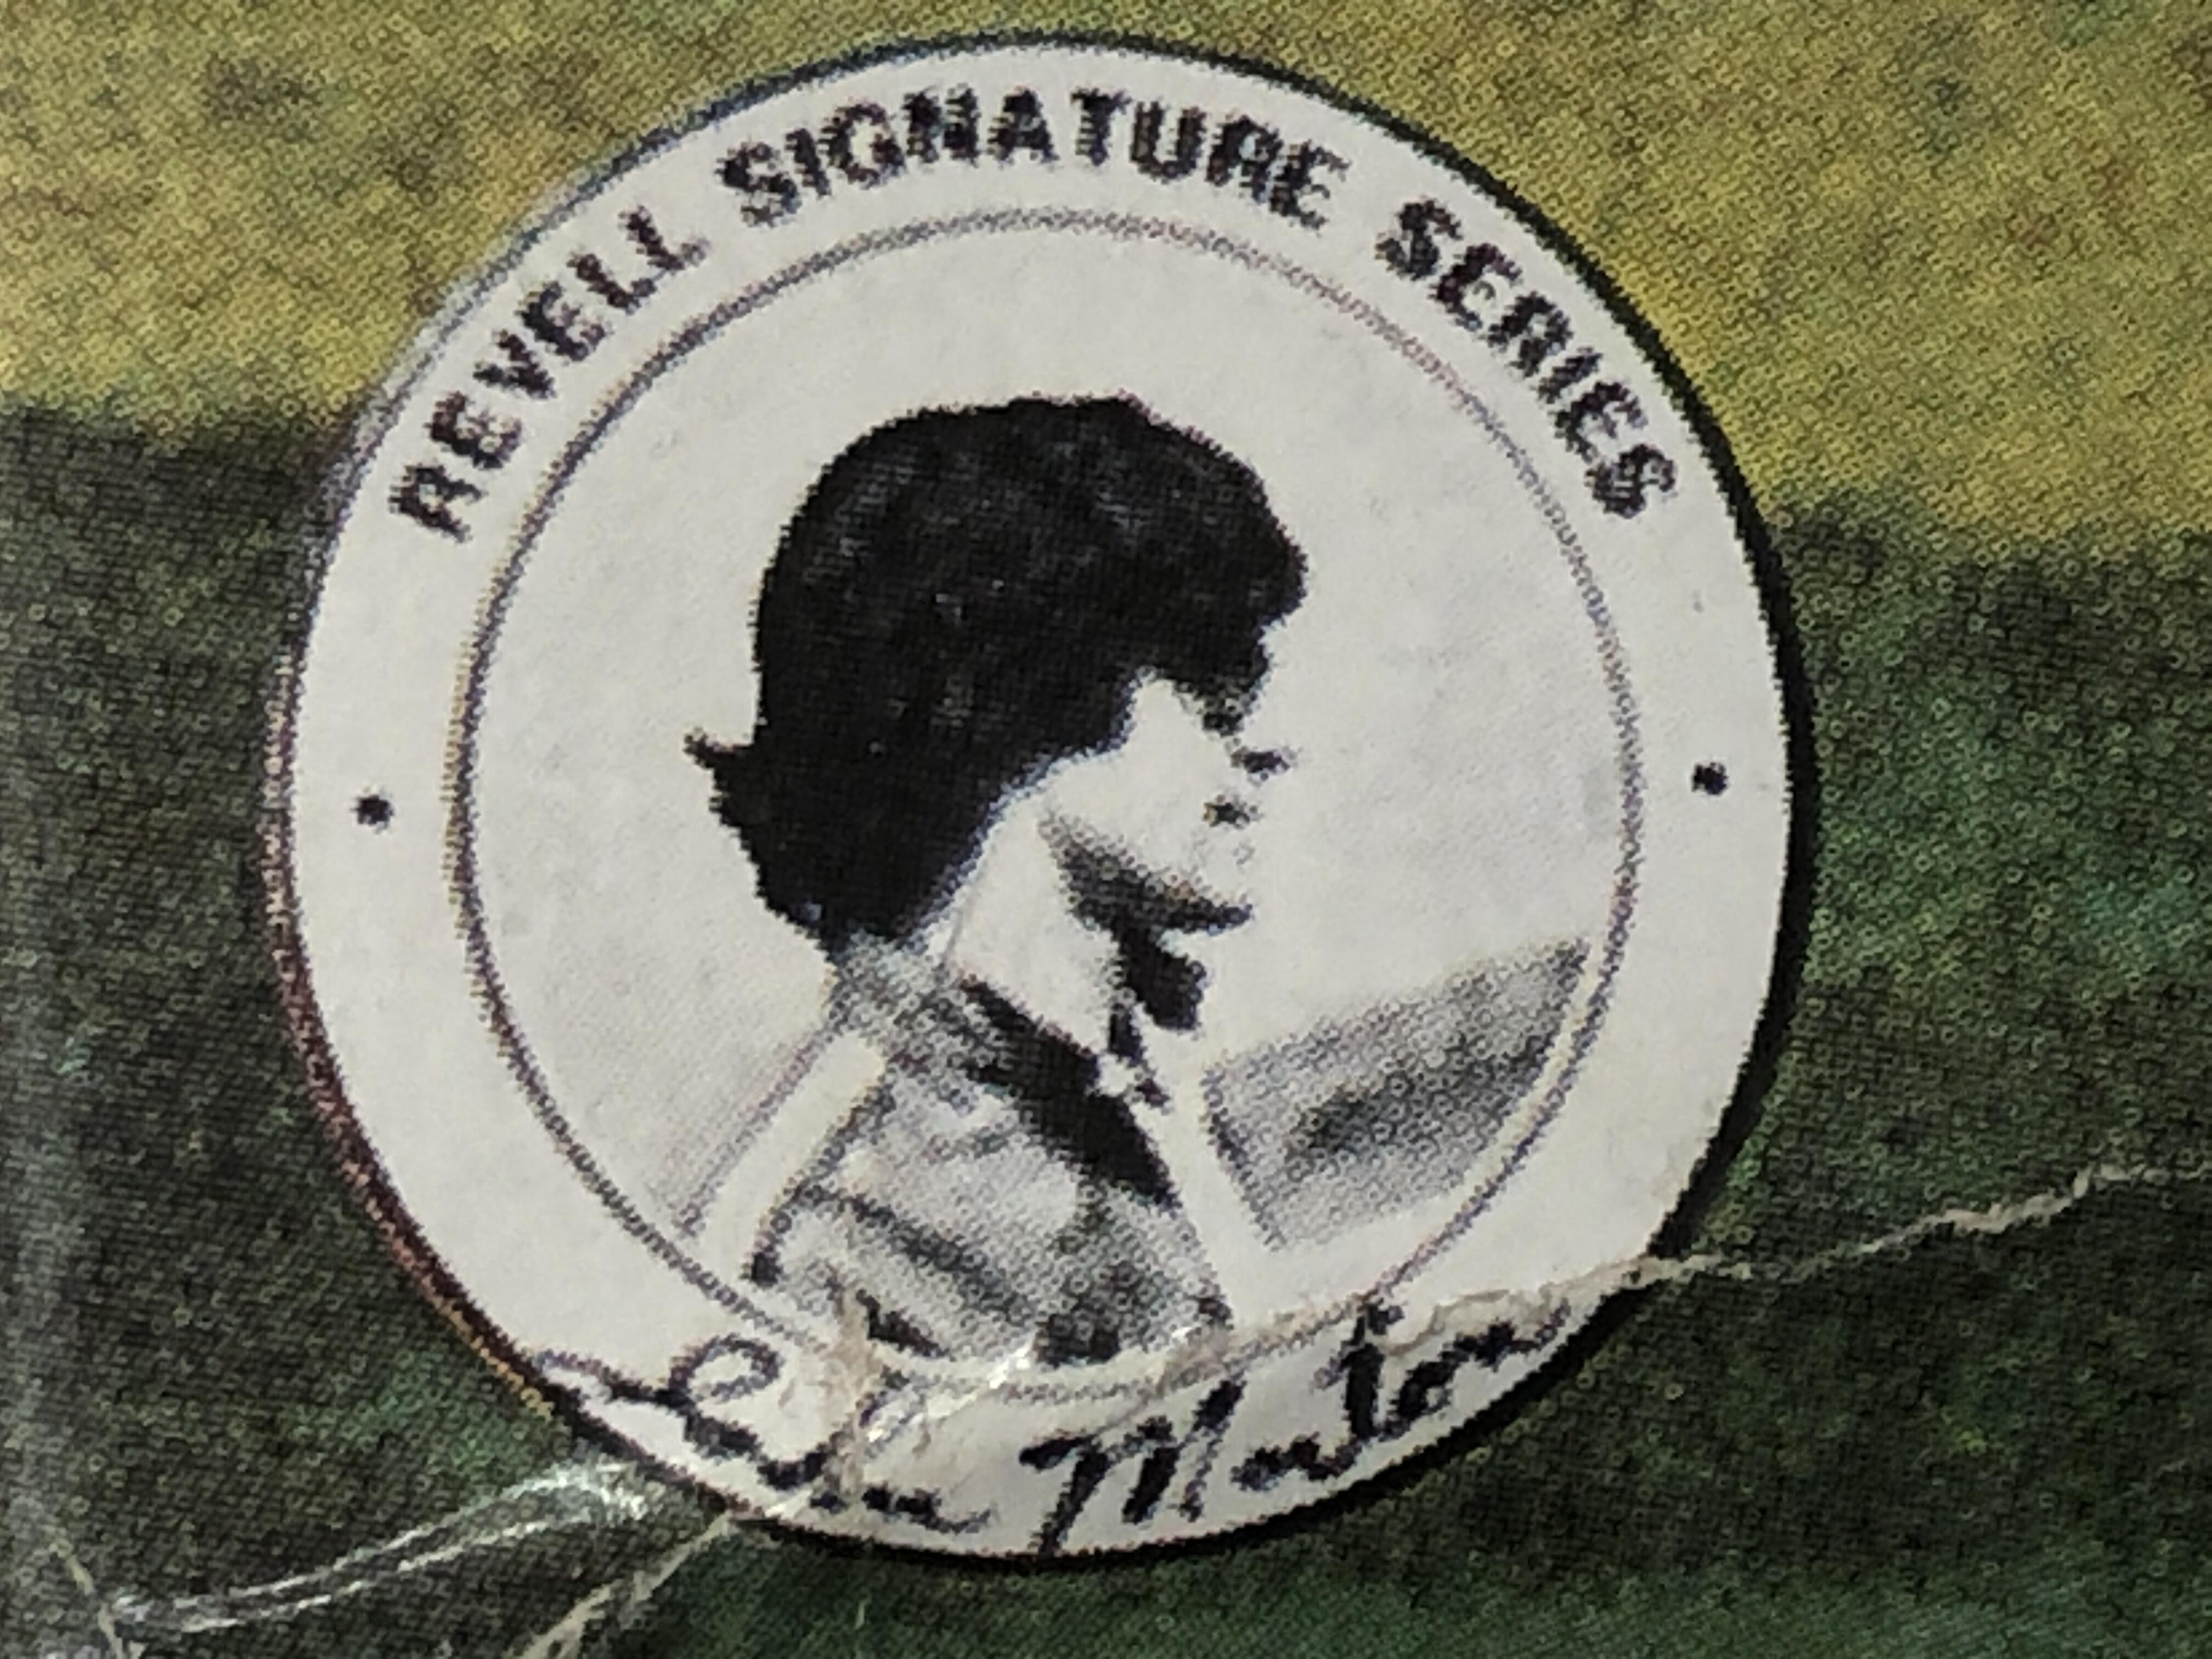
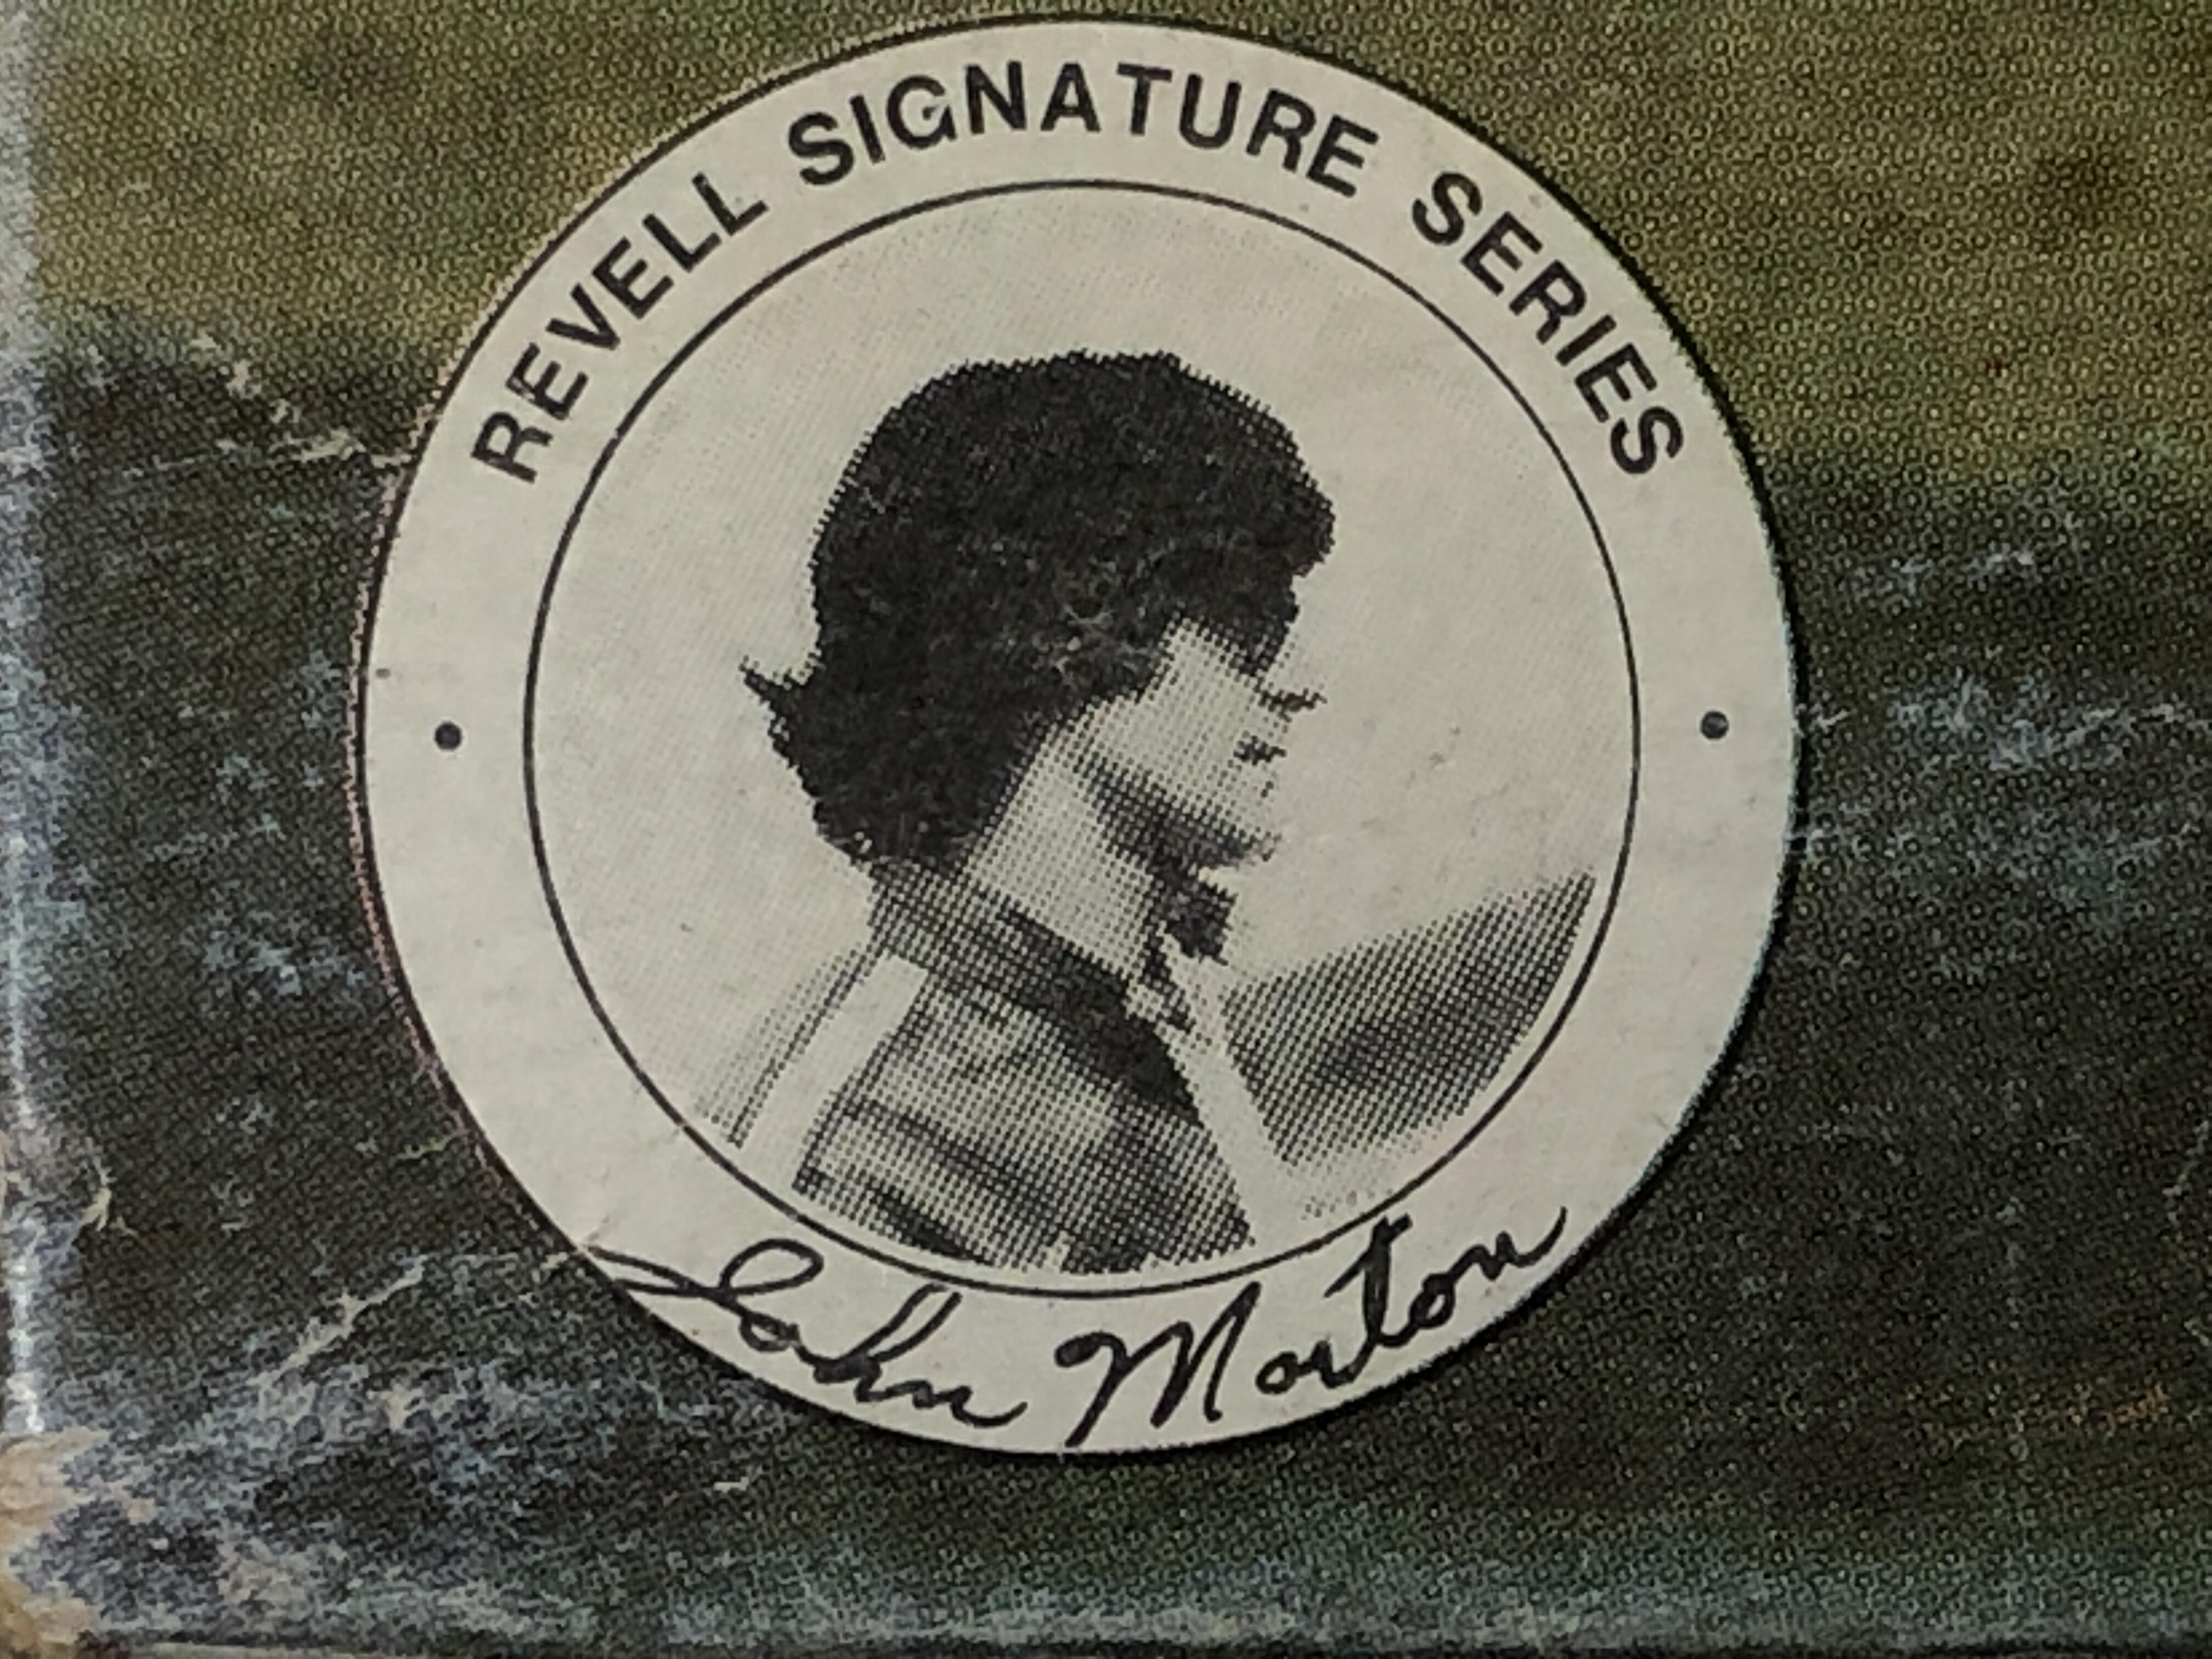
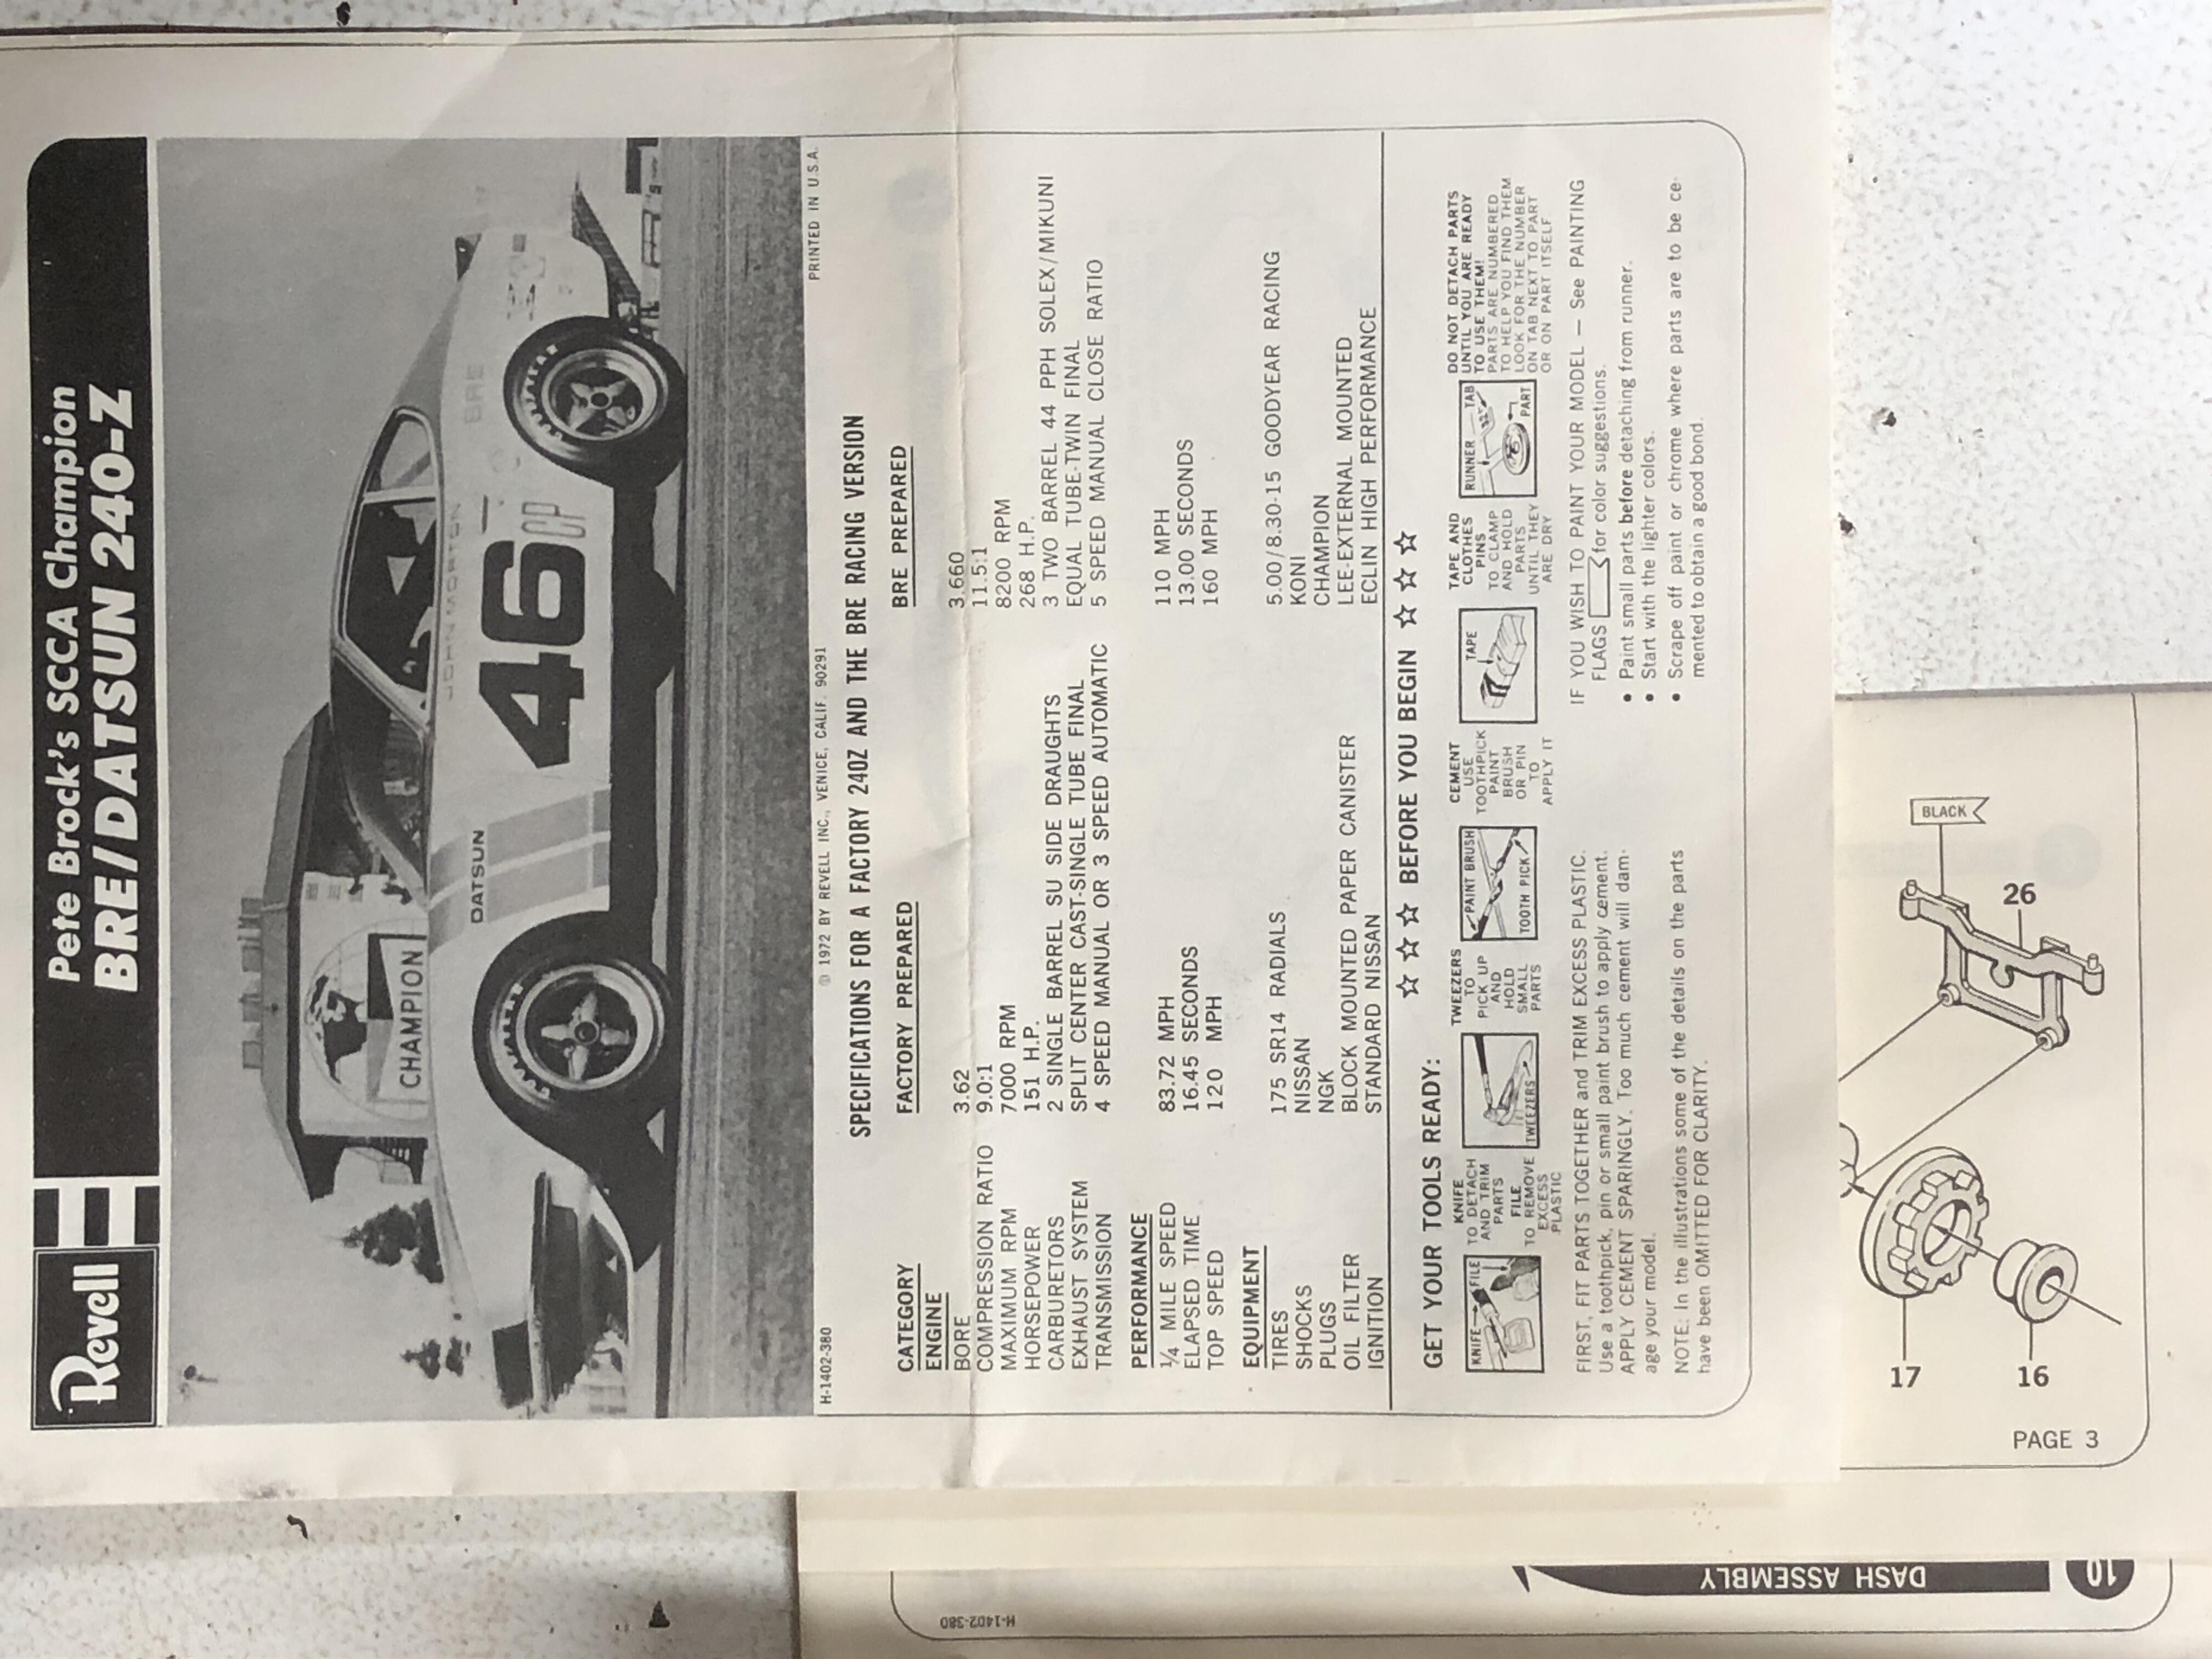
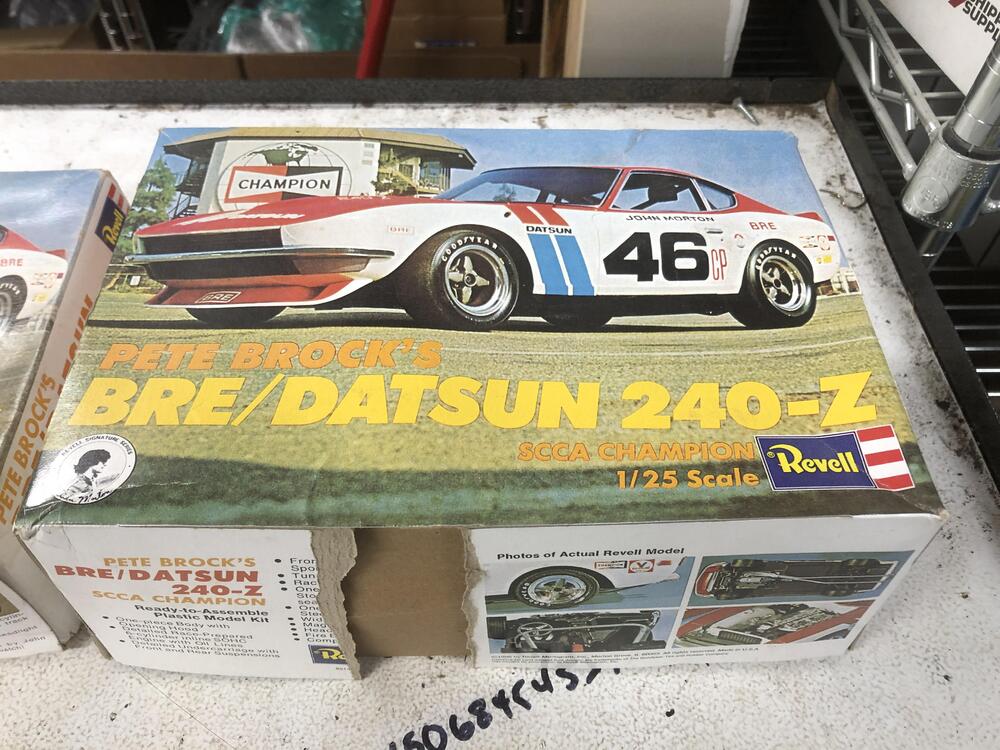
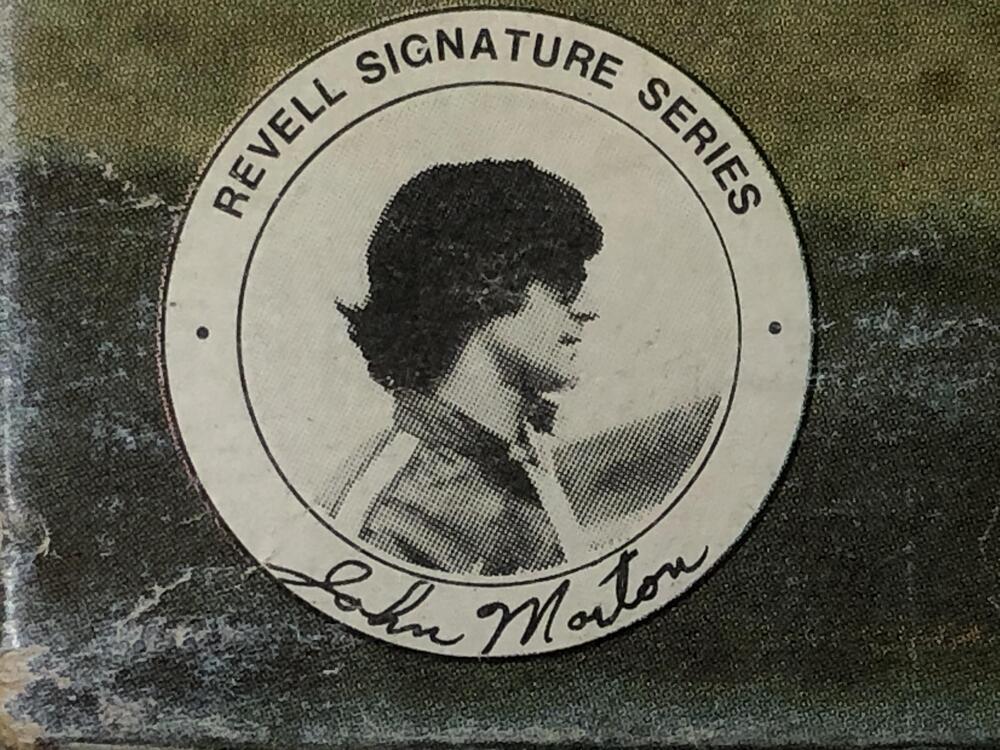
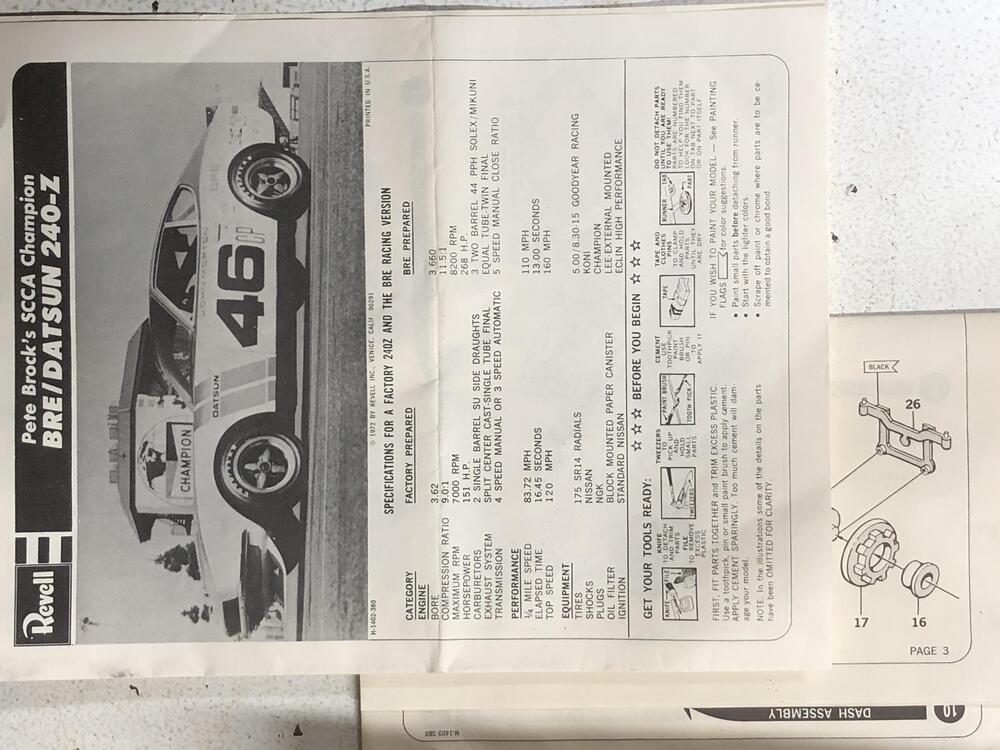
1 pointWouldn’t consider myself a model citizen, but I have an early Revell 240Z Peter Brock “46” 1/25 kit that I purchased from a guy off facebook a couple of years ago, and today found another for sale locally on Kijiji. Definitely a later version. Model #’s are H-1402 (early) and H-1422 (larger, later) The early box is shorter and has a different image on one side than on the later taller box. The image of Pete and John is only on the early box. Not the most flattering pose for John. Ha! Later taller box is also missing a strip. Dang it. At least the model parts are all there and un-assembled. My early version is partly assembled and several of the pieces are off of the frame. Previous owner started assembly. Haven’t search the inter webs for the part numbers to see how old they are, but pretty sure they would be 70’s. Now that I’ve searched a bit, the instruction sheet indicates 1972. Might part with the later one with the damaged box. Let me know if you’re interested This stamp is on the later taller box, definitely an inferior copy of a copy or such. This is on the earlier box. Much crisper.


 1 point
 -
The title says ZX. Probably just typo'ed when writing the text. Has videos of it running. Terrapin Z is probably on his way there right now... @Terrapin Z1 point
-
1 pointfollow the instructions in the book. How to Rebuild Your Nissan & Datsun Ohc https://www.amazon.co.uk/dp/1931128030/ref=cm_sw_r_cp_apan_glt_i_9V7X0J9VS8R27RZTFBM6?_encoding=UTF8&psc=11 point
-
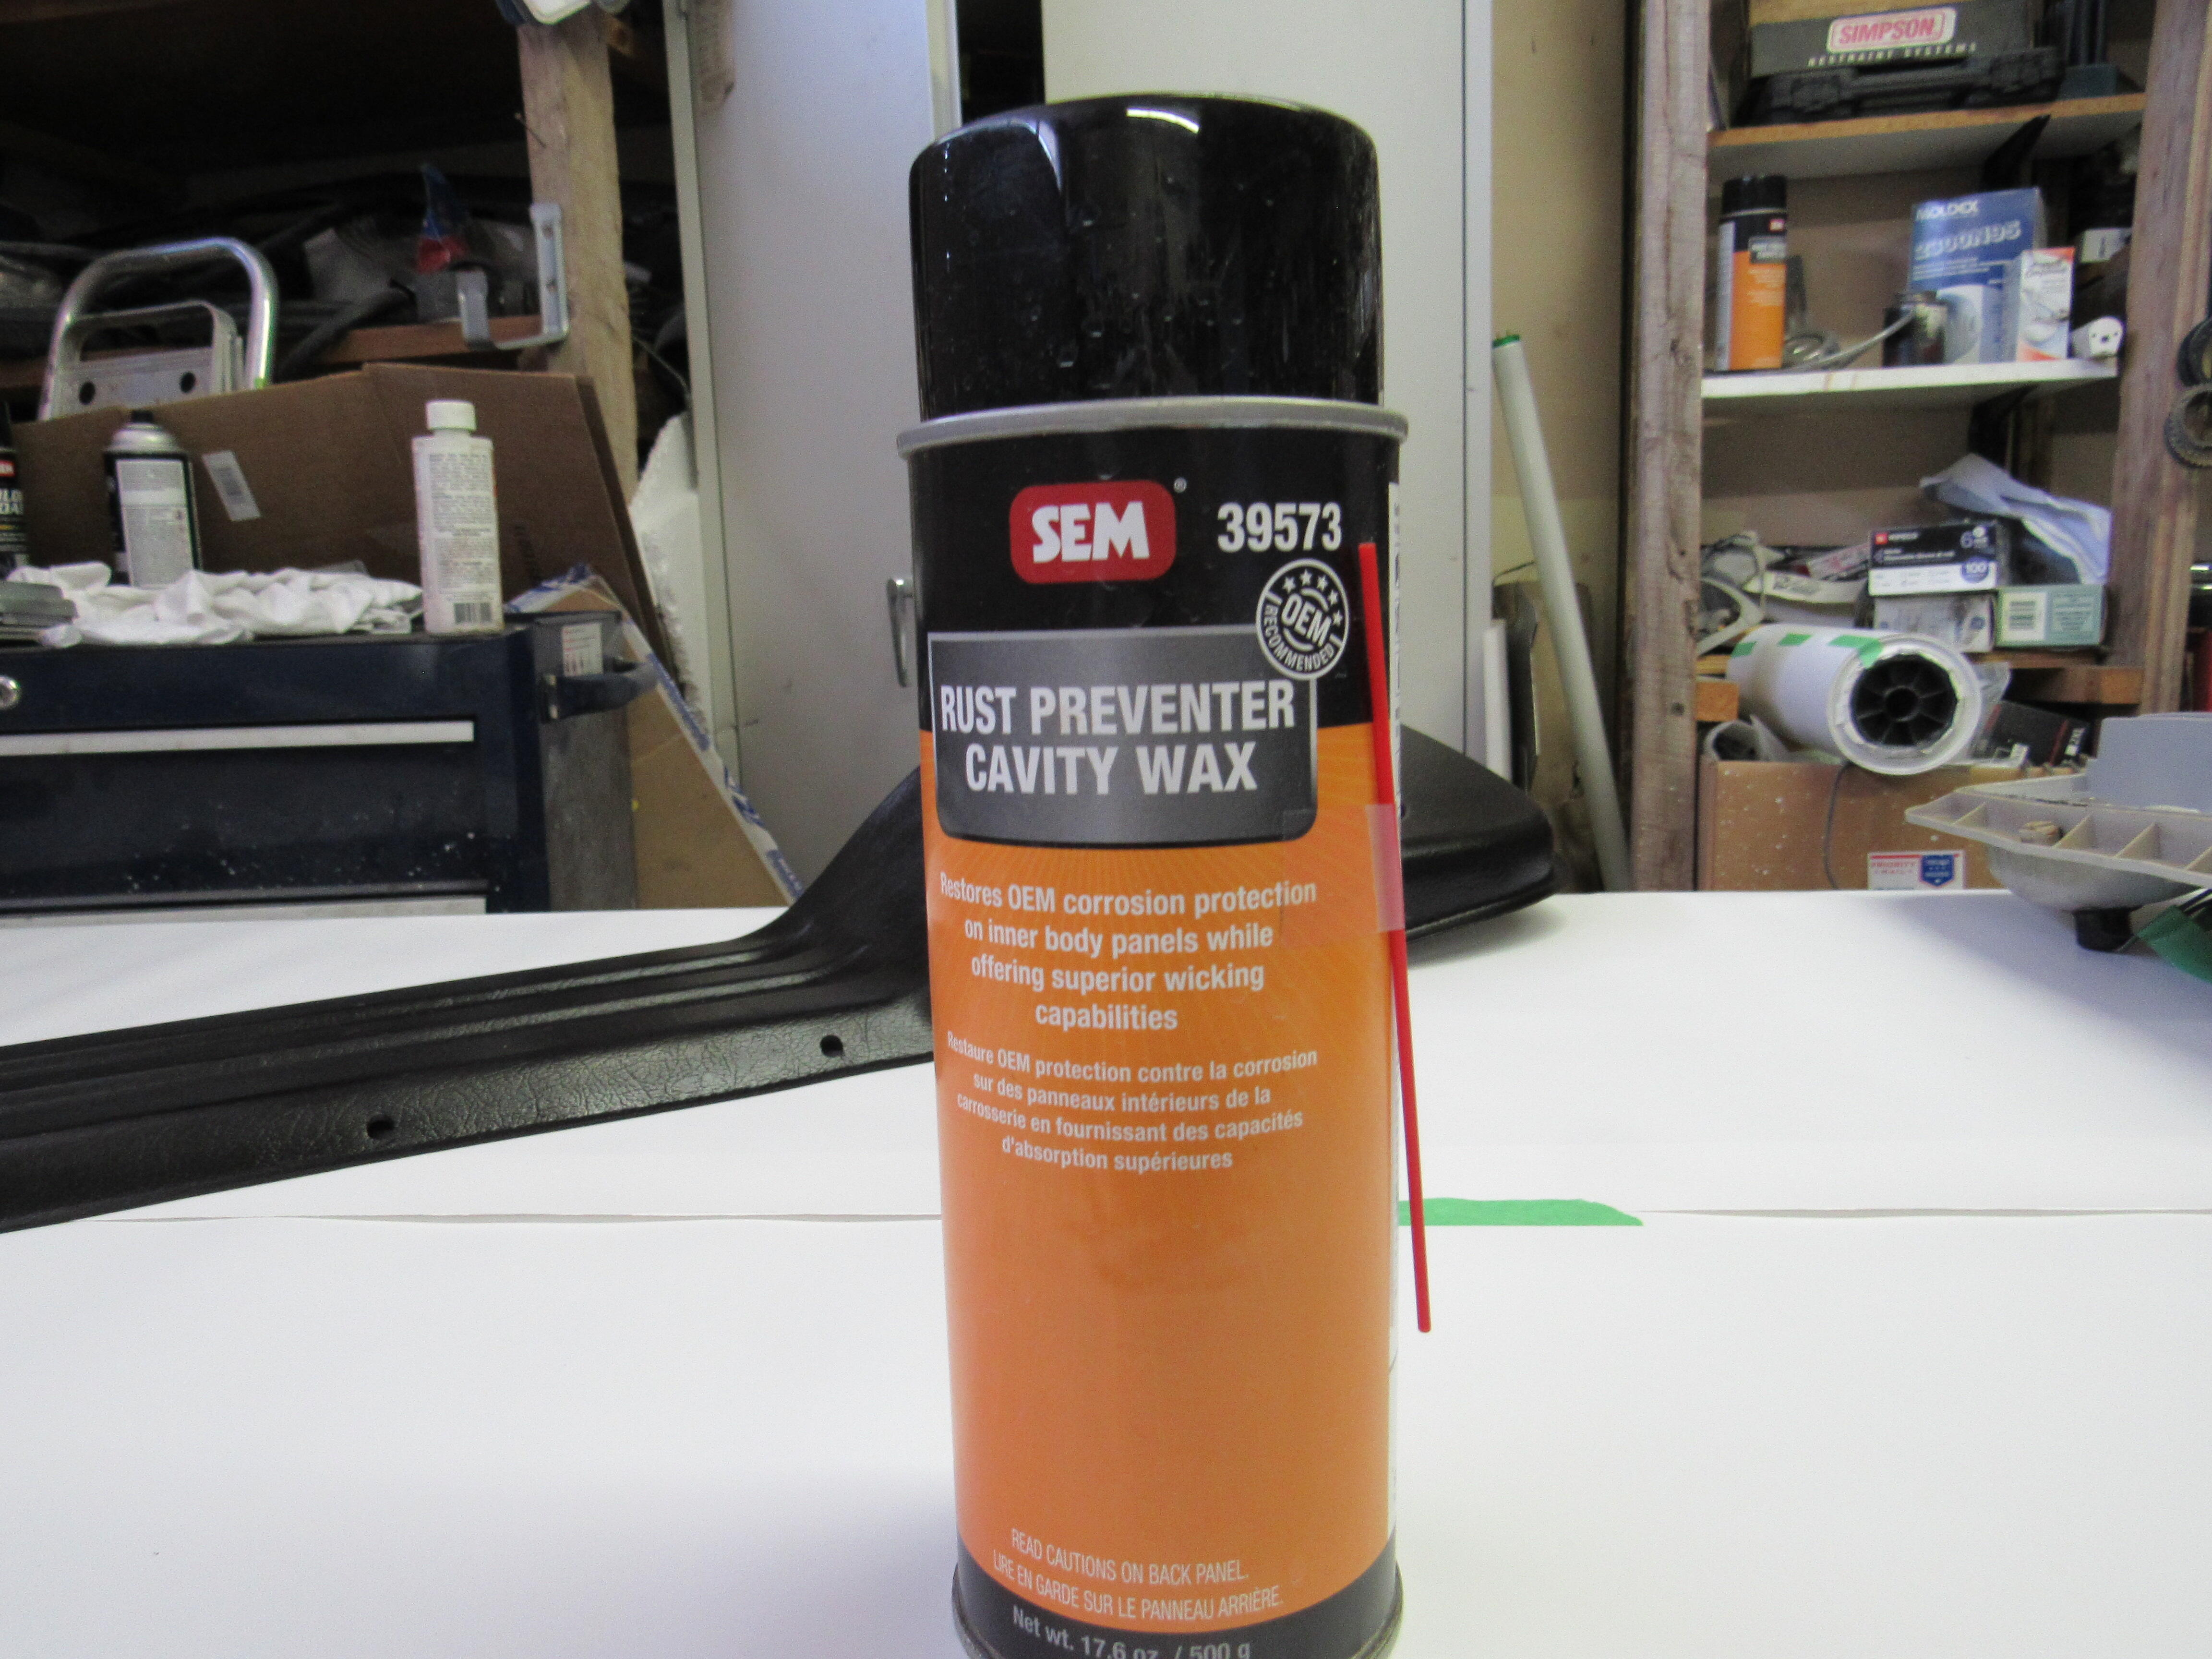
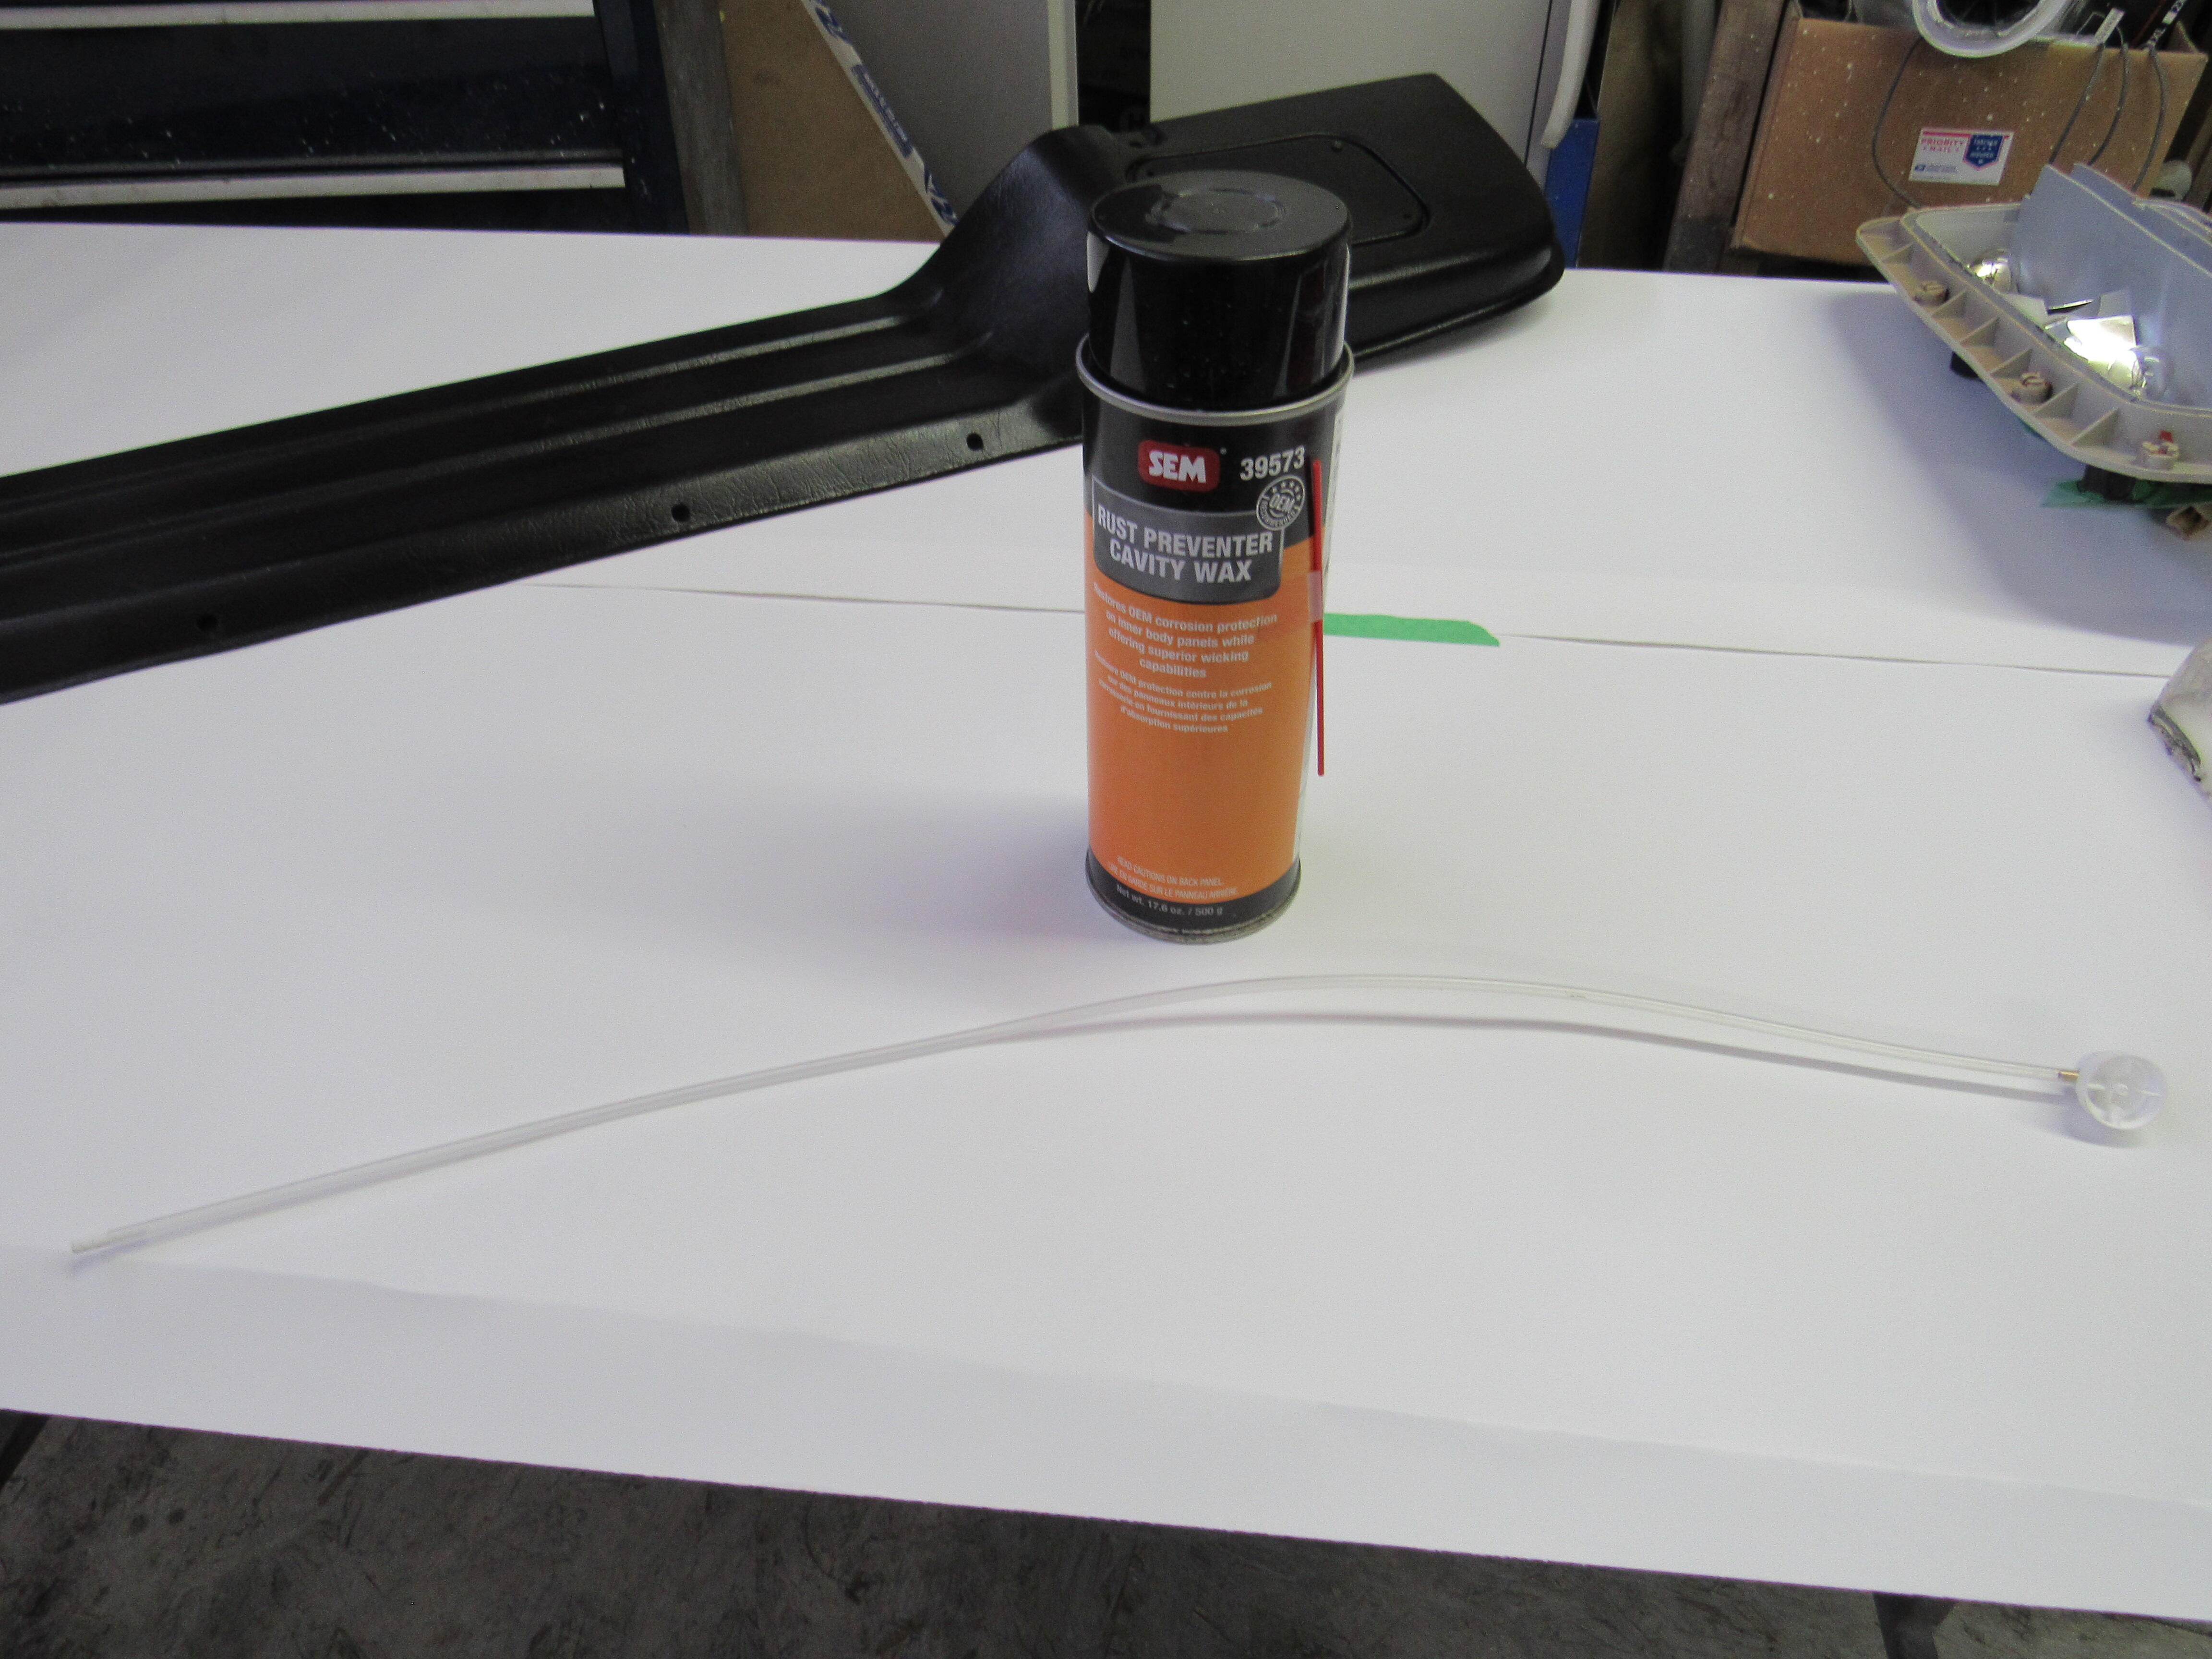
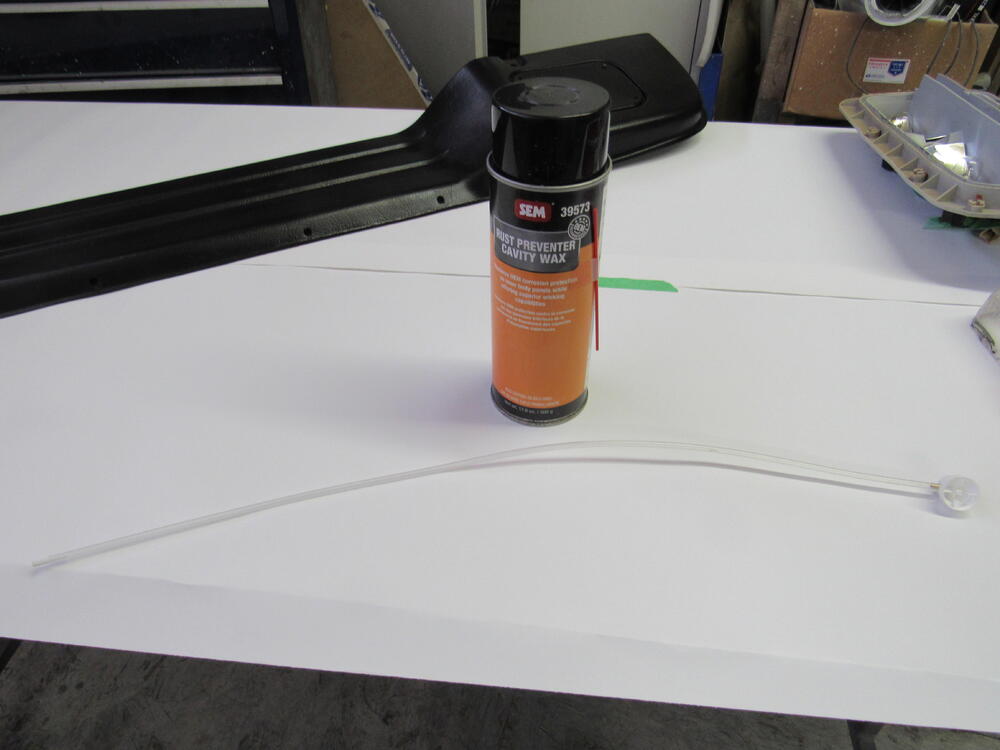
1 pointAnd here is the newest of those wax/oil sprays and one of the best I have used, none of the product comes out of the front of the tip of the clear plastic wand, only out of the sides so as you pull it out of the frame or channel all of the wax goes where you want it. Unlike the Eastwood frame spray you can easily do an entire car with one can, Eastwood takes 5-6 cans. Gotta love SEM products.

 1 point
 -
1 point
-
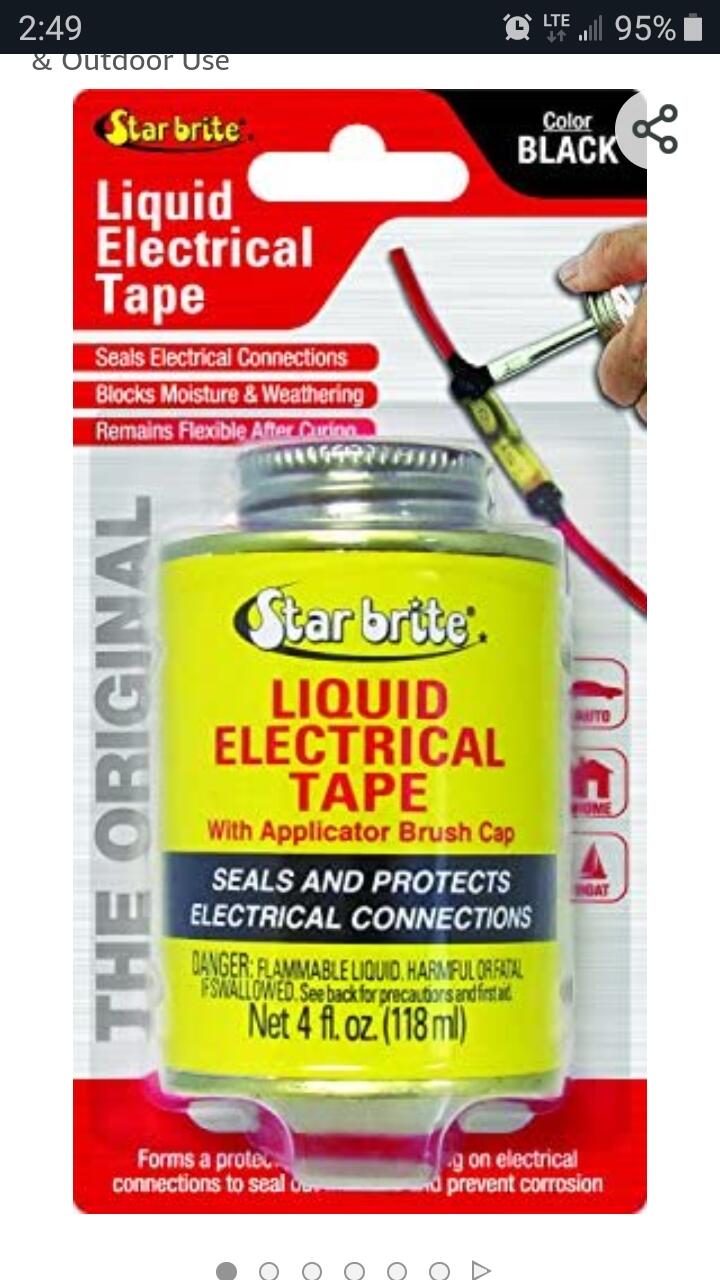
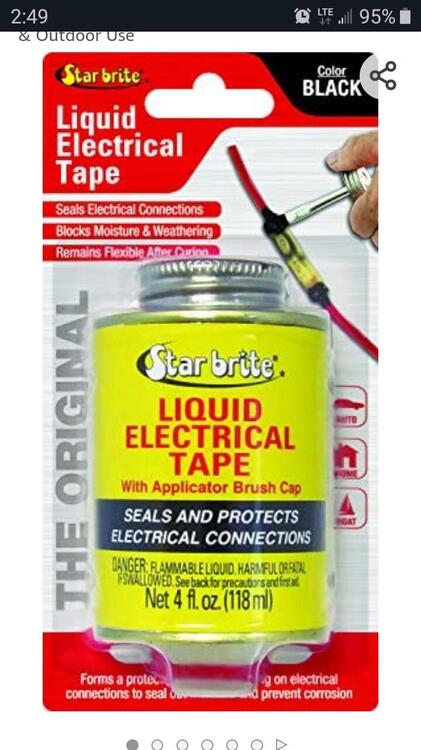
1 pointI'm not sure I'm following your idea but this may be another option? https://www.amazon.com/Star-brite-Liquid-Electrical-Tape/dp/B0000AXNOD/ref=asc_df_B0000AXNOD/?tag=hyprod-20&linkCode=df0&hvadid=312131680281&hvpos=&hvnetw=g&hvrand=10573119427317070475&hvpone=&hvptwo=&hvqmt=&hvdev=m&hvdvcmdl=&hvlocint=&hvlocphy=21143&hvtargid=pla-574384539732&psc=1
 1 point
 -
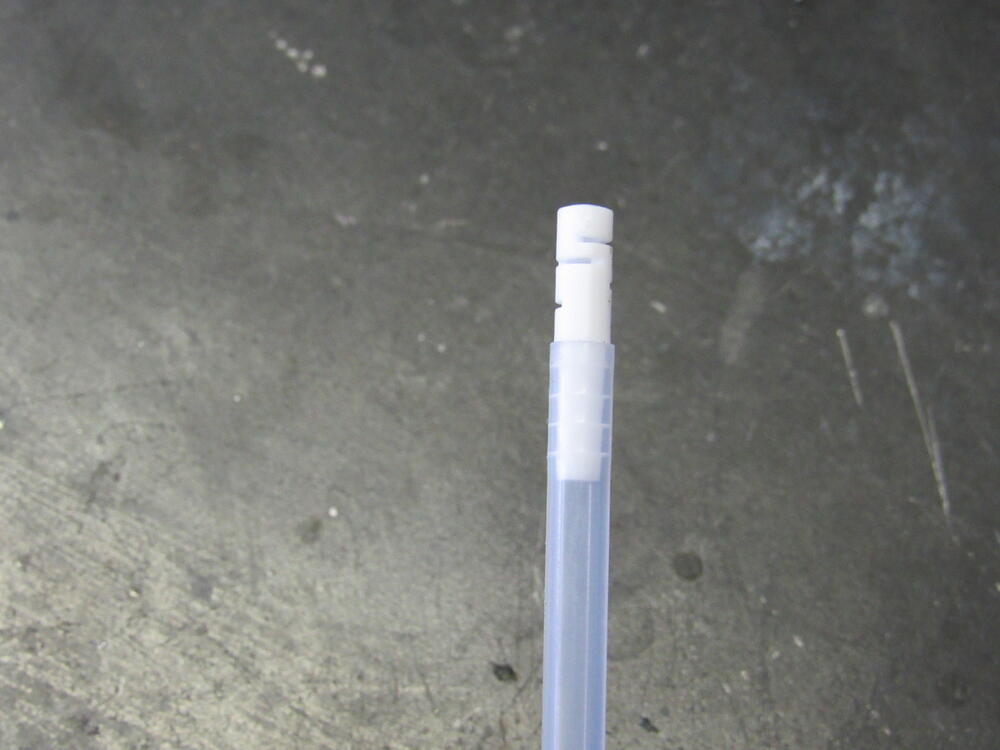
1 pointTake a look at Plasti Dip. I've not tried it but it seems like a good way to coat the tabs.1 point
-
Try opening up the idle speed screw and see how it starts. It's the one with the big washer head and spring underneath on the throttle body. If it starts and runs correctly right away but the idle is too high after it warms up then that would be an AAR problem. You've talked about how far open the AAR is but you haven't said that it closes quickly like it should, from the electrical heater inside. It might be that the AAR does not have electrical power and that you've adjusted the idle speed for a warm engine.1 point
-
1 pointI also got my freshly painted front air dam and hood grills on.

 1 point