Leaderboard

 Subscriber


Popular Content
Showing content with the highest reputation on 12/28/2021 in all areas
-
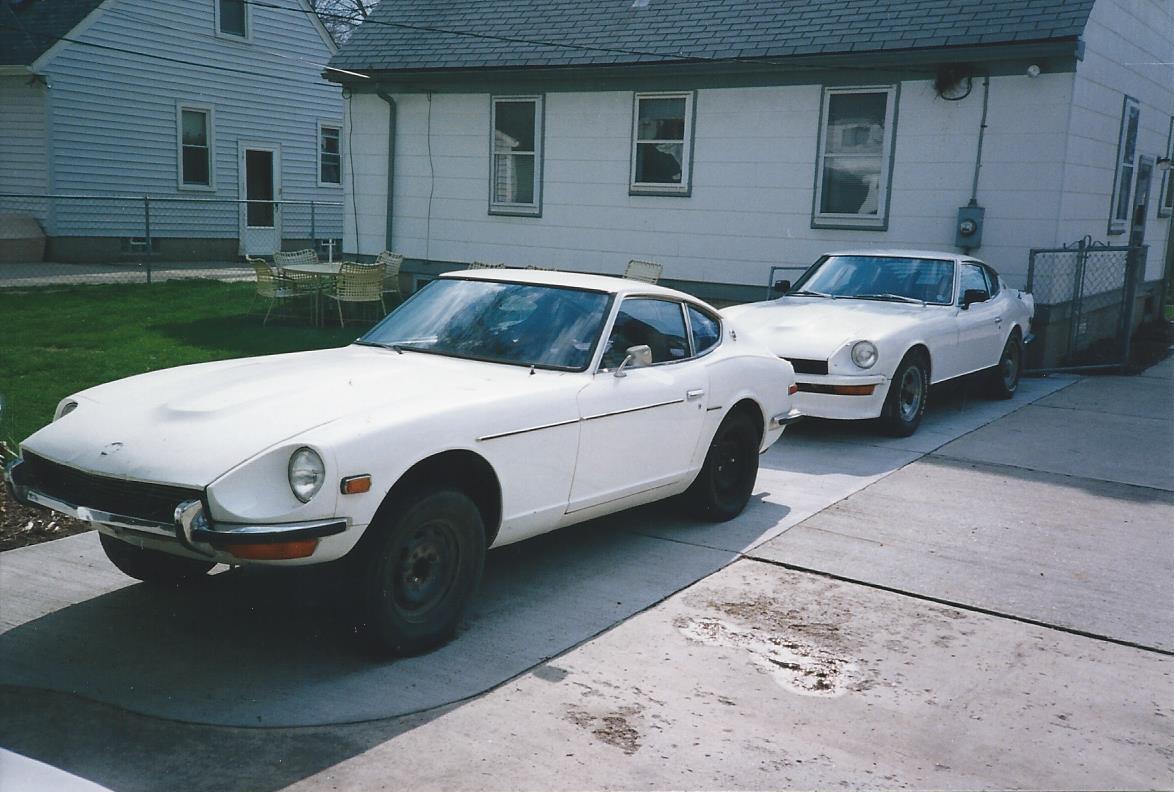
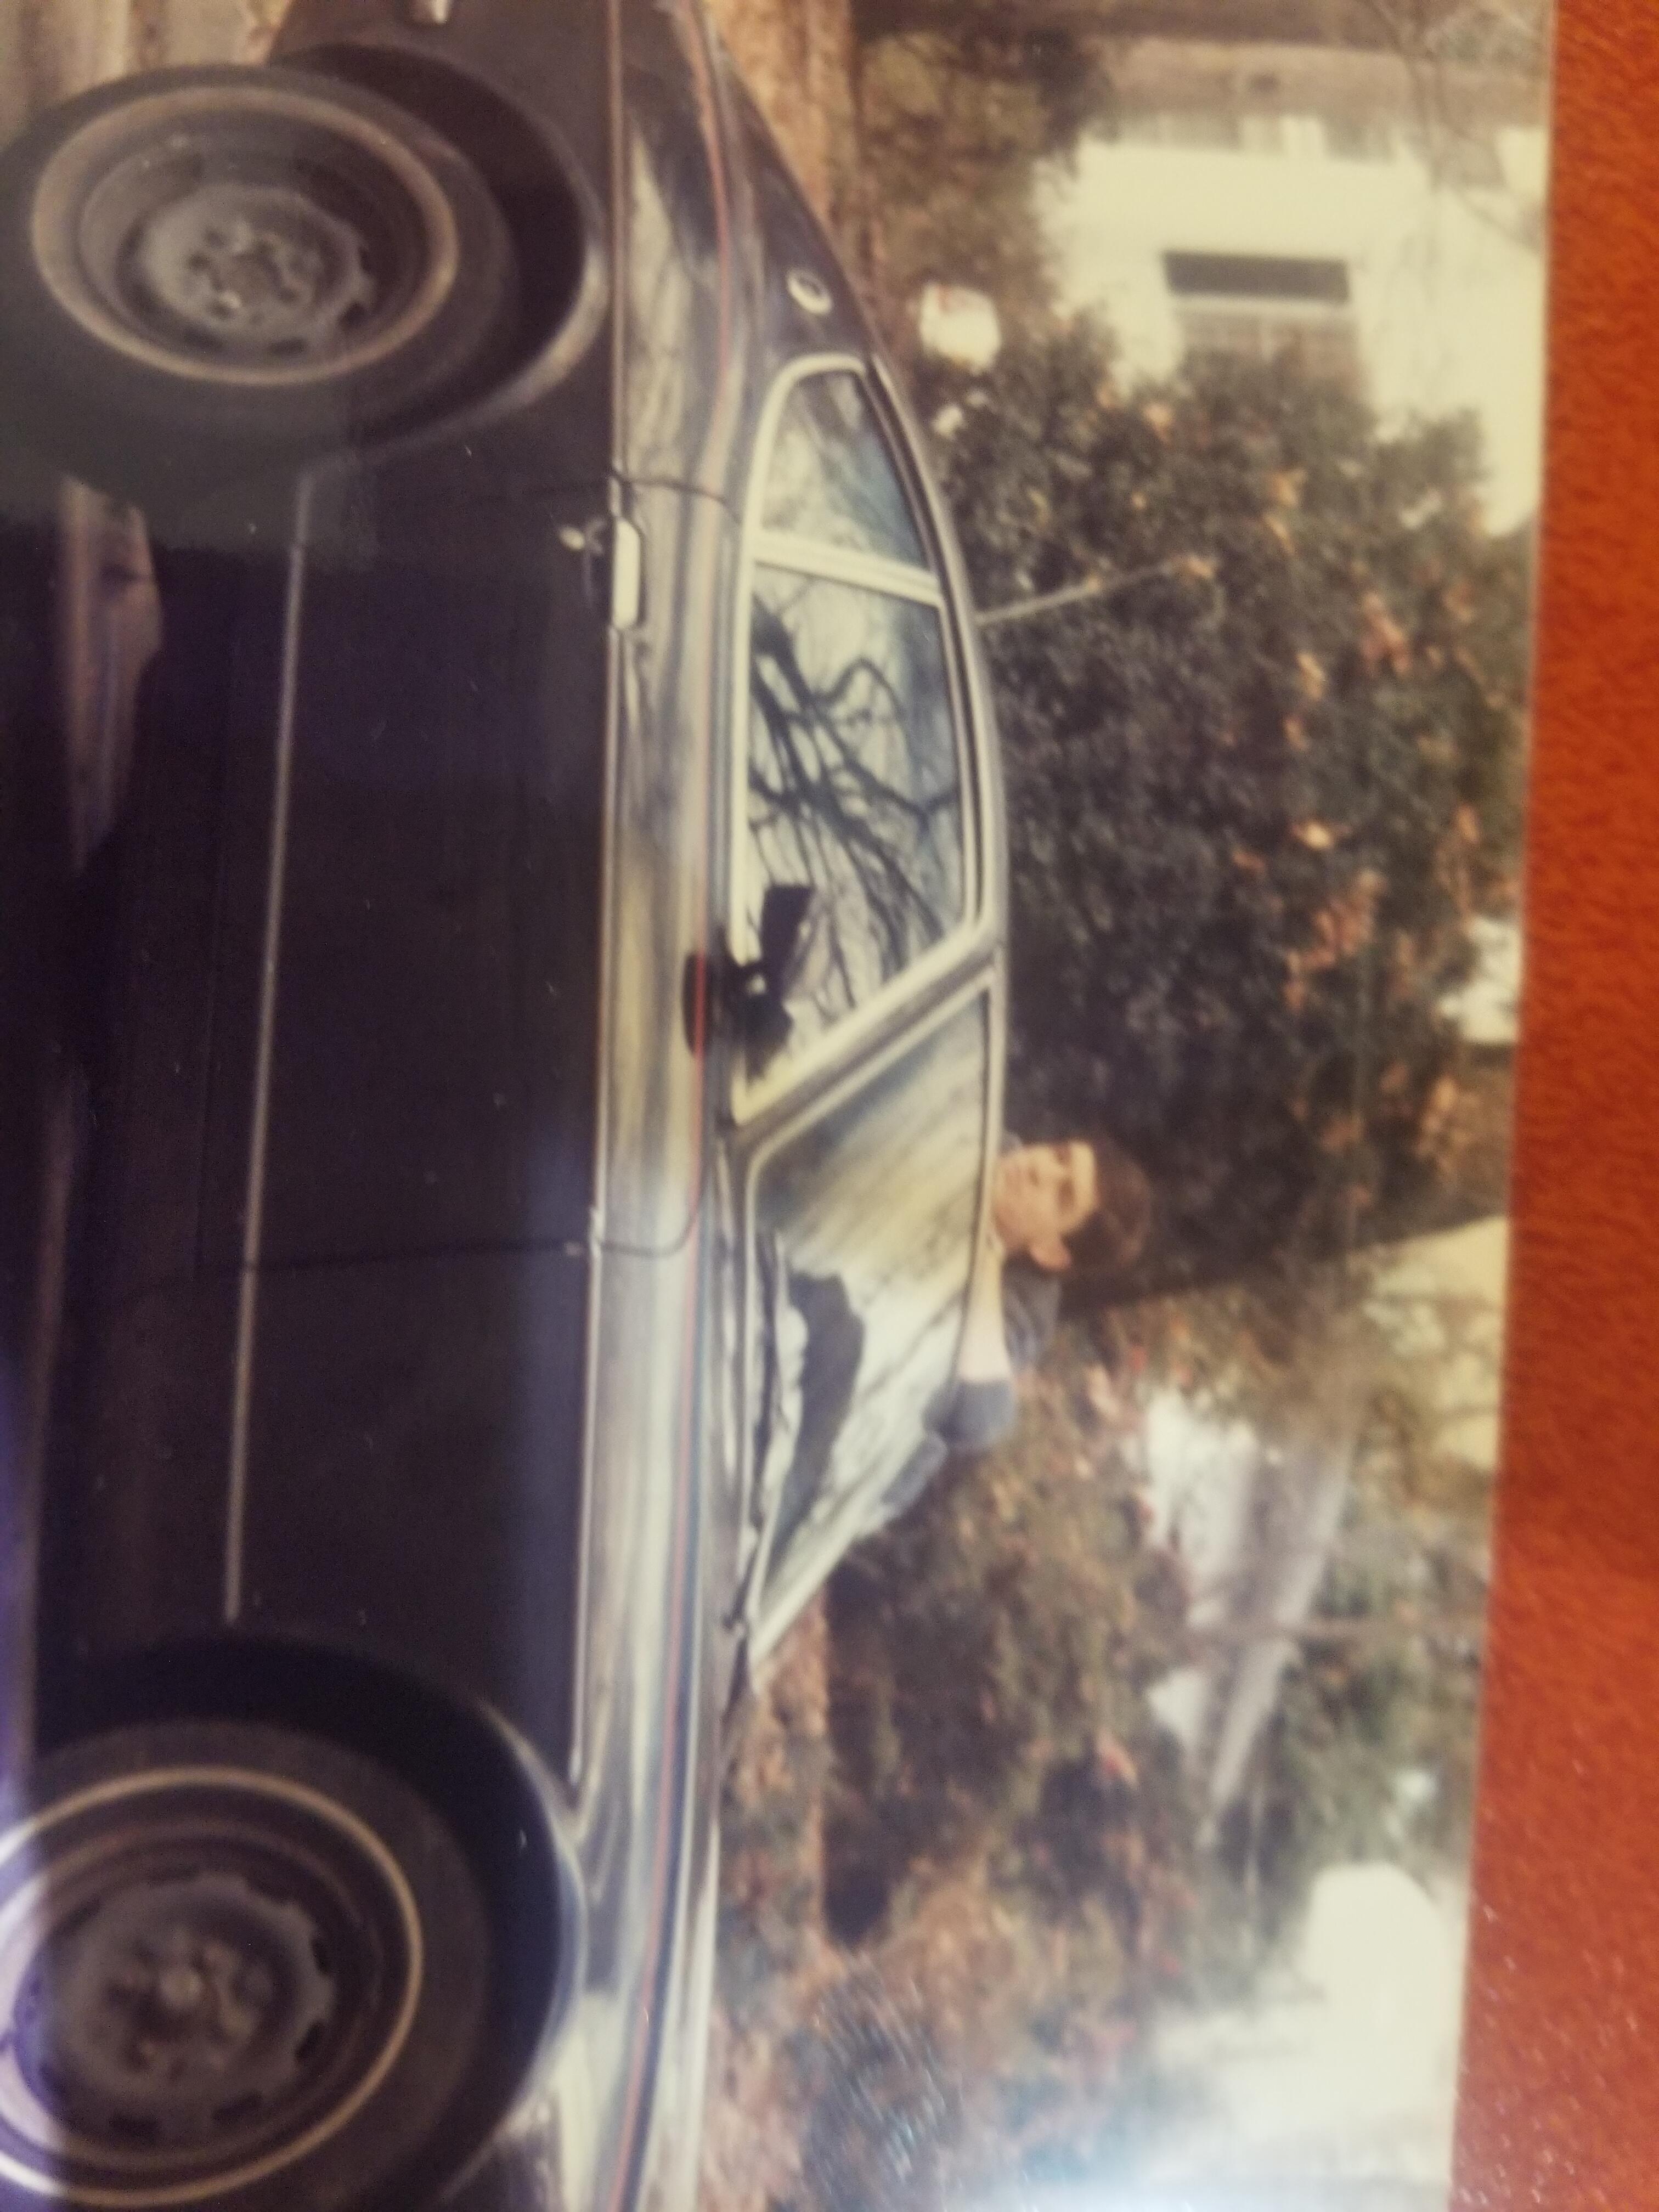
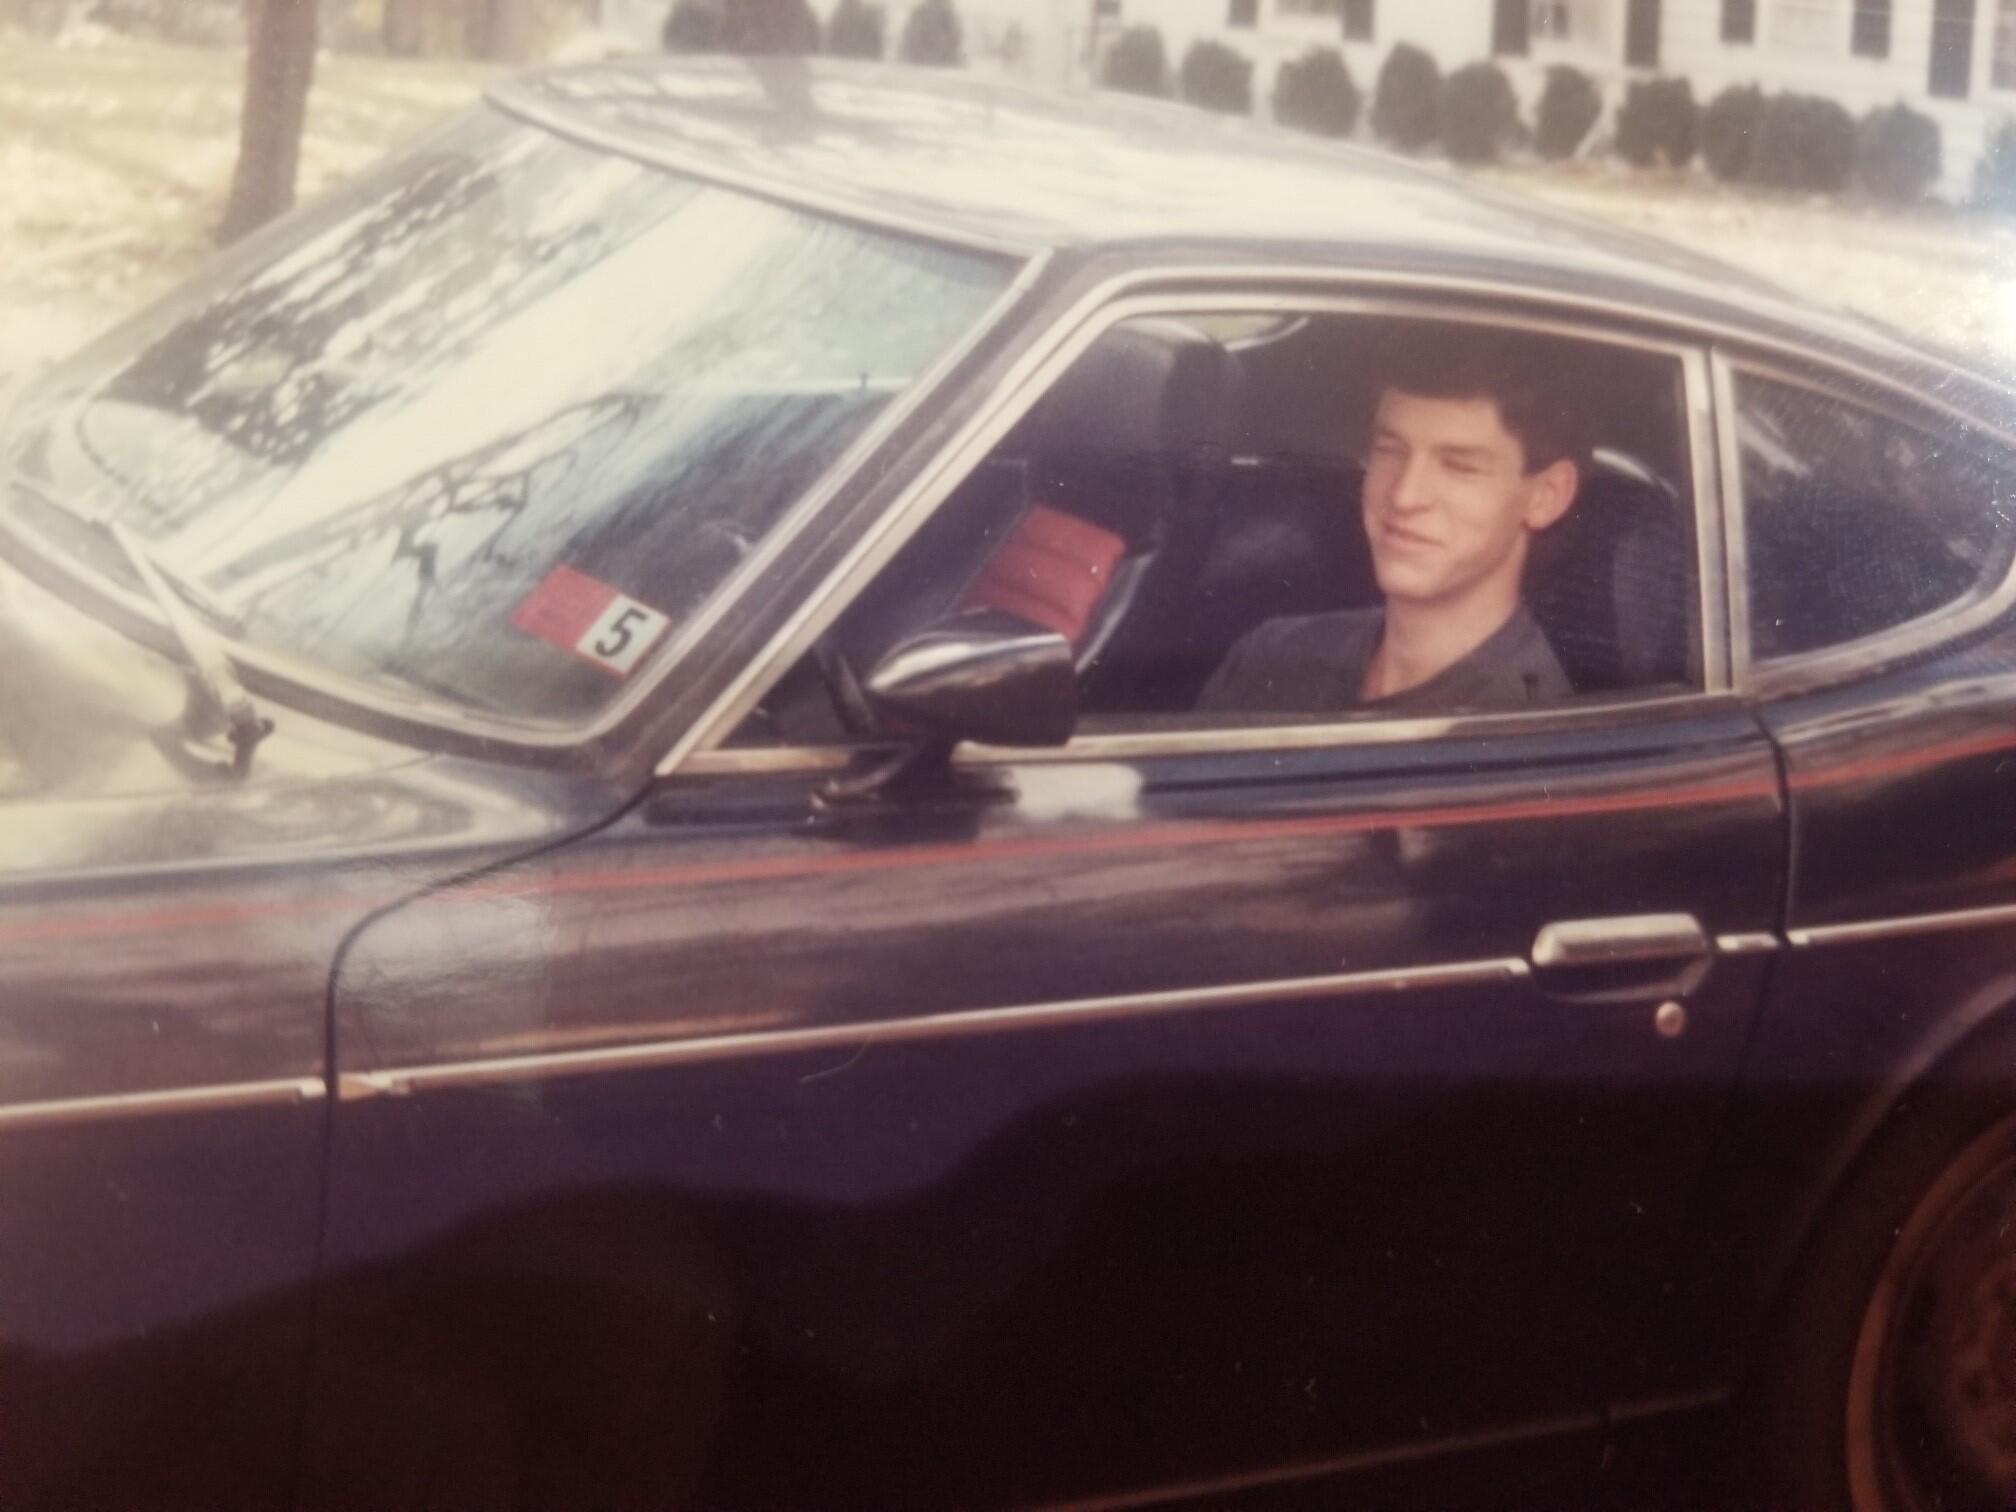
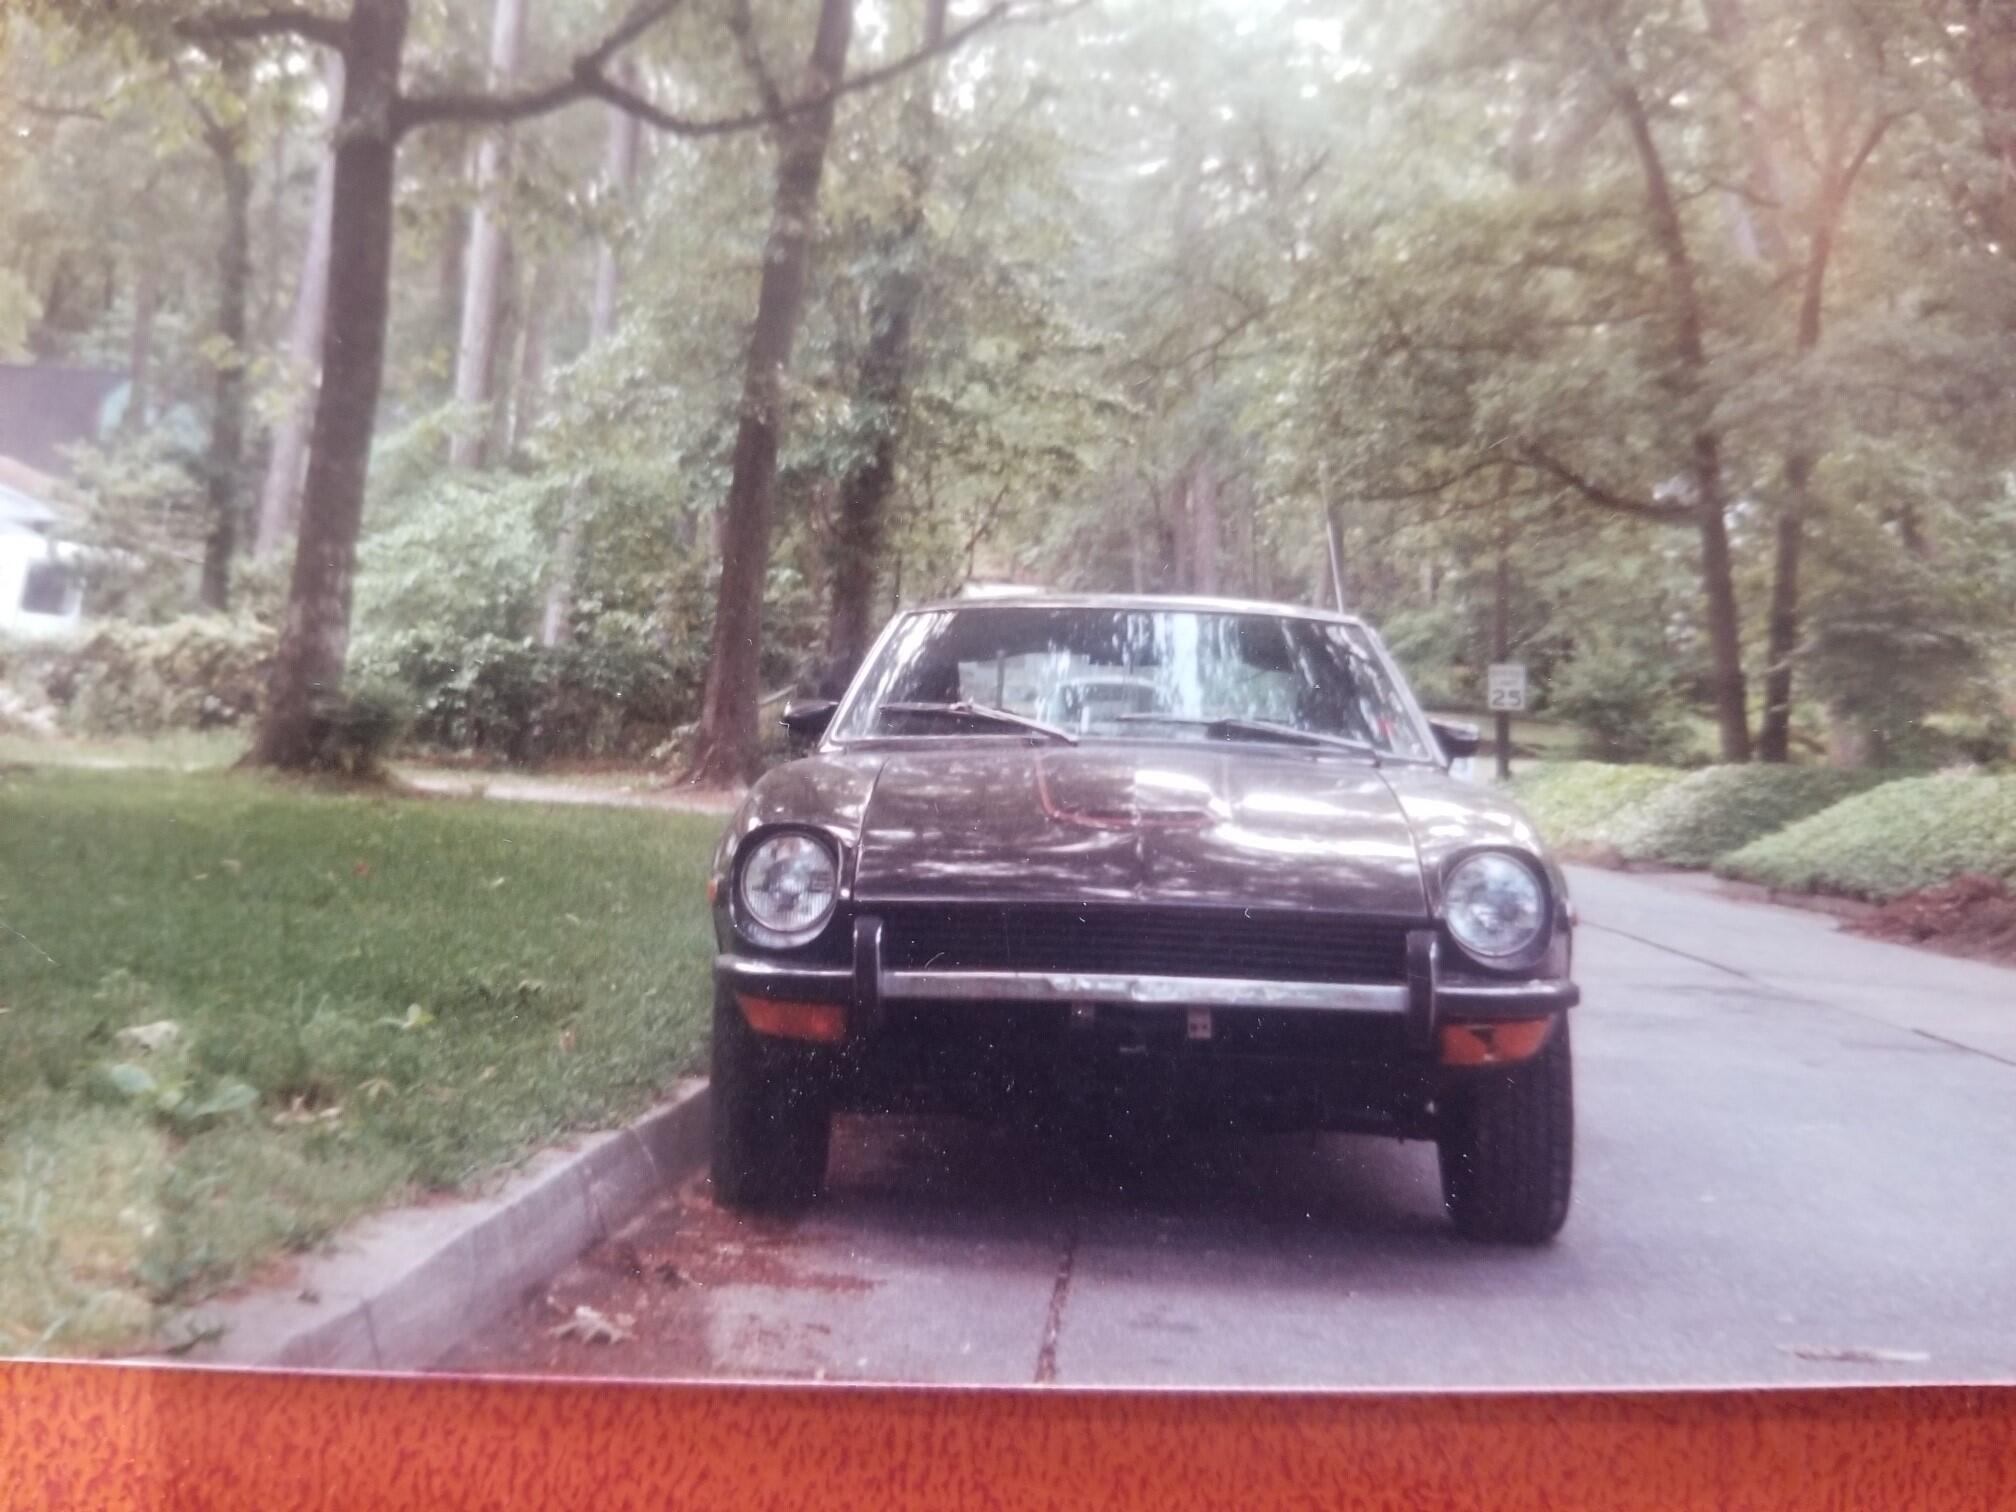
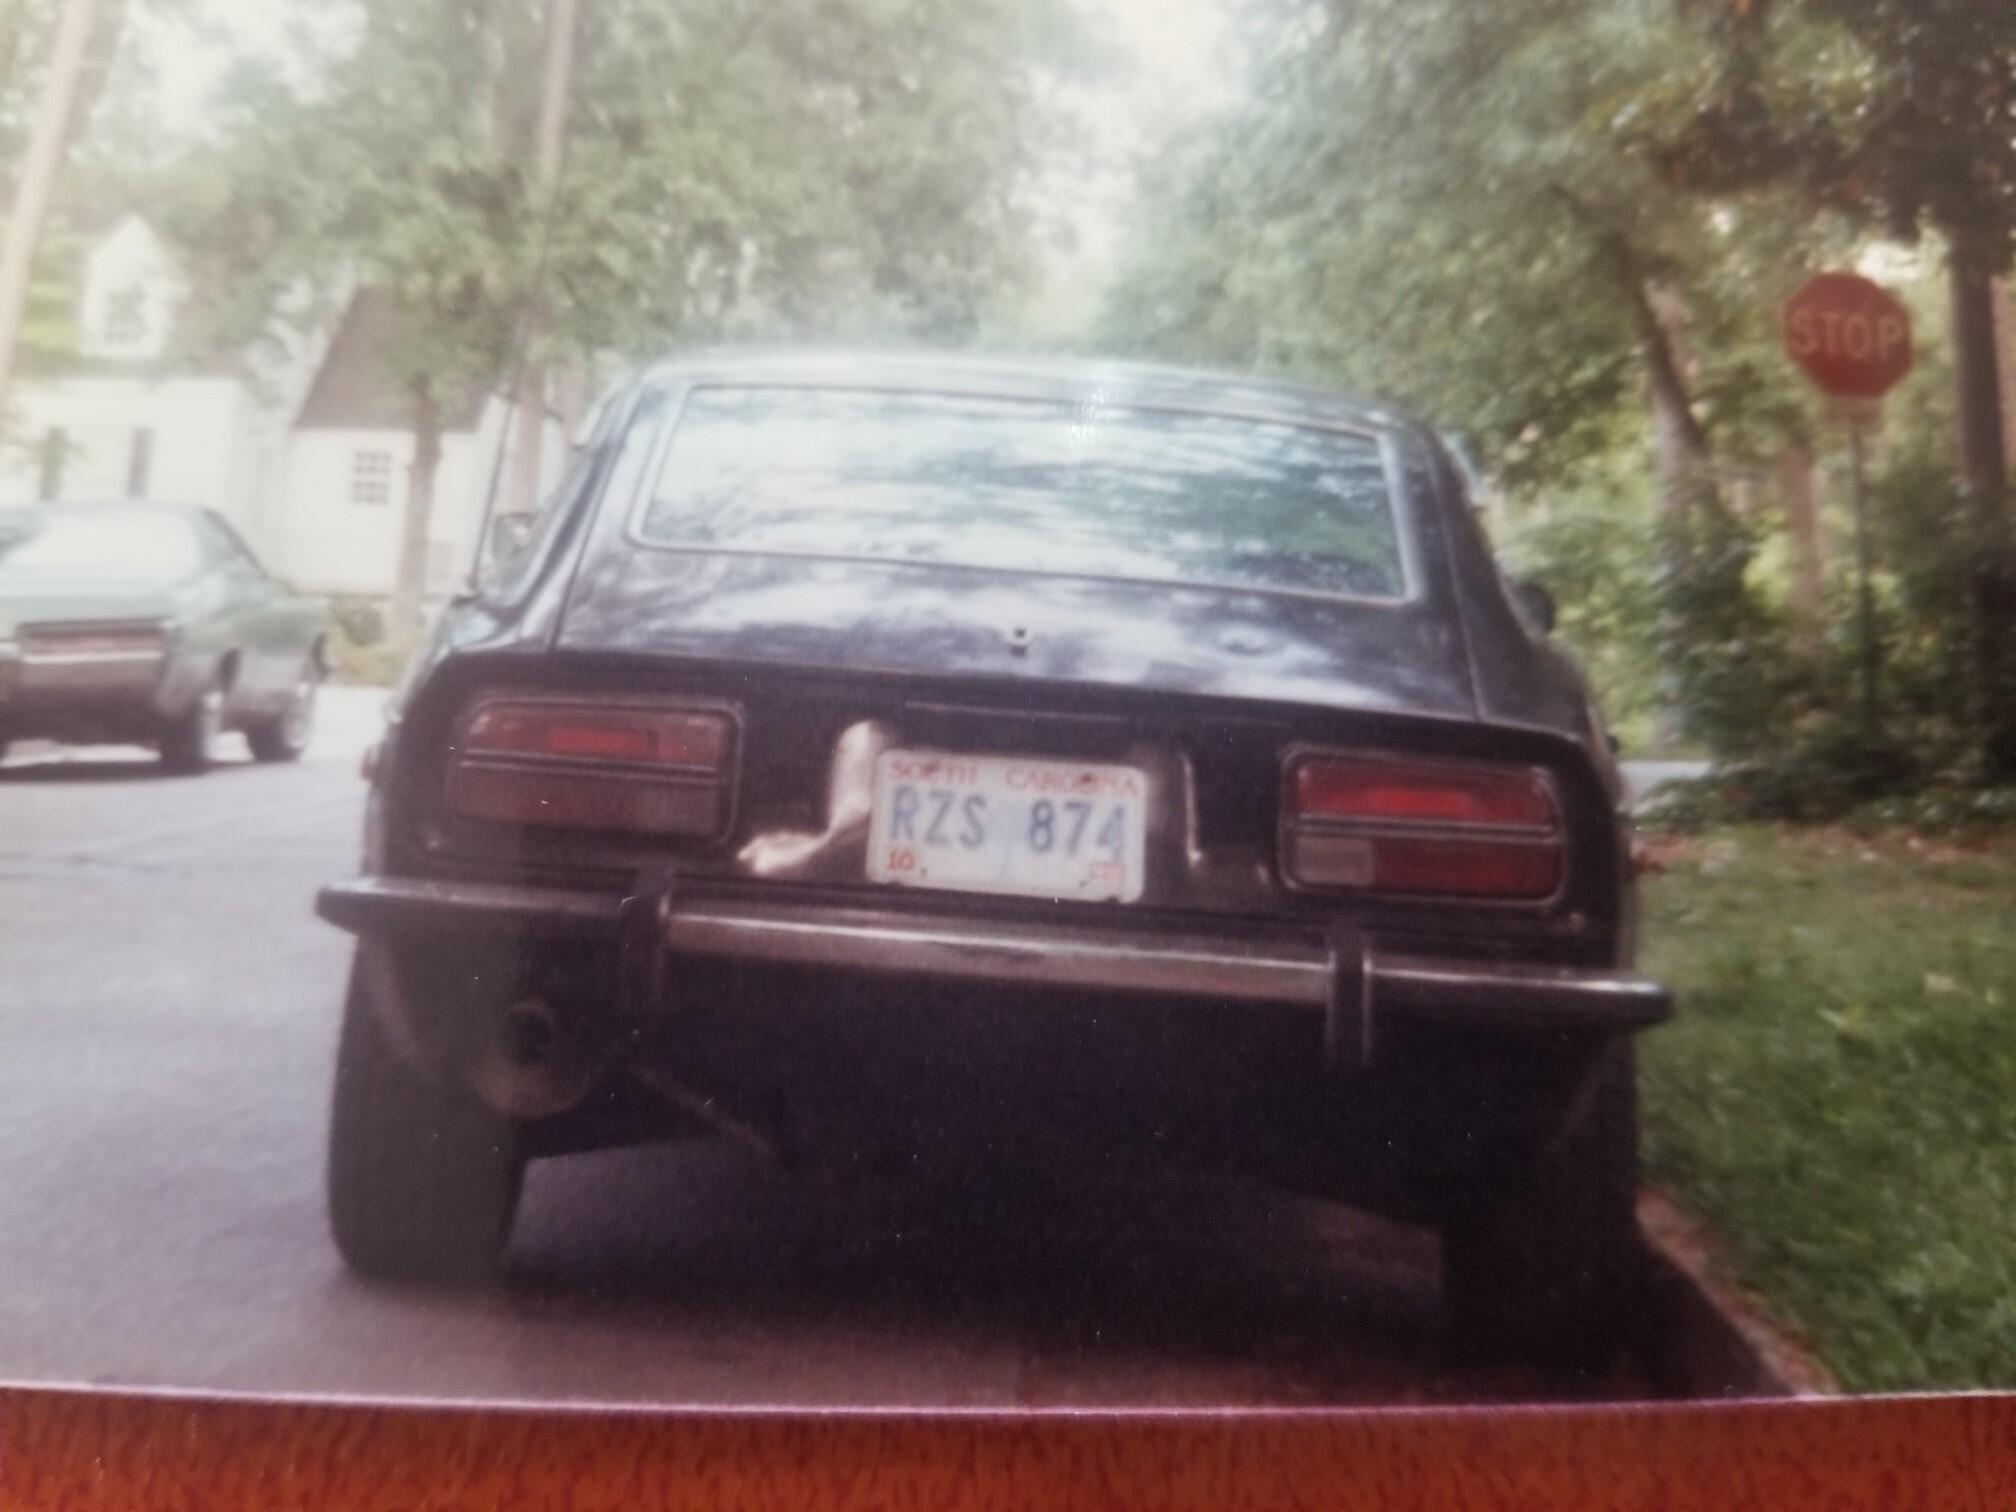
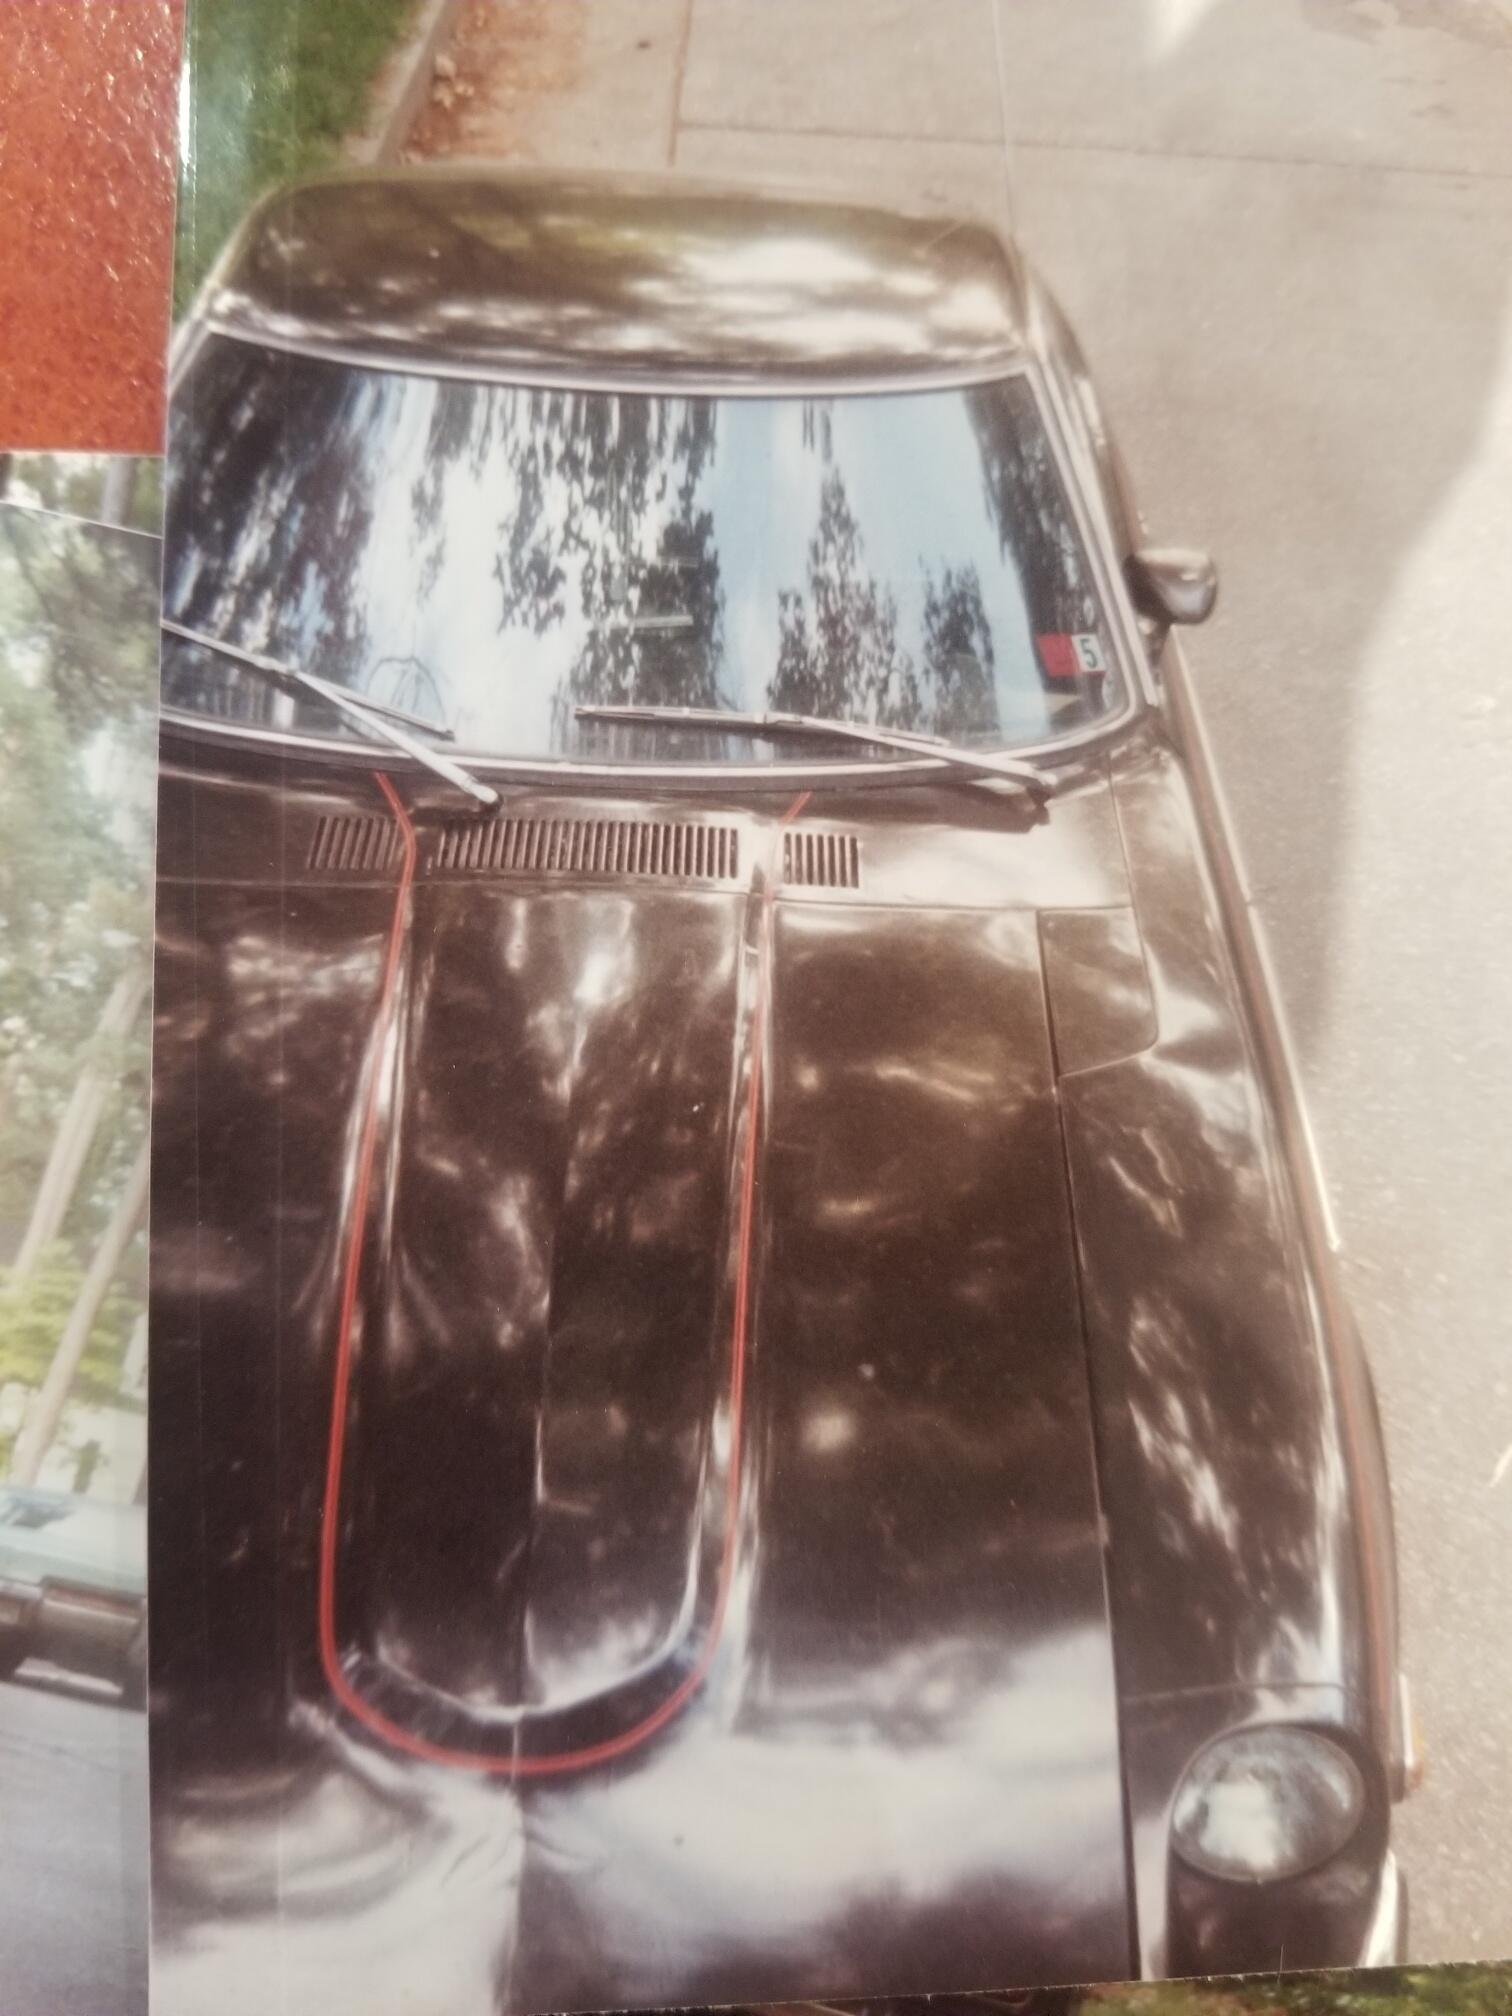
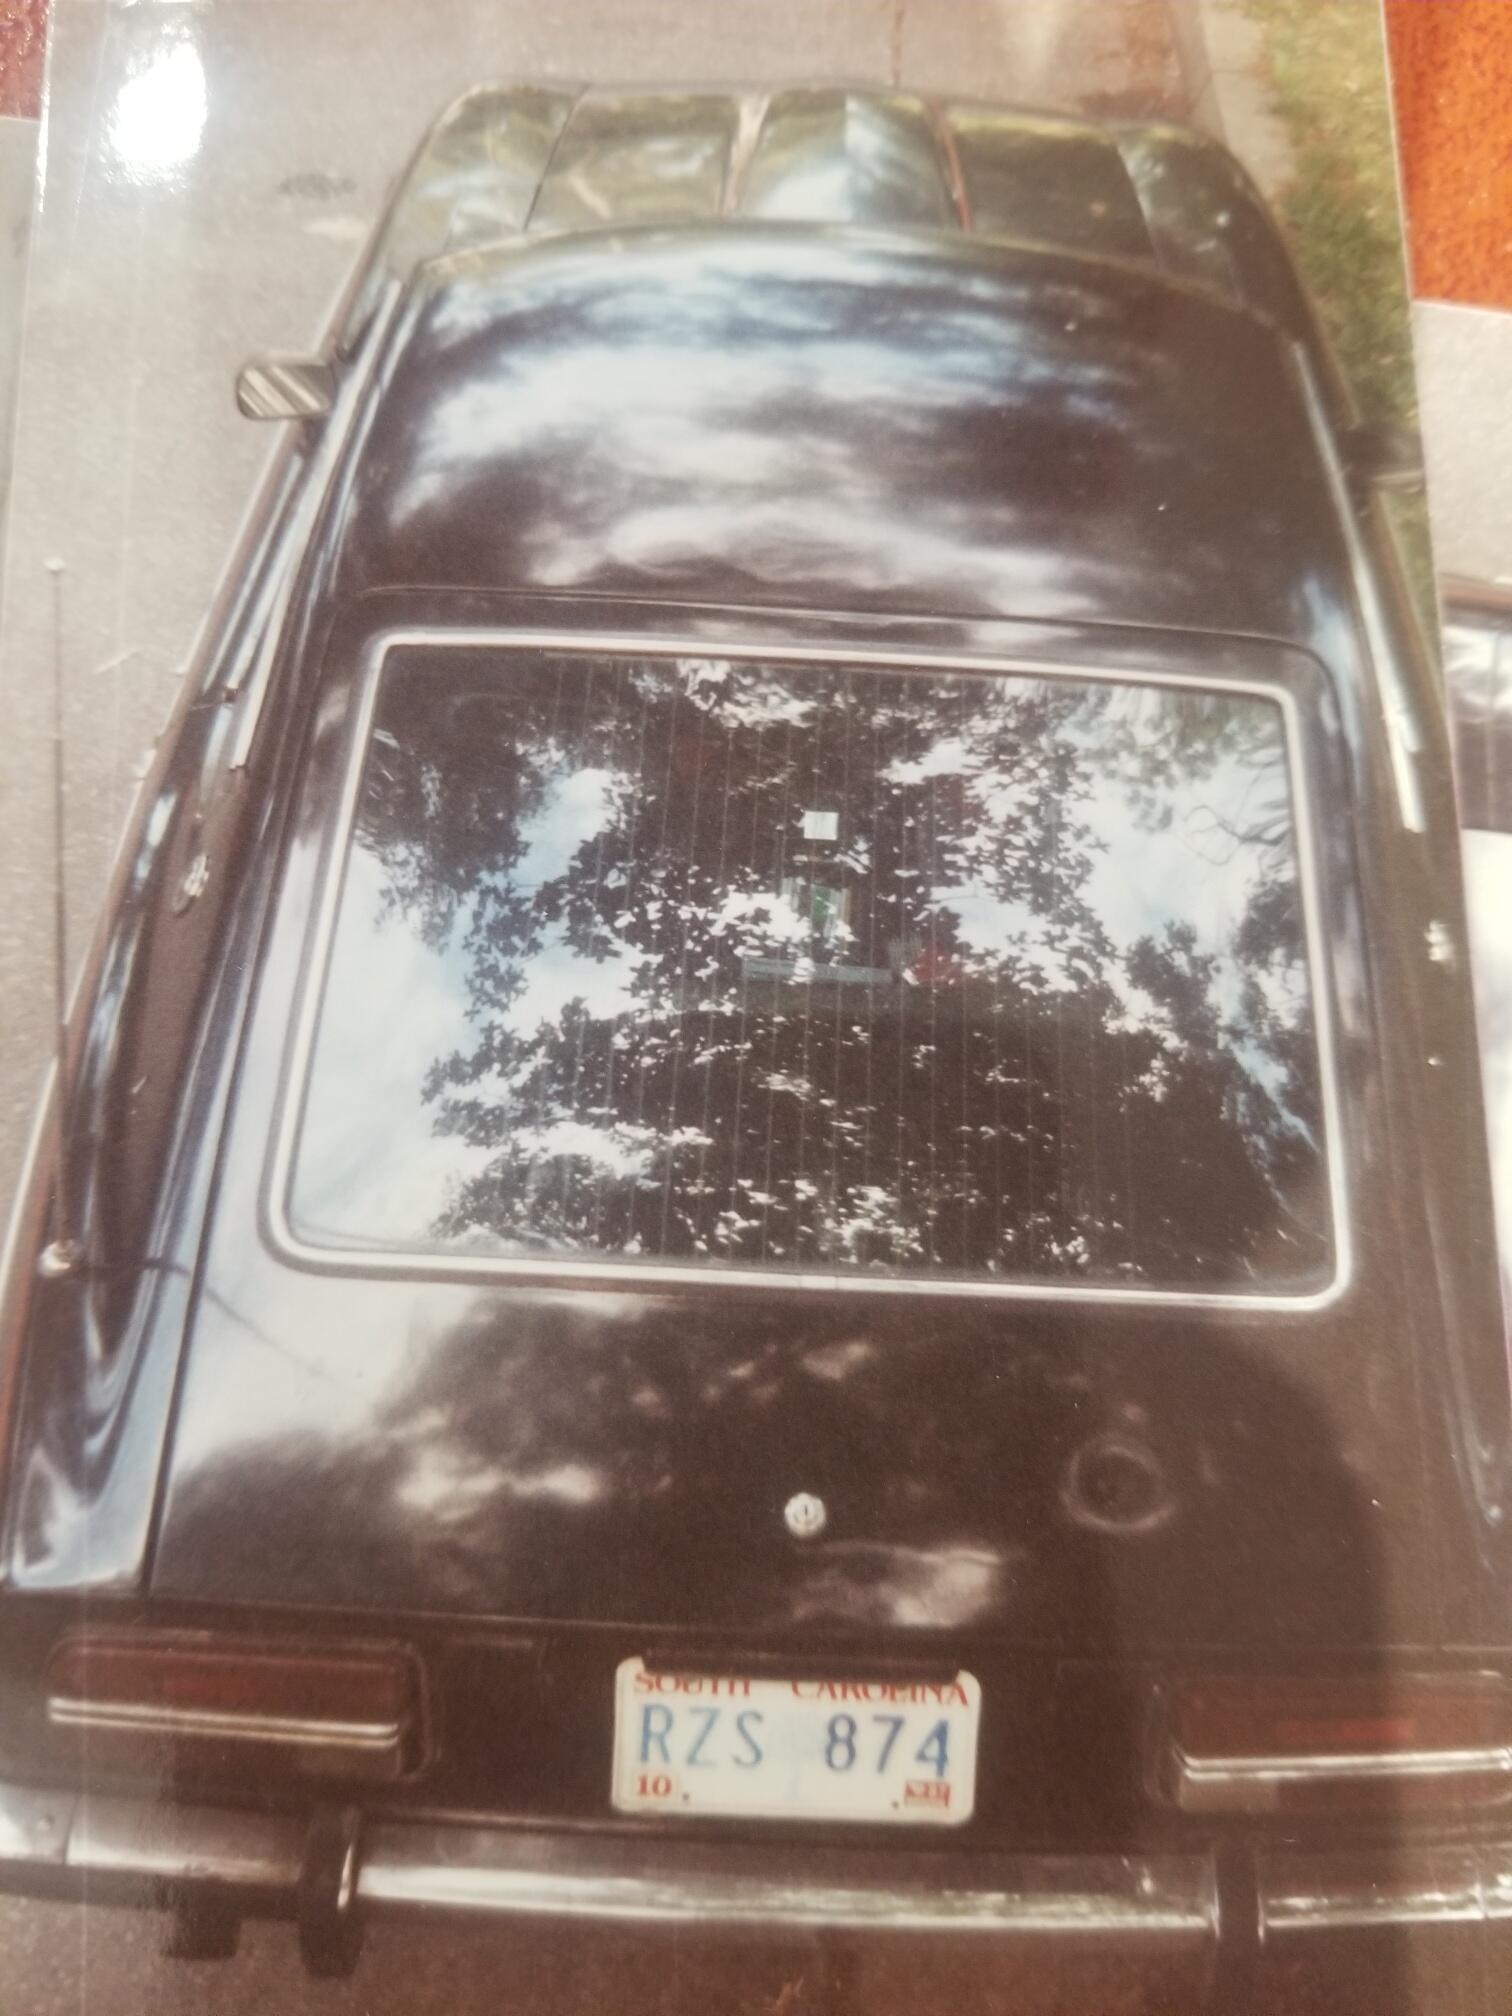
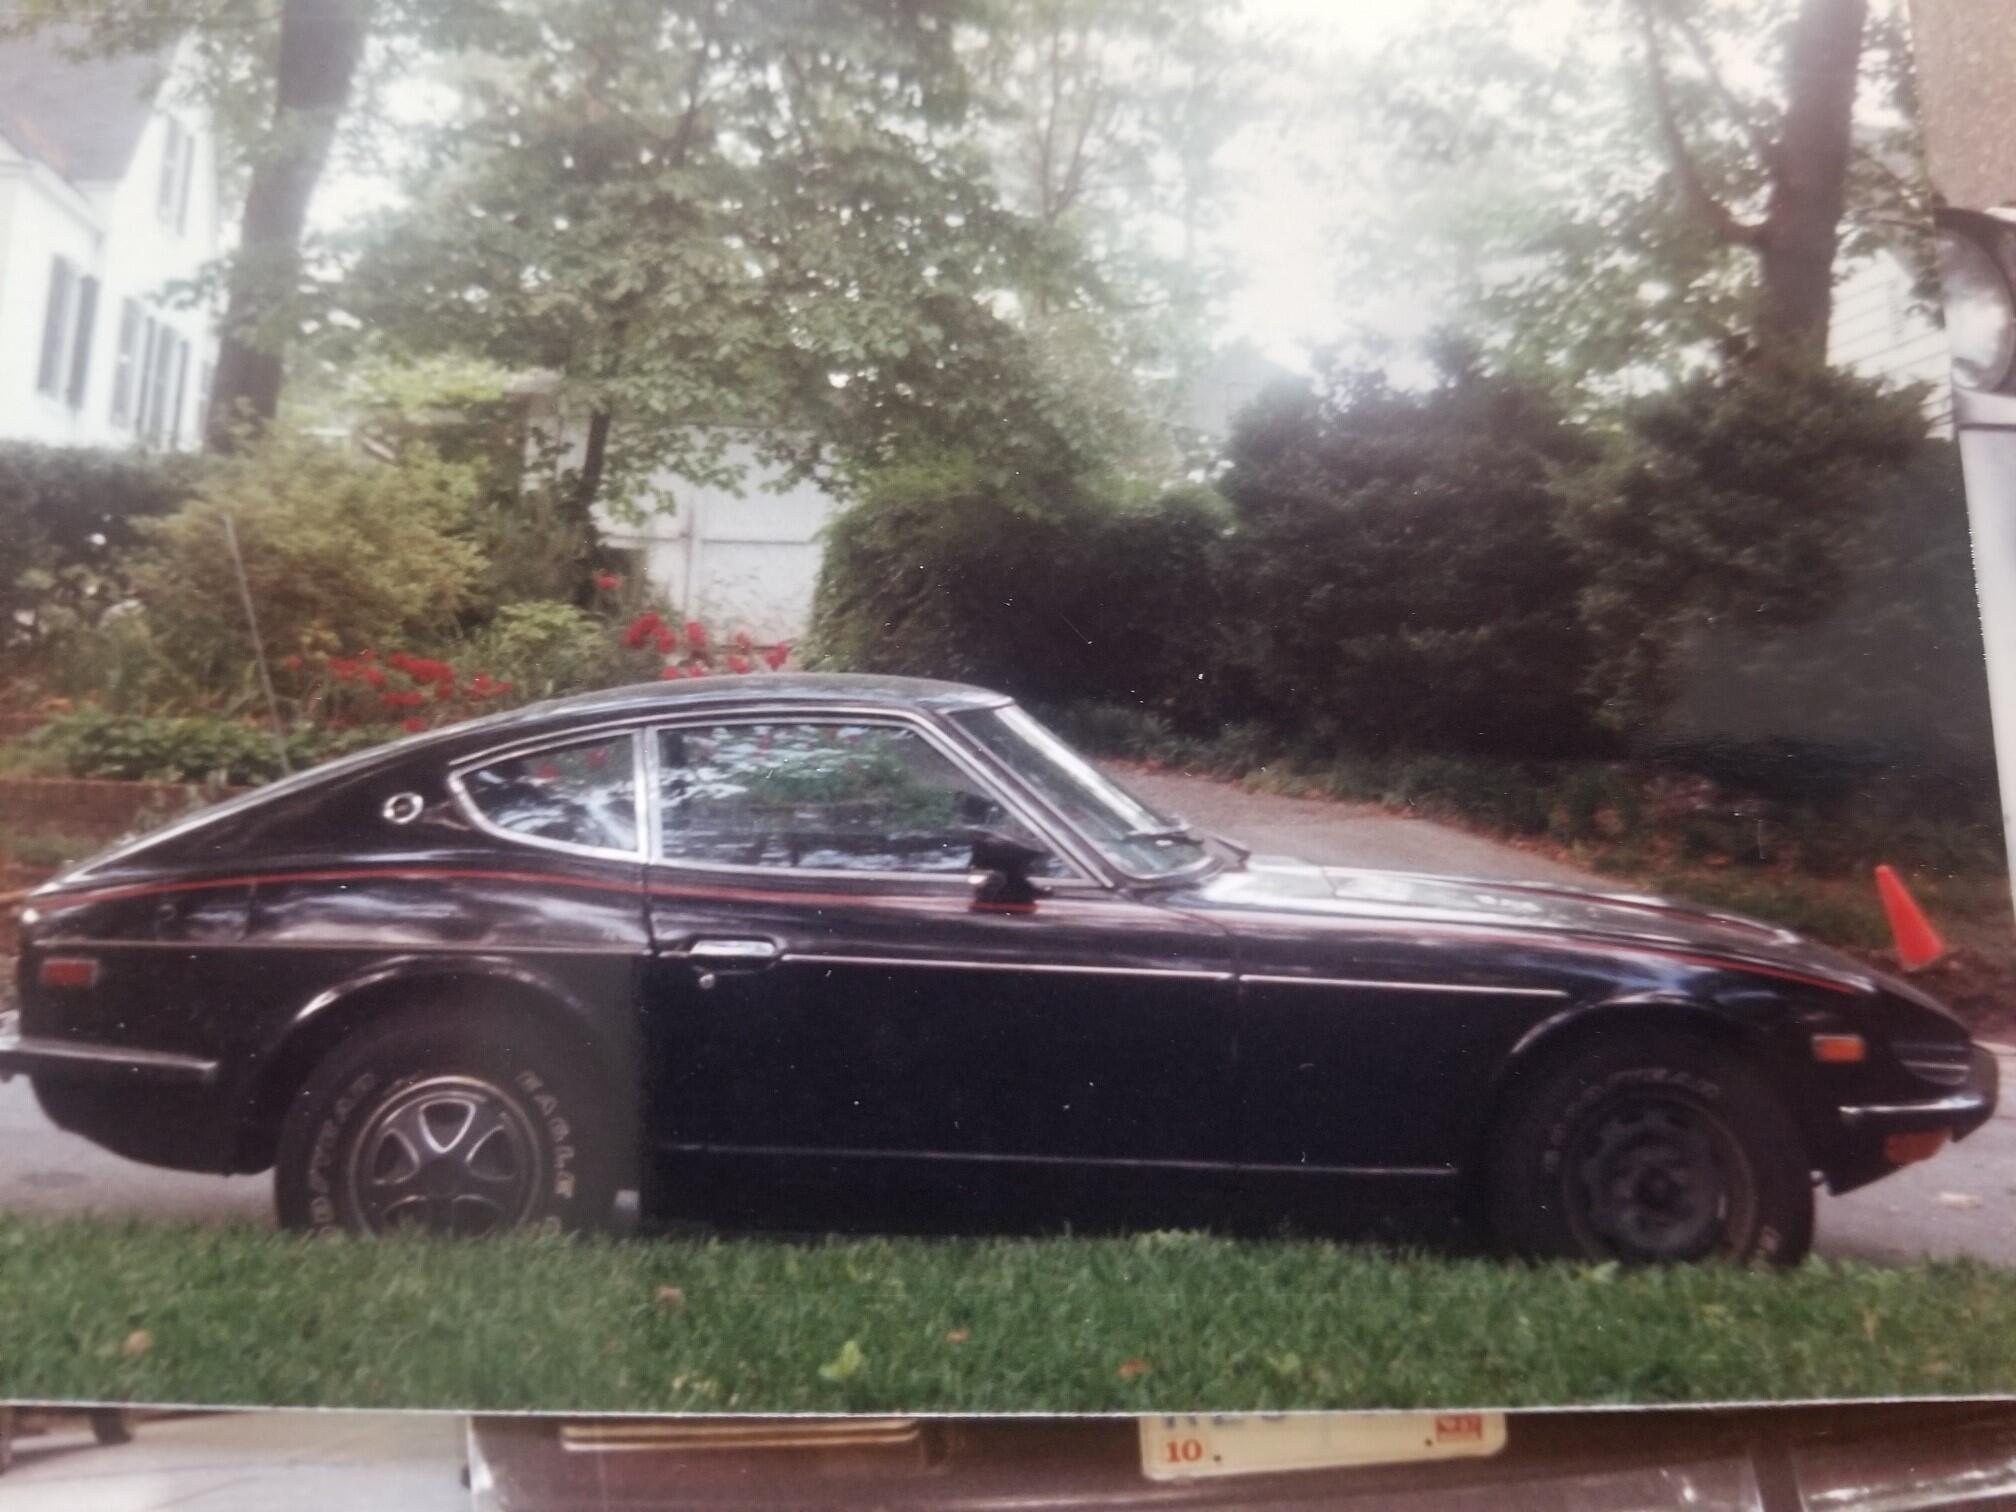
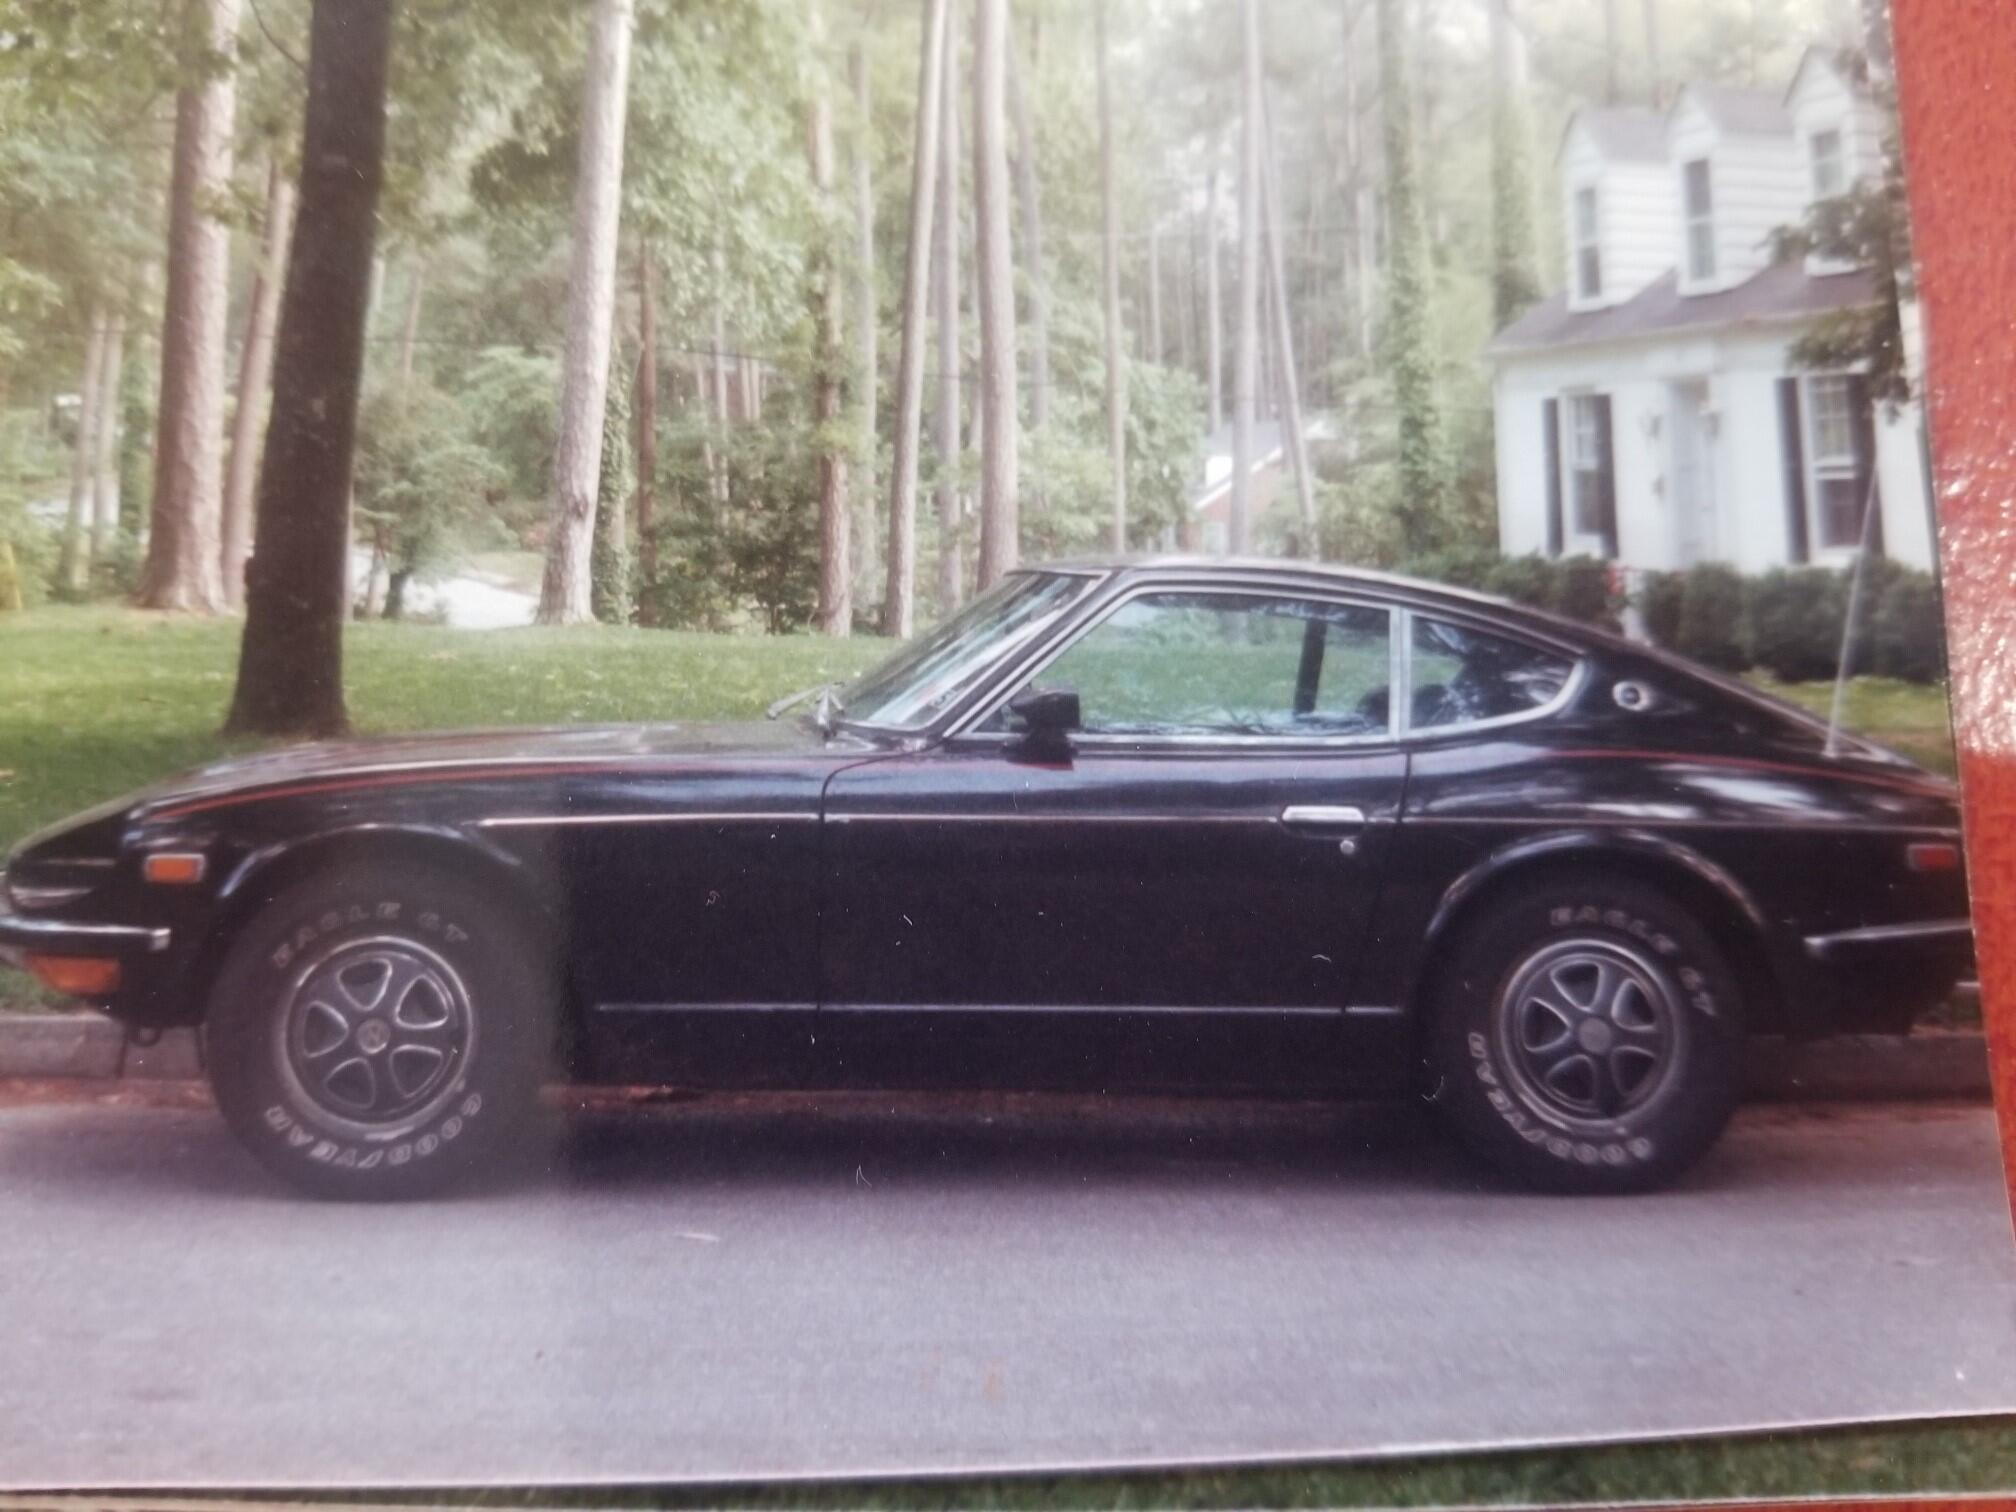
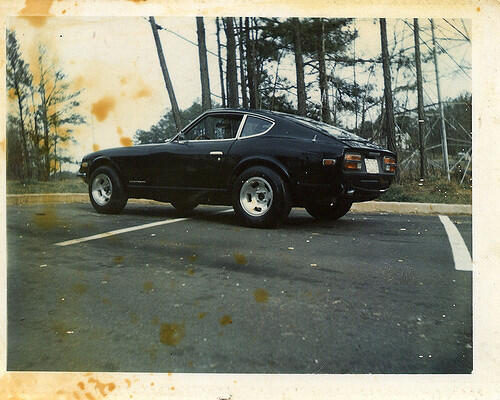
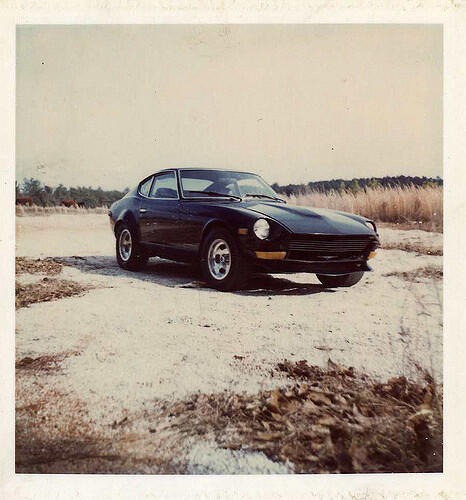
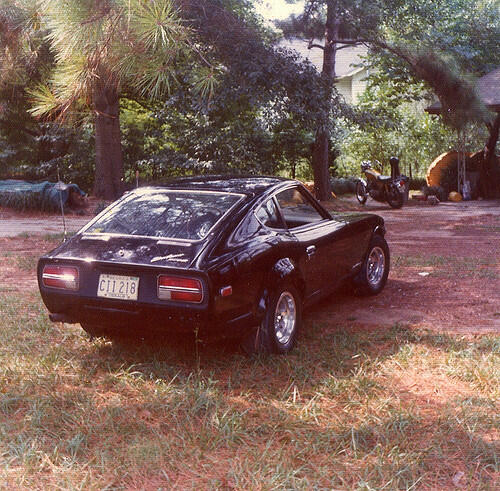
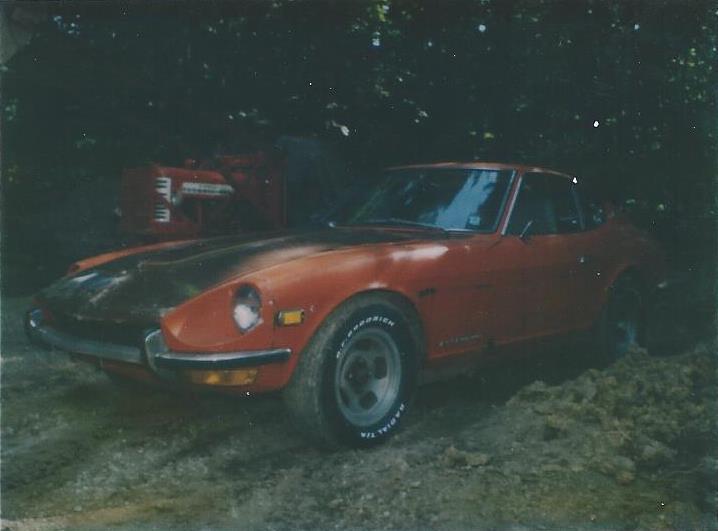
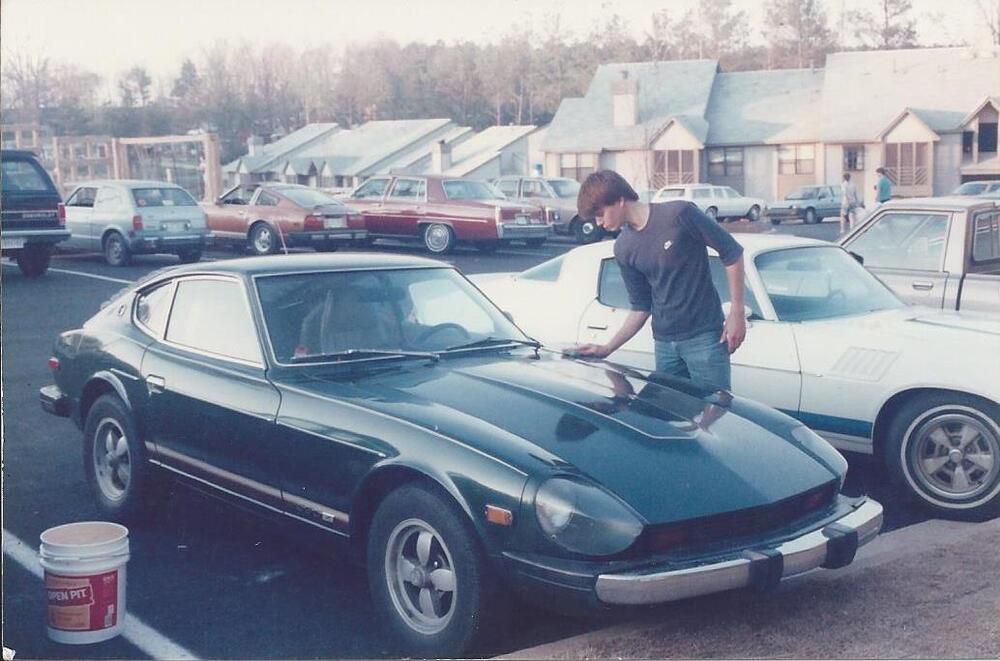
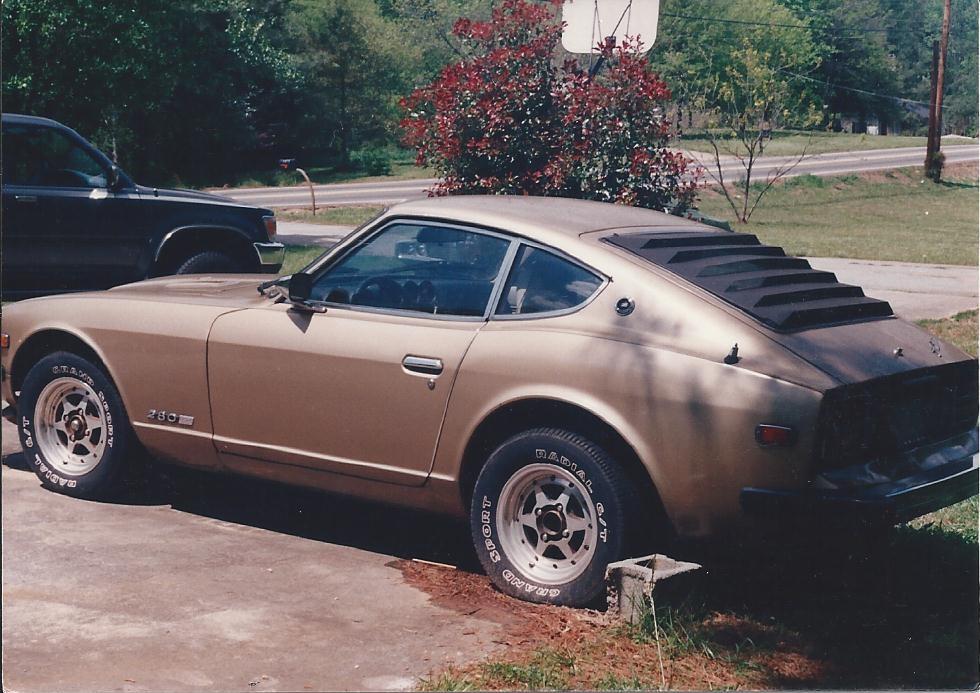
6 pointsHere are a few of my old pics. First is the orange '72 240Z the day I bought it. It was my first Z and I bought it for $200 along with brown '76 280Z for $400 in 1982. The 240 ran great, but was too rusty to fix, so I parted it out and used the SU's on my race car over 15 years after I pulled them from the 240Z. Next up was my first nice Z. I bought the '76 280Z in Atlanta in 1986. This pic was the day I bought it. I gave it a wash before driving it 750 miles home the next day. I pulled the Libre wheels and sold those to a member here a few years ago and I pulled the headlight covers and after 30 years of storage, installed them on the race car. The white 240Z's were a clean Arizona '72 rolling chassis that I bought sight unseen from Arizona and had shipped back to Michigan. The pic was taken the day it arrived in 1995. The '73 was a really rusty car that I bought cheap because it had a lot of good performance parts including triple Webers and Bilstein struts. I combined the two Z's and cut up the '73. The '72 ended up with a forum member and was moved to Paris, France. Finally, here is a pic of my '78 280Z the day I bought it in Atlanta in 1990. I still have it almost 32 years later.

 6 points
 -
6 points
-
4 pointsLooks like more than the cars need a restoration. Looking forward to the time we can restore ourselves instead of the cars LOL.4 points
-
4 points
-
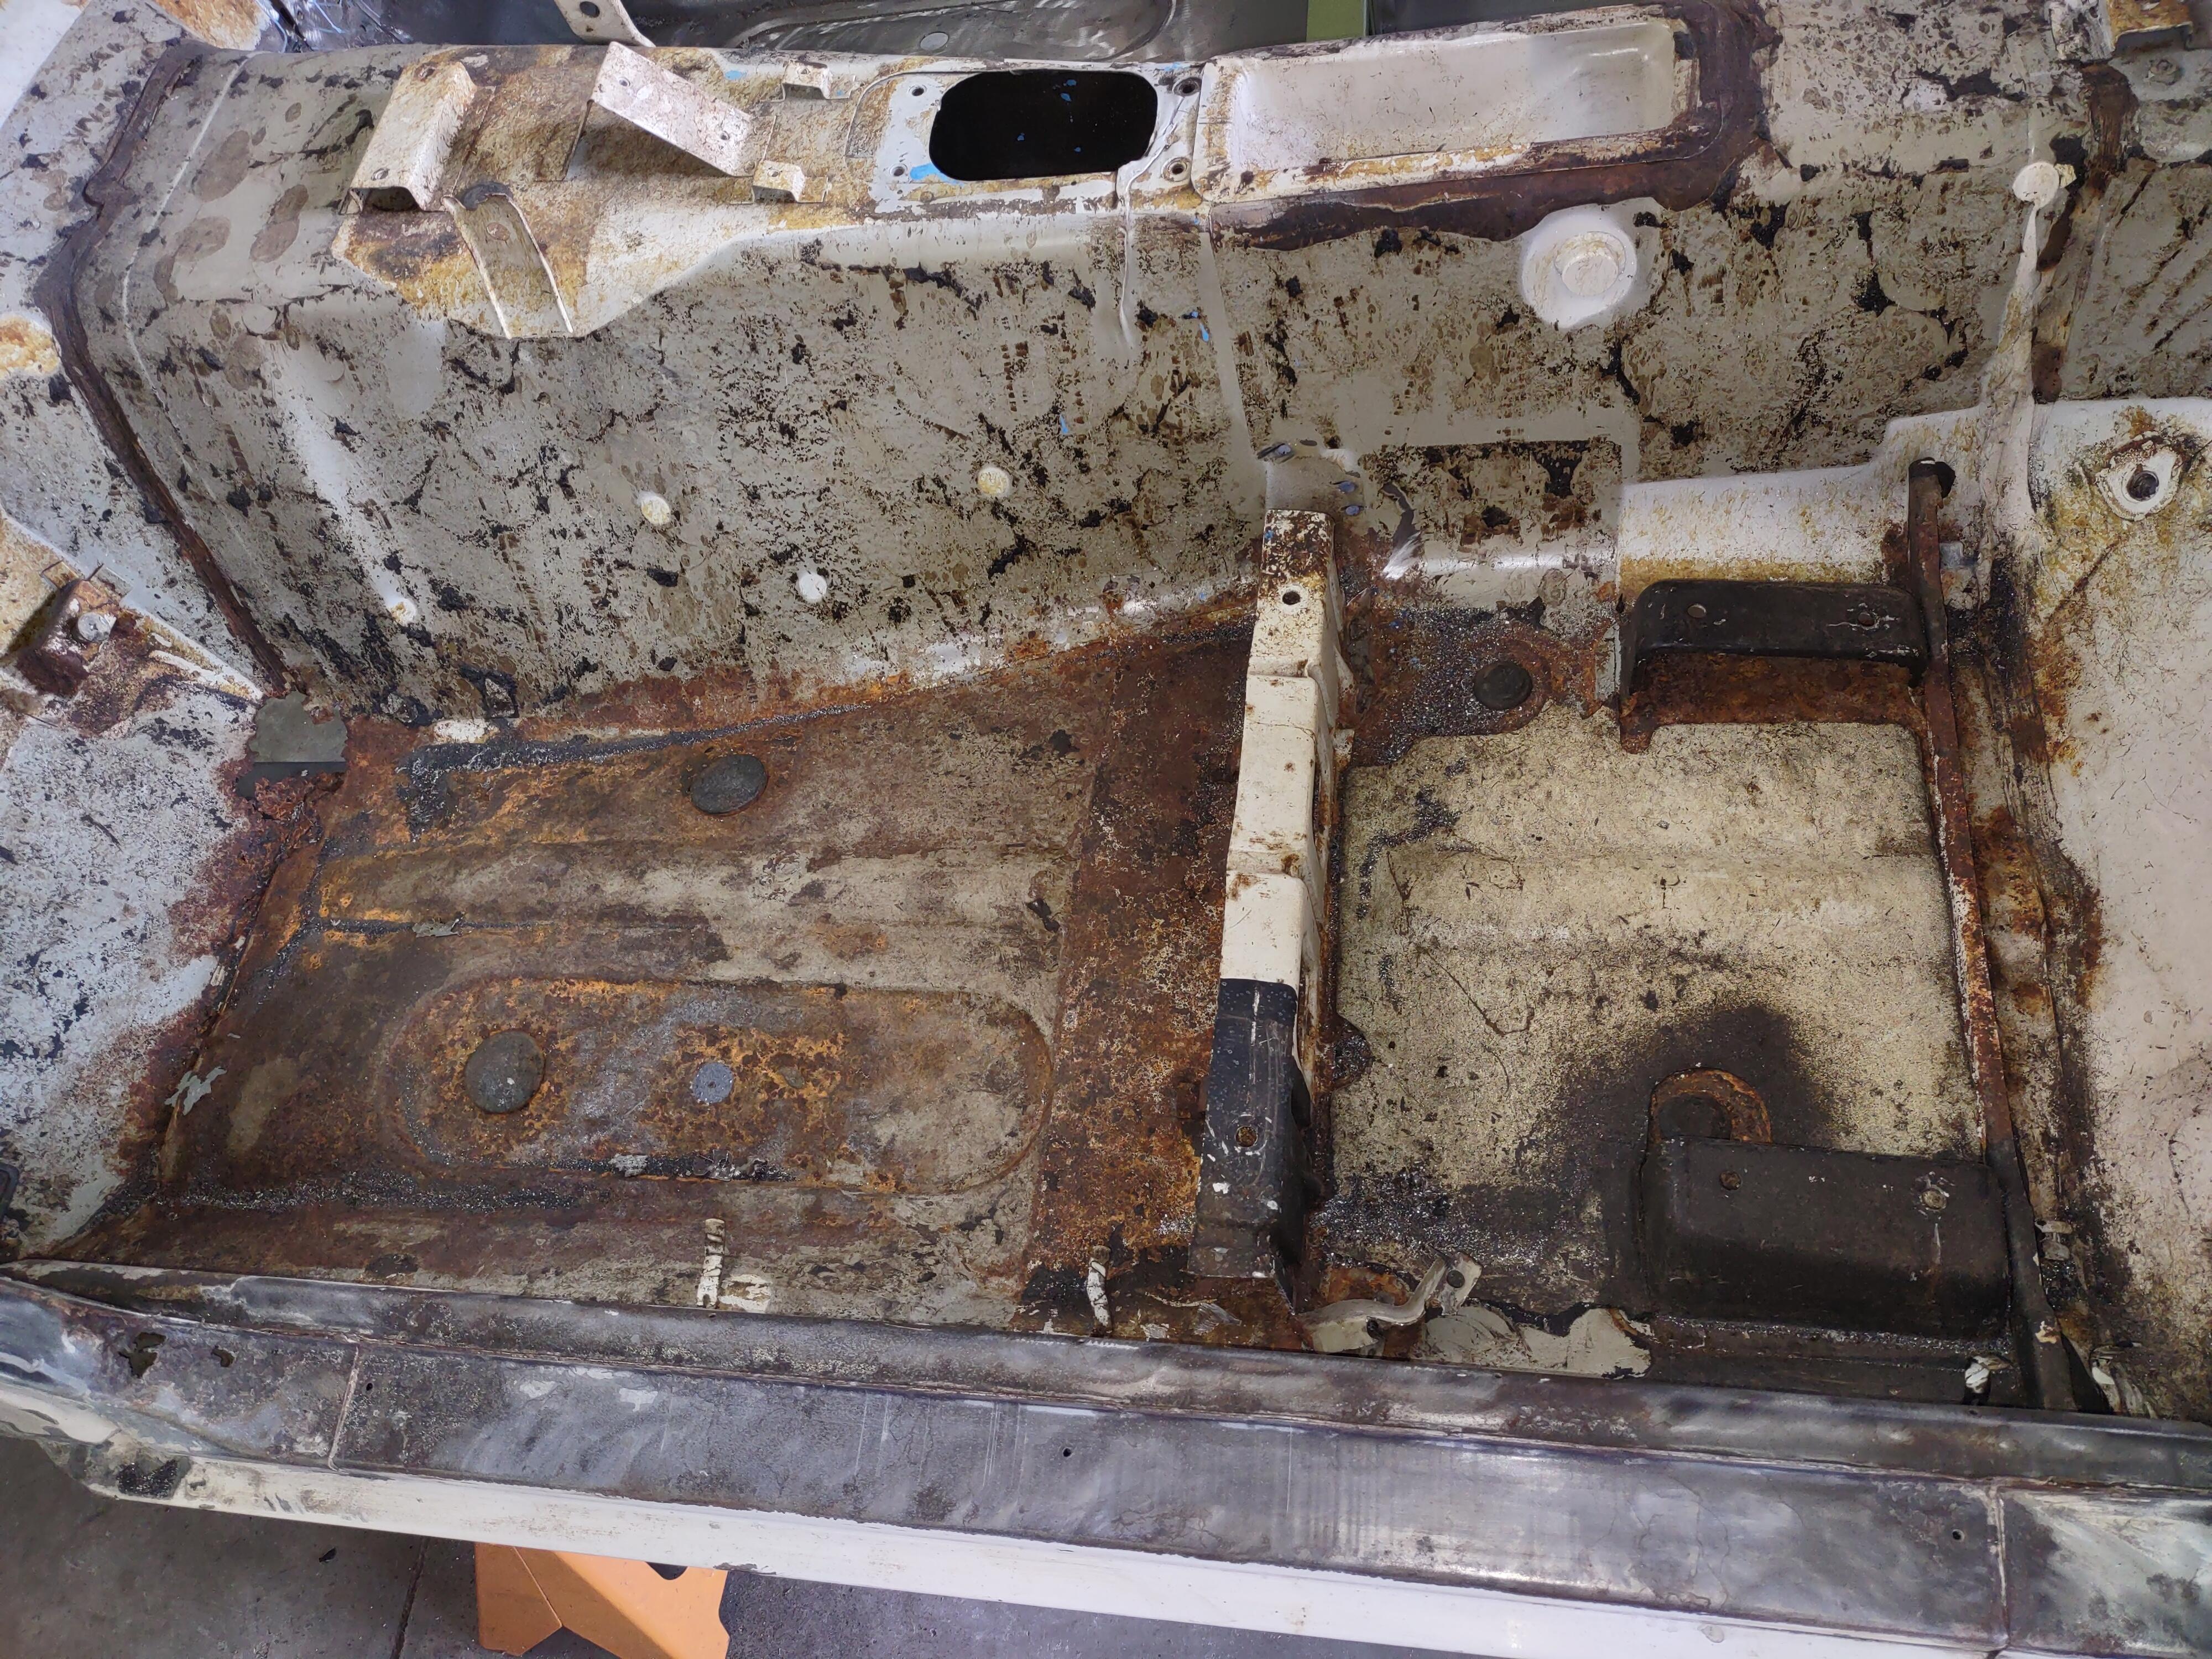
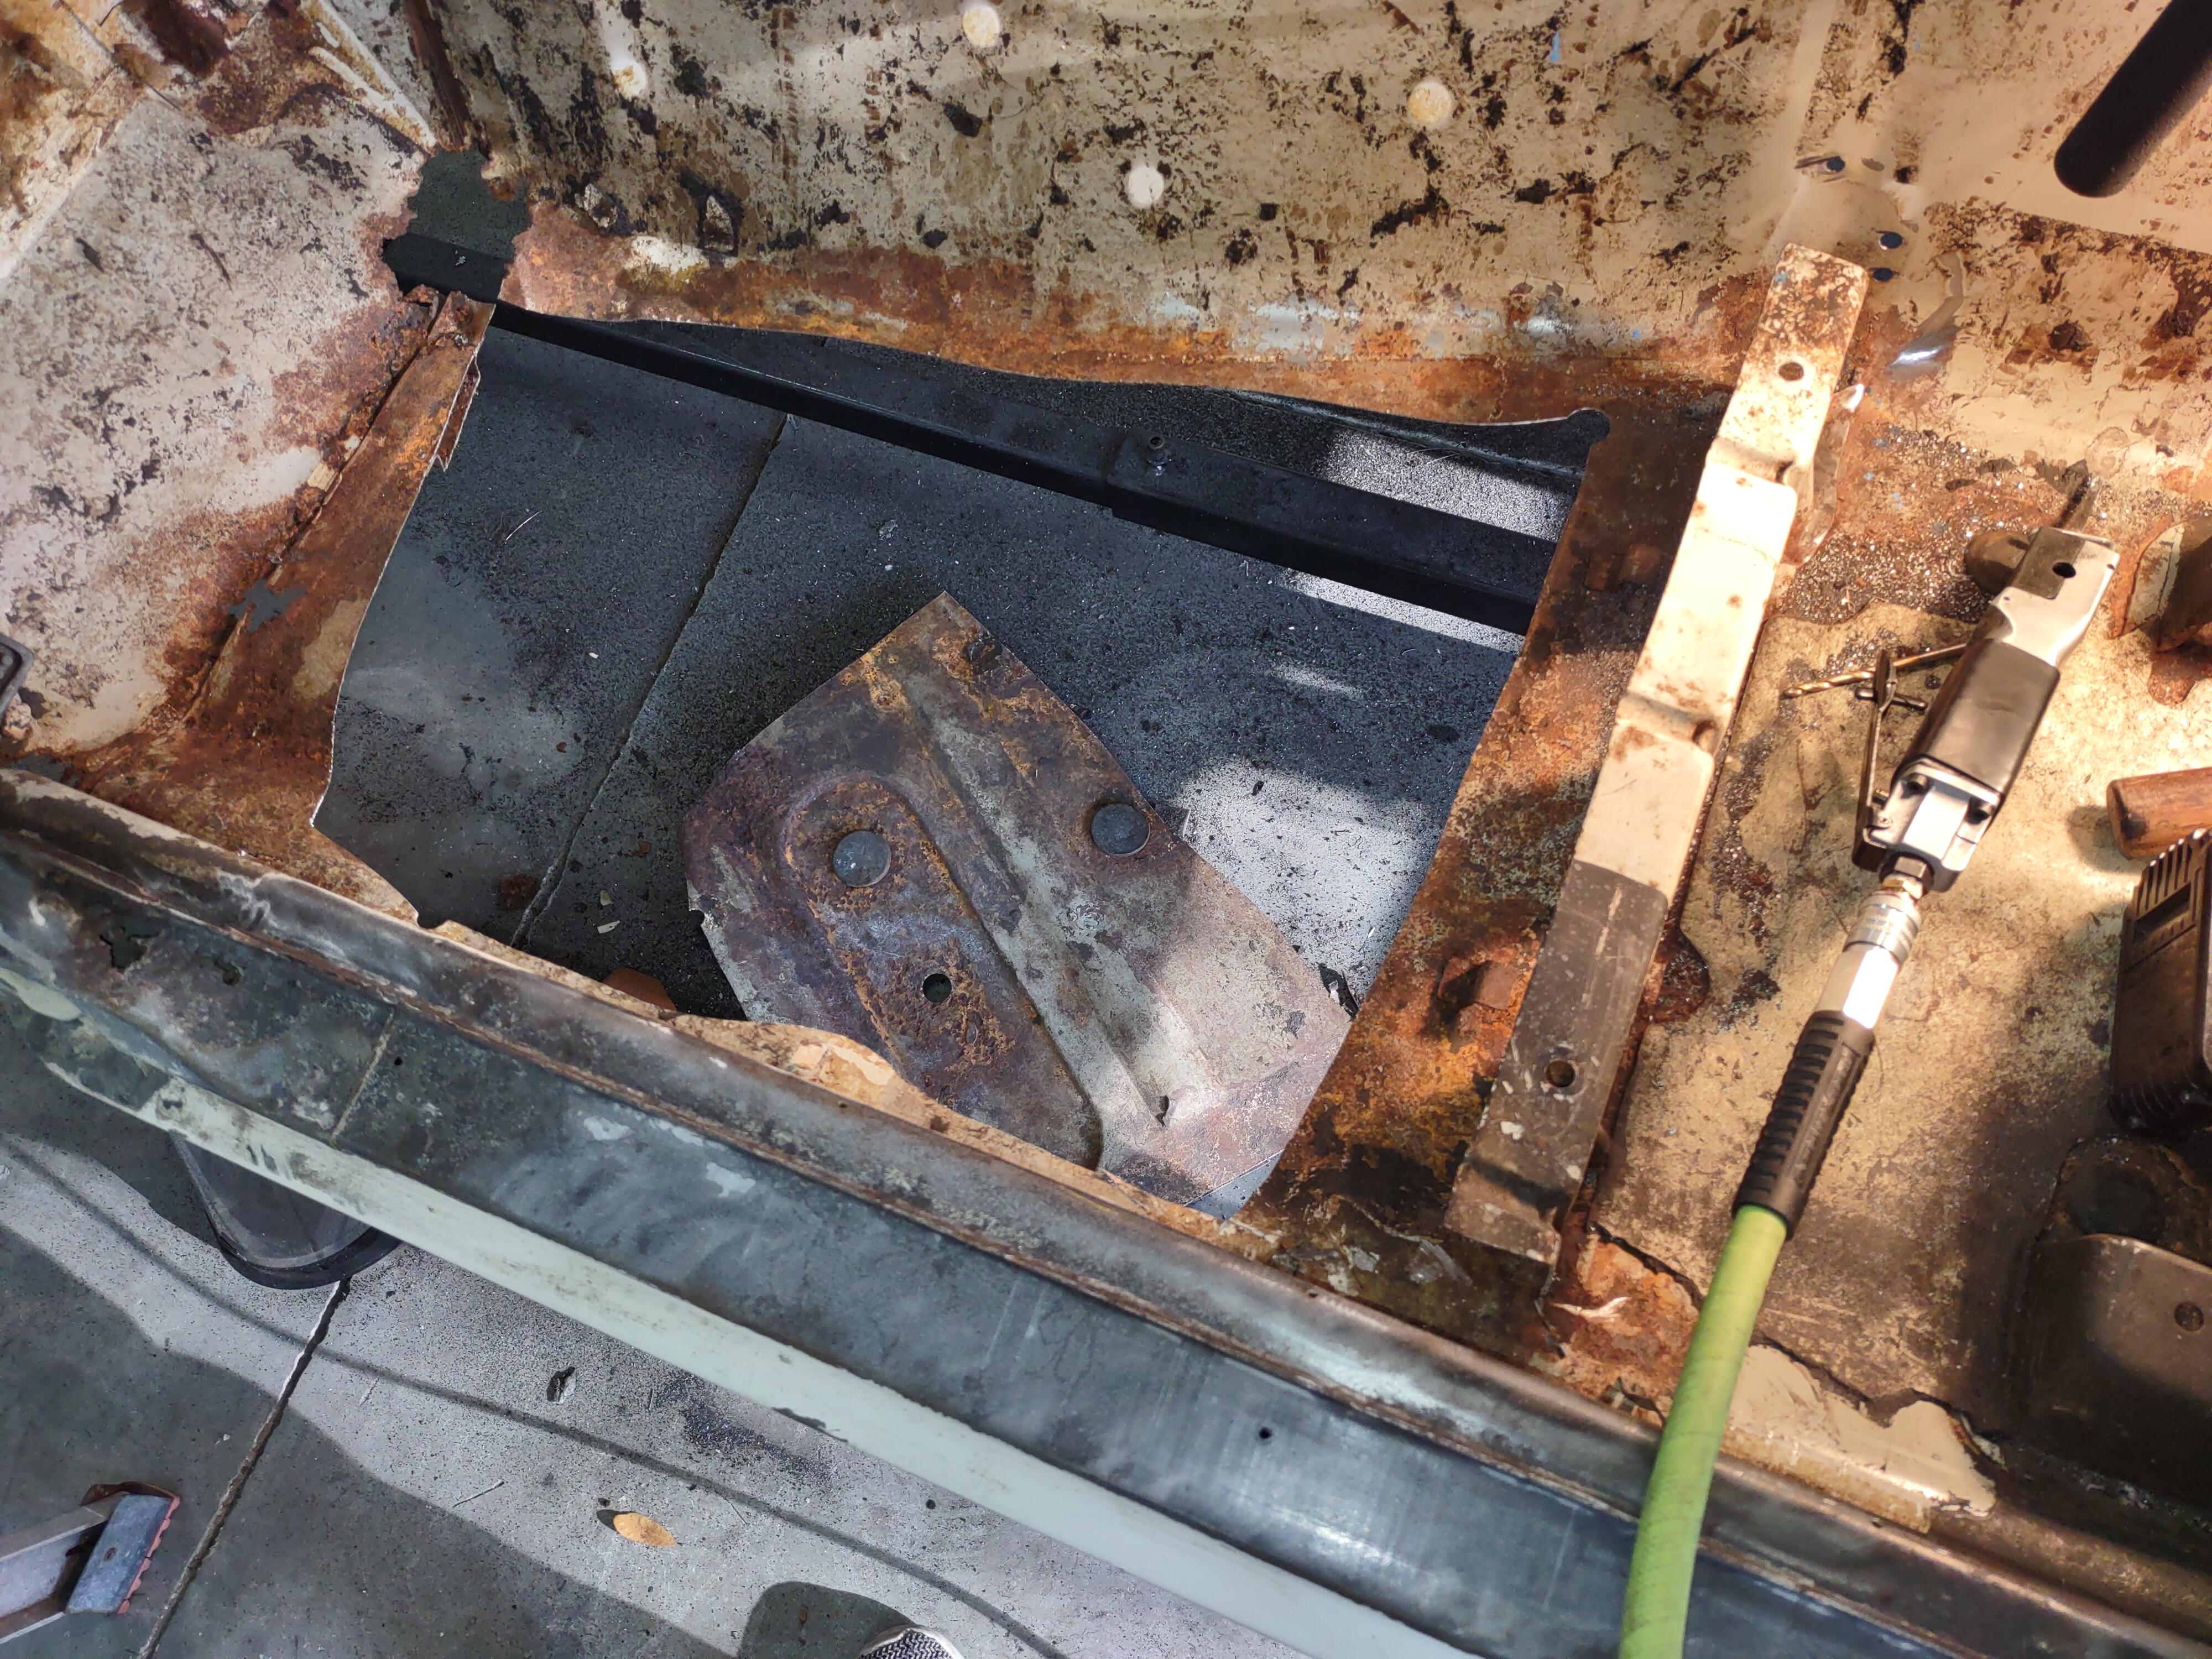
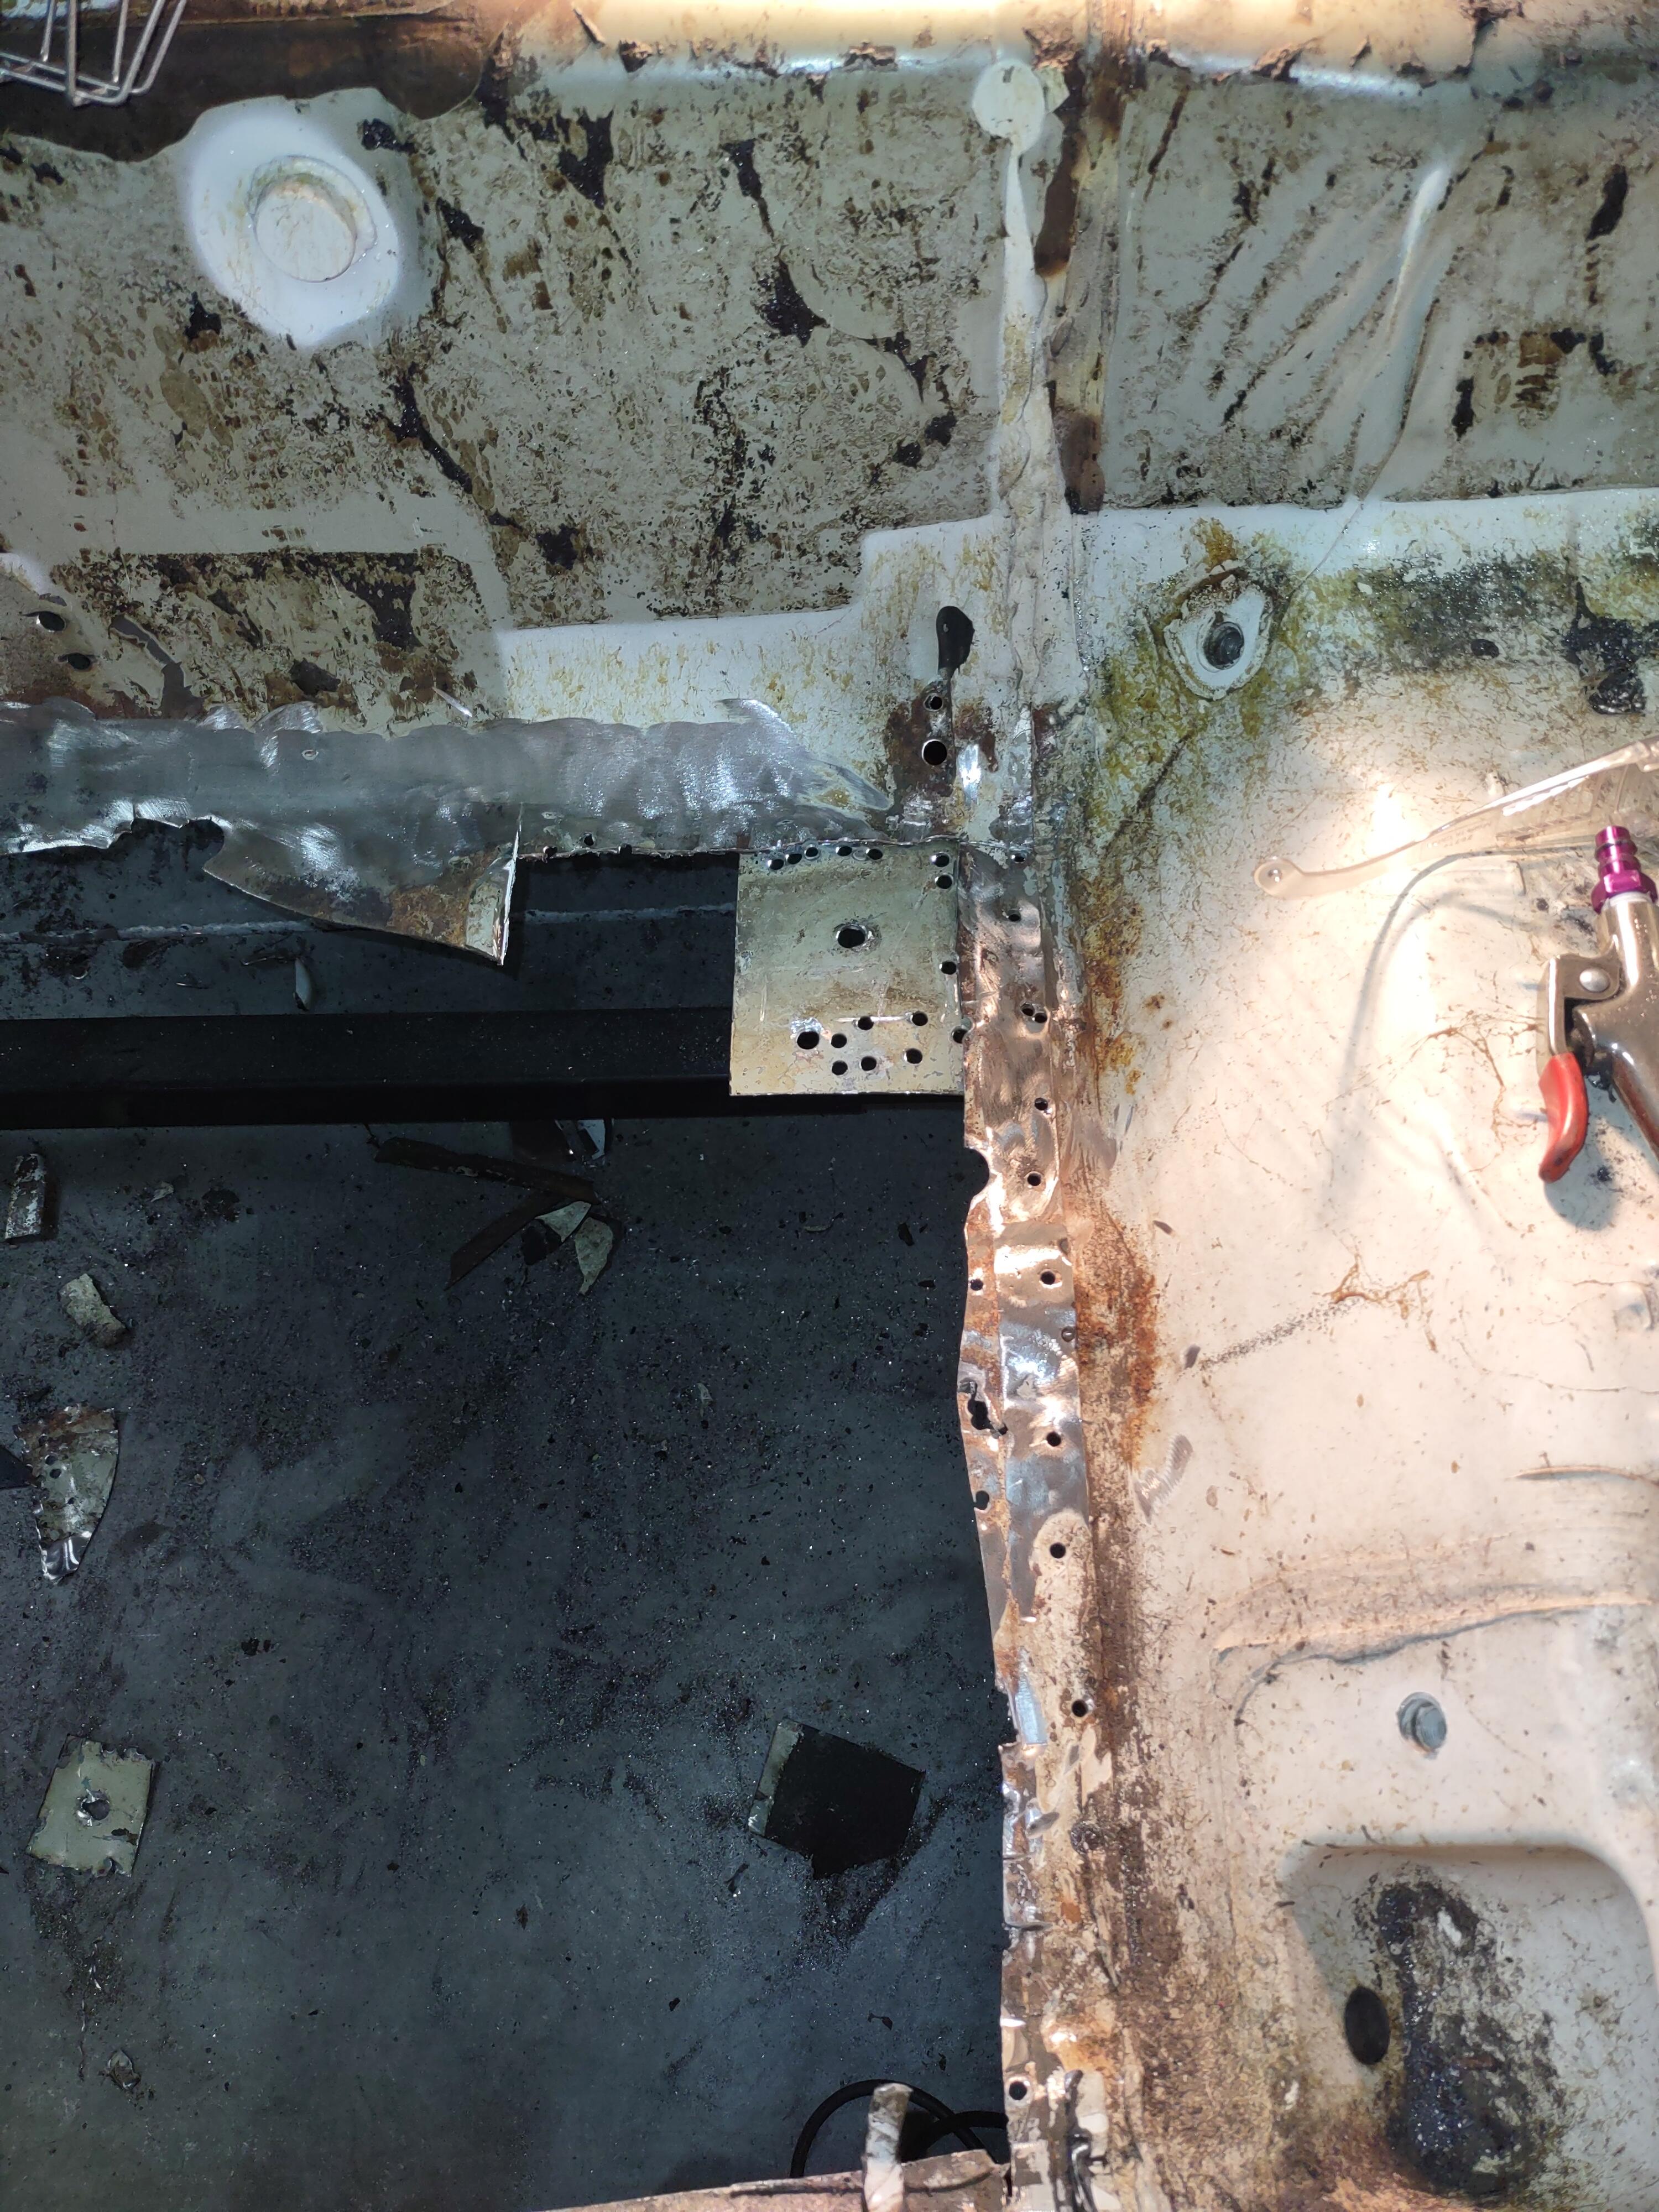
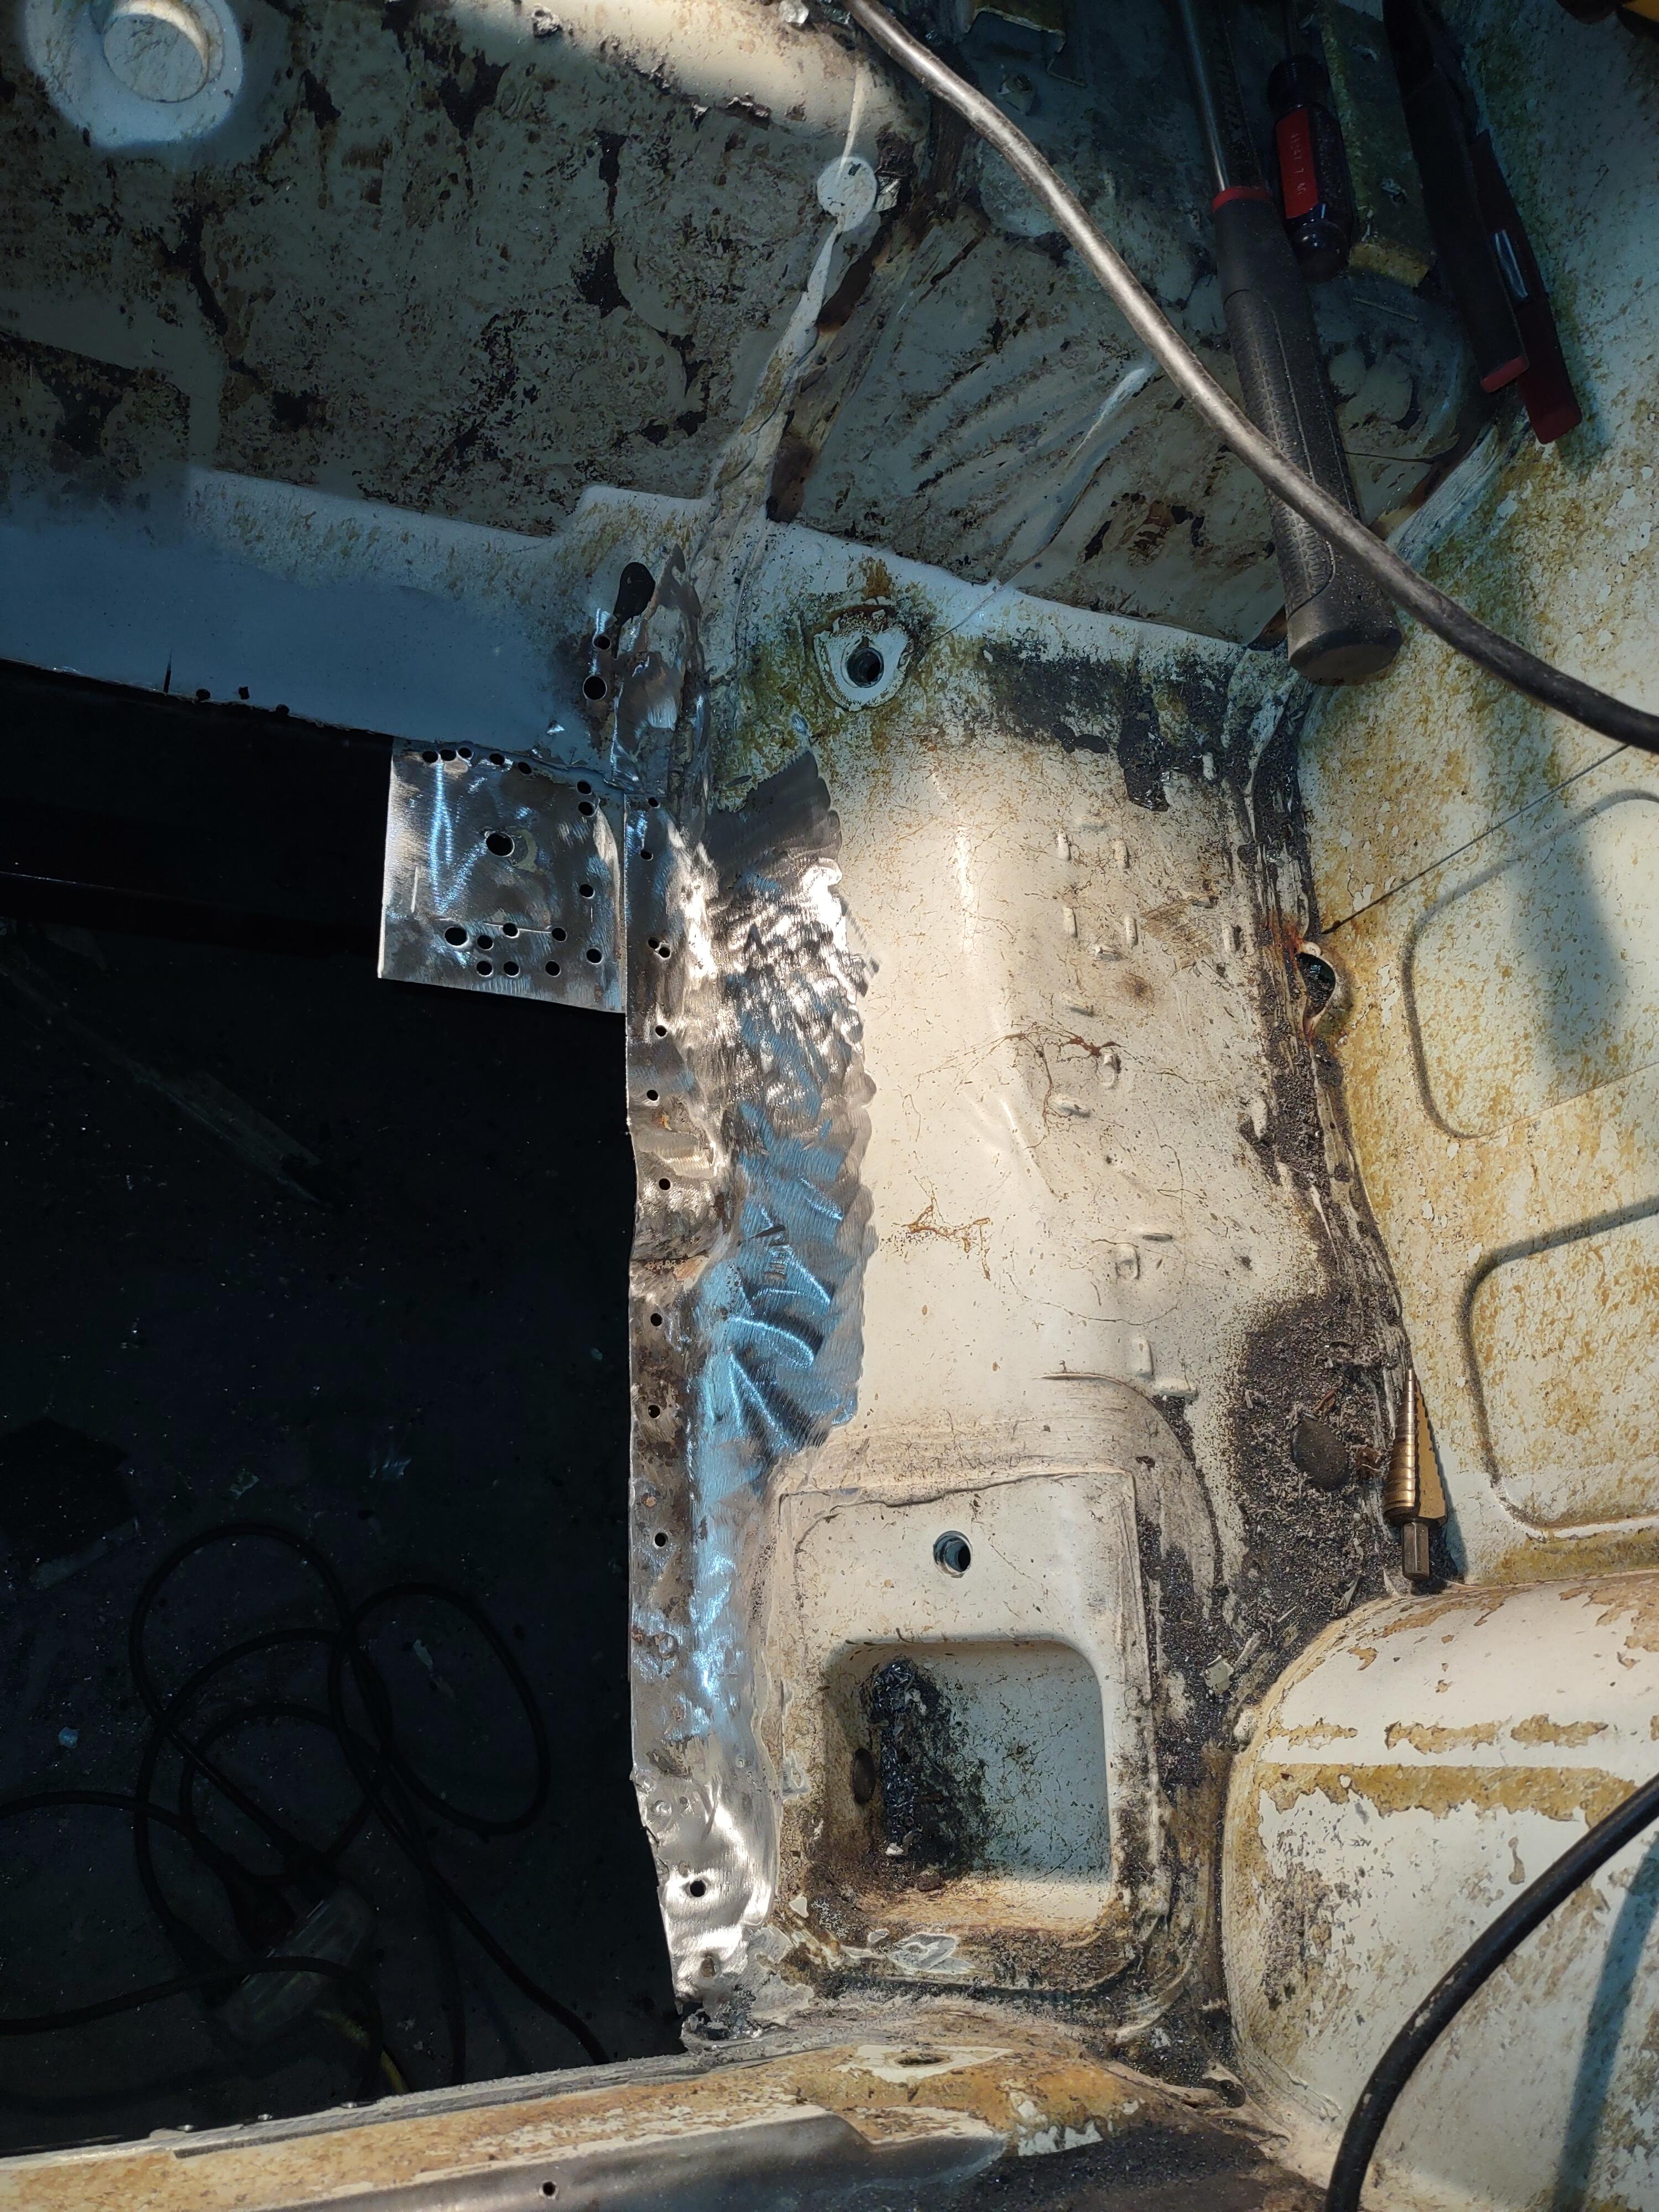
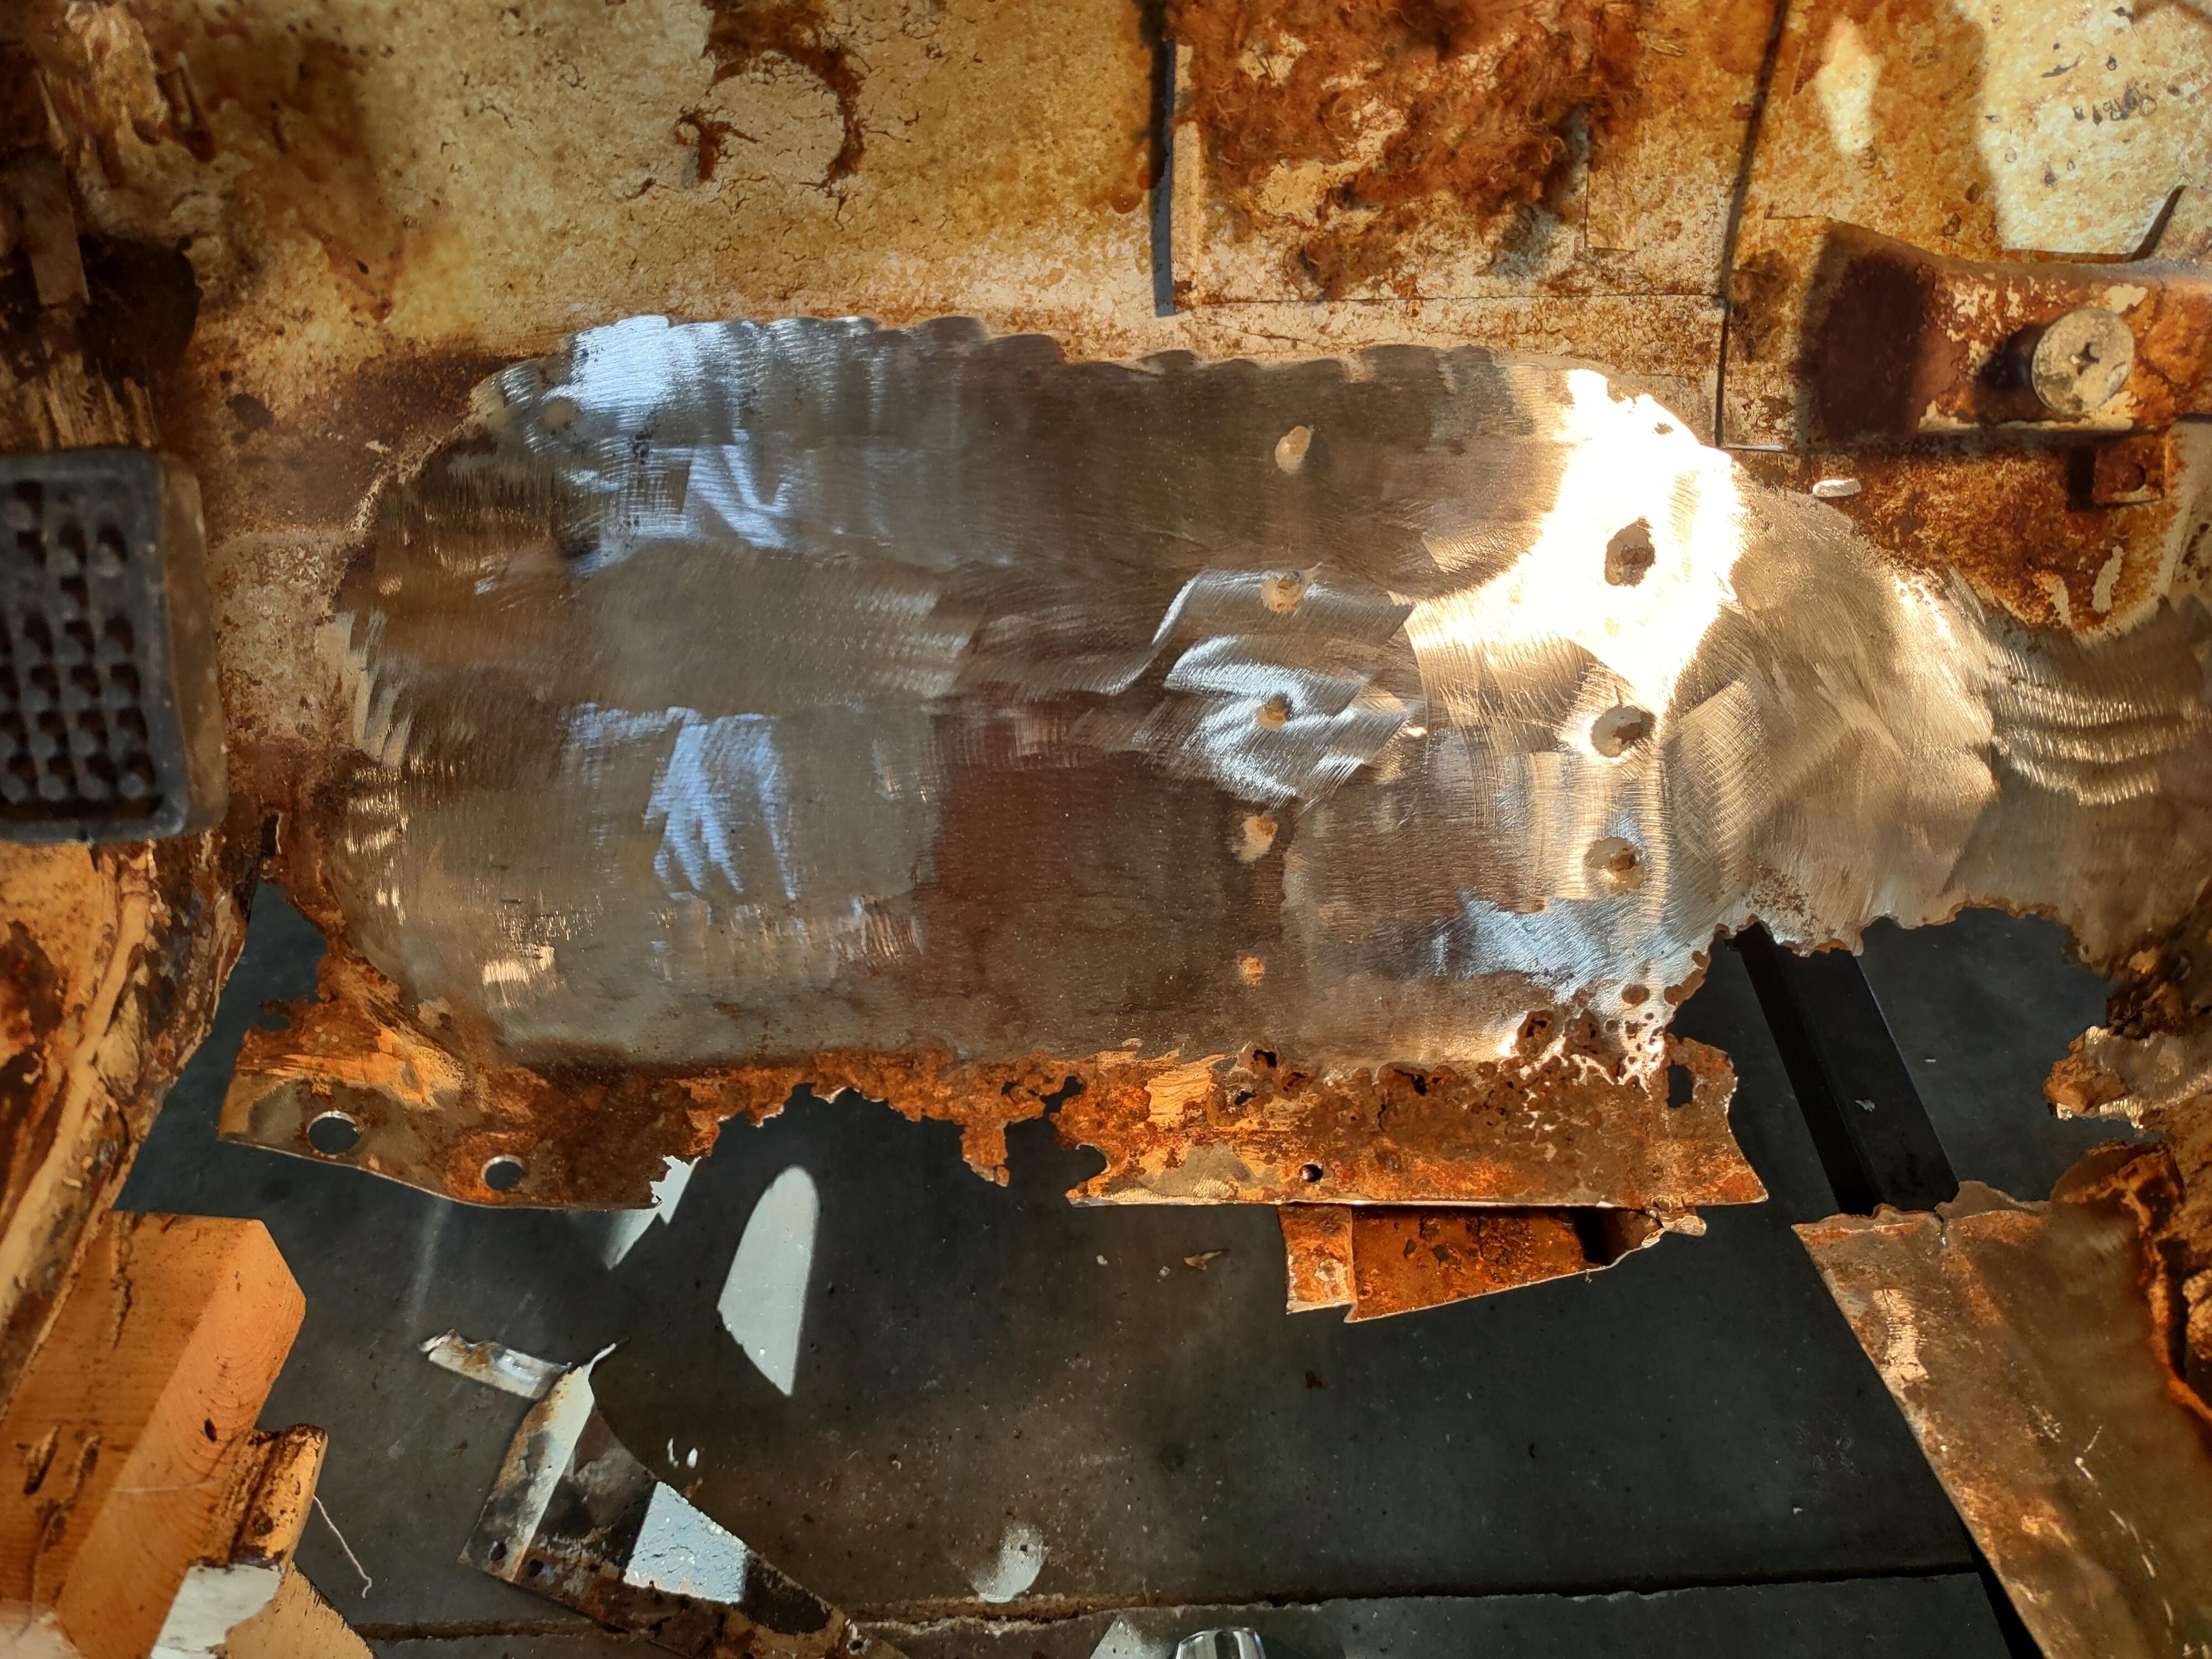
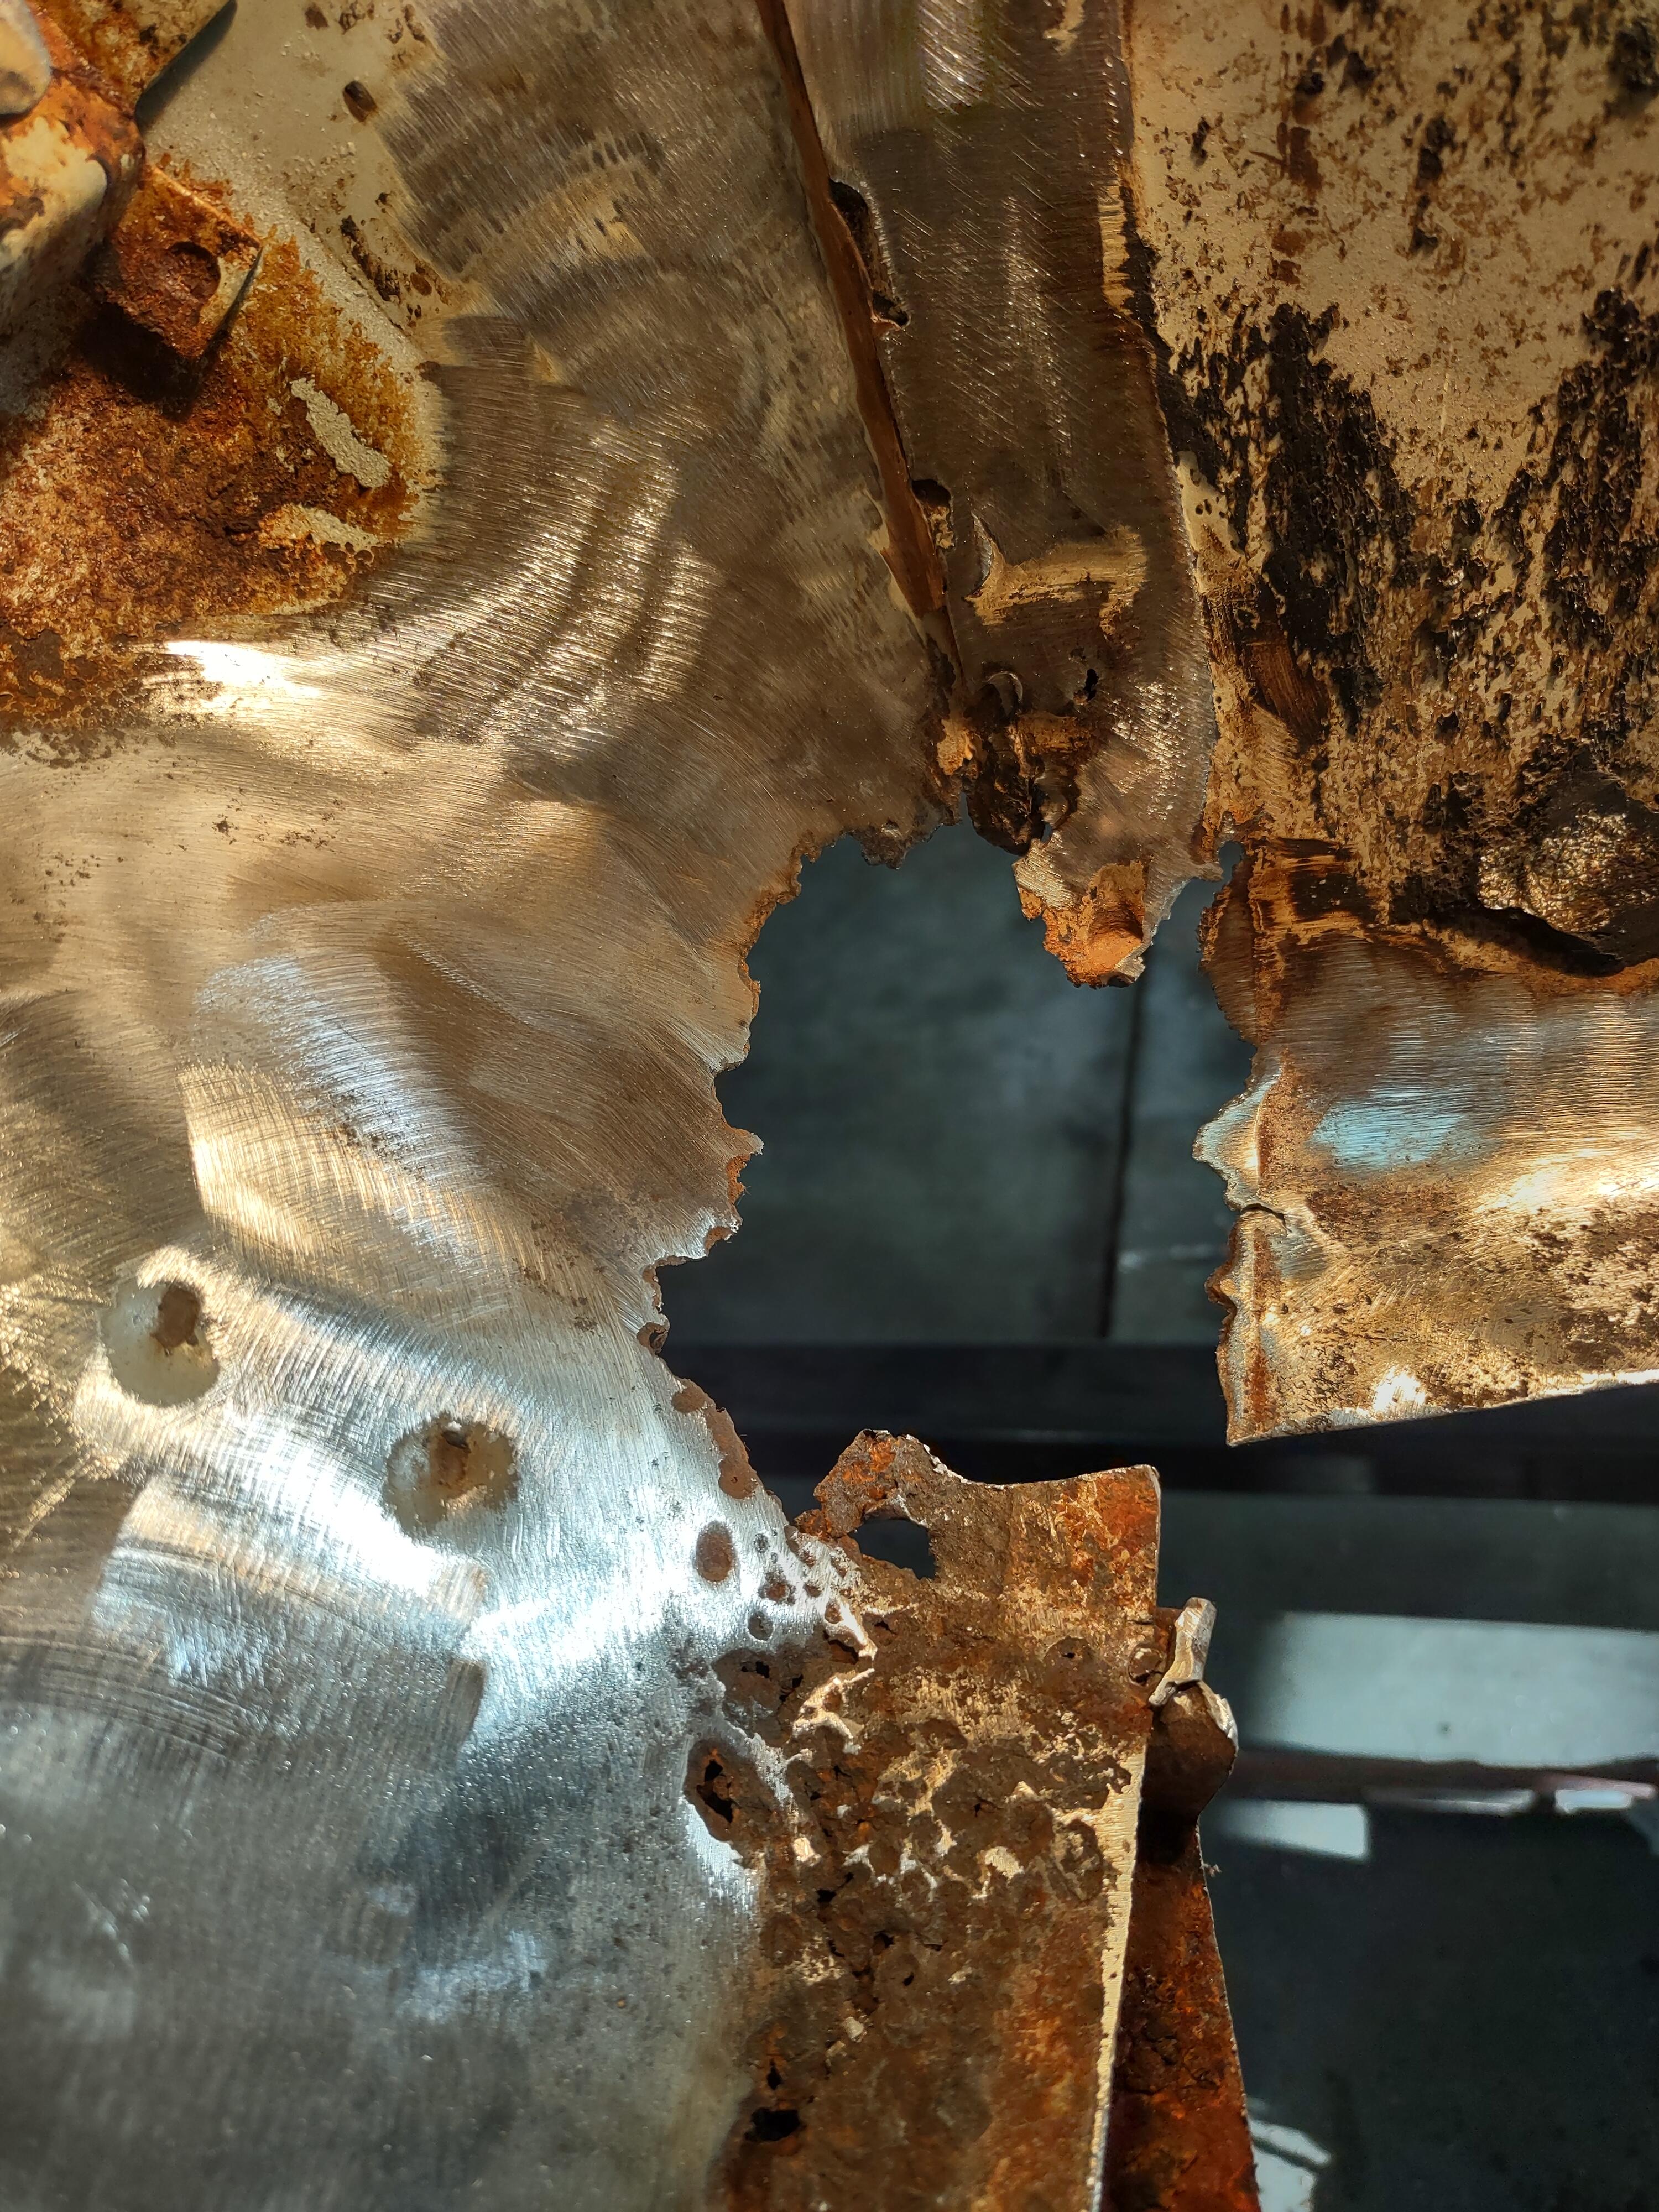
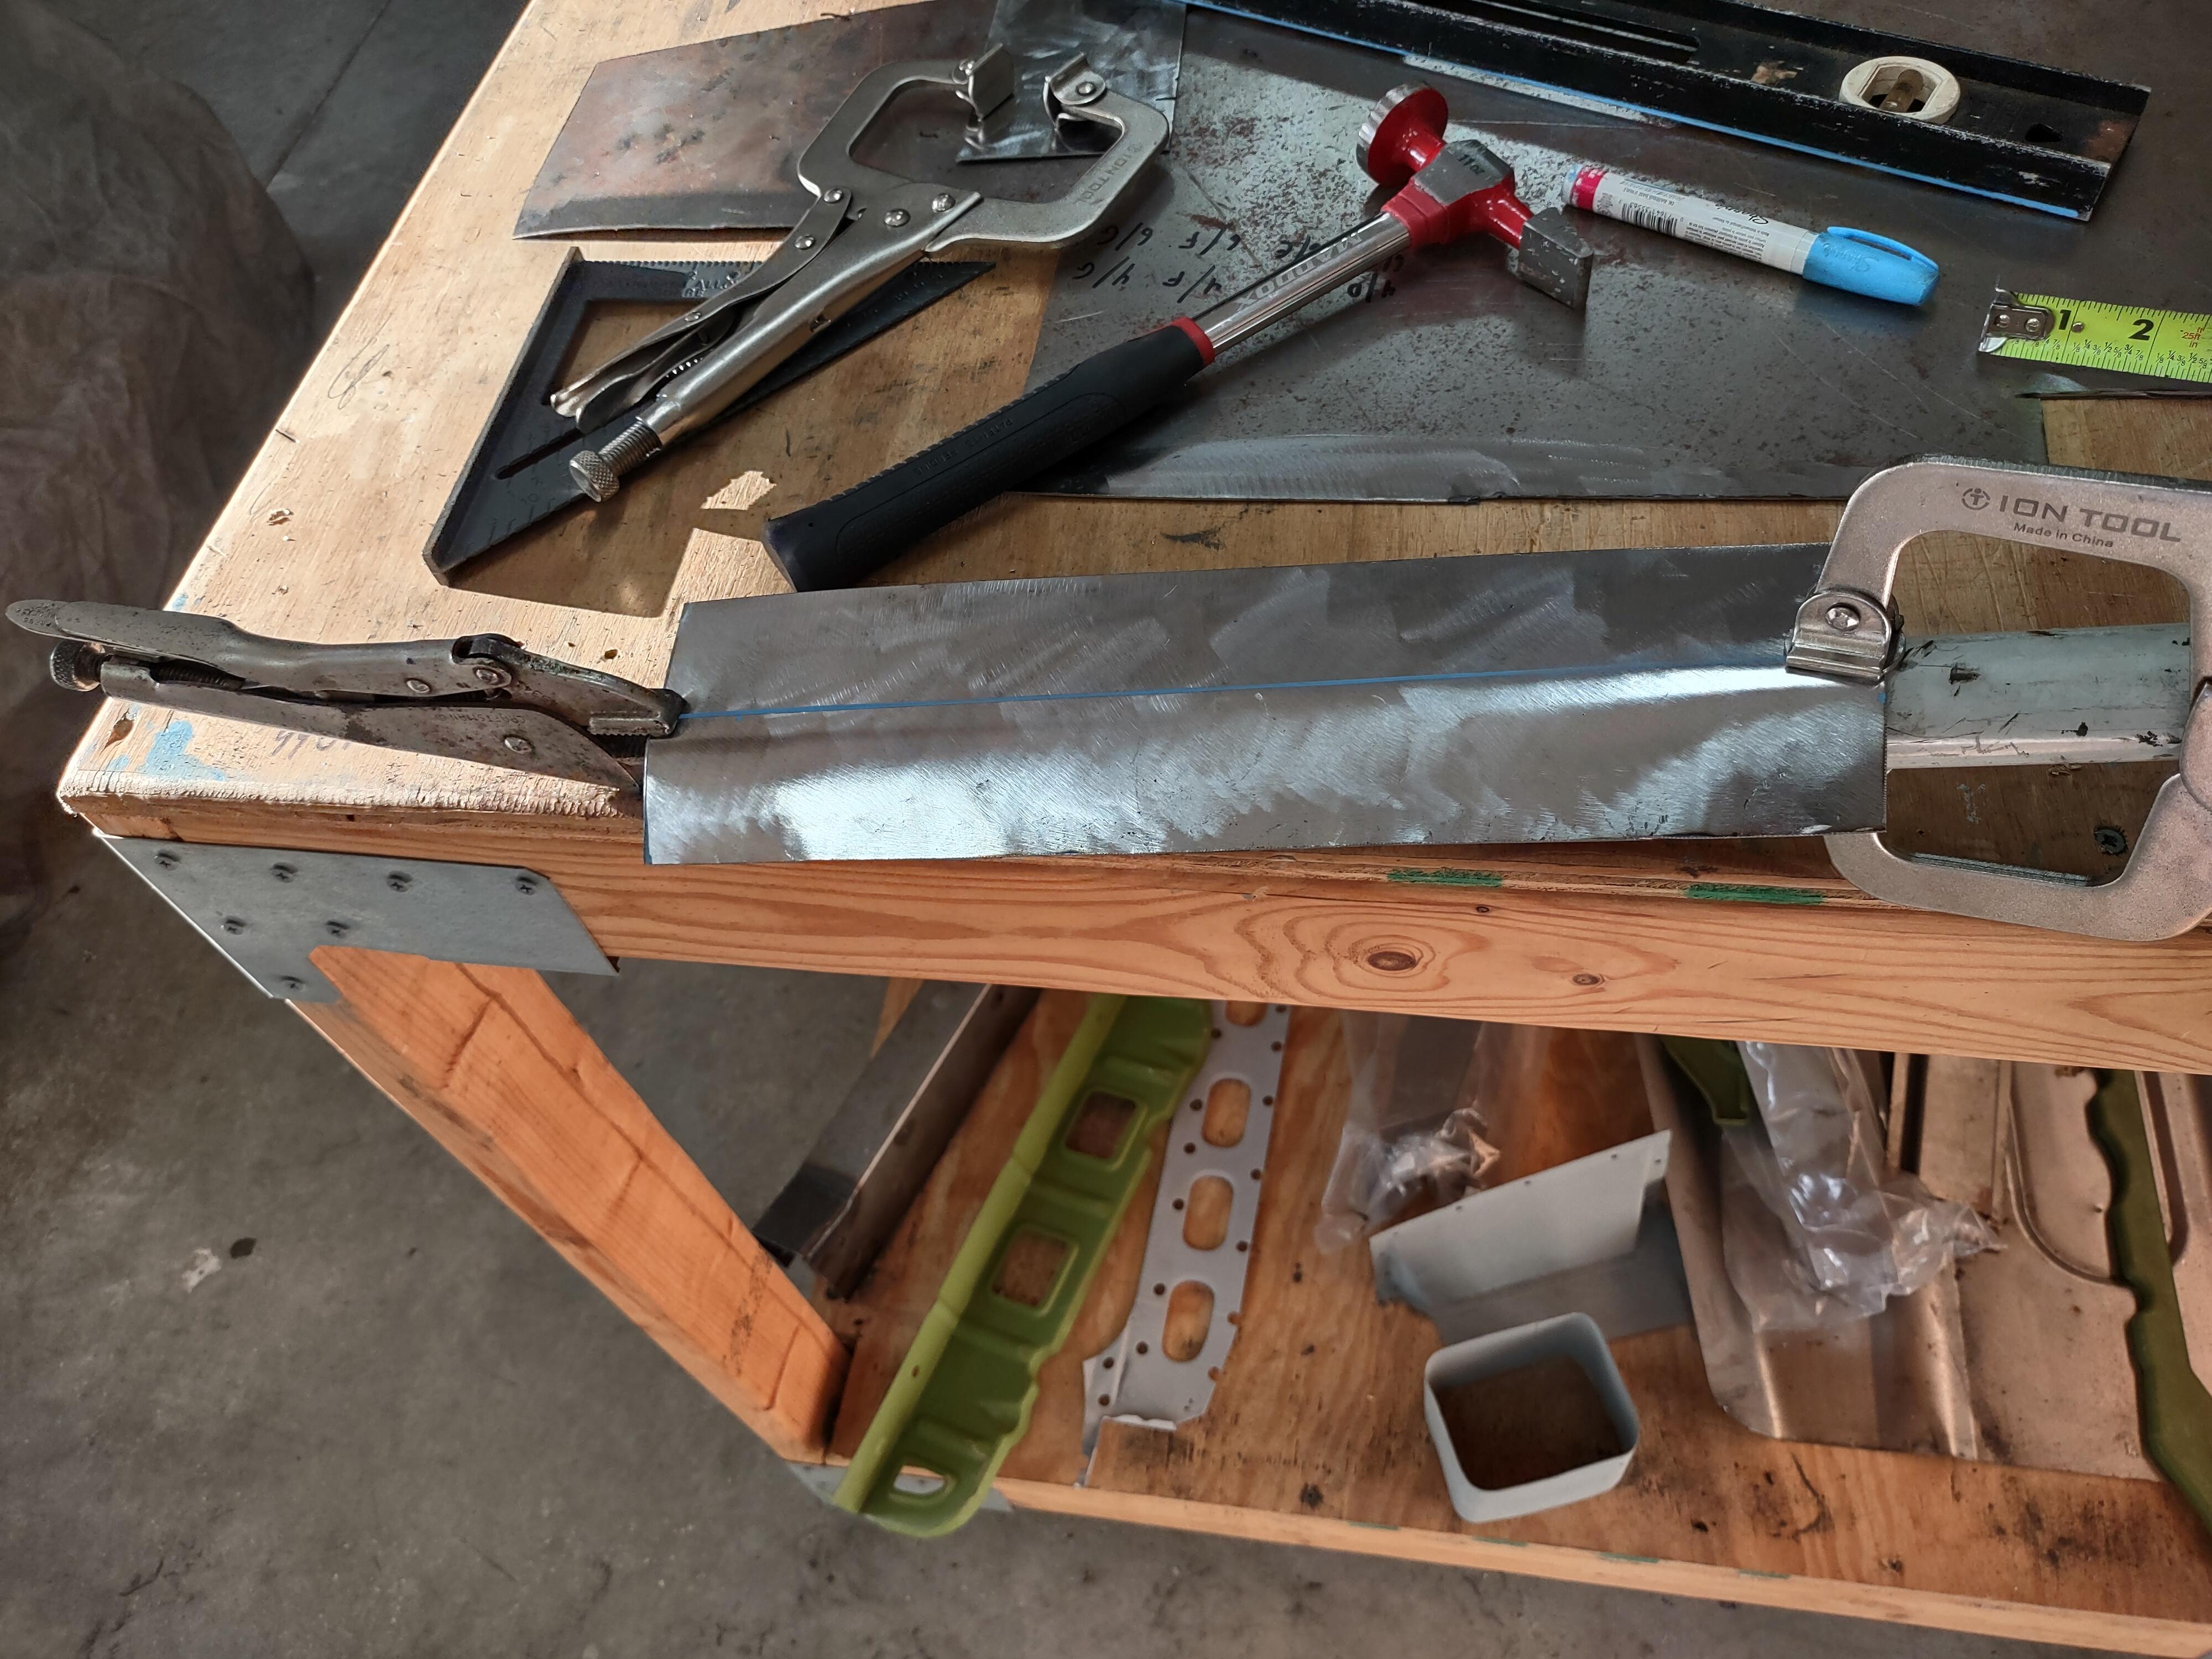
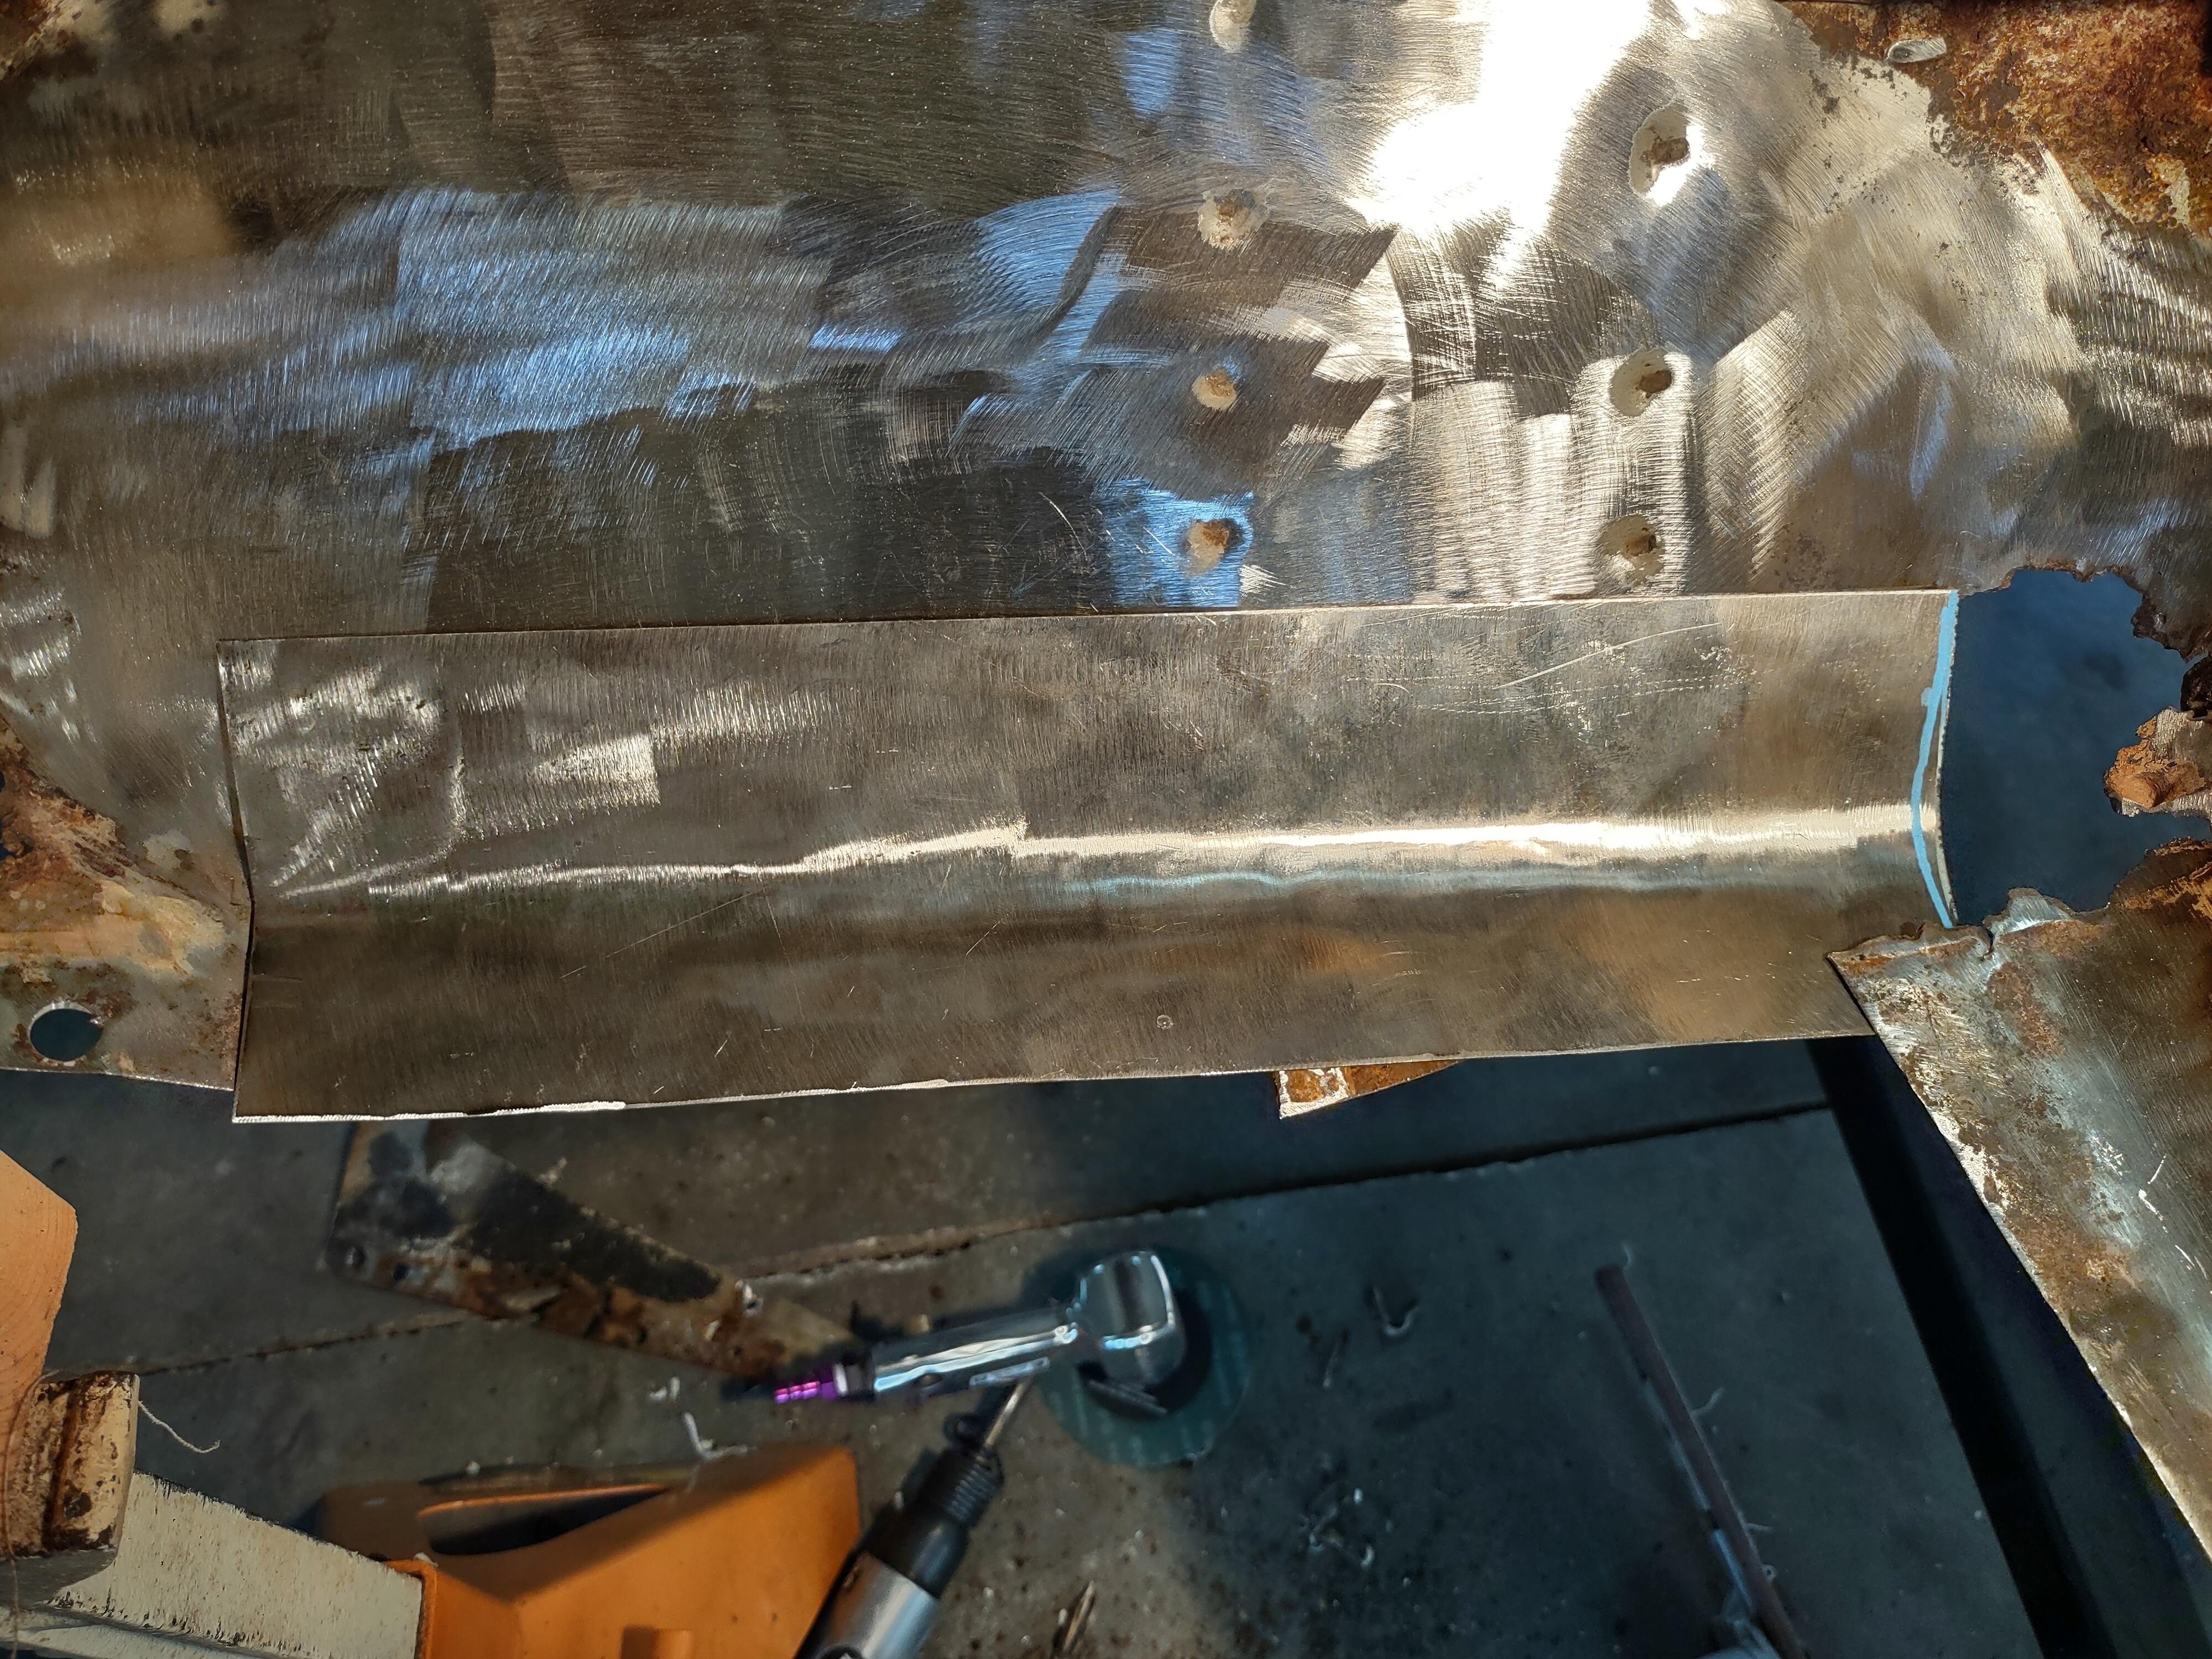
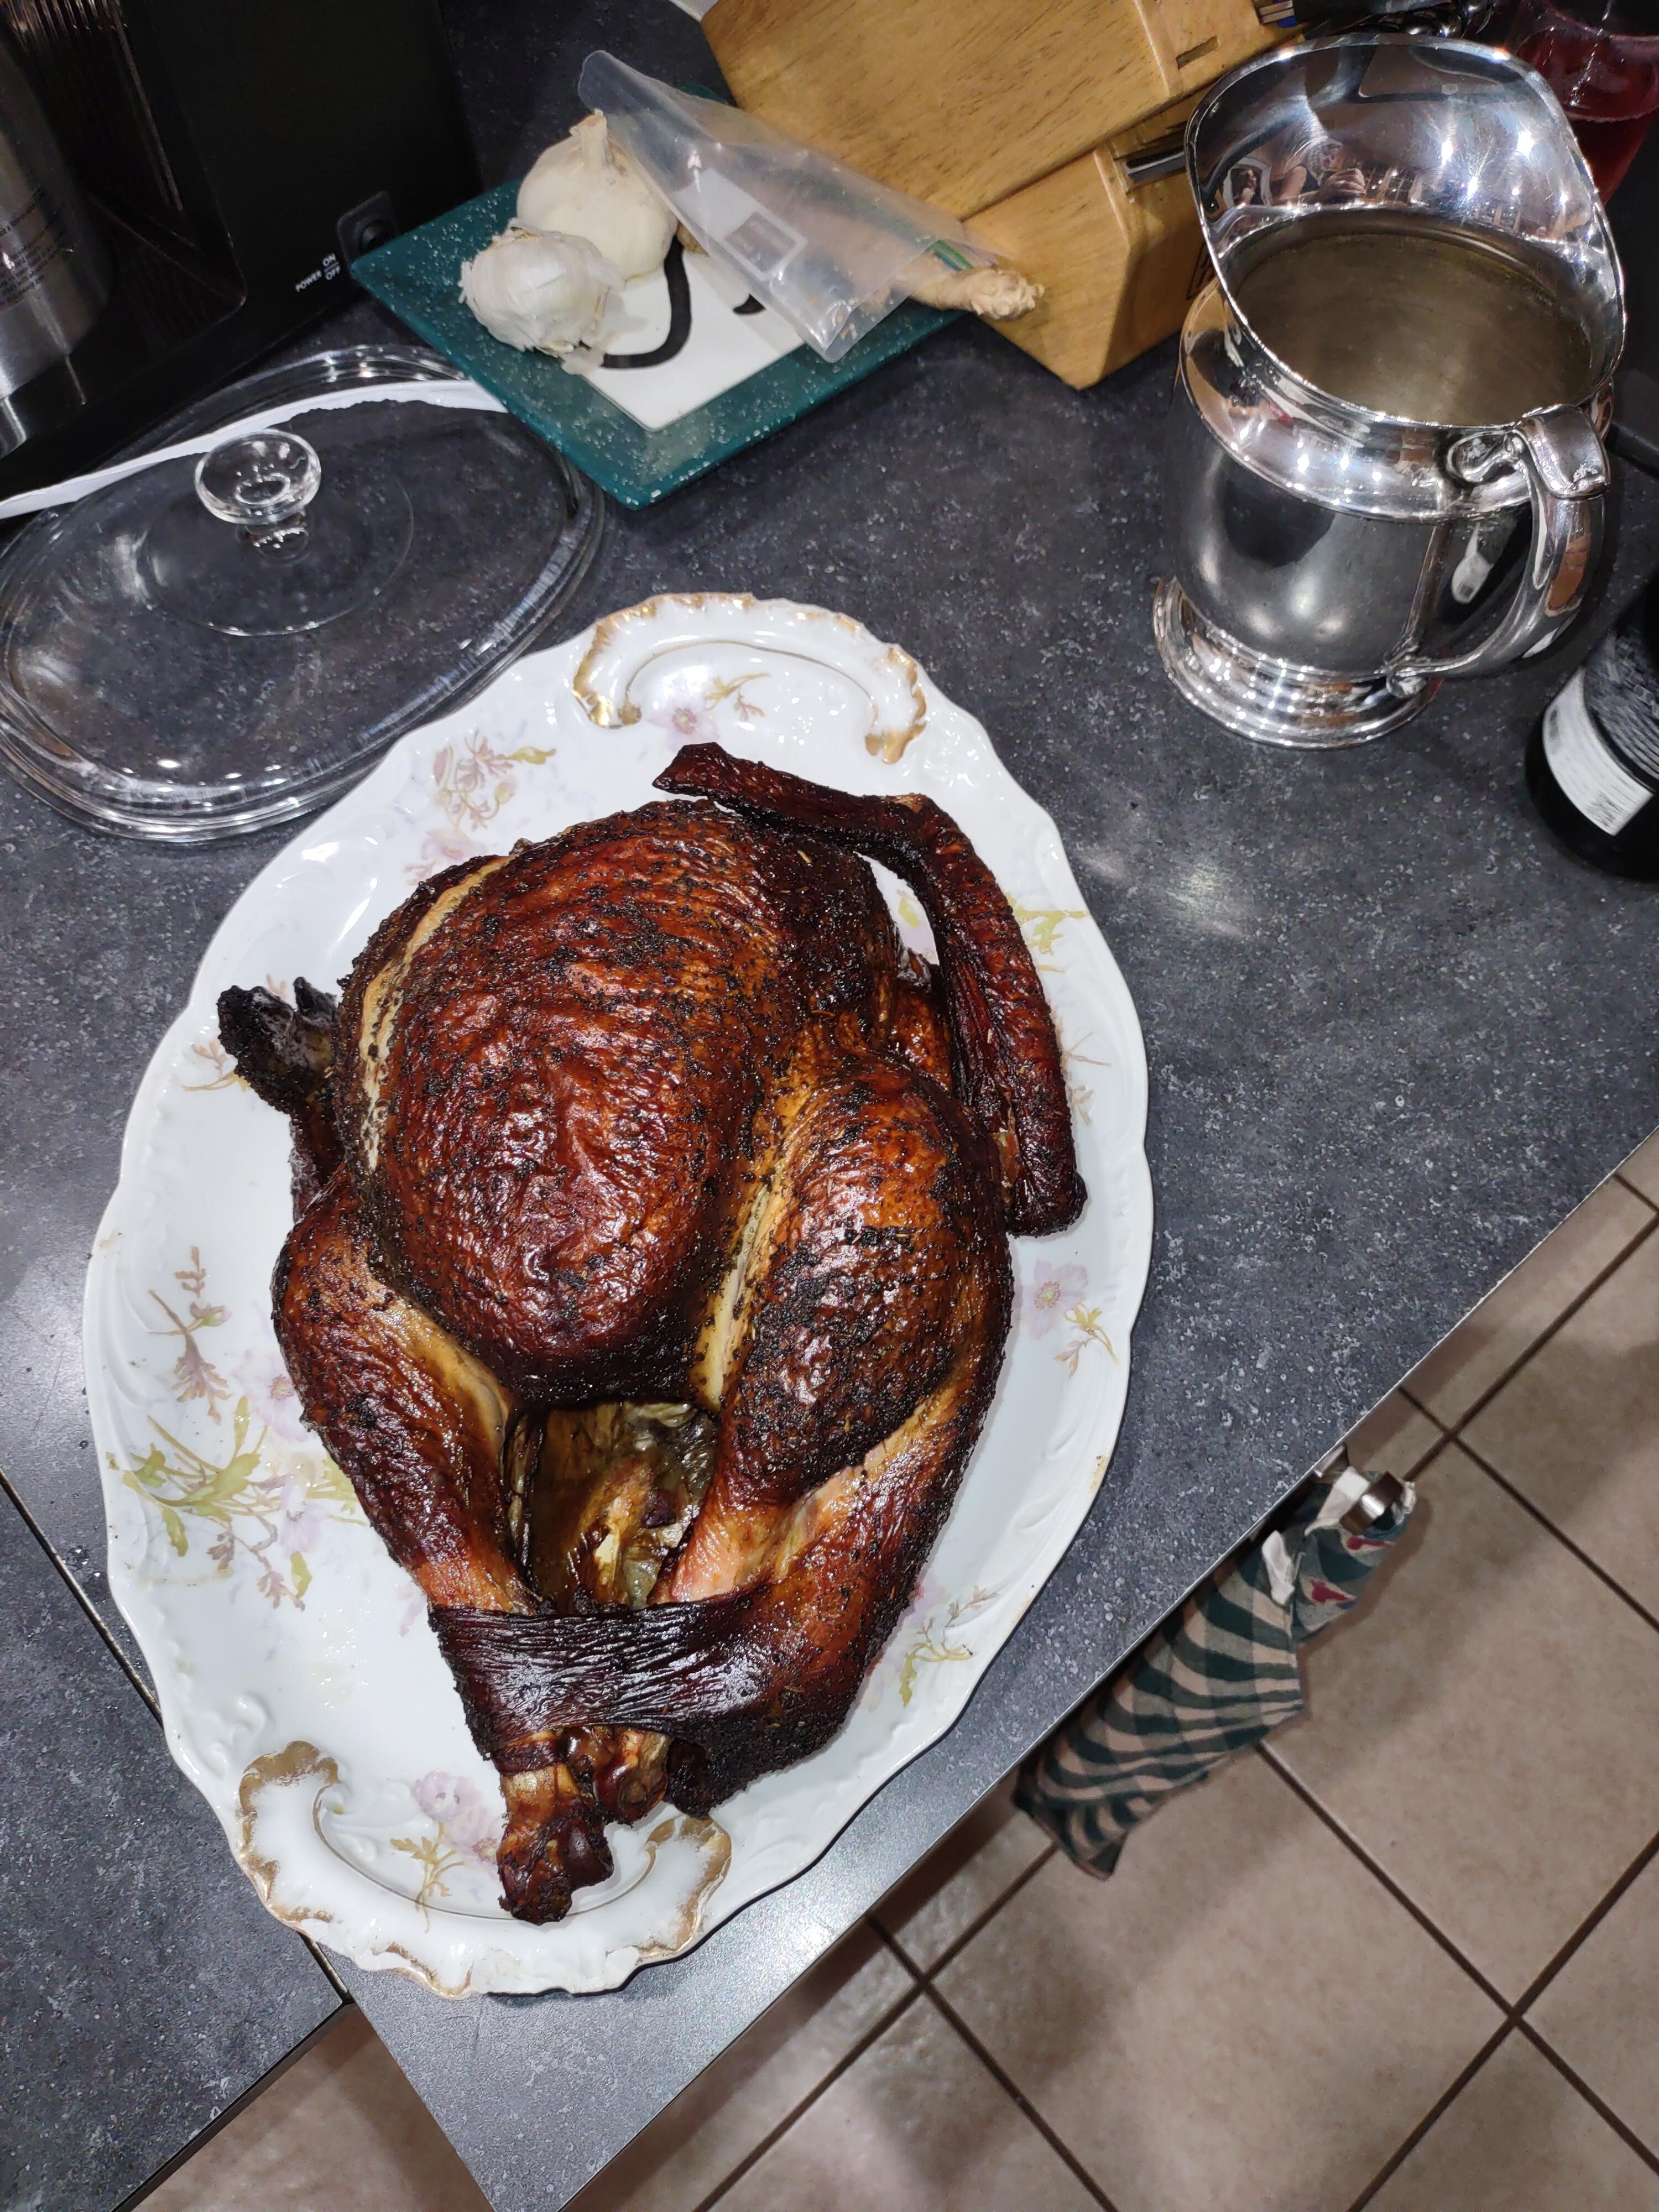
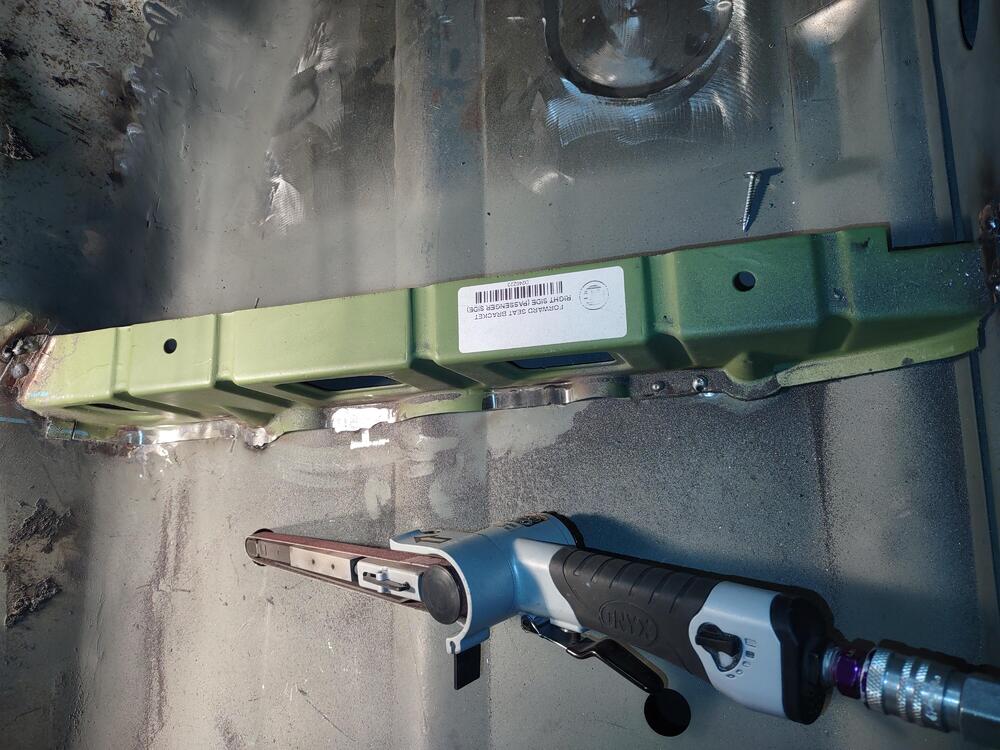
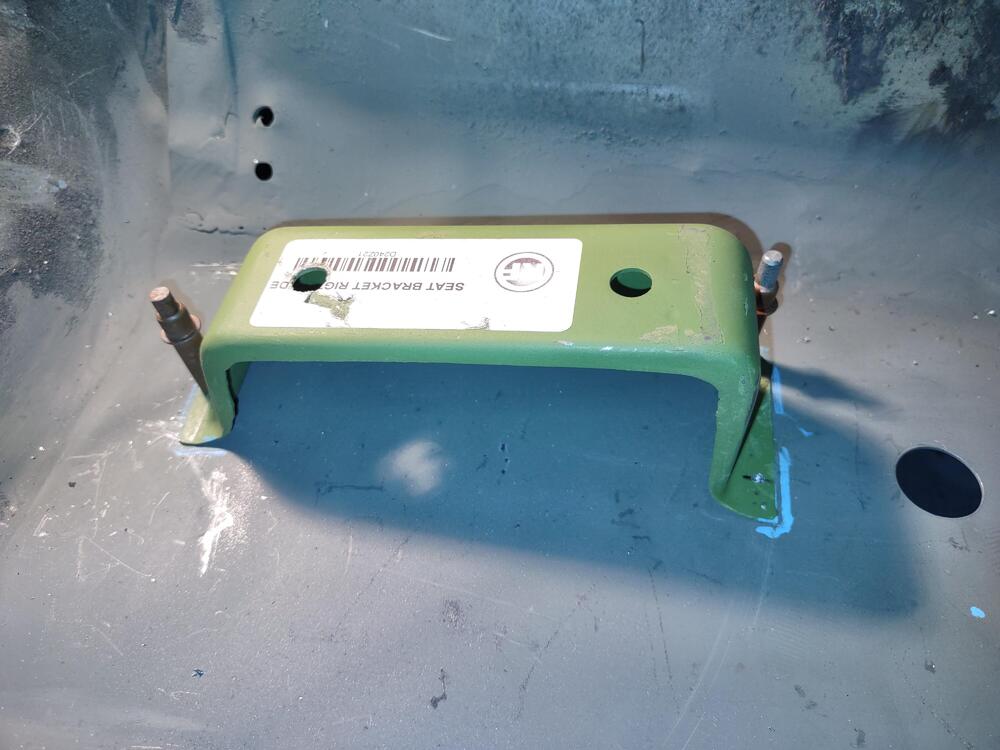
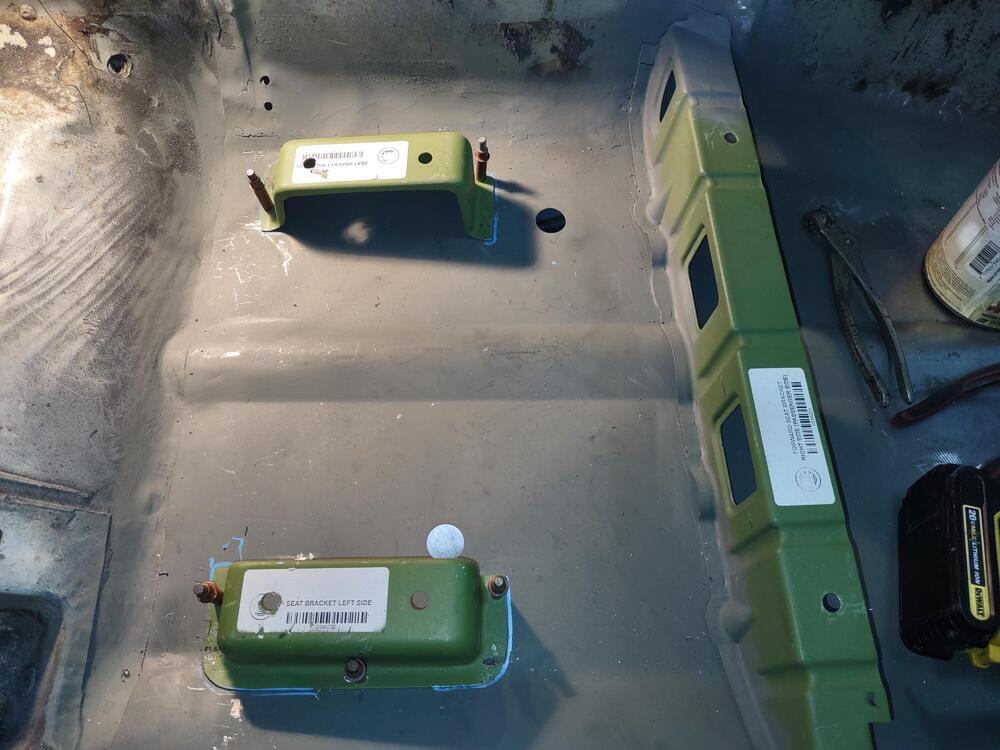
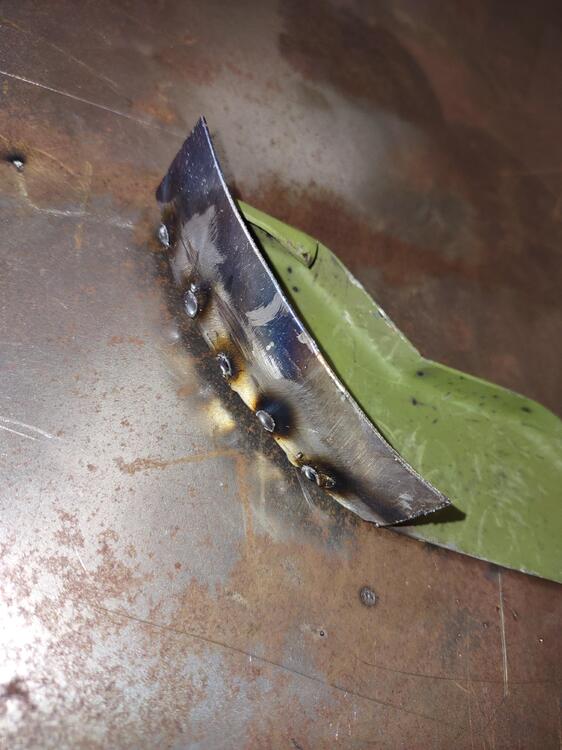
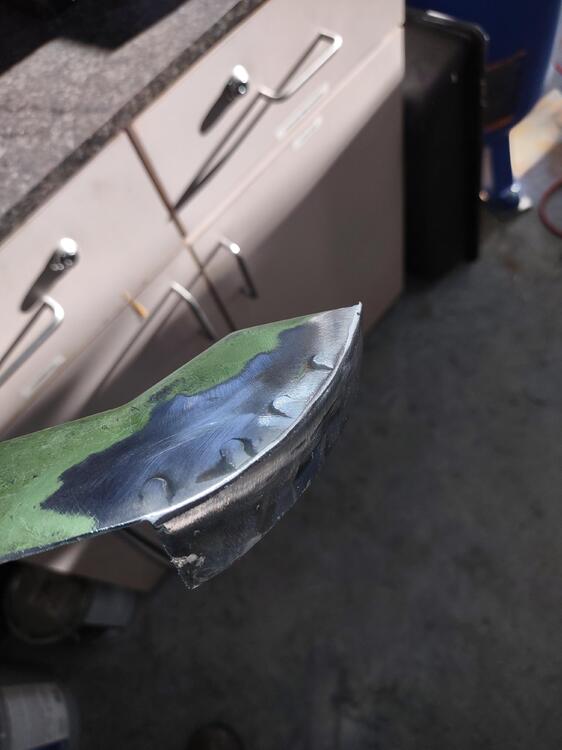
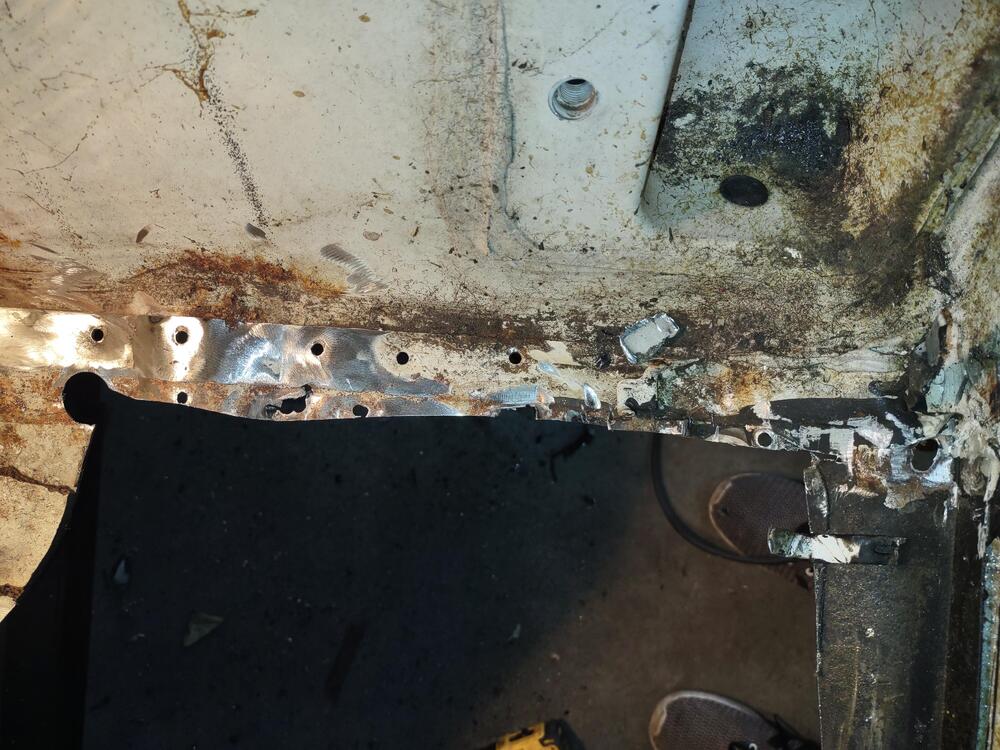
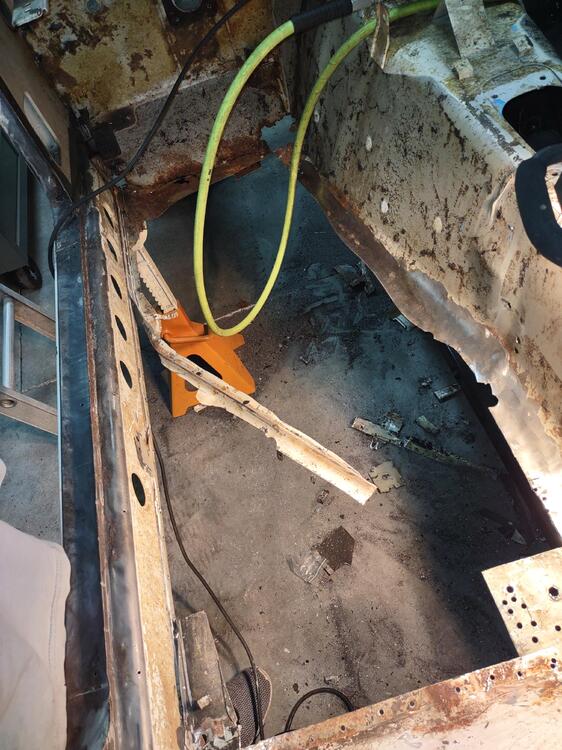
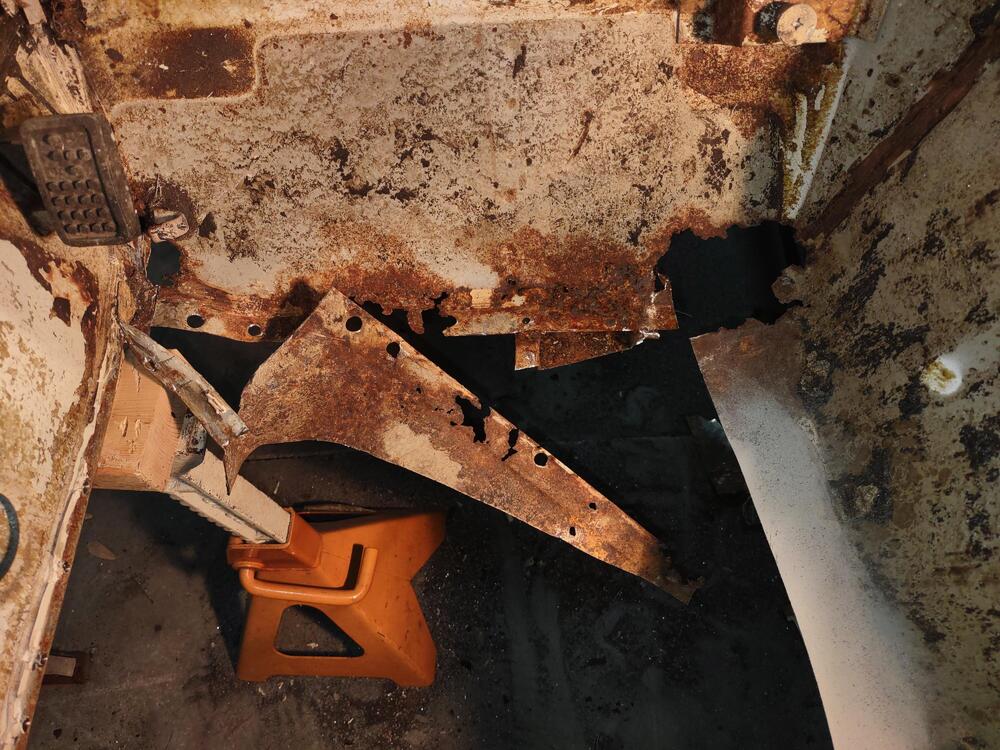
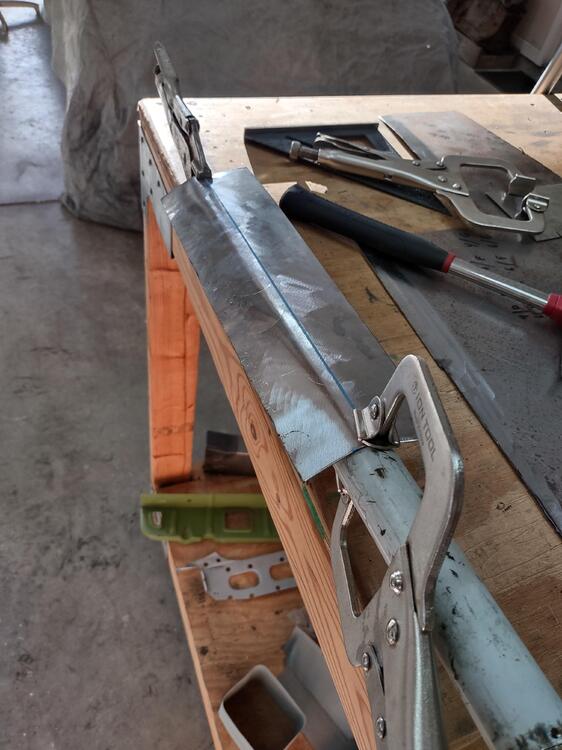
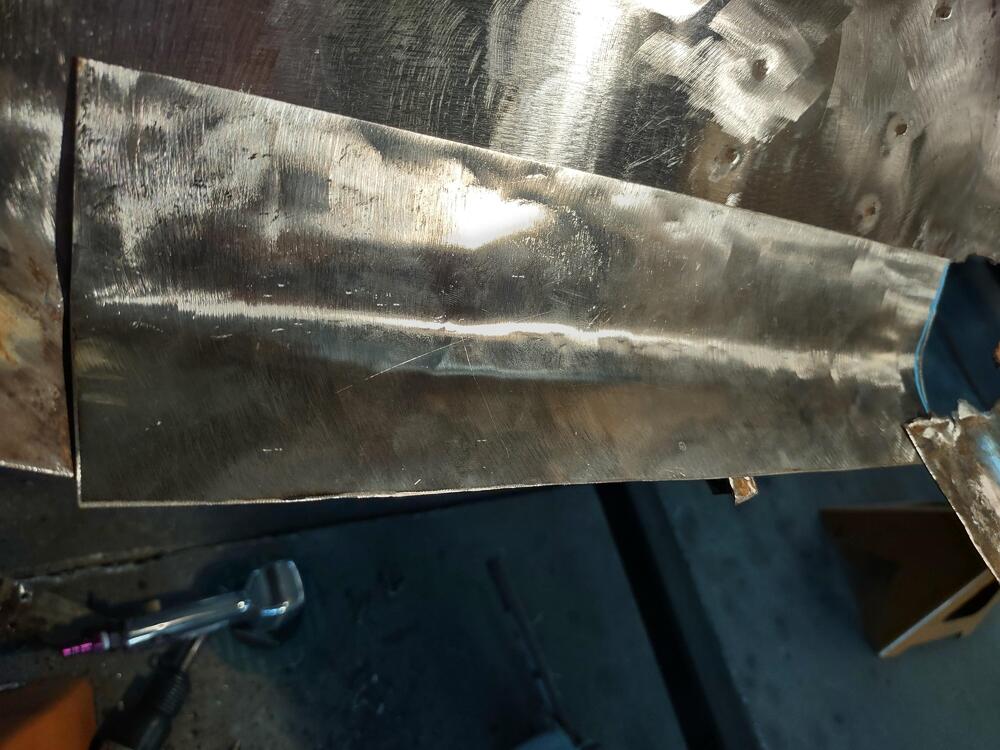
3 pointsWorking on seat mounts for passenger side and since I just ran out of welding gas, I went ahead and cut out the driver's side floor and got it cleaned up. Started the patch panel for the forward foot well to fix up the rust where the floor pan welds up to. Smoked turkey for Christmas dinner. Had to share


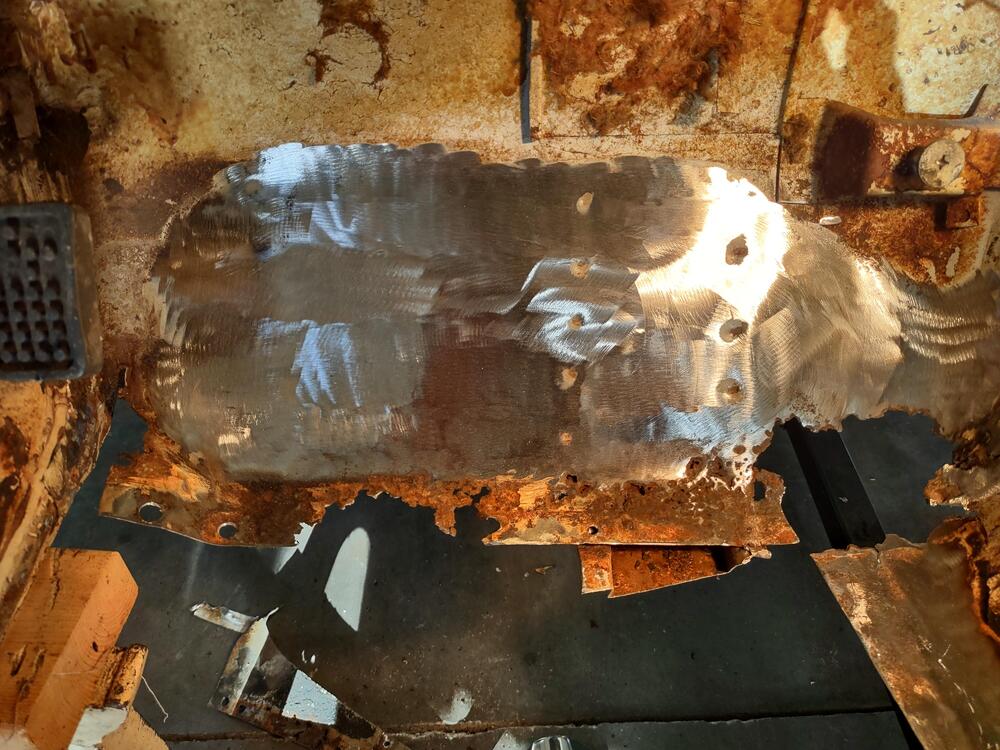
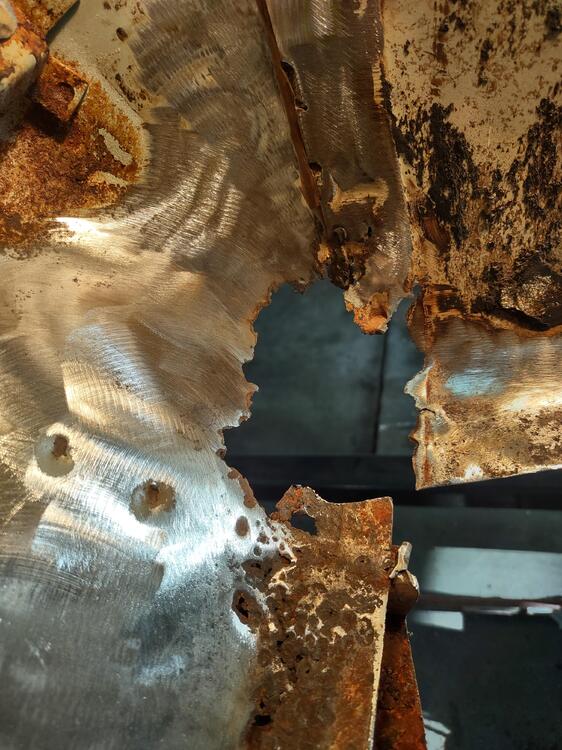
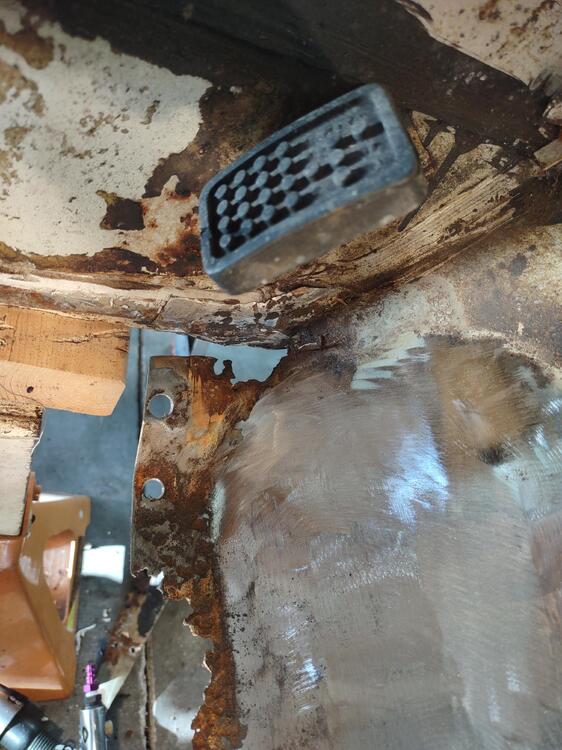
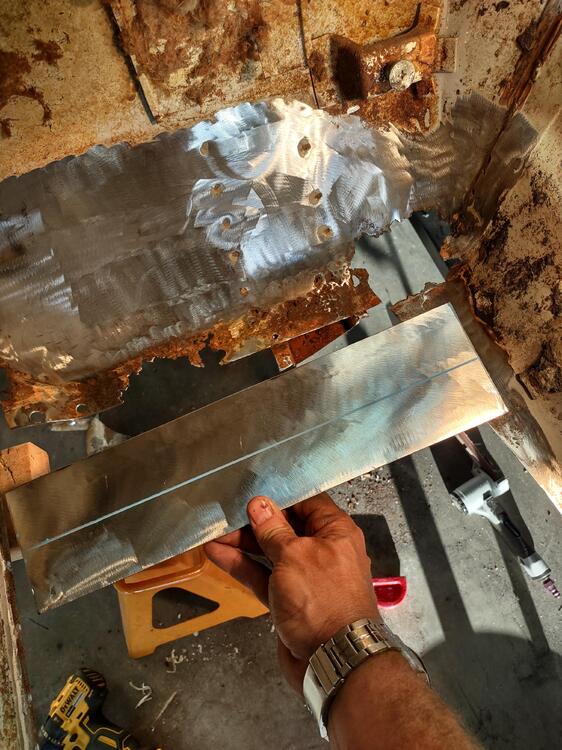


 3 points
 -
2 points
-
2 pointsI need to put some MT-90 in my knees and elbows, then S.E.M upholstery paint my faded hair and carpet.2 points
-
2 pointsI use the adjustability of the doors, fenders and hood so I get equal gaps on both sides, sort of an eyeball thing. Start with the doors and establish a good usable gap between the trailing edge of the door and the front of the rear panel so that the door opens and closes perfectly, then the cowl but don't lock it down, keep the bolts finger tight, then the hood. Keep the hood open while you put the fenders and sugar scoops on, then very carefully start lowering the hood looking for possible contact with the fenders as you lower it. Once the cowl, fenders and hood are on you start doing minor adjustments until the gaps are as equal as possible on every side. That's just how I do it, others start at the front and move back to the door gap.2 points
-
2 points
-
1 pointWith age, properly functioning emission controls and vapor recovery become more important. 😎1 point
-
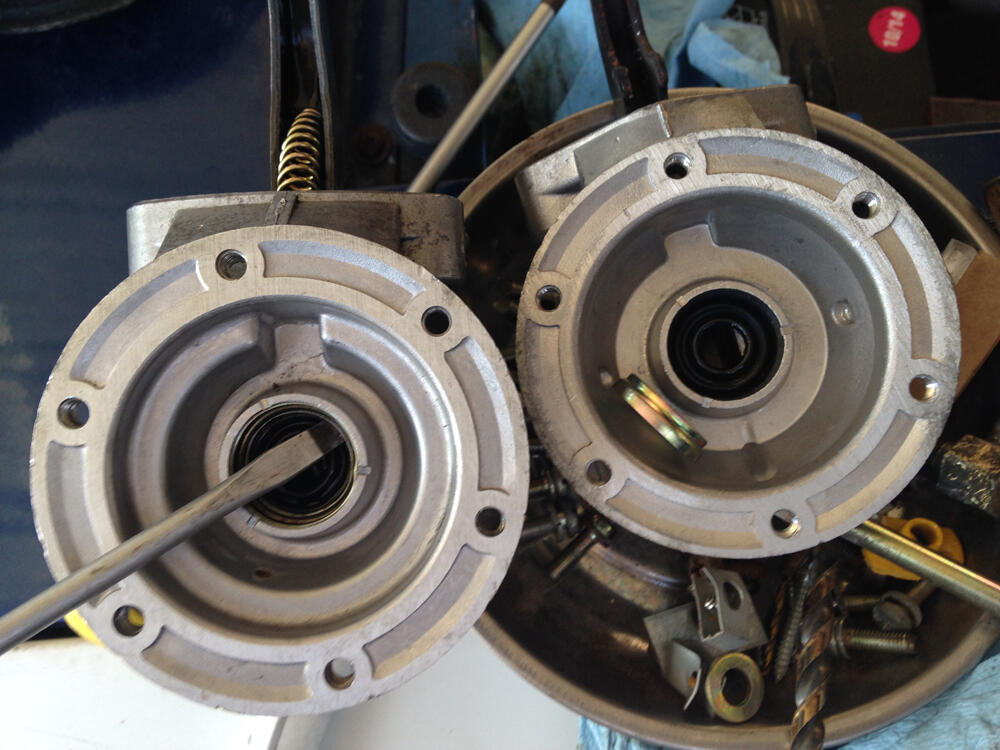
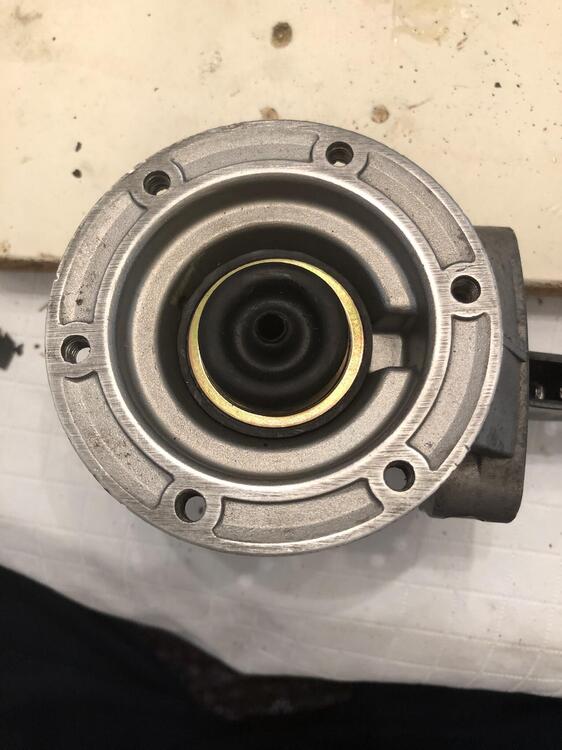
1 pointJust a brief update on the rebuild. In the original article on how to rebuild your Nikki fuel pump it discusses how to replace the rubber oil seal in the lower pump housing. As you can see in the photo, The seal went into the opening in the lower housing and was secured by a retaining ring which snapped into the opening. the rebuild kit form JDM uses a new design. The oil seal fits snuggly over the opening in the lower housing and then is secured by a retaining ring which is held in place by the pump spring. Jim
 1 point
 -
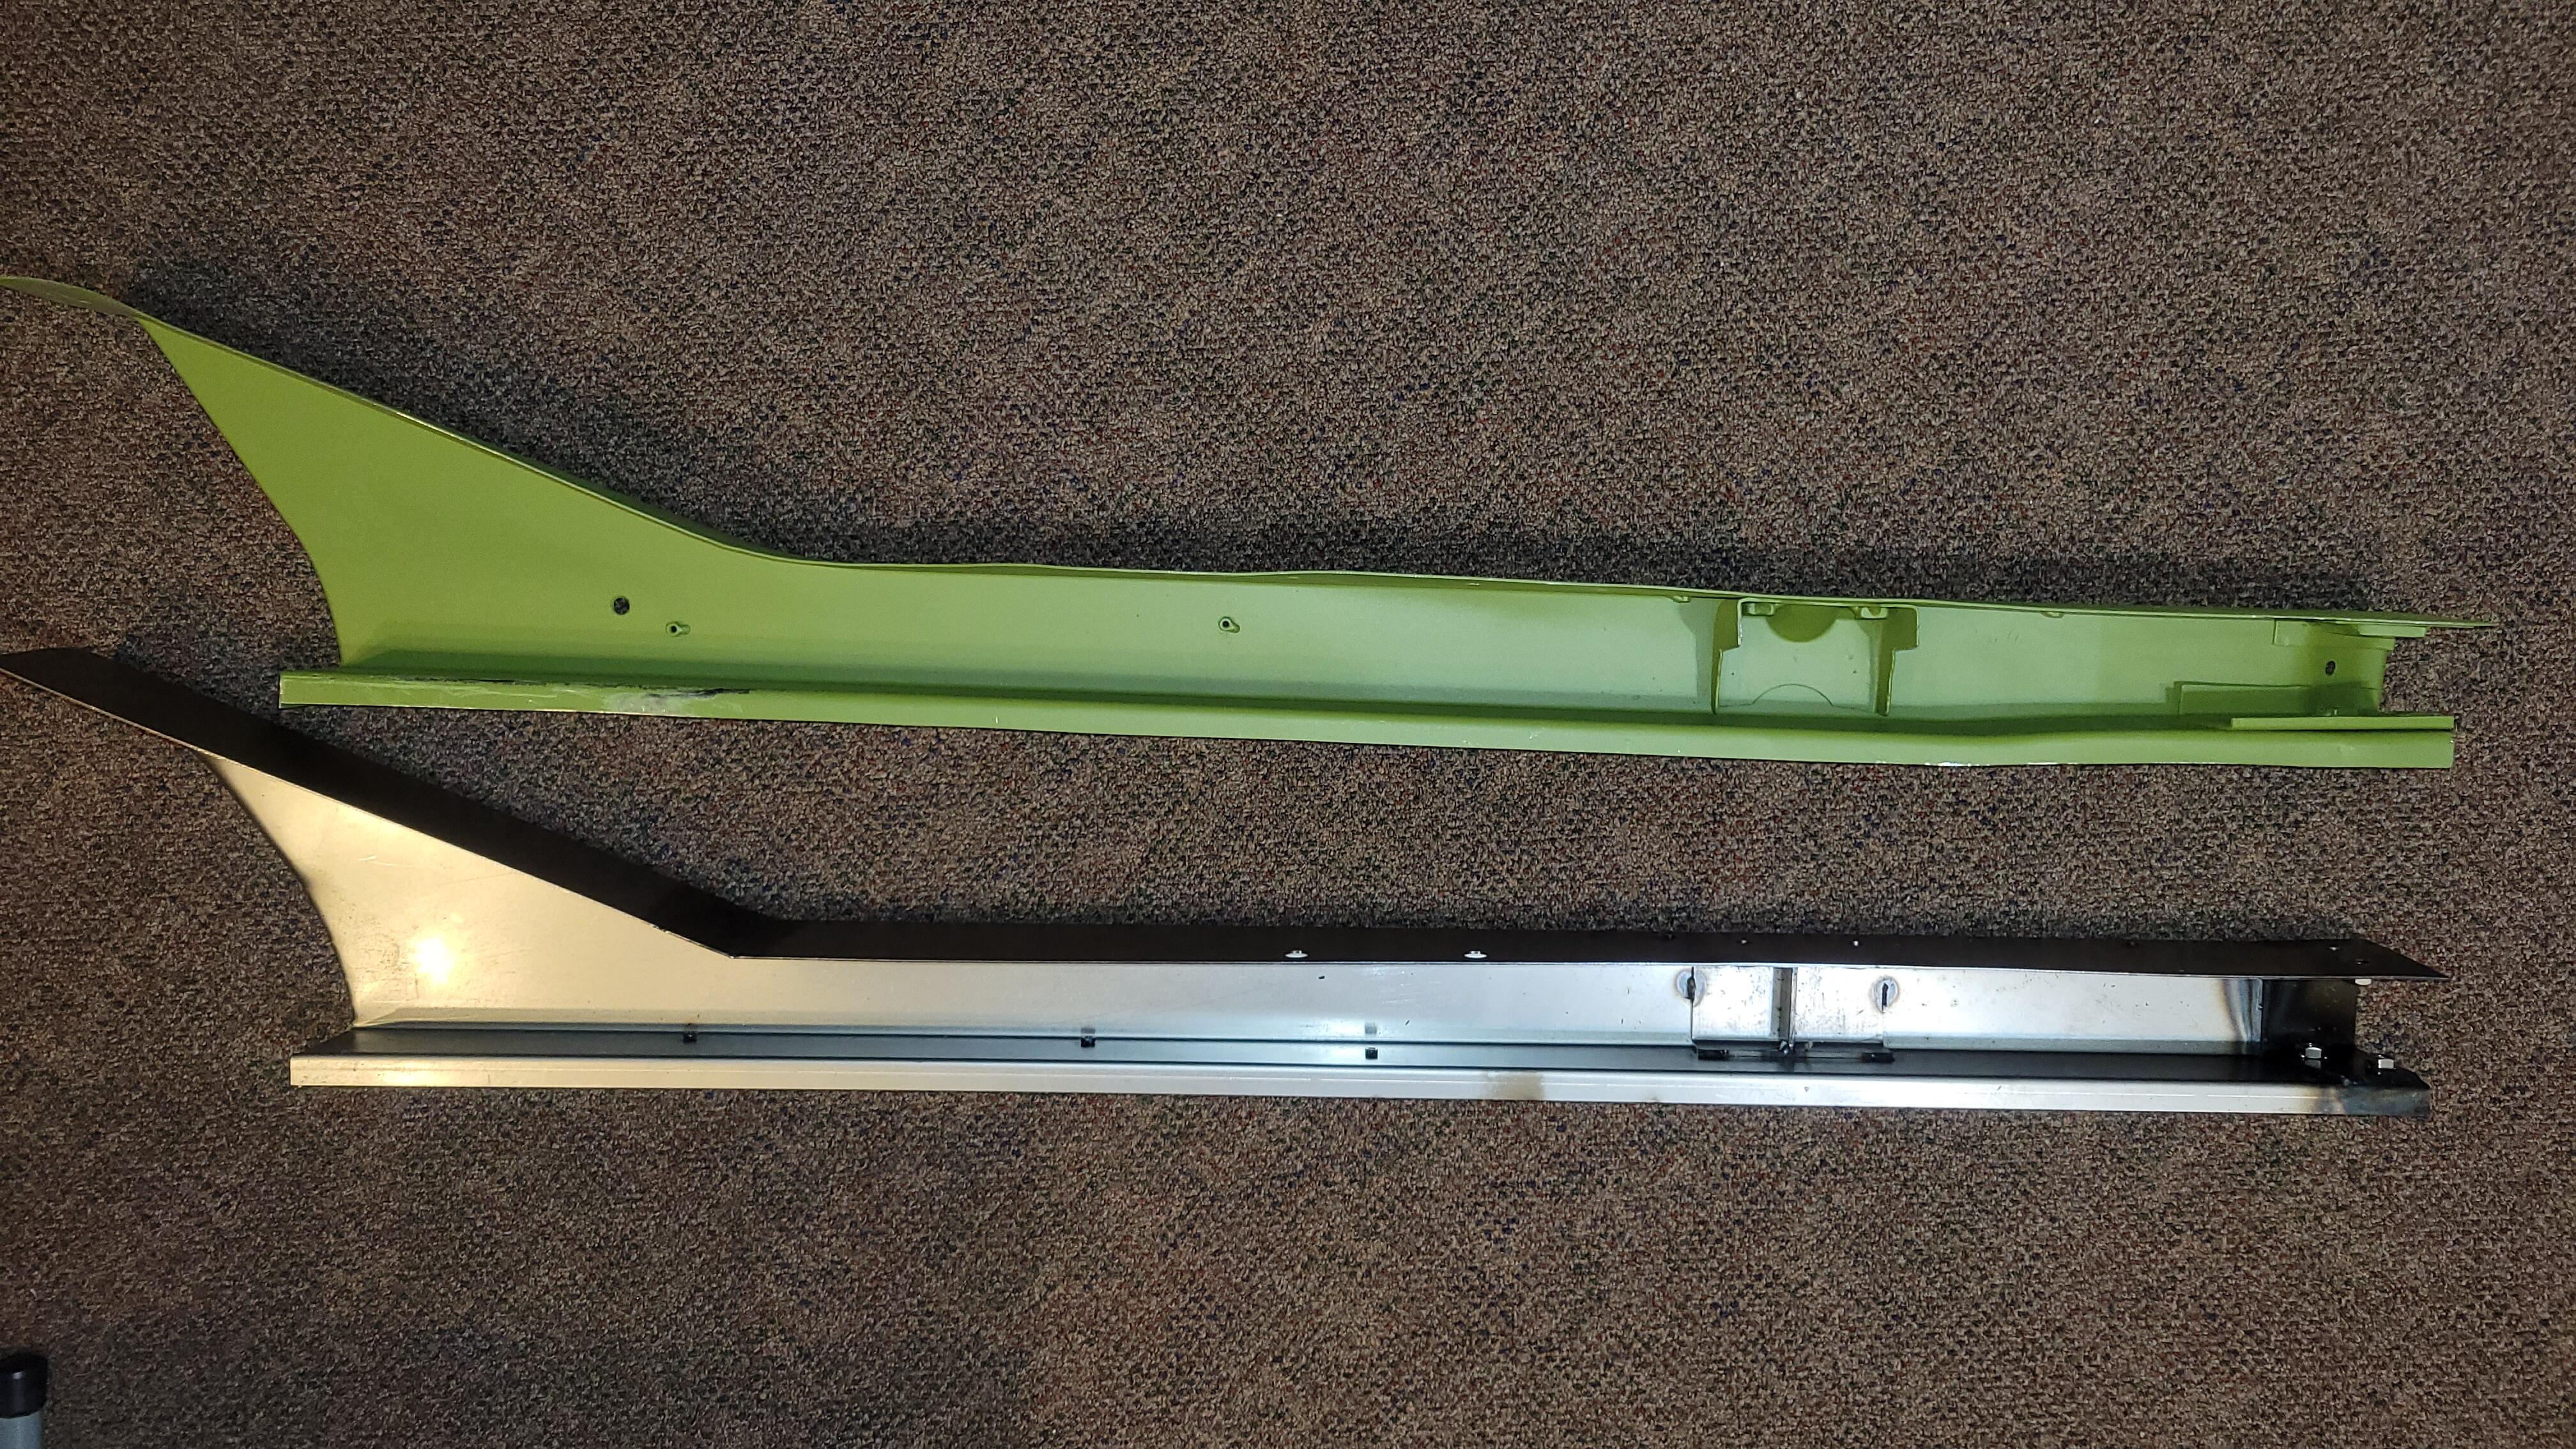
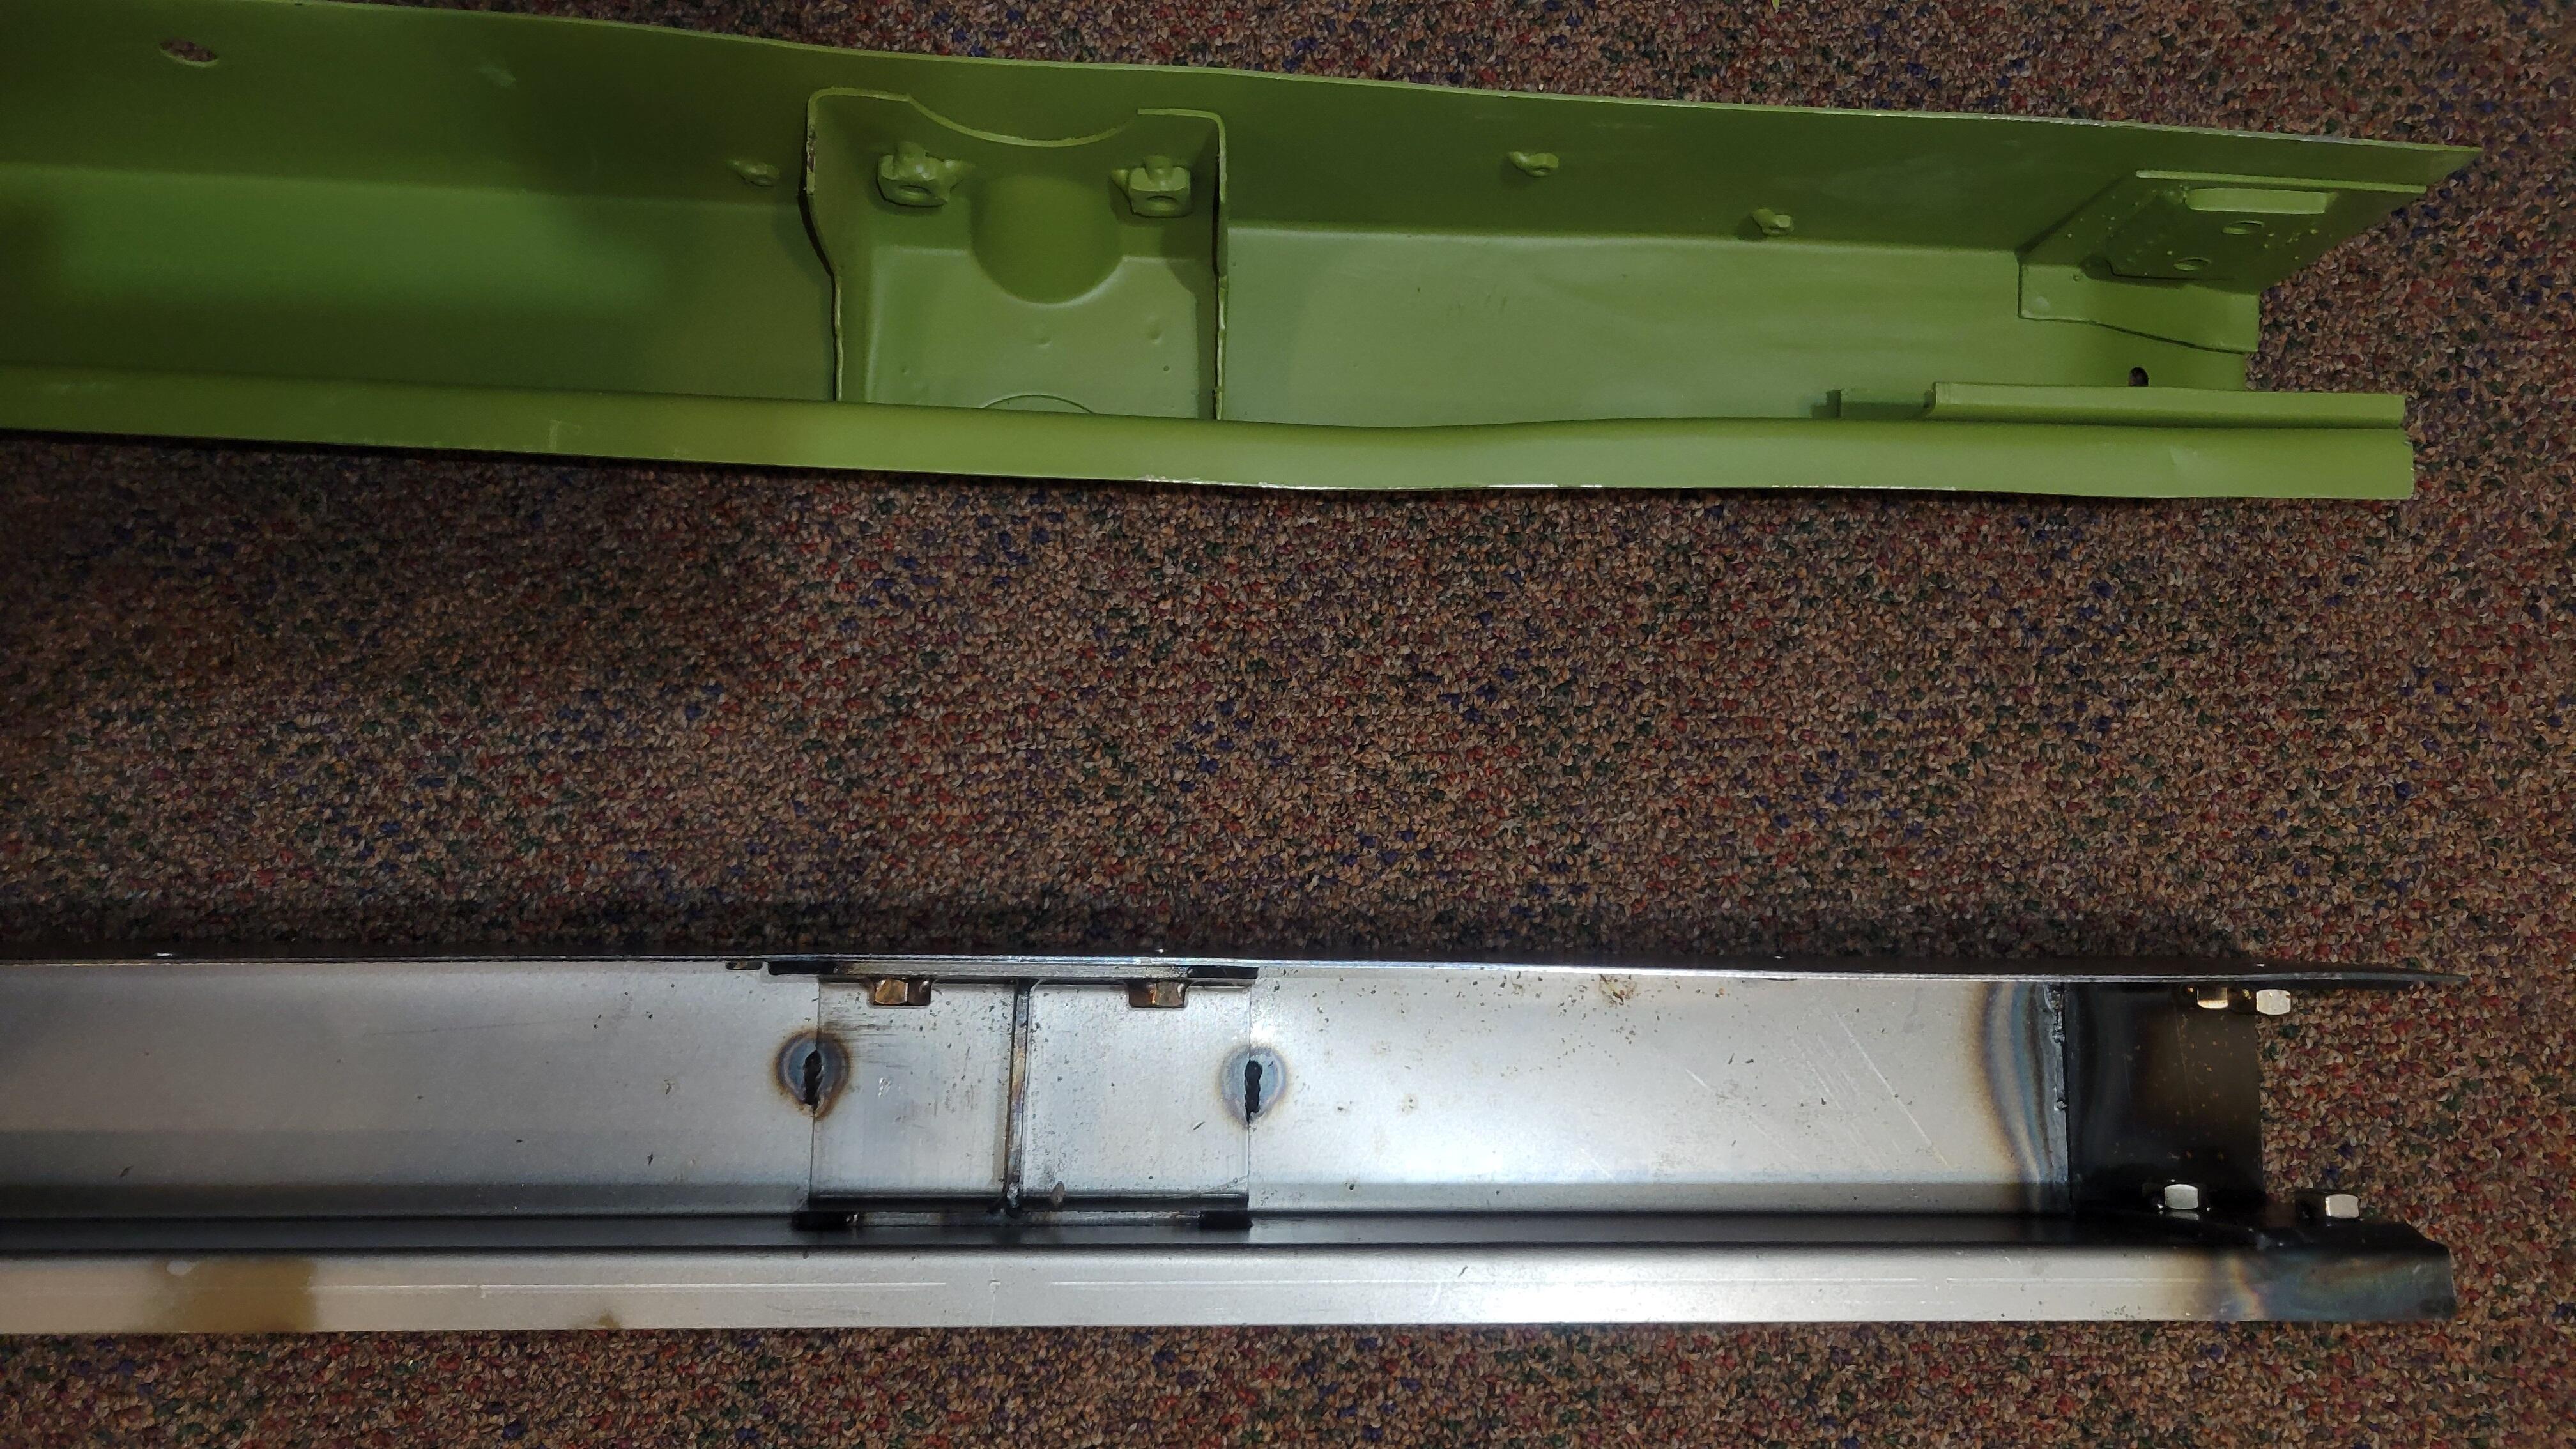
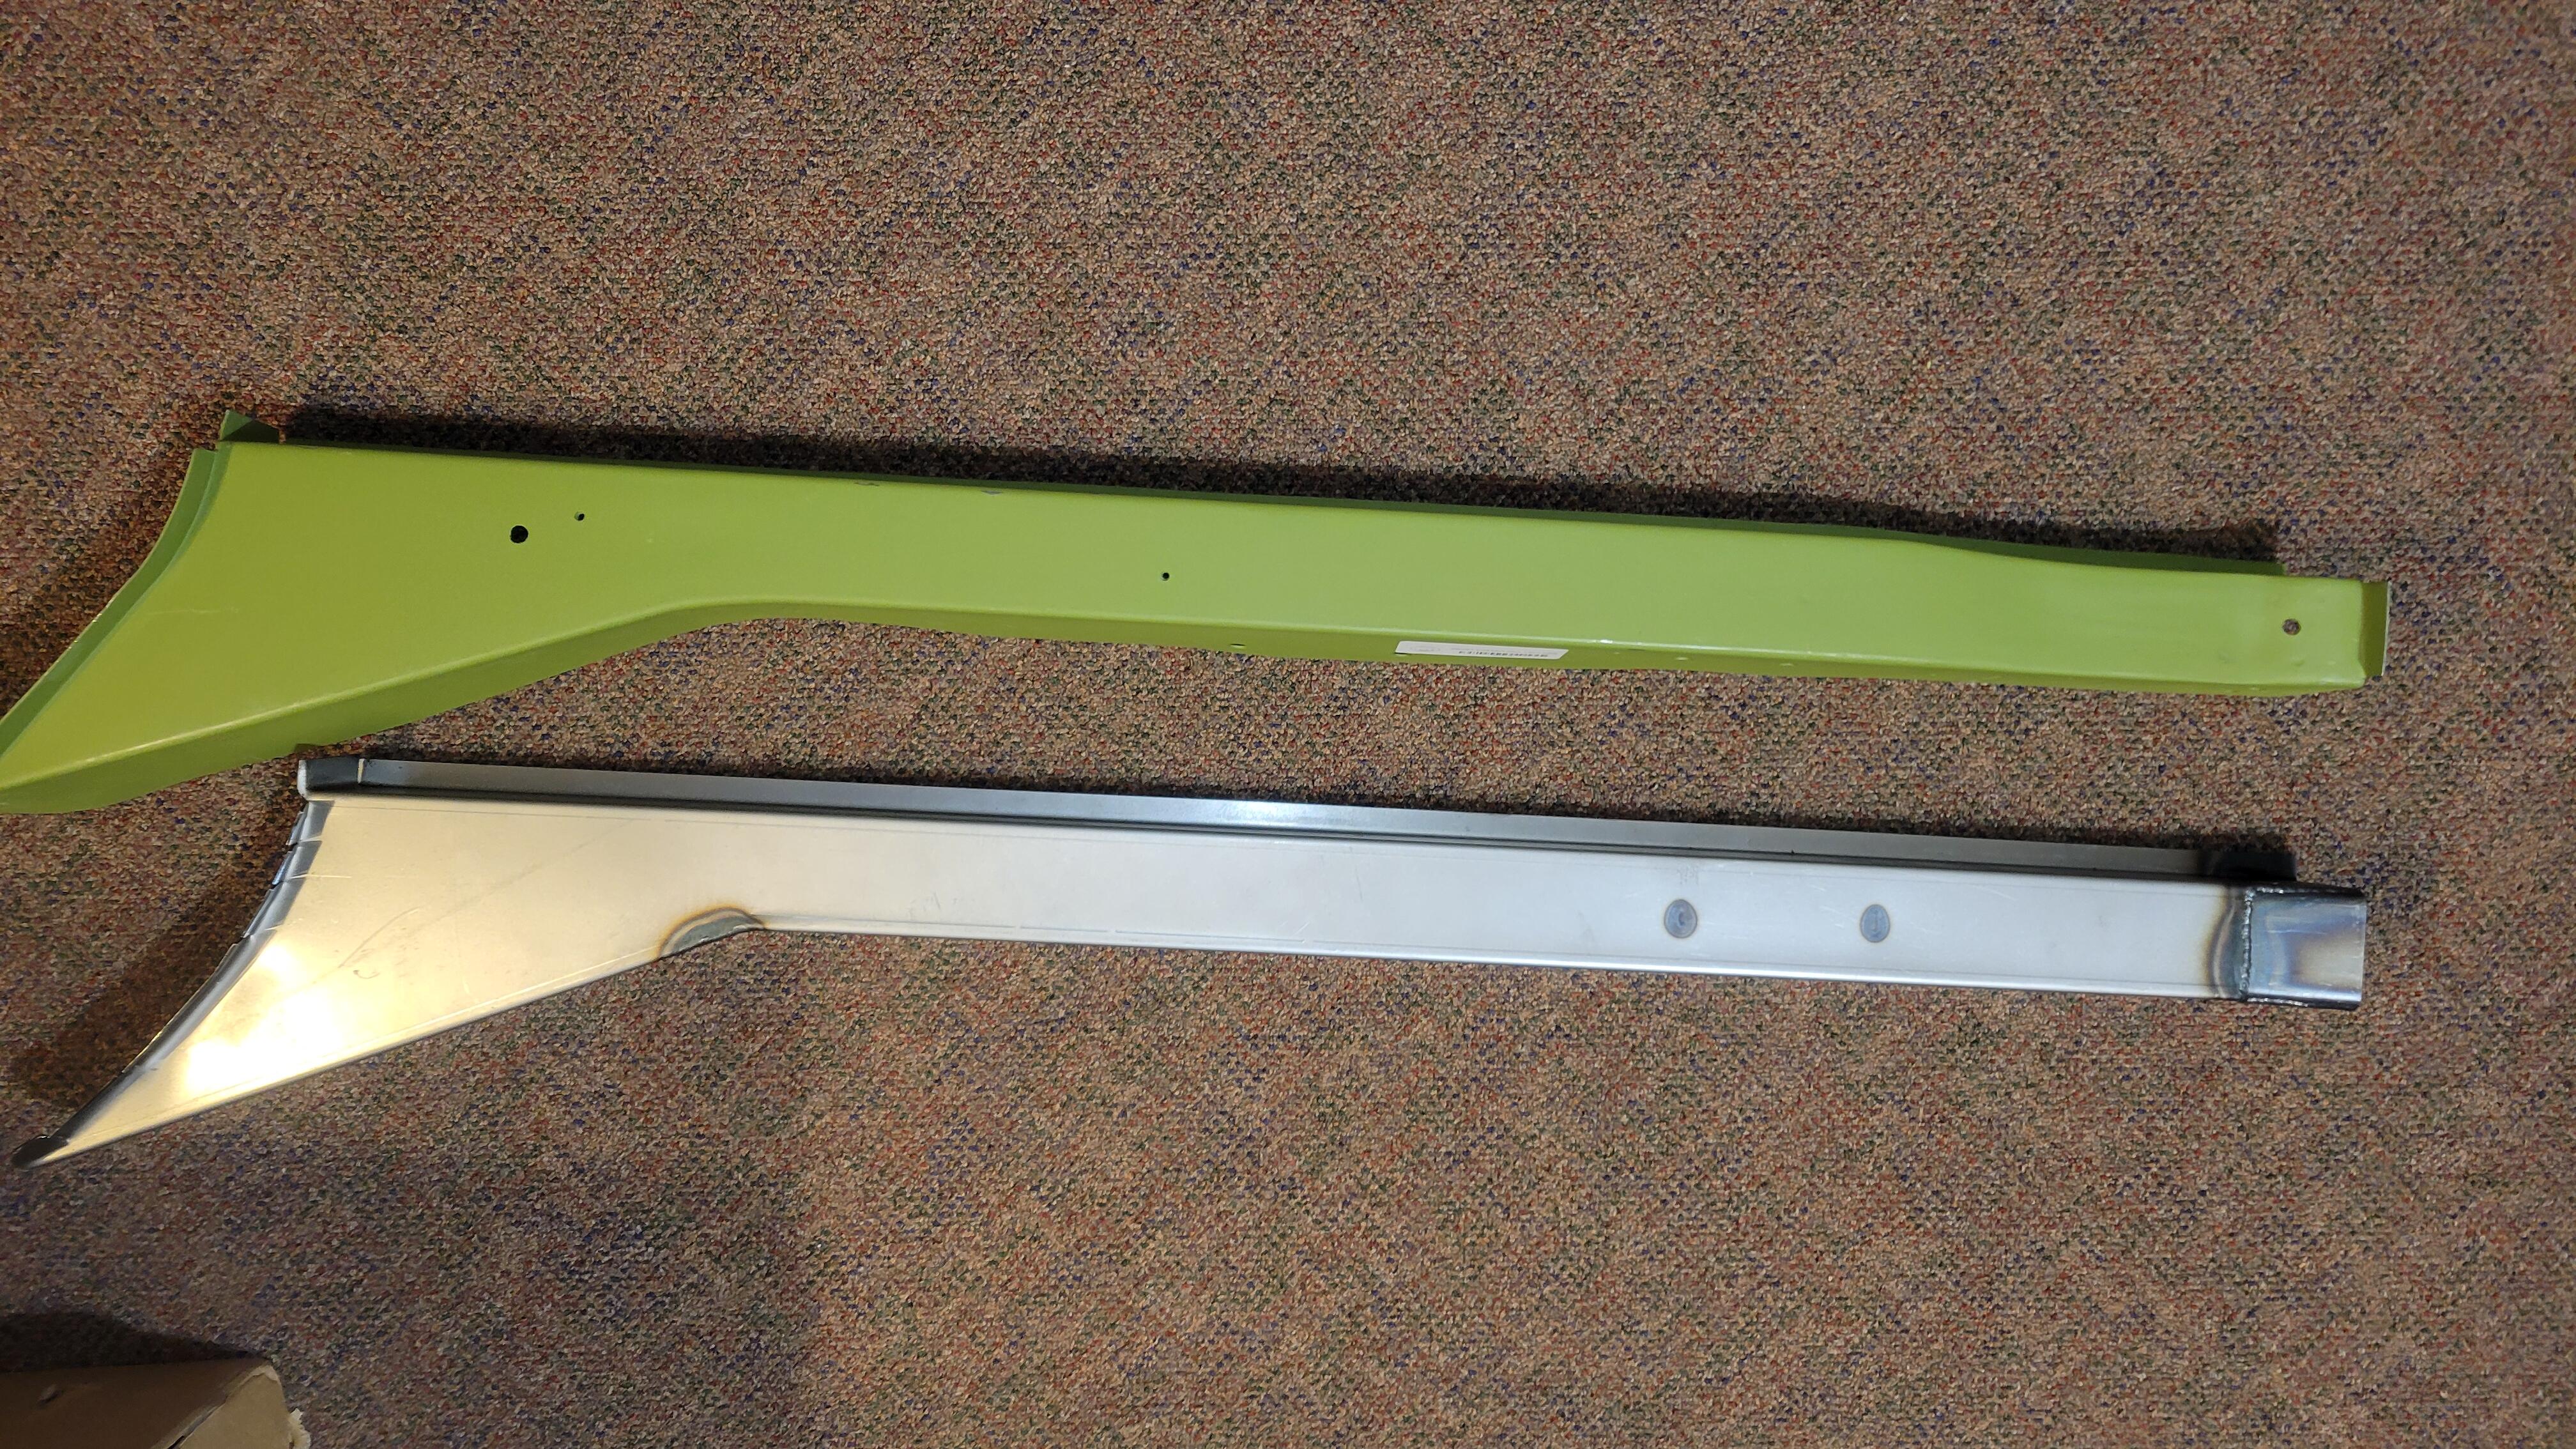
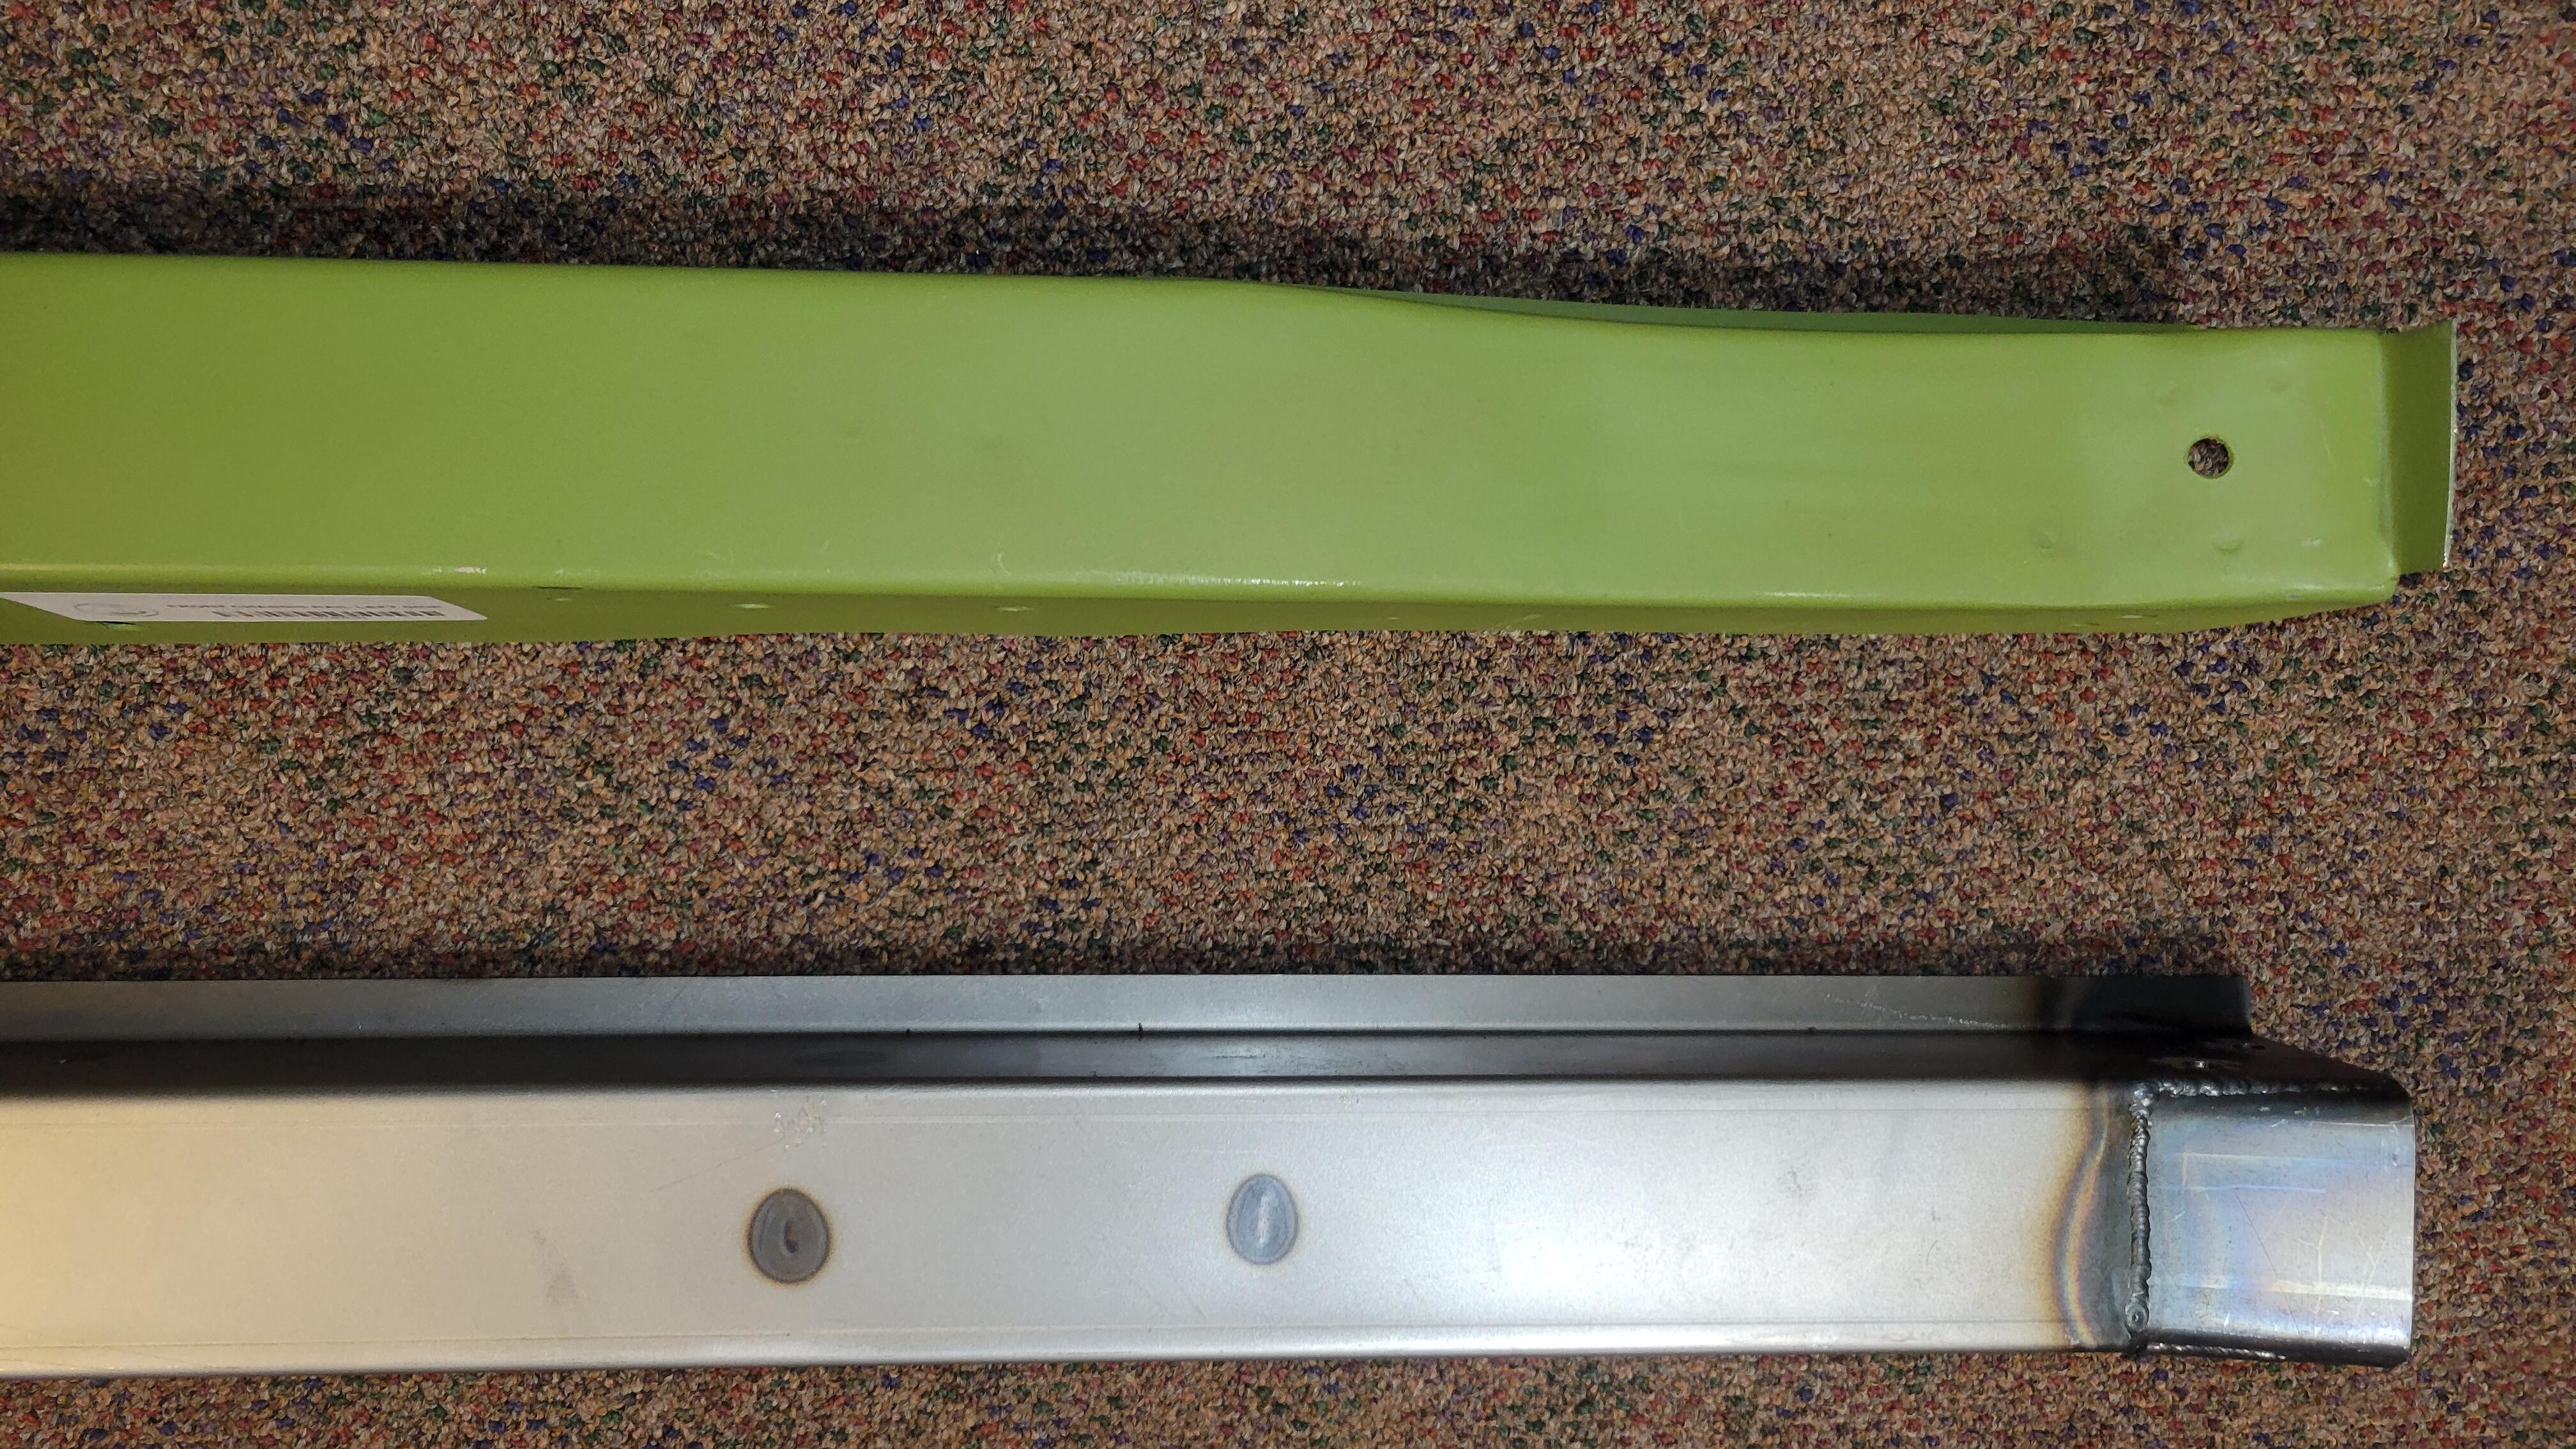
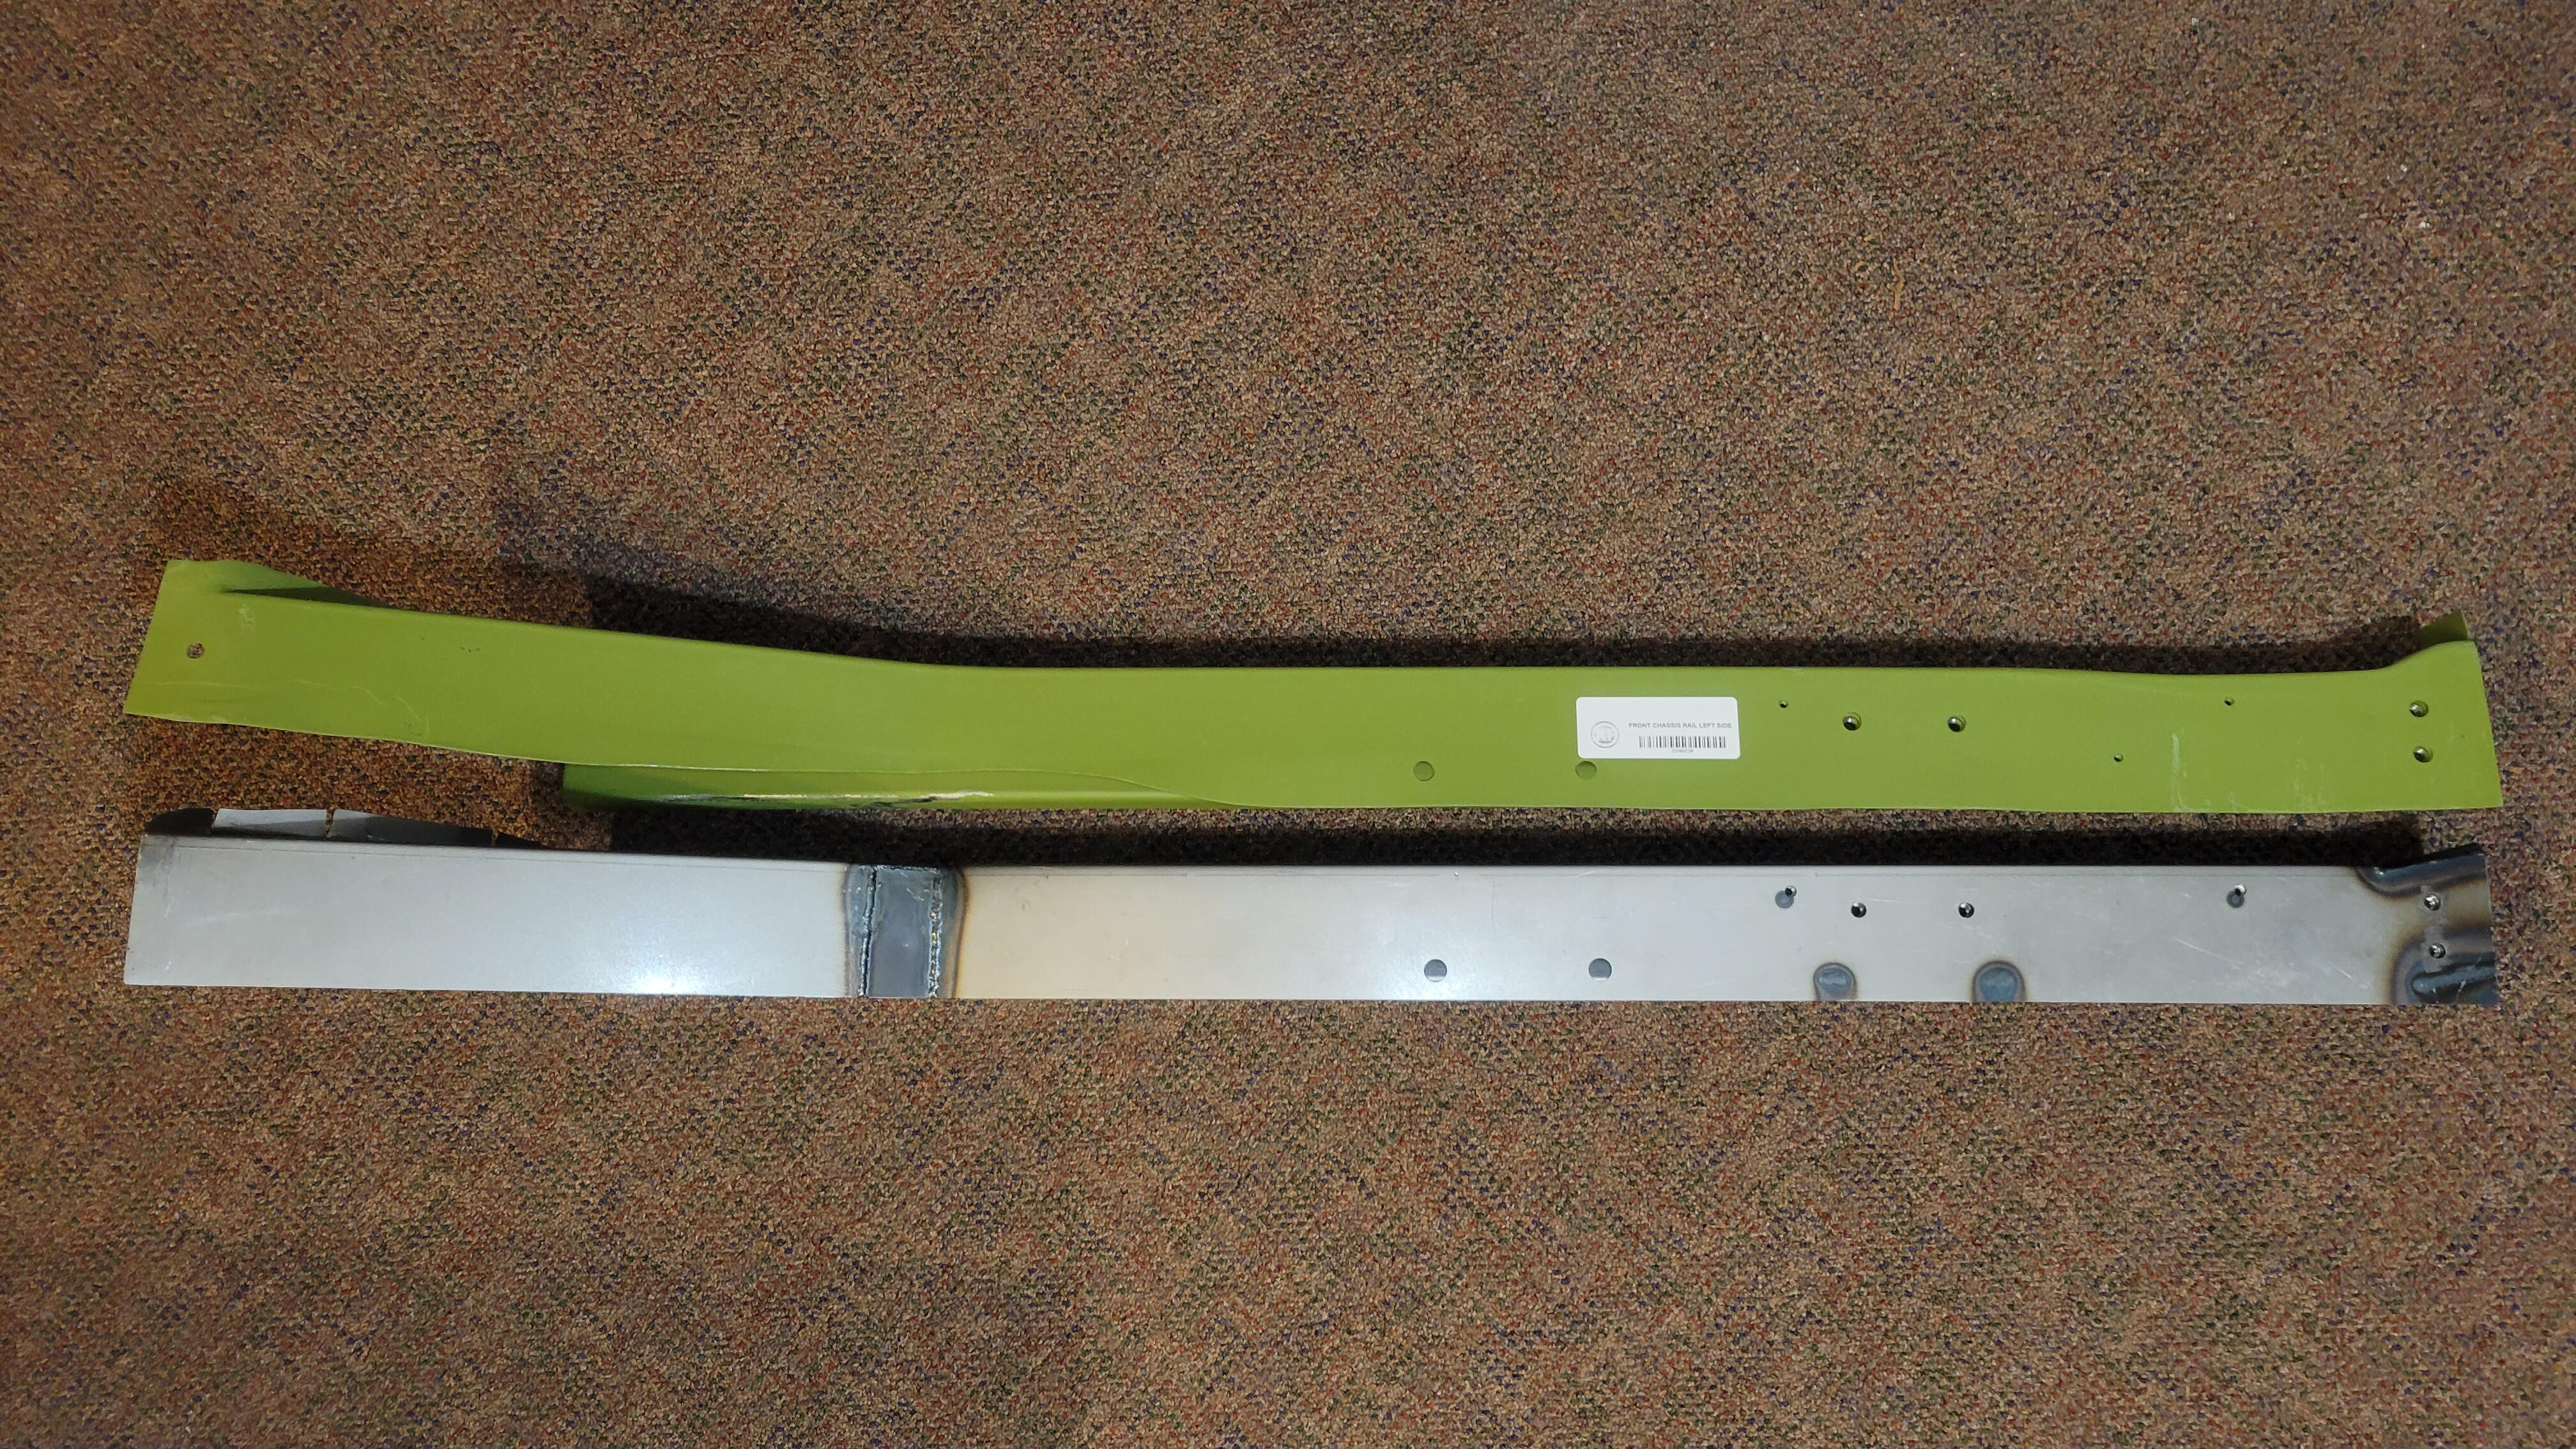
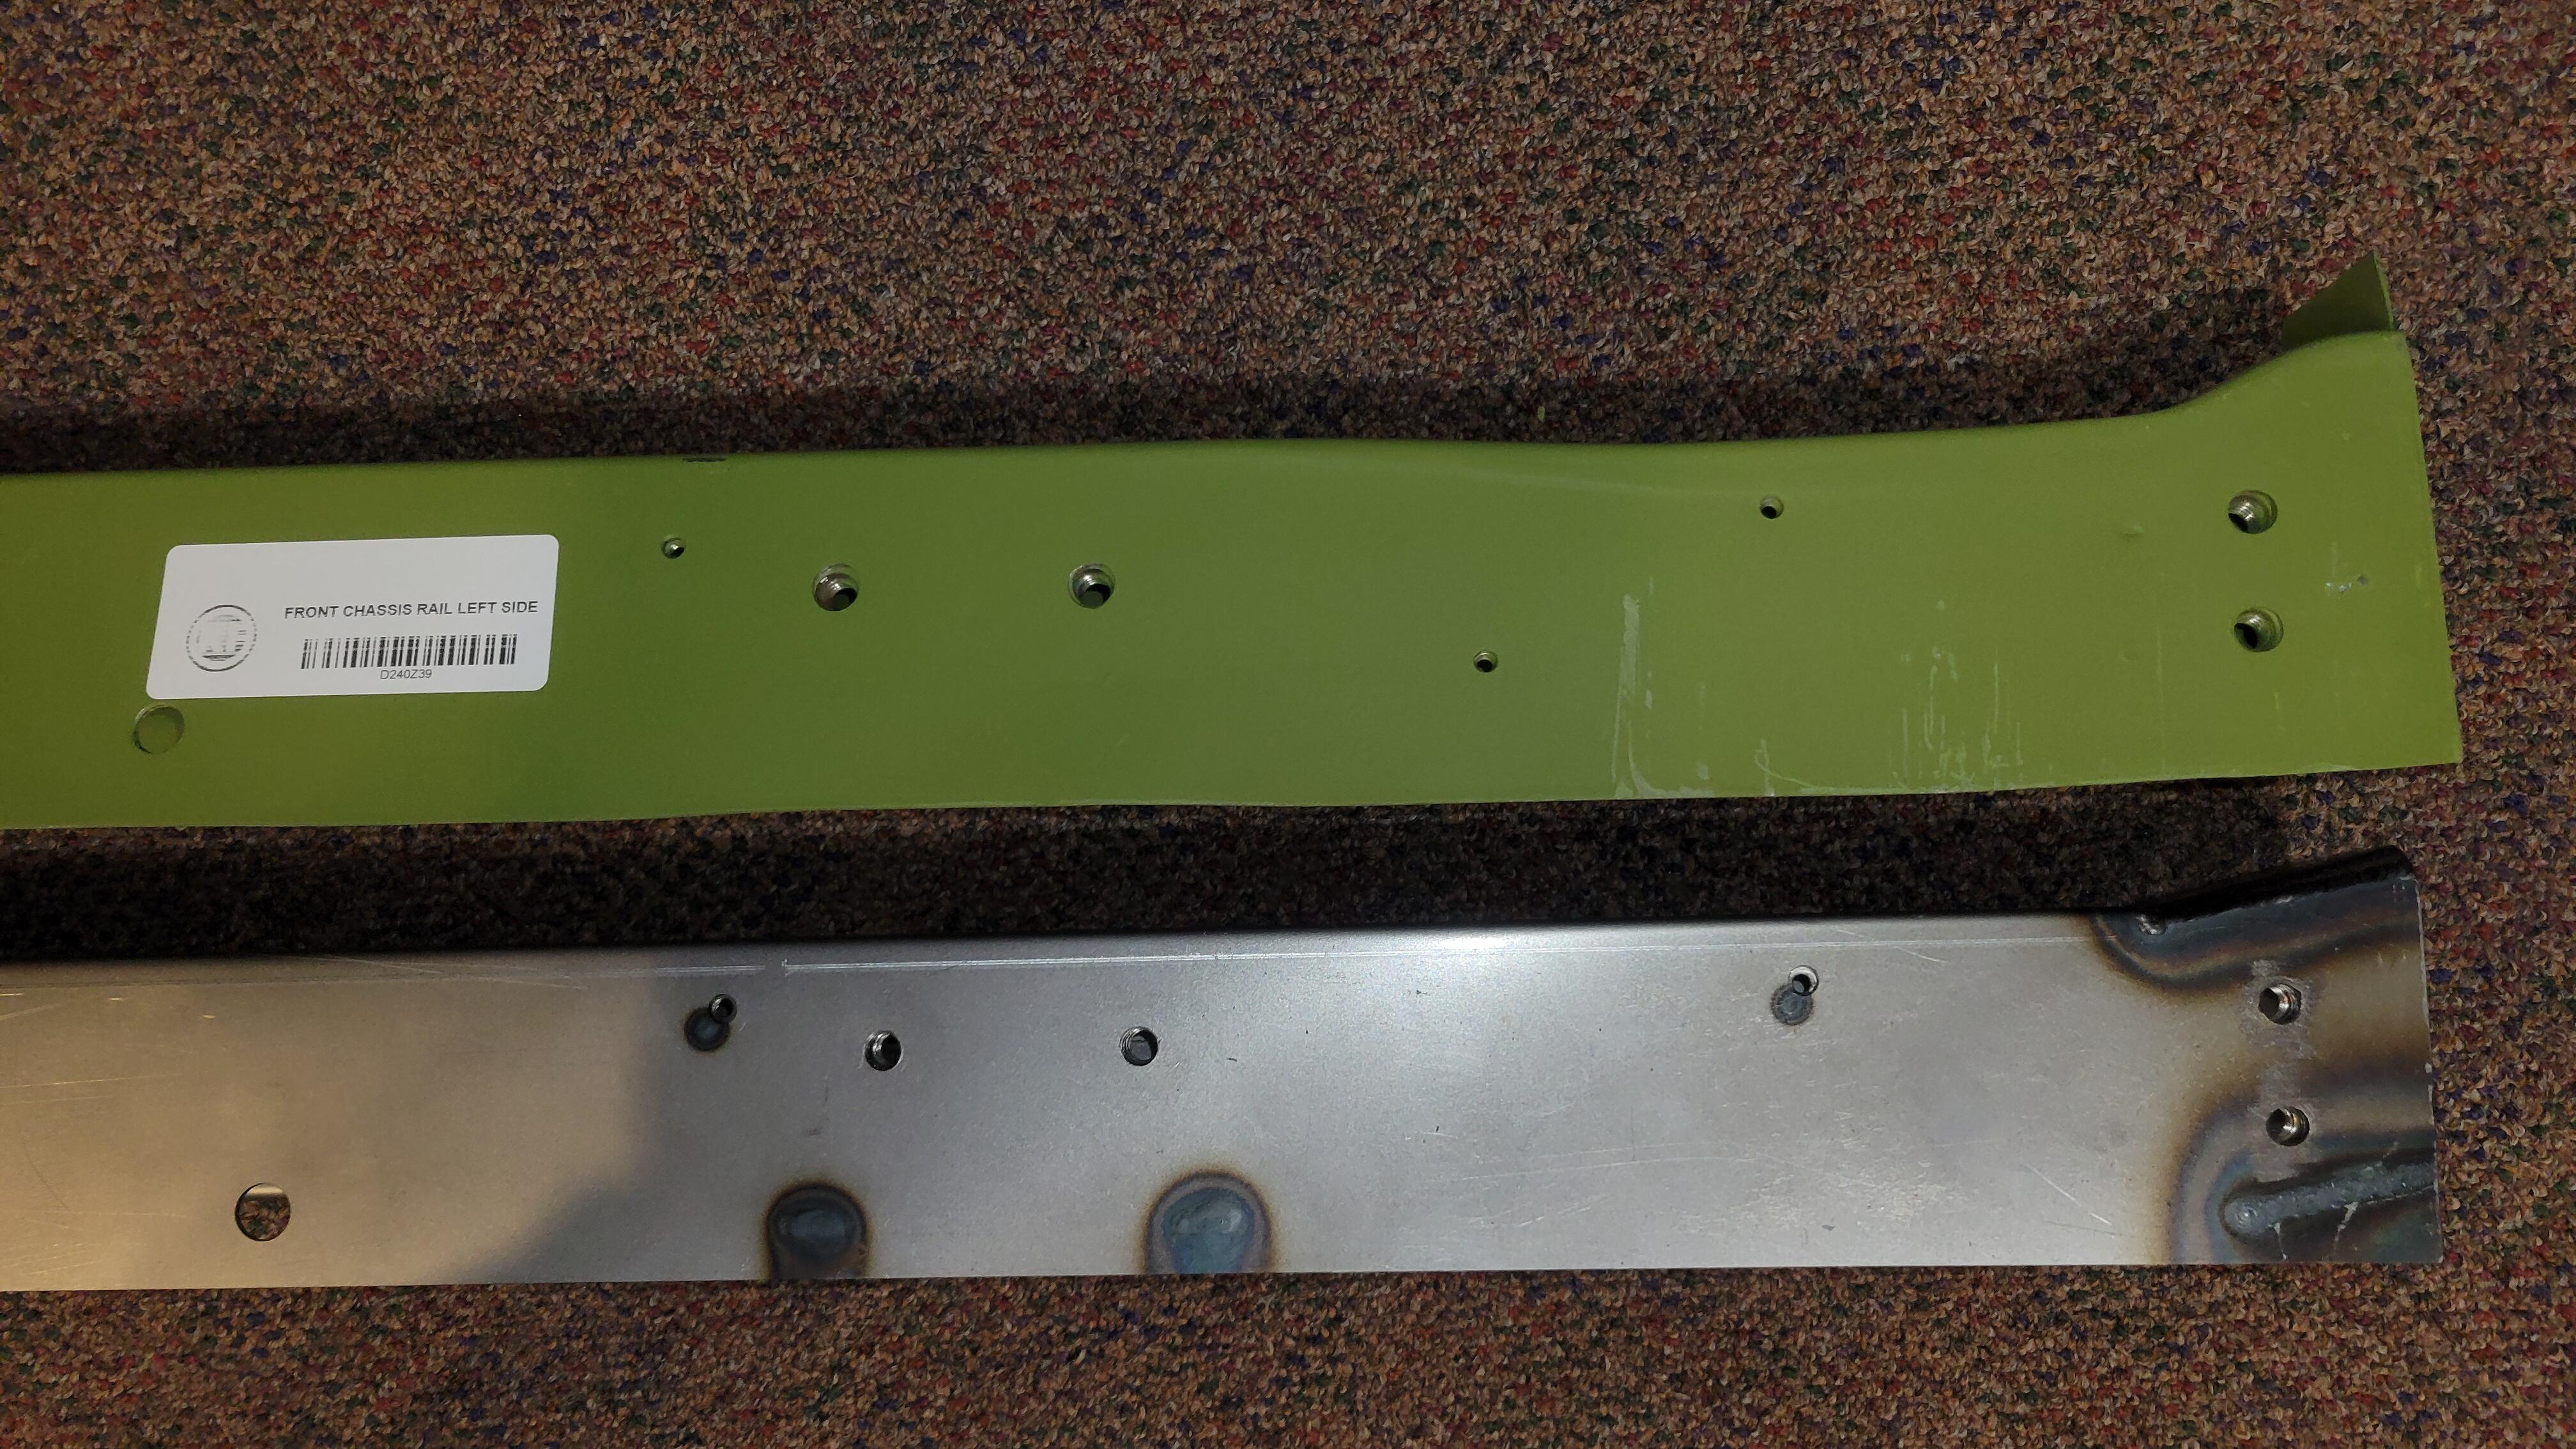
1 pointSince I now have both, here is a set of pictures comparing Klassic Fab rails with Zedd Findings. Both appear very good, but the KF rails are definitely much closer to original, at least when compared to the rails on my 1970. The ZF rails are more of a "universal' fit for 240/260/280, as they are formed, they are very straight. The KF rails I received have a little waviness to the lower horizontal flange, but it's not a show stopper. Regarding the shape of the rail near the rad support, I only just now noticed that in addition to the width being narrowed, the height is actually shorter as well. You can see this clearly in the pictures.

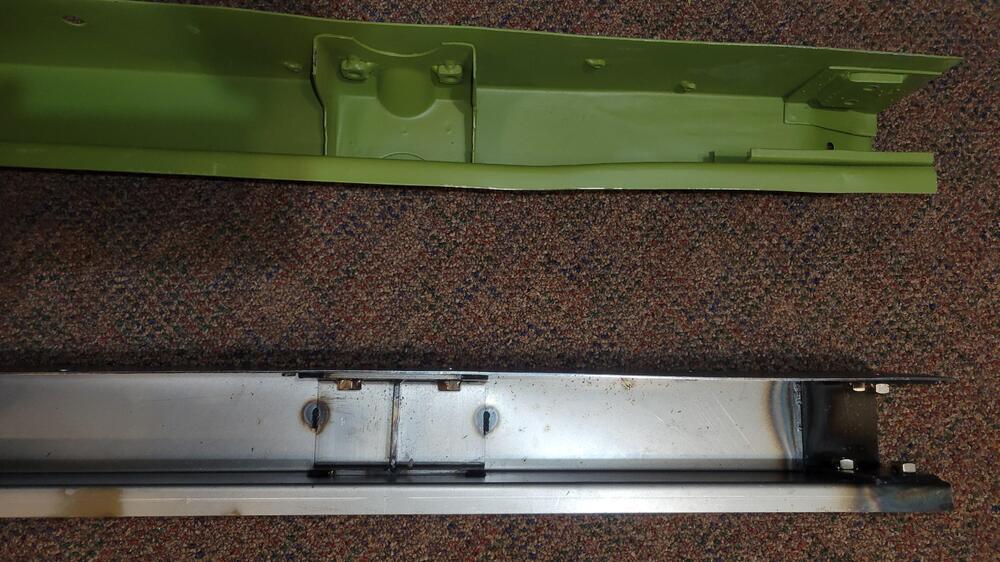
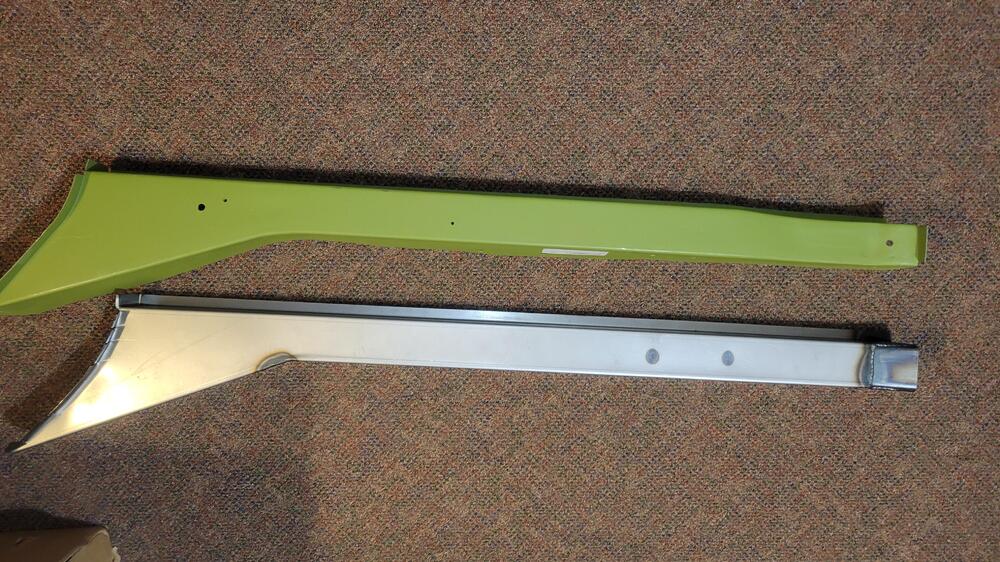
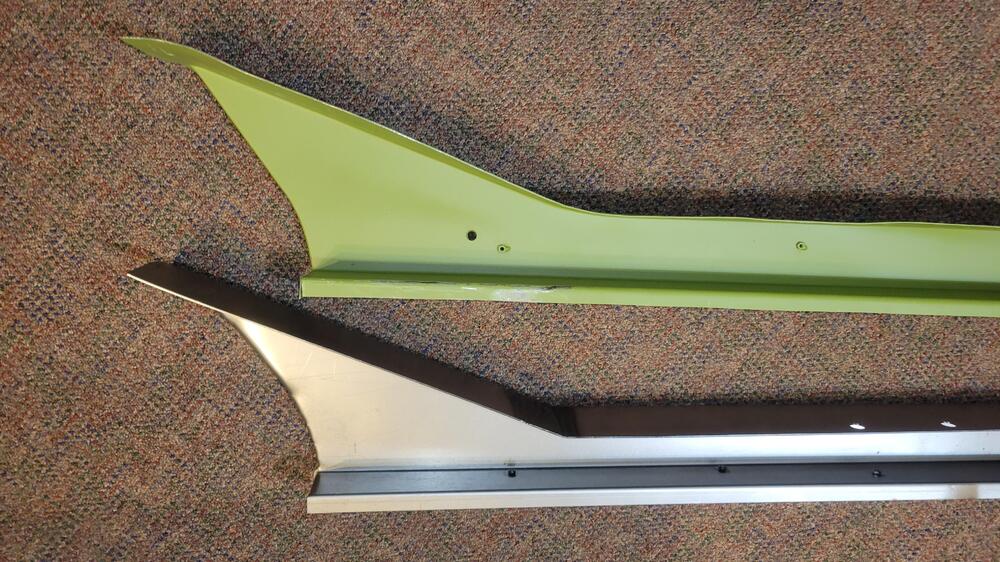


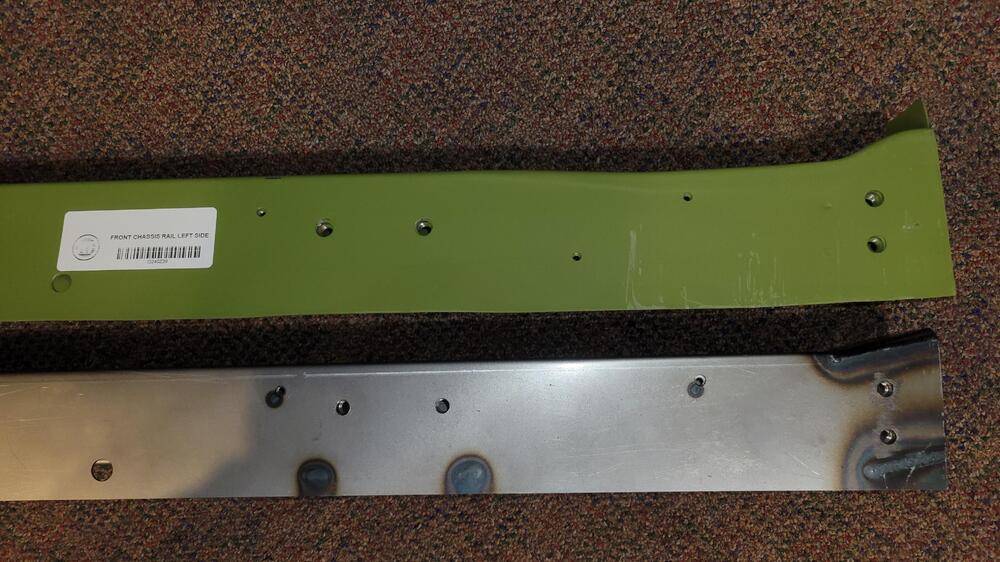 1 point
 -
1 pointWhen you use that, first make a test spray on something.. before you do it on your car. Then you know if it's still good and mixed right! (Maybe your wheelbarrel needs a new paintjob! 🙂 )1 point
-
I could not see the problem until you pointed it out. Now that's all i can see when i look at it.1 point
-
1 pointFWIW, I had some cheapo (£38gbp) Vanssi branded LED H4 bulbs off AliExpress about 5-6 years ago. Never had to modify any wiring, they just plugged in and worked! Transformed my nighttime driving without causing undue dazzle to anyone. They will still take 1/3 of the juice required by halogens. You wouldn’t imagine it matters with LEDs but fresh wiring would make them even brighter - even though I’m still using 40+ year old wiring. I know this because my alternator gives 12.9 v at idle (Ati racing damper with half sized pulley) and at 1.1k rpm I get the full 14.x volts and the bulbs do get slightly brighter! I can’t find them on AliExpress anymore though so I can’t send you a link. The key thing to consider with those bulbs is that for a decent beam pattern, the orientation (you can spin the bit that houses the LEDs) is different to halogens. Low beam High beam Comparison to halogens Correct orientation1 point
-
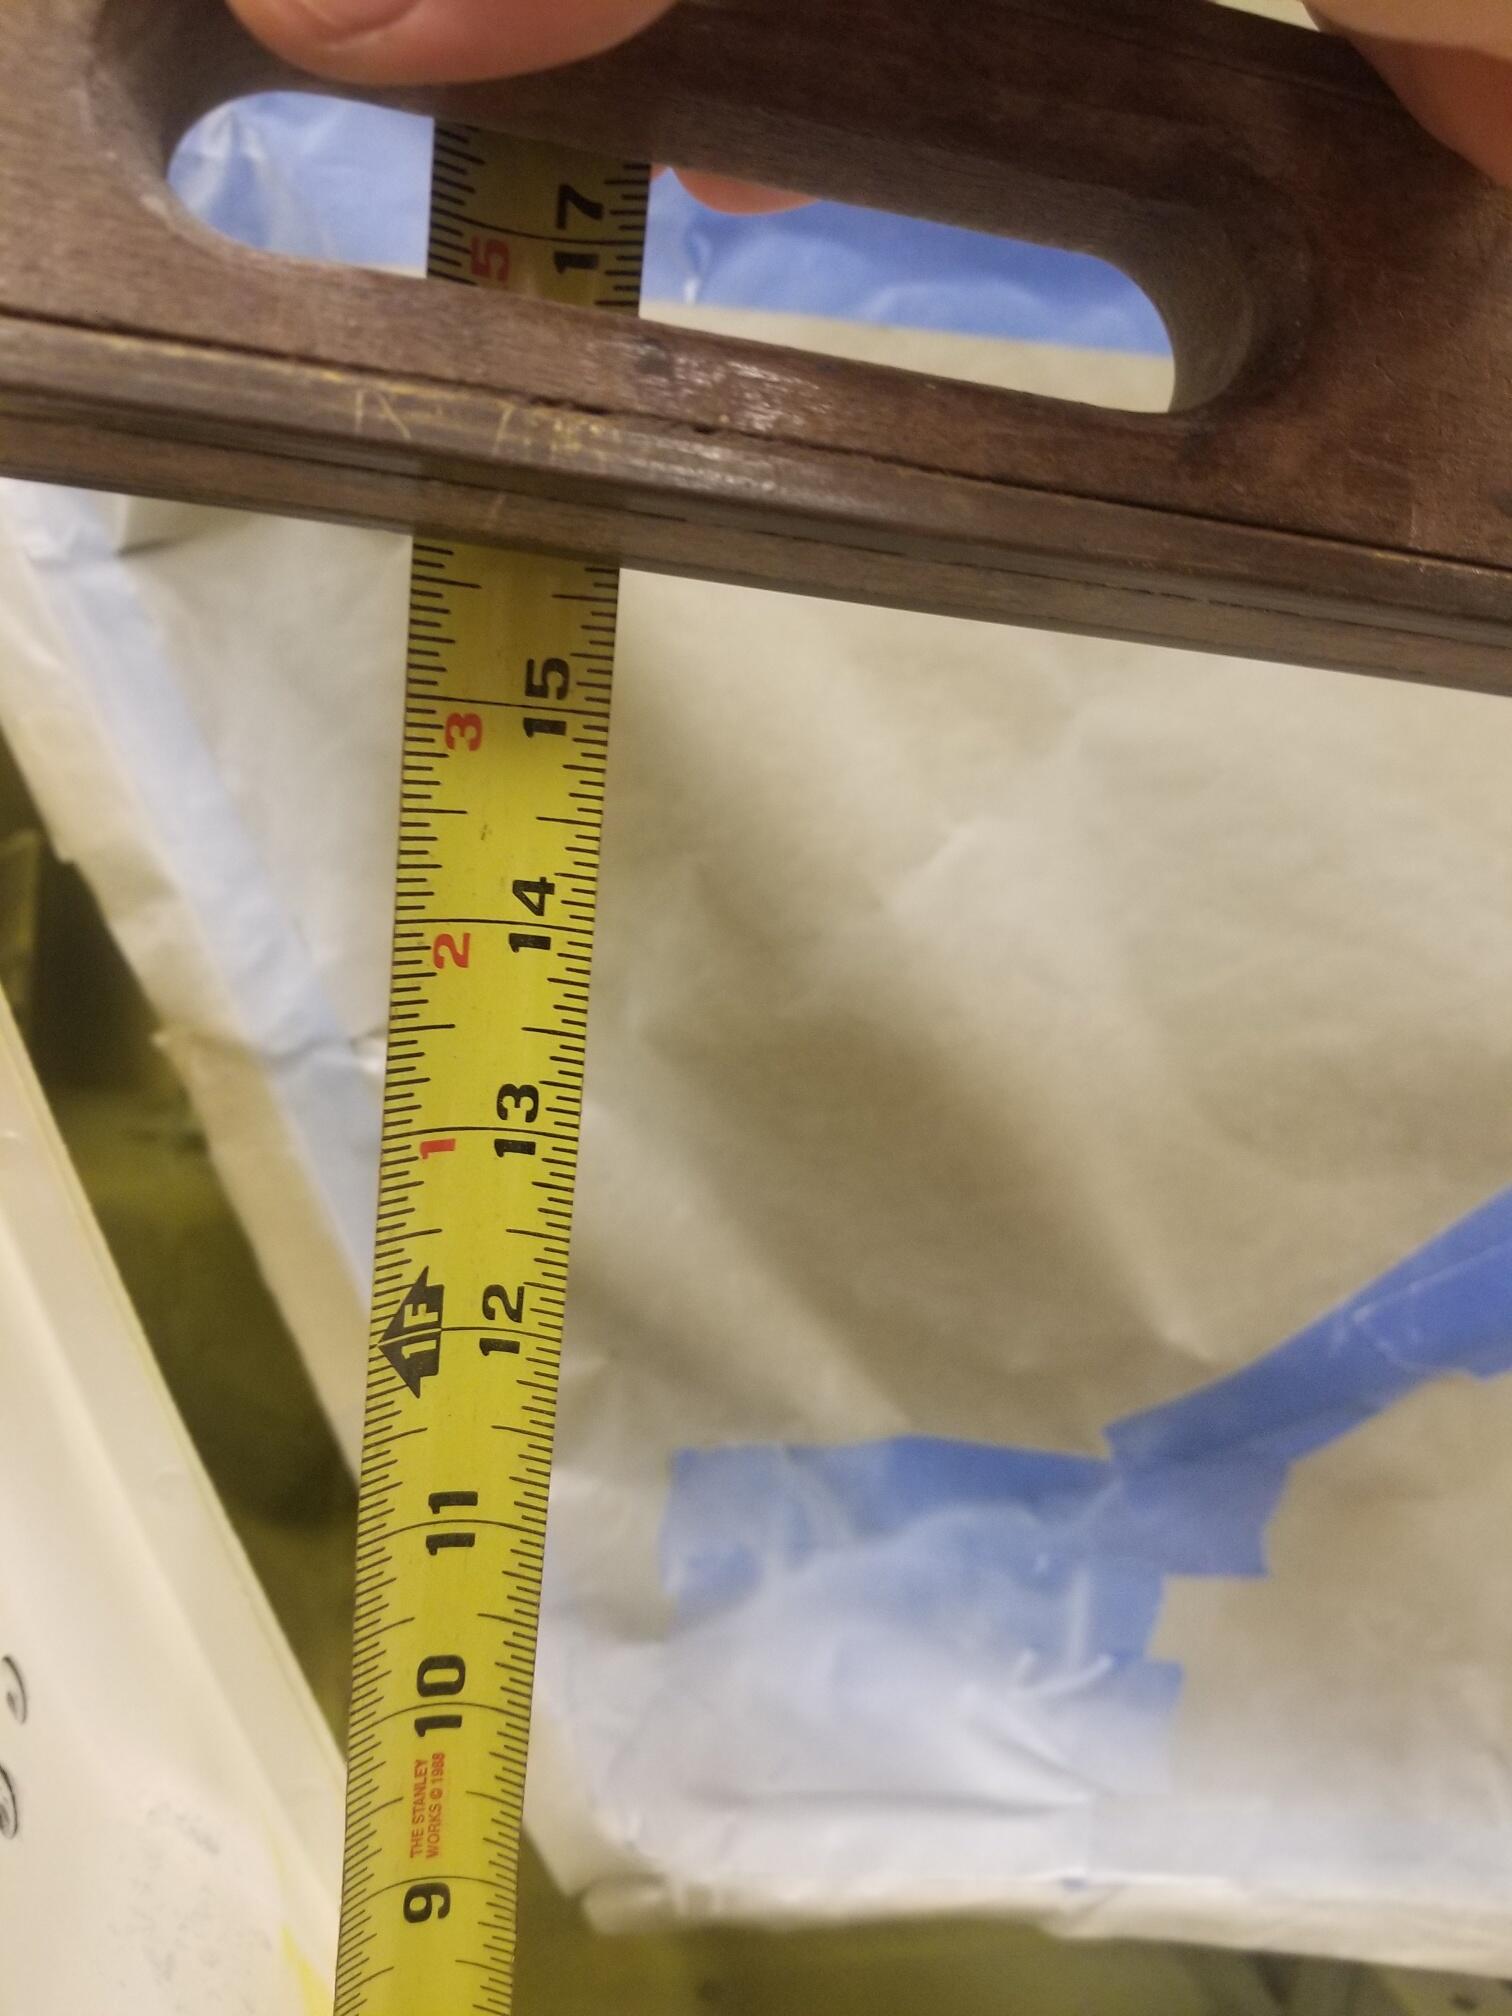
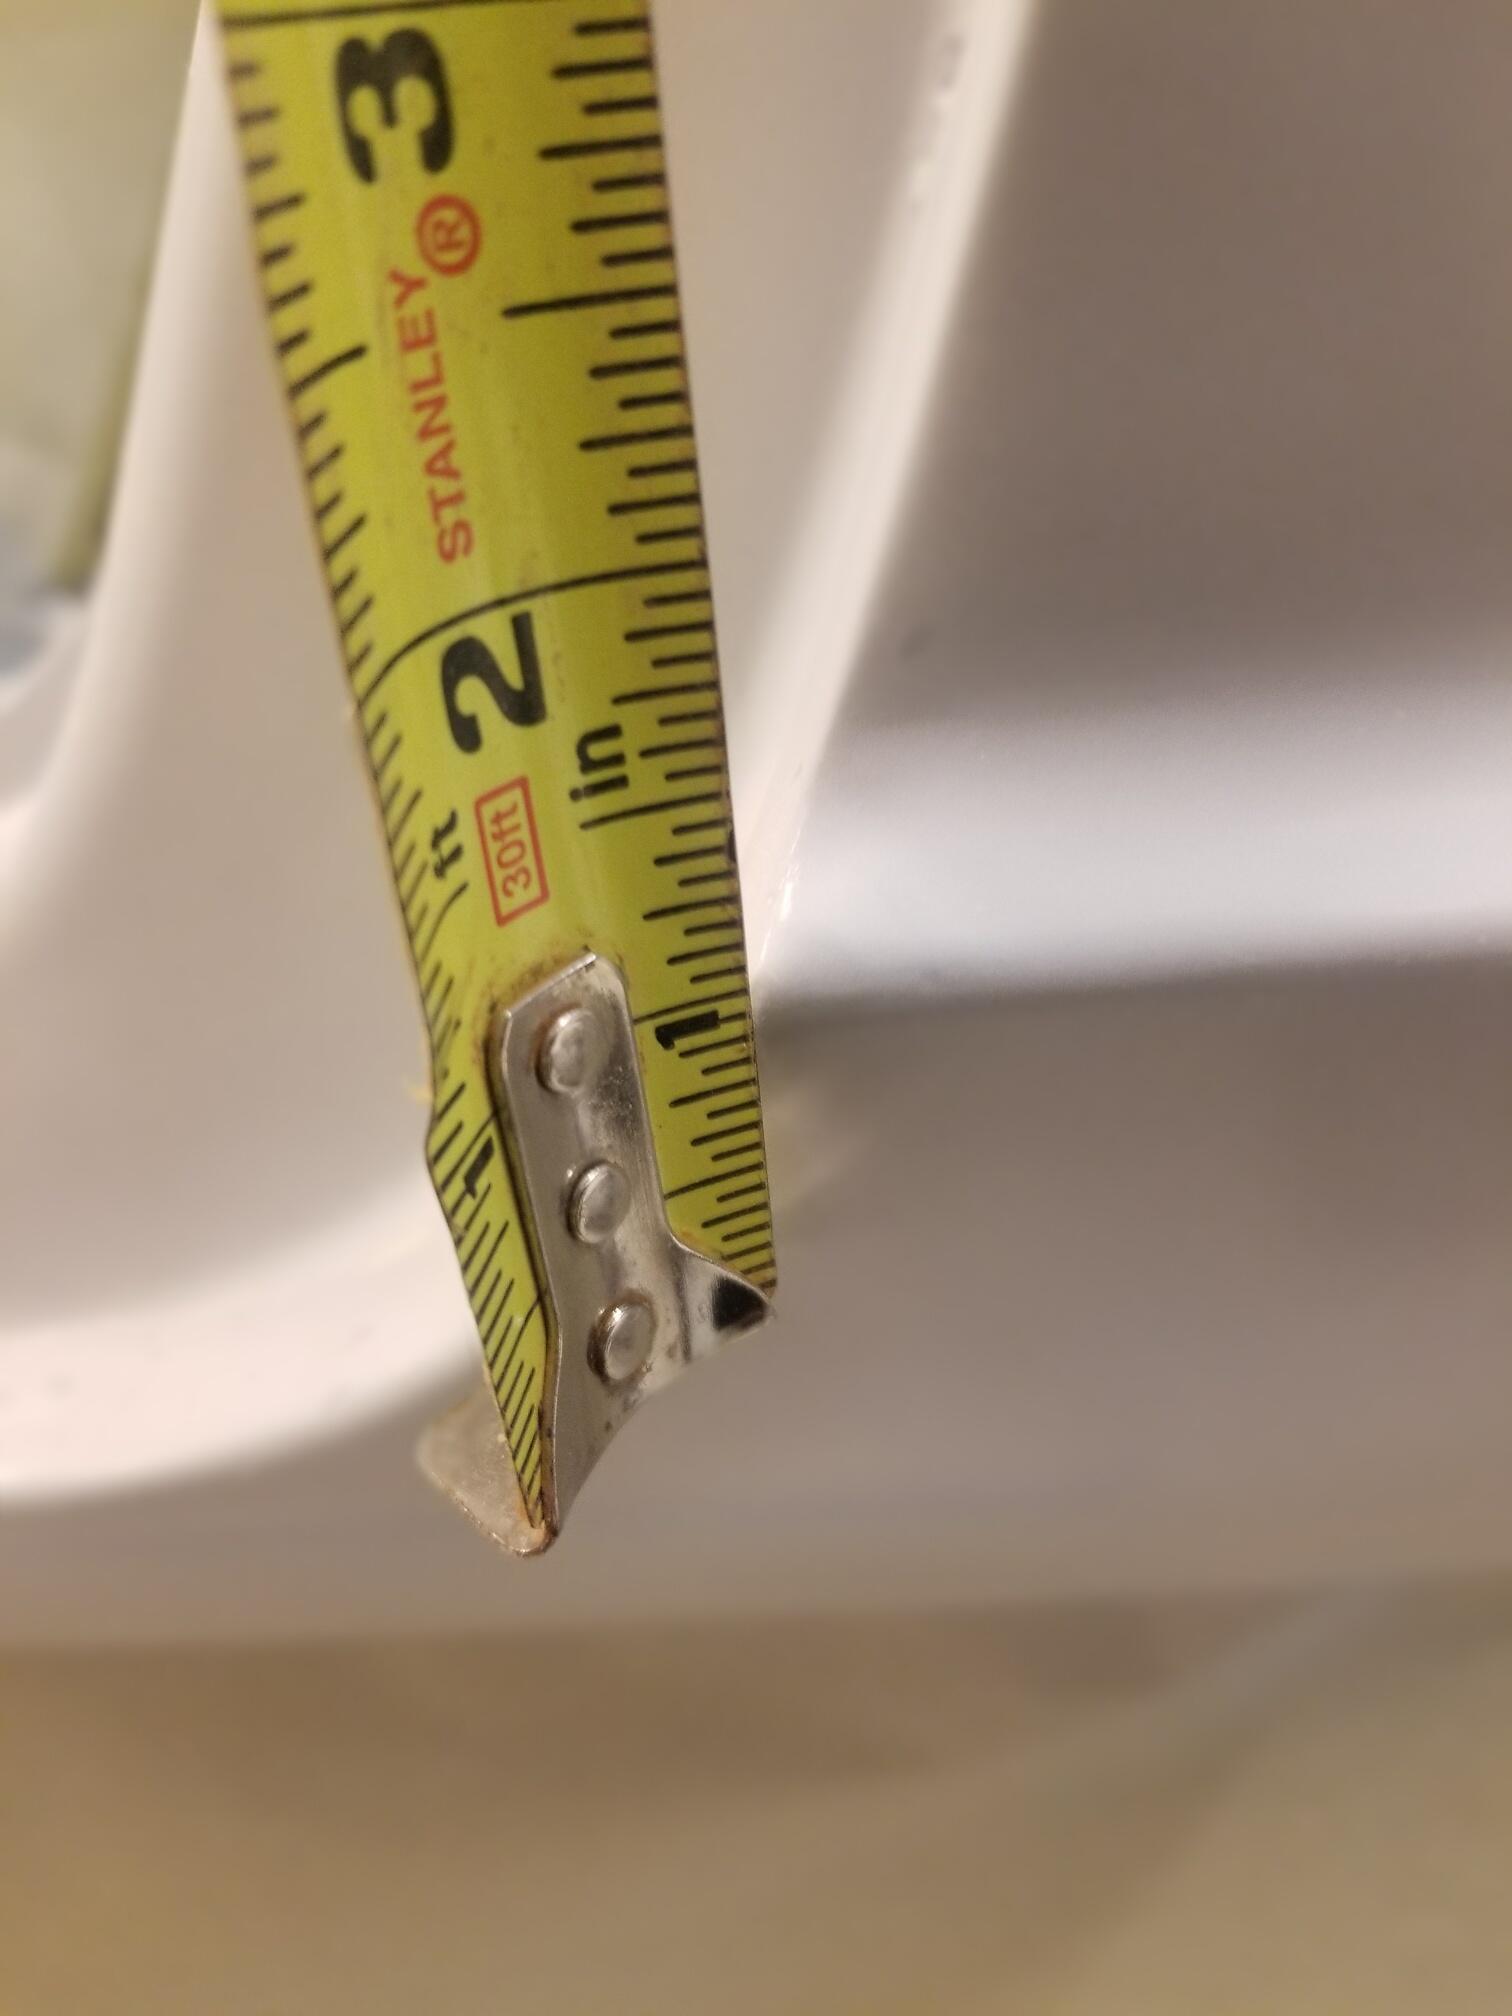
1 pointIs this what you wanted? 15 5/8" "cut an inch" So 14 5/8" x 25.4 = 371.5mm The level is not "level" but extended along the body line
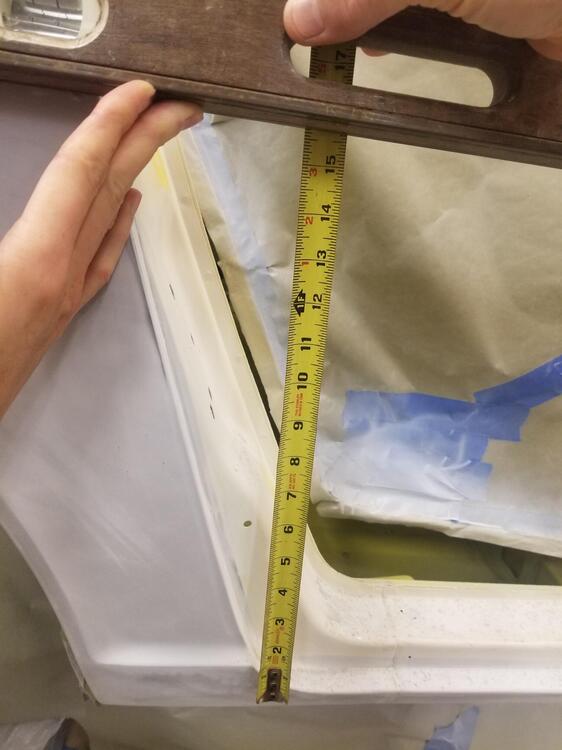
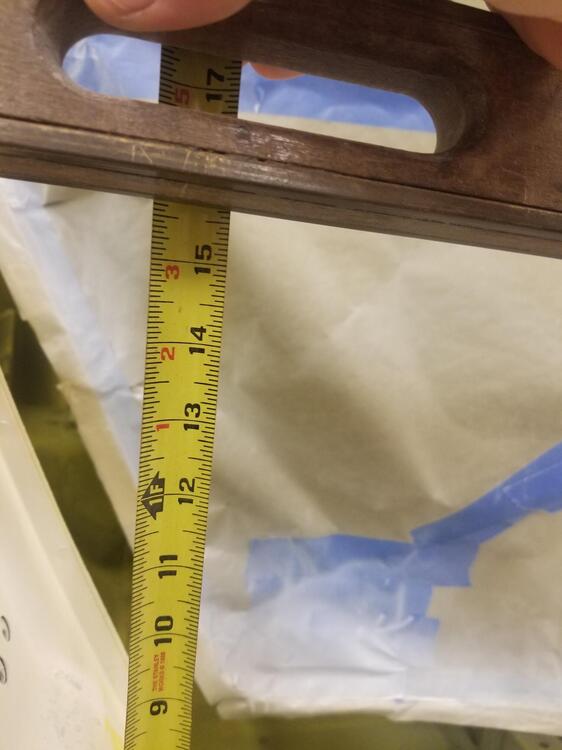
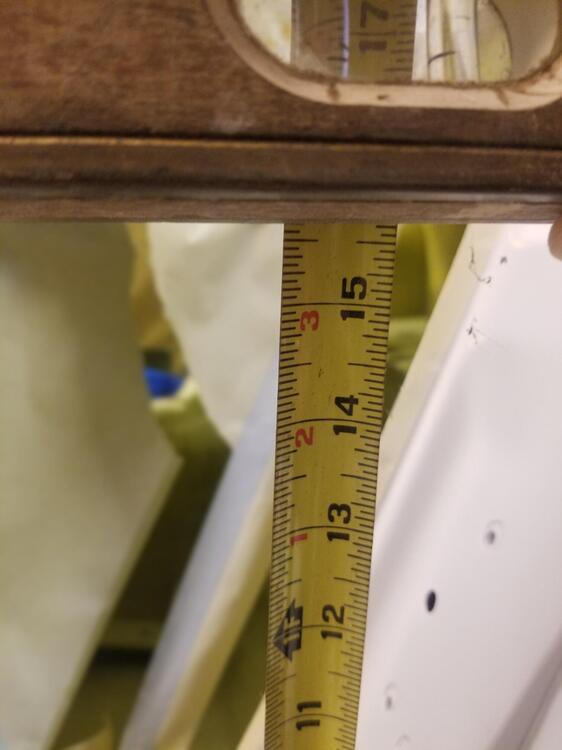
 1 point
 -
Your response doesn't change what I said before. Do the tests I suggested and report the results. If the switch was reassembled properly, you should not see voltage at the green/yellow wire when the 6 pin connector is unplugged. The only way you would see voltage there with that connector unplugged is if it's cross-connected with the turn signals.1 point
-
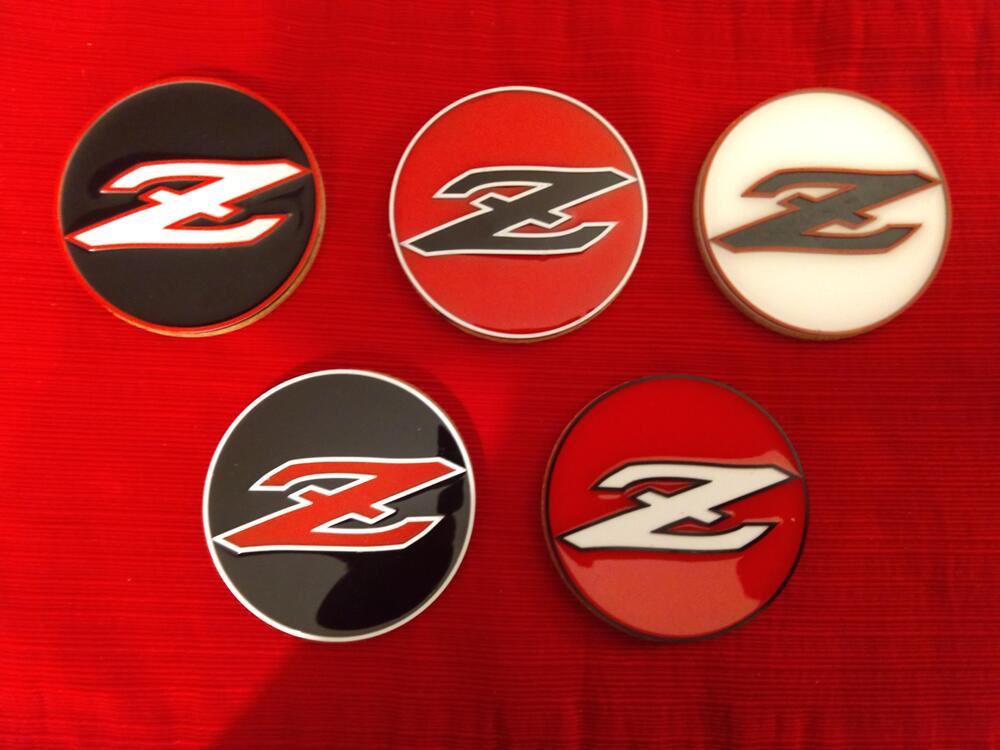
1 pointOur youngest (43) gave me these coasters that he made on his new 3D printer. They're glued to cork beds and a clearcoat over the Z emblem. I think they're pretty hot!
 1 point
 -
Haha, Yes i have seen the new advert also and bart @bartsscooterservice alerted me on the fact that it was the same one we had seen.. In March or so 2021 , i spoke to the owner on the phone and asked him if he did see something wrong with the rear fender.. i then carfully told him what was wrong.. he then told me it was not so bad.. but i think that he now wants to get rid of the car.. Still a nice car though.1 point
-
1 point
-
1 pointYou can strengthen the area be adding a layer of fiberglass cloth/resin to the backside of the crack. That may stop the crack from spreading. I did that with cracks on my center console and it worked nicely./1 point
-
1 pointI agree with all your comments on the headlights. I have the VC3500 set installed for over 2 years now and have been very pleased with them. In addition, they mimic the look of standard sealed beams without the look of lights that came from a mars rover. Although they draw less current, I opted to install a relay harness to preserve the combination switch.1 point
-
1 pointSo, I have experimented a lot with different LED headlights. The current setup in my 260Z is H4 housings (the old Black Dragon H4s) with Auxito H4 9003 LED Headlights, https://www.amazon.com/gp/product/B07TQLK6SH. Those bulbs can be combined with about any H4 housings, such as Hella. They throw out a lot of useful light, especially on high beams. It's a reasonably economic solution, and the bulbs are polarity independent.1 point