Leaderboard
-

Av8ferg
Free Member11Points1,538Posts -
Johnz1971
Free Member4Points96Posts -
Captain Obvious
Free Member3Points10,081Posts -
.JPG.cfcada9cf1c1b502df3f5f2f2ca3ff36.JPG)
SteveJ
Free Member2Points9,646Posts


Popular Content
Showing content with the highest reputation on 10/05/2021 in all areas
-
4 pointsShe’s in!!! My 14 year old son helped me. Just the two of us.

 4 points
 -
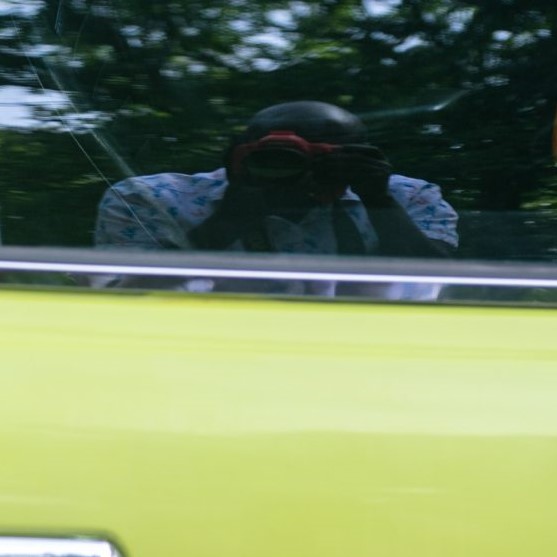
I think i found out the problem with the photographer... he is using my daughters Barbie Camera!
 4 points
 -
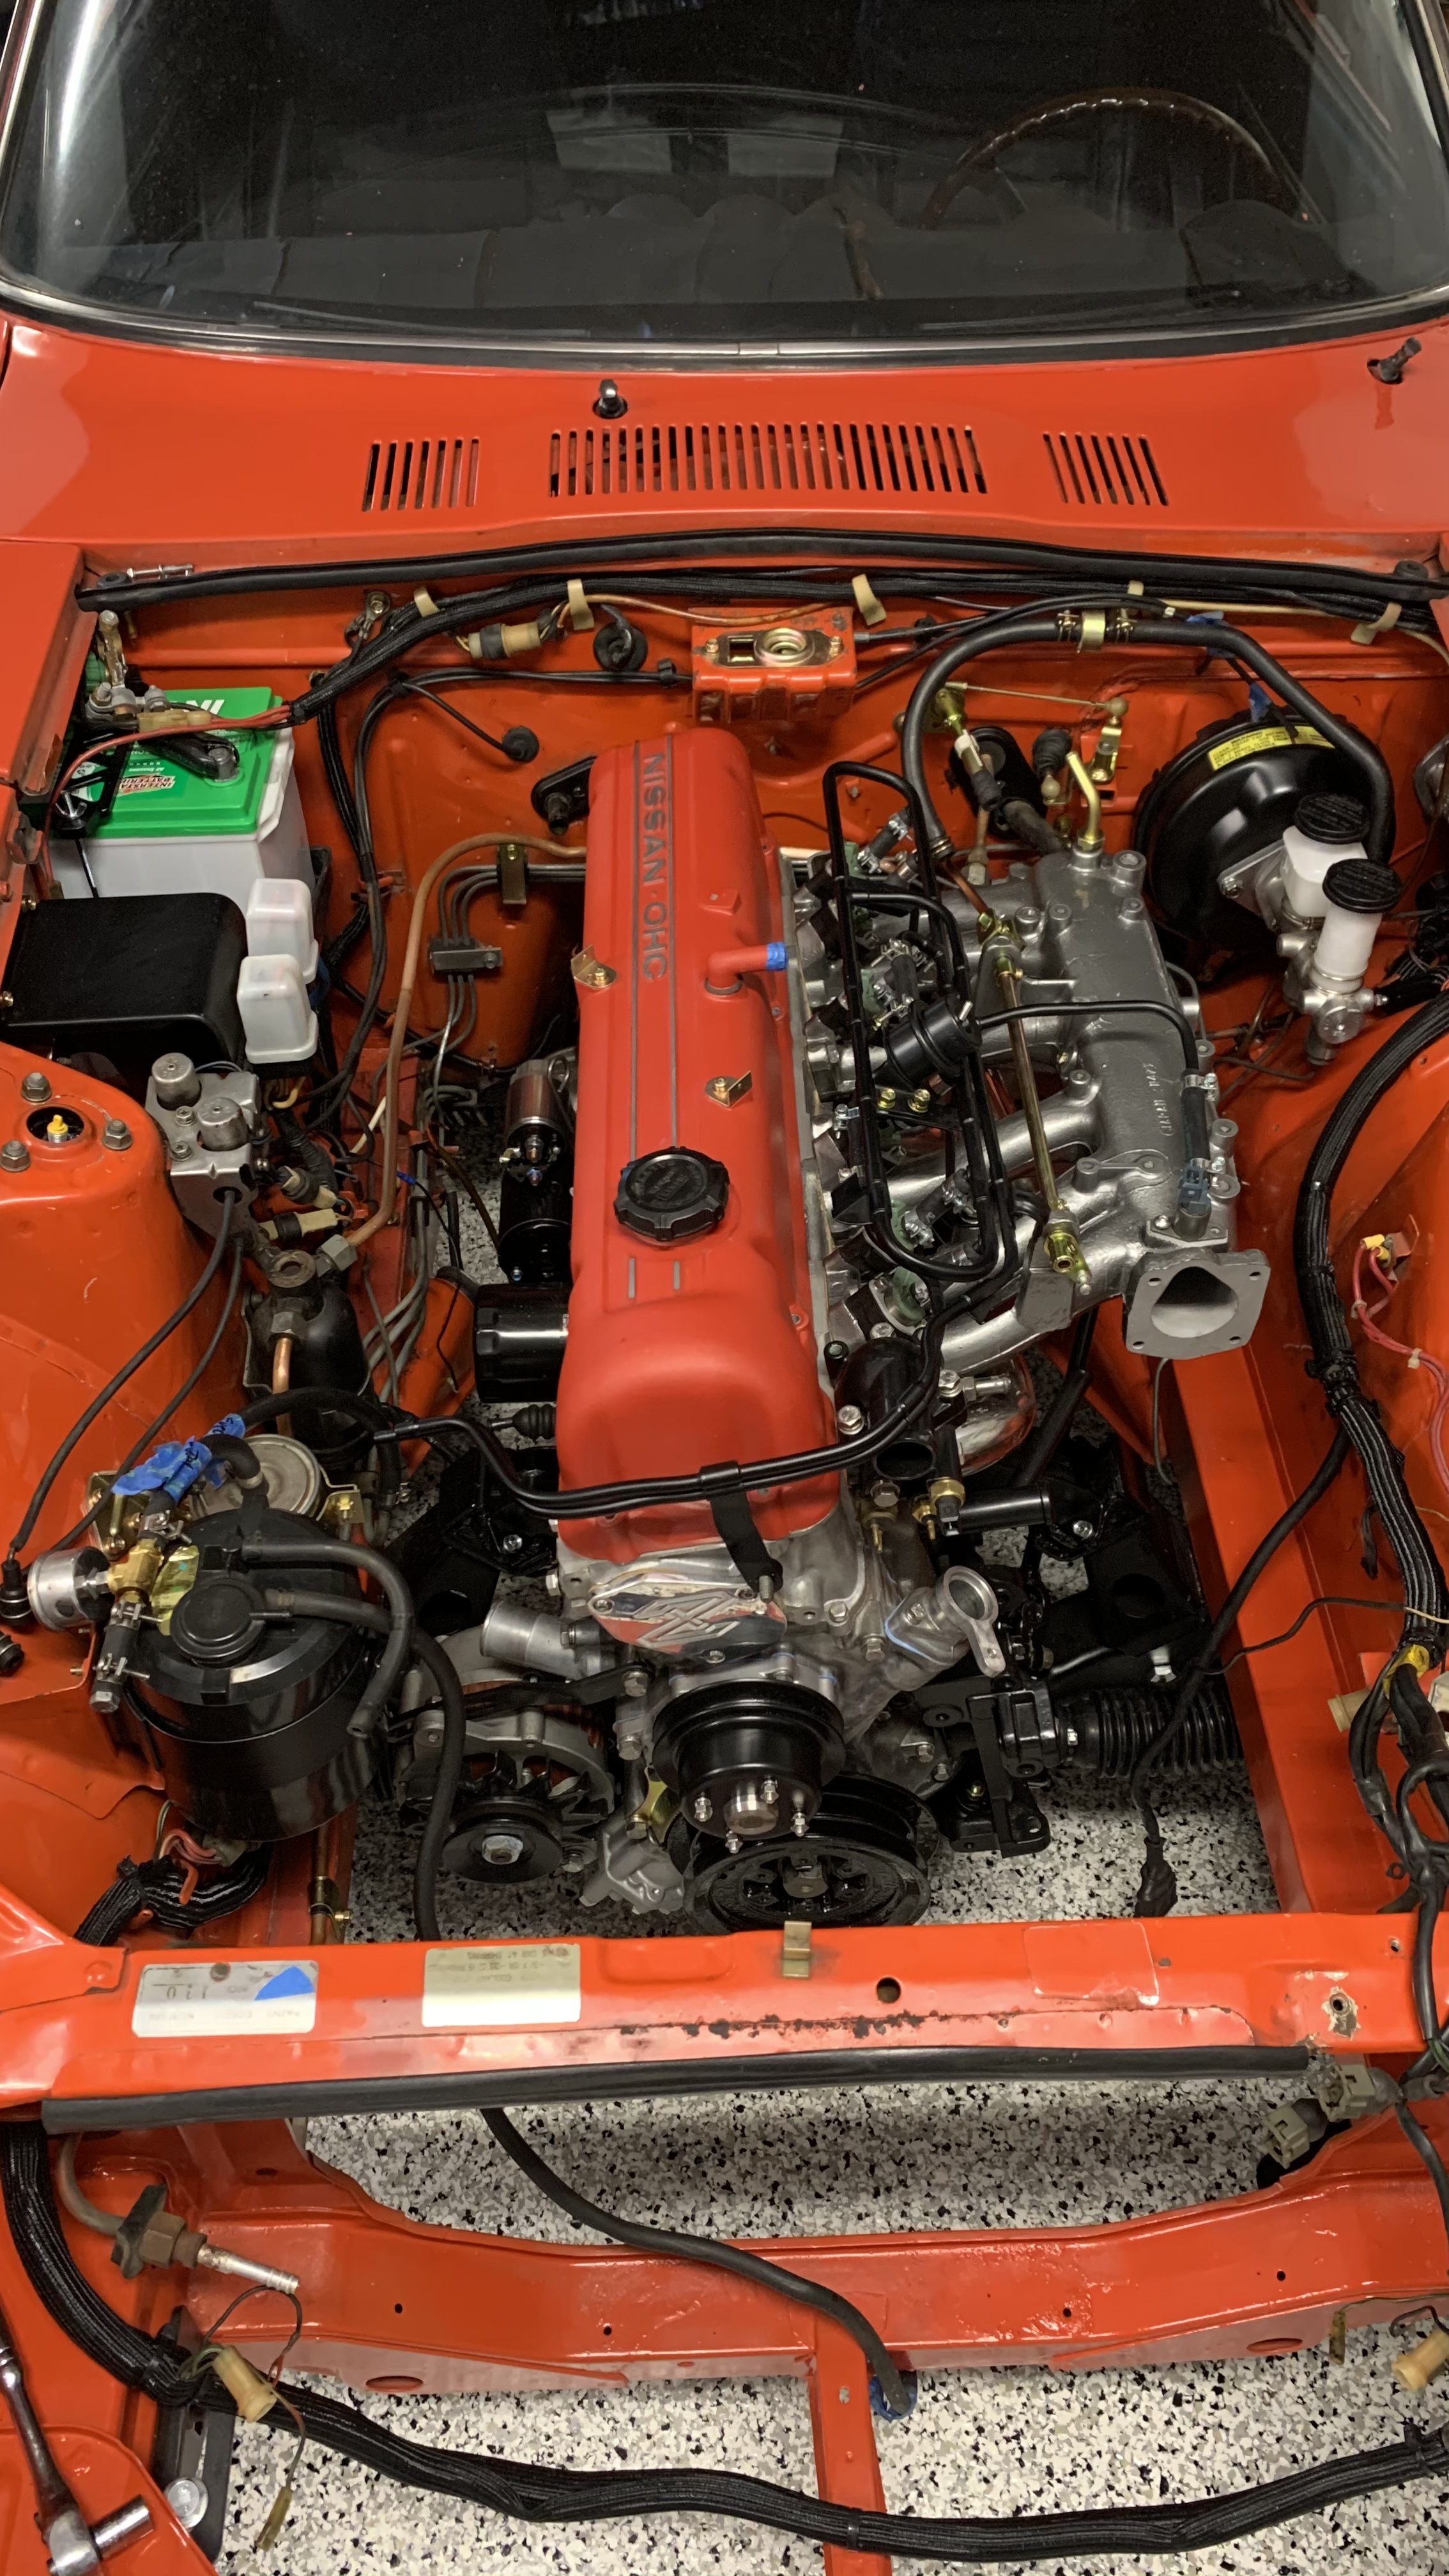
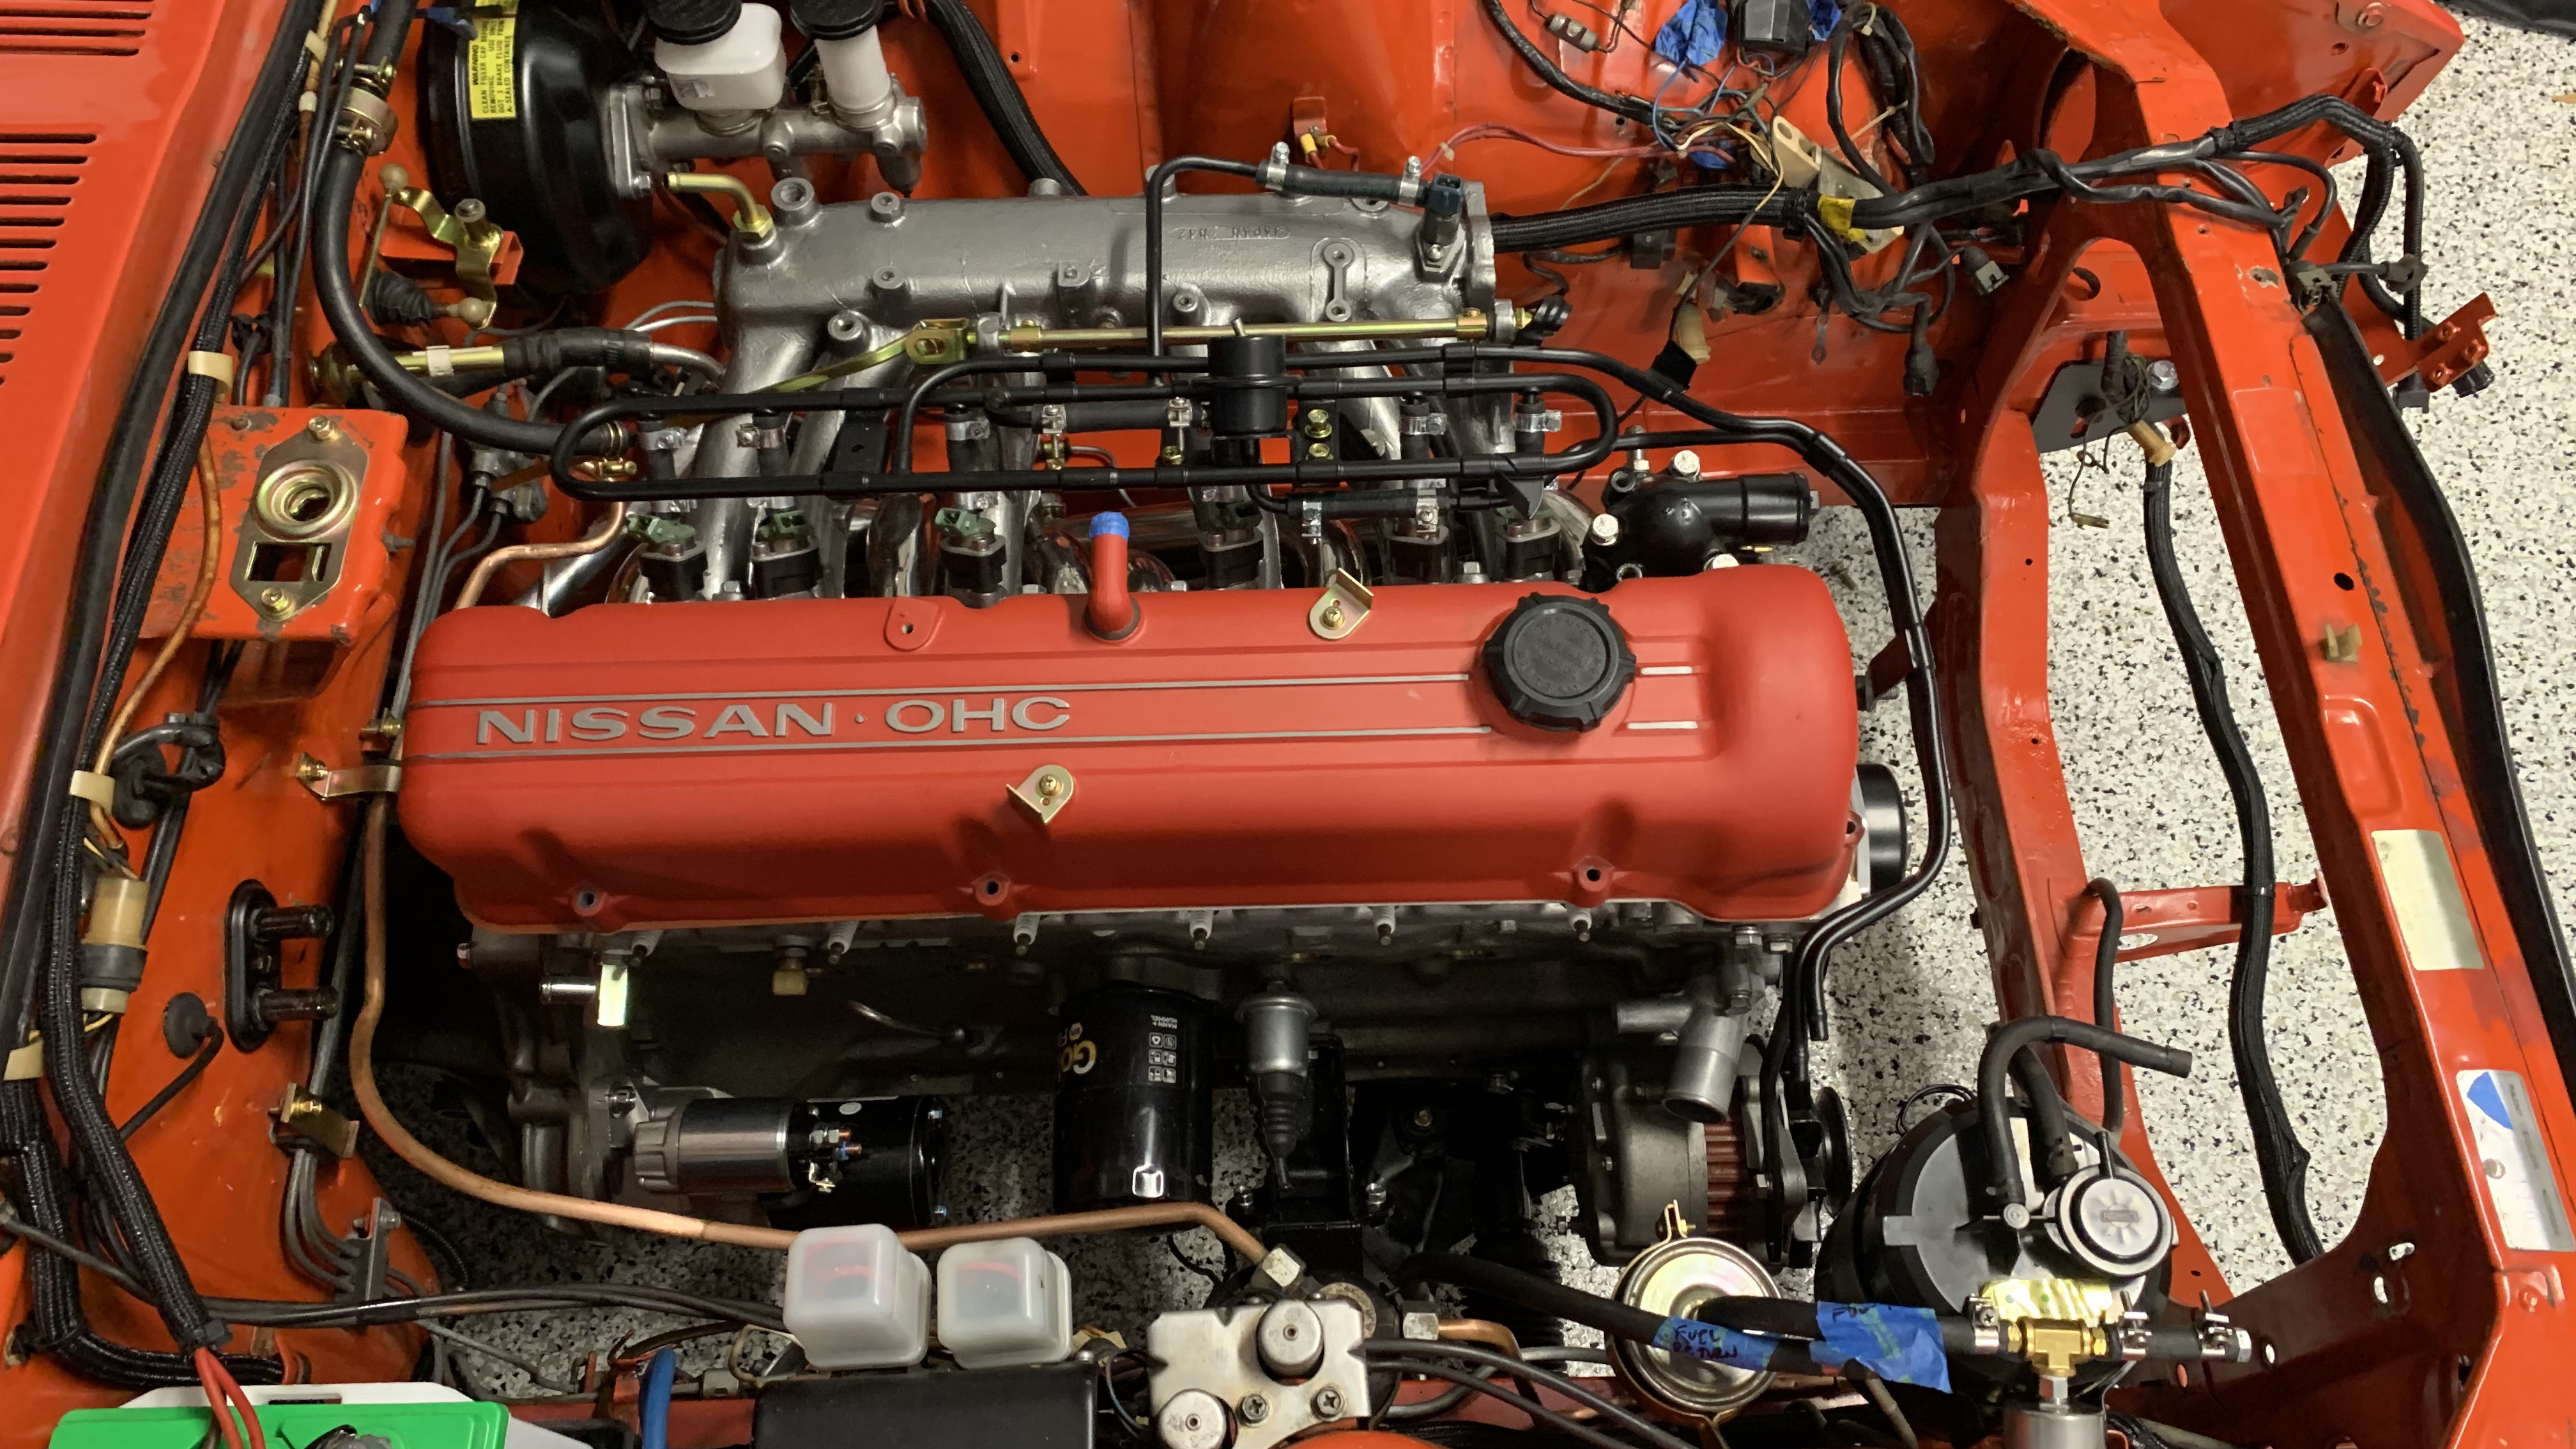
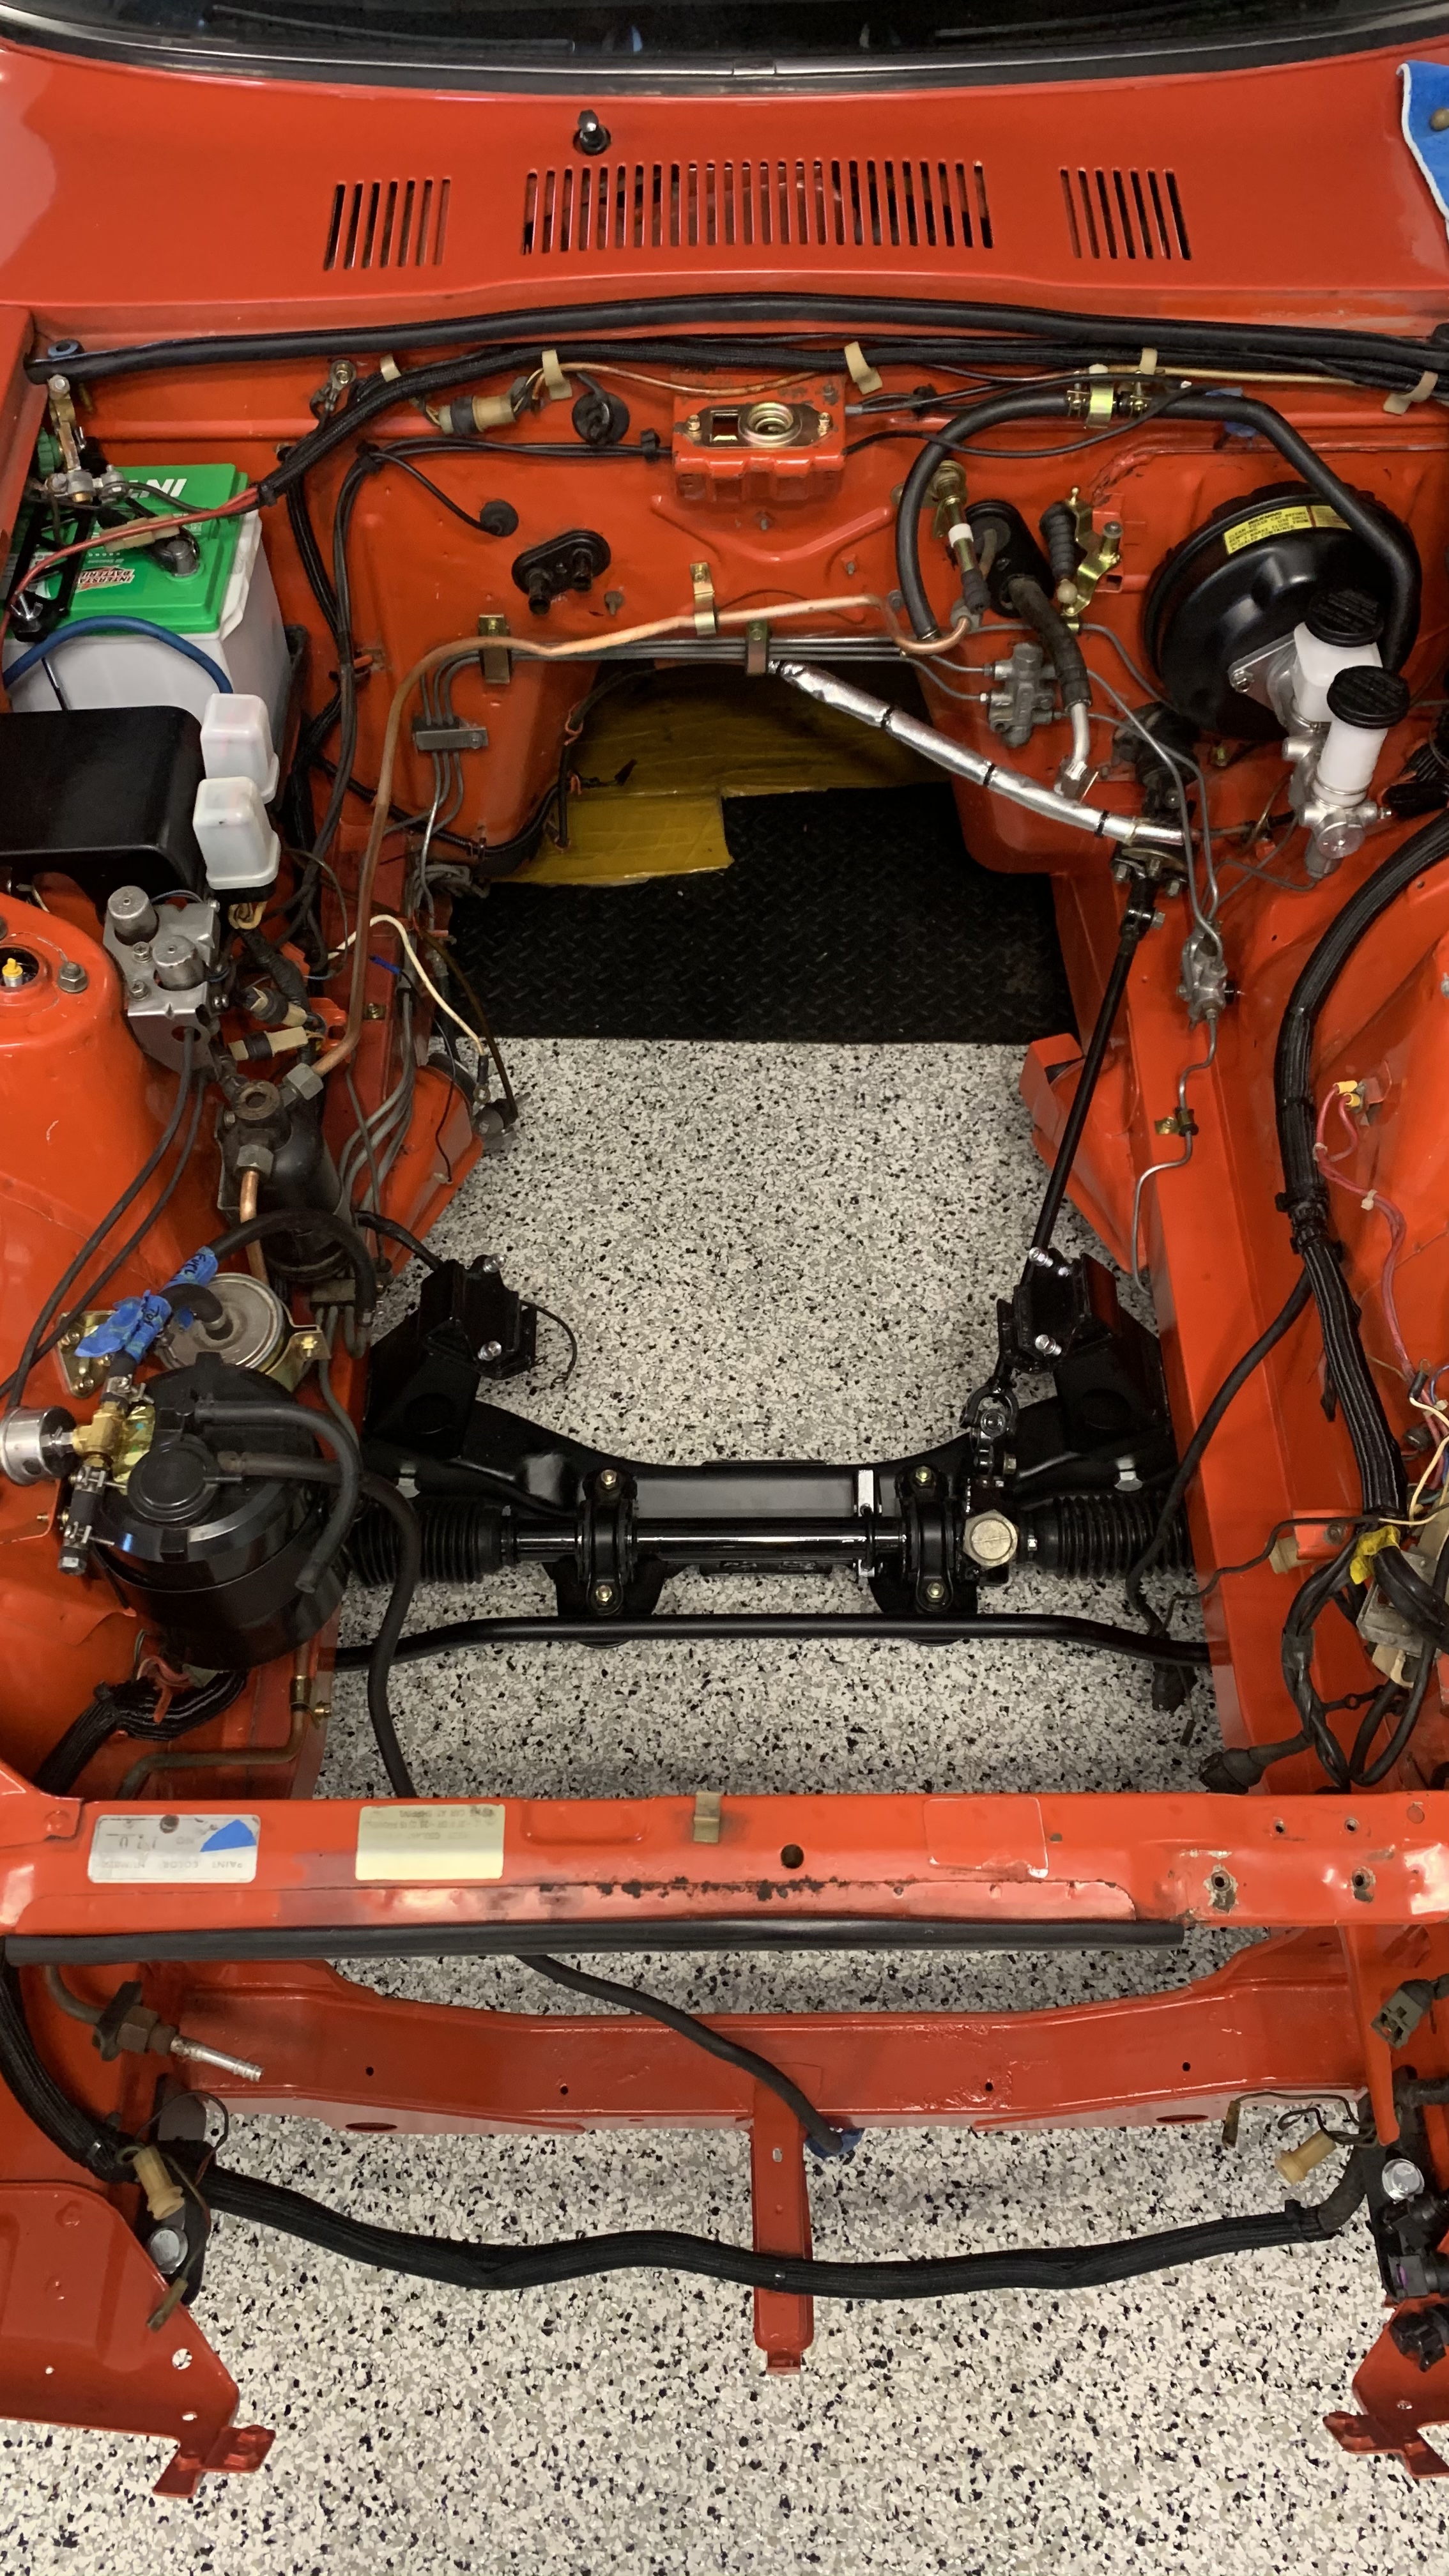
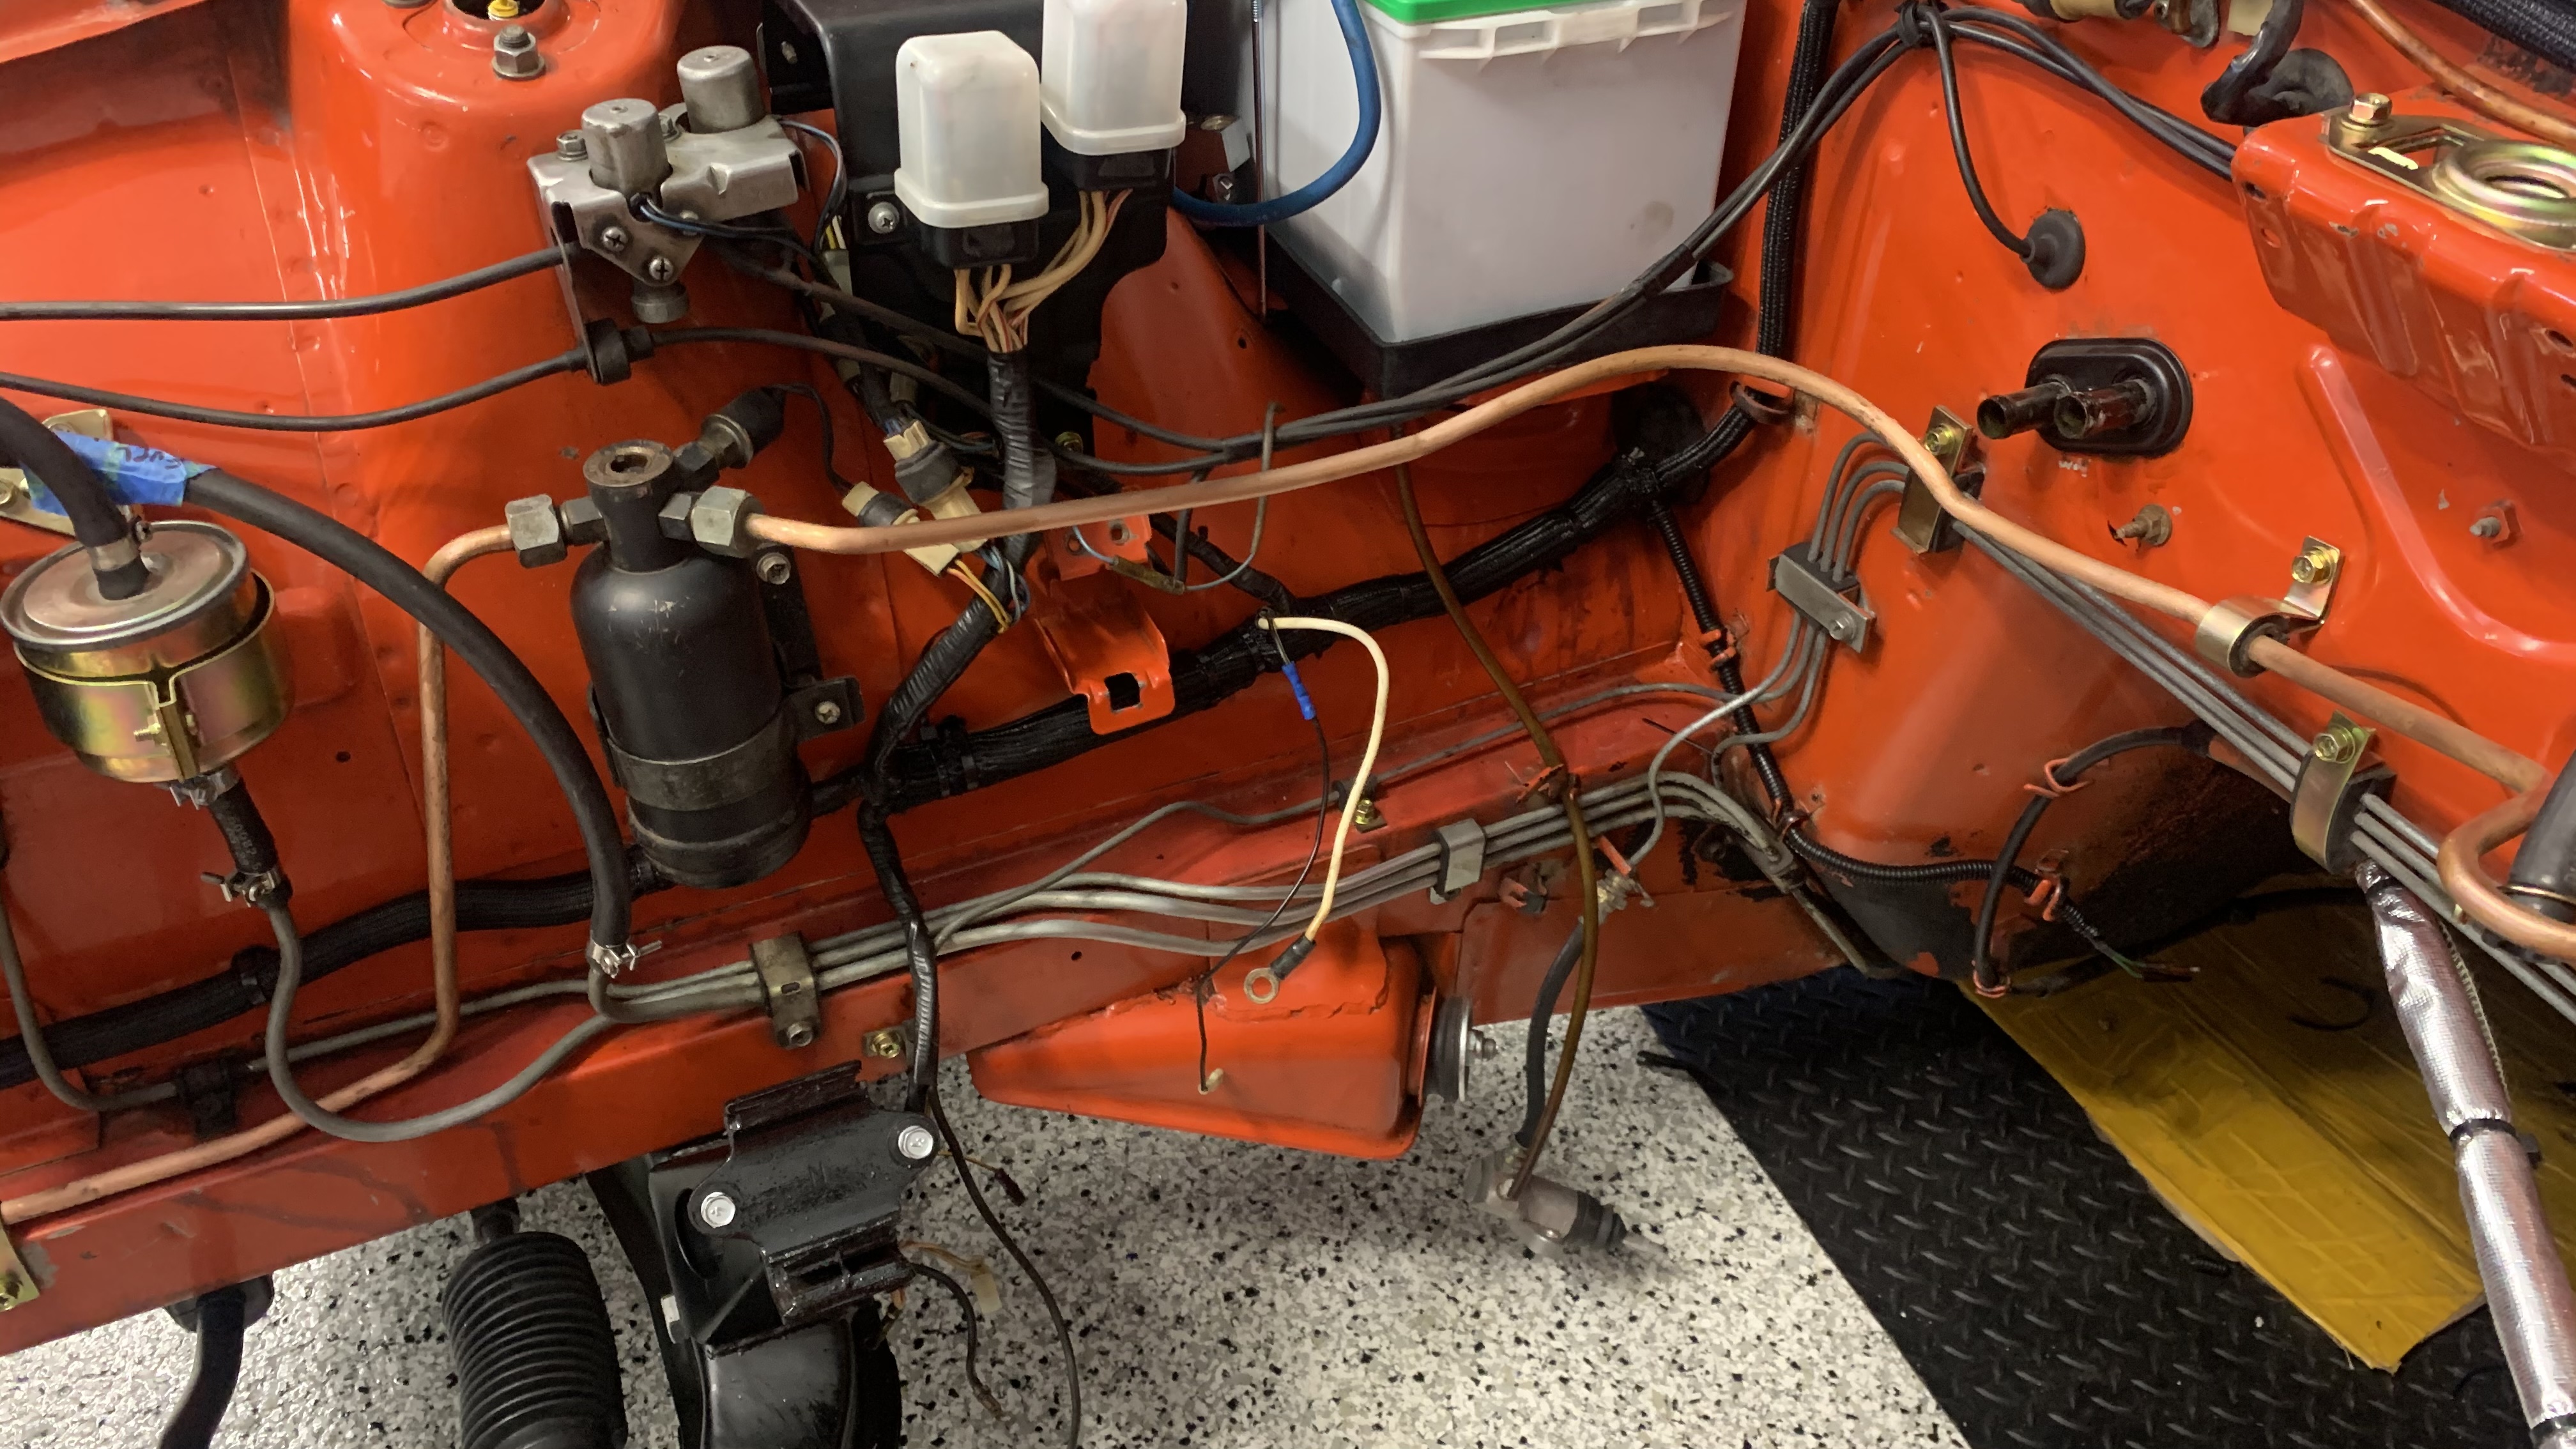
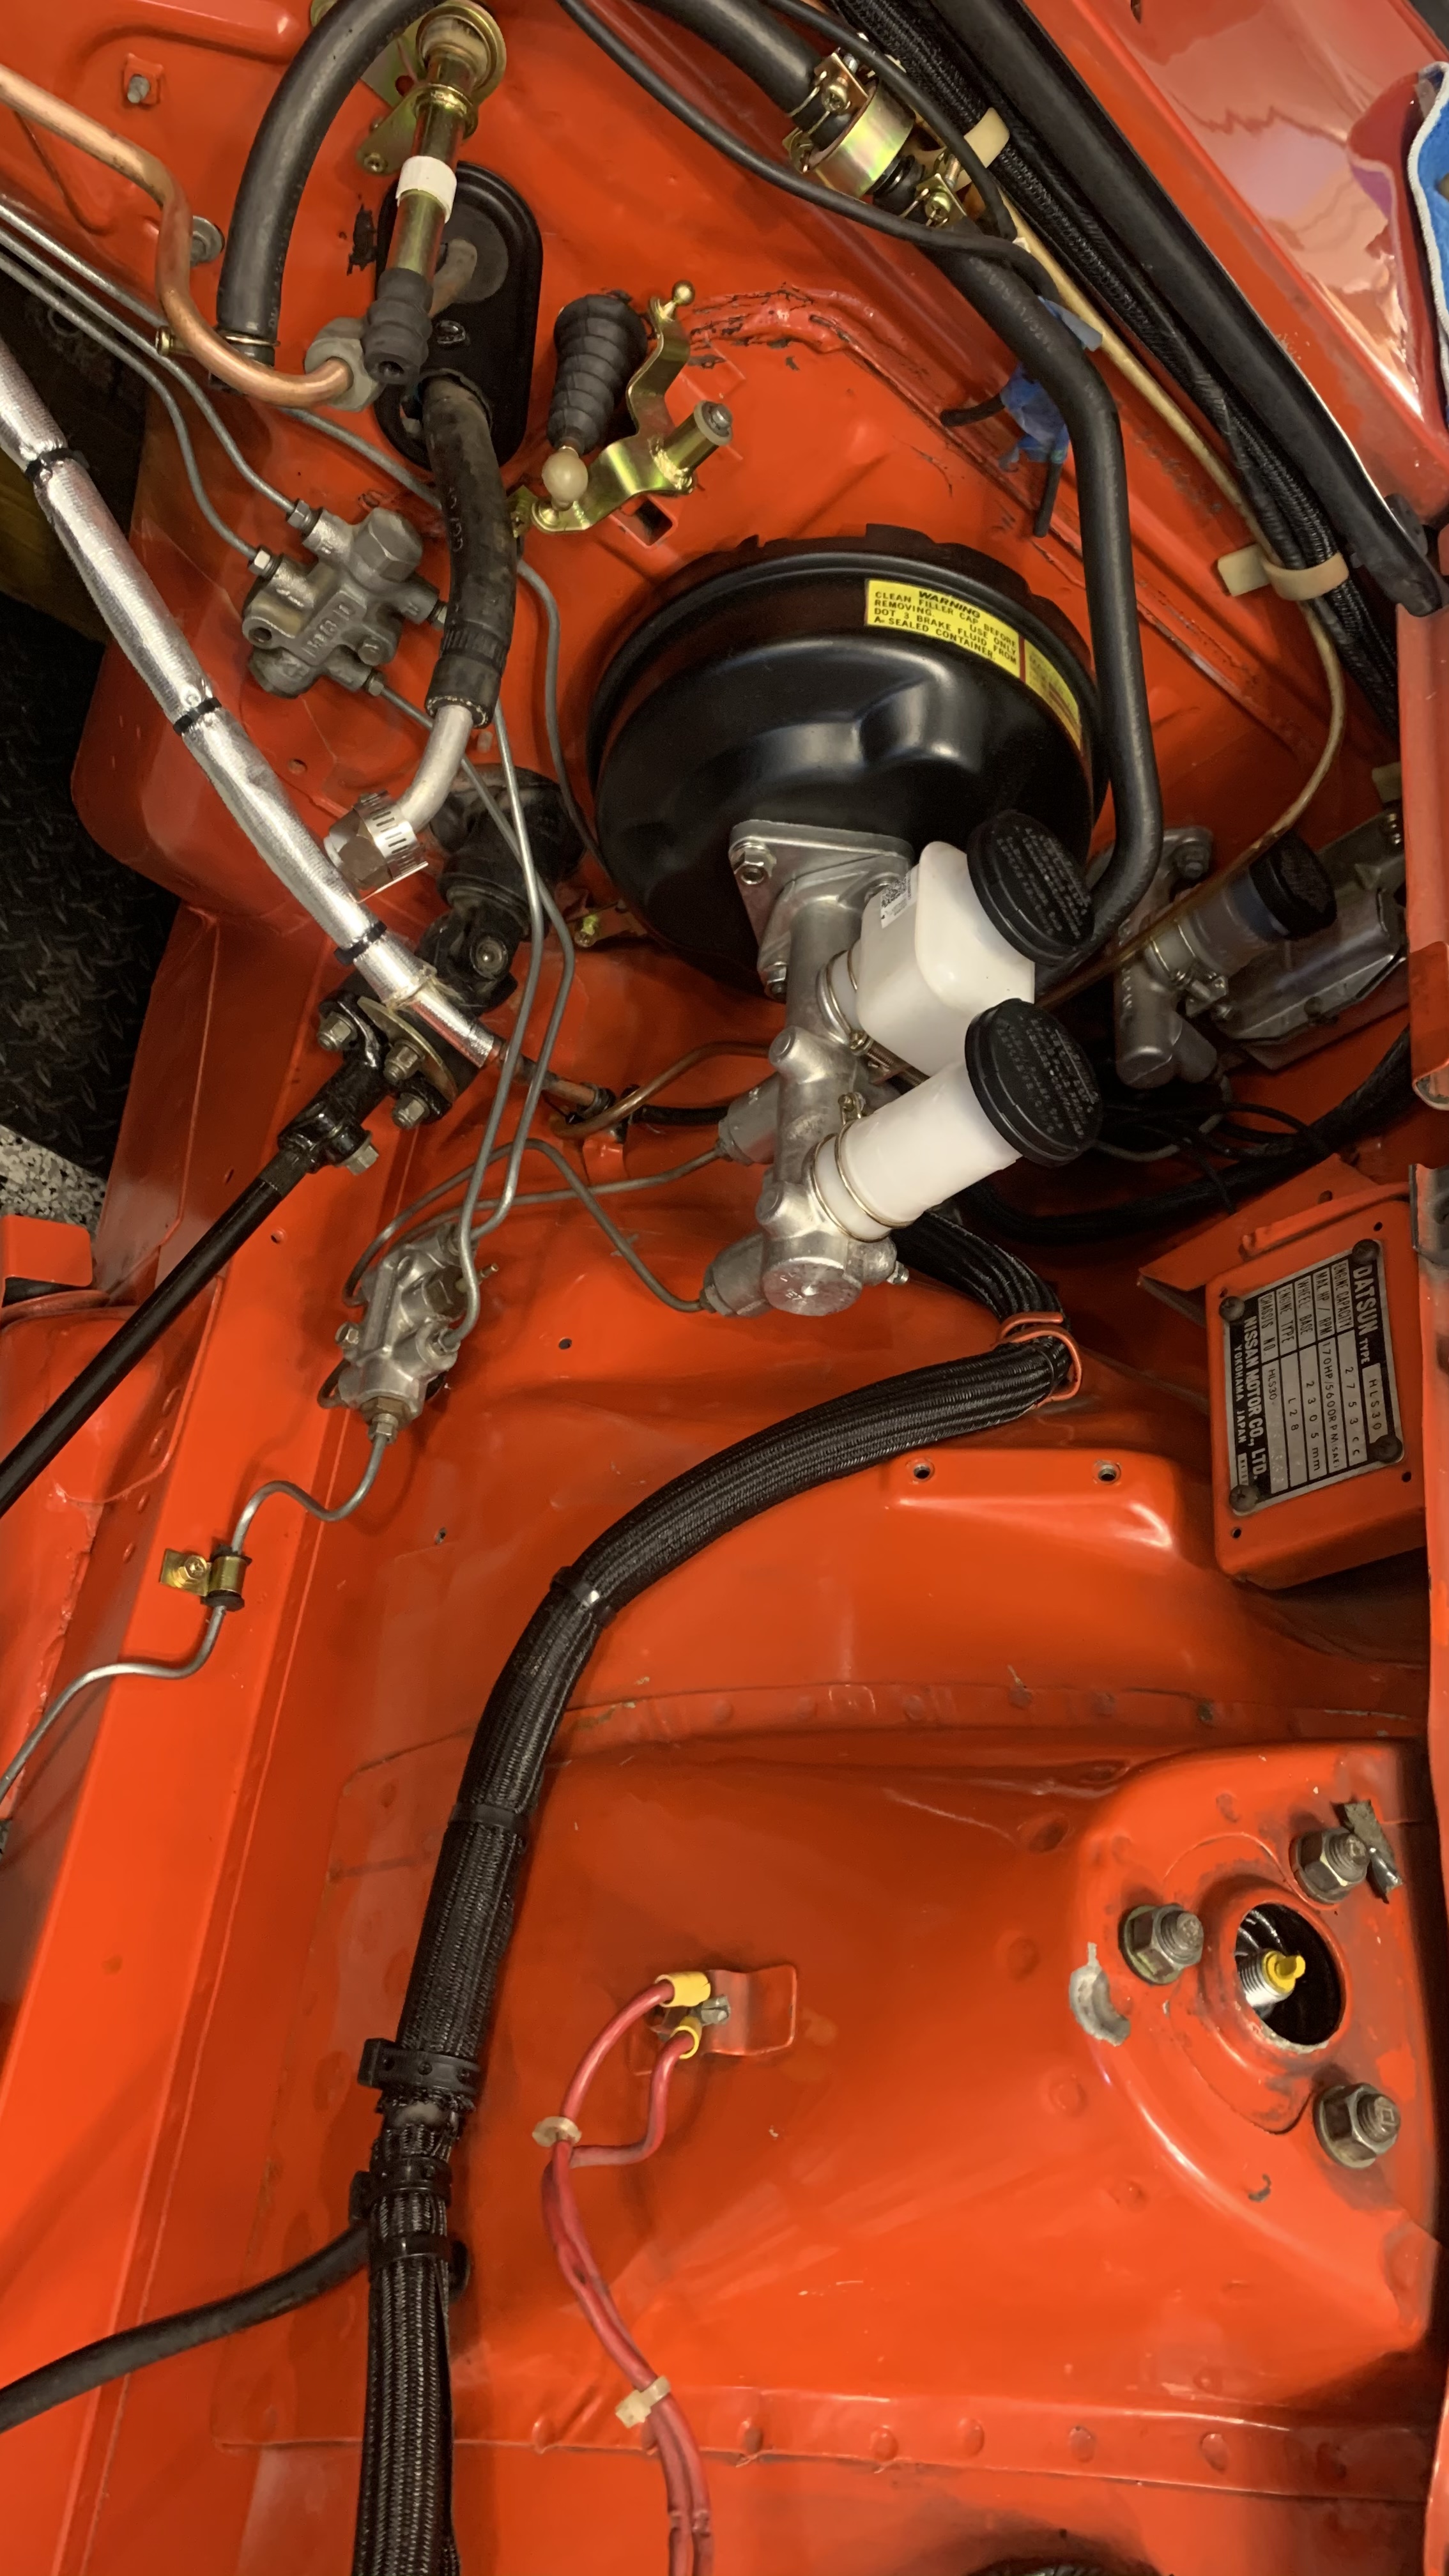
3 pointsOkay, I think I’ve completed all the engine bay clean up and prep I need to do before the engine goes in. There is more work to do especially near the coil area but I think everything else can be completed after the engine goes in. See the below pics and let me know if anyone sees anything out of place or a missed. This has been a lot more more than I expected, definitely underestimated it. Sent from my iPhone using Tapatalk3 points
-
2 pointsUpdate: Pulled both carbs and put kits in them, jets were seized in both carb. Drained out old fuel in tank. Changed oil and filter, pulled valve cover and lubed valvetrain. Cranked engine over with plugs out until oil flowed to head. Put new NGKs in as well as new wires, cap and rotor. Engine started on about 3rd crank and sounds decent. Only let it run about a minute as I pulled the radiator out to be cleaned and checked. Next up: dig into clutch.2 points
-
2 points
-
It's a Daughter selling it for her Mom whose husband apparently passed away from what I read. My youngest sister made similar mistakes selling my Dad's car on B.A.T. Her mother thought the car was worth $25K. After fees they got $13K. I got $0 and knew the car better than anybody except my Dad. But greedy women do stuff like that.2 points
-
I suspect the explanation is nothing too nefarious... I'm thinking the photographer just screwed up and forgot to take a straight on left side pic and then tried to hide his mistake by mirroring the right side and photoshopping the decal. They shouldn't have done that, but I'm guessing it was something like that. It's not like the left side of the car is all caved in or anything. There are other shots from the left that show it's OK. Except for that exhaust. LOL.2 points
-
Pretty shady, to go through all that effort and no be hiding something. Has anyone called him out on BaT? If not someone should. I might chime in a see what he says. Great observation Dutchzcarguy! Sent from my iPhone using Tapatalk2 points
-
I have not had a chance to do any further testing yet. Hopefully today or tomorrow and I will write back soon. Thank you for not locking this thread. I would appreciate being able to write my findings here to get additional help/suggestions.2 points
-
That is one of my objections to the flairs. Many times to run them you have to cut the wheel arches all up. Then try to weld them closed to keep water out of the car. That just doesn't seem like a good decision for a car that is likely to appreciate a lot in value in the next few years.1 point
-
Not a very convincing response from the seller regarding the Photoshopped side view. It's like the old joke about going to the doctor and he says, "You need an operation that will cost $25,000. But, for $200 I can retouch your X-rays." If BaT recommended the photographer as the seller said, he should be removed from the list and the seller should get a refund because of the doubt raised by fake photos in an auction.1 point
-
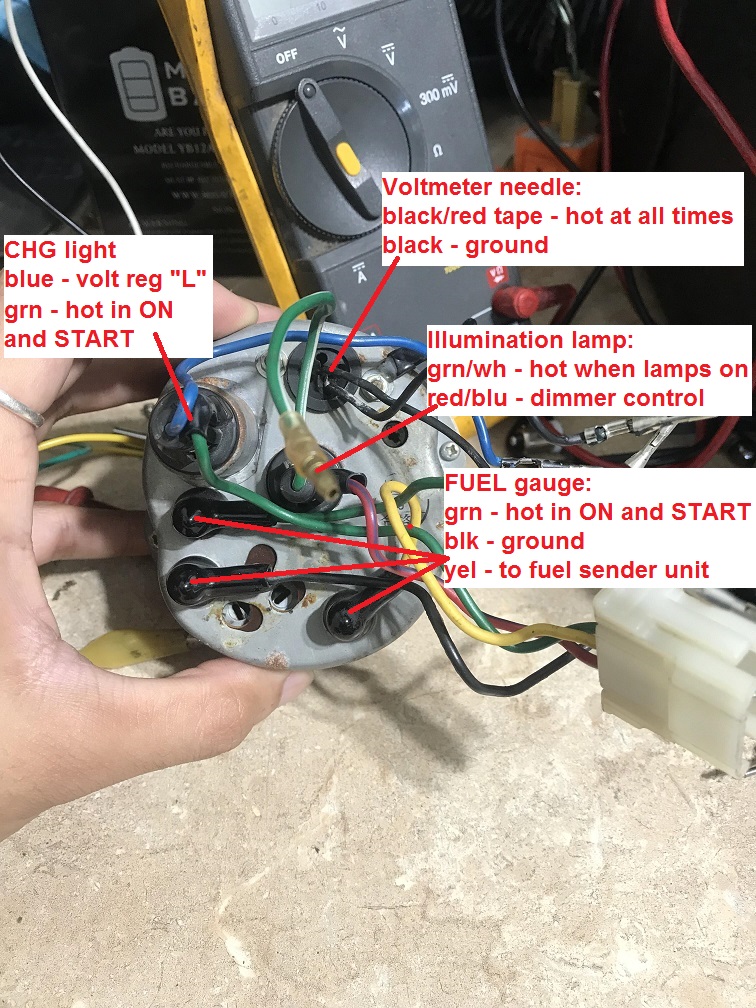
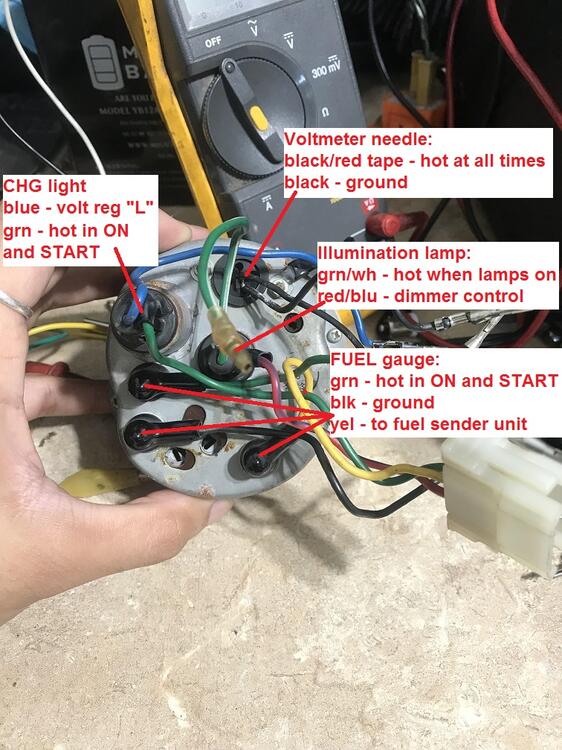
1 pointOK, I found a spare volt/fuel gauge here and it's the same as the one in your pic, so I think we have a solid point of reference. I added descriptions to the wires in your pic trying to show the functions. Important to note that the wire colors here ARE THE WIRE COLORS RIGHT AT THE BACK OF THE GAUGE. The reason that's important to note is that Datsun SOMETIMES CHANGED THE WIRE COLORS AT THE DASH CONNECTORS, and I believe the volt/fuel gauge is one of those situations. So be careful when referencing wire colors on the wiring diagrams since they sometimes changed colors on the gauge side of the connectors. In other words, the colors on the diagrams are the colors that exist ON THE HARNESS SIDE, and not always on the gauge side. But all that said... Here's what the wires do right at the back of the gauge: Most of the connections are unique and should be relatively easy to identify on the dash side (assuming things aren't TOO hacked up), but there are two connections that are not. There are a) two ground connections, and there are b) two "hot in ON and START" connections. a) The two ground connections just go to ground and there's no real requirement for them to be kept separate. If you wanted to for some reason, you could just connect those two to the exact same ground location. b) The two "hot in ON and START" connections originally went to two different fuses in the block, but if you get really stuck and just can't deal with it anymore, then it probably doesn't matter much which fuse get's which function. But if you really want to figure out the real-real correct fuses, we can work through that too. So with the different years and different PO's in there, I think it's going to have to be up to you to find the correct connections on the dash side, but that's what they should be connected to. Is that enough excruciating detail? Hope that helps!
 1 point
 -
Those are the same photo. The top one has been reversed, and whoever did it also corrected the “240Z” on the poorly applied stripes. Look at all the details in each photo. The wipers. The scenery, i. e. The trees and gravel. mirror image of the bottom.1 point
-
1 pointresurrected classics is selling this part for 600$... (i see now that texasz sayd it too.. here's a pic of it..)1 point
-
This thread isn't about a switch restoration process. So let's assume it was in good working order after the restoration. The important question to answer is "Are we making progress resolving the problem?" eastcoastz?1 point
-
In my opinion I am being proactive in protecting my reputation and quality of work. Heated? You call this heated? I don't see any heavy duty personal insults or profanity being thrown around. That's right though, close it...cancel it. Et tu Brute?1 point
-
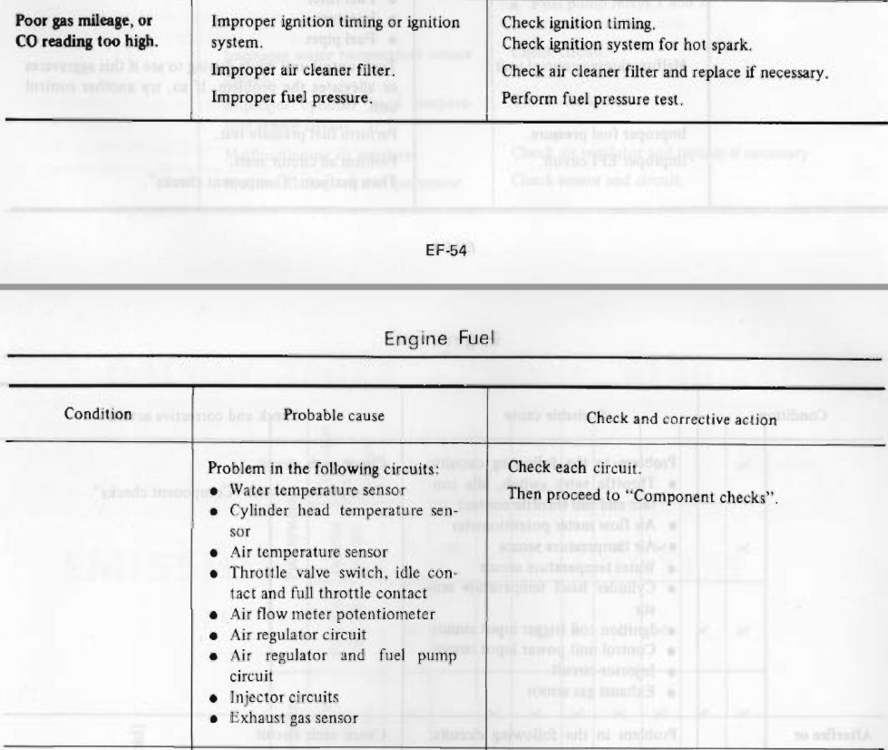
Two more might be blown FPR diaphragm and bad/disconnected/high resistance coolant temperature sensor. This book is good. You really really really need a multimeter to work on EFI. Hope you have one. There's an Electrical Test section.1 point
-
He didn't say it was his switch. He pulled the photo from the site of someone who documented a restoration of a Z. He used that photo because the site creator documented what wire goes where.1 point
-
Two off the bat: High fuel pressure Cold start injector always firing Better answer: You can find the factory service manual at http://xenonzcar.com/s130/FSM/1980fsm.php. In the EF section there is a troubleshooting section. Unfortunately it is a little vague. The sensors are definitely good things to test, though.
 1 point
 -
1 pointTaking a closer look at your picture I think you need more than one piece. The lower area is available from more than one place, check Klassic Fab as I've been hearing good things about them lately, I also just saw that part here https://resurrectedclassics.com/collections/sheet-metal/products/datsun-240z-rear-taillight-body-panel as a result of reading another thread on here and following a link. The upper piece is also available and again I'd check with Klassic Fab first.1 point
-
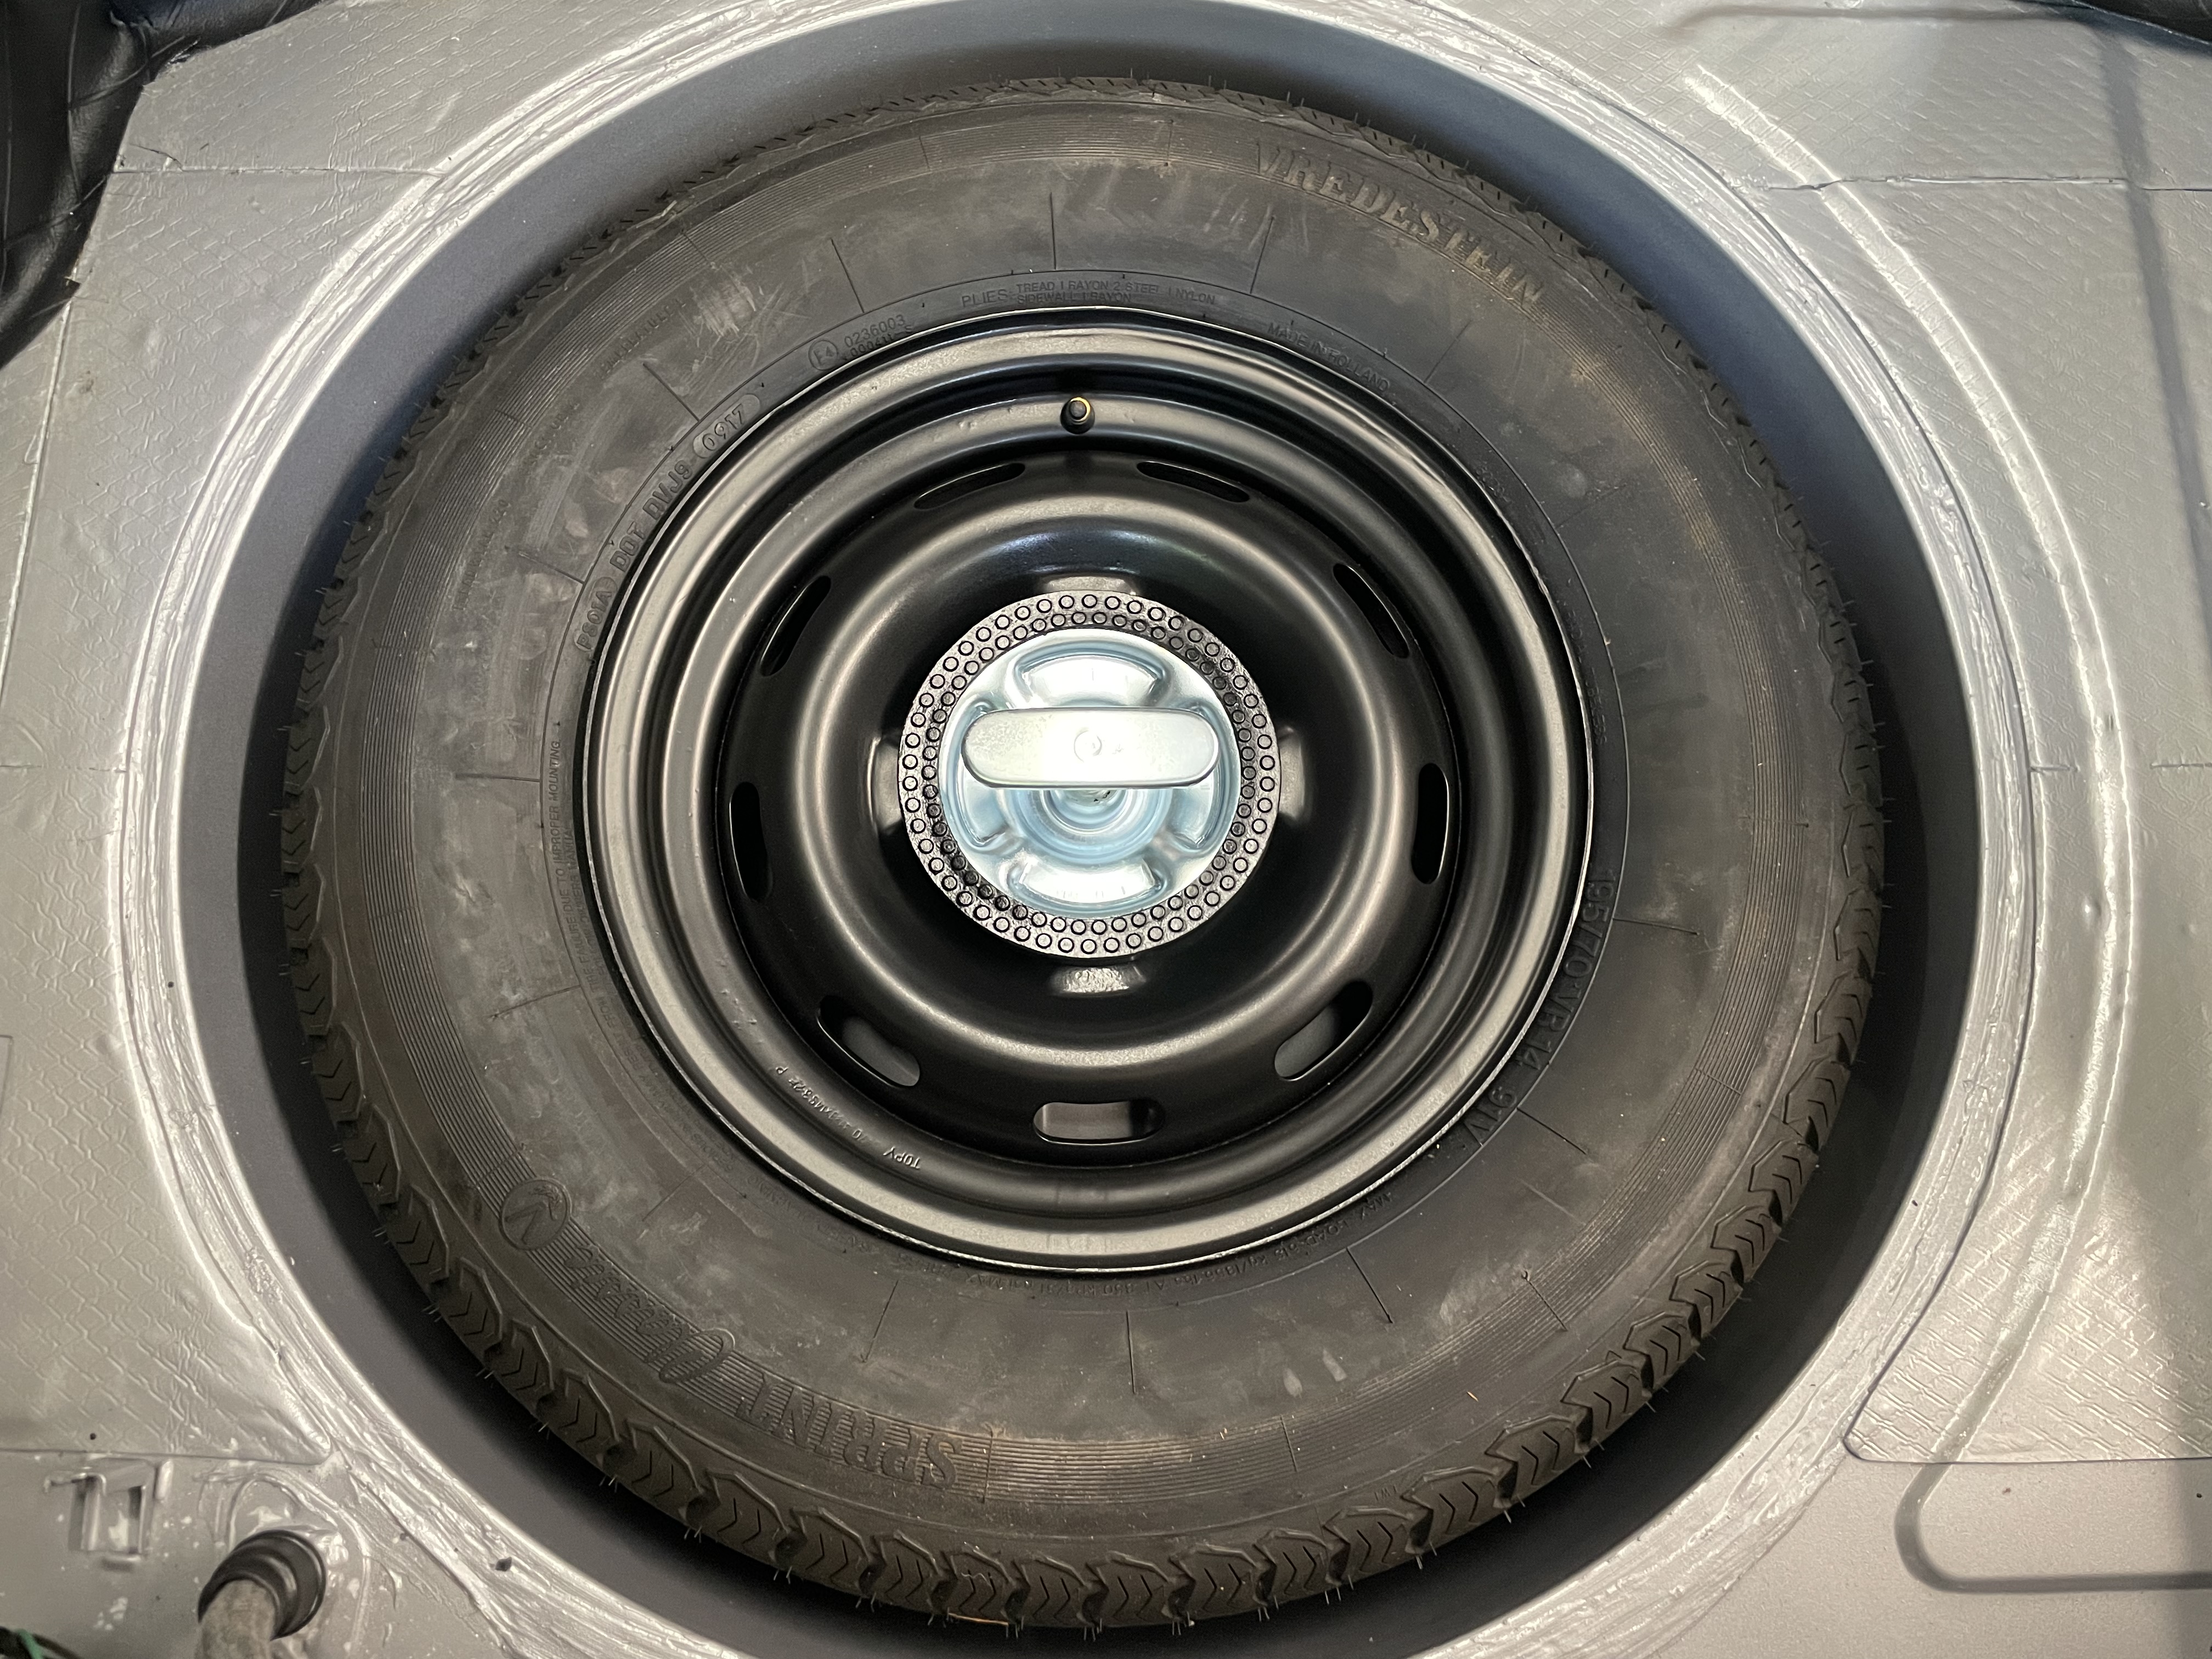
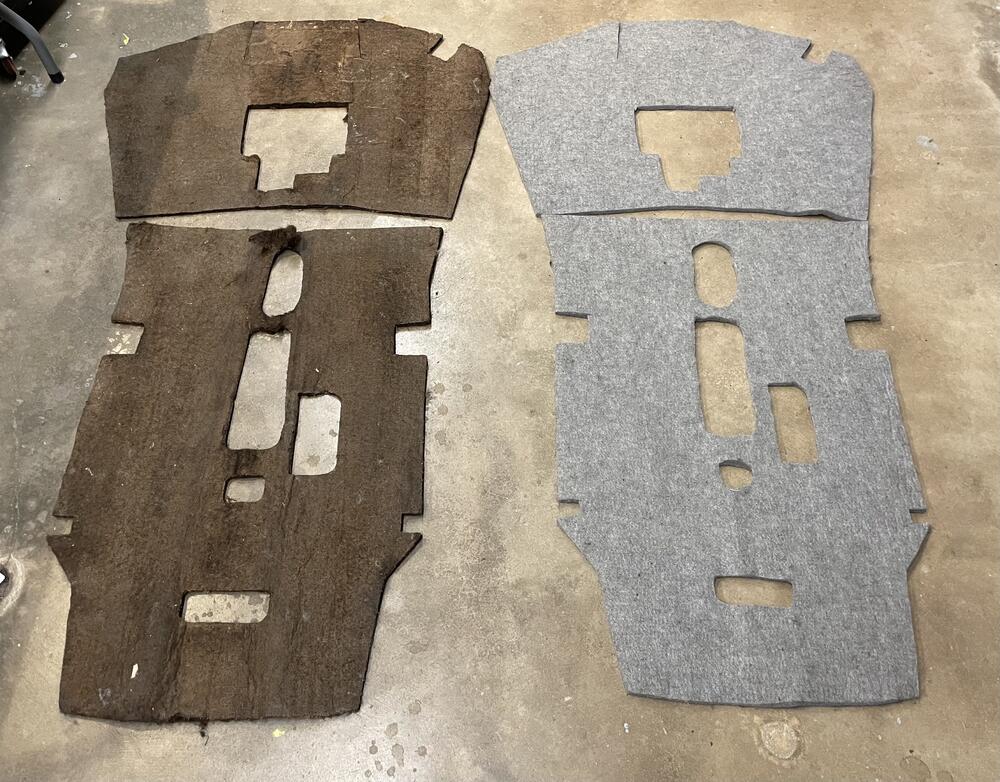
1 pointFew updates over the weekend. Buttoned up some loose ends and got to drive the Z for the first time. Pretty cool to have it move under its own power after being dormant for 31 years. Feels very crisp and tight. Got all but the transmission diamond vinyl installed, and headliner. Ill get some photos of that. I did remember to snap a picture of the jute material for the transmission tunnel. Was able to use the originals as a template to make two new pieces. Tires also mounted to the original steelies, I need to get a full vehicle shot with them.

 1 point