Leaderboard
-

Diseazd
Free Member7Points3,362Posts -
julitoMX_1964
Free Member3Points28Posts -
S30Driver
Free Member3Points1,580Posts -

wheee!
Free Member3Points4,607Posts


Popular Content
Showing content with the highest reputation on 05/22/2020 in all areas
-
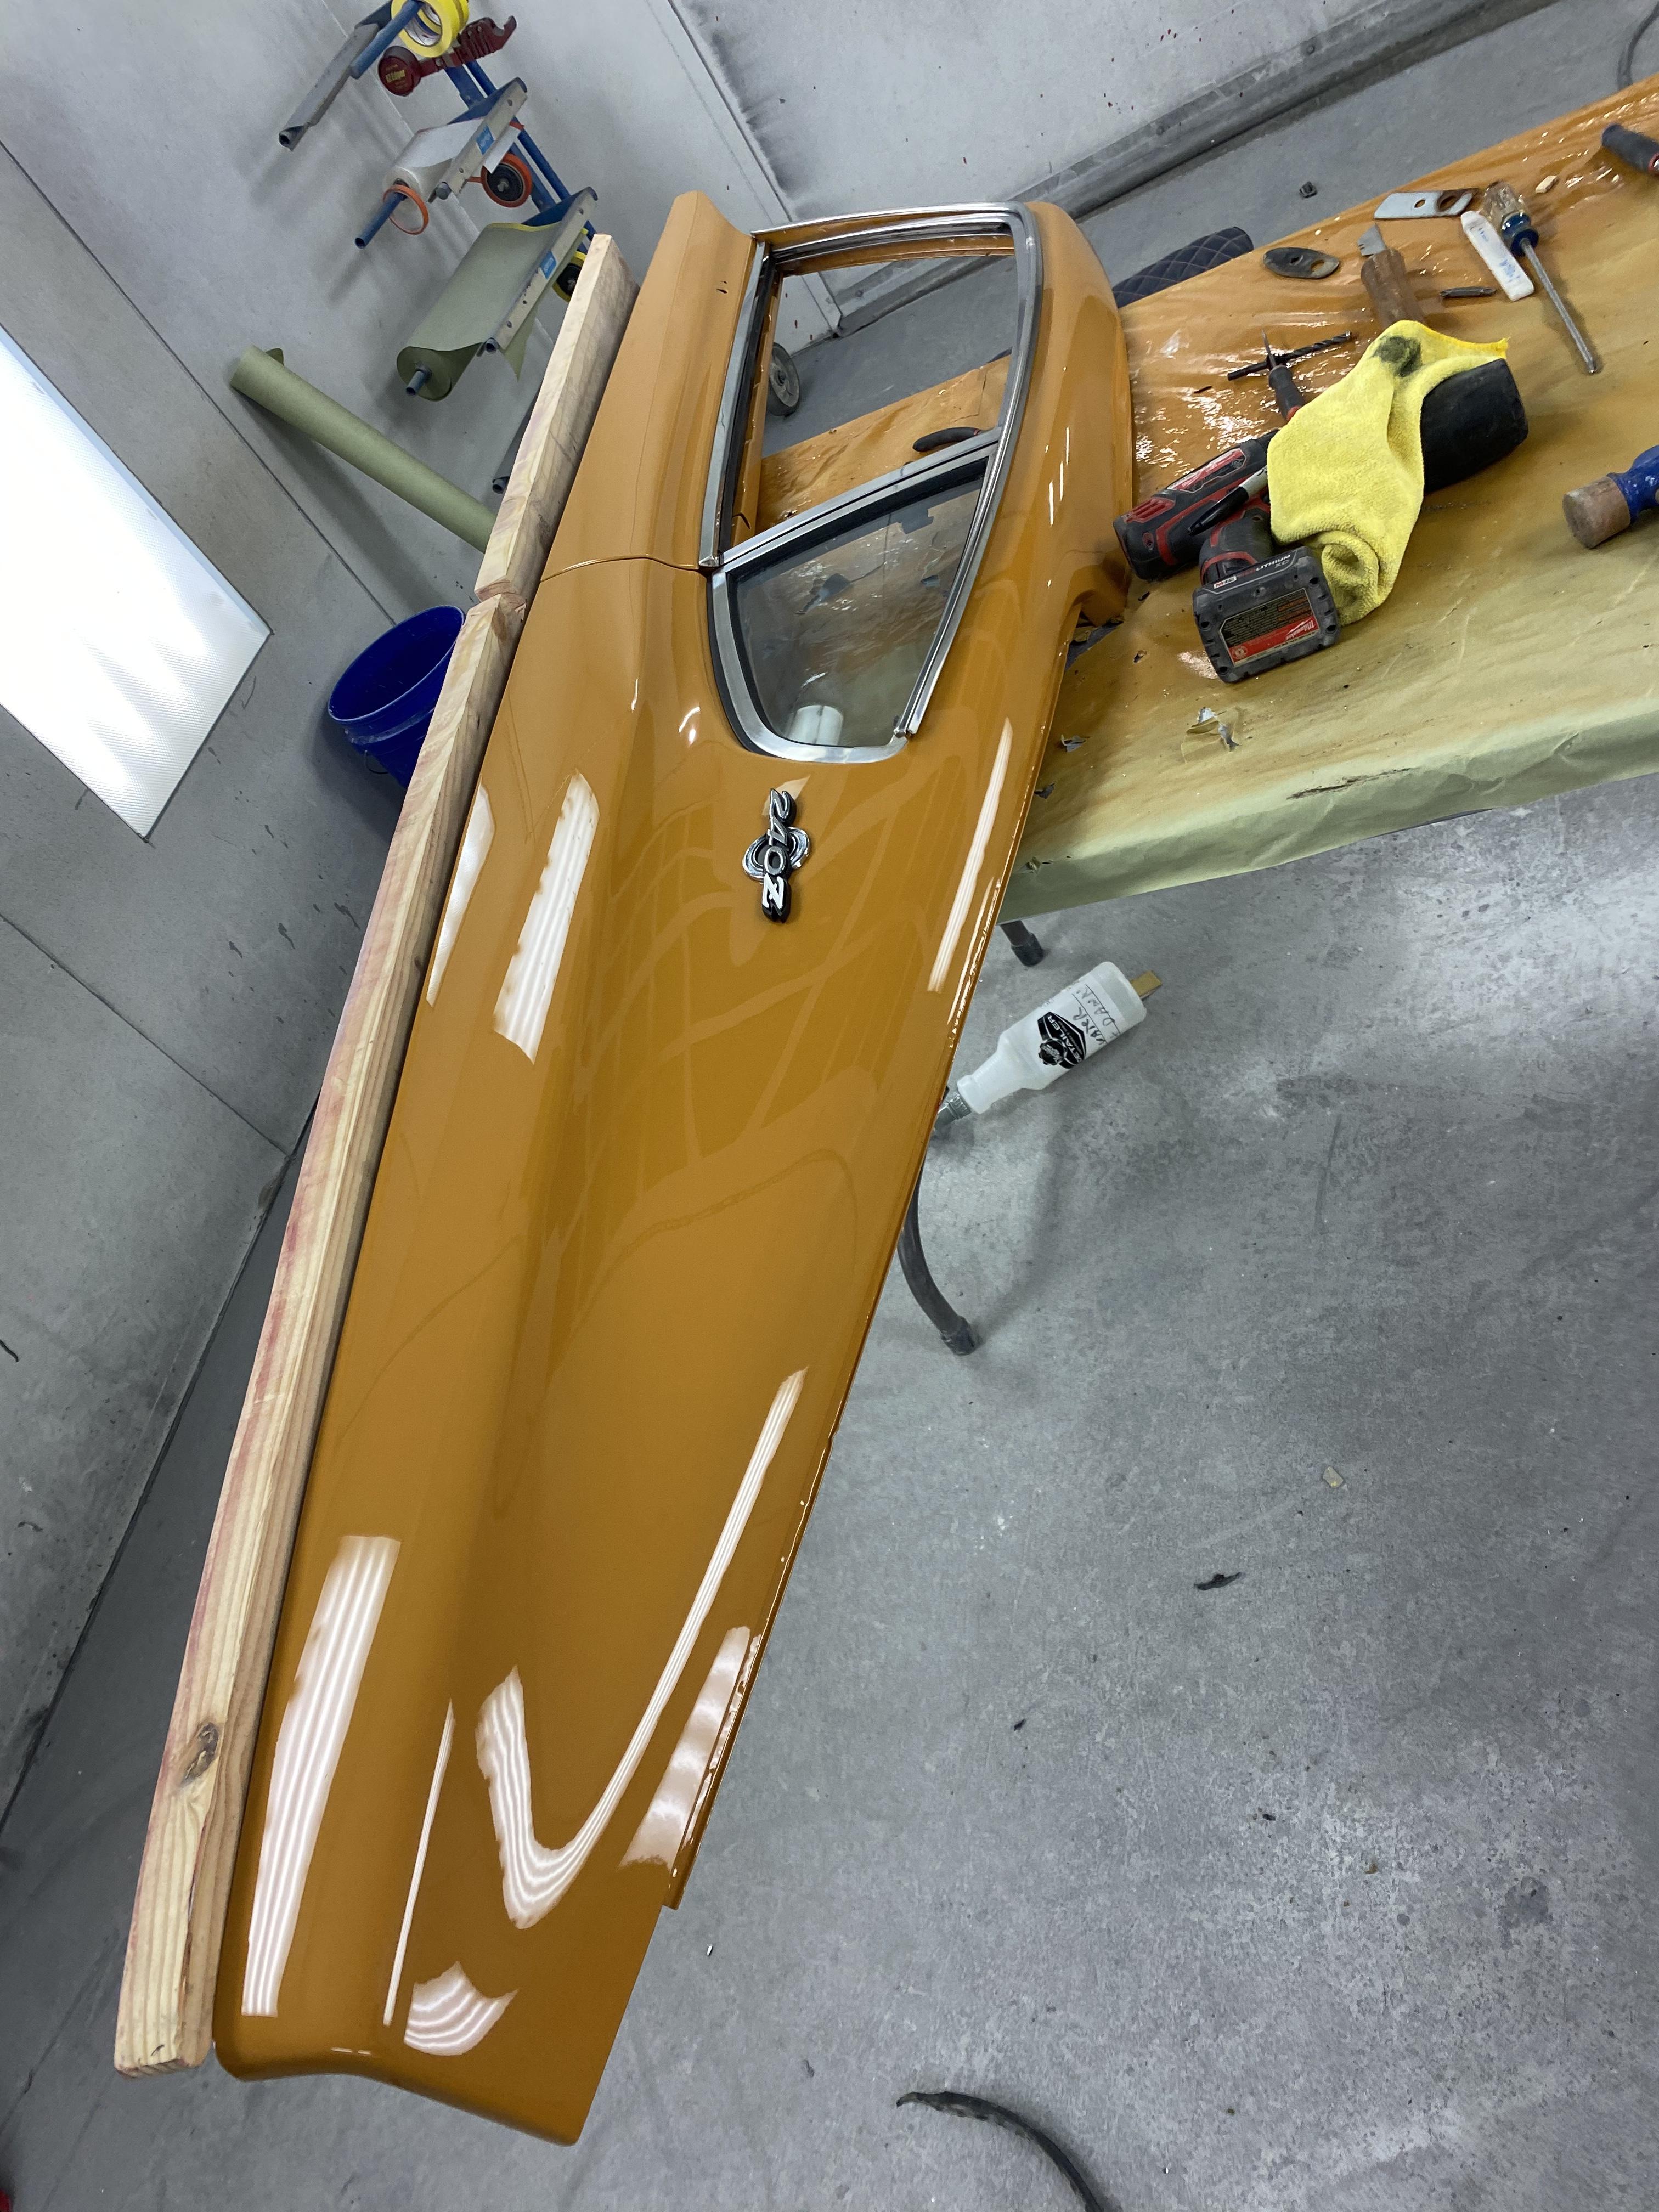
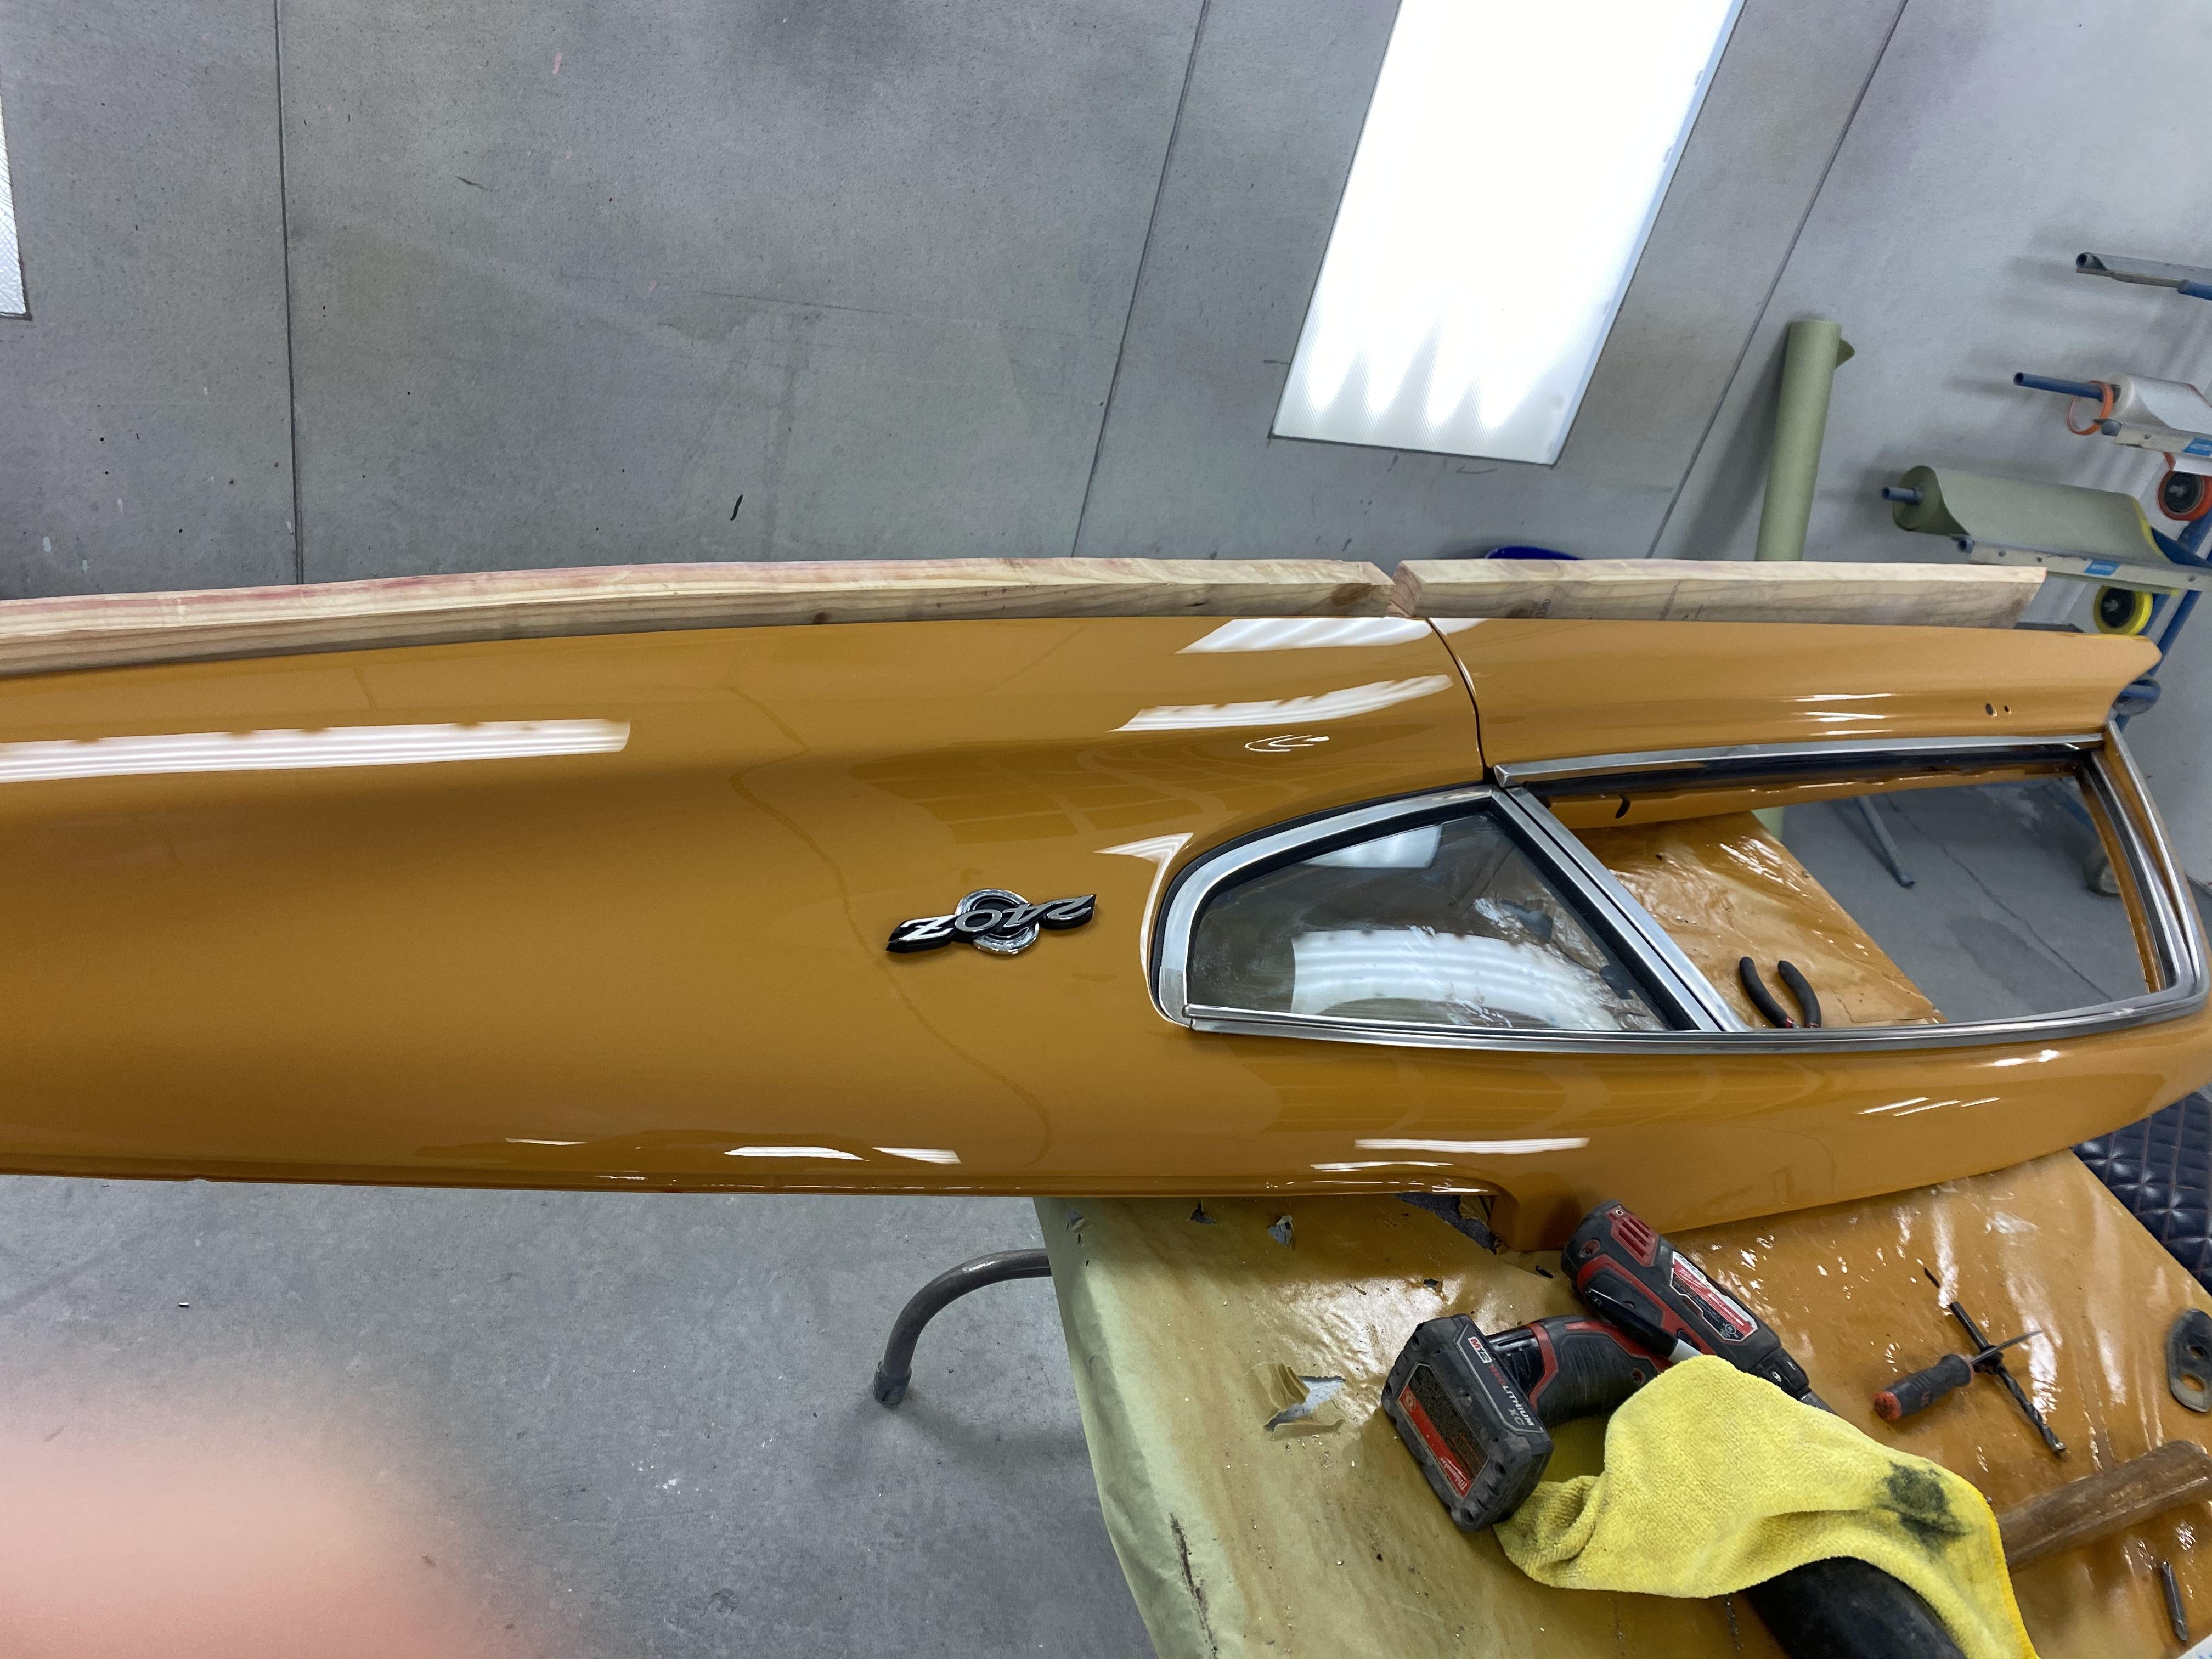
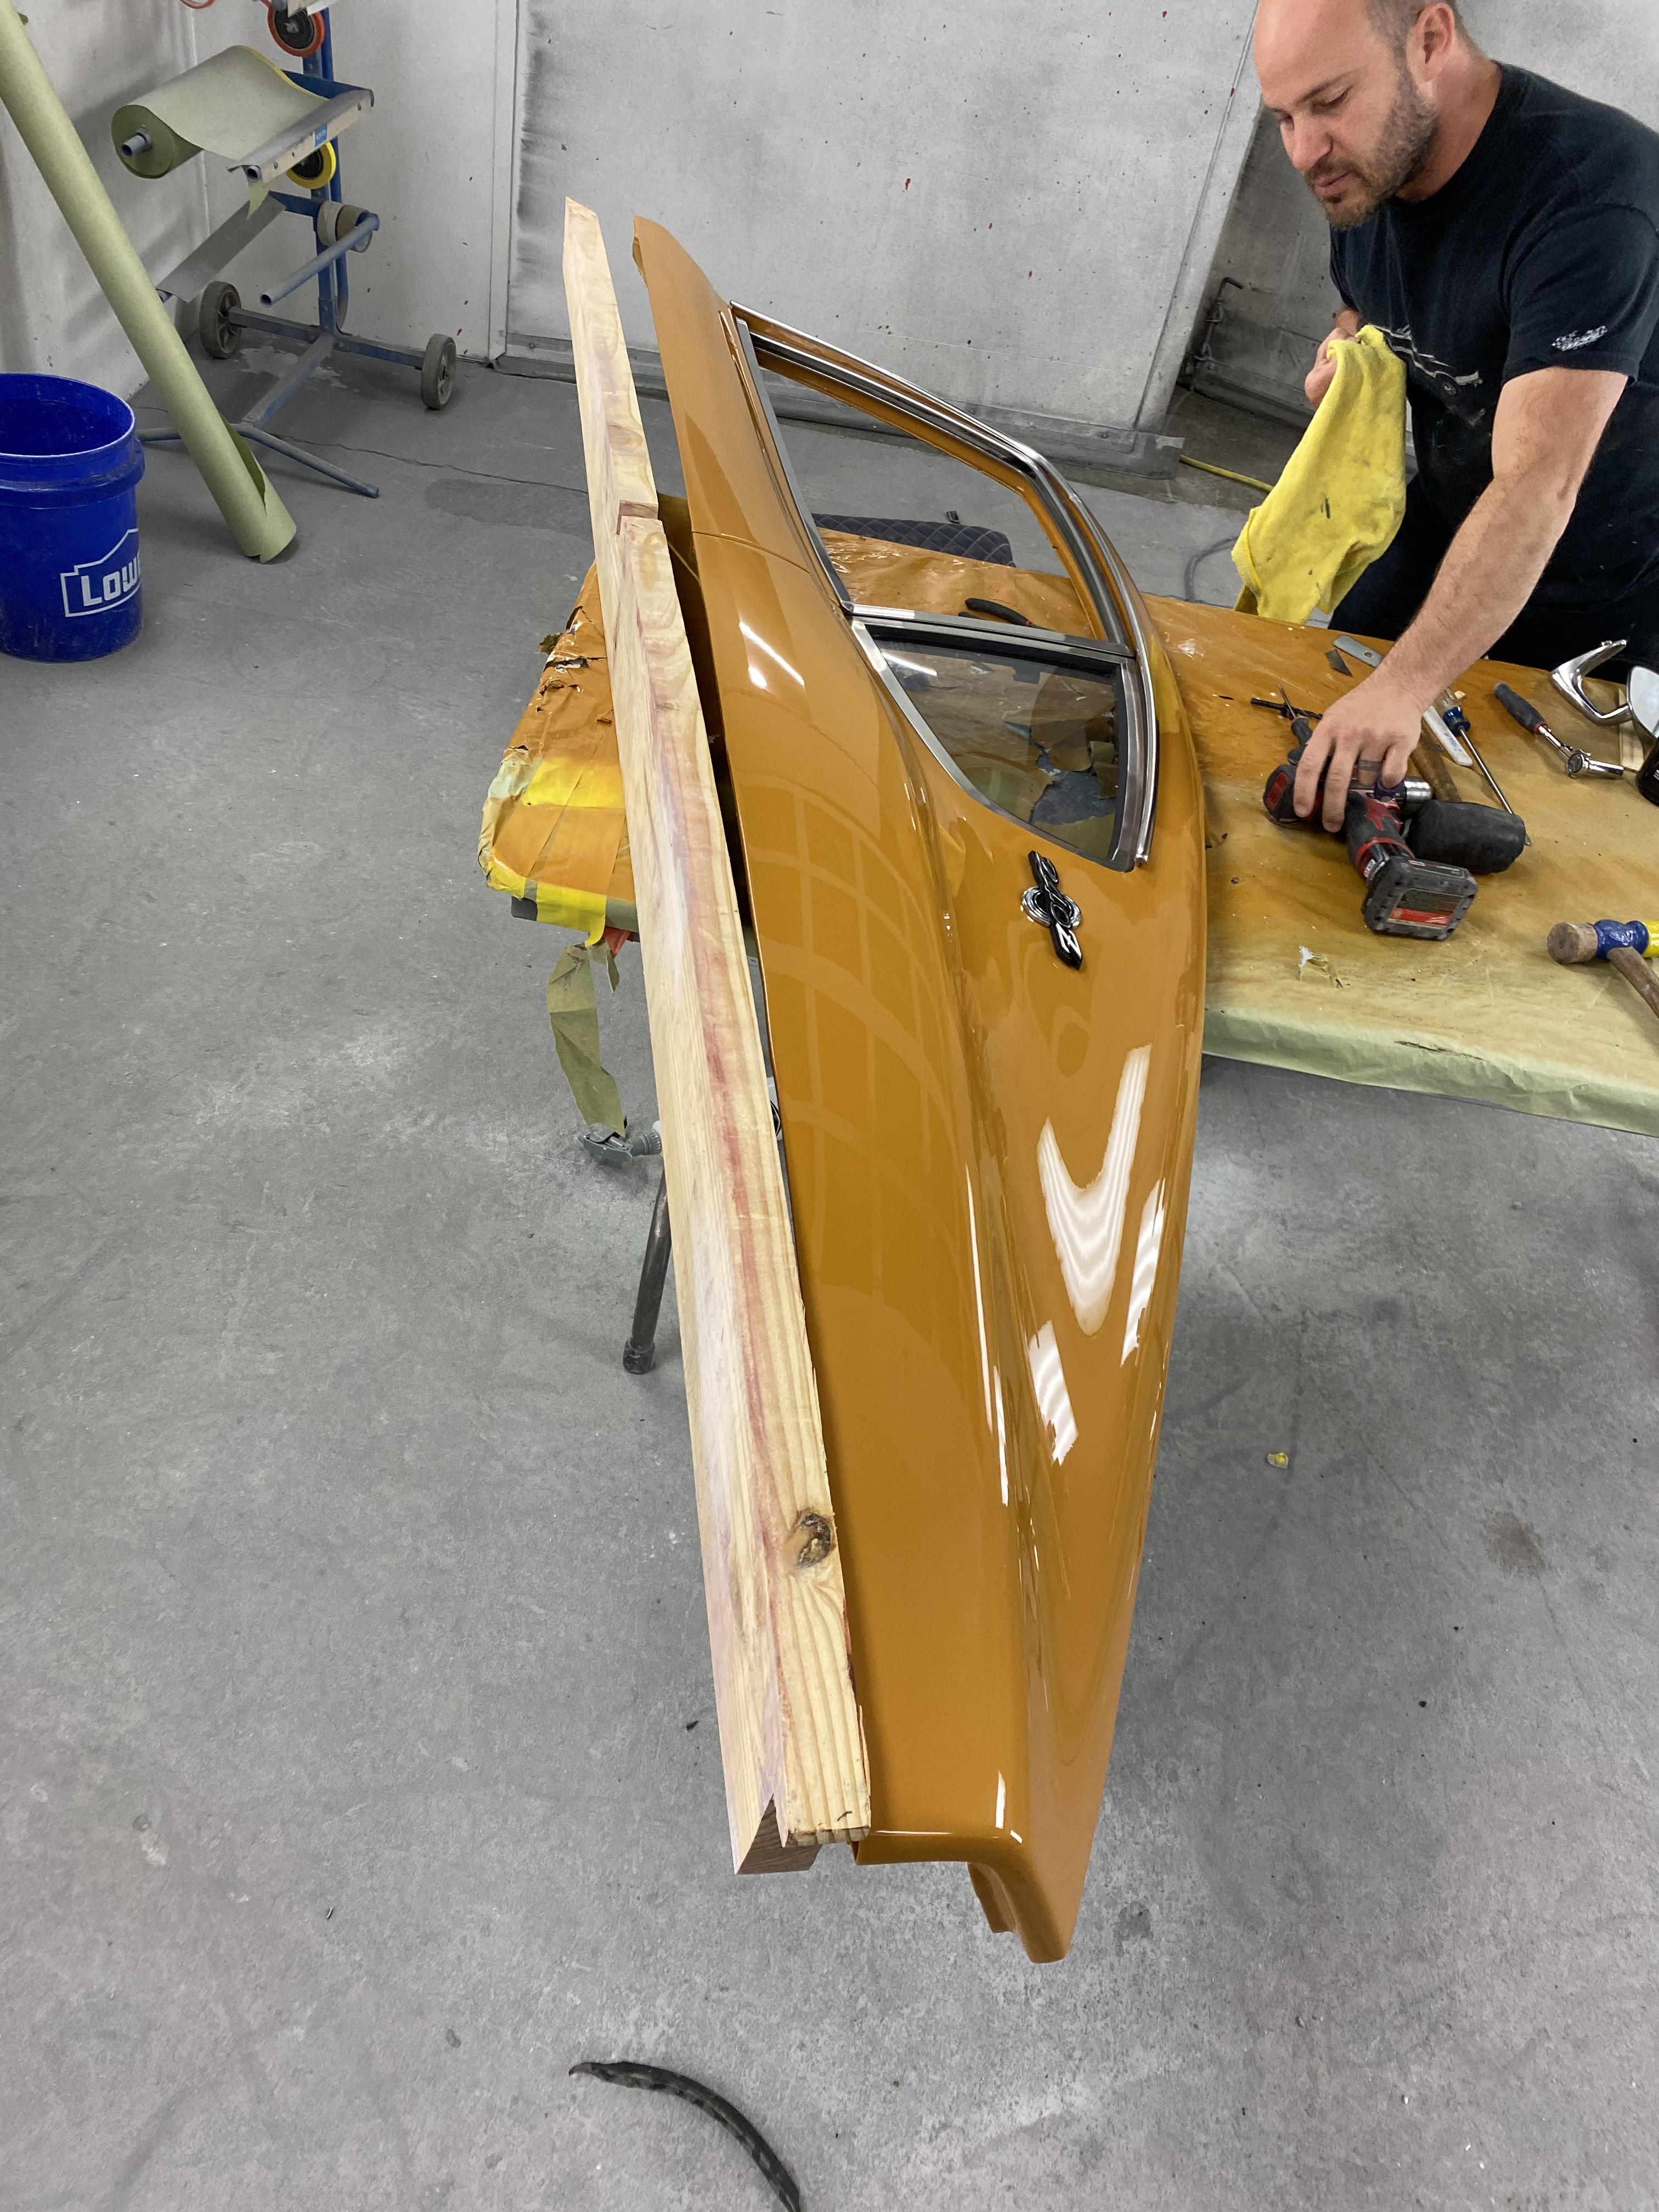
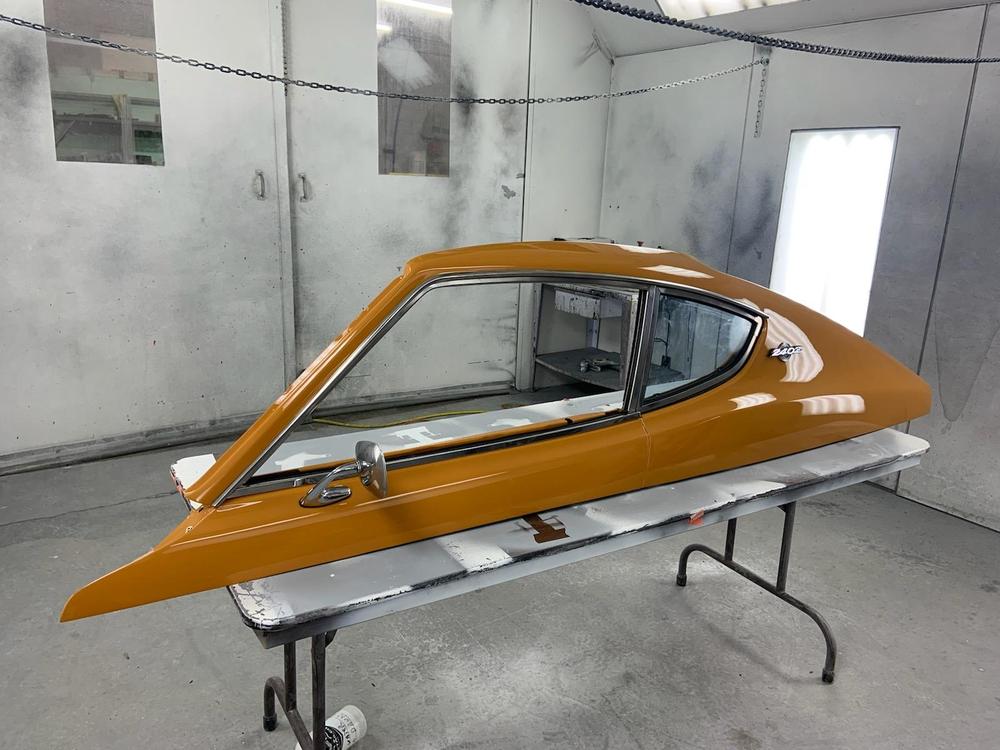
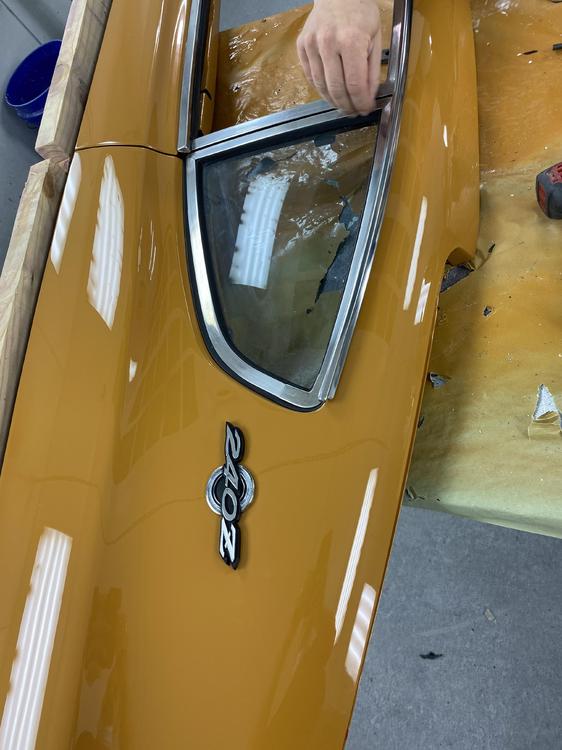
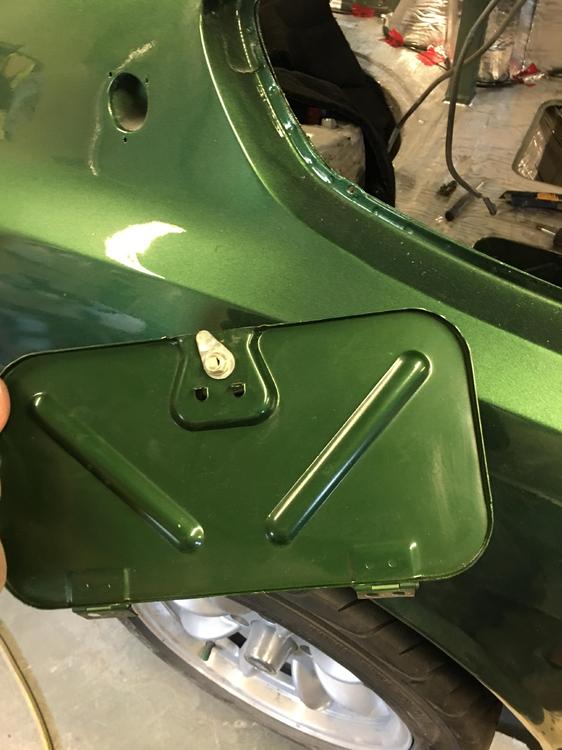
4 pointsFinished product......Z’s are cool eh? BTW many thanks to Zup for providing the door for my project. We’ve got some really great members.....it must have been a PITA to get it to Richmond.
 4 points
 -
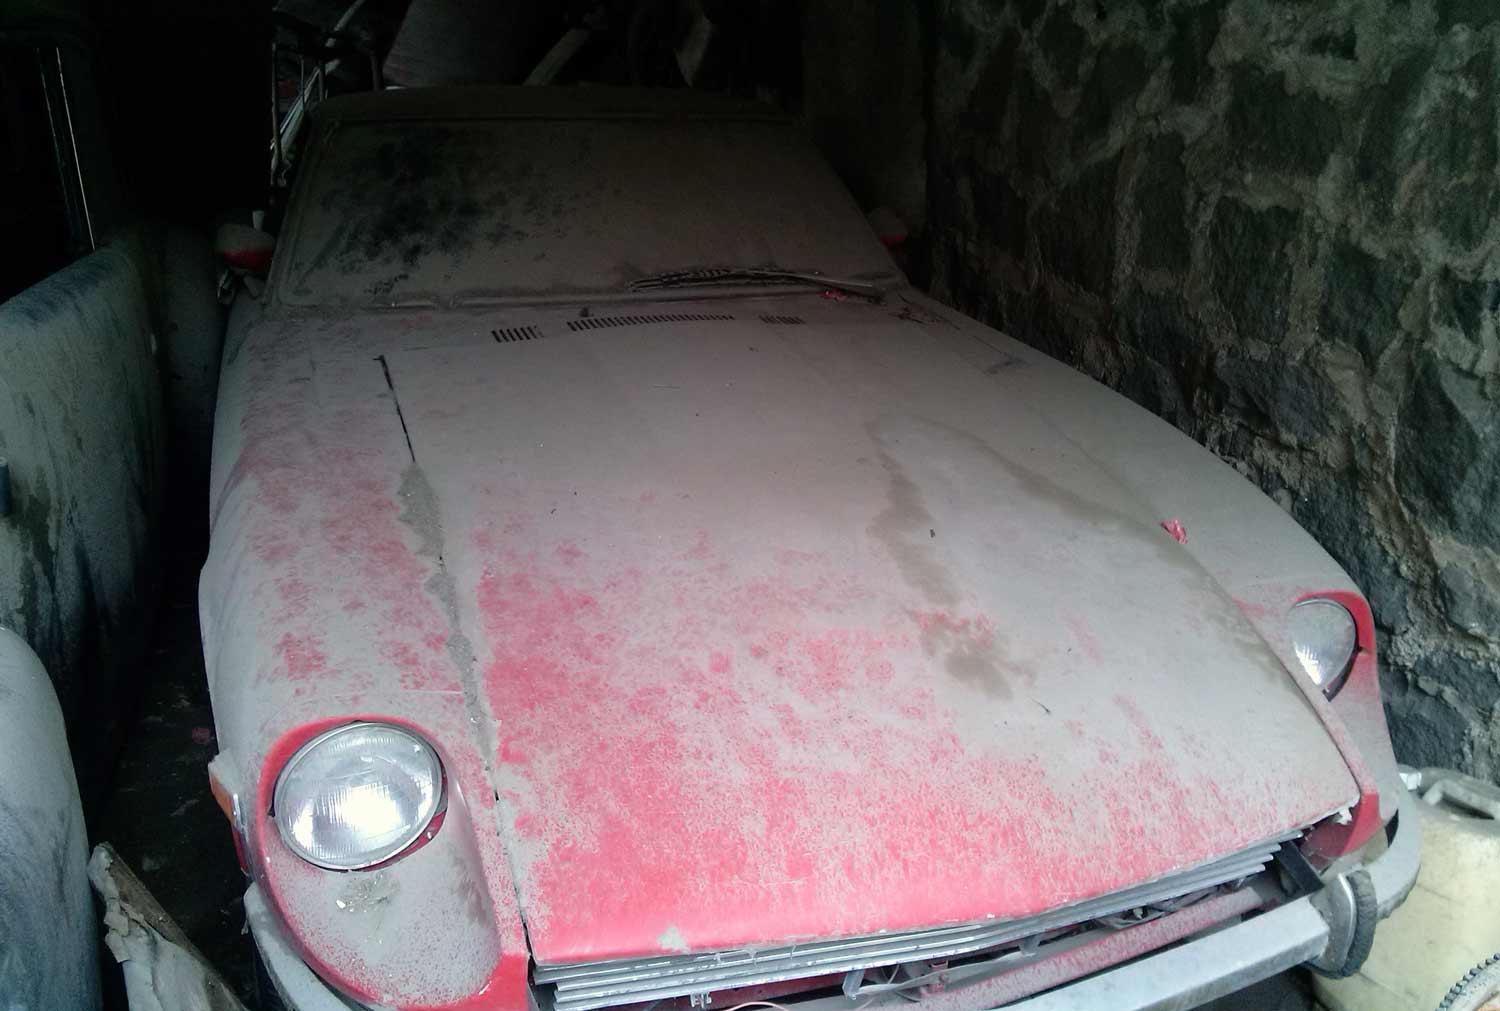
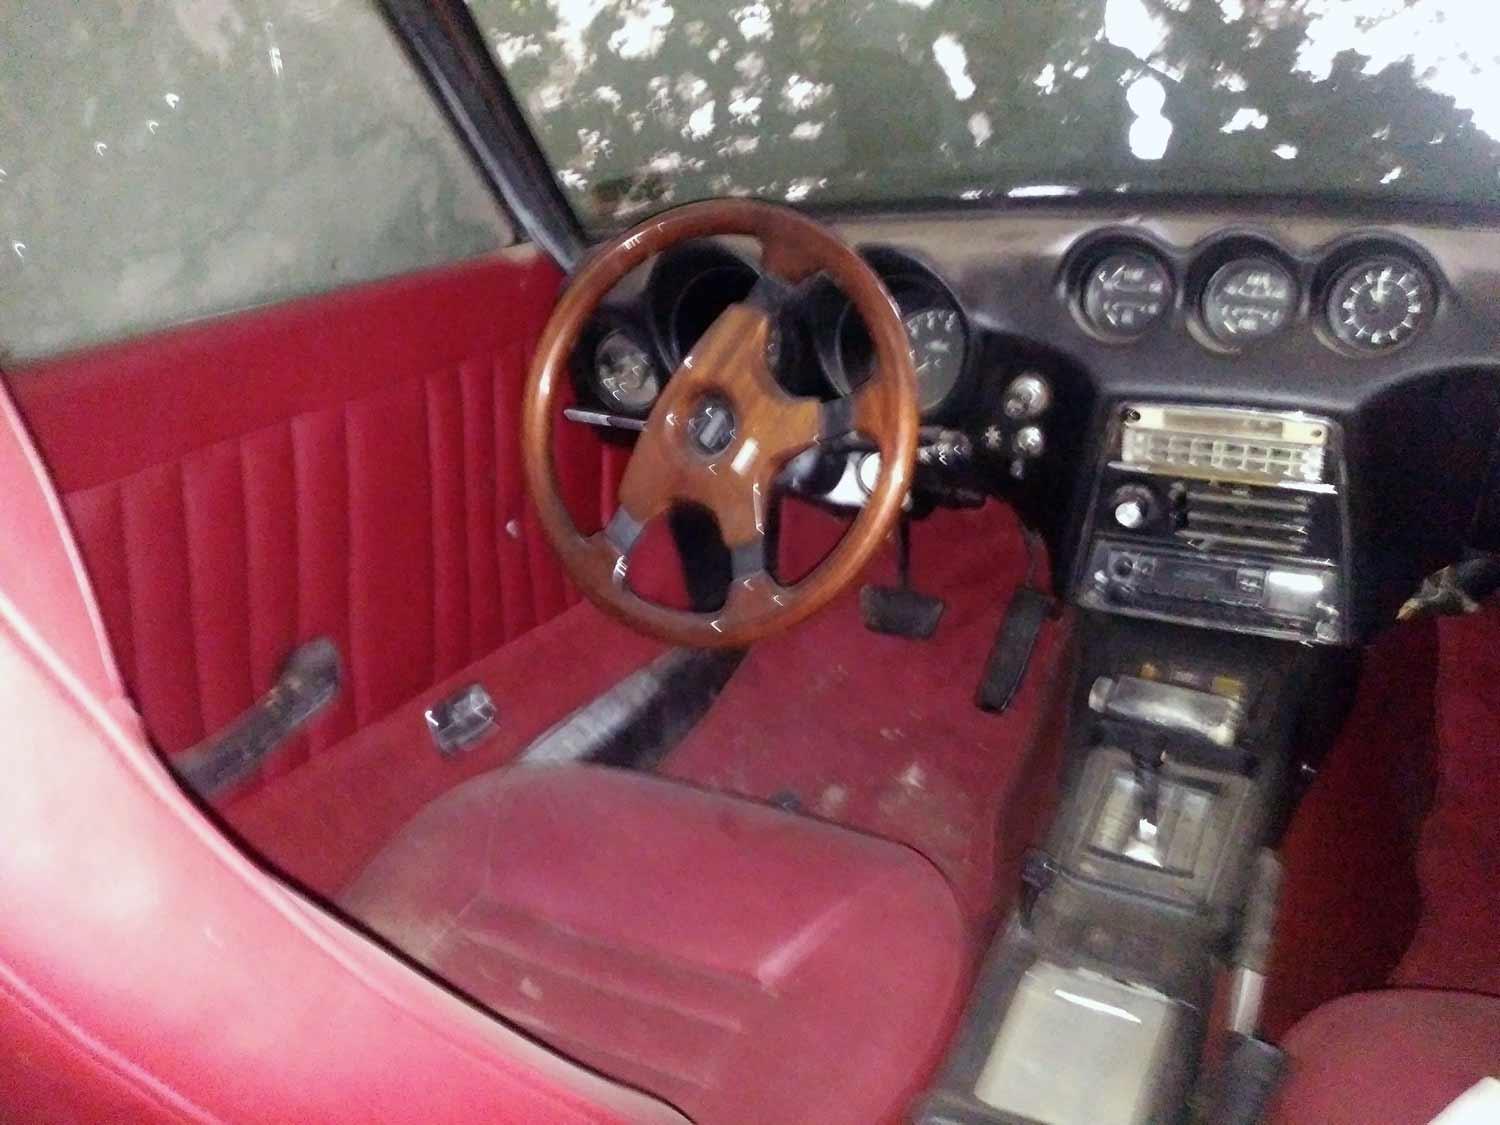
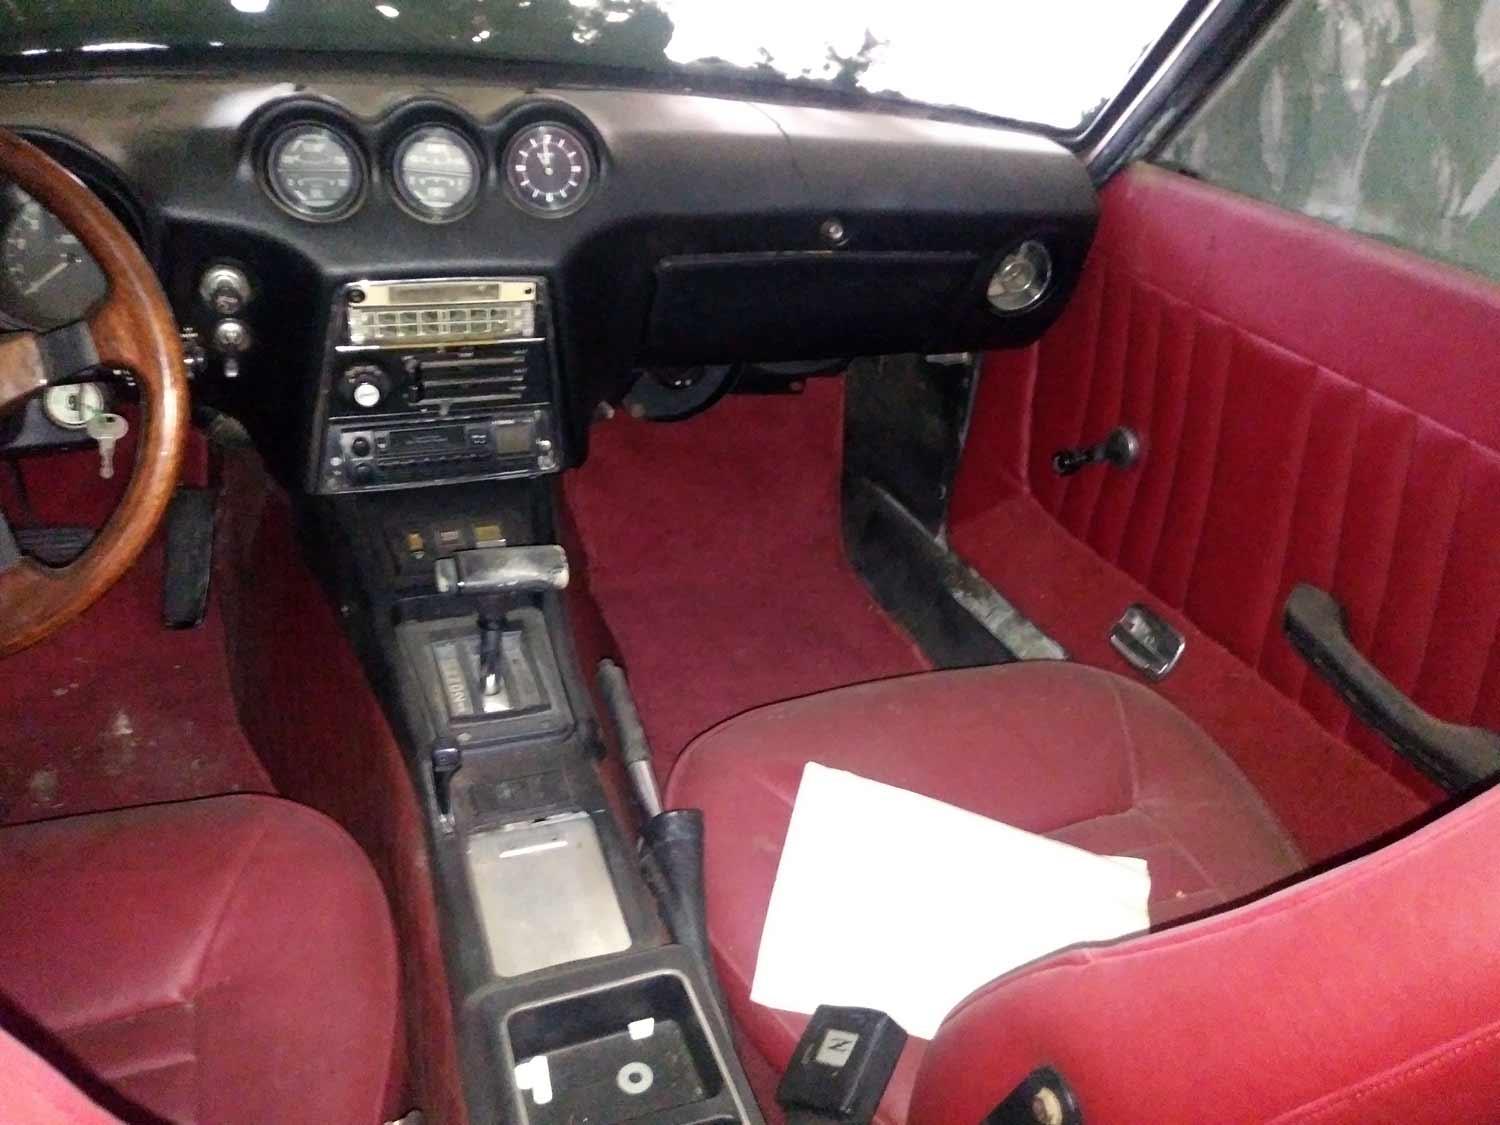
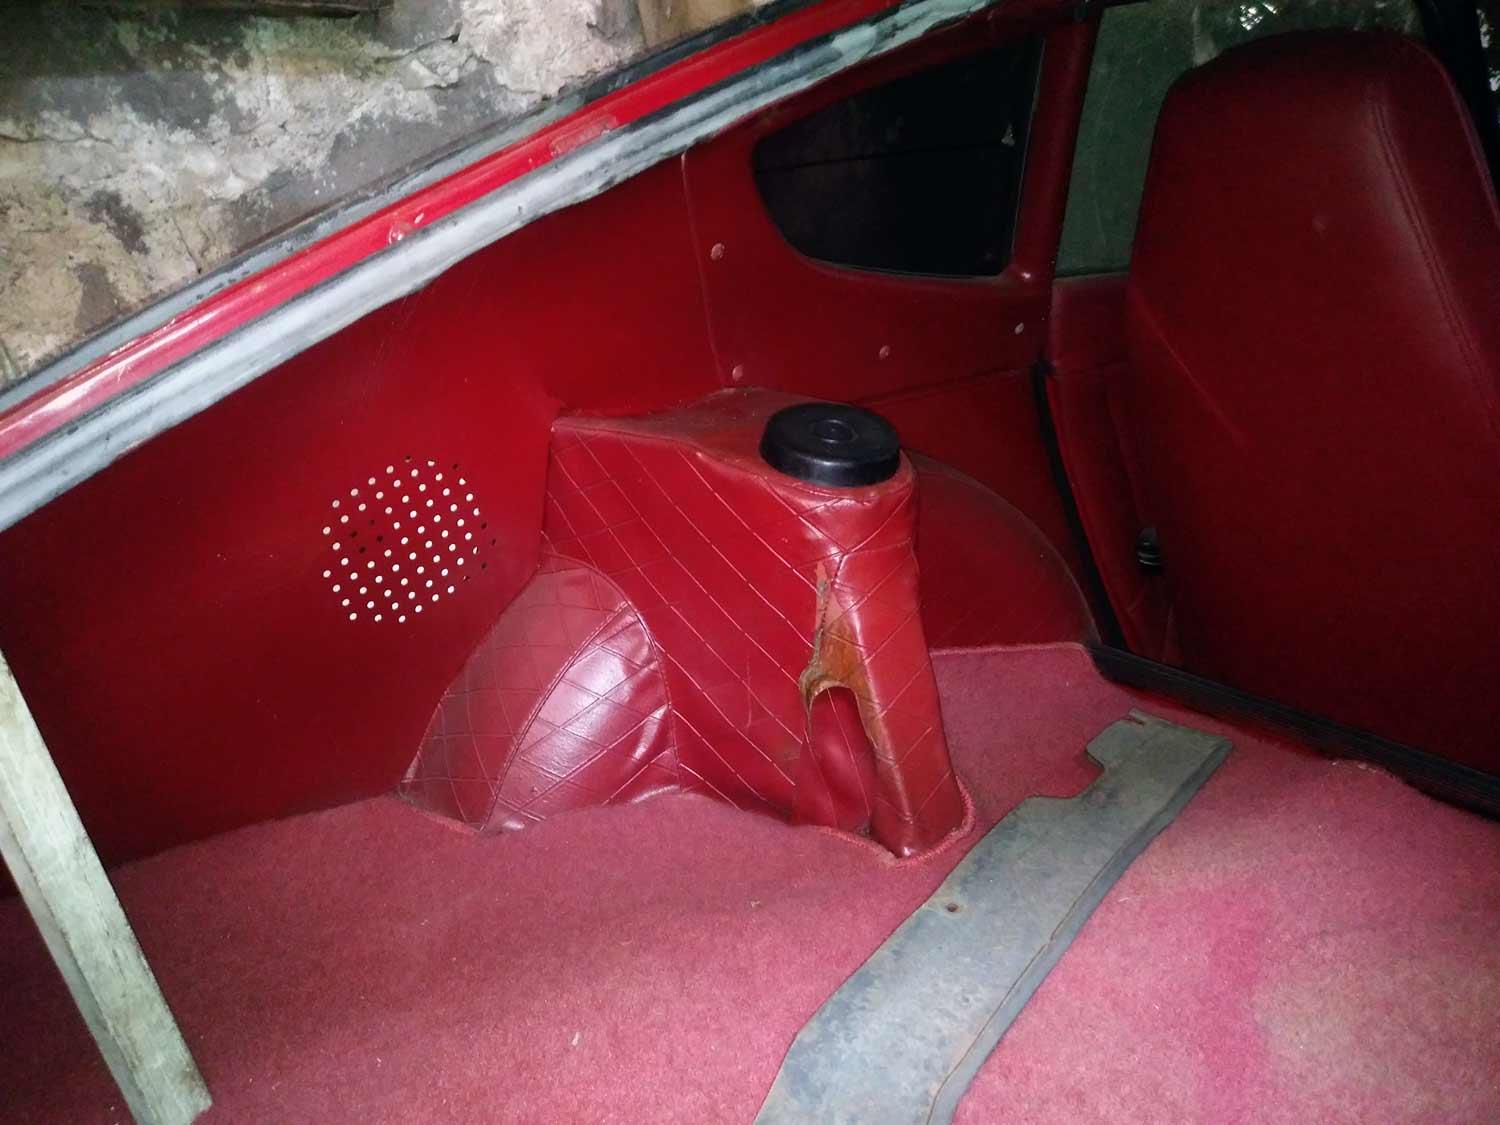
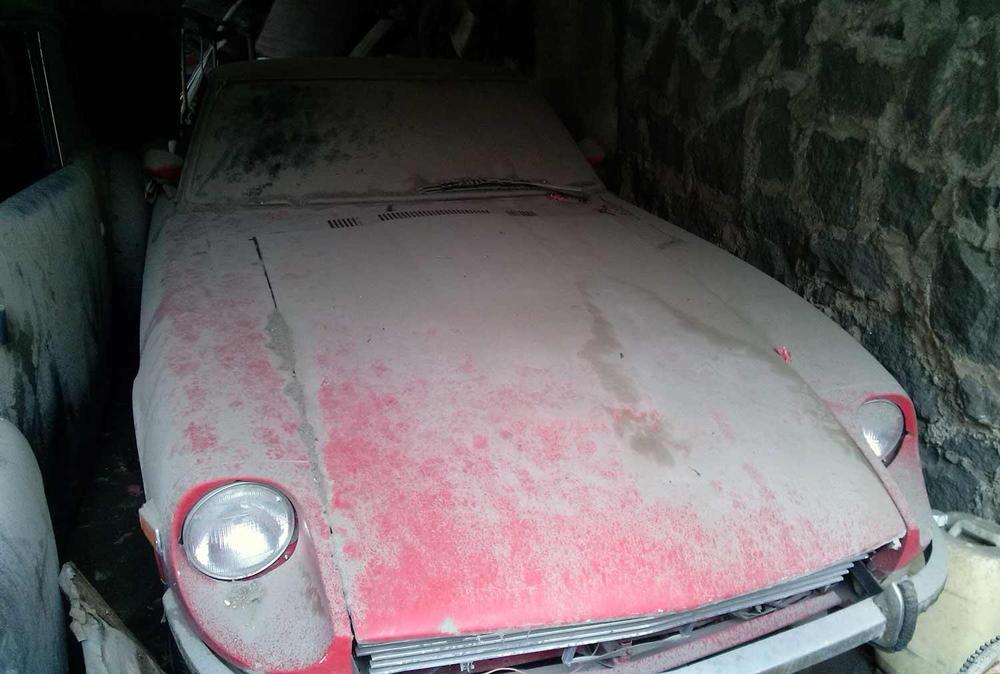
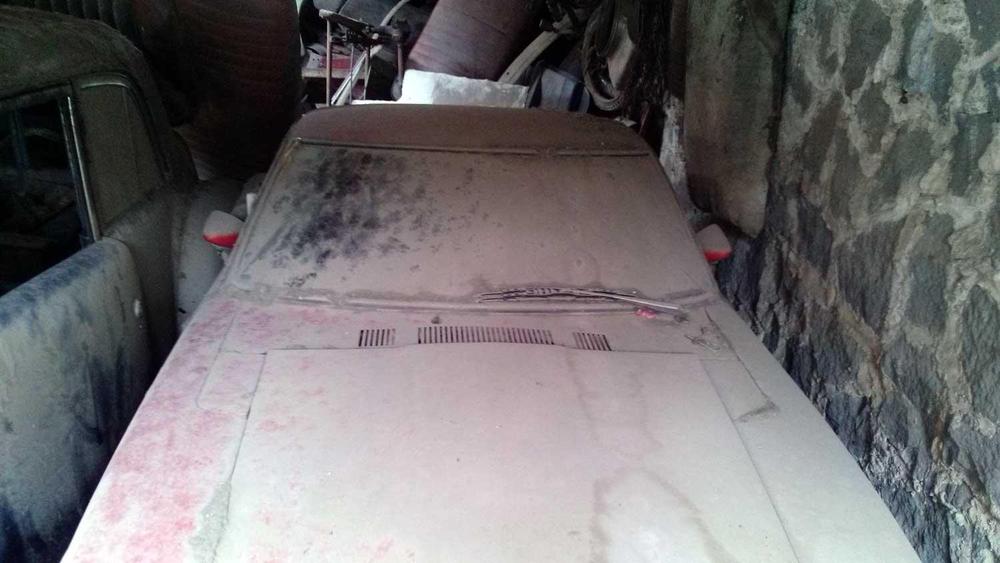
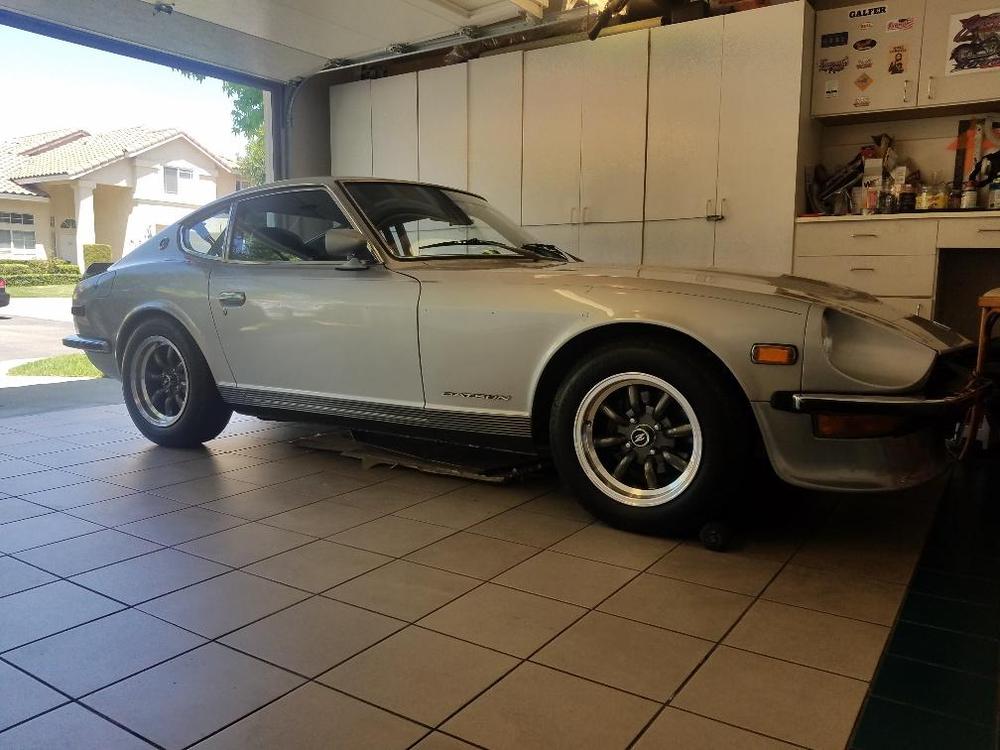
2 pointsI inherited a 1972 Datsun 240Z from my father who passed away a few months ago. It was in his possession from...I´m not sure, at least 15 years or so and most of that time it has remained in the same spot (in a sort of garage/shed sitting next to a couple of other older cars) Due to the covid19 situation I have remained at home and haven´t been able to go to my father´s house and do a more complete inspection of the car now that I´ve decided to start working on it. I took some pictures but a need to take it out of where it´s now to clean and inspect it more thoroughly. I can´t tell how many miles it has but in general is in a very good shape, very complete (original engine, matching numbers, etc) and with very little rust from what I could see. I think it´ll make a nice project. I just have to make some decisions and I´d like to share its progress here where I see so many knowledgeable and helpful people sharing the love for such a beautiful piece of car art/technology.2 points
-
The 280Z Fuel Ijecion manual has a good troulehooting flowchart, and pecs.2 points
-
2 pointsThis is the only acceptable starting point for a new Z. Lose the wing and canards and raise the stance. Done.2 points
-
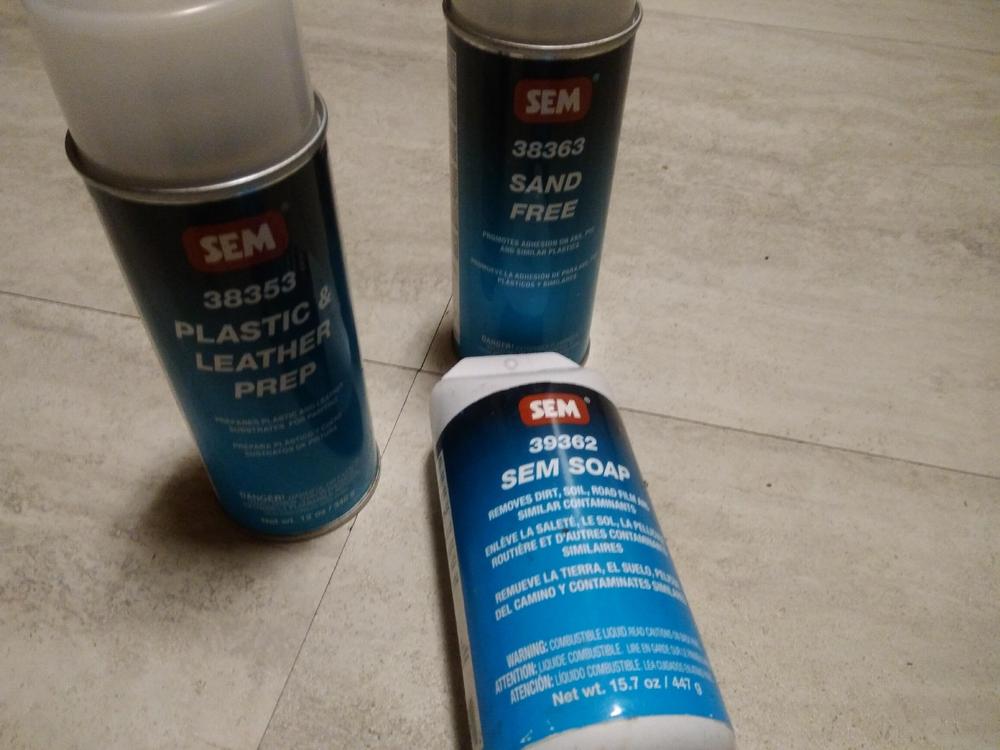
To add to what Greg talked about, fwiw, I refinished the interior plastics on a high budget black pearl restoration last summer for a local club member. He chose the Sem products and his intent is for this car to challenge the Gold Cup at the upcoming Zcon. The interior is black so of course there is not a huge challenge to match seats etc. If you go this route, the key to results is ..... the Sem Soap, it is the first step. Actually the 2nd for me because I washed all the panels etc with Dawn before starting the Sem process. There is also the plastic and leather prep which is used after thee soap. Turned out very, very well. The old adage, "its all in the prep" is ultra true here...
 2 points
 -
2 points
-
2 pointsHe’s almost done. I dropped the mirror off this AM. It’ll come home this afternoon. It’s just incredible! IMG_0300.MOV


 2 points
 -
Finally, don't forget that all air entering the intake system must pass through the AFM. The PCV system needs to be intact, all of the hoses need to be connected, and the big hoses at the AFM need to be hole free. The engine crankcase has to be completely sealed, no little air filters on the valve cover either. Any extra air can make the mixture too lean.1 point
-
Could be the tps or afm are stuck from spider webs or something. The sweeper vane under the black square on the afm should move freely. Throttle position switch should go from right contact to free in the middle then to wide open left side. I've read that after washing the engine bay down the tps will stay wet and cause problems. Just guessing.1 point
-
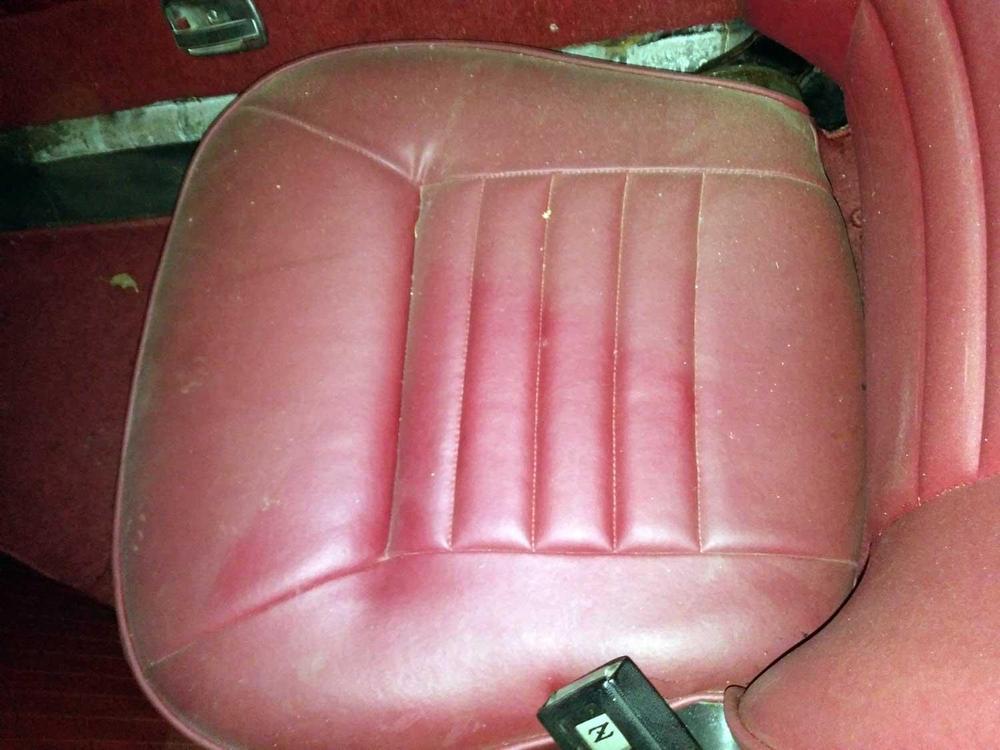
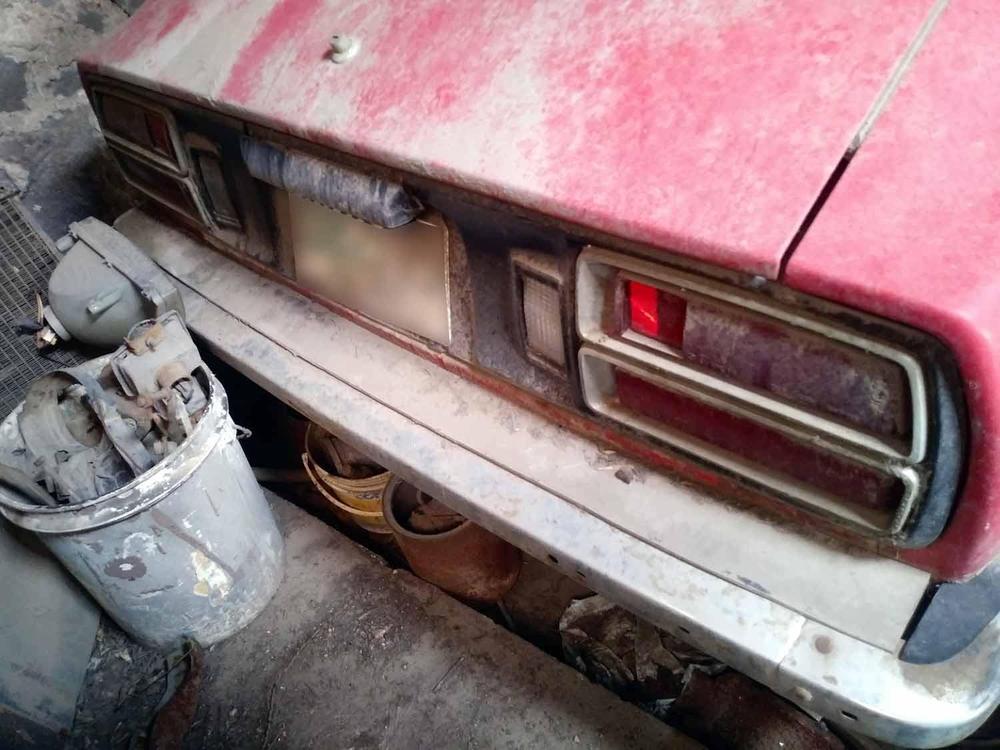
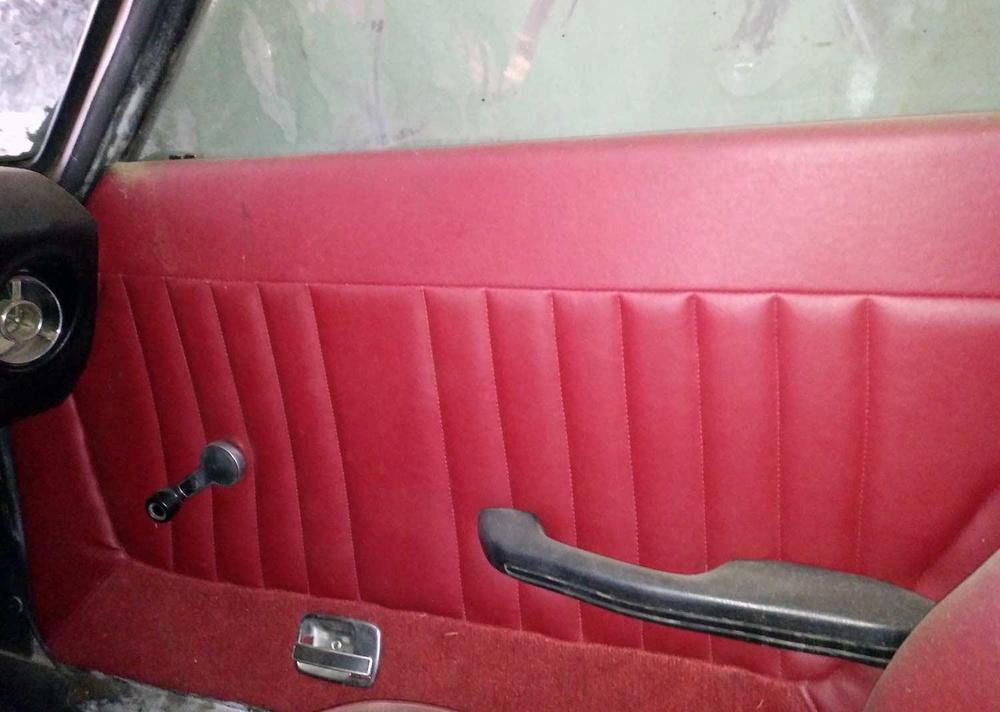
1 pointThank you! great info, and yes I´ll be very careful when I pull it out. Right now its almost in"barn find" condition, tons of dust! here are a few pictures. As for its history; I don´t really know much, it was originally sold in Texas, at some point it was imported into Mexico and was registered in a State in the center of the country, the weather is rather dry and hot there and then brought to Mexico City where as I said it has spent most of its latest years stored where you see it here. Like I said before, I don´t think its too rusty, the interior is quite complete (only lacking the rear inner trim, the piece that covers the back of the tail lights), the seats, vinyl and carpet look Ok. It´s got an automatic transmission but apparently no AC (strange for a Texas car I think) Obvioulsy that´s not the original body color, it was probably white? anyway I think I´ll do something about it (or the interior color) since I´m not very much into that red on red combination. You may also notice the wrong rear end. Well it turns out that one of the original tail lights had a broken lens and since 240Z are VERY scarce here in Mexico, the closest my father could find in a junk yard was the rear panels and tail lights from a 260/280 and grafted it figuring it didn´t make much of a difference. Fortunately he kept the old (original) panel pieces and tail lights and refitting them is among my plans in a short term. As for the engine, I believe it was working right but at some point my dad read that webers were a big thing among 240Z enthusiasts and got himself a kit with triple ones. Of course he didn´t have any experince with that particular swap (he ´d been a car collector for many years and came to had a very reasonable little collection of old and special interest cars, a well appointed garage and tools but certainly it was way over his head here) he told me that it actually started but just couldn´t get to properly tune the carbs and at some point the car started to smoke a lot, he realized that modification didn´t really suited him (since he was never into racing or high power tunning anyway), then sold the weber kit ,reinstalled the original SUs and left the car where it sits now, he probably never fired it up again.


 1 point
 -
1 pointHi Mike....It has a flat wood base that you won’t see.....will sit on 3 “L” brackets screwed in 2x4’s in the wall and a short wire cable up top to make sure it doesn’t tip over! Hope you’ve got everything under control....can’t wait till this virus is gone so we can head over to Hungary to see our dream girl! The one in Steve’s old white Z is yours ?
 1 point
 -
1 pointHere’s a good comparison of the old paint code 240 and the new DeBeers water based E2335 BRG. I think I nailed it. Close to the original colour but a lot more metallic.
 1 point
 -
I totally agree. I should have added to my post, but forgot, "when you think the pieces are clean, do it three more times..."1 point
-
I will add 2 cents more here, based on my experiences with repainting my interior trim... The SEM prep products work very well. Read and follow the manufacturer's instructions before you start. Comparatively speaking, successful results are easy to achieve for the hard-plastic panels but not-so-easy to achieve with the soft-vinyl trim. The challenge for achieving good results with the soft-vinyl trim lies in the 'quilting' pattern that's molded into the material. It creates traps for the silicones contained in 'conditioning' products like ArmorAll (very popular in the 1970's and 1980's). Those silicones act as a repellent for the water-based vinyl paint and result in a paint-coverage defect called 'fish-eye' (you won't like it, trust me). It is really difficult to get 100% of the silicones off of the Z's quilted vinyl trim. For reference, the cleanliness test for these panels is to apply water from a hose and watch to see whether the water 'sheets' as it drains off the panel. If there's any evidence of 'beading', then the panel's not clean. Unfortunately, this test lies is less than bullet-proof when used on the quilted vinyl pieces because, while the water may be sheeting off the big surfaces between the quilting lines, it is not sheeting off the surfaces along the quilting lines. It was my experience that I needed to triple the number of cleaning repetitions recommended by SEM before I got a decent result with the paint application on the quilted vinyl. I was very happy with my end result, but it took a lot of scrubbing. You do not want to use the paint application step as your check for whether your panels are clean enough. If you get a paint defect and need to re-apply, the defective paint coating is a b**ch to remove once it sets up. Unfortunately, adding additional layers of paint to try to cover the defective area doesn't really work very well. The moral is this: With the quilted soft-vinyl trim pieces, you need to purposely over-clean. You cannot risk under-cleaning.1 point
-
1 pointSteve, All the L26 and L28's had two piece plastic shrouds I'm not sure if the later 73 L24's had a plastic version. They could have. The part number changed about mid 73.1 point
-
If your plastic panels are in good shape, painting them is certainly more economical, but it's your budget and you can do whatever you want. If you decide to paint, be sure to clean them really well first. The SEM paint I used was water based and I needed to pre coat with anther SEM product called Sand Free. Both put into aerosol cans. It required that the paint be applied (sprayed) when the Sand Free was still wet so it would adhere properly. The vinyl paint was just a spray on I think. You can get replacement vinyls from MSA in red to match the upholstery kit if you don't want to paint that part. I don't have any experience with the door panels you mentioned from Z car depot, but unless you want black, you'll need to paint them red also.1 point
-
1 point
-
With the crank off, buy the clip removal tool and play around with it until you see how it should work. I've never had any problem but then again, I used to have a '66 Chevy and had a lot of practice with it.1 point
-
1 pointThey should make a 400eZ option.... you know with those electrical motors that people are using now days. ?1 point
-
1 pointIt’s little too over the top to suit my tastes, but I’m just an old fart. ?1 point
-
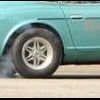
Hi Zcarfever, Just replaced the tires on my 240Z. Received a ton of advice on the site. Landed on 205 60 15. The 60's fill the fender well nicely. You lose a little patch width with the 60's, no rubbing issues front or back. Pic attached.
 1 point
 -
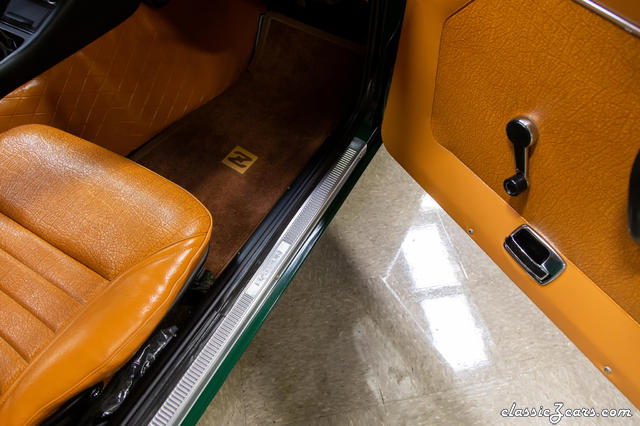
From the album: Series 1 - Green and Butterscotch
© Classic Zcar Club
1 point