Leaderboard
-

240260280
Free Member6Points4,442Posts -
Captain Obvious
Free Member5Points10,081Posts -
jfa.series1
 Subscriber
 4Points2,733Posts
 -
conedodger
Free Member3Points12,513Posts


Popular Content
Showing content with the highest reputation on 07/11/2019 in all areas
-
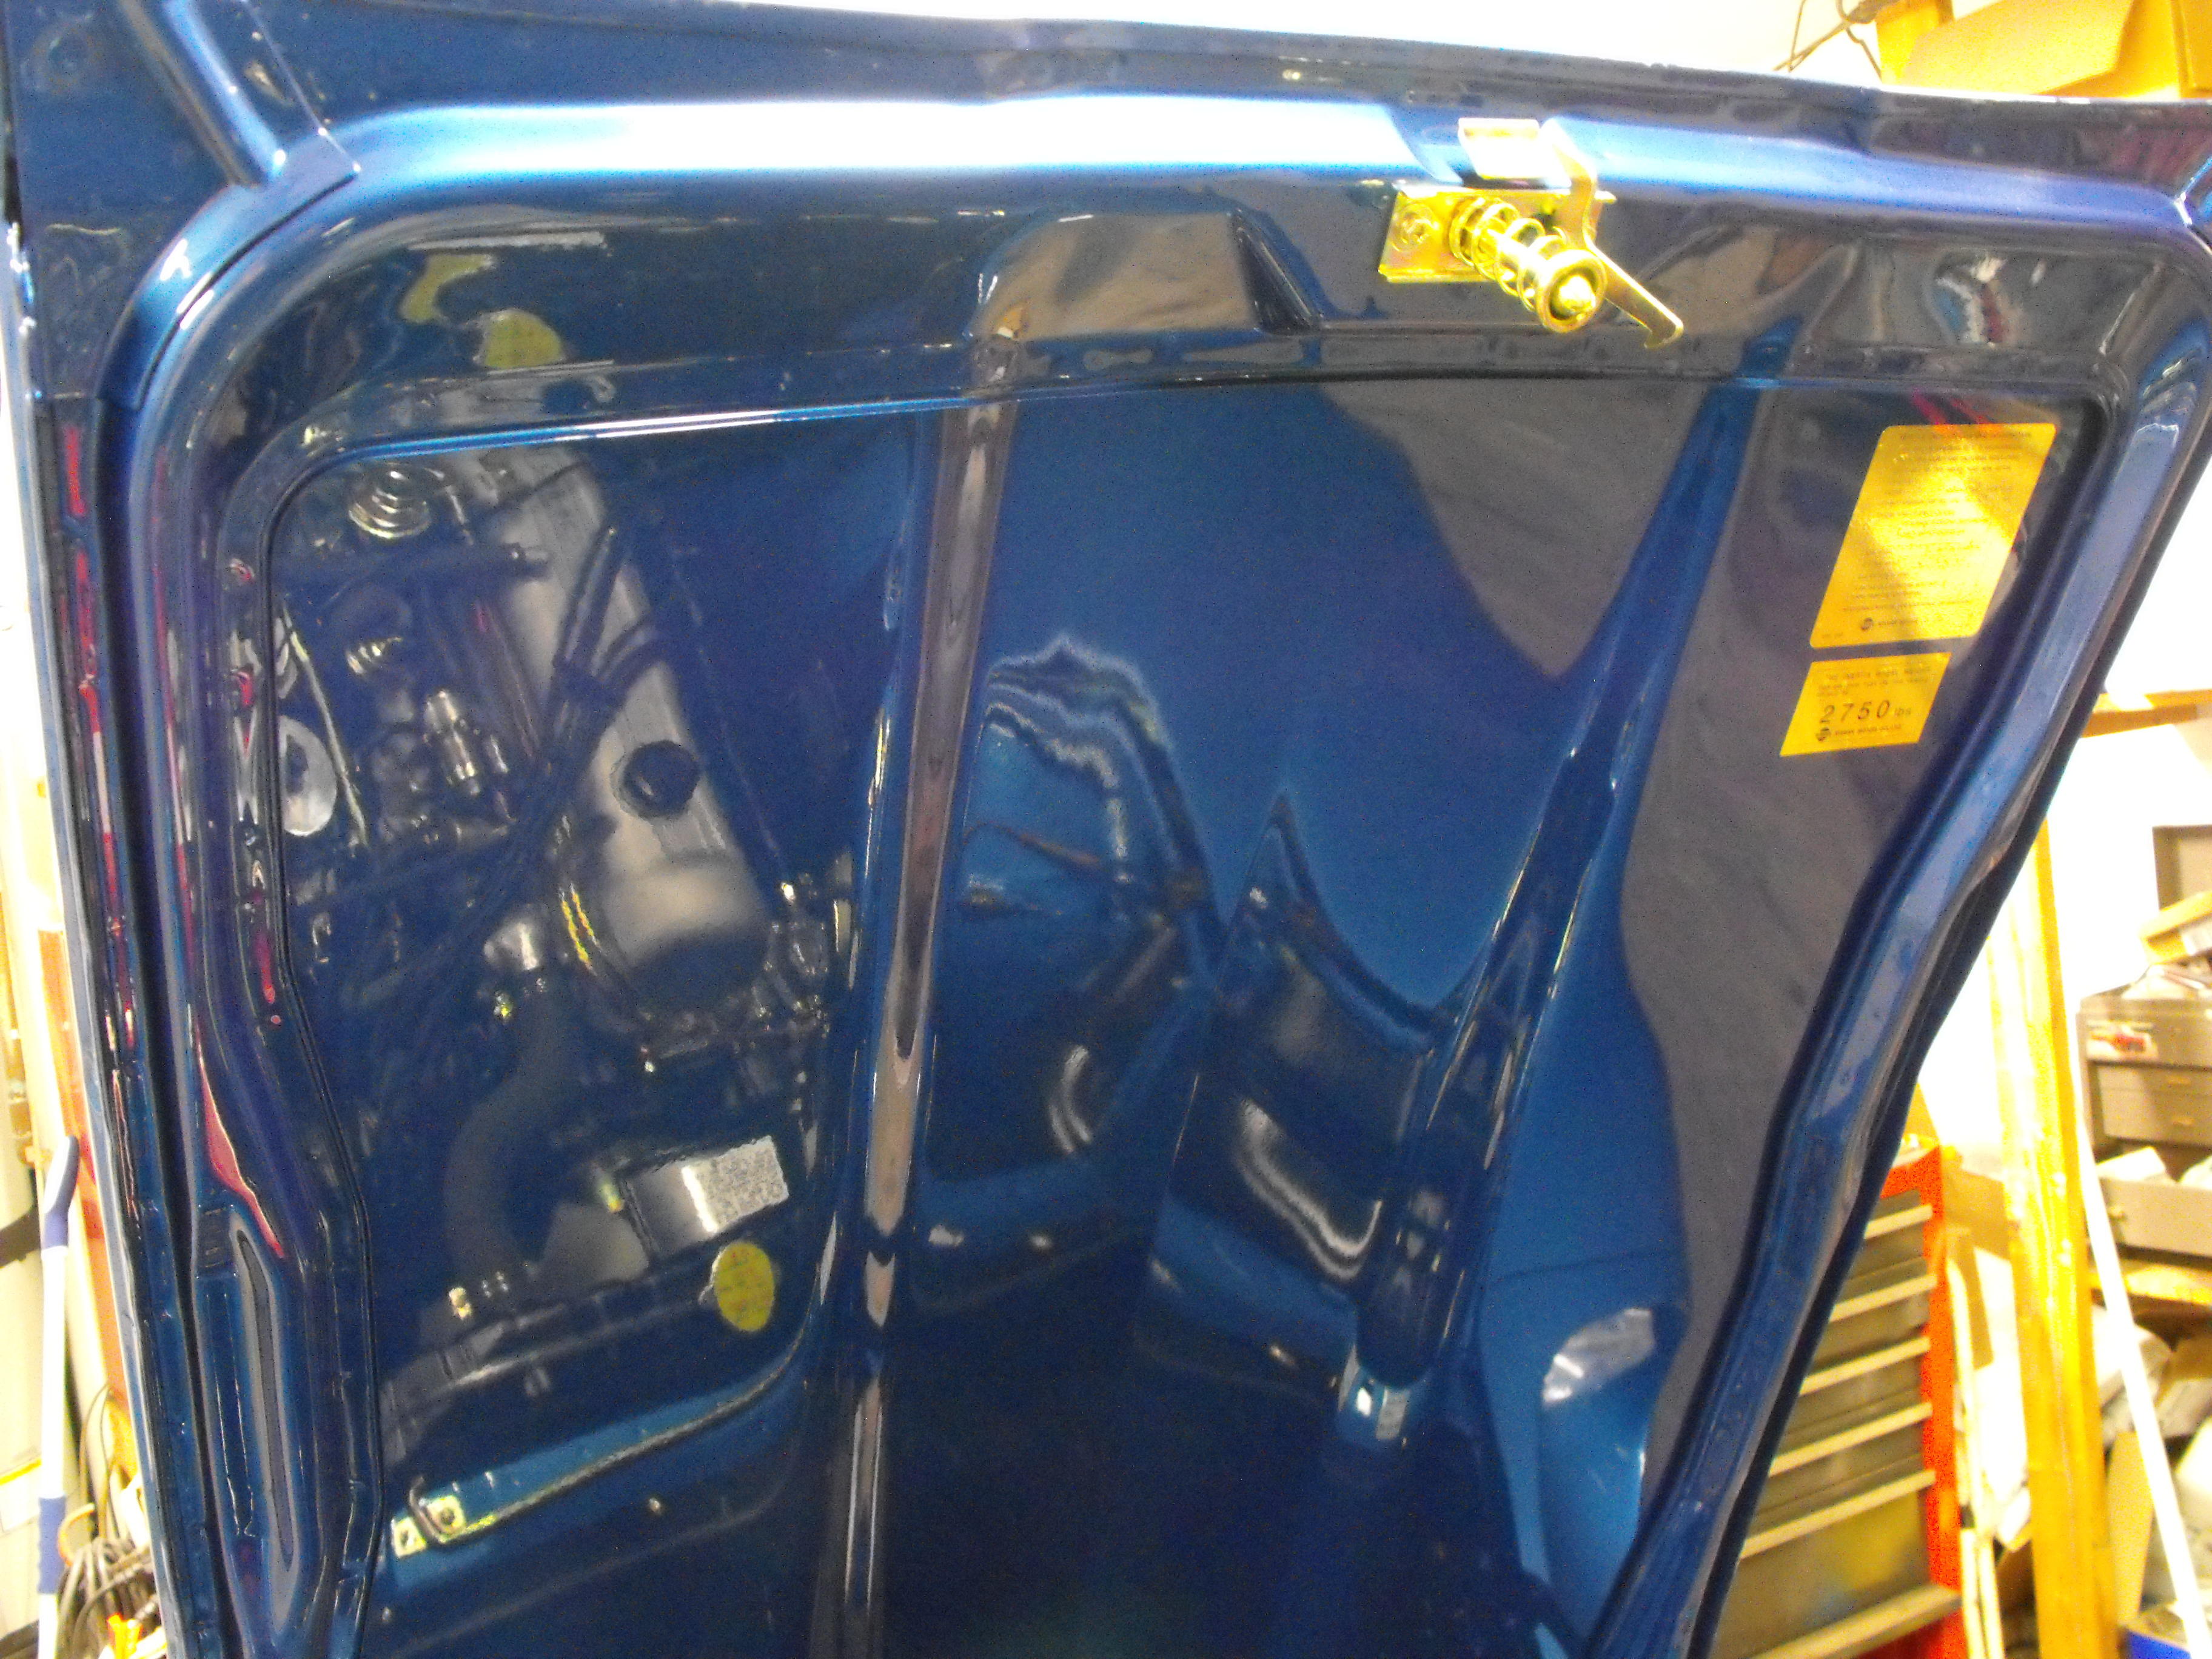
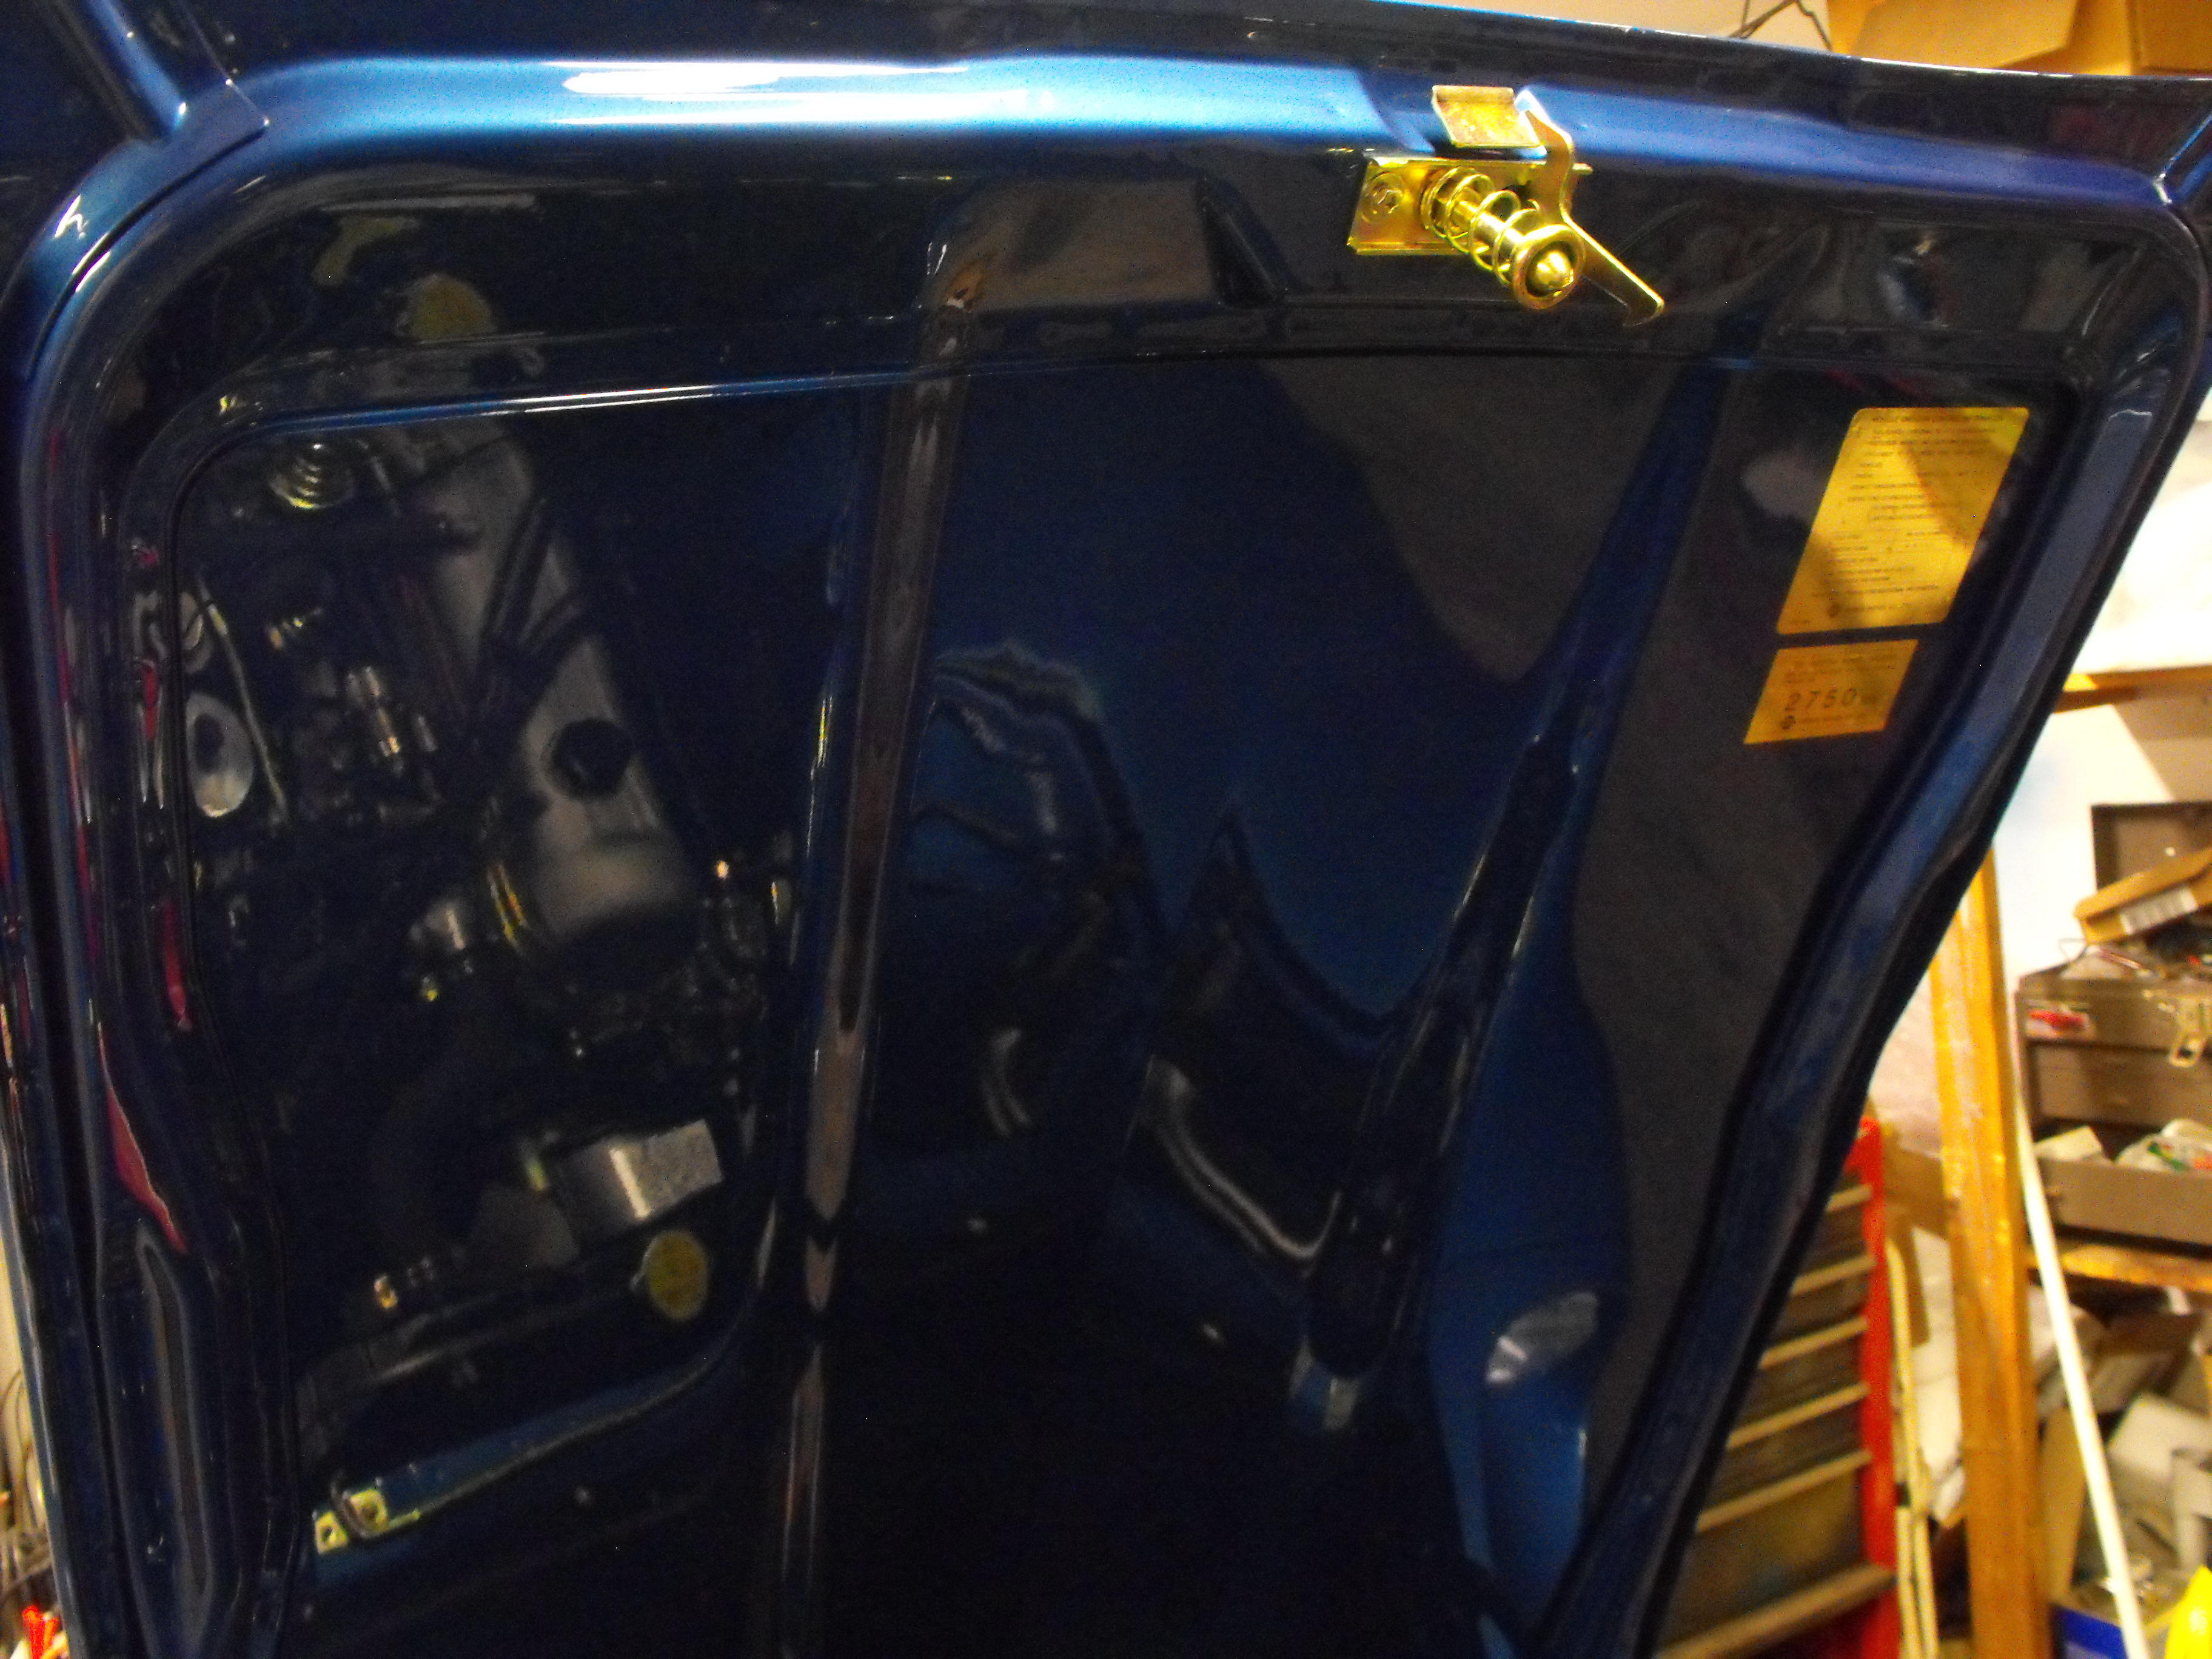
3 pointsHoover bag shows it on VINS ~ 12,000 but not on ~18,000 so somewhere in between it changed. This gives a change between Oct to Dec 19703 points
-
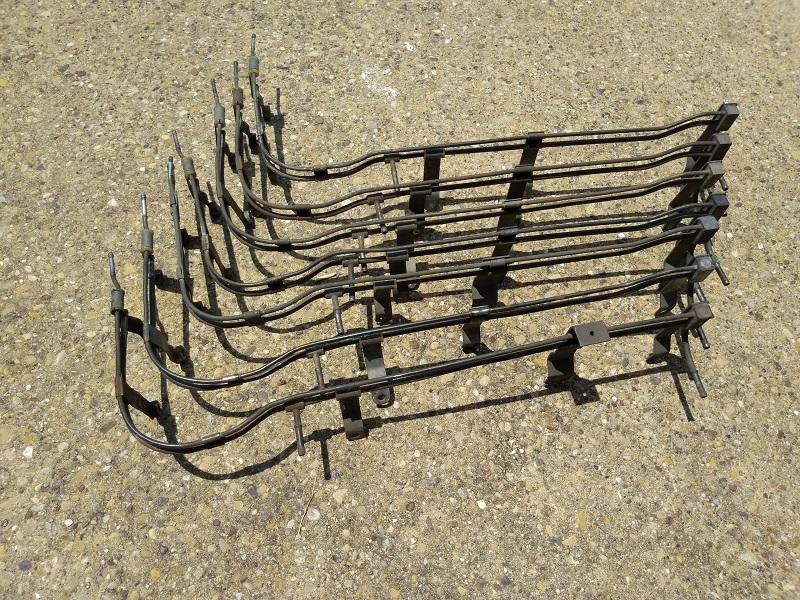
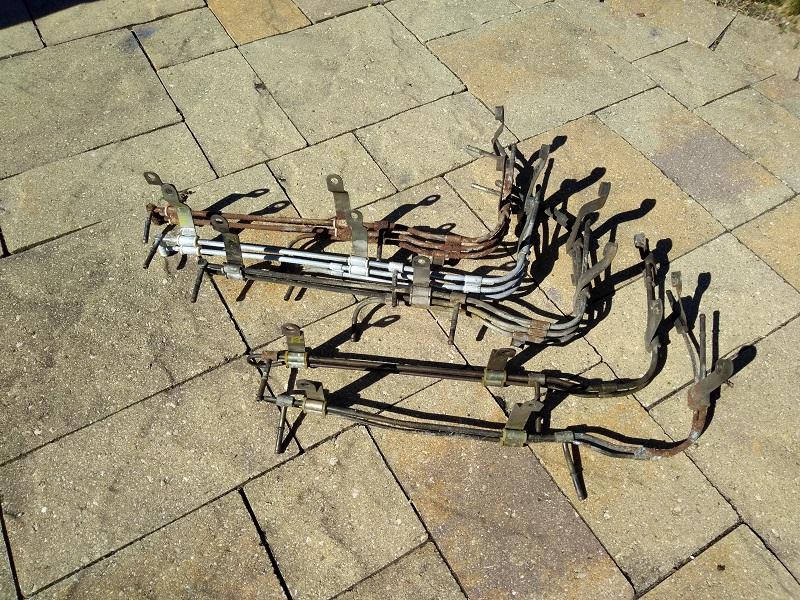
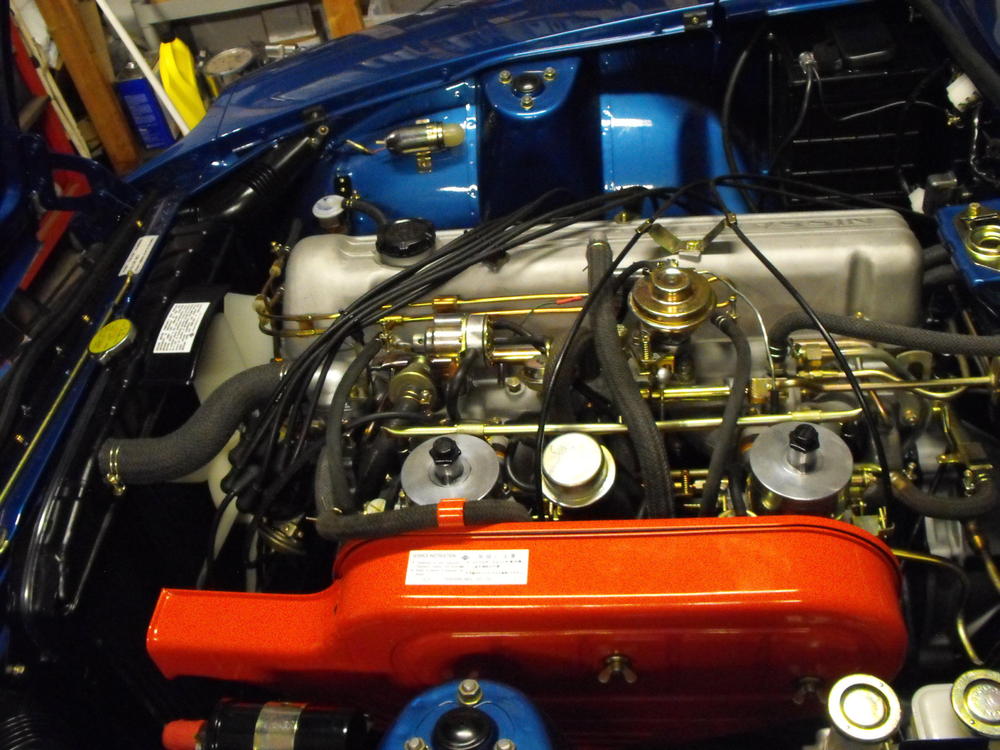
2 pointsI'm working on some fuel rails I came by as part of a large used parts purchase, spent today bending and straightening the abuses of prior owners. One of the rails is different - it is at the front of the group pic. This design also matches the OE rail on my car. So... a question for the knowledge folks: was this design unique to early cars - those we refer to as Series 1? Next up: the dreaded and tedious cleaning process to get rid of years of grease, grime, rust, ...etc.
 2 points
 -
2 pointsJIm D. - I've got two rails for flat tops and three for 260Z yet to get underway, one more in the bunch would not be a problem. Pack it up and send it this way. You already have my address? Jim3
 2 points
 -
1 point
-
1 pointTake the cable loop all the way loose from the lever, so the cable can slide into the jacket. That 4 or 5 inches of slack should help1 point
-
I am new and learning how to decipher the postings. When someone says SU, most of the time they mean SU-H (roundtops) Not SU-HIF (flattops) with Integrated Float, also the flattops have a "Anti-stall fuel rich mechanism" that keeps this from being a problem.1 point
-
1 point$1,500 for a car, no matter what it is deal in my opinion if it runs and drives out smoothe.1 point
-
1 point@Reinier If you want to try one more thing with your shafts, try cleaning off all grease and spray everything with wd40 and put them together. Do they still bind? I had a difficult halfshaft set and ended up spraying everything lightly (but completely) with wd40 and adding grease at the end by using a needle attachment on my grease gun. End result was shafts that moved freely and have worked great. Will see whether there are any long term problems but.... Edit: I just found my notes on how I rebuilt my last set of shafts. For terminology, refer to the 1973 FSM page RA-10 figure RA-26 showing the shaft components. I capitalized part names from figure RA-26. 1) Clean everything...remove all grease. 2) Spray everything with WD40. 3) Install large washer and snap ring (neither are labeled in figure RA-26) that get installed on the Drive Shaft side of the Sleeve Yoke. This ends up in the middle of the assembly. With these two pieces installed, the Drive Shaft will still slide into the yoke. The purpose of the washer is to limit the spacers / balls from sliding out. 4) Install dust boot onto driveshaft. There are lots of ways to do this but I used wd40 and a socket clamped to a vice to get the boot started. Then, push the boot all the way in and inside out if you can so it is out of the way. 5) Slide the driveshaft into the yoke doing your best to keep the bearing slots aligned...making sure to orient the assembly in the right direction...see figure RA-26. 6) Here is the weird part. Start installing Ball Spacers and Drive Shaft Balls from the YOKE end. This seemed counter intuitive to me but others may think otherwise. Use liberal amount of WD40 (different from what I wrote earlier). Don't let the Drive Shaft move too far into the Yoke. You don't want it to move past the position where the assembly would be the shortest. If you do...Drive Shaft Balls and Ball Spacers fall out. Ask me how I know. I probably did this 10 times before I figured out that I needed to limit how far the Drive Shaft can insert into the Yoke. As I kept adding Drive Shaft Balls and Ball Spacers, I would periodically insert the Drive Shaft Stopper from the Yoke end to push the balls and spacers down farther into the Drive Shaft / Yoke assembly so that I could keep inserting additional Drive Shaft Balls and Ball Spacers. 7) Once all Drive Shaft Balls and Ball Spacers are installed, install the Drive Shaft Stopper (orient correctly) and Snap Ring (this one isn't labeled in figure RA-26). 8- Let WD40 drain. 9) Use the smallest needle attachment for your grease gun you can find and begin injecting grease into the bearing grooves that don't have balls. Move Drive Shaft in and out of the Yoke to distribute grease. Keep doing this until you think the assembly is nicely packed. 10) Pack center and boot with grease and fasten boot. 11) Install Sleeve Yoke Plug and Snap Ring. Hope this helps.1 point
-
Altering the fuel level is another parameter for tuning a/f ratio.1 point
-
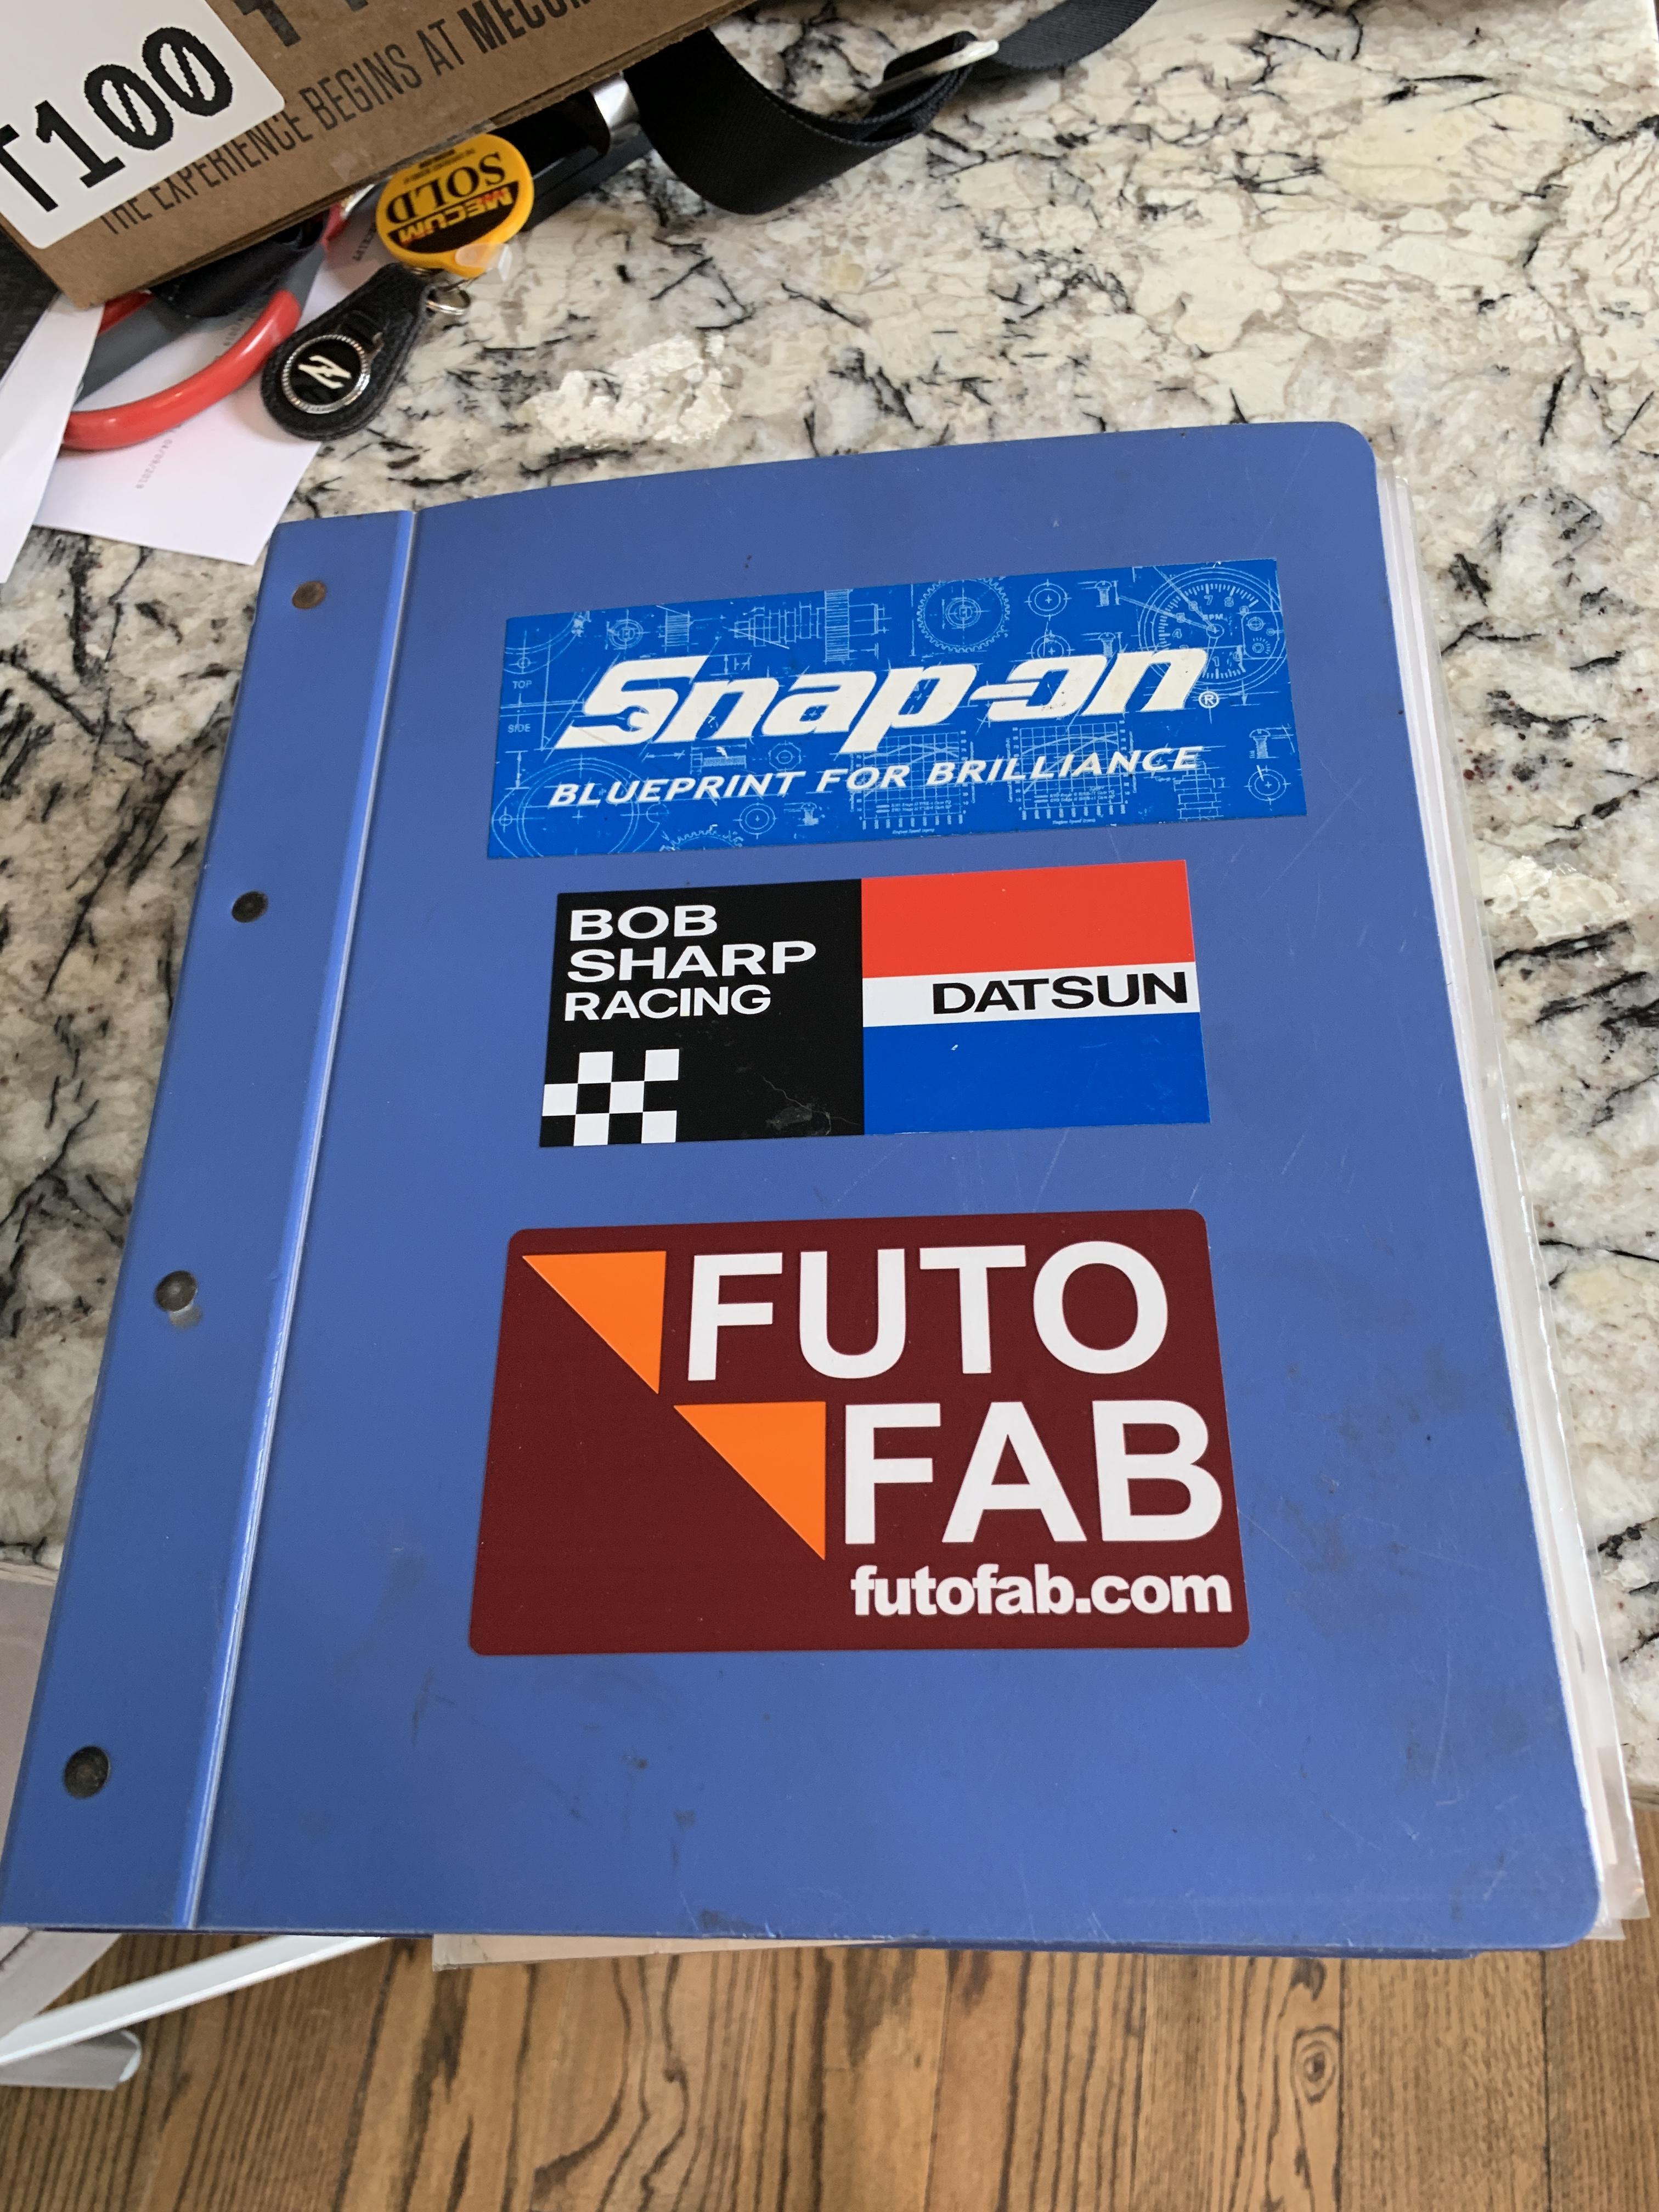
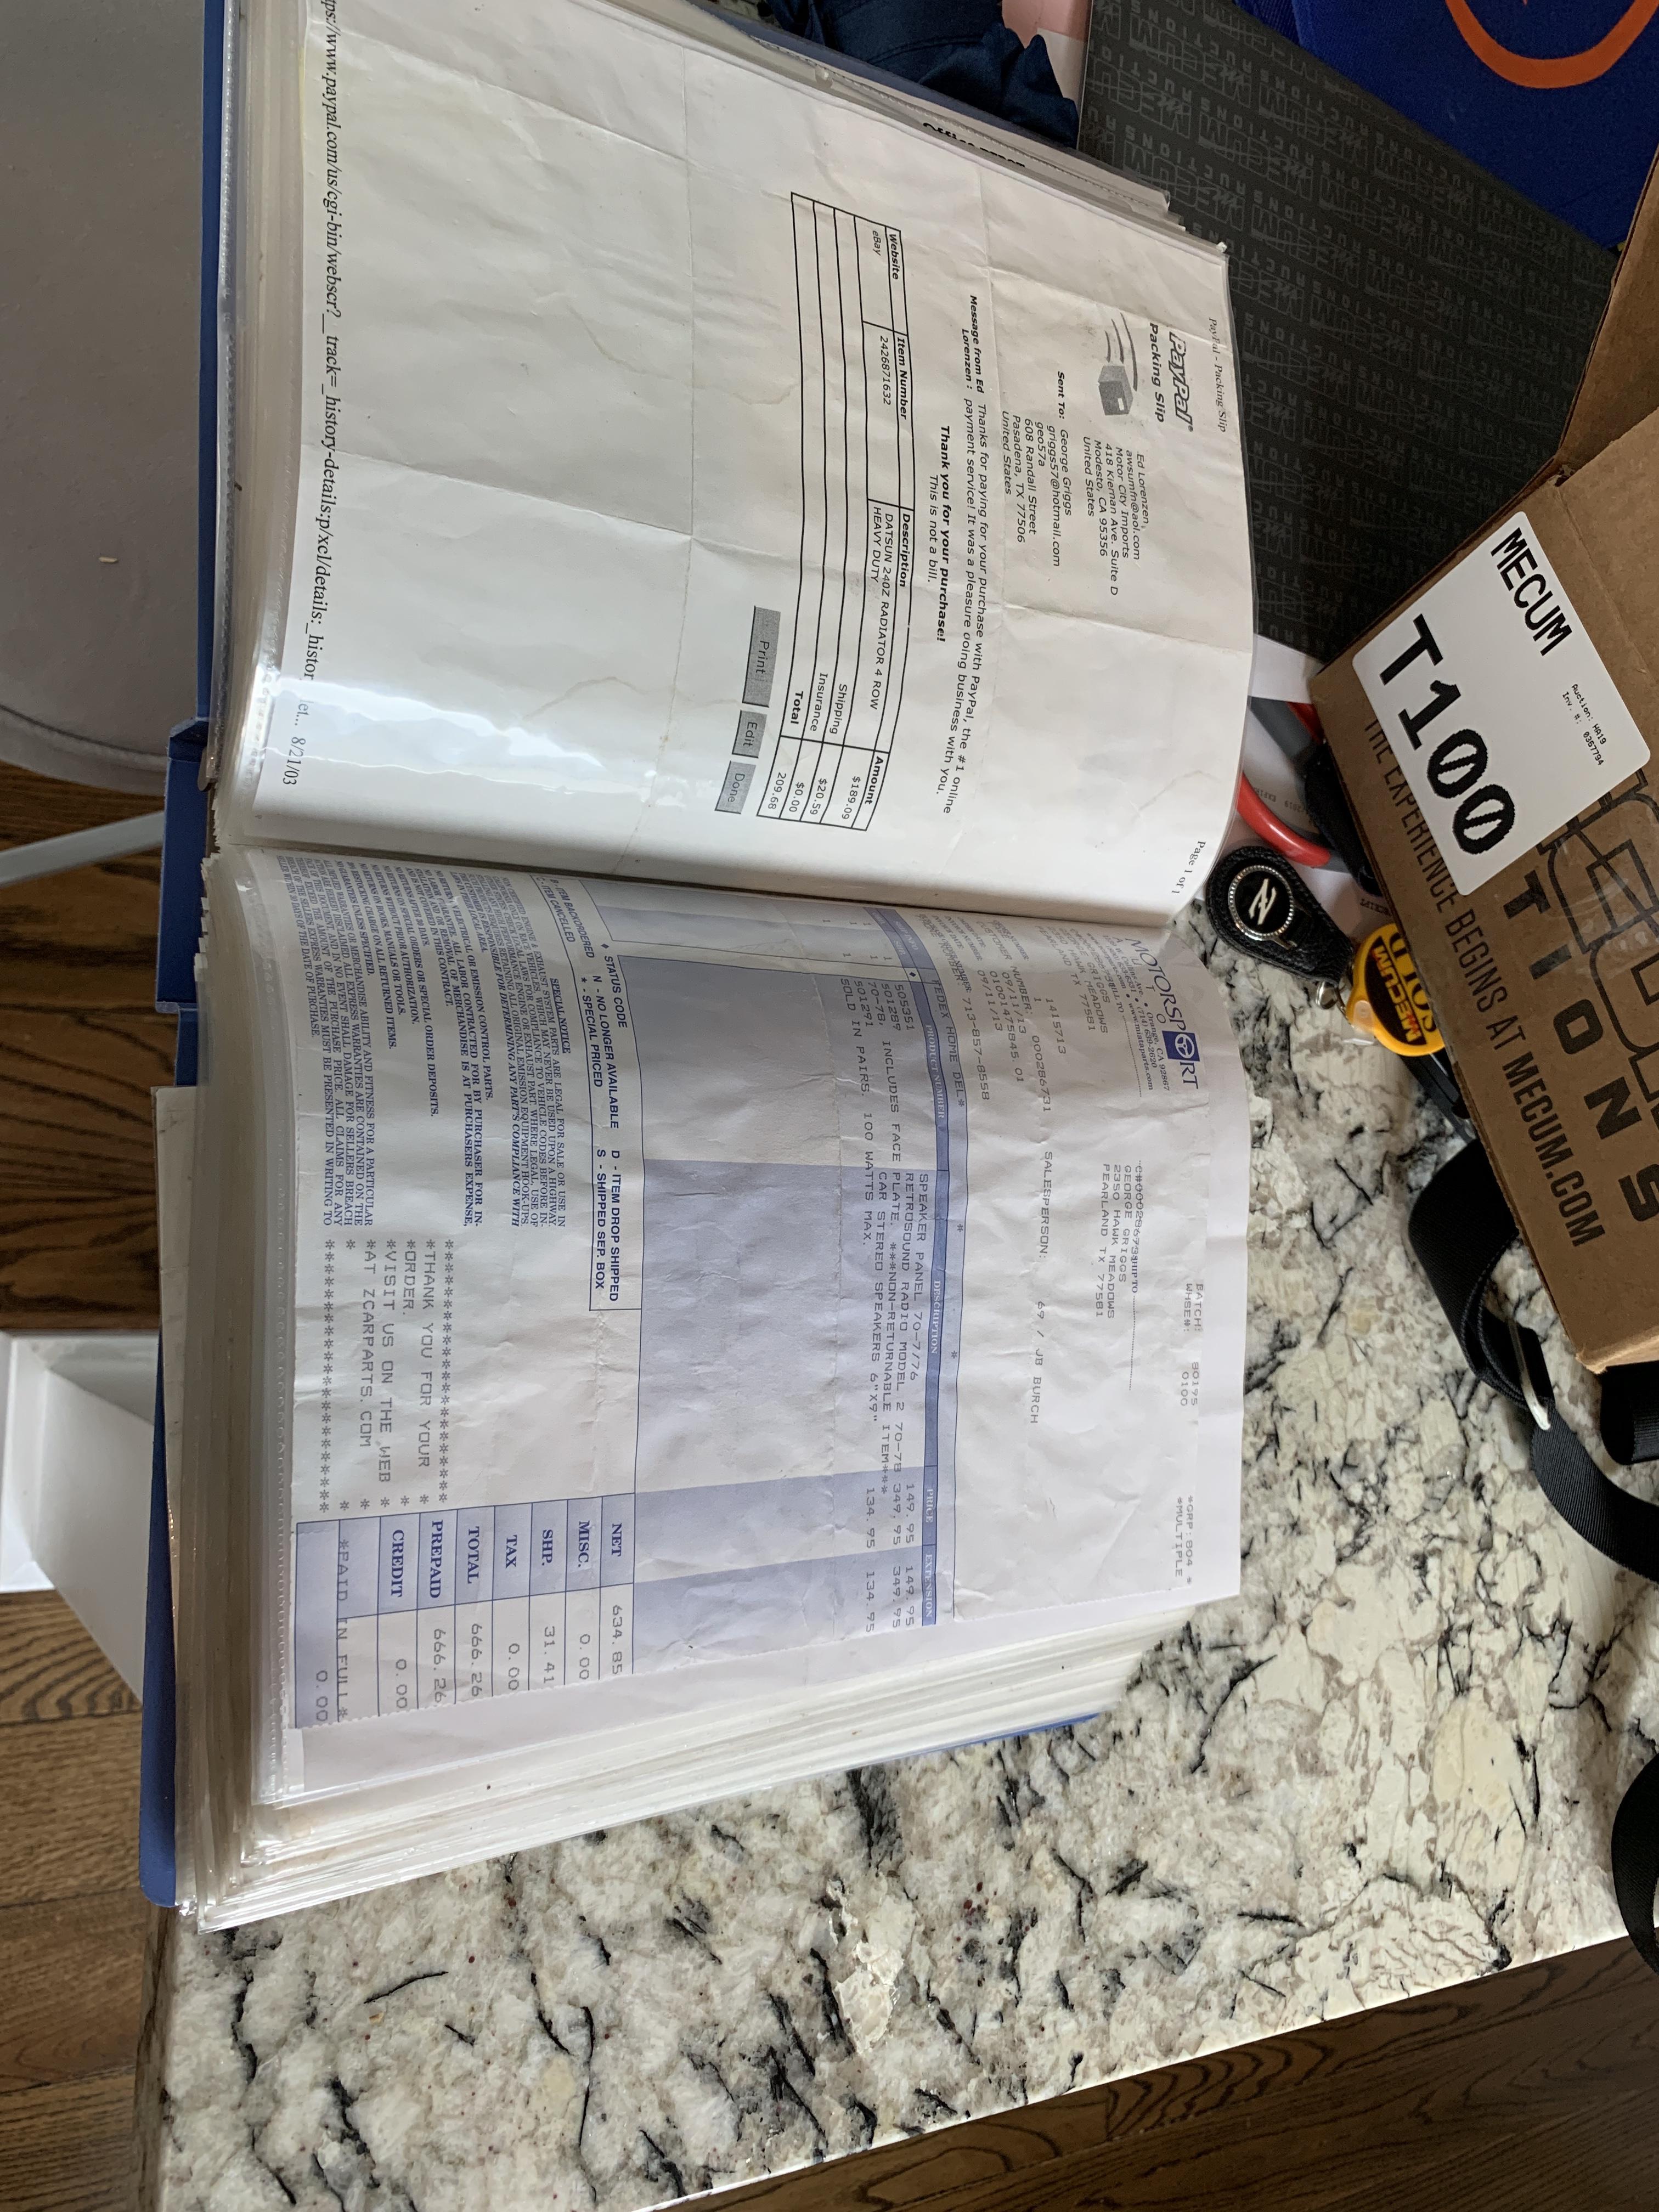
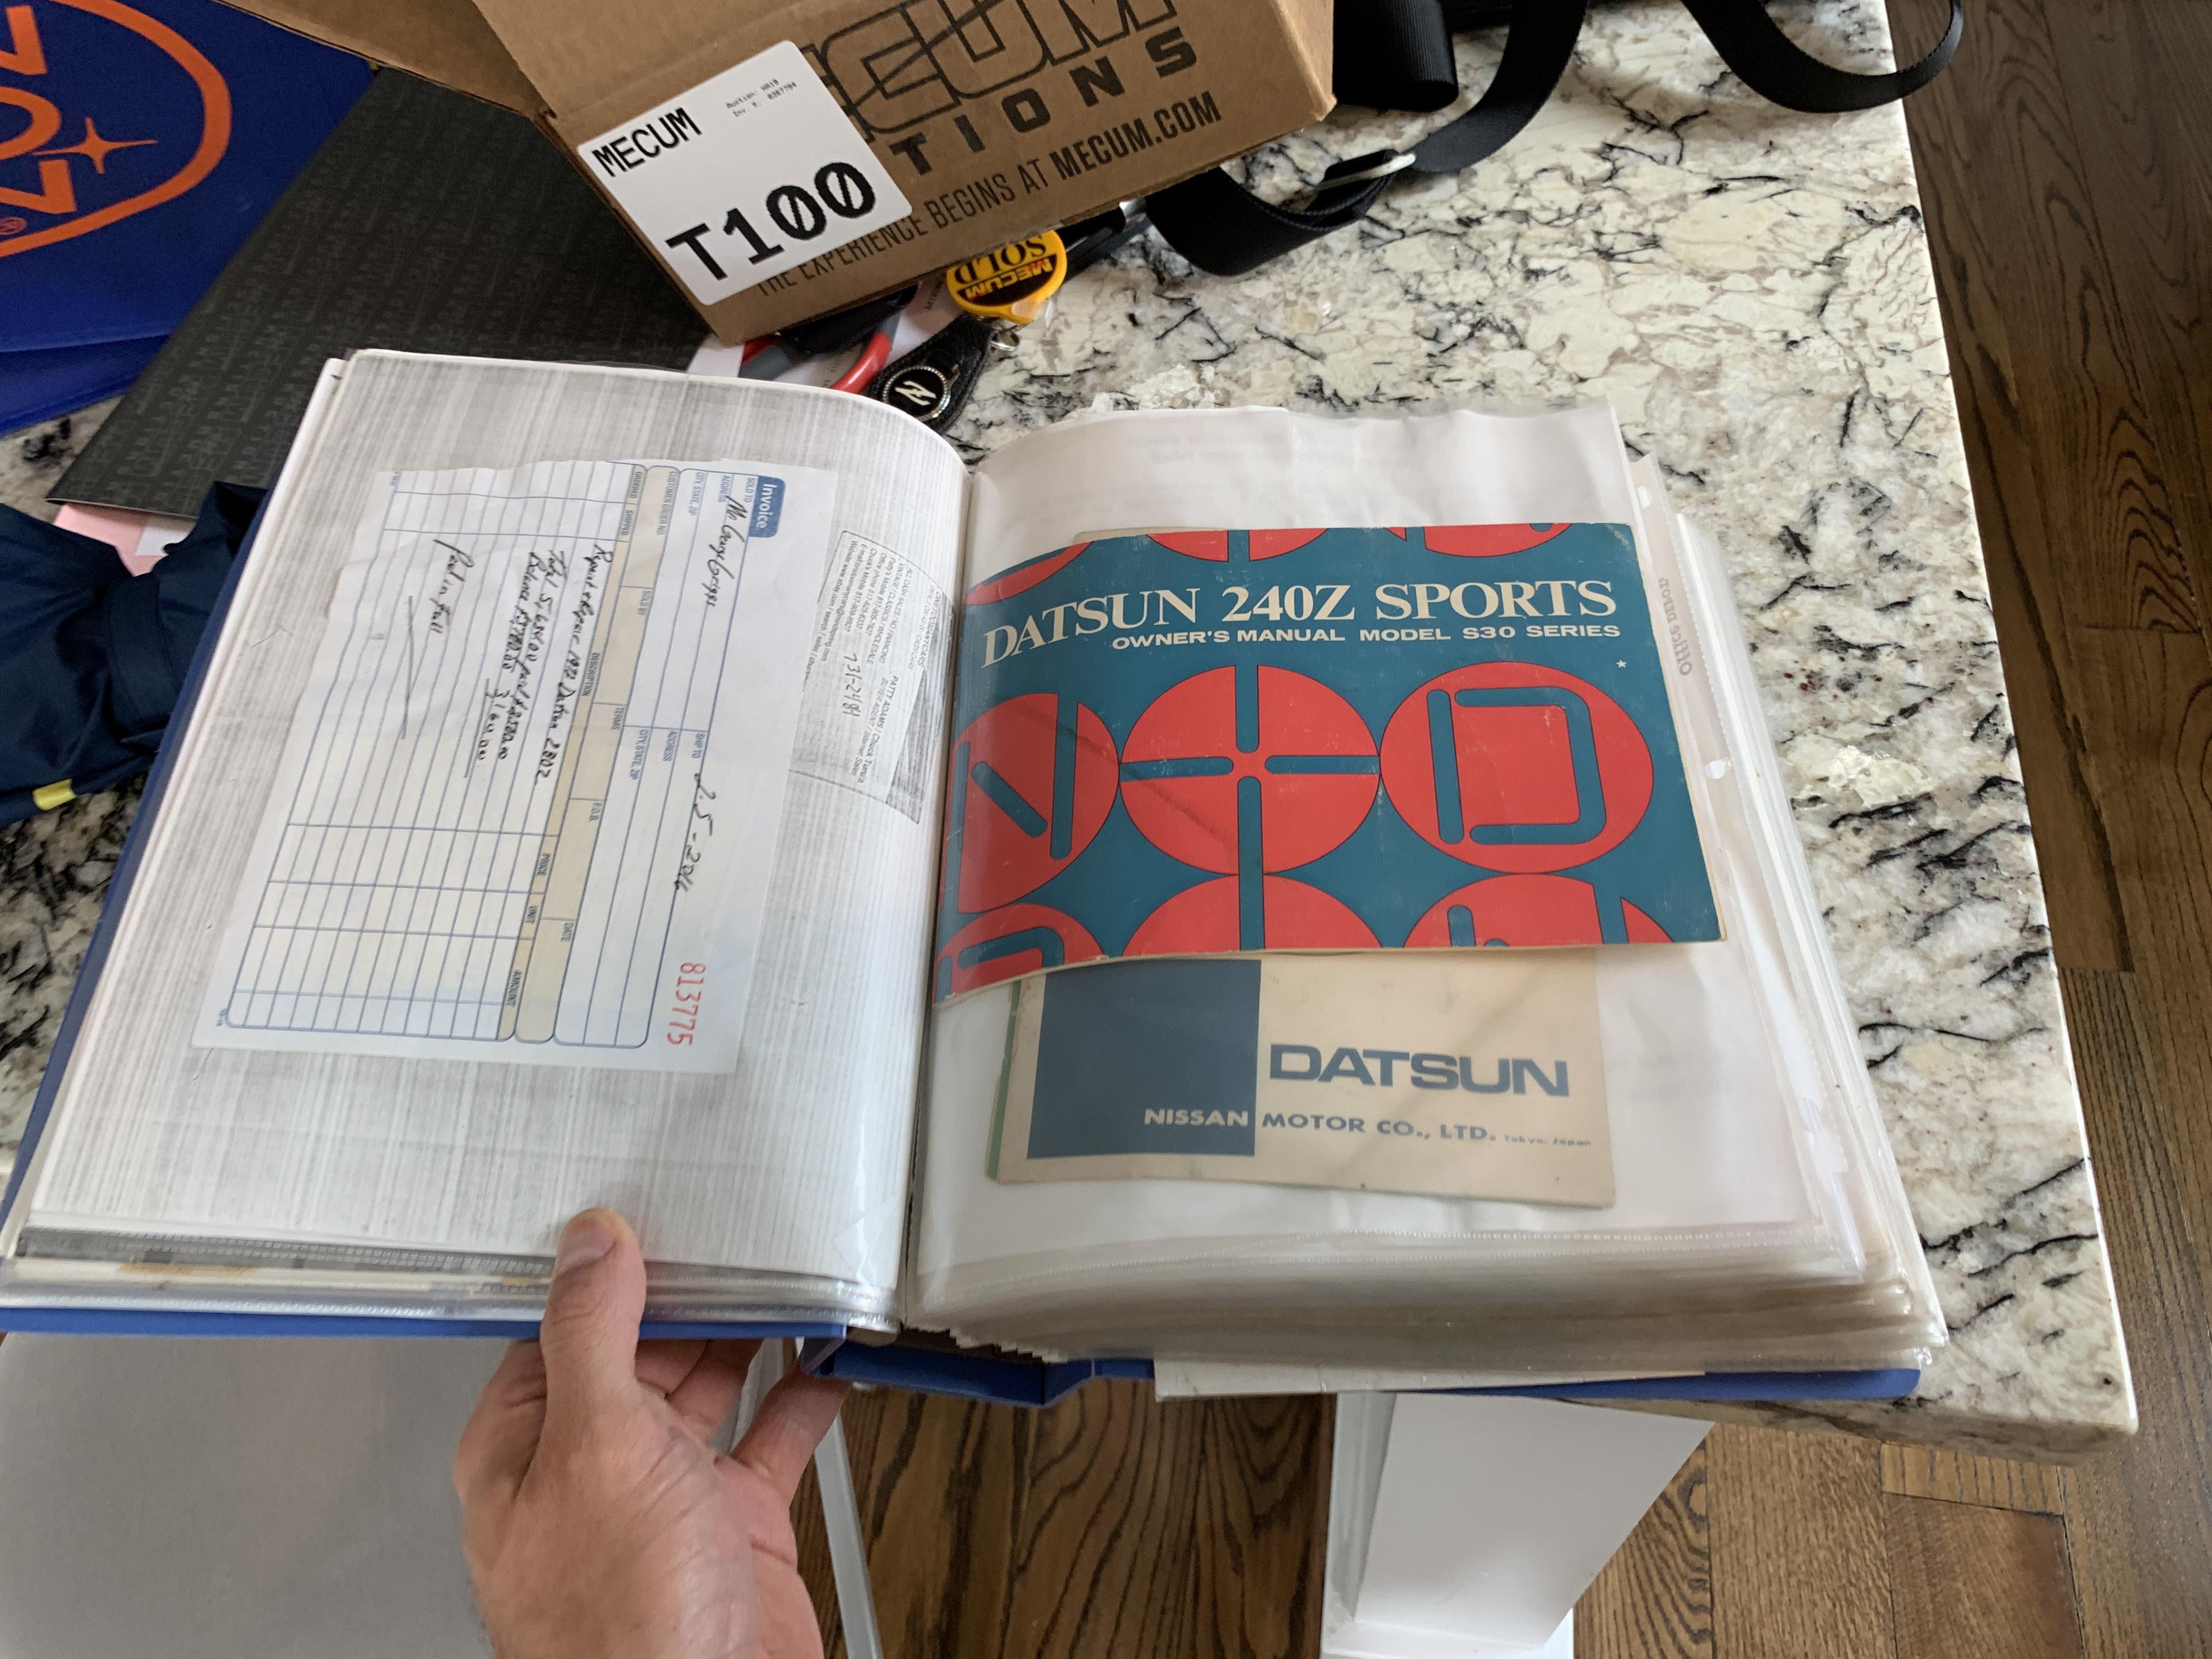
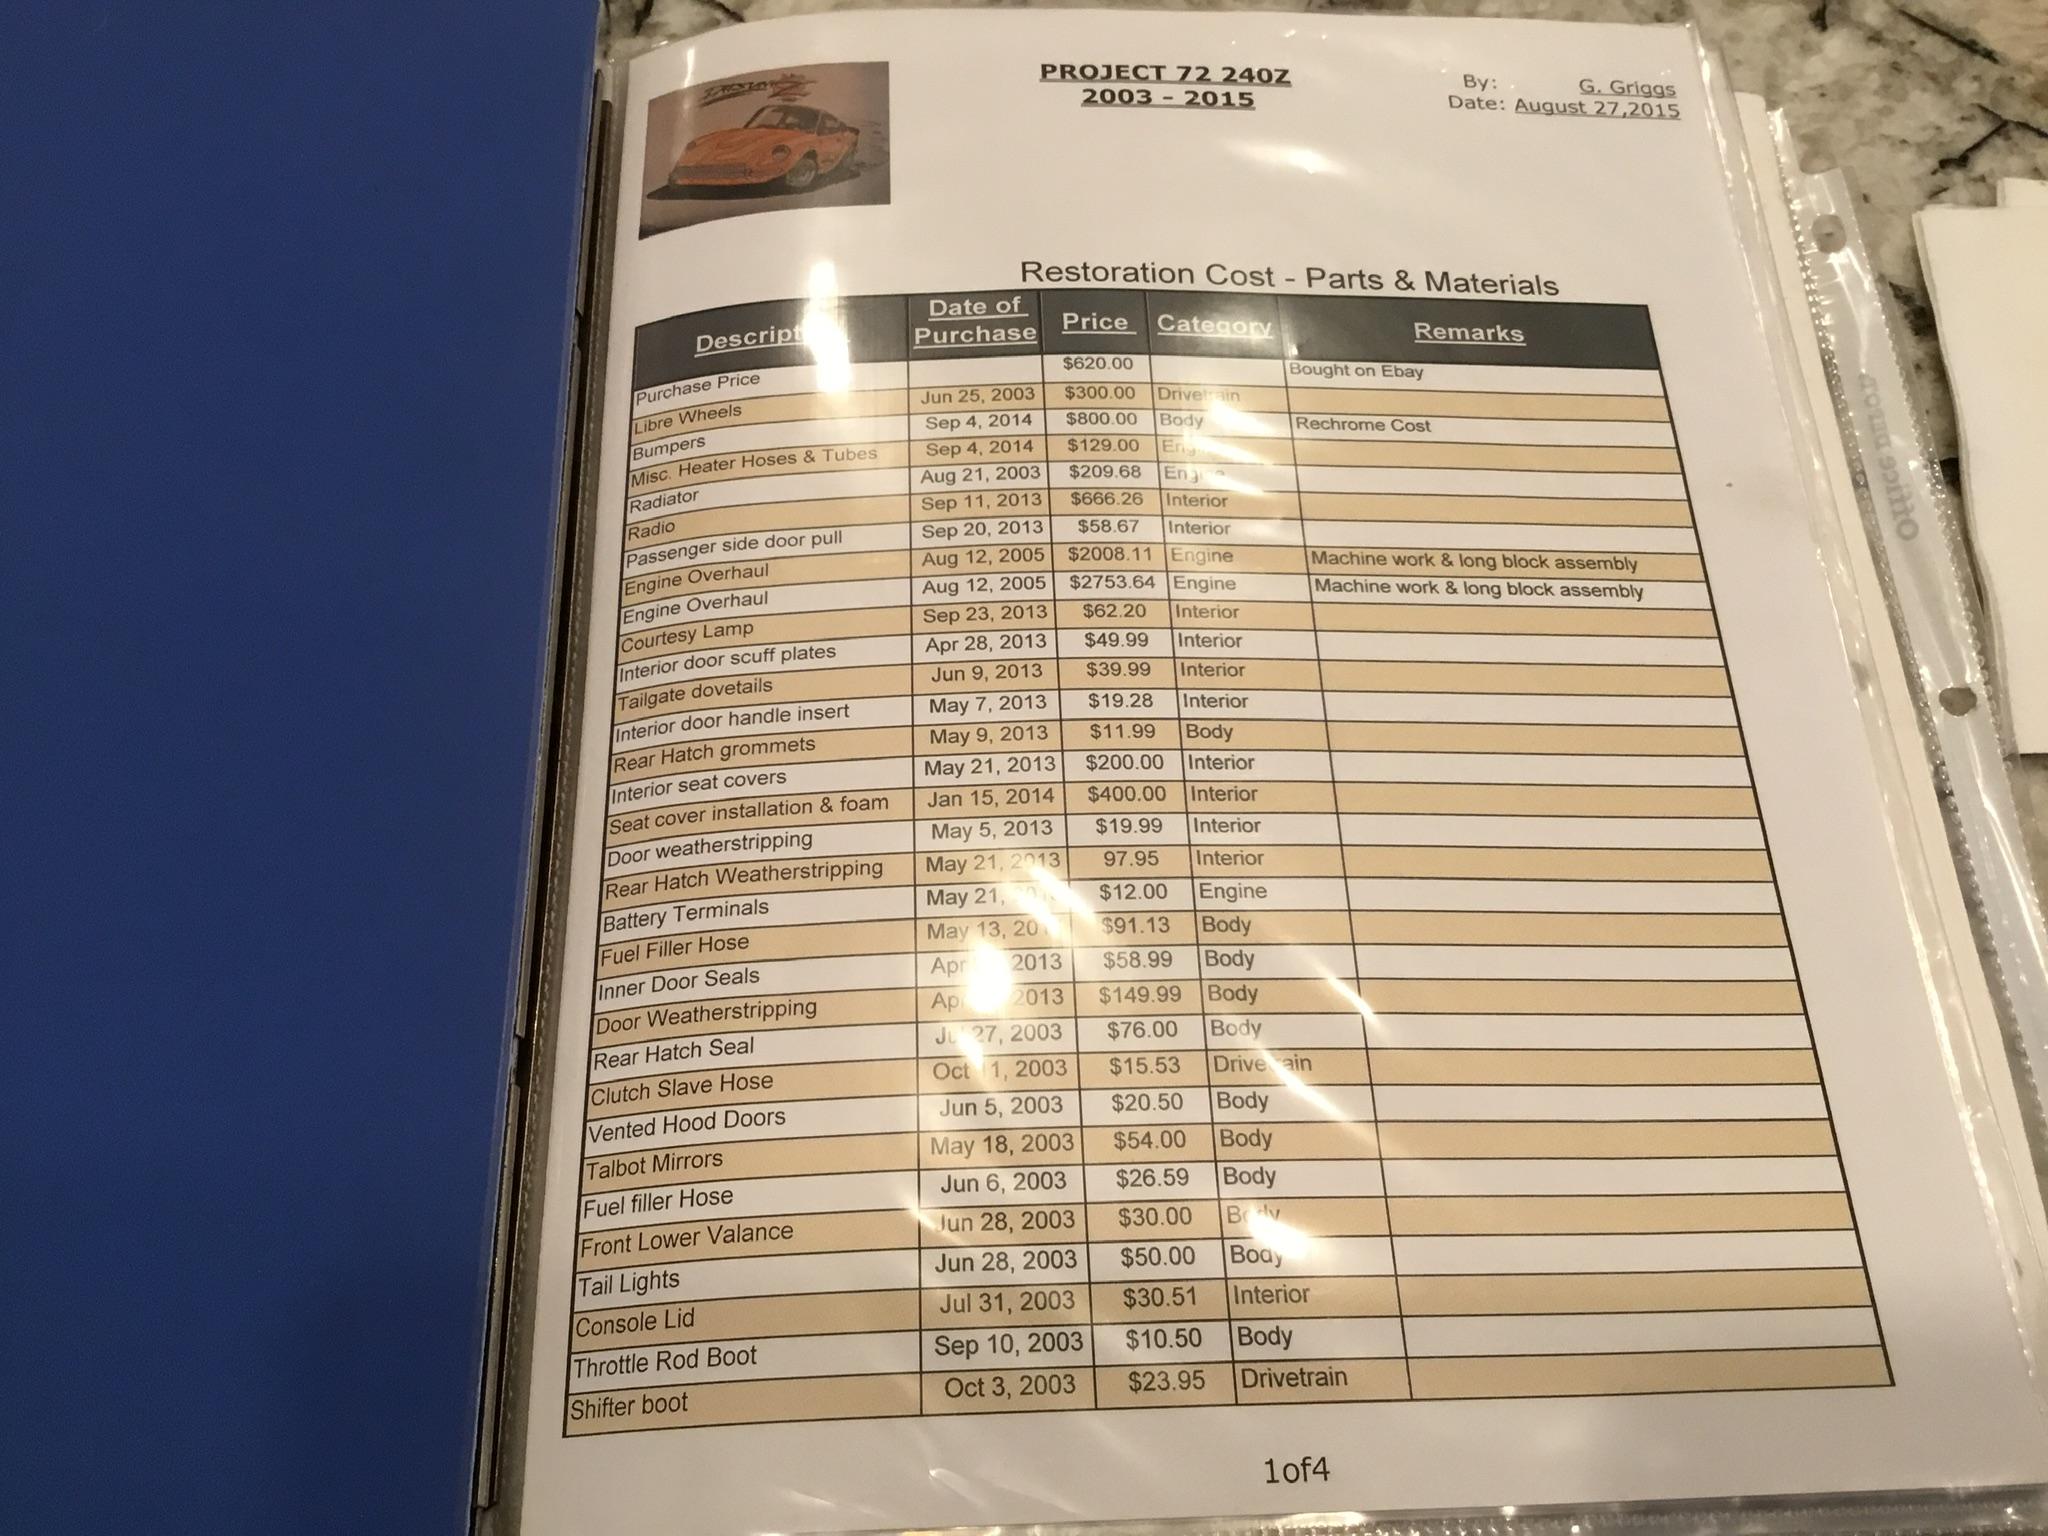
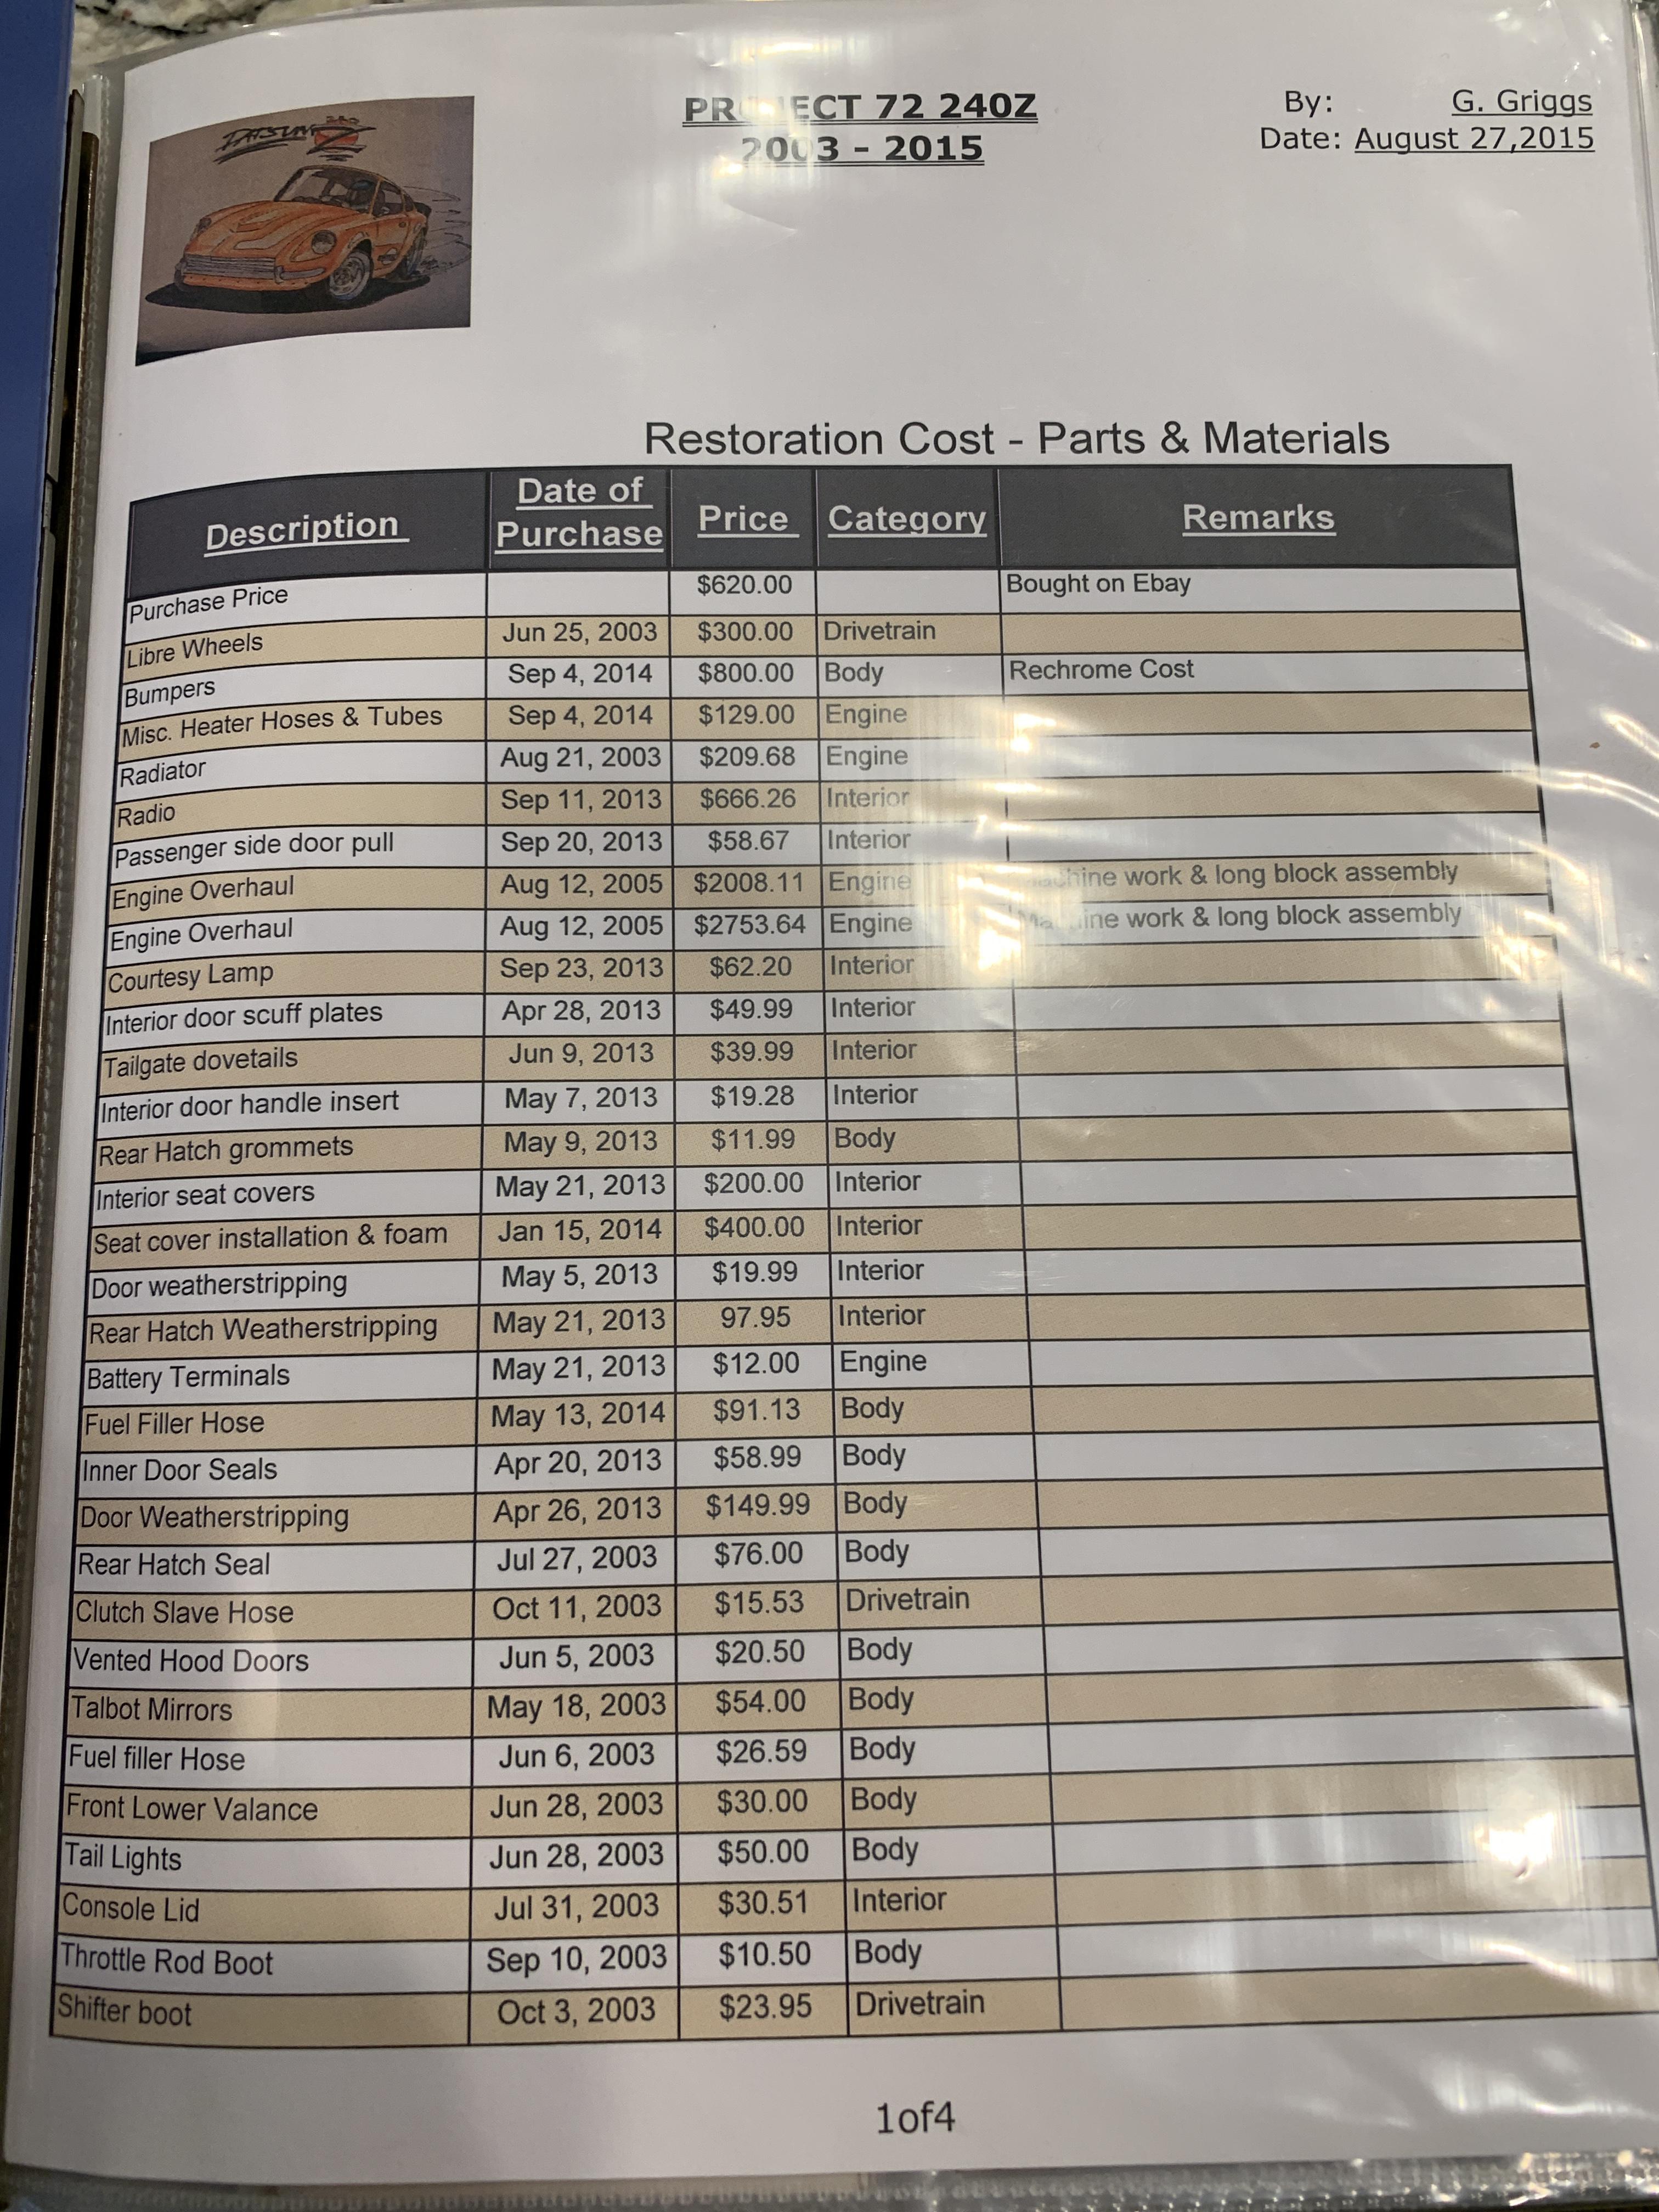
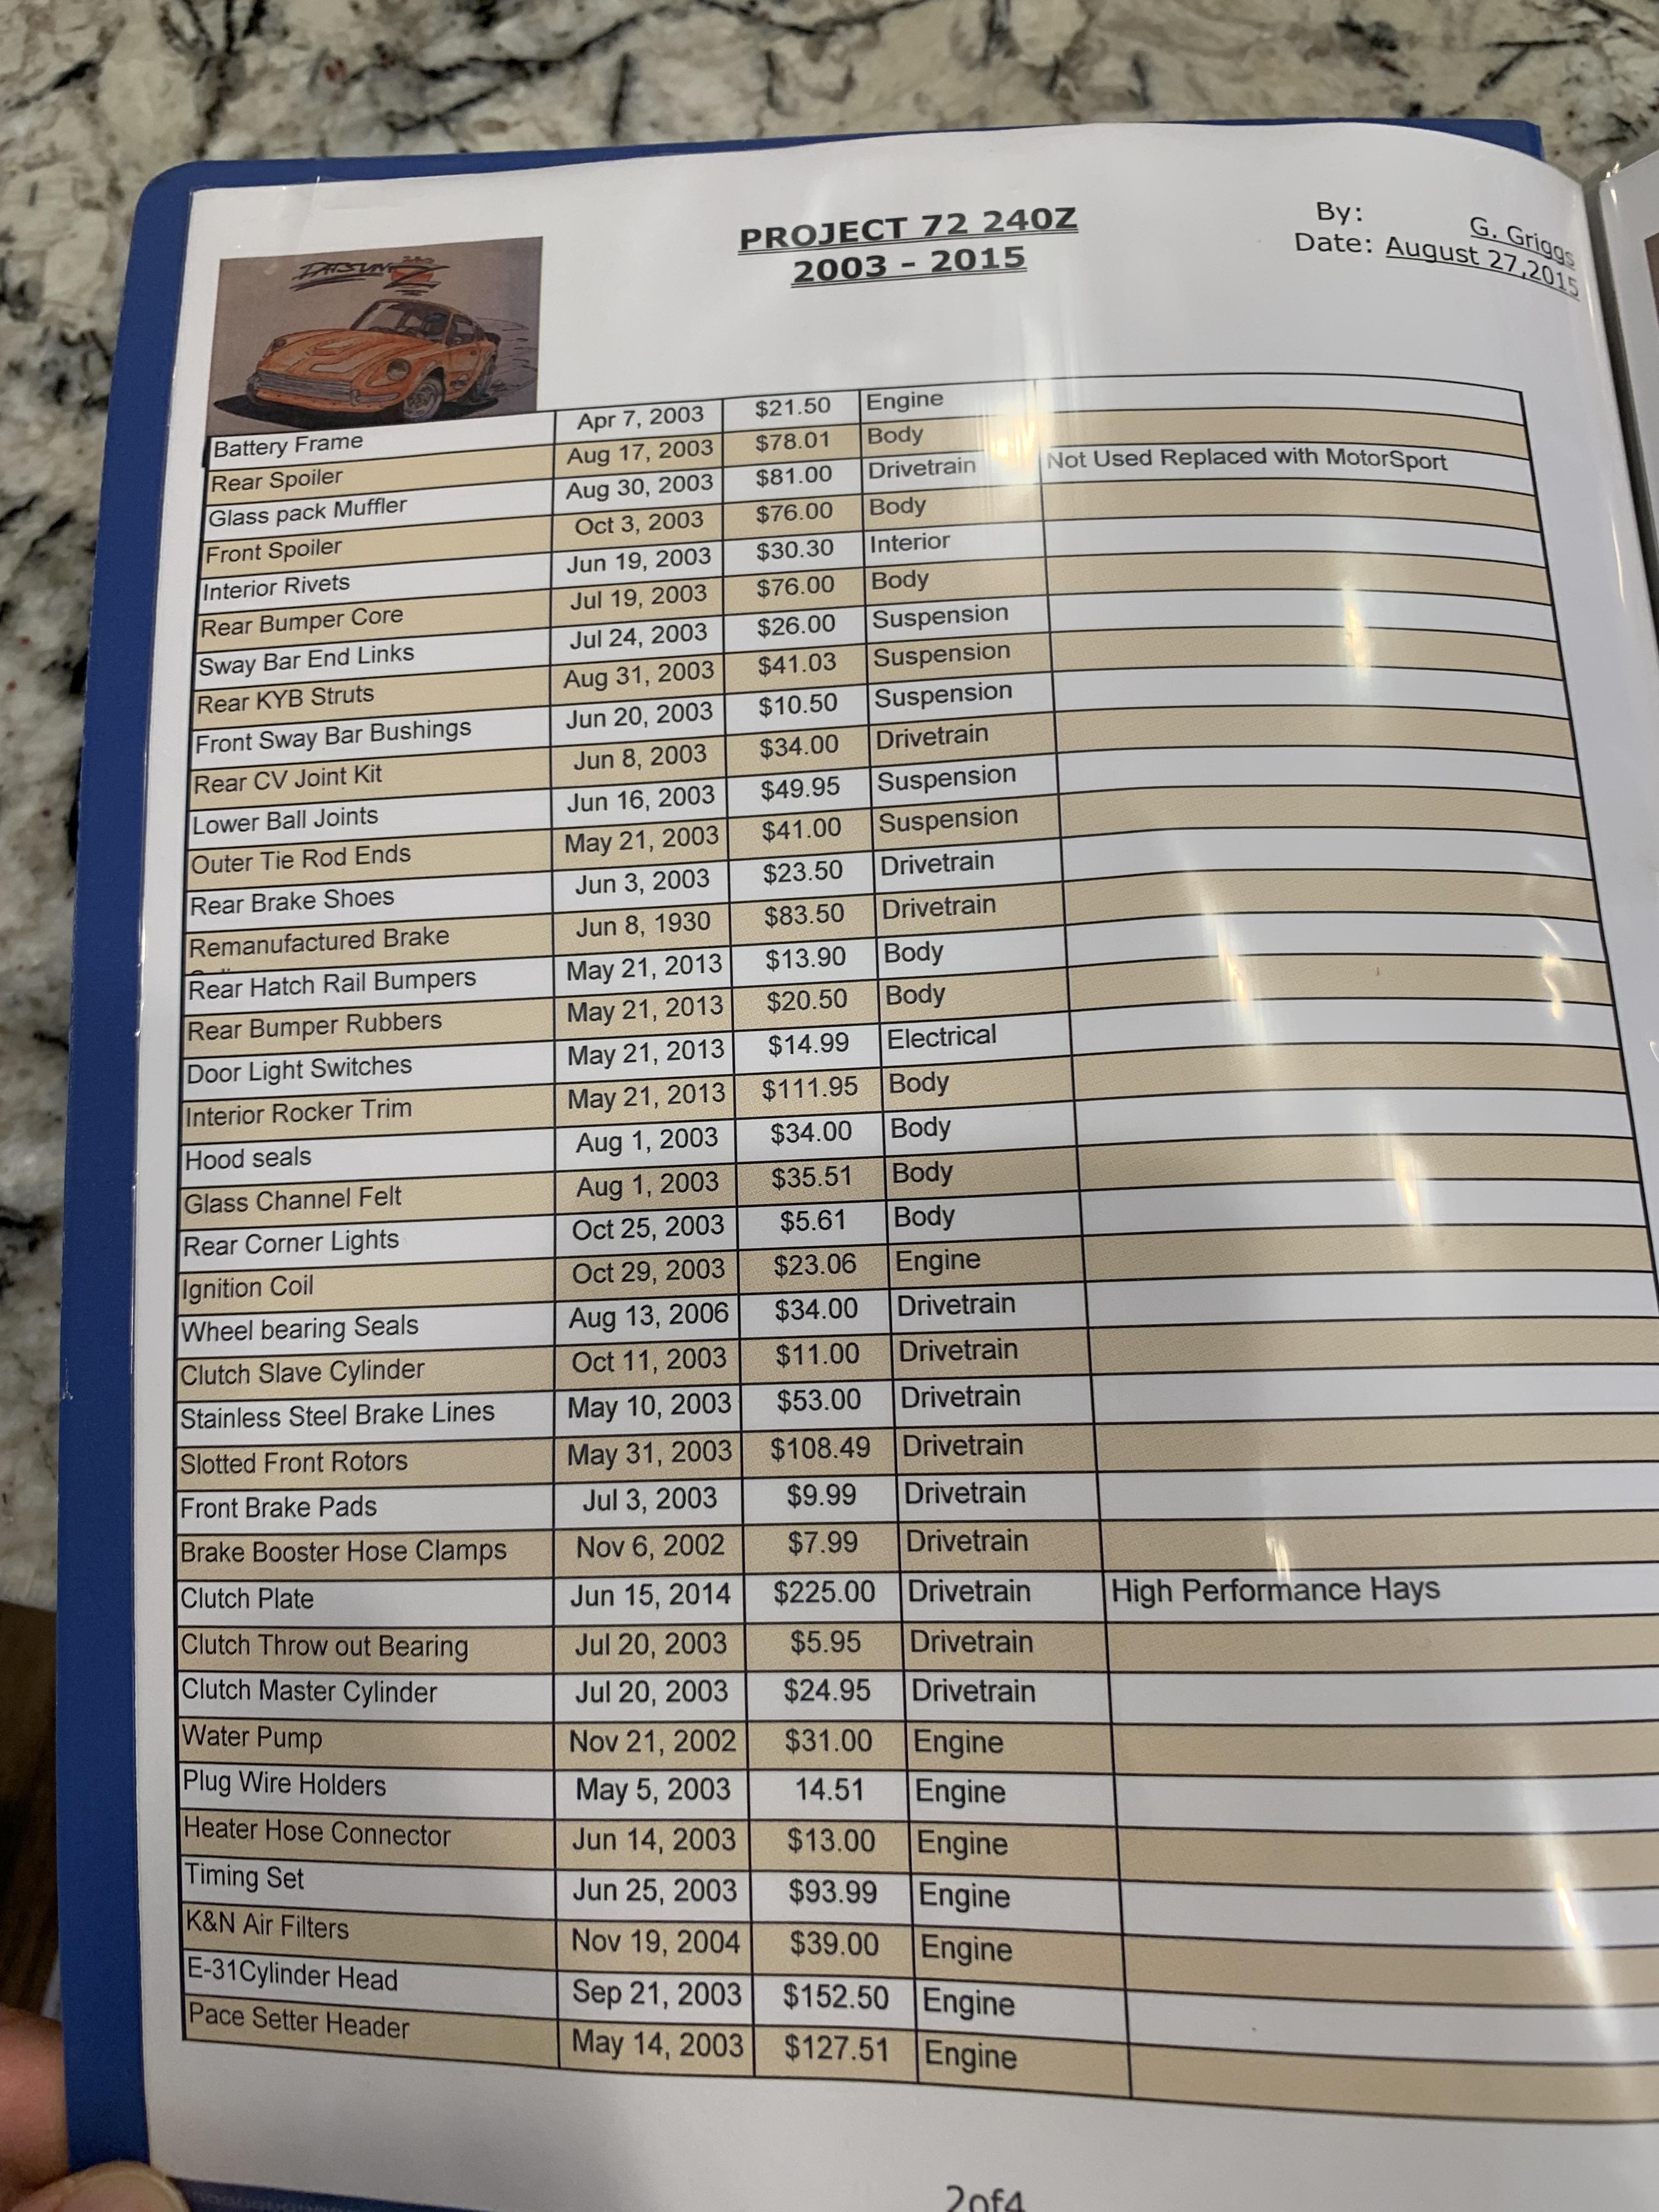
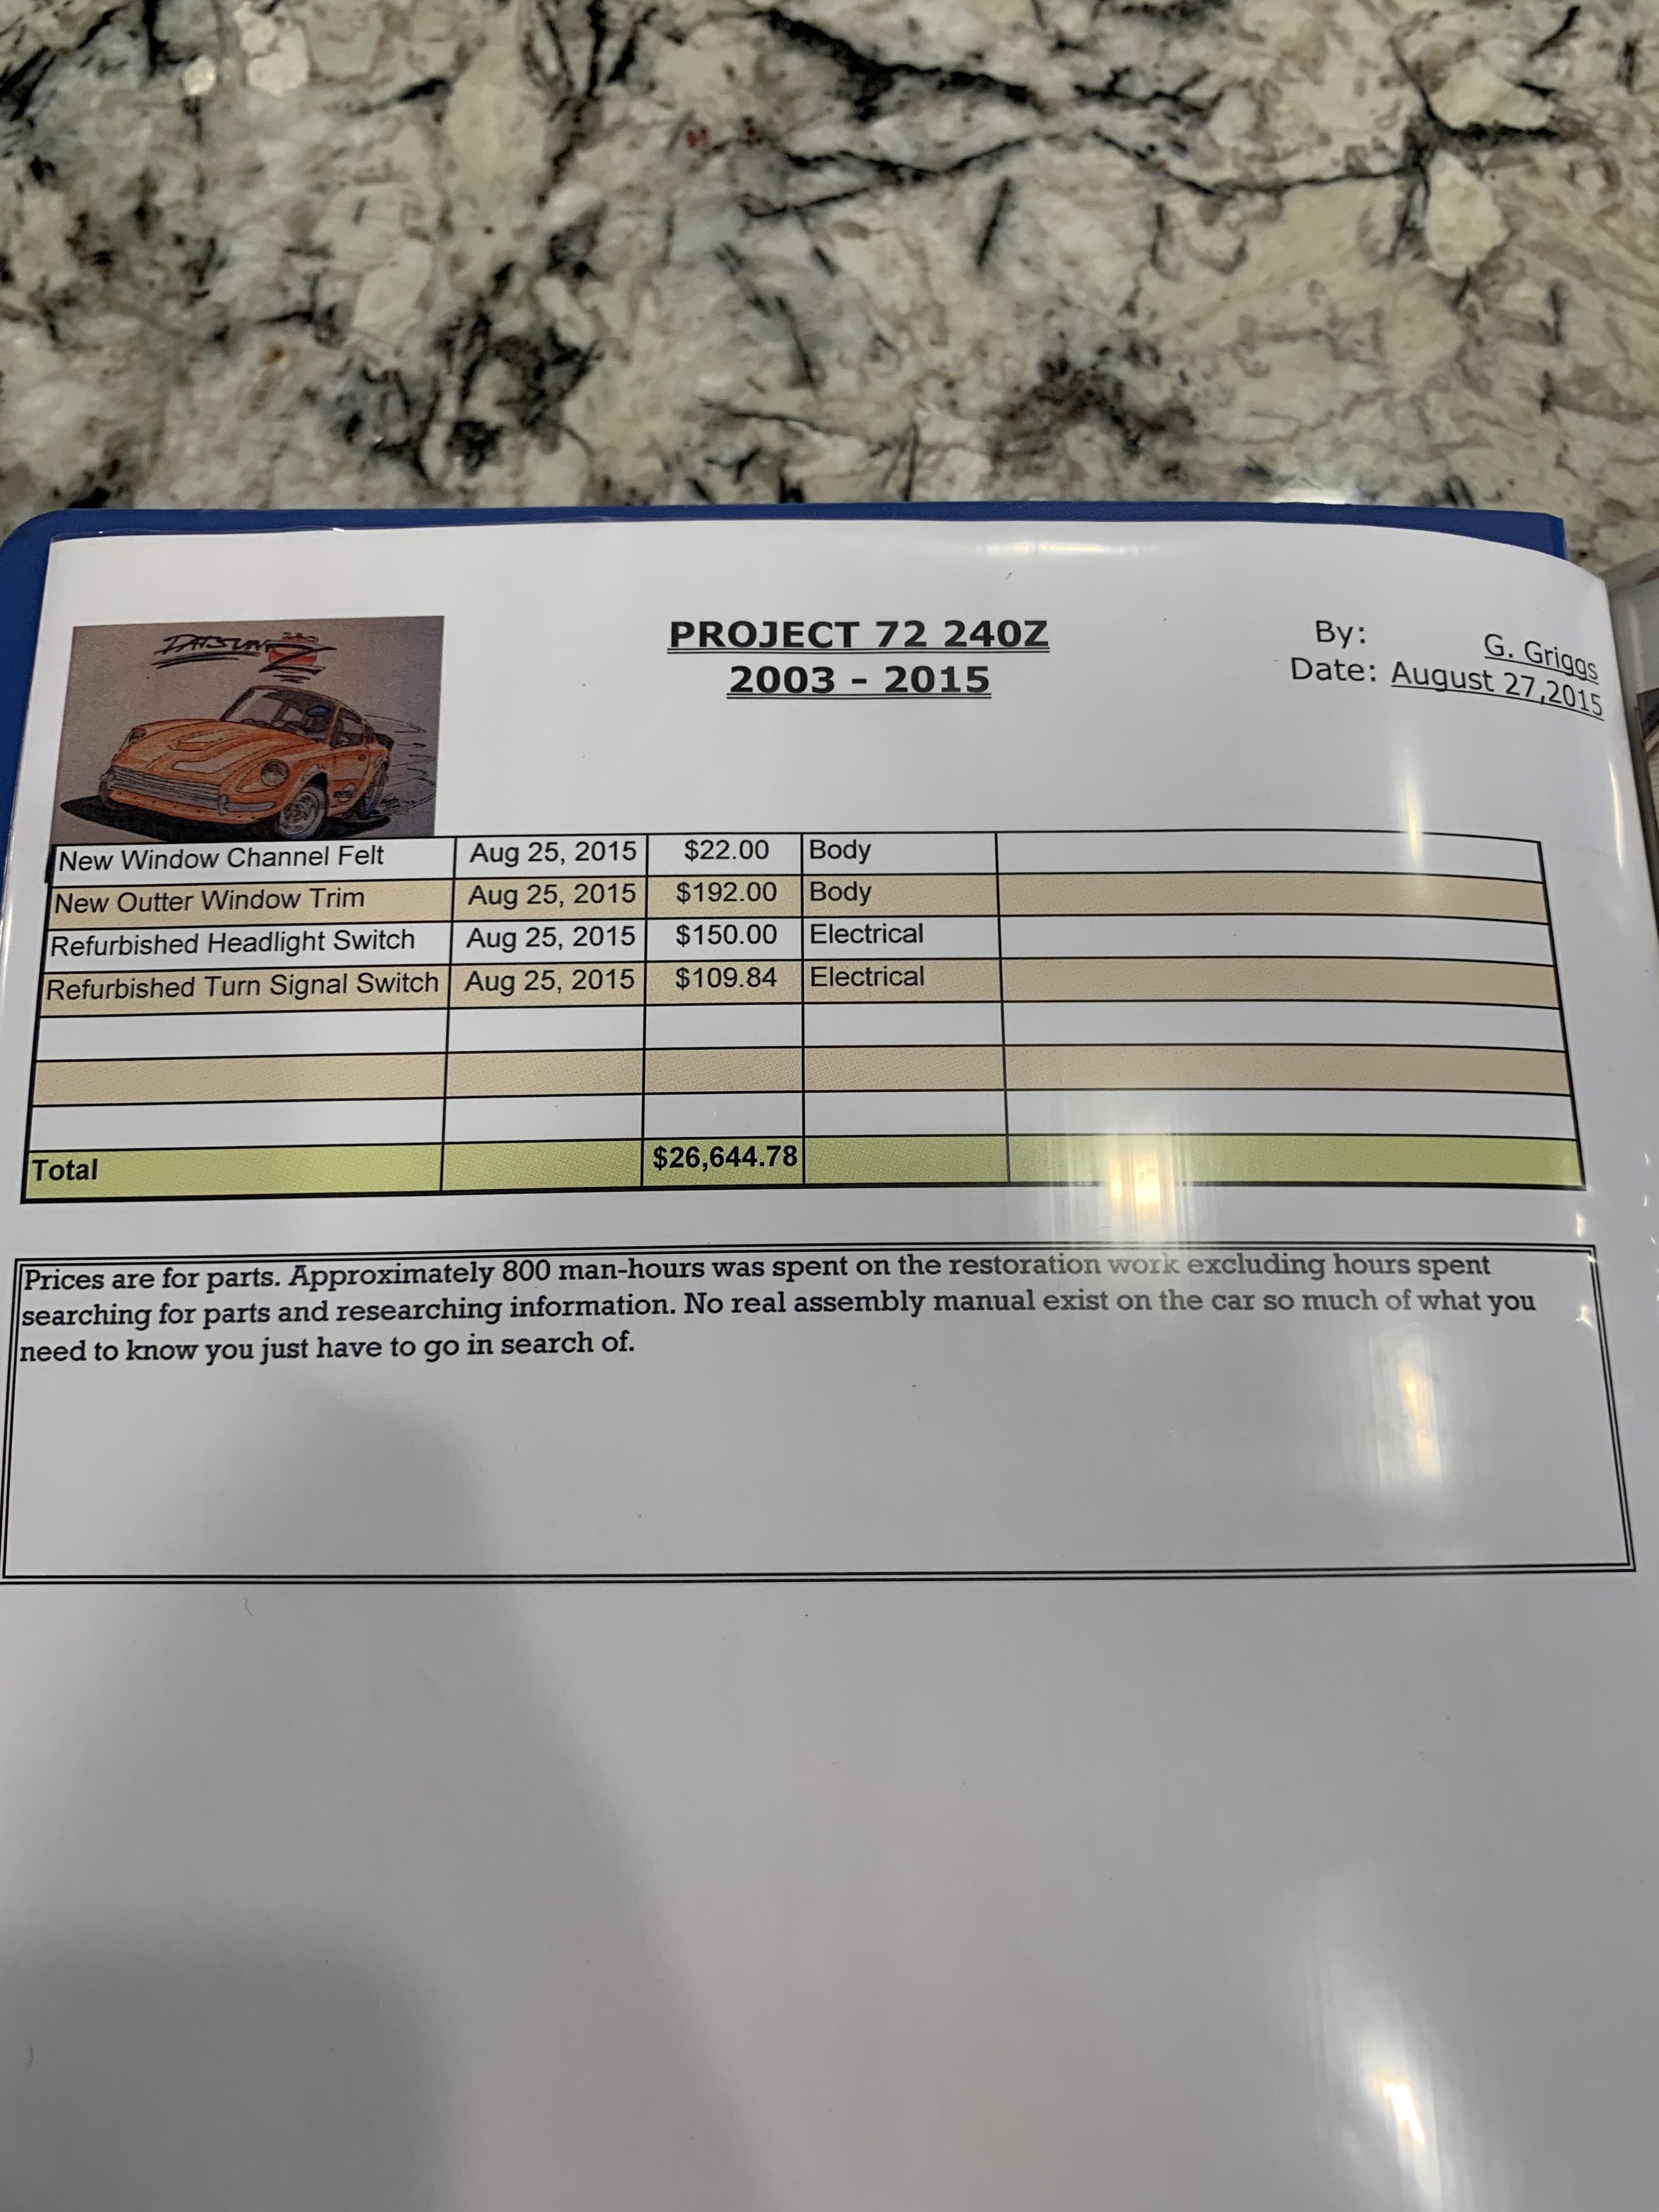
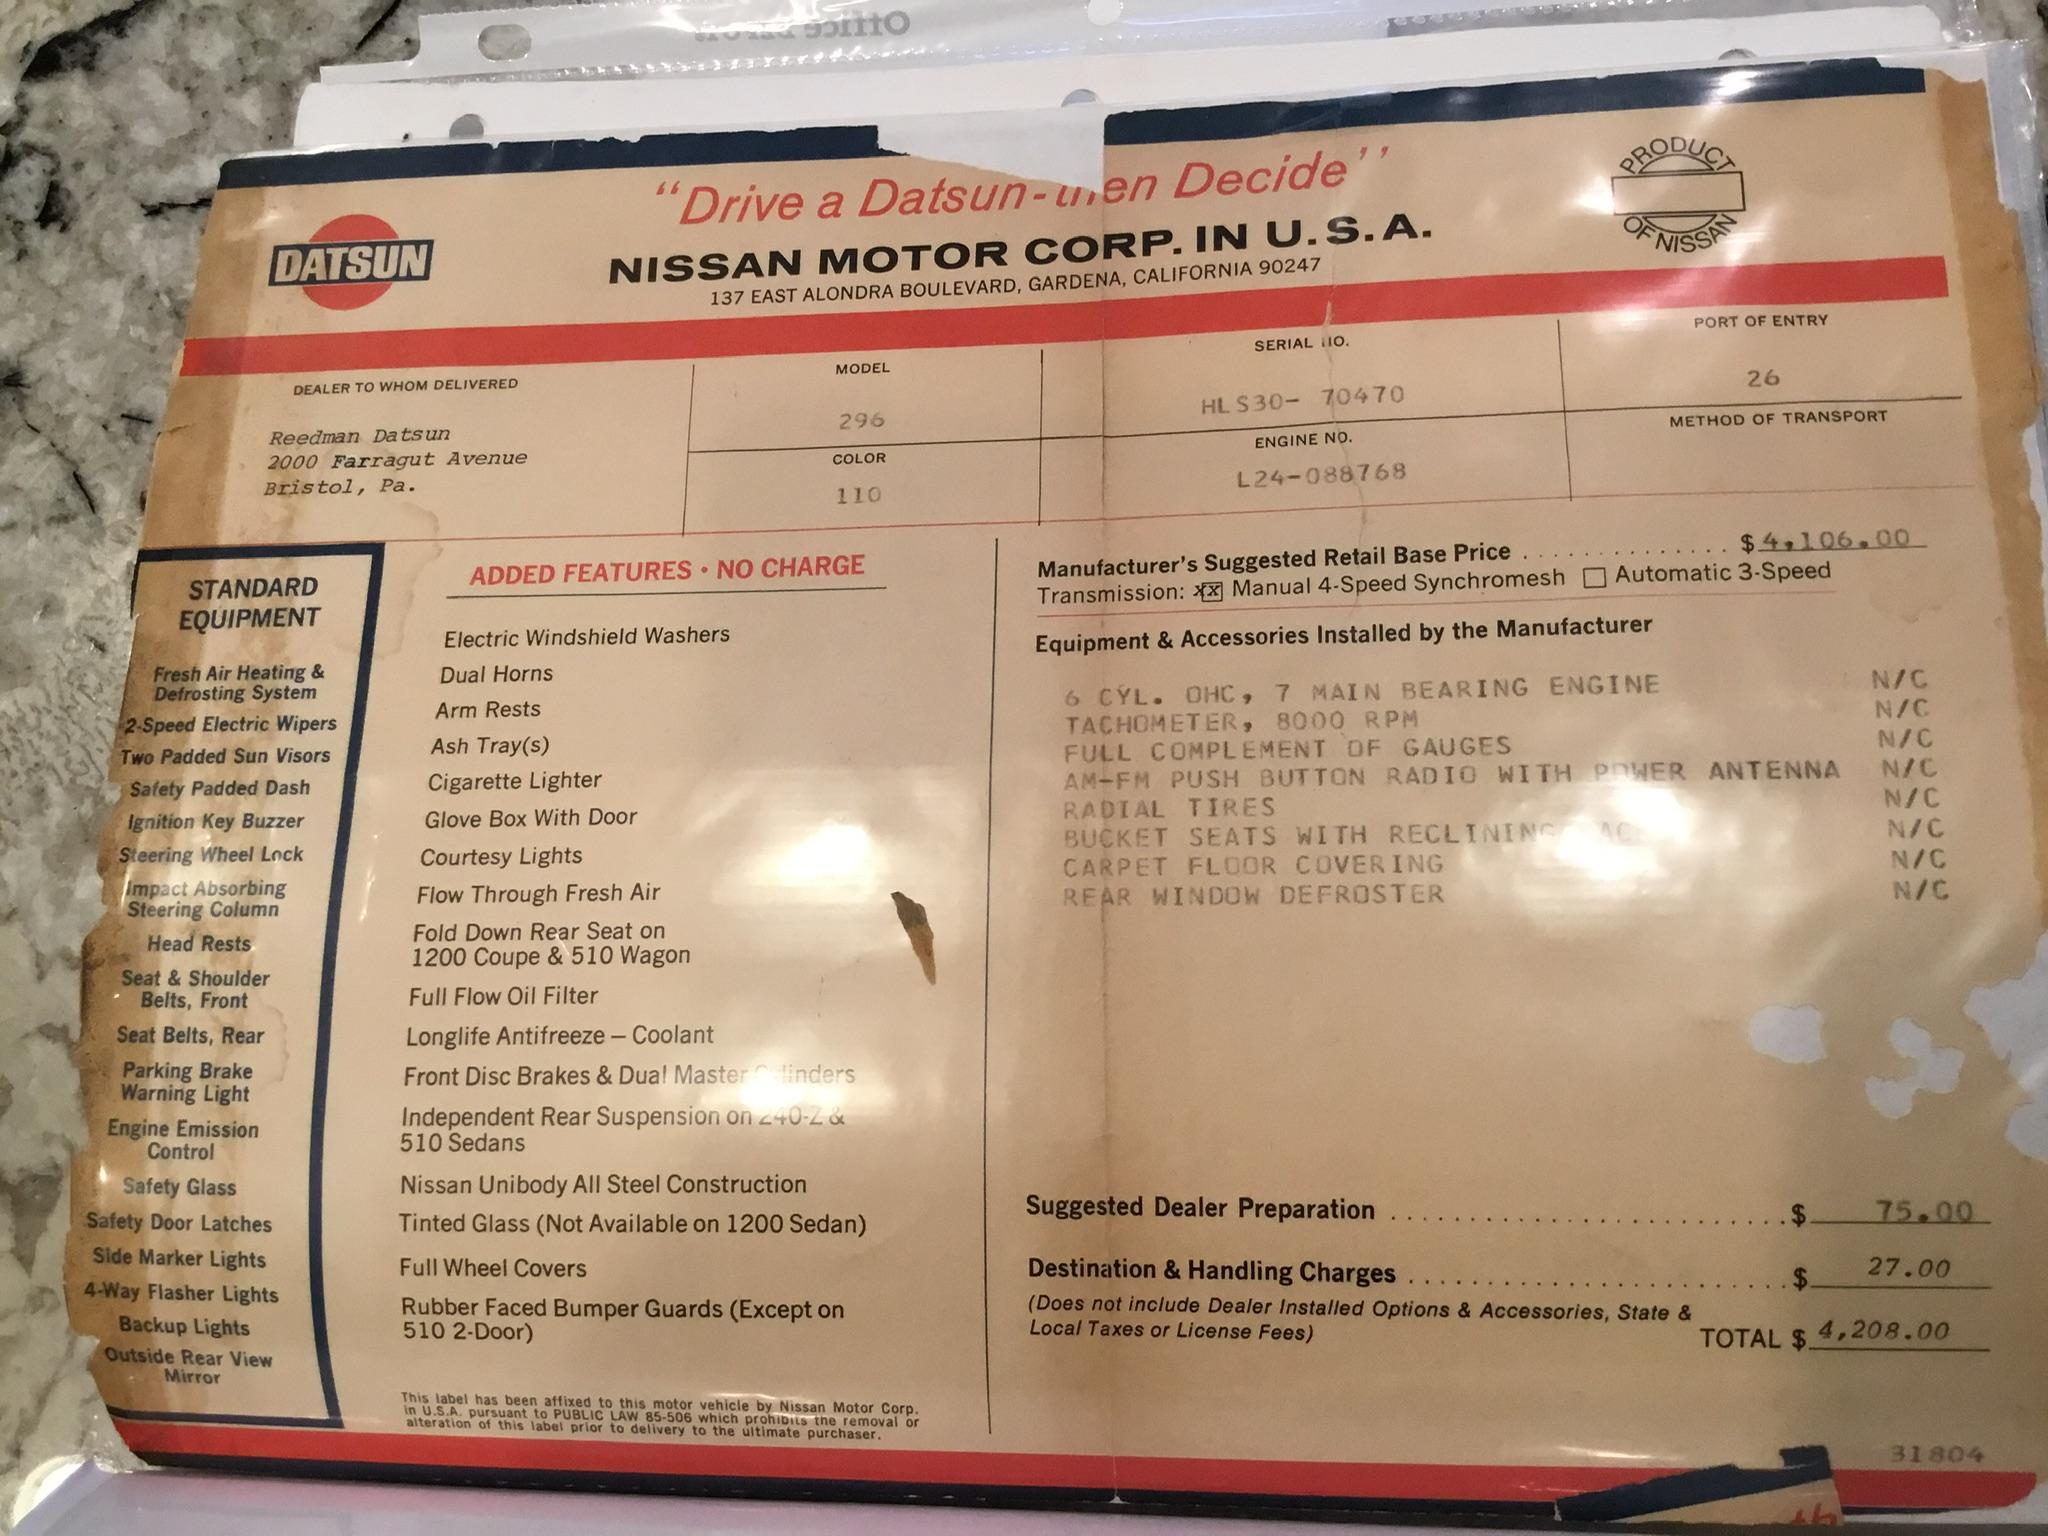
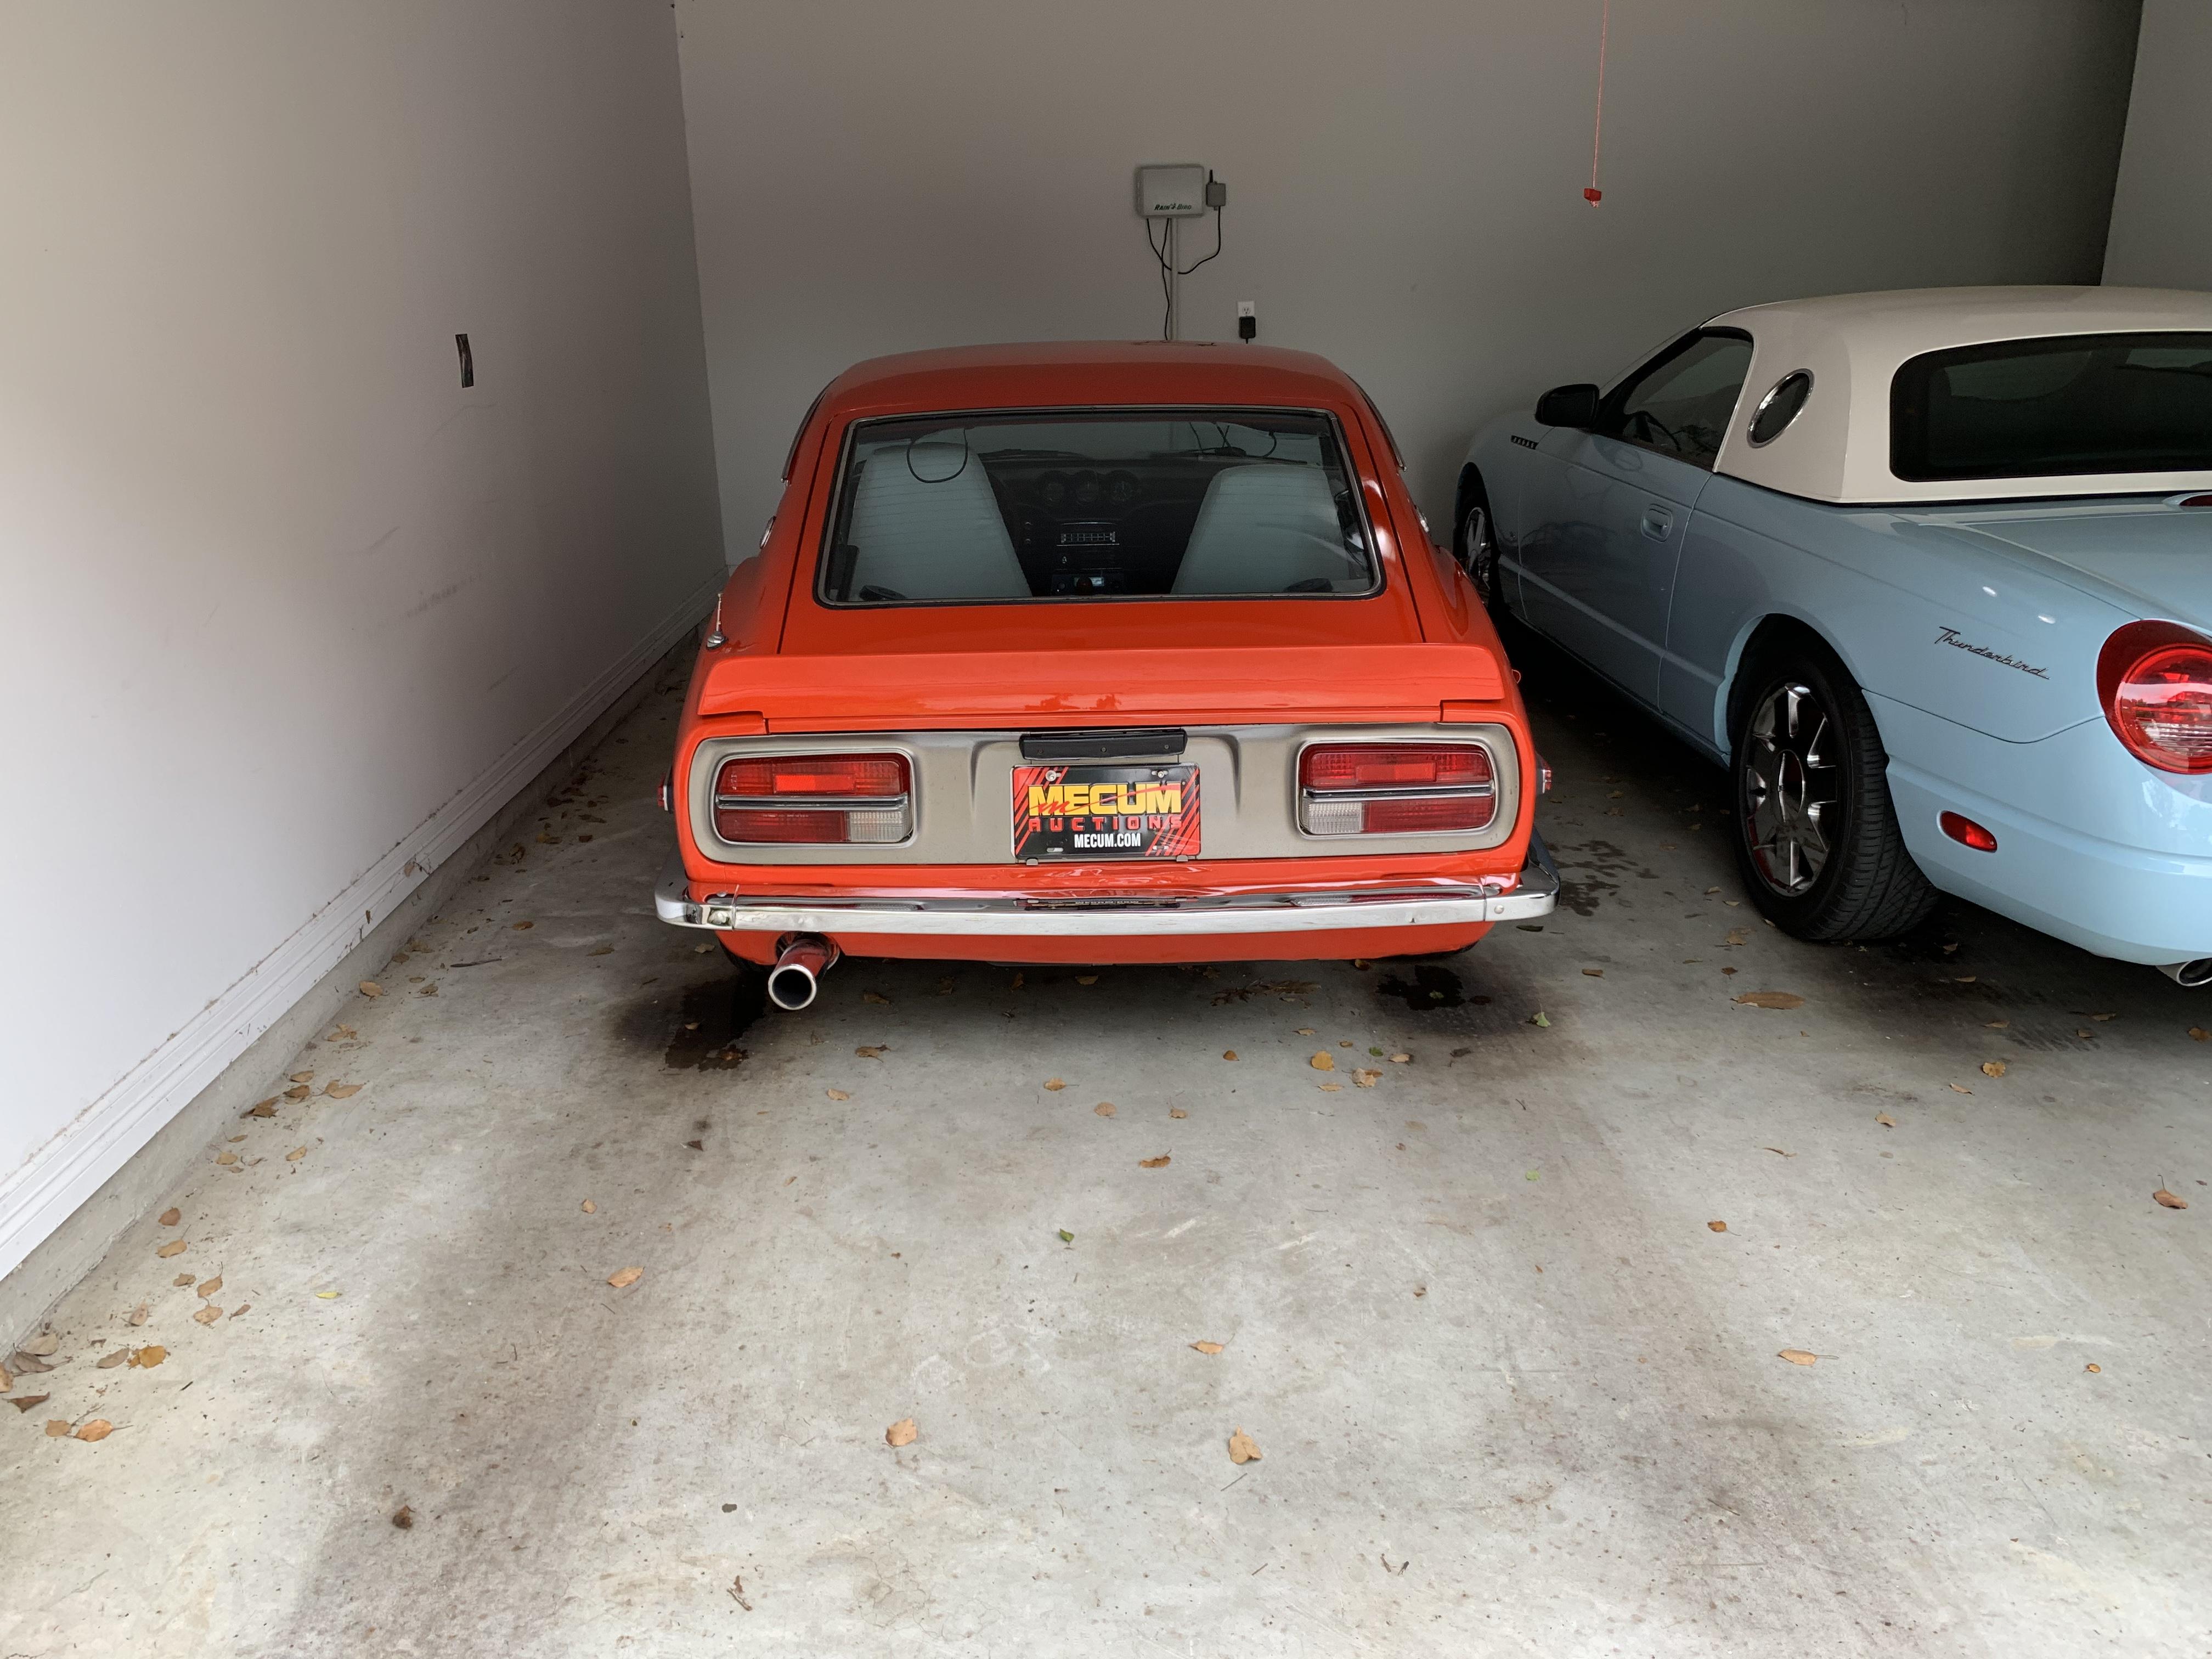
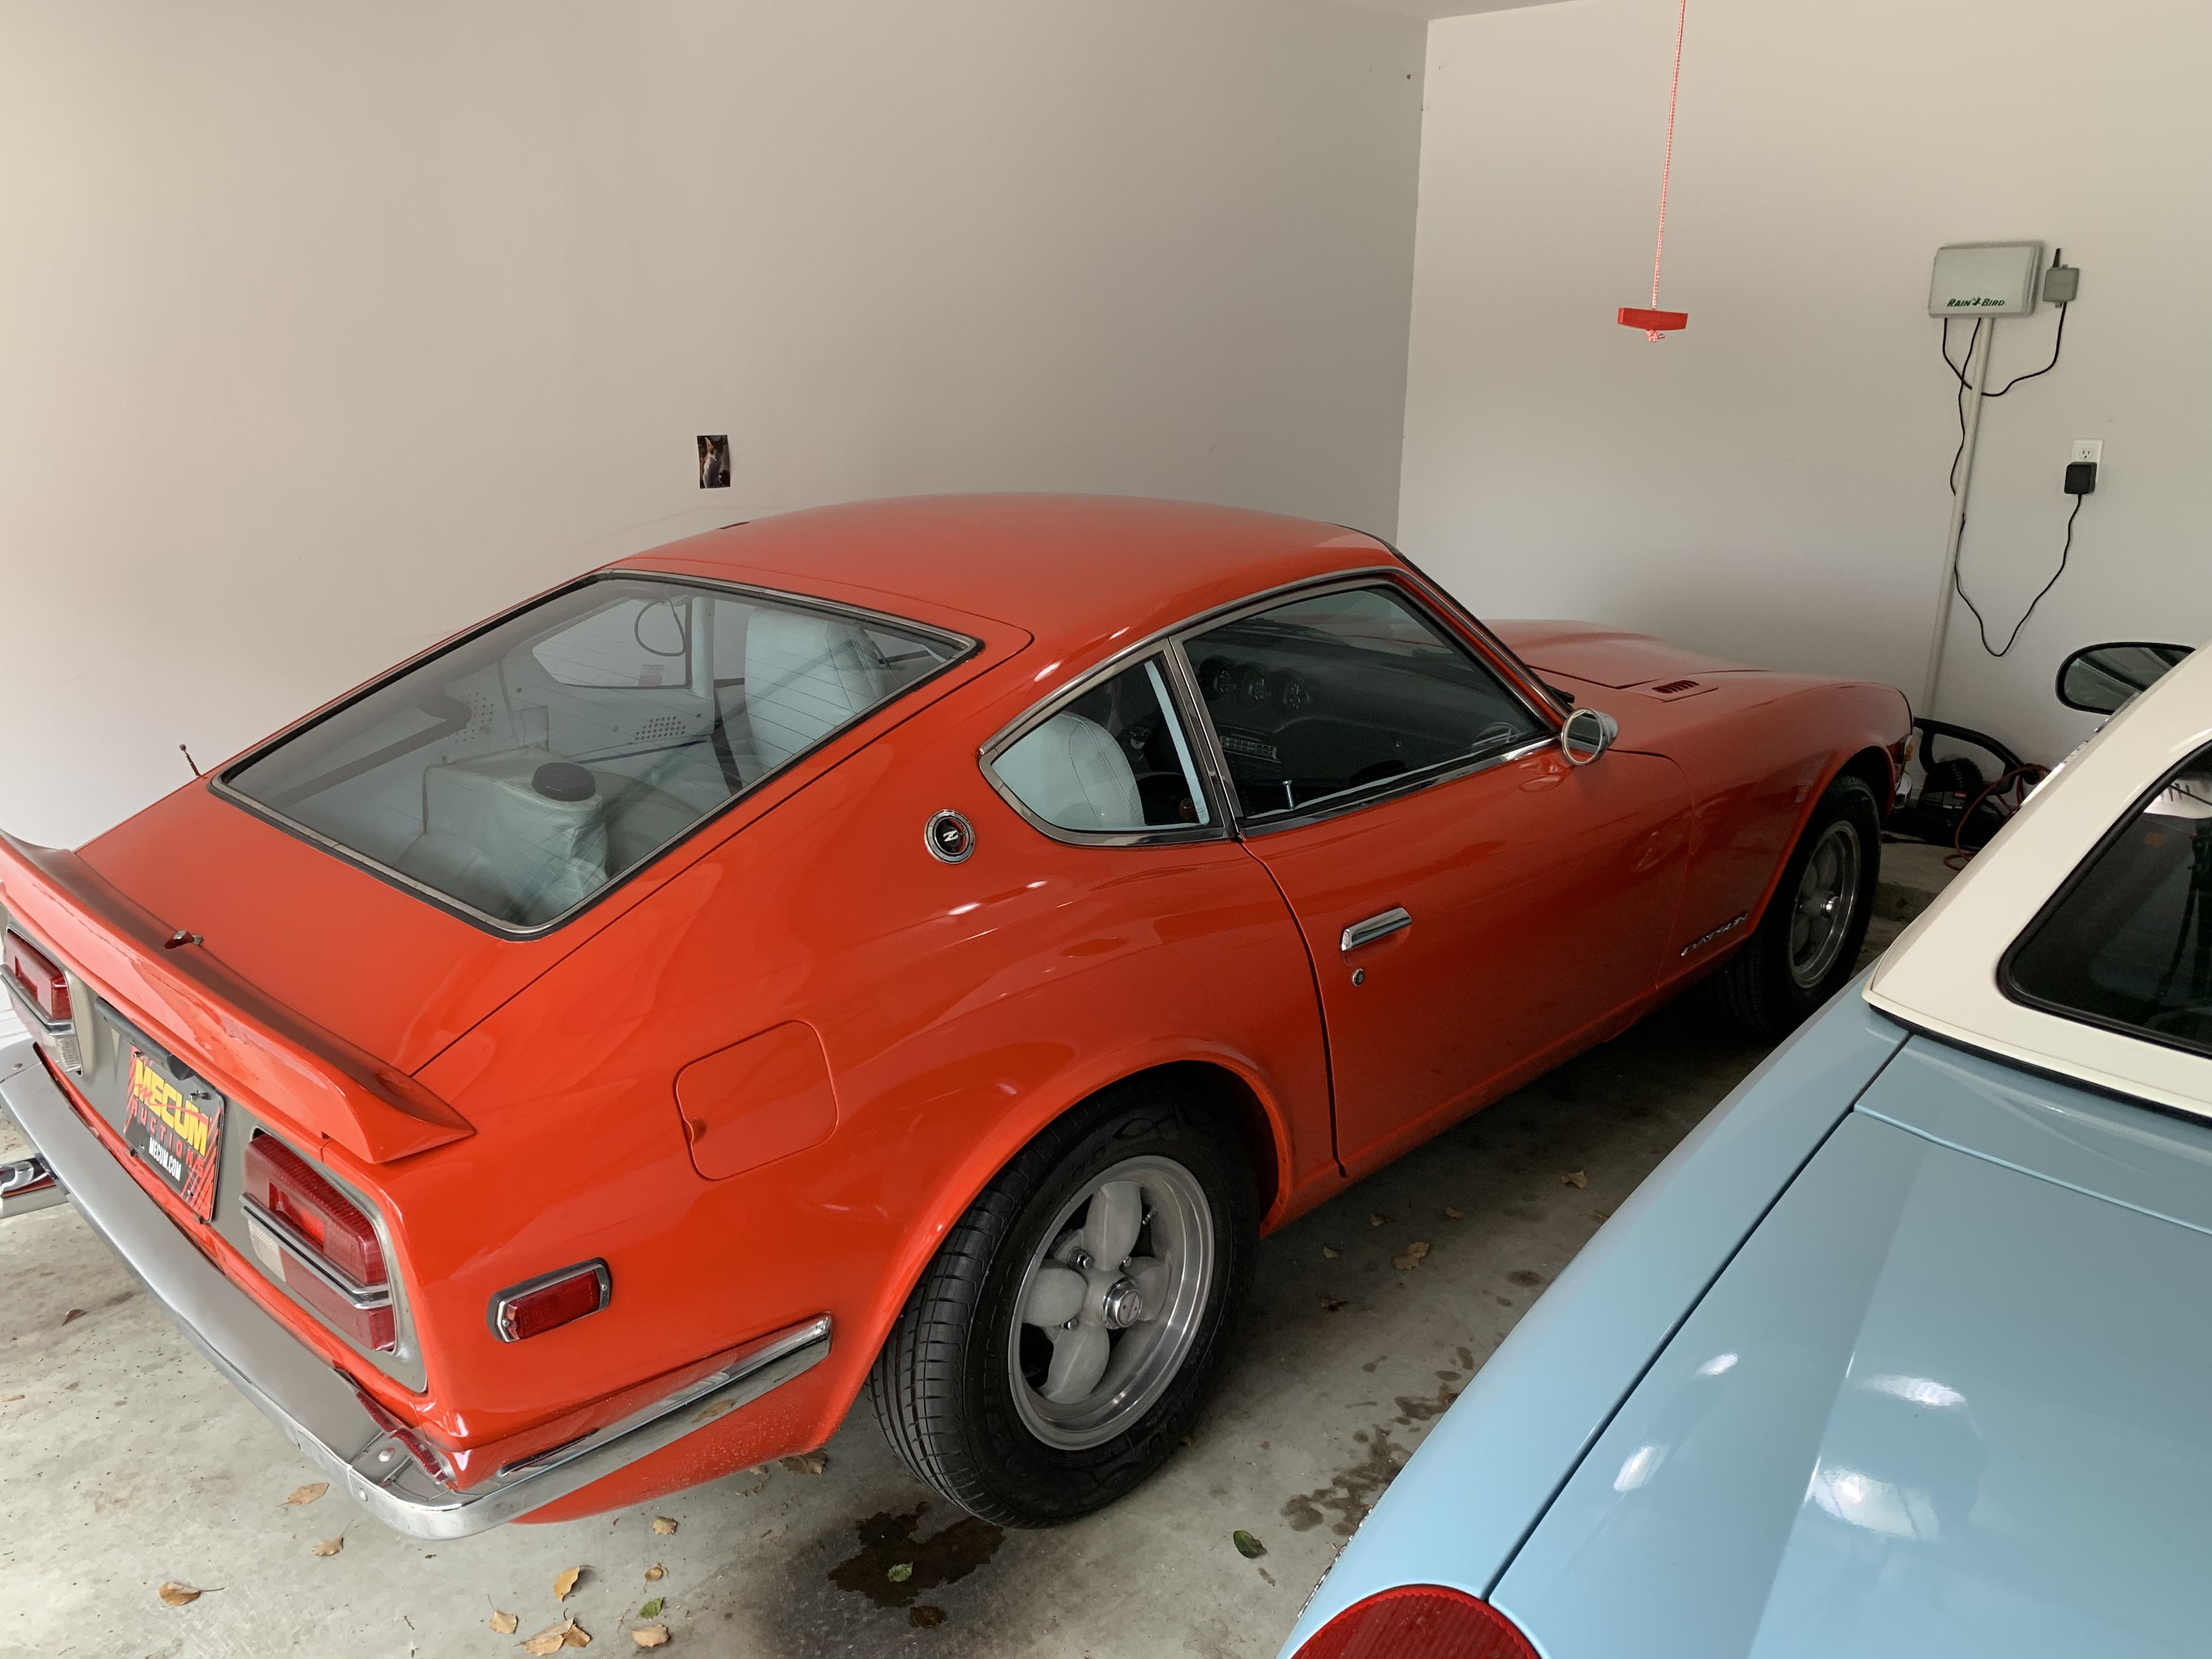
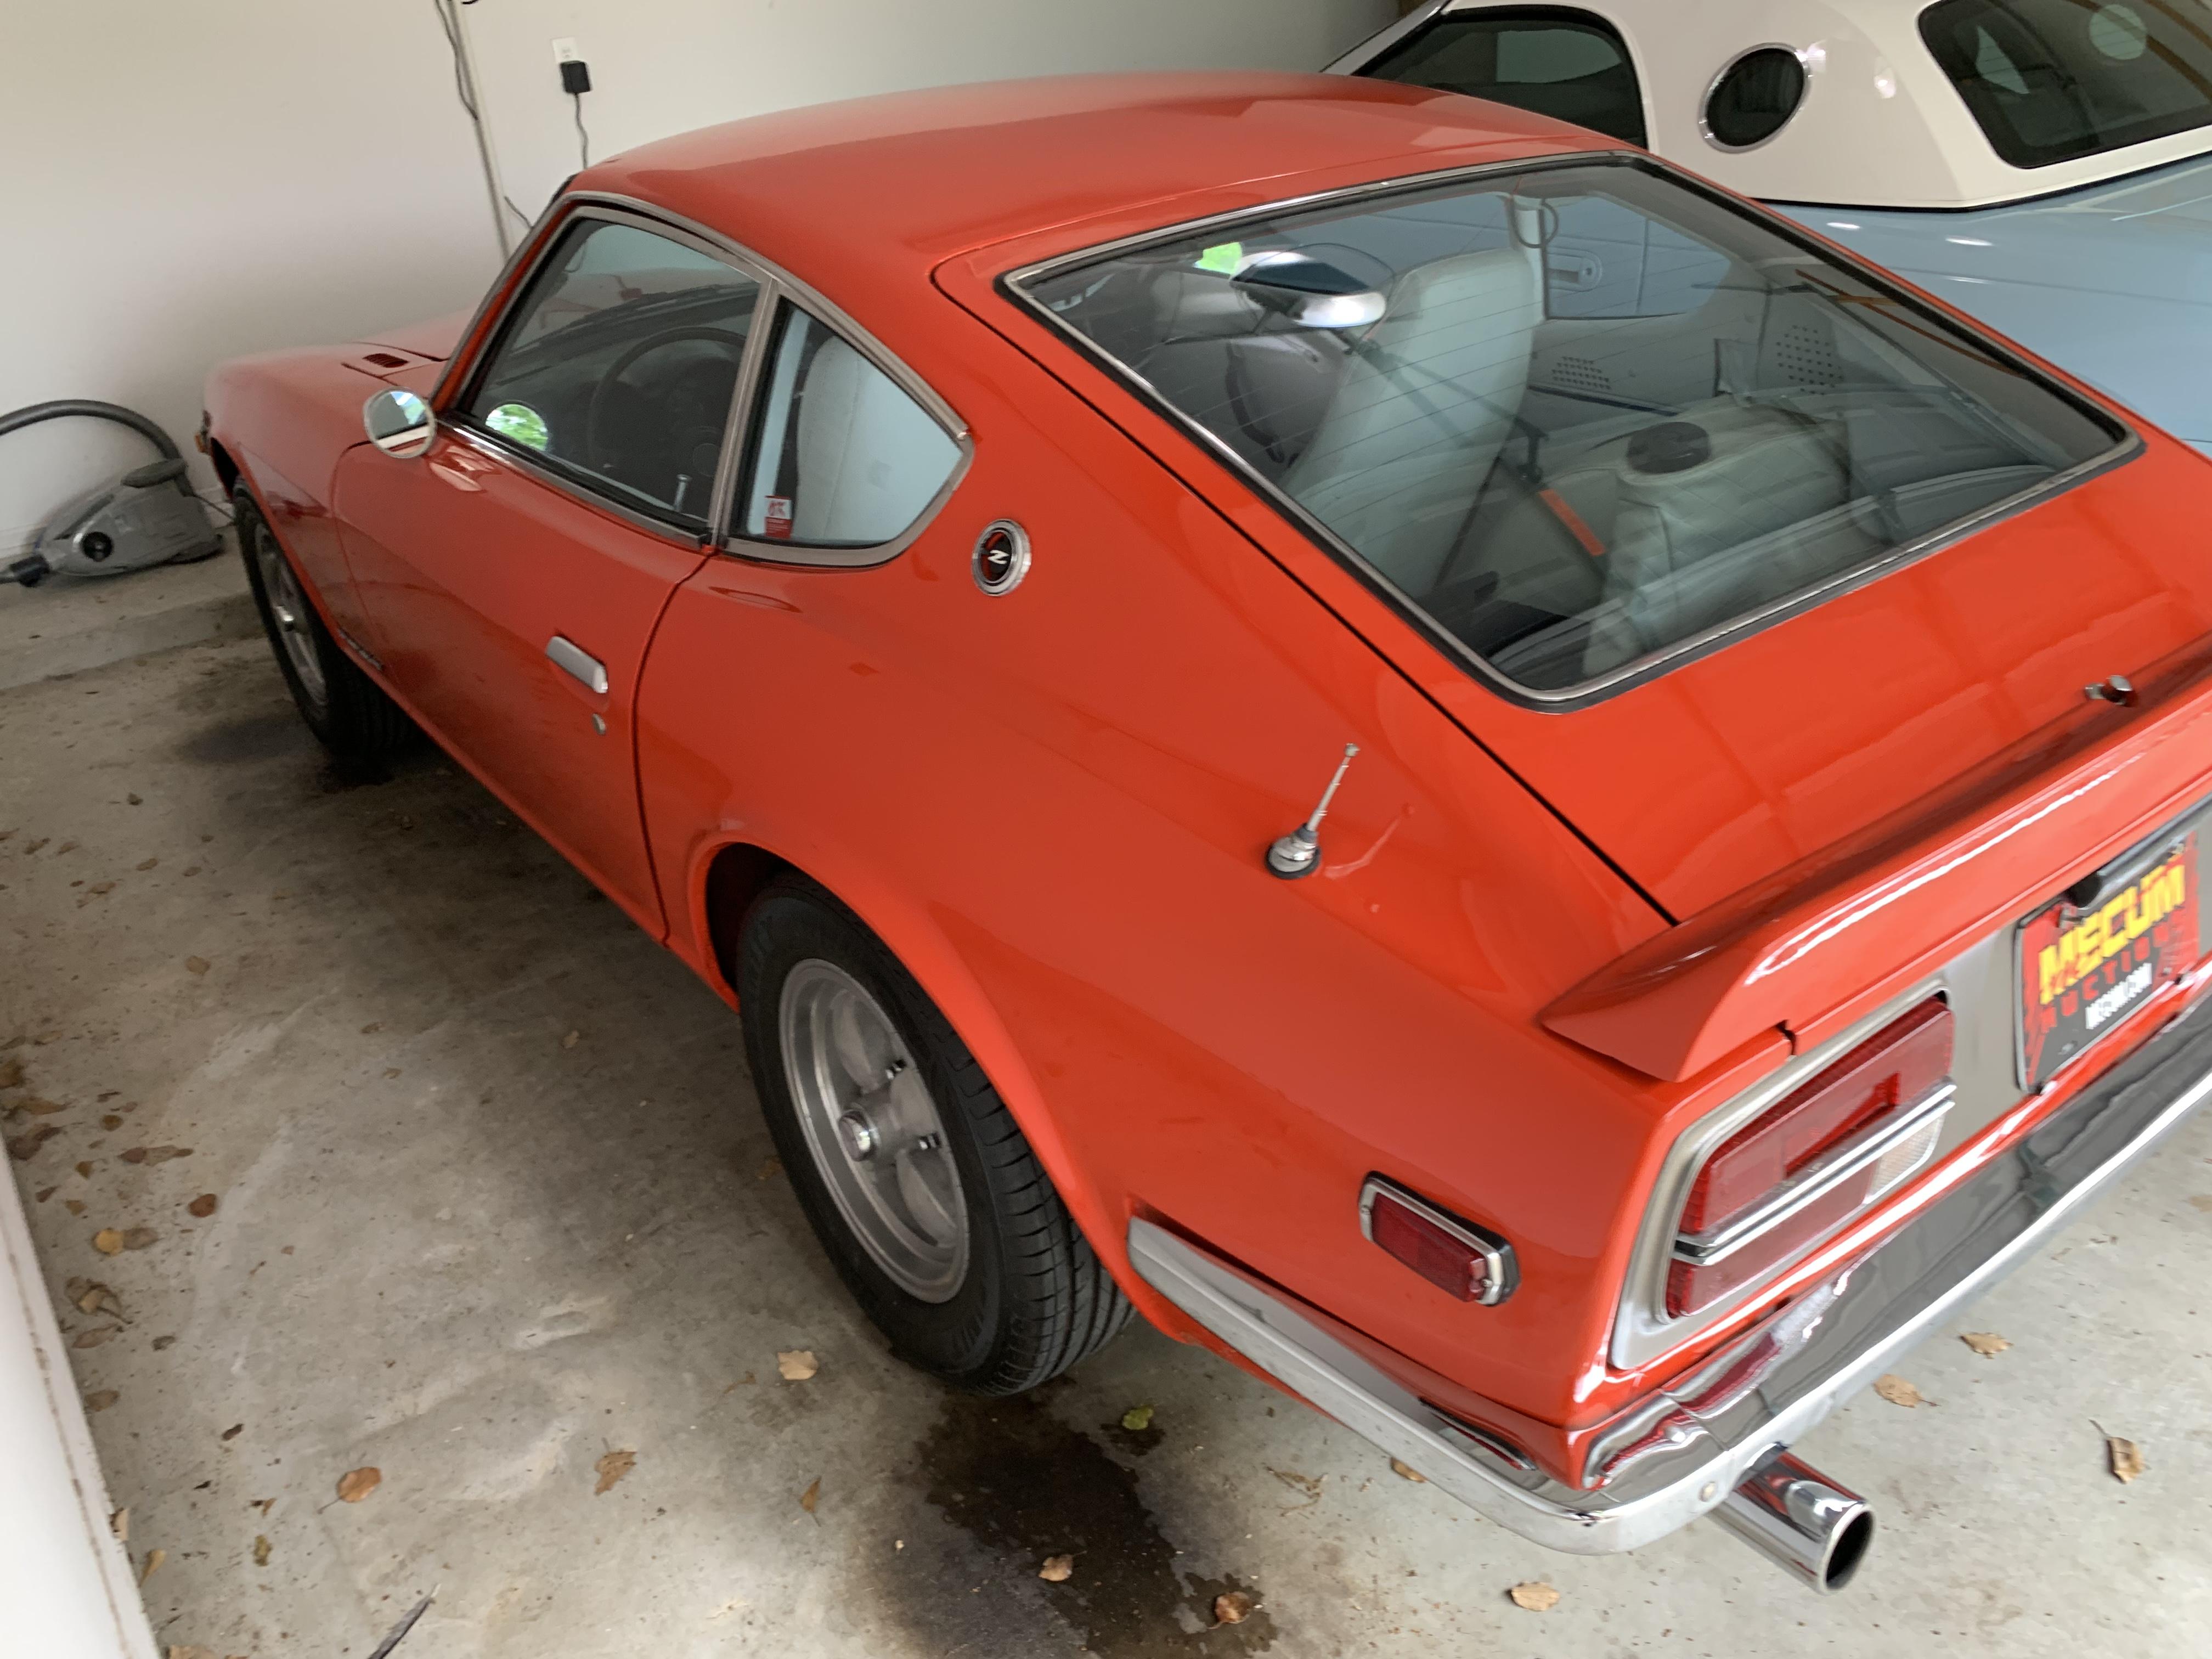
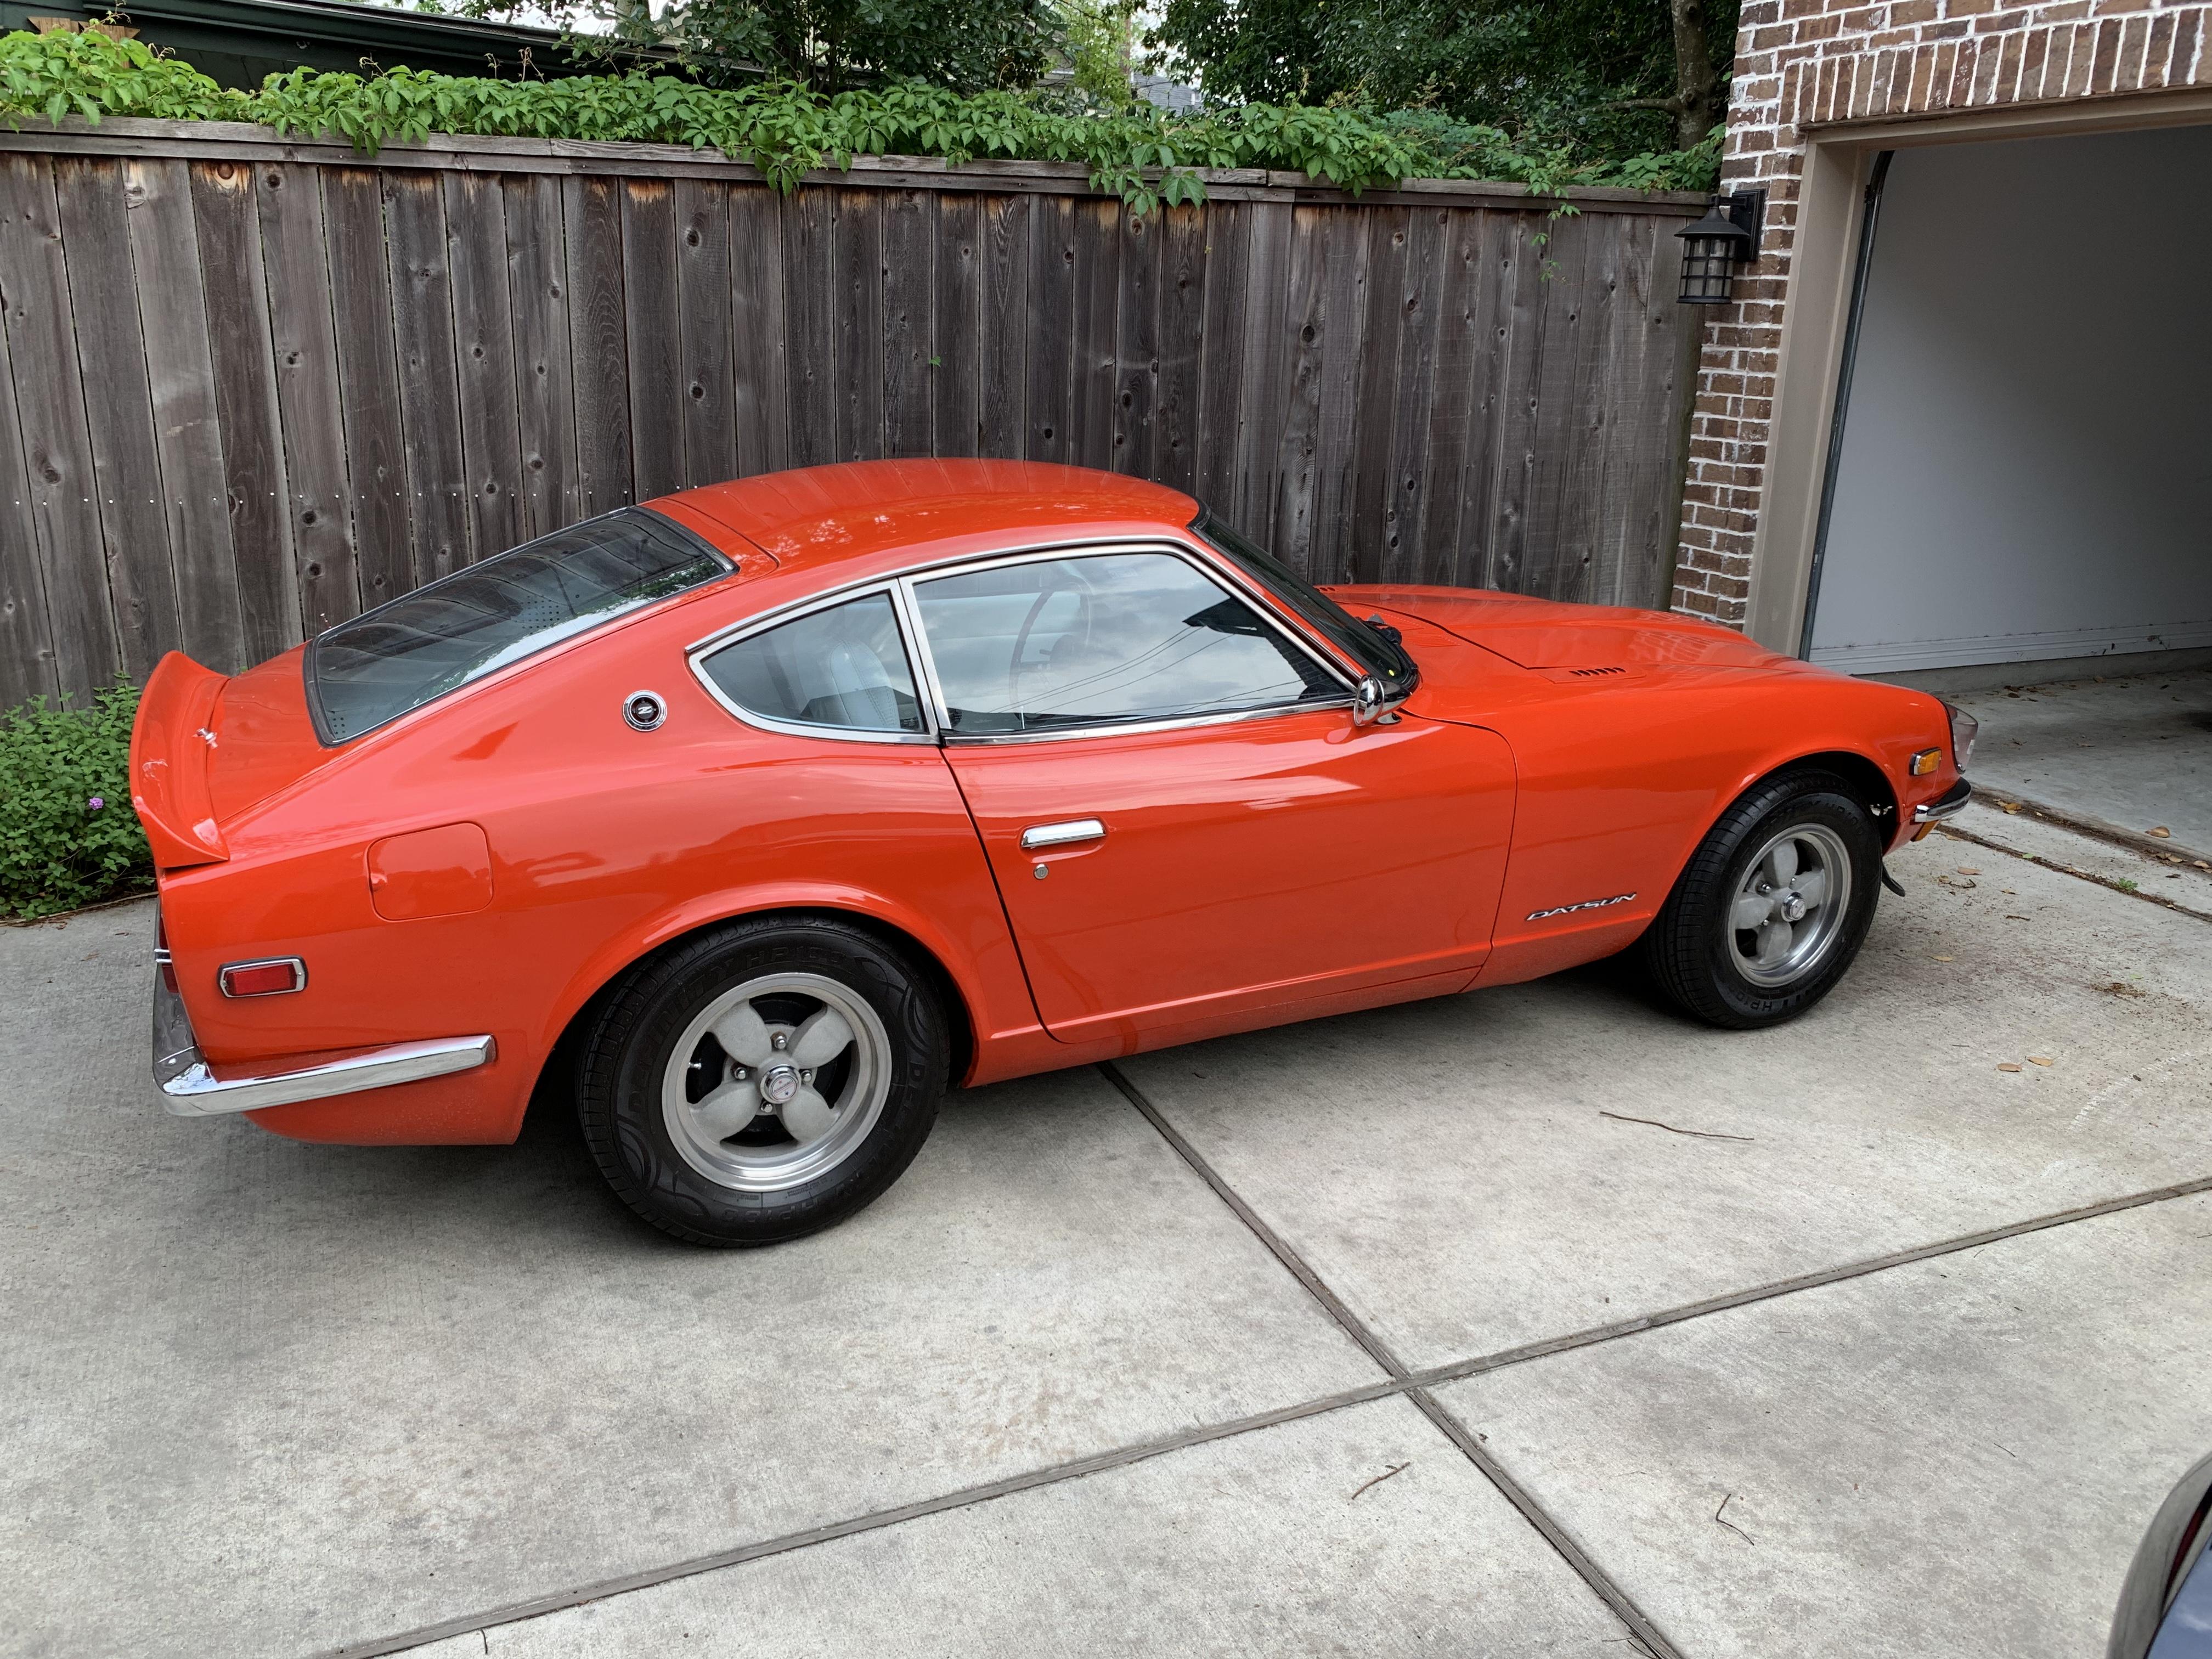
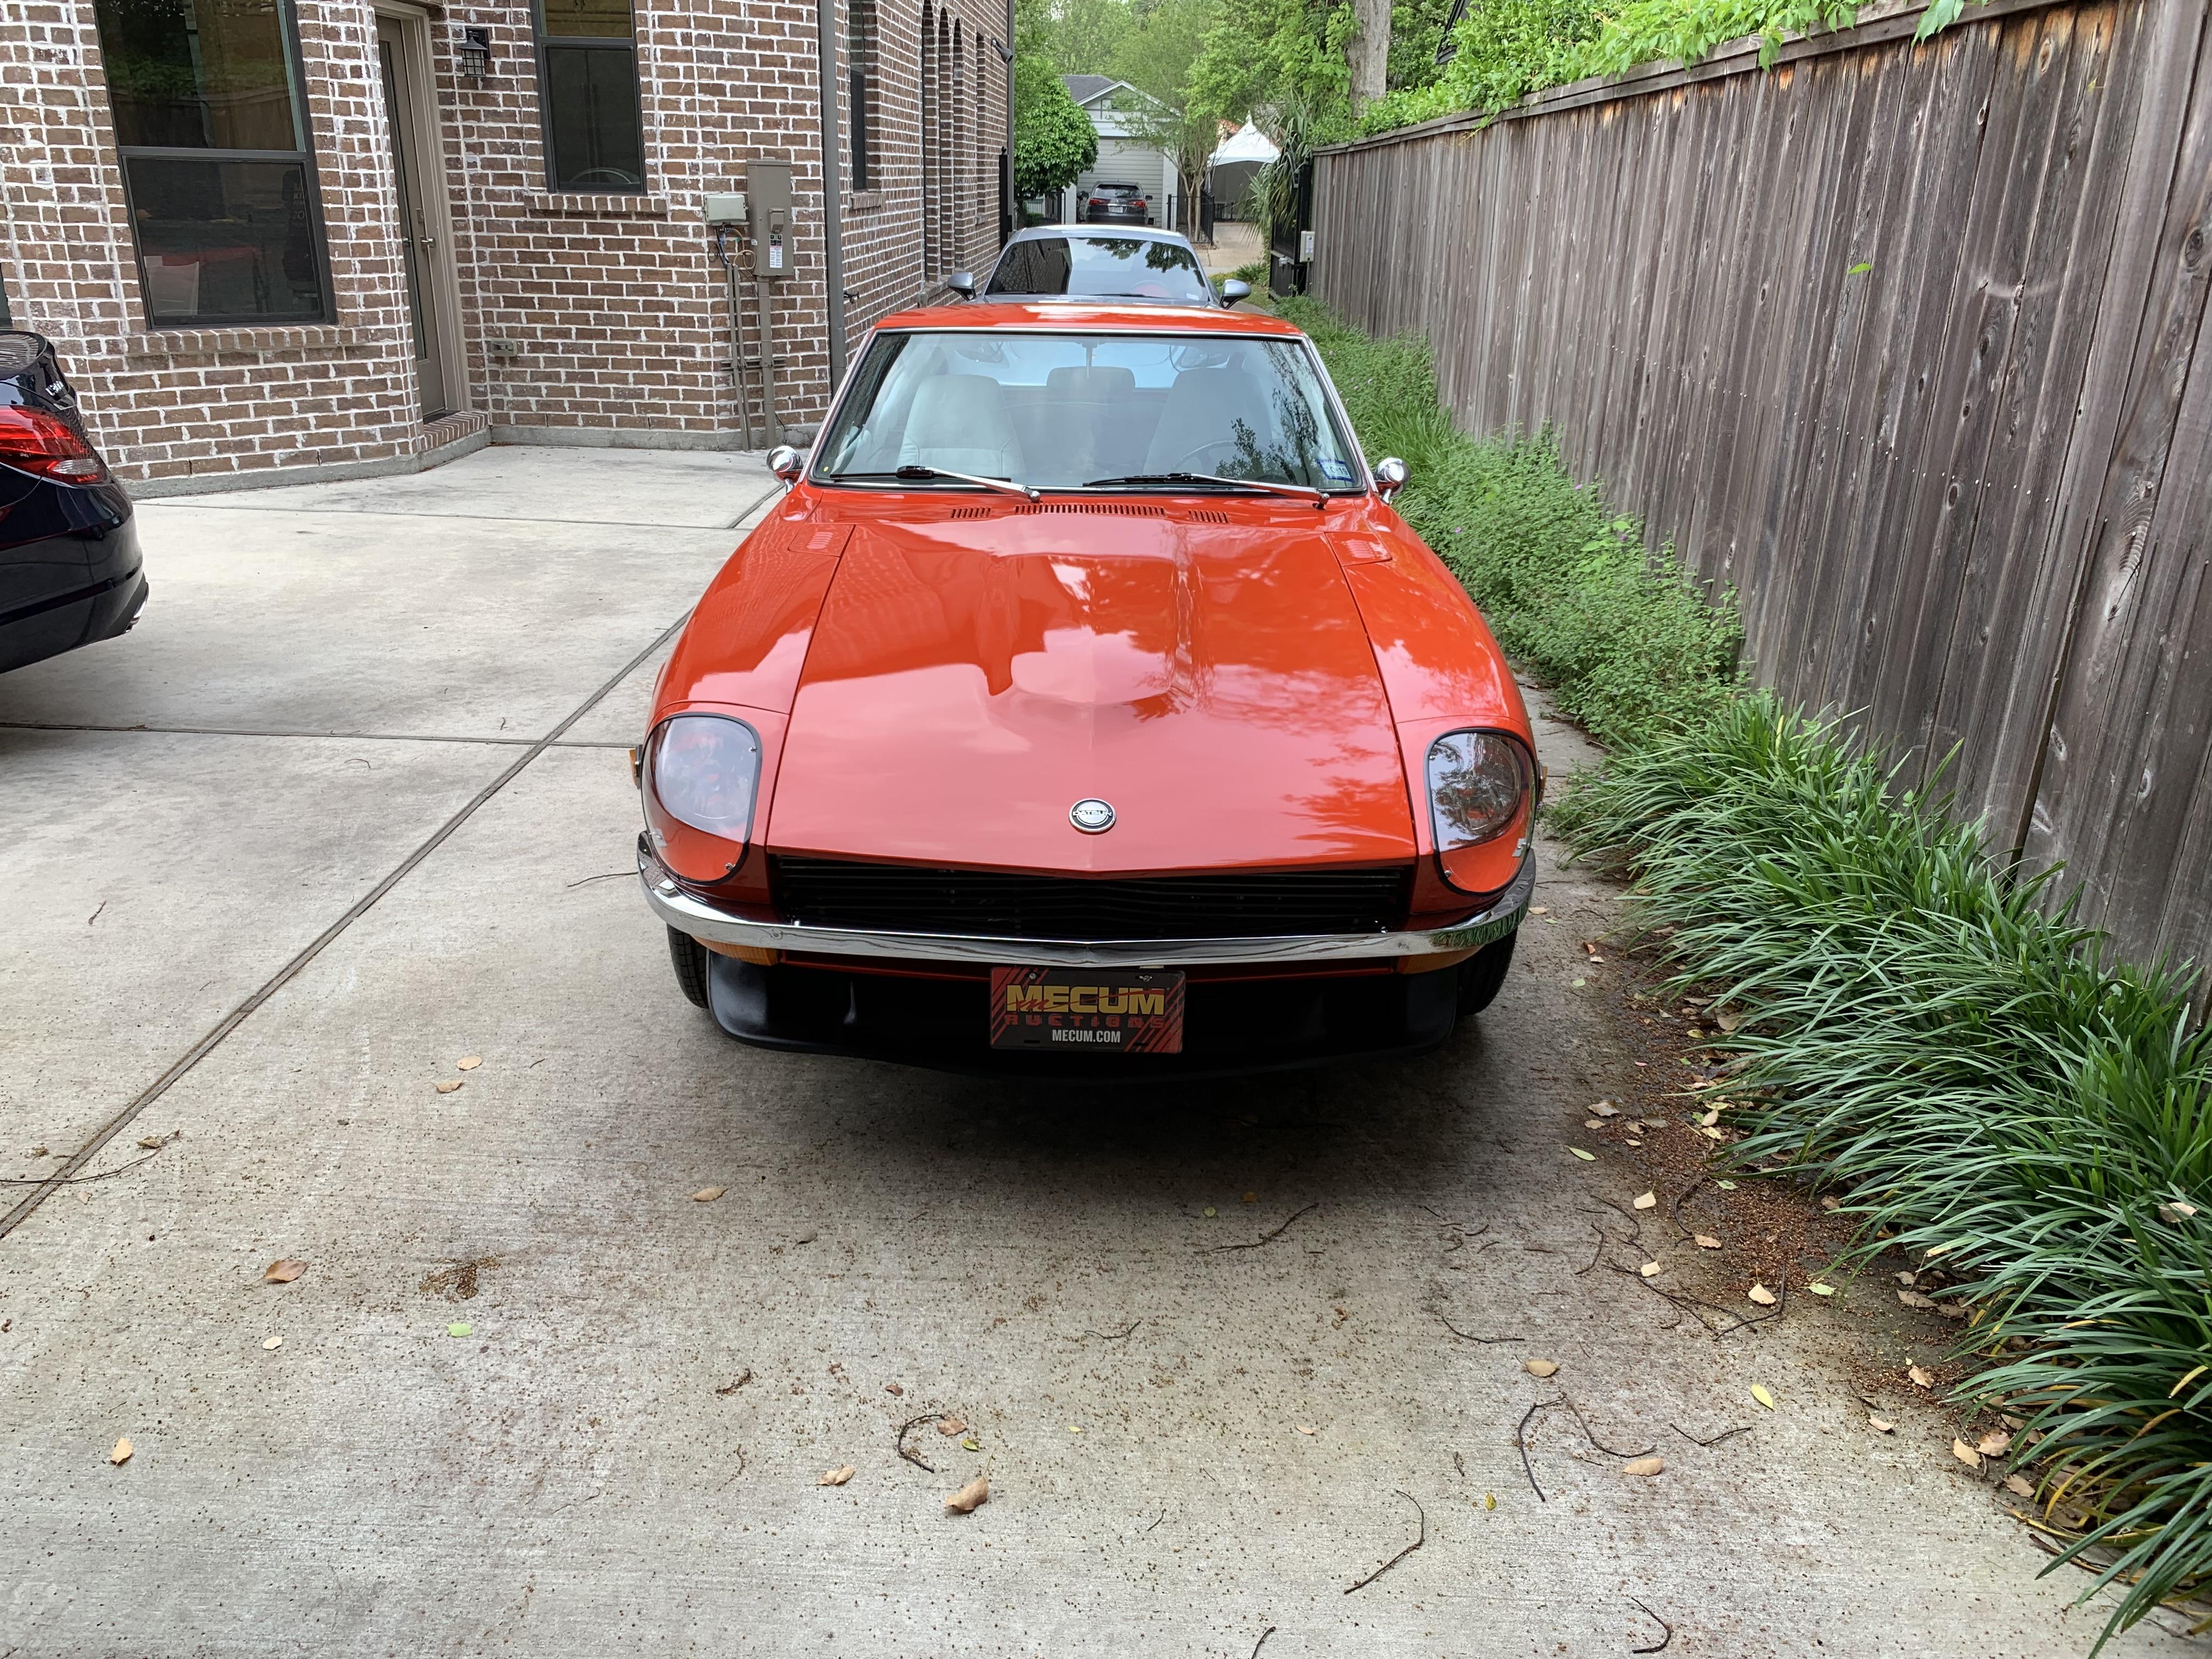
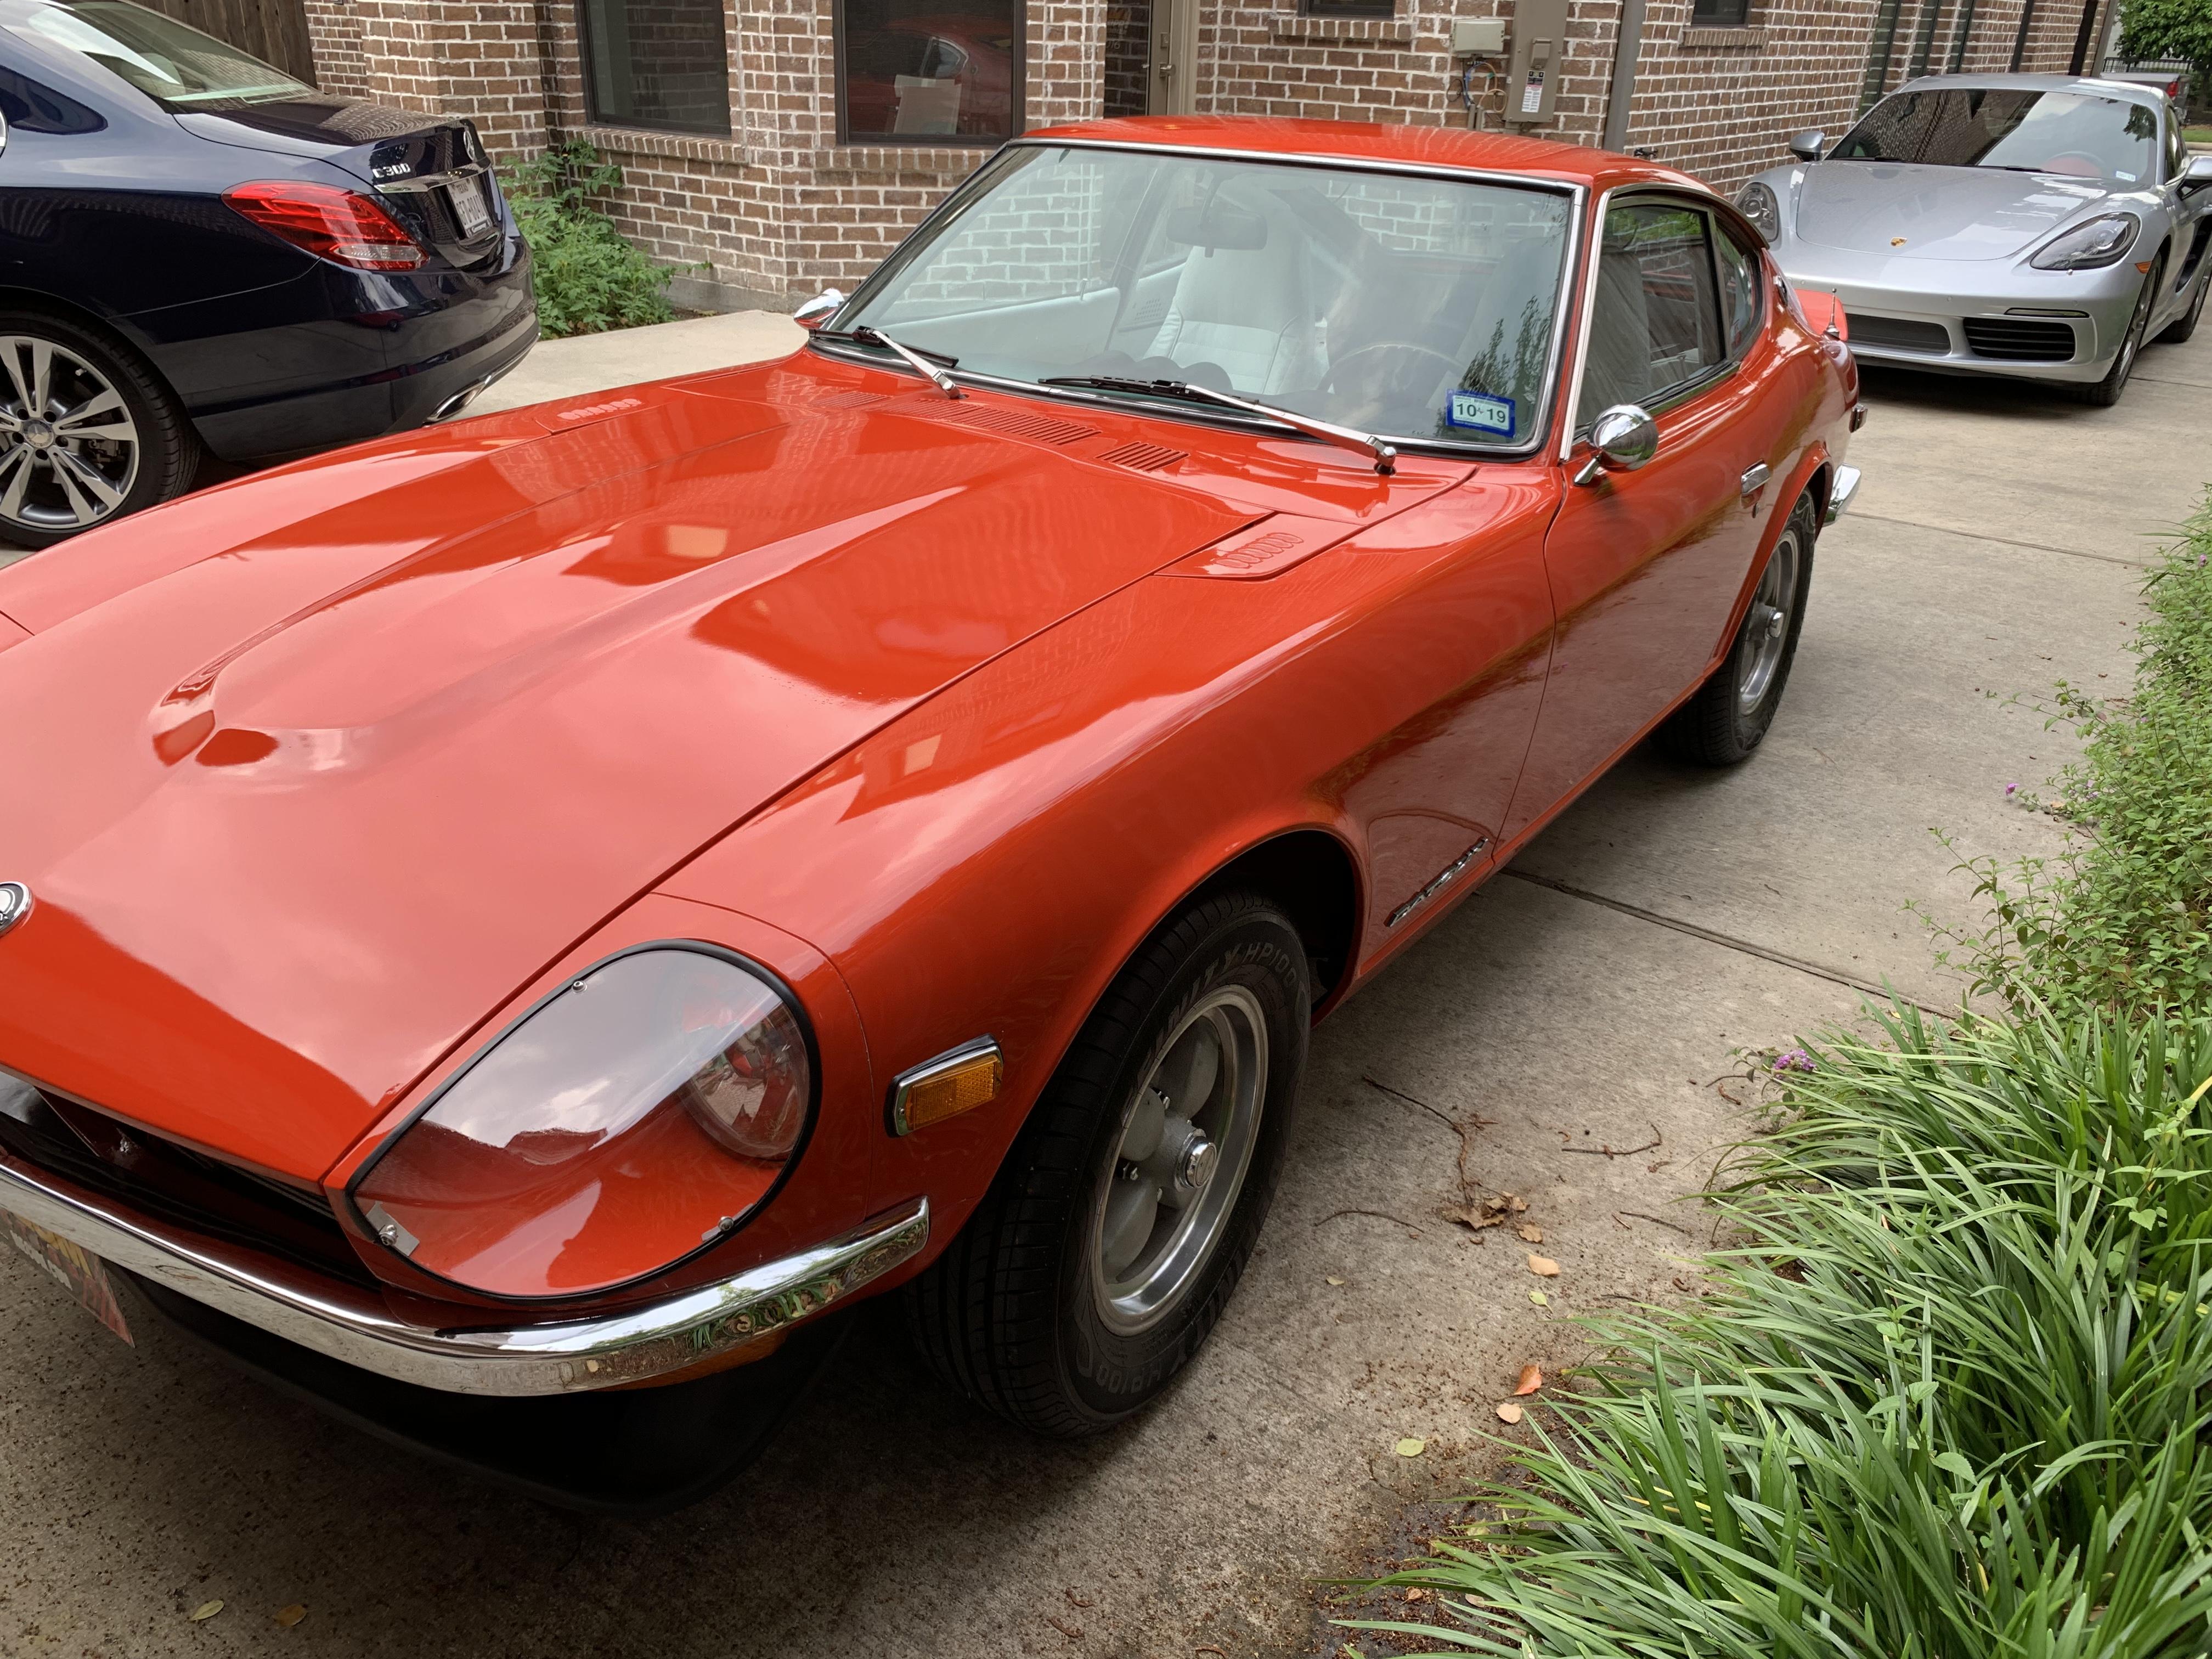
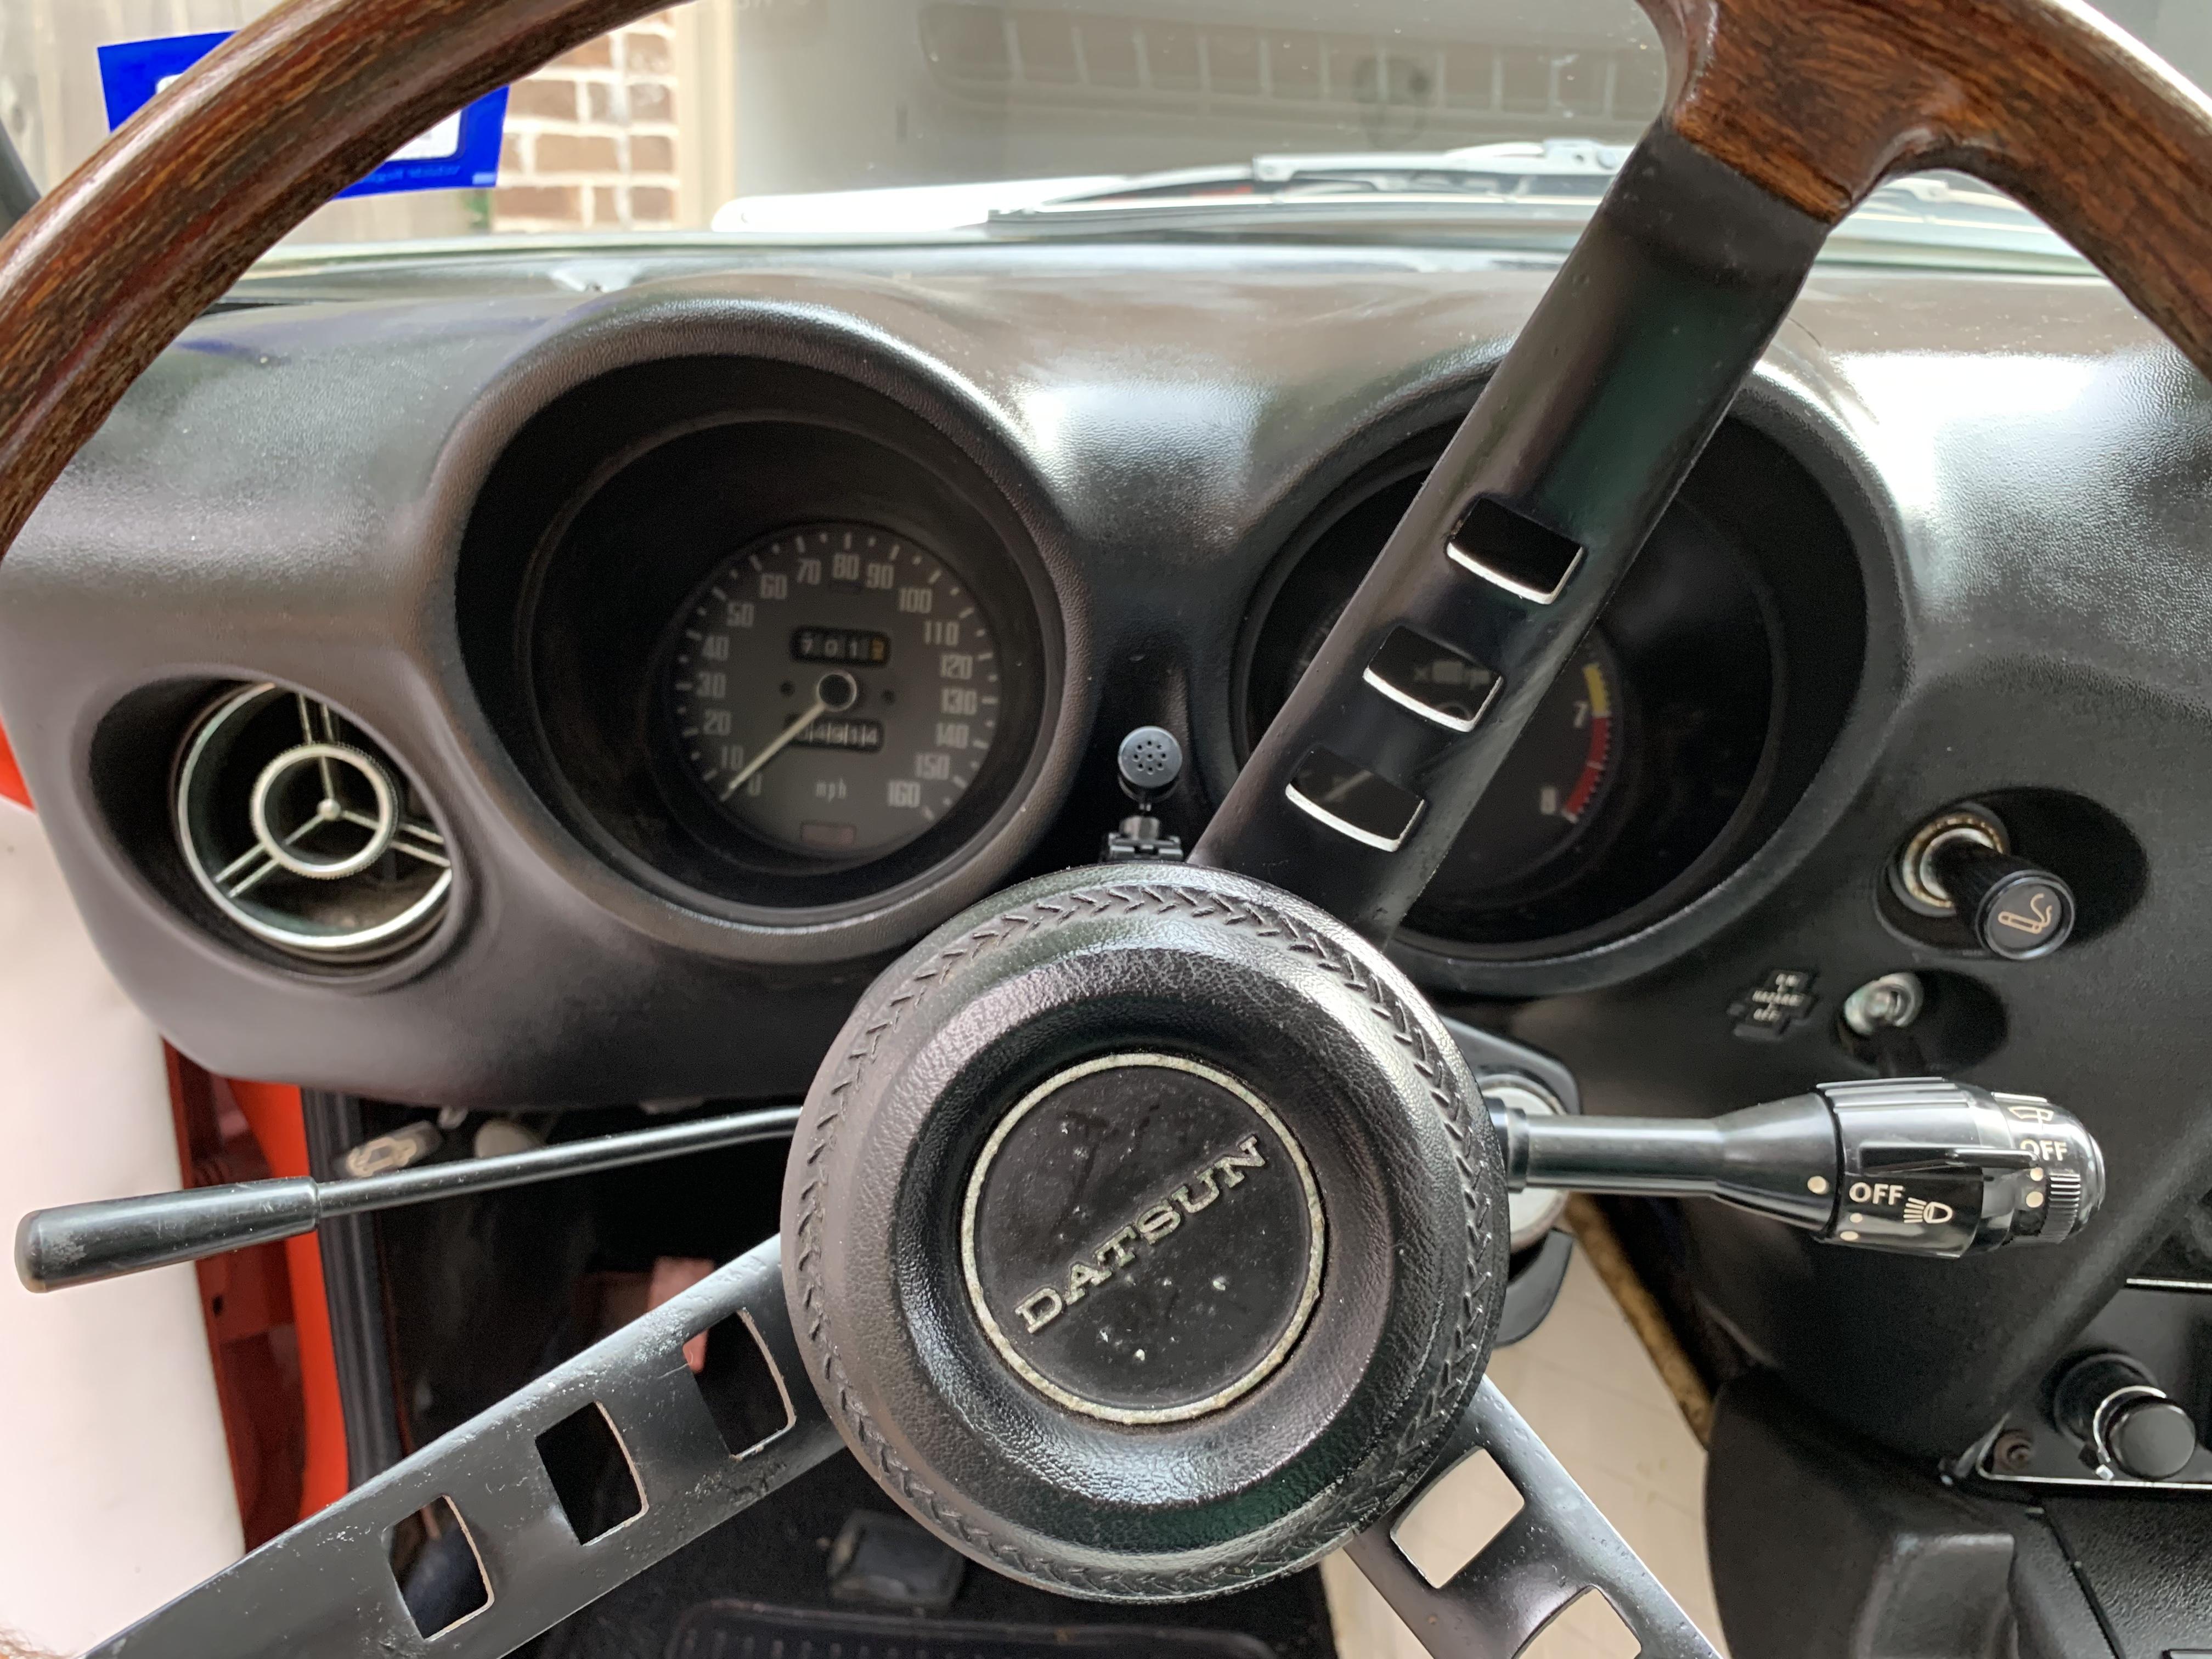
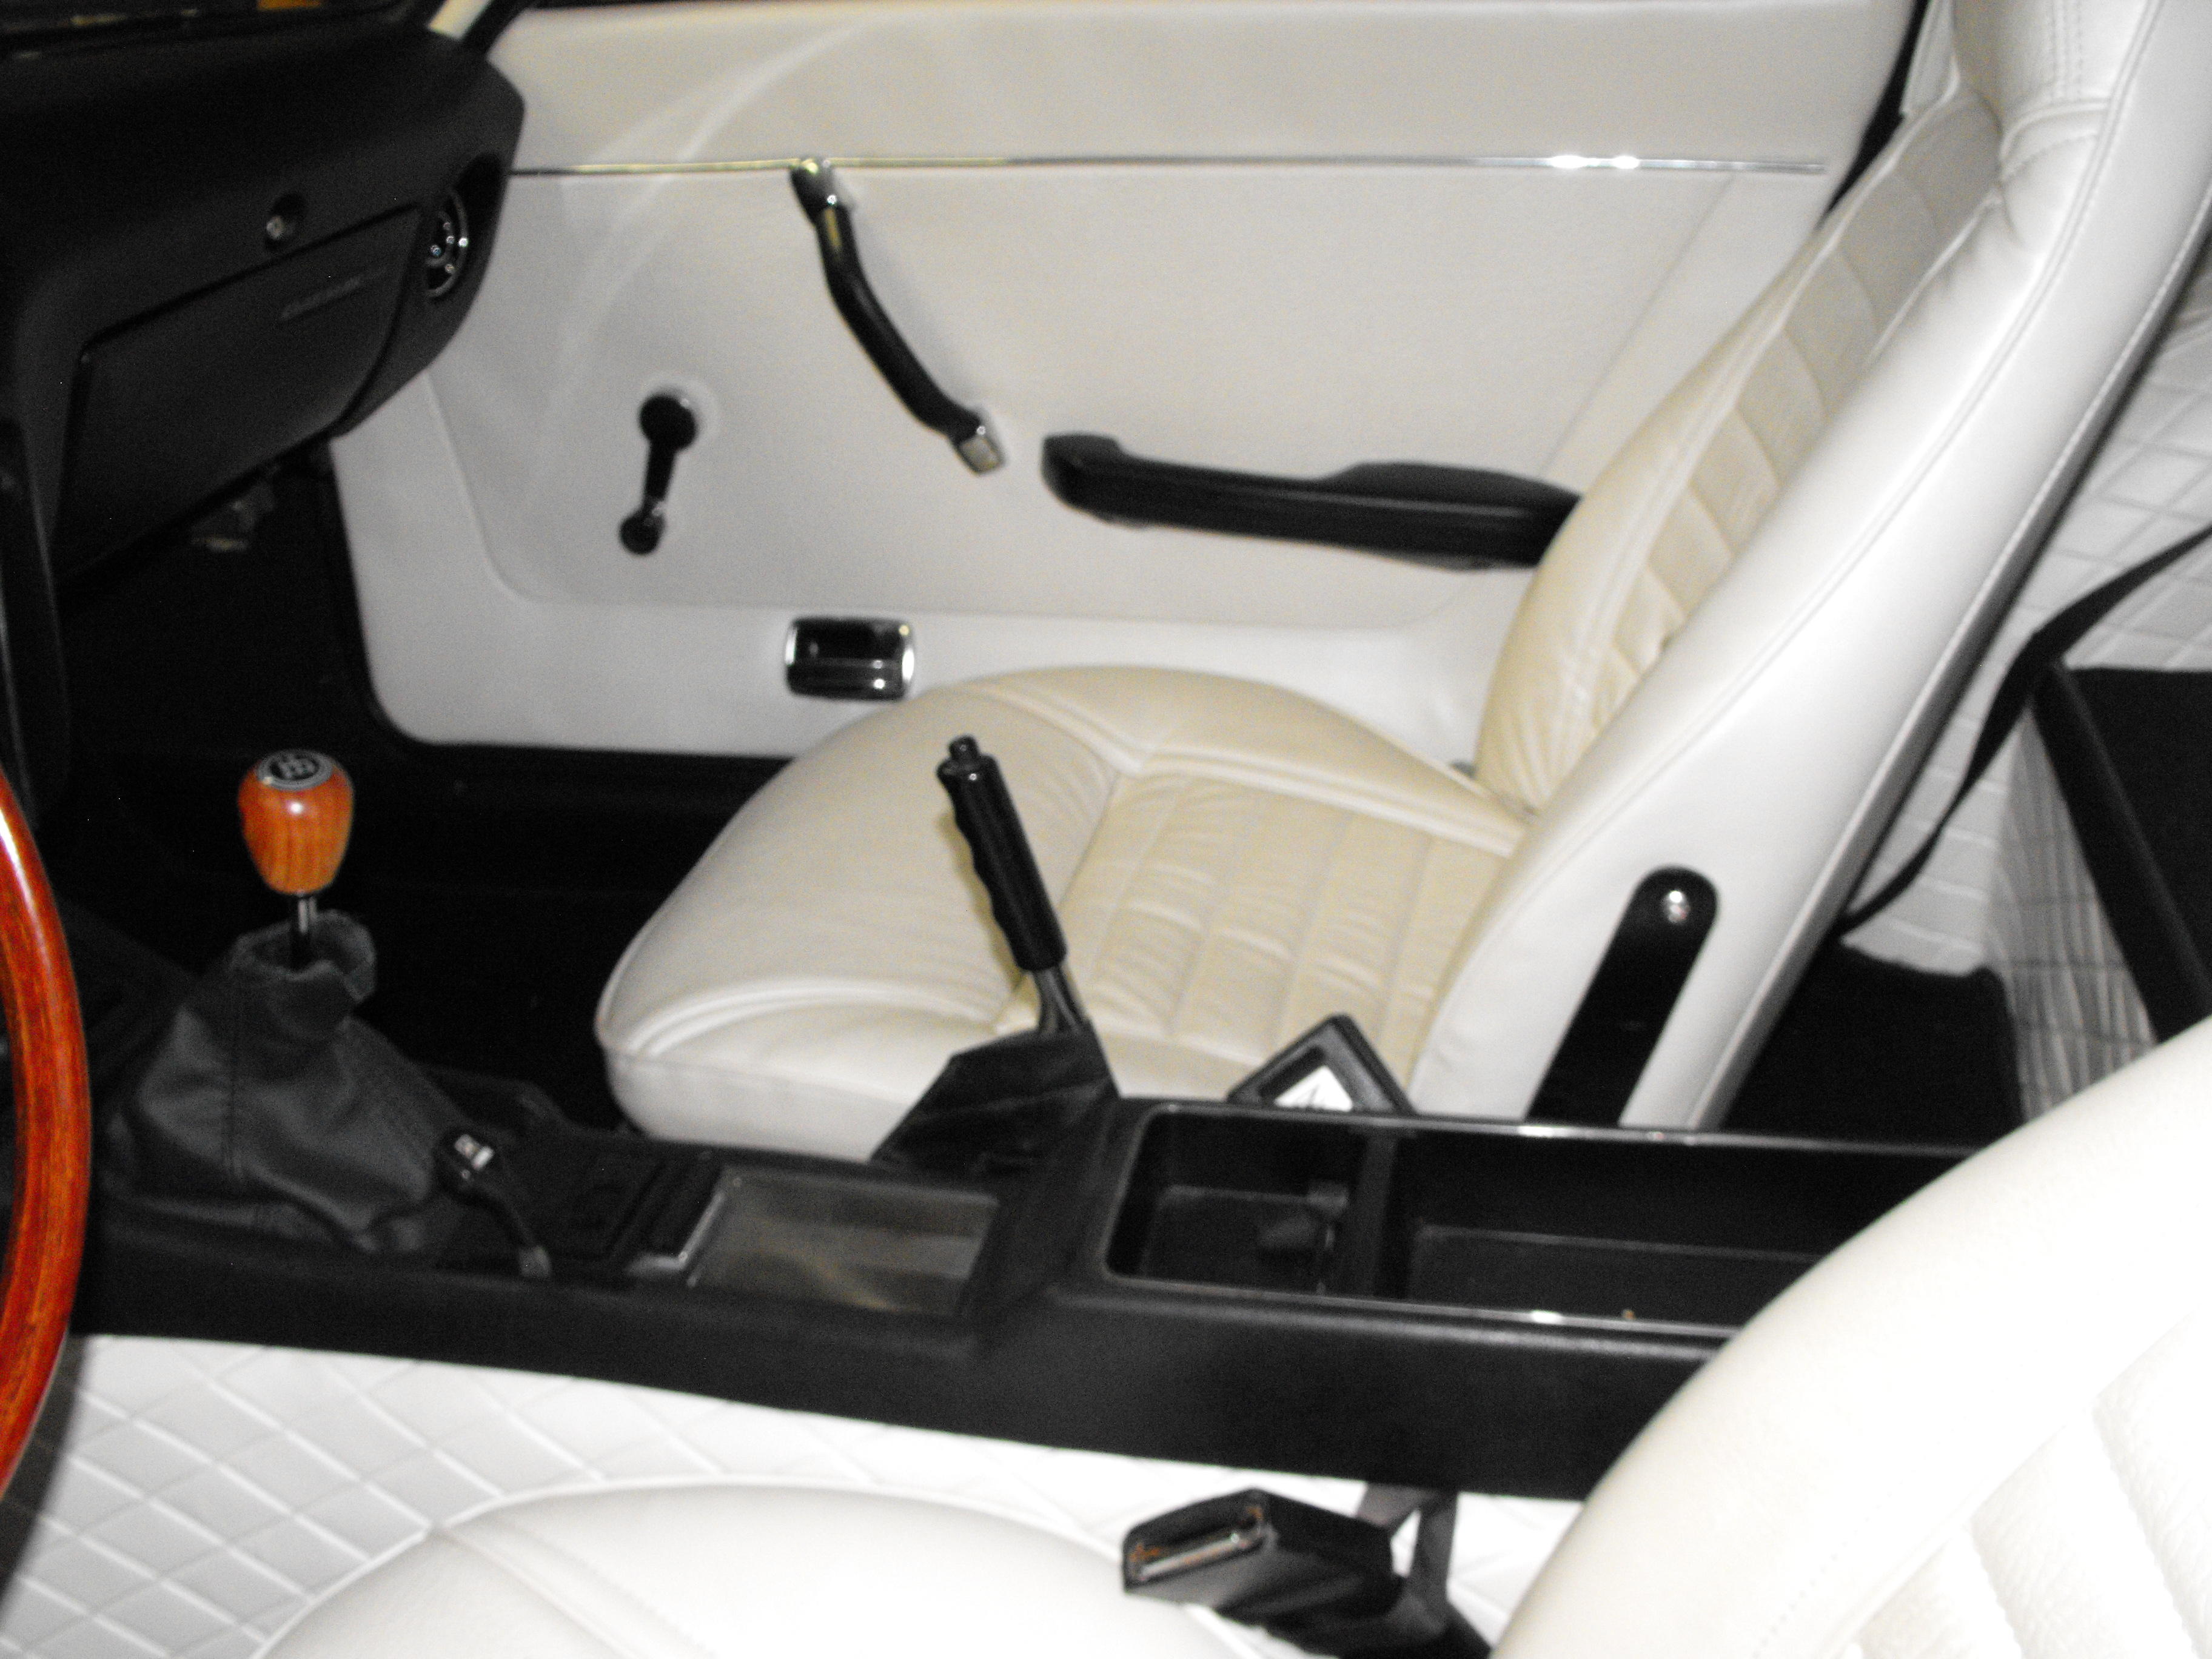
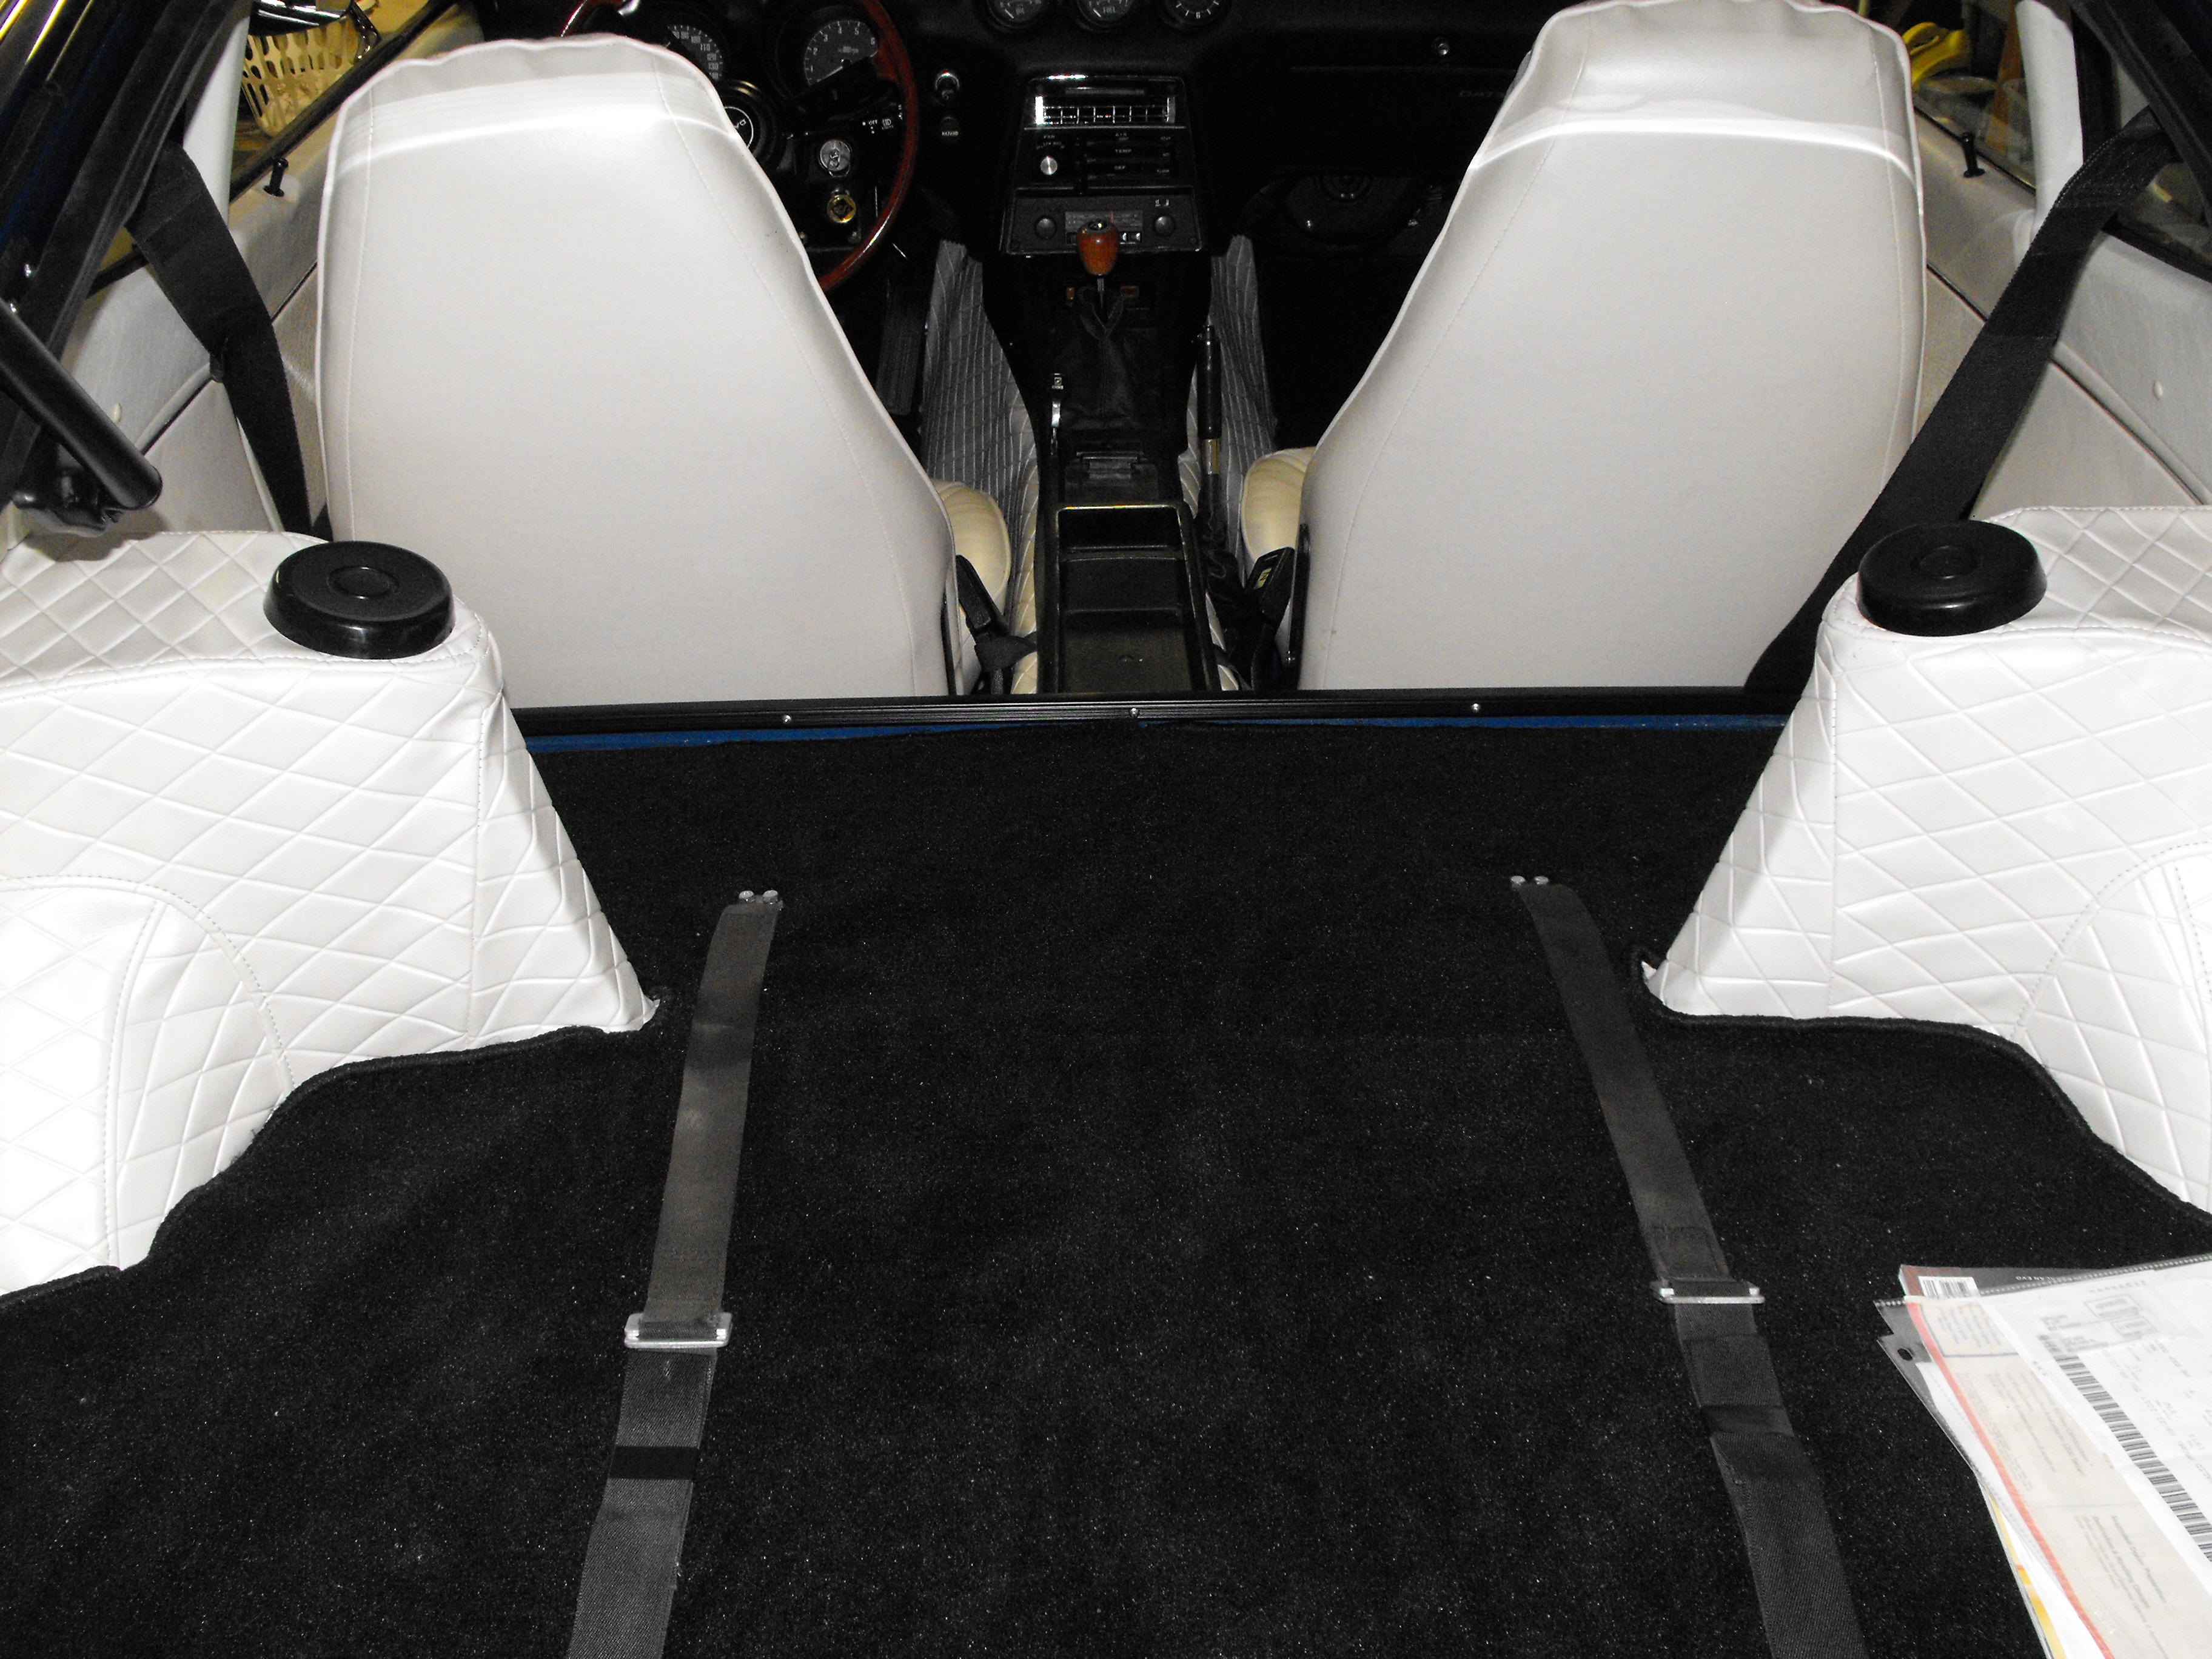
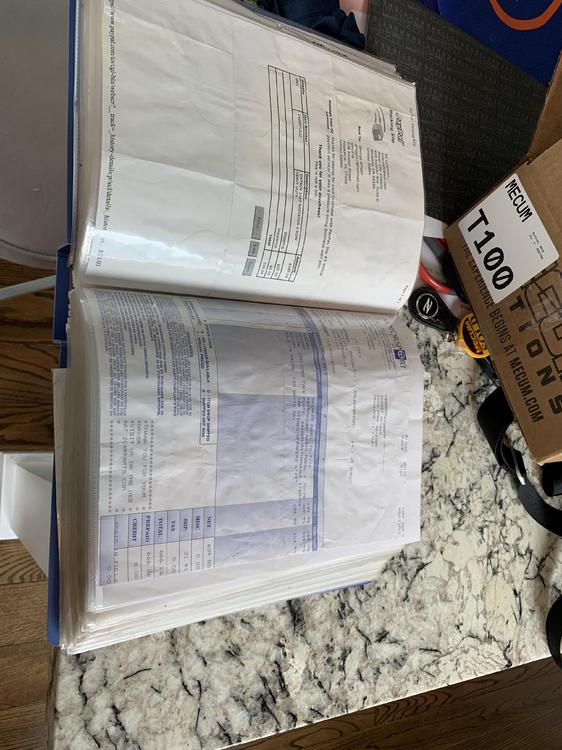
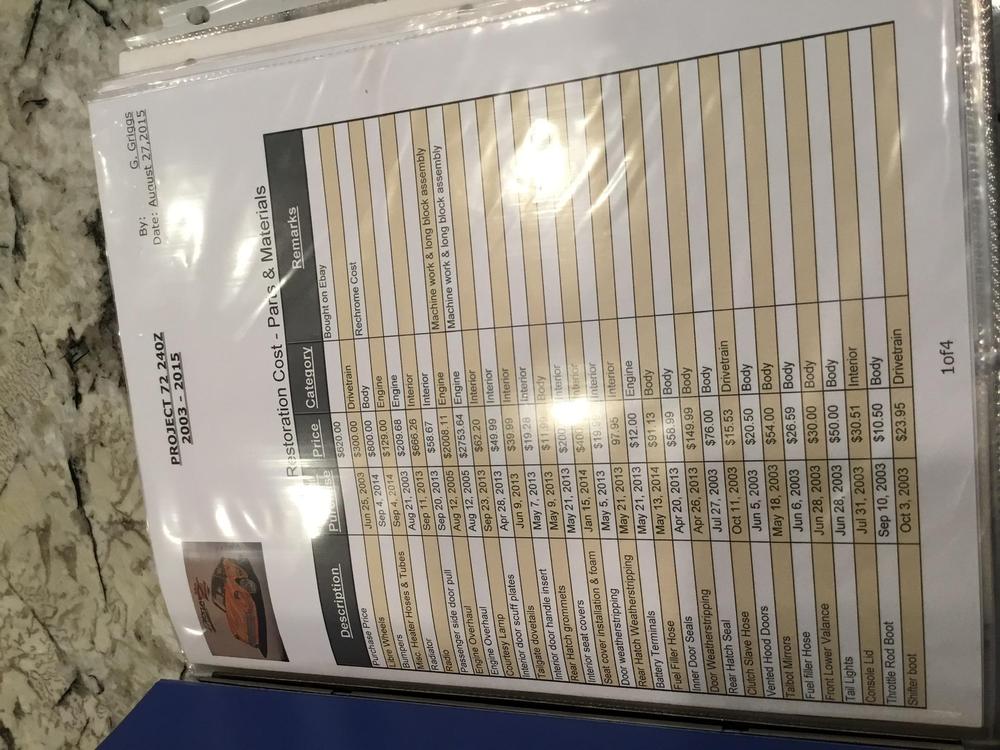
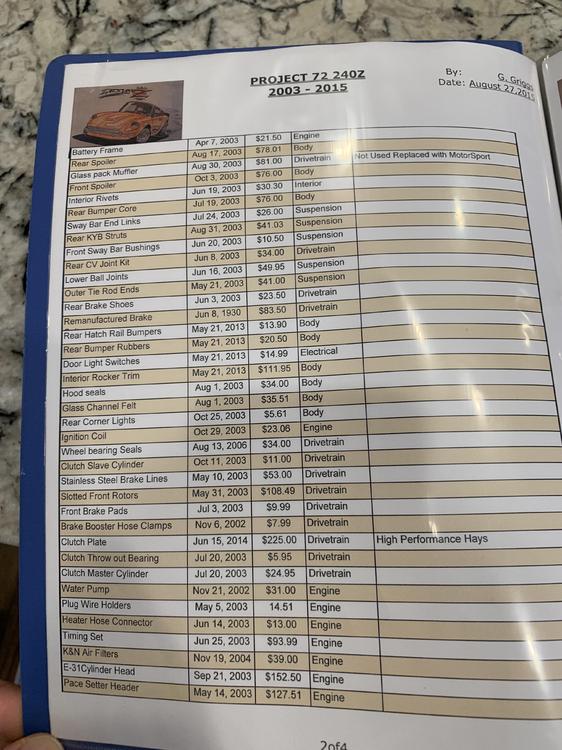
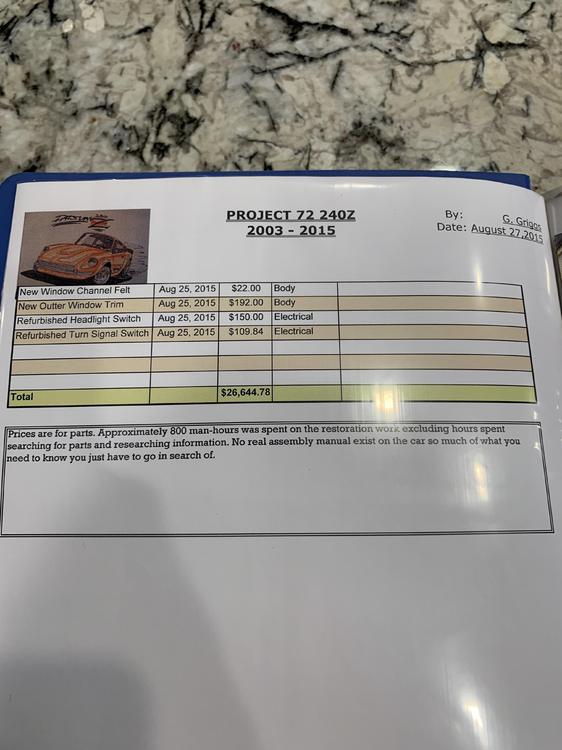
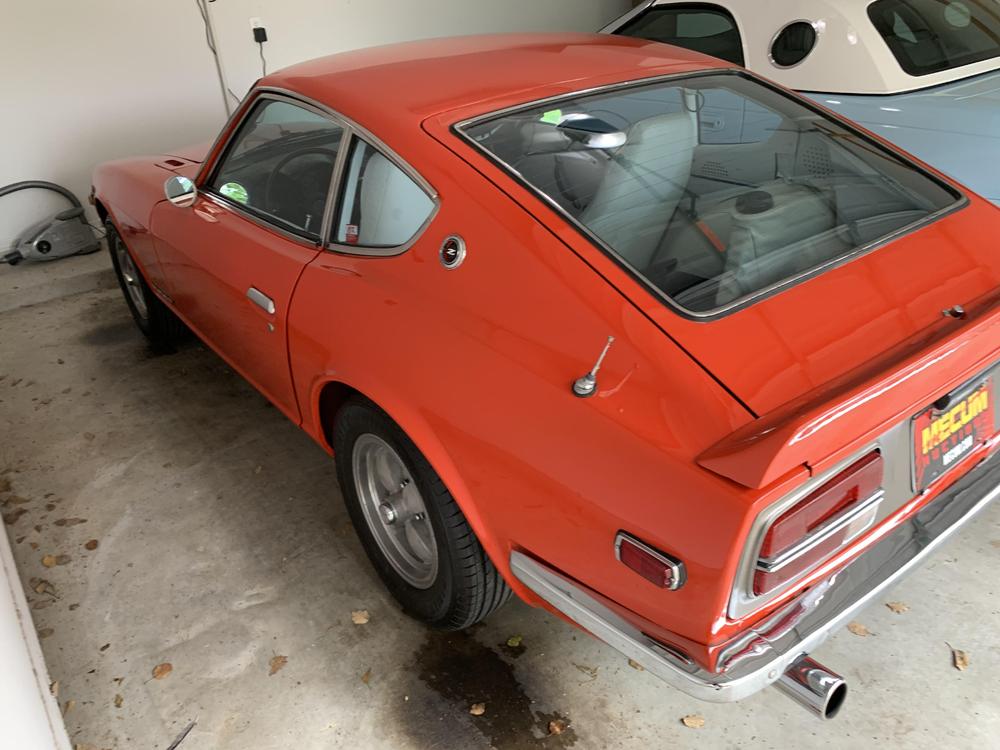
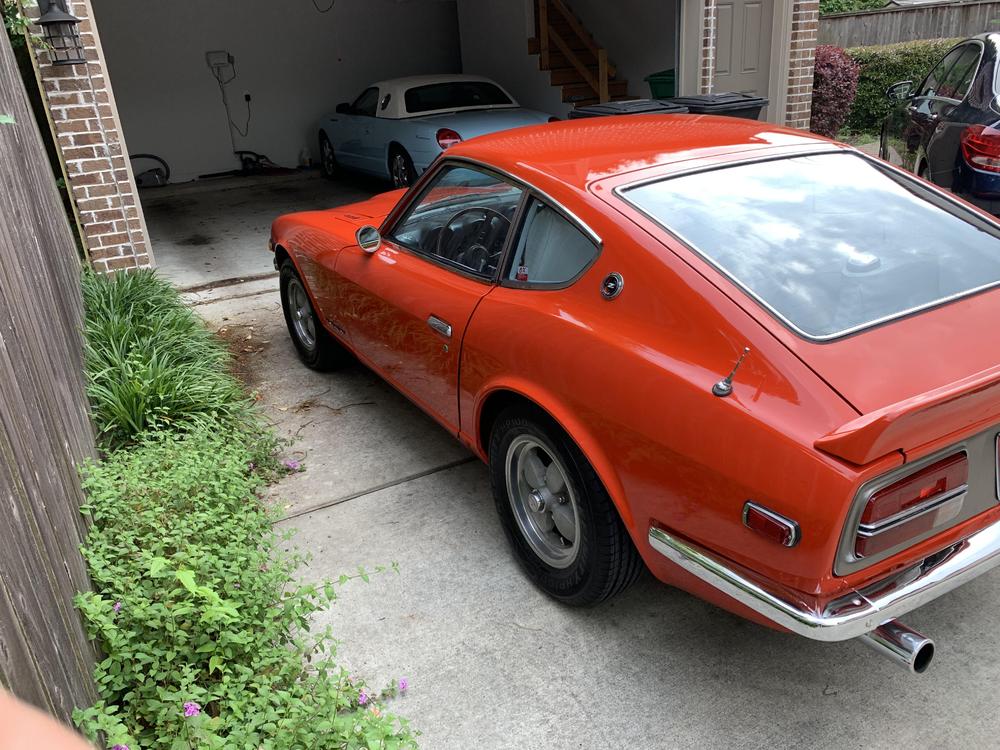
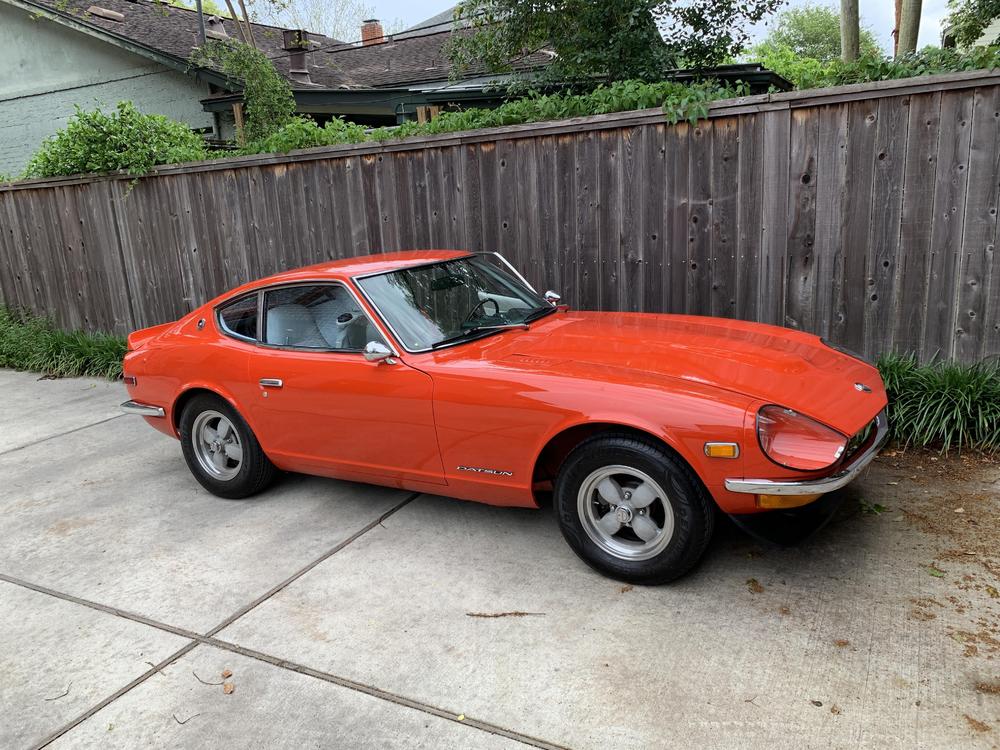
1 pointI bought this 1972 240z two weeks ago at the Houston Mecum auction. I’m new to Zs and have owned mostly older Miatas as my weekend car. Here is the Mecum listing: https://www.mecum.com/lots/HA0419-372171/1972-datsun-240z/ The car has the build book with $26,000 in receipts. The prior owner had it for 17 years and did most of the work himself. I paid $13,750 for the car, including commission. There were three owners before me and the car has 107k miles. Any idea what the car is actually worth?


 1 point
 -
Thanks all for the encouraging words, and thanks also for the additional investigative work on the head thickness. I guess the bottom line is that I've got a reasonably high degree of confidence that my head was never planed. Surprising to me that the PO would get as deep into the head and NOT have it cut, but thankful for small miracles. Just one less thing to get screwed up under his ownership. Right. I saw that in the manual. The point of the pic is that so far I've taken out one of each direction so far. My PO apparently didn't know they were unidirectional and just tossed tehm in random. I will put them all in the right way when I put this thing back together.1 point
-
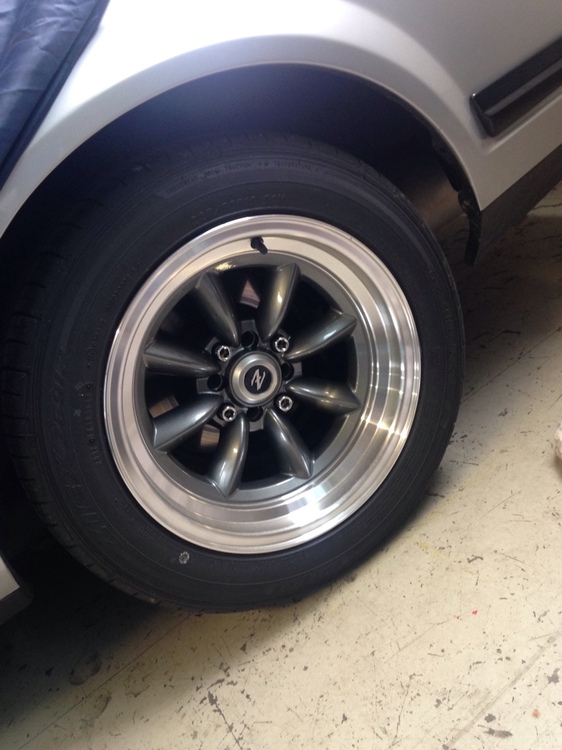
1 pointI love the look. My guess is the only reason they made the headlight scoops a separate piece is they just couldn't form one sheet into the shape they wanted. Either geometrically impossible, or too much stretching for the metal to handle. I suspect if they could have successfully made the fender / scoop one piece, they would have.1 point
-
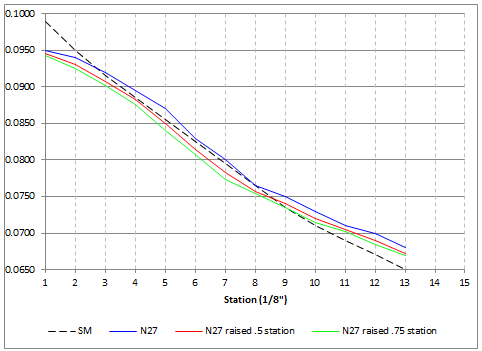
The ring annulus change is the same whether you drop jet or raise needle. The location of the annulus from the carb throat where the venturi pulls fuel through it, and from the top of the fuel differs. It will probably be the same effect as you point out.1 point
-
Thanks @240260280 . That is useful reference material. Still finishing up details. Added decals. Also below is a pic of my fabricated right angle battery cables....no cover though.

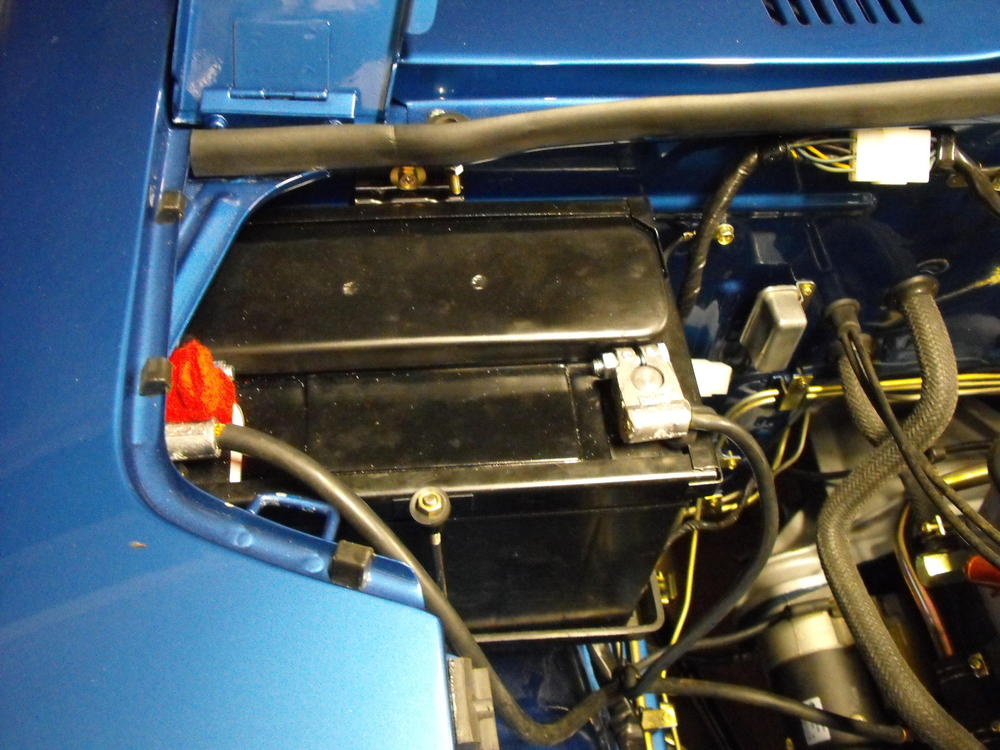

 1 point
 -
1 pointAbsolutely, but I would add that the power and ground wires need to be at least 12ga1 point
-
1 pointI really wanted to make it to Branson this year. I'm sure that anyplace that has a warrant out for Cliff must definitely be a party town worth going to... and I have family near there and could have made good use of a trip that way, but the gods (roofers, doctors, car dealers, insurance folks, etc..) said no (actually they said Hell NO!). Anyway , I'm aiming for NashVegas next year also. That's close enough that I'm sure Cliff has left some tracks there so it will be fun for sure.1 point
-
1 point
-
So with the incredibly generous help from @jonathanrussell, I've got a replacement cam on the way. Since they are both factory grinds, I'm hoping his cam is a drop-in.... errr.... slide-in replacement for what I have now. So with his help, I'm not out of the woods, but I should be a lot closer to the tree-line than I was before. This people here on this forum are fantastic!1 point
-
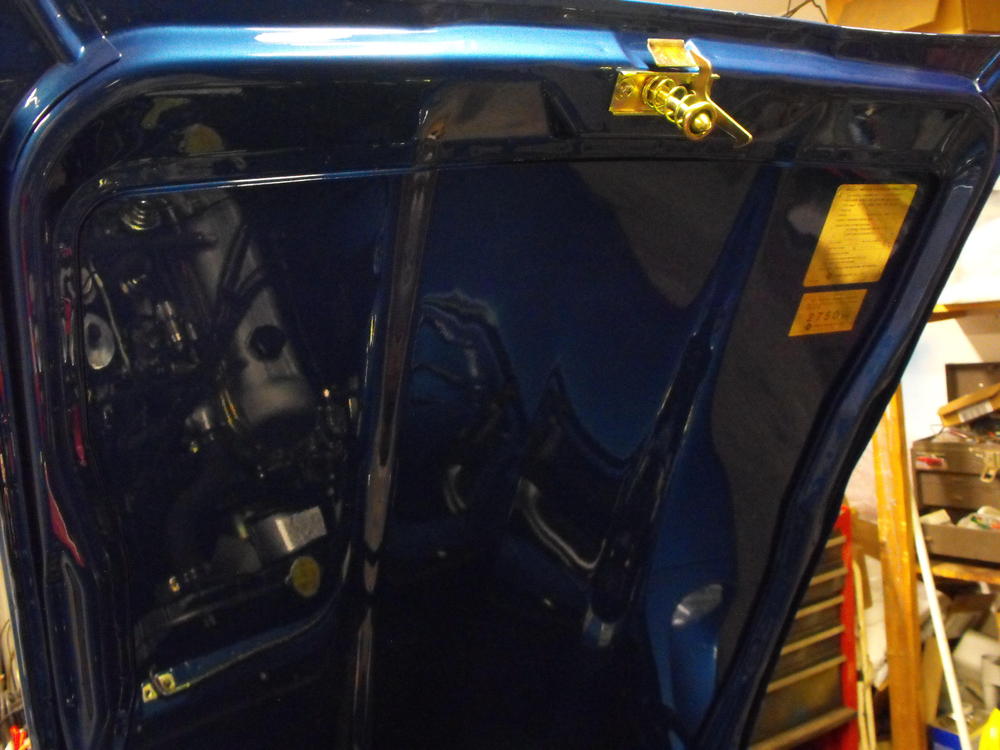
1 pointIt's probably the ink from the warning label that's the problem.1 point
-
1 pointIt's like that old George Carlin joke, "Studies have found that saliva causes cancer, but only if swallowed in small amounts over a long period of time."1 point
-
You can push the stock N47 deeper into the piston to enrich the whole range:
 1 point
 -
1 pointI haven't been driving much with the Z lately, the weather just started to clear up in June.. I did adjust the valves ( it was mostly the exhaust valves, which needed adjustement.. ) back to spec. Gave it some new oil and a nissan oil filter. When inspecting the car from underneath I found out the joints from the driveshafts where worn out.. So currently al 3 shafts are at a local rebuild shop. Other things to do are replacing the lower ball joints in the front, and the v belt for the dynamo. Expecting to have her back on the road in 2 weeks or so :) I also fixed to antenna. Nylon cord was broken off..1 point
-
1 point
-
1 point
-
Sent from my iPhone using Classic Zcar Club mobile
 1 point