Leaderboard
-

Mike
Administrator5Points23,065Posts -

kats
Free Member4Points2,215Posts -
Mark Maras
Free Member4Points3,719Posts -
Kevin McSweeney
Free Member3Points145Posts


Popular Content
Showing content with the highest reputation on 05/13/2019 in all areas
-
4 pointsWhen dealing with gaskets that tend to move out of place during installation, tie the gasket to the pan using sewing thread thru each bolt hole. When the pan is in place and the bolts are started just break the threads and pull them loose4 points
-
3 pointsThanks SteveJ! That link gave me the clue I needed. After removing all 31 fasteners, the oil pan wouldn't slip down/out to the rear. The only thing I had to do was pull the spark plugs and use a 27mm socket wrench to rotate the crankshaft until the #1 cylinder (front most) rod journal was retracted upwards into the block. Nothing else required. After removal, degreased it thoroughly. Lots of pieces of old gasket material was in the sump! Put down a thin layer of Edelbrock Gasgacinch on the new Fel-Pro gasket plus a layer on the oil pan. Waited 5 min as per the directions, stuck the gasket to the pan. Temporarily put all the fasteners back in to make sure the pan holes stay aligned with the gasket holes, while it dried. Put down another layer on the block and block side of the pan gasket. Reassembly is just the reverse of disassembly, right? Isn't that what shop manuals say? Well the pan wouldn't slide in past the steering rack, stopping an inch short. Whacking on the tail end with a mallet didn't help, it wouldn't go. Realized that there was so much caked on grunge on the steering rack that it was costing me 1/8" of clearance. Once I degreased it, the pan slid right in. Last hurdle was the pan gasket separating from the pan, at the front end. Put two fasteners into the rear corners to hold the pan, then the front of the pan drooped. Using a little L-shaped pick, weaseled the gasket back into place. 29 fasteners later and it was done. Let it sit overnight before firing up. No more drips and leaks!3 points
-
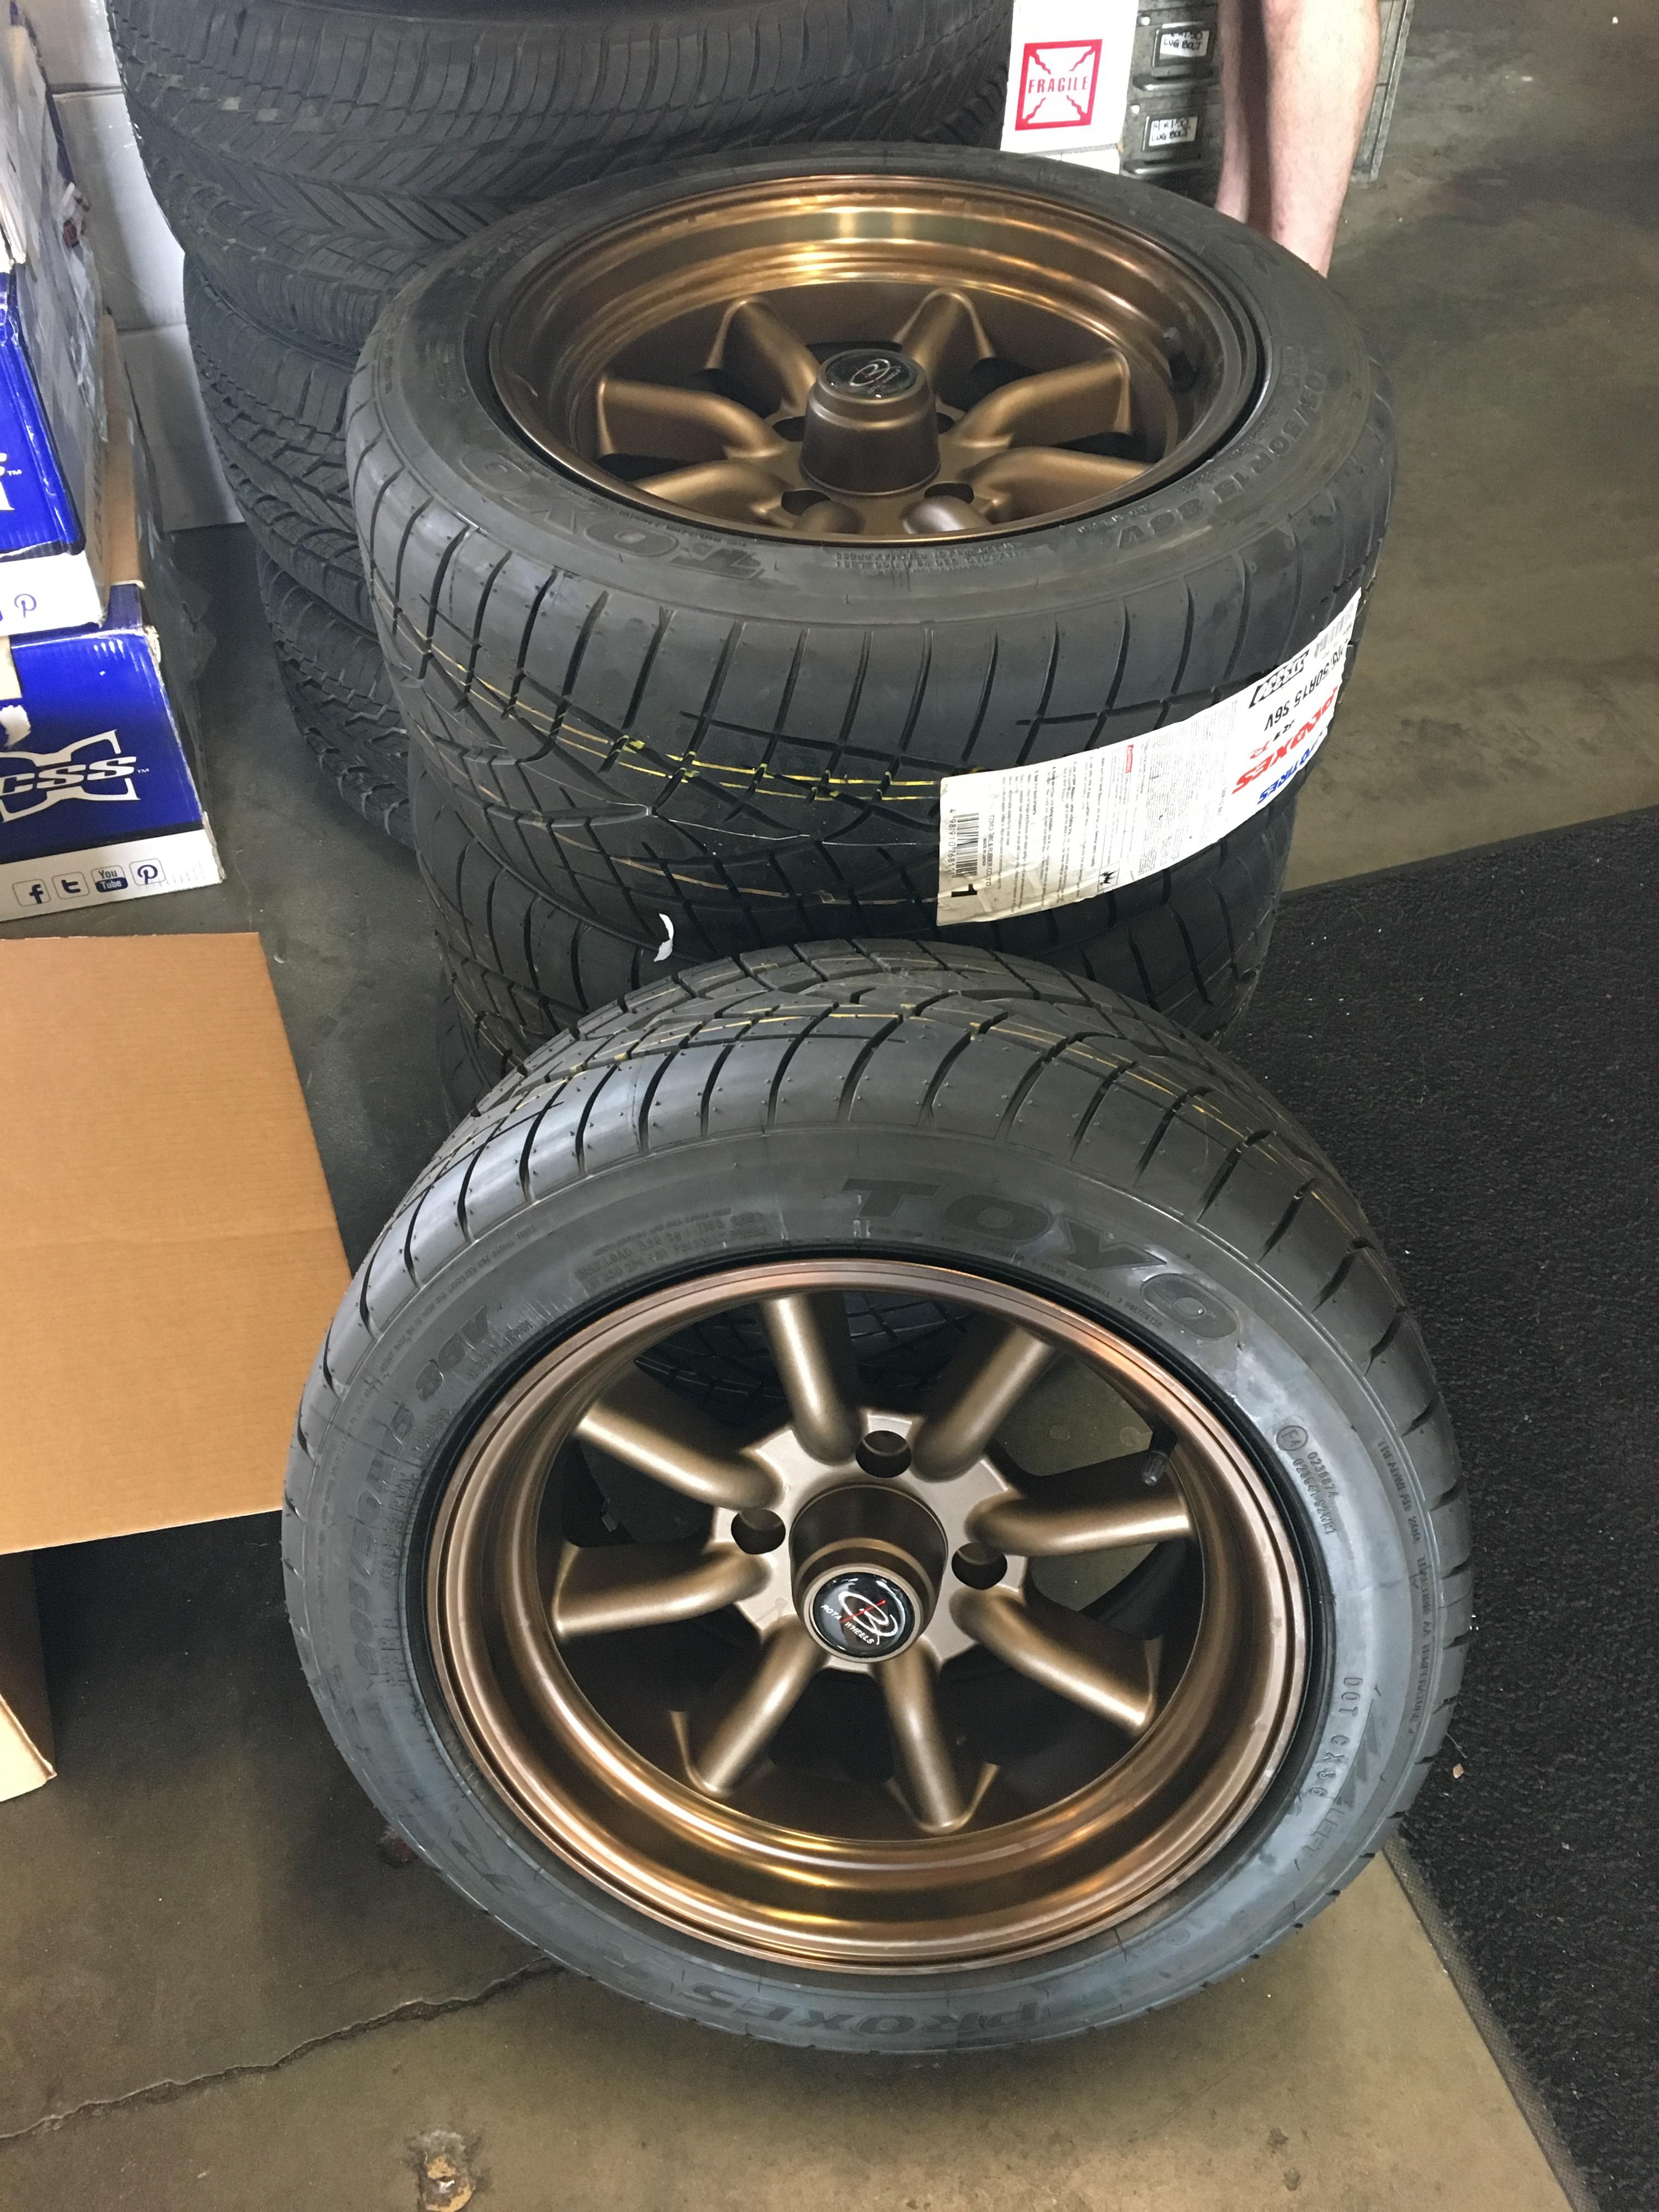
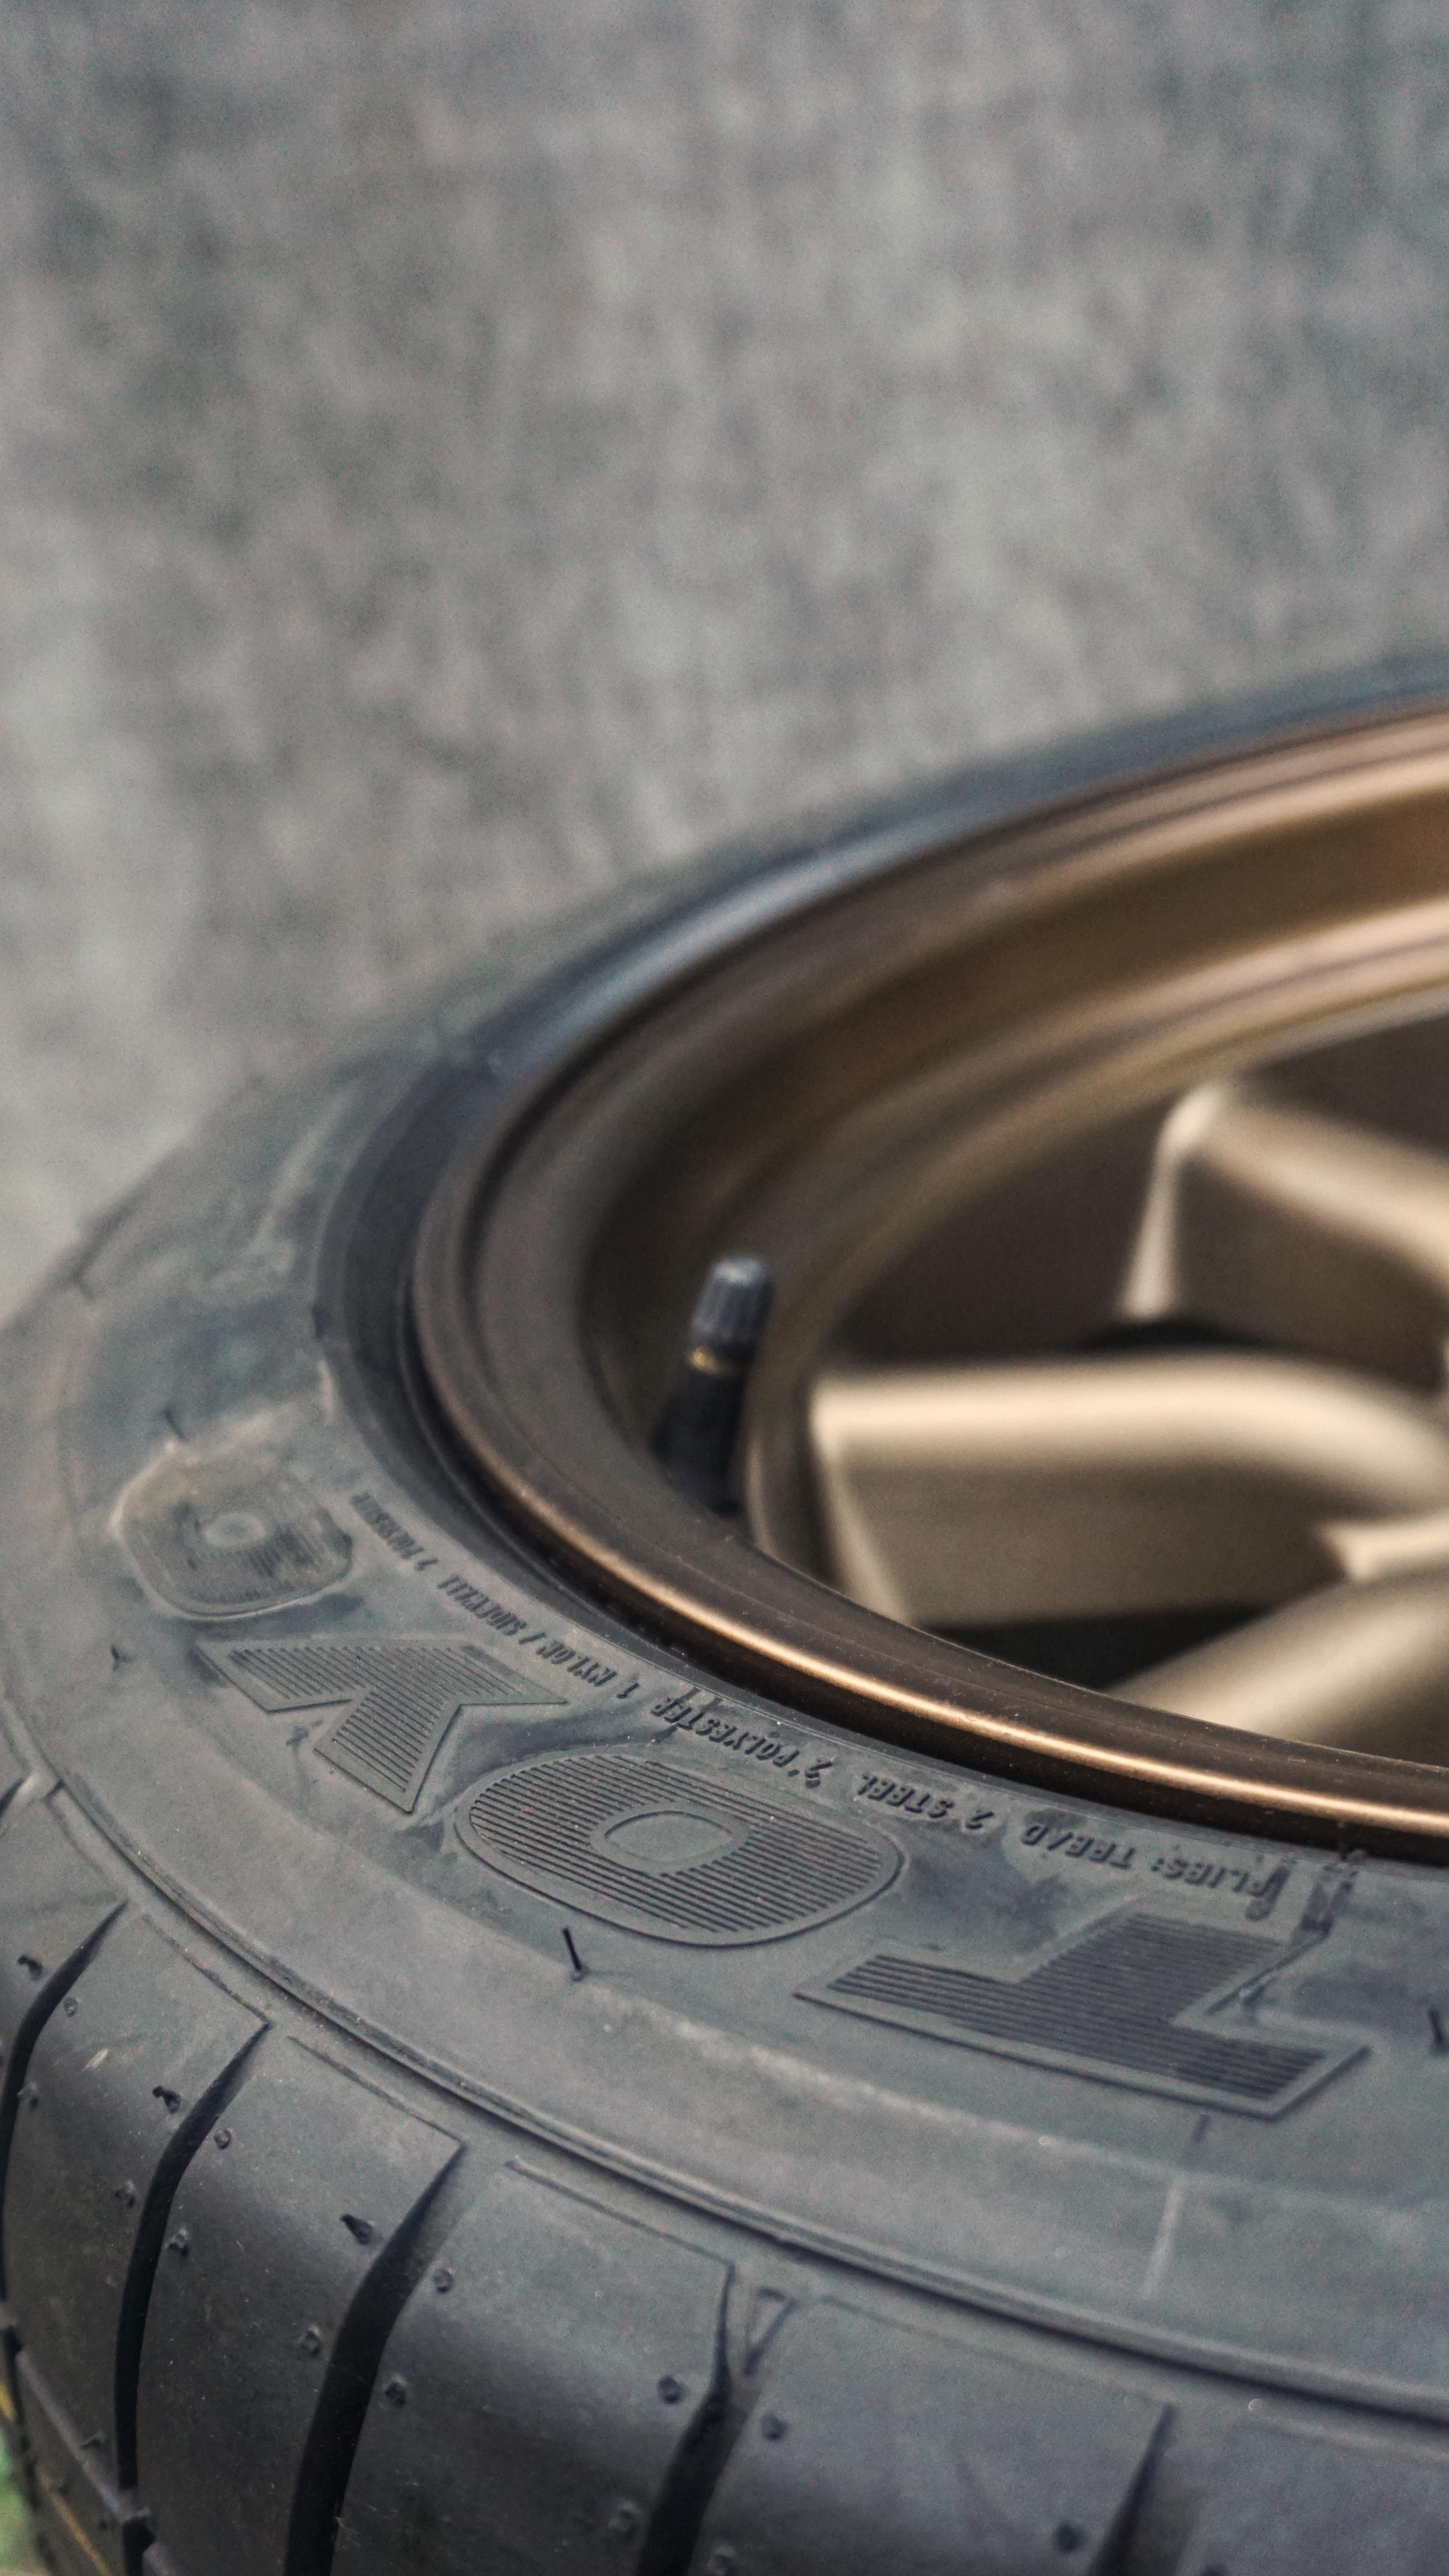
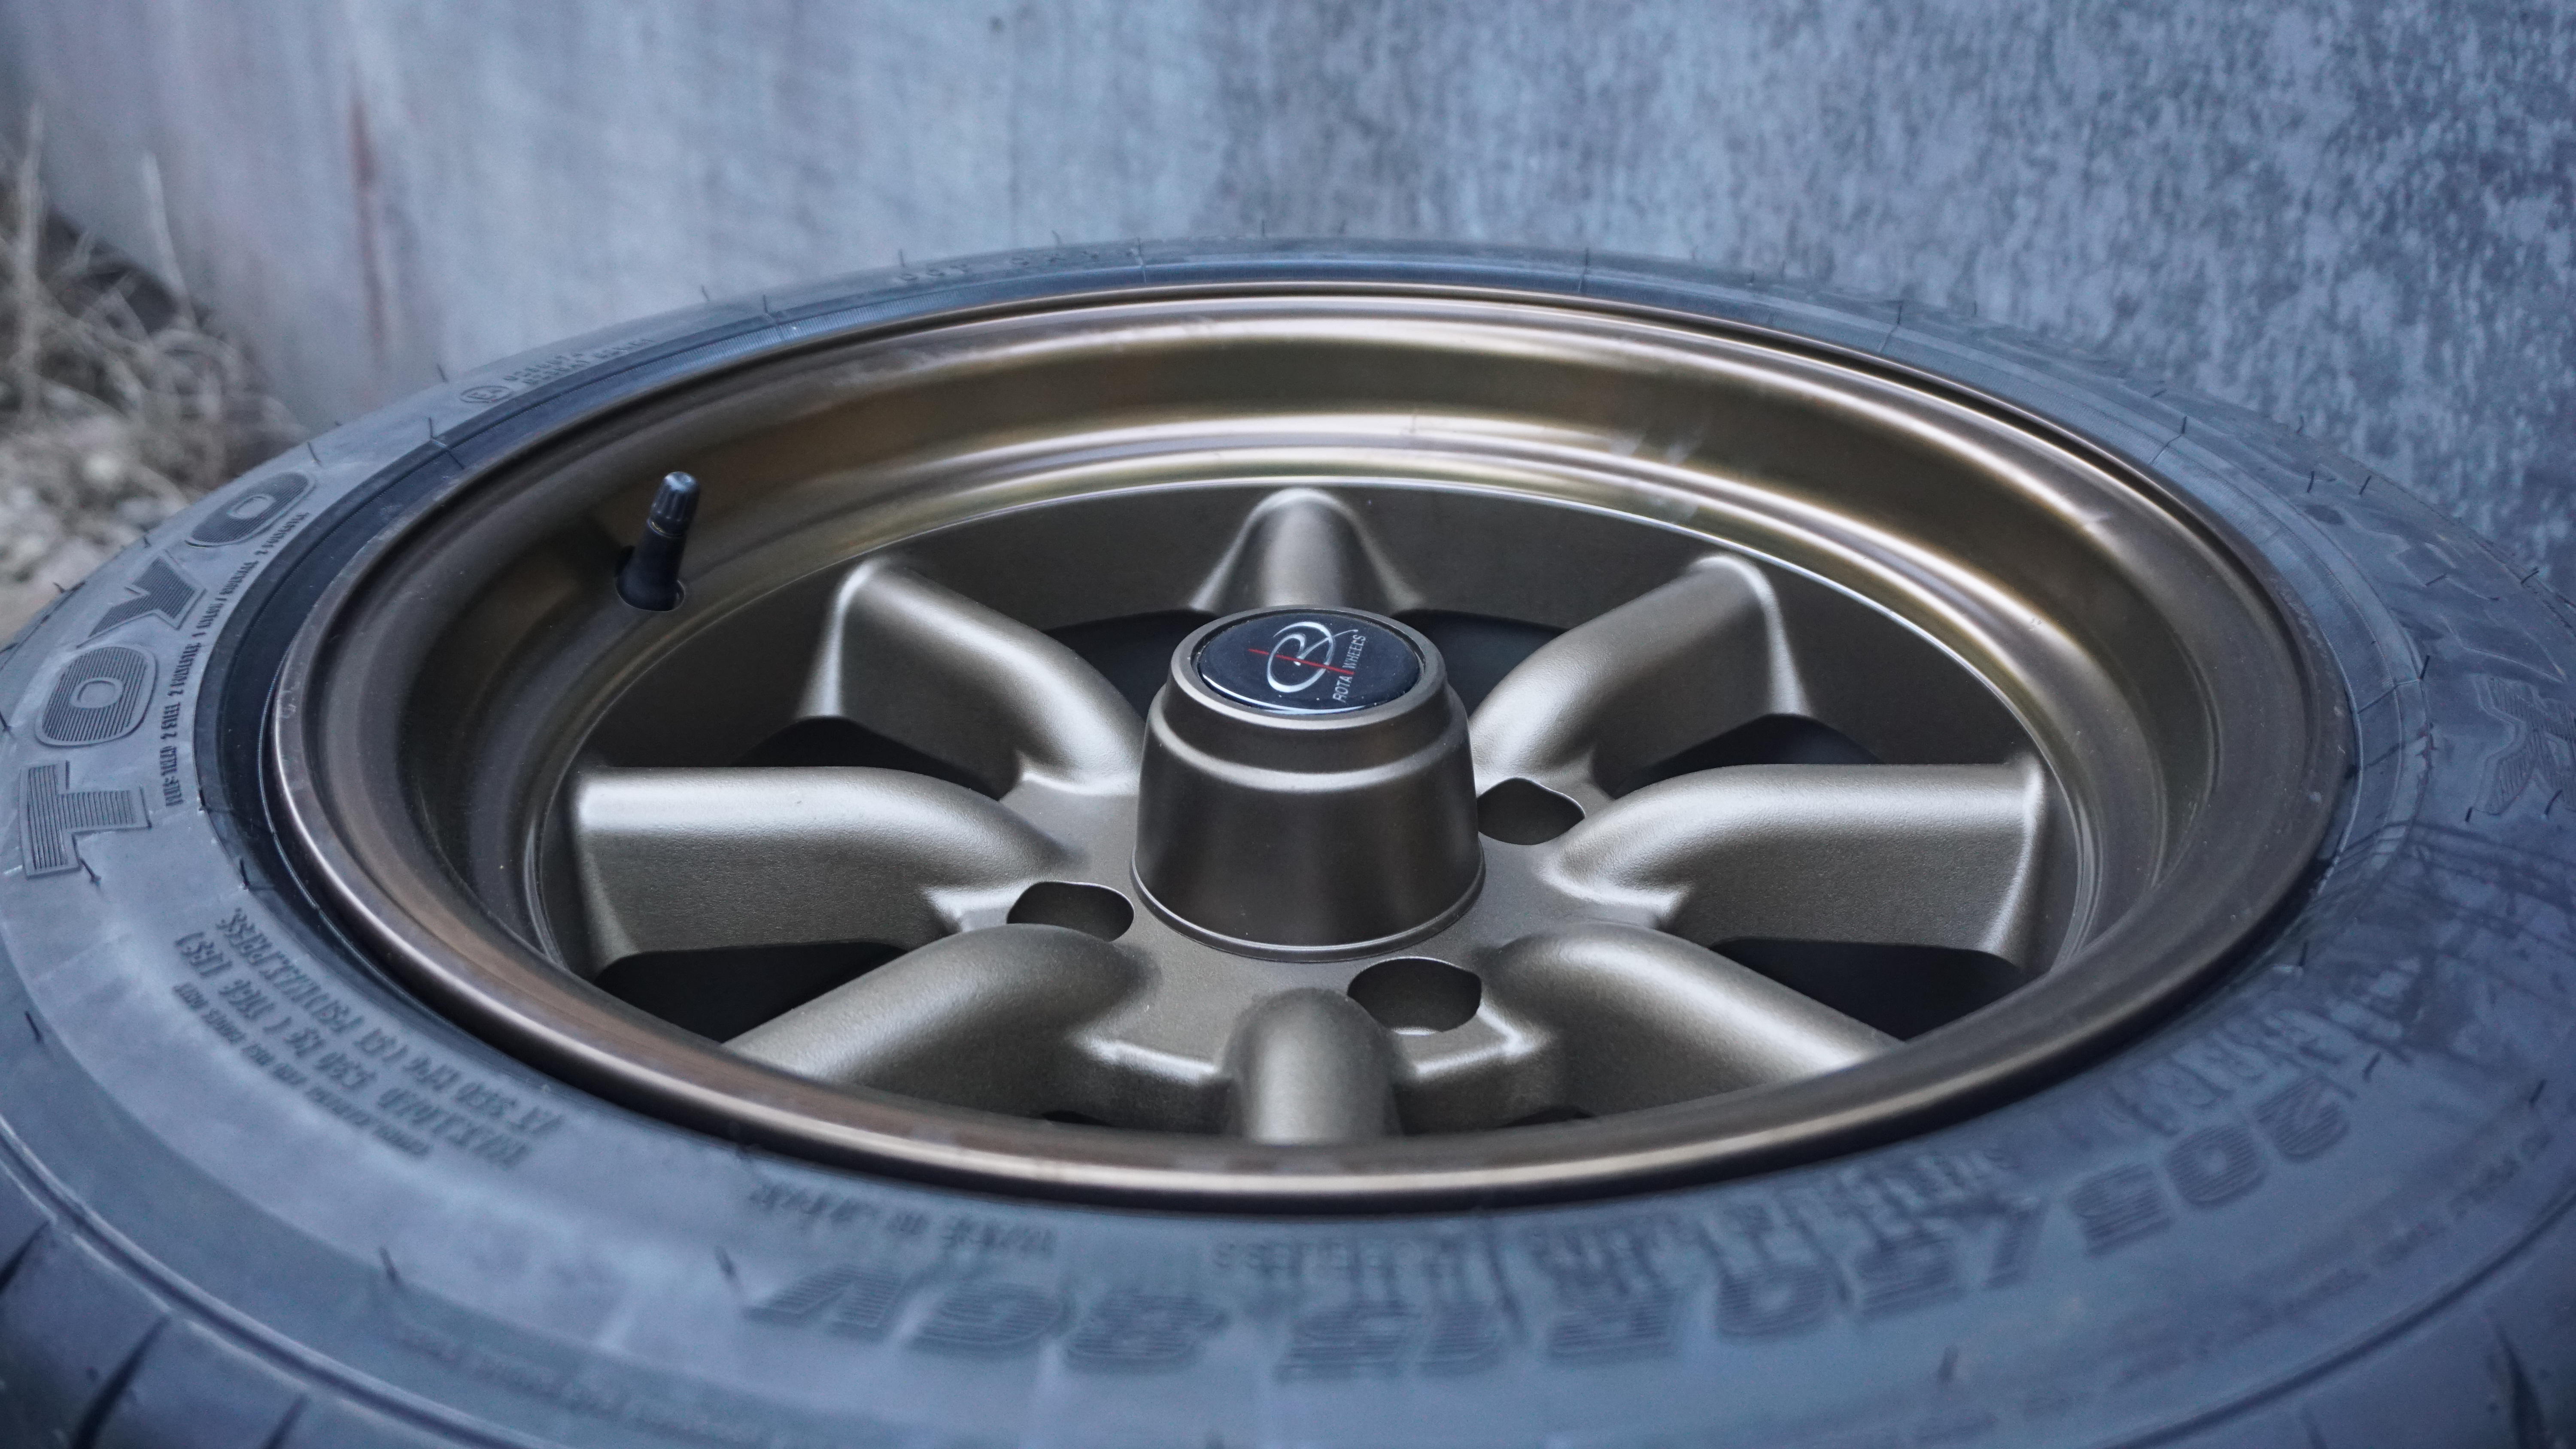
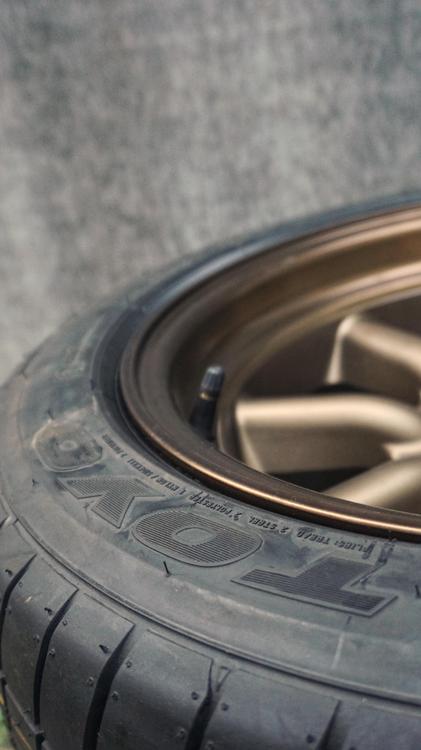
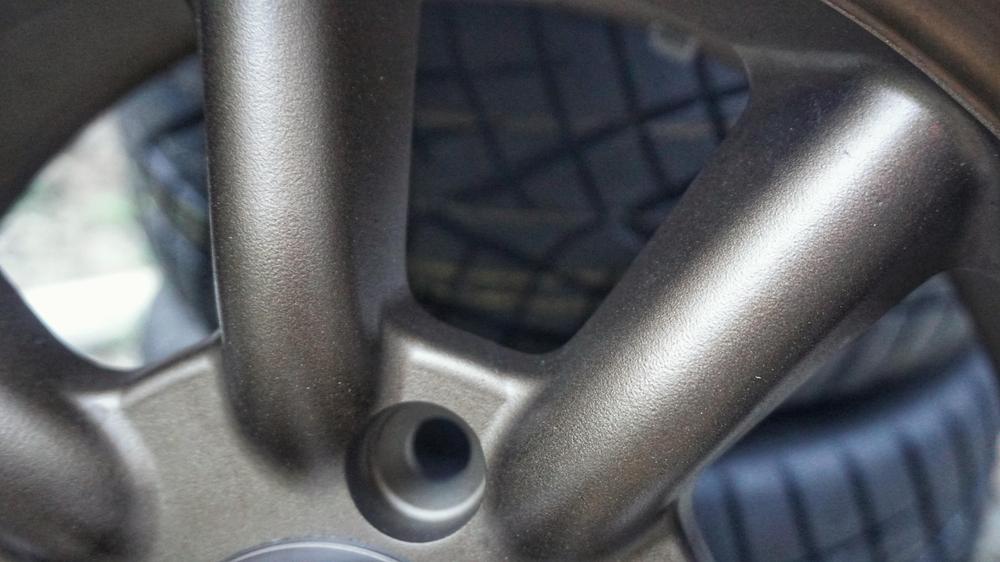
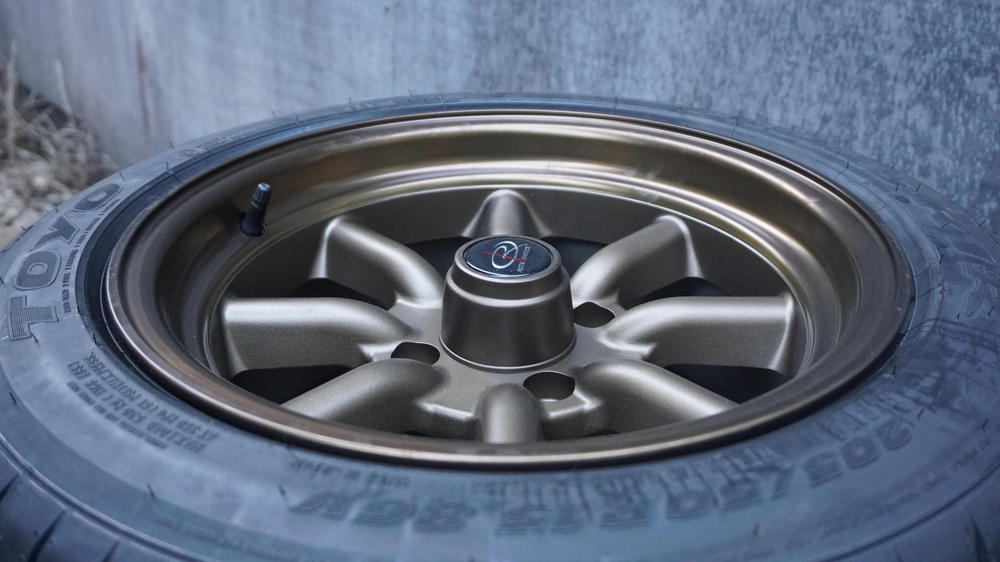
3 pointsFinally got new wheels and tires. Rota RKR 15x8 0 et in Bronze, and got them mounted with Toyo Proxes R1R's 205/50R15's. I needed to get these so I have wheels to put back on once I do the brake upgrade (wheels on the car now are 14" so too small to fit over the stage 4 kit) but I also need to get the extended wheel studs in order to fit them!

 3 points
 -
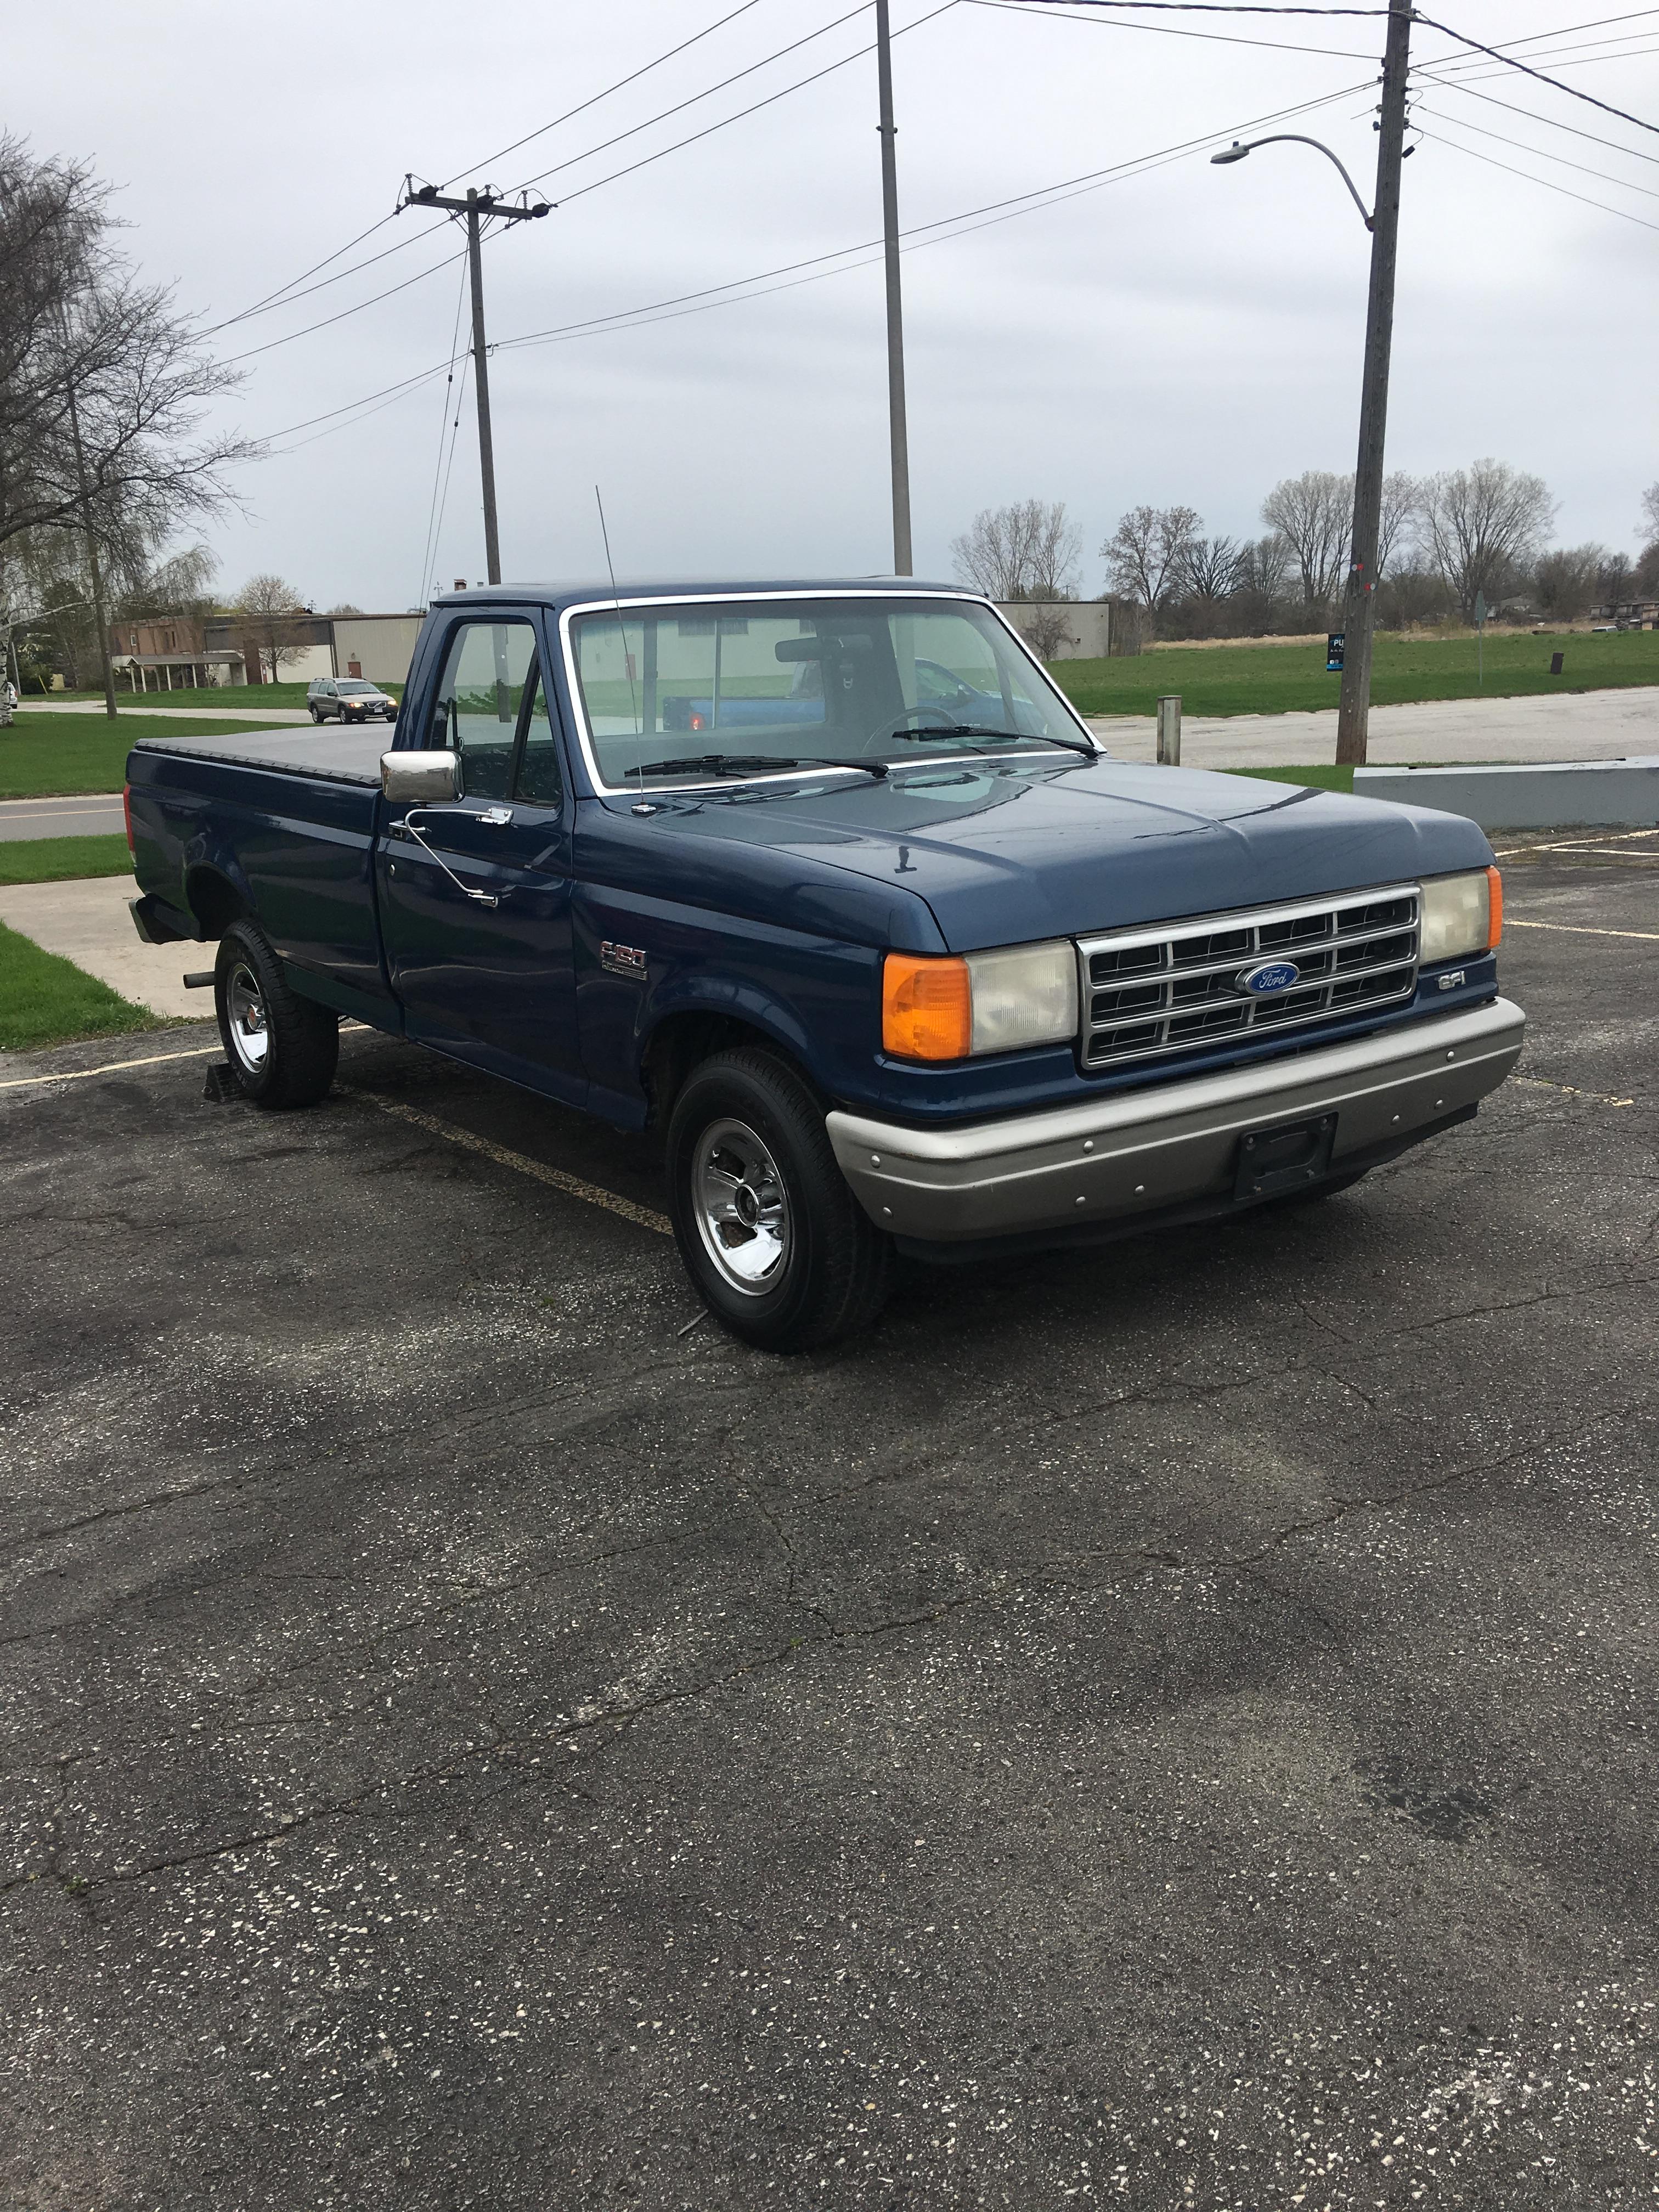
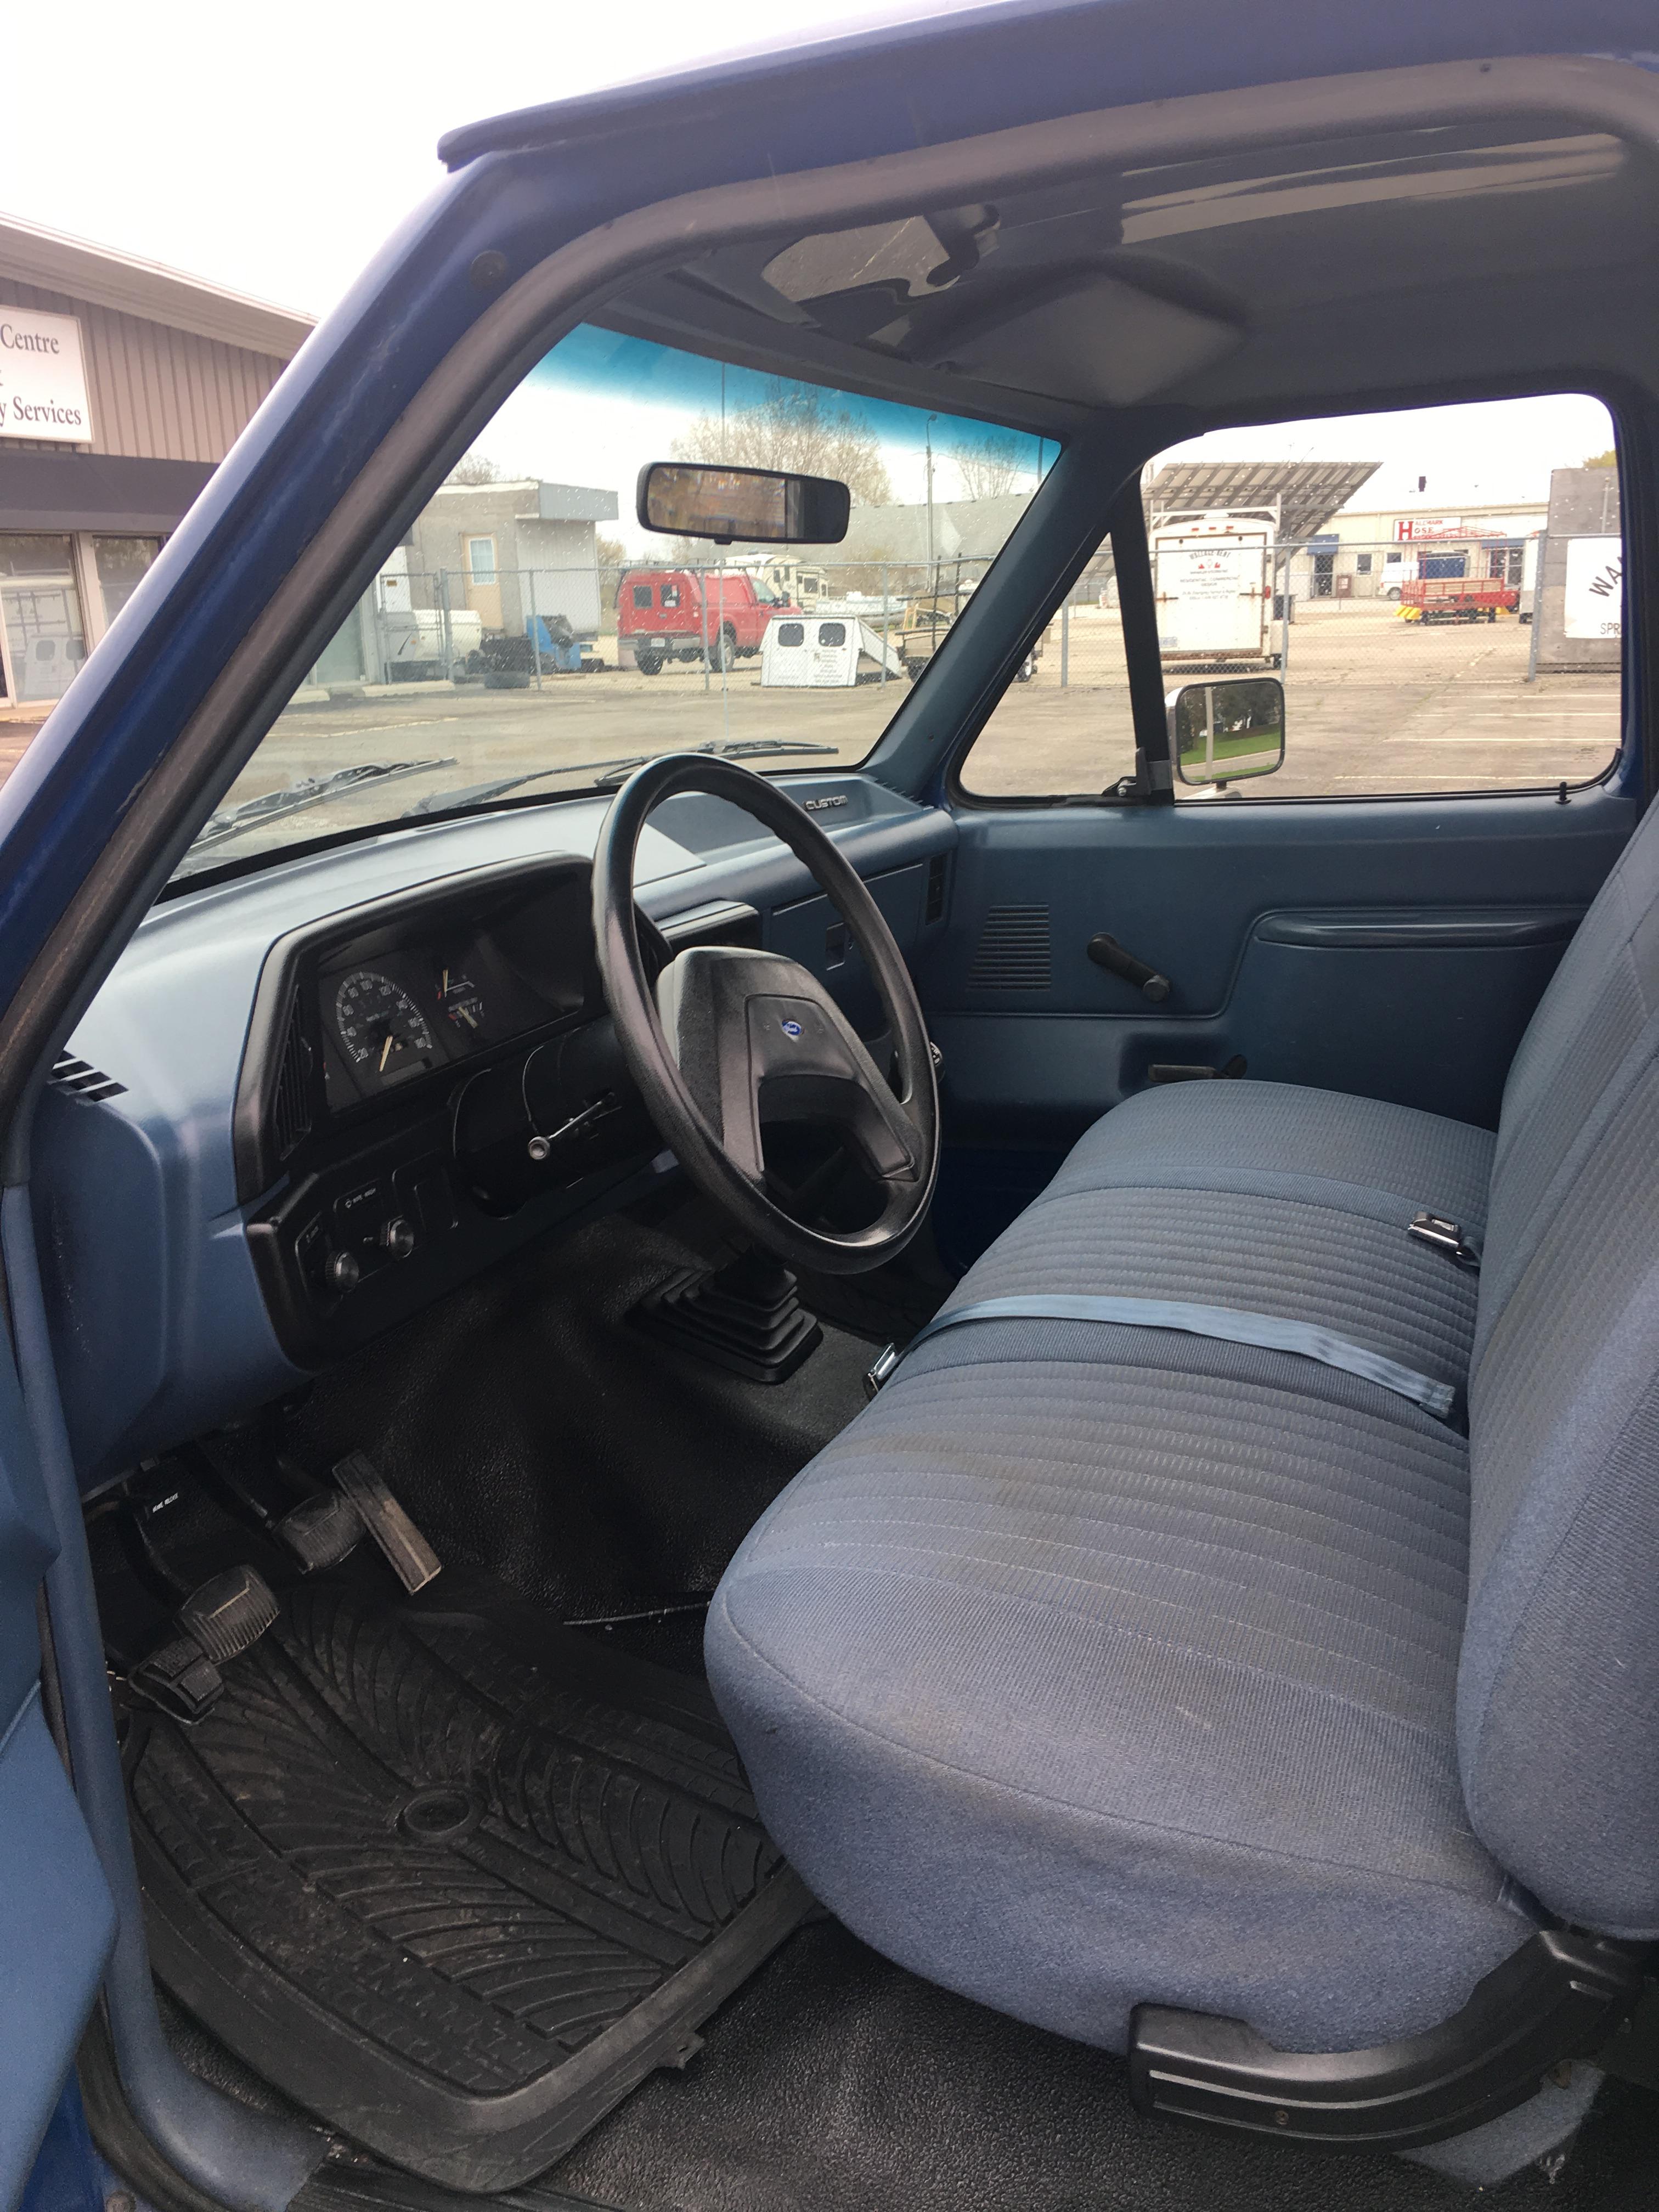
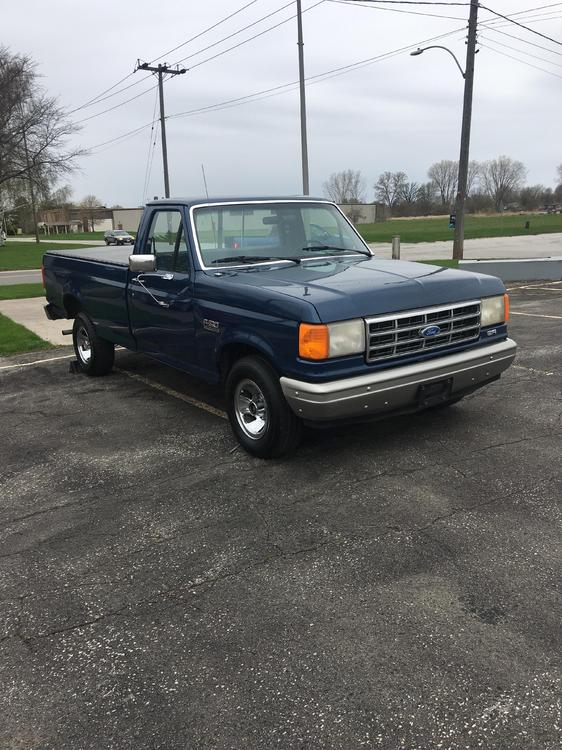
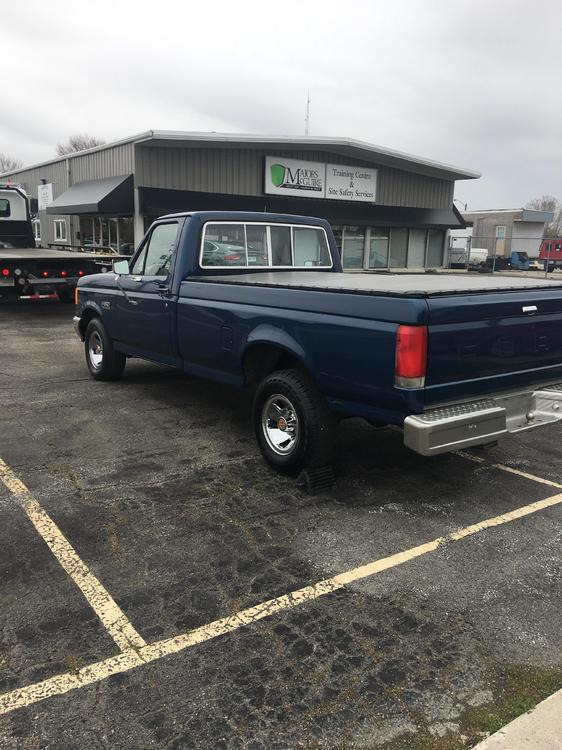
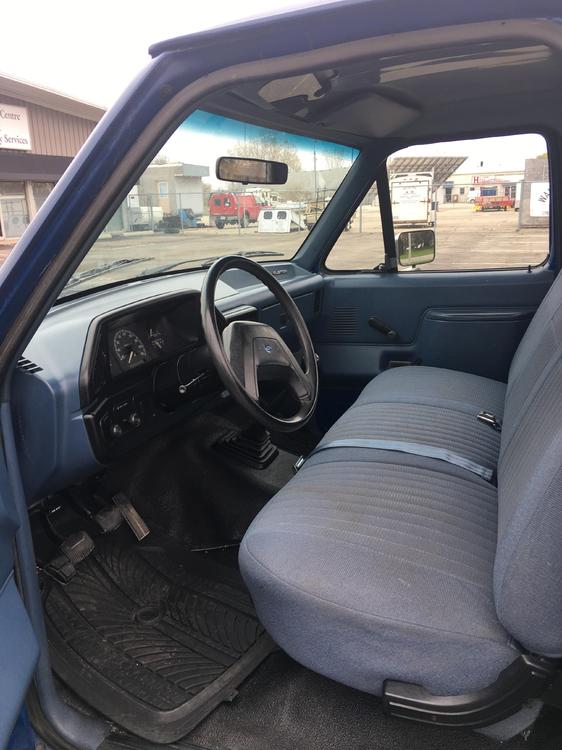
2 pointsGot a vinage 1989 Ford F-150 last week. Beautiful condition. No rust,158000 kmiles, in line 4.9 litre 6. When I called the guy he said he just put the ad up 2 minutes ago. I was first in line, he got 70 more call and they were still callin after he took ad down. Lesson ......don’t hesitate call immediately if interested. When I saw it in the parking lot I thought it must be a misprint, listed for $2500 Canadian. ( that’s $1800 us ) 5 speed overdrive. Interior clean. Qualifies for vintage insurance. I love it. Would never have happened if I waited 5 minutes more.
 2 points
 -
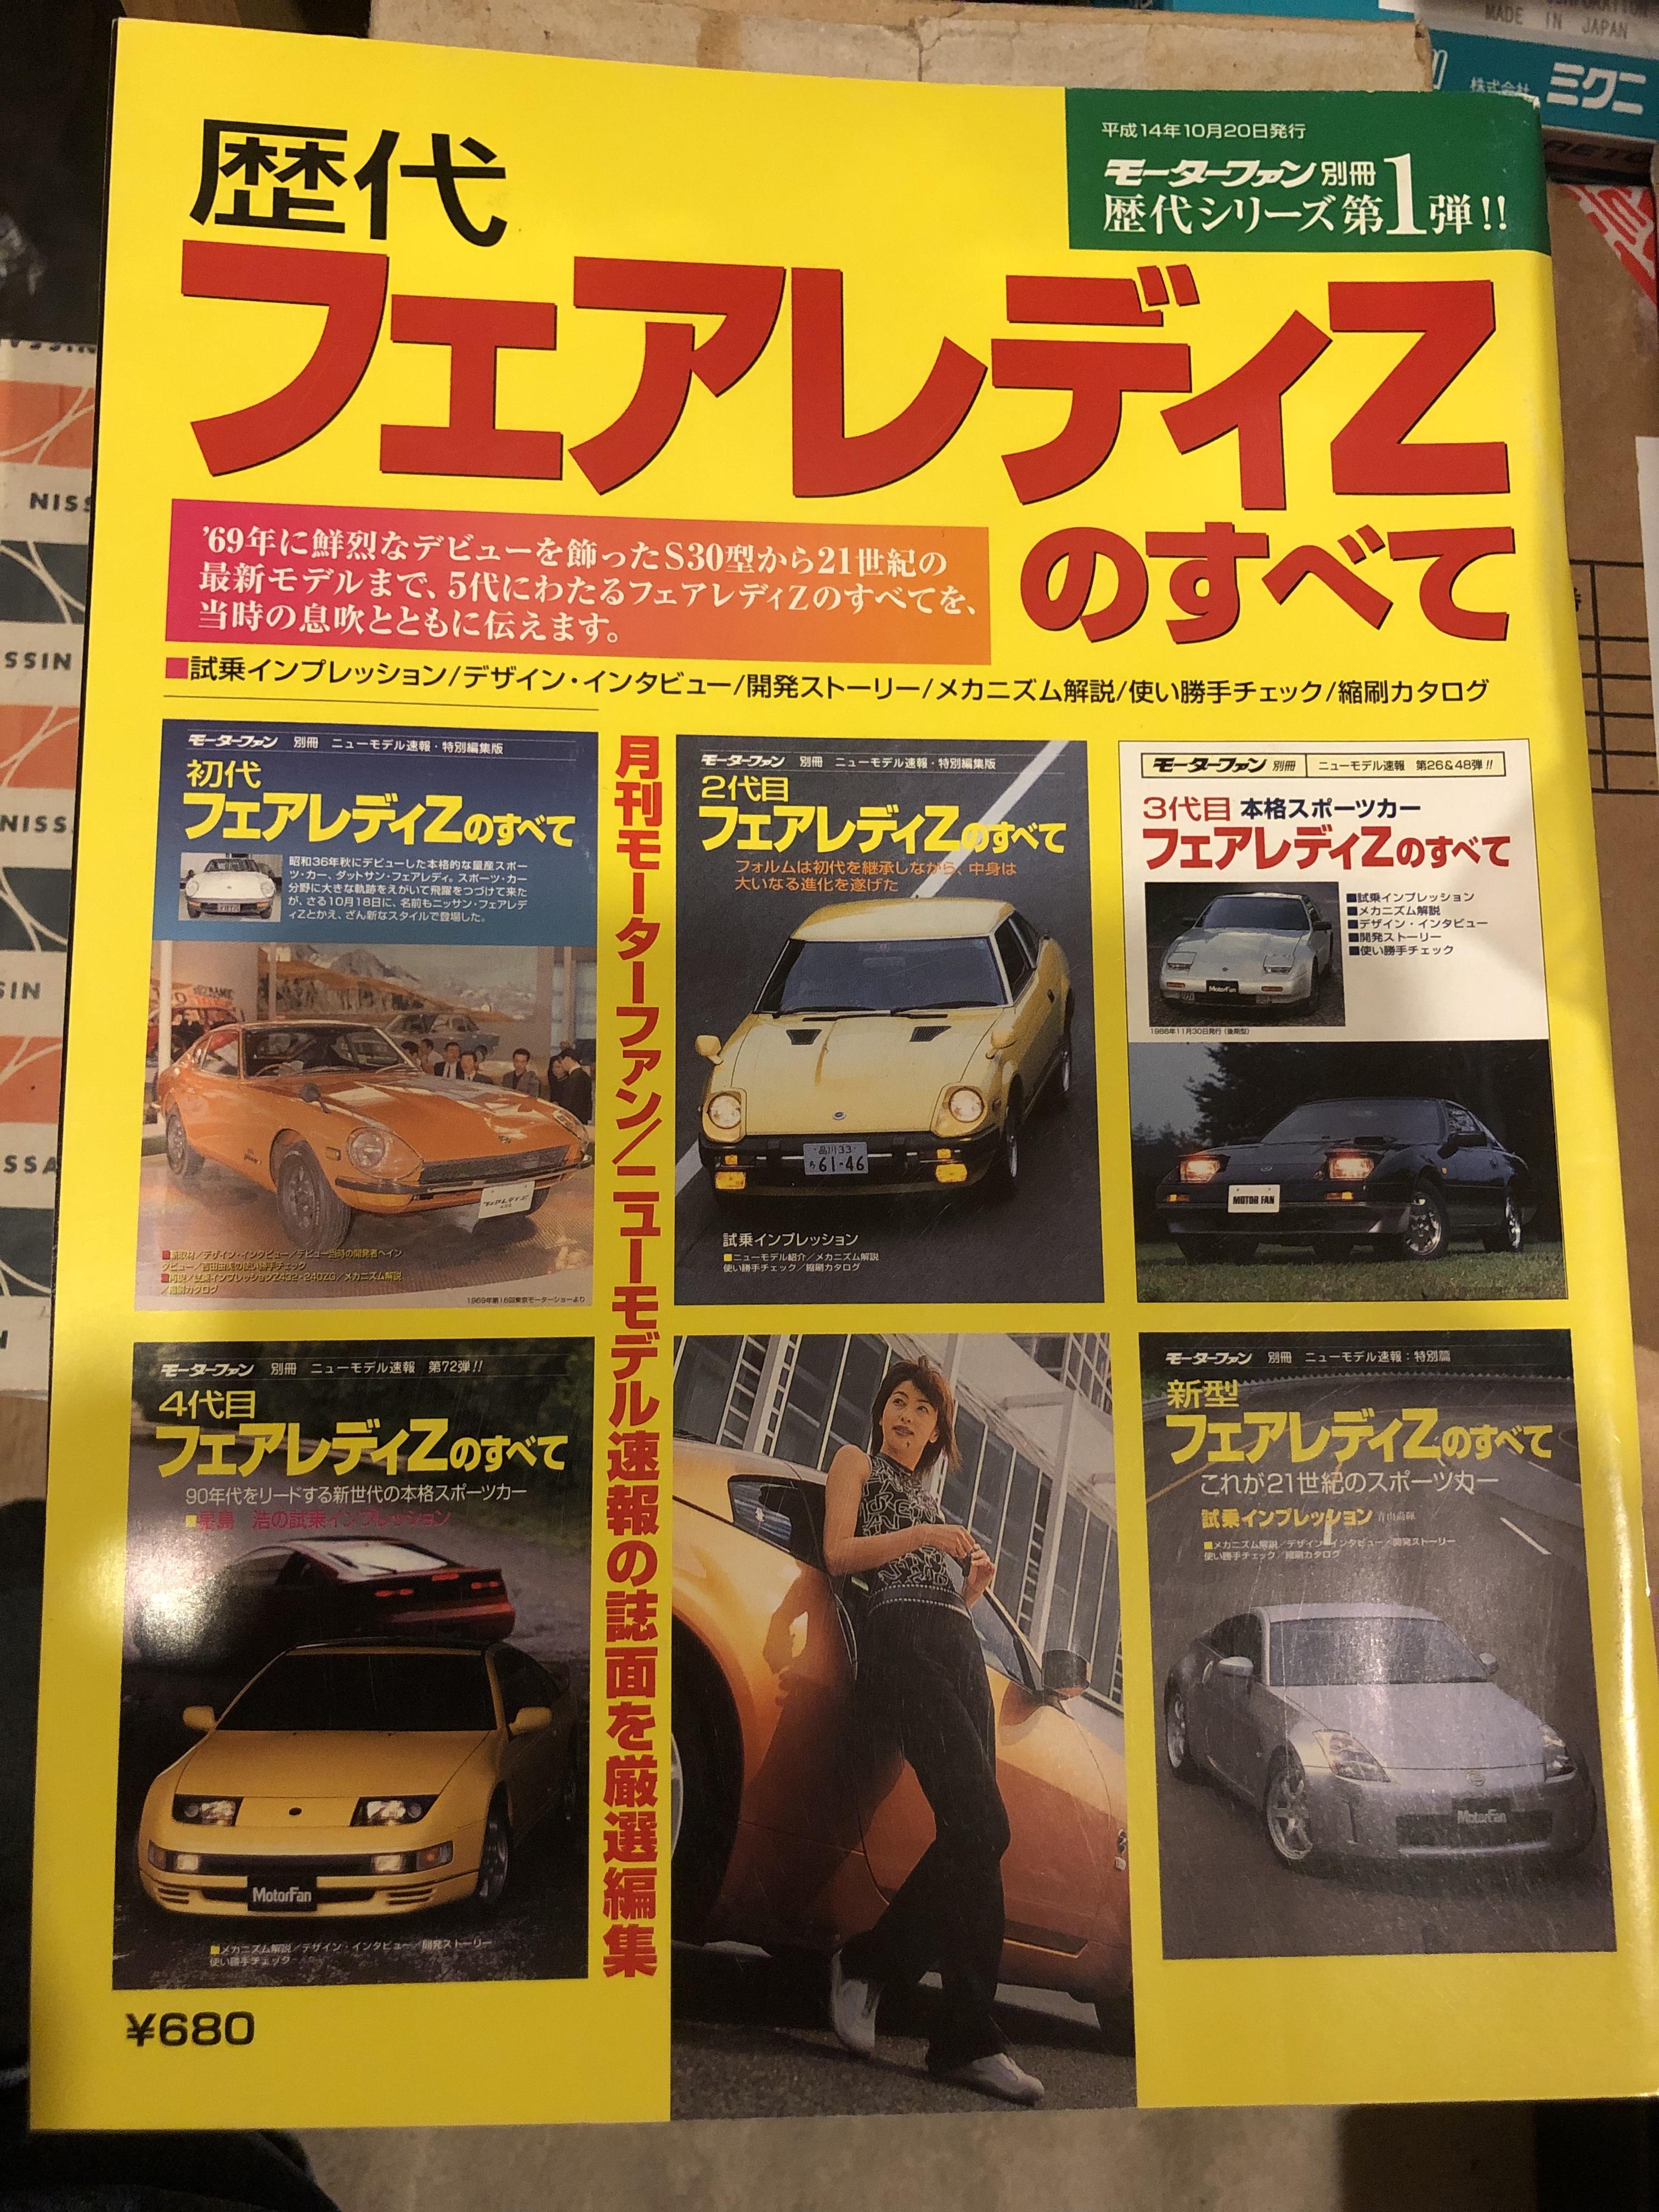
2 pointsThanks Alan , that is very helpful to understand what was gong on to the seat designing at that time . A legislation effect, I got it . So was it like Japanese and German manufacturing’s adherents habit which were sometimes seen in industrial world ? Prepare and finish well before the cut off date of regulations applied. Lamborghini Miura , and Ferrari Datona didn’t have the high back seats in the same era , did they ? The legislation was not mandatory? Or just recommended item , not necessarily had a high back seat , a head rest was a must item ? How about other Nissan cars in 1969 ? Blue , Mr . Chiba is the interior designer of S30 . Approximately in early 1968 , dashboard and seat and other things had its design finished . He said in this book ‘ I disappointed a little bit about the finish of the production dashboard, the cray model which I designed had much sharper edges around meter foods. I was told by the manufacturer ‘ you can not have the edge here and there , and there ‘ I felt the technology of vacuum forming at that time was limited compared to today’s level ‘ This book ‘ Motor Fan ‘ 20th Oct 2002 is very fun to look at . Kats


 2 points
 -
2 pointsVintage? I still think of that model as fairly recent They are a great truck, way back in 89 I drove one as a company vehicle for 2 yrs. Nothing fancy but well made and looks like the PO took very good care of it, that's a nice score.2 points
-
1 pointJust wanted to report back to everyone thanks for the help, once we got the combo issues fixed it's running the way it was meant too. Thanks everyone.1 point
-
1 pointI have never heard of them before. But this sets off all kinds of alarm bells for me. I would never send somebody money and then hope they ship me the car. Nobody will ship a car to you at their expense and then come take it back if you don't like it. Finding a good 240Z for $4K today is also hard to believe. Your signature says you are in California. You should be able to find good 240Z's out there, that you could go see in person. That is the best way to buy these cars. Take your time, and wait for the right one that you can buy directly from the owner.1 point
-
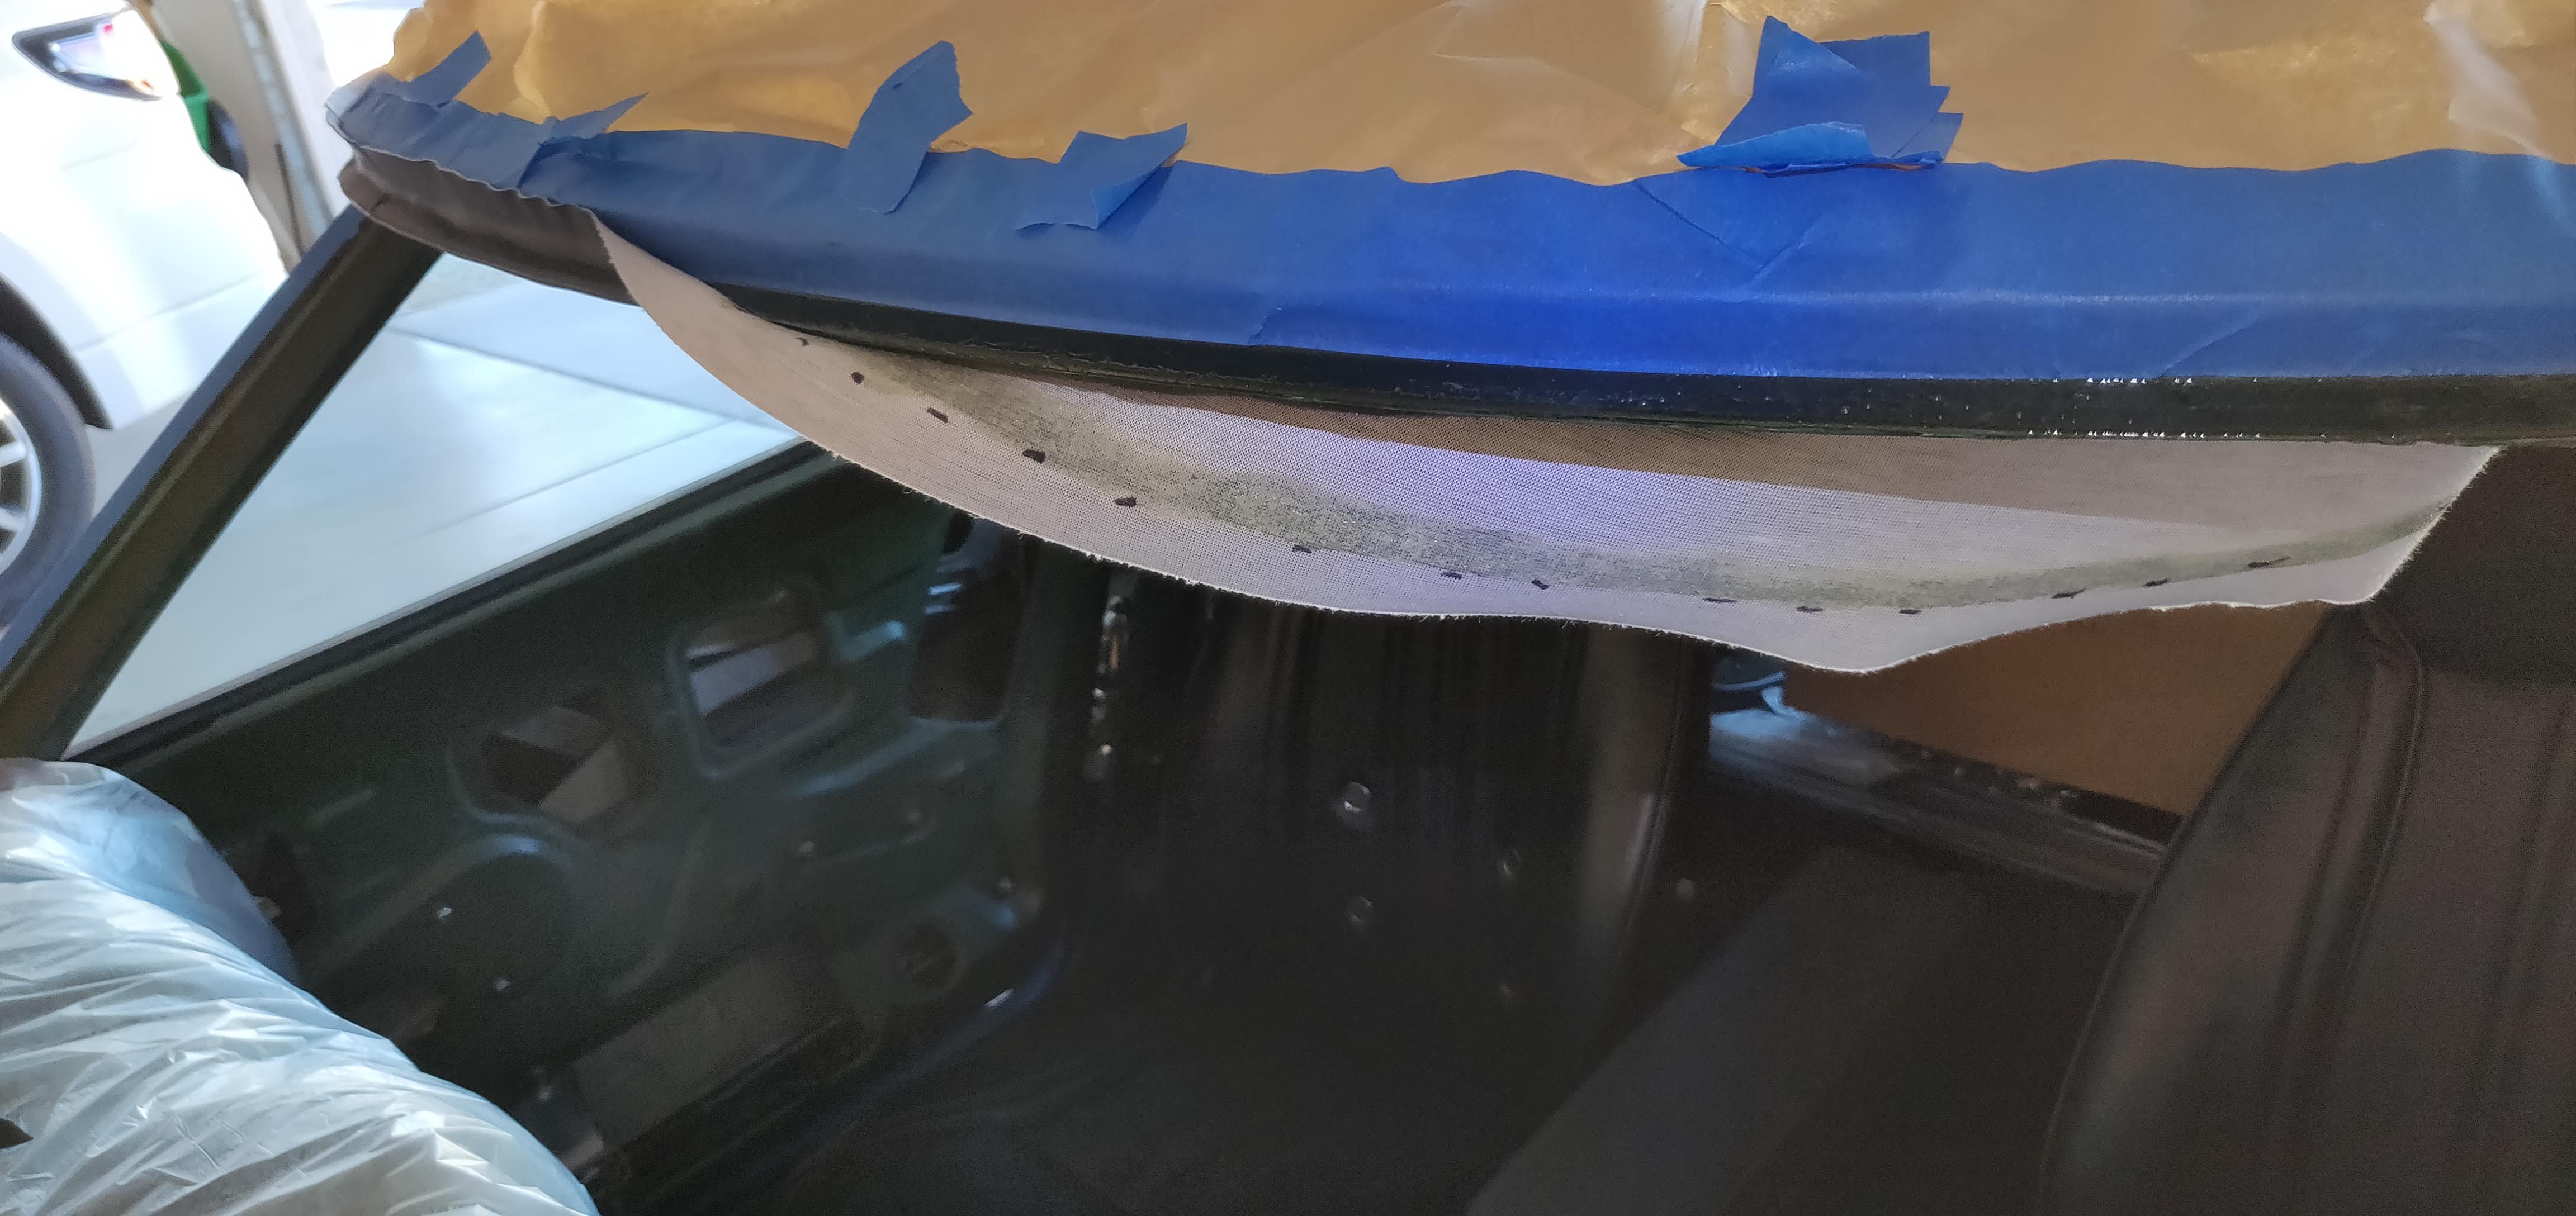
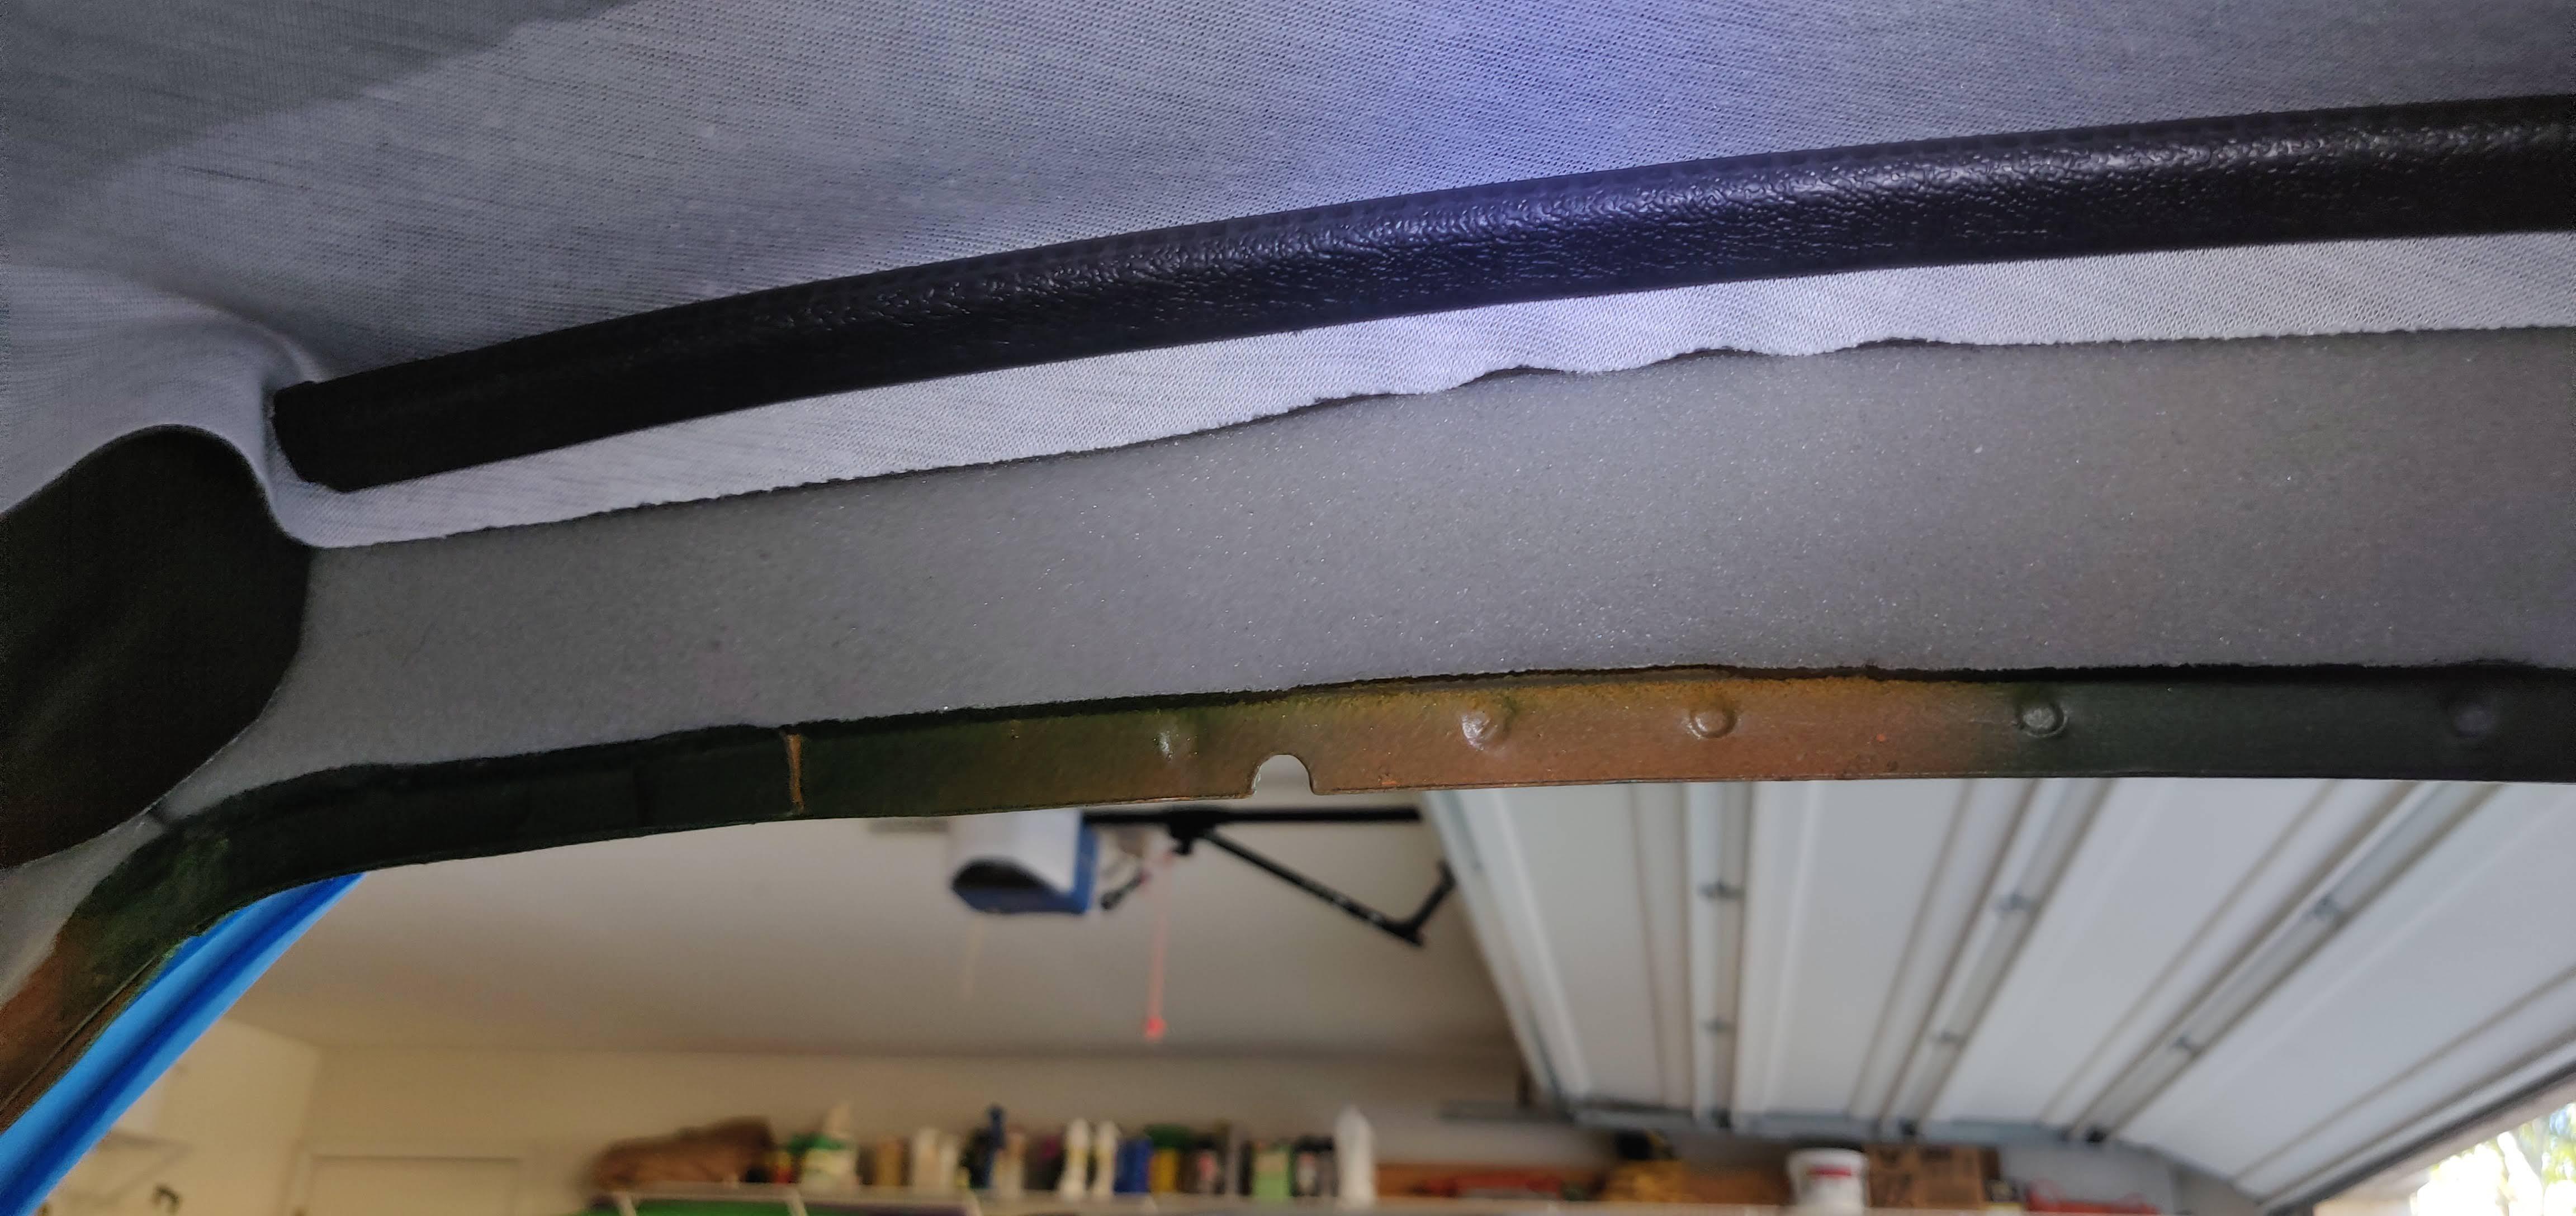
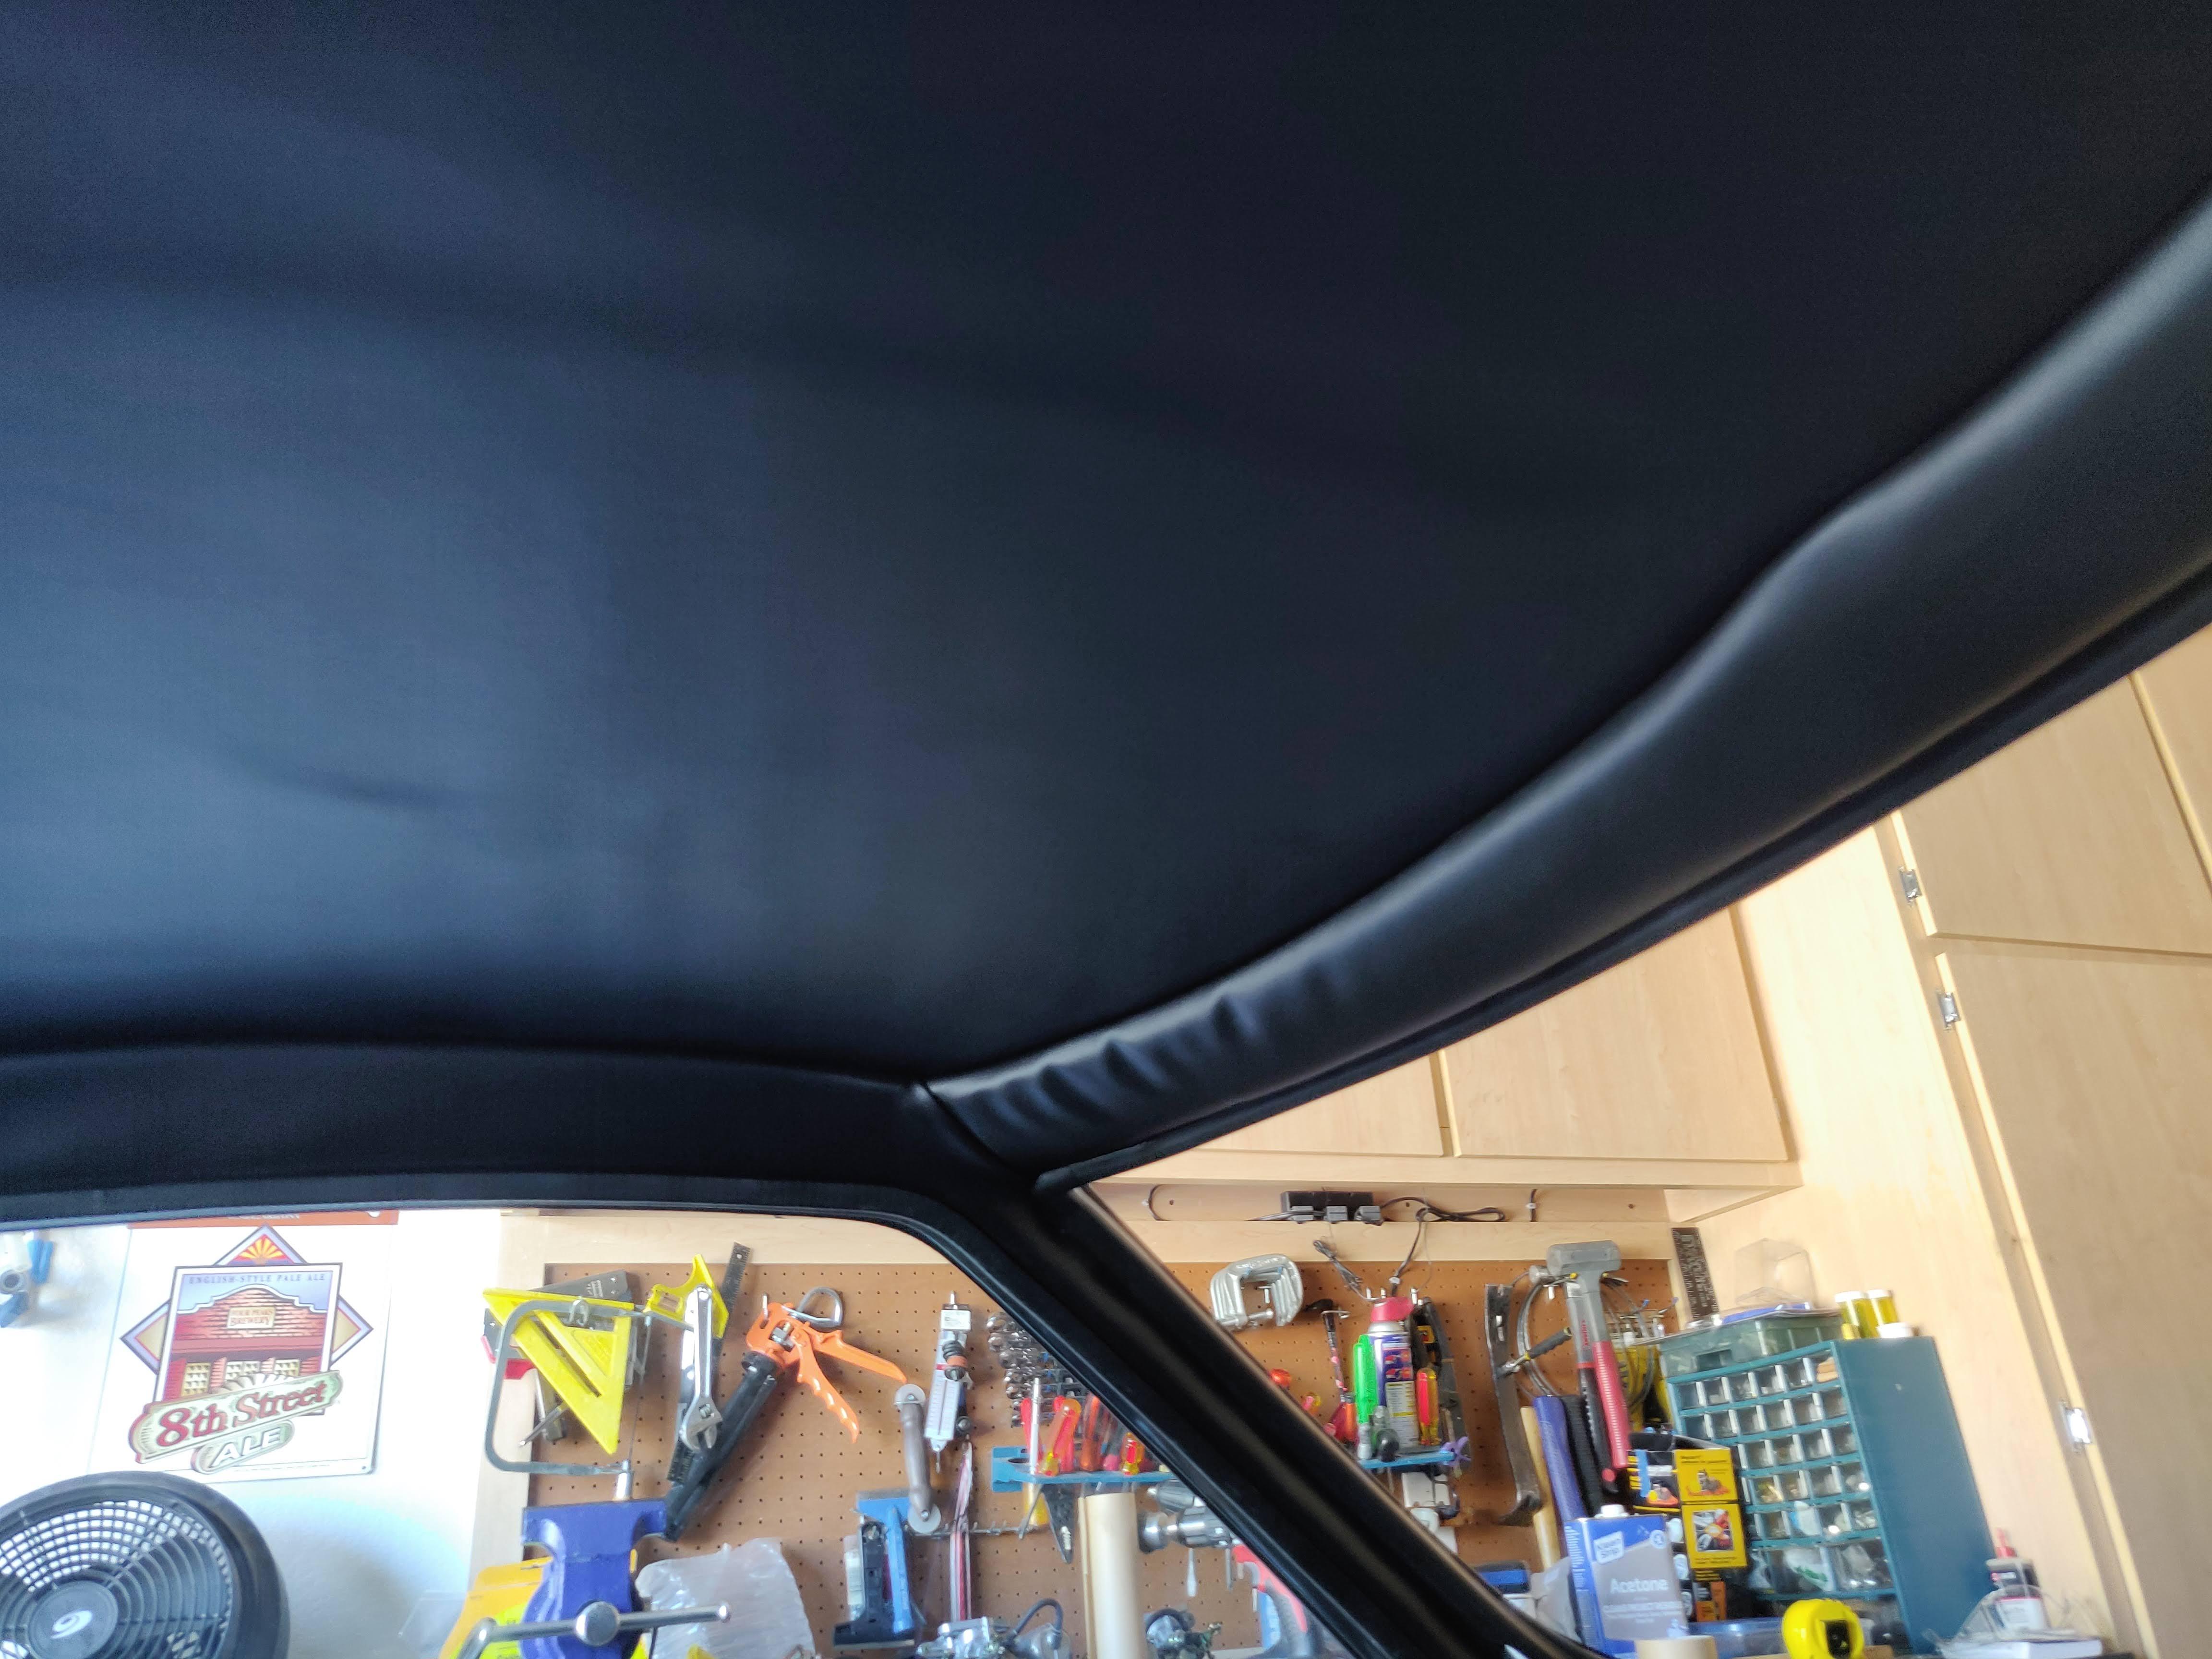
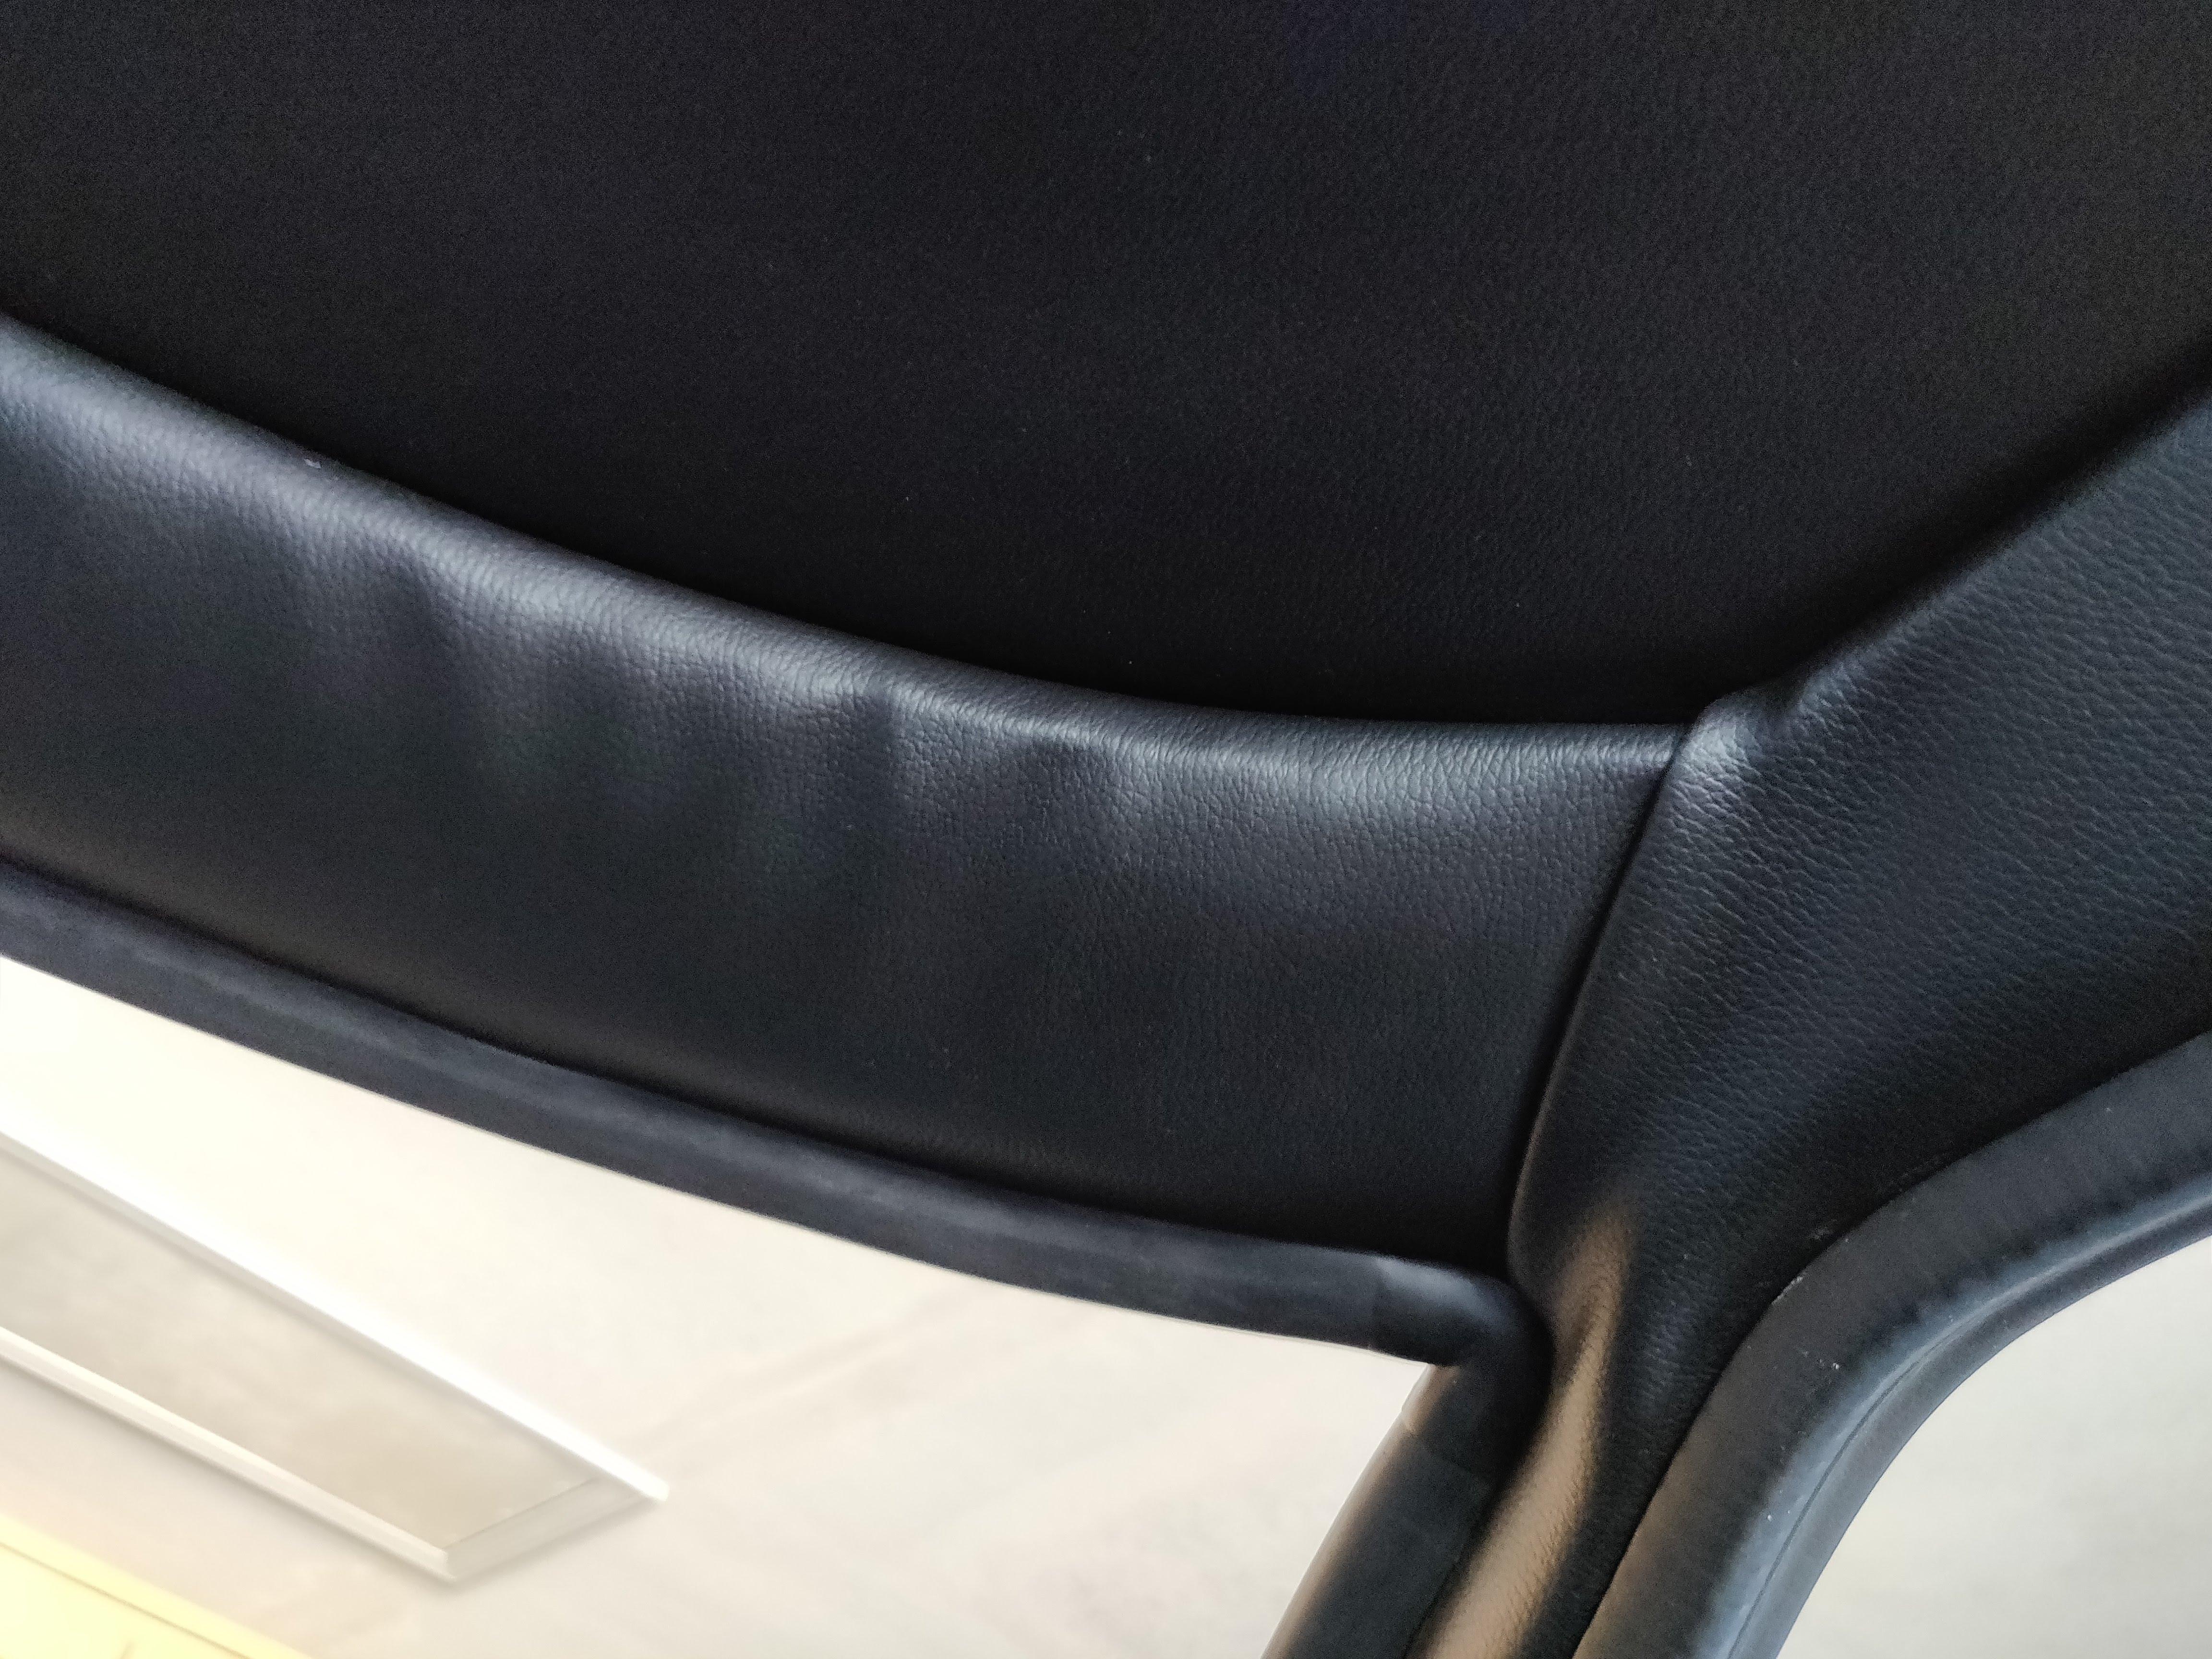
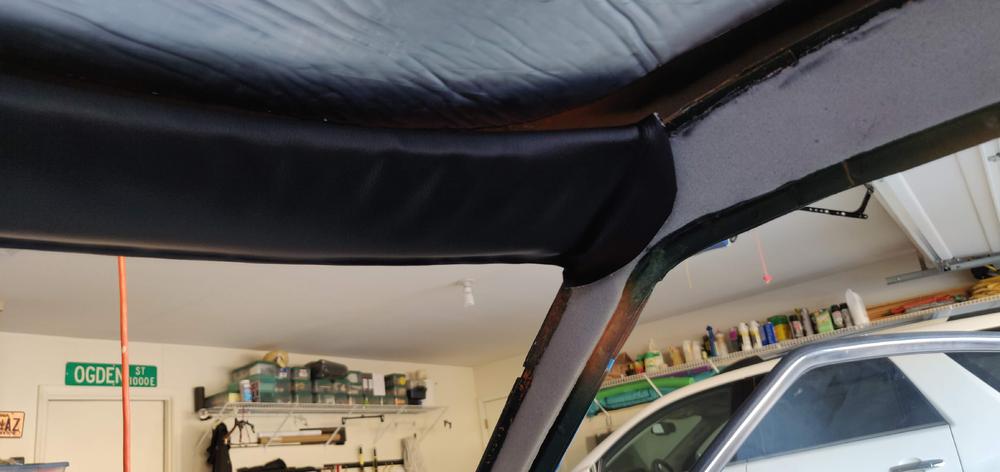
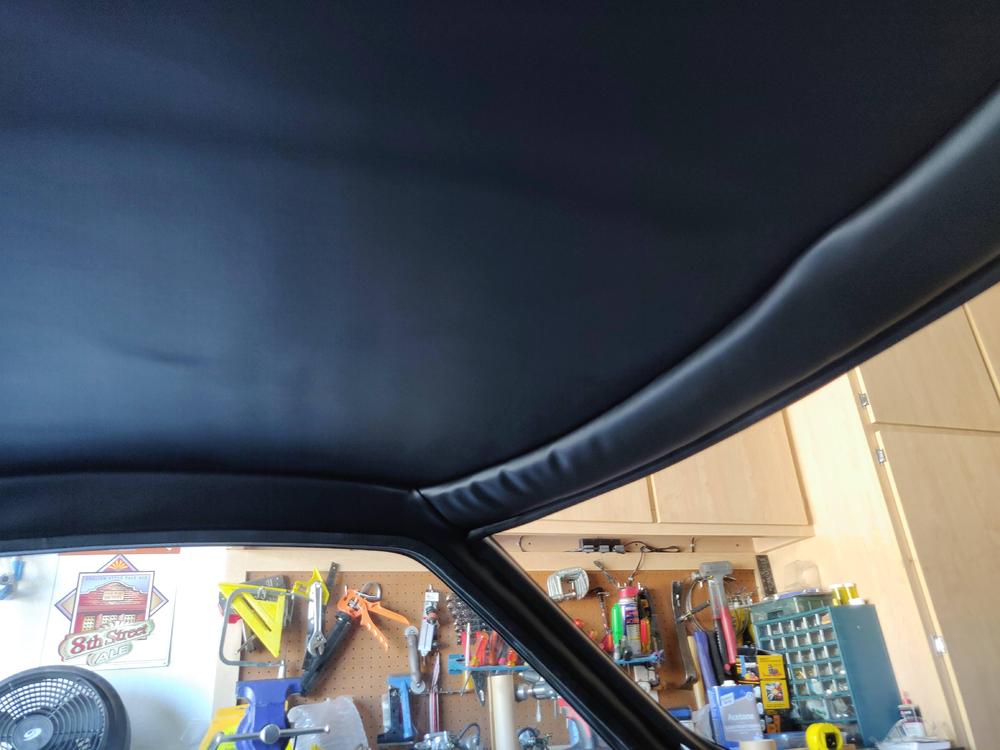
BTW, I bought the U-channel from McMaster-Carr - 10ft of part no. 24175K63 "U-Channel Push-on Trim Flame-Retardant, 3/16" Wide X 13/32" High Inside". Here are a few pictures of the process and the end result. It was much more of a PITA than it should have been. Windshield part of the roof rail with padding glued on and vinyl pinched into place with u-channel molding. . I trimmed the padding to be the full width of the rail, but only applied glue to the wide flat part so that the u-channel could fit under it (allowing the padding to overlap the u-channel). When gluing the vinyl in place, I started in the center and worked my way to the sides. I did not apply glue to the padding, hoping that it would make it easier (and more forgiving) to get the vinyl stretched properly into place. I still ended up with some wrinkles in the corners, where the sun visors attach. Here's the pinch molding attached to passenger side roof rail. And, then end result:


 1 point
 -
1 pointThanks everyone. I found one in Washington that is in good shape and cheap enough for me to pull the trigger on it. I almost went repro, but I’m crossing my fingers that this one will work out. thanks for the help.1 point
-
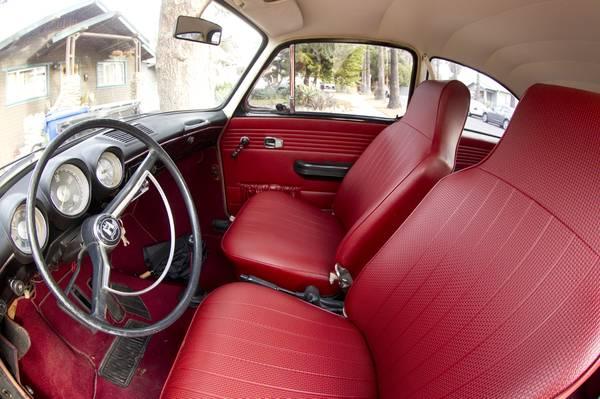
1 point1968 VW Type 3 models had 'high back' seats. I owned several VW Type 3s in the past and I had both low back and high back seat versions. As far as I remember, the switch to high back seats was due to safety legislation (rear-end impact/whiplash) and perhaps VW were one of the earliest adopters?
 1 point
 -
1 point
-
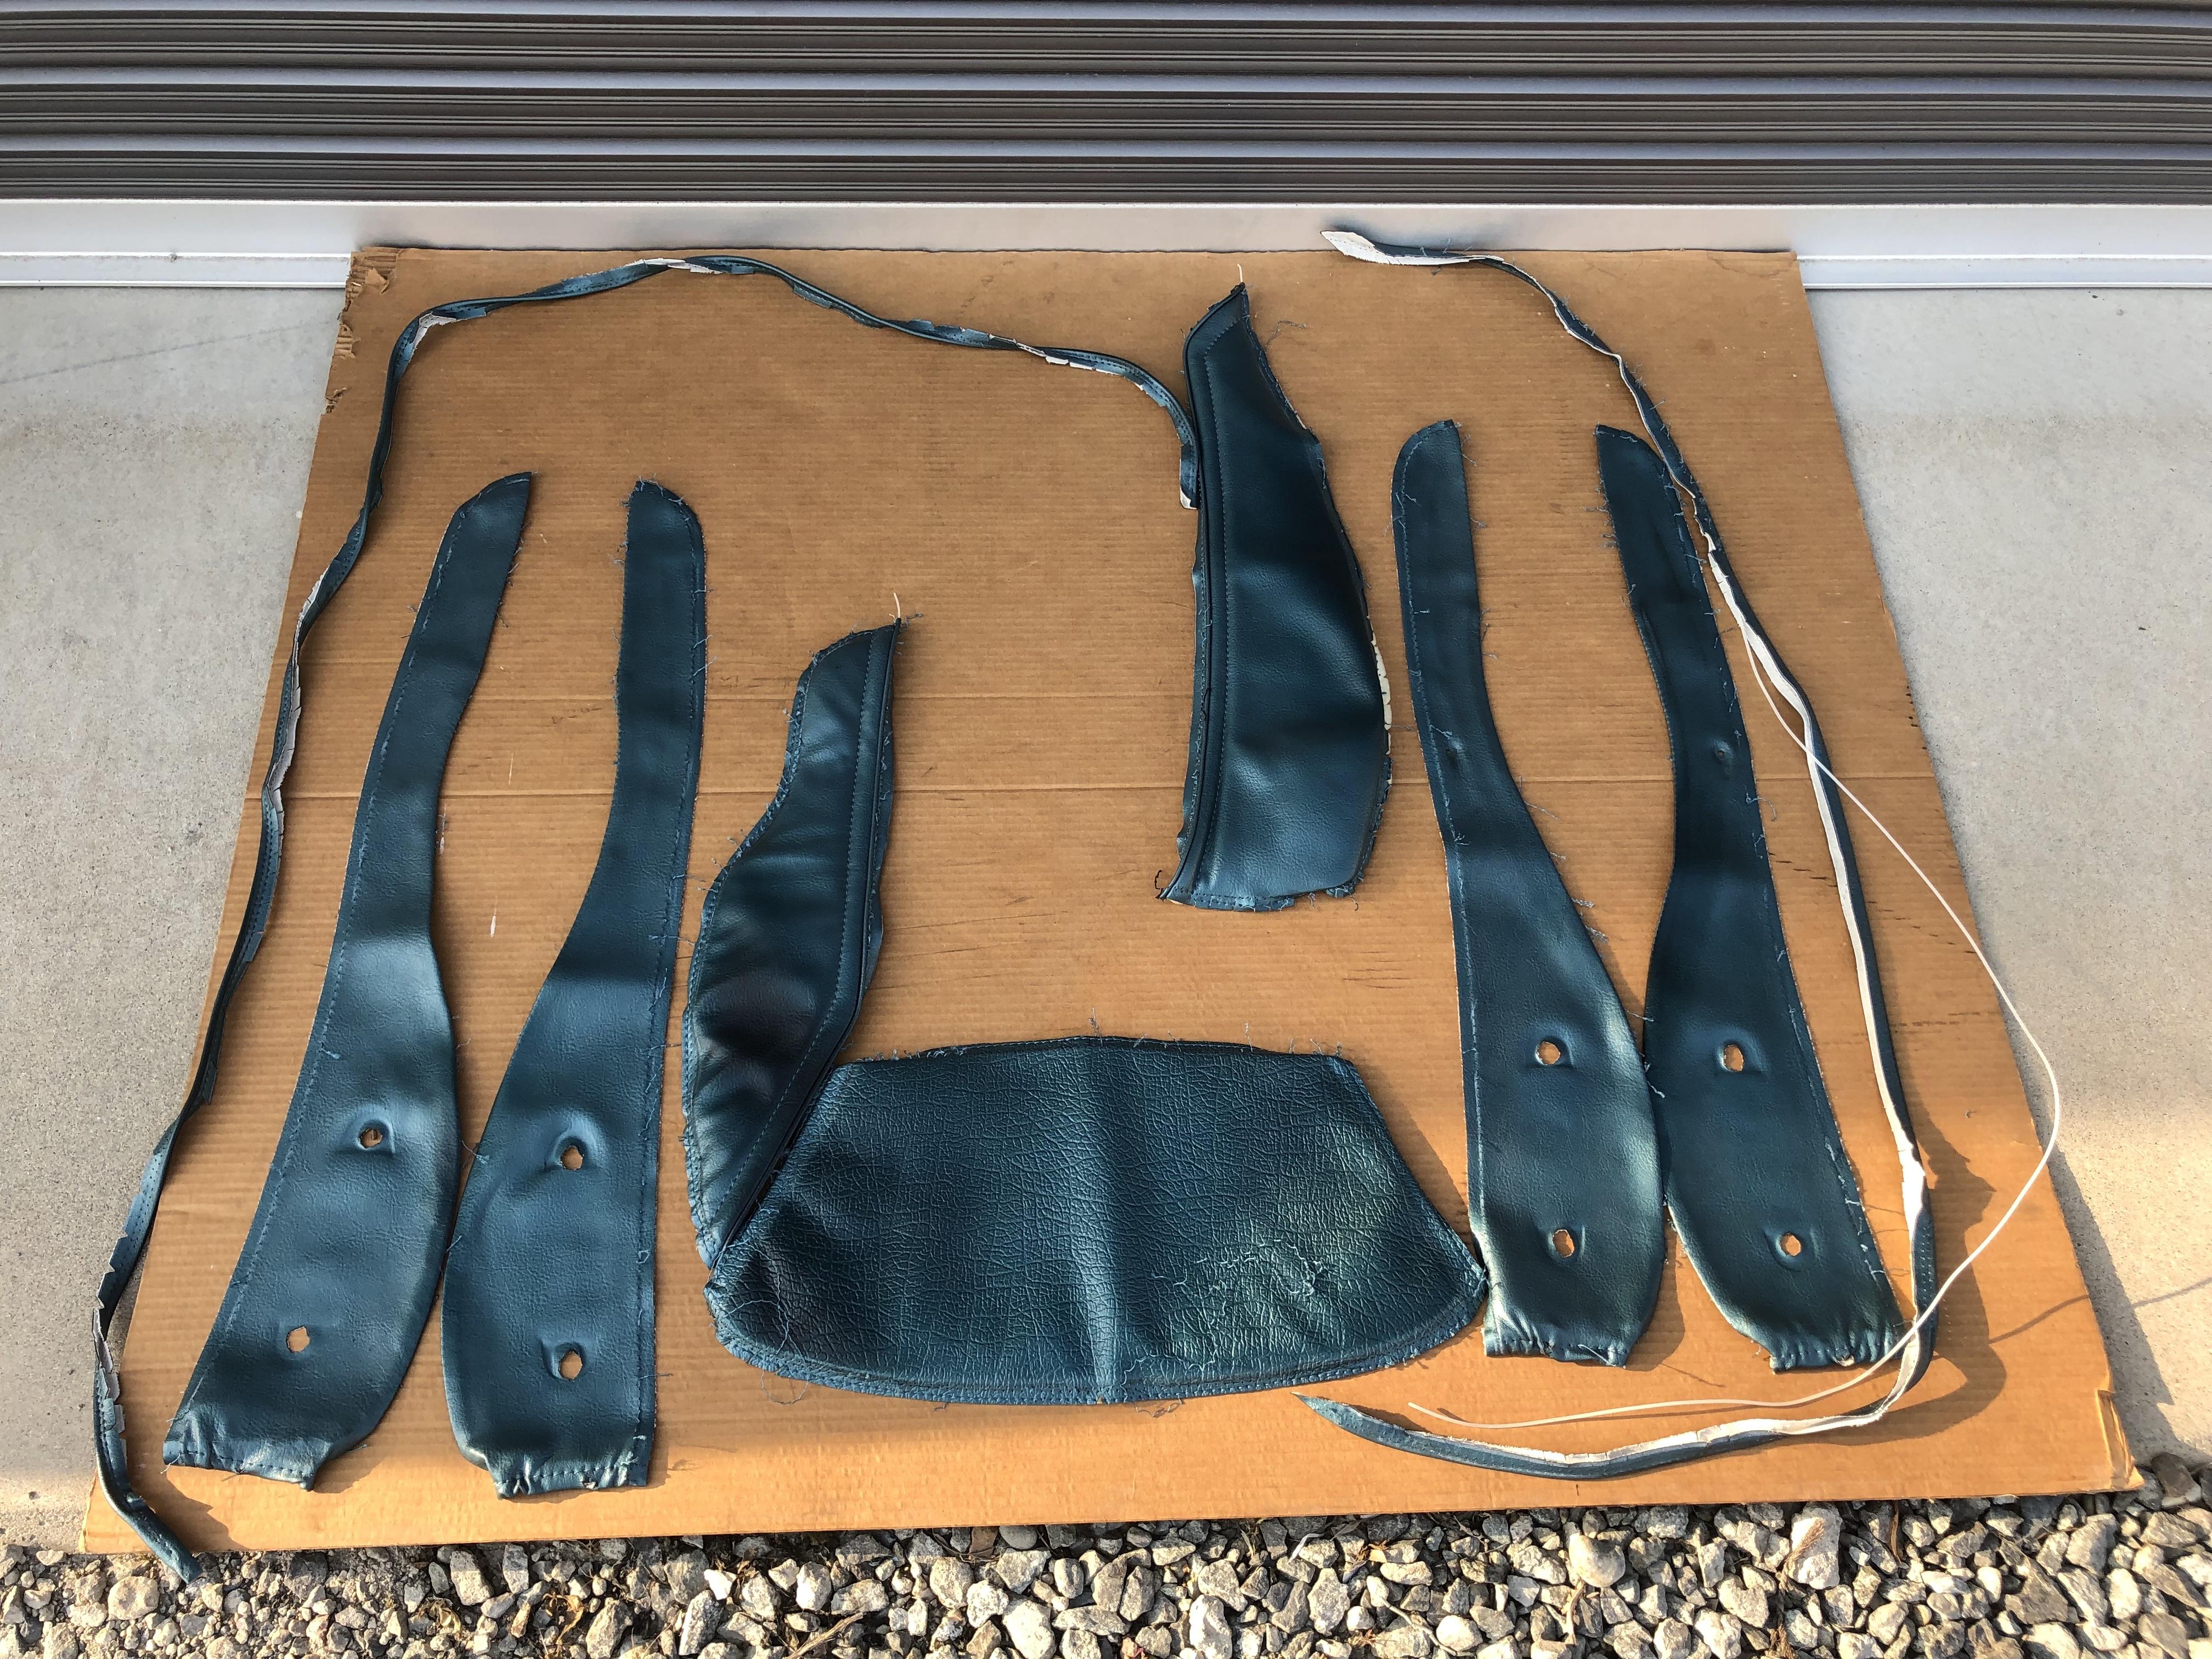
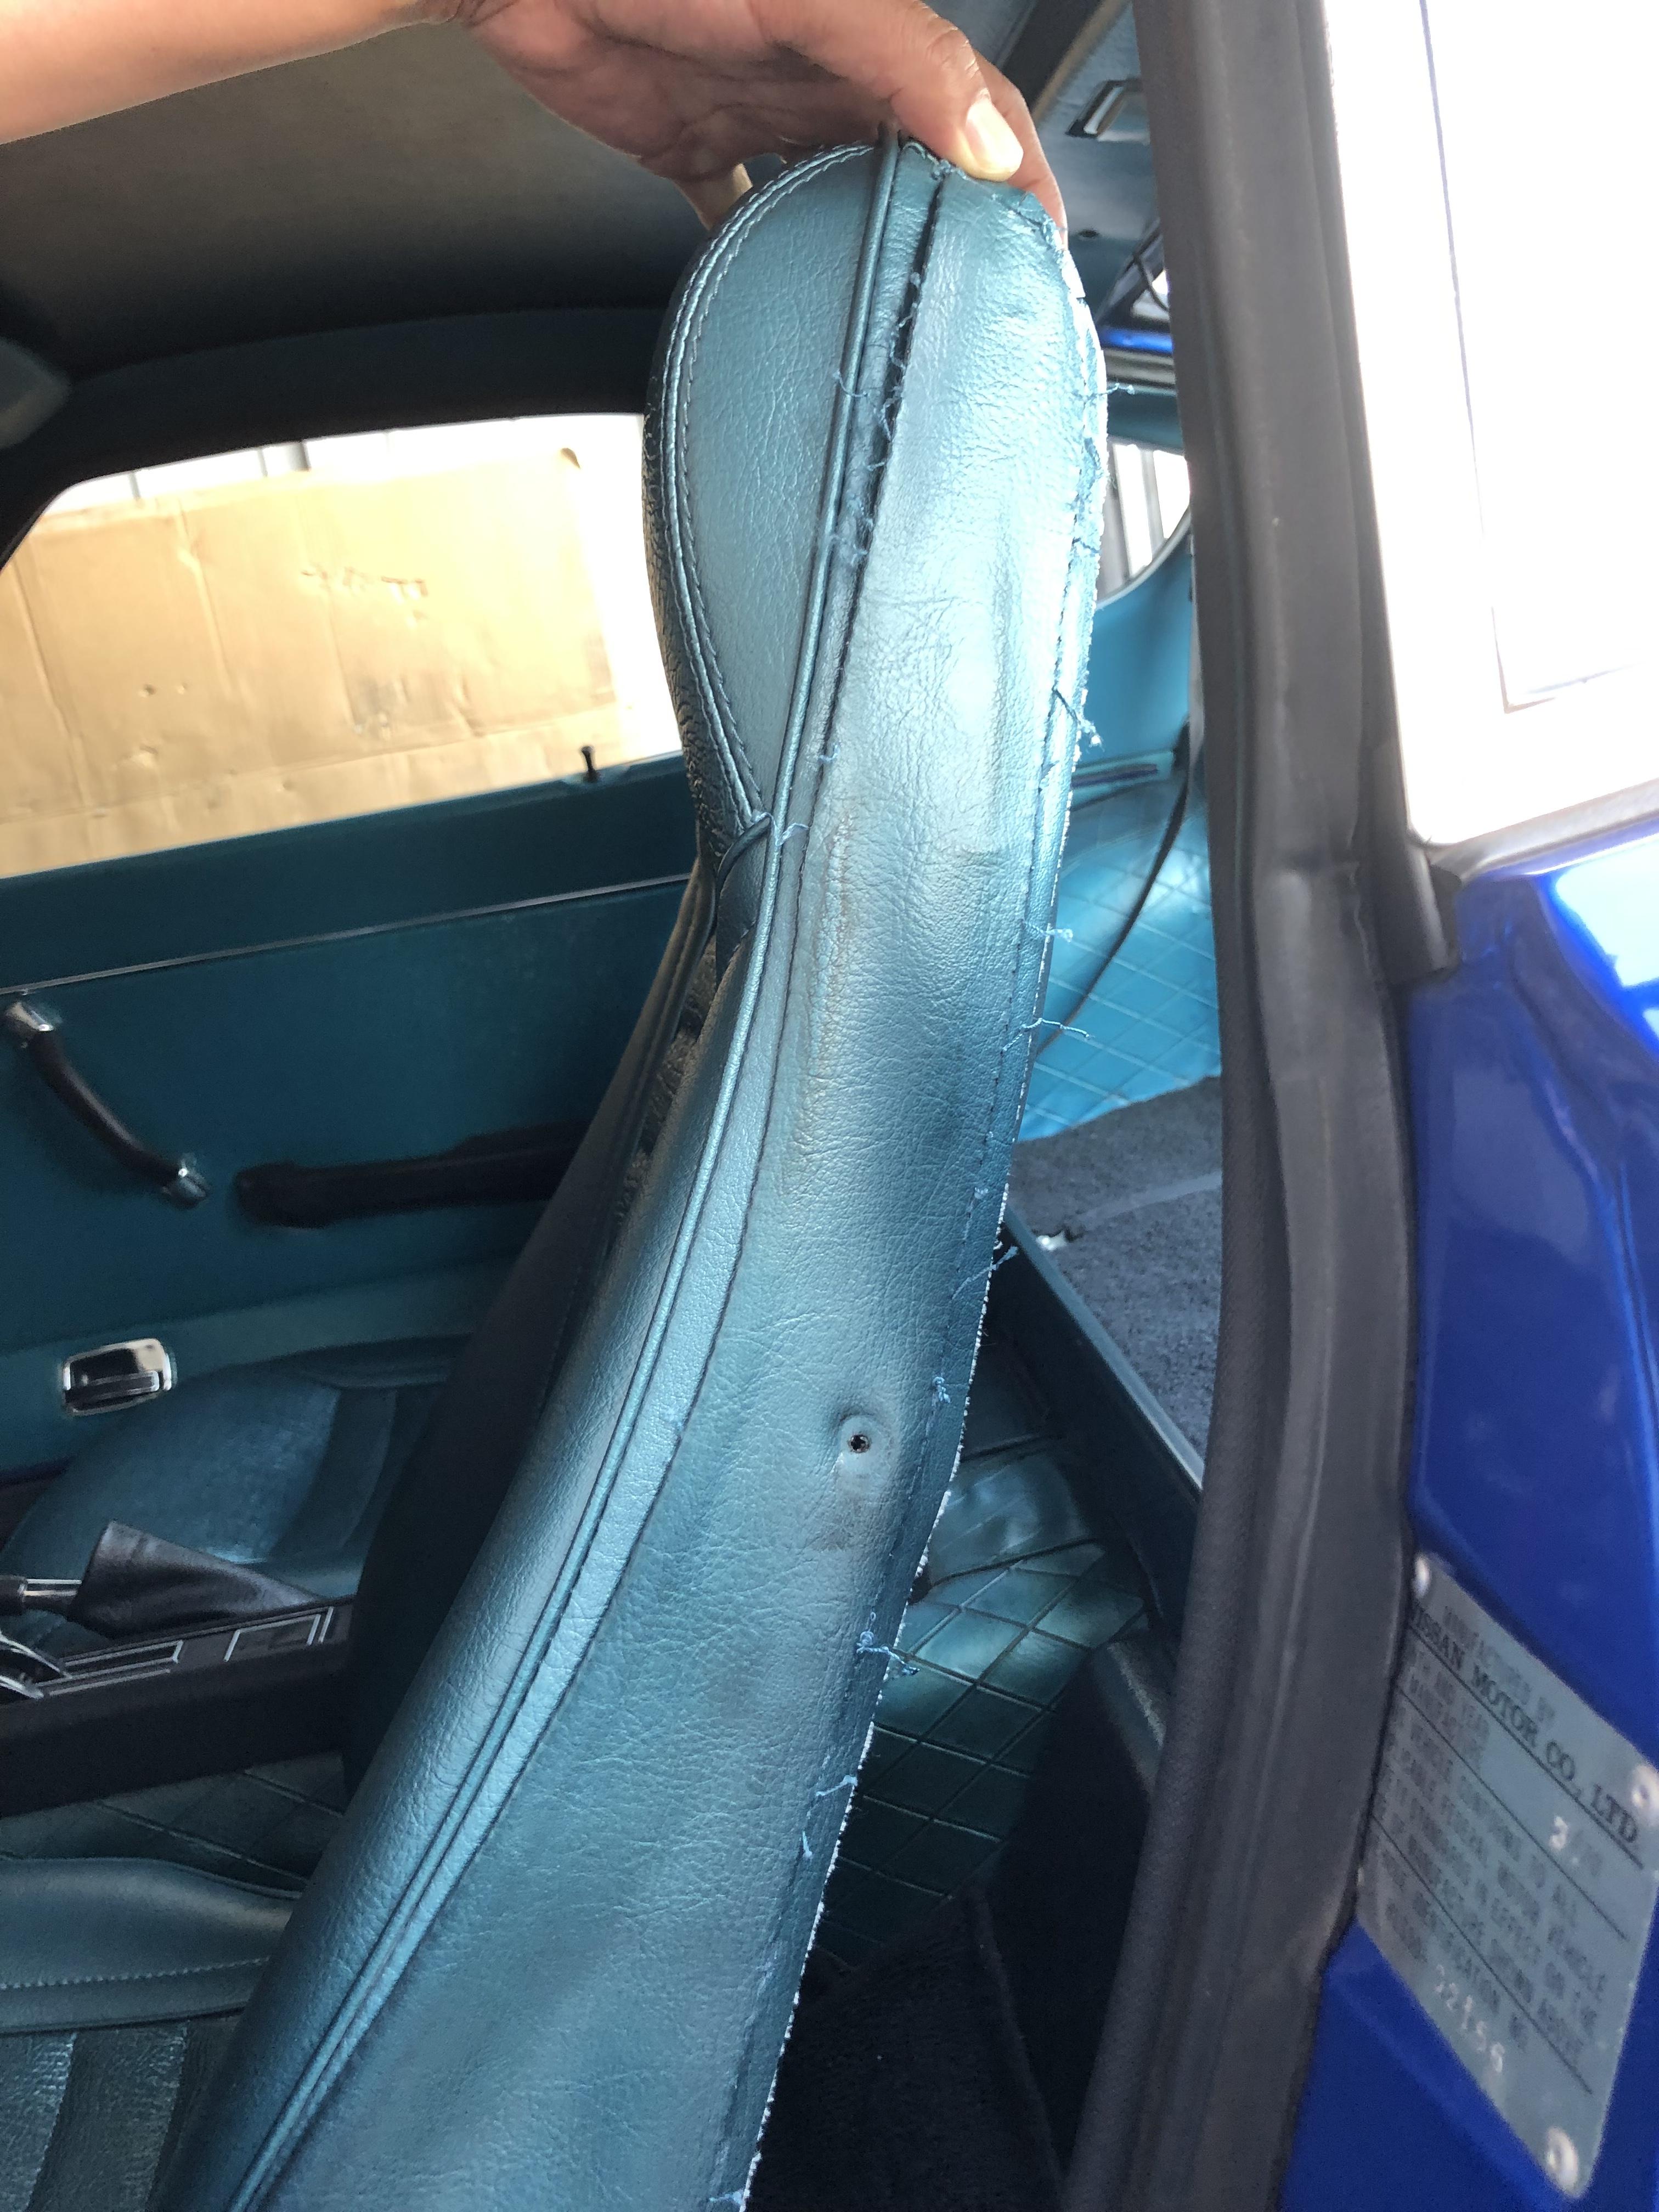
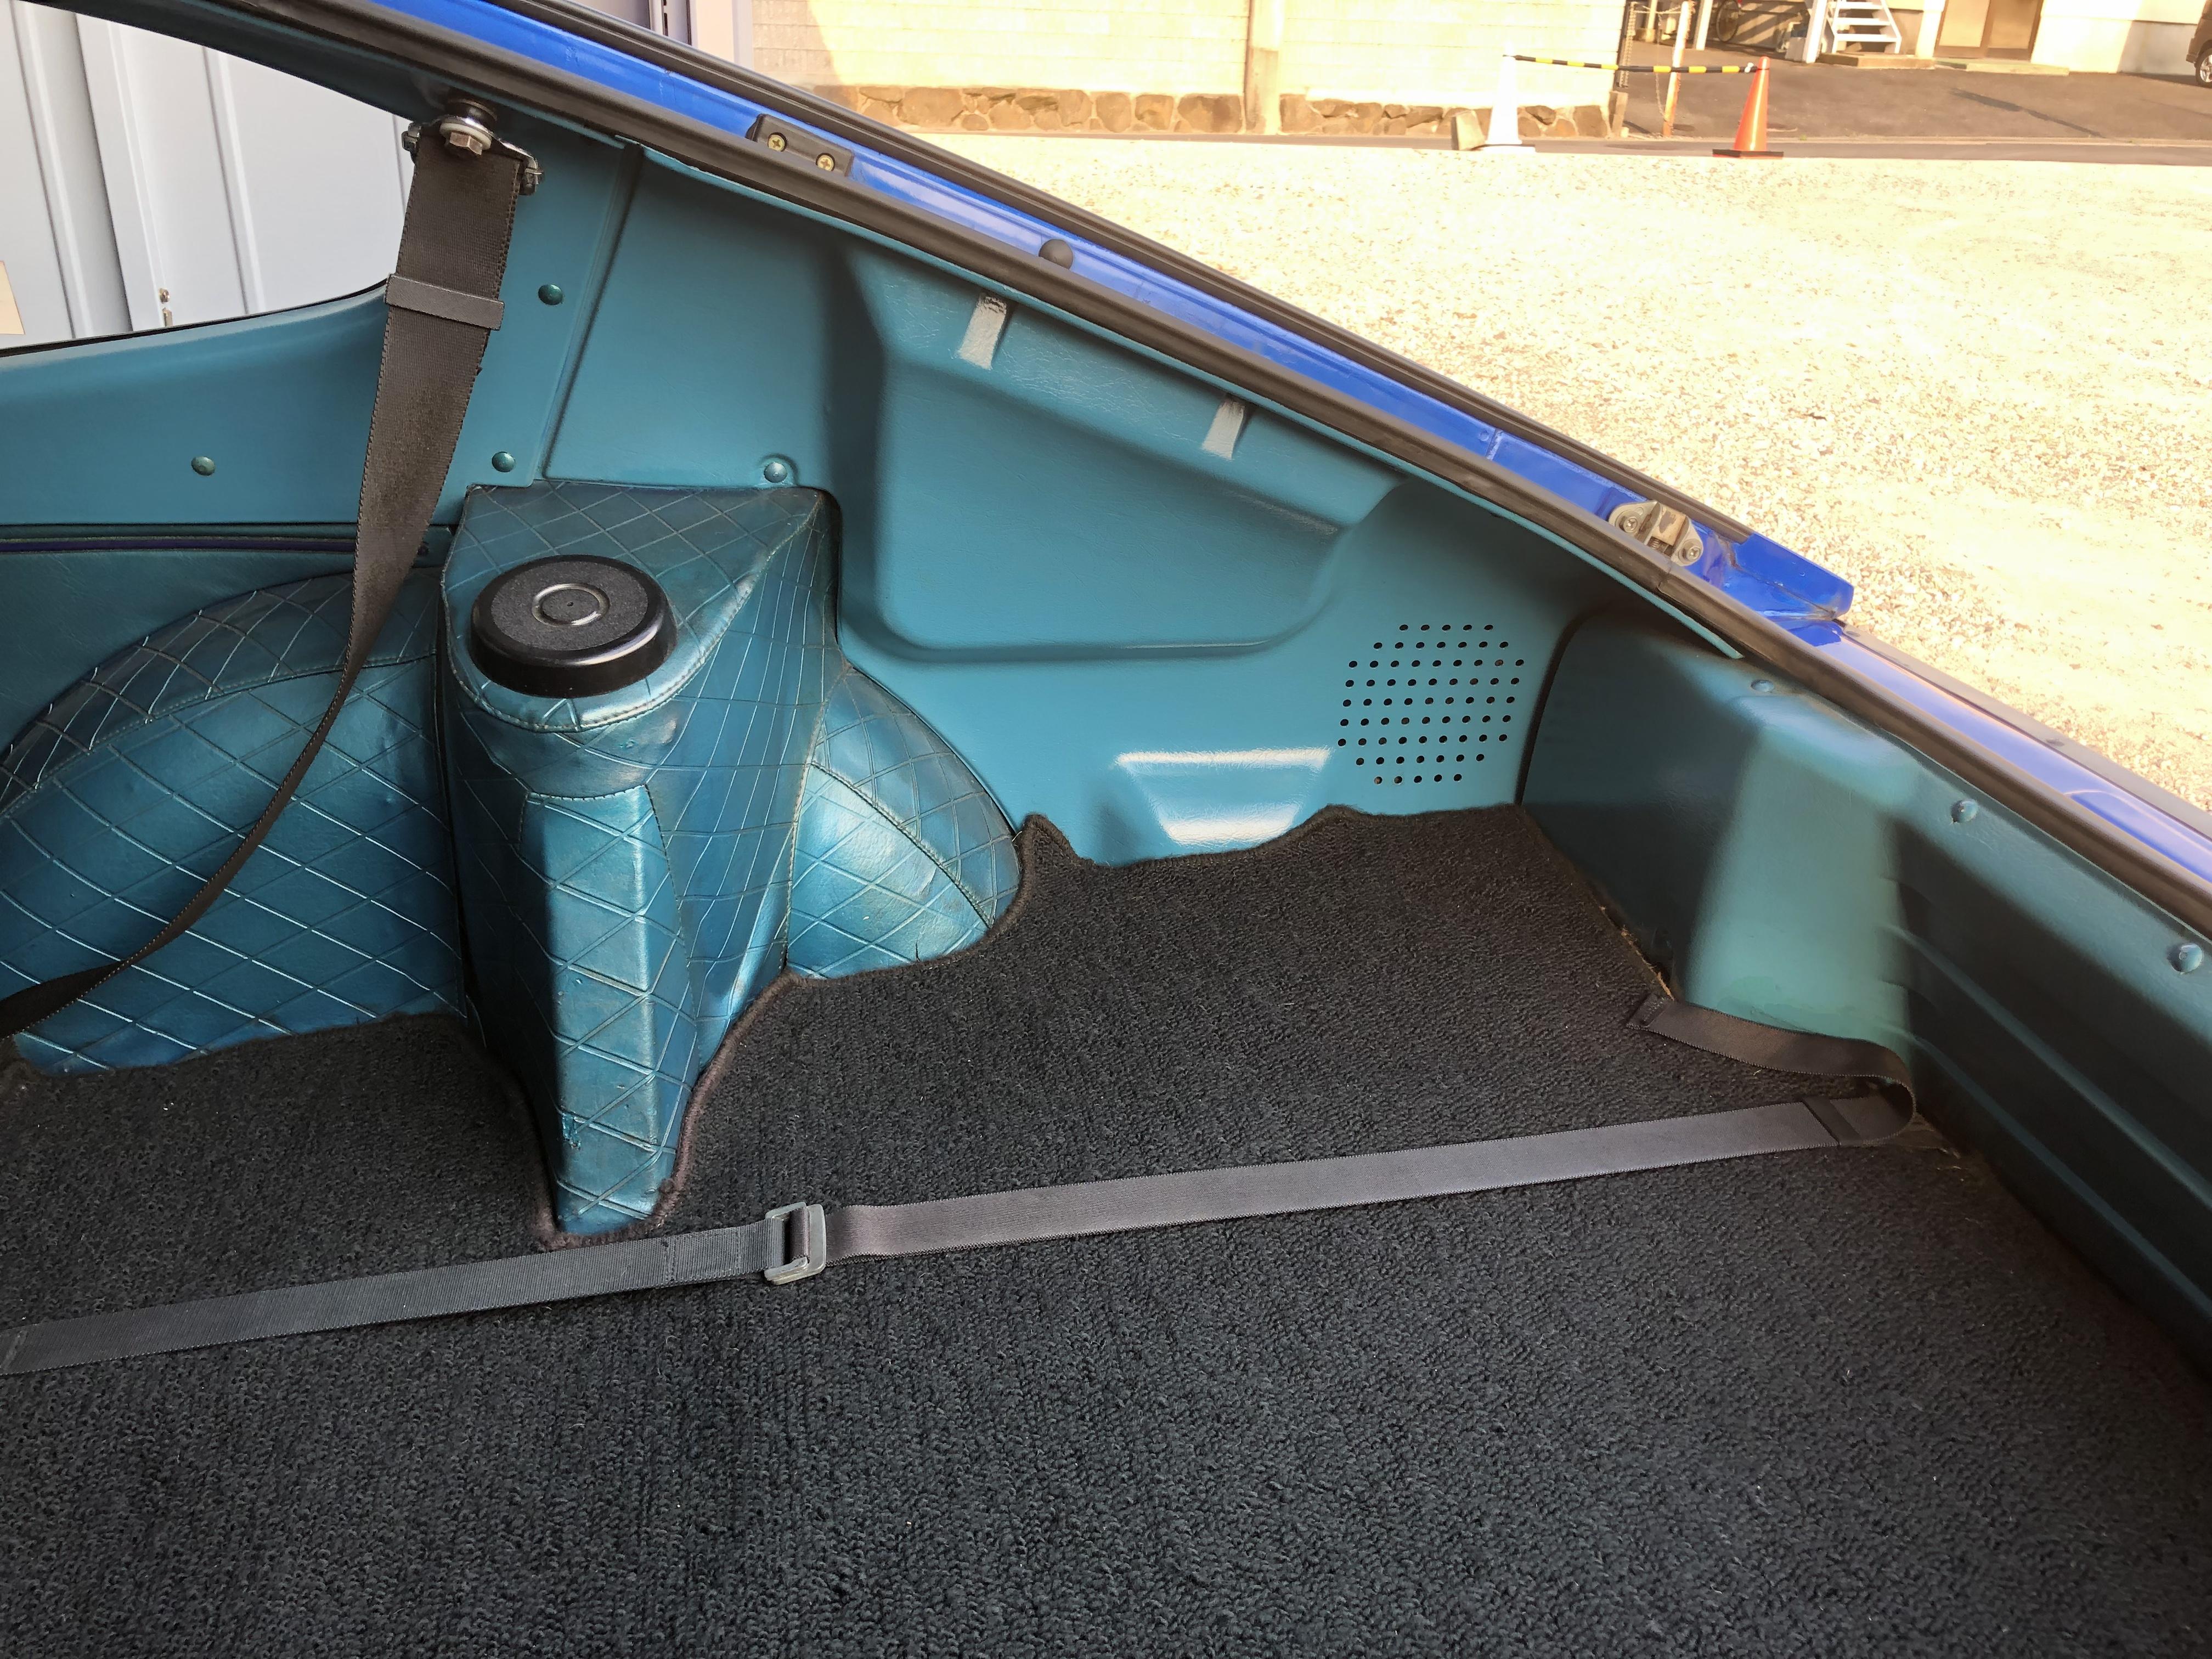
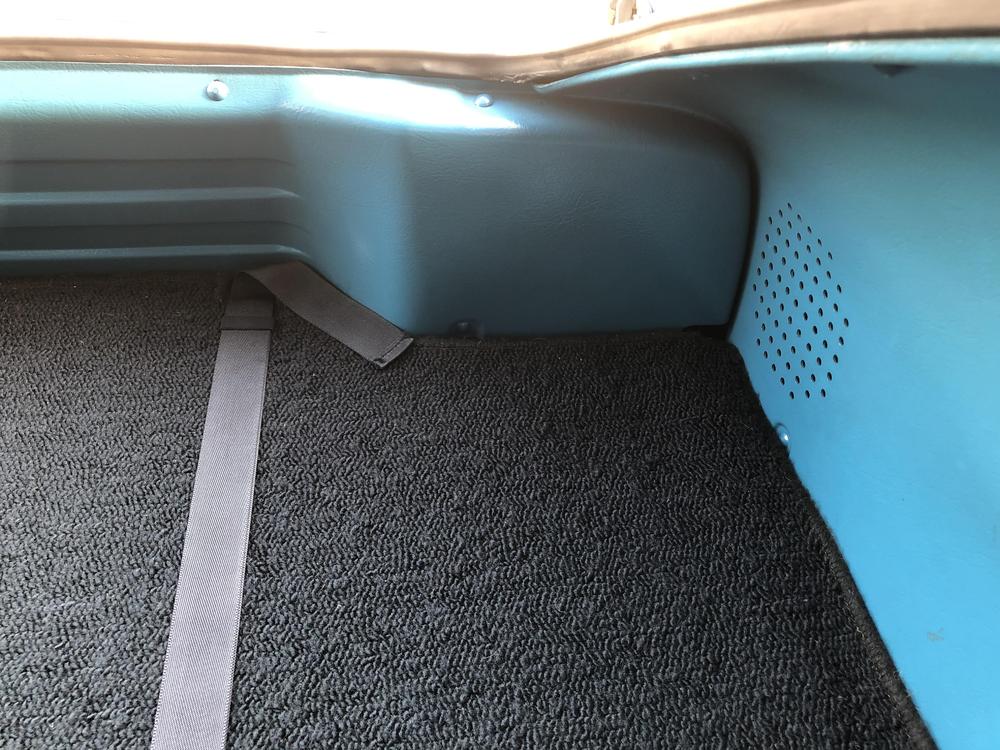
1 pointHi Gavin , here are the pieces which were replaced by new vinyl pieces. Do you really need them ? I don’t think they are usable though. But let me know if you need , I will send them to you . As you can see my blue trims are not matched with each other , each trim has each aging sign and stain . I wish I could have a complete set of new trims including seats ! My blue looks like green ,especially the overhead trim and the center tunnel, and the side dog leg panels. And a comparison of fat and slim seat back , you can see the difference in the width of the side piece . Plastic panels looks light blue , very different from the other trims . BTW , my blue car doesn’t have a access panel for replacing bulbs. Kats


 1 point
 -
1 pointEverything on the engine works better when warm. They really don't like running when cold, especially at cold idle. In fact, that's why there is usually some sort of idle speed boost method employed that can be engaged at cold idle. For the 240 and 260 Z's, that idle boost is built into the choke mechanism. And for the 280's that function is performed by the AAR. The point is... If you are not employing the use of some sort of cold idle boosting method, or if your boosting method is not artificially raising the idle enough, then it would be perfectly normal for the idle to go up as the engine warms up. Other thoughts? If you are having some issues when you first hit the throttle you may be running a little lean. A lean cold idle is an unhappy idle. If you're running a little lean, the idle would get better when the engine warms up. That all seems to dovetail together. Sounds like you feel reluctant to come to the forum for help? Don't worry about that. Bring it.1 point
-
1 pointHappy Mother's Day. I'll keep trying to make some mother's! A man's work is never done.1 point
-
1 point
-
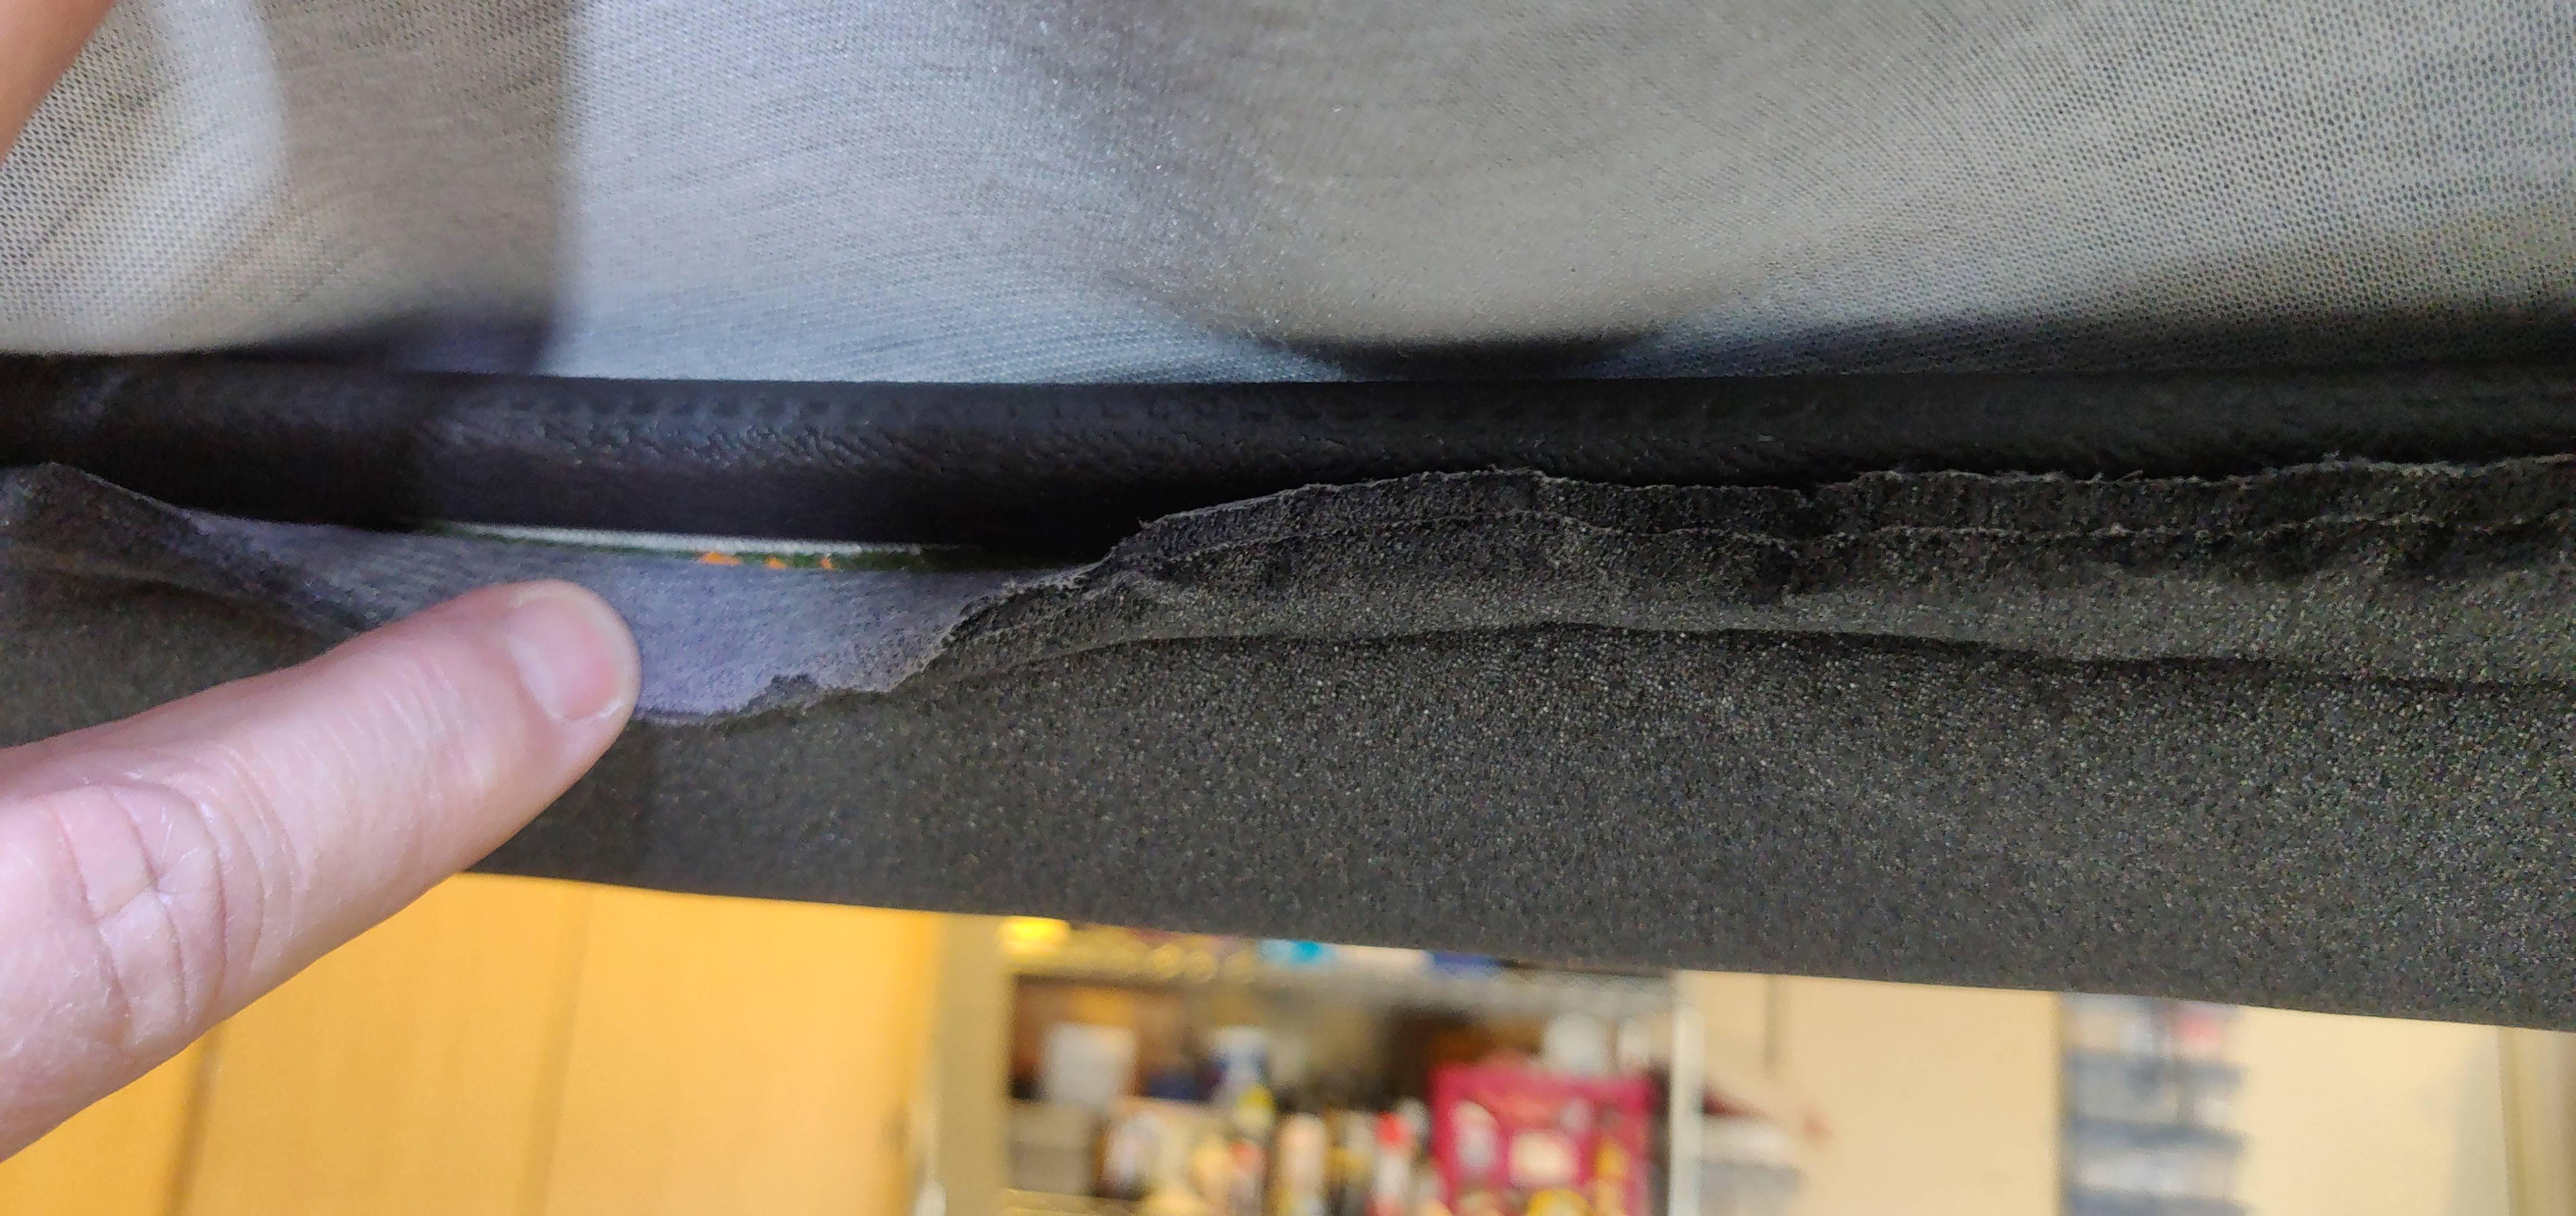
1 pointThose kind of dents are very difficult for me. There is basically no access from the backside. So I would resort to stud welds or maybe even a plate and pull it. But you can't really hammer and dolly it to fine tune it. The 2 crease lines also make it harder to reverse the dent. If you were super adventurous you could de-skin the hood and fix it properly but a daunting task! You might could open the structure up on the bottom side, so you could slide a flat bar up in there from underneath. Then drive the dent out that way. I think there are 3 stampings at the front of the hood but I'm not sure and dont know the finer points on the construction.1 point
-
1 pointThanks Namerow , I thought S30’s seat back was inspired by Porsche 911 , but when S30 was development in progress ( like 1968 to 1969 ) 911 has old fashioned seat back . I believe Mr. Matsuo and his team said the seat back which was integrated with the head rest was the new , never seen in other production cars . Is it true ? So far I think yes . Kats1 point
-
1 pointHi Mike: First - Don't get near the car with a starting battery.... until you have everything ready to actually start the car. Can't tell you how many people damage a perfectly good engine, simply because they get in a hurry - and want to see if it will crank over, let alone start. You don't want to wipe out a good cam, or scuff the rings/cylinders by forcing crud, that's built up from sitting for prolonged periods past the rings or running dry cam lobes over their rockers... So lets hope no one had dinked with the car... before you got it... Did you get the hood open yet?... Prior To Start-up: 1. As mentioned, I'd drain the gas tank and see what comes out. If it's full of rusty partials - drop the tank and have it boiled out (some radiator repair shops off that service). Plan on replacing the old rubber fuel lines as well as the vapor recovery lines that run into the passenger compartment. You will more than likely have to do this anyway - as the vapor recovery lines leak gasoline vapor into the passenger compartment - and it will give you headaches and drive you out of the car. Do it now and be done with it. It's not fun, takes some time - but you'll be glad you did it all at once.... 2. As mentioned, replace all the fuel lines in the engine compartment. 3. No doubt you need to check the carb's for operation - the vacuum slides get stuck... pull them apart and clean them... The flat tops look odd - but they are pretty much the same as the earlier SU's.. as far a basic operation goes.. 4. Might as well replace the upper and lower radiator hoses - you'll have to do that anyway - do it now before you loose the fresh coolant you put in later. 5. Pull the spark plugs and poor a couple ounces of ATF in the cylinders... let it sit over night.. poor a little more in the next day... then - see if you can rotate the crank pulley by hand... if you have a large Strap Wrench it helps... of course you'll remove the old fan belt first - as you have already bought a new one... (when you bought the new hoses, oil, filter, coolant)... If you can't rock the crank back and forth by hand - put the car in low gear and push the car forward/backward (air the tires up and it's easier to hand push!). The idea here is to break the cylinder rings loose, and get some oil between them and cylinder walls. The ATF is very high detergent and very thin... Once you break the cylinders loose by rocking the car - poor a bit more ATF in the cylinders and see if you can now rock the engine back and forth by hand... 6 - Now drain the old oil - replace with fresh oil and new filter... 8. Install new NGK BP6ES spark plugs 9. Install new starting battery... and make sure that the oil battery cables are in good shape and very clean at the terminals.. 10. Remove the valve cover - and poor some clean oil over the cam lobes and rocker arm pads..replace the valve cover - (just check to be sure all the rockers are on/in-place..) 11. pull the wire from the coil - and crank the engine over rapidly - you should at least see the oil pressure gauge move... at least a little to indicate your getting oil pressure... replace the coil wire and crank it over - it will take a few seconds to get fuel though the new lines and into the carb.'s... USE THE CHOKE! (you almost always have to choke the old Z's to get them started when the engine is cold). If it doesn't start - then you can start checking for Fuel at the Carb.'s - and Spark at the plugs etc... From the picture - it looks like a car worth saving... good luck, Carl B. Carl Beck Clearwater, FL USA http://ZHome.com1 point