


Leaderboard


Popular Content
Showing content with the highest reputation on 03/04/2019 in Posts
-
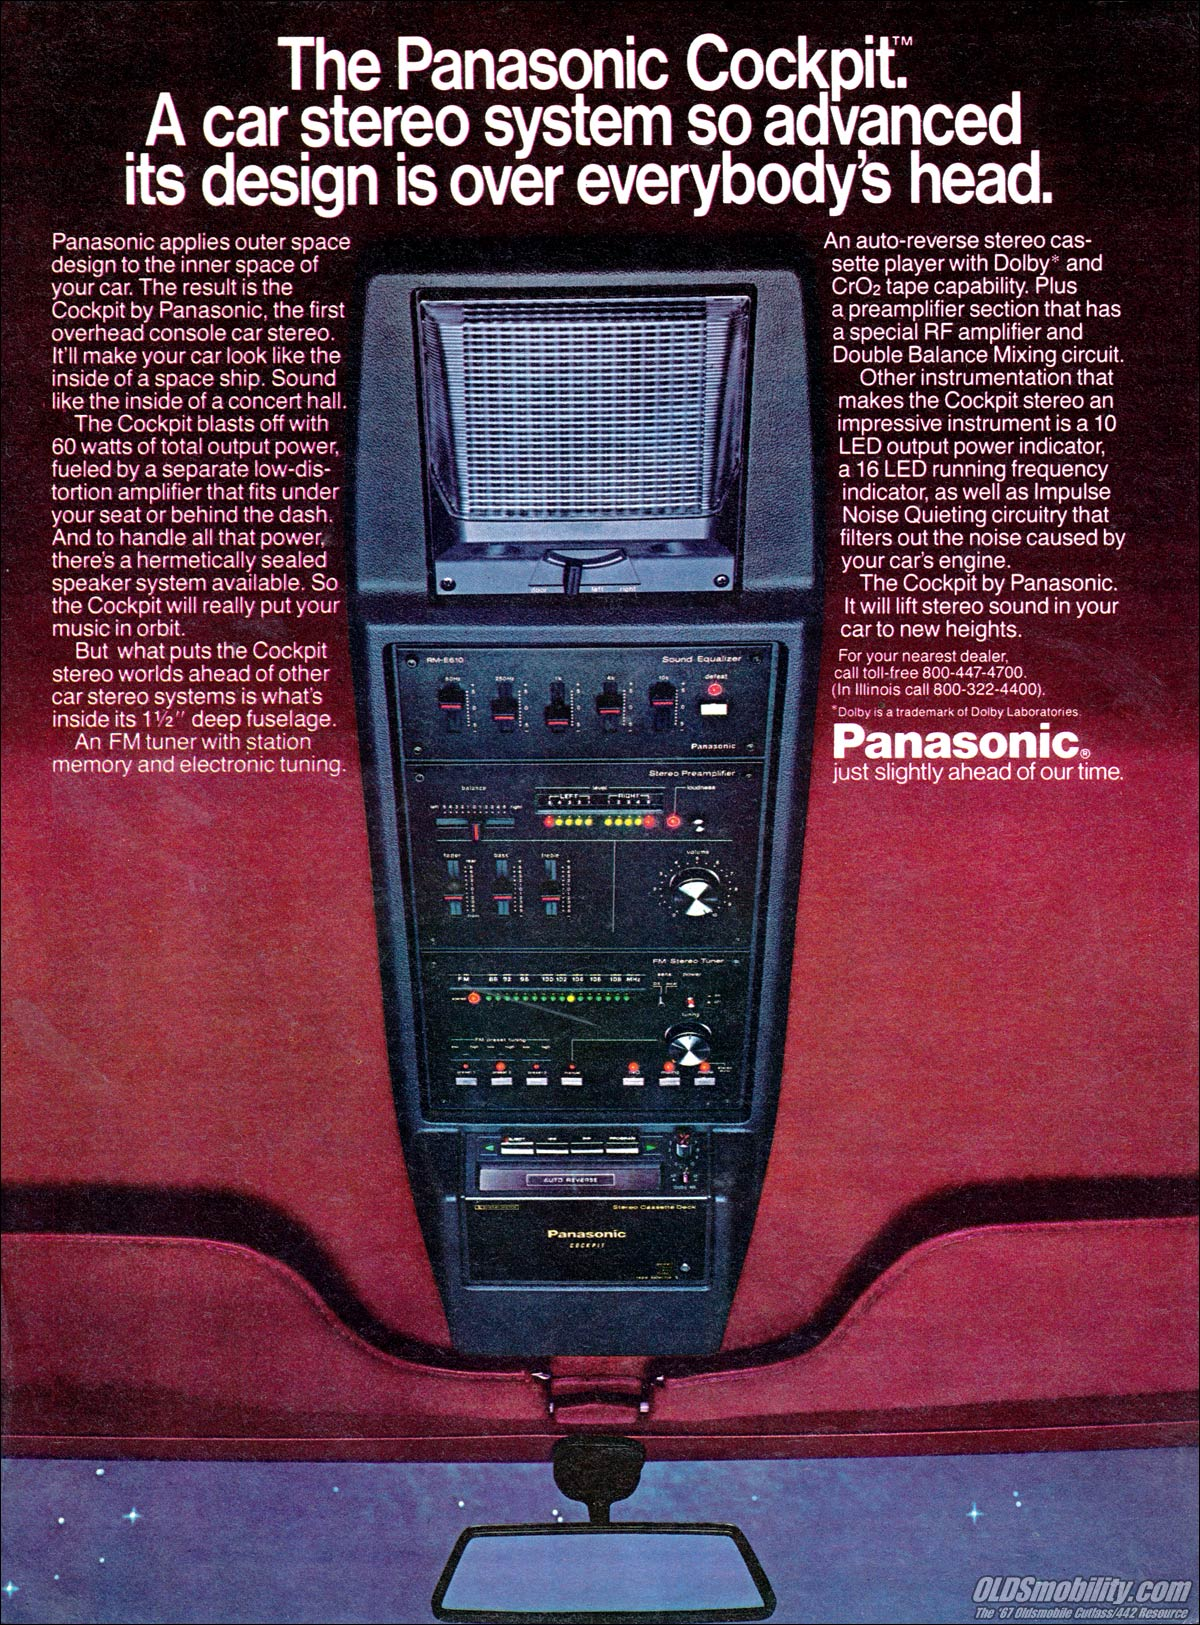
3 pointsI want this because I may want to feel something “ cockpit “ after I retired from flying. And I would be able to tell my future grandchildren “ your grandpa used to fly jets “ in my Z’s cockpit. Kats3 points
-
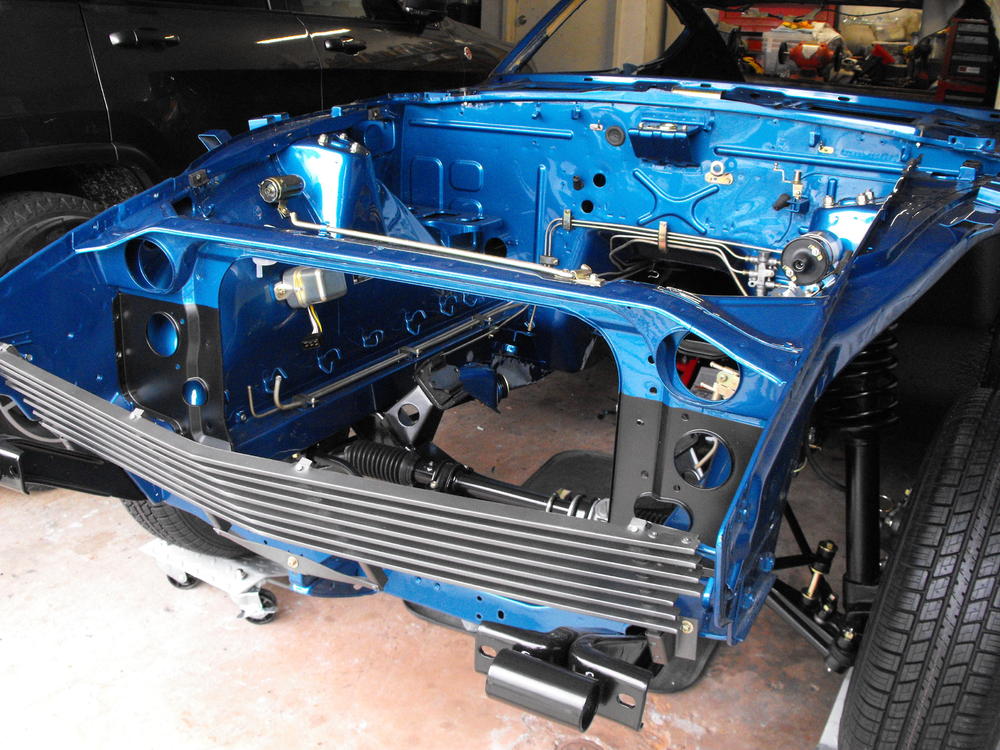
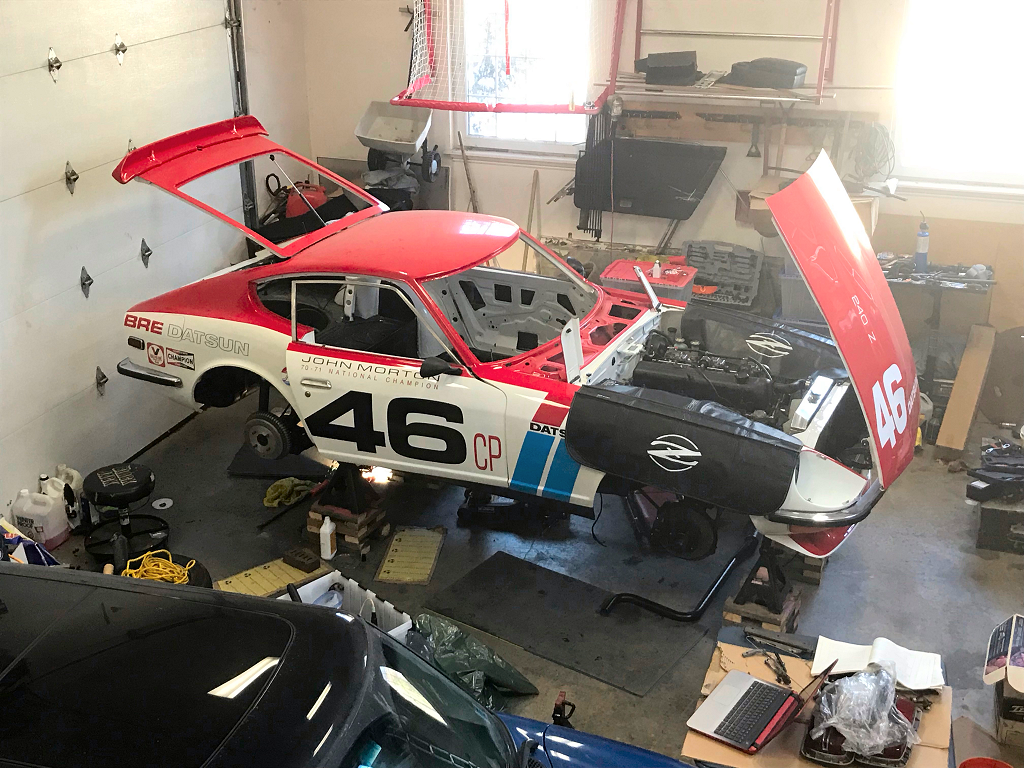
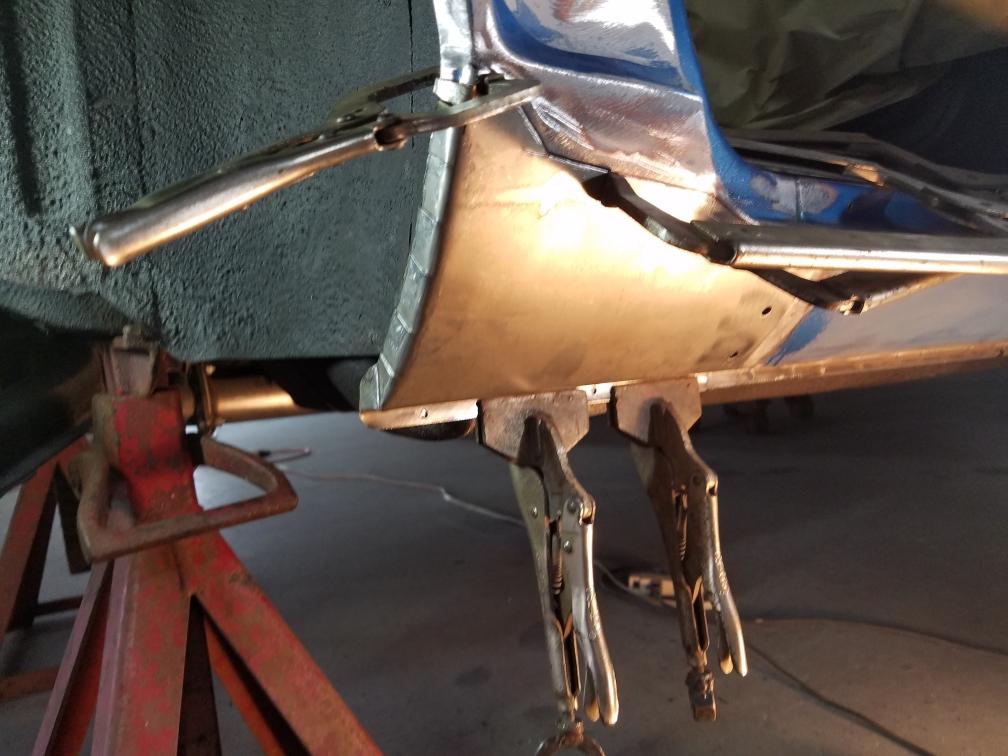
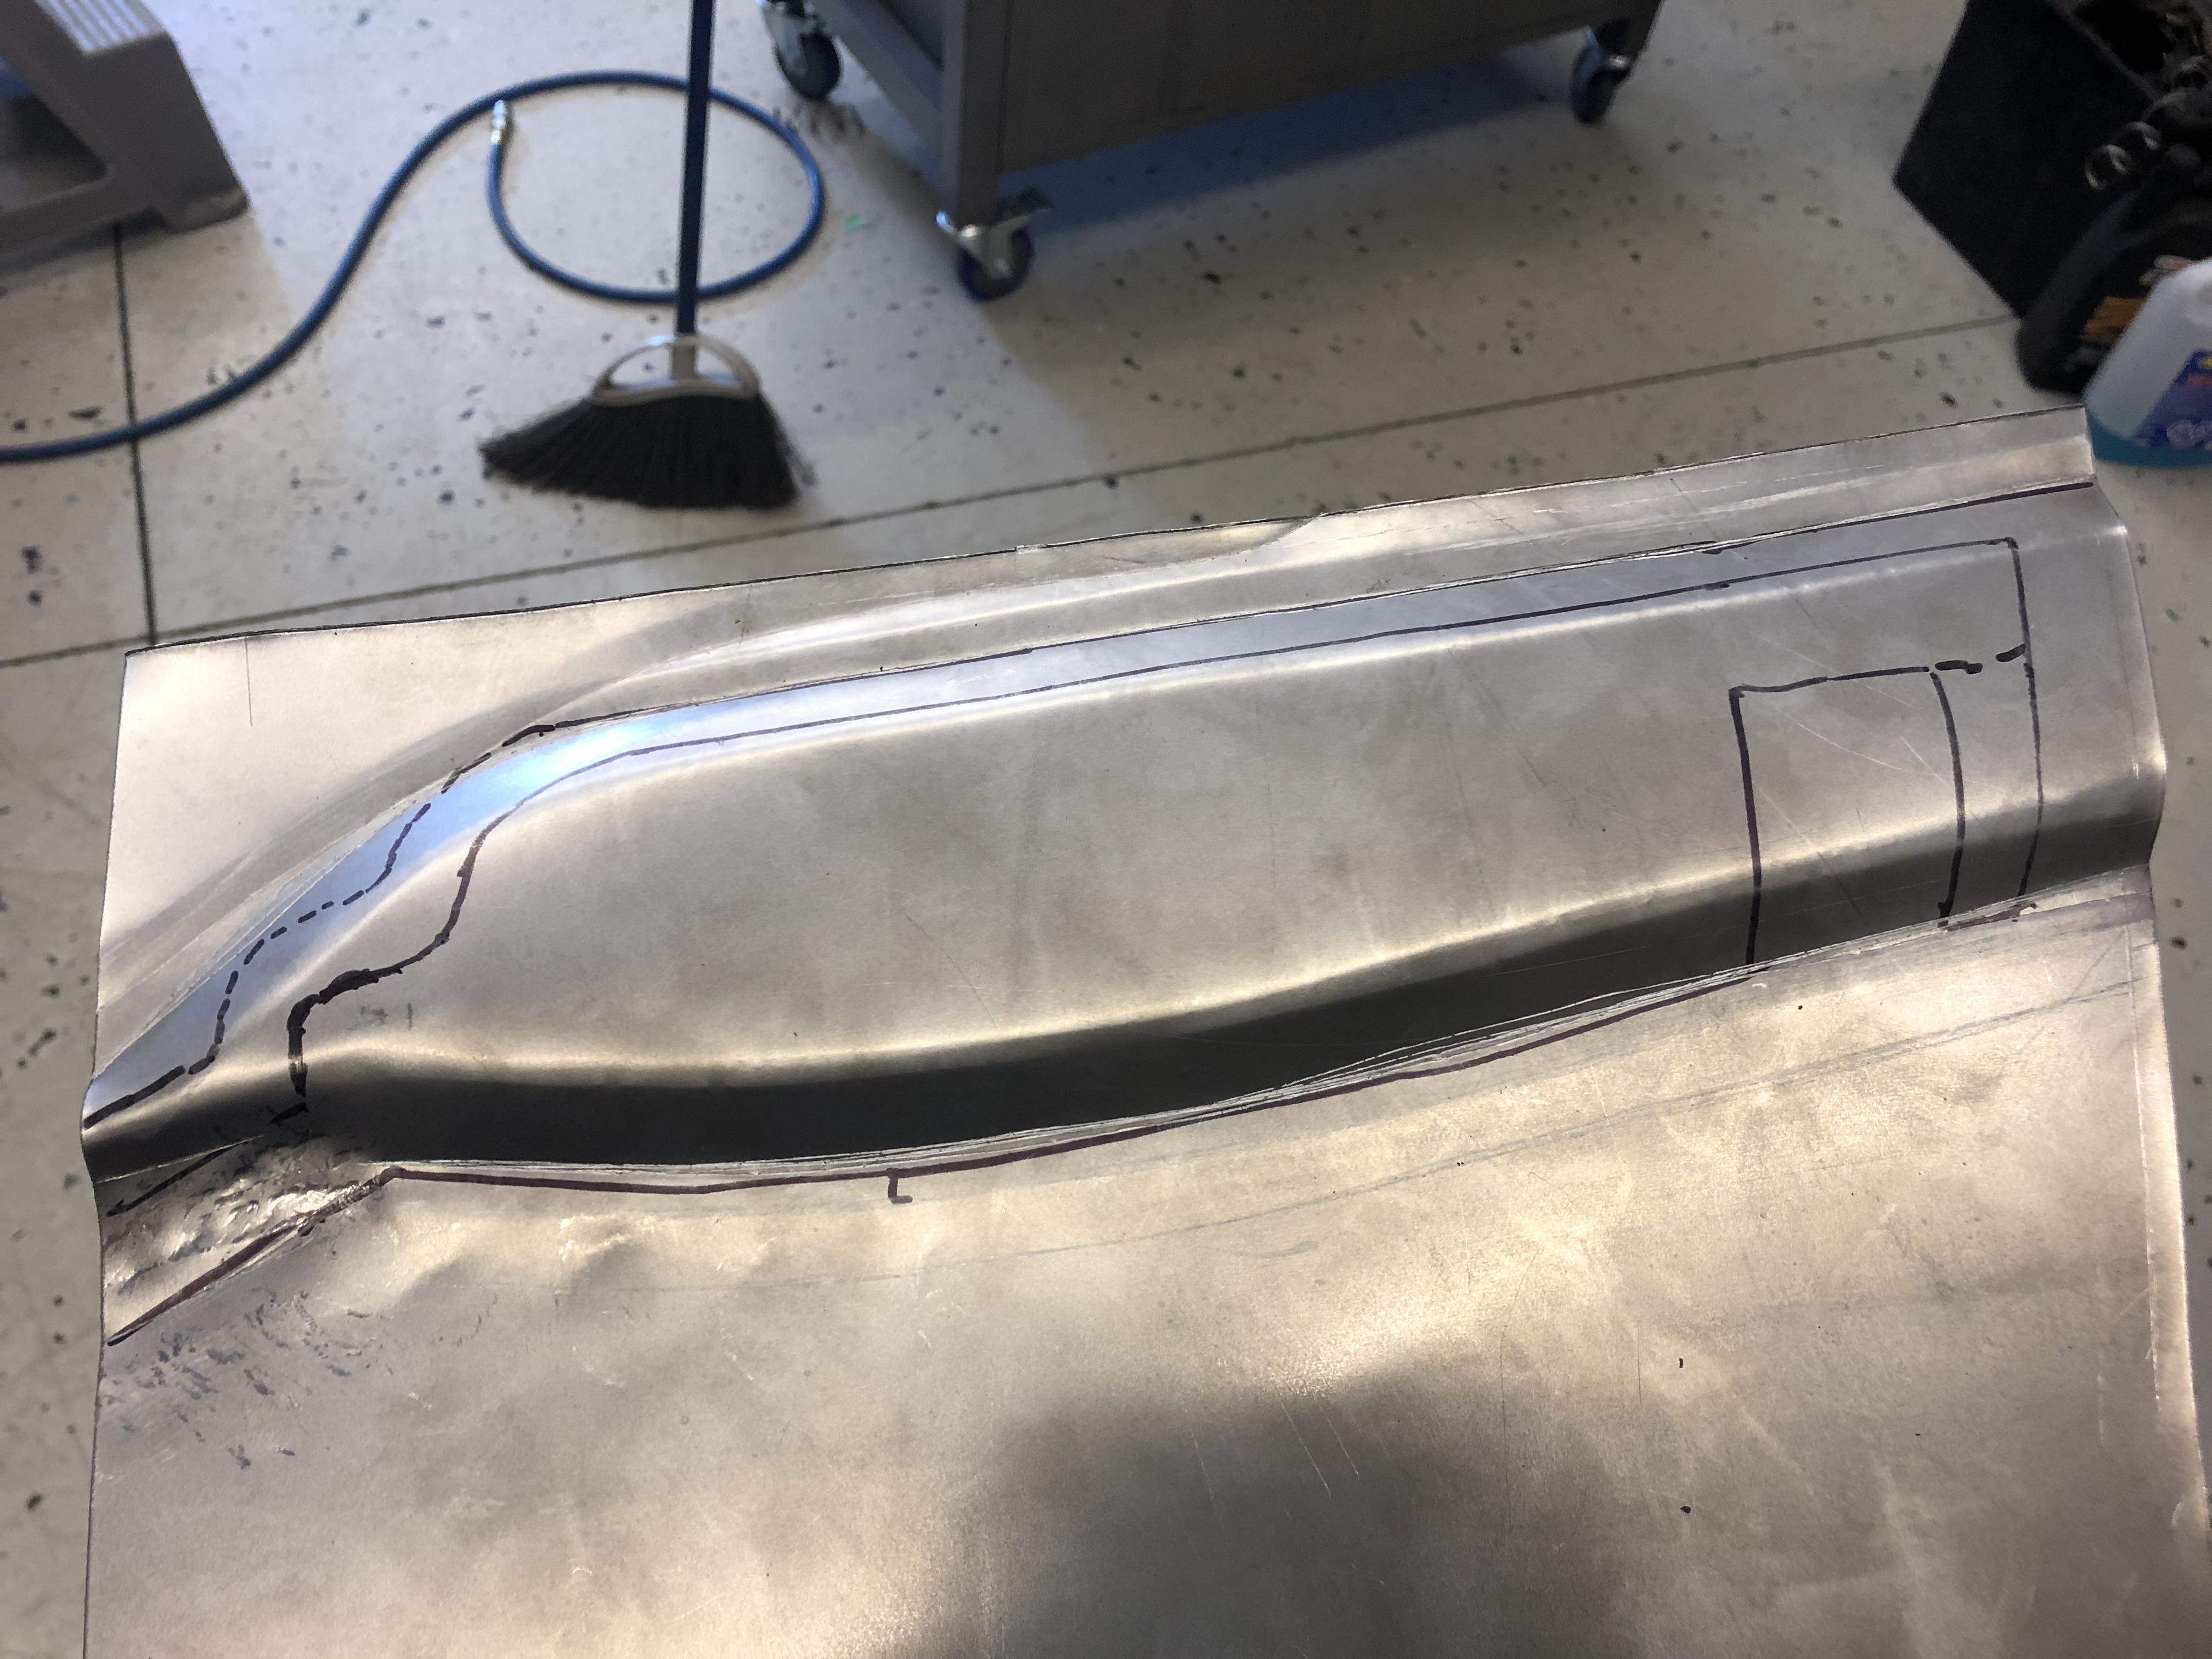
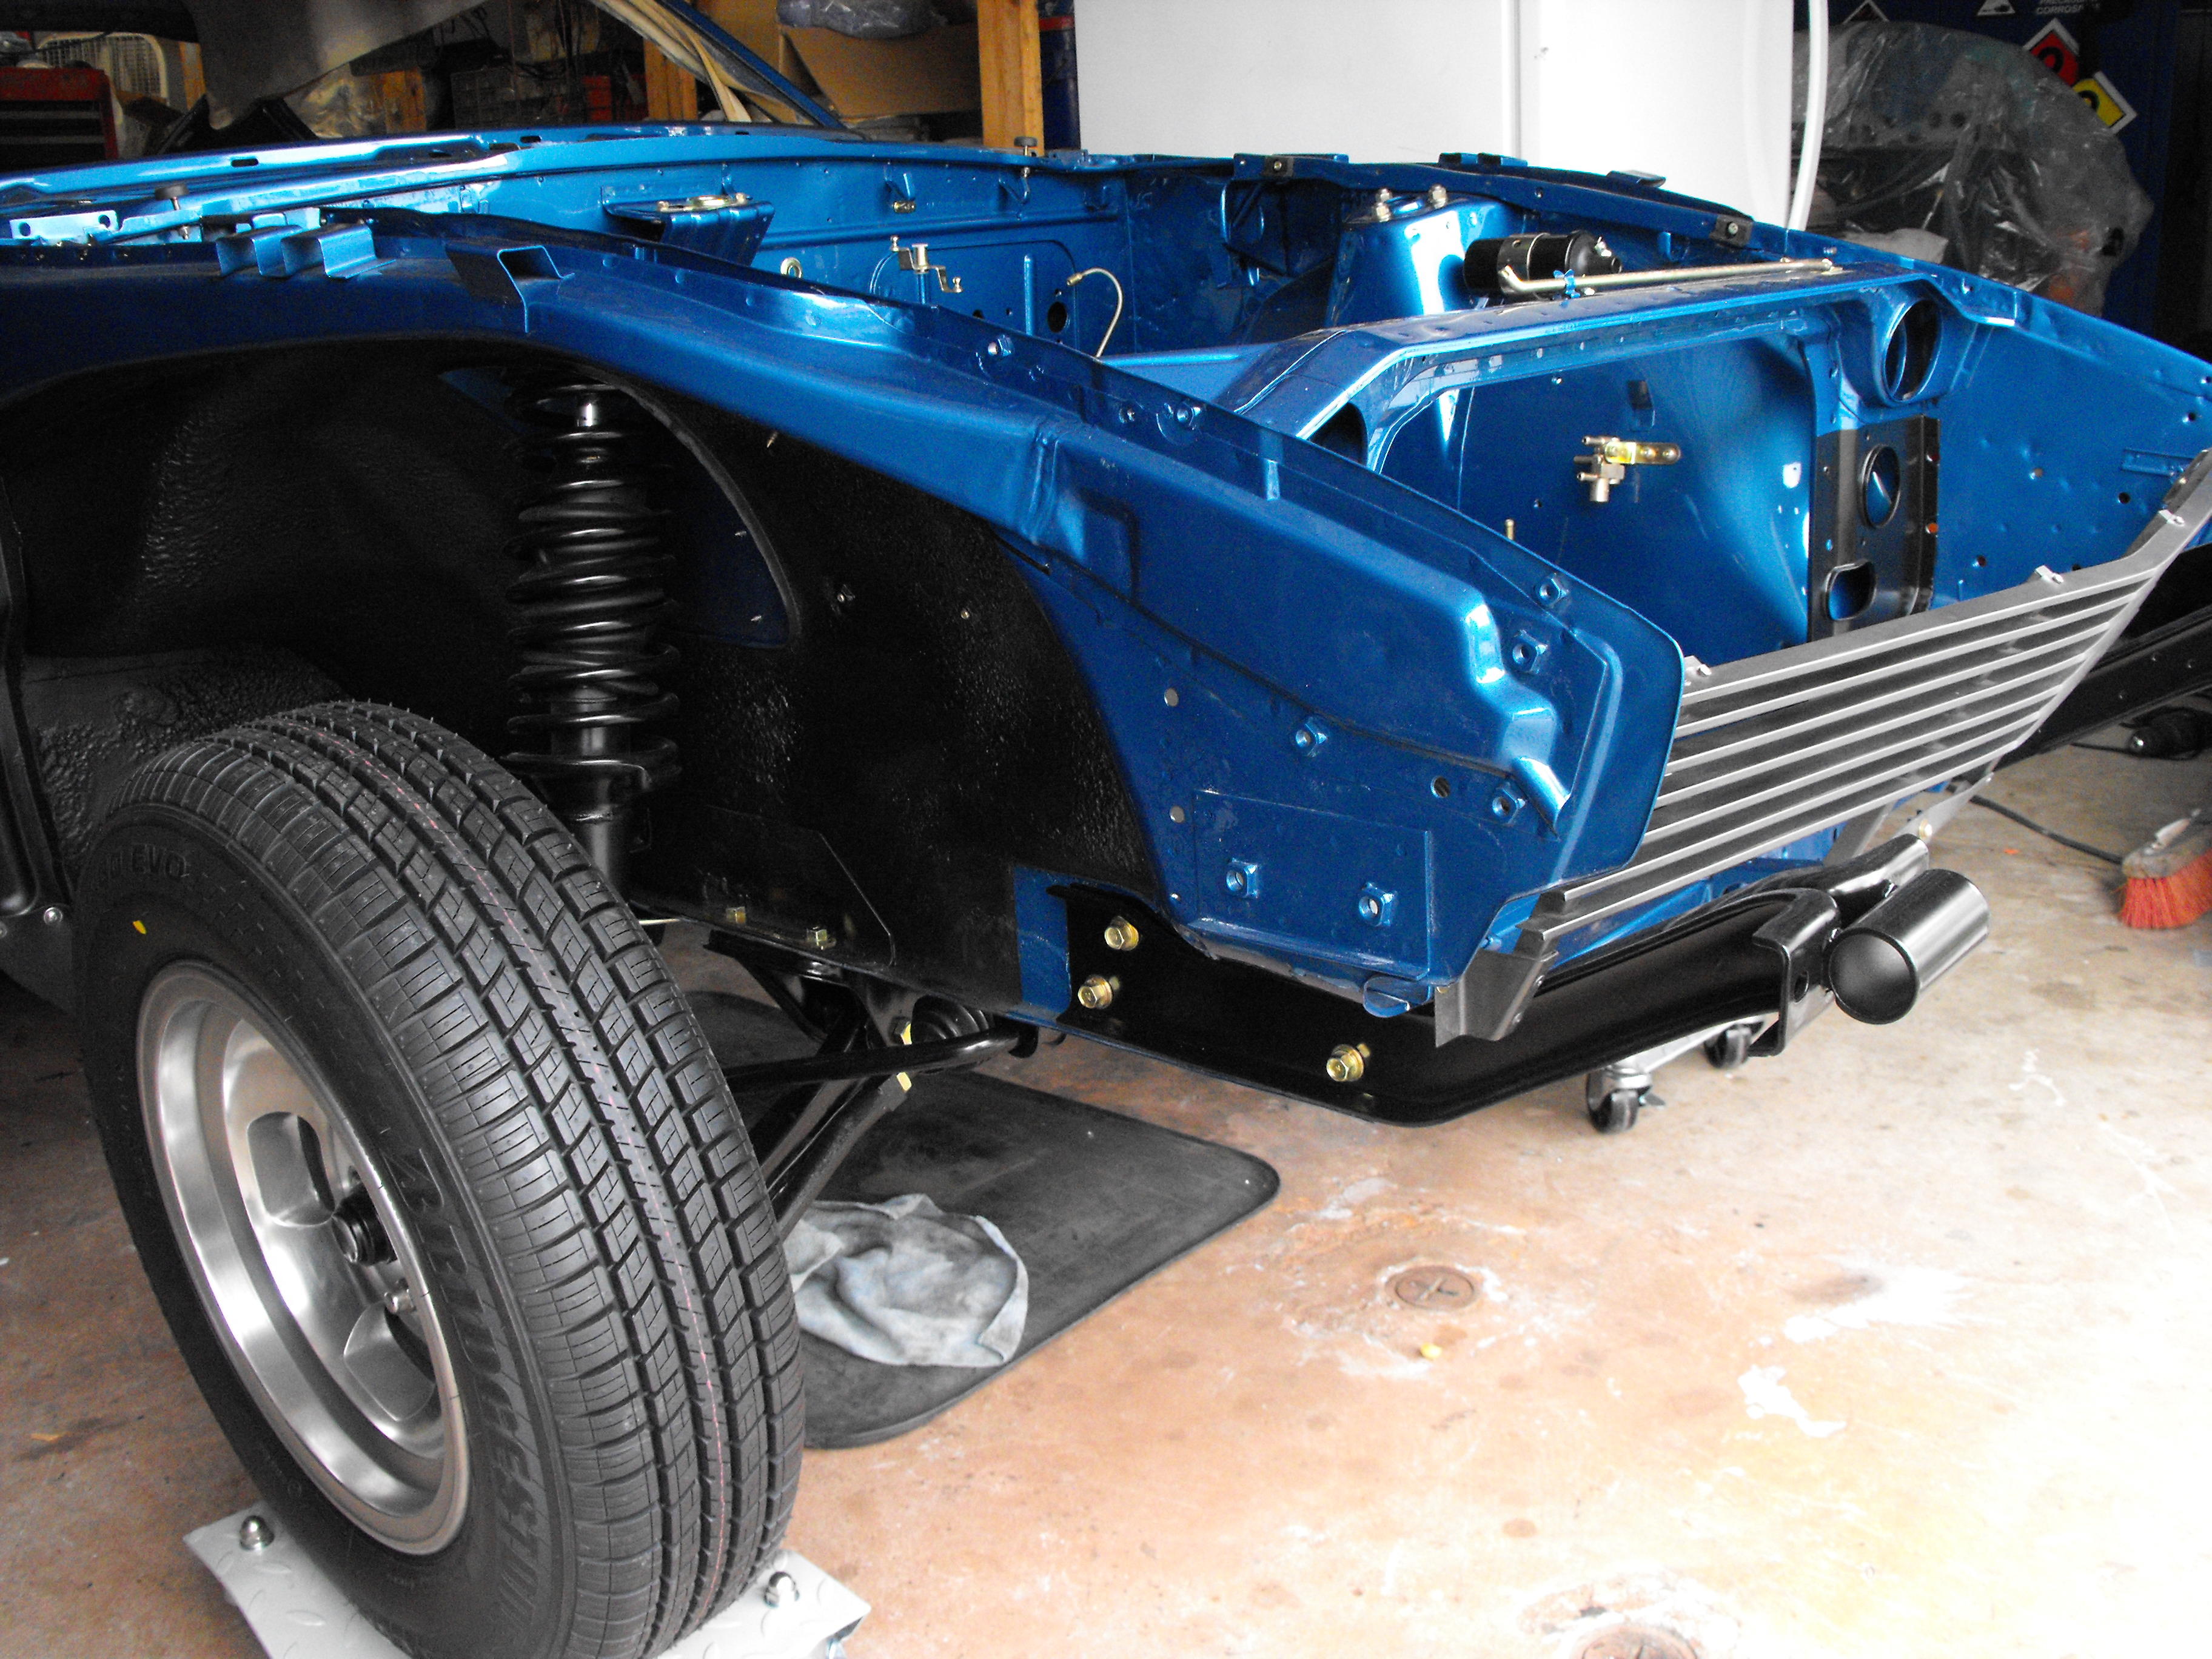
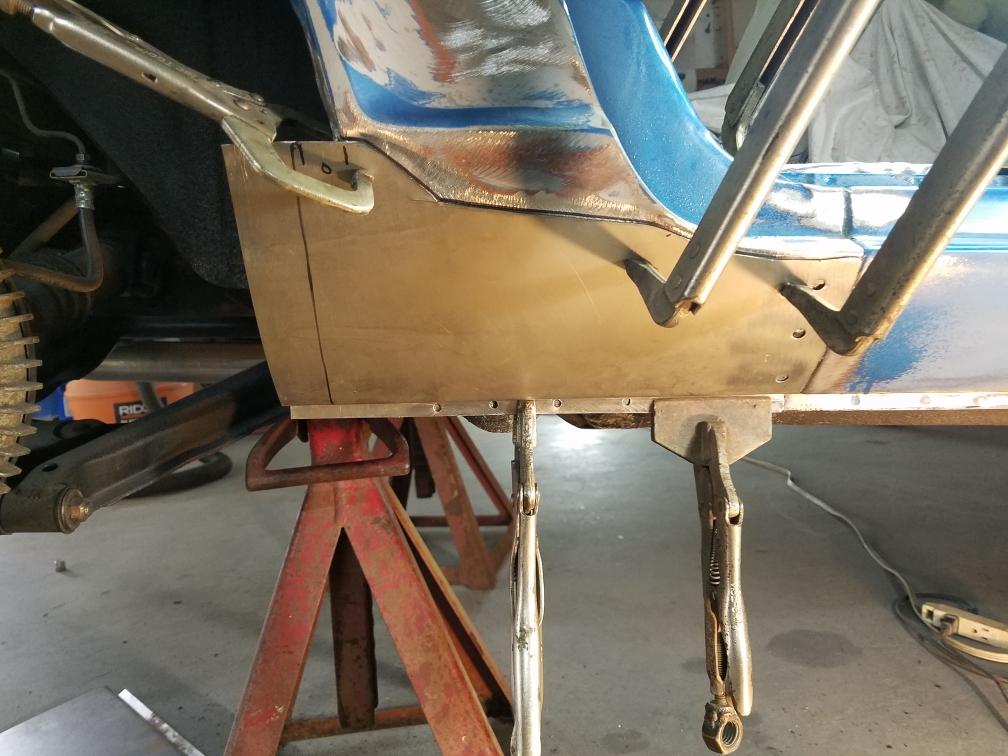
3 points3 points3 pointsActually, they are Cosmo Racing. Thought it would be fun to try them. Z forums trash them, but BMW and VW Forums praise them. Decent price compared to Ground Control, and no cutting/modifying required, so no huge investment if they suck. :-) Paint is awesome! My guy rocked it! I had all the right colours and decals thanks to my good Friend Ron Carter who did all the research when he built his a number of years ago. (Photos of his car are on this site and I would imagine many on here know him well.) I know he did alot to help Randy Jaffe with his car, as well. My Dream car is getting close to a reality....finally. :-)3 points2 points2 points2 points2 pointsSure. I didn’t take many pics but here is one of my failed first attempt .... I basically made a pattern of the backing plate and traced it onto a flat piece of metal and then used the bead roller to roll in the angles. Then I trimmed the edges to match the original. So what’s wrong with this one? 1) bent it the wrong direction ?♂️ (basically it’s now for the LHS instead of the RHS) and 2) started too close to the edge so wouldn’t have been able to trim it up properly anyways ?♂️ Oh well - all part of the “fun” right?
 2 points2 pointsYou're in luck. That's not a Kanji character. It is indeed a - very nice - capital letter 'B'.2 points1 pointUsed to have one of these in my Aston back in the 1980's when I was flying 727s. Lotus also fitted them in the 1980/81 Turbo Esprit. Panasonic did various versions, Lotus had the RM610...I had the RM710. When I got my JPS Esprit a few years ago it came with one, ripped it out as it wasn't working and threw it away. Here's one on EBay: https://www.ebay.co.uk/itm/153402189291?ul_noapp=true Roo1 point1 pointand @Zed Head, I do appreciate your input! As usual it brings up the not so obvious points that sometimes need to be mentioned and addressed.1 pointAnd don't forget mechanical stuff either. Drive Shaft, AFM, ECU, Fuel Sender, interior stuff (Panels, switches, knobs, console...). If the price is right, the whole car and strip it clean and put it in boxes.1 point1 pointThat one is a good candidate for shark's mouths on the front corners. Ala, the Flying Tigers P40's in WWII.1 pointgod that i forgot.. i should know by now that doesnt happen very often.. actually two of them were lined up next to each other.. 240z and a 280z ??♂️1 point1 pointPanasonic RM-310 http://antique-autoradio-madness.org/panasonic/Panasonic-1979/panasonic_1979.htm
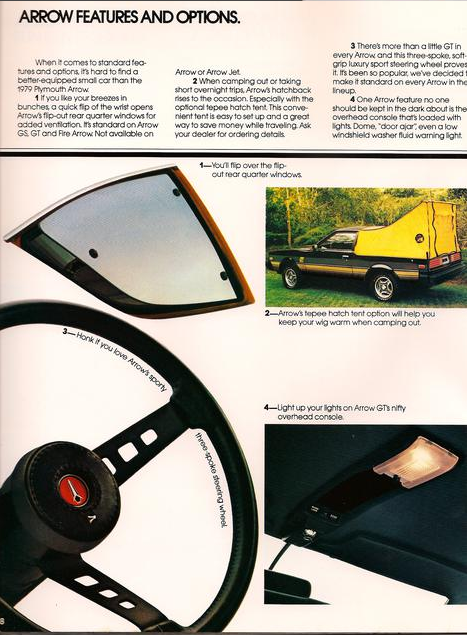
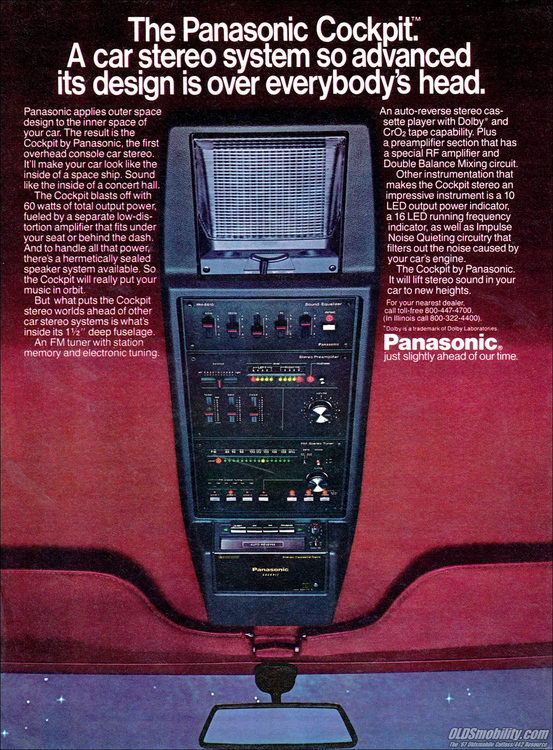 1 point1 point1 pointAnother thought about the mounting of the coil packs... In the original application, the coils are designed to be pressed down all the way "home" against the top of the valve cover and the mounting hole comes into contact with the valve cover itself. Probably with a proud standing boss where the mounting bolt threads into. In addition, there is a sealing surface (might even be a rubber ring?) just below the electronics module portion that is designed to seal the larger hole in the valve cover. In your design, the holes you have the coil packs poking through is much smaller than the original design and your mounting tabs are hanging in free space. You don't want to stress the mounting tabs by putting a bolt through them and tightening them up while it's unsupported below the pack. Kinda hard to do without marked-up pics, but here's the issue I'm talking about... See the gap underneath the coil pack where the mounting bolt goes through? That thing is just plastic and you don't want to put a bolt through that and tighten it up. I suggest either using some sort of standoff boss (could be as simple as a tubular spacer) to support the bolt hole, or even better would be to make the holes in the COP bracket larger (like the original application) and have the coils mounting face sit down further (flush) against the plate. Without some sort of support under the mounting bolts, you are going to cantilever the coil pack body with the bolt and potentially crack the mounting tab off:1 point1 pointI am amazed at how much the old Mitsubishi Arrow copied the Z's... never knew that when I bought it but subconsciously I always wanted a Z I guess....1 point1 pointThanks again , Mark , I see . I now want this for my car ? Kats
 1 point1 point1 point1 pointHere is more about “ National Cockpit “ https://ameblo.jp/mach-gyo/entry-11887433930.html It is an audio device hanging on the roof , using a room mirror basement . Kats
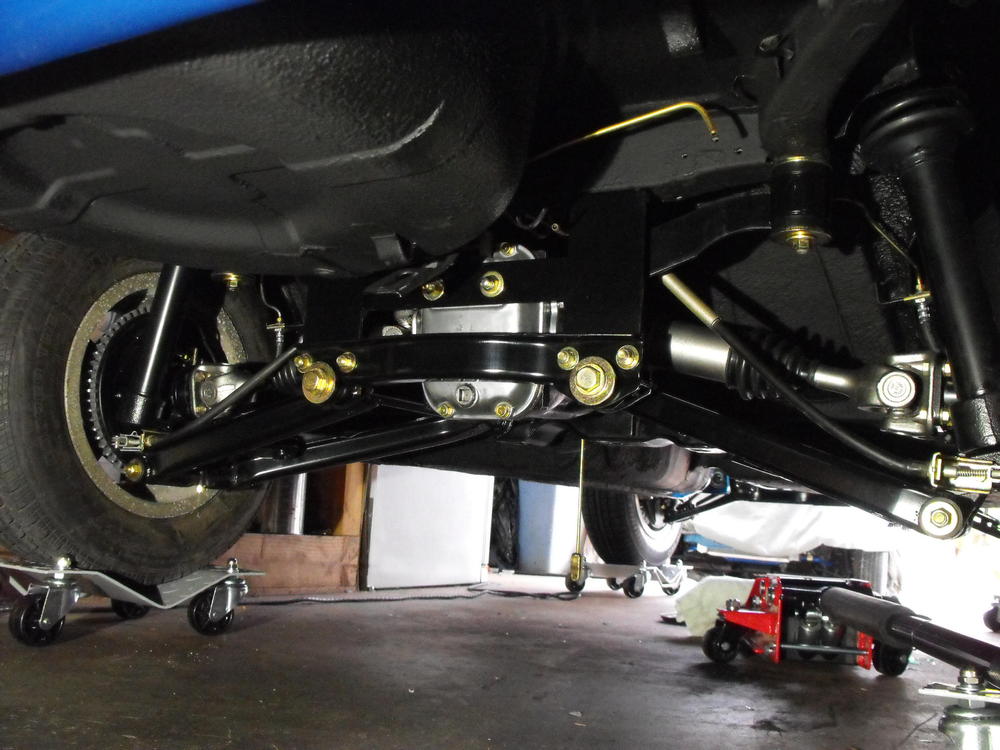
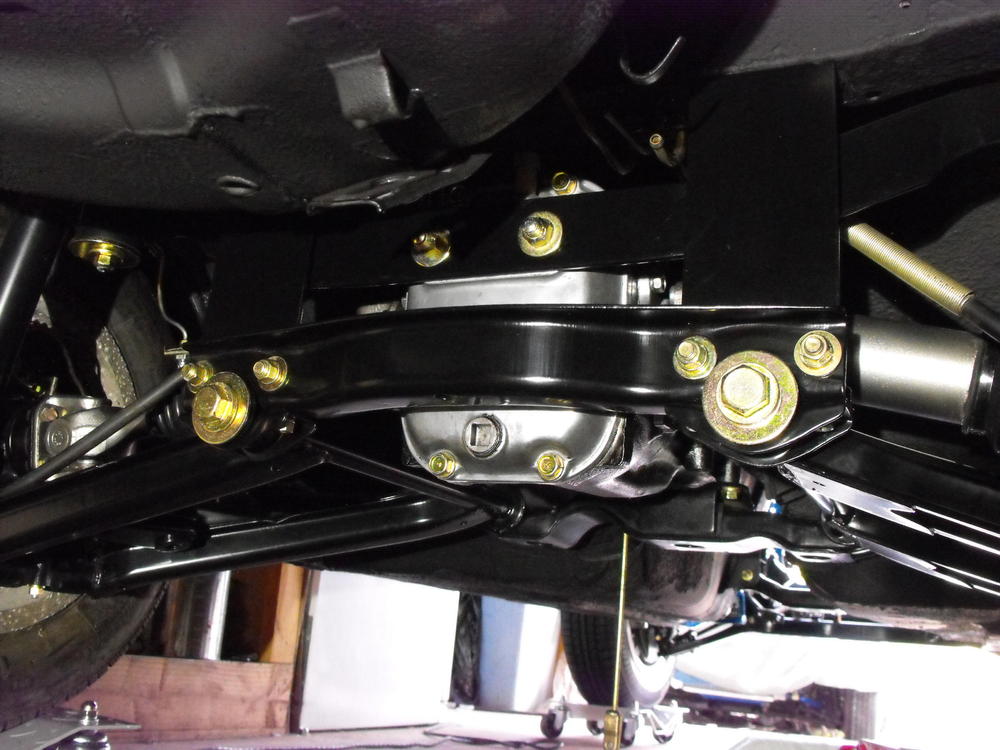
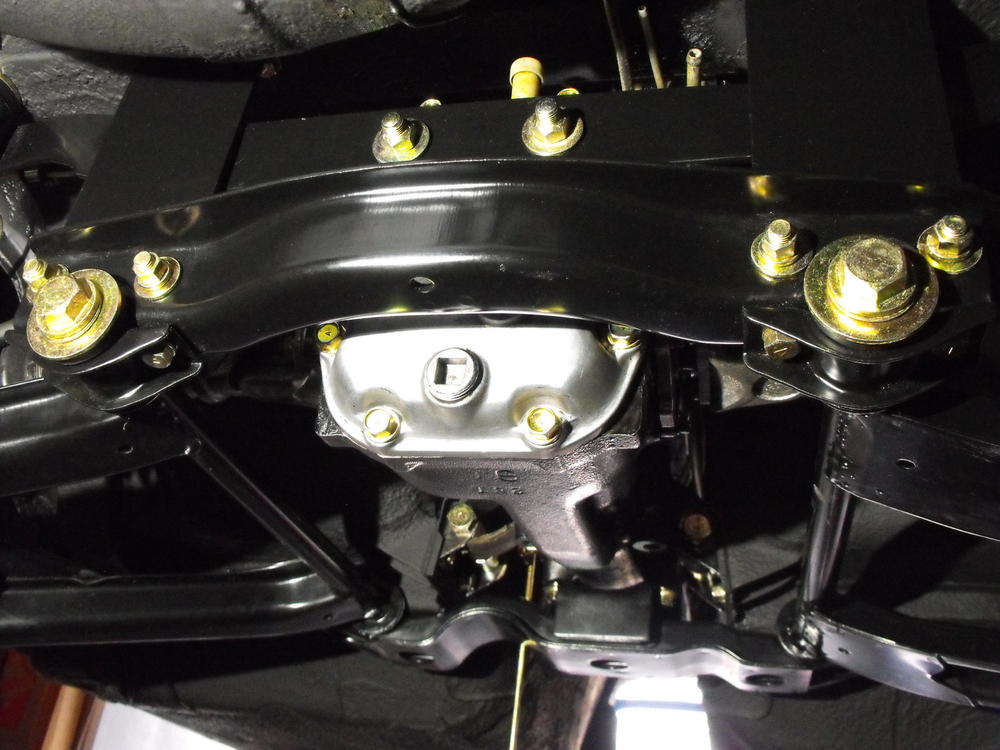
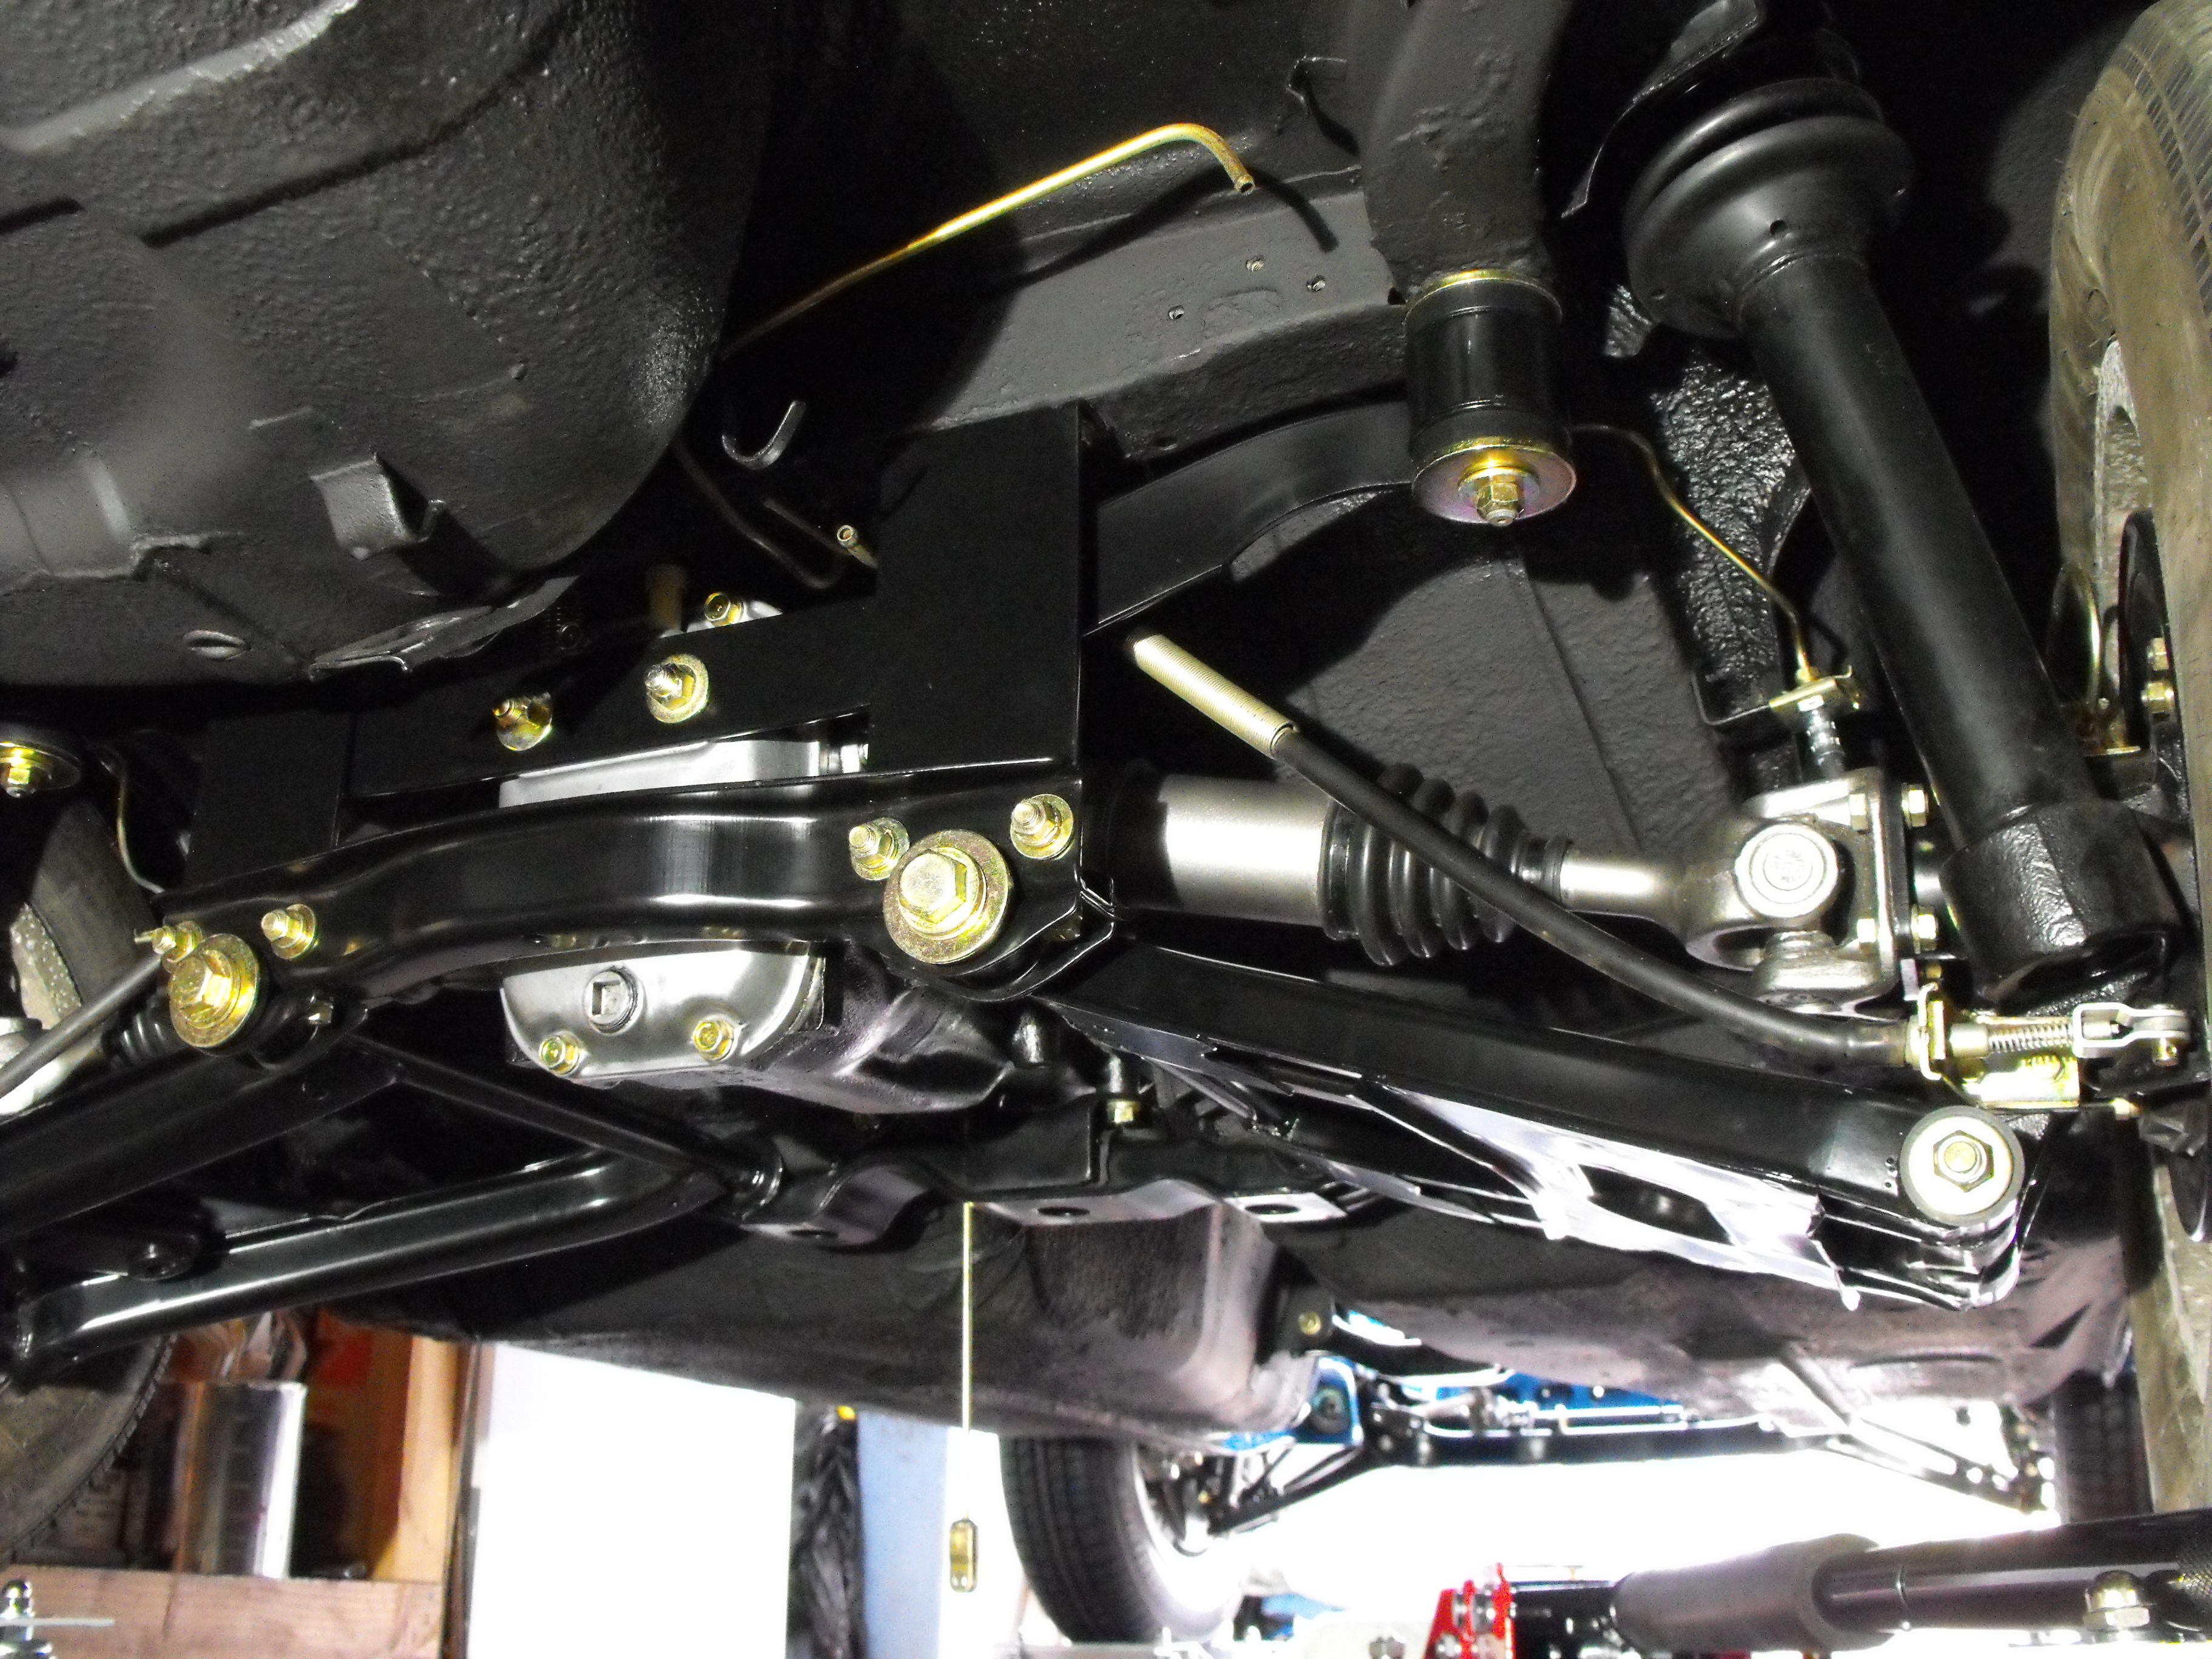
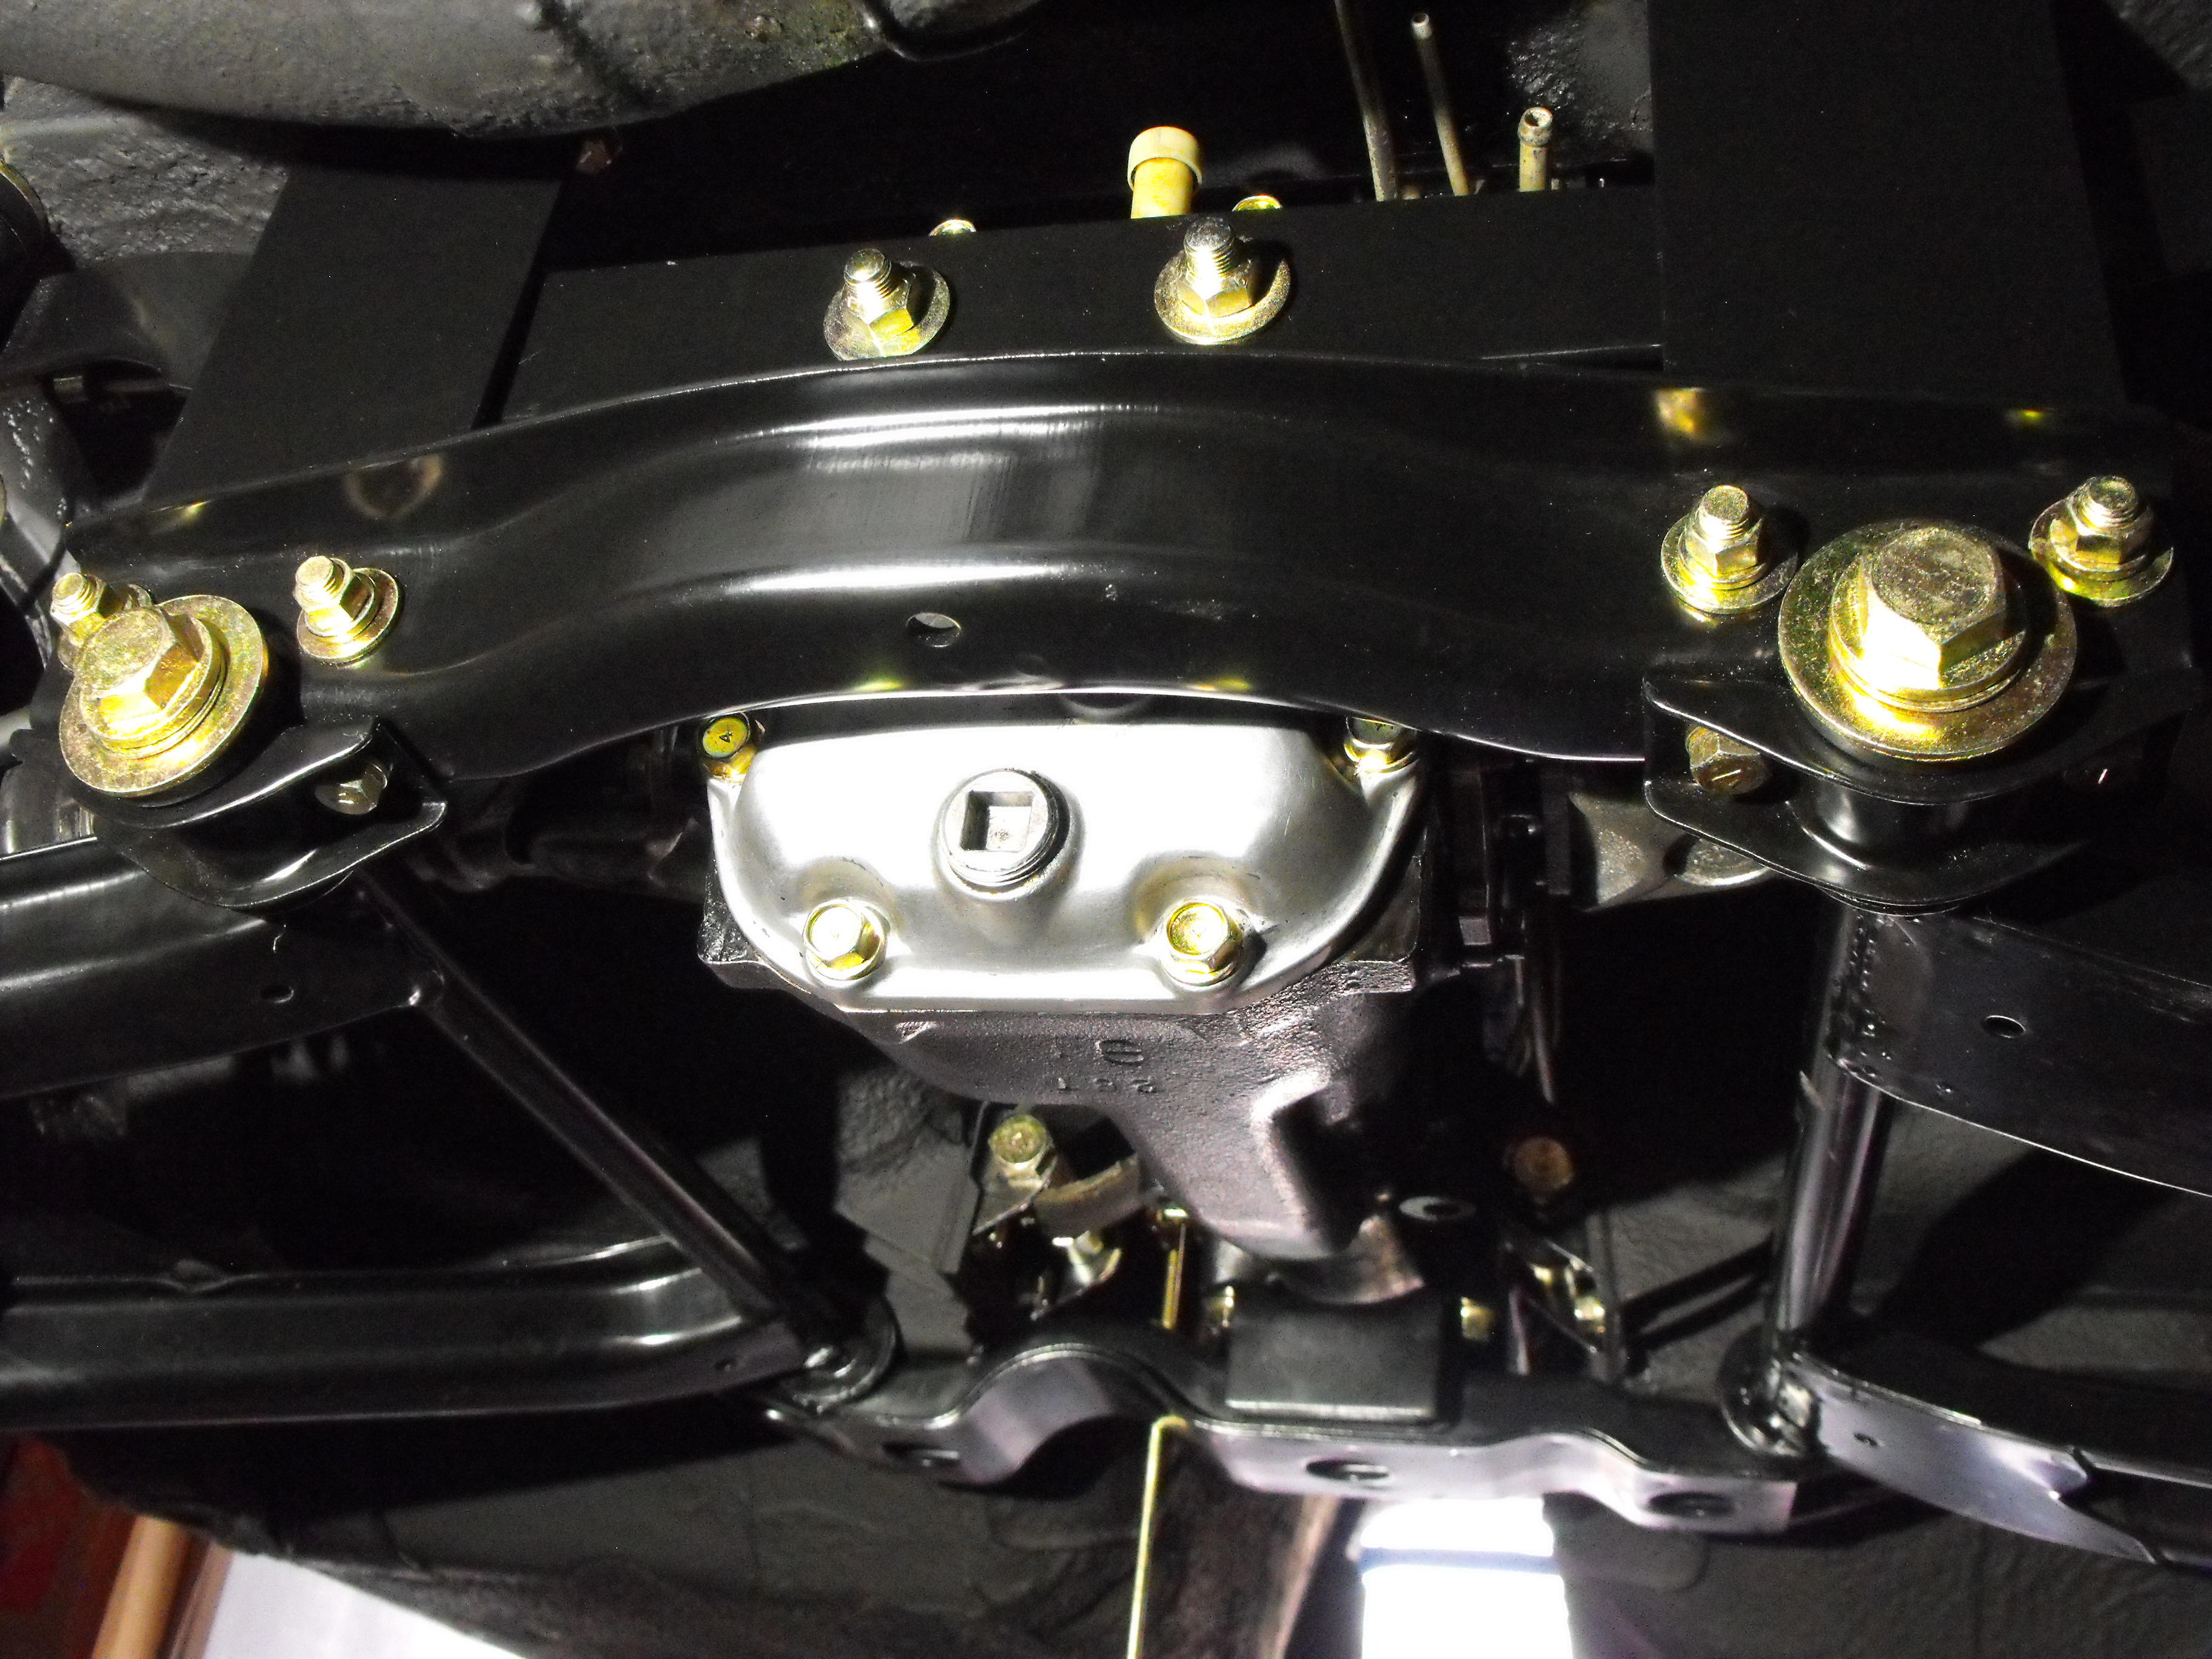
 1 point1 pointI don't ever remember seeing one of those back in the seventies.1 point1 point1 pointNo, but removing the COPs is easy. Or you could leave all the coils attached to the plate and lift it off as an assembly with the six coil packs still attached. Un-clip six electrical connectors and the whole thing is loose.1 pointYes, boots are banded and painted black. Sprayed with Dupli-color 'Dark Shadow Gray' then clear coat 'matte clear'. Yes, I will use this for the rear finisher panel. Car will retain the original dealer supplied mags, but I do also use this for hub caps. Les Cannady at Classic Datsun Motorsports used to sell this custom made, but he says it is no longer available due to California paint standards. The Dark Shadow Gray and matte clear is now what he currently uses. It is pretty close to the original.1 pointMade some nice progress this weekend. Got the front grill and bumper brackets installed. Got the differential restraining strap, differential and half shafts installed. The differential went in pretty easy with my new Costco jack. Just set the diff on the large rubber pad and lifted it into place. Also, @jayhawk stopped by to look the car over. Glad he was able to see the car in person, instead of just the pics.
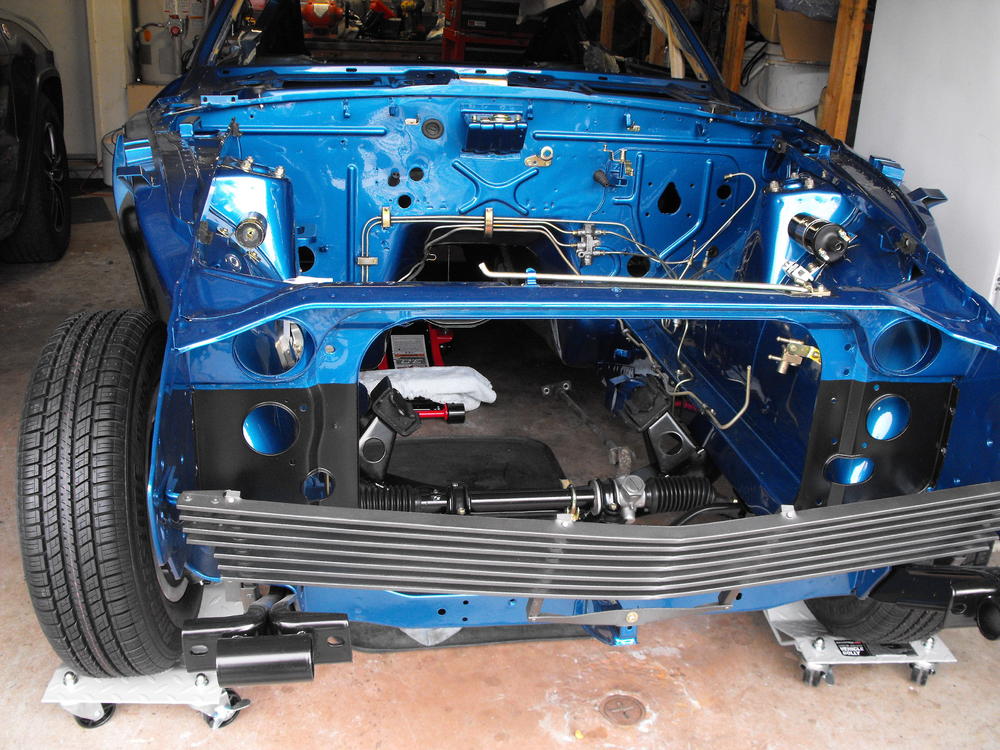


 1 pointi wouldnt mind keeping a spare.. man i am learning quickly with this car its best to hve a spare of everything haha1 point1 pointThanks Patcon! And yes I wish I had a few D-ring anchors in the floor for many reasons too!1 point1 point1 point1 pointHi Kats: I guess that melting the ice with salt is a trade-off vs. having more cars wrecked and people hurt because of ice on the road. Nonetheless, your 432 looks perfect, and the protective coating is a great idea. Thanks for the video. Carl B.1 point1 point1 point1 pointIf only I knew someone with massive fabbing skills... I’ll be down end of March, have it ready!1 point1 pointVery nice work! A couple of thoughts on the brace.... Adding a 90 degree (down) bend with about a 1/2” flange along the edge between the bracket and the valve cover will add stiffness to the whole brace and minimize any stress on the valve cover bolts and the COPs. You may want to consider bending similar edges at each endof the bracket as well for even more stiffness. I hope this helps ..1 point1 pointPretty decent looking rear bumper delete in my opinion. Probably not a good idea to drive close to schools with those plates.1 point
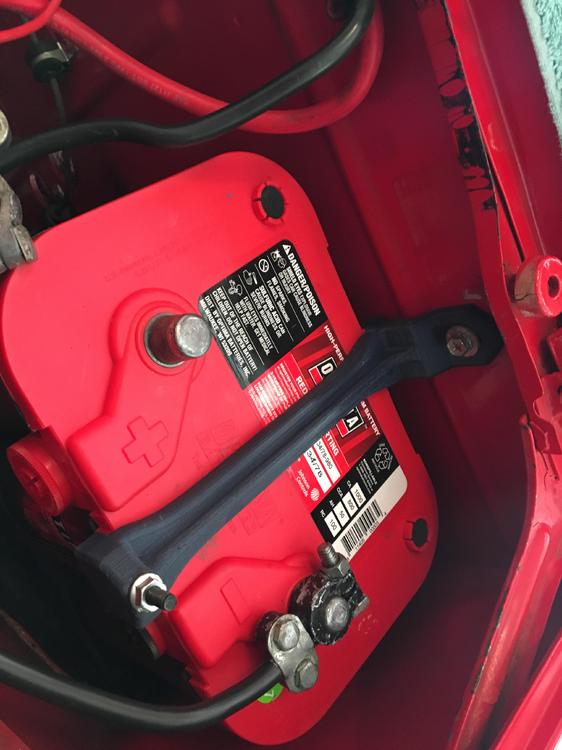
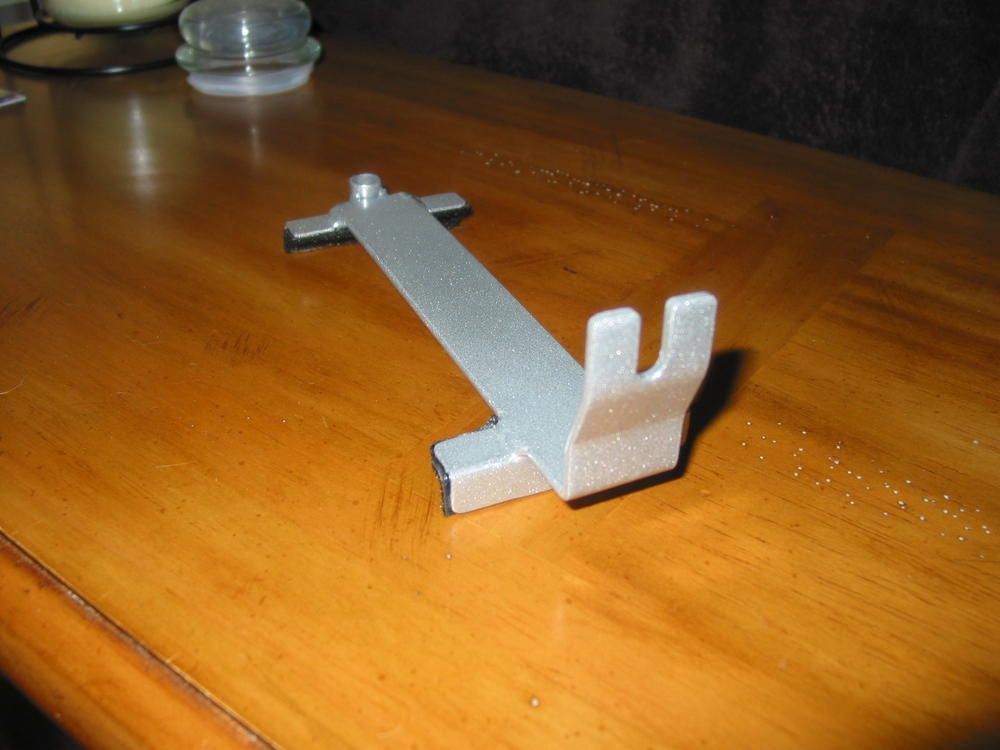
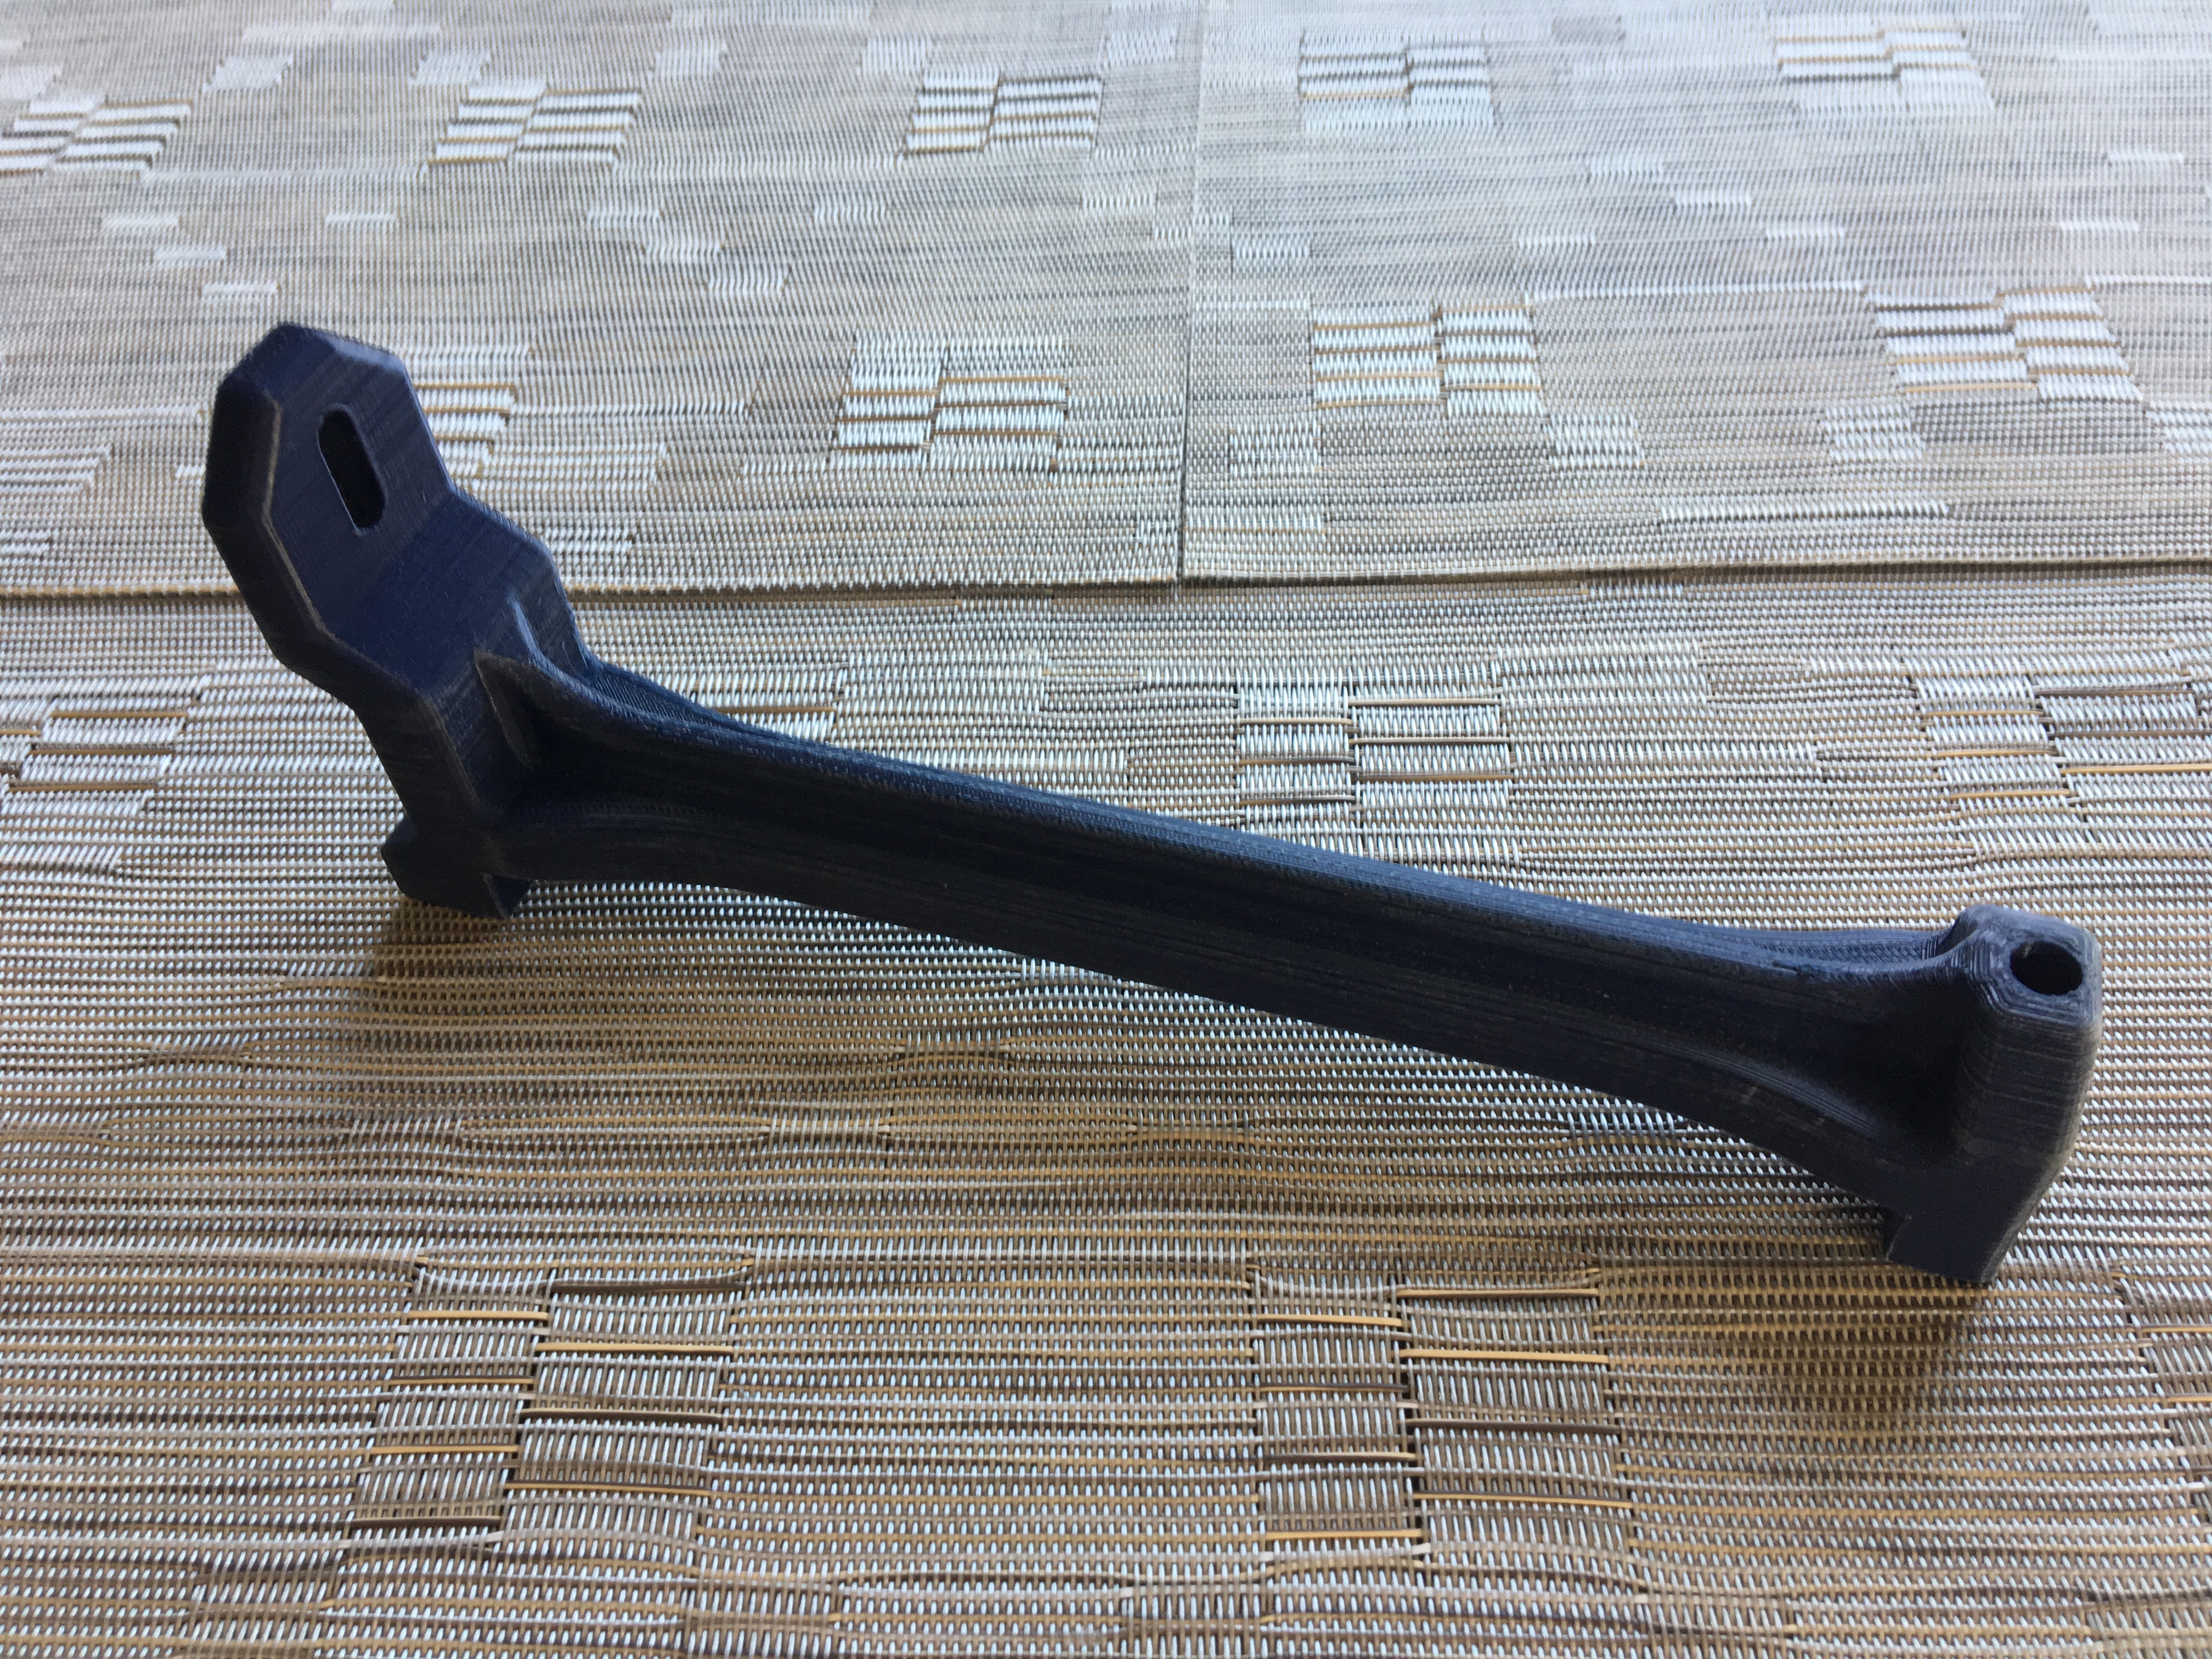
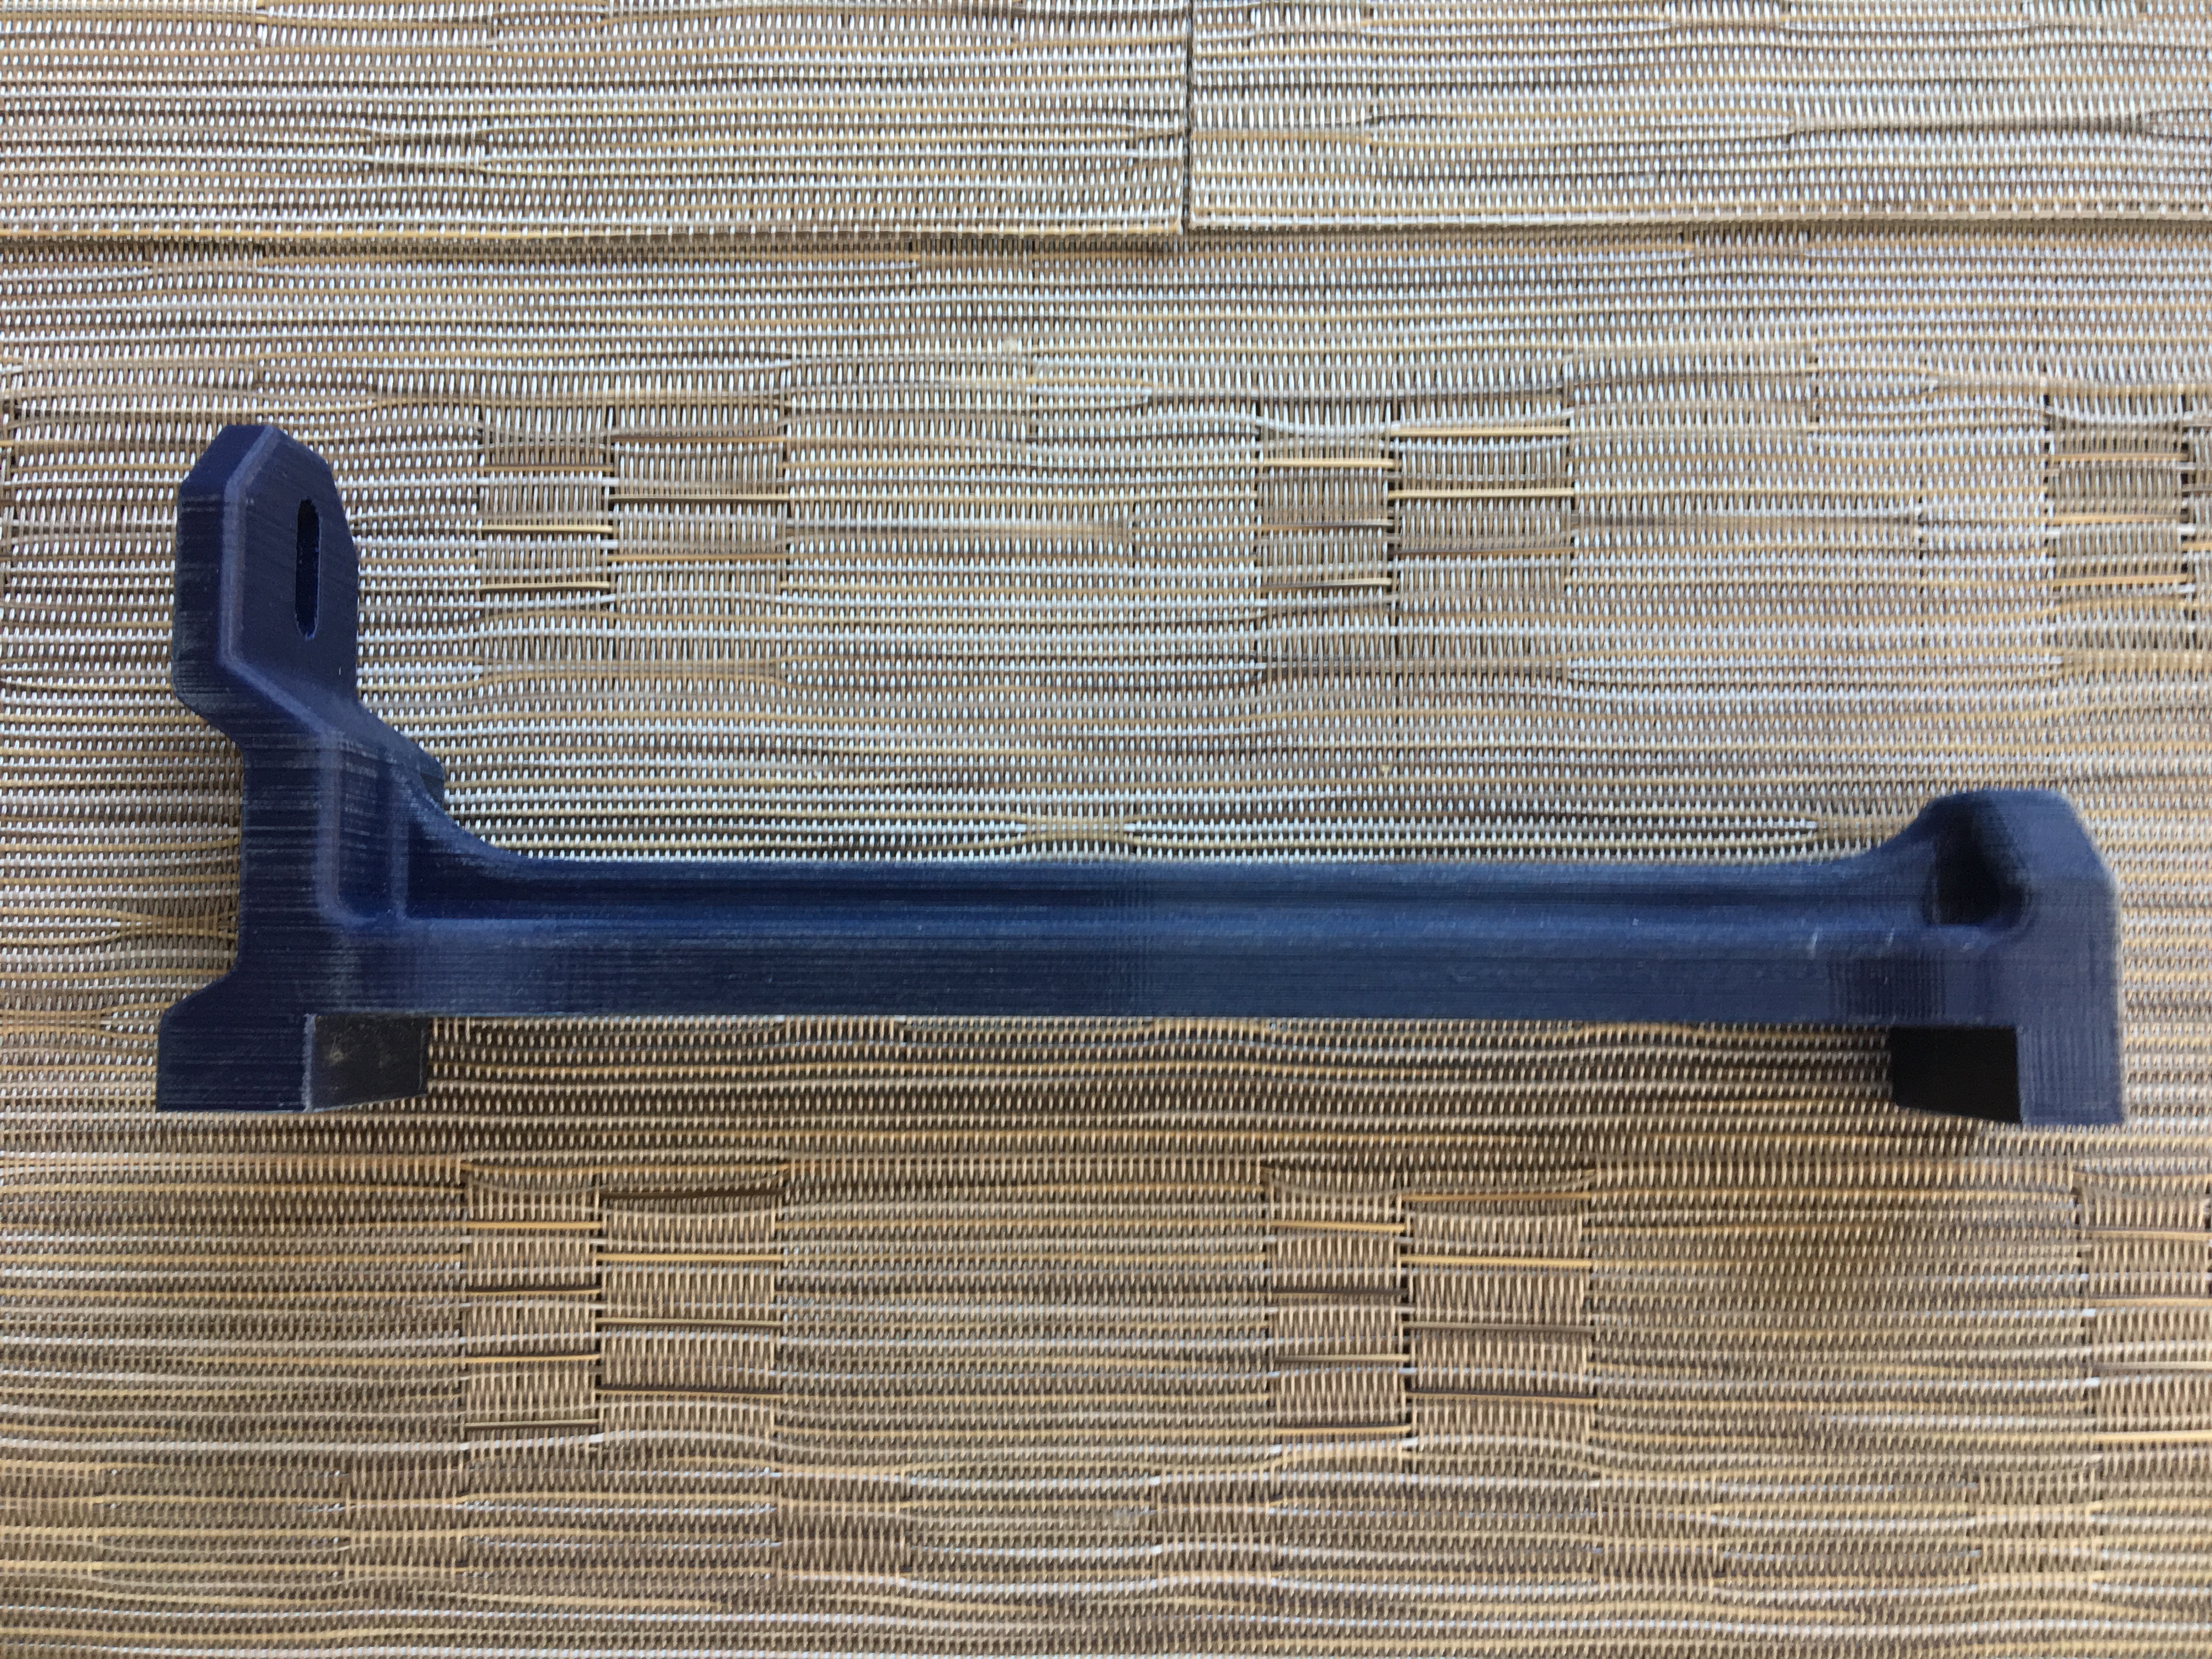
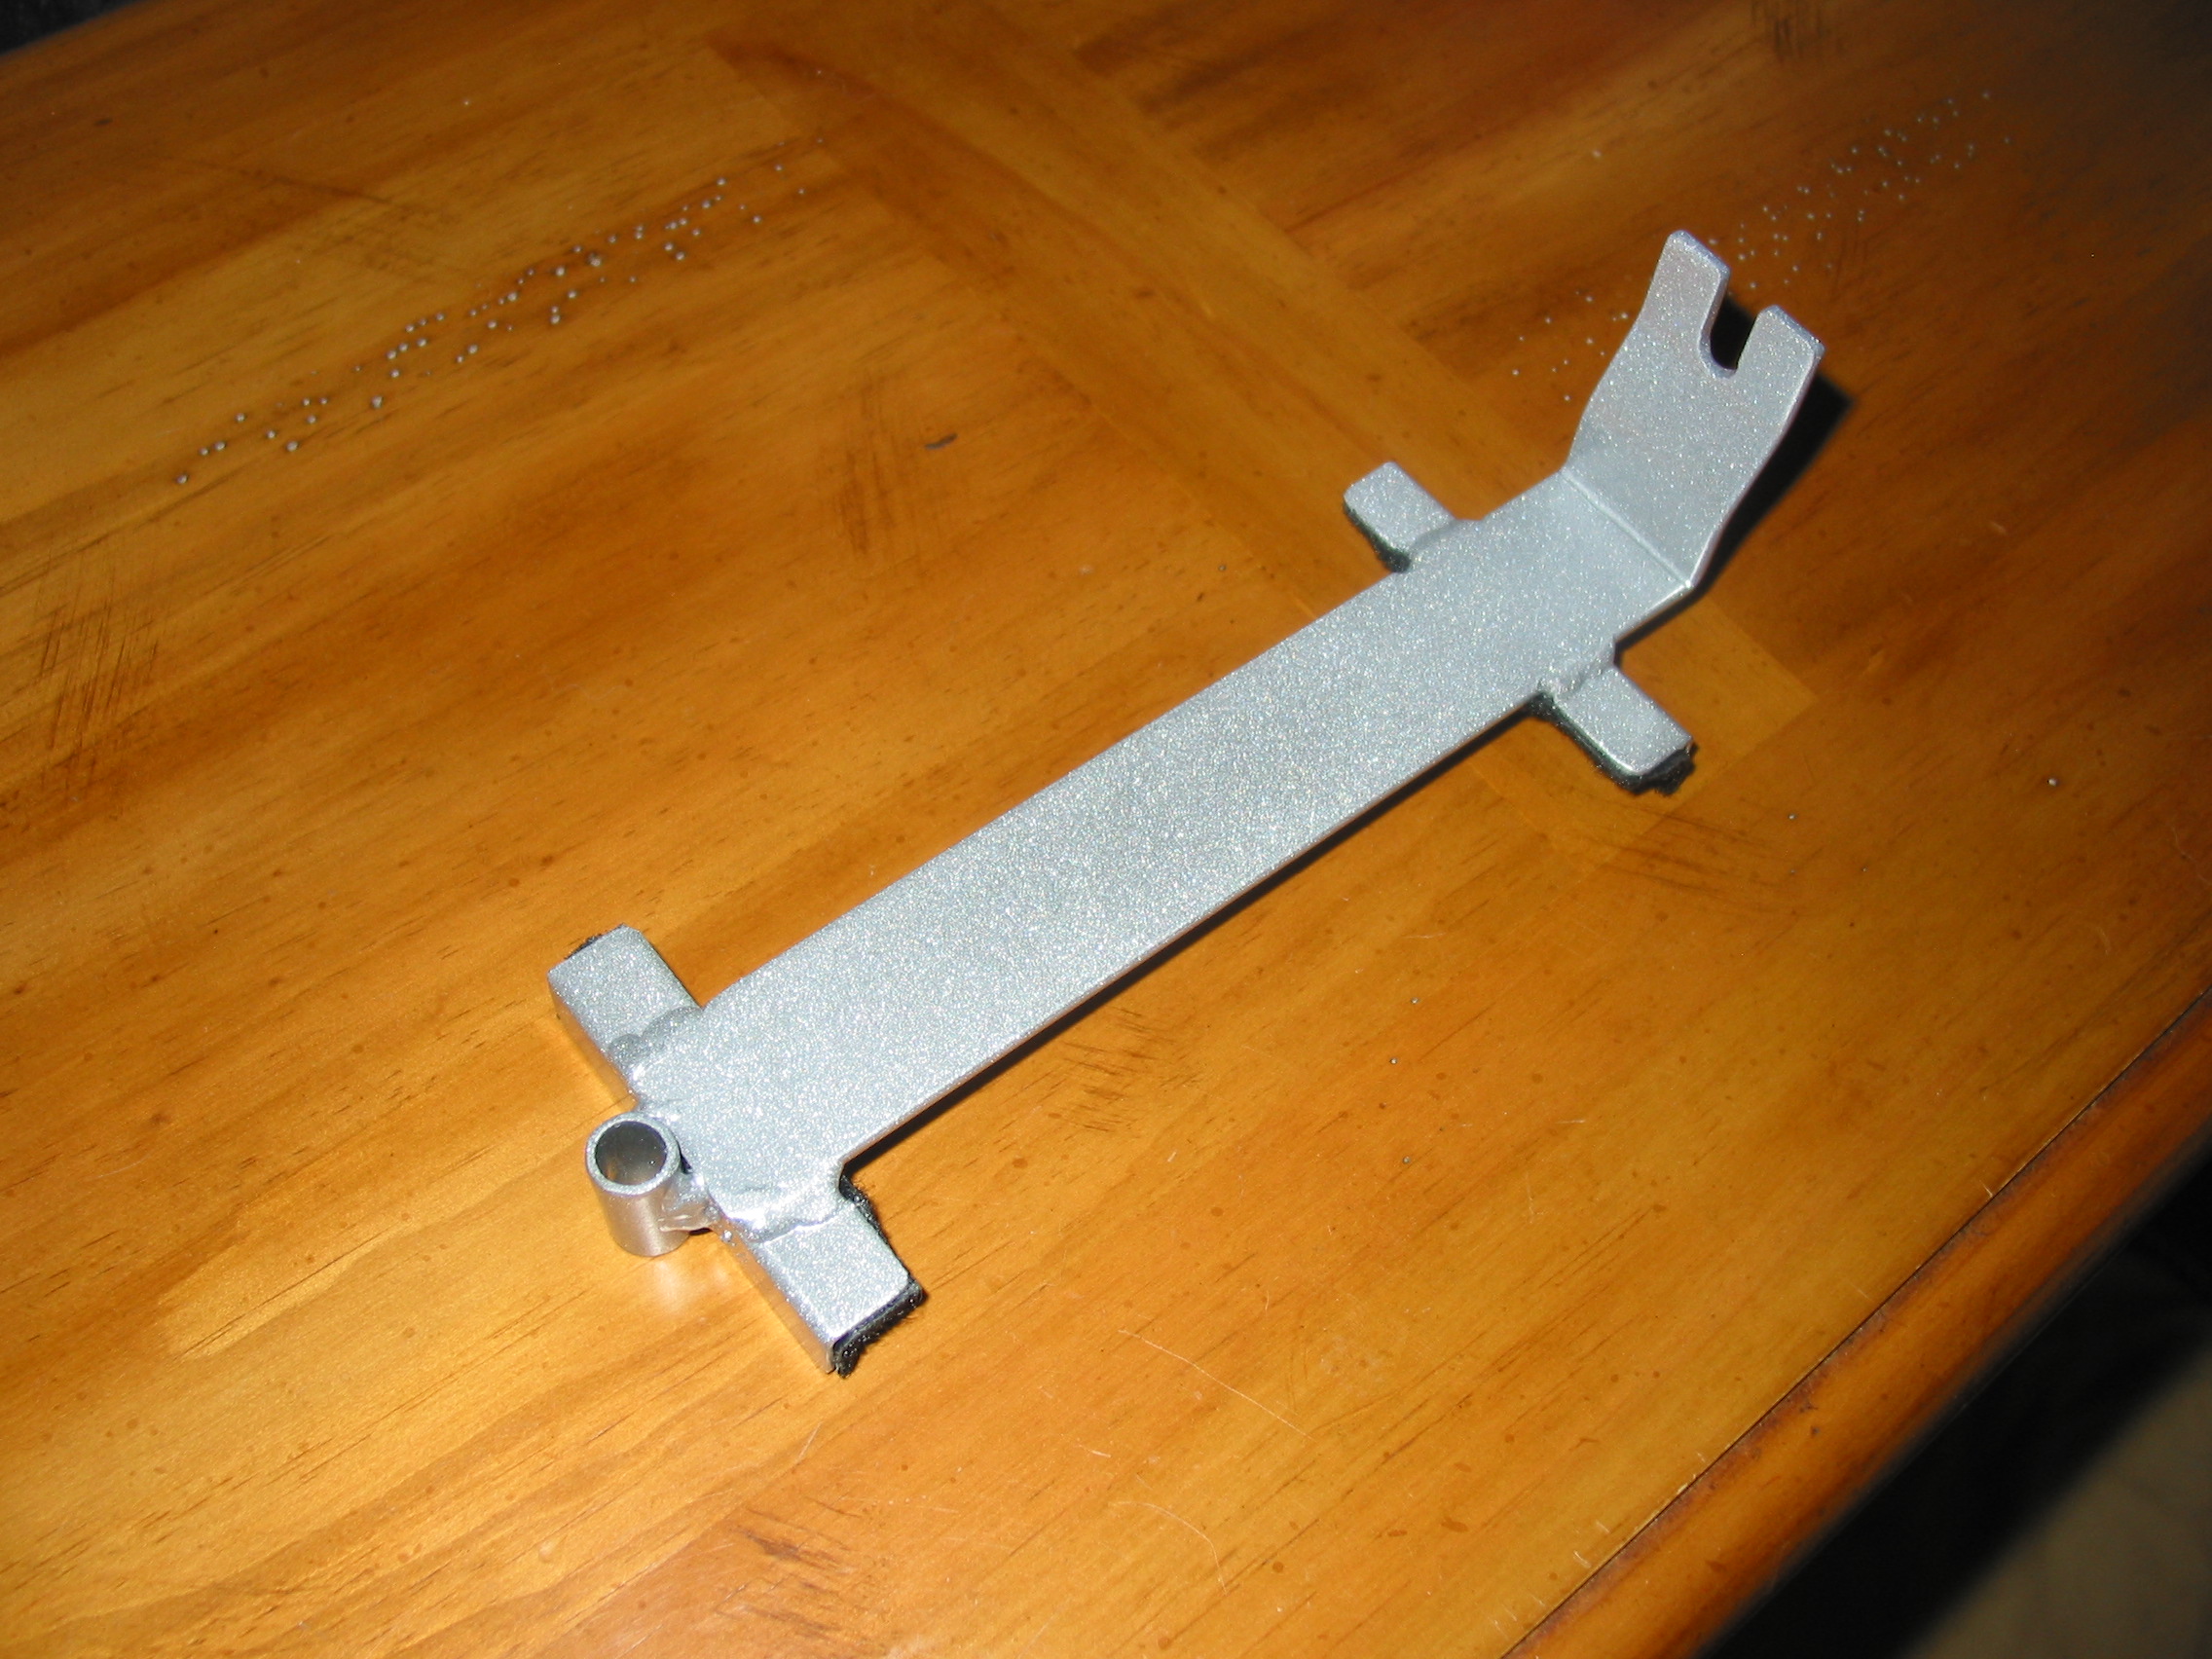
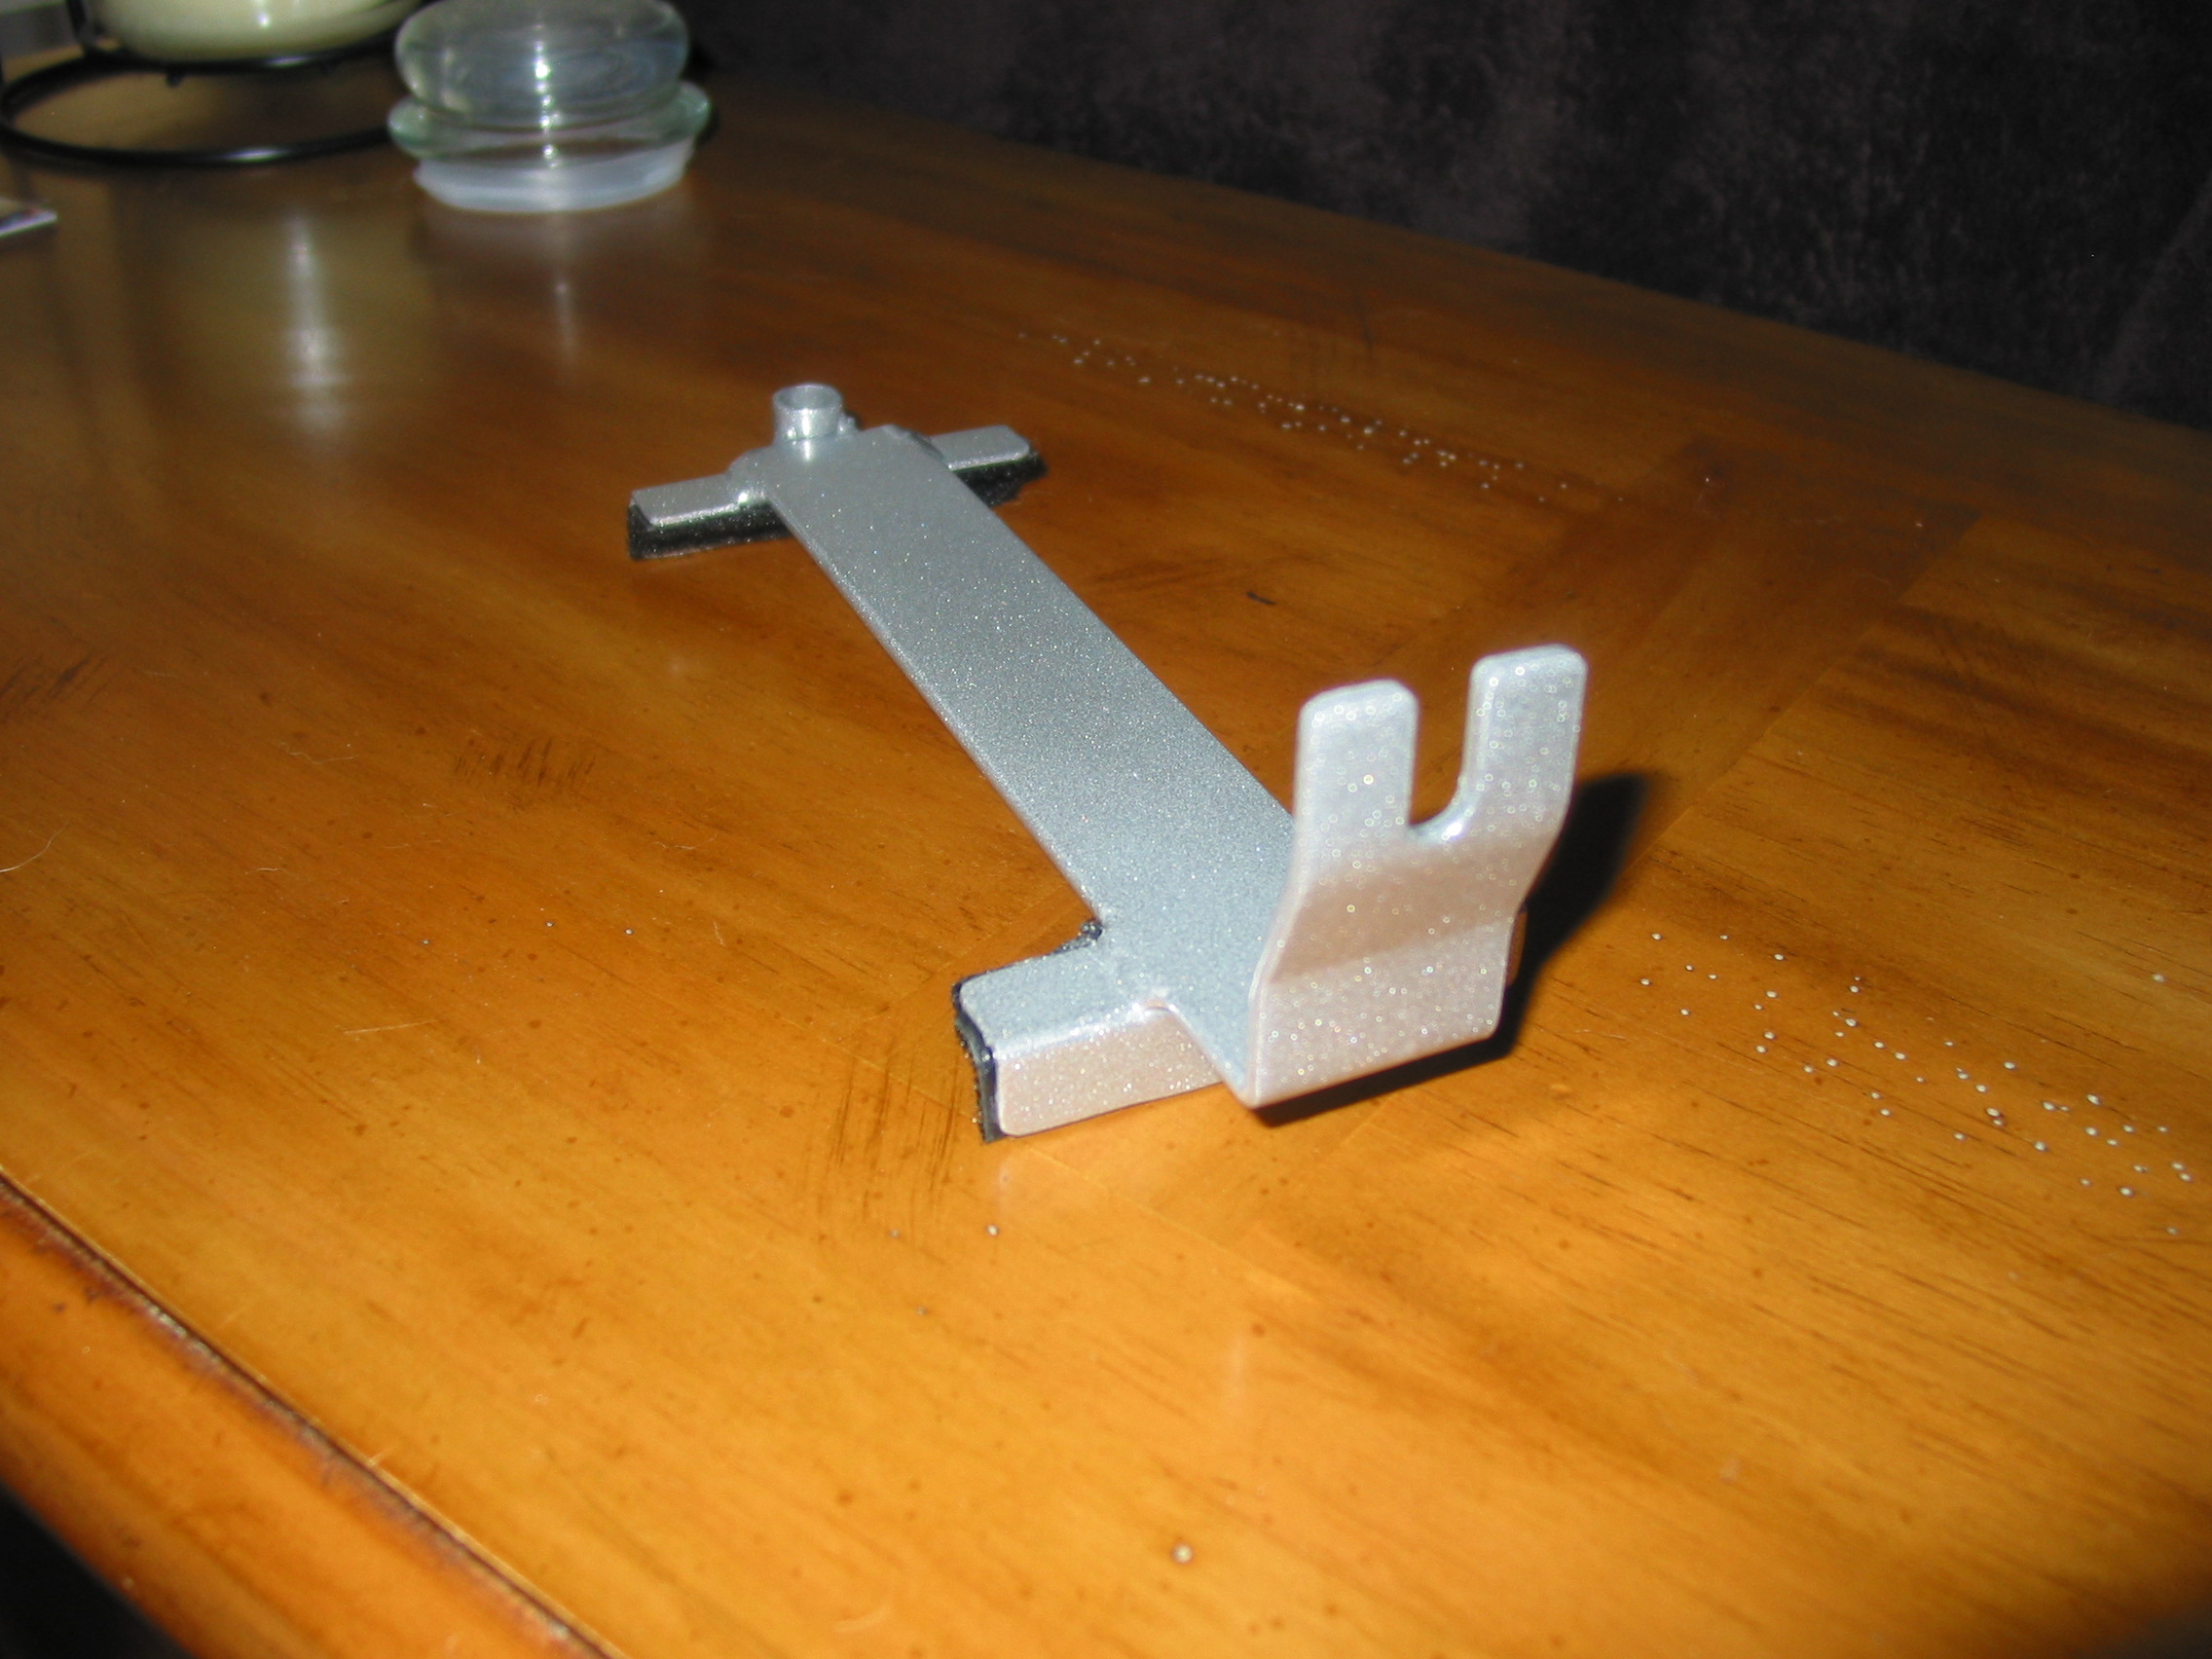
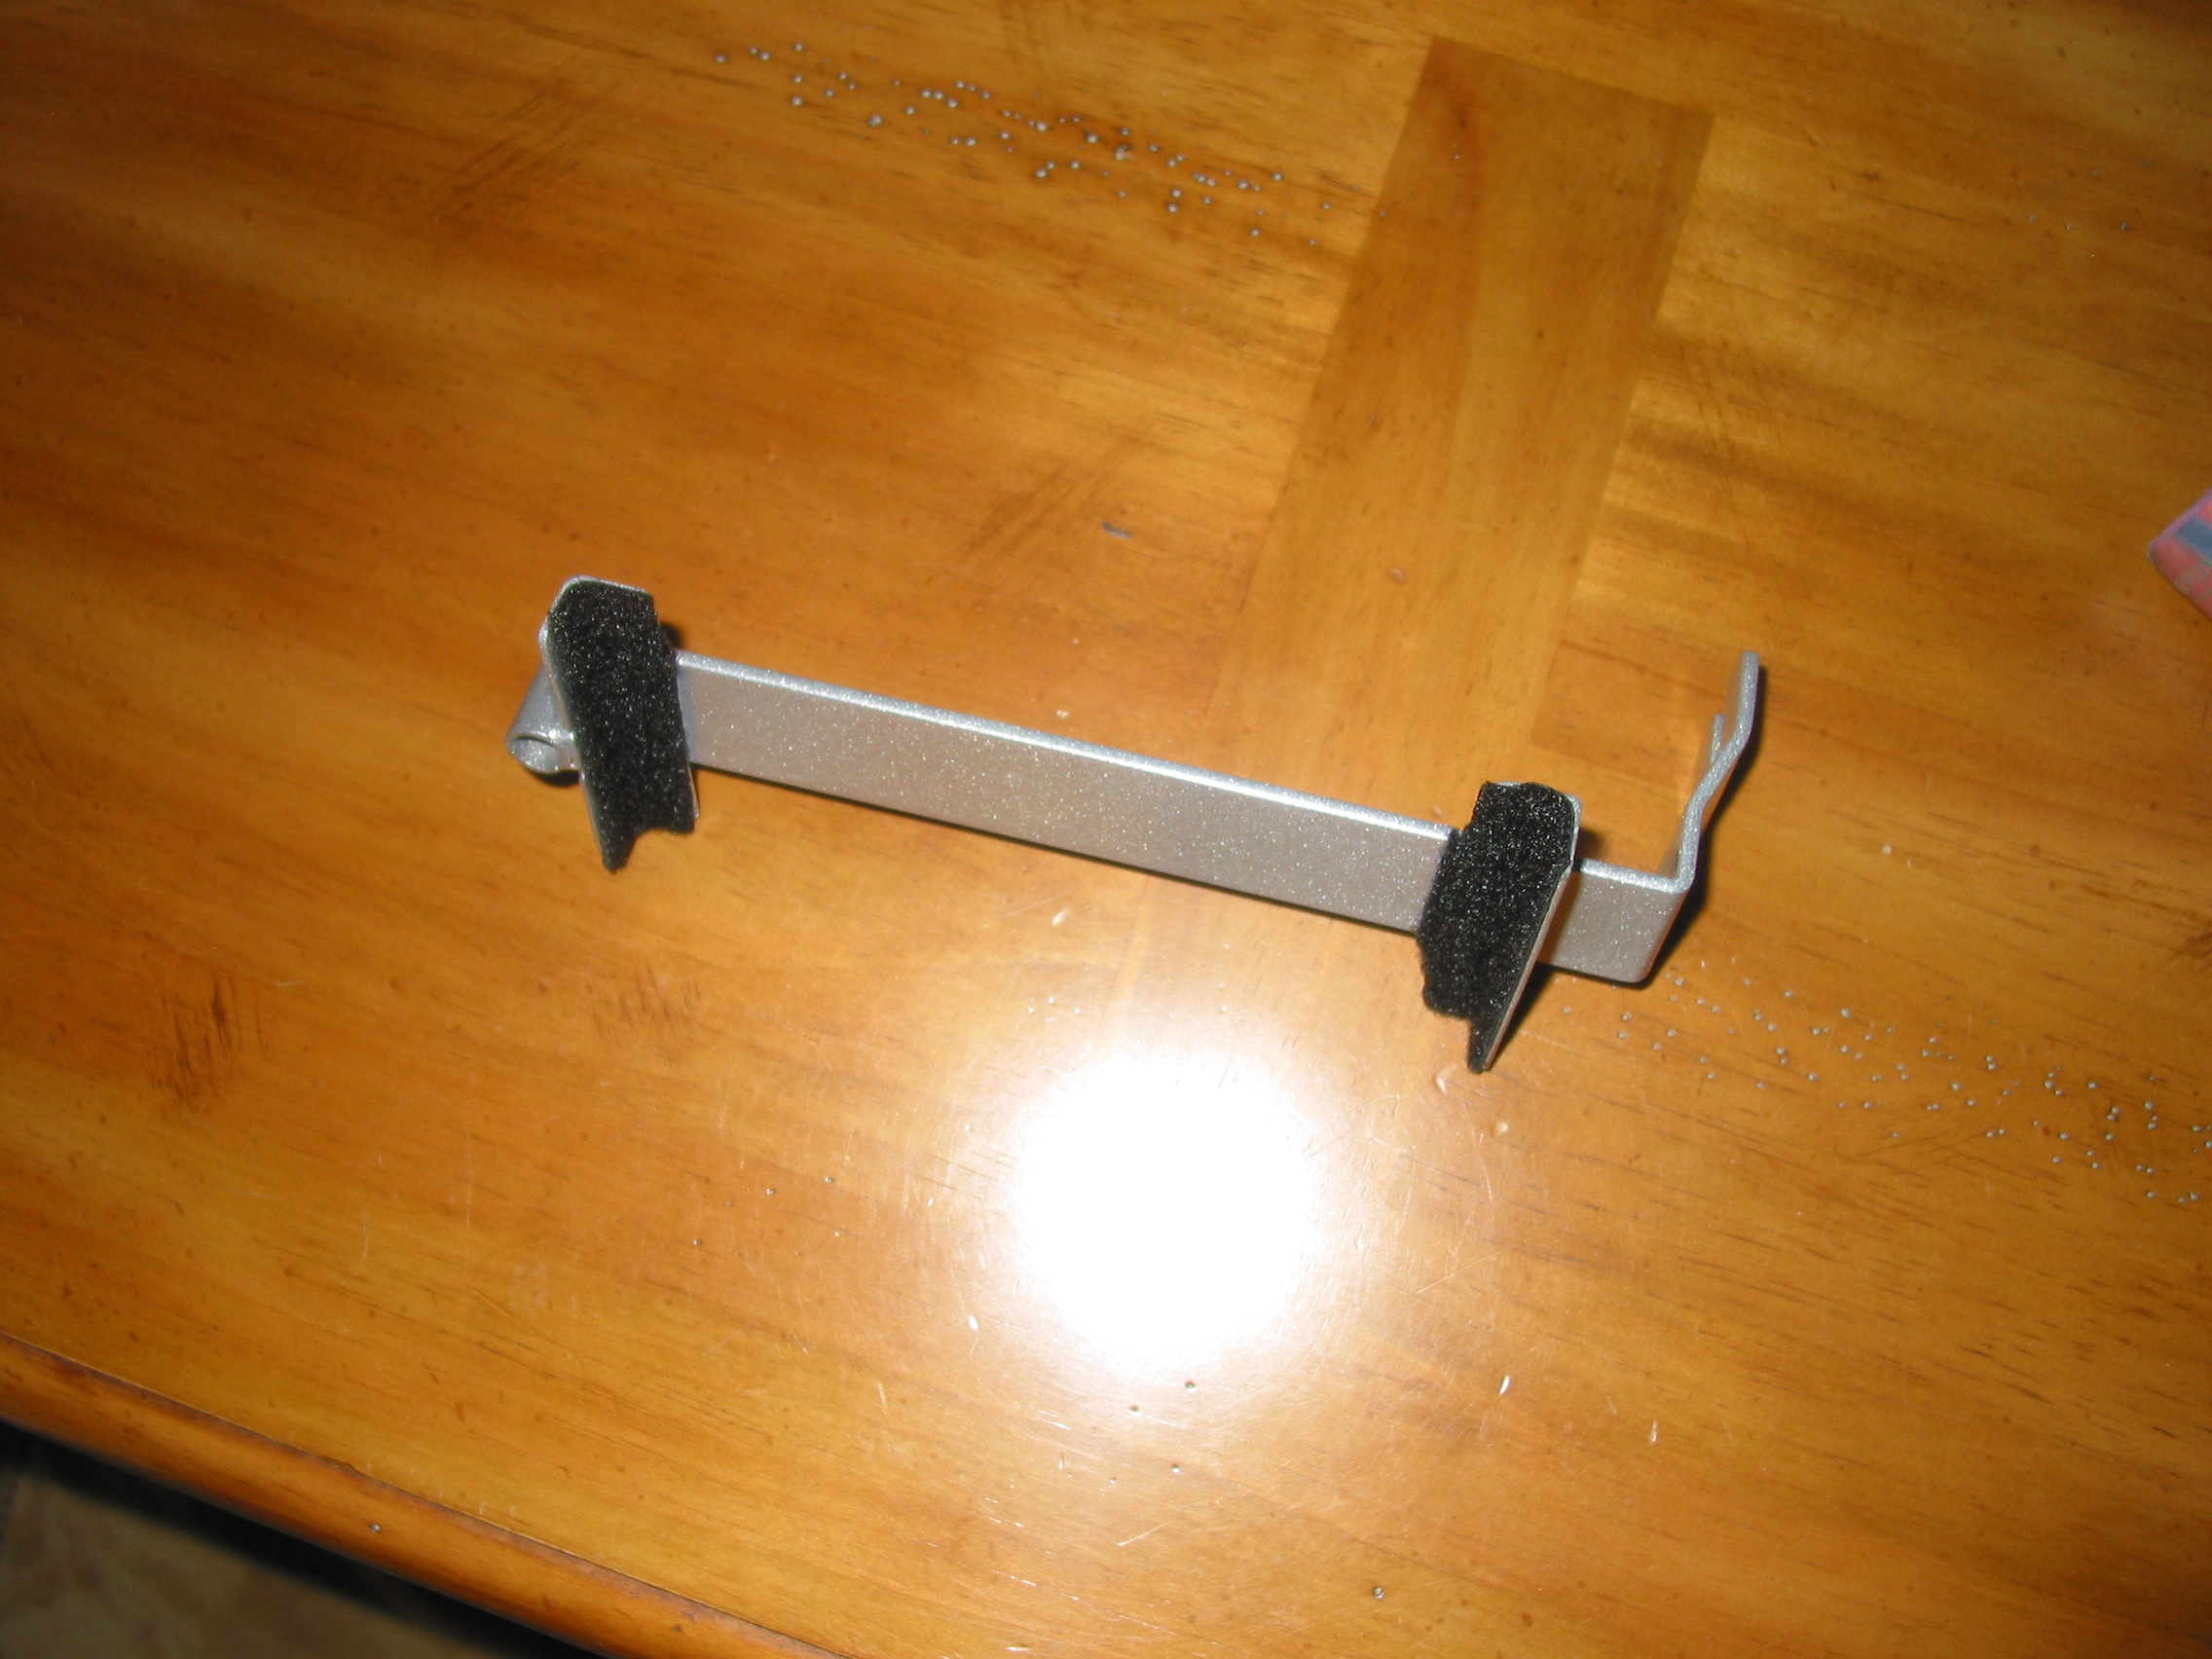
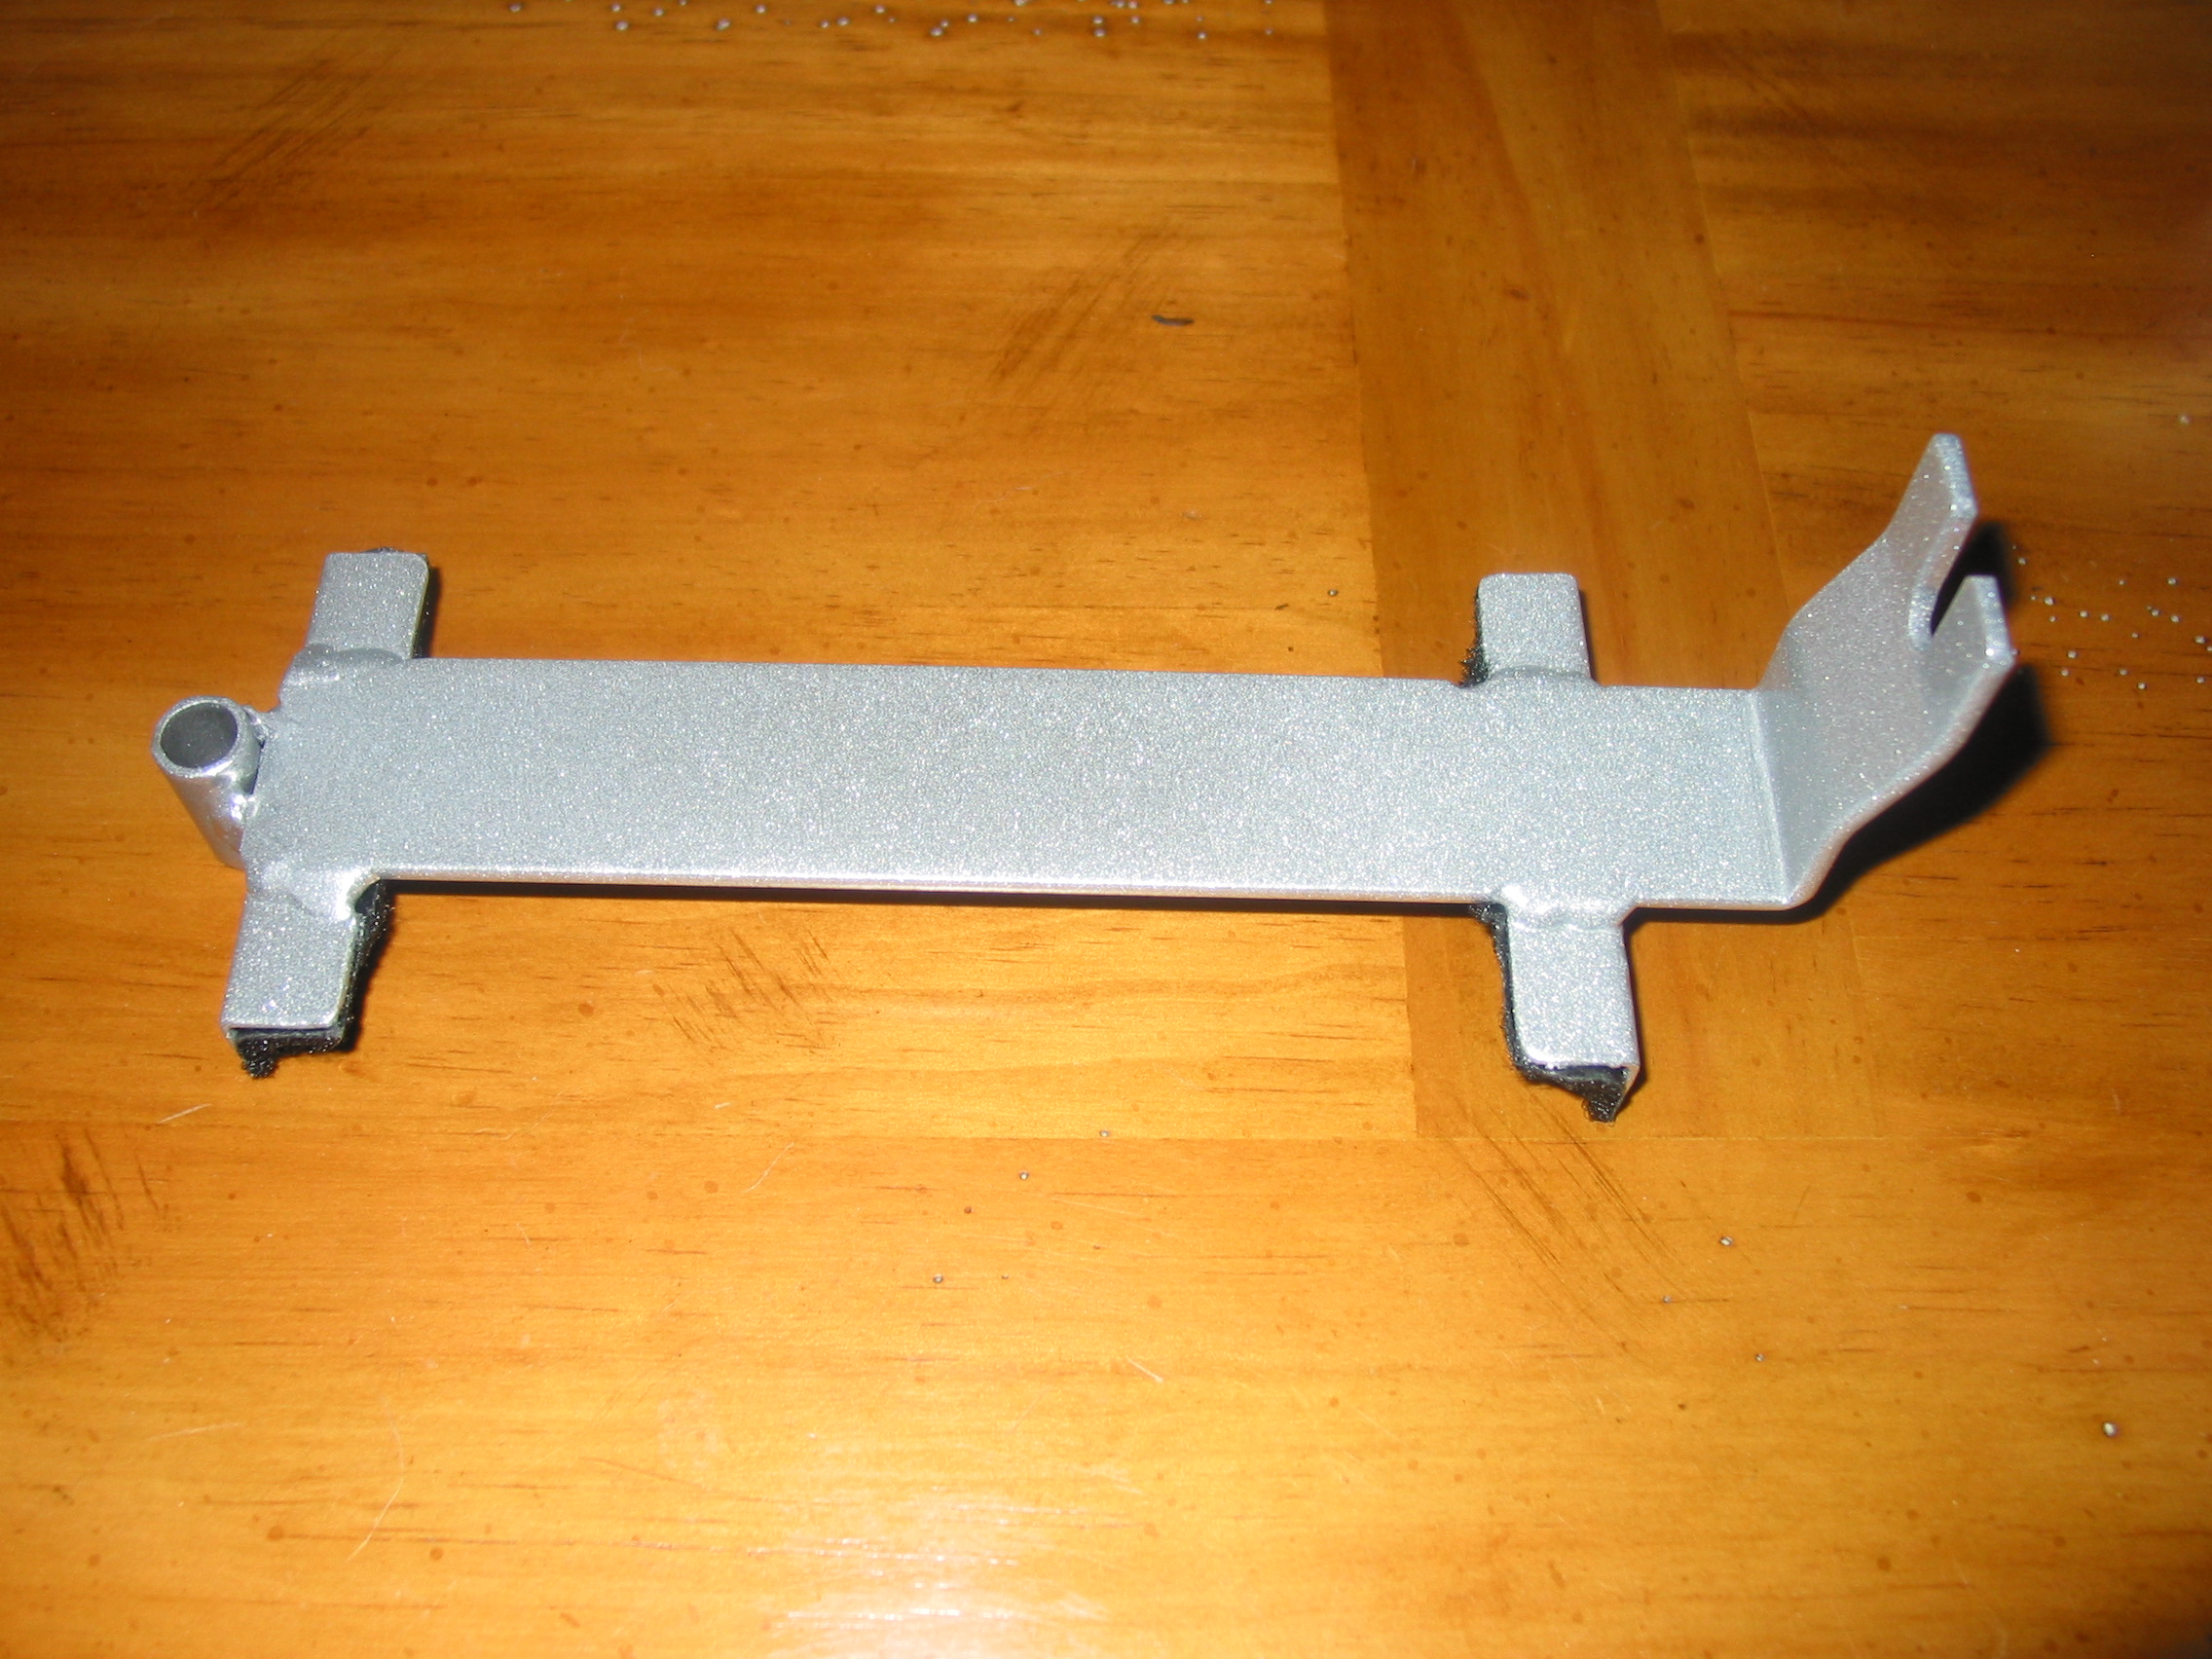
 1 point1 pointNone of the S30's came with headlight relays. I don't think they planned on the car lasting as long as they have, honestly.1 pointI put one of these on my 77 that has an 80zx distributor and it seems to work just fine. Rockauto.com Not sure what year Z you have. Related Parts NISSAN 1981 MAXIMA 2.4L L6 Exhaust & Emission Vacuum Reservoir Price BECK/ARNLEY 1790212 Info Vacuum Reservoir CALIF equipped Except AUTO TRANS,FUEL INJECTION Choose: [Wholesaler Closeout -- 30 Day Warranty] (Only 1 Remaining) ($15.69) $15.691 point1 pointI got a new battery for my Fairlady Z. Given the battery was smaller than stock the OEM bracket would not work. A quick design in fusion 360, a quick print of a prototype. then some tweaking before the final print. Works perfectly.

 1 point1 pointPlease let me know if you decide to sell them. I'd likely take one too. I have the exact same battery. I'm using a block of wood.1 point1 pointVery nice. Gotta love 3D printers. Much nicer, and far more functional, than the whistle I made with mine. Dennis1 point1 pointIf good fusible links are installed, all 4 white/red wires should have voltage to ground. The white/red coming off the black fusible link (assuming the links were installed in the right locations) branches off with one going to the alternator and the other branches off again with one leg going to the voltage regulator and the other going to connector C9 in the wiring diagram. The picture is zoomed in so close that I can't tell where in the loom you might be looking.1 pointThe other night I was driving home in the dark when I noticed my the lighting for the gauges starting to fail. Soon, all I had left was the lighting on the speedometer, and it failed shortly after that. Fortunately I had a GPS unit running, so I could monitor my speed, but I was filled with dread thinking that my parking lights also went out. I checked the fuse and found it blown. I replaced it, but still no lights. I checked the connector in the steering column. It had suffered heat damage. (Note: The wires are not sized for a 20A fuse.) I replaced the connector (Thank you, Vintage Connections!) and tested. The ammeter I had on the battery was running over 20 A. I quickly shut off the switch. I looked for corrosion in the front side markers. They were fine. I returned to looking at the dash lights. I noticed the current was normal after removing the speedometer. I tested the wiring on the speedometer for a short. There were no shorts. I finally checked the GW & RL wires in the dash harness. The resistance was way too low. I unplugged all of the gauges, and no change. After looking at the FSM for other ideas, I unplugged the hazard switch. (The hazard switch in the 74 has a light.) The short went away. I pulled the switch out and found the cause. When the RL wire came loose from the light, it made contact with the other wire. When the speedometer was plugged in, the RL wire was then connected to ground, completing the path for the short. That only took 3 hours to find.1 pointI found the missing piece to the socket on my garage floor. The wire runs up through the button in the socket and is soldered in place. Somehow the solder joint weakened, and the wire came out. I removed the old solder from the button and ran the wire through it, soldering it back in place. If it holds for another 40 years, it will outlive me.1 pointSeveral years ago, I posted on here the design of an Optima bracket I made. I have never tried it with a regular battery, but I don't see why it wouldn't work exactly the same with a few simple mods. It doesn't look stock like yours, but it was pretty simple to make. I have one in my street car and another in my race car.

 1 point
.thumb.jpeg.f8c6445904c3de4095aba904646c3840.jpeg)


Important Information
By using this site, you agree to our Privacy Policy and Guidelines. We have placed cookies on your device to help make this website better. You can adjust your cookie settings, otherwise we'll assume you're okay to continue.
Account
Search
Configure browser push notifications
Chrome (Android)
- Tap the lock icon next to the address bar.
- Tap Permissions → Notifications.
- Adjust your preference.
Chrome (Desktop)
- Click the padlock icon in the address bar.
- Select Site settings.
- Find Notifications and adjust your preference.
Safari (iOS 16.4+)
- Ensure the site is installed via Add to Home Screen.
- Open Settings App → Notifications.
- Find your app name and adjust your preference.
Safari (macOS)
- Go to Safari → Preferences.
- Click the Websites tab.
- Select Notifications in the sidebar.
- Find this website and adjust your preference.
Edge (Android)
- Tap the lock icon next to the address bar.
- Tap Permissions.
- Find Notifications and adjust your preference.
Edge (Desktop)
- Click the padlock icon in the address bar.
- Click Permissions for this site.
- Find Notifications and adjust your preference.
Firefox (Android)
- Go to Settings → Site permissions.
- Tap Notifications.
- Find this site in the list and adjust your preference.
Firefox (Desktop)
- Open Firefox Settings.
- Search for Notifications.
- Find this site in the list and adjust your preference.