Topics Last Week
Showing topics, images, events and files posted in for the last 7 days.
- Past hour
-
 RNM at $25,000. Reserve too high or market too tight with their money? Scary times ahead here in the States.
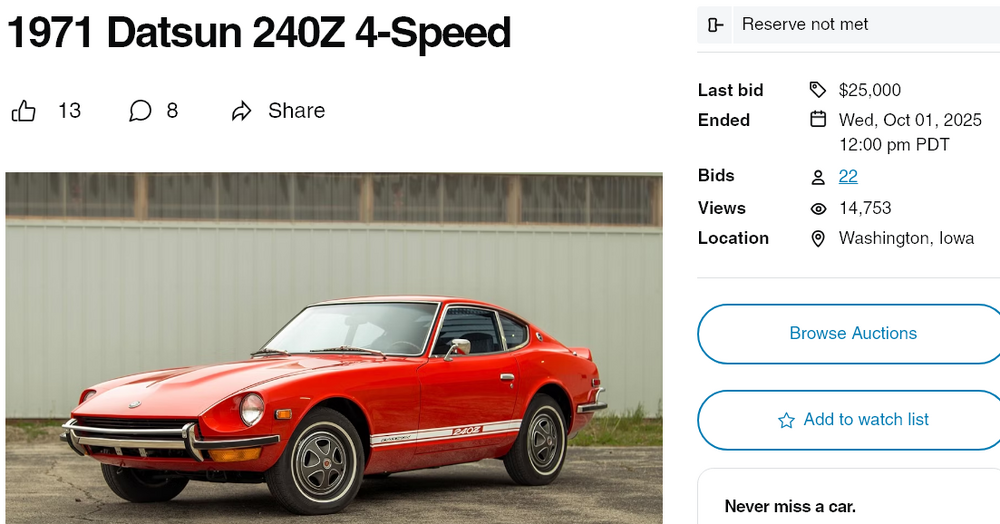
- Today
-
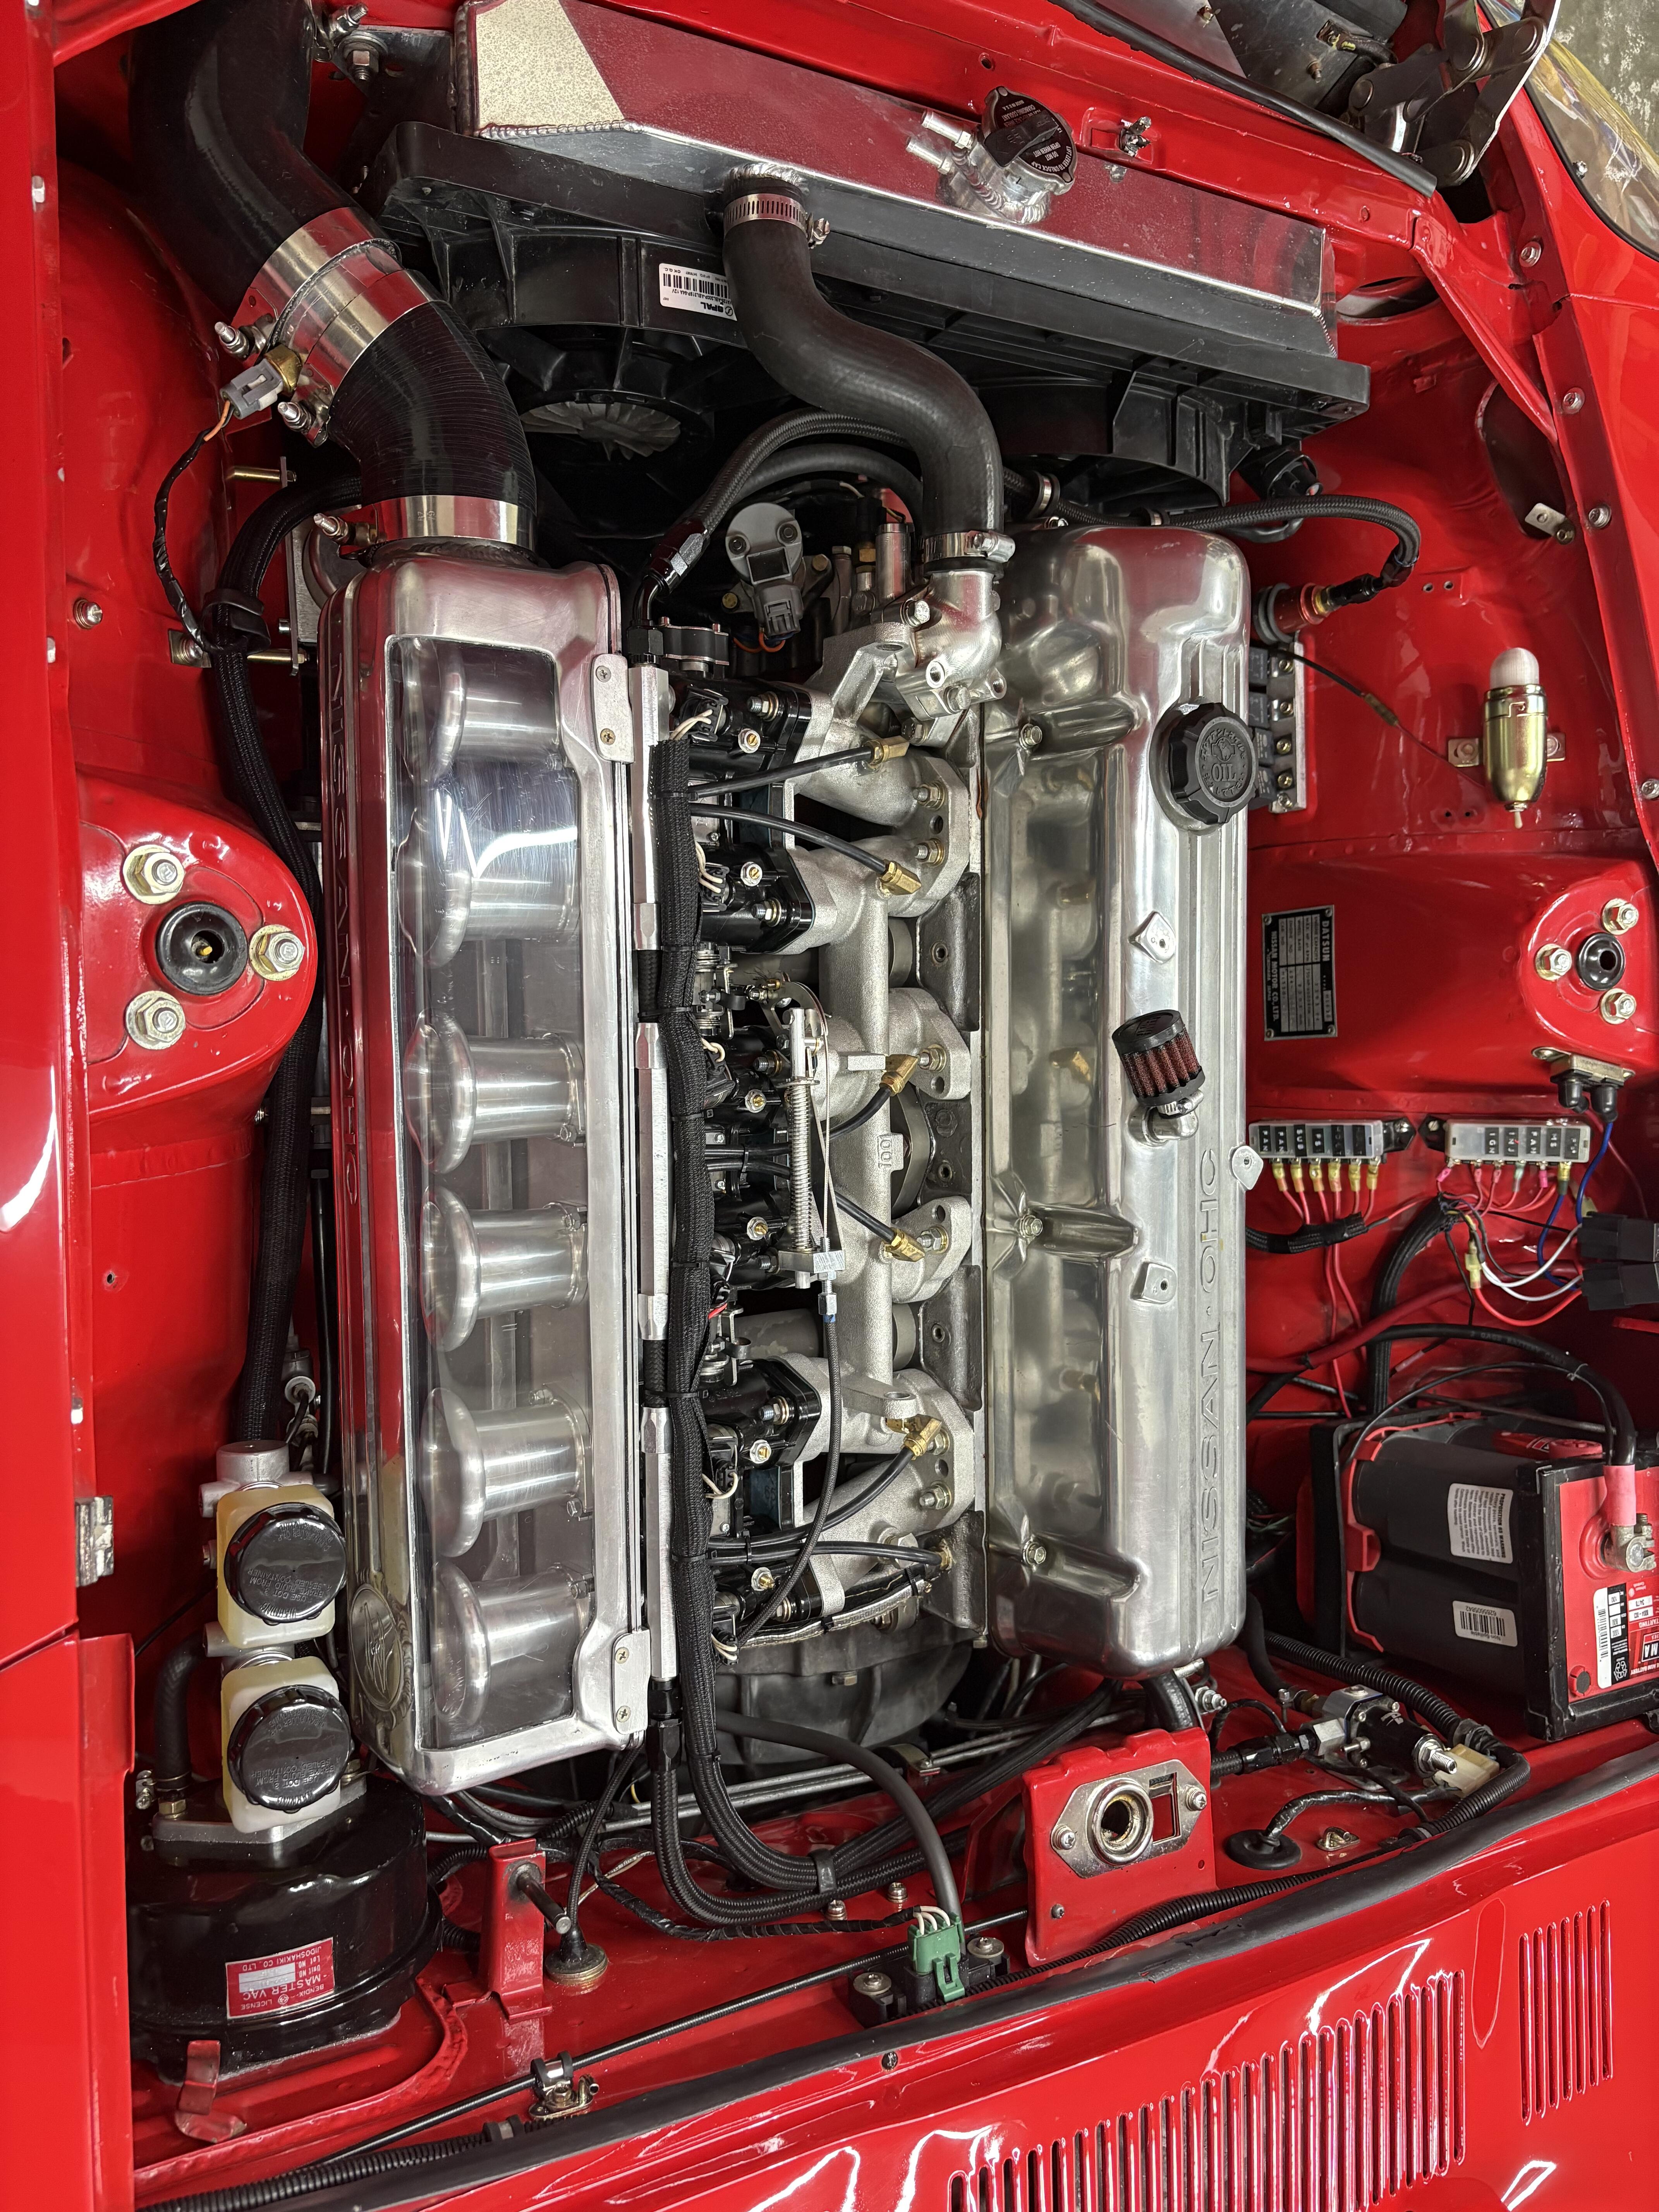
 Damn- 5 year update ?!!! I’ve been thru several induction systems including Protunerz . Now running these FAJS . I’d say this package runs better than anything I’ve had on this engine . The Protunerz ran good but I think the runners were too short and fat . I did manage 35 mpg driving to the Woodward cruise last year with that manifold - that’s at 80 mph -windows down! I’ve been blown away that I’ve been able to get these ITBS tuned in so well . First start it idled at 750rpm . I run the cable linkage which like any linkage has to be dialed in correctly . I was always told that when the engine gets hot the idle rpm will climb , but I’ve got these to idle better than my single plenum . These are 45’s . The stacks are 75mm long . I have not dyno’d this package . Looking back at this thread I can say I was running too much ignition timing . Also blew up #6 piston . I run 28 degrees WOT . Finally got smart and made det cans to wear while tuning . I had some pinging at peak torque . I still run a lot of timing at light cruise - thus able to get lean cruise . I think I got high 20’s MPG going to ZCON . I was still tuning on the fly . Though I ran triple Mikunis before - I didn’t think I would do ITBS because I thought they would be to challenging . They are a challenge but glad I did it
-
I’ll have to recheck my setting for my stroker but I think my fan comes on at 185 and goes off at 180 ? I have an ECU so it turns on my fans at a lower setting at 185 and full speed at 195 .
-
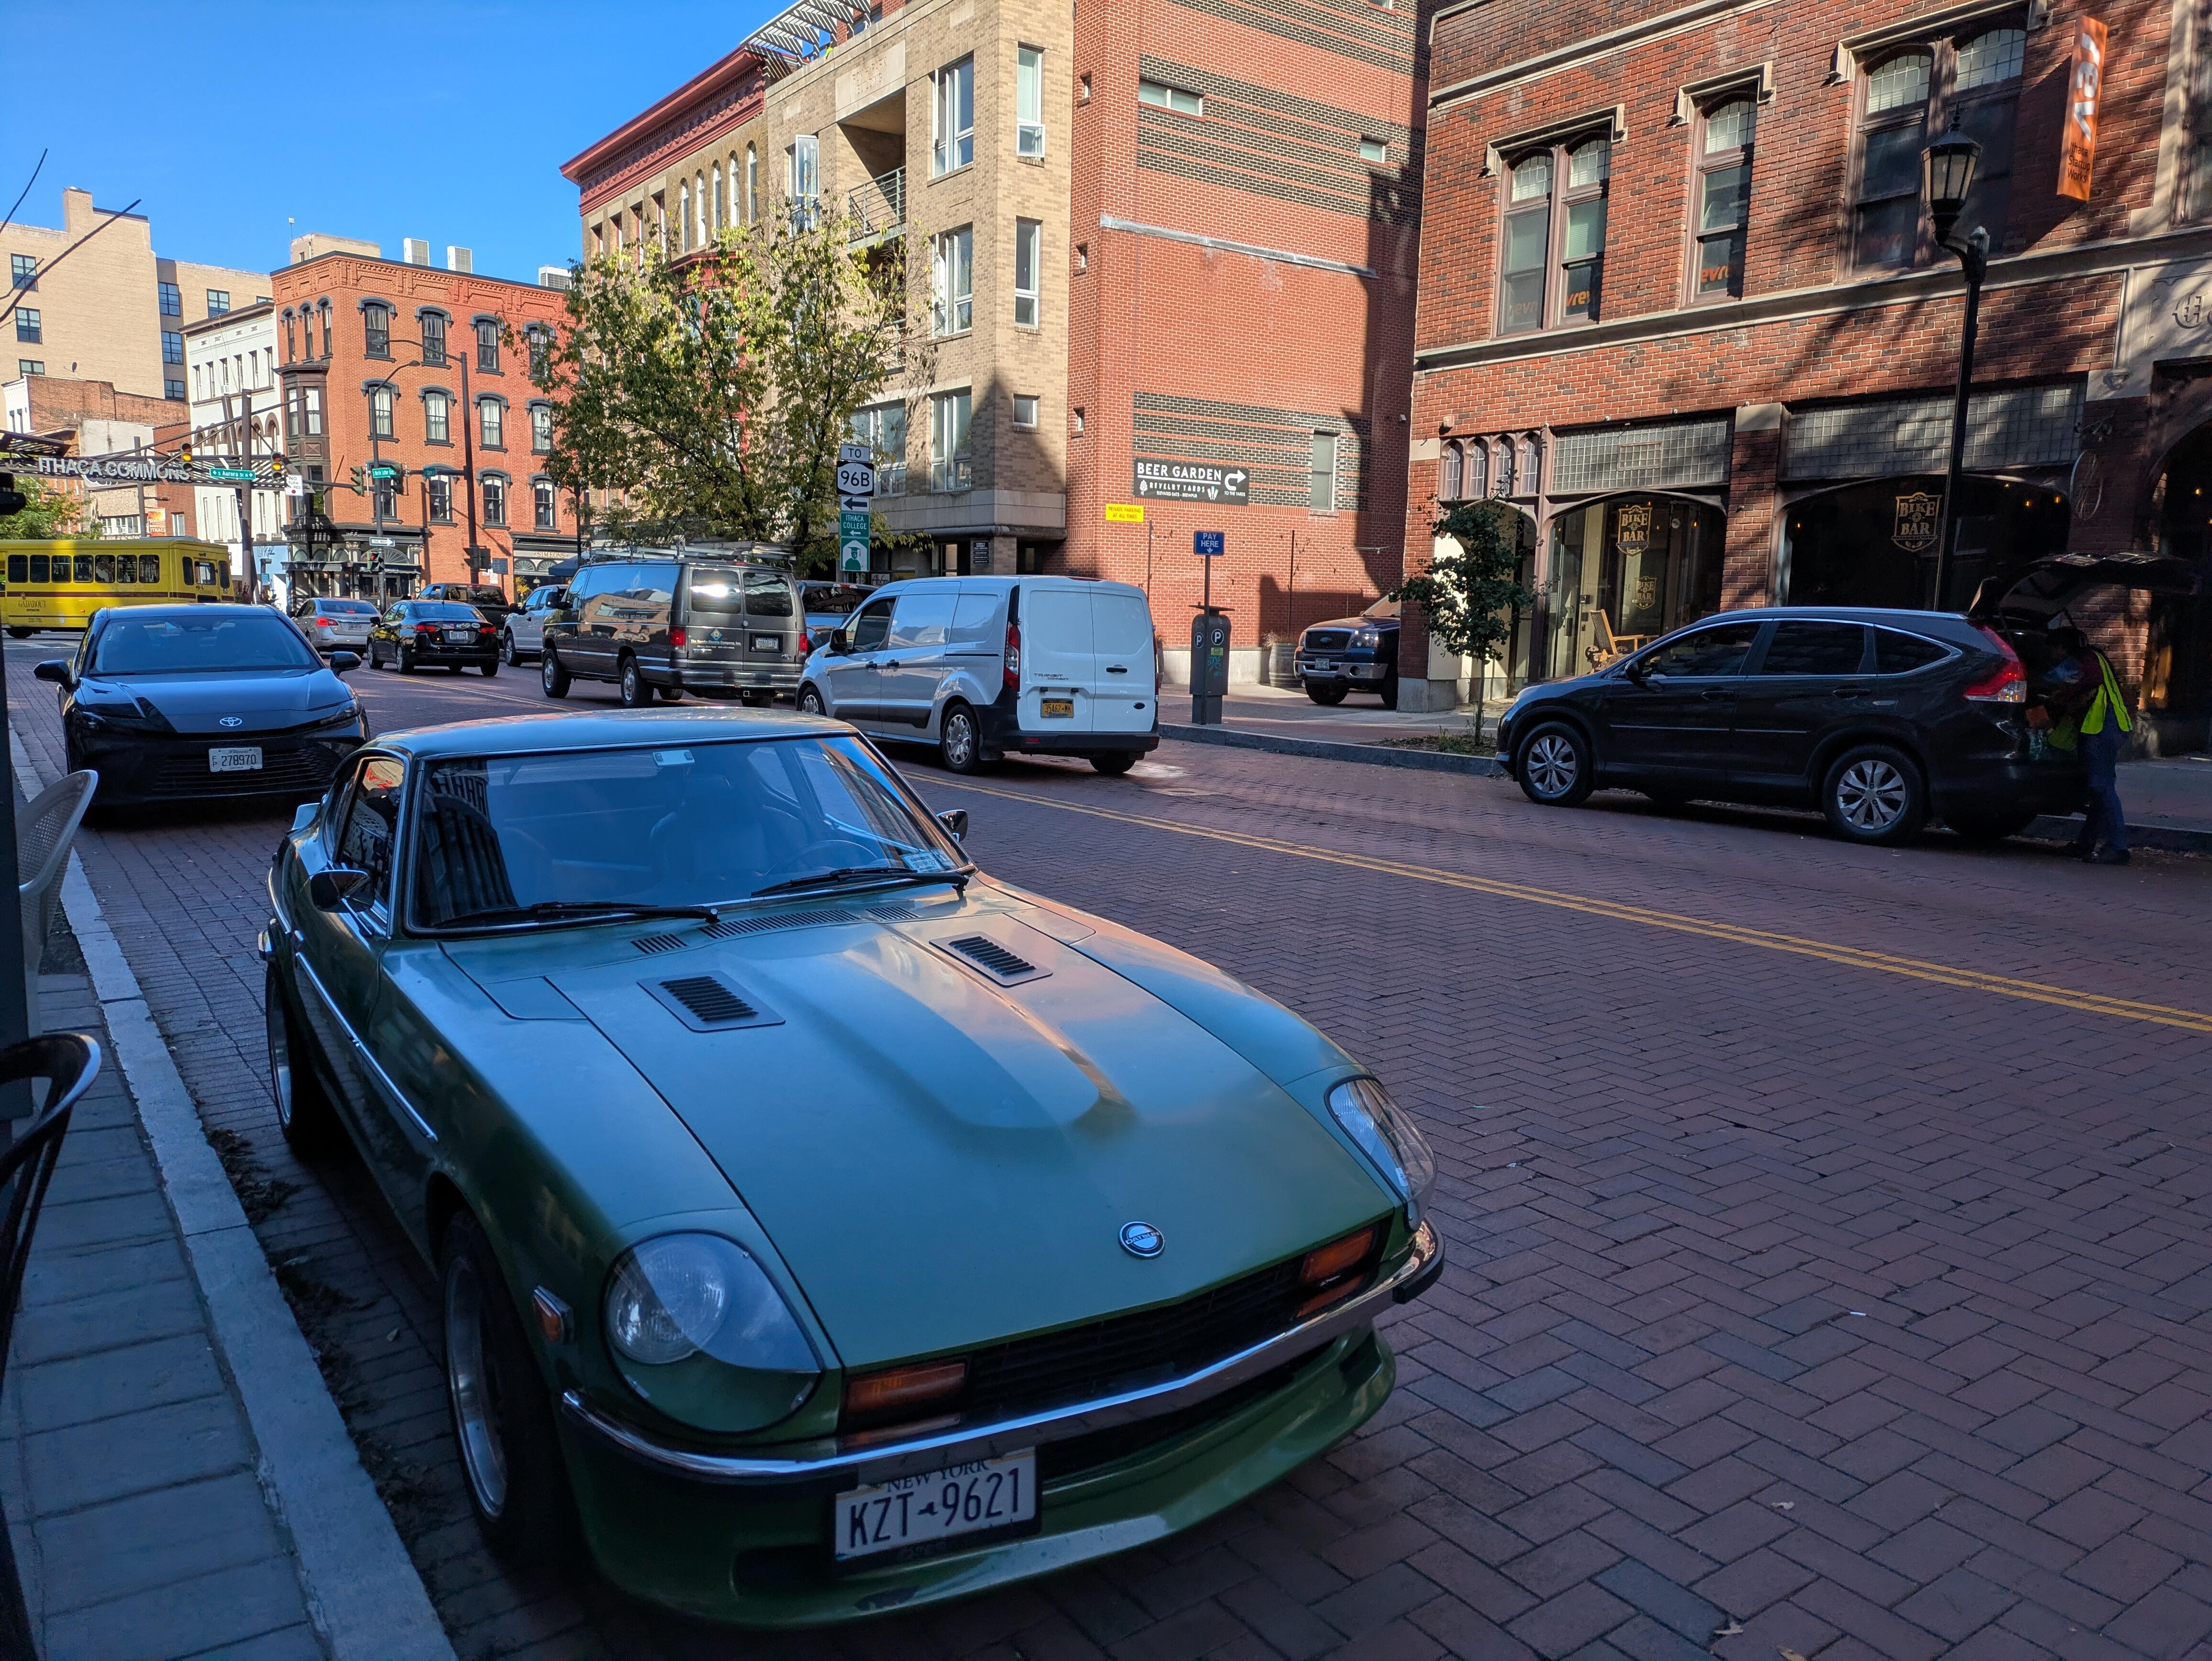
 Thank you for that information that's great. I personally like the body lines but if done well it looks great. This one was done in the '80s and I'm sure it looked great then but it's had a hard life since.
 -
 Yeah, Im not convinced myself. This is their latest youtube video featuring the shell. As Alan mentioned above at the end of the day a Datsun with a body made in China isnt a Datsun anymore!
 -
 Thanks for the heads up. I will double check the seat mount location next time I am out there. I was thinking it might be the picture angle but won't hurt to check. Thanks!
 -
 @Mike As the title of this thread suggests... It's hammer time. It's time for you to wield the ban hammer. Wield it like Thor. ☠️ *If you wield a tool or a weapon, you handle it effectively. Picture a gallant knight wielding a sword or a skillful chef wielding a whisk. Or picture Thor. Or Mike.
 -
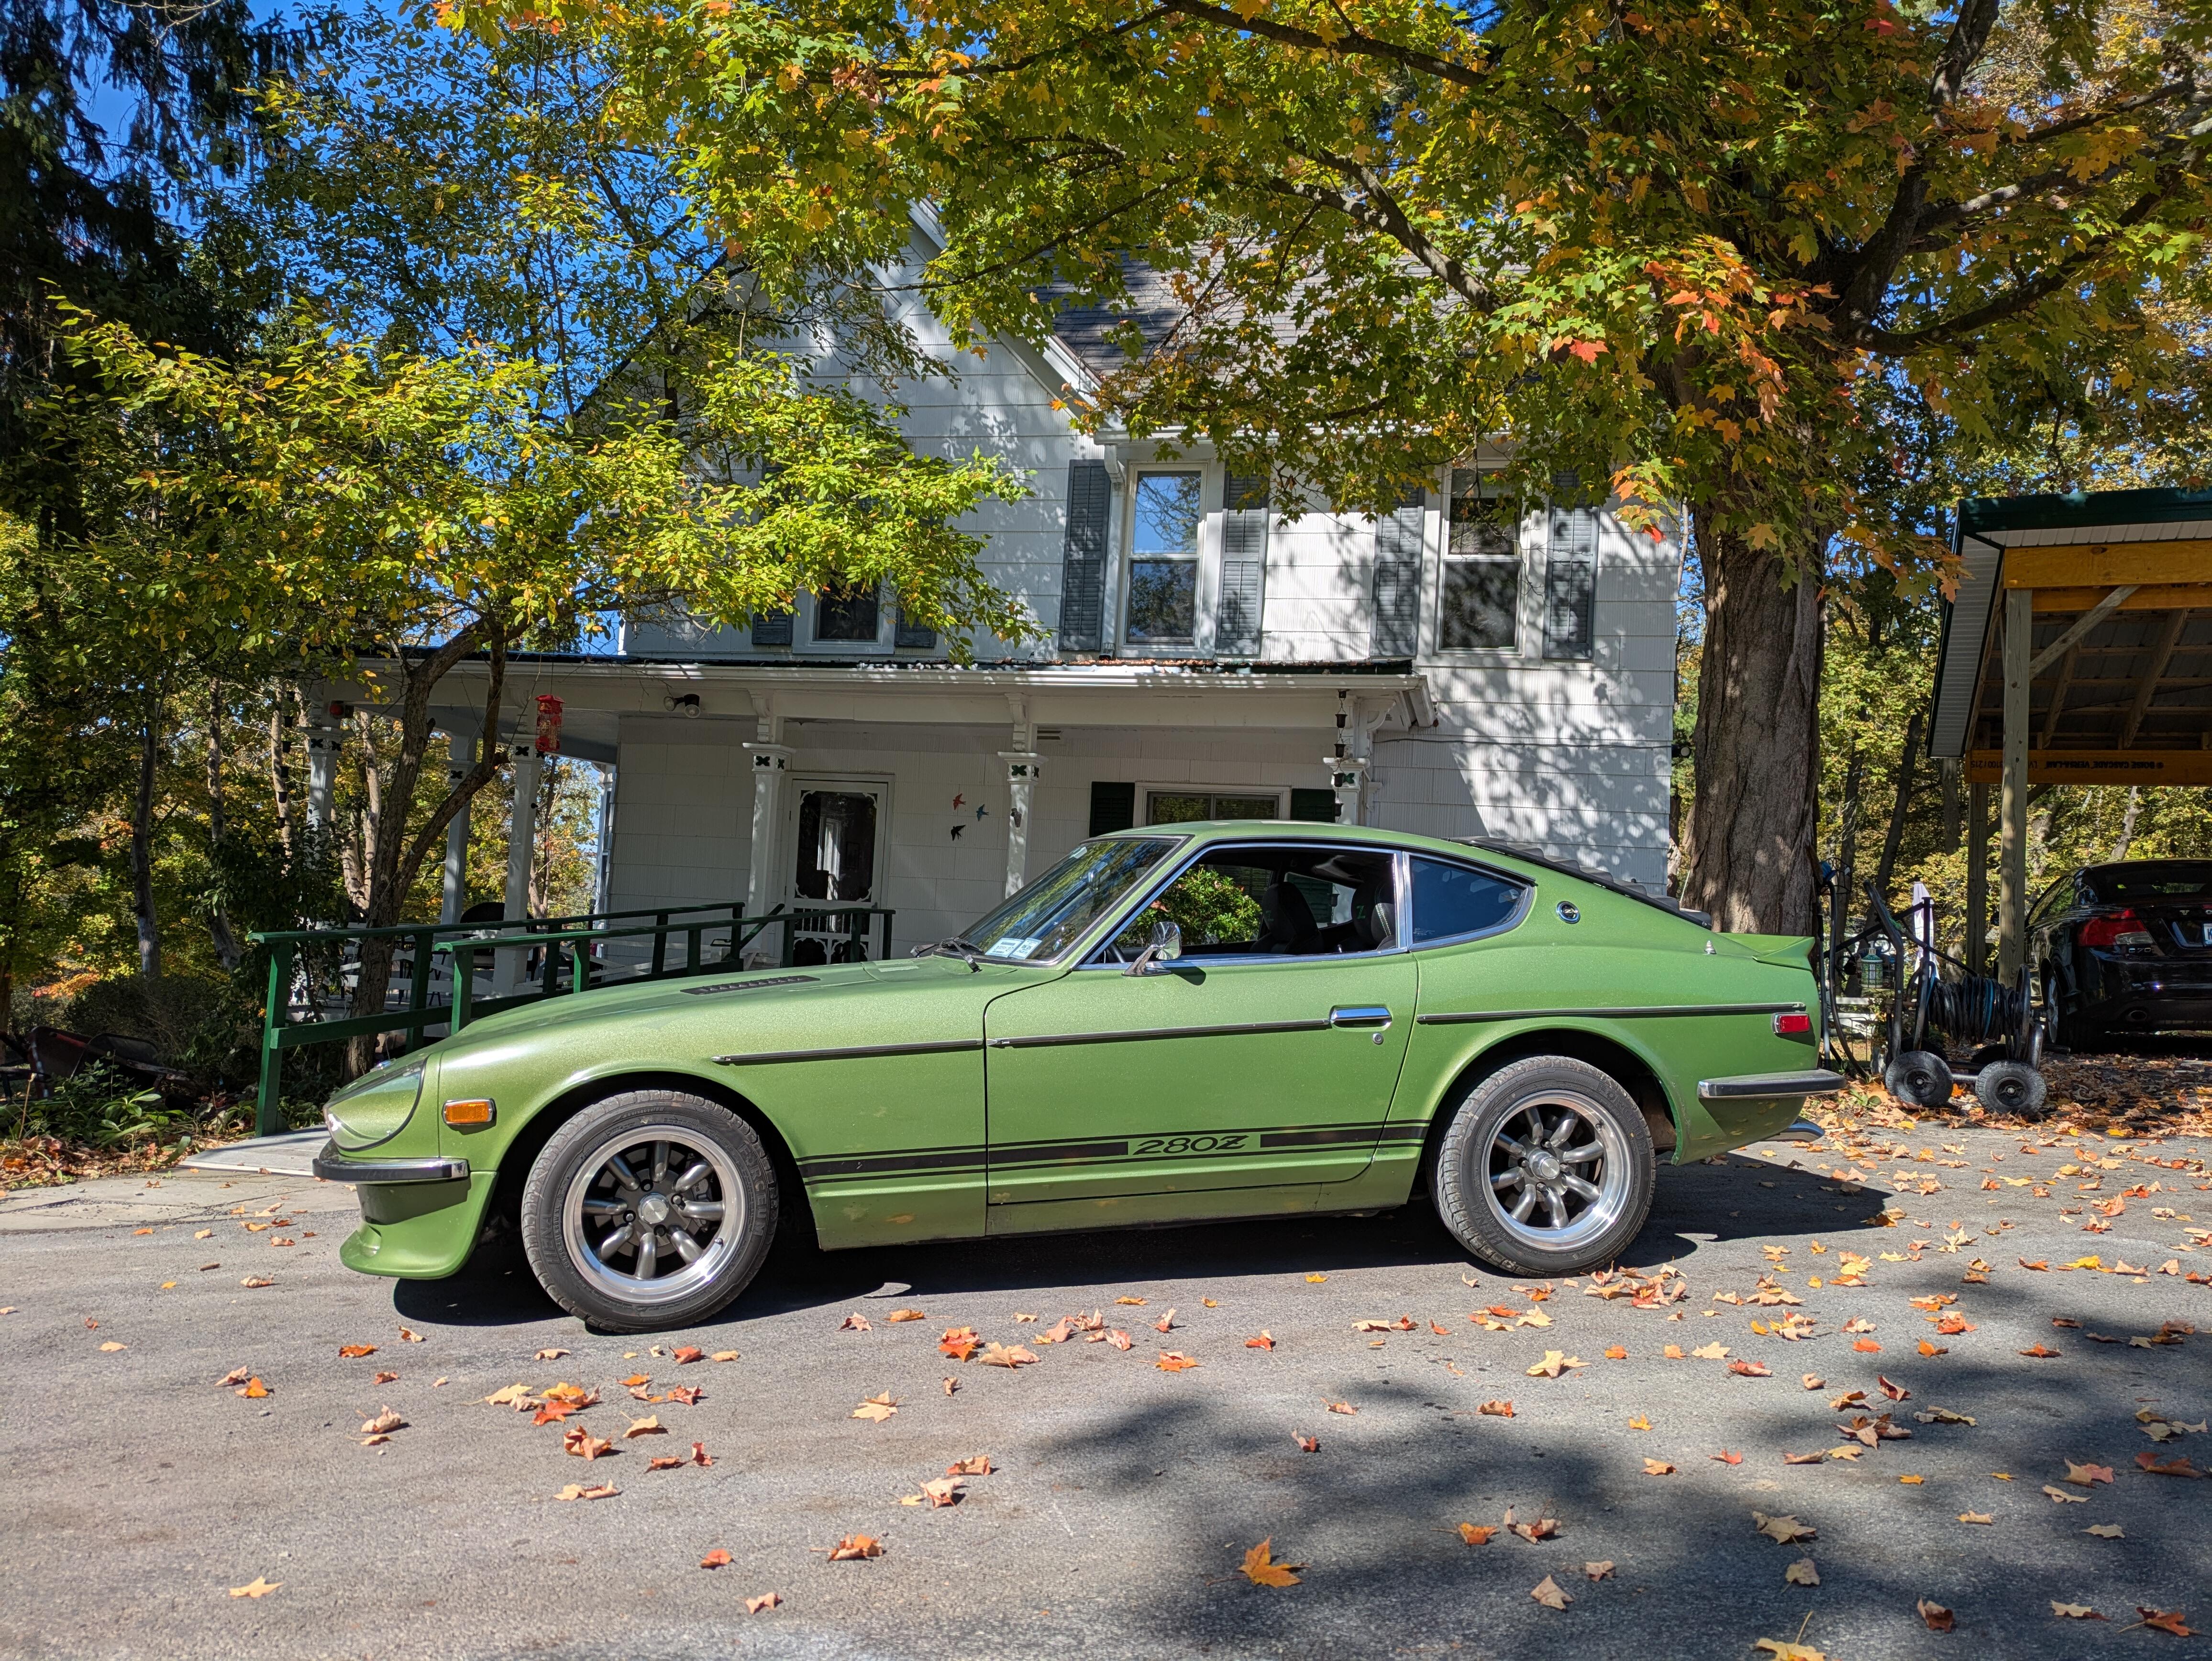
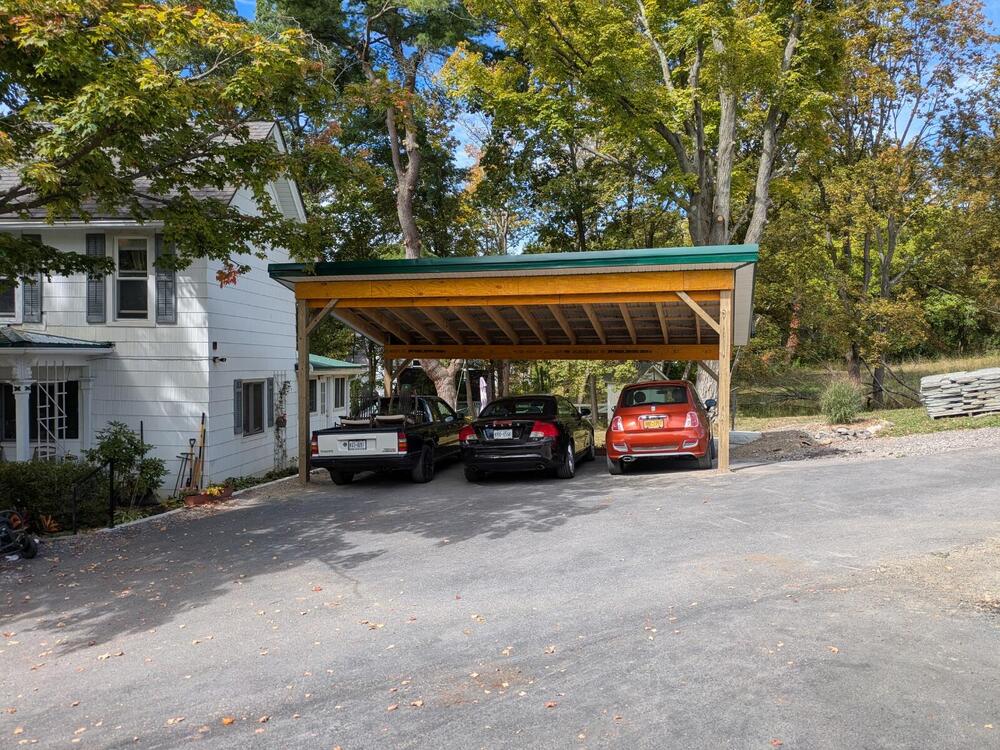
 Pad in use. Nothing new in terms of any work on the Z. Had a carport built Weather still OK, so I've been driving her around as much as possible
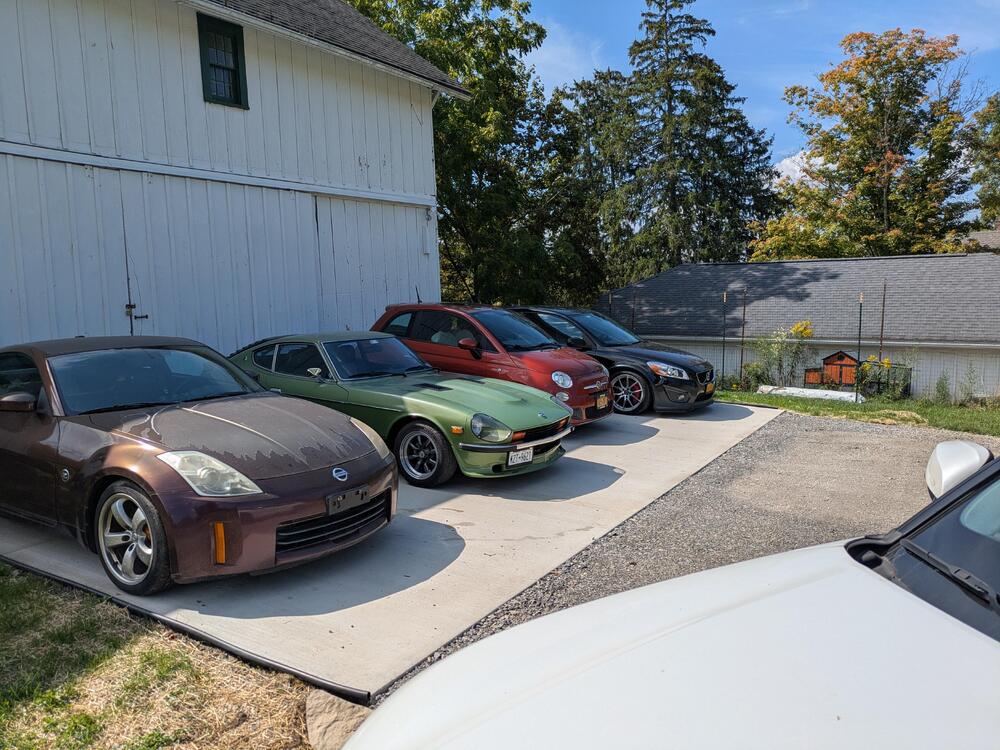


- Yesterday
-
 Be patient, They are customer friendly and will get back to you. If your that concerned call them.
 -
Won’t find this info on FB- lol. I worked on a 72 thru Covid . The guy texts me yesterday that he has no rear brakes . I put all new SS lines in his car and had to clean/ rebuild his brake switch valve . I’ve had the weirdest stuff with his brakes . The O rings failed on the brake switch and fluid was forced from one side to the other back up into the MC . Now his rear brakes don’t work - so after reading this I assume it’s that proportioning valve . I haven’t laid hands on it yet . Looks like I have good reference material here . Wish me luck
-
 It's a remarkable bit of production. Kudo's to Nissan Canada for financing the project, and to the Canadian ad agency for designing and realizing a killer advert that properly and expertly recognizes the significance of the Z's role in creating Nissan's worldwide market presence (notwithstanding Nissan's Japan's efforts throughout the 1970's and 1980's to throw it all away). Additional kudos to Nissan Canada for providing its corporate facilities in Mississauga, Ontario as the venue for the annual show-and-shine meeting hosted b y the Ontario Z-Car Association (look it up). I'm really proud of Canada's (continuing) role in supporting the Z legacy. Here on CZCC, I would draw your attention to the importance of our Canadian members in making this site such a valuable Z resource. Those who come immediately to mind are 240/260/280Z (who's written a complete library of Z rebuild articles), along with Grannyknot, CanTechZ, Wheee and zKars (some of the best restoration build contributors that this site has enjoyed). I should also mention that, for years (dating back to 1994), Charlie Osborne at Zedd Findings in Kingston, Ontario, was (I believe) the only source worldwide for decent replacement Z floor panels and front frame rails.
 - Last week
-
 Car is running a little bit better now with the MSD Blaster 2 coil maybe its masking the problem only. Still testing the car. I did noticed the mechanic adjusted the carbs as follows: 4 turns down each carb, 7 at idle screw for front carburetor and 10 at idle screw for rear carburetor. The fast idle screw when raised to 2500 rpm gave different measures on front and rear carburetors.
 -
 @One4One I may have something, but I agree with Jim, make a wanted post. There are a few different harnesses for the 73.
 -
 How much are you asking for the parts car, and/or is it still available to bring a trailer and load it up? My name is TJ and I live in Washington state.
 -

-
 Belmetric and Bolt Depot are my go-to vendors if the local Ace Hardware, Lowe's or Home Despot fail me. As for color, I have a complete collection of black spray paint cans in various states of gloss 😁
 -
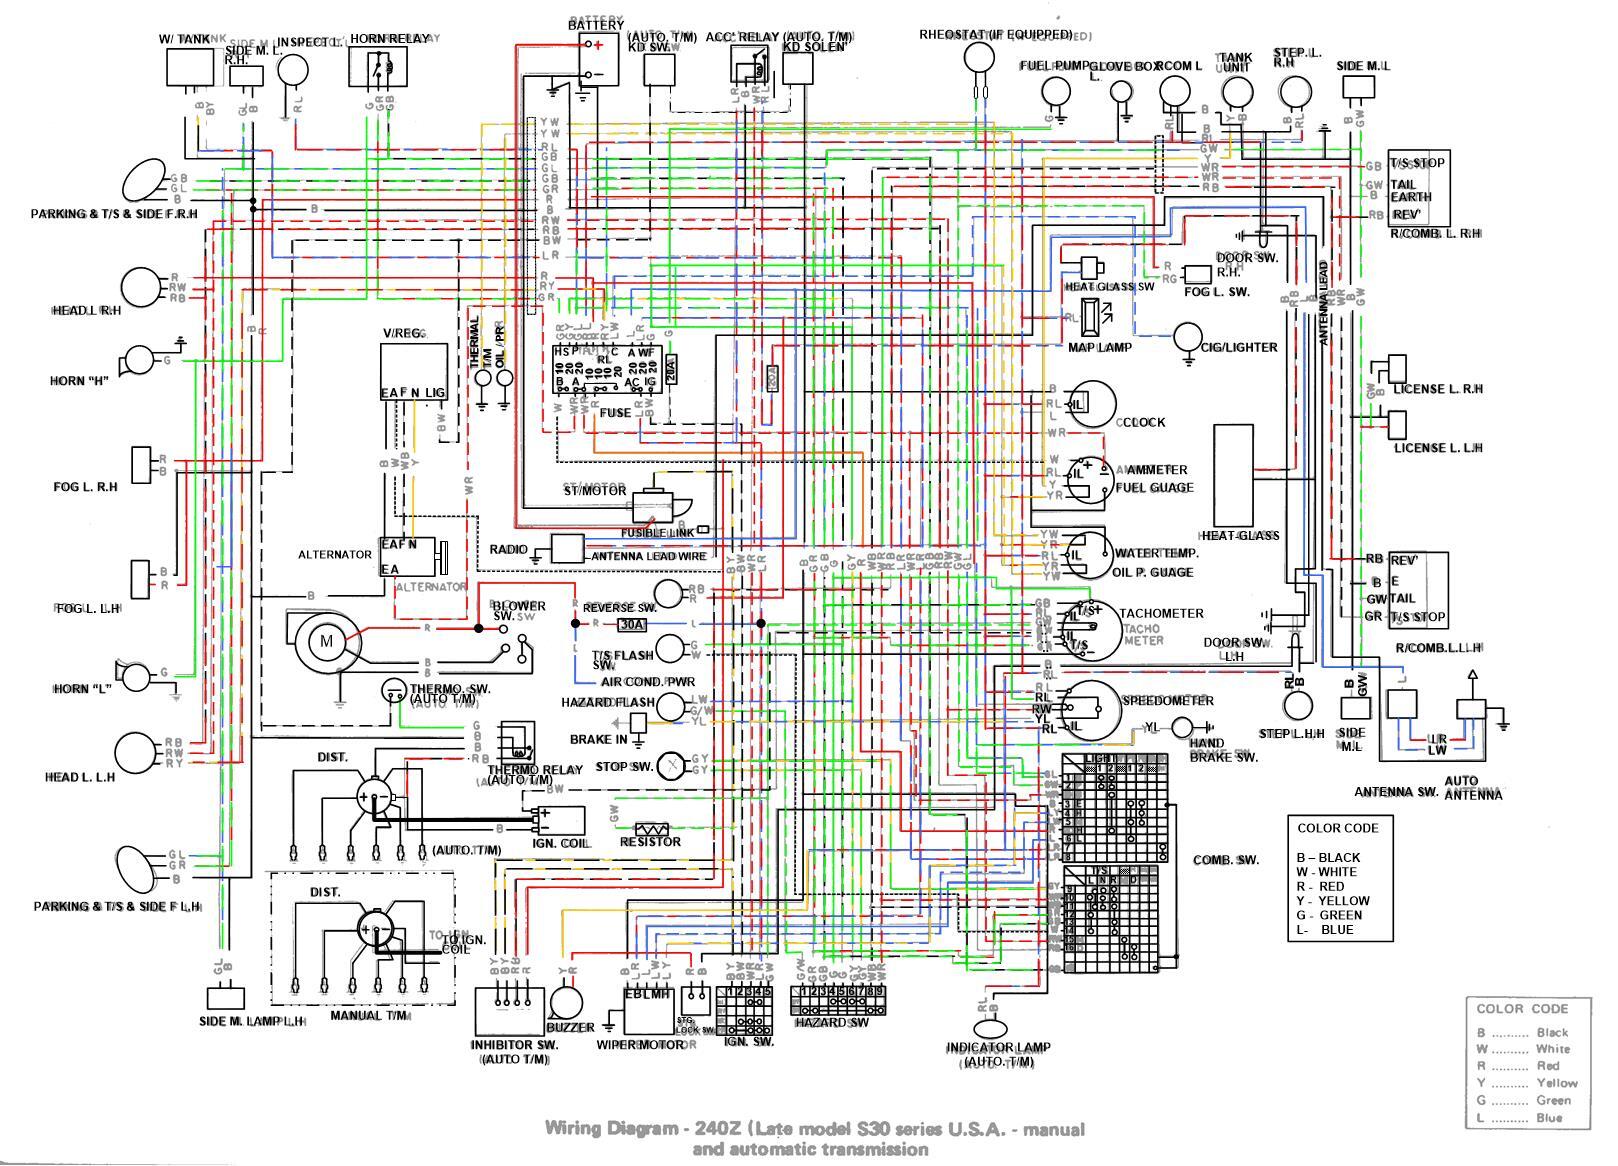
Many years ago I started converting the wiring diagram from the service manual into something I could actually read with color coded lines. I scanned the original and then placed it behind the drawing and that is what you see in the pic. If someone would like to pick up where I left off I will send the Visio drawing. If you want to monetize it I would like some compensation. It is probably 90% or more complete but it was sideline project while I was working and I have no time to finish it. If someone thinks the non-complete version is useful I can post it as a .pdf without the original scan in the background.

-
Thanks ever so much, Patcon. I've order some of the 2 mm material. Because it's foam, the extra thickness shouldn't pose a great problem.
-
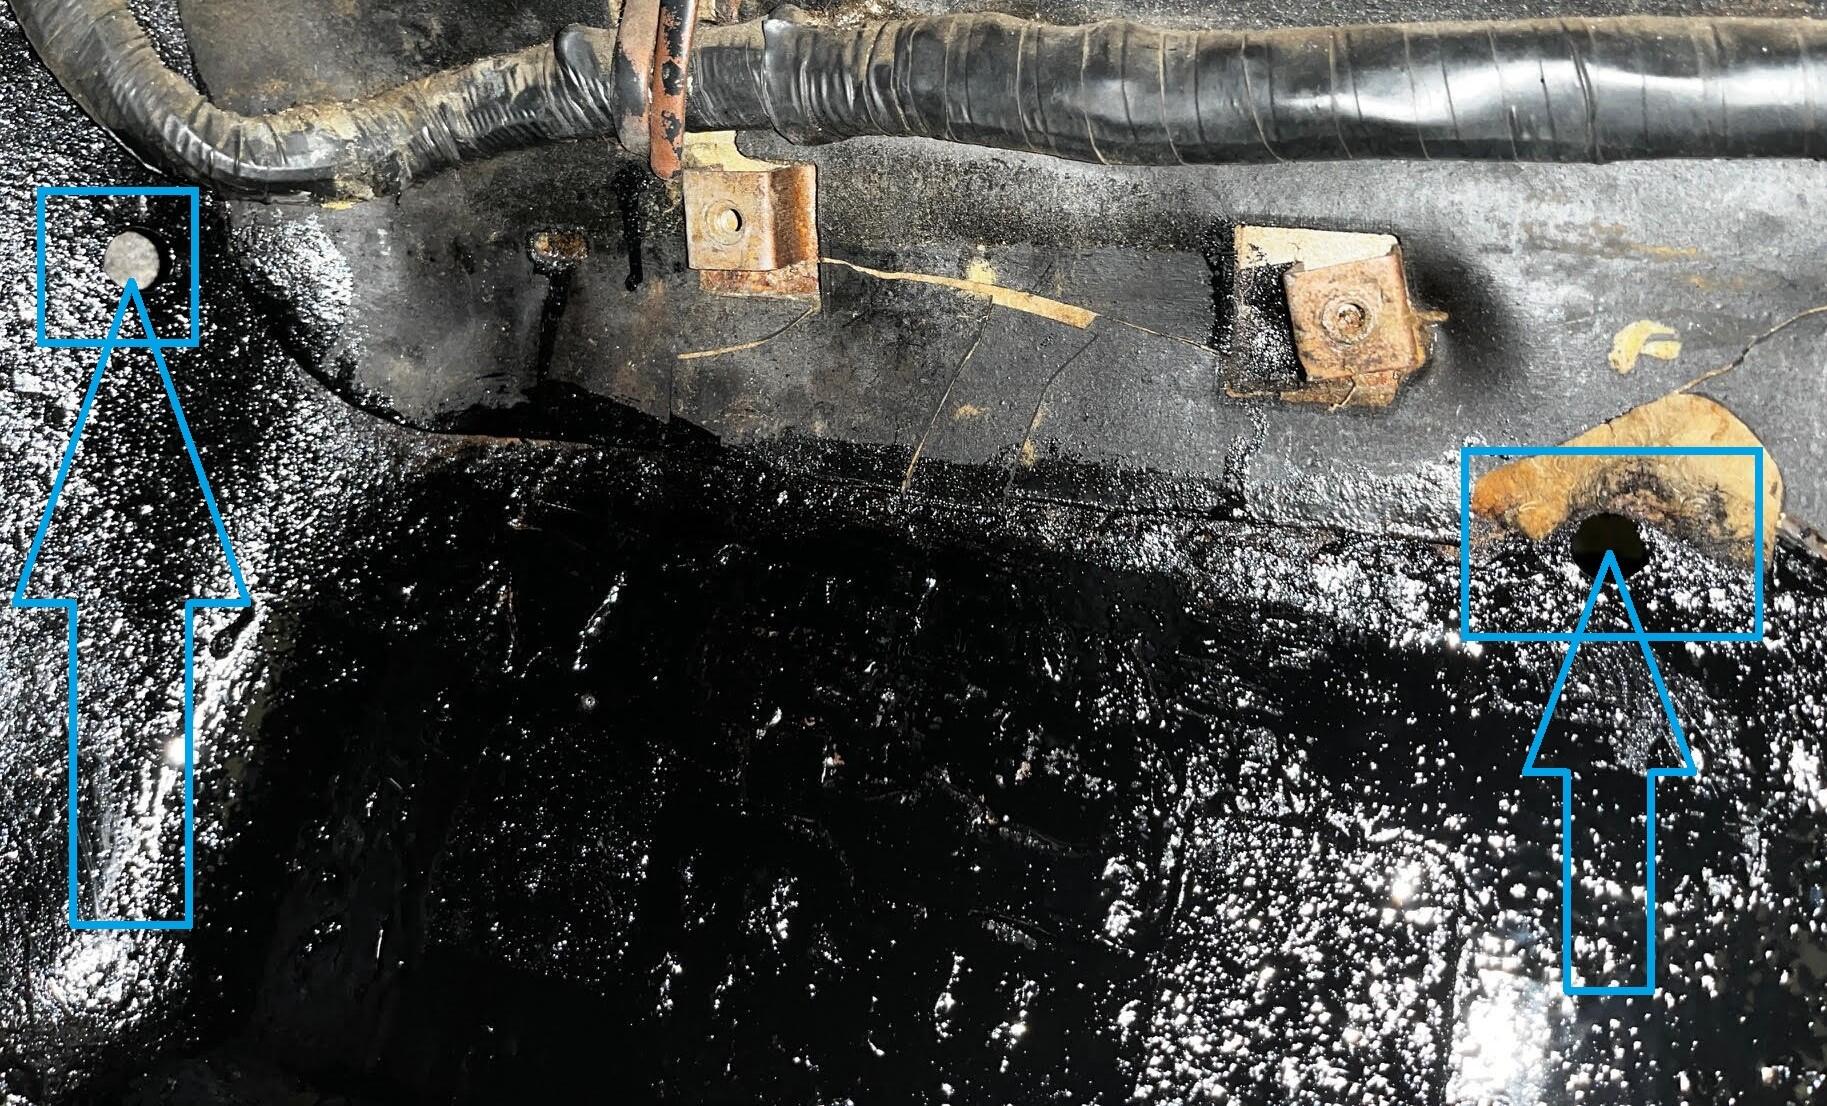
 Hi all - I am re-doing the carpet in my '78 280z which entails sanding some rust, POR15 sealer, dynamat, etc. When I took off the carpet and sound deadener, I found these two holes that look like they're supposed to have body plugs, but don't. Any idea if these are supposed to stay open, or if there are plugs that are supposed to be in here, are they're available at a local parts store? These are in the passenger side footwell to the left of the fuse box. The one on the left is at the beginning of the transmission tunnel and the one on the right is through the firewall. NOTE: I've boxed both holes in blue with arrows pointing to them. The gray shown on the left side is just the lighting - that is a hole.
-
 It is just a hole, normally has a rubber plug in it. I have used it to mount seat belt retractors with proper re-enforcement underneath where it exits through a frame box member.
 -
I've just re-visited this 2020 post. In hindsight, I think this may be the definitive photo essay on the design and construction of S30's 'dogleg' structure. I wish they all looked like this but, as Inline6 notes, the structure is completely missing on far too many Z's (replaced by bodge and newspaper, topped with a Tabco panel). If your Z isn't sound in this area, don't count on your lower seat belt mounts (yours and your passenger's) if you're involved in a collision.
-
 Just a quick update: After returning from holidays, i spent some hours to finally sand down the remaining areas with old layers of paint, filler and primer: And finally: Done. Still needs a bit of love here and there, especially around the edges, but I'll leave that to the body shop. I Also made a little stress-test with my crack-repair and it seems pretty solid. So finally I got it installed back on the trunk at all original 6 mounting studs, like intended from the factory. It took me quite some hours to get that wing back into shape, but I think it was well worth it, and I'm more than happy i was able to save another OEM part which belongs to this car. Then I got some stuff in my mailbox: First. A spacer for the trunk / hatch damper, as mine are all toast. And more importantly at the moment: A bunch of fastener / retaining clips for the front fender side markers: Which allowed me to finally also test-fit the other side. Note protective foil on the lamp is just there to not damage it during trial fitments: And then I got a nice book from Autoliv in Sweden. They were the manufacturer of many of the aftermarket seat belts installed by European Import companies (along Britax). I asked them for a bit of Background information about the company and the specific seatbelts. They were not really able to help me with the 240Z seatbelts, since they're now a global company, but instead they sent me this very cool Company history book, which they released last year for internal use only, with some very cool information. I will prepare a post about those specific seat belts in the coming months. As for now, I wait for a few parts and information here and there, to proceed with the next steps on the car, but that should be possible in the next few days. I'll keep you updated.
 -
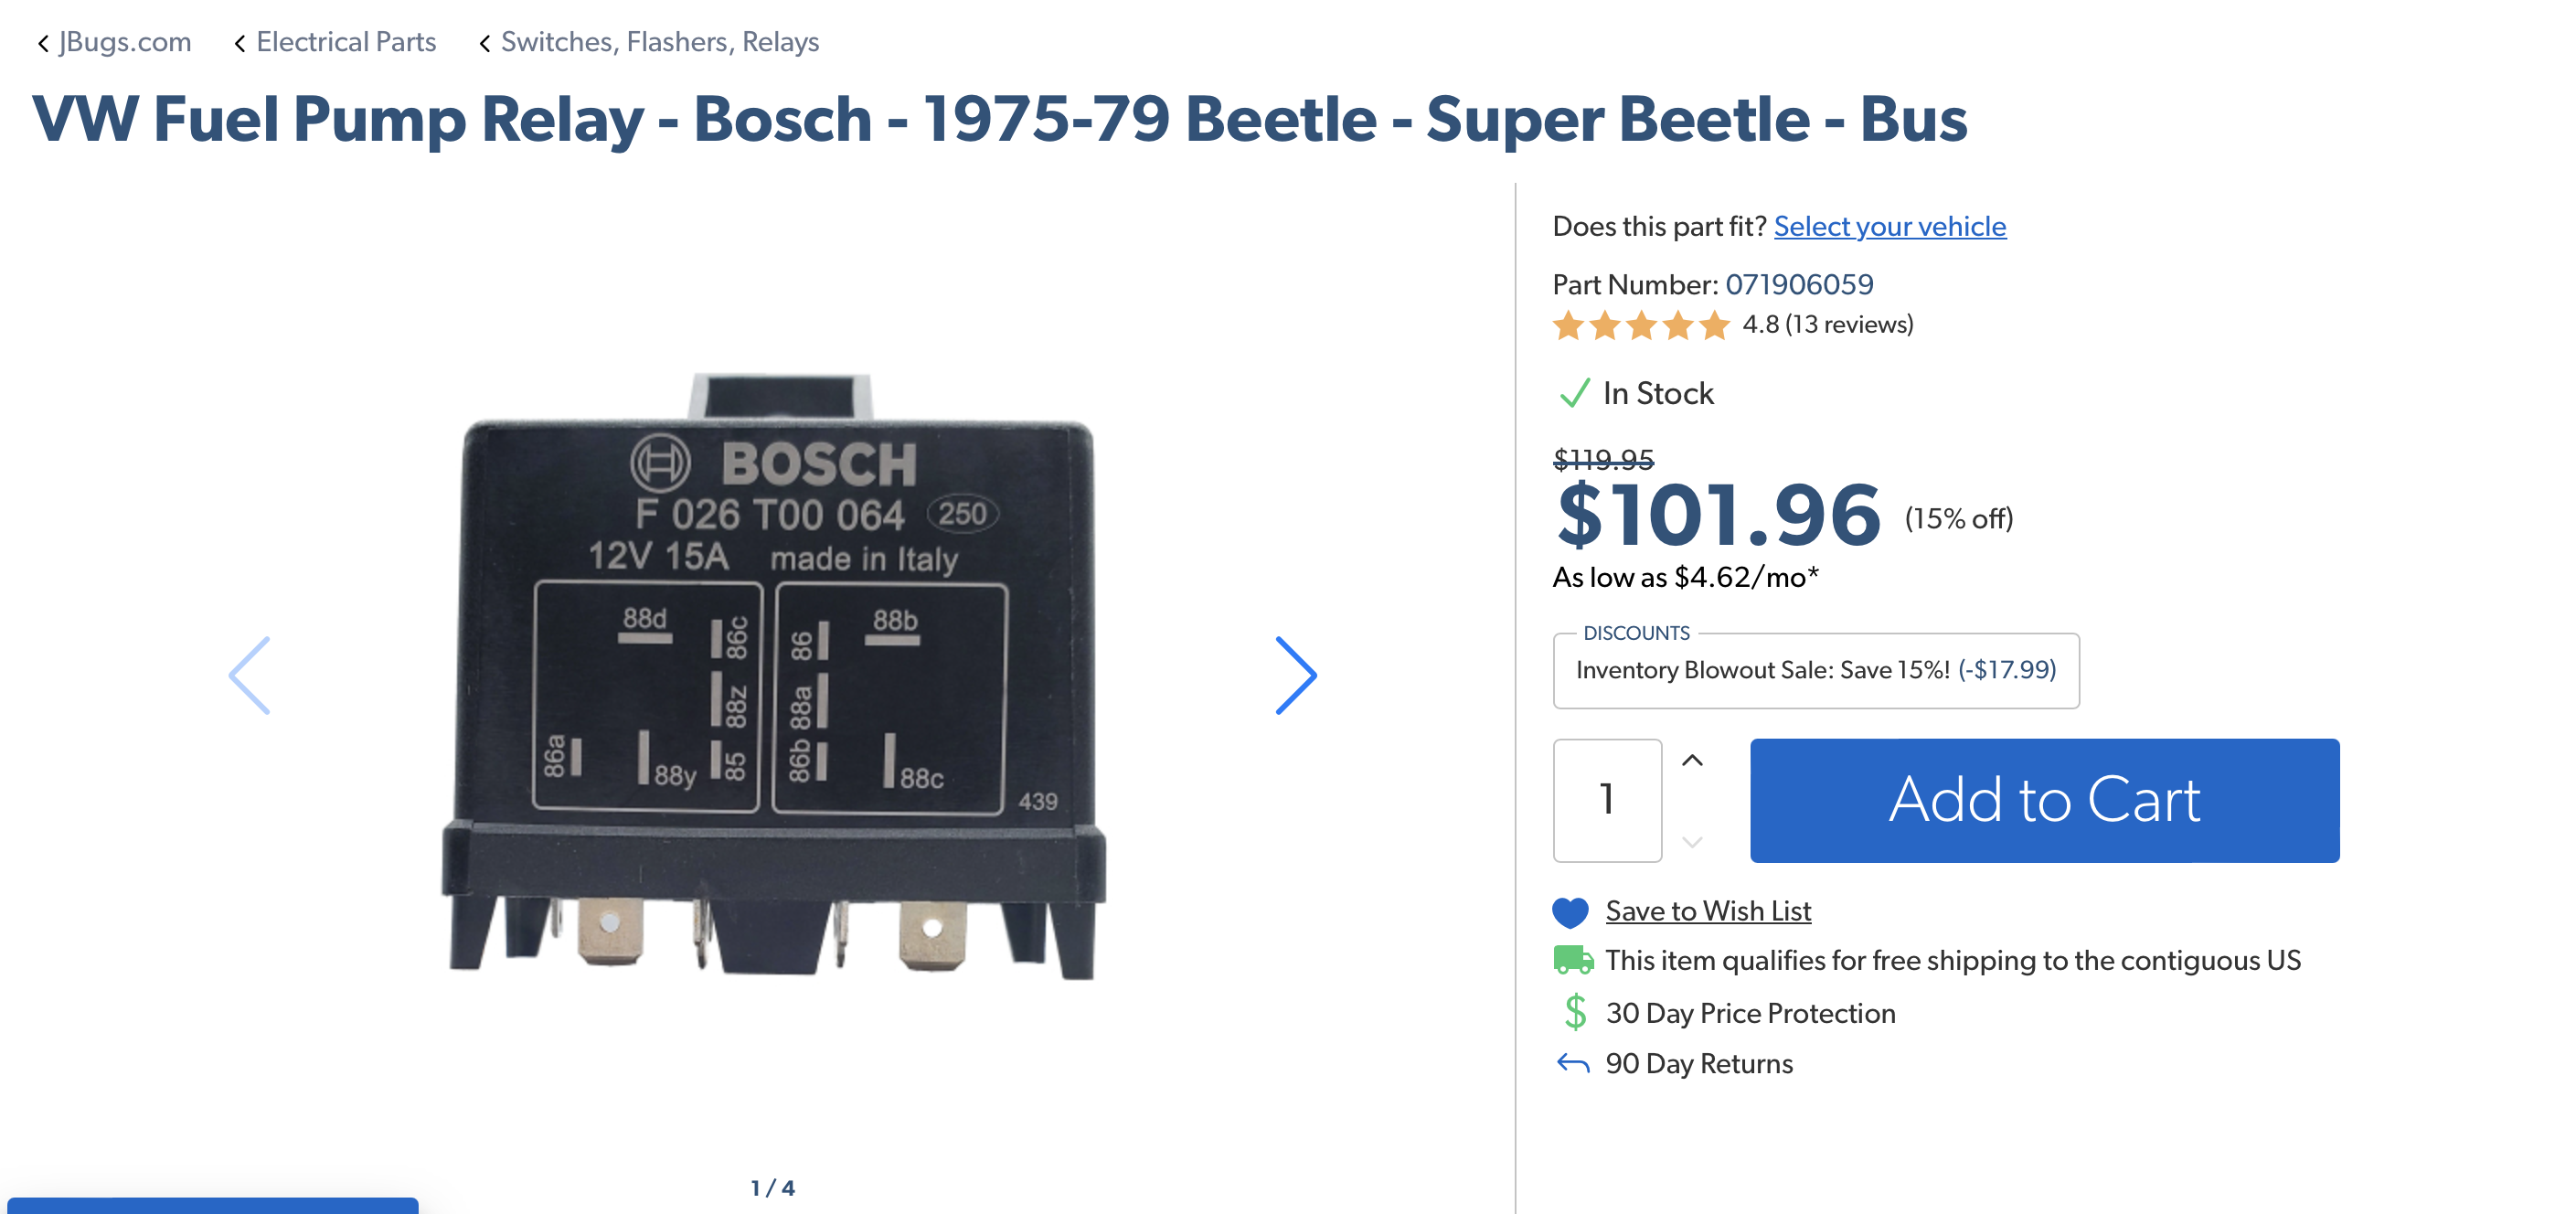
Nice! Adding a pic of the linked relay for posterity - never know when it will go dead