


.JPG.cfcada9cf1c1b502df3f5f2f2ca3ff36.JPG)

SteveJ
Community Member
-
Joined
-
Last visited
Everything posted by SteveJ
-
If you have an old mechanical flasher relay, what @siteunseensaid is spot on. Over 20 years ago my 73 had the slow to no flash at idle. I swapped out the alternator and did the internally regulated alternator conversion. I never saw the problem again. Another way to resolve this is to change to electronic flashers. I bought this one for my Z cars after changing to LEDs: https://www.amazon.com/gp/product/B0811GTVH2. You have to add a ground wire to make it work, but you can adjust the flash rate, and it gives an audible click.
-
Are you sure it was 0 ohms from green/blue to ground? That would indicate a short between that connector and the fuse box. In other words, I would expect a fuse to blow as soon as you plug it into the fuse box. Go to the left side of the parking light fuse in the fuse box and check resistance from there to ground. Also make sure the back side of the fuse box is not making contact with the body of the car.
-
For the parking lights, the switch connects the green/blue and green/white wires together. In the fuse box, the white/red wire connects to the "high" side of the fuse. The green/blue wire connects to the "low" side. When everything is connected, you will have battery voltage on the headlight switch at the green/blue wire. When the switch is turned to position 1 or position 2, the green/blue is connected to the green/white. to send voltage to all of the bulbs. I suspect that you could see dim light in your parking lights when you bypassed the switch because there was enough current to flow through the bulbs as well as the short. If you jumpered the wire at the combo switch, you bypassed all fuses as the power for the headlights goes through the switch and out to the fuse box (That is the opposite of how the parking light circuit is wired.). If you saw 0 ohms from a wire to ground in the tests I described a few days ago, that indicates a dead short. Disconnecting the connectors in the passenger footwell was an effort to try to narrow down where the short could be. If the resistance went up after disconnecting part of the harness, you can reasonably expect that the disconnected harness is shorted somewhere.

-
No, you're not on the right track. When you jumpered over the red/white to the green, you bypassed any fuse protection outside of the fusible link. If you're not putting any current through the fuse, it won't blow. I hope you didn't have an electrical fire. Your description of the results are confusing. Are both wires on your switch green/white? The resistance between the switch and fuse should be almost 0. With 0.7 ohms, it says dirty connection. Having the other side of the switch be 0 ohms to ground indicates a dead short. Disconnect the 6 pin connector at the steering column. On the dash harness side of the connector, measure resistance to ground on the green/white and green/blue wires.
-
Post #3Happy birthday, again, to @MikeThe benefit of the 16s is that you have a better tire selection.What's your goal? Most people pick wheels first, such as Konig Rewinds at 16x7, 4x114.3, zero offset.Pull the 20A fuse. Turn the headlight switch to off. Measure resistance (not continuity) from the left terminal of the fuse to each wire on the parking light side of the headlight switch. One wire should have about 0 ohms (probably the green/blue), and the other should have a lot more (probably the green/white). Measure resistance to ground on the wire that had the higher resistance in the first measurement. It should be low now. Unplug the two connectors indicated below and repeat the resistance measurement. If the resistance is still low, the short is in the dash harness. If the resistance is high, plug in the larger 6 pin connector and re-measure. If the resistance is low, start checking the front markers and the front side markers. Unplug the connector again. Plug in the small 6 pin connector and re-measure. If the resistance is low, start checking the rear markers and rear side markers. Let us know what you find.
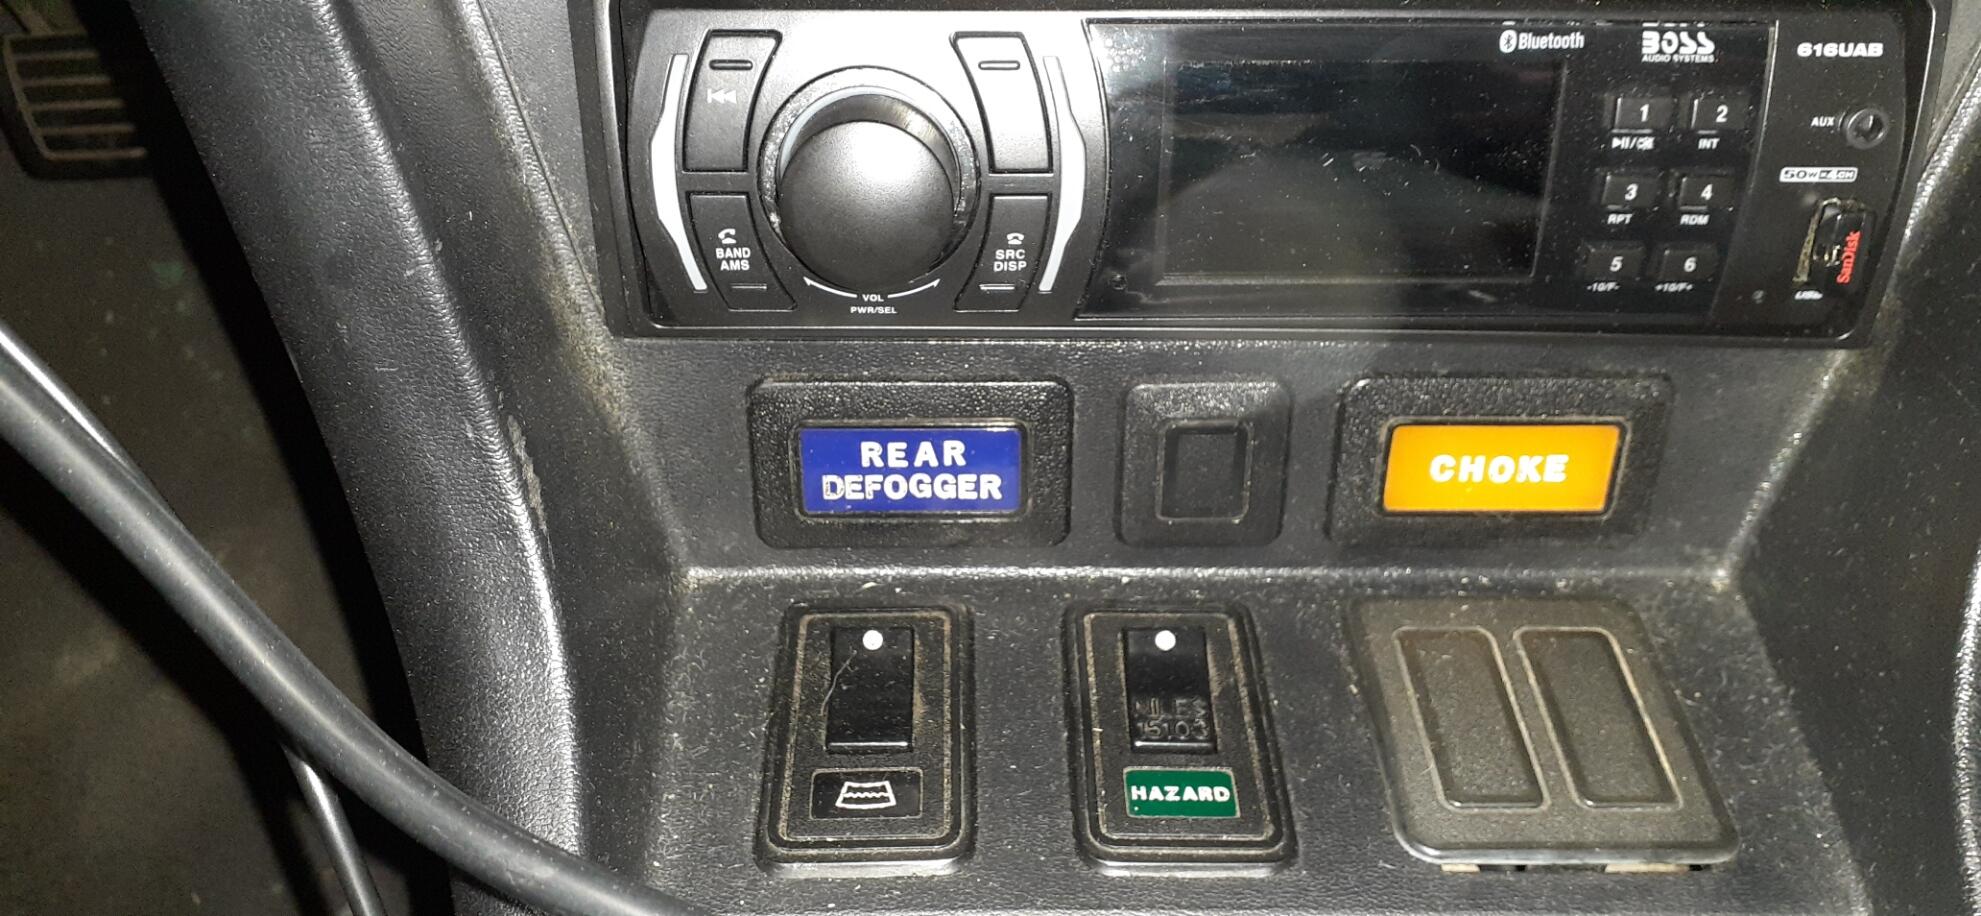
 Double check the voltage for the parking light circuit at the headlight switch and check both wires for voltage to ground. The 72 FSM identifies the wire for the parking light circuit as being green/blue. Note that this is the dash harness color. Some vendors would use alternate colors within a component such as a switch or fuse box. For instance, the wire coming off the parking light fuse in a 73 fuse box that I have handy is green/white. The color is different in the dash harness.One more - Rockauto: https://www.rockauto.com/en/tools/electrical-switch+&+relay,switch,rocker+switch,135I think Jim is right. I looked on Z Car Source to see what they had for switches. They do have a defroster switch, but it's obviously too small to fit in the hole on the right. I did look for Niles brand switches to help preserve the look. The search took me to ebay, where I saw this Nissan hazard switch: https://www.ebay.com/itm/115356499313?epid=20040619831&hash=item1adbc87d71:g:ovYAAOSw5BJiY1z6 On Amazon, I saw rocker switches like this: https://www.amazon.com/Position-Rocker-Toggle(Quality-Assurance-Years)KCD3-101/dp/B07MV56LKS The listing has lighted and non-lighted switches.
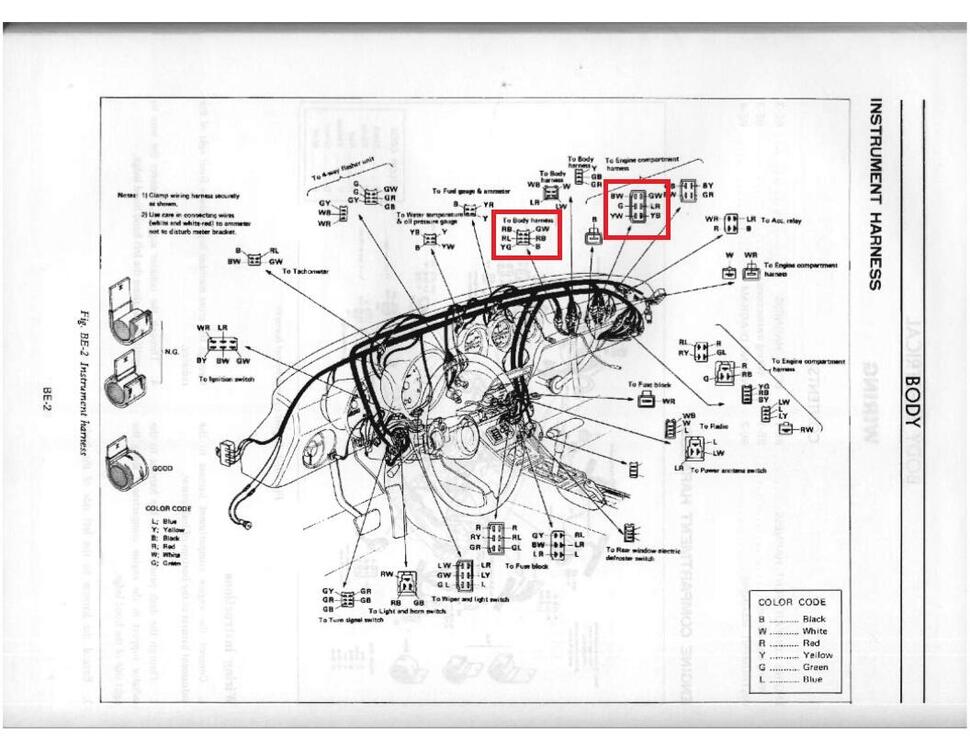
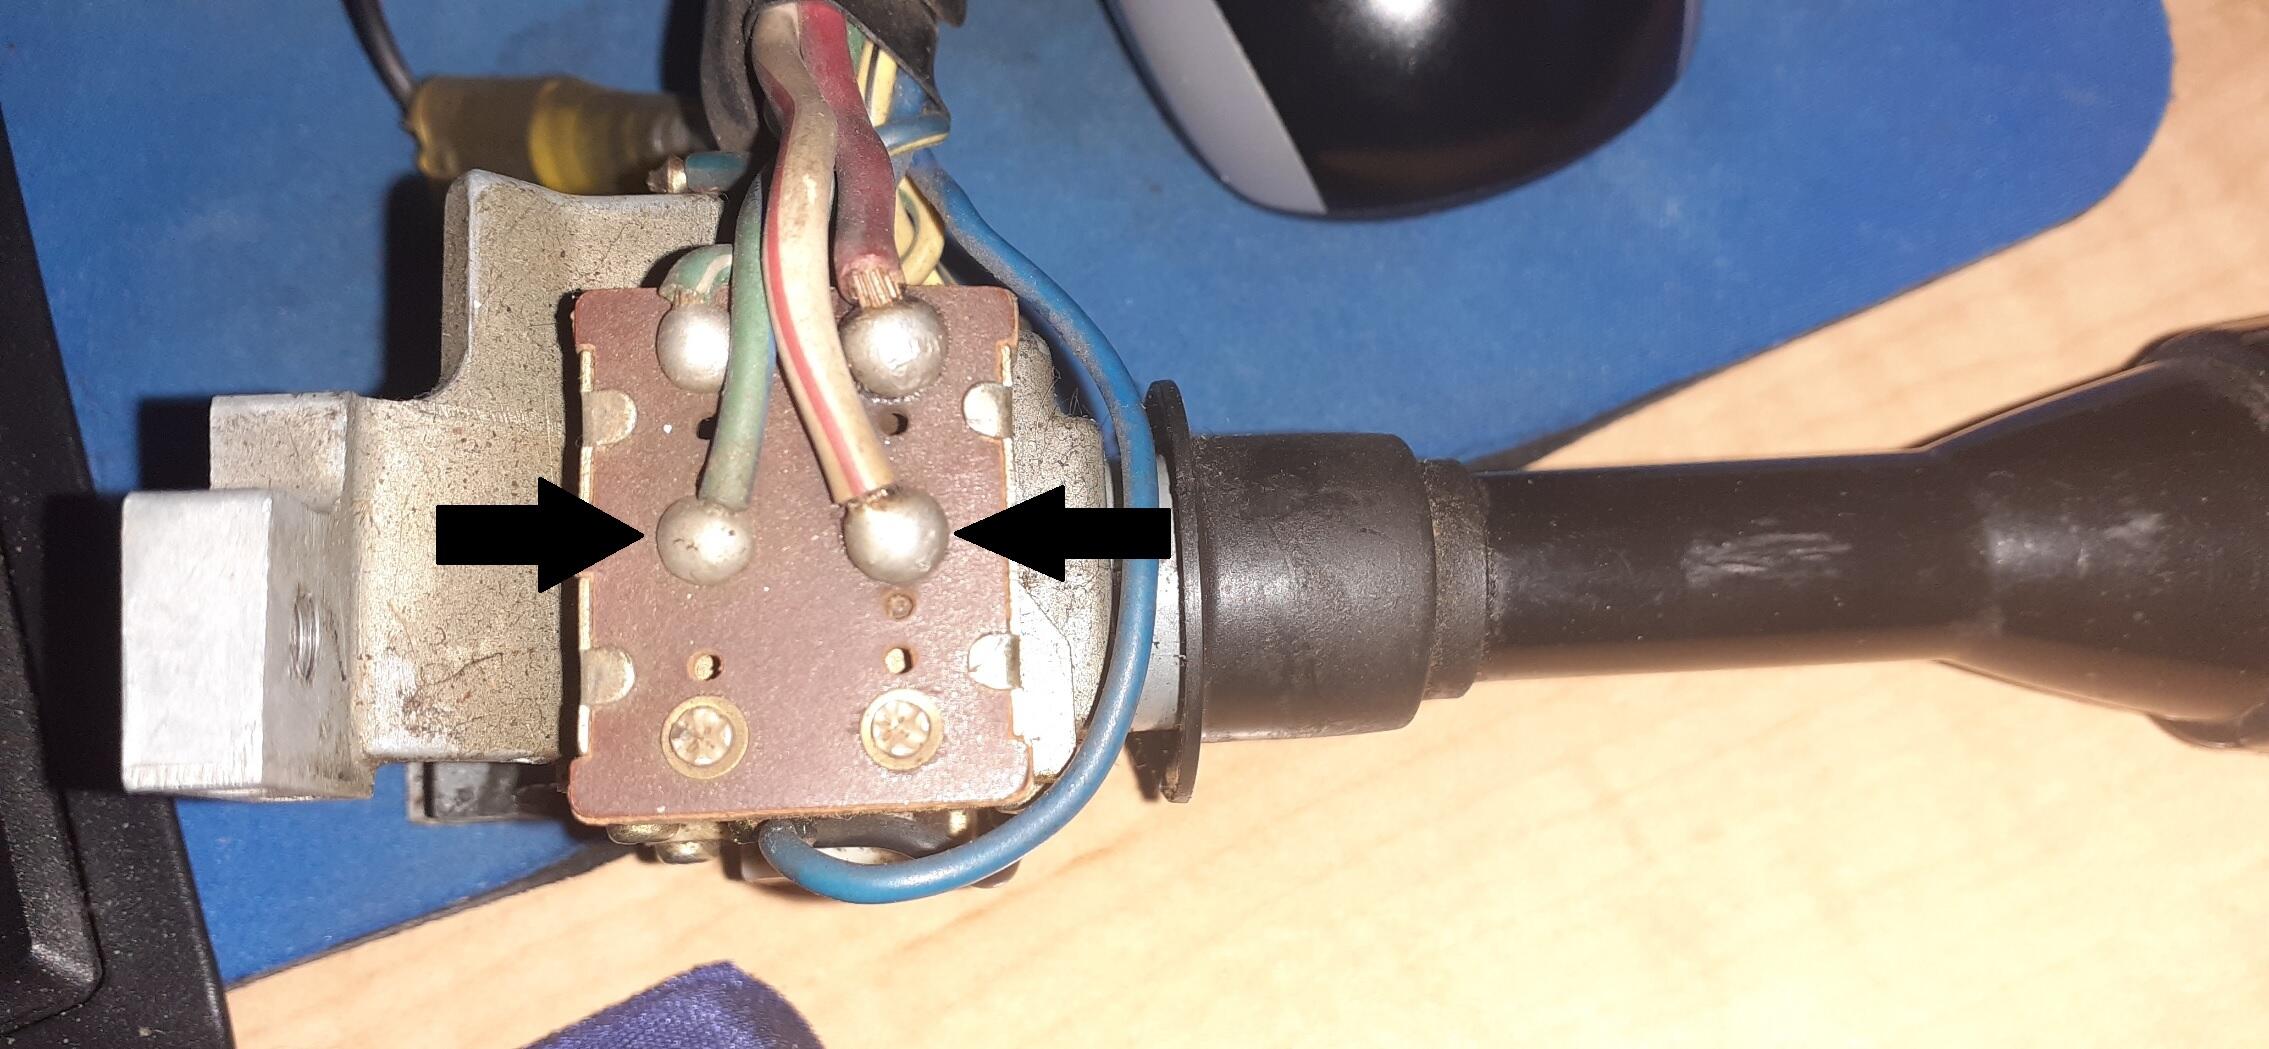
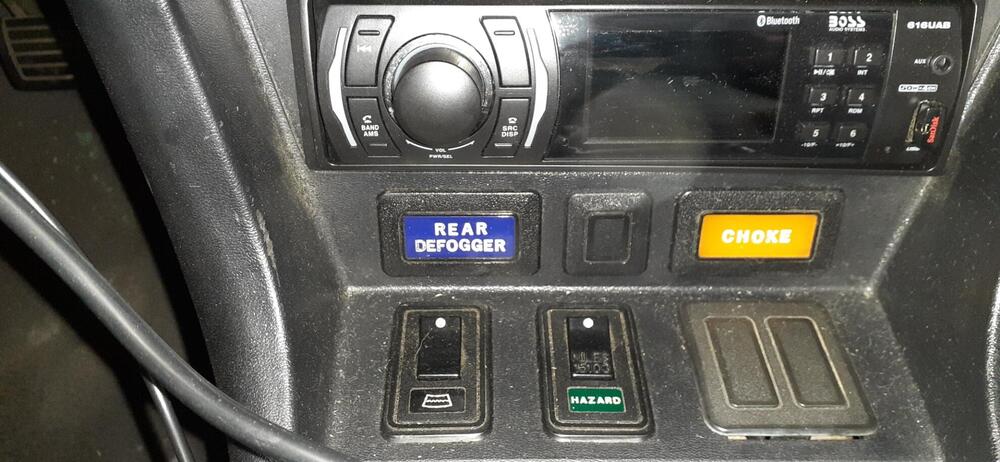 Please create a signature and put the year of your car in your signature. Different year cars had different consoles and switches.Do you have voltage to ground at the middle fuse on the right? (Touch the positive probe of the meter to each side of the fuse to make sure you don't have a bad fuse.) No on voltage at the fuse? Do you have a good ammeter installed? Stop and fix before proceeding. (A disconnected or bad ammeter would cause both parking lights and headlights to fail.) Yes on voltage at the fuse? Check for voltage to ground at the headlight switch at the arrows. (See picture below.) No voltage at green/blue - Bad connection between fuse box and switch. No voltage at white/red - Bad connection between ammeter and switch Let's get that working, and then we can focus on the brake lights and turn signals.
 The white/red wire that is loose should power the fuses boxed below. It should mount to a stud on the bottom side of the fuse box. (This explains your parking lights.) If you know how to use a multimeter (voltage and resistance testing), I can give you some diagnostics for the headlights. The brake light & rear turn signals could be the turn signal switch. Again, if you know how to use a multimeter, I can give you some diagnostics.
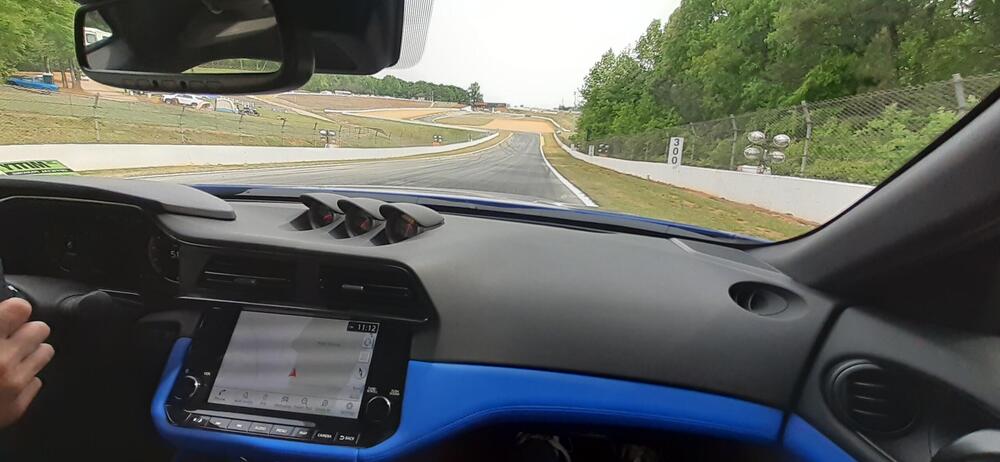
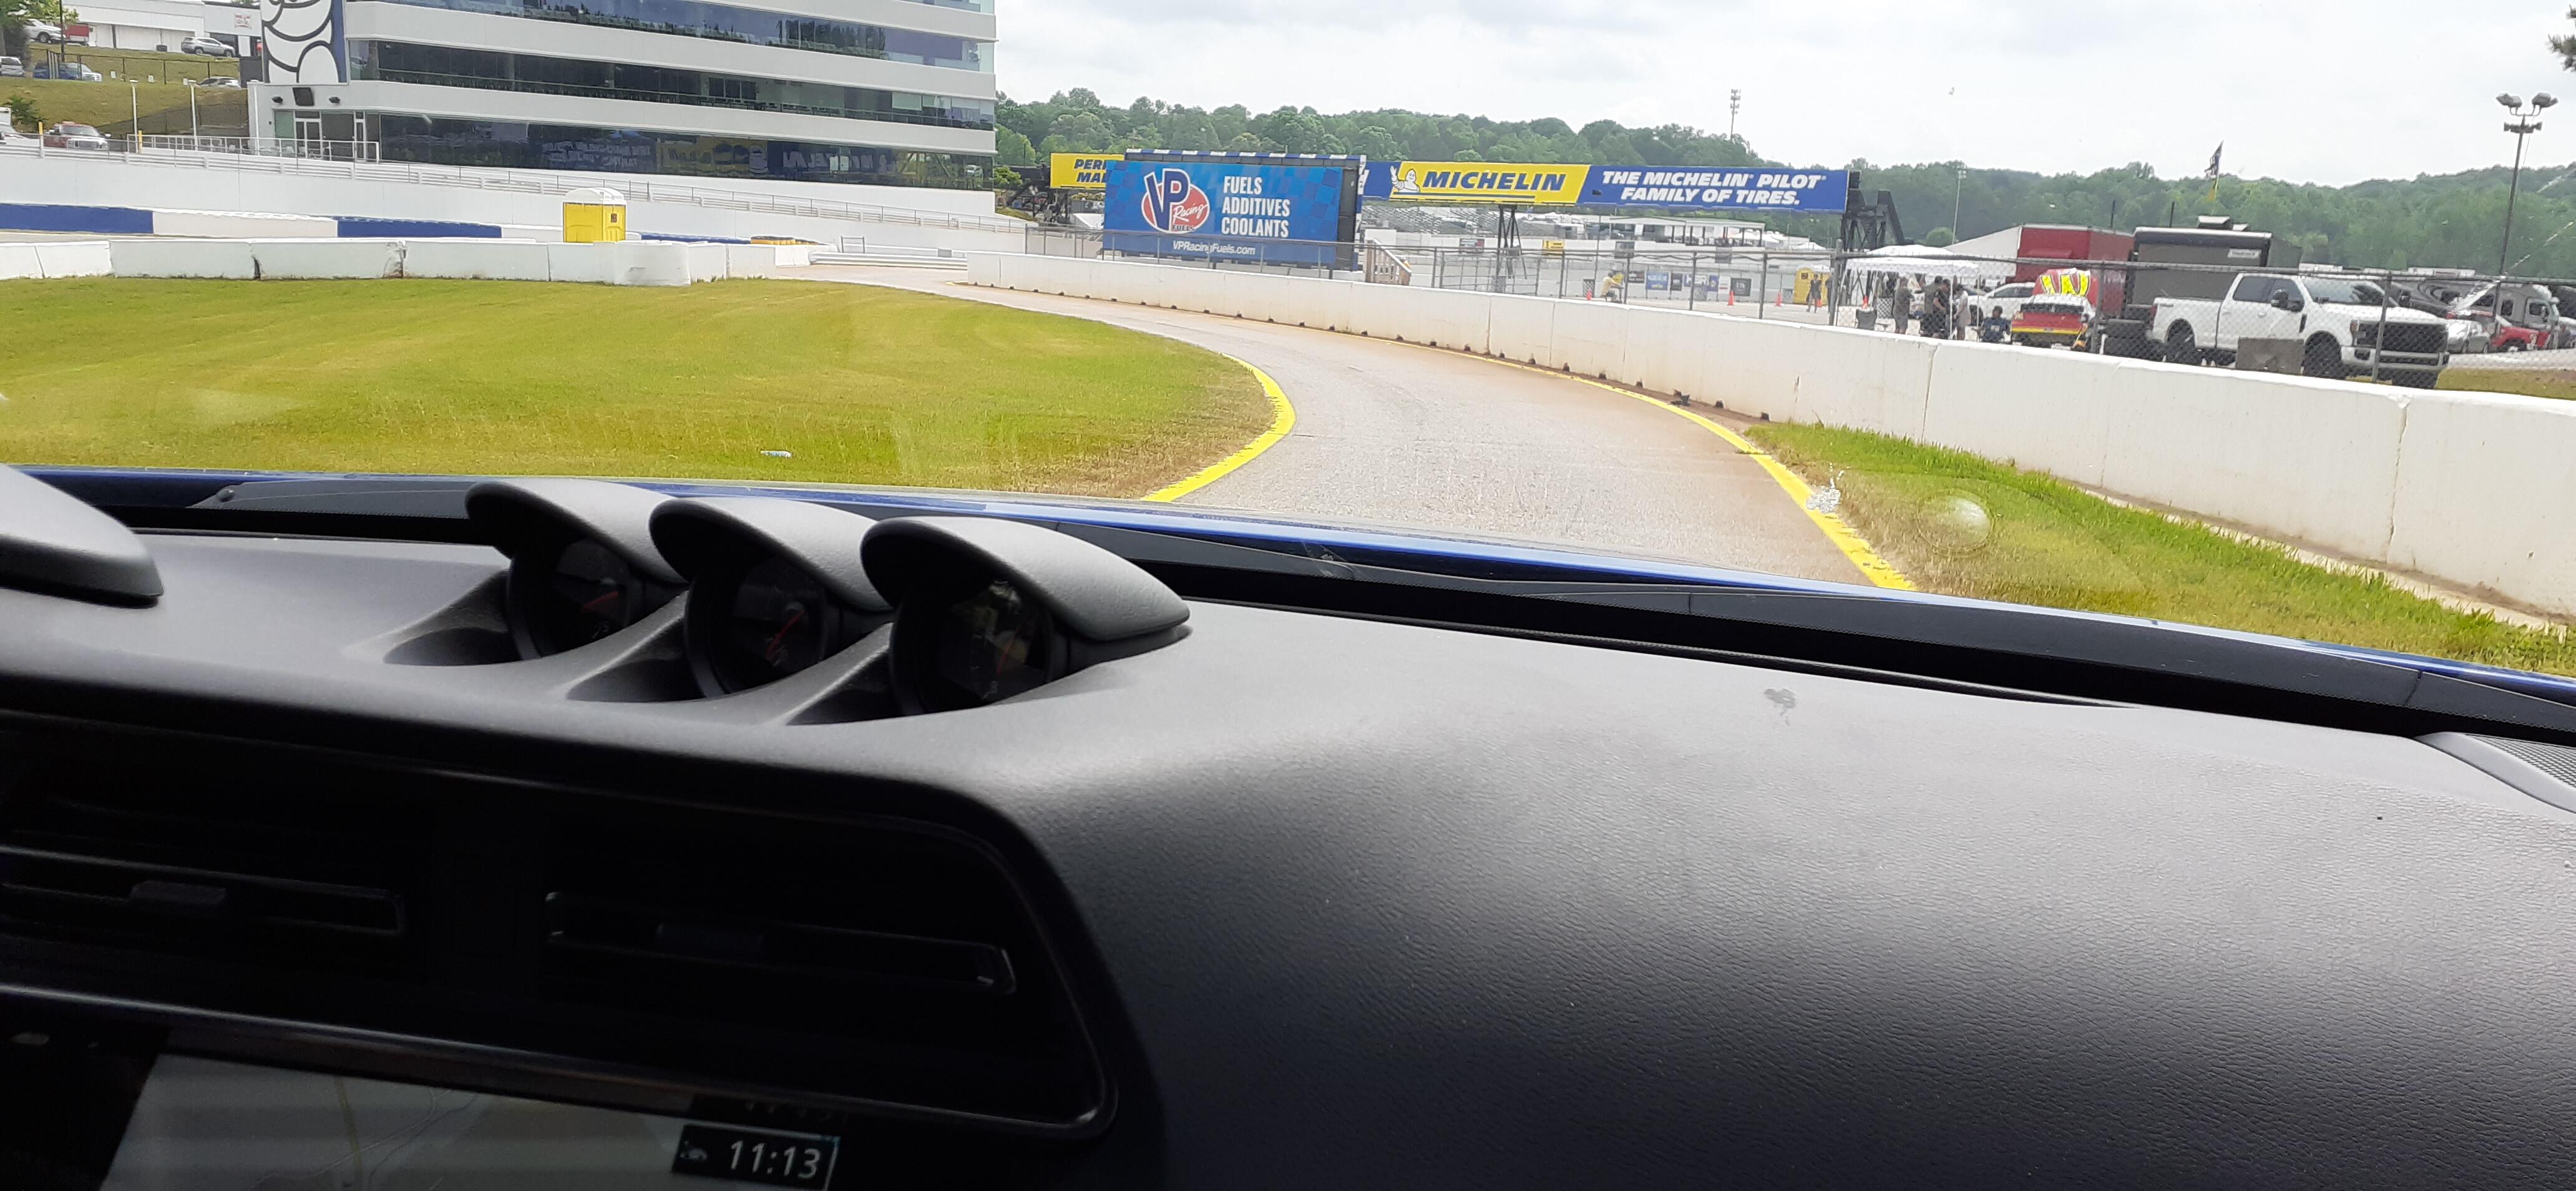
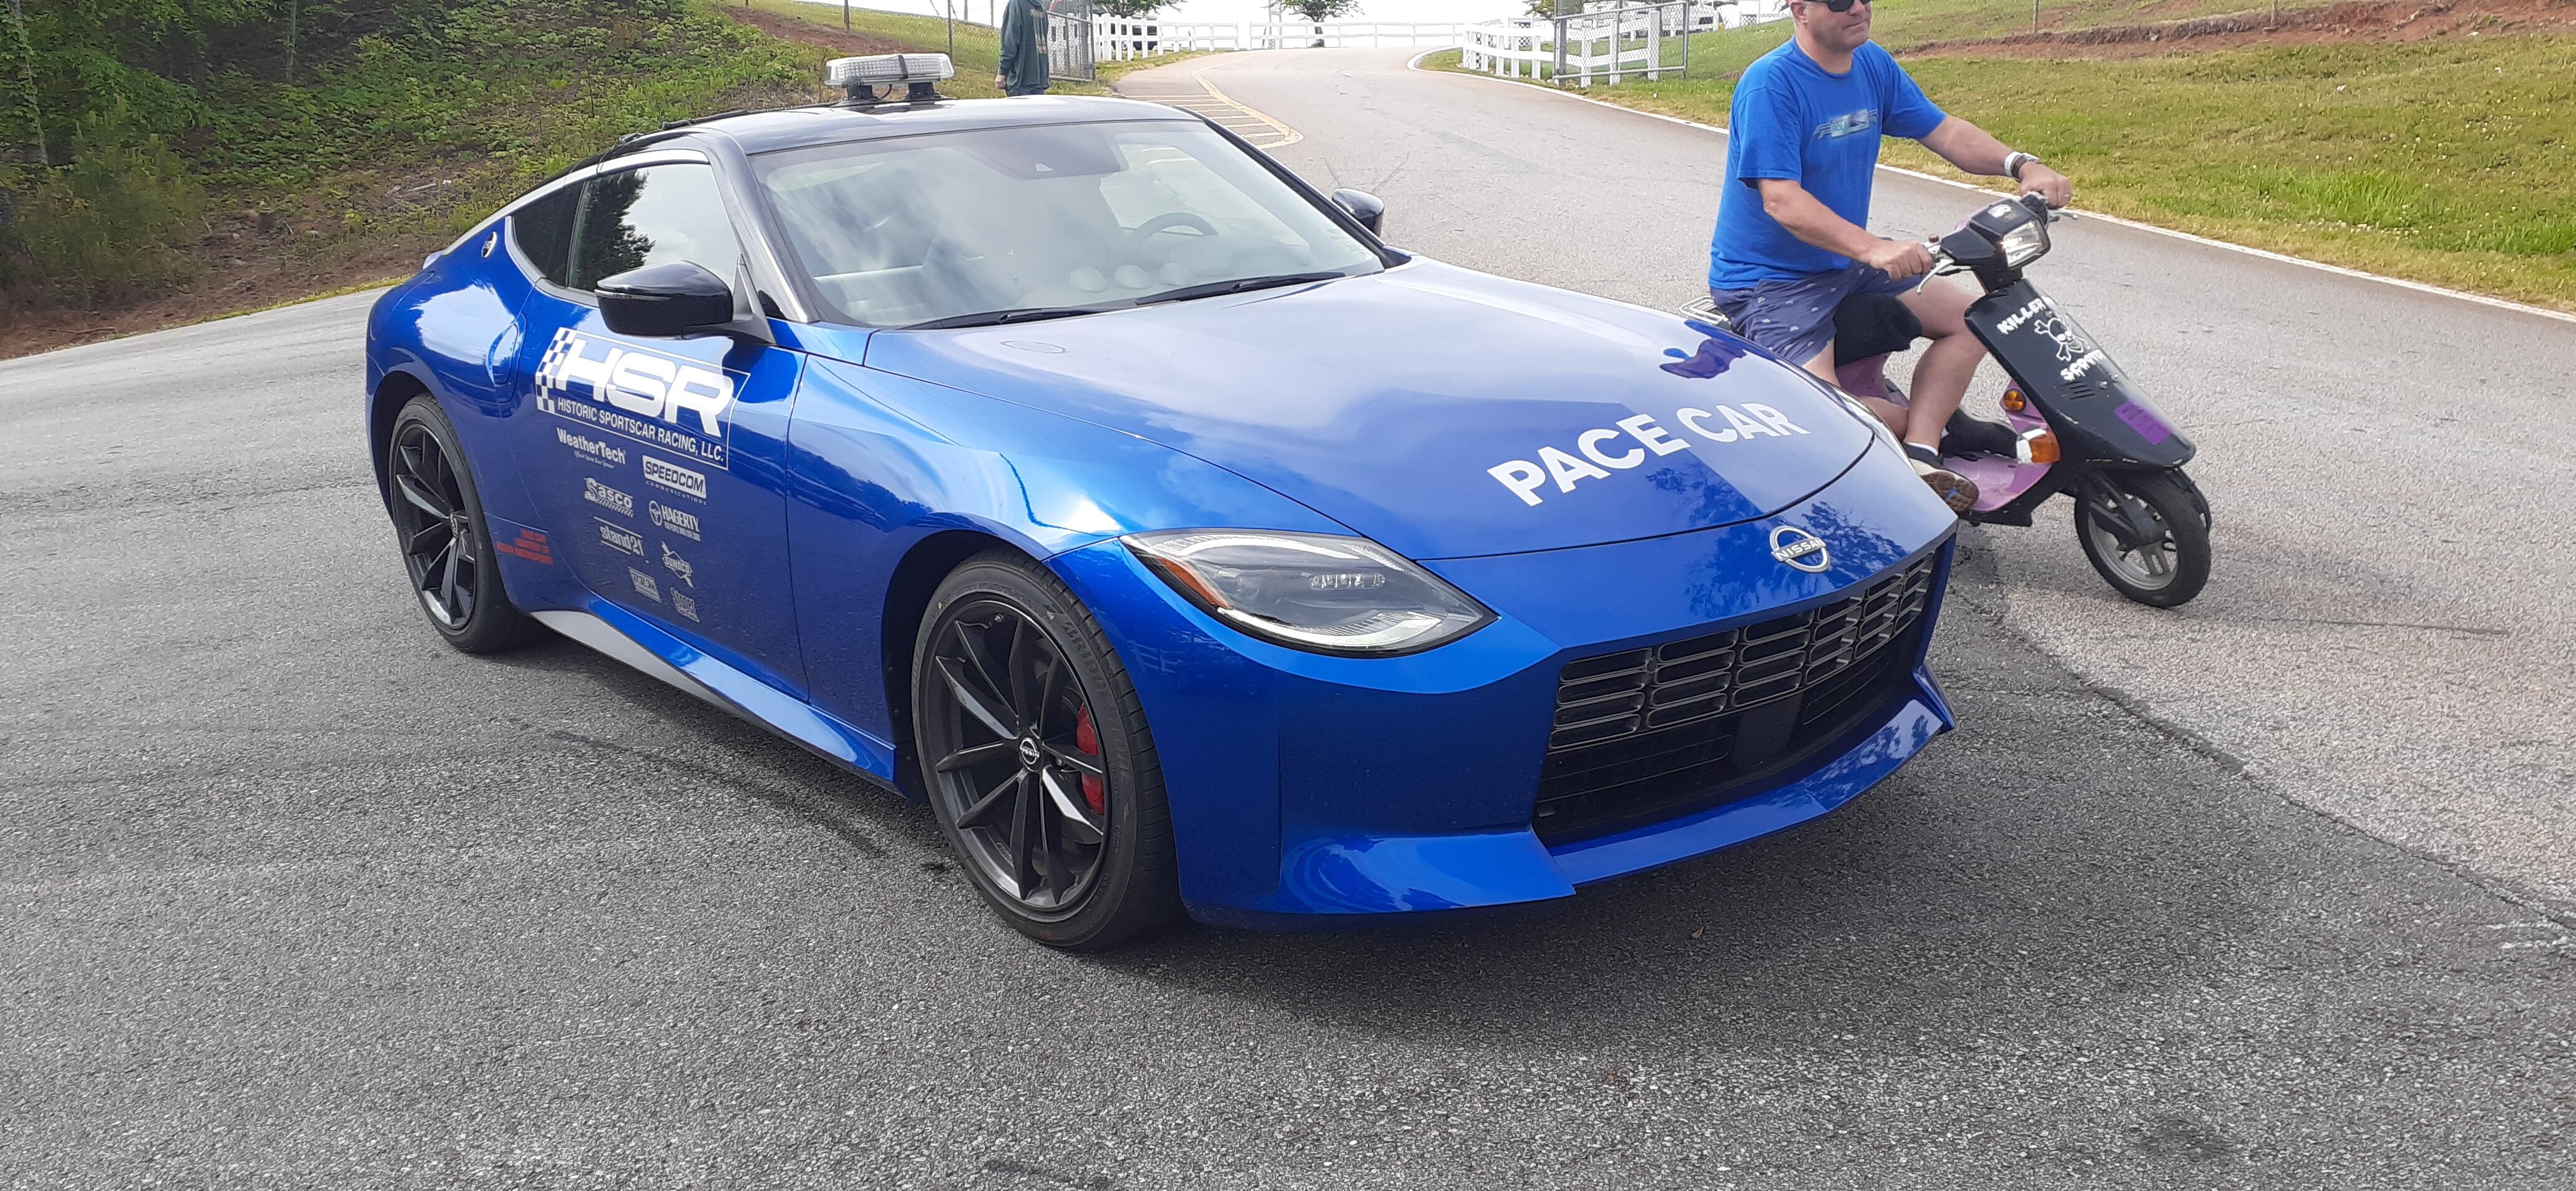
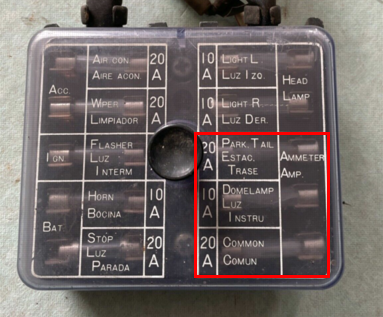 I had a chance to ride shotgun during the parade laps at the Mitty today. I think the HSR pace car driver is enjoying the gig.

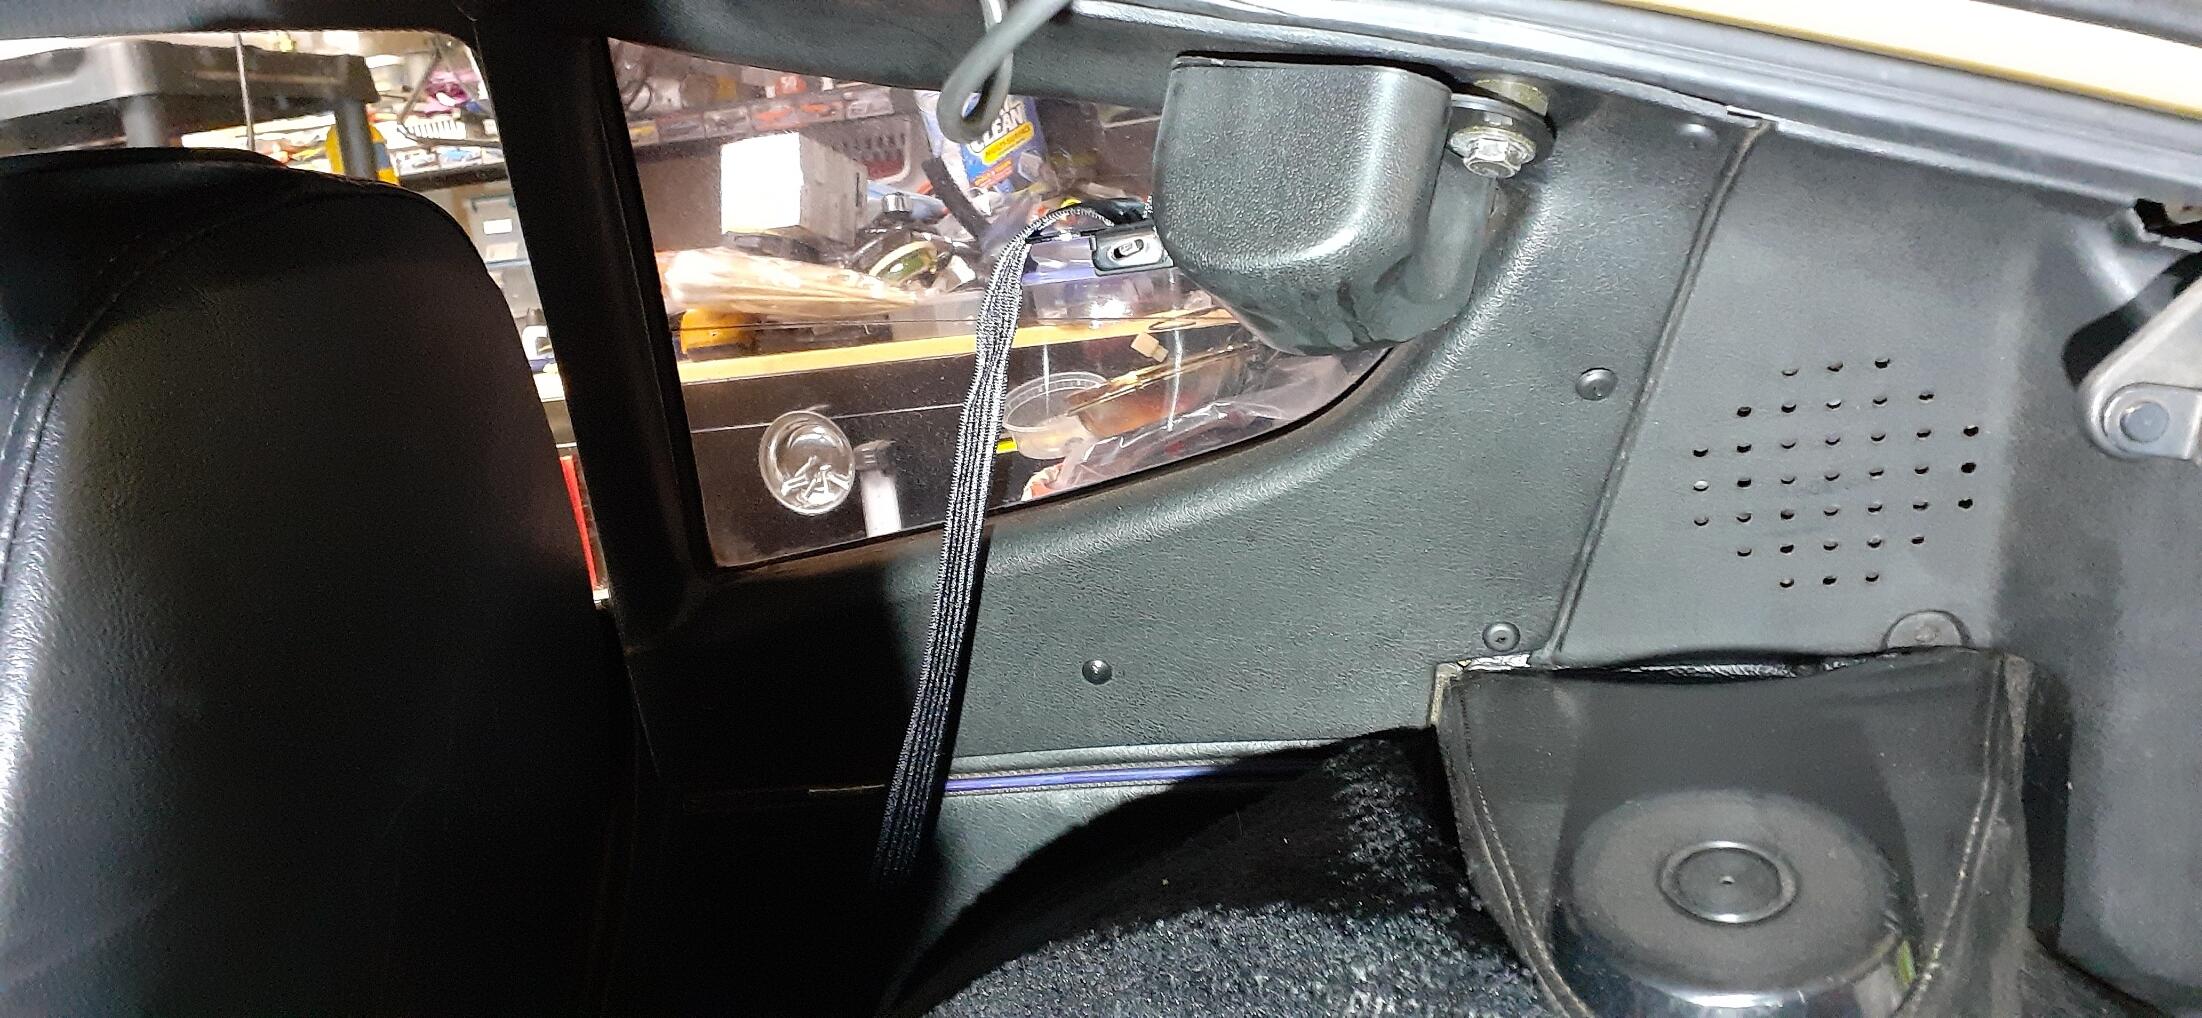
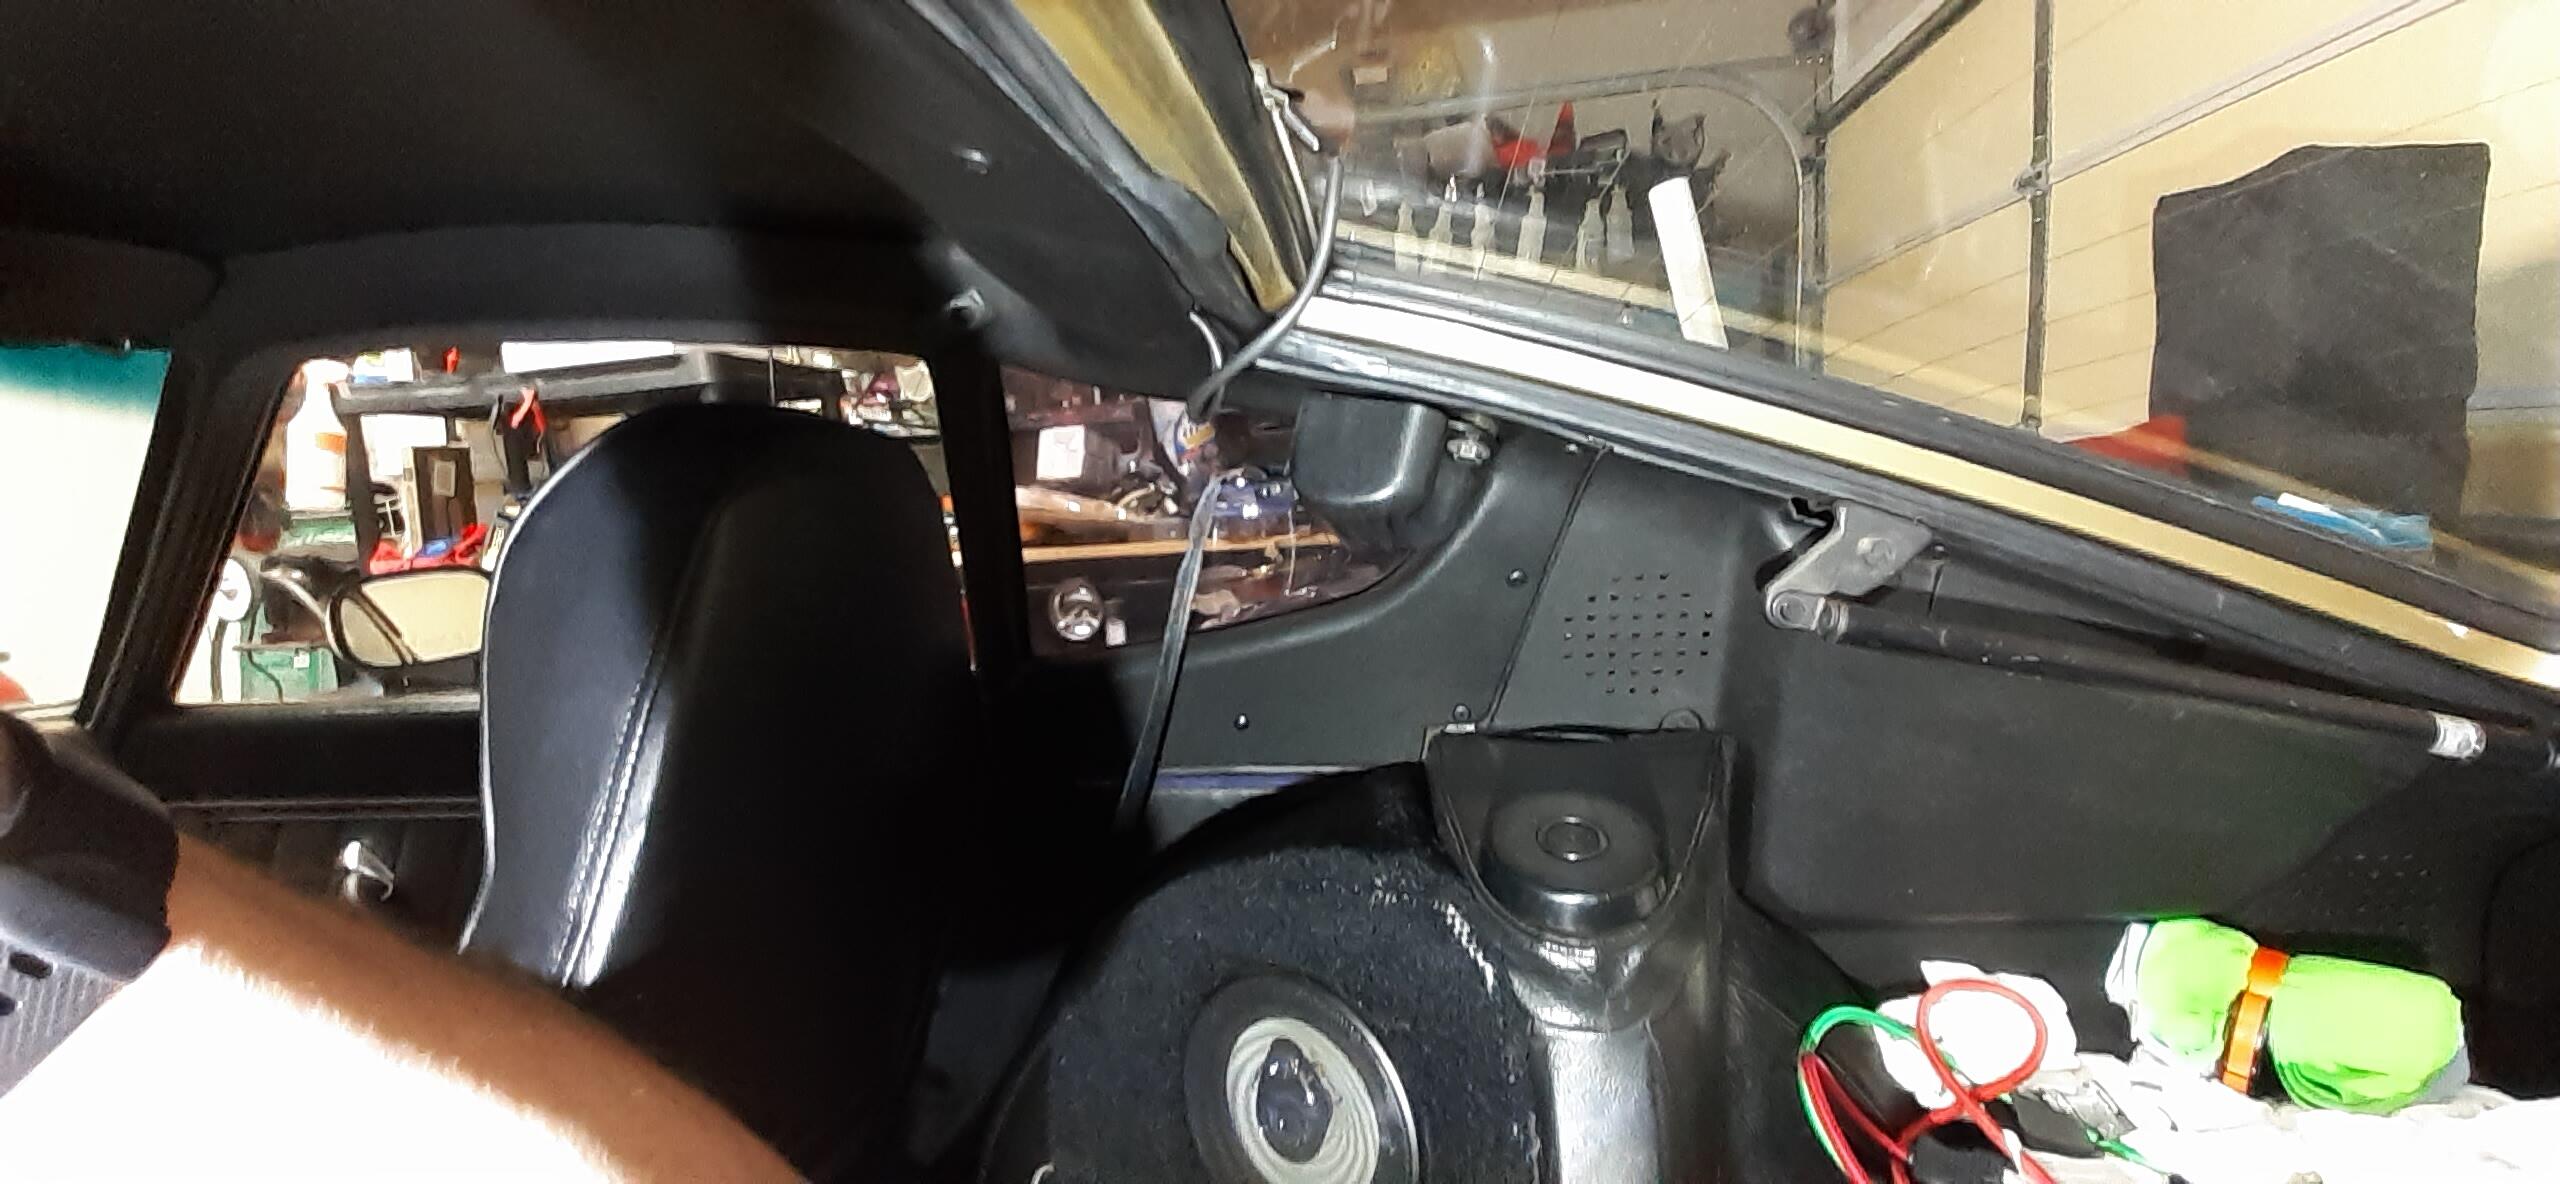
 The 6-pin connector doesn't look properly seated. You may want to take it apart and put it back together again. That could fix your running lights. For the headlights, there should be a black wire going from the turn signal switch over to the ground on the right side of the steering column. I didn't see that one. For the turn signals/brake lights, go here: https://fiddlingwithzcars.wordpress.com/2013/01/20/hazard-switch-brake-light-turn-signal-circuit-analysis/I actually found a thermostat housing like the one @kully 560has - https://maseraticompound.com/products/datsun-240z-thermostat-housingYeah, that's not stock for a 73. As I mentioned before, the roadster belts could be installed in such a way that you won't have the belt retractor in the way.This link may be cheaper. https://www.ebay.com/itm/154916677637?chn=ps&mkevt=1&mkcid=28I improved my search by specifying AGC fuse holder. https://www.delcity.net/store/AGC-Adjustable-Fuse-Holder/p_800425.h_800426 Del City is reputable, and I have purchased from them.A possible source for holders that aren't pre-wired. I have not done business with them. https://www.asi-ez.com/member/~PTF-80.asp?shop=yAlso, when I changed out the old seatbelts in my 260Z, I bought the roadster style seatbelts from Wesco Performance Products. https://www.wescoperformance.com/nsearch.html?query=roadster I put the retractor at the top mount.That is not a stock retractor. The stock retractors fit in a pocket in the floor. Post a photo of the top mount.


Important Information
By using this site, you agree to our Privacy Policy and Guidelines. We have placed cookies on your device to help make this website better. You can adjust your cookie settings, otherwise we'll assume you're okay to continue.