


Patcon
Supporting Member
-
Joined
-
Last visited
Everything posted by Patcon
-
I don't know, I will try to look tomorrow...
-
No worries on the ugly welding commentary. I'm a function over form guy on most things... So the large washers go with the dome side in???? That seems counter intuitive but it would probably give me the room I need to get the nut started. The car is upside down on the rotisserie so no loading and very easy to manipulate... Is there a smaller washer on both ends? I thought there was only a washer on the bar end not the nut end?
-
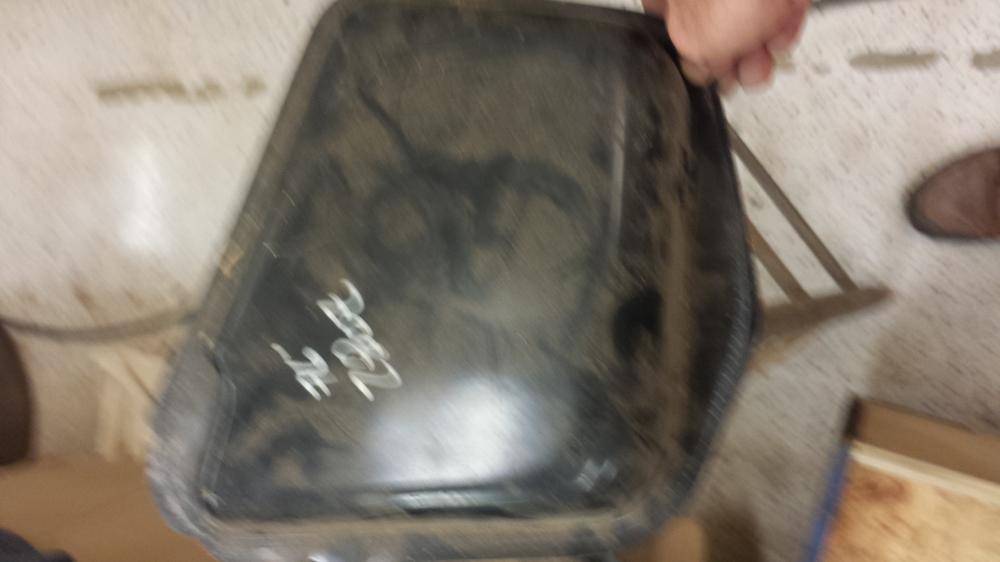
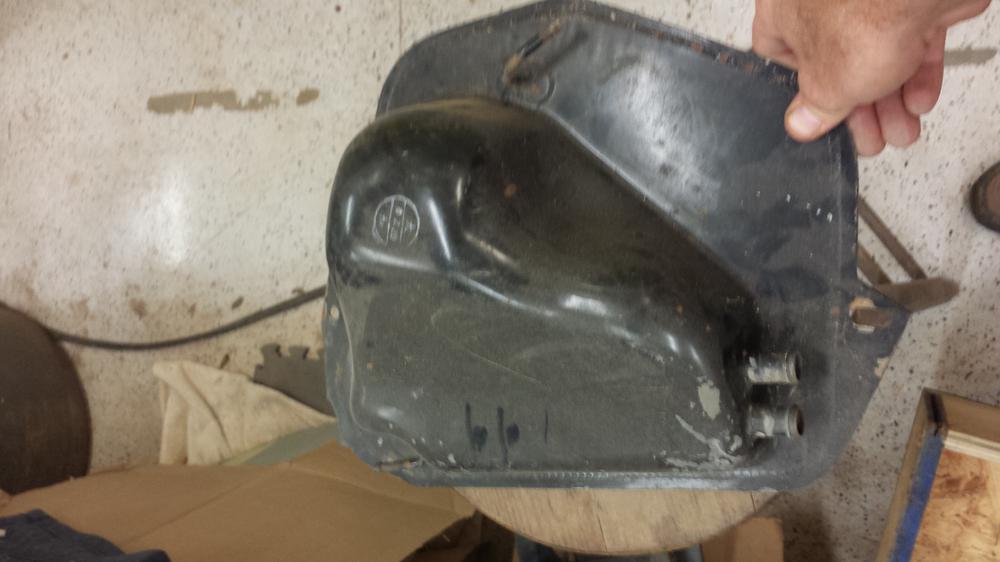
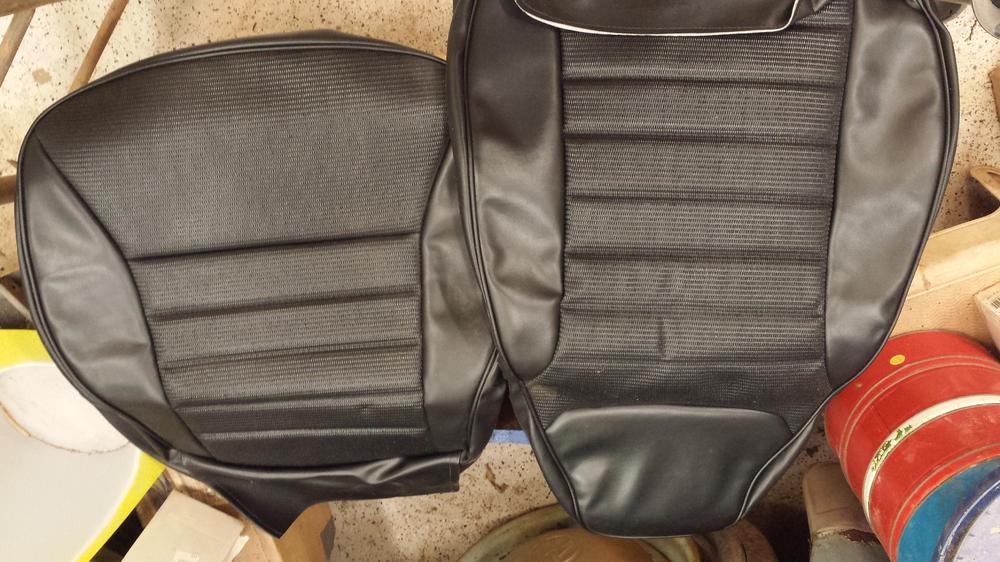
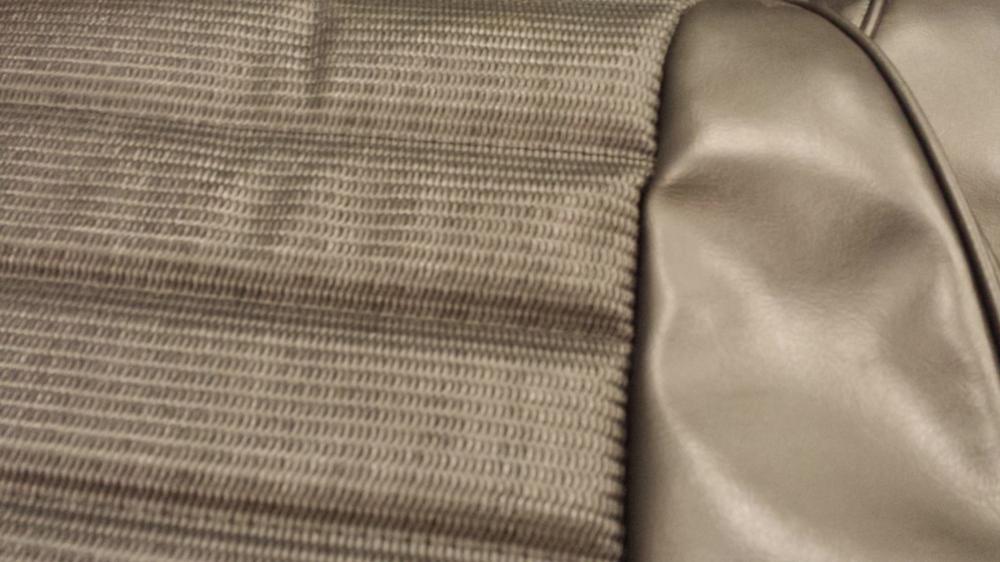
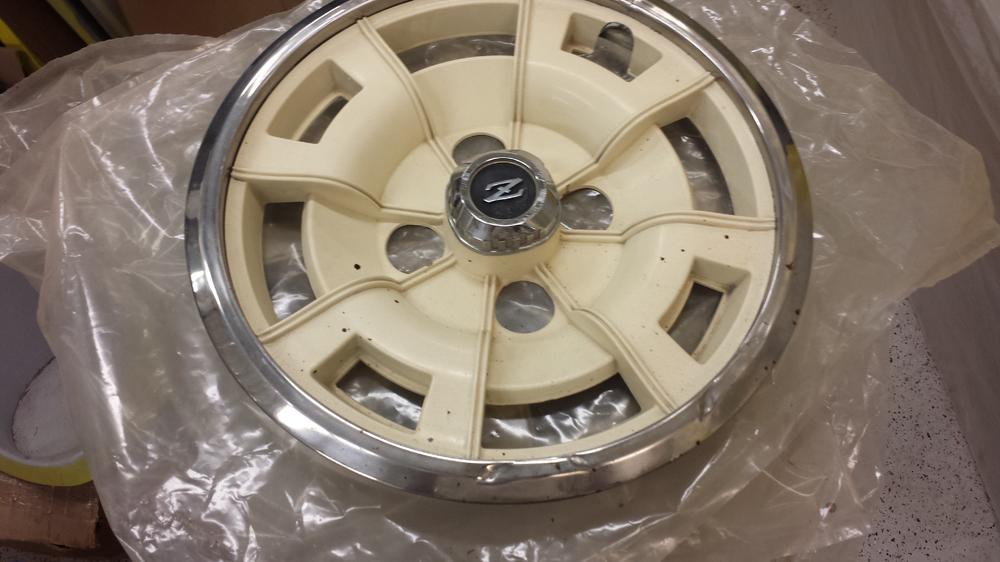
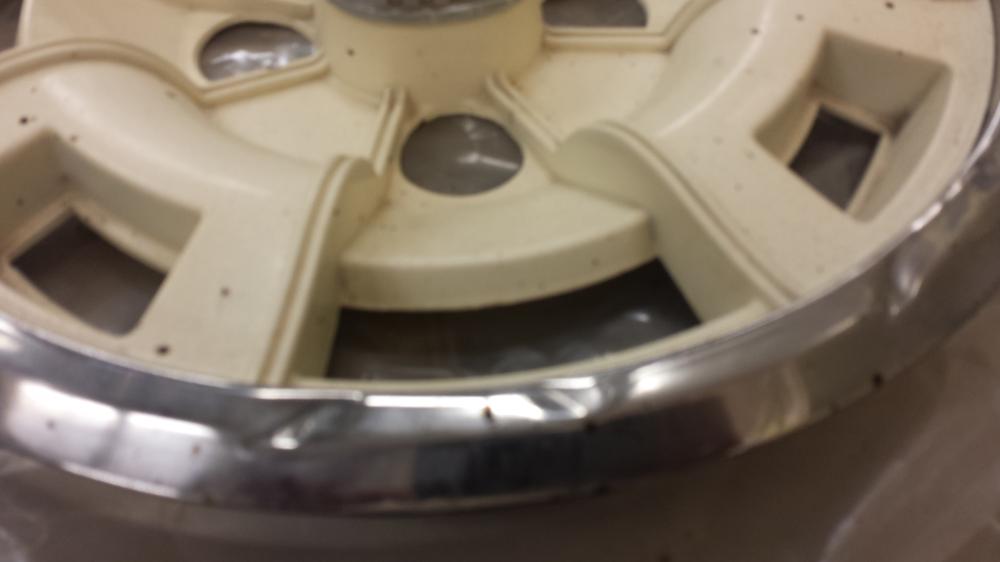
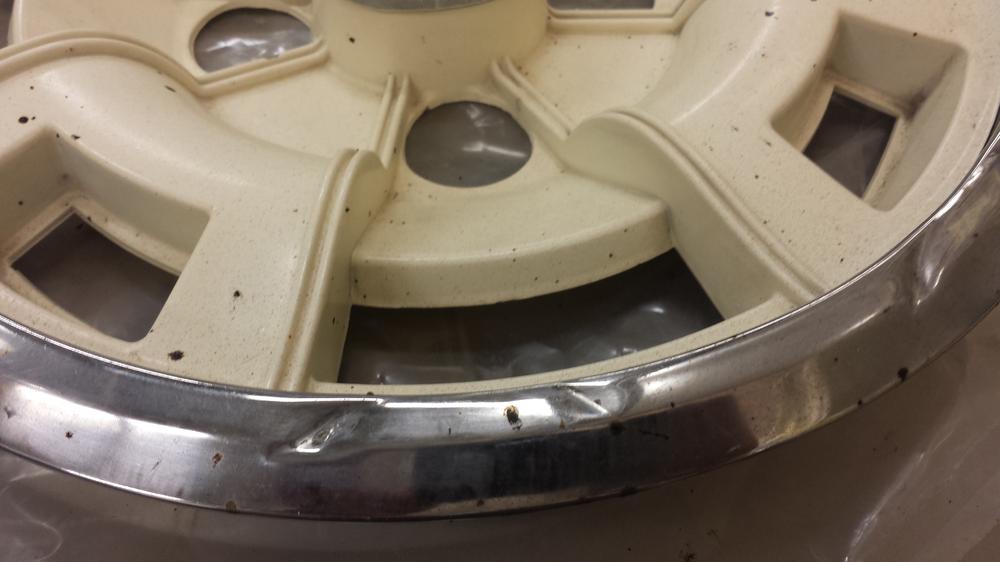
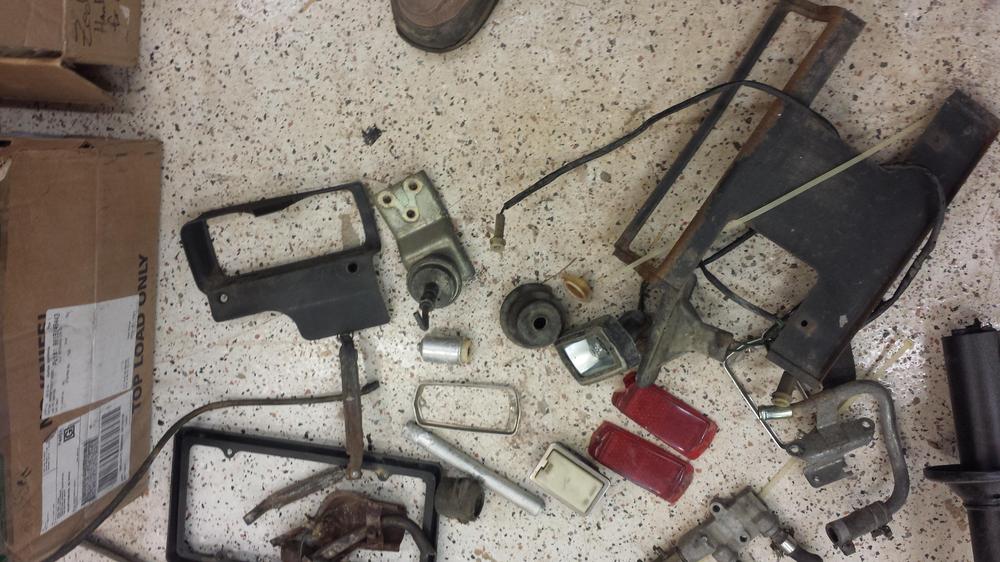
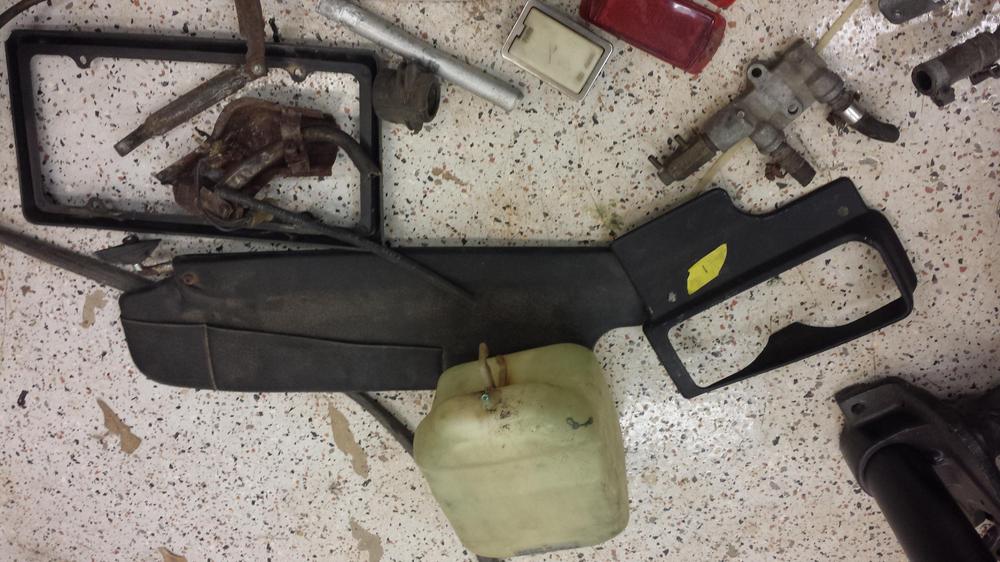
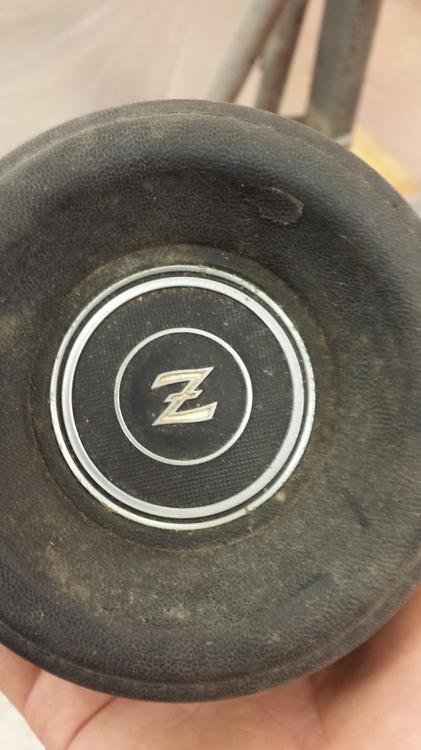
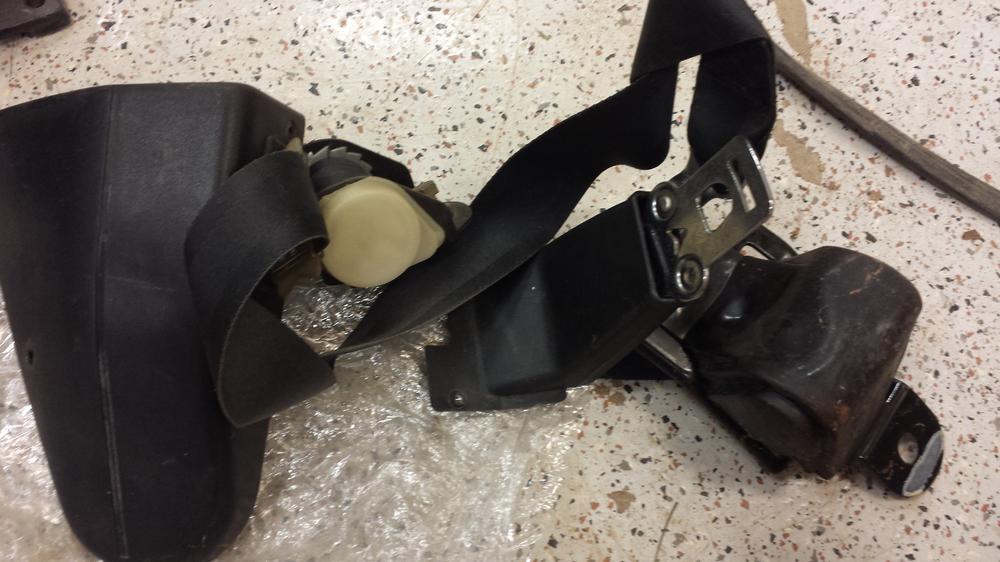
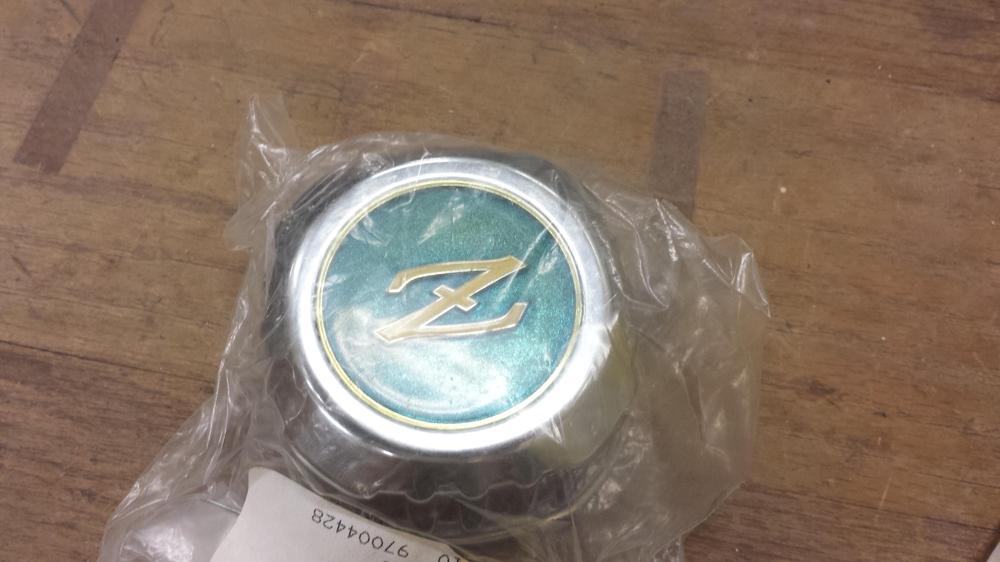
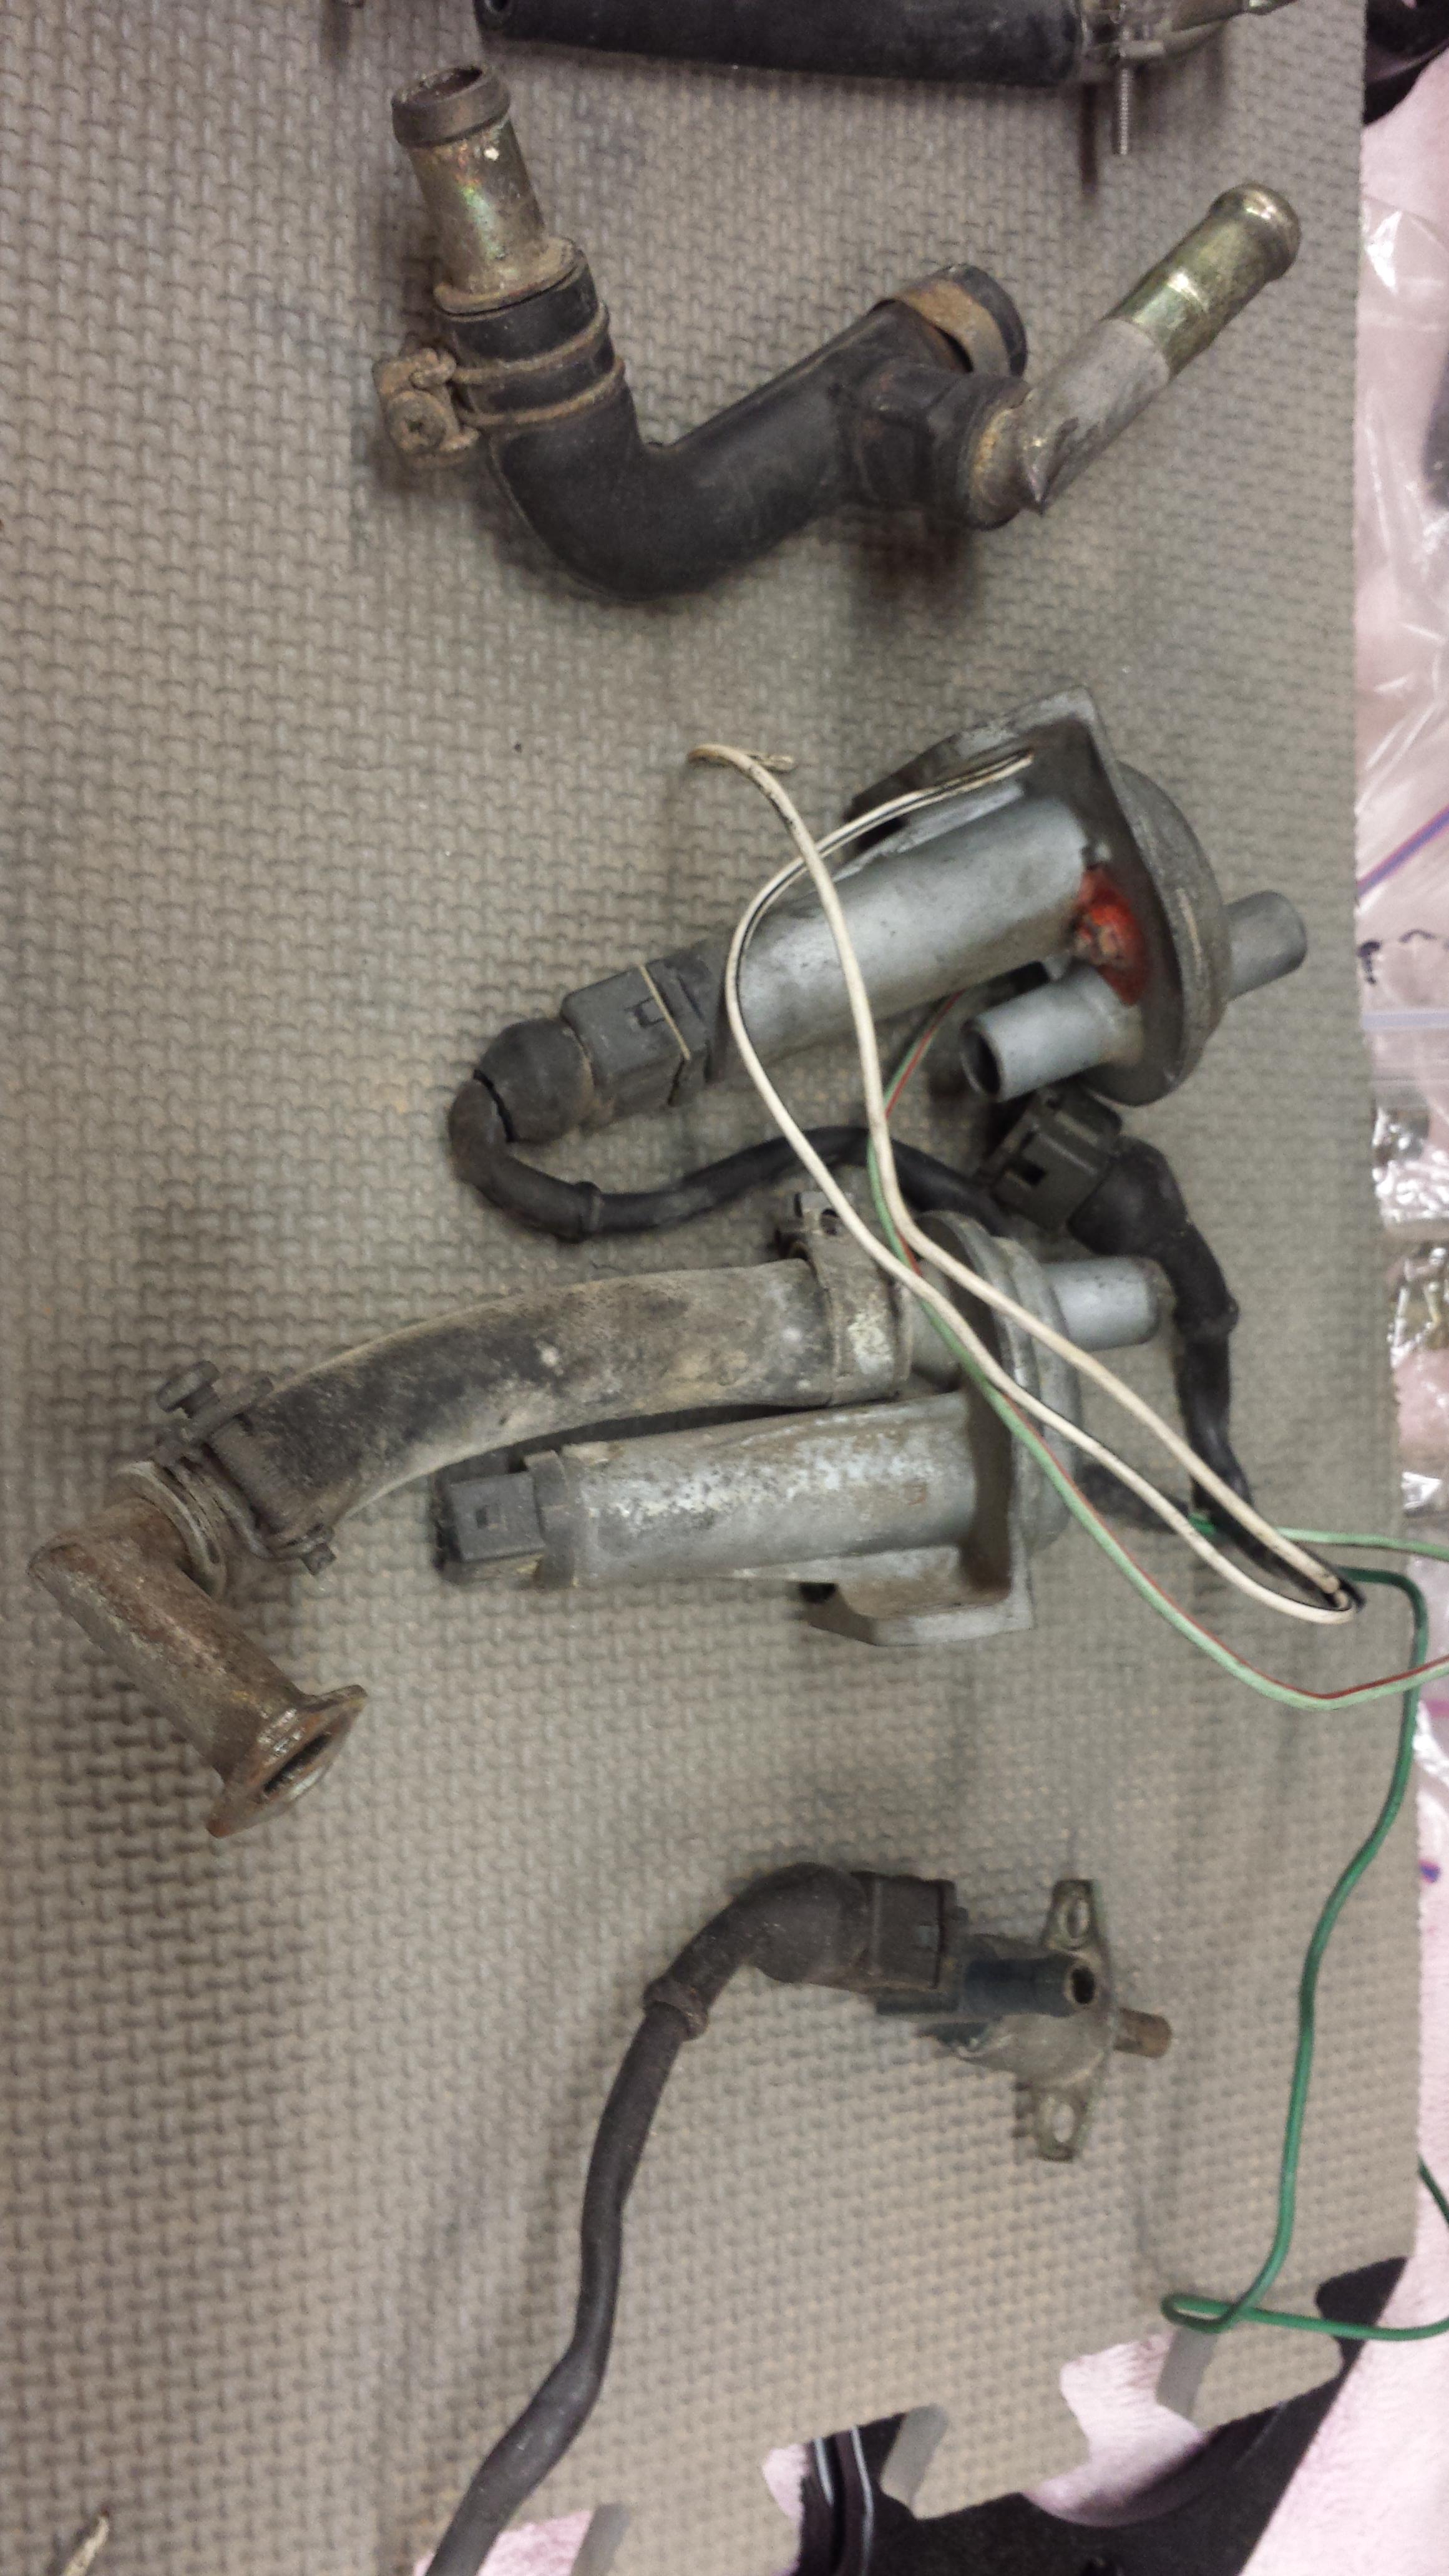
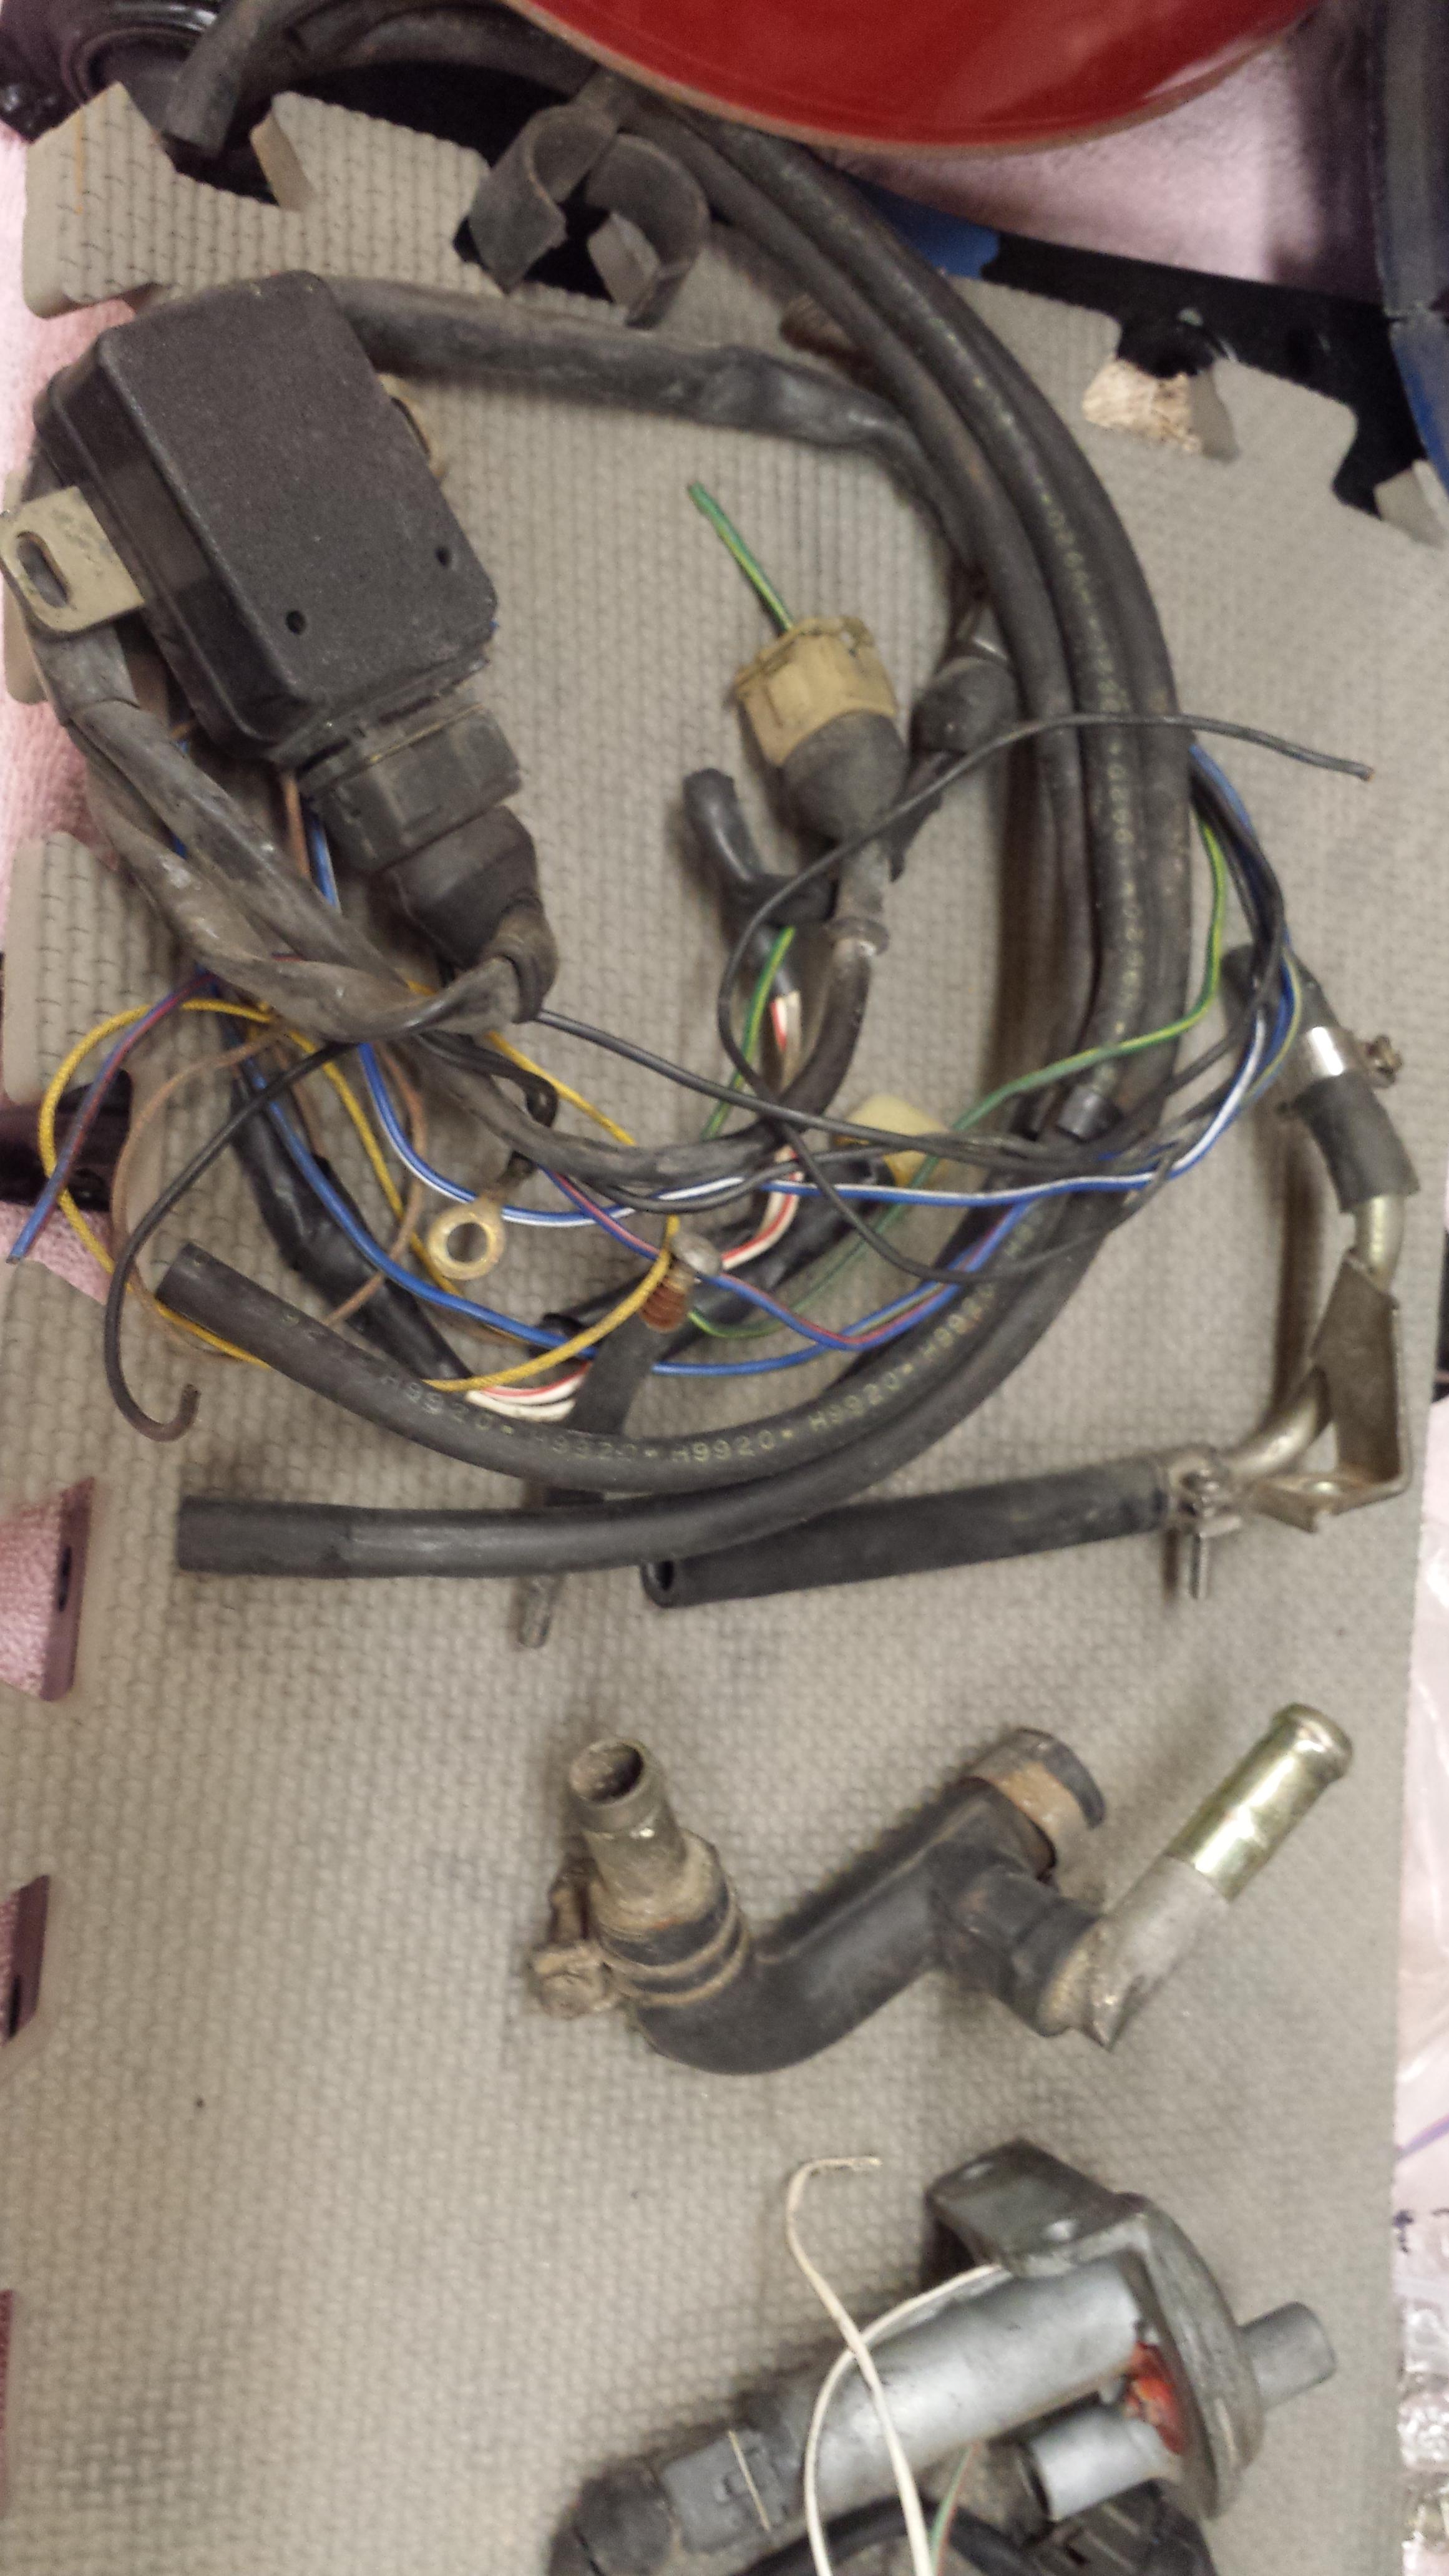
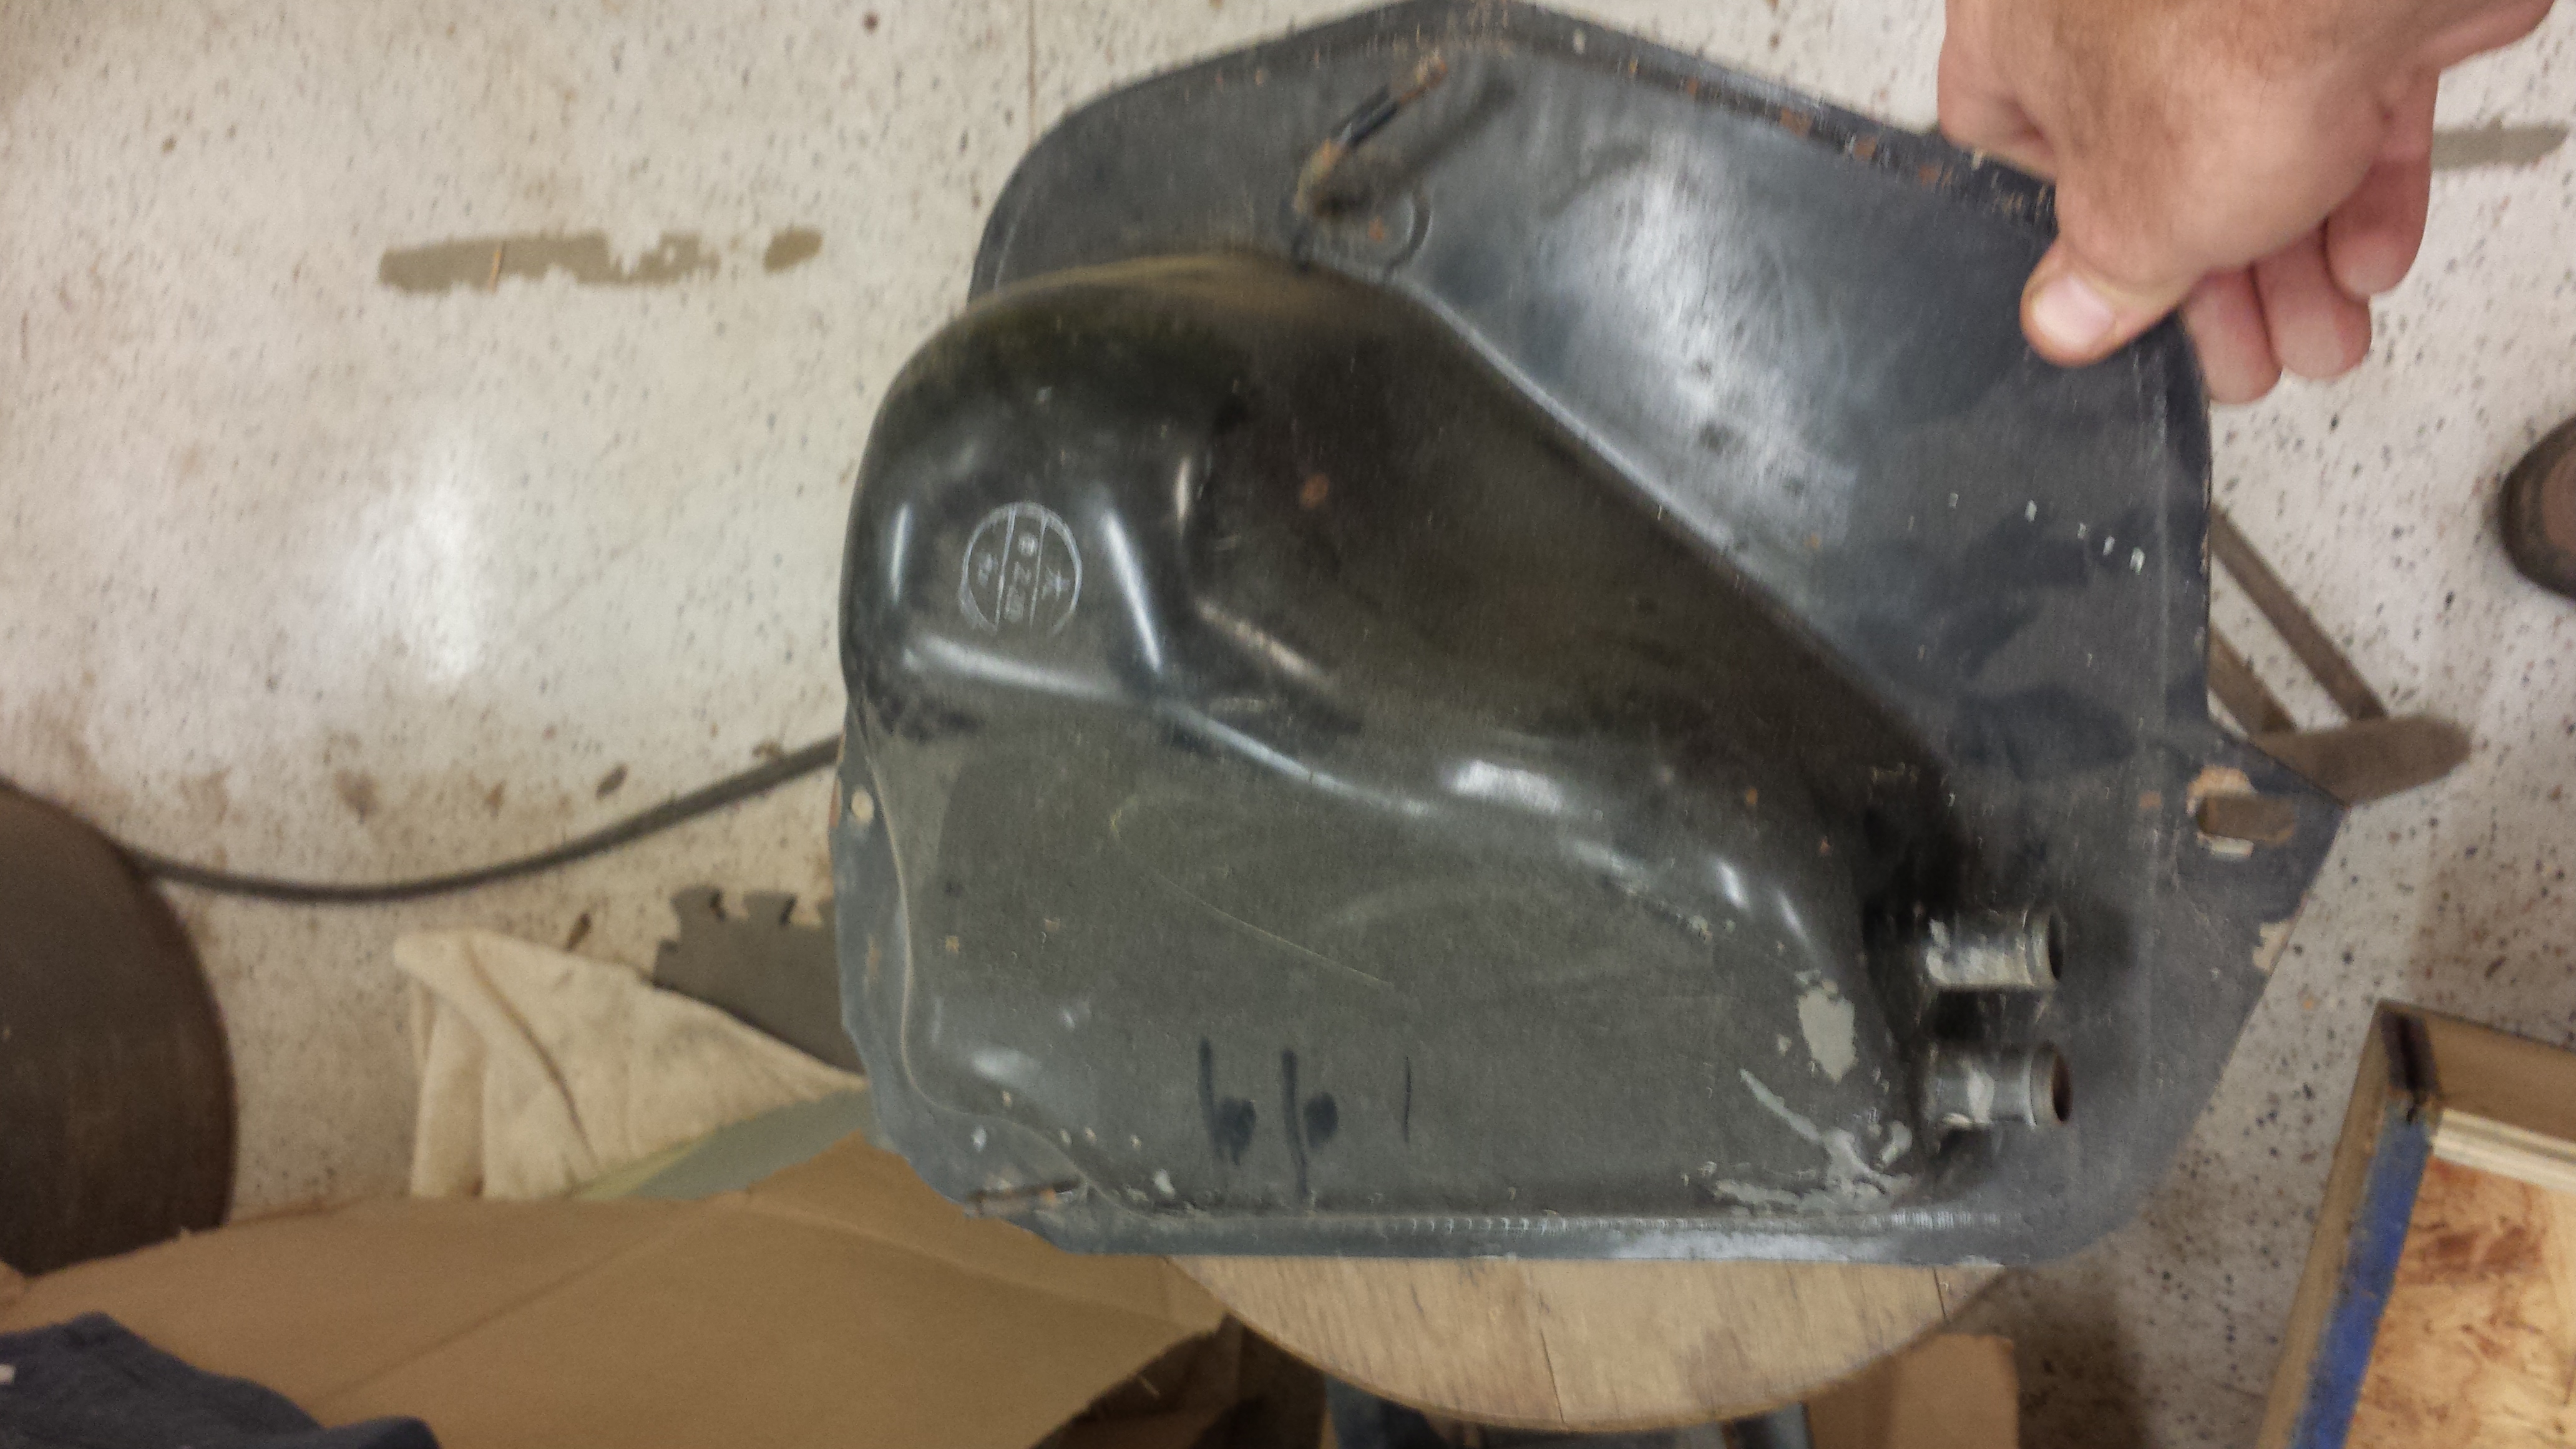
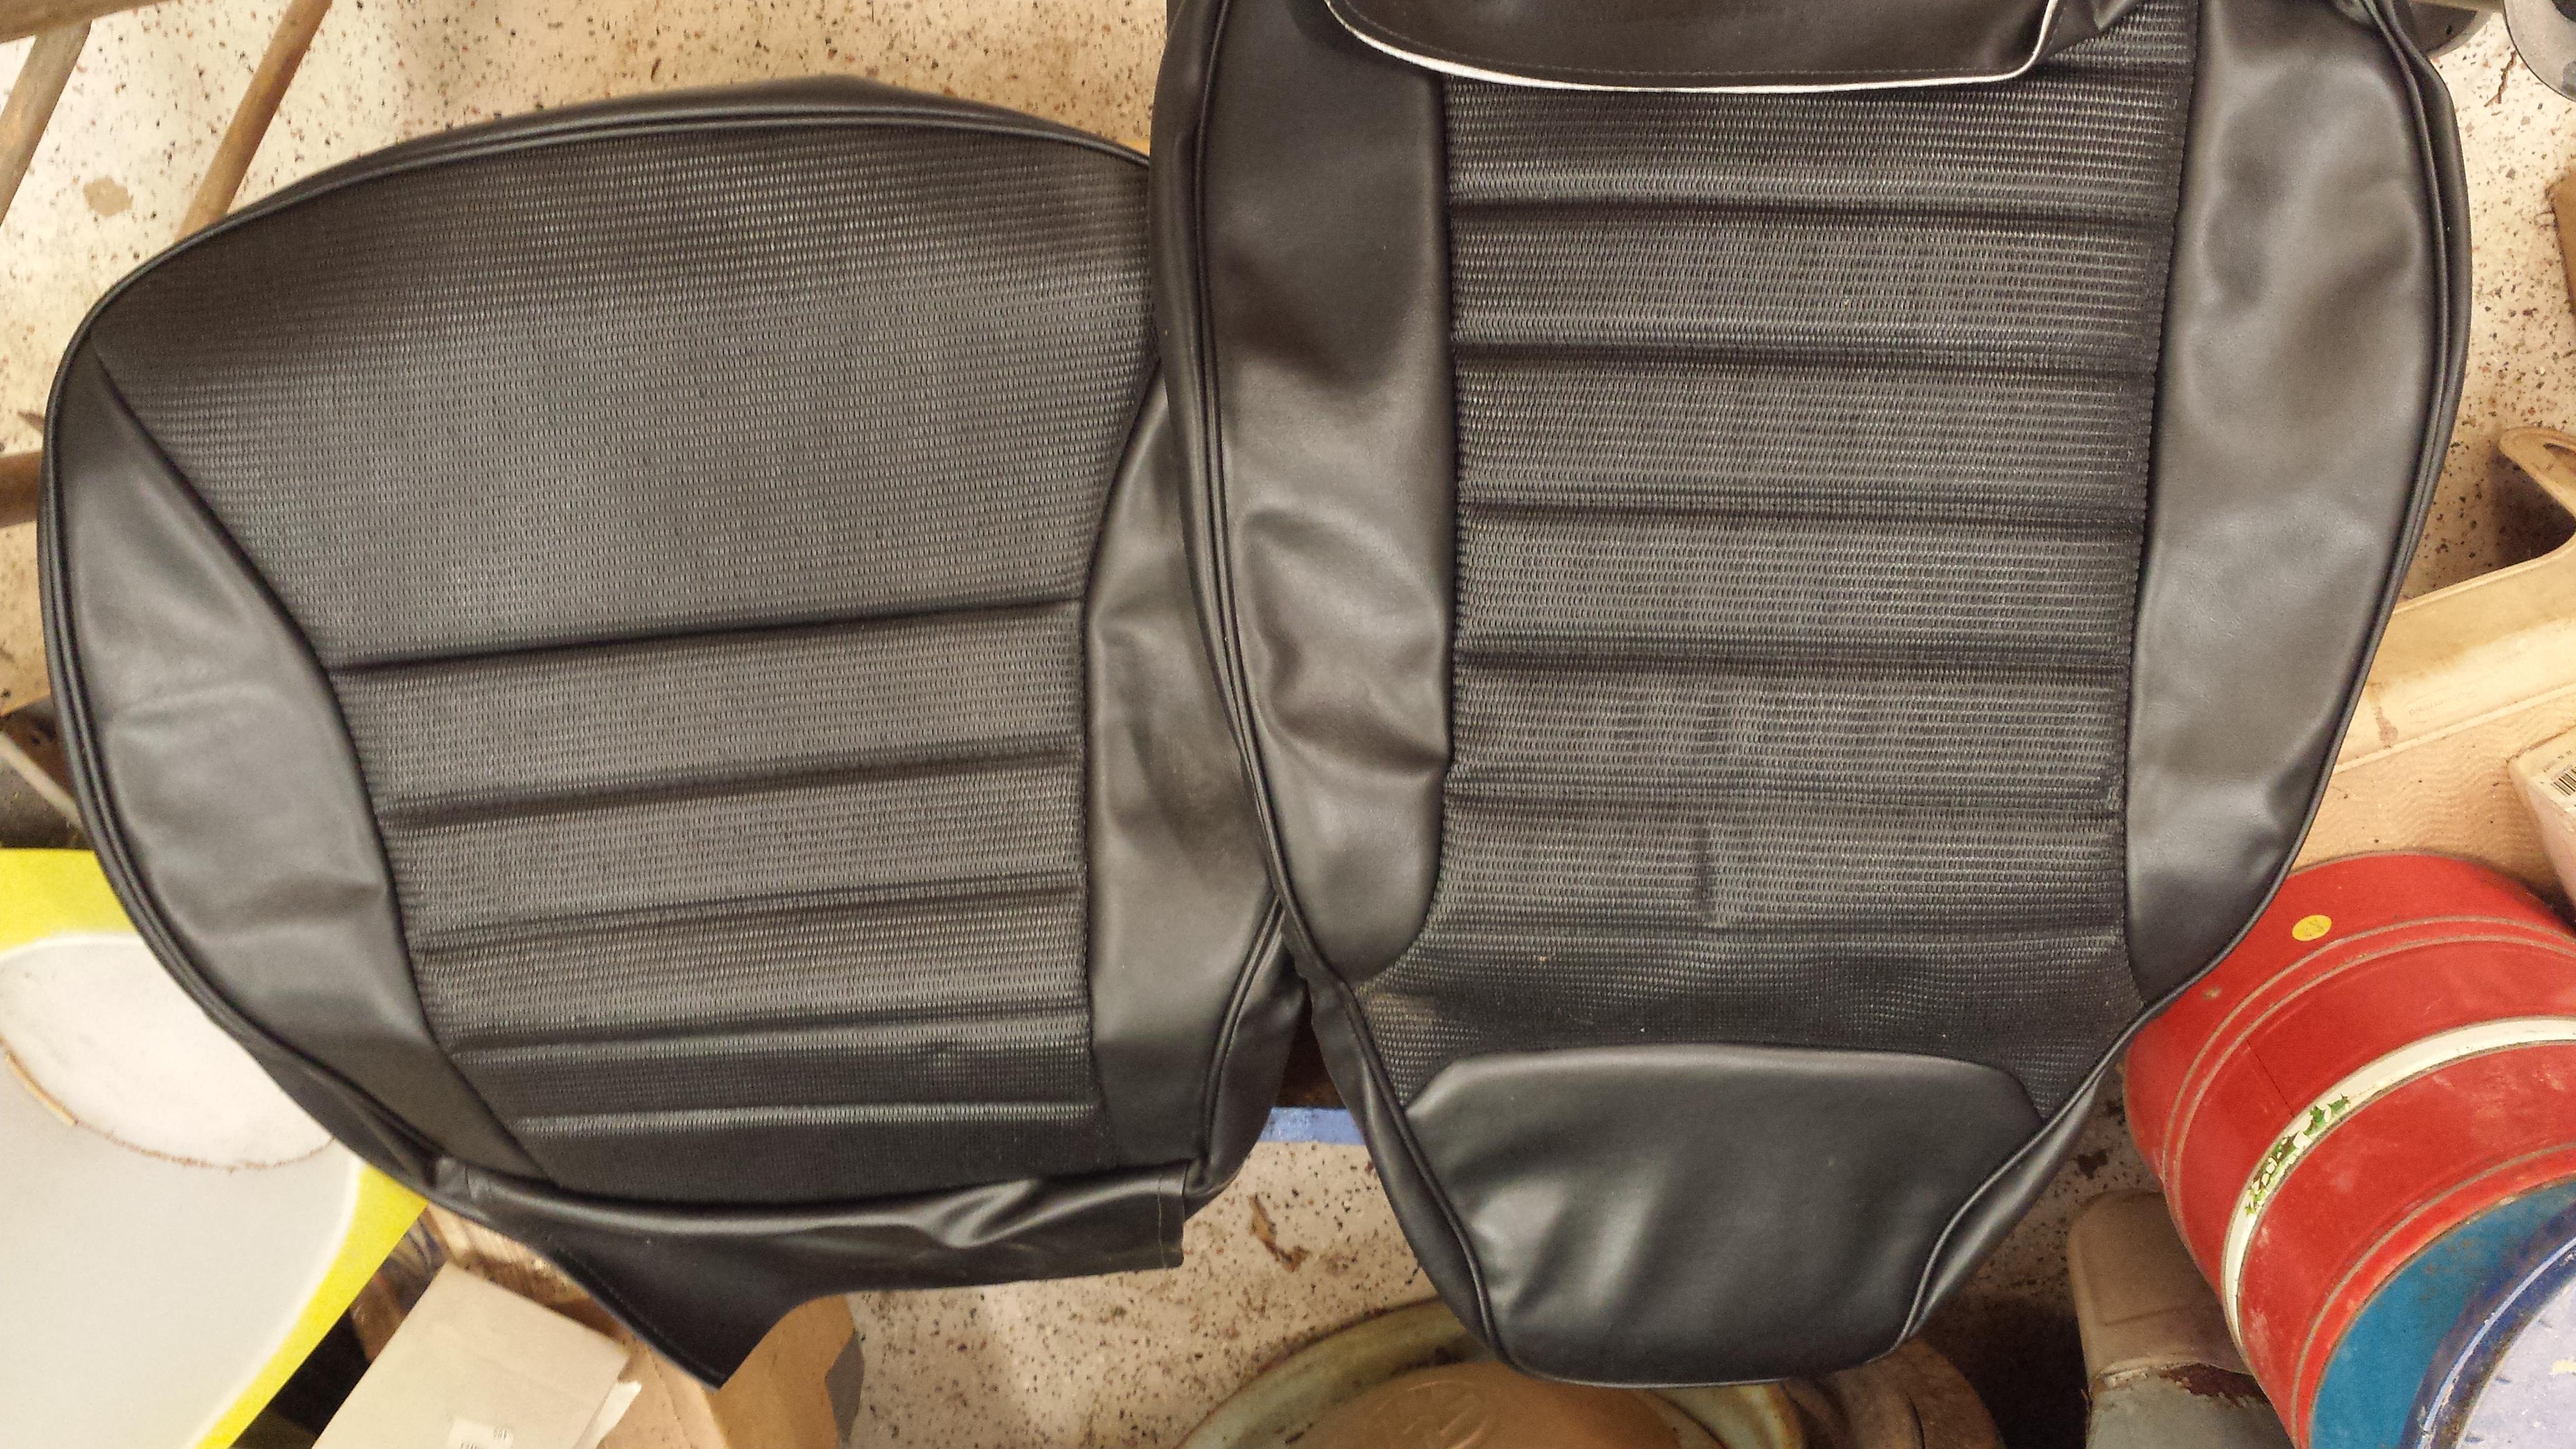
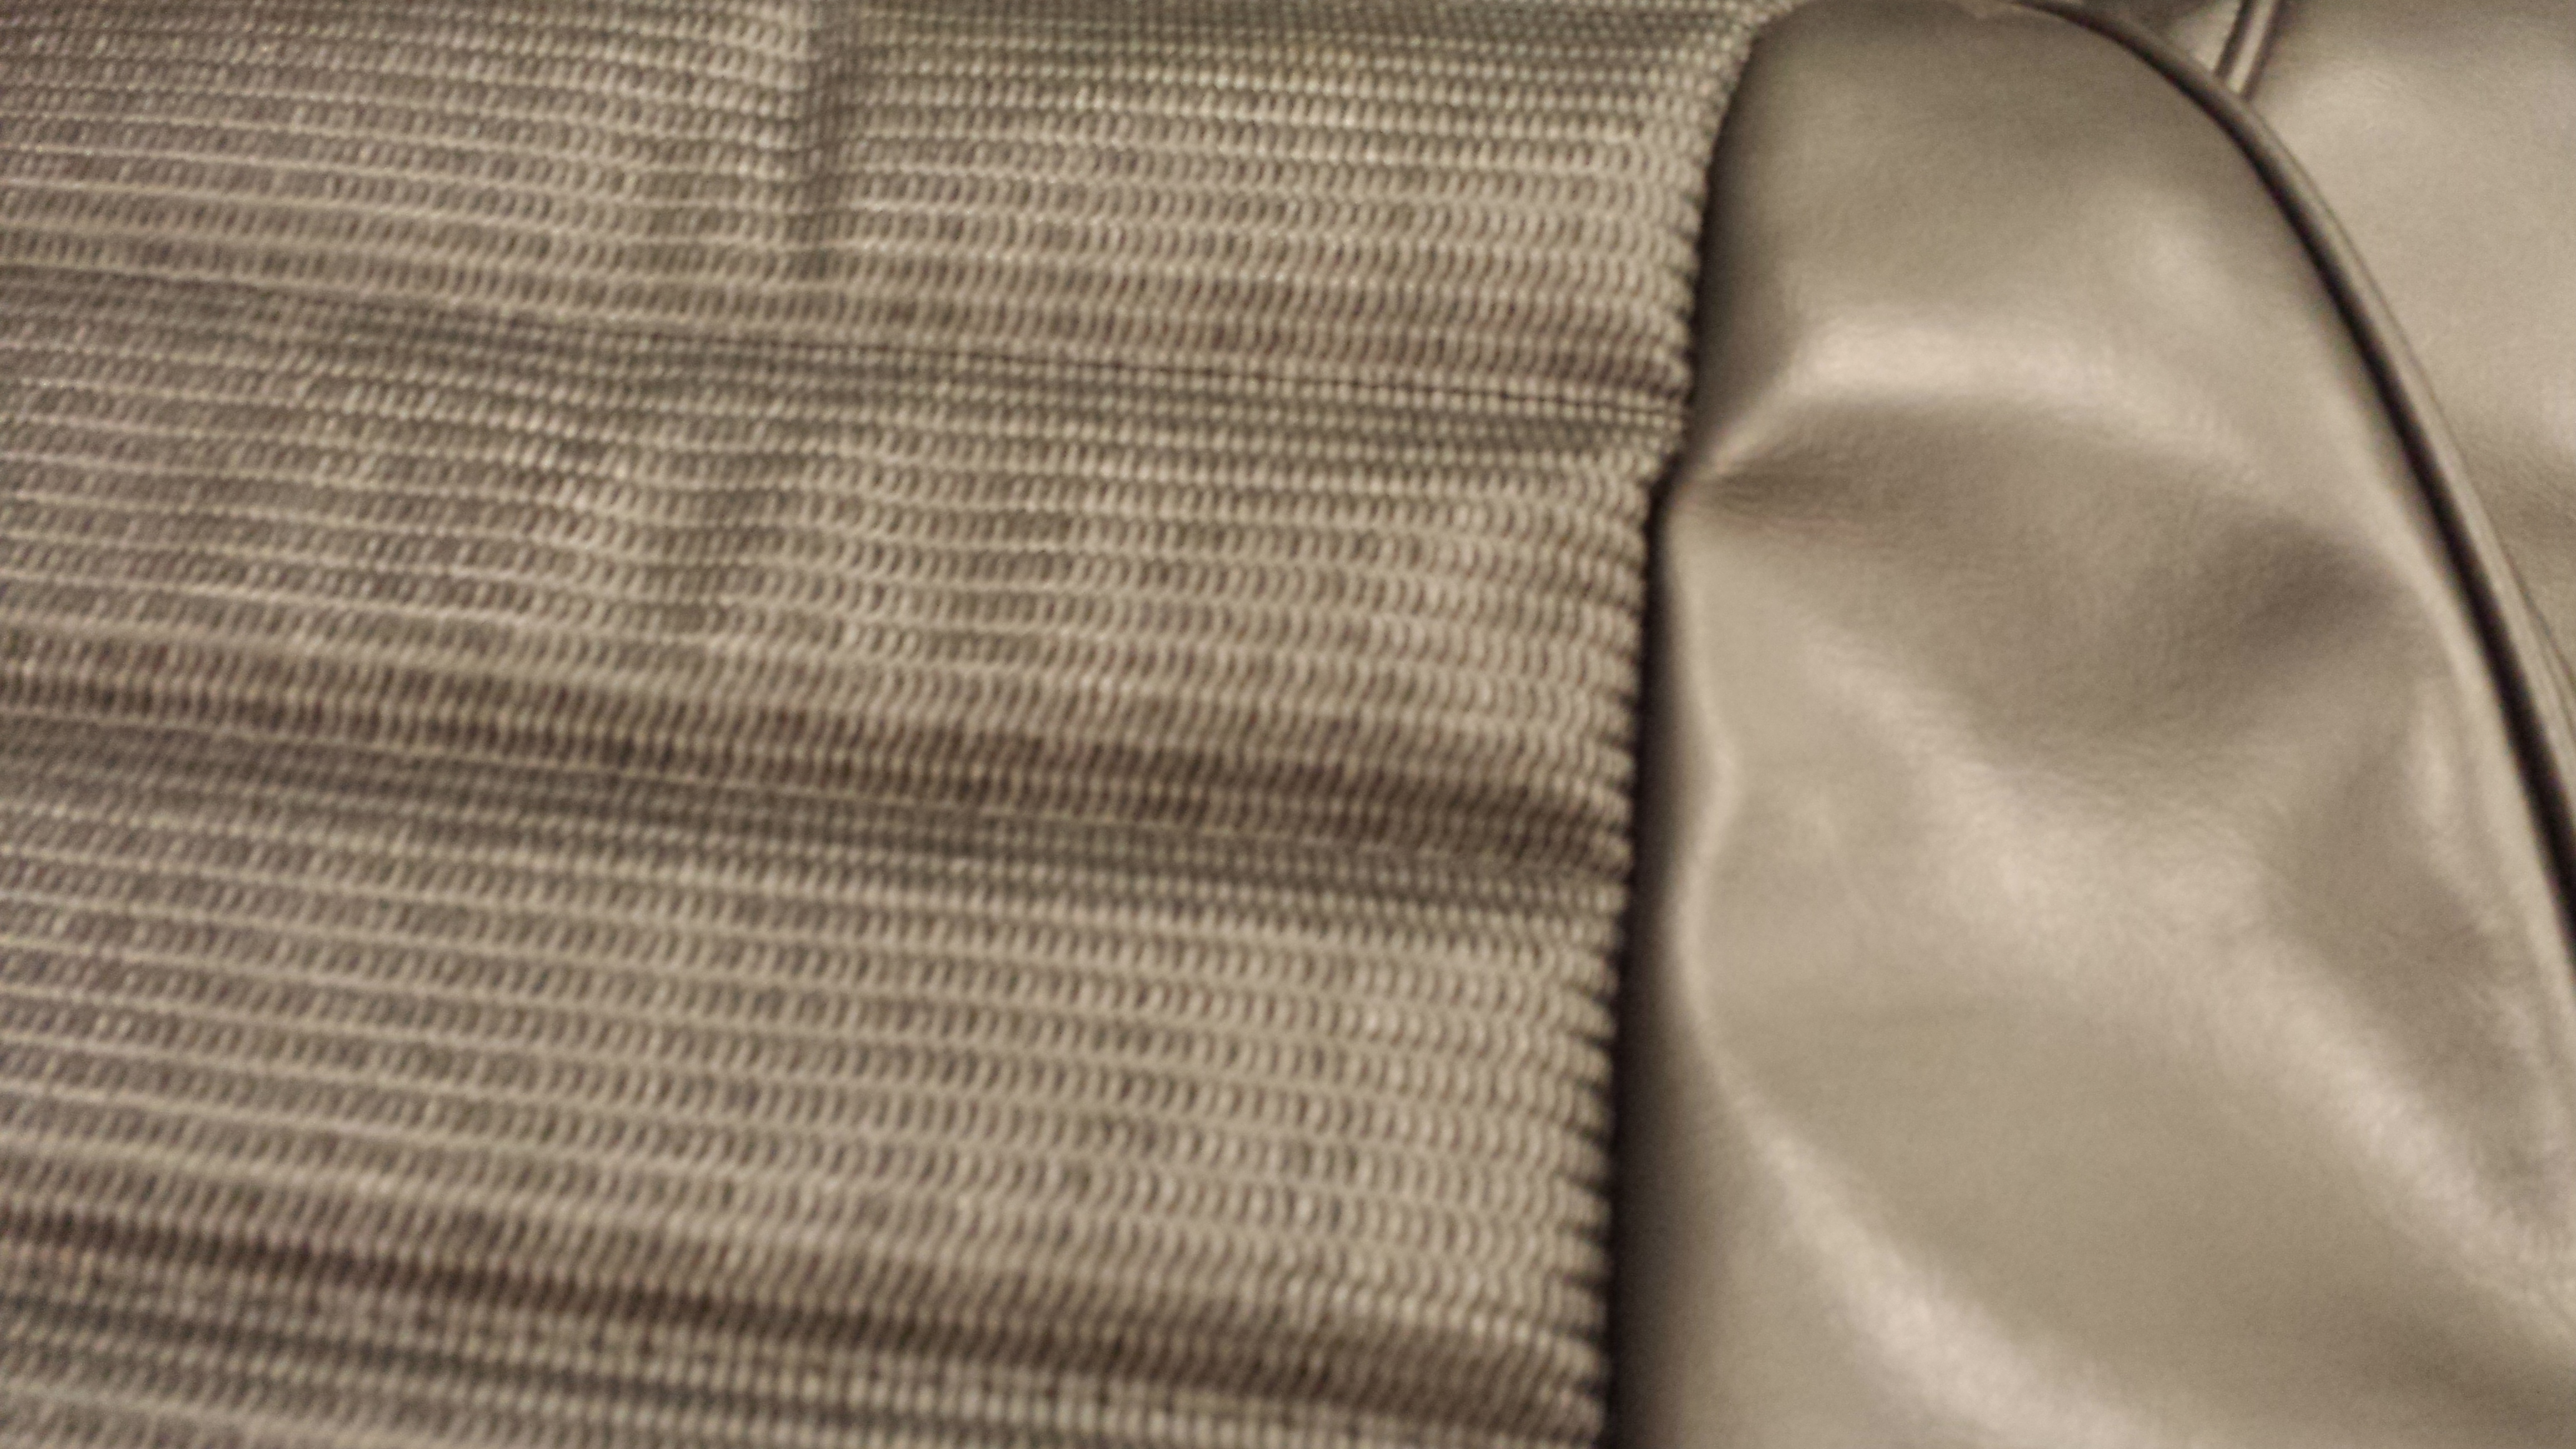
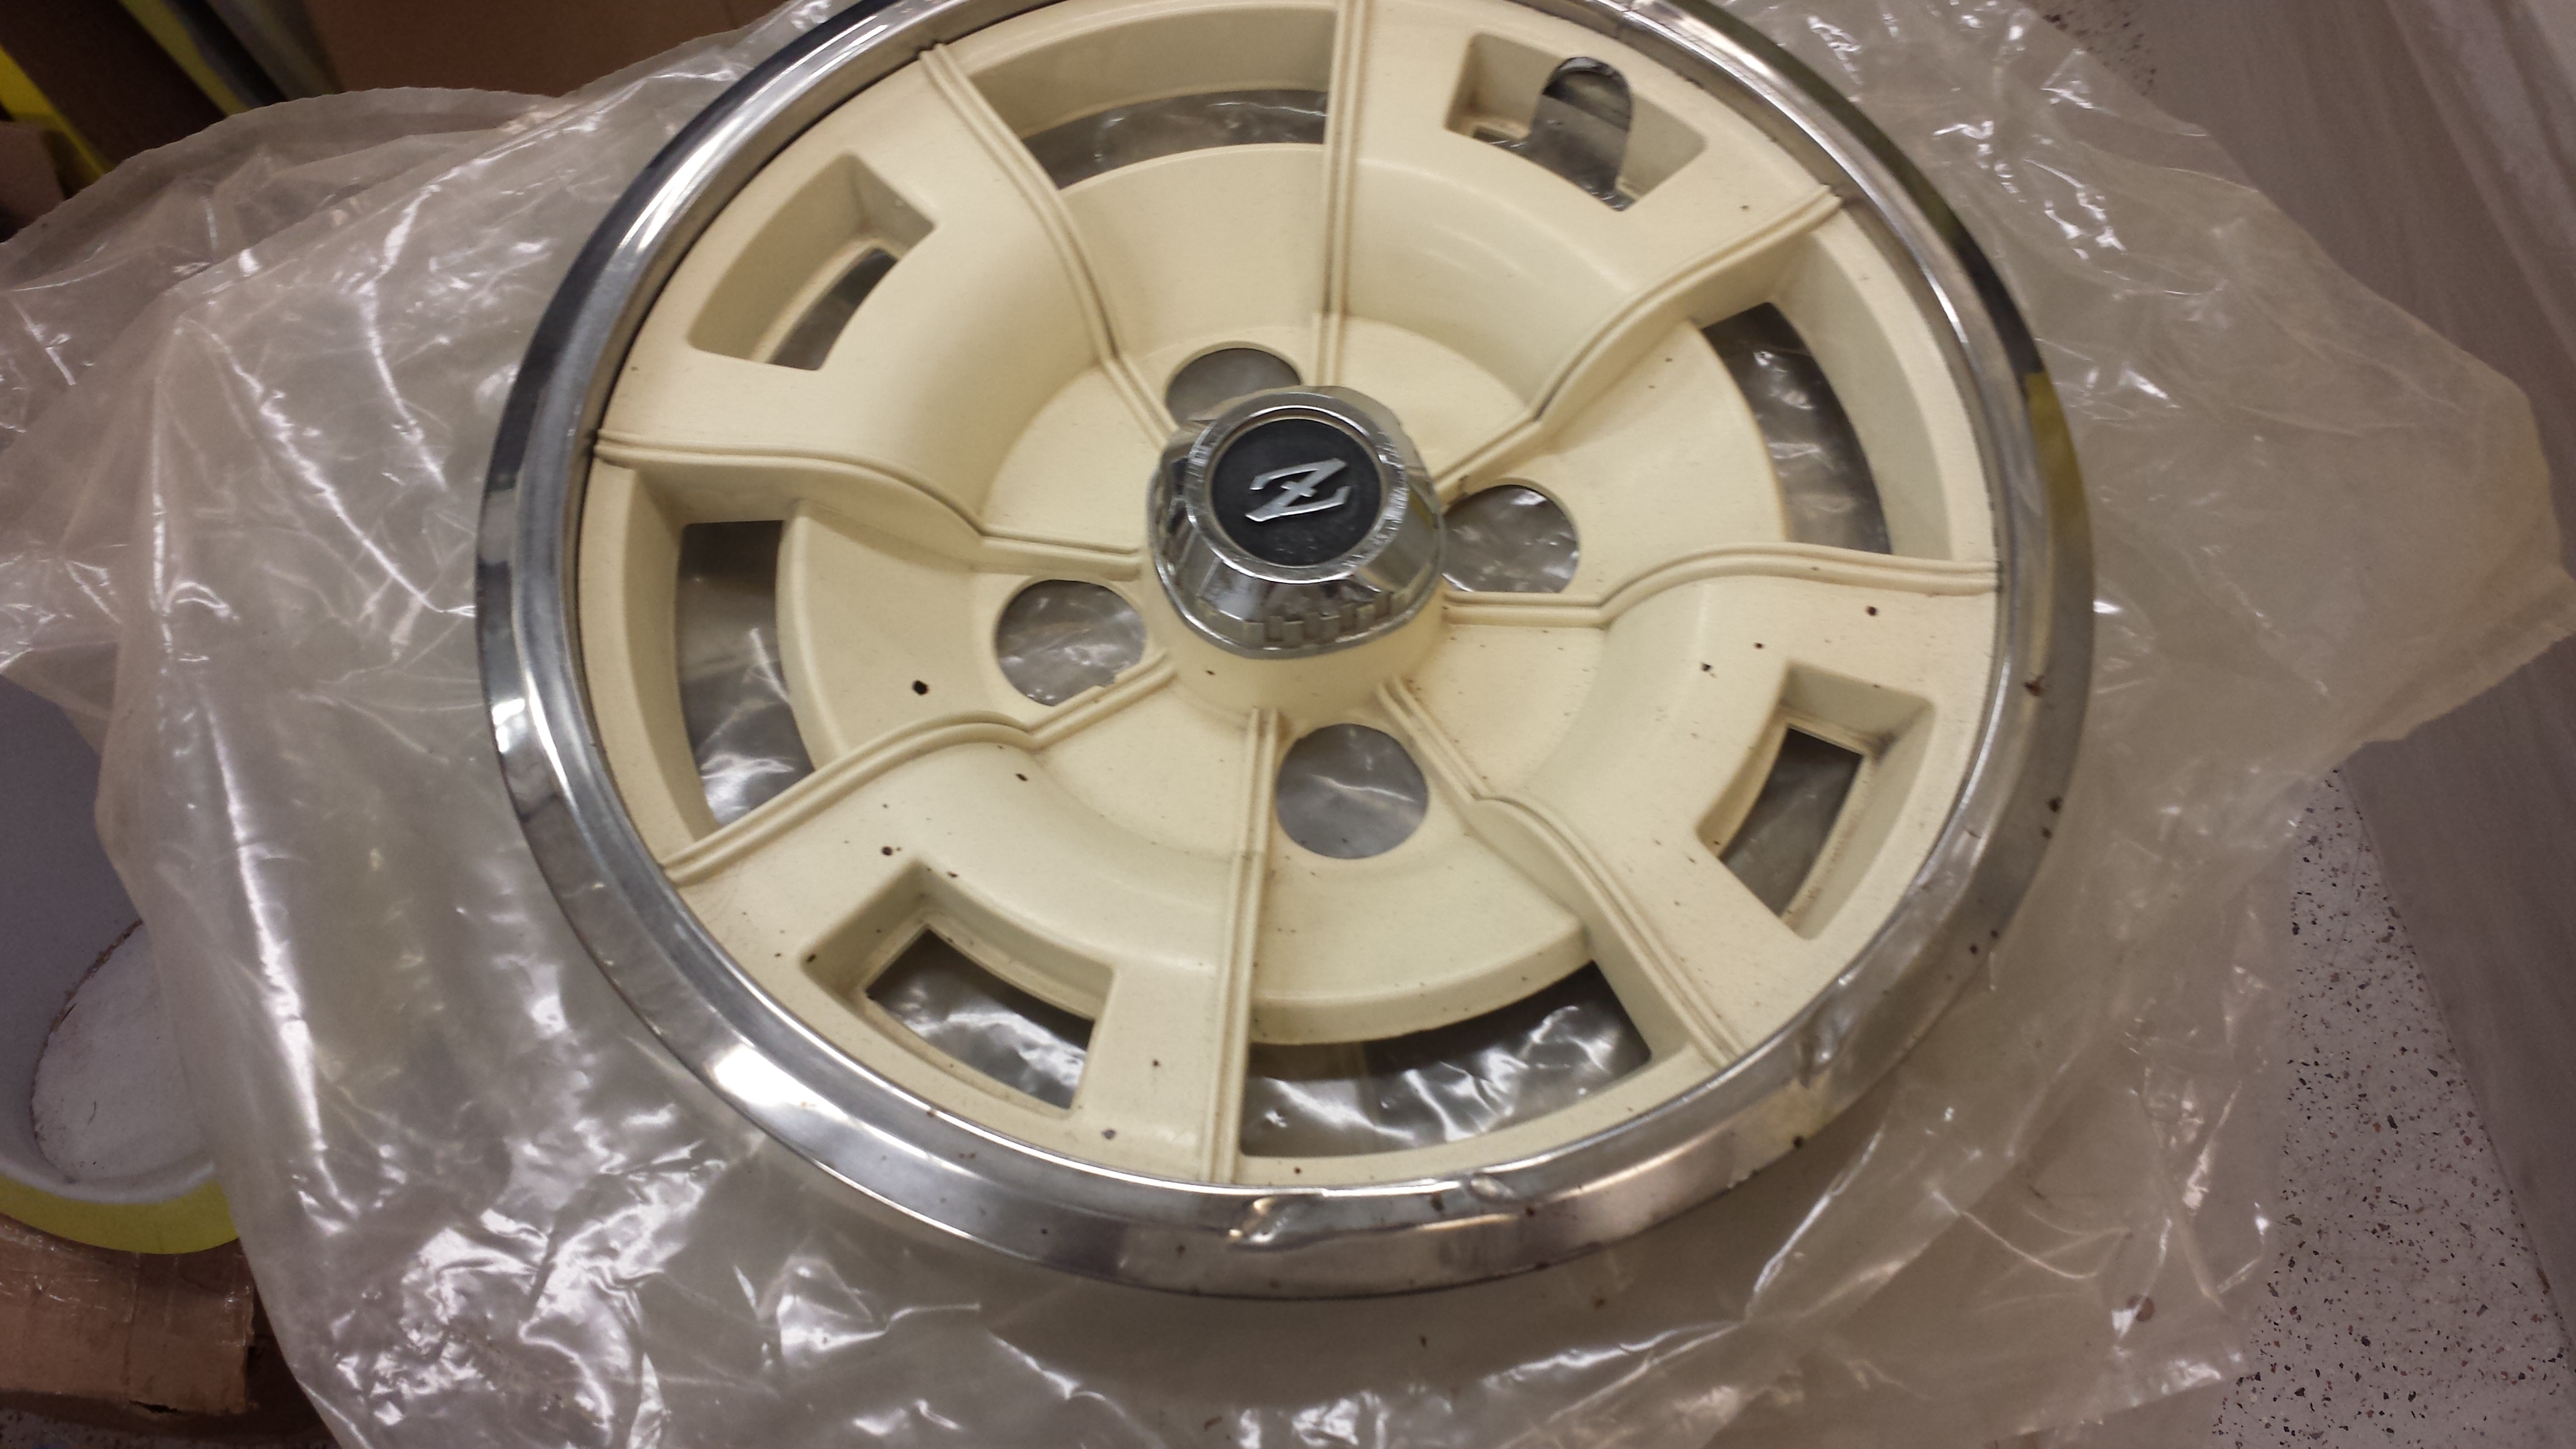
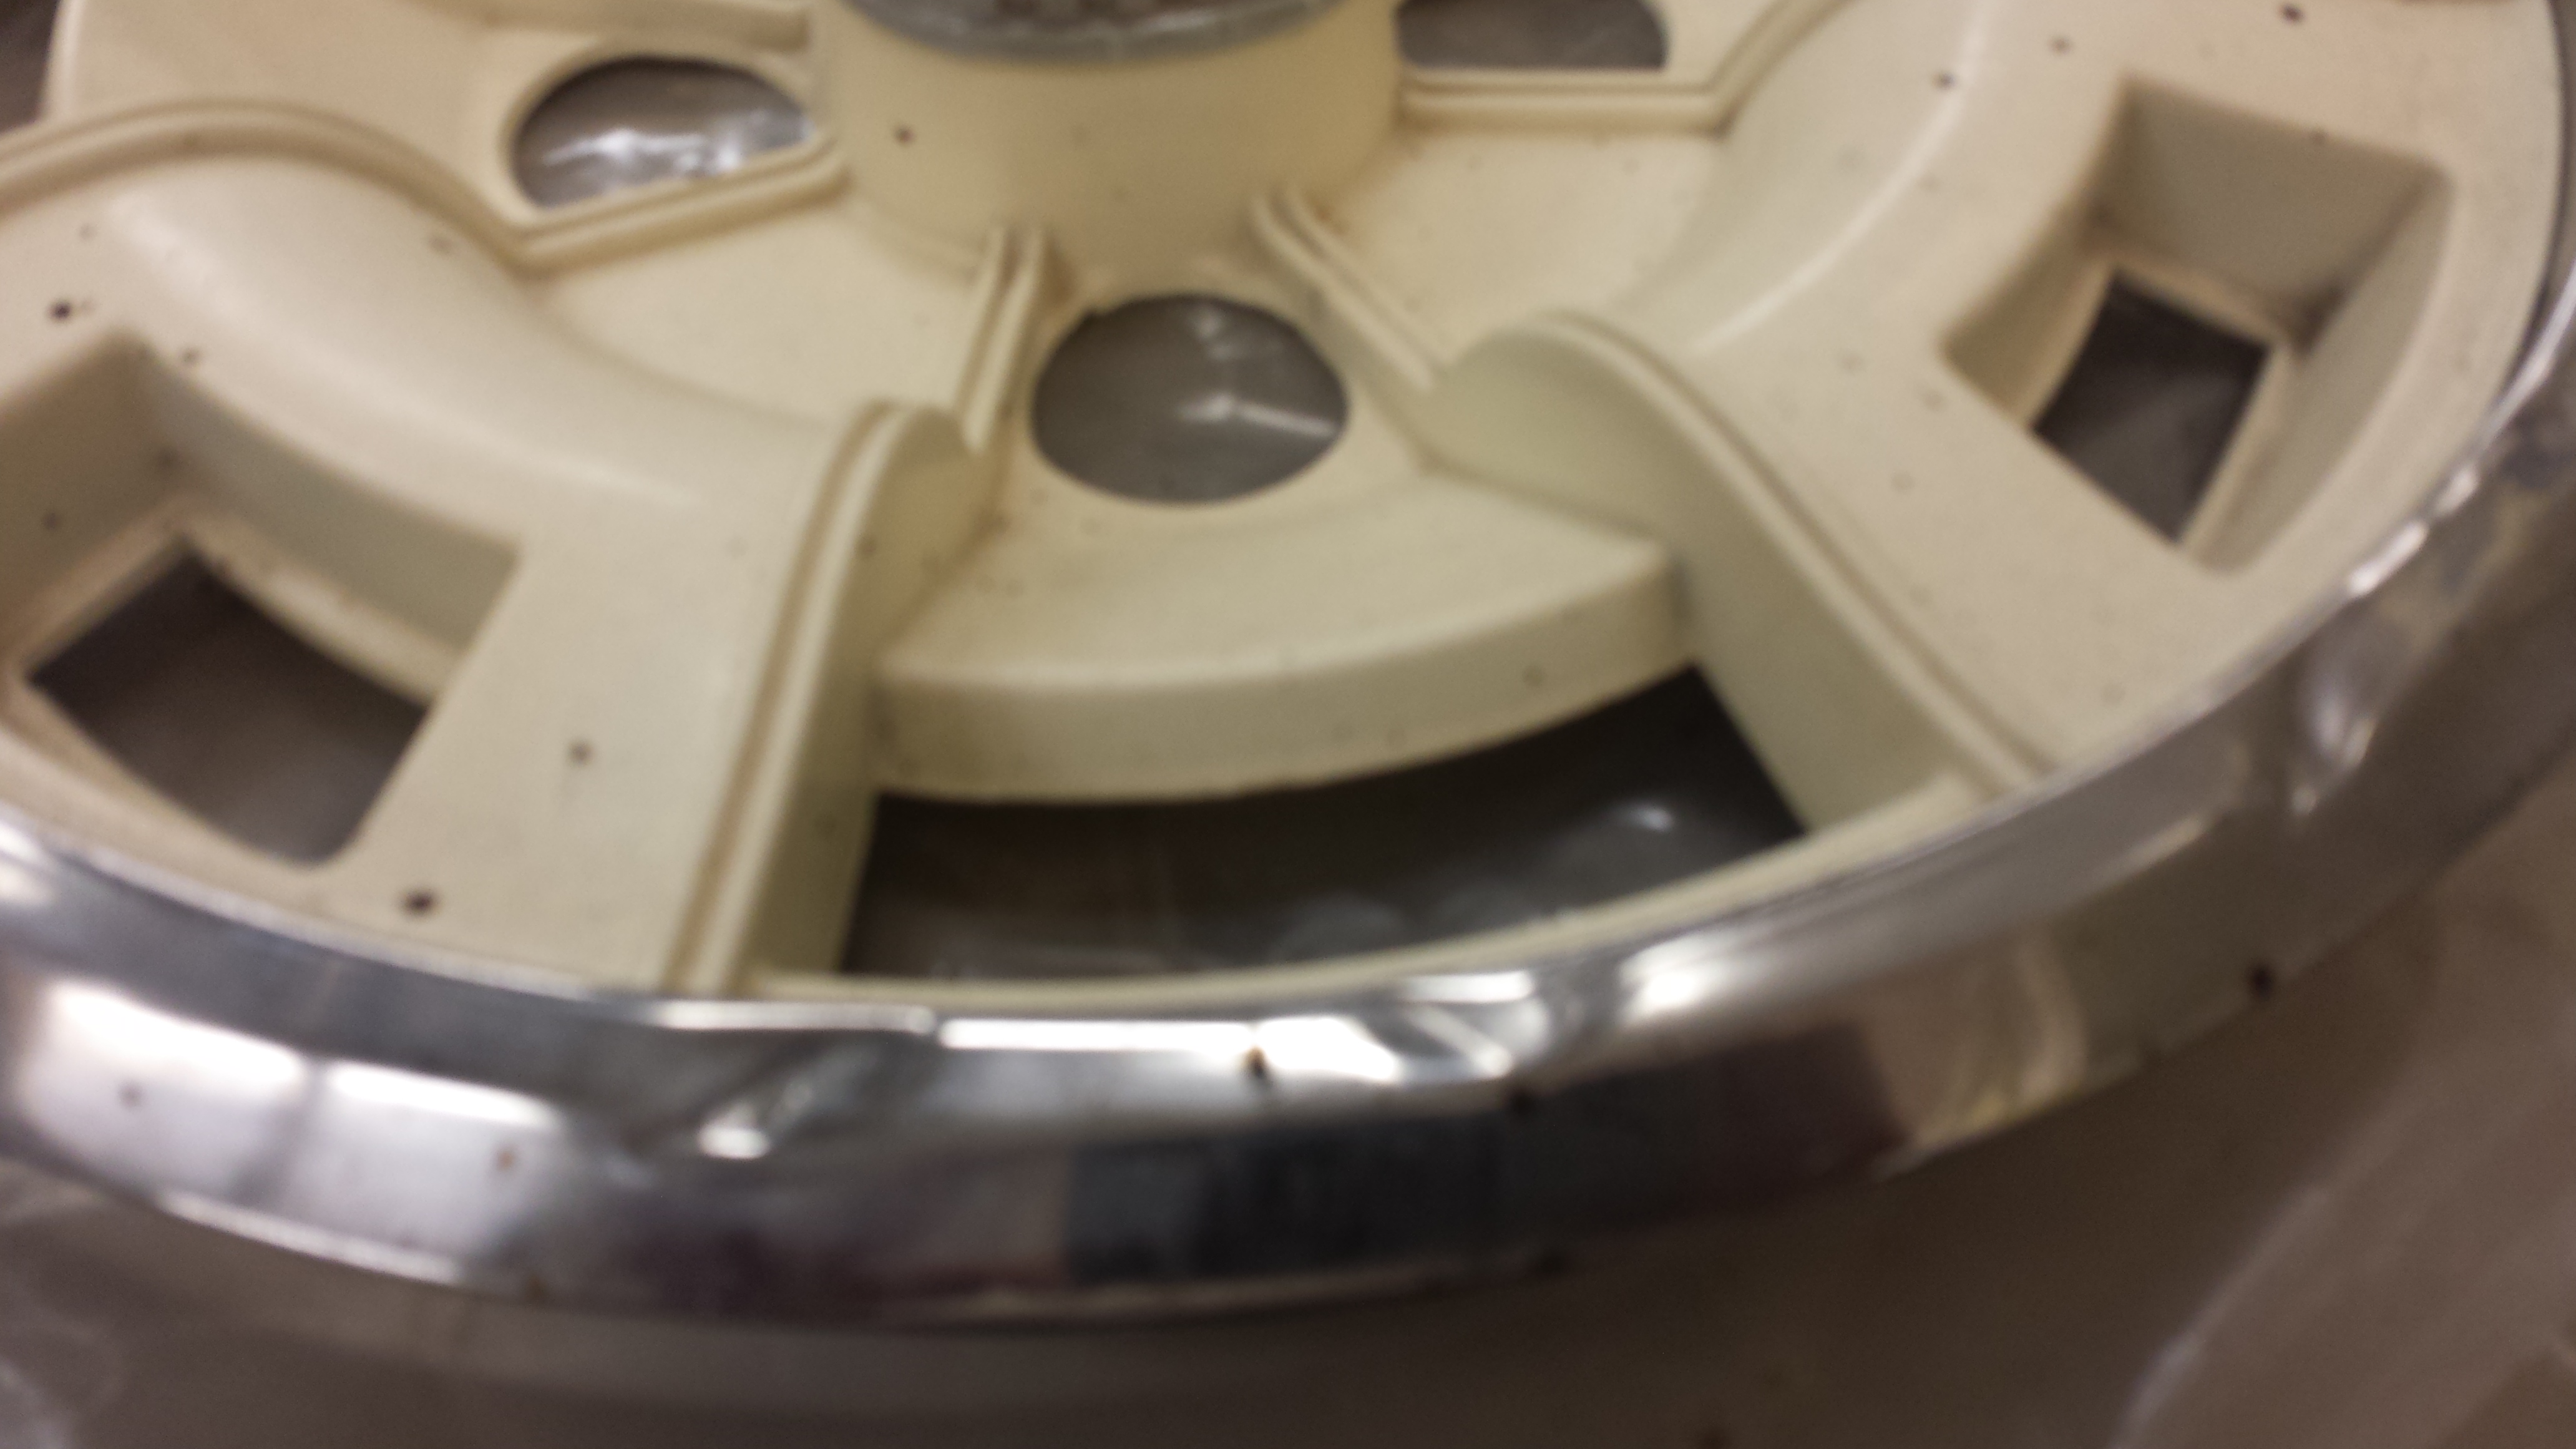
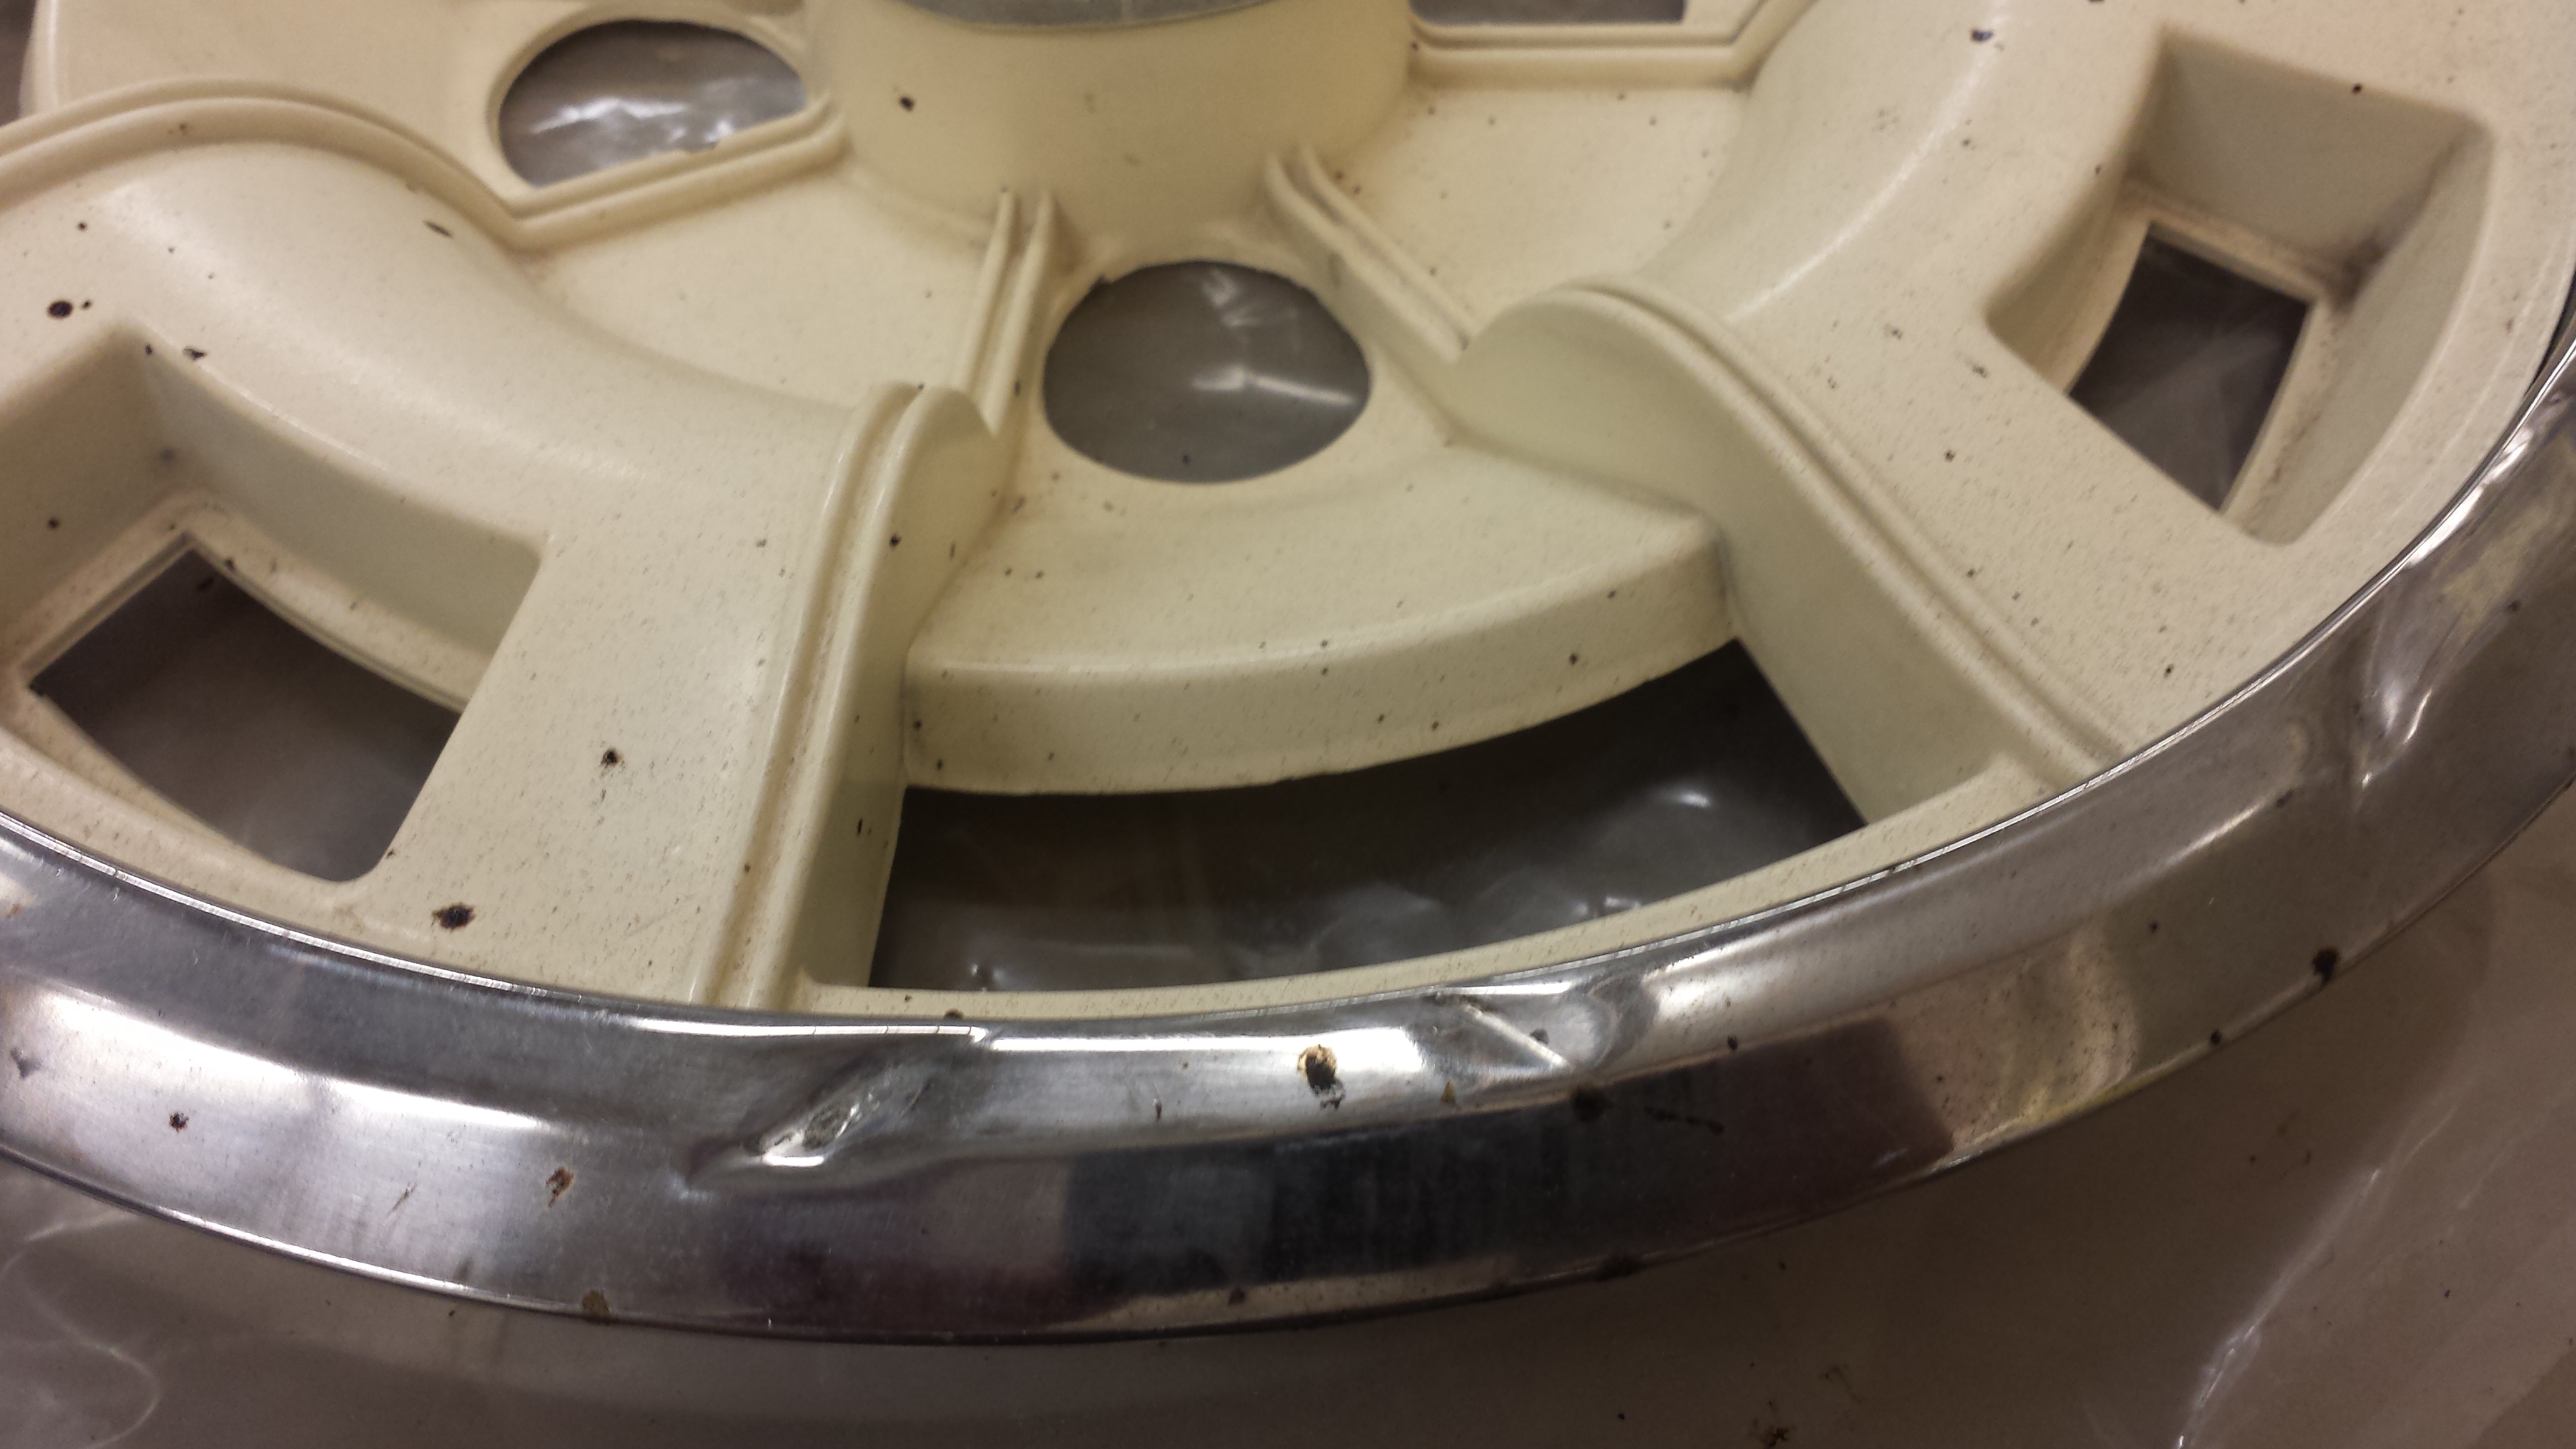
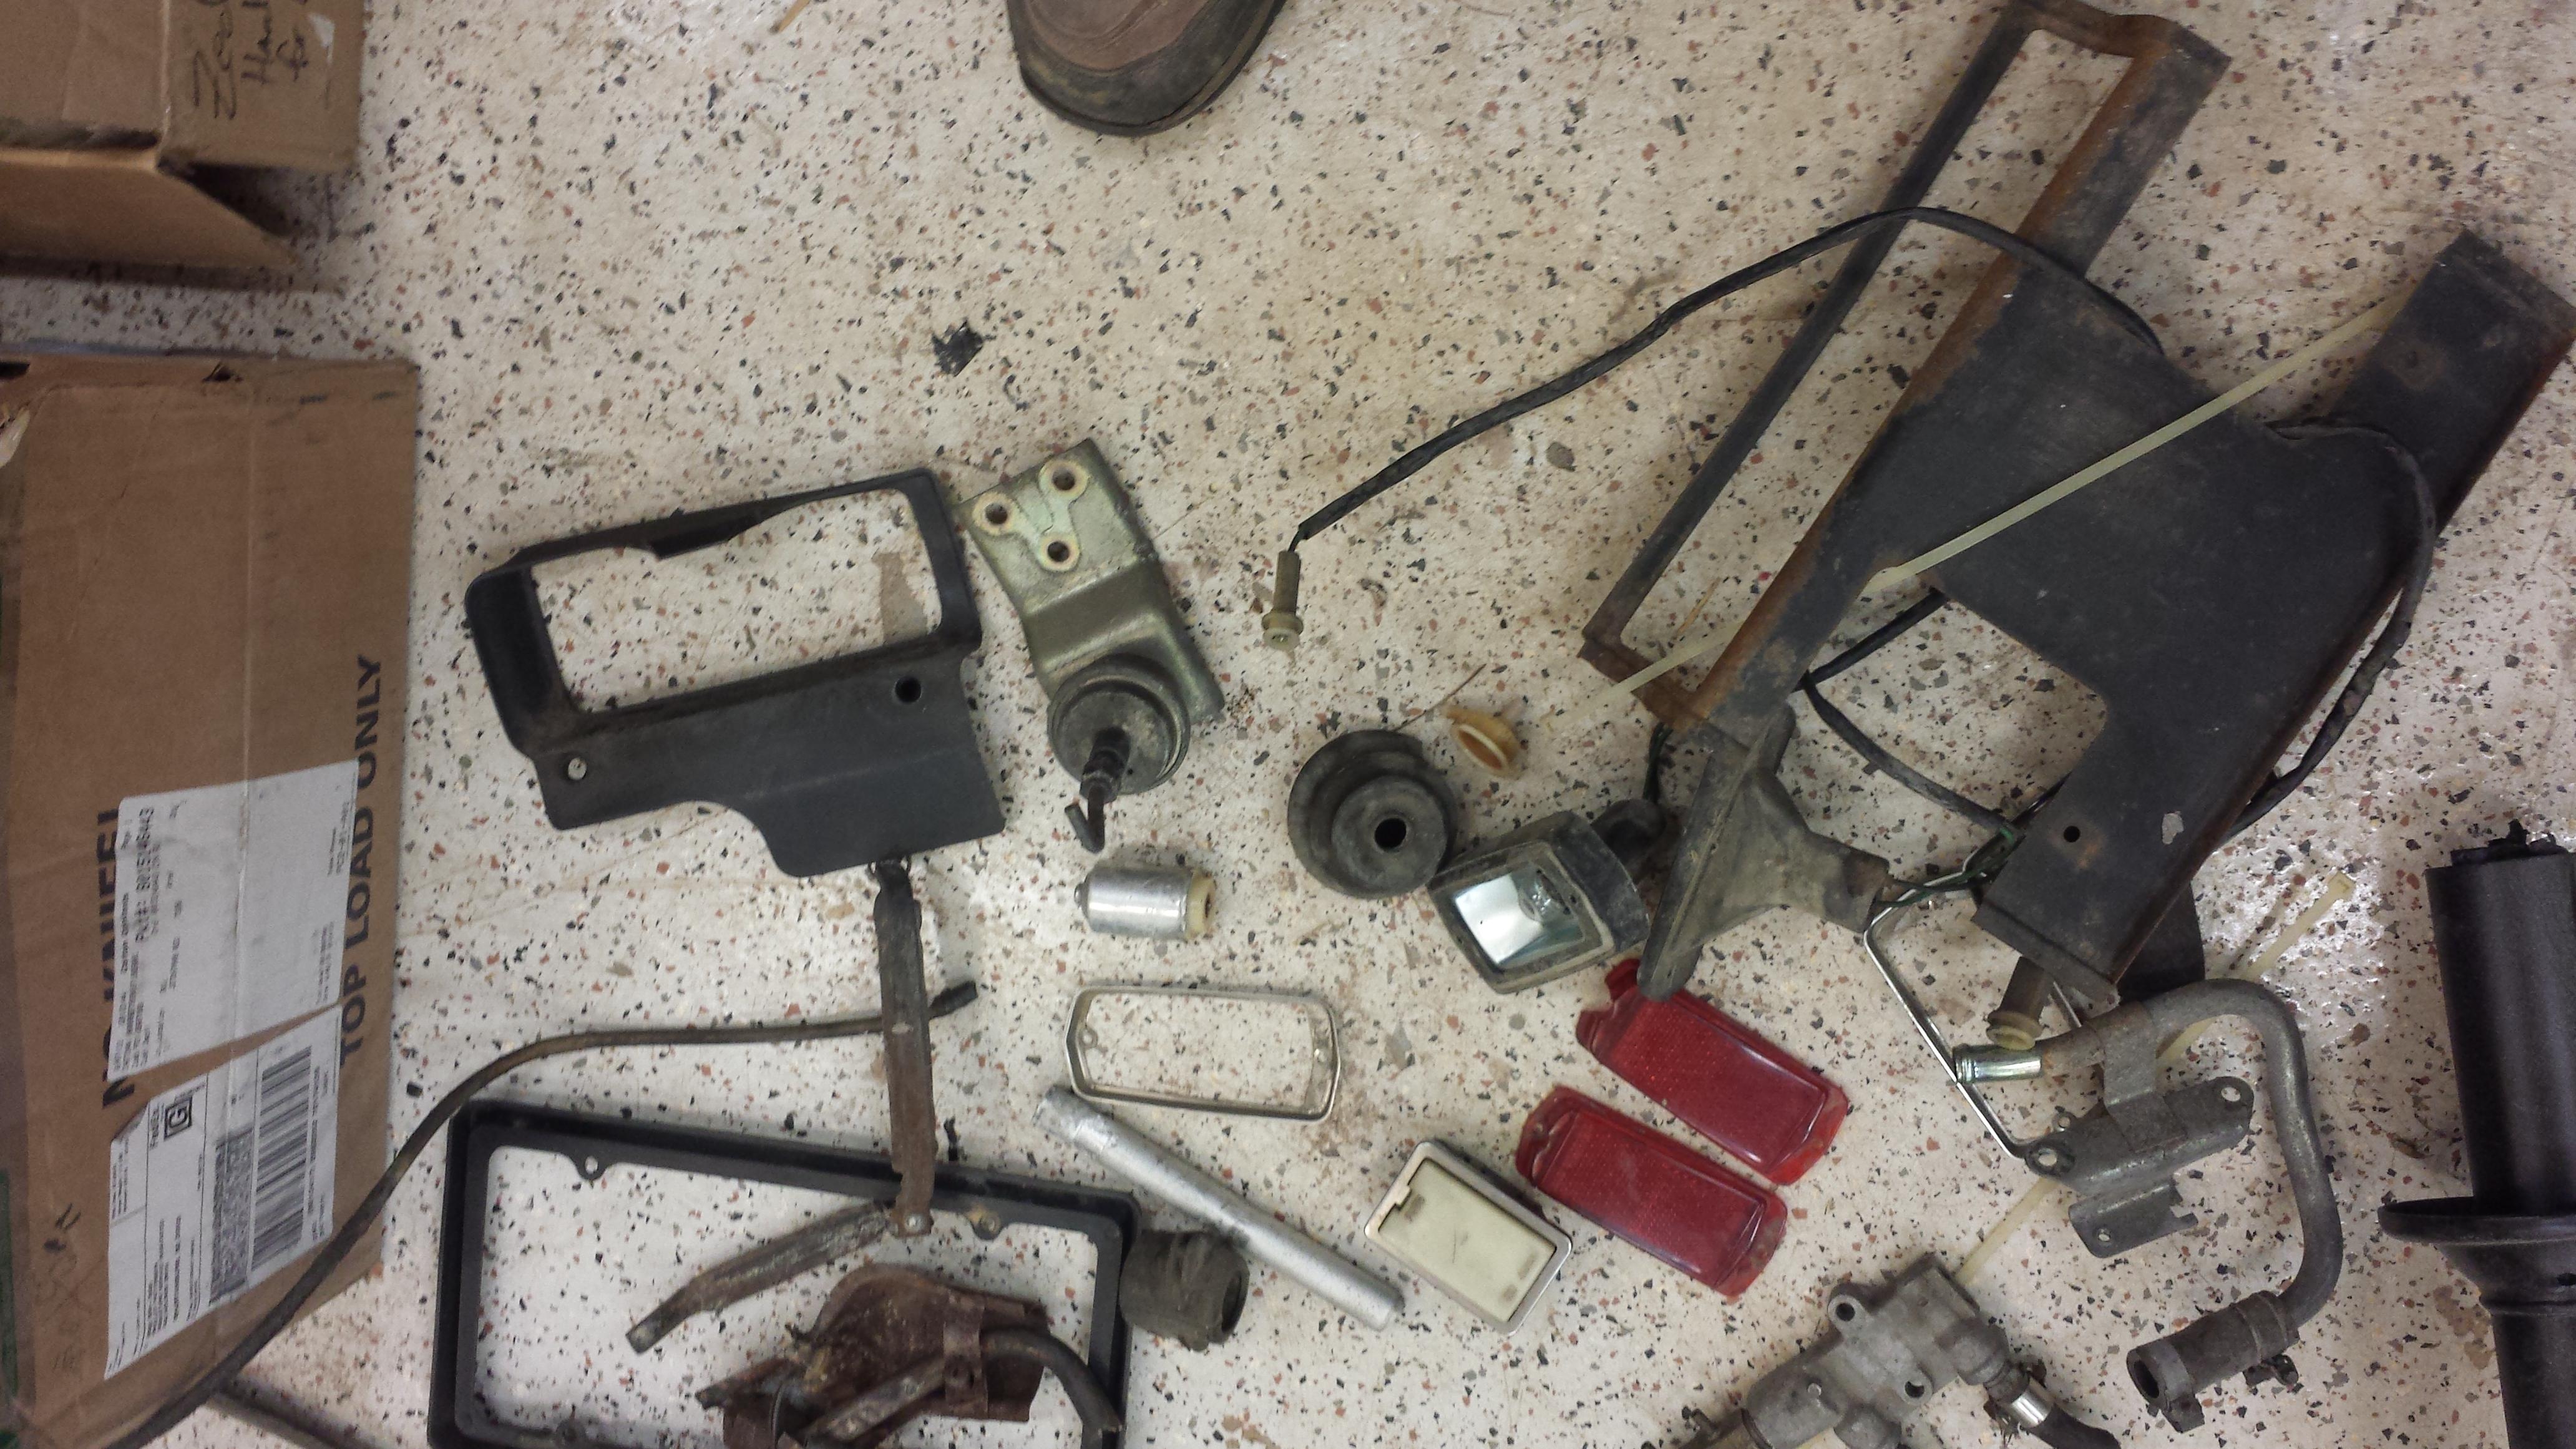
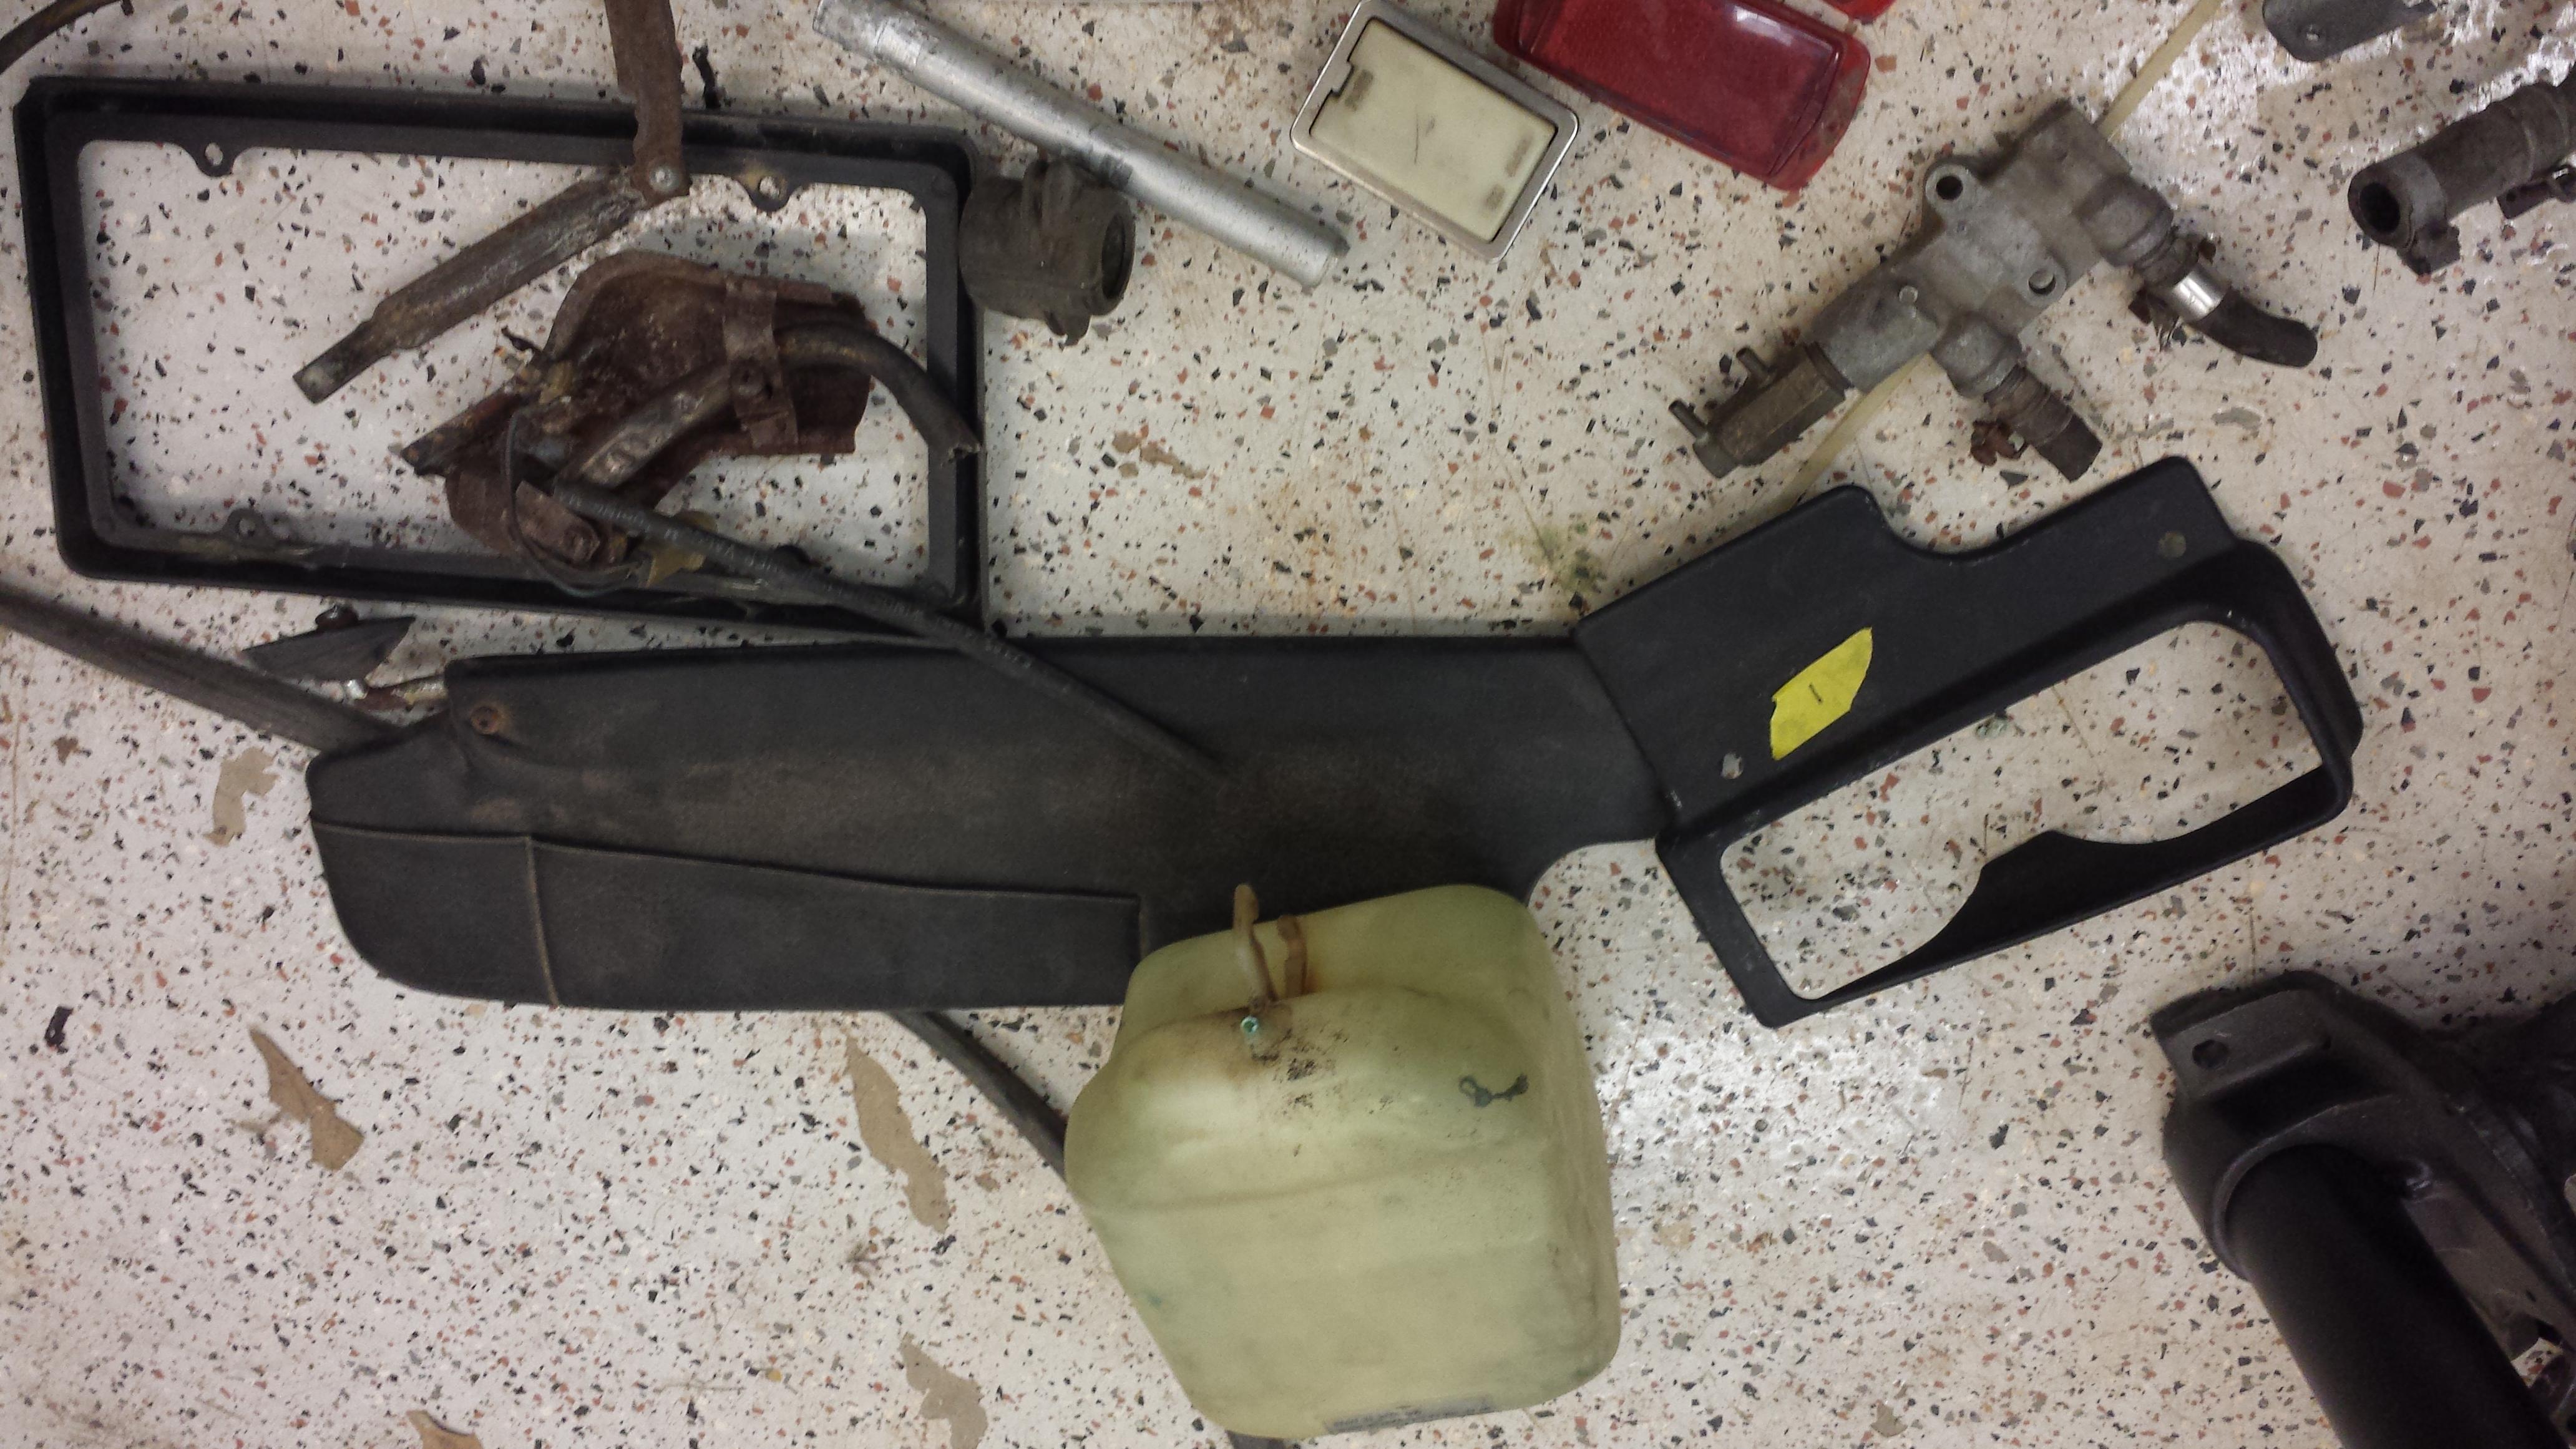
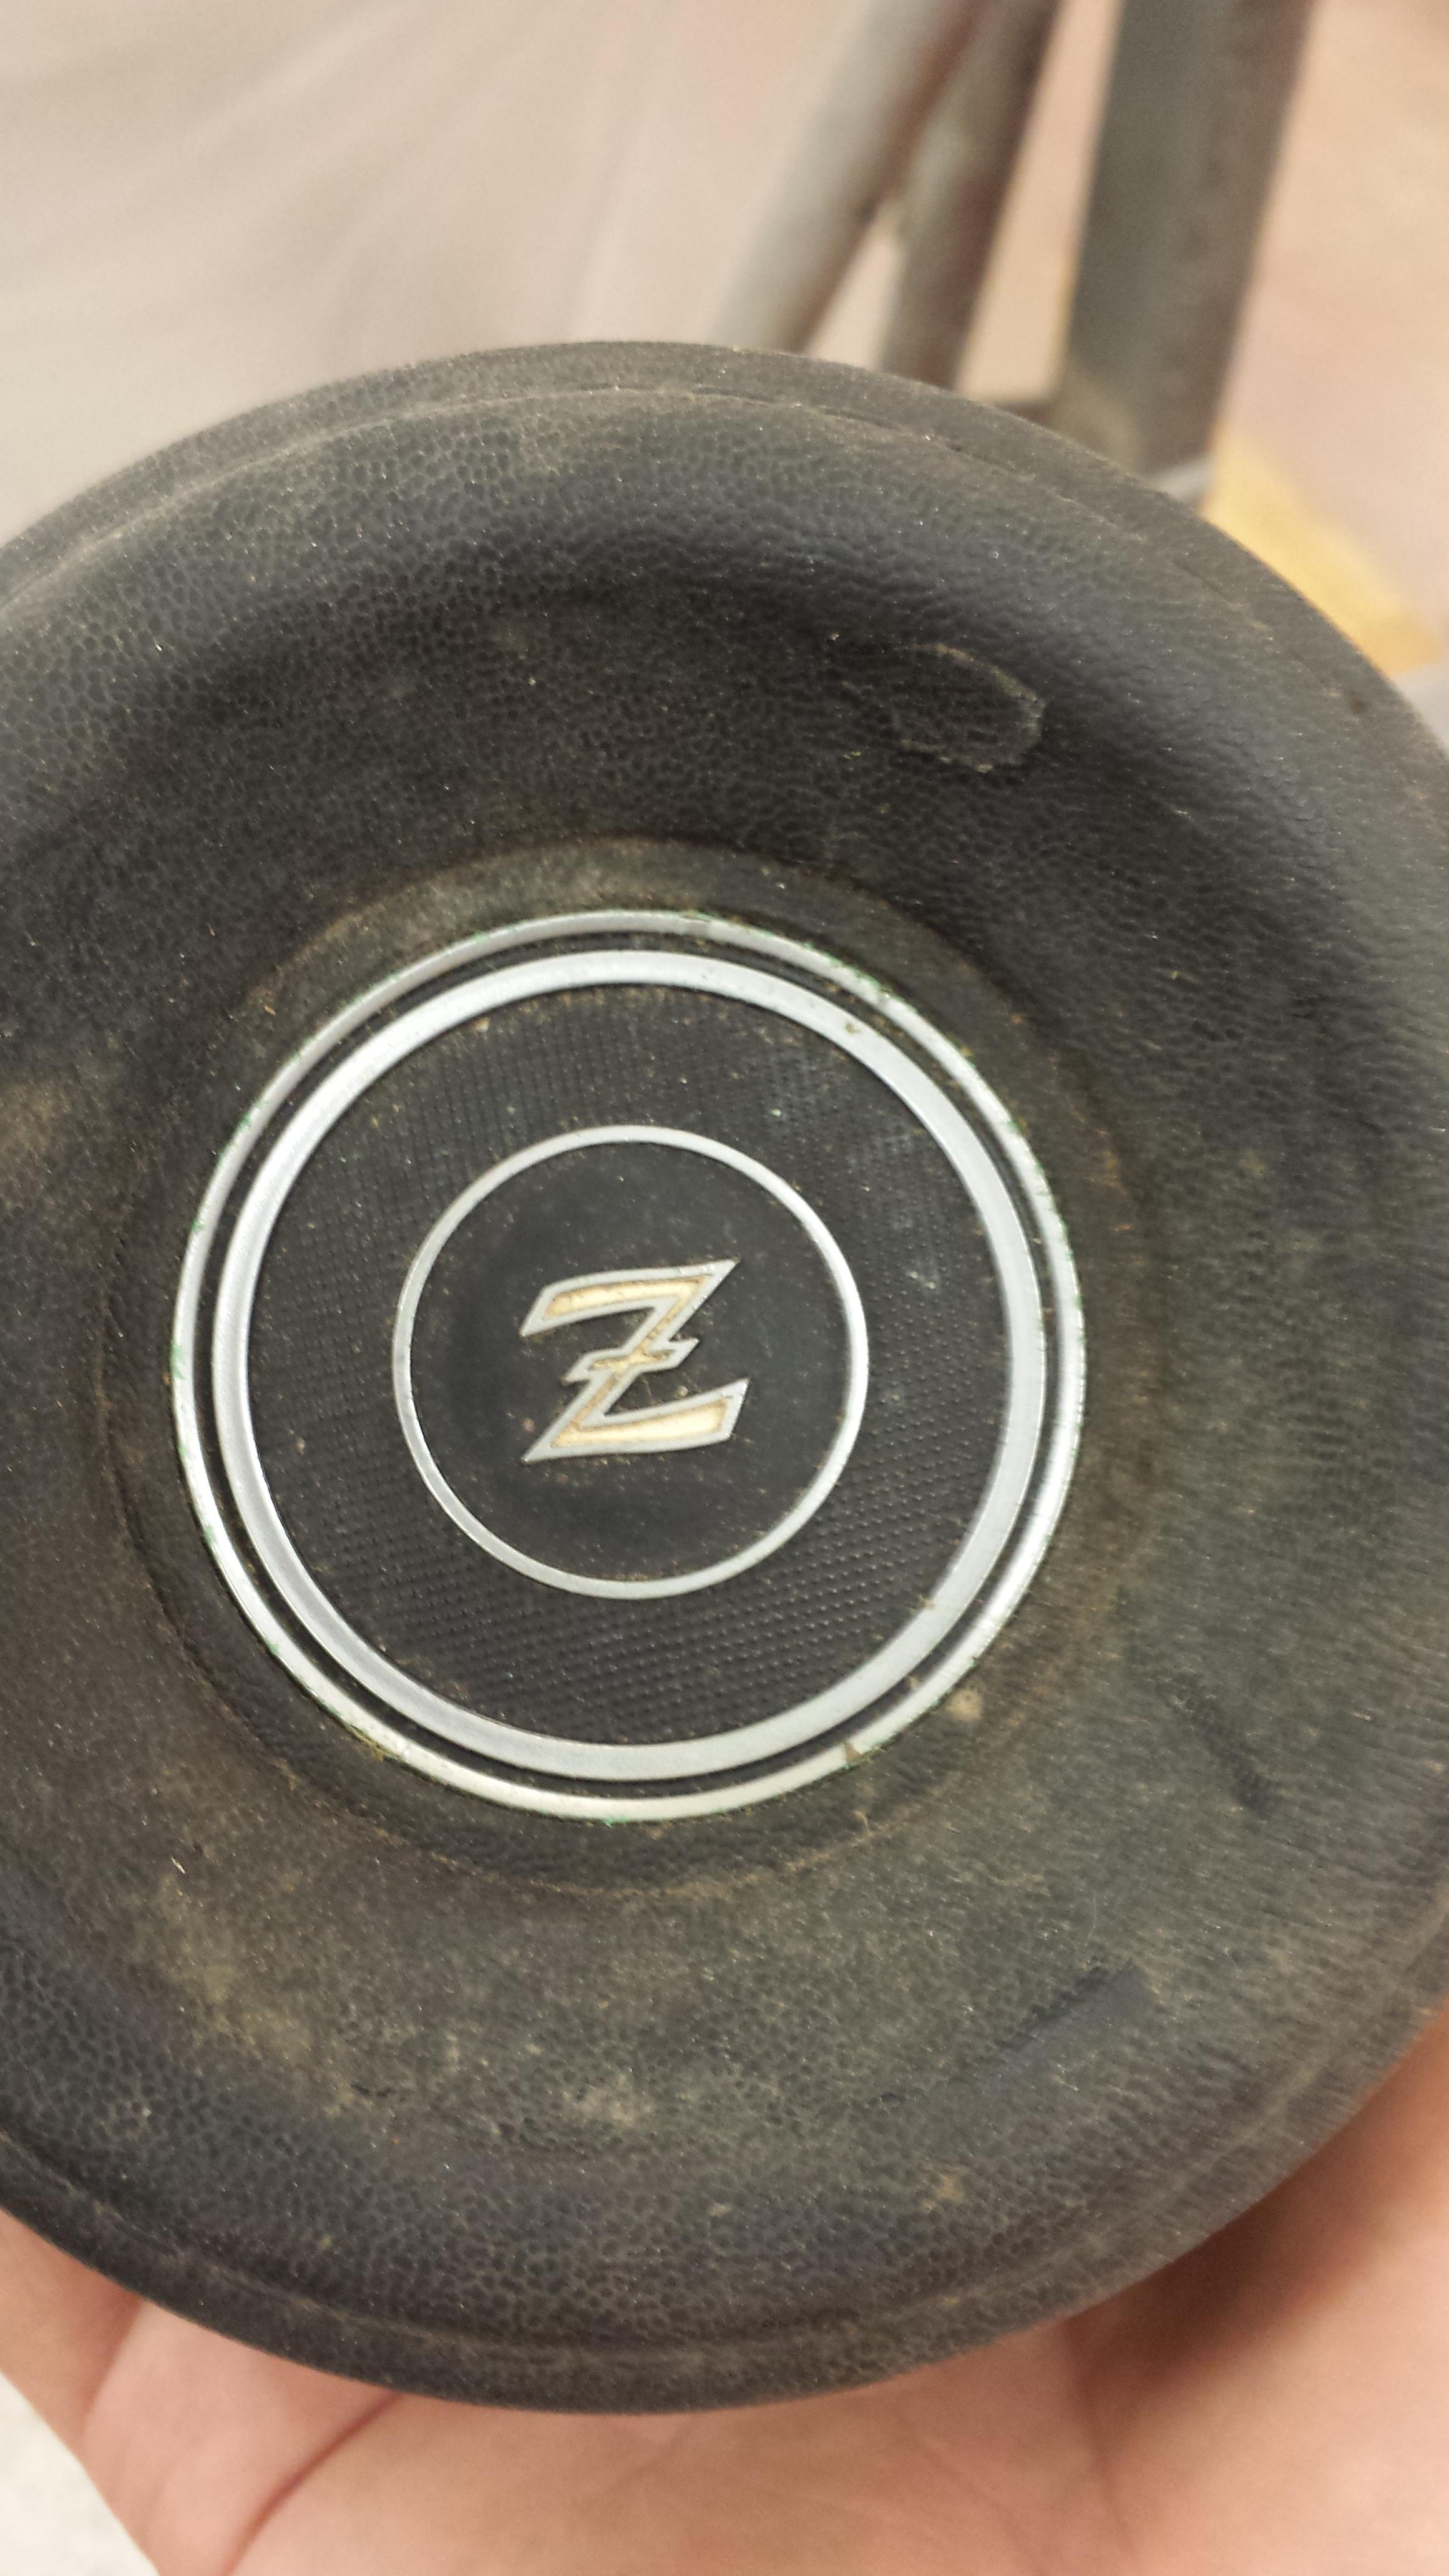
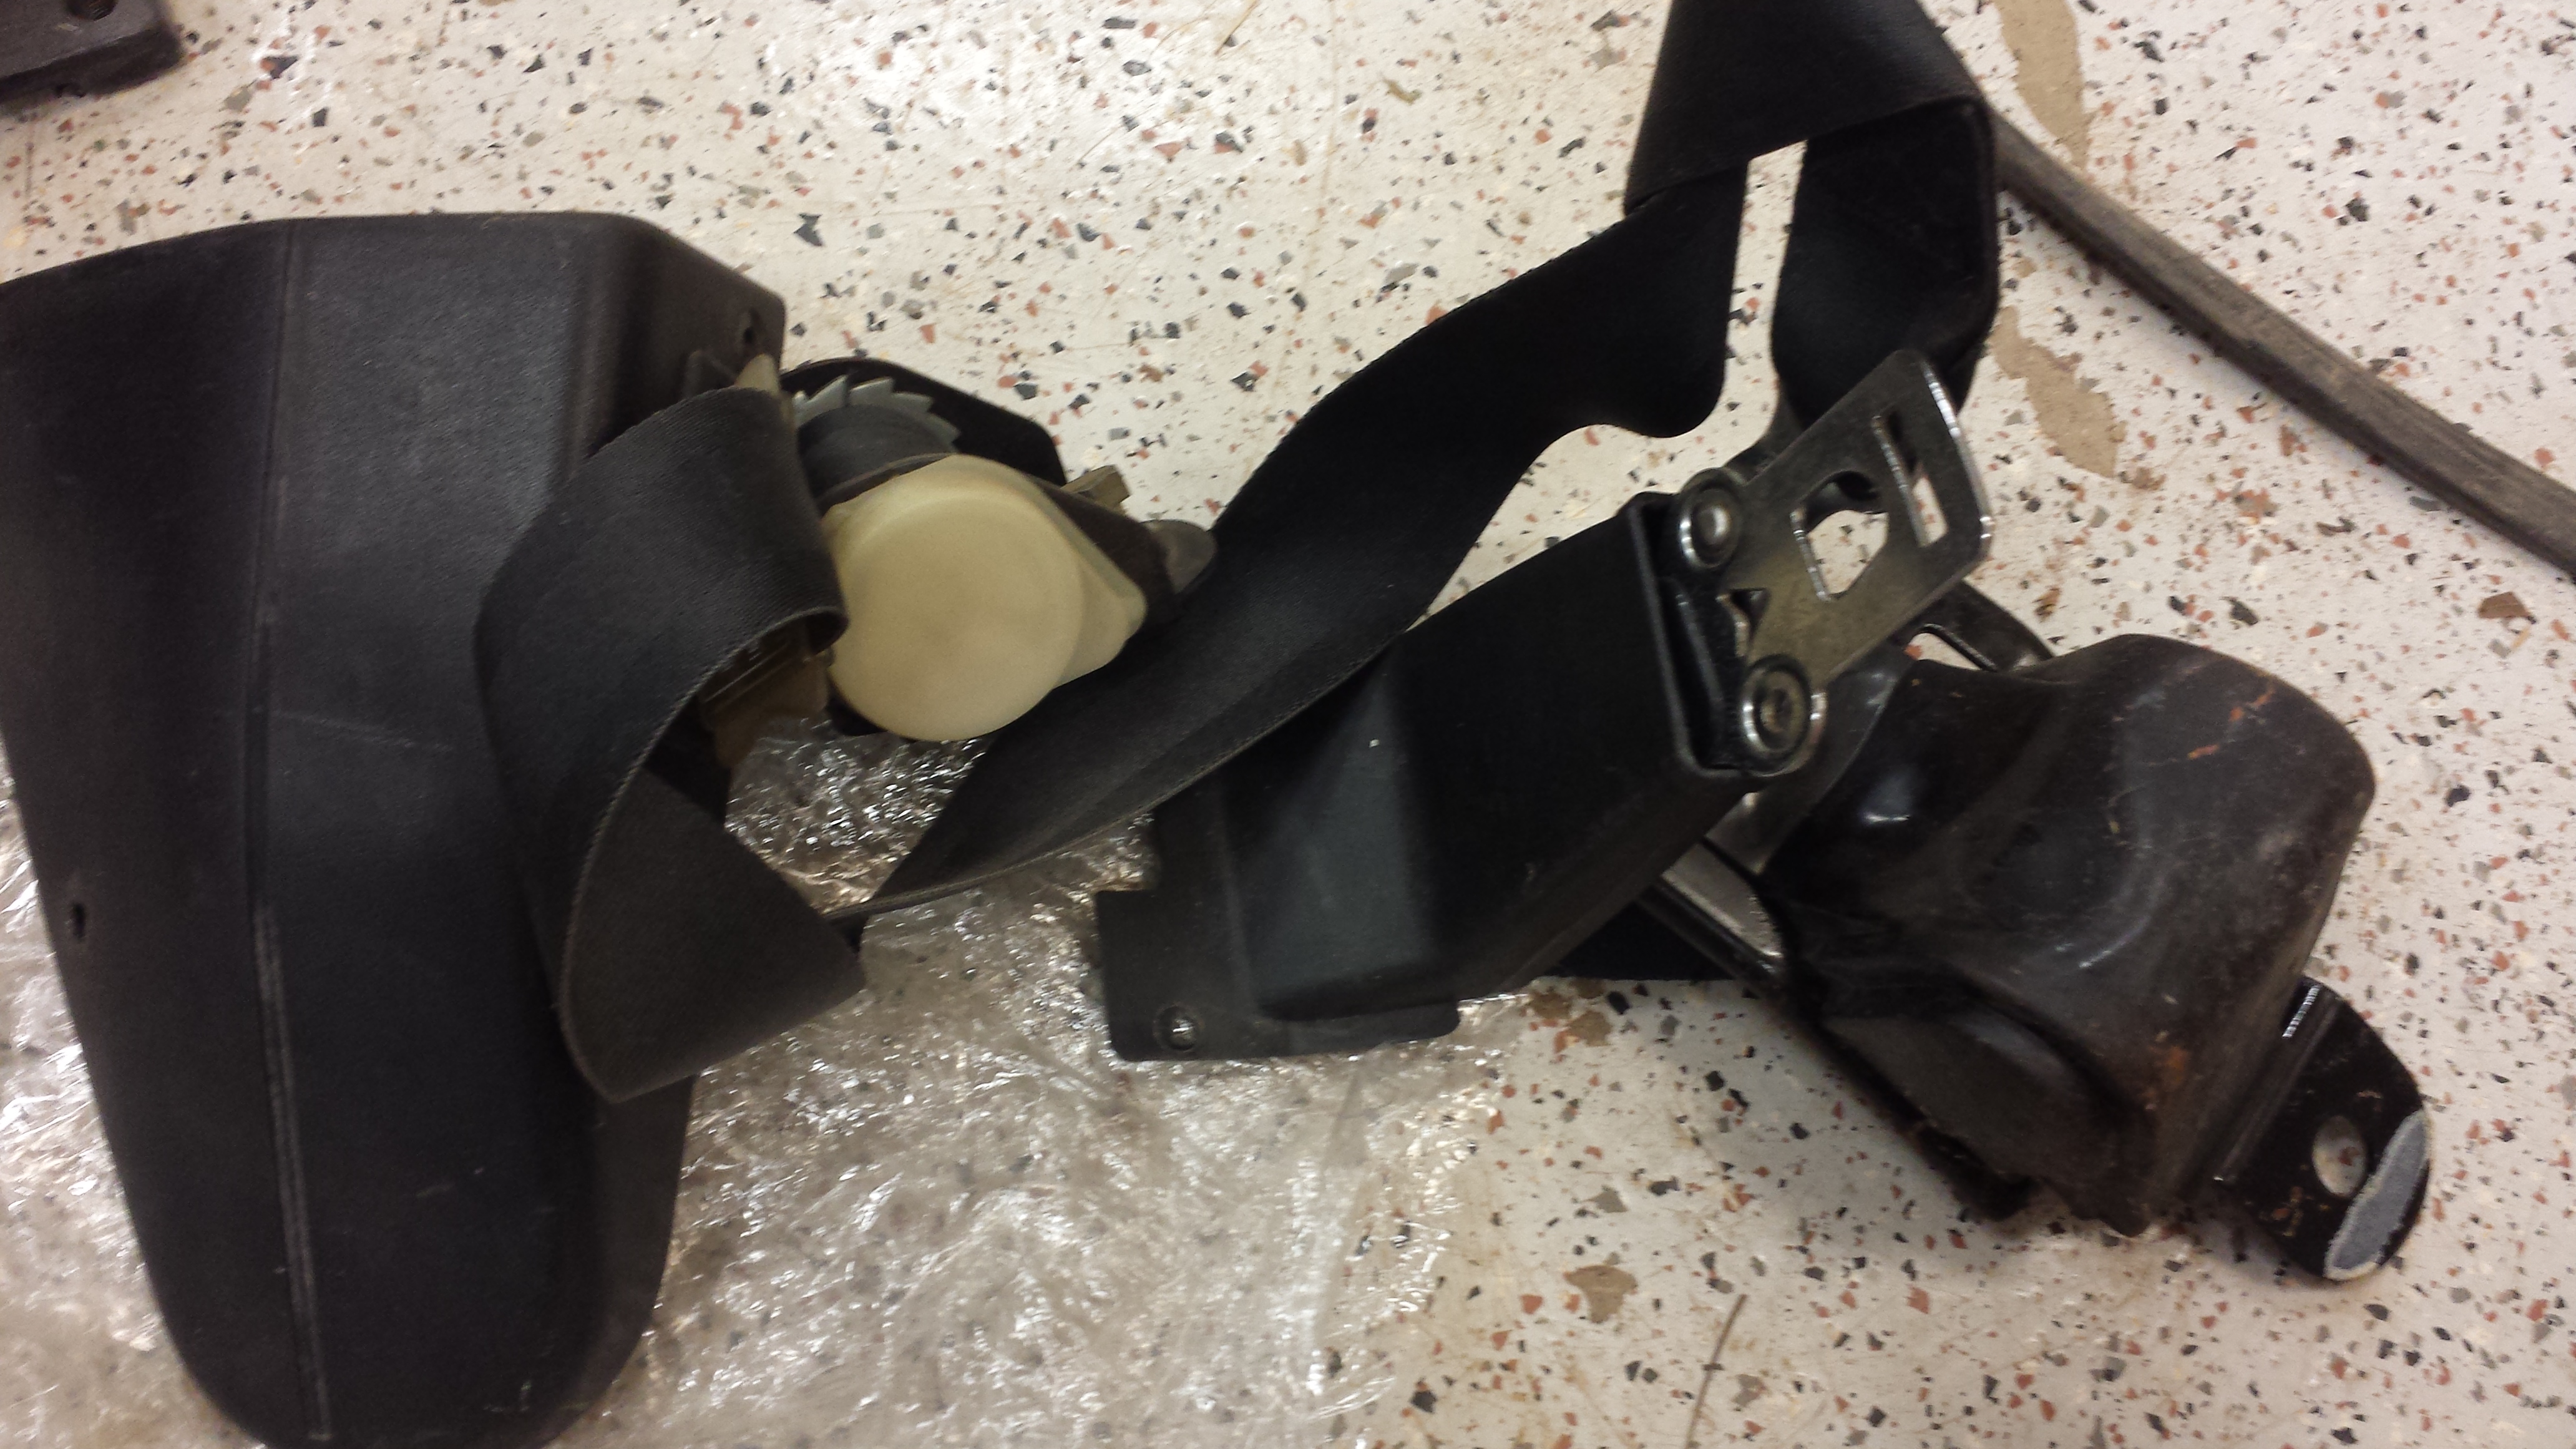
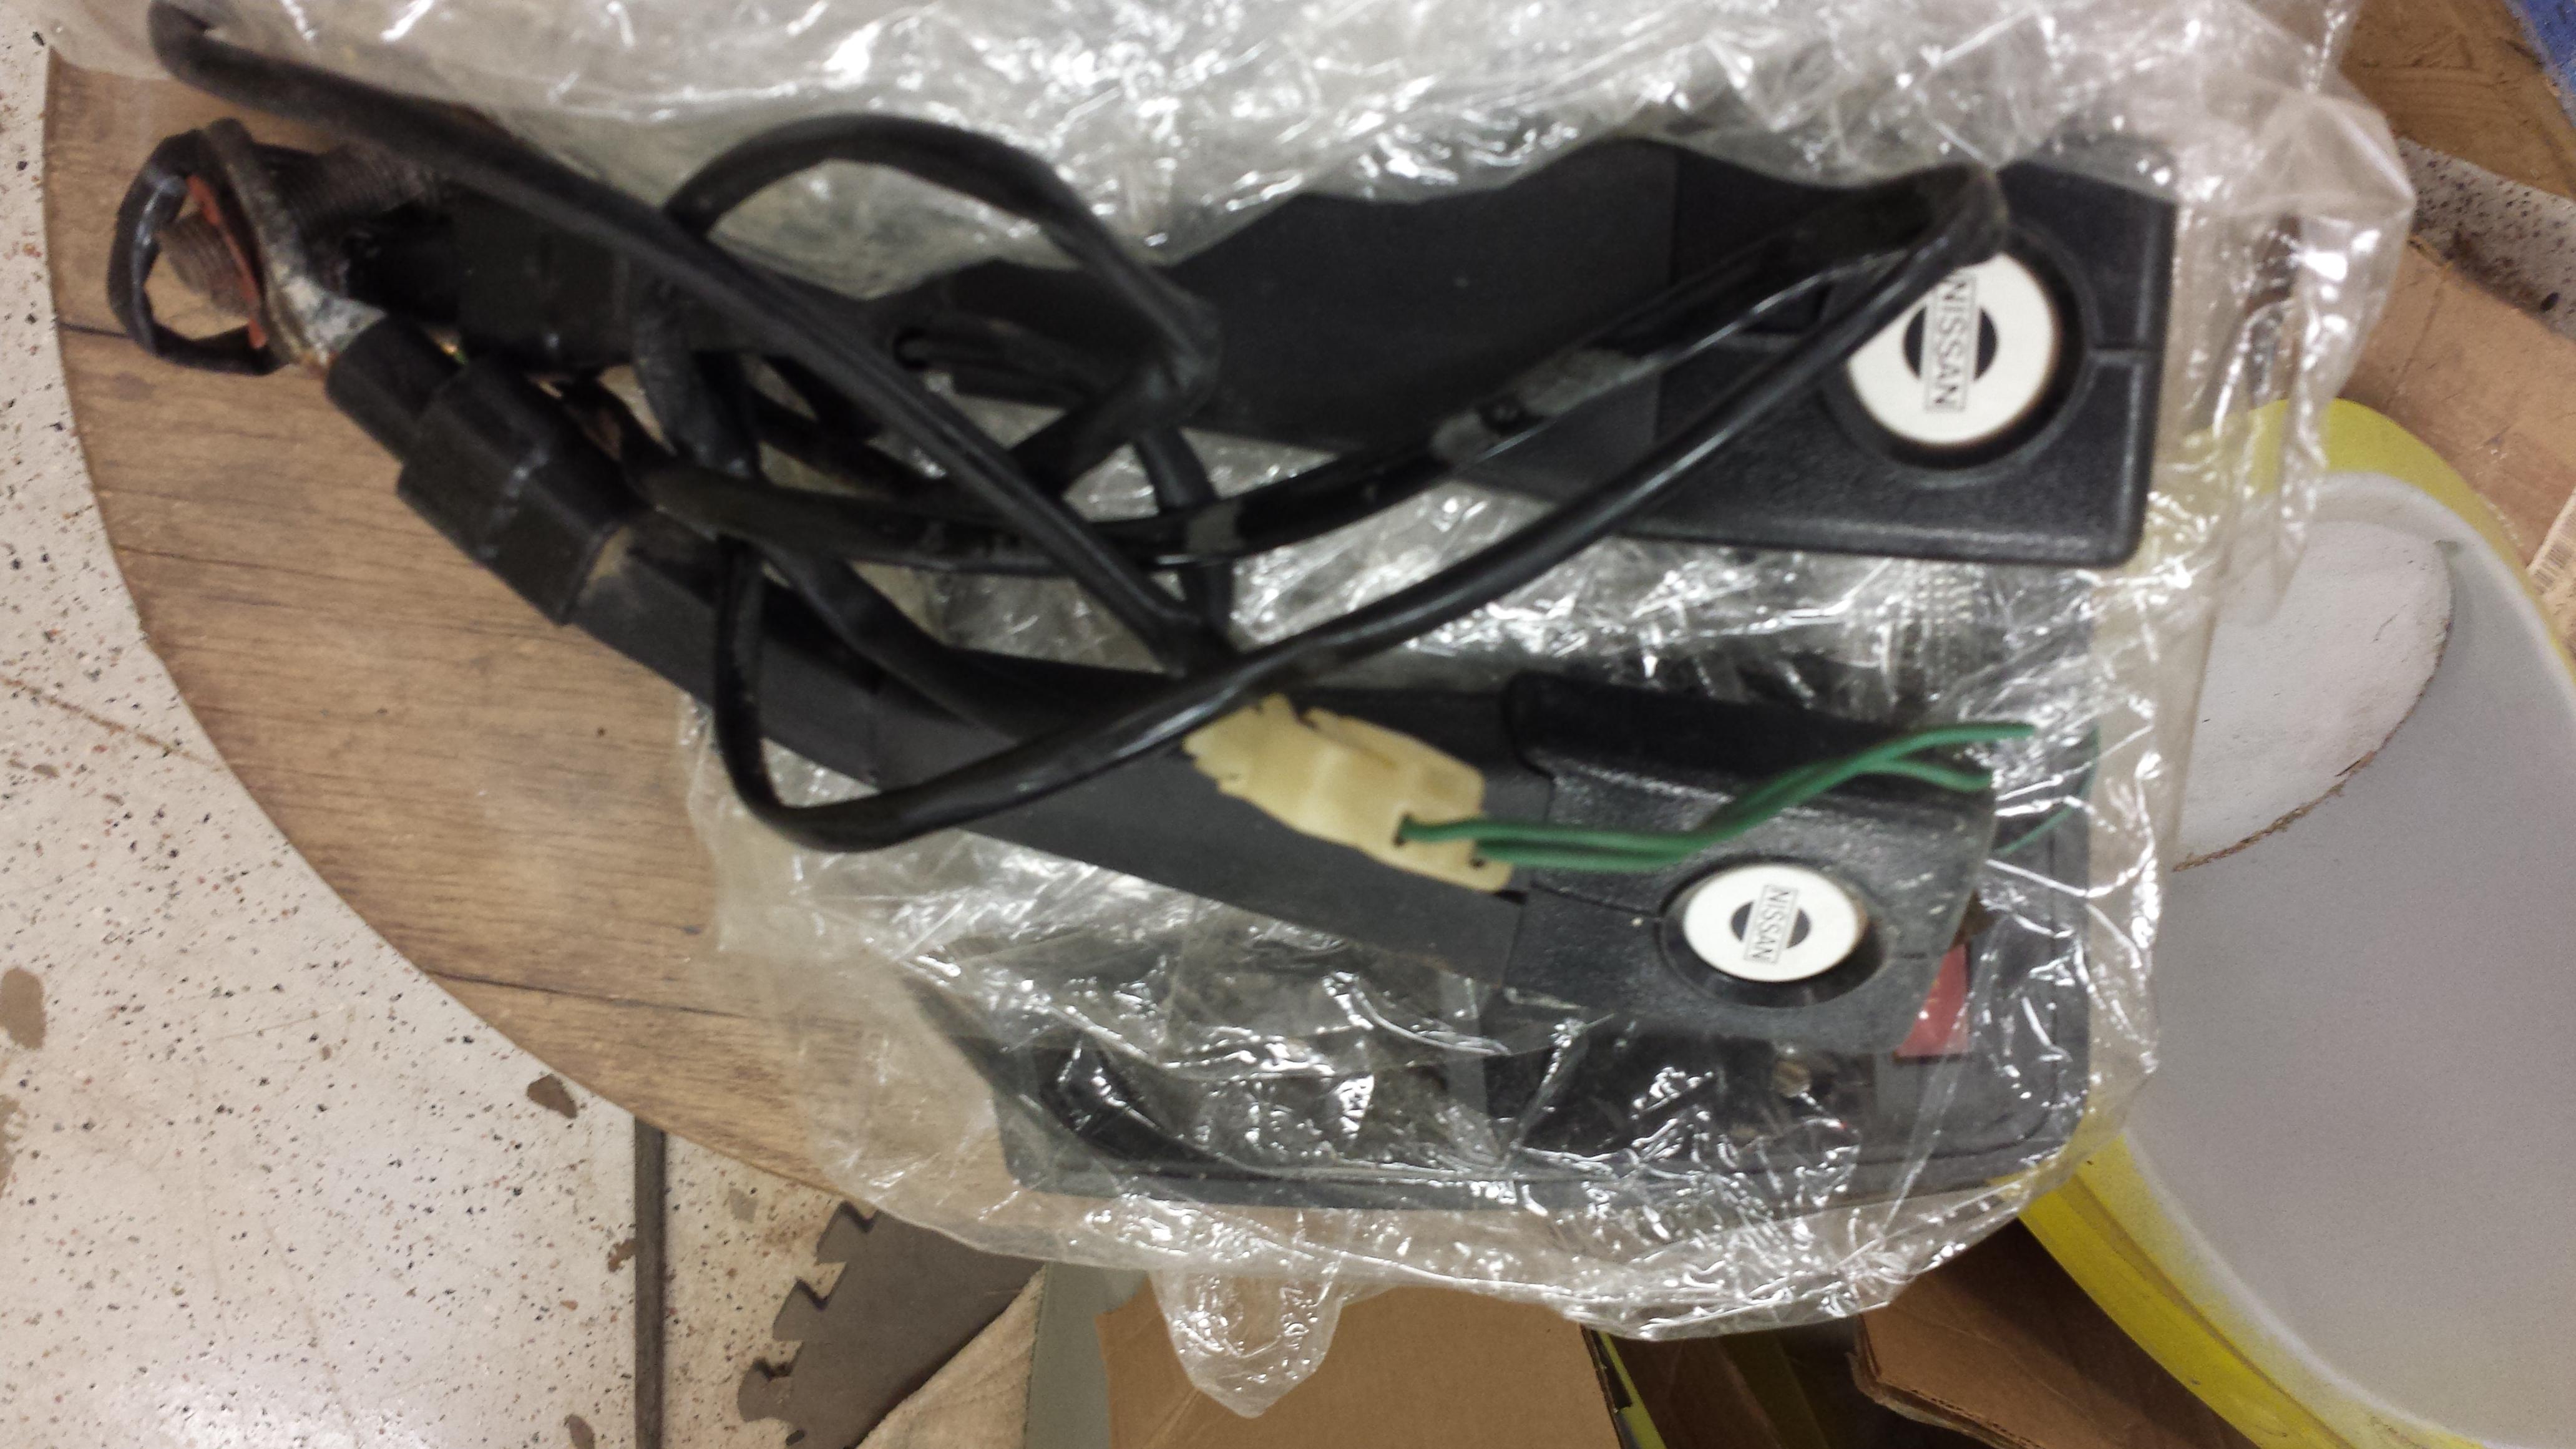
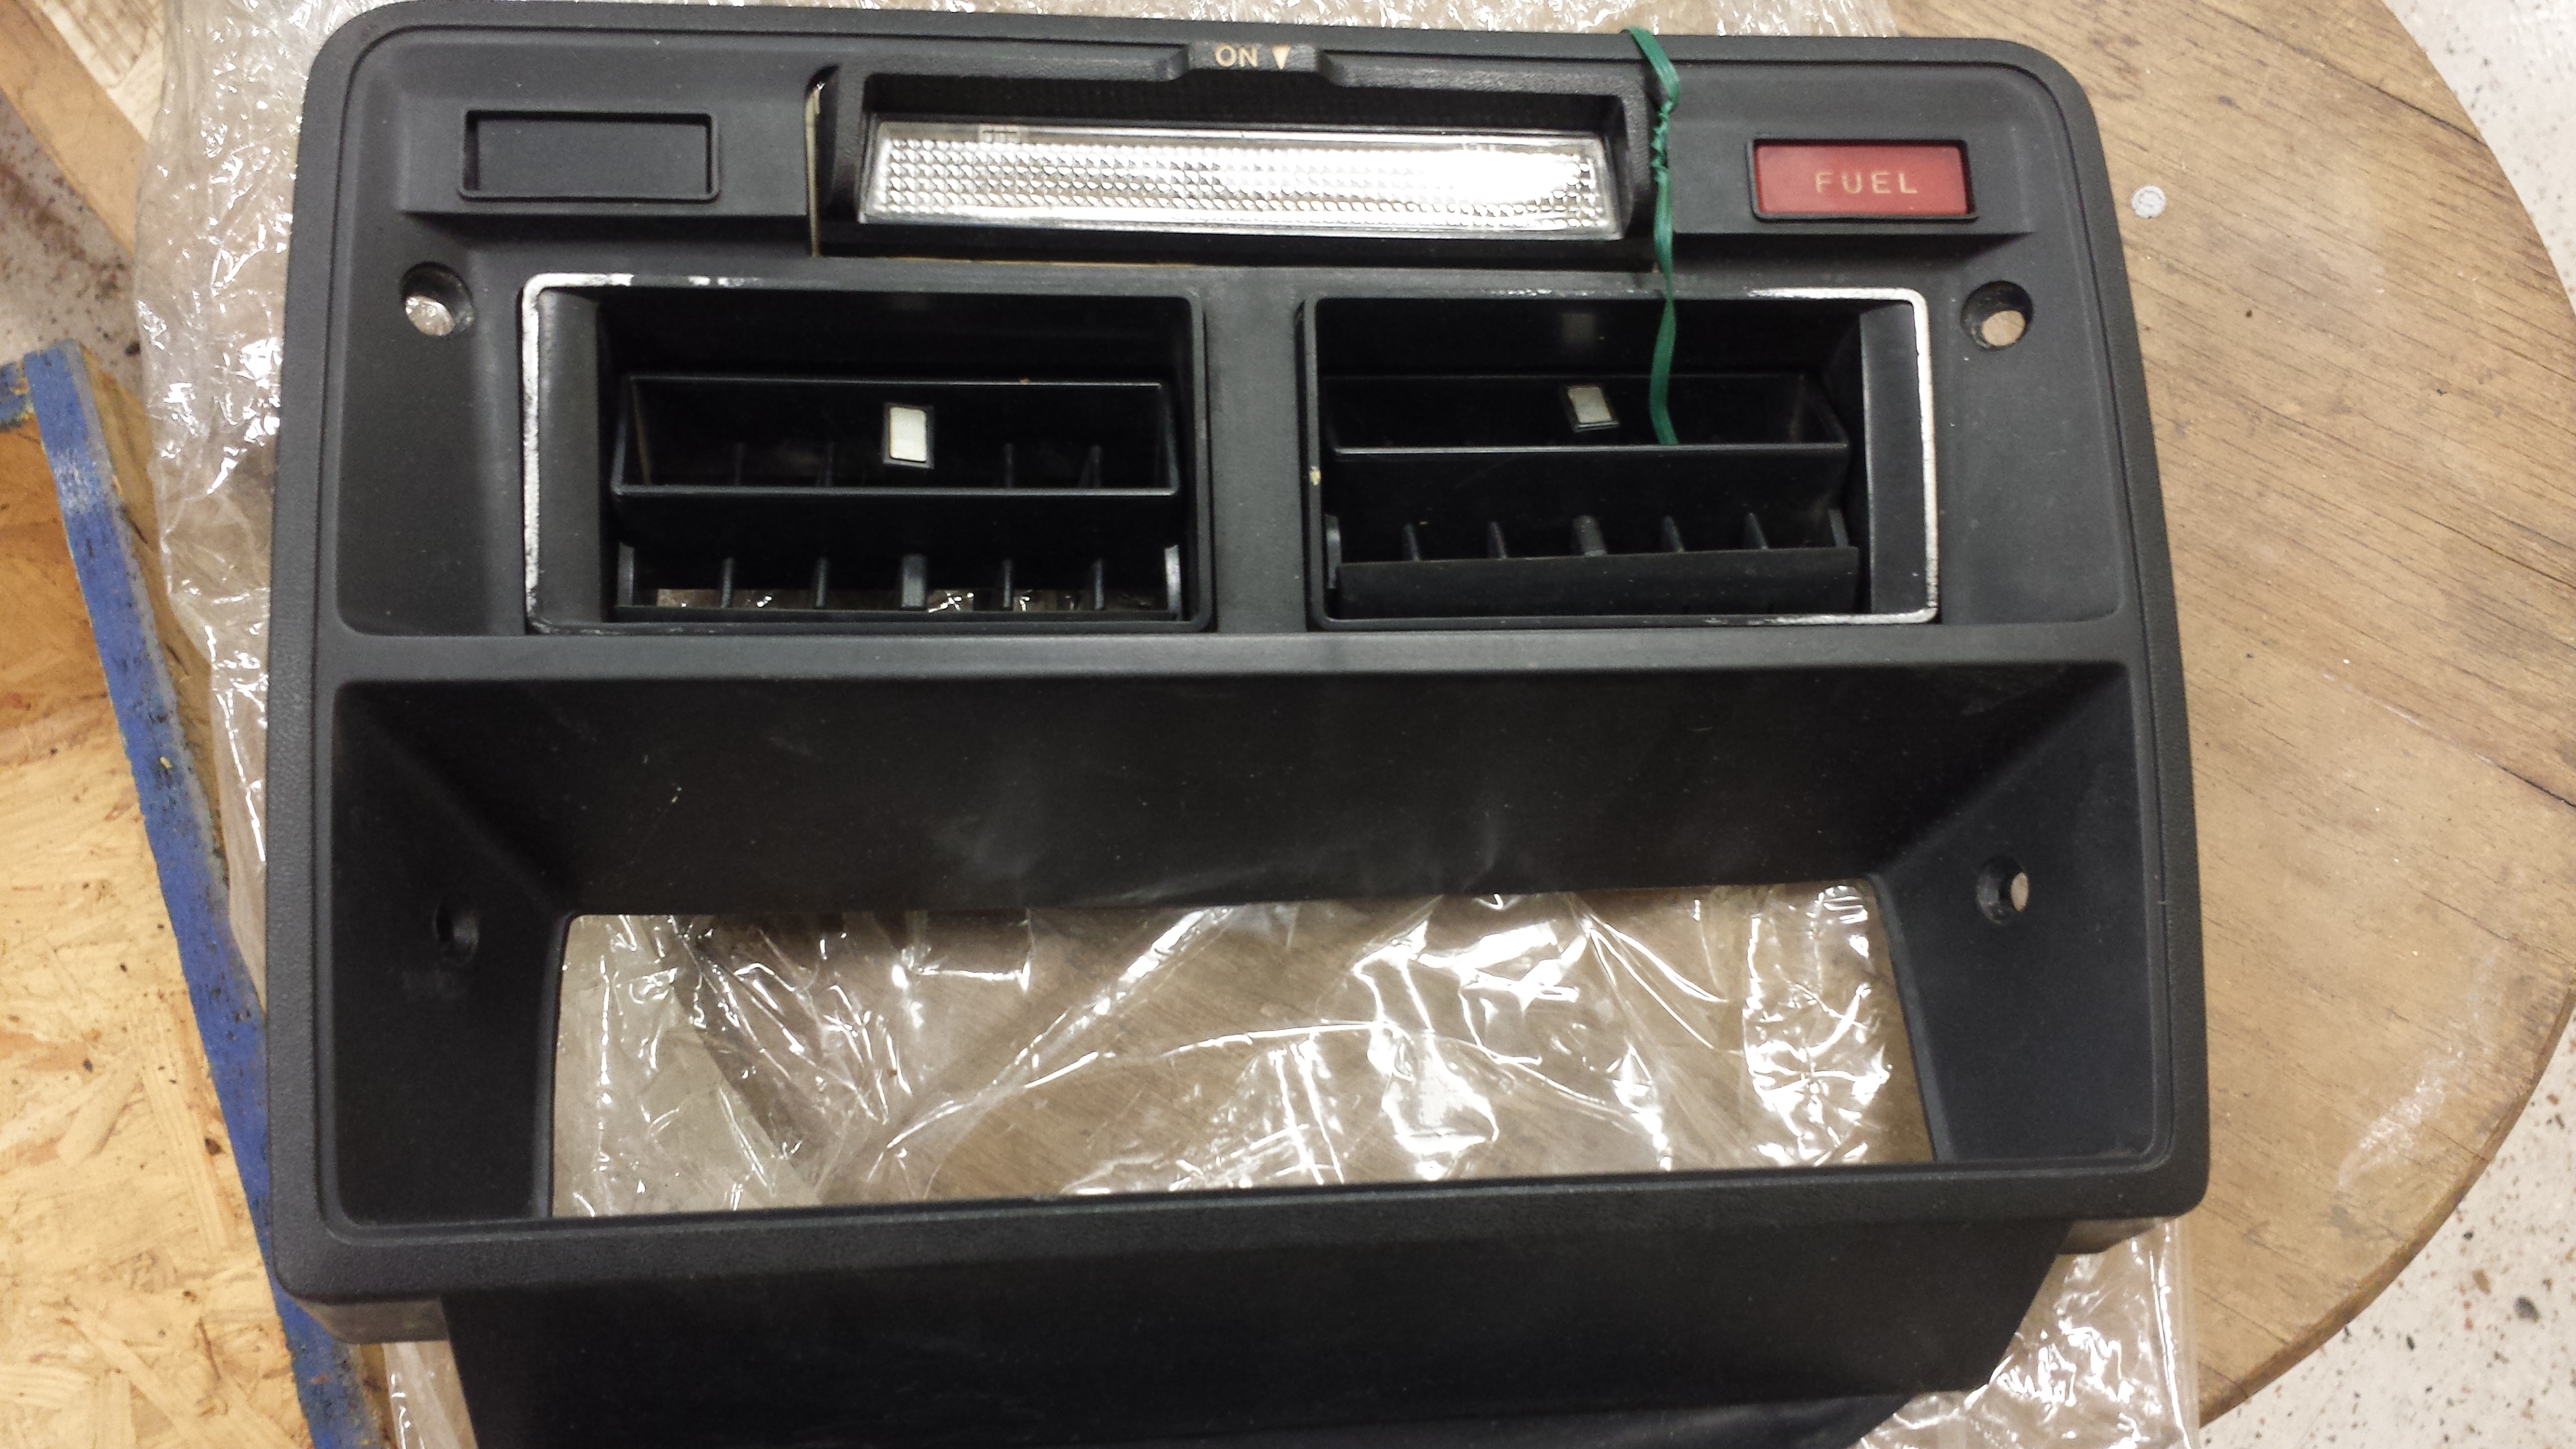
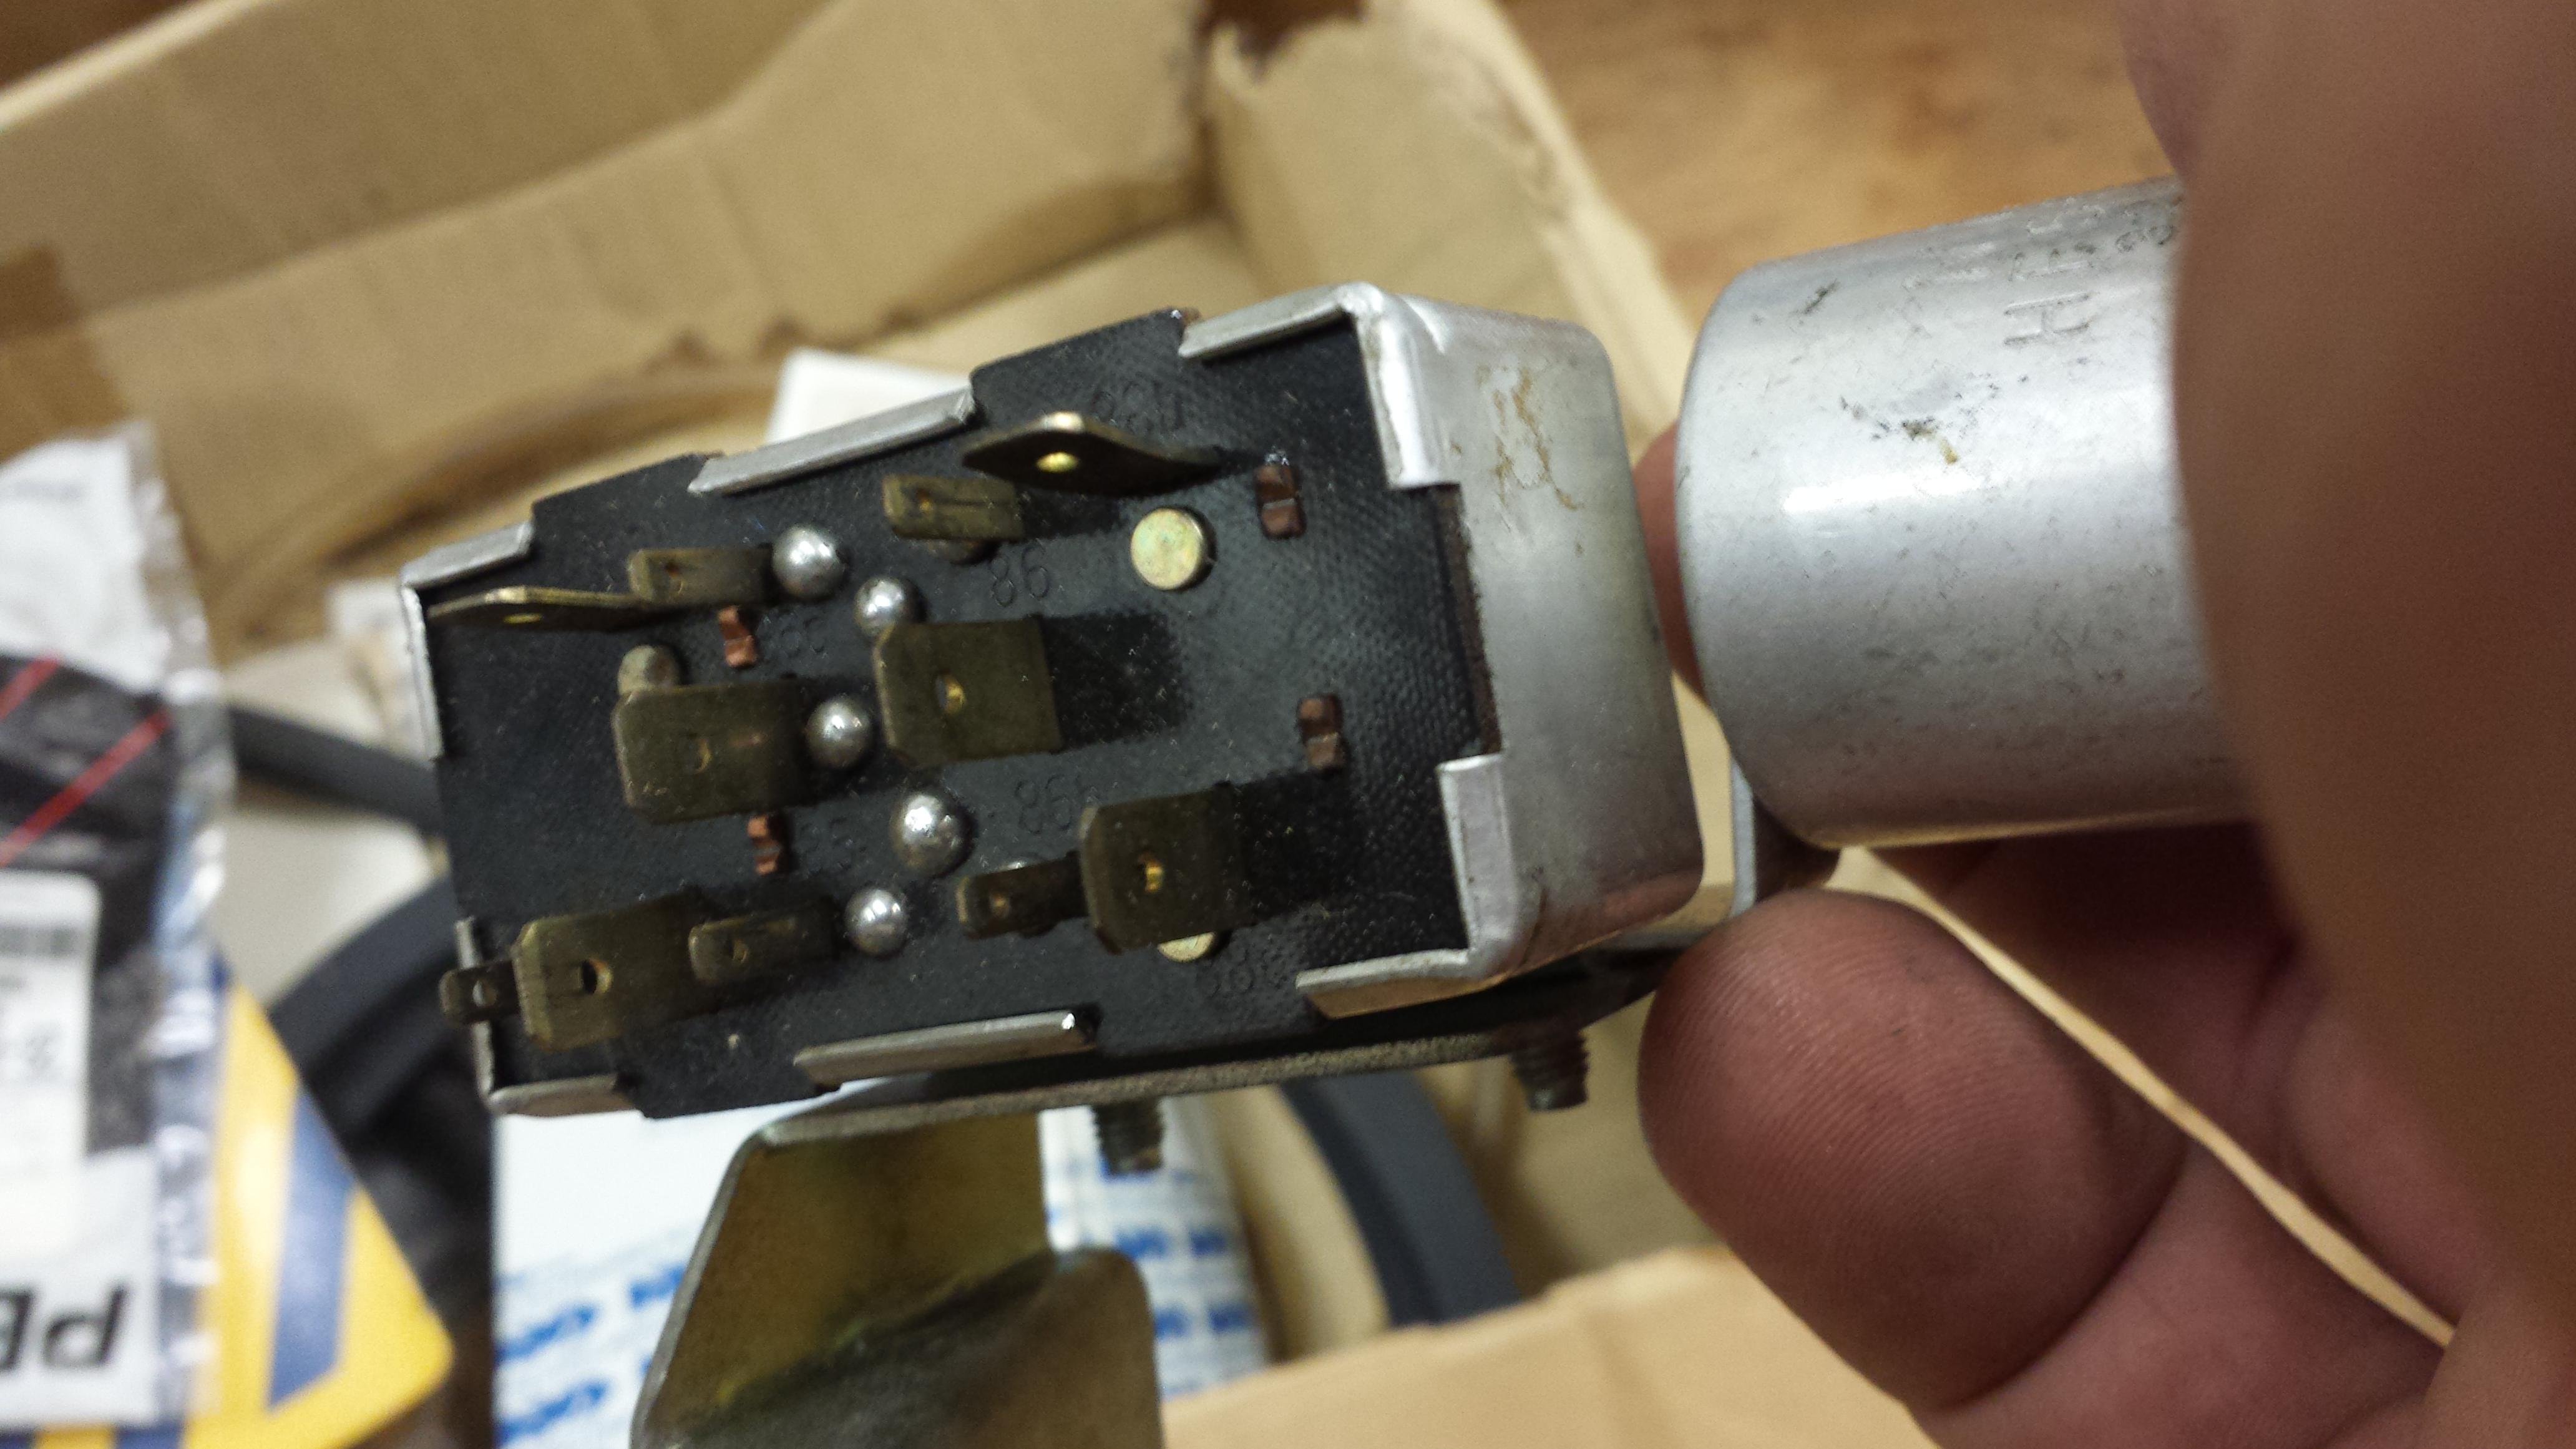
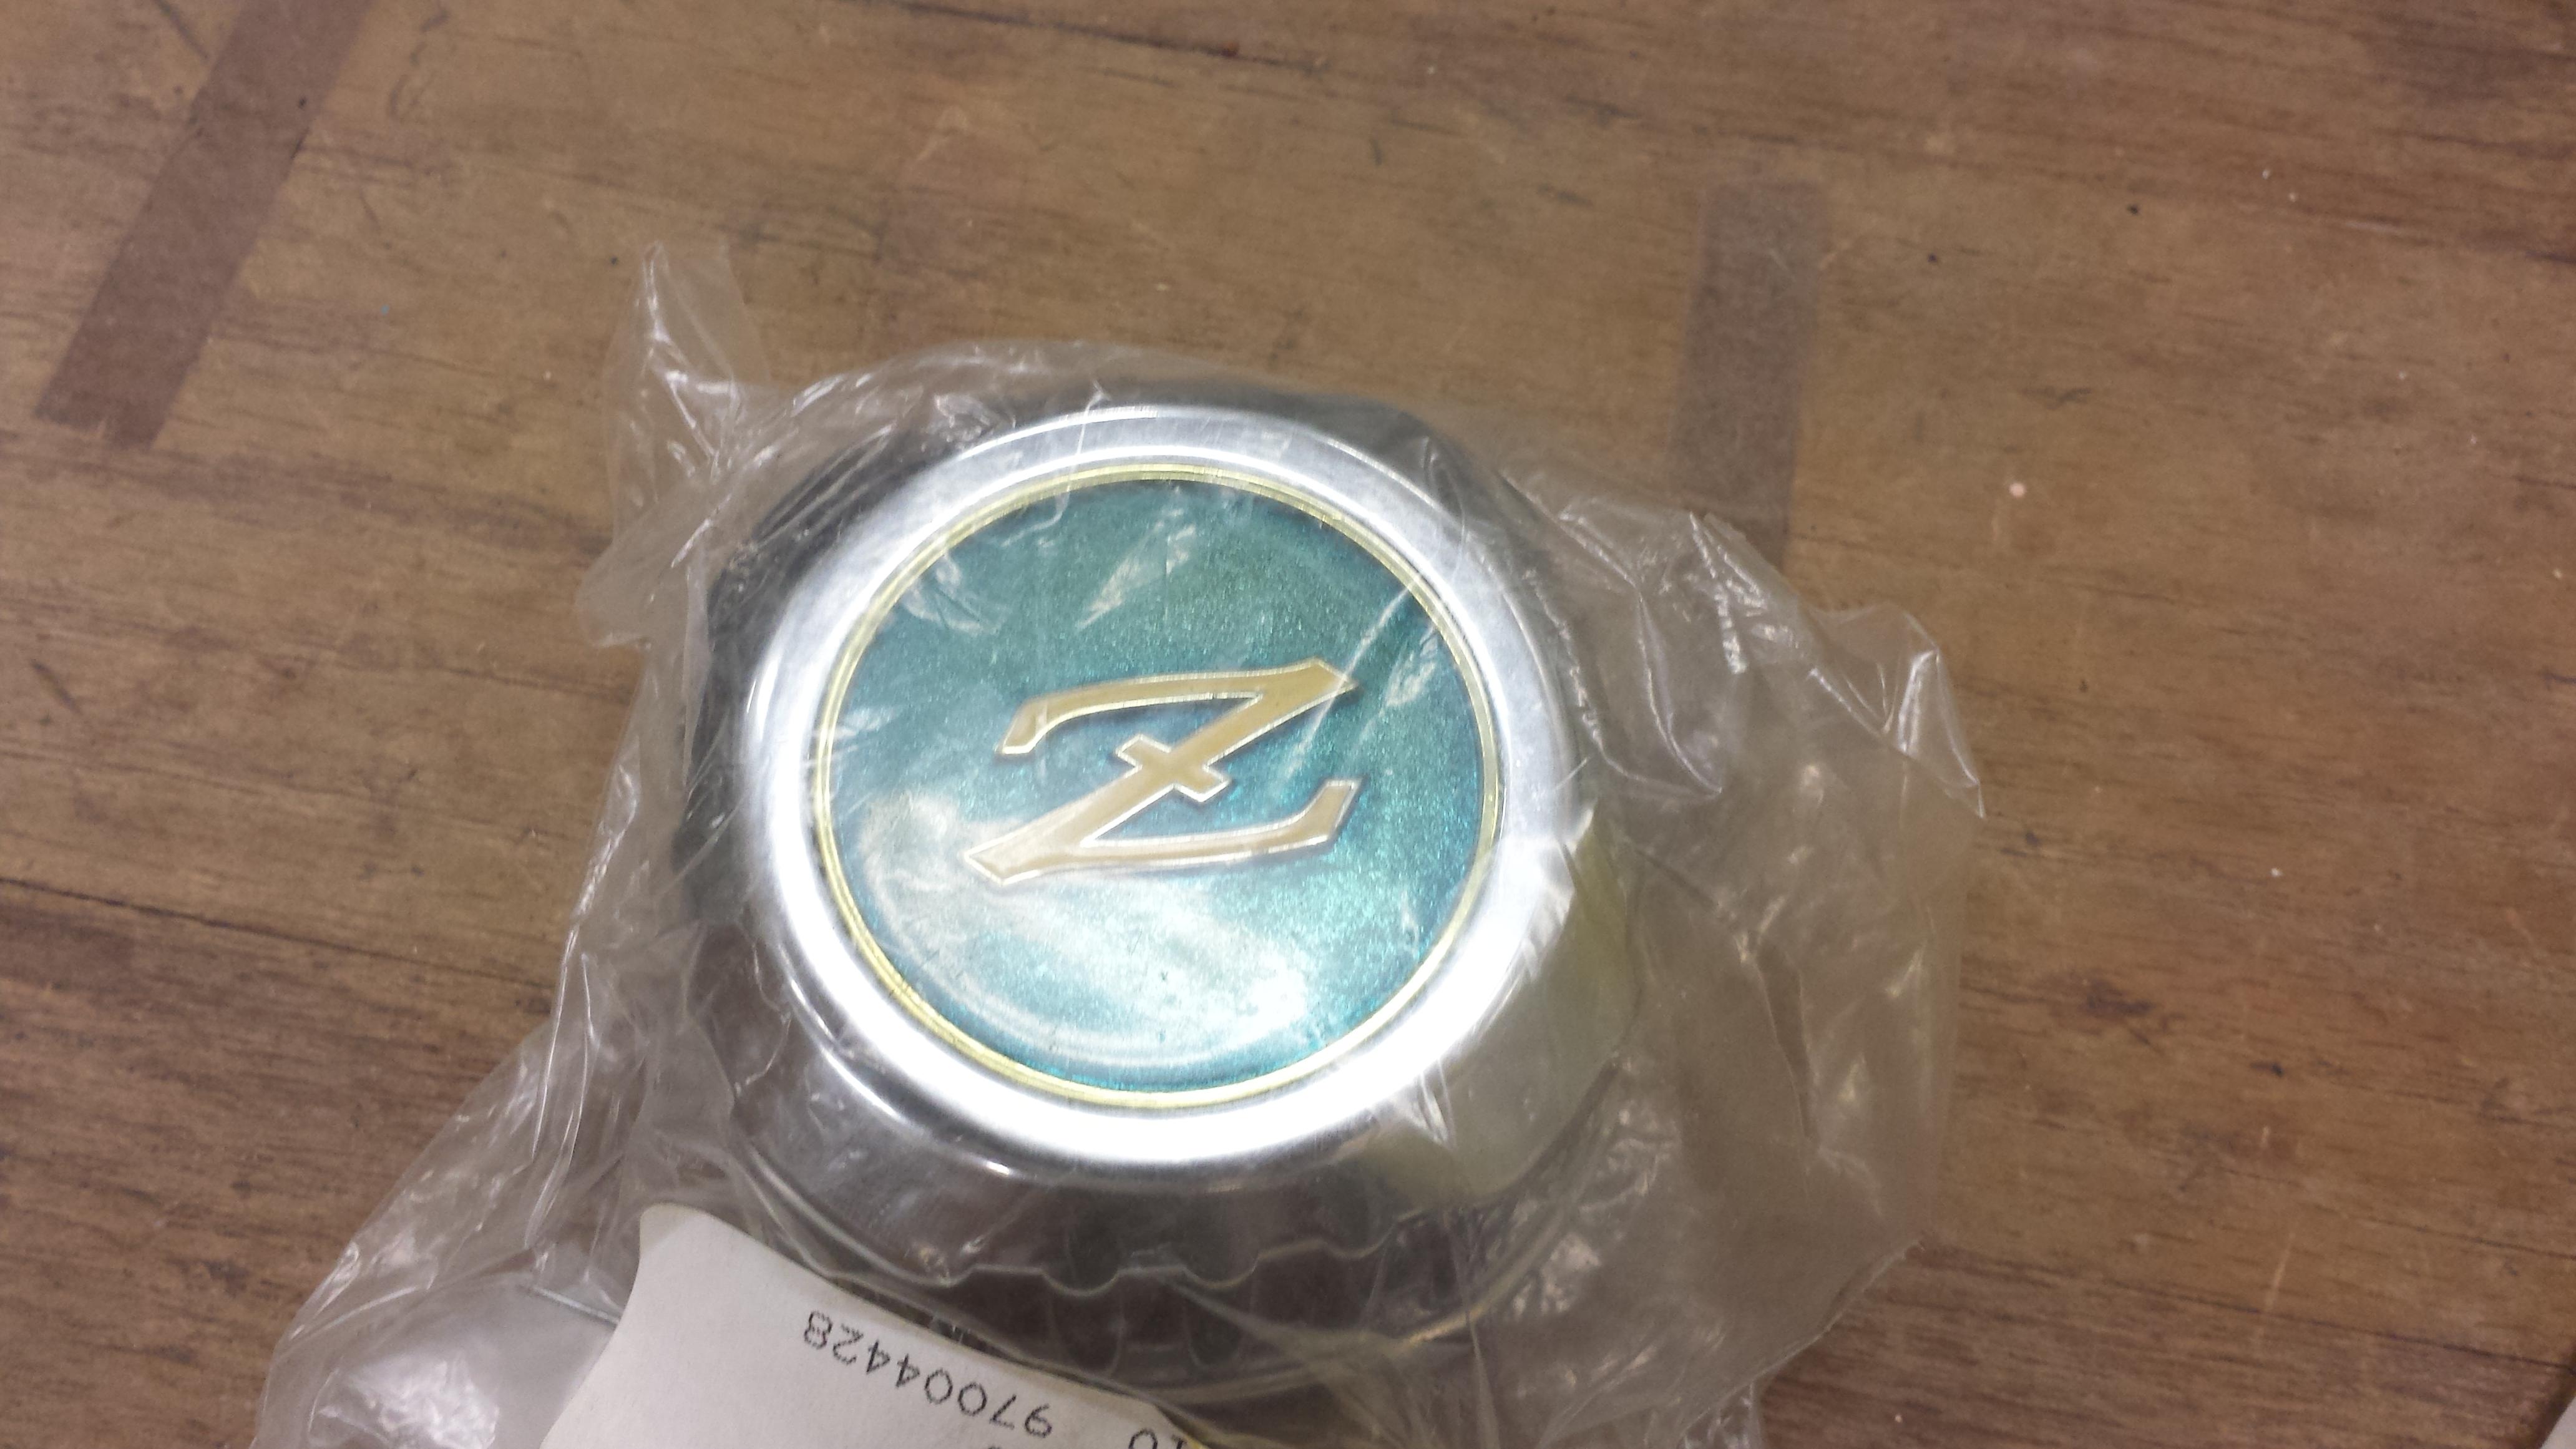
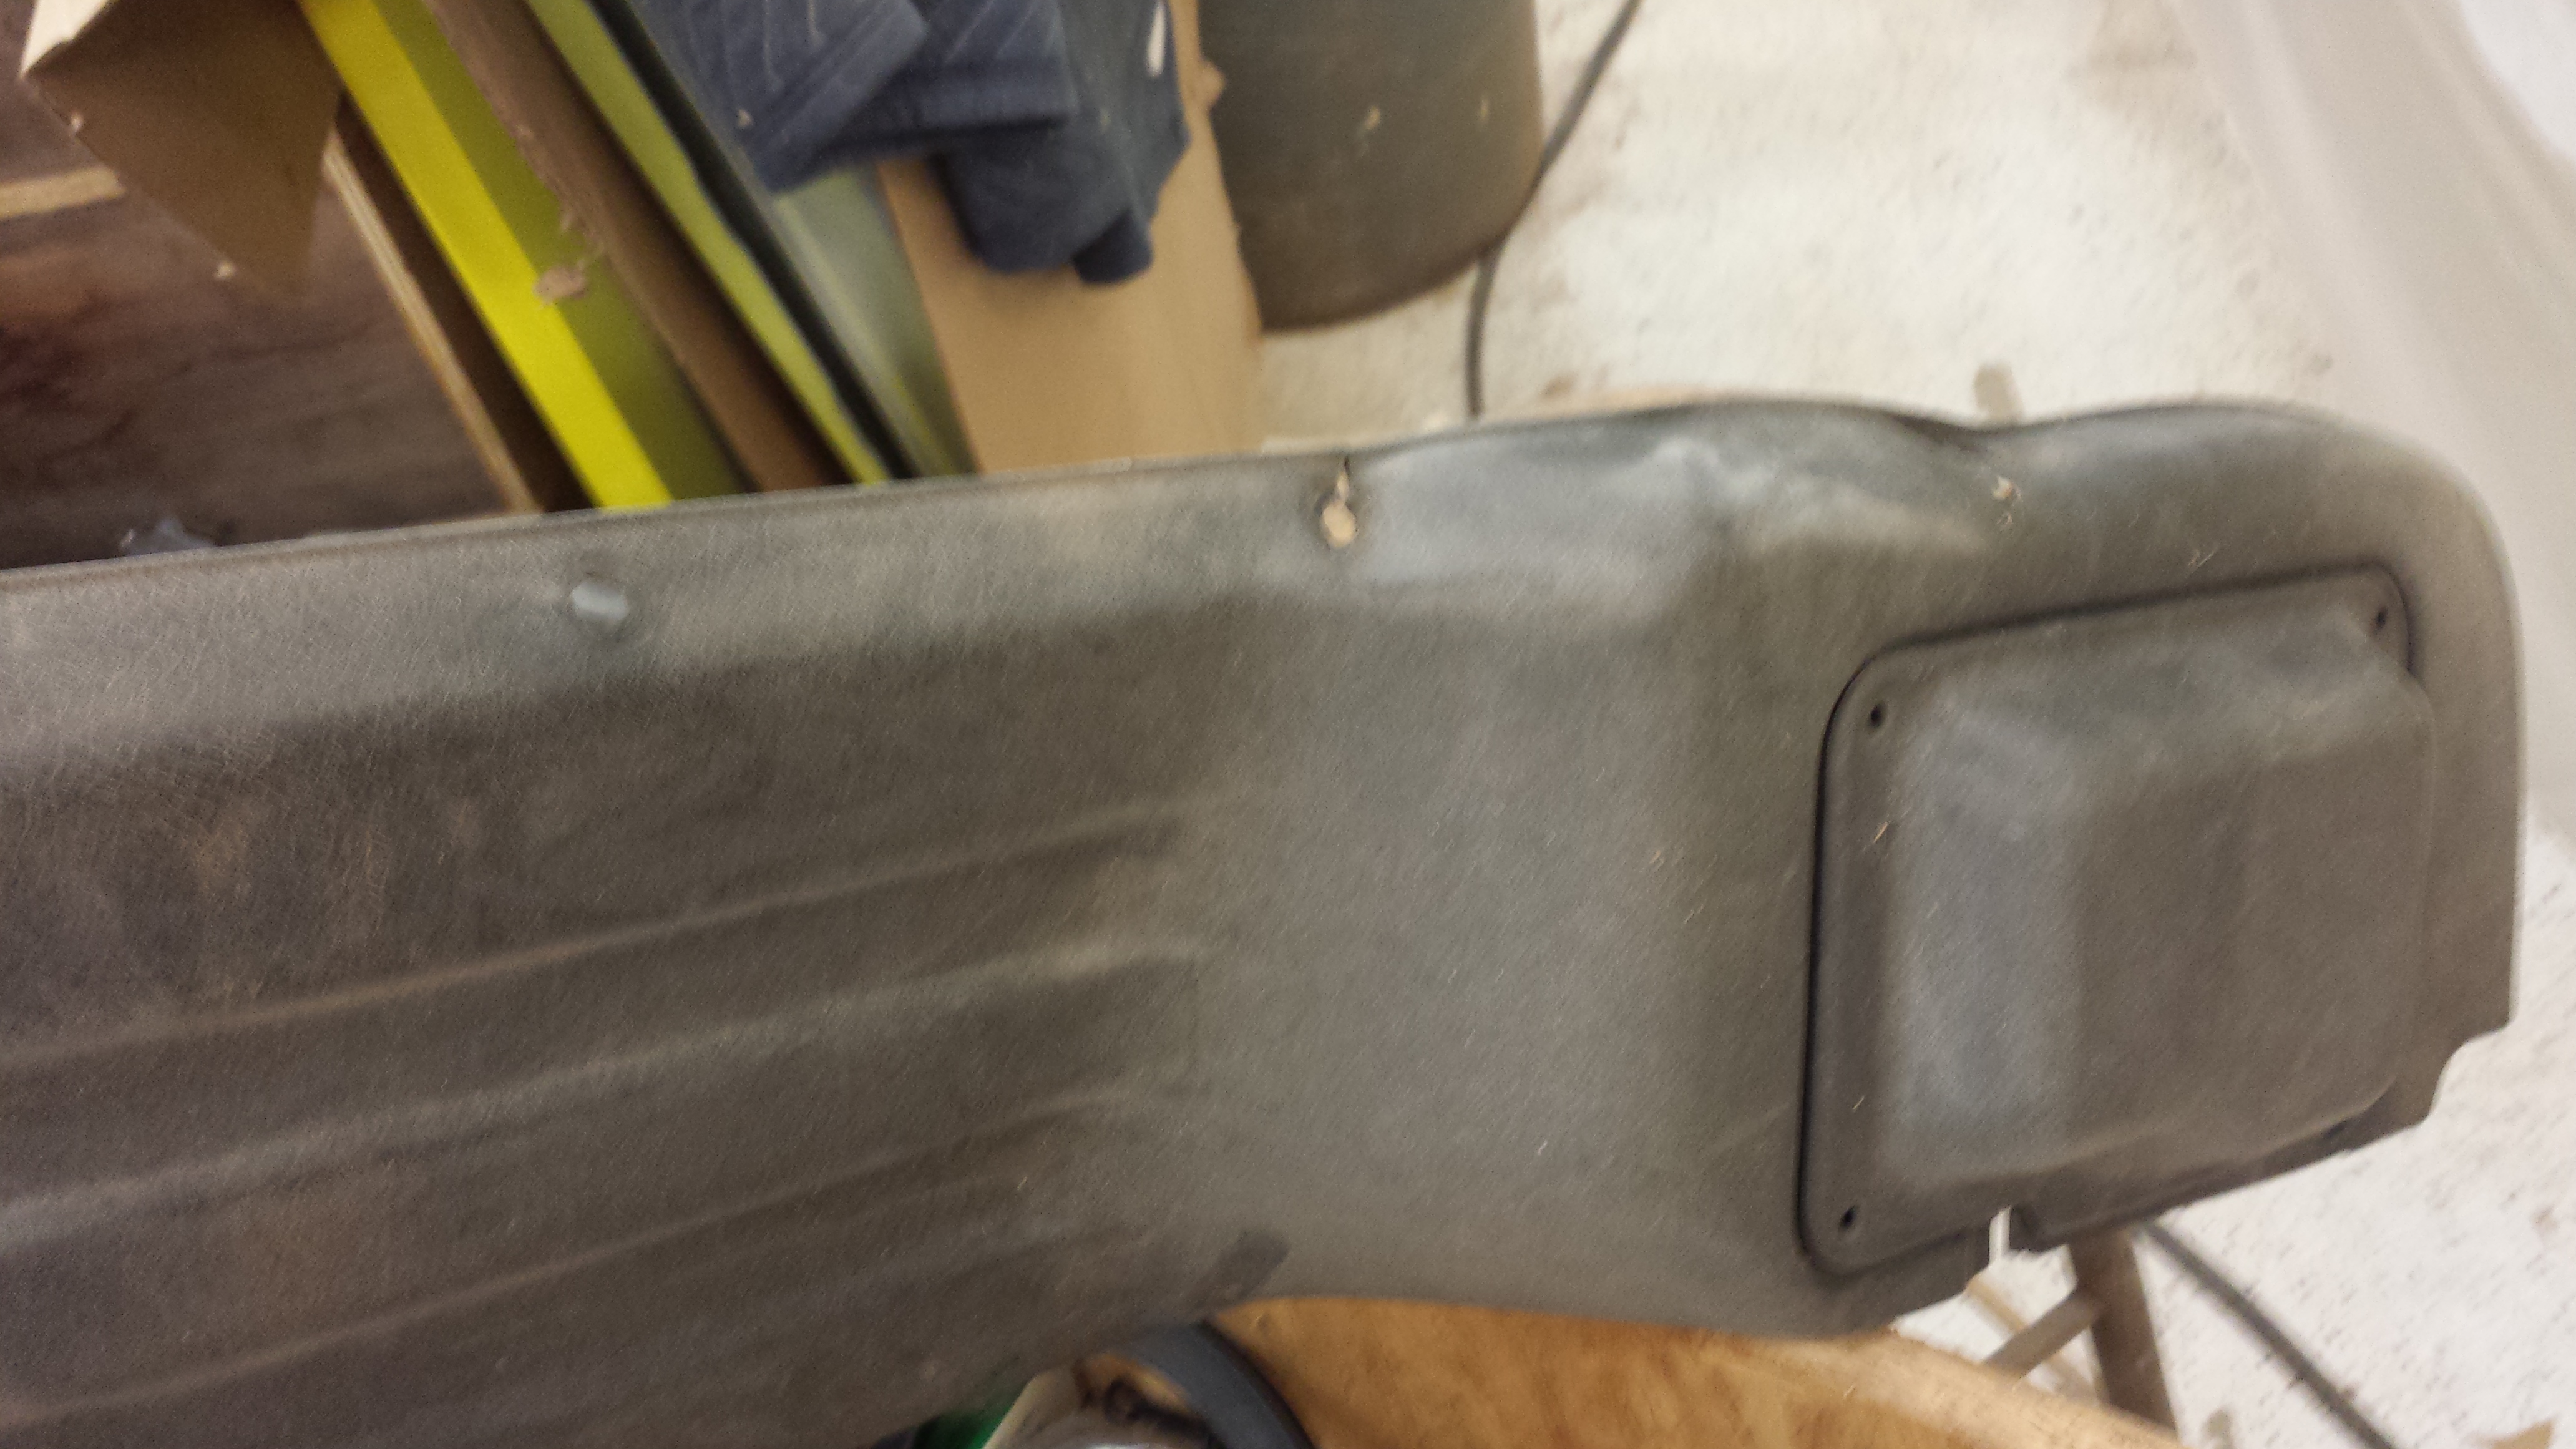
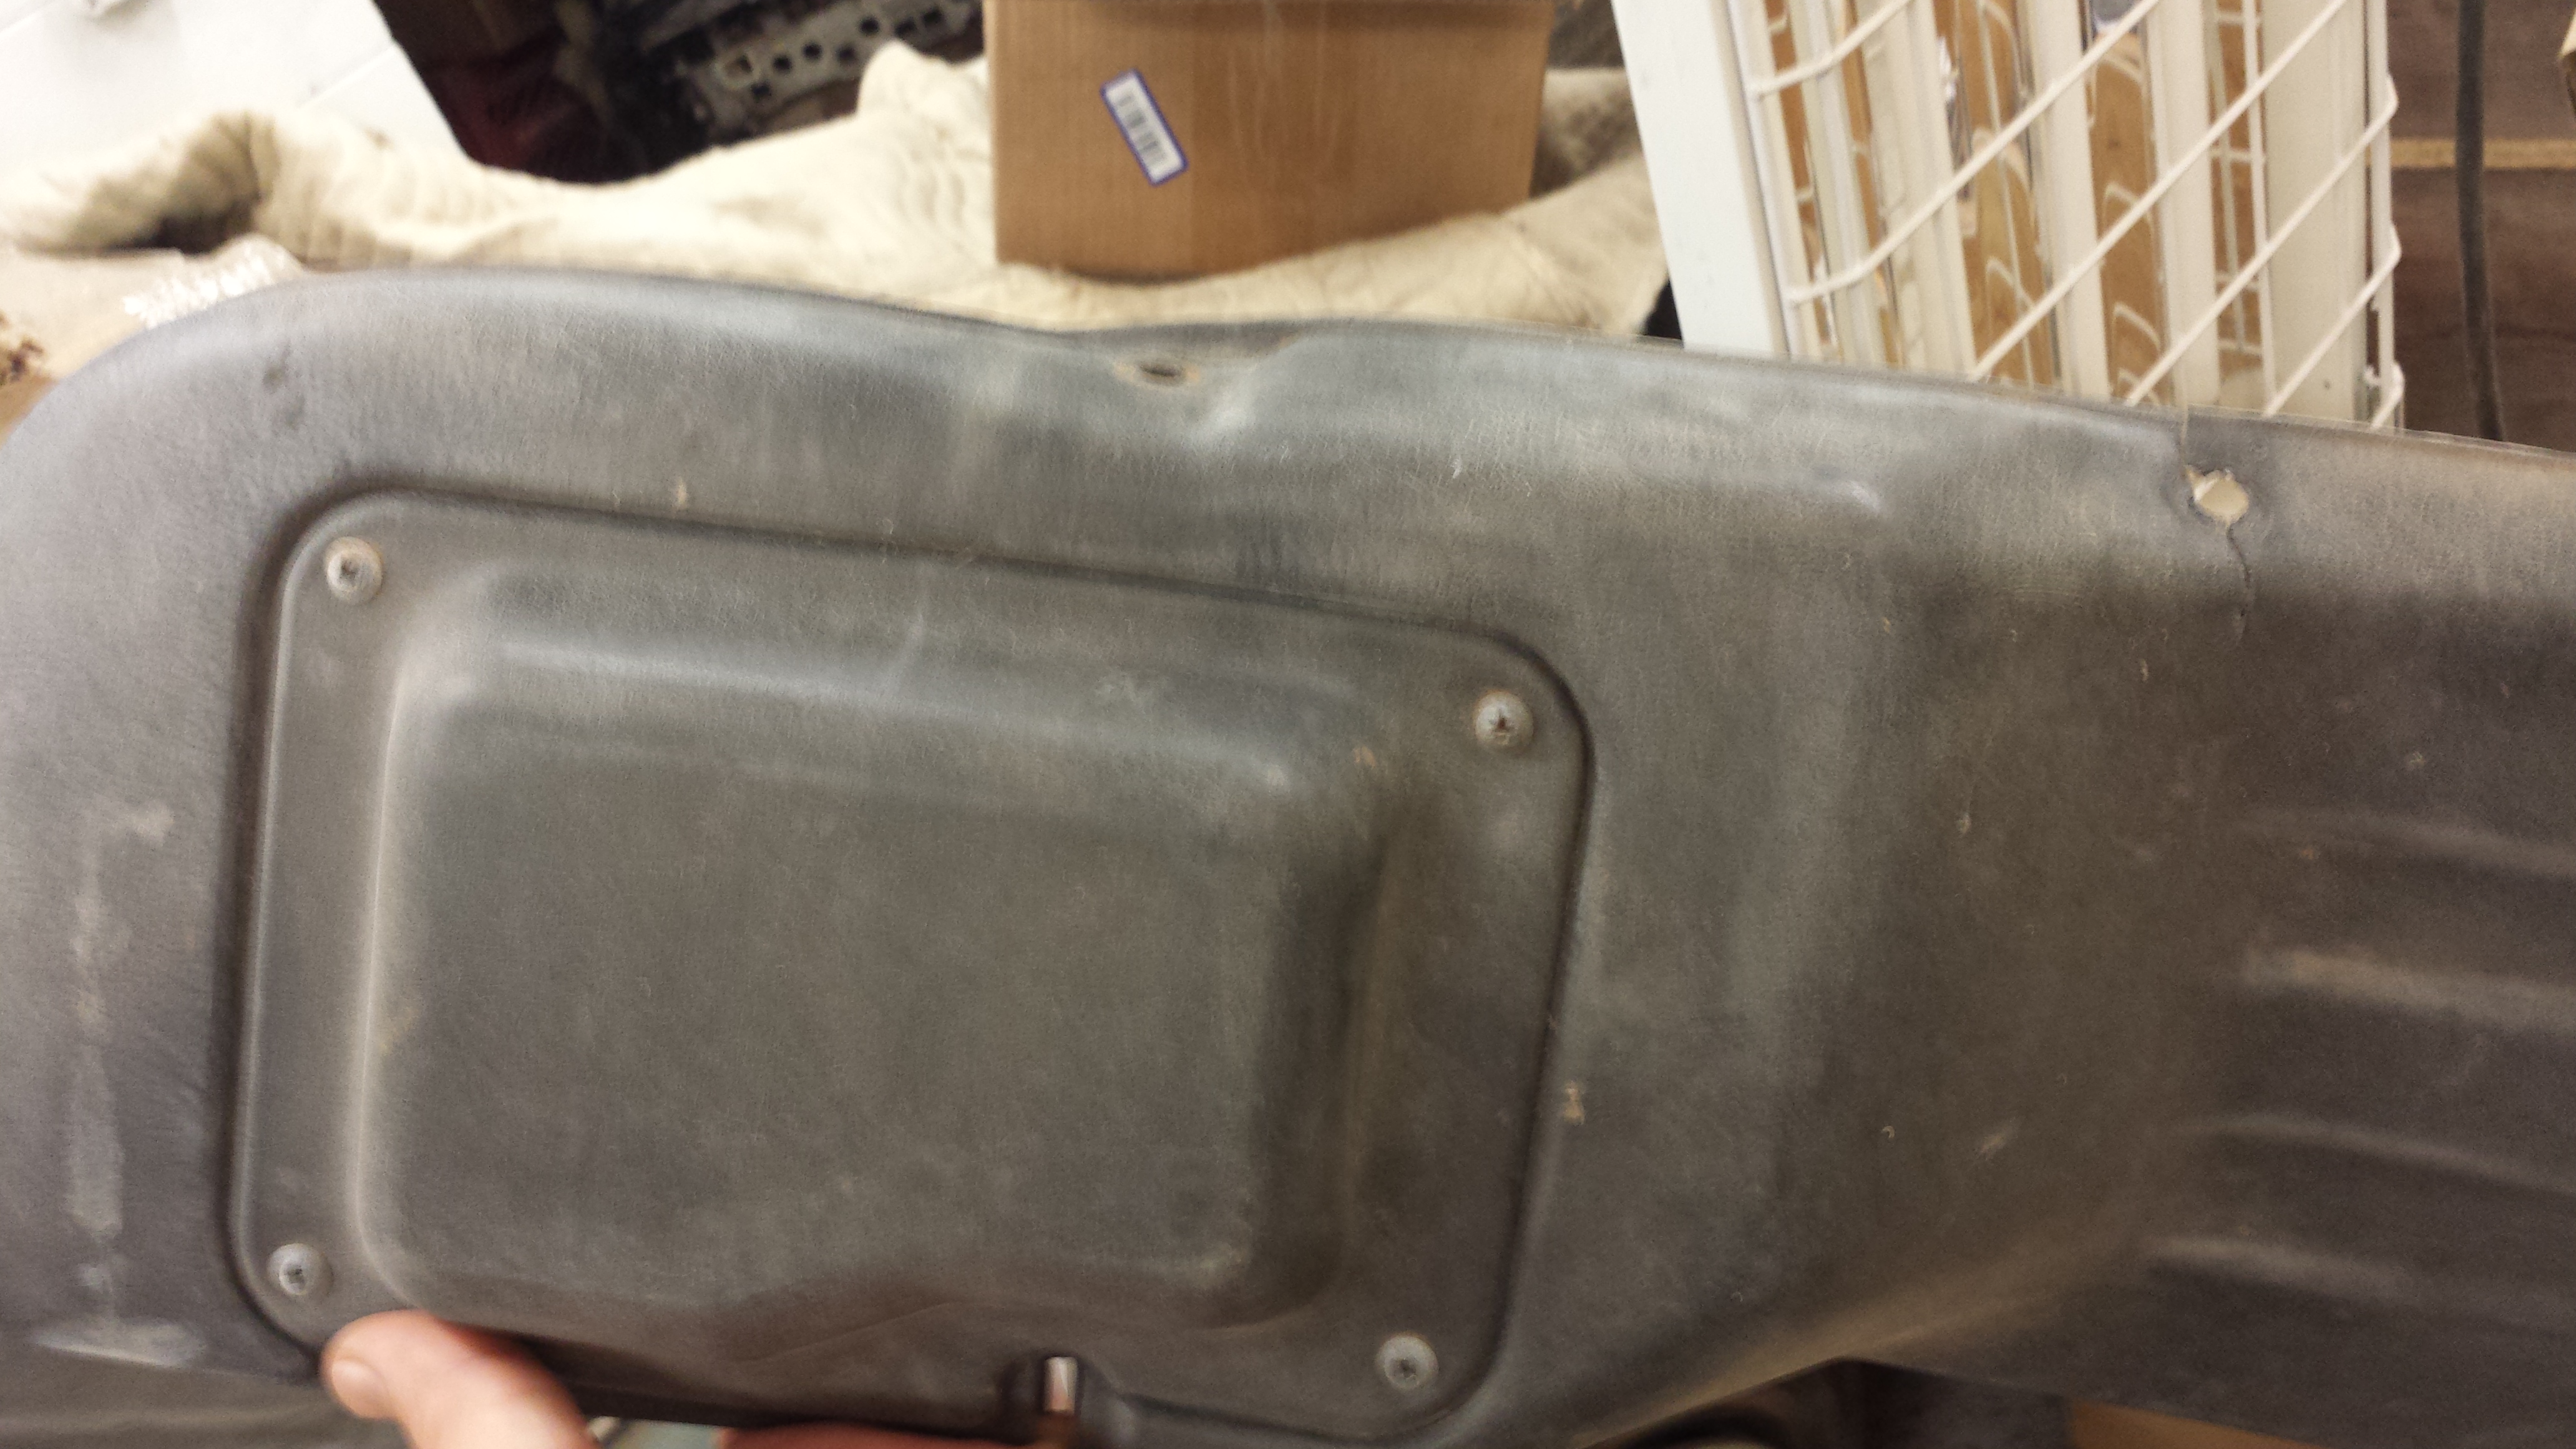
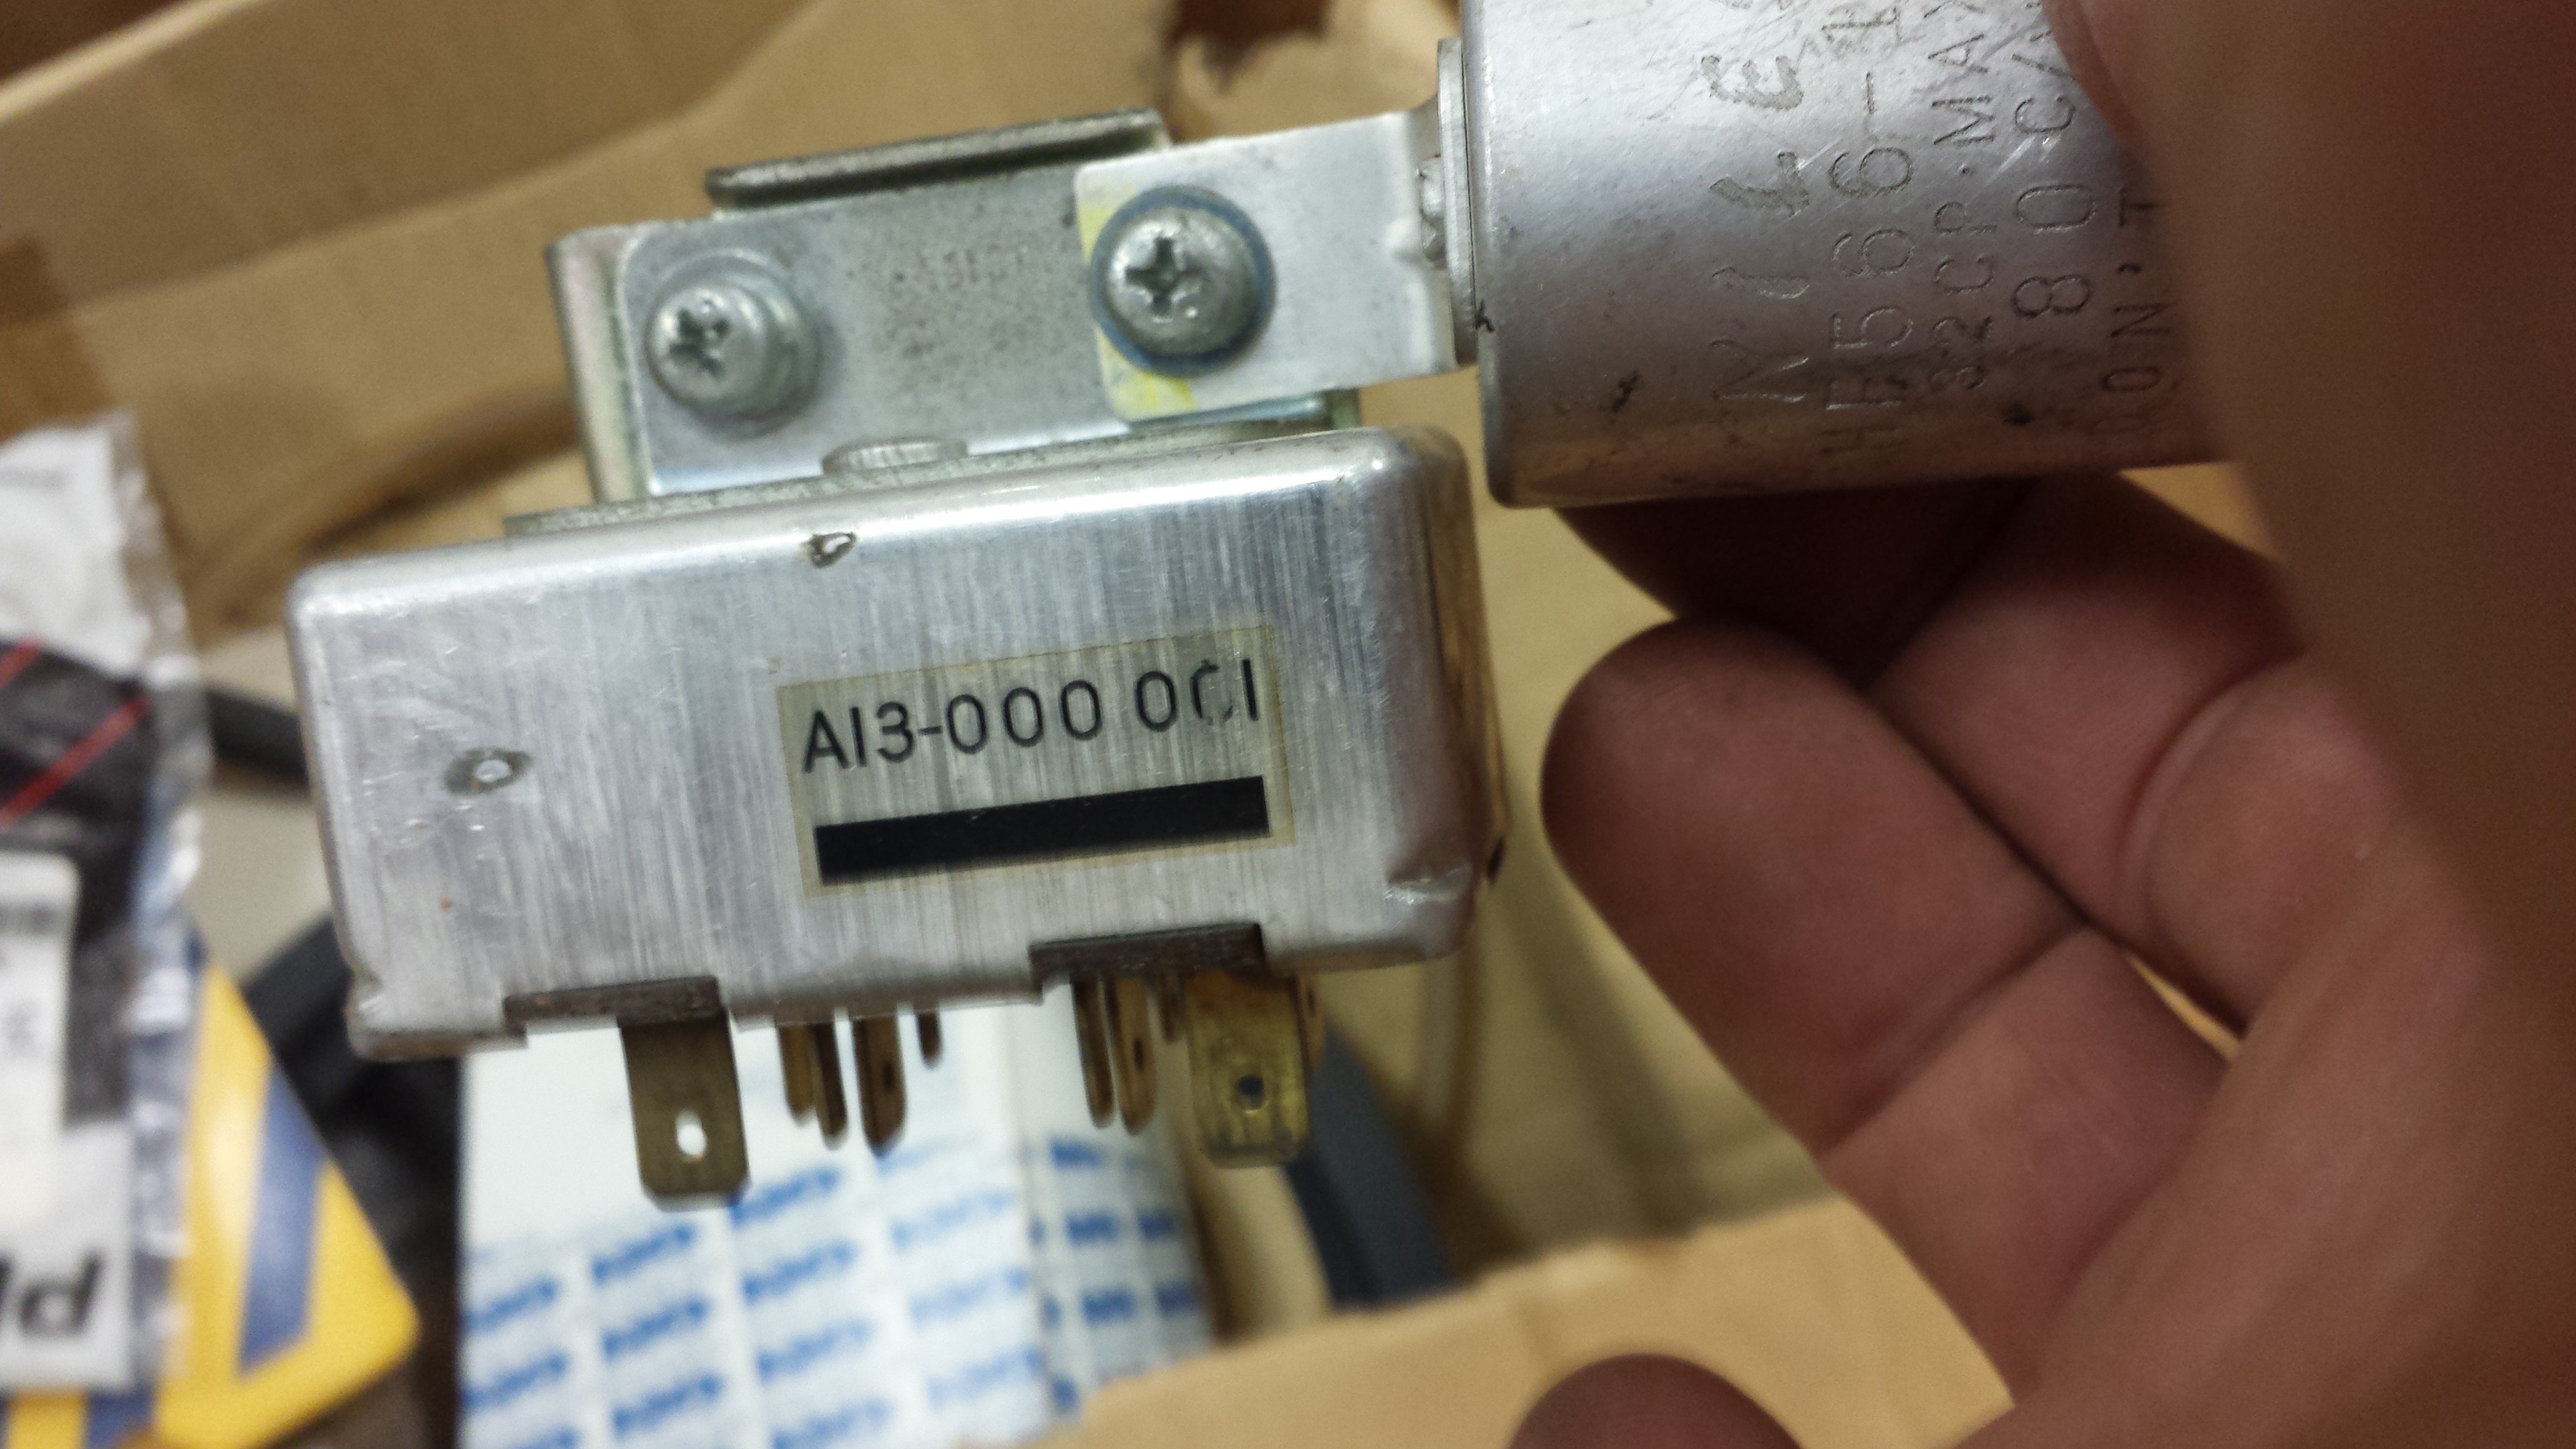
More stuff Vent tank Brand new seat cover 4 wheel covers. 2 have damage on the rim
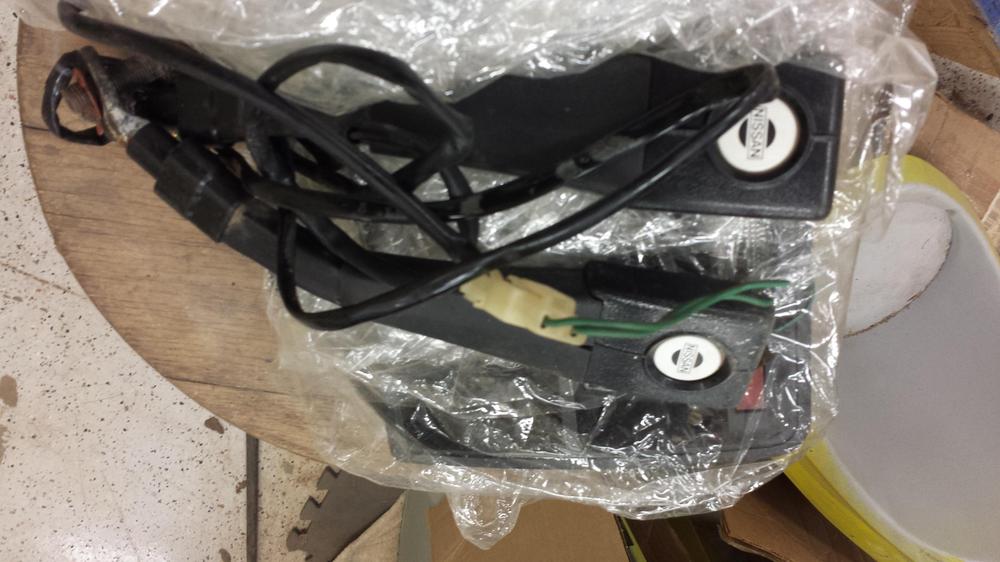
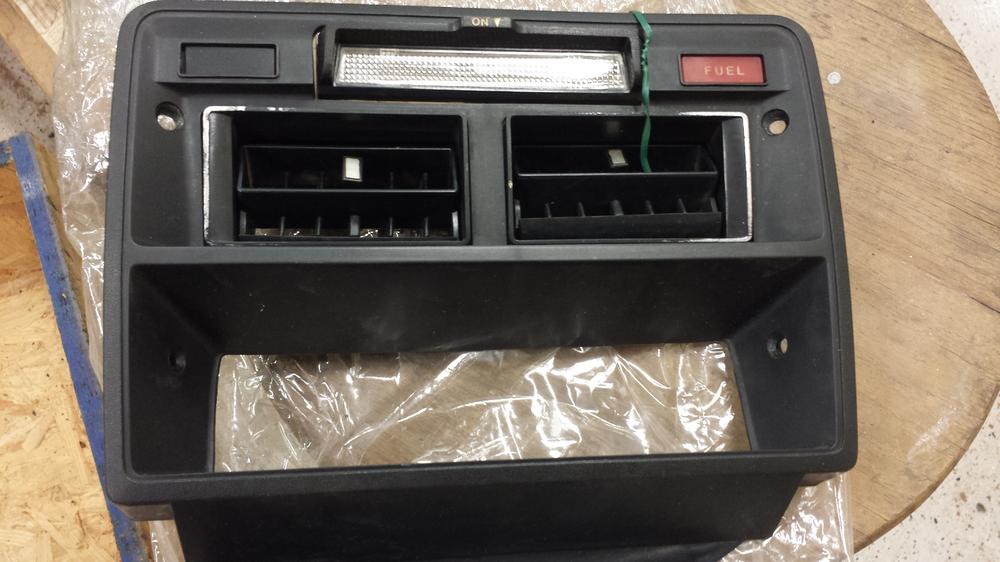
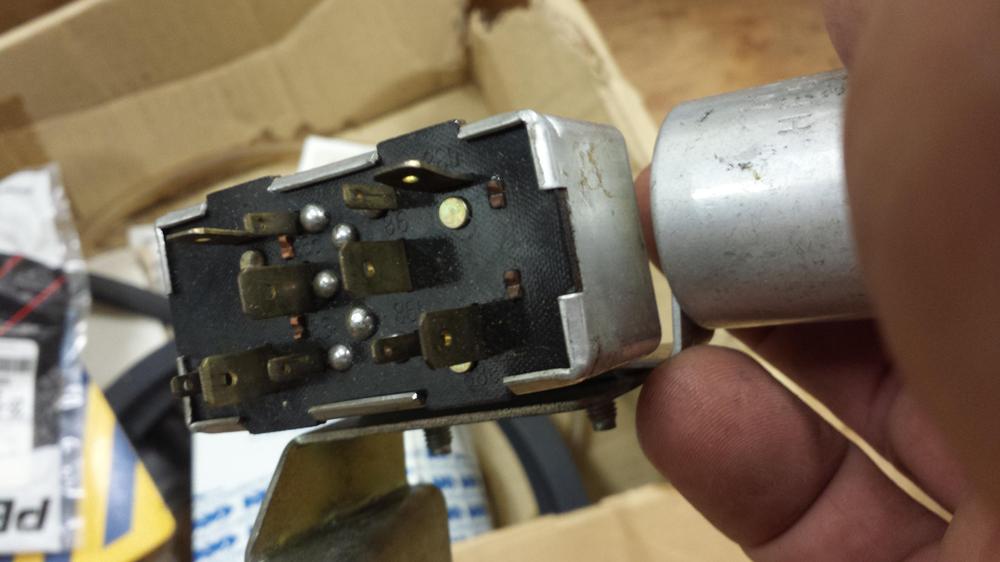
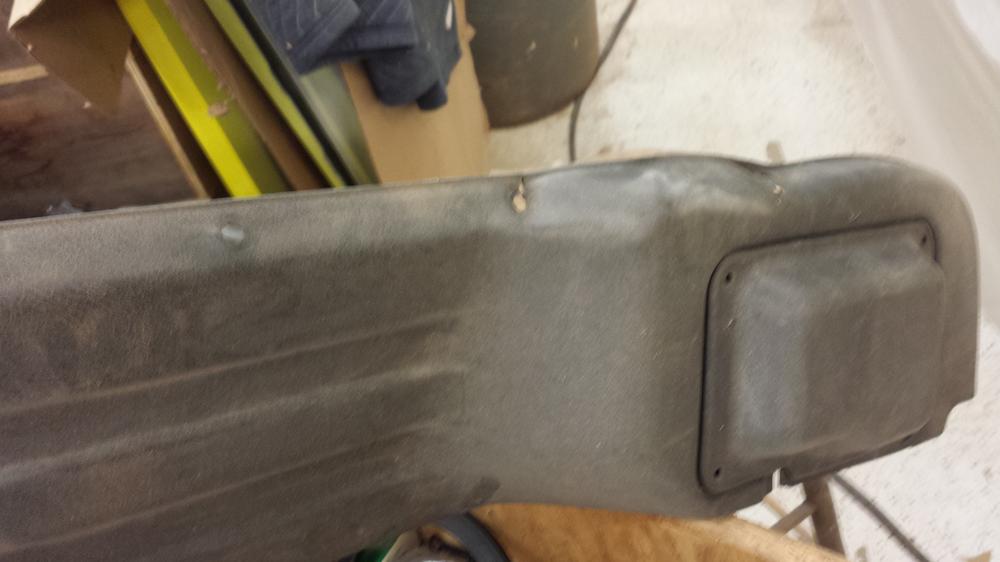
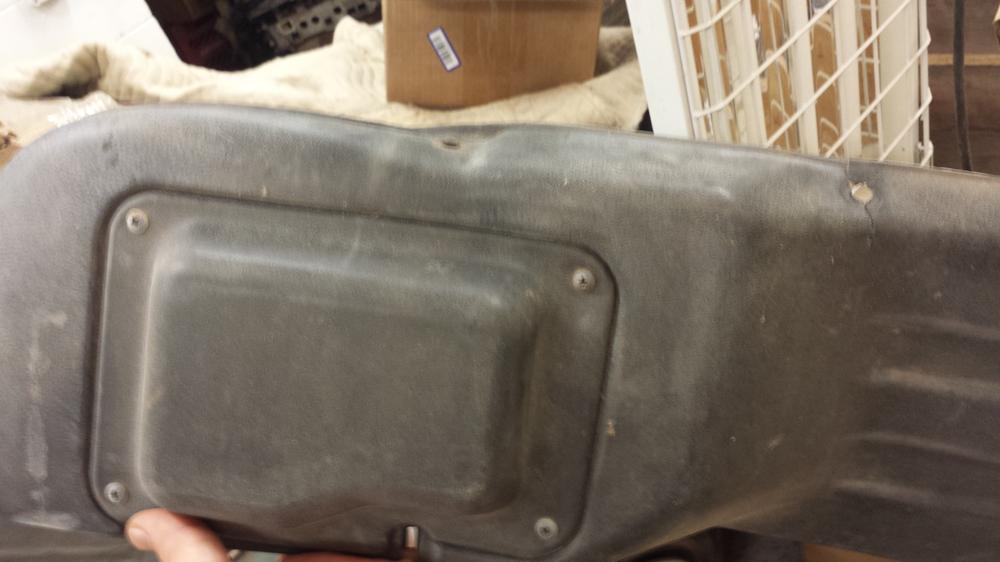
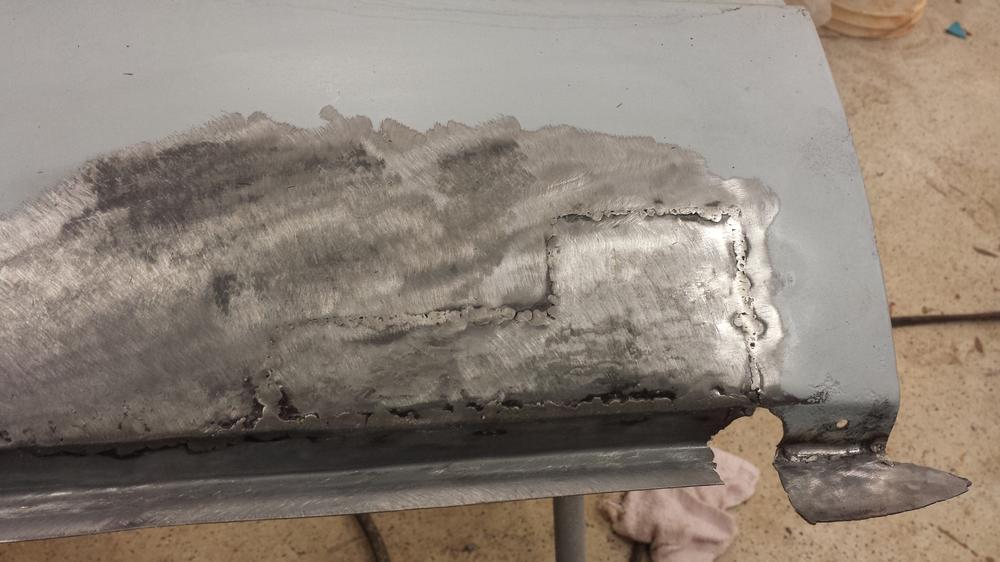
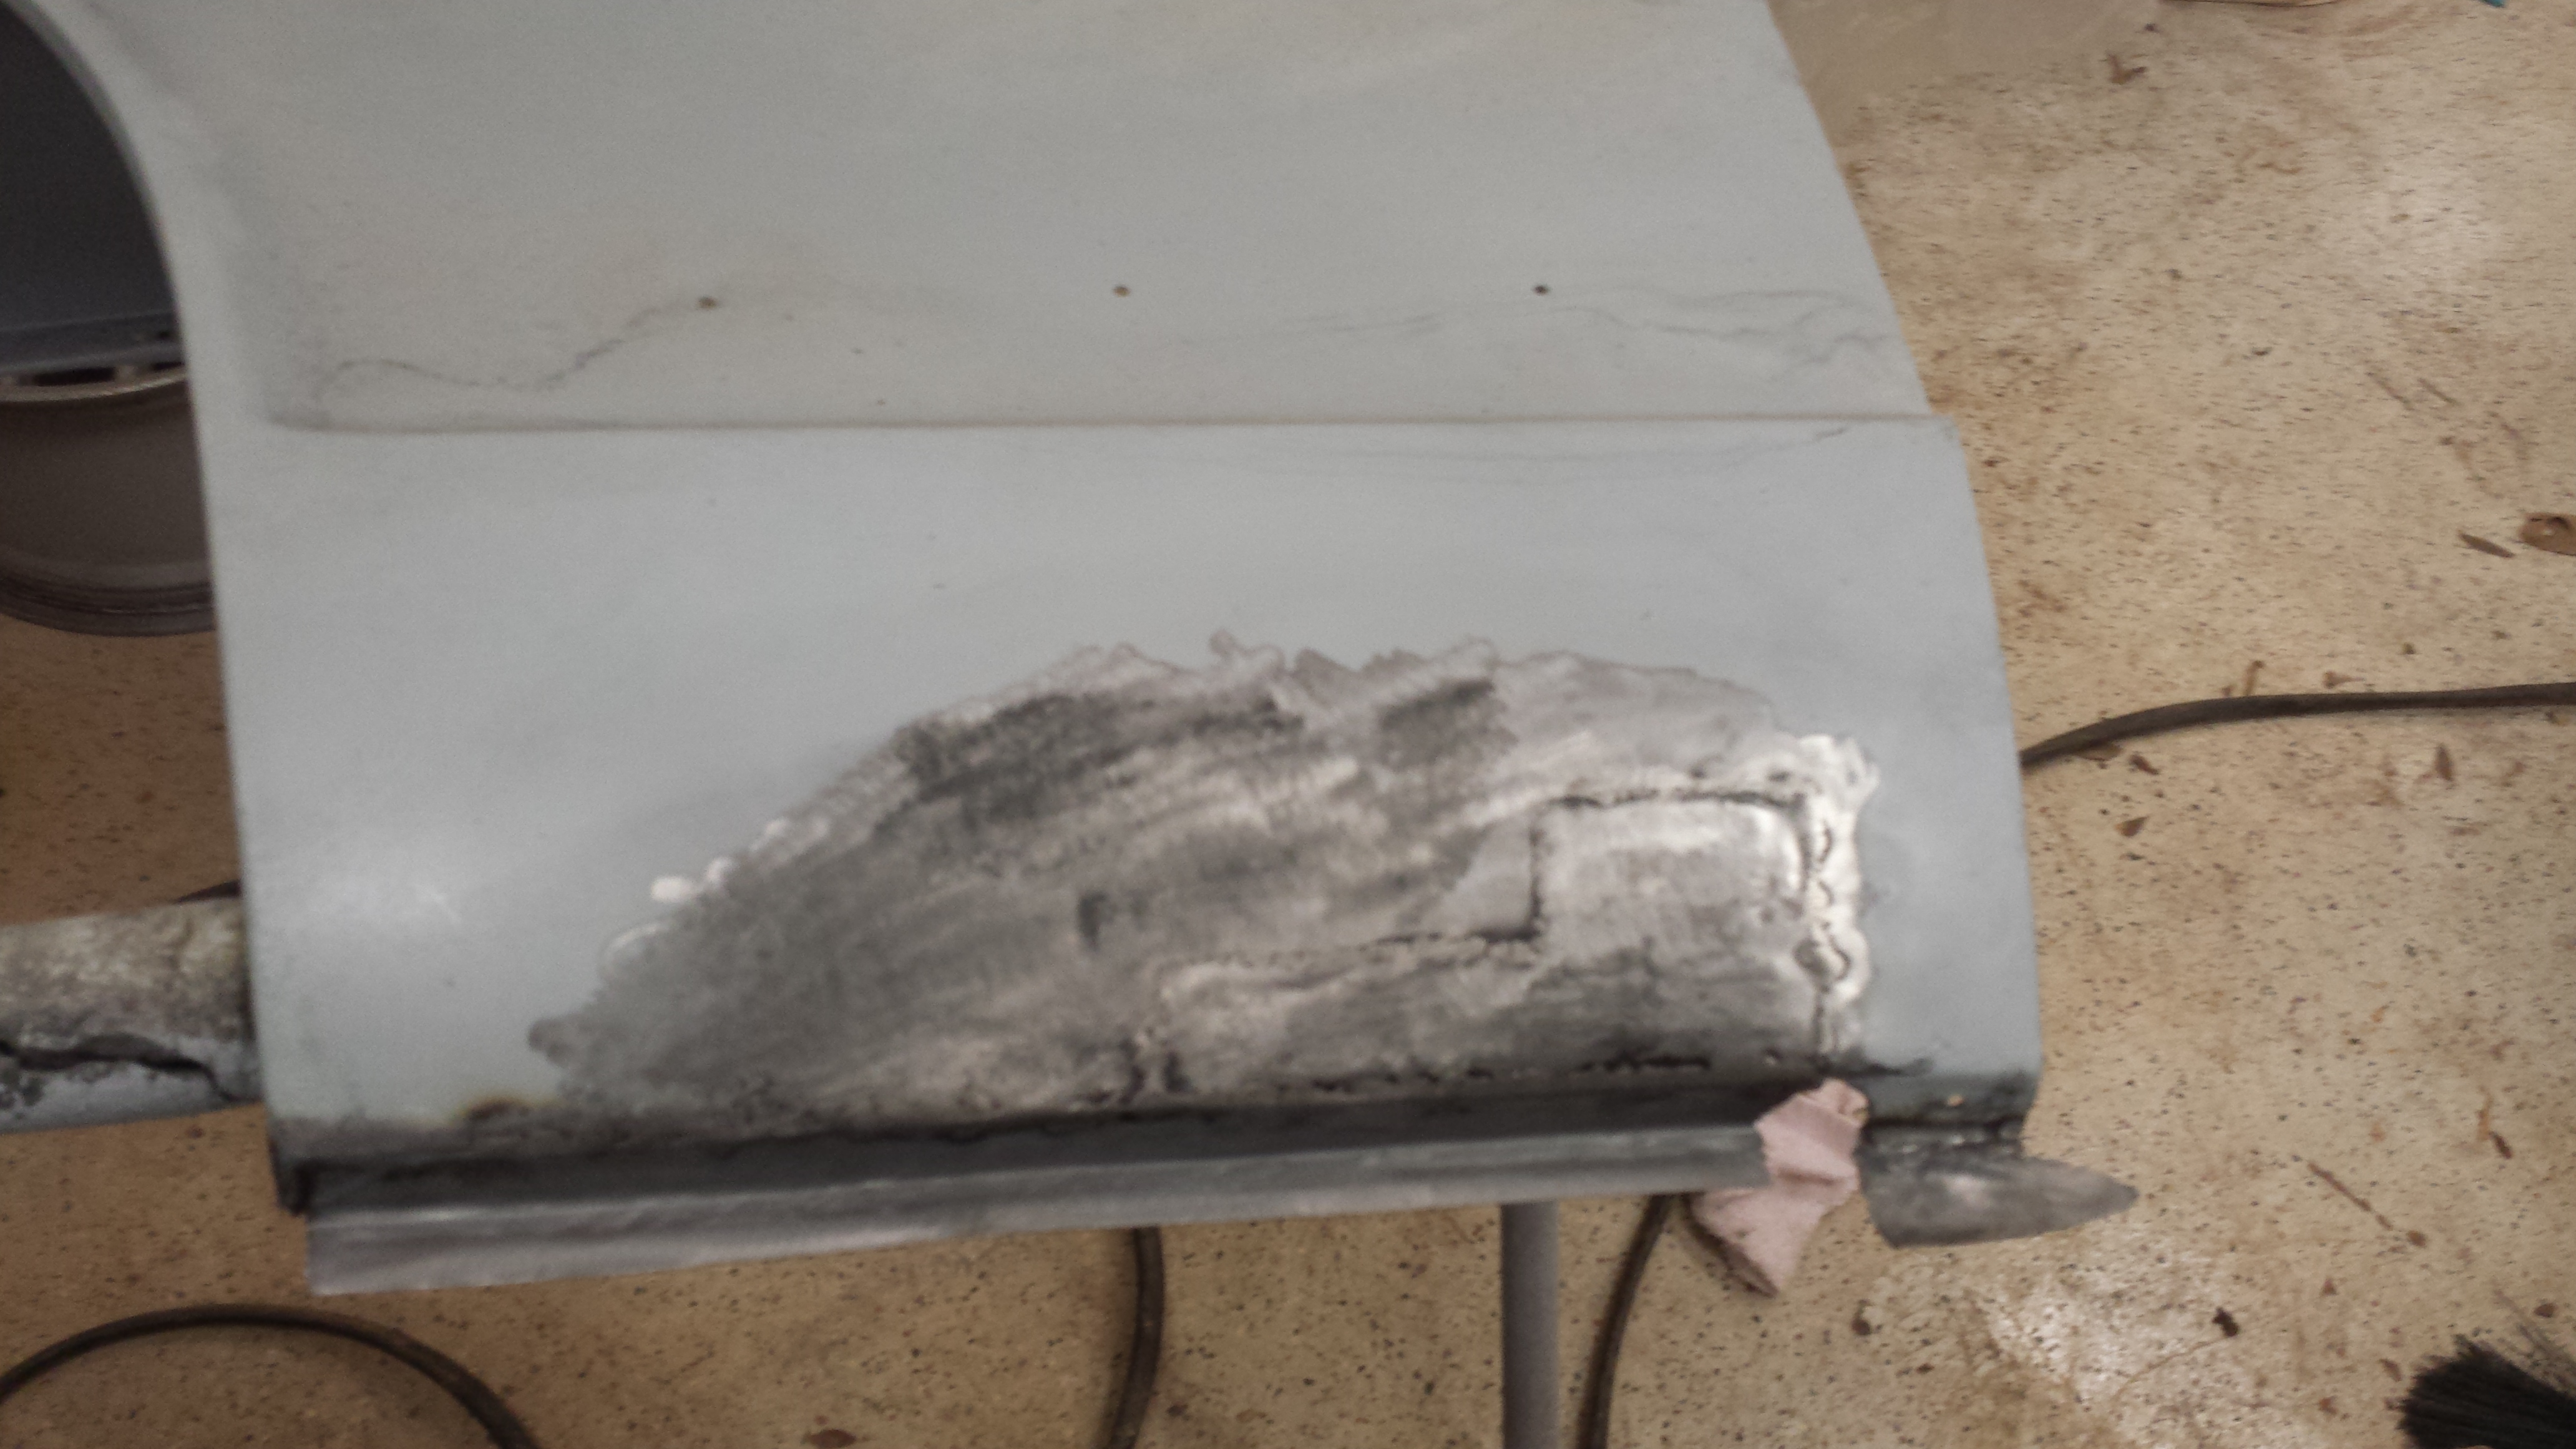
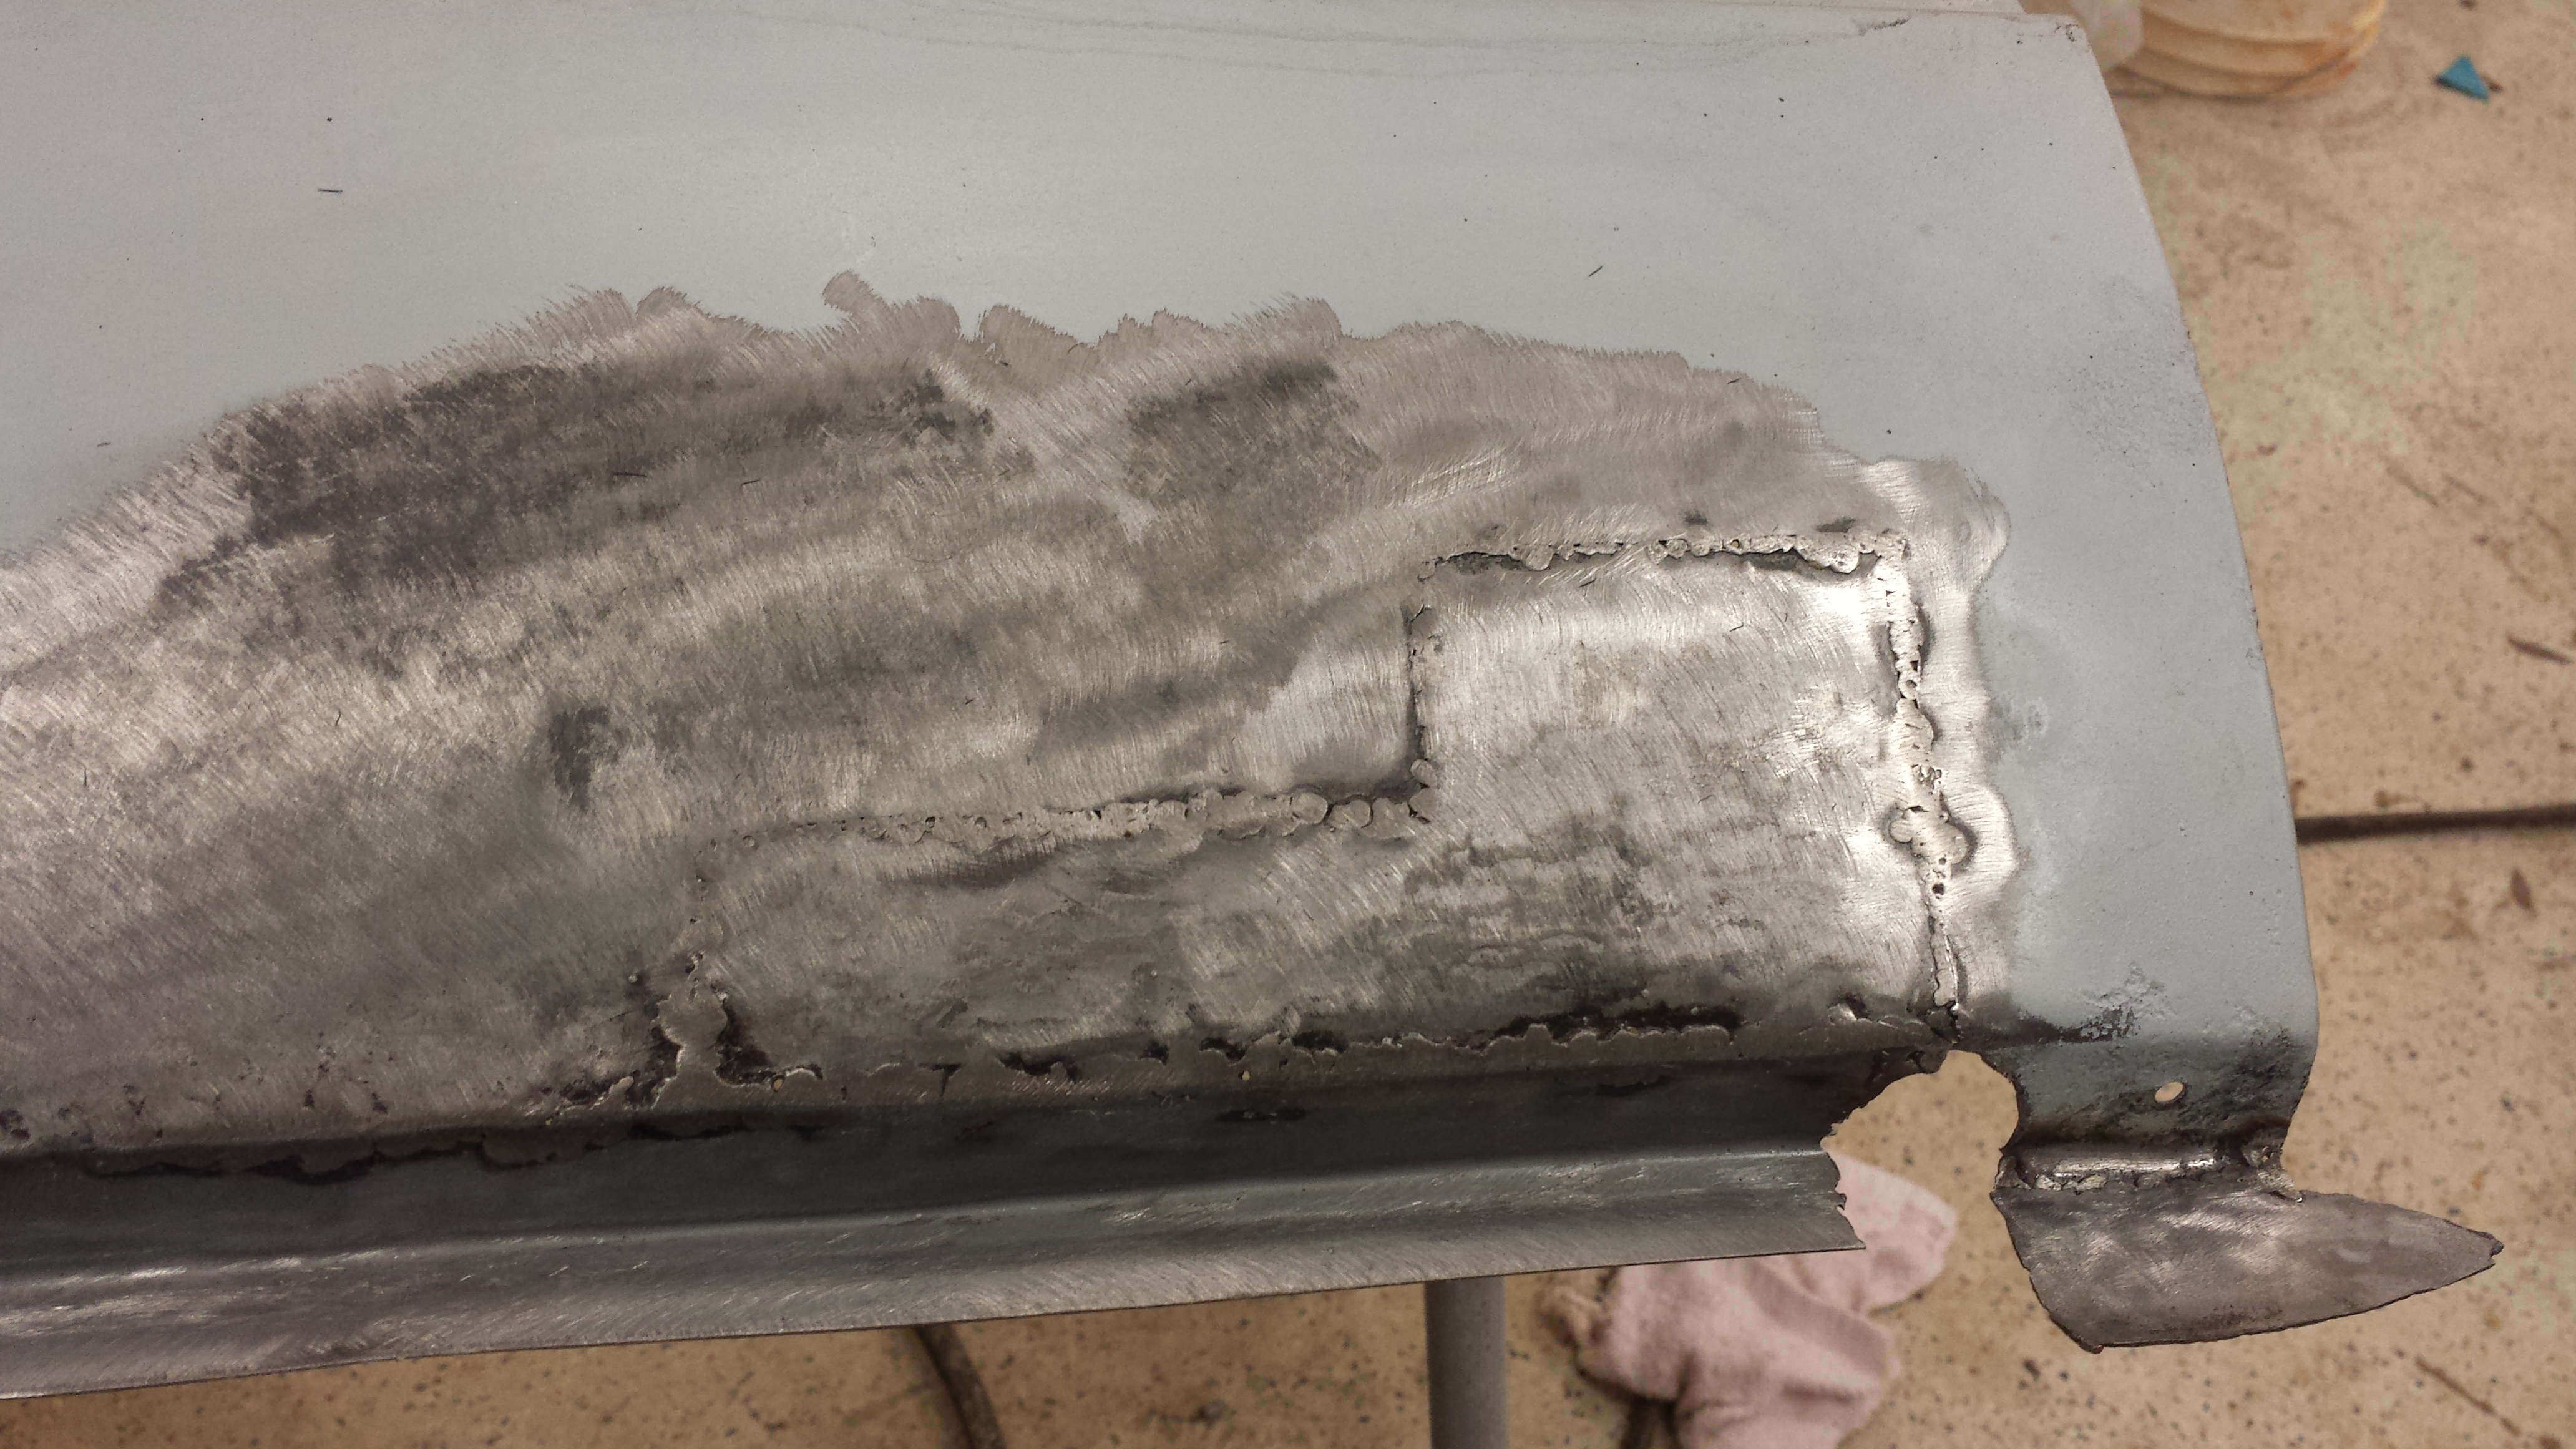
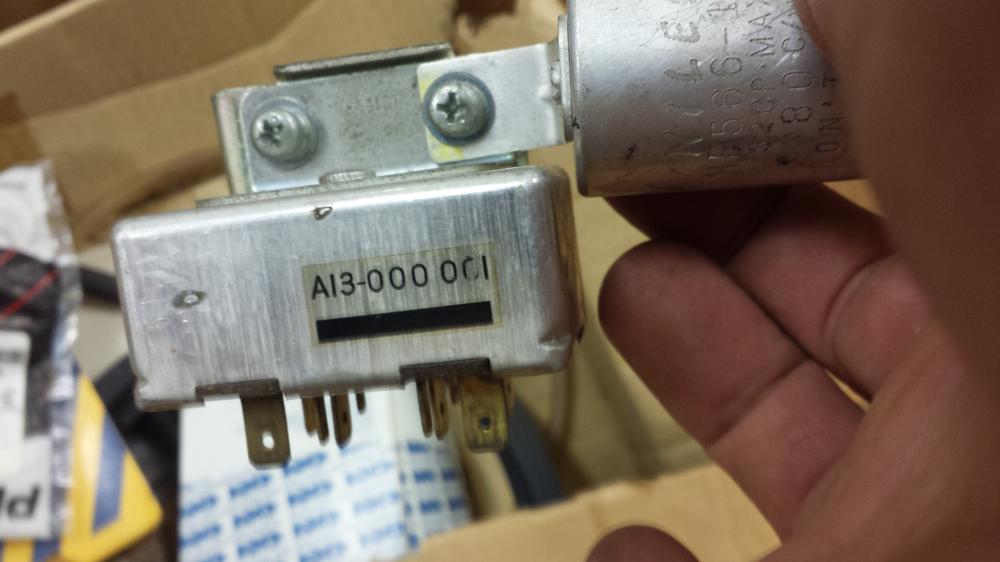 Worked on the front suspension some more. Tried to assemble the Tension Rods. There must be a trick to it. I searched through some old threads but couldn't find anything. How do you compress the new rubber to get the nut started? Also which side of the bushing faces which way. there is a flat side and a rounded side. I have the flat sides in right now. Trying to find some knuckle bolts right now. I think I have some in my parts car stash. I also worked on the front fender today. Welded in the patch panel and use the shrinking disc to try to make it right. It's not perfect but it will work...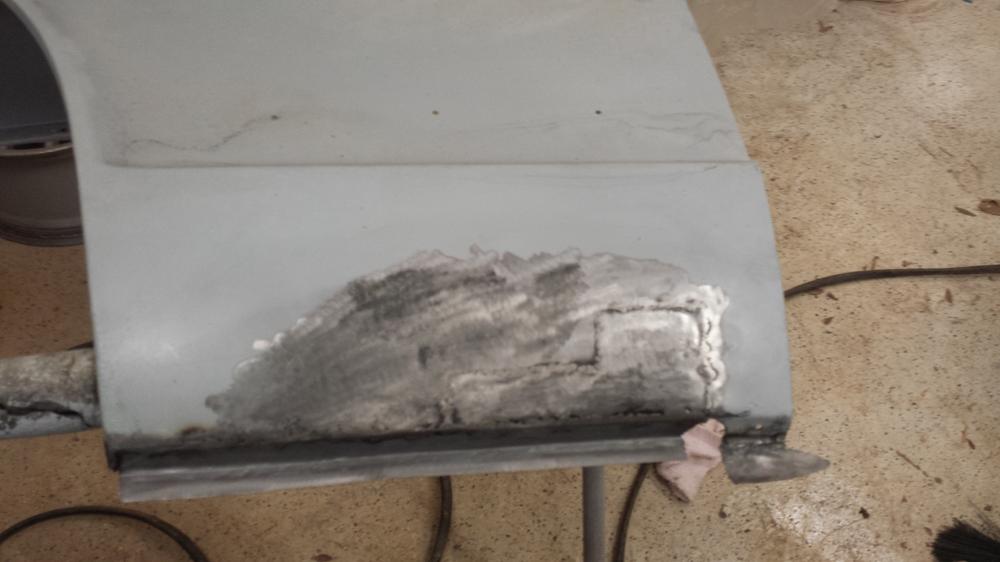
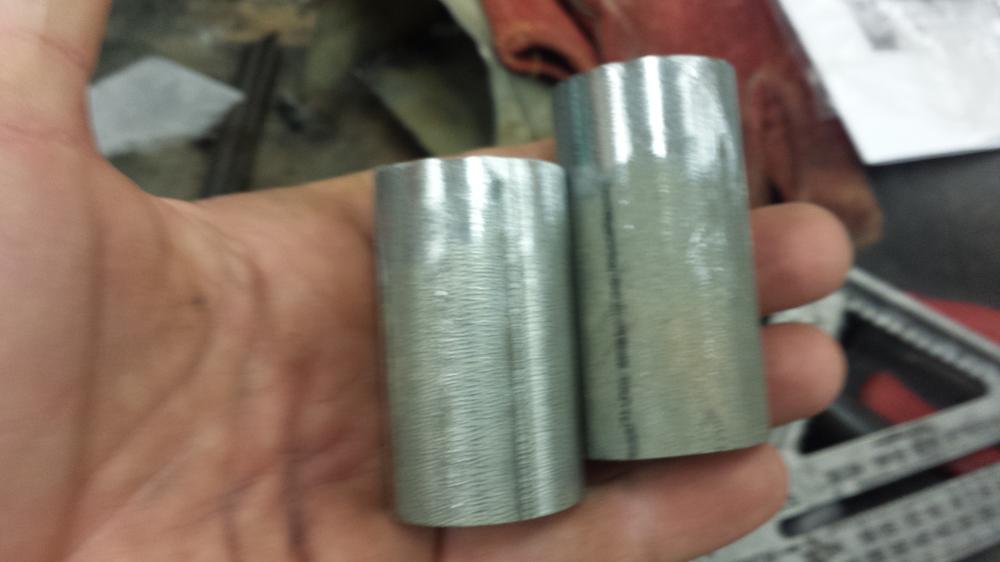
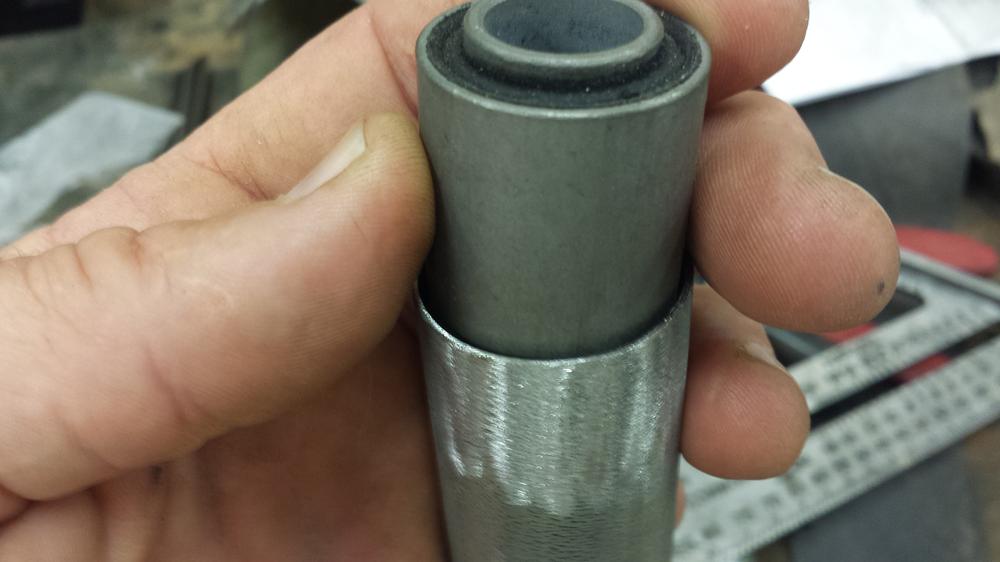
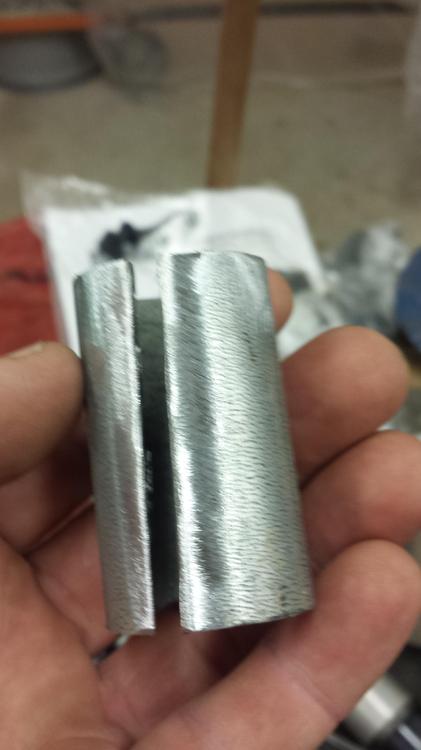
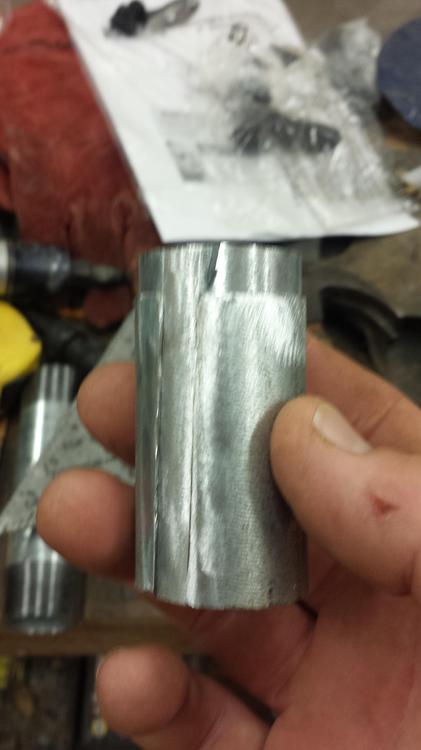
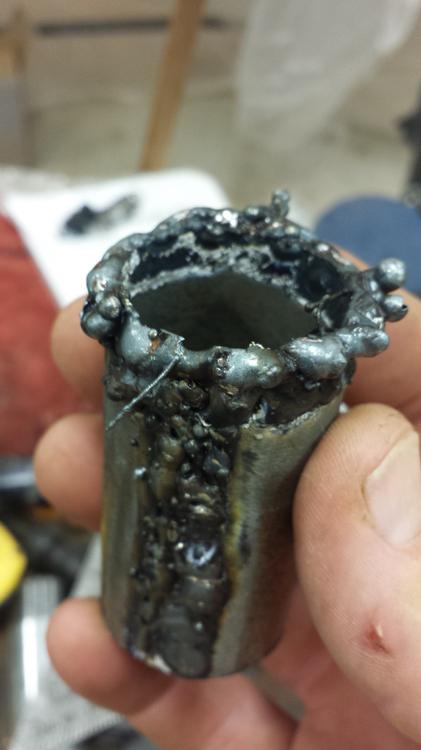
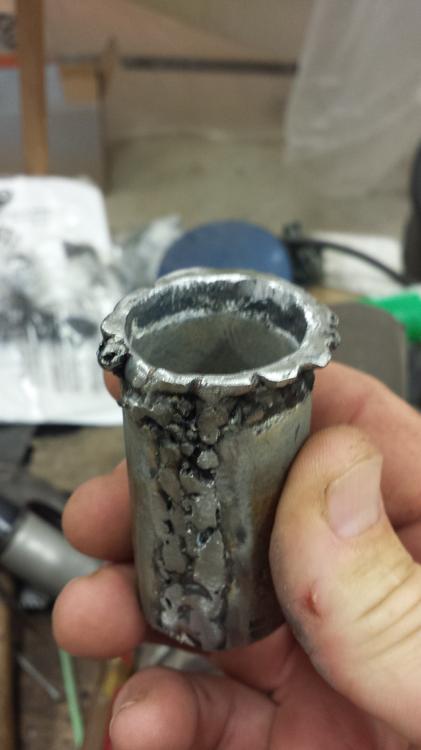
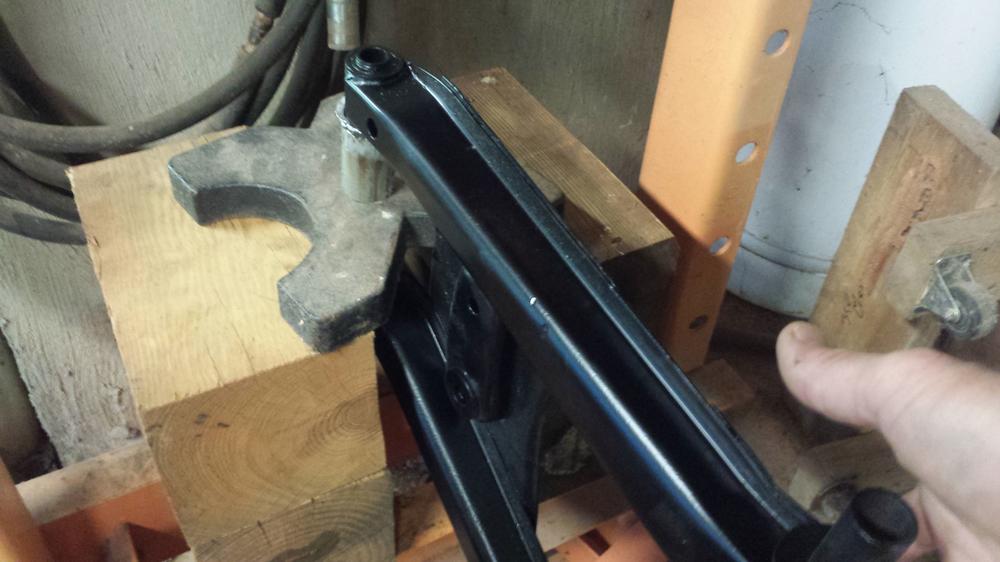
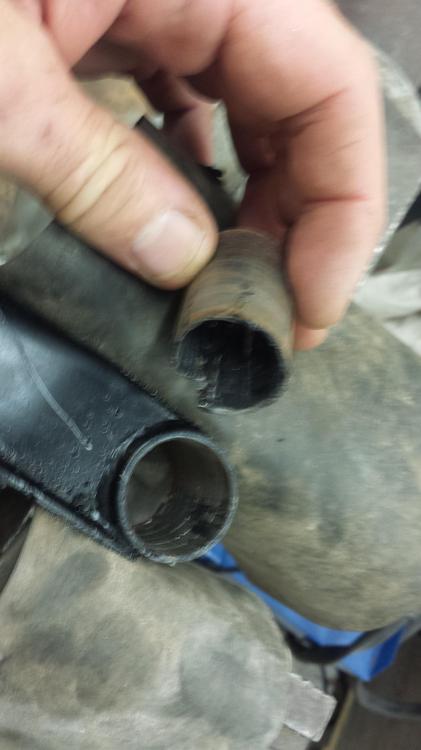
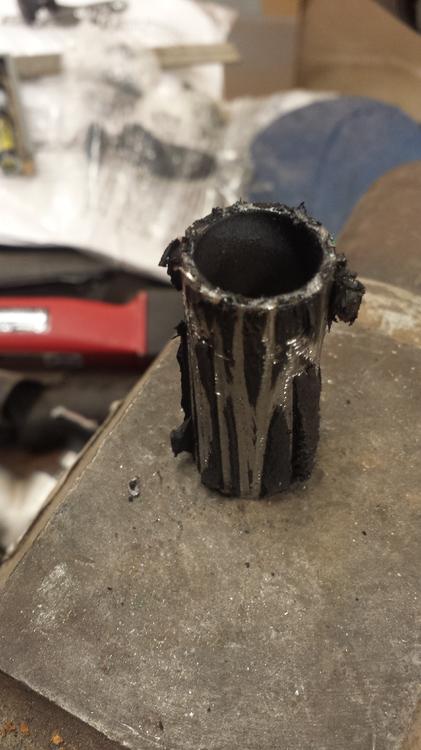
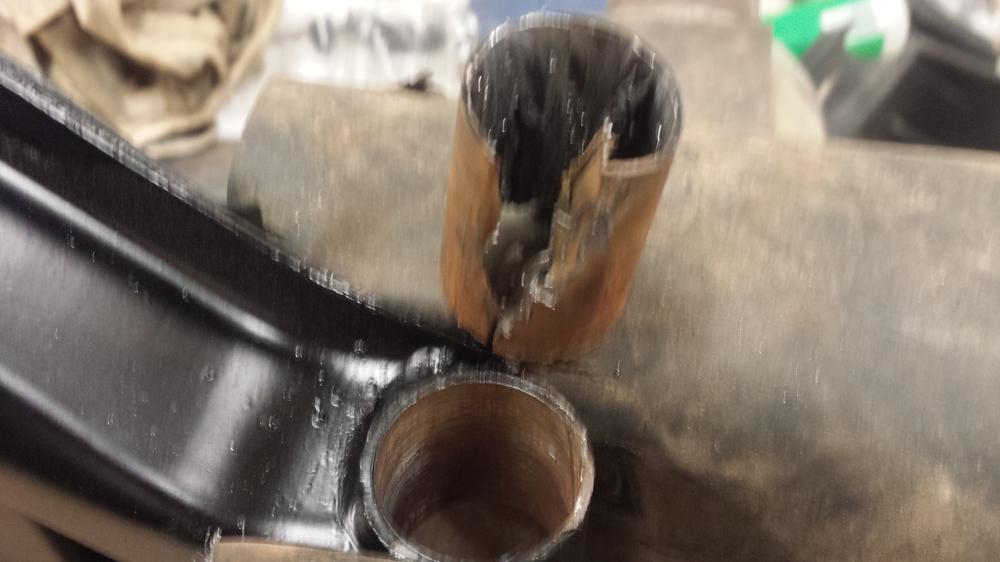
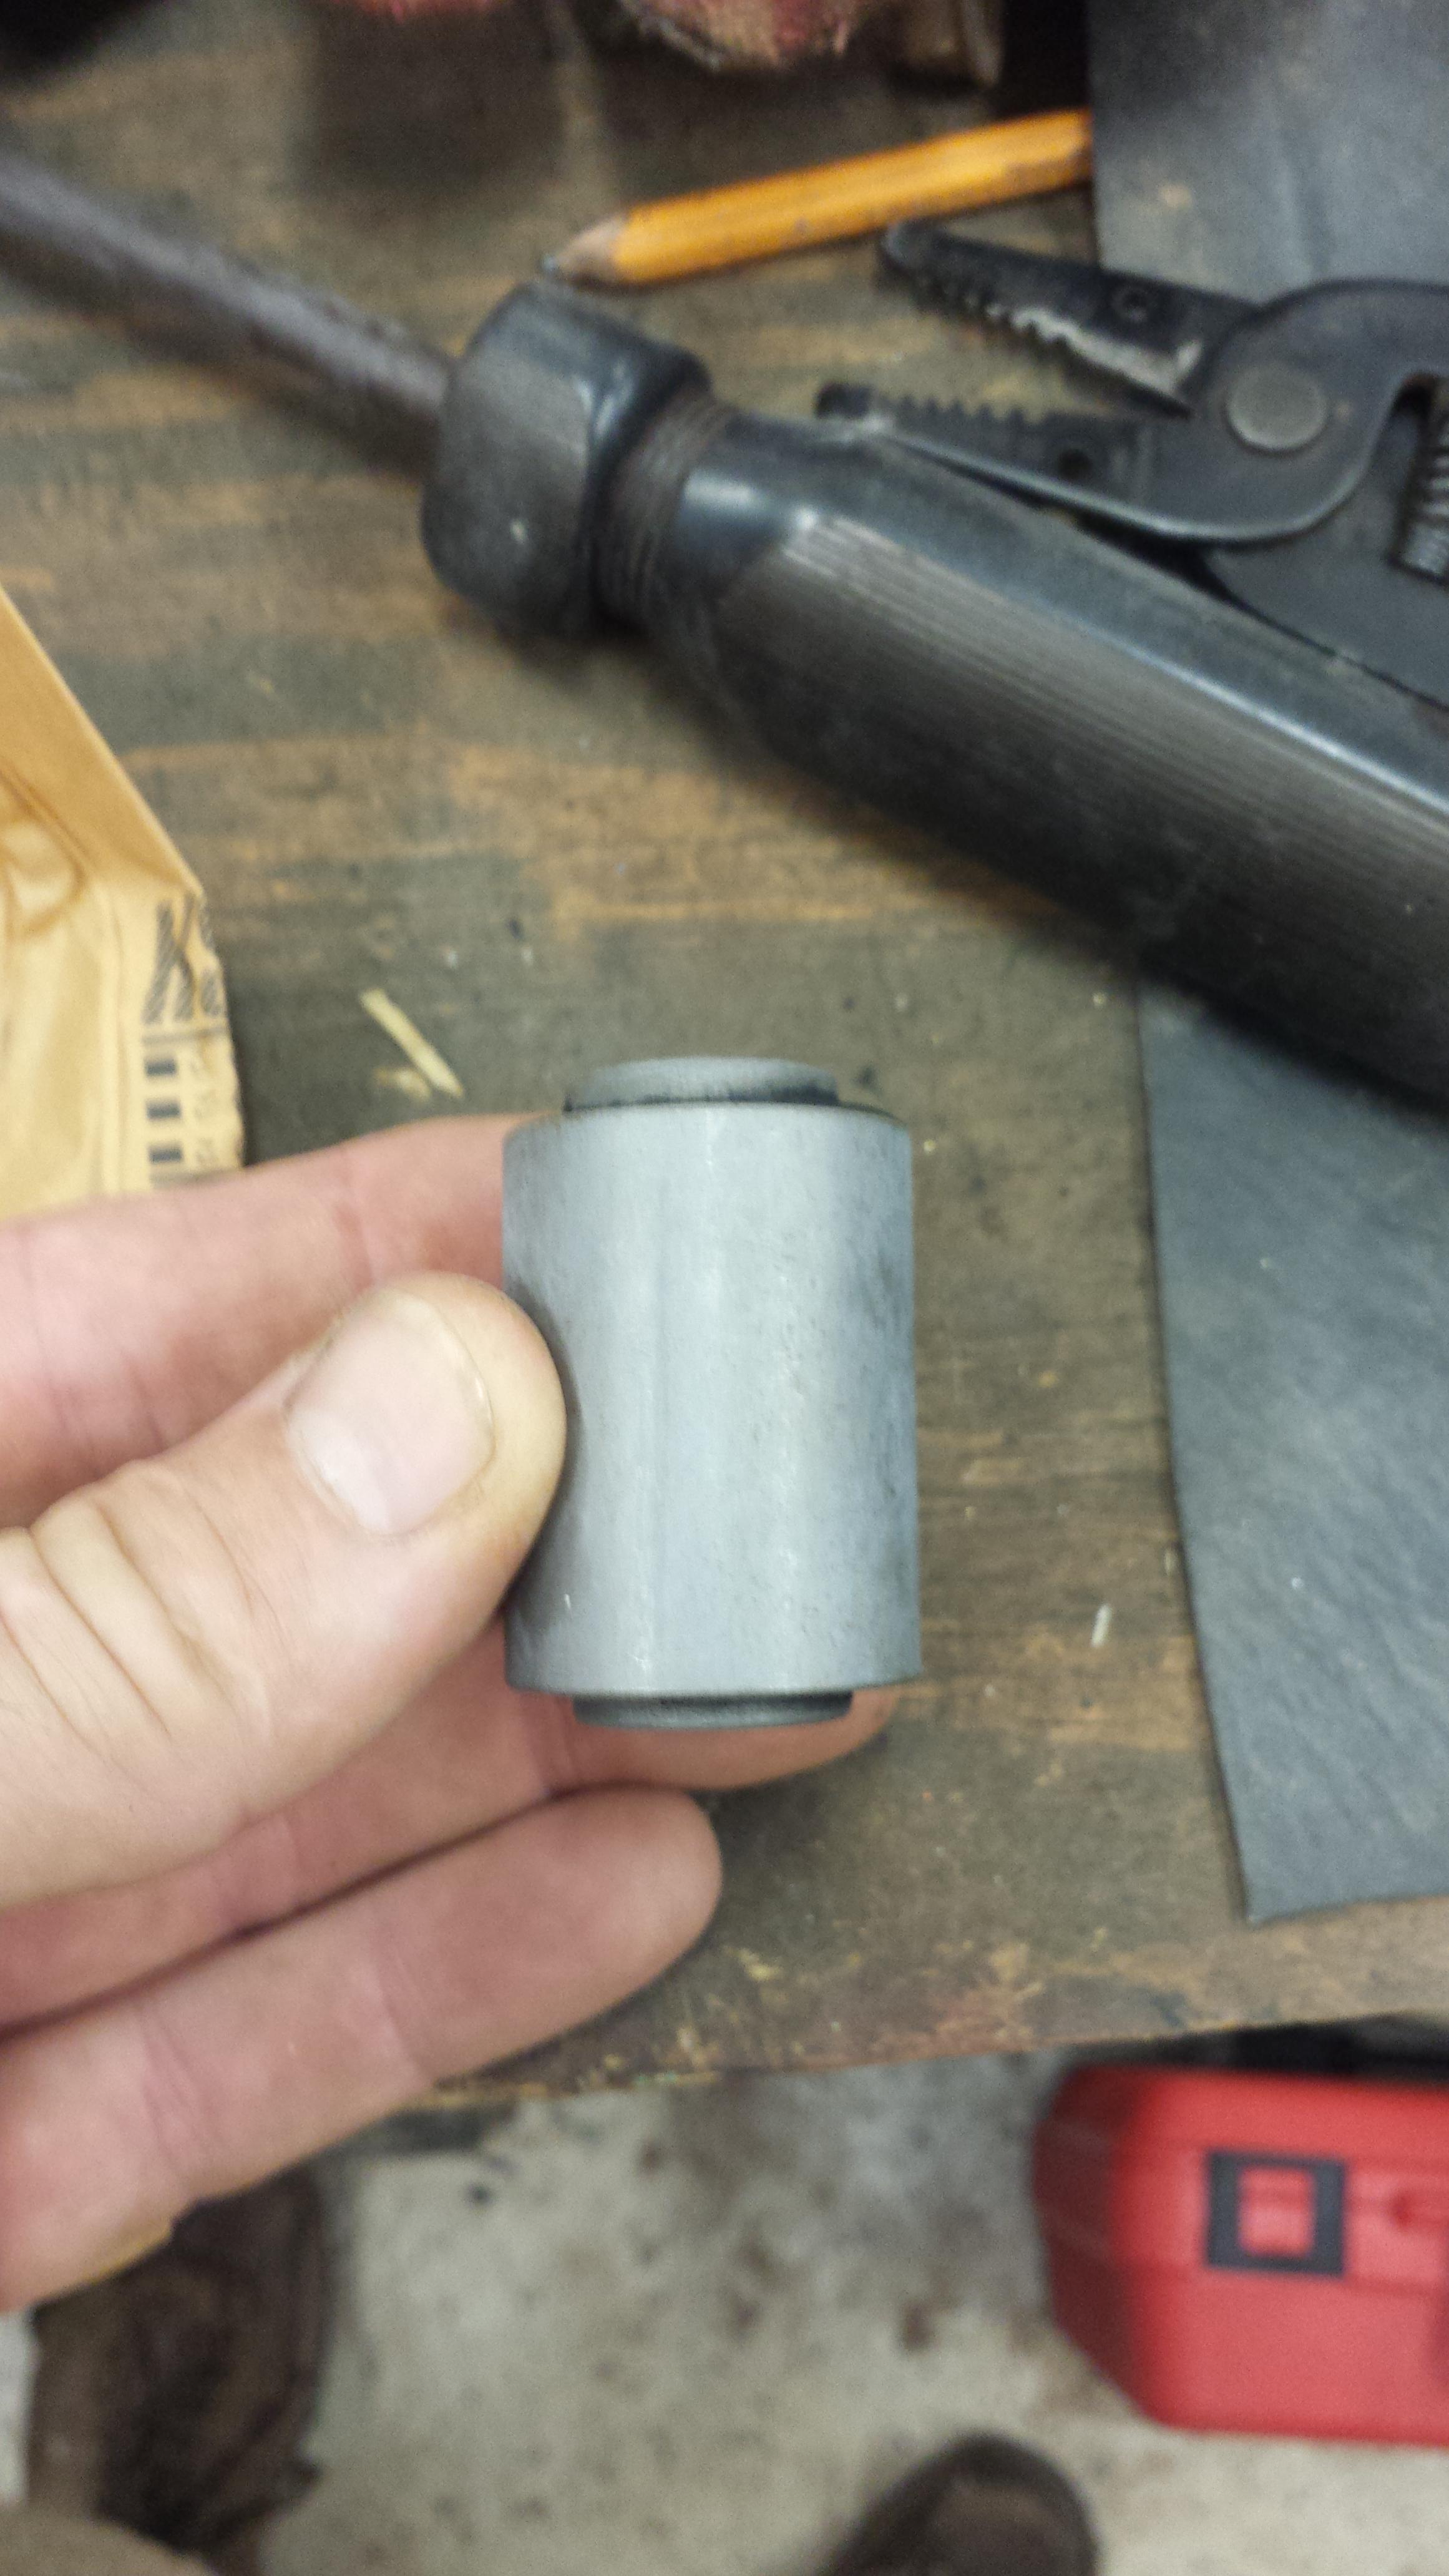
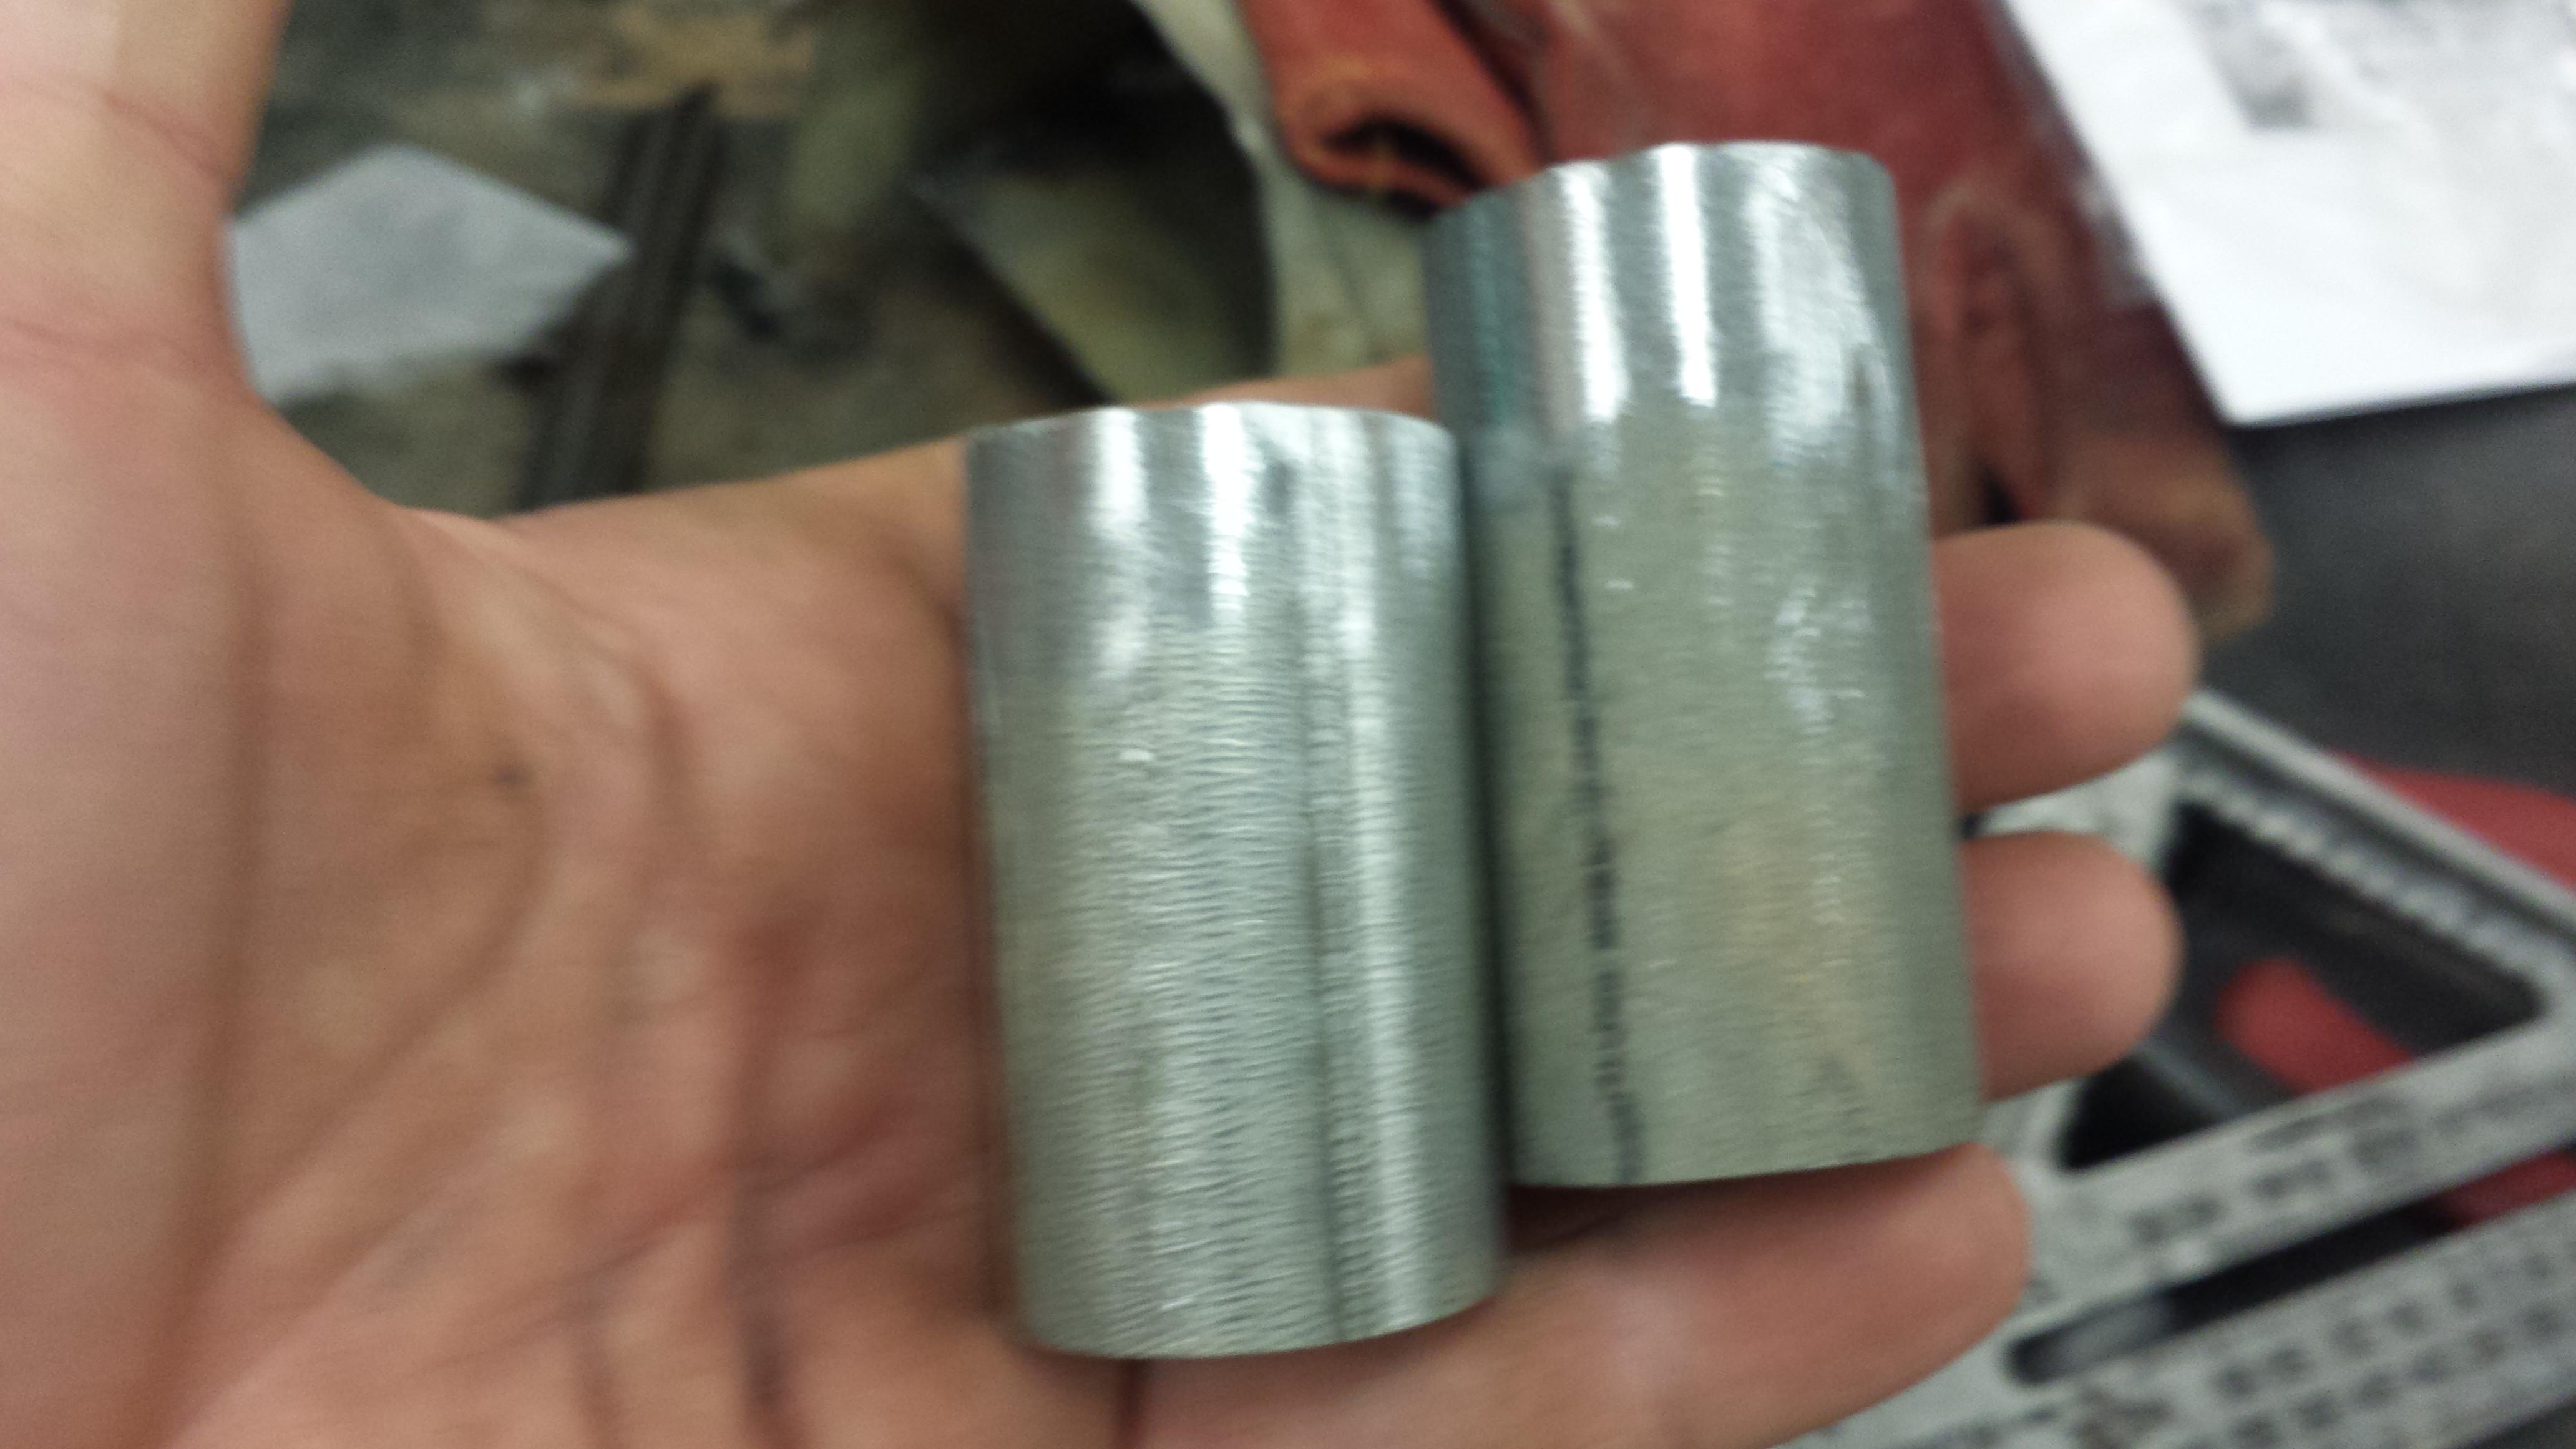
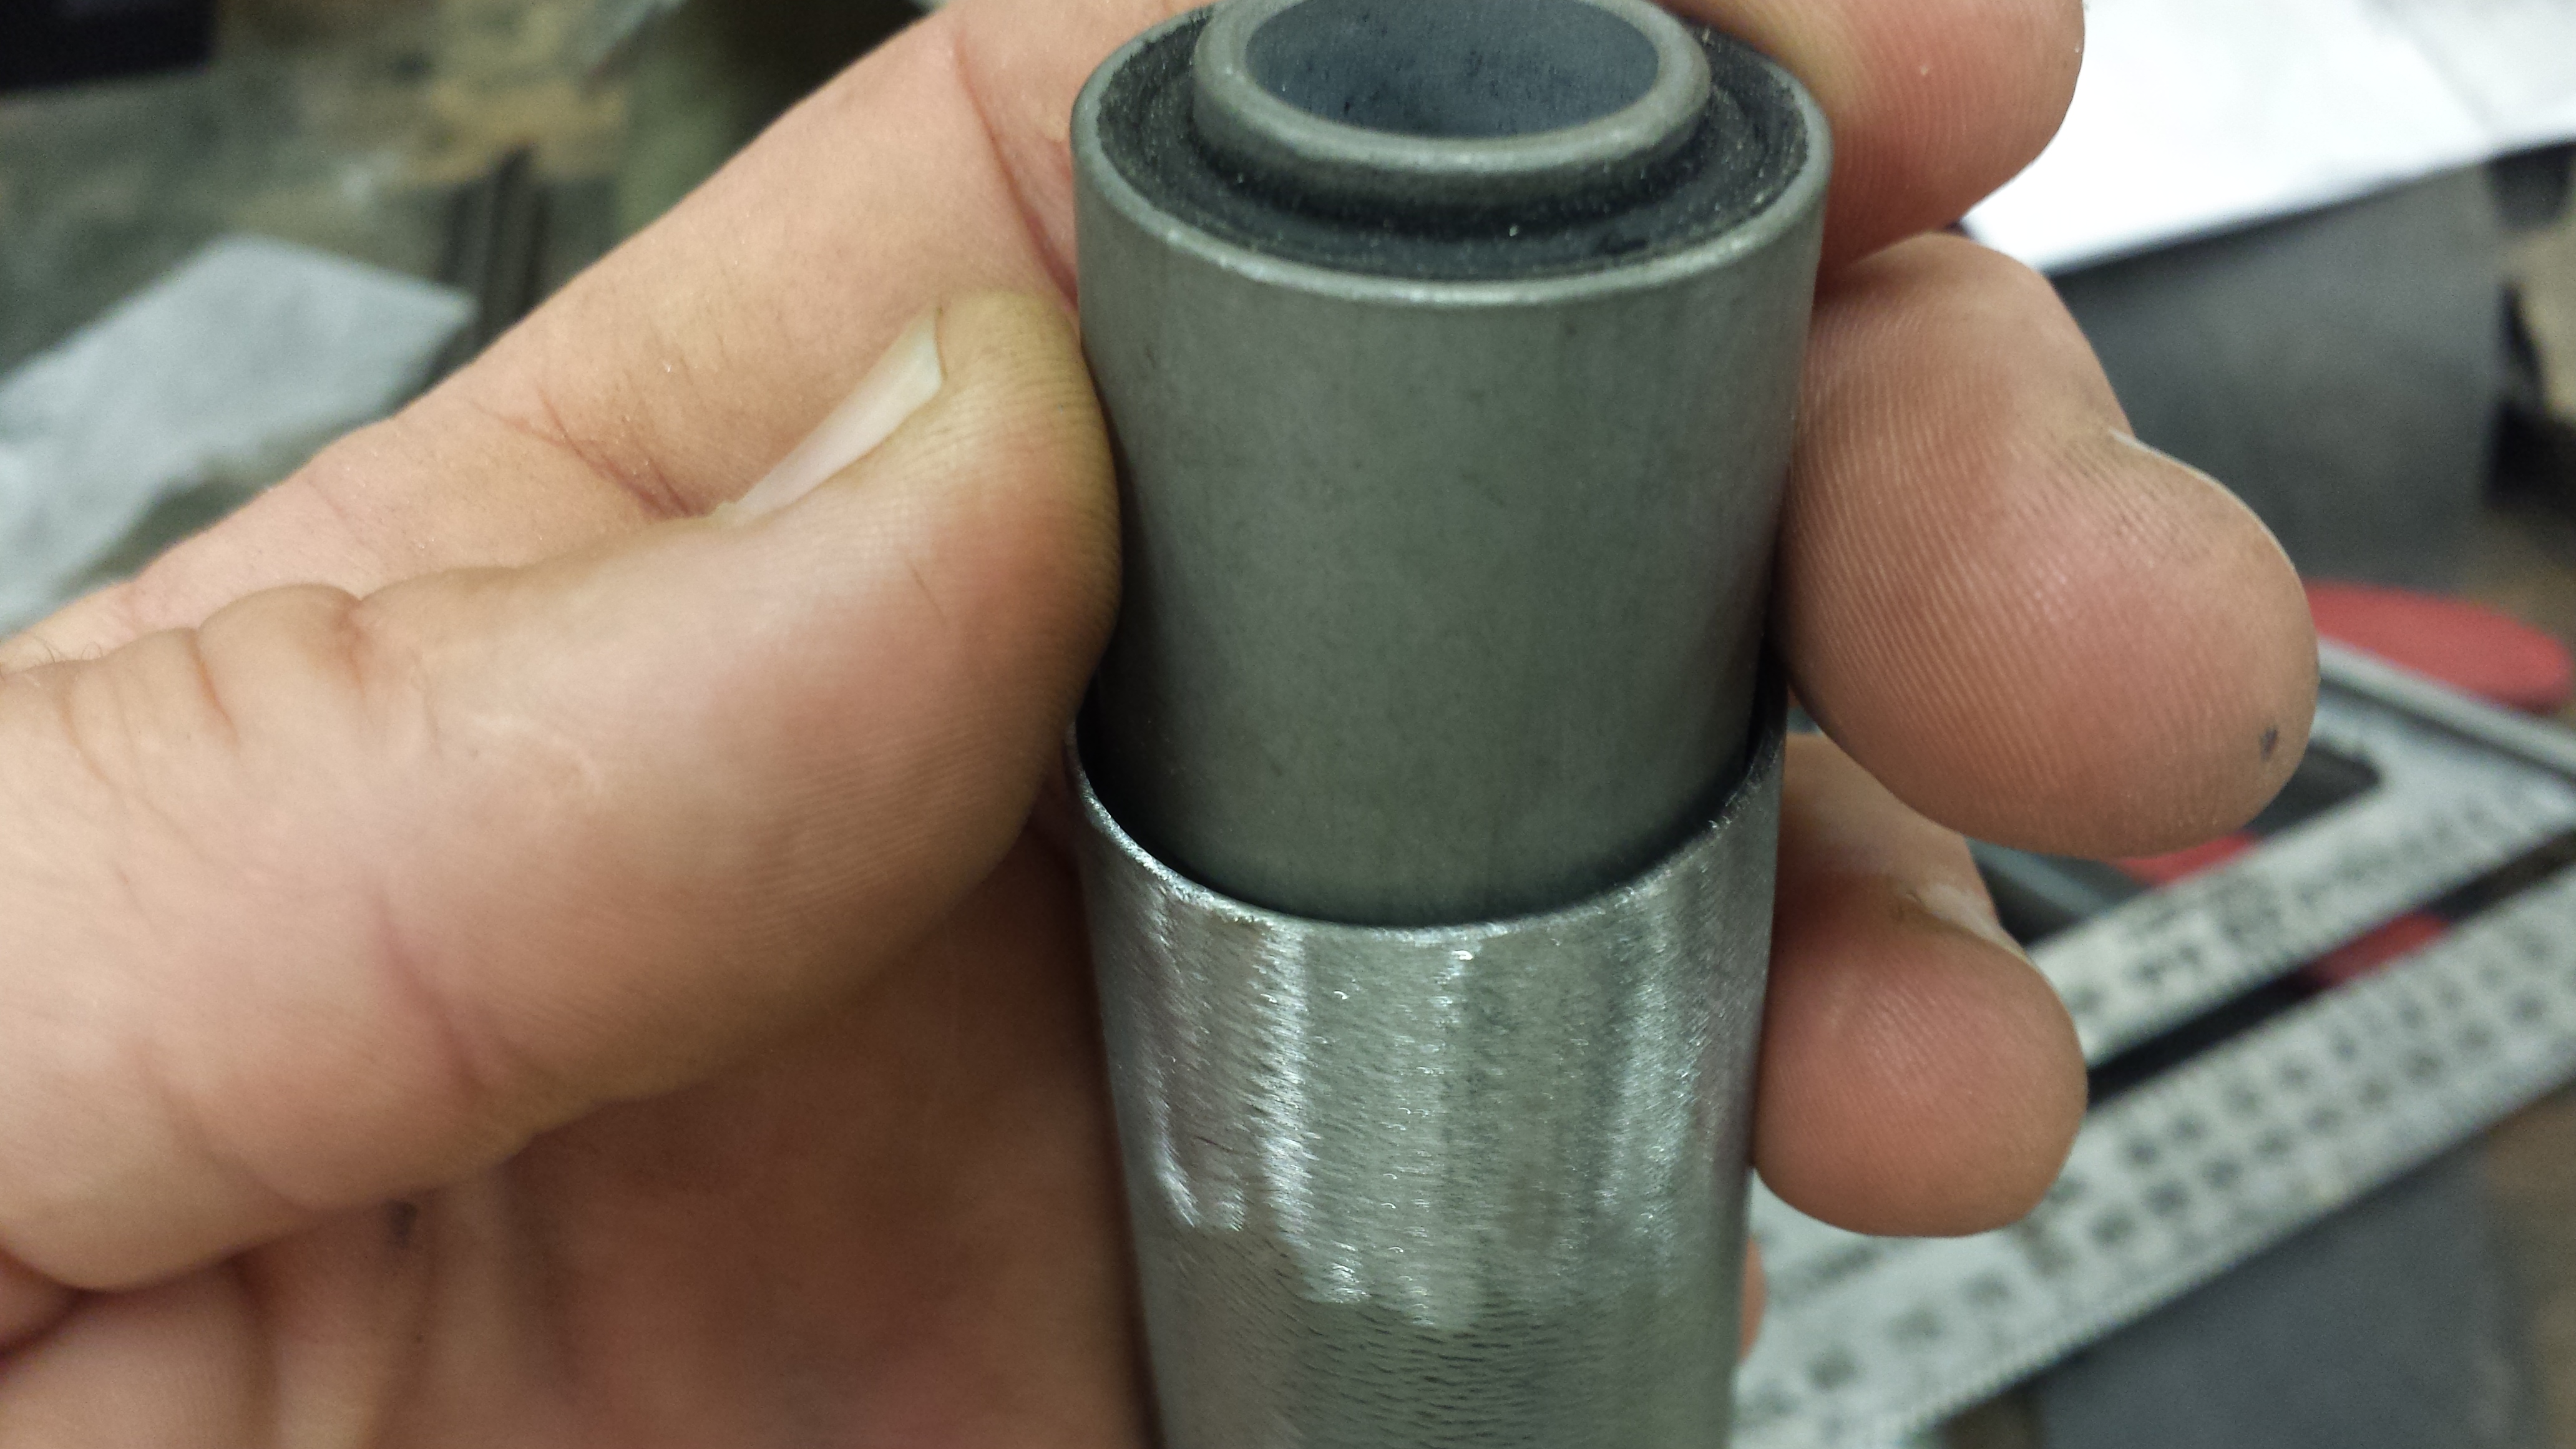
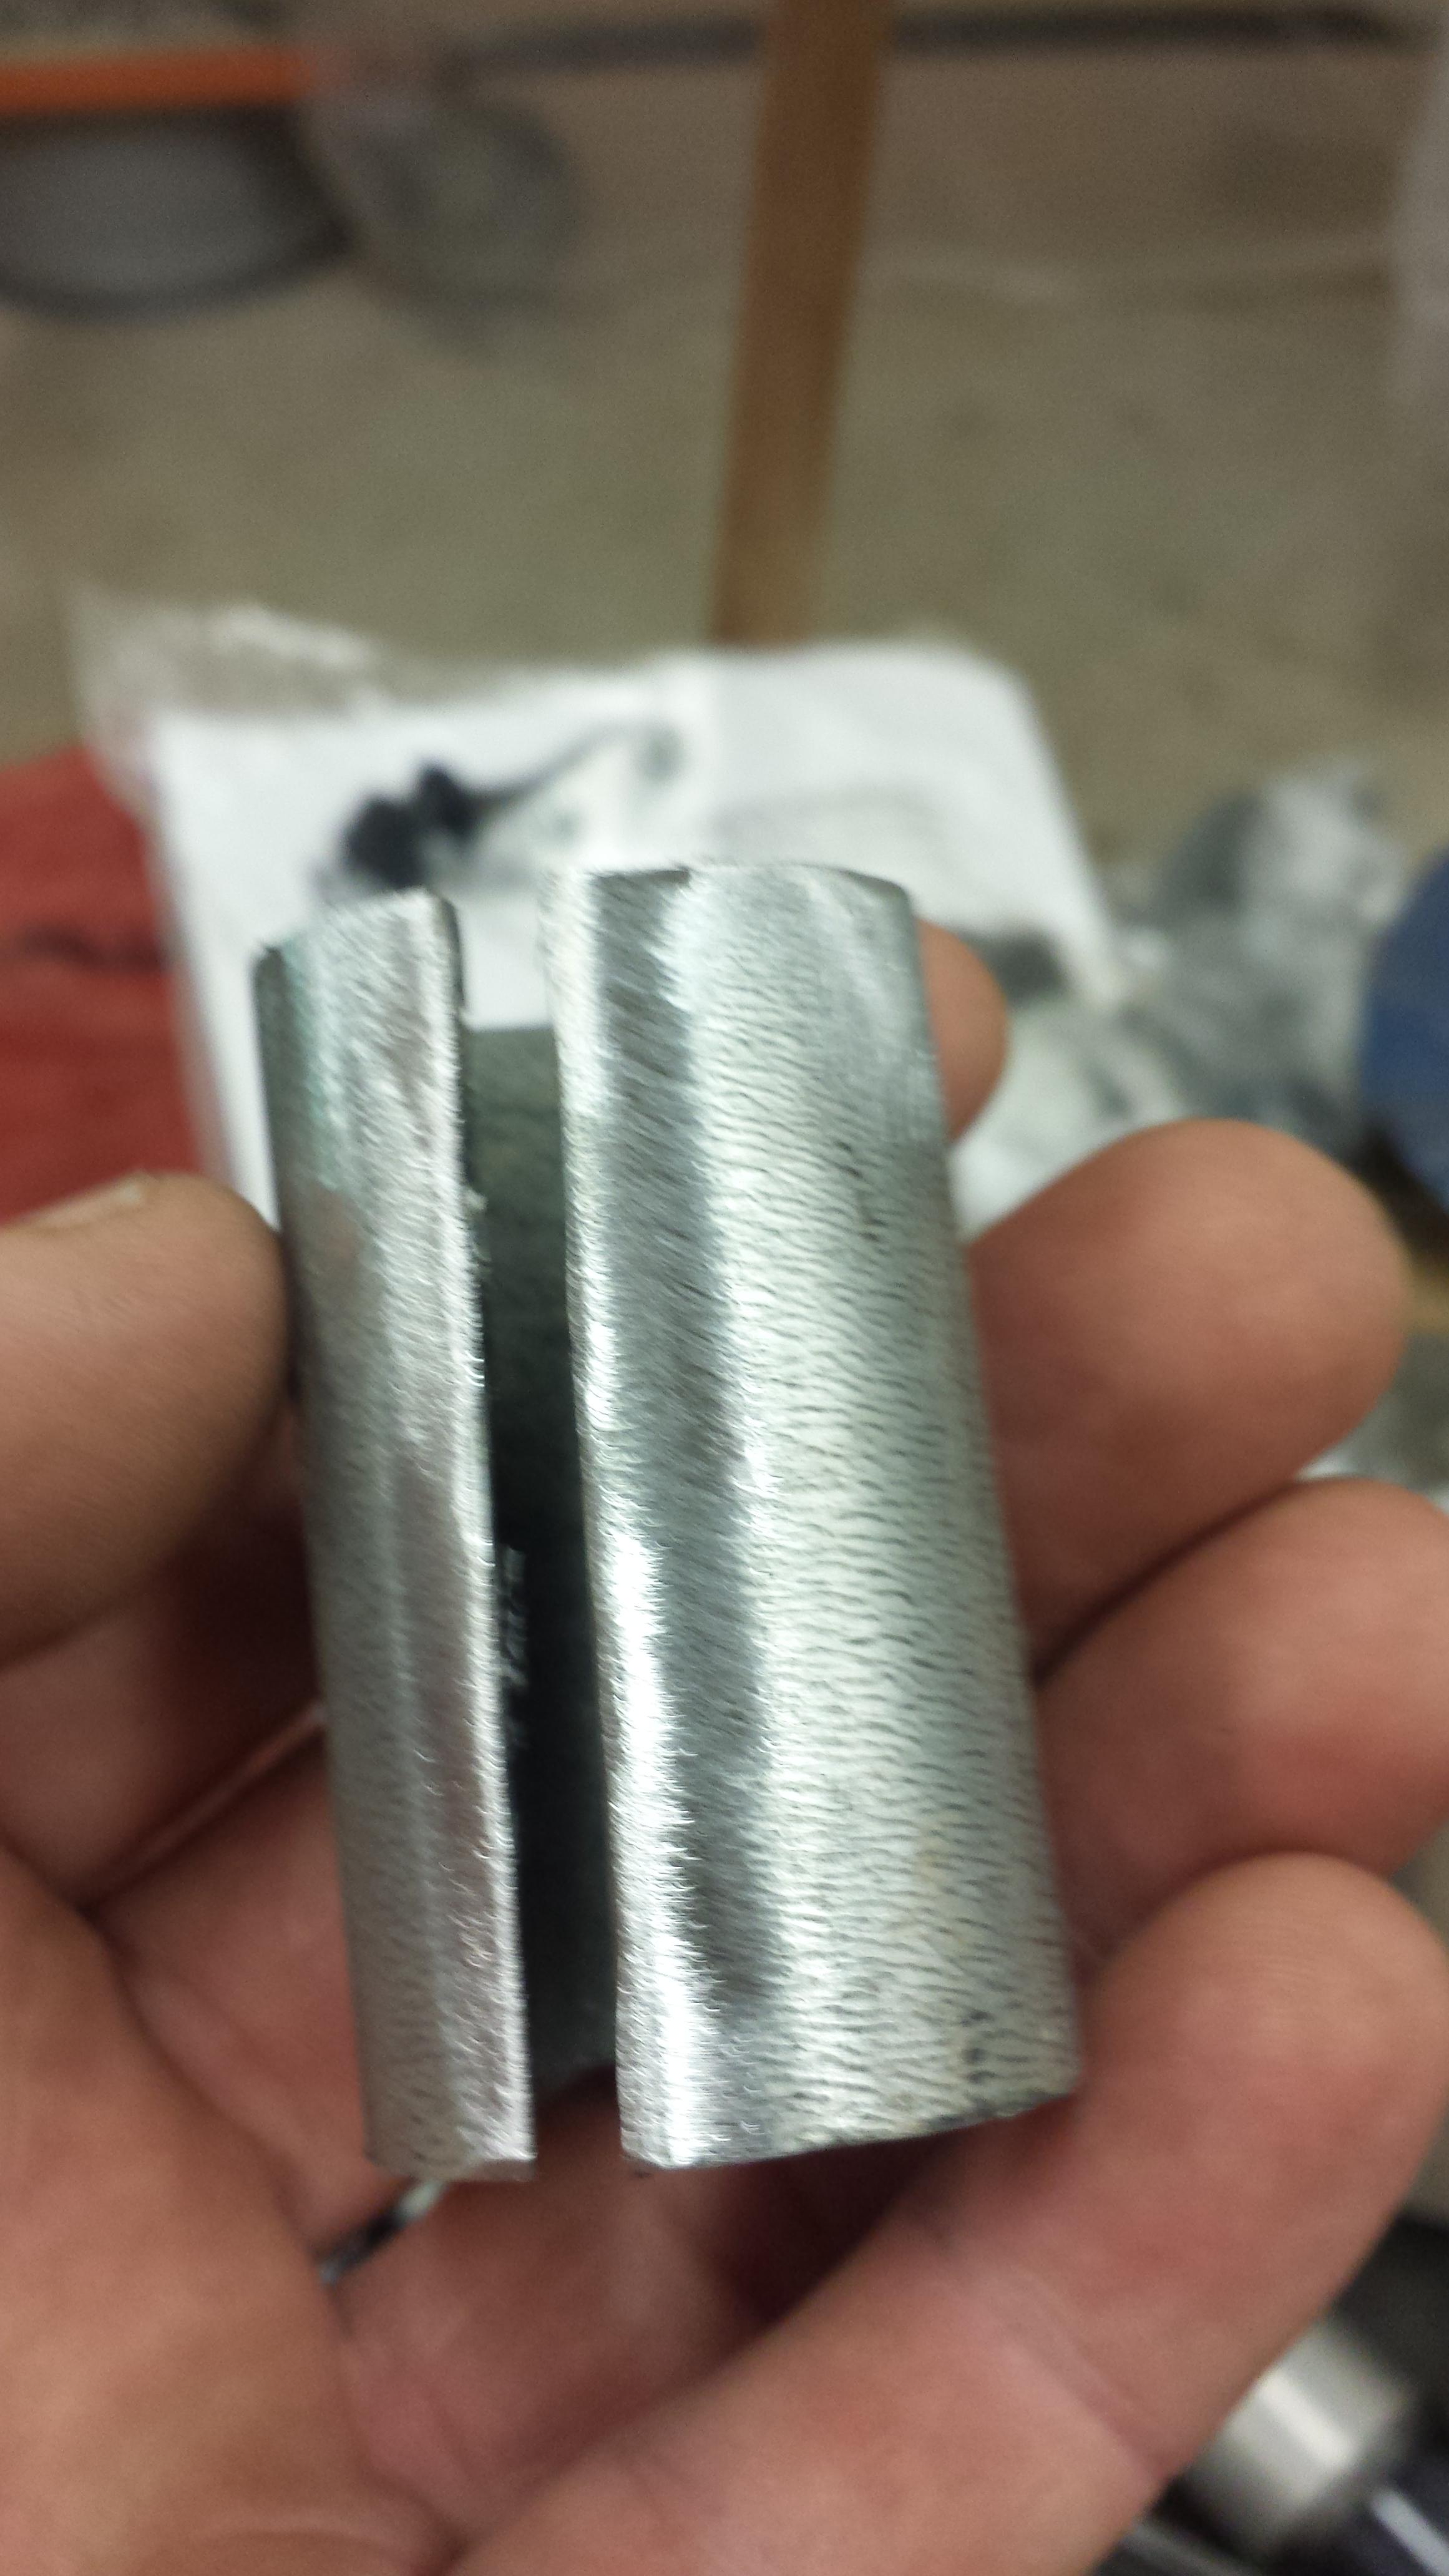
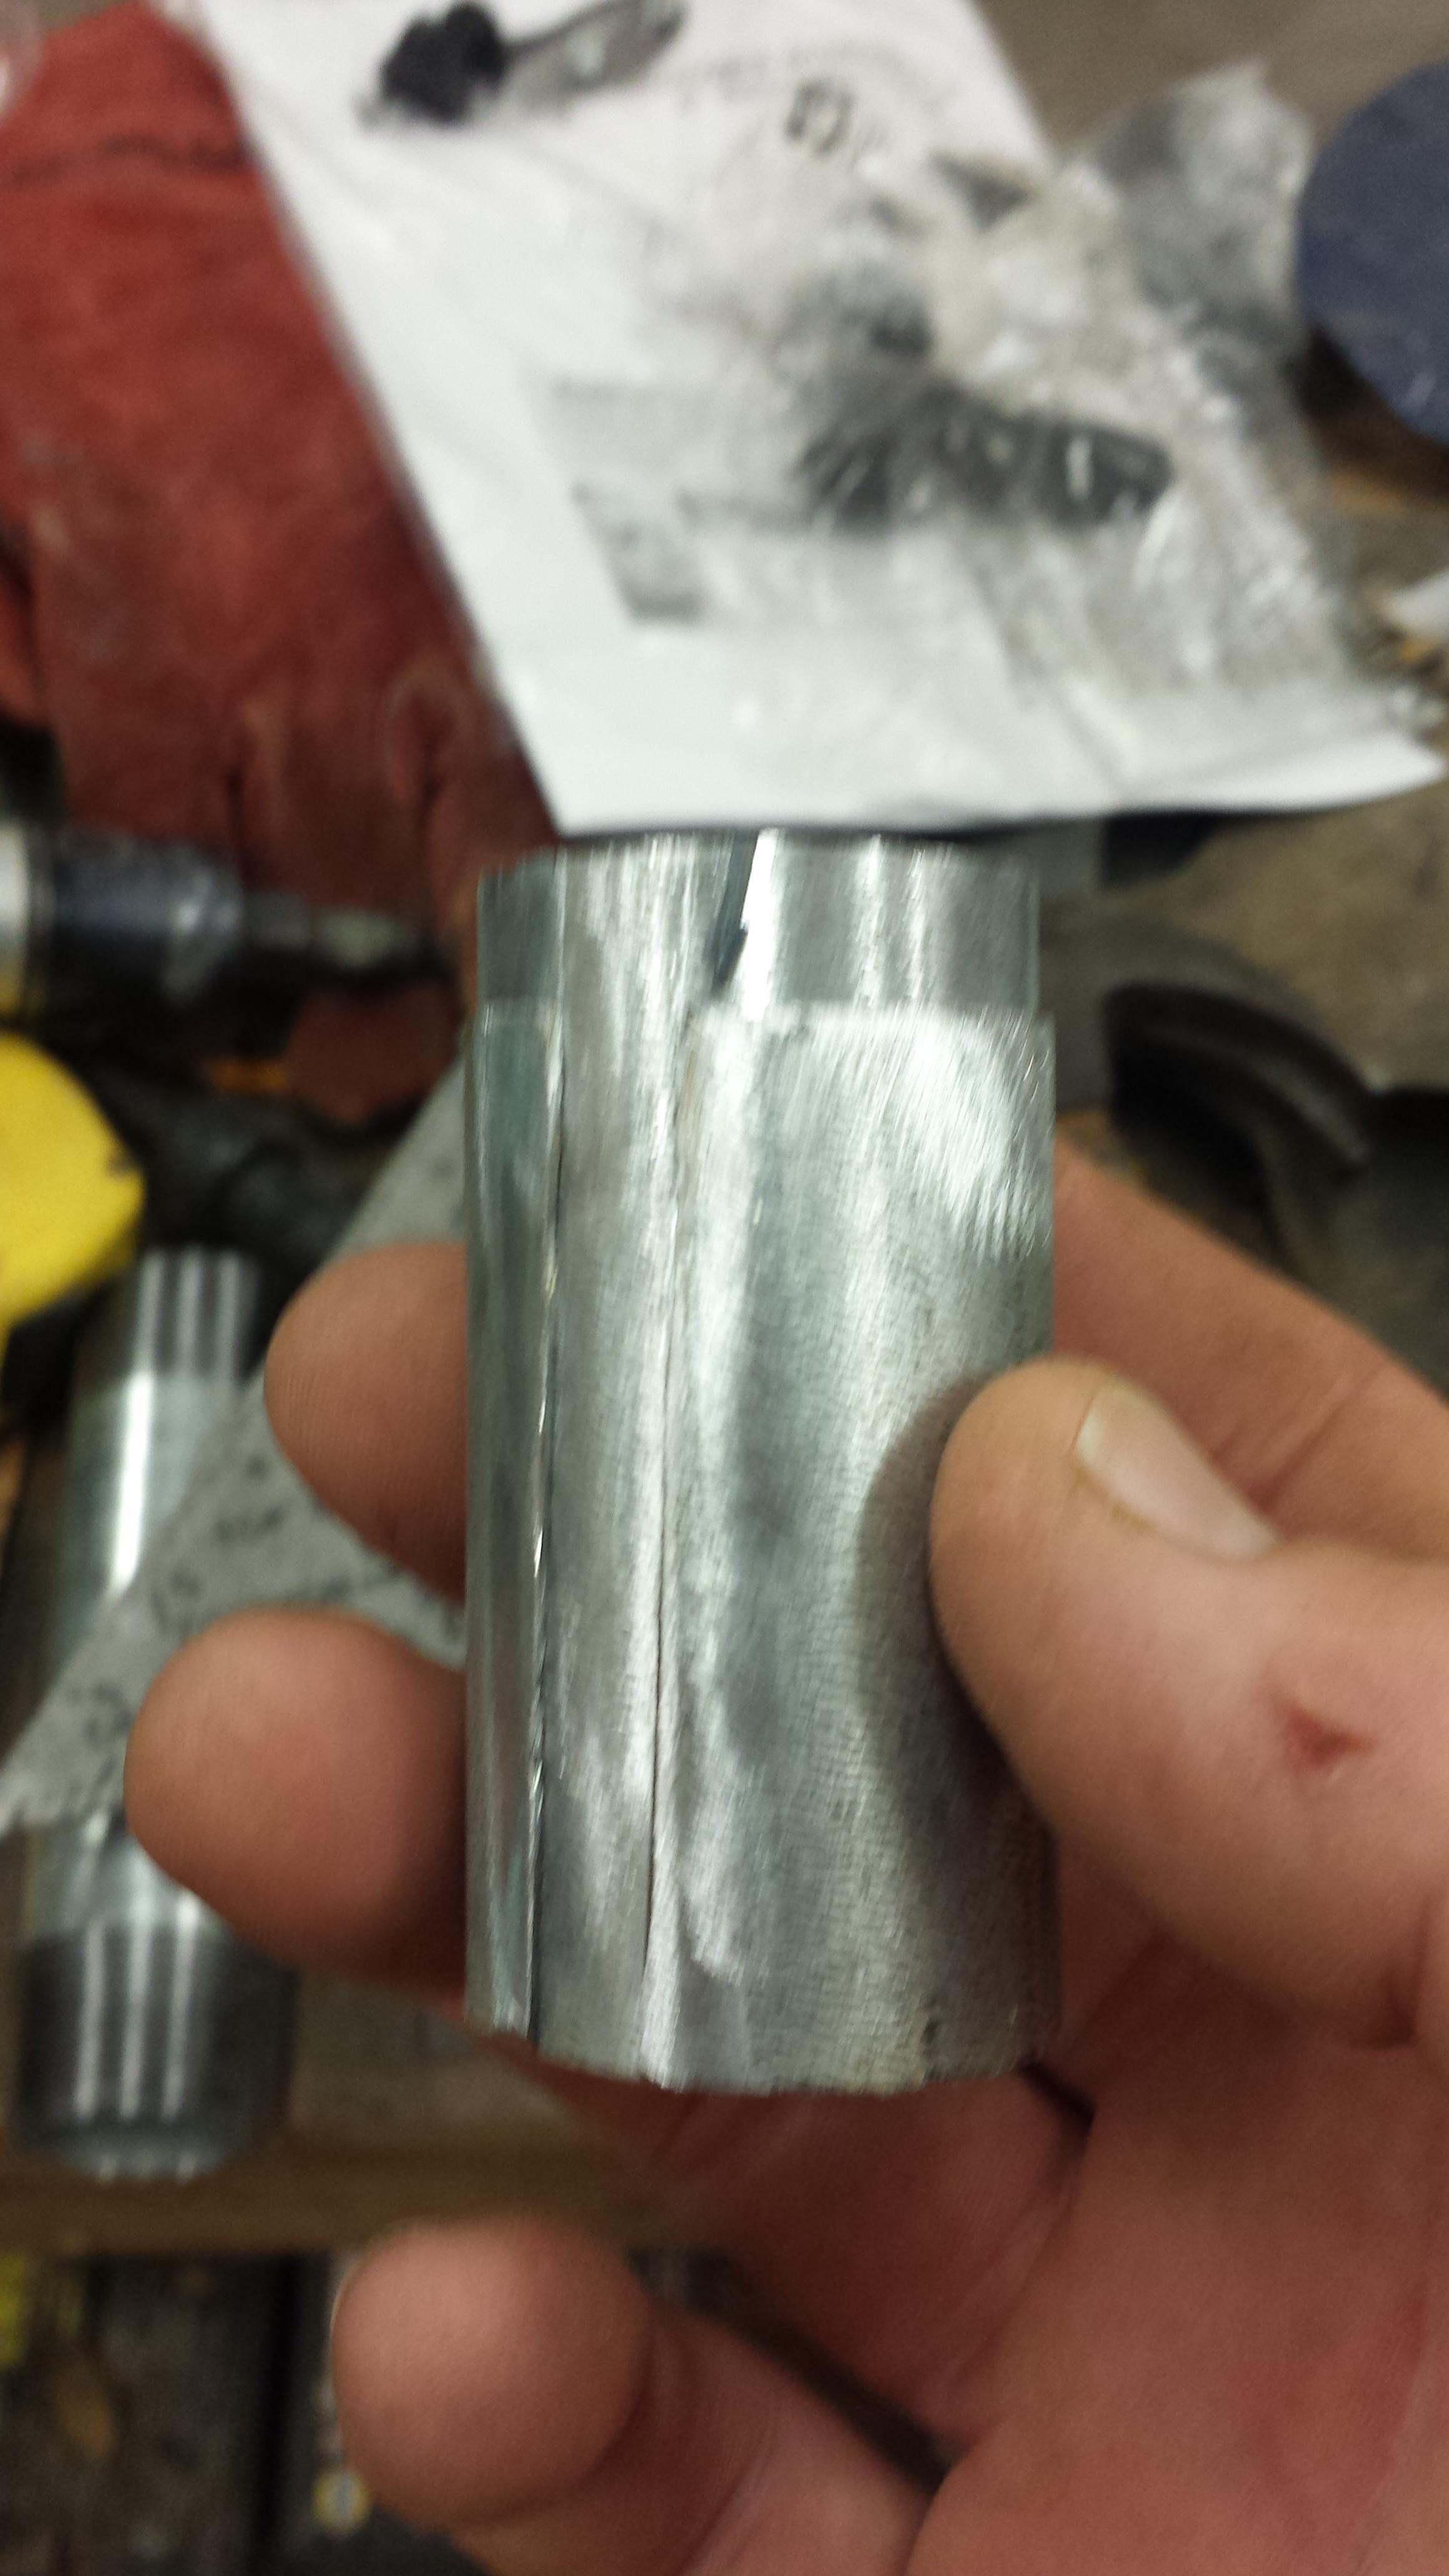
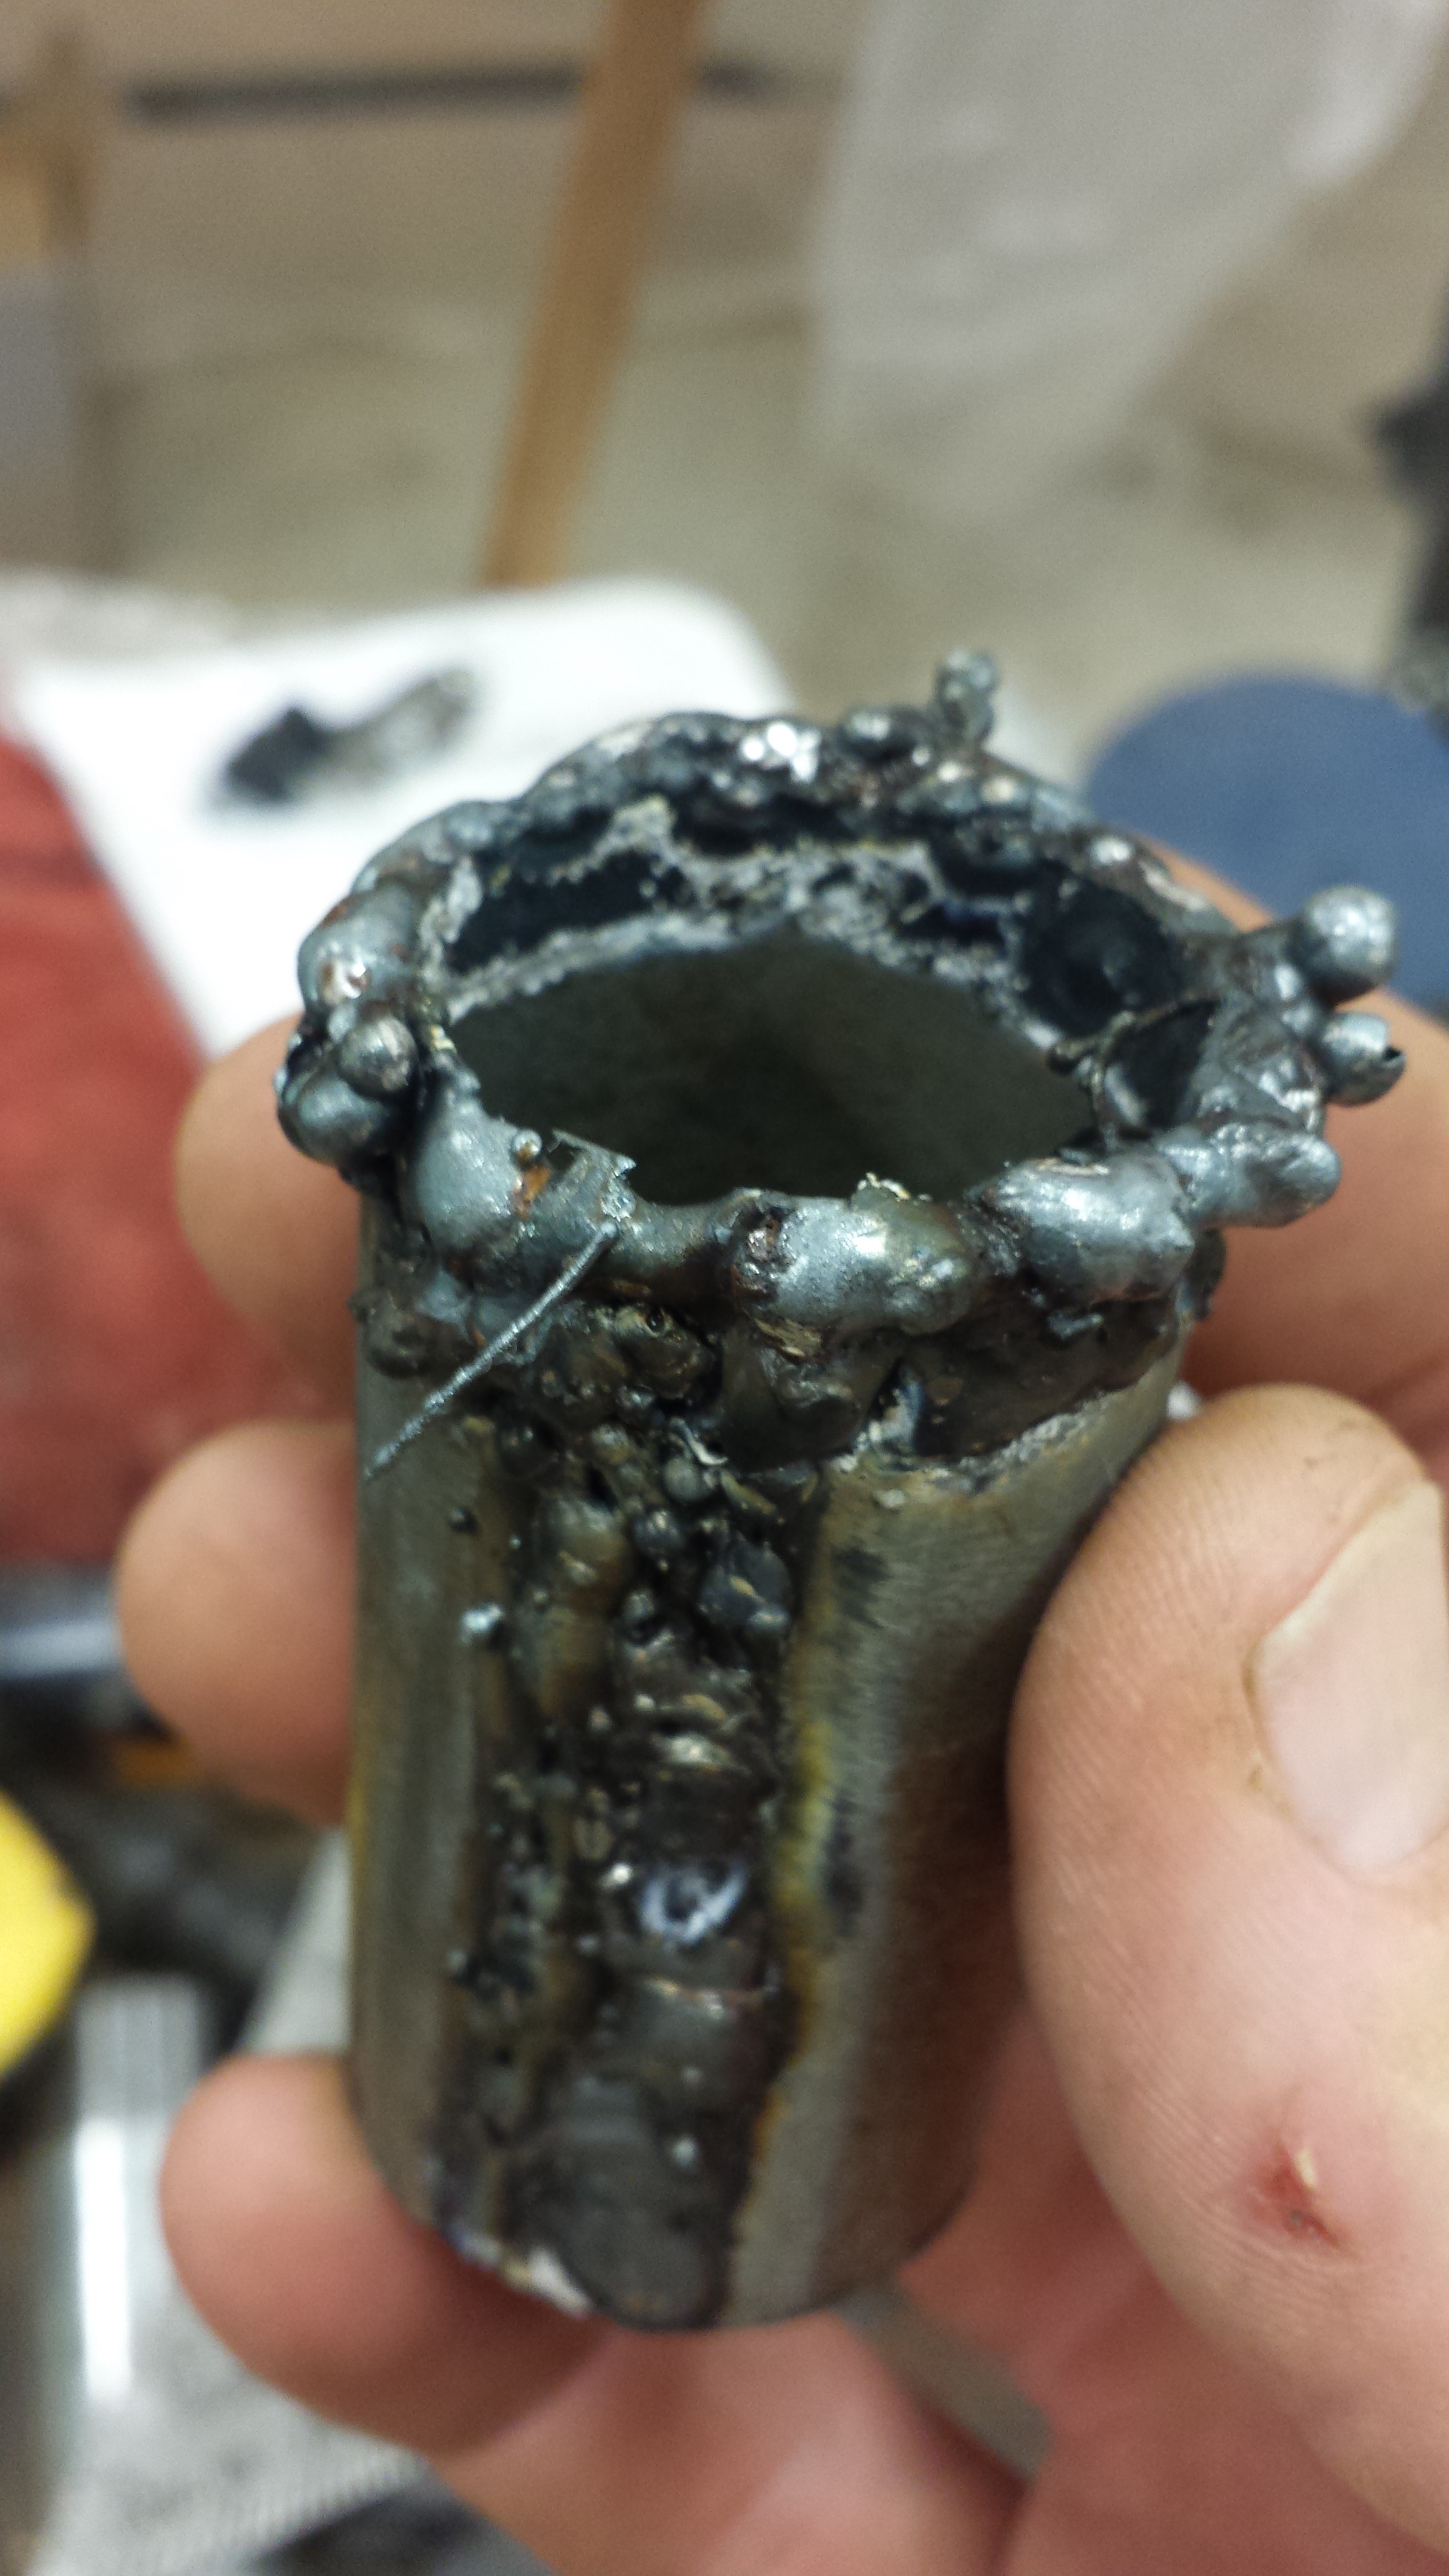
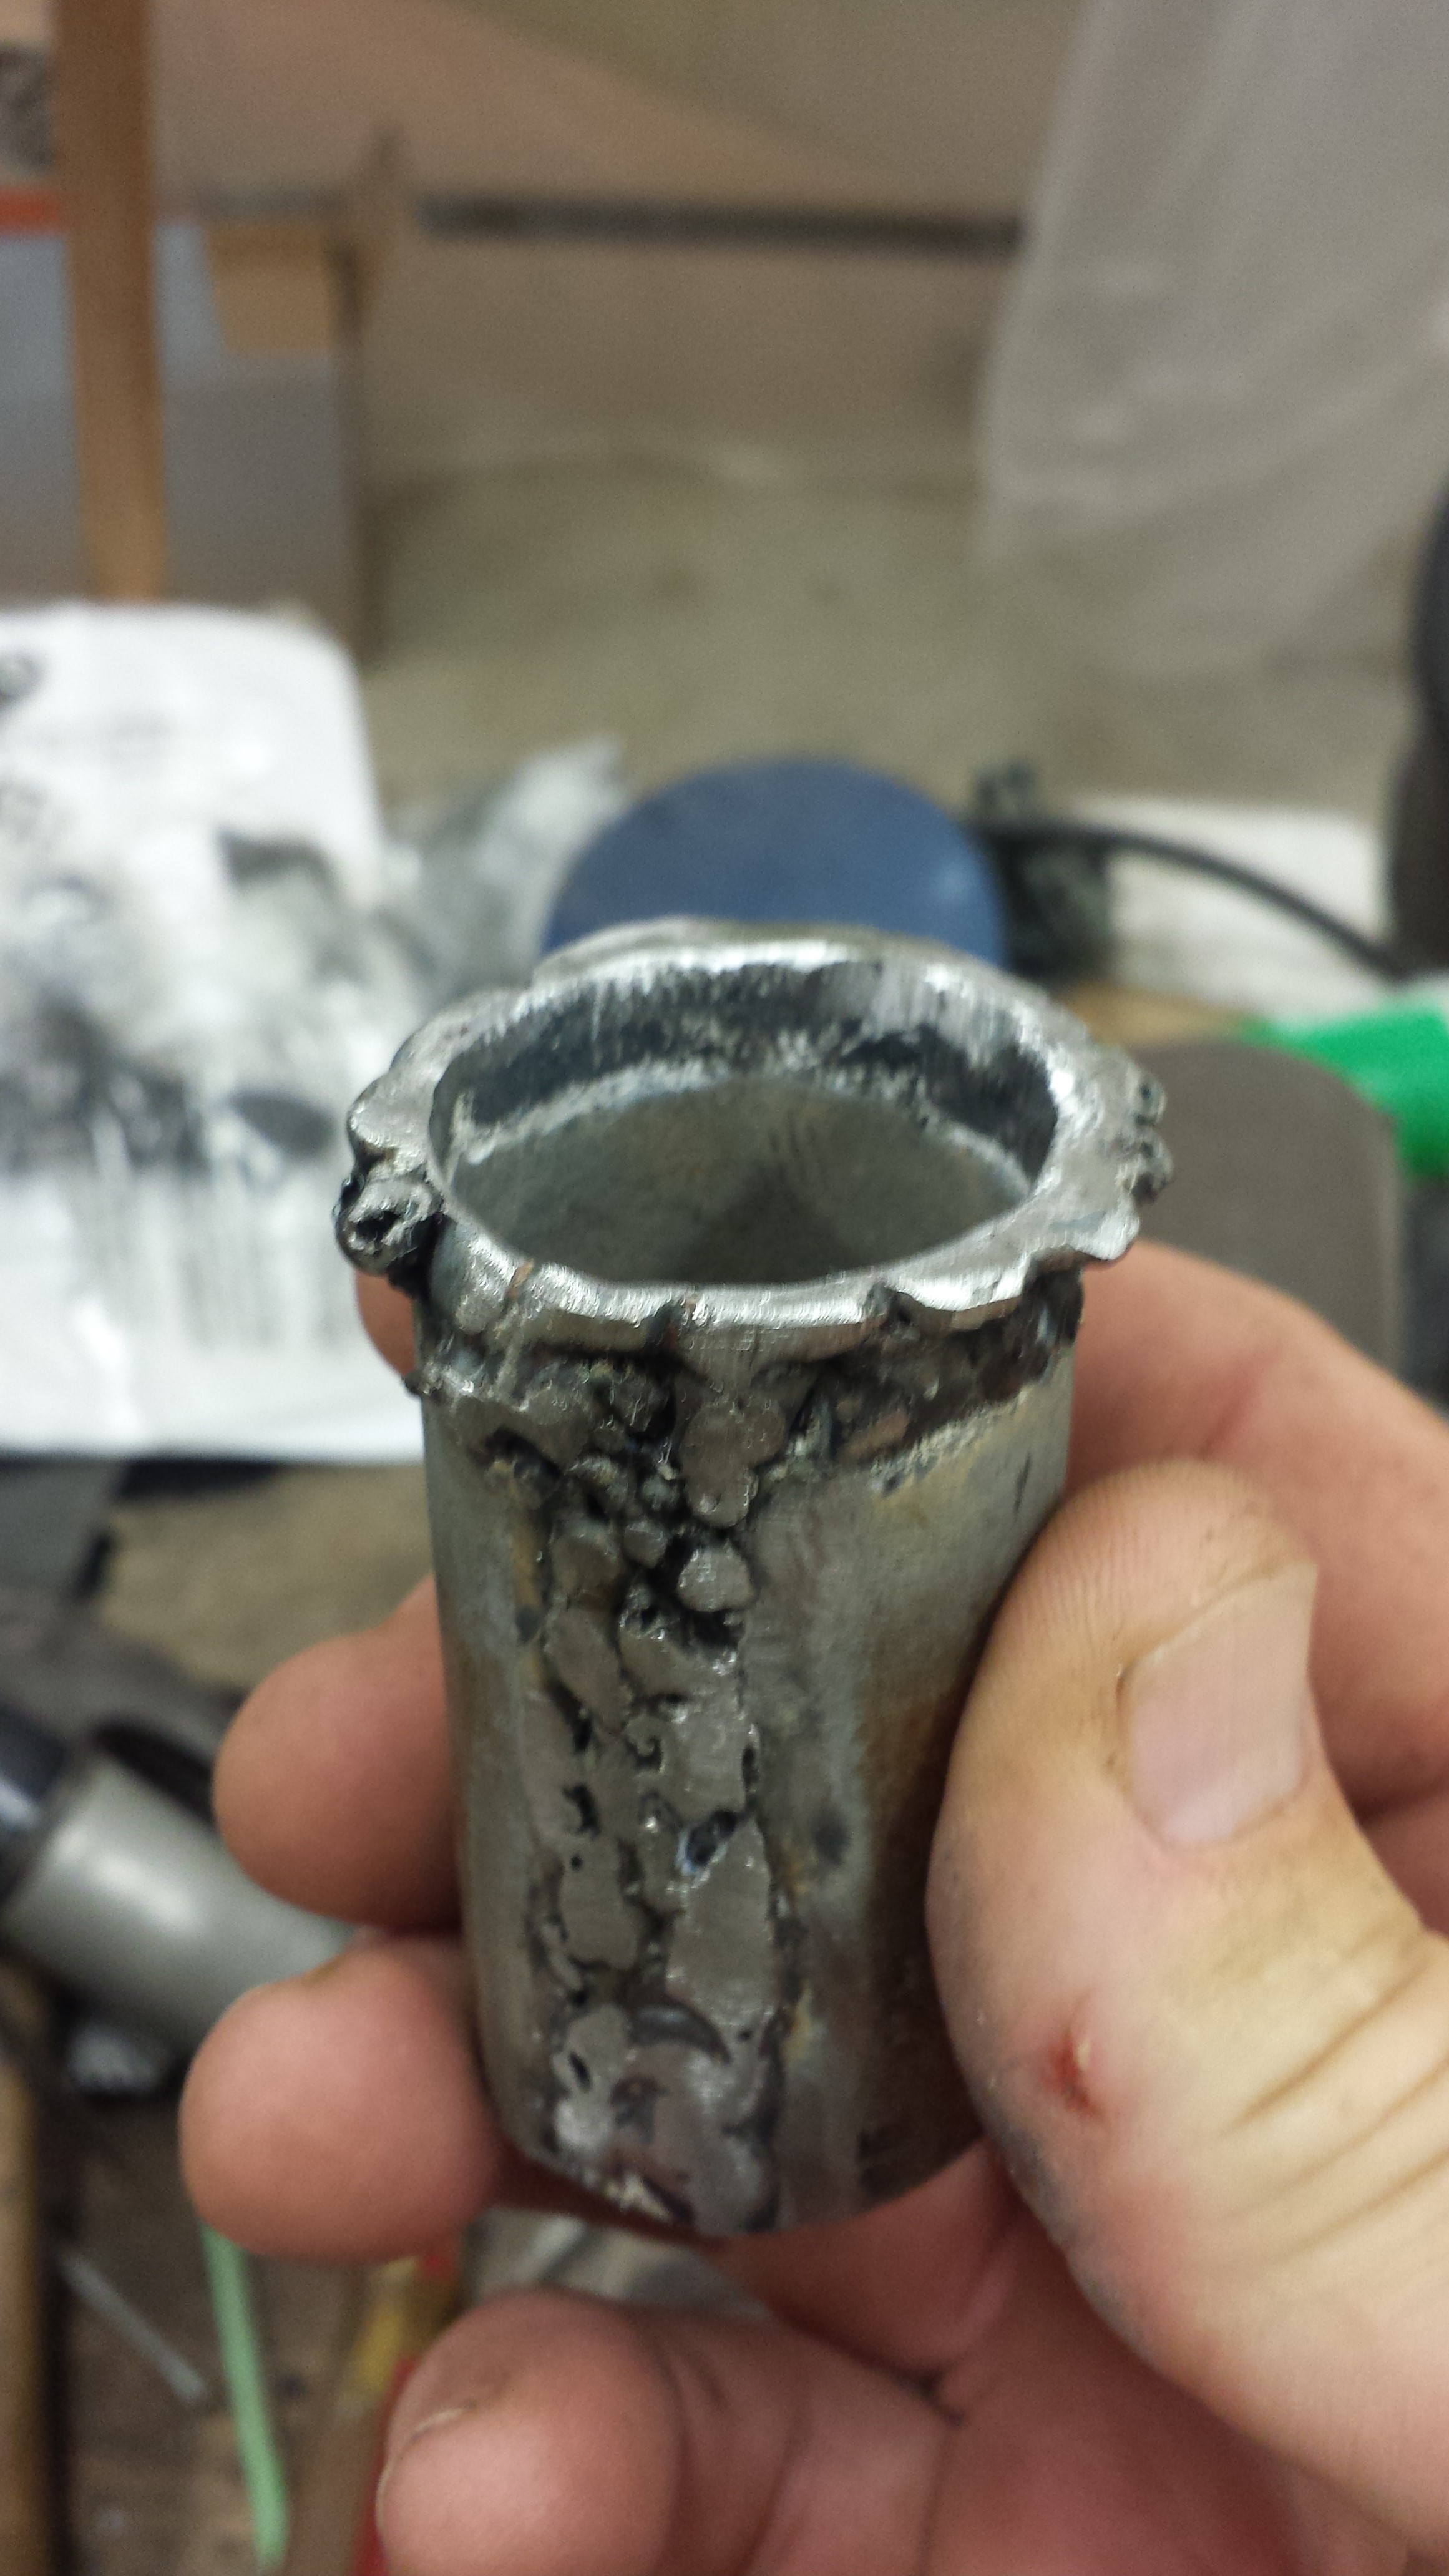
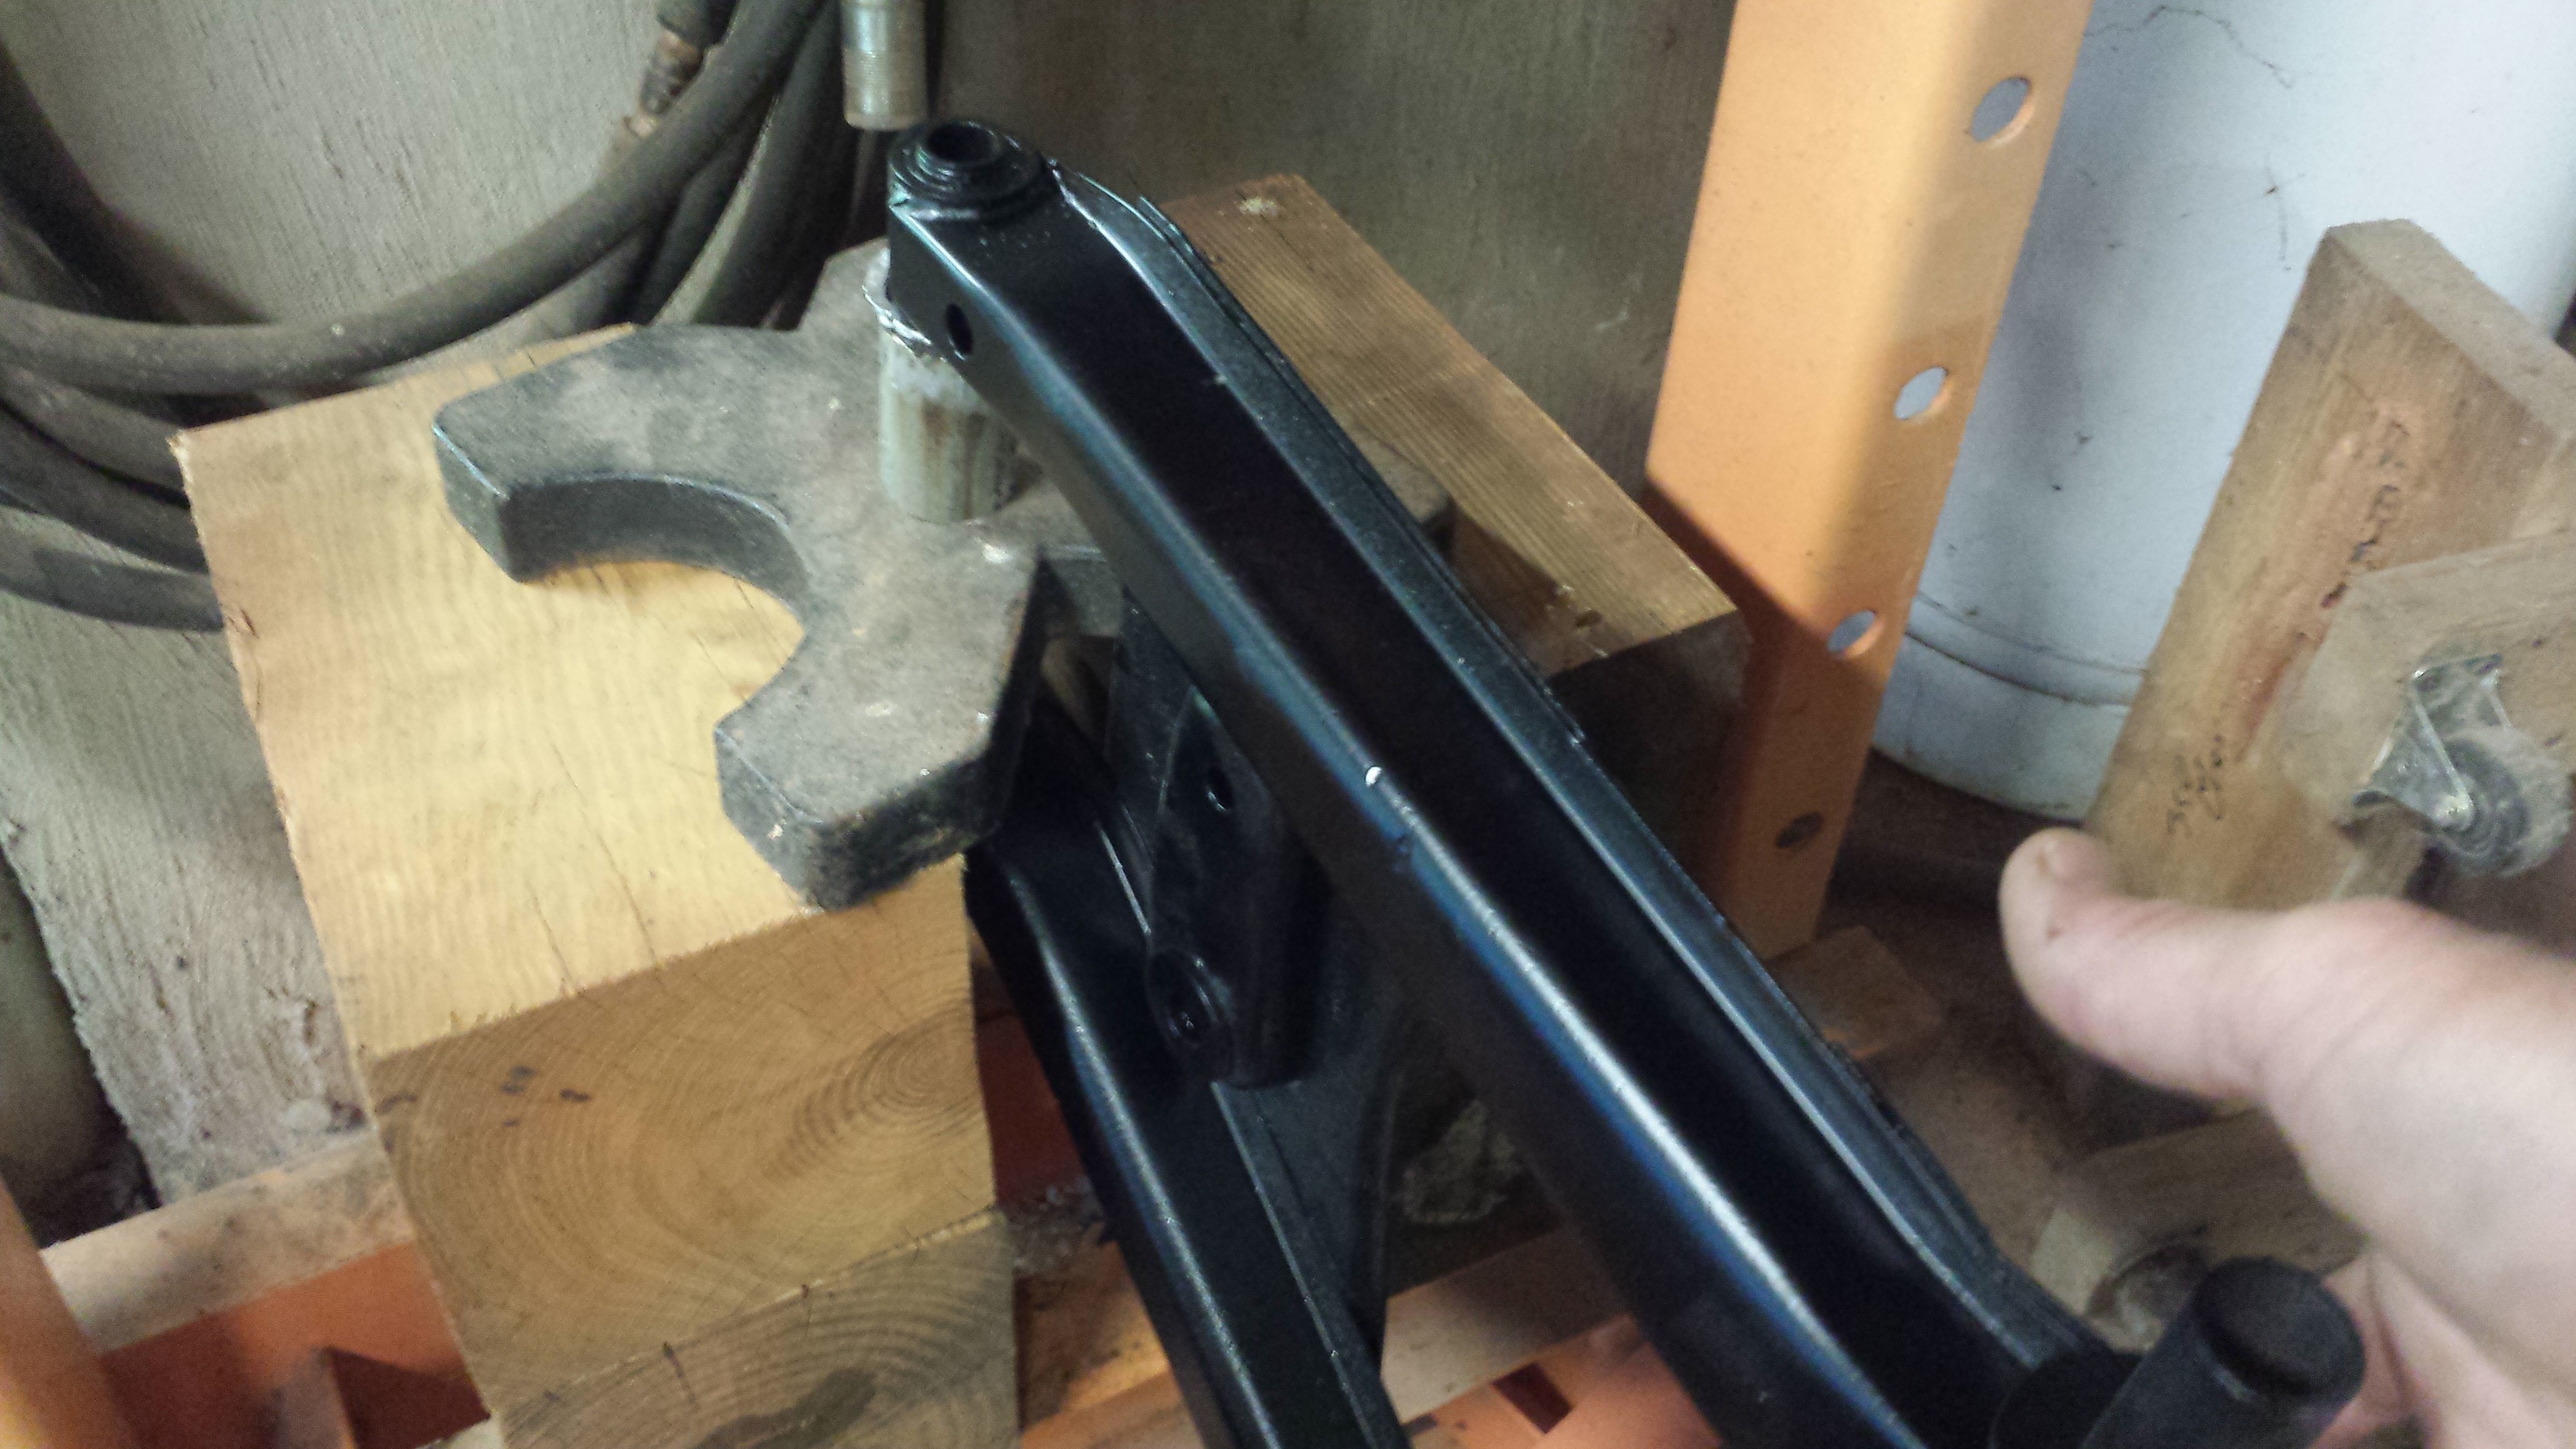
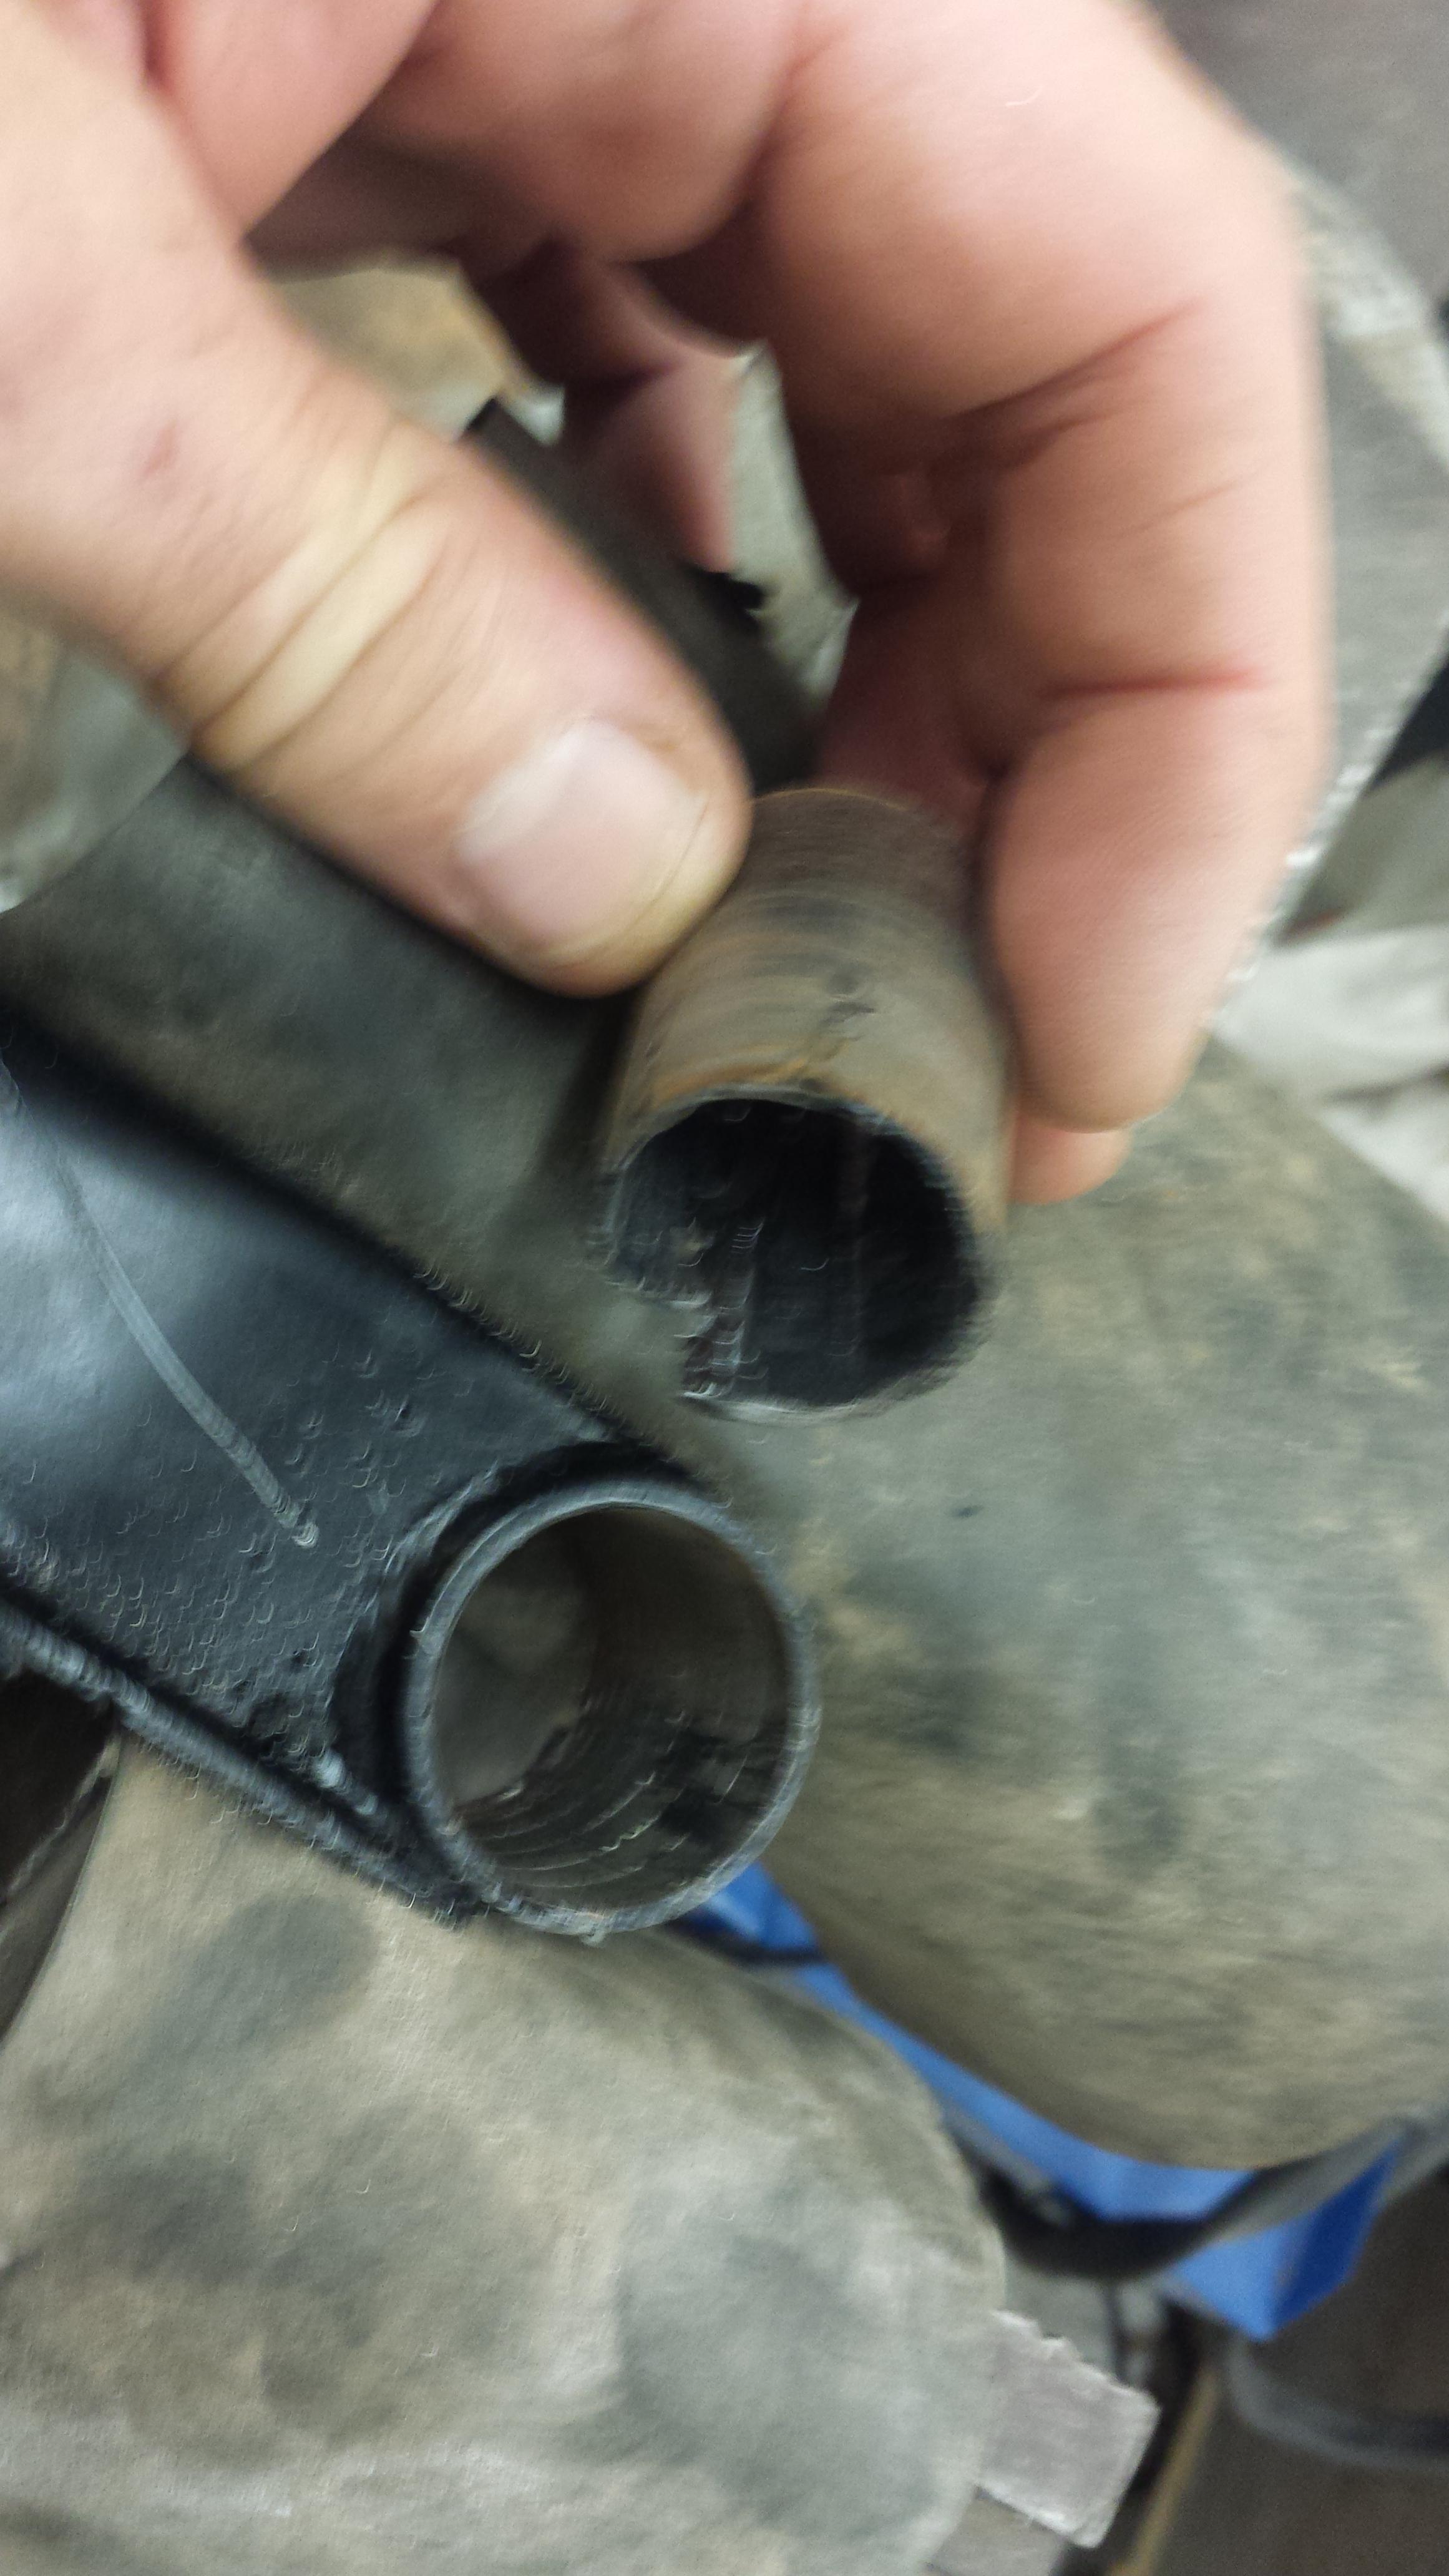
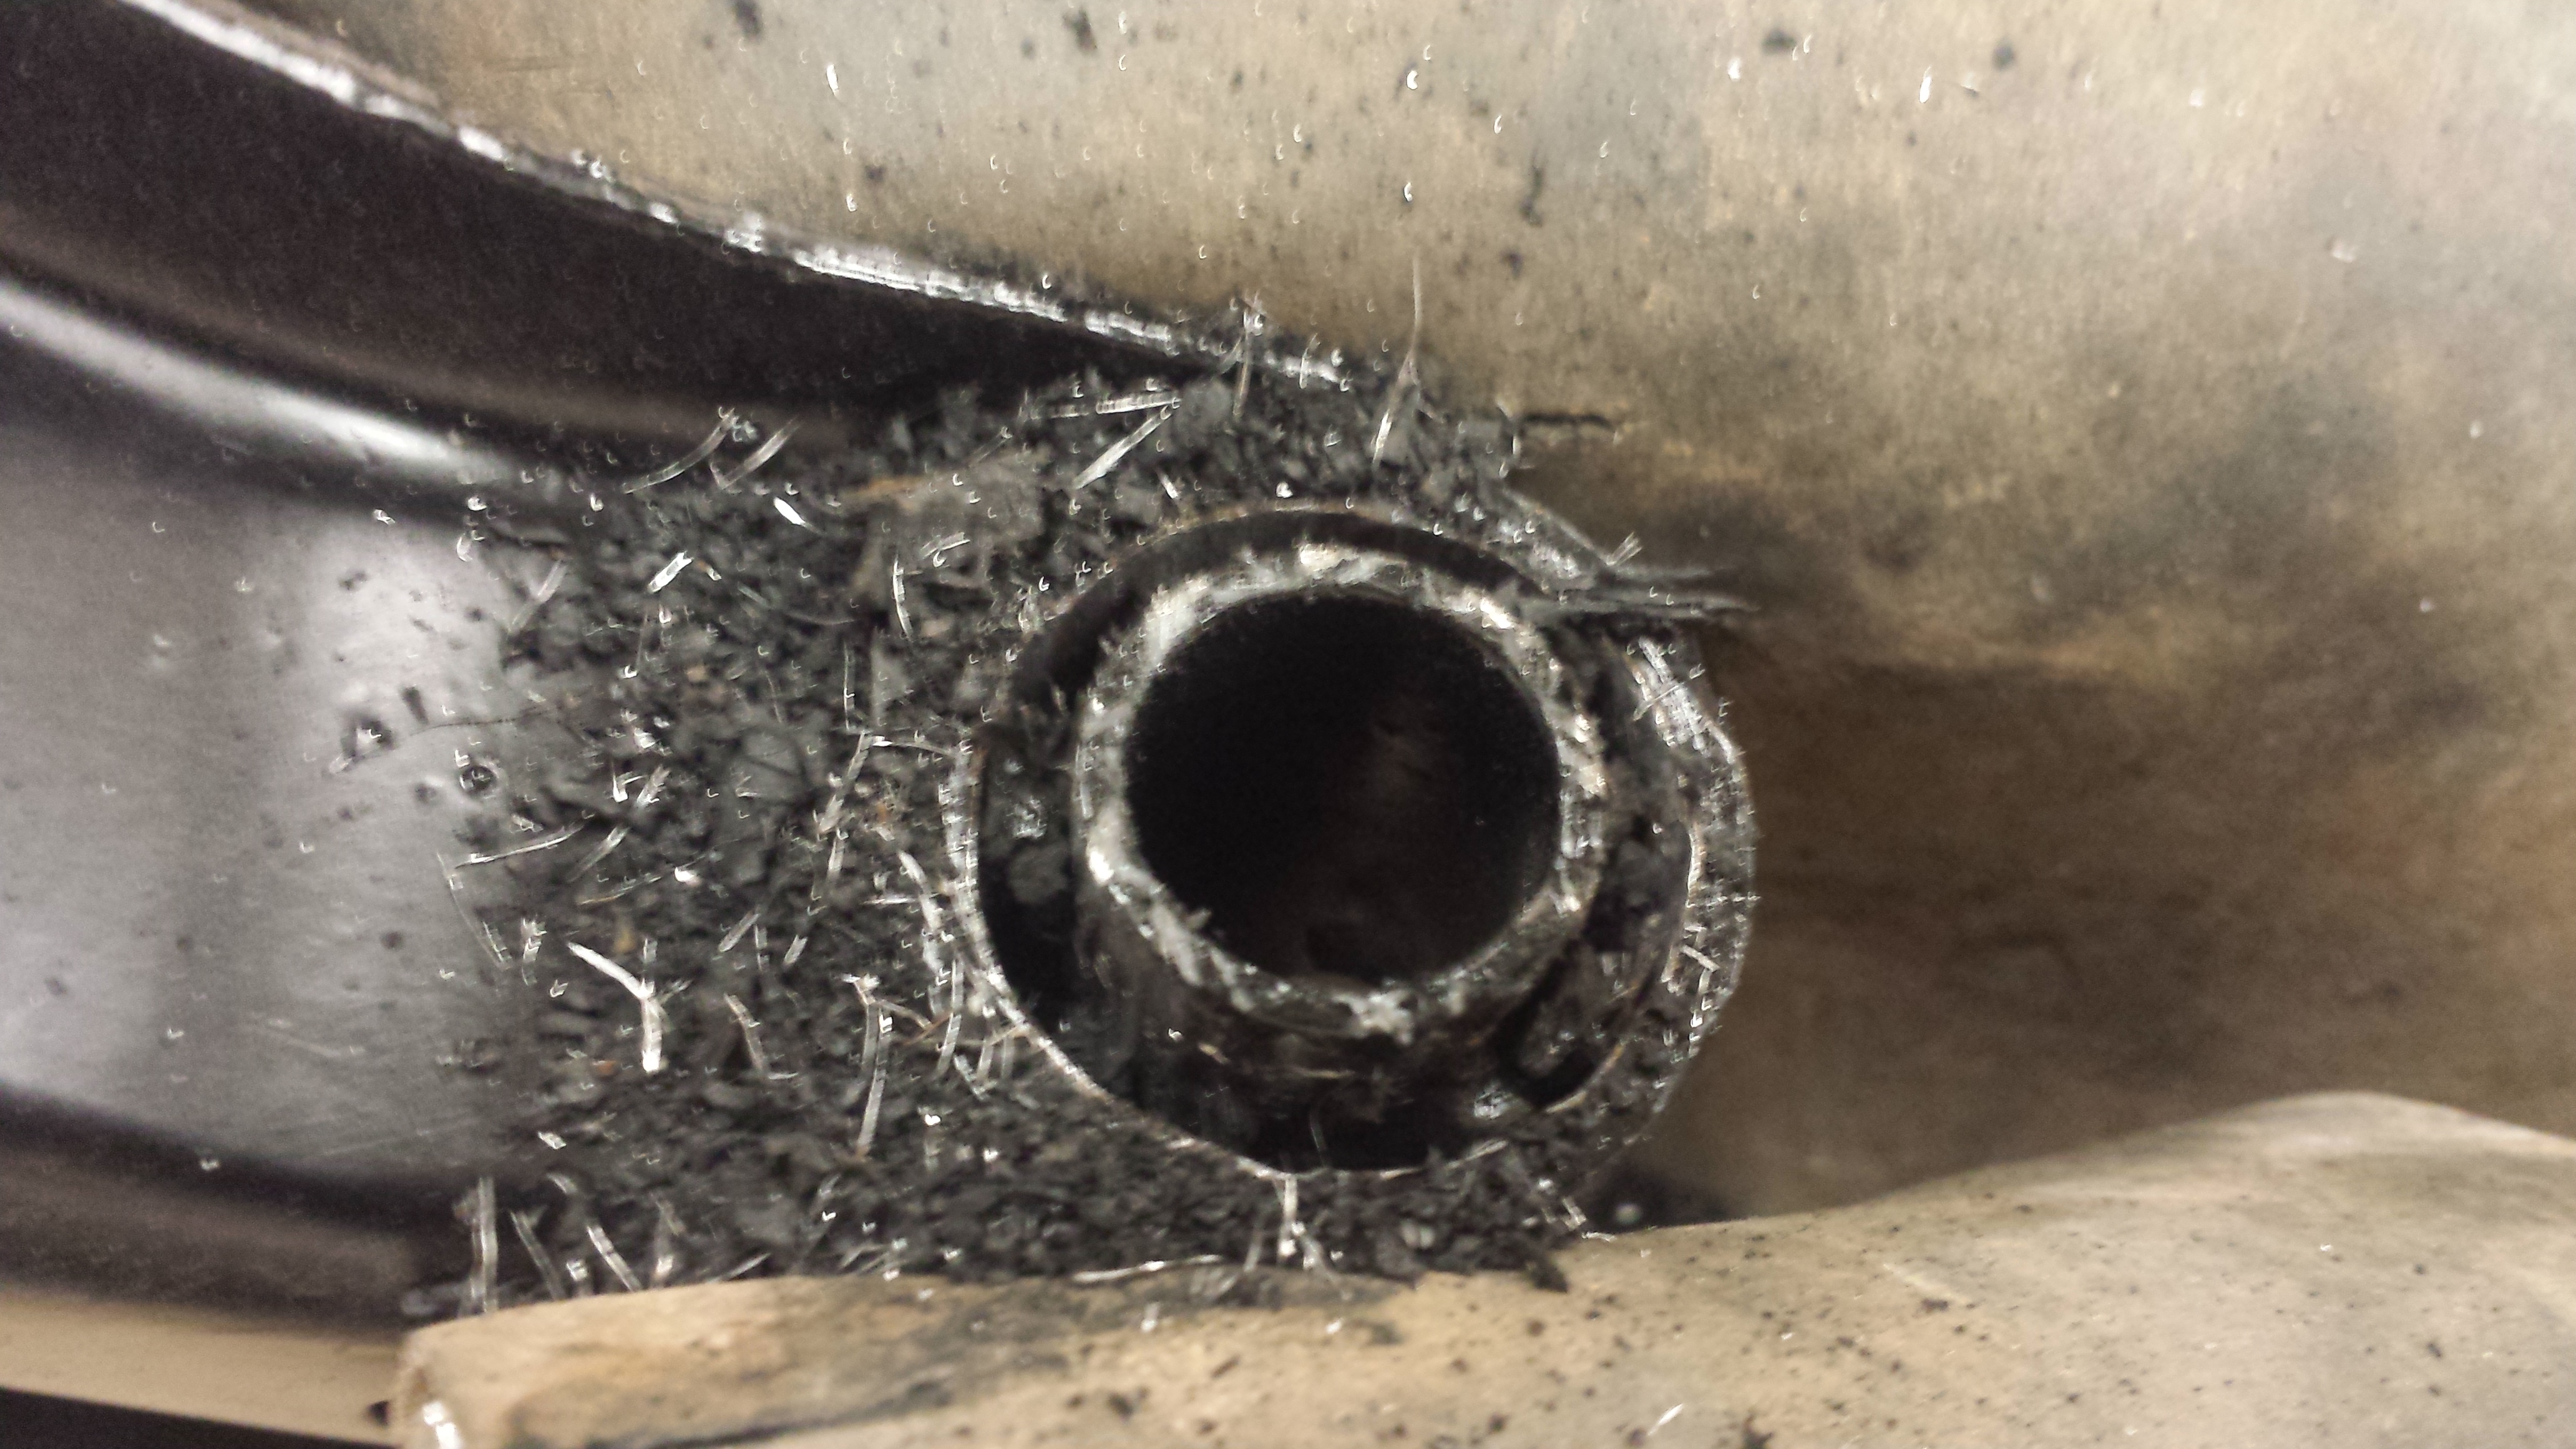
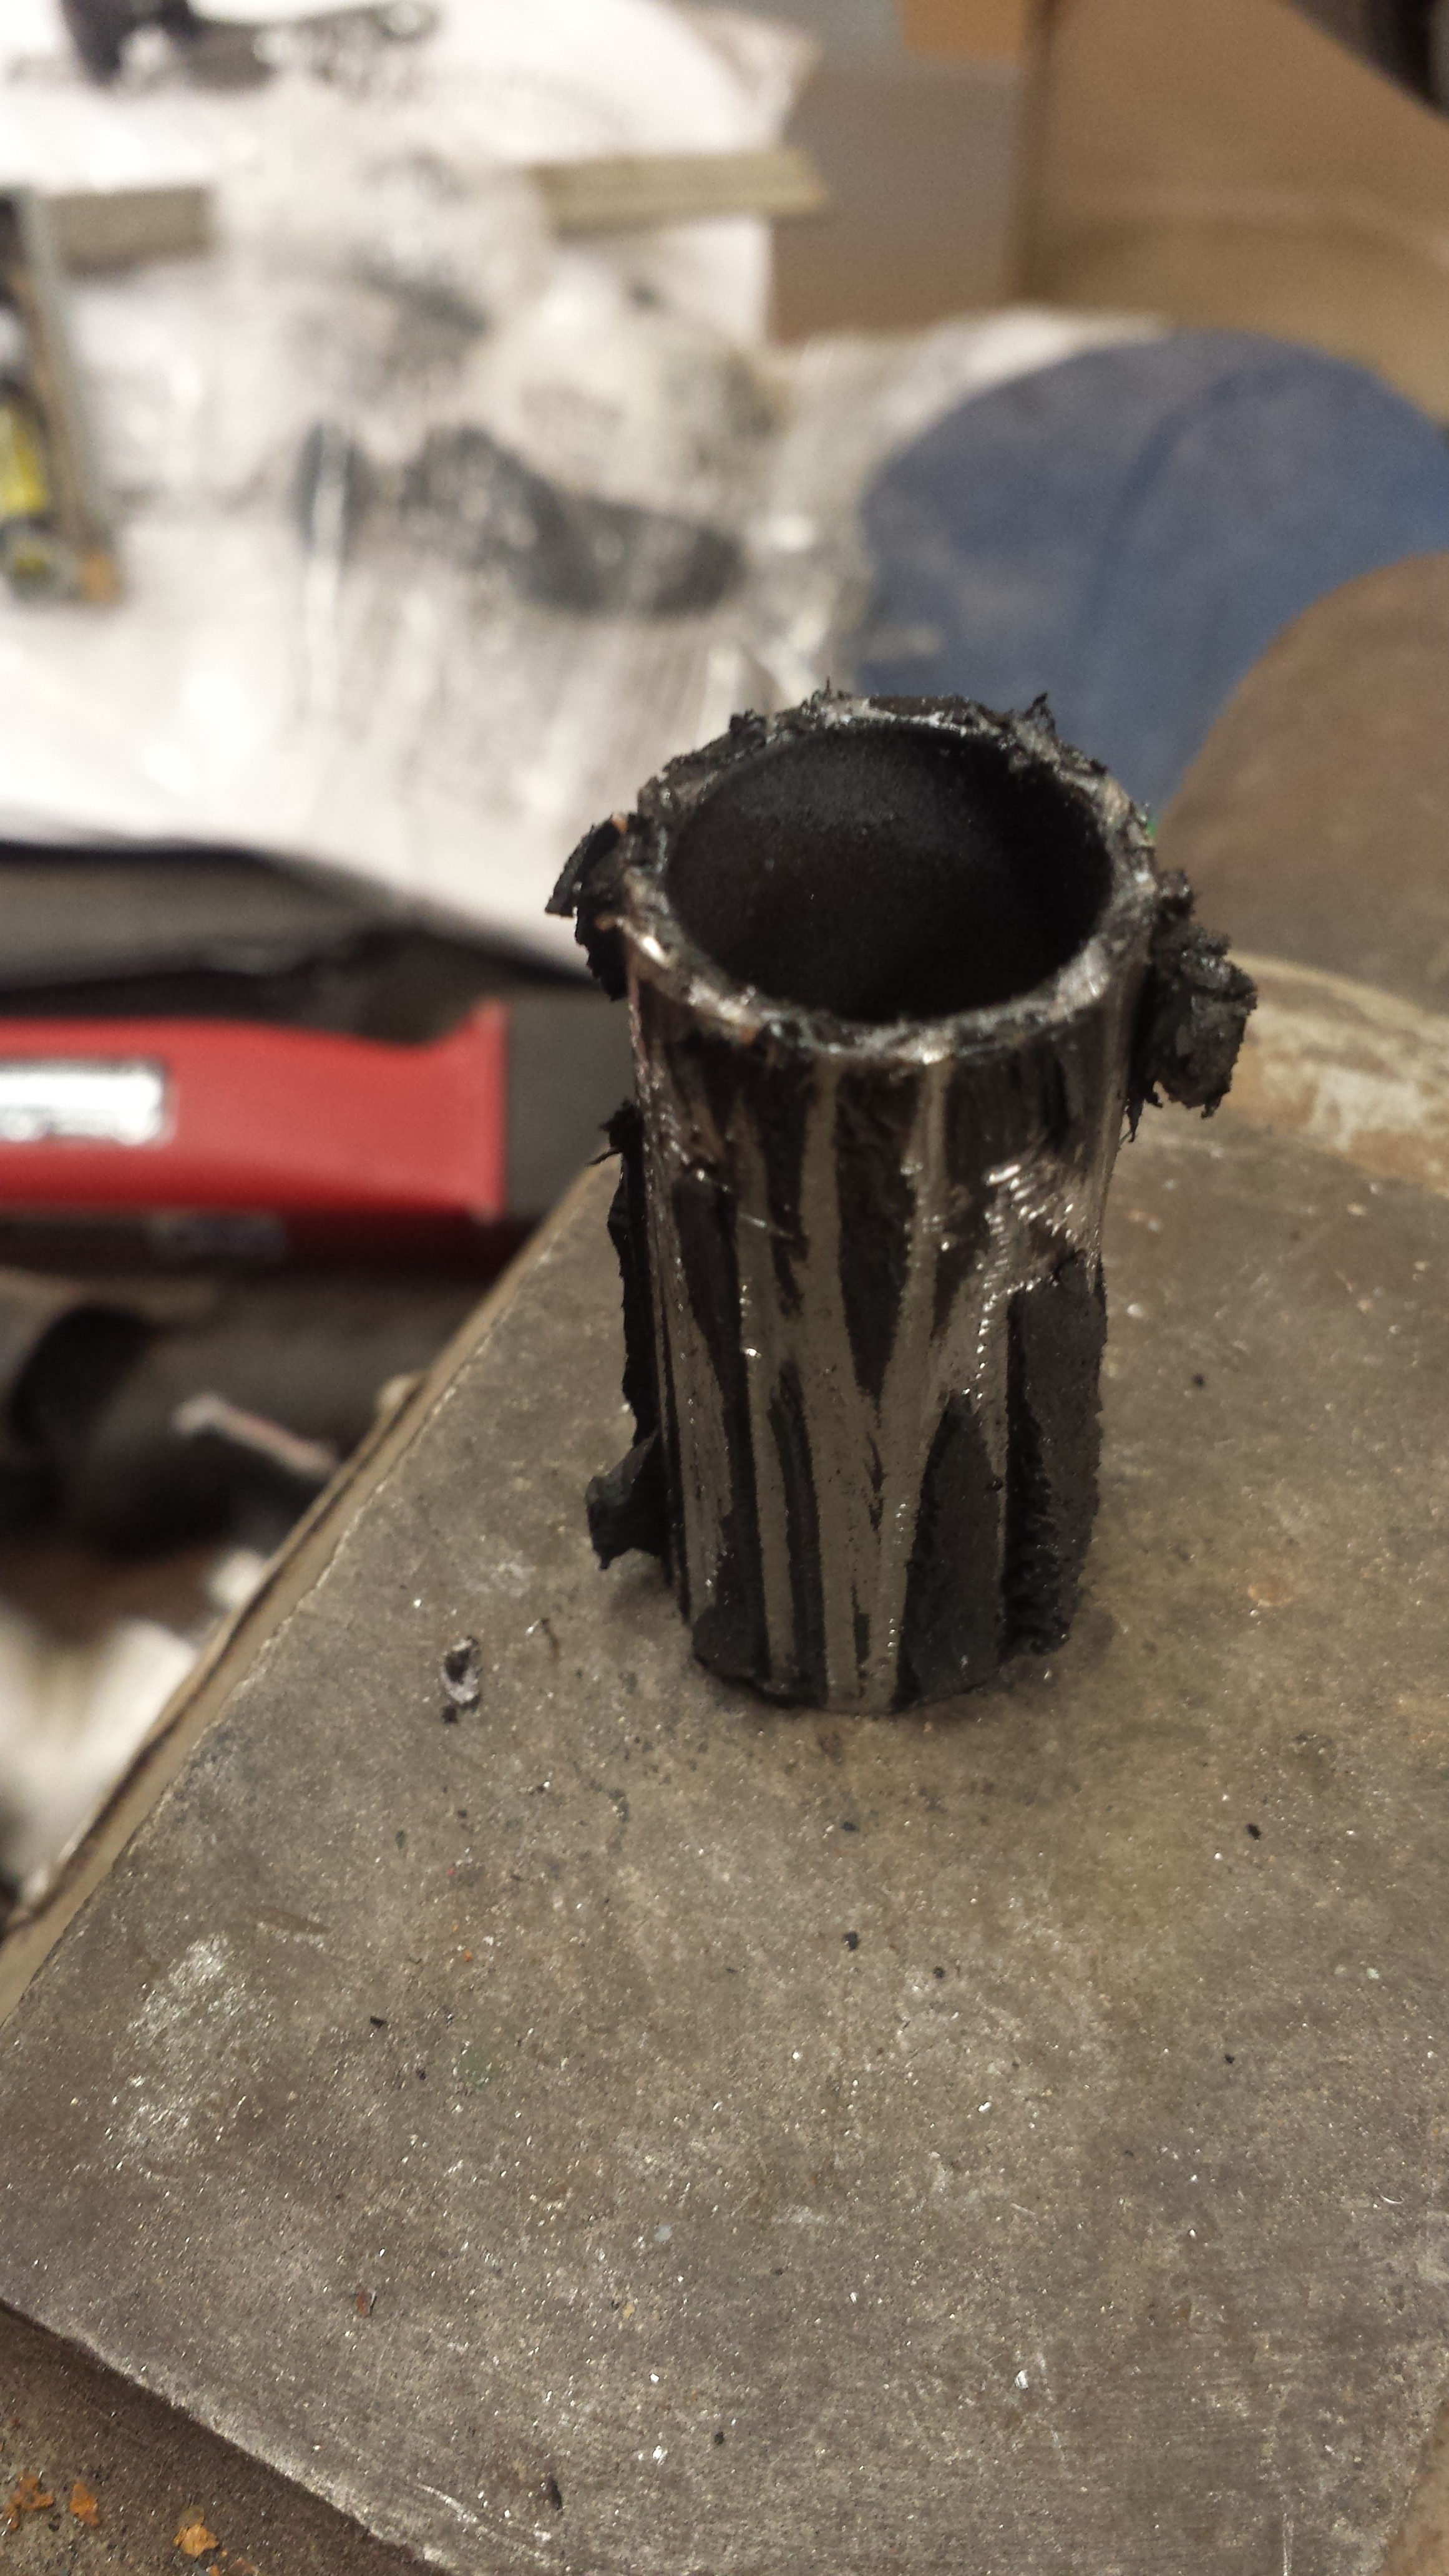
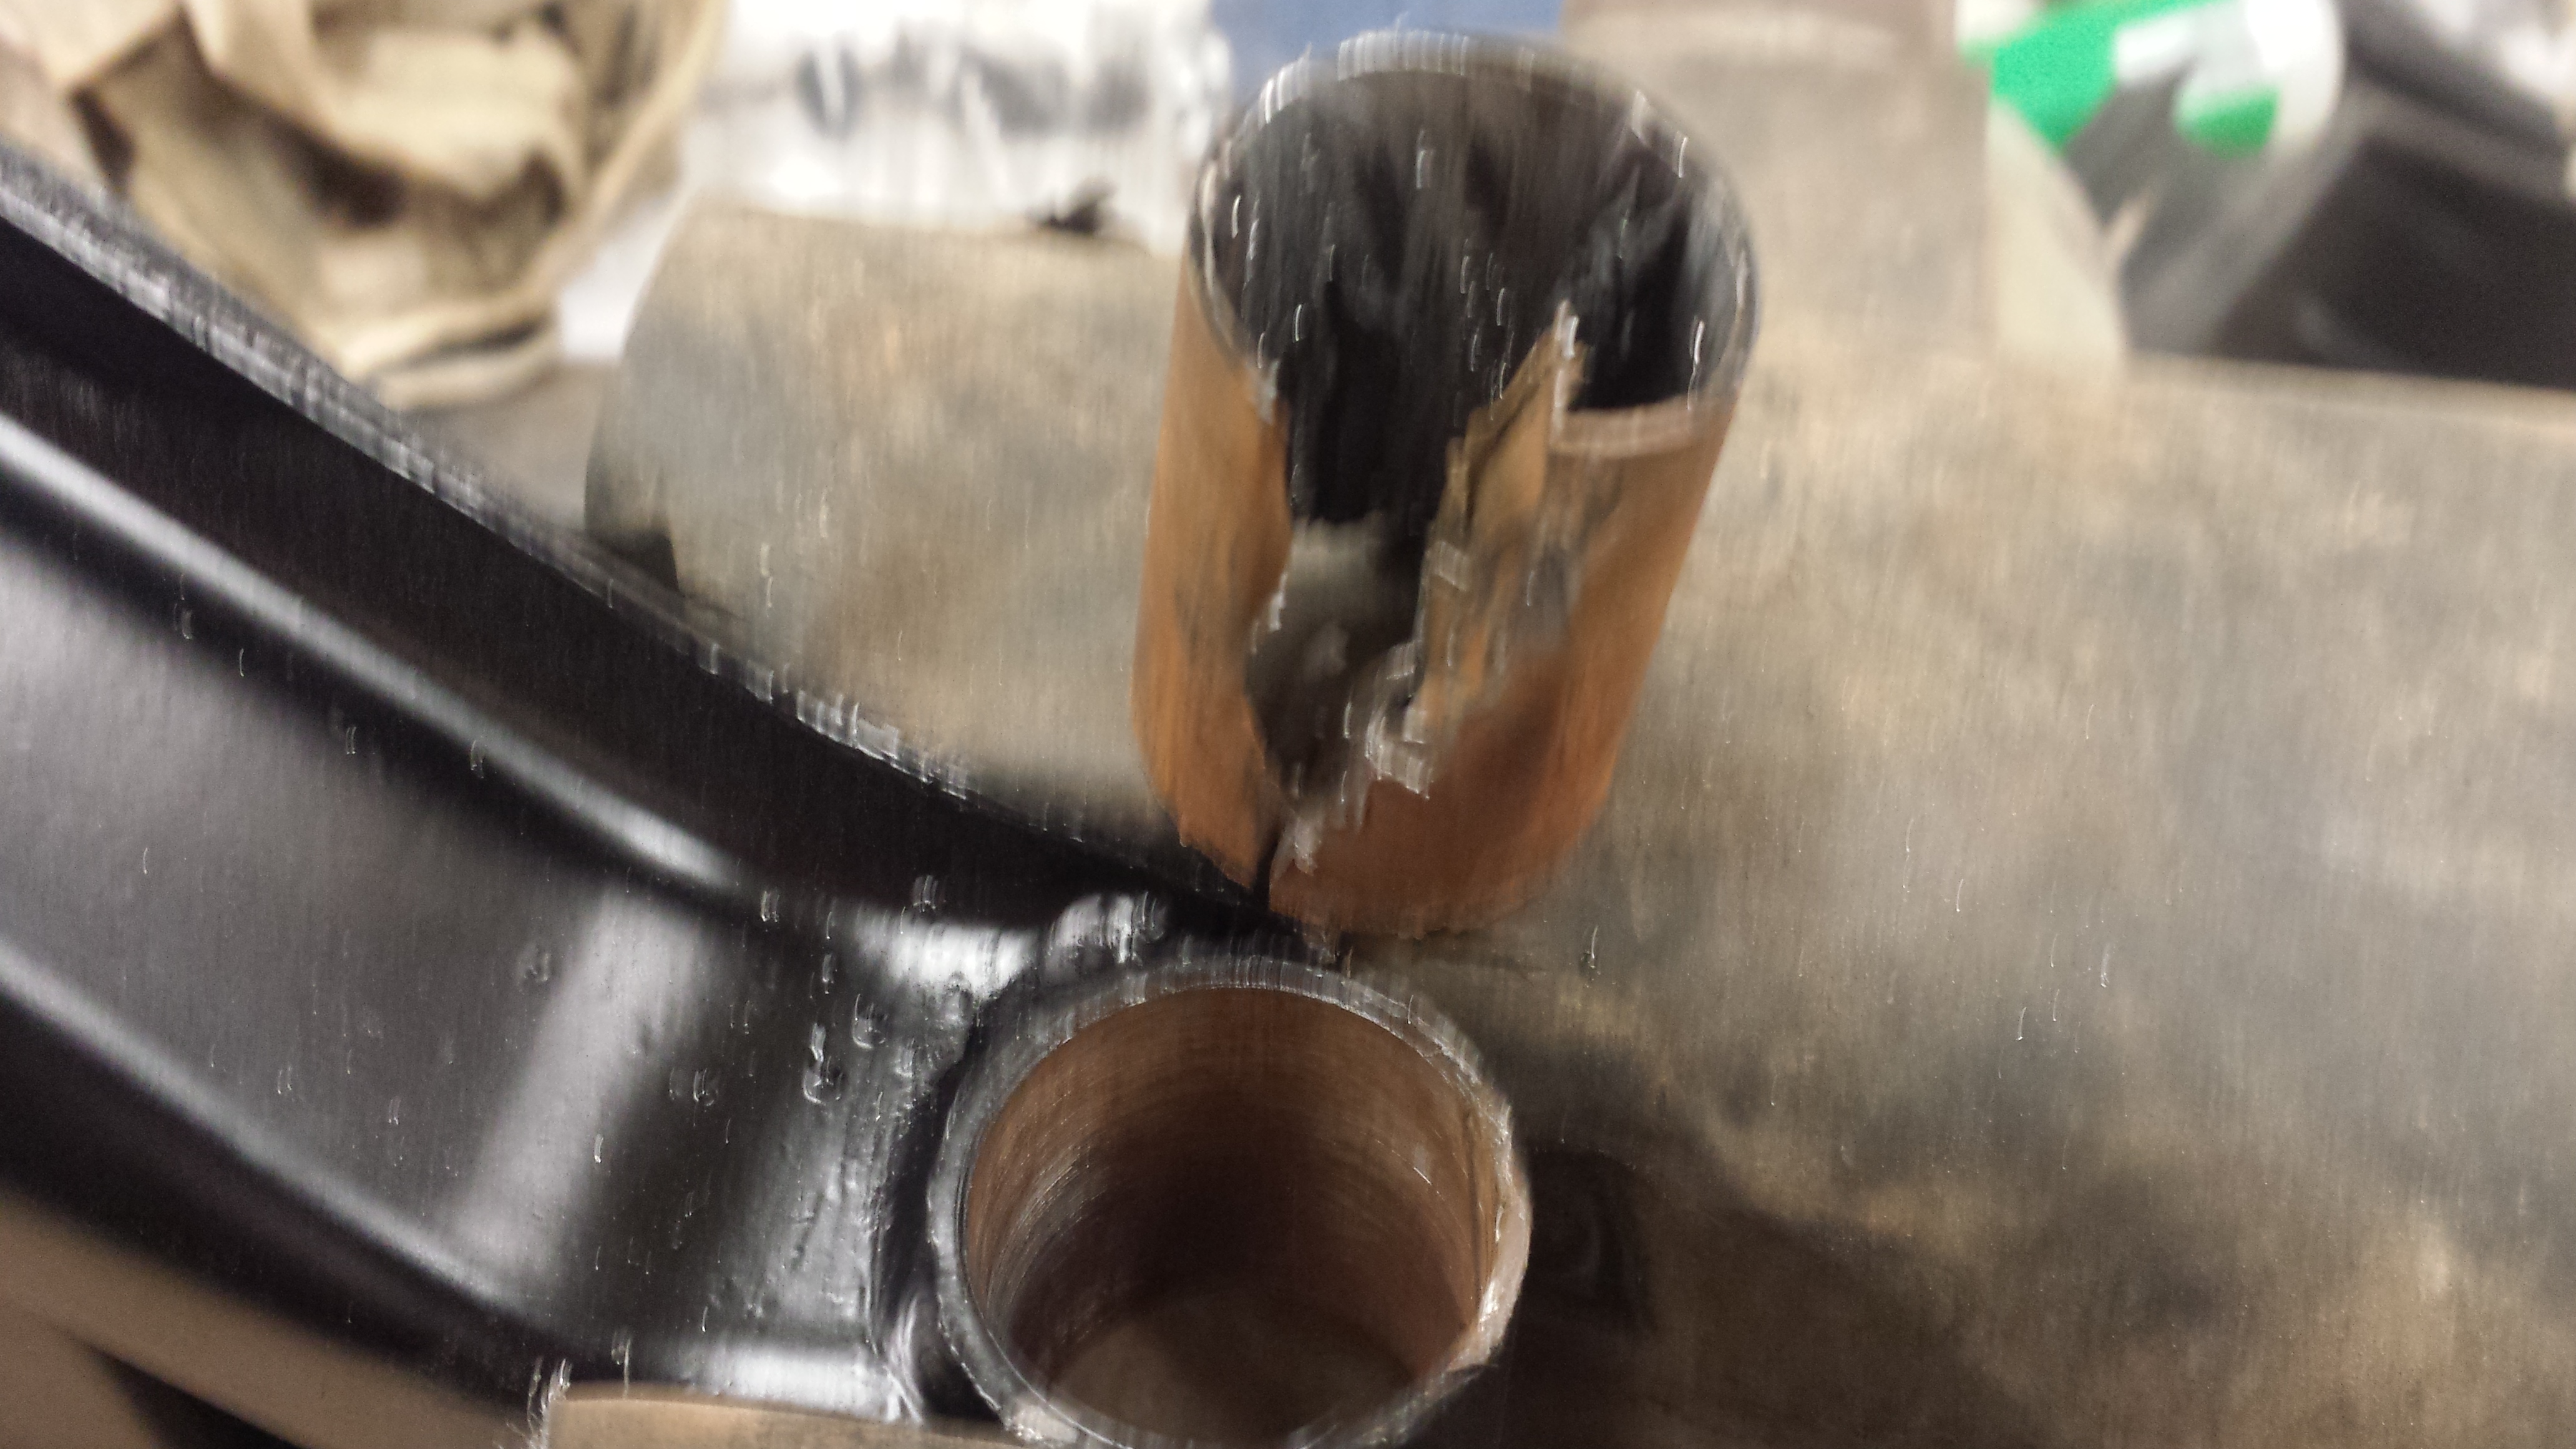
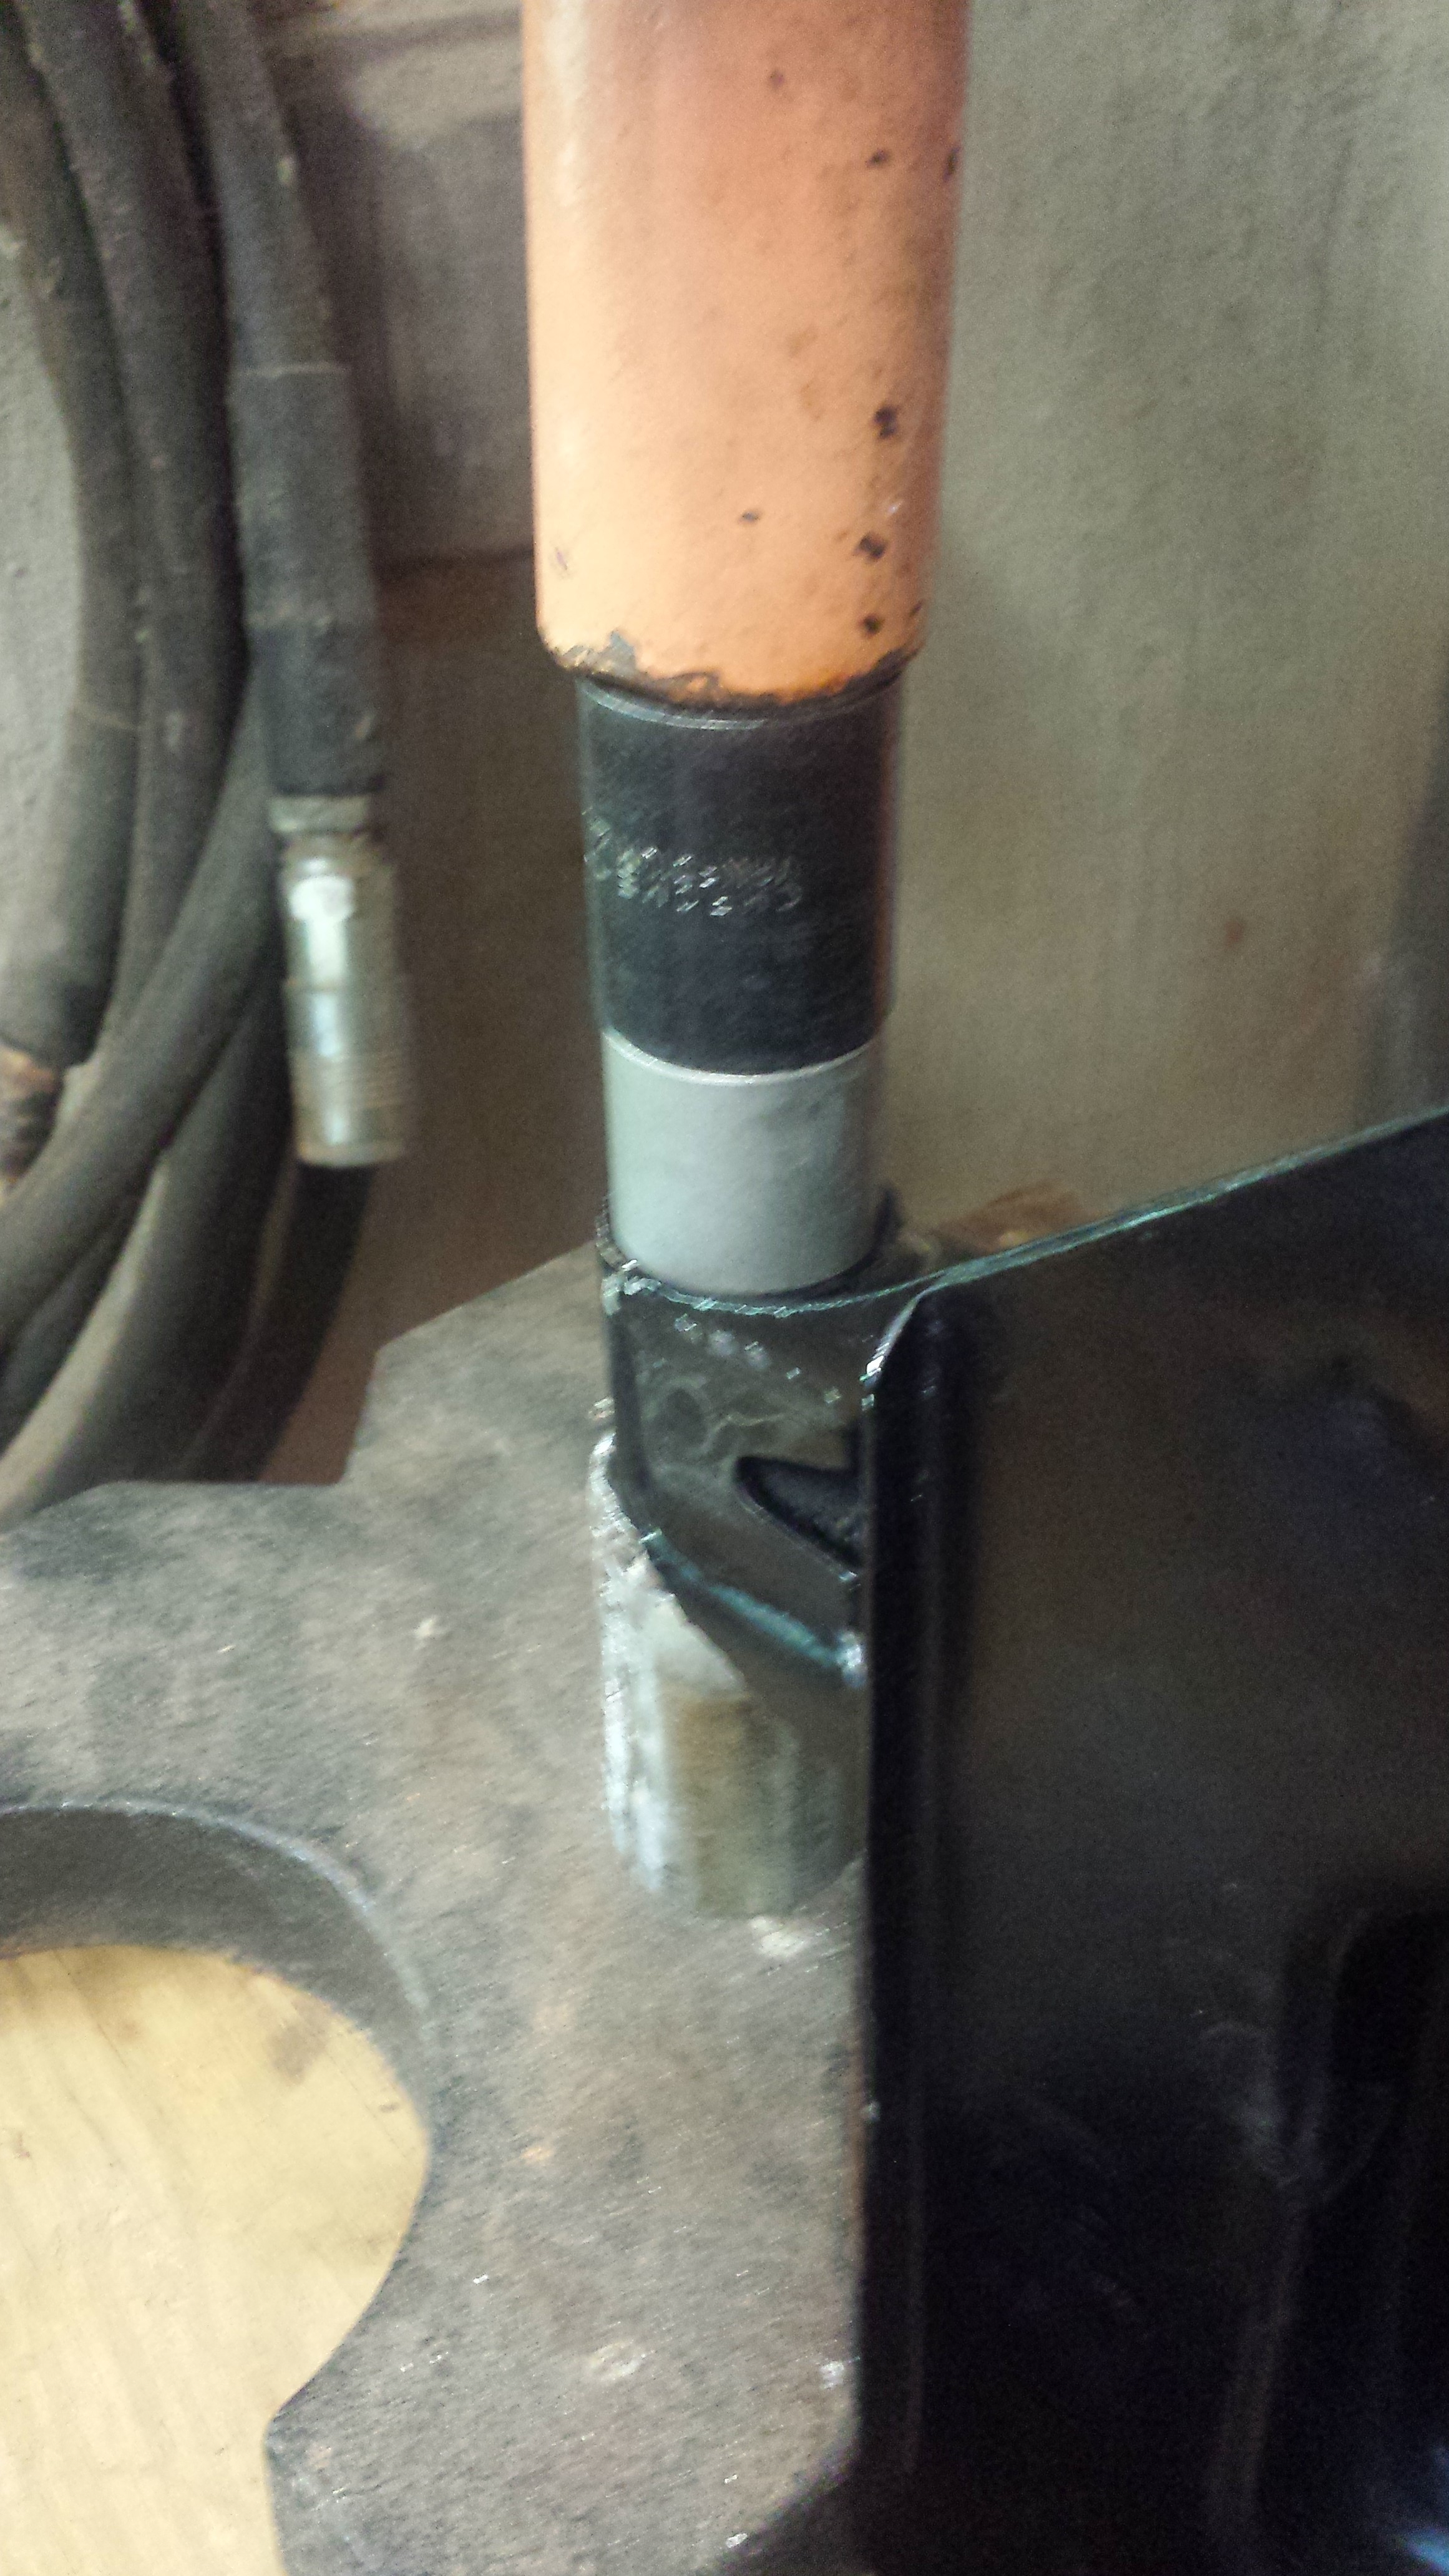
 Very cool. Nice and neat...I don't know that I have an answer for you, but some pictures might help.Is your big red light low oil pressure? Is the other red item a push to start button?The welds are ugly, but they really didn't matter. I know the gas was on but might not have had enough flow. The tank is getting low on pressure. I still lean towards the metal still having some impurities from the quick prep I gave it. Wire speed might have been a little high too. I didn't really fuss with it; just burnt it up...What did you use for media? Eastwood has a product called "After Blast" that treats the metal and prevents flash rust as long as it doesn't get wet. Works really well...That is what I looked for first. I am a builder and have an assortment of hole saws but didn't have the correct size so I went to the next best option at my disposal. I hate going to the store on the weekends...So as CO has mentioned there is a longer side to the rear swing arm bushings. The longer side goes out away from the strut... I suspect this is why some people have had a hard time reassembling the rear suspension in the past. If you were to orient these incorrectly the space would be about .008" too small for the rear strut to fit into. I found a pipe laying around in my stuff that was very close in ID to the bushing but it was thin wall stuff So I cut two pieces of it and split one down length wise I then sleeved one inside the other and welded them together and welded around the lip for additional thickness My apologies to the other welders here @grannyknot @disepyon these welds are pretty ugly. I assume I didn't get all the galvanize off, oh well Dressed them down a little bit and tried them as an anvil... Not happening! I couldn't get the anvil to line up well enough to receive the old bushing. So I resorted to less elegant methods. I didn't want to burn them out because the pieces are already painted. So I took a drill bit and drilled all around them... Then I tore the center out with pliers Then I took my body saw and made some cuts through the remaining bushing shell and collapsed it on itself Pressing them in after that was a piece of cake Even though I couldn't use the fabbed anvil for removal it worked great for the reinstall. Today I worked on the fender repair some more and hopefully will figure out some bolt locations tomorrow...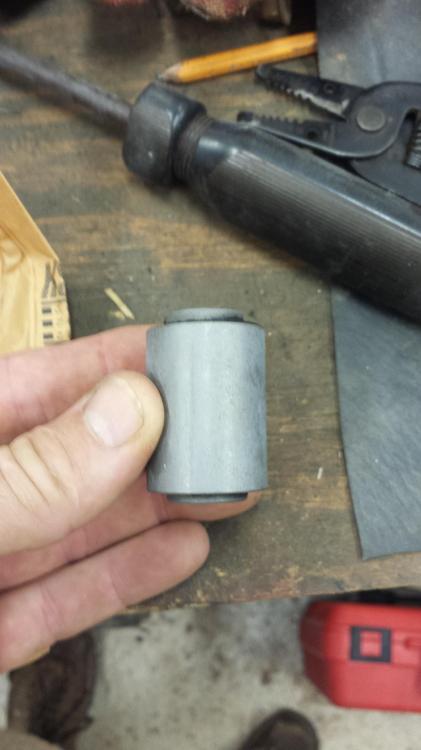

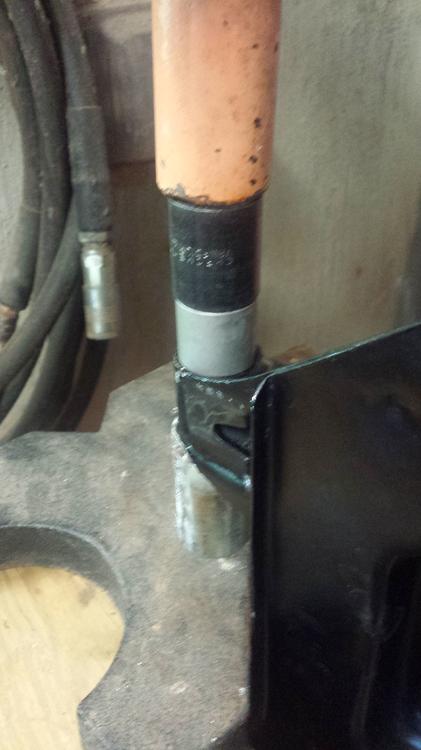 @87mj Sorry I didn't reply, but Grannyknot is correct. The chassis is not very heavy when stripped and the points for the most part are bumper locations. So while not overly sturdy they are sufficient to mount the car.The original cables you posted pictures of are actually very special wires. They act like fuses, if you pull too much current they melt to protect the rest of of the harness. If you replaced them with heavy gauge wire and spade connectors then you transferred that overcurrent into the harness. It is possible you made a bad situation worse...Look in my "Lily" thread to see my spray boot. .4 mil poly and some 2x4's, an exhaust fan. Good to go. You will get better results inside the garage than outside. Also it would probably be better for you to be discrete considering where you live...You could buy some of the Eastwood rust removal solutions and soak it in that and it will come out as clean metal...@lefty7126 I agree! you should take him up on the offer...They did a really good job!Who did the chrome and polish work? They both look really good!#0509, pretty low. Be interesting to see if any one thinks it's worth 23k. It seems to have some rust so some pictures or the more rust prone areas would be good.To patch the hole you really need a donor panel or someone with a wheel because the panel is curved in 2 directions. The roof skin is really thin and it would be hard to avoid distorting it. The best fix is to just re-skin it but that means removing glass, exterior chrome, interior trim, etc. It is a lot of work as there are probably 150 or more spot welds that have to be drilled out. $4500 seems high but I bet a shop would have close to 100 hours in it by the time it's done.the valve train looks modified too. Might want to check lift and duration on the cam. It may be toast from corrosion but the base circles look smaller than stock...You make me feel soooooo sloooowwwww!!!! Looks great!We took the bulbs out on the drivers side entirely. So that should eliminate an issue of the wrong bulb in the wrong socket. There was a duel filament bulb in the taillight. You know, we had the signals sorted after you came up the last time and now they don't work. My assumptions were: bad signal switch, bad hazard switch or bad grounds. I had thought I would unplug the signal switch and jumper the left turn signal and see if works correctly to try to narrow down the problem...Any issue with that?


Important Information
By using this site, you agree to our Privacy Policy and Guidelines. We have placed cookies on your device to help make this website better. You can adjust your cookie settings, otherwise we'll assume you're okay to continue.