jfa.series1
Supporting Member
-
Joined
-
Last visited
Everything posted by jfa.series1
-
Unless you have a particular interest in going with aftermarket carbs, the '70-72 240Z stock Hitachi carbs are a great fit for your car. Everything is readily available, including manifolds, linkage, and air filter box.
-
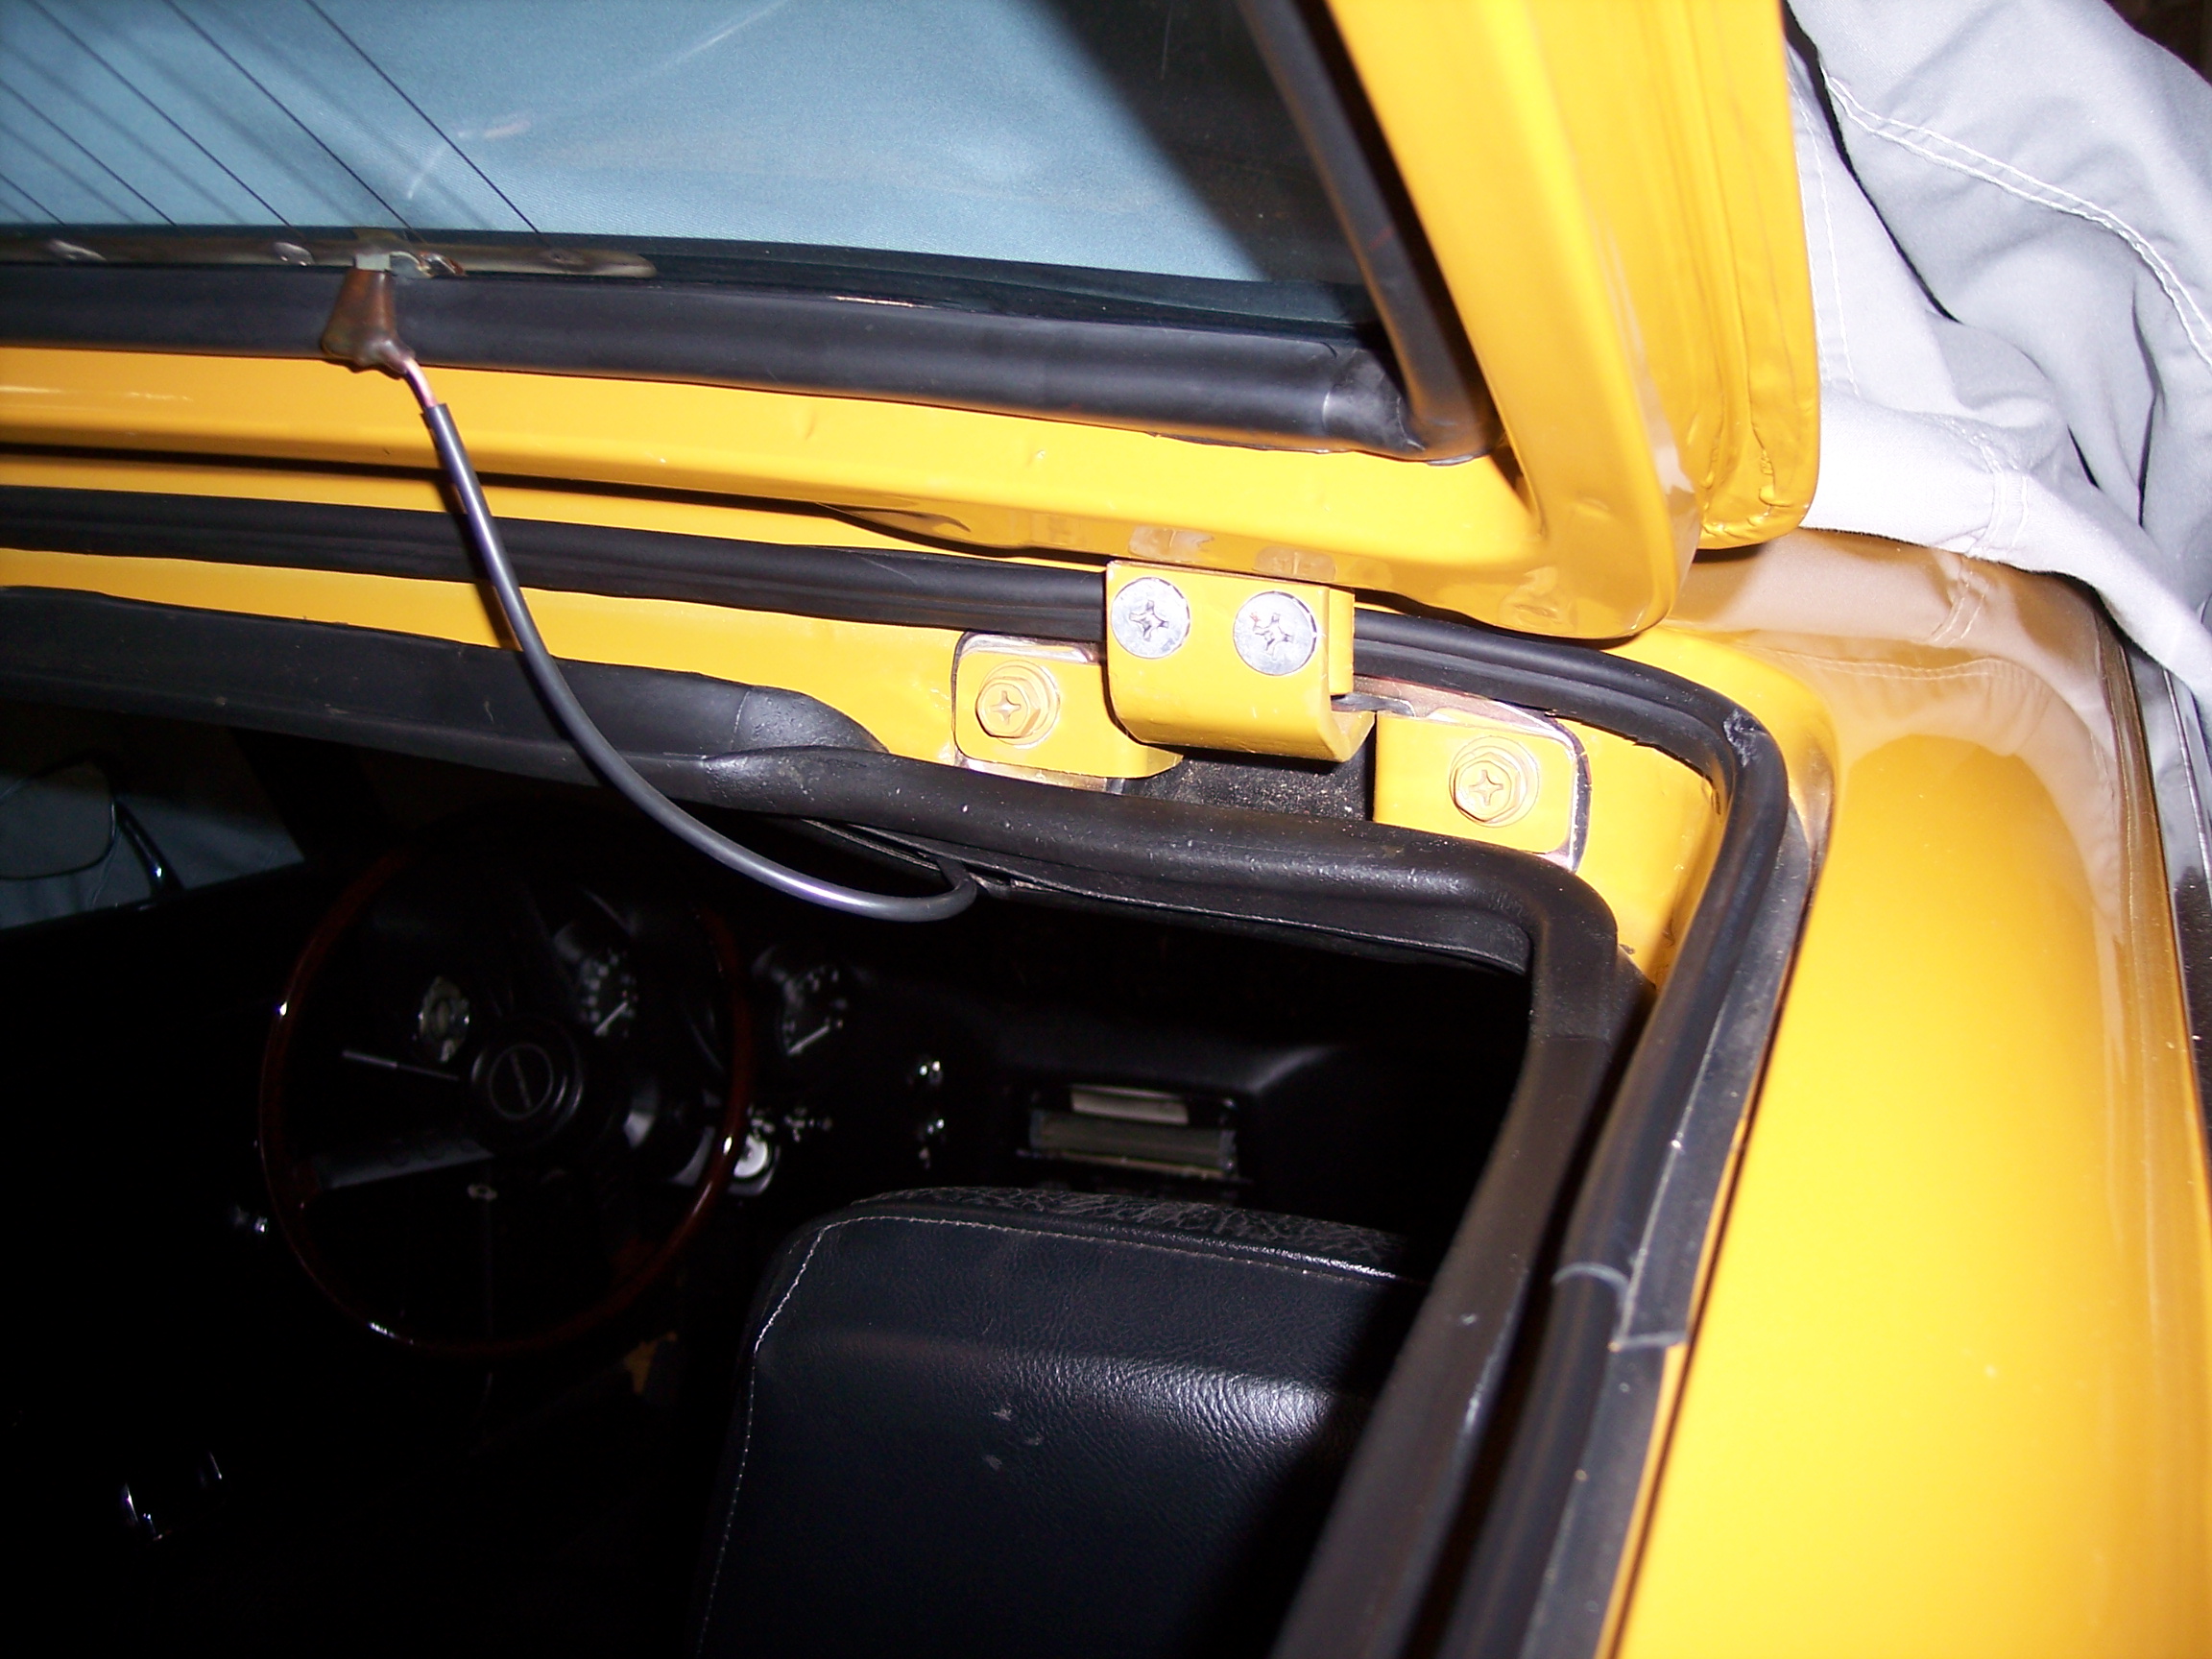
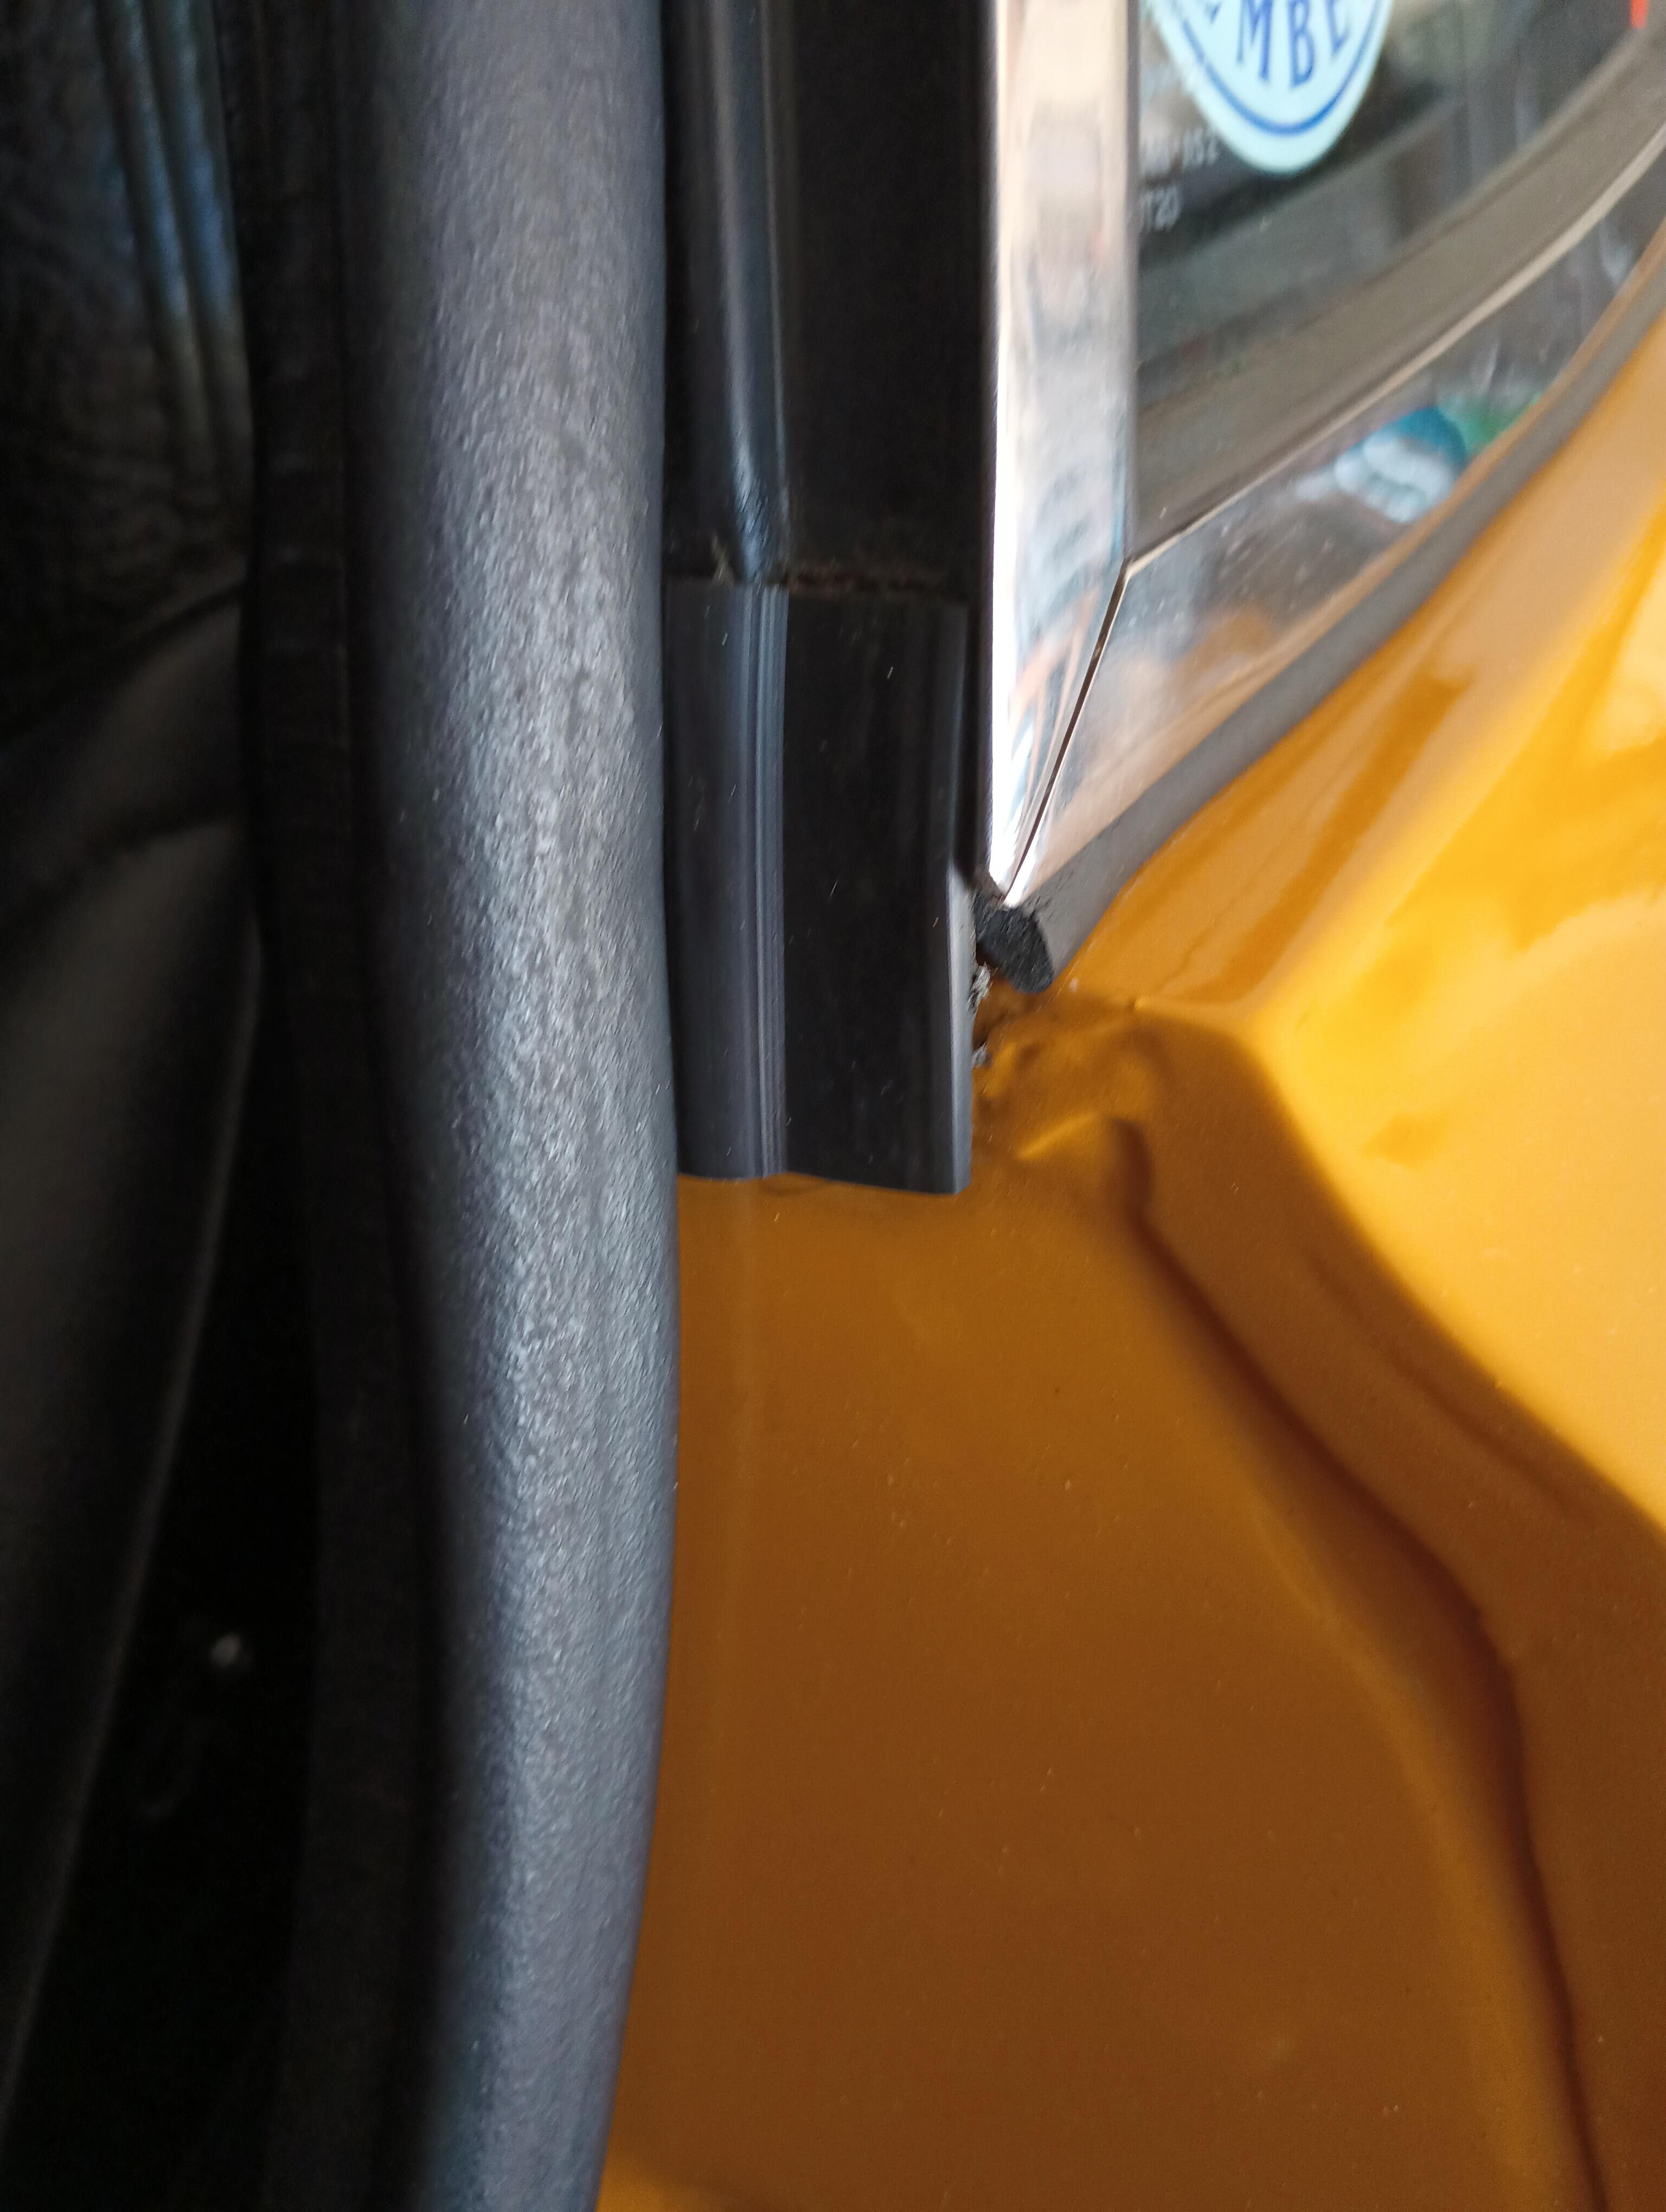
The full-length bulb-shaped seal is my own invention 12 years ago. I did not like the OE-style side seals just as you don't. I sent them back to MSA and purchased a second top seal and used sections of it as side seals to get a full coverage with a bulb-shape seal. Look closely at my pic and you will see the two ends butted together.
-
Good to hear that was glue on the inside and not rust. Installation of the outer hatch seal will be much easier with the hatch removed. Weatherstrip adhesive is the best product for these seals. Looks like you are making good progress.
-
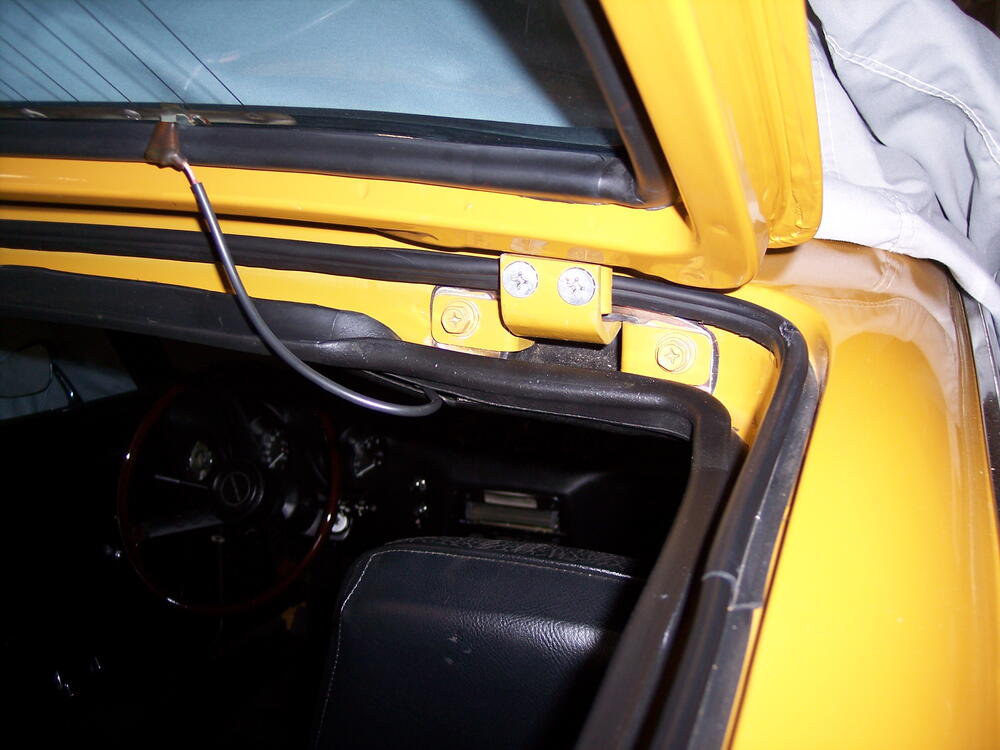
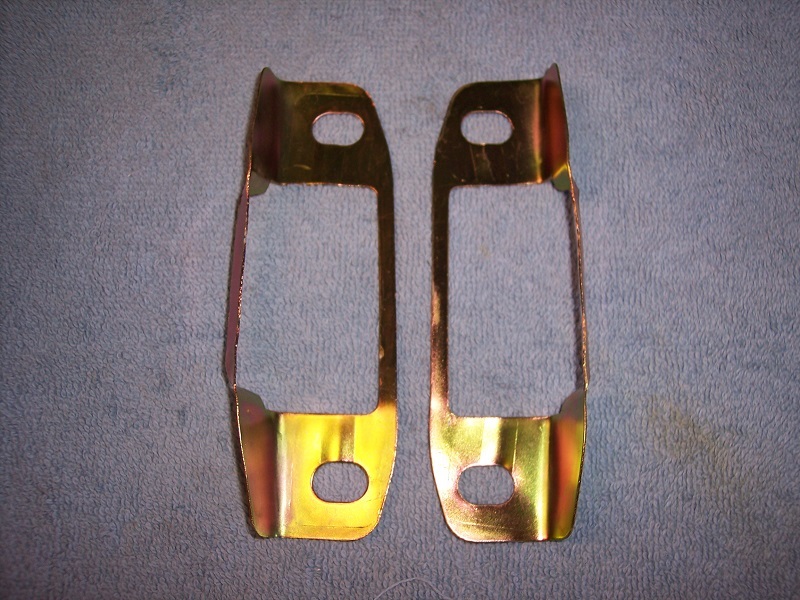
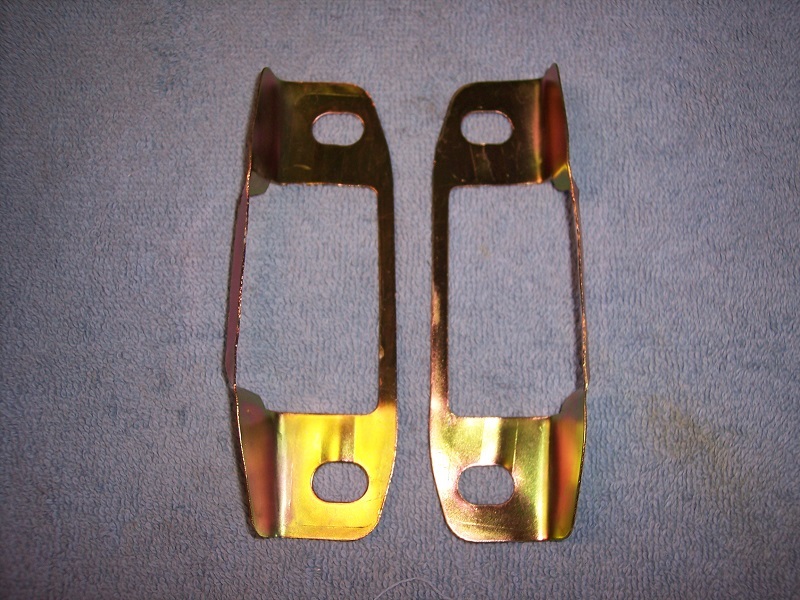
The hatch has two seals - outer and inner. The outer seal is small and installs on the pinch weld seam aound the hatch. The top portion is usually bulb shaped to fit snugly against the hatch flange so rain is channeled to the sides and down to the slam panel. Your pics show this seal is missing. In my pic I also have bulb-shaped outer seal on the sides as well as the top. The rust you show inside at the hinge are suggests your hatch hinge boots are compromised and should be replaced. These plates are an important part of the hinge boot install. They fit between the hinge and the boot and prevent the boot from being distorted when the hinge bolts are tightened. Unfortunately the plates are not available as a separate P/N. They came to Nissan as an assembly with the OE boots. As to your squeegee strip install, pop rivets work very well to secure the rubber strip to the door trim. Space them about every 4". This is far easier than working wirh wire or attempting to re-use old staples. The same approach works well with the fuzzy strip at the top of the door panel.
-
Wow Cliff, you are really digging deep into the archives!
-
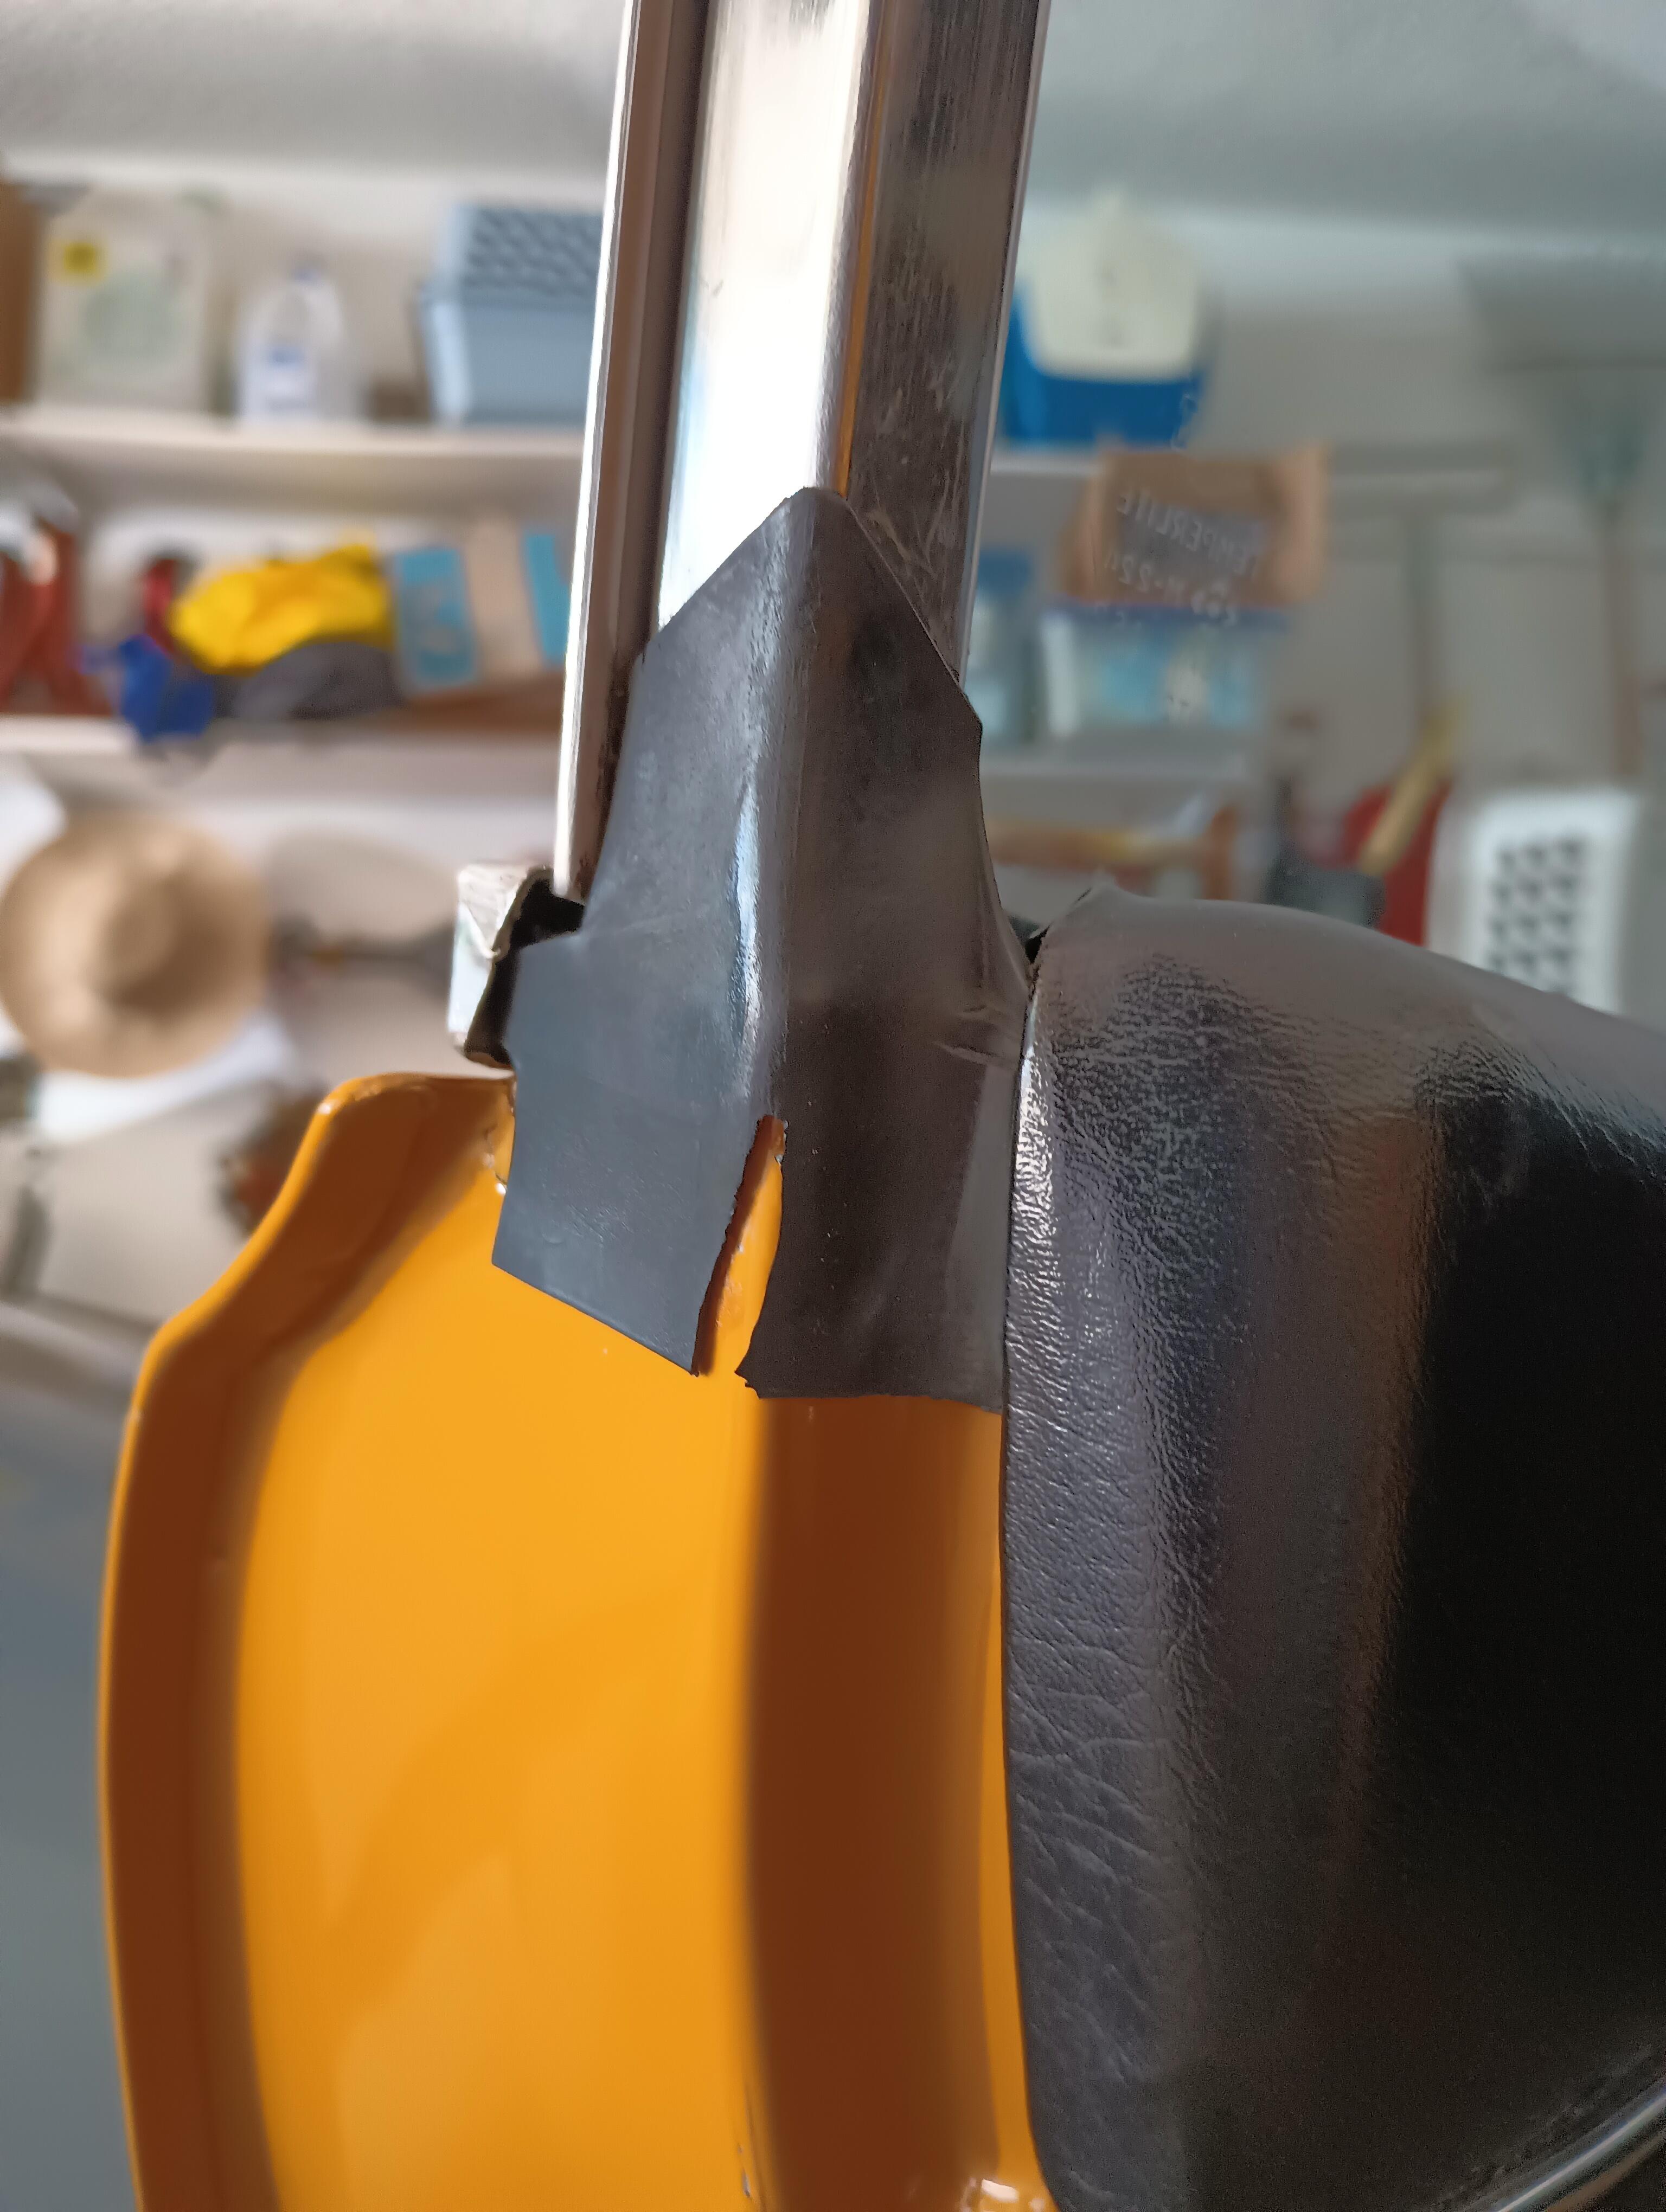
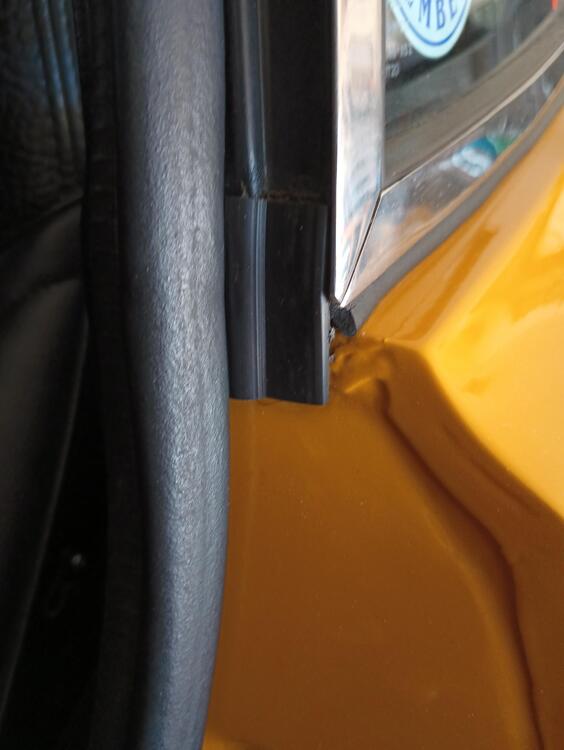
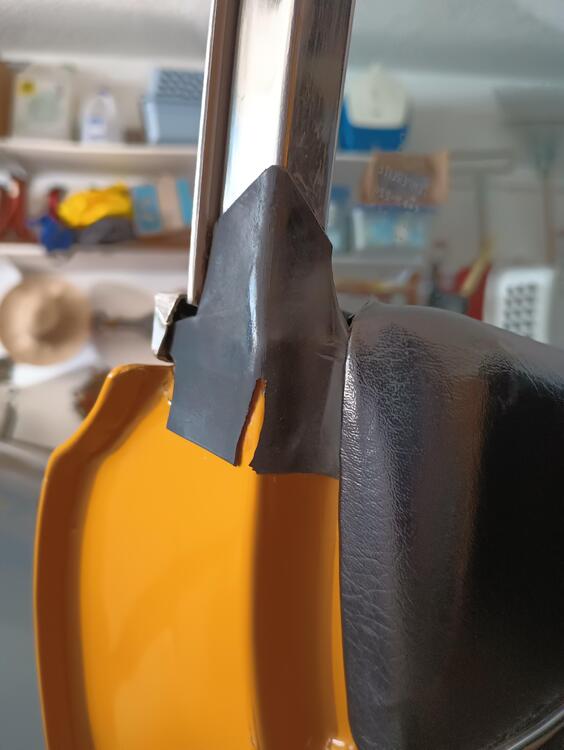
Here's your B-pillar piece: And here's your window frame piece:
-
View Advert 1973 240Z Switch Set UPDATE: Sale Pending. Totally refurbished set of LHD turn signal and light switches. The combo light switch is close to a like-new condition. The plastic stalk elements are shiny and free of scratches. The wiring is in perfect condition. The turn signal shows a slight loss of plating, the lever has a fresh gloss black finish. Wiring is in near perfect condition with only discoloration on one connector. The contacts on both switches have been cleaned and polished, and have been continuity checked for proper operation. The switches are available individually or as a set. Each switch is $250, the set is priced at $450, a 10% discount. Standard domestic shipping is included, foreign shipping is available at actual cost. Payment via PayPal, PM if interested. Thanks! Advertiser jfa.series1 Date 04/03/2023 Price $450 Category Parts for Sale
-
Indeed, I am 70+, probably a ++. 70 disappeared from my rear-view mirror quite some time ago! 😁
-
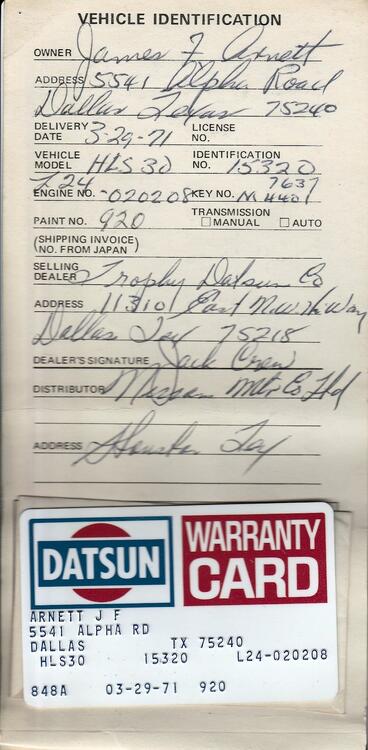
The years just keep on rolling by...
-
If you are on Facebook, look up Sal Ceja - he probably has all of the bits you are looking for. There are several Sal Ceja's on FB, his account will be the one with Z cars in the photos.
-
I have aftermarket belts from Wesco that are perfect for my car. I installed the Roadster Retractable belts years ago and am quite satisfied. The retractor is installed at the shoulder belt mount point above the quarter window. If you go with these, specify the 11" rigid sleeve for the buckle. No hardware kit is required and you can use your OE seatbelt bolts. https://www.wescoperformance.com
-
Sorry, no other pics or dimensions. These plates were sold several years ago. They are a thin material, should be pretty easy to fab up.
-
The boots were used on all S30's. The '77-78 280Z's did not list them as a separate P/N because the hinge and boot was listed as a complete assembly.
-
If you can be sure your car will NEVER, EVER get wet for any reason such as rain, car wash, or other situation, you can consider going without these boots. You are correct - they prevent water from getting into the hinge pocket in the roof section. Once water is in there you can be sure the rust worms will be hard at work! When replacing the boots, it is important to retain the metal plates that fit between the boot and the hinge. The plates prevent the boot from being distorted when the hinge bolts are tightened. The plates are NOT a separate P/N, they came to Nissan from the OE boot mfr. as part of an assembly. The plates are not offered by the companies now making the repro boots, must be reused from the owner's car or obtained from a donor vehicle.
-
-
The "stock" springs that were sold to you might have come from a later year and heavier car, i.e. a 260Z or 280Z. If so, that could explain the higher ride height. Cutting coils is certainly an option but it comes with a penalty of higher spring rates and a stiffer ride. Your best long term bet is to start over with a known product, Eibach Progressive and Voightland are a couple of options. I experimented with cut-down stock 240Z springs with two coils removed. It did lower the car some but the ride quality suffered so I returned to Eibachs that I had on hand.
-
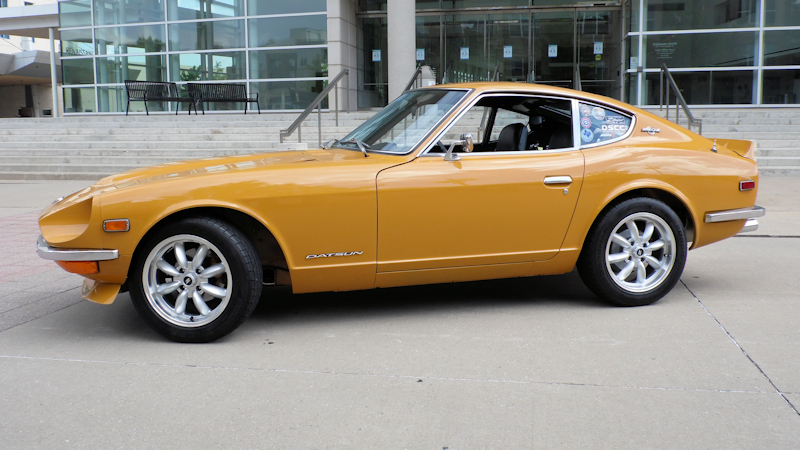
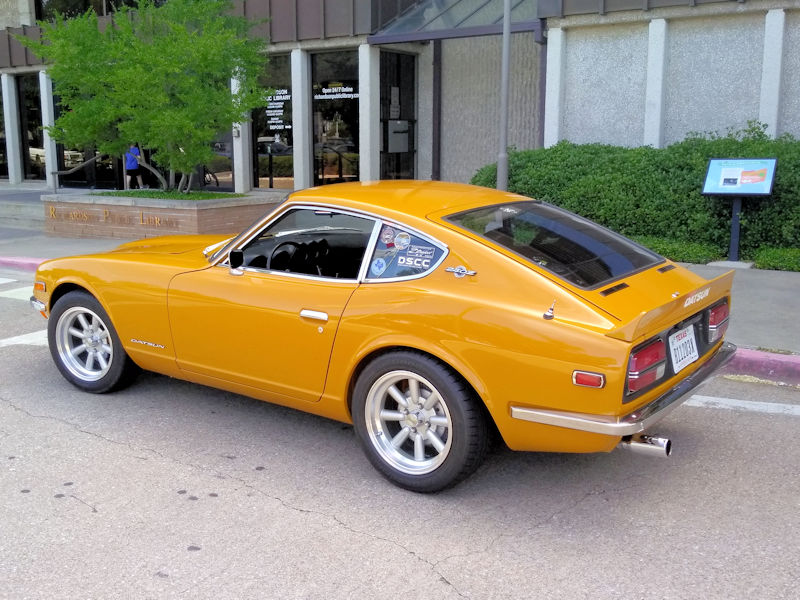
The car is certainly the right color!
-
It has been over 10 years ago since I did this but as best as I can recall I installed the grommet and then fed the in-cabin connectors and wires through it one-by-one. No removal of connectors from the wires.
-
Also, the type A shift lever is straight while the type B shift lever is bent per your picture.
-
My opinion is that clear coat will enhance and give more "pop" to any of the OE colors. We would probably have to hear from some folks who have resprayed in single stage to get other viewpoints.
-
Consider that these cars were painted in a single-stage process 50 years ago. Most paint jobs these days are two-stage with the clear coat making a huge difference in appearance.
-
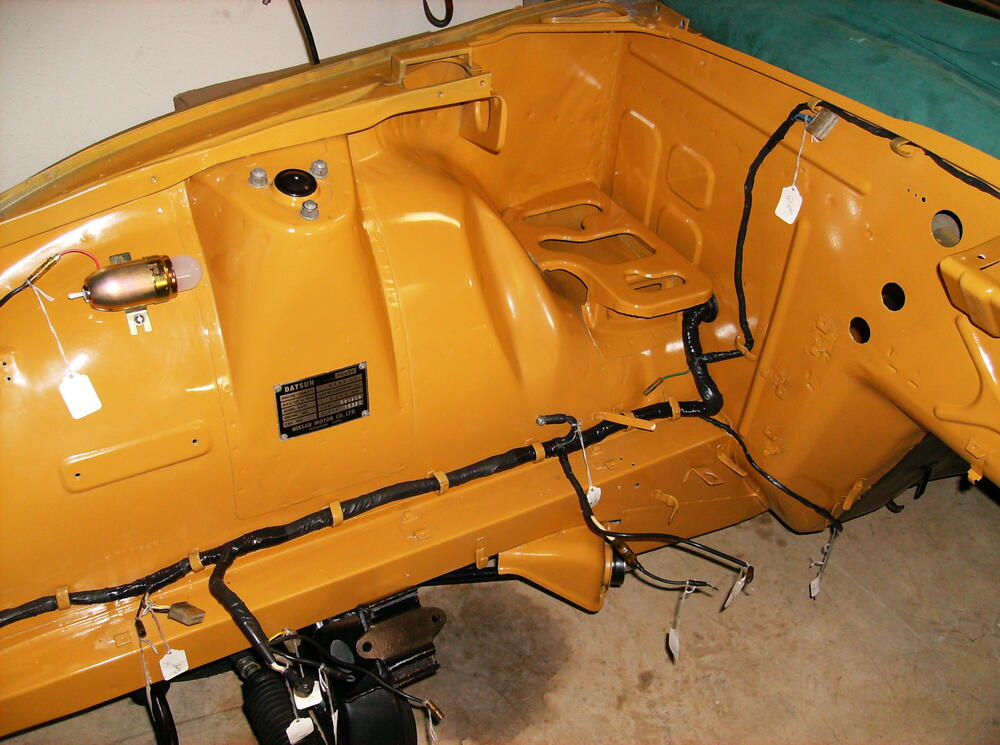
Here are two pics - one without the hard lines and one with them in place. If you can obtain a clutch hard line from a parts car, it should help you to position the bracket on the frame rail. Hope this helps.

-
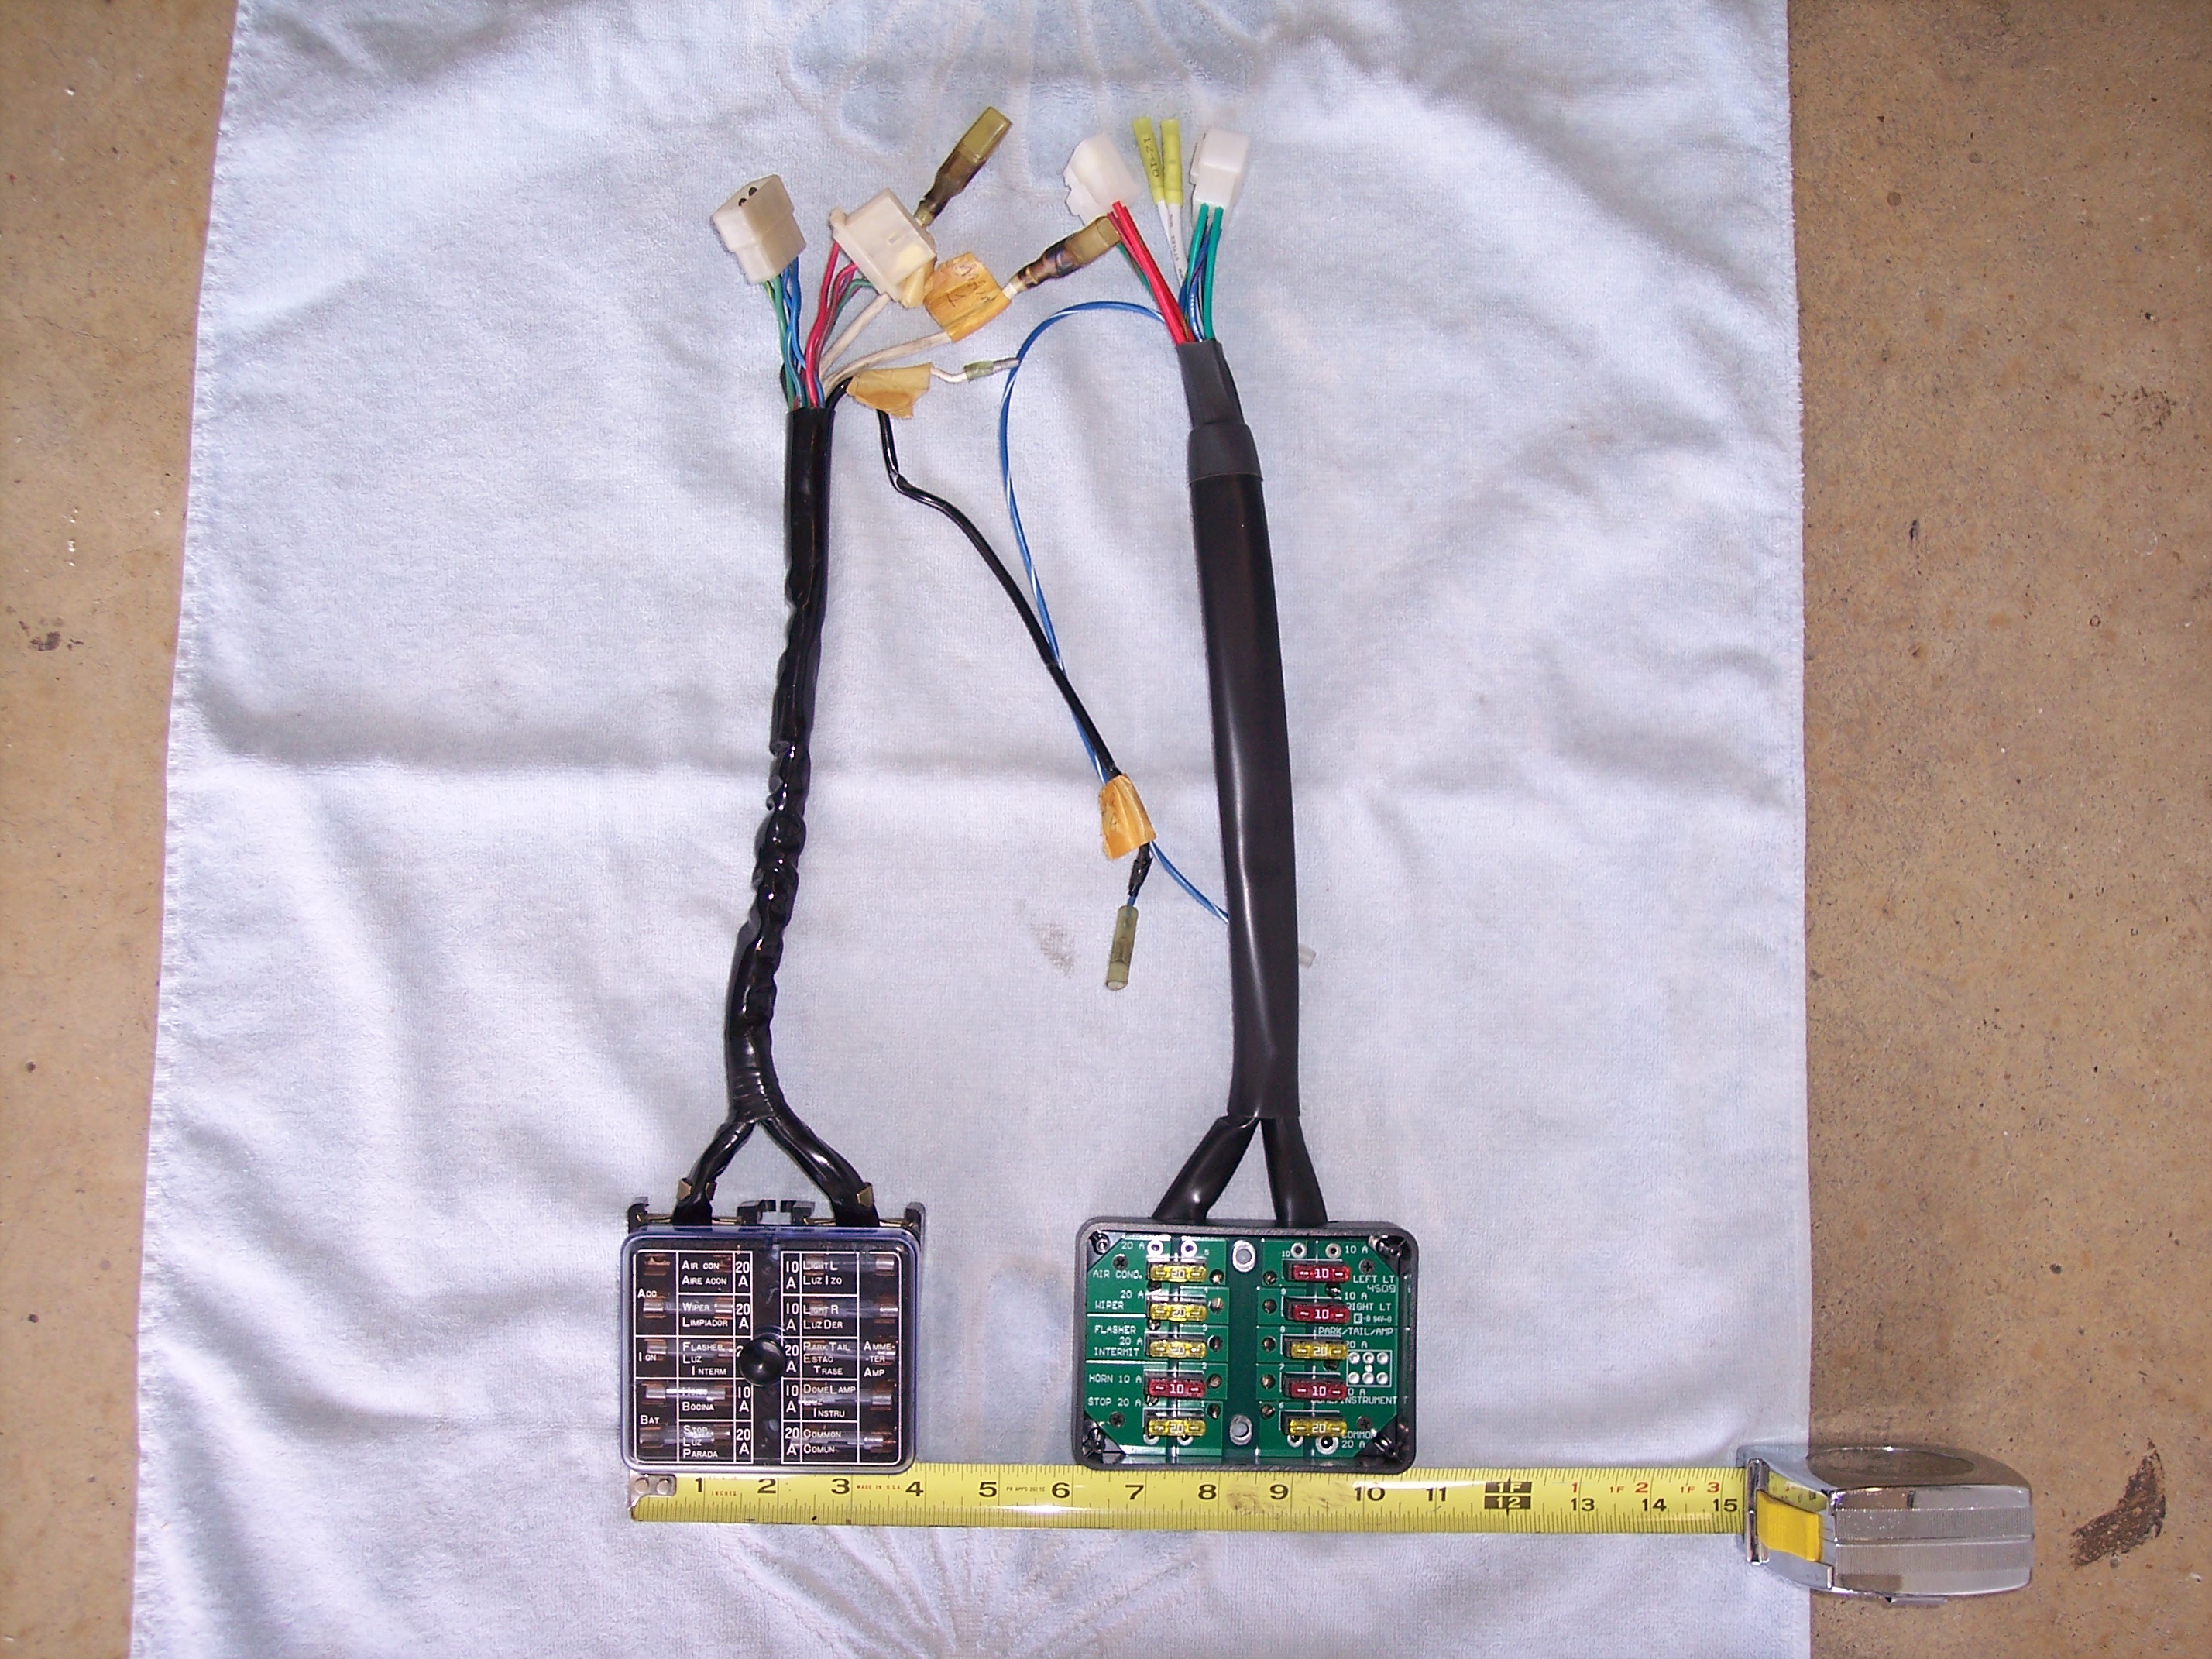
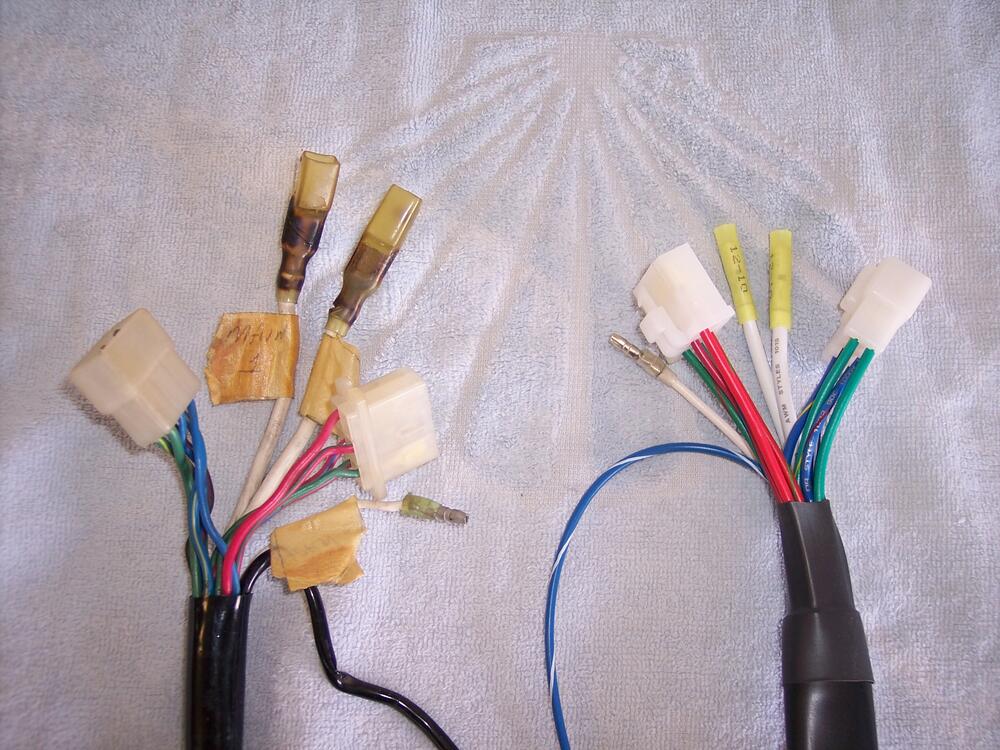
Charles, If your fuse box is toast, consider the MSA version with the spade fuses. I installed one with my resto. It was a good match with one exception - they did not have the two large female spade terminals, supplied butt connectors instead. I replaced those with spade terminals to match with the harness. Jim

-
Charles, Its been quite a few years but as best as I can recall I used either a 5/8" or 3/4" wide closed cell weatherstrip on both the edge of the splashguards and the bulkhead at the back of the fenders where it butts up against the A-pillar. This stuff is self-adhesive, usually available at most auto supply stores. Jim
-
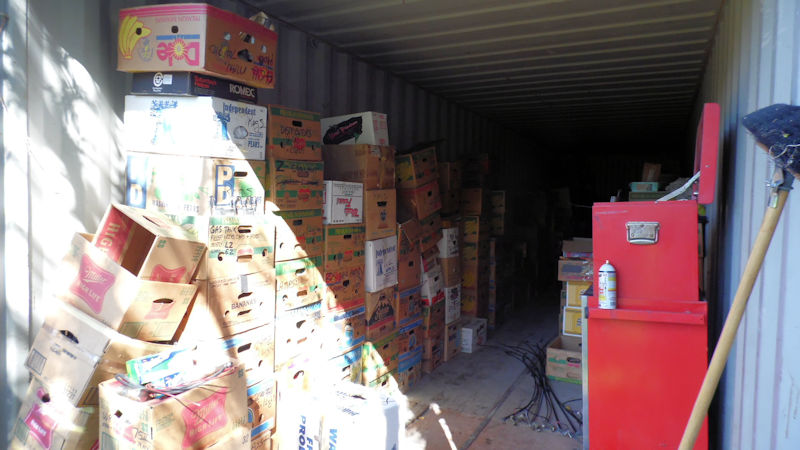
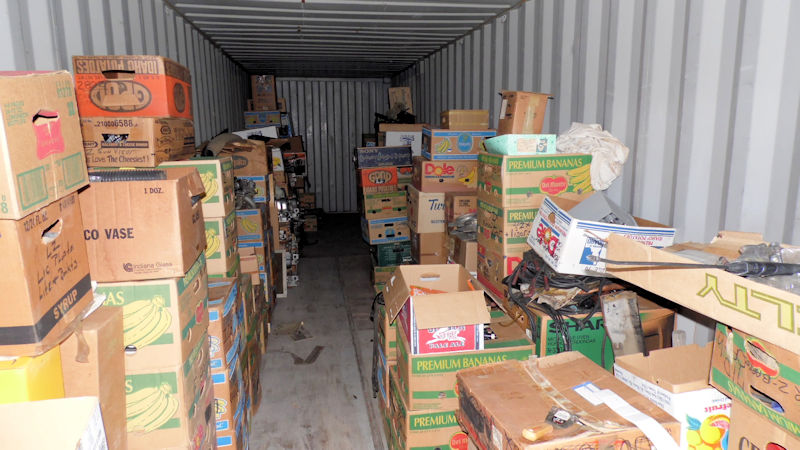
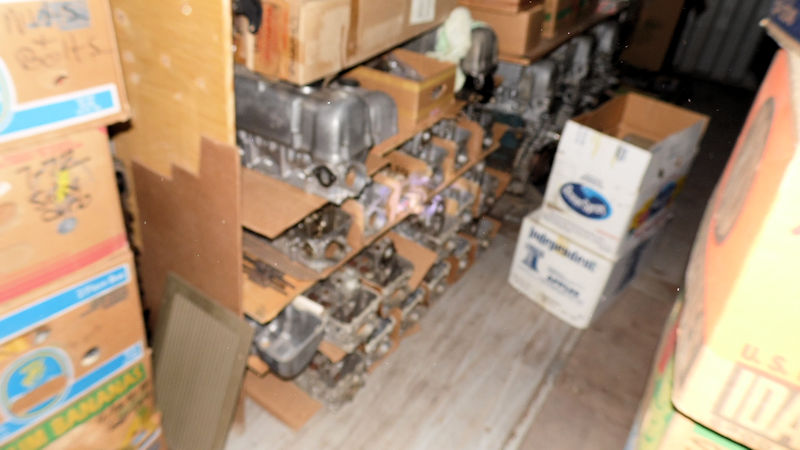
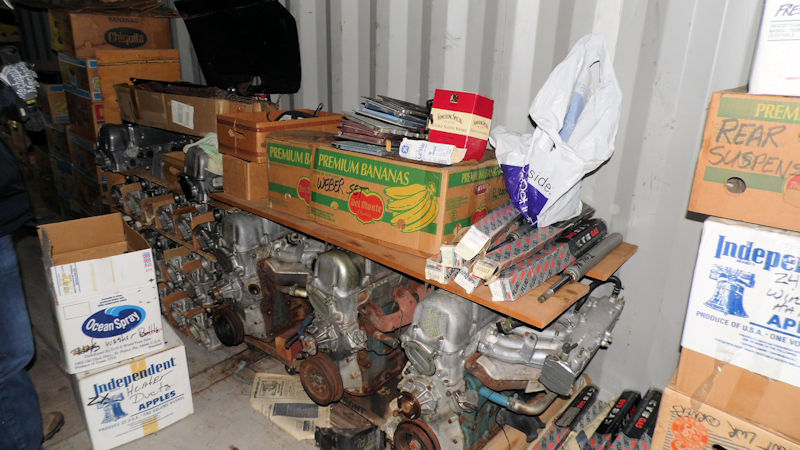
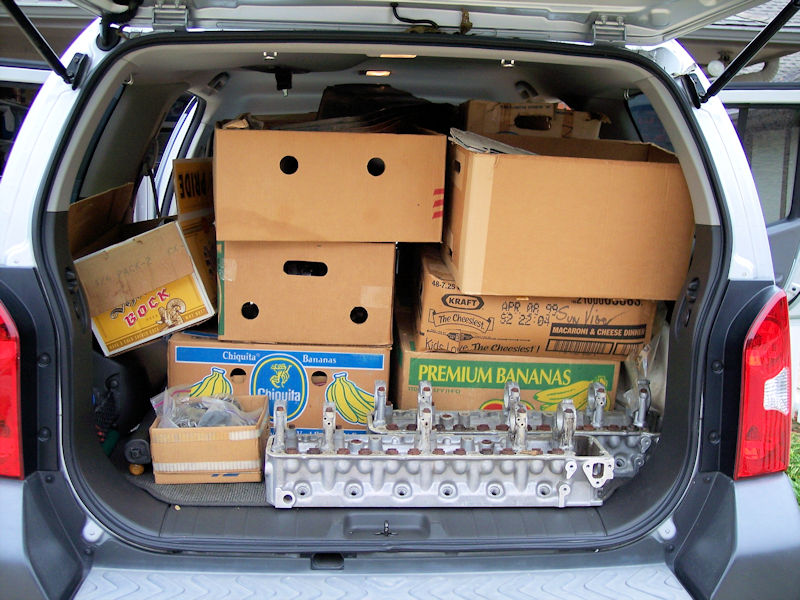
Just over four years ago my buddy @zed2 and I heard that there were some parts available a bit north of us so we made a road trip up to Sherman TX. We met with a guy that owned his own railroad station (another story there!) and he explained that a good friend was in the VA hospital dying of cancer. The friend was an old Datsun mechanic that had assembled some parts over the years and this guy was trying to sell some of them to help with the friend's bills. We followed him to another community and were introduced to what turned out to be a motherload of Z parts. There were several S30's and a couple of S130's on the property, a small dilapidated pole shed with some parts and a 30' shipping container. When opened, the shippiing container revealed boxes of parts lining both walls, all marked with the contents. With only limited time available that day we made a hurried sample inspection and made arrangements for a return trip with more time and more money. On the return trip we moved and inspected every box, setting aside those of further interest. I ended up with a lengthy list of purchases that filled the entire cargo compartment of my Xterra. A hoped for third trip was not to happen as the mechainc died and his property went into probate with the nearest family in Nebraska. I often wonder what became of the remaining parts hoard.