jfa.series1
Supporting Member
-
Joined
-
Last visited
Everything posted by jfa.series1
-
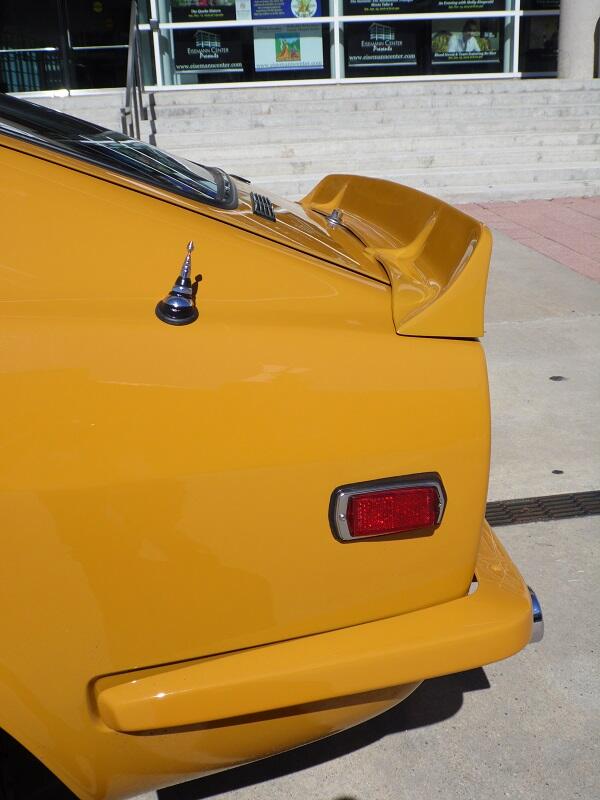
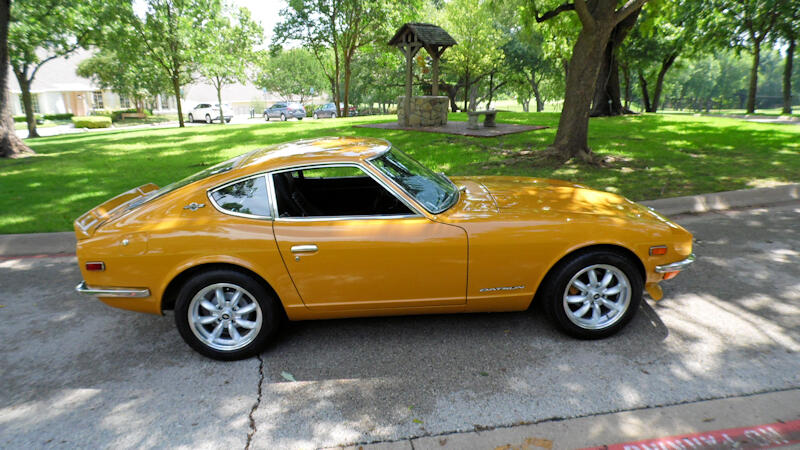
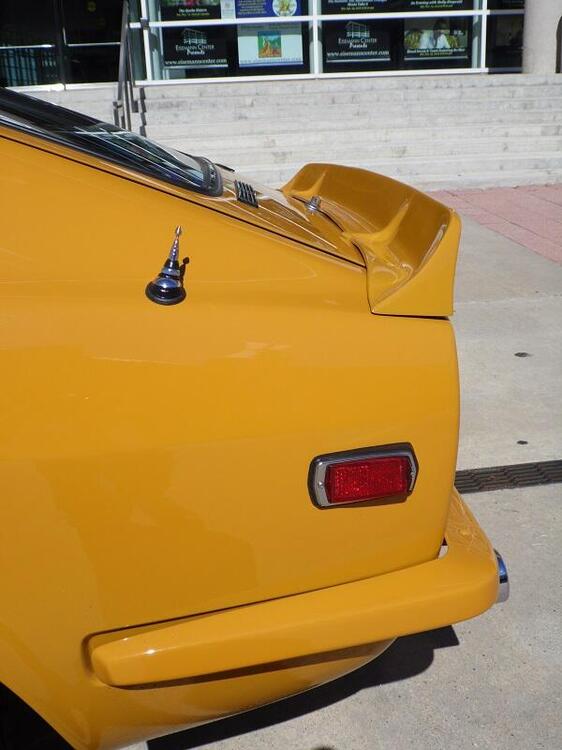
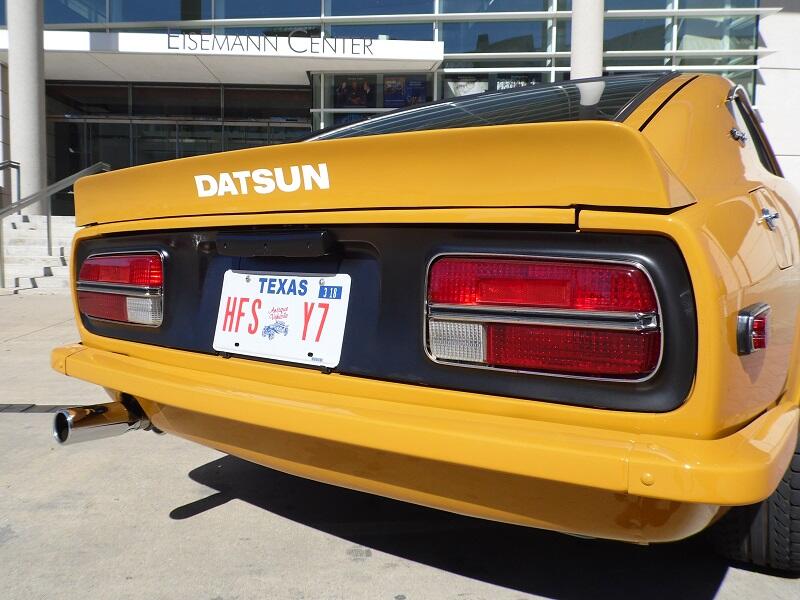
Like @Jarvo2 I also have the 1970 edition of the BRE rear spoiler with the 6-bolt mounting sysstem. It and the 1st generation BRE Spook were already installed by the dealer when I first laid eyes on the car on the showroom floor. The Spook is visible in my signature pic. The original Spook is probably more of an air dam, generating less downforce than the later design. I suspect the air dam you already have will work very well in combination with the rear spoiler. By the way, when reinstalling the spoiler when I restored the car, I added a tiny O-ring as an insulator on each bolt between the spoiler and the hatch surface. That seemed to make the install a bit more firm. The last two pics are older before I switched out to shiny bumpers.
-
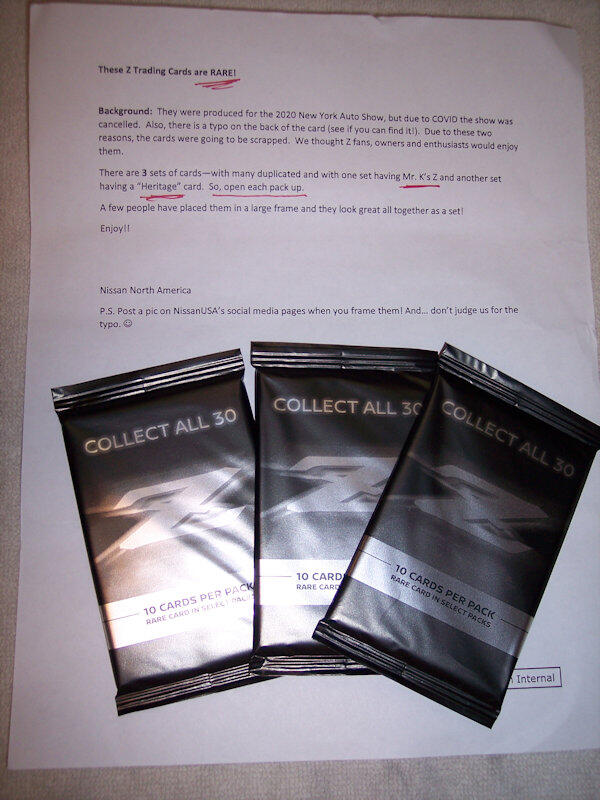
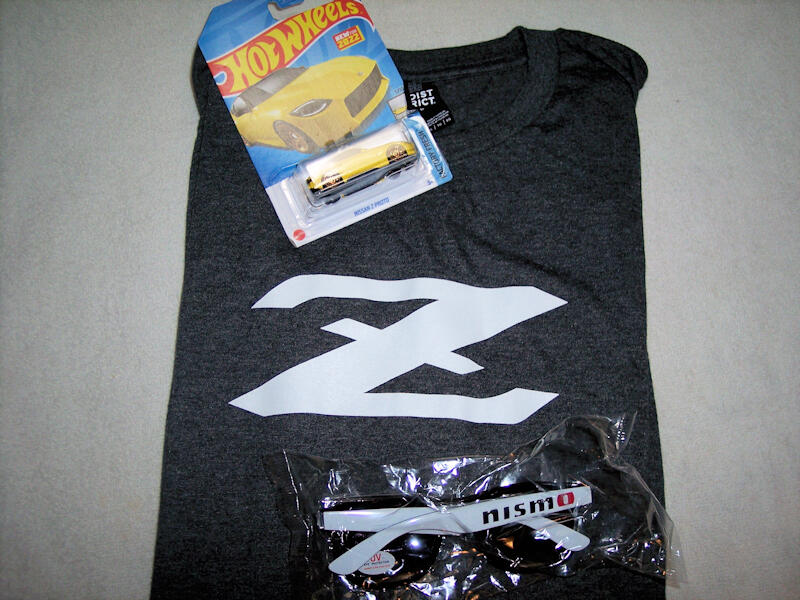
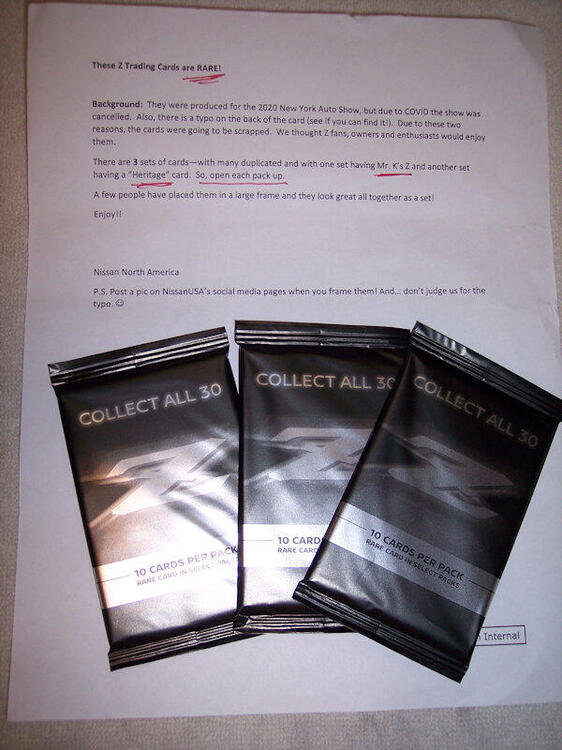
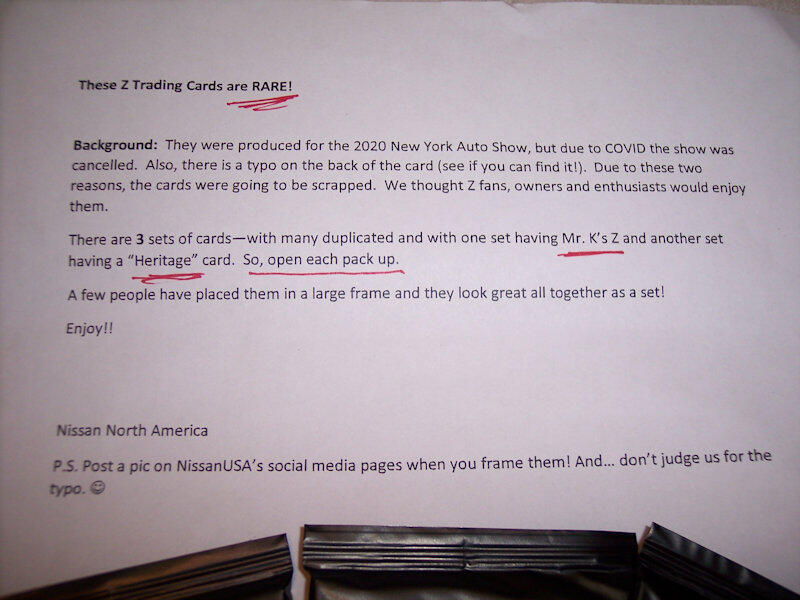
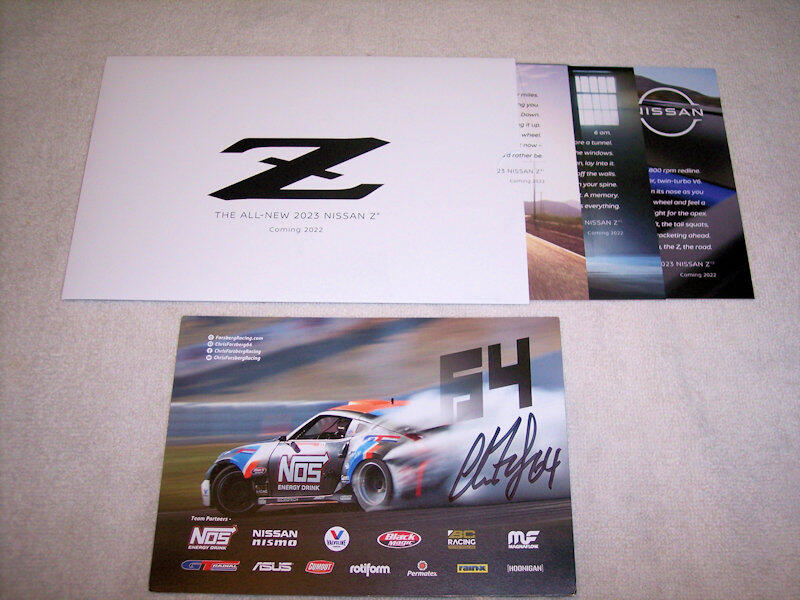
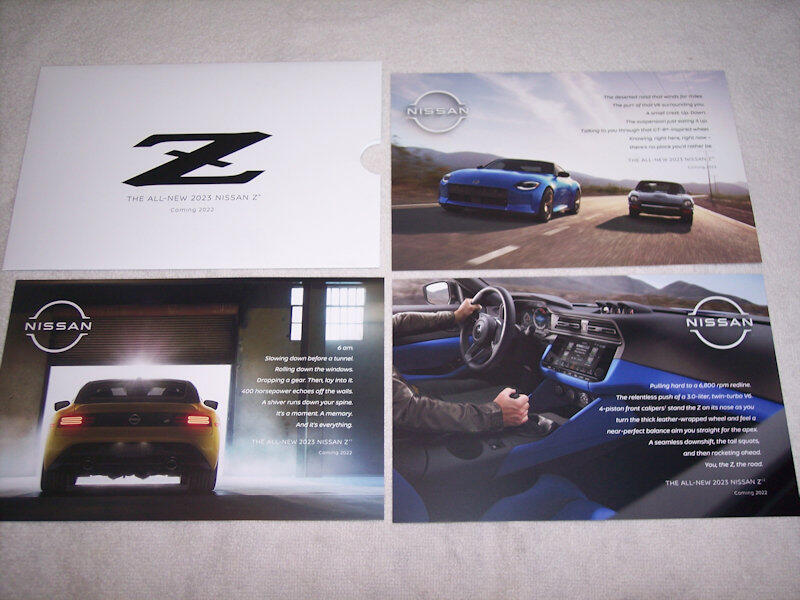
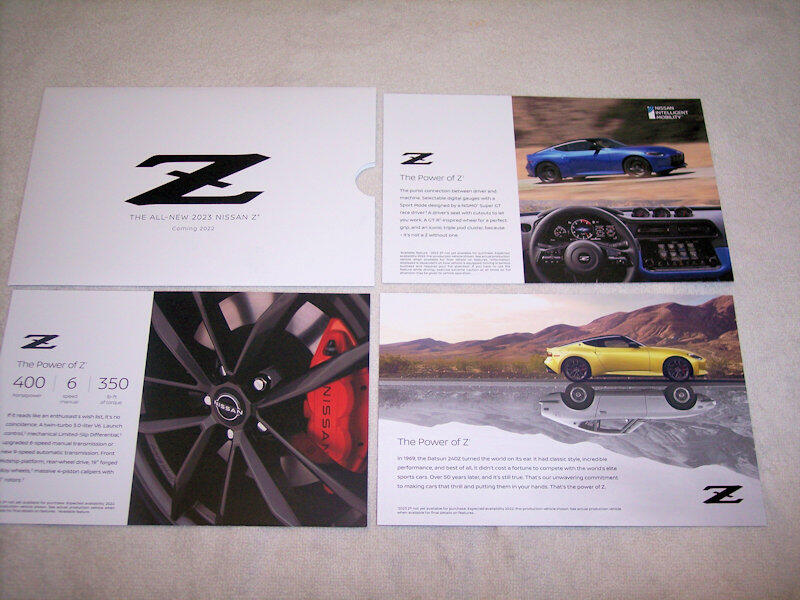
I had an unexpected FedEx delivery today and when I looked at the sender's address I saw that it came from Nissan in Franklin TN. Getting it open I found a cool assortment of Nissan promotional items from the Nissan Social Media Team. I connected with them last year at the time of my 50th anniversary with the car and they in turn hooked me up with the Proto Z event in Dallas. The SWAG assortment included a long-sleeve T, HotWheels Proto Z, NISMO sunglasses, uncirculated collector cards, Chris Forsberg autograph (I'm not sure I get drifting!), and an envelope of three Z promo cards. Cool stuff!!!
-
The girl friend preceeded the wife by several years, we dated in this car.
-
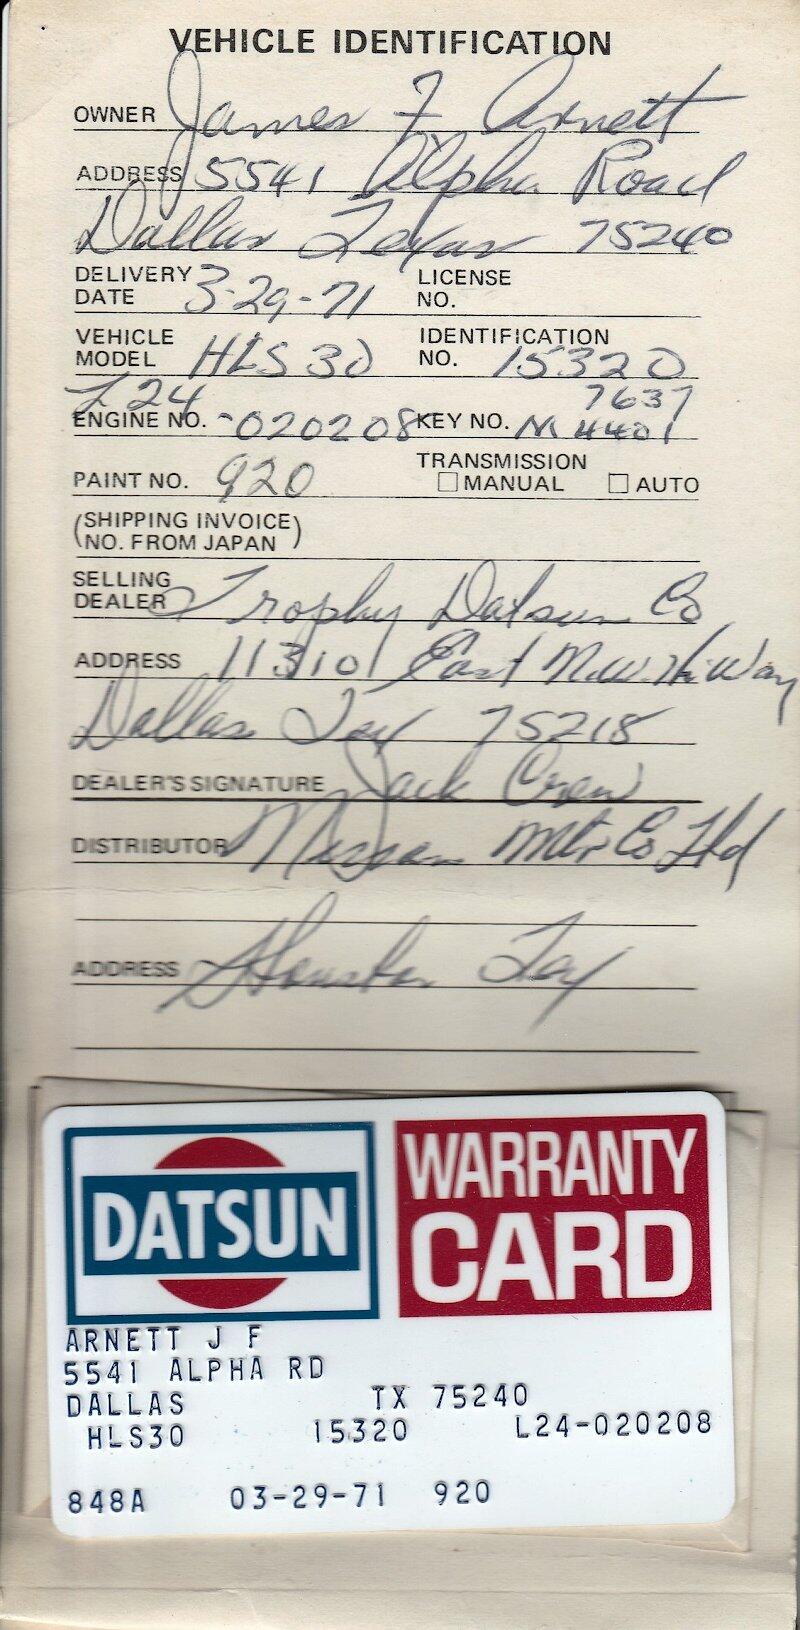
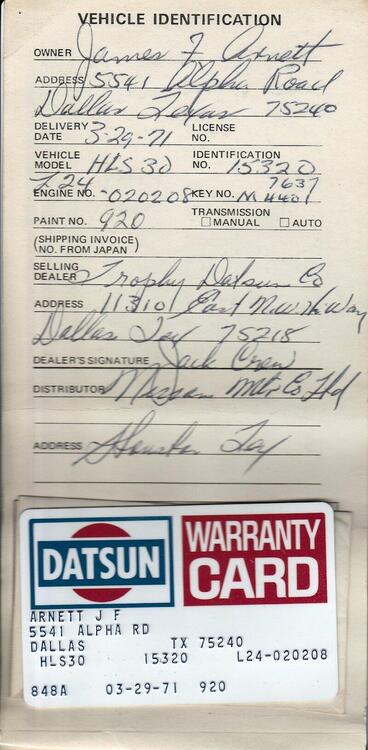
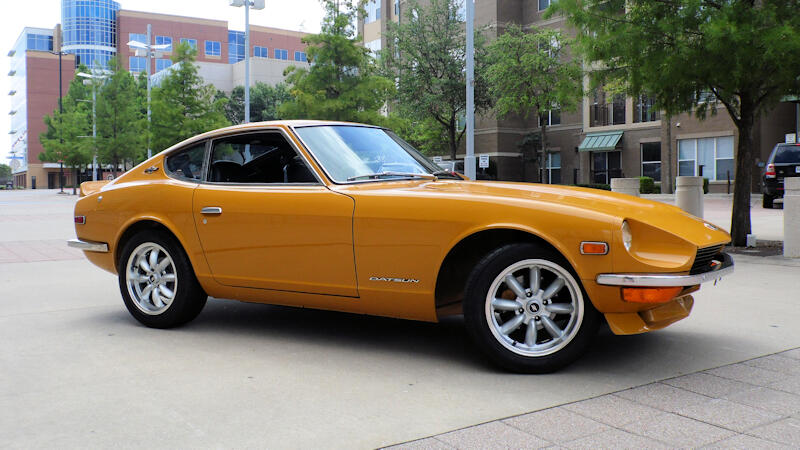
Celebrating 51 years of Z-ness together today.
-
Mine moves in the other direction - it is 2 1/2" at each end and just under 2 3/8" in the middle. I have the no-rubber version. Jim
-
My center bar is almost a perfect macth for the curve on the valance - about 1/8" gap across the full length. No mods to the mounting brackets.
-
I had the same body contact ussue with two sets of aftermarket bumpers, different U.S. sellers but both from Taiwan. The arc of the center section was too shallow to match the curve of the rear valance. Shims only screwed up the mounting locations of the two end pieces where they bolt thru the fender. I ended up with a rear bumper from Vietnam with a perfect fit.
-
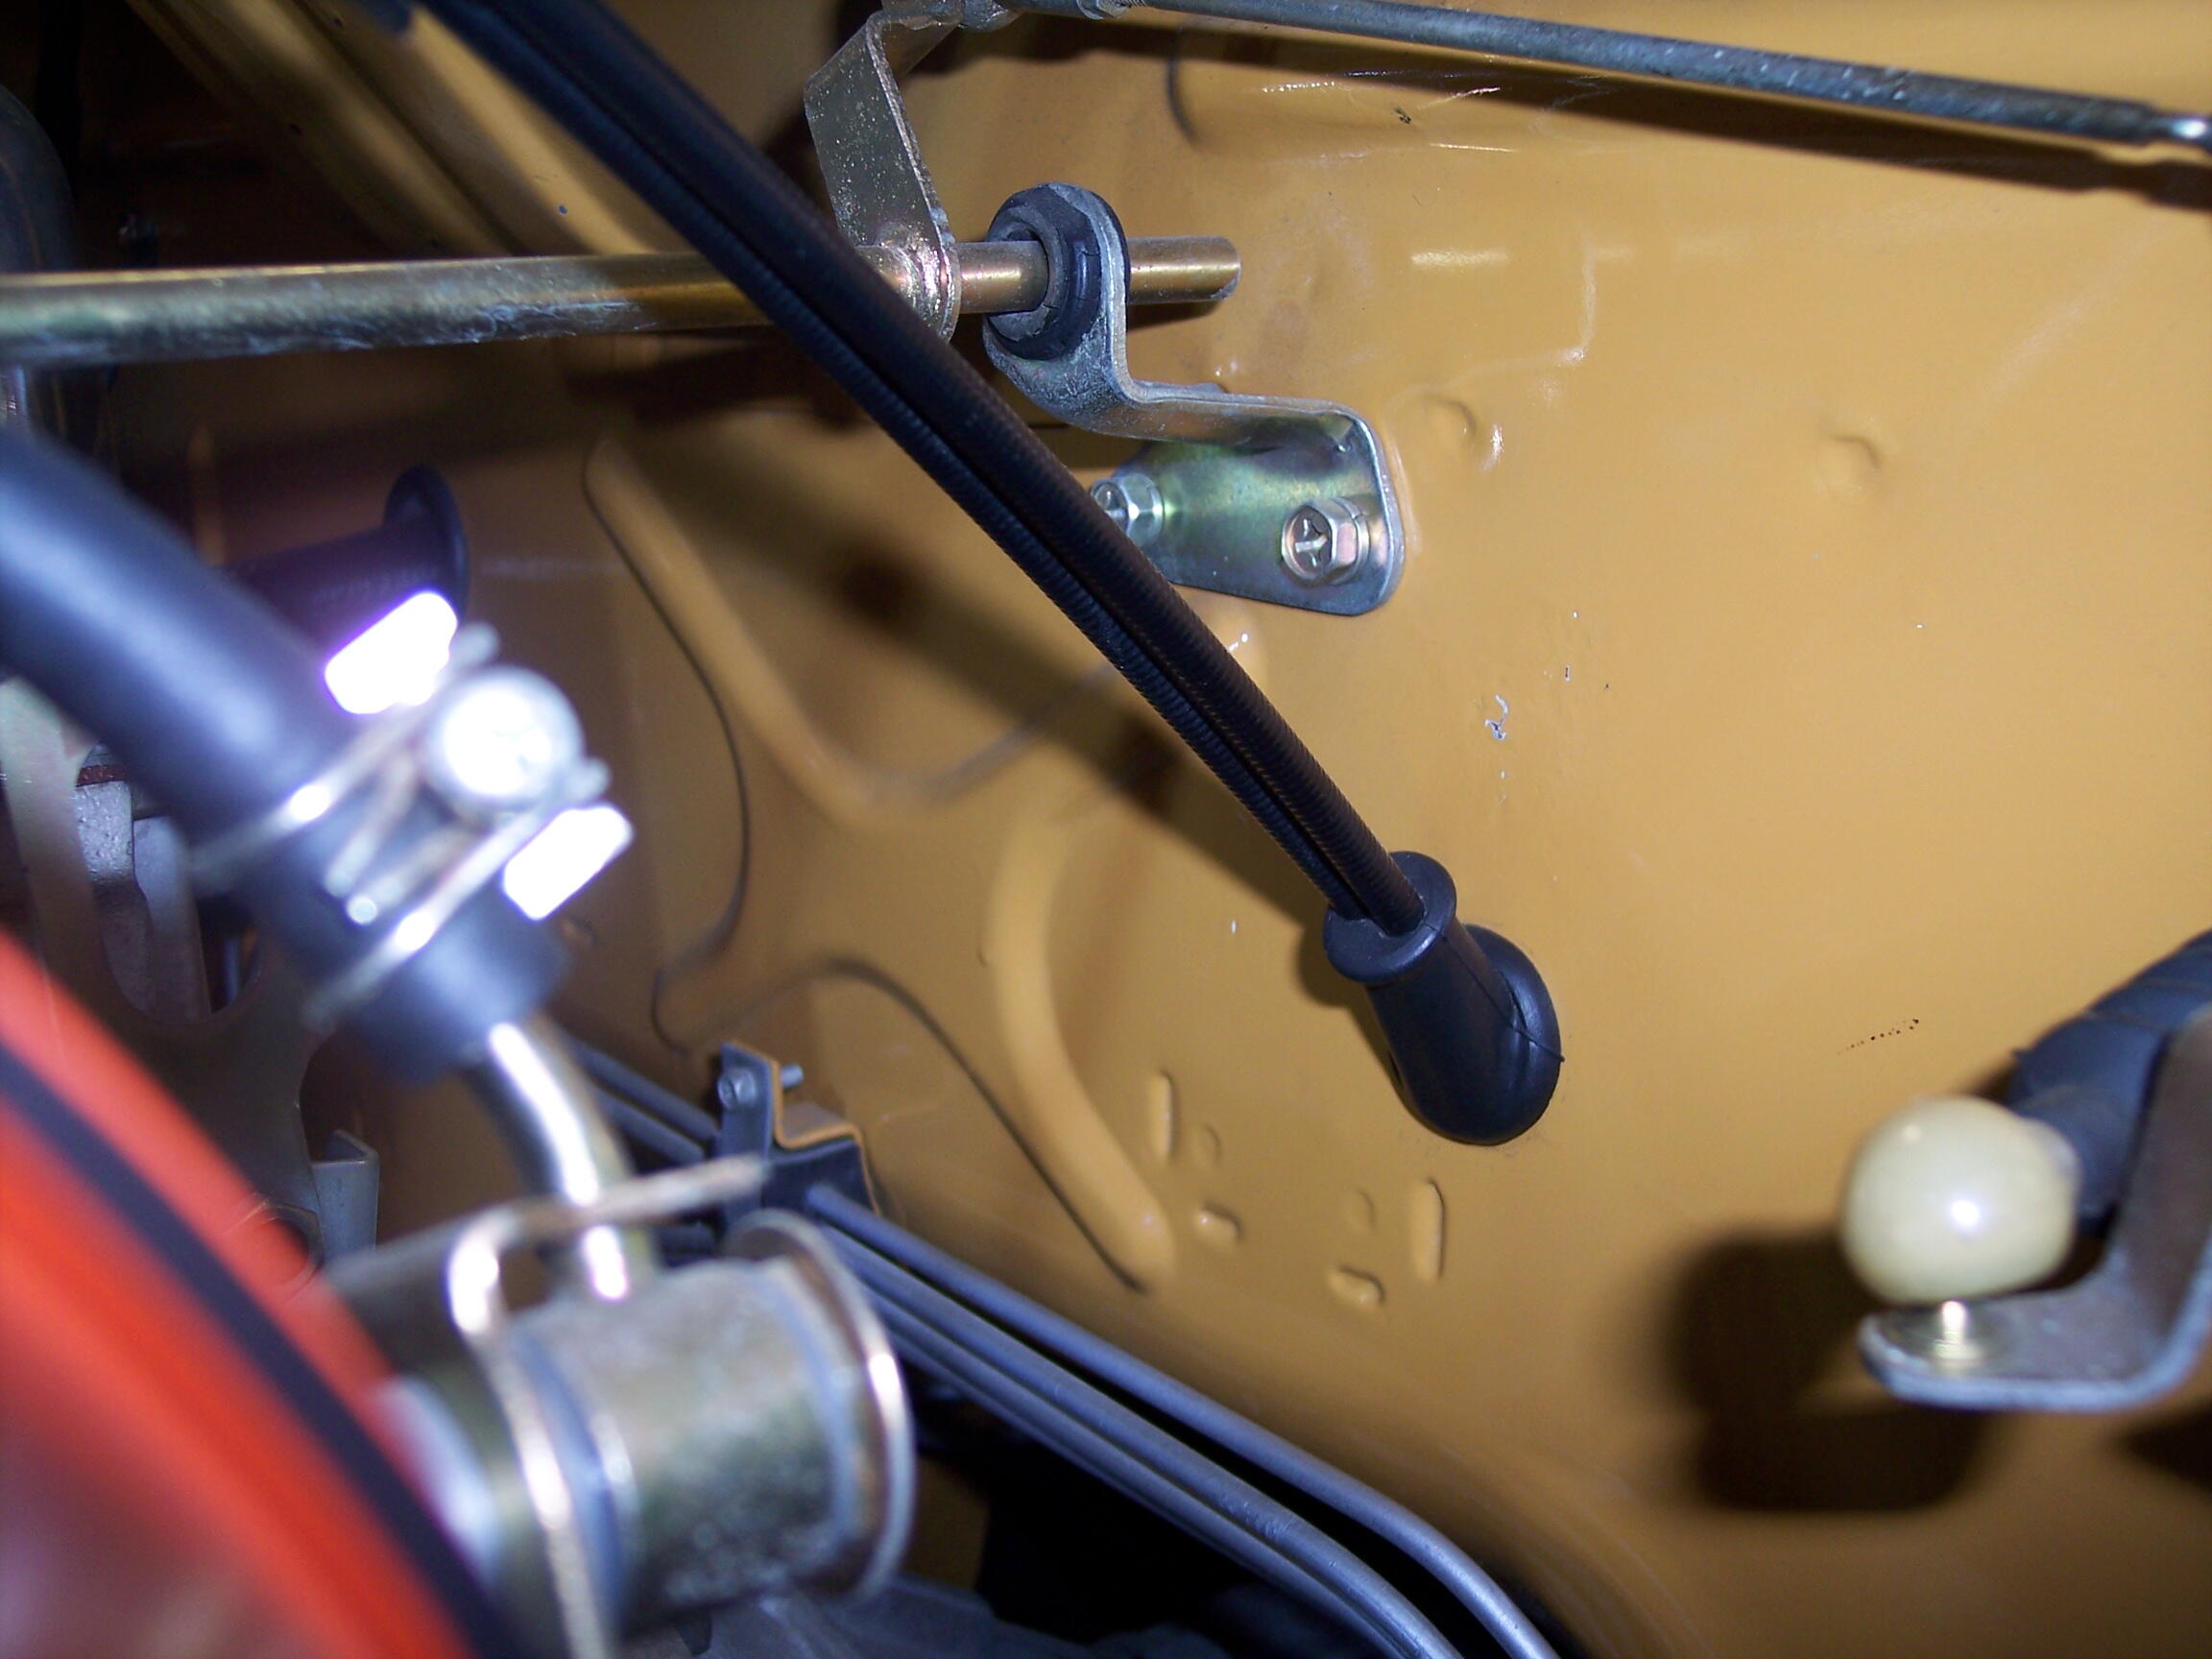
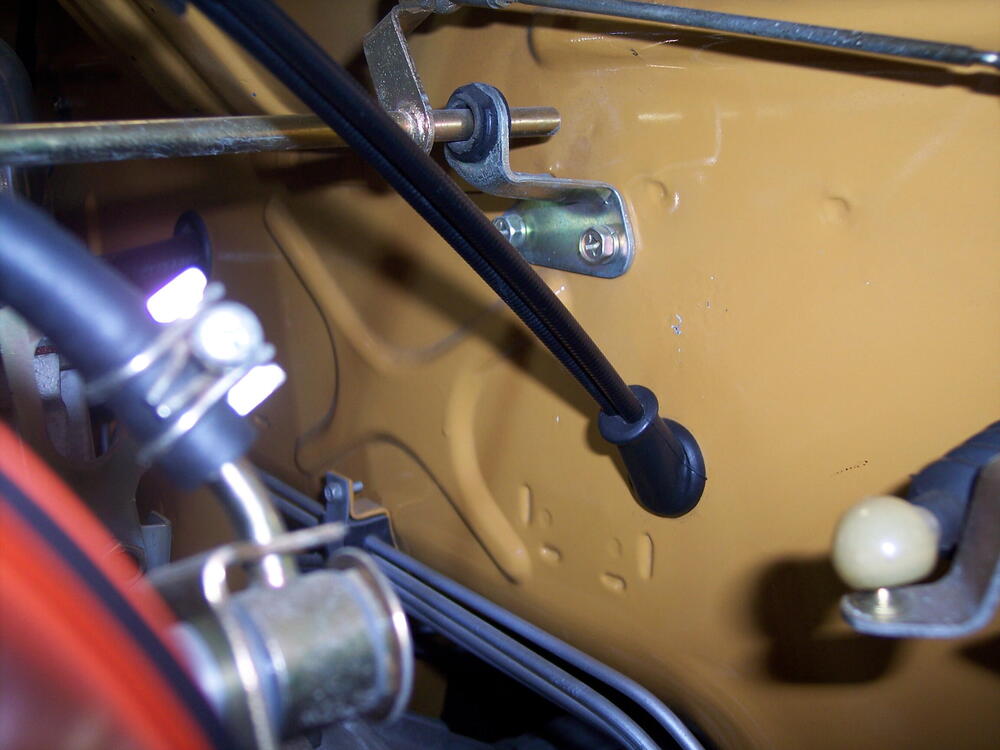
I have the JDM style choke cable grommet, can't testify to the authenticity of the style. It was purchased over 10 years ago, likely from MSA or Black Dragon - one of the few items not listed in my build sheet. As Steve mentions, the only electrical wires passing thru the firewall will be the engine bay harness under the battery and the wiper motor sub-harness. Those extra wires at your choke cable grommet will have to investigated on the inside. Glad you found the reverse switch wires.
-
See if you can bend the heat shield a bit to clear the header and yes, ideally you want an air gap between the header and shield. Also, the heat shield is typically the mounting point for the carb return springs.
-
That is the MSA 6-1 unit, no changes required for the heat shield install.
-
-
View Advert 240Z Valance Set - Sale Pending Complete valance set, each piece has two 1/8” holes (marked by red circles) indicating a air dam or spoiler was previously attached. The center piece has a small dent just inboard of the backside mounting bracket (marked). There are no other bends or dents in the pieces. $195 for the complete set includes standard domestic shipping. Payment via PayPal, PM if interested. Thanks. Advertiser jfa.series1 Date 03/07/2022 Price $195 Category Parts for Sale
-
If you are into power tools, here is a set of JIS (B4633) driver bits: https://www.amazon.com/B4633-Screw-Driver-Bits-Japan/dp/B085TDRBPM/ref=sr_1_30_sspa?crid=3PQP7G6E71DJZ&keywords=ji%2Bscrewdriver%2Bset&qid=1646514867&sprefix=jis%2Bscre%2Caps%2C100&sr=8-30-spons&spLa=ZW5jcnlwdGVkUXVhbGlmaWVyPUEyVkRJMDU3UldNUlcmZW5jcnlwdGVkSWQ9QTA0MDIwNjEyUkZBU0VNVTJPV085JmVuY3J5cHRlZEFkSWQ9QTA5MzY0OTEzTVlYSTZFOUtIU0VMJndpZGdldE5hbWU9c3BfbXRmJmFjdGlvbj1jbGlja1JlZGlyZWN0JmRvTm90TG9nQ2xpY2s9dHJ1ZQ&th=1
-
Lets address this in different terms. There are two steel lines along the frame rail - one is larger diameter than the other. The larger one is the fuel supply, the smaller one is the return to the tank. Similarly the fuel rail has two diameter openings. The larger one is the supply side for the carbs, the smaller one with the pinhole-sized opening is the return to the tank. Your filter should be on the supply side between the frame rail line and the fuel rail. There is no need for a filter on the return side.
-
From the 1st description line in the advert: Sunflag No3370 Perfect Grip +1 +2 +3 JIS Screwdrivers. Manufactured according to JIS B4633 Standard
-
Here's a link for the SunFlag set: https://www.amazon.com/Sunflag-Screwdrivers-Made-Japan-Perfect/dp/B085KC6X57/ref=sr_1_2?crid=39IVQOXR4V736&keywords=sunflag%2Btools%2Bjapan&qid=1646415485&sprefix=sunflag%2Caps%2C106&sr=8-2&th=1
-
This discussion on JIS and not-so JIS from RTSTools.com: "There are the real JIS and the not-so-real JIS screwdrivers. Remember, JIS is a standard, so a screwdriver needs to be made to that exact standard to be considered authentically JIS. Most JIS advertised screwdrivers sold today by companies like Vessel, Hozan, and others are actually conforming to a new standard: DIN 5260 which is identical (at the tip) to the newer ISO 8764-1. But wait, DIN stands for Deutsches Institut für Normung e.V. (German Institute for Standardization), and ISO is the International Organization for Standardization. Neither sound very Japanese, do they? The reason these companies have changed to DIN 5260/ISO 8764-1 is because the new standard is designed to work in both Phillips and JIS screws. For the most part that is true, it does work on both screw types, but like anything meant to work with multiple things, the middle ground means compromise. The JIS standard screwdriver will always outperform a DIN/ISO screw driver in the worst of conditions on a JIS screw, and the same is true in reverse." A couple of years ago I picked up a set of screwdrivers made by SunFlag from Japan - genuine JIS and well worth the investment.
-
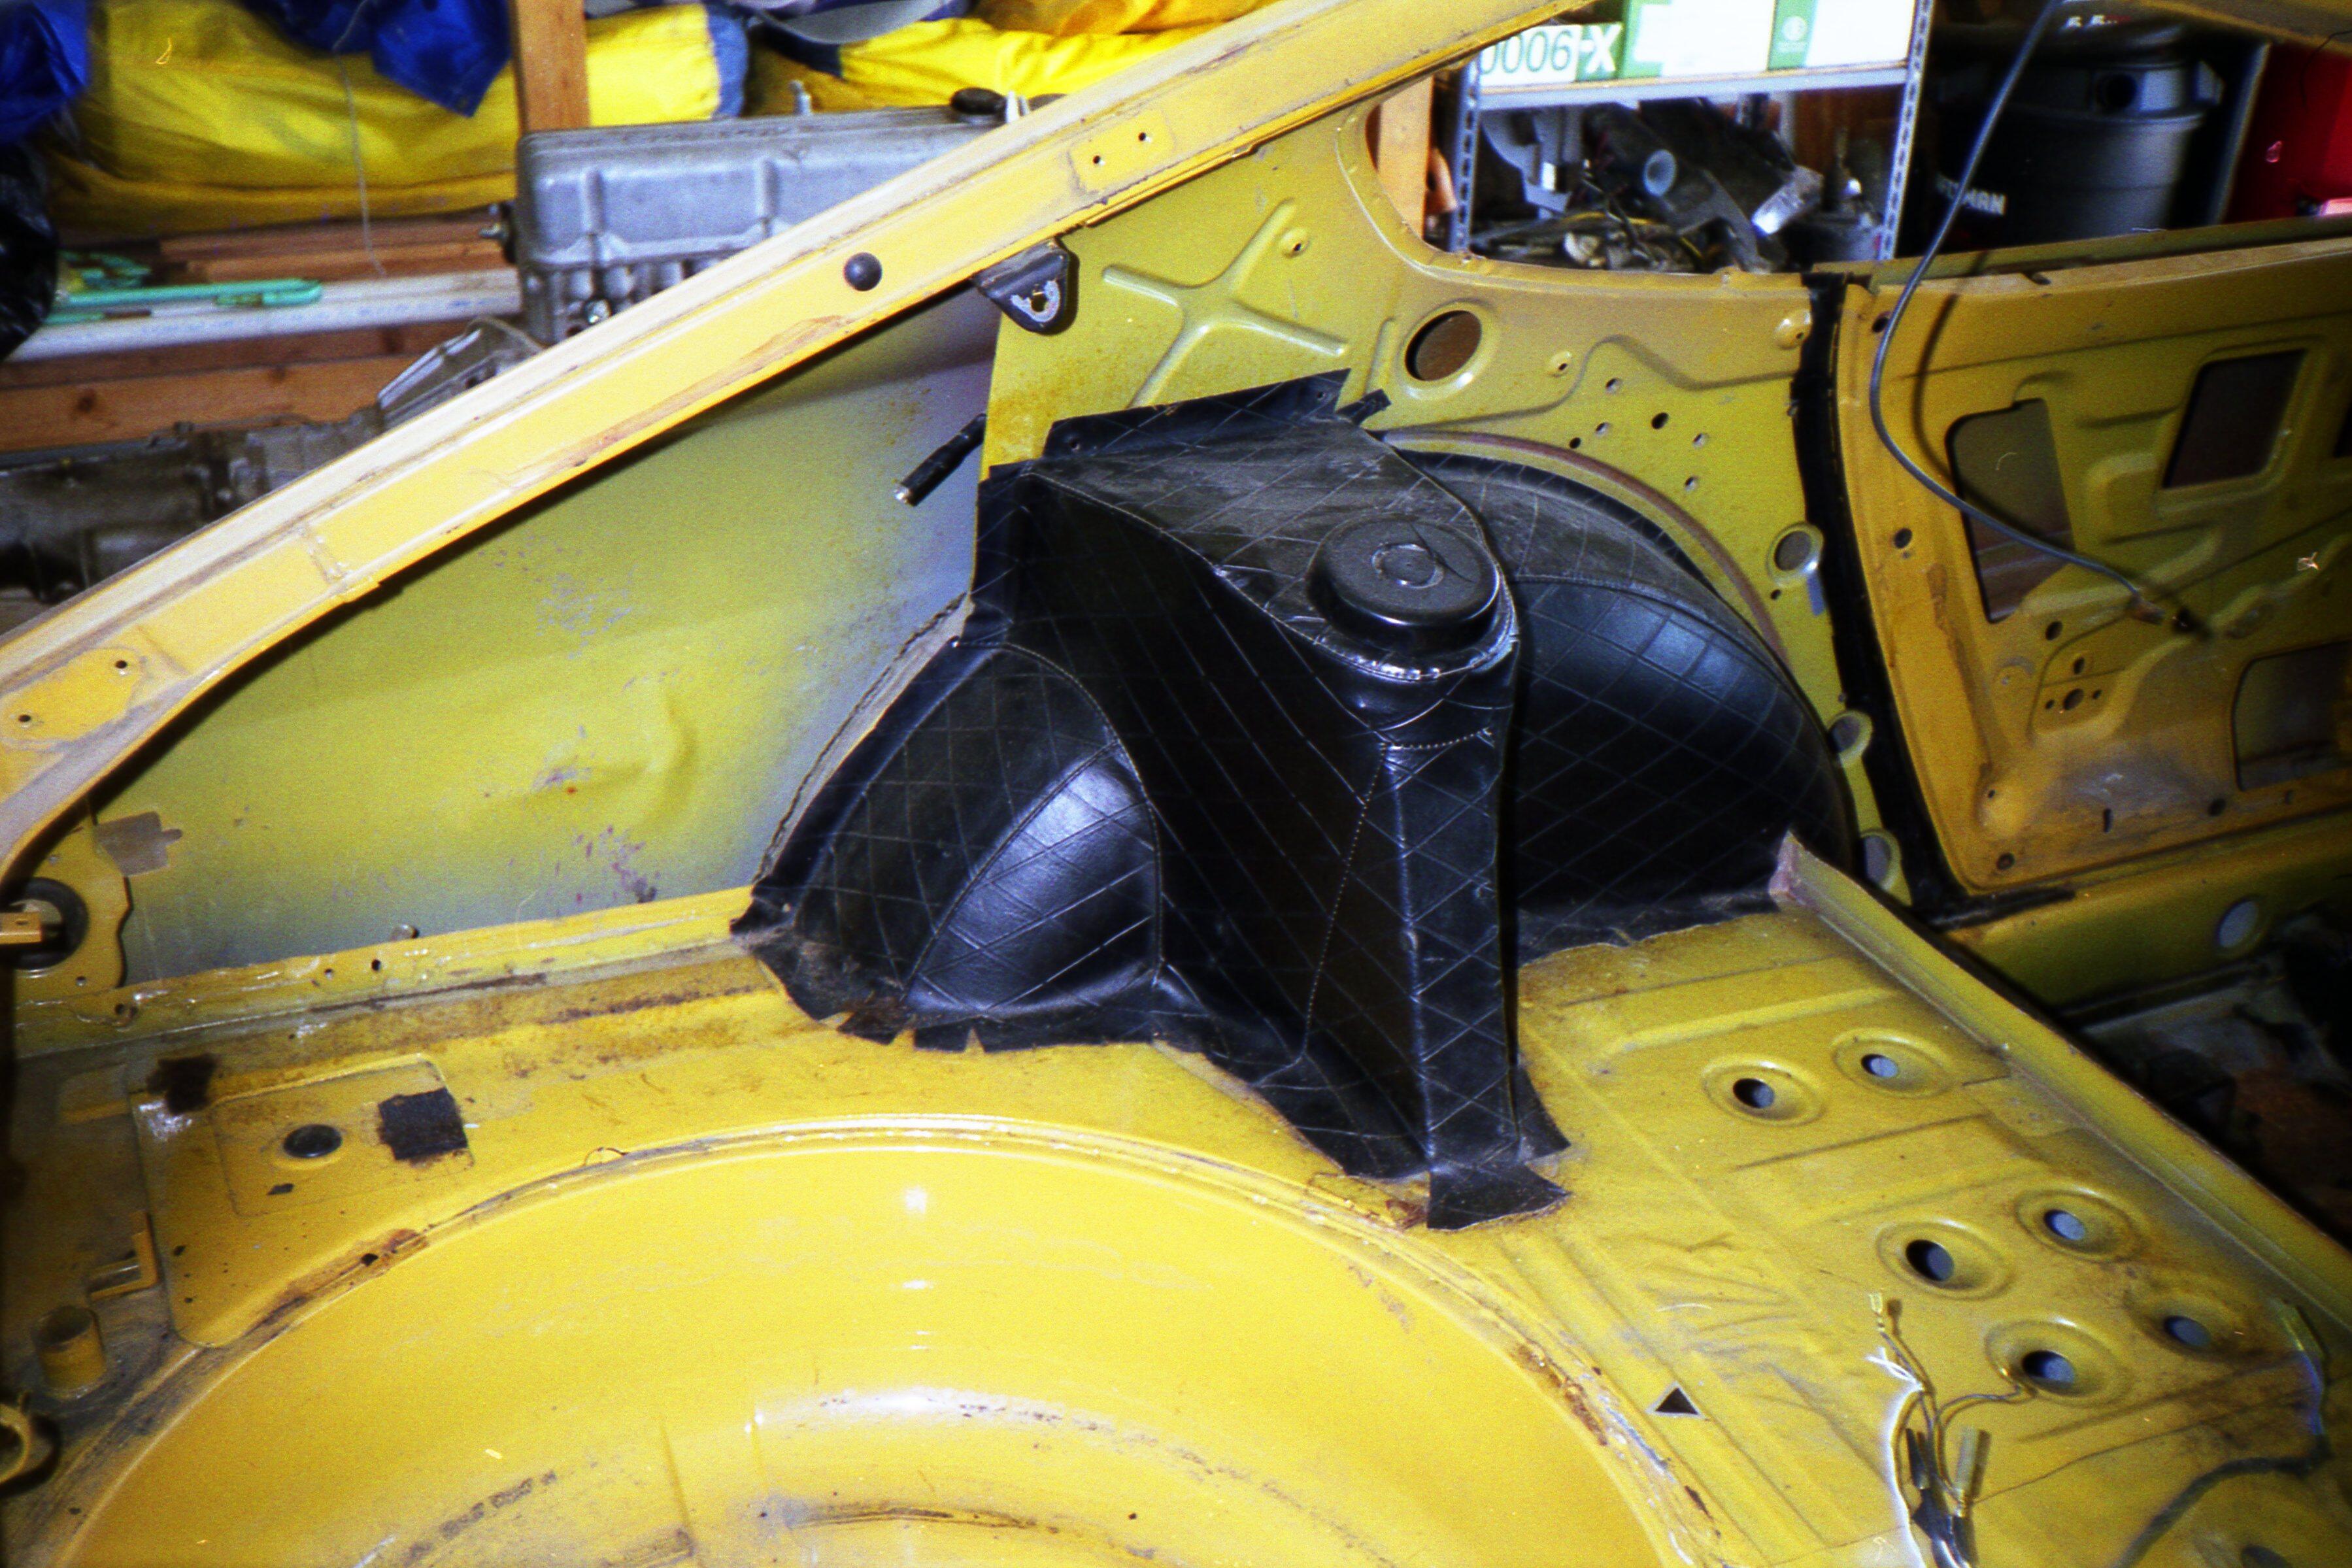
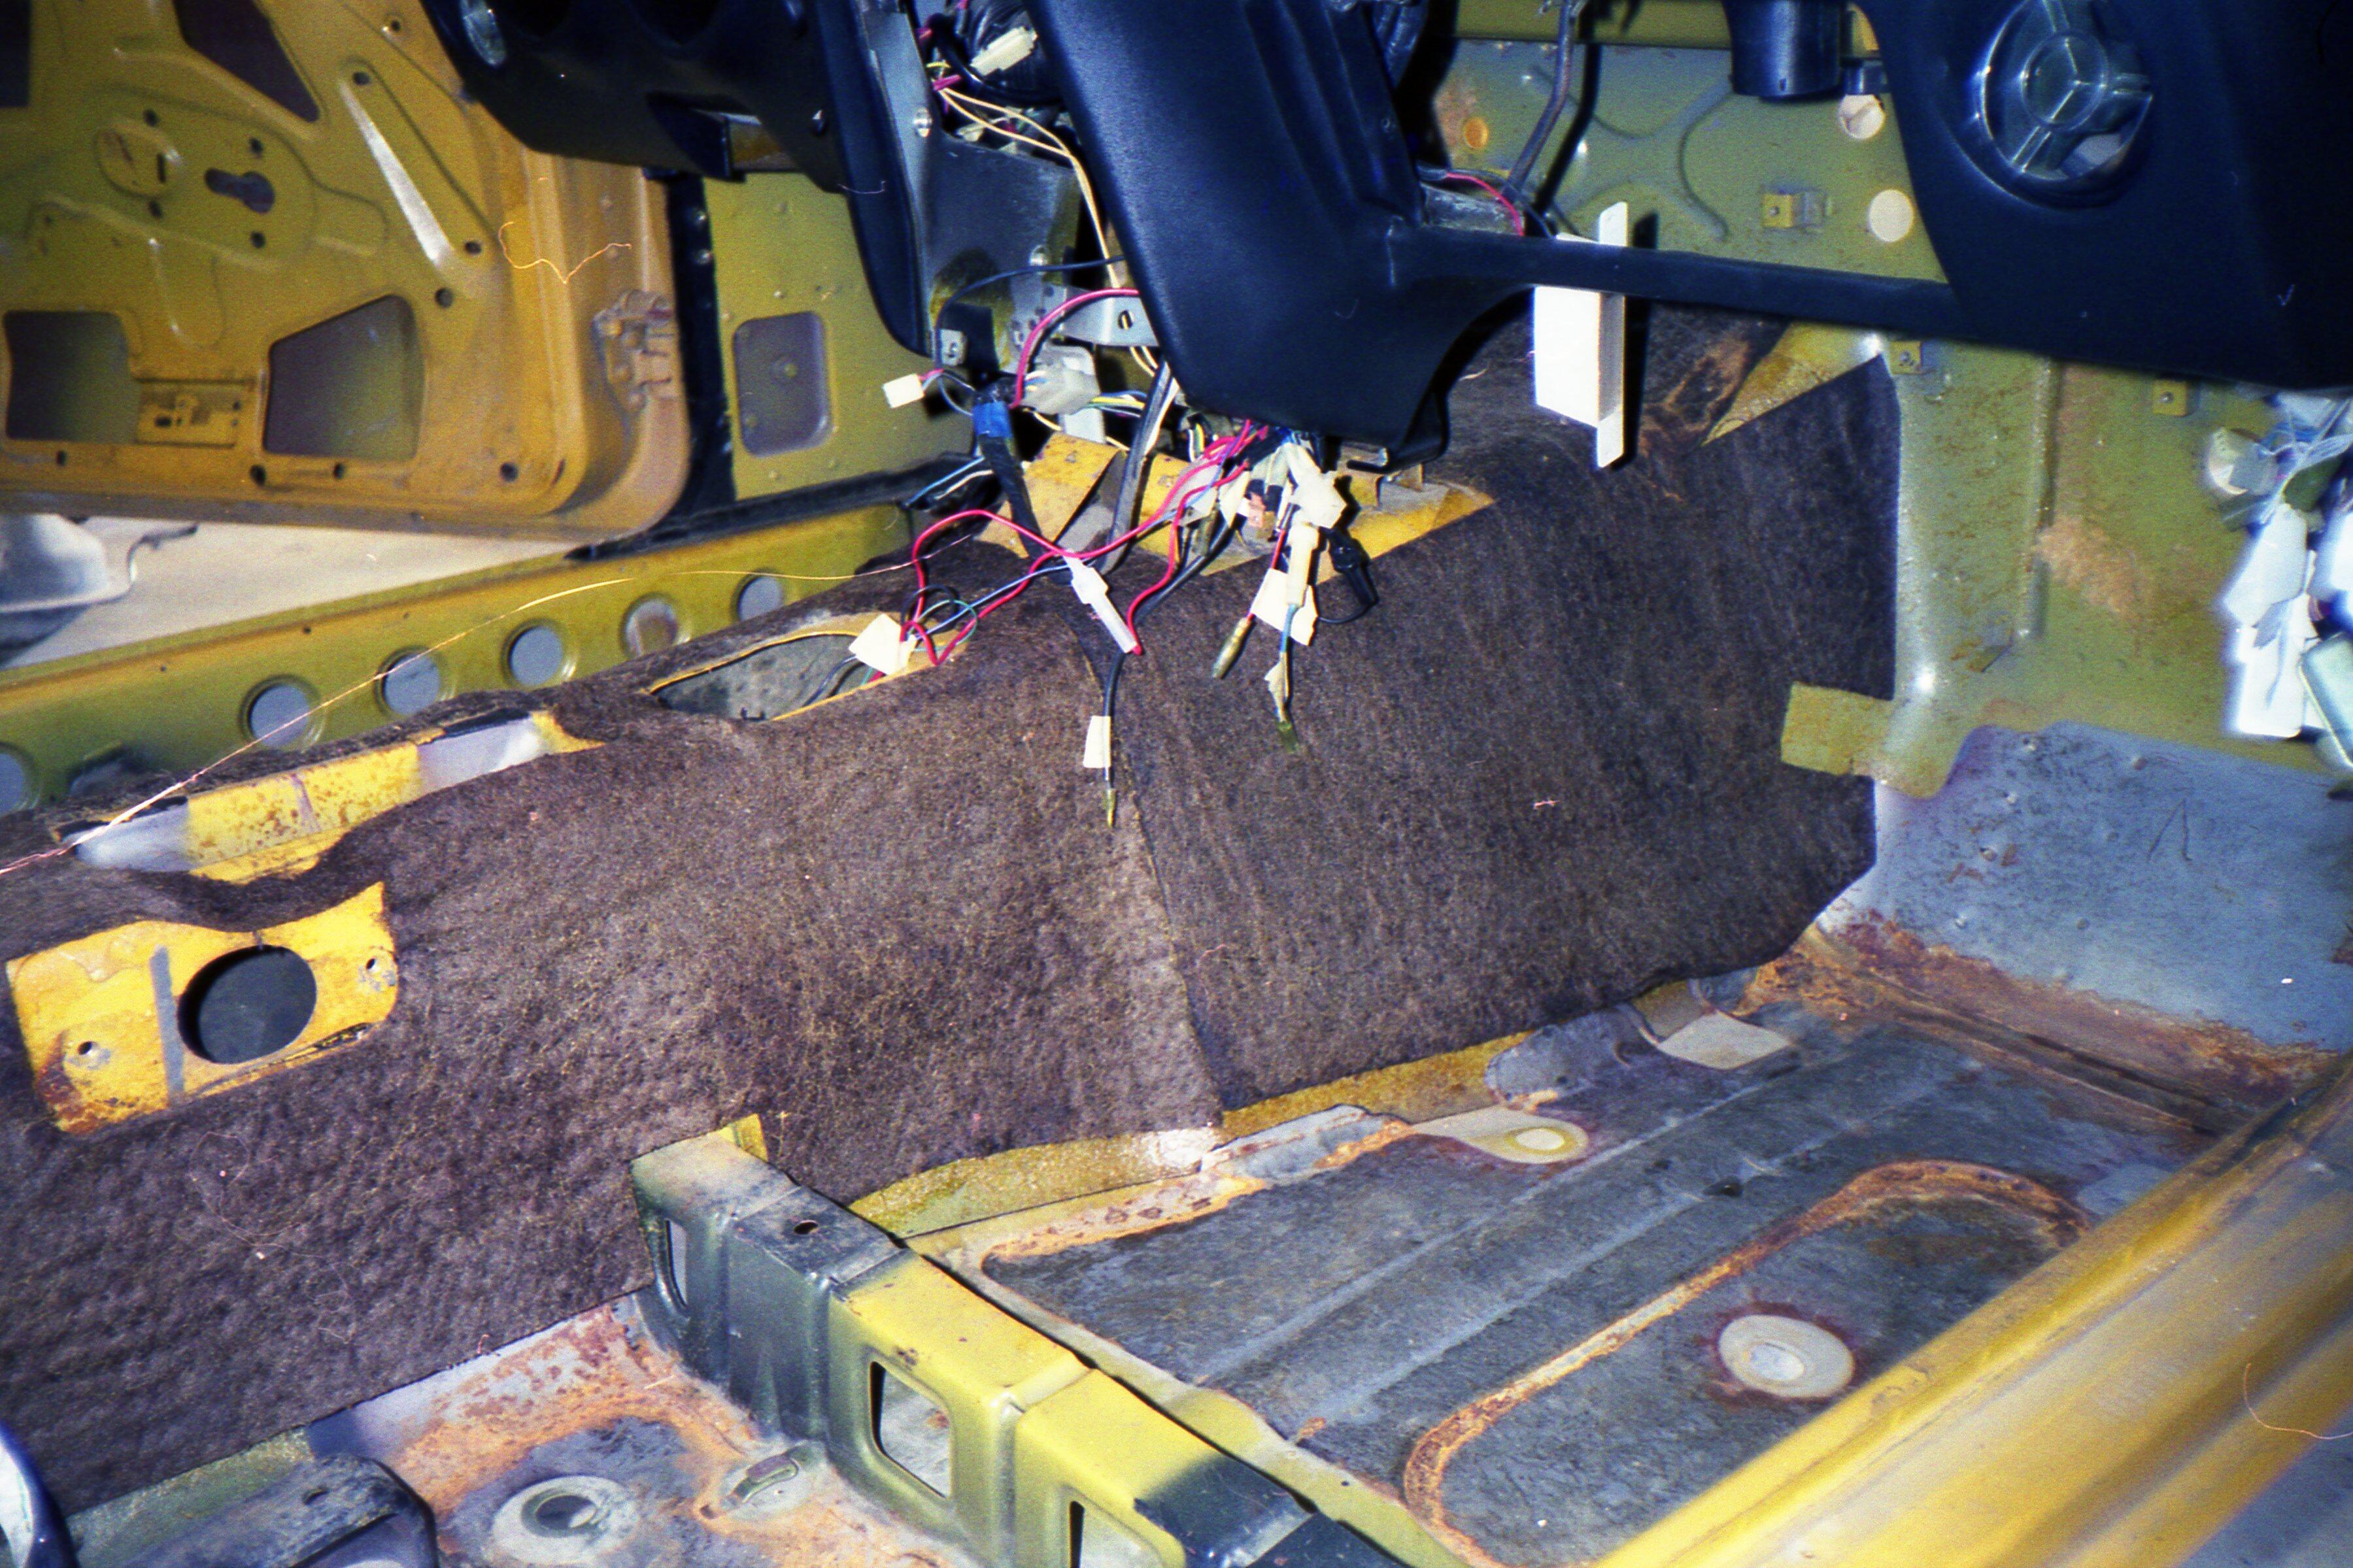
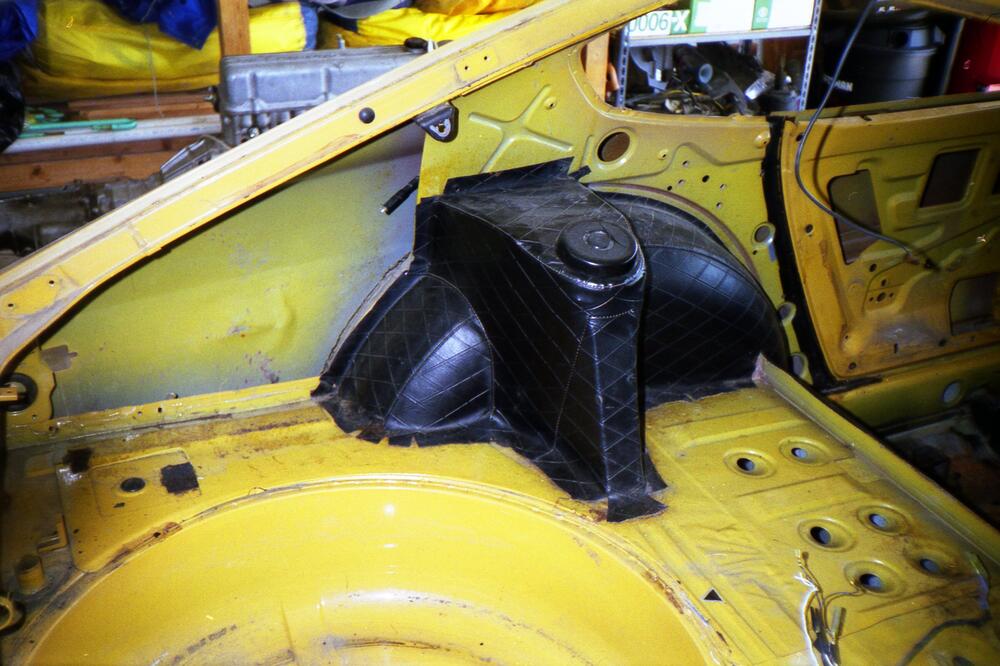
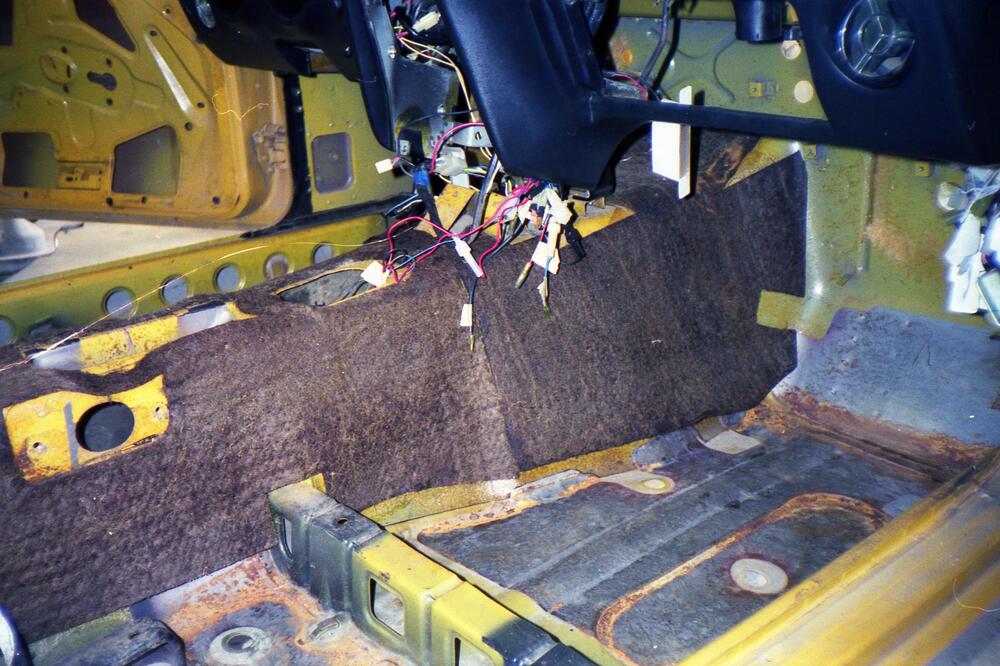
Ask and ye shall receive - from my teardown pics.
-
BTW - Nissan also did the black-out treatment on the interior at three locations: (1) along the A-pillar and inner rocker so color would not show along the edges of the kickpanel; (2) along the B-pillar and inner rocker for the dogleg panel; (3) tops of the seat support brackets.
-
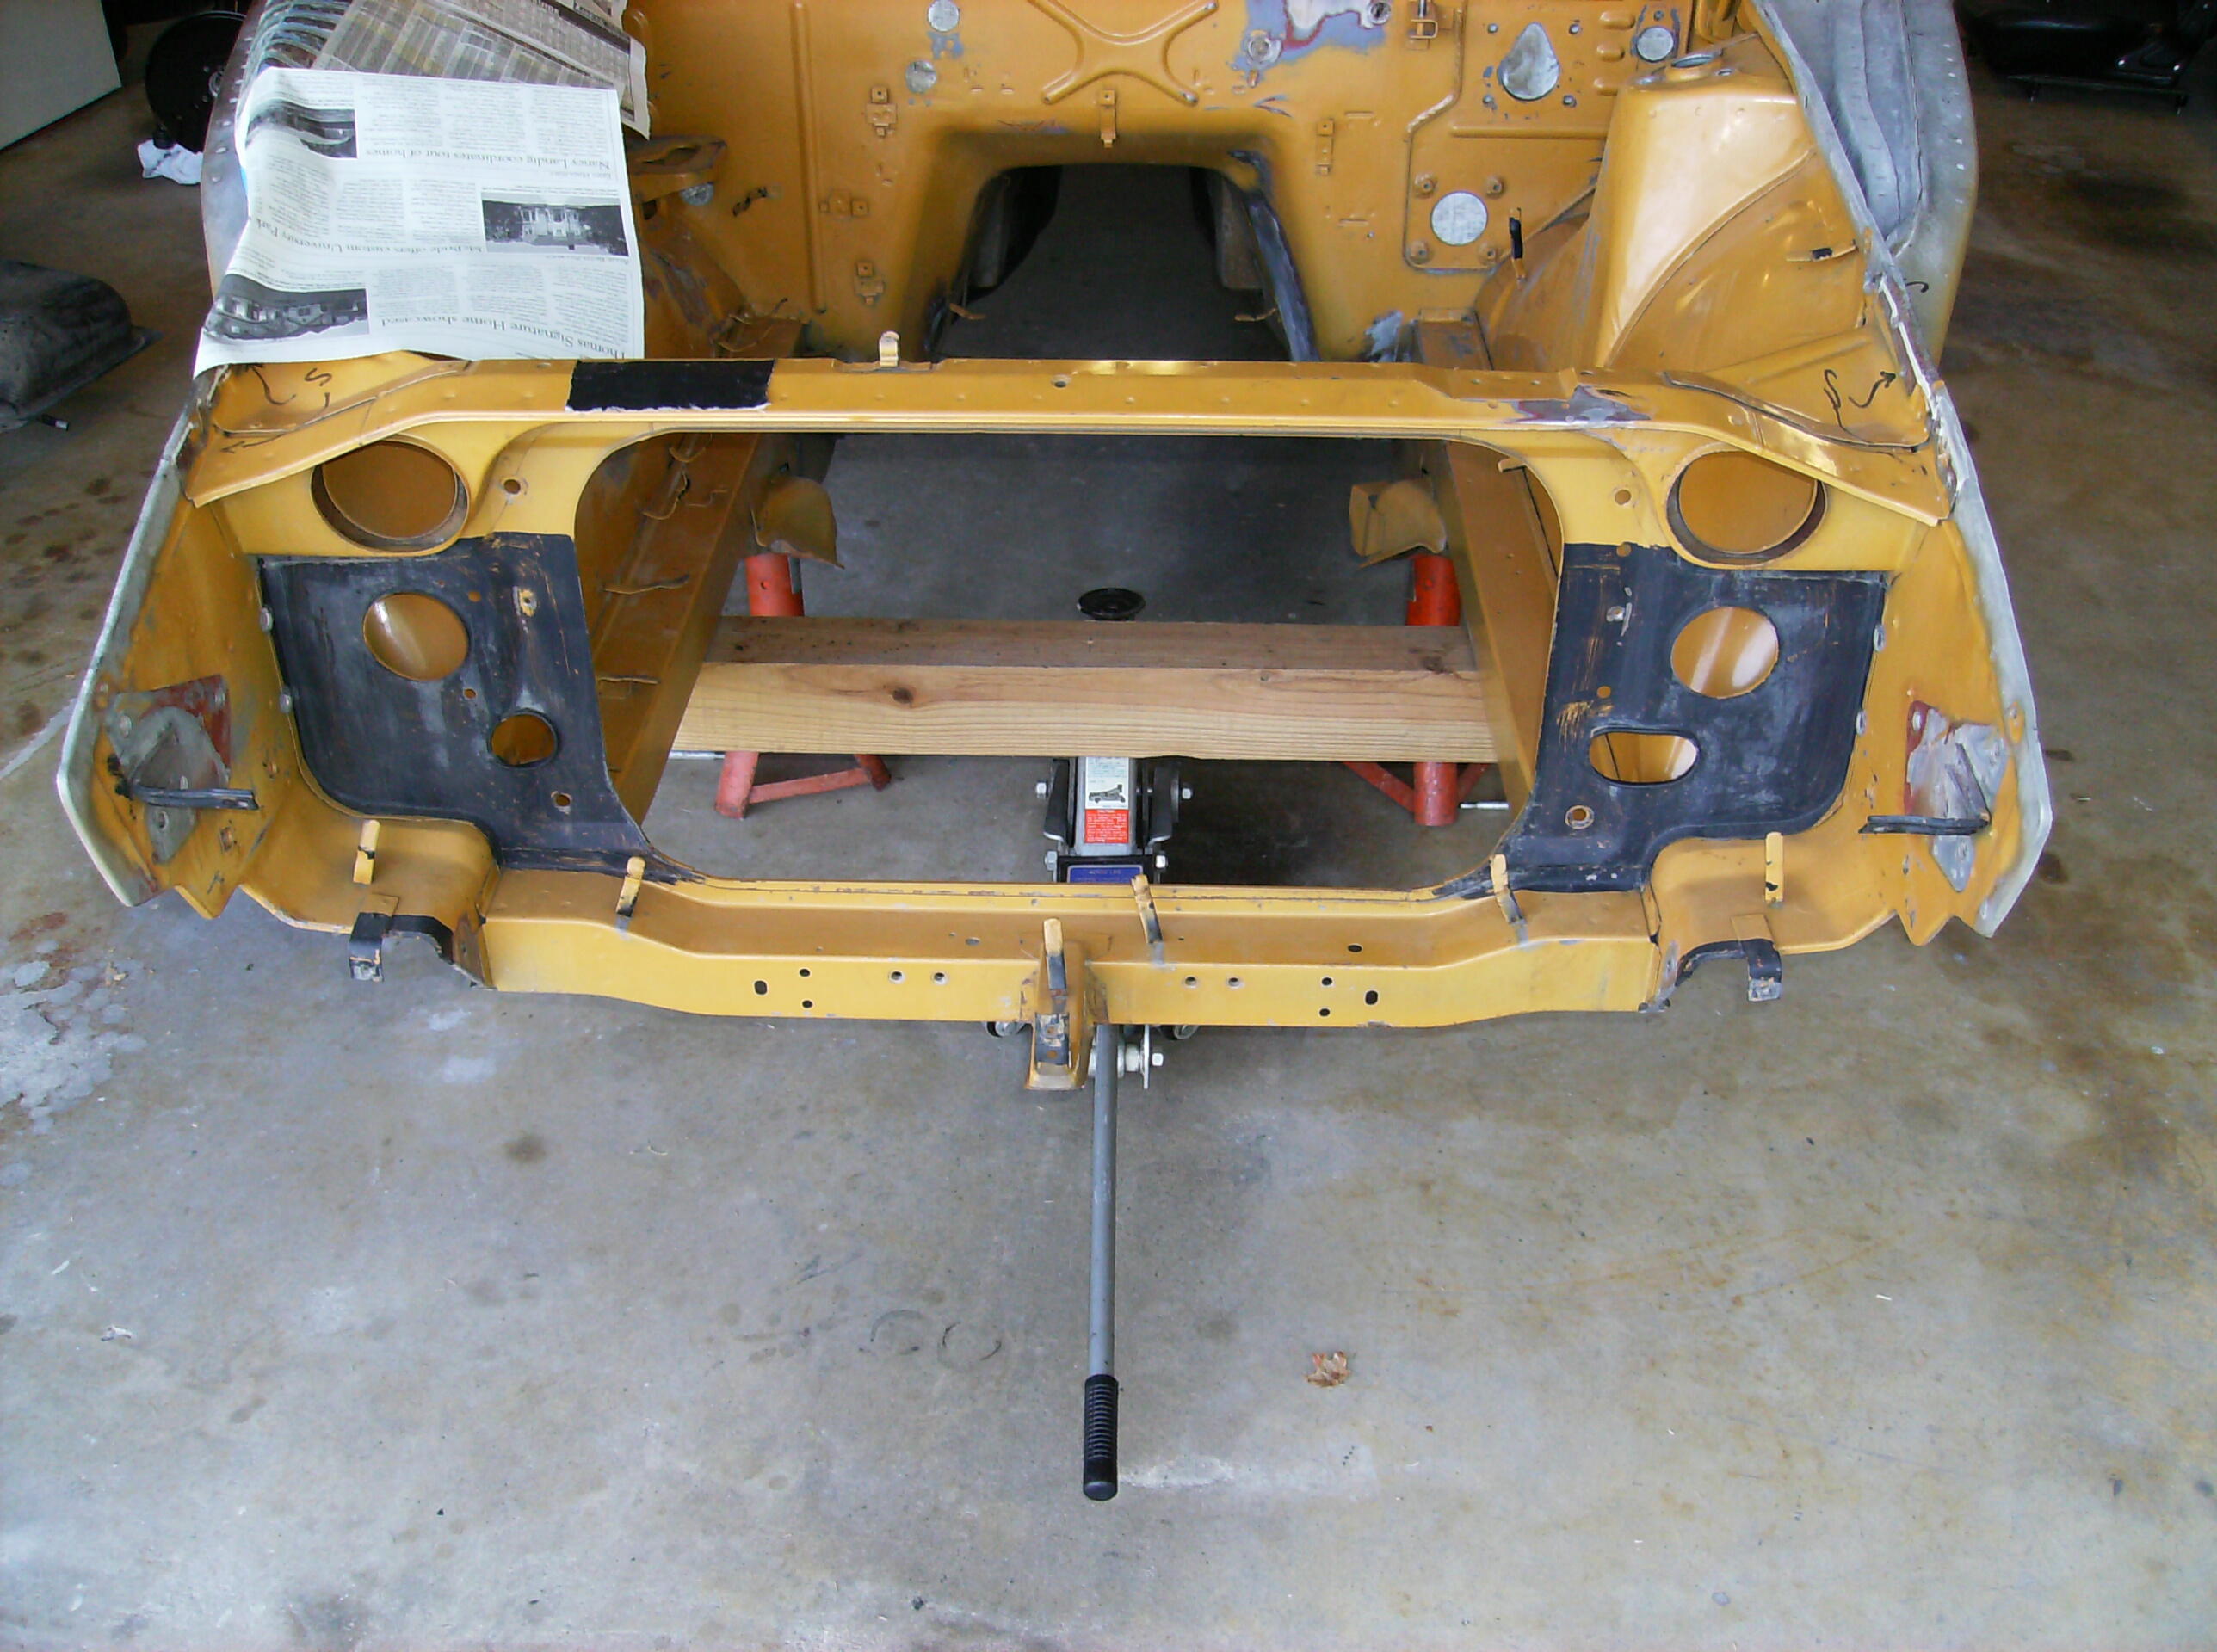
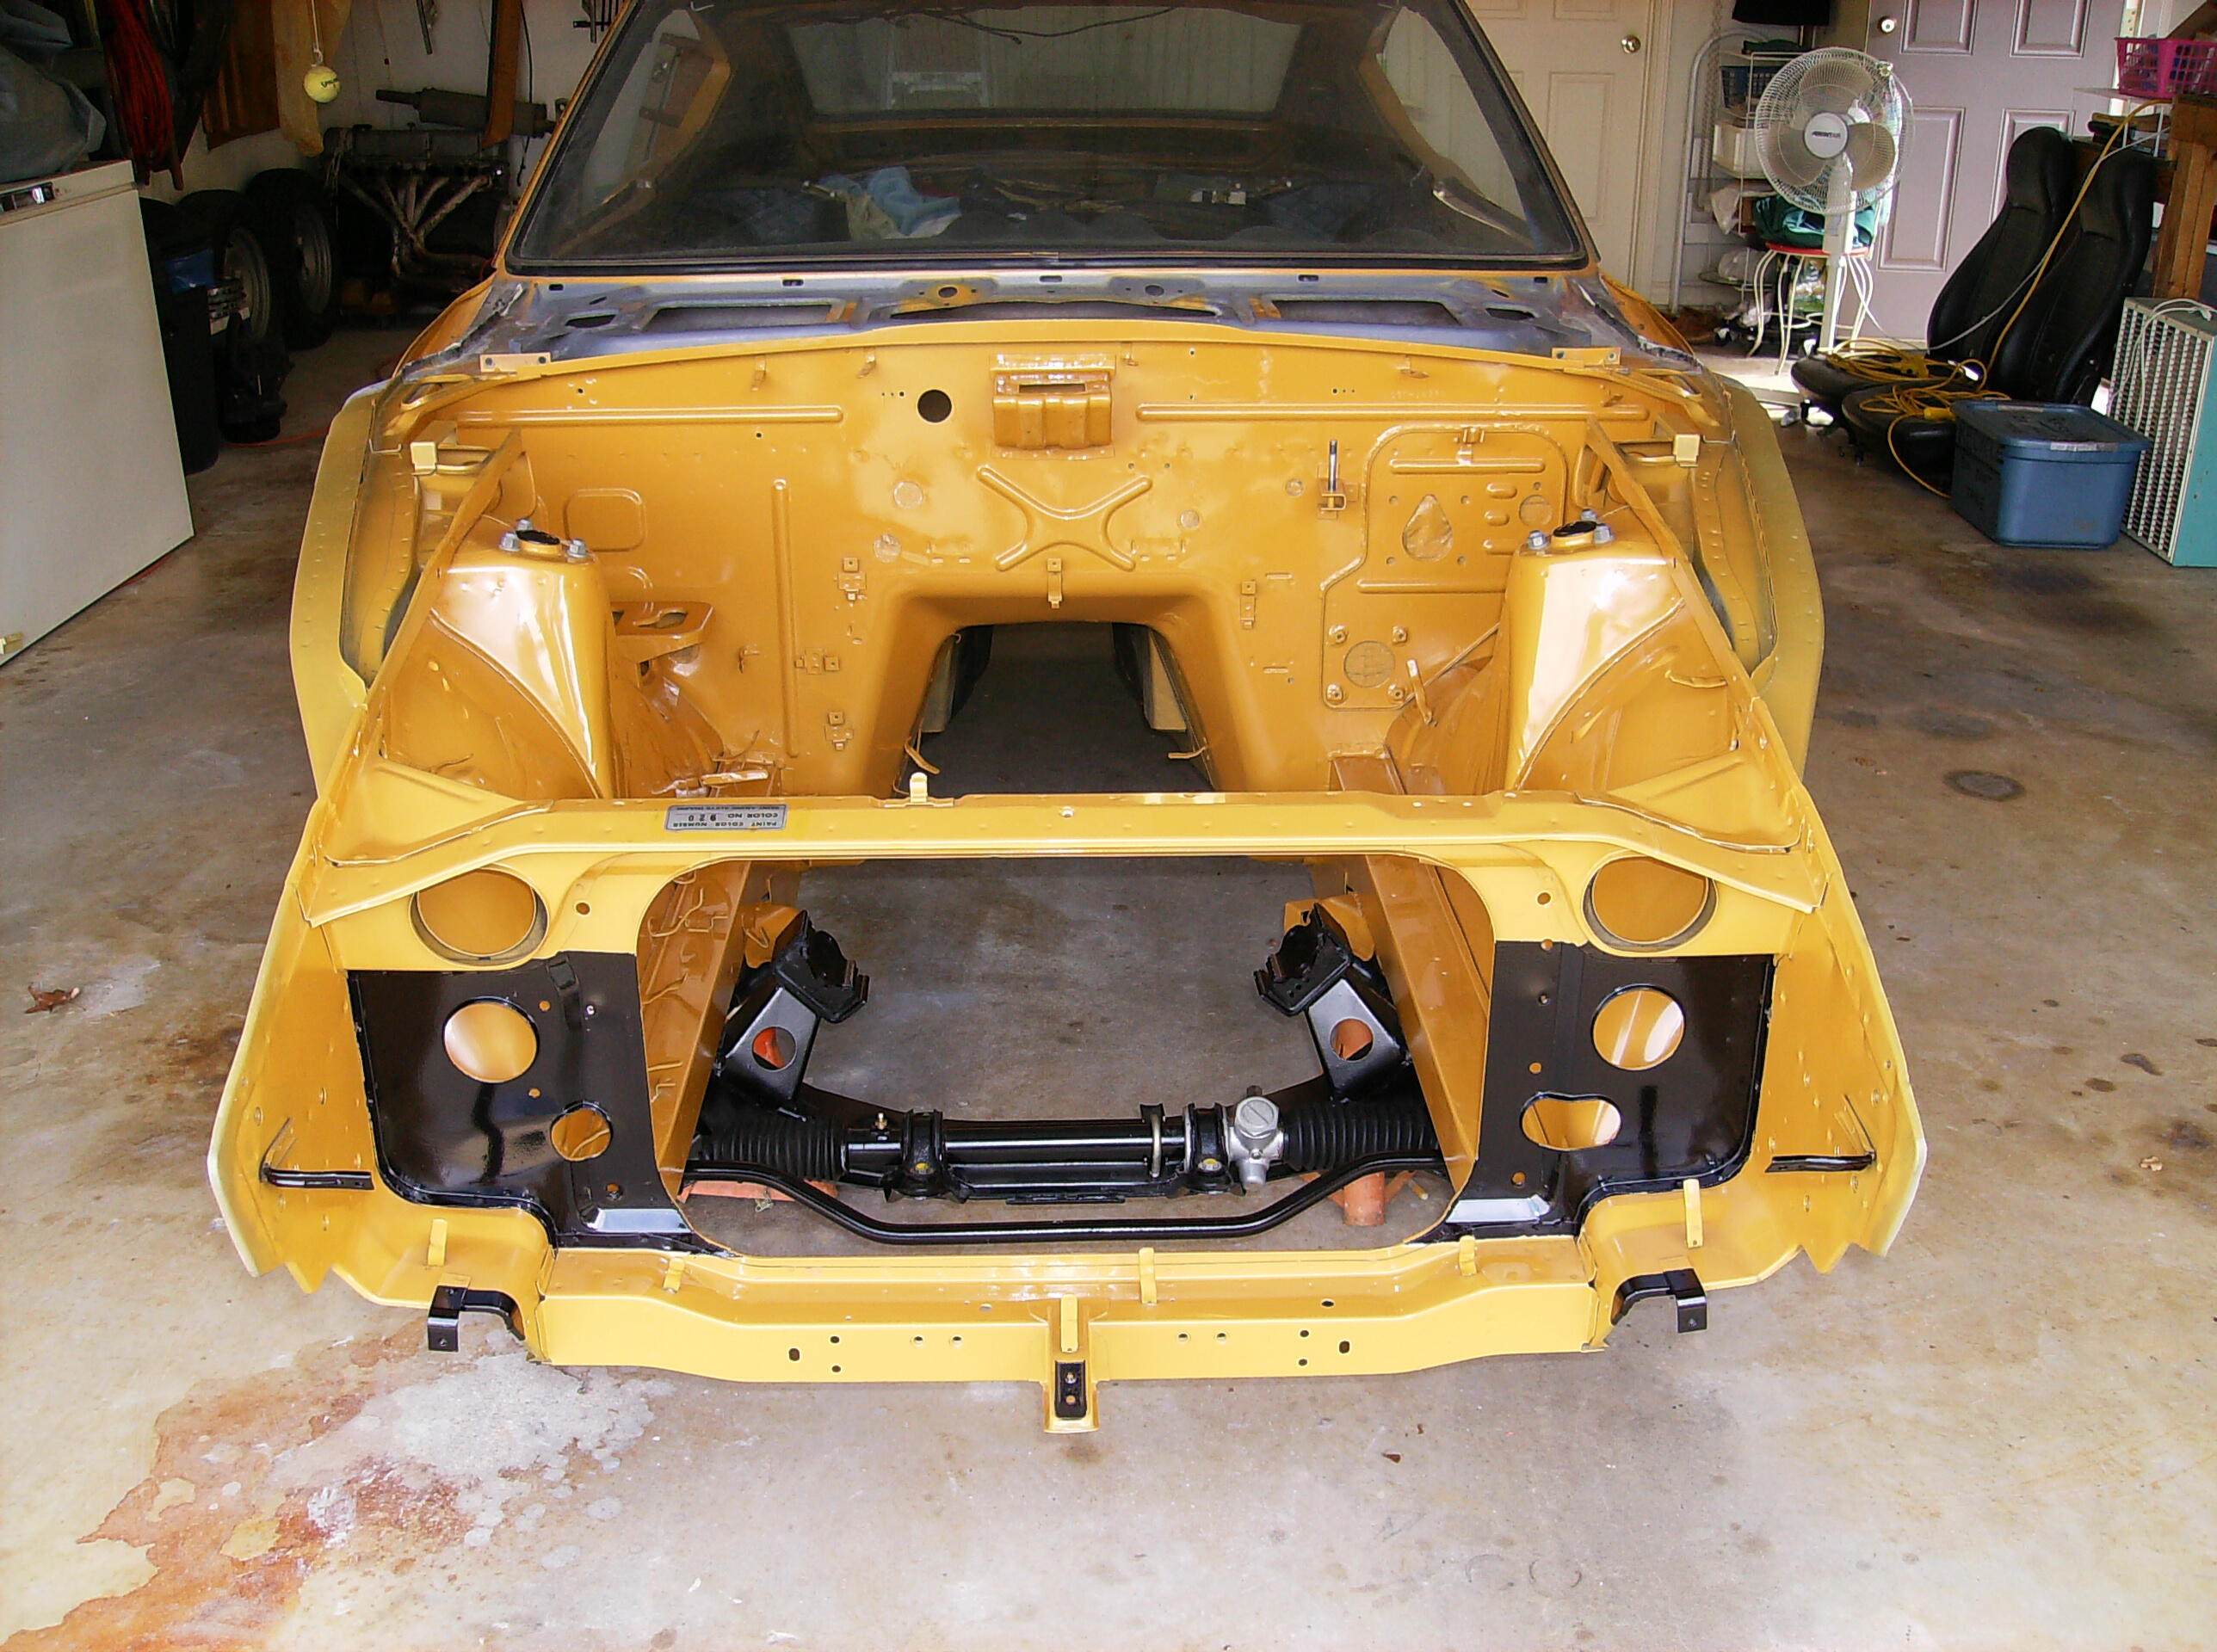
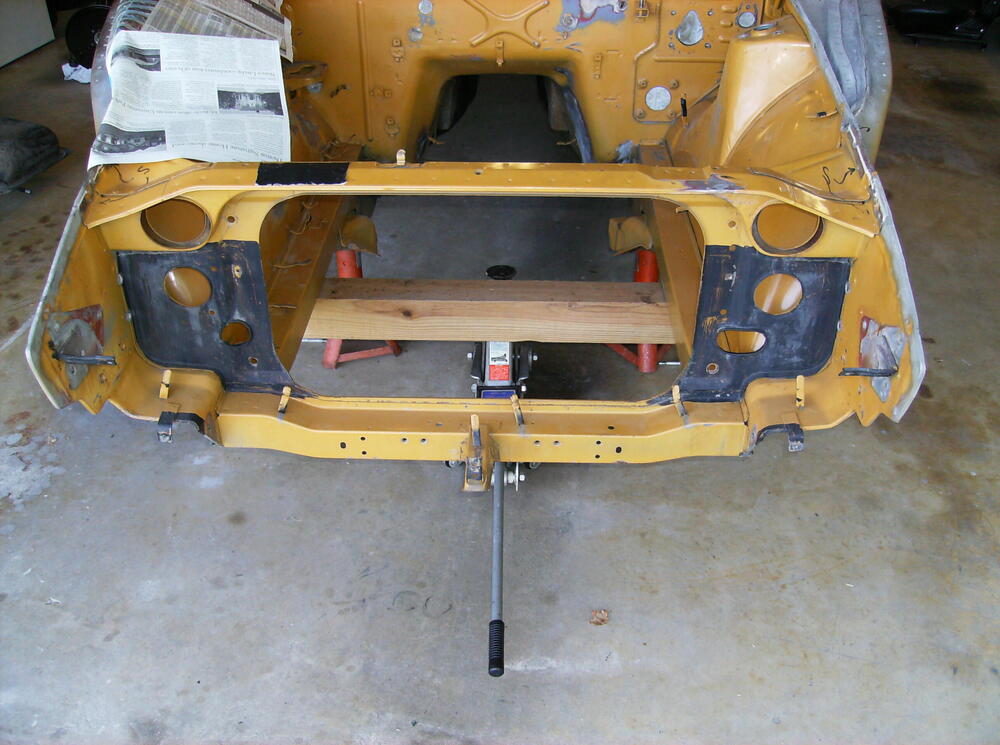
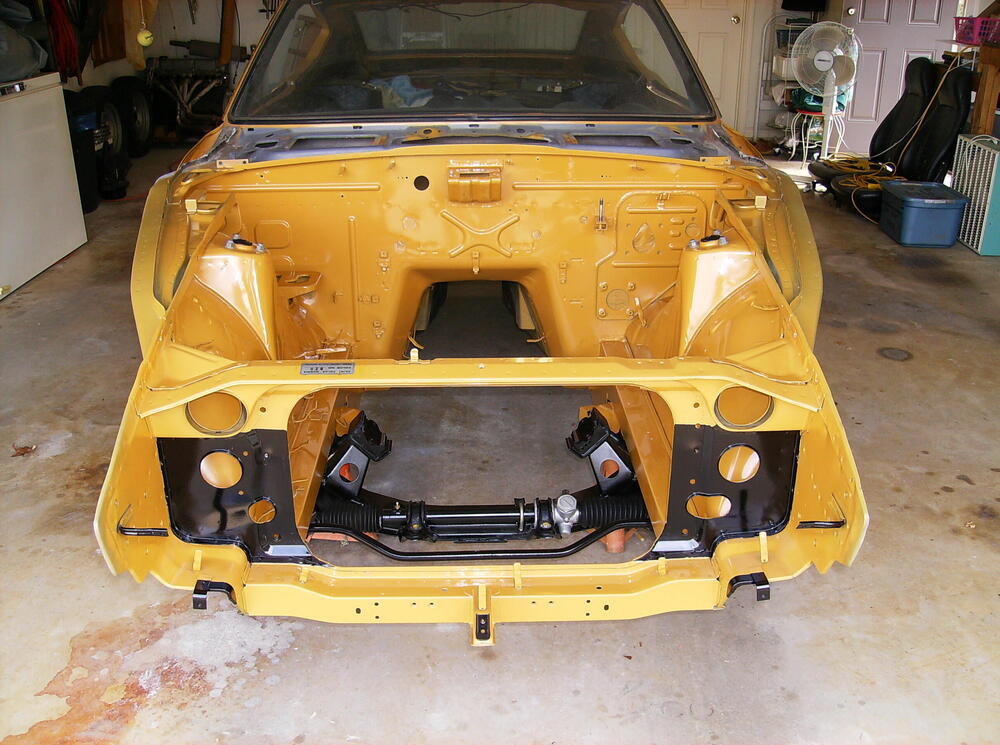
Nissan brushed on some almost flat black paint on the front of the radiator core support so that color would not show thru the grill. Here is my car before paint and after. Note that the five mount points for the grill are also blacked out. I used gloss black to make it easier to clean.
-
The three items above are all plated, not painted. Pretty sure the hatch should be on the installed color set.
-
My car is certainly not as complex as yours but my experience was to pull the interior connectors thru the firewall into the engine bay. I pushed them thru one connector at a time. It helps to get the grommet pushed out first.
-
In followup to @SteveJ's discussion of the OE flasher unit, consider swapping out the OE units for the turn signals and hazards to a modern style that does not utilize a bi-metal strip. The link below shows one such unit that works for both applications. It is pretty much a plug-and-play item with one exception: it does not have the mounting tab found on the OE units. The improvement in turn signal performance is remarkable, no slowing or speeding with engine revs. Be sure to get a 2-terminal version as there are also 3-terminal versions. https://www.autozone.com/electrical-and-lighting/turn-signal-hazard-warning-flasher/p/novita-turn-signal-hazard-warning-flasher-ll552/849393_0_0
-
-
View Advert Refurbished 280Z License Light The light was disassembled and cleaned, the cover has been refinished in OE grey. The fittings are replated in clear zinc. New incandescent bulbs are installed. $165 includes standard domestic shipping, international shipping available at actual cost. Payment via PayPal, PM if interested. Thanks. Advertiser jfa.series1 Date 01/20/2022 Price $165 Category Parts for Sale