Leaderboard
-
inline6
 Subscriber
 5Points1,301Posts
 -
grannyknot
Free Member4Points5,158Posts -
kcpope
Free Member4Points137Posts -
zKars
Subscriber3Points3,781Posts


Popular Content
Showing content with the highest reputation on 03/18/2024 in all areas
-
4 pointsAnd in case anyone is converting from and auto to a manual, and needs a clutch pedal stopper, here was my $4 solution. Everything was purchased at Ace hardware… 3 inch 3/8 elevator bolt Your choice of fender washers 2 nyloc nuts Rubber or felt pad glued to elevator bolt head Drill a 3/8 hole in the footwell, fender washers on either side of the sheet metal, tighten the nylocs on each side and your done. Adjust the height appropriately. In my case, it’s set at 1.8 inches as measured by grannyknot above. It feels very solid and should work fine… Sent from my iPhone using Tapatalk4 points
-
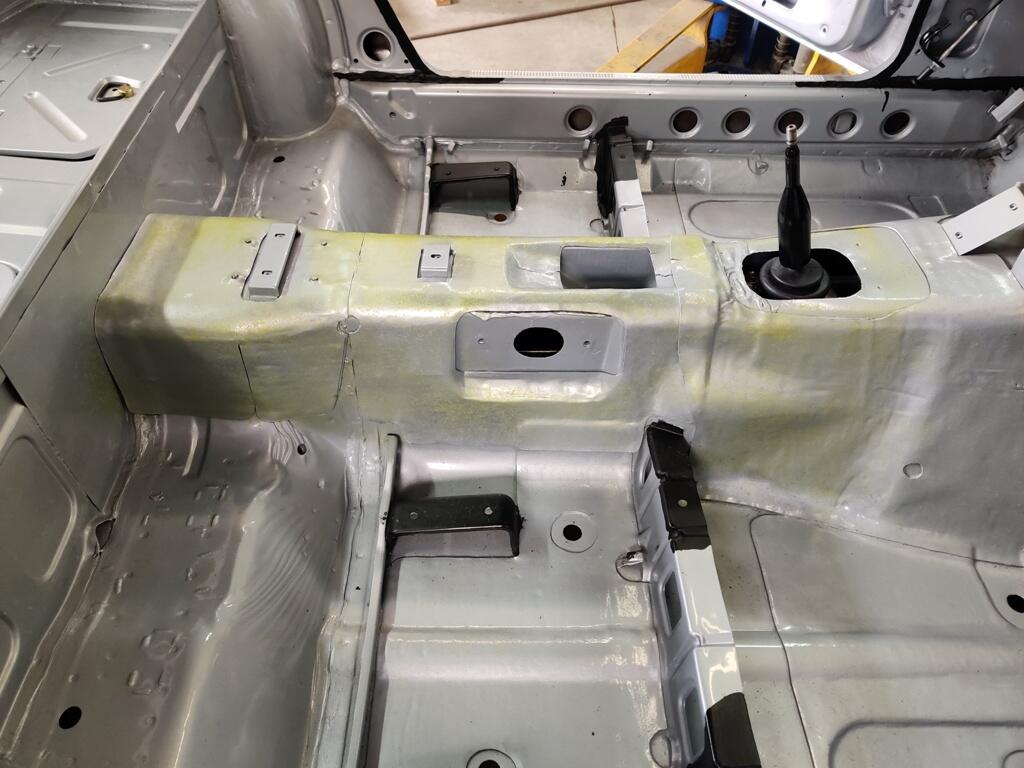
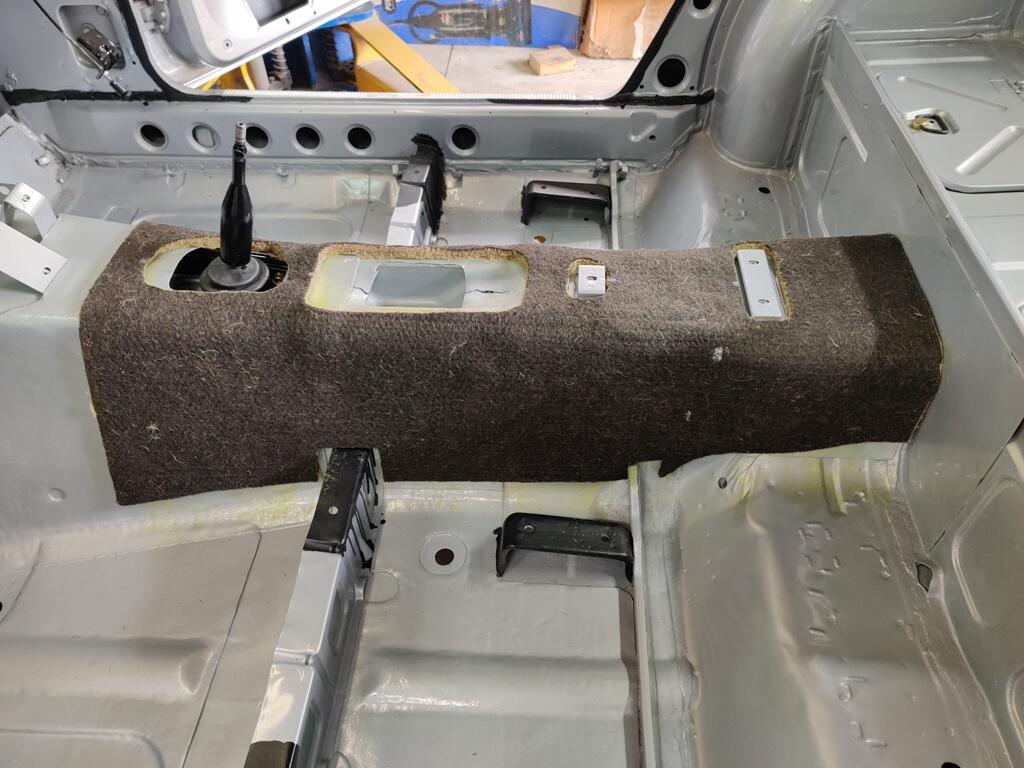
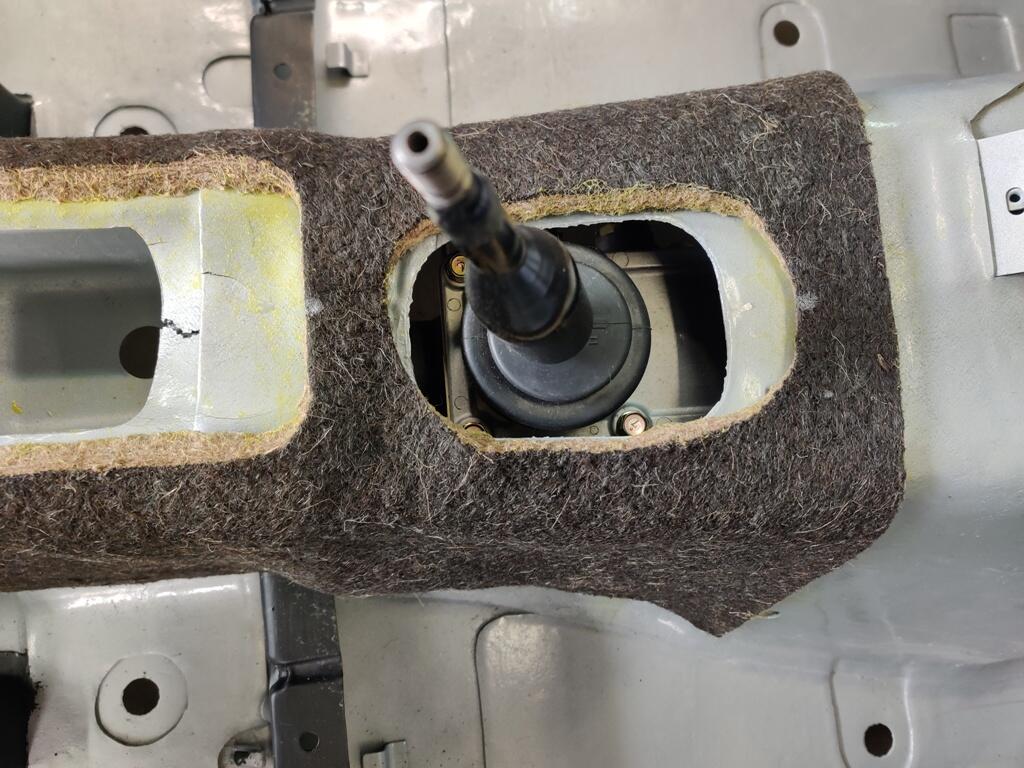
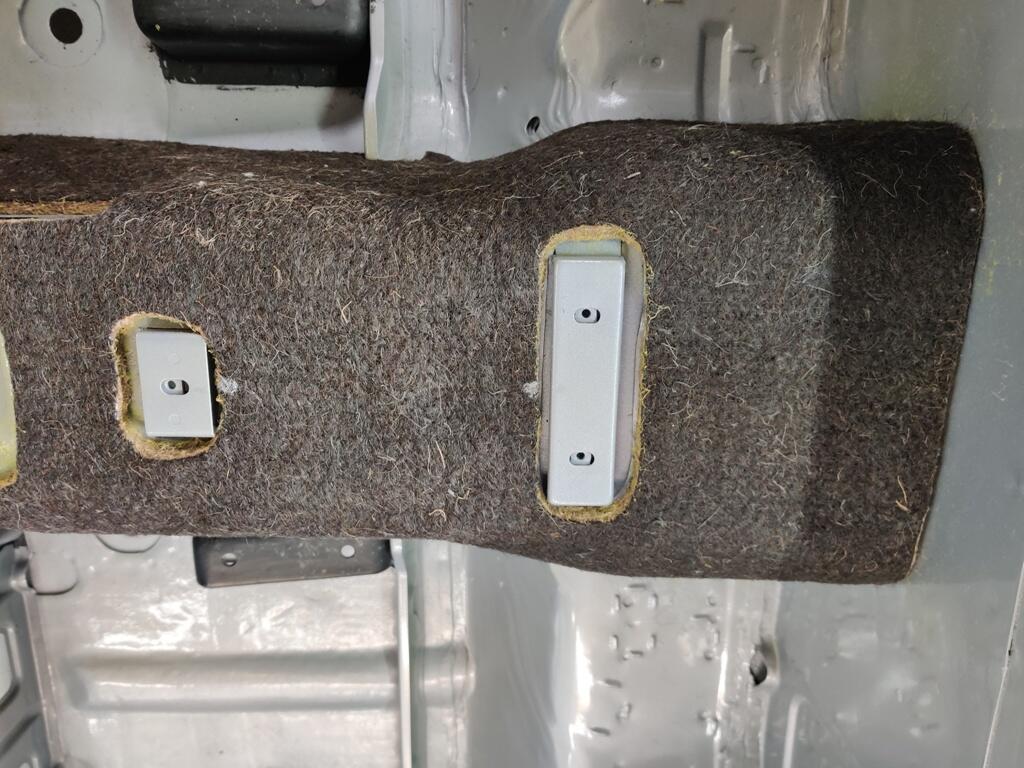
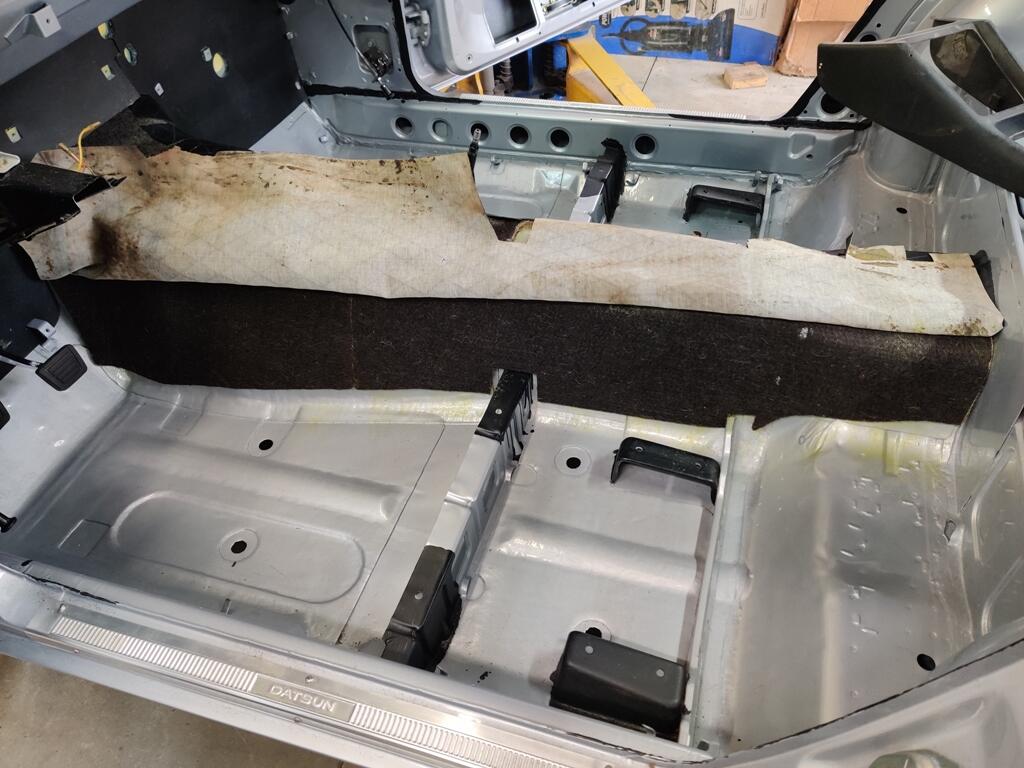
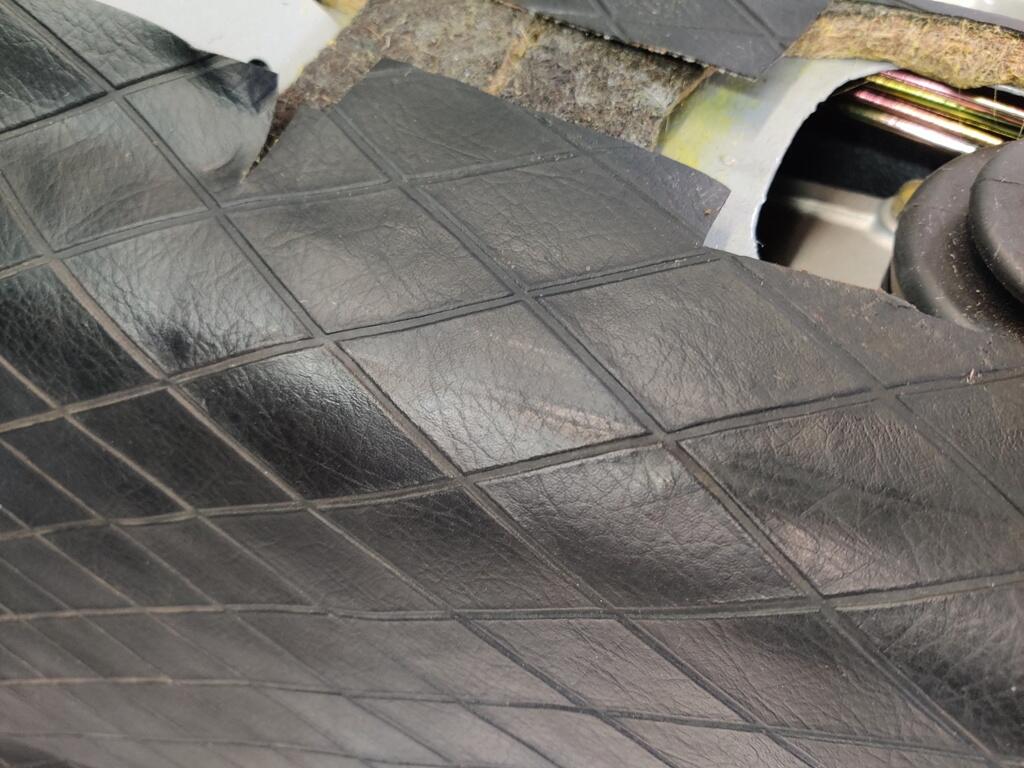
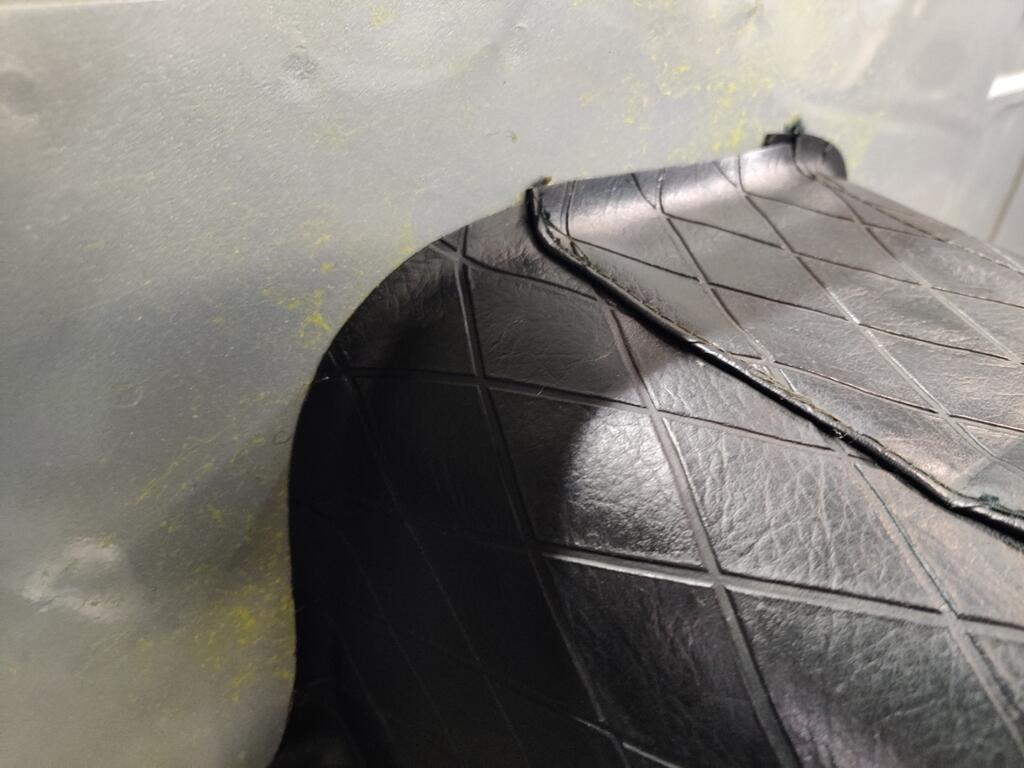
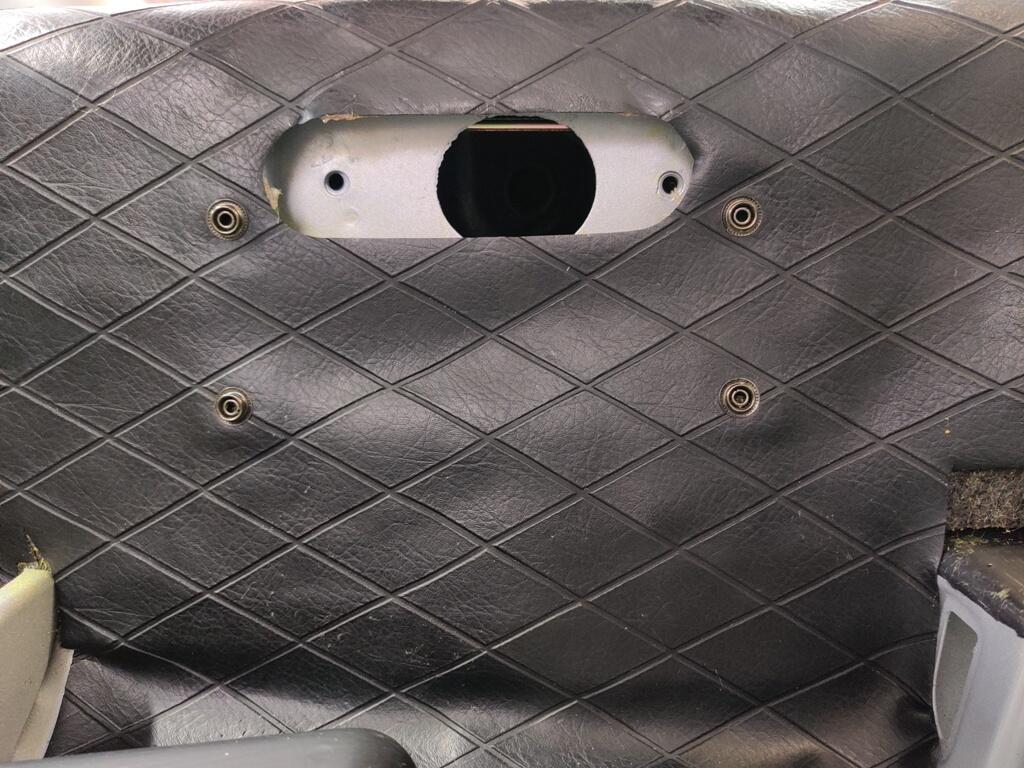
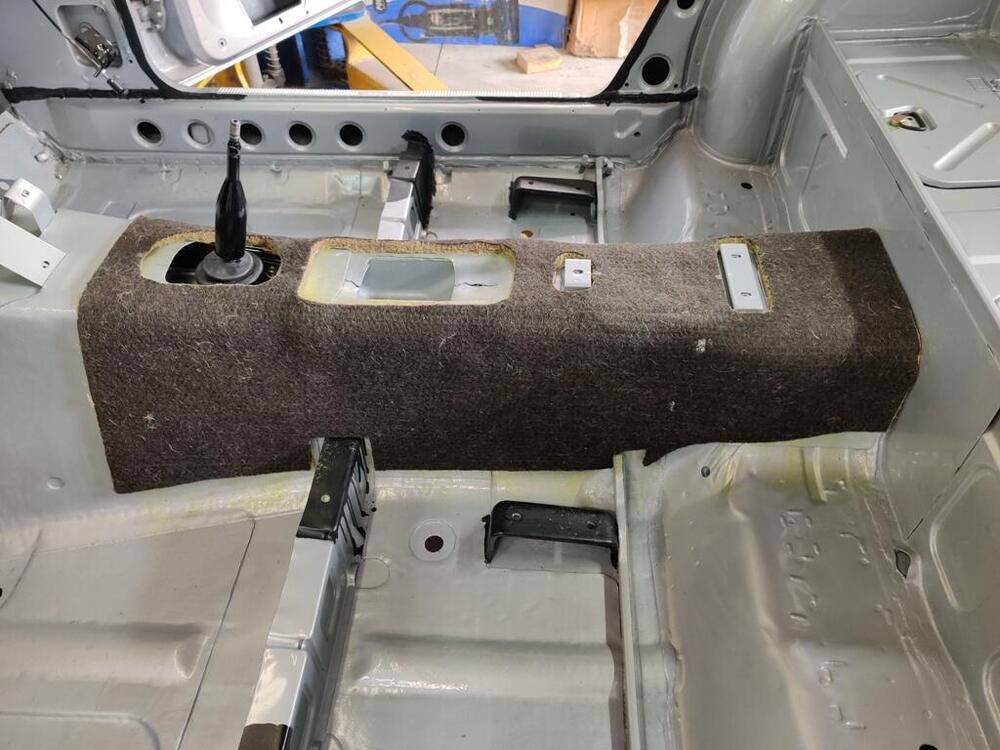
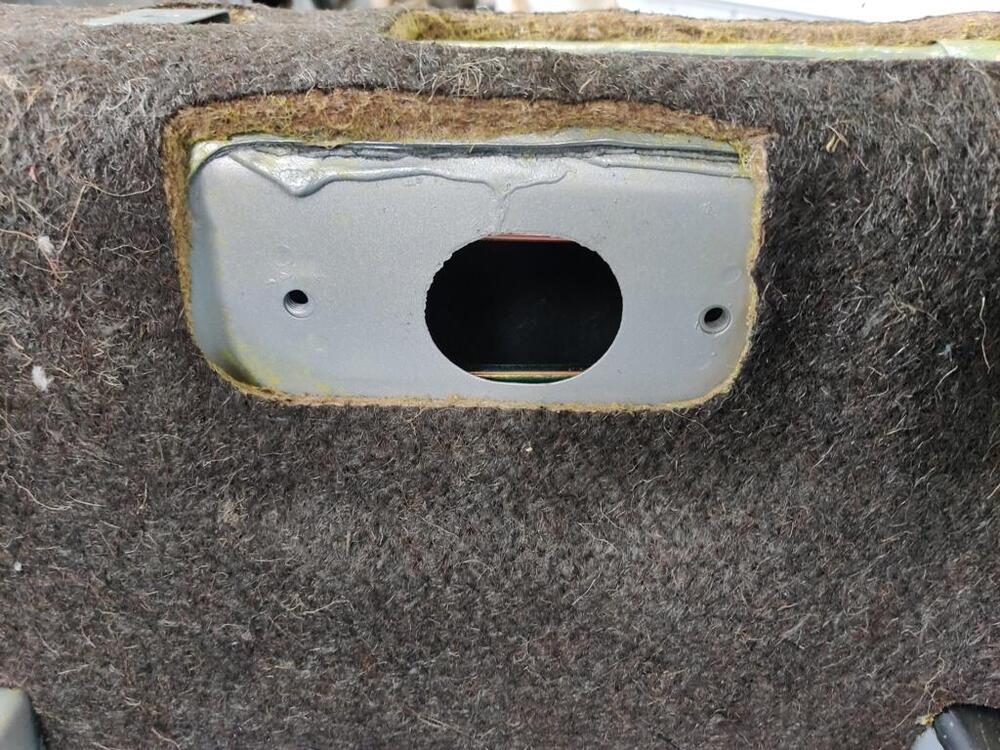
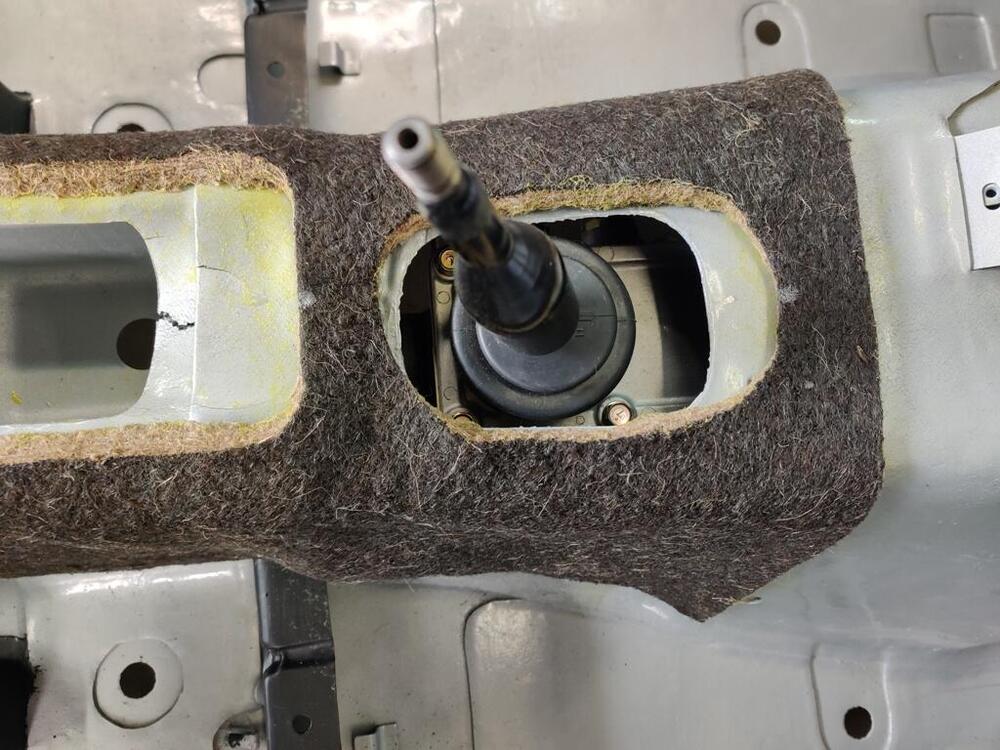
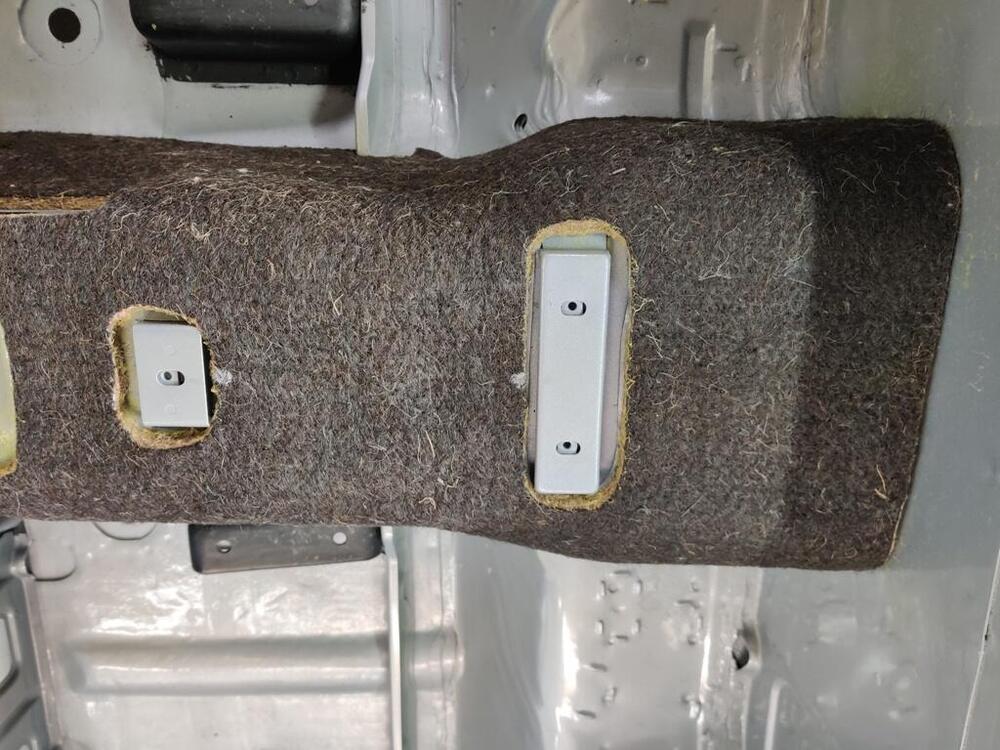
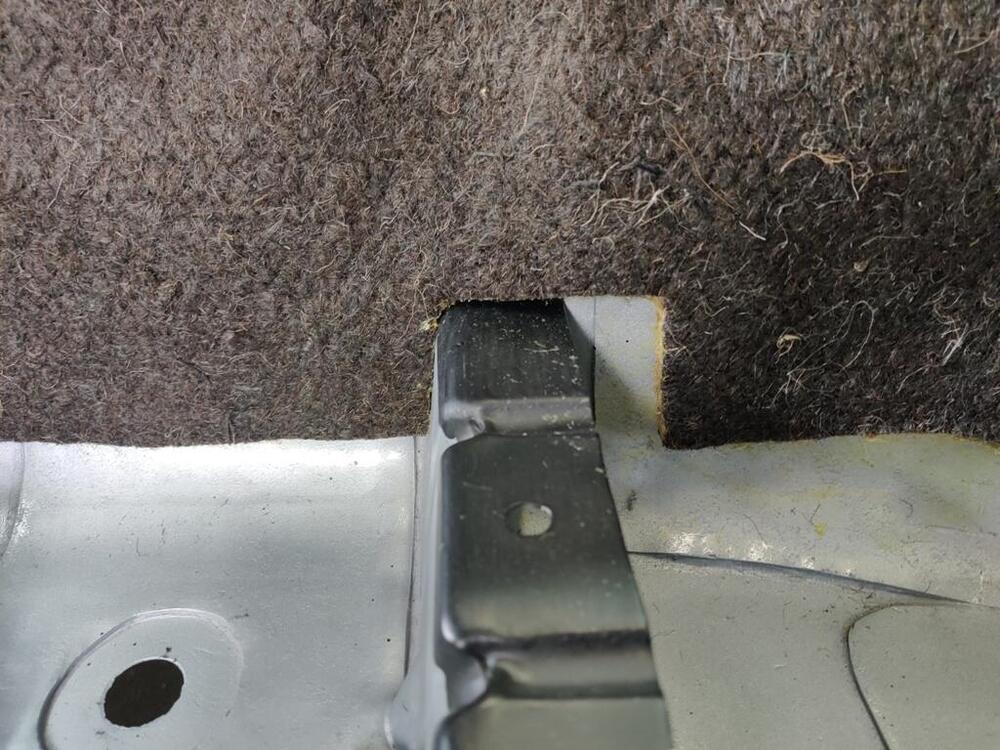
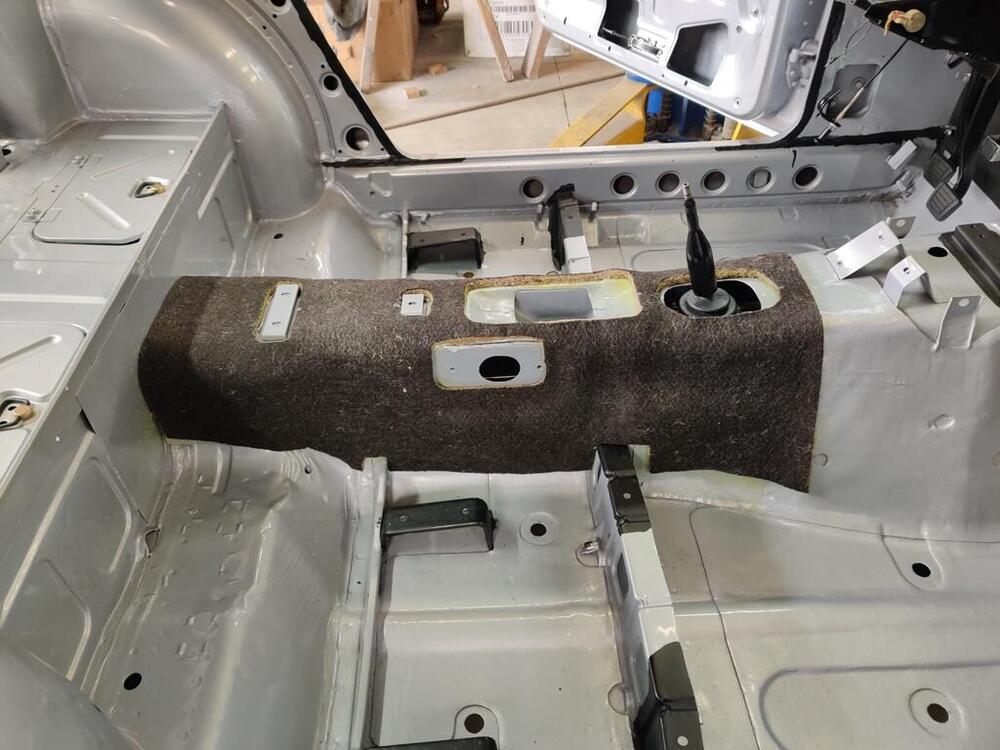
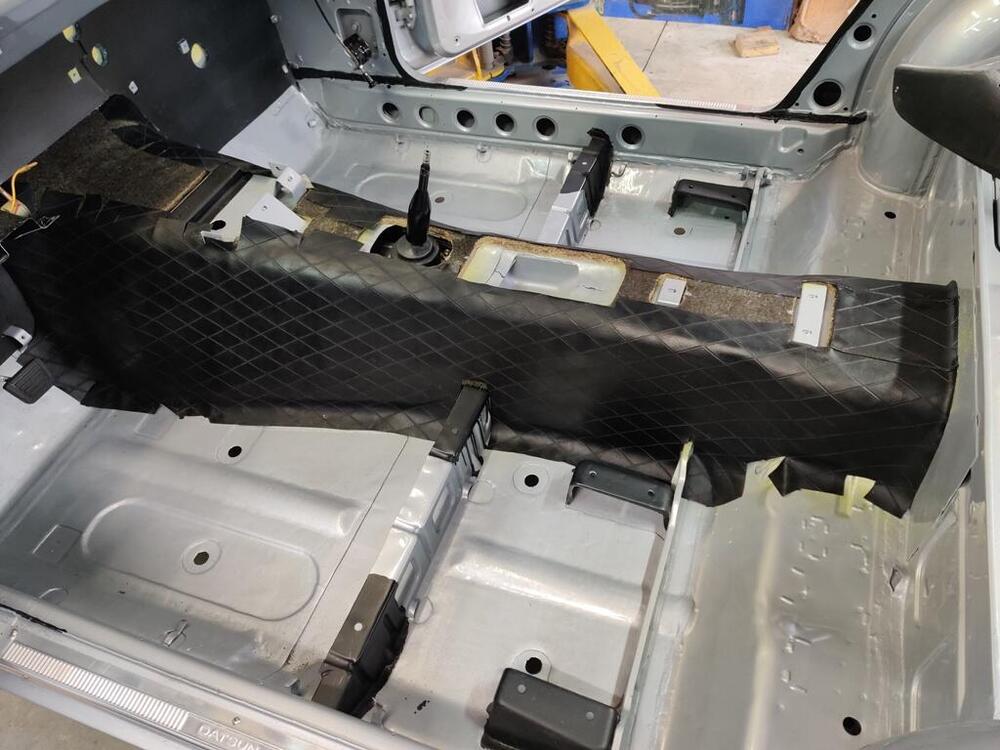
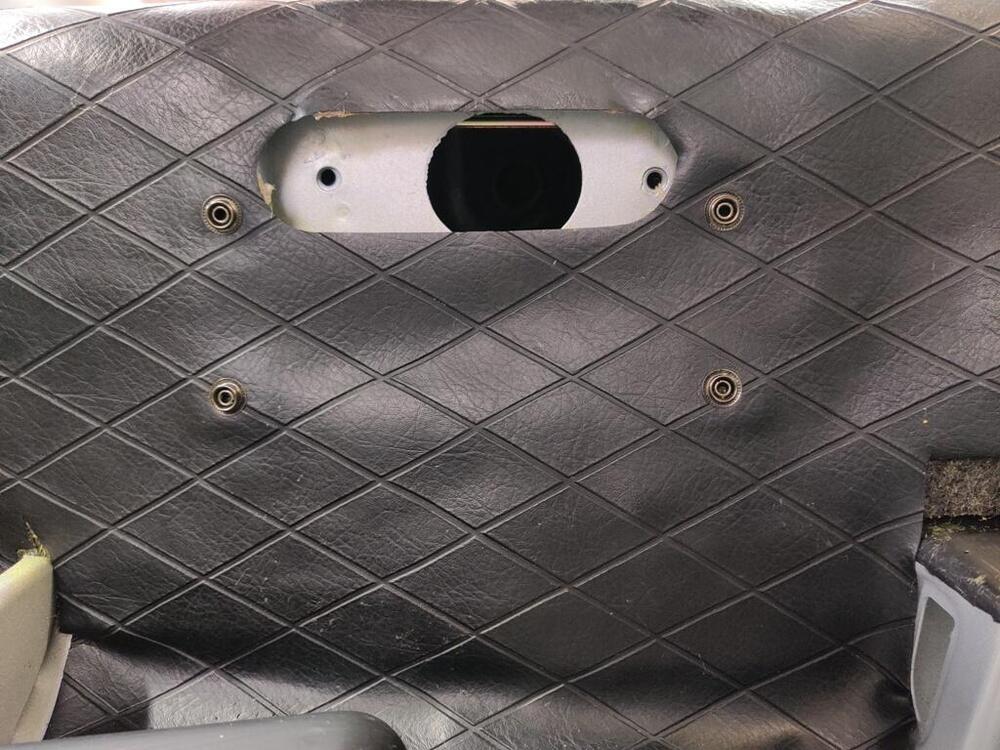
It turns out that Steve's kit has two of the pieces which are second from the right most piece in the pic above. One is rubber and one is a hard plastic. I used the plastic one. I could substitute the plastic with the rubber one. I also see now that the point tip I bought for my antenna is larger than the original. Bummer. I bought that one off of eBay. I will have to replace it at some point - I don't like that it is too big. I got another thing out of the way today that I was dreading doing: gluing the jute to the tunnel, and gluing the original vinyl to that. I realized when reviewing some pictures that the tunnel jute and vinyl go into the car before the firewall padding. Since I already installed the firewall padding, I had to pull it up at the bottom edges to get the jute and vinyl tucked under. It wasn't too difficult to left up the fire wall padding a bit. I poured contact adhesive into the spray gun, and I was off and running. I temporarily fit the jute and marked a few places at the top center with a paint pen so I knew where to place it after spraying both the backside of the jute and the tunnel with adhesive. I think I ended up with good placement: After gluing in the rear jute section, I glued the front section in place. Then, I retrieved the original vinyl trim for the tunnel. To start, I sprayed glue only on an small area at the top edge of the tunnel and the vinyl (third pic): I had the fiberglass center console available for this part of the process because there were impressions made by contact of the console in the original vinyl. I used those to determine where to locate the vinyl vertically on the tunnel (third pic shows some of the impression). After I got the top part of the vinyl glued in place, I rolled the vinyl upwards to expose the side portion of the jute. Then I sprayed that and the rest of the vinyl with adhesive. The vertical location was already set, so all that remained to do was to roll the vinyl downwards over the sides of the tunnel and press down firmly everywhere. At the rear of the tunnel (second pic), the vinyl rolls up against the rear face a touch. As far as I can tell, the vinyl appears to be in the correct position everywhere. Hopefully that is the case. With the tunnel jute and vinyl in place, I now can install several items including the heater core, the fan, the steering column, and the dashboard.


 4 points
 -
Can you tell that this group is a bunch of talented self taught fabricators with healthy dose of DIY and offer to help when needed? Yeah, that’s us and damn proud of everyone here.3 points
-
Just in awe of the detail that you are putting into this build, by far the best restoration I've ever seen. If it were mine, I would be afraid to take it out on the road.2 points
-
2 pointsI am sure I will have to do this. This is something I overlooked until your thread came up.2 points
-
I've now listed mine on Hemmings Auctions. Be gentle. https://www.hemmings.com/auction/1973-datsun-240z-bains-la-6028271 point
-
Love it, very nice build and built by a guy who knows 240Z's. Updated but still largely original looking, the only thing I would change is the 17" wheels. Who knows with 240z market being so low at the moment but he should get $60,000. I'm not seeing any body modifications to deal with the extra power and having built a 240z with the same kind of hp I can tell you when that car hooks up it will twist, the torque steer will be a real handful, but then, that can be a lot of fun too.1 point
-
Thank you for being the only person to even attempt to answer the question, I really appreciate the link to the pictures! 🙂 Please do not devolve this request for help to a bashing of what this company produces and sells. Like Alan said, if you can do it yourself then go for it...there's no need to hammer on the point that the part is over priced by most people's opinion (and I agree, it is pricey for what it is). Though the ask was not one of value. I have loved this site and those on it for decades, this is such an amazing group of people and always willing to help one another...unlike so many other sites where all the members do is fight and argue and treat each other with no respect. ;(1 point
-
1 pointThat's much better than the original stop, using the adjustable slave push rod and the M/C linkage, your stop allows you play with the pedal height.1 point
-
If no visible wearing is found, could be a bad bearing. They can make quite a screach.1 point
-
1 pointI saw that video and I included mounting points on the fins to attach a removable 1/8-inch thick scoop. I drilled out the fill plug and treaded it for a temperature sensor so that I could experiment with it during autocross to evaluate the effect. Anyone know the threading on the fill and drain plugs? I'm going to need to order a tap. I also need to locate the fill plug I tapped and promptly misplaced. My shop is a tiny corner of my garage and I still manage to misplace things.1 point
-
Brain fade. I've spent the last week working on my brother's 31 Model A Hot Rod with a 350 Chevy in it.1 point
-
YES! We drive V8's... He means 5... oohh...😀1 point
-
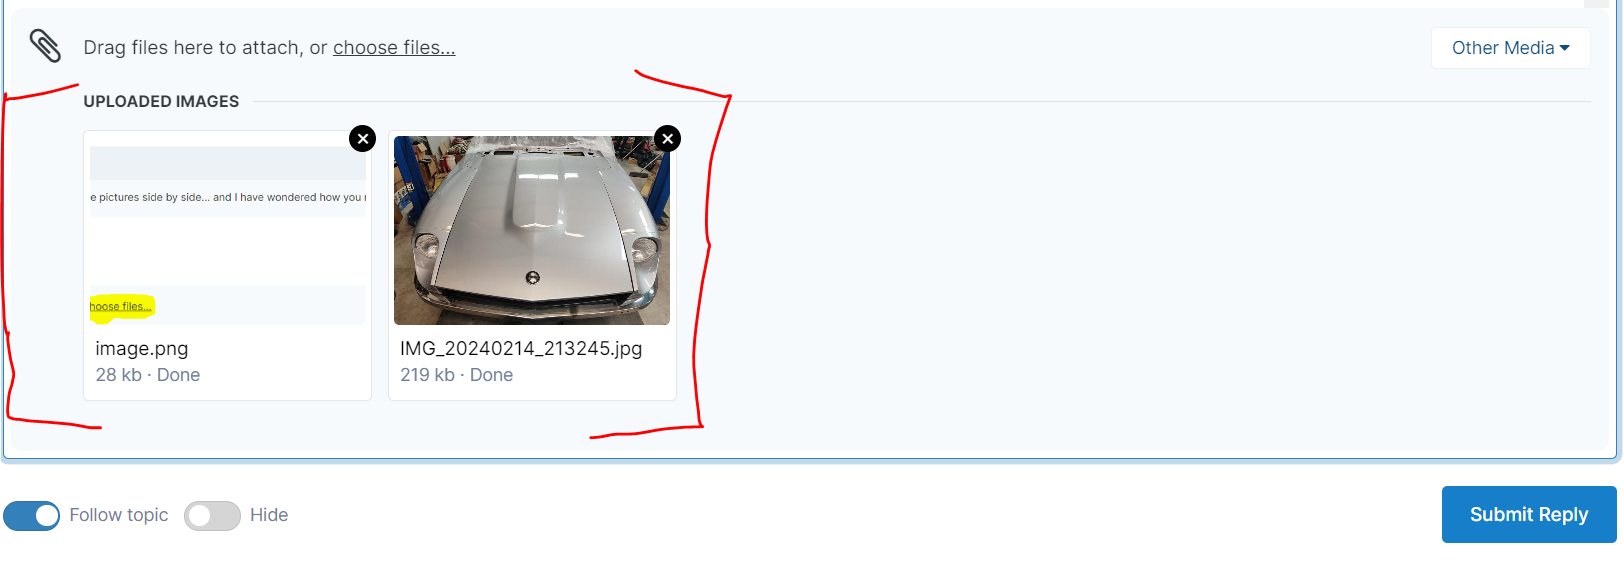
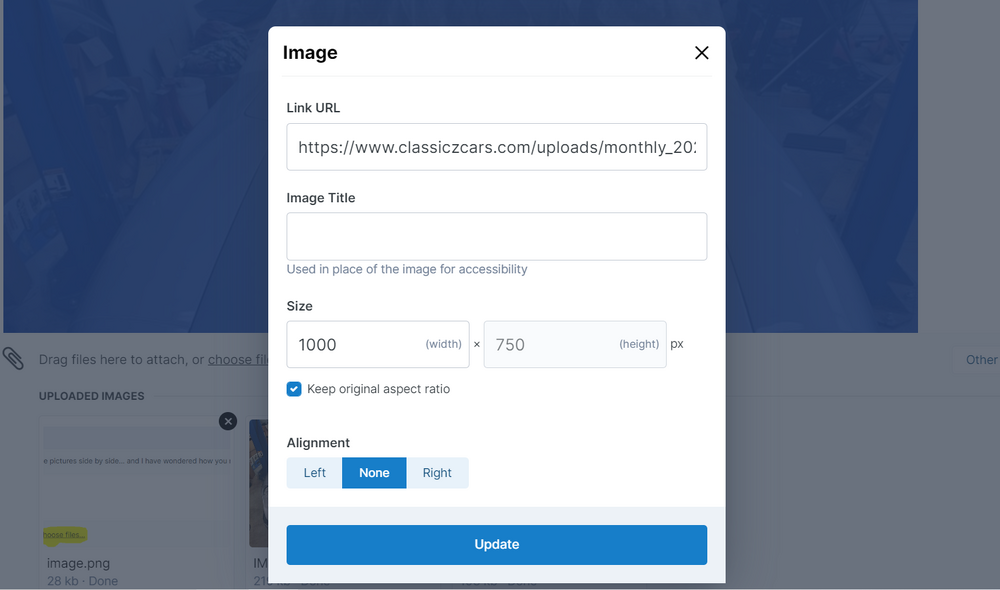
First, and probably most people have this step figured out, when you start your post, click on choose files (yellow highlight in this capture): After you select the pictures that you want to upload, you will see them in the uploaded portion of your post, as seen here - they show up below the choose files link: Then, you put the curser where you want to insert the picture. In this case I will hit enter twice to return two lines, and then I will click on the image I want to insert: Most people leave their images full size like above. However, when you double click on the picture you inserted, you are presented with resizing options: At that point, if I want a row of three pictures, I change only the width from "1000" to "350". I do this for each picture. As I do, I can move the cursor where I like and add spaces or hit delete to move them around. I treat them just like text at that point. If I want a row of two pictures, I resized the width from "1000" to "450". If you do something you did not intend accidentally, hold control and "z" at the same time to "undo". You can control z and back up one step at a time as you need to.

 1 point
 -
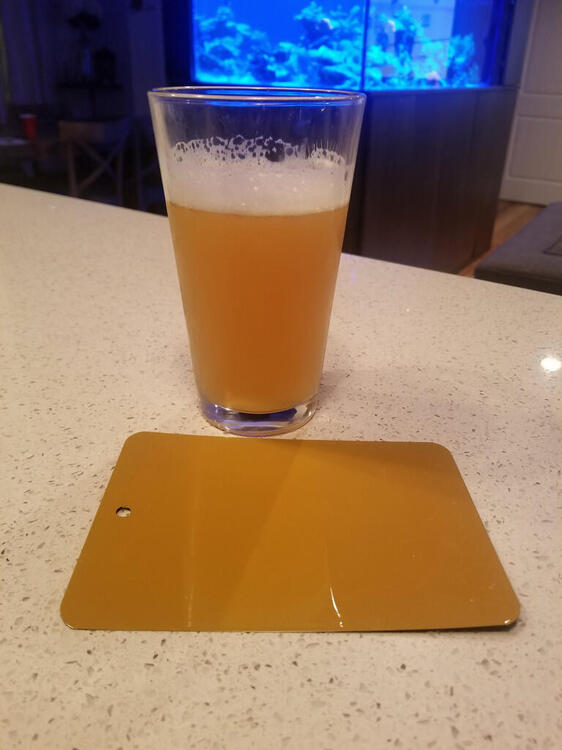
1 point……..or take your favorite IPA down to the paint shop. Brandon just painted his Z31 Safari Gold. I’ll see if he can help.

 1 point