Leaderboard
-
Patcon
 Subscriber
 22Points11,142Posts
 -

ConVerTT
Free Member7Points422Posts -
.JPG.cfcada9cf1c1b502df3f5f2f2ca3ff36.JPG)
SteveJ
Free Member3Points9,646Posts -
JDMjunkies.ch
Free Member3Points637Posts


Popular Content
Showing content with the highest reputation on 01/07/2024 in all areas
-
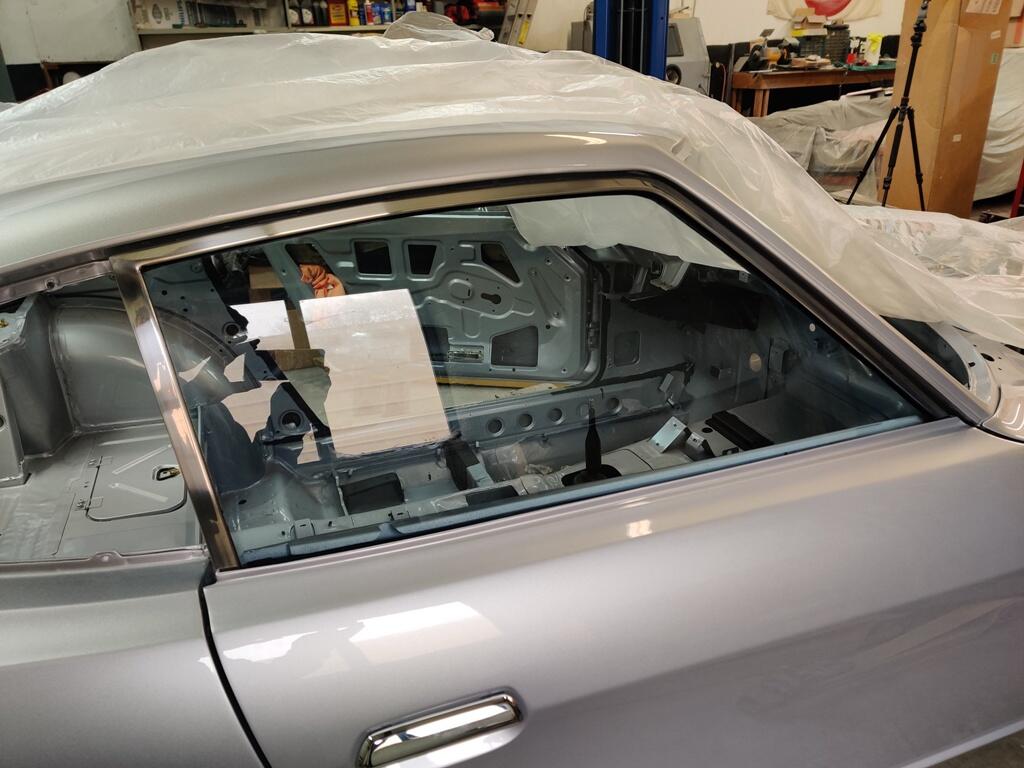
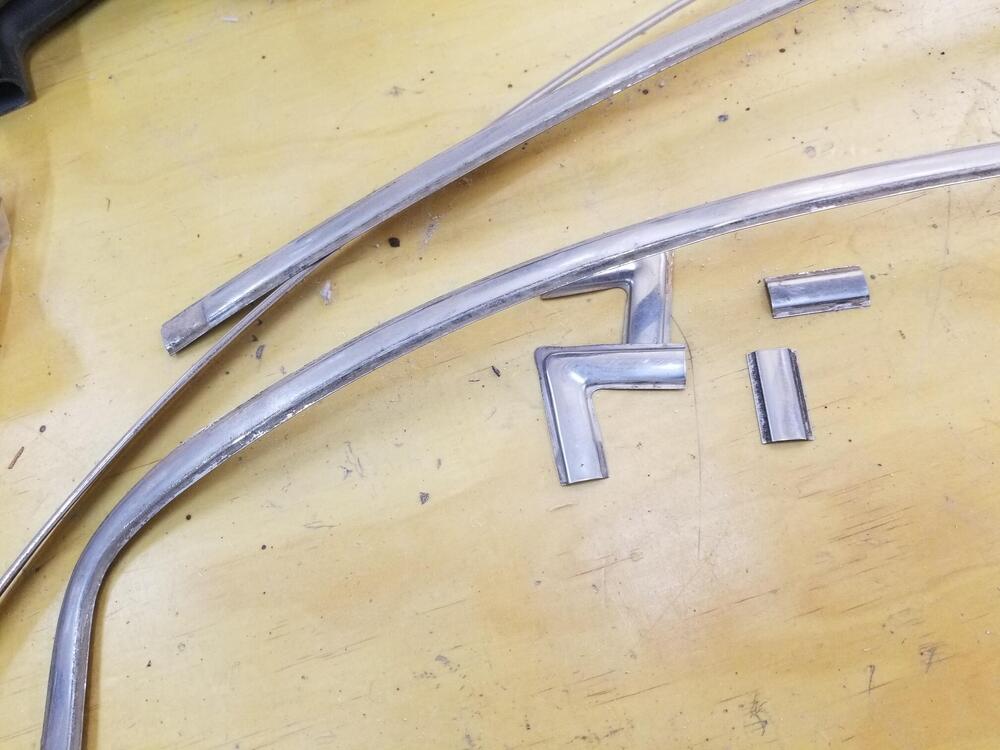
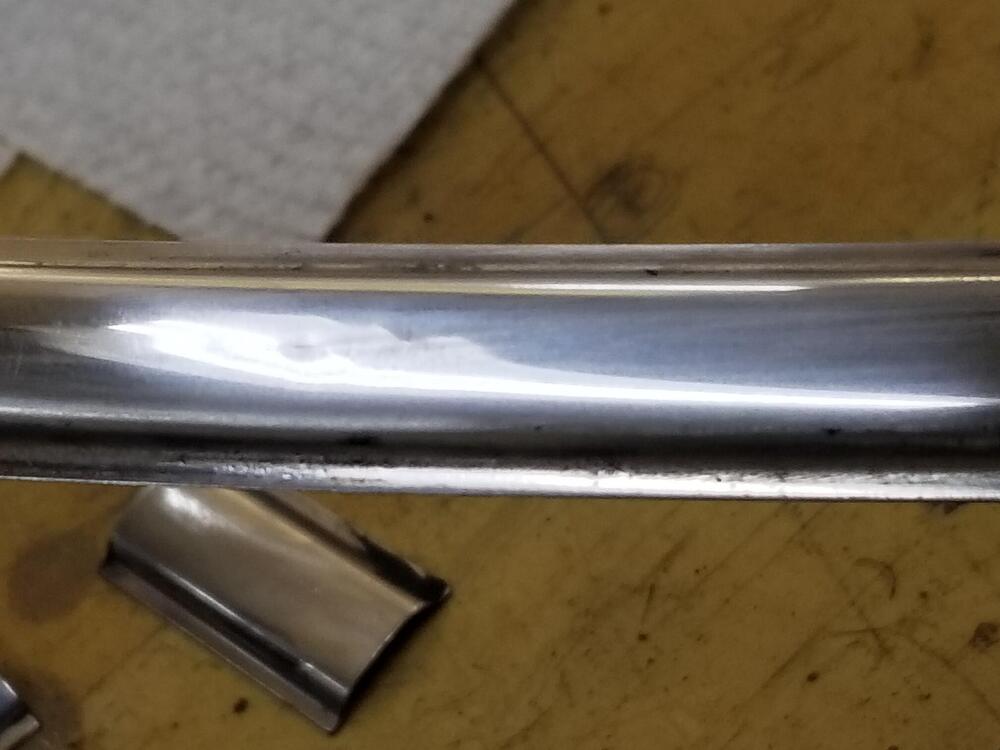
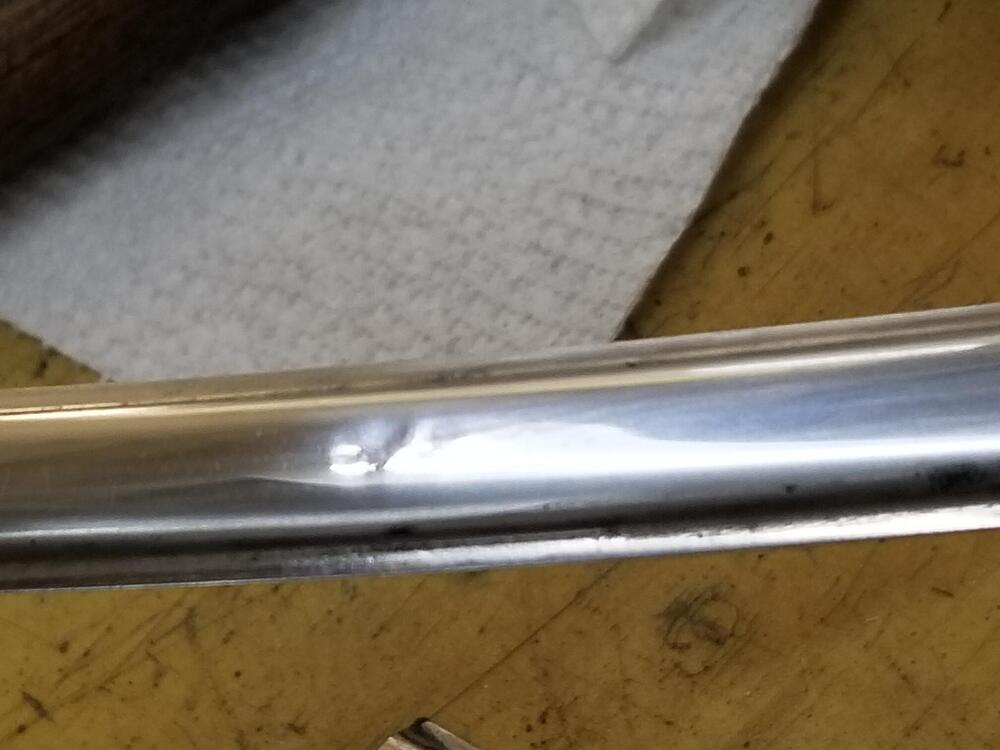
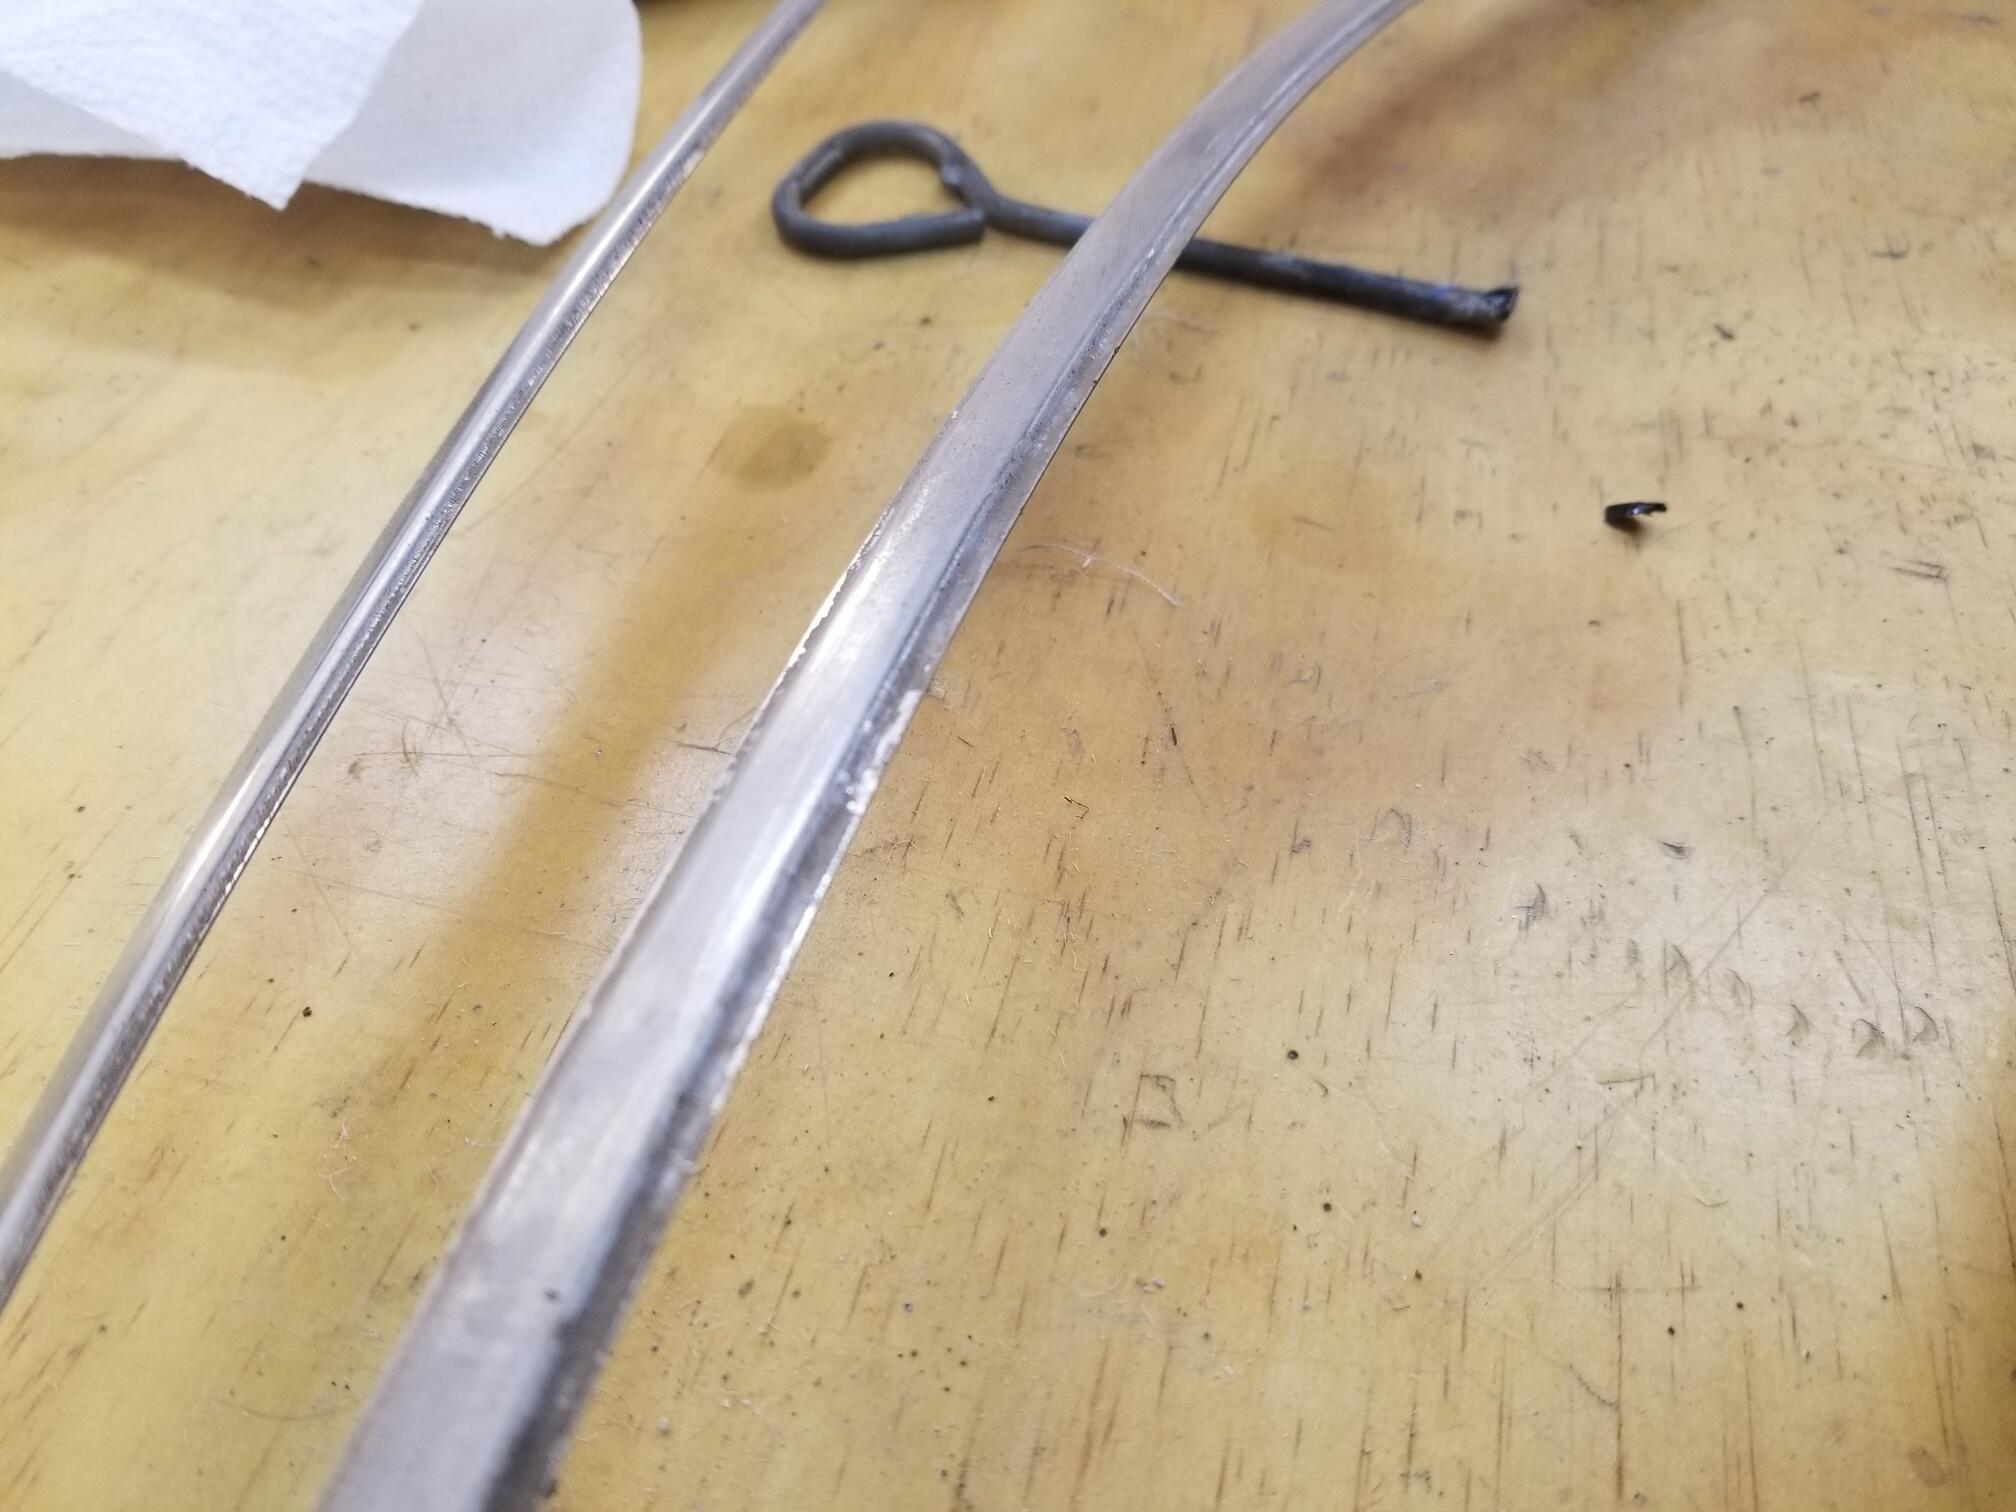
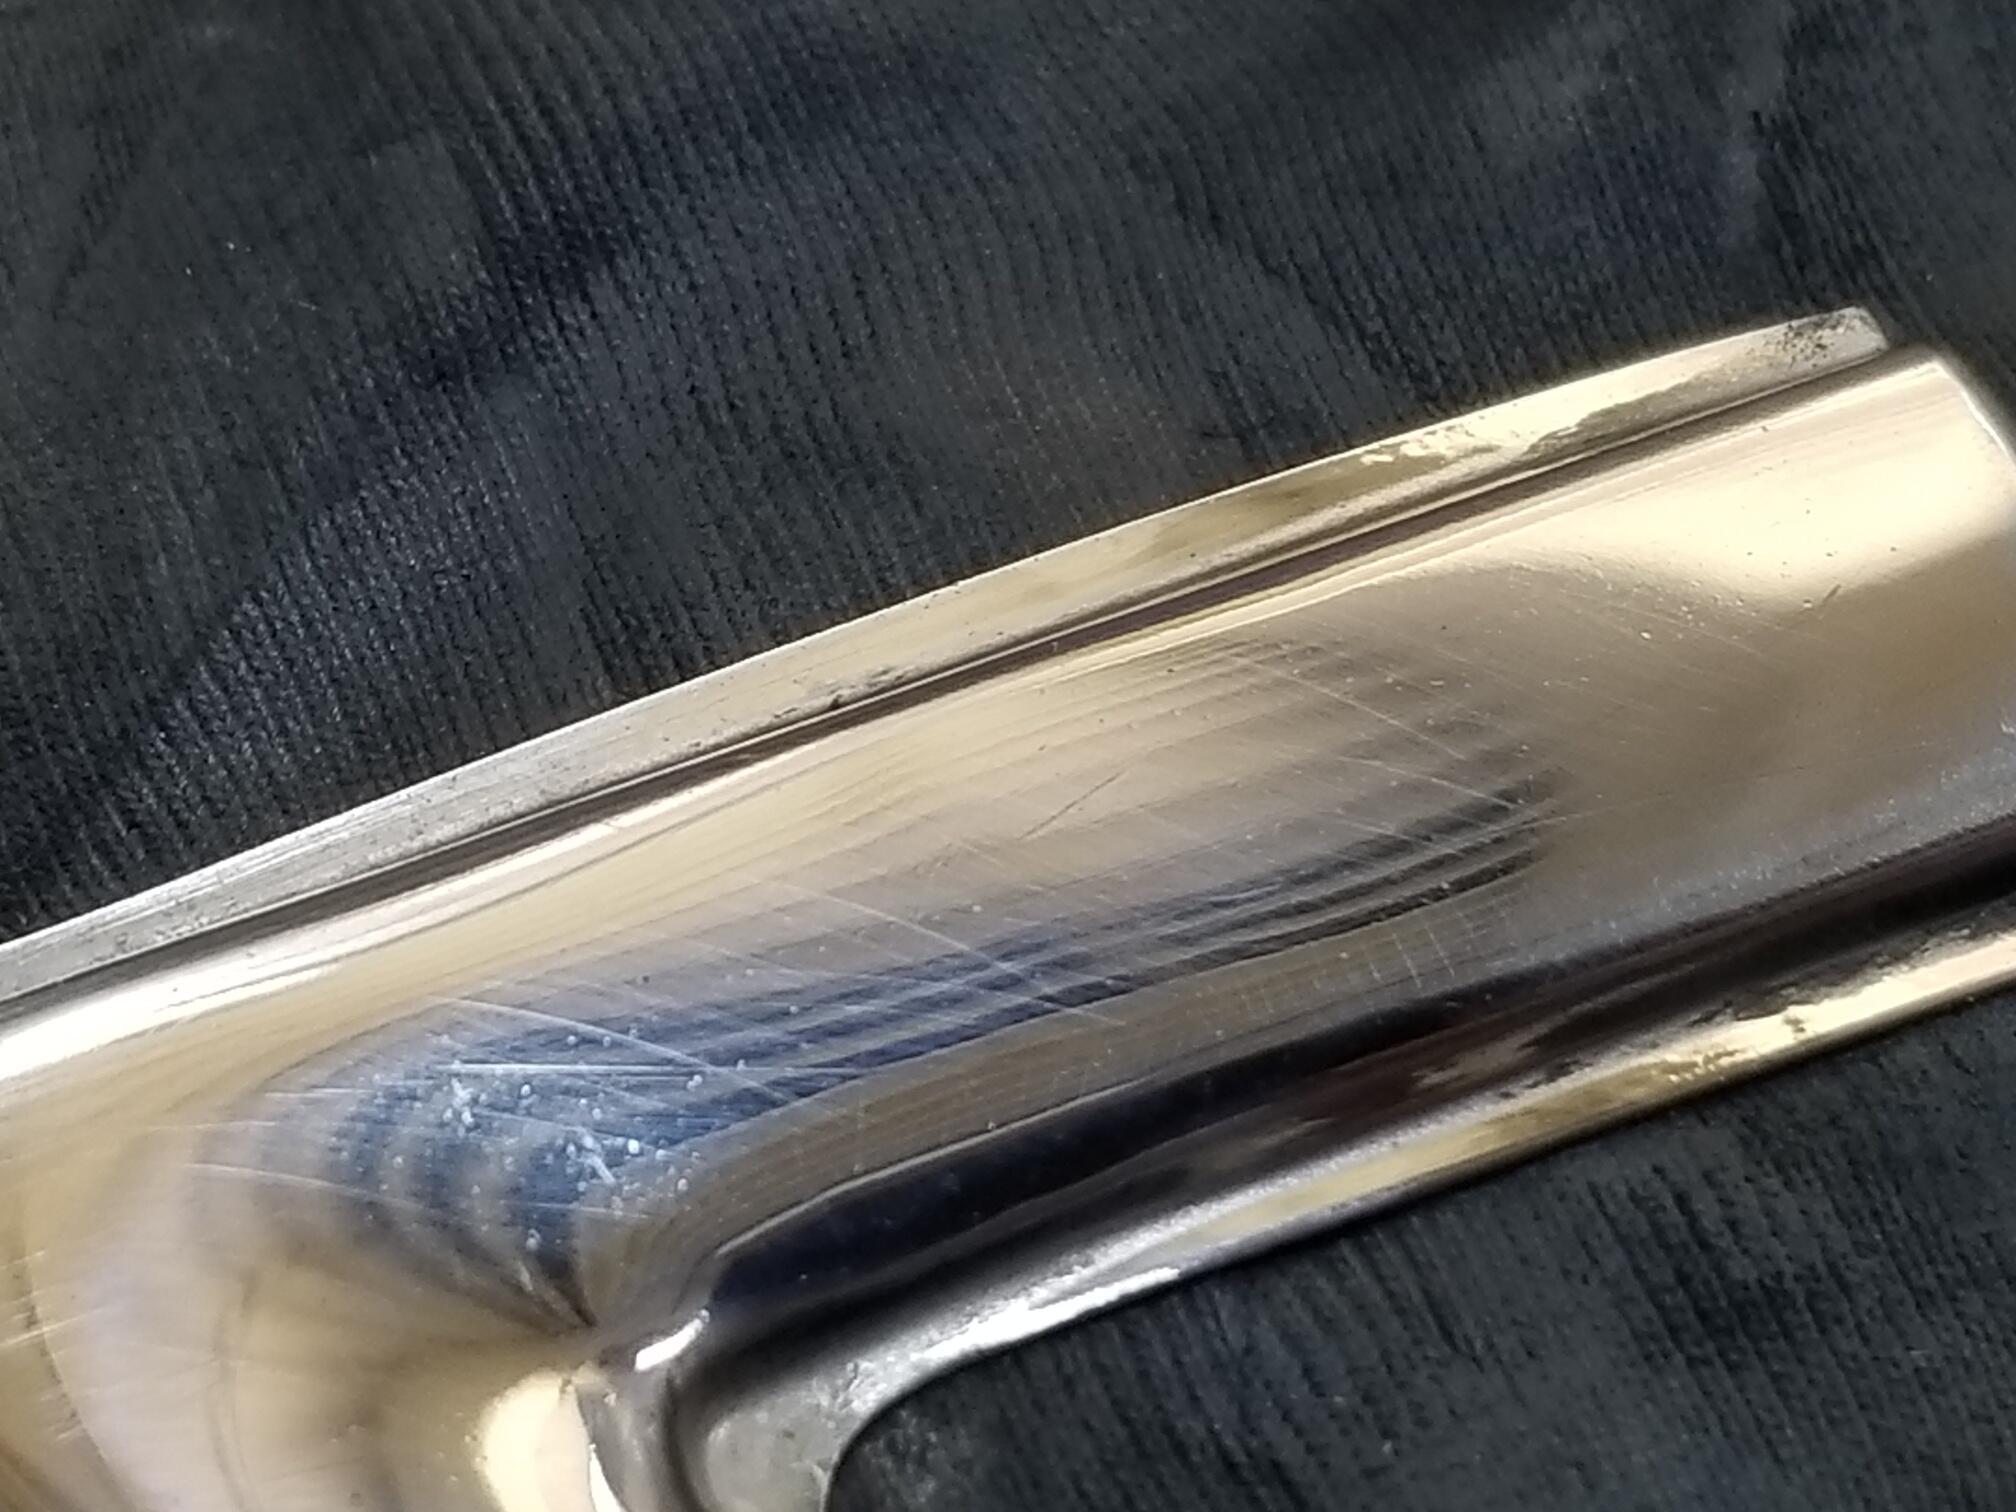
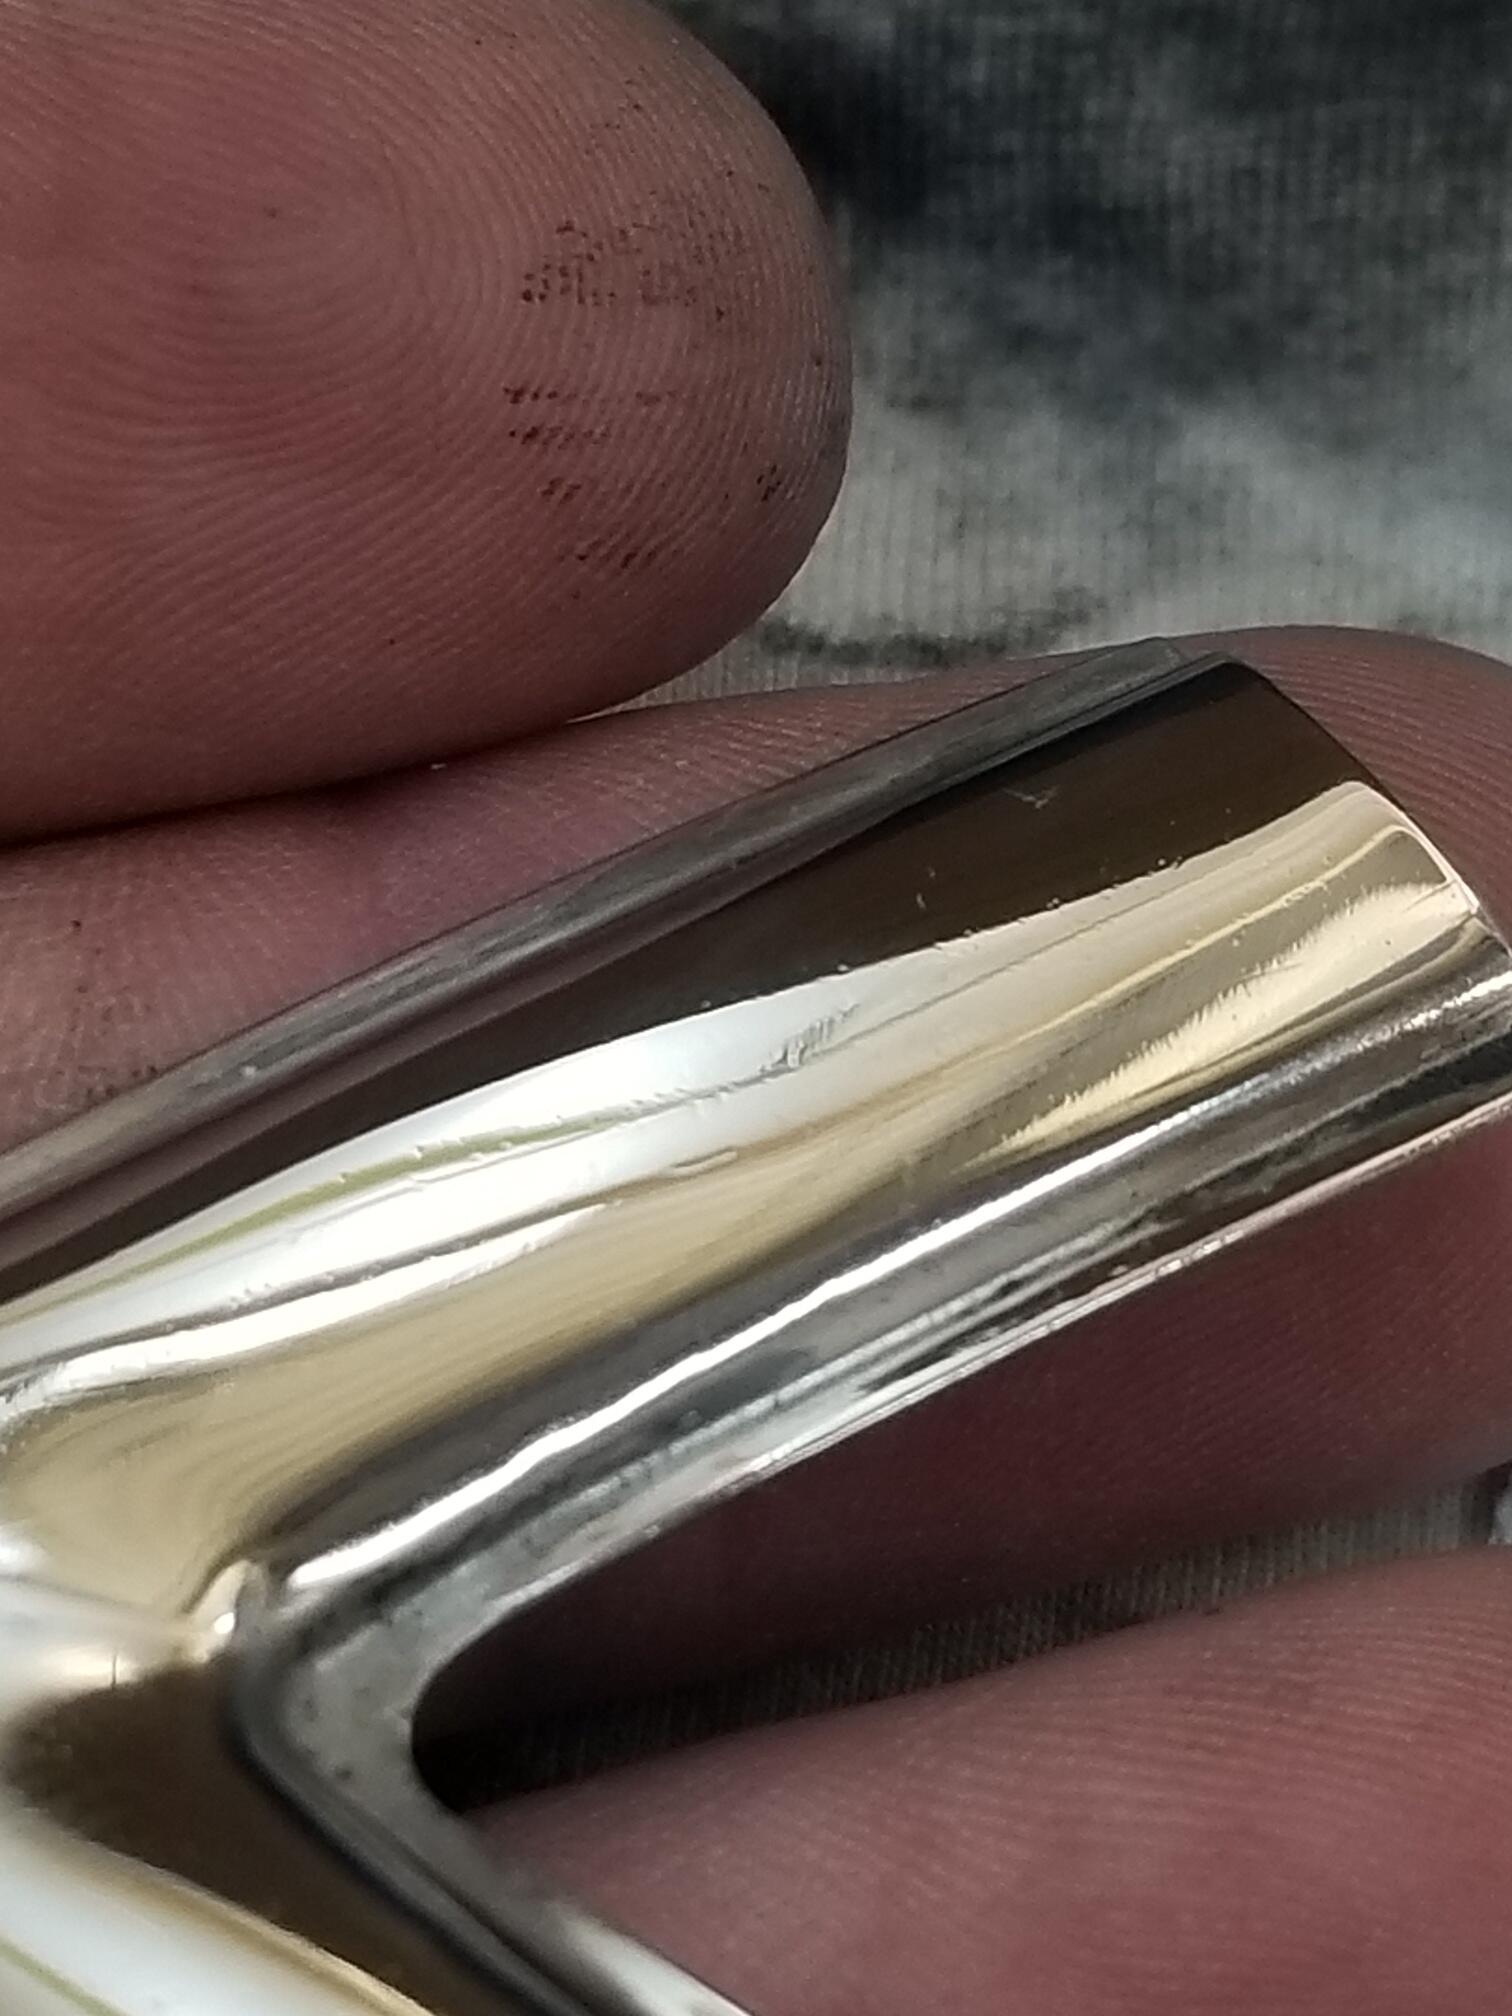
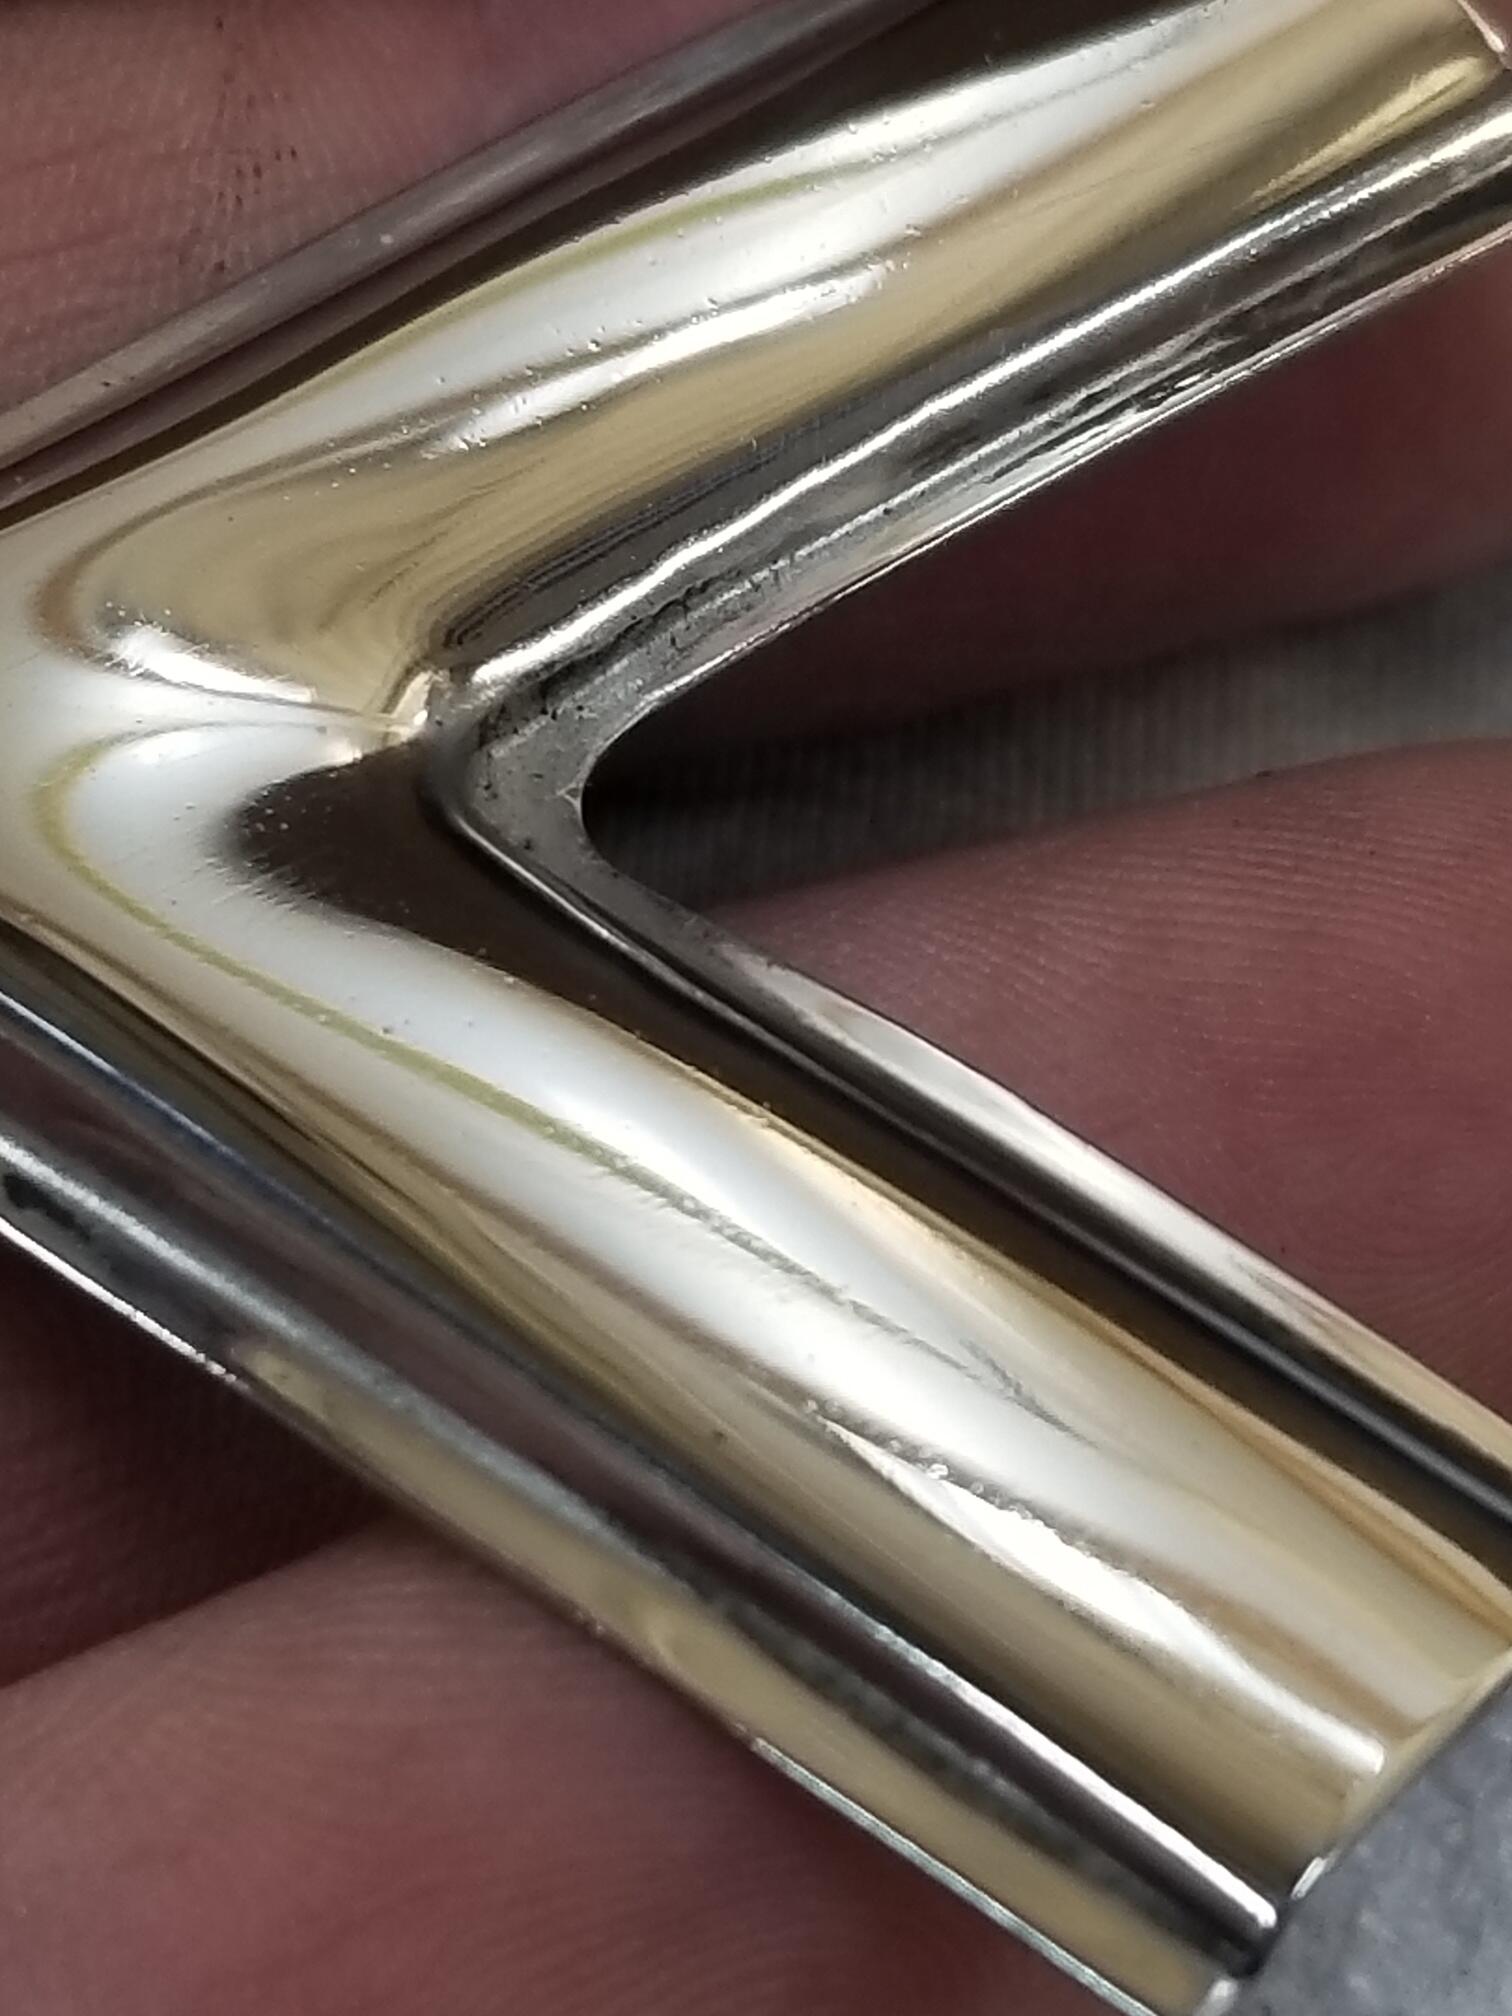
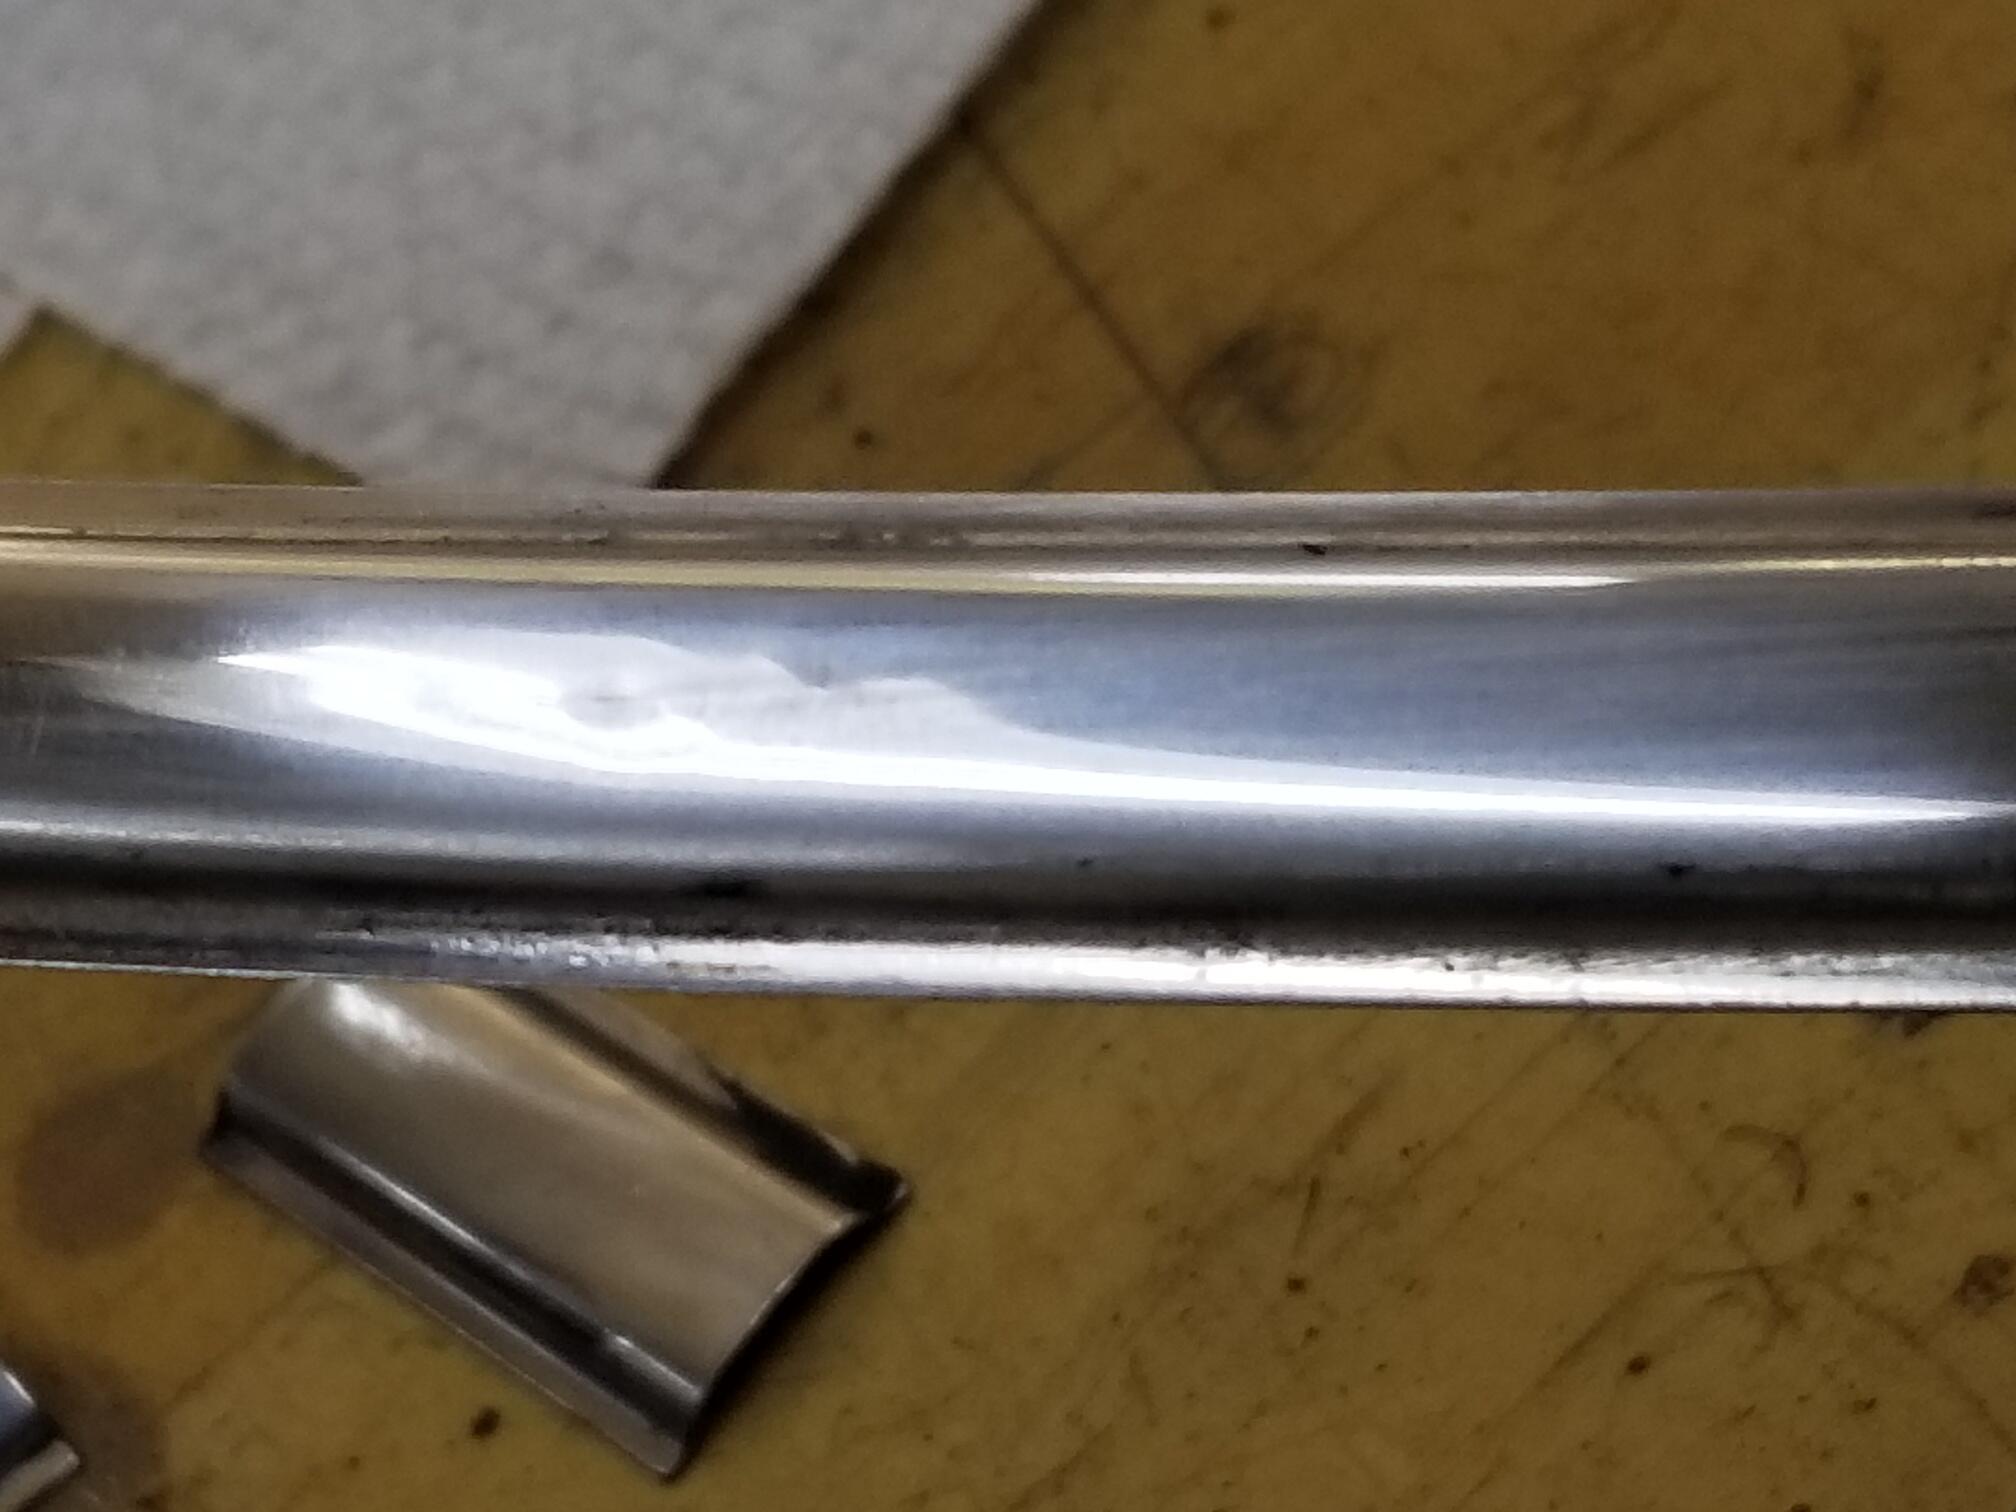
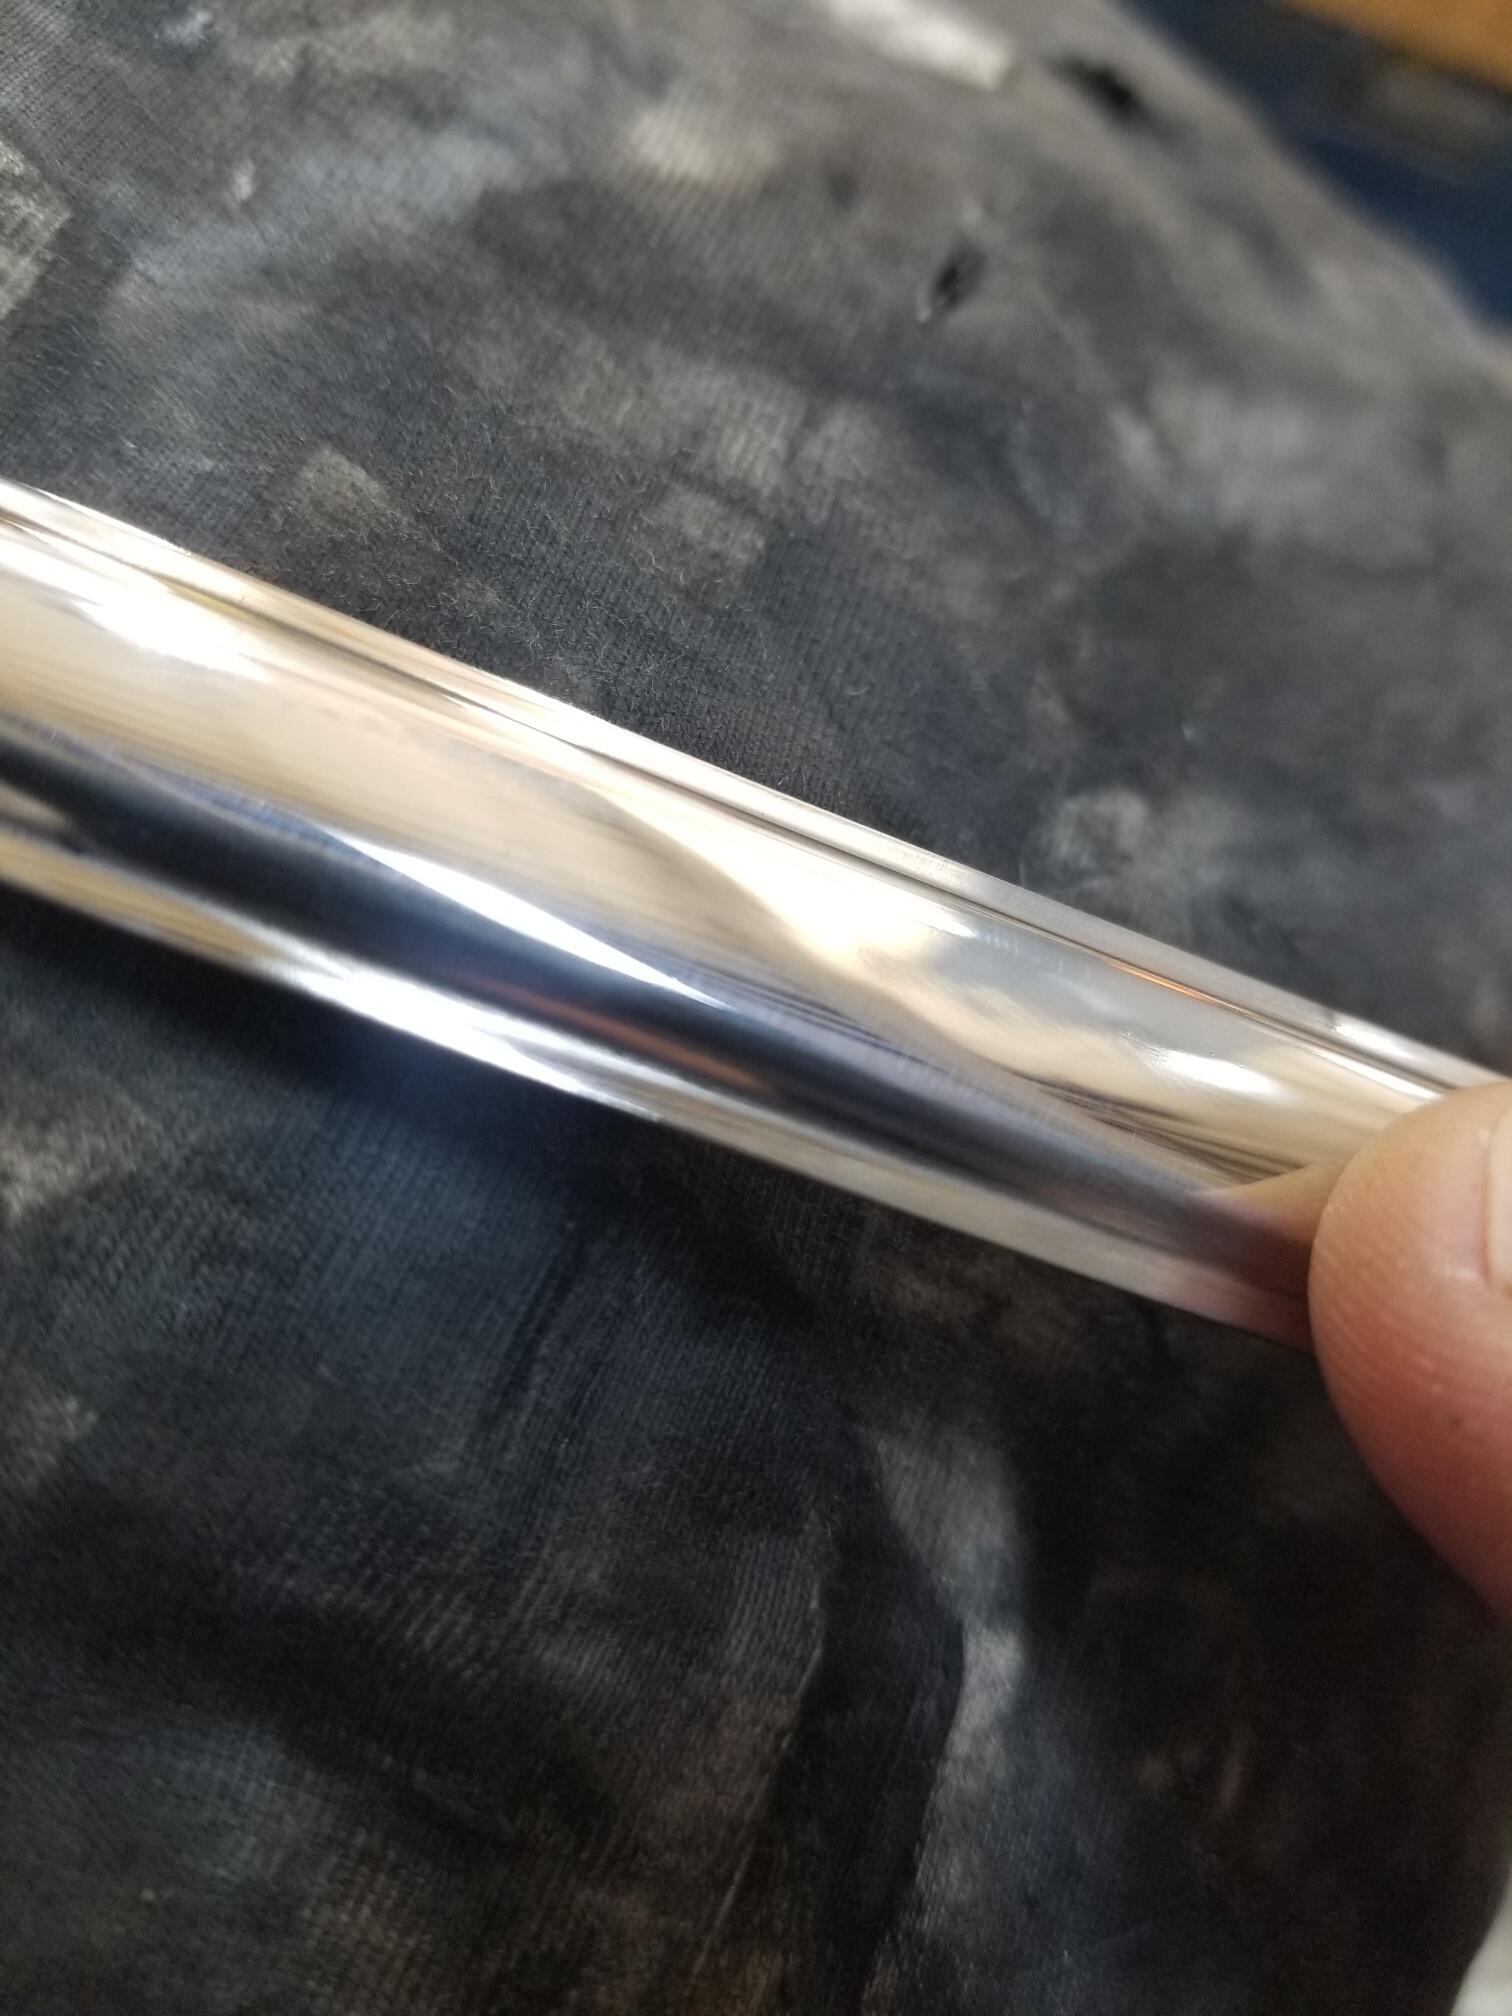
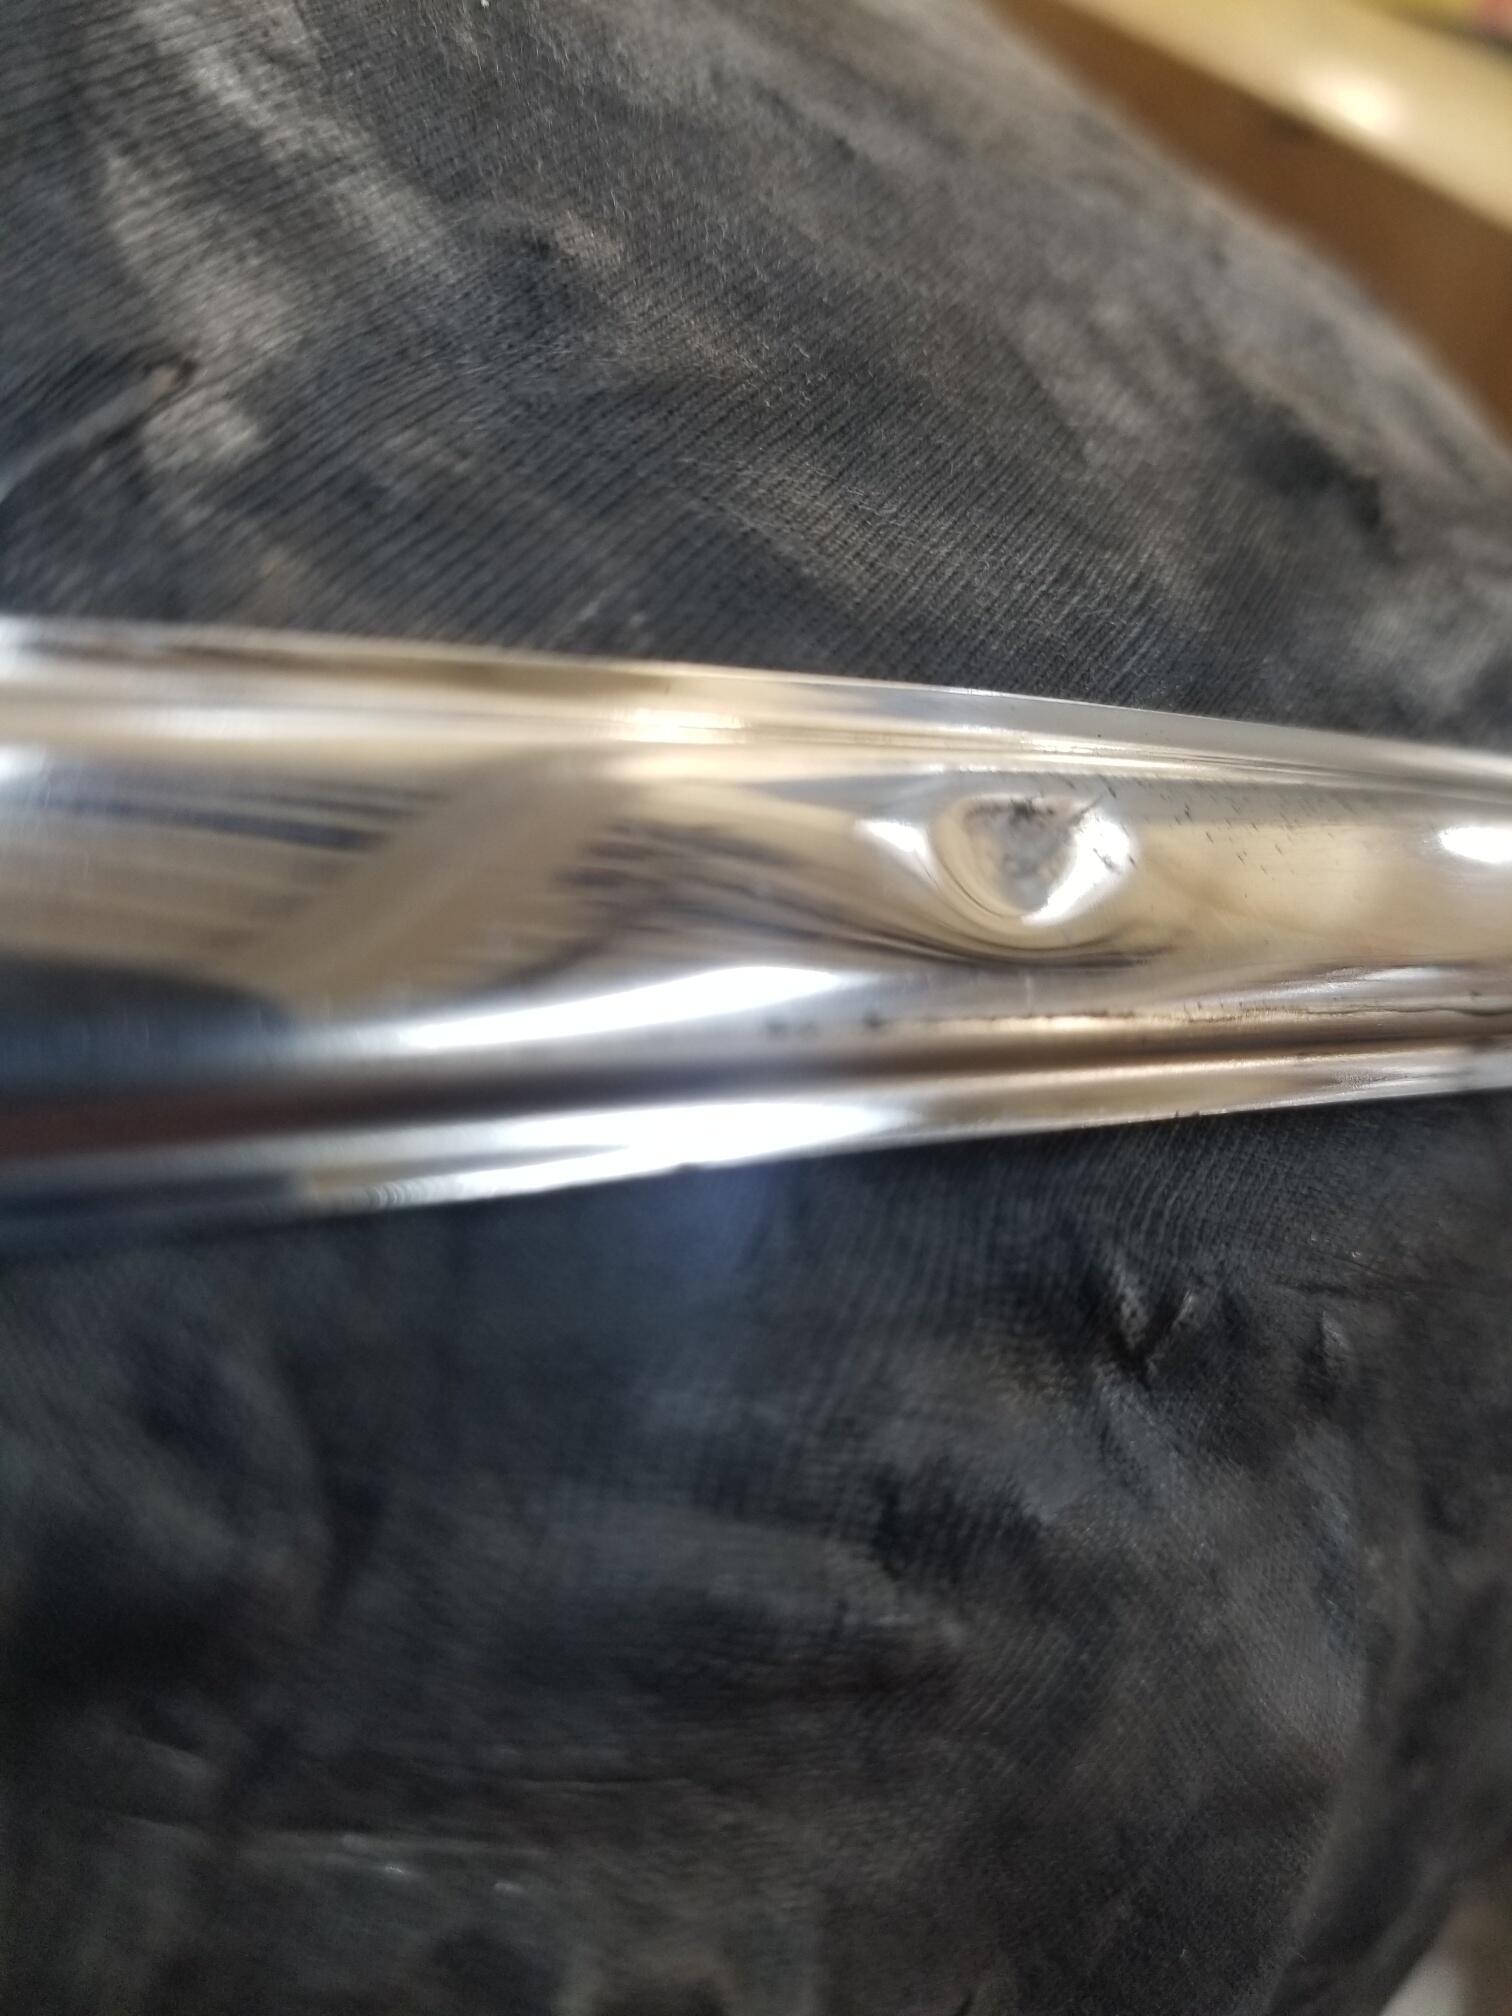
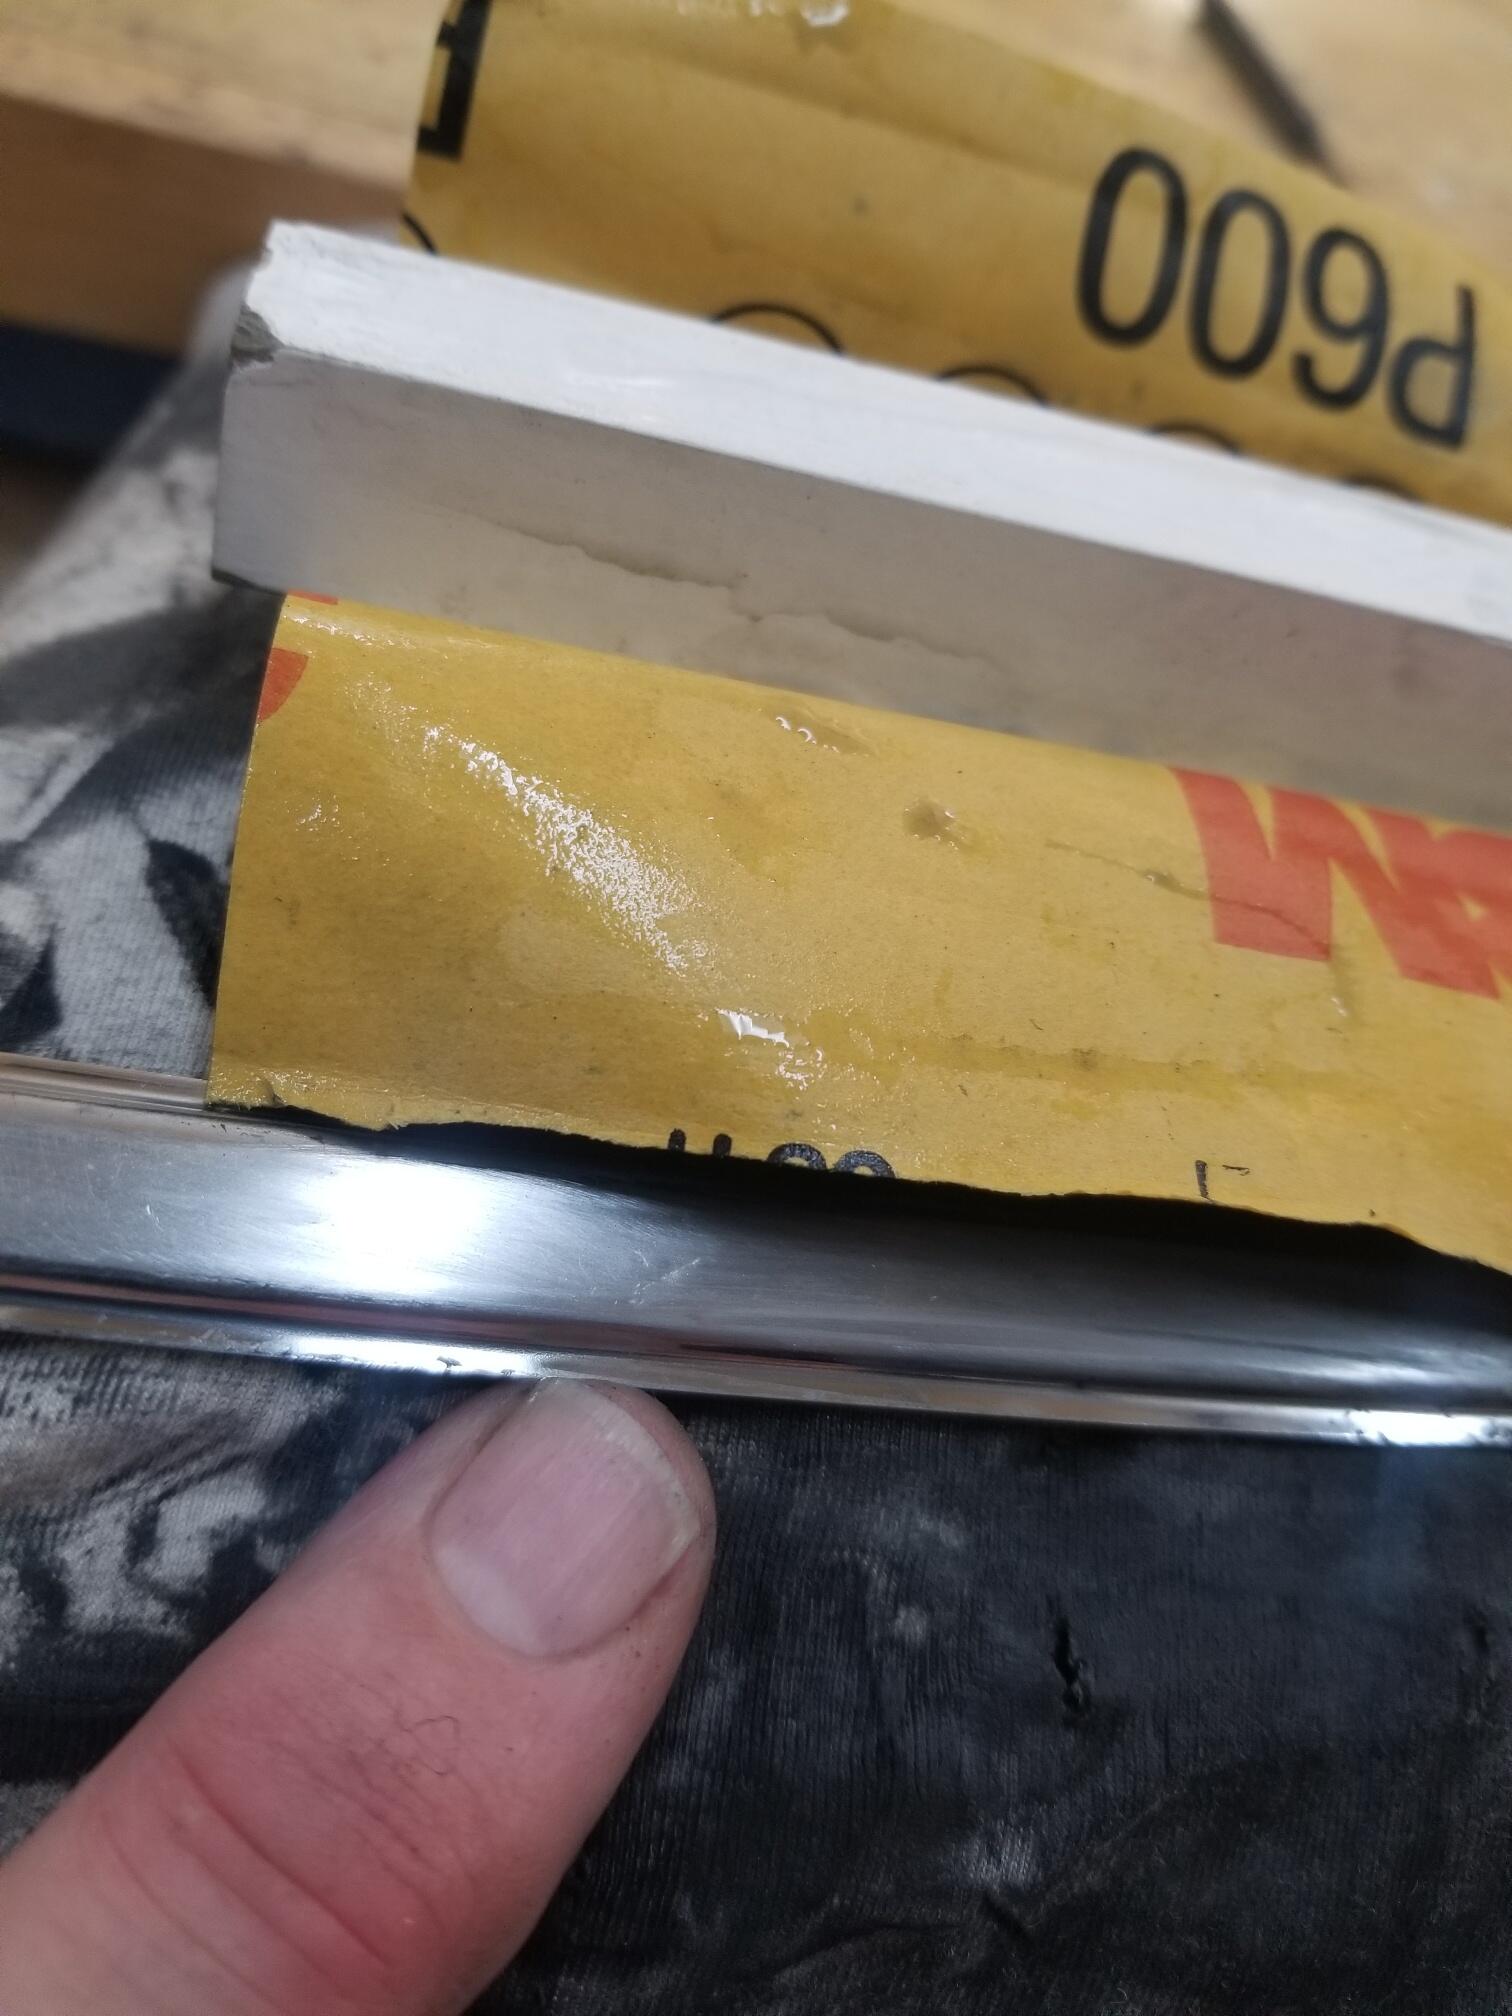
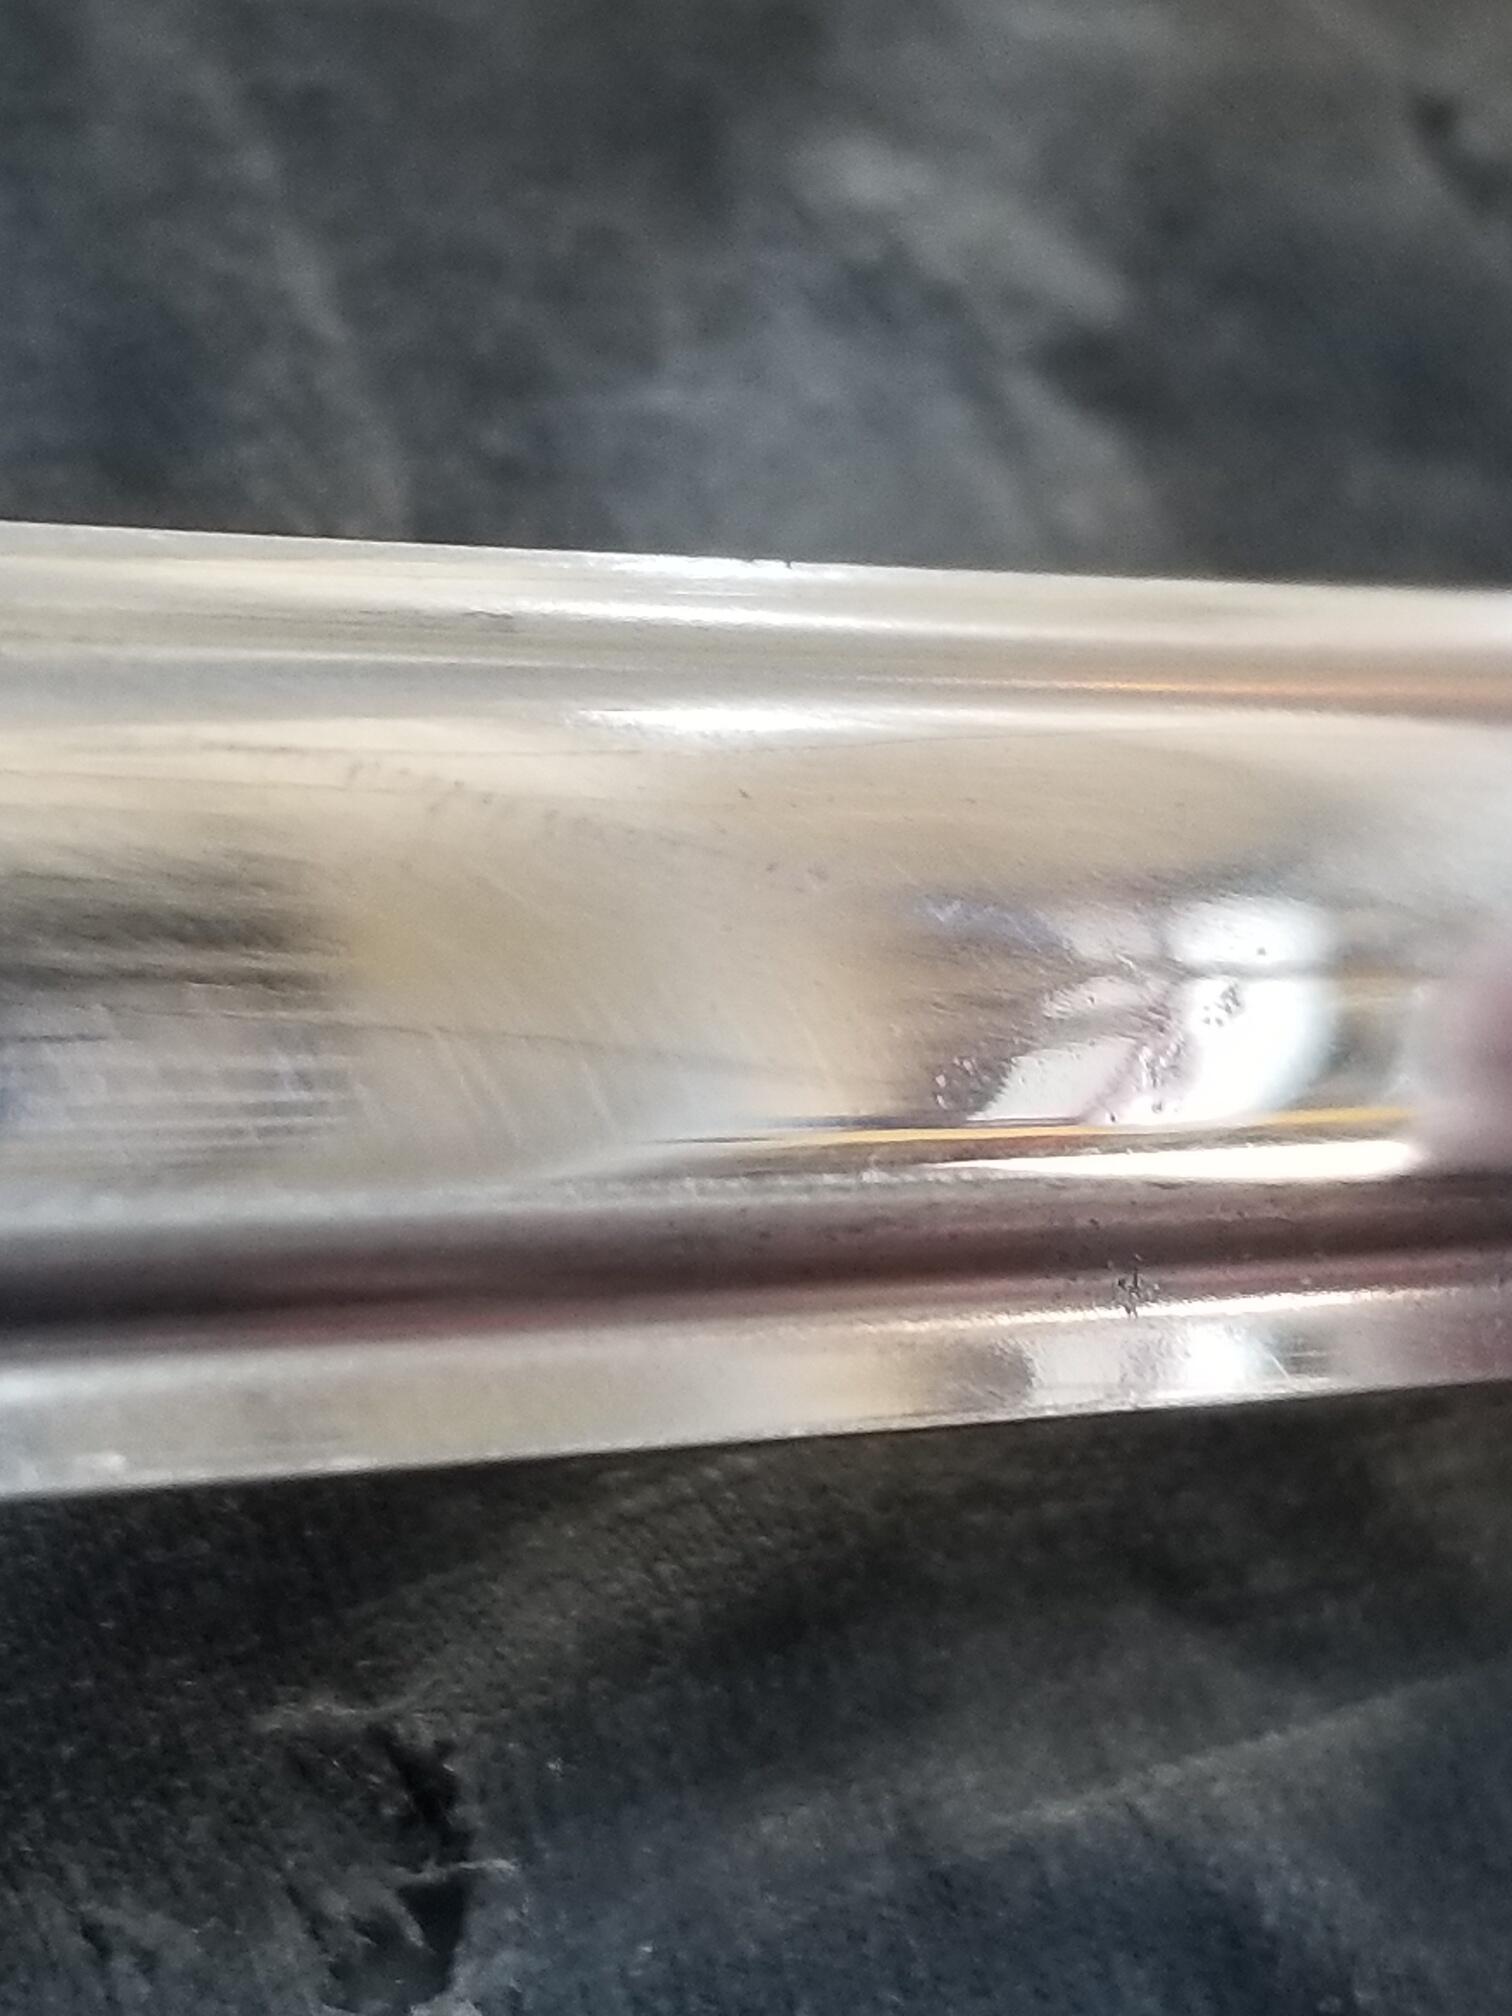
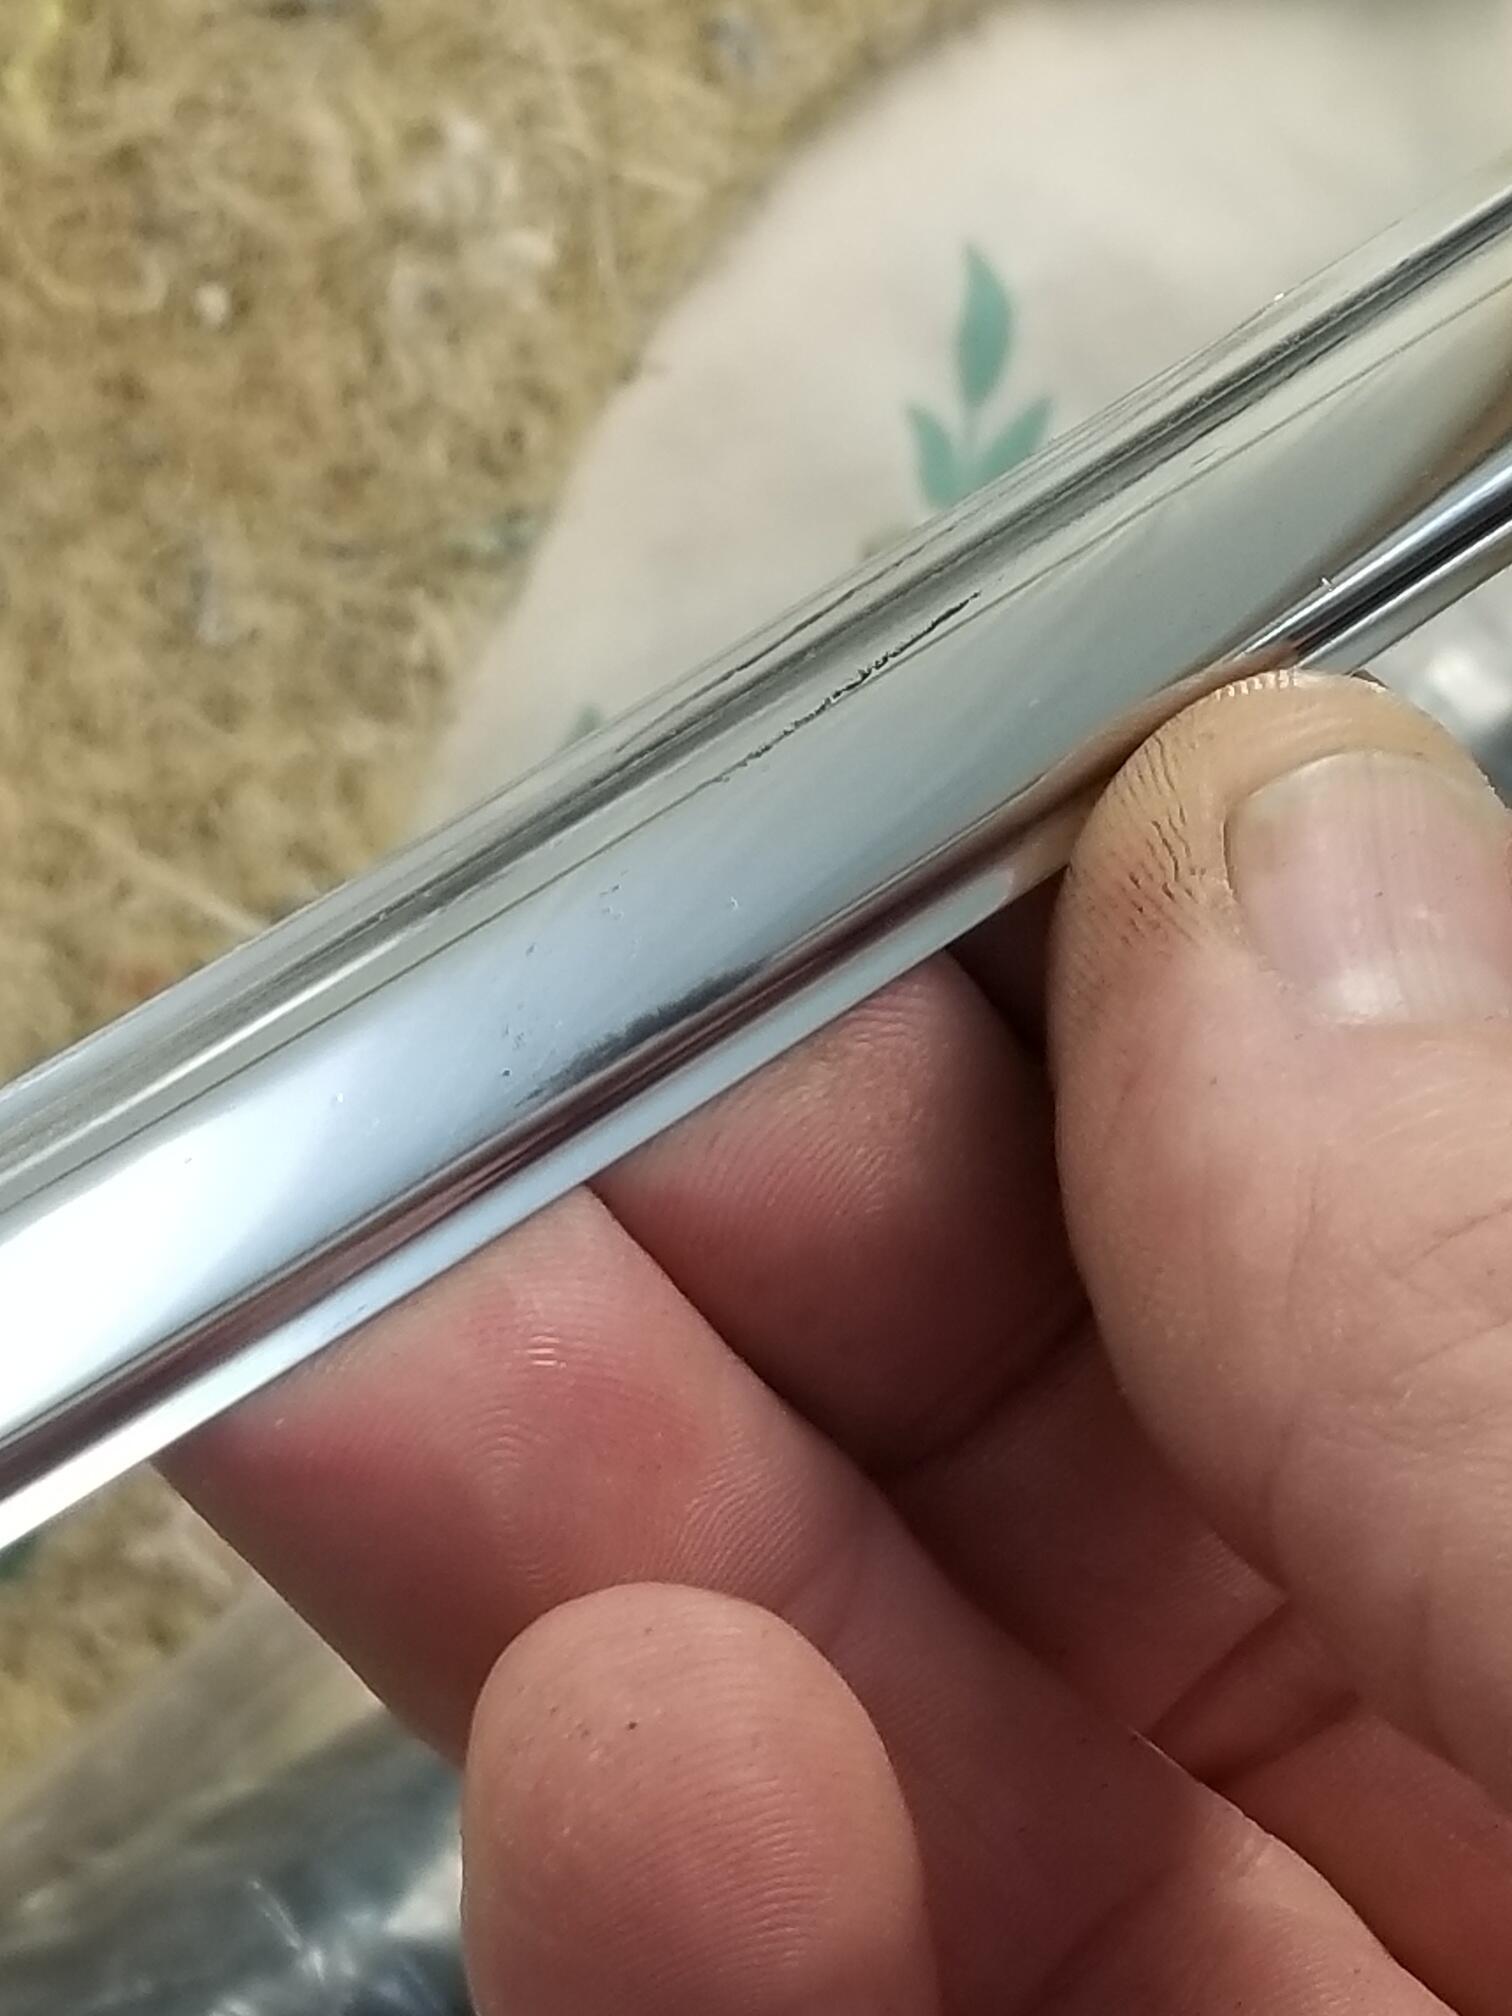
6 pointsSo a couple of weeks ago, I worked on the trim for the windshield. I had a couple of sets to choose from, but not all of them were perfect So I buffed this corner but you can still see some light scratching in it. So I sanded at 1000 grit and rebuffed Now they look like this Original condition, I first cleaned with lacquer thinner I had this damage from disassembly. It got distorted trying to pull it out of the old seal So some light dolly, hammer and punch work. Then block sand and buff After my first try, I went back and used a little courser grit, worked my way up and rebuffed So I had this dent to deal with. Started with dollies and punches Gets you to here Then block sanding. A little piece of wood square block. I started with 600 grit. Then 800, 1000, 1200, 1500 Then jeweler's rouge This is where I ended up. It all looks good unless you get really close


 6 points
 -
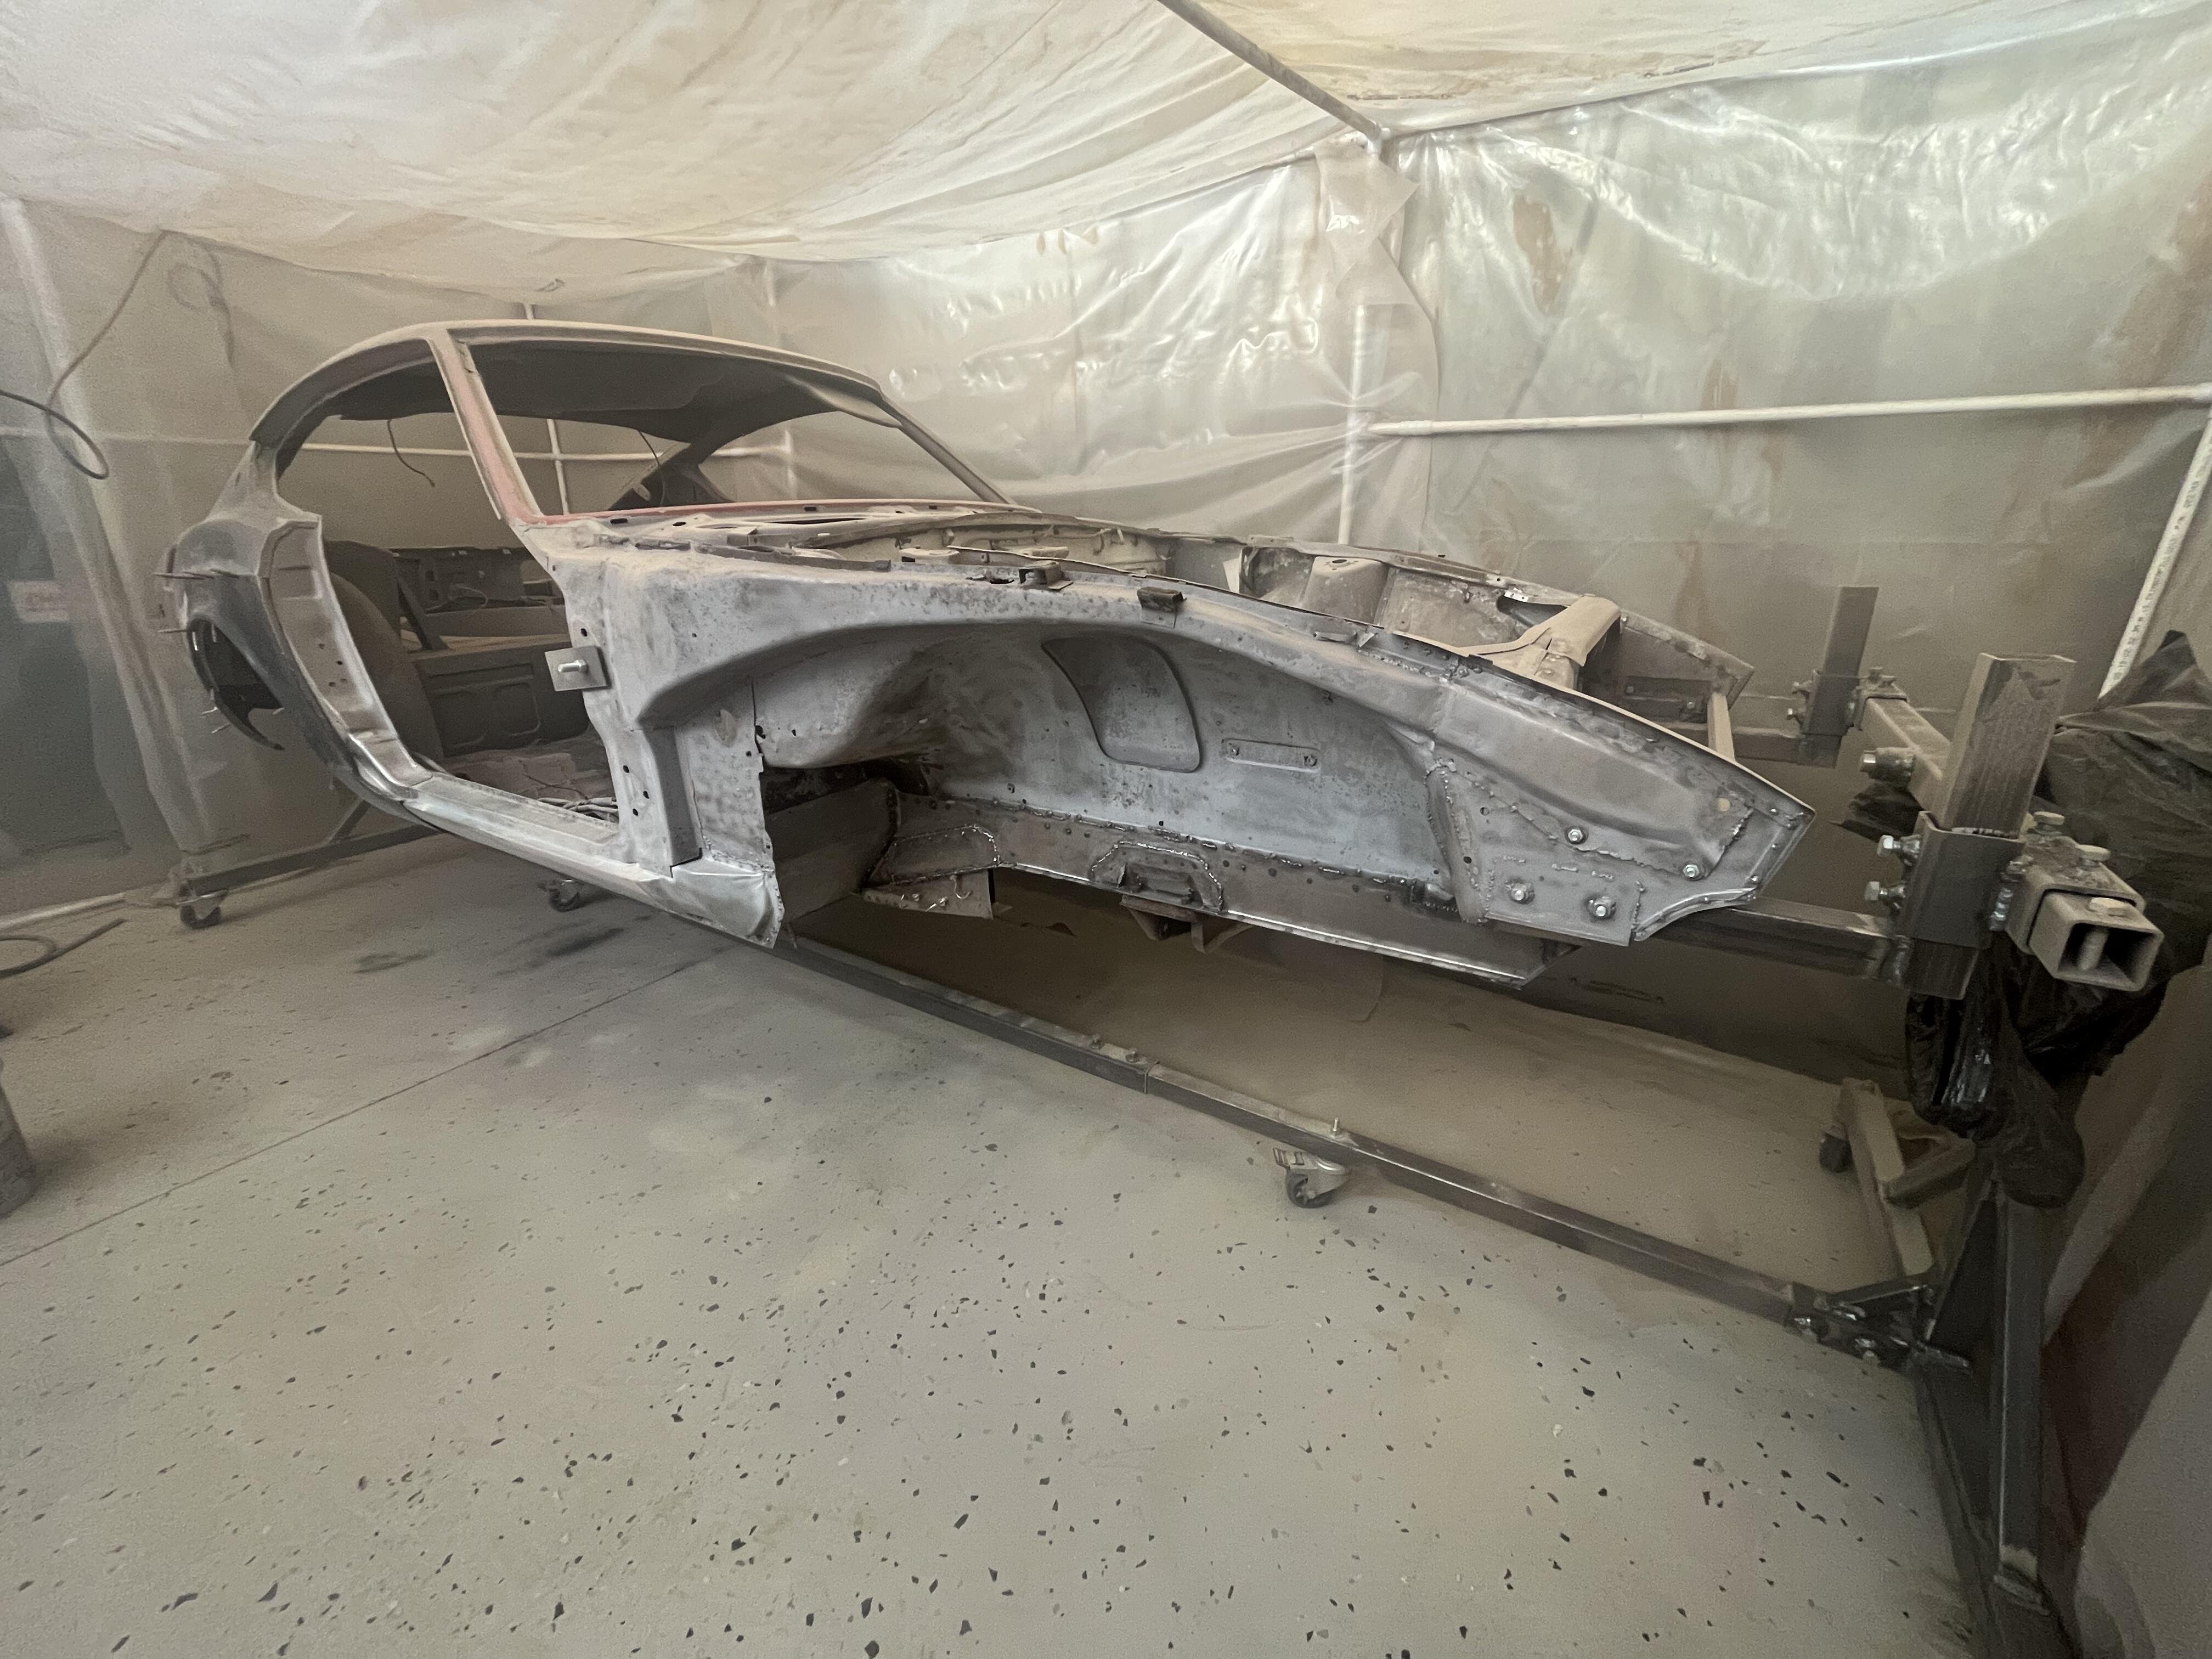
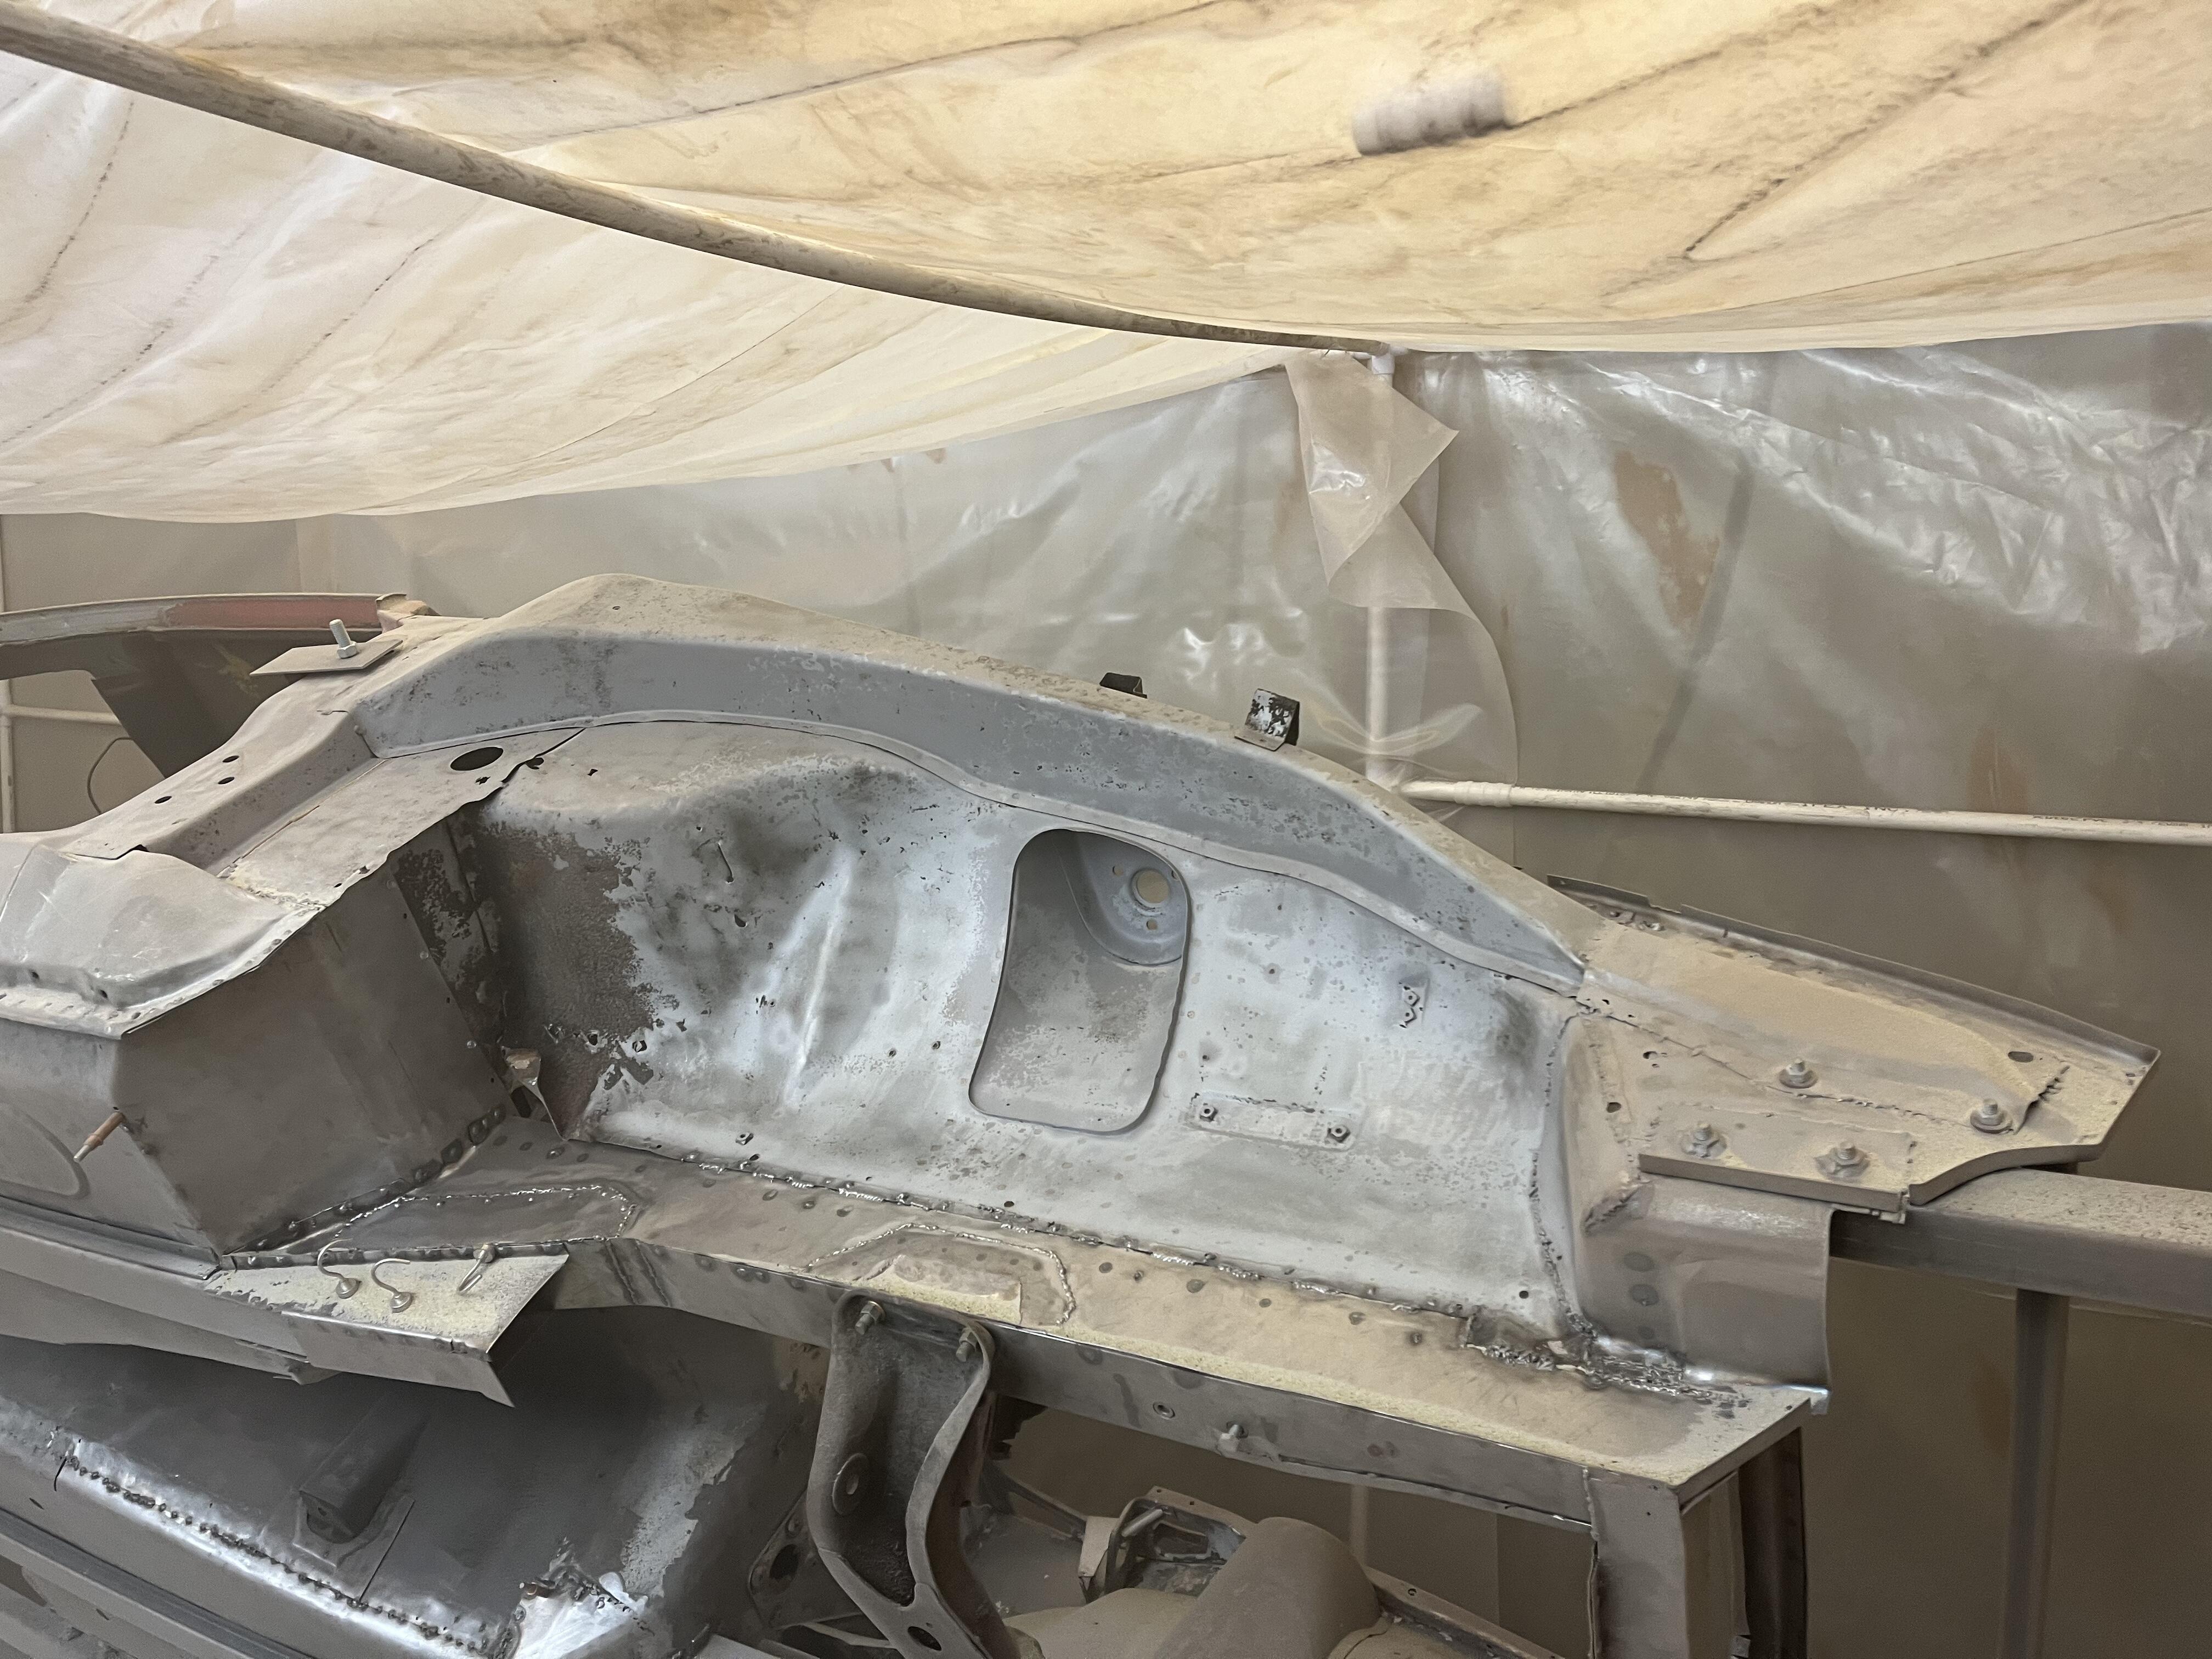
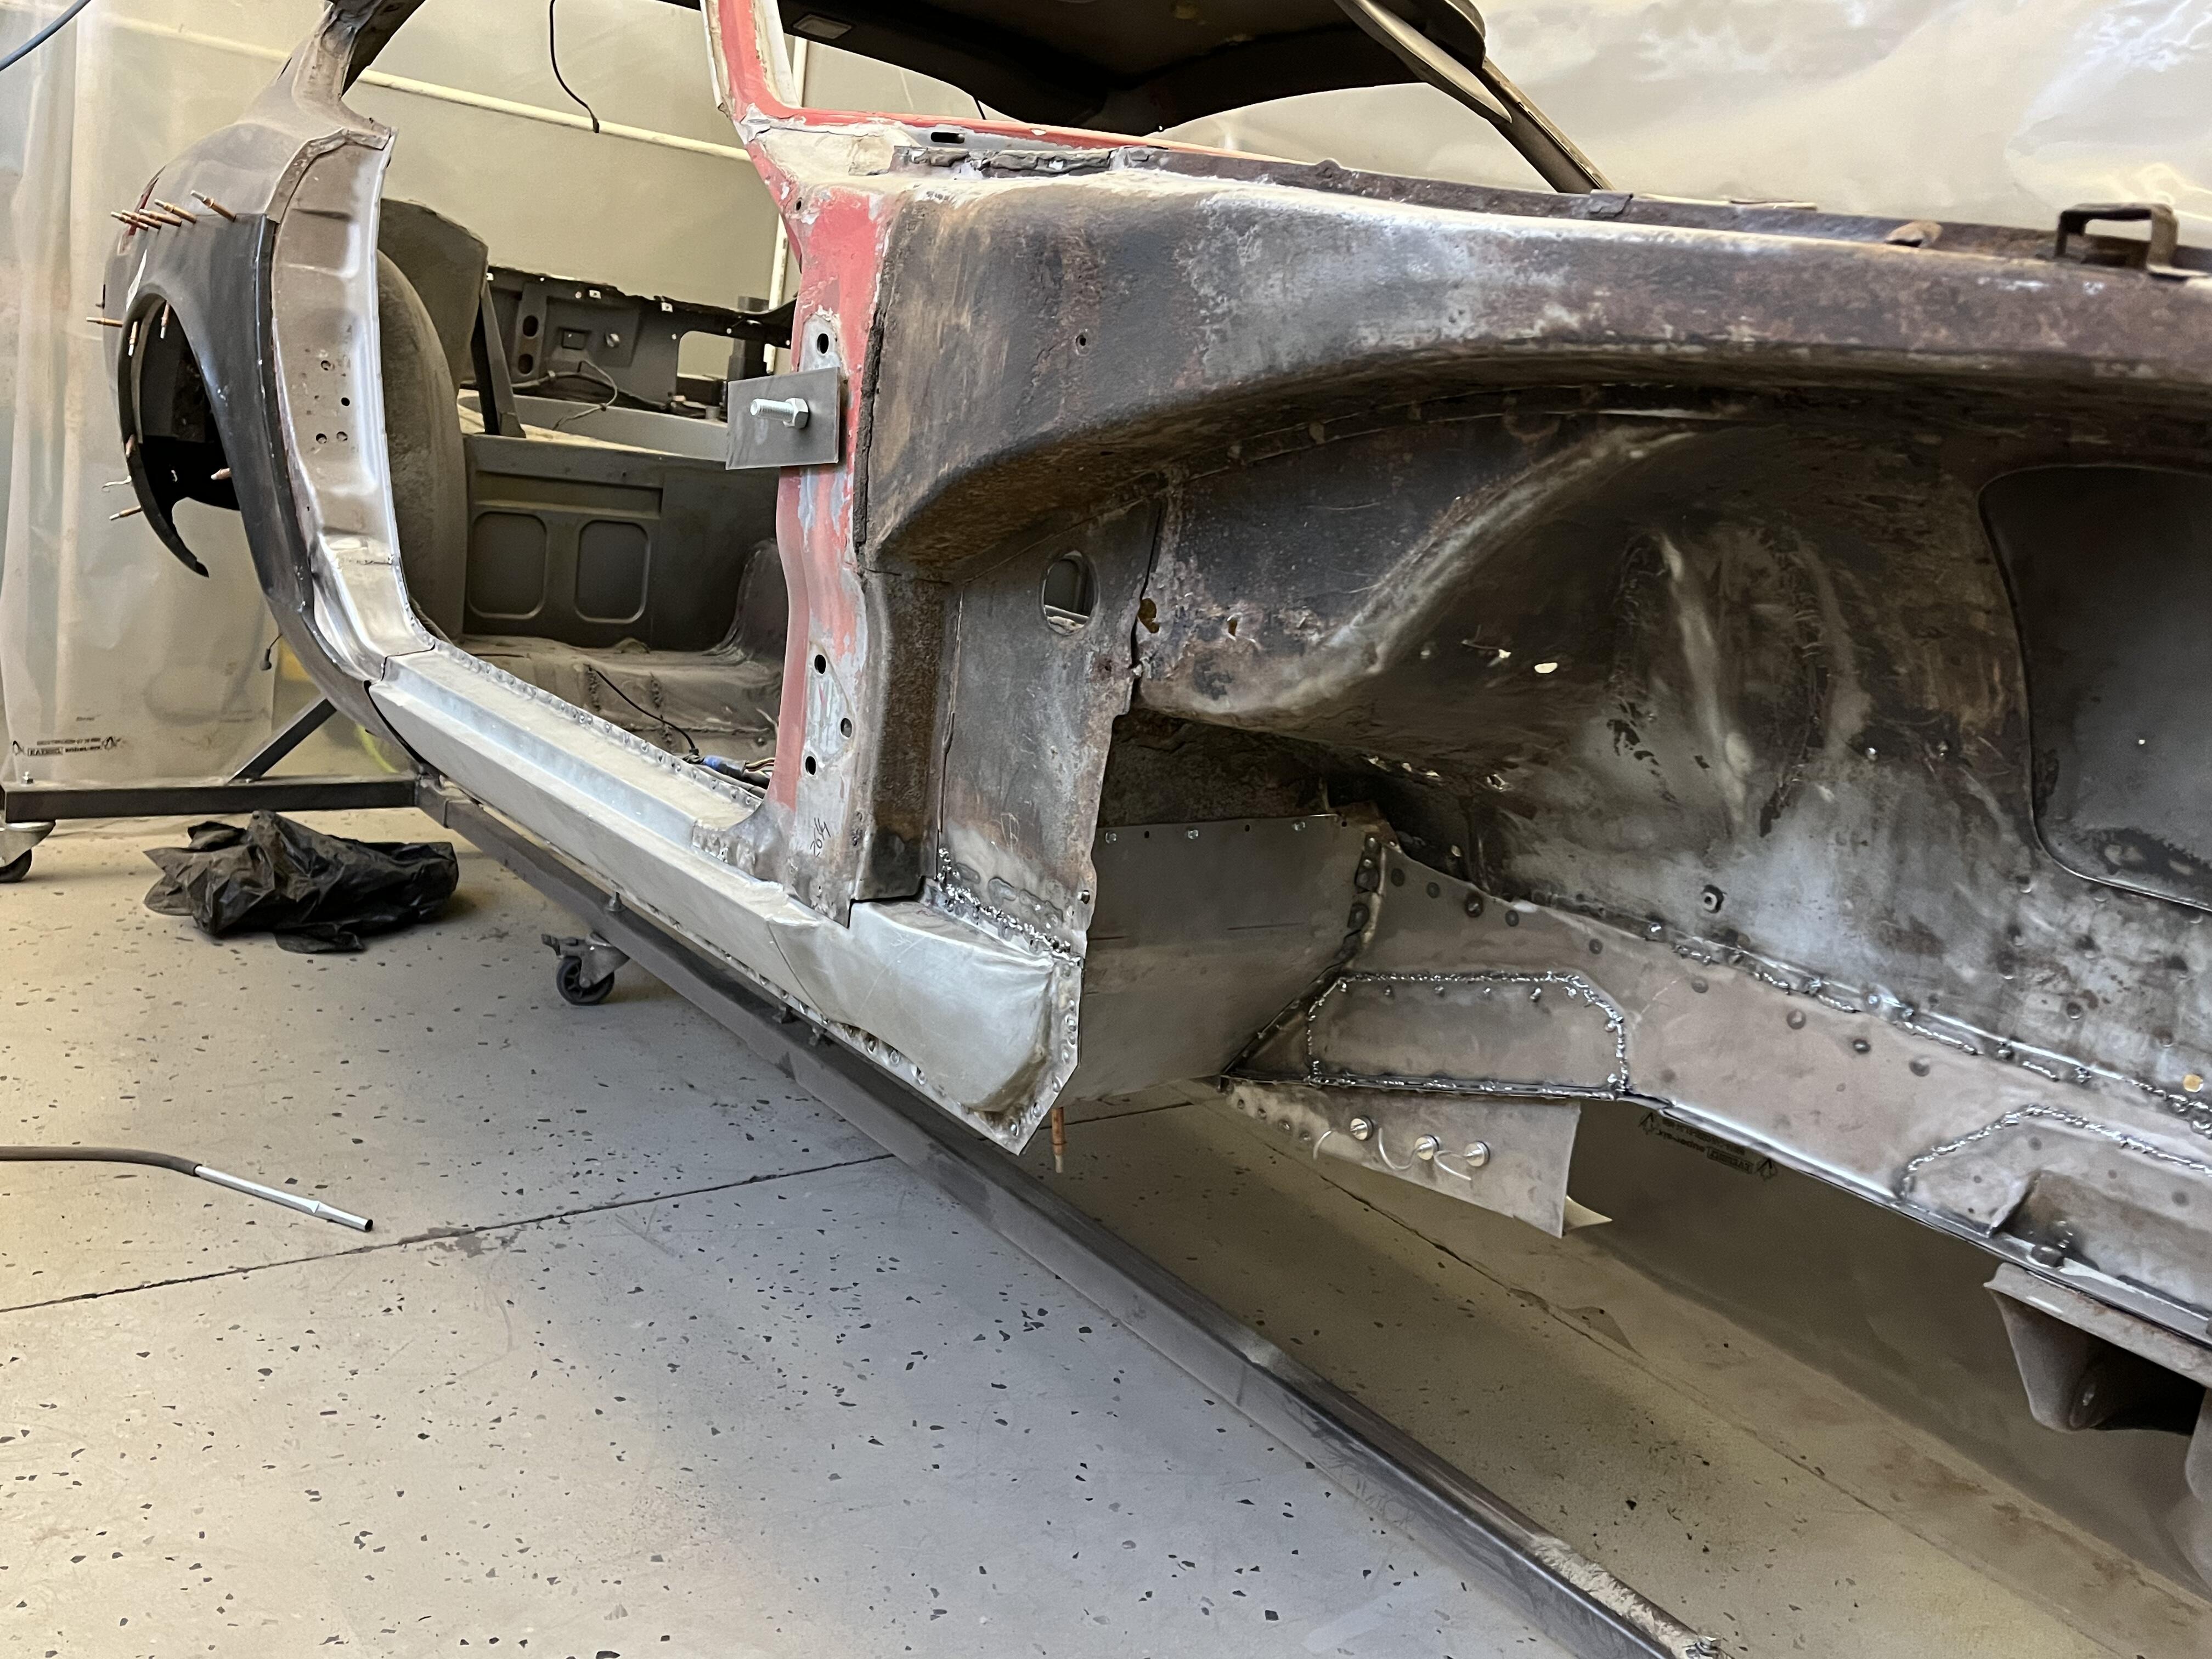
5 pointsAnother 2.5 hours with the blaster...recycled glass this time. It cuts great but it's dustier. 2.5 hours is about the maximum even with full PPE because it gets dusty to the point where you can't see. I might add a slow downdraft fan (but trying to keep this booth cheap and temporary).... Again...super happy to see so much good metal. Looks like I've cut out most of the cancer already...(ran out of time before getting the last bit by the firewall. It should come right off next session) Before ... She's come a long way back ...


 5 points
 -
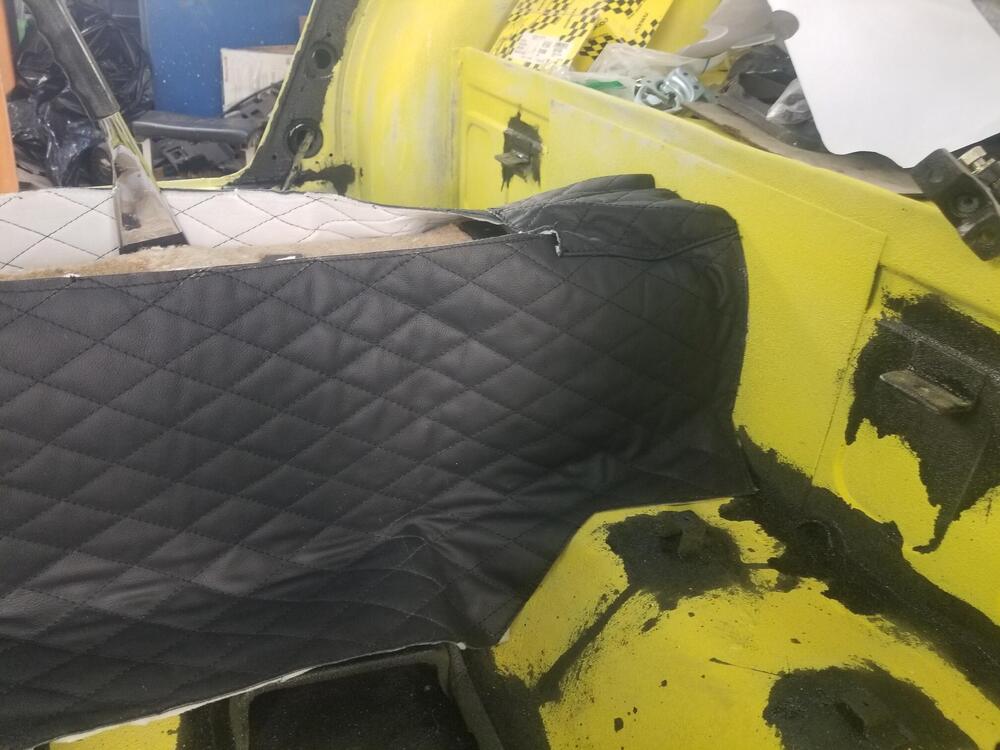
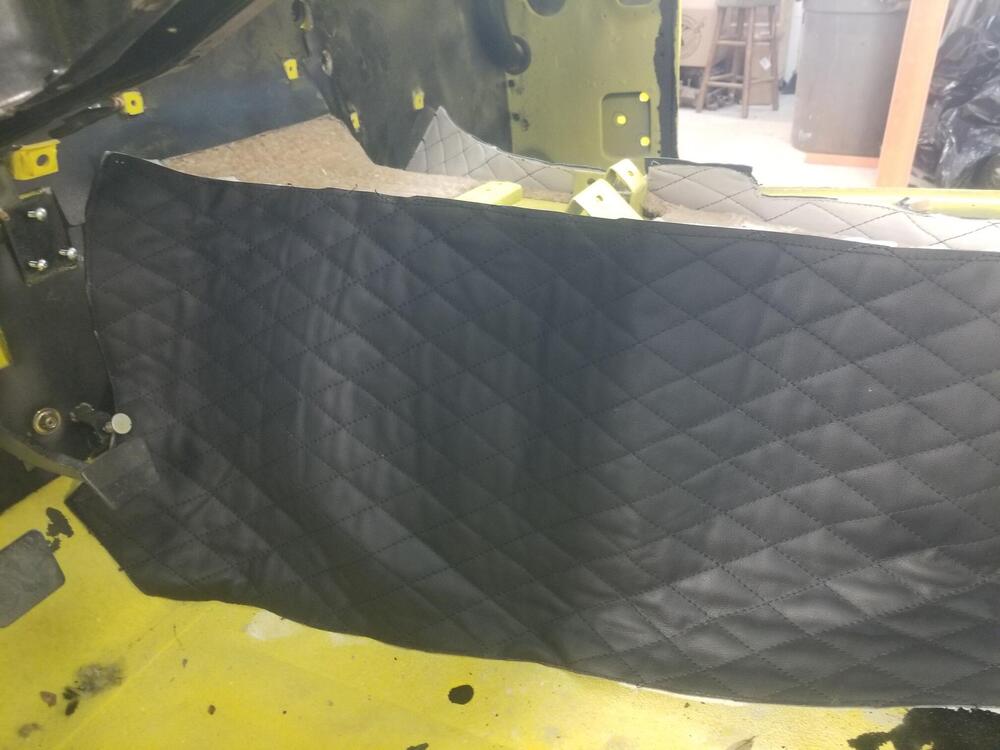
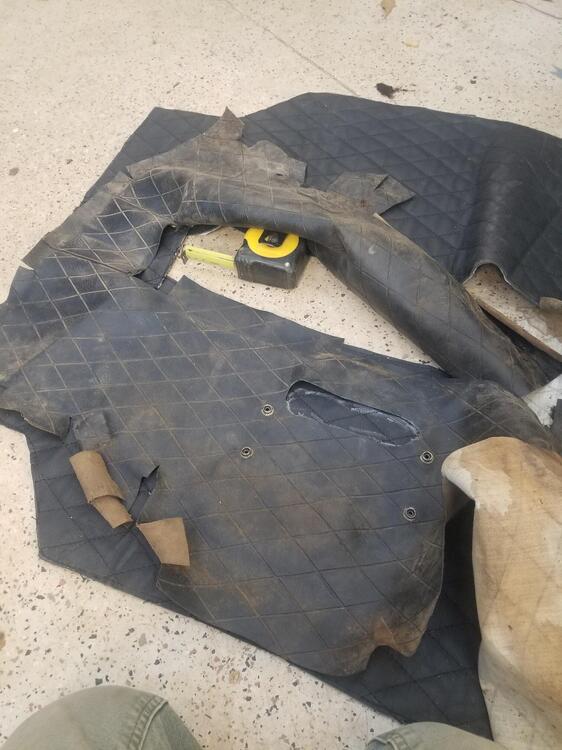
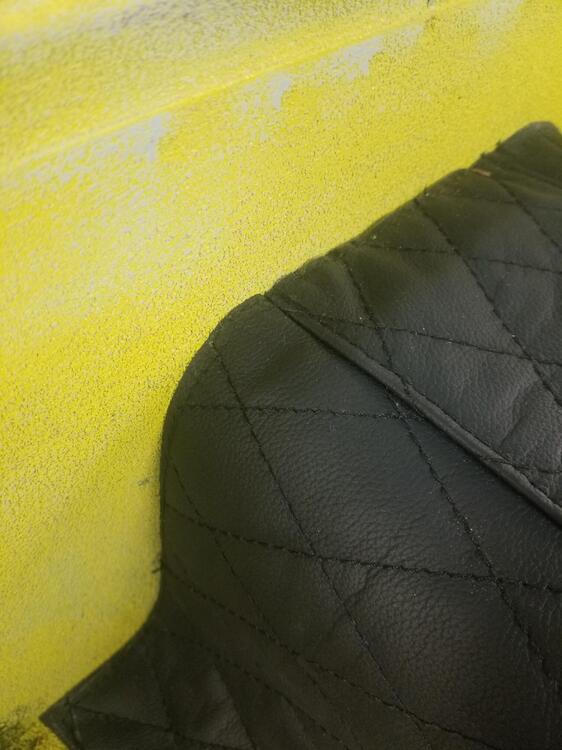
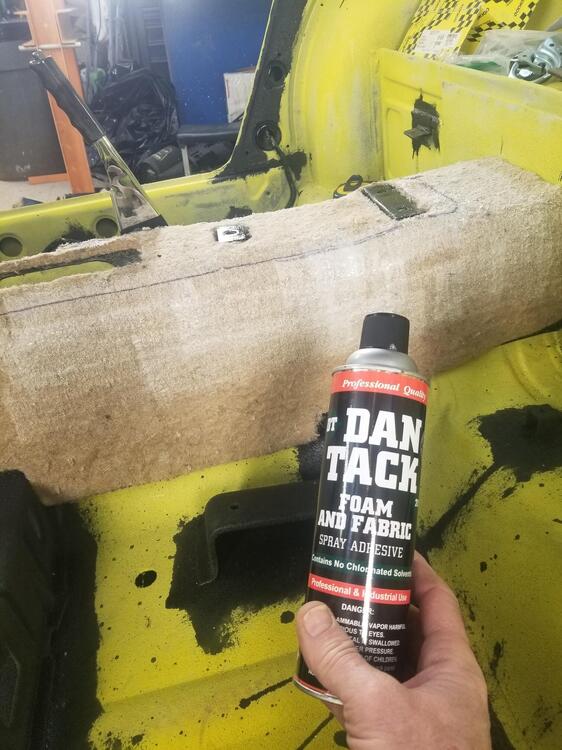
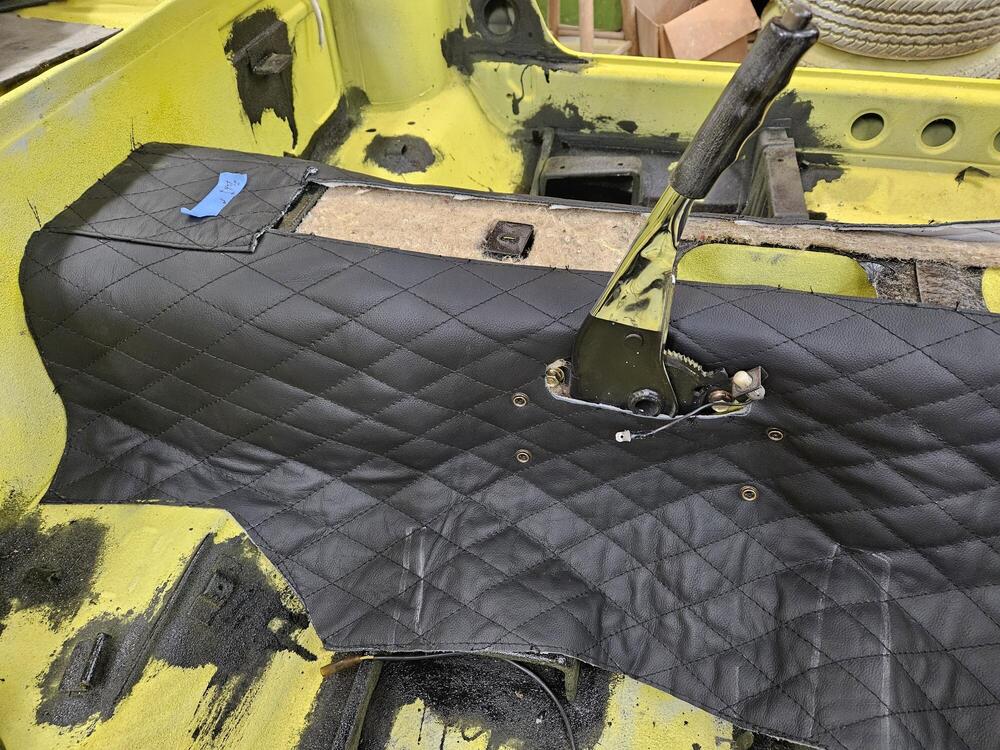
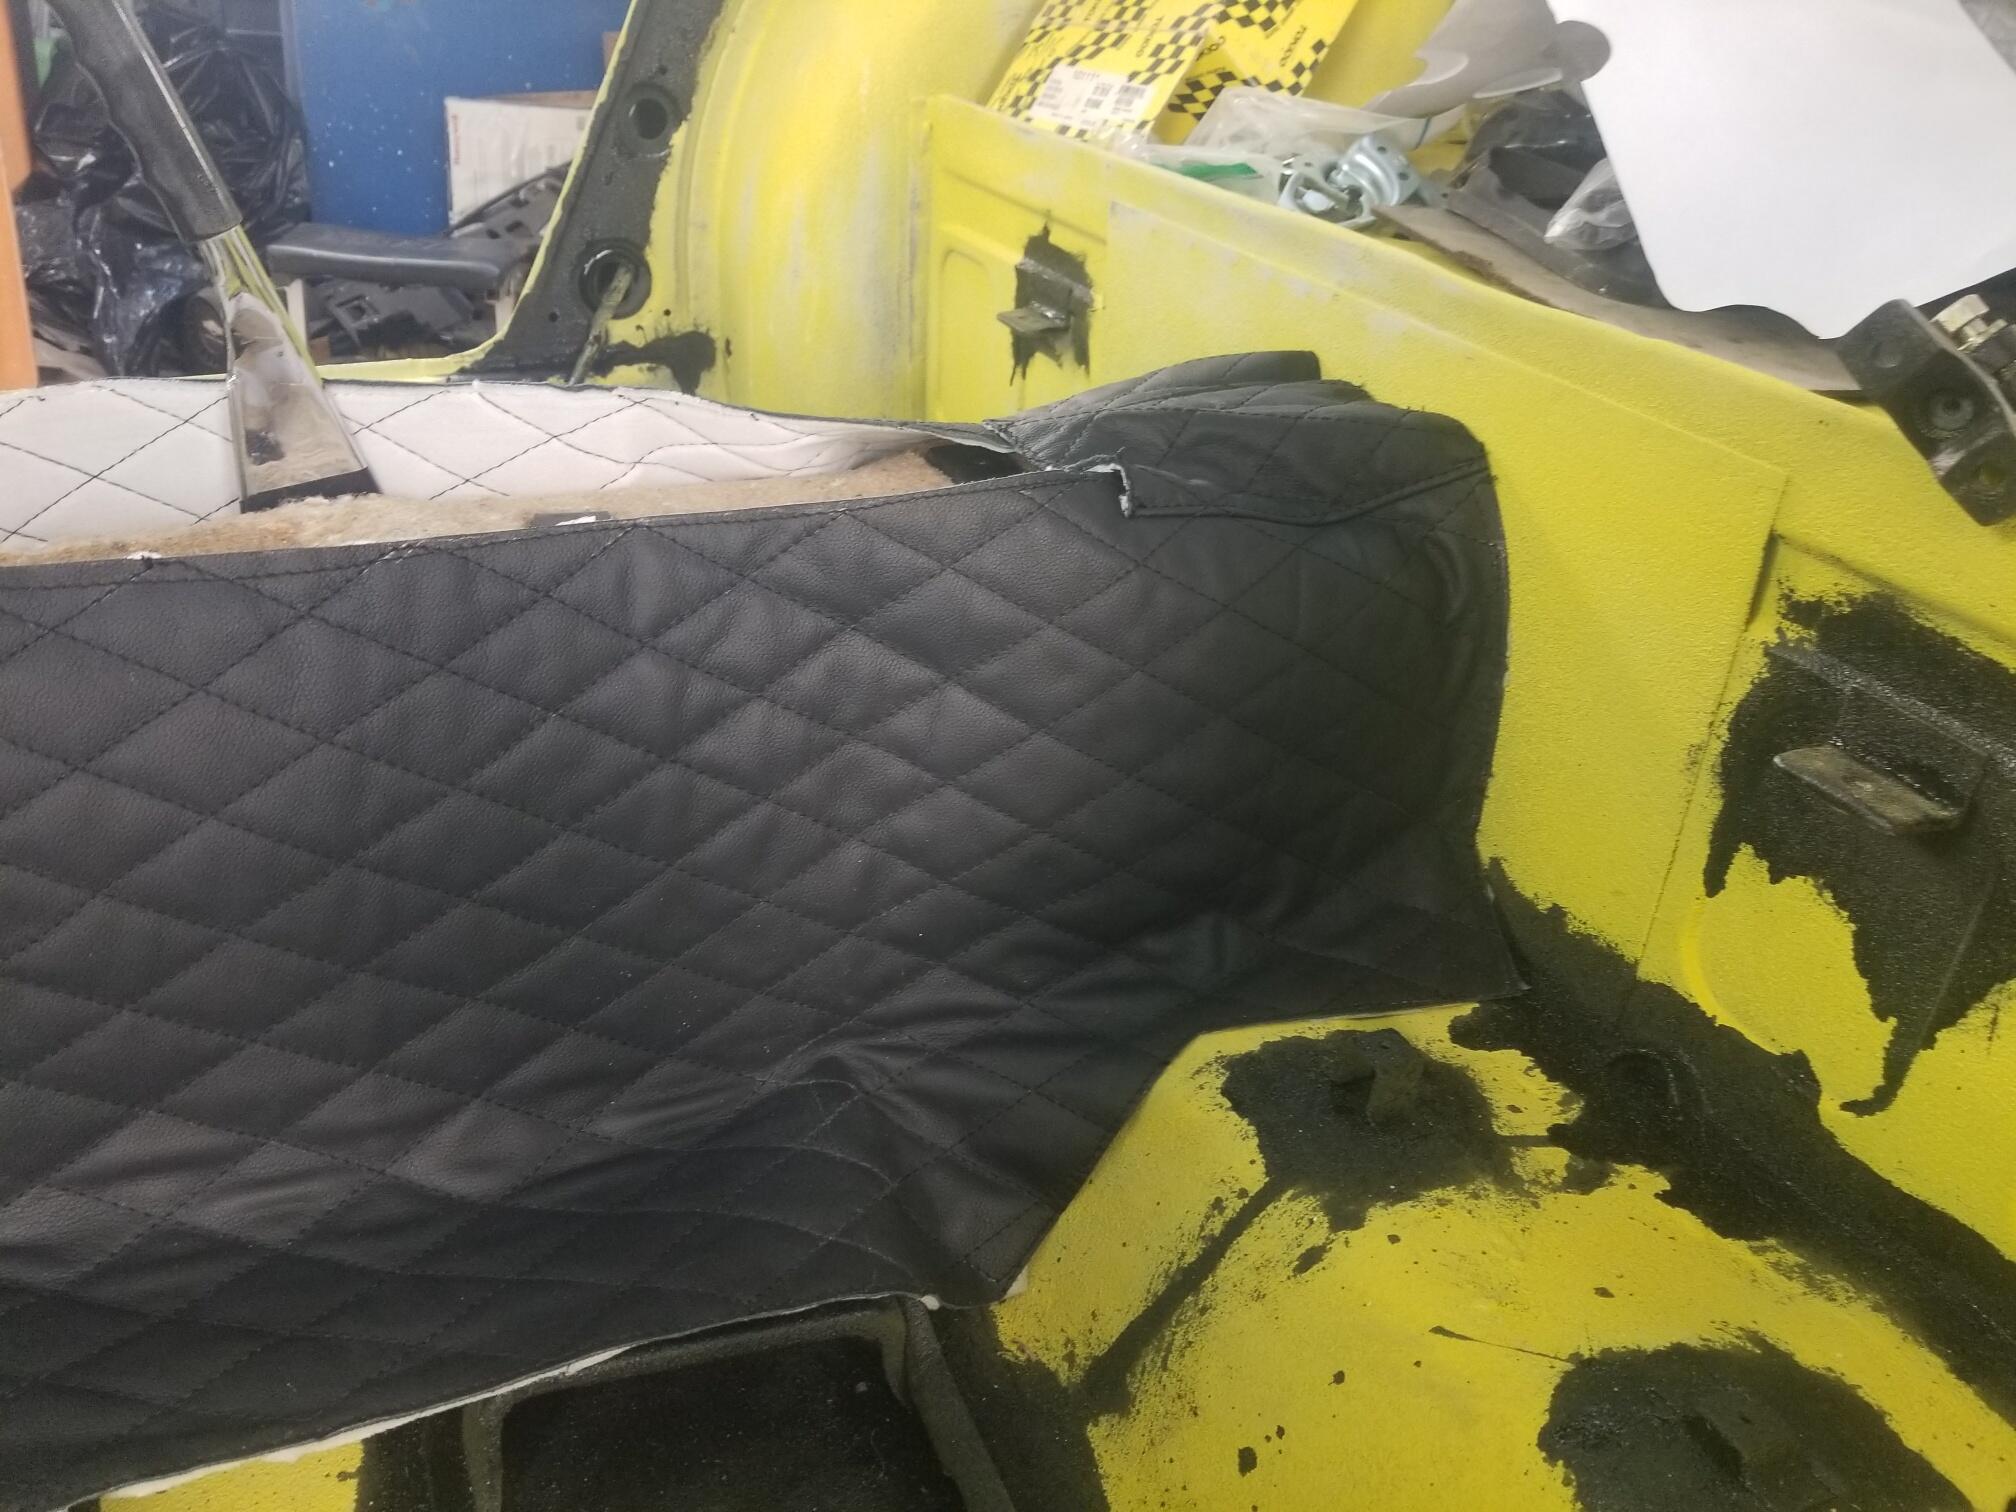
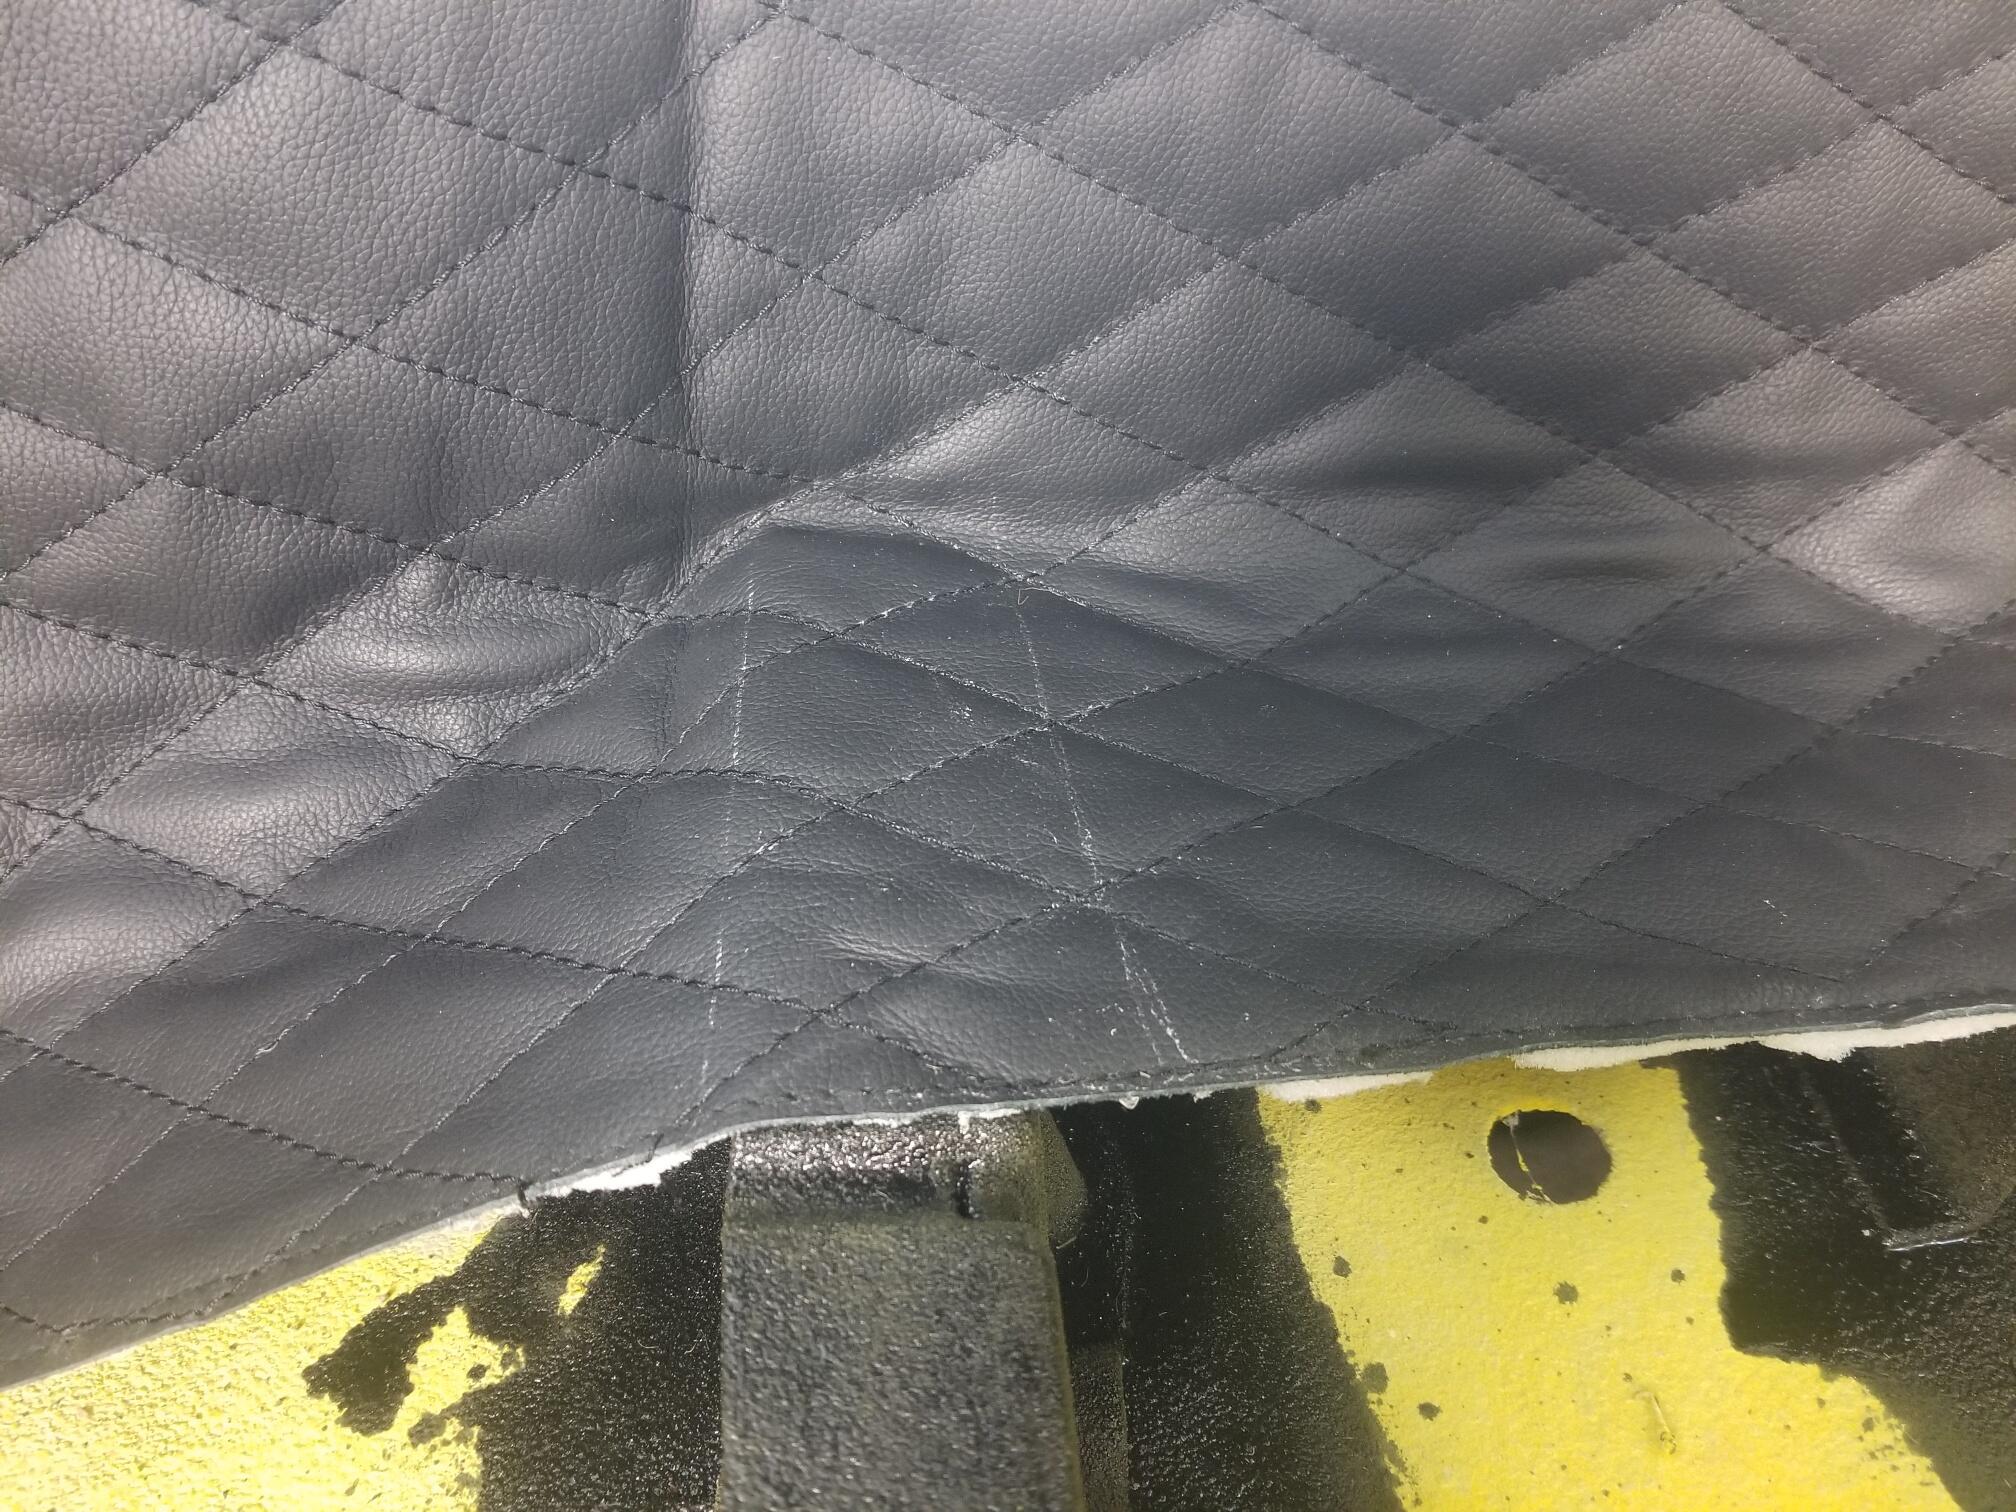
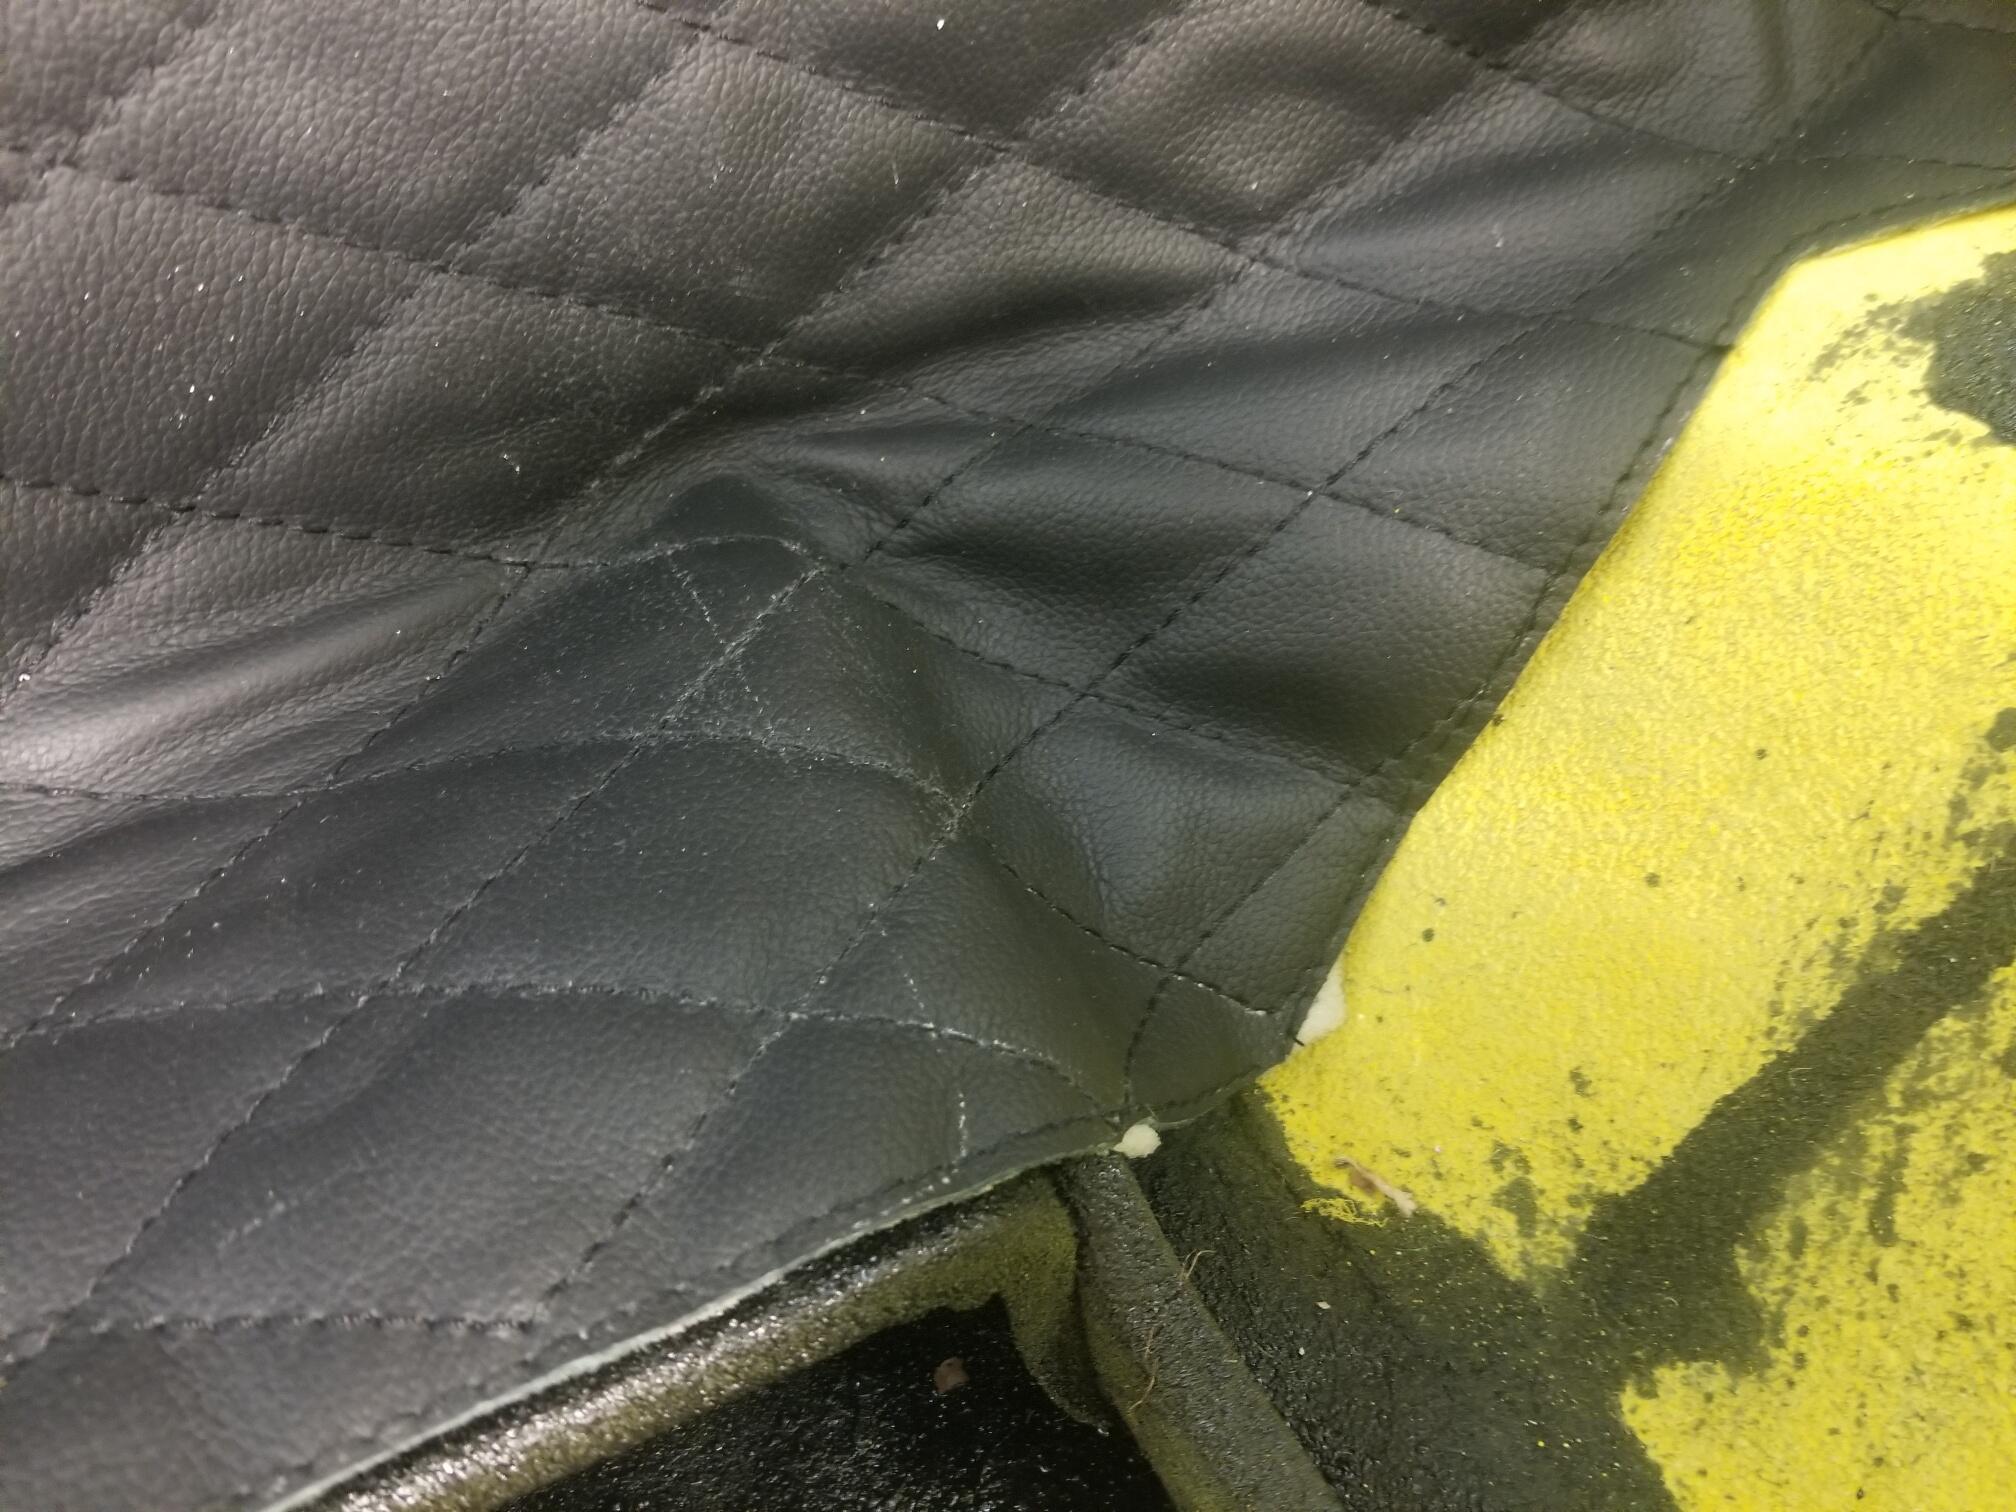
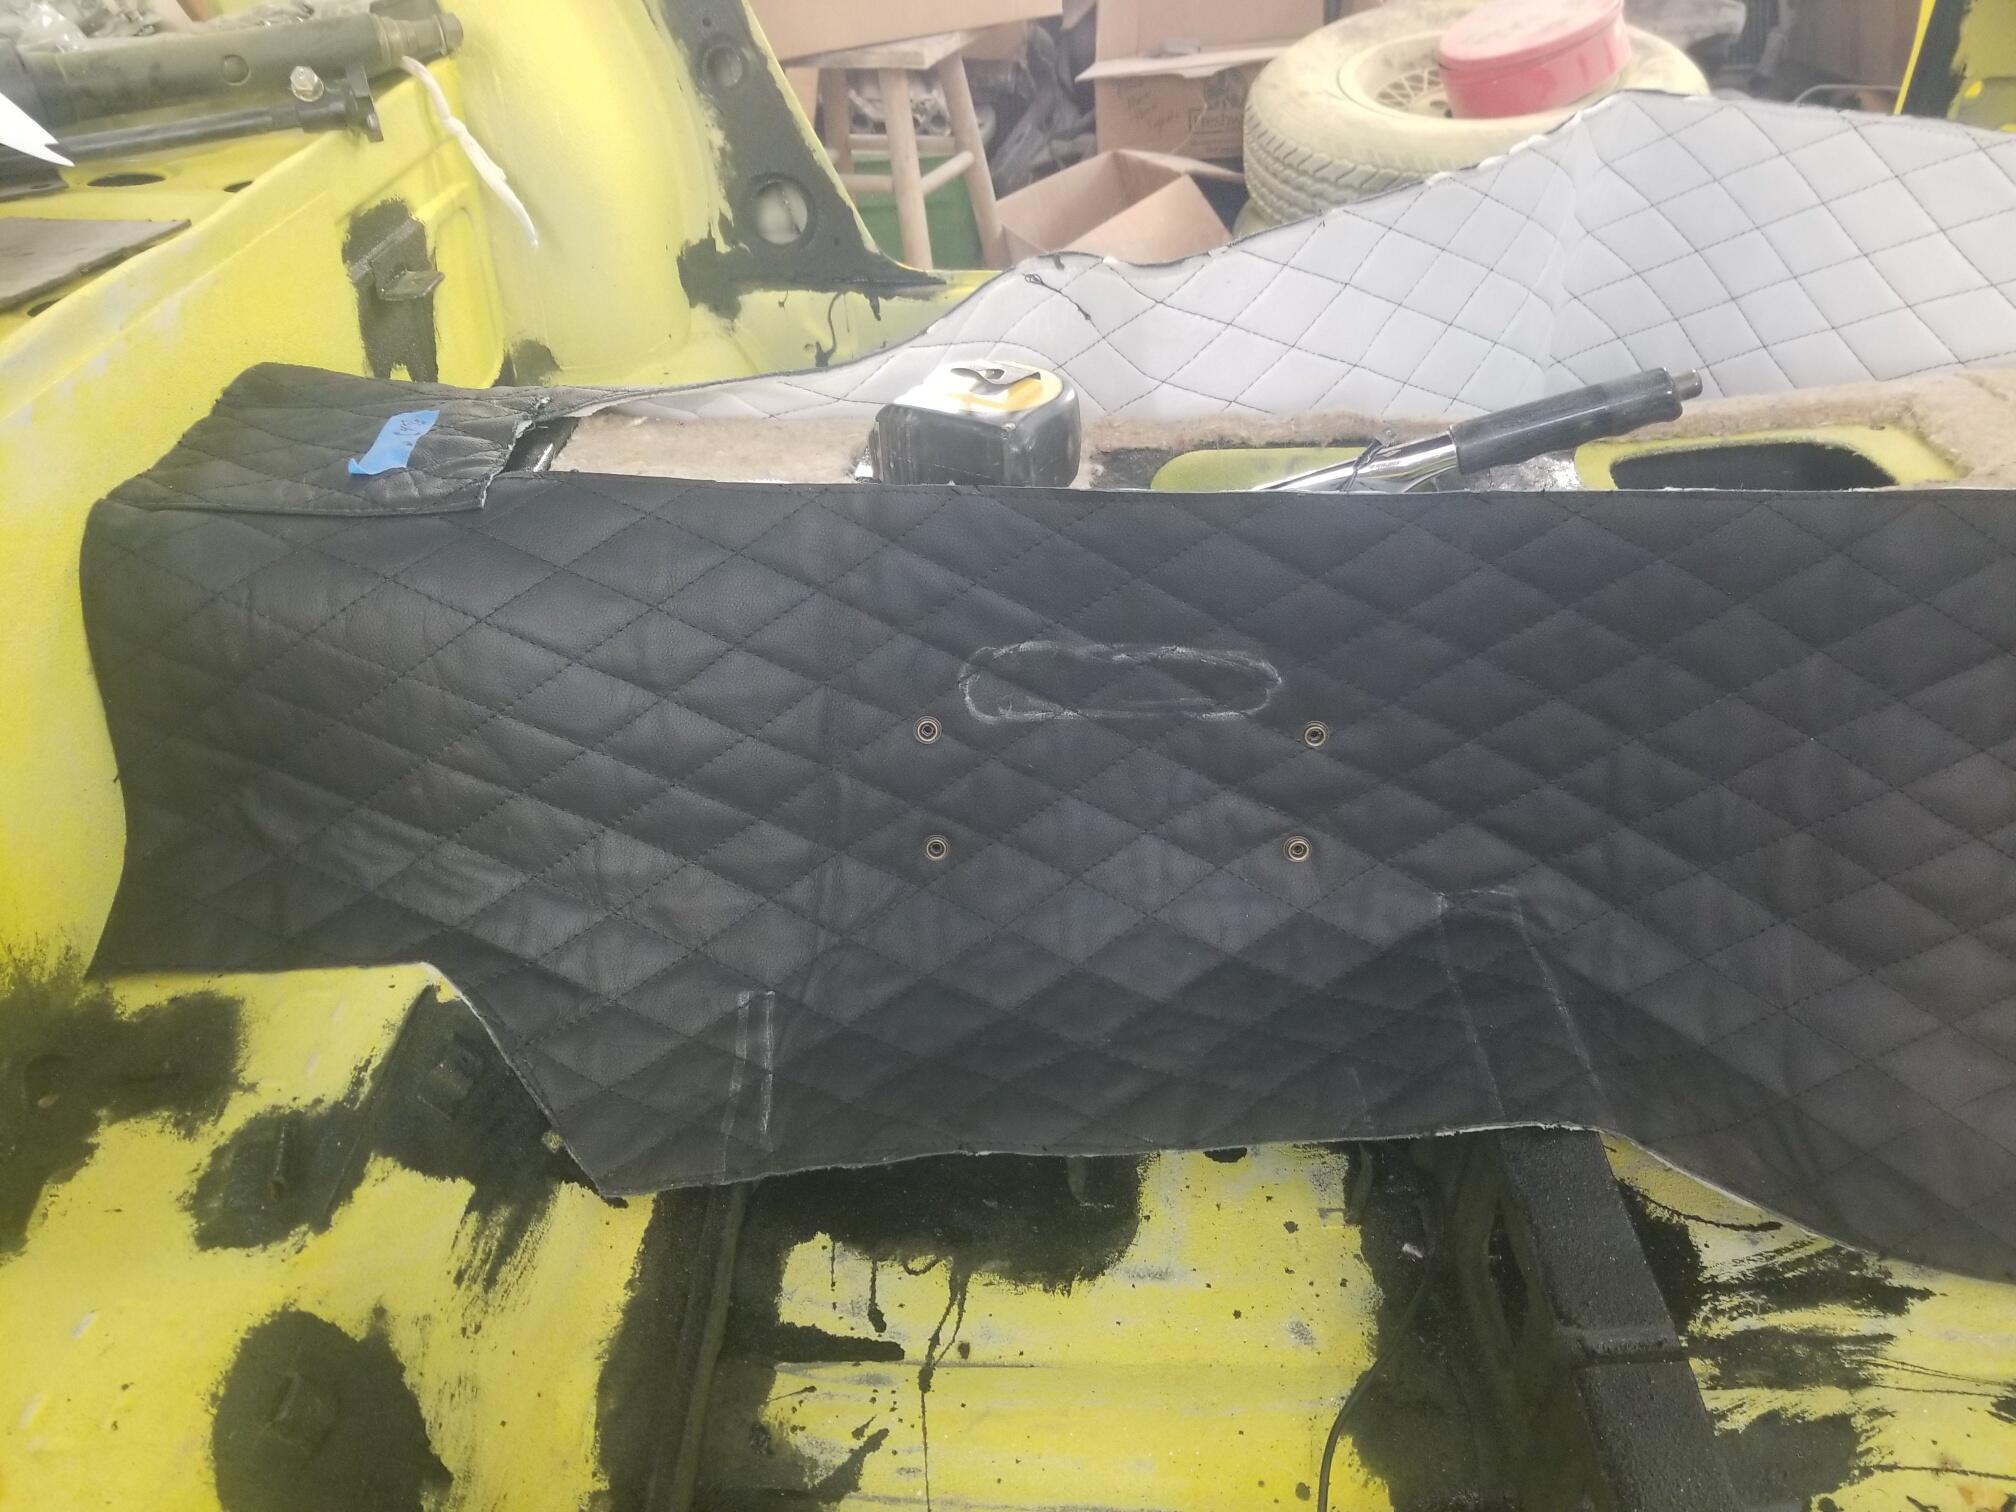
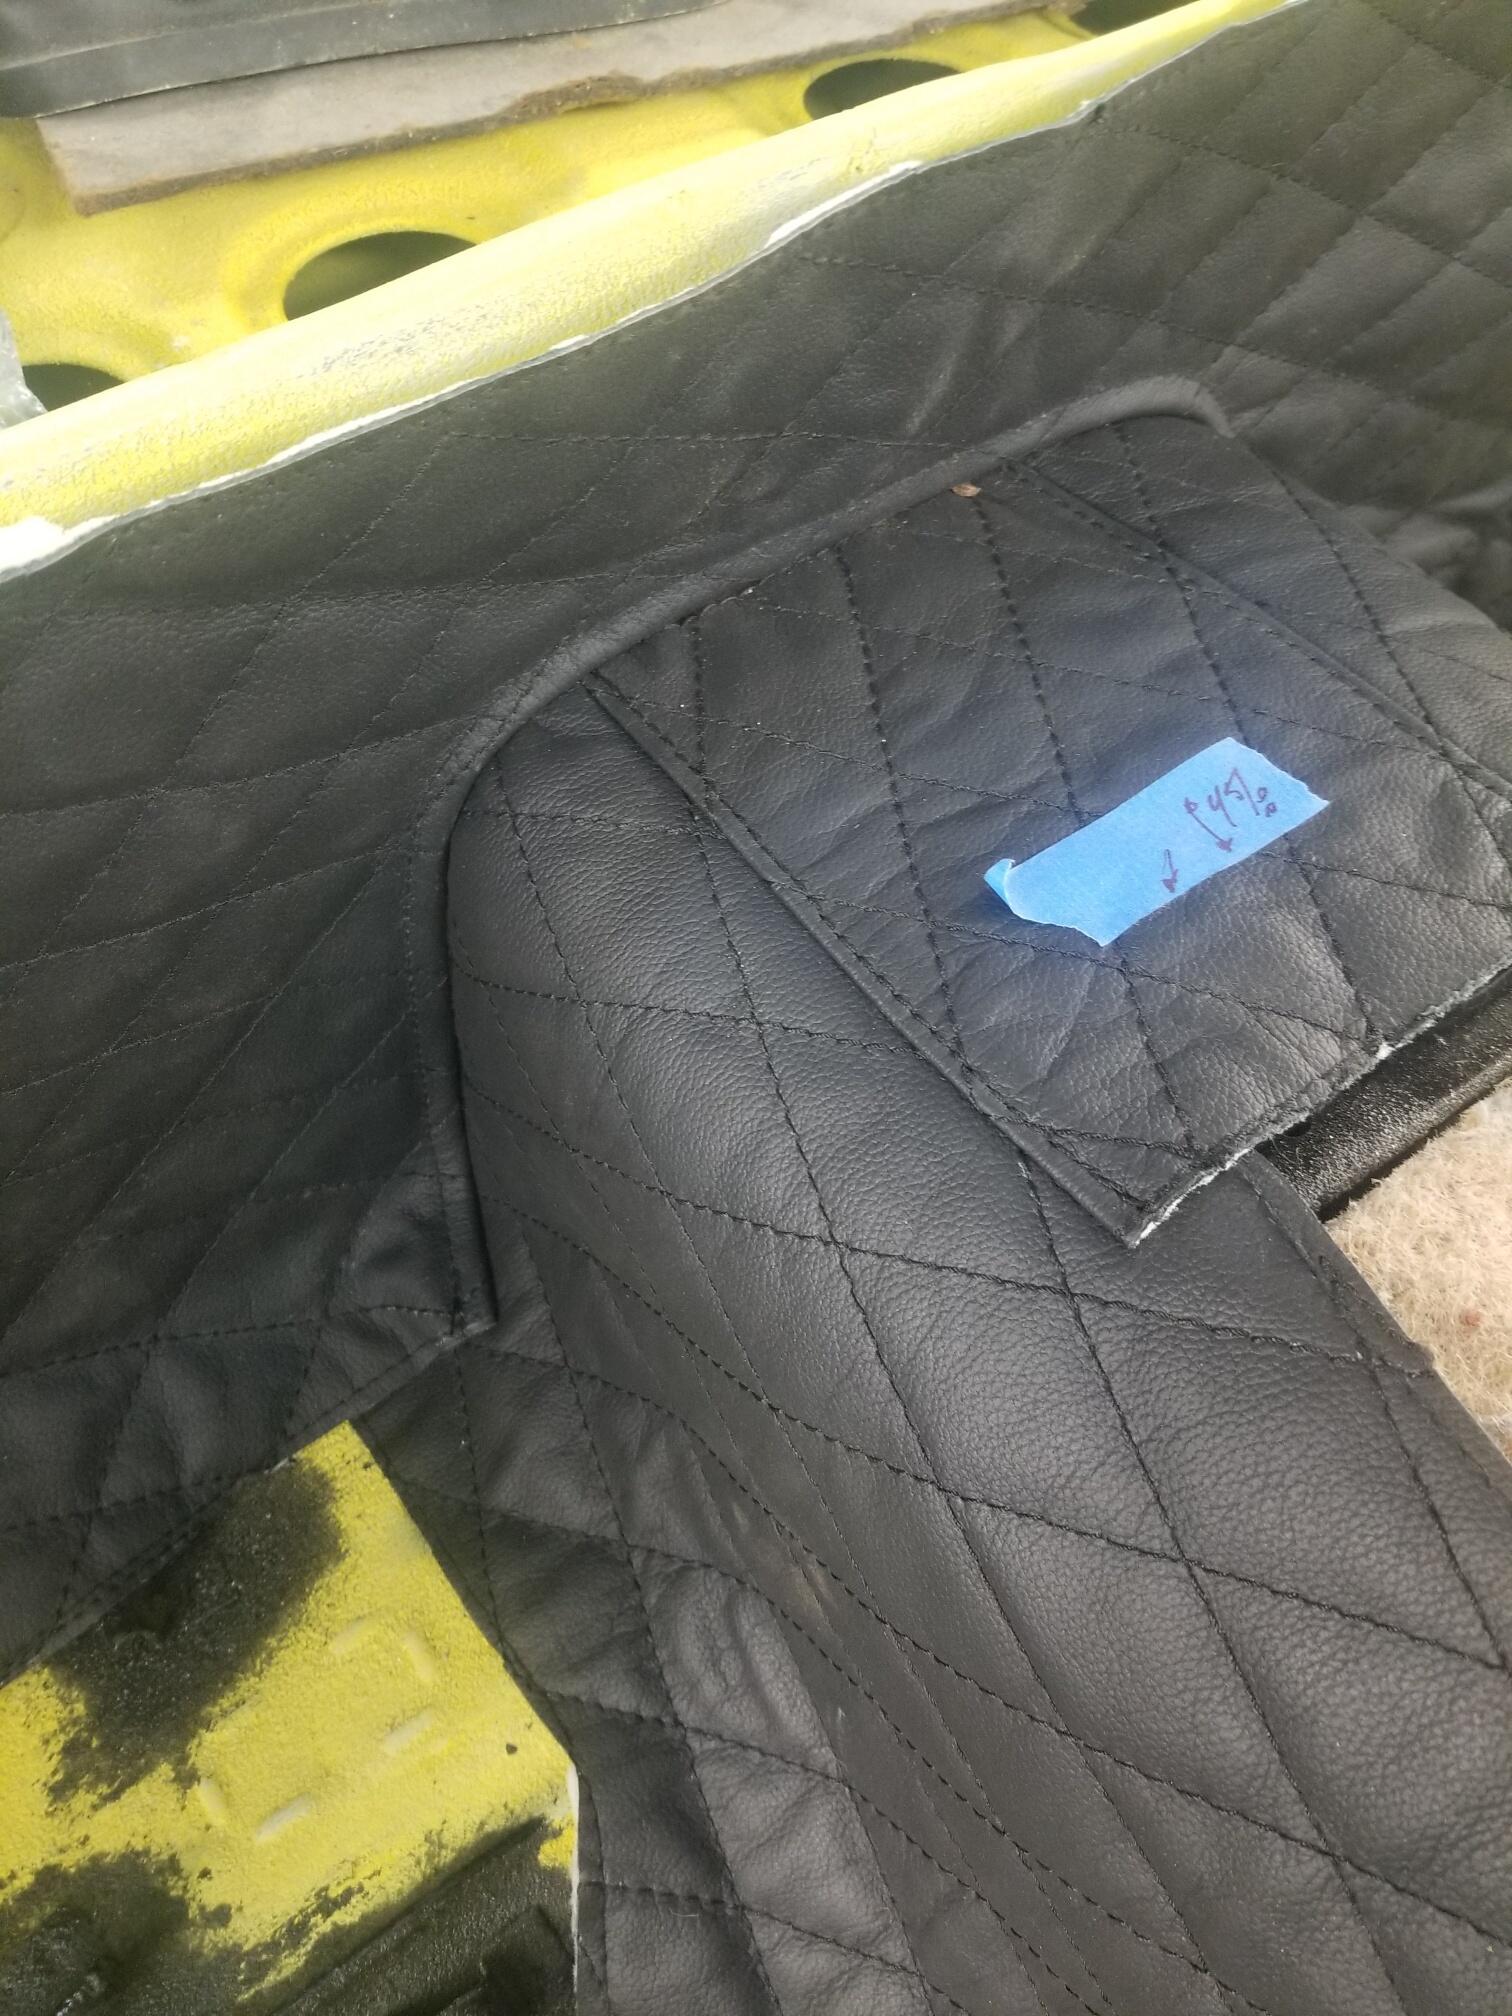
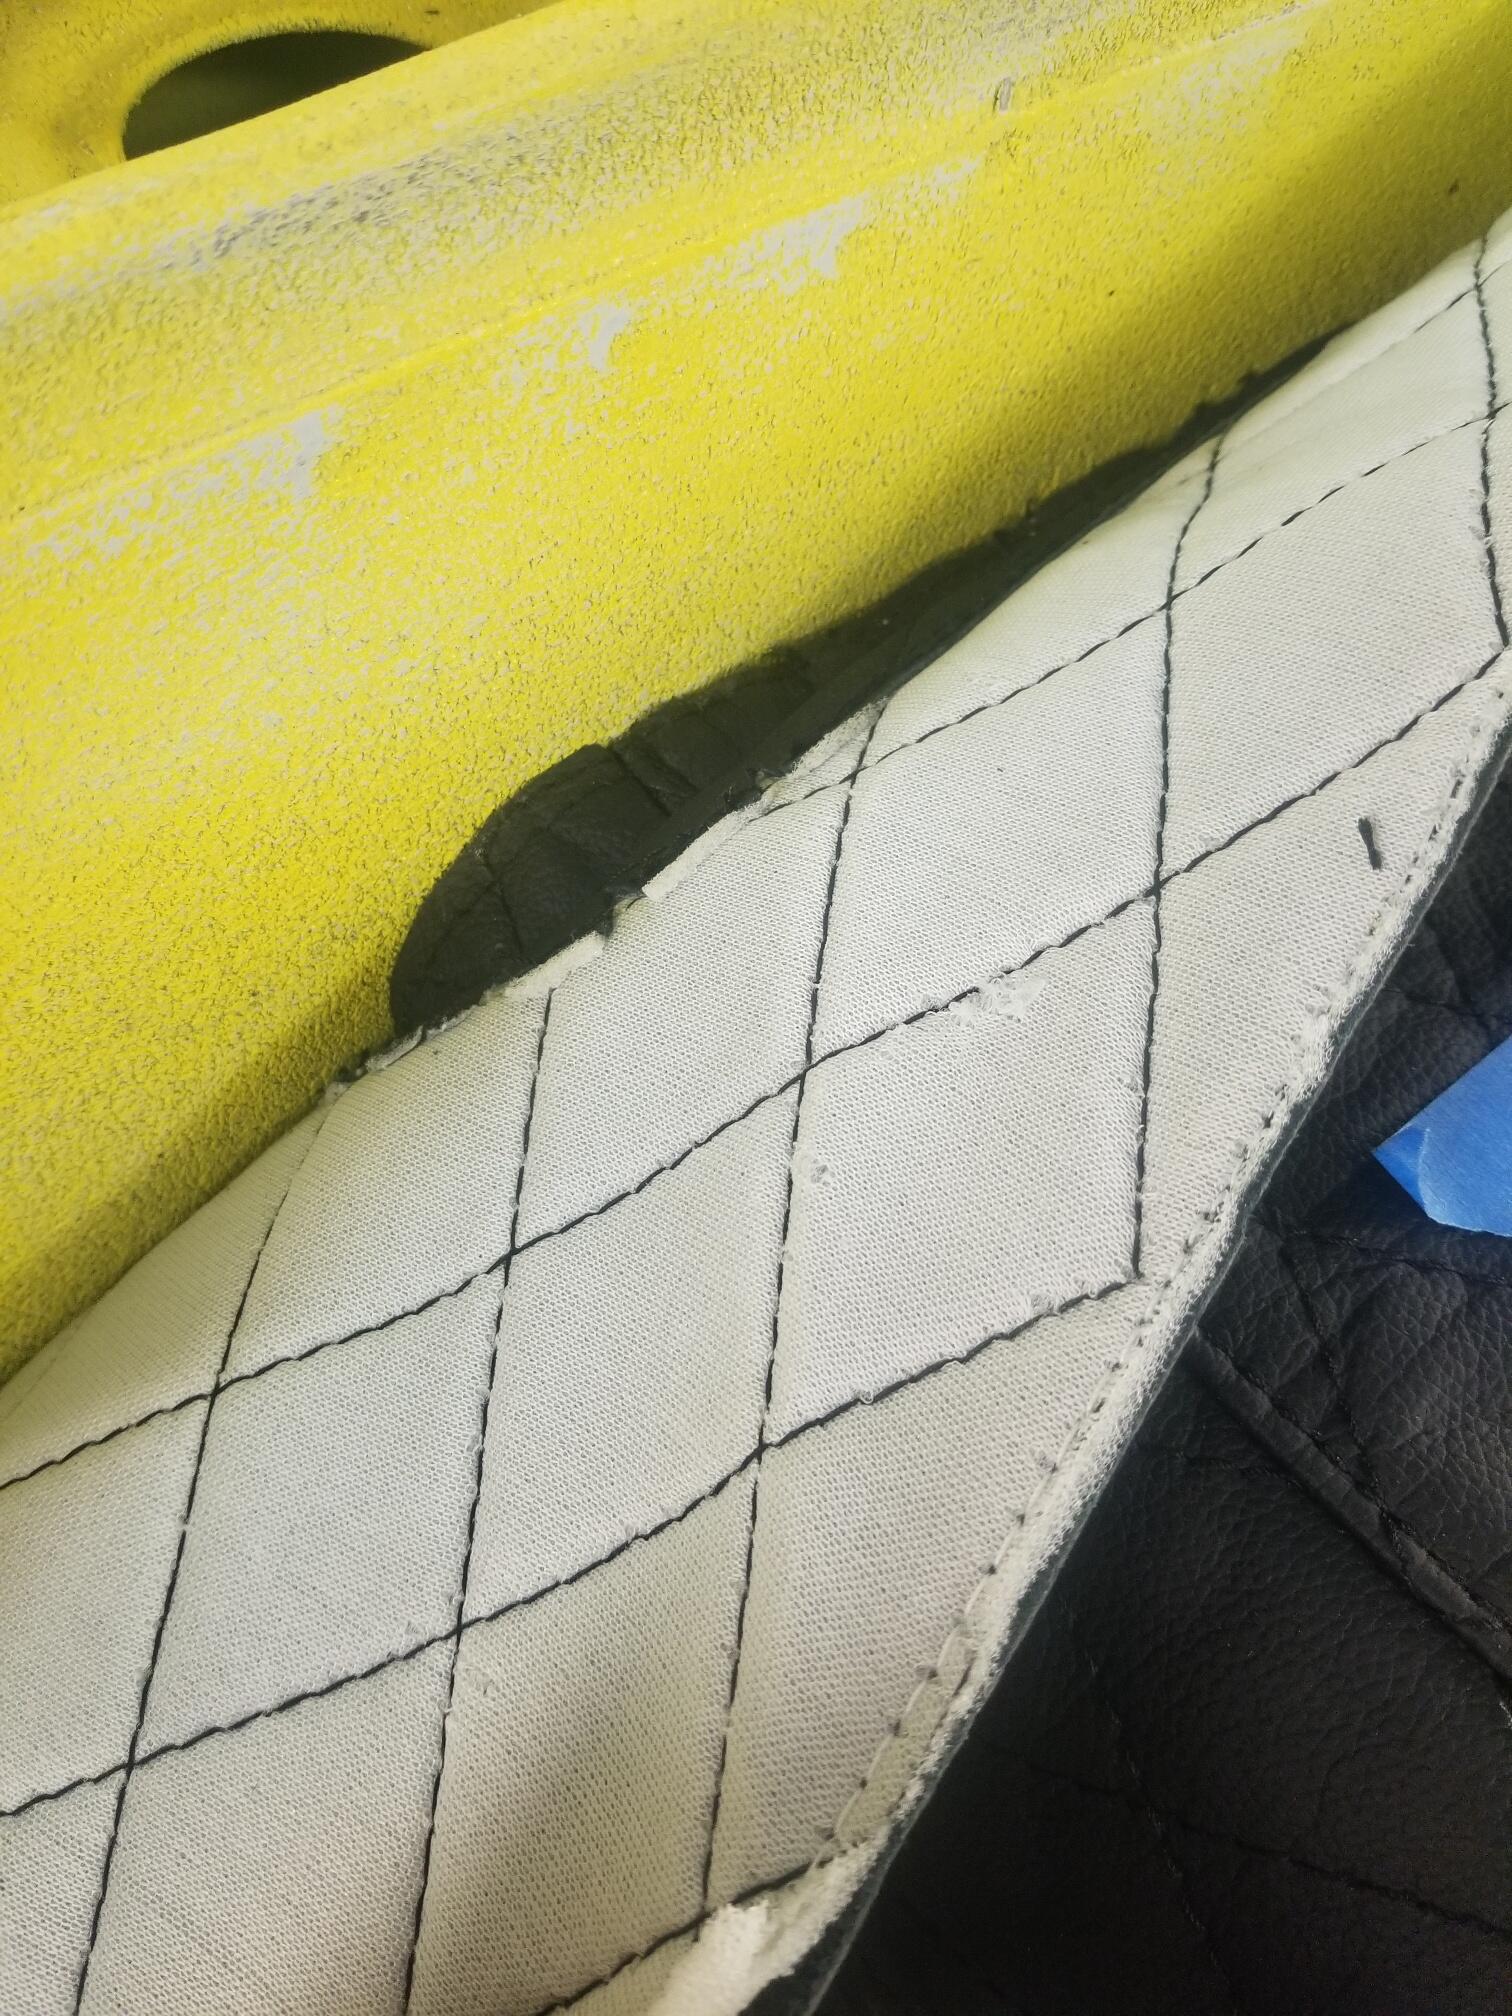
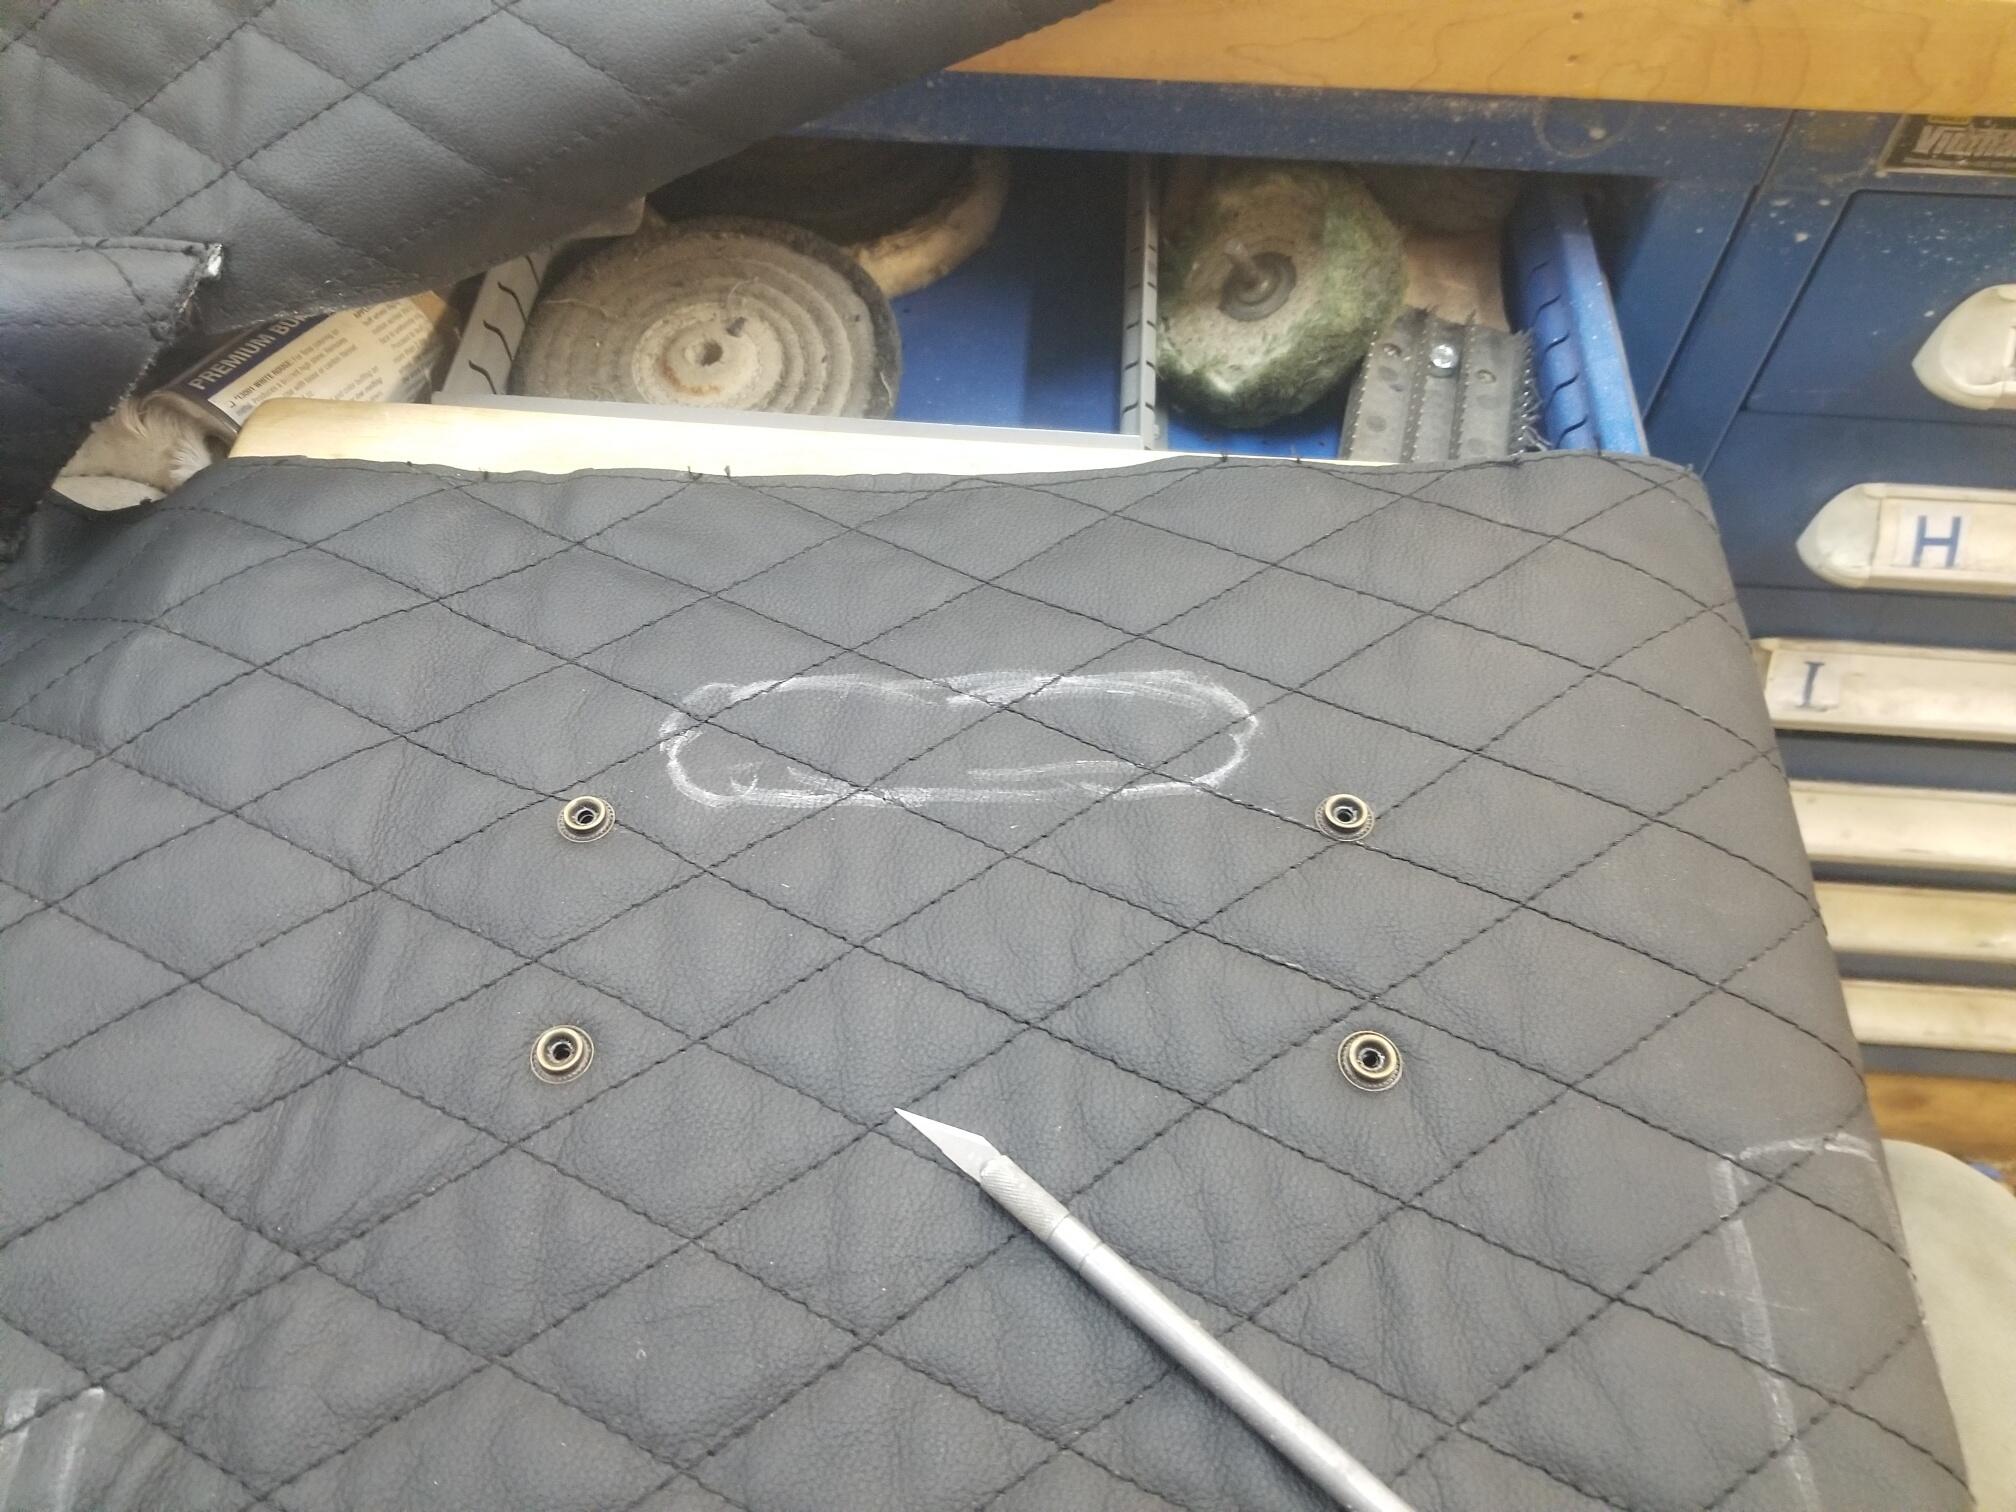
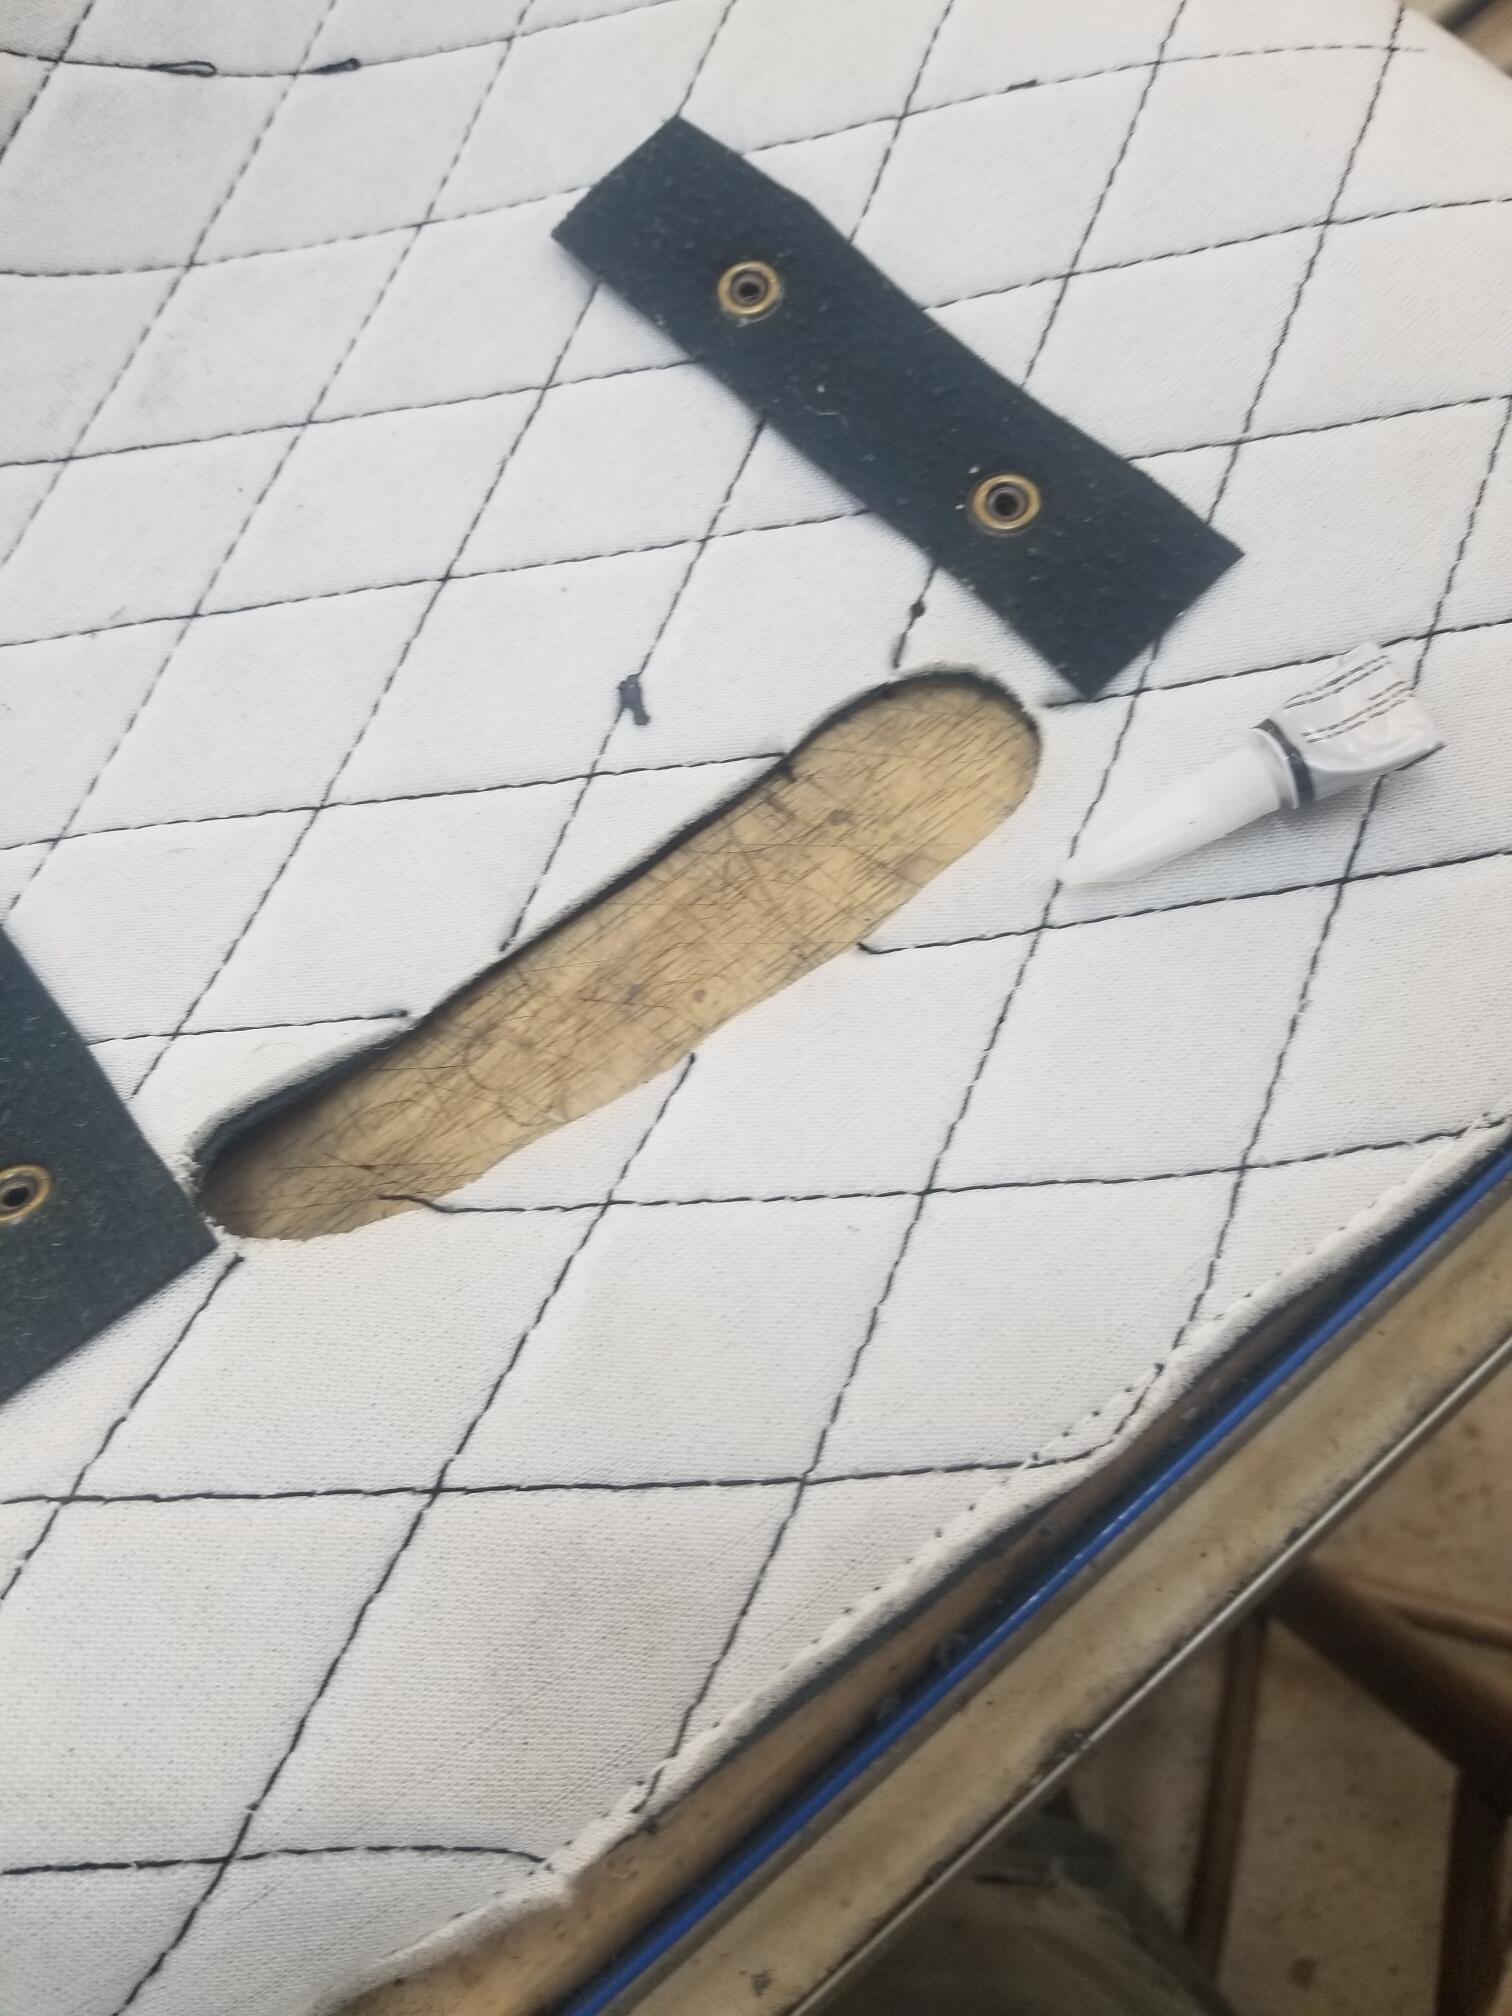
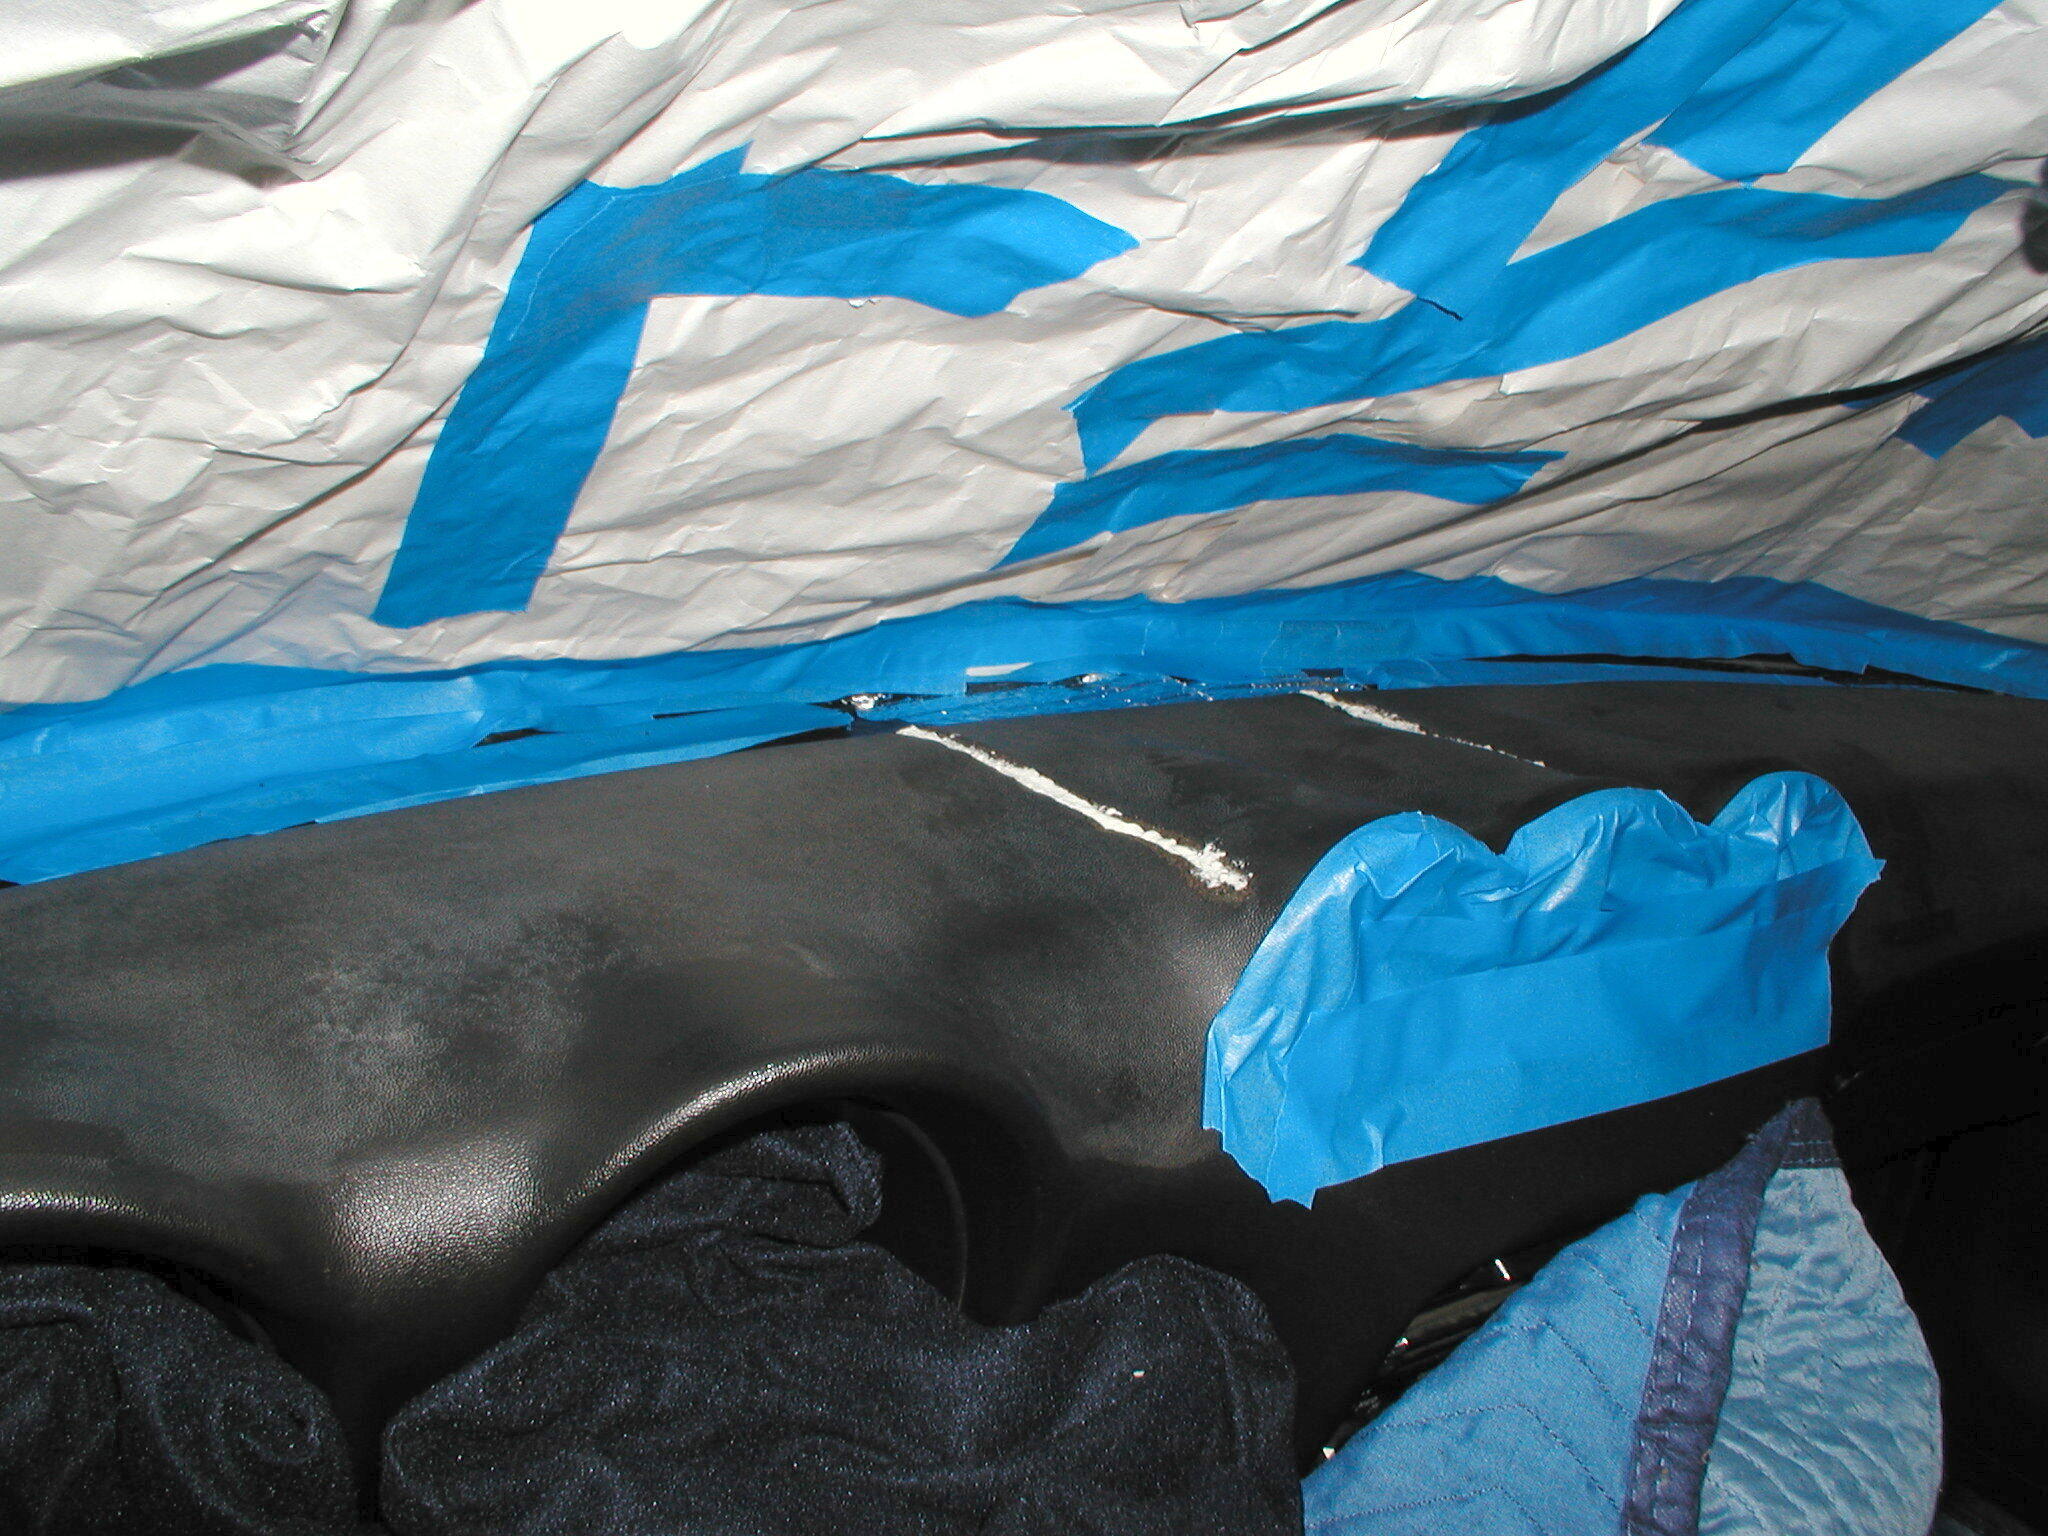
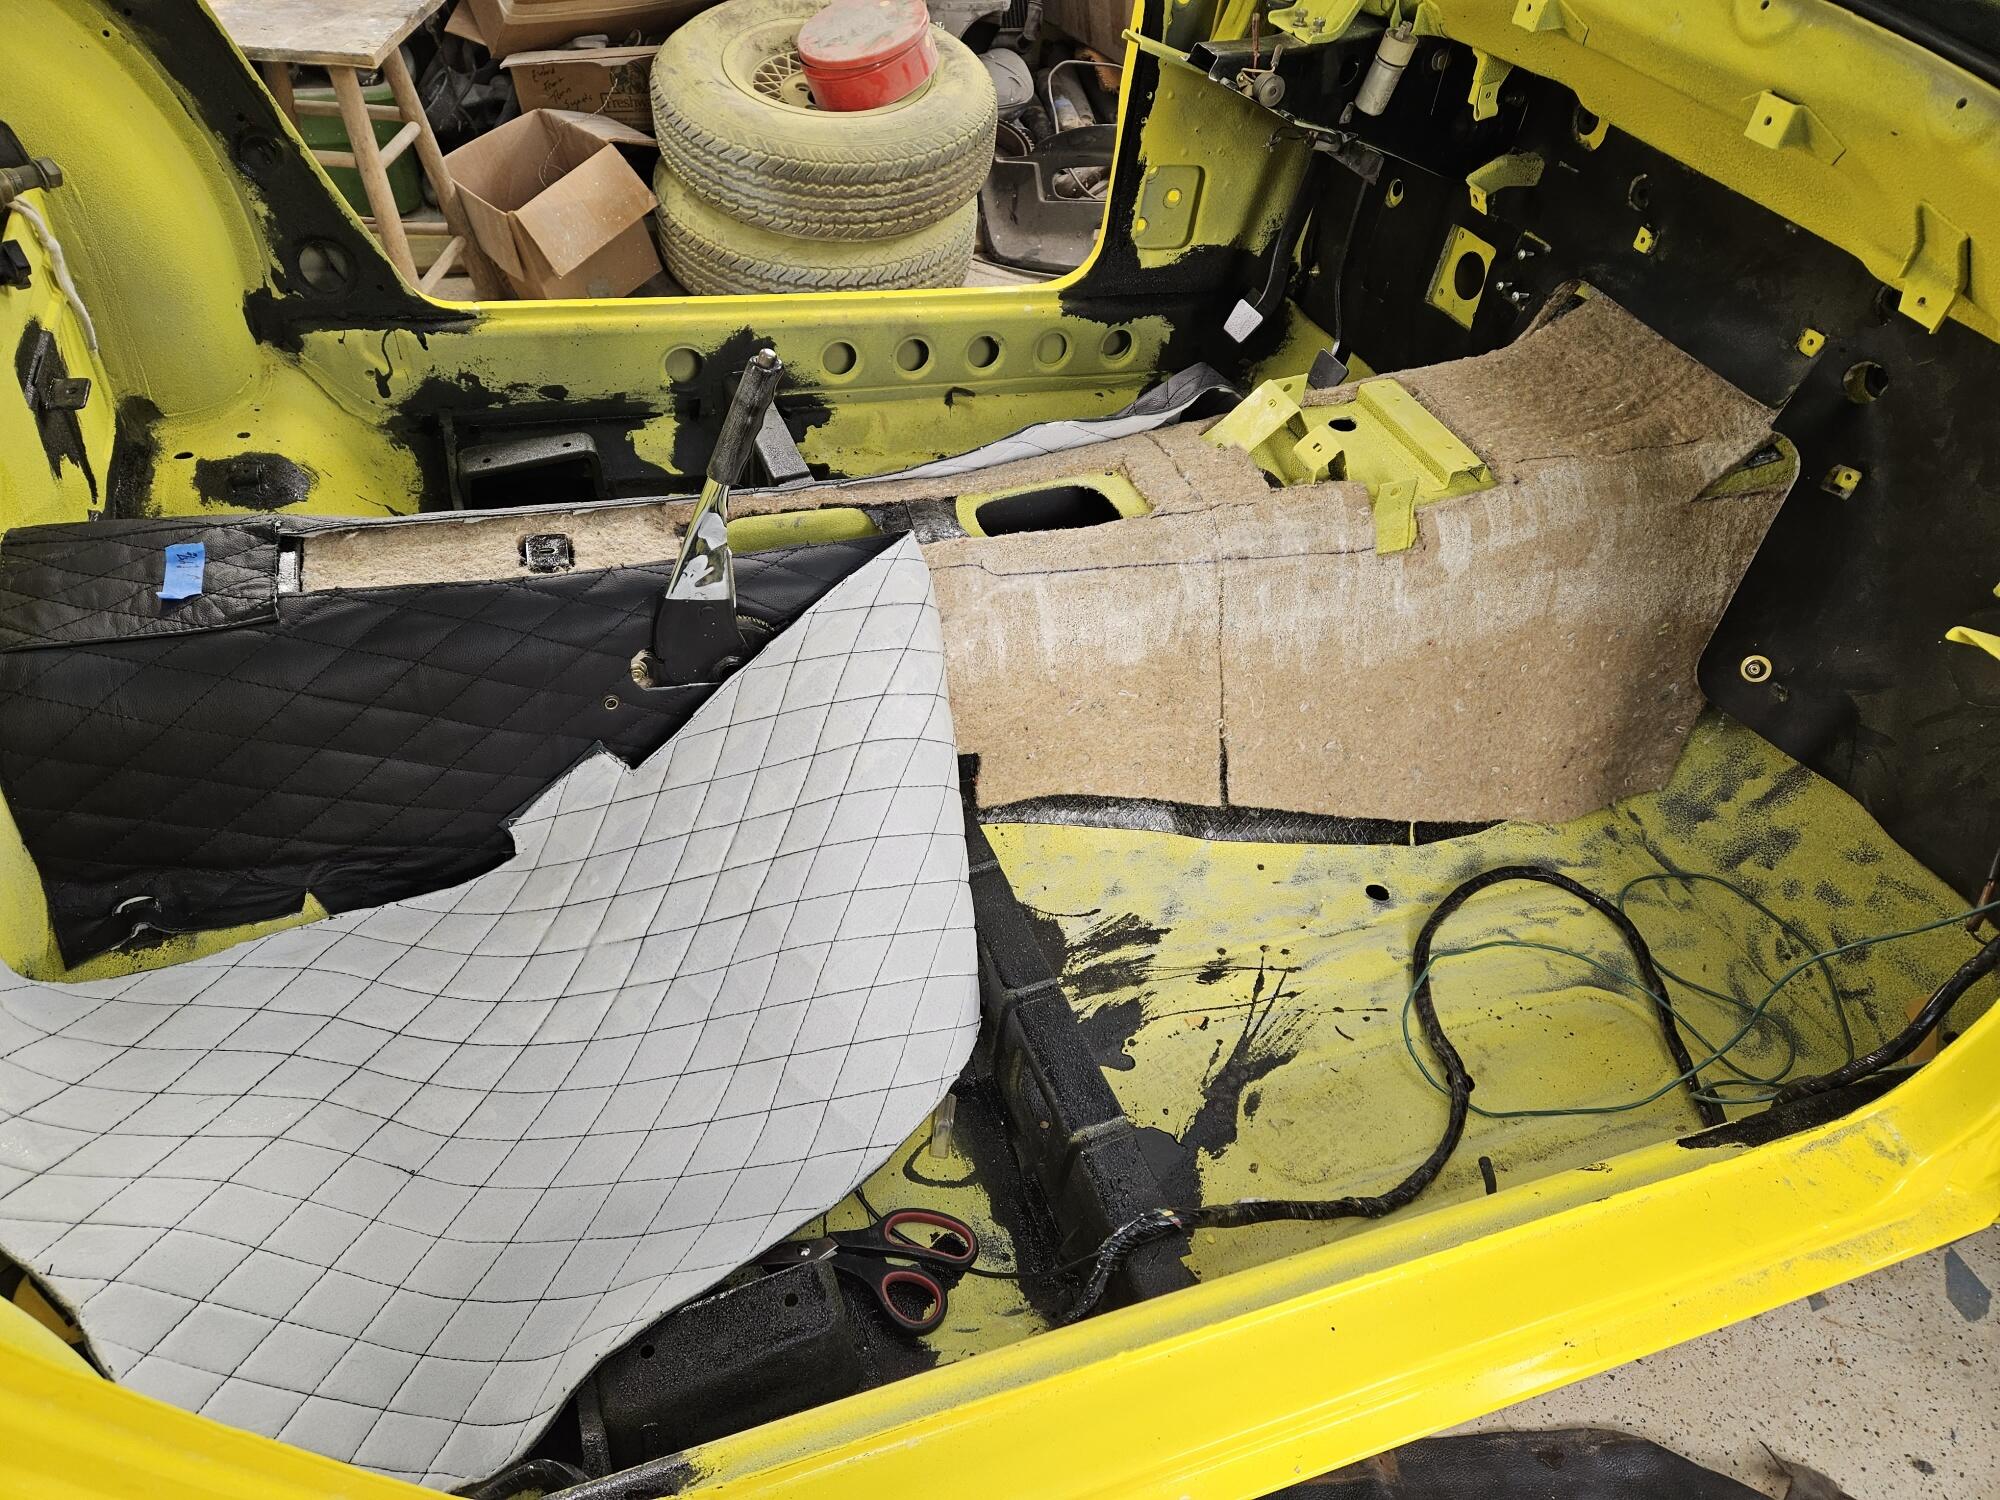
4 pointsSo I am going to start a leather interior trim thread. I bought the pieces from Interior Innovations and thought it might be helpful to document how I went about the install So I've been procrastinating on this a little bit. The factory vinyl laps up onto the luggage panel a little bit, I believe. I thought that would be hard to do with the leather thickness. Also it really needed to be shifted as far forward as possible to line up well with the parking brake and get under the fire wall mat. There was one set of marks for the seat rib. I will cut these nice and close later I put the original console in the car. It won't be the one I use long term but it shows whats covered up Outline it with sharpie I needed to layout the hole for the parking brake. It didn't come pre-cut. So I laid the old one over the new one, snap to snap, and marked it out with a soap stone I'm thinking this will all cover up very nicely when done. The thick hem on the firewall leather will help conceal everything. So I set the tunnel piece all the way to the fire wall but no extra It does lap over some of the center console brackets. So it will probably have to be trimmed there when I get to console install I didn't like this part. Taking the knife to your leather that came half way around the world!! I was going to trace some of the areas with the sewing machine to prevent the diamond stitching from raveling in the areas that I have to cut but I opted for a little super glue on each end instead I sprayed the rear top of the tunnel with Dan Tack. I also sprayed the corresponding area on the leather. I let it tack down pretty good. It sticks like mad! I tried to adjust it behind that brake leather but it was just tearing the jute all up with it. If I had not let it tack so much it would probably be a little more adjustable.


 4 points
 -
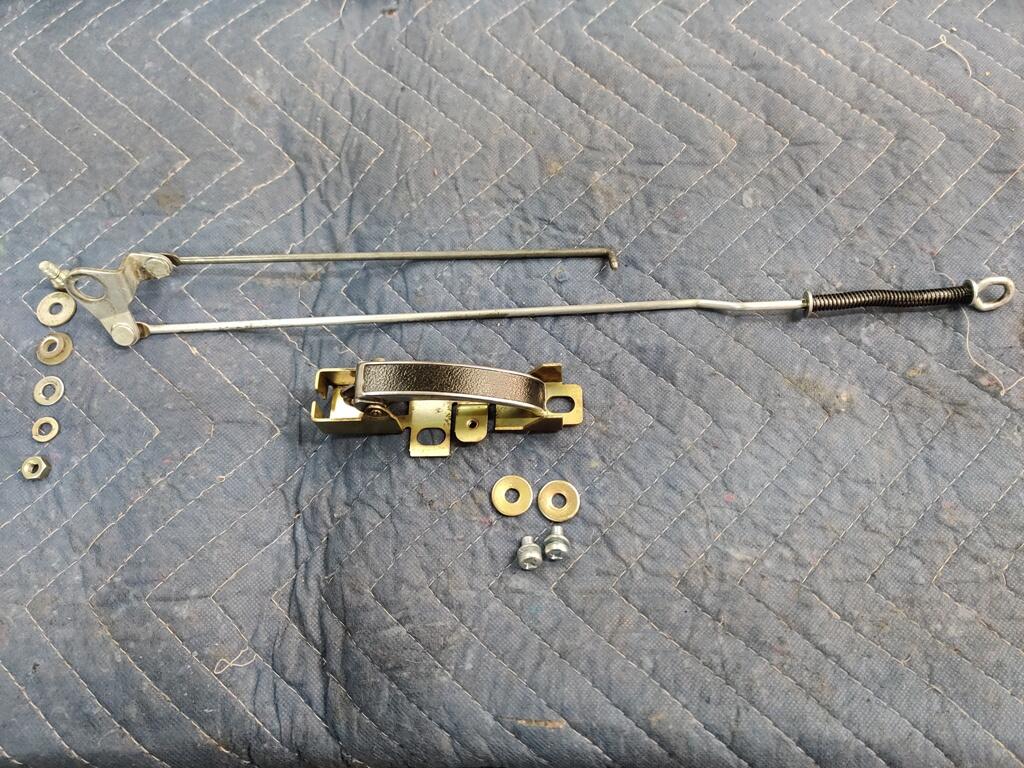
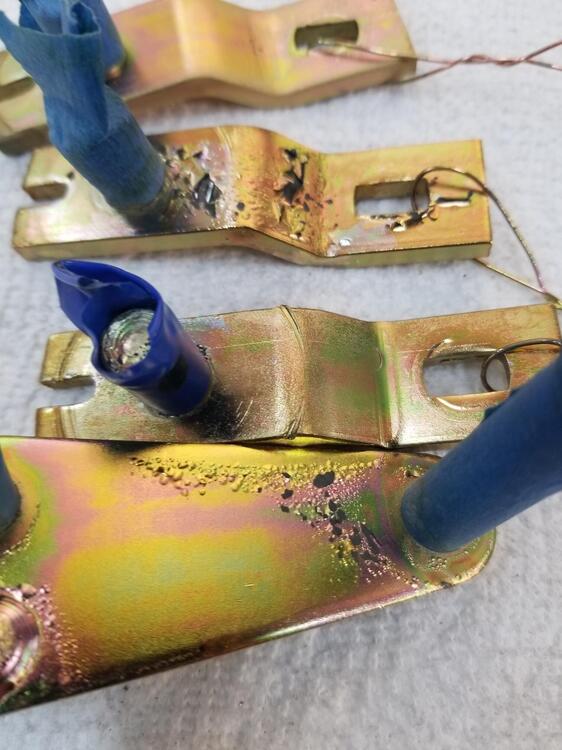
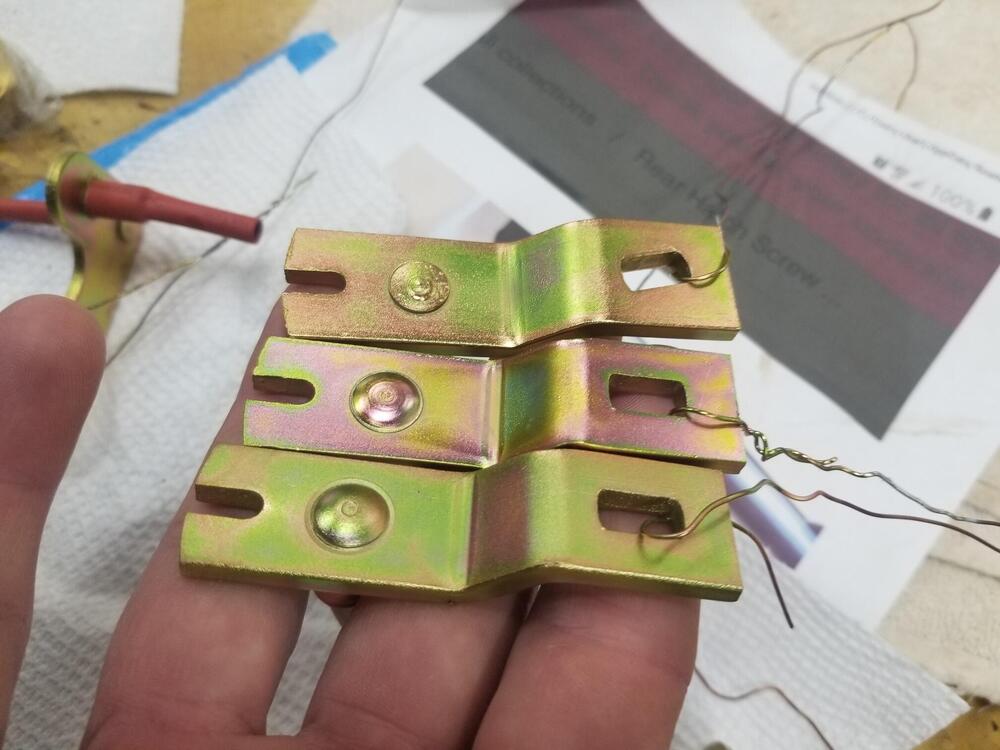
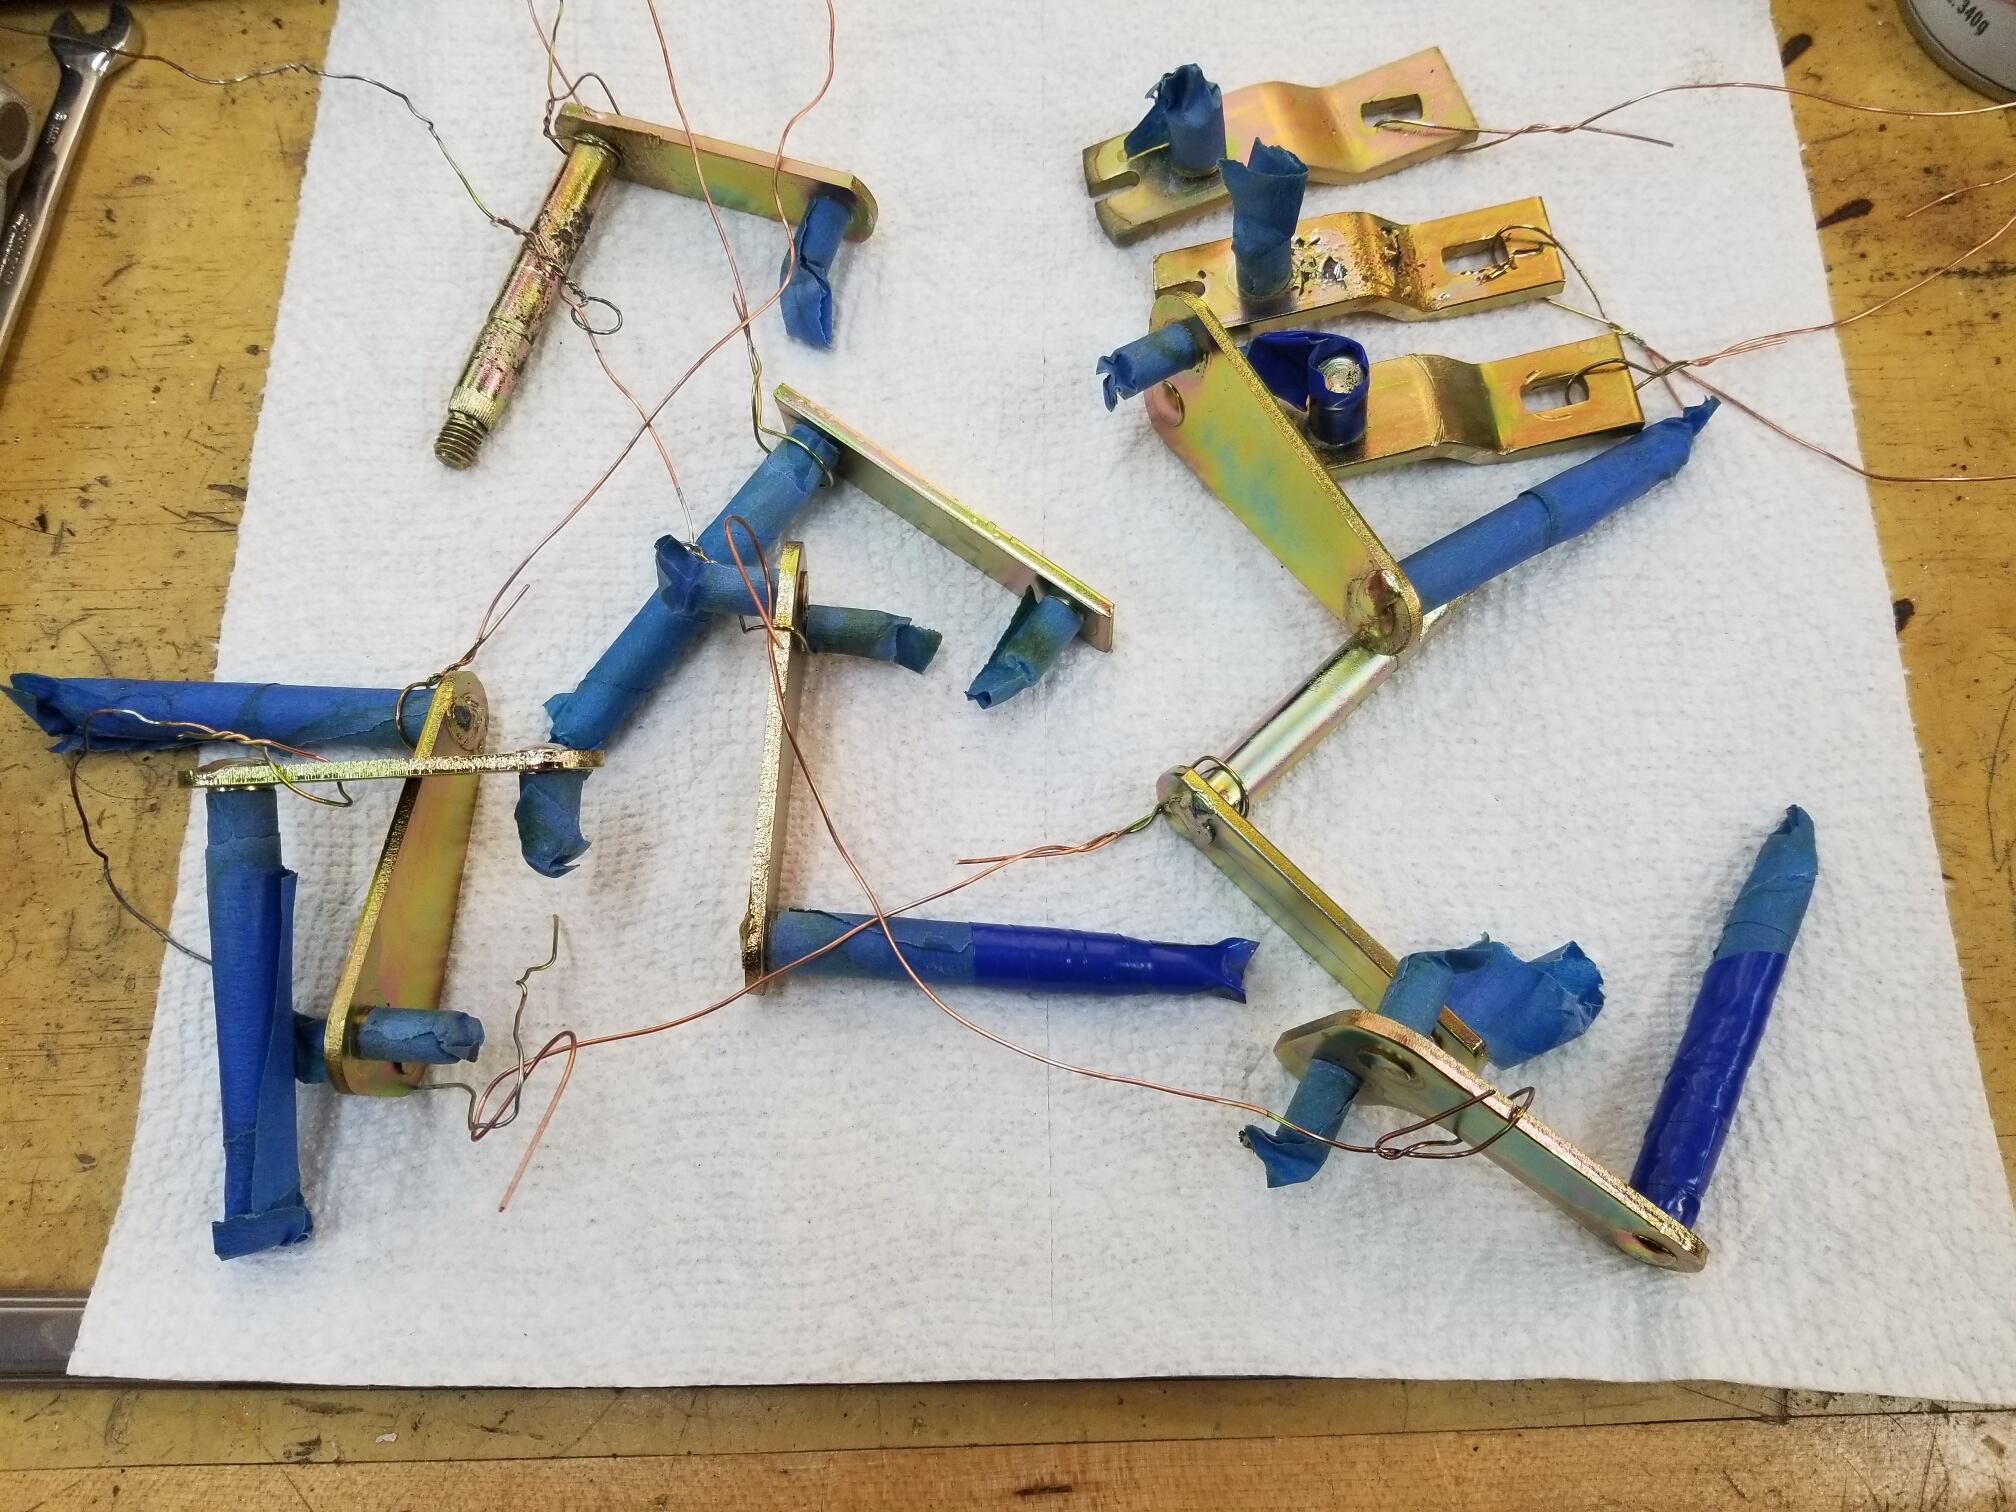
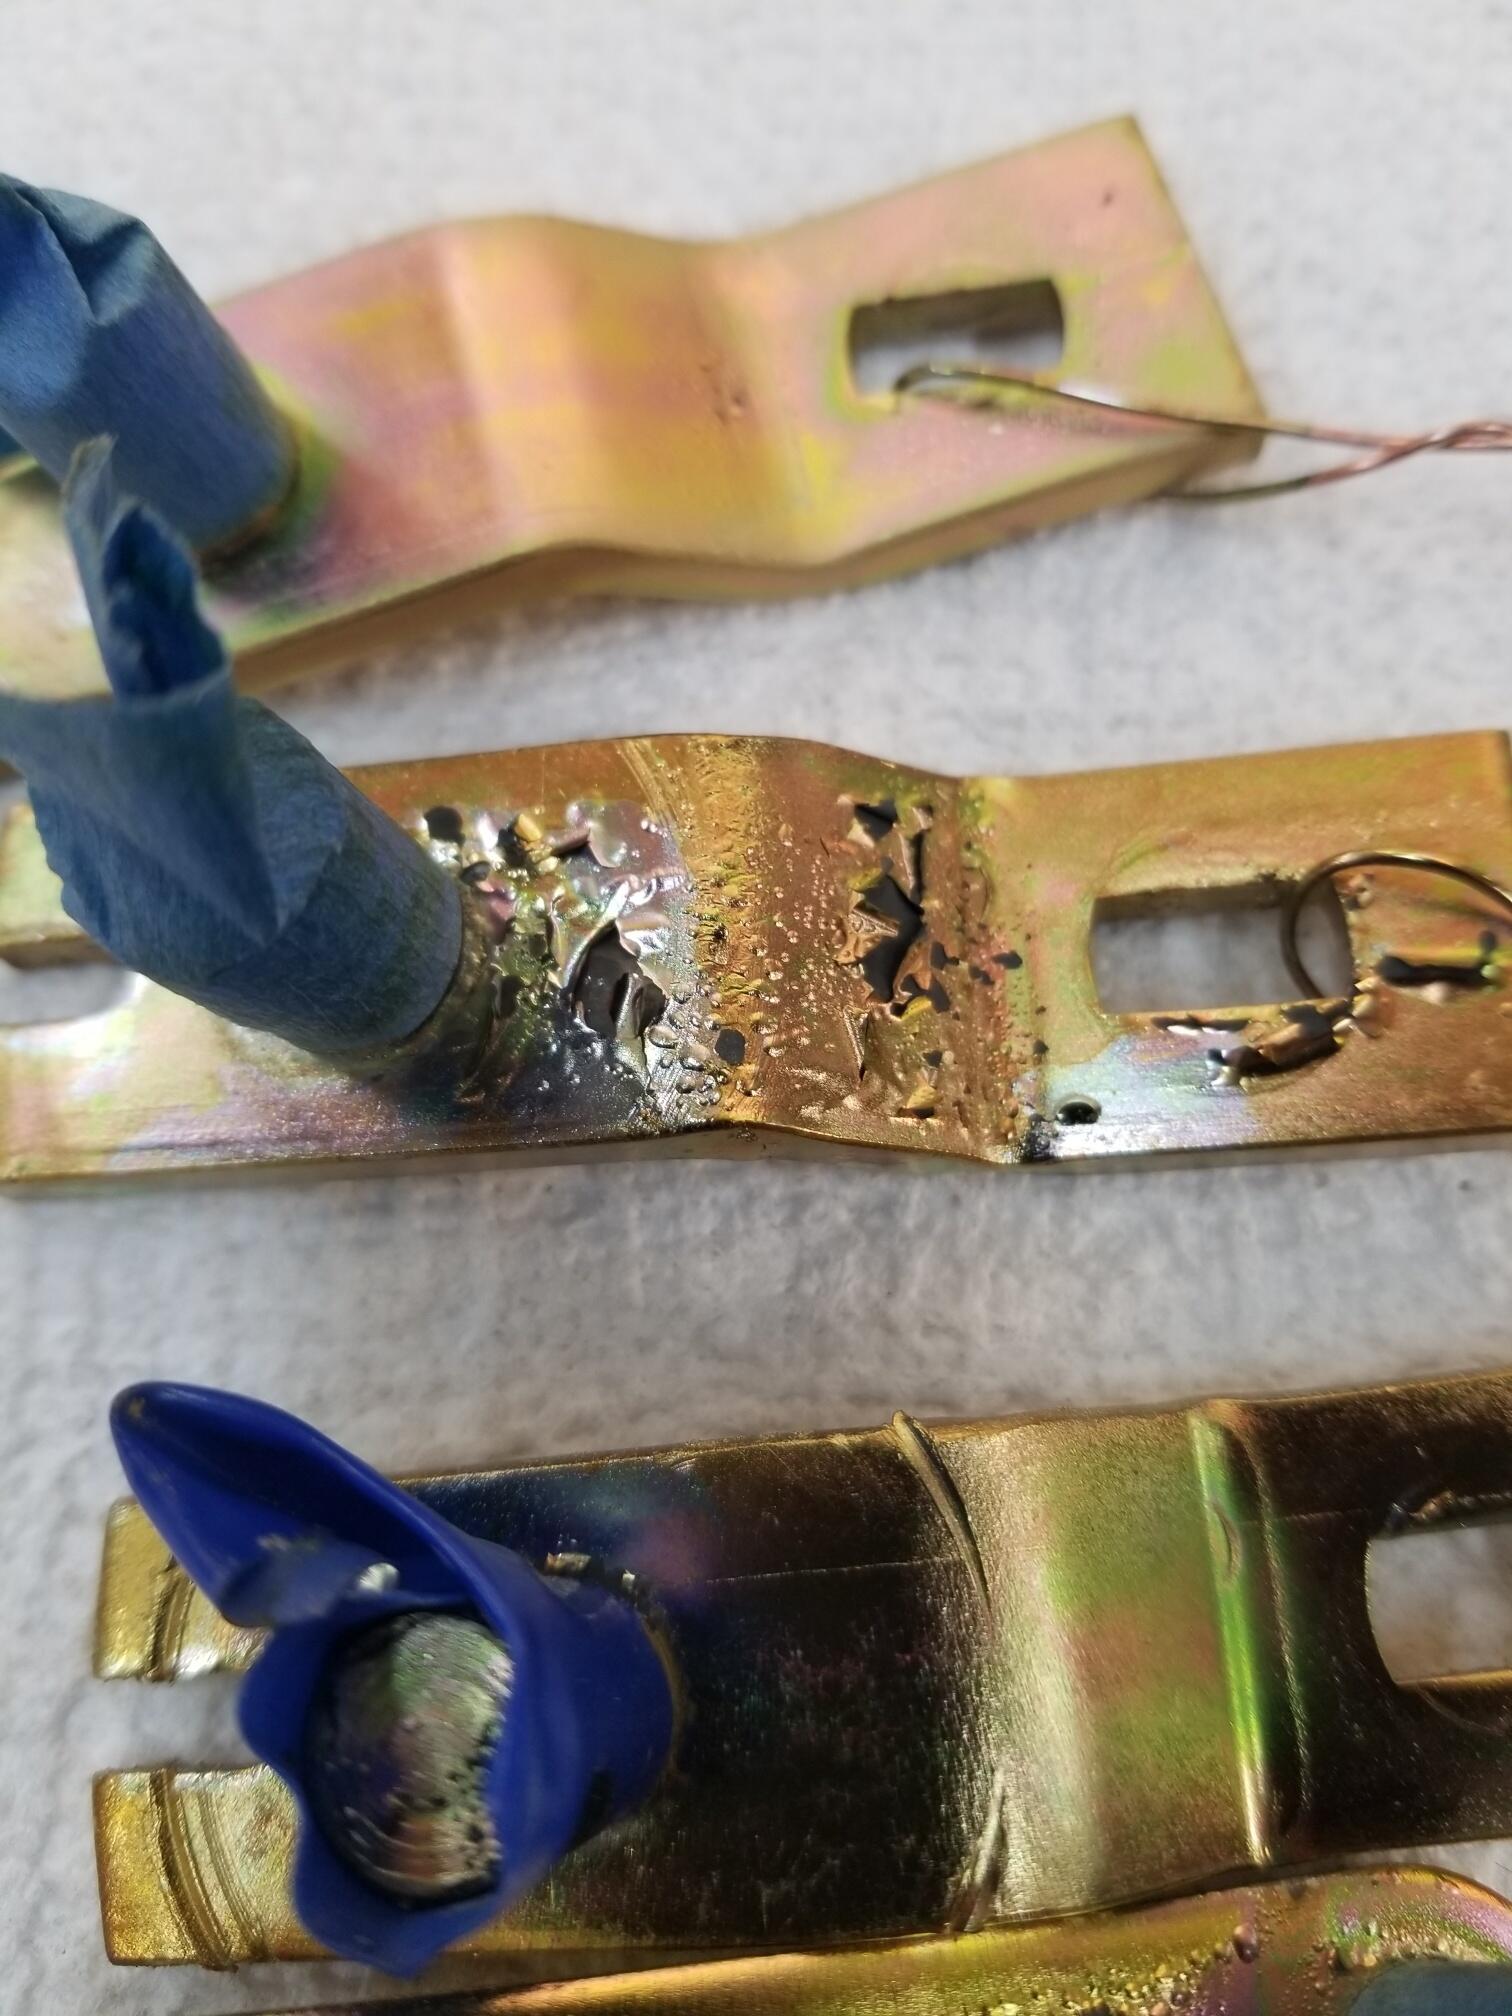
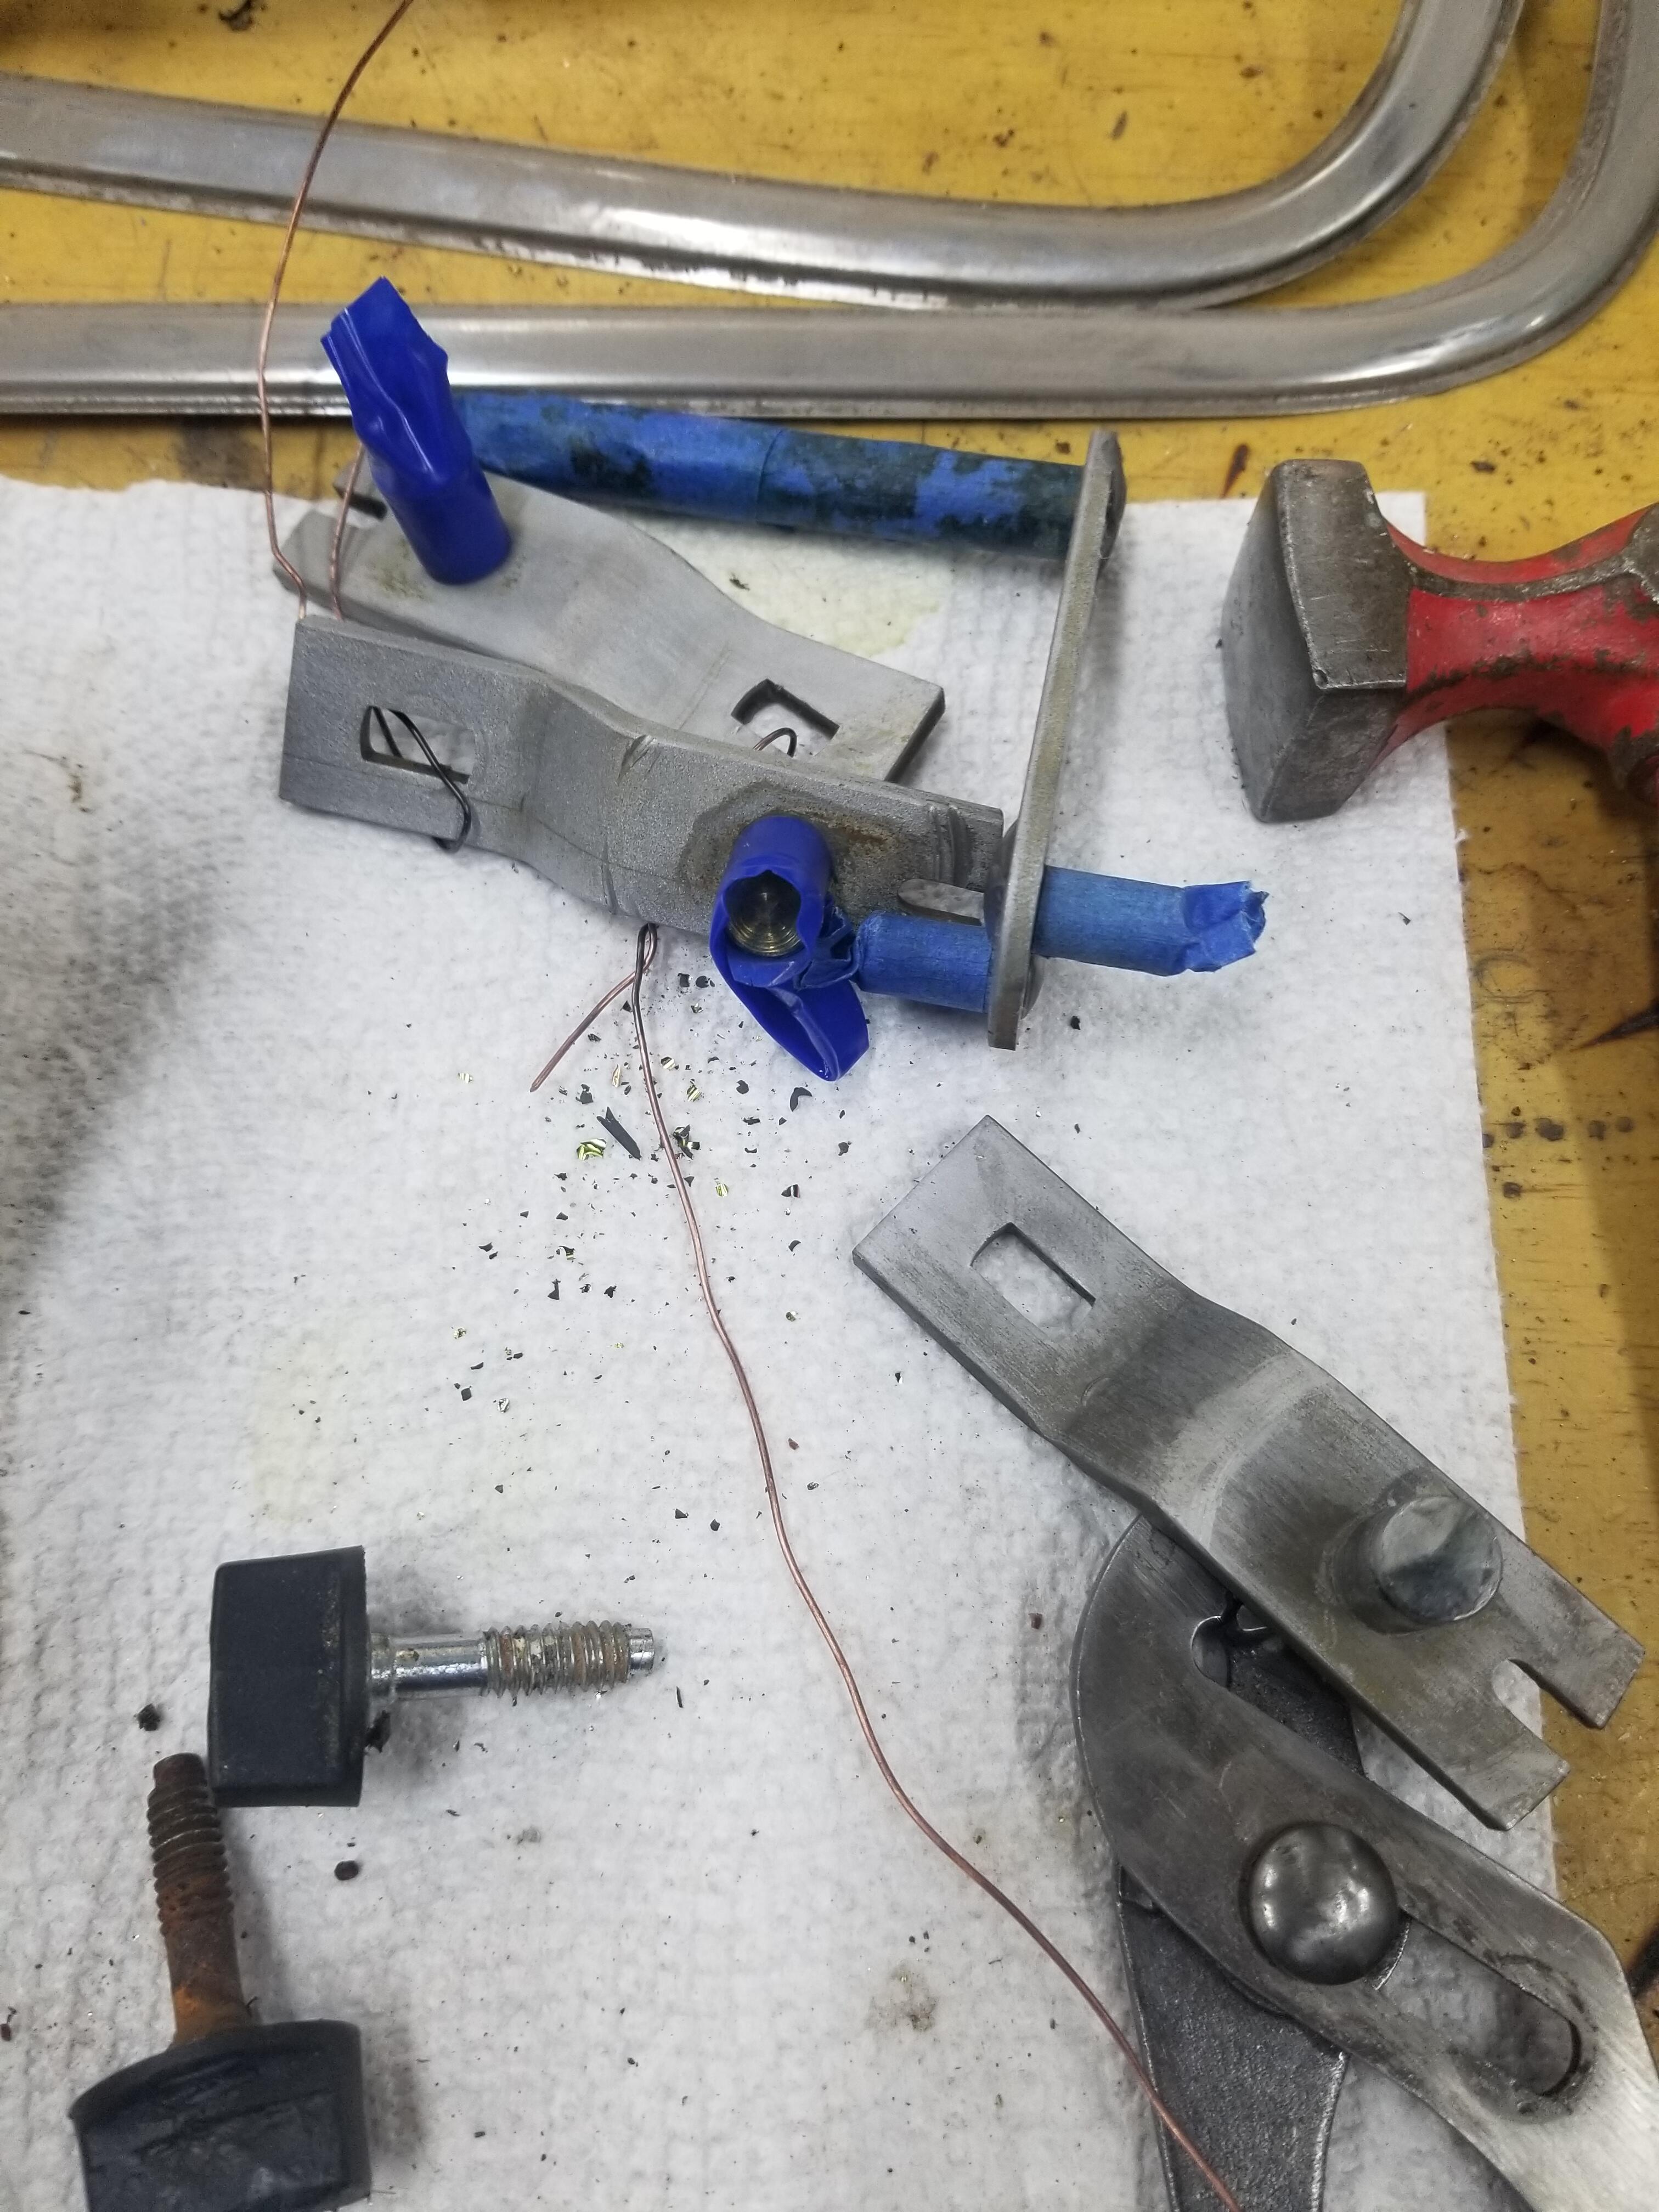
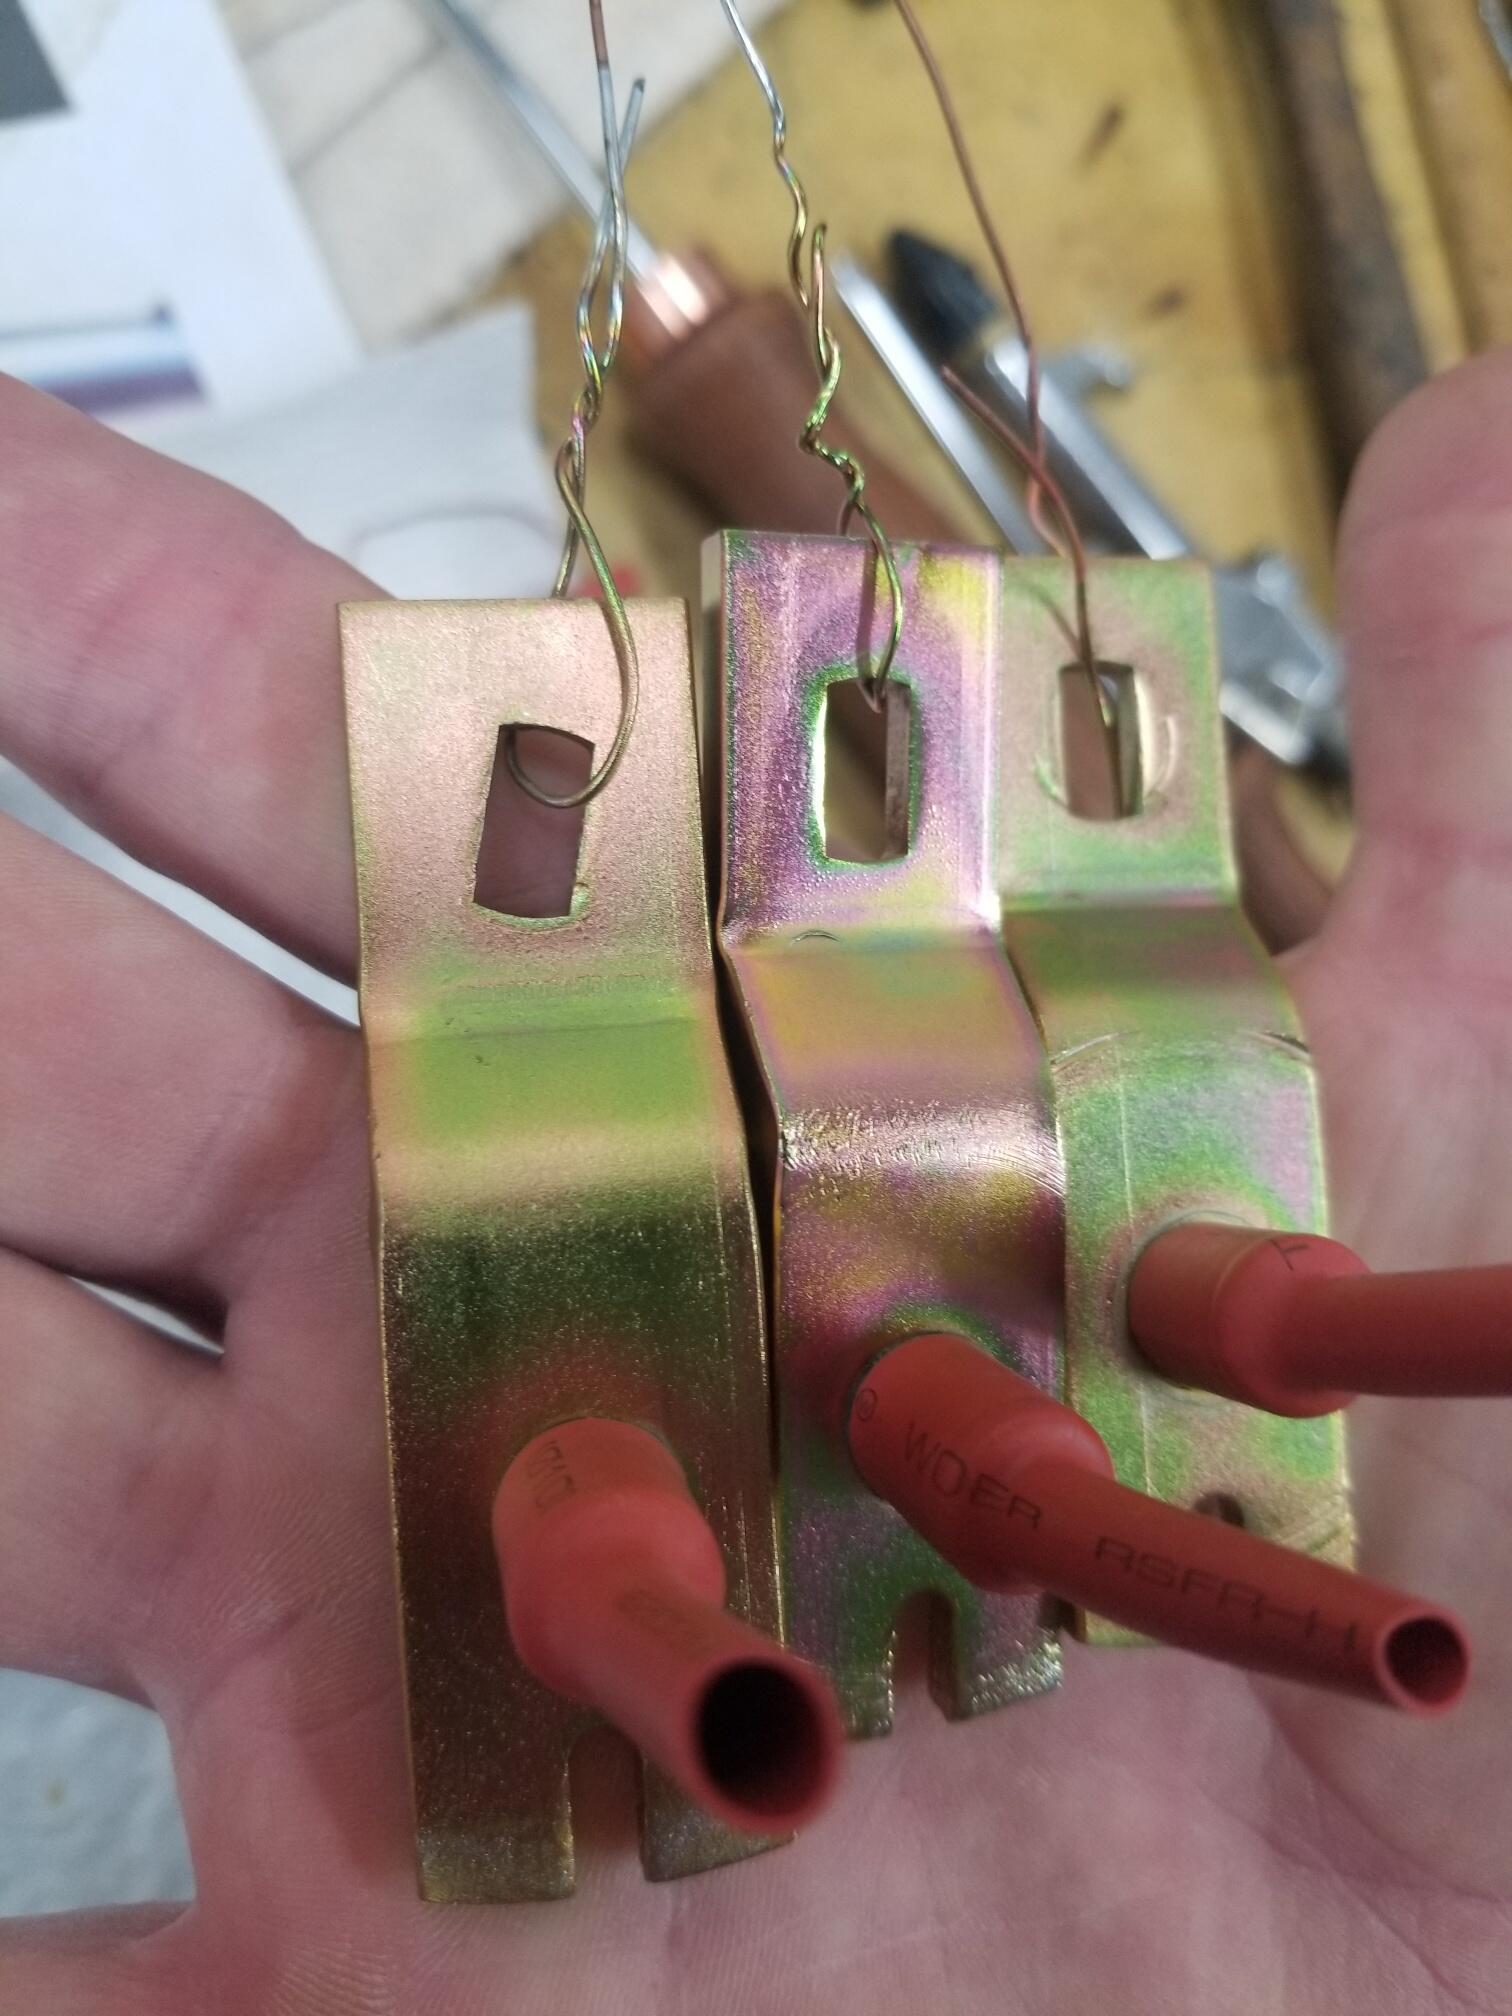
4 pointsSo I will update this thread so it's all here too. I did some plating a few weeks ago and it blistered badly. I'm not sure why. I could have been my plating tank was heating properly or too much brightener. In any event, I stripped it all down in citric acid and reprepped them for plating. This time instead of using tape to protect the chromed shafts, I used heat shrink. They did ok this time but some of it came out really pink. I left them in my blue chromate a little longer and only left them in the yellow for about 20 seconds. I was using a heat gun to dry and cure them. The last one I let air dry to see if the heat was causing the blushing. I believe the one on the bottom is the one I allowed to air dry The one on the far right is the air dry one. I do believe it changed when I allowed it to air dry but I was changing my chromate time too so it's hard to know the cause definitively. One point is, if you use heat shrink or even tape, it needs to be cut off ASAP. I had one that had some liquid still in it and it corroded the fresh plating where it leaked out later. Since all of this is concealed in the cowl, I'm not going to worry about it.


 4 points
 -
4 points
-
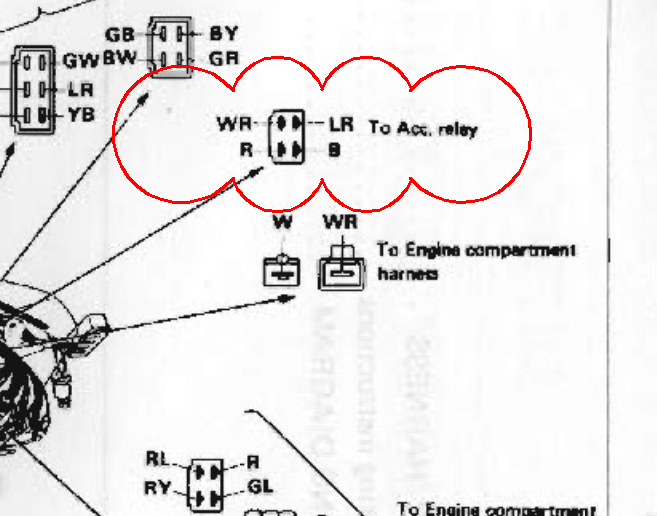
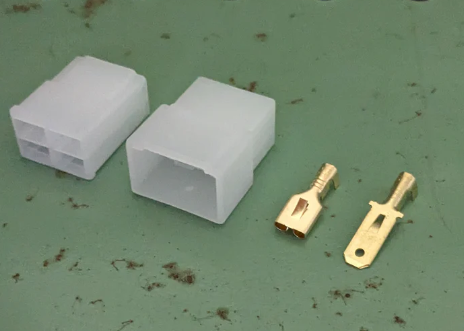
3 pointsHere are my suggestions for power sources: Power door locks - Full time power Power windows - Accessory power 2 Power outlets - Accessory power Hatch popper - Full time power So now you need to know how to go about getting this power. I like to construct "jumper harnesses" myself. That is a short wiring harness that goes between two factory connectors that branches off to the new circuit. In the past I have used the "bullet" connectors in the jumper harnesses to branch off, but now I would add splices soldered into the wire of interest. In your case, there is a great connector to add a jumper harness, the accessory relay. The WR (white/red stripe) wire is constant power, and the LR (blue/red) wire is hot when the accessory relay closes the contacts. How would you make a jumper harness? Vintage Connections has most of what you would need, including wires with the proper coloring if you want to stay consistent with the factory colors. In this case I would suggest the following: A 4-pin non-latching connector 2 1-pin non-latching connectors (Note: you can also use 1 2-pin non-latching, but that is a discussion for later.) 2 inline fuses, probably sourced from Amazon, like this: https://www.amazon.com/Inline-VANTRONIK-Waterproof-Standard-standard/dp/B081YDV8PS for at the jumper harness and use the others for a couple of the branch circuits 14 AWG wire 16 AWG wire (for the power outlets) 2-pin non-latching connectors for each of the devices. 4-pin non-latching from Vintage Connections I would drop down the wire gauge on the power outlets and use 16 AWG on those. (Use 5 A fuses in the inline fuse holder.) I would use 10 A fuses in the fuse holder for the branches coming off the jumper harness. That should give your wiring adequate protection.
 3 points
 -
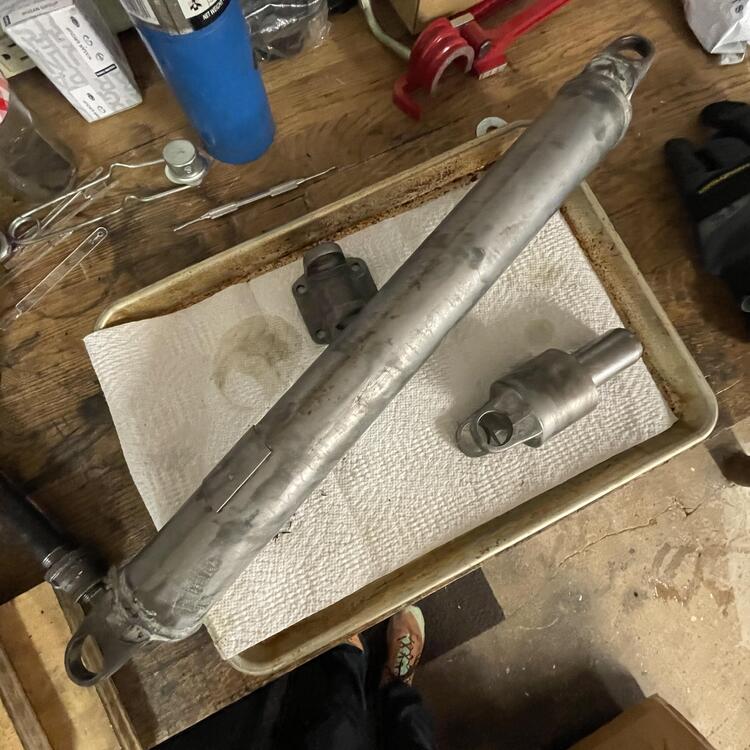
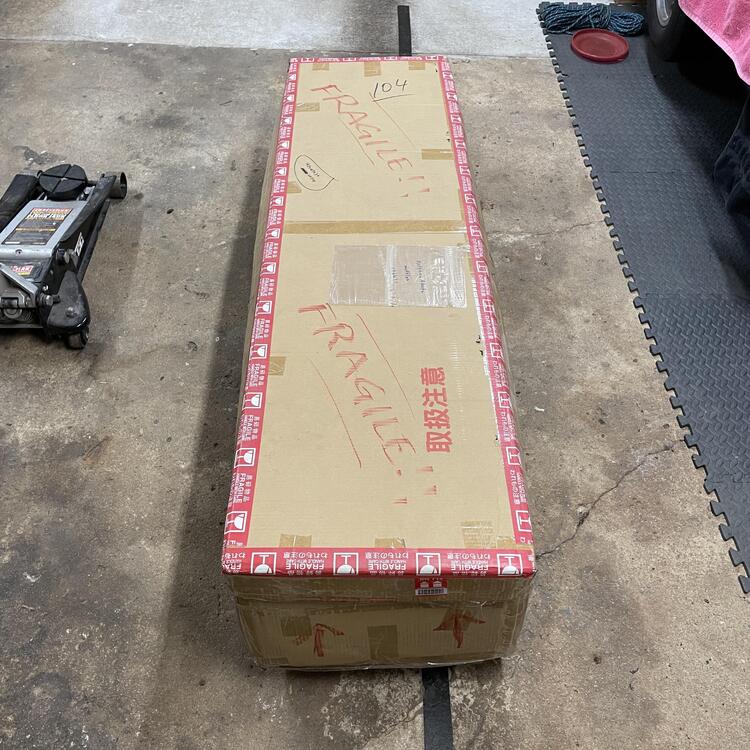
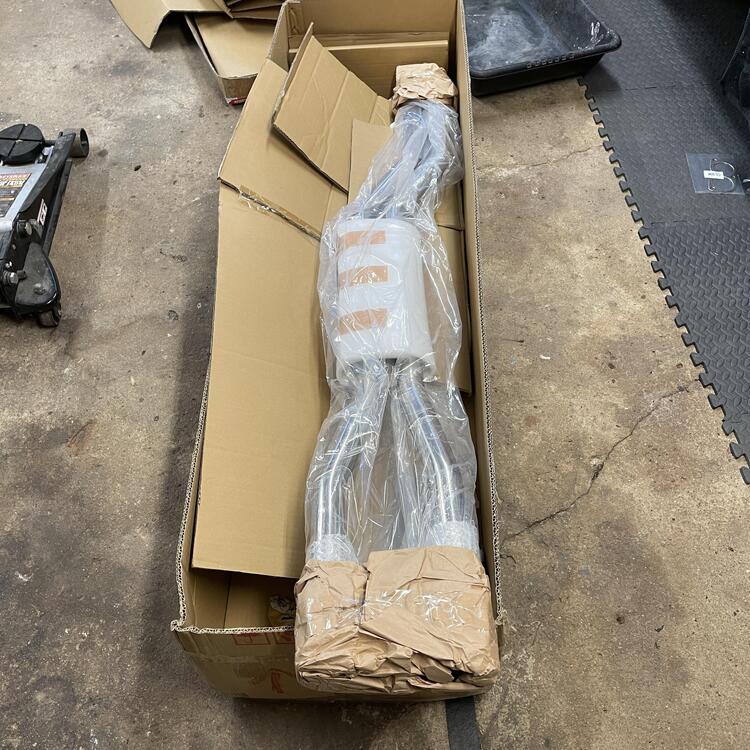
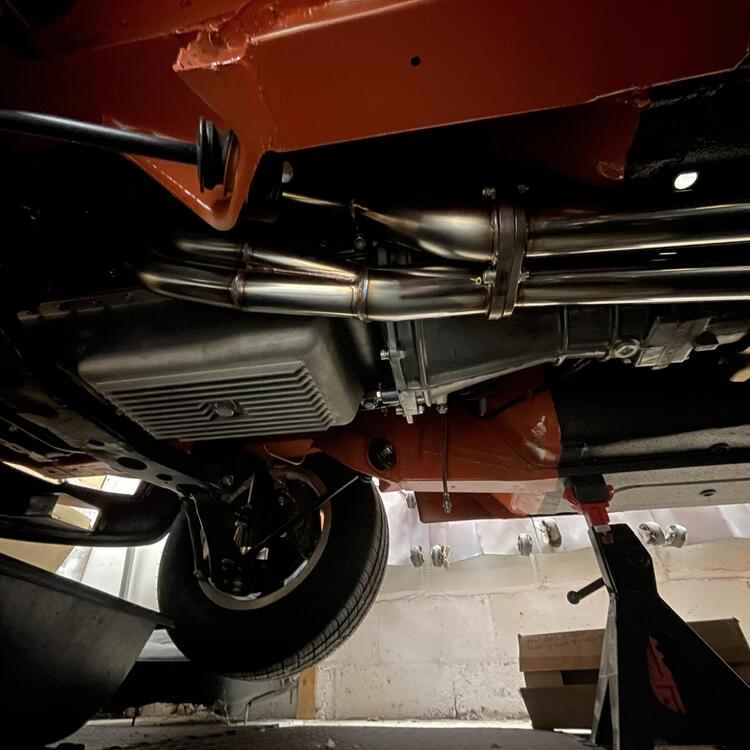
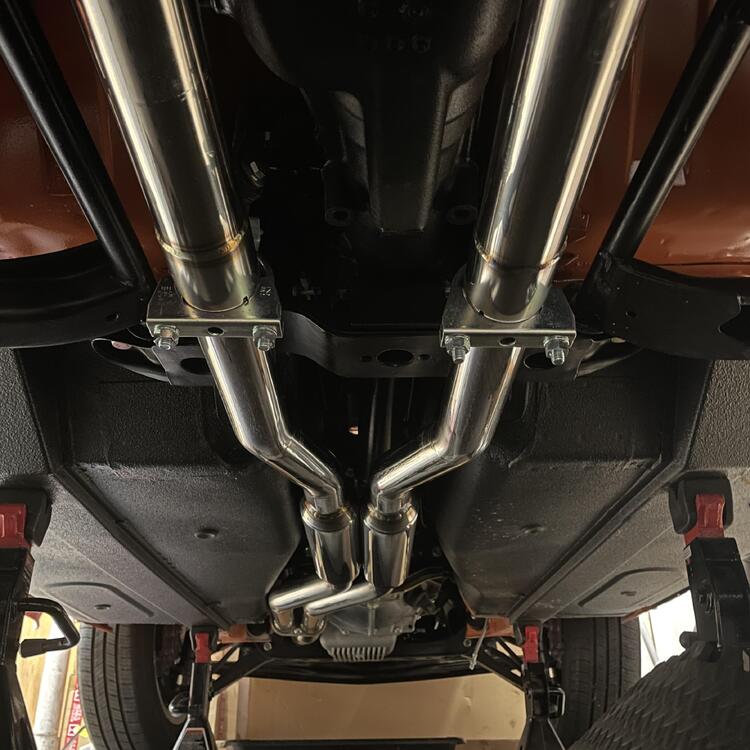
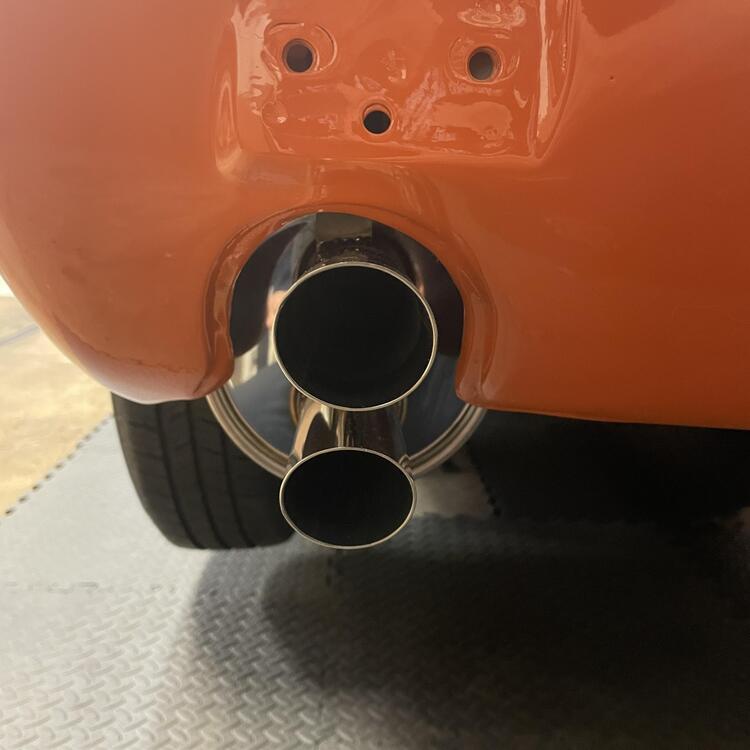
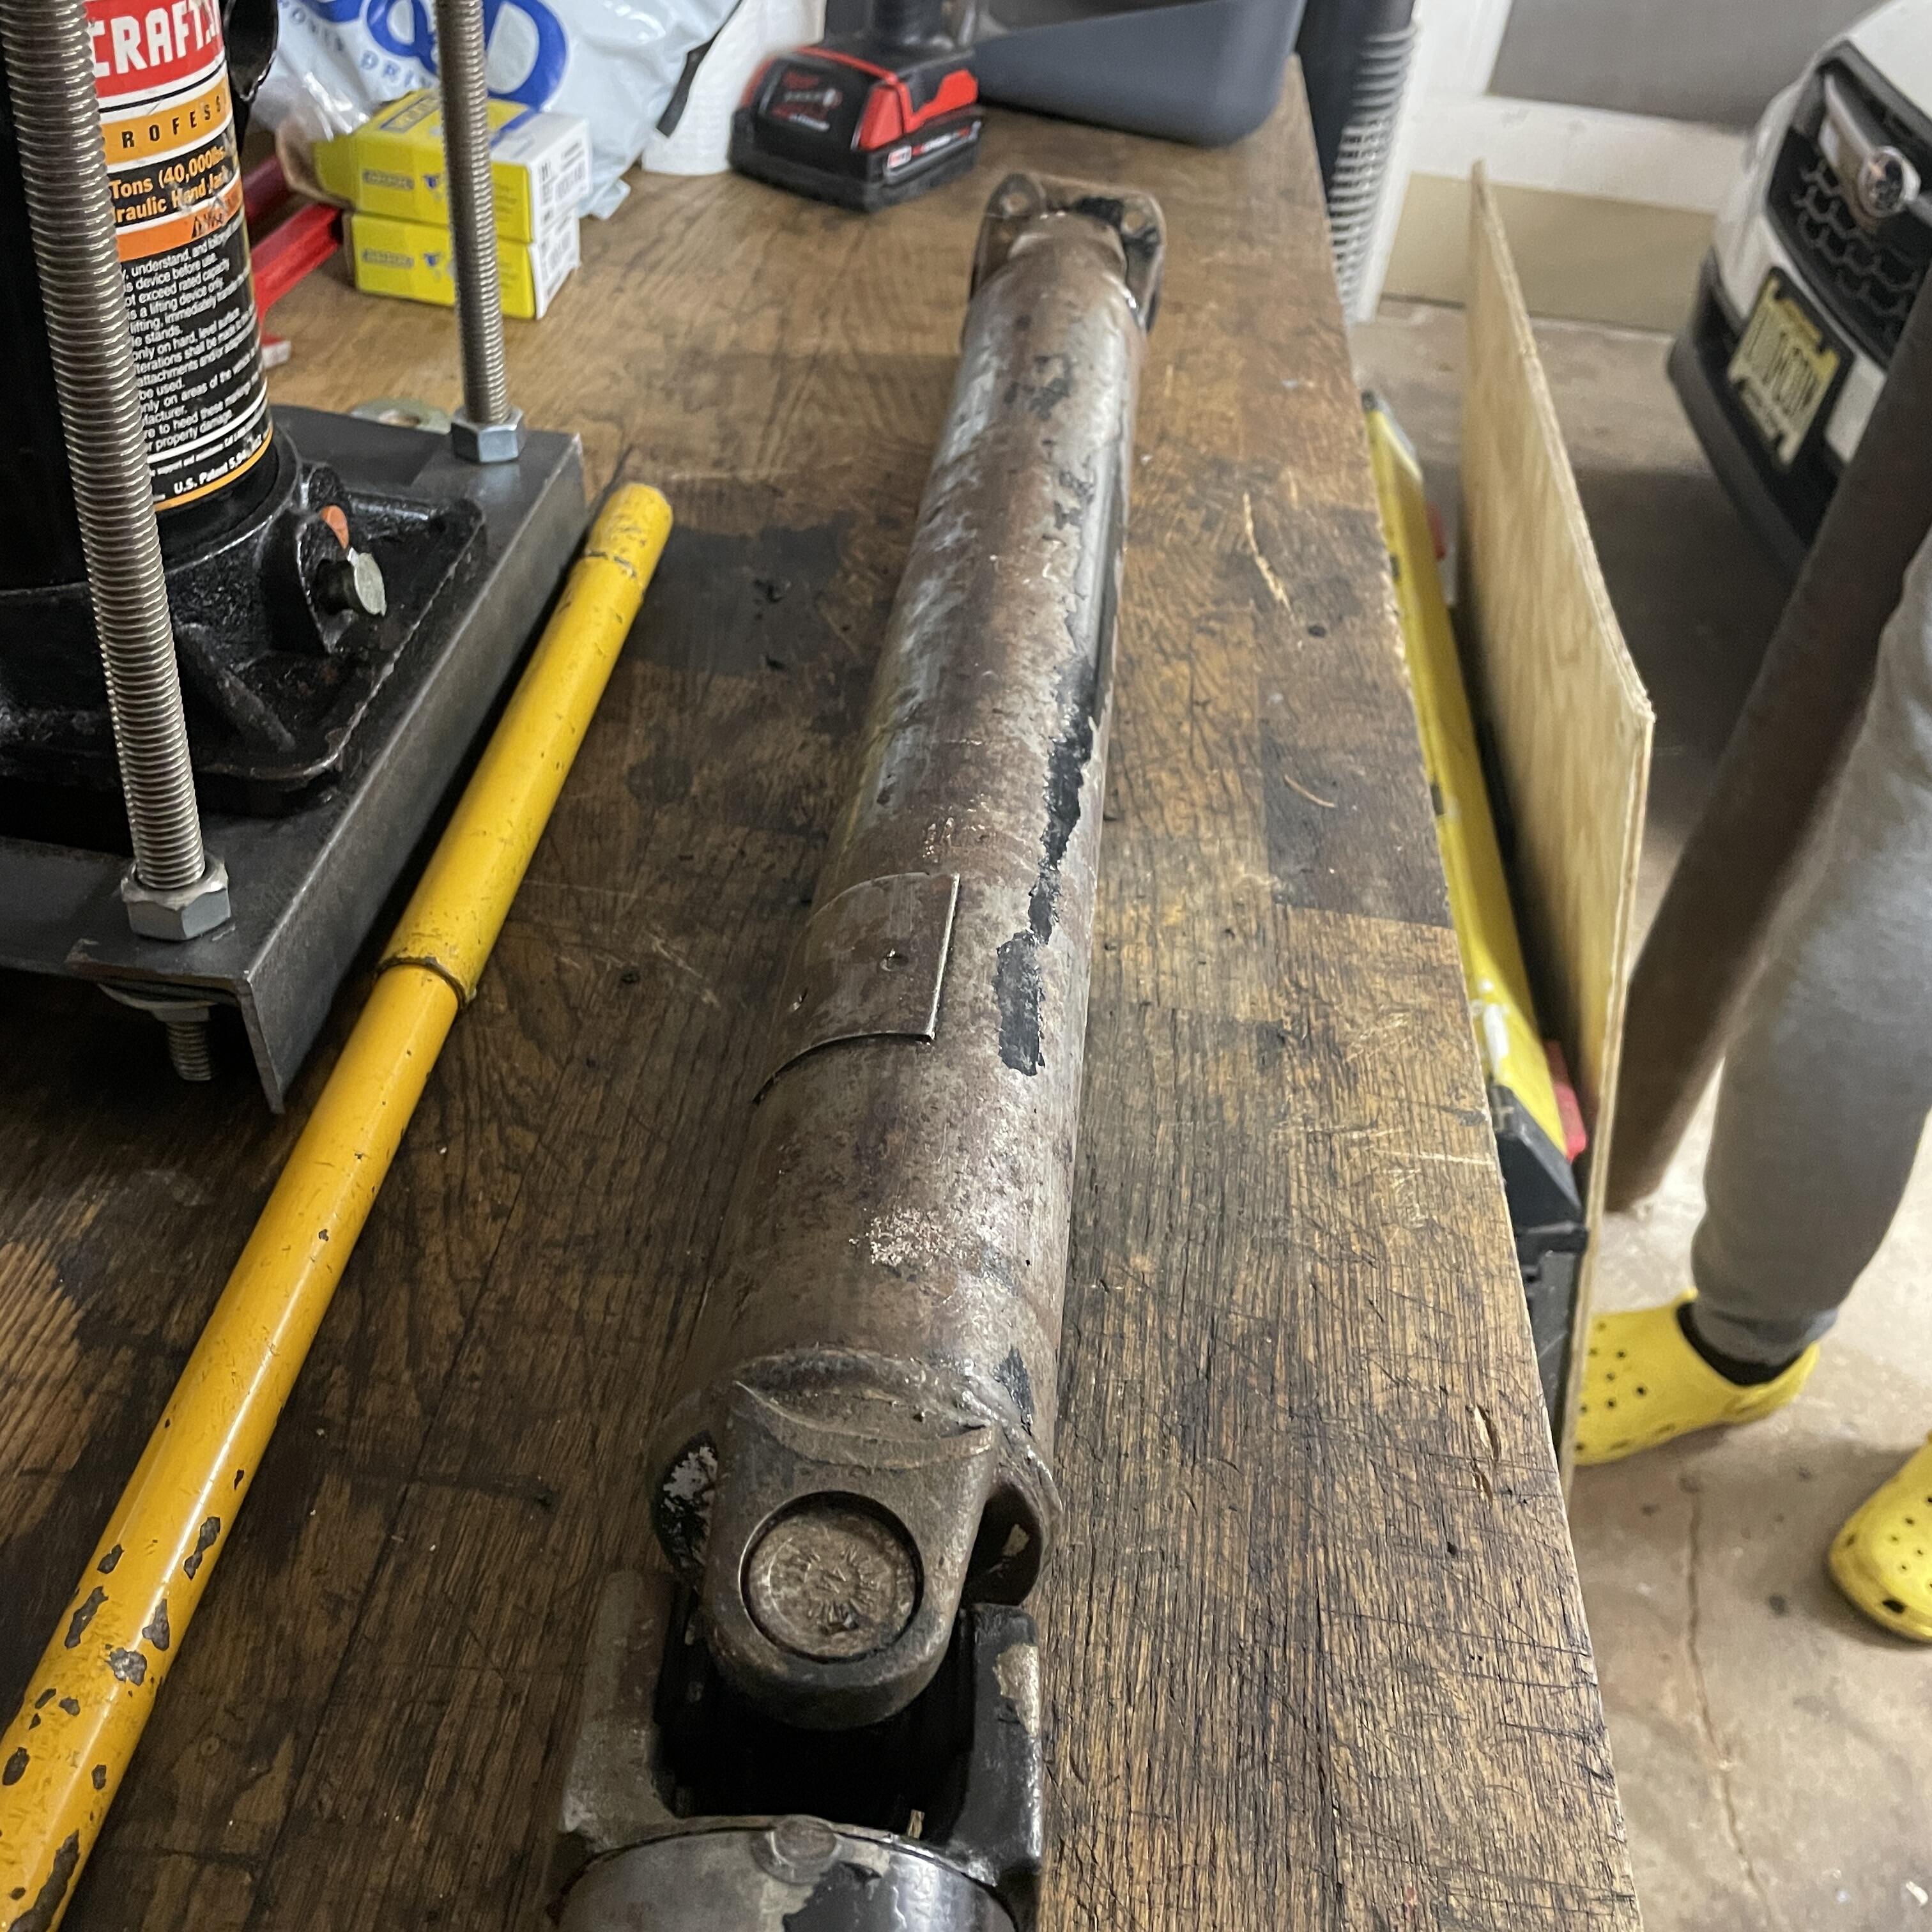
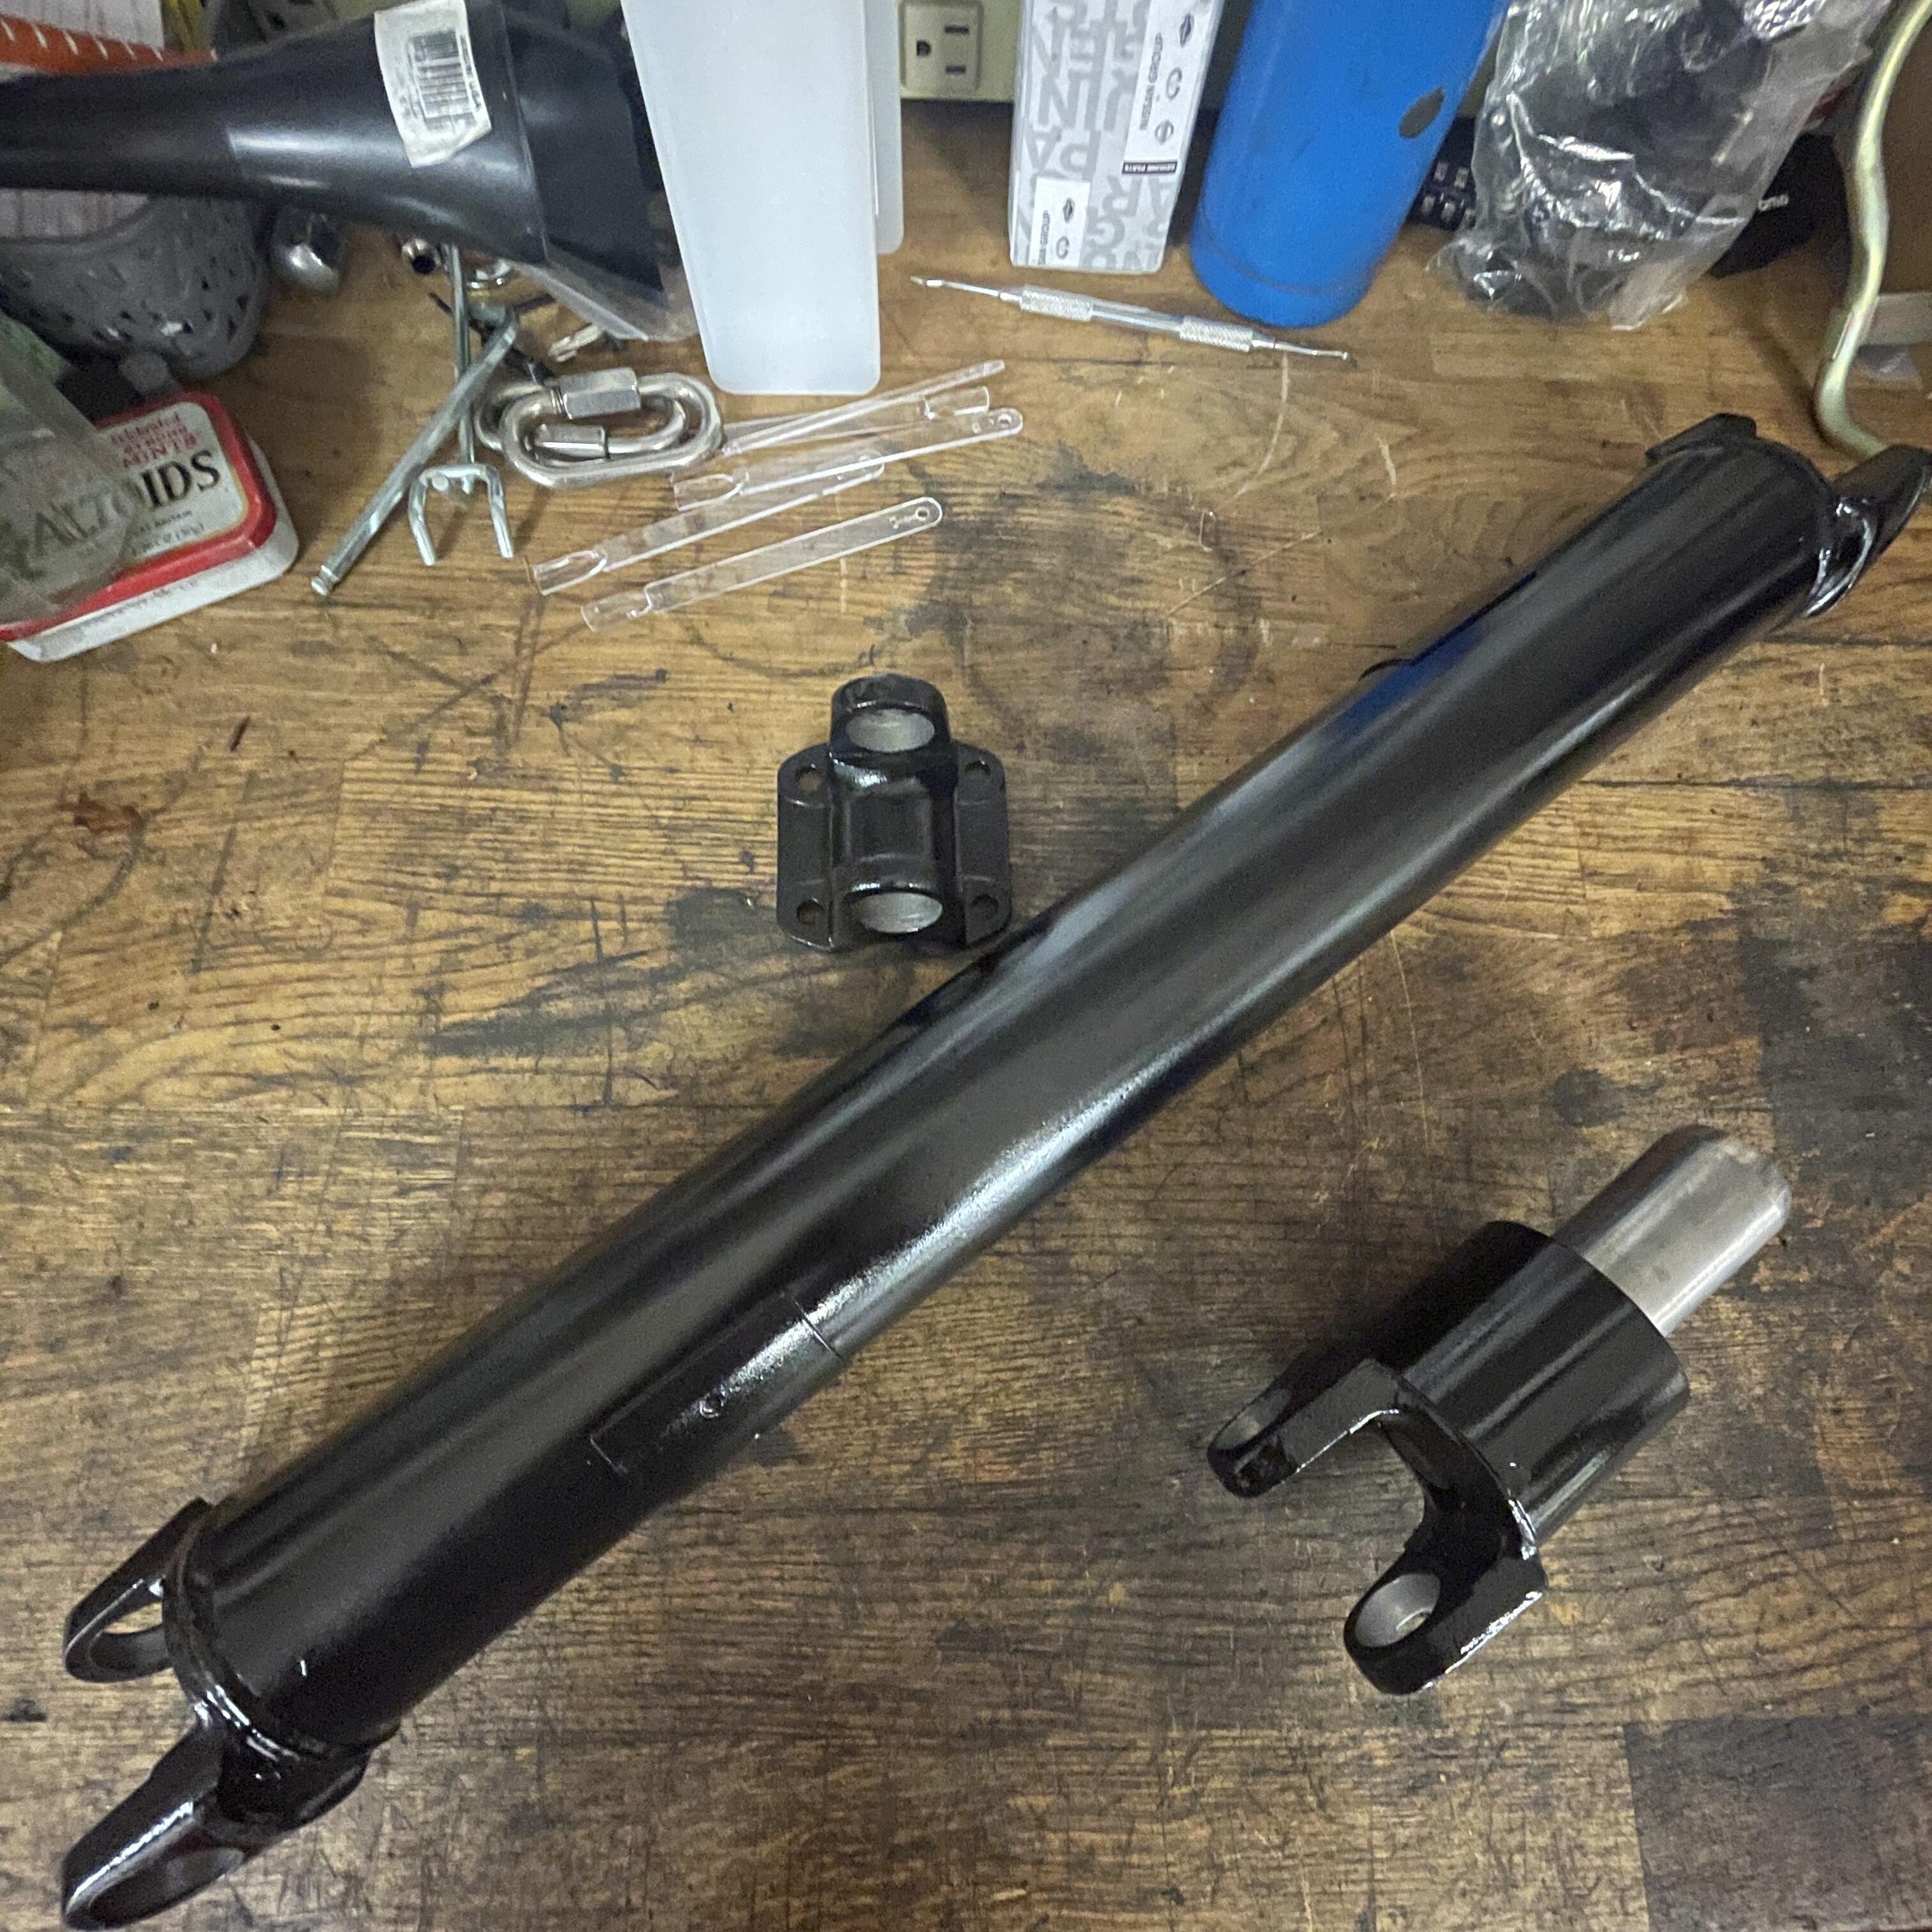
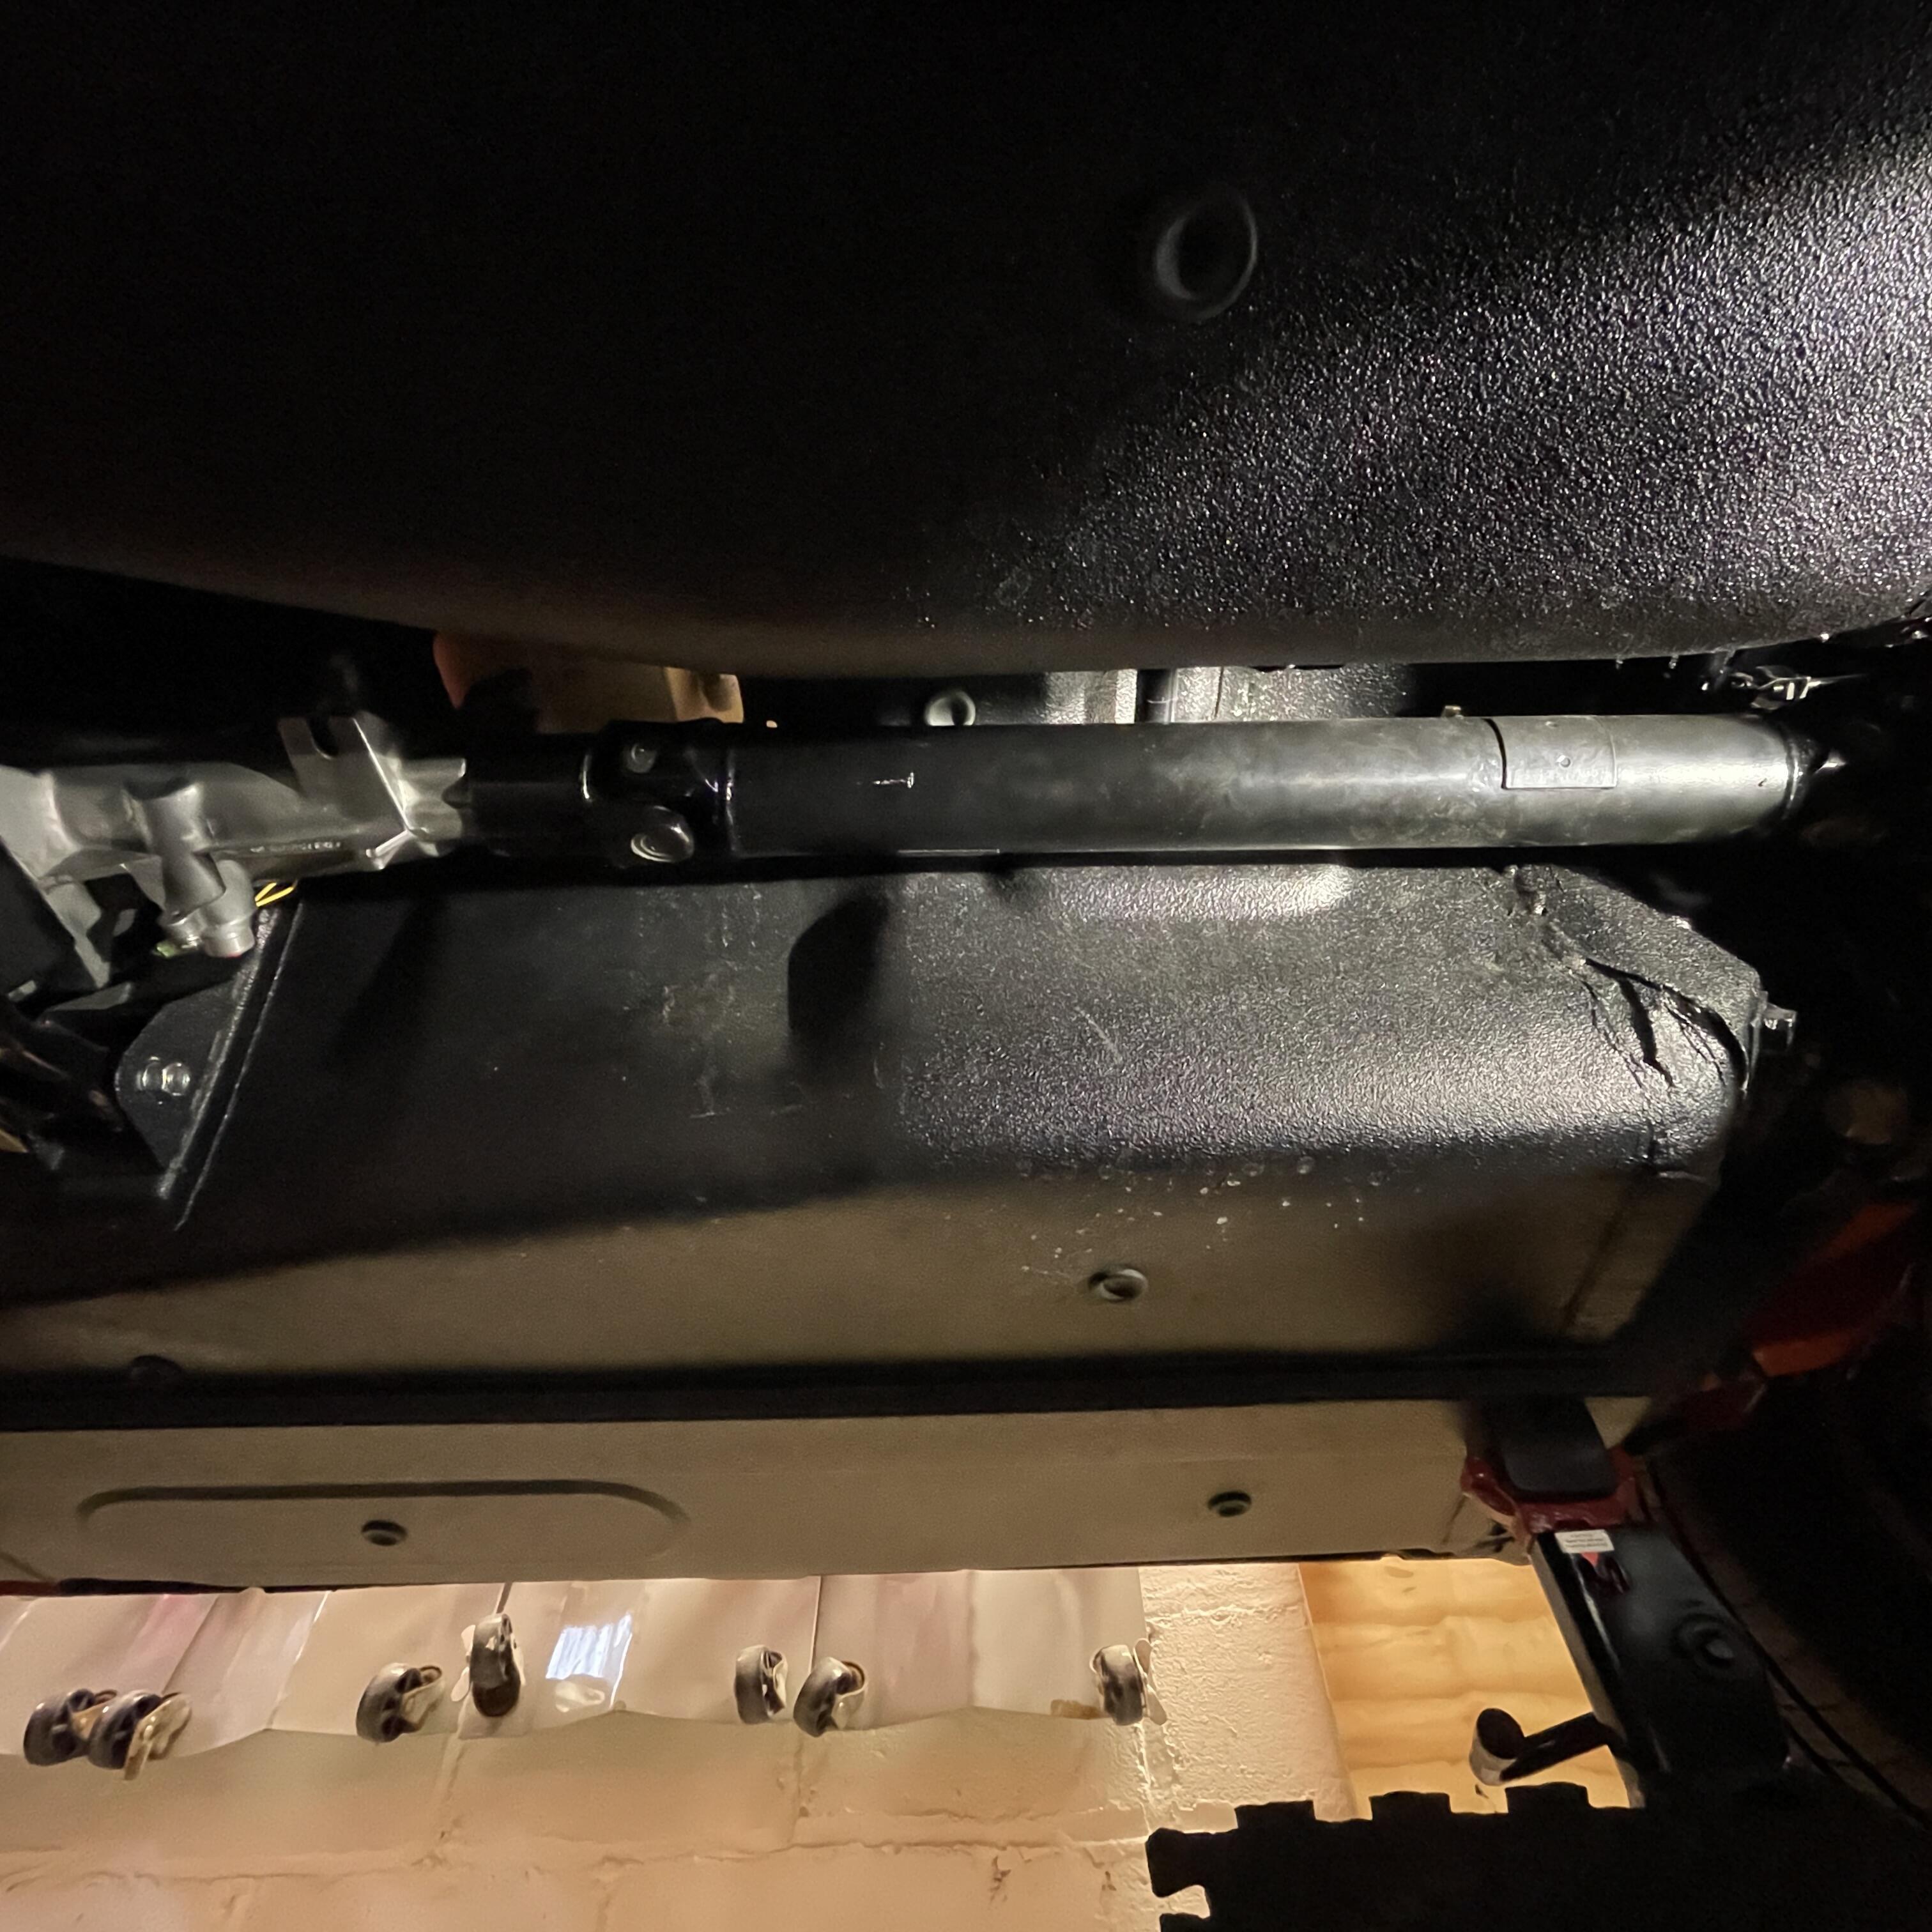
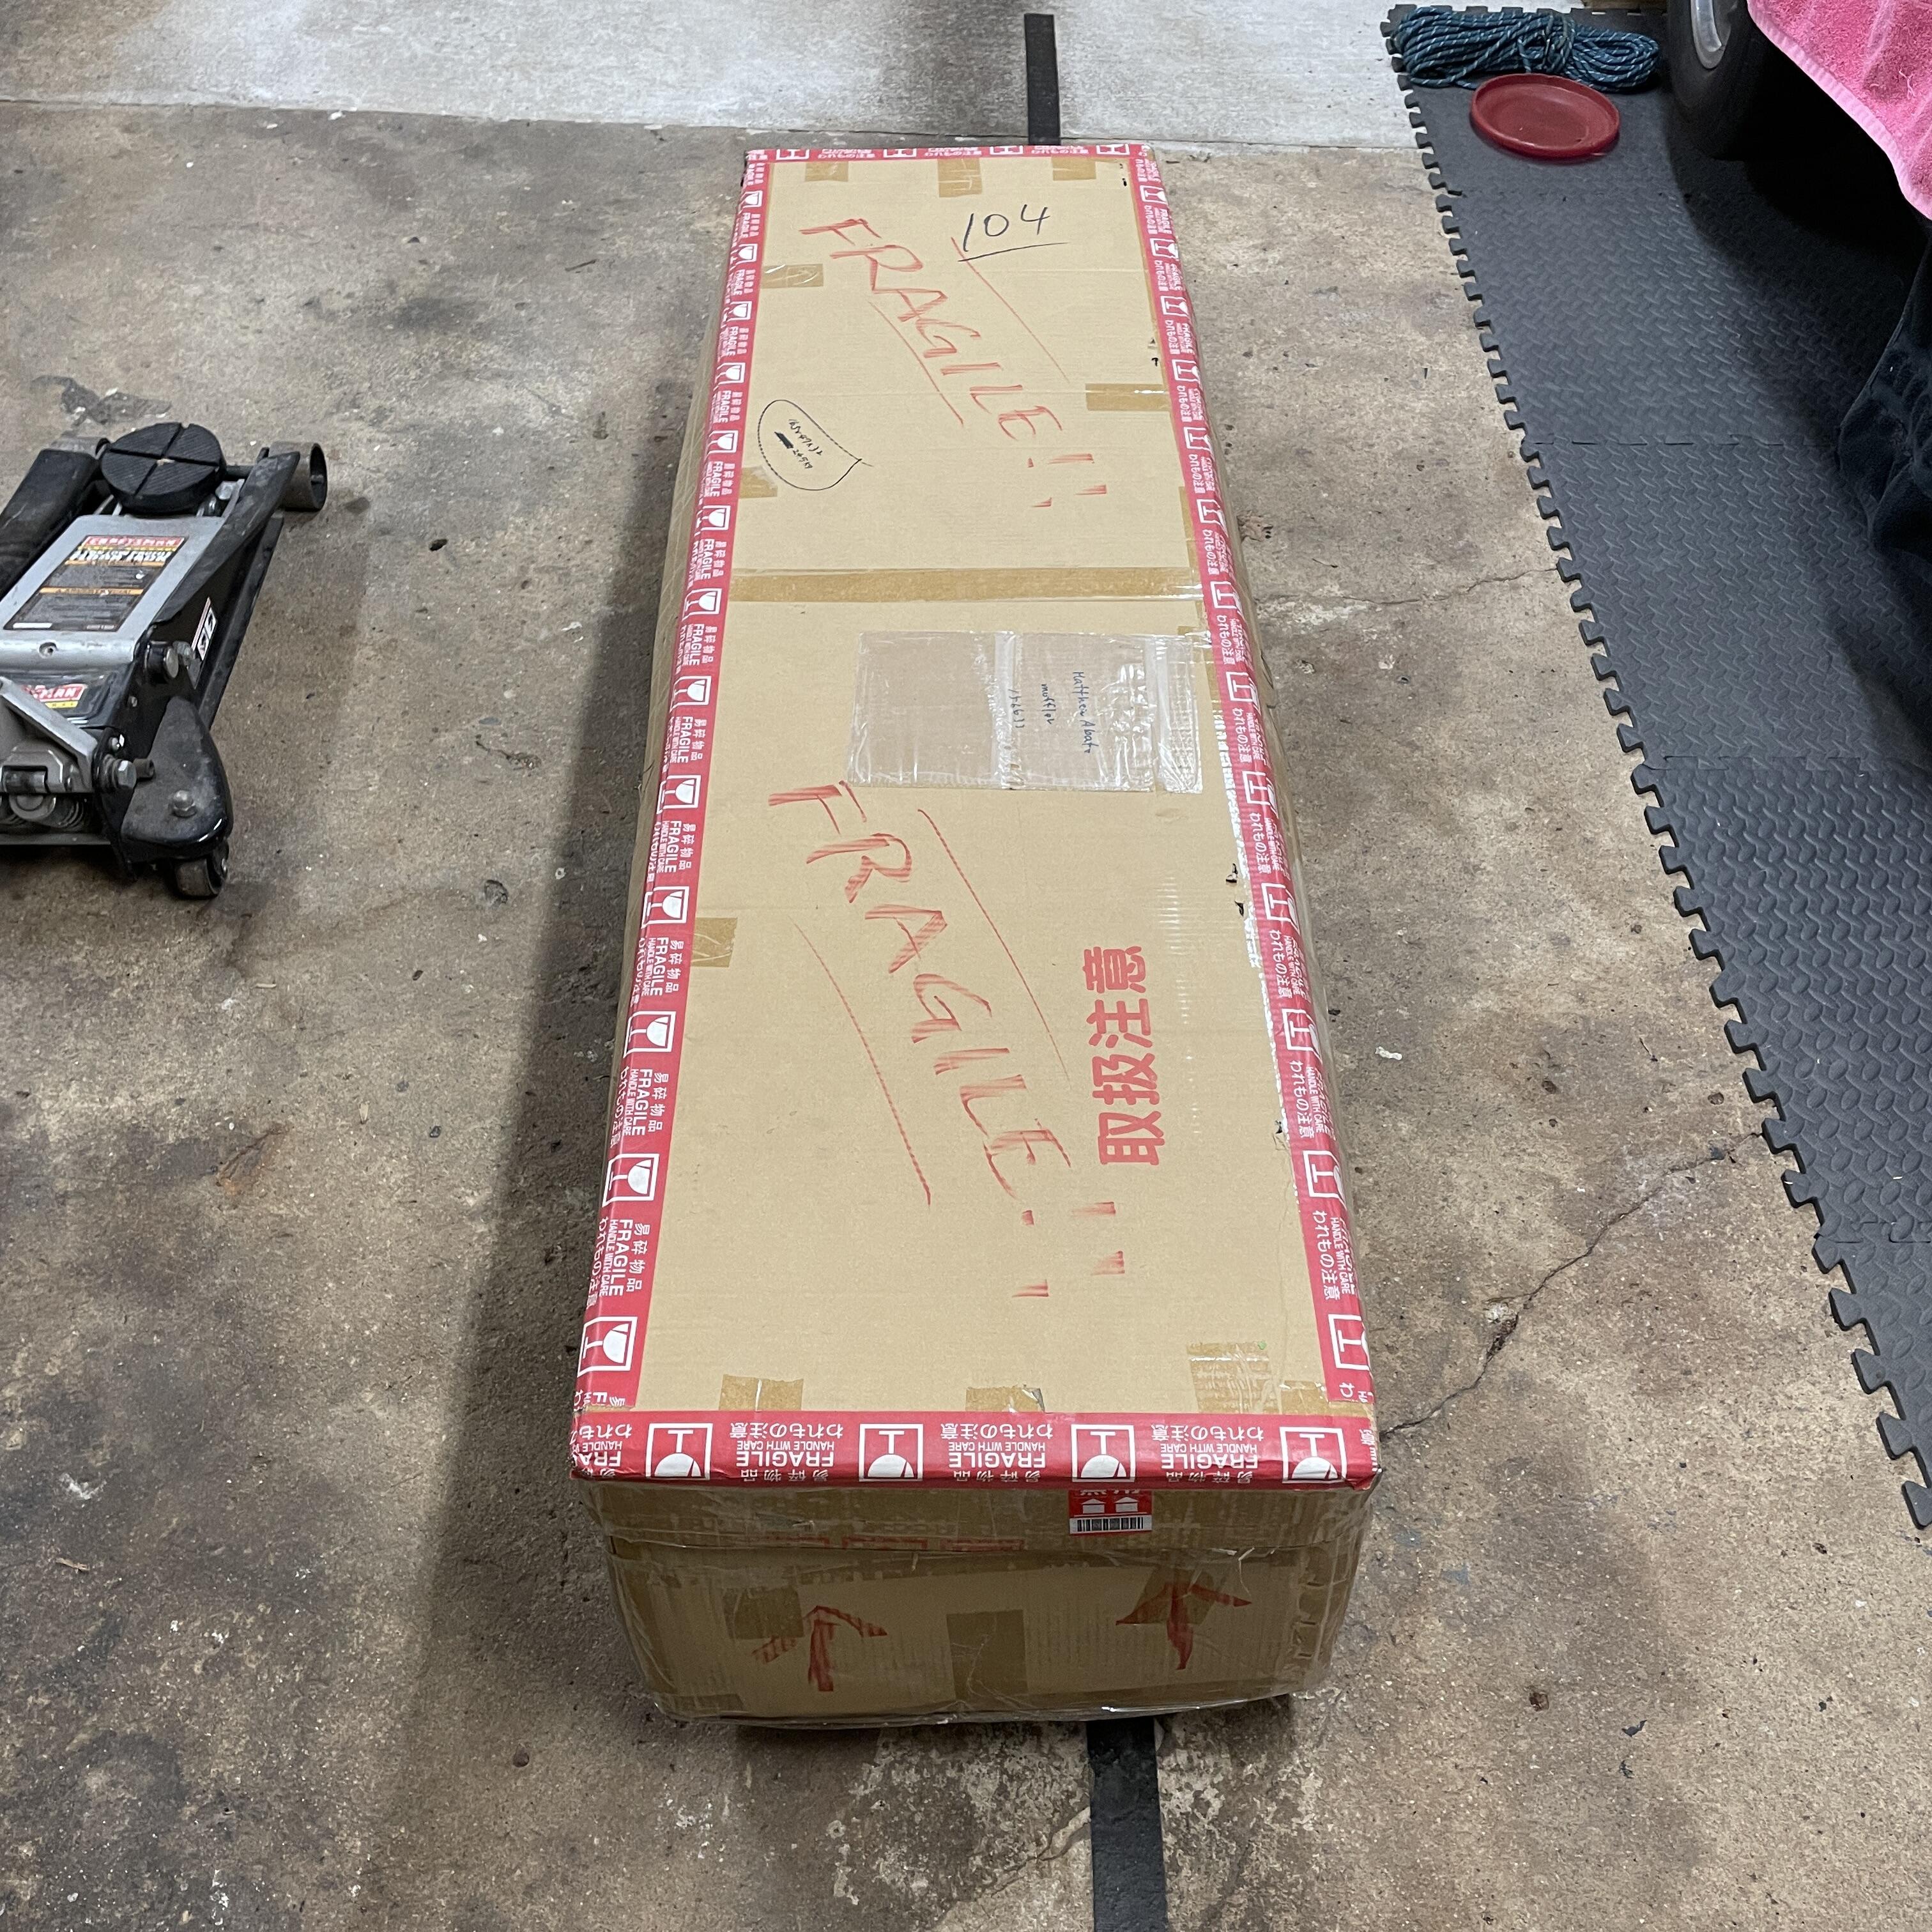
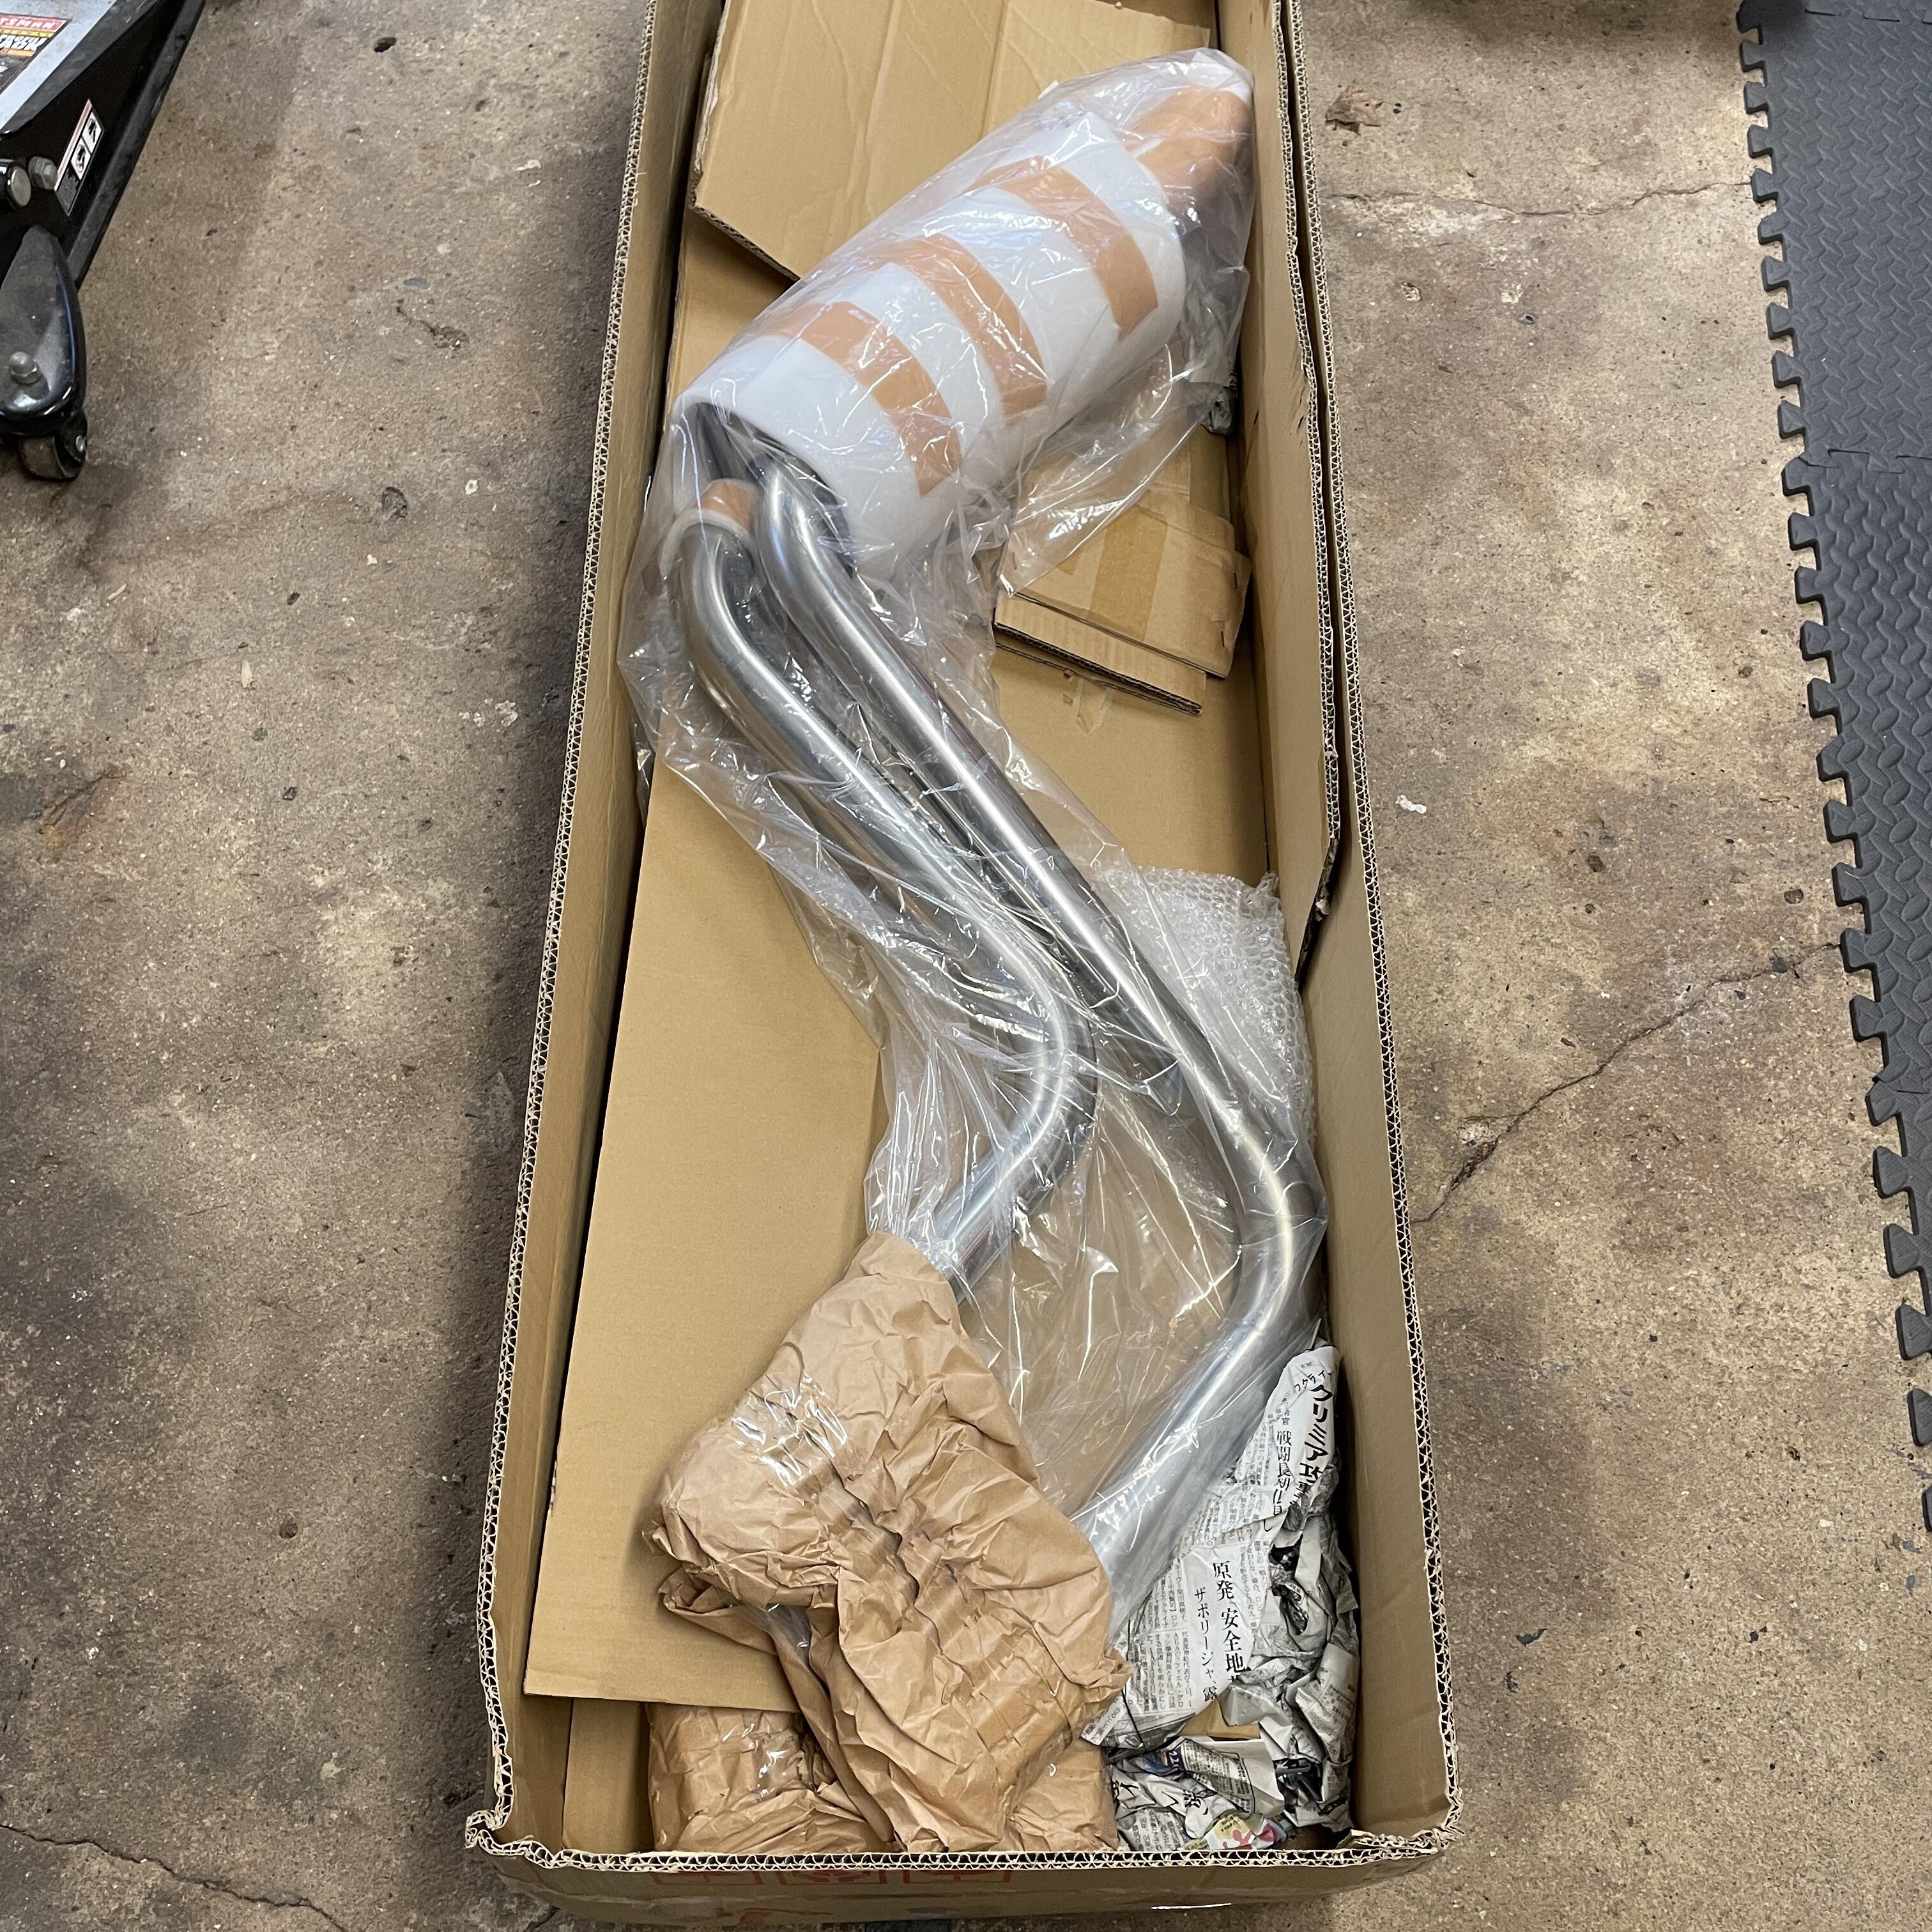
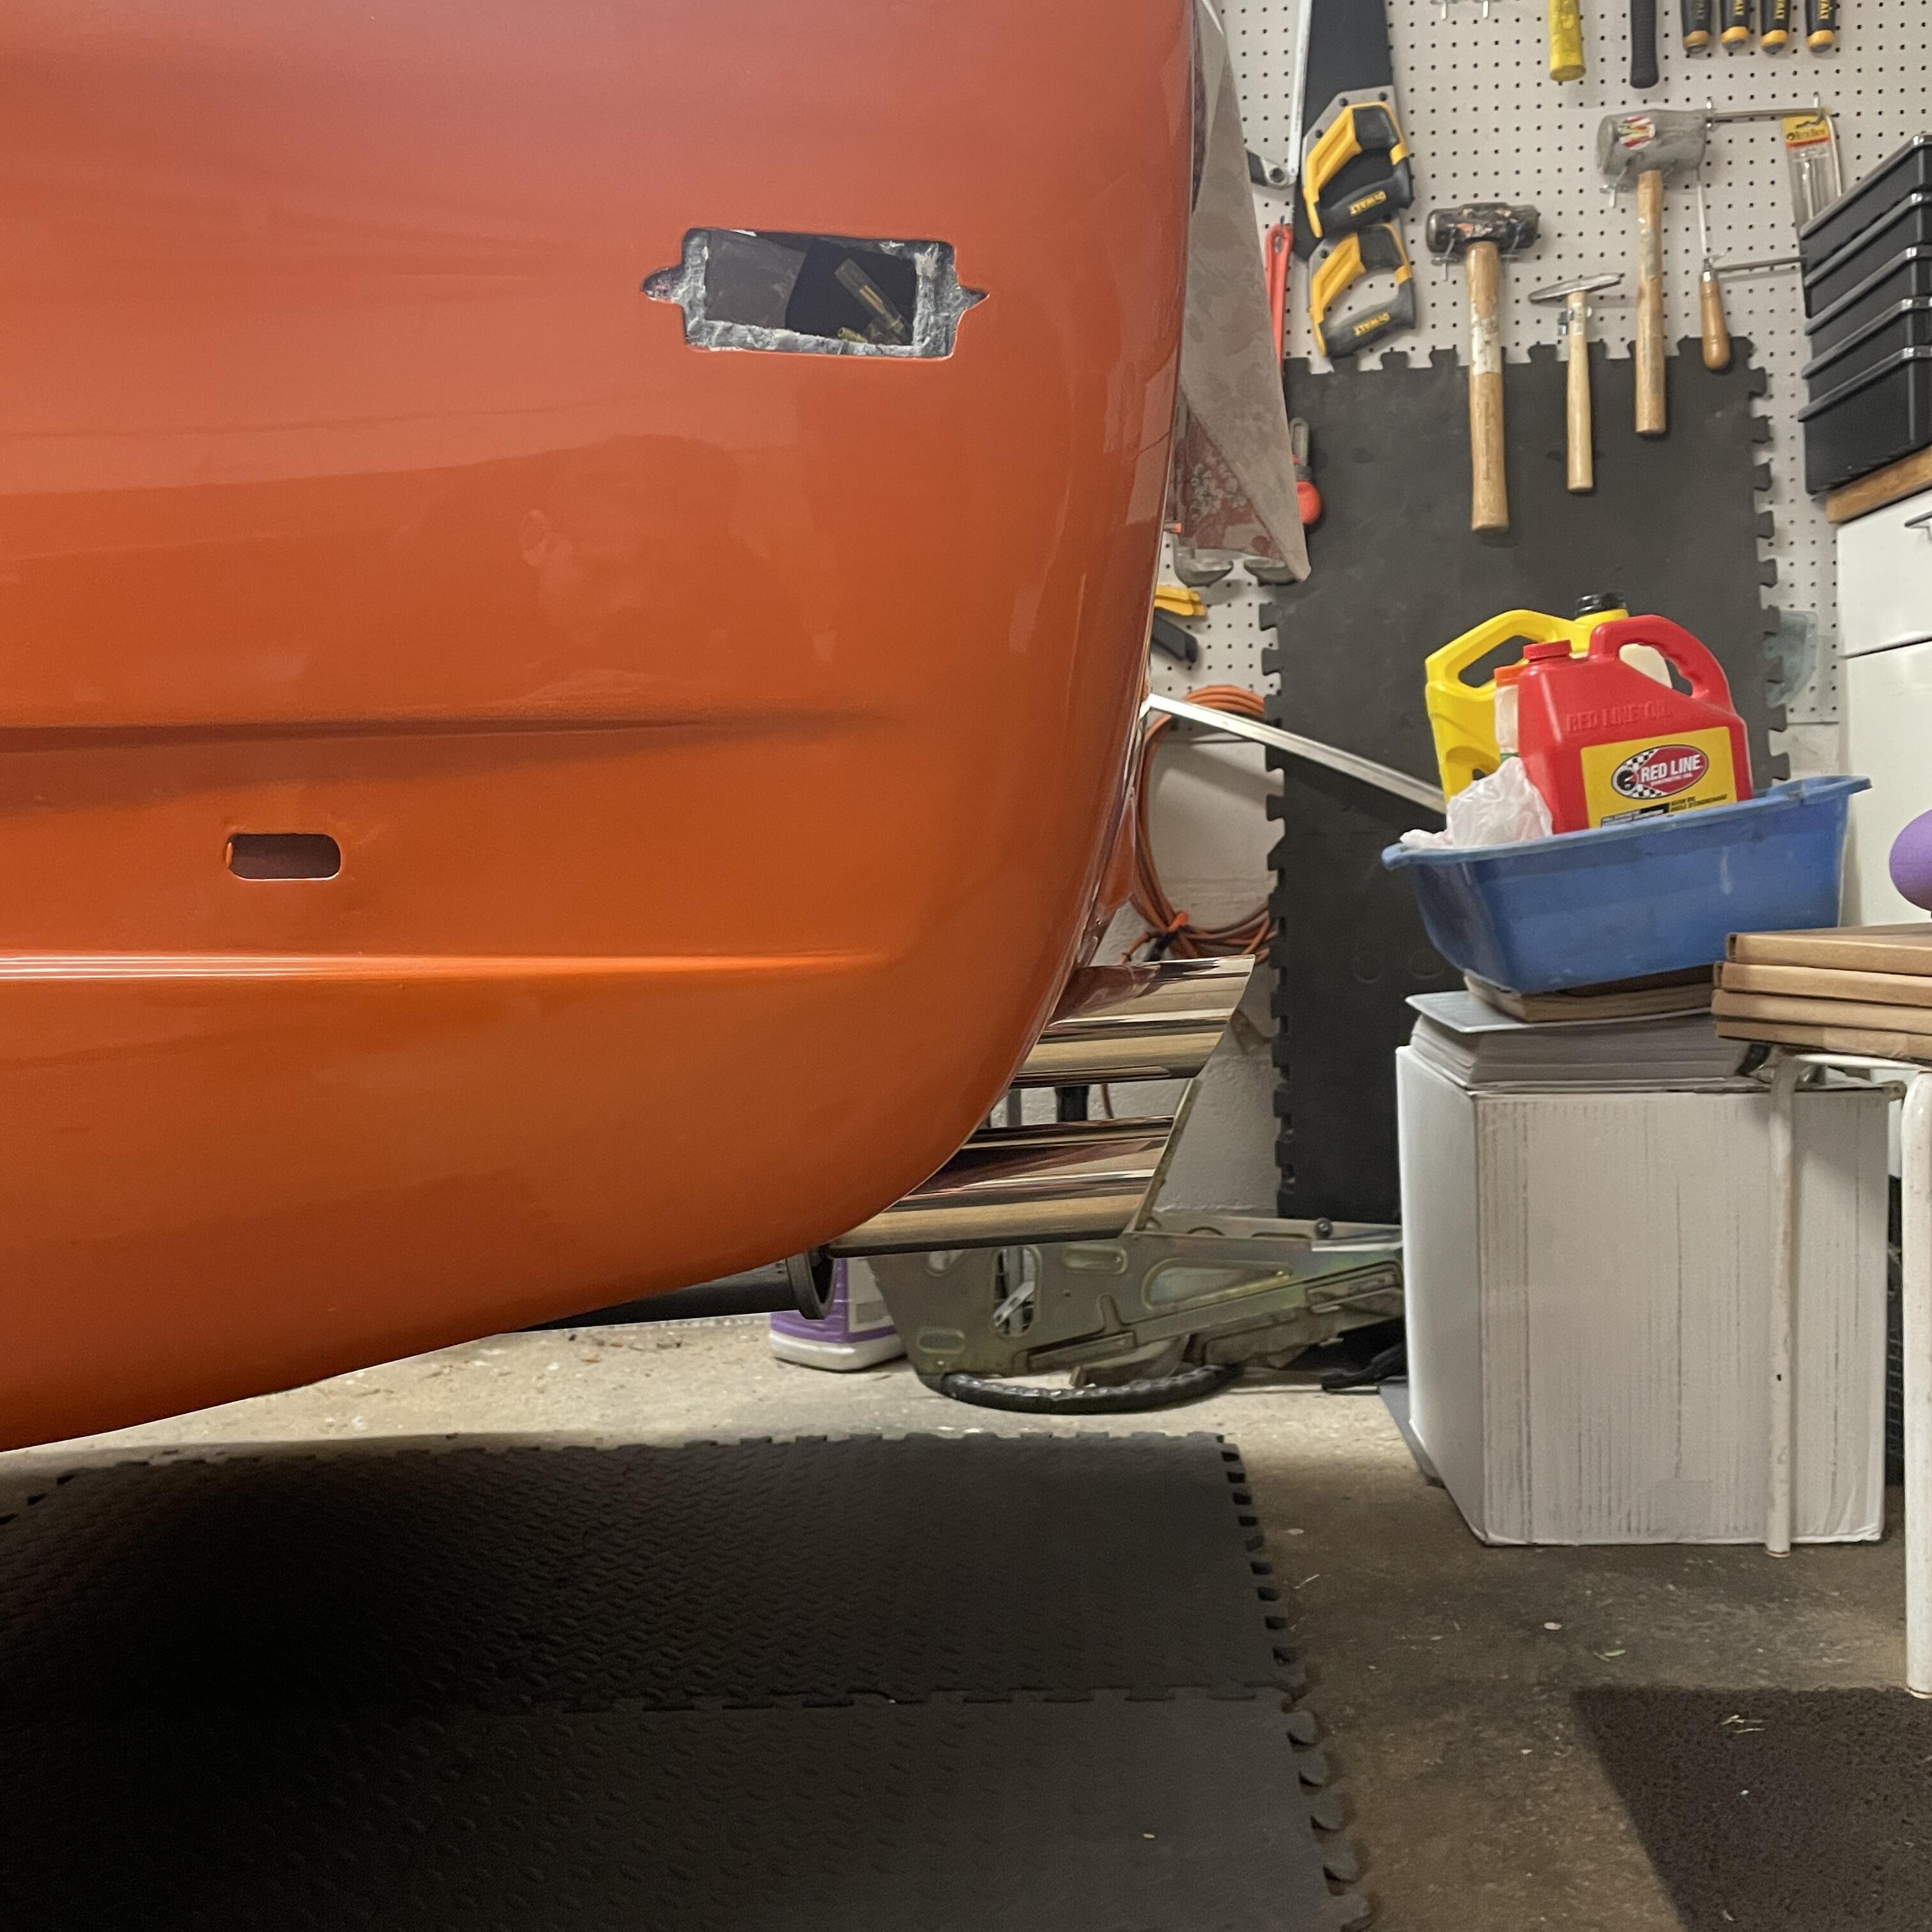
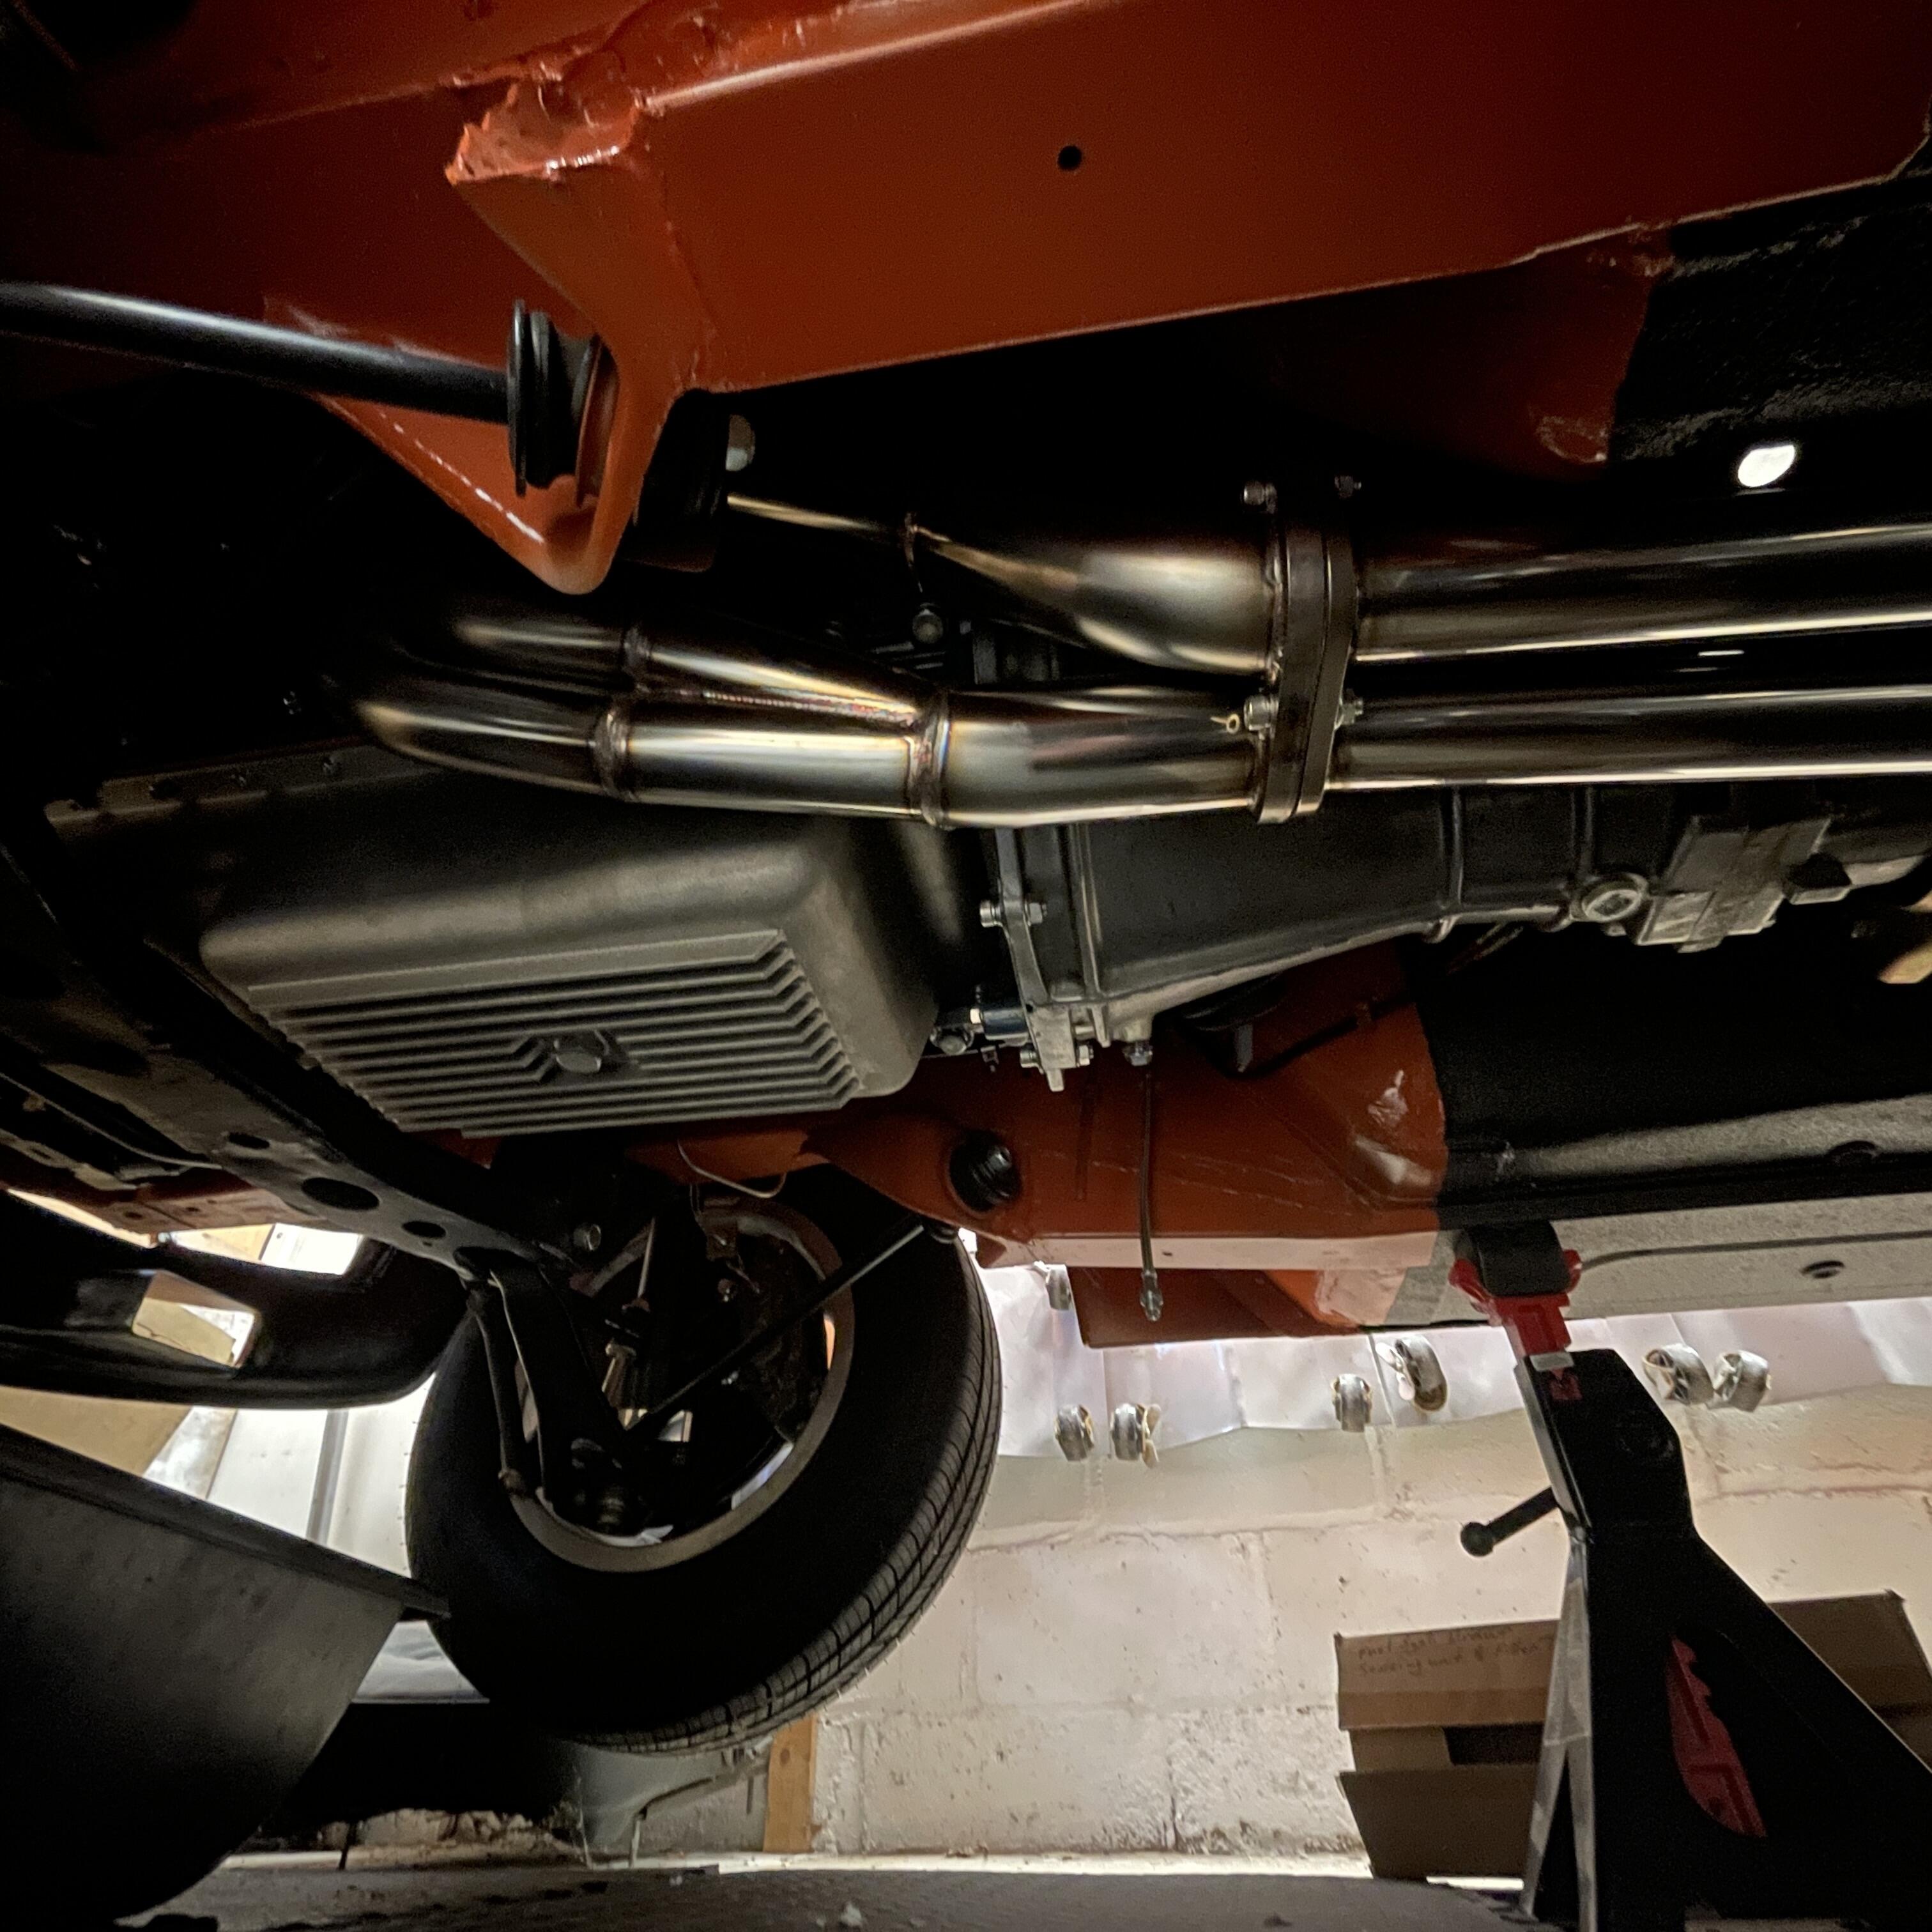
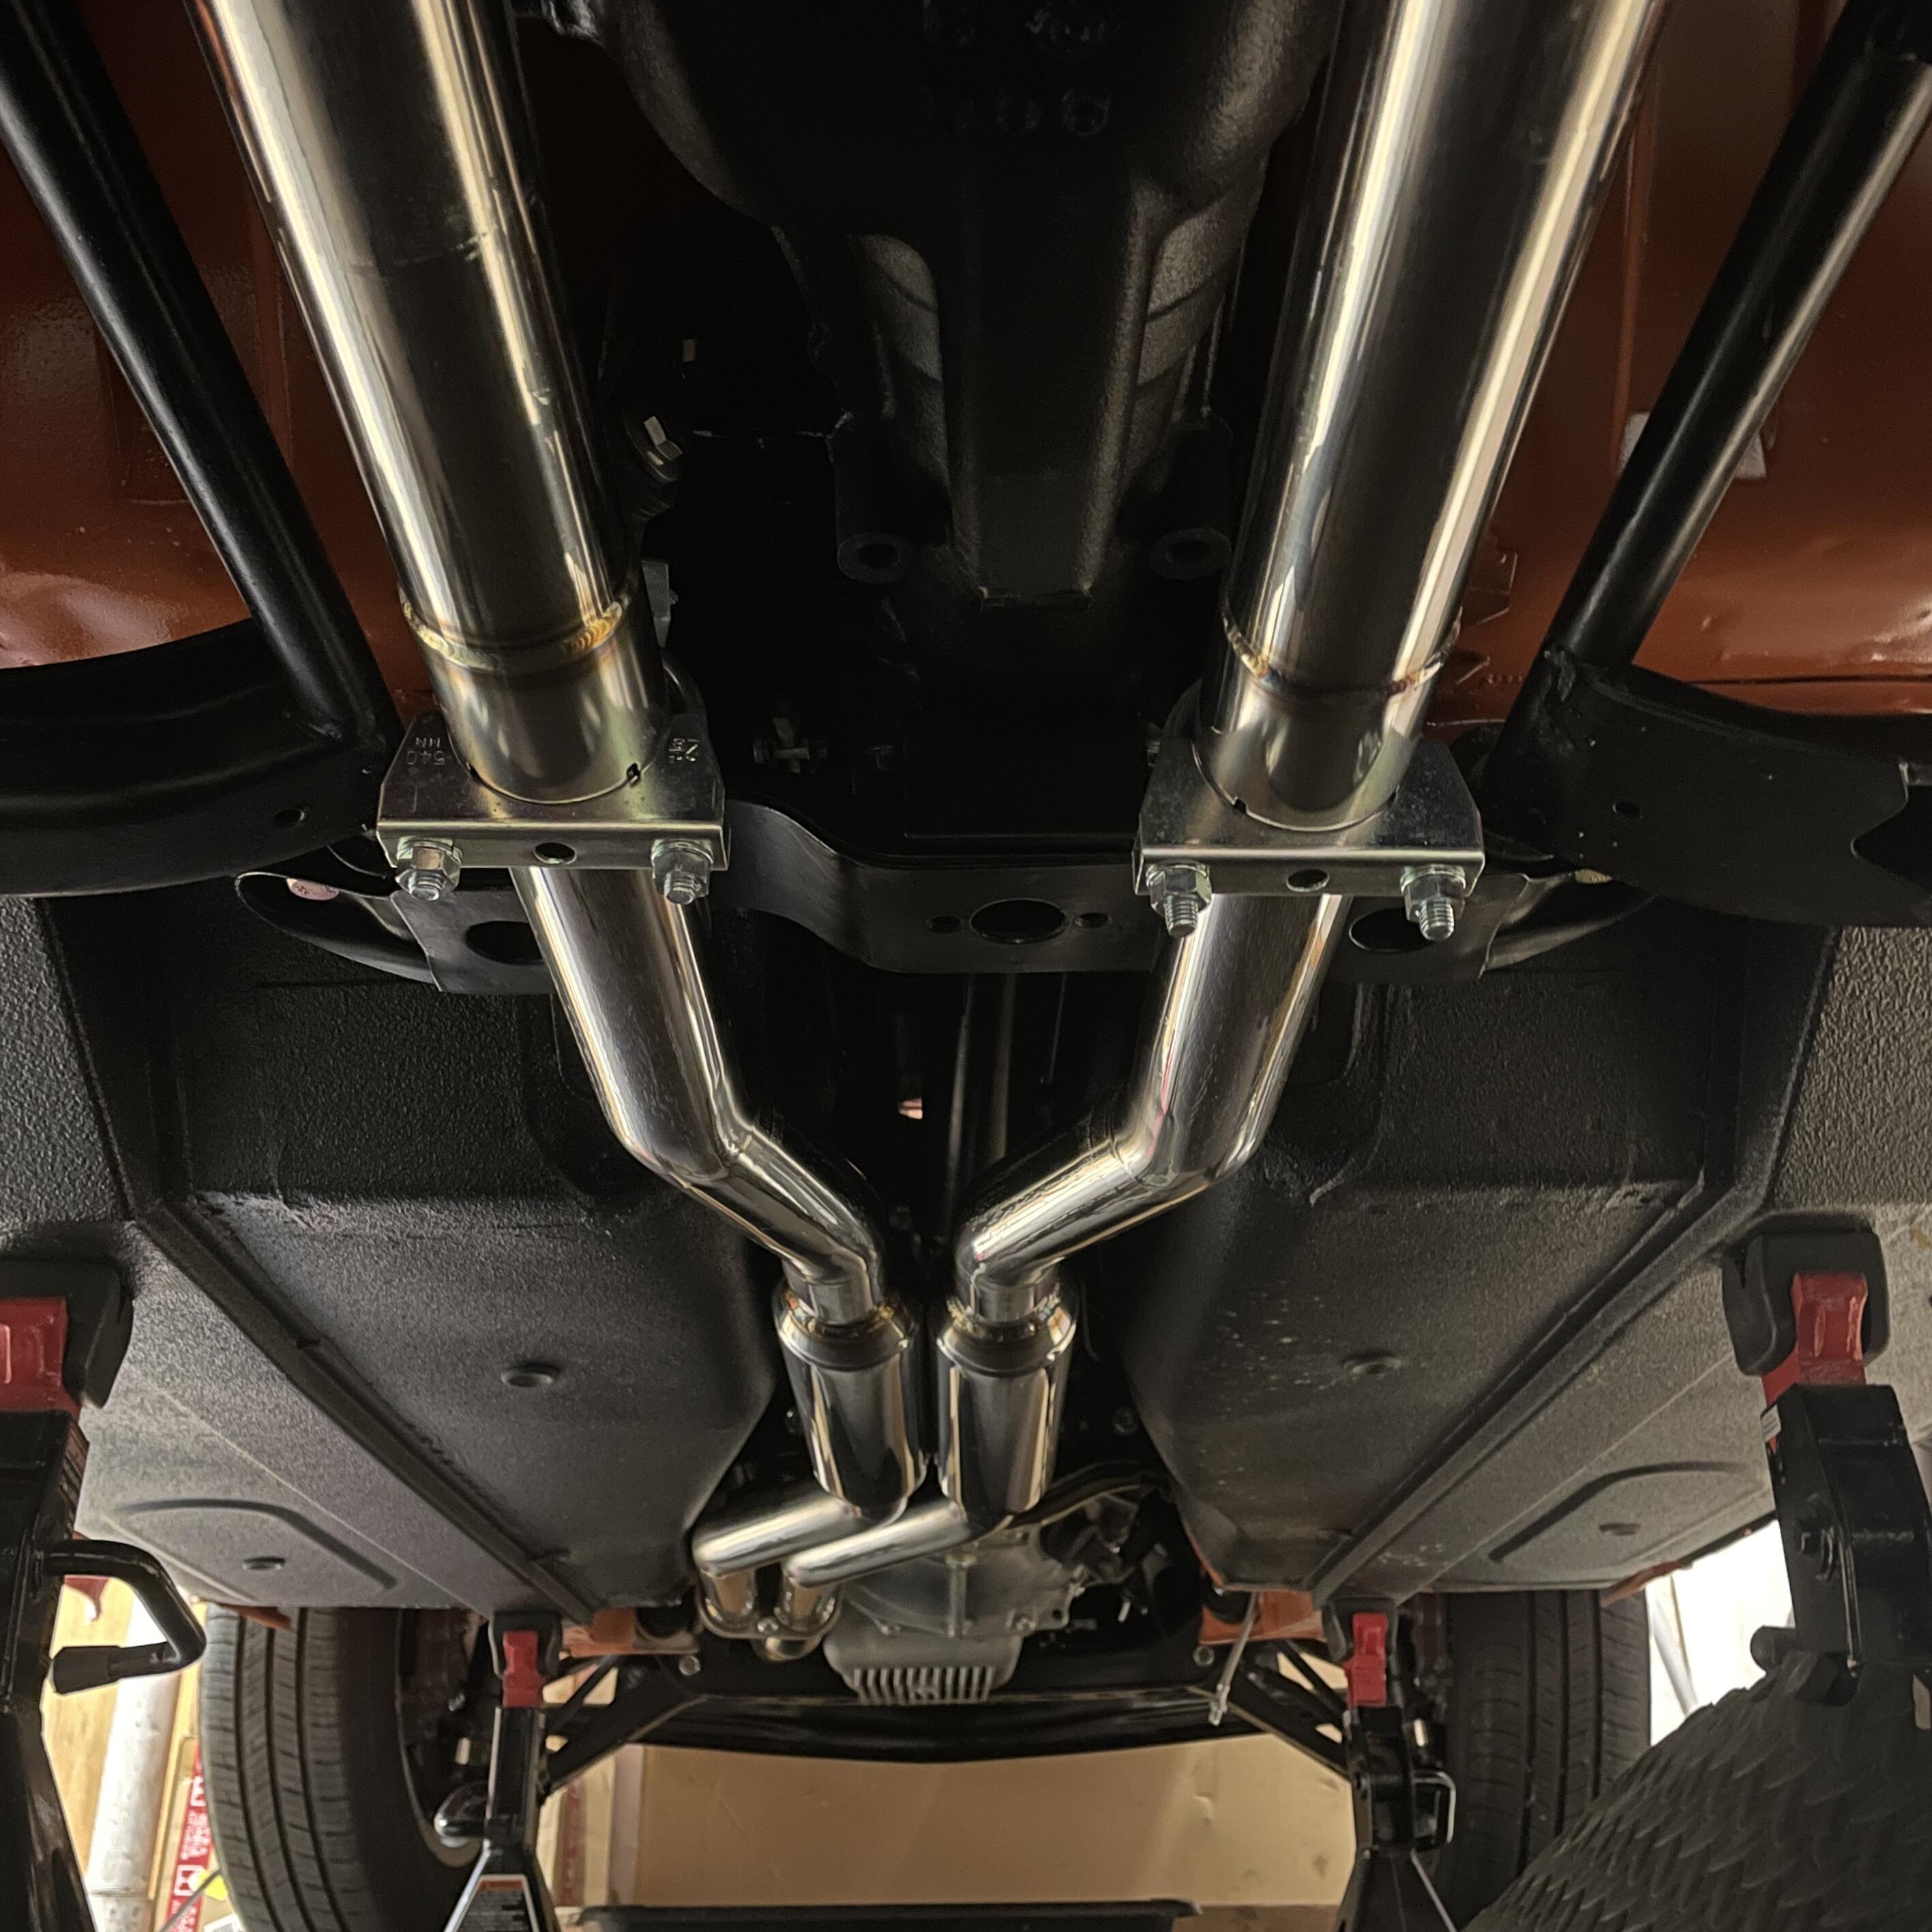
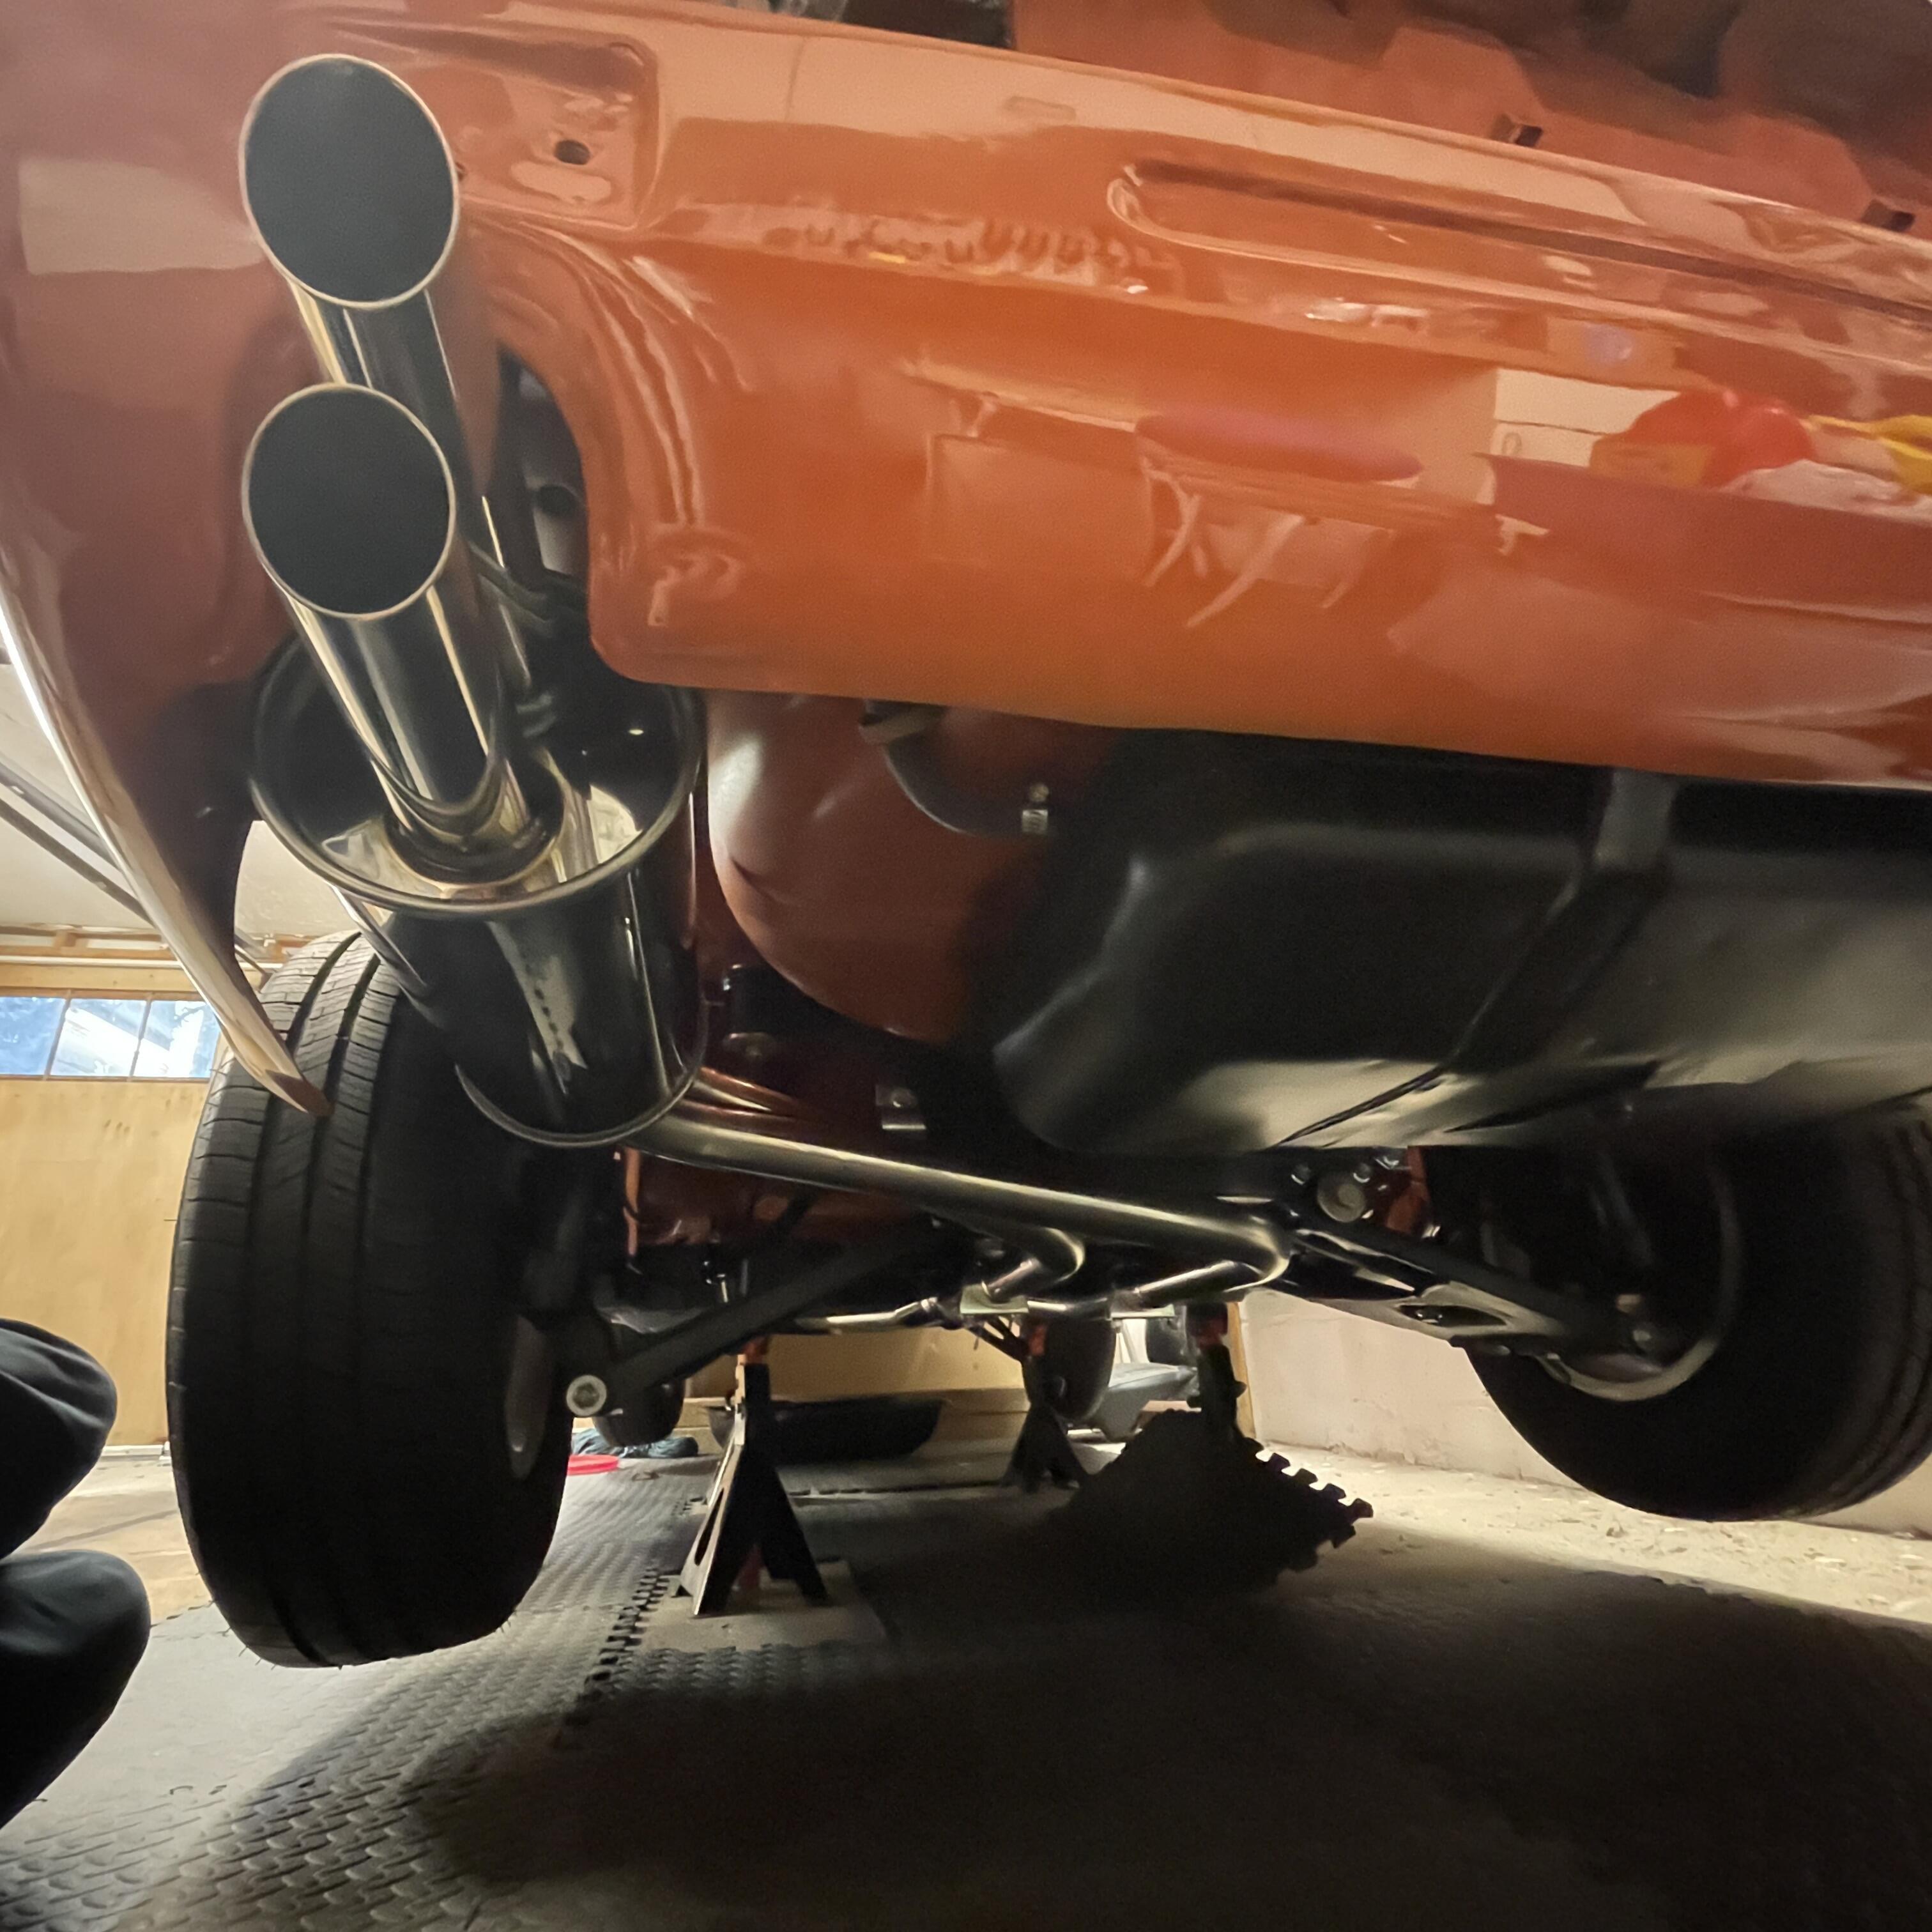
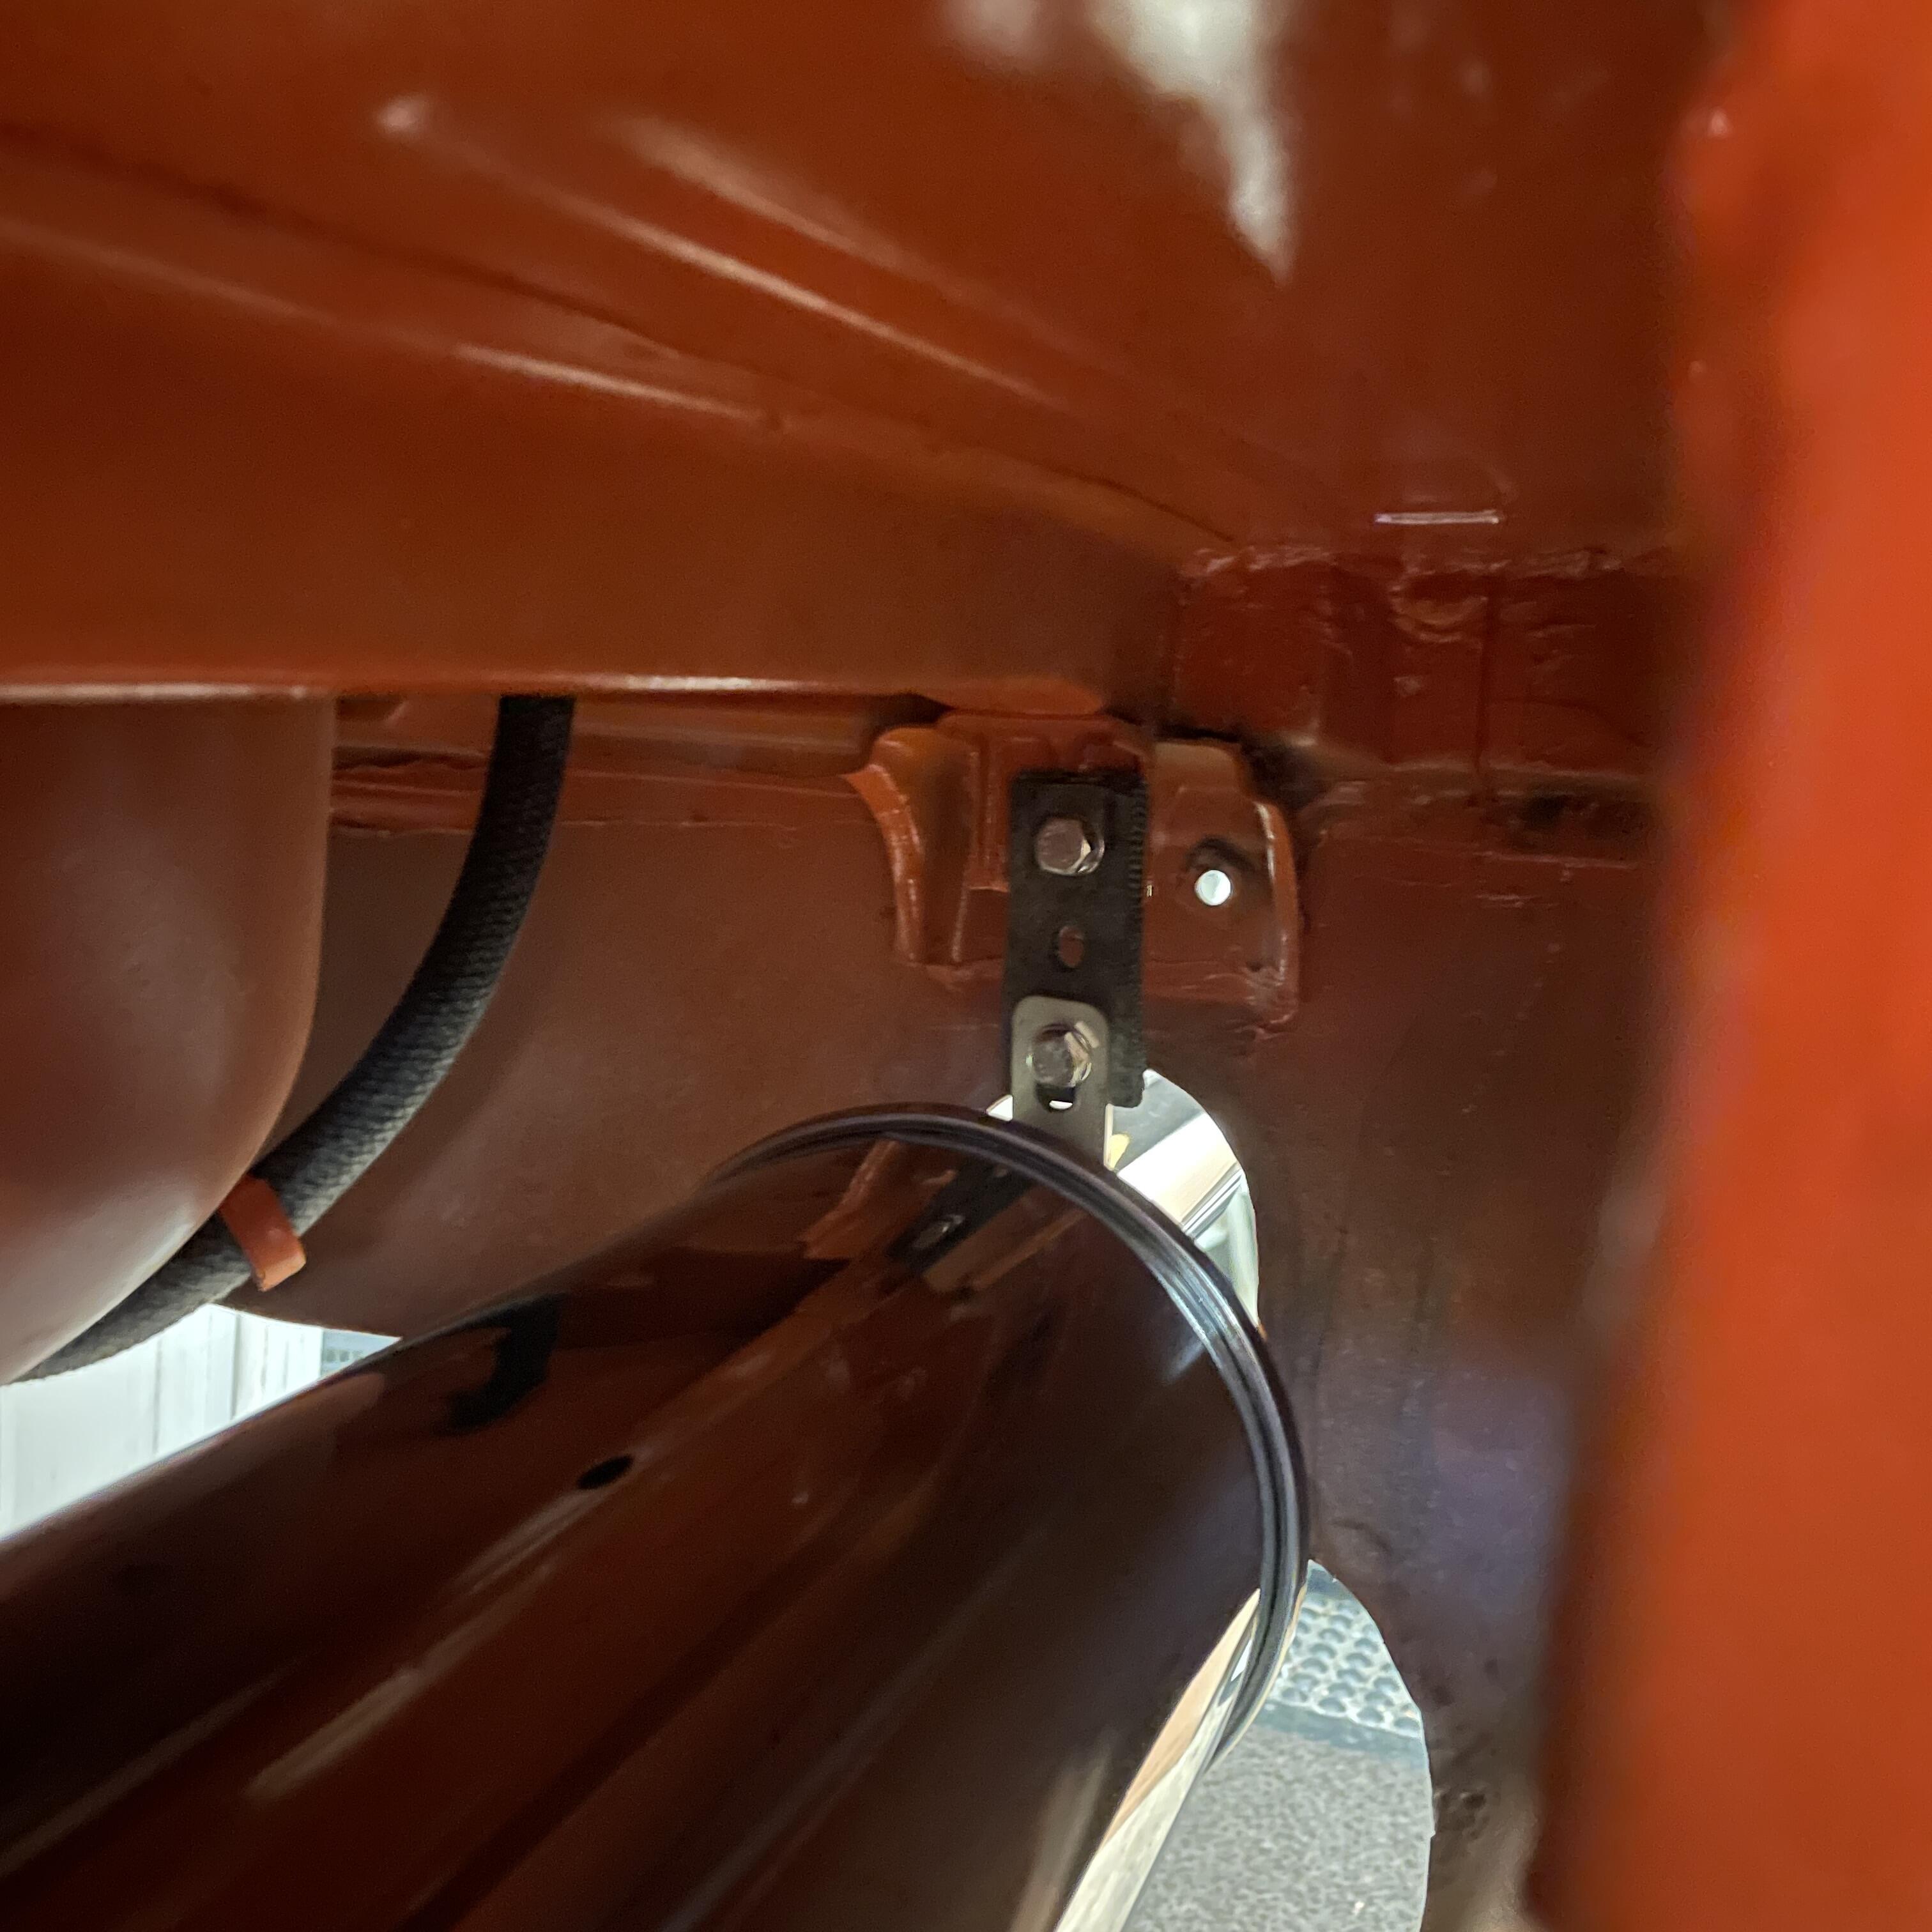
3 pointsCouple of updates.. Other than the half shaft, the drive train is complete. Restoring the driveshaft was simple. I had read somewhere that the u-joints are NLA, but I found them in two seconds at Z Car Depot, so I don’t know what that’s about. *** I swapped the flange from my Datsun diff and put it on the Subaru way back, so it went right in. Hanging the rest of the Spirit Garage exhaust system really felt like reaching a summit. Maybe it’s because now everything I need to do start the car is in the engine bay, which feels more doable conceptually. The system went in really easily except for a few minor things: The hanger tab in front of the muffler is about an inch too far forward, so I had to put a bolster on the bolt to take up the slack. I don’t love how it looks so I plan to get two that are half as long. That should clean it up a little. The pipes hang a little low at the differential crossmember. I had expected them to tuck tight up into the relief on either side of the, but if I lift it any higher it hits the differential. That’s a little bit of a bummer, but it’s similar to what I’ve seen on some others. Also, the exhaust tips are a little close to the rear valance. I could get different hangers, but I think it will be okay. Still plenty of time to think about that. For hangers I opted for some universal pieces from Walker Emissions (36273 and 36274) that I just cut to an appropriate length. So now I just need some stainless clamps and some acorn nuts to protect them from random debris. Now back to the engine bay.


 3 points
 -
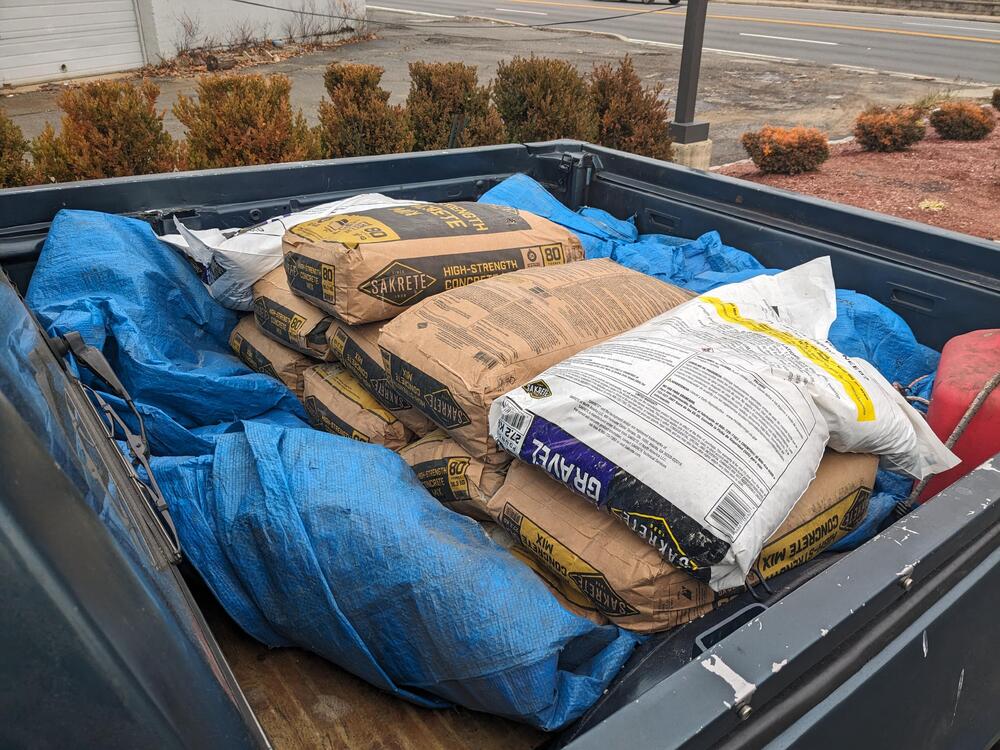
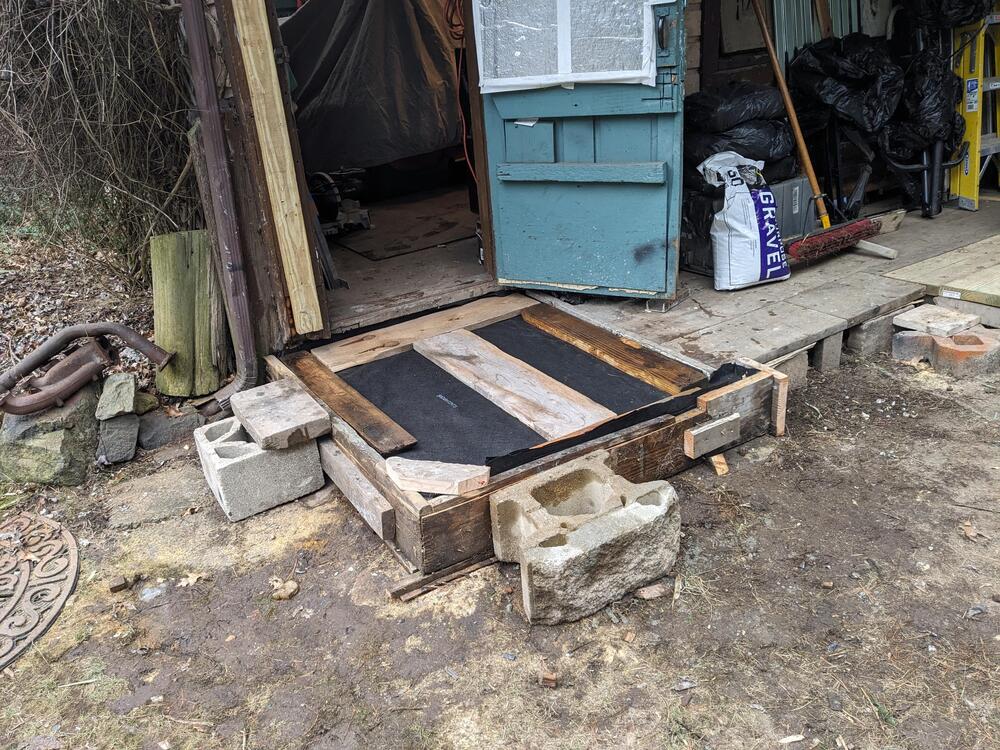
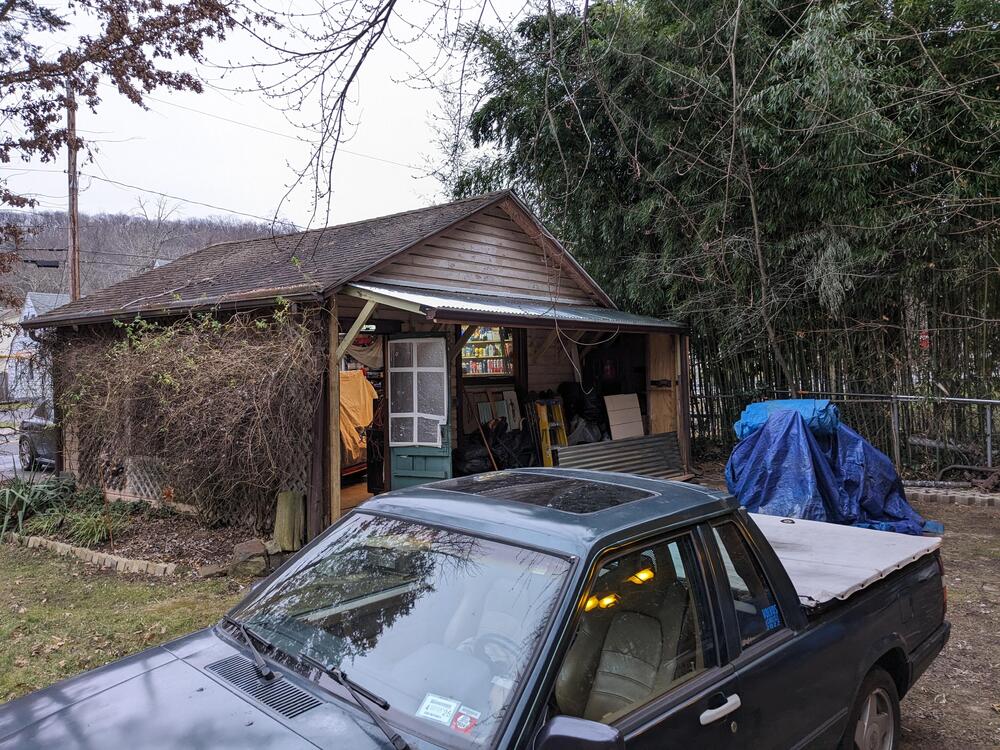
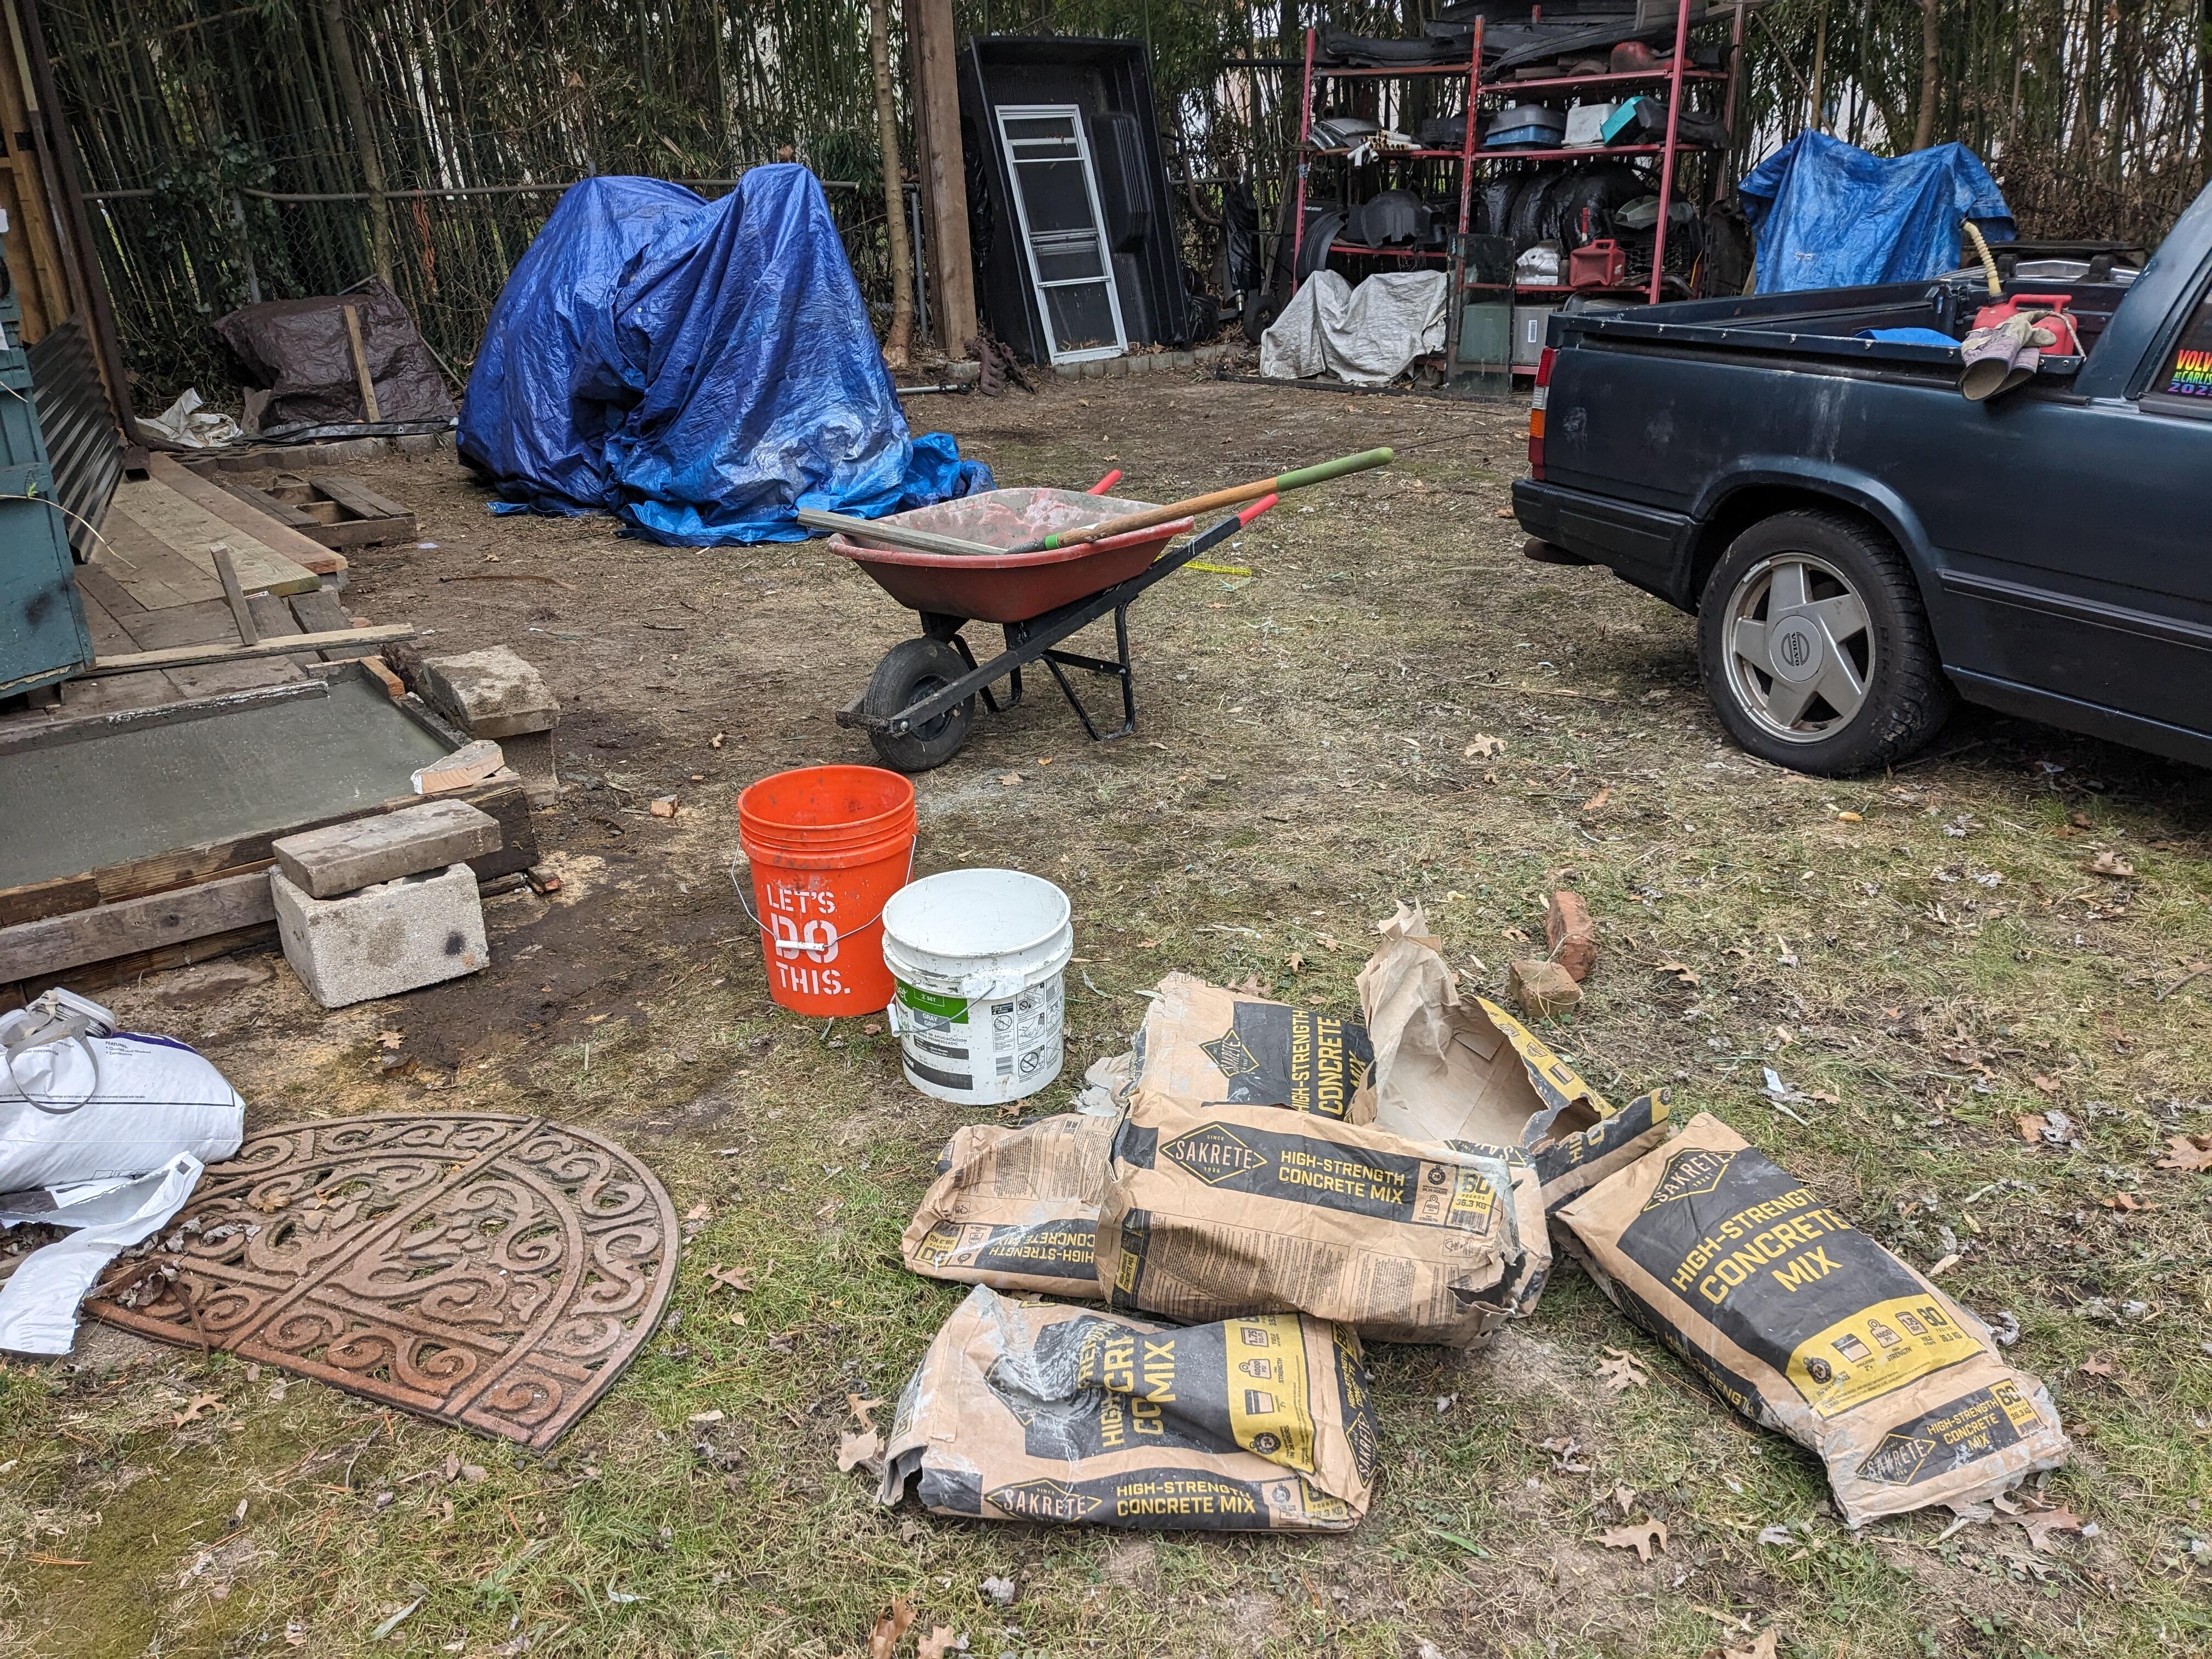
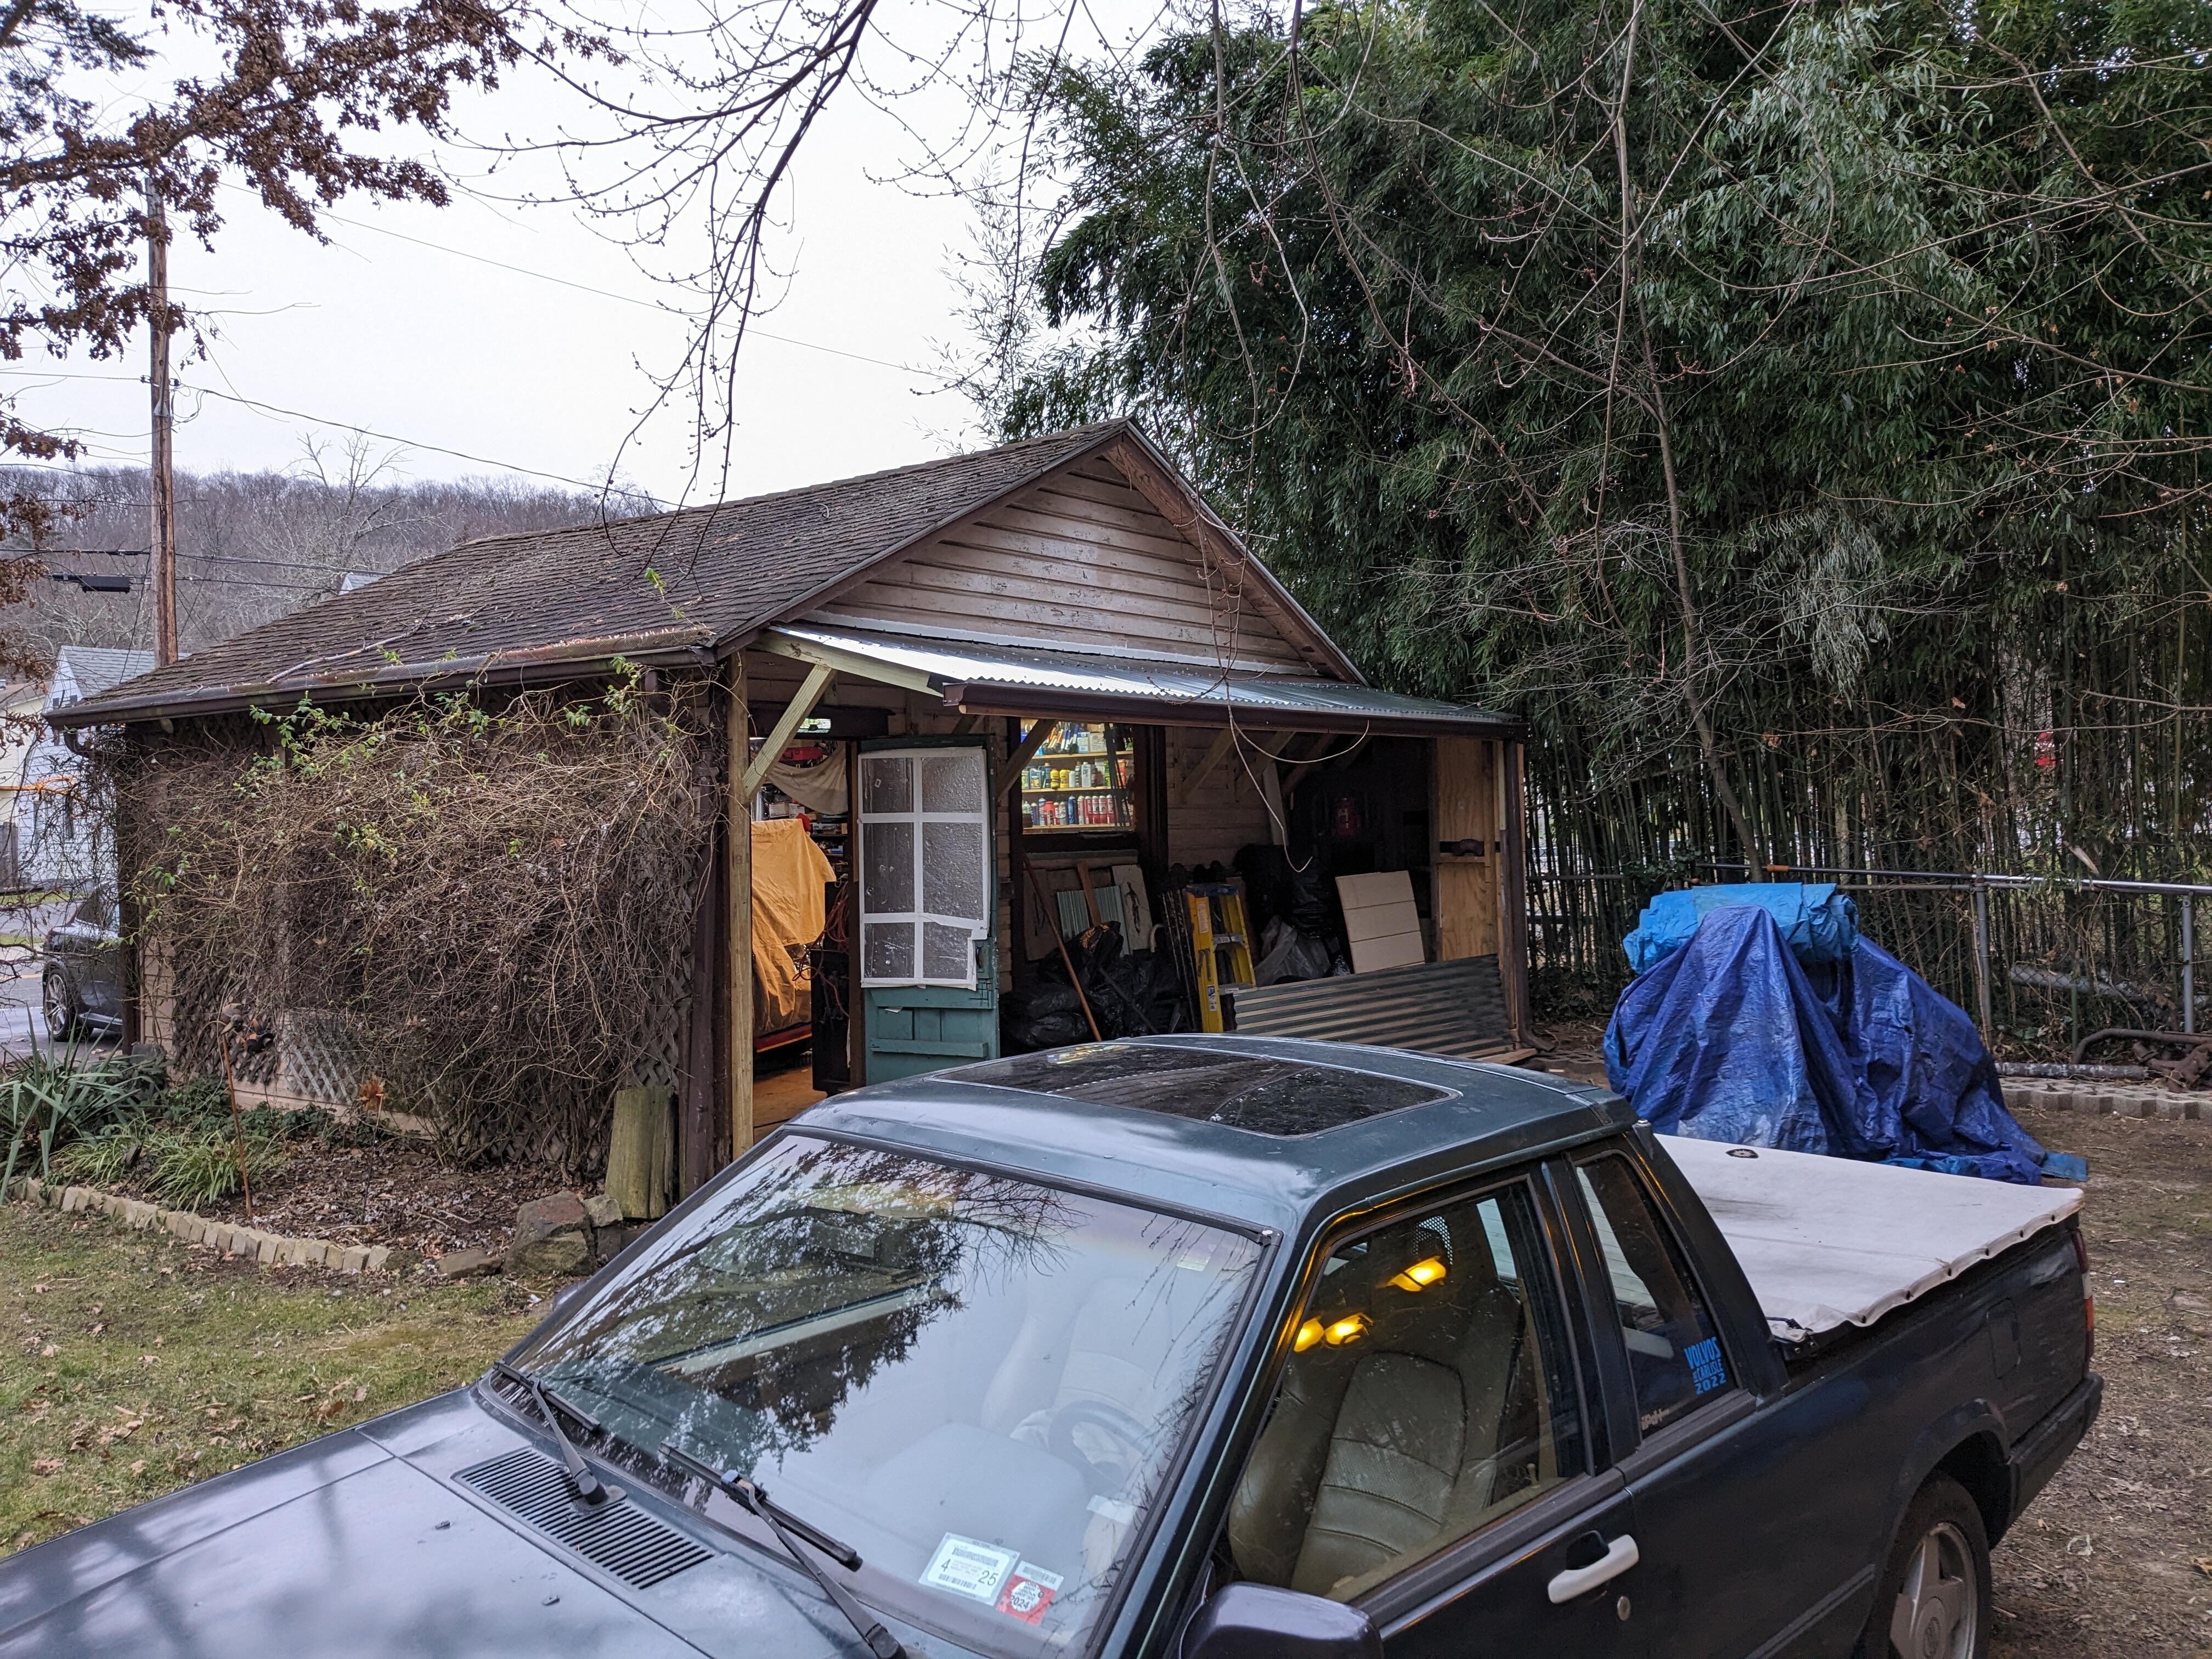
Making good use of the pickup to carry about 800lbs of concrete mix and gravel - desperately needed to repair the approx 3x4' platform at the back door of the garage - I've dealt with a wooden ramp for years, however it gets very slippery in this weather & I'm just too old to be falling when carrying heavy crap to & from the garage. Approx 7" deep, Concrete slab is blanketed and covered with wood to protect from frost. Also finished the gutter on the awning

 3 points
 -
2 pointsHappy New Year Nick from North Carolina!! I just took some pics a few hours ago for you. My very first repair was done in August 2009 using SEM Bumper Epoxy and after ~3yrs it started to crack again. The 2nd repair on Dash was done in August 2013 (see the 3 dark pics) and today Jan 7th 2024 (the last 5 pics), 10-1/2yrs later the dash has held up real well for me using Six-10 Epoxy. I dug out as much as possible, used the Foam Stuff and then flared Six-10 epoxy at least 1inch beyond the areas I had used SEM Bumper Epoxy. I do have a very small crack that surfaced about 5yrs ago in the center as you can see where obviously my Six-10 epoxy repair was not adequate given it was to close to the windshield and I had a hard time filling, flaring and sanding with the epoxy. To be honest it's not even noticeable while in the car and I have used black shoe polish to fill it if I go to a high end car show just to eliminate the appearance. I am a hug fan using Six-10 Marine epoxy and used it on many car and boat projects. It spreads amazingly, cures hard and sands smooth quite easily. Overall it was the best decision yet laborious task I did to finish off the interior. Especially since it's been kept in a non-climate controlled garage in NC where summer temps in the garage can reach 100F often. Only regret was not doing this when I had the windshield out being replaced! Many thanks for asking! Mark


.thumb.JPG.6ee13089cd2e54c486c94d400fe16405.JPG)
.thumb.JPG.180e03b396c94a5ca89b47bd1f936d64.JPG)
.thumb.JPG.6e97517e37dc0f37abaacb086e53c92c.JPG)
.thumb.jpg.e1664e0e9defd214f234c31189f2af60.jpg)
.thumb.jpg.ff62026b4a968a9e54ee2240b4cb0848.jpg)
.thumb.jpg.6d8ac3aaa3aeb6b4811ff7adf654a4e9.jpg)
.thumb.jpg.cb8356069b41e27b5d55bcaaa1fbf2b1.jpg)
.thumb.jpg.78ffed0a76ccce5804c5c8d6a058aee4.jpg) 2 points
2 points -
No, the contact cleaner spray was only used for the switch and not on the wire connecting contacts. To clean the wire connector contacts, i used 1. A brass wire brush to get rid of the worst surface rust and corrosion, 2. Then used the "Metarex" Metal clean and polish wool to get rid of the remaining dirt (this stuff is incredible!). 3. Towel to clean of the dirt and dust from 1. and 2. 4: Contact cleaning strips to get rid of the remaining fluids and stuff from 1-3 and give it a protecive layer with low electric contact resistance.2 points
-
2 pointsThe jute I bought is 36" wide which puts it just at the storage hatches. Should work perfect. I am going to cut two small pieces to go over the hatches. Thanks for the reply.2 points
-
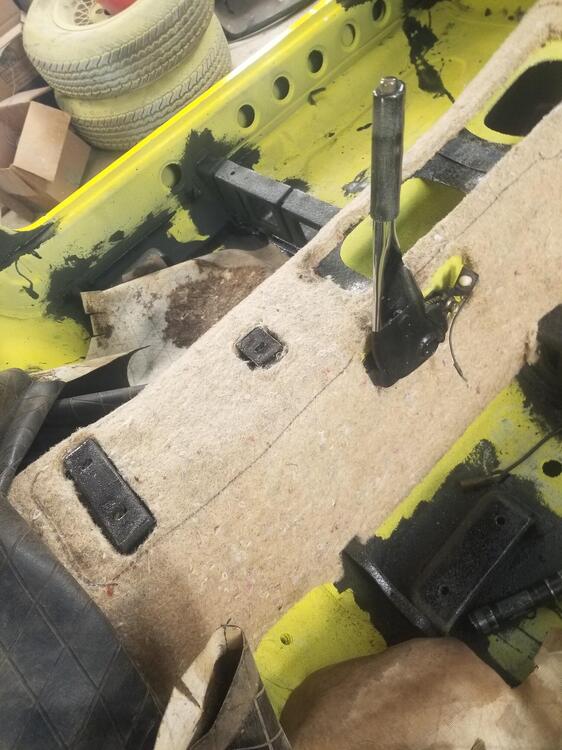
1 pointMy 240Z (12/70 build) has none of what is shown for the auto shifter. The shifter hole is just a straight hole with rounded corners, no slots for the metal strip, etc. No holes to mount the auto shifter parts or the feed though for the lamp wiring either. Looking at it again it looks like the shape of that area around the shifter is slightly different also.1 point
-
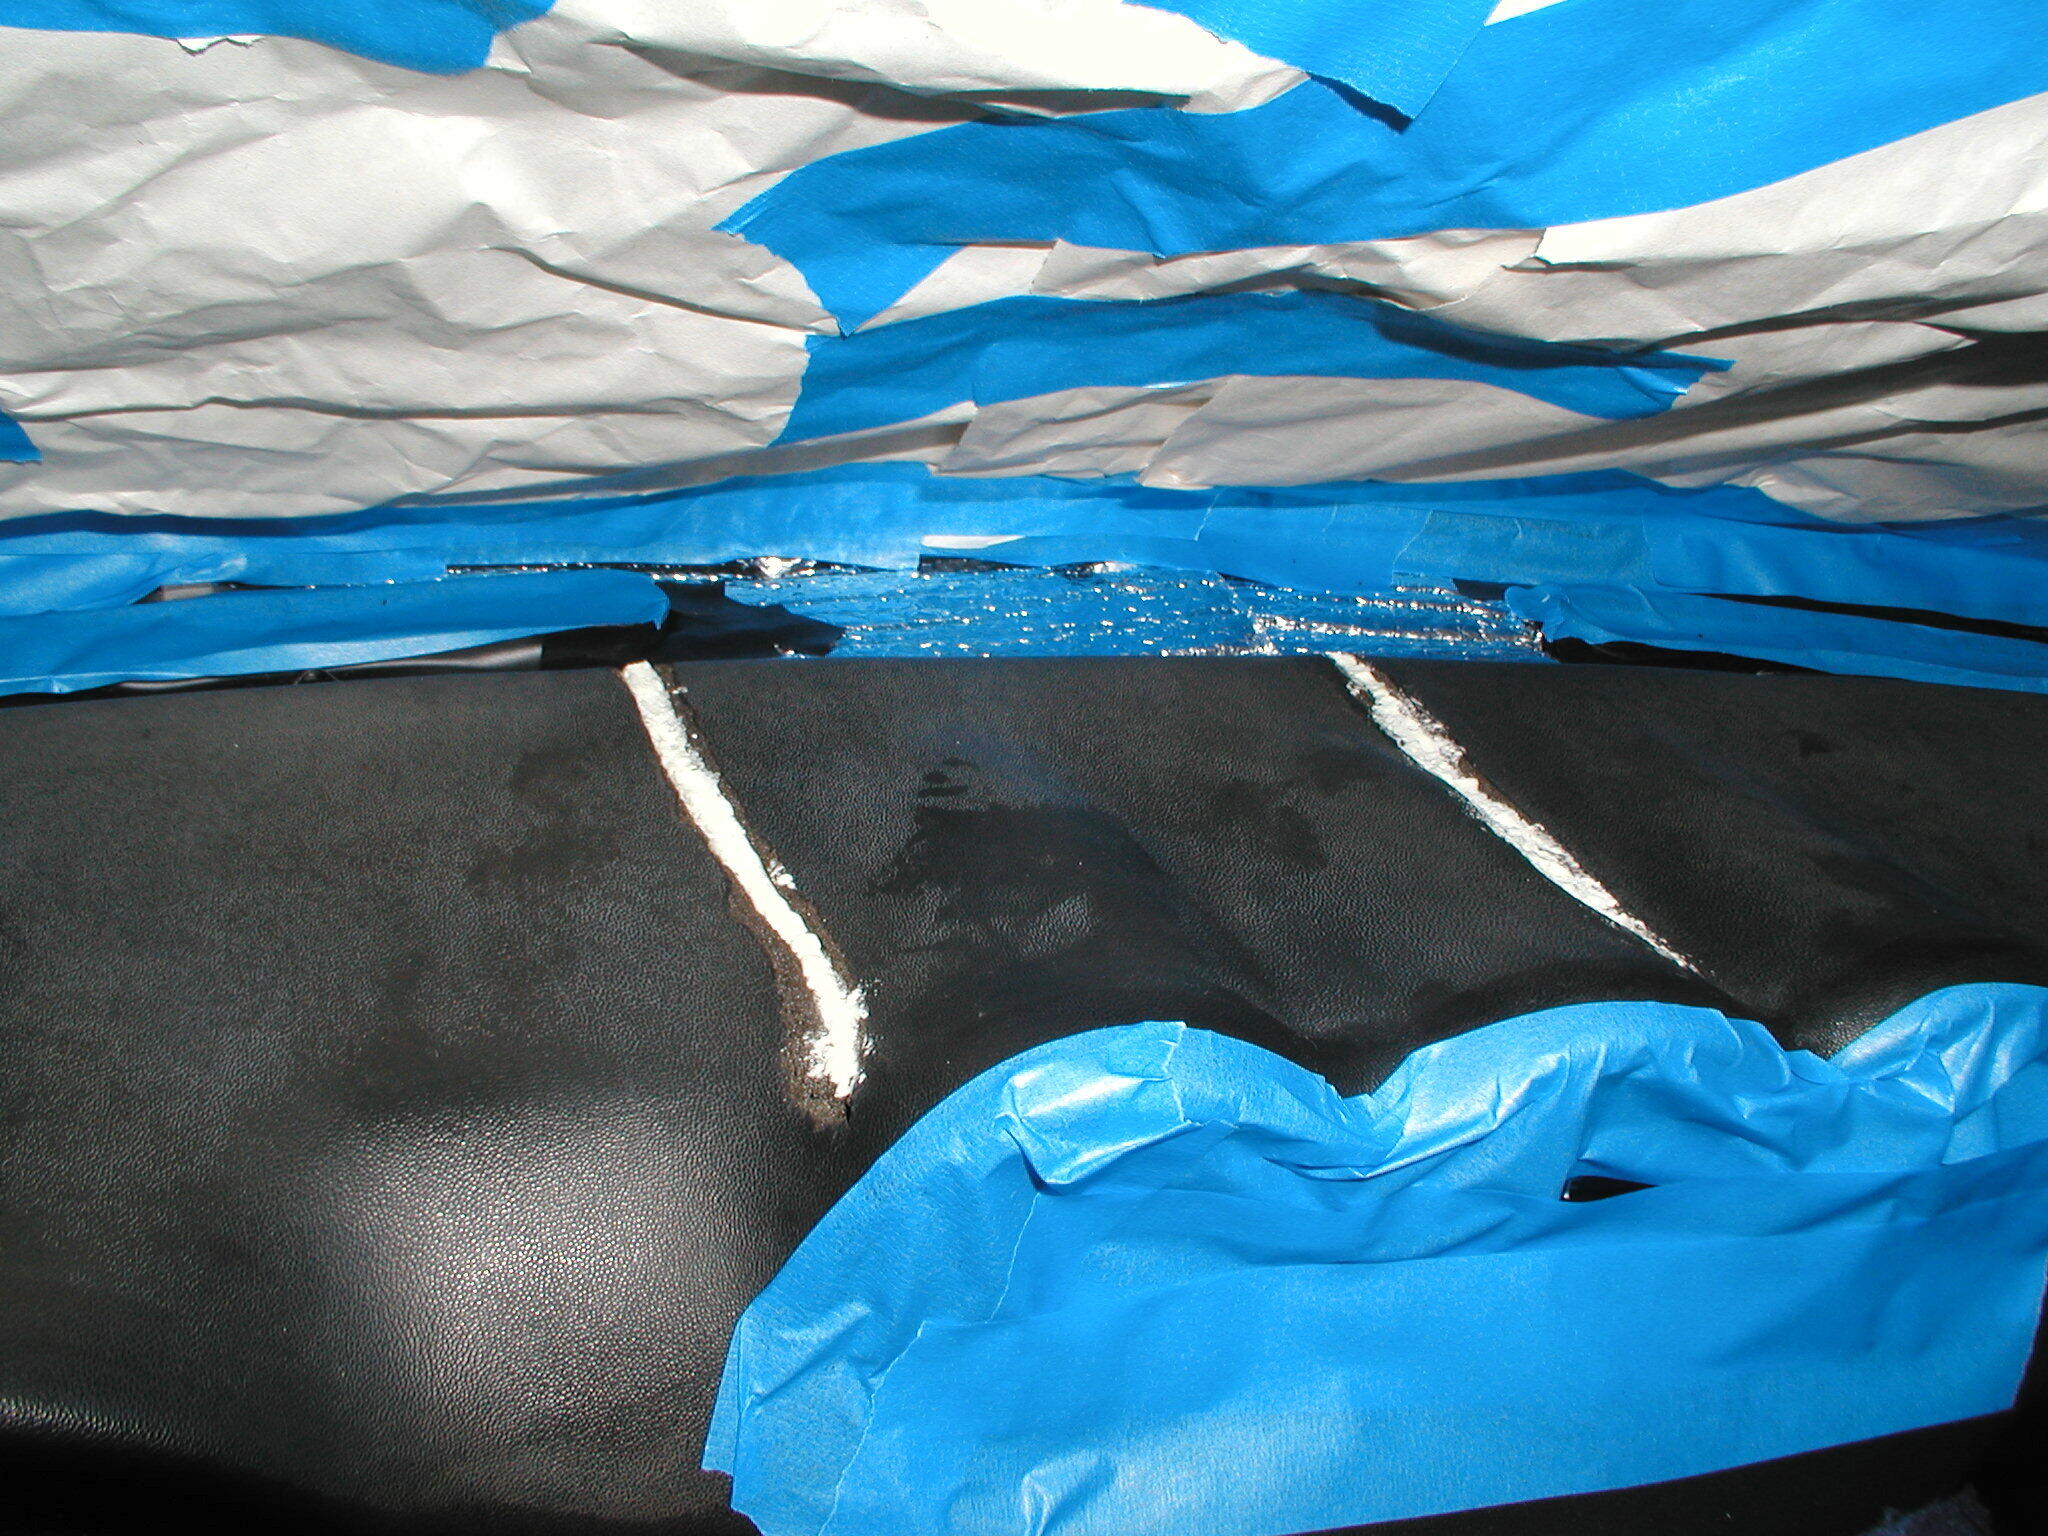
So before I started gluing, I made two sharpie marks for where the seams should meet the luggage panel Then I sprayed glue on the top edge about halfway down and put it in Today I worked on the front half. I sprayed both surfaces. I didn't let it tack too long so it was a little easier to position

 1 point
 -
1 point
-
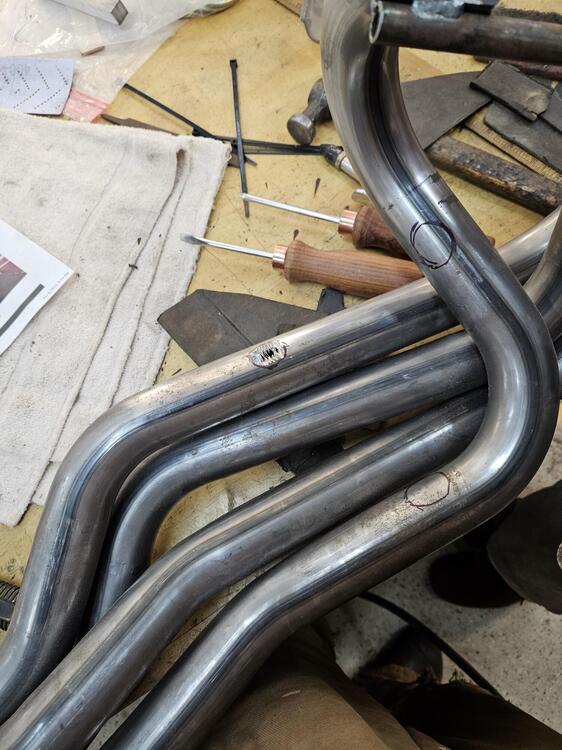
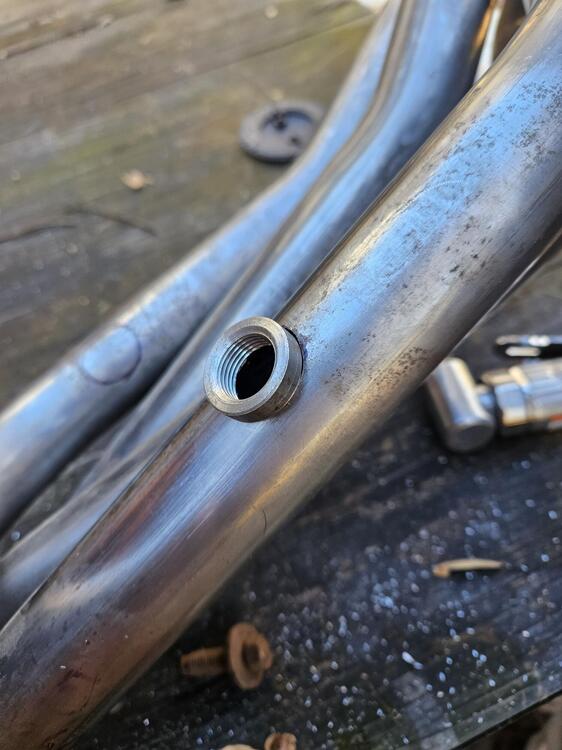
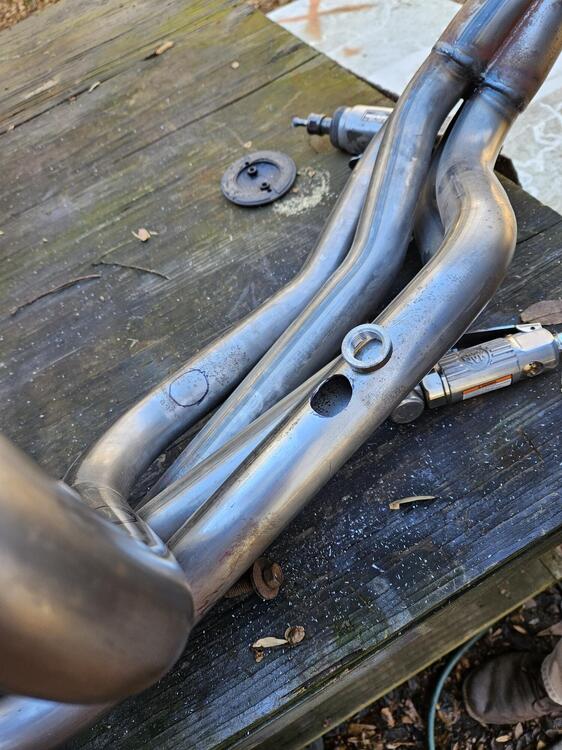
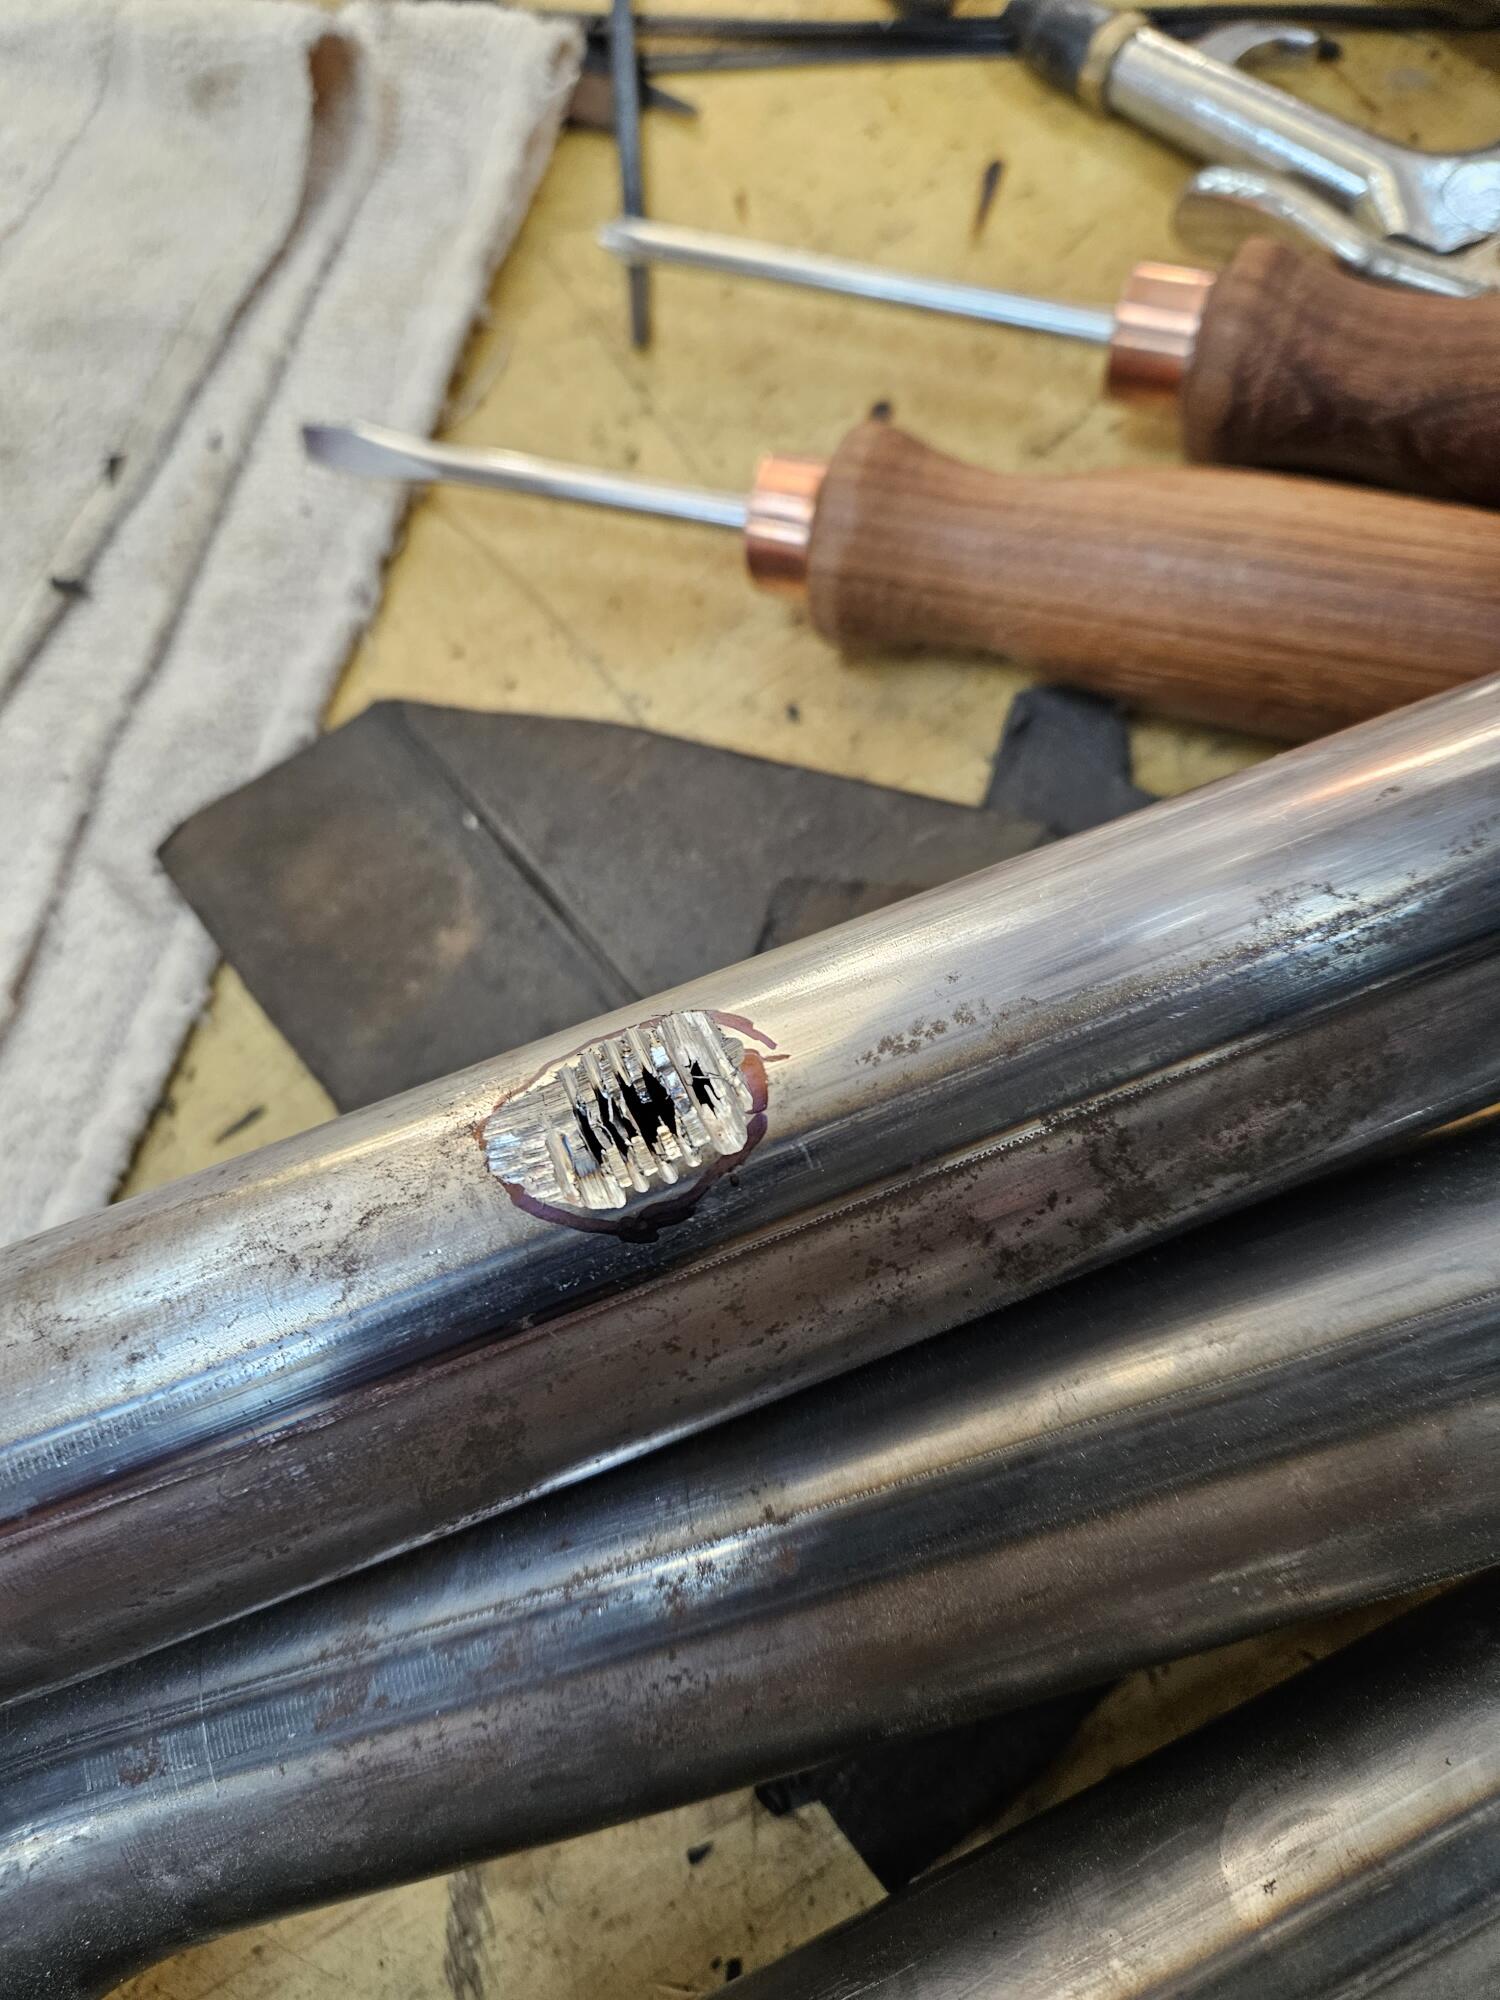
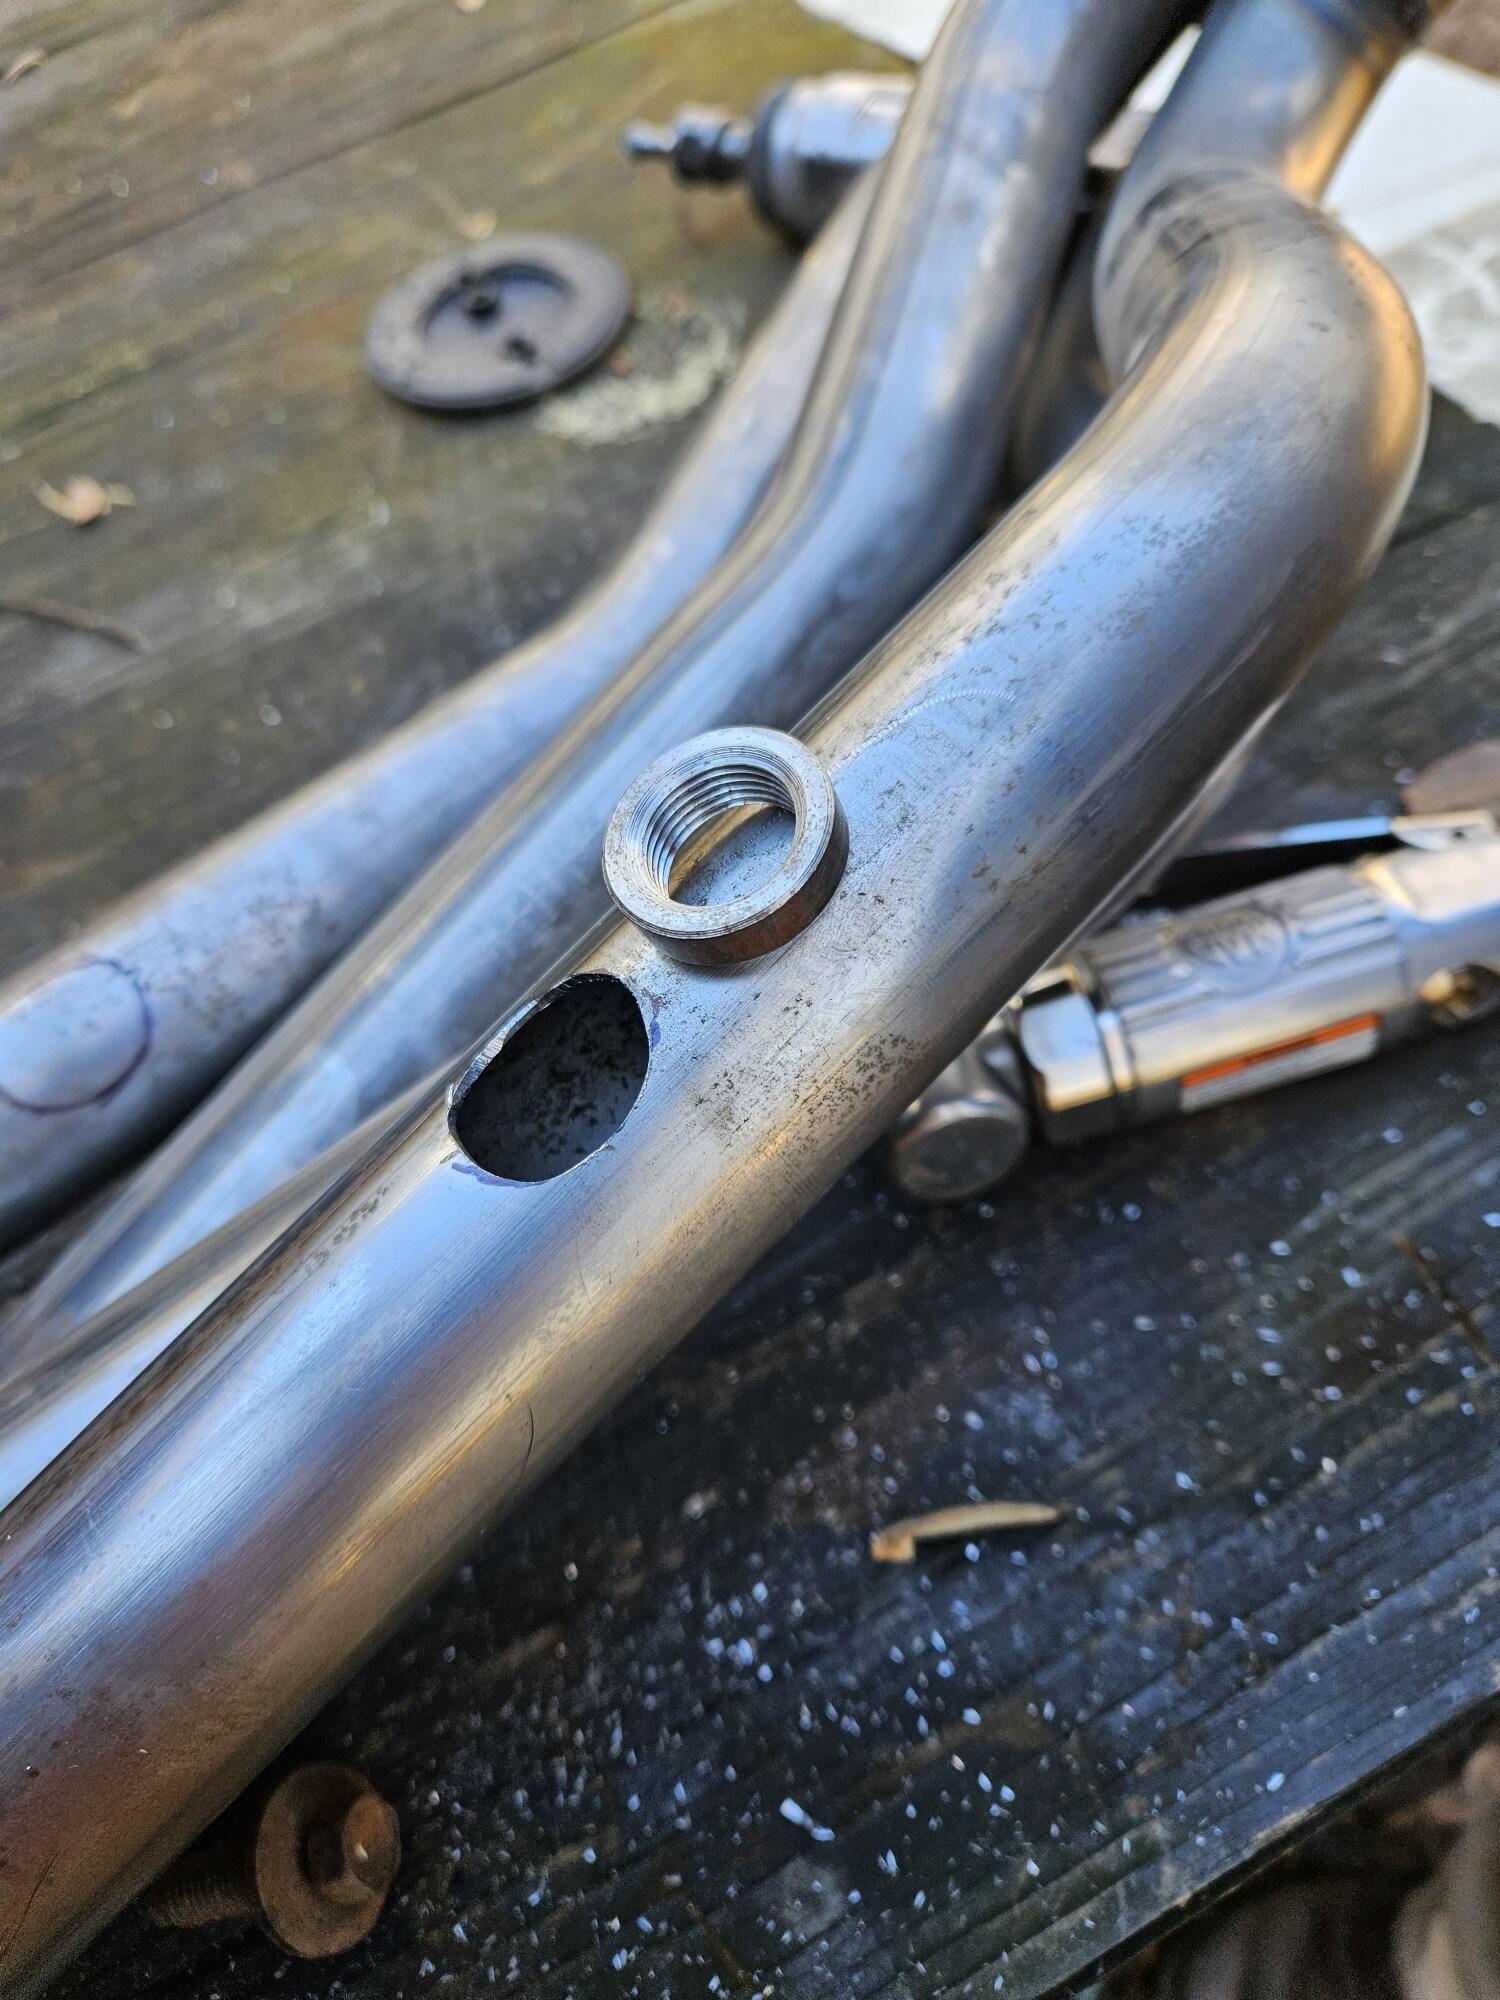
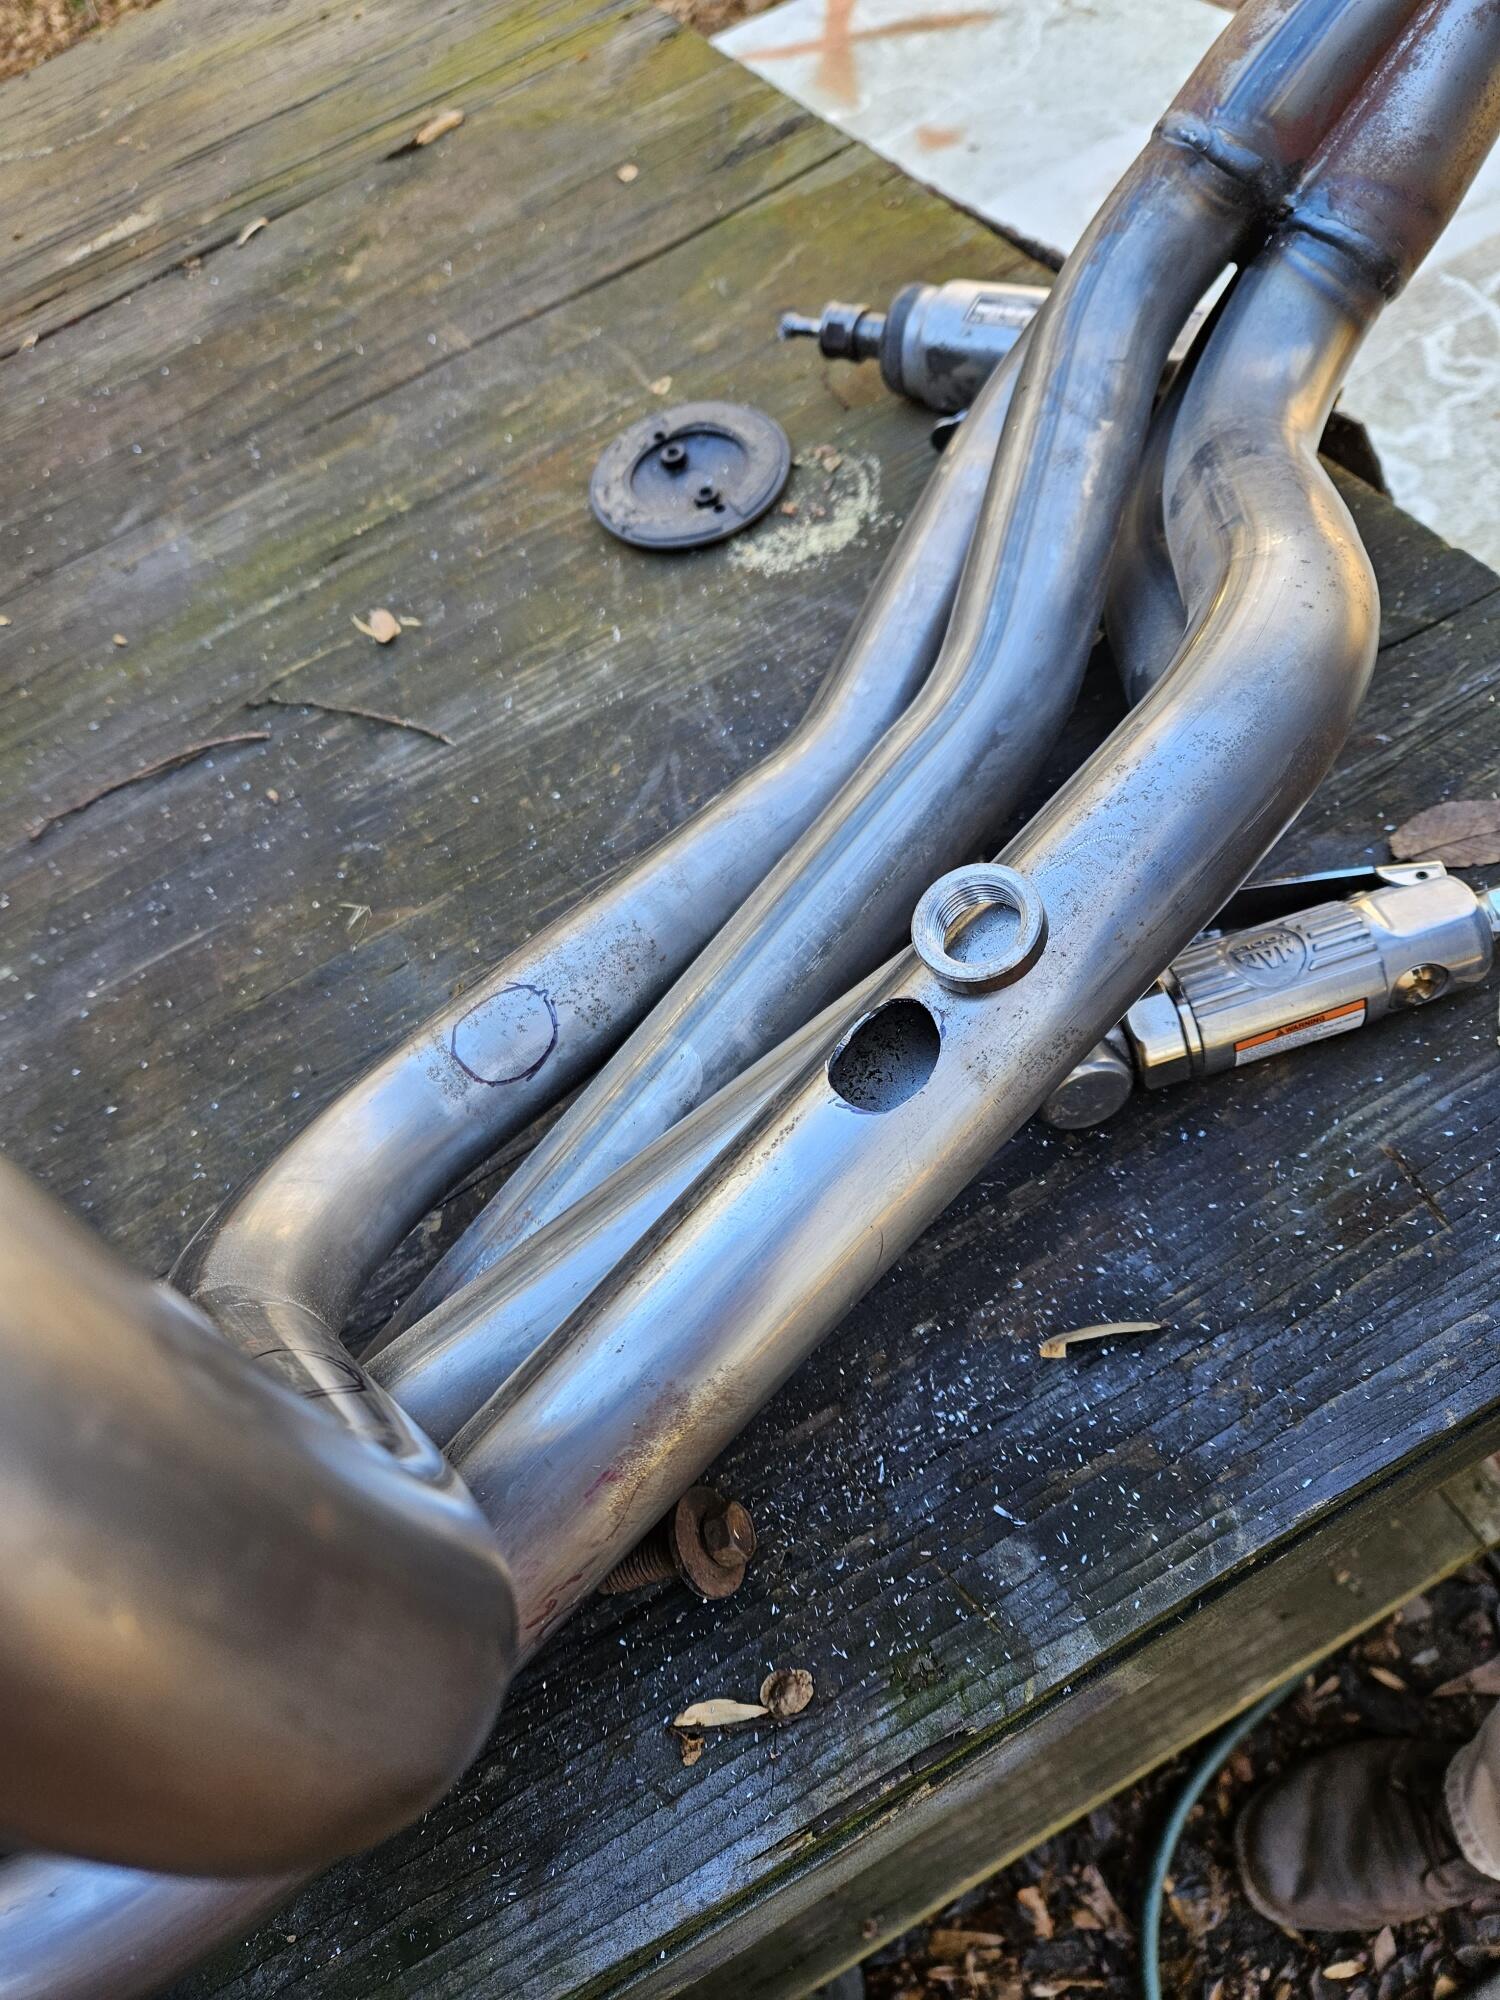
1 pointWe worked on his header some today. We spotted the O2 bungs and Cody cut the holes in. I used a spare sensor to check the locations and ended up moving one of them to get a little more clearance. We bought the header uncoated so after he welds it, we will get it coated


 1 point
 -
1 point
-
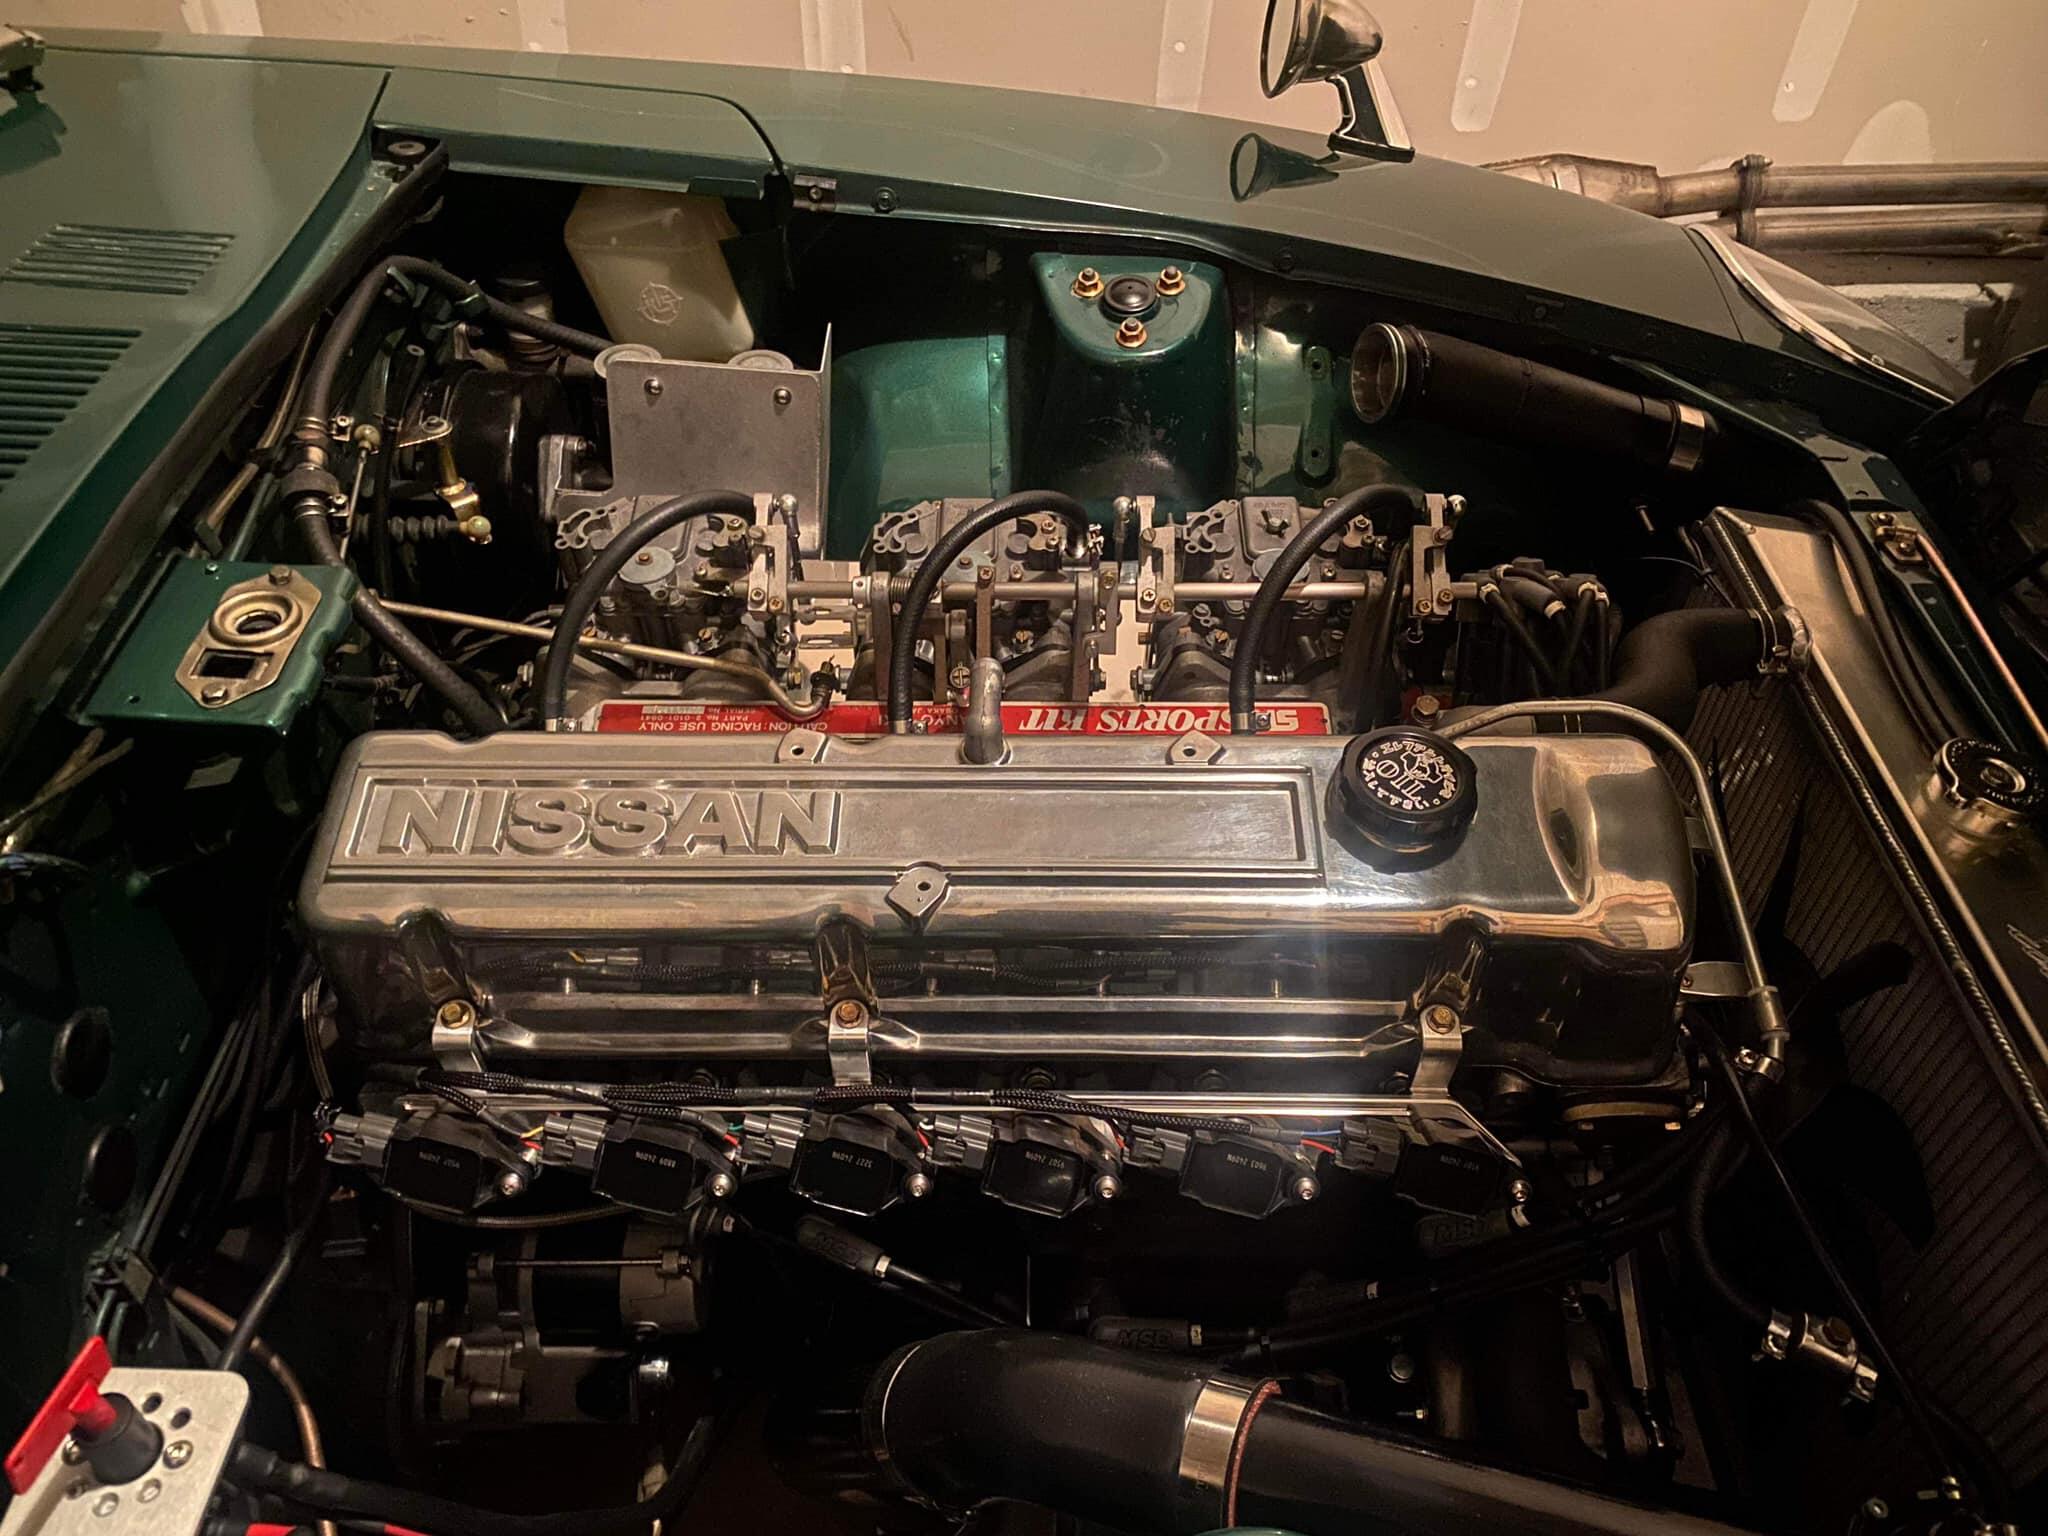
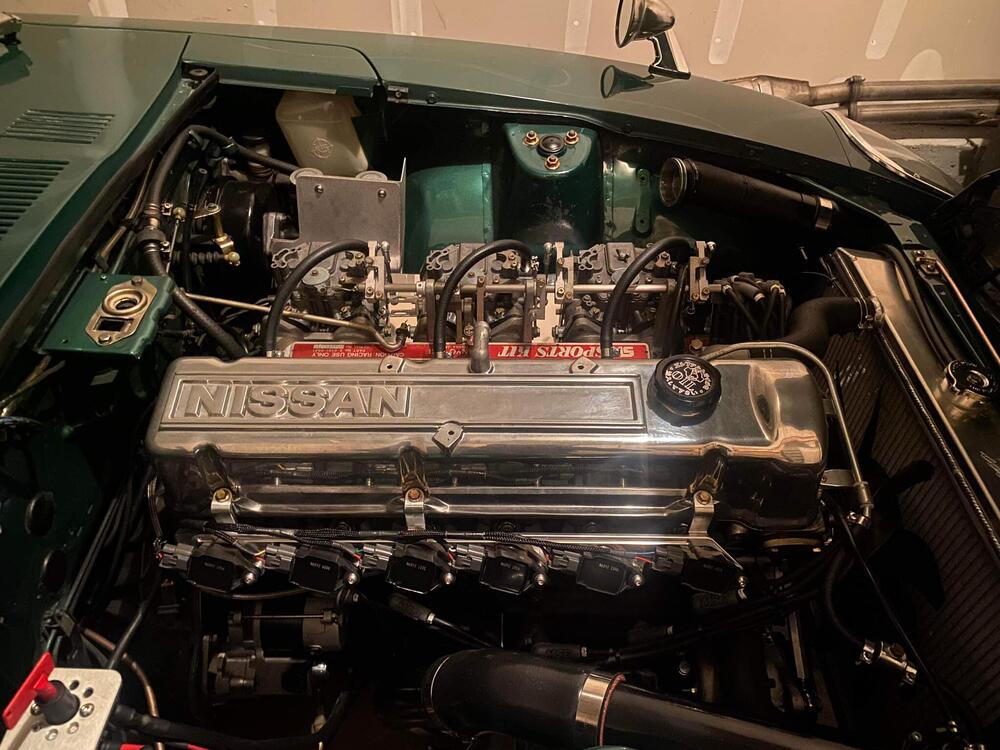
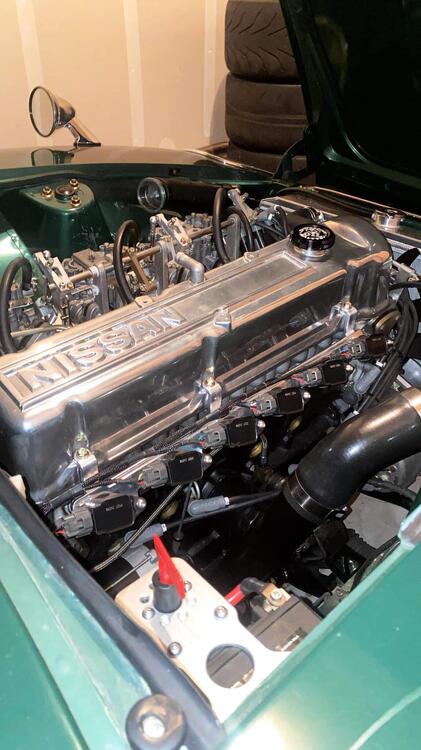
1 pointFinal test fitment of my r35 coil bracket is done! Huge shout out to Fran!
.thumb.jpg.821a841cab0f226941210e301fe91c26.jpg)
 1 point
 -
1 point
-
1 pointLike the chrome on a 1979 280zx bumper! 0,68mm? I had to polish that after a lot (!!) of hammering.. took some afternoons as it is very very hard, high chromium stainless.. But yours came out great!1 point
-
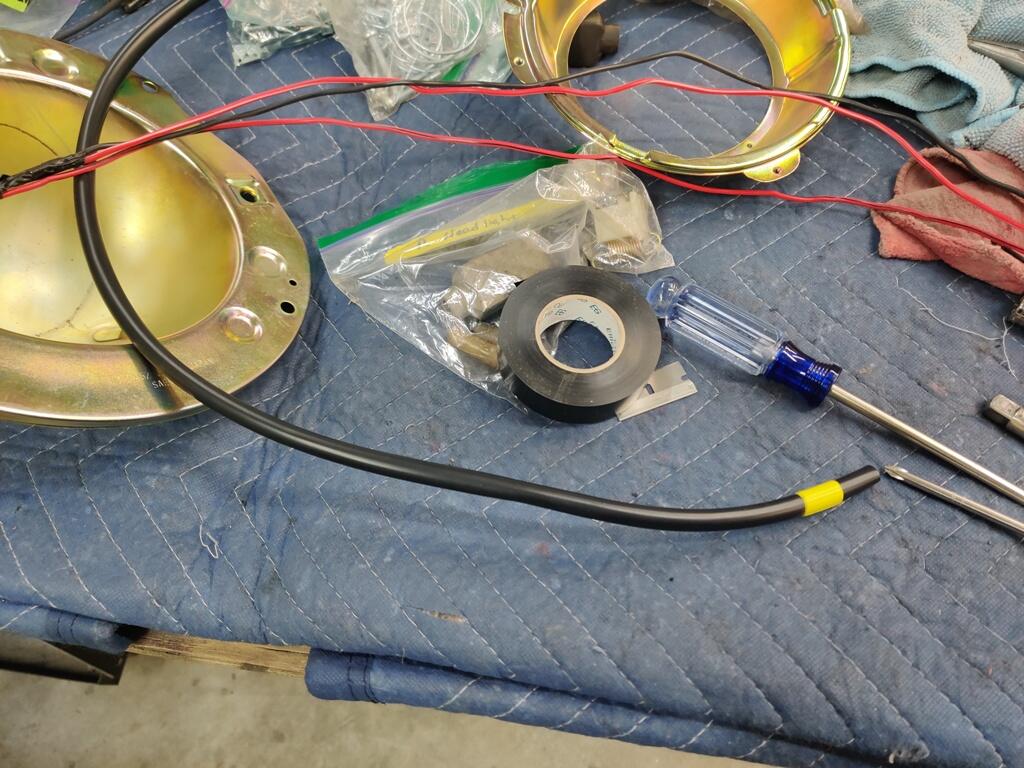
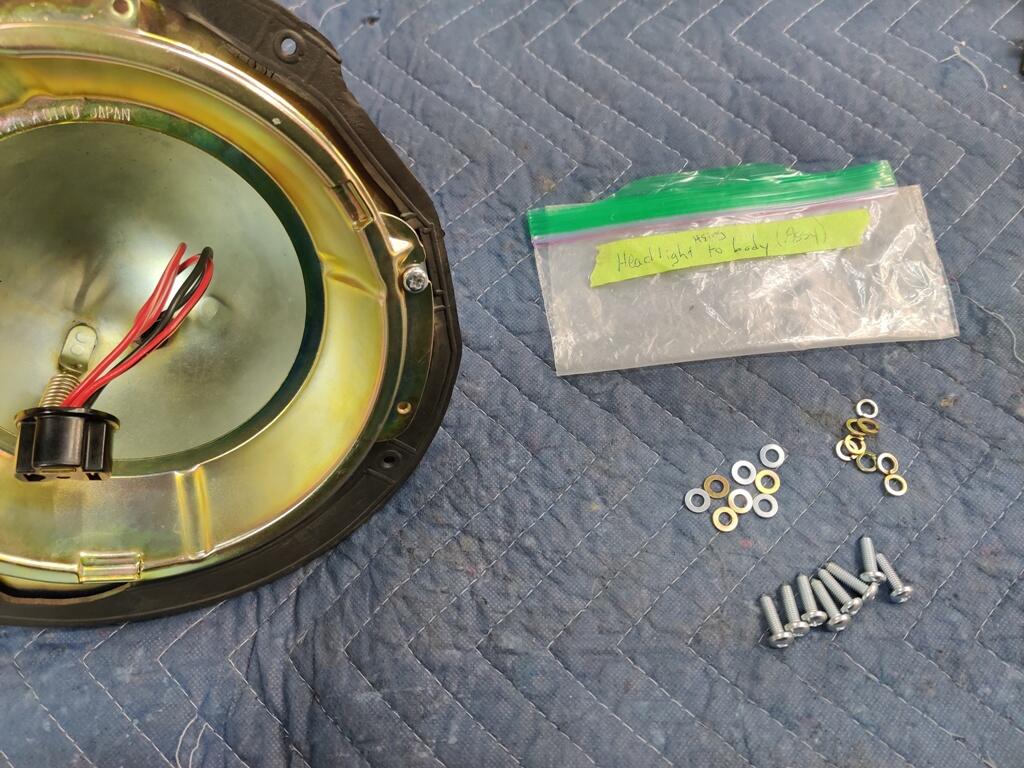
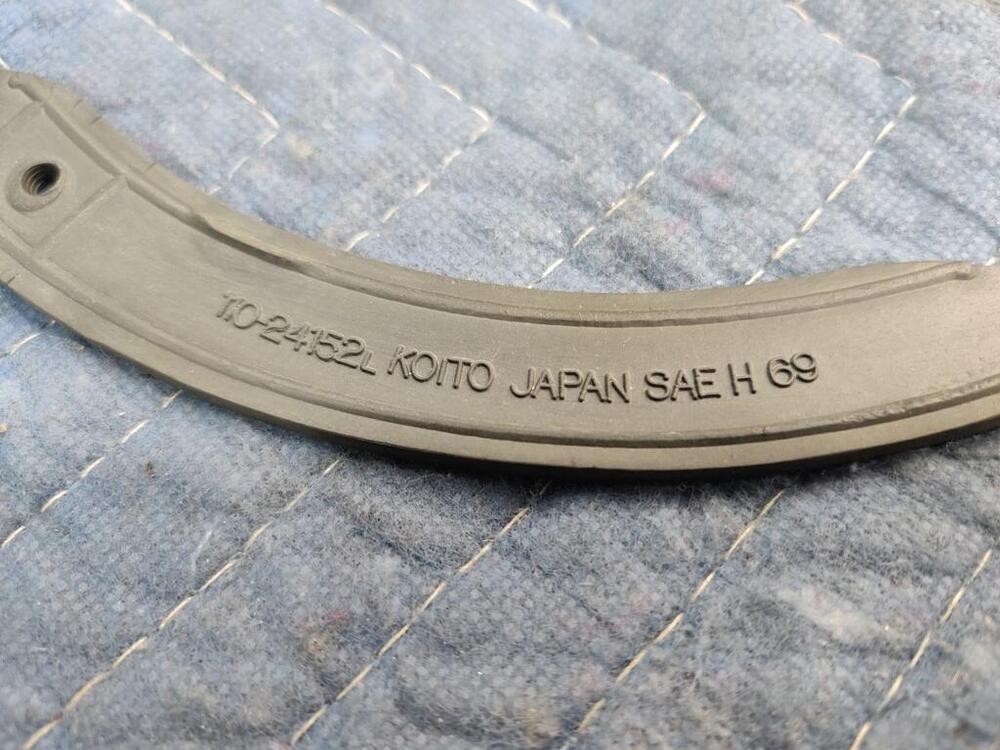
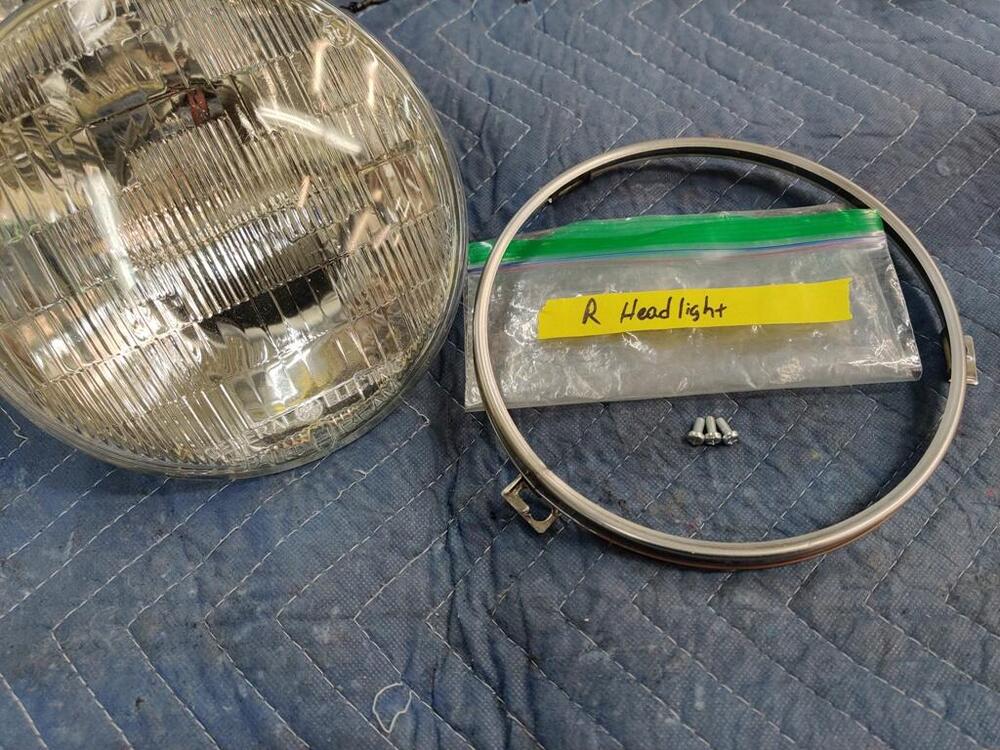
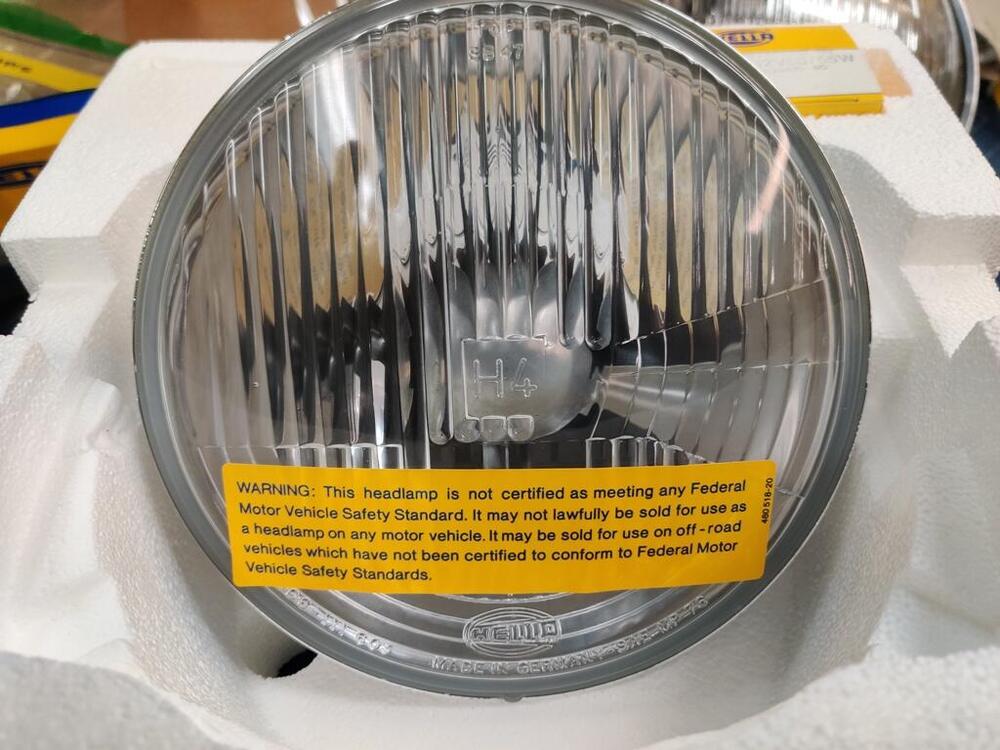
The yellow tape end goes just outside the headlight bucket. I do have the caps that go over the headlight screw inserts. I have not put them on yet because I may need to hit the backside of the adjustment screws with a little bit of WD40 if they are tight, when I go to do final headlight beam adjustment.1 point
-
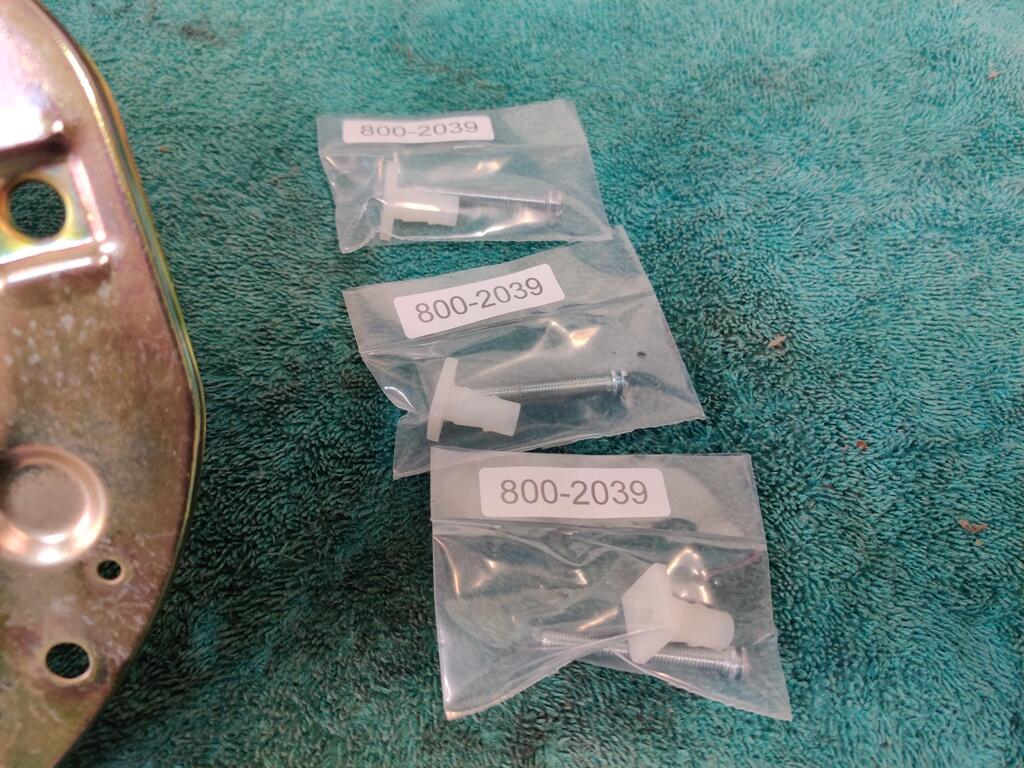
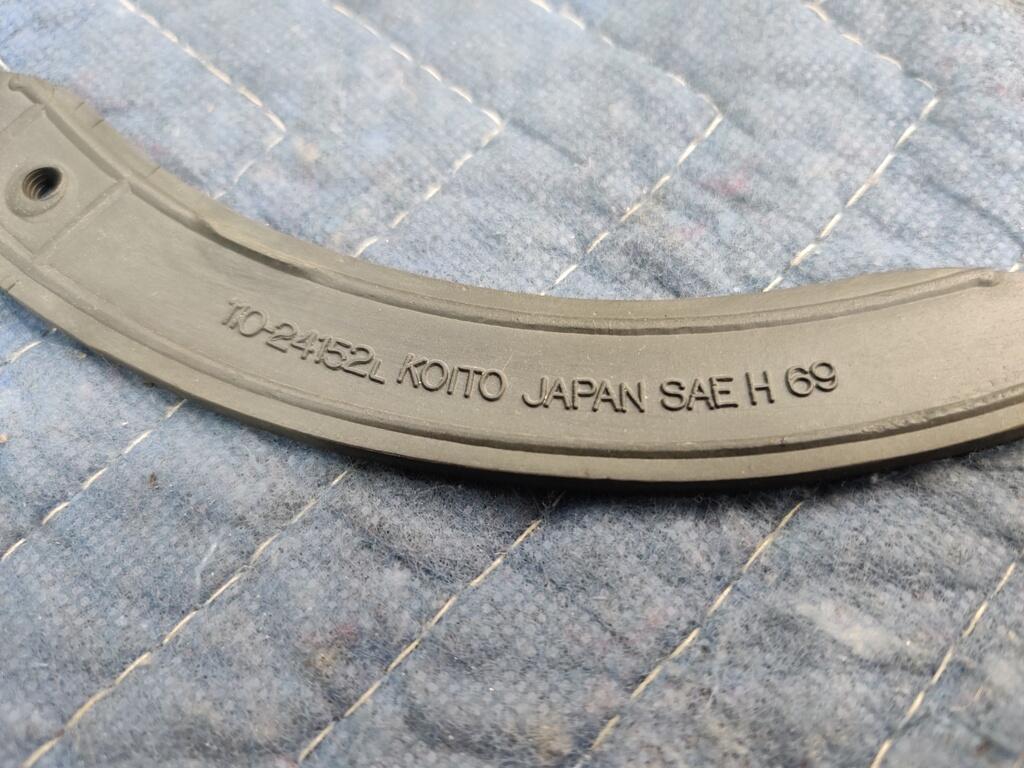
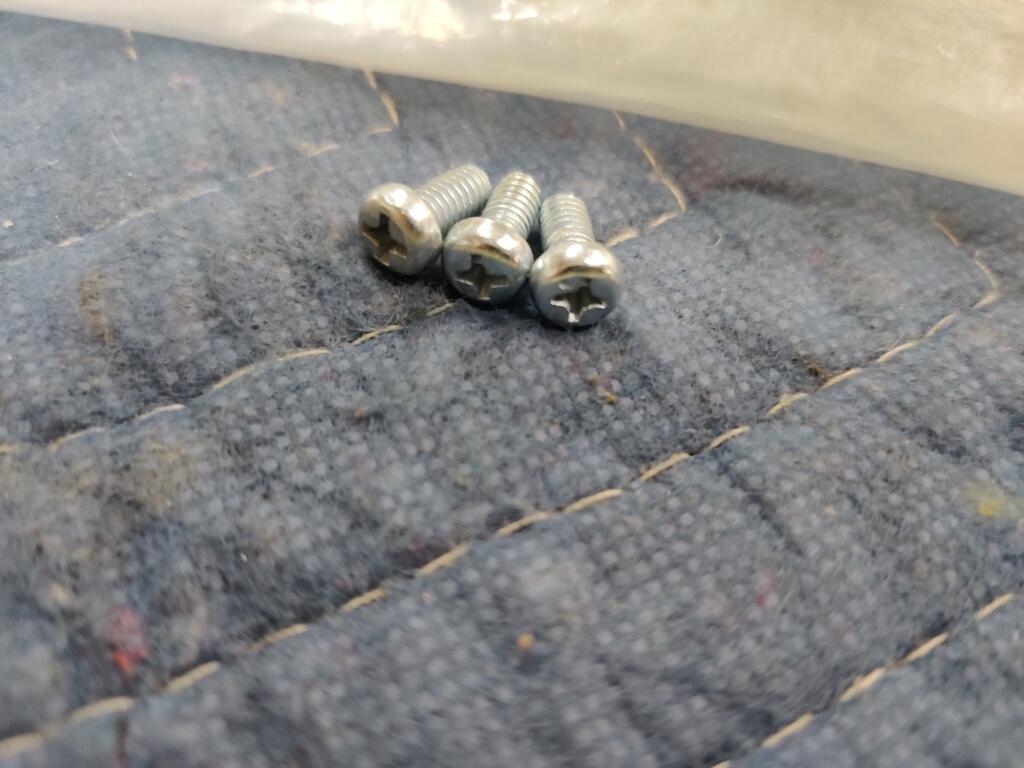
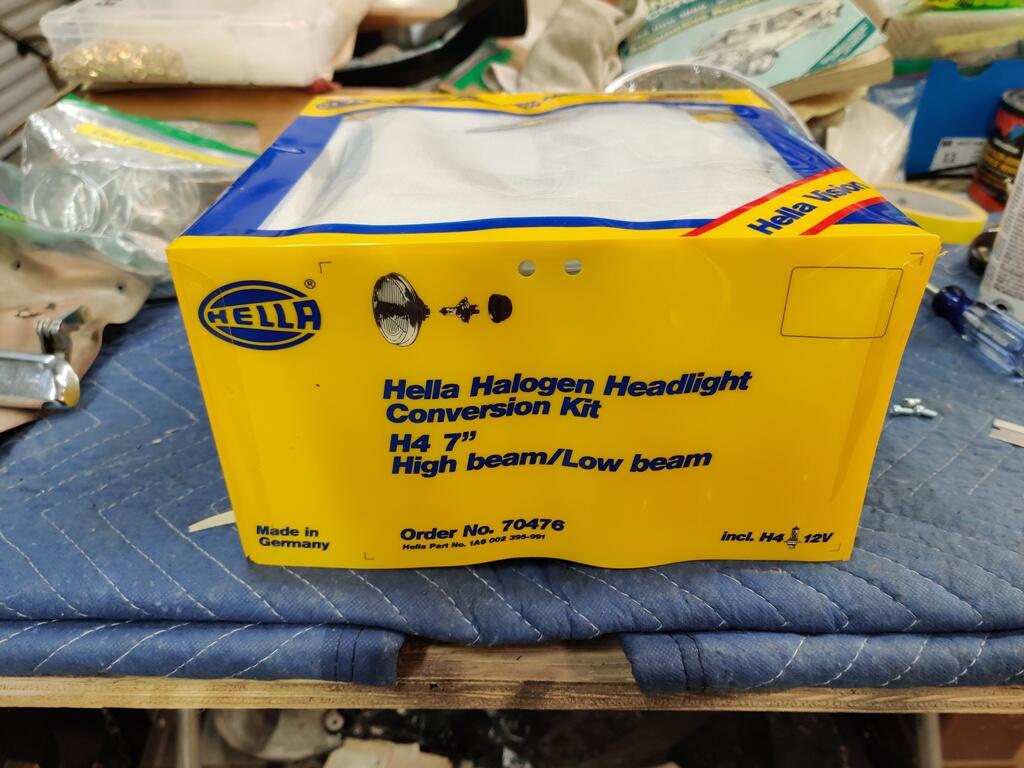
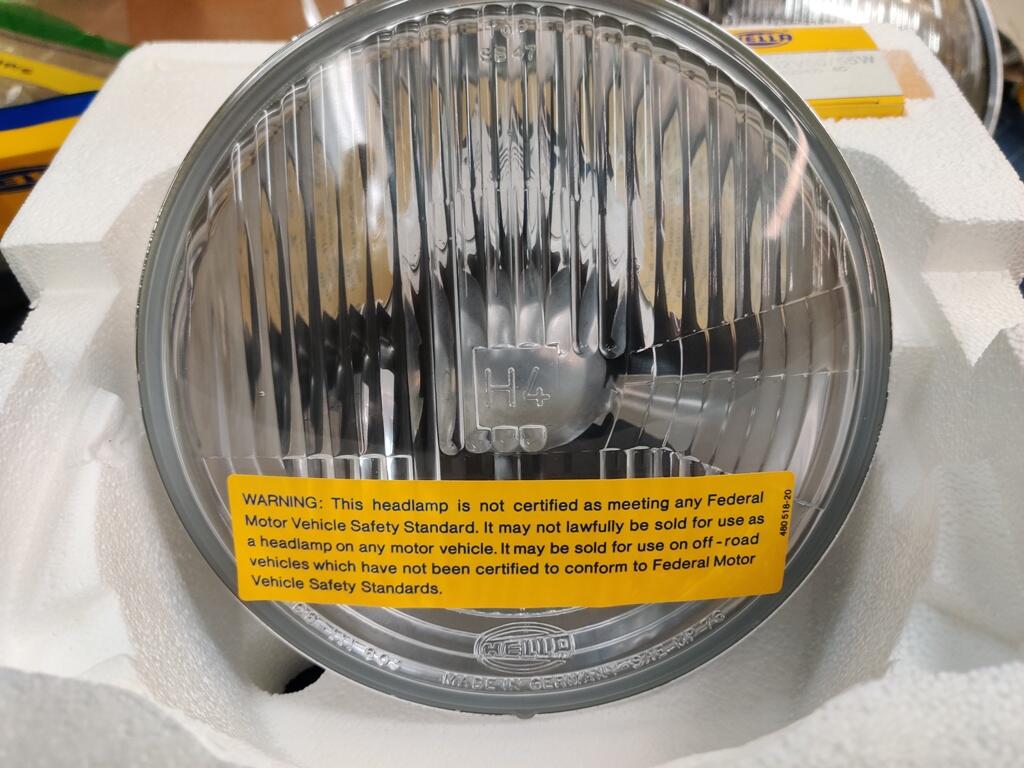
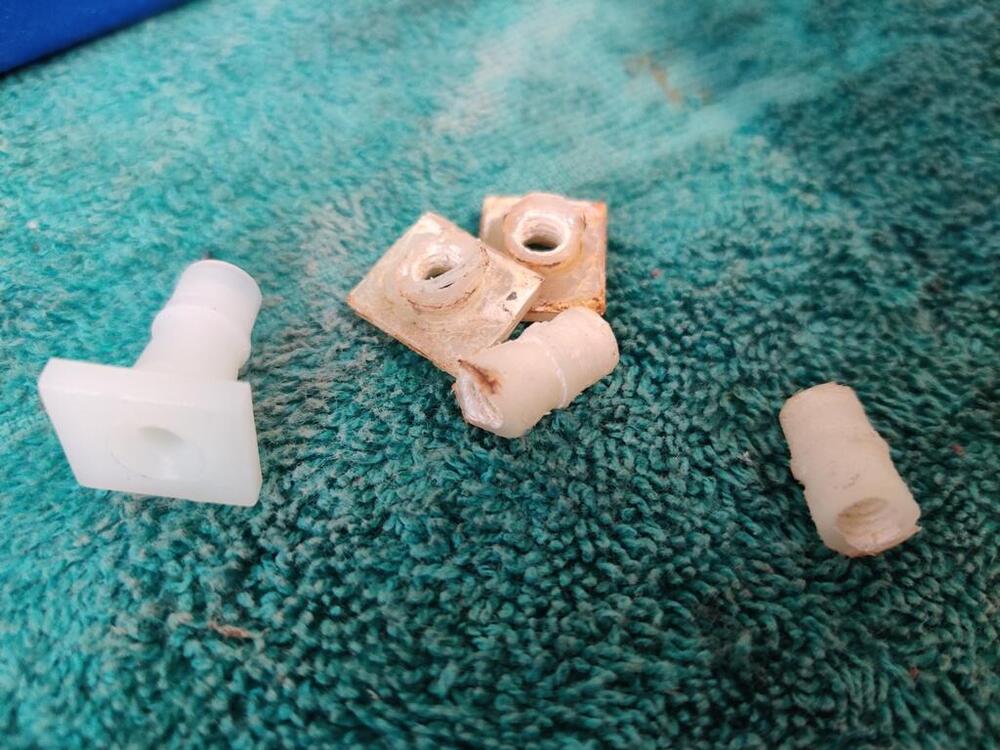
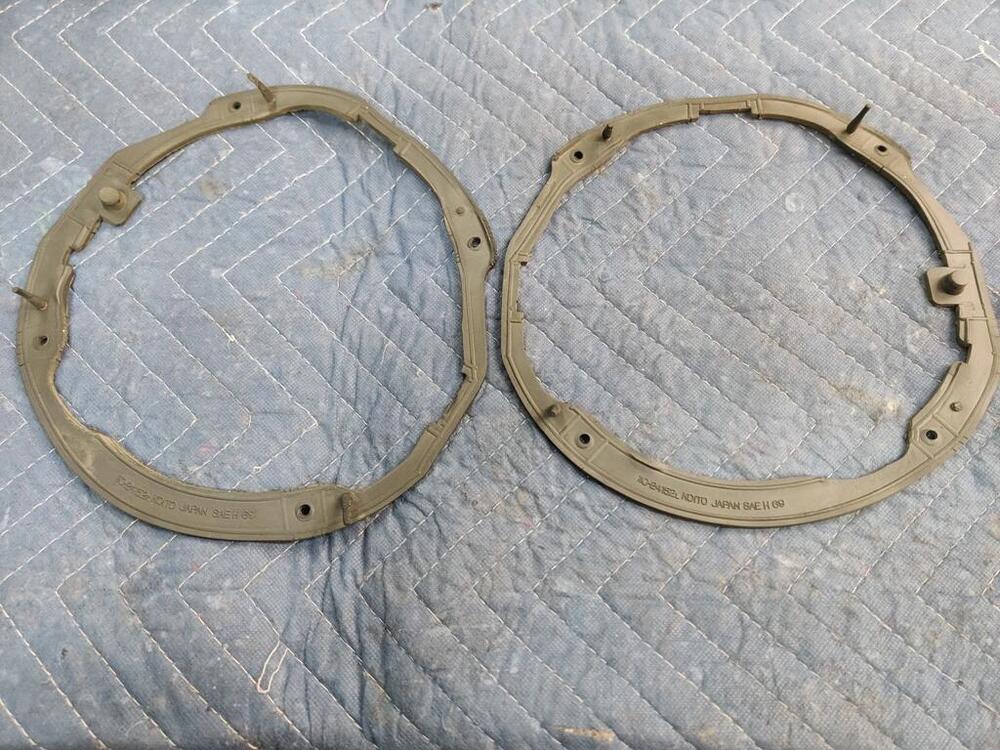
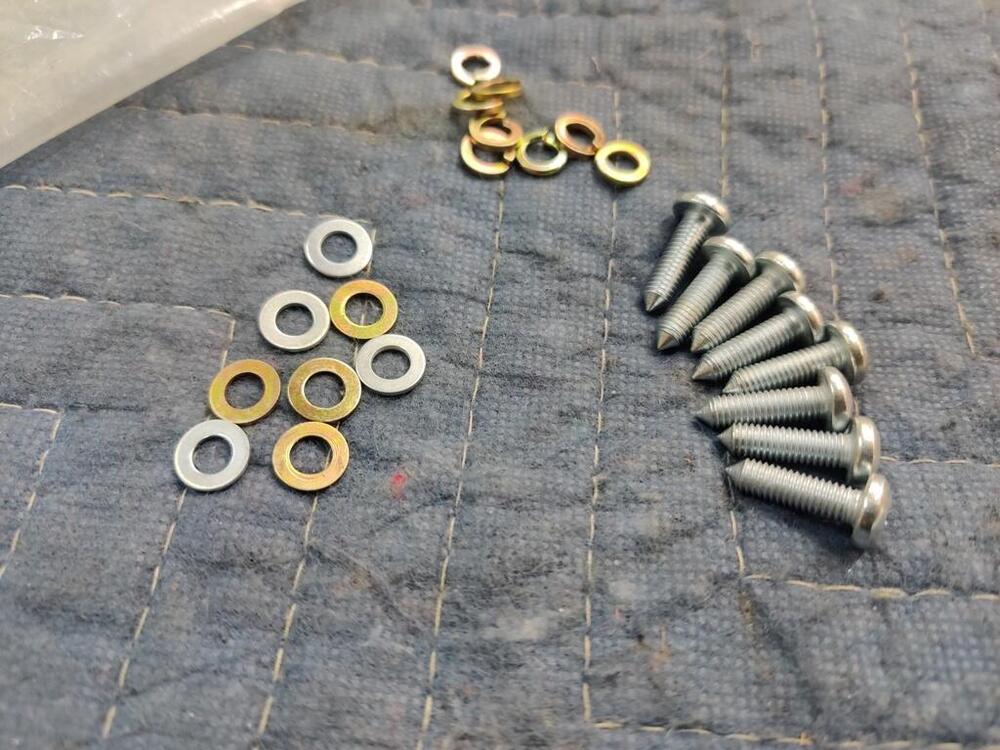
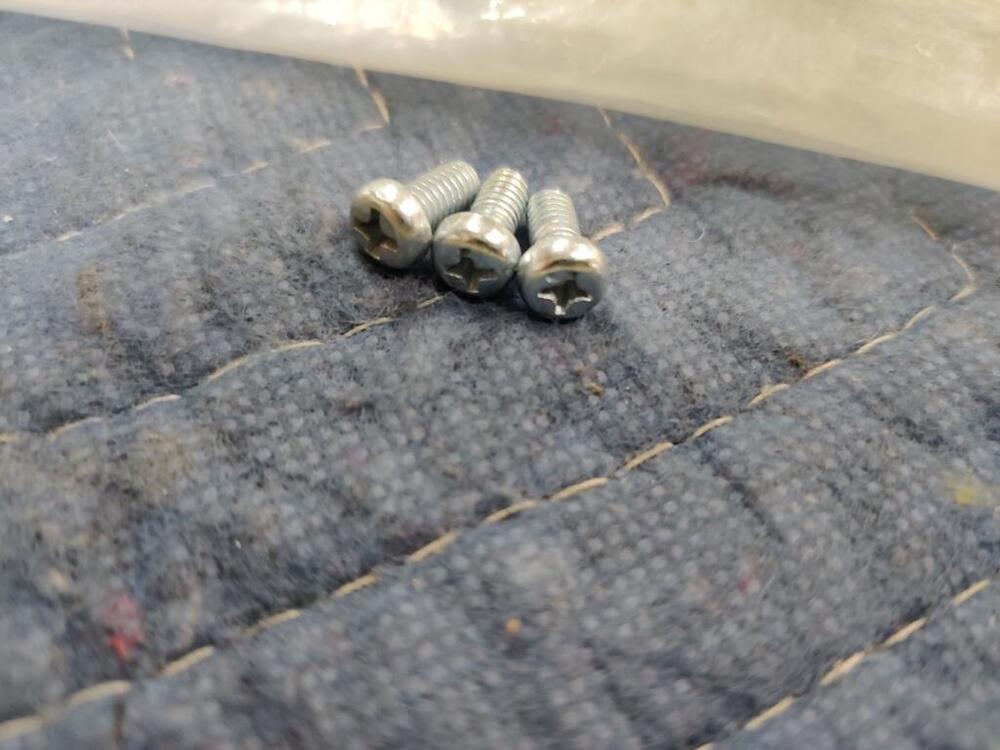
Today, I got the right side window regulator in and was successful in getting easy, and smooth operation of the widow. I also messed with the door hinges a bit to improve upon the door alignment. I still can't believe they removed the doors - I had the alignment nearly perfect! And, I assembled the other of the new headlight harnesses (it is a PITA to pull the wires through the new sleeves if you don't remove the electrical connectors from the wires, which I did not). I also replaced the plastic/nylon headlight screw receivers. When I had the buckets plated, I did not know that replacements existed. So, I had them plated with the receivers in place. They didn't "do well" with the plating process. To replace them, I heated up a single edged razor blade (in a holder) with a propane torch, and cut through them on the back side. Then I just used a hammer and punch and tapped the remainder out. Pressing the new receivers/inserts in place is easy with a 10 mm deep socket and a vise. The new ones come with smaller diameter screws. My original screws were re-plated and are in excellent condition. So I chose to use those instead. However, I had to open up the hole in the new nylon inserts to 13/64" and run a 6M X 1 mm tap through them in order to do so. Whether you use the original screws or the ones that come with the inserts, note that they do not have threads as received. Next, I ran the original, as they are in good condition, headlight gaskets through my glass bead cabinet to remove overspray for the prior repaint job on the car. I got ahead of myself and installed one of the headlight buckets with just a regular sealed beam headlight (not even halogen), before I remembered I bought some Hella H4 housings and bulbs a couple of years ago. I think these have some age on them, but that doesn't matter. So, I shouldn't bother with the H4 bulb - I should get some LED ones, yes? It is surprising how little I got done today given that I put about 8 hours in. Oh well. Things are going well... if slowly.


 1 point
 -
1 pointAlso remember this trim is exceedingly thin! So the closer you can dolly it the better. It's not some thick trim off a 70s Detroit beast. There are limits to how much you can sand with the course stuff! You'll know you're getting really thin if it turns blue easily when buffing1 point
-
1 point
-
1 pointBeautiful! That's a nicer finish than it had when it came off the line. I'm going to have to pull the SS trim out of storage and have another go at it.1 point
-
1 pointThe rear hatch on my 12/71 build had jute in the rear hatch floor that covered the whole area and stopped just short of the jack storage compartment doors. The replacement carpet from Interior Innovations installed now has padding attached to it, so the original jute is rolled up and in storage.1 point
-
1 point
-
1 pointThanks for your kind words 🙏. I certainly do love a good puzzle...and there's no such thing as a rust free 240z 😉. ( but yeah ... maybe could have started with a better car 🤦♂️). (pS ... but with the kfvintage parts you don't really need much more than the trans tunnel these days LOL)1 point
-
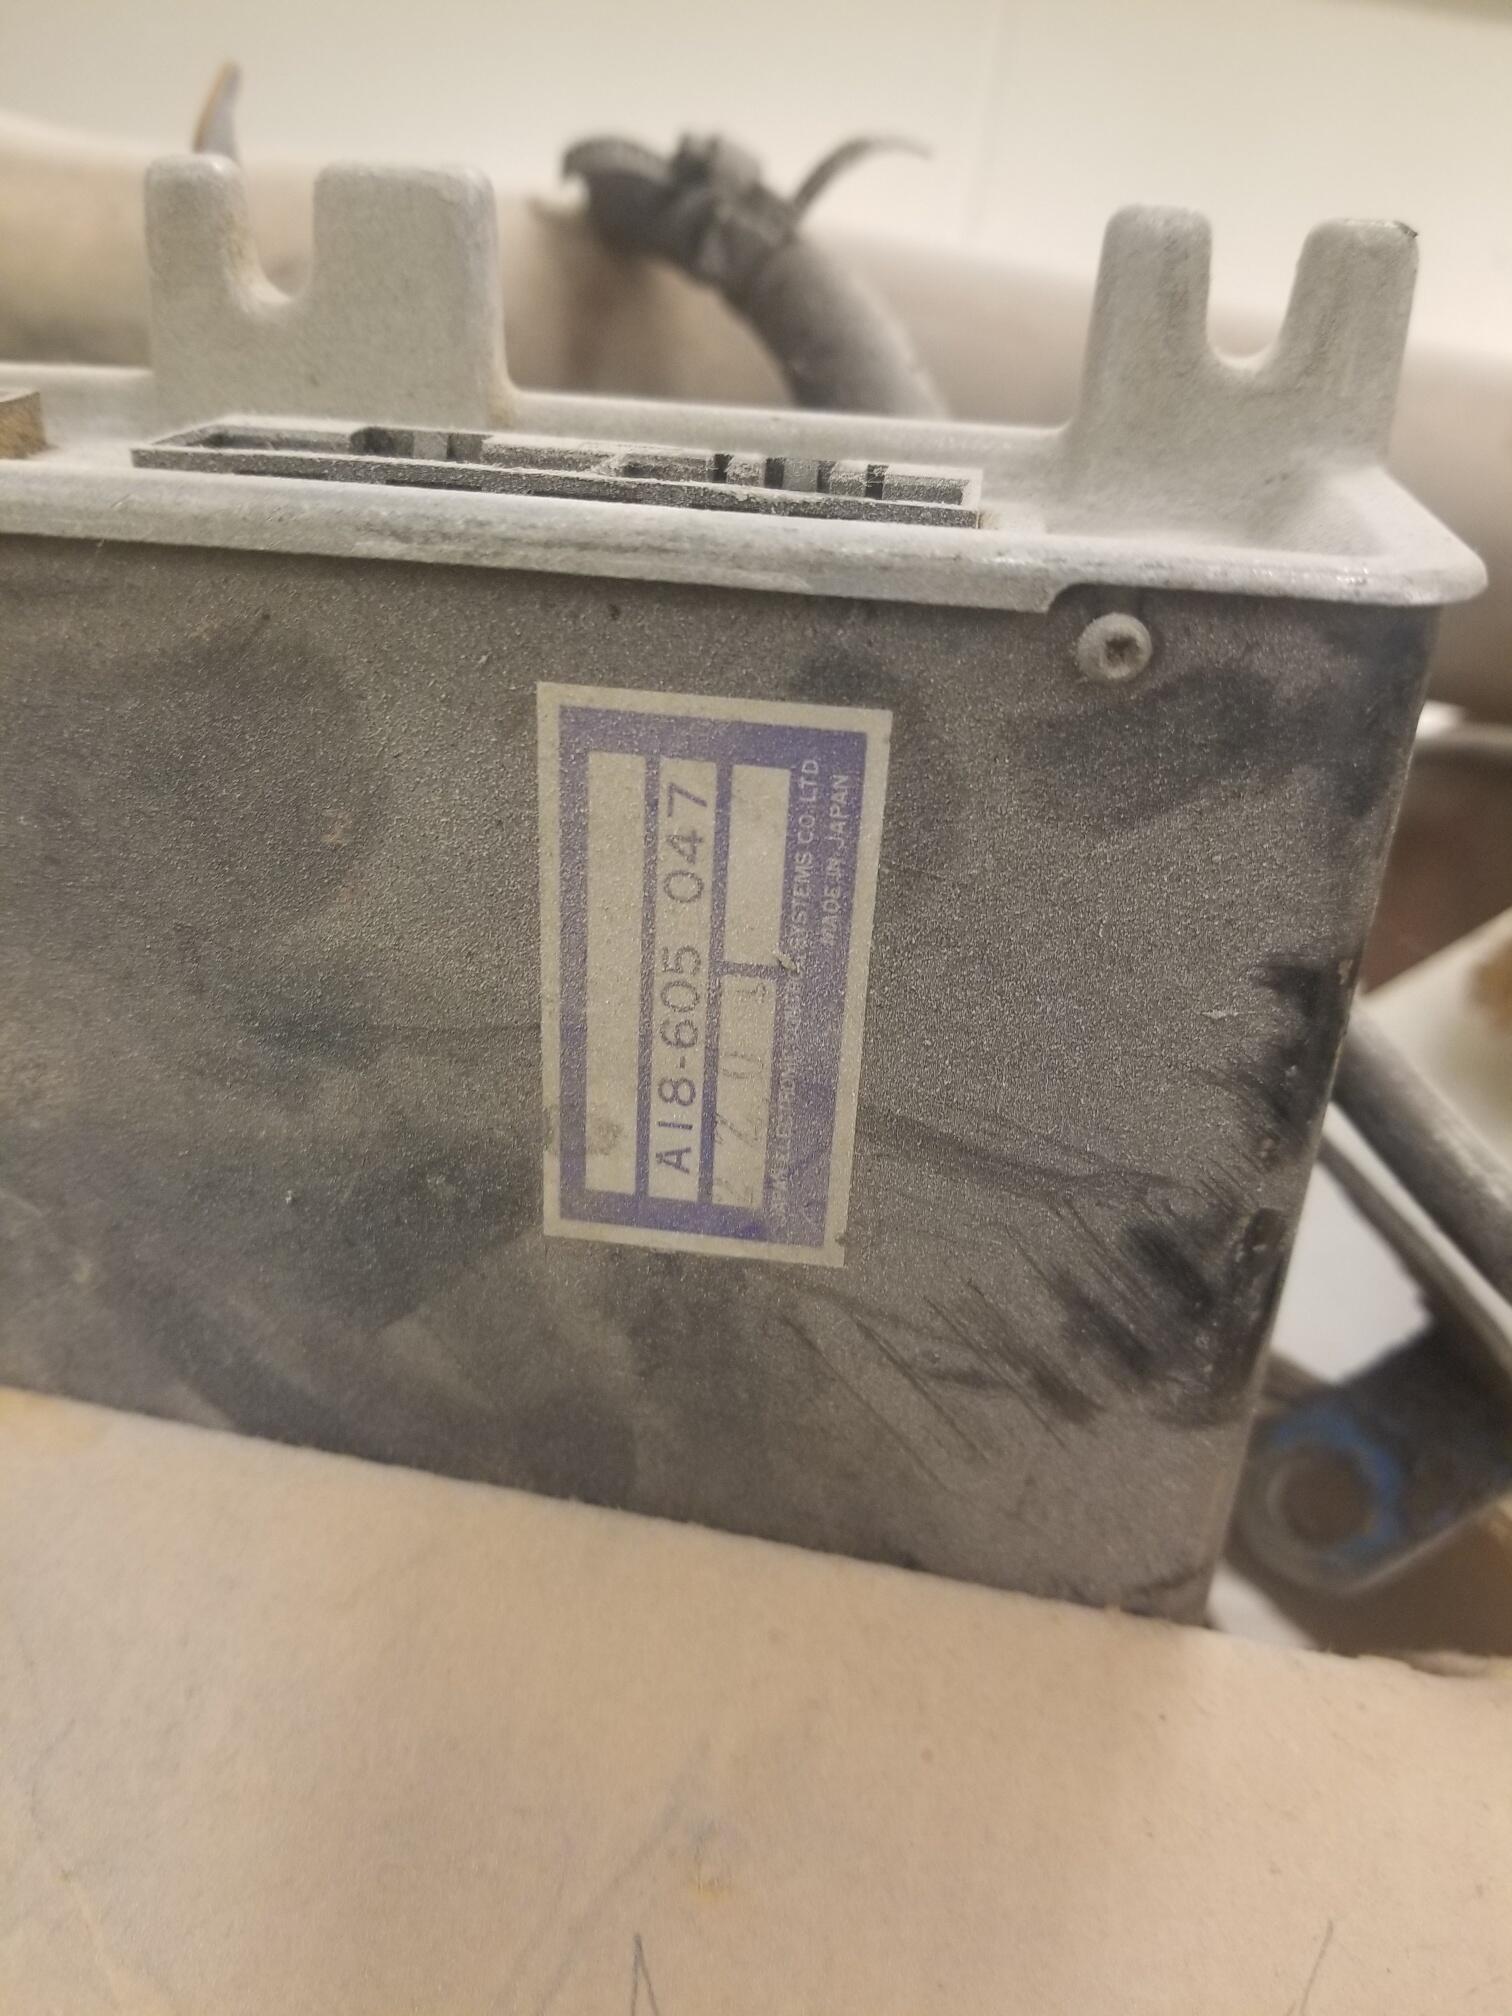
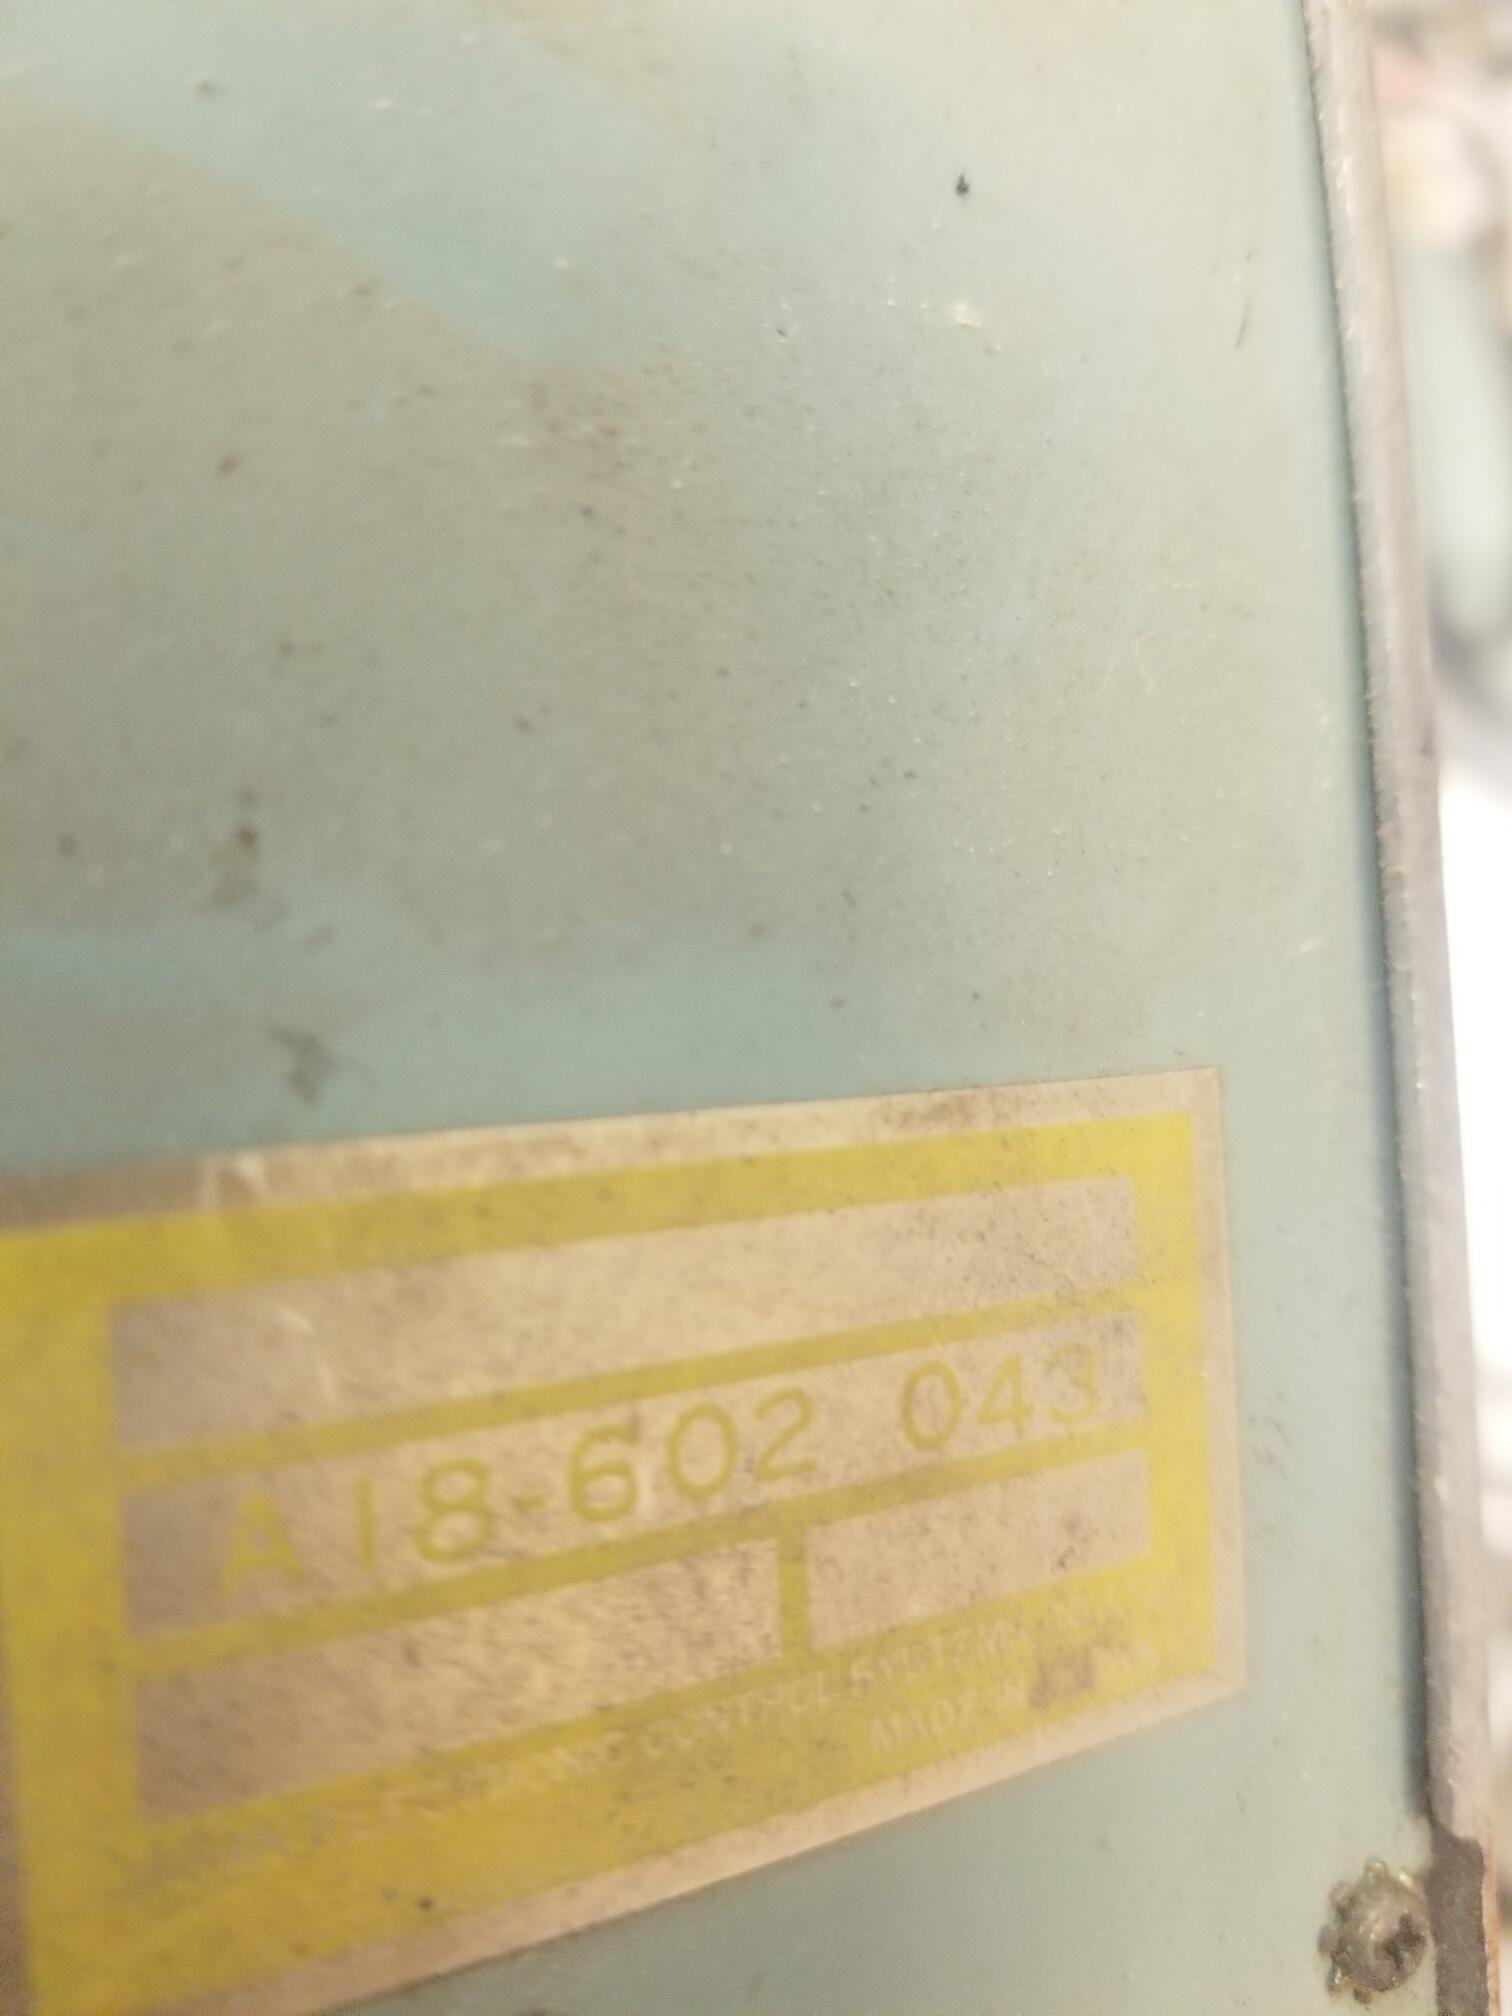
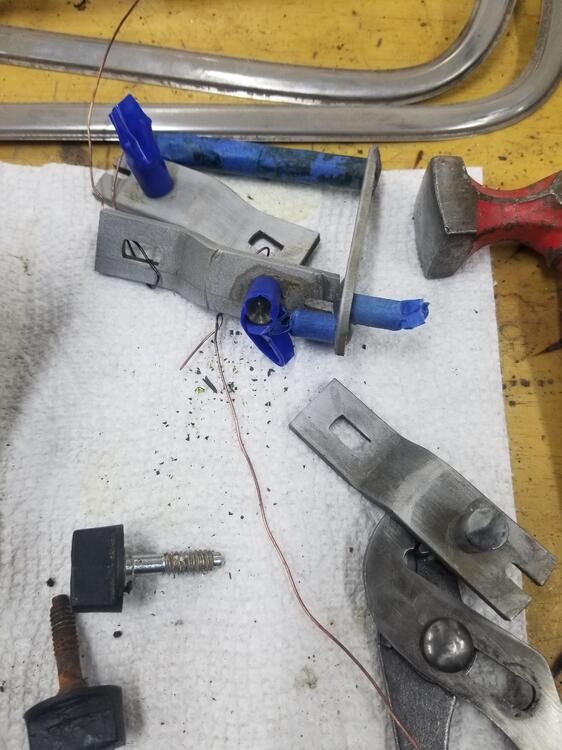
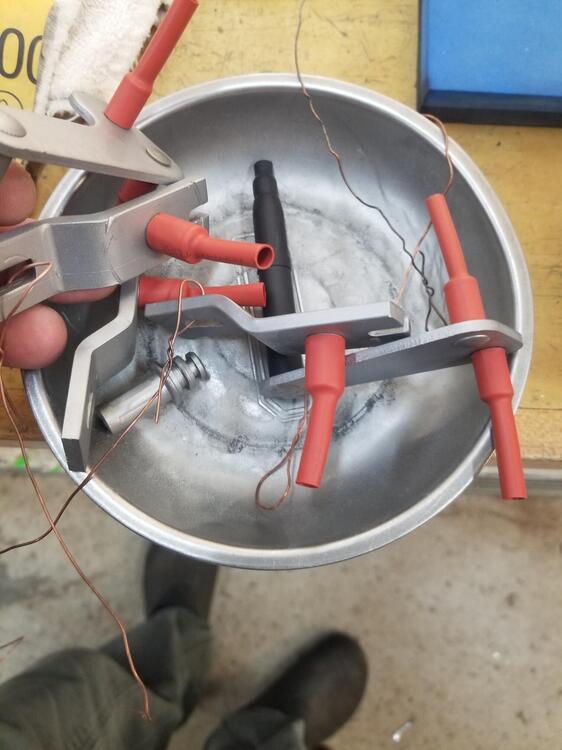
Regular readers may have noticed that i haven't actually restored anything from my 240Z in a while. Well the reasons were various, but it's time to change that again. I thought i start with a simple part which i had prepared to get done since a while. The interieur dome light: From the outside it was mainly dirty and scratched, and on the backside you could see the contacts and the bulb metal parts were corroded: So first i took it apart The bulb fell apart immdiately without even touching it: First i gave everything a gentle clean in warm soap-water and tried to avoud water coming close to the switch: Next it was time to pull out me secret weapons. I've got an electronics repair background and over the years i've gained a lot of experience which tools and fluids work the best. Here are a selection of my all-time favourites. Which i all used for this project: - Kontakt 60: Contact cleaning solvent (I used it a bit on the switch) - Metarex. Some kind of wool fabric soaked in a metal polish fluid. You rip off a piece and clean your metal surfaces without scratches. - Contact cleaning strips: Perfect to clean corroded electronic contacts (after corrosion is removed with a brush) - Novus plastic cleaning and polish kit. Removes larger and smaller scratches from plastic surfaces and lets you get it back nice and glossy again. After i cleaned and polished everything and had removed the corrosion with a wire brush, i checked the switch, just to ensure it works fine. Which it luckily did. Probably i should test it BEFORE i do all the work, next time. And then assembled it all back together. IKI Japan Dome light switch from the 240Z in all it's glory. Btw. Also found a production date stamp (i guess?) of 3 / 71 on the lamp housing. So it was produced almost a year befor the car got registered in switzerland. While most of the other parts in the car have a production date from end of 1971. It seems like those dome lights were produced in larger batches and then stored before being used. And here the backside with the fresh cleaned contacts. Now i only need to get myself a new bulb. which shouldn't be a big problem. Now i need to find my next project. I missed actually "finishing" something 🙂1 point
-
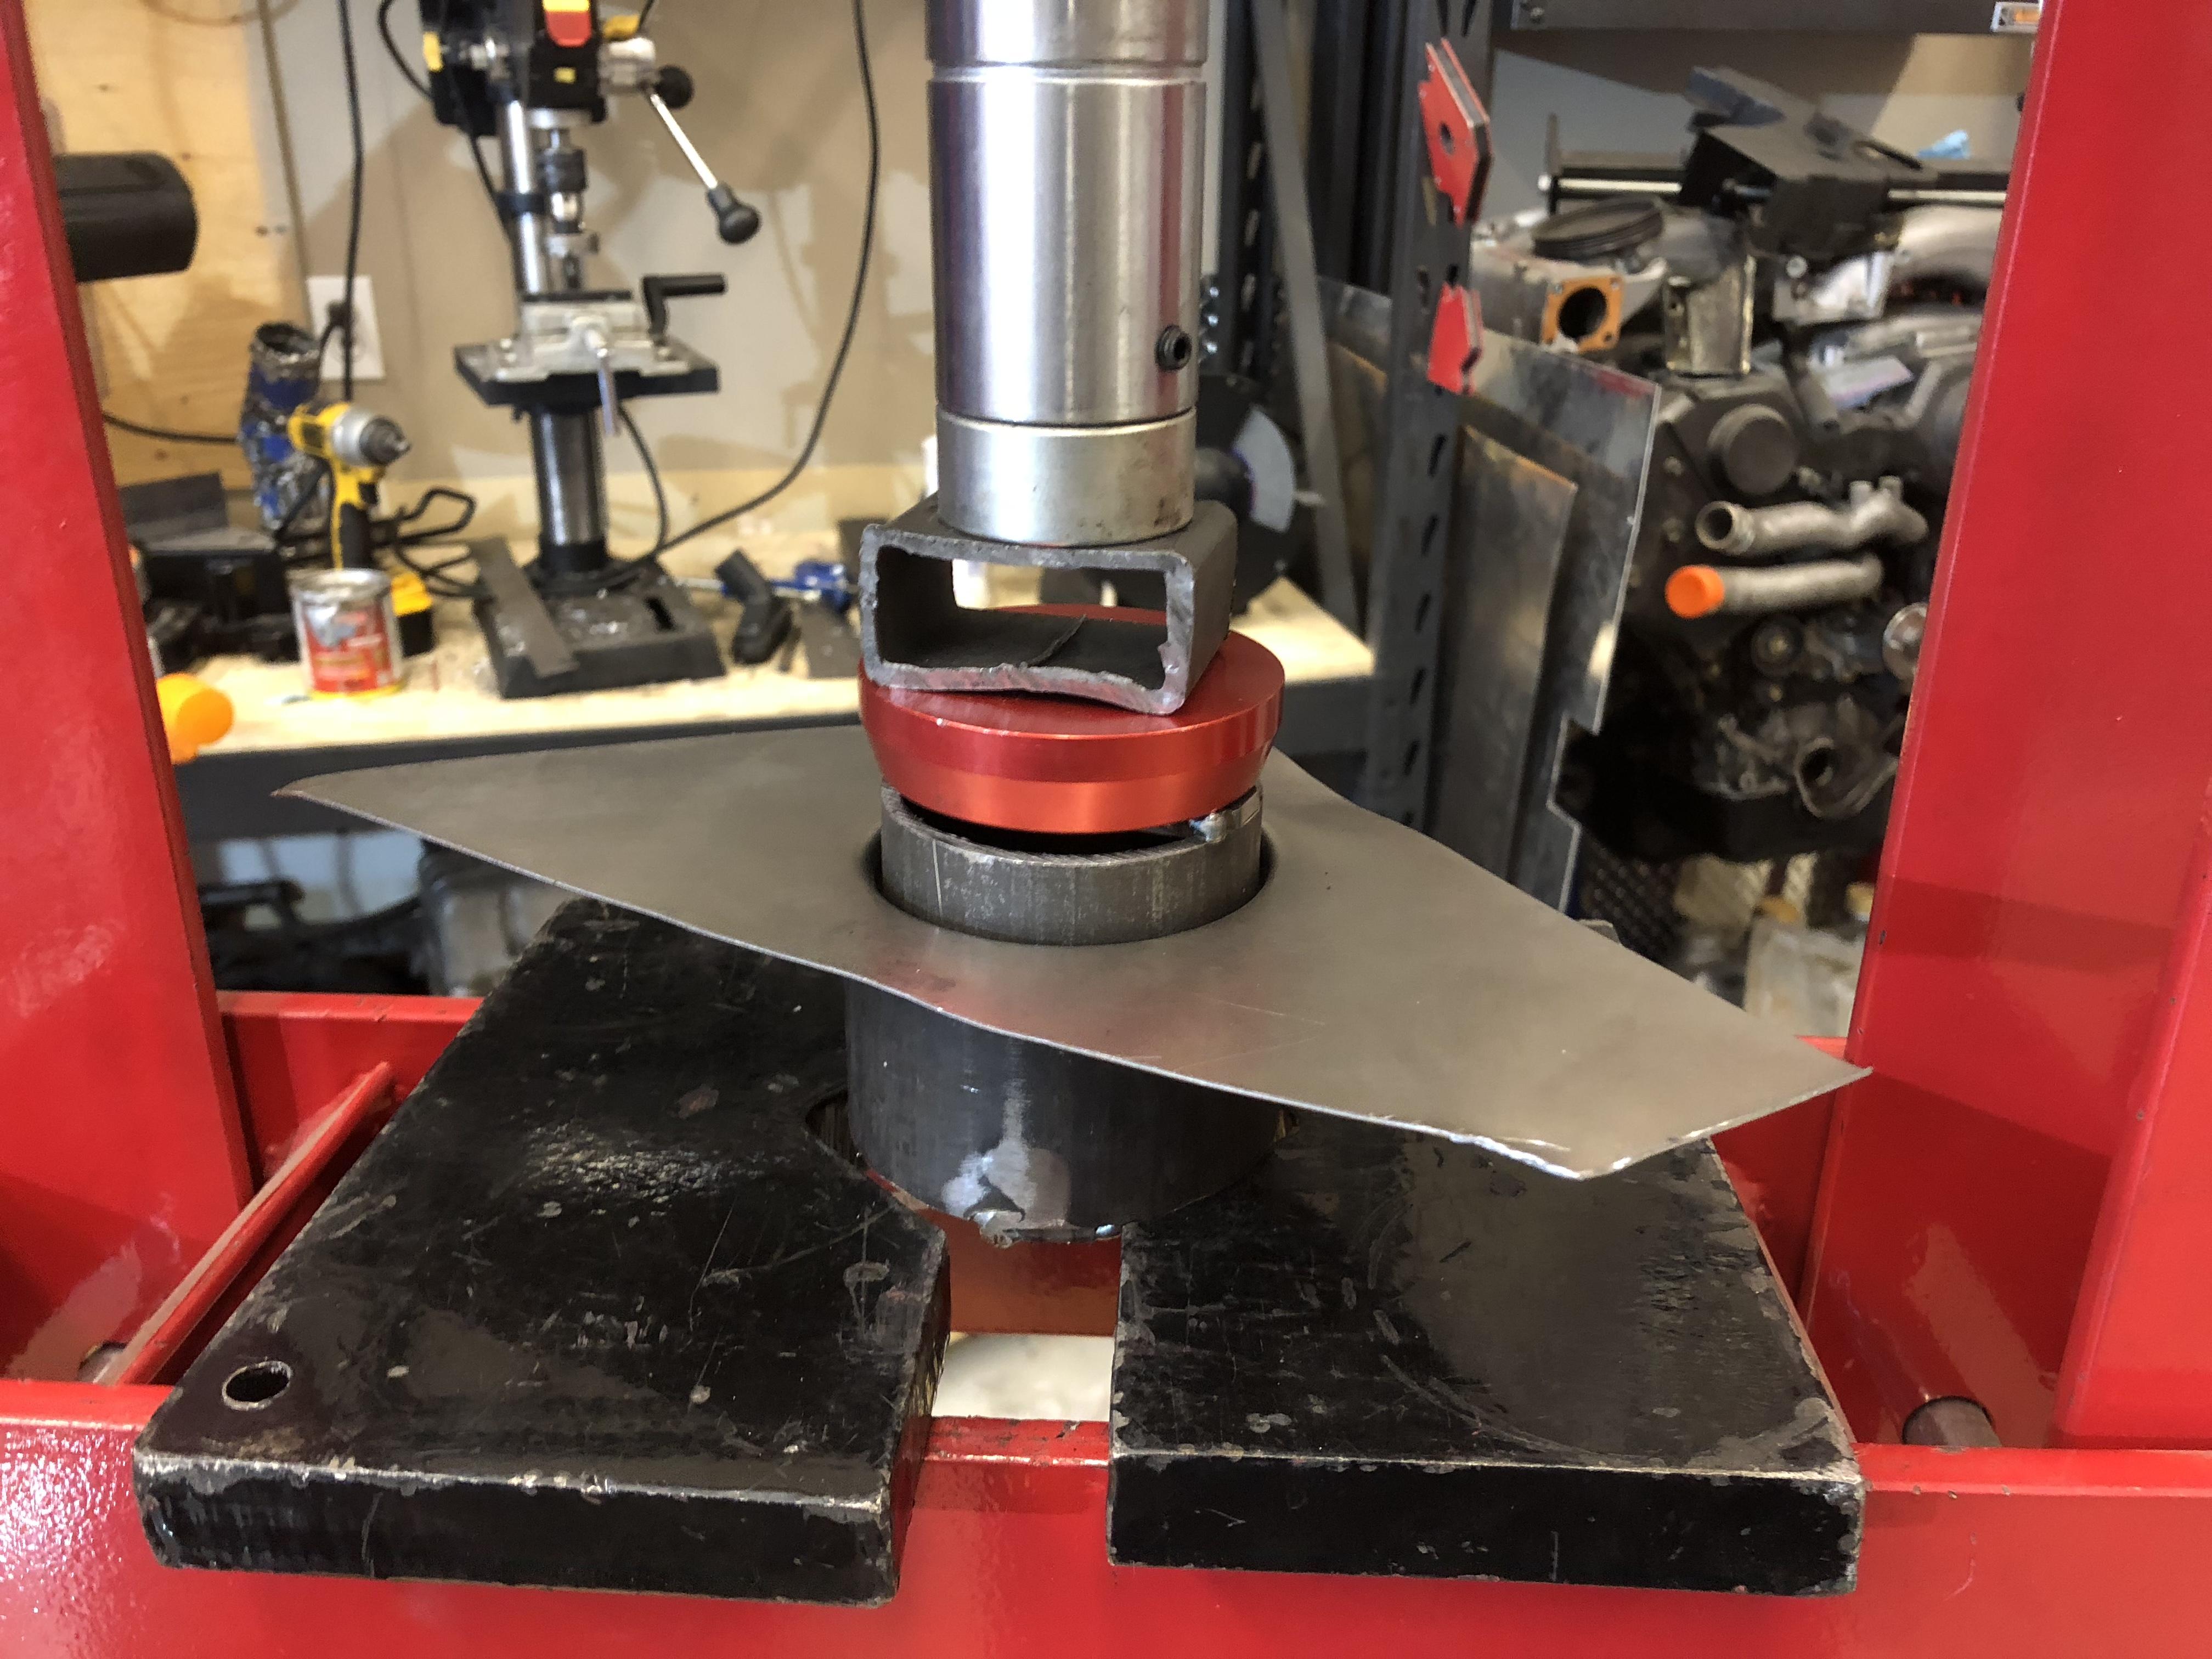
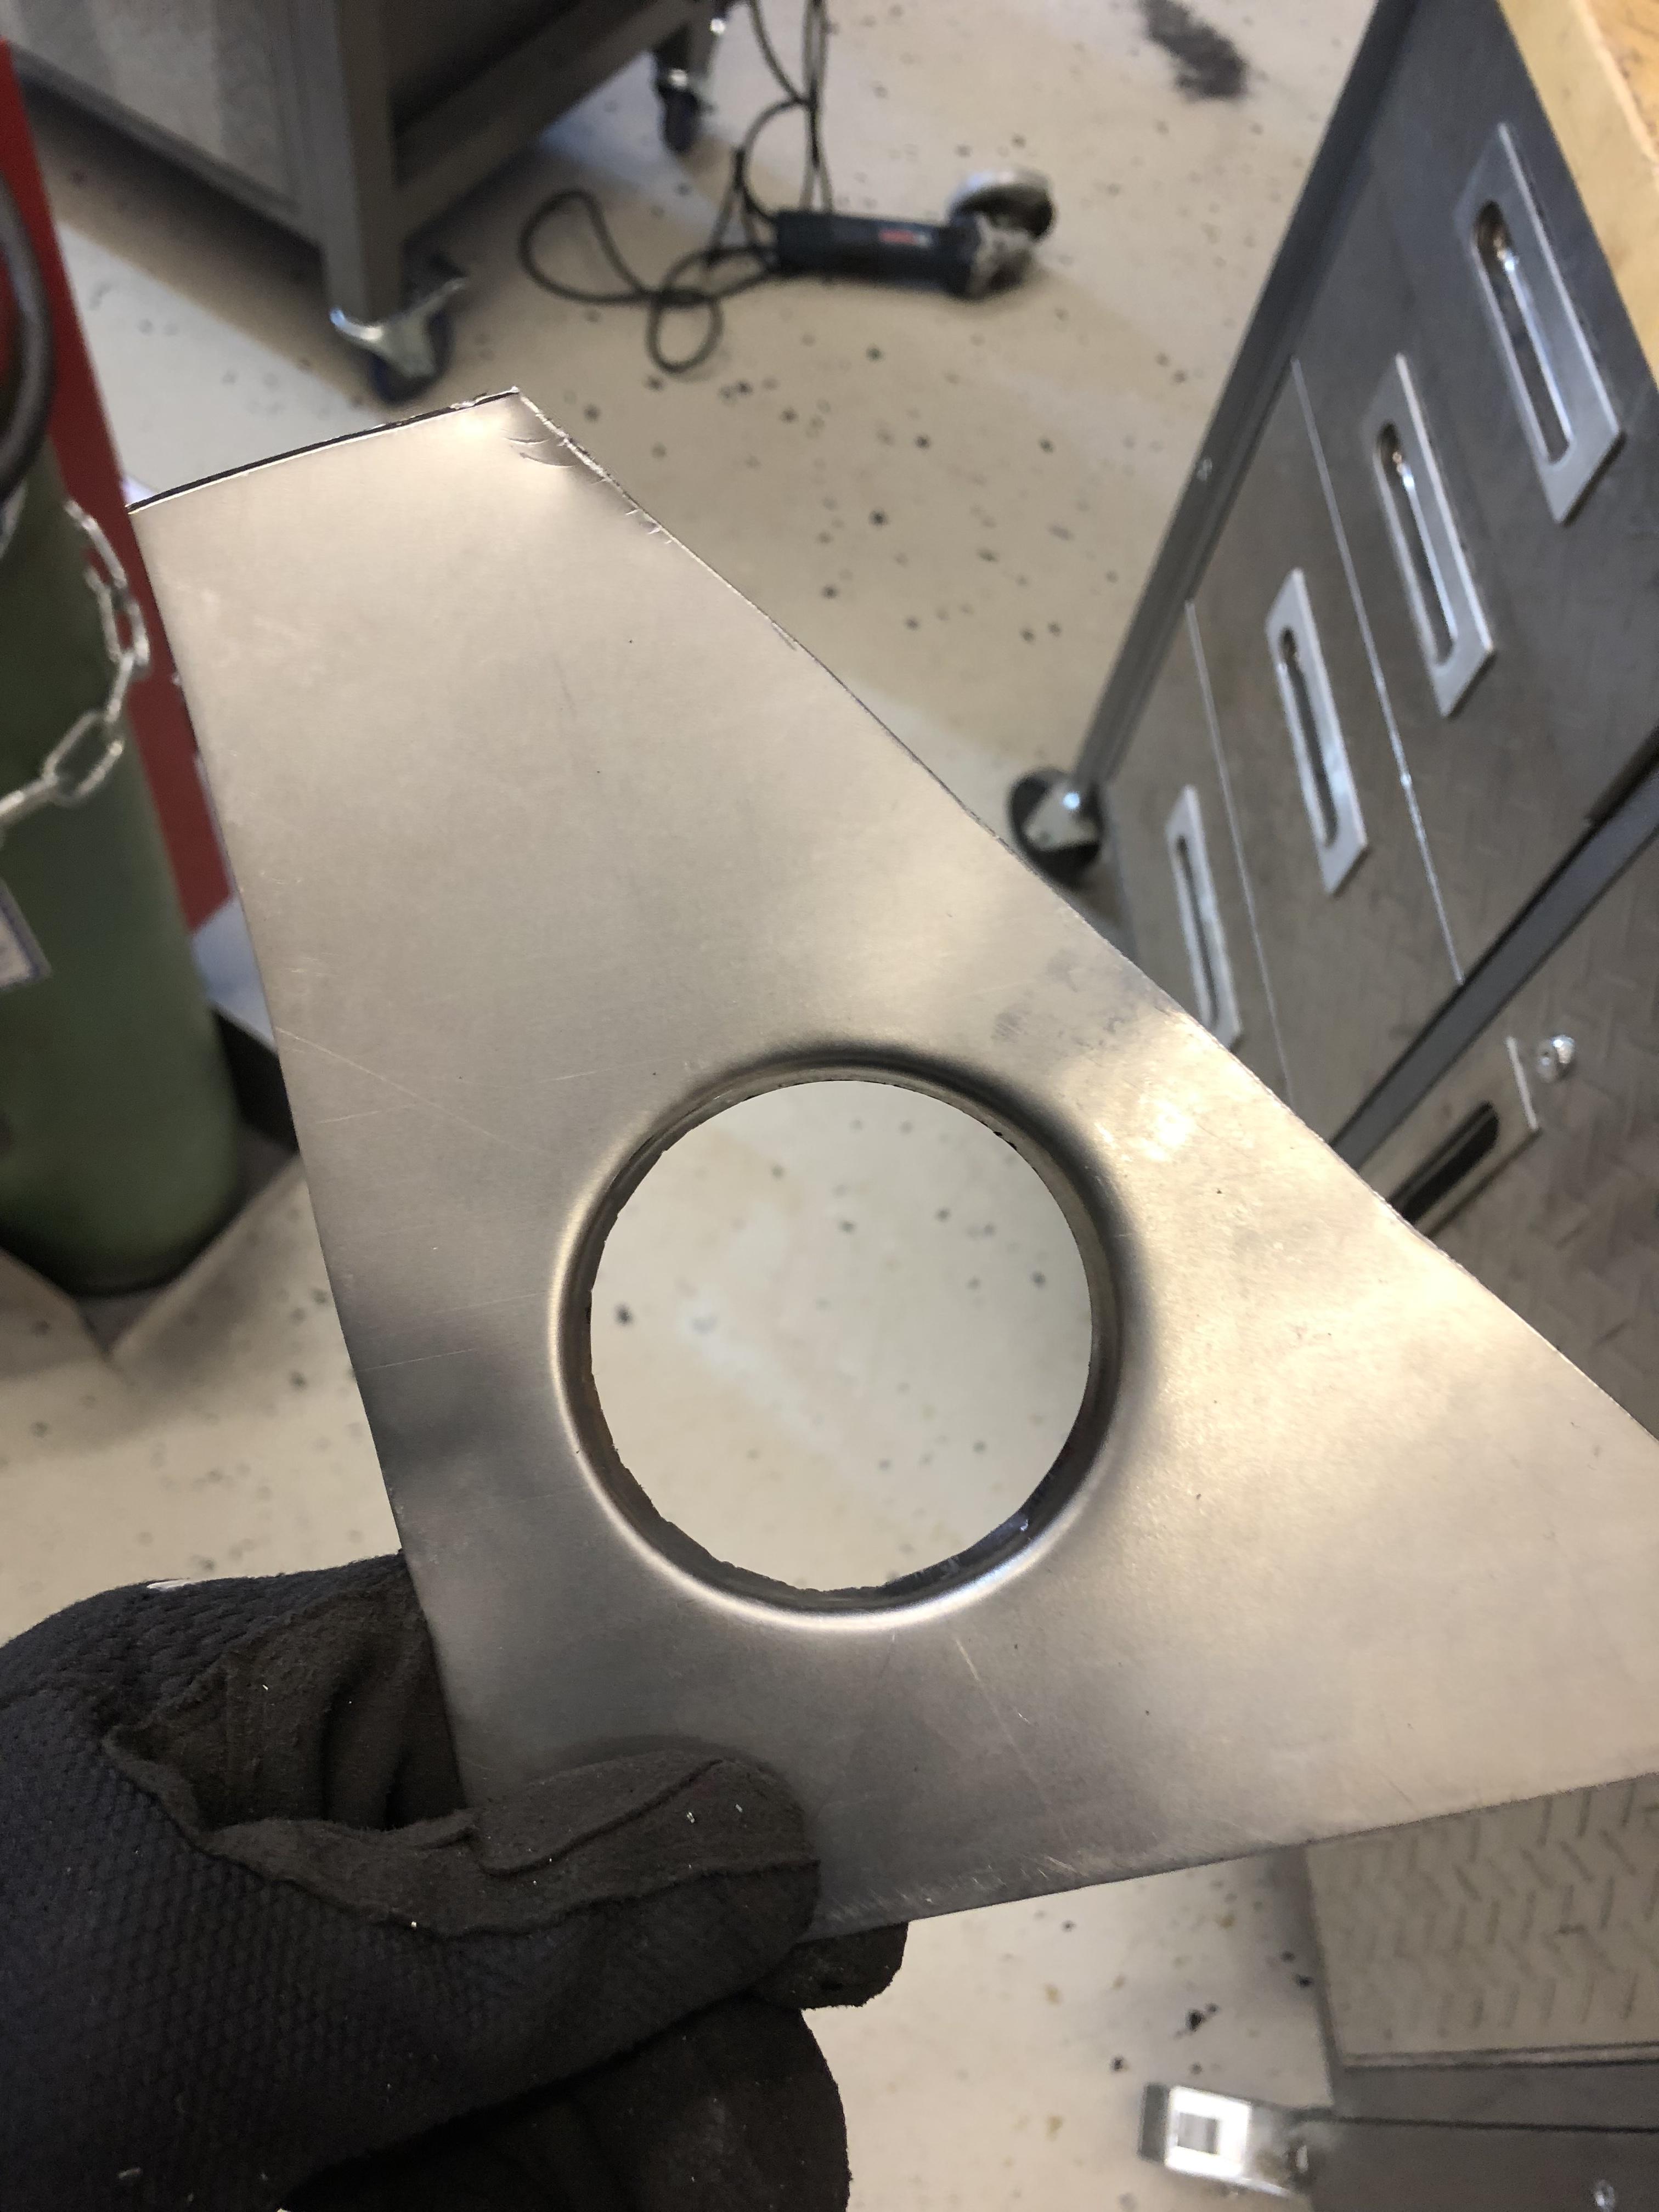
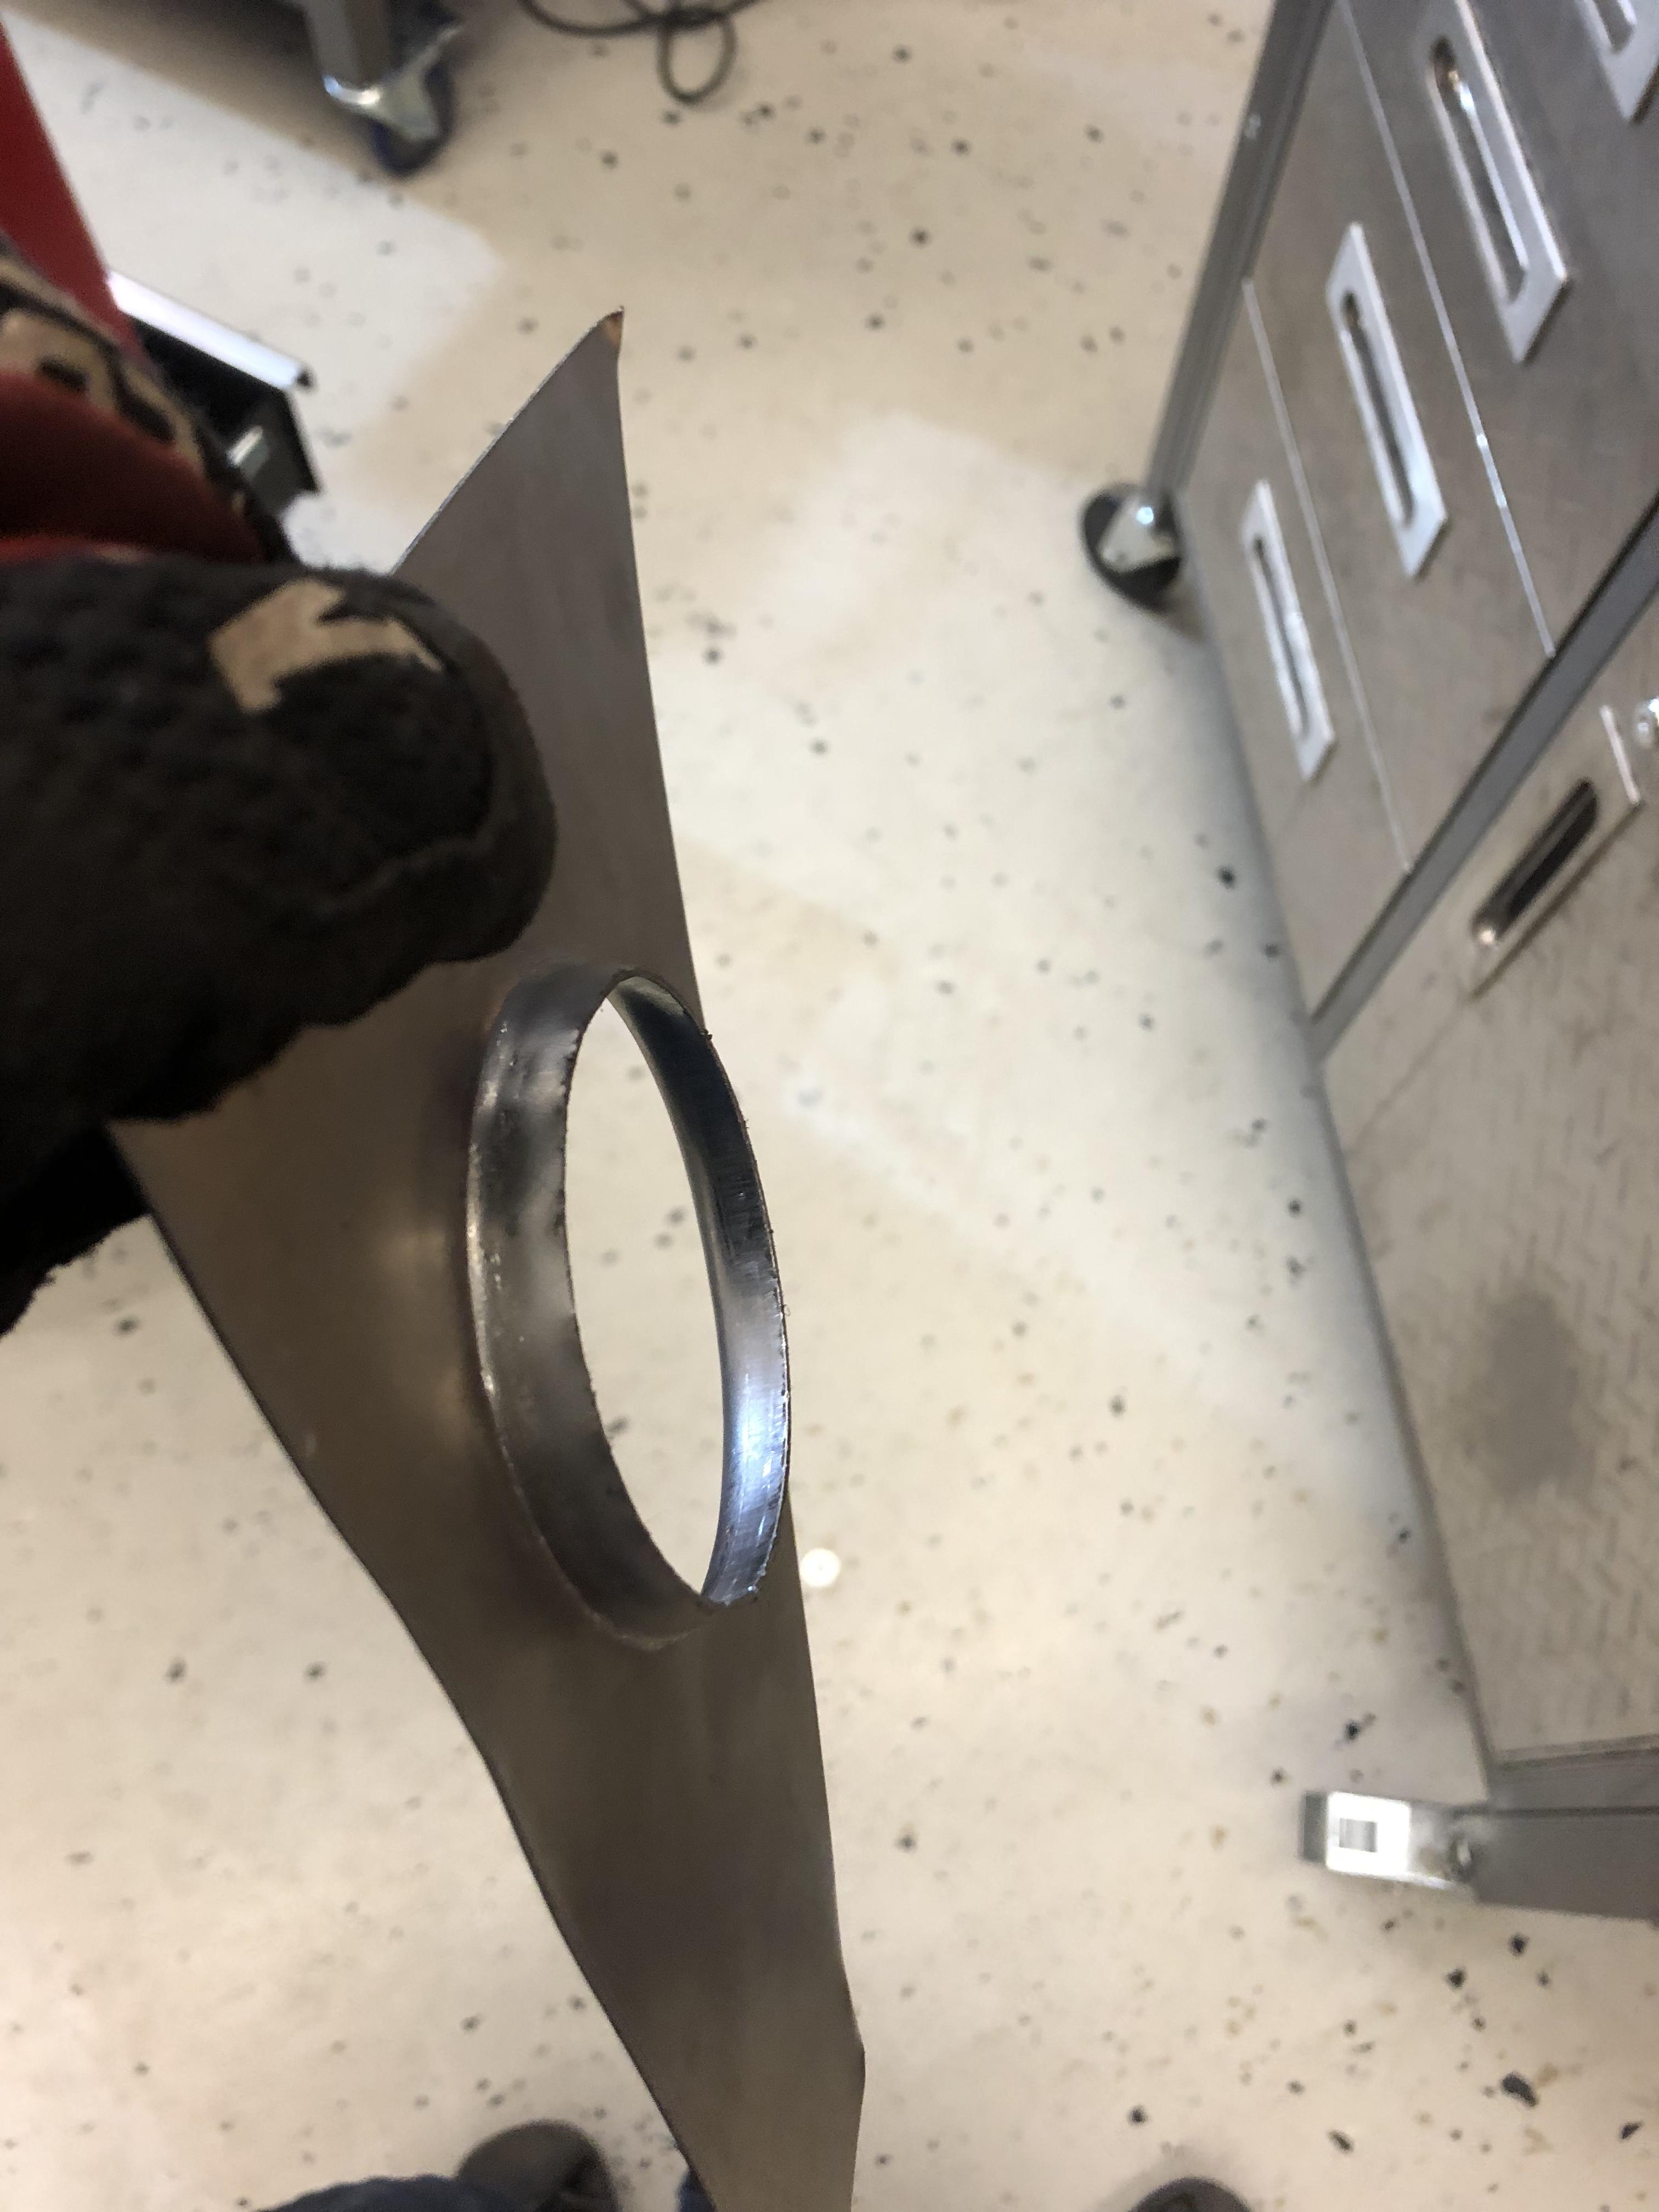
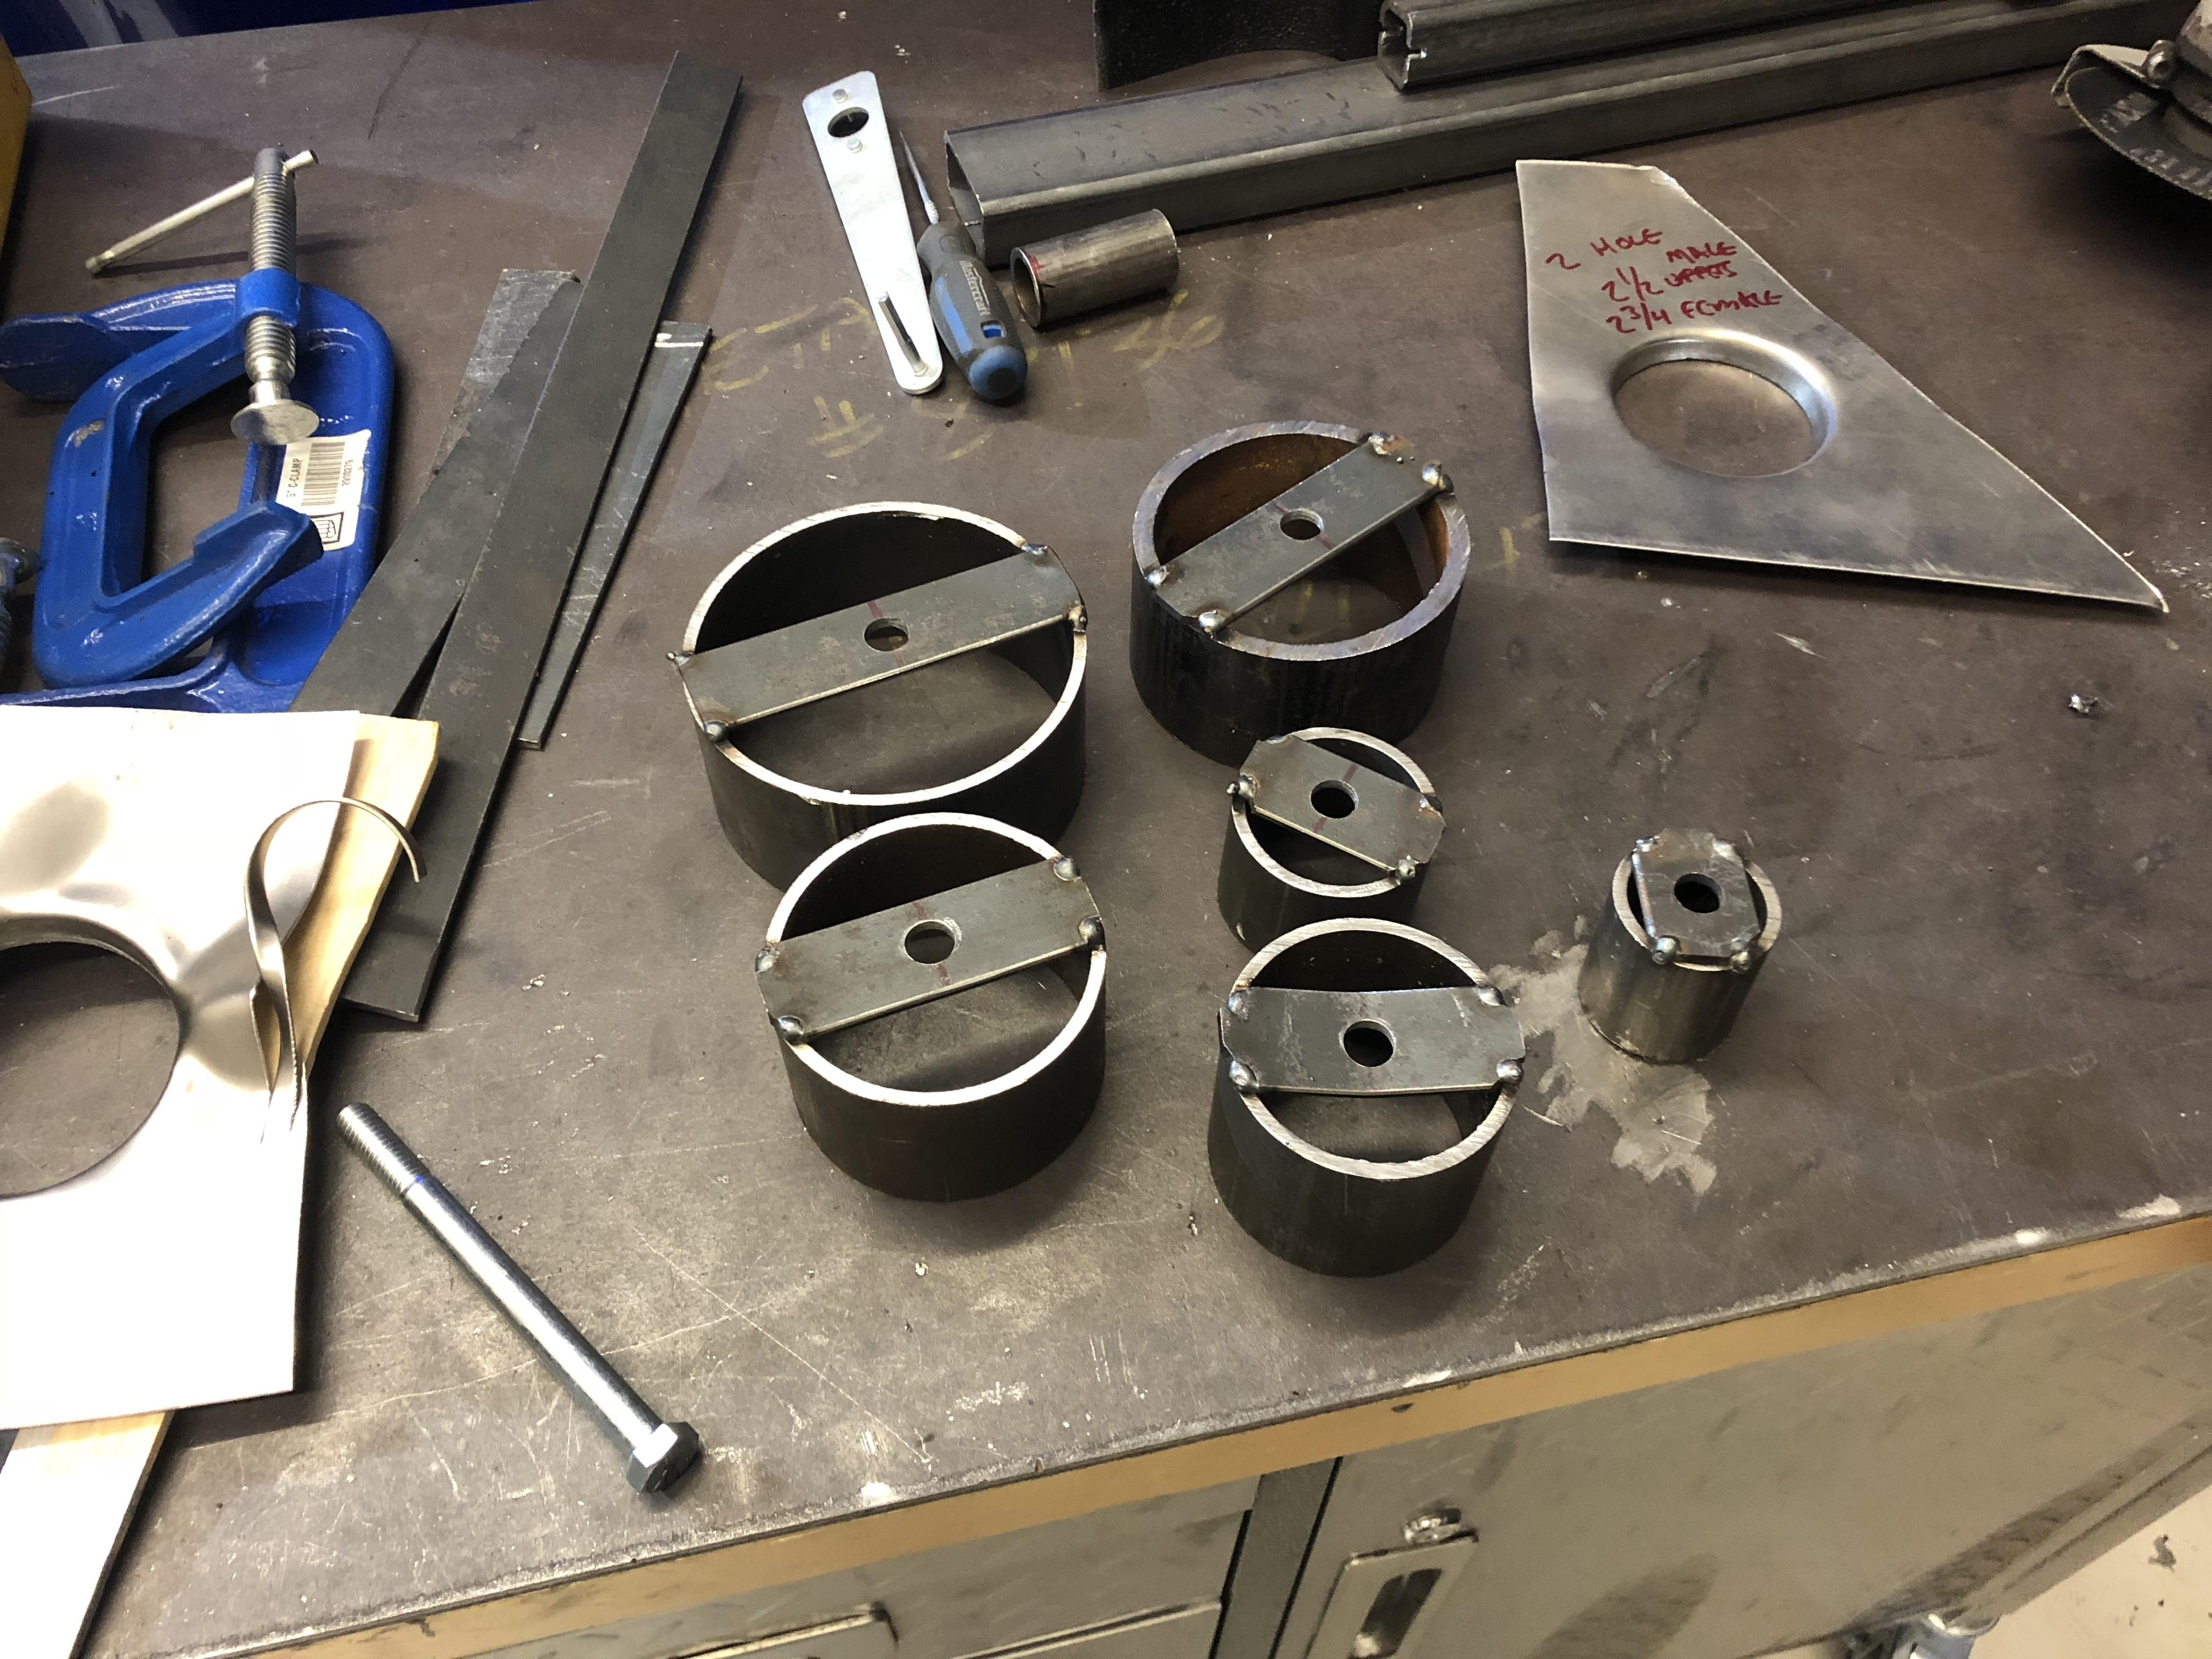
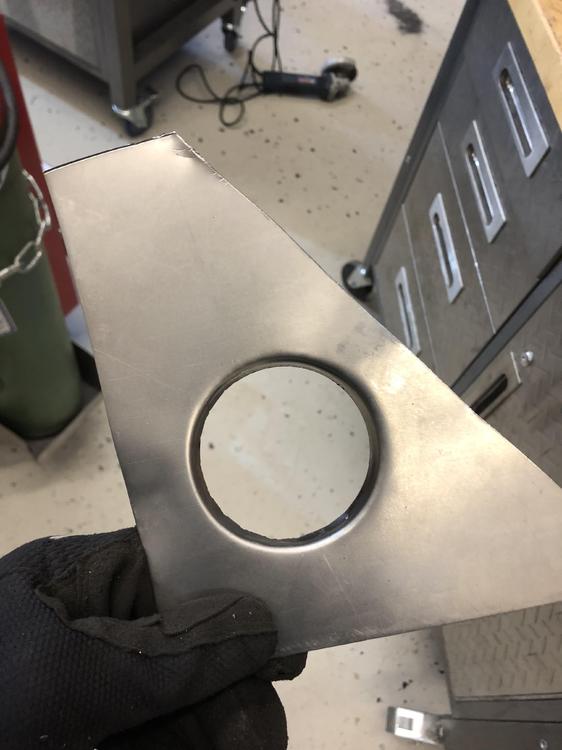
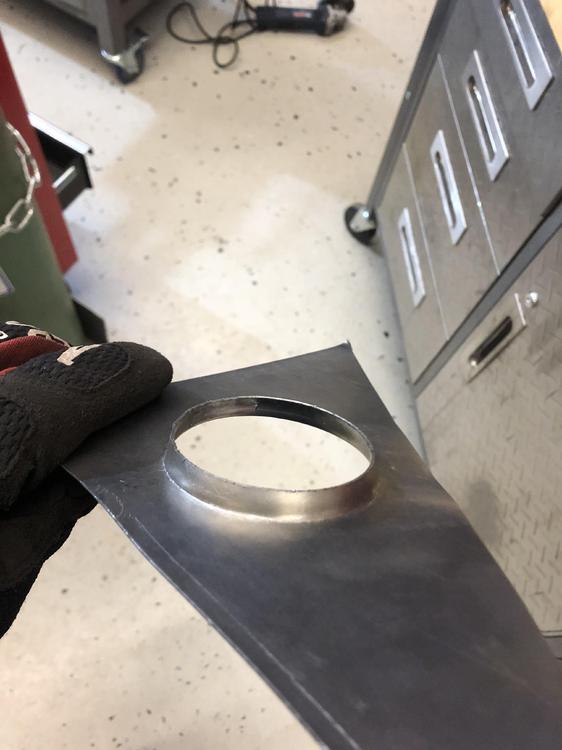
1 pointSo the holes in the rad support aren’t really a match to a typical dimple die. I did some testing with some round tube sections and came up with some cheap home made dies to punch and roll the holes.... Testing ... Success ... That’ll work. I am going to try to make an oval set as well for the lower section of the rad support. I am not sure an oval will work, but curious to find out ... aside: I was amazed at how easily a 1/8” wall tube will punch a hole through 20 gauge sheet...something to think about if you are planning on reinforcing your front frame rails by inserting a section of 2” square tubing ....


 1 point


.JPG.2902419defea8cea31f8807e28bb4dae.JPG)
.JPG.1fd97c6319c8587d0a3f19c56471ab9e.JPG)
.JPG.3af7f28549f3b913754b22bfc56530a2.JPG)
.jpg.62d1f7aad9354bec68ccb7d6ab2aaf9b.jpg)
.jpg.afd2e63712706f02acce82b80260137d.jpg)
.jpg.989eb0c1510c1ce8d8a807b2eacd6ade.jpg)
.jpg.a26badae6448a9b3df9d53caed5b2545.jpg)
.jpg.4512c37e301dacfceebcf814d19f056e.jpg)


.jpg.ef1ab2eb777594b44a1e8fbc804377b3.jpg)