


Leaderboard

 Subscriber
.JPG.cfcada9cf1c1b502df3f5f2f2ca3ff36.JPG)


Popular Content
Showing content with the highest reputation on 11/12/2023 in all areas
-
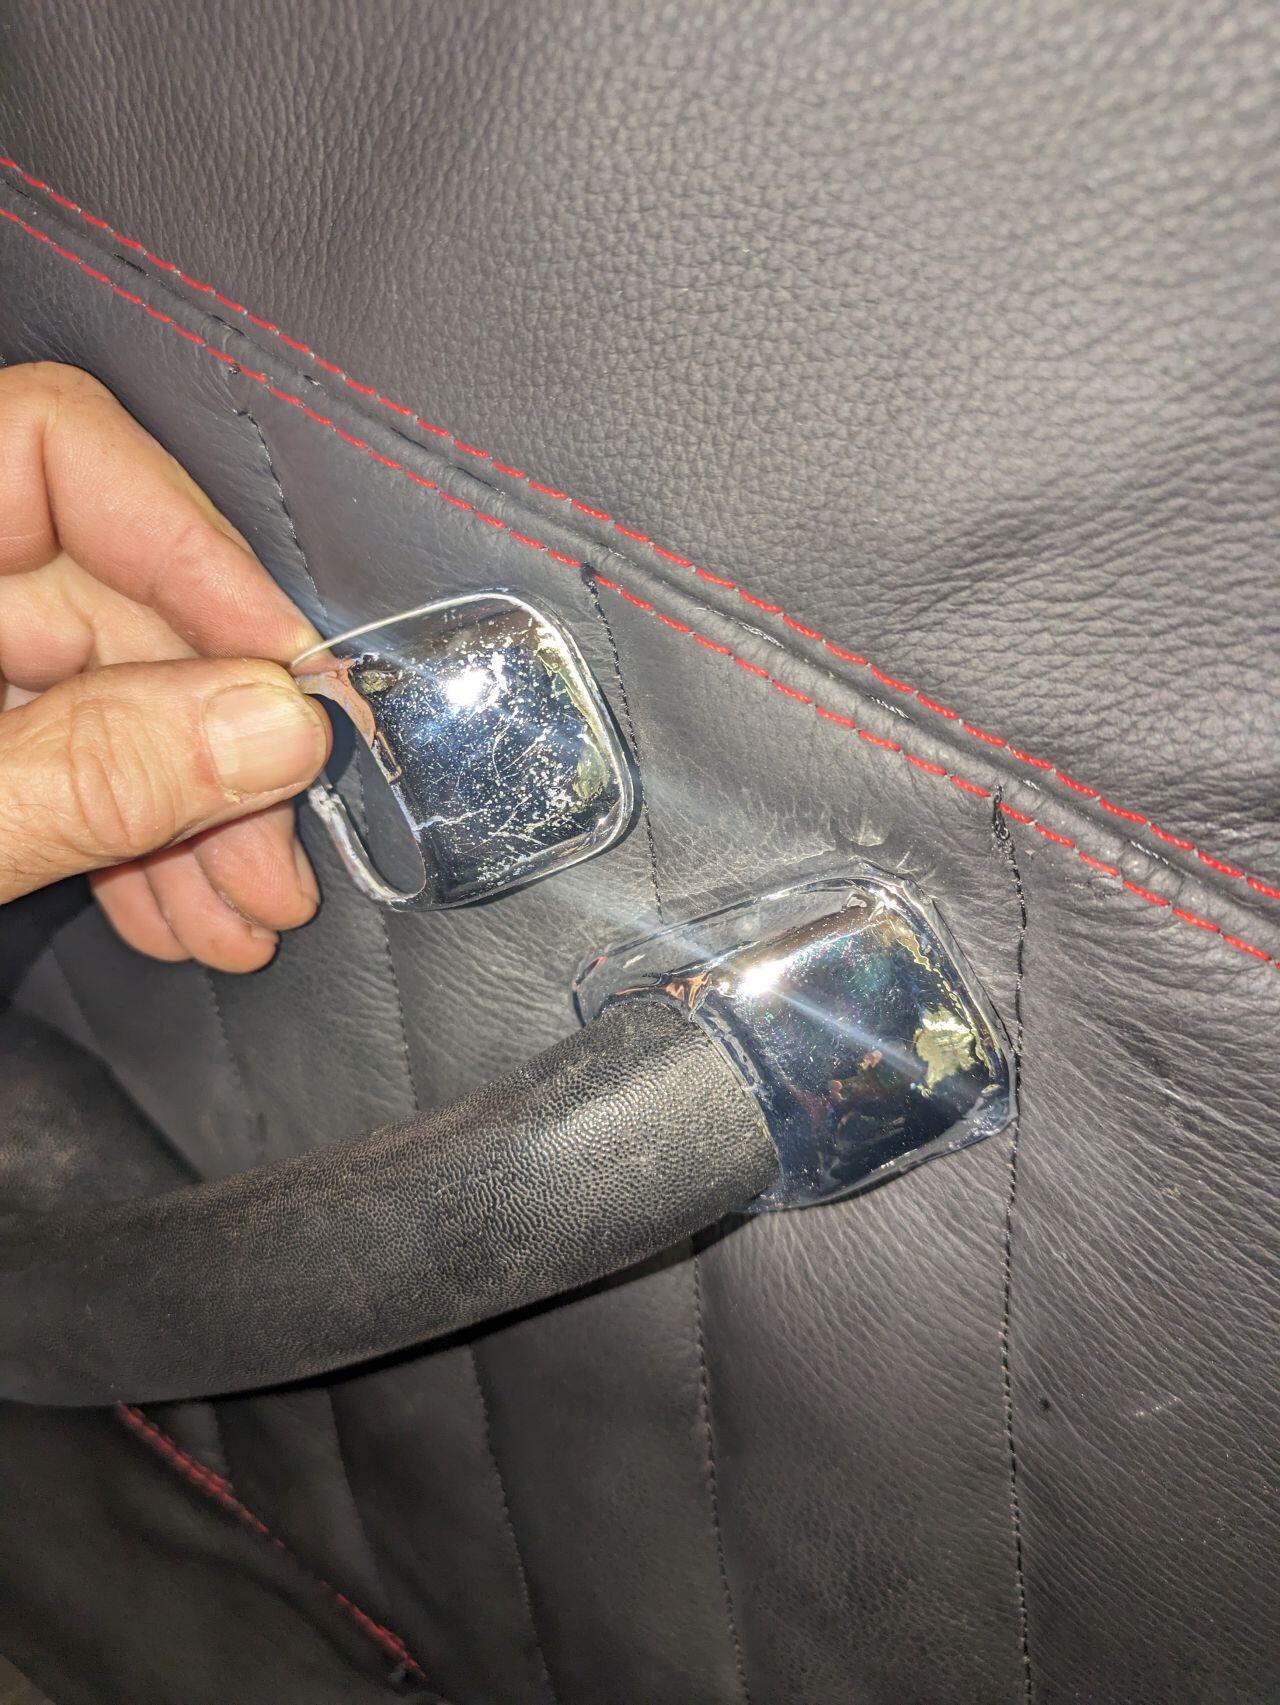
OK, not prefect but close. I'll post the obj file tomorrow if anyone wants to make one or two. I printed it in PLA, sanded it, sprayed it with a few layers of gloss, then stretched chrome vinyl film over it. I will print the next one in ABS because this one warped a little when I heated up the vinyl wrap to stretch it. The photo shows the original one in my hand and the printed one installed. It looks like a chip is missing in the printed one but that's just some strange reflection.
 5 points
 -
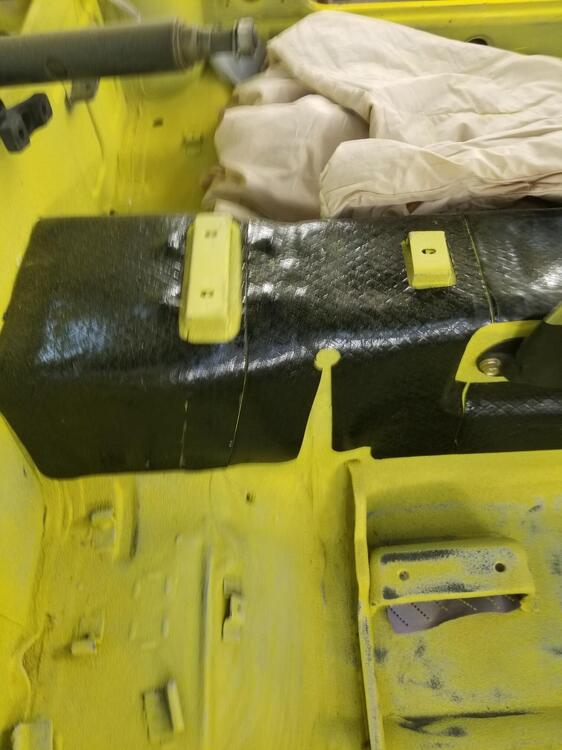
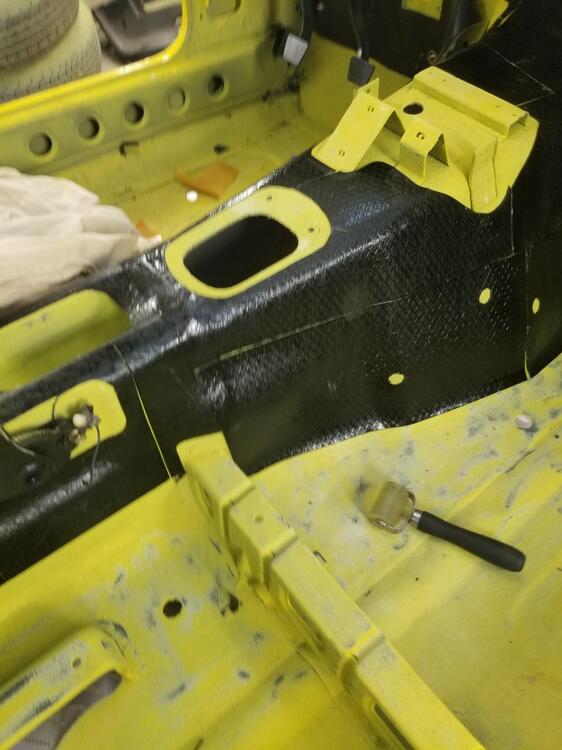
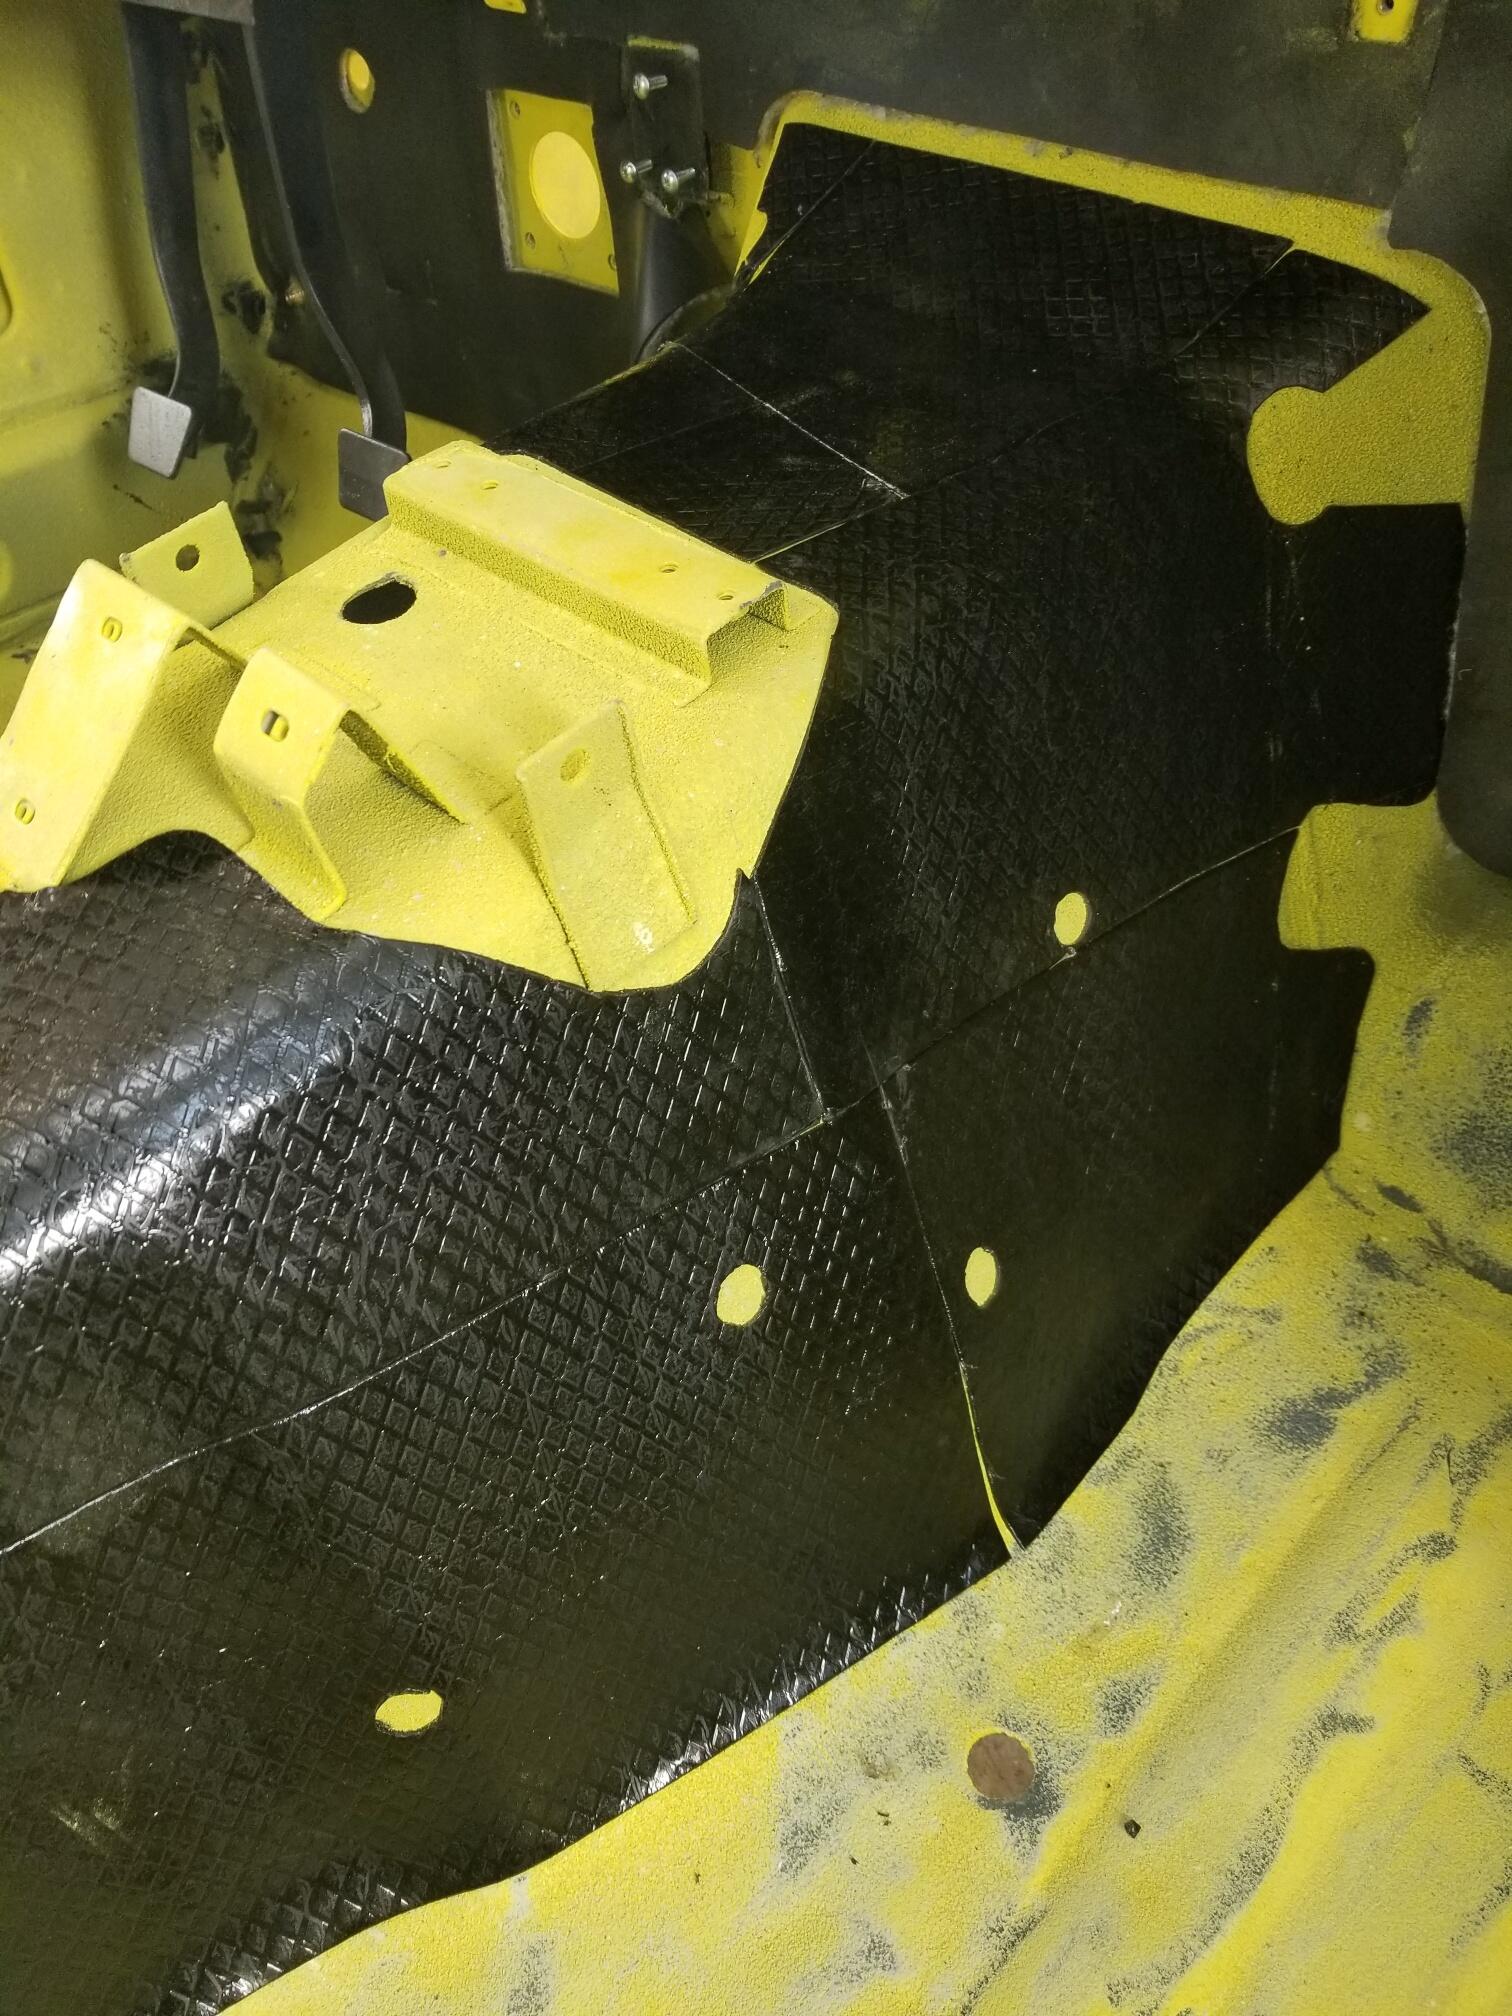
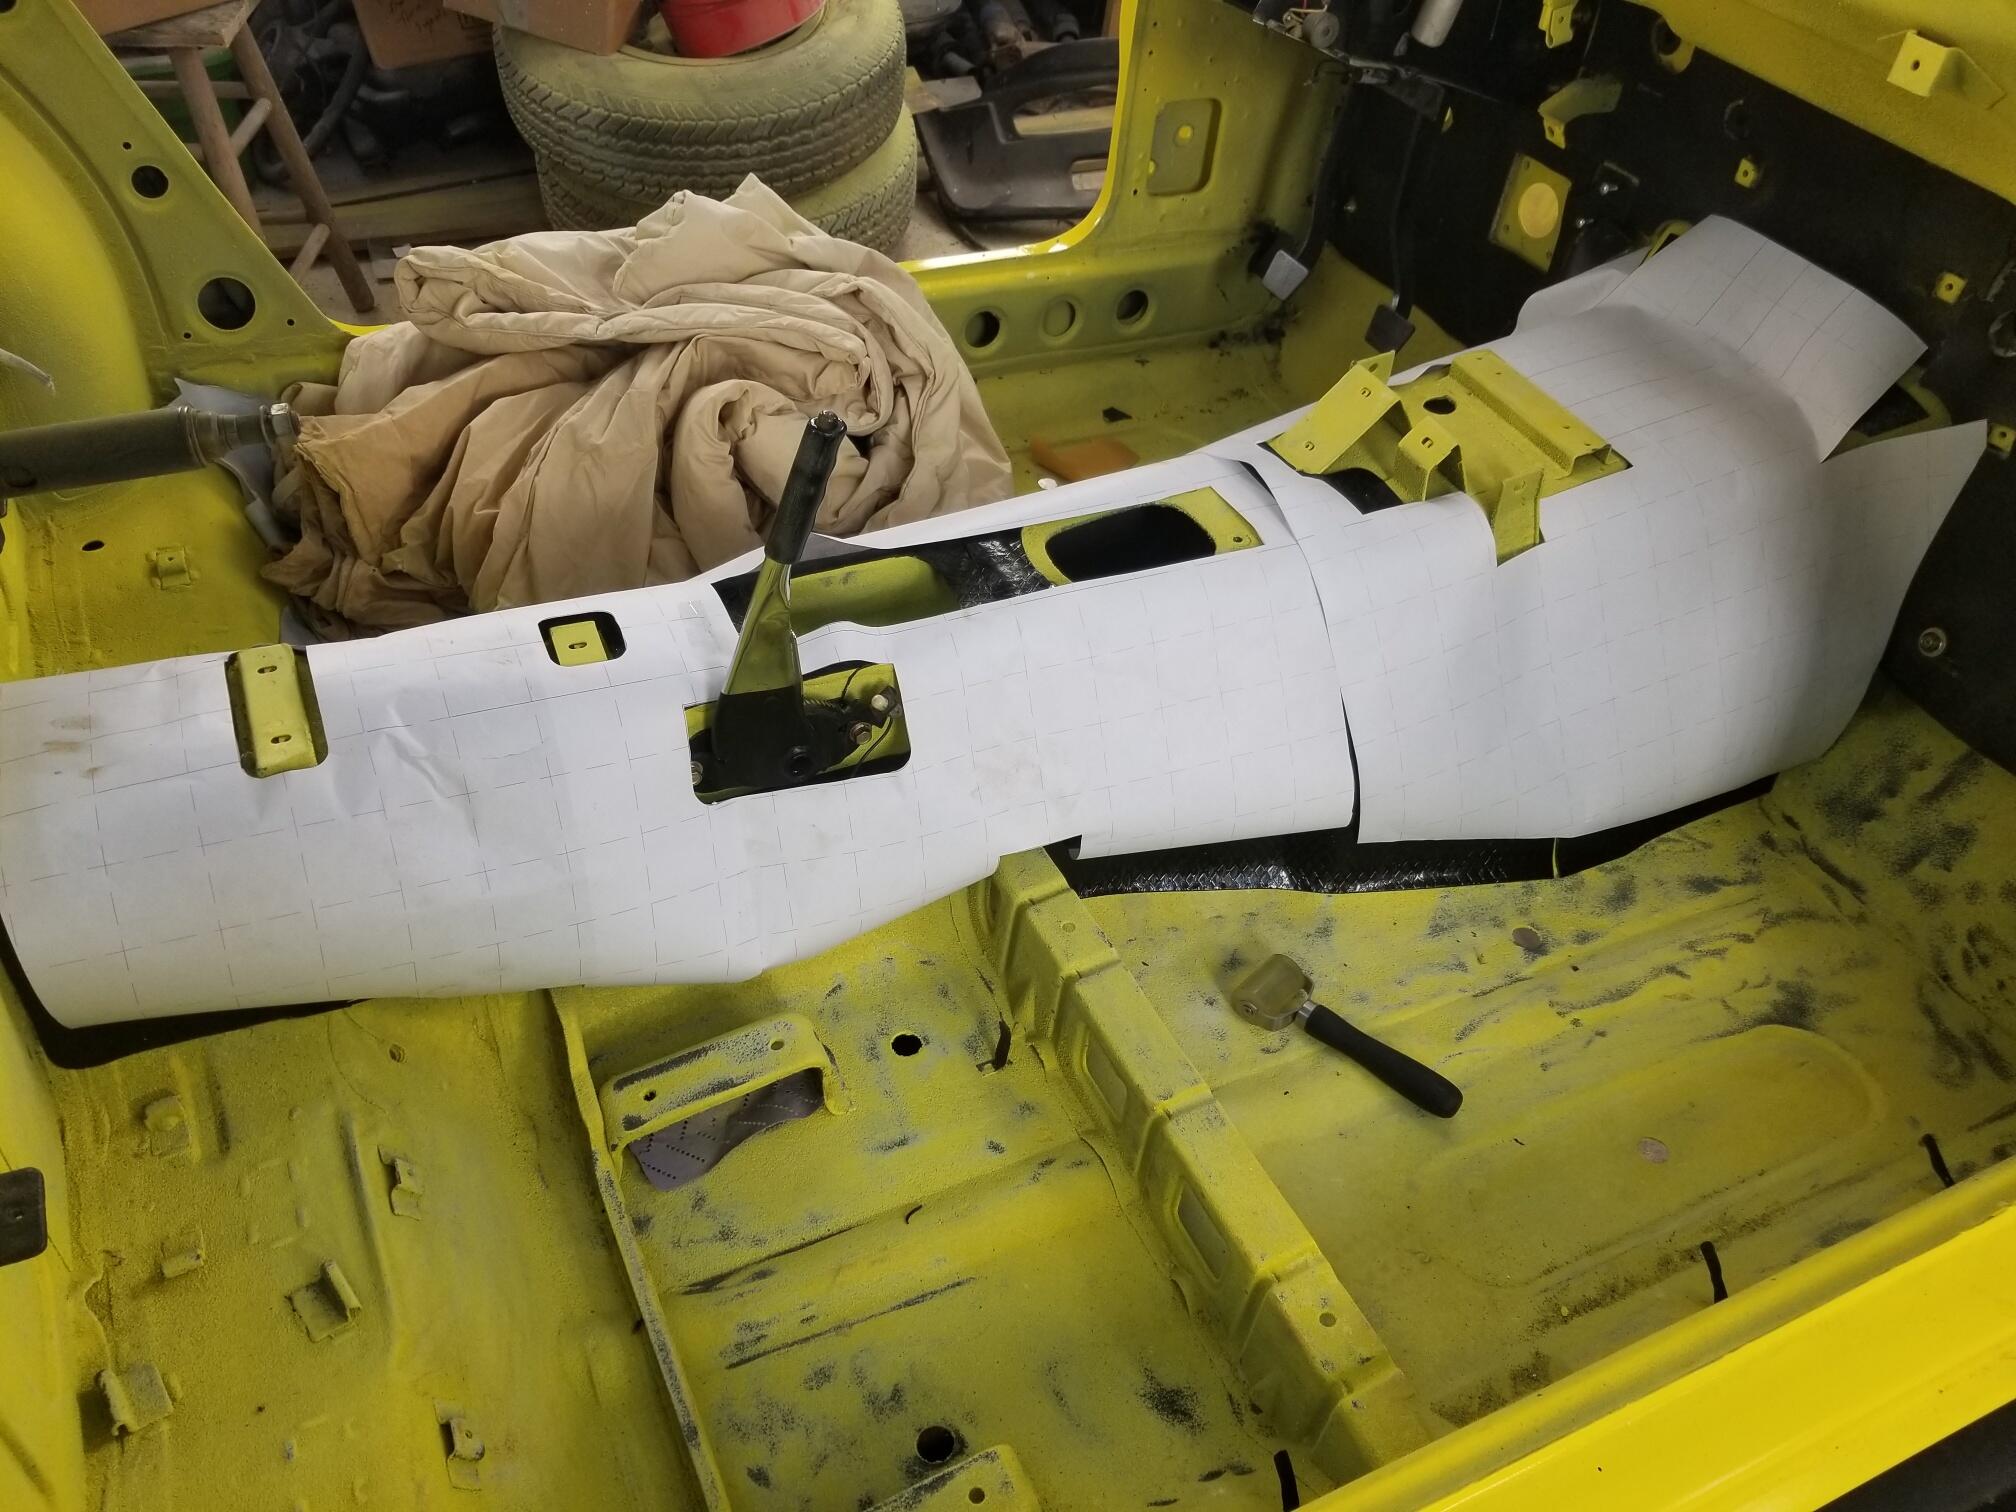
5 pointsI made a little progress today Here is what the tar mat looks like all peeled Here are my templates for the tunnel jute I also did a little plating on some wiper parts Not as much progress as I'd like but something...

 5 points
 -
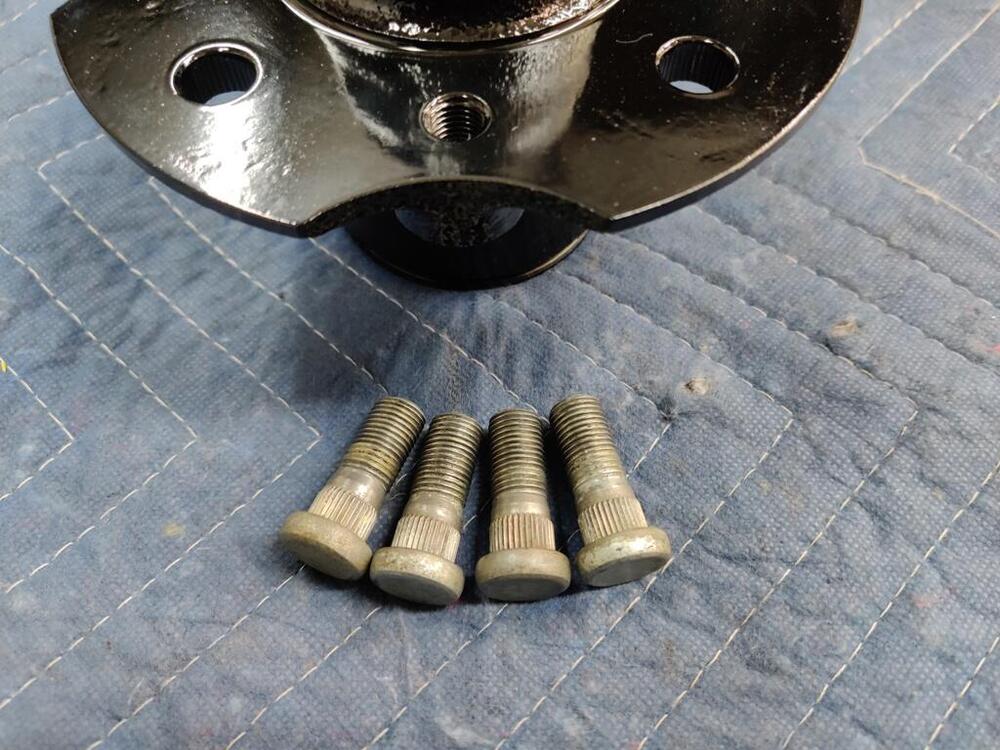
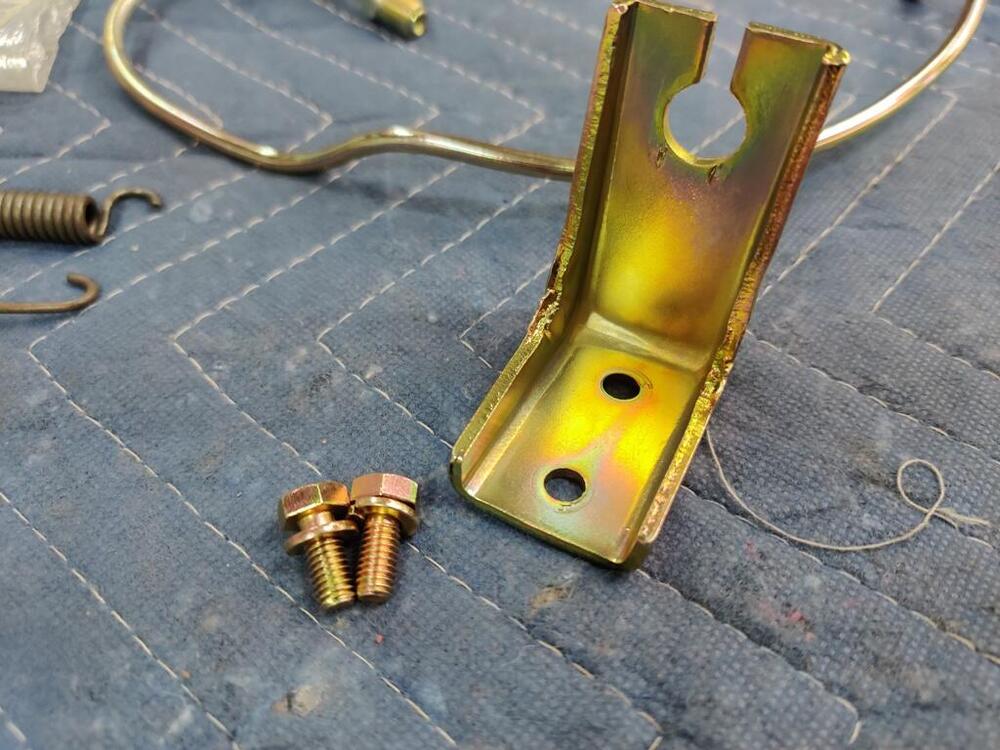
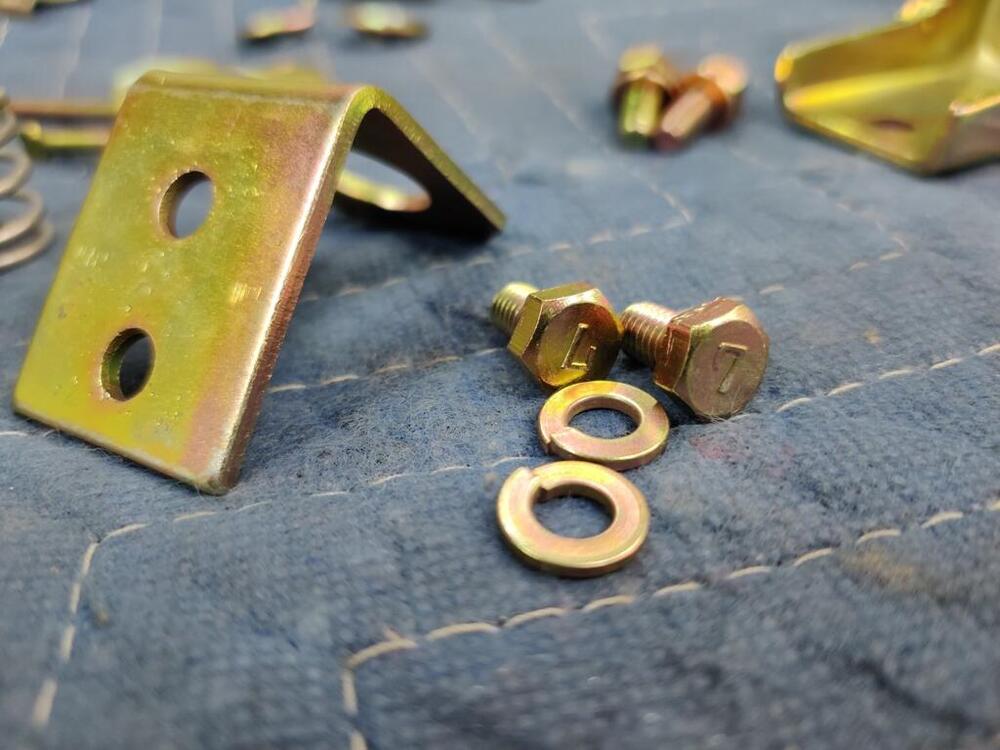
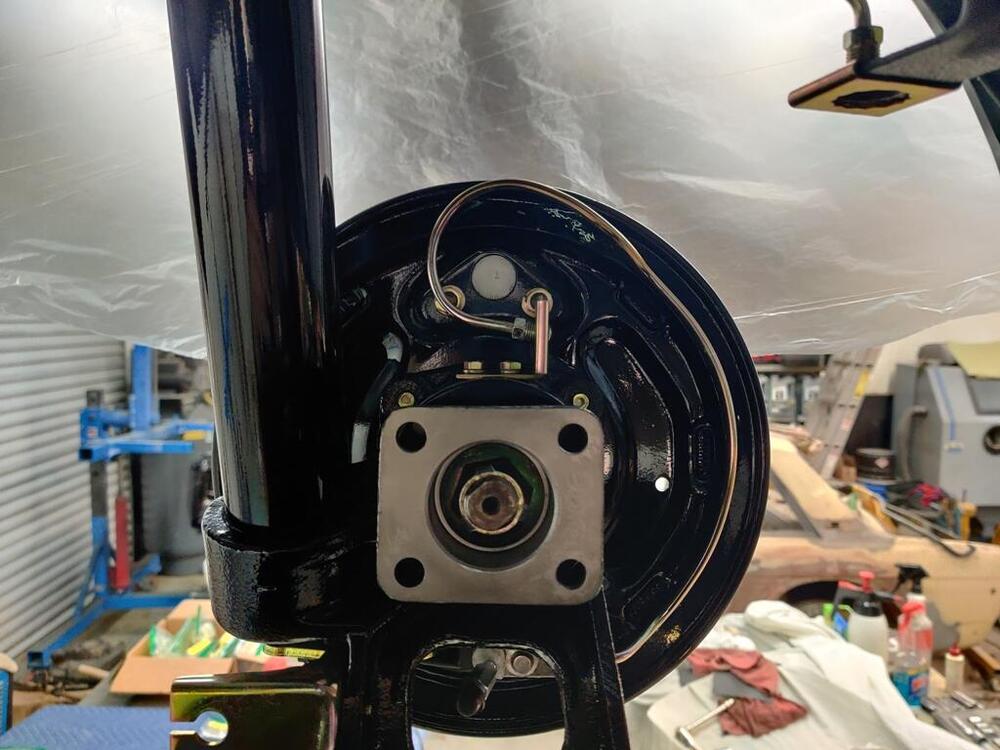
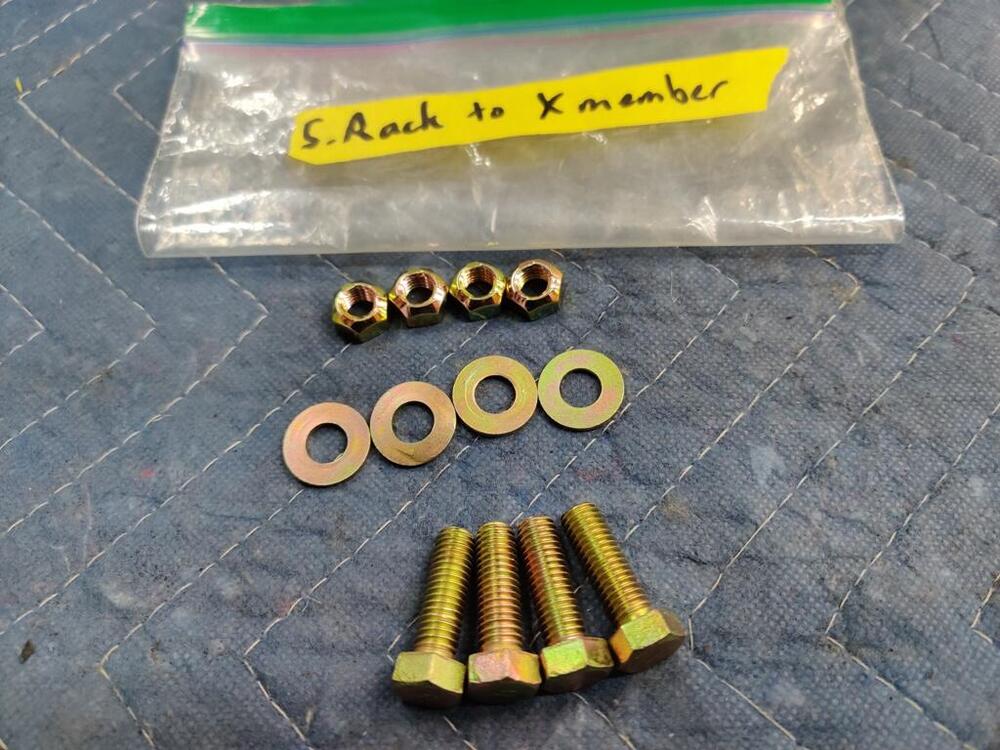
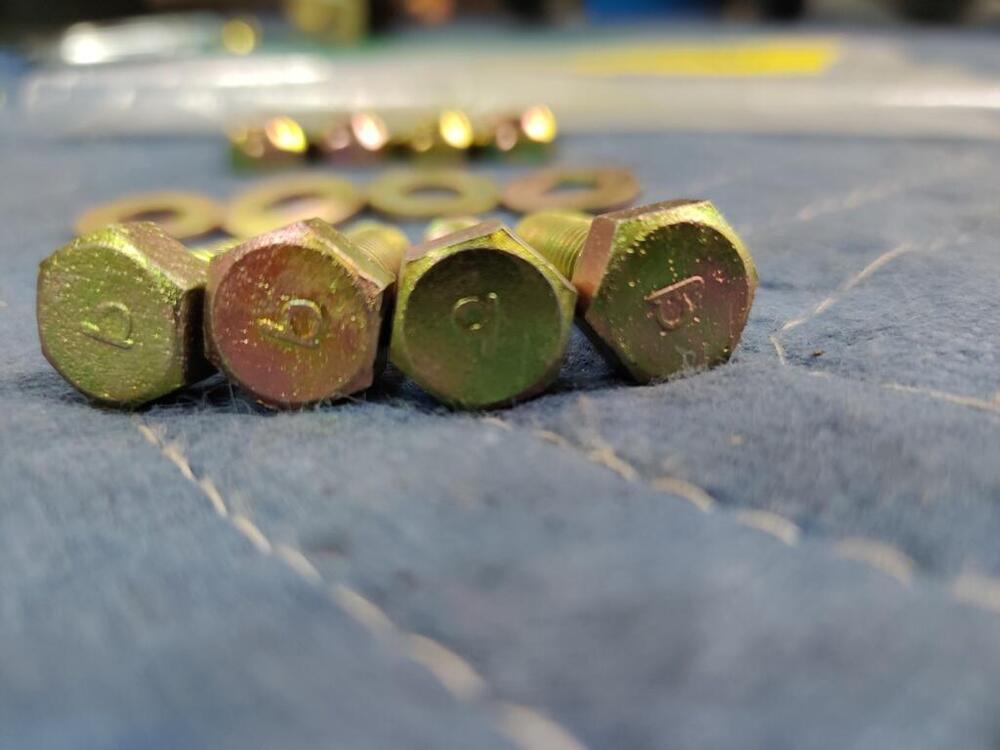
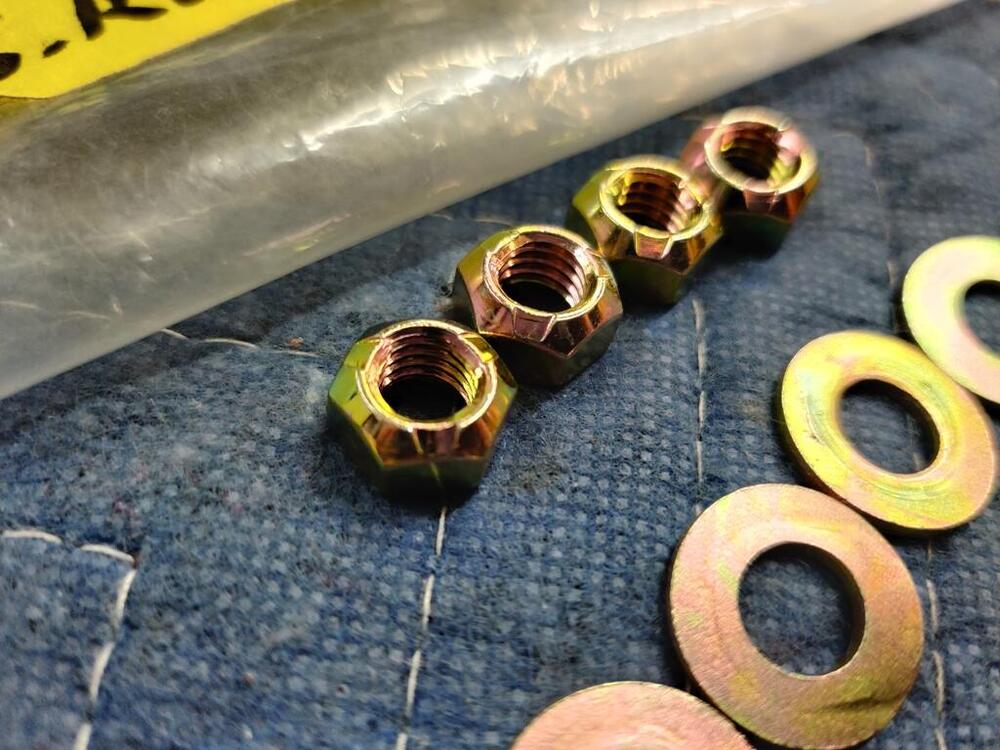
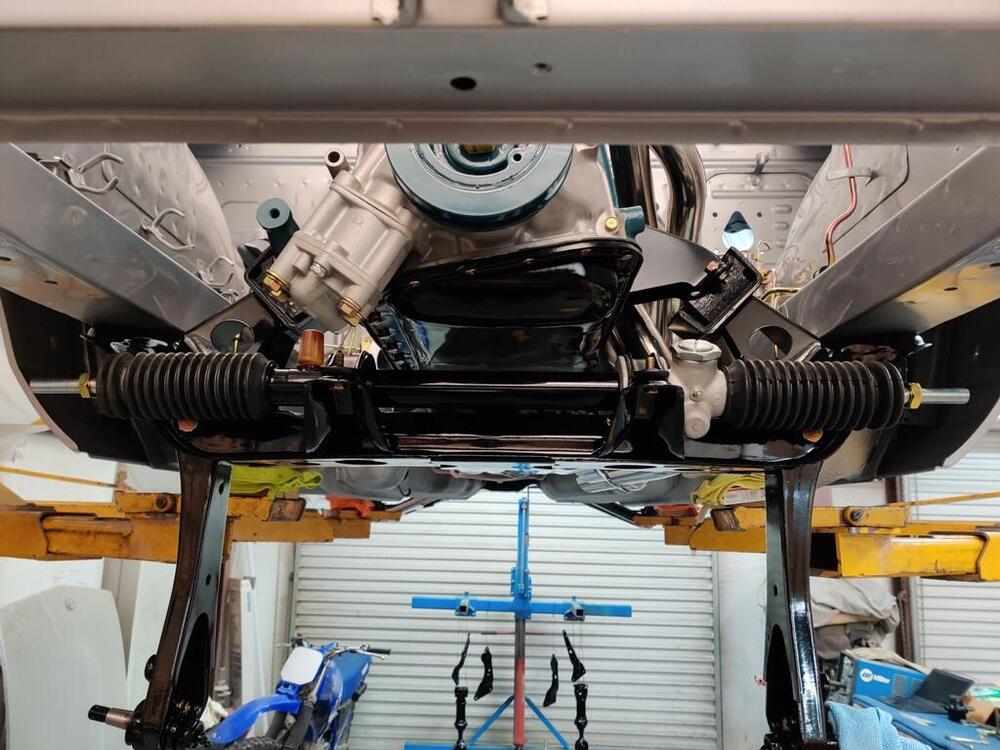
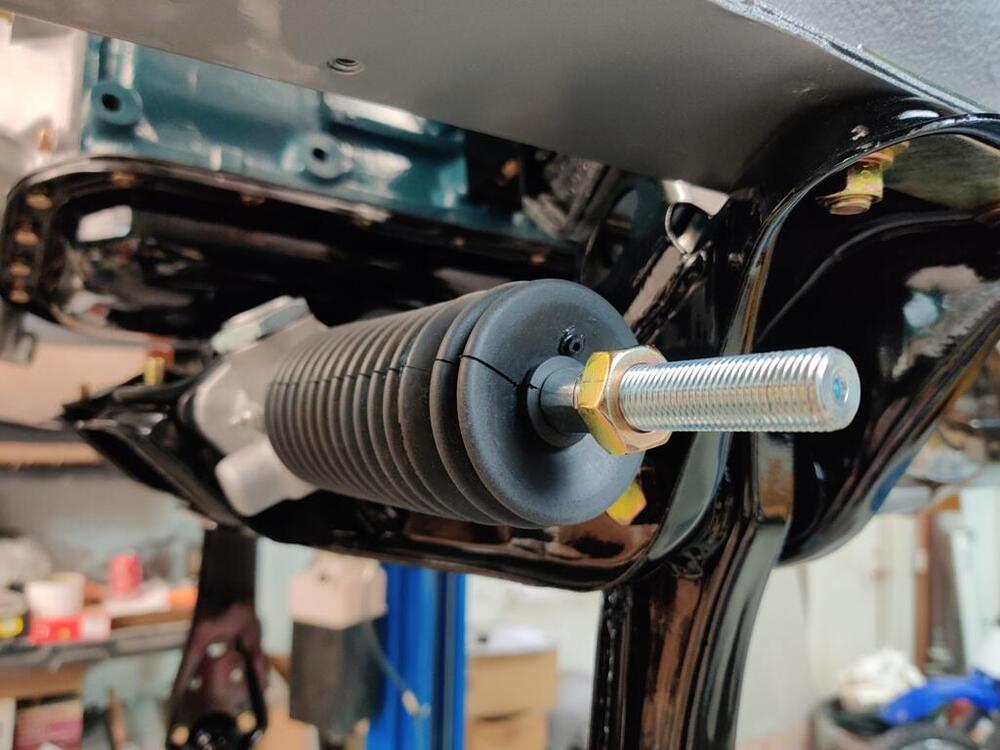
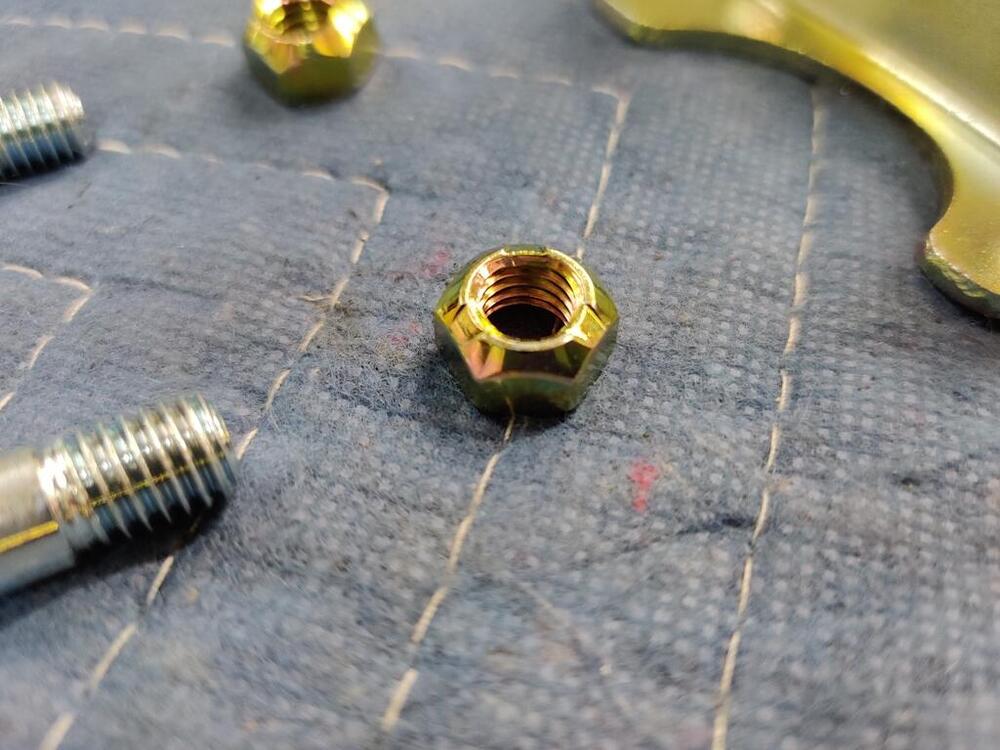
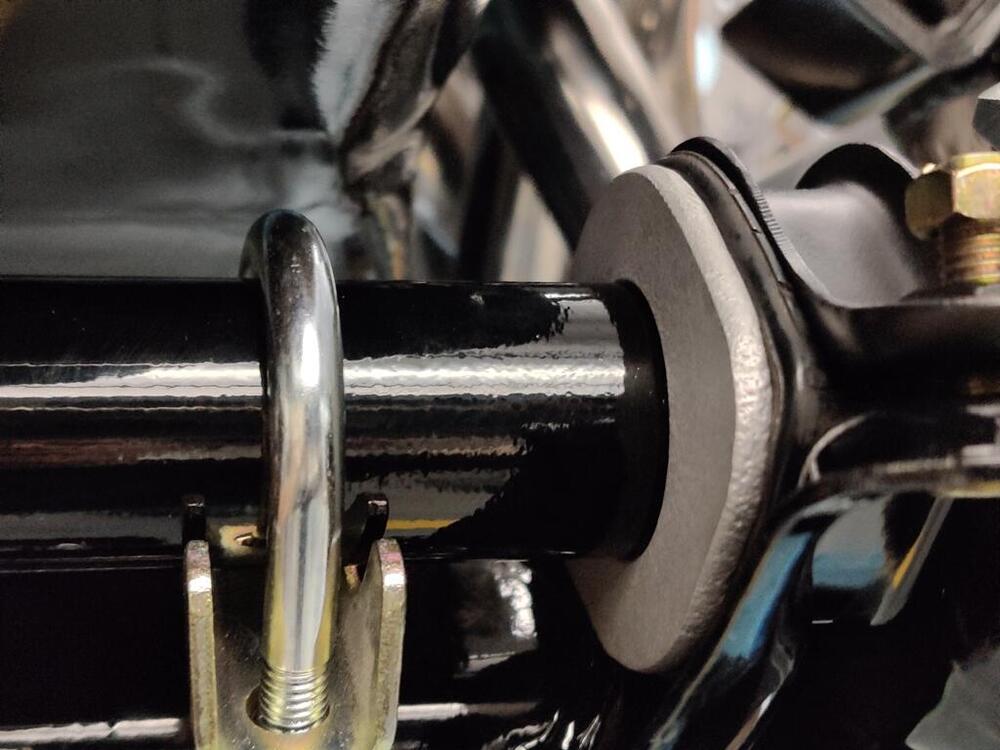
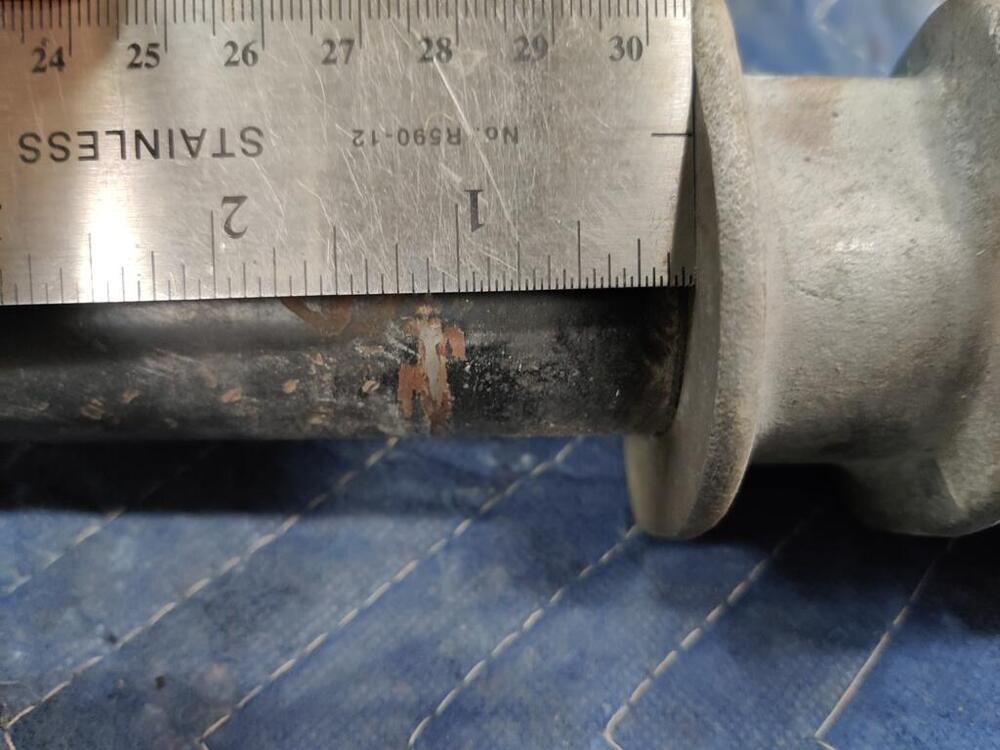
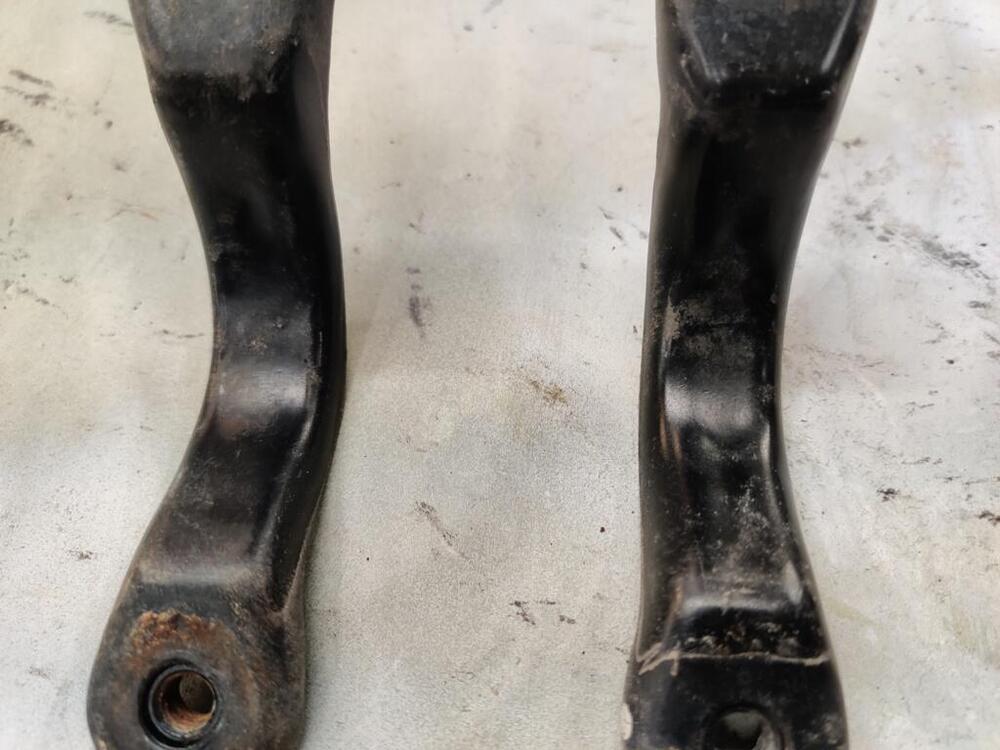
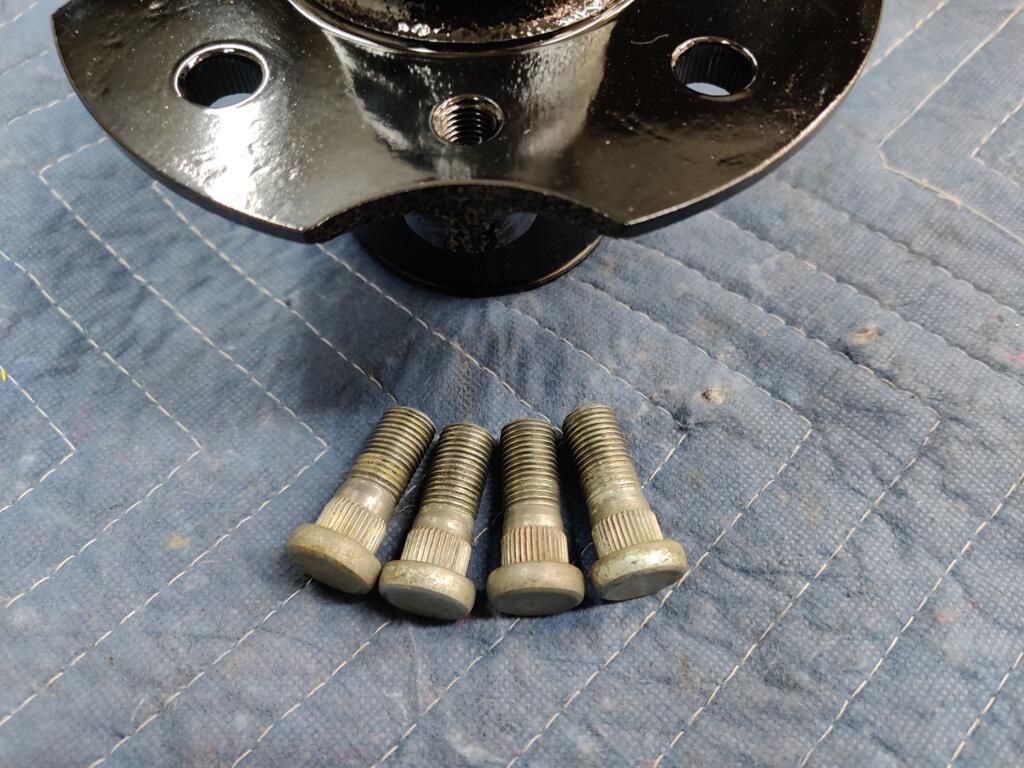
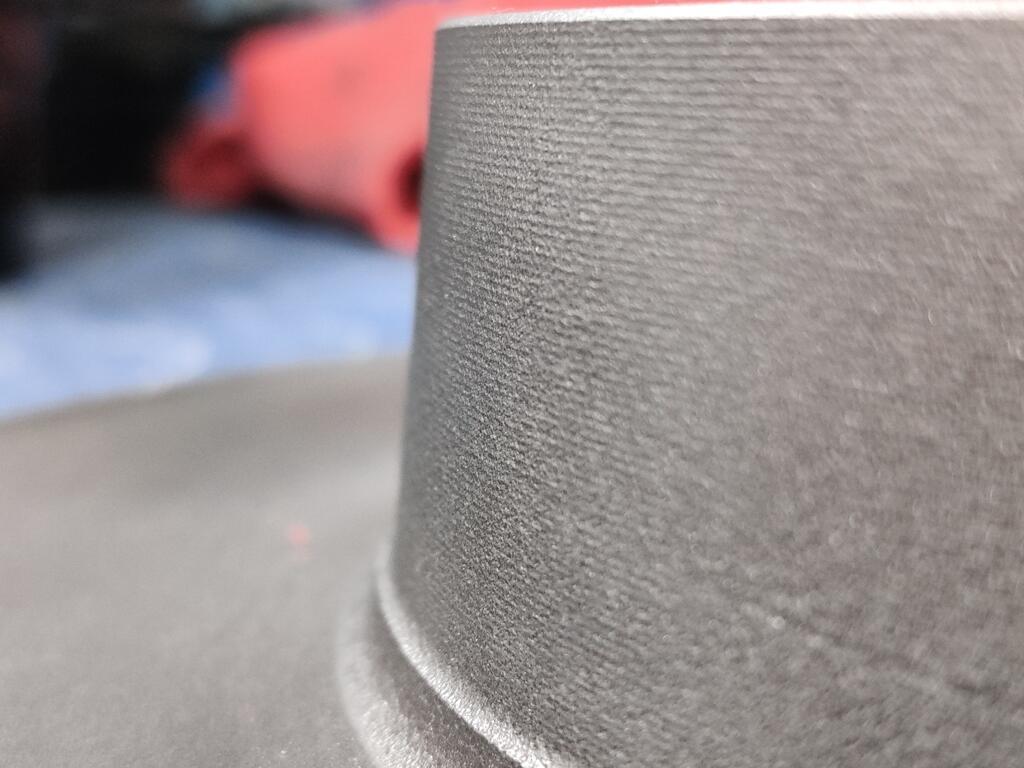
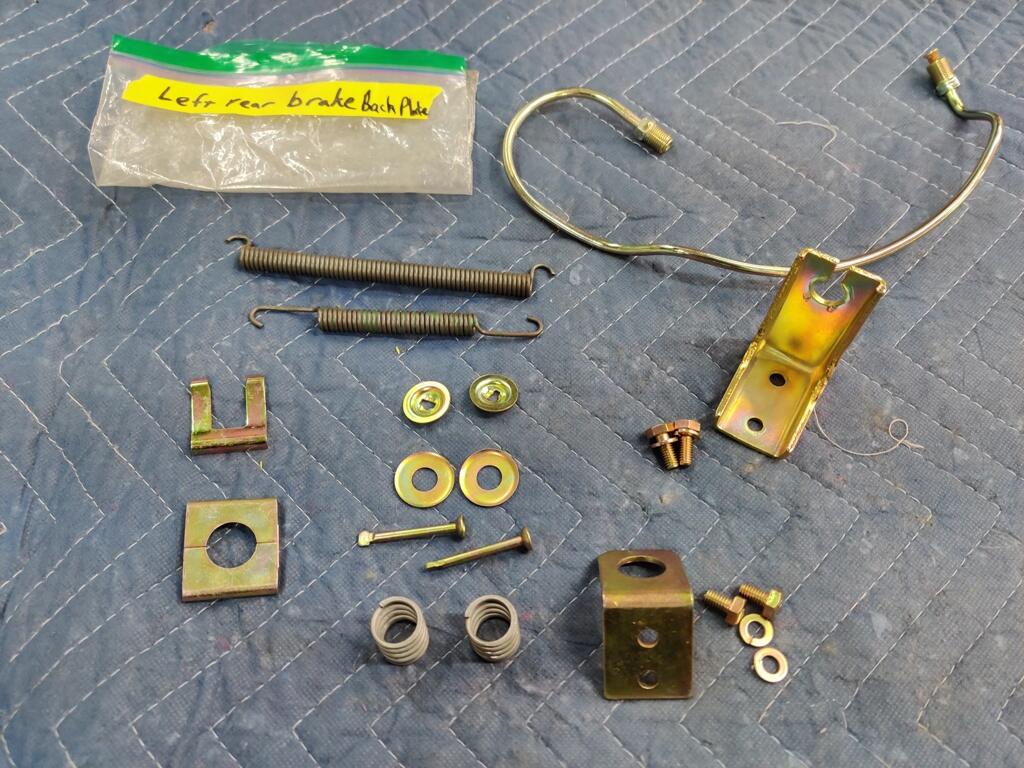
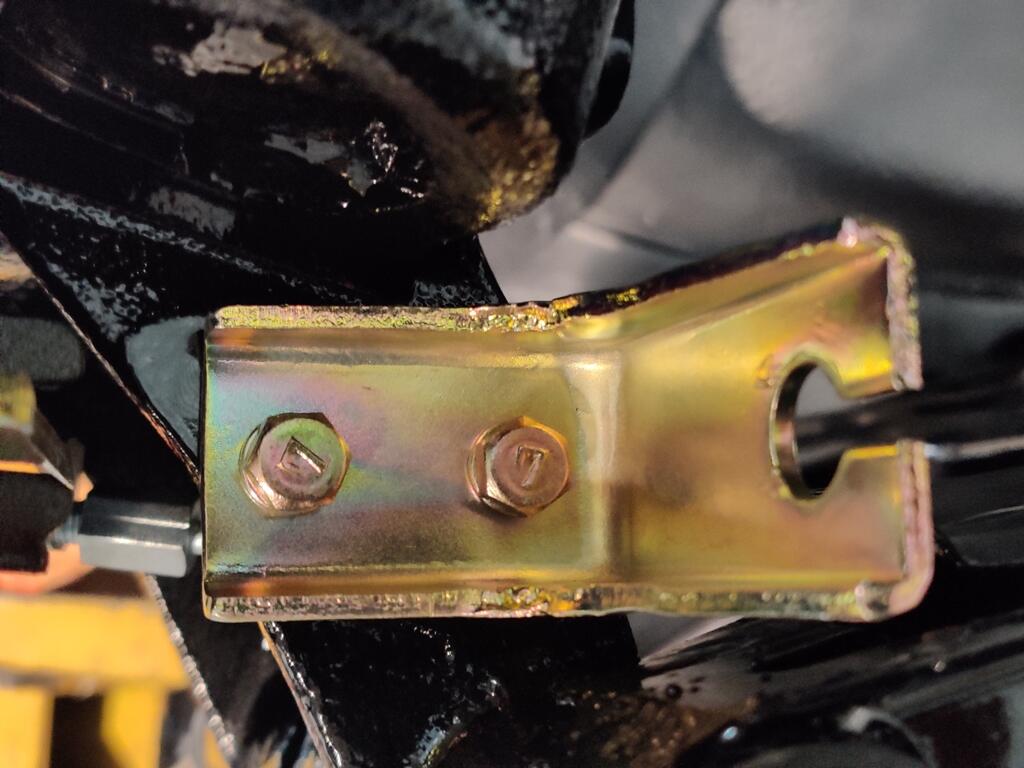
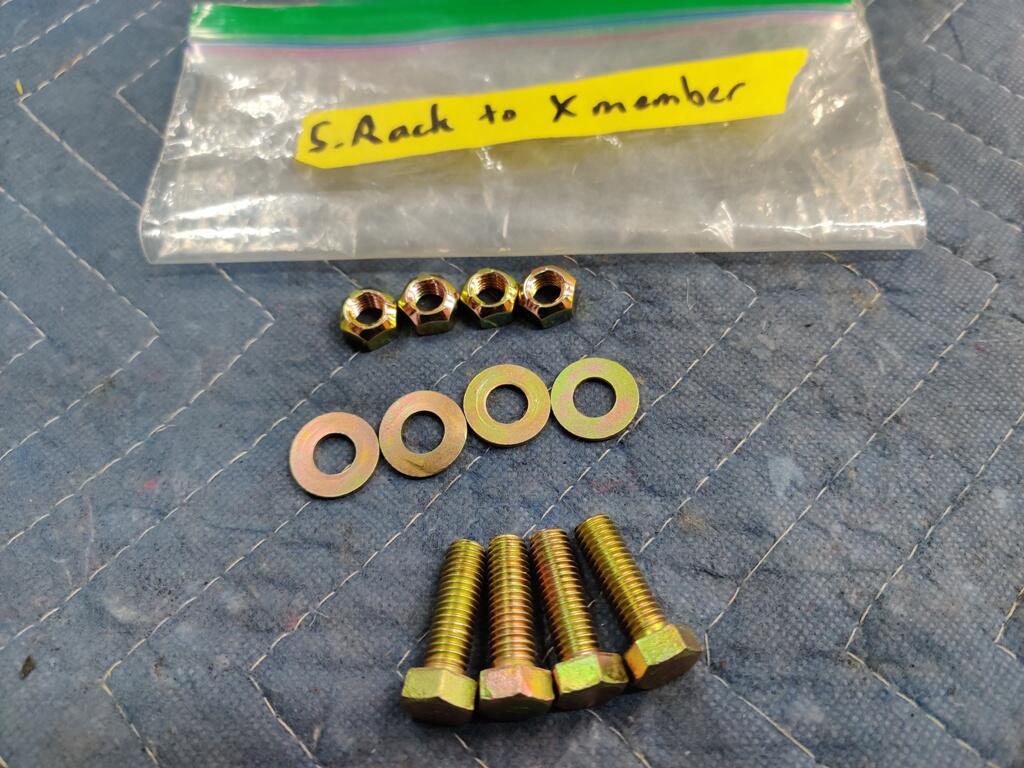
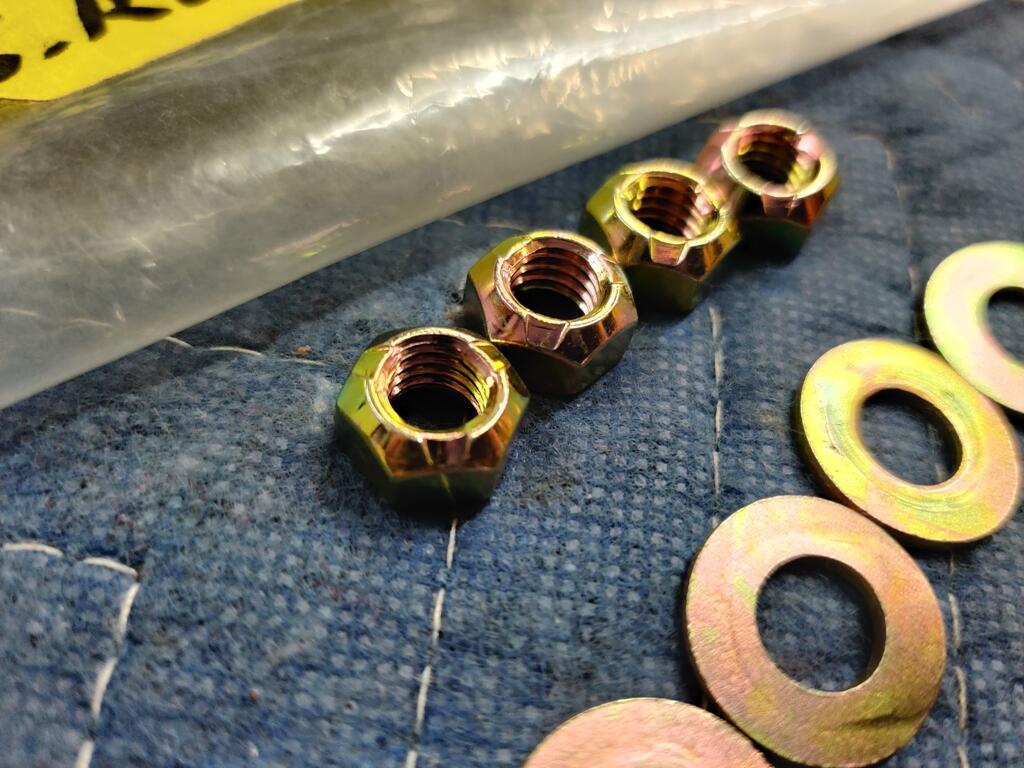
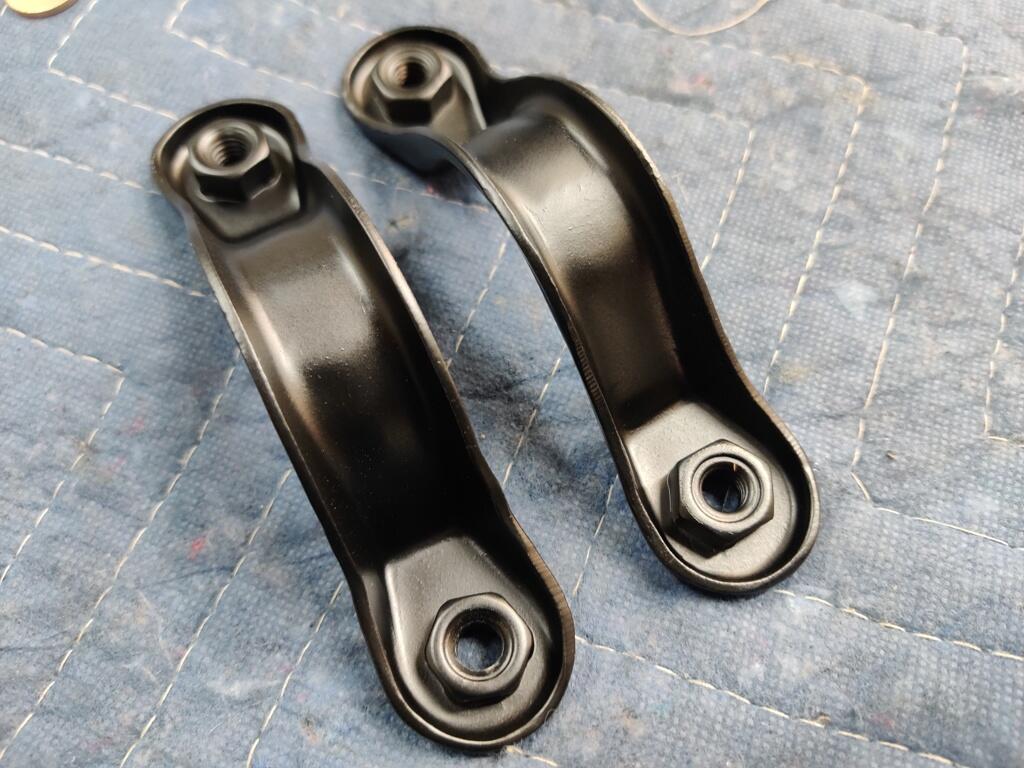
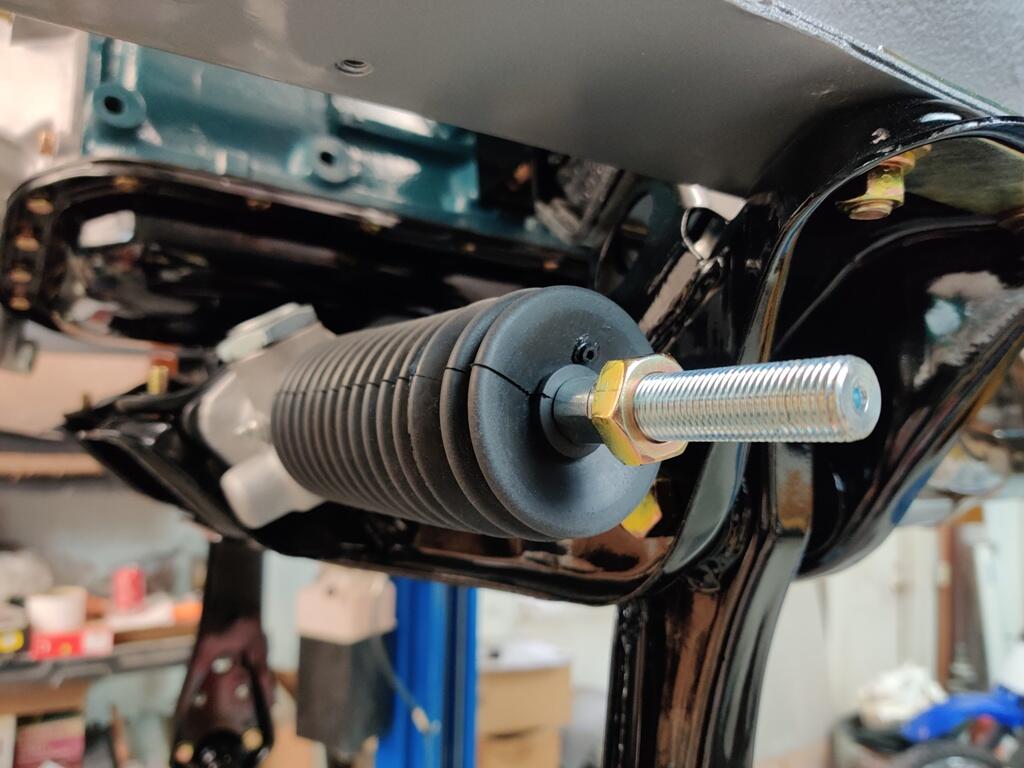
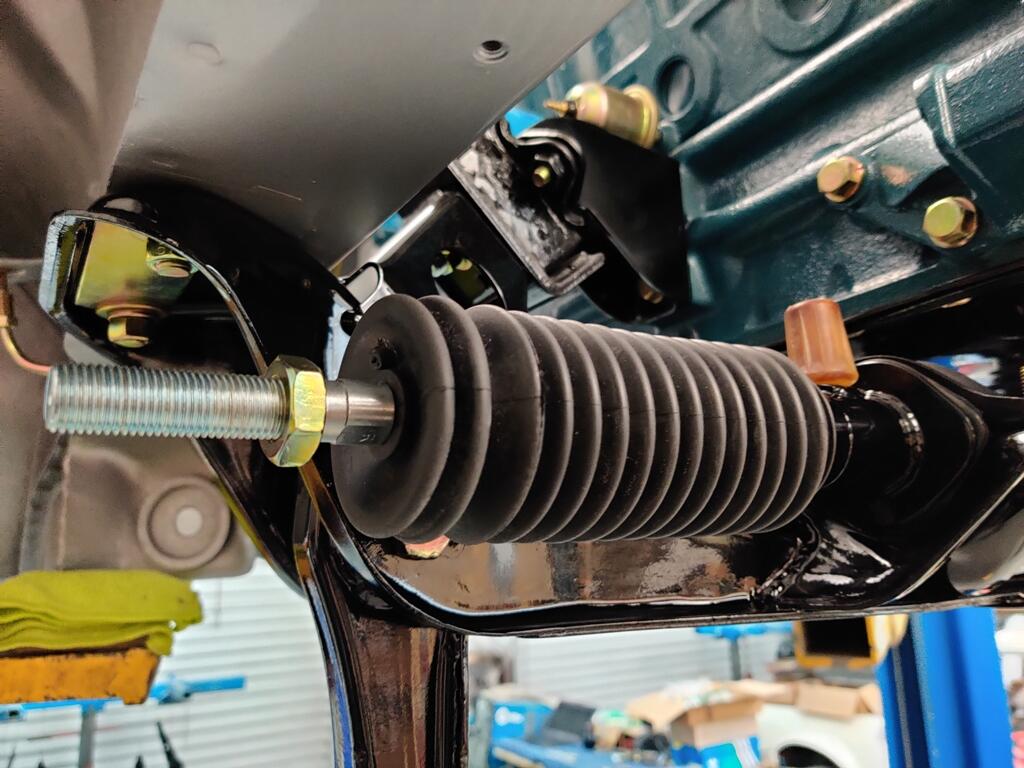
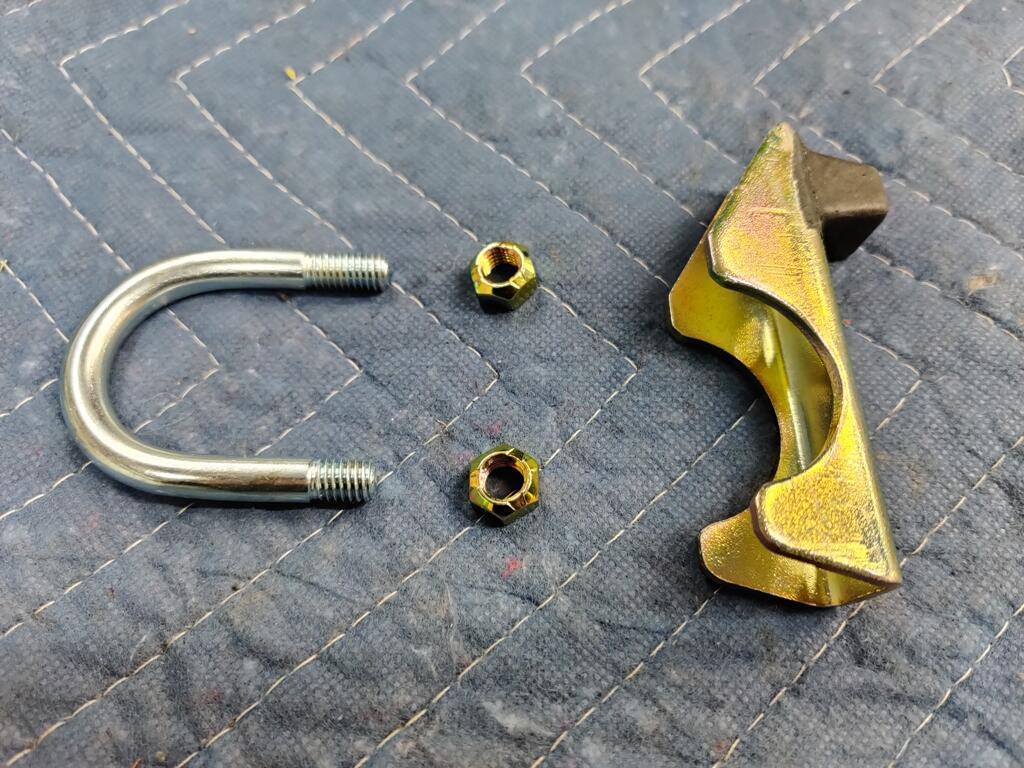
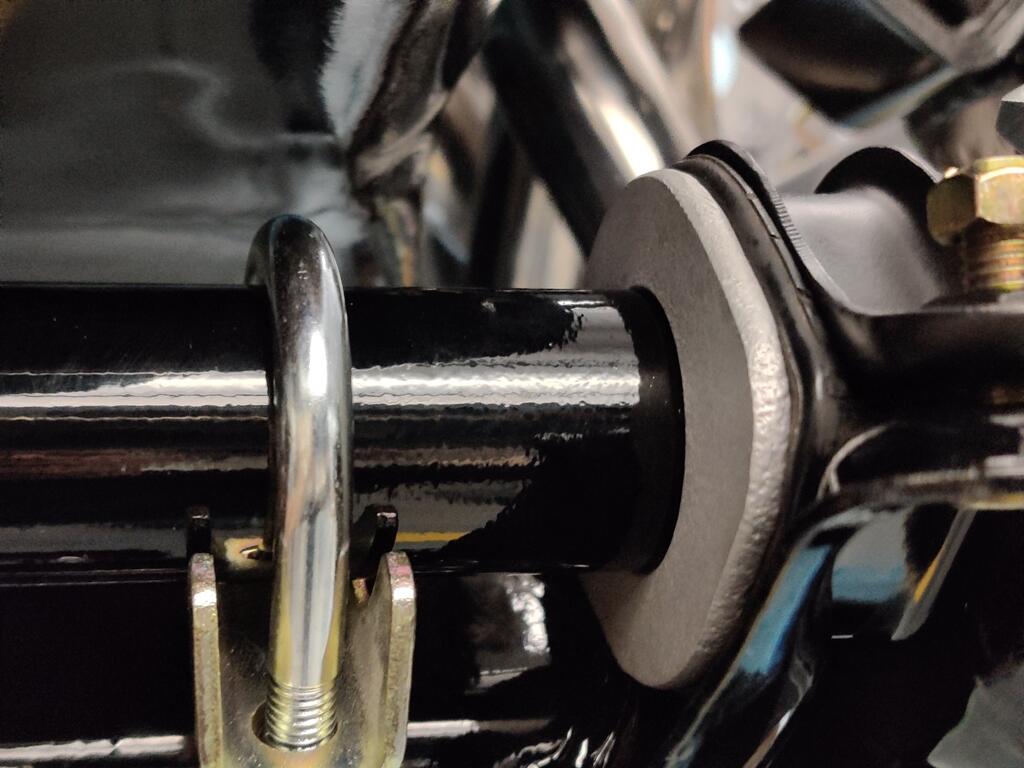
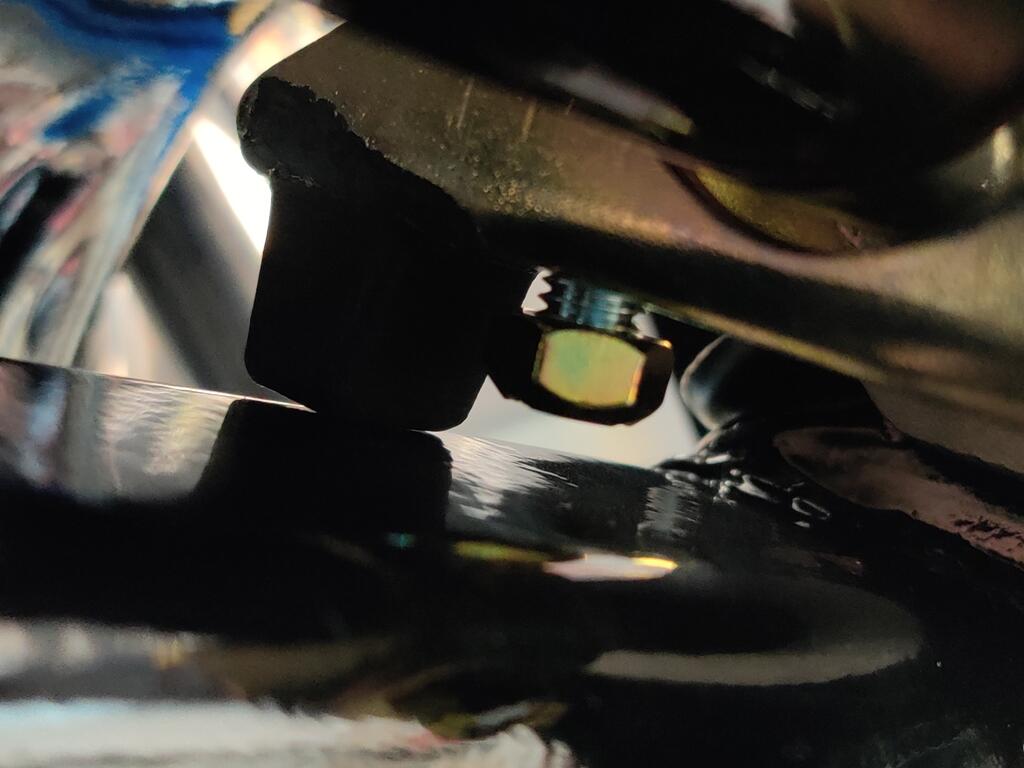
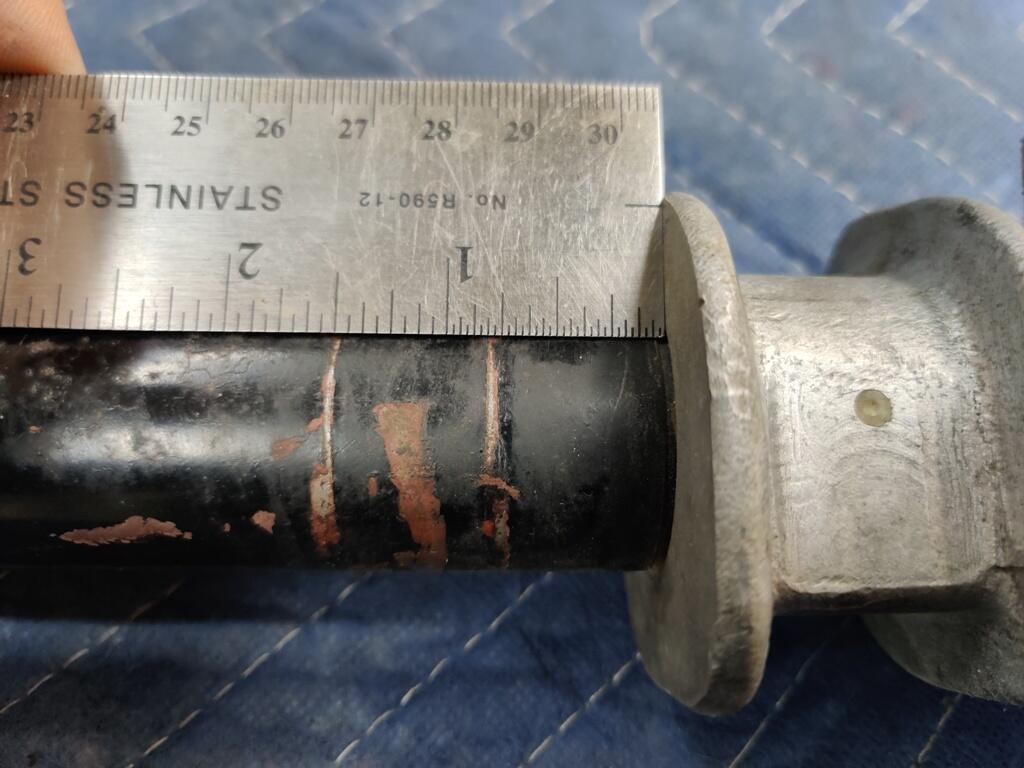
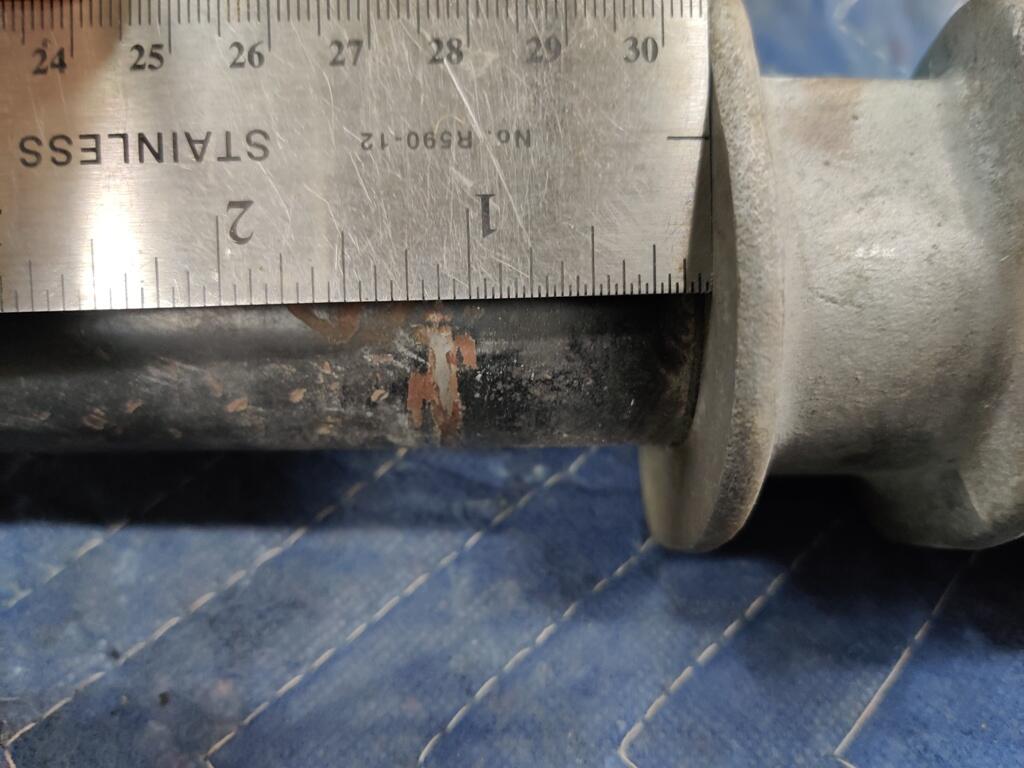
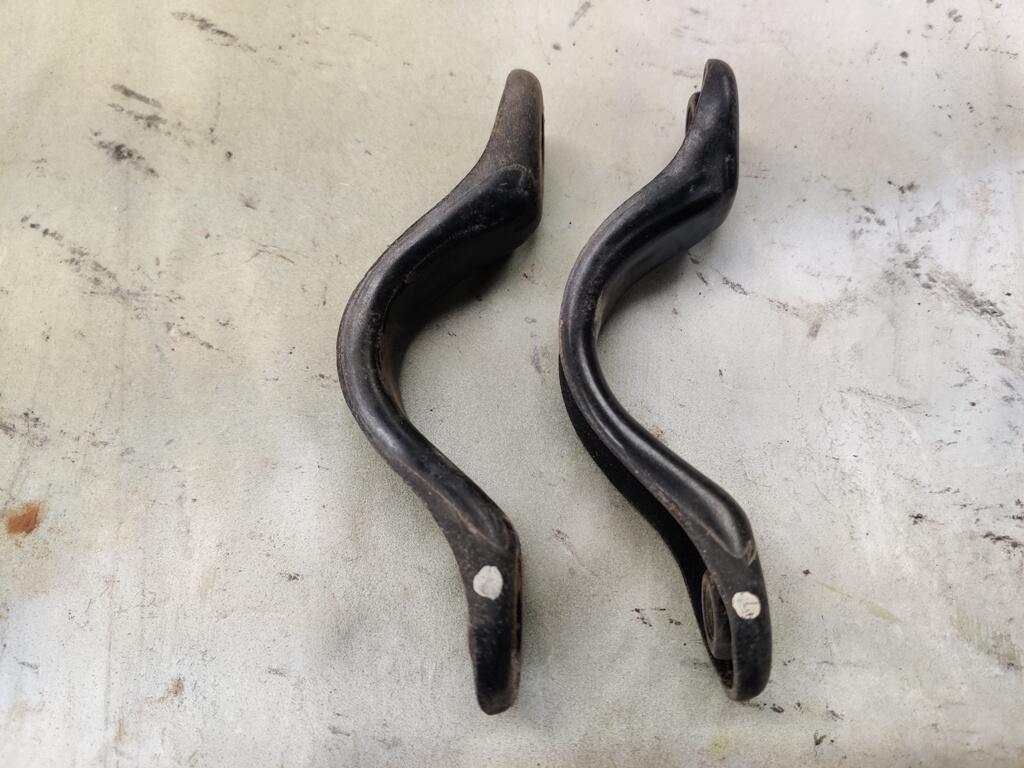
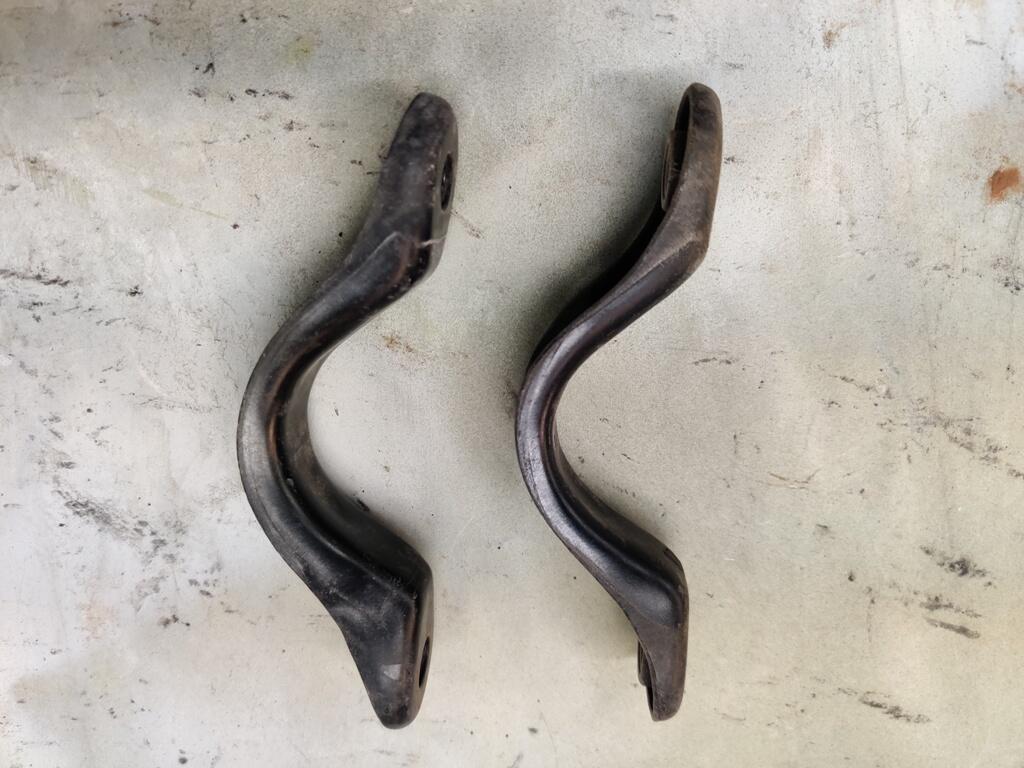
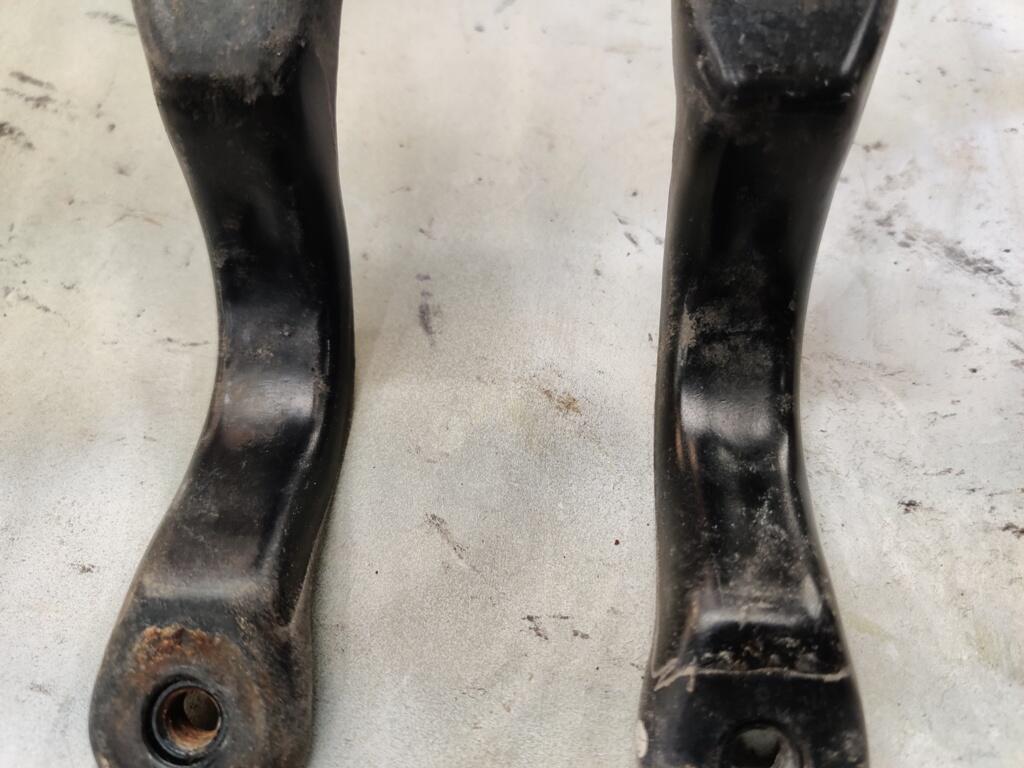
The 25 mm ones are challenging to use for the differential front mount cross member if installing new control arm bushings. I couldn't get the bushings to compress enough by pushing the arm into them to get the 25 mm bolts to start threading properly. I'll be able to use the two 30's I've got to get it started. Once it is close enough, I will use two of the 25 mm for the other two holes. I'll probably swap out the longer ones after the cross member is in place and move those two to the transmission crossmember. Then, it looks like I will have the right fasteners in the right locations. Working on the putting things on the car yesterday was very pleasurable. Not a lot of effort required, and was able to take my time and install parts that needed nothing other than taking them out of boxes and bags. I cleaned and installed front wheel studs into the hubs. I believe the front face of the hub came from the factory with a machined surface. I elected not to remove the paint on that surface. If I had a lathe, I may have dress it and clear coated. Oh well. The brake discs that came with the car are interesting. I note that the hat part is tapered - in the picture I have the camera resting on the disc surface. You can see the side of the hat has an angle to it. The quality seems higher than many I have seen. I believe these may be OEM, but there are no markings which confirm. I glass bead blasted the minor surface rust from the rotors and applied clear coat (spray can) to the front and back of the hat areas. I worked a little more on the rear brakes, installing the left wheel cylinder (anyone know why both left and right hand brake levers have a big "R" on them?), hand brake brackets, and the small sections of rear brake hard lines. I also tossed one of the drums on and a wheel, just to have a look see. Still waiting on brake shoes to arrive. I am also still waiting on the gland nut from Motorsport Auto. That is holding me up from putting together the front suspension. Next, I moved to the steering rack installation: For whatever reason, the steering rack clamp brackets were semi-gloss instead of gloss. Original finish pics - anyone know the correct orientation of the paint dots? Front/back, left or right? Steering rack brace. If you look closely at the U bolt, you will see that one side has more threads than the other. That longer side goes towards the front of the car. The brace is not clamped down yet in this third pic. Don't think it matters, but used an old rack to determine the location of this brace. Today, I will be adding items to the engine compartment.


 4 points
 -
2 pointsSee how the turn signals behave with the car at idle. If it's still the same, hold the engine at 2000 RPM and see if it changes.2 points
-
2 pointsMomma saw that the rooms were open for booking the other day. So she booked 5 rooms. I think the plan is for most of my kids to come too. It's also the bosses birthday week. So big plans!!2 points
-
Aw, it'd be a great trip - it's 75 degrees here right now... Kidding aside, I kinda doubt it would be the same as a 240Z - we have those stupid pistons and in stock form (who has factory rears anymore??) the rear bumper is still slim for the early 260, but mounted on the pistons and pushed away from the body. And then the lates have the park bench bumpers (most likely removed also!). edit: Just sent them an e-mail - we'll see what they come back with about waitlist time...2 points
-
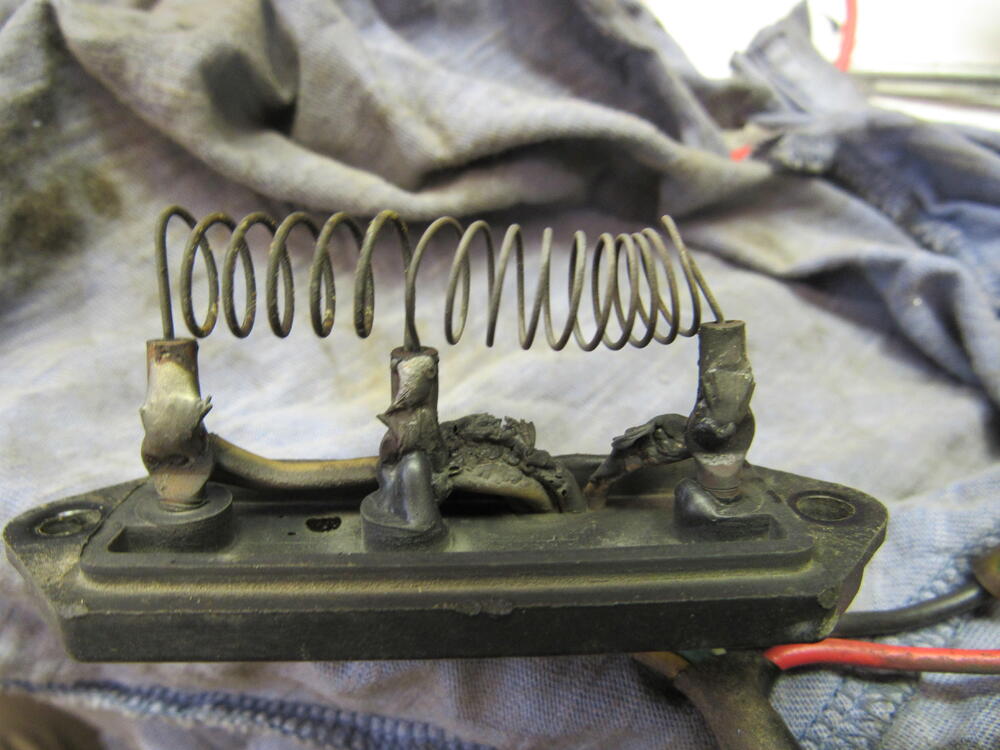
1 pointYou are correct. That is the control panel for factory AC.1 point
-
I had a 521 pickup that had corrosion on every electrical connection I could see. I disassembled each connection (grounds too), wire-brushed them, and sprayed them with Caig DeOxit. Everything that had previously worked intermittently or was dim, worked like new.1 point
-
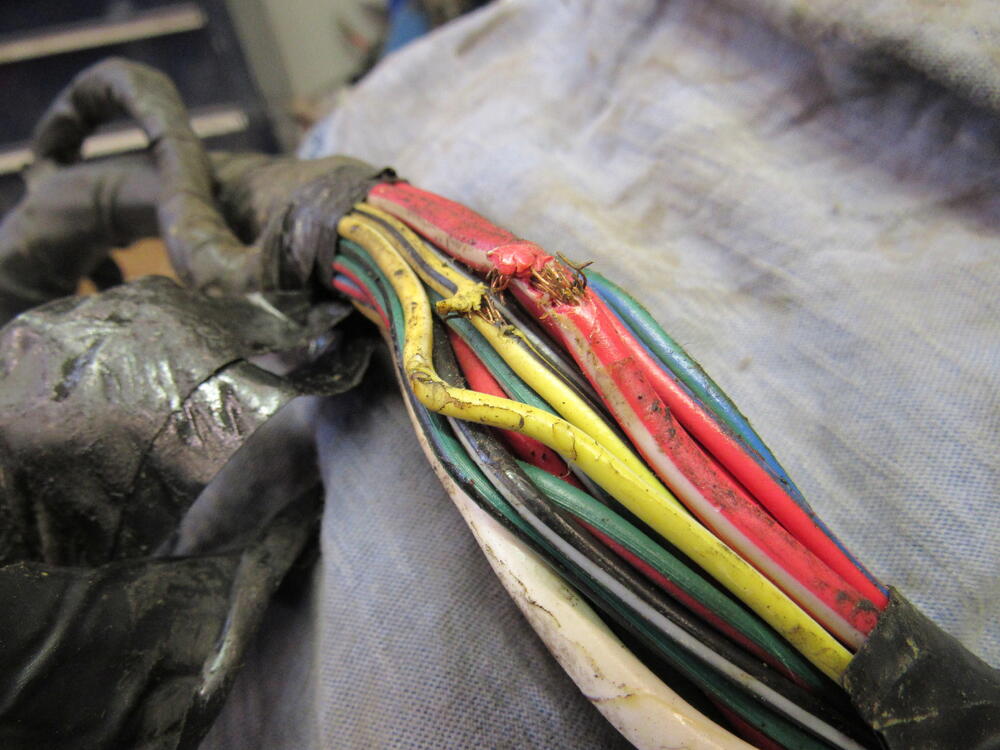
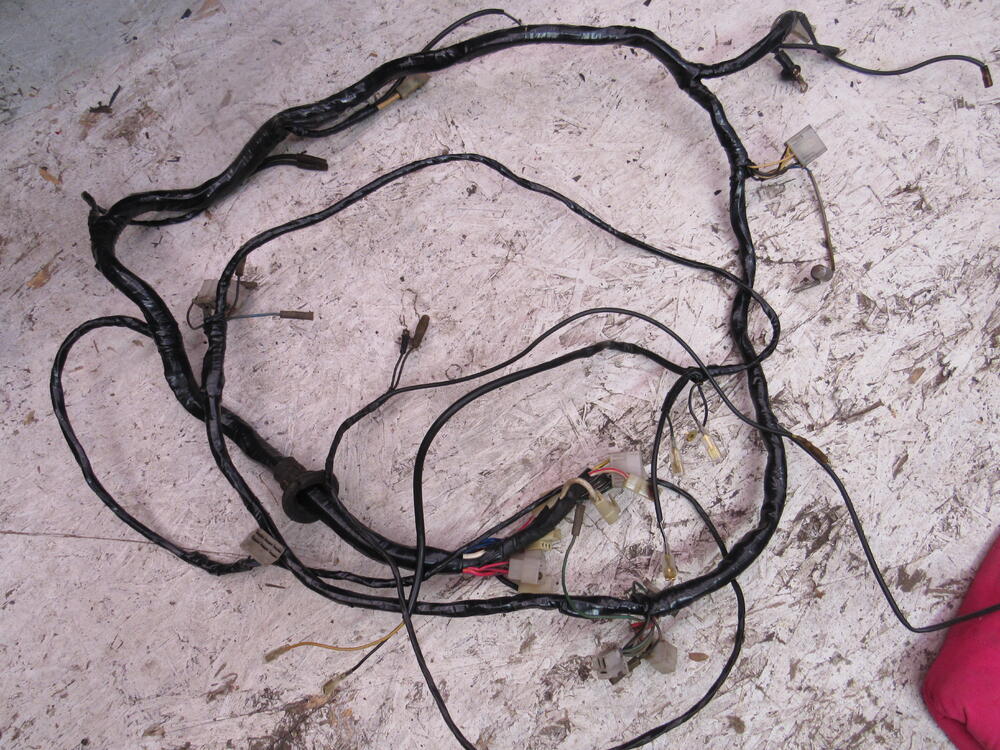
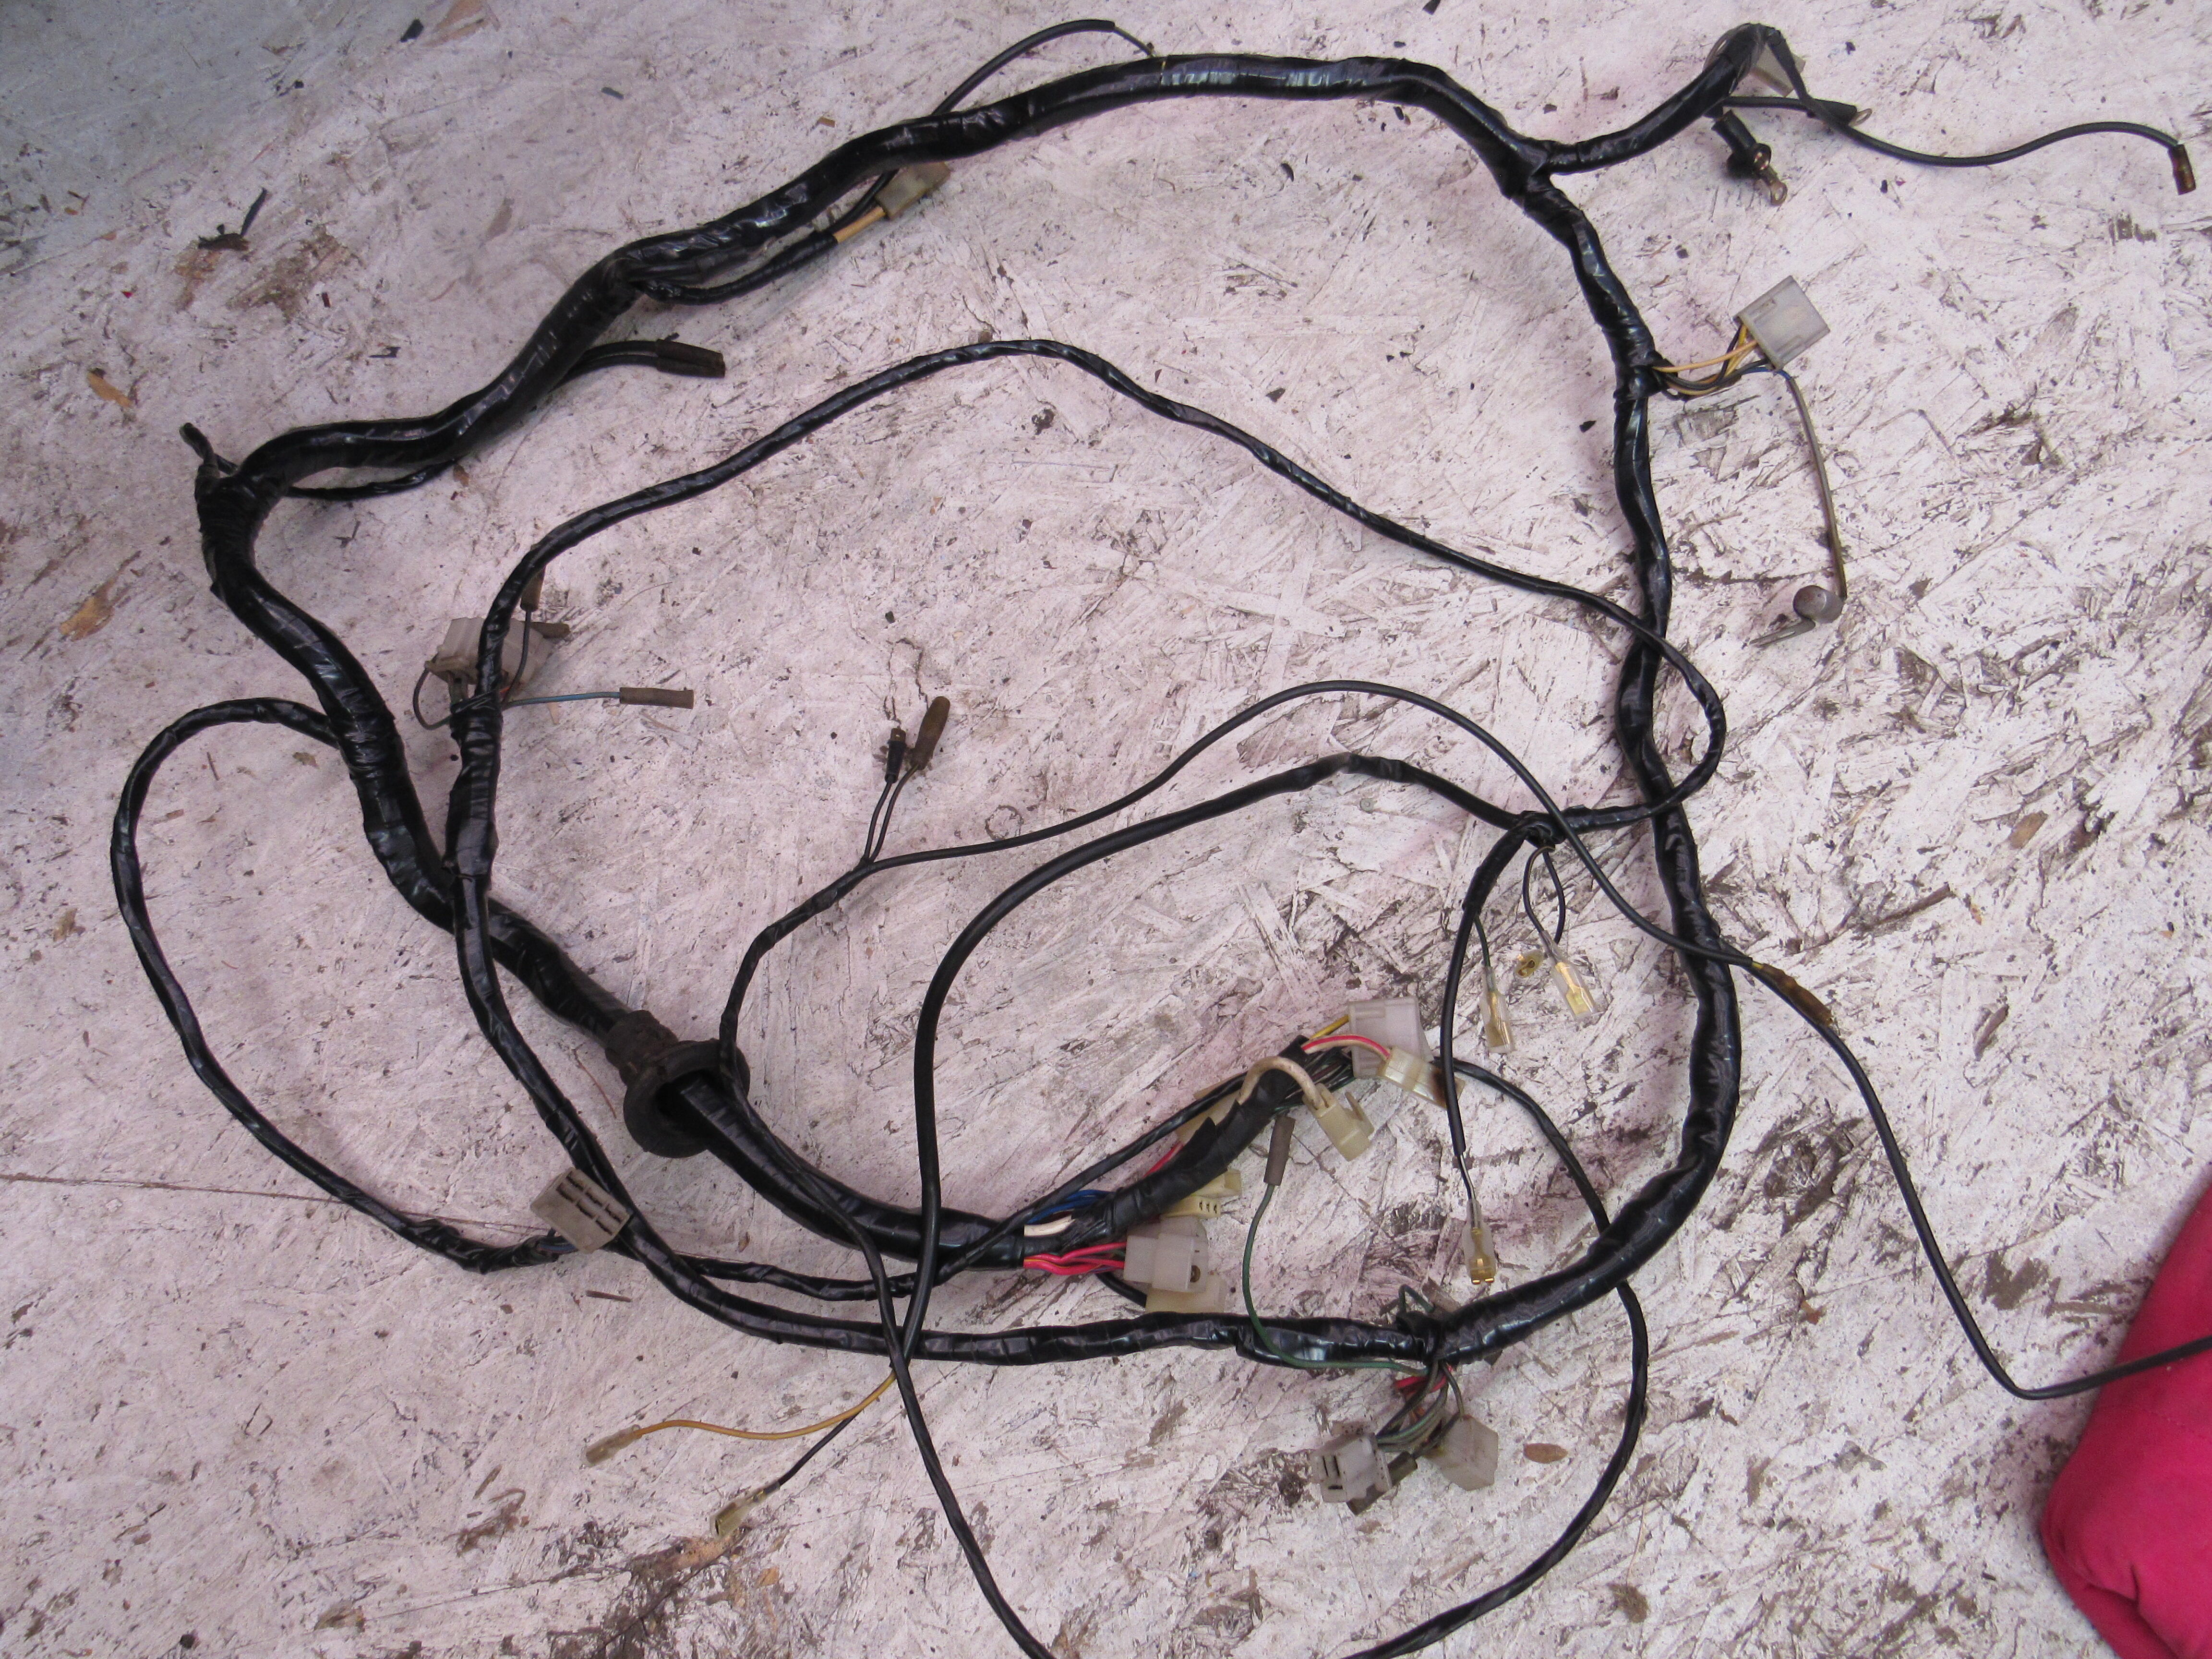
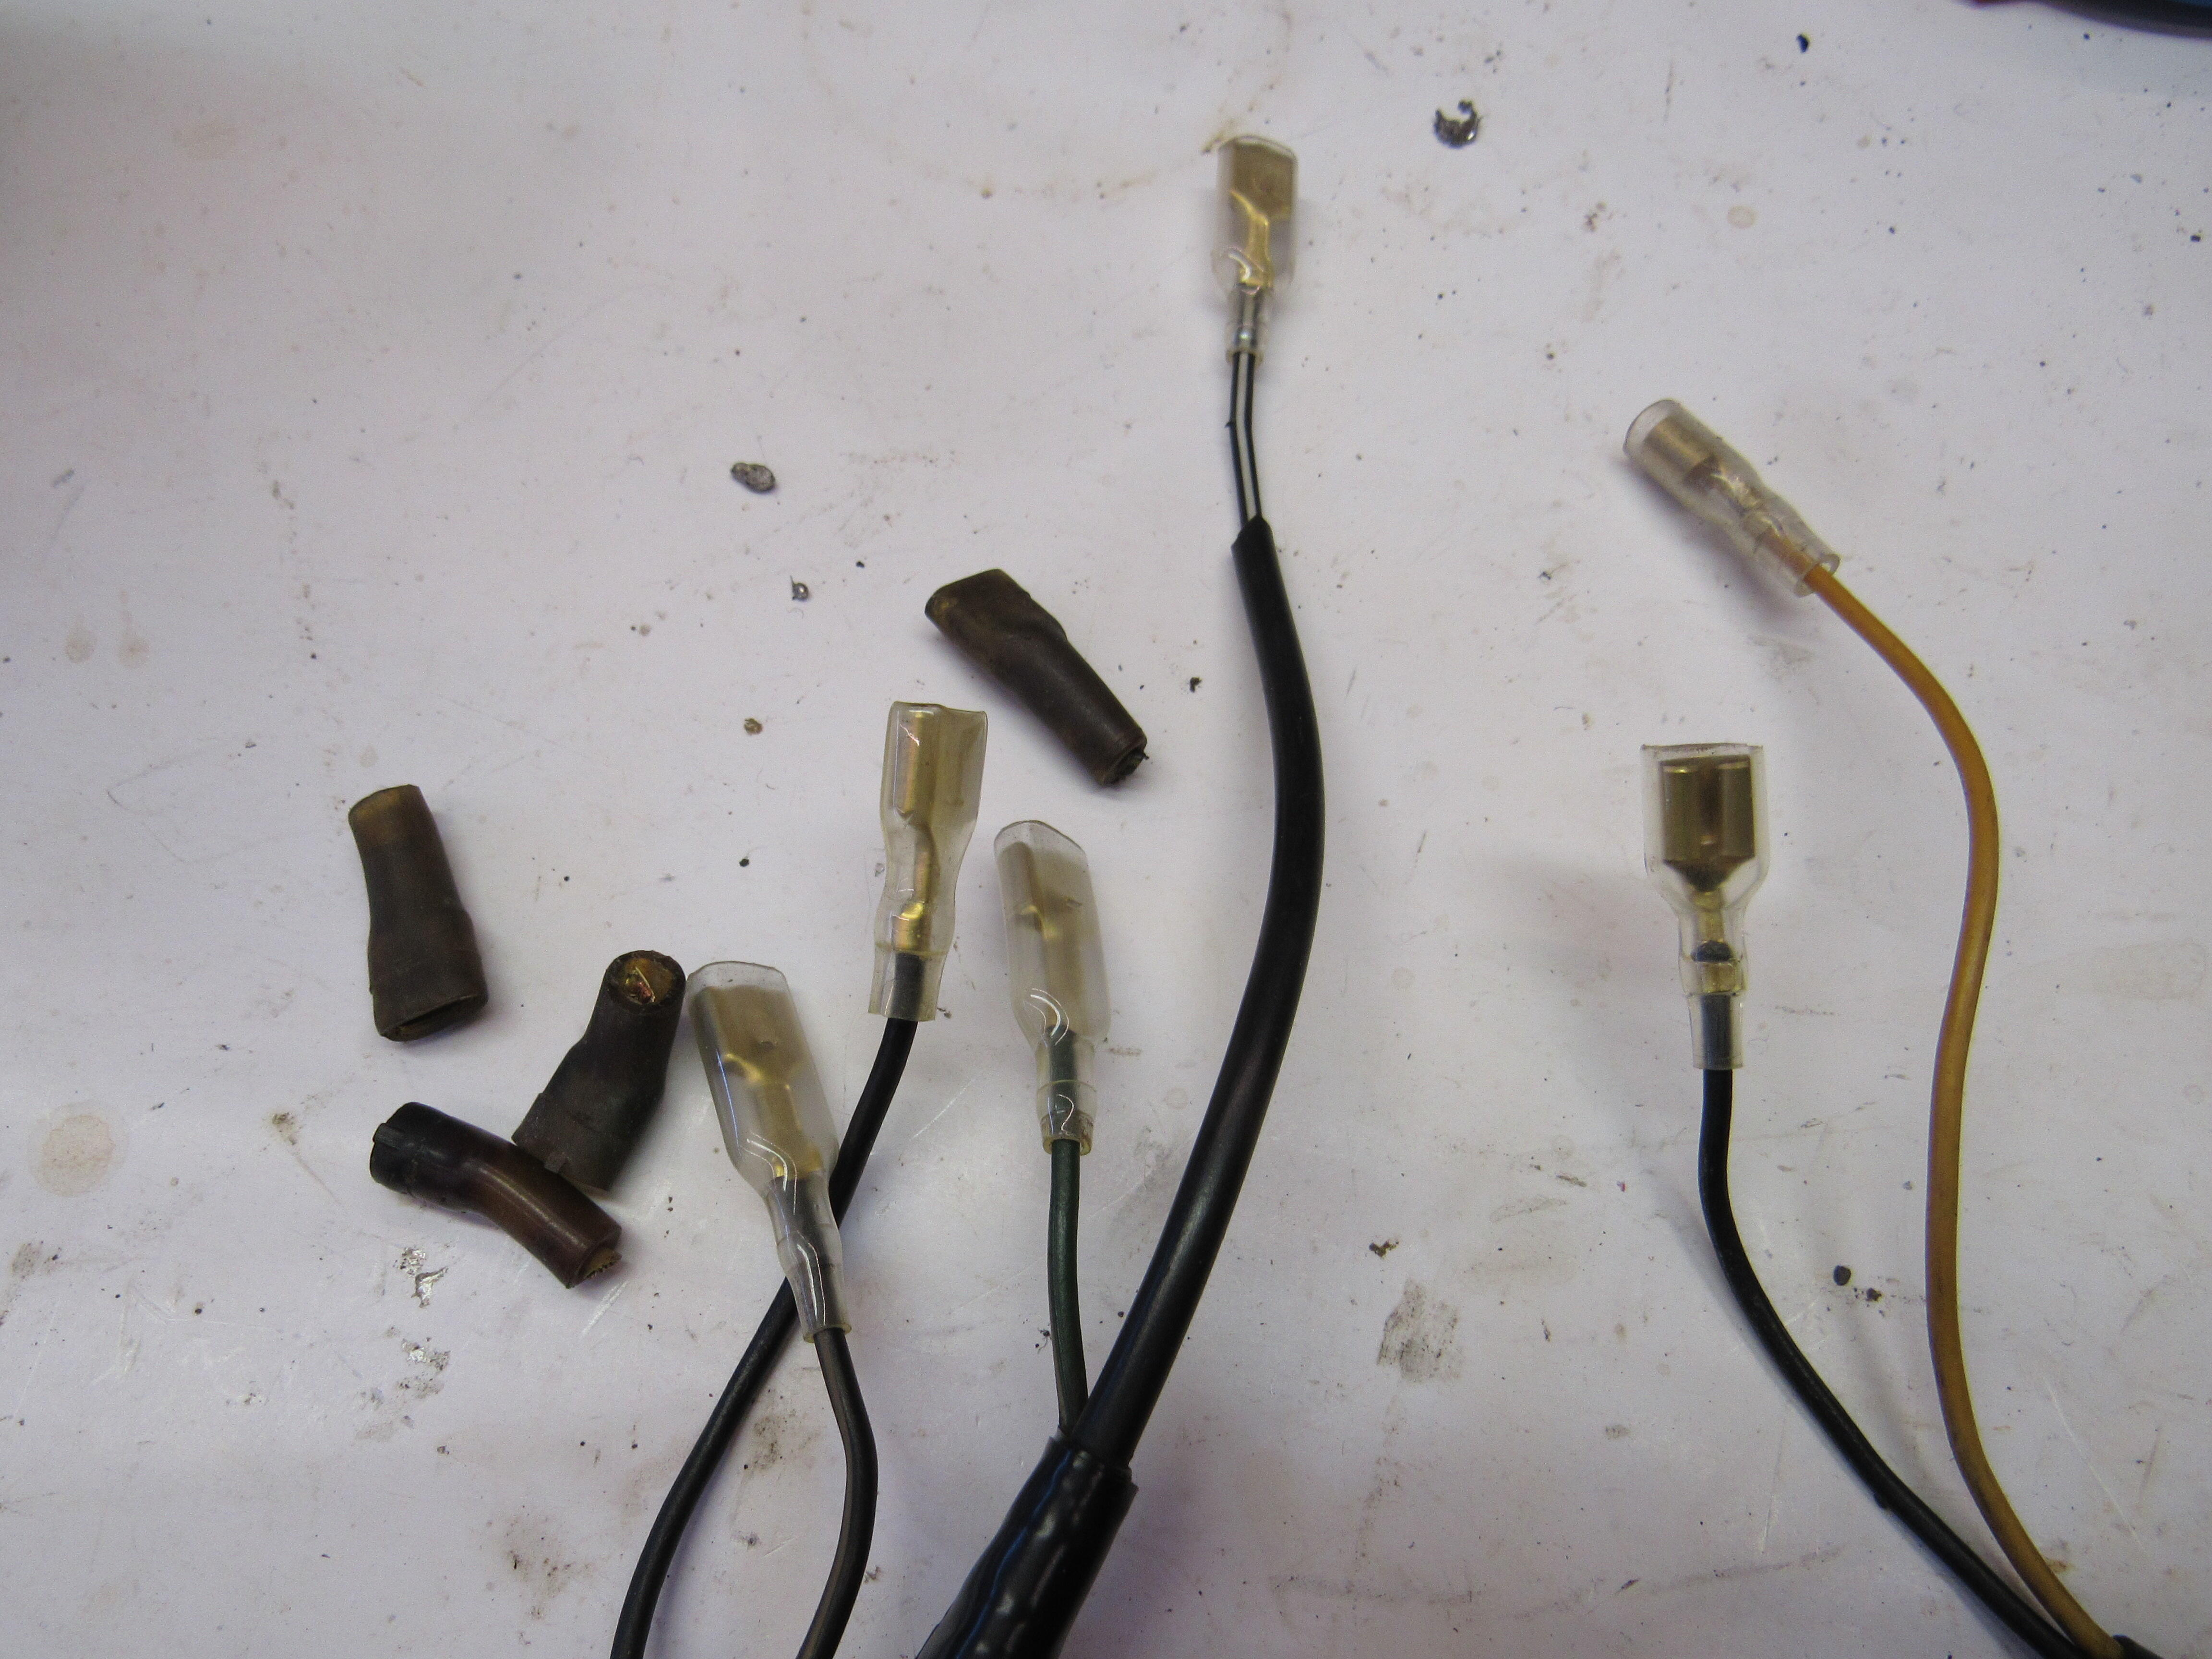
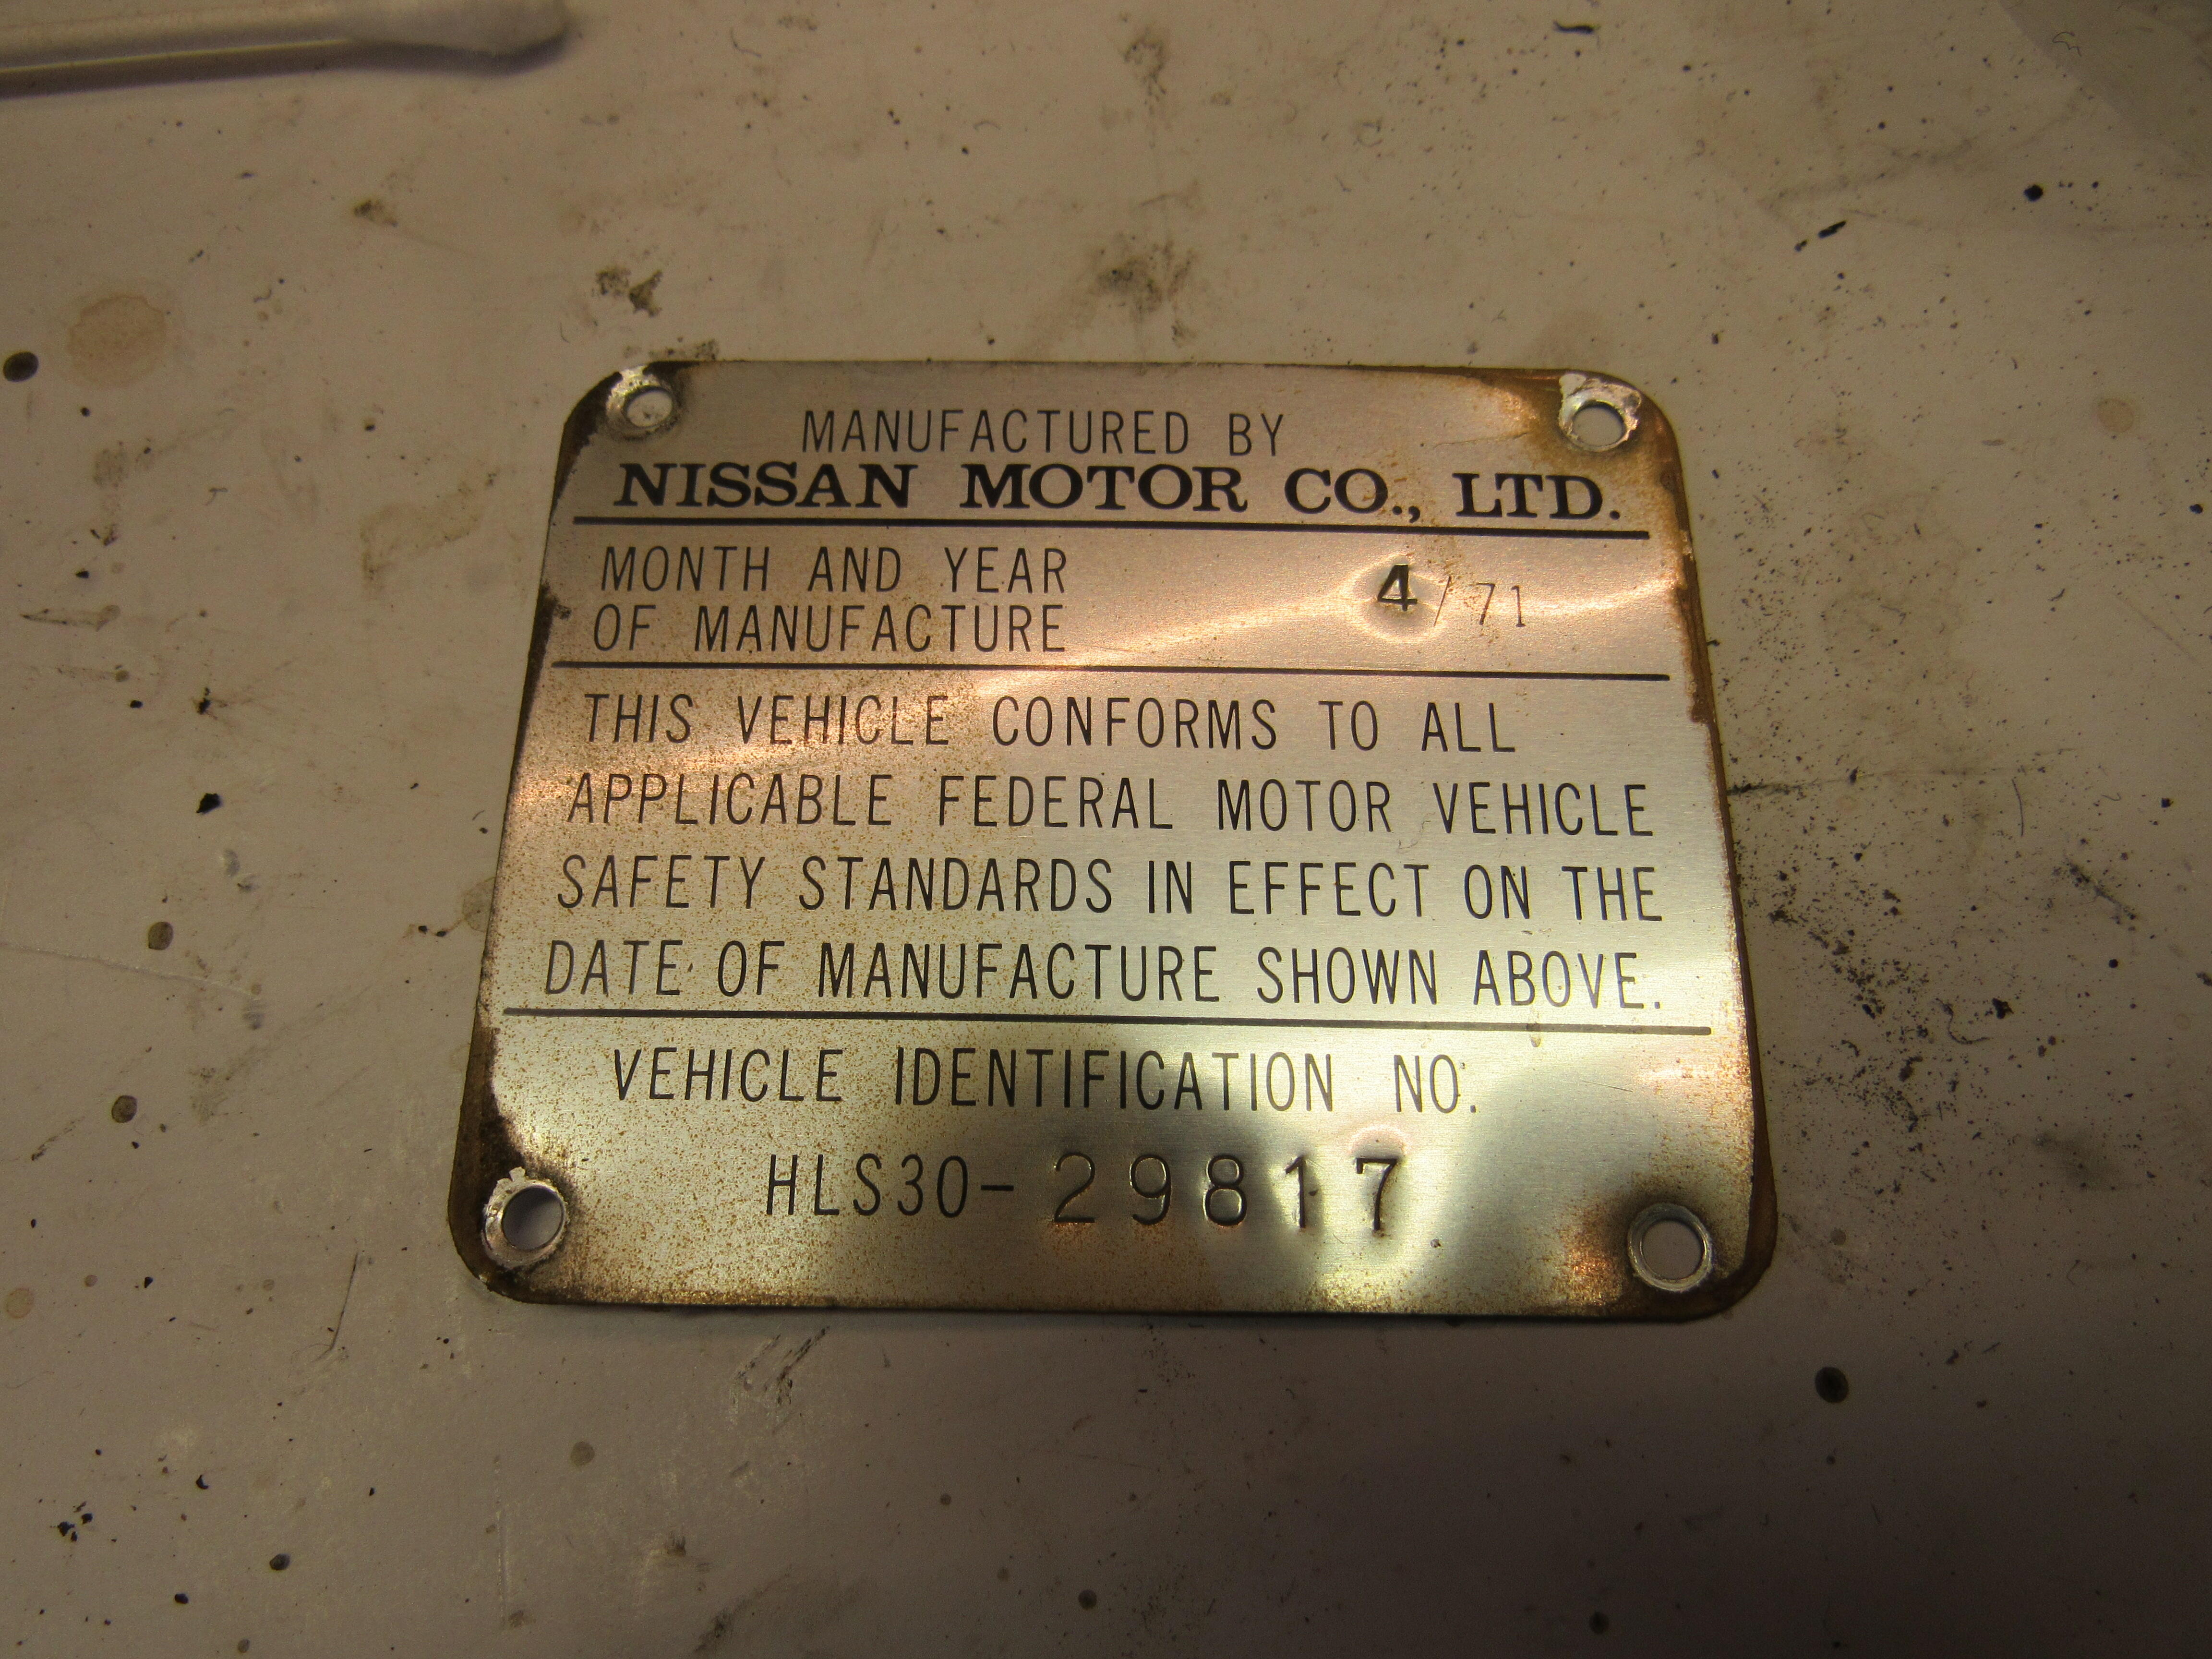
1 pointI haven't powered it up yet, no speakers, blew out the dust and it looks pretty good. Tore down the heater and blower box, no surprises, filled the heater core with CLR and let it sit over night then back flushed. One melting event but there is still continuity so just cleaned it up with a brass brush. Laid out the engine bay wiring harness and stripped all the tape off to check for melts and breaks, only found a couple, the 2 breaks are right where the harness goes through the firewall, someone pulled the firewall rubber grommet off and let the wiring harness ride on the edge of sheet metal. I drilled out the VIN door tag, to remove the respray paint from the edges I applied a tiny amount of Aircraft paint stripper with a Q tip and rubbed it with 0000 steel wool.


 1 point
 -
1 pointNo. Singer builds cars and sells watches. damn it! Duffy! Now you’ve got me thinking about ITB’s! 😡1 point
-
The GM eccentric bushings worked great, though they take longer to dial in than an adjustable gear. The beauty is that I could use any timing set with no extra cost. The bushings were like $8 from Summit and can be reused over and over. I had no problem with the fit. I did have to make a plug to put behind the washer. The bushings are thin enough that they can walk out past the cam pin. The plug held the bushing in on the pin. I used a Made in USA Cloyes timing set that included everything for less than $90. I think I got it at Summit as well.1 point
-
@Jeff G 78, I also see you are using an eccentric bushing on a modified cam gear. Did you find that you needed to adjust the cam timing after you had the head milled? That's my next step and I'm in process of figuring that out now. I've got a cam gear modified to accept one of those GM style eccentric bushings, but I won't really know for sure until I have a real head gasket installed and the head torqued down. In theory, the milling of the head would retard the cam, so I'm thinking I might be able to just use one of the built in adjuster holes (either 2 or 3) to advance it back to where it should be. I also don't like the sloppy fit of the eccentric bushing on the cam locator pin. Bushing designed for a 1/4" pin, being used on a 6 mm pin. If I find I do need to use an adjuster eccentric, I'll probably make my own.1 point
-
As usual, I will start with a flurry of questions. LED or incandescent bulbs? How old are the flasher units? Is the car running during these observations? If the car is running, are you driving or at idle? The reason for these questions is that old flasher units worked off the principle of a bimetal strip heating up. Since the two metals have different coefficients of expansion, the strip bends as current flows and breaks contact in the circuit. After the circuit is open, the strip cools rapidly and snaps back into place, closing the circuit. From there it's a continuation of wash, rinse, repeat. The hazards could work while the turn signals don't because of many possible reasons The flasher isn't used as much. The switch isn't used as much so it doesn't have corrosion on the contacts Since there are more bulbs (parallel paths) in the hazard circuit, more current is flowing. Note: this especially applies if you have LED bulbs.1 point
-
They are not the same. The rails won't fit. The toe board might fit on the driver's side with some work, not sure about the passenger side, the floor steps down on one side of the rail. Your car being a 2+2 will only complicate matters, although if you're only doing the front footwell area it may not be a problem. You will need to find the appropriate 280Z equivalent parts, or learn how to shape metal. I would also consider patching instead of replacing, from the photos the full extent of the damage doesn't seem to be revealed, it may or may not warrant full replacement. Get all the tar off the floor before making that call.1 point
-
Point taken. I guess I tend to forget just how old these cars have become and how old I am getting. My intent is to drive the car and enjoy it but treat it as a classic. I always keep it in the garage, avoid bad weather whenever possible, and not to drive when there is a threat of snow and MDOT pretreats the roads with copious amounts of road salt and other chemicals.1 point
-
Thanks, it's nice to know that all these parts are available. I guess what I will need depends on the extent of the rust, so I guess I really do need to keep removing the previous repairs and find out where the rust ends and the good metal begins. Hopefully, I don't end up with an undrivable Flintstones cruiser. It's odd that one of the POs would drill an extra drain hole, I don't understand why they would do that. I did notice some of the parts you referenced were for the 240Z - I assume they were the same for the all the S30 models? Mechanically, I have run into differences between model year 280Zs on certain parts.1 point
-
1 point
-
1 pointOkay, that reinforces my assumptions. I think I will put the windshield in first also. I just think I need the space to work.1 point
-
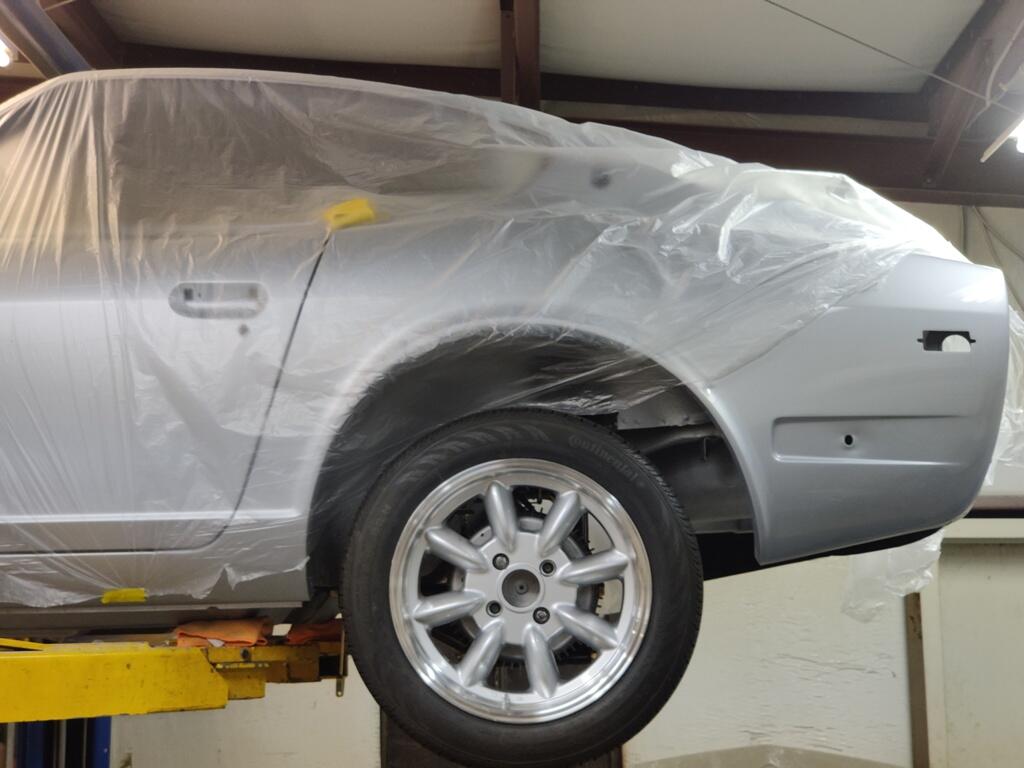
1 pointThat would be great, but it isn't a priority. I agree it would look better without it, but I don't think any of it is doing any harm. I thought the passenger rear wheel well looked original - thought it still had the weld marks, where the driver's side doesn't. The paint job was pretty terrible. I suspect it was done just before the car was sold. Looks like the radio/tape deck is late '70s/early '80s vintage, so it probably came with the car (I didn't get the car until 1994). I did install a set of rear speakers in a piece of wood that ran across the back of the hatch. Sadly, I also hacked out the piece of plastic at the bottom of the slot in the console so it would fit better. I remember regretting it even as I was doing it! At one time I had the original radio (and some gauges) from either the '72 or '73 that I owned back in the '80s, but somewhere along the line I got rid of them. Too bad. The good news is that I still have a few old cassette tapes hanging around!1 point
-
1 pointYou pay for it one way or the other, installing the windshield without the dash in place is much easier but then it's harder to get the dash screws in. It's vice verse if you do it the other way around. To me, the windshield gasket placement is more important.1 point
-
The problem I have is lack of documentation on the ECCS ecu's I have. Not sure about the manufacturing date based on the numbers. When I had them apart they all seemed to have the same driver type transistors (total of 6) and seemed to have high wattage power resistors on the boards. I did not try to trace them to see if the collectors were connected to the resistors, or if the resistors were going to the grounding pins on the injector plug of the ECU. the odd ball ones I got off ebay are: A18-000 203 23710 F5910, which seems to be a L20et, not sure how to tell the years. A18-602-045K the last 280zx turbo ecu A18-602 listed on Jim Wolf site was a A18-602-044. so is a 045k ok in lieu of a 044? The one I got with the engine was A18-605-047 which is listed on the JW site as a 83 turbo ecu. it uses the same type of output transistors and I see the same power resistors on the PCB. Based on a cursory examination of the PCB's the layout and parts look similar to the unlisted ECU's. That being said they all work and seem to throttle well, but i have not tested them with the engine under load, just blipping the throttle. I have no idea what mapping is used or if it would be ok. Regardless the seller was ok with just sending me another unit which should have a PN that crossed directly to the 280zx L28et later model, so will just stand by for that. Will update when it gets here.1 point
-
When I built my L28 race engine, I milled 0.050" off the head. By modifying new chain guides, I was able to get the new chain set and tensioner installed with zero stick out. I tried to reuse the old chain and gears and I had quite a bit of stick out, but with a new timing set, it was all the way in. You can slot the guides more than normal to take up additional slack. I'm guessing that the combination of an old chain and gears, worn guides, a 1mm head gasket, and a milled head have added up to WAY too much stick out. Take the time and fix it right. Even if it means pulling the front cover with the engine installed, I'd replace the guides and timing set before starting it up.1 point
-
Well let's start with the car is 50 years old. If you treated it as a cheap car and drove it in all sorts of weather, your repair aught to last another 50. If you properly prime your repairs and avoid salted roads I expect your repairs will last 100 or so years. I suspect at that point there will be other challenges to operating your 150+ year old ICE car on public roads. Provided you're still here. 😉1 point
-
Hey, they make just the toe board so you may not need that entire piece that I linked to above,https://kfvintagejdm.com/shop/datsun/toe-board-left-side-datsun-240z/ With the new floor pans you order you will also need the bottom rails as they look like they are shot too, https://kfvintagejdm.com/shop/datsun/utv-sprocket/1 point
-
1 pointAlready $3200 and 6 days to go! (I keep my Hitachi's for sure! 😉 )1 point


Important Information
By using this site, you agree to our Privacy Policy and Guidelines. We have placed cookies on your device to help make this website better. You can adjust your cookie settings, otherwise we'll assume you're okay to continue.