Leaderboard
-
Patcon
 Subscriber
 7Points11,142Posts
 -
HusseinHolland
Free Member5Points1,031Posts -
Mark Maras
Free Member5Points3,719Posts -
conedodger
Free Member5Points12,513Posts


Popular Content
Showing content with the highest reputation on 10/02/2023 in all areas
-
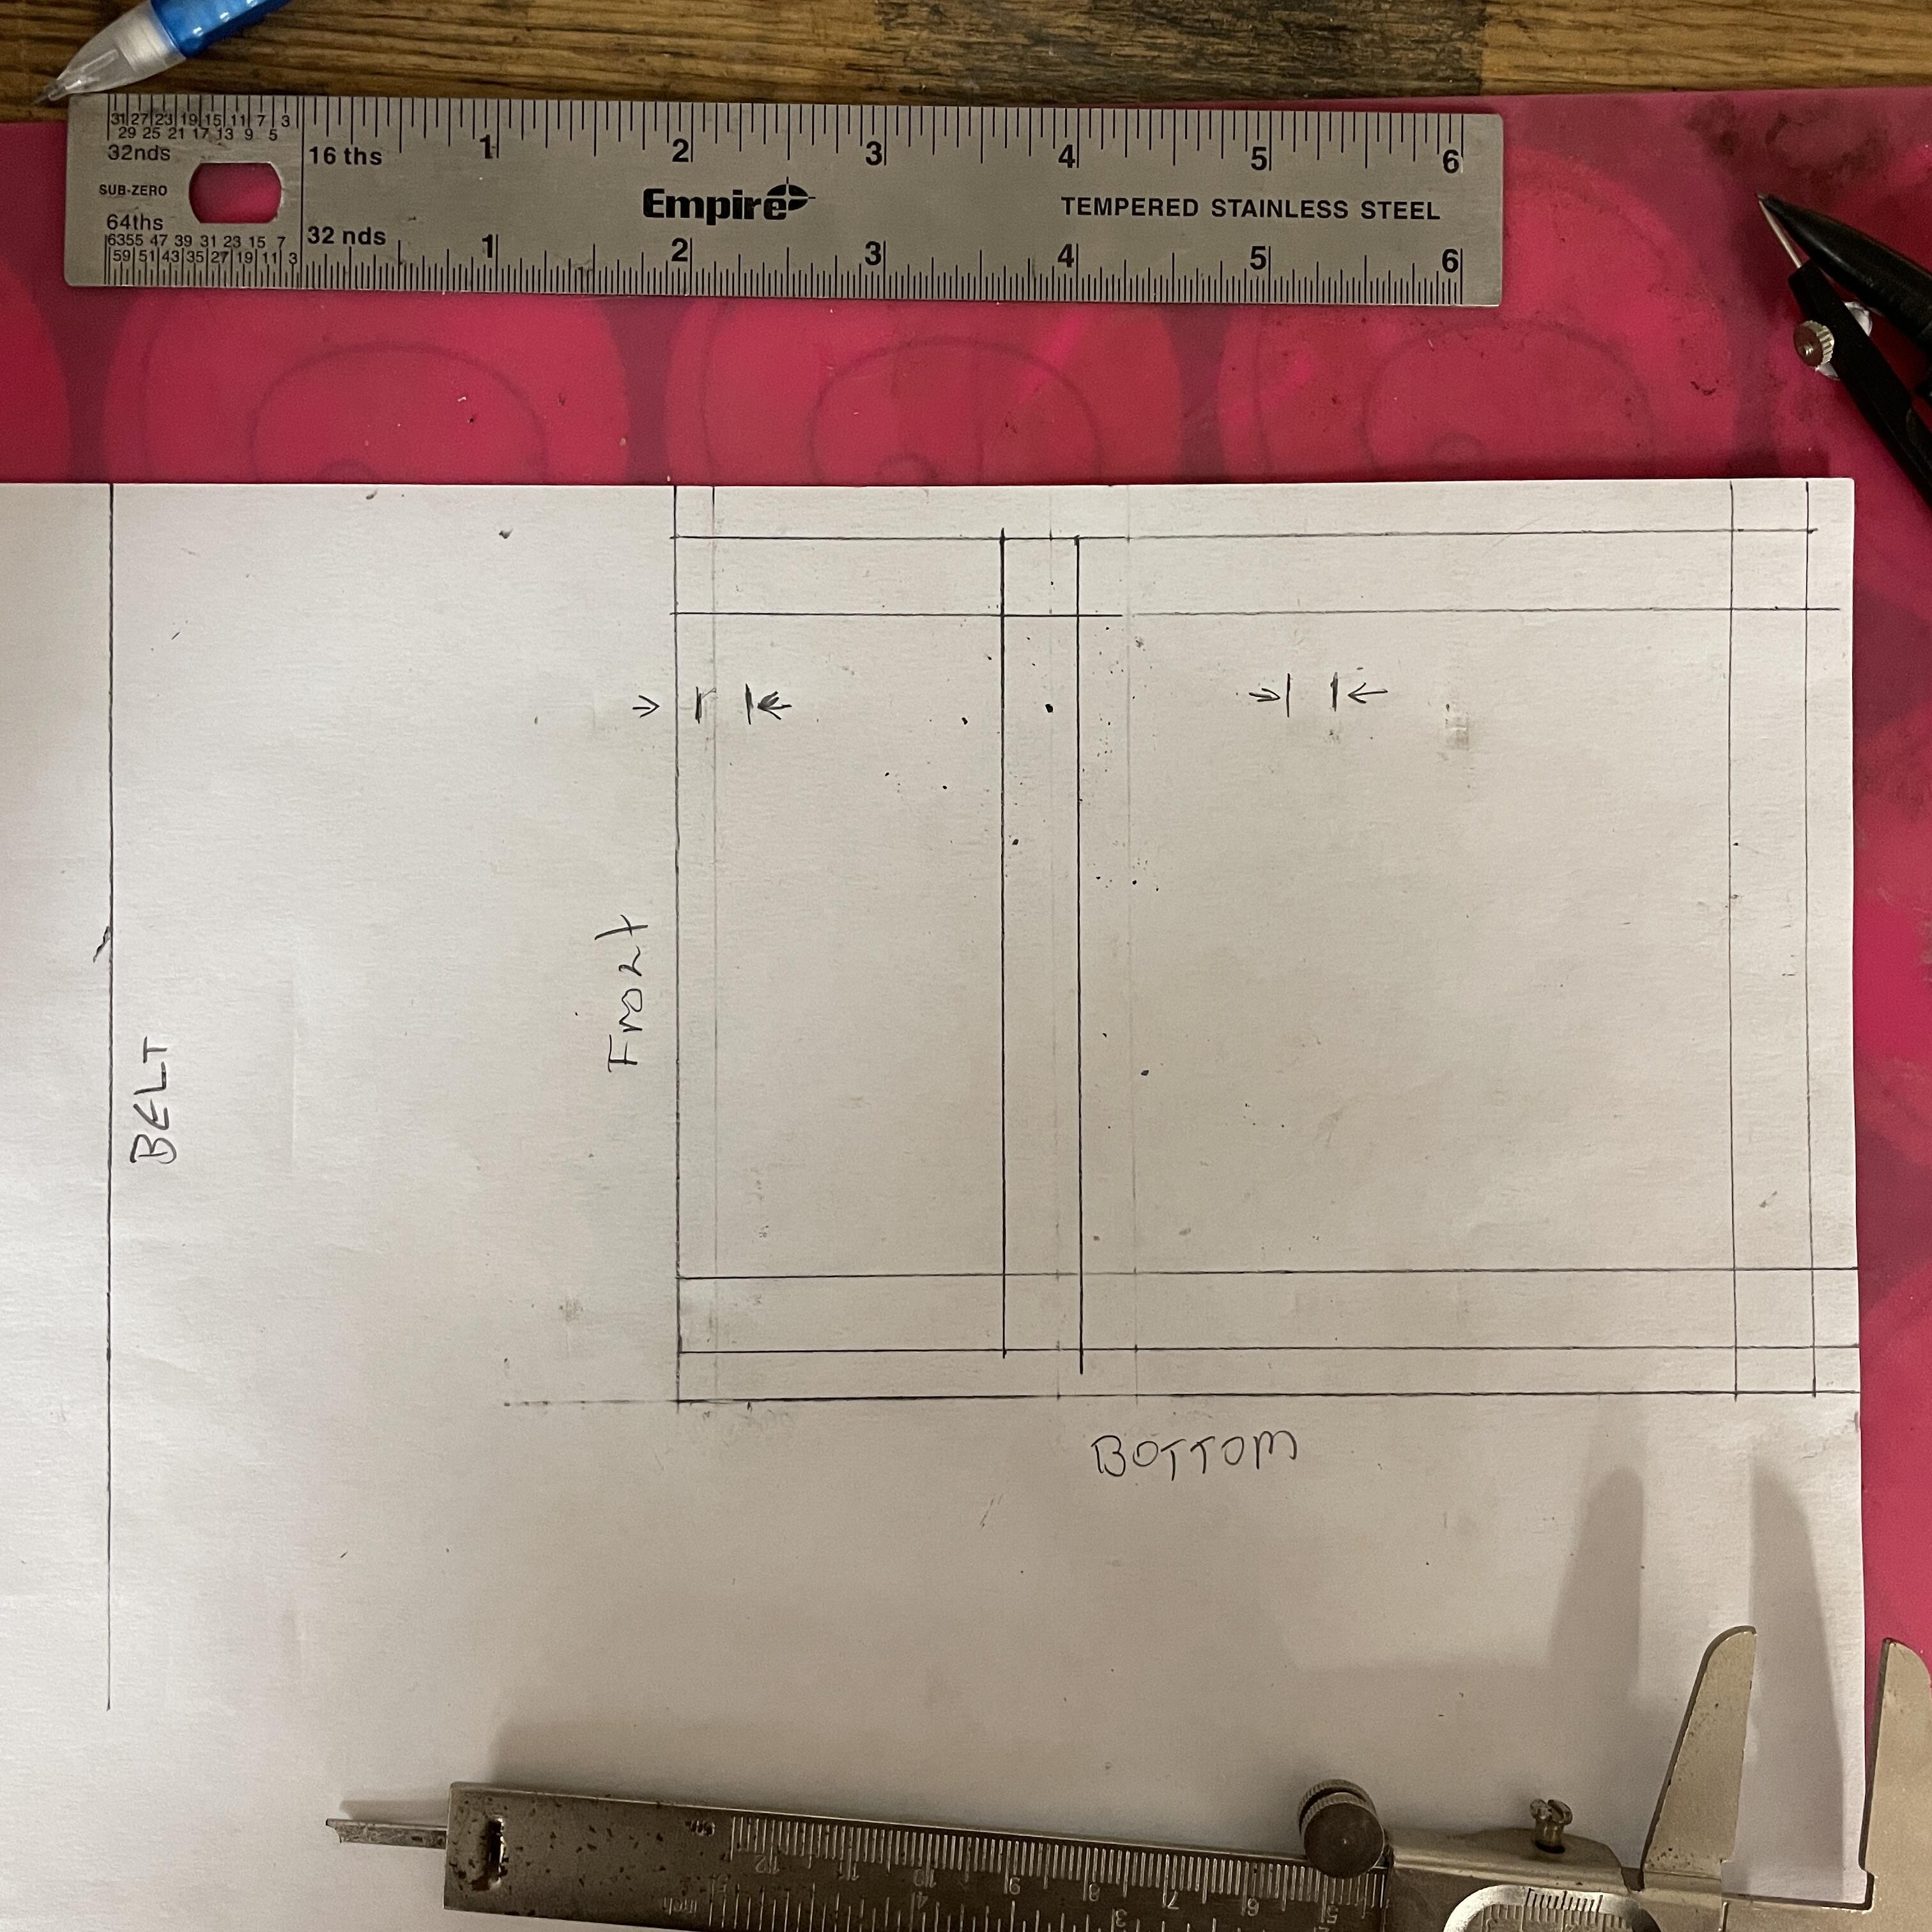
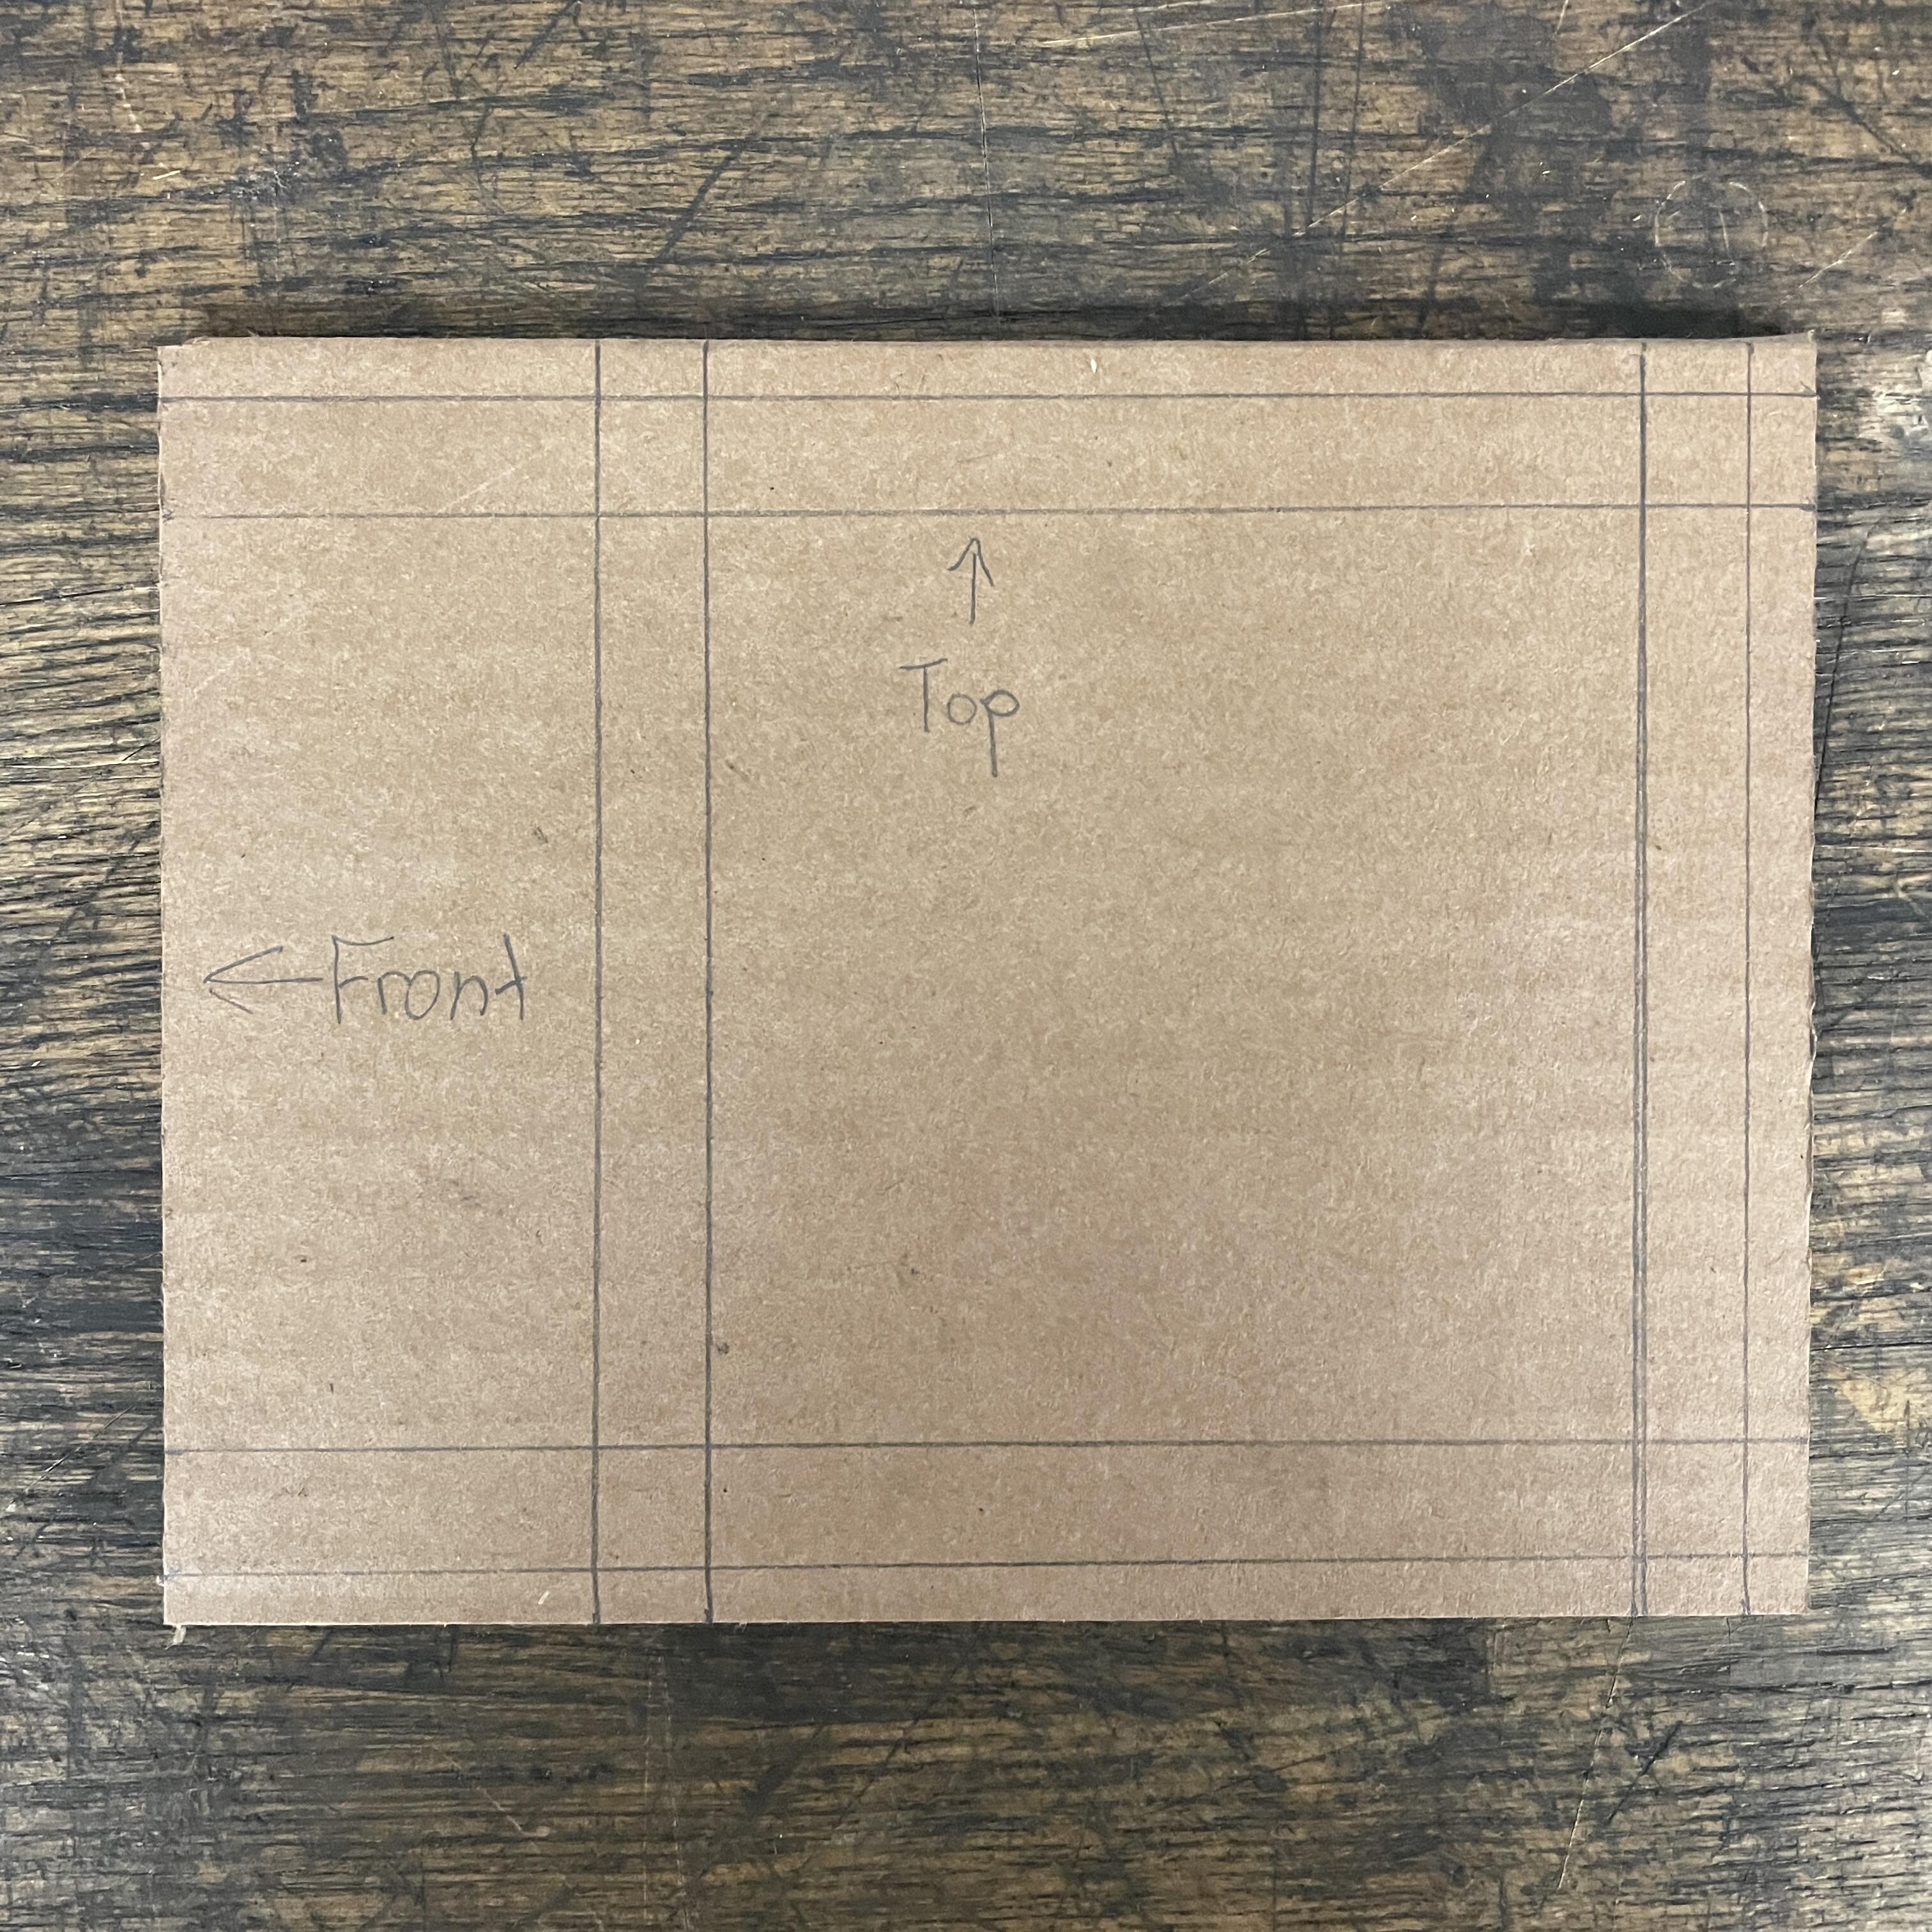
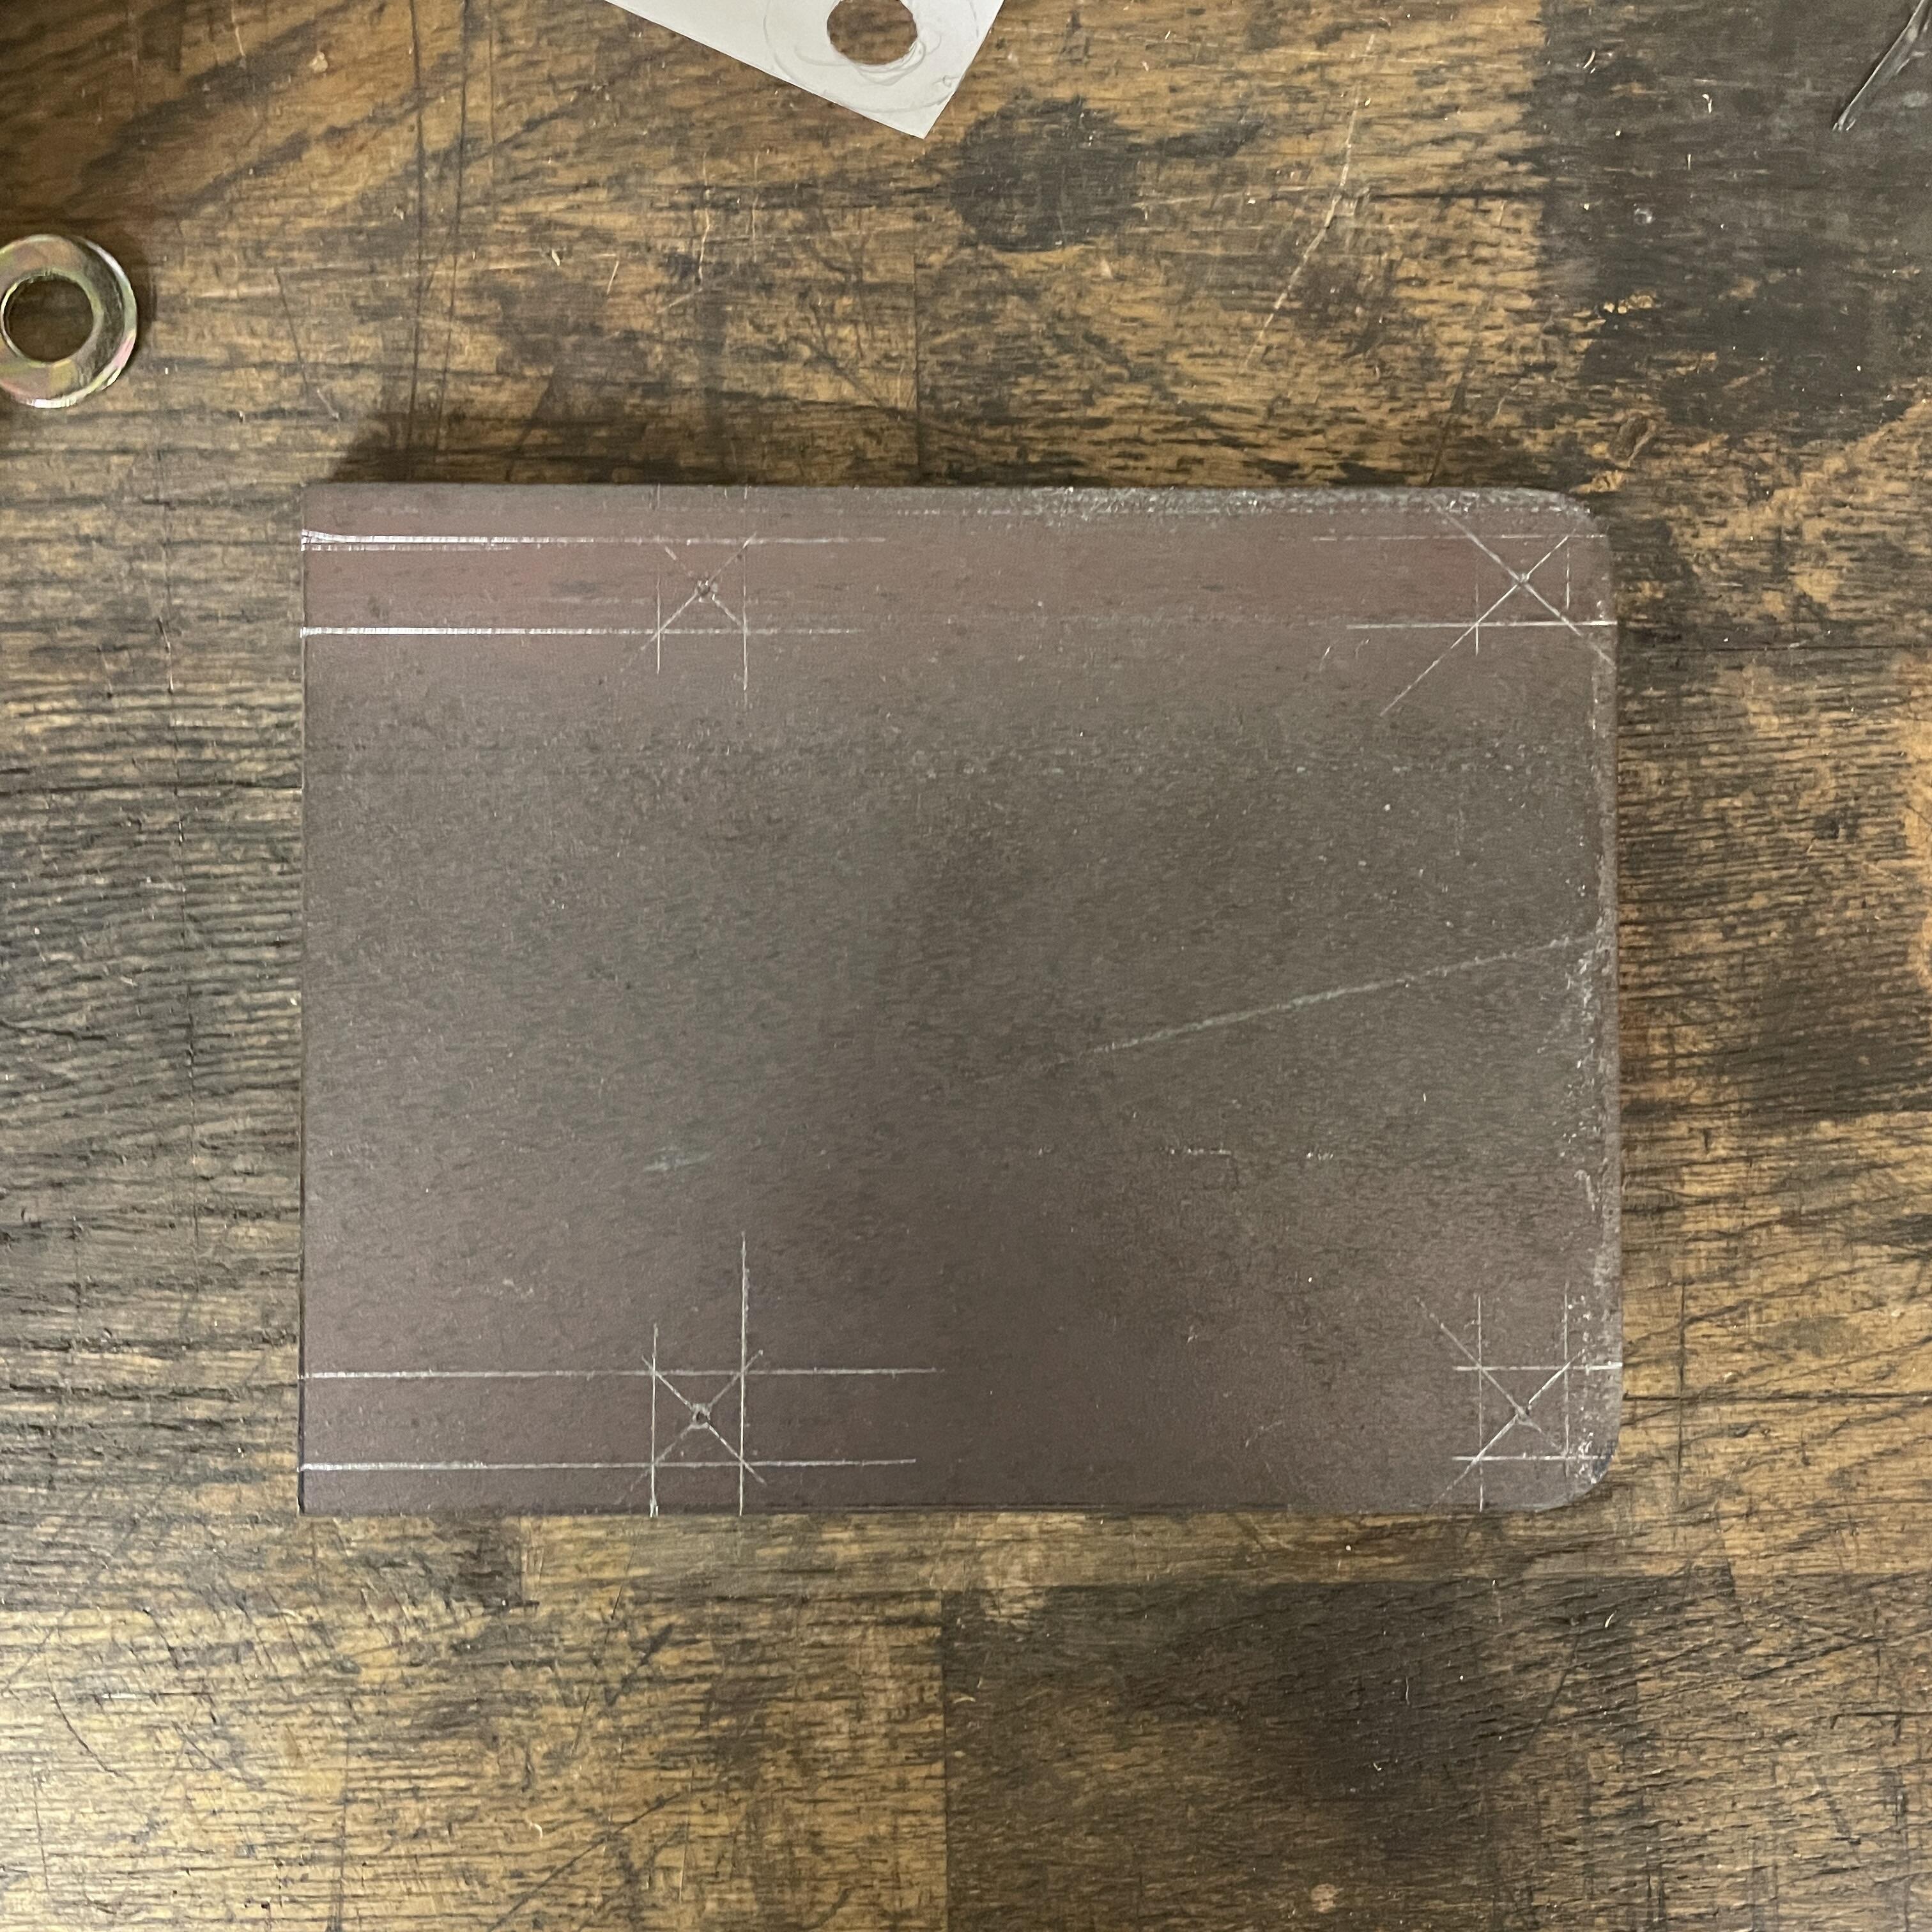
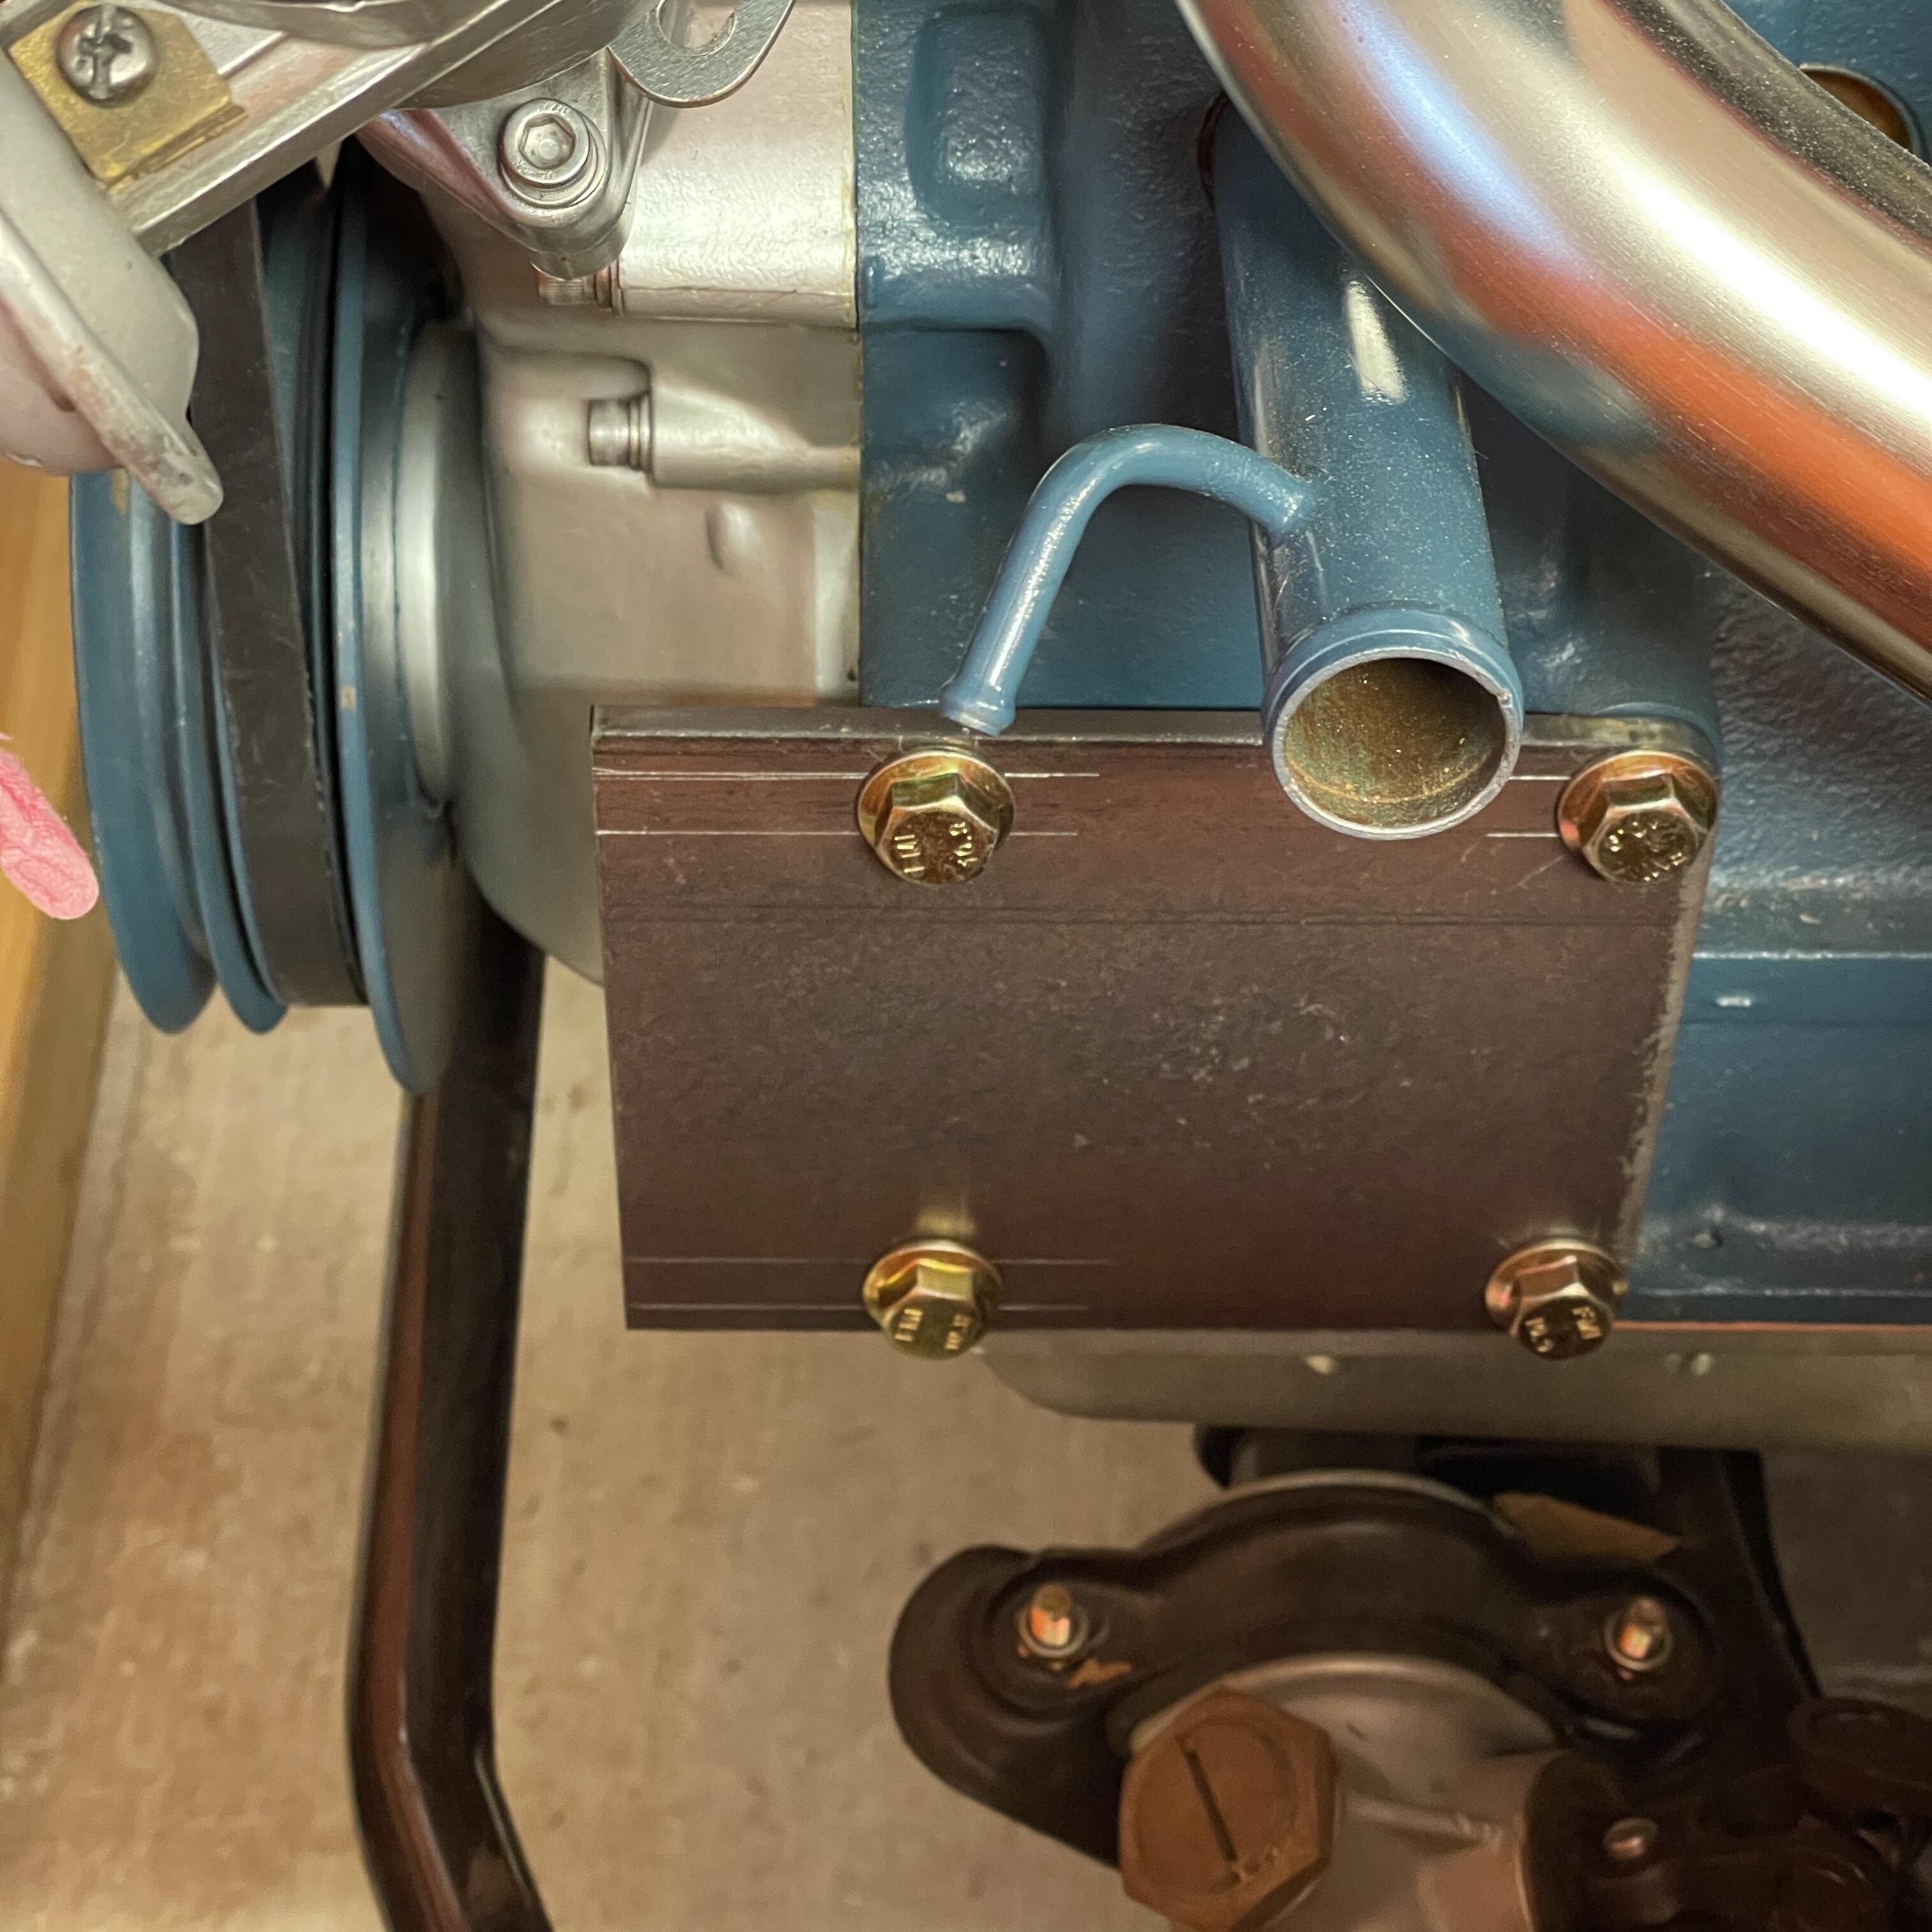
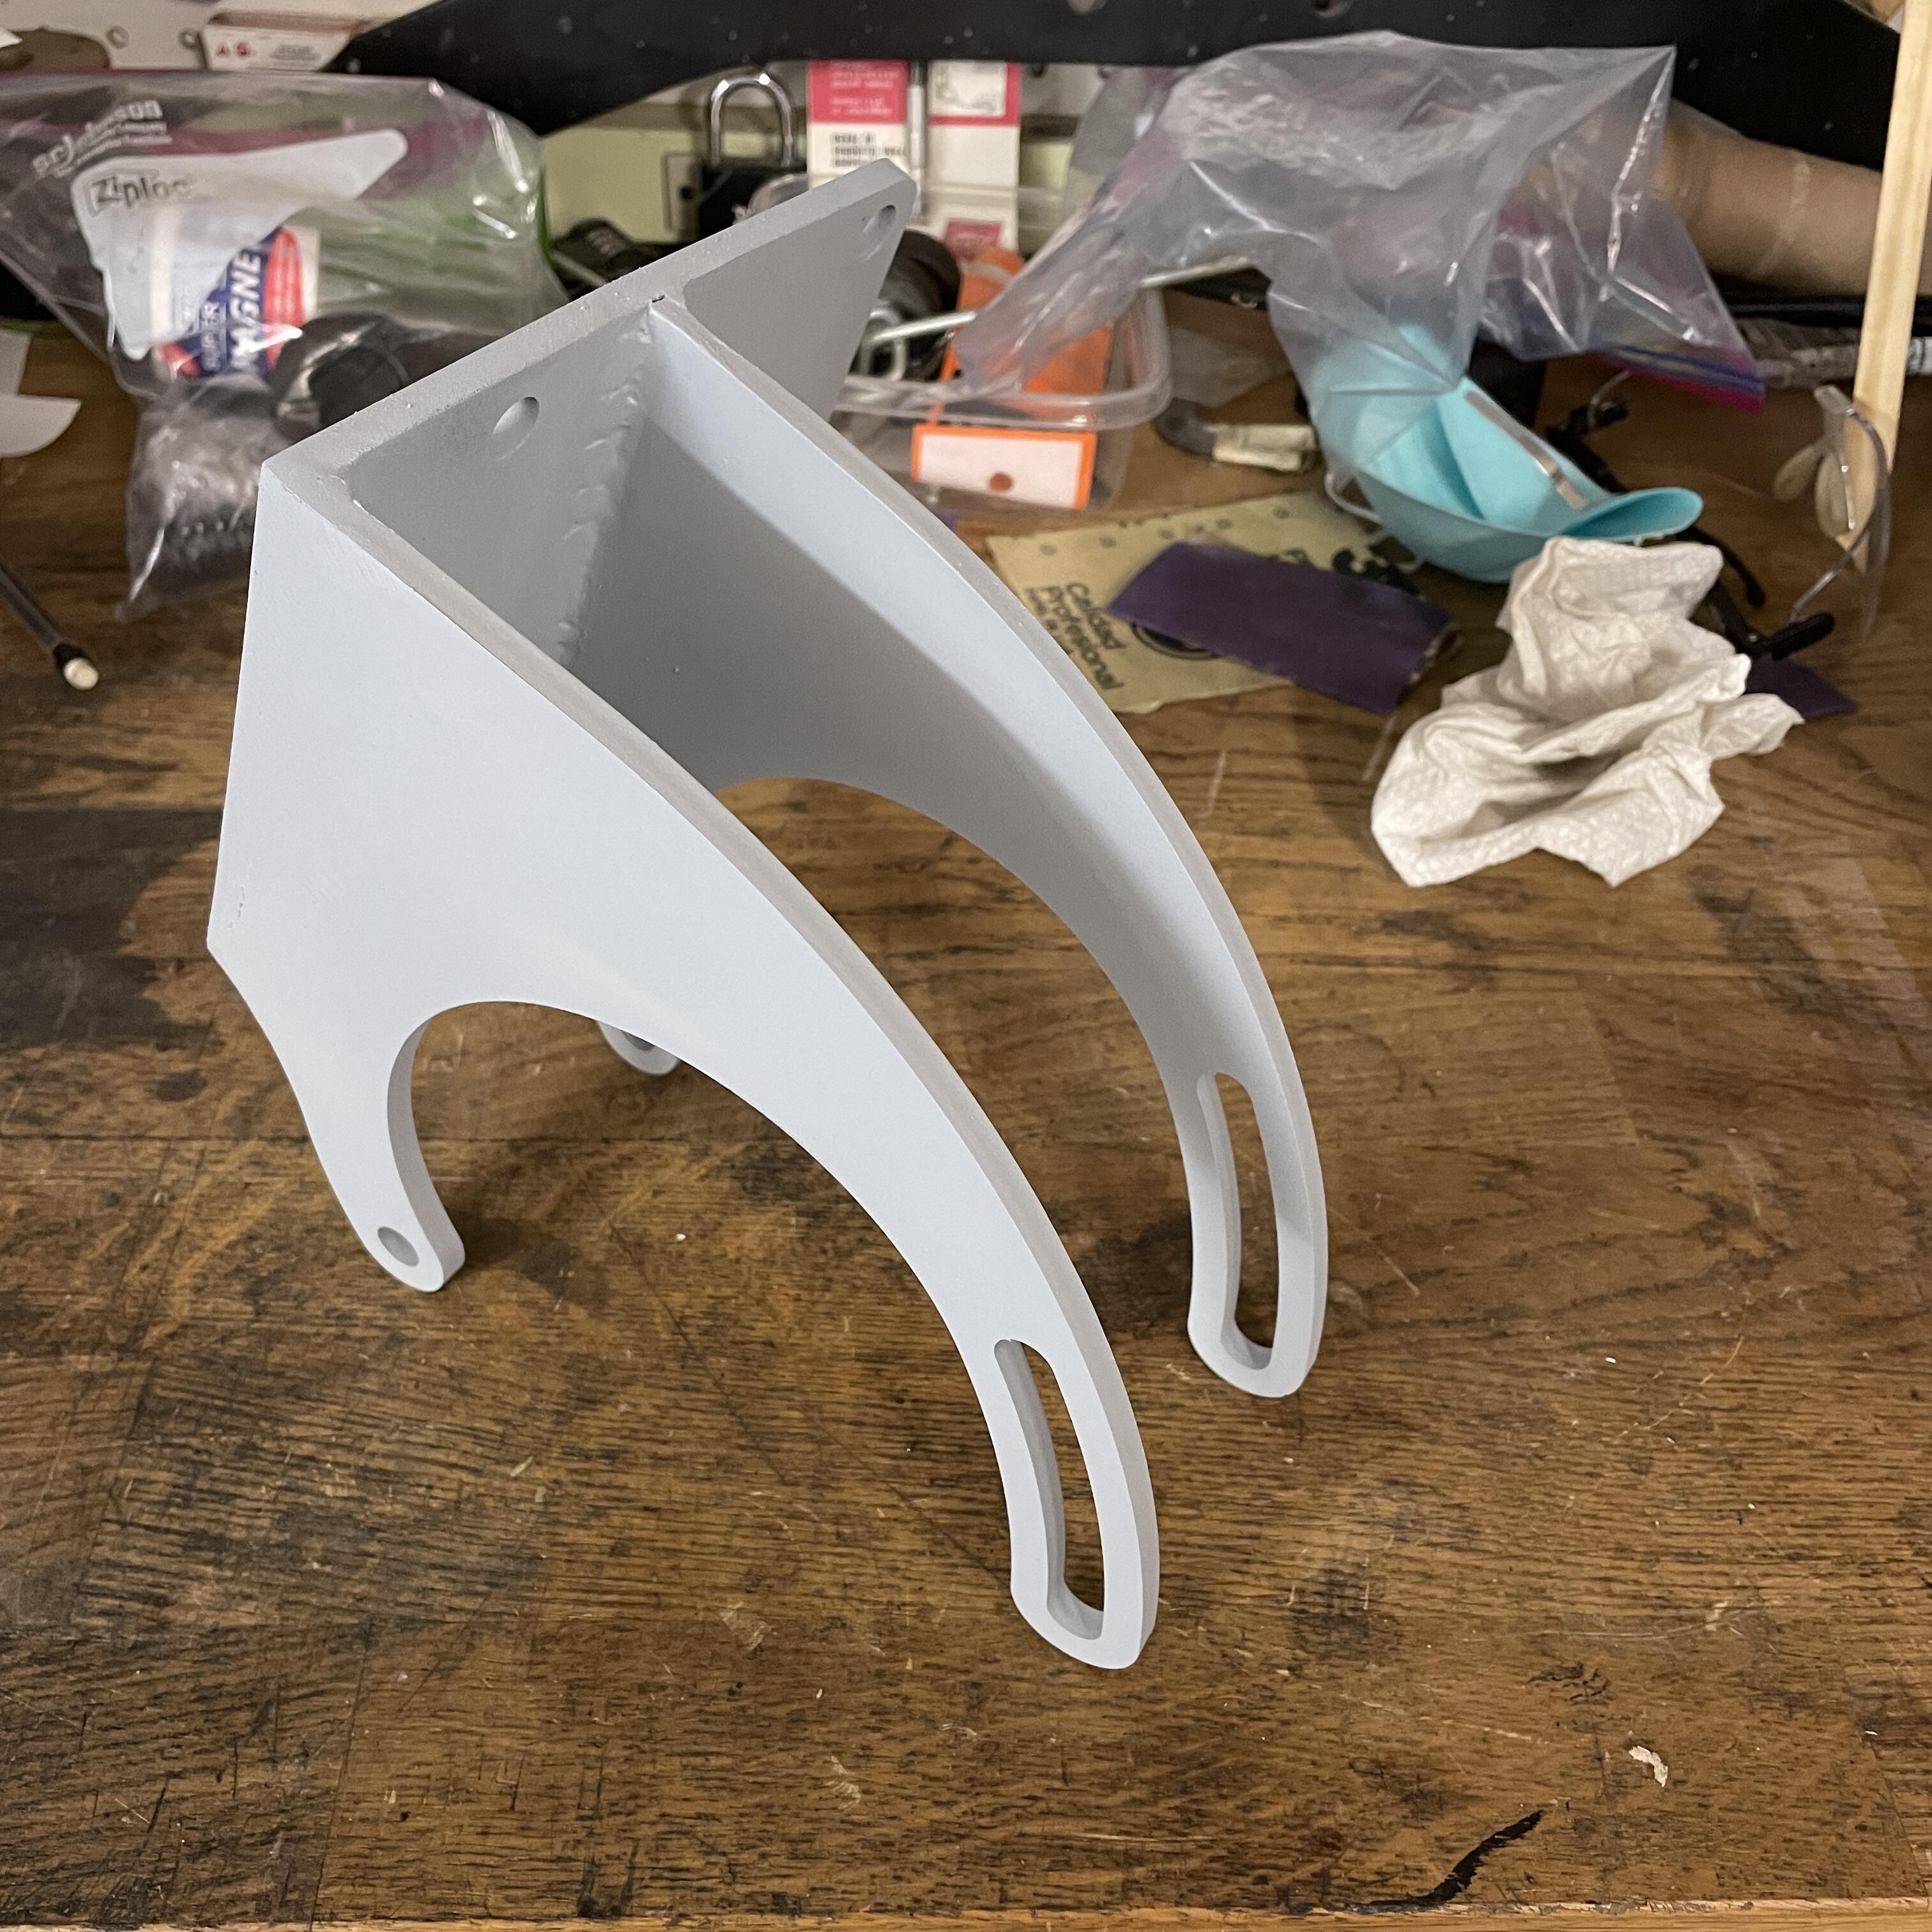
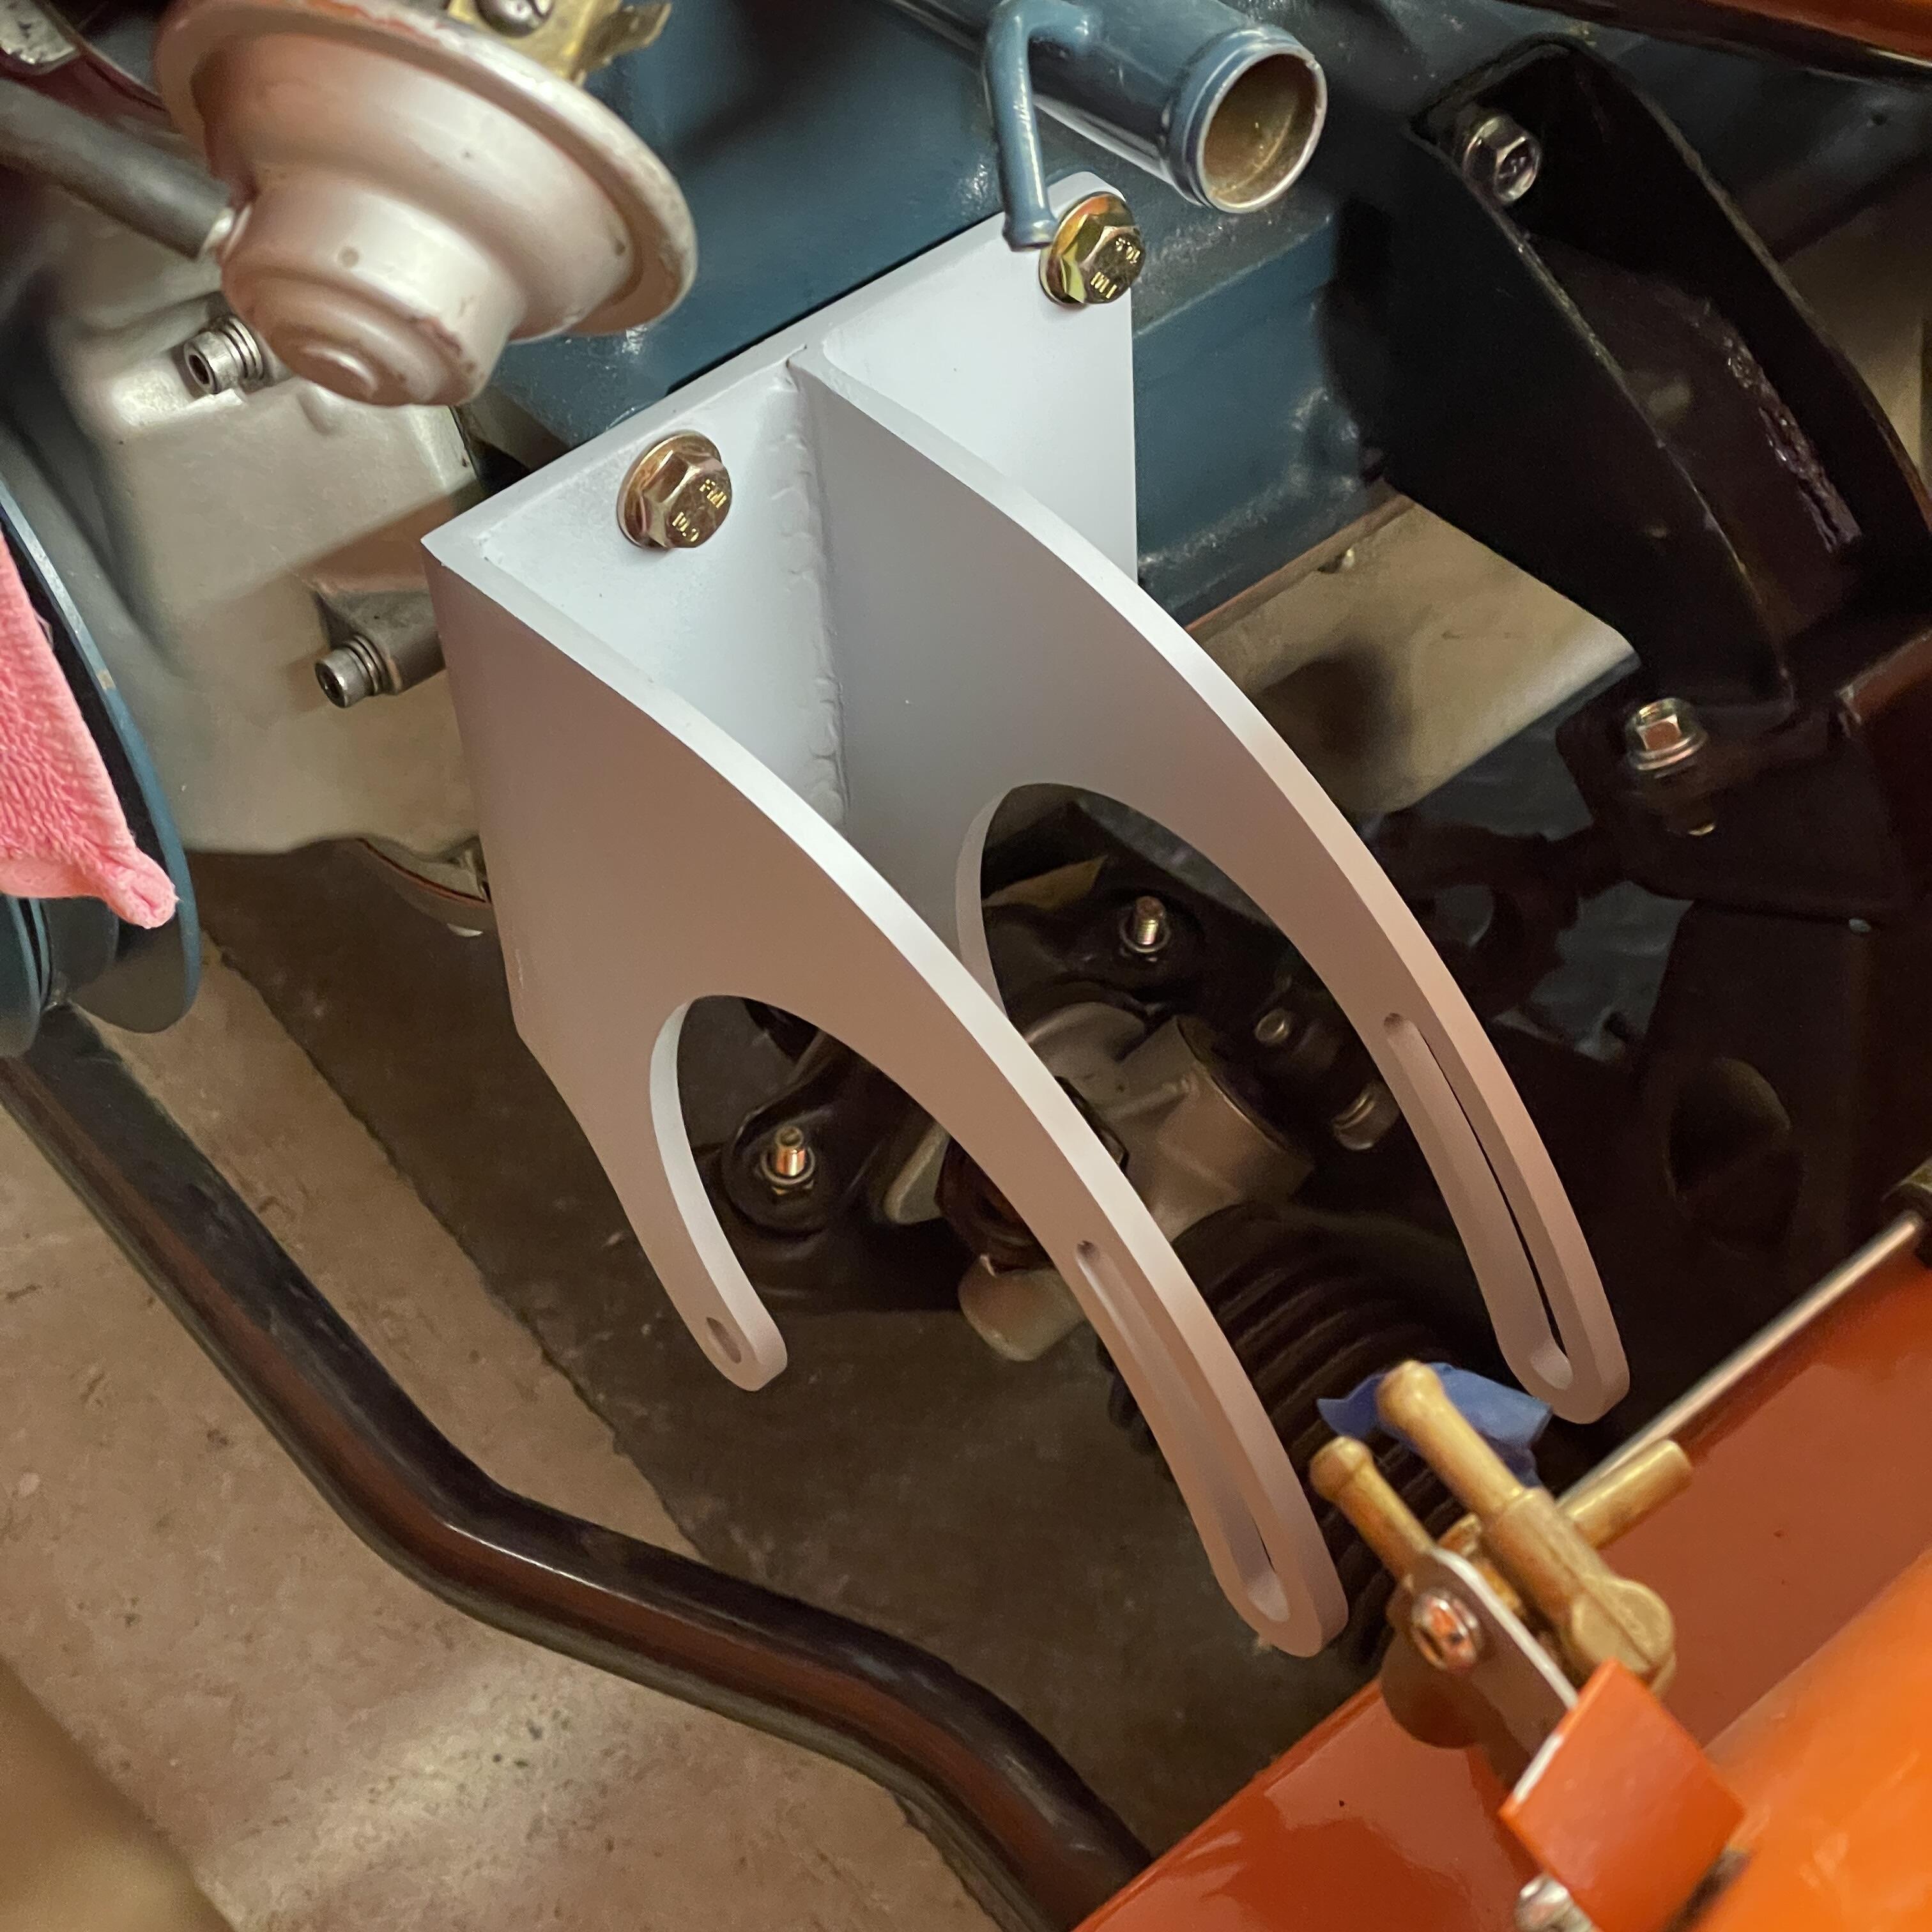
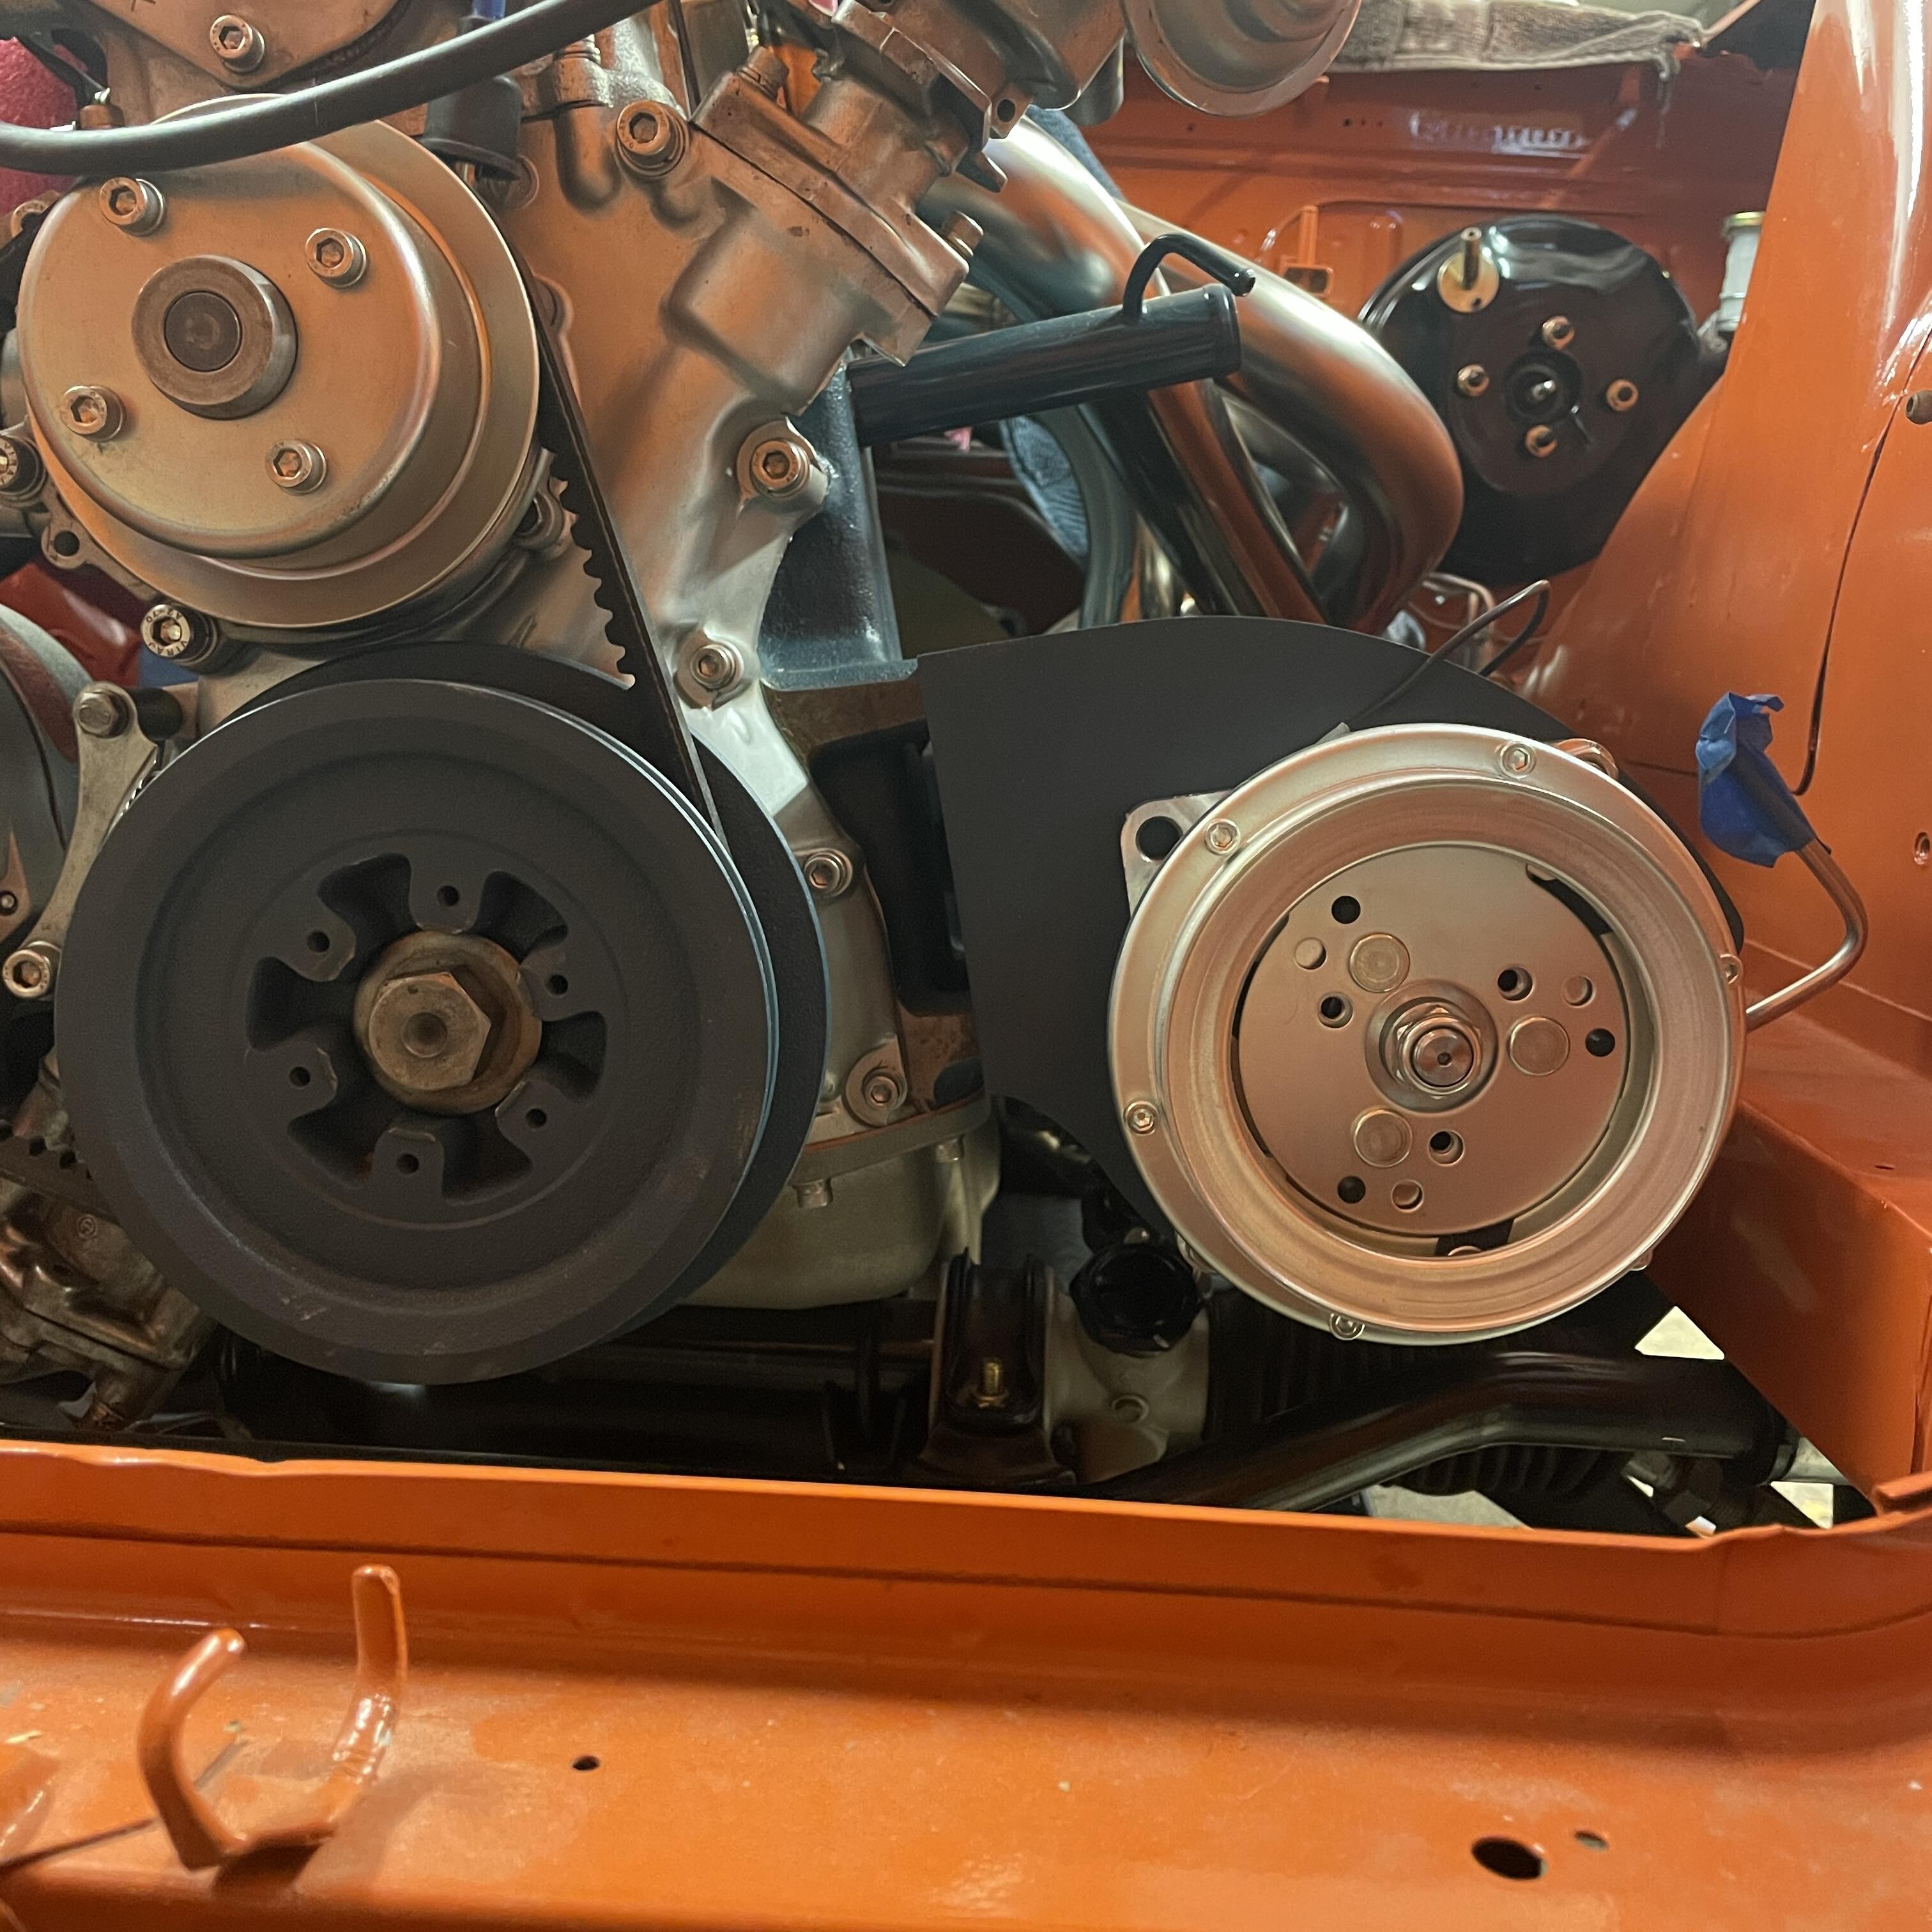
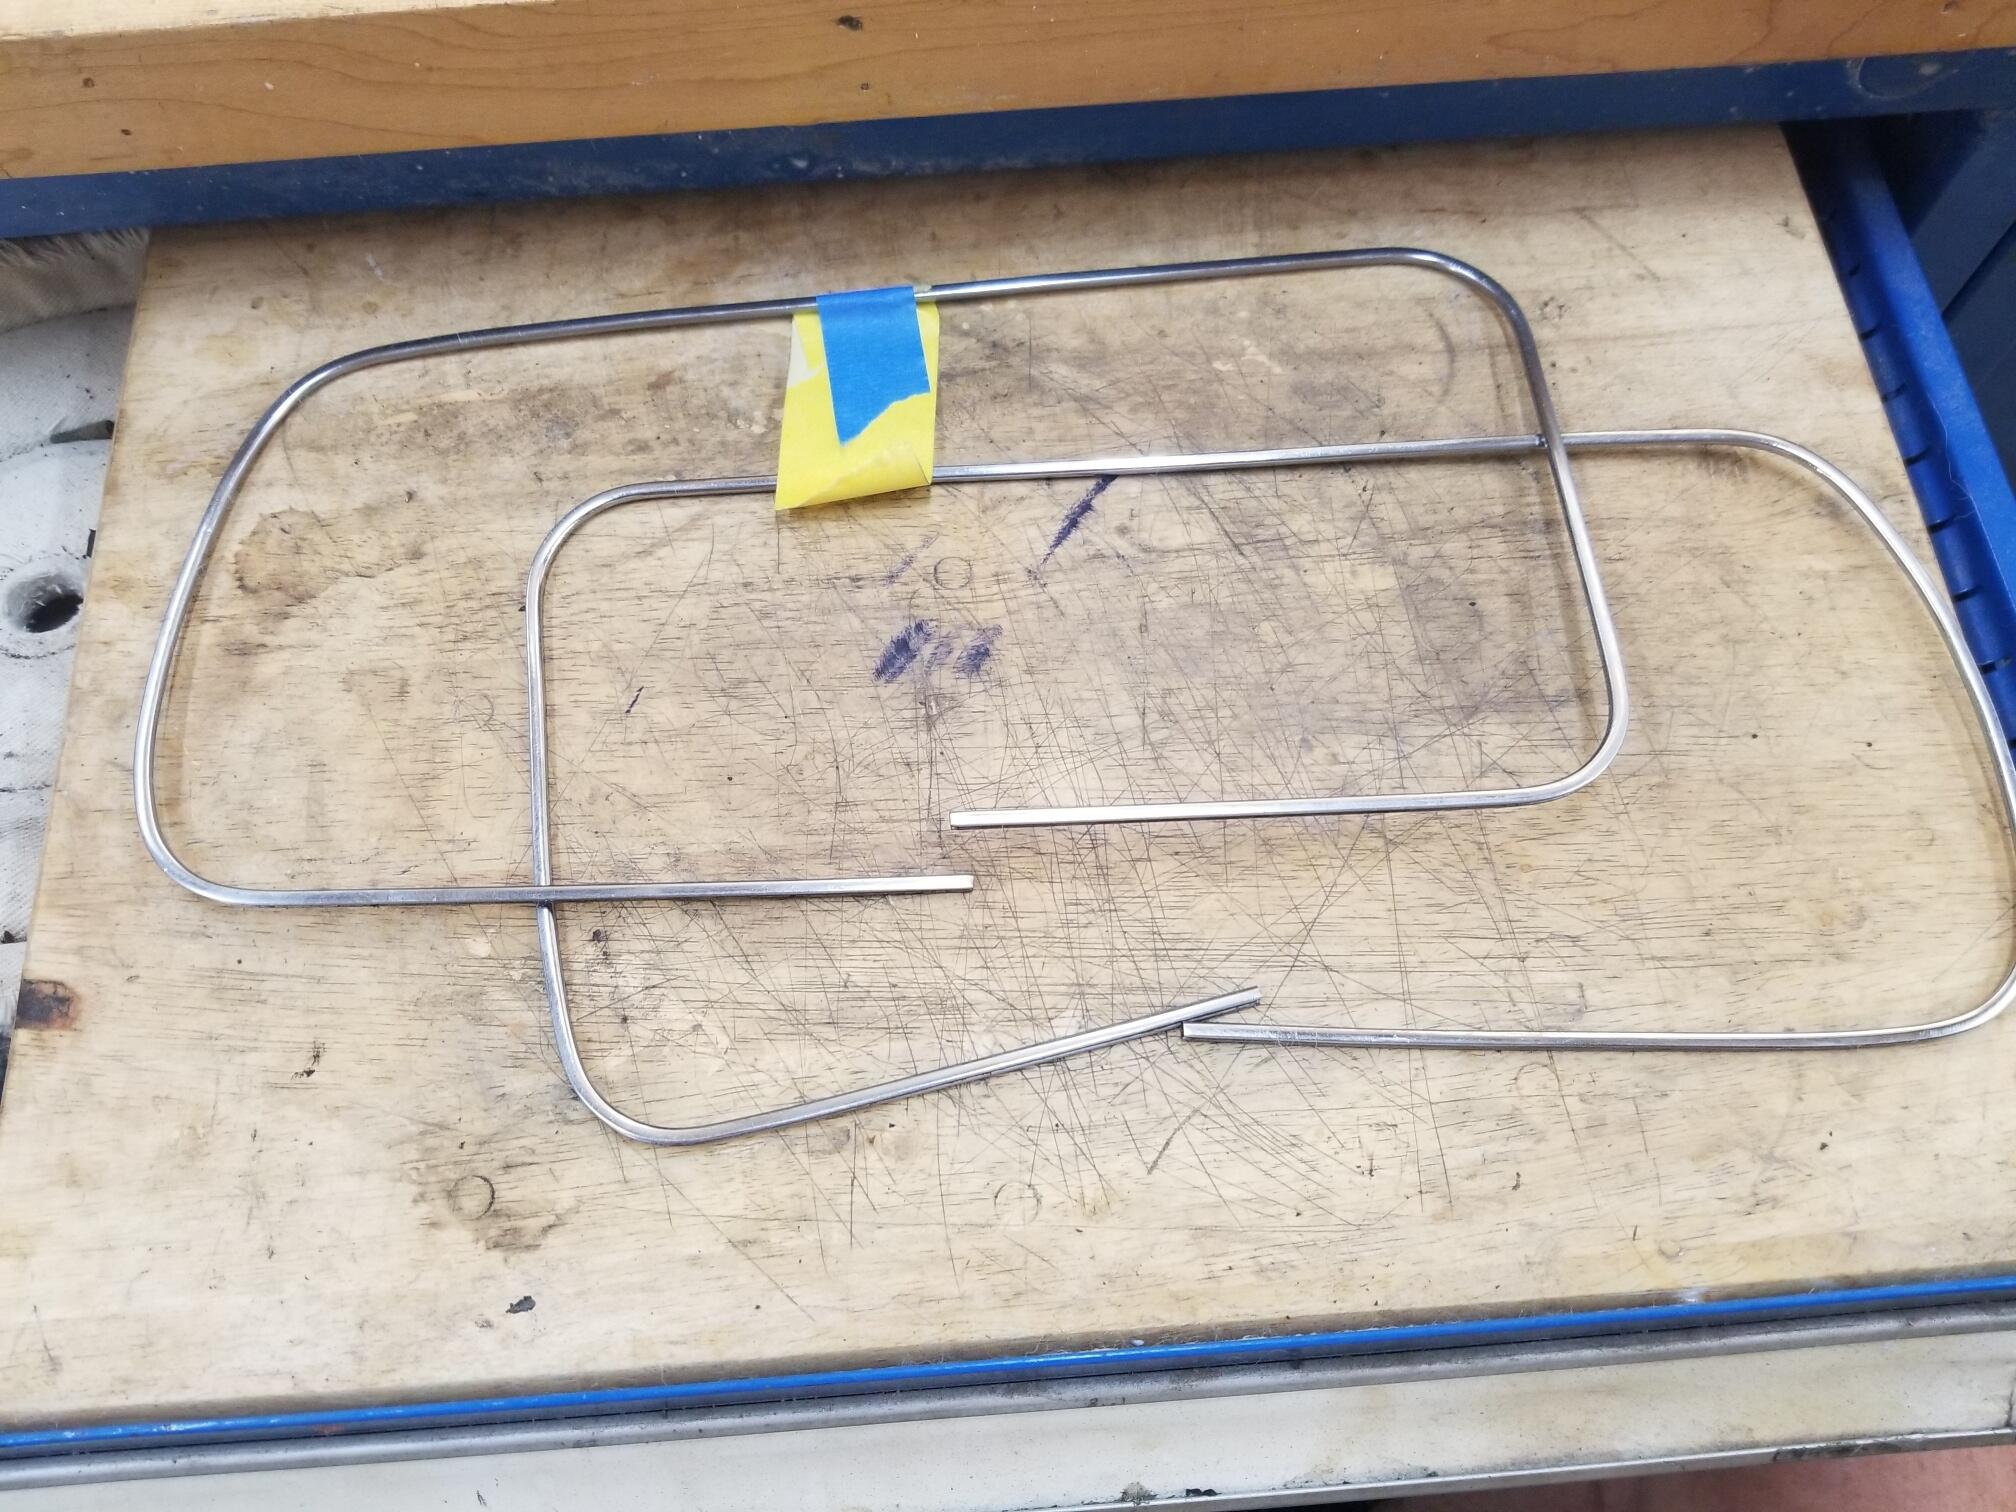
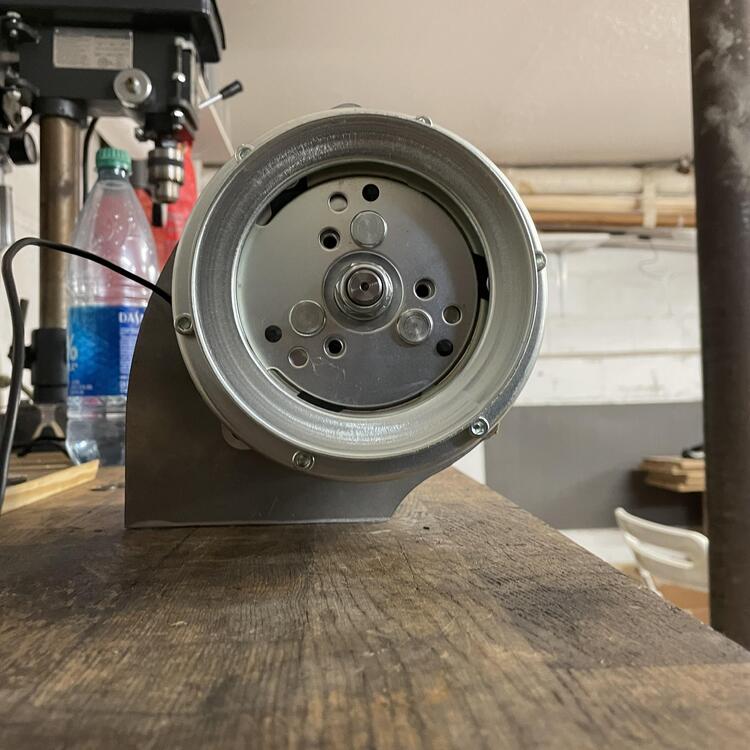
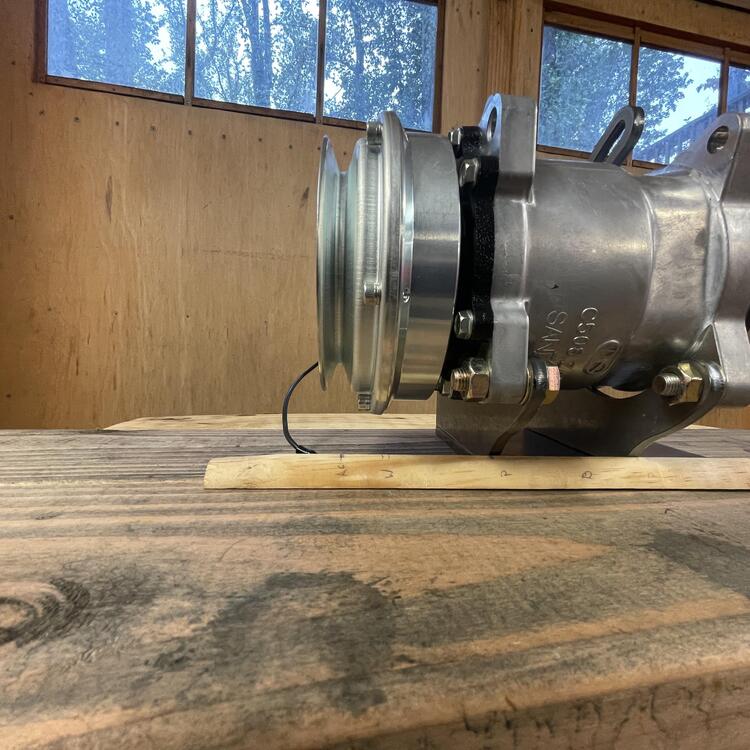
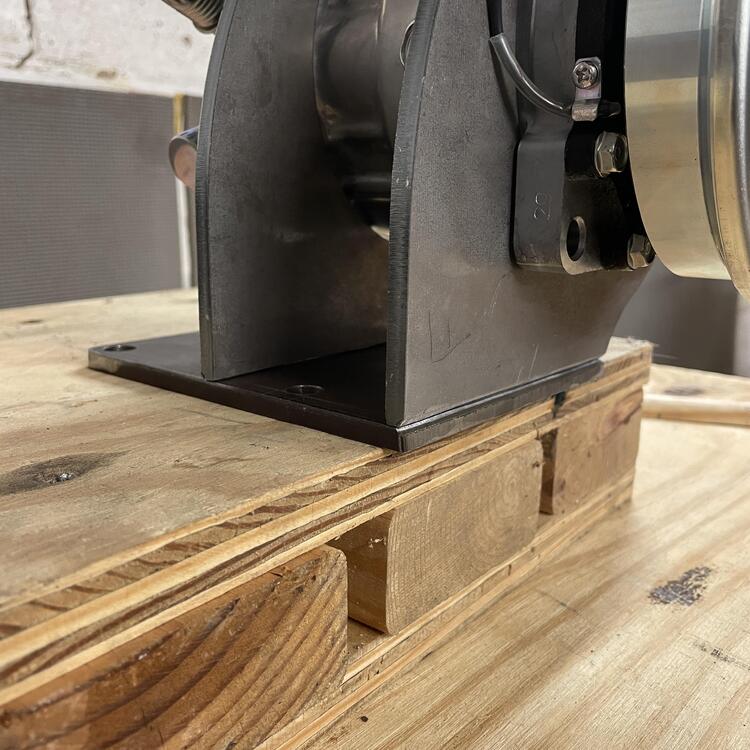
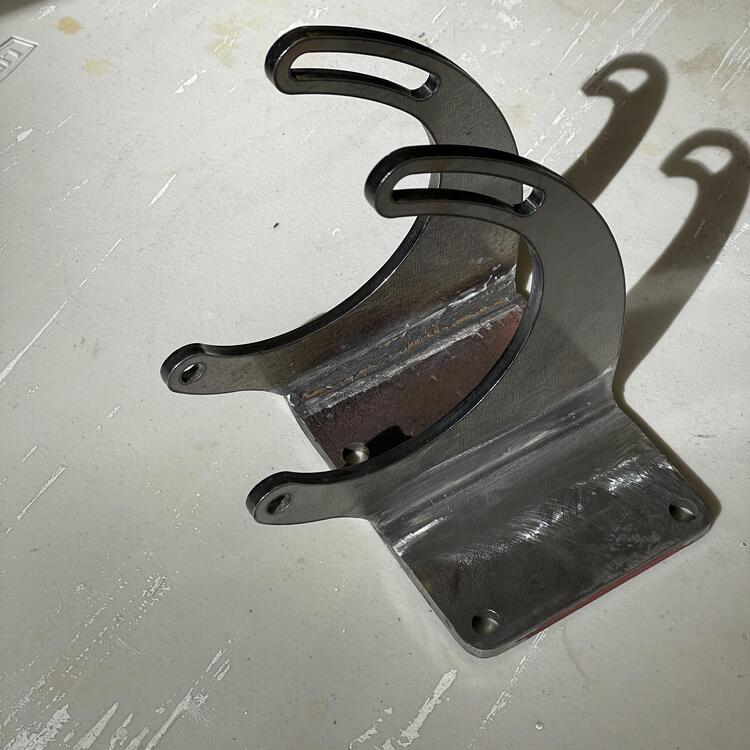
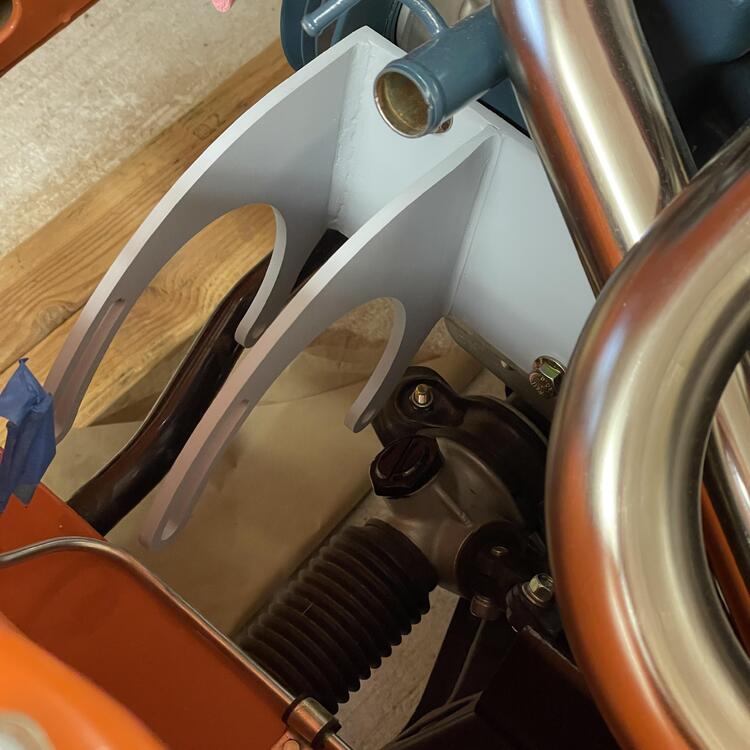
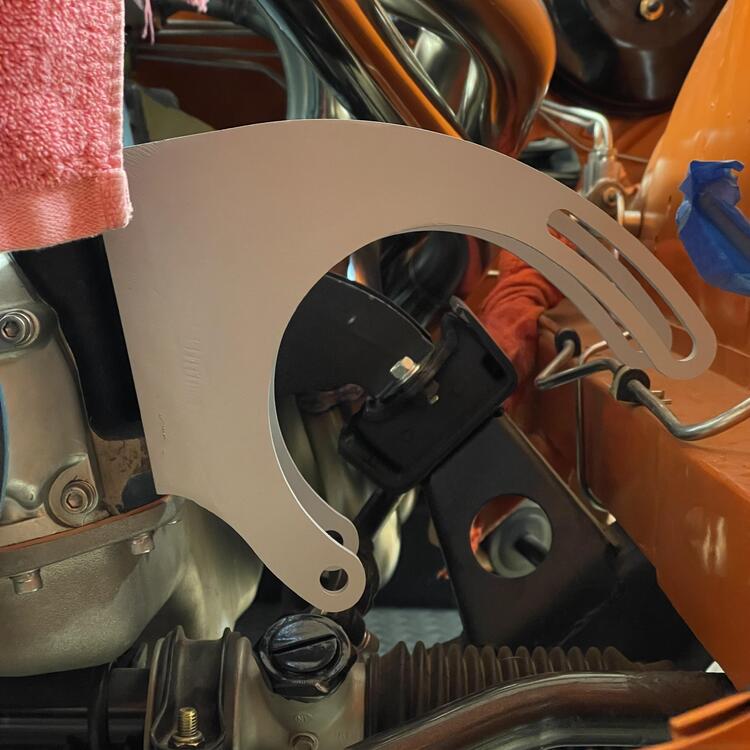
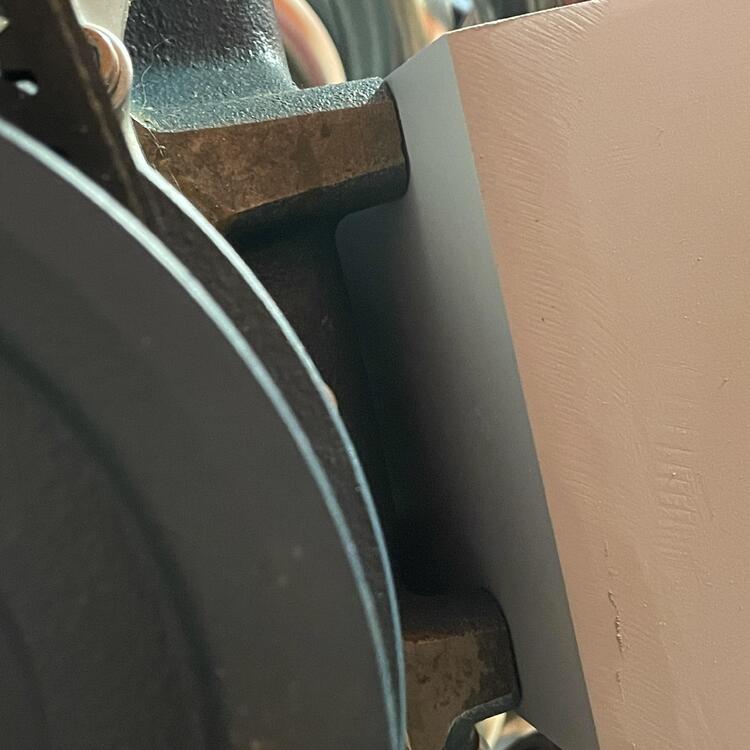
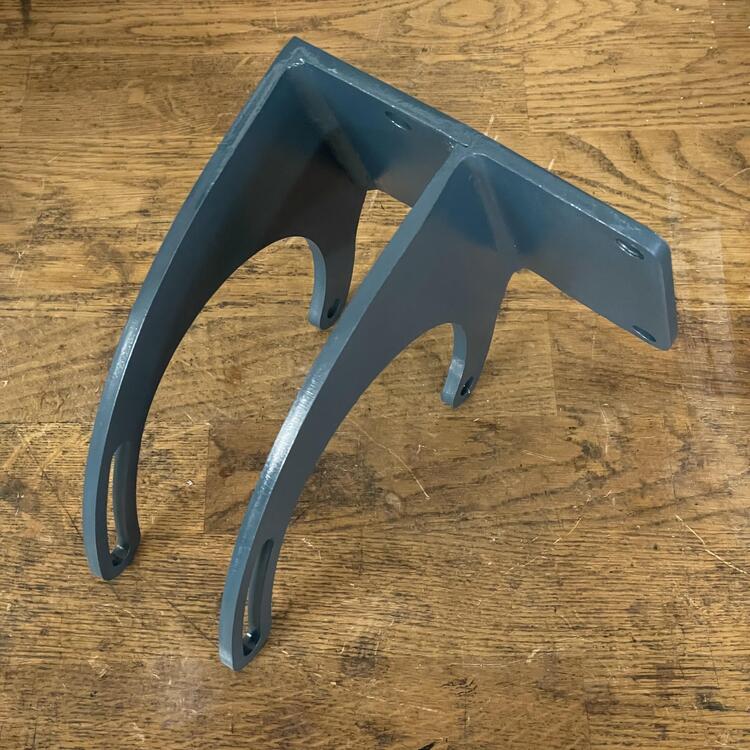
4 pointsMore progress… I fabbed up a bracket for my Sanden compressor because modifying the ZX bracket was turning out to be just too much. I used the Vintage Air universal bracket parts ($50 @ Summit) and a sheet of 1/4” steel from the hardware store, which I cut, drilled, and welded to the brackets. It came out okay. If I were going to do it over again (which I’m not) I would angle the bracket up more to 1. make more clearance for the compressor to slide in under the bracket, 2. move the compressor away from the frame when at the furthest point of adjustment, and 3. change the adjustment angle to be more perpendicular to the block, making the adjustment span more pronounce/longer. Otherwise I’m happy with it.


 4 points
 -
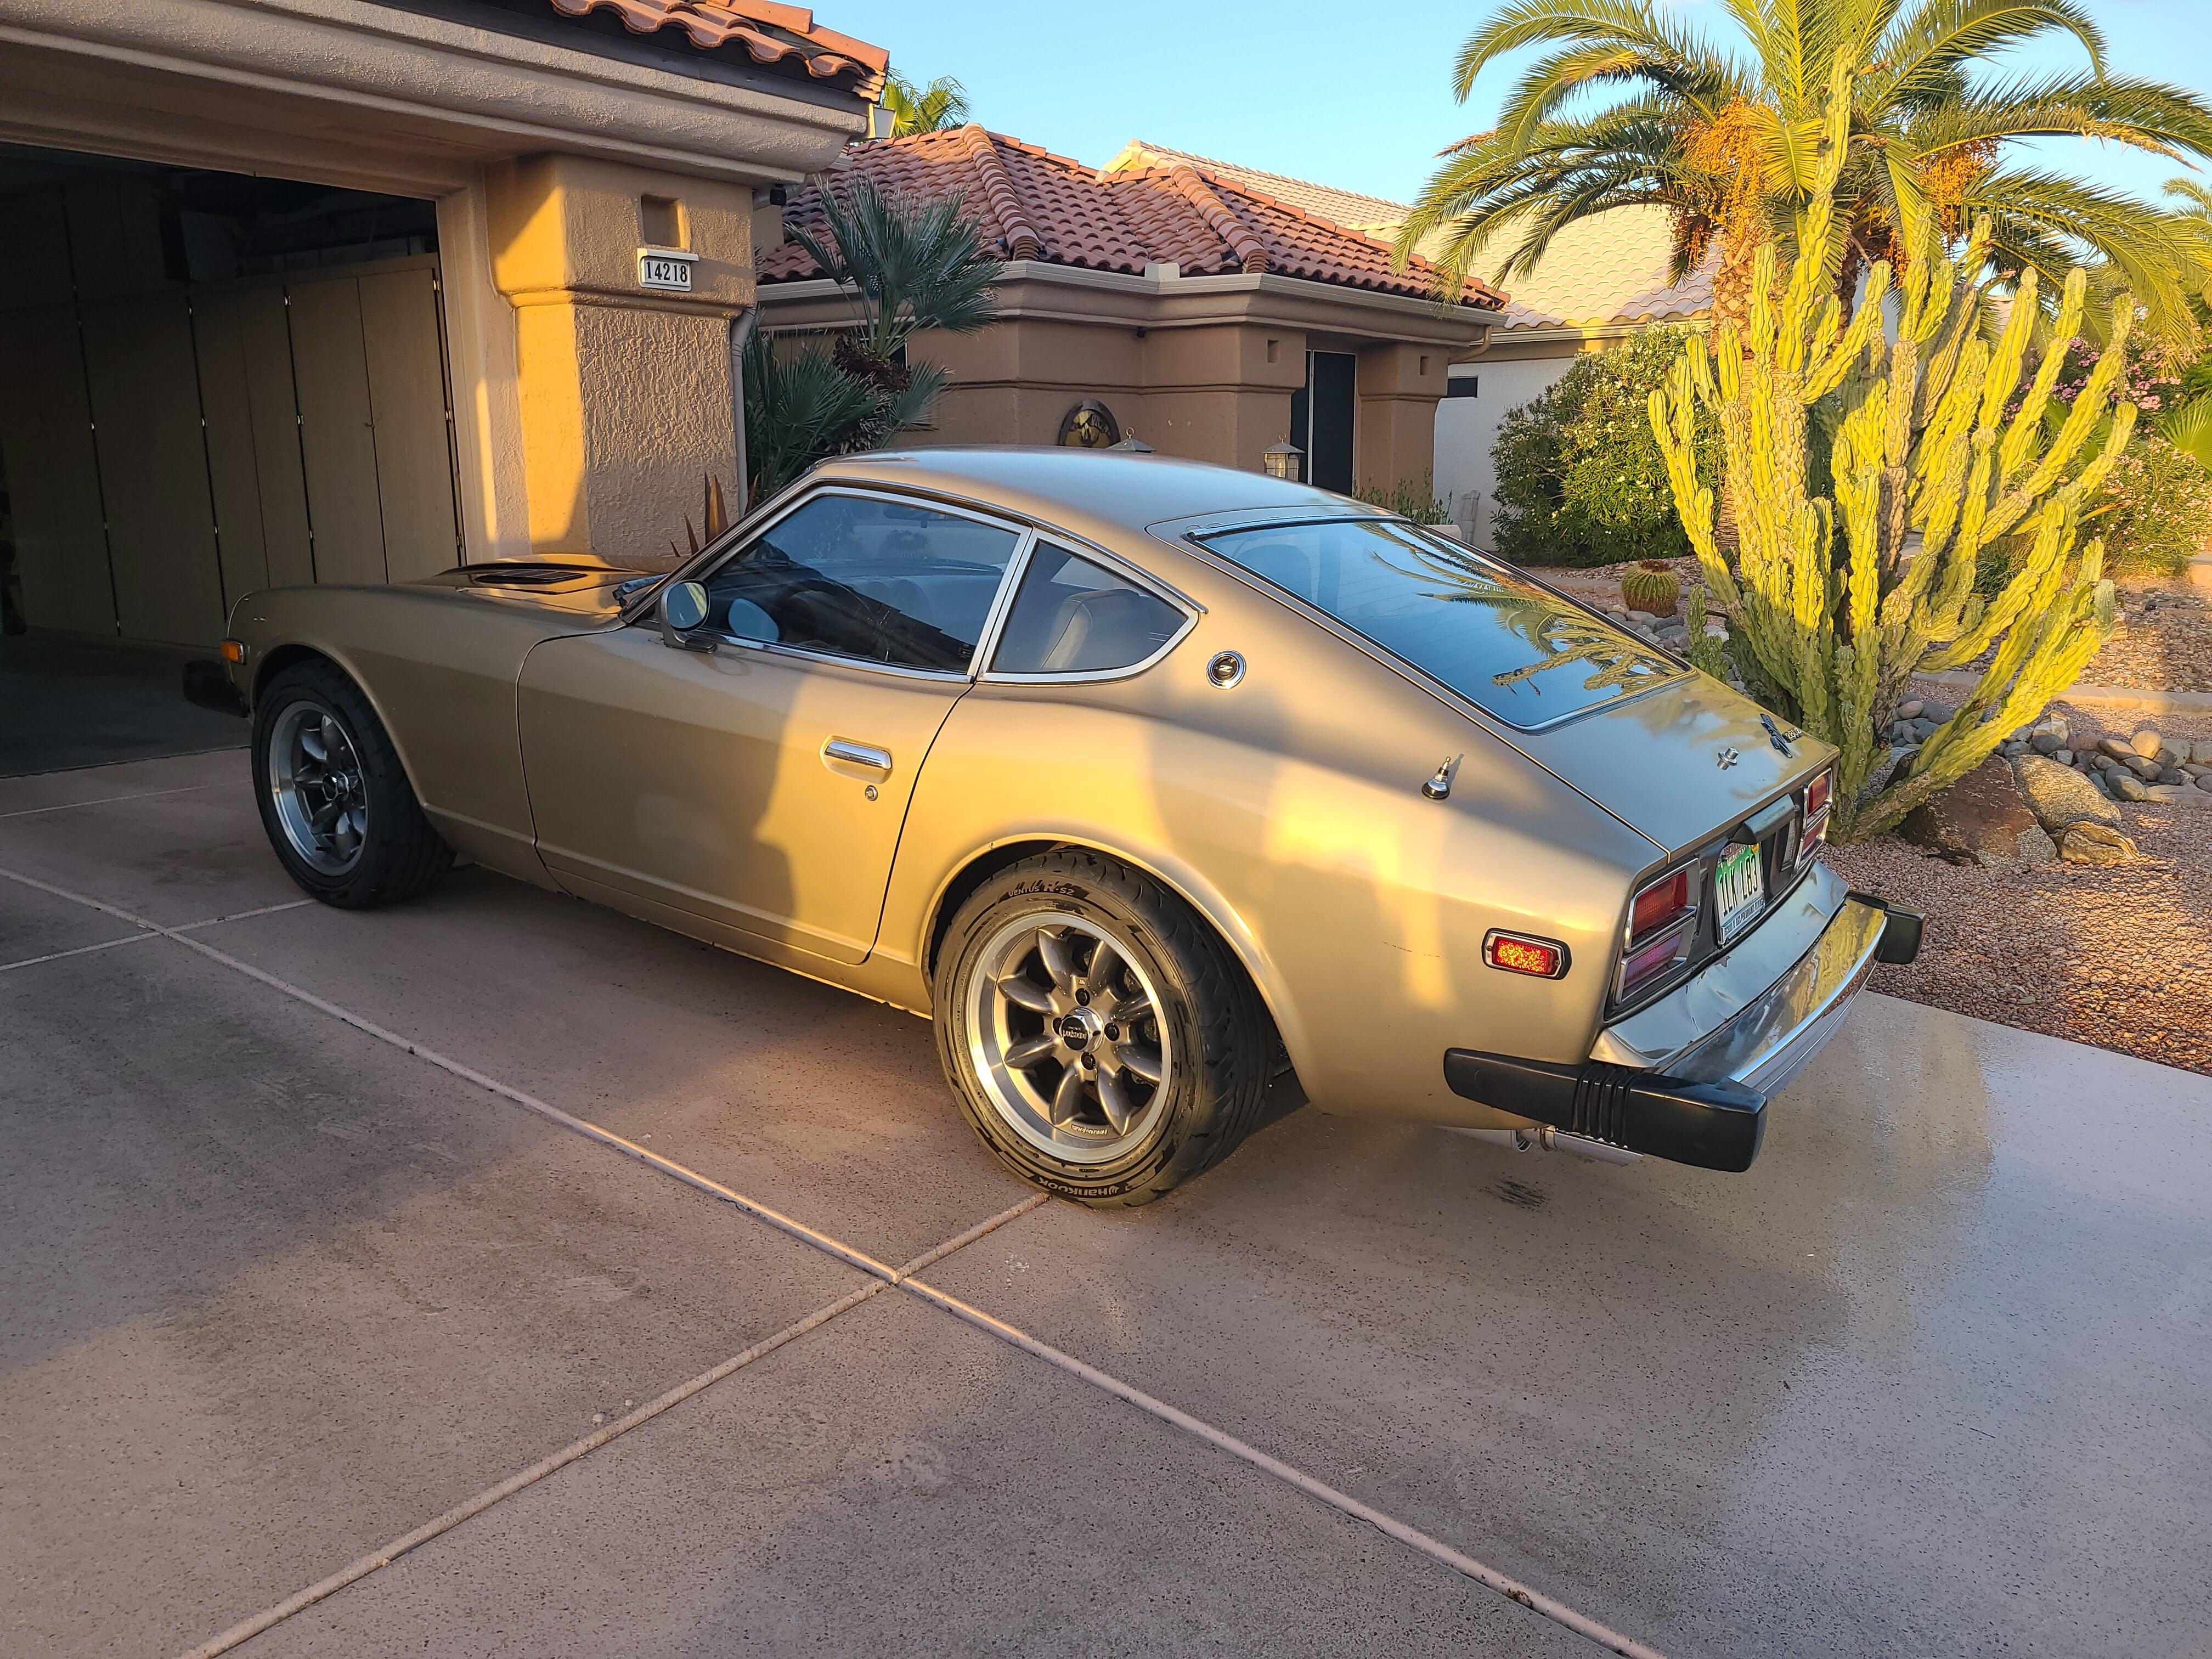
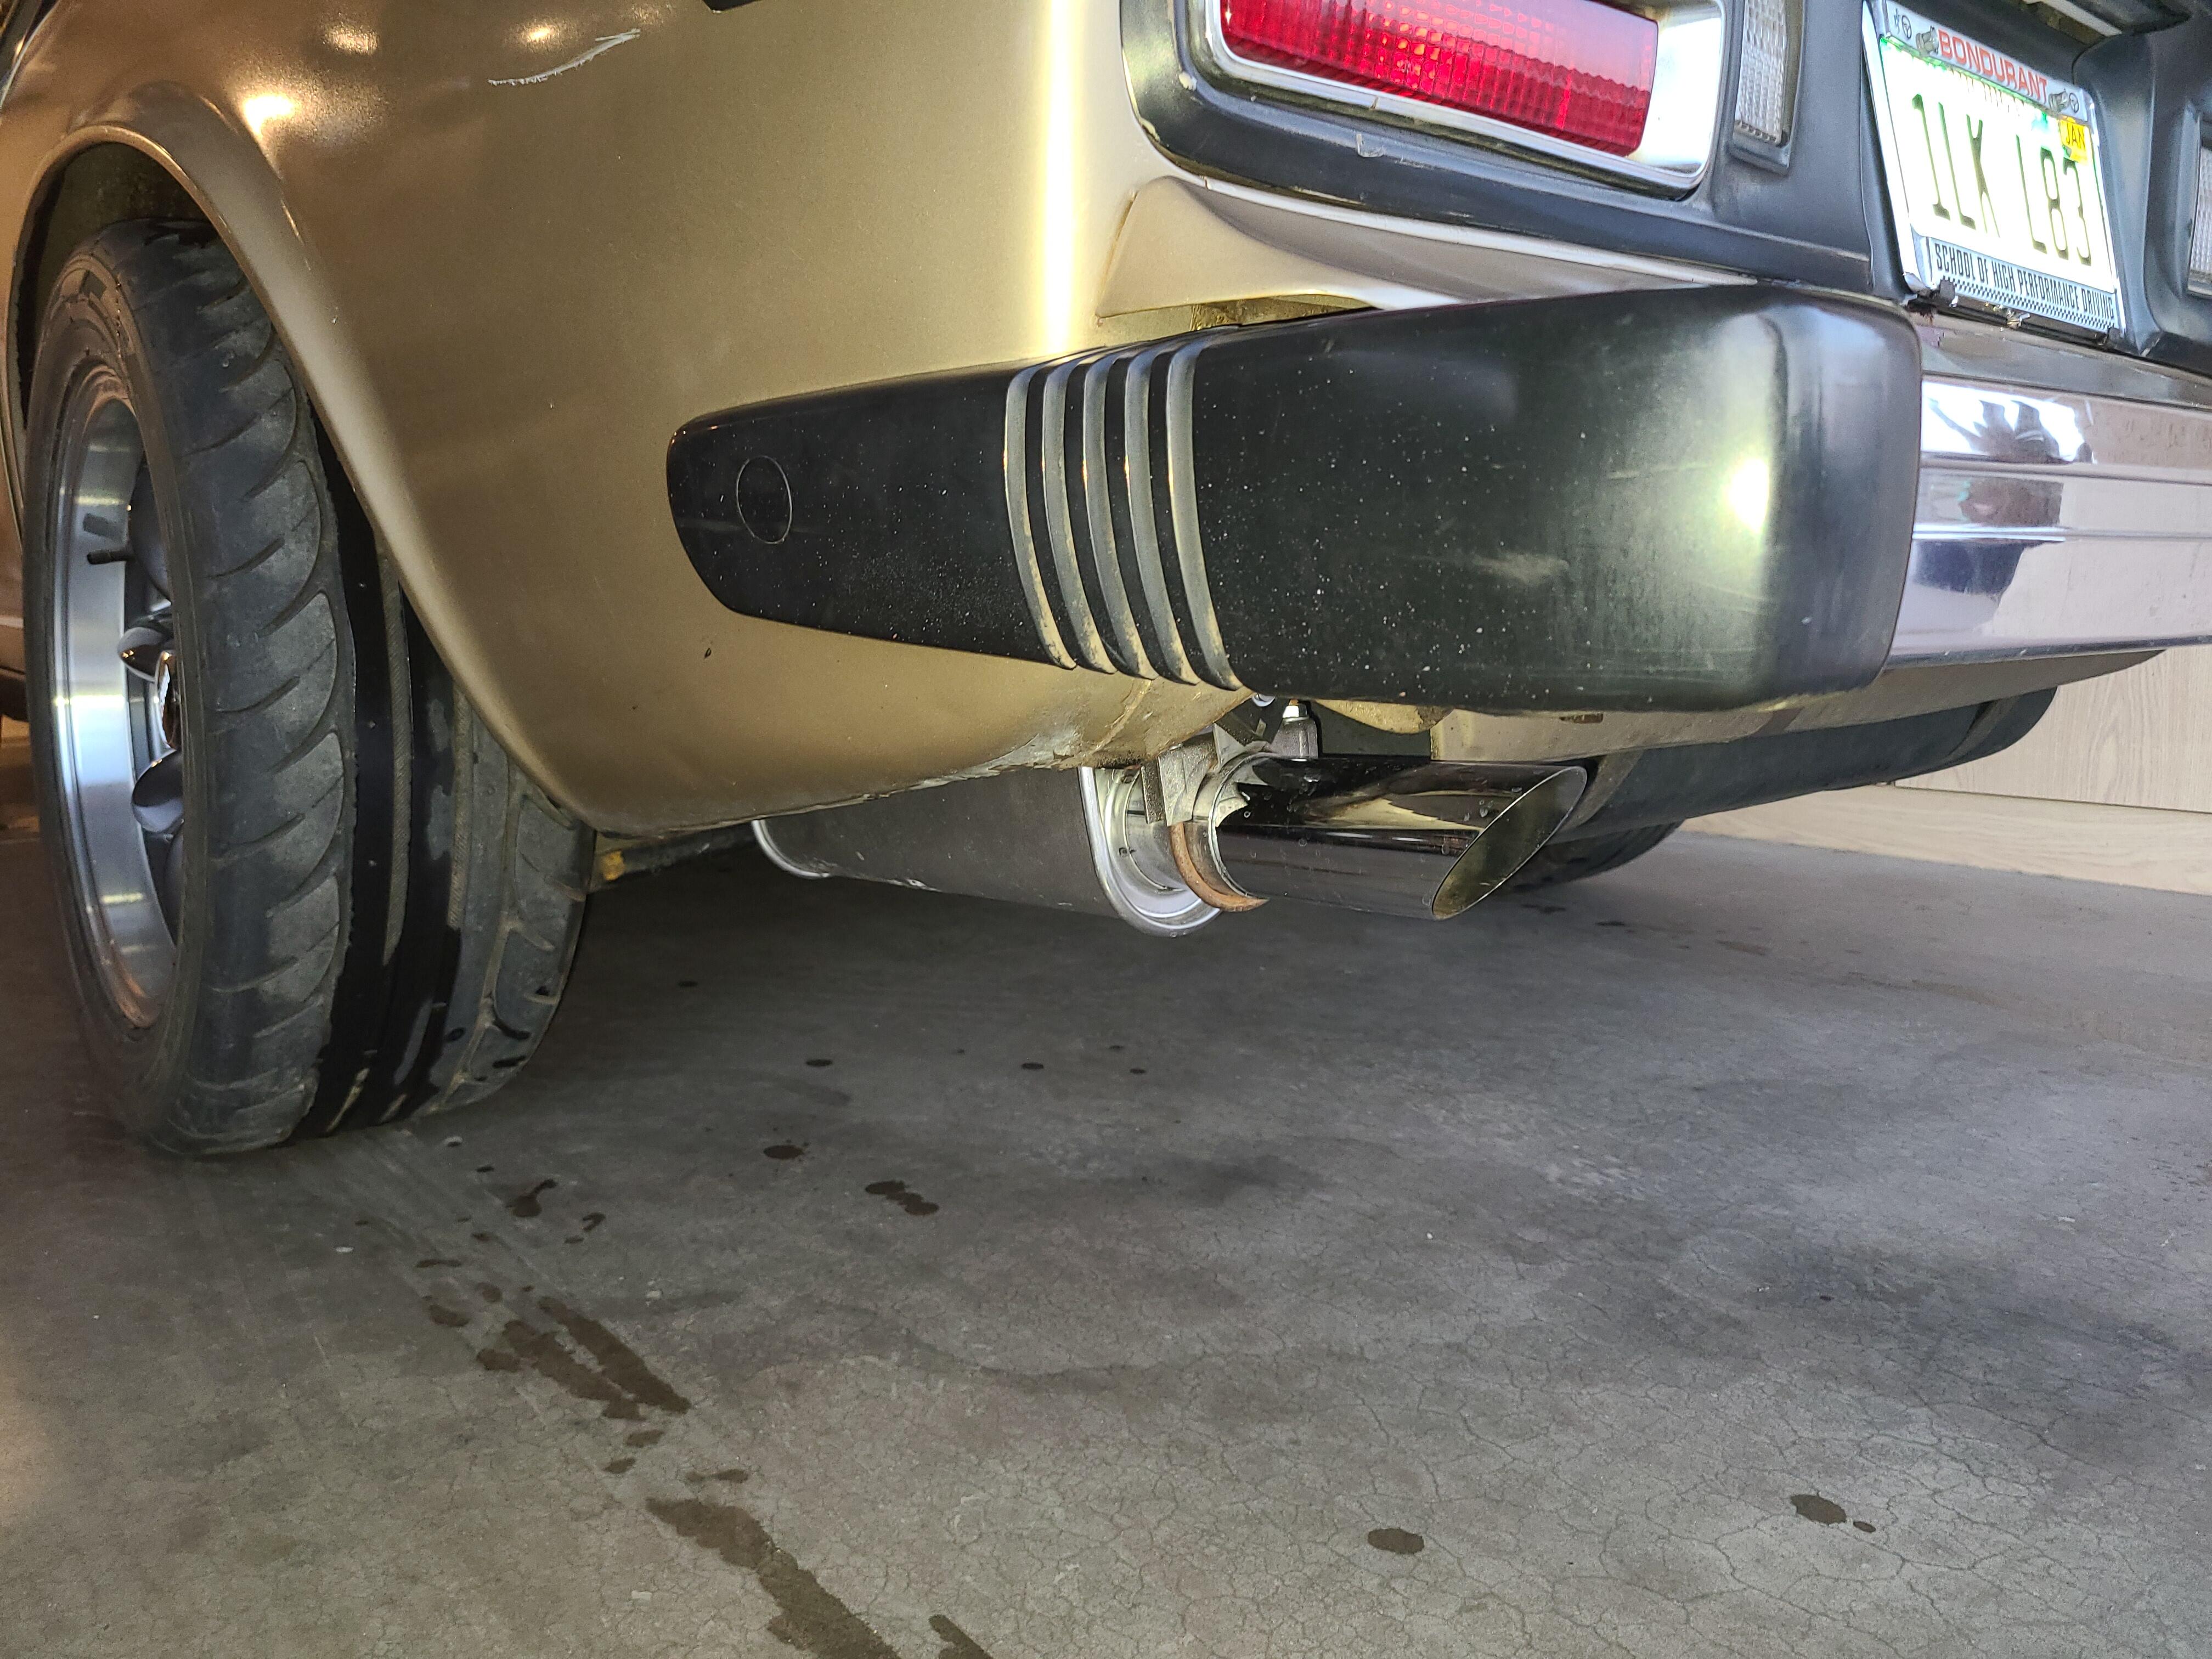
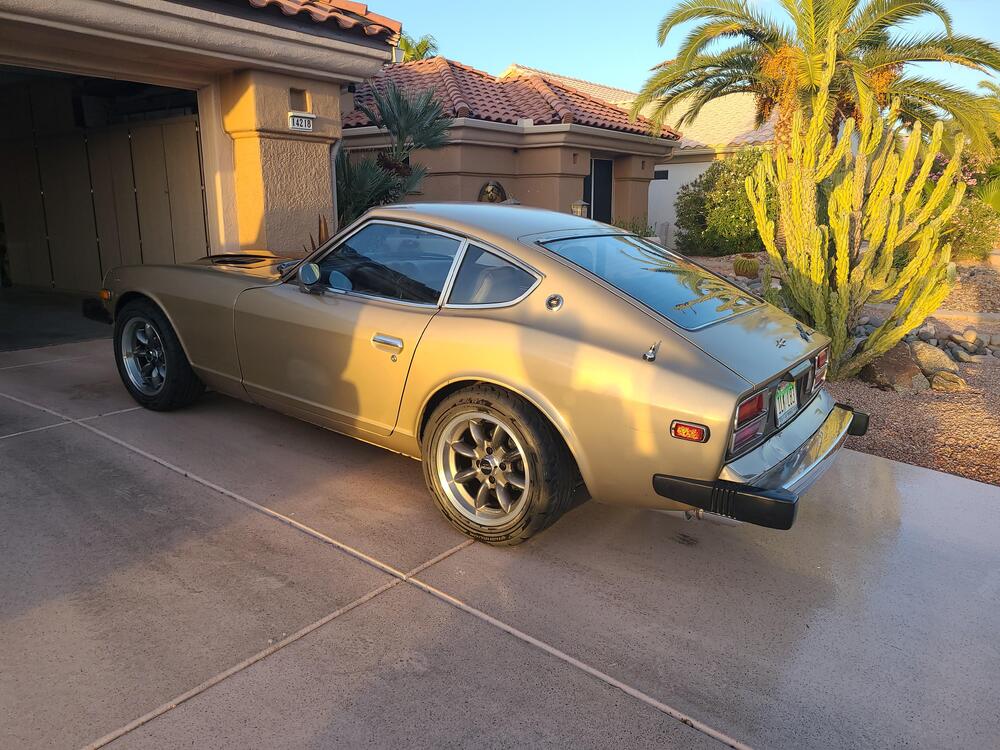
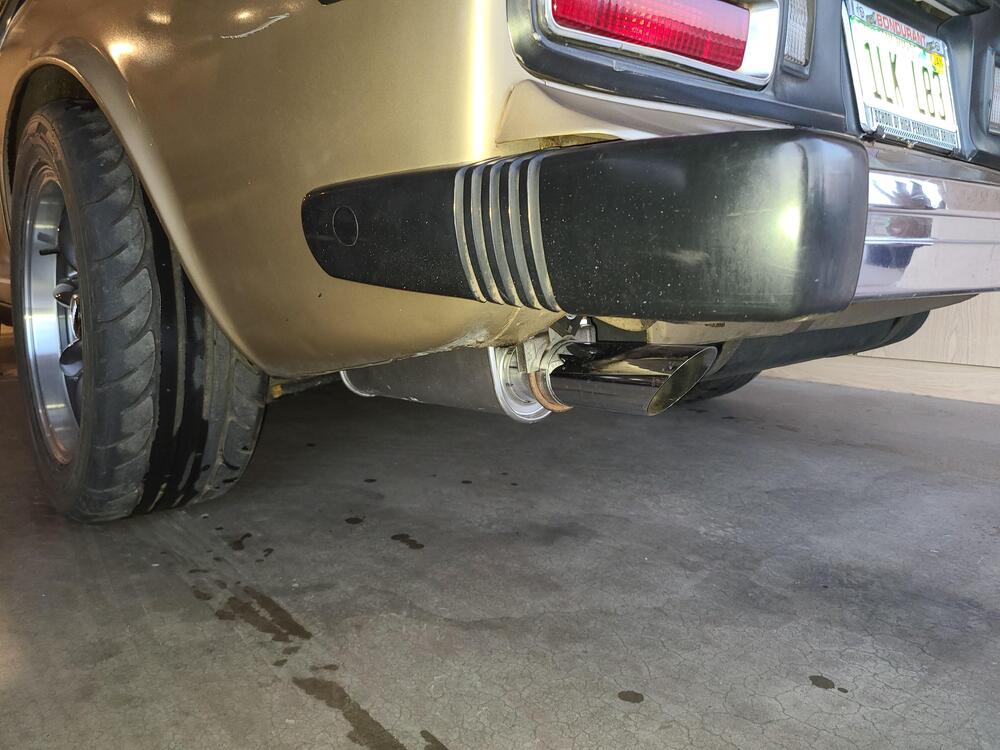
My Z is off the jackstands after I installed a new MSA exhaust and replaced the RMS, trans output seal and the speedo cable O ring. For anybody struggling to fit the MSA exhaust, after I cut 1" out of the Z bend pipe, and played with the rest for a while, I got it to fit very well. The front OE hanger that hangs the exhaust from the trans needs to be modified to fit the larger pipe and larger U bolt. 10 minutes with a die grinder and it fit great. I modified the bracket so that the top of the pipe was in the same spot so it didn't move up closer to the crossmember. The short straight pipe they give you goes behind the long pipe. If you try to put it behind the header, the angles are all wrong. Finally, the rear hanger is way too short for a 280Z. I had to add another strap. This week, I will put collector car insurance on it, change the title over from AZ to MI, and get collector car plates. In AZ, they are made of copper. I can actually start driving it again!

 4 points
 -
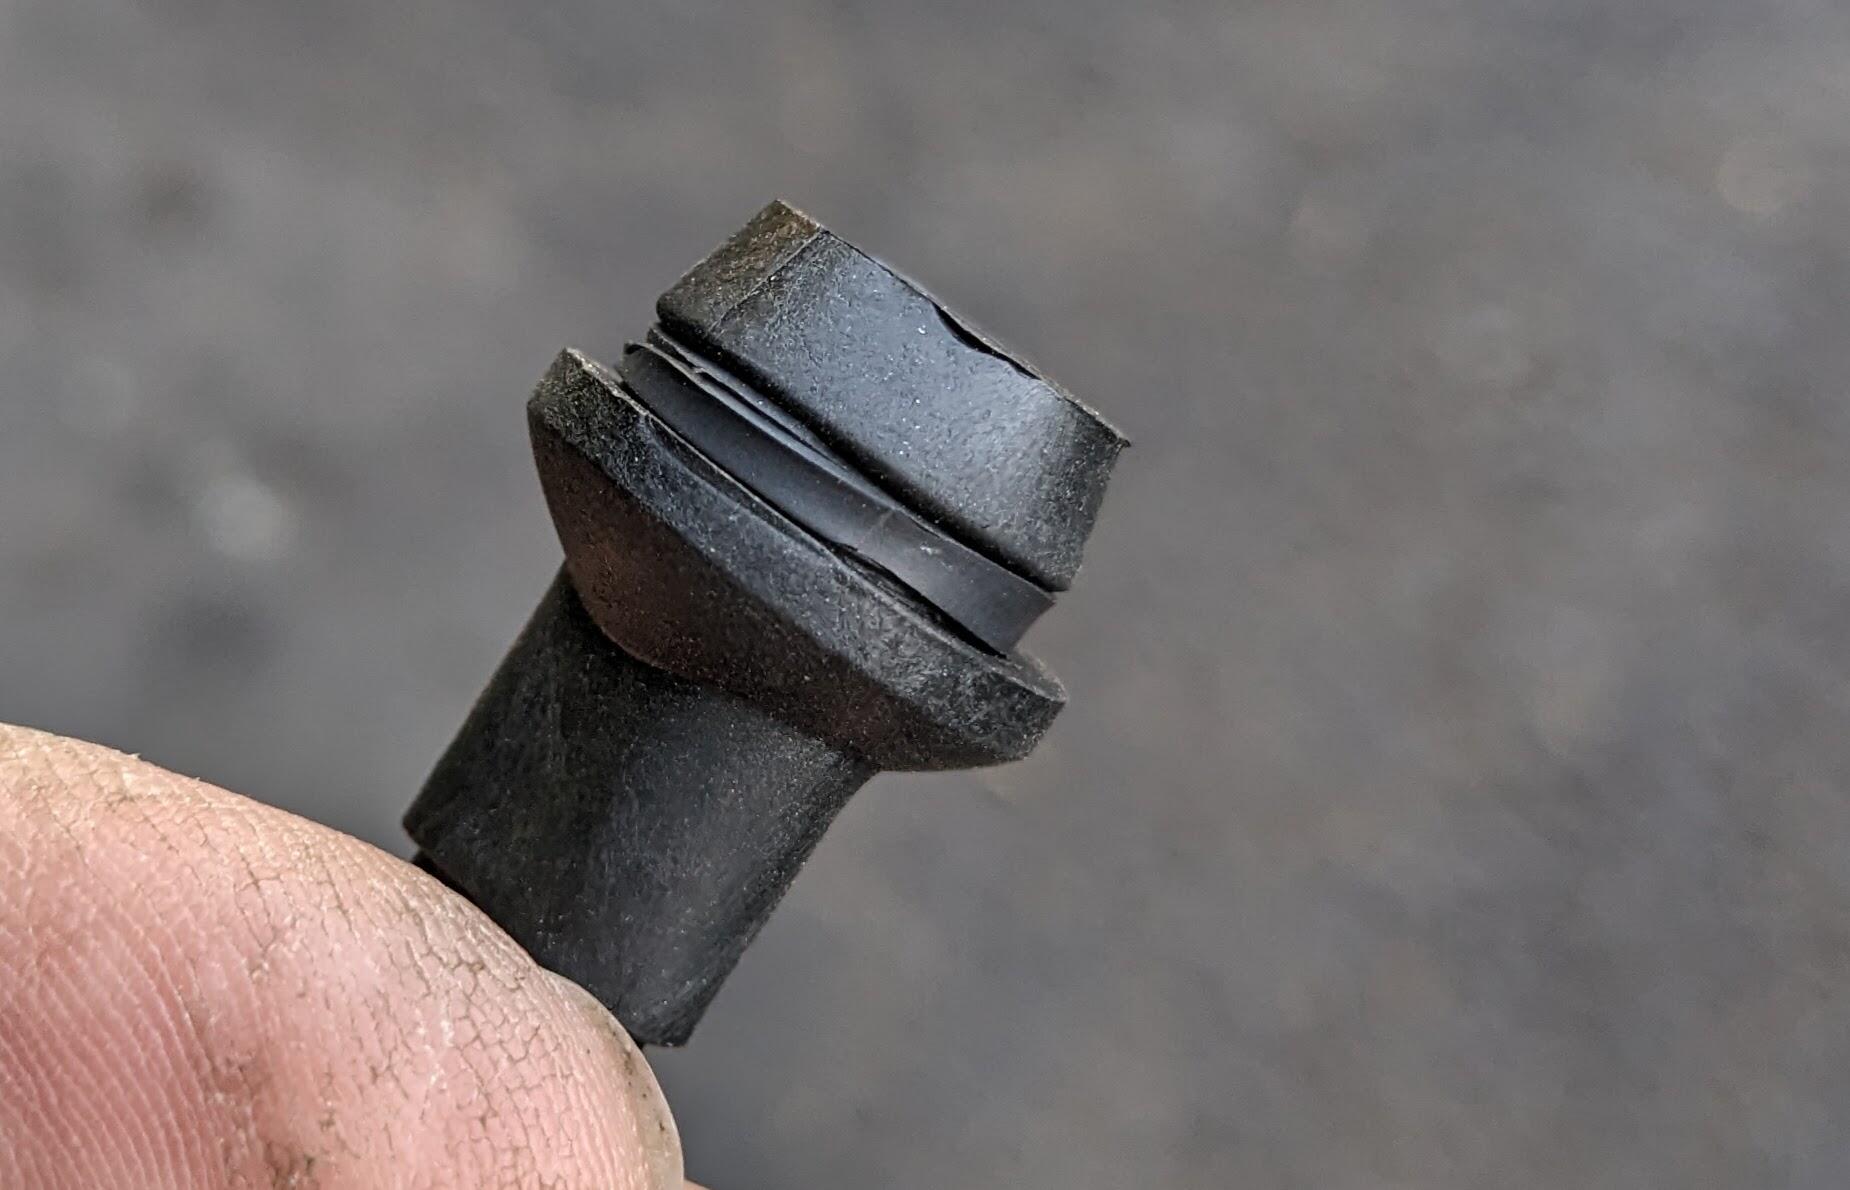
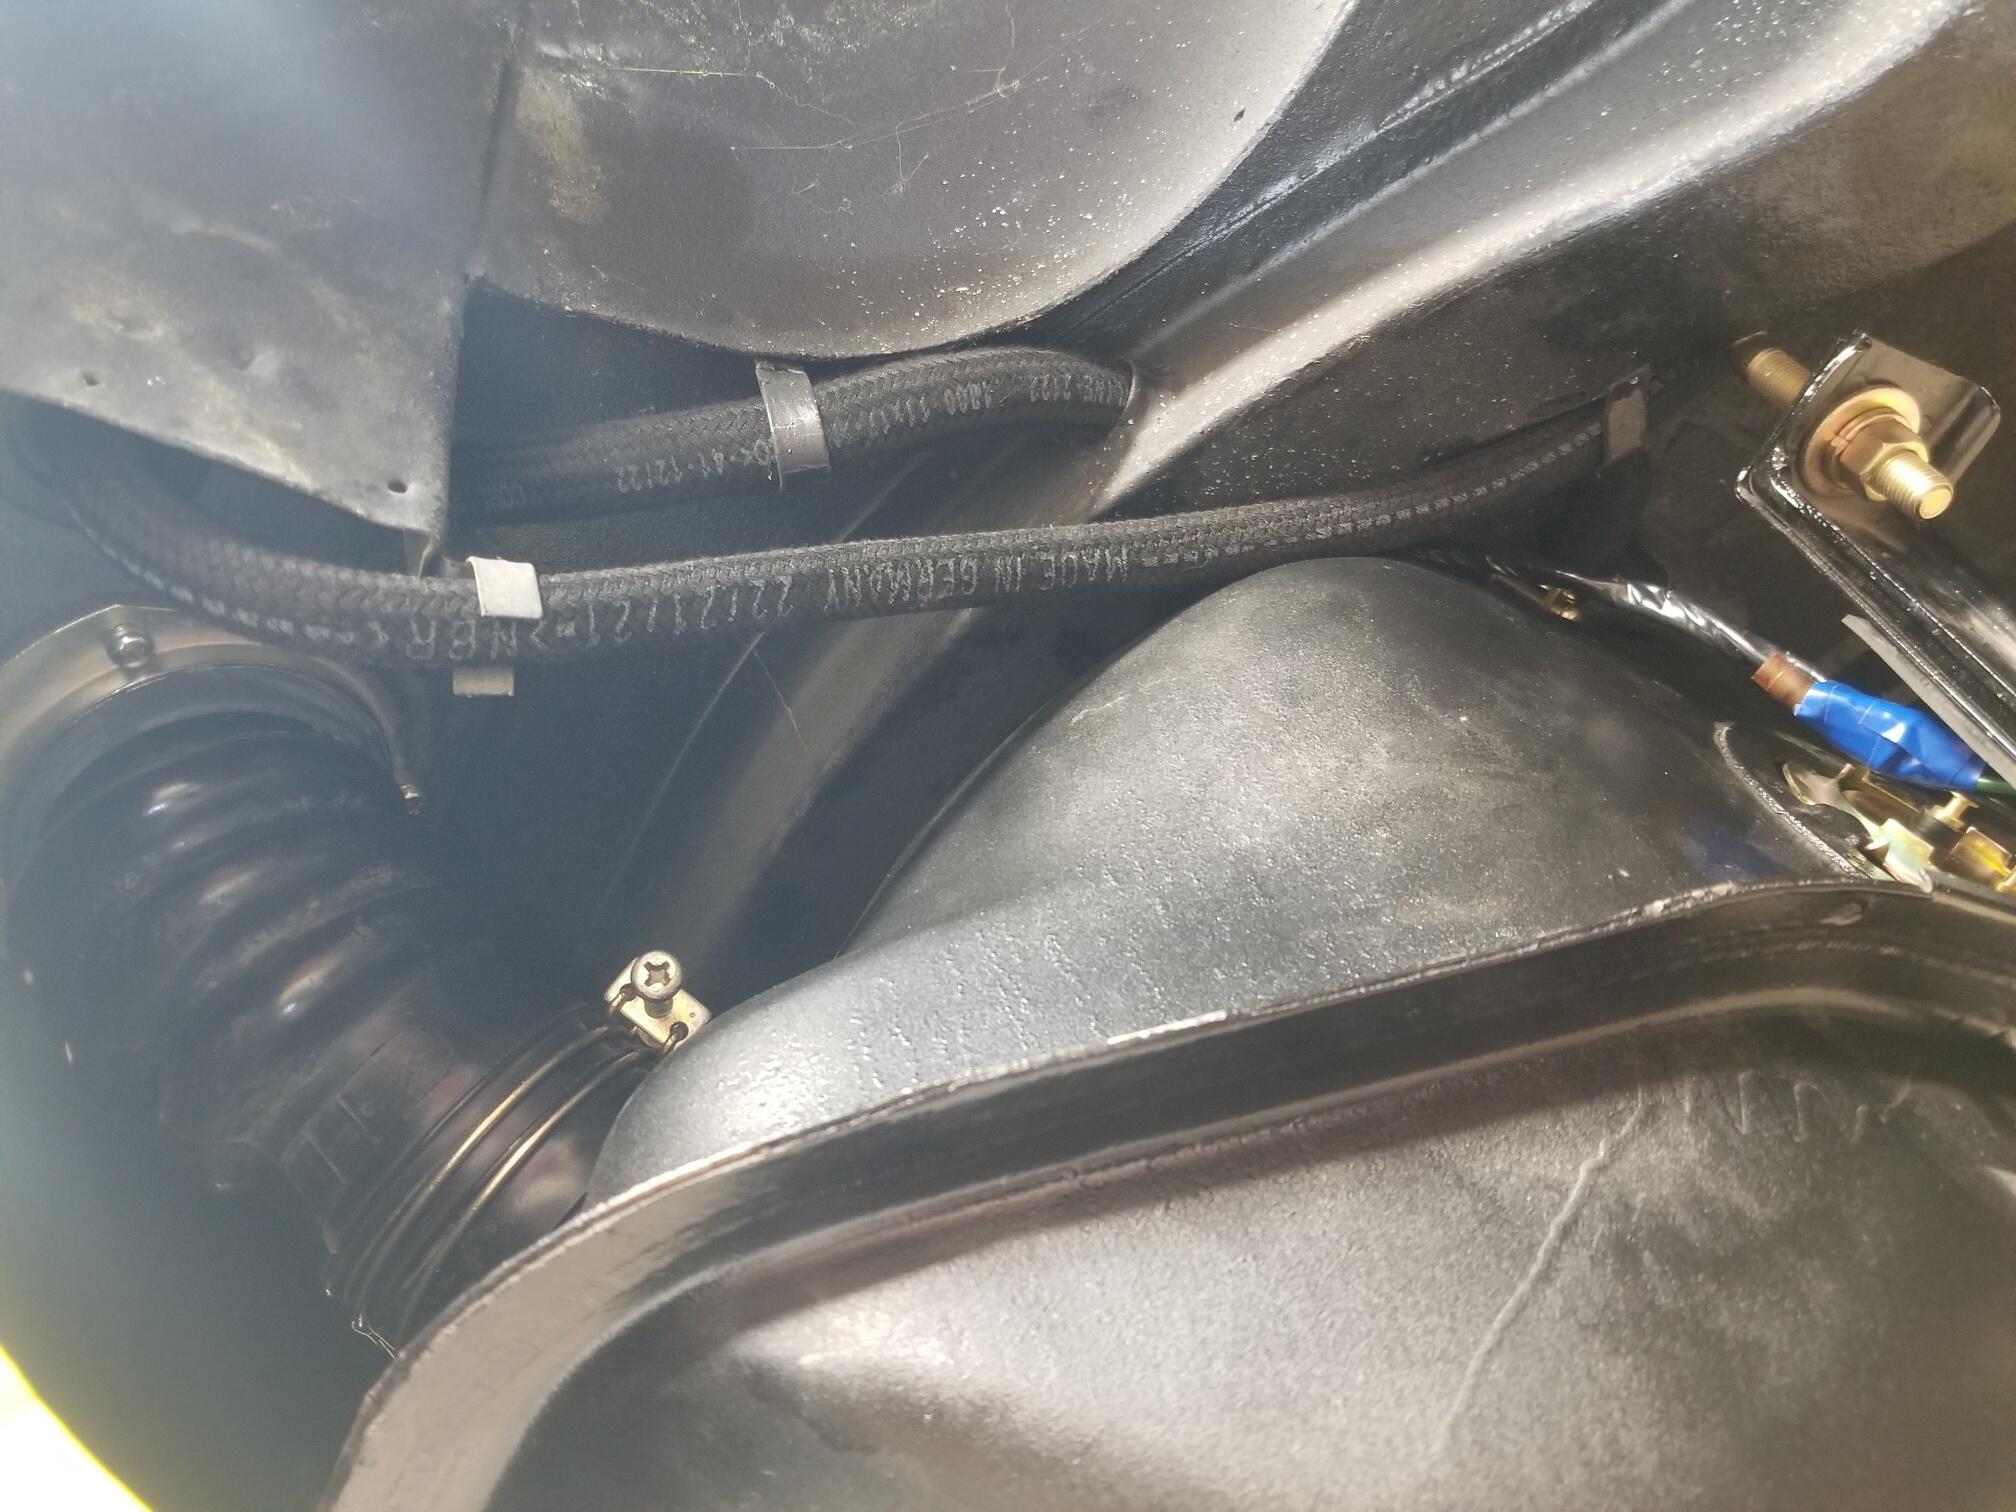
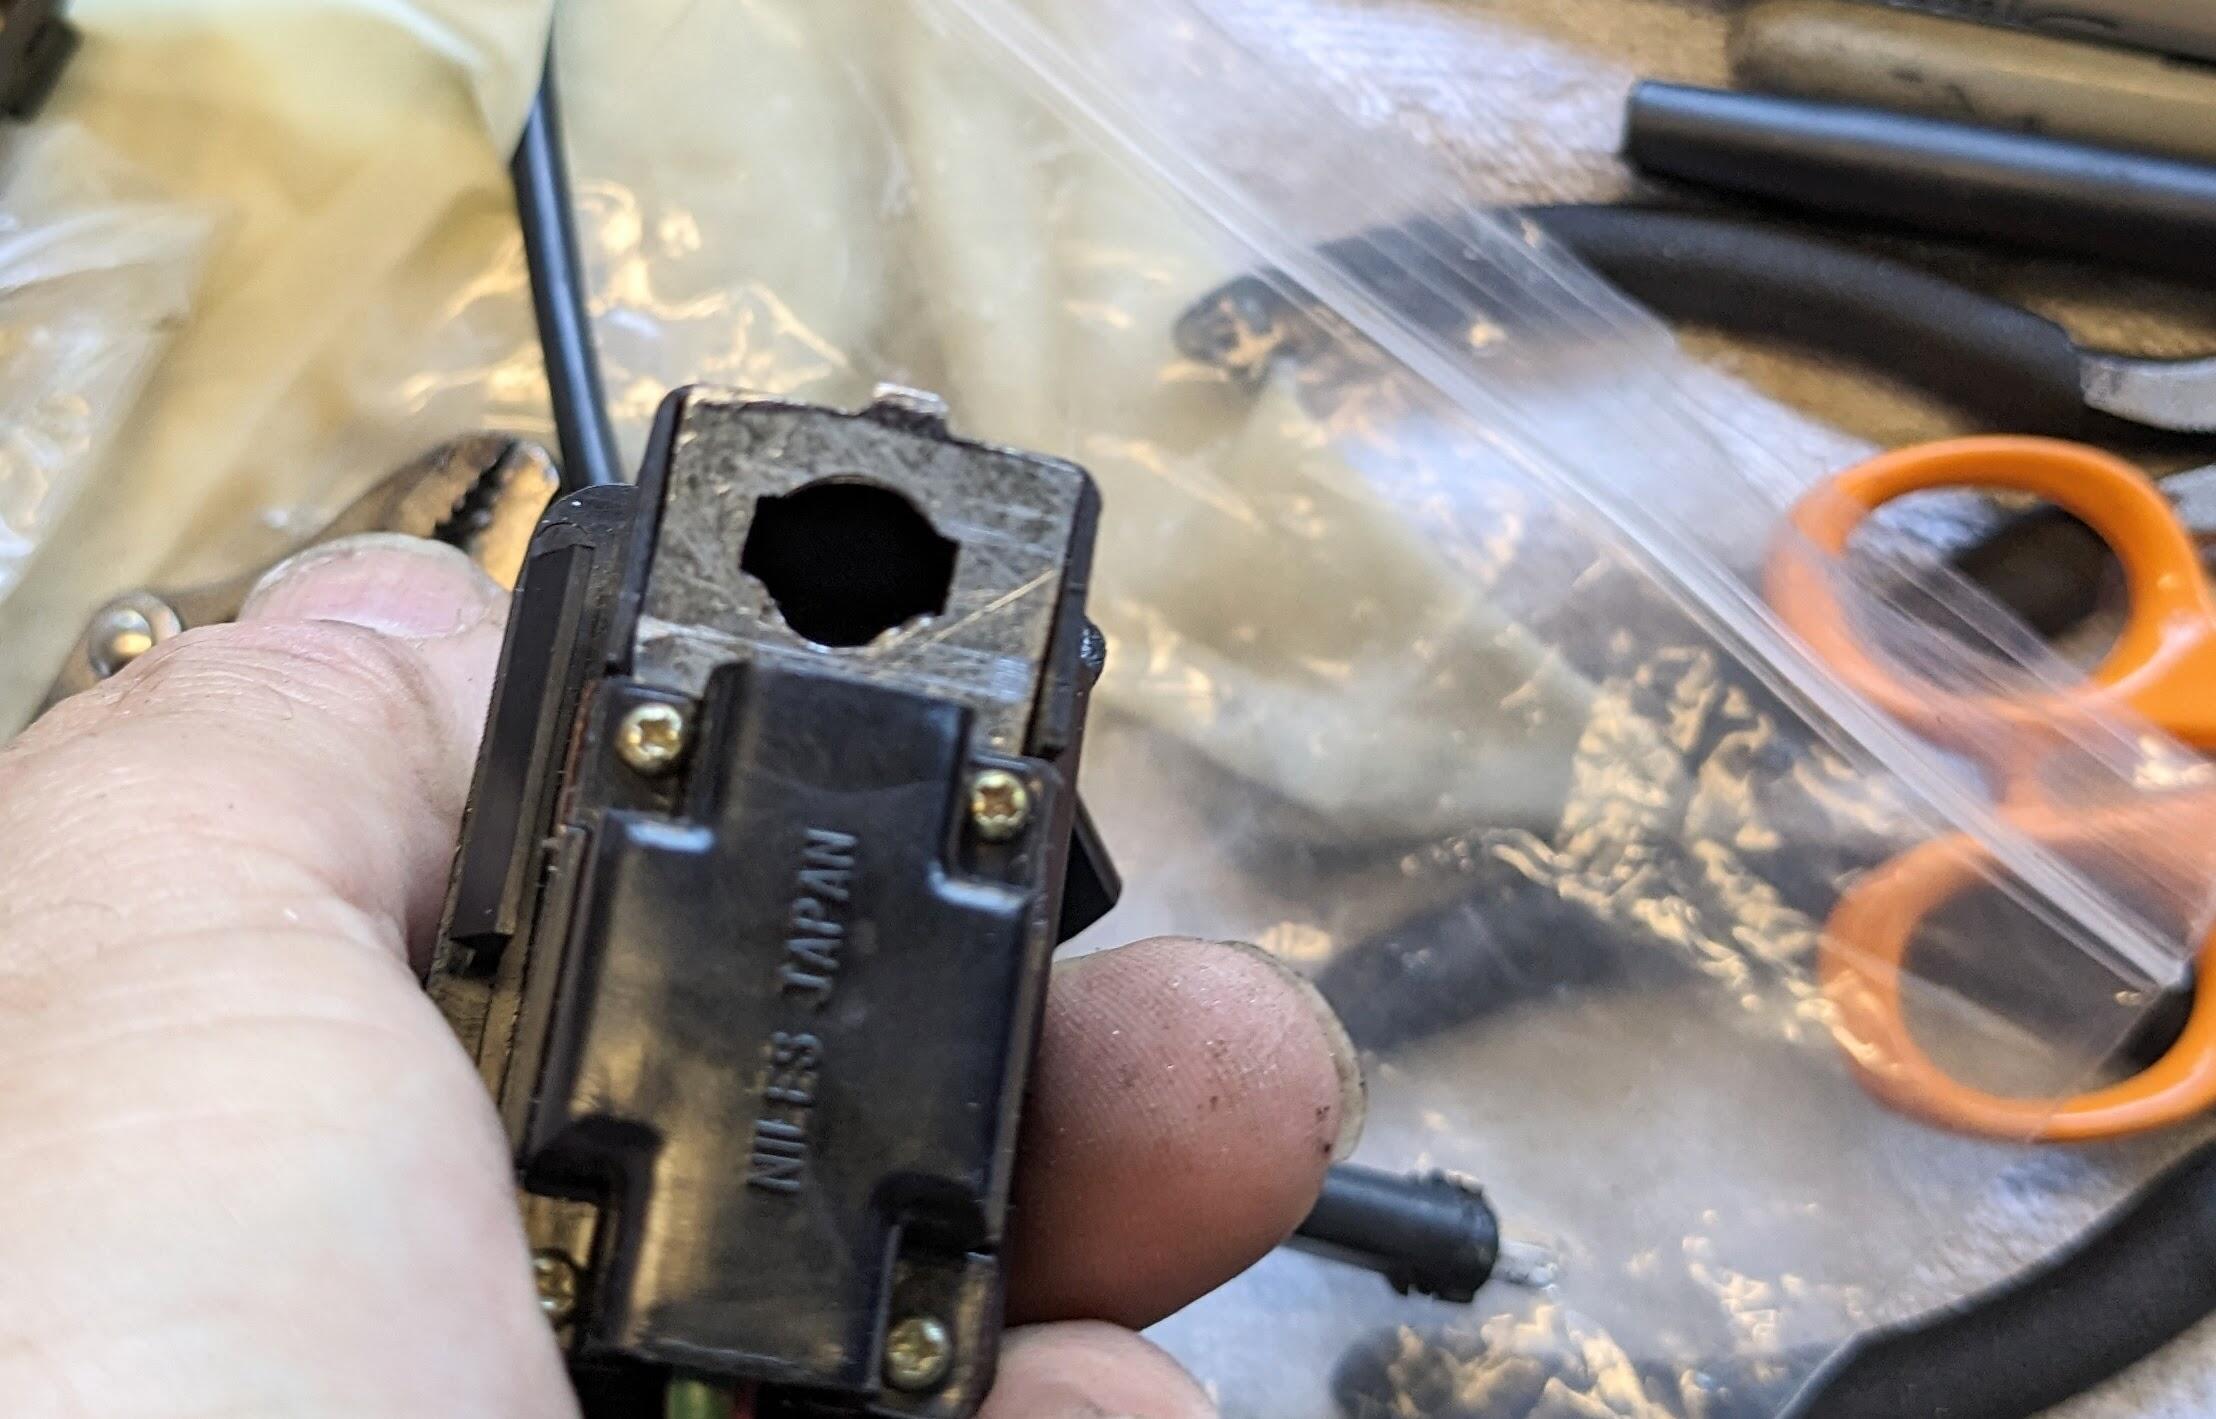
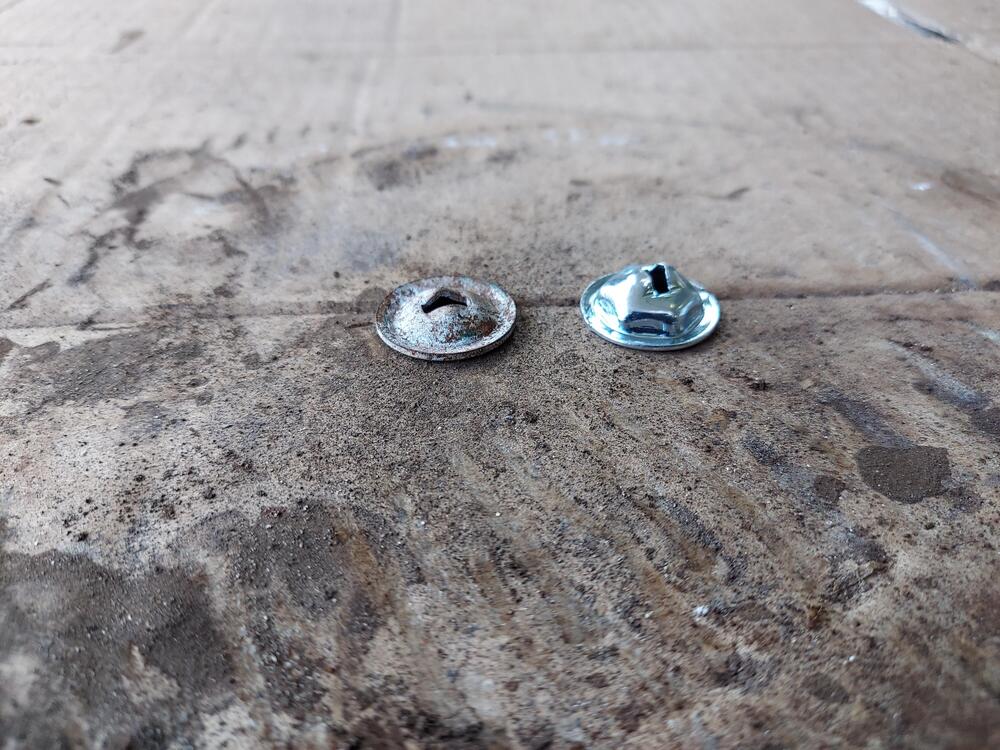
They are kinda loose in the hole - 16mm I think I measured the orifice at - so I added a thin strip of heat shrink to make it snug

 3 points
 -
3 pointsWe DEQd an 81 RX7 many times in Portland. They could care less about looking at the engine. The first time took a few carb adjustments and trips through DEQ but the entire crew gave us a cheer when we succeeded. Maybe they were just glad to see us go?3 points
-
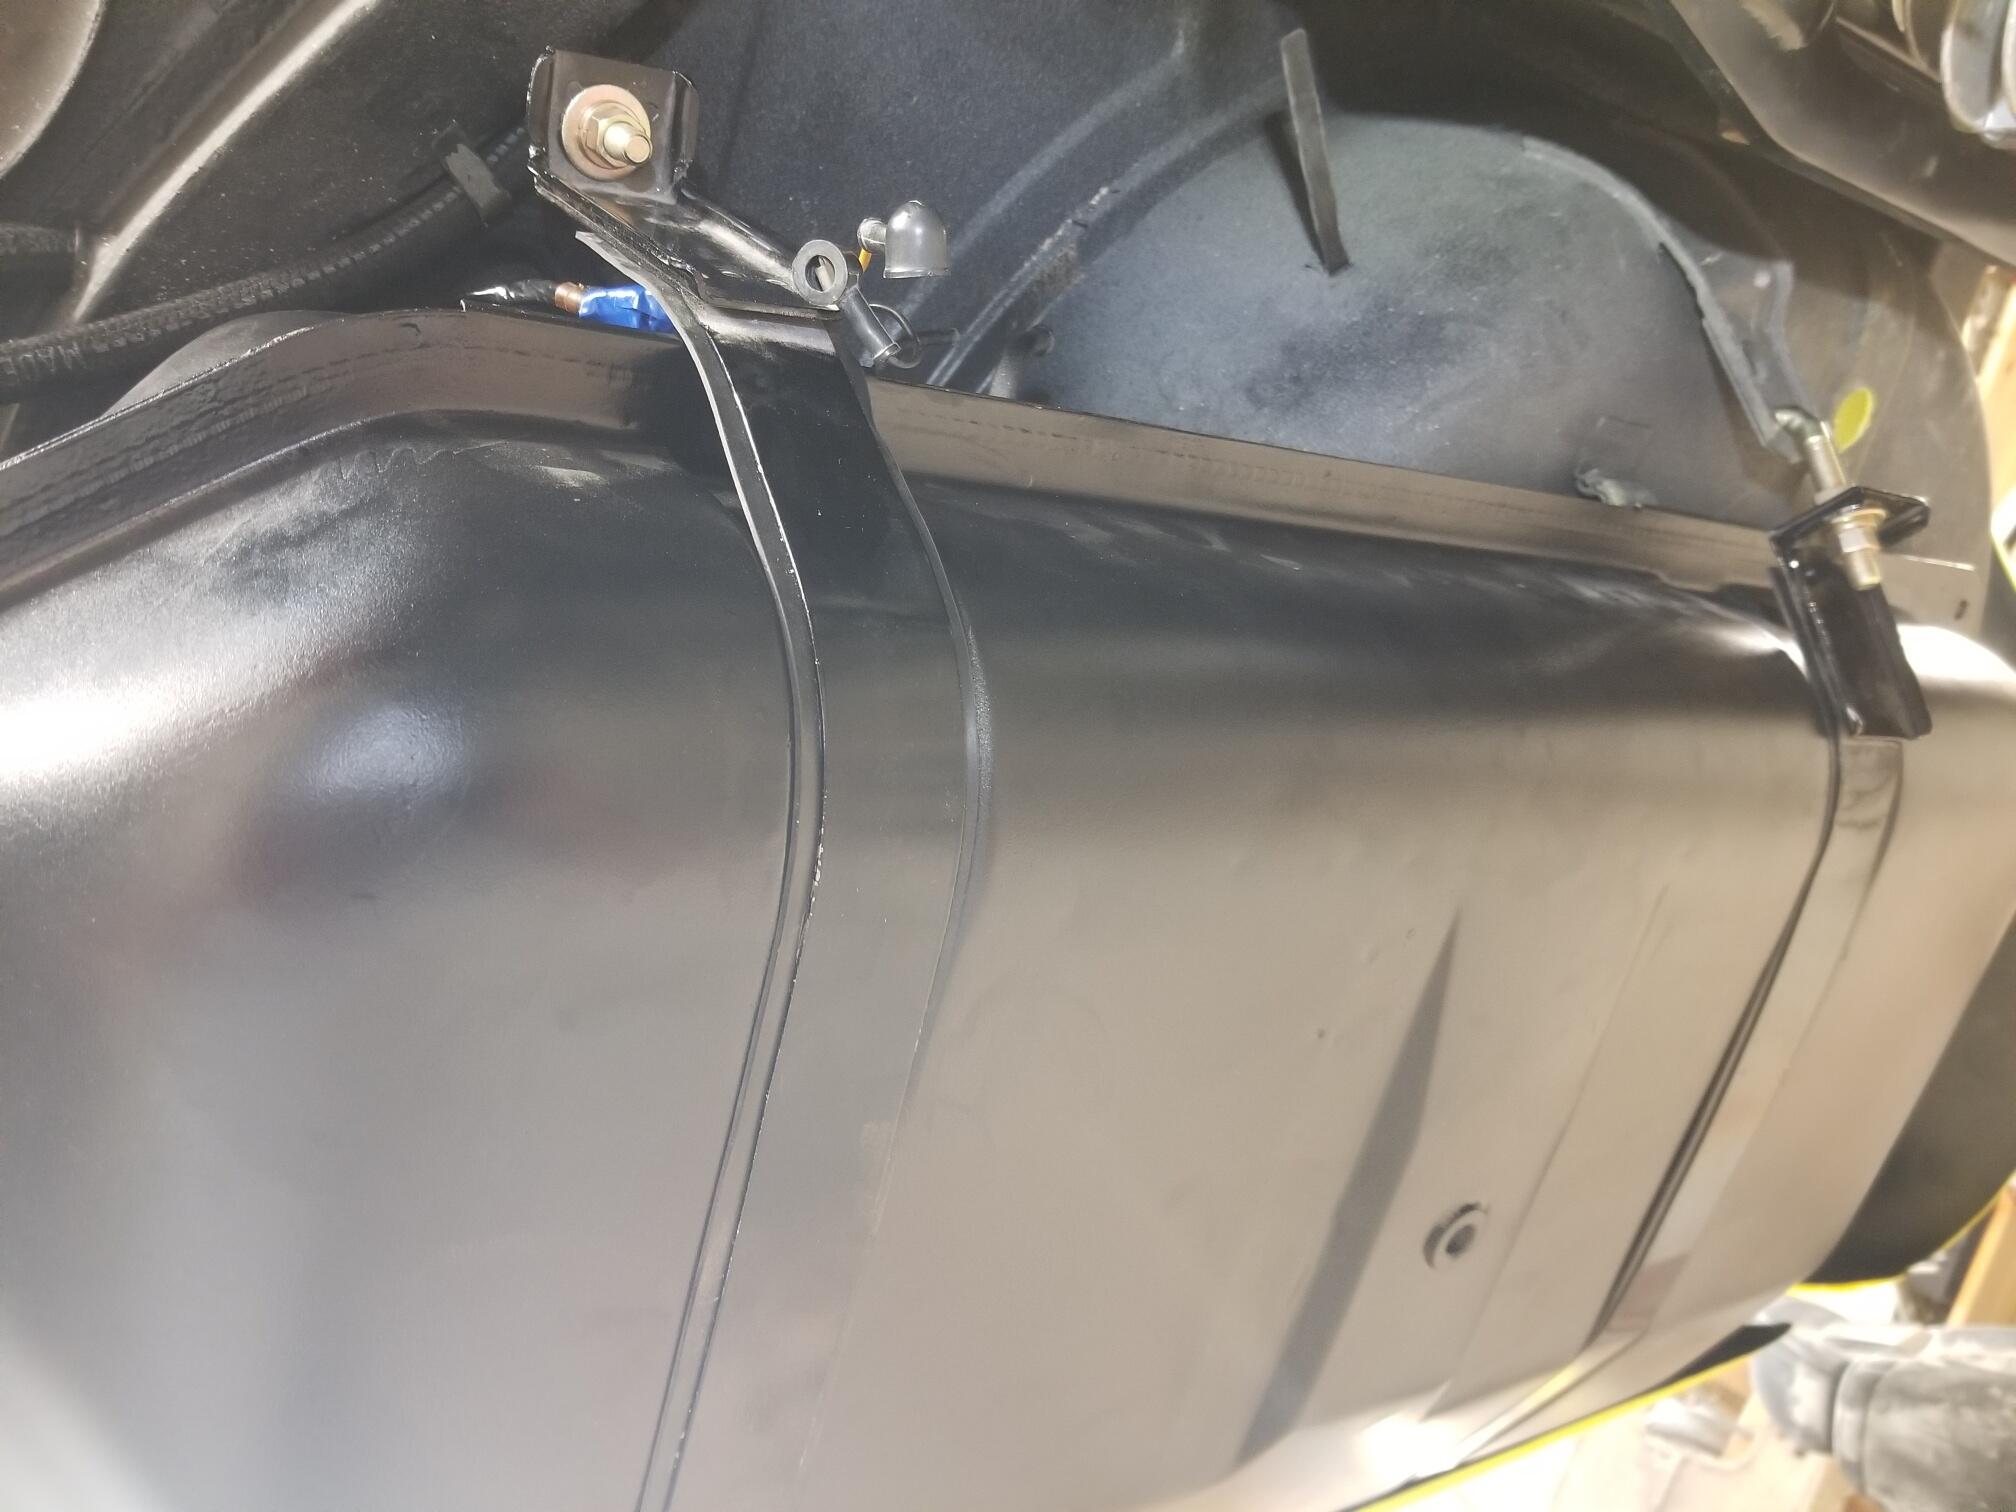
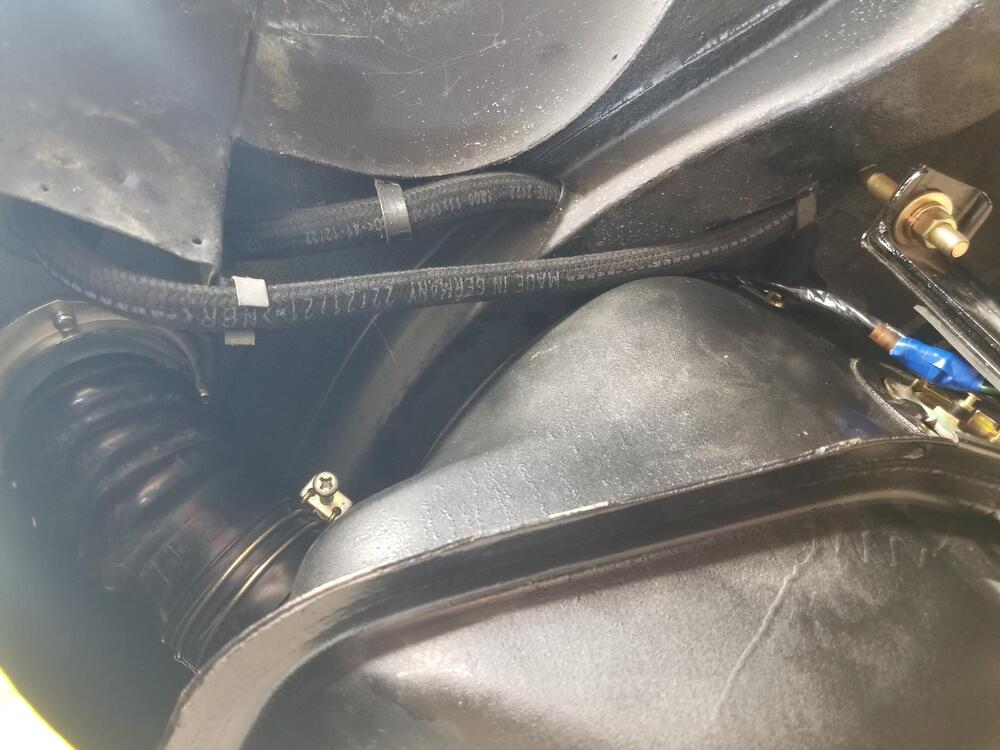
3 pointsI also sprayed the rear tail light panels with clear matte today per Jim A's recipe. I worked on the trim for those panels also. I removed it to make it easier to paint them and polish the trim. We will see how hard they are to get back on. An interesting note, these piece are carbon steel and must be plated. They are magnetic. I was surprised they weren't stainless! I also got the last vent line at the tank worked out by lining it with a spring. I then got the tank straps installed and the filler neck all setup. If I could have found all the clamps I needed I would have gotten the vapor tank all taken care of too


 3 points
 -
A carb'ed engine would have a low volume low pressure pump. No reason for it to be loud.2 points
-
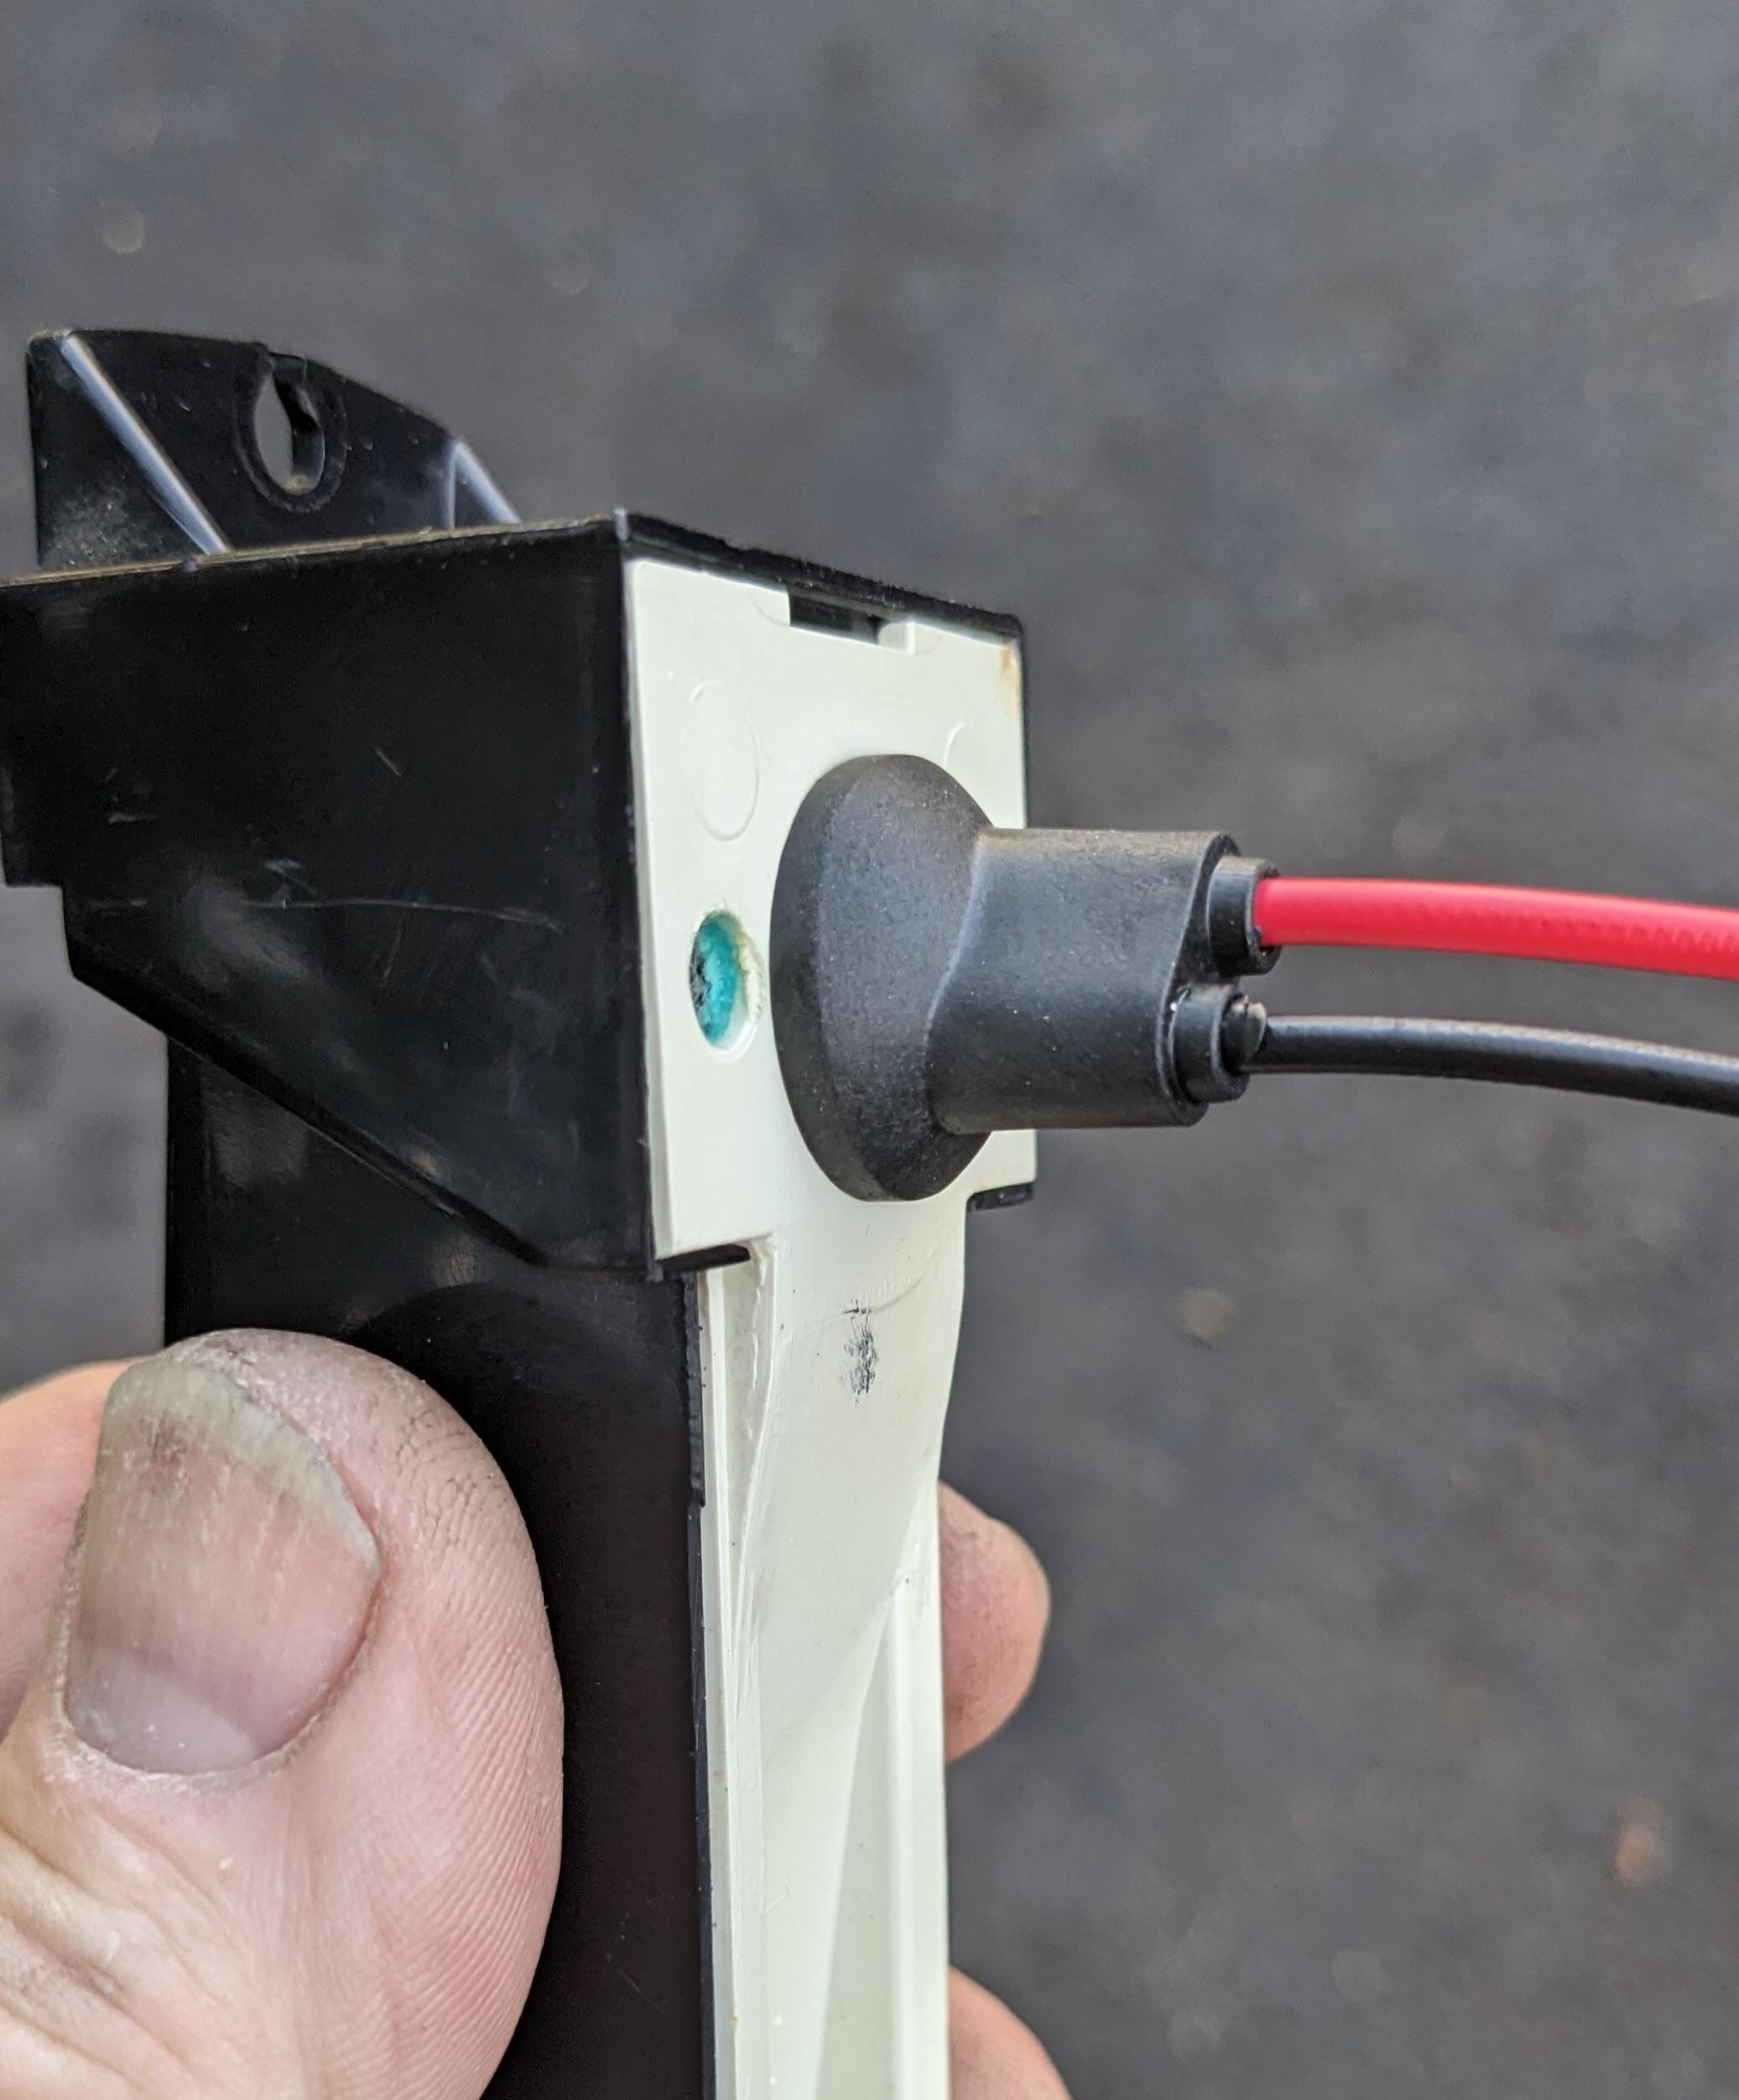
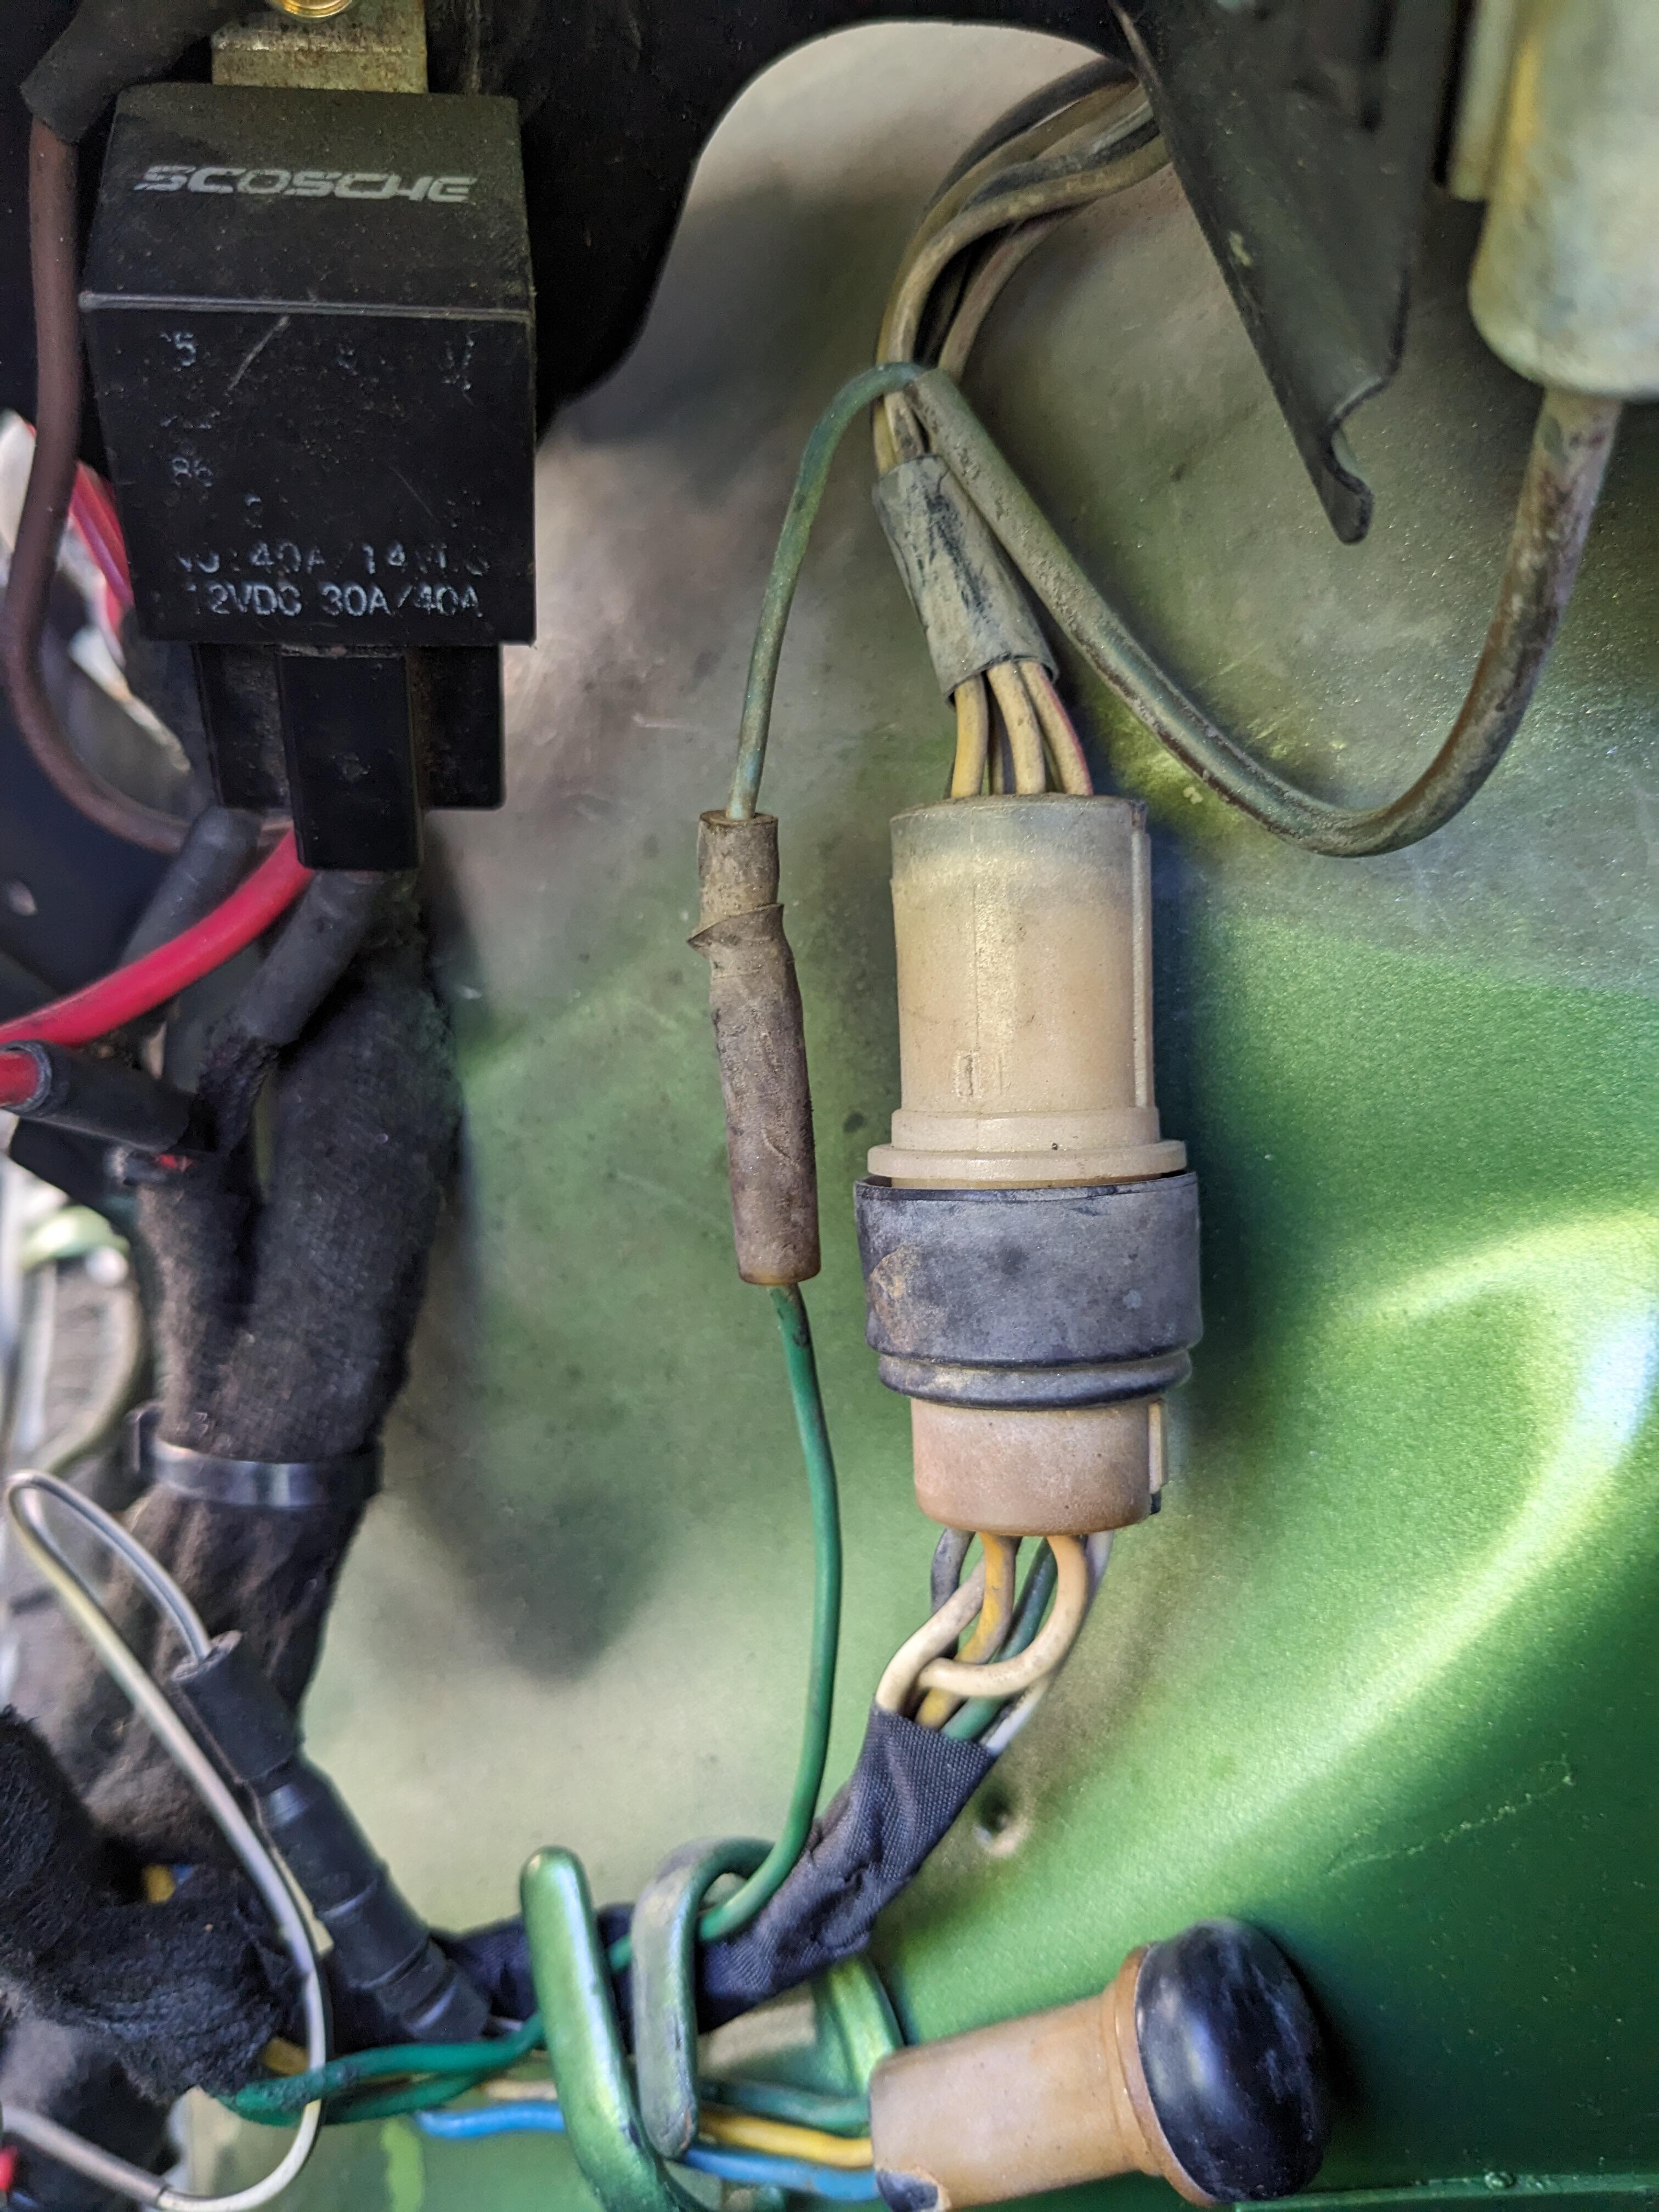
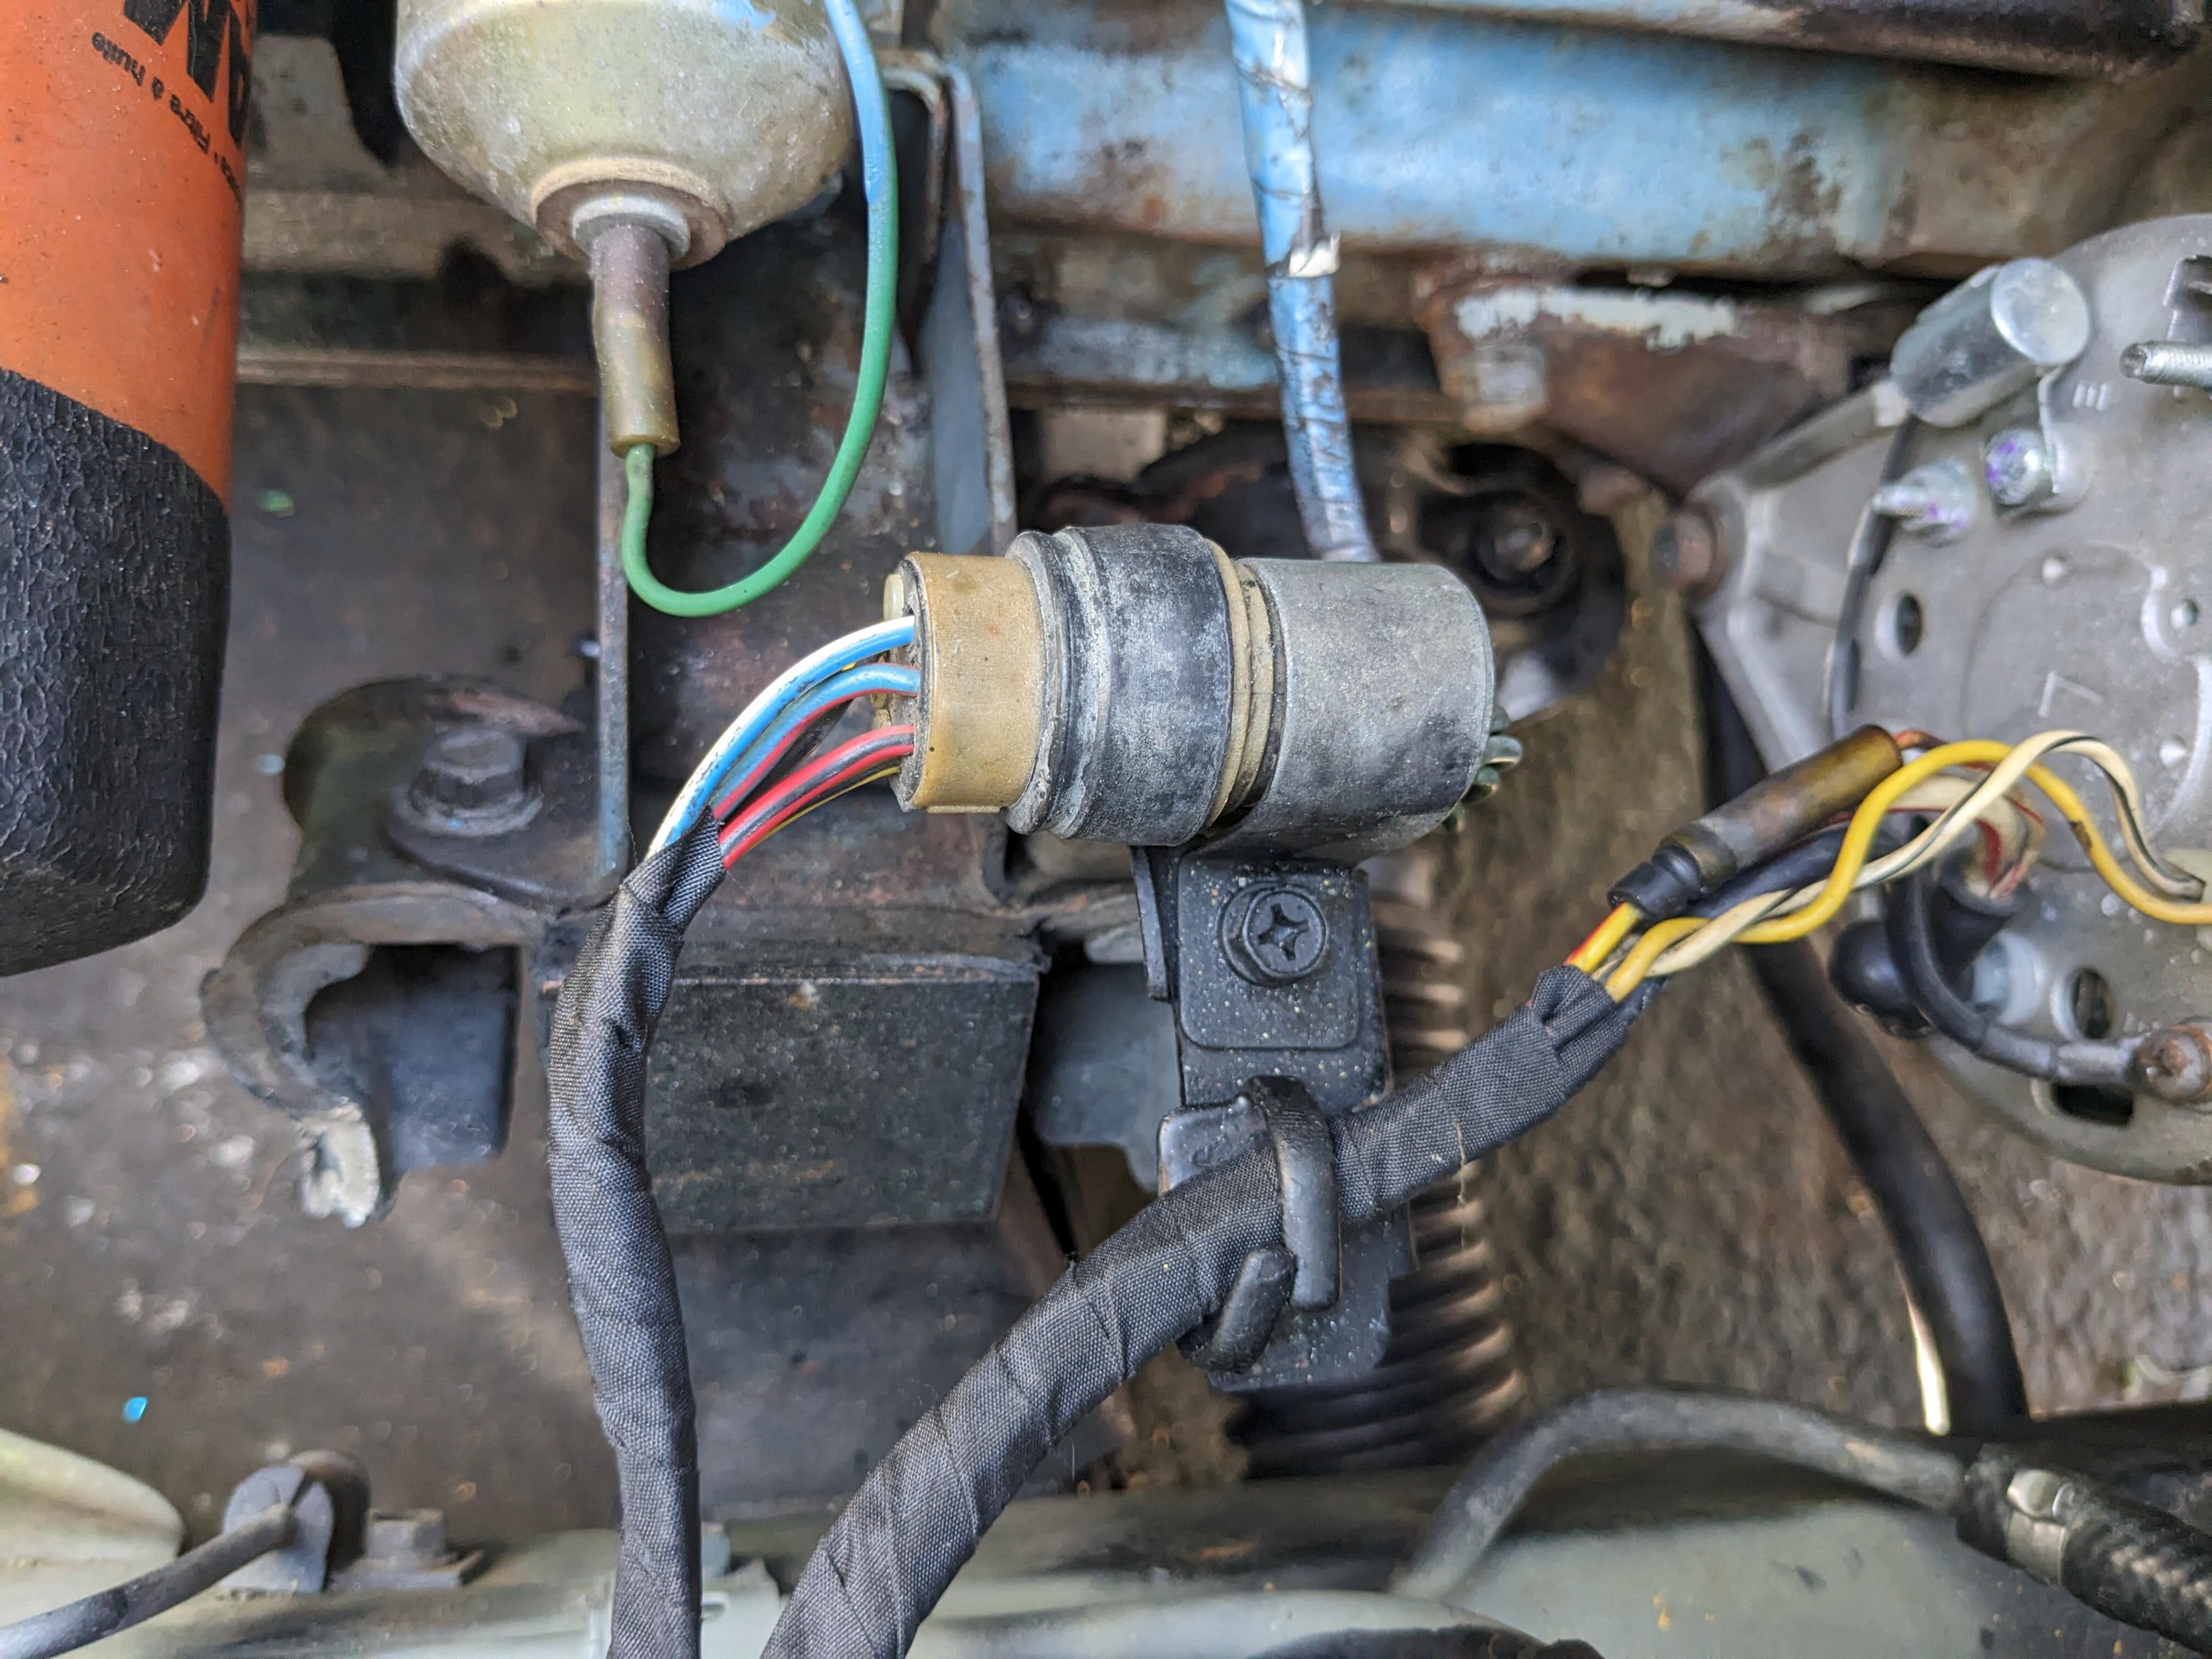
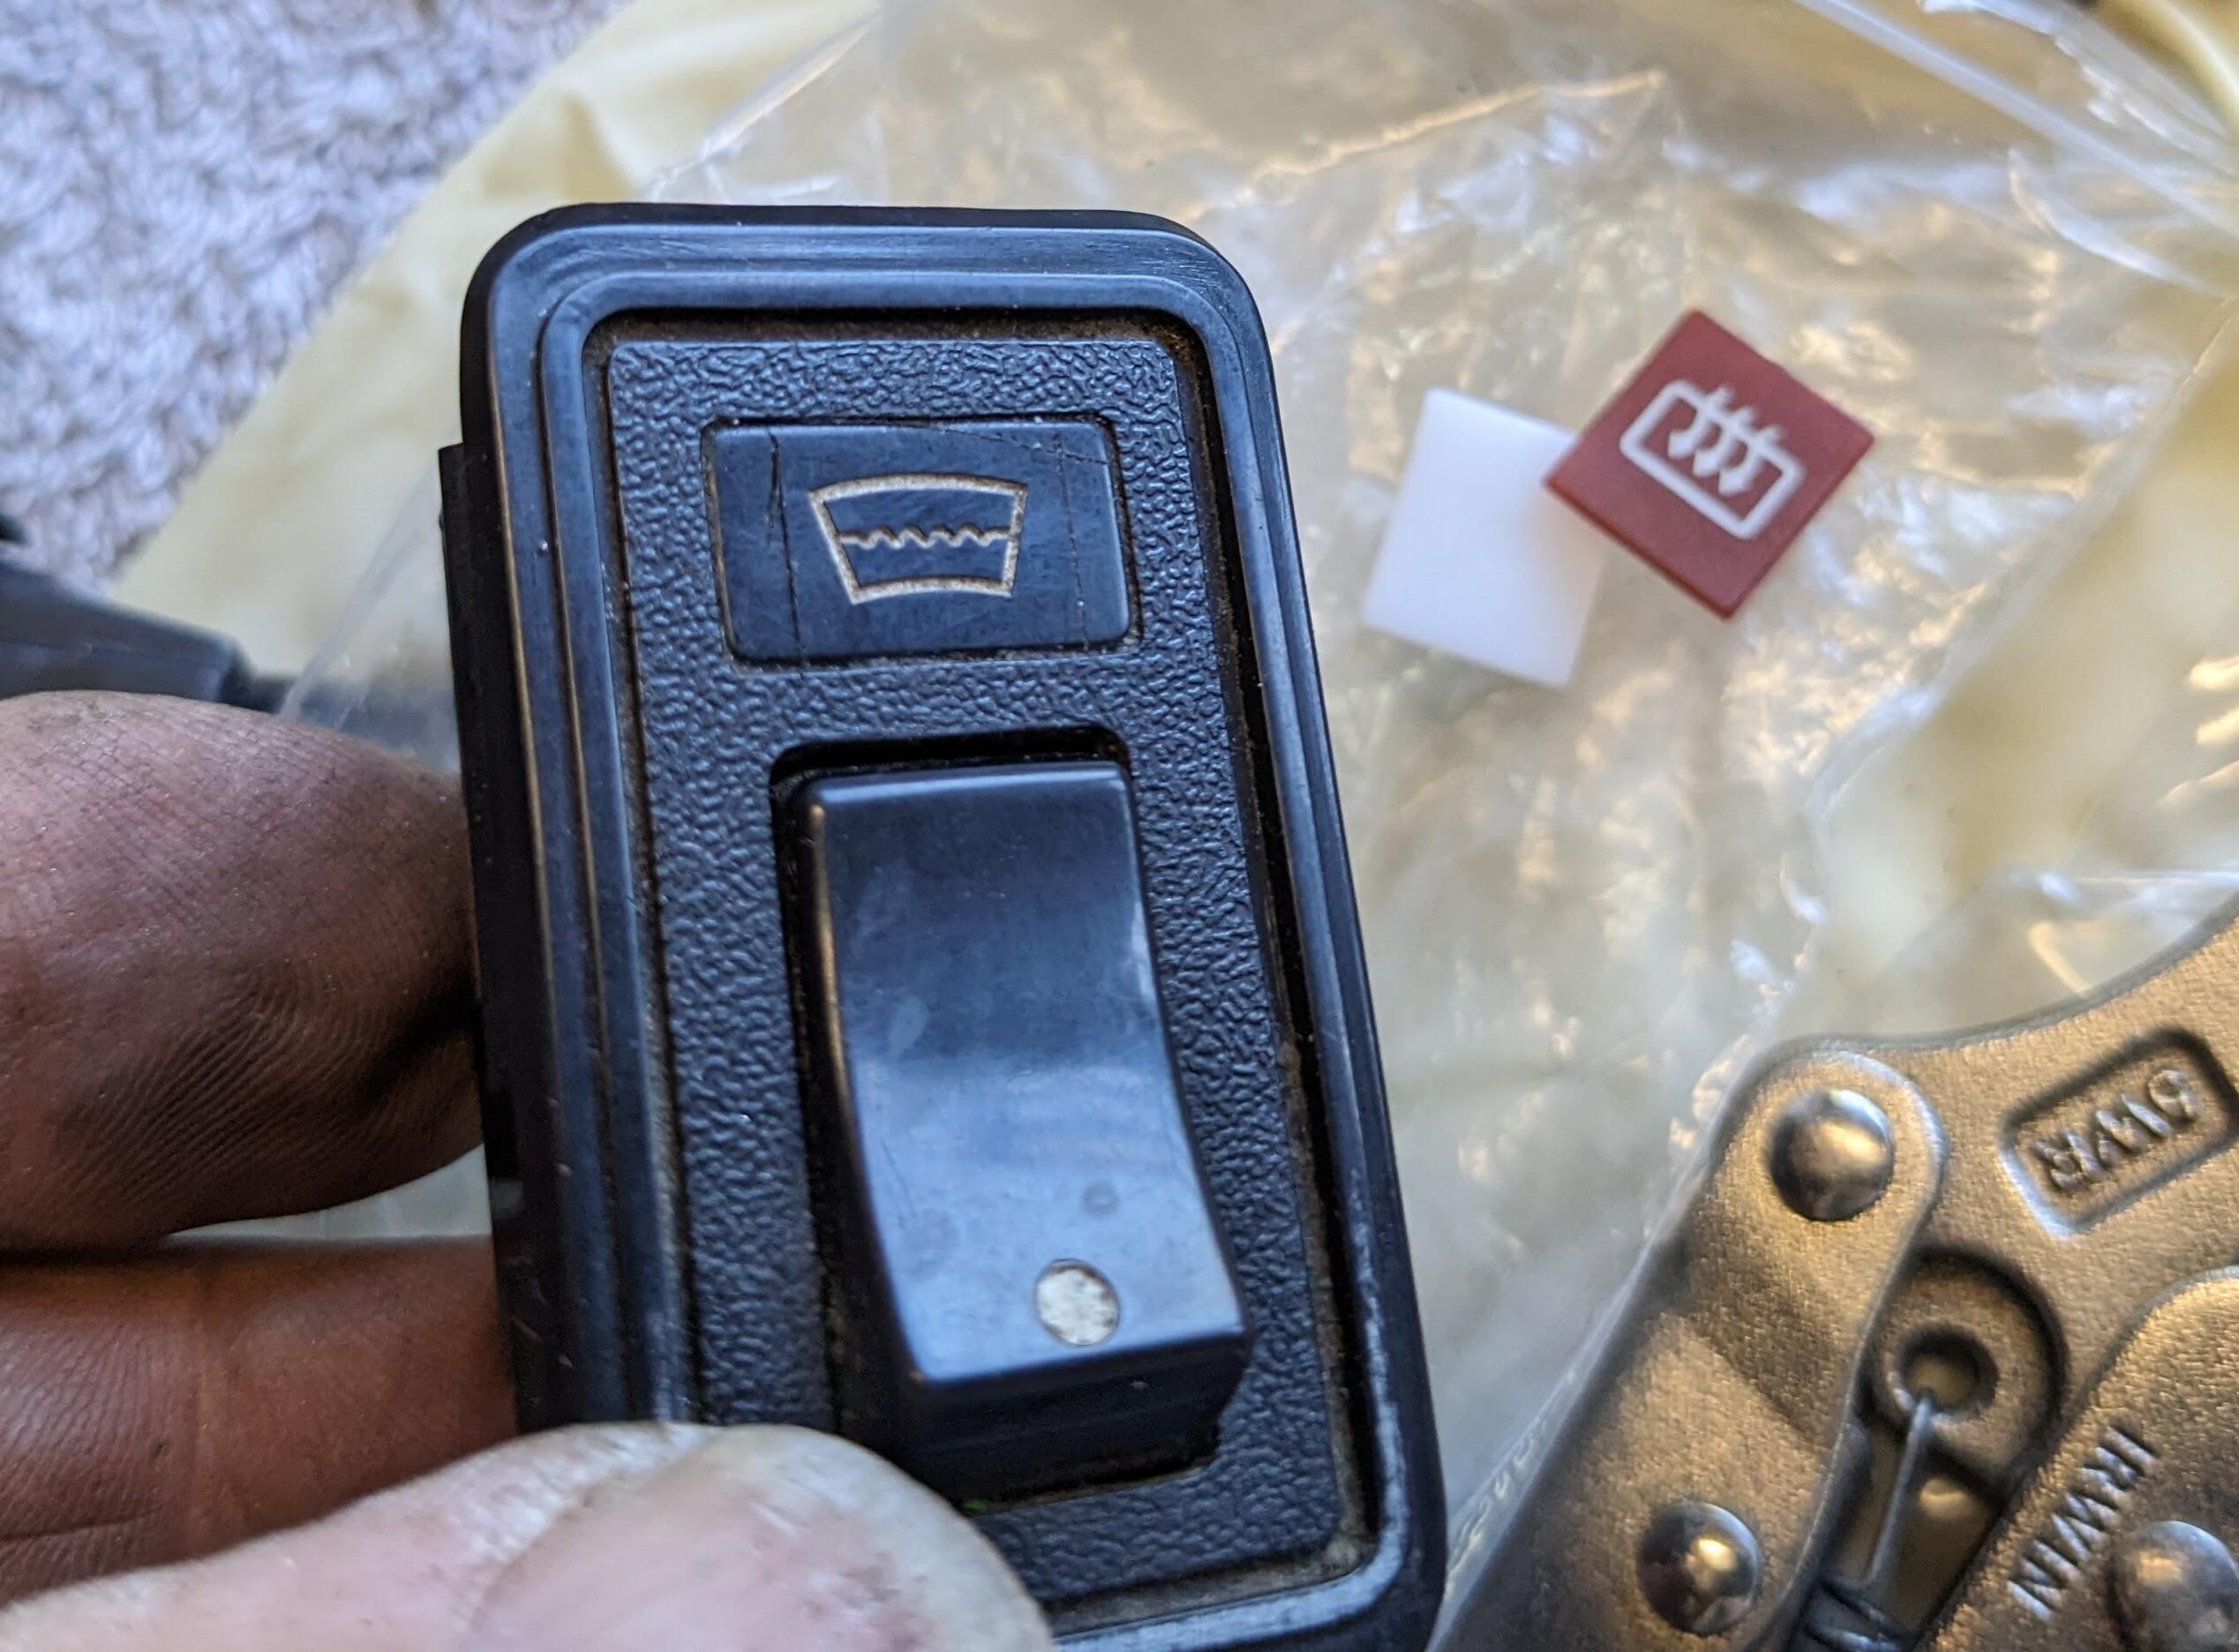
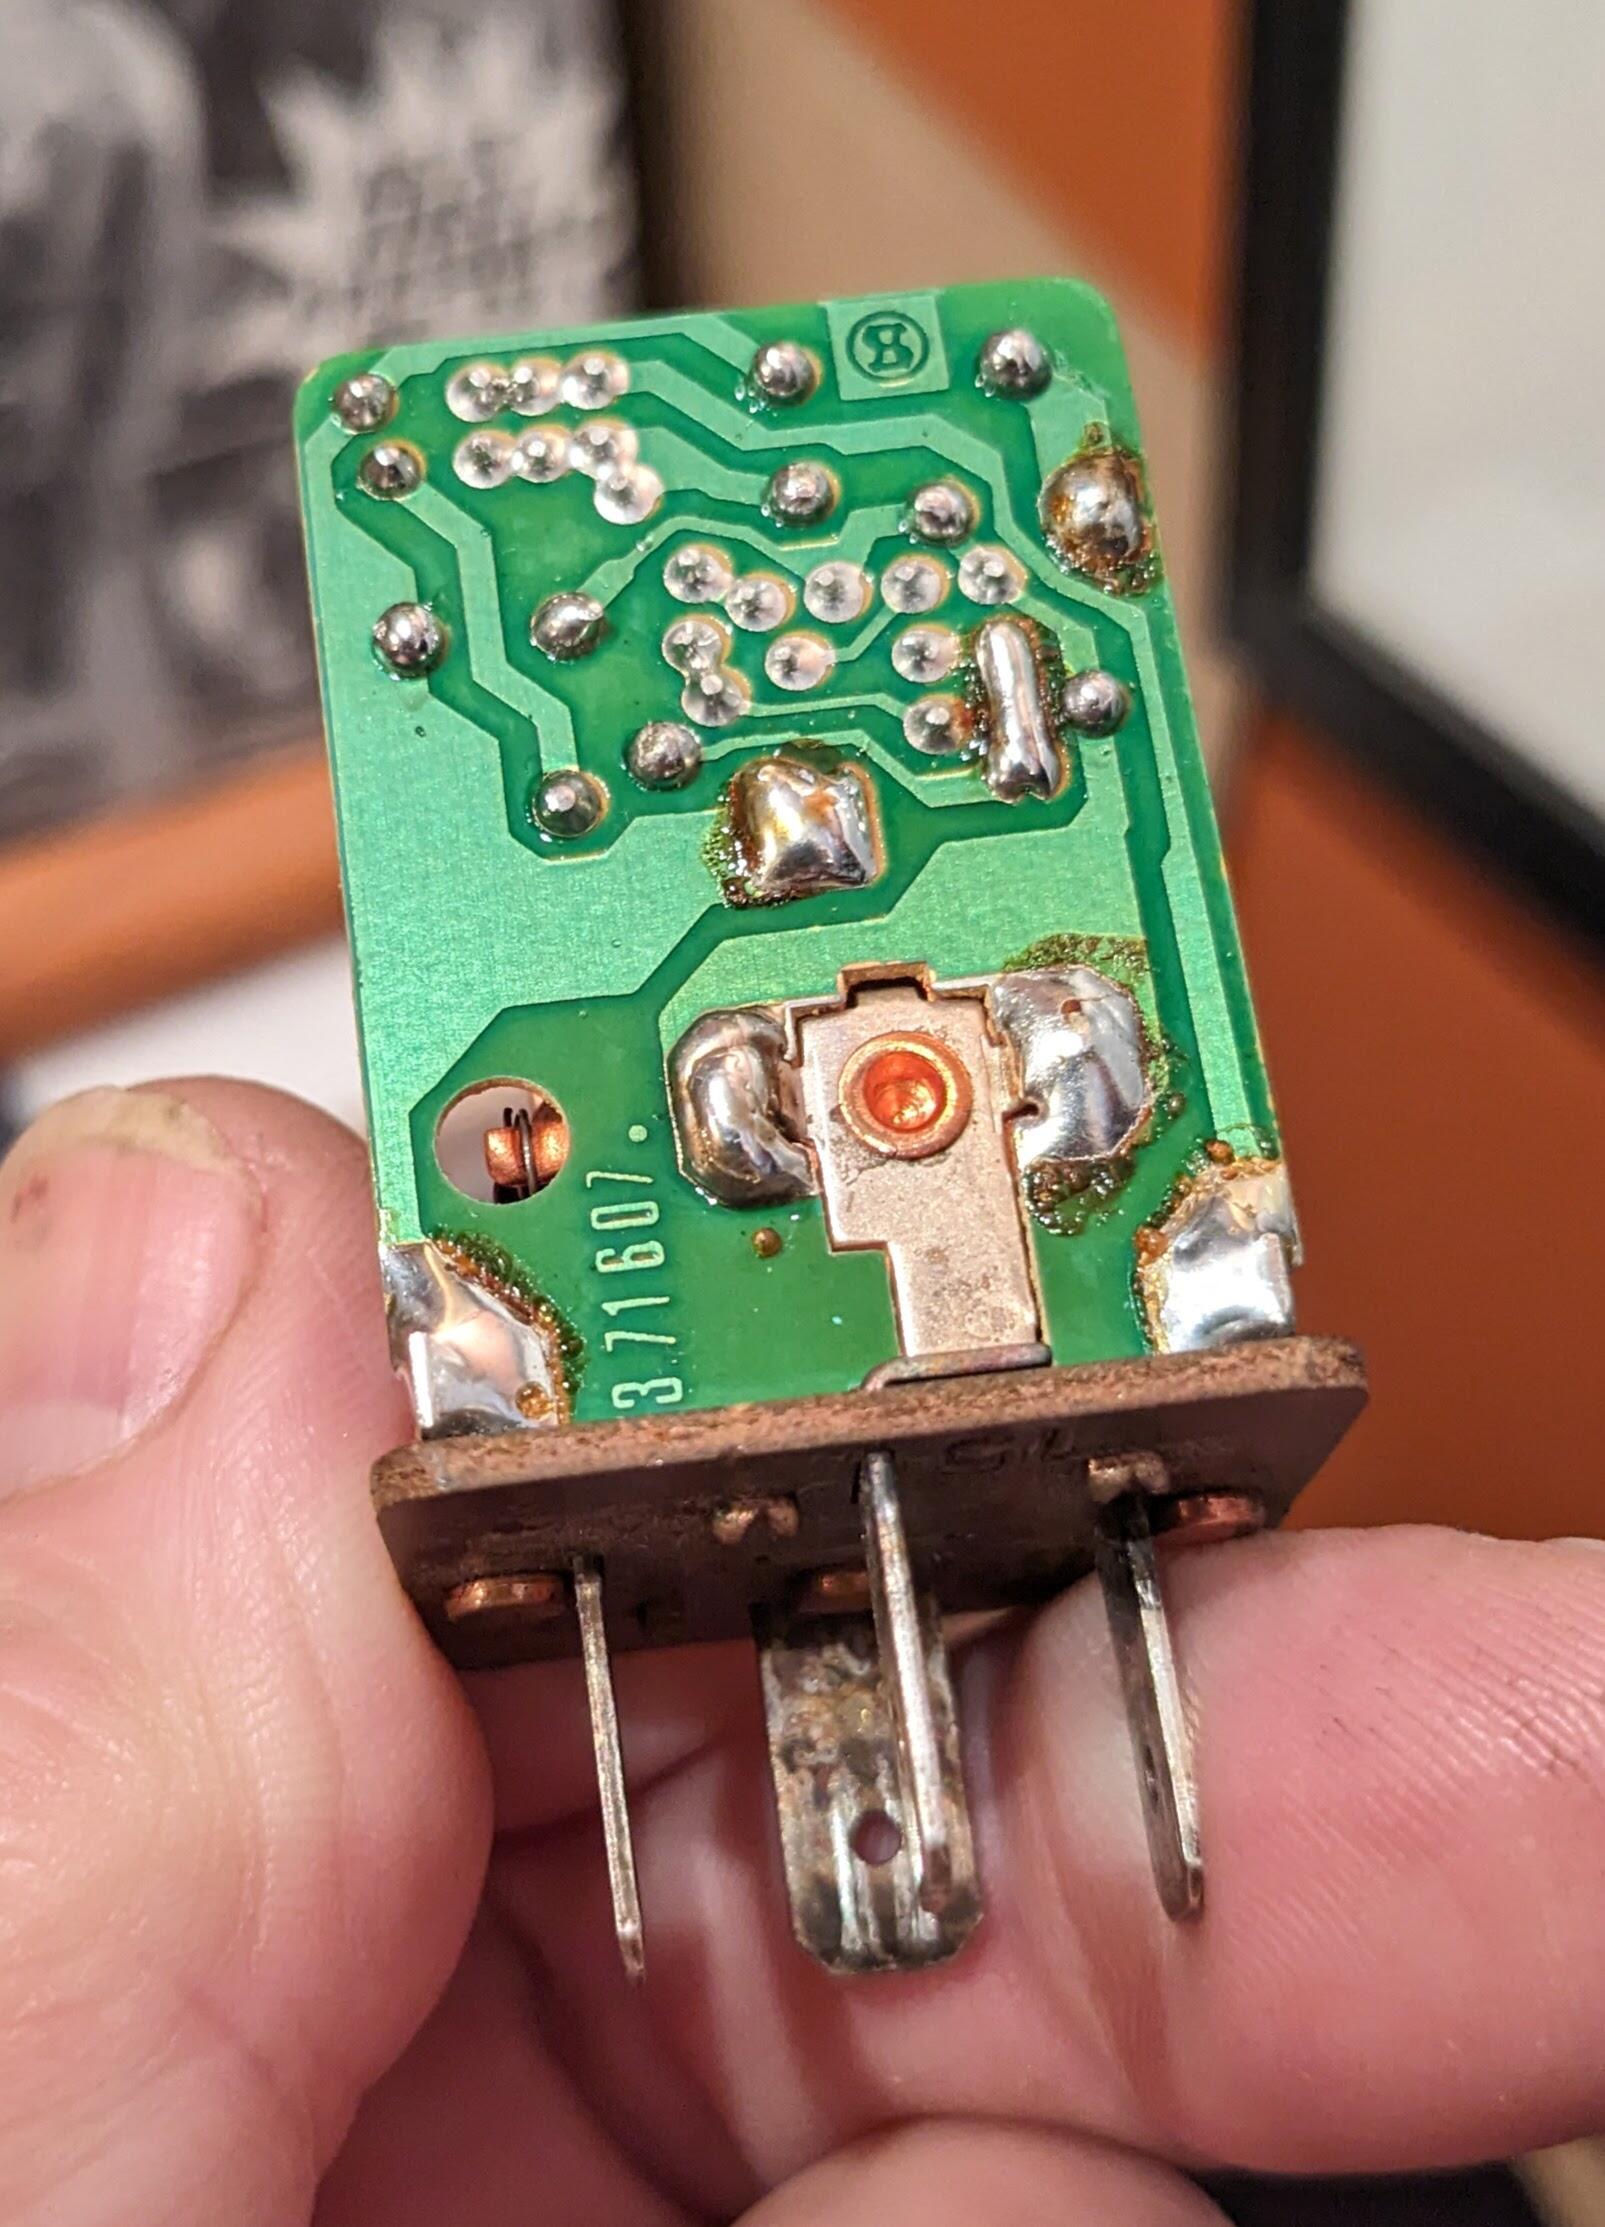
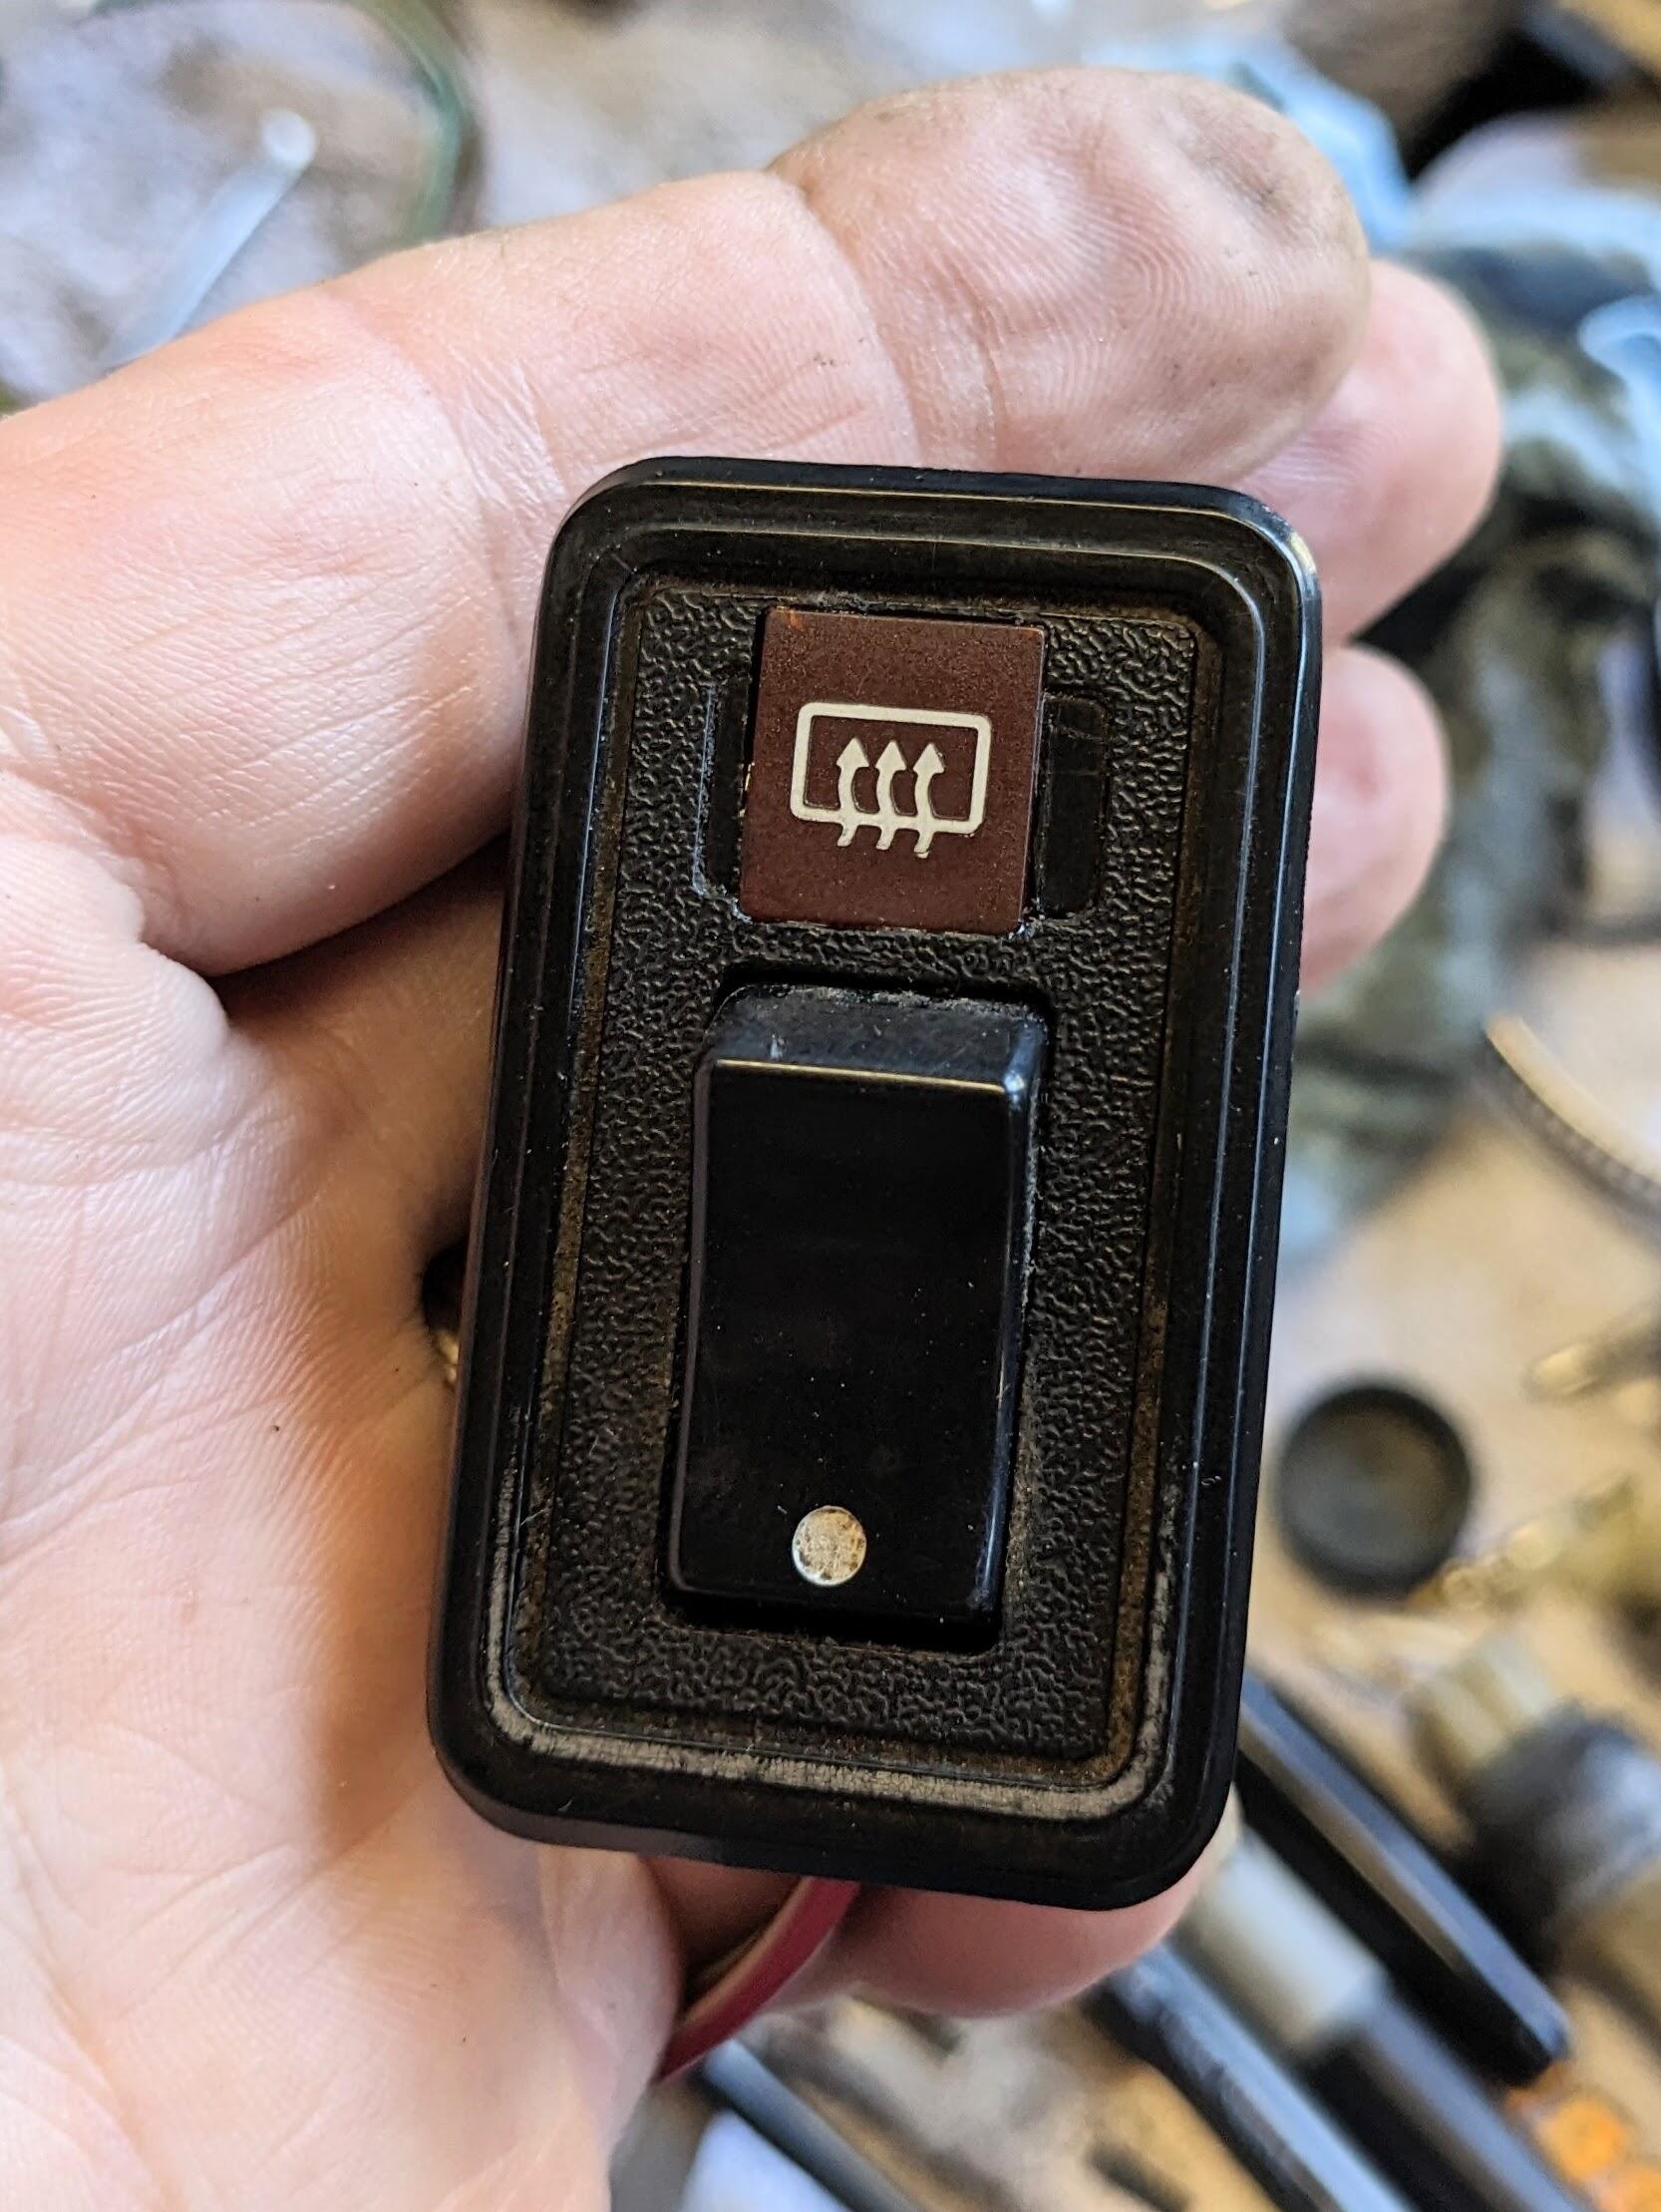
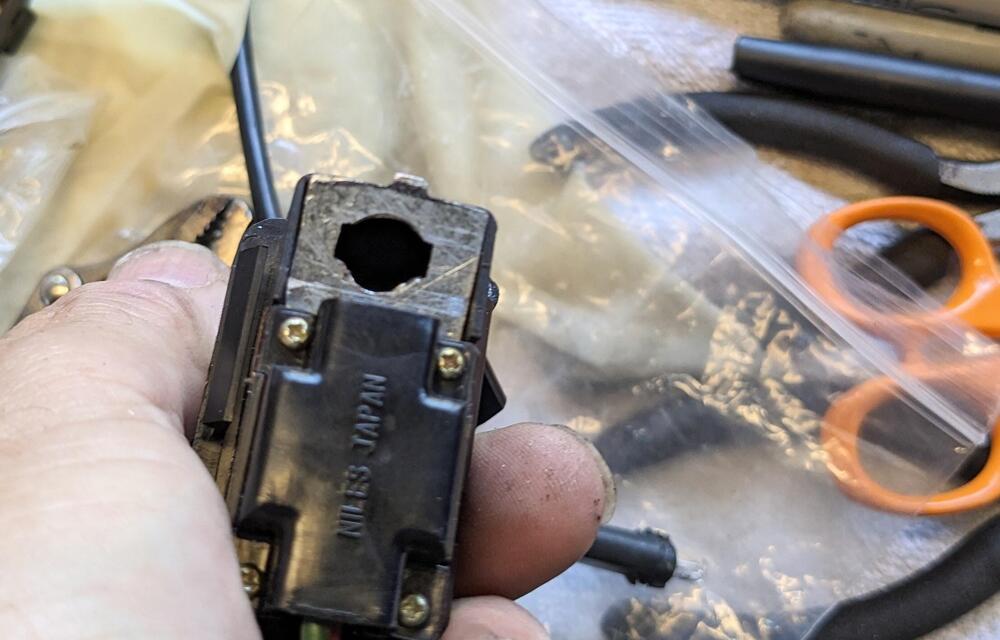
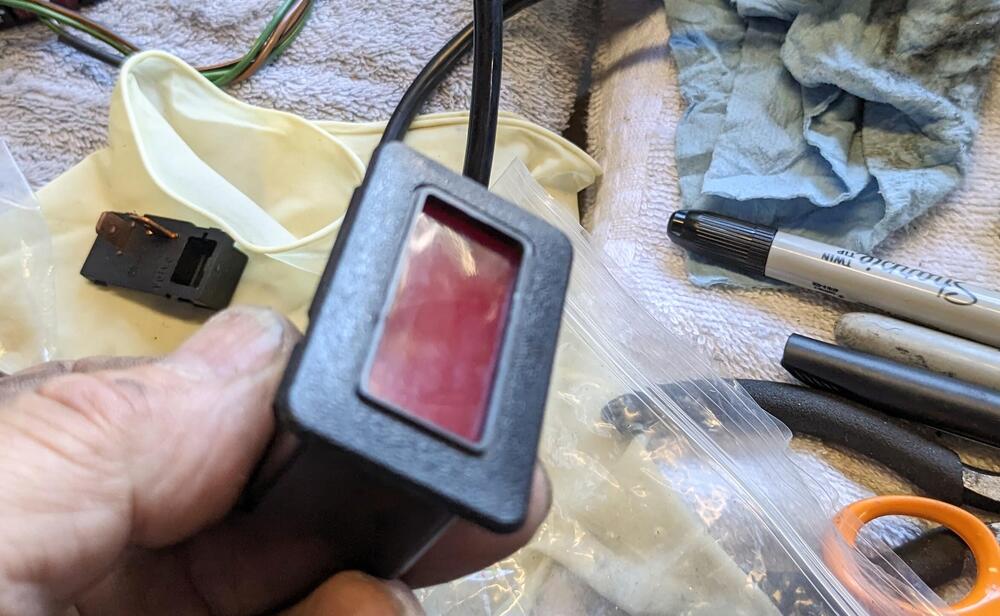
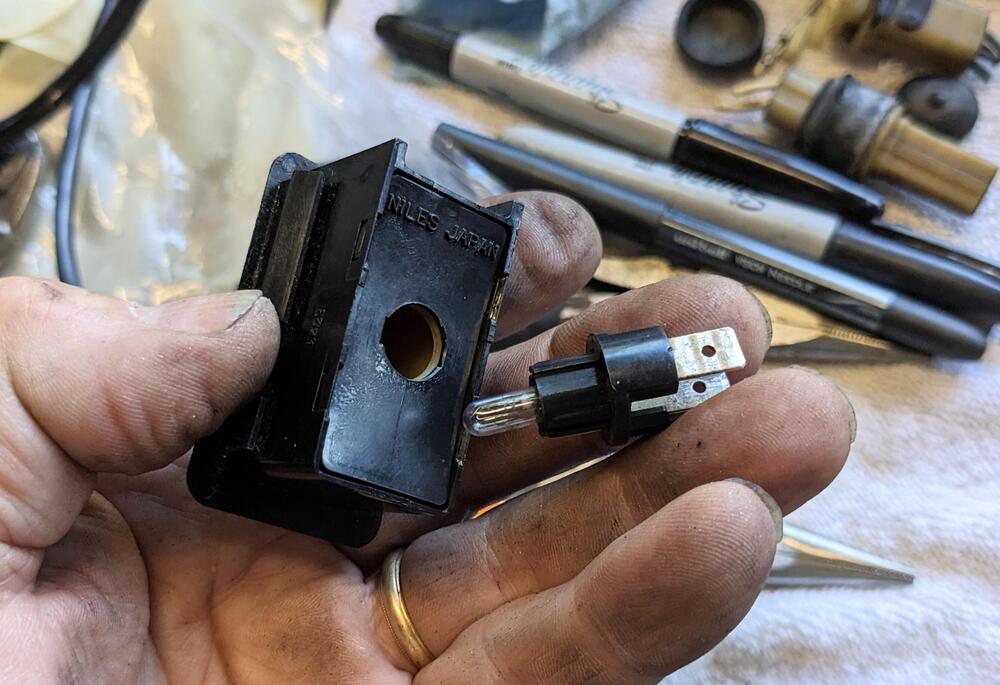
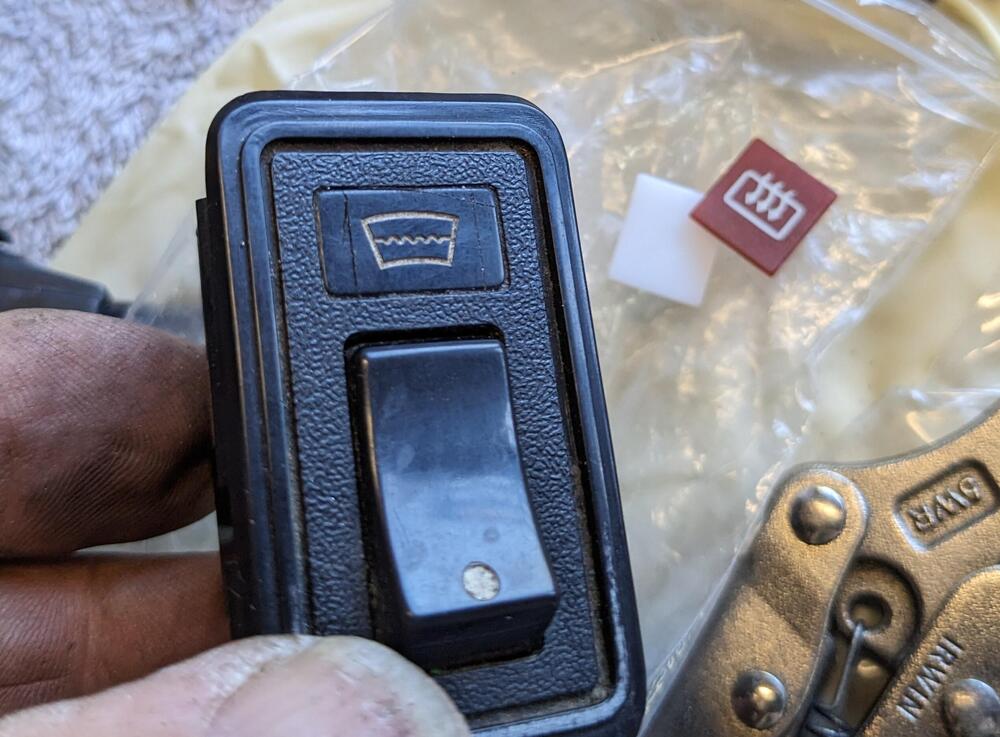
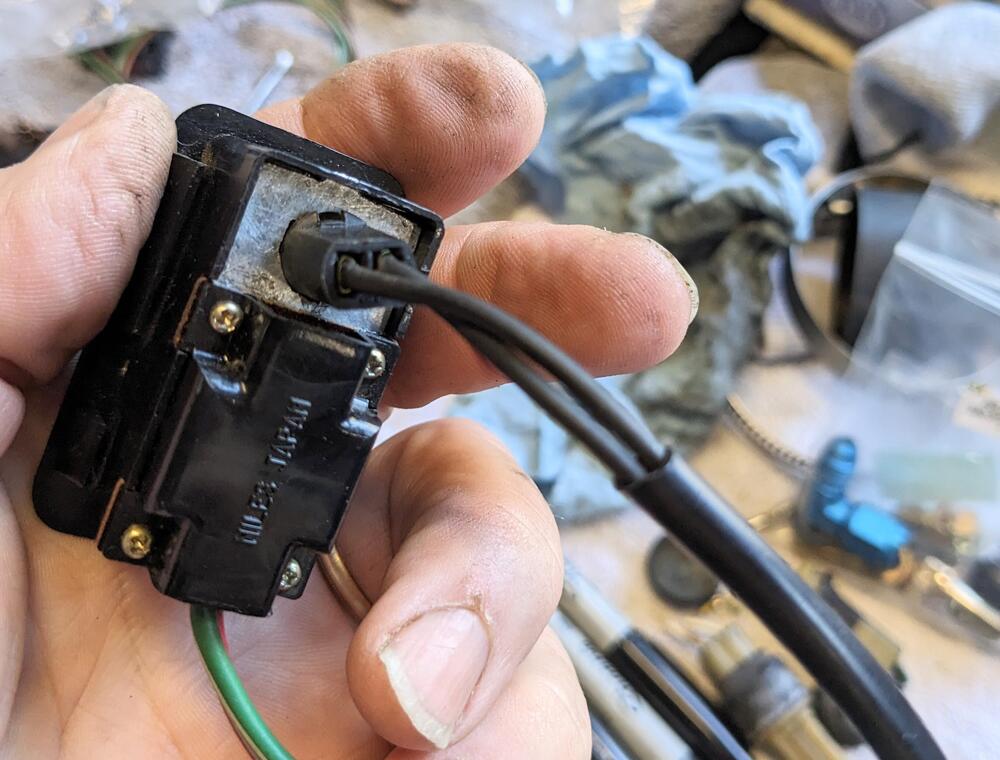
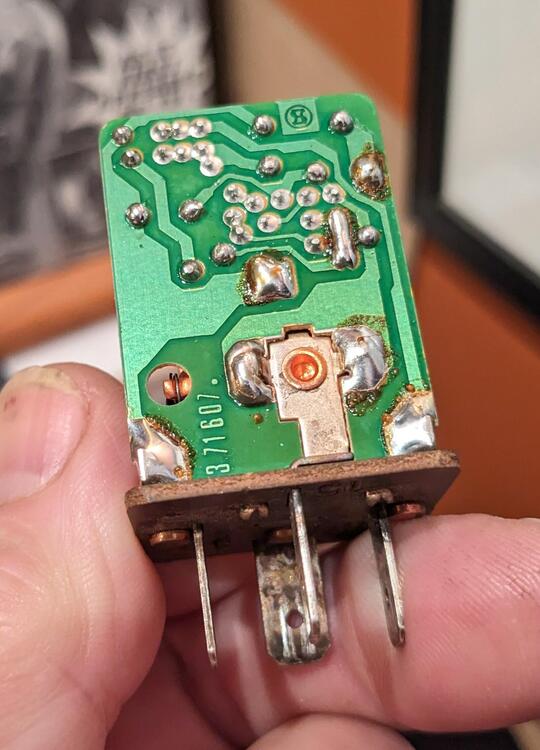
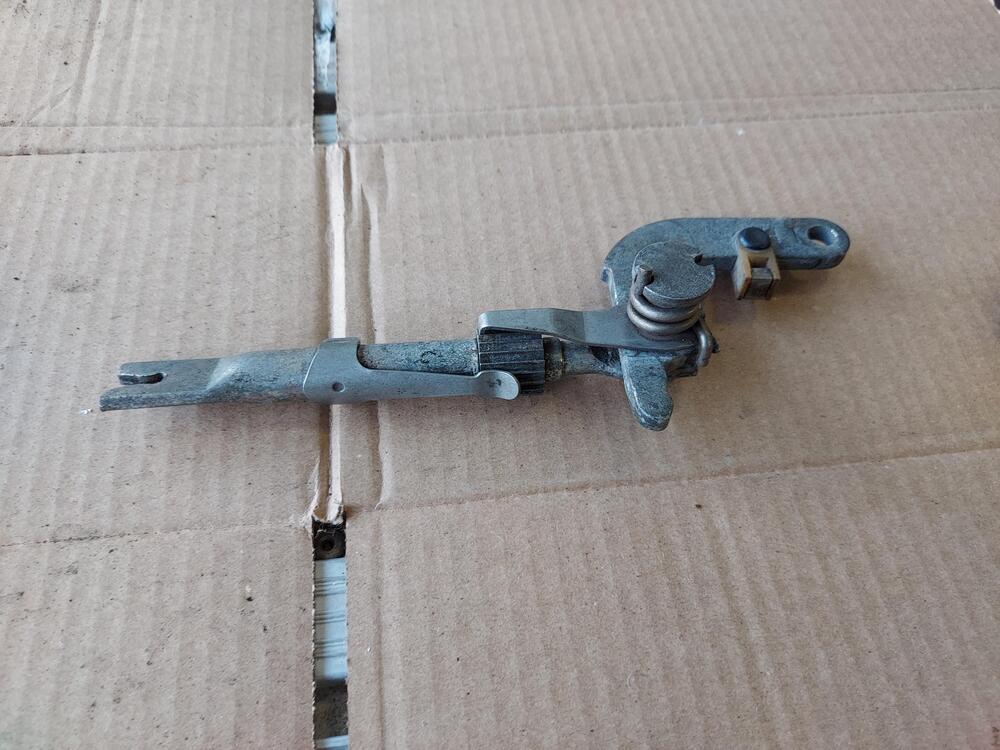
Did the AC relay signal re-wire using the L terminal and repurposed the low fuel lamp for the charge indicator lamp. Works as expected. V/reg connector, with wh-bl connected while I was in the bay I repurposed unused AC system wires and moved them to the engine harness connector for Oil temp sender (Bl-Wh) and to the alternator for Voltmeter (Y-R) I need a spot for the charge indicator lamp, so I removed the massive "Rear Defogger" lamp & fitted a red lens, then added a bulb socket plate to the rear defogger switch, similar to what the Hazard switch has. I had to cut a hole in the rear defogger & add a color plate w/icon for the defogger re-drilled the backside to accept a bulb socket w/spade terminals making the bulb plate marked area to be cut out build plate fitted illuminated Last thing, the 1363449 AC relay is dead - I re-flowed the solder joints, but it still doesn't switch after the 10sec delay, so I have ordered another


 2 points
 -
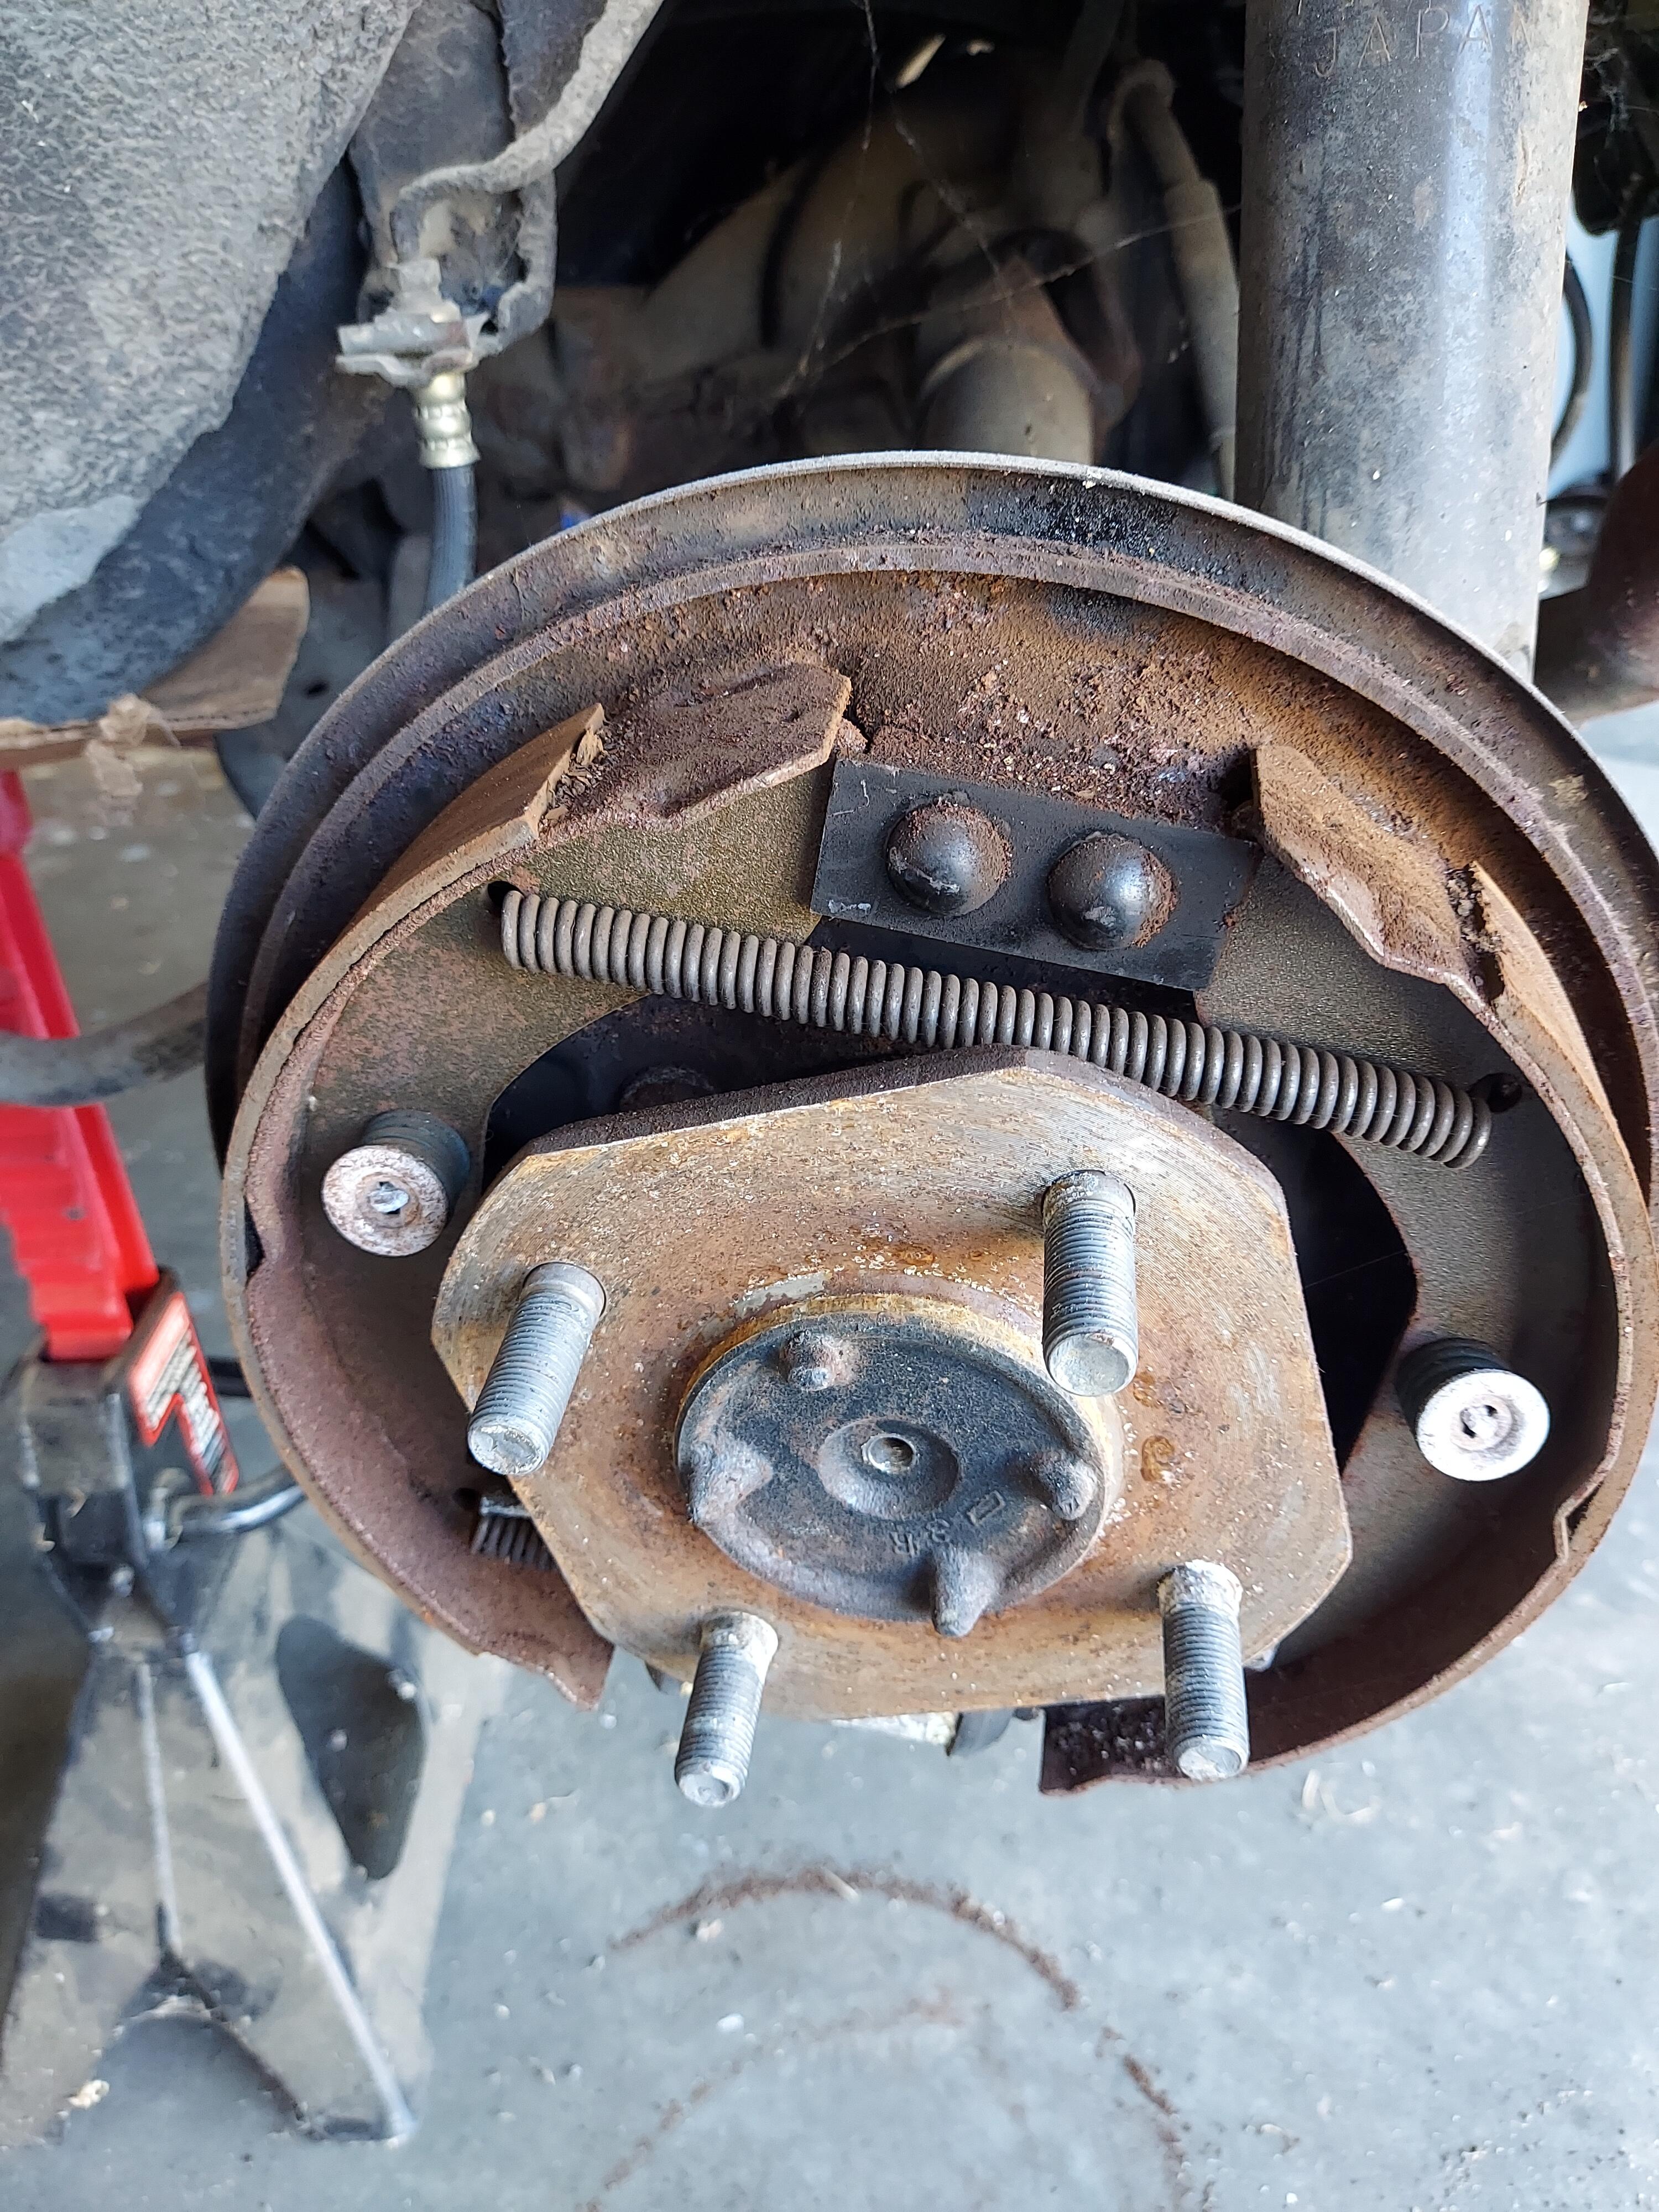
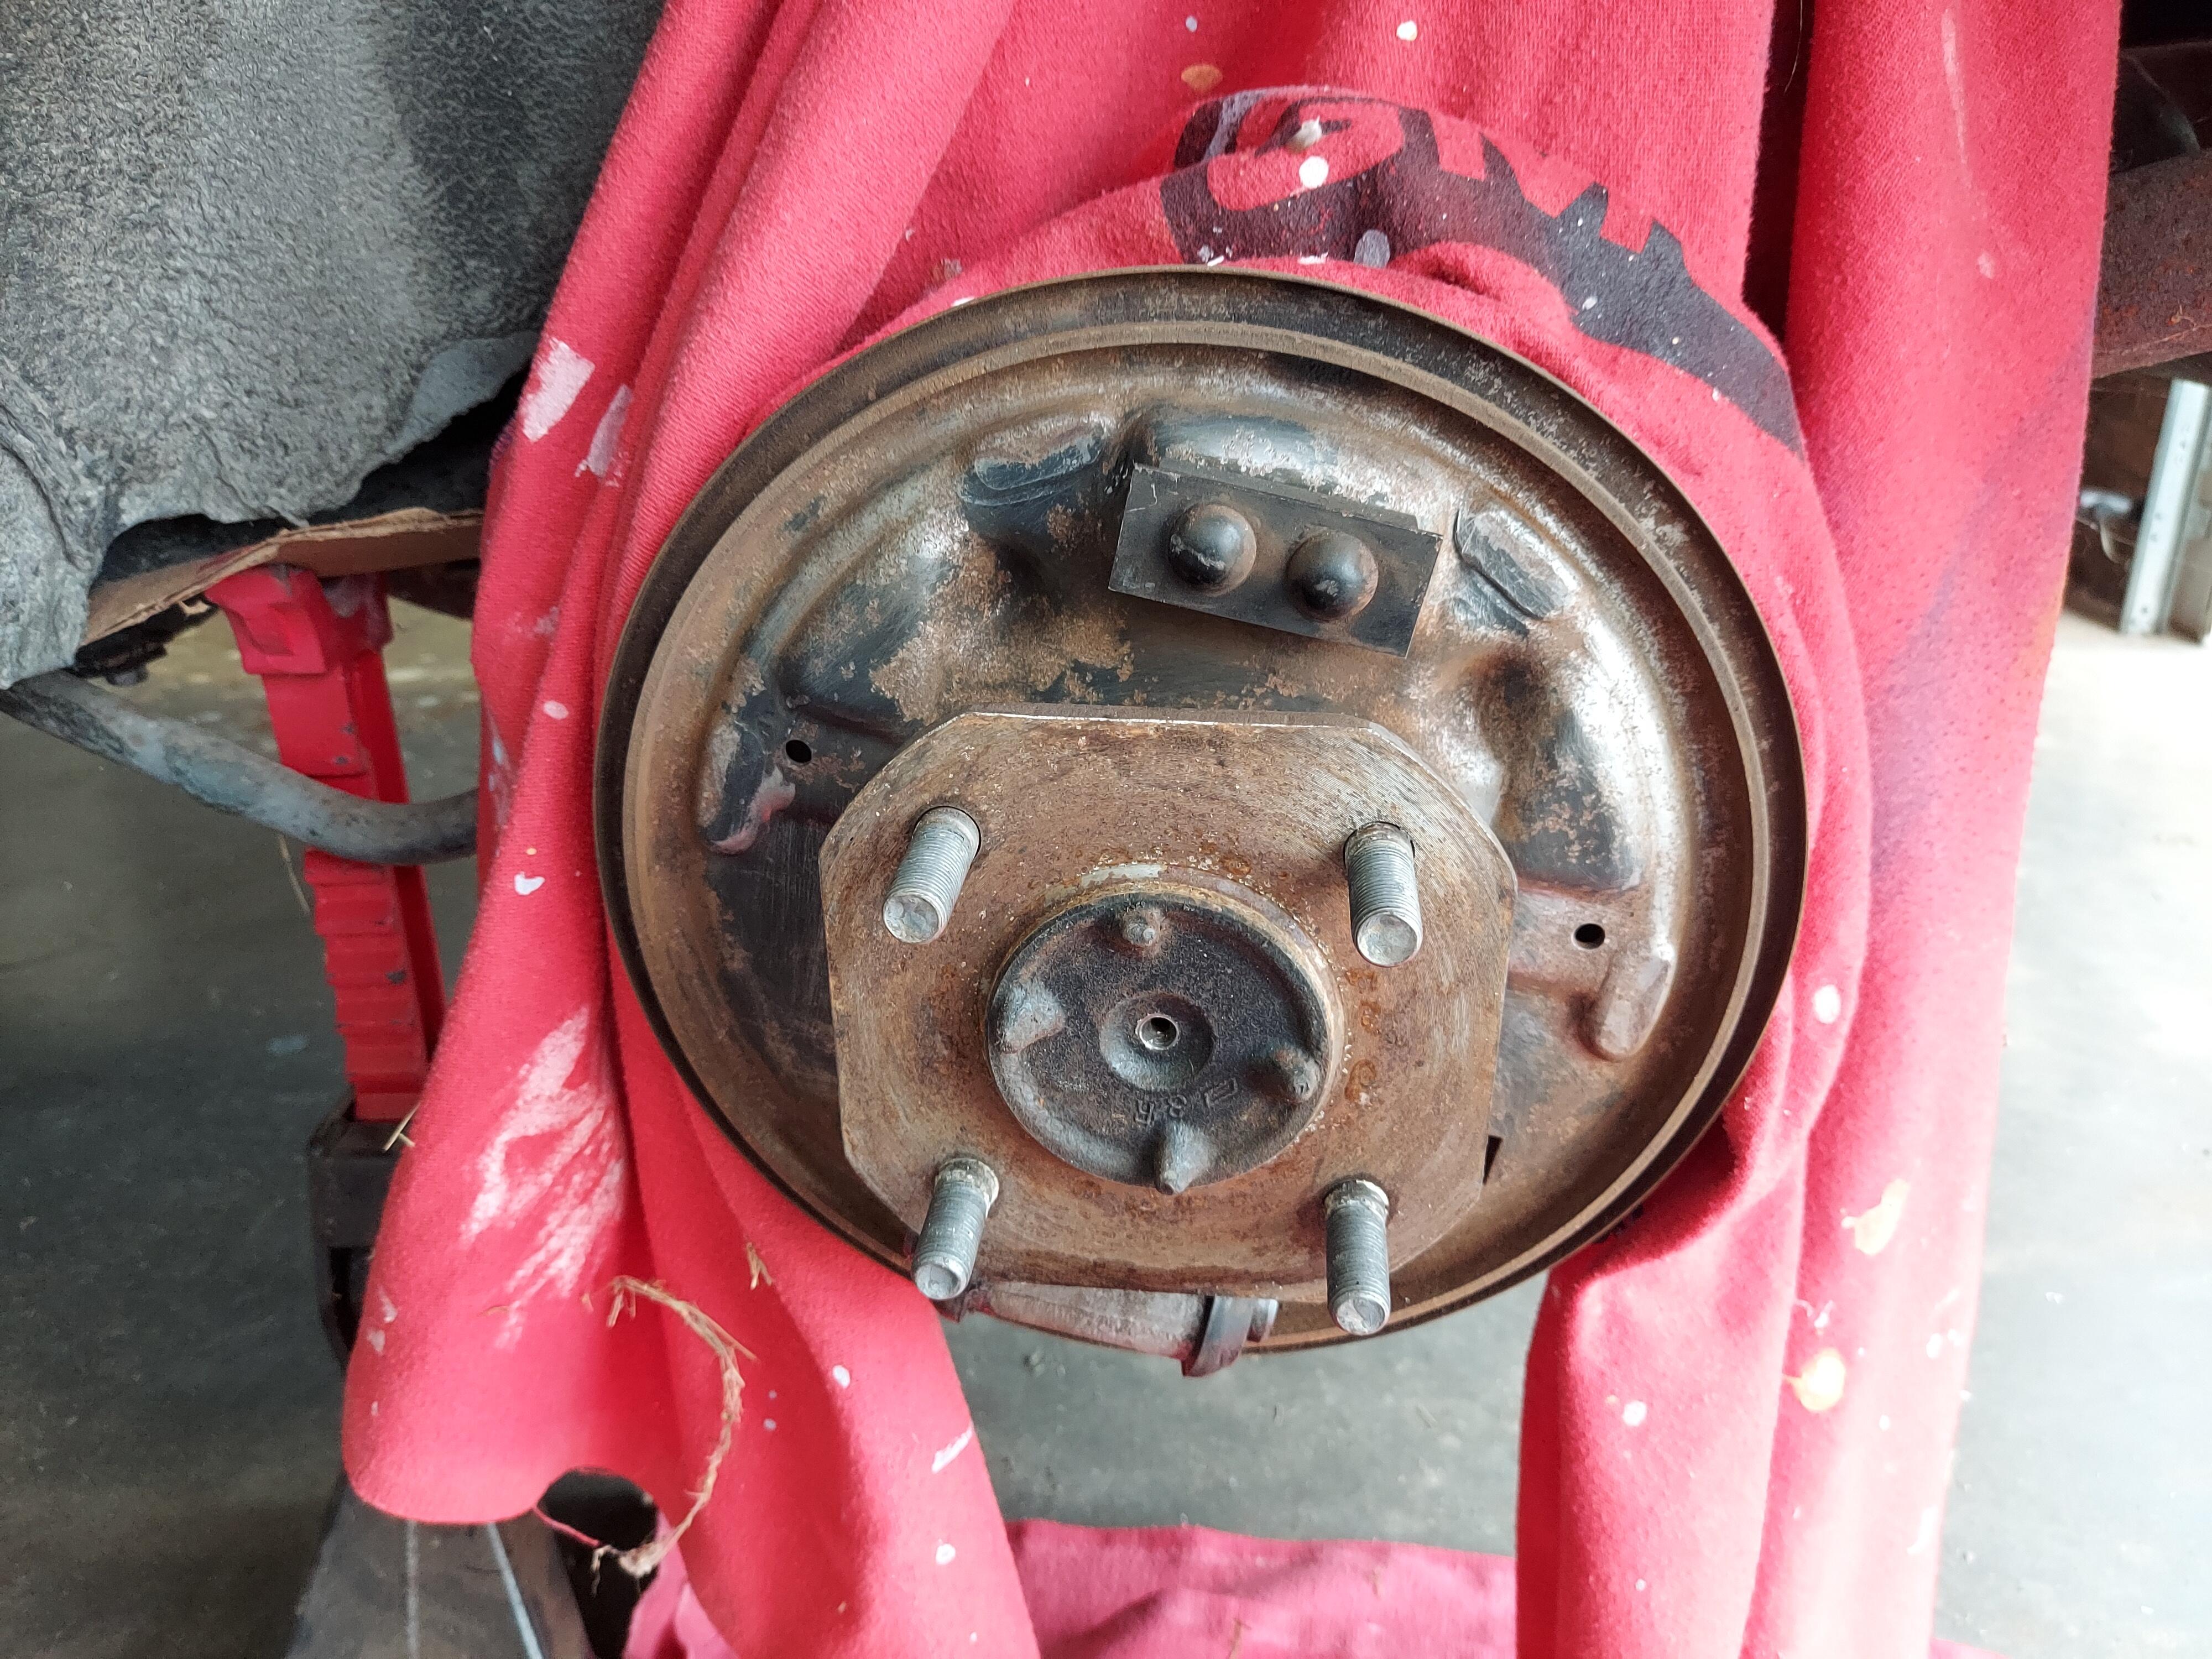
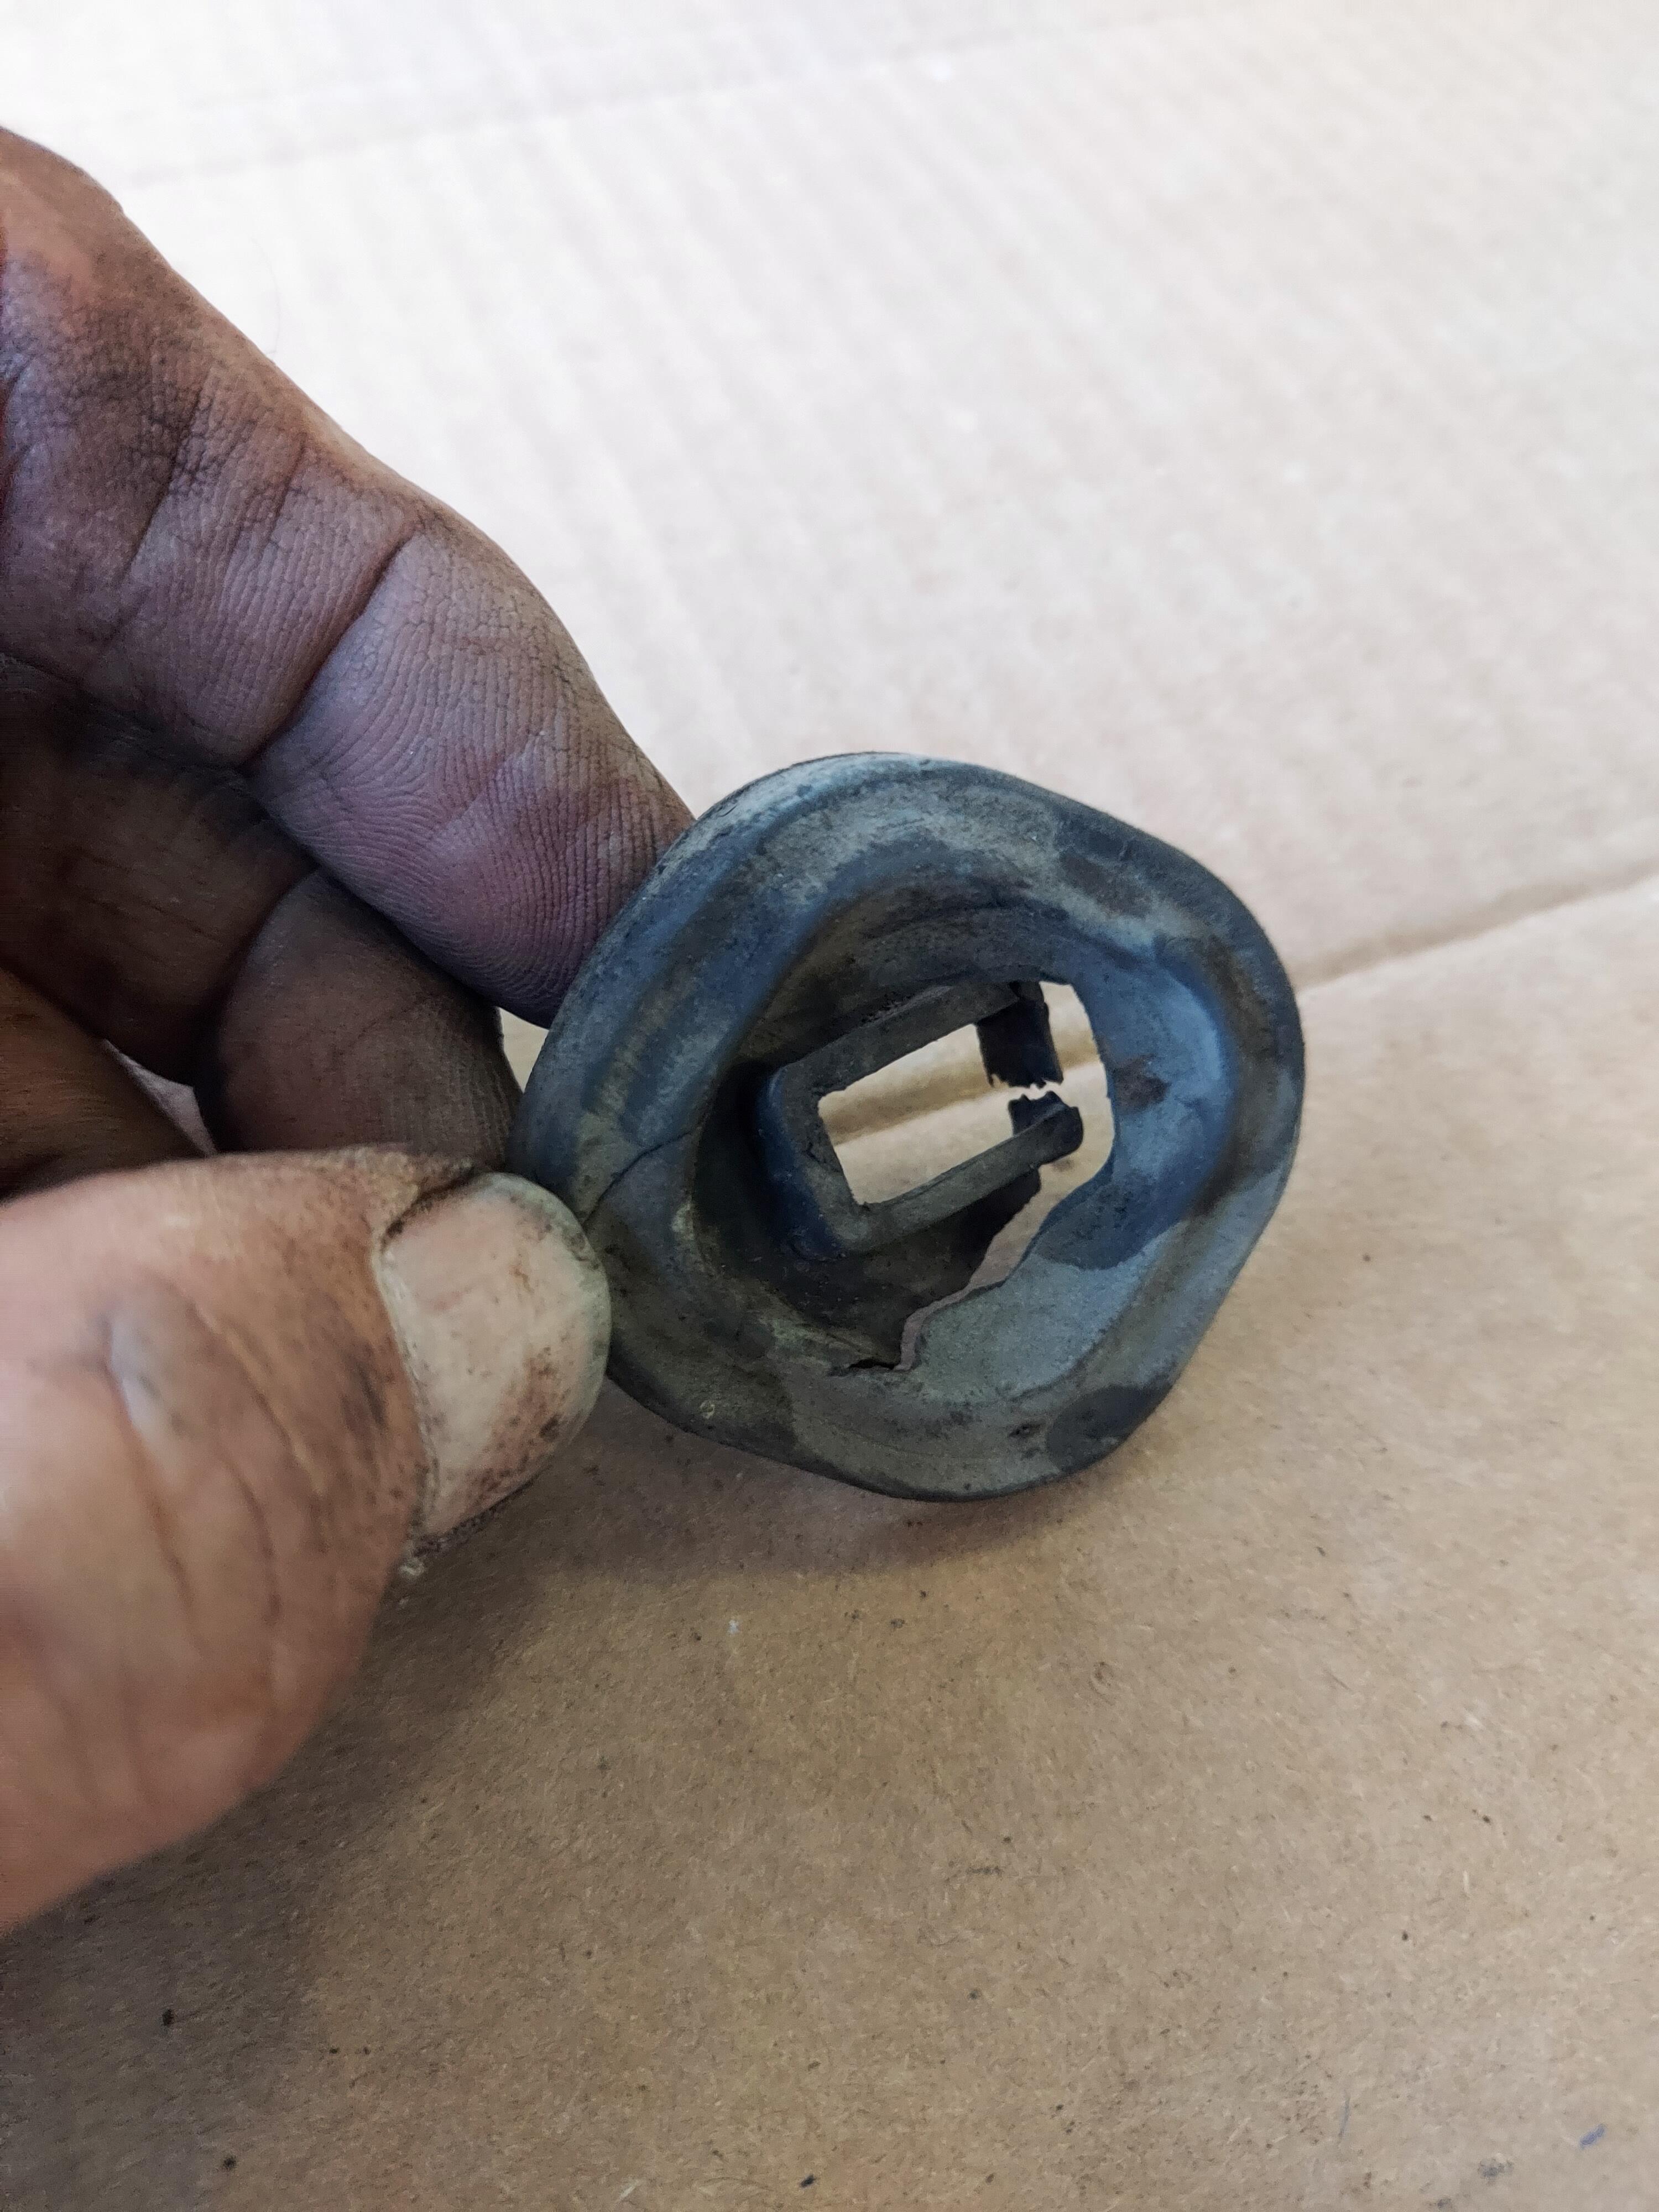
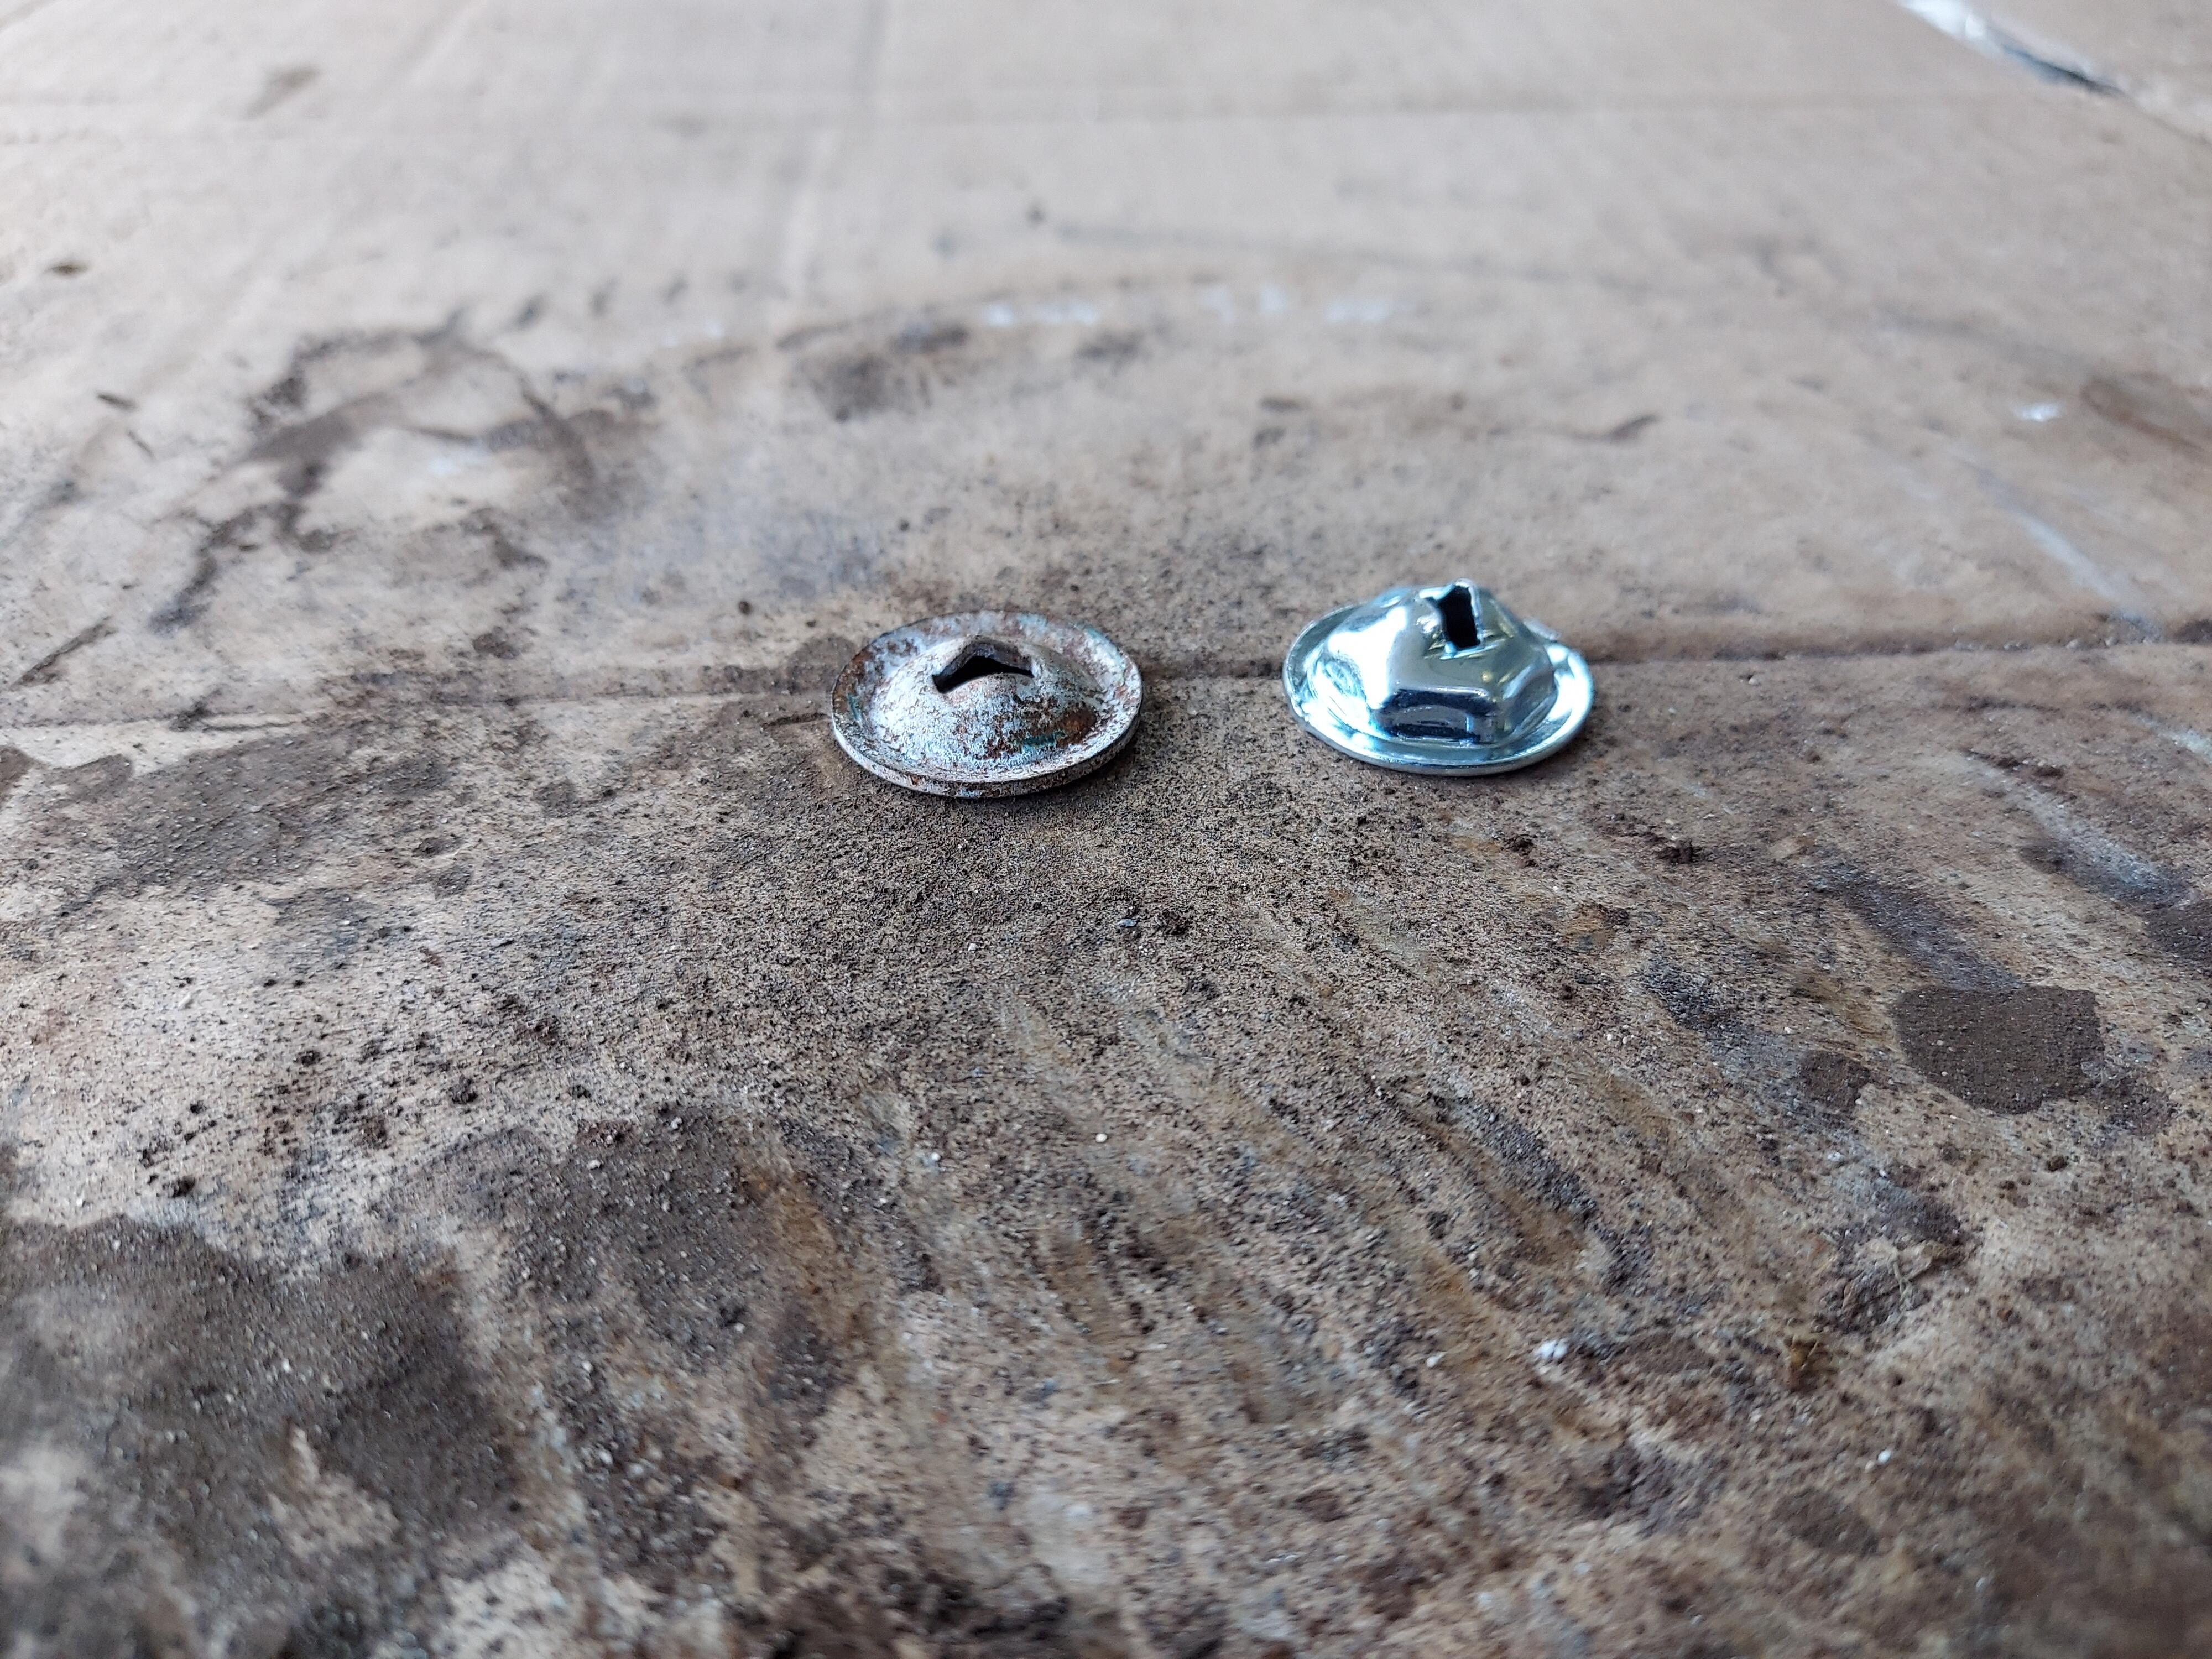
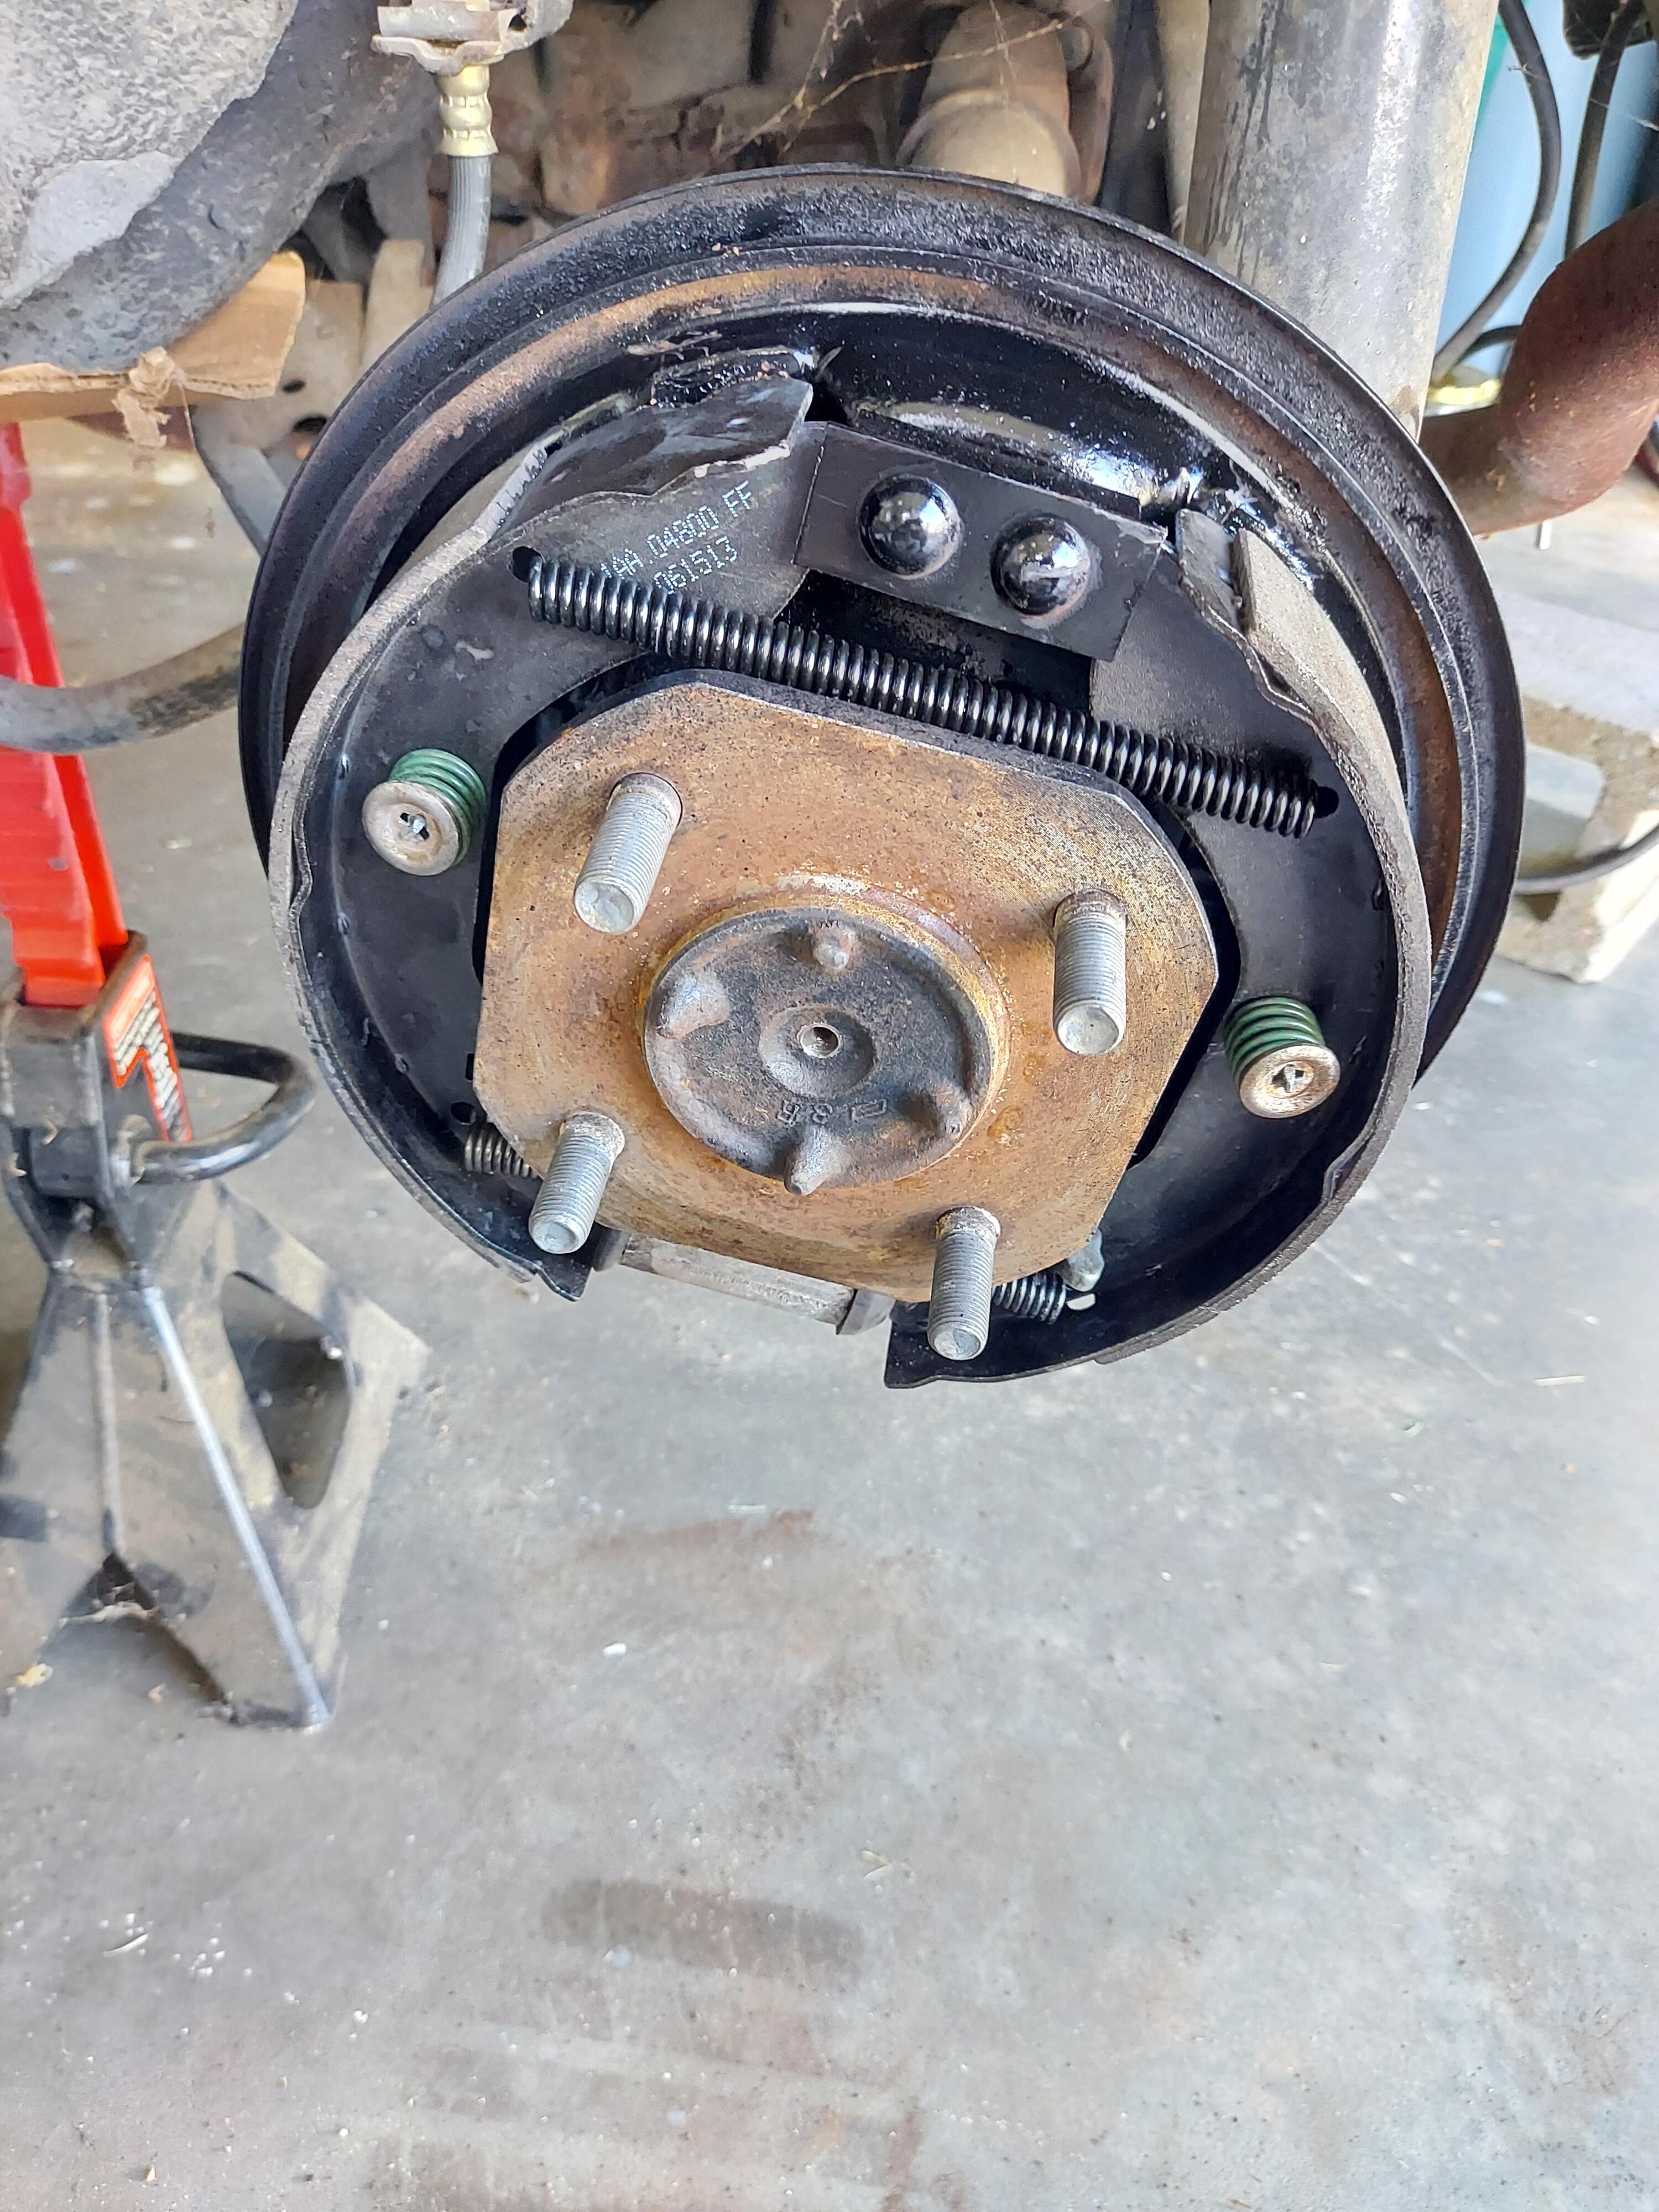
2 pointsI started redoing the brakes yesterday. To begin with, everything inside was pretty rusty. To make matters worse, whoever worked on them last used white lithium grease behind the shoes and on the adjuster mechanism. It had turned into chalk over the years. I got everything apart and cleaned everything up with solvent and wire brushes. the good news is the cylinder shows no signs of leaking. I sprayed the backing plate with black paint just to make myself feel better, and moved on to the adjusters. They were completely frozen. With some penetrating oil and effort, i got it cleaned up and working smoothly. I used a dry film lubricant on the pivot and proper brake pin lube on the threads, so hopefully they'll not lock up again. The boot tore, so i have a pair on the way from Z Car Depot. I let the painted plate dry overnight and started reassembly today. That's when I discovered the anti-rattle spring hats in my hardware kit are wrong. They are deeper than what was on the car, and don't tension the springs. I decided to just clean up and reuse the old ones. Getting the brakes back together was frustrating. It had been a minute since I'd done drums. I struggled for over an hour getting the return springs installed. Then I came here, found this thread, and used what I now call the "book method". That worked like a charm. Driver side all done... ...except that when we used the puller on the passenger side, one of the anti-rattle spring hats broke. I need to source a replacement if anyone has one.


 2 points
 -
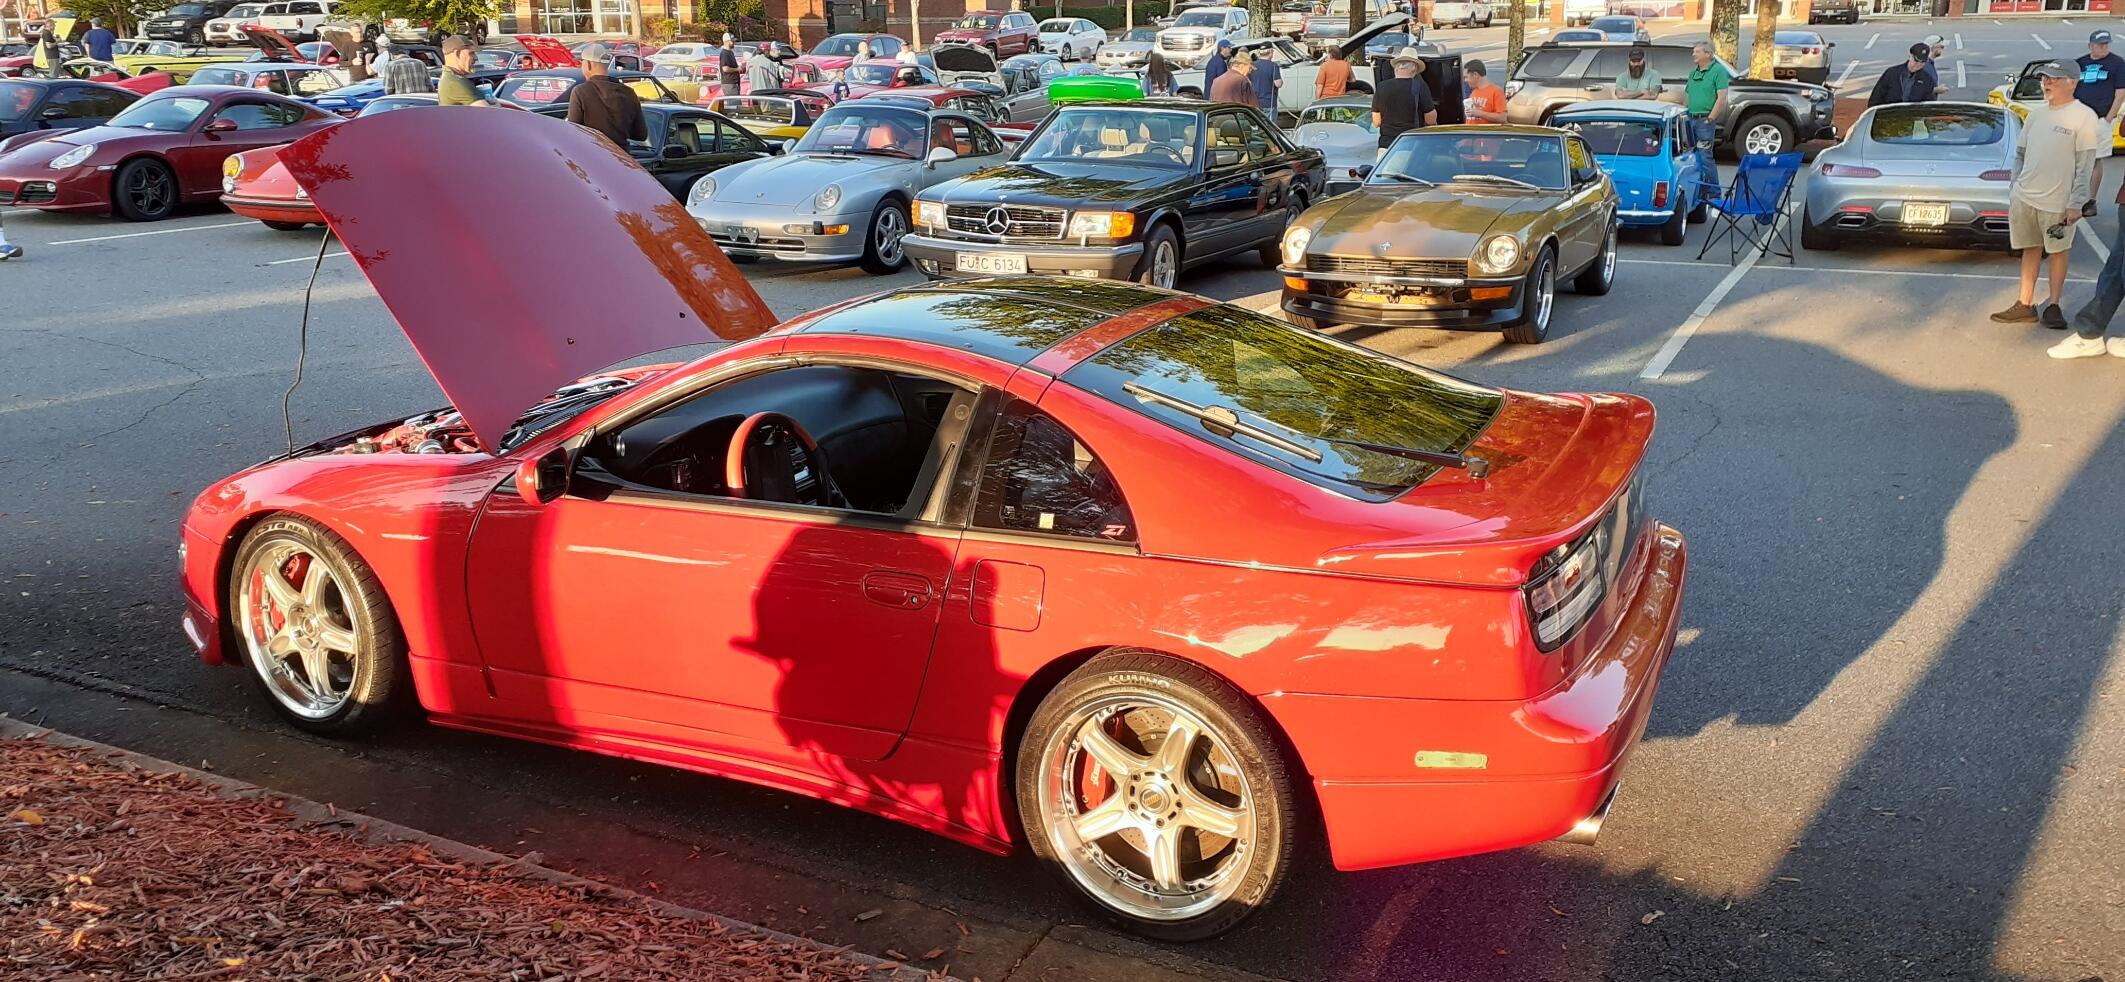
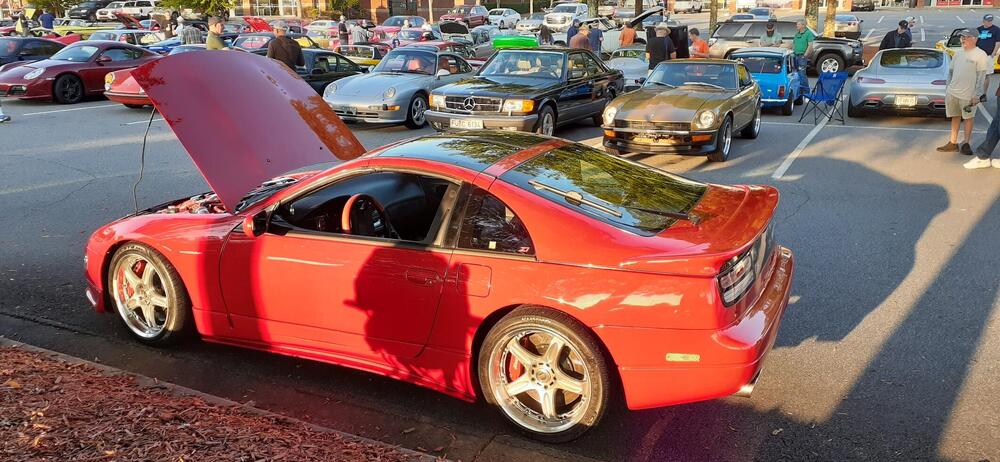
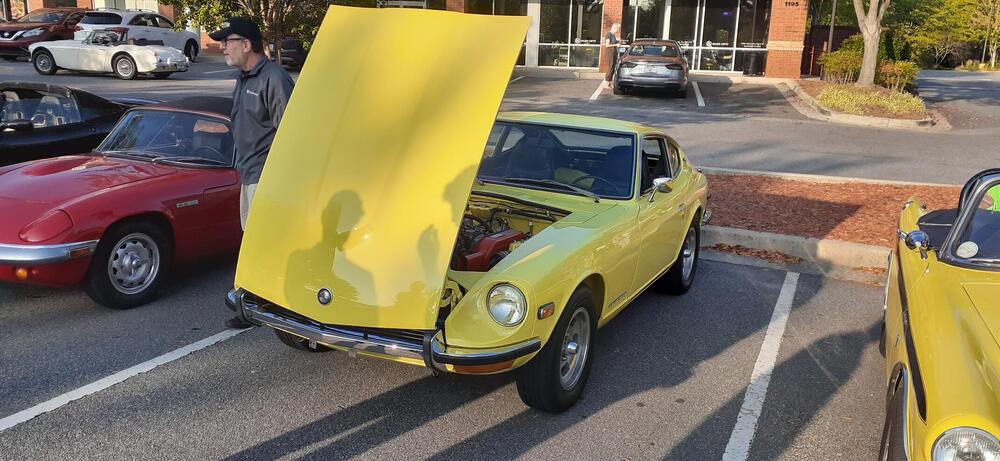
Third day in a row taking the car out. Only 4 Zs showed up, including mine. That could be from ZNationals happening yesterday. Then there was this unique vehicle. I'm not used to taking car photos in portrait mode.

 2 points
 -
1 point
-
1 point
-
1 point
-
A bit off-topic but in the past I've usually attributed an engine that "hunts" to be caused by a lean mixture.1 point
-
This is just because the hype and value to them, from my engineer/mechanic point of view, I would never give 32k for that thing lol. These people that bid, make a calculation what it's worth restored, and take the bet1 point
-
1 point
-
I think the $3770 offer was the best it's gonna do. I would probably contact that bidder and see if I could work something out...1 point
-
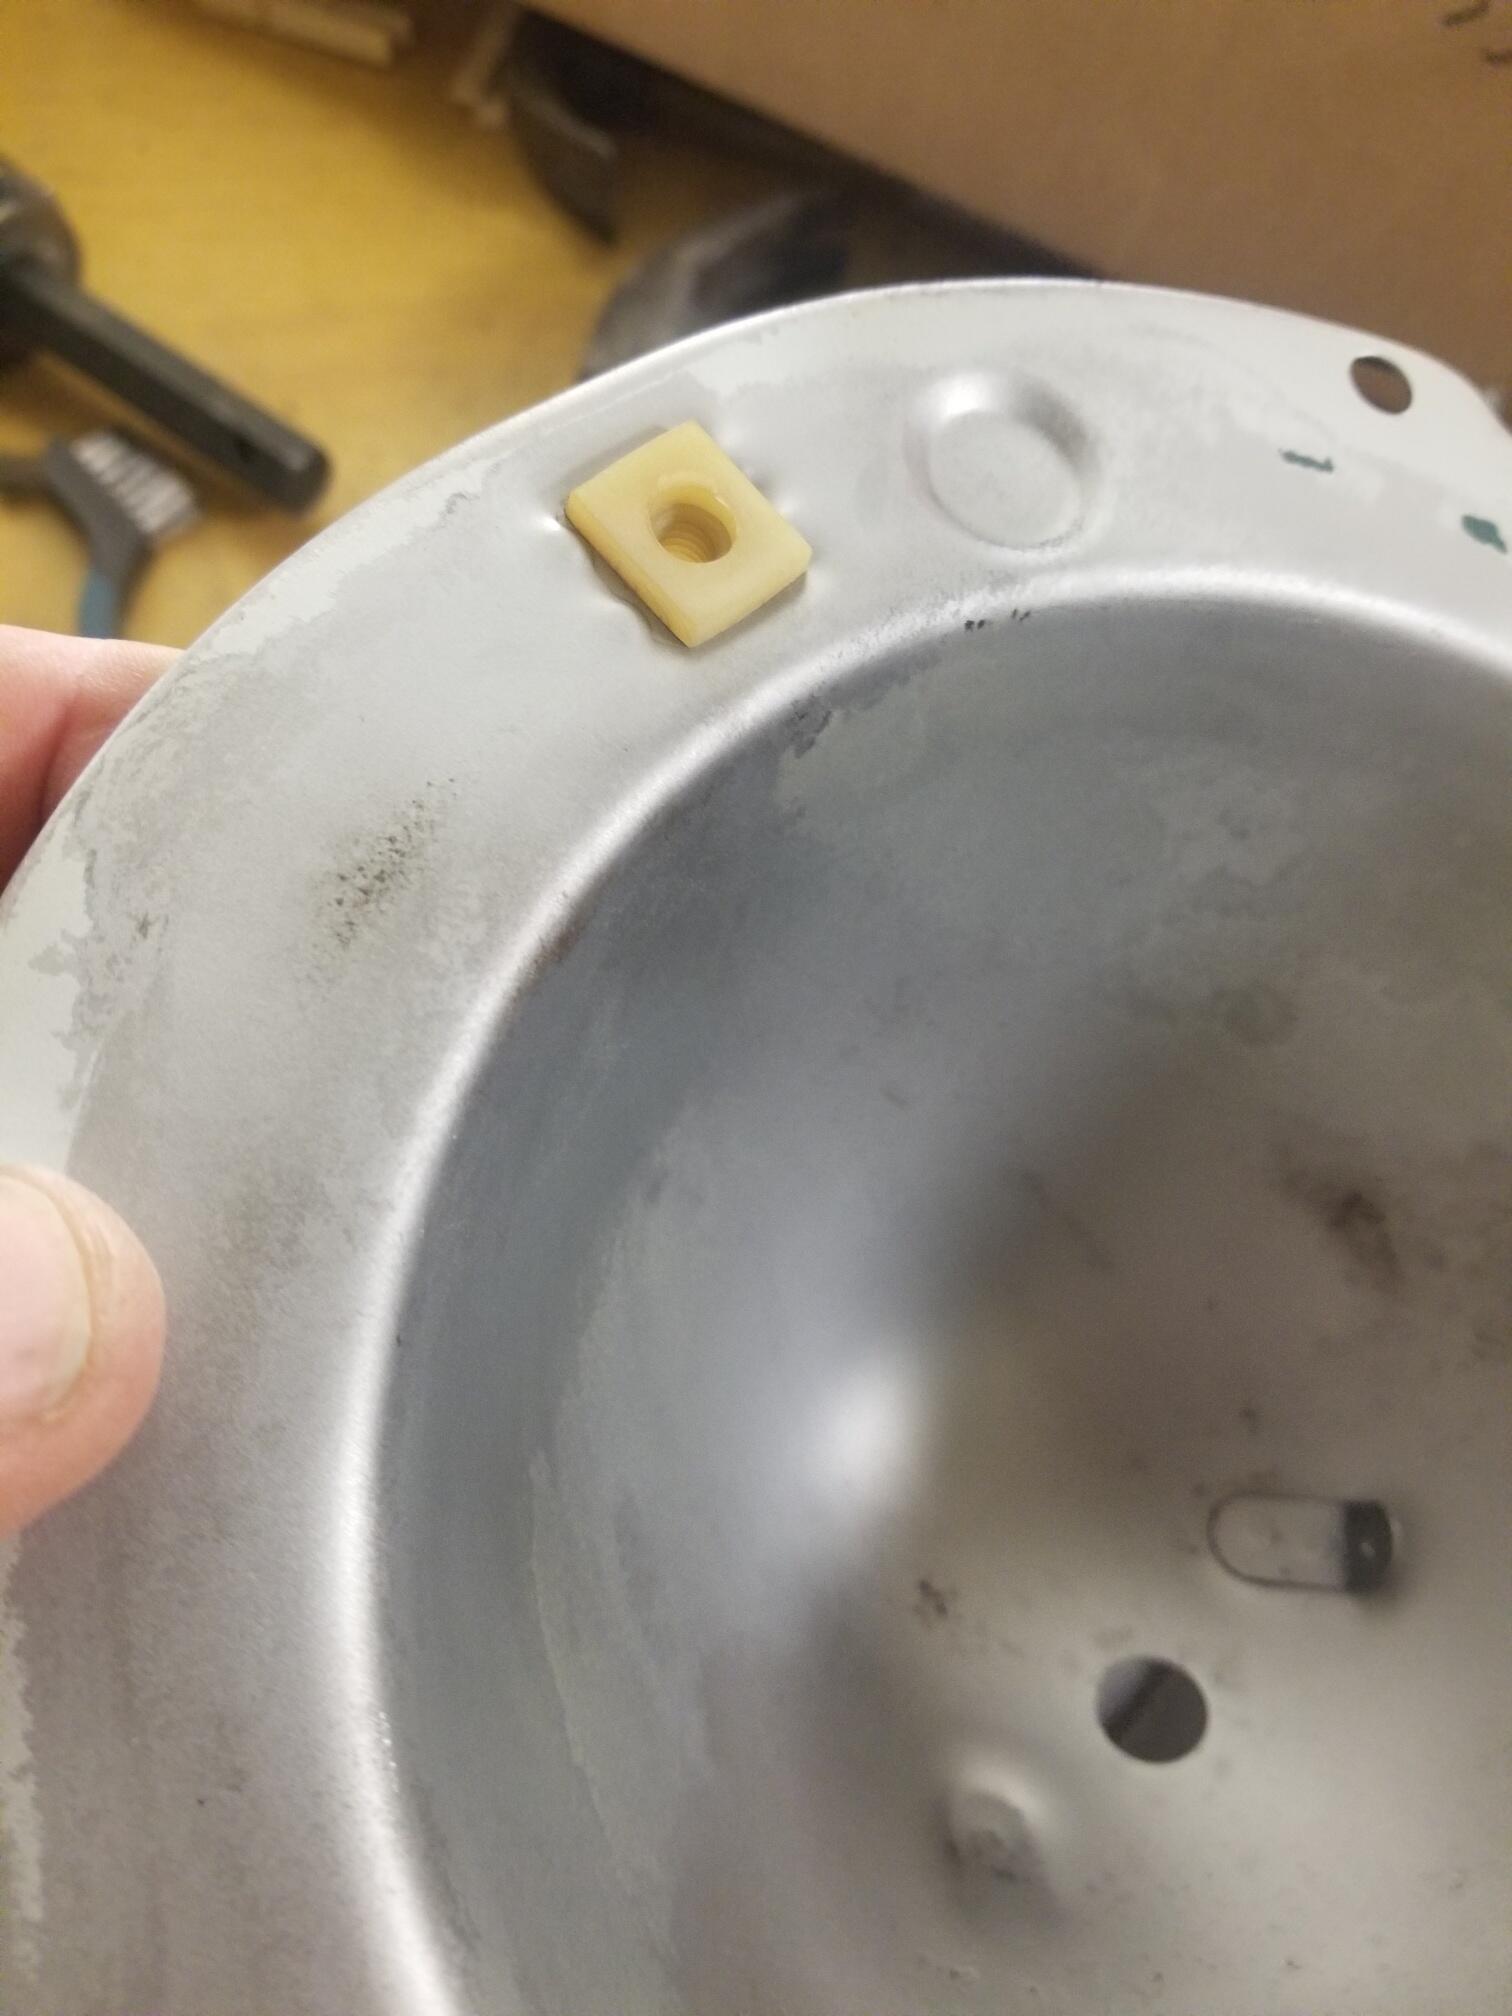
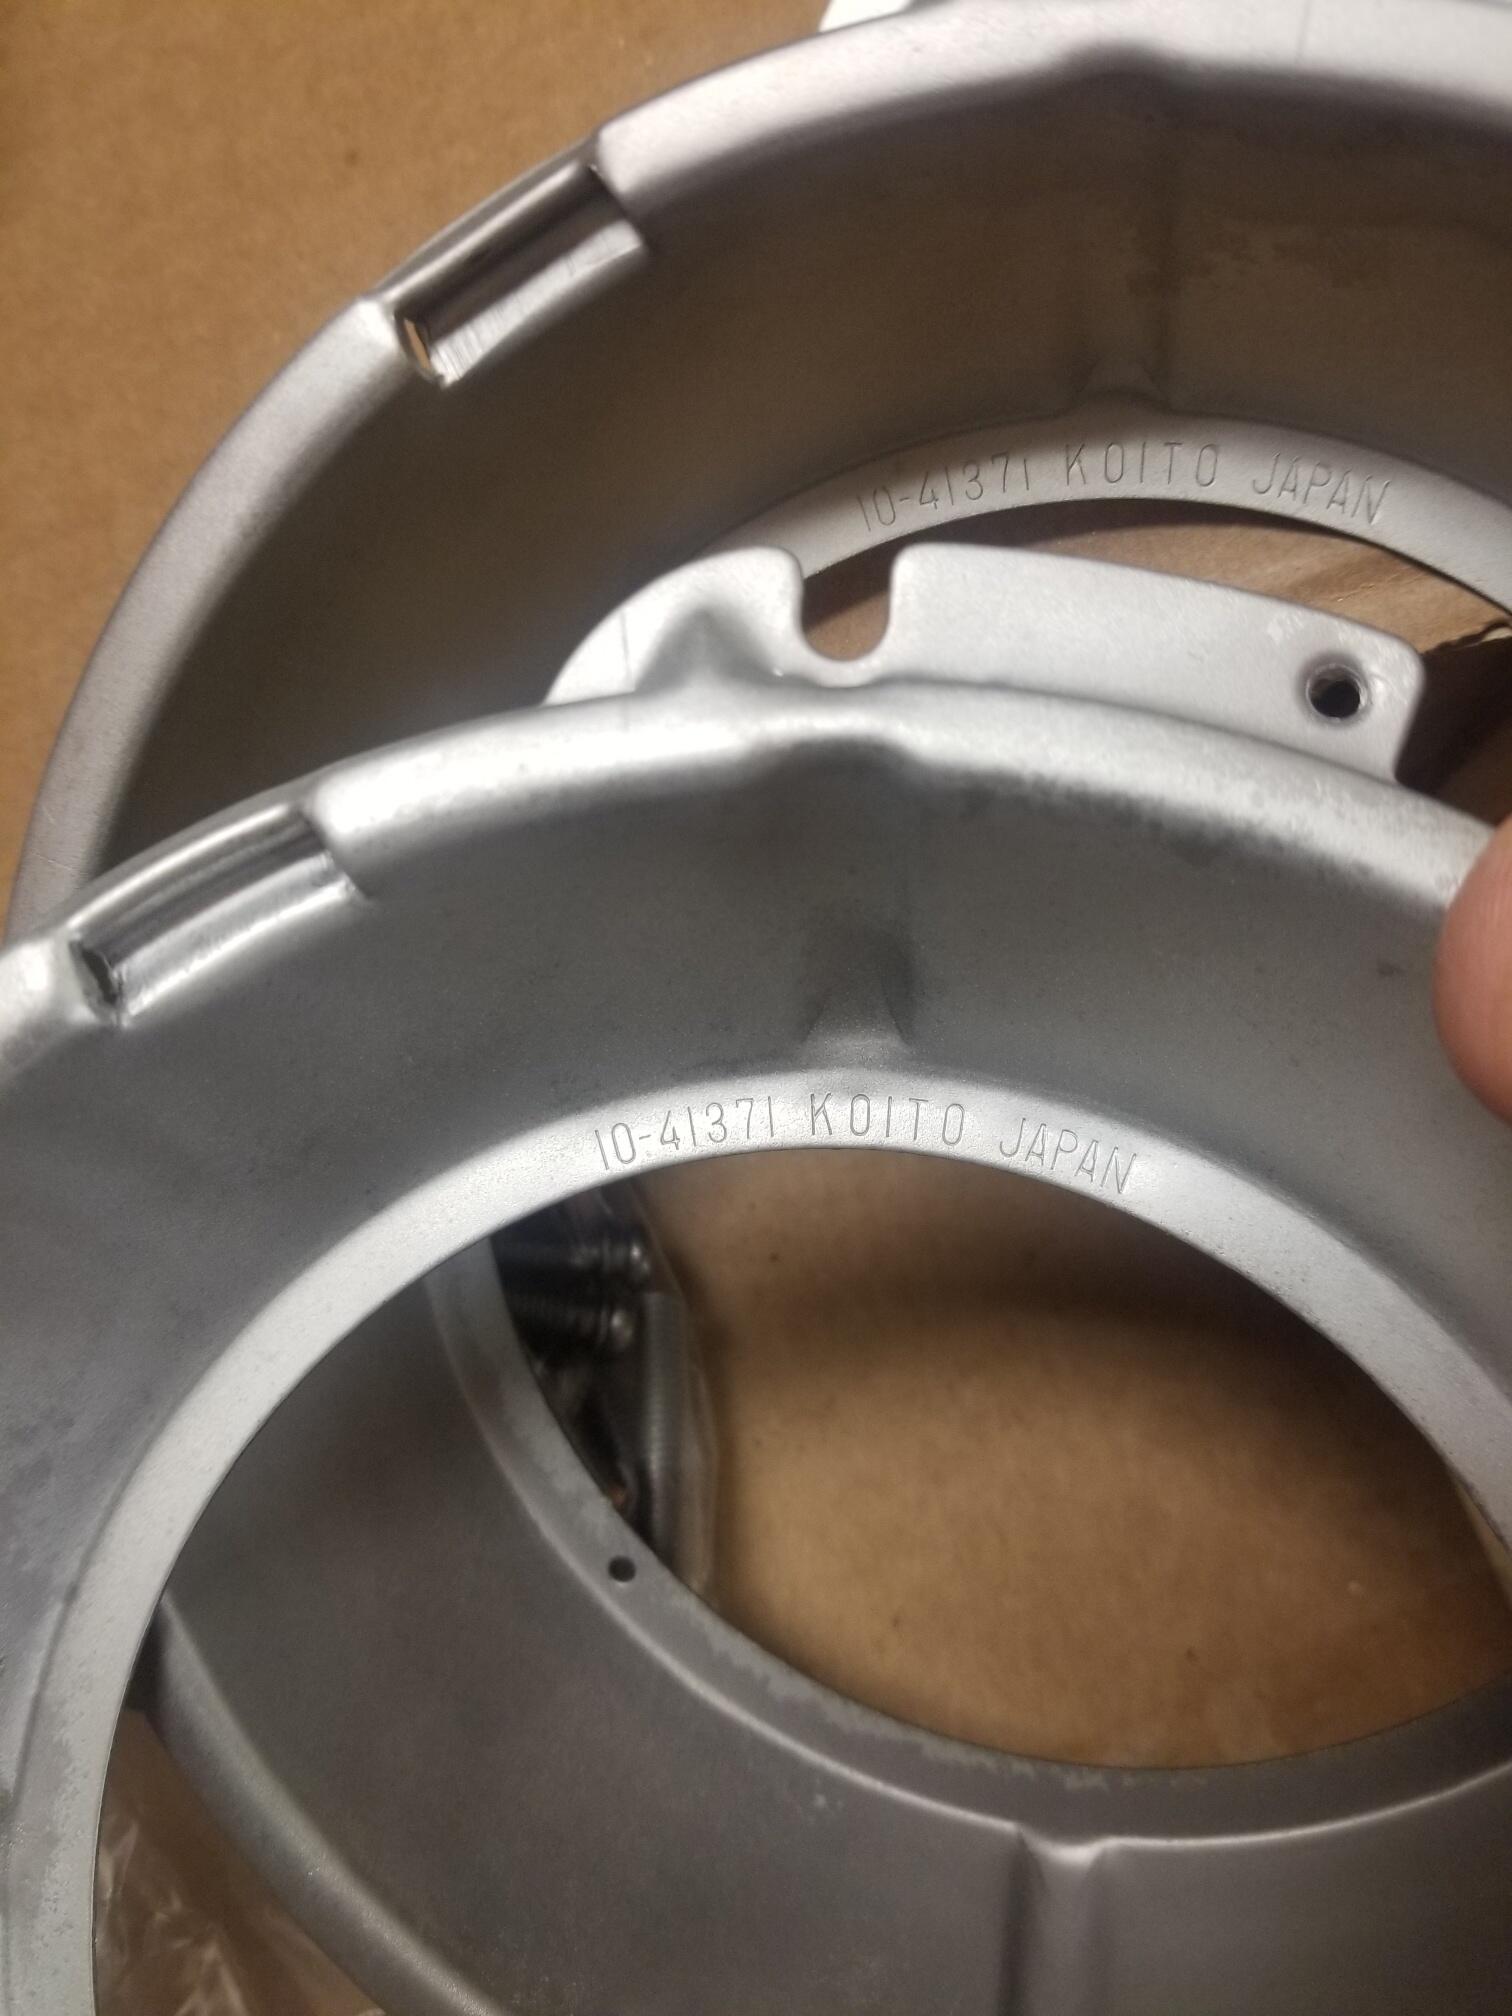
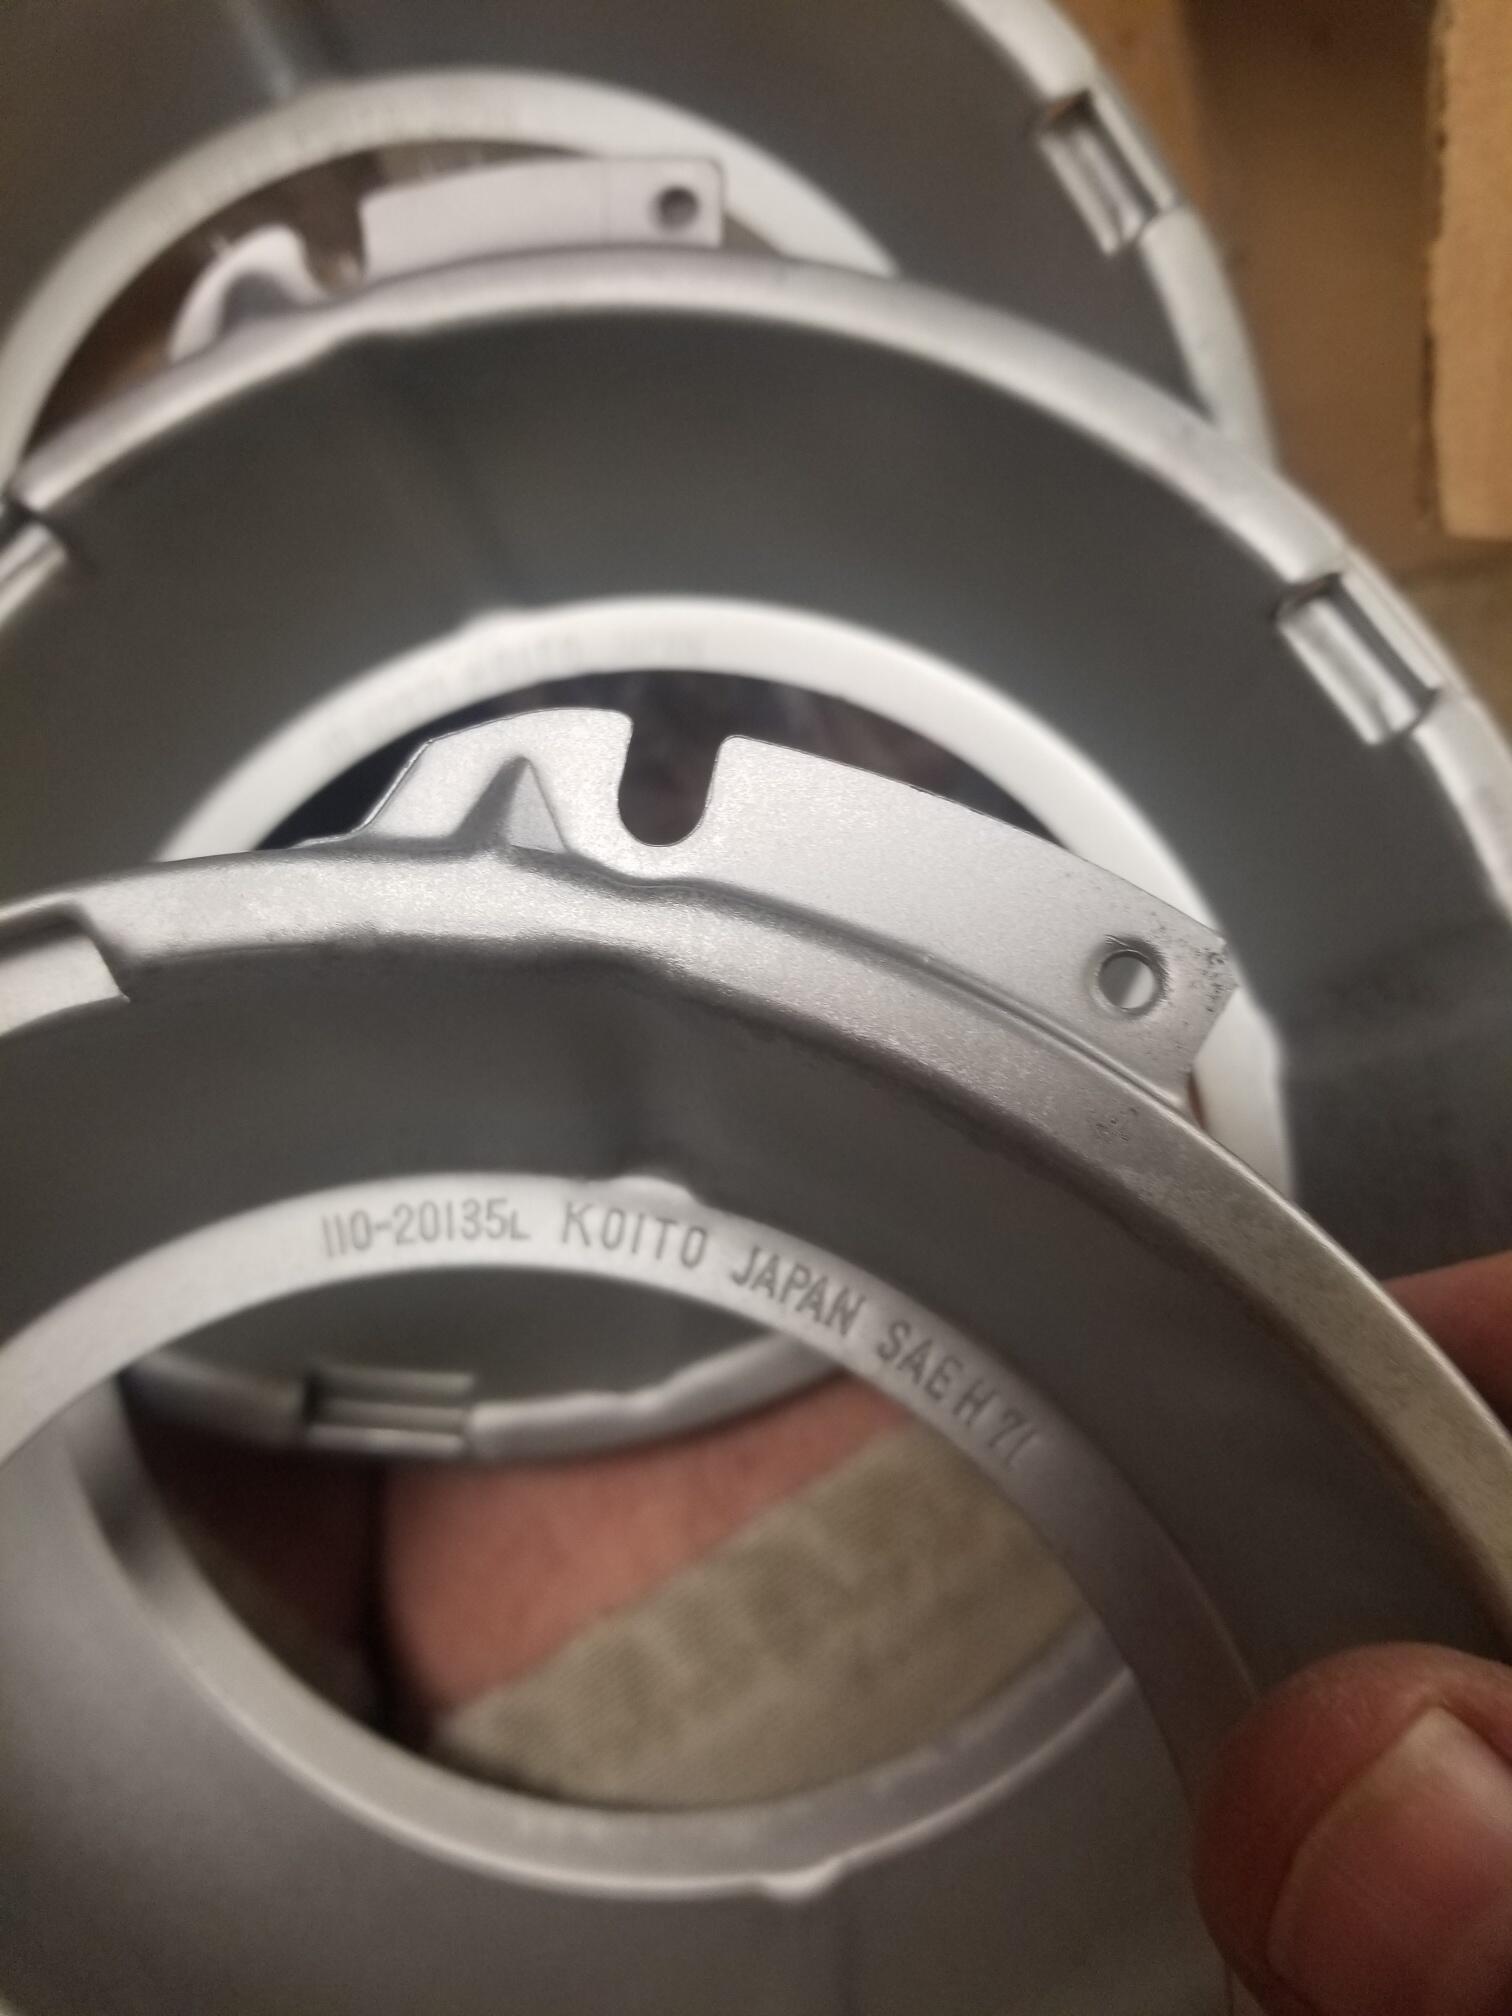
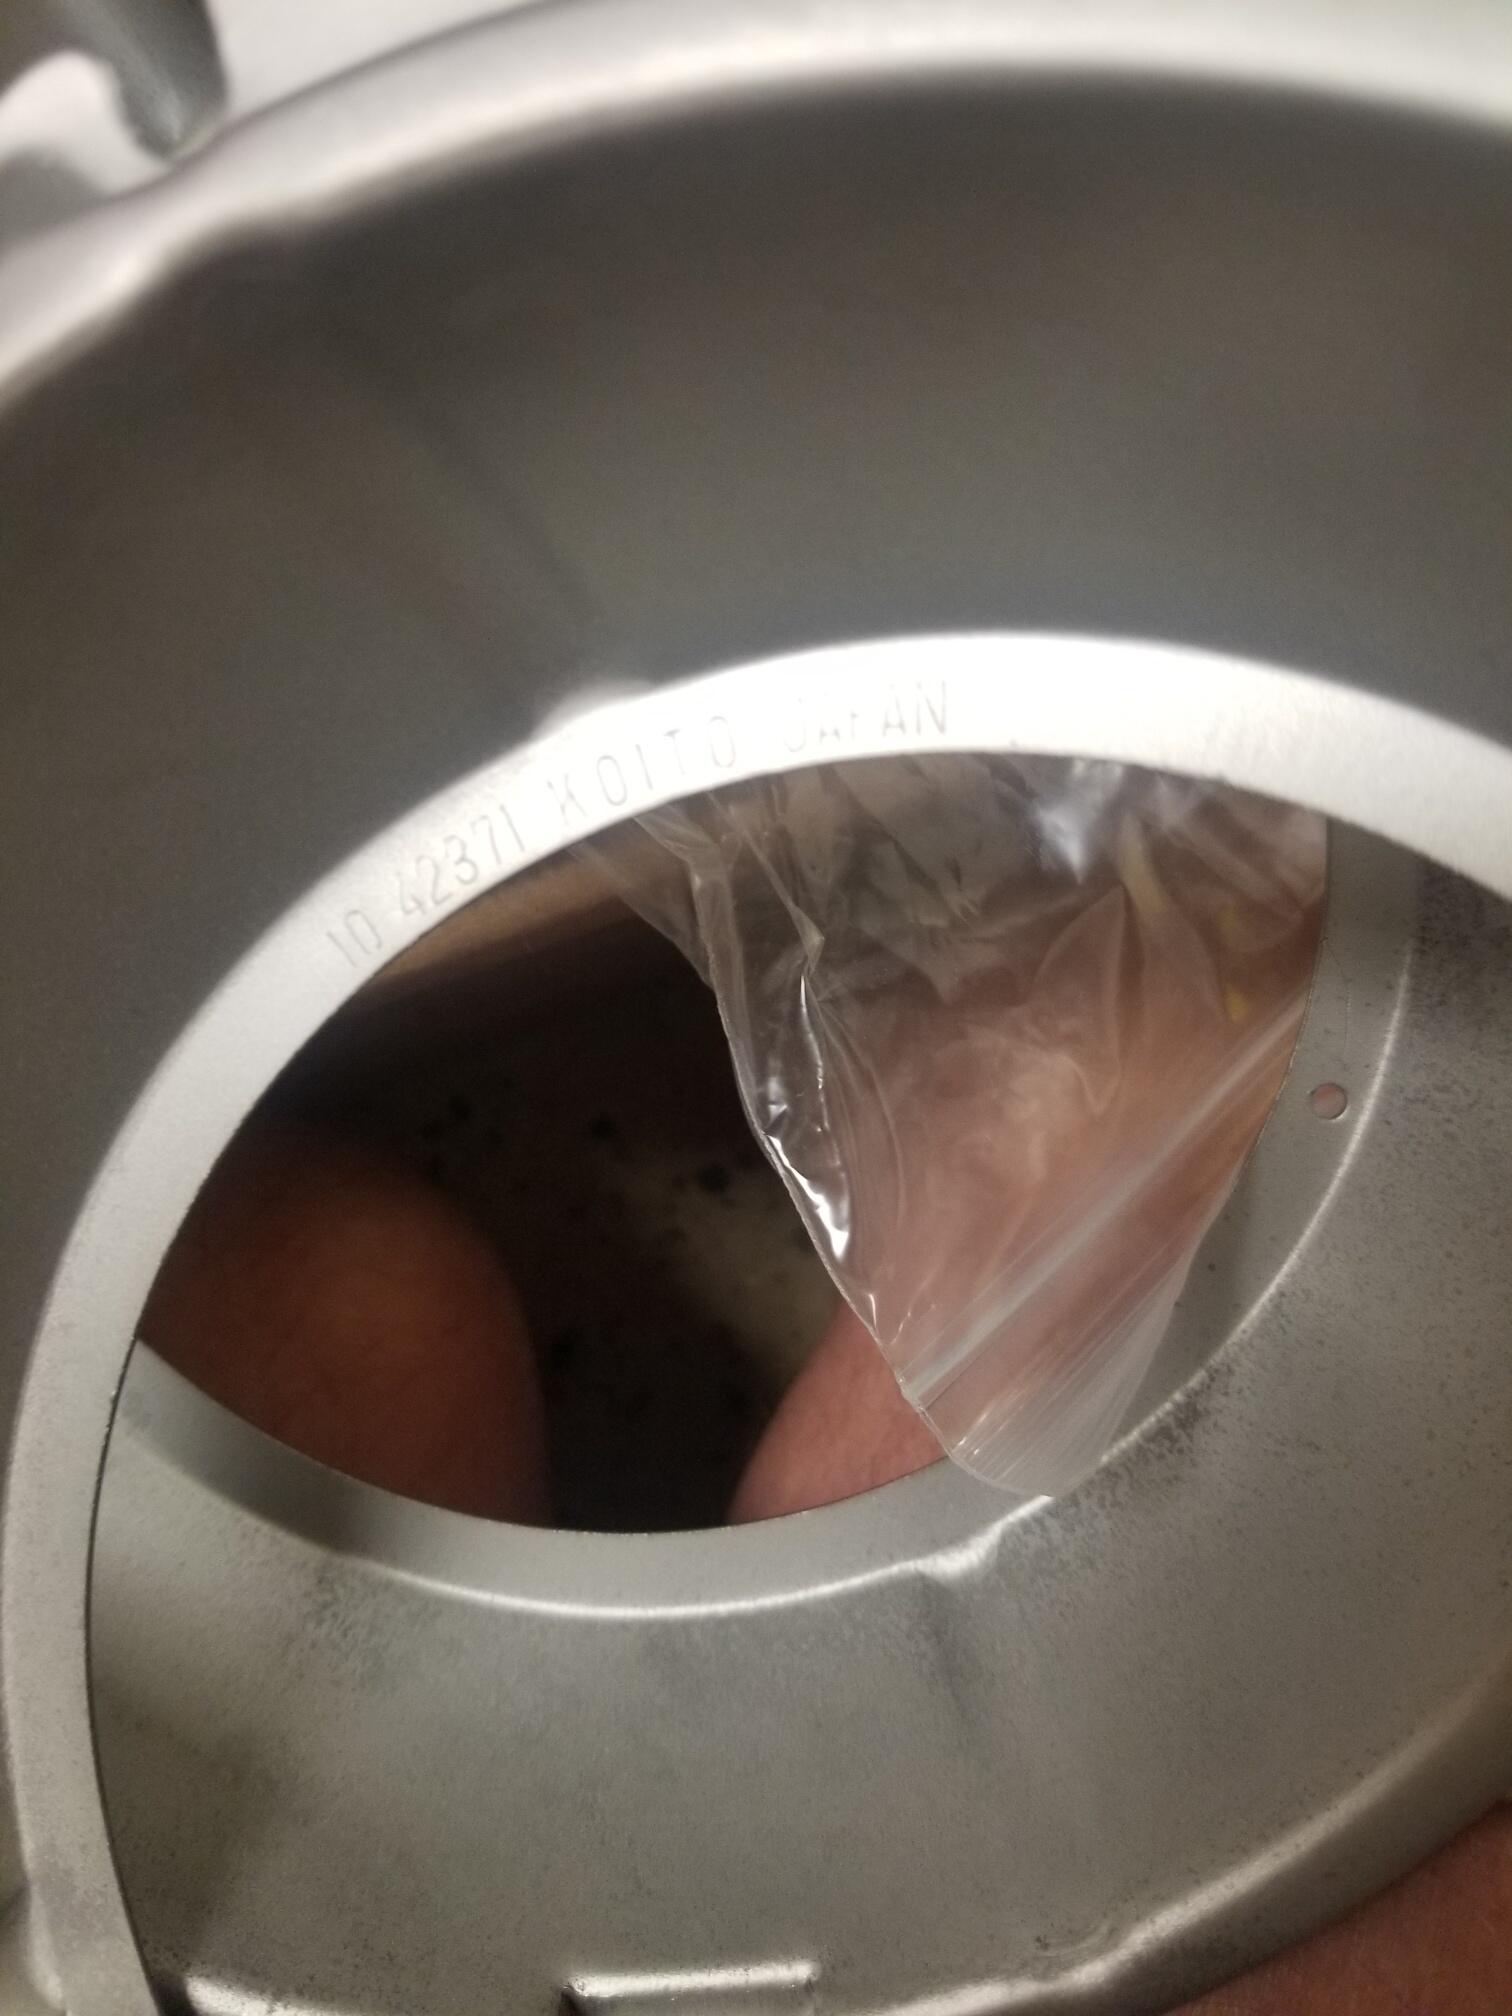
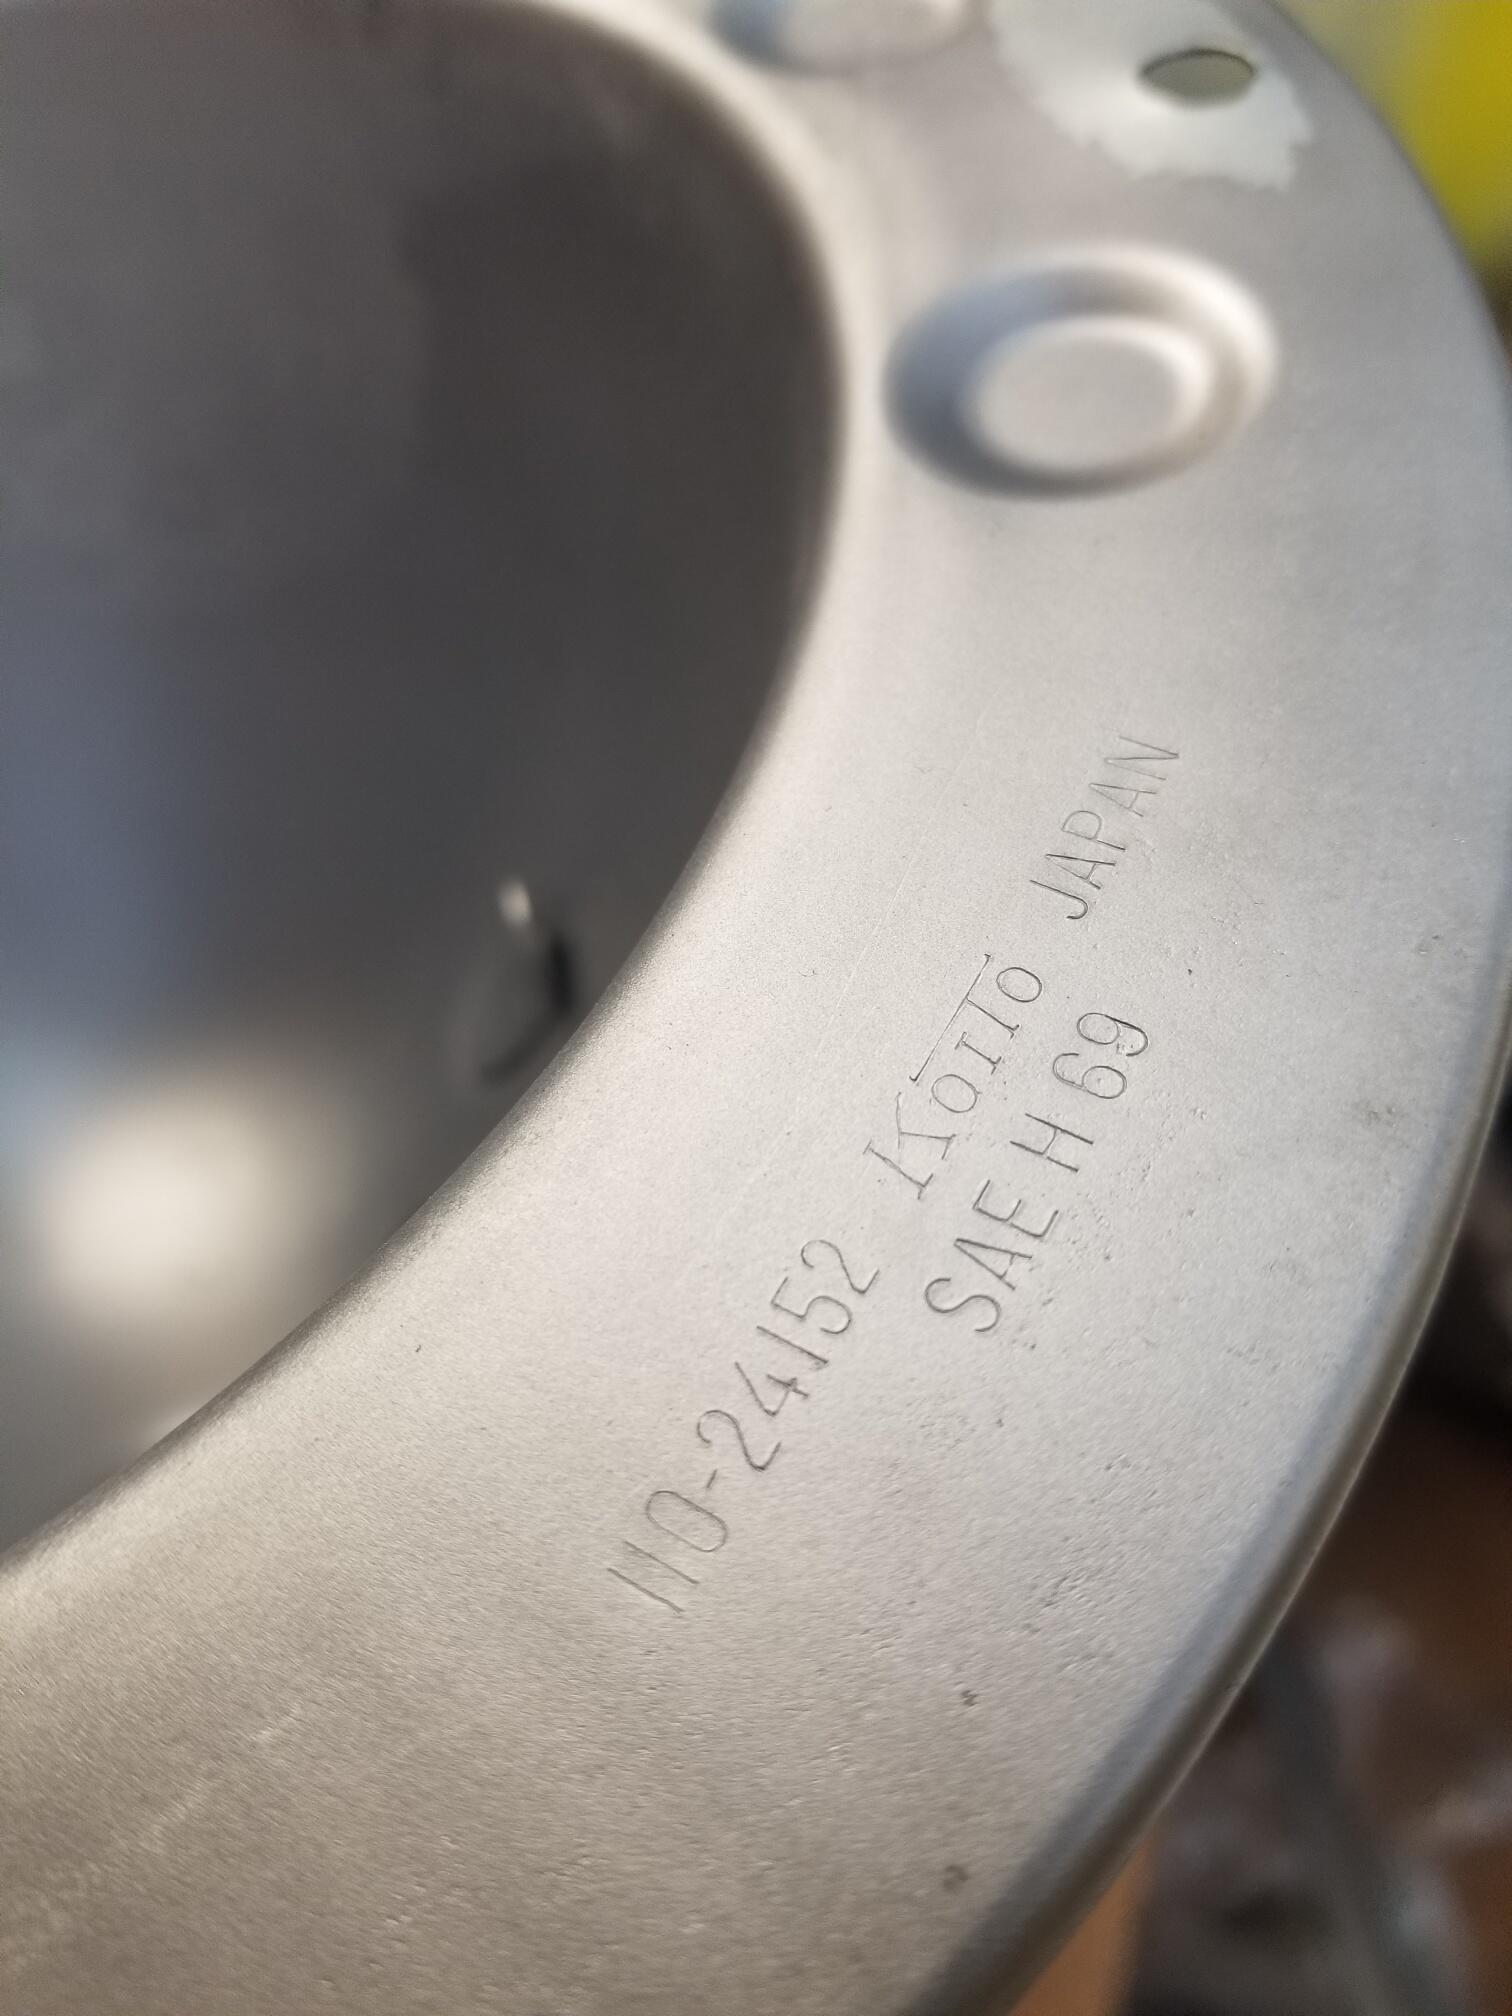
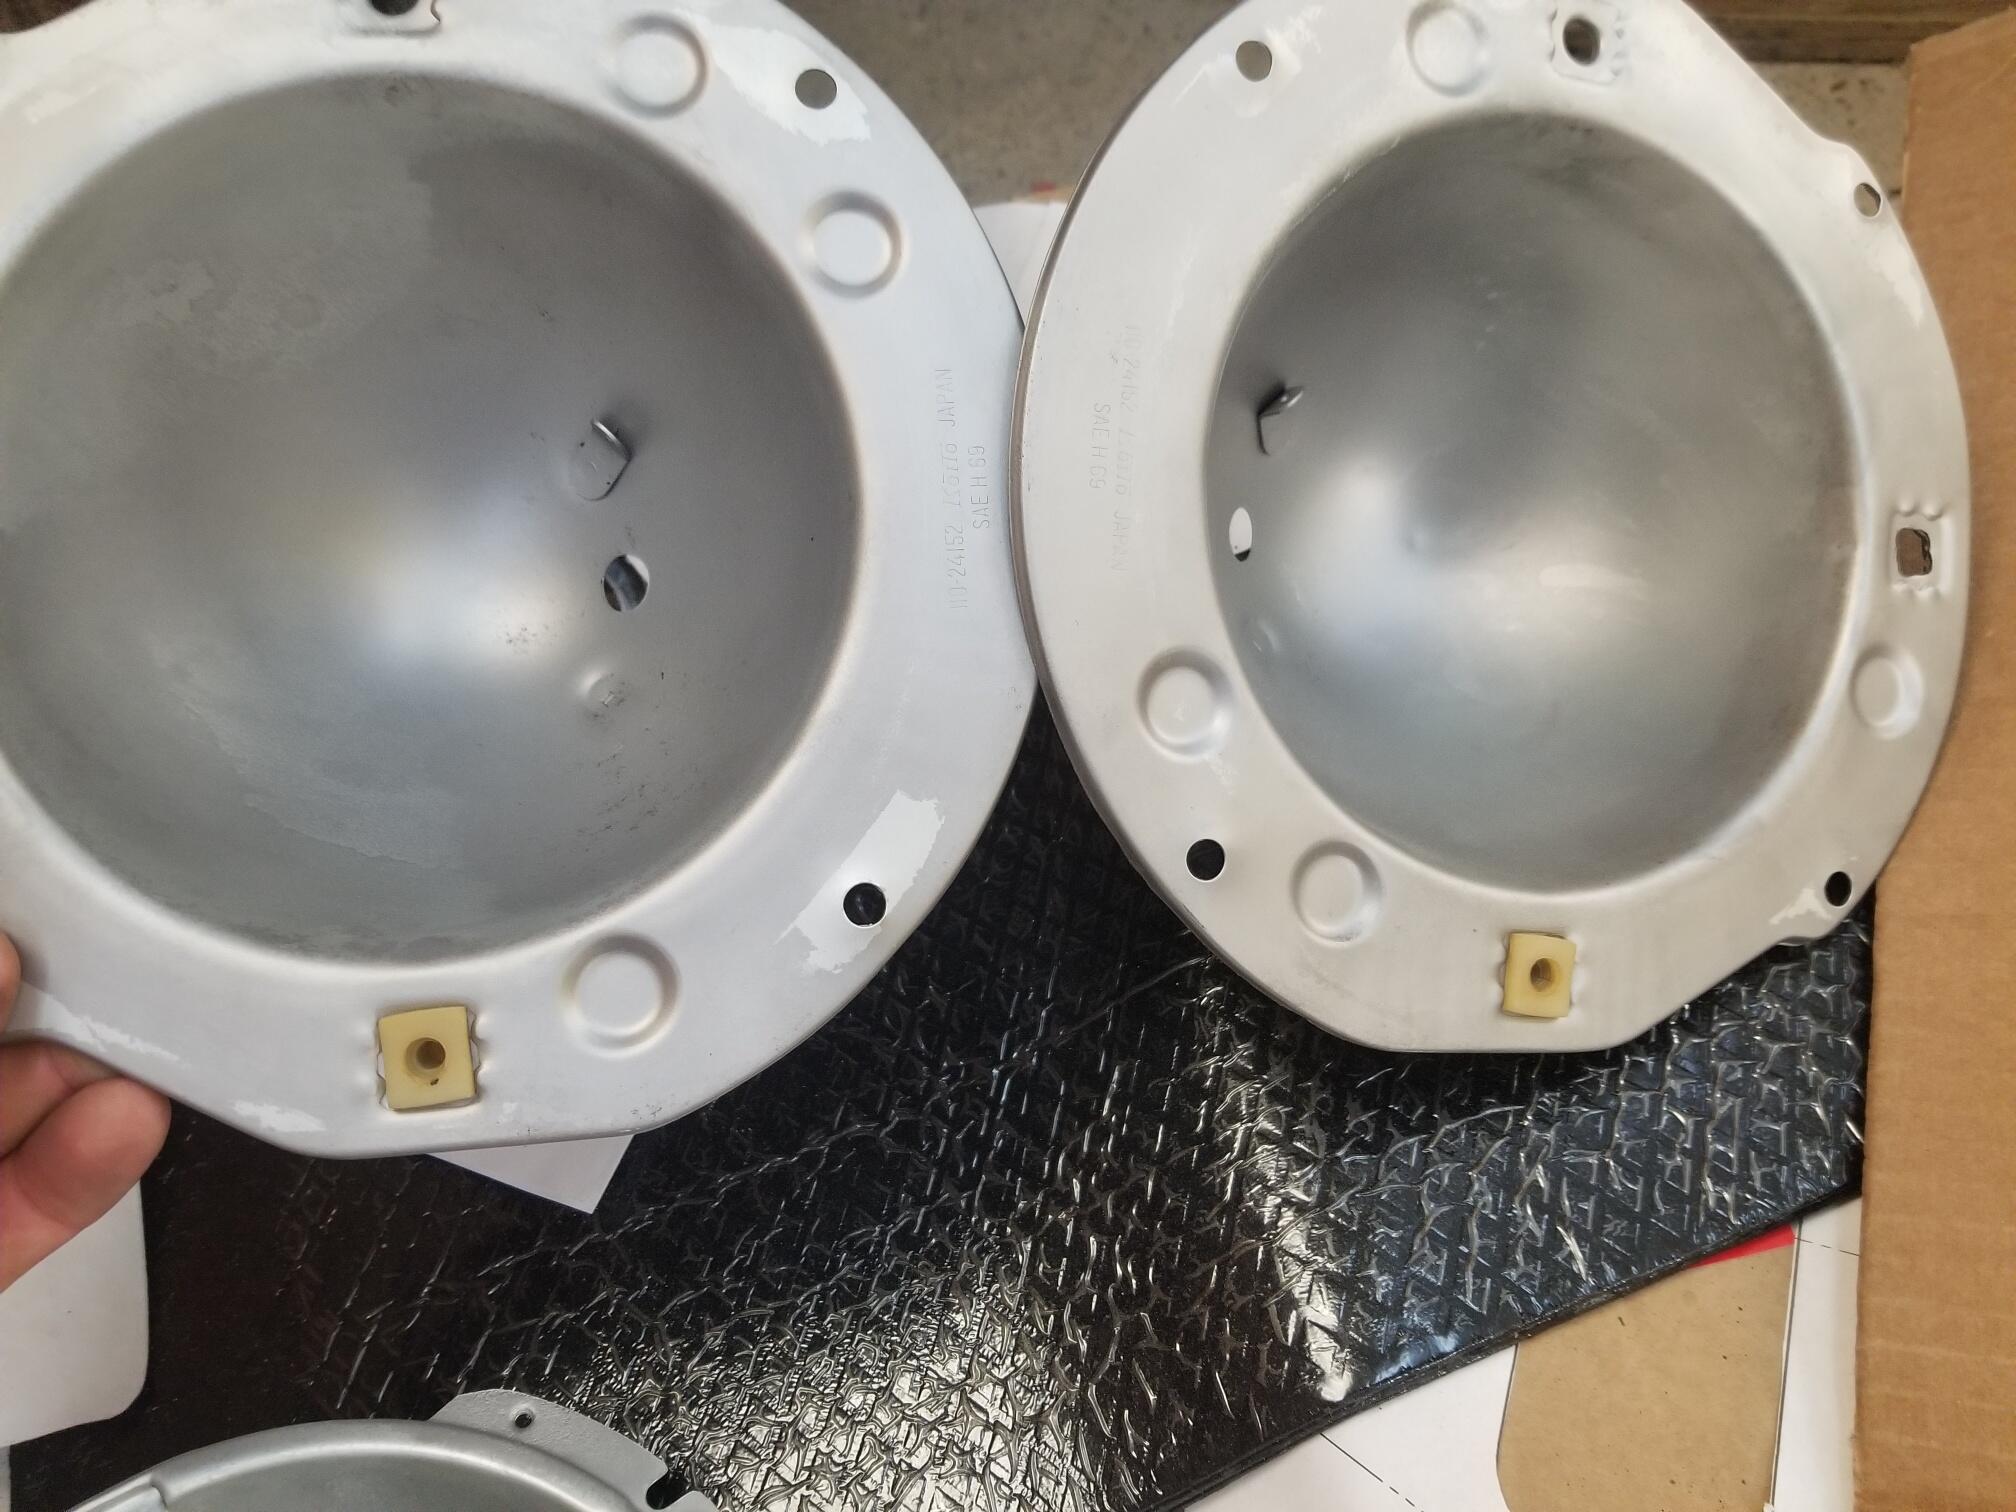
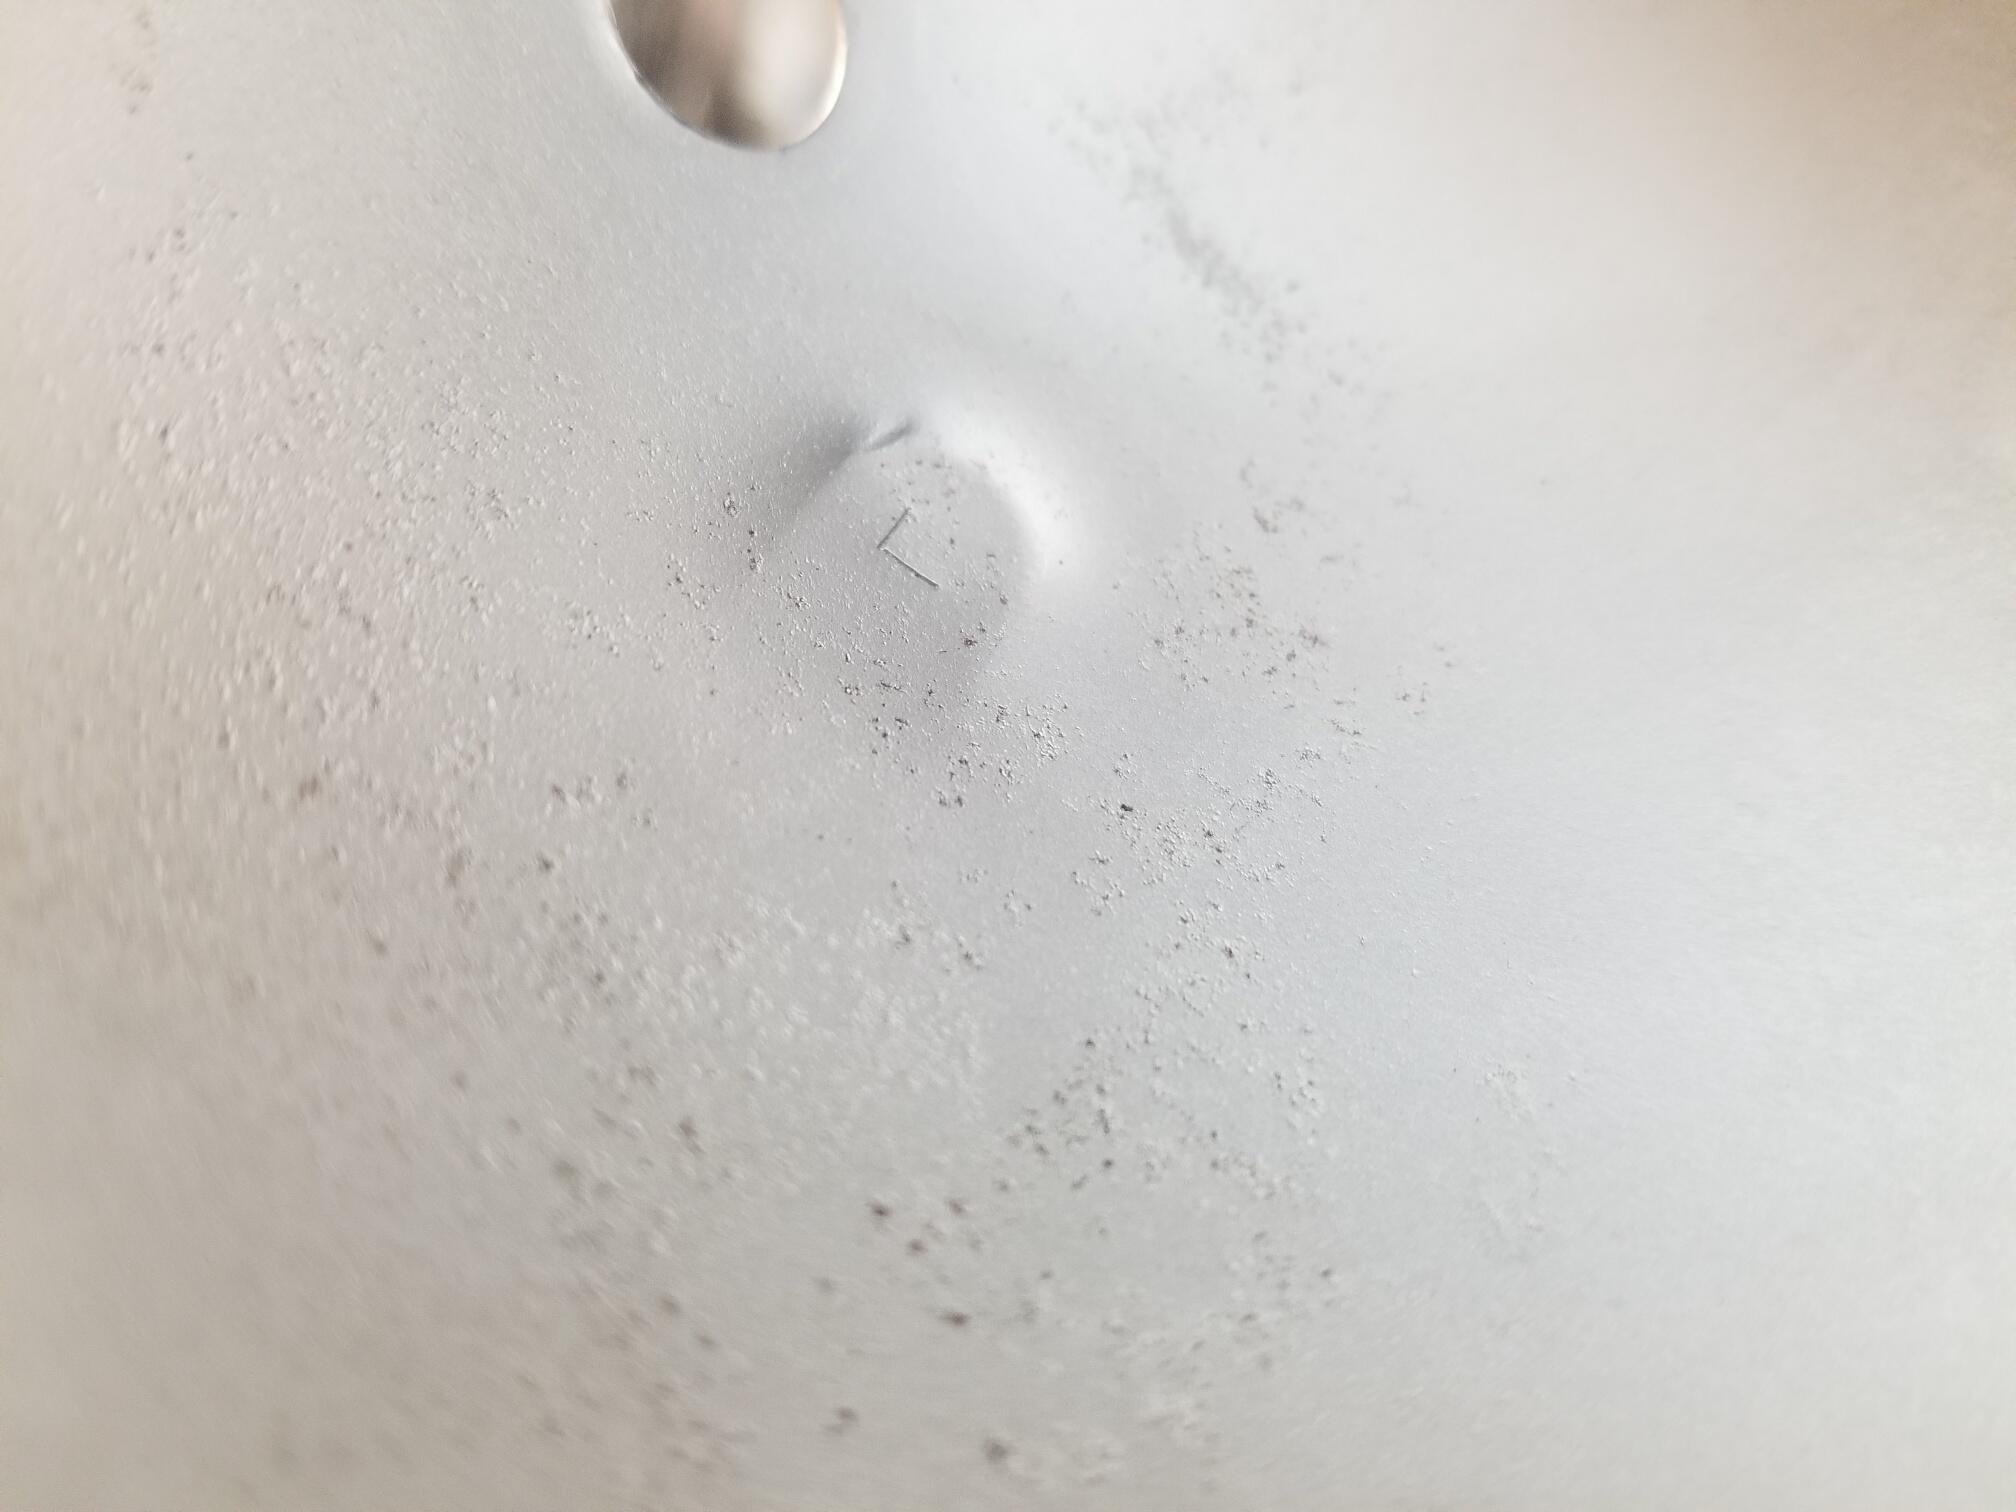
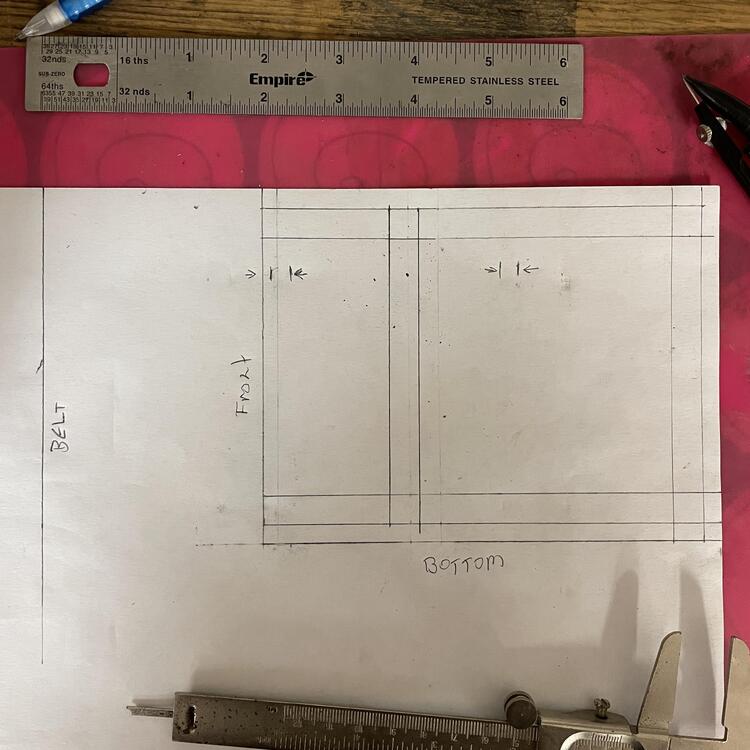
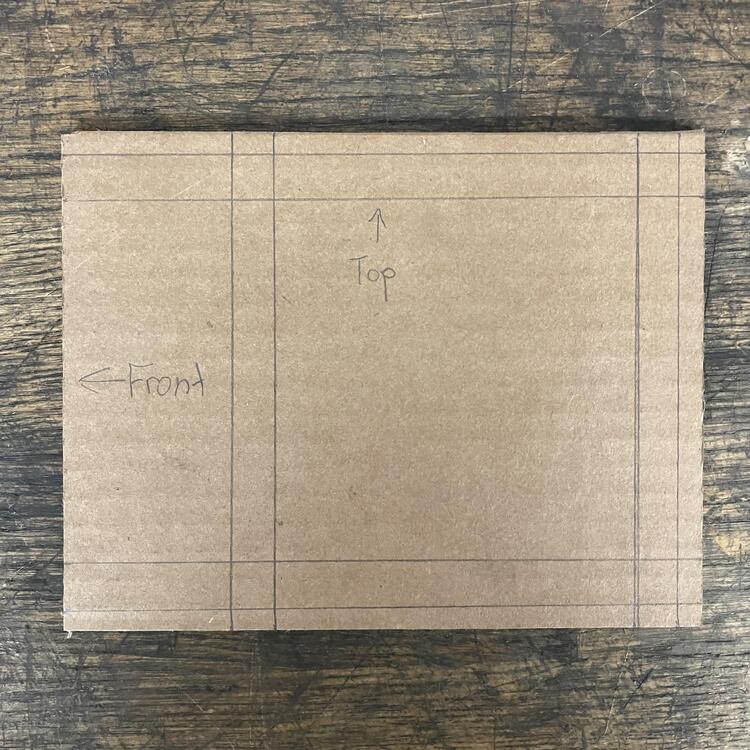
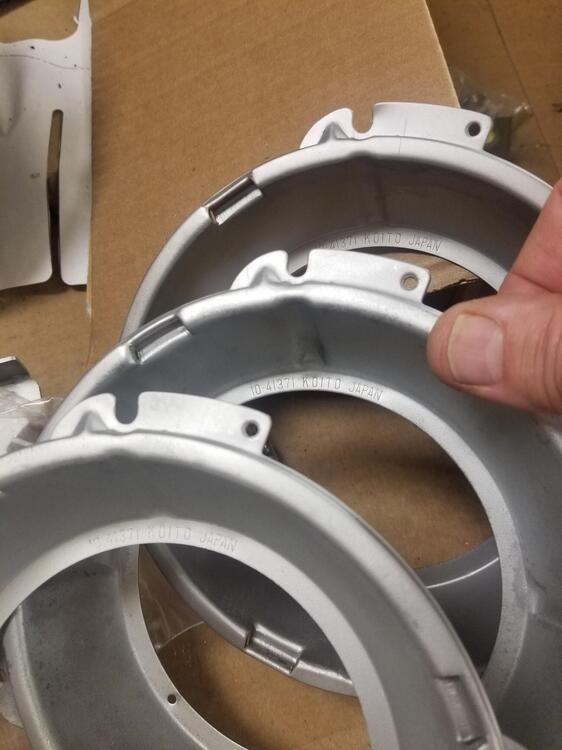
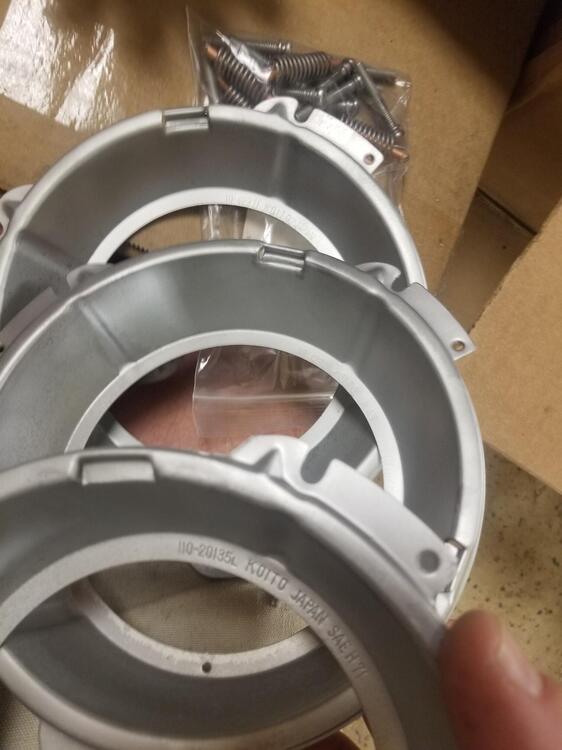
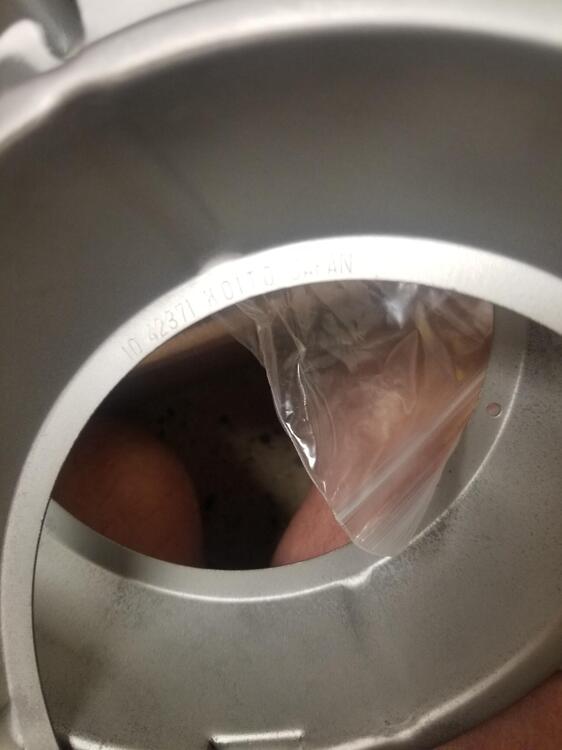
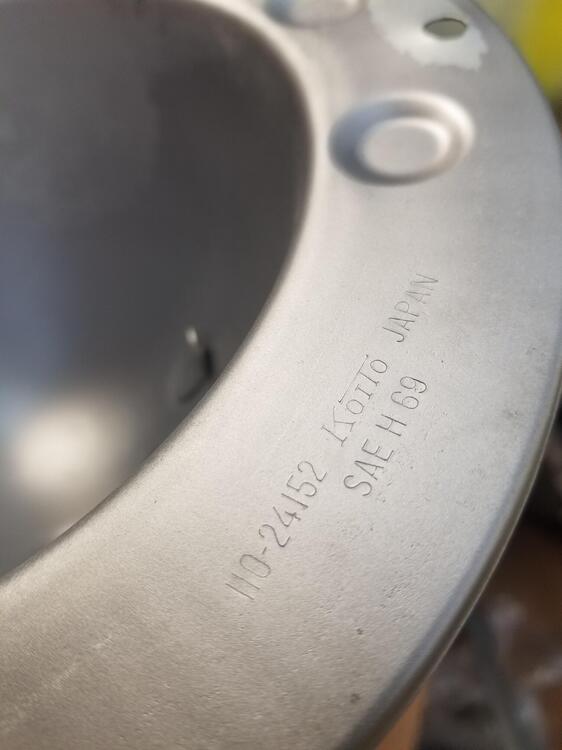
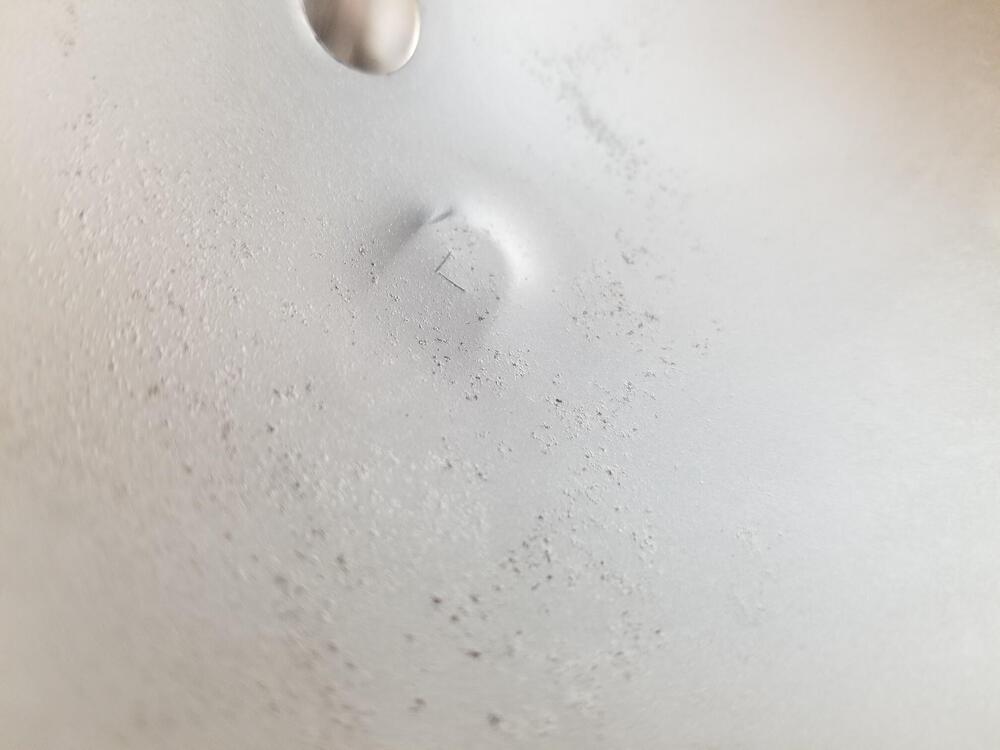
1 pointI have been pulling some larger items together for plating. I have 3 pairs of headlights and thought I would post up some observations on the factory parts The buckets themselves look like they are probably all the same stamping. They clock them 180d out to make L and R side buckets. Then the spring tab gets added, which covers the R or L stamping location The headlights buckets have the exact same part numbers no matter L or R The lamp rings are made for either the left or right side


 1 point
 -
1 point
-
Relisted on ebay with lower reserve auction ends tonight. https://www.ebay.com/itm/394899092023?mkcid=16&mkevt=1&mkrid=711-127632-2357-0&ssspo=5G4X1CyJRI6&sssrc=2524149&ssuid=5G4X1CyJRI6&var=&widget_ver=artemis&media=COPY Quote1 point
-
I wouldn't be surprised if the size has changed that much over 50 years. I don't think the drive shaft issue is a concern.1 point
-
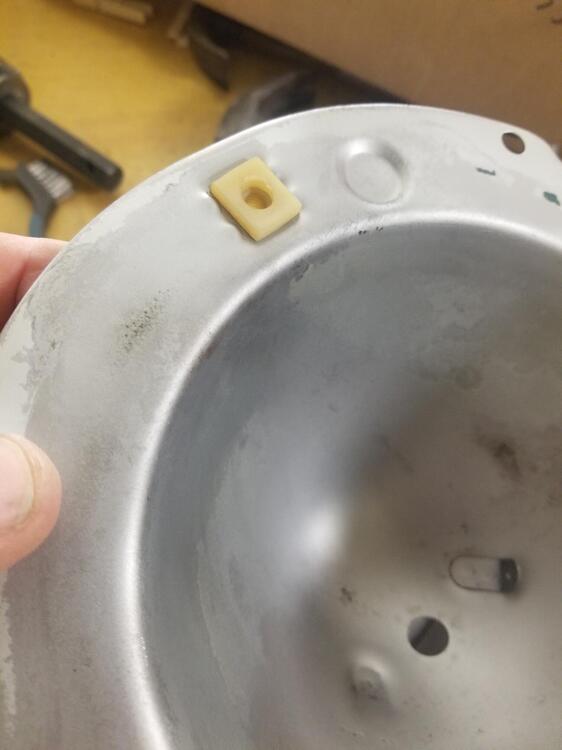
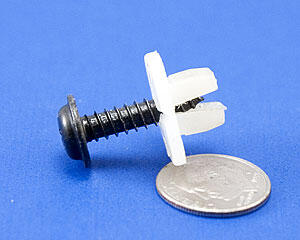
1 pointI can't find my pics now but in the past I bought a box of square white plastic screw anchors then removed the stock anchors and filed the round holes to a square and popped in the new inserts. Then a 2"piece of 1/2" dia shrink tube, you want to use a fine tip butane torch or even a match will work, slip the shrink tube over the anchor and heat up the area just covering the anchor. You want most of the tube unshrunk so the adjustment screw can travel, then the last thing is to heat up the very end and pinch in hard until it seals up and is water proof. The square white anchors I used were large enough to accommodate the stock M6 adjustment screw, the pic below is just something I lifted from the net.
 1 point
 -
1 point
-
You have to love the car and be willing to spend the $$ to bring it back for a second life. I think the key is what 87jm said about his experience with a very poor resto shop. I've been there and spent big dollars and years trying to correct what a certain So Calif shop did to my 280z. The real take away is find someone who has used a particular resto shop, is very satisfied, and use them. A good shop that loves Datsuns is worth everything. I hope you restore your car or sell it to someone who has the resources to restore it correctly. Good luck1 point