Leaderboard
-
Captain Obvious
Free Member4Points10,081Posts -
Terrapin Z
 Subscriber
 3Points1,333Posts
 -
Yarb
Subscriber3Points1,935Posts -
EuroDat
Free Member2Points3,309Posts


Popular Content
Showing content with the highest reputation on 08/29/2023 in Posts
-
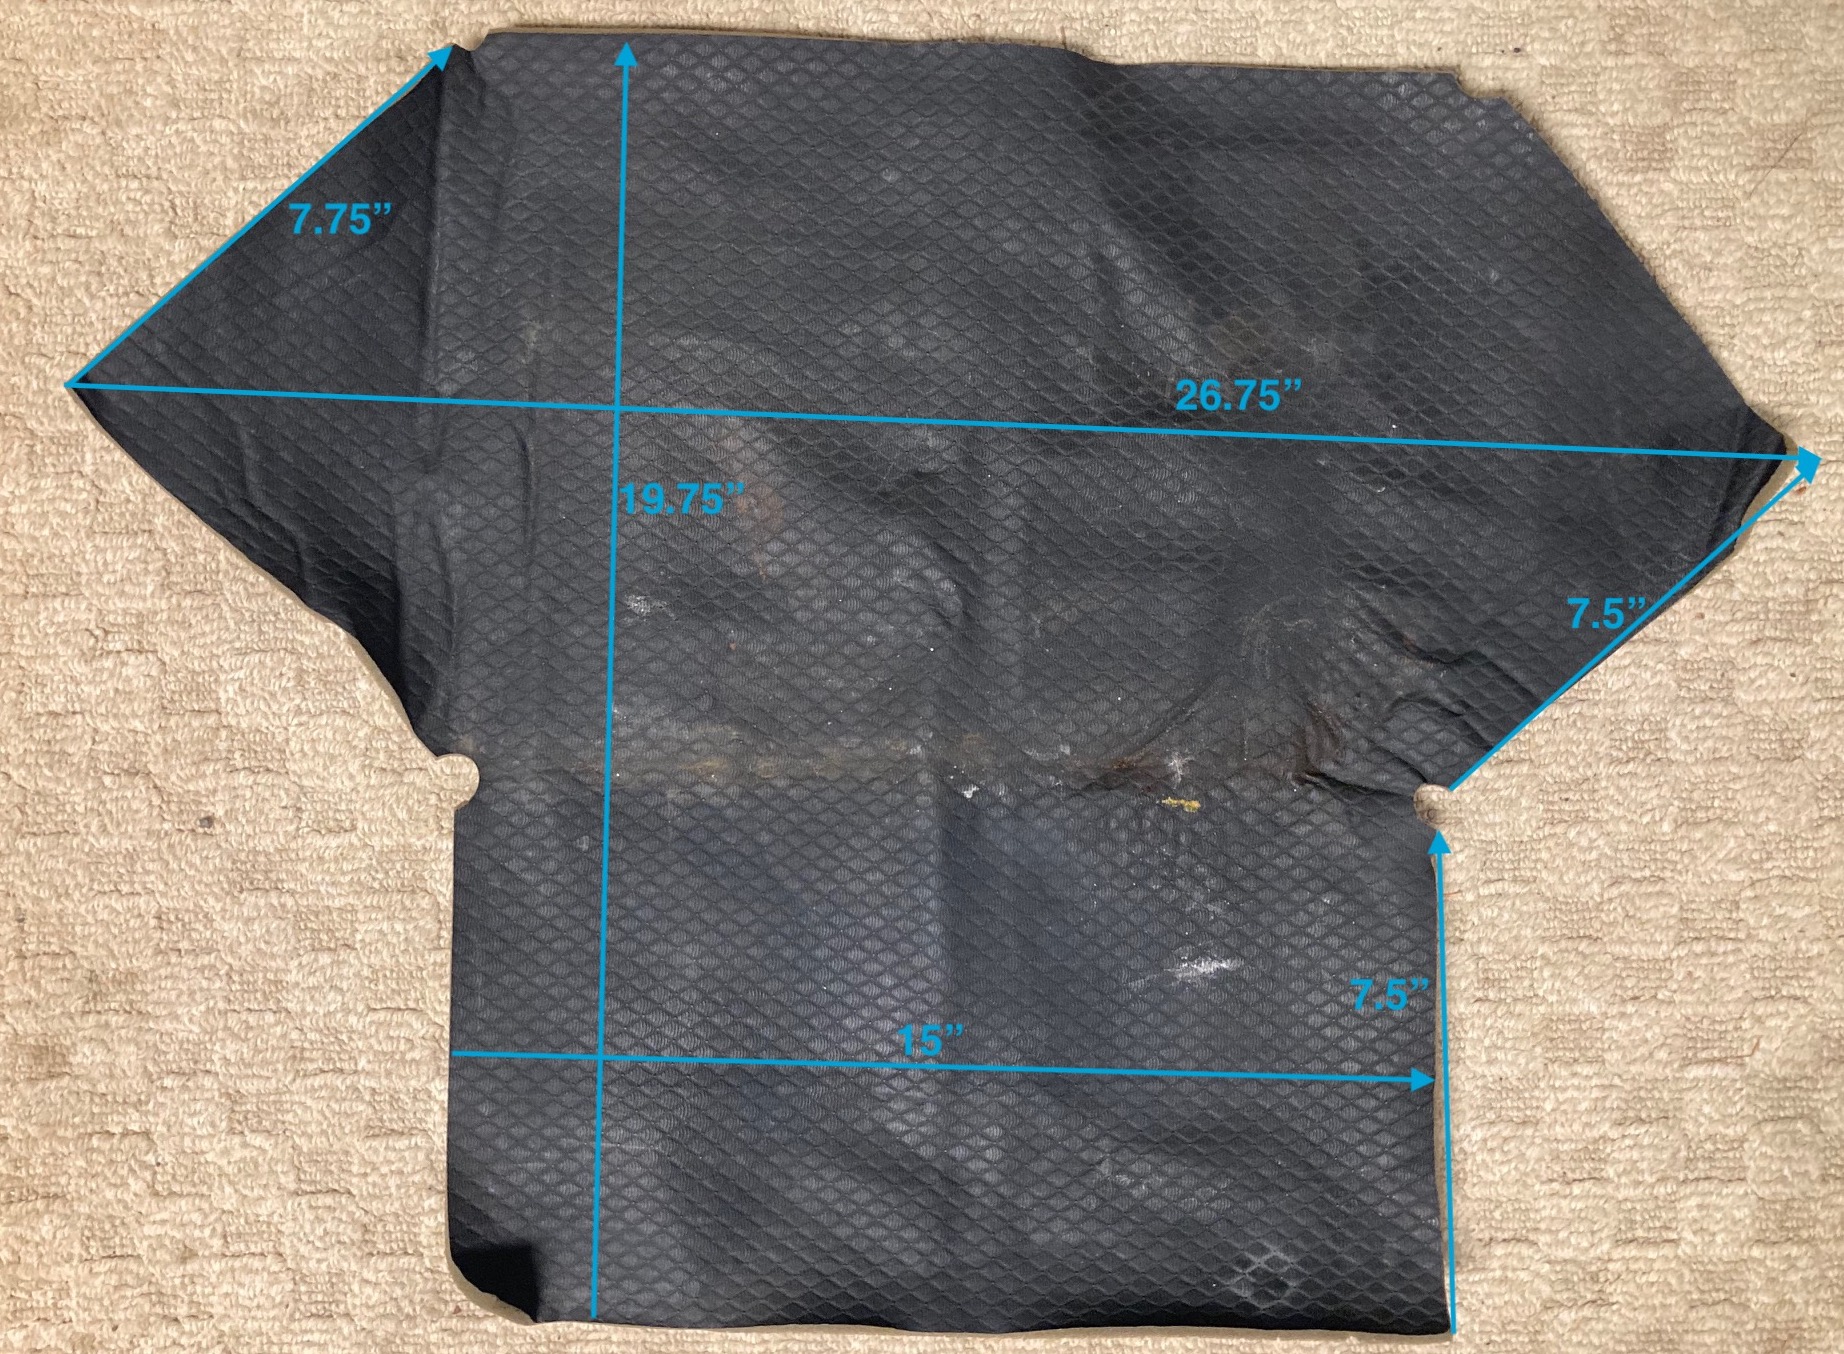
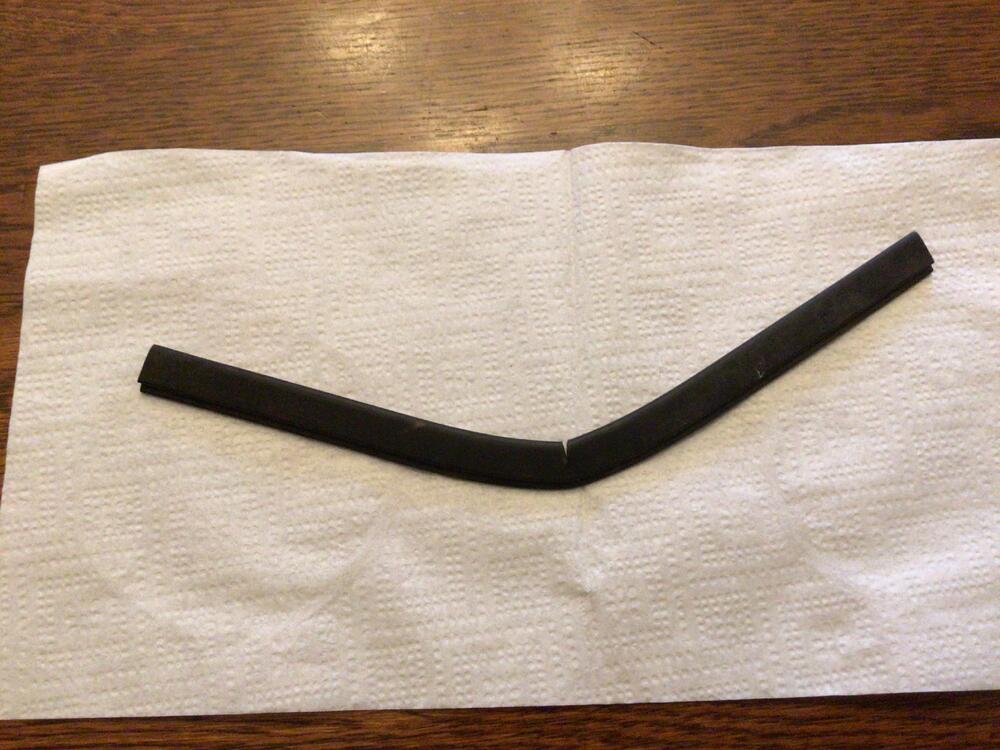
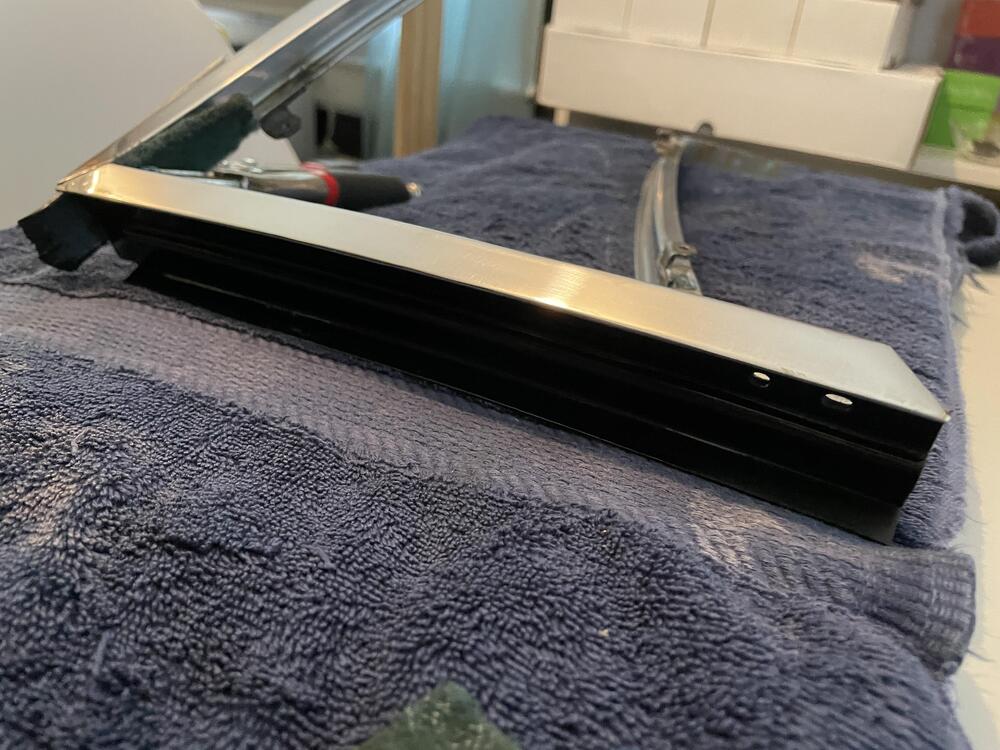
3 pointsA pretty simple pattern. The radius corners at the middle fold is .375" Here are the measurements. Looks like Roo has you covered on a set.
 3 points
 -
2 pointsLet see, an engine in another Z, a couple of 280ZX turbo motors and a V07 crank lying around. You know they have therapy for that kind of behavior🤣 No real experience with either option, but I'm leaning towards the turbo camp. Turbo with an aftermarket MS ecu or similar to aid in tuning. I'm also quite happy to sit on the fence and watch this develop.2 points
-
2 points
-
2 pointsI'd be partial to the stroker. Less in the wiring without the turbo and FI. The Z Therapy carbs are close to bullet proof. Also with the stroker there is no "turbo lag". Just my 2¢.2 points
-
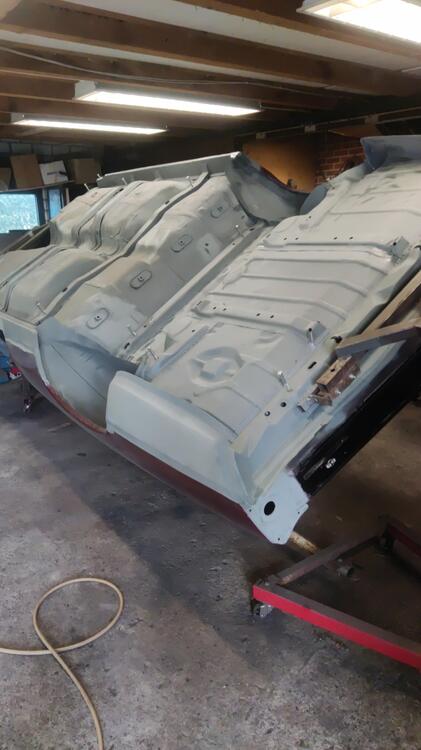
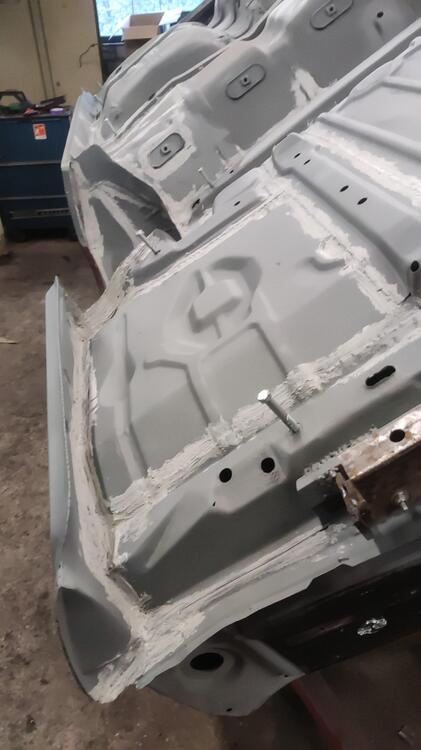
Possibility it got flooded somewhere In its life time. Maybe salt water. Wonder what the inside sheet metal looks like.2 points
-
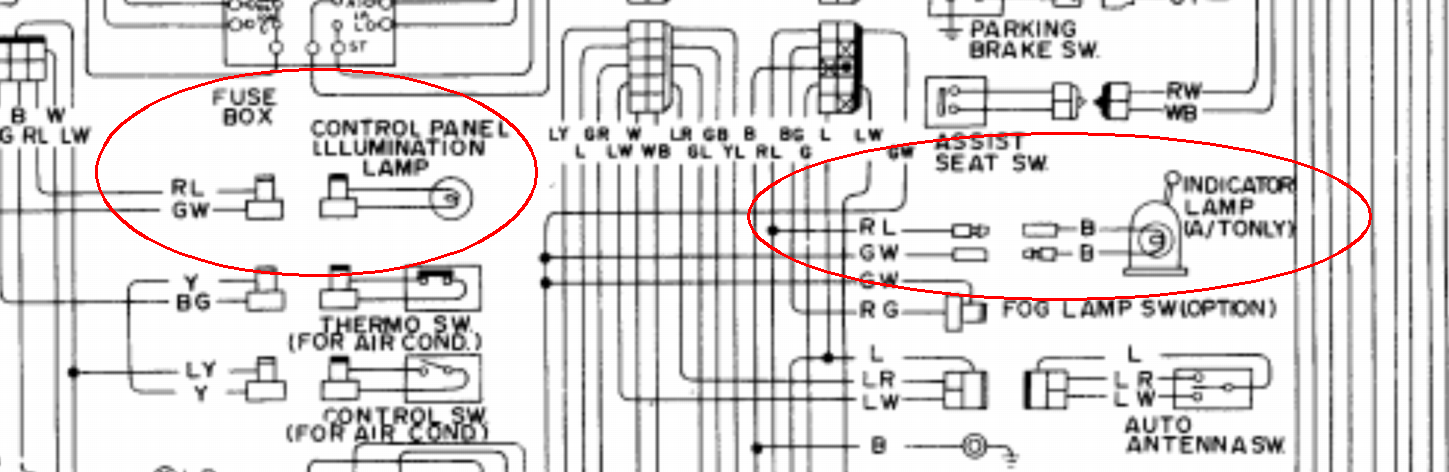
And about your fuel lamp, yes... In 75 that lamp was located in the small square location below the radio. In later years, they moved it up to above the center vent outlets in the HVAC panel, but your car (especially since it's a California spec) has those locations above the HVAC populated with other items. And honestly, it probably doesn't work anymore. Your thermistor in your gas tank probably burned open years ago.2 points
-
Best way I could describe the connector mating: 1) Hold your two hands out in front of you, palms facing up. 2) Then bring your two palms together. That's how the connectors on the wiring diagrams mate. And as for which side is which... In general, things are laid out on the wiring diagrams like they are laid out in the car. So for the Cn connectors the half on the left is the engine bay side, and the half on the right is the passenger compartment side. Does any of that help at all? As an additional aid on this C-2, the "X" is an unused cavity in the connector shell. That should help show how the two sides go together "mirror like". For example, the G/L on the far left connects to the G/L on the far right. While the "X" on the left connects to the "X" on the right side.2 points
-
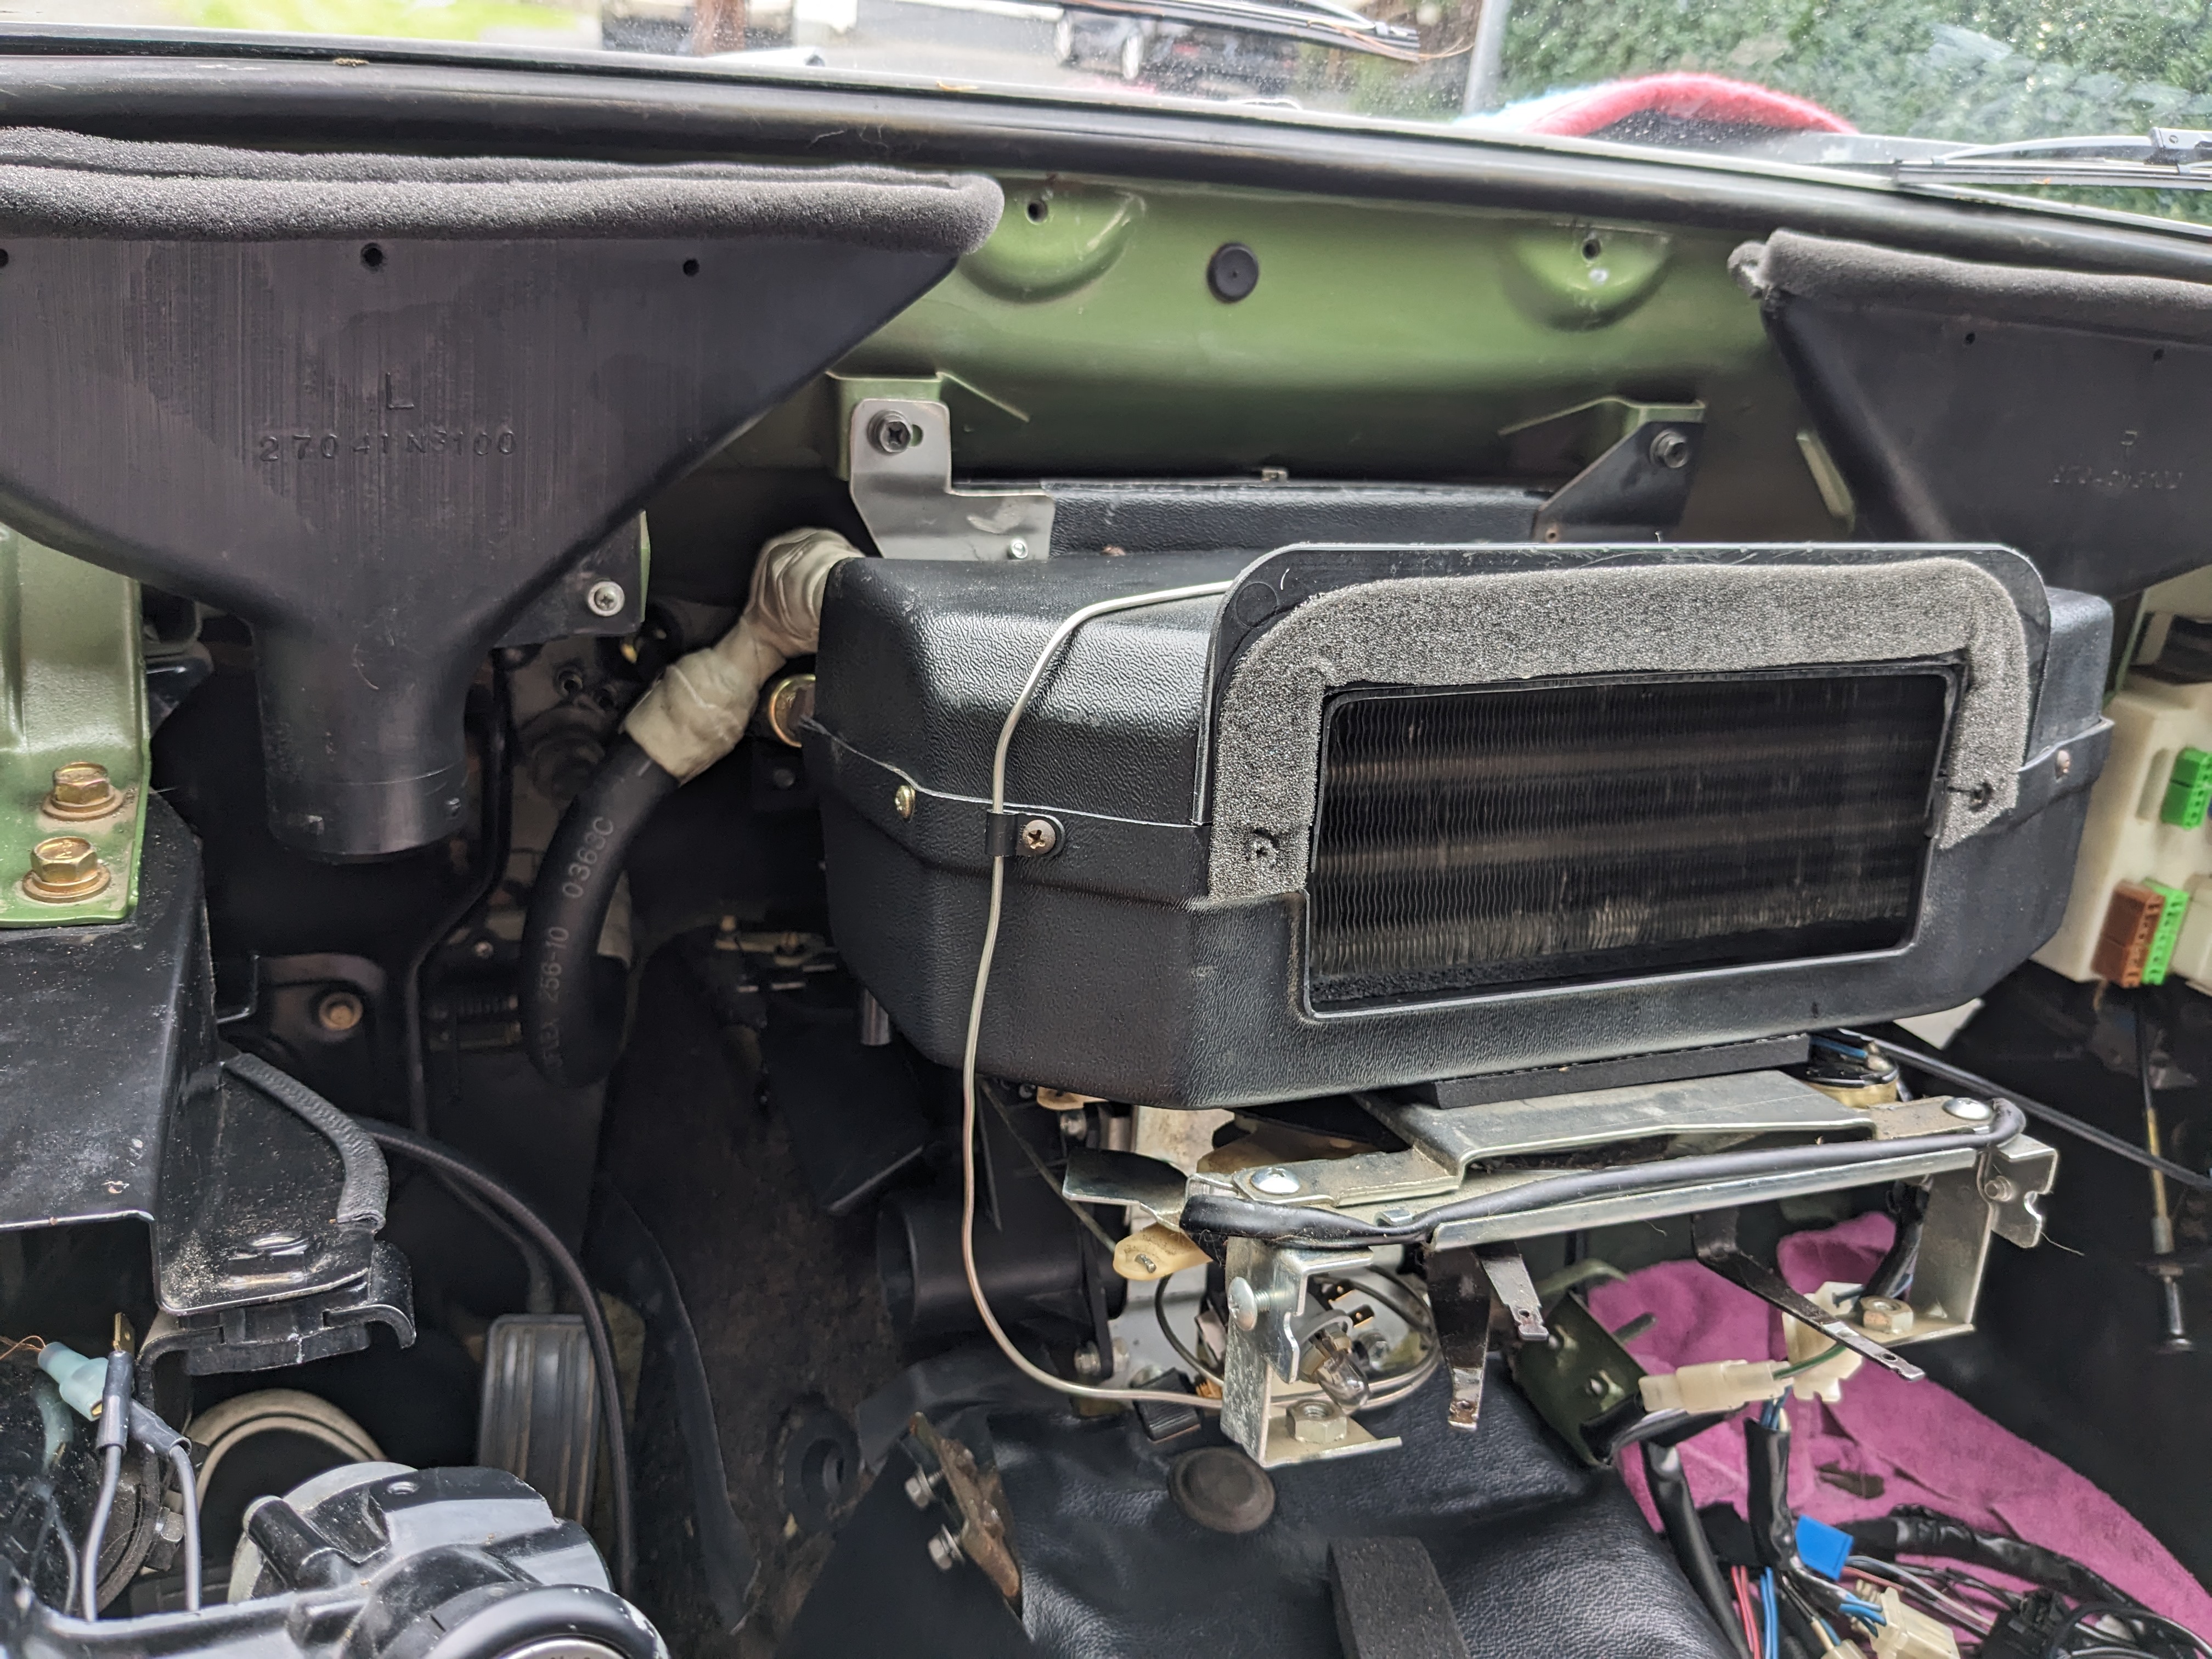
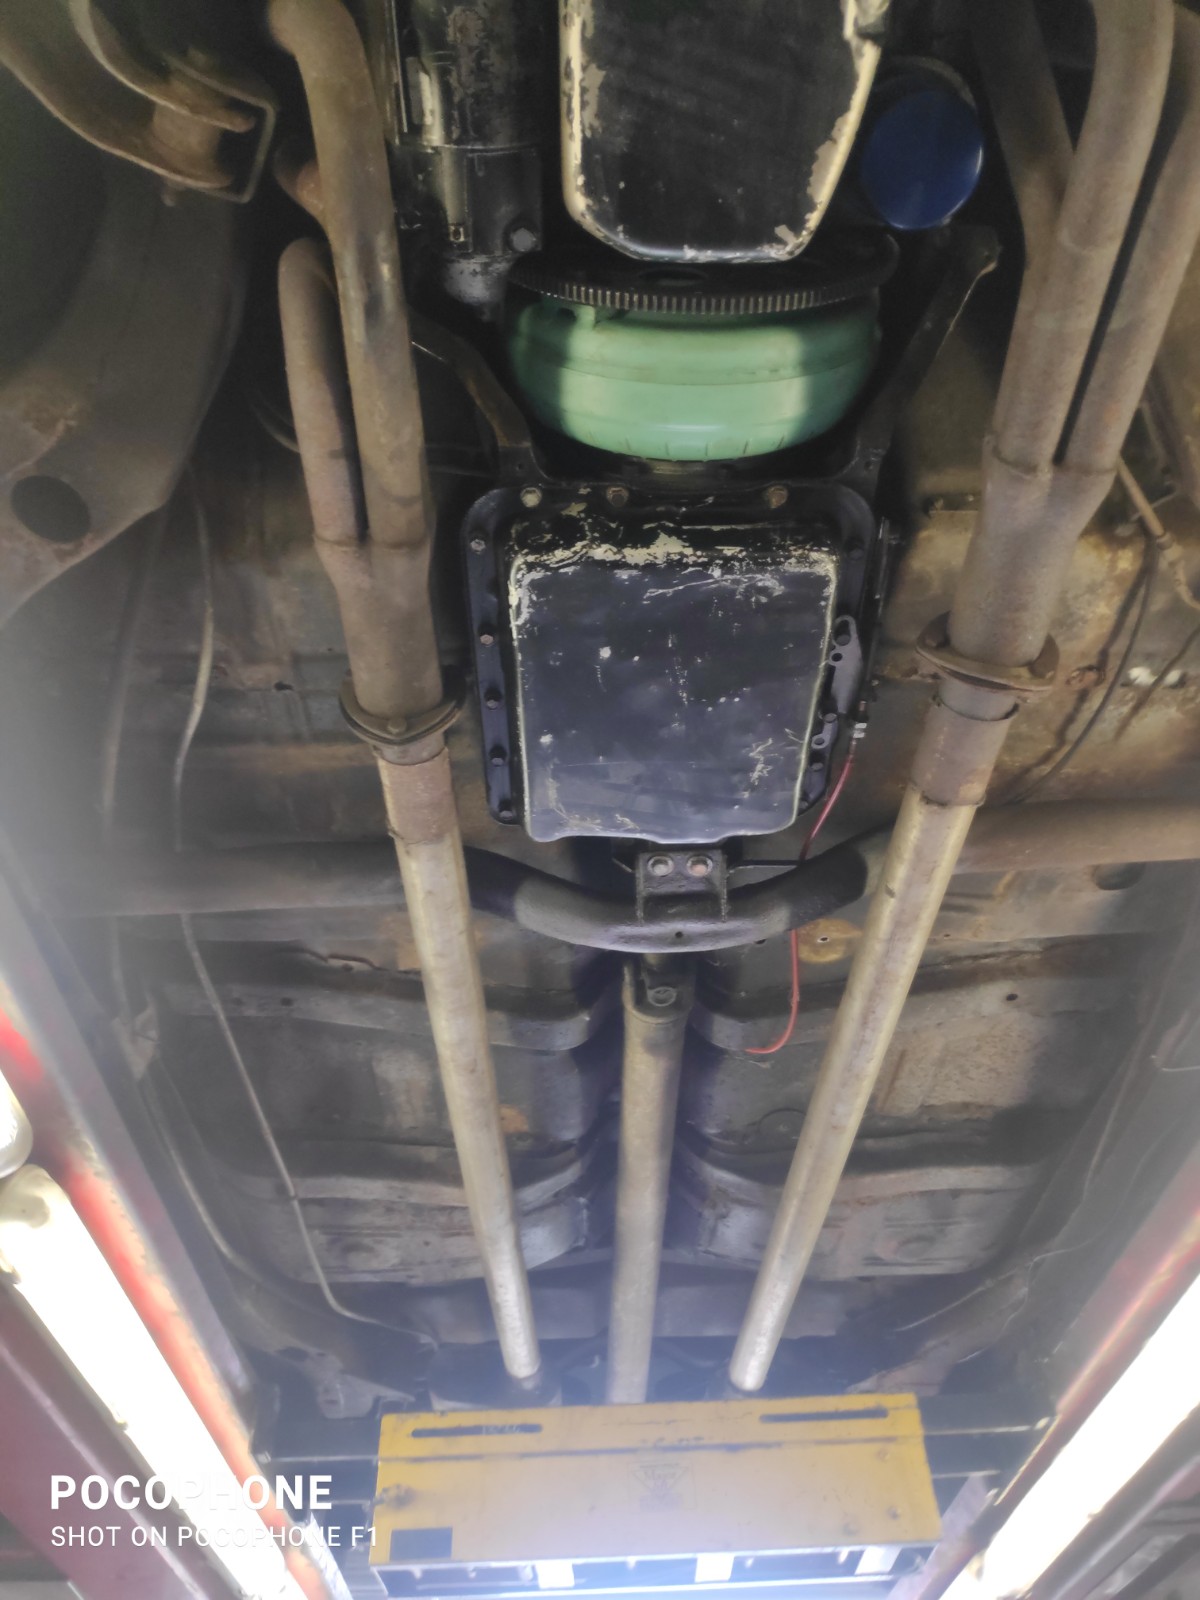
Put the controls & evap box back in, connected the AC lines. installed the capillary tube in the center of the evaporator, inserted to full depth. The old one was shoved about an inch into the duct side of the core, not doing much in the way of registering core temp. As the PO said, the AC never worked very well. Need to get the AC circuit wired so I can wrap that aspect up. fixed the evap box drains by adding a elbow that is rear-facing, so air won't blow up the tubes when in motion.

 2 points
 -
1 pointCody is trying to talk me into building a motor for "Lily". I have an engine in another Z that might be good. We will pull that drive train and see if that motor will run. That might end up as plan B. I have two different 280zx turbo motors in my shop and I also have a V07 crank laying around. I had thought I would buy a stroker kit from Rebello minus the crank and build up a 3.0L motor with some Z therapy carbs for now, but I could go with one of the turbo motors. Please chime in with your thoughts. Pros & Cons Thanks, C1 point
-
1 point
-
1 pointAll sorted, packed and in the mail to @fusion Helps clear out my garage!1 point
-
1 pointIf any of the wire on the negative side of the pump before the switch gets pinched and grounded the switch won't help. Unless you mount it close to the pump. So, at least be careful with how you run the ground wire.1 point
-
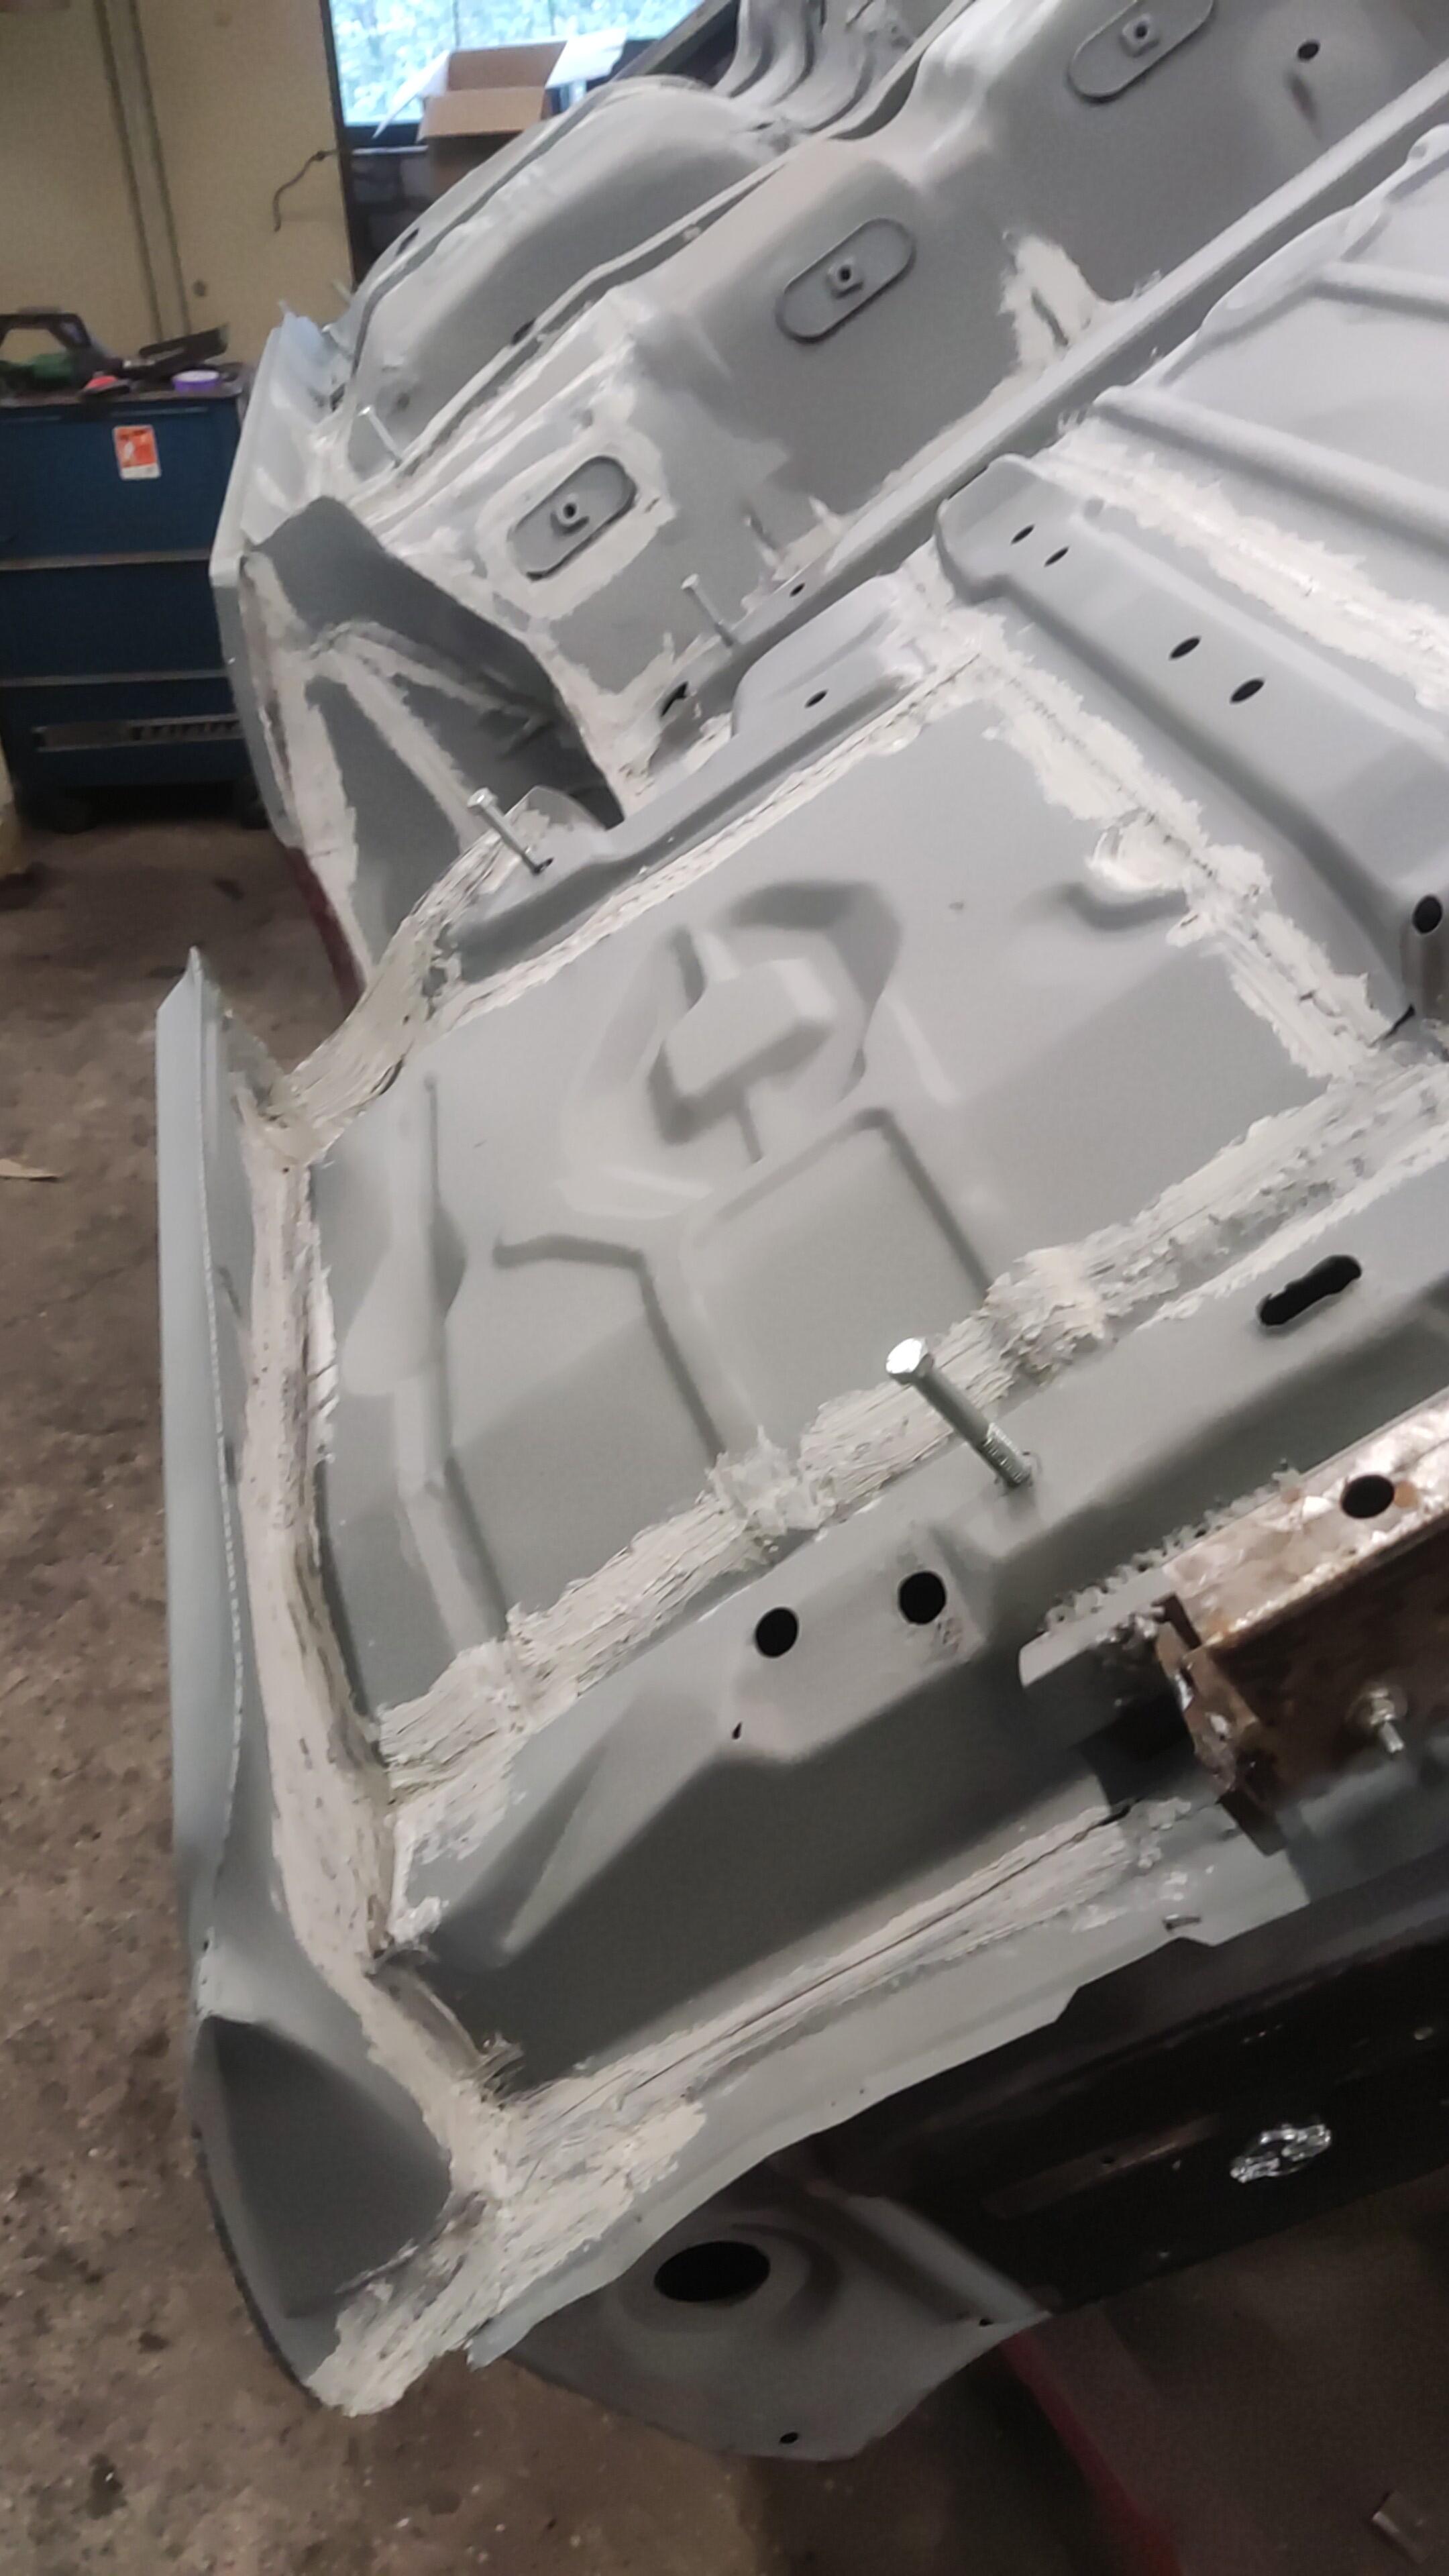
1 pointSome of the areas painted depended on the year of the car. I have a 5/71 with the seat brackets painted with spray paint. I also have a later 71 painted with spray paint. Each of the 4 areas with seat mounting holes were painted. I have a 6/70 with only 3 of the 4 brackets painted. On that car, they used a brush. Curiously also on the 6/70, they painted the floor behind the seat where the tool box is mounted. But just on the driver side. Every indication was it was factory paint on the inside of the car. I skipped painting that section on my restore. I assumed my car was used to train in a new guy. 🙂1 point
-
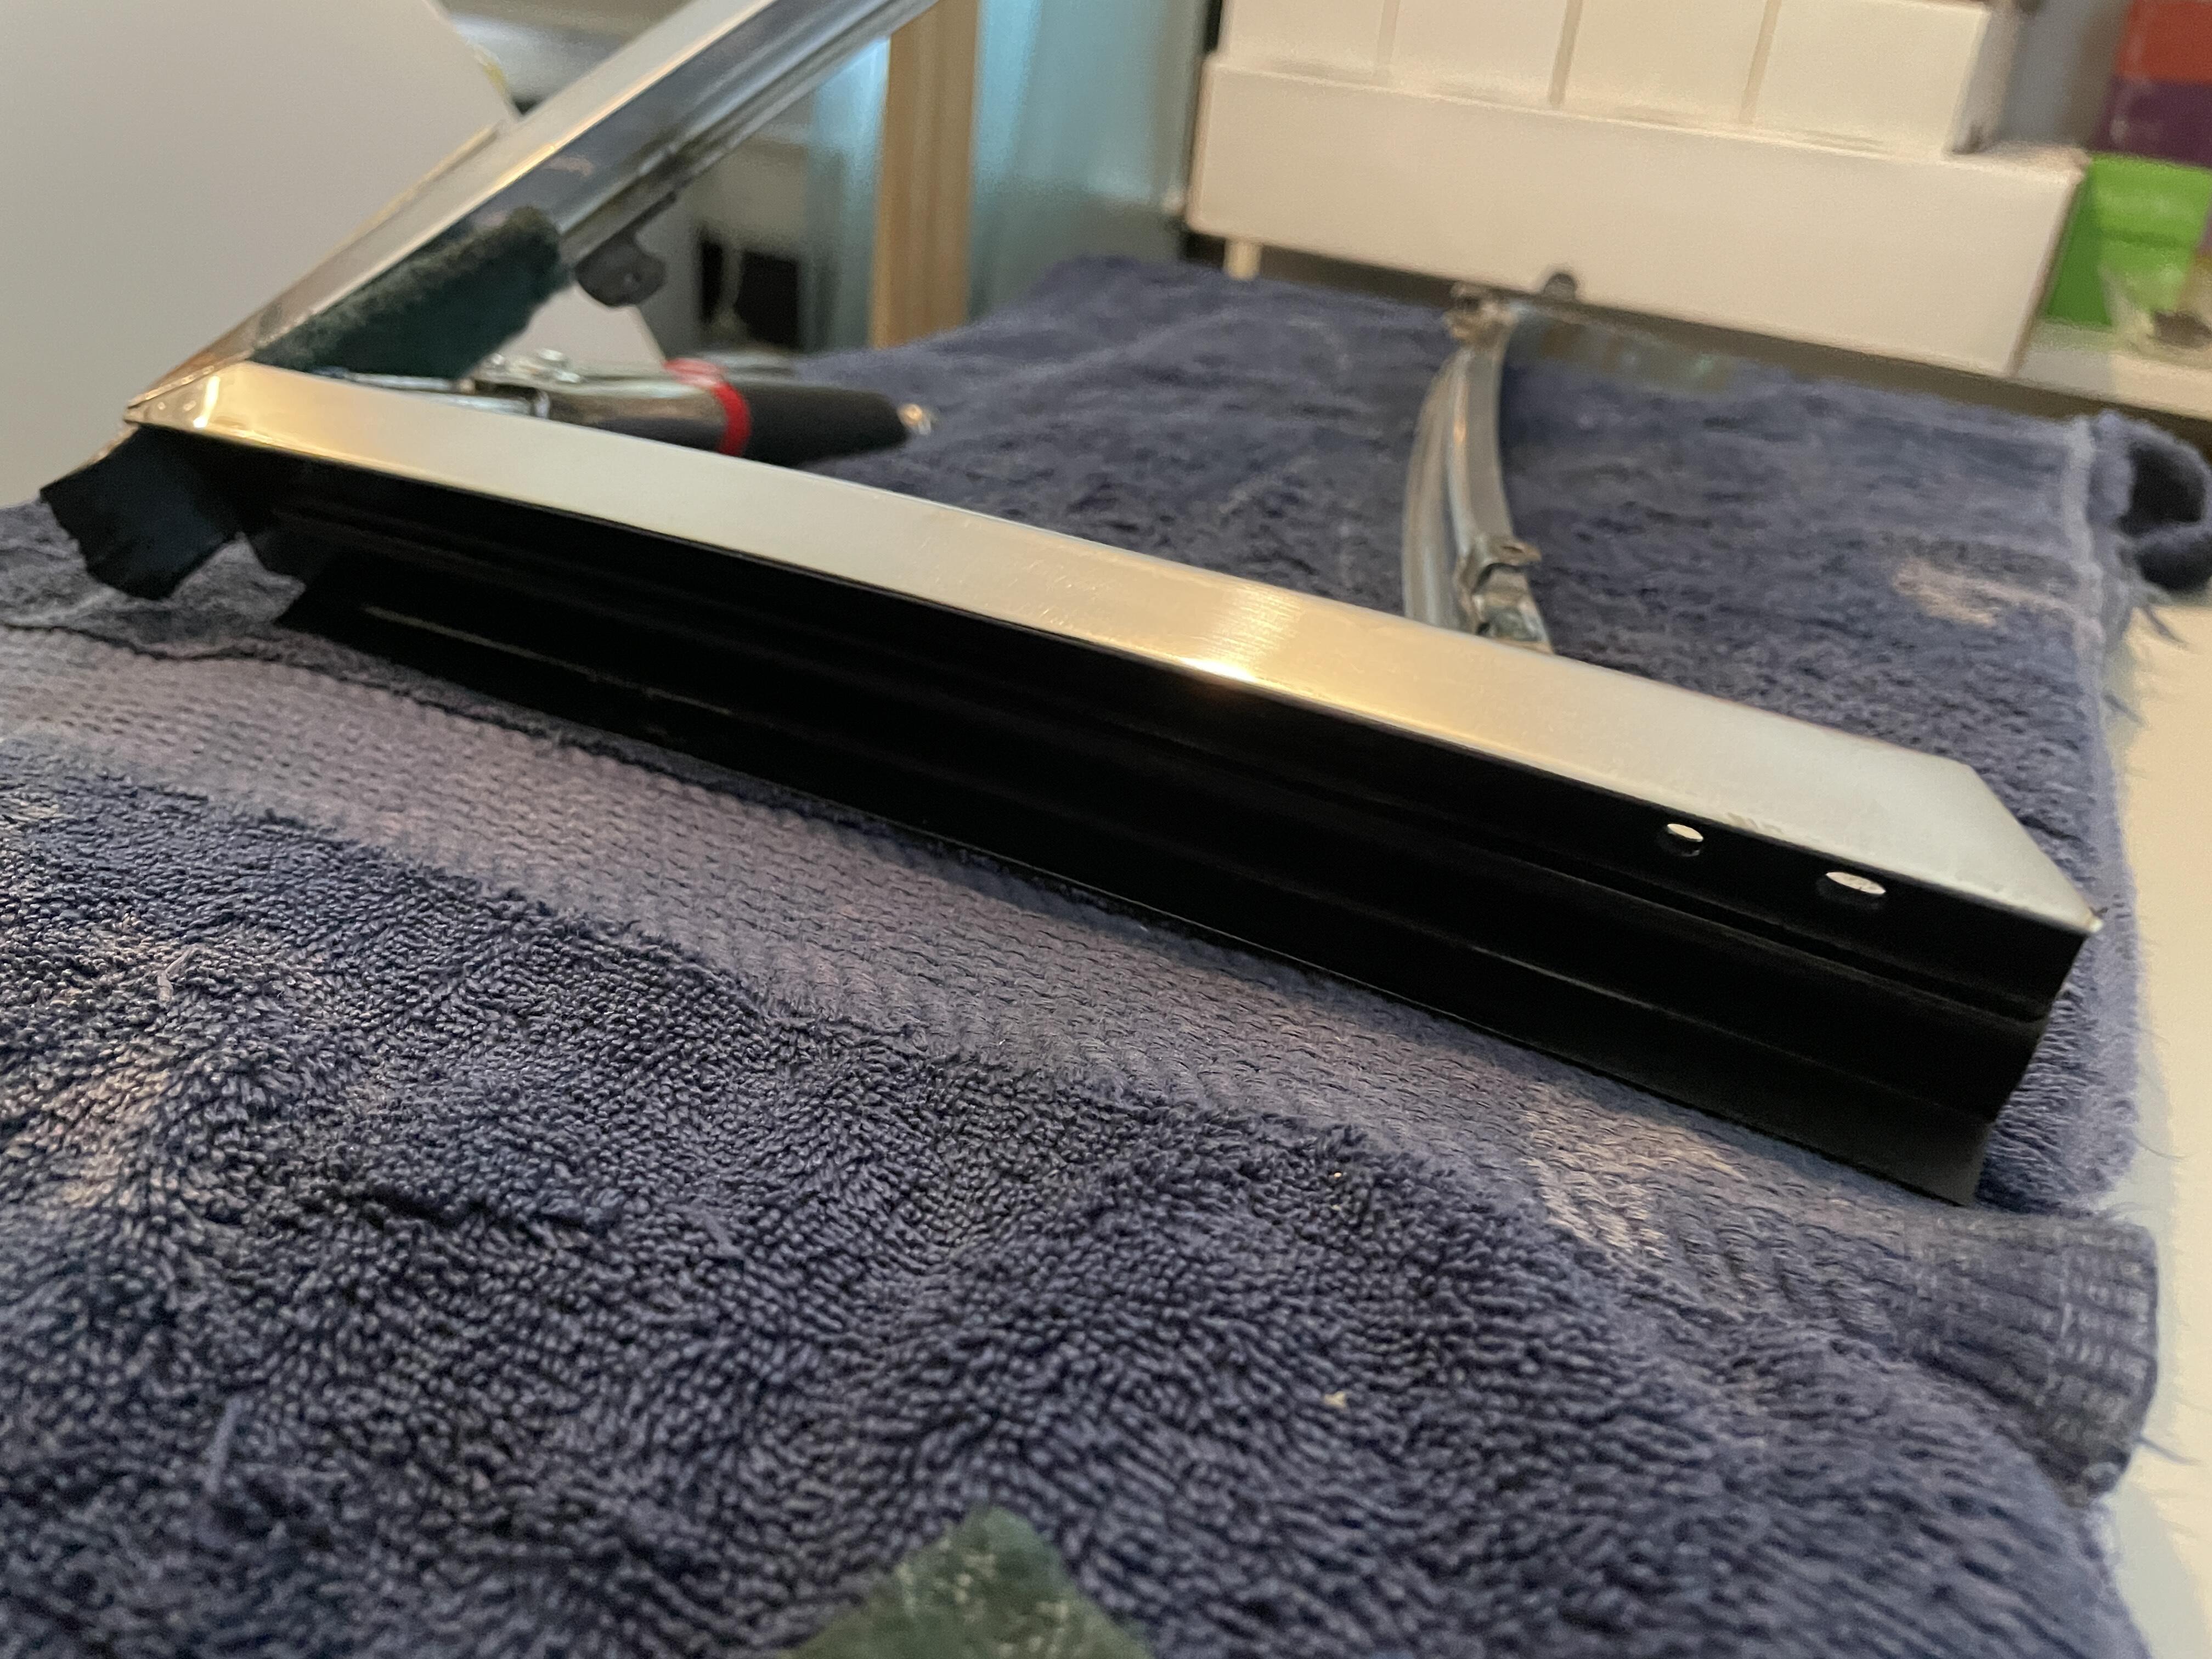
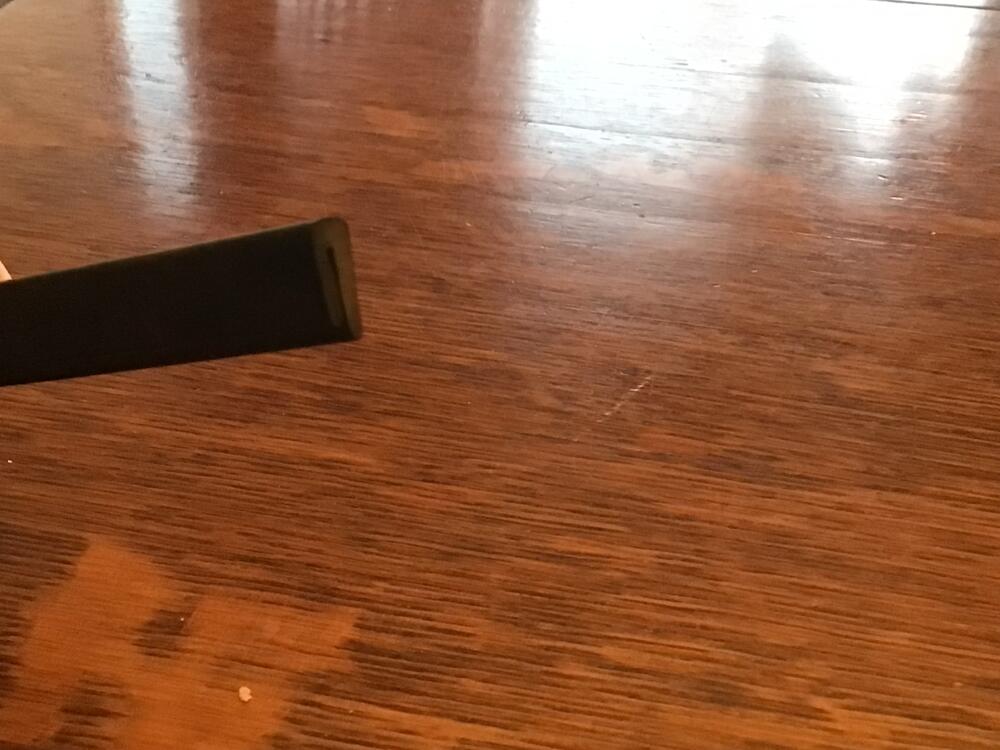
1 point9 inches long, 1/2” wide, slit is for 1/32 sheet metal. Strangely the width of one side is slightly narrower than the other. Not likely going to find replacement material with that, but no one will notice. They take a little wedge out of the center to help it conform to the corner
 1 point
 -
1 pointRyal’s order three or four different sizes!! Increase your odds!! You can return the other three and pass on the info…🤣🤣1 point
-
Clock power (as I mentioned in my first response) and cigarette lighter power. R/L & G/W - lighting (gauge lights, etc.) The T connector is probably for the HVAC panel. The bullets correspond to the indicator lamp for AT models
 1 point
 -
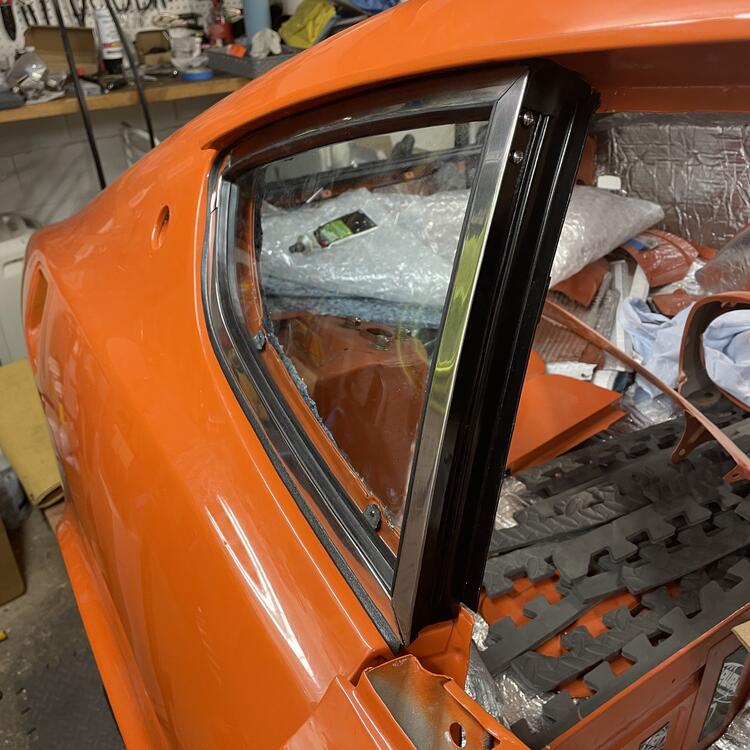
1 pointMine is black. I stripped them and repainted them before putting new seals on.
 1 point
 -
1 pointJarnved is in Denmark, In europe we had the 240z with original 5 speed gearbox! (Fs5C71 A or later B ) I once had a 240z original Dutch car (Netherlands) and it had the orig 5 speed standard. (Fs5C71B) That gearbox (and diff! 3,9:1 ) is now under my usa spec 240z. (got the orig parts as spares on the attic)1 point
-
1 pointDid it originally come with the 5-Speed...? My '73 did not. If I had to do the restoration over, I would have left the original 4-Speed intact as well as the original engine. I would never sell either, so I can still swap both back in for a true "numbers matching" car. Until then, I will drive it and enjoy it.1 point
-
1 point
-
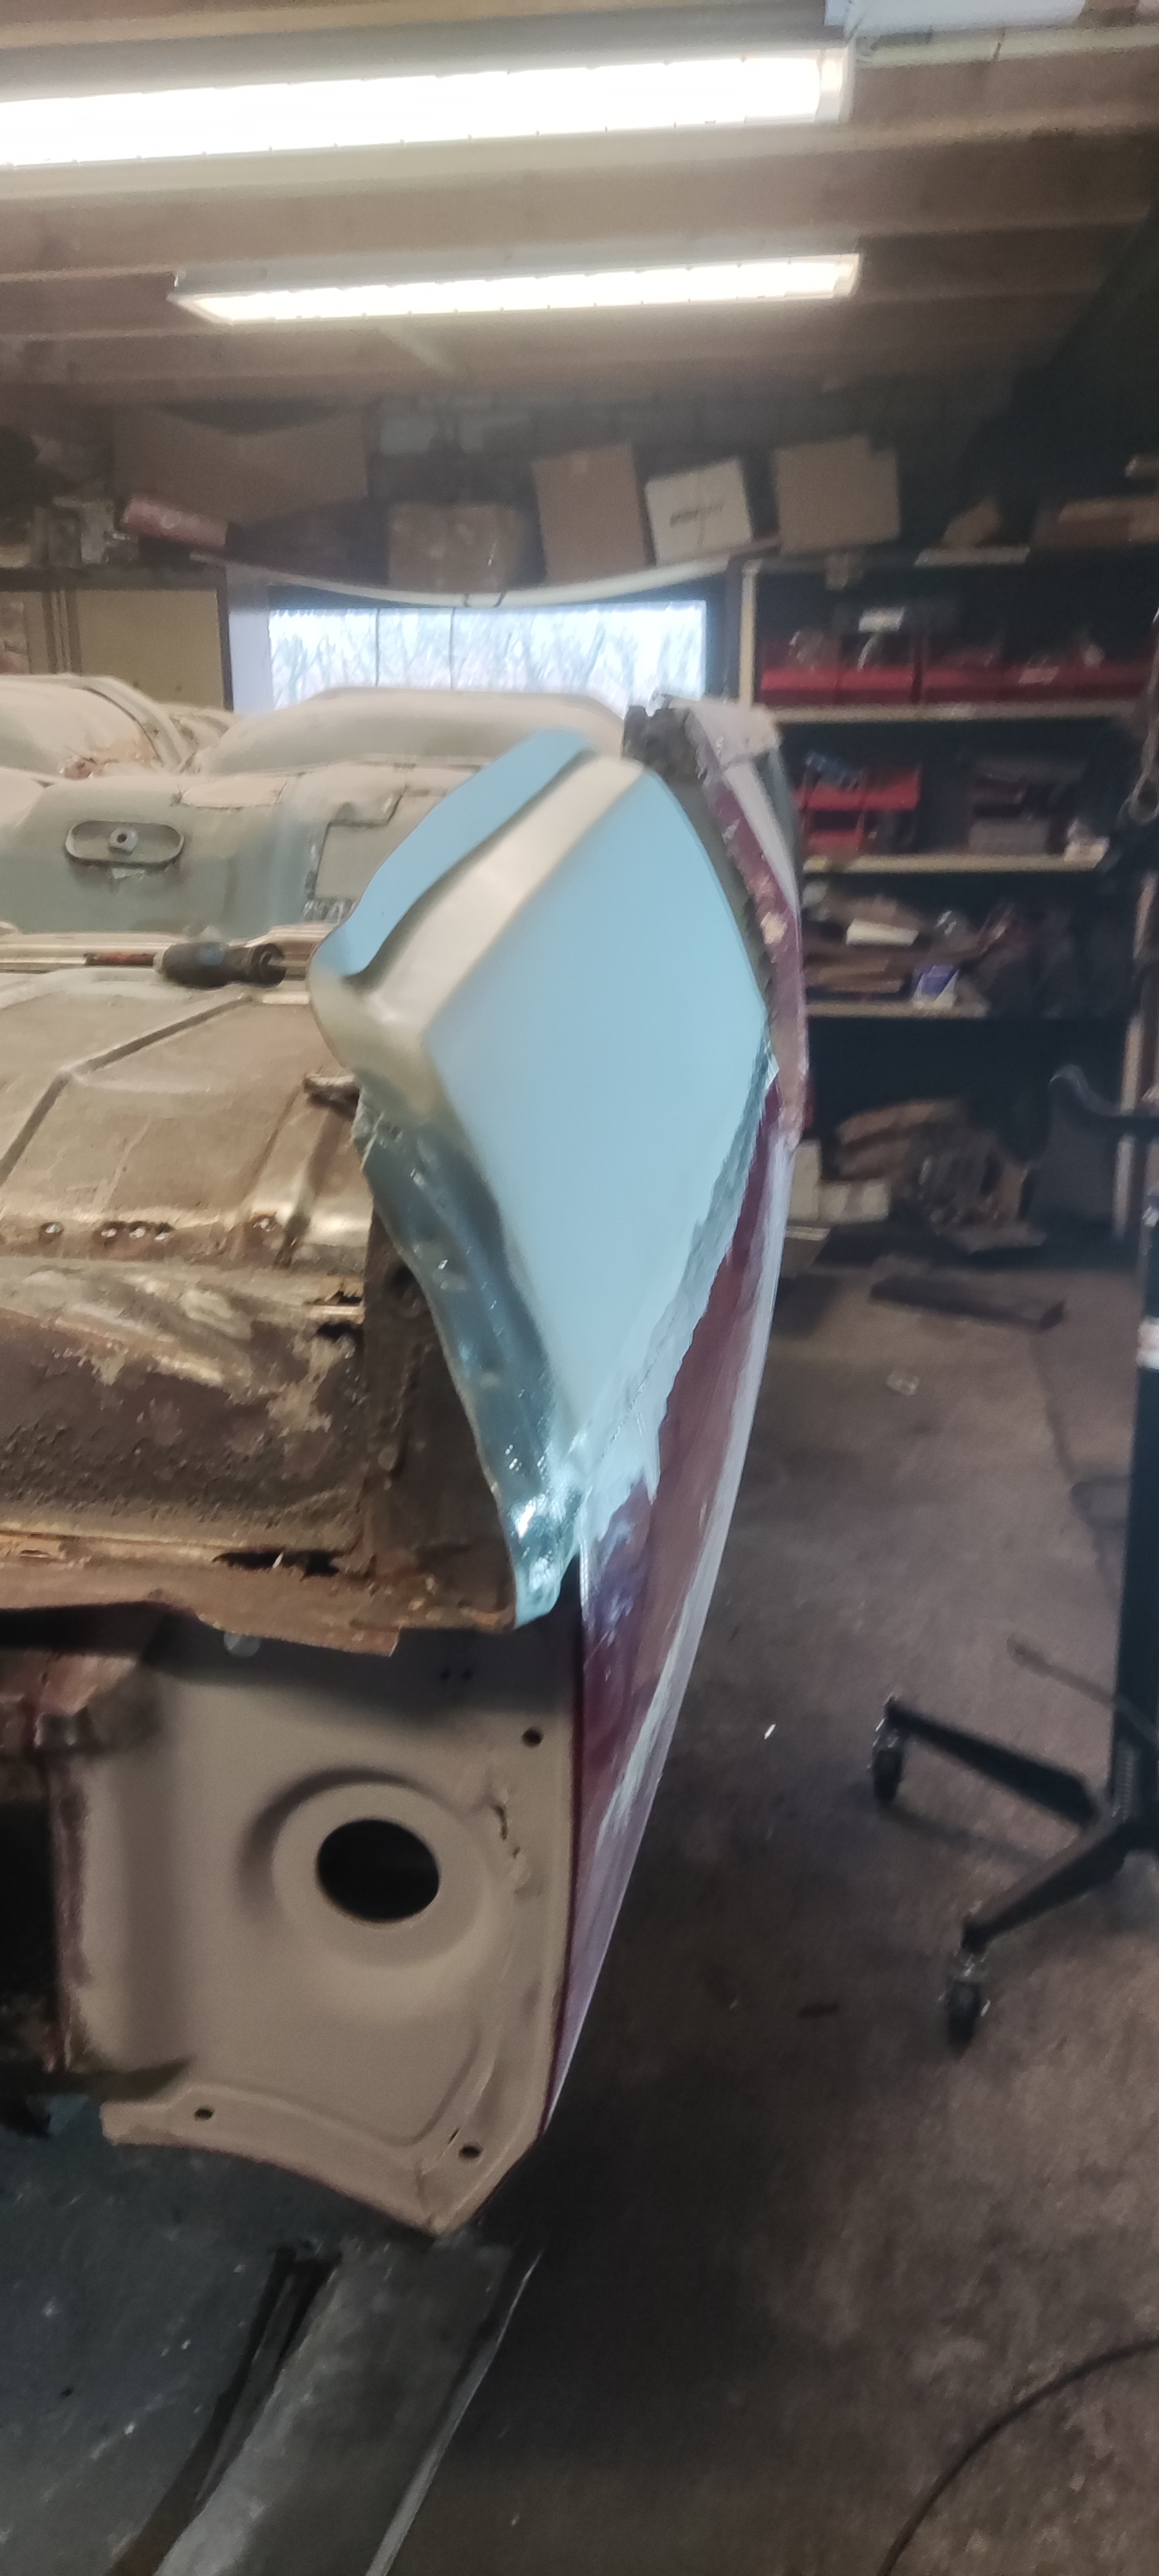
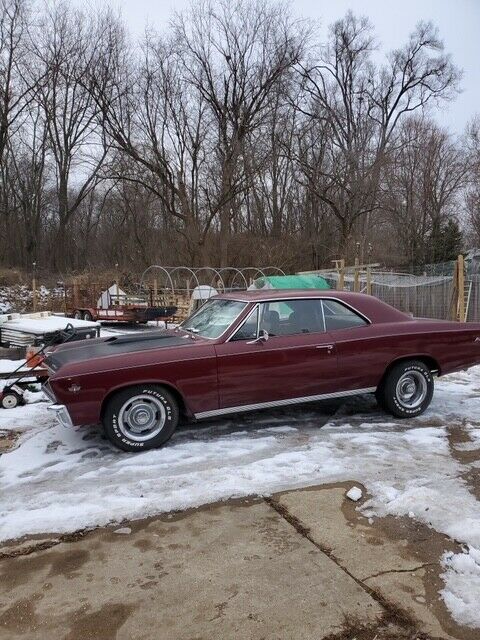
Why? It doesn't have to costs much if you can do the sheet metal work yourself, i've just finished metal work on a 67 chevelle that came from Michigan, that was half gone, trunk, inner wheels well, rockers, etc. Chassis also half gone. Only spended 6k in materials, the rest is time.


 1 point
 -
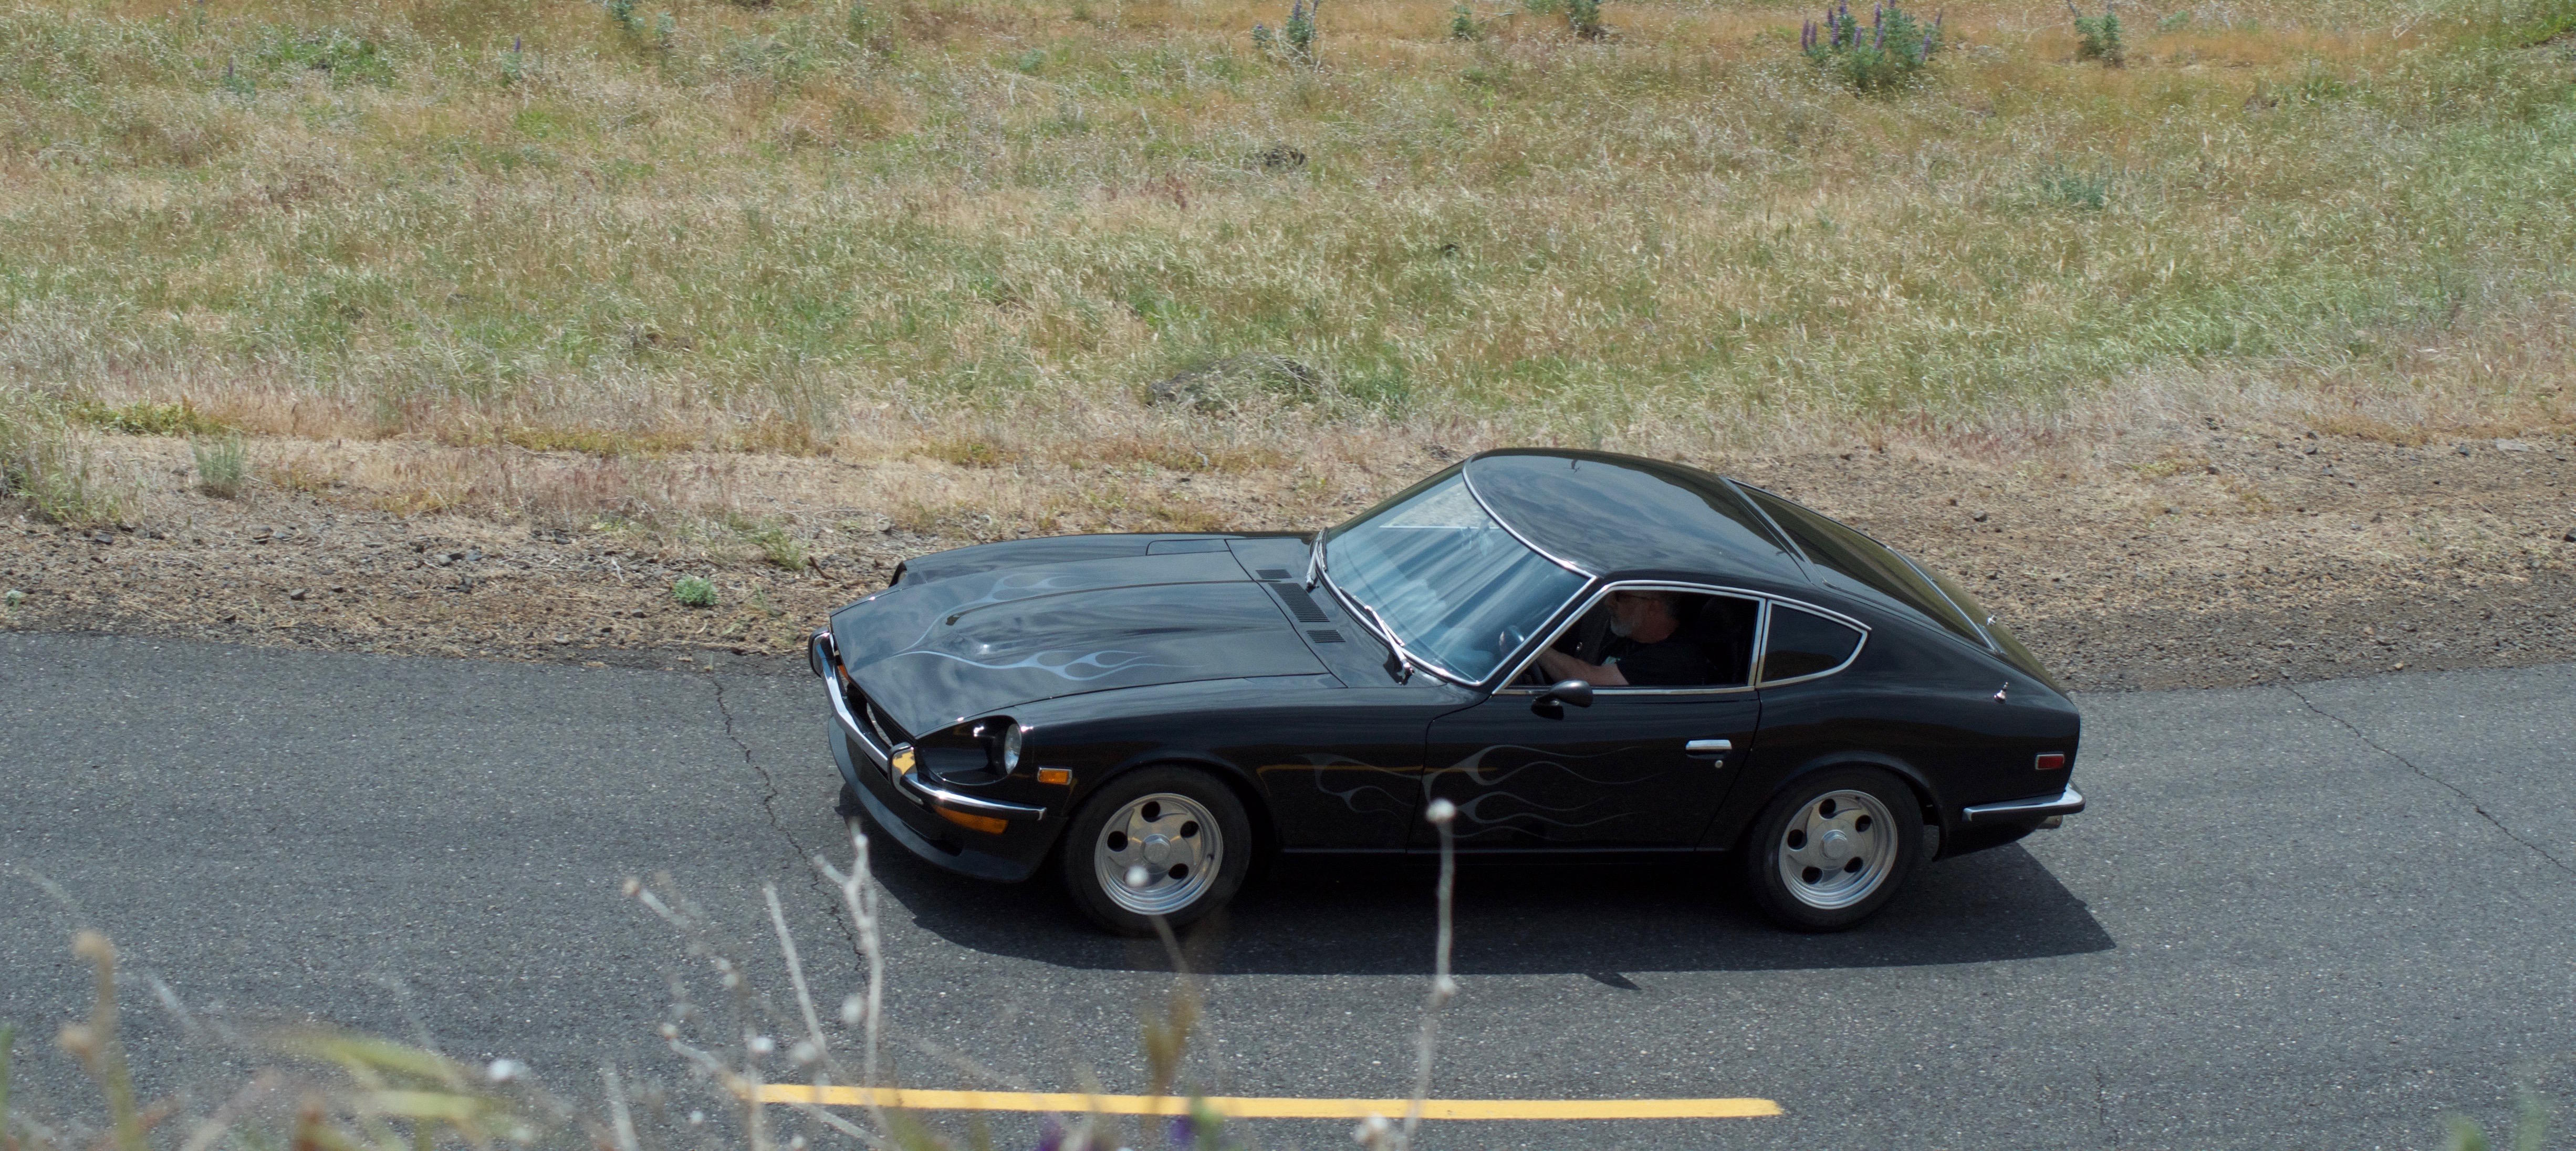
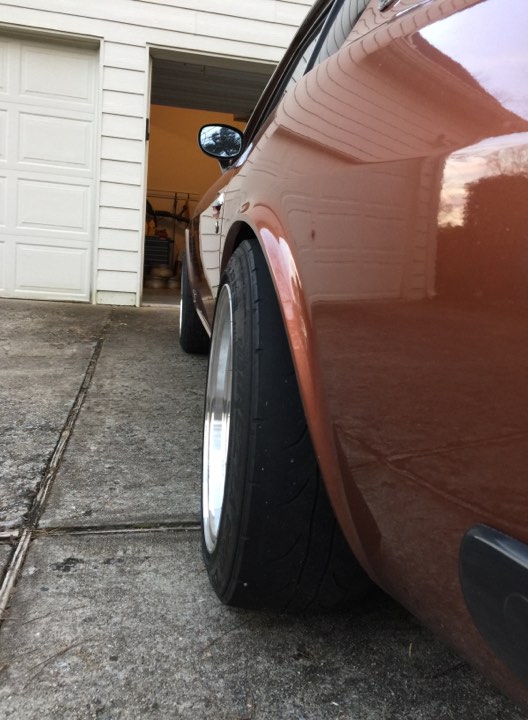
Thanks! RS Watanabe R-Type: 16 x 8.5, -6mm offset 205/50/16 tires Ebach lowering springs, swapped the top rear insulator mount for 240z's version (it's thinner than the 280z stock) Original shocks (busted) Rolled rear fenders, but not pulled
 1 point
 -
The vintage mag wheels with the fatter tires still looks best on the older 240z's imo1 point
-
Gary, Adverse wear on bearings is not a direct result of using spacers, but more a result of the effective wheel offset the spacers create. As an example, a +0 offset is considered by most to be the correct fit for a 7" wide wheel on a Z car. If you have 15x7 +0 wheels and add a 25mm spacers you end up with an effective wheel offset of -25. This will add more load to the wheel bearings. Now if you have a 15x7 +25 offset wheel and add a 25mm you end up with what is effectively a +0 wheel offset, which is considered "perfect" by most for a Zcar. So to say spacers alone create excess bearing wear is kind of a misleading. What does create bearing wear is when spacers change wheel offset and add to the car's track width (and the jury is still out on exactly how much added track width will cause excess wear).1 point
-
Those large sidewalls look amazing! Very 70's vintage Racer. I did not know rewinds came in -91 point
-
1 pointhttp://www.rs-watanabe.co.jp/index2.htm One of the buttons down the bottom is "Matching" Look up 240zG on the Nissan list and it has the sizing for 15 and 16 inch wheels. Should be able to work out the 17 inch requirements F : R 16-85 -6 R : Rタイプ 16-90 -13 Mg色 114.3/4 F : 225/45-16 R : 245/50-161 point