Leaderboard
-
HusseinHolland
Free Member7Points1,031Posts -
HS30-H
Free Member4Points5,509Posts -
jfa.series1
 Subscriber
 4Points2,733Posts
 -
EuroDat
Free Member3Points3,309Posts


Popular Content
Showing content with the highest reputation on 07/06/2023 in all areas
-
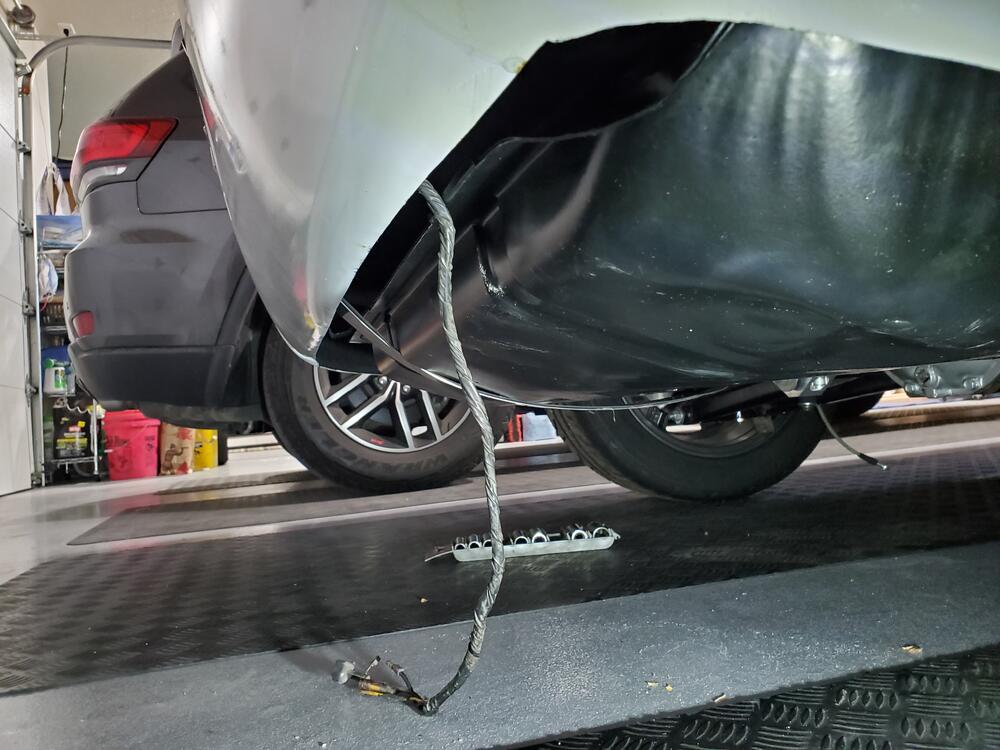
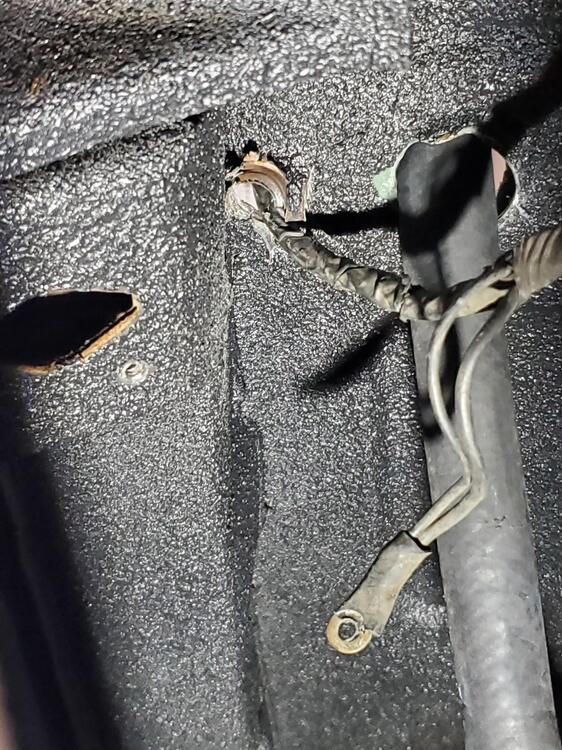
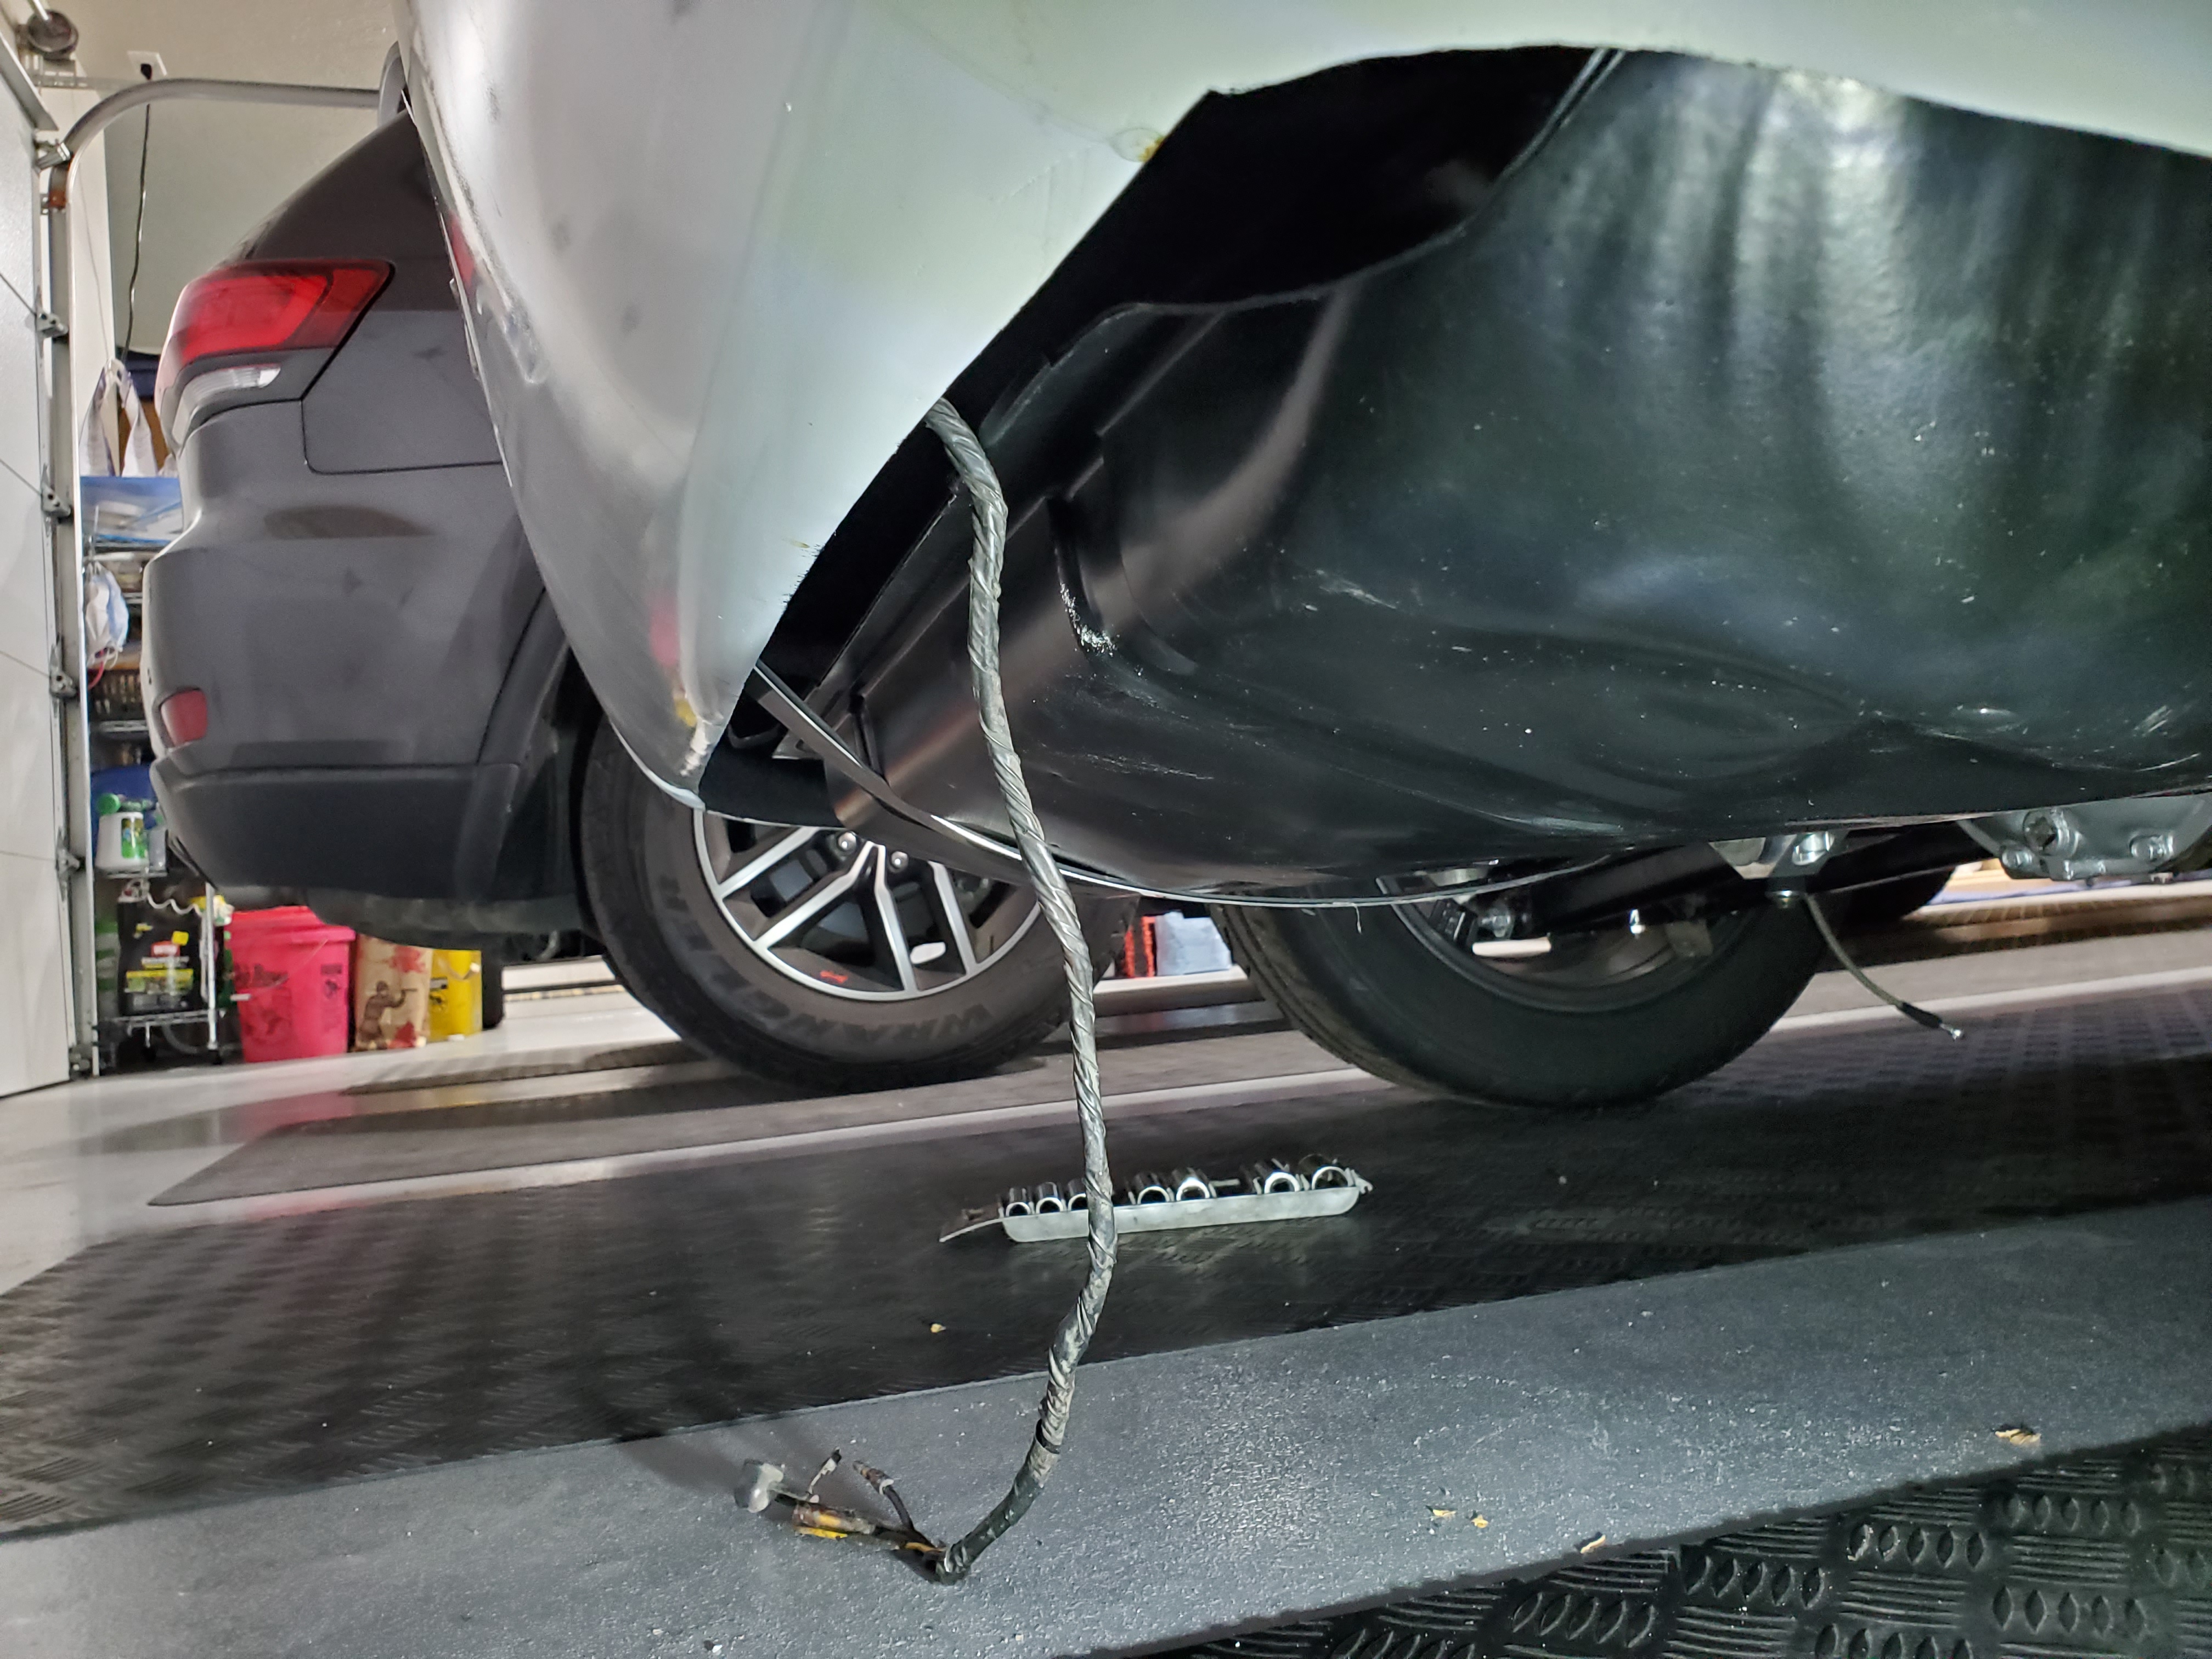
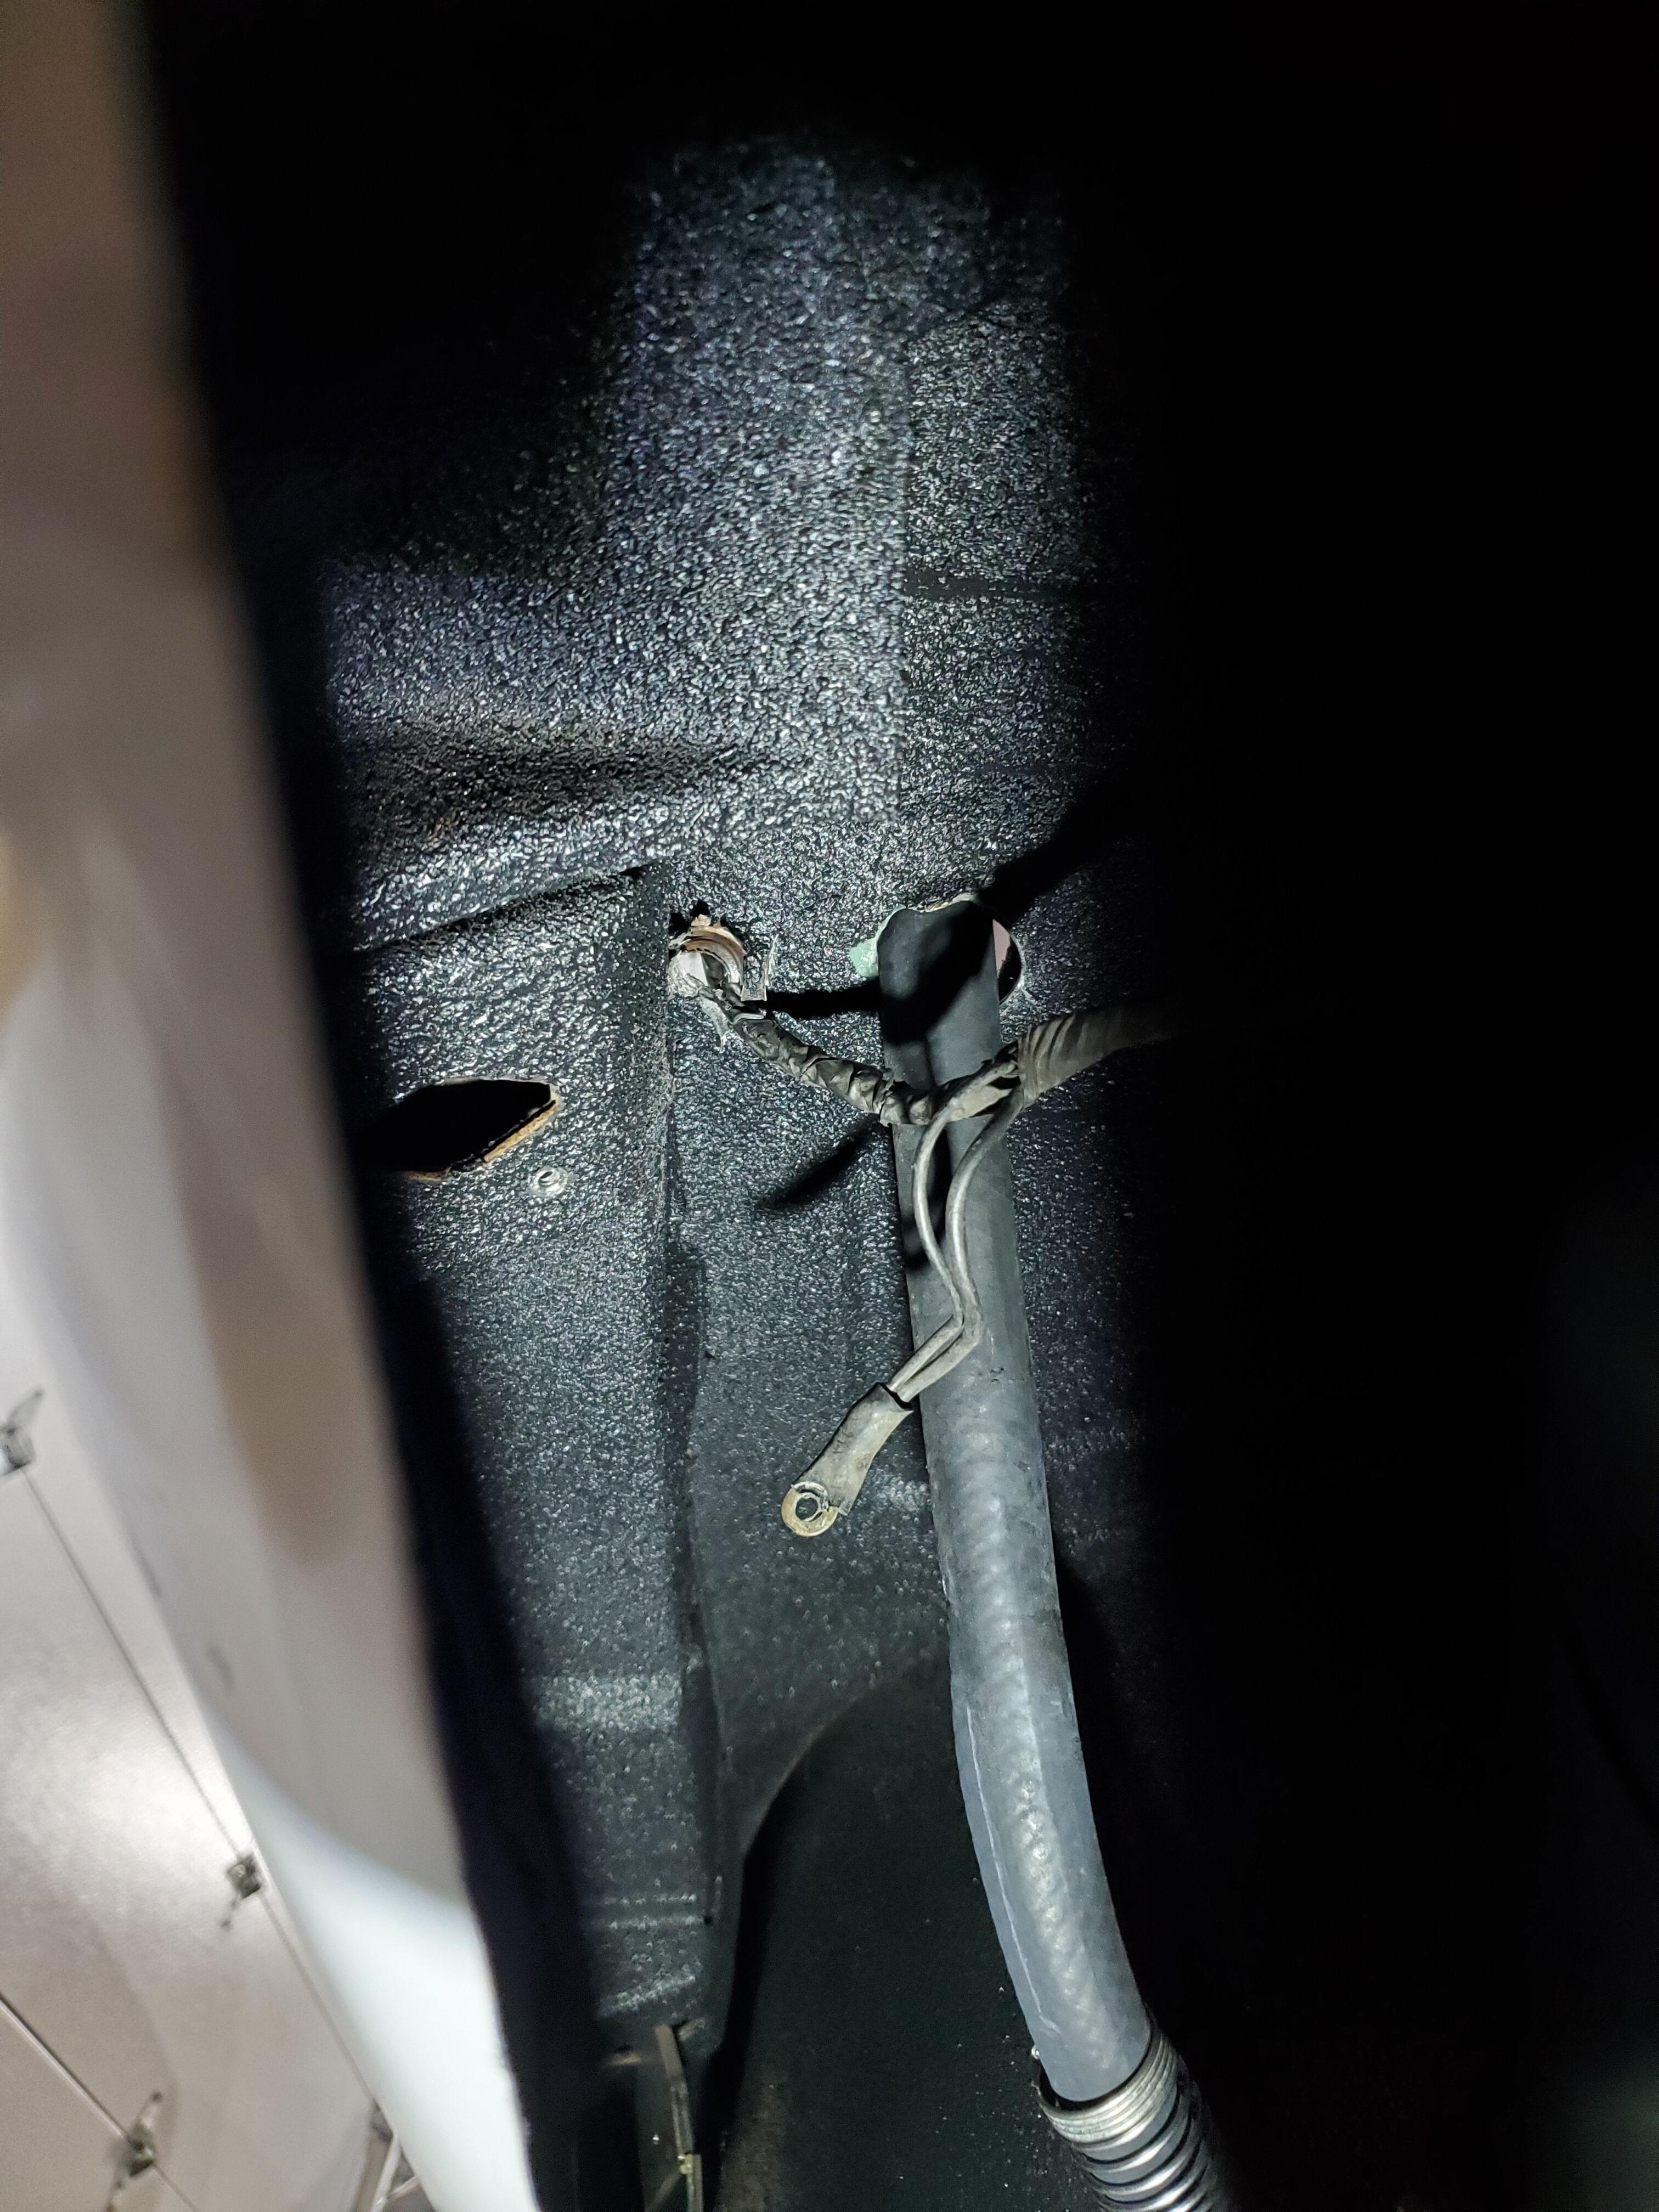
Started pulling apart the rear suspension after work today. Had to remove the exhaust first - since it's all one piece from the DP flange to the tailpipe, I cut it behind the cat. I'll add a junction there - maybe a V-band, or just a sleeve clamp. Ultimately the whole exhaust will be custom with the VQ35DE anyway. Looked over the undercarriage in general since this is the first time I've been under the back end Control arm bushing are all bad Tapered pin that retains the outer control arm bolt They came out without any drama. I had ordered new main bolts & these, as they typically are a problem. Murphy's Law - if I hadn't bought the new hardware, I would have needed it.. Damper on diff mount/control arm forward bracket had stripped bolts The diff mount is an absolute PITA to remove - the retaining bolt heads cannot be accessed with a socket - the lower half of the mount interferes. They also don't thread into the casing -there are 17mm head nuts that have to be counter held. had to re-tap to M10x1.5 , to avoid replacing the captive nuts or helicoils exhaust - still has the original shielding Shield over rear bumper shock original forward rear muffler hanger cut just behind cat Floors Poorly installed fuel feed hose - pretty heavy kink Limiter strap over top of diff snout Hopefully get more done on it tomorrow3 points
-
3 pointsMy Z has a 4/71 build date just like this one and my seats have the fabric strapping below the seat cushion. This one appears to have the metal cushion supports like on later cars. Replacement seats from a later model Z?3 points
-
3 pointsWhen I look at the underside pic of the seat, I see some pretty rough attachments at the various seat barbs suggesting those covers are not OE. The factory would never have released seats like that. Also the vinyl is exceptiionally smooth, doesn't show the typical grain of OE seat covers.3 points
-
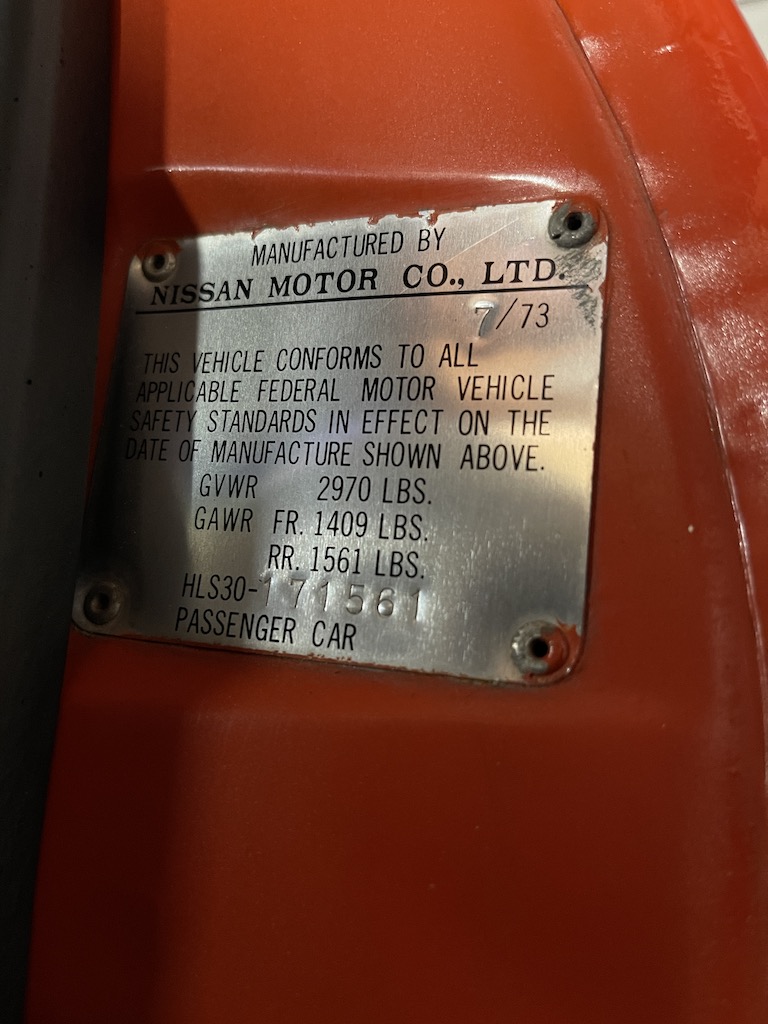
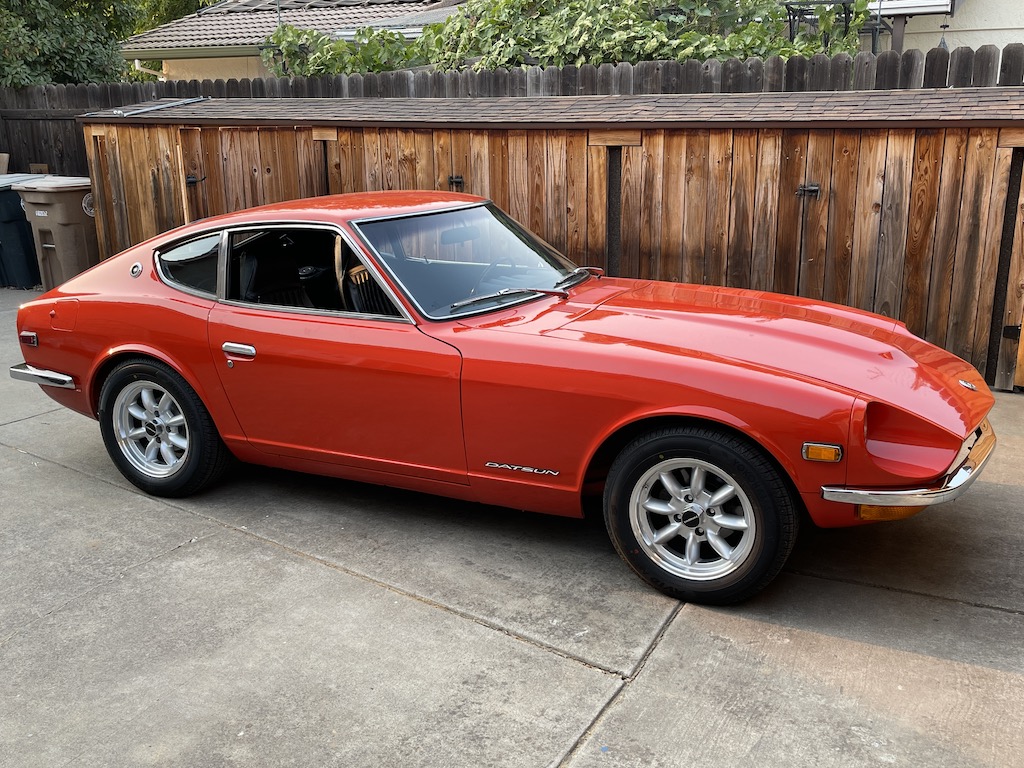
2 pointsHappy 4th everyone! 🇺🇸 And happy 50th birthday to our Z. Not sure how many 240Z's were built after ours, but I'm guessing 260Z production was starting to ramp up. Cheers! 🍻

 2 points
 -
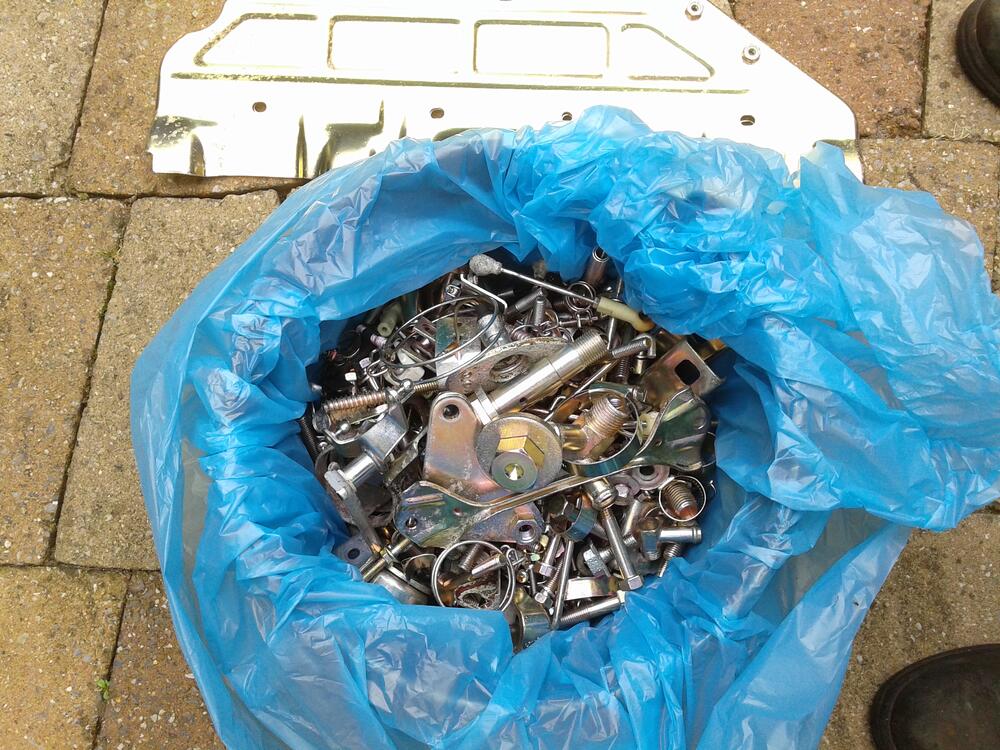
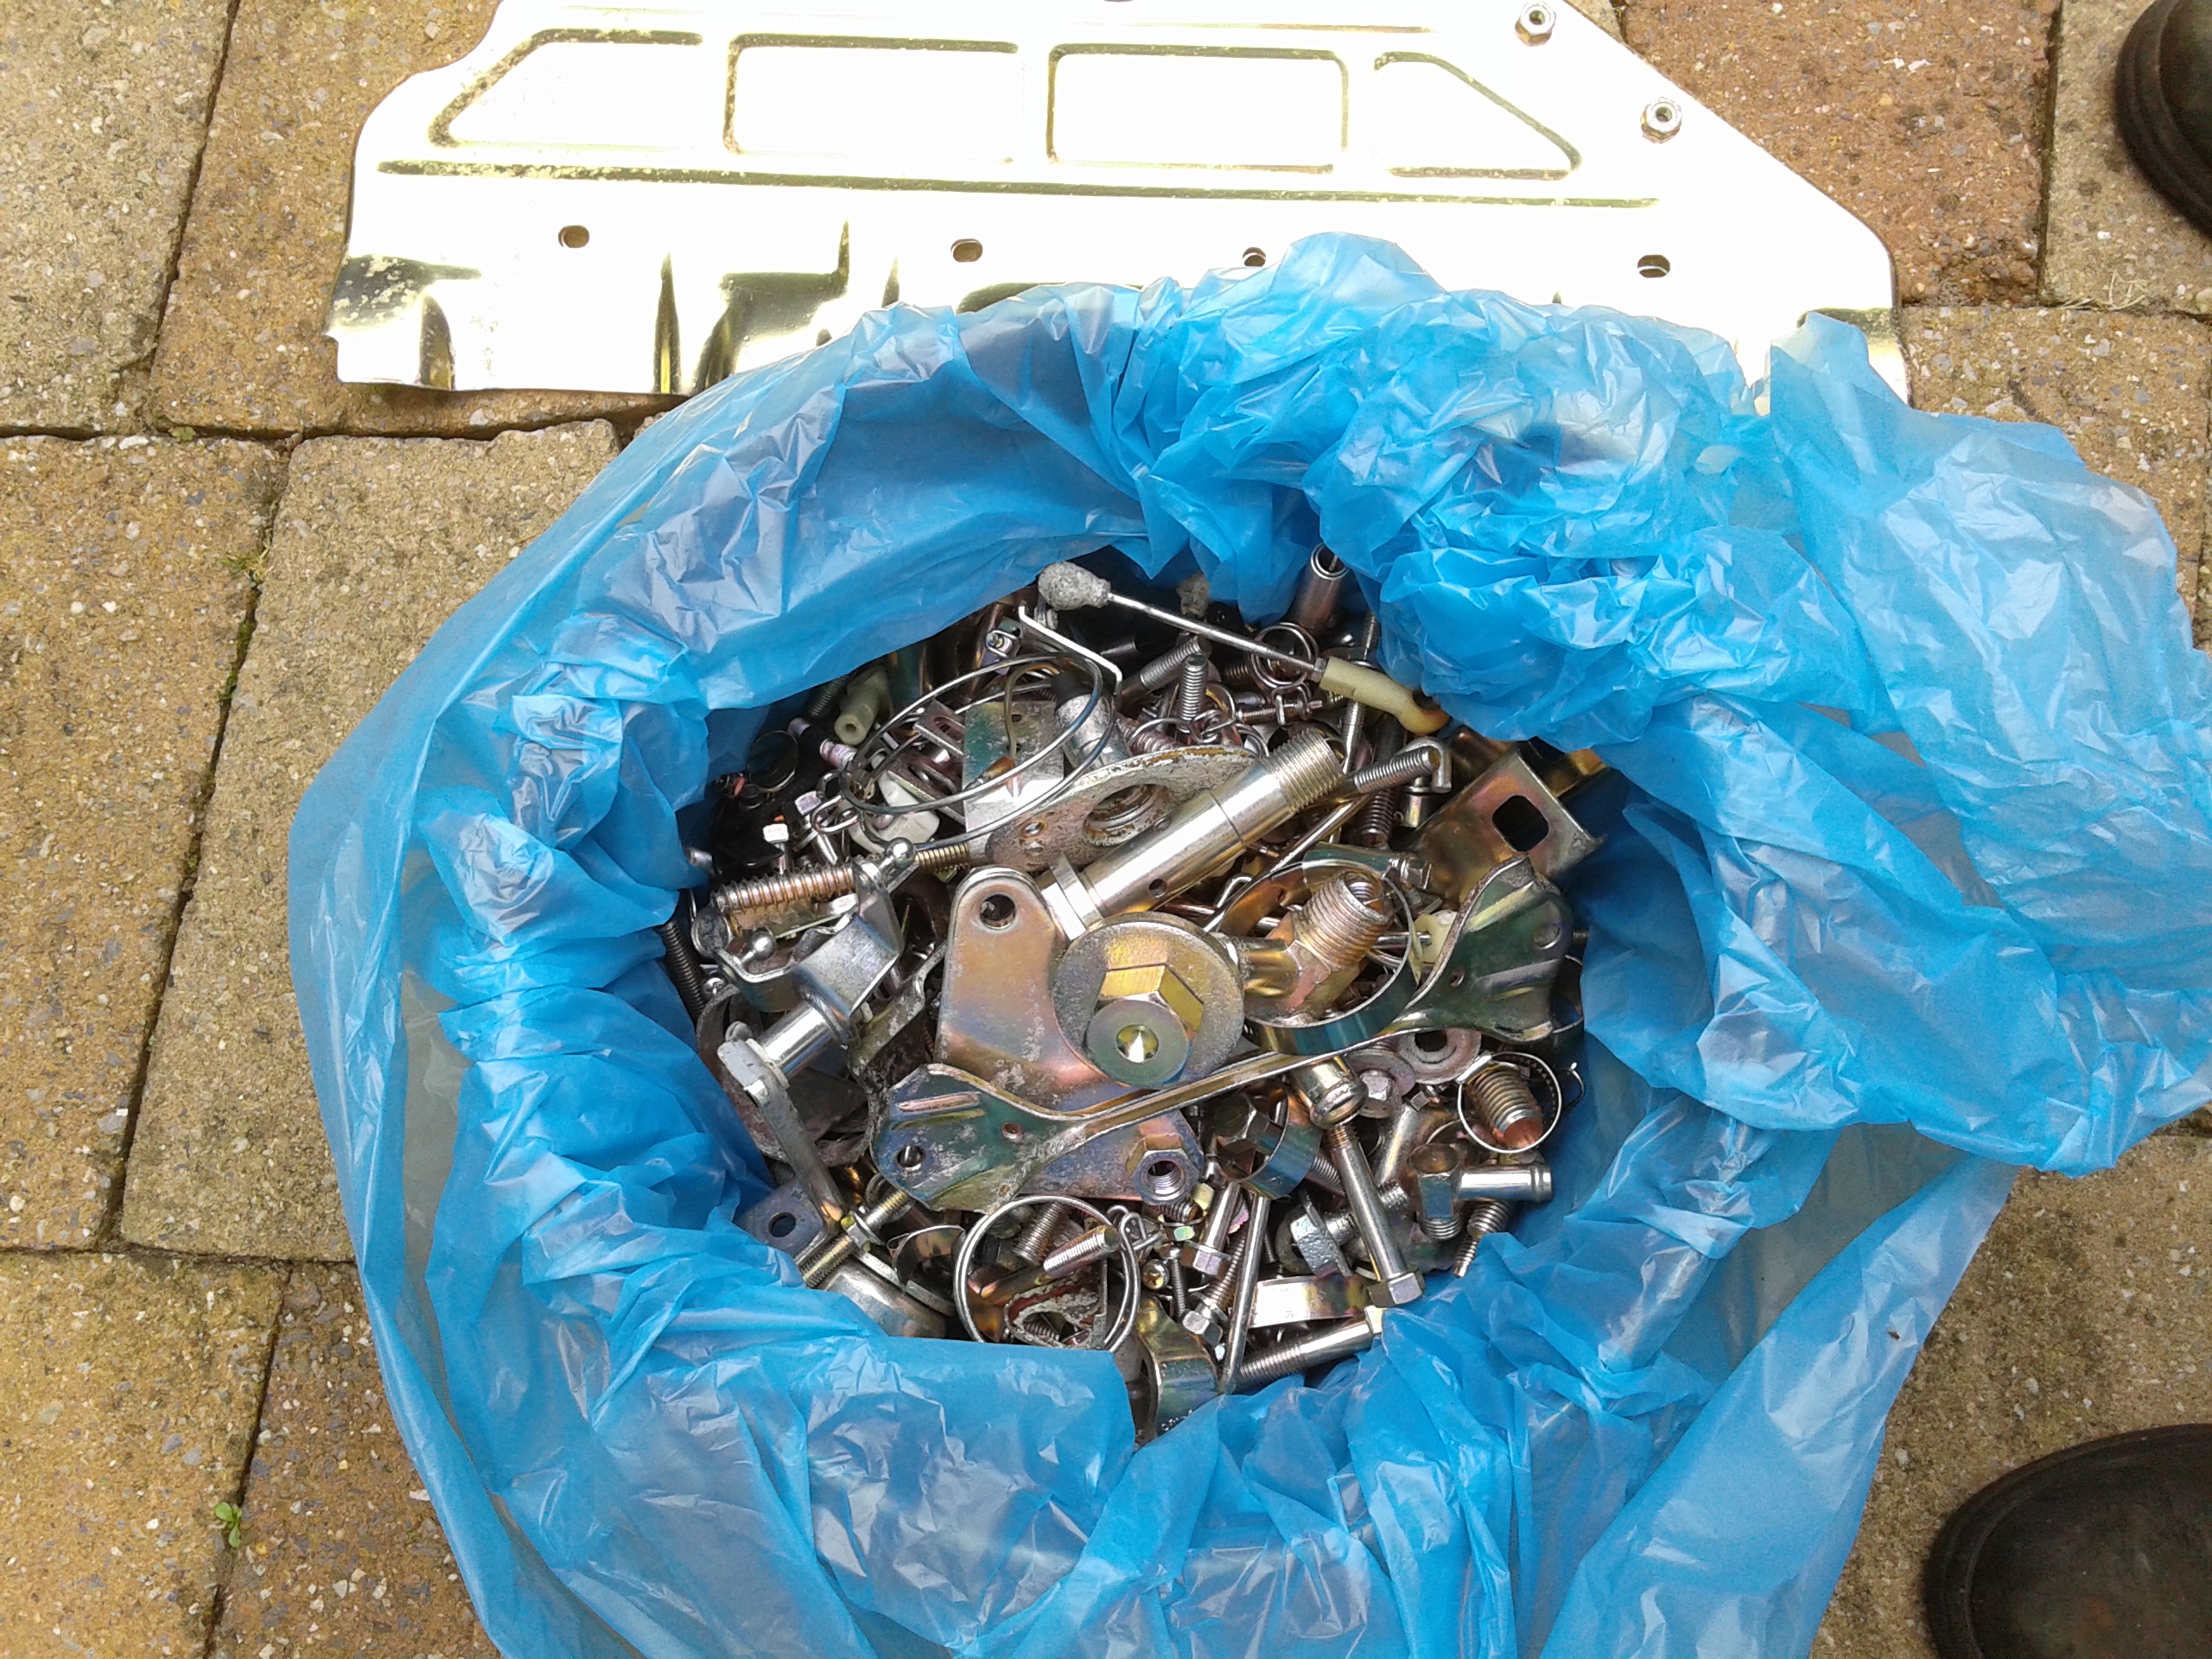
Yeah, that looks a lot like my garage during disassembly!🤣 Does he wash his hands between every bolt removal? Looks like a nice car to be restoring.2 points
-
2 points
-
Seems I may be mistaken - the valve hoses are cold, if I run the car with the heat off, so the heat I felt must have been residual Another thing I had to address while under there - the center console harness connections. All re-pinned added some low temp electrical grease hile under there2 points
-
2 pointsHi All, just for source info this is my car that Rich has graciously agreed to finish for me and to do a once over to make sure that everything that I installed was done correctly. I started it in 2016 after stripping it except for the suspension and wheels I sent it to SOS Customs in Oceanside to do the minor body work and paint. They first sandblasted it and then it sat for about 9 months because they were too busy to get to it. Finally started working on it and it only took them about 3 months to finish it before I picked it up. I brought it home, put it up on jack stands and stripped the rest of the suspension pieces off and sent them out for power coating. After getting those pieces back, I began the slow process on putting it back together as well as buying lots of new parts. I enlisted my step son to help as I needed an extra pair of hands on occasion. Since he knew nothing about cars, he eagerly agreed. Over the coarse of the next 5 years, we got it about 3/4 done. My wife has been very ill the last few years and I haven't been able to work on the car for about the last year and a half, as I have been caring for her full time. Since deciding to move to Texas, both for her care and that's where my daughter, son-in-law and grandkids live, I asked Rich if he would finish the car for me since I have no place to put it until my house gets finished. He agreed and this is where we are at now. I will be driving the remaining parts out to him in Boise in about 2 weeks when I return from Texas. I still need to sell my house and get everything moved. My house should be done by the end of the year and I'm thinking the Z will be done by then as well. If you have any questions about the build up to this point feel free to ask. Thanks, Donn2 points
-
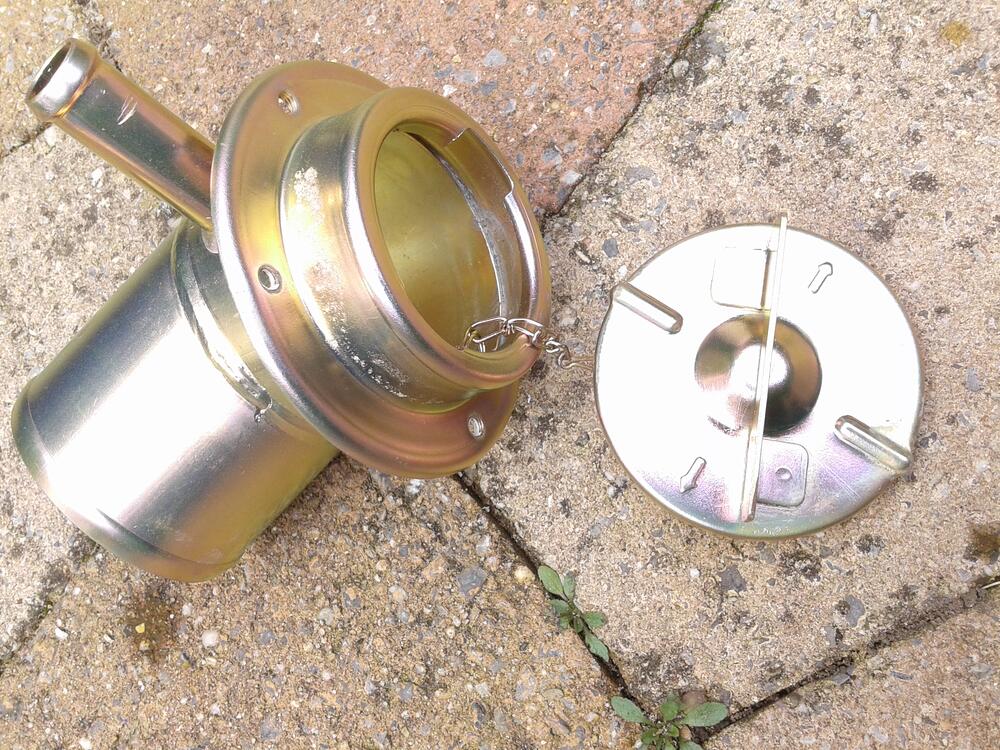
2 pointsThe blue chromate is very dark blue in the tank. It does brighten the raw zinc plating and give it a slight bluish hue. I find blue chromate much easier to do than the yellow zinc. The yellow seems to be much more time sensitive. Like to the second...2 points
-
2 pointsDon't take it too literally. 'Blue' passivated Zinc isn't really blue. It's just a handy identifier for the slightly blue-grey hue of what is otherwise known as 'Clear' passivated Zinc. The 'Clear' passivate gives a slightly cold bluish tone to what would otherwise be a very silvery and bright natural Zinc in its un-passivated state.2 points
-
Cool vid.. I’ve seen car’s stripped in NYC in 20 min😜1 point
-
1 point
-
1 pointAgreed. I just helped a buddy recover his 280Z seats, they had the same spring design.1 point
-
That all just the (cat-related) floor temp monitoring system that CA models had - there are two warning indicators in the center console, one for cat temp & one for floor temp (monitor is above rear muffler in cargo floor) Yeah, all that fuel hose mess is going away. I have an assortment of Volvo fuel hose with the proper rating, I may also convert to quick release & nitrile lines in preparation for the VQ35DE conversion. I'm not going to strip the floors now, just cleanup any loose material & spray fresh 3M Rocker Schutz & undercoat in exposed areas. I'm vacillating on what to do with the exhaust - I may just make a new 2.5" rear section with new muffler that will be detachable ahead of the subframe. That way, when I do the VQ35DE, I can tie into that instead of having to make the entire exhaust from scratch. I don't think I want to go to 3" on the exhaust. I have no use for all that shielding once I replace the exhaust, but I'm still going to clean it up. I think for now I'm just going to do the bushings in place - the axle conversion I'll going to put off as I don't want the car to be down for very long, and getting the companion flanges machined to be concentric for attaching the adaptor flanges is a variable I can't control, time-wise. I need this to be roadworthy so I can take the Volvo pickup off the road to get moving on the V8 conversion. So, just bushings, struts & brakes for now. After that, I still need to make the AC work if I'm going to drive this for the summer & fall.1 point
-
1 pointUnderstood, but I didn't see a JDM S31 parts resource. HS30-H hooked me up!1 point
-
1 pointi thought you look under resources and downloads on this site! You see lots of service manuals under resources on the main site! Classic Zcar Club File Downloads (classiczcars.com)1 point
-
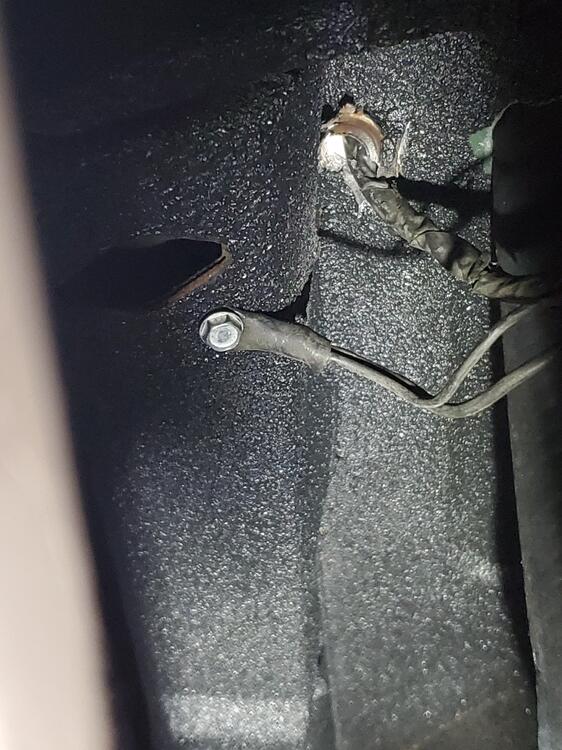
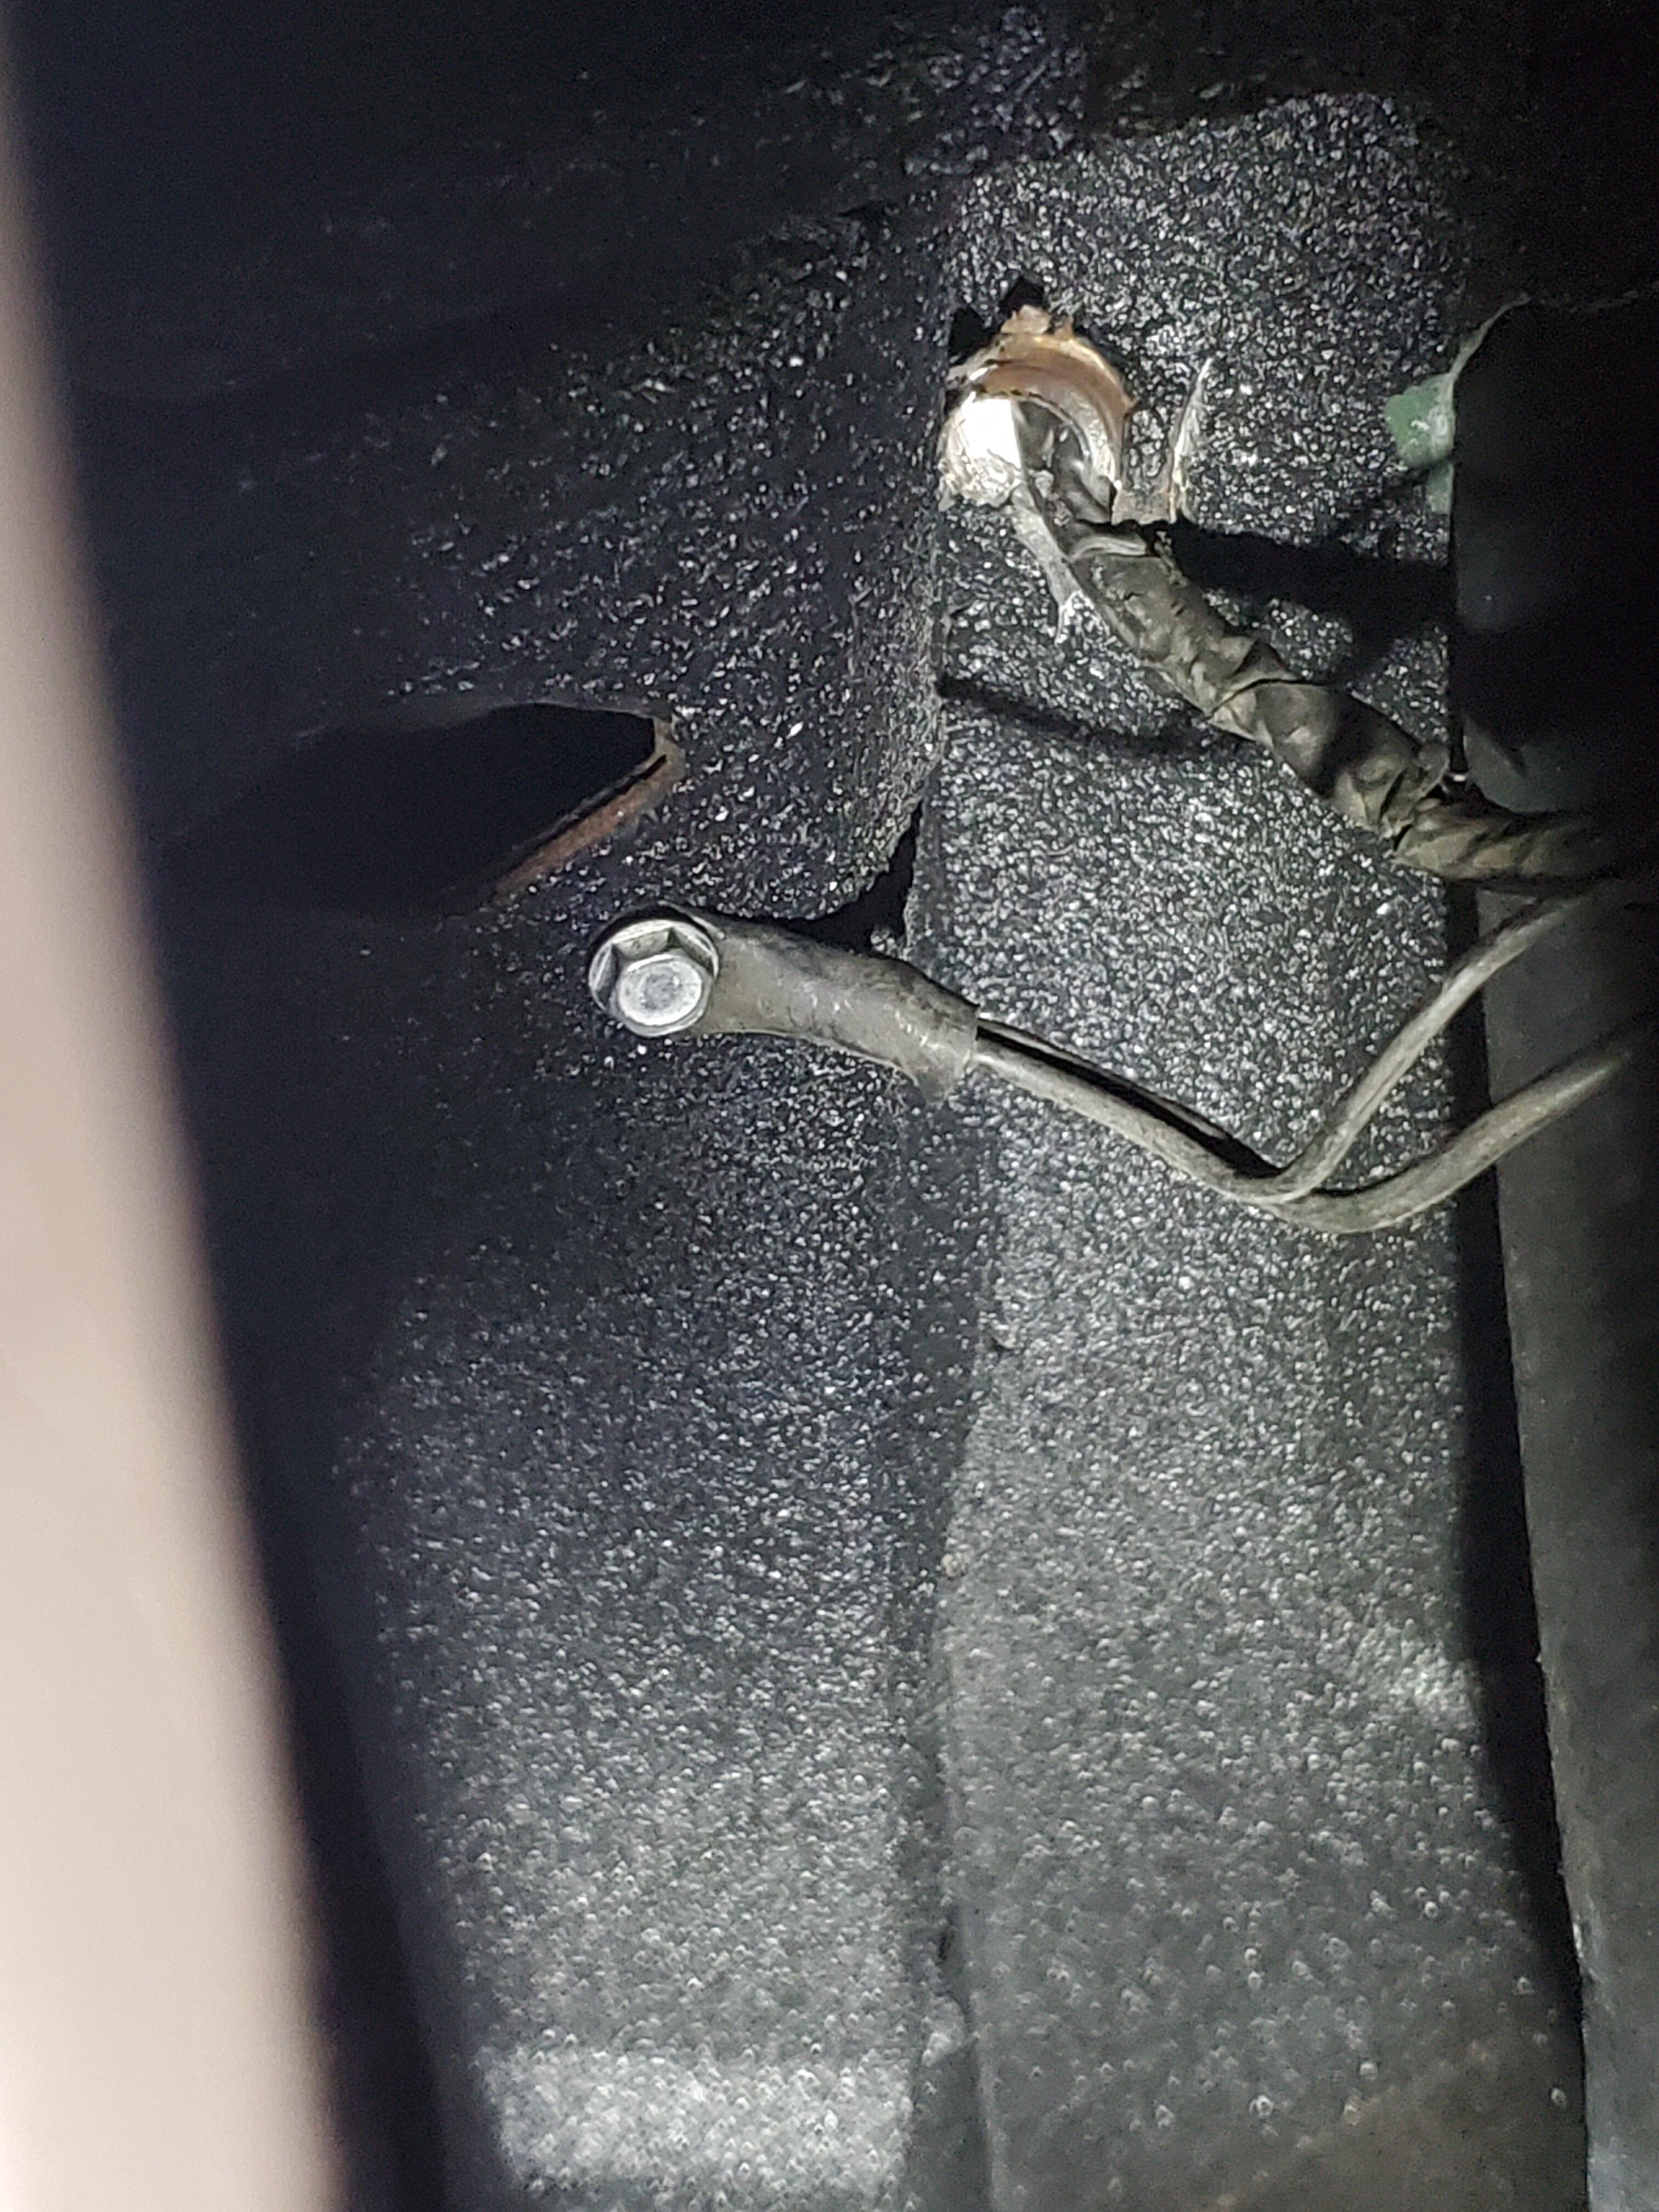
1 pointI did a little work on electrical wiring the last couple days. I installed the new modern fusebox, splicing it into the original harness. Conveniently, the new fuse box had the yellow terminal sleeves to make it easy to graft into the original harnes. I worked under the passengers side dash to make the connections for the engine bay, dash and rear harness connections. Most of this was pretty straight forward as the connectors are Poke-a-Yoke. I did have to replace a few broken terminals on the harness, but overall, not too bad. I had to drop the tank a bit to install the fuel tank harness which was coiled up in the back of the car. Also, I could not find the ground nut hole on the frame under the rear panel so I drilled a hole and secured the ground to the body. Not sure if the hole was covered up or did not exist at all because it is a 1970 car. Anyway, wire is now properly grounded and securely attached. Pics below. A little more car info: Engine was rebuilt by the same shop that does Adam Corolla's race car engines.

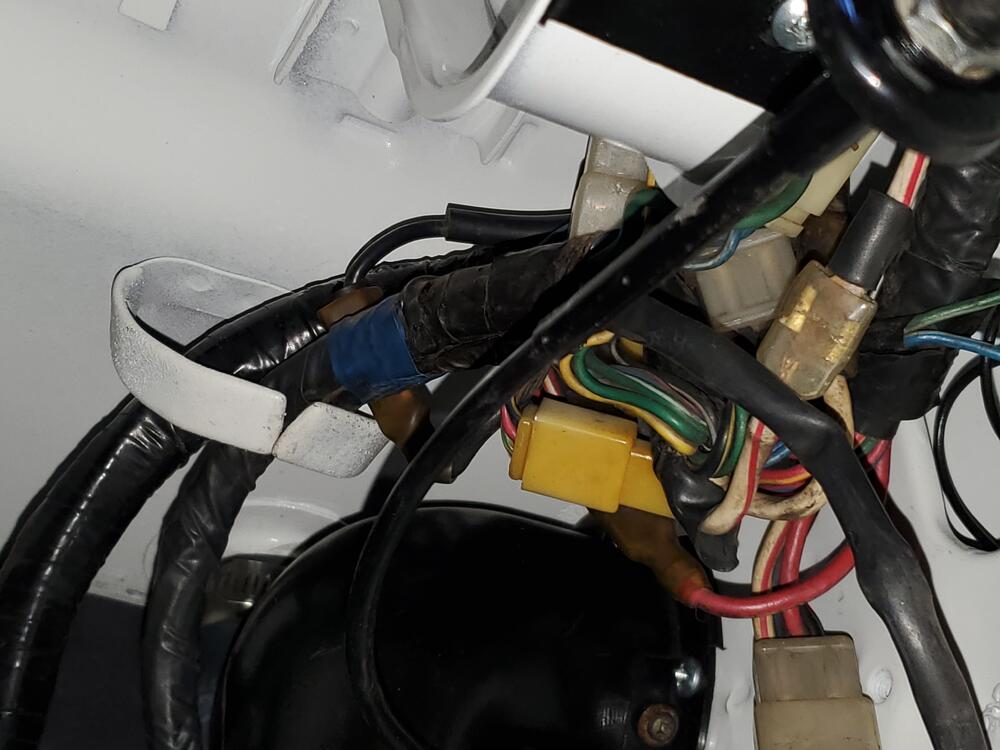

 1 point
 -
Yes! They (whomever the PO used to take it to in CA) cut it to replace the cat, and the rear muffler, but kept all the original hardware & mount straps, which is kinda cool to have.1 point
-
Interesting how the original exhaust and shielding is still intact.1 point
-
1 pointThanks Chas, i'm doing my best to keep it in good condition. In the fall it will go to the paint shop, to have some spots re-done, and the rear hatch deck ( common issue ). How are you doing lately? Gr Bart1 point
-
1 point
-
Nothing but squares with a question mark in the middle.1 point
-
I couldn't get any of the pictures to load. Anyone else?1 point
-
The main point I was making was with regard to Cadmium. People still talk about 'Cad' plating, but there were no Cadmium-plated parts on these cars. The majority of the 'clear/'blue'/'yellow'/'gold' finish plated parts are Zinc.1 point
-
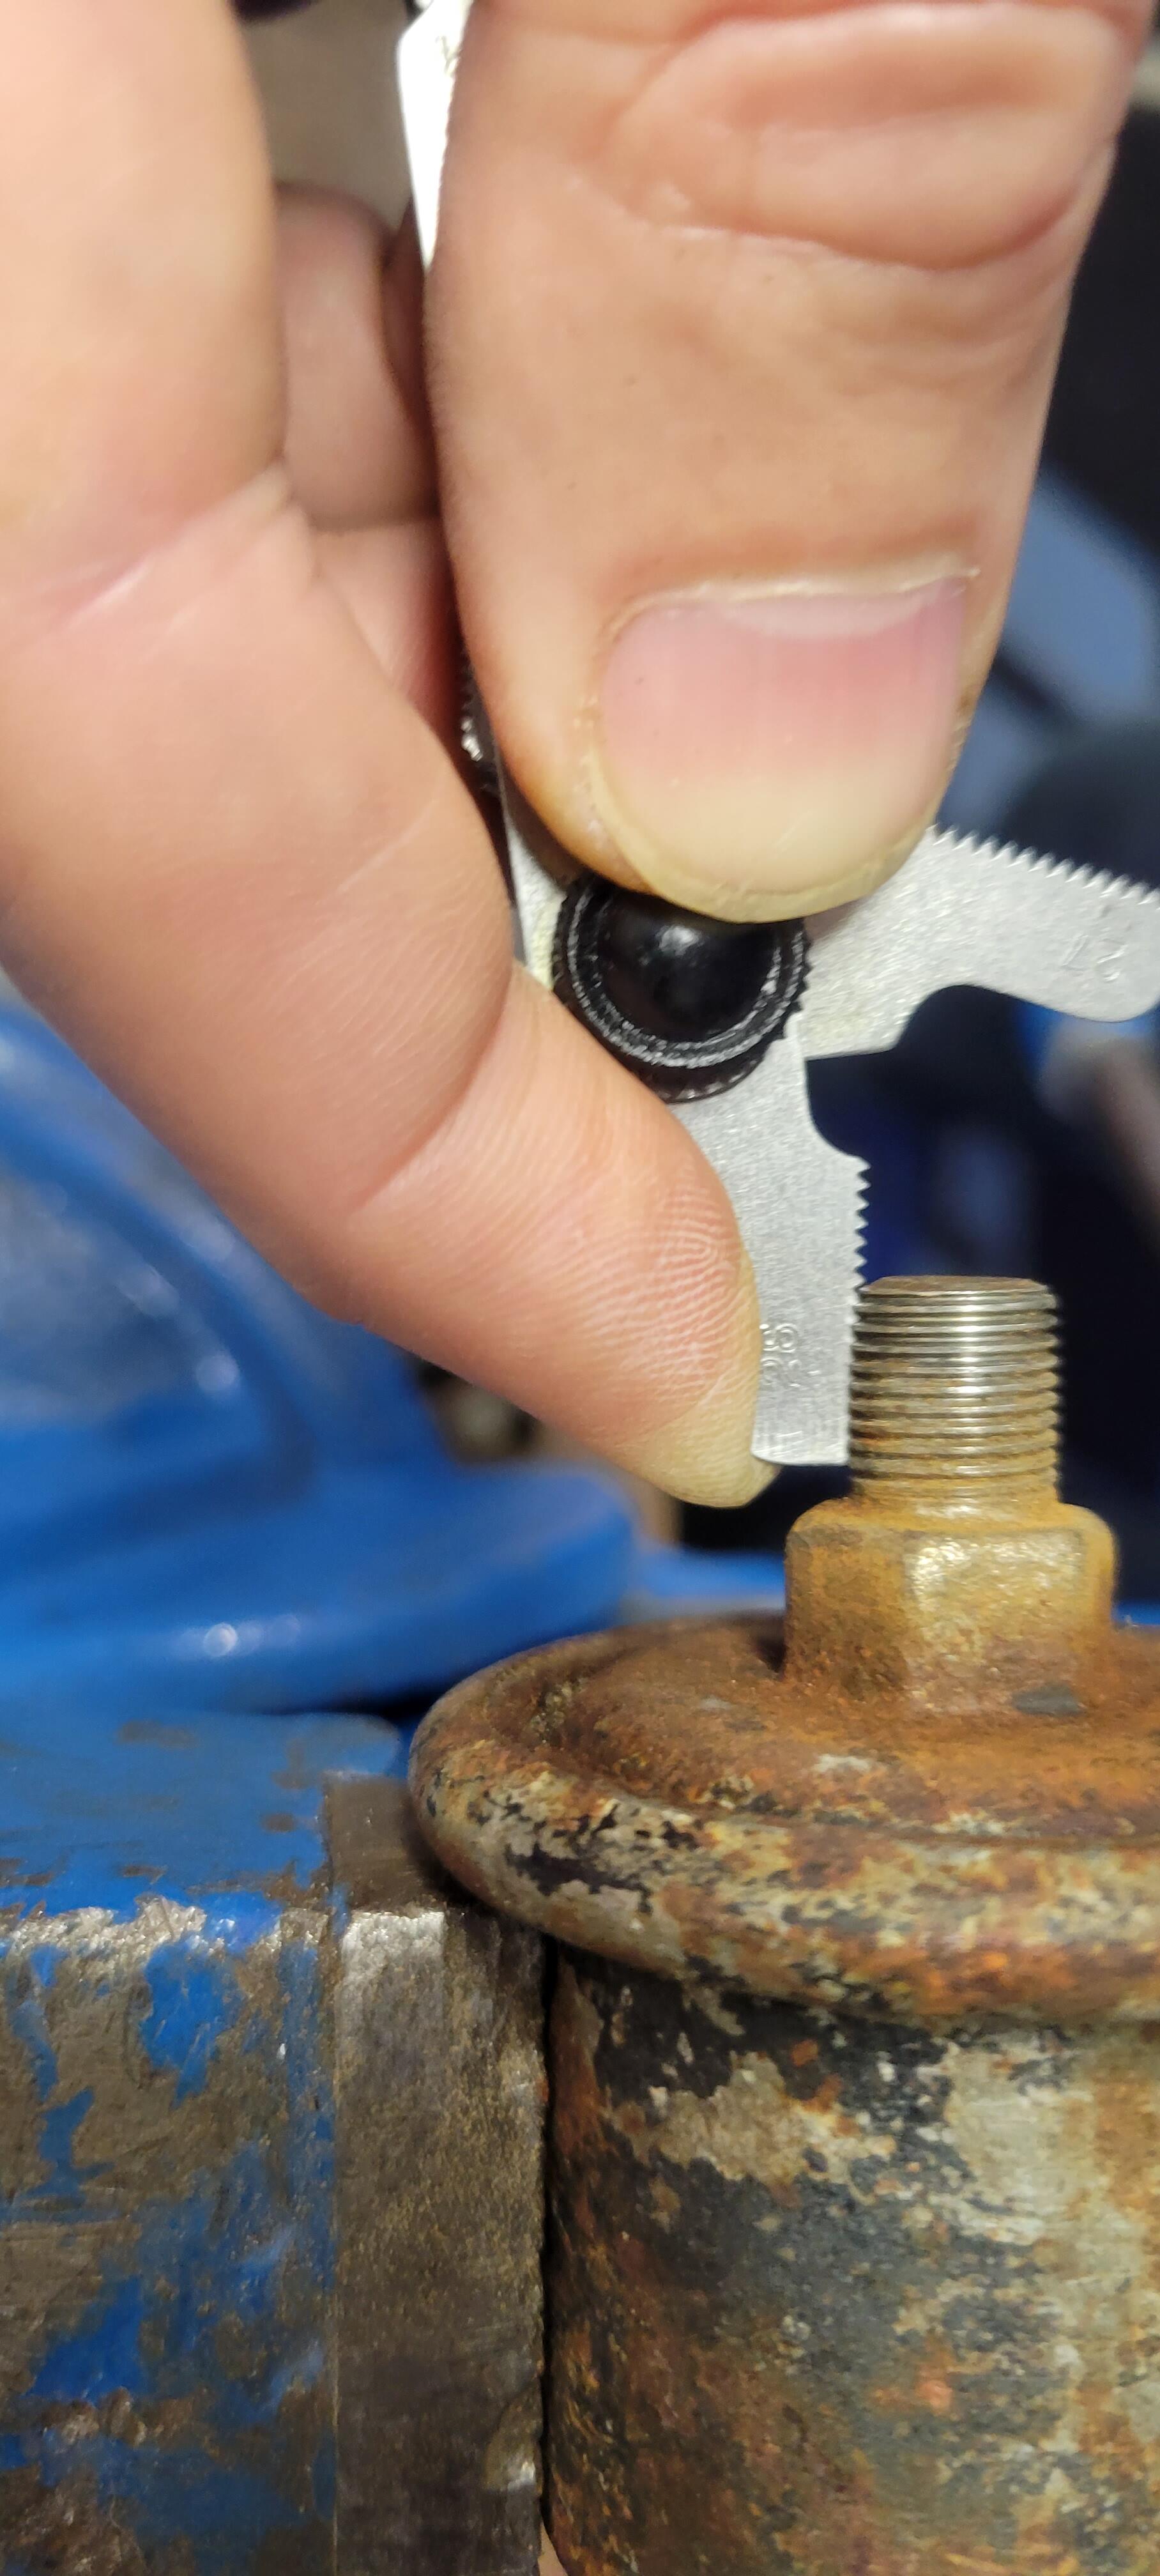
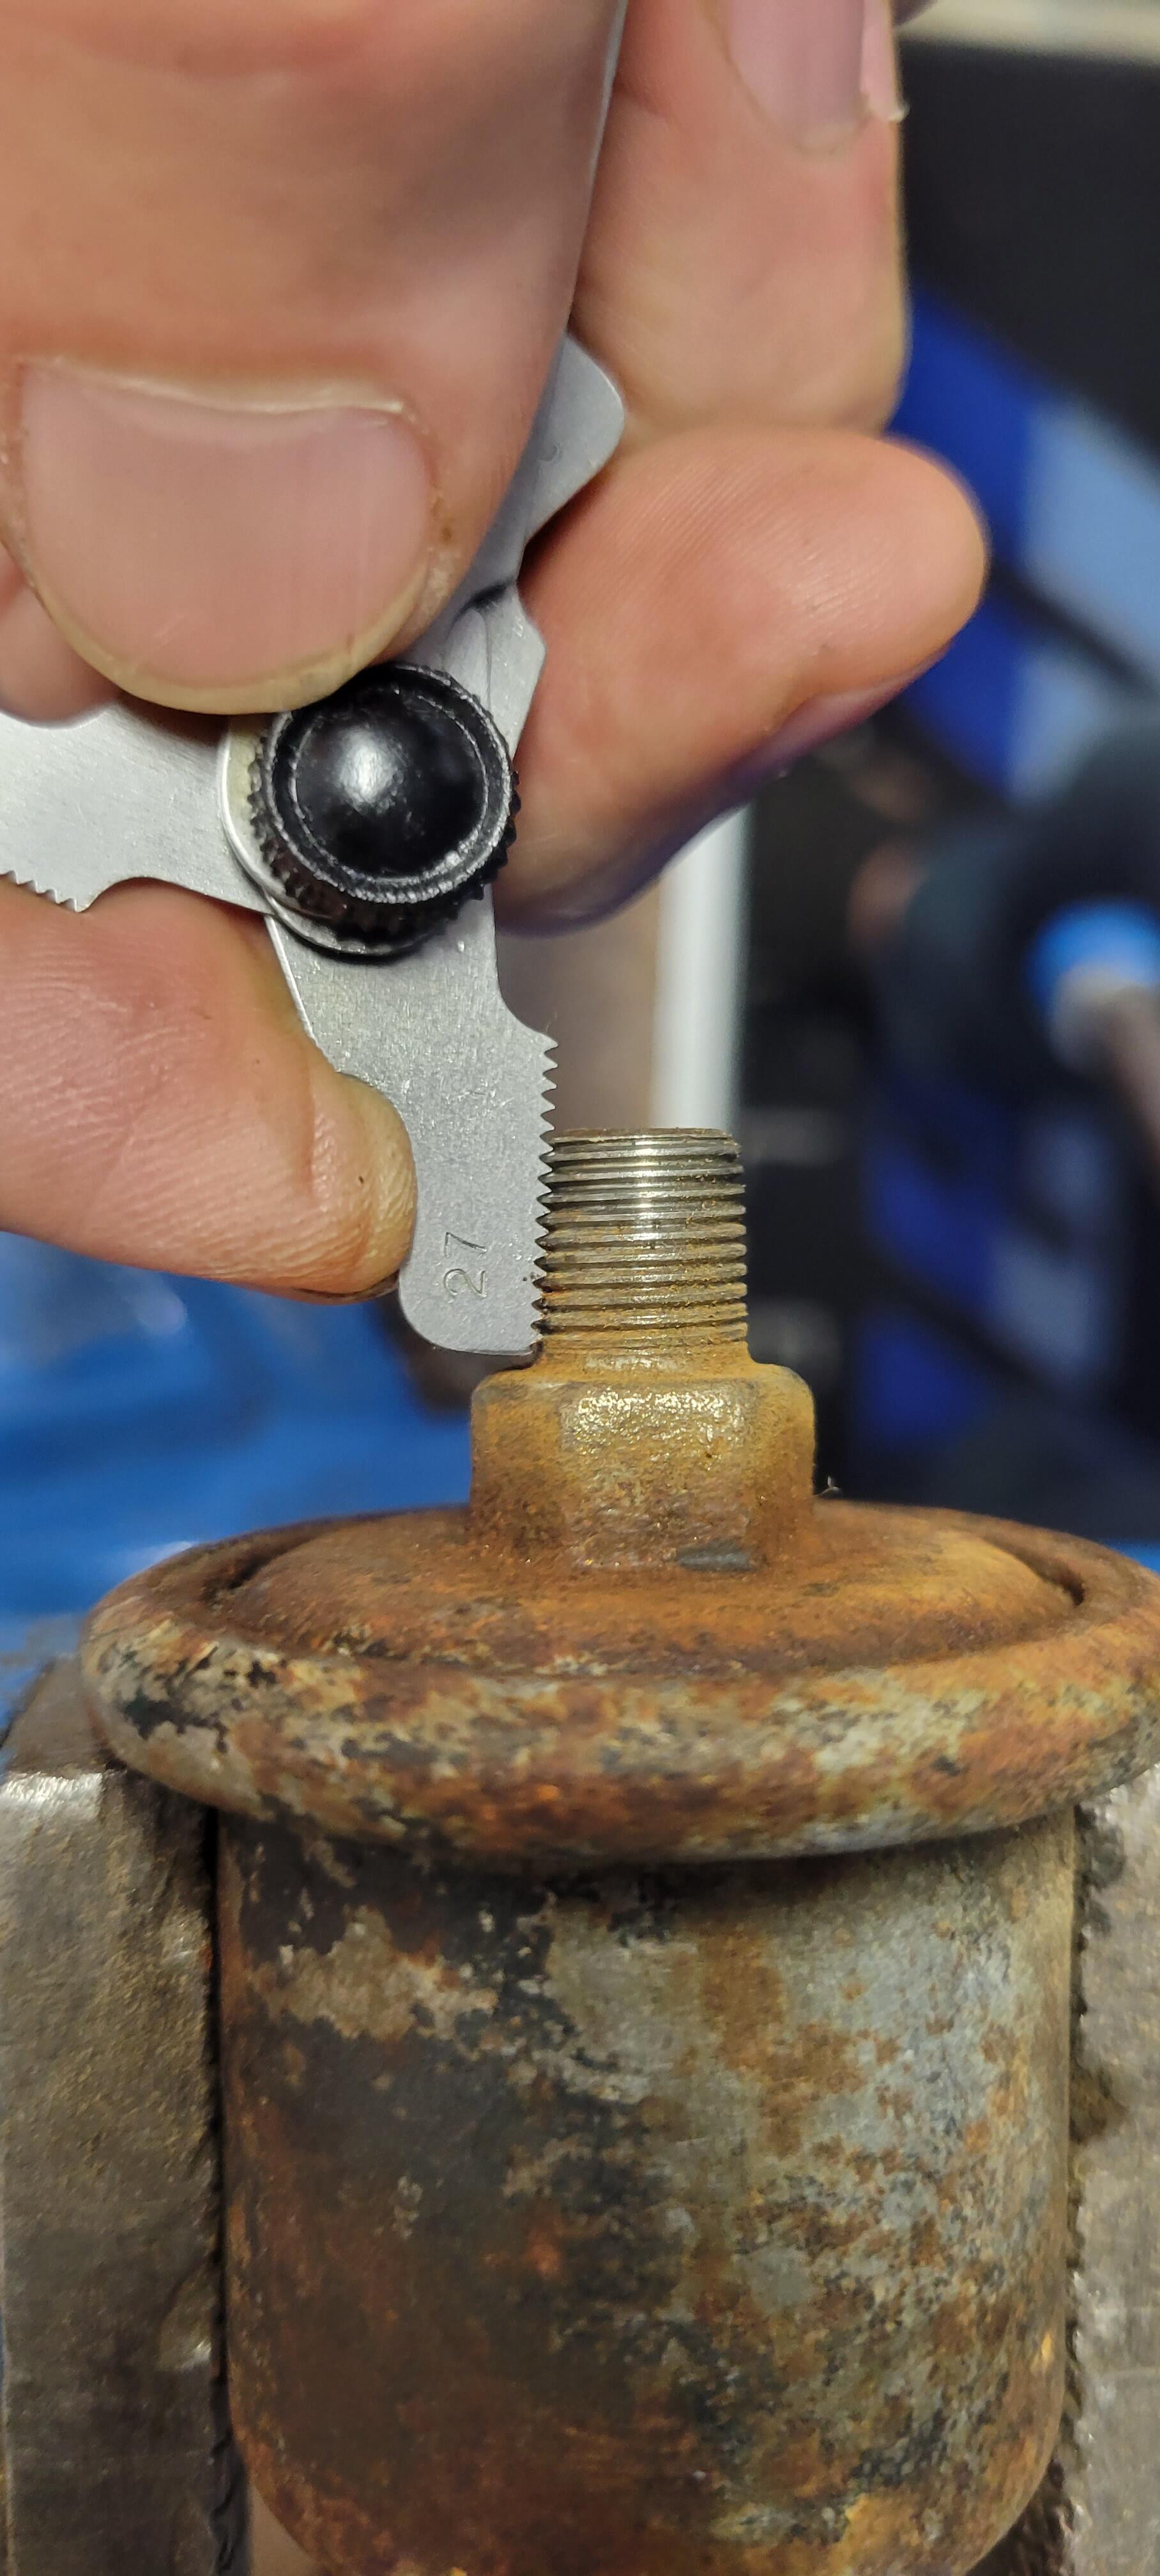
Actually the OEM oil pressure sending units used by Nissan are 1/8"-28 BSPT, not 1/8"-27 NPT. If your Beck-Arnley was 1/8"-27 NPT that would explain why it would not screw in easily. Here are pictures fitting my thread pitch gage into an old OE sending unit I have, The 28 threads per inch gage fits well (first pic) and the 27 did not. In addition to thread pitch differences, the NPT thread also has a slightly larger nominal male thread diameter. the chart below is from Swagelok, BSPT is also known as ISO 7/1

 1 point
 -
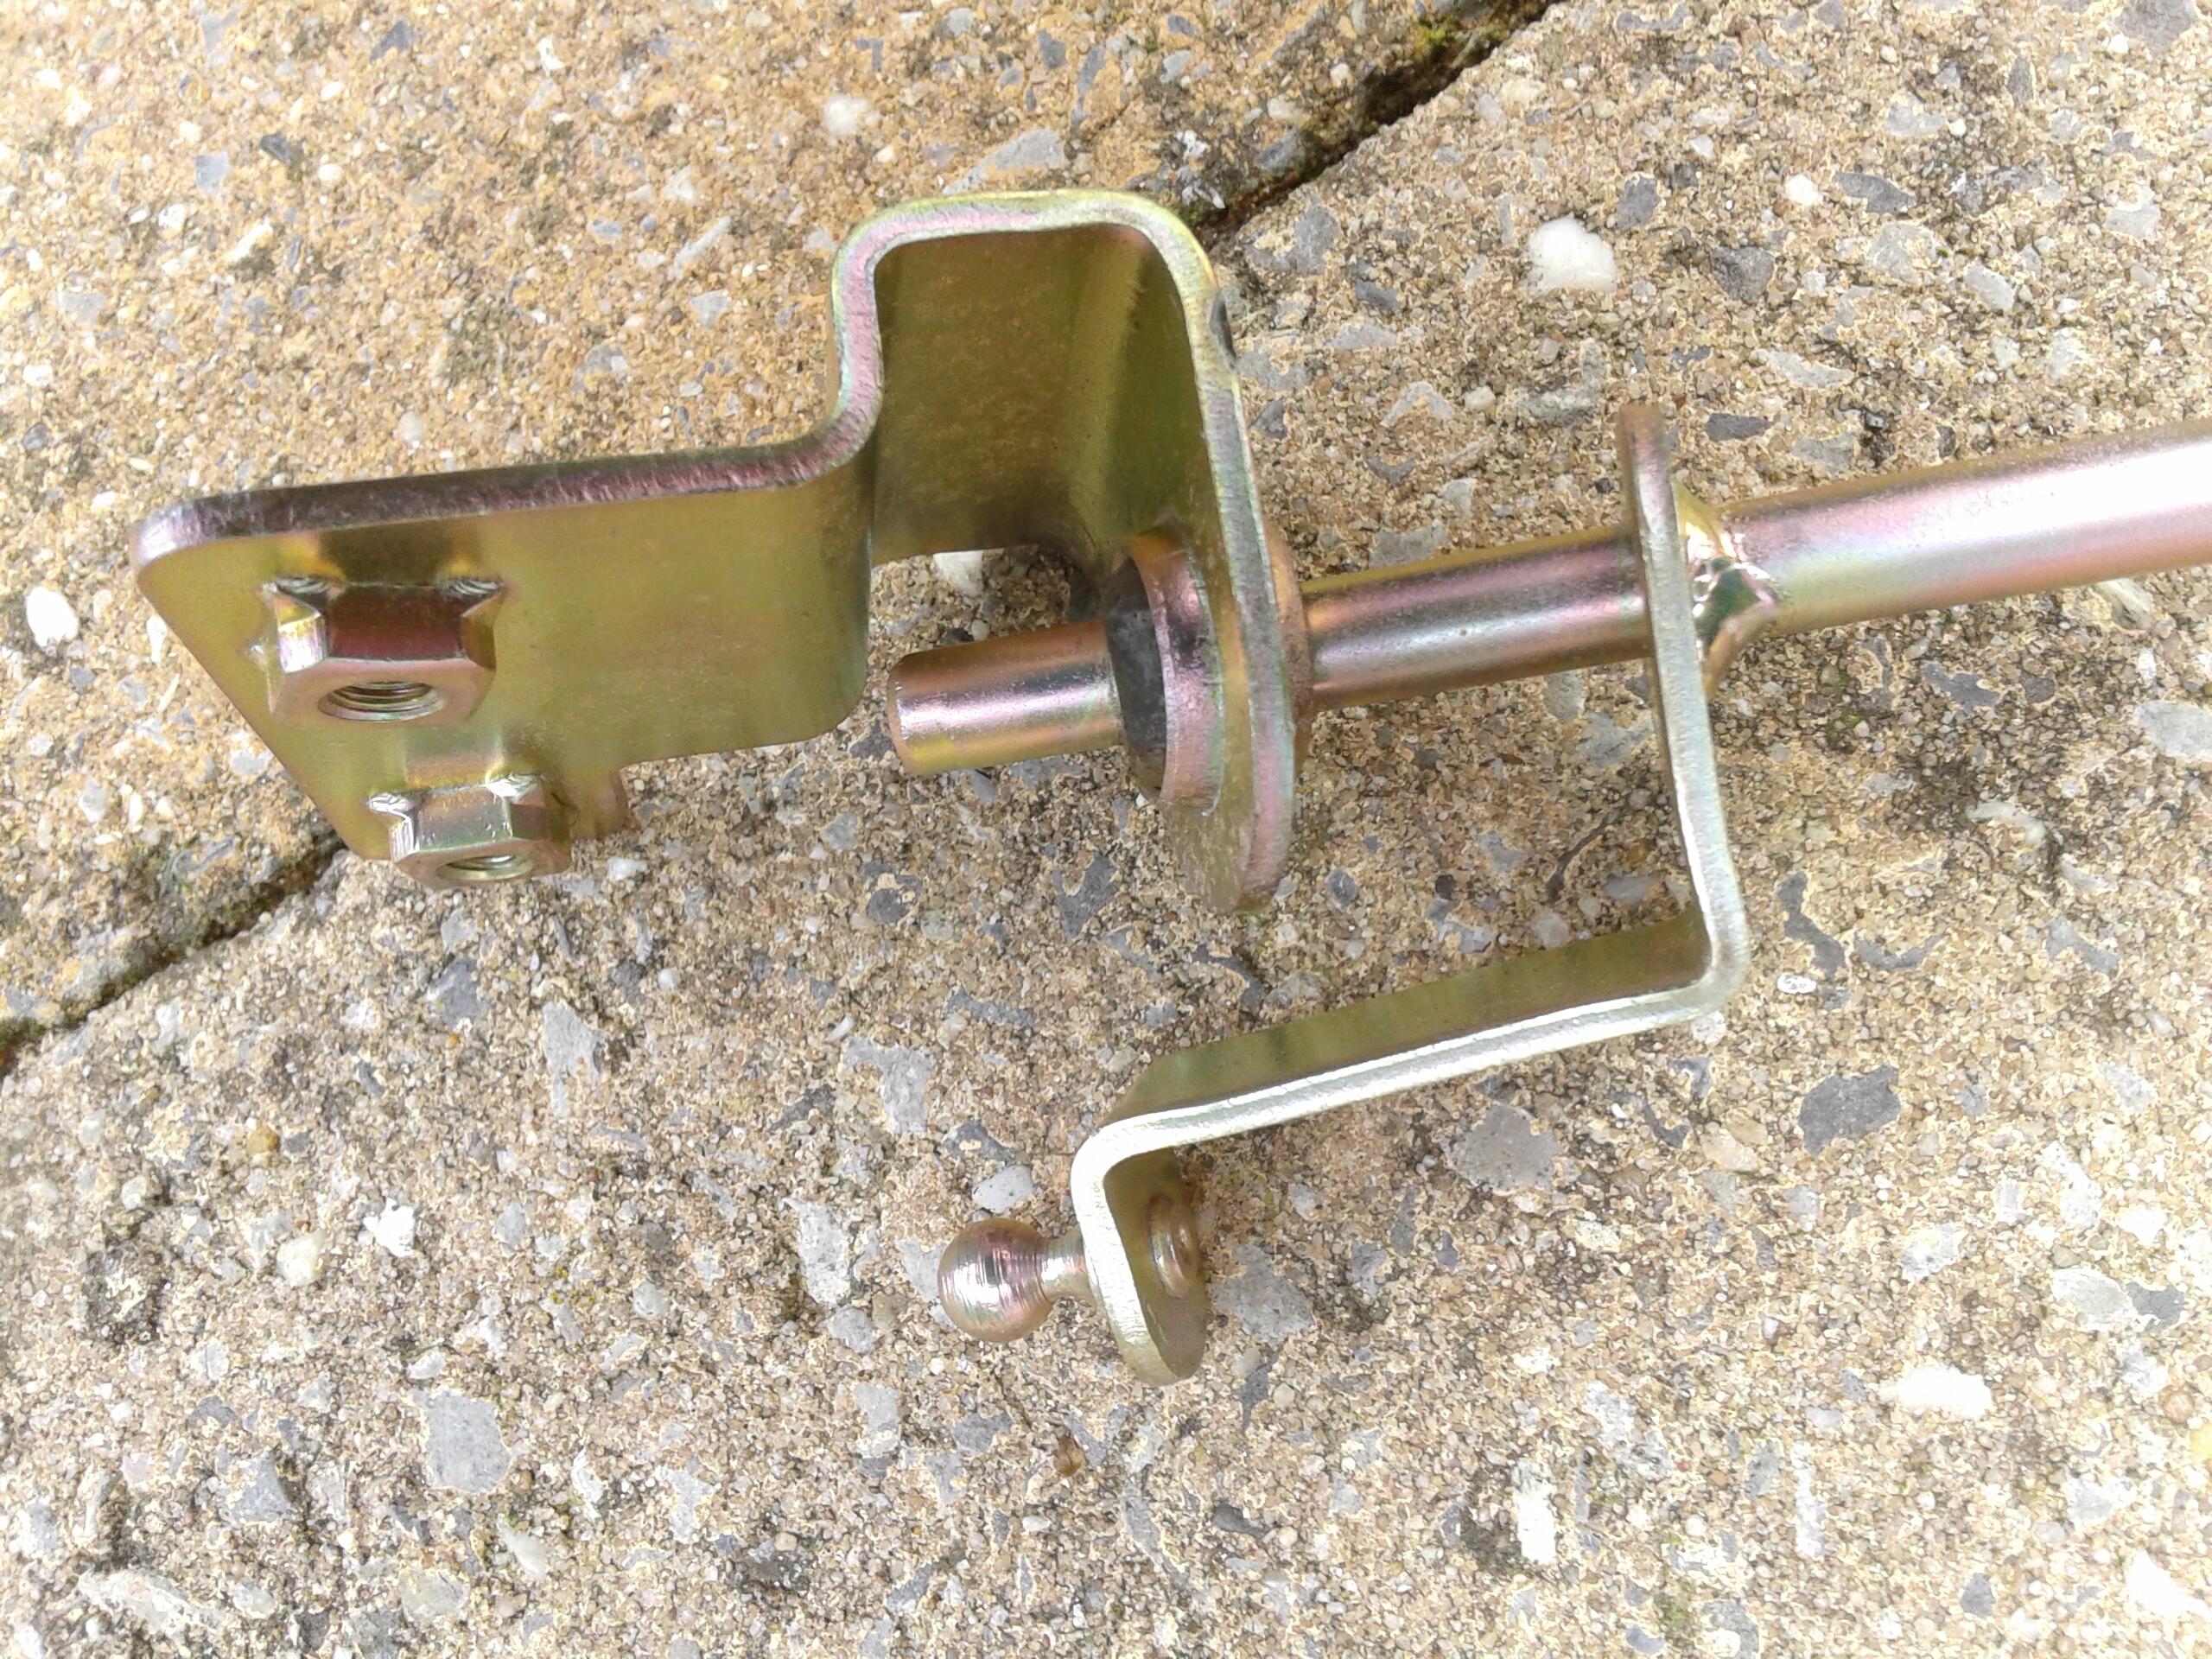
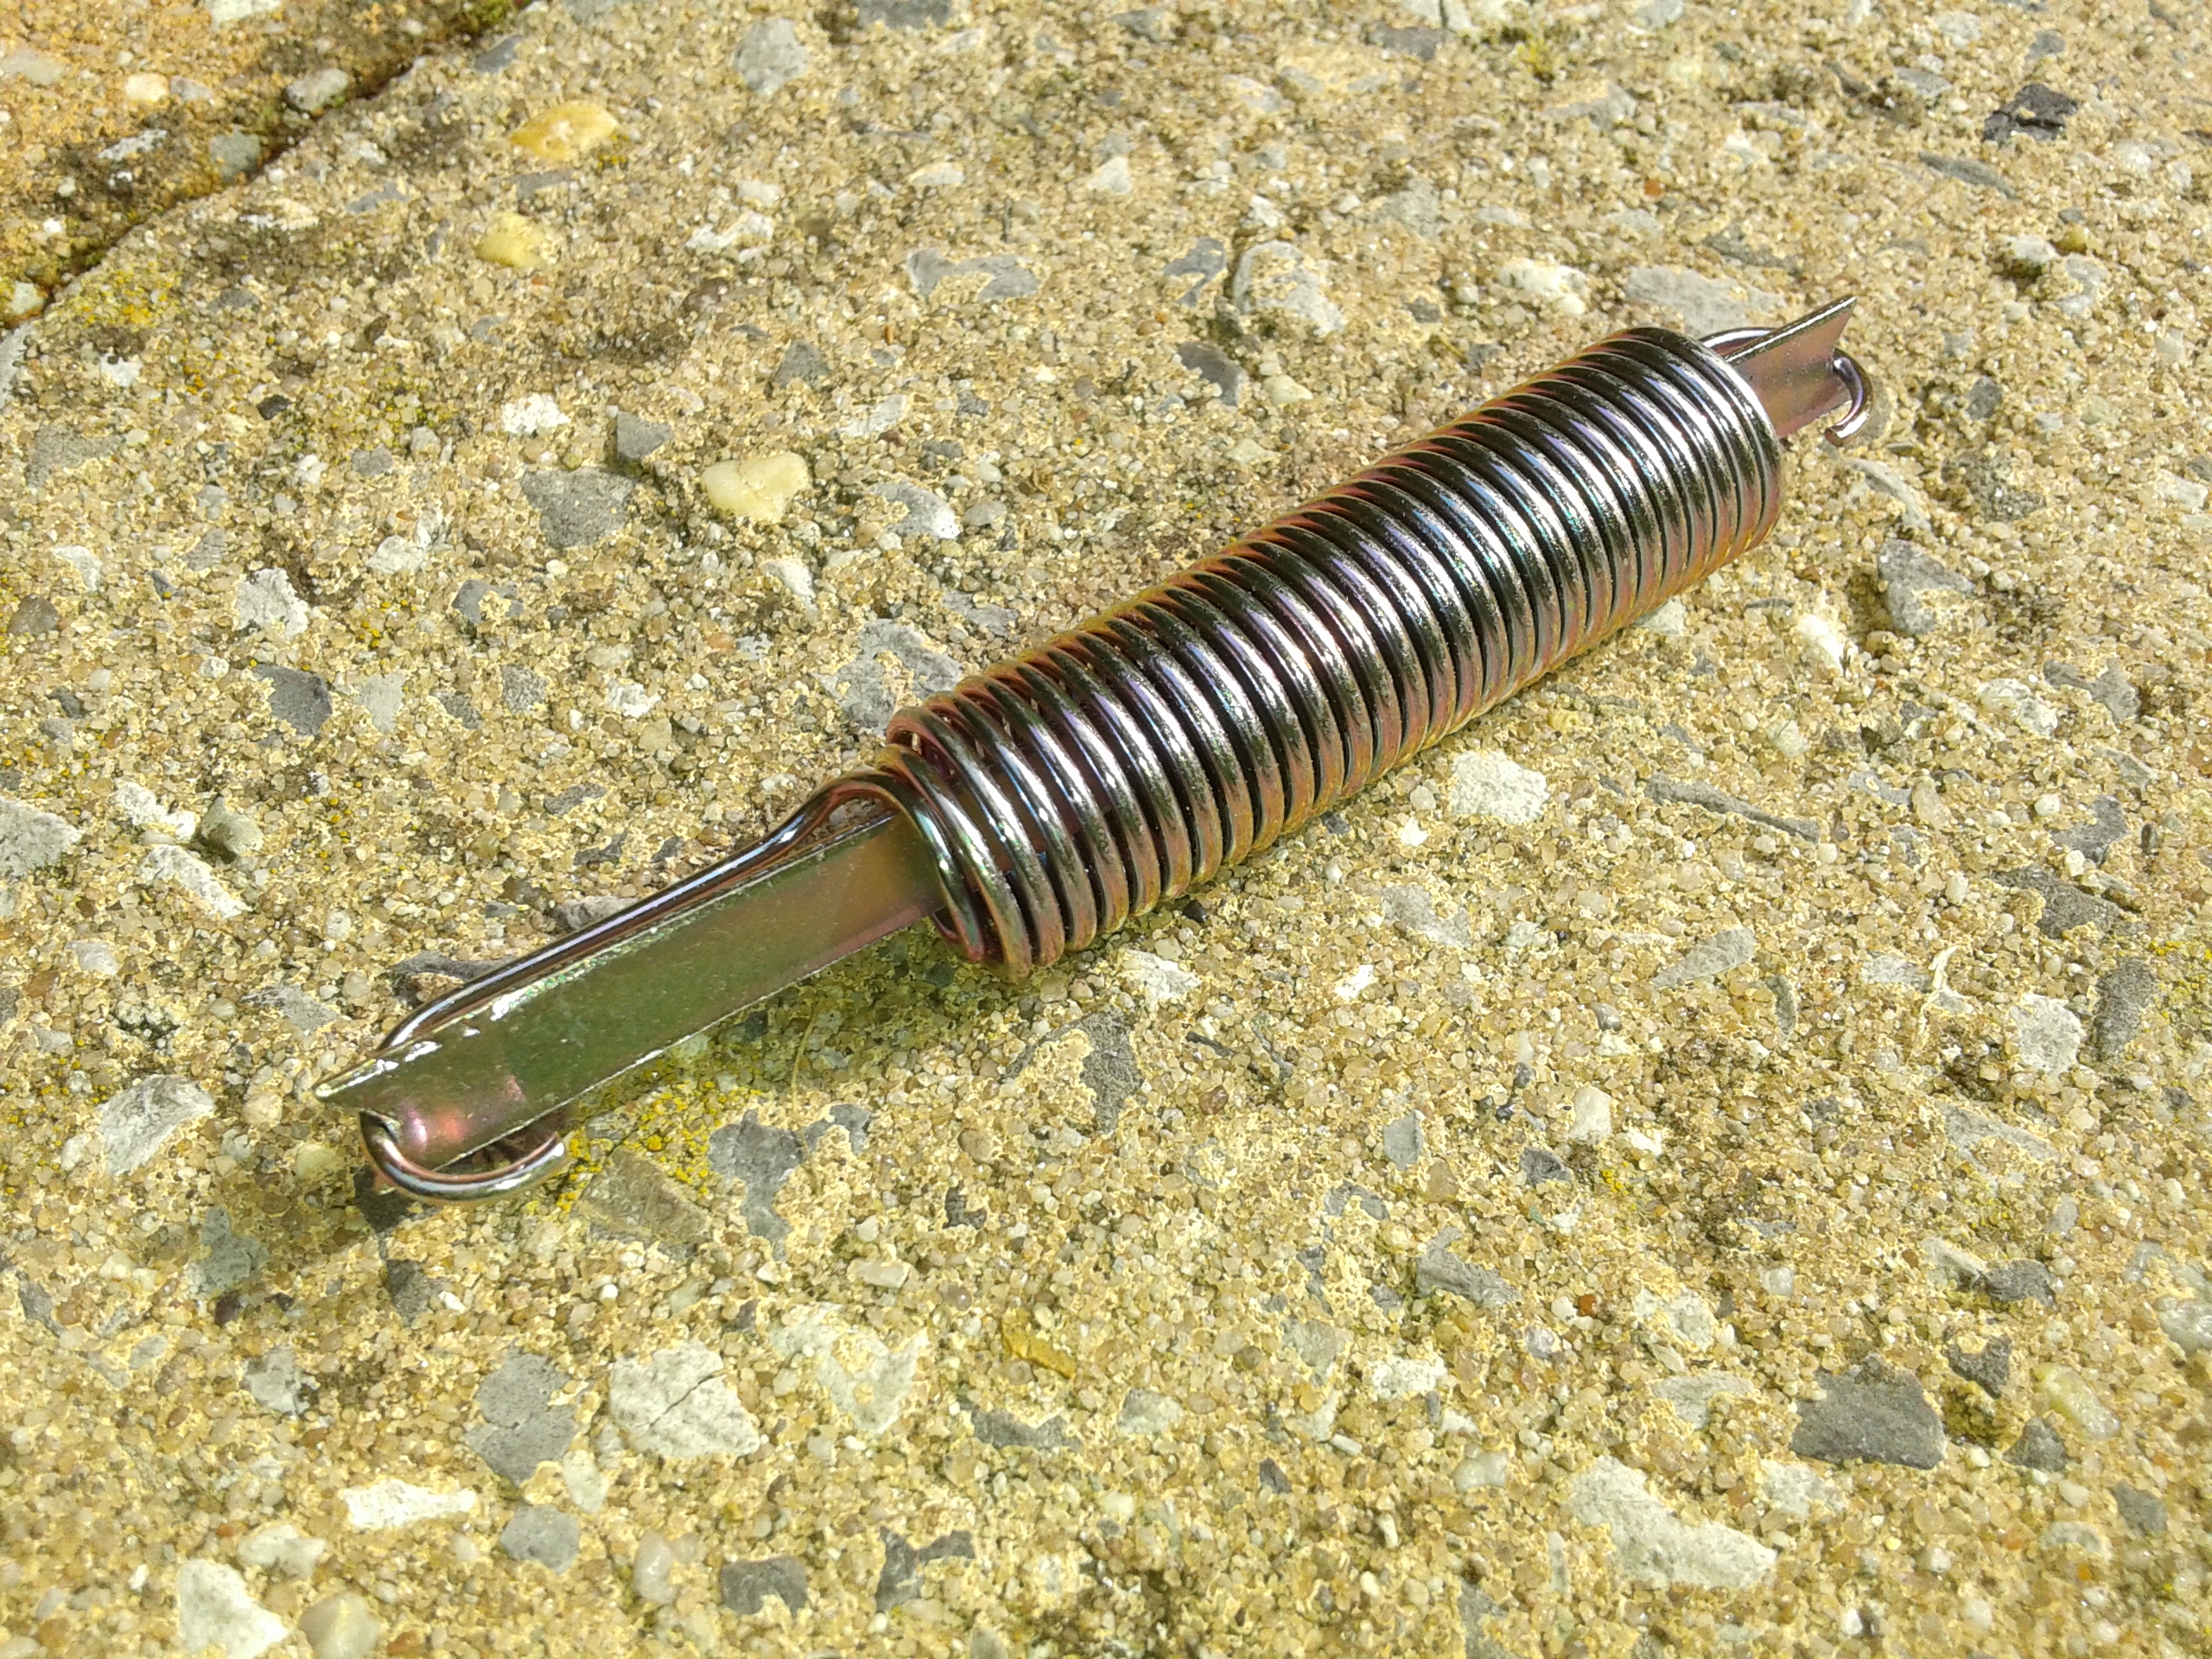
Good news/info! 👍 Happy to hear.. i guess i heard people telling about it.. calling it a cadmium finish but in reality it's zinc.. So these new plated parts are in Hexavalent chromium.. Am (again) learning something today! 🙂 EDIT EDIT EDIT !!!! EDIT.. as you said not all is chromium6.. i looked at the website of the firm that did my parts and they say it's zinc passified in blue or yellow. so NO chromium6 on my cars! 😅 Tip.. put a small steel strip in the springs.. now you get a nice perfect passified part..
.thumb.jpg.077253cdb33db490f35afa214729dca8.jpg)

 1 point
 -
In fact there was little to no Cadmium plating on these cars. By the late 1960s the use of Cadmium plating in the Japanese domestic automotive and motorcycle industries was being severely restricted, for obvious reasons. Nissan used Zinc ('亜鉛' = 'Aen') plating to protect most of the steel parts on the S30-series Z, either with a 'Clear' (sometimes called 'Blue') passivated finish or a Gold (also called 'Yellow') passivated finish. The Gold passivate is Hexavalent Chromium.1 point
-
I received spray cards on Thursday. 901 silver - a similar Honda silver, and 918 orange. I went with 901 silver. Maybe the car will get painted this upcoming week!1 point
-
1 point


.jpg.c1ddb9c6d73a6bd4e9eb634018bb5a01.jpg)