Leaderboard


 Subscriber


Popular Content
Showing content with the highest reputation on 03/03/2023 in all areas
-
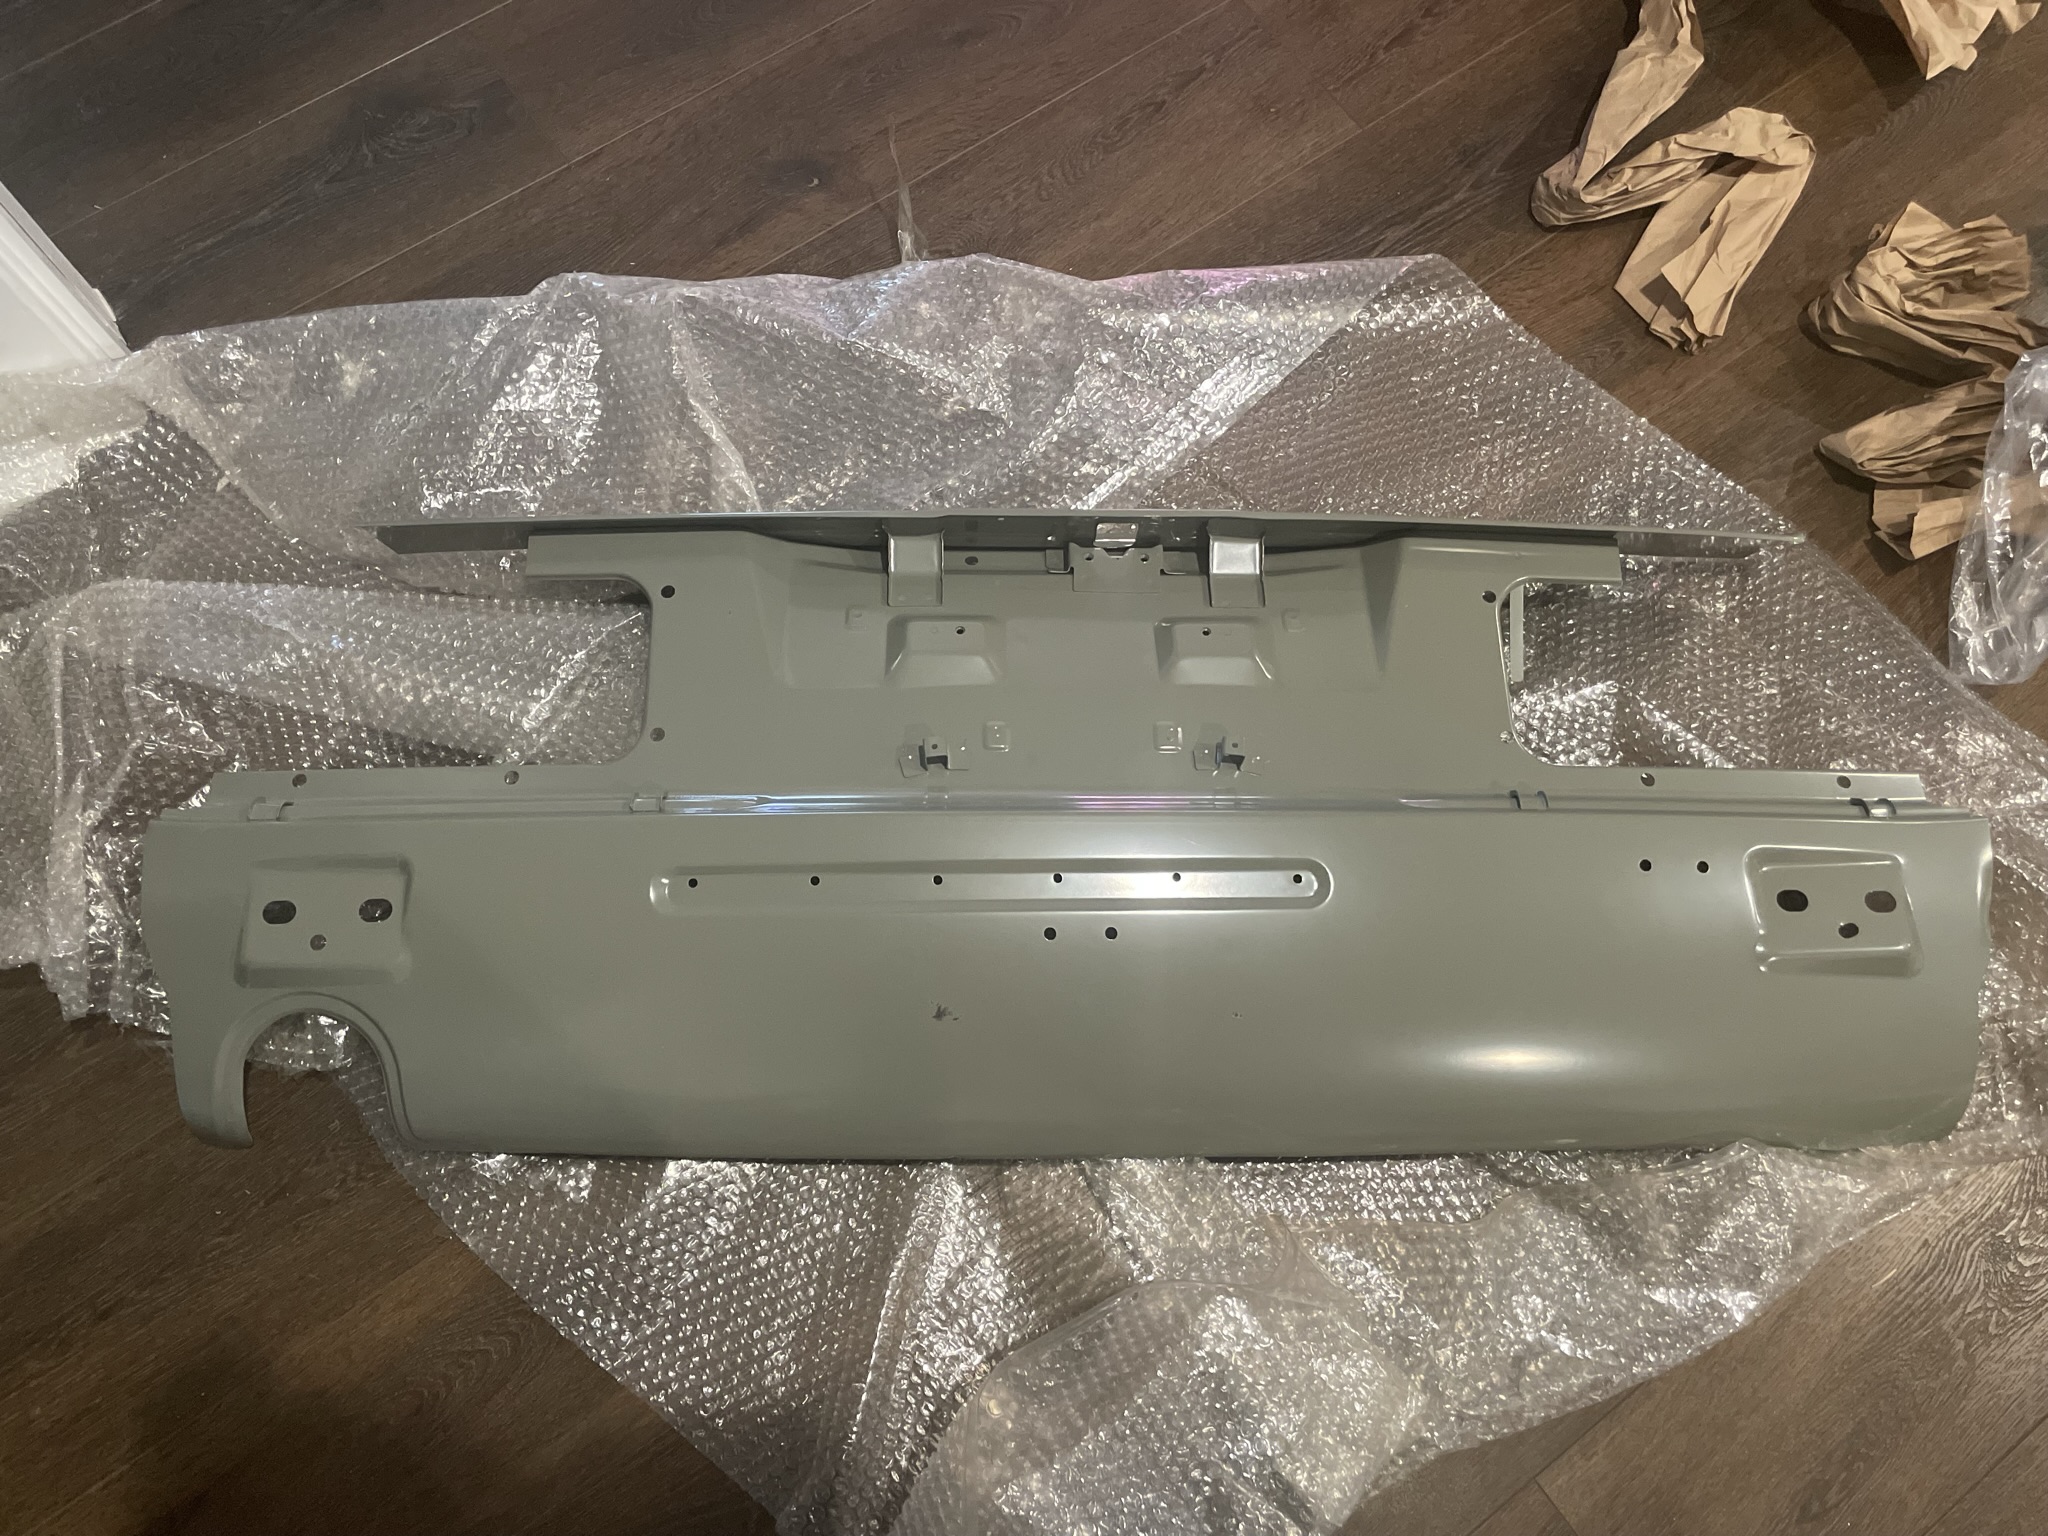
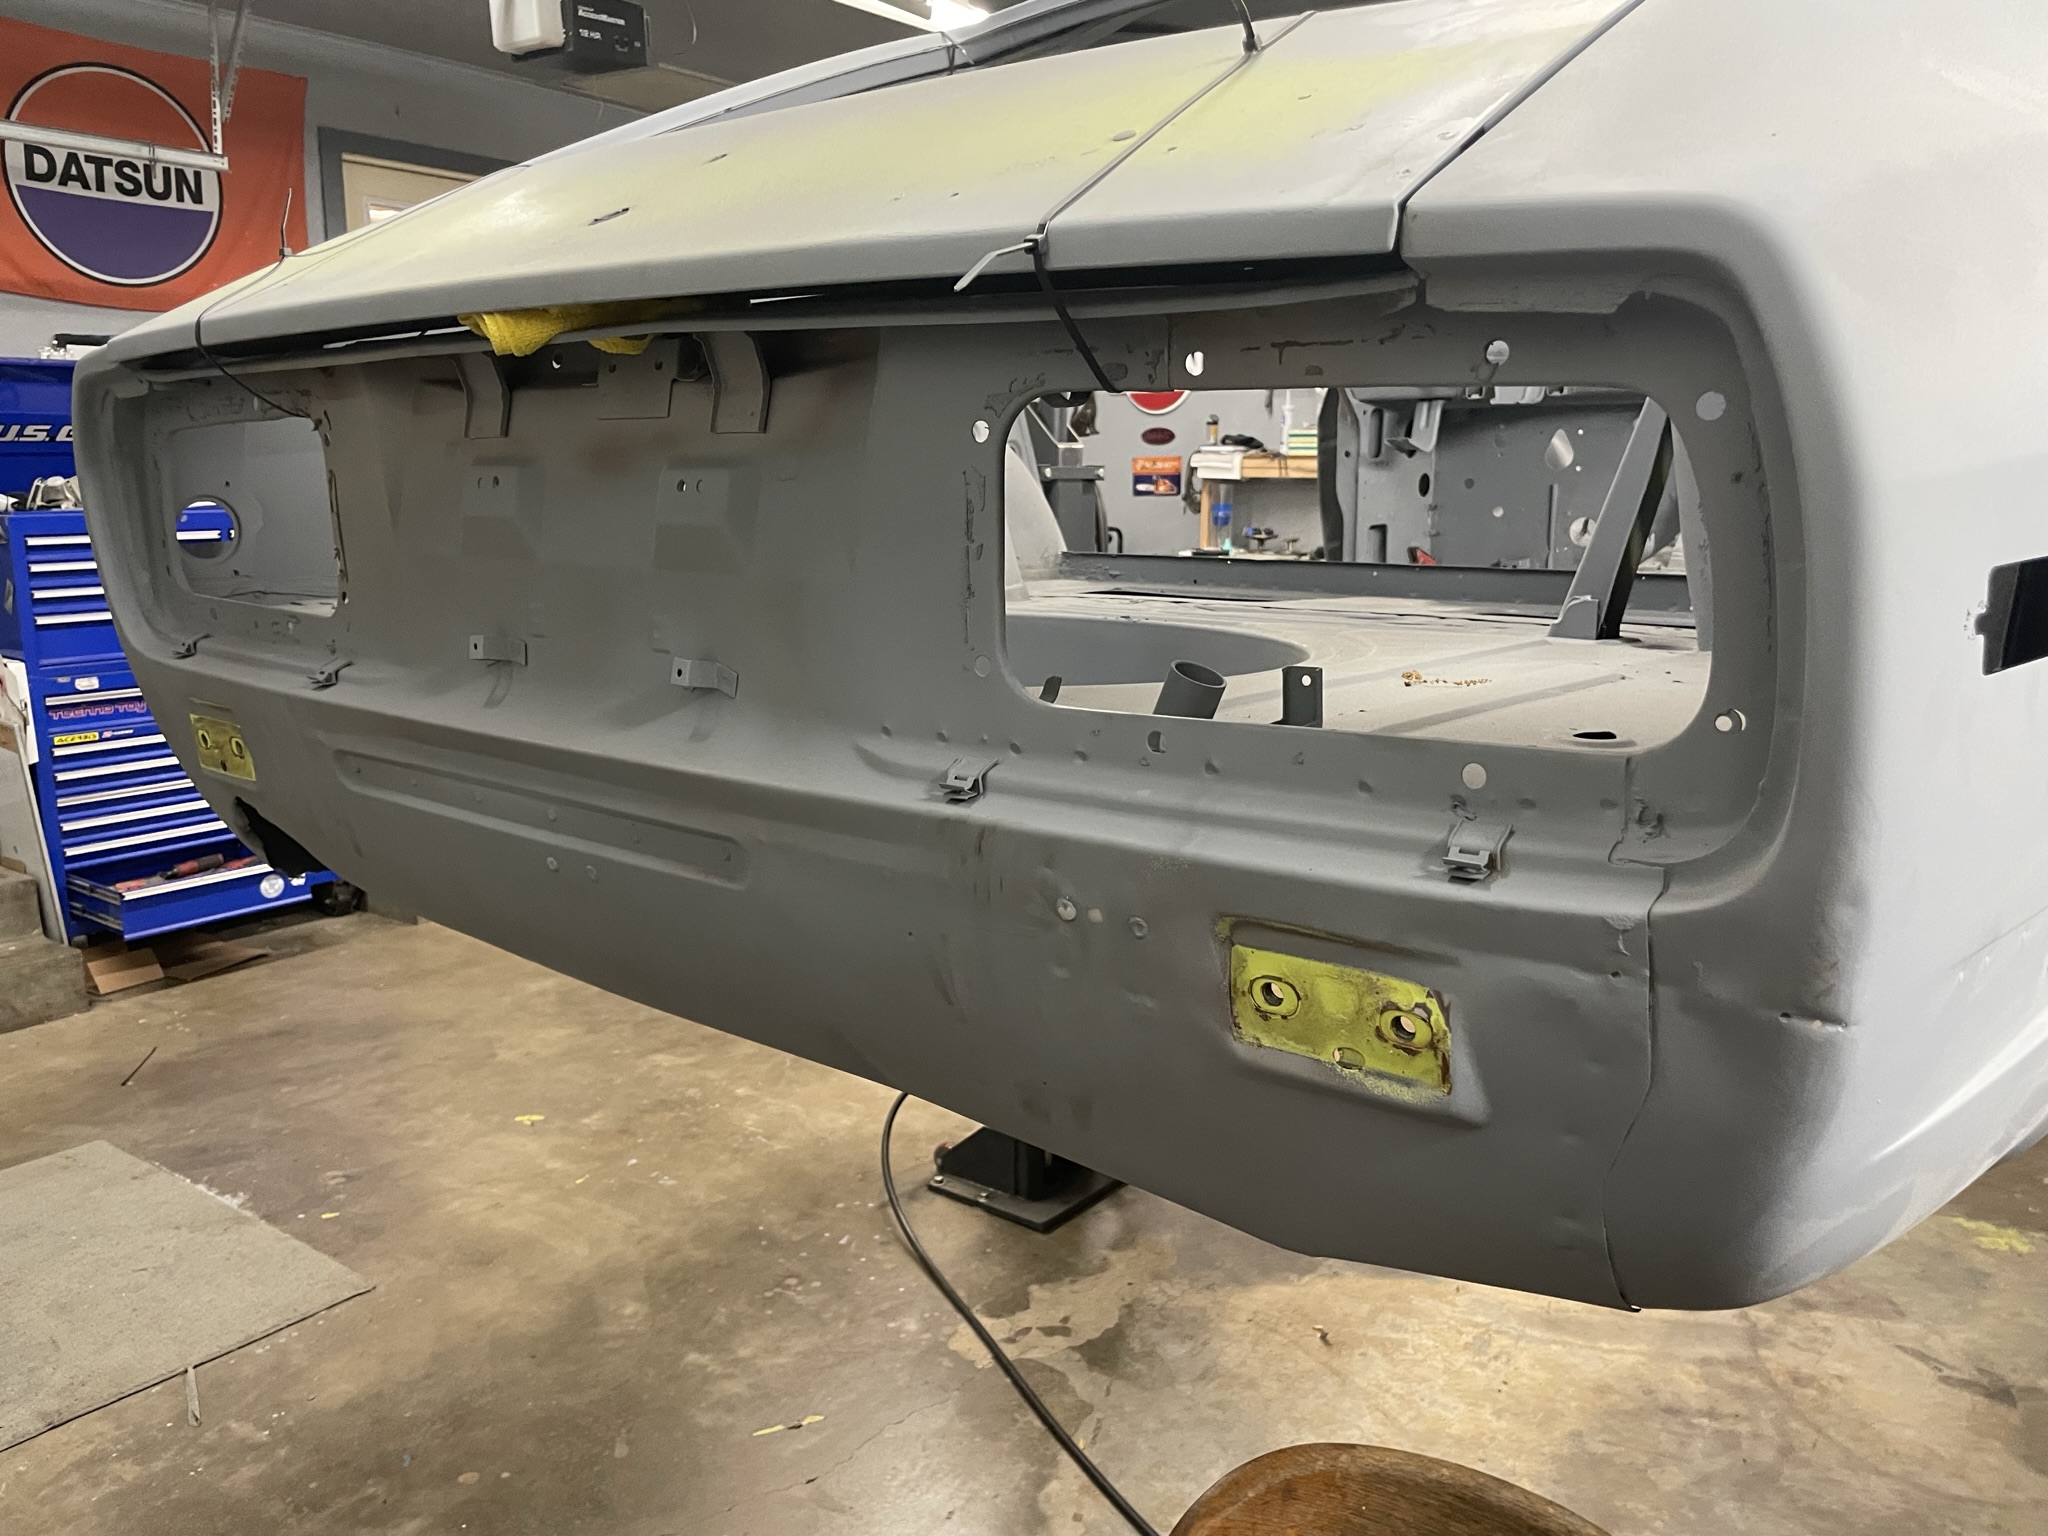
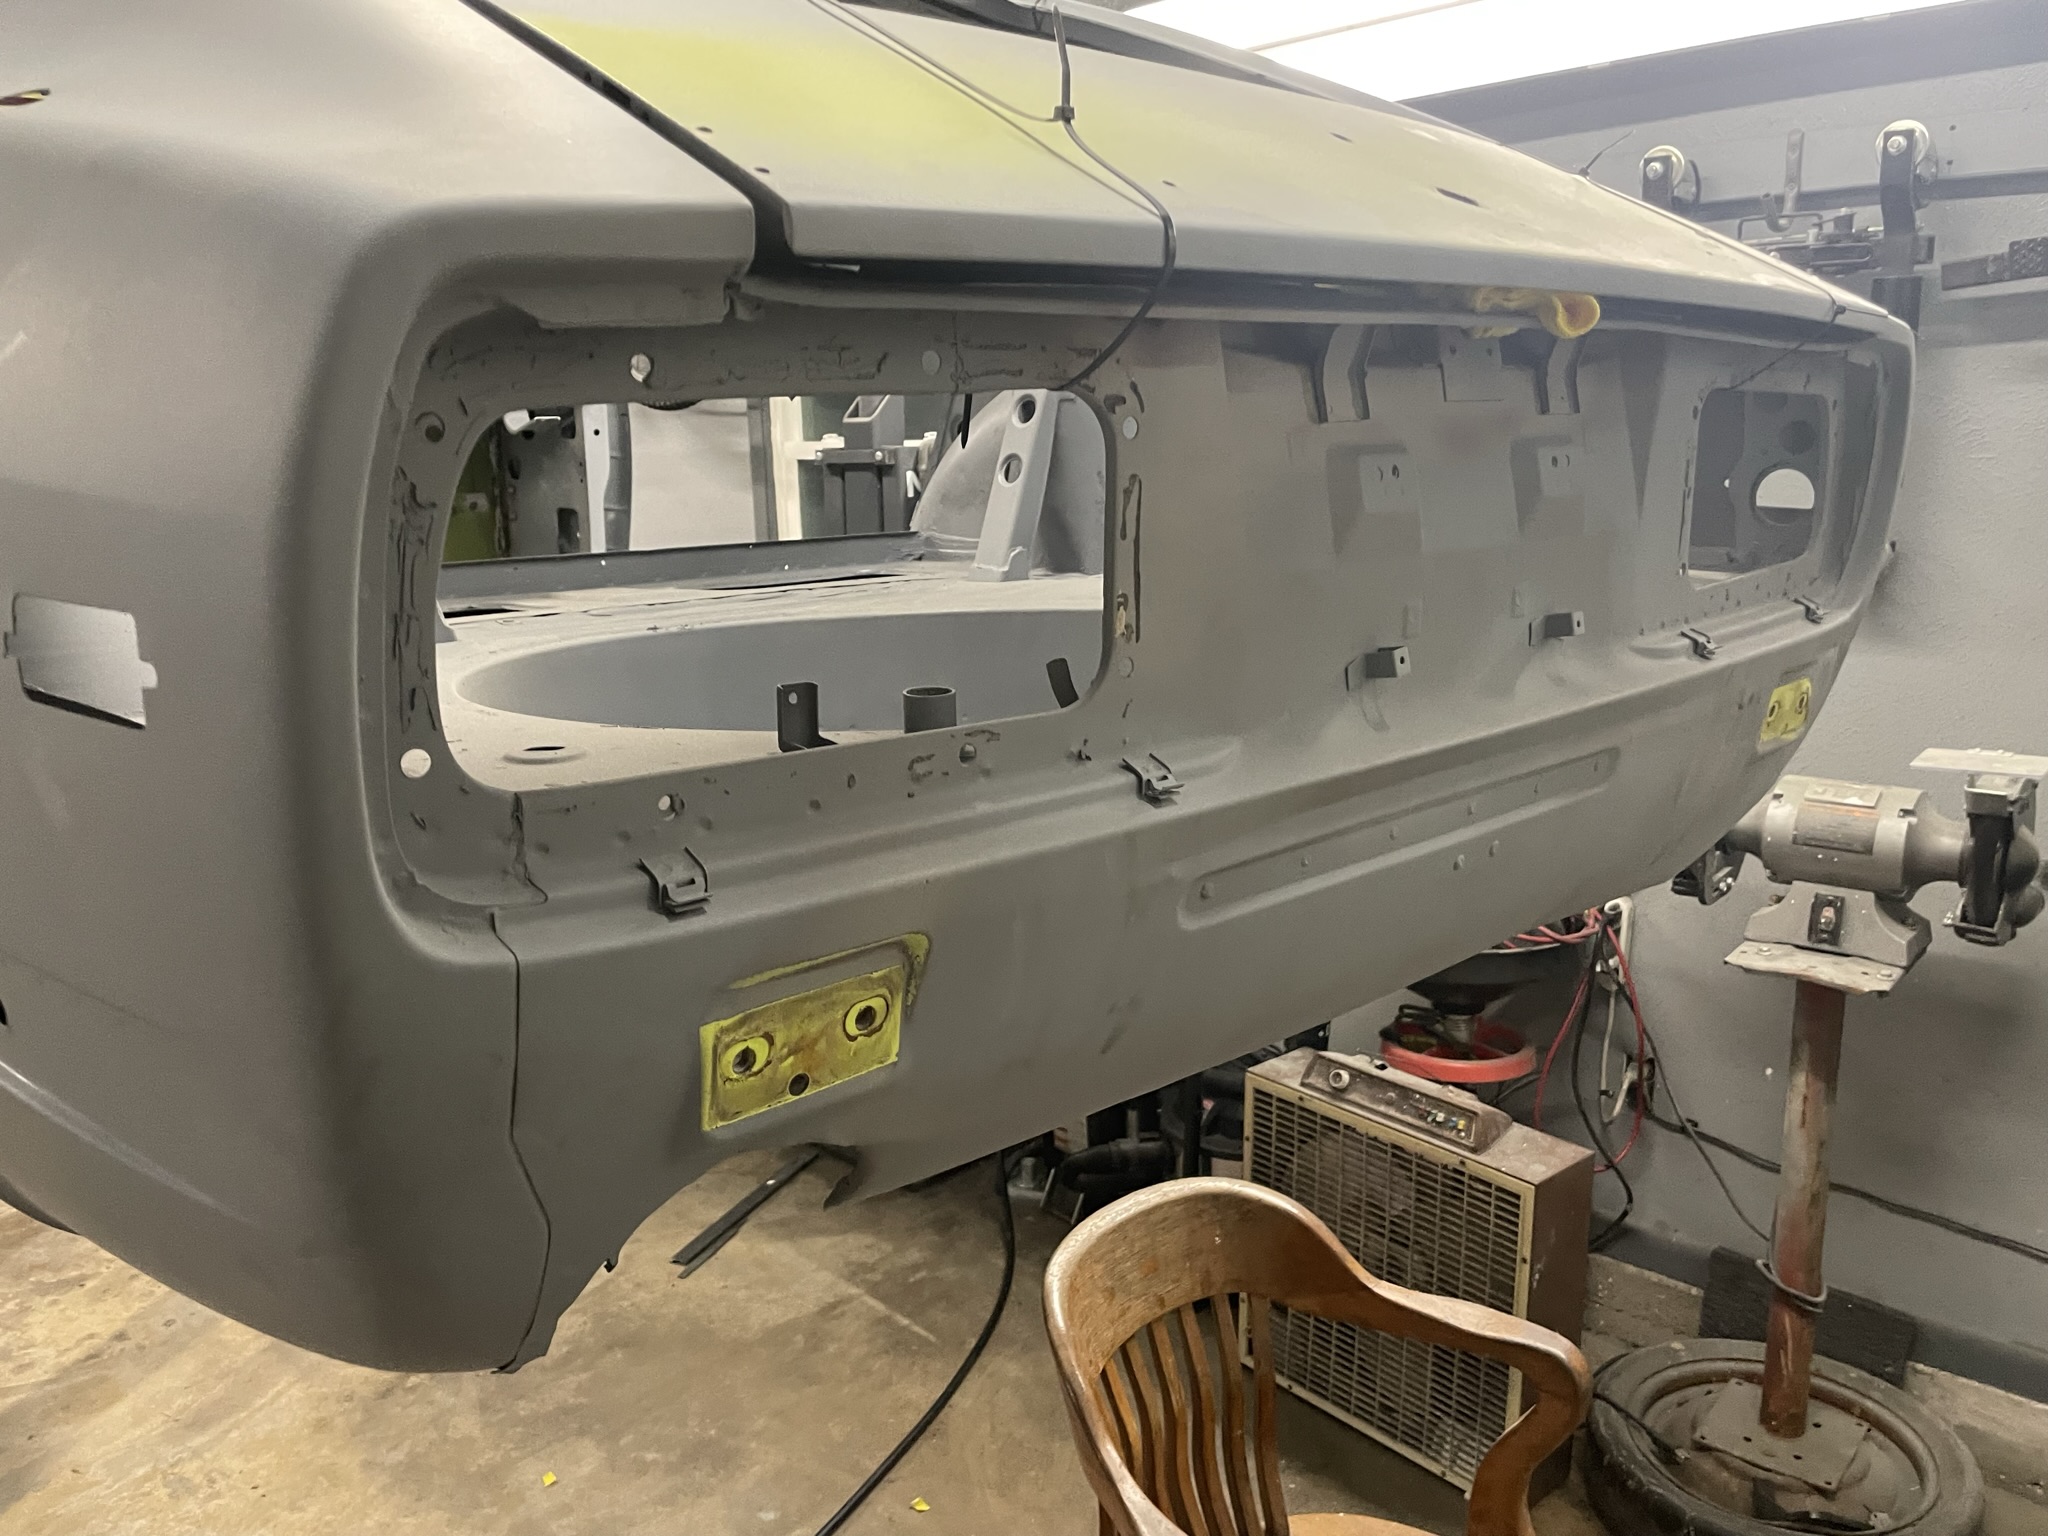
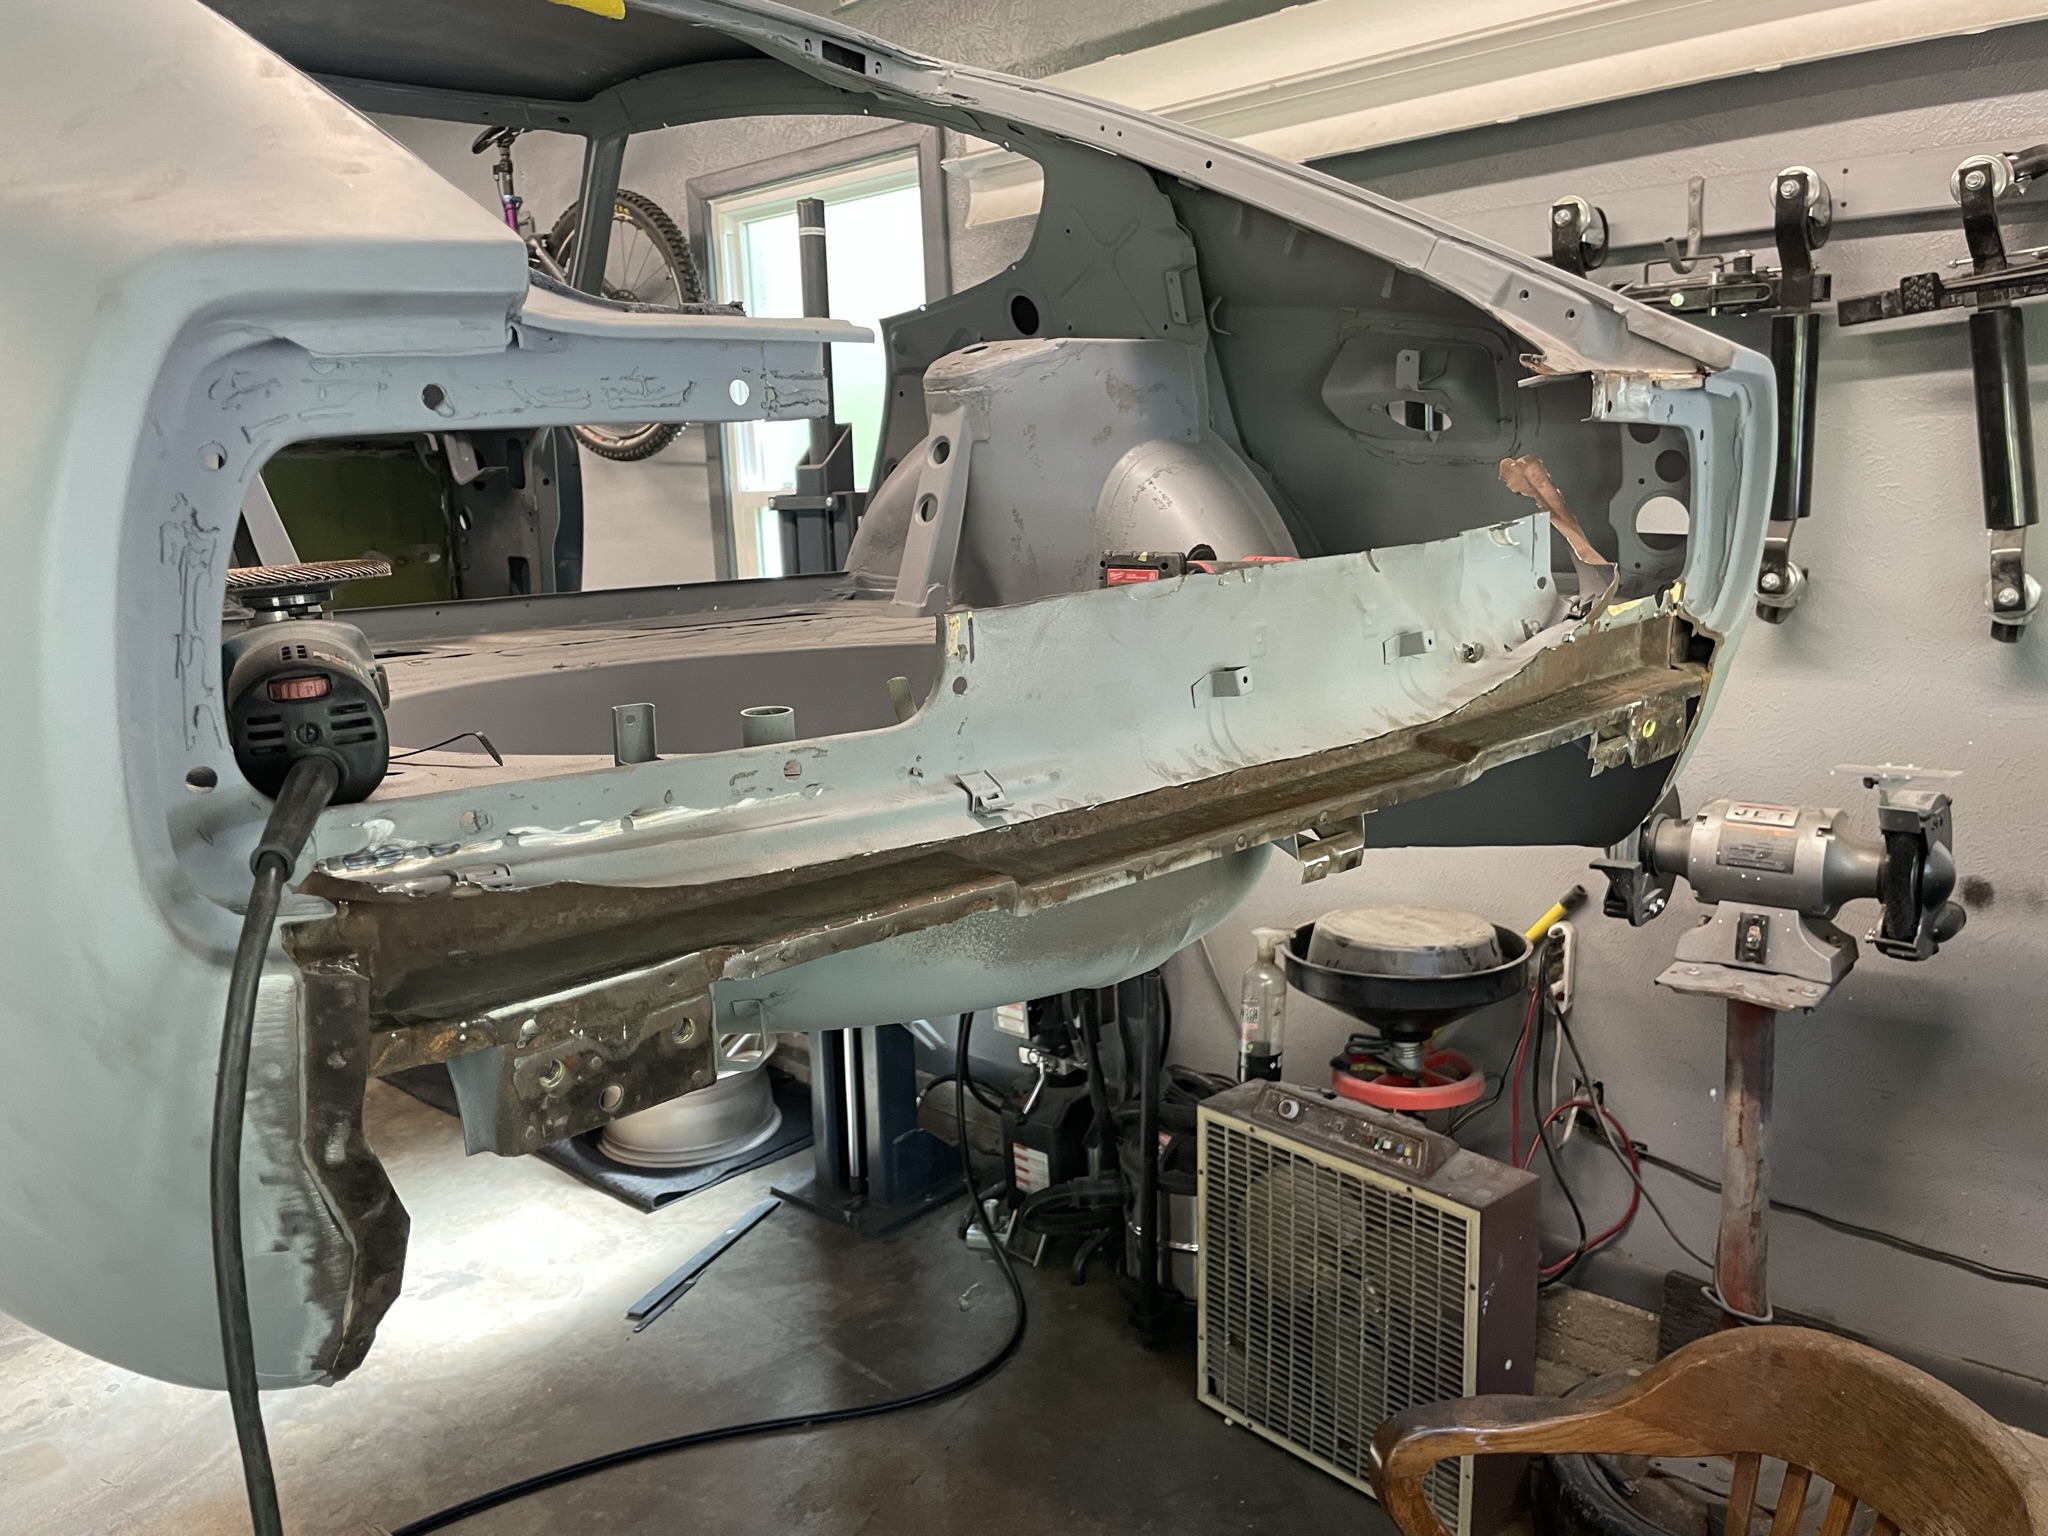
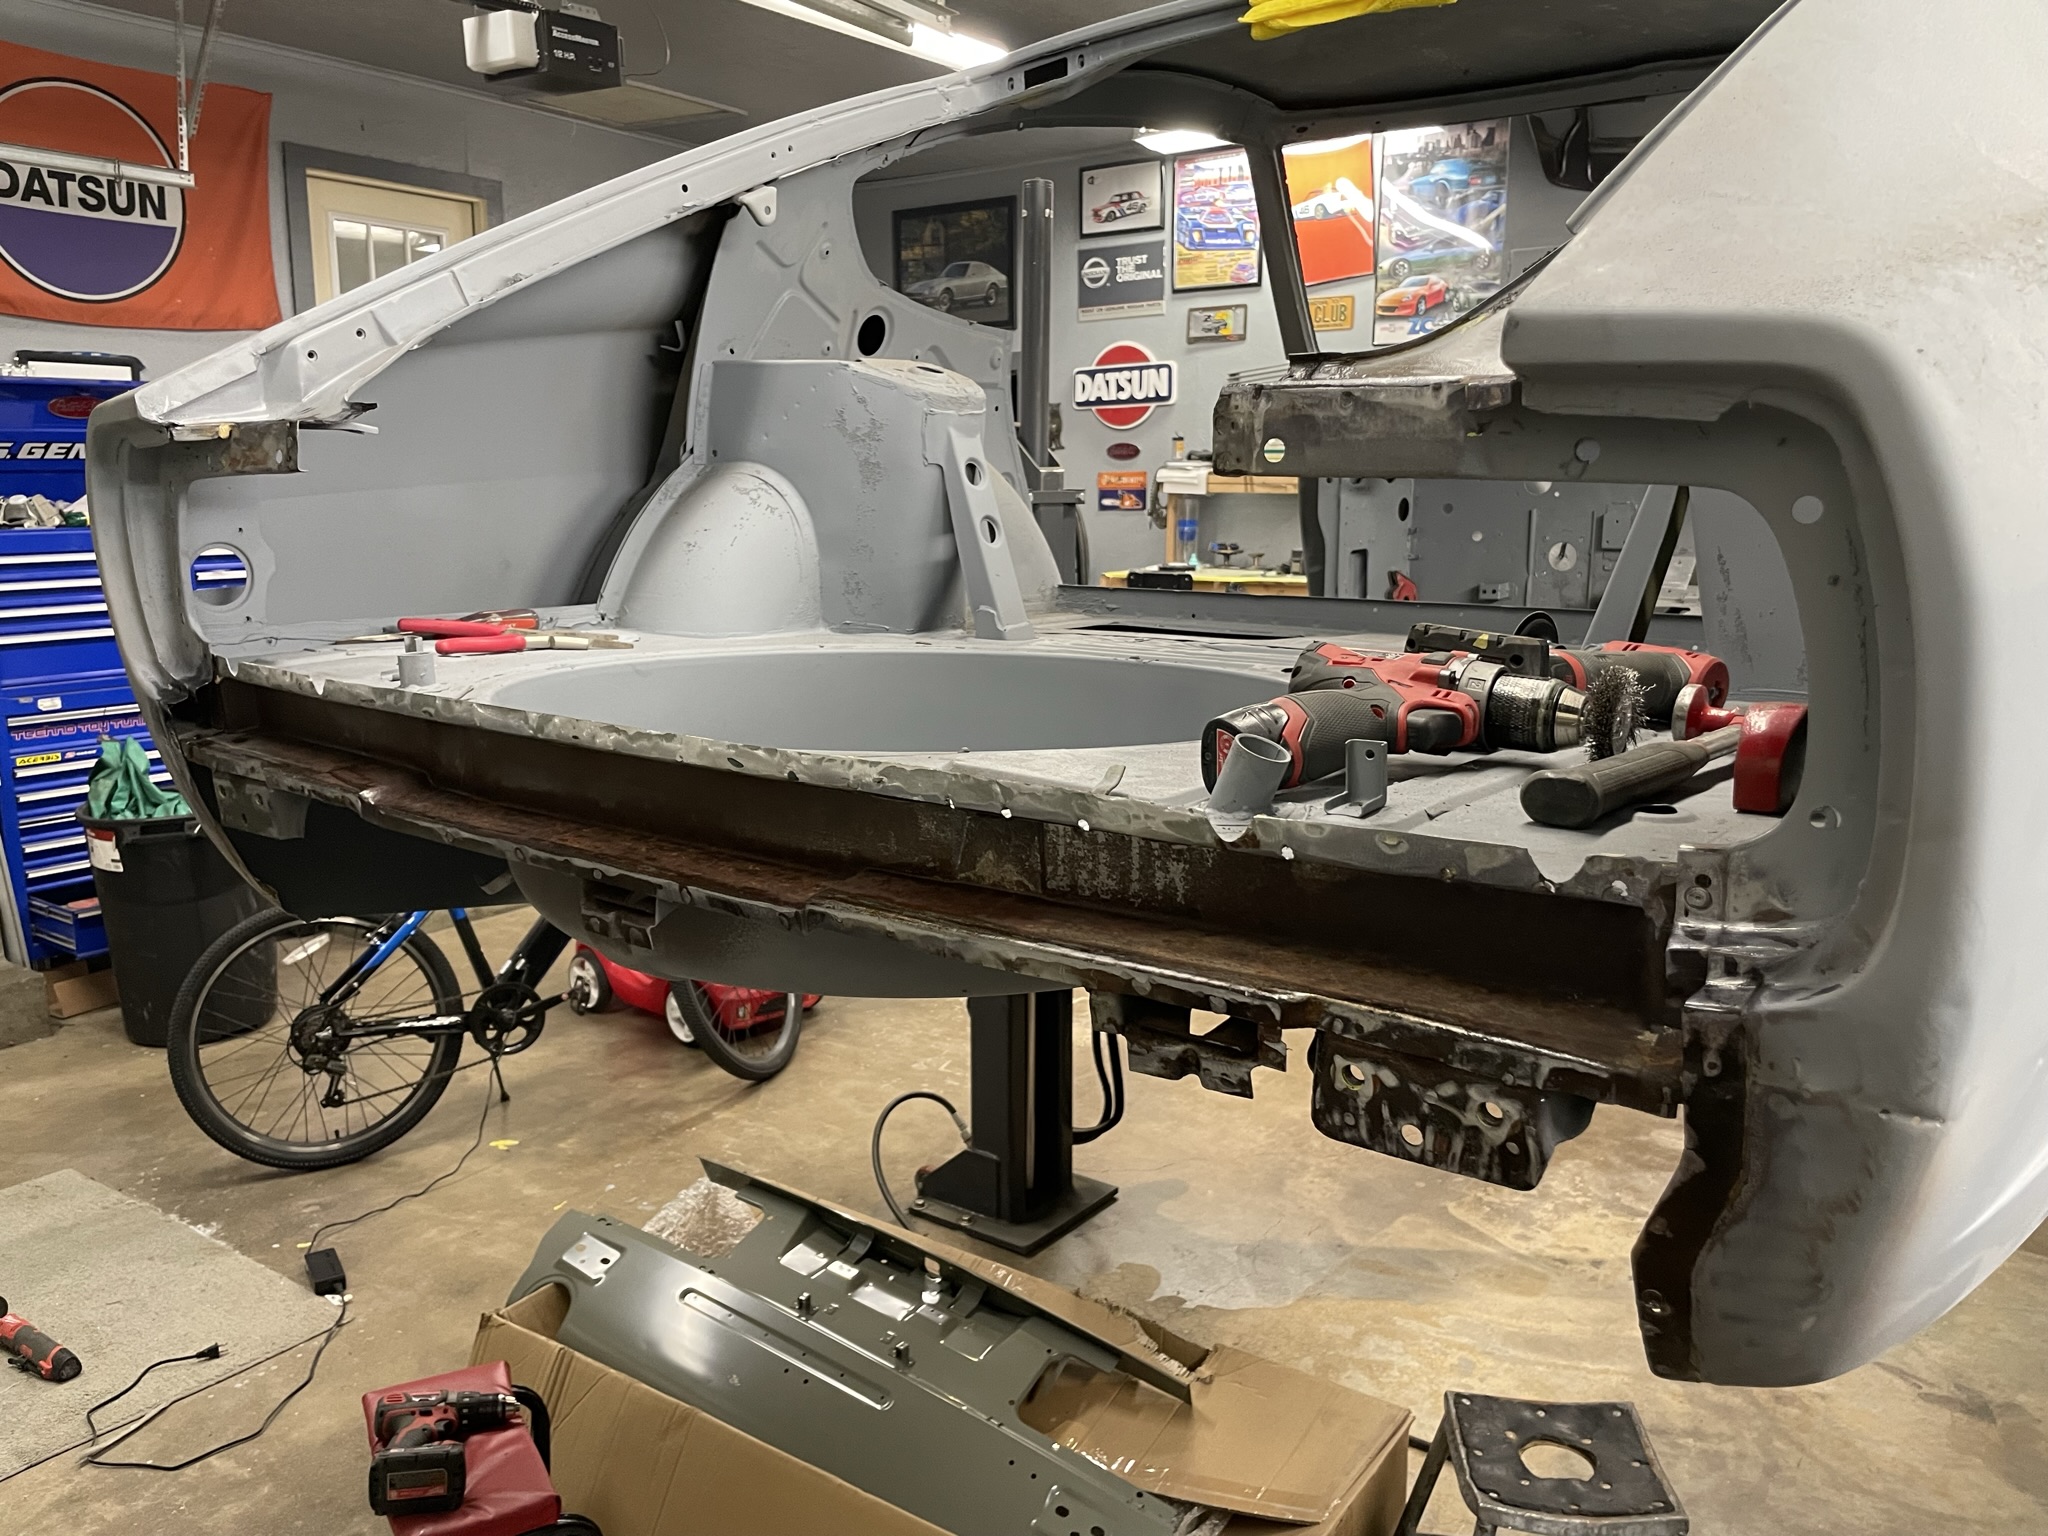
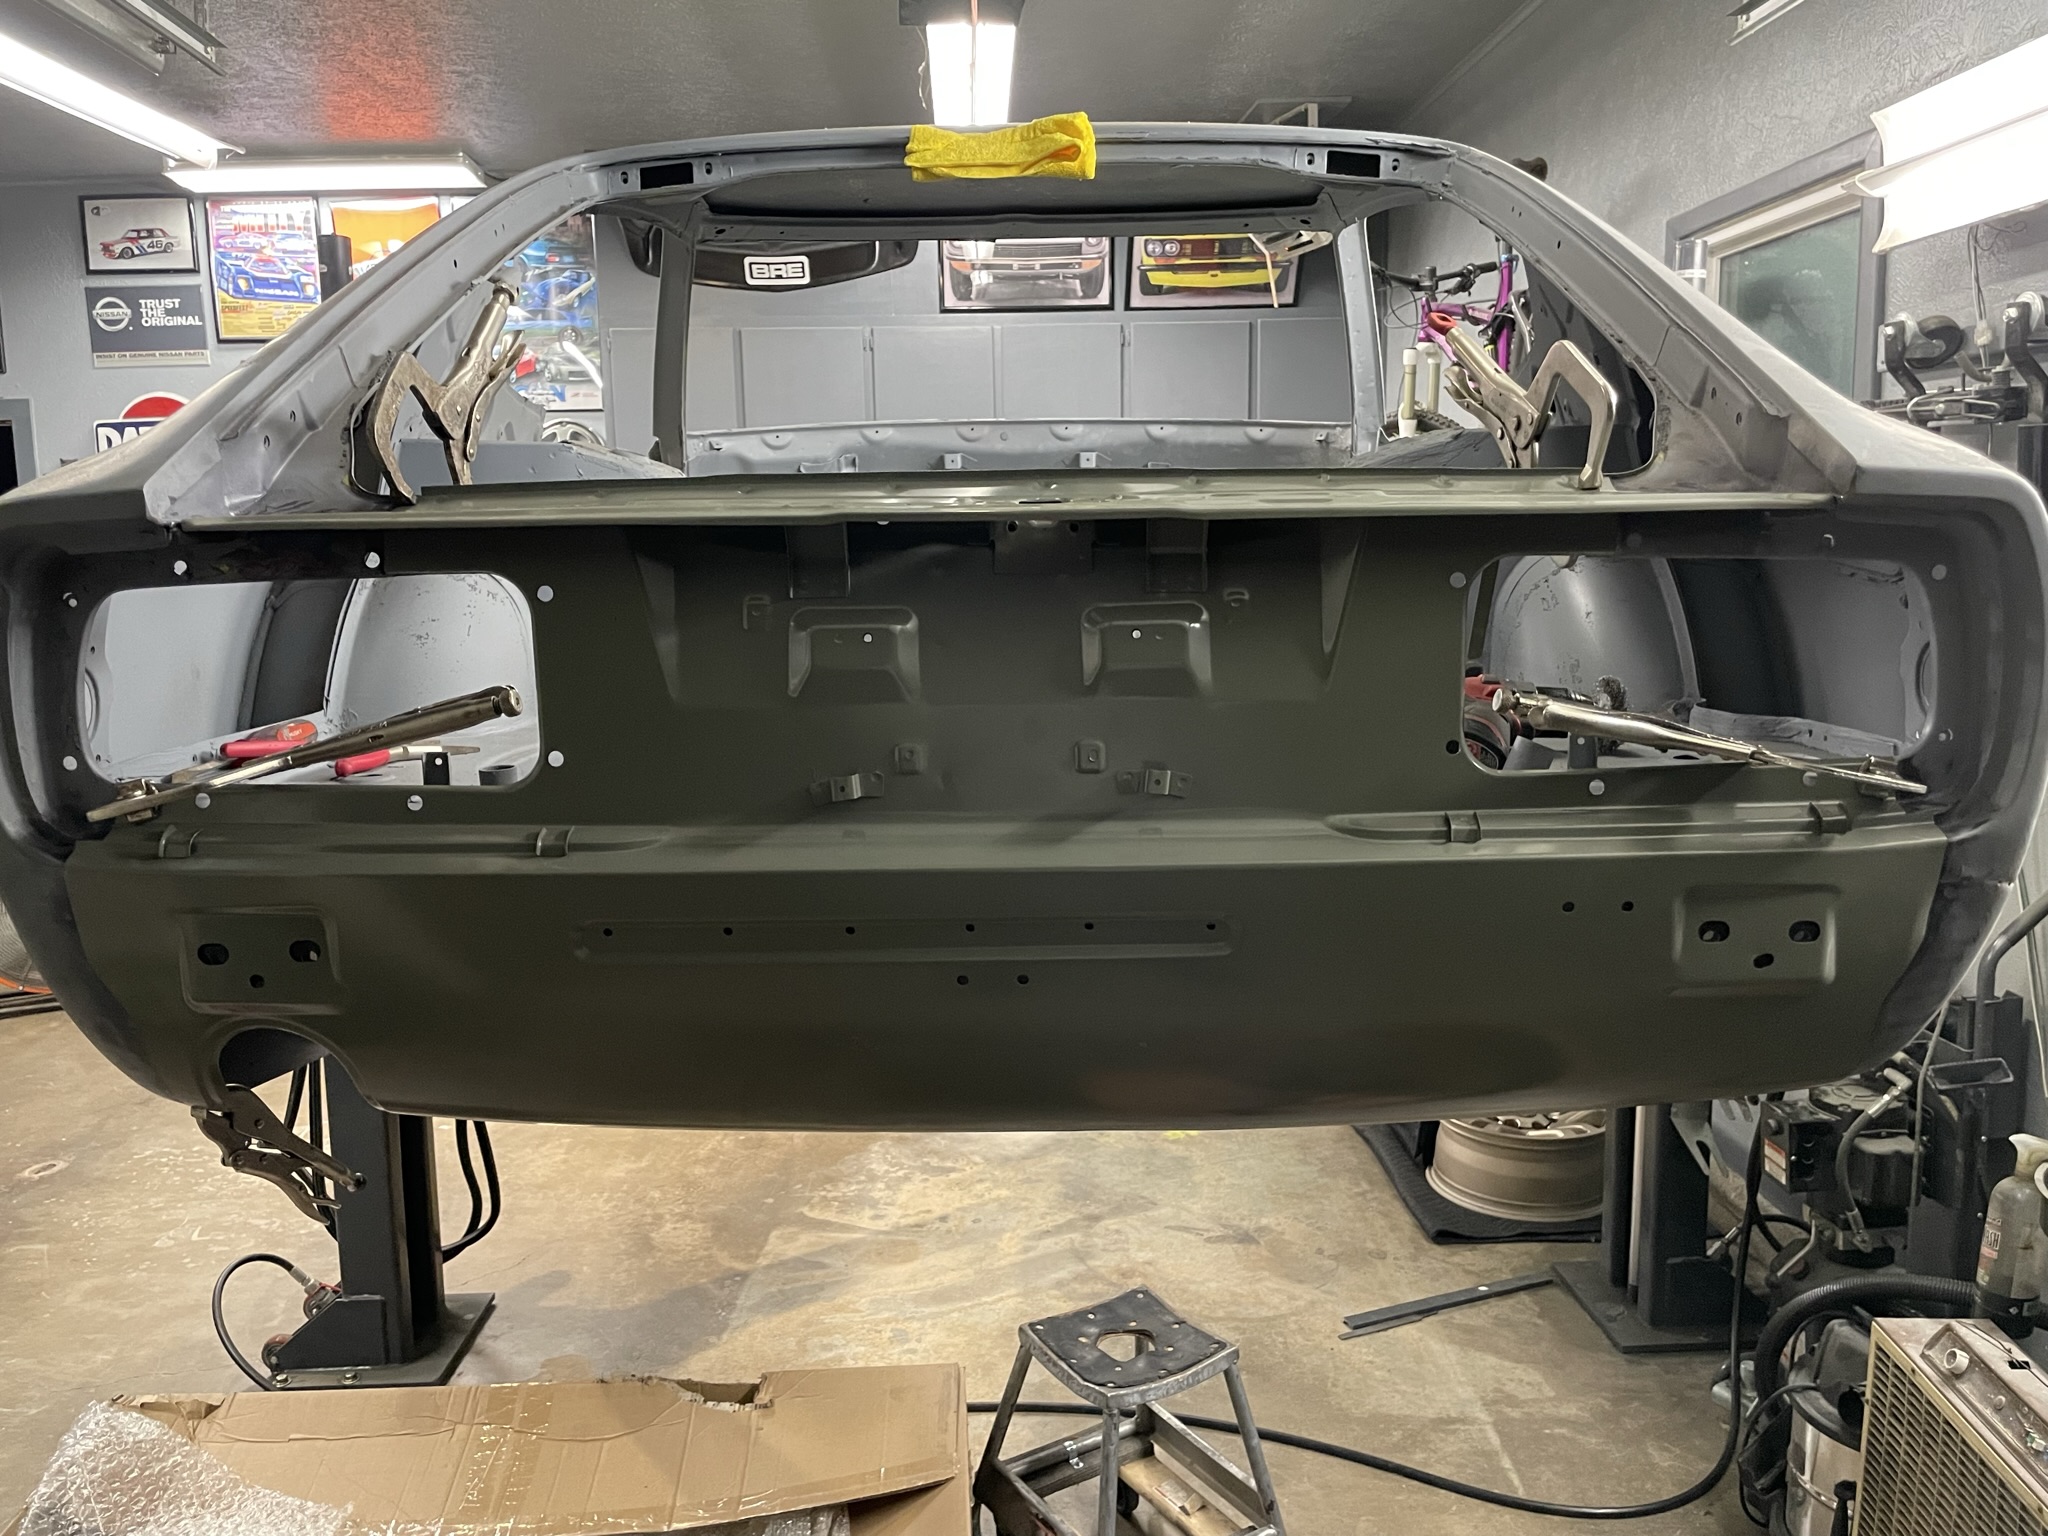
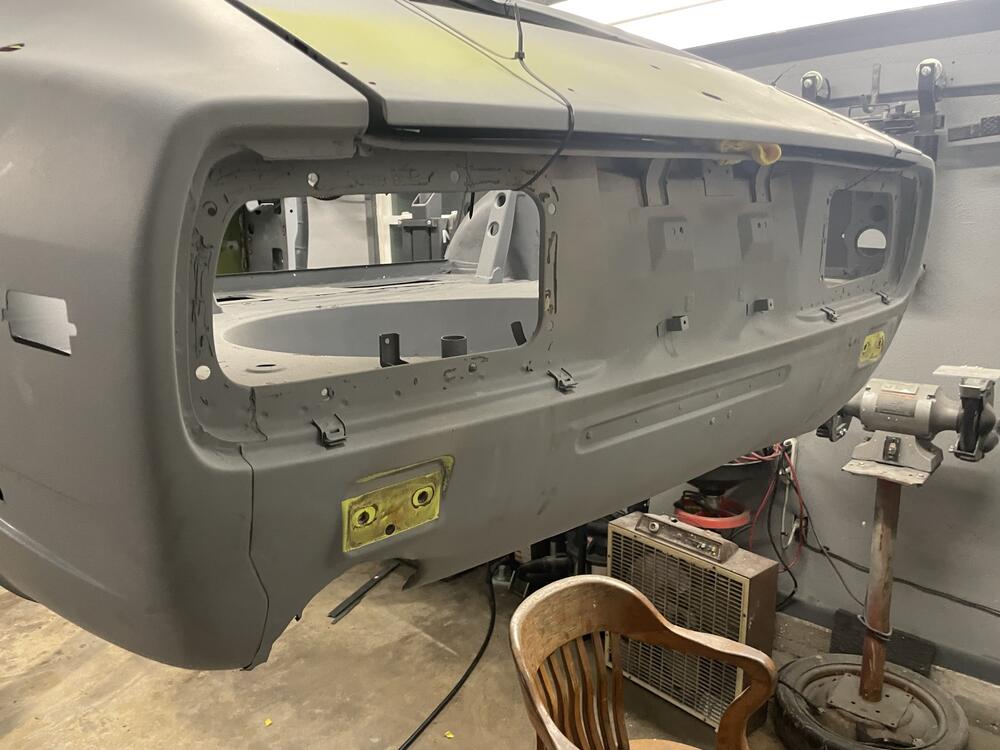
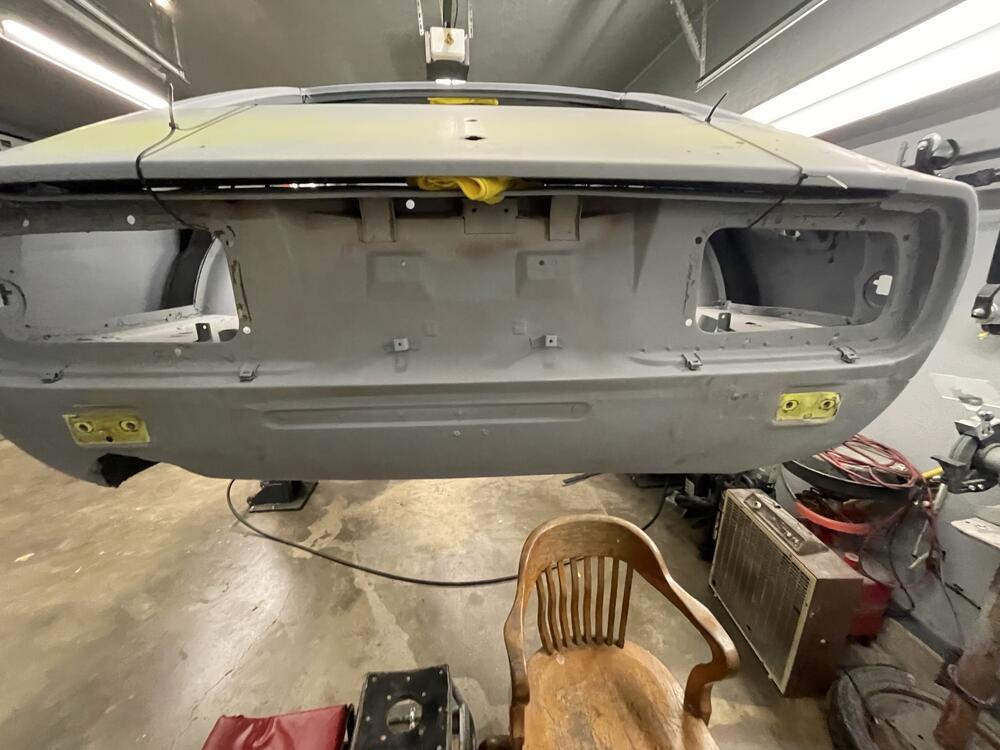
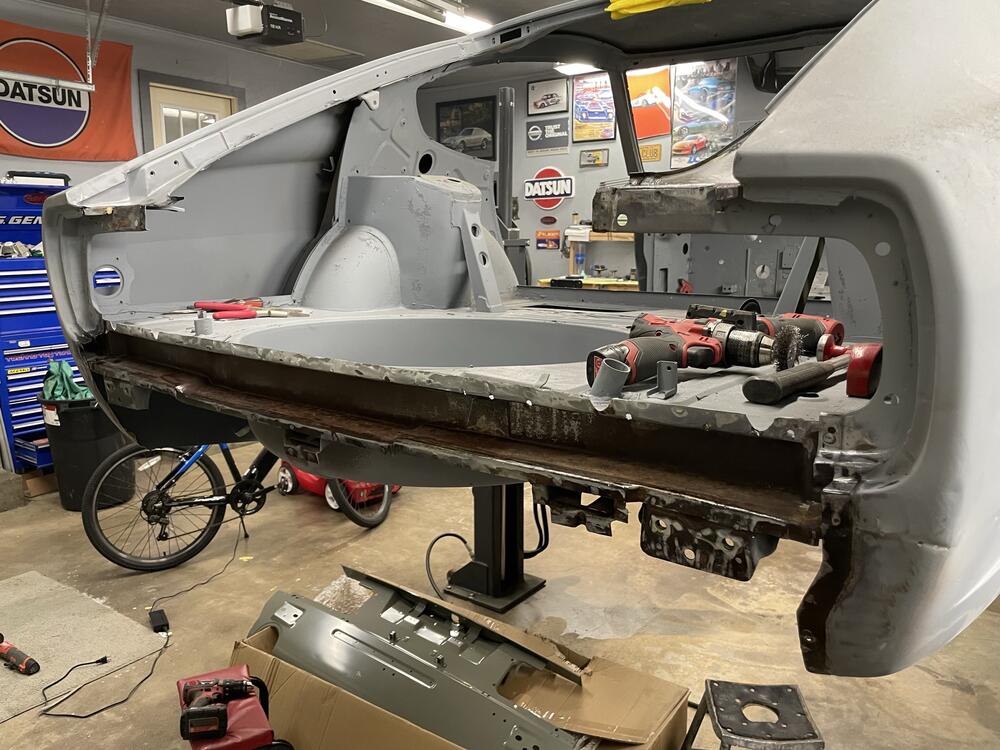
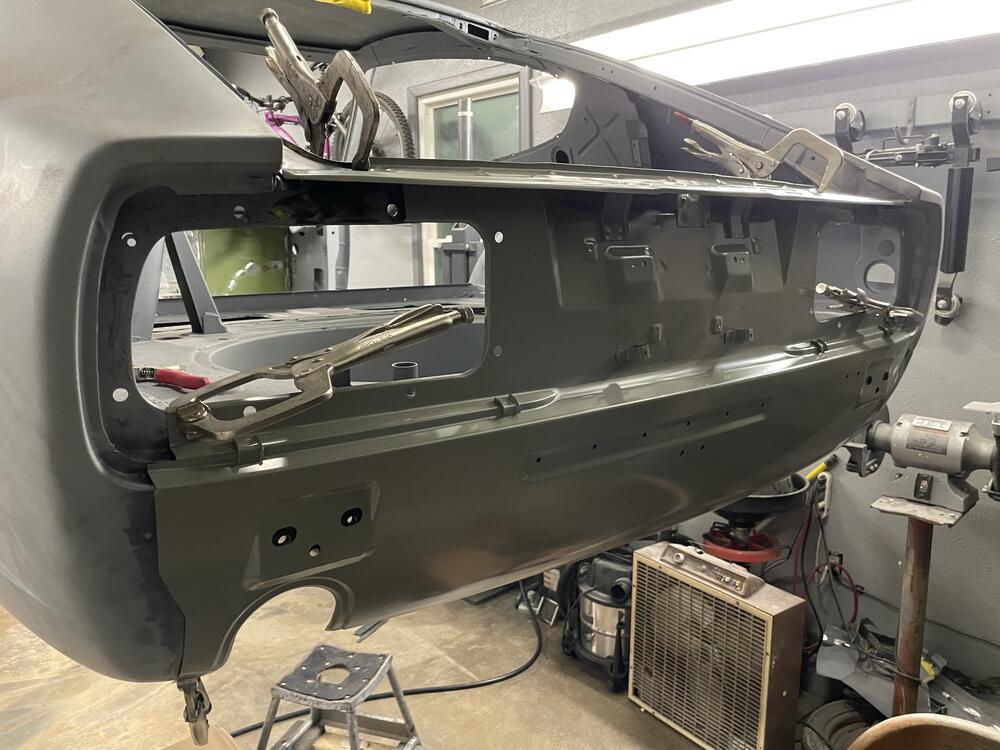
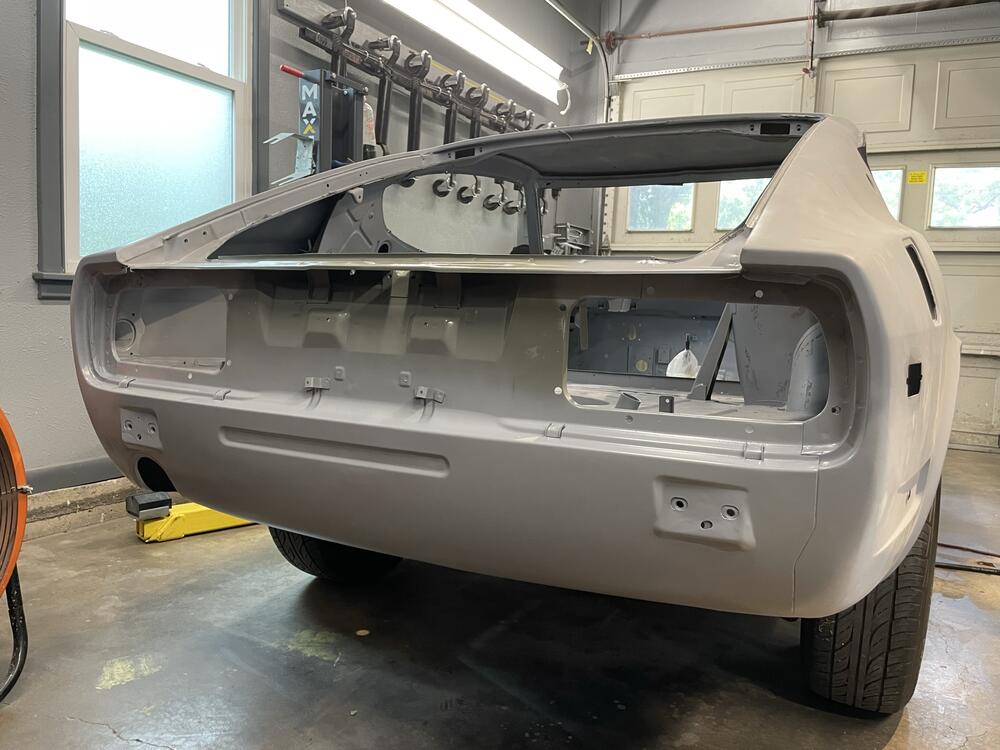
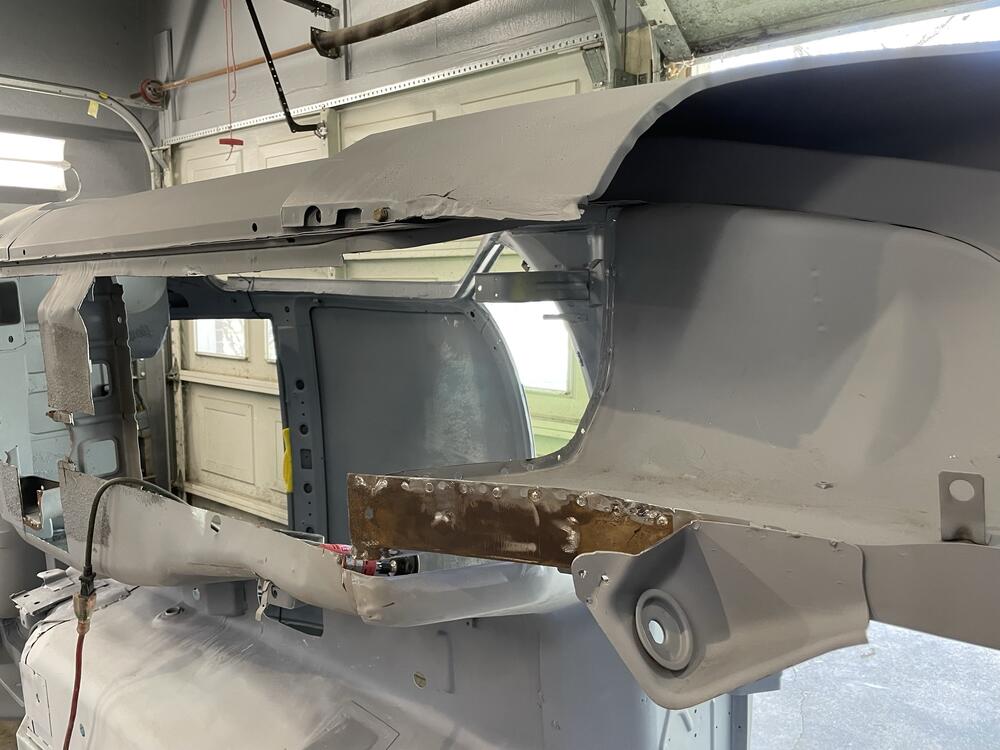
4 pointsLast of the major metal work was replacing the tail light panel. The original panel had seen better days with the center section pushed in from the rear bumper, some damage around the RH quarter, and at some point someone cut the panel around the exhaust tip for a larger muffler. Rather than fixing each of these areas, replacing the entire panel from Resurrected Classics was the path taken. Overall the panel was a nice piece. Had the right amount of crown across the surface, all the wiring tabs were placed corrected and it fit well to the existing metal with some trimming. Overall removing the existing panel wasn't bad. Just take your time and ensure each spot weld has been drilled out. First fitment of the panel. I'd say out of the box it was 85-90% there in terms of a direct fitment. Biggest job during this was ensuring the seam between the quarter panels and the new metal lined up. While they didn't fit perfectly from the factory, I think we got the new panel pretty close with a bit of trimming.


 4 points
 -
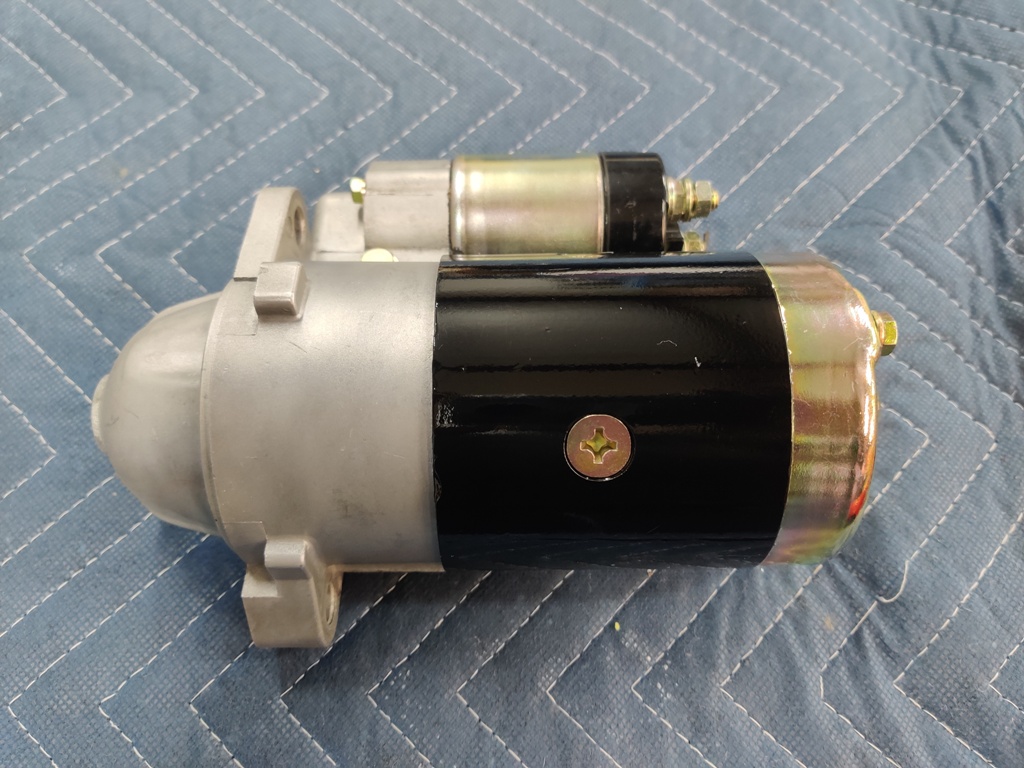
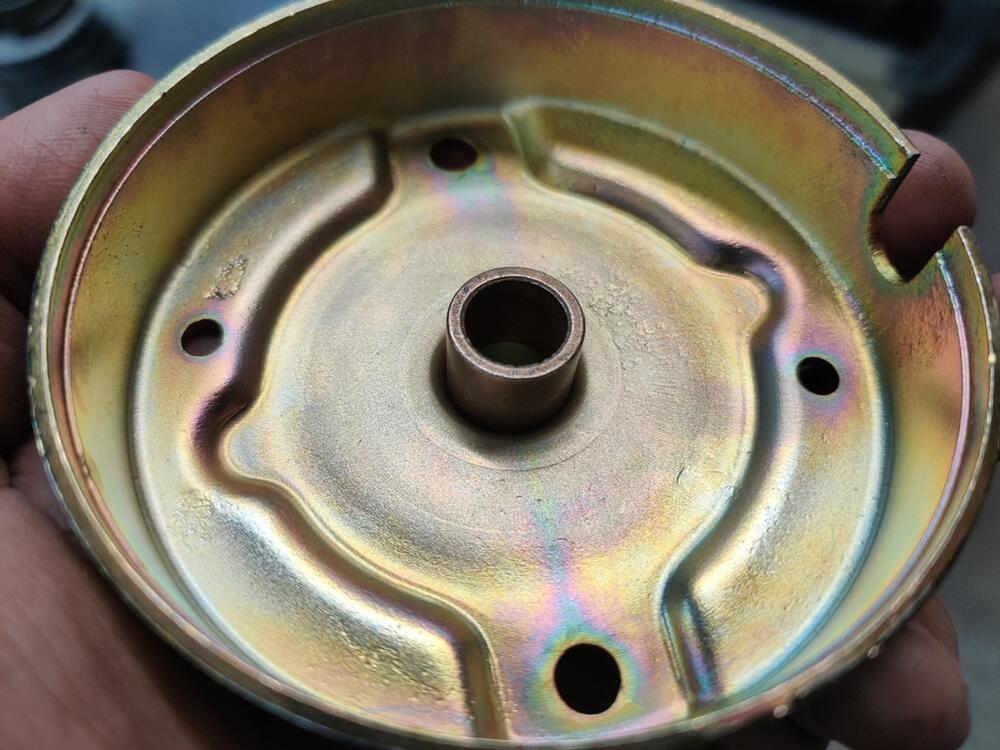
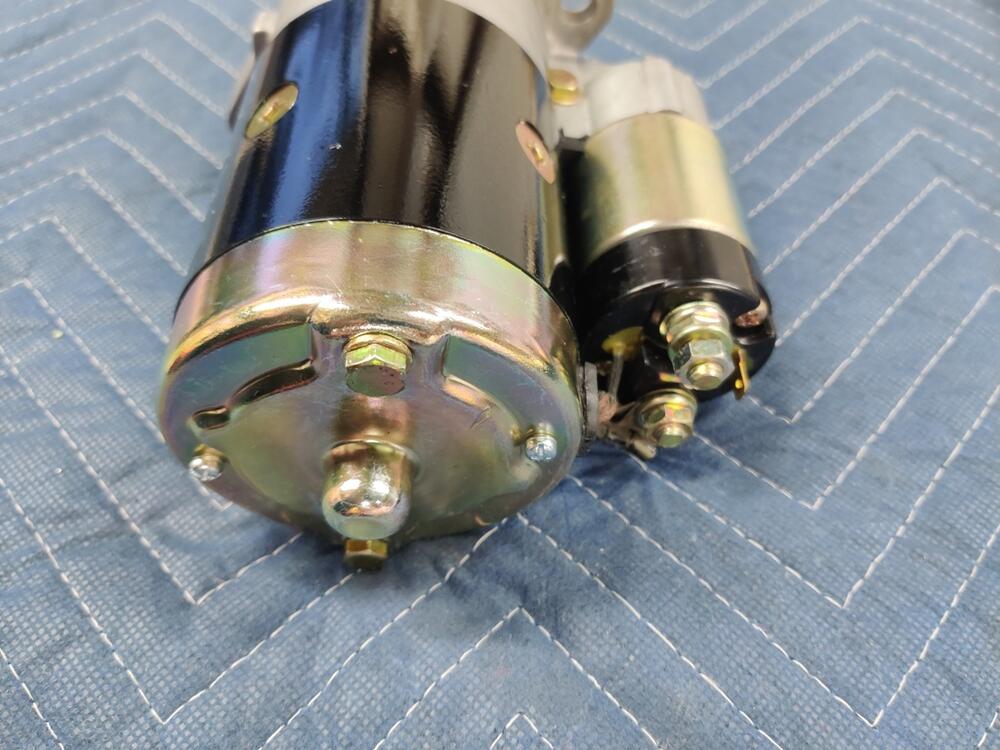
I bench tested the rebuilt starter tonight, and unfortunately, it didn't go as planned. The motor started spinning at a nice speed but then slowed. I thought, "that is odd... and not right". So I tested it again - brief amounts of juice and it would repeat the same behavior. So, about on the fourth test, I kept current applied for a bit longer, and I saw a bit of grease or oil bubble up off of the back bushing. I stopped immediately. I wiped the drop of oil that formed off with my finger and detected that the backend of the armature and the bushing were quite hot. Yeah... So, I took the starter back apart and long story short, made another round of using the 320 grit lapping paste on the front and rear bushings. When I reassembled, I checked that the pinion gear rotated nicely by hand. Then I torqued the fasteners, checked pinion gear rotation by hand one last time, and bench checked again. This time the motor spun very nicely and didn't slow down at all. I checked for heat at the front and the back and only detected a small amount of warmth, not hot at all. Would have been a problem had I mounted it on the car without checking!3 points
-
The recent lot find, constinsting of many datsun Switzerland items, also contained a very cool one-off thing: A set of triple Weber carbs complete with Intake manifold and linkage. But the really cool part is that it came including an internal test report by Datsun (Suisse) SA, indicating that this very setup was used by Datsun Suisse SA (DSSA) to test said setup on a company or employee Datsun 240Z. The hand written notes are written on a DSSA "Internal report" sheet. something rarely seen alone. The date noted says June 1973The text on the front says (transleted loosely): Test performed on 240Z, with 9'806km on the odometer Triple webers with valve play 0.10/0.15. Cylinder head minus (1mm), "Super" fuel On the straight between Bremgarten / Wohlen (through the Forest), the max speed is short above 200 km/h Dietikon bis Fahrweid (down), short above 210 (km/h) Uetliberg, fourth corner in the 3rd gear, without jerking above 40km/h At slow speeds, acceleration is possible in 2nd gear below 1000 rpm Theoretically, with big tires, 240km/h should be possible Attention! Fuel nozzles are not the same in the three carbs (Backfire), probably better to mount the small one son all three carbs. Fuel consumtion seems rather improved compared to the original carbs. The straight road between Moudon-village entrance and Moudon industrial area - slightly downwards - allows slightly above 220km/h until village sign Moudon. On the back you find a sketch of the setup and settings, including the following note: Payerne, from cemetery direction village, = 190km/h at village sign. Back = 160 km/h at the cemetery Temperature 25°C. Only driver with full fuel tank. Looking closer at the setup, there are three Bologna (italy) made Weber 40DCOE24 type carbs. We were guessing the intake manifold, based on the "C/S" and then "London" cast marking we concluded that it might be a Janspeed UK manifold. It looks like some kind of "Datusun competition" derivate manifold. I forgot to take a picture from the bottom side, but it looks pretty "rough". Either somebody modified it a bit later, or the factory removed the casting remains really just rudimentary. At least this is what it looks like. However the 1981 Janspeed catalogue has an additional "bridge" between ports 3 and 4. so we're not sure. It might just be that there was a design evolution between the 70ies and 80ies on these intakes, or it was maybe a completely different brand. Looking closer, the ones in below catalogue photo also seem to be slightly longer than the ones in the photo. but the casting seems to fit (i don't have a detail photo of that) It is however very likely they used Janspeed, as it is rumored that DSSA had a loose relation with Janspeed and used to test their products on a variety of cars in switzerland. In case you're wondering, these are the part numbers of the Janspeed Weber triple DCOE intake manifolds and next to it you can find the prices (excluding VAT) in UK pounds £: As far as i know, Weber (or some reseller, maybe even DSSA itself) homologated a twin DCOE setup for the swiss market at some point, but i haven't yet investigated in that direction and still need to find out more. I know it's a pretty common setup over here. It's a nice piece of history of DSSA and the "scene" back then. I love the handwritten notes, and i'm happy to know they found a very good home (not mine), and will end up in a nice car (not mine), after being hidden for so many years.2 points
-
2 pointsThanks for the replies. I have found a couple of instances when the parts manuals didn't match what I thought was correct. I guess the FSM is the better document. I only use JIS hardware, and let me tell you, I have had to replace a lot of hardware that wasn't correct! I took a ton of spare hardware and had it replated along with other stuff. Between that and Belmetric it has been invaluable.2 points
-
I have one of these, not this exact one, and it is very useful for adjusting valves, checking compression, etc. https://www.amazon.com/Performance-Tool-W80586-Remote-Starter/dp/B00OPVYHZ4/ref=sr_1_5?keywords=remote+starter+button&qid=1677800656&sr=8-52 points
-
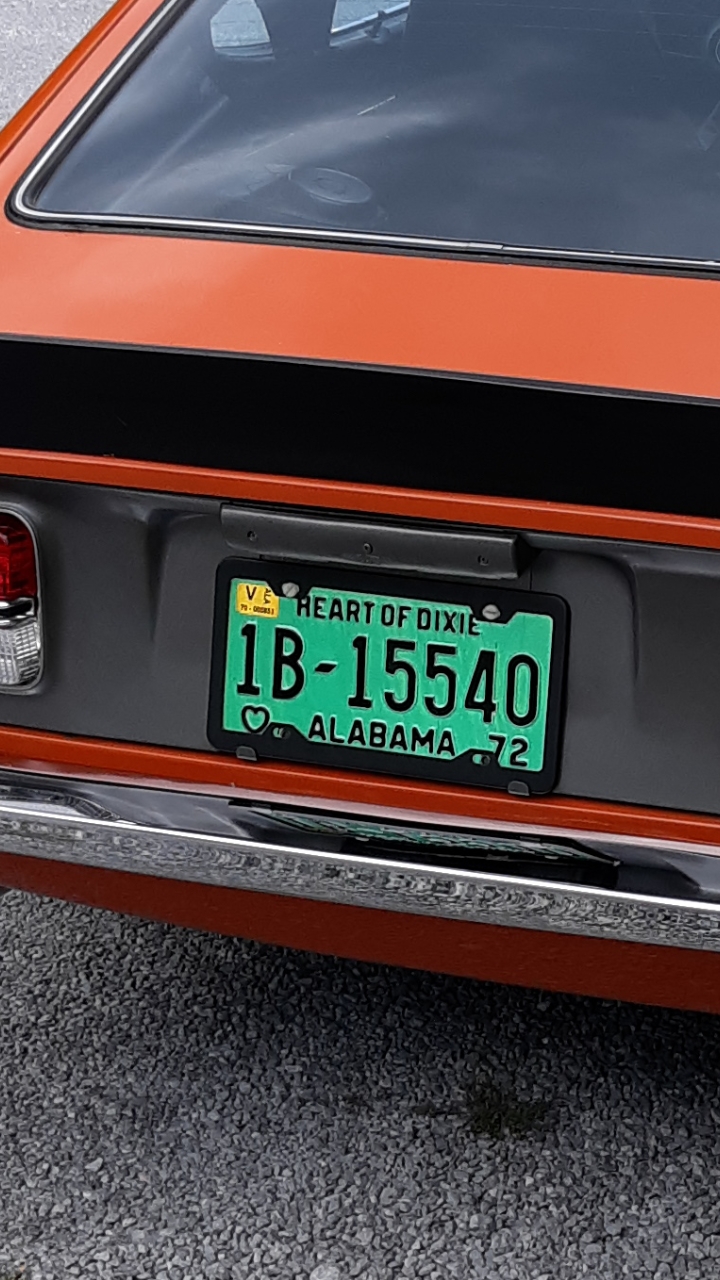
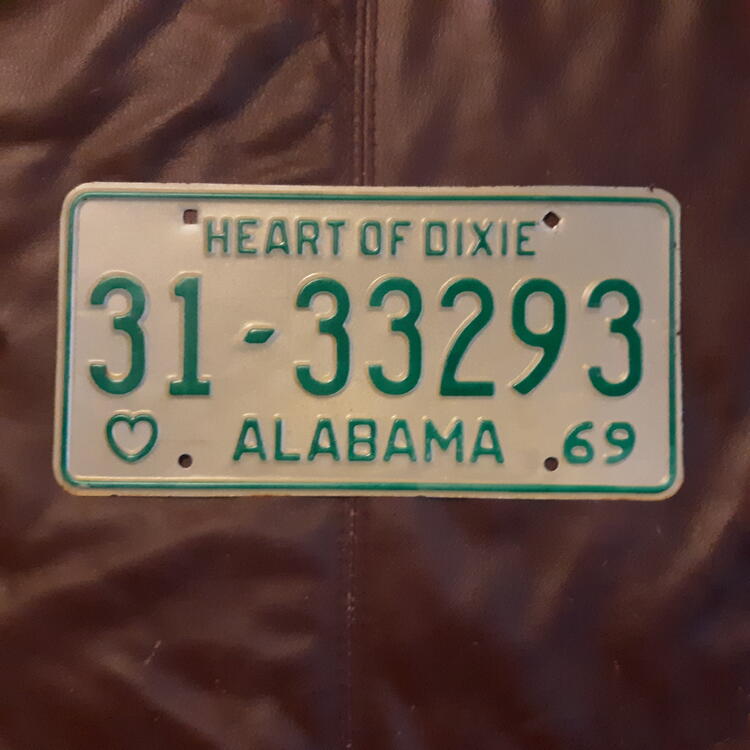
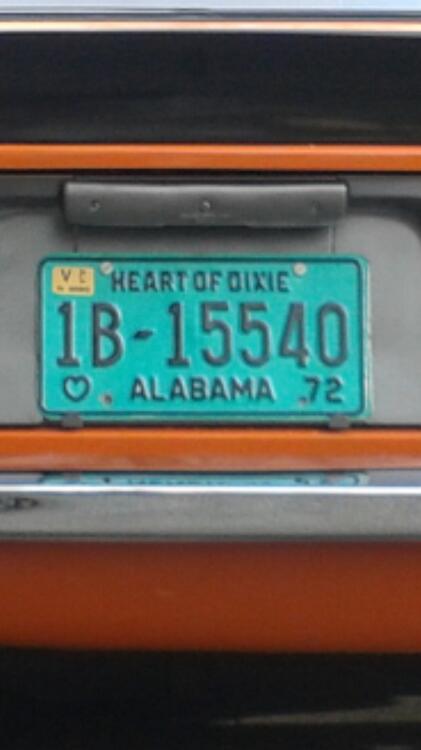
1 pointI found this at a yard sale last weekend, $5 and it is flawless. My birth year but if someone in Alabama has a '69 automobile I'd consider letting it go for a "year of manufacture" which is legal in many states. I have a '72 plate on my 240. I took the tag frame off I remembered, looks better to me.

 1 point
 -
1 pointTotally agree with @hs30-h here!! I was initially wowed by it but then realised the SISO principle holds well when I started to research some of my other bad Japanese obsession / passion - namely Shotokan Karate. Long story short, like other AI that quickly became sexist / racist etc - it’s scanning for loudest most repeated voices and learning from it, building it’s own pattern biases in order to regurgitate and “enrich” with choice bits from other sources. Did you know that recruitment AI decided men were better to employ than women? Or that self driving AI was way more likely run over black women due to its learning bias introduced by observing white men? Or stranger still that it didn’t initially recognise pedestrians unless they were at a pedestrian crossing scenario? Scary new world we are about to live in! Having said all that, it’s still impressive capabilities in their embryonic state.1 point
-
Video is fine, except for failing to mention engine should be at normal temperature. A hot engine will give you the most accurate compression readings. When testing my engine cold, I found low readings around 130, hot engine were around 170. I like these numbers better..1 point
-
1 pointSweet. I have permanent YOM registration on my 72, and will be doing the same for the other Zs I am keeping, as well as my 72 Camaro.1 point
-
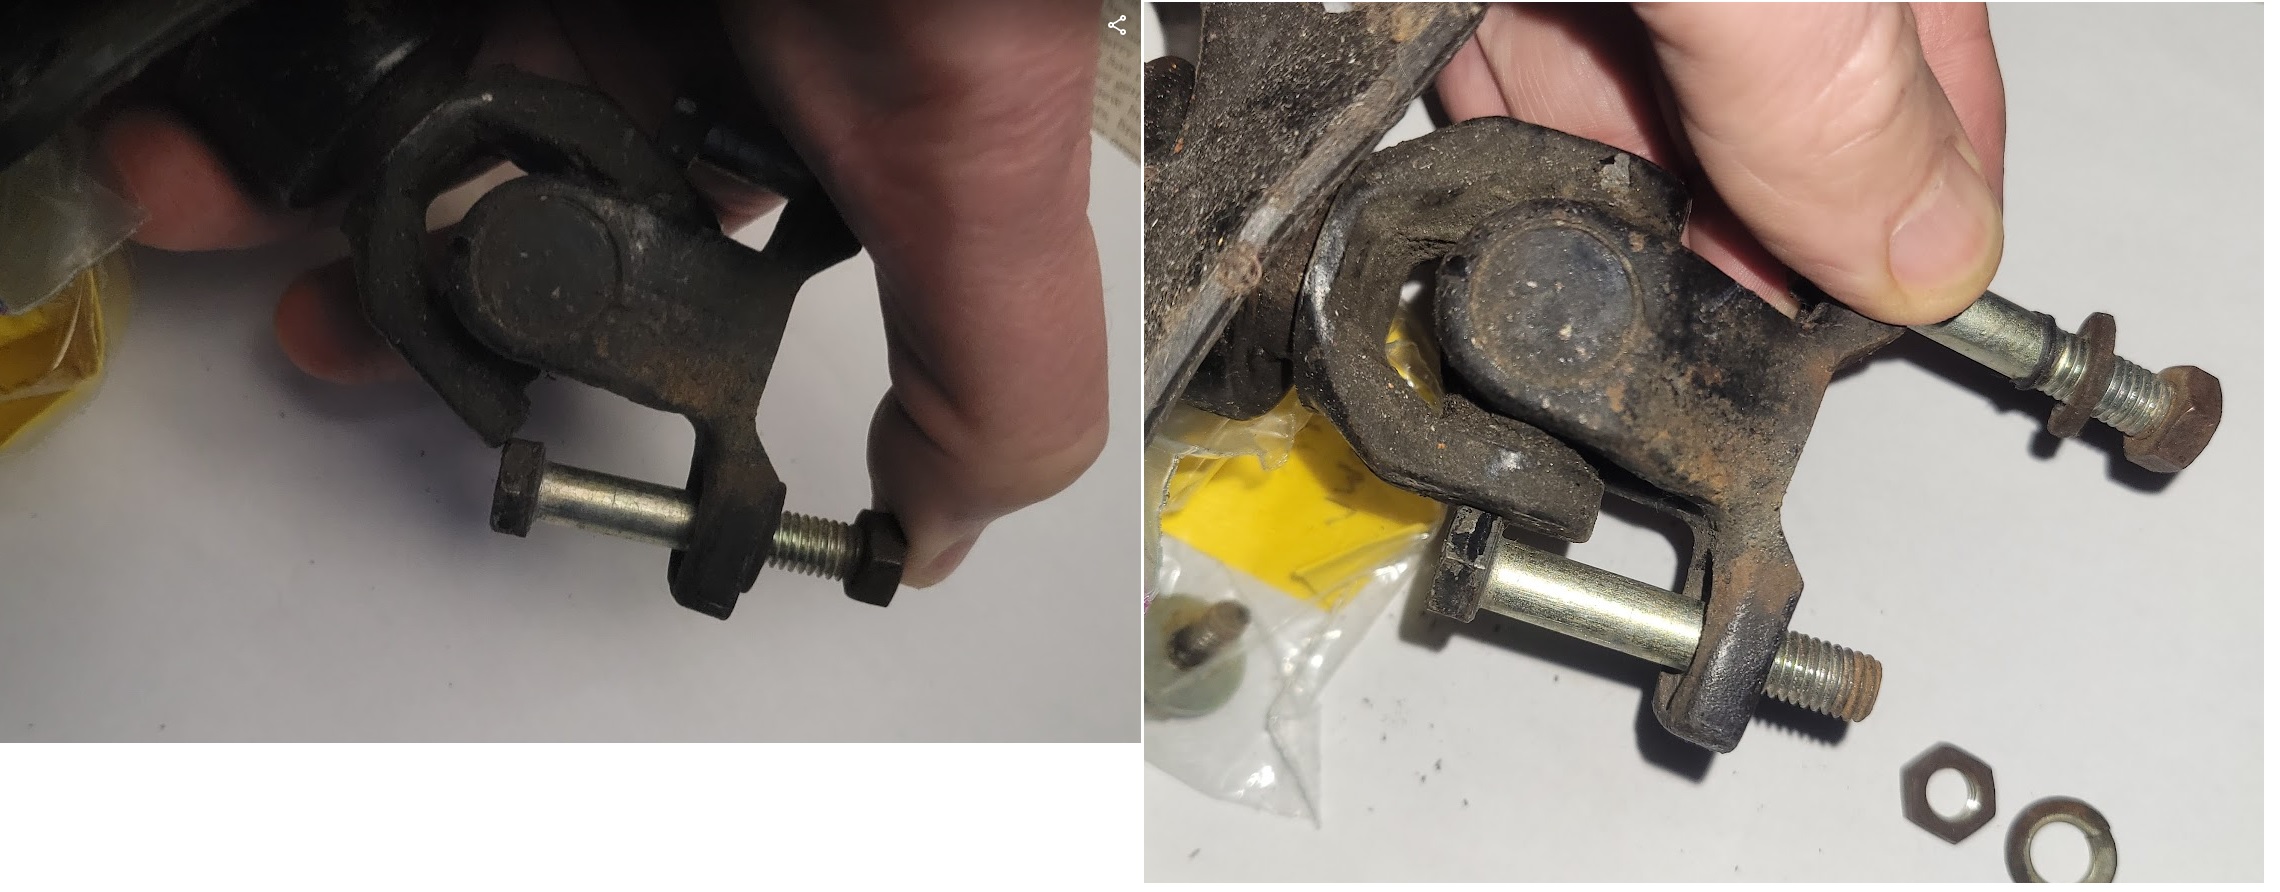
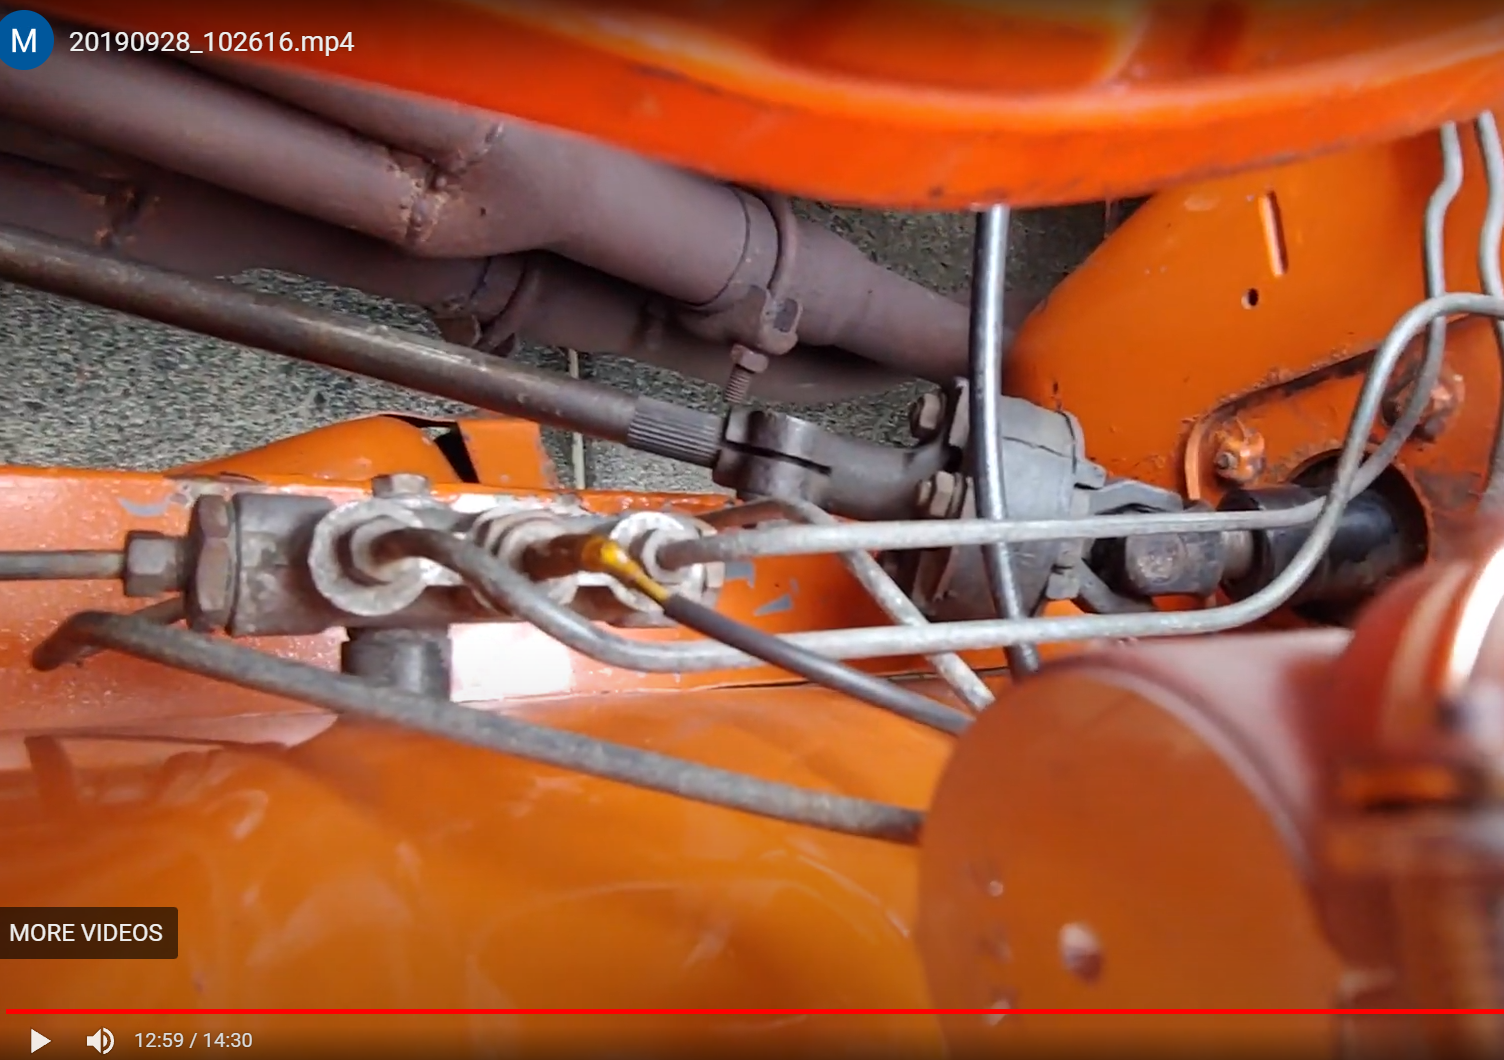
1 pointI am putting my steering column back in. Wondering which way the coupler bolts go. My pictures prior to taking the car apart show the nuts towards the steering rack. When I look at the parts diagram it shows the nuts towards the firewall (#30,31,32). Just trying to figure out where my nuts go 🙂
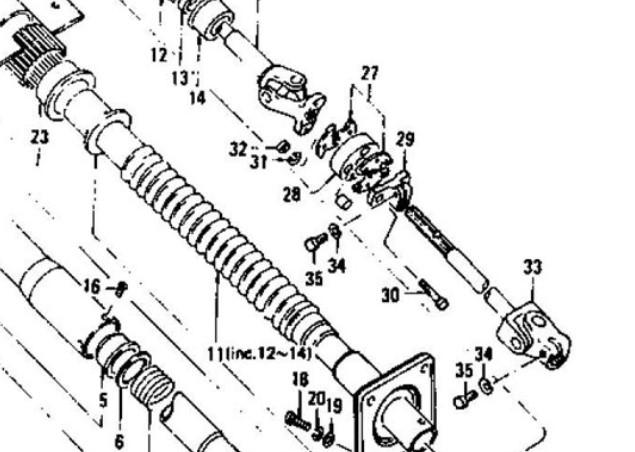 1 point
 -
1 pointFYI on these bolts, two of them are quite fussy to remove/install and would be impossible to do in the OE orientation if you don't use the correct JIS head bolts. If DIN bolts with larger hex heads were substituted they would need to be reversed. Not that anyone should be making substitutions when it comes to steering bolts. Just my two cents worth.
 1 point
 -
1 pointI found front and rear plates from 1960 something in the ceiling of my garage. The guy that built the place was a mechanic and must have thrown them up there. Anyhow I traded both of those to Dr Tag in Georgia for a pristine 1972 Alabama tag, did the initial pay and paperwork now it's like a vintage tag. I won't have to pay another nickel for that car's plate nor the '77 280 which has the standard vintage plate as well as my '87 hardbody pickup. They get me for way more but I jab them when I can.1 point
-
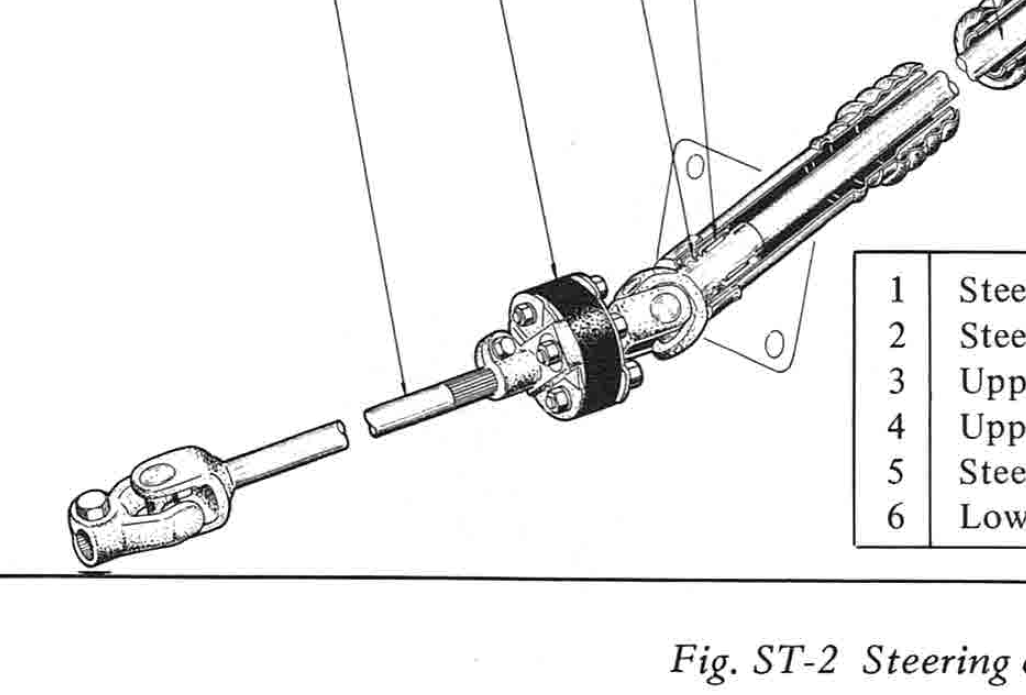
1 pointHere is a screen grab from a video I took prior to disassembly for my current resto. Also the FSM is your friend, here's an image from my 1970 FSM, steering section. The 72 FSM shows the same orientation.

 1 point
 -
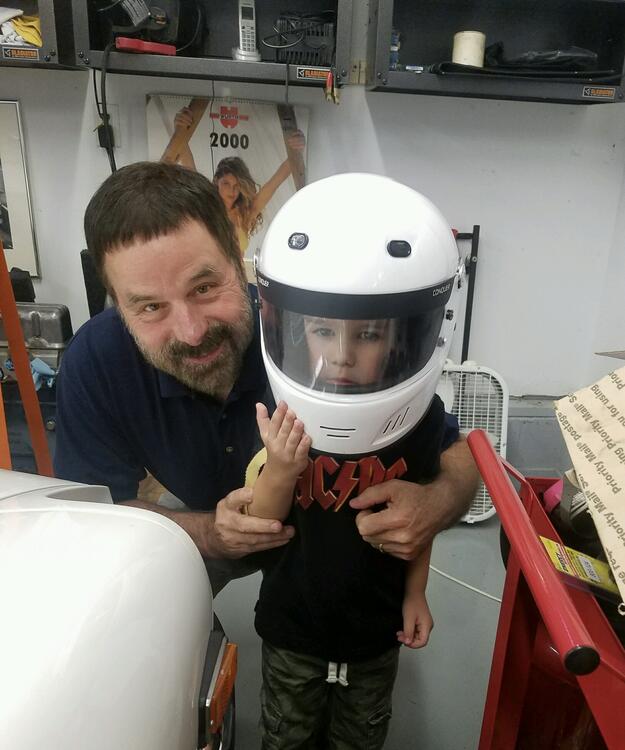
Had new injectors installed in the 1990 300 ZX. Also, proud to say my grandson Greyson is sticking it to the competition. Here he is over the years 😀 Proud grandpa!


 1 point
 -
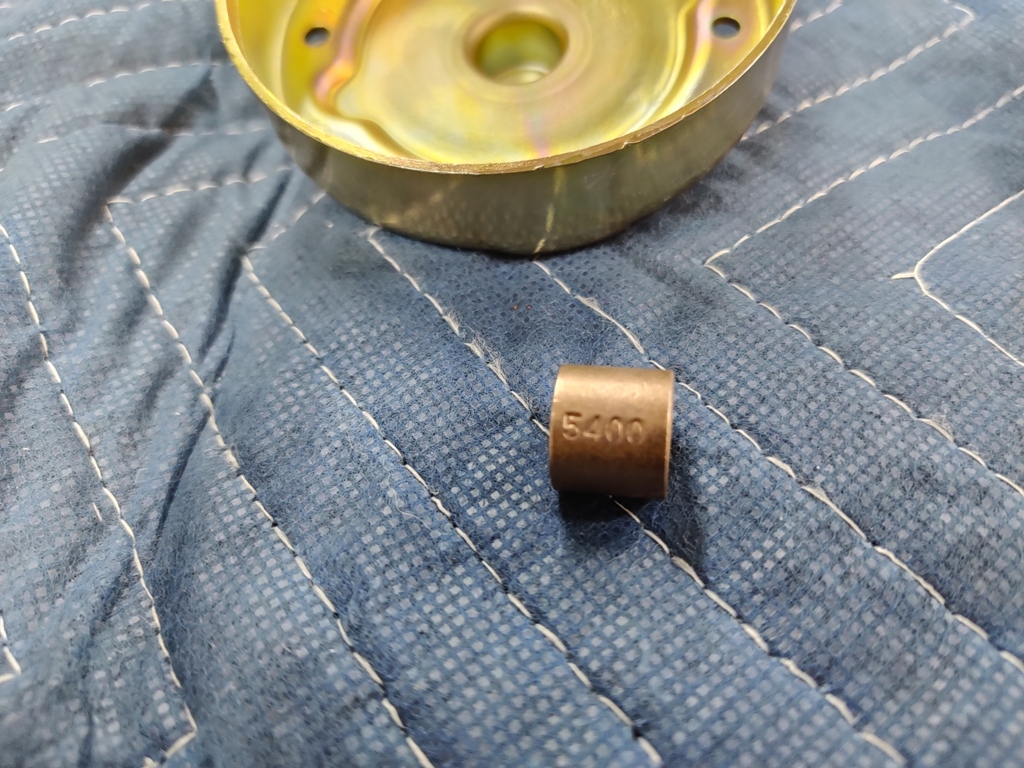
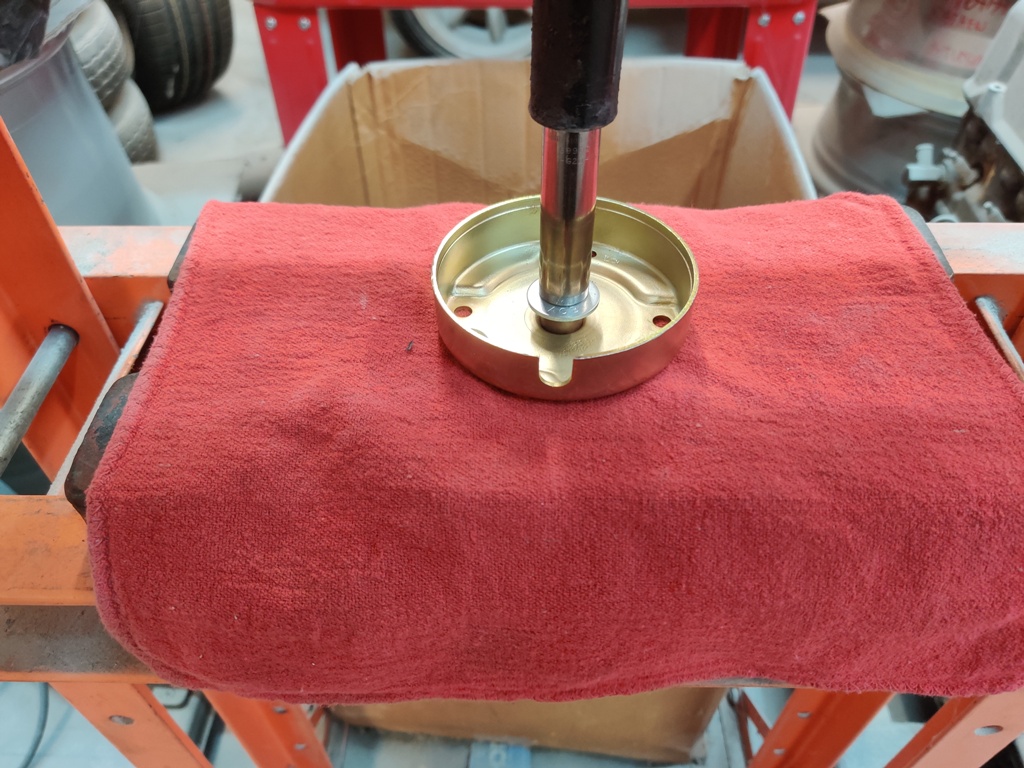
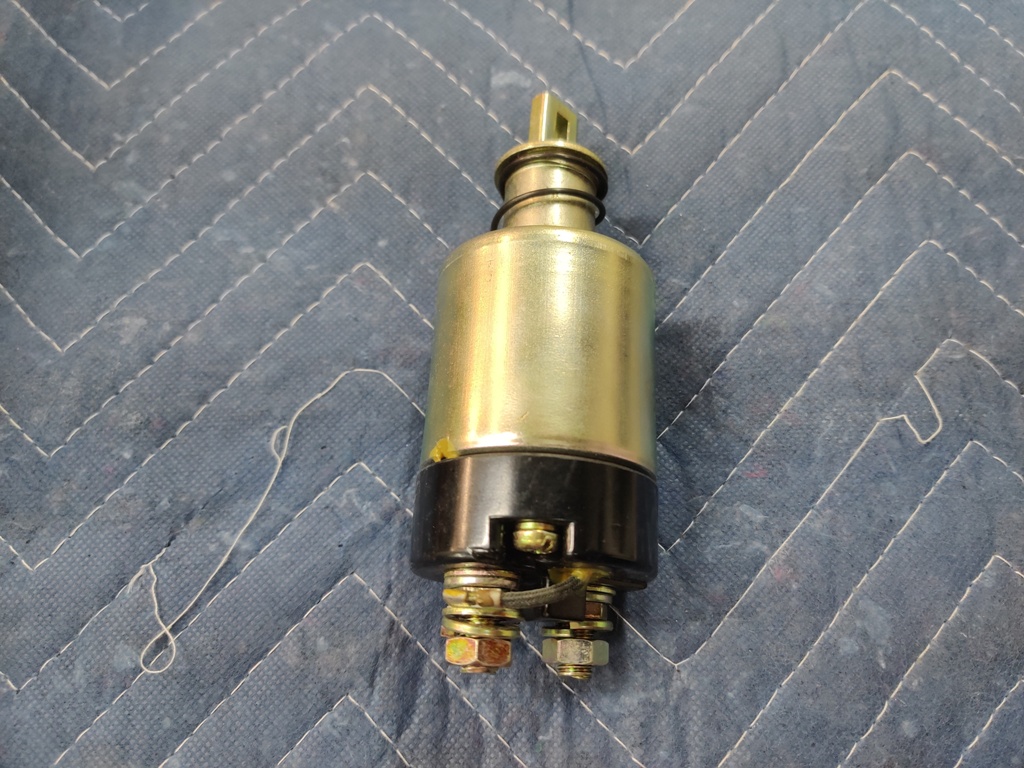
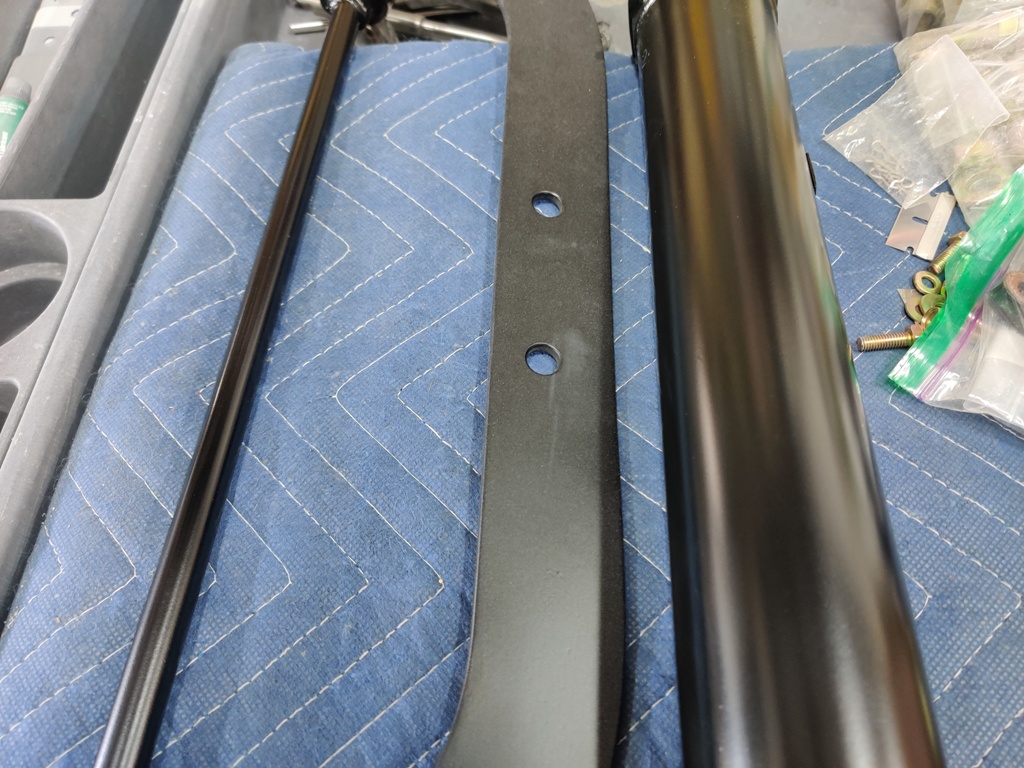
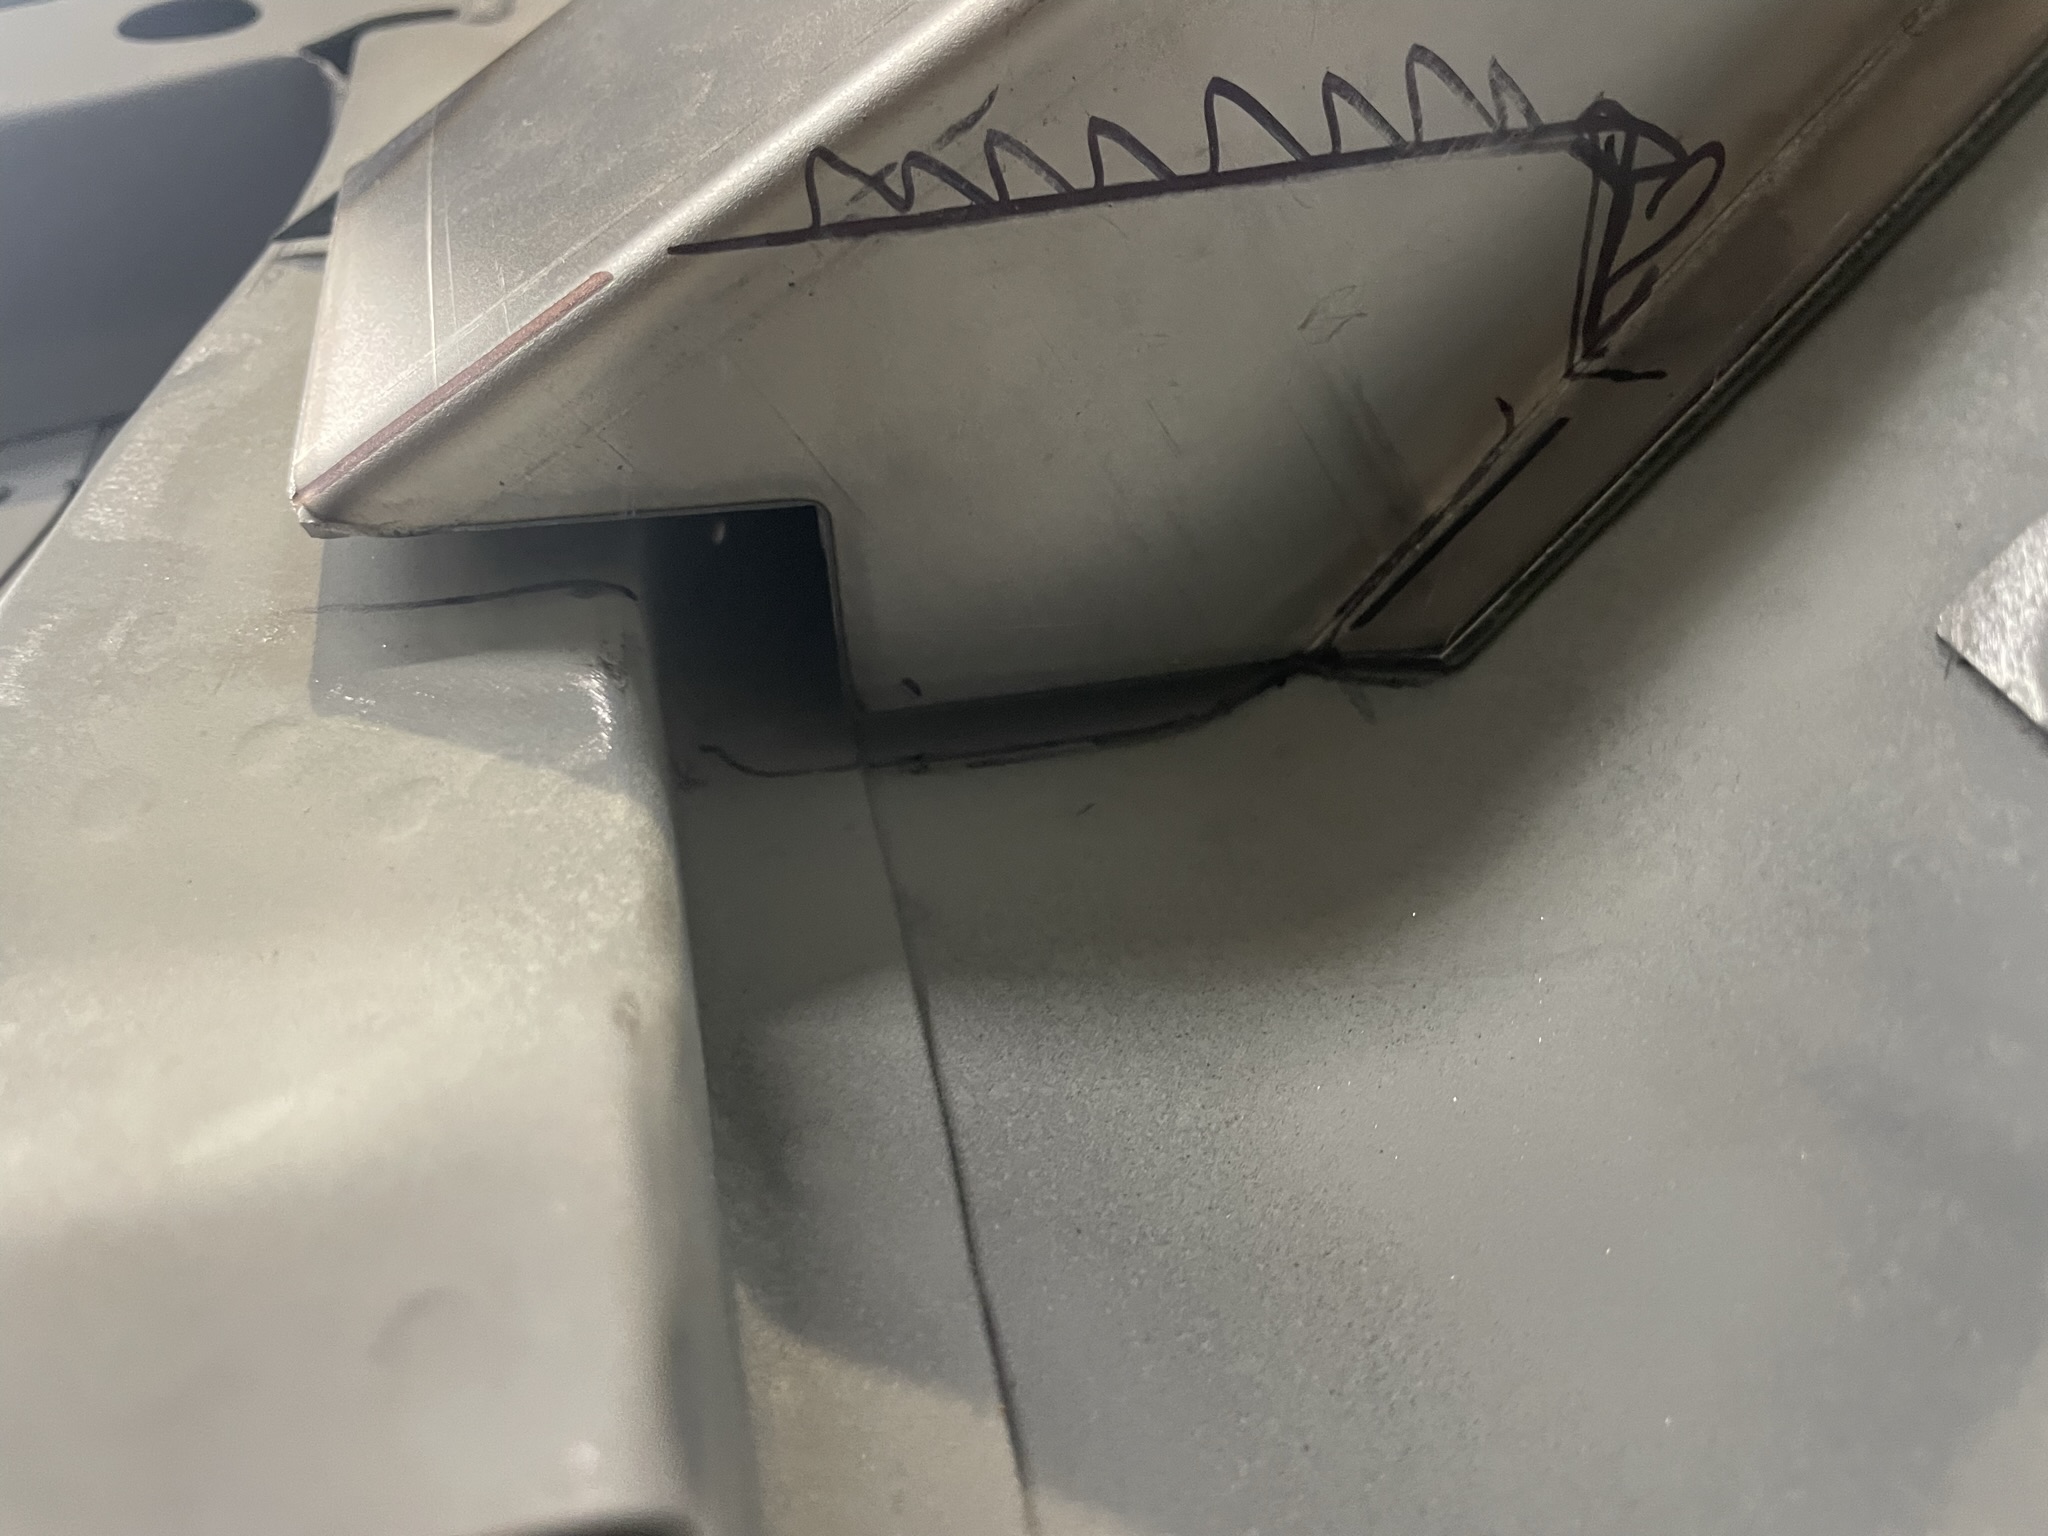
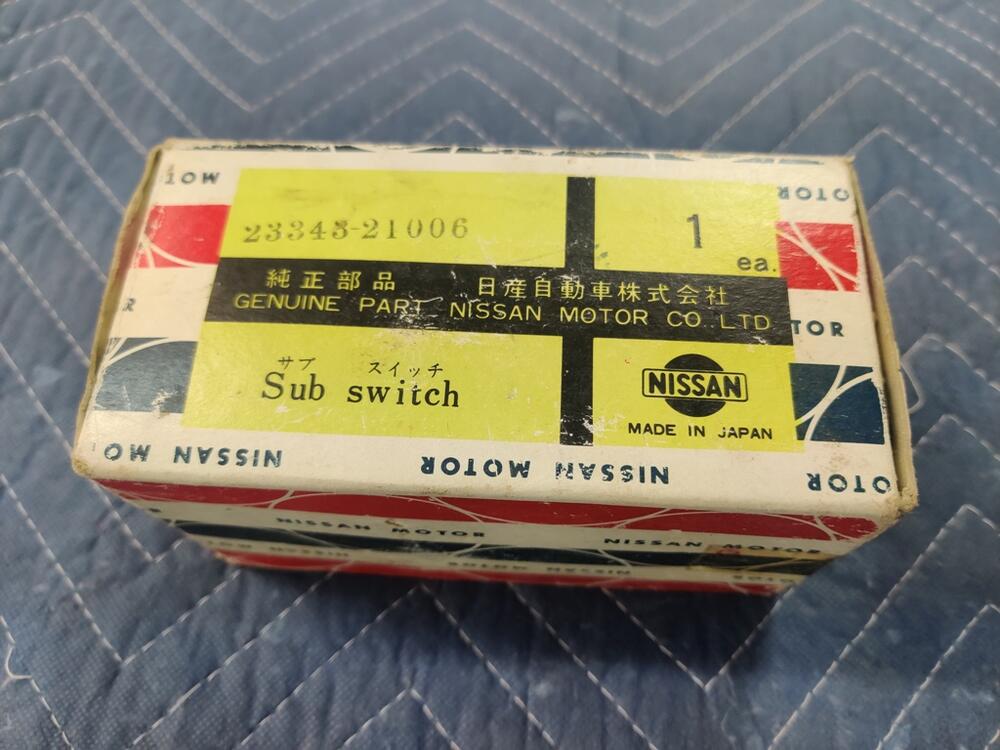
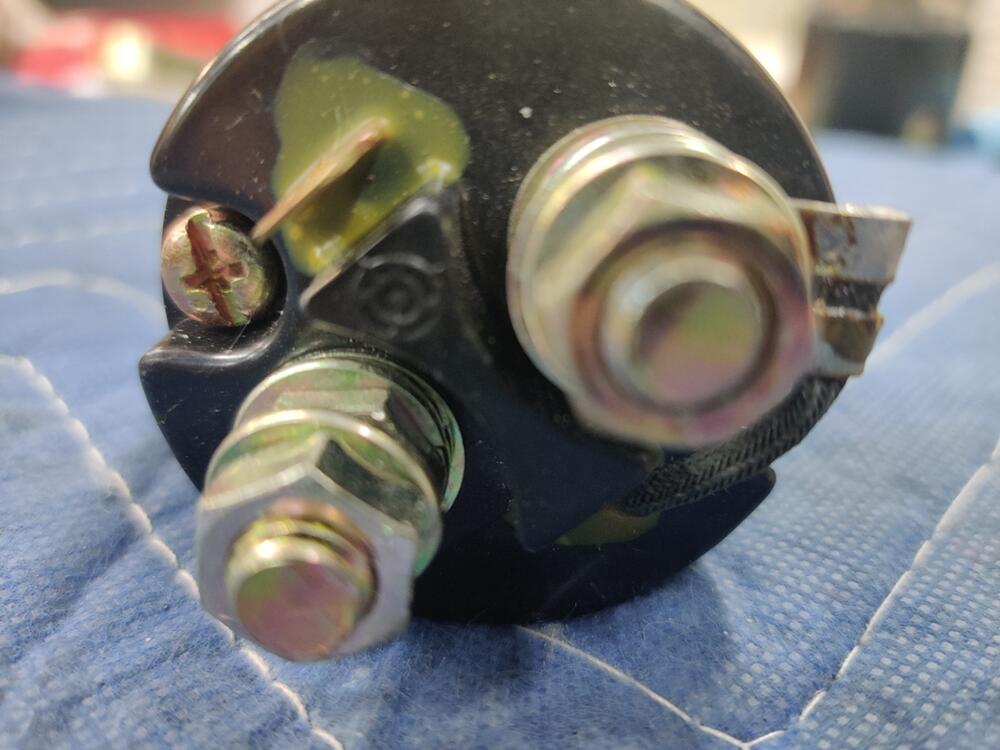
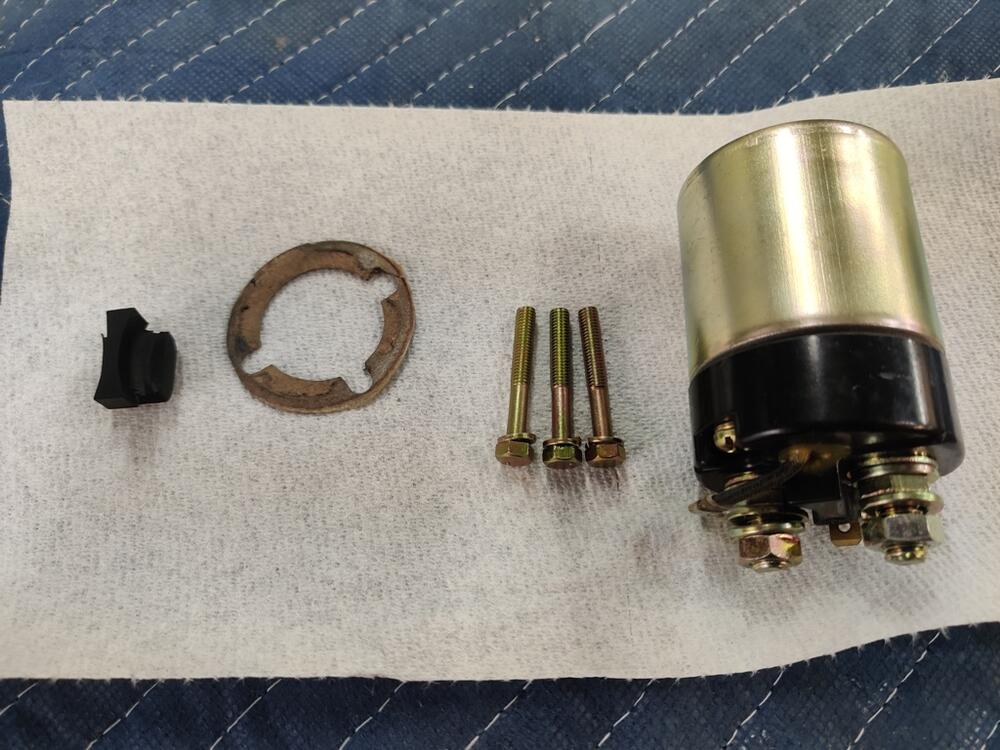
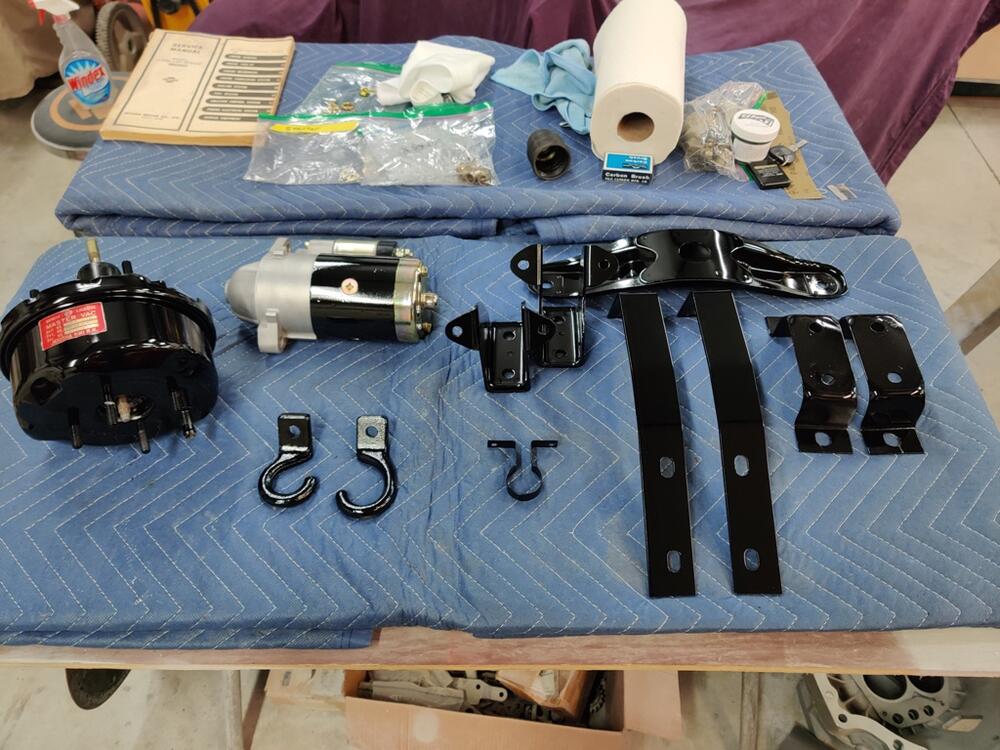
So, it looks to me like the spikes on the seat frames need to be straightened and the orientation should be 90 degrees from their mounting location. So, they should be sticking out straight... for those who want to know. Over the last few evenings, I painted a few items black, and waited for them to dry, and then worked on assembly of the starter. For the starter, I used new bushings for the front and the rear. Here is the front: The bushing is a light press fit. My measurements showed it was about .002" larger on the OD than the starter front cover "well" that the pushing presses into. After it was pressed in, I used a reamer to get the ID to a size within factory specification. I went through two bushings here because, I thought the reamer would "self center and ream straight. That ending up being laughable. Using a drill press would be sufficient, however, I don't have one yet. It's one of those tools I just haven't committed to investing in. So, I rigged up a contraption that helped with my drill angle on the second bushing and got somewhat lucky with reaming straight. For the back bushing, I did not have a suitably sized reamer and used a "paste" to get the bushing to size. The bushing ID was very close, but using the 320 grit paste and the armature to get the clearance to spec was arduous. I've never installed and sized bushings for an armature before. After decades of sitting in my parts bin, I was finally able to install the NOS solenoid. If anyone needs a box for their loose factory part, let me know. 🙂 Compared to body work, the pace of progress on this kind of stuff makes me laugh - the sense of accomplishment per hour spent is off the charts. Another note about the gloss level of the black parts - steering shaft on the left mustache bar in the center, and main driveshaft on the right: As I said before, the mustache bar has too much "flattening agent". But looking again at these three parts, I think the steering shaft and main driveshaft had a little too much also. I will respray the mustache bar, but I am ok with the other two. It's not going to kill me that a few parts are a tad bit dull. Other parts that I have painted black thus far include the motor mount brackets and transmission mount bracket, the bumper brackets, the brake booster, and the bracket for the one way valve for the booster. The next round of painting parts black will be a slog, starting with blasting, then priming, then painting. All kinds of assembly will be possible after that.


 1 point
 -
I think you’re on the right track doing these things your self. As my post#79 I recommend a leak down test after you get accurate compression readings. We are here to help.1 point
-
1 point
-
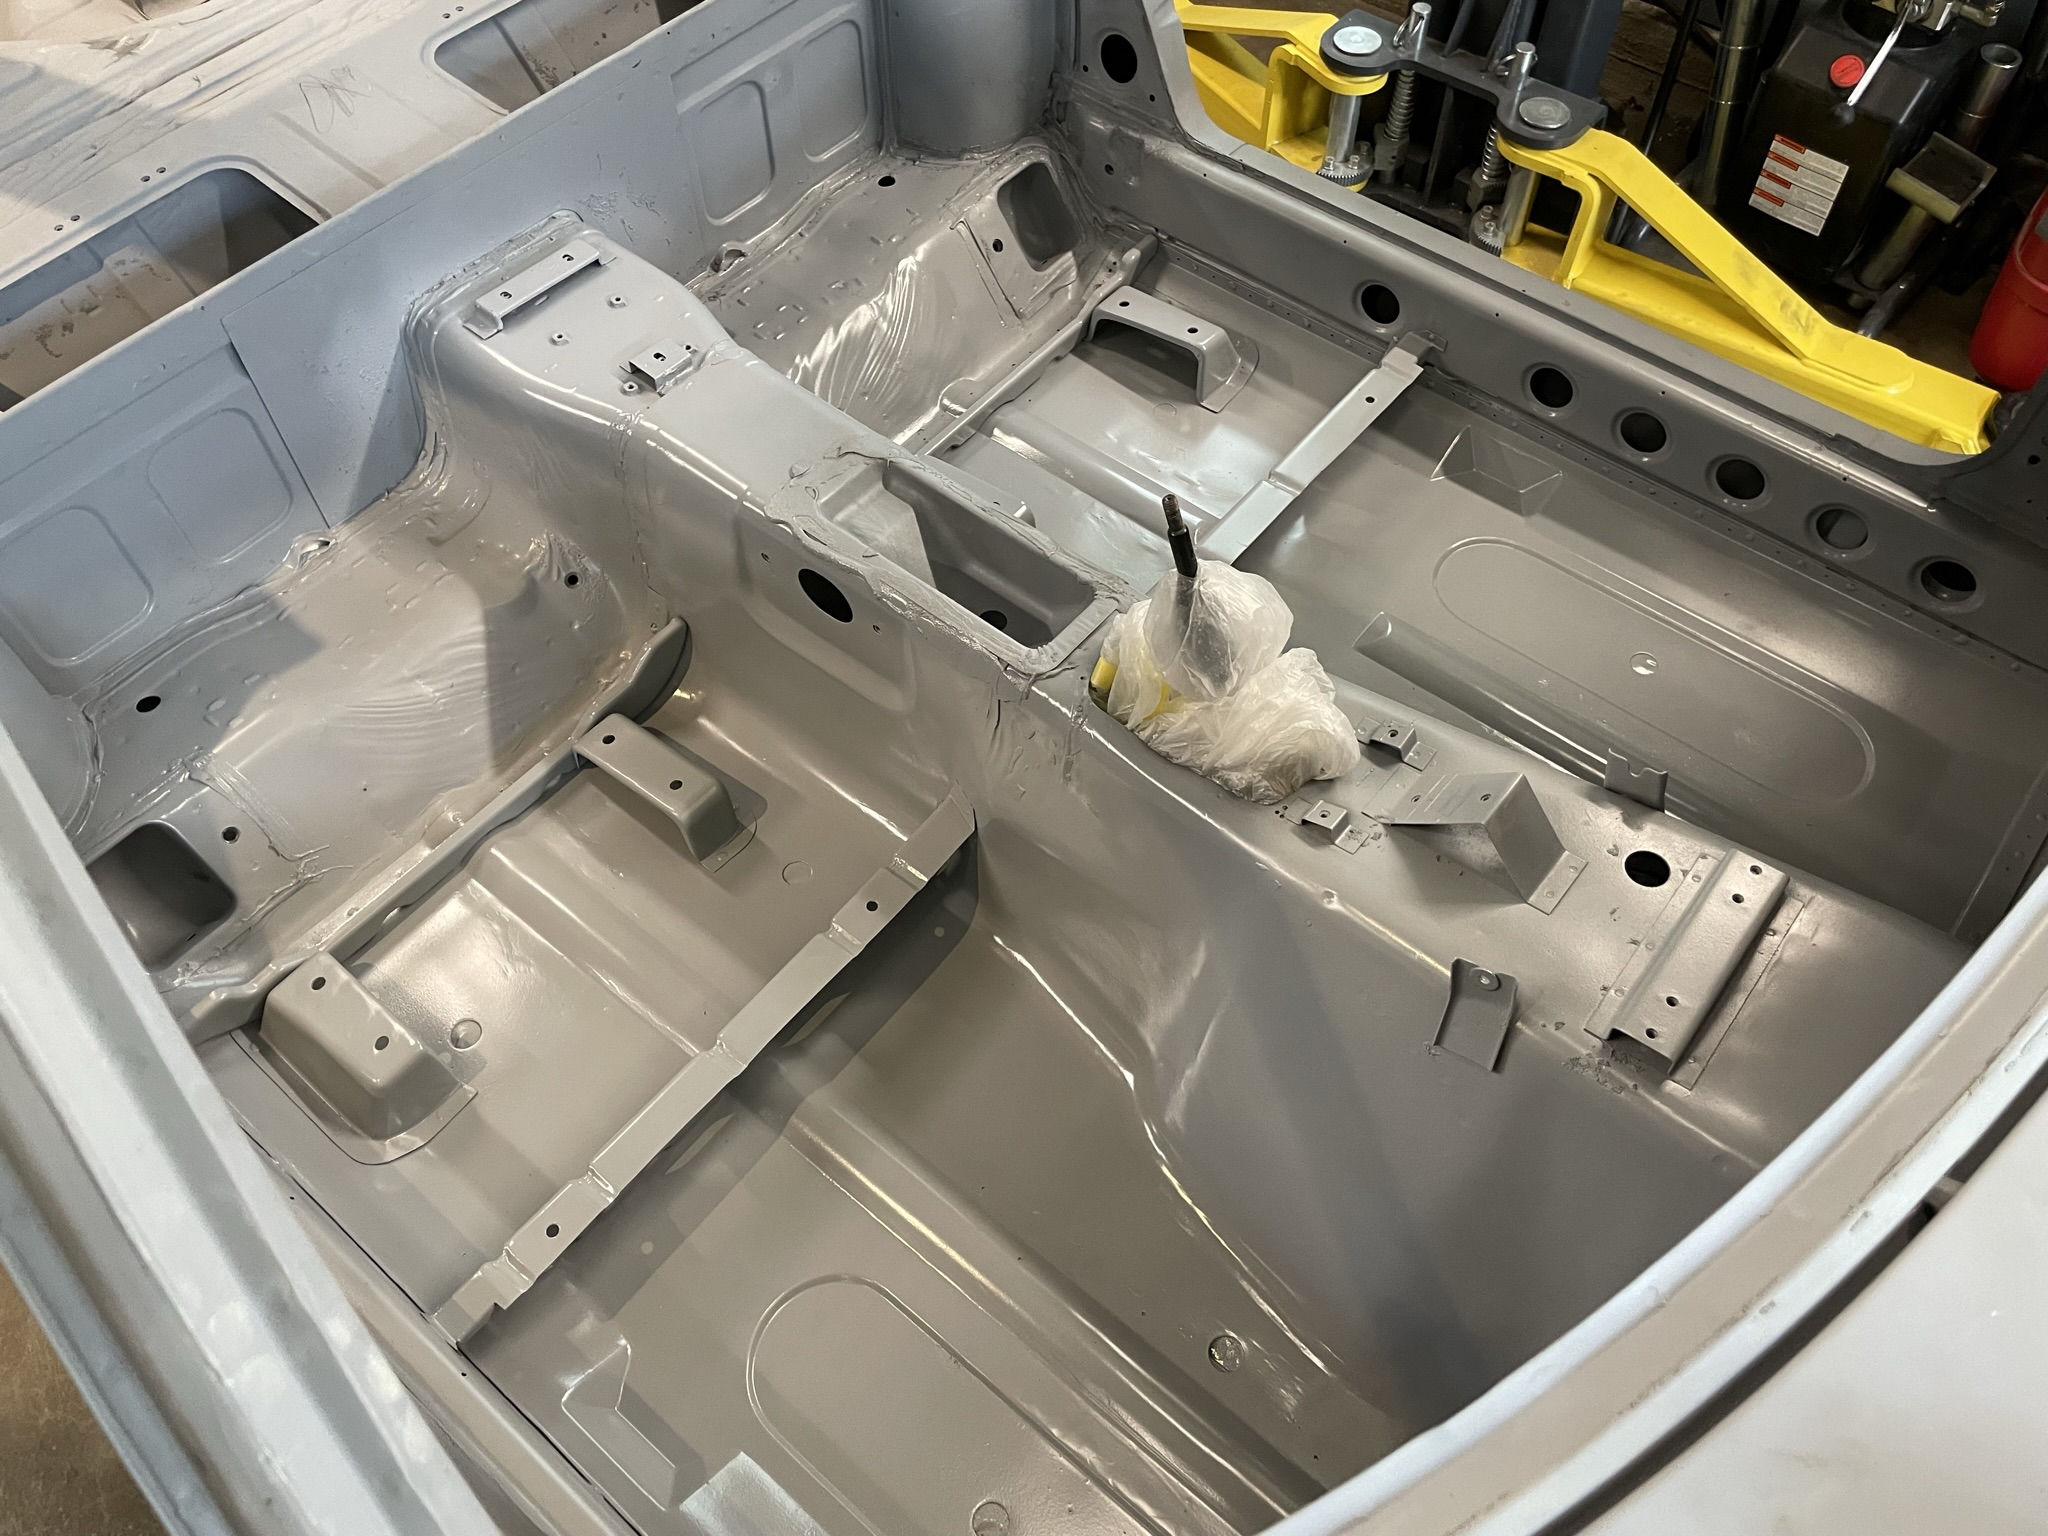
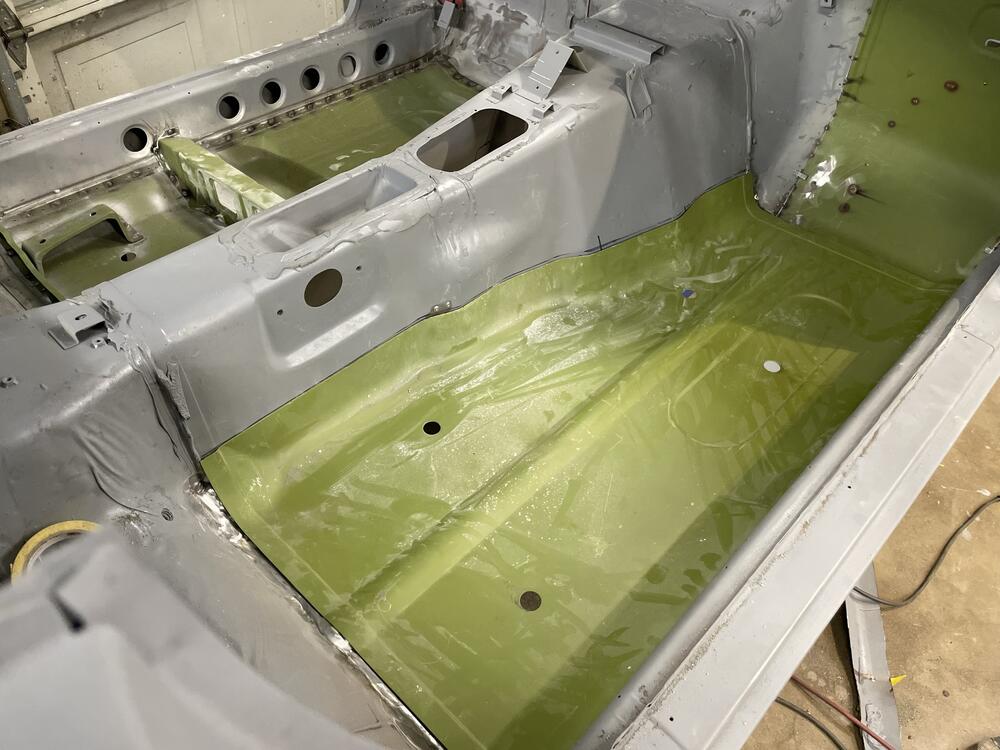
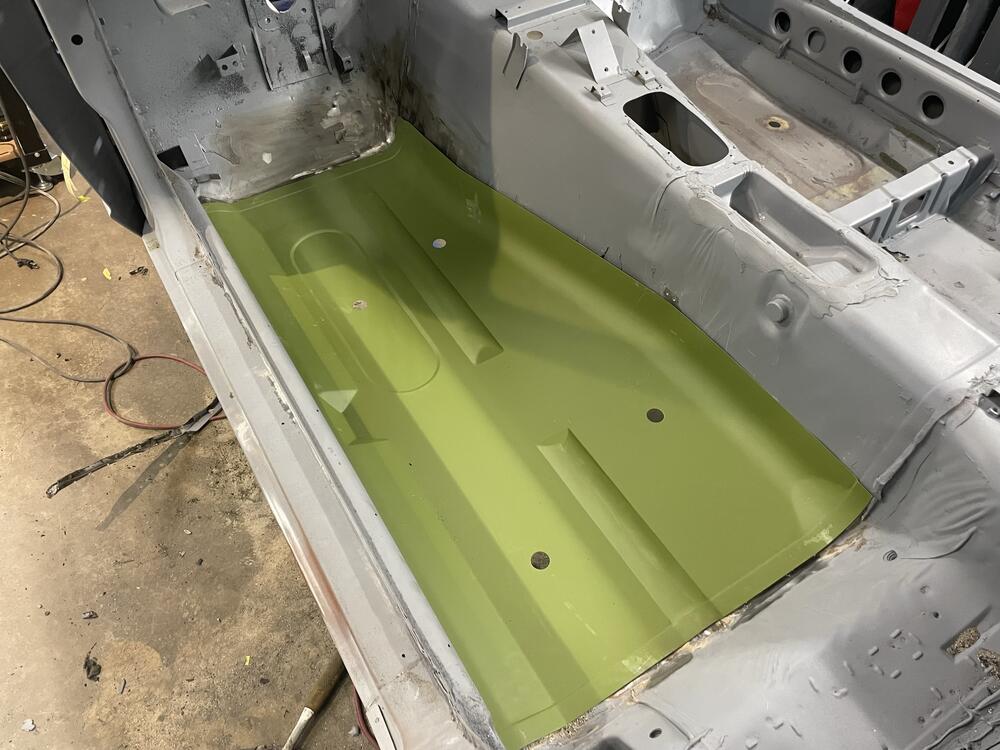
1 pointWrapped up the floor pan install with new seat mounting brackets and supports. I will say these weren't 100% a drop in where the factory mounts were previously, but very close. I would attribute that to possibly human error when they were originally placed, as the LH and RH sides were not aligned with each other. That and no aftermarket part will ever be a perfect match. Regardless, happy with the final outcome. All it lacks now is seam sealer and sound deadening before final paint.
 1 point
 -
1 point
-
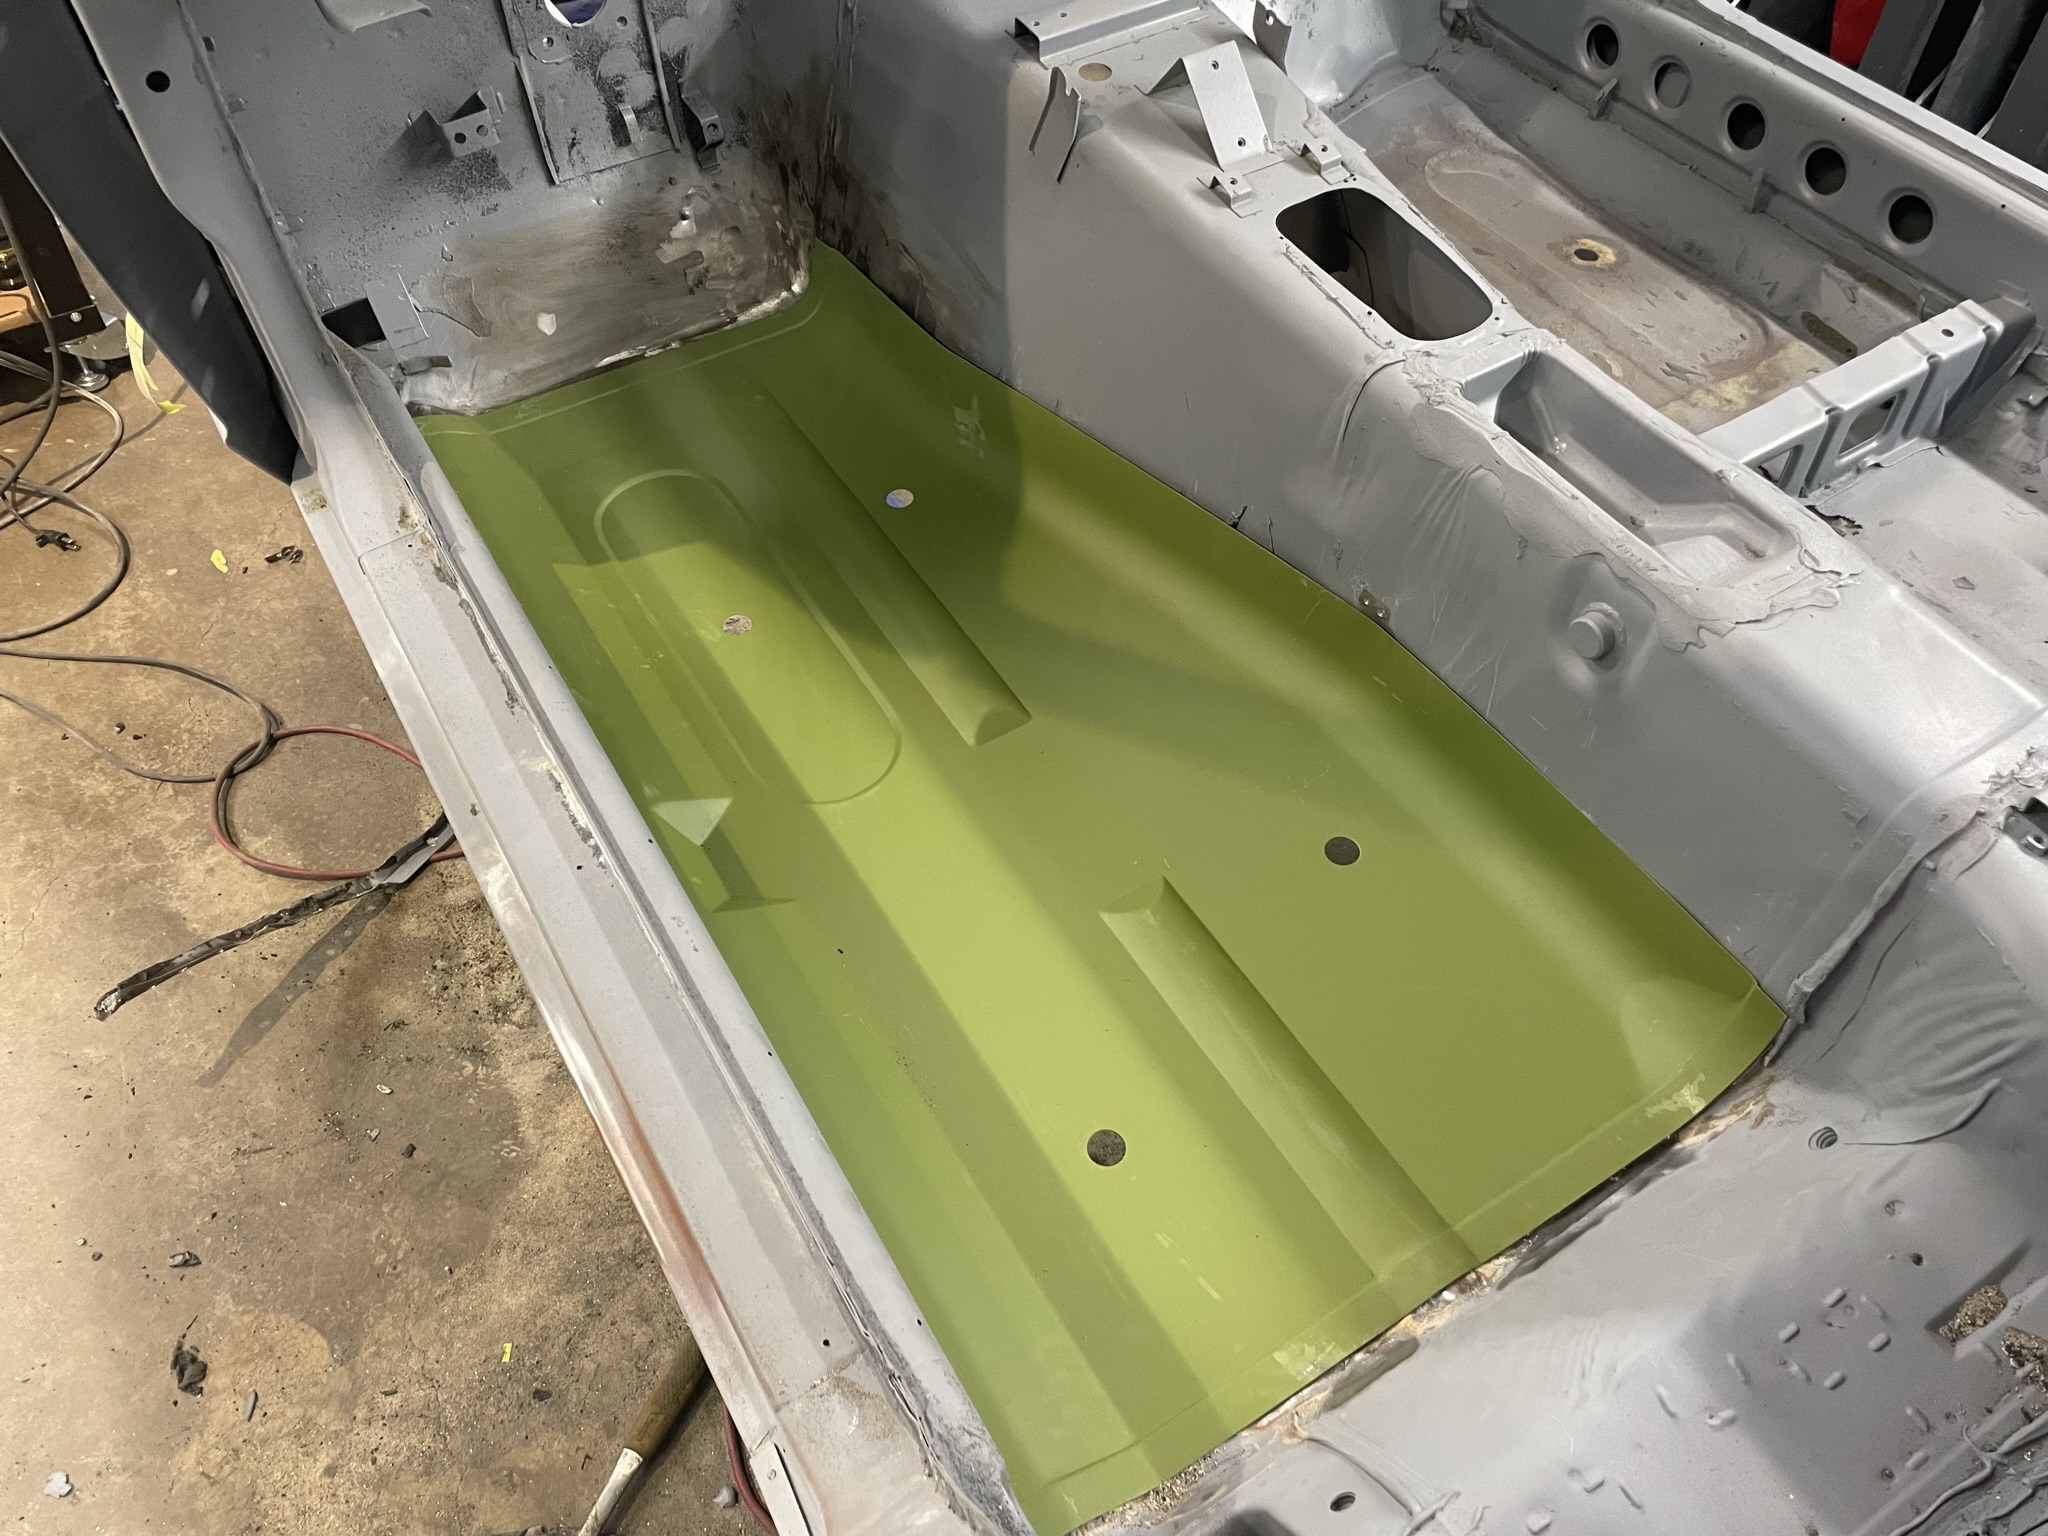
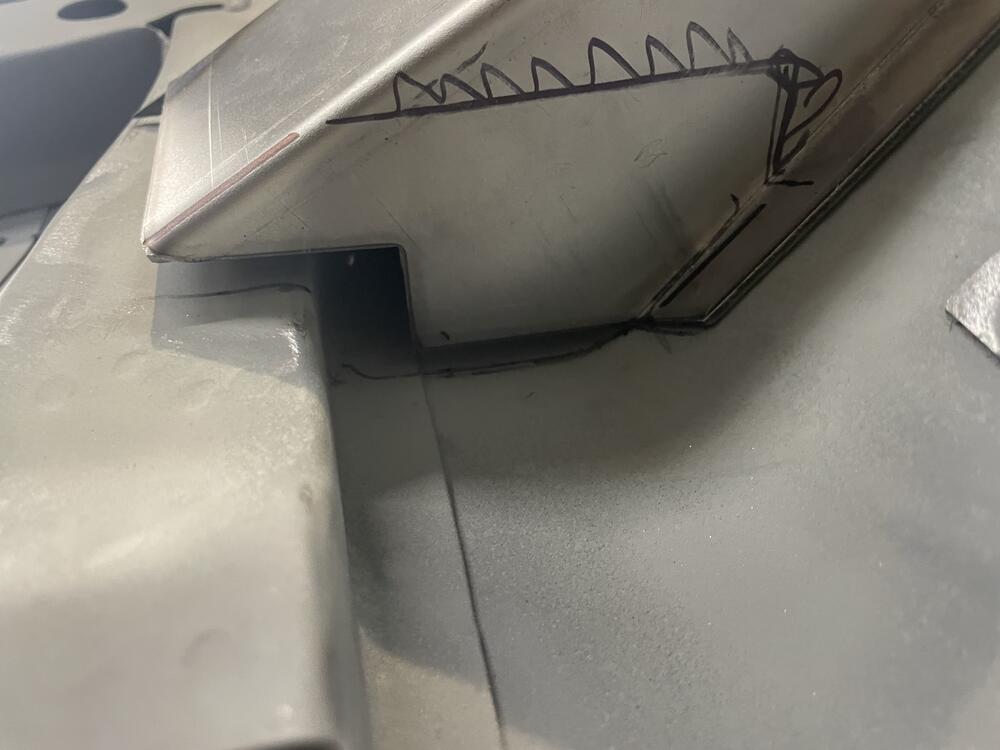
1 pointPassenger floor and frame rail final fitment before welding in. I’ve yet to use one of these Klassic Fab panels that wasn’t a top notch piece. Now the Bad Dog parts, that’s a different story. The rails and extensions needed a lot of work to get them to fit. So much so I feel making my own would have been easier. Was really surprised how bad they were (no pun intended). You can see above how off they were from the rear floor supports. This was the best fitting part of the set. Fortunately I was able to salvage them and wrap up the floor pan job.
 1 point
 -
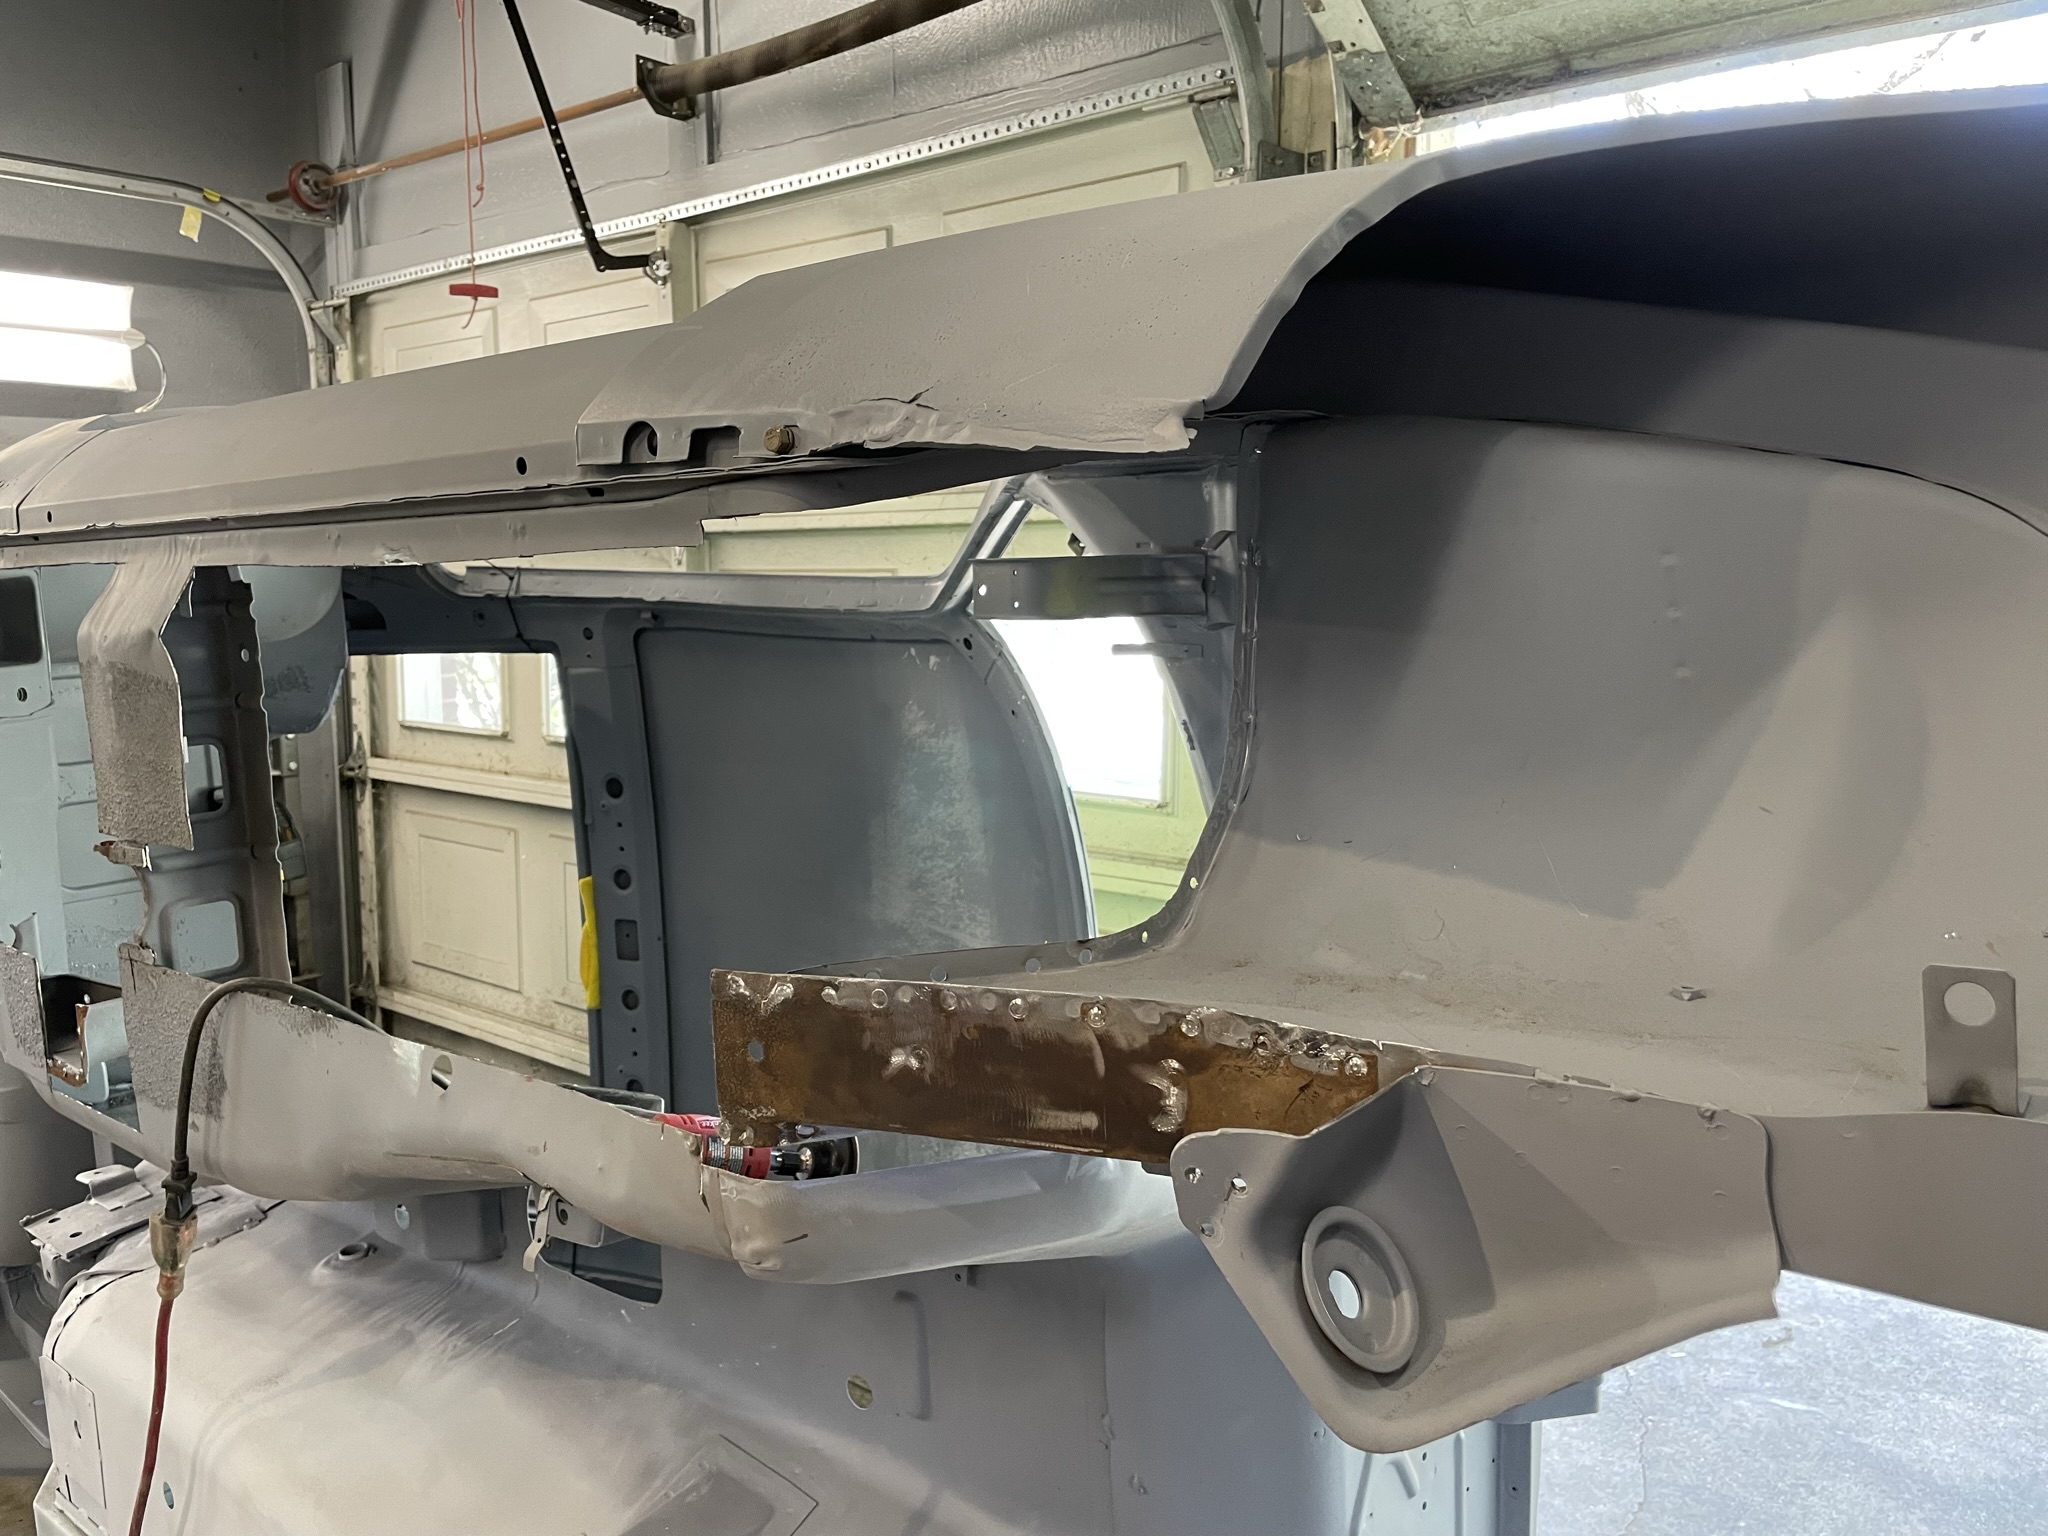
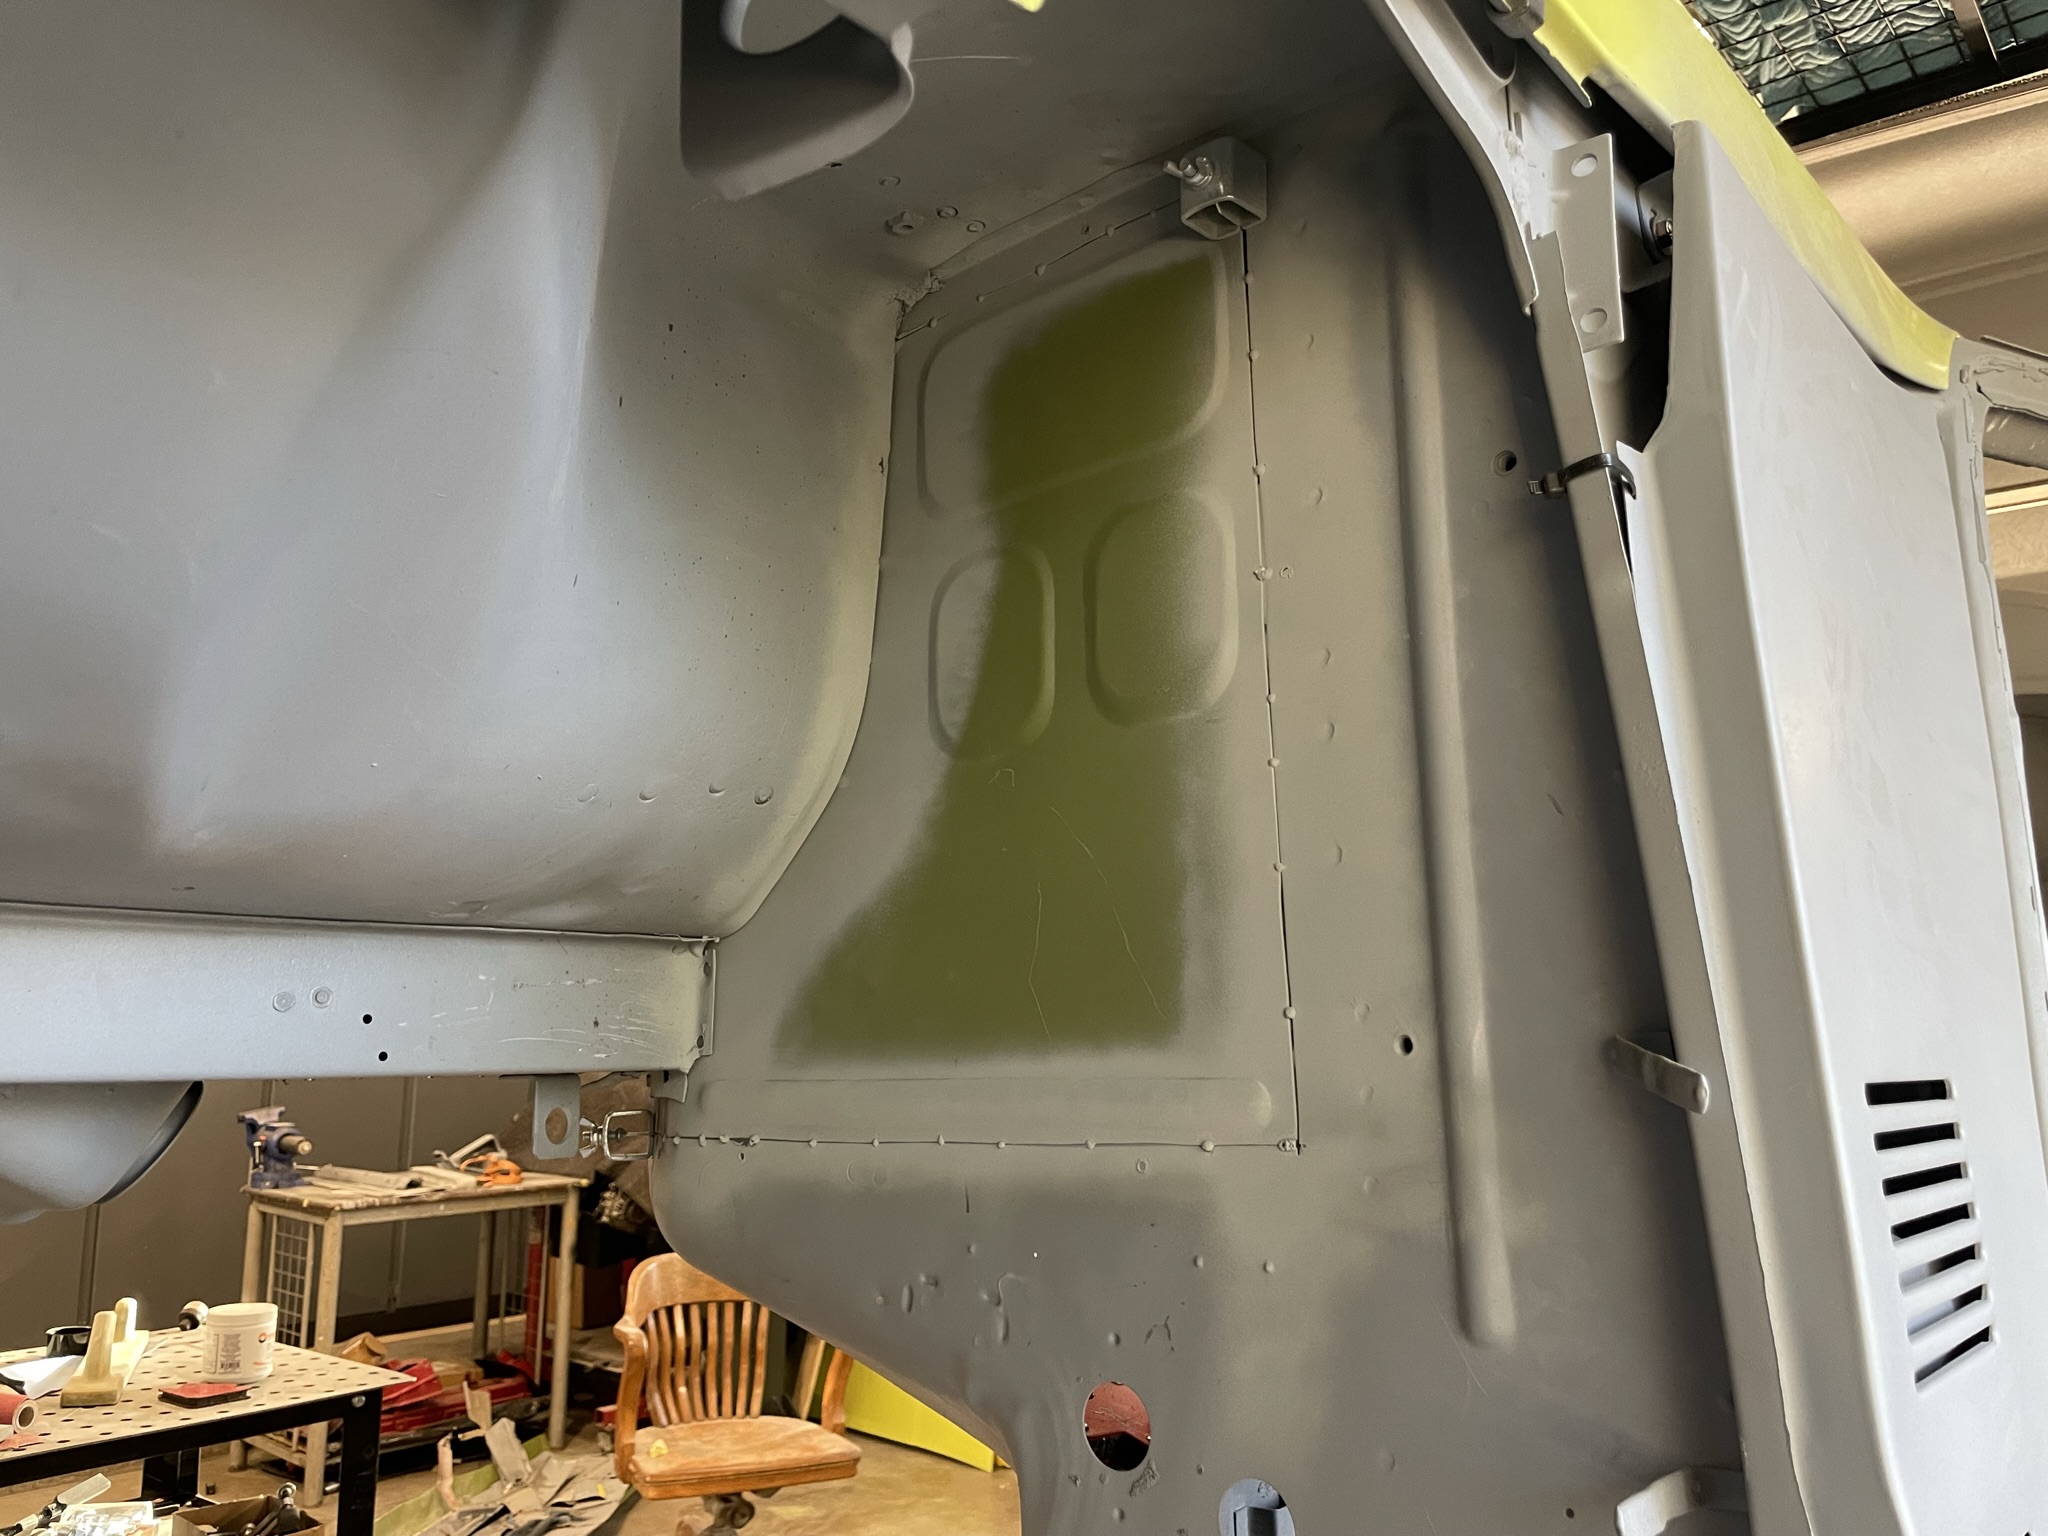
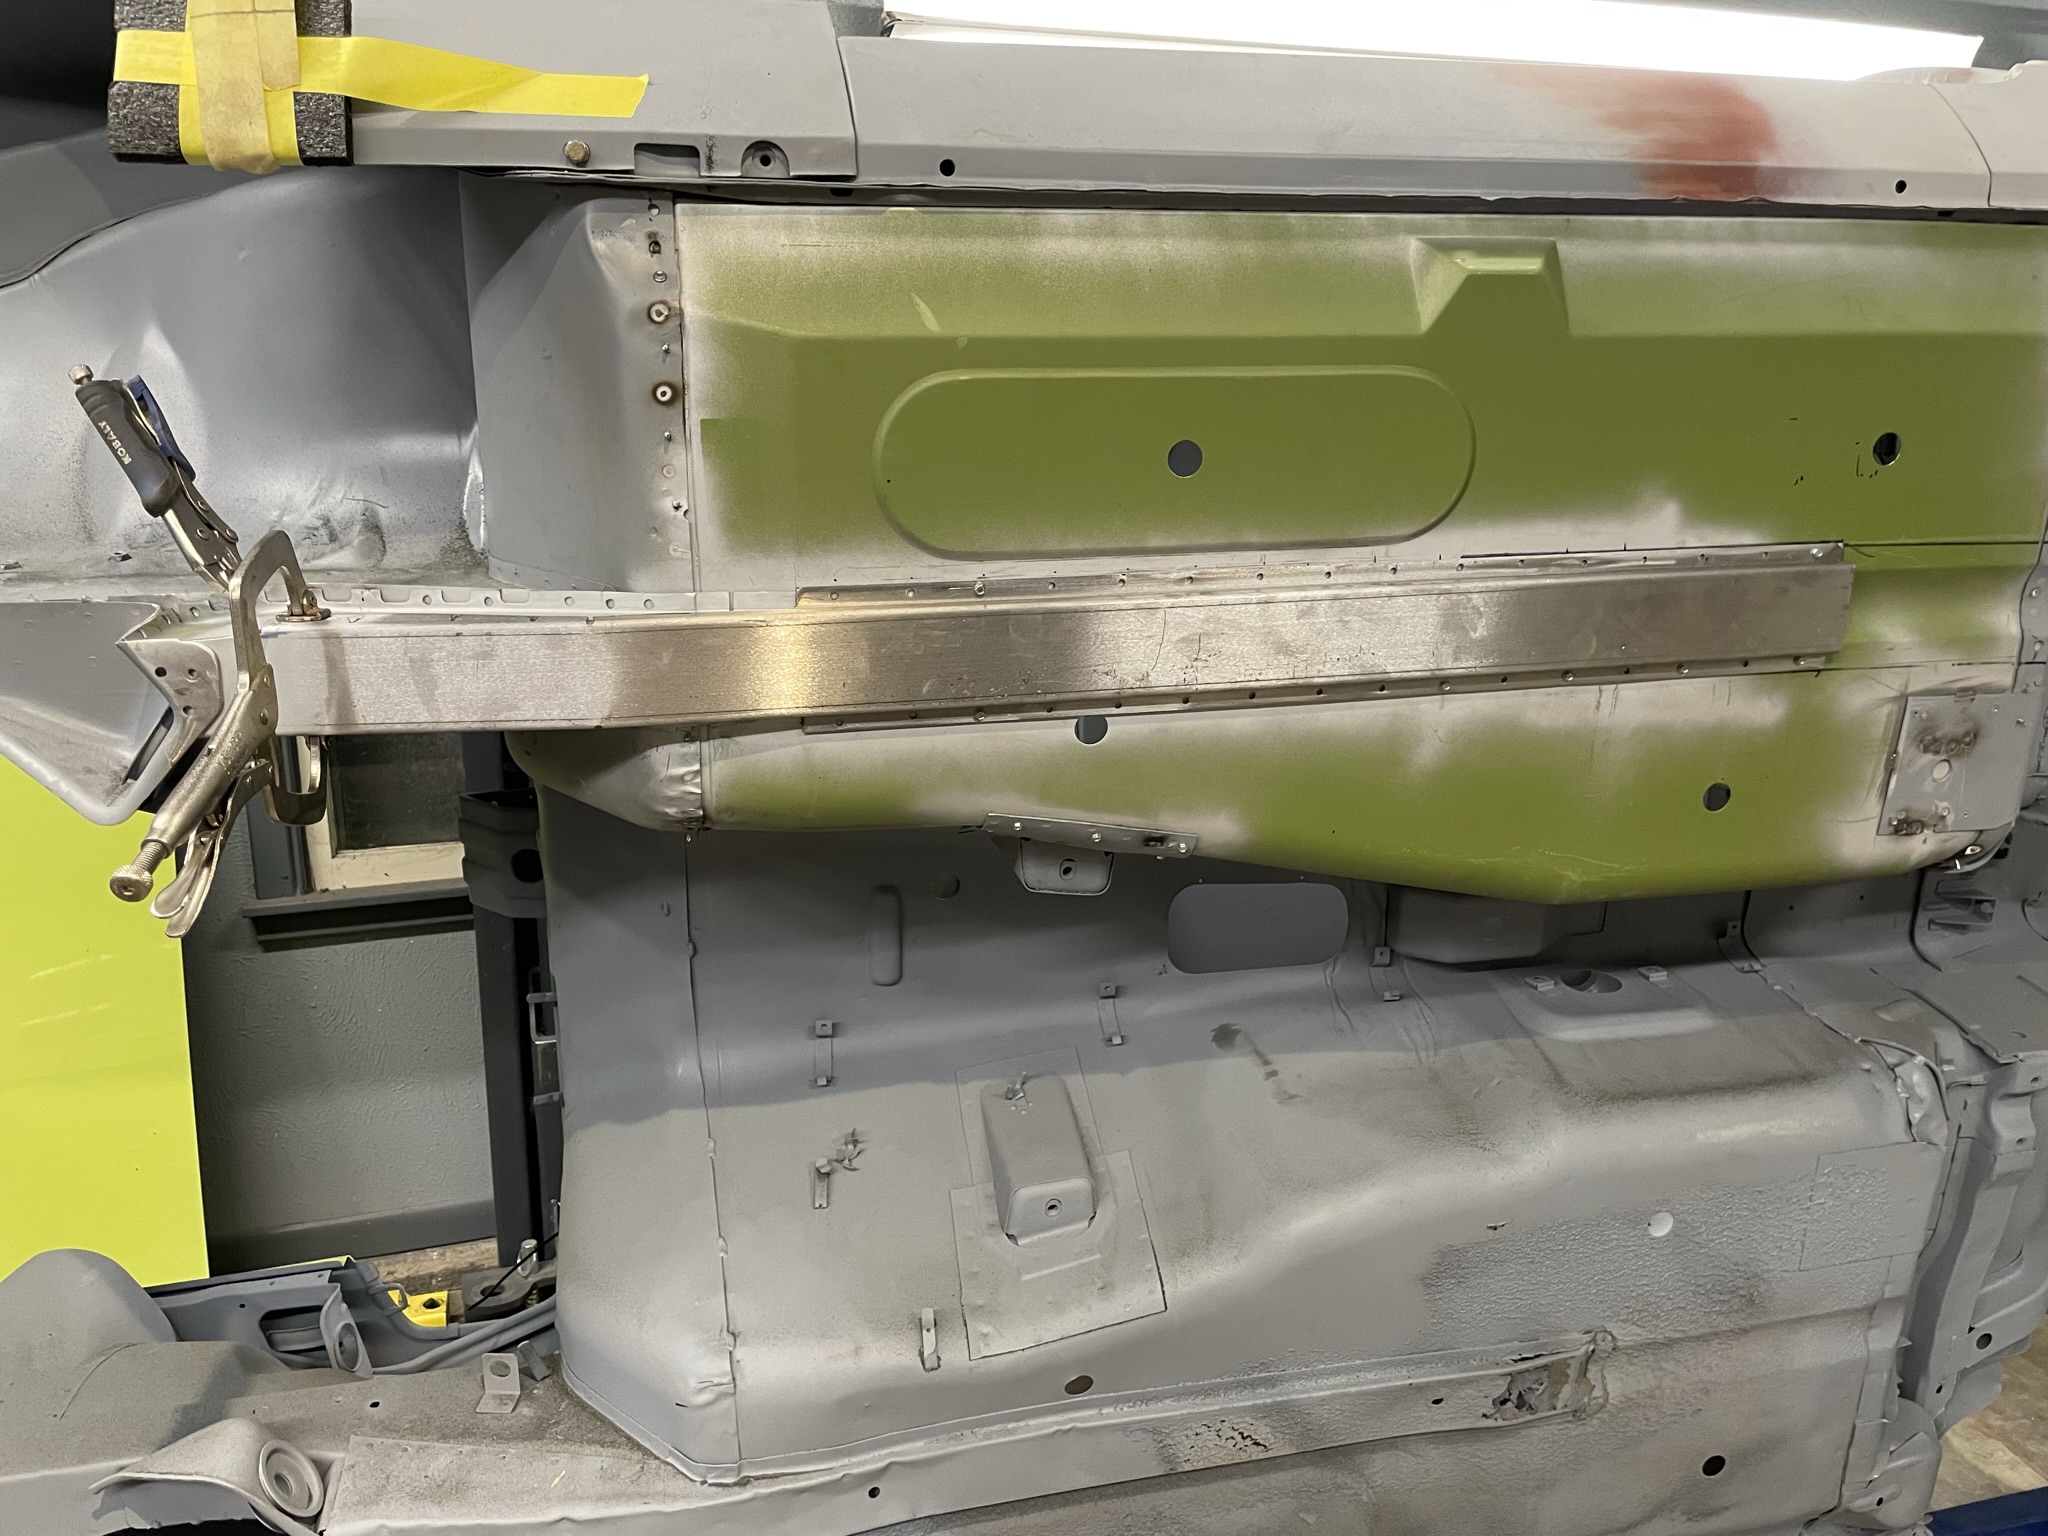
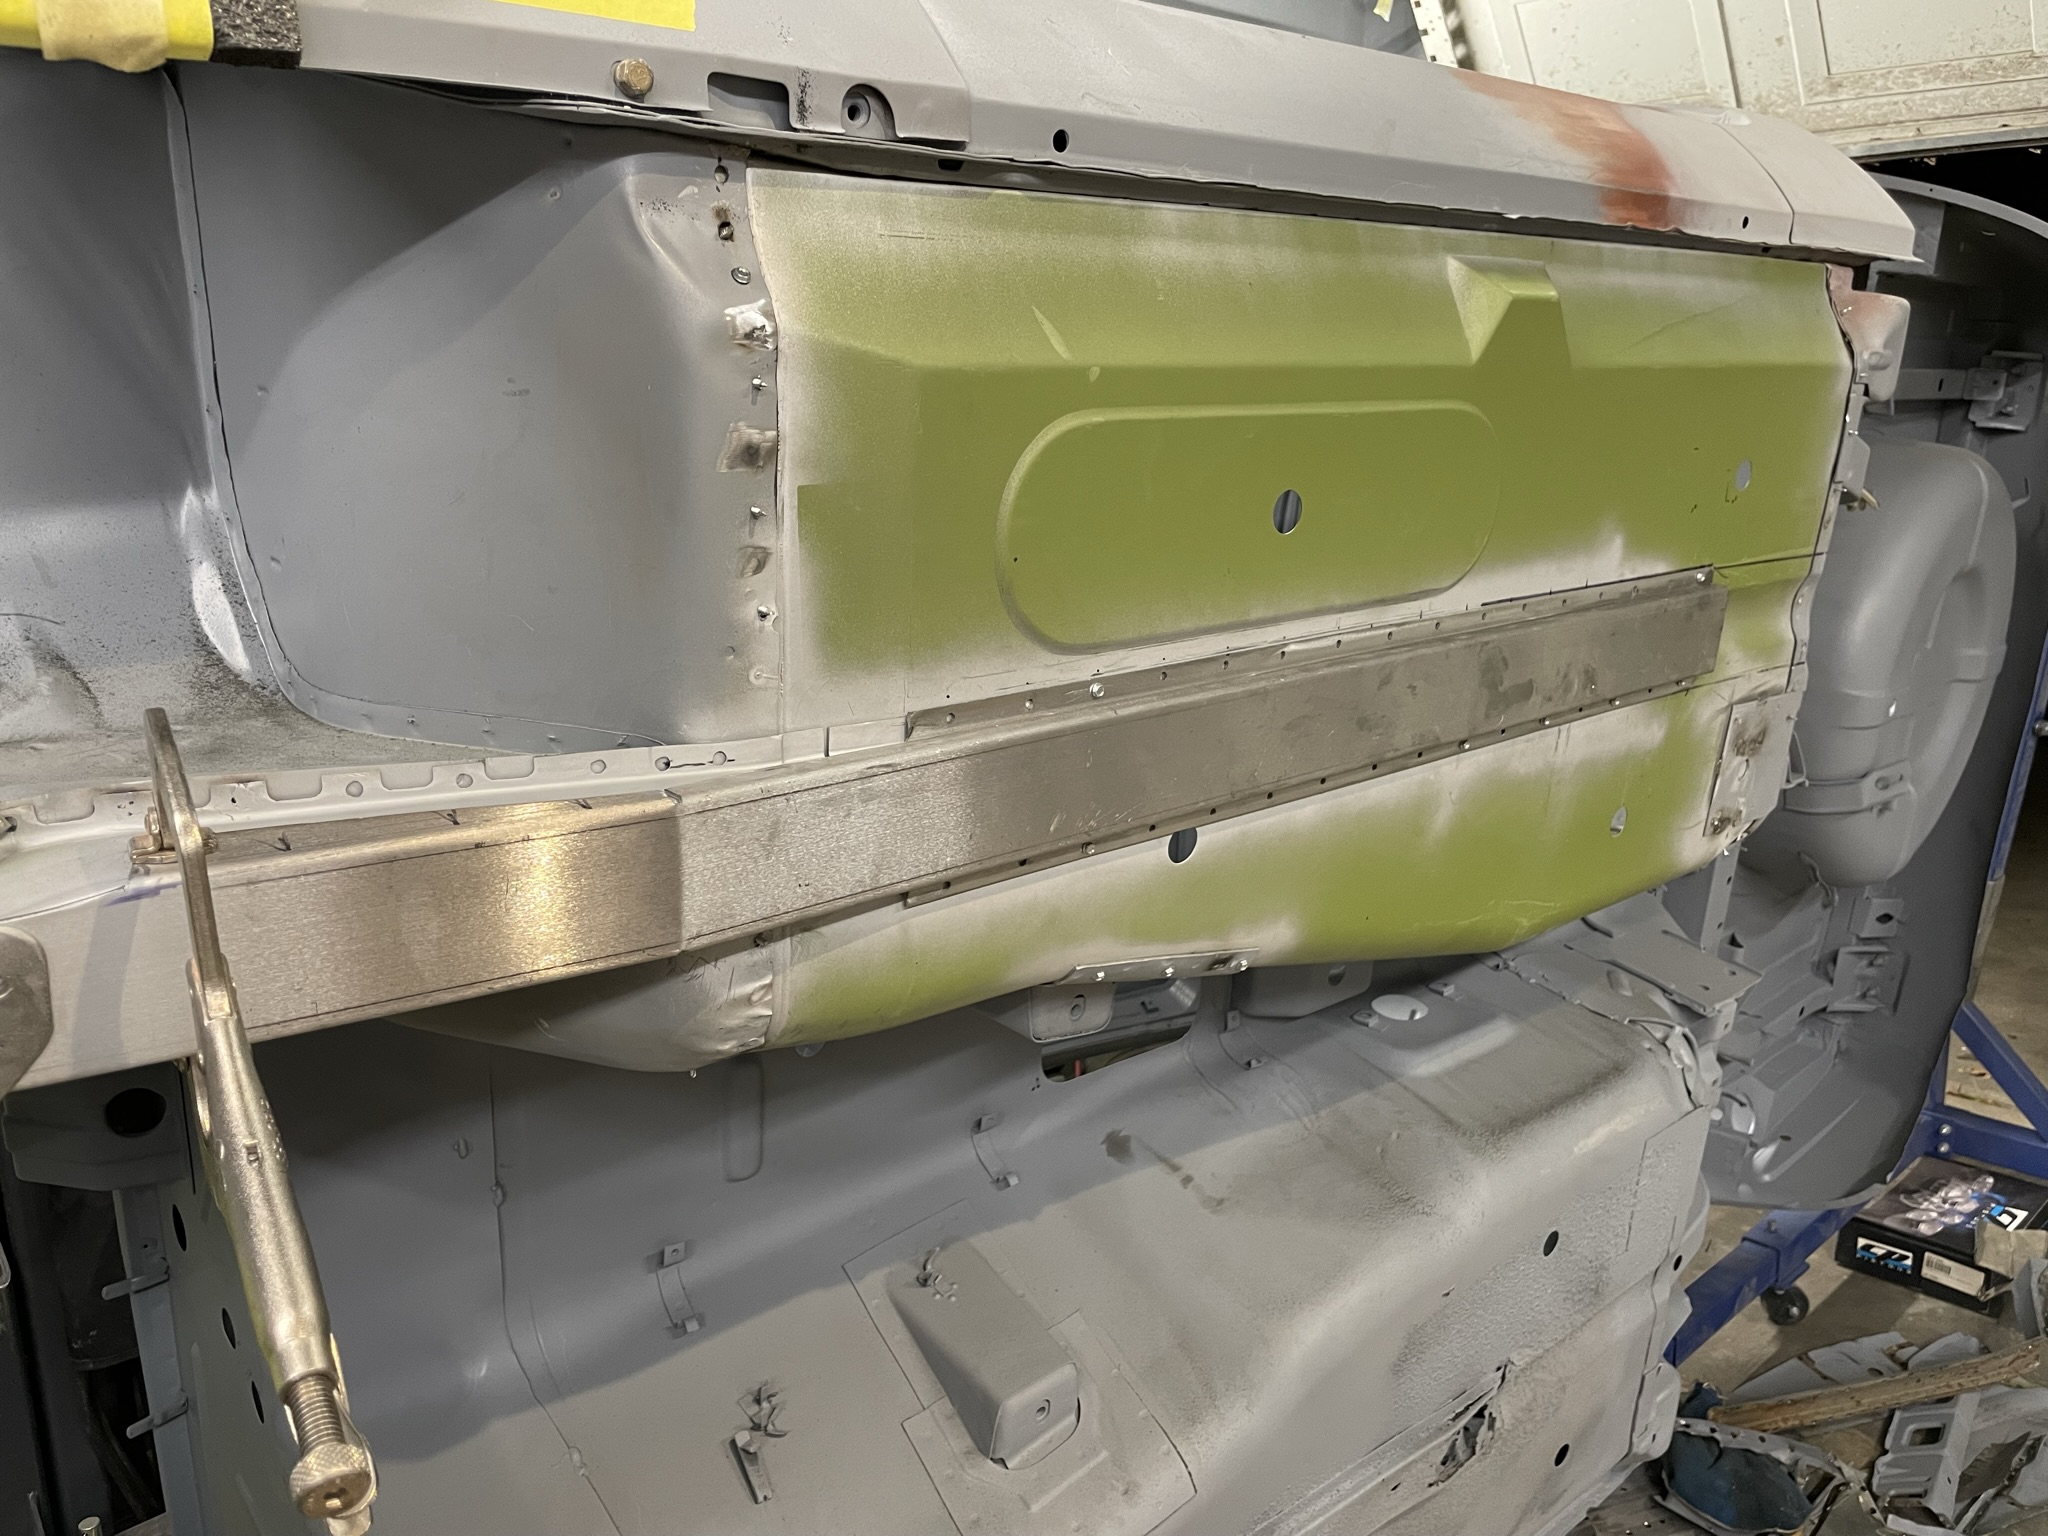
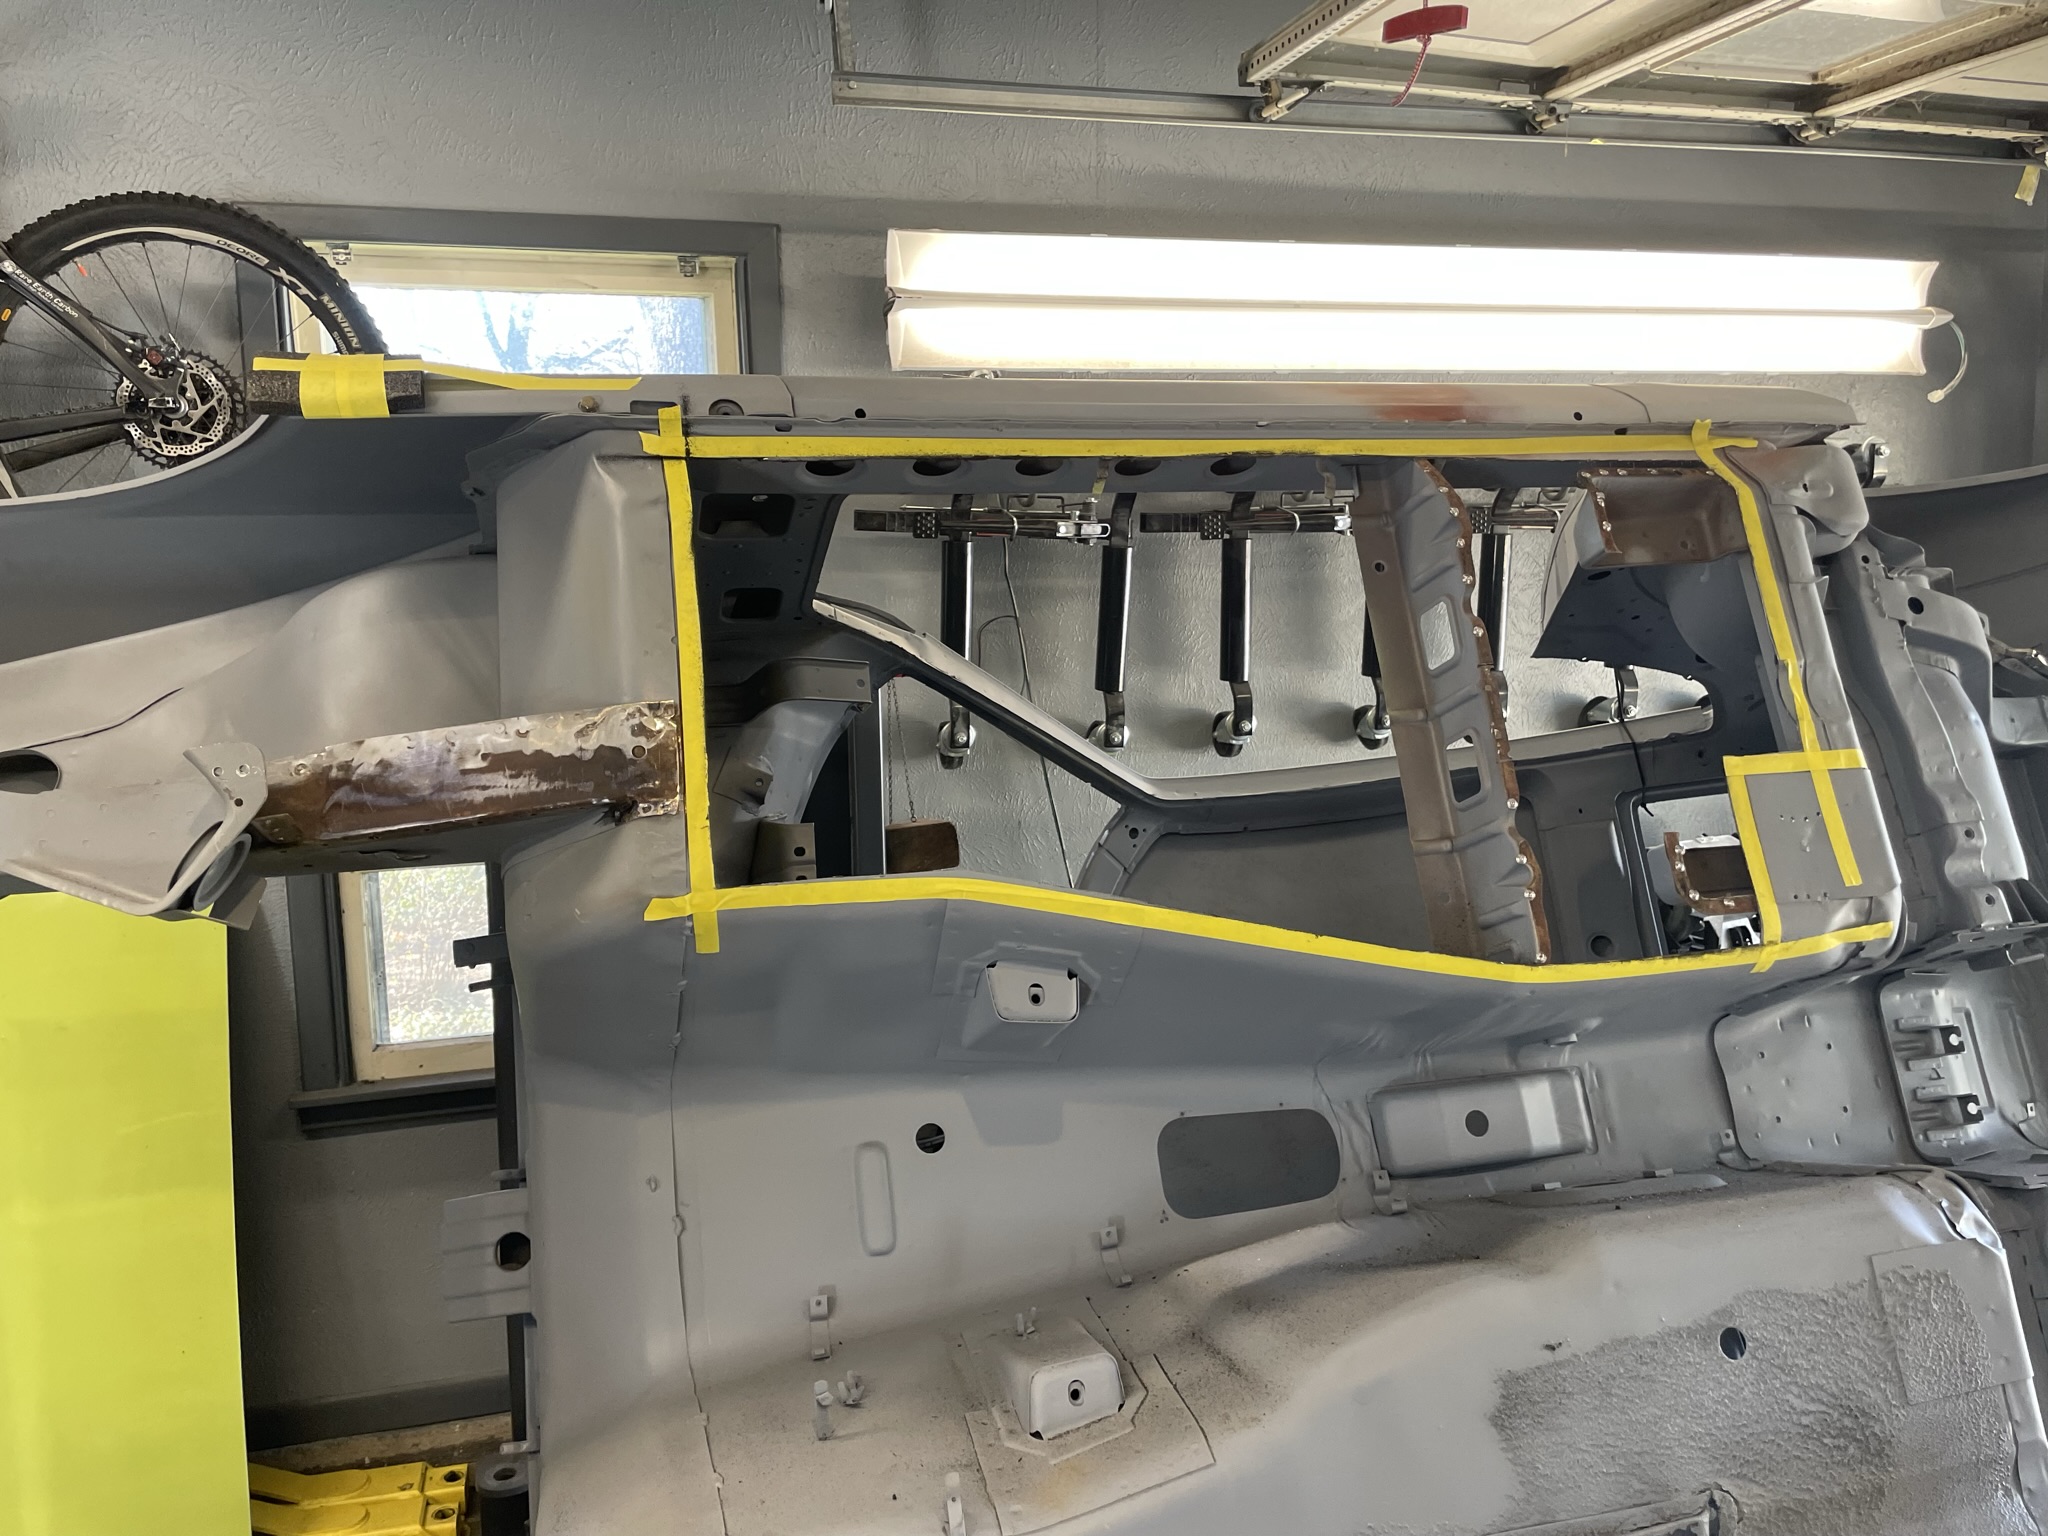
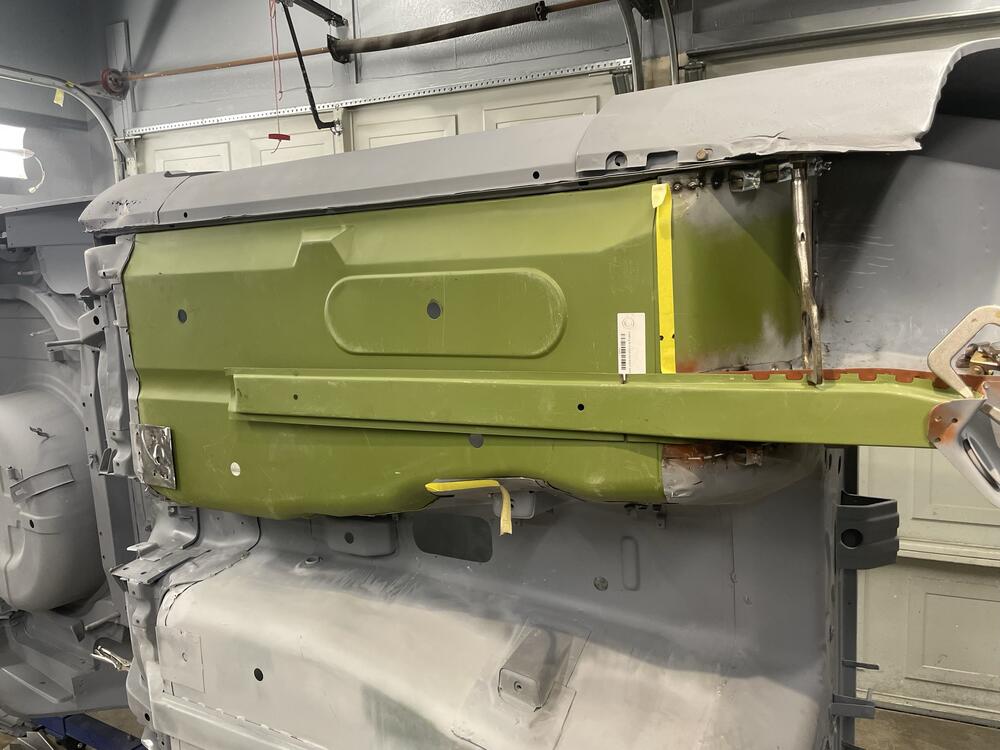
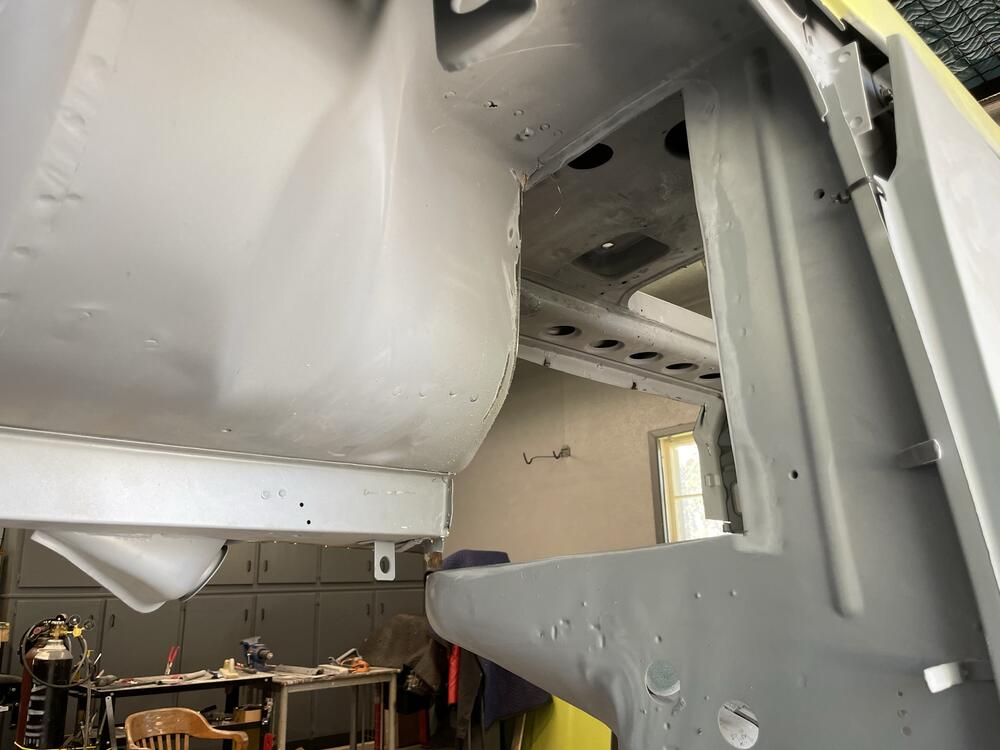
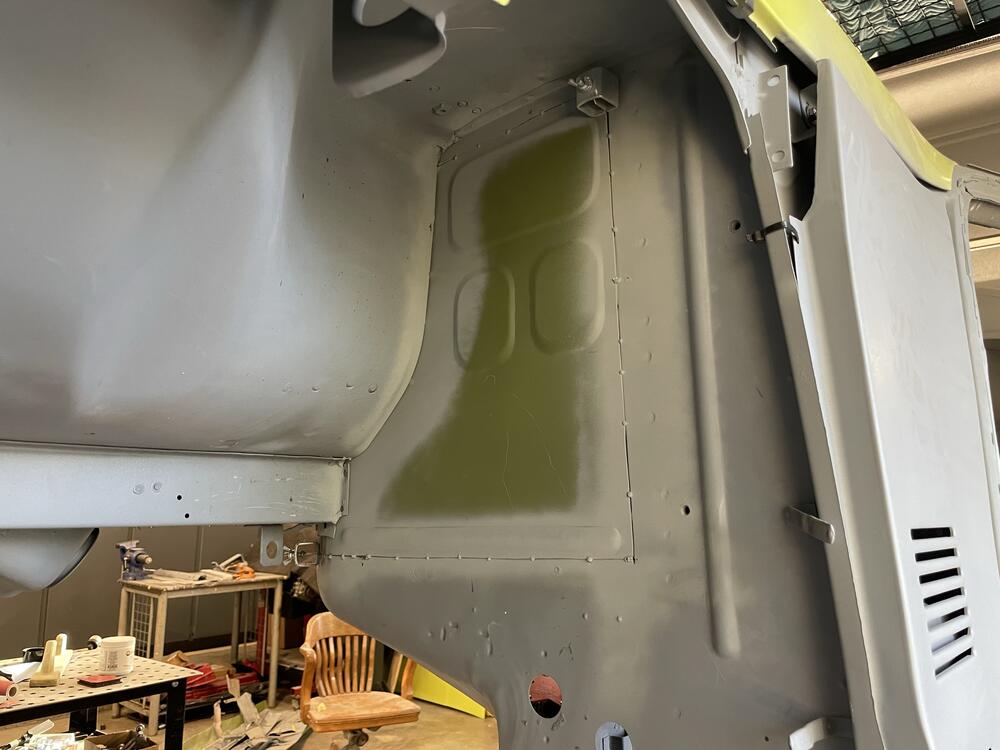
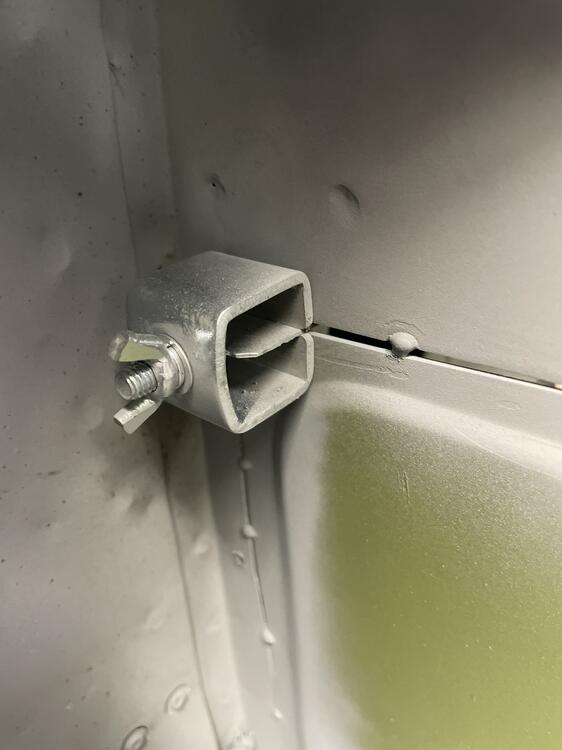
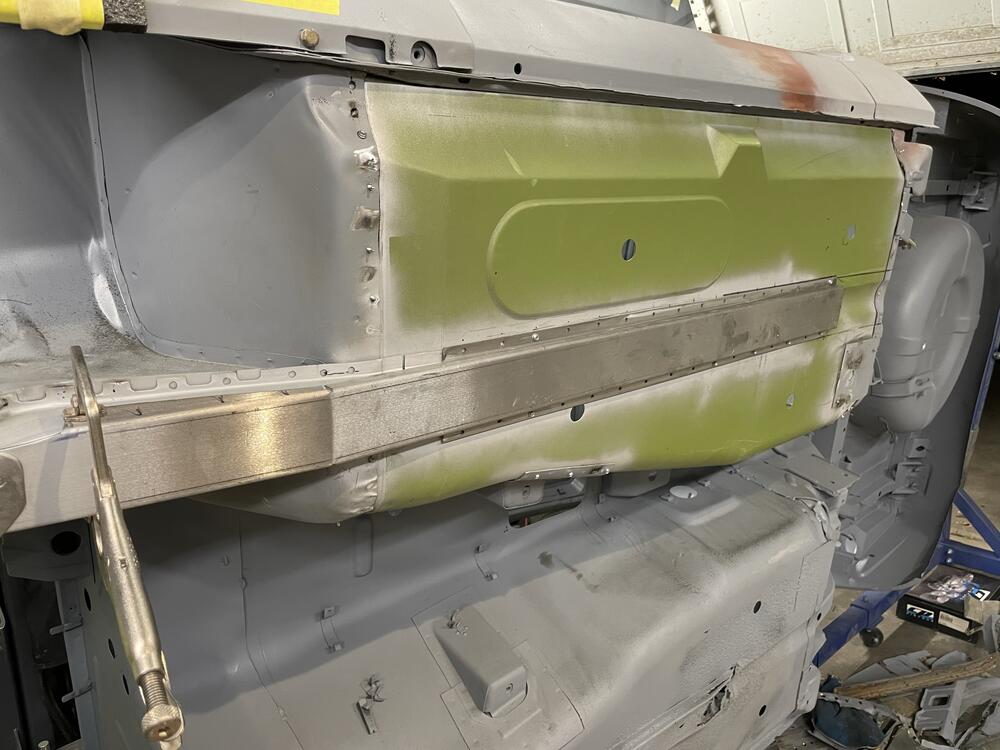
1 pointPassenger side was a bit more interesting. The Z had a dealer installed AC system which was poorly done with holes cut into the firewall to route lines. I’ll be installing AC again in the car, but in a different manner. There was also some corrosion where the RH floor met the bottom of the firewall, below the battery tray. Rather than patch the holes from the AC and the rust, I opted to replace the whole section of firewall. I’ll also route the electrical elsewhere so this new panel will give me a clean start. Found these panel clamps at Harbor Freight. They’re great!
 1 point
 -
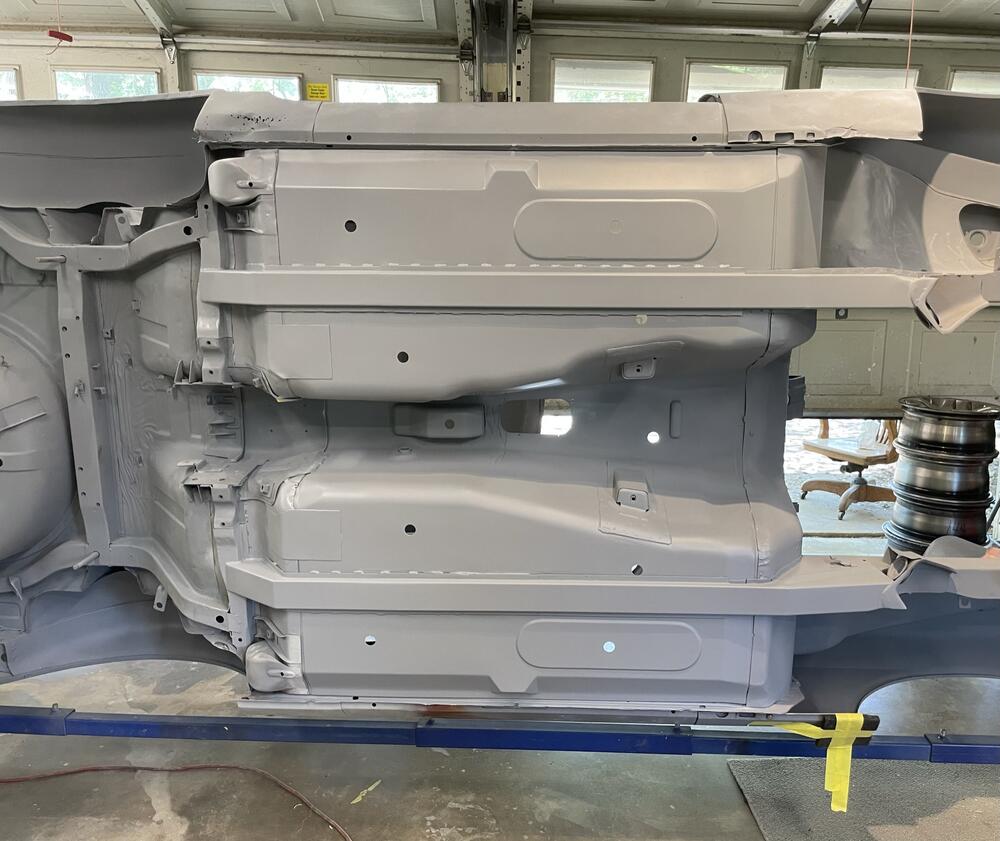
1 pointPacing myself and double checking measurements, the drivers floor board was a straightforward job. First removing the frame rail and then drilling out the seat bracket spot welds. This allowed me to use them as temporary locating features for placing the new floor. Once the panel fit the body correctly, we then removed the seat reinforcement brackets and staged the floor for welding didn’t grab a picture of the drivers side, but the factory frame rail was first welded down before installing the Bad Dog reinforcement rails. In theory you could install only the Bad Dog rails, but I couldn’t get a good fit and finish with them alone.

 1 point
 -
That's unfortunate considering the numbers are not accurate and basically useless. I agree with buying your own gauge and doing it yourself. I am sure you have the skills to accomplish this with a little instruction from us.1 point
-
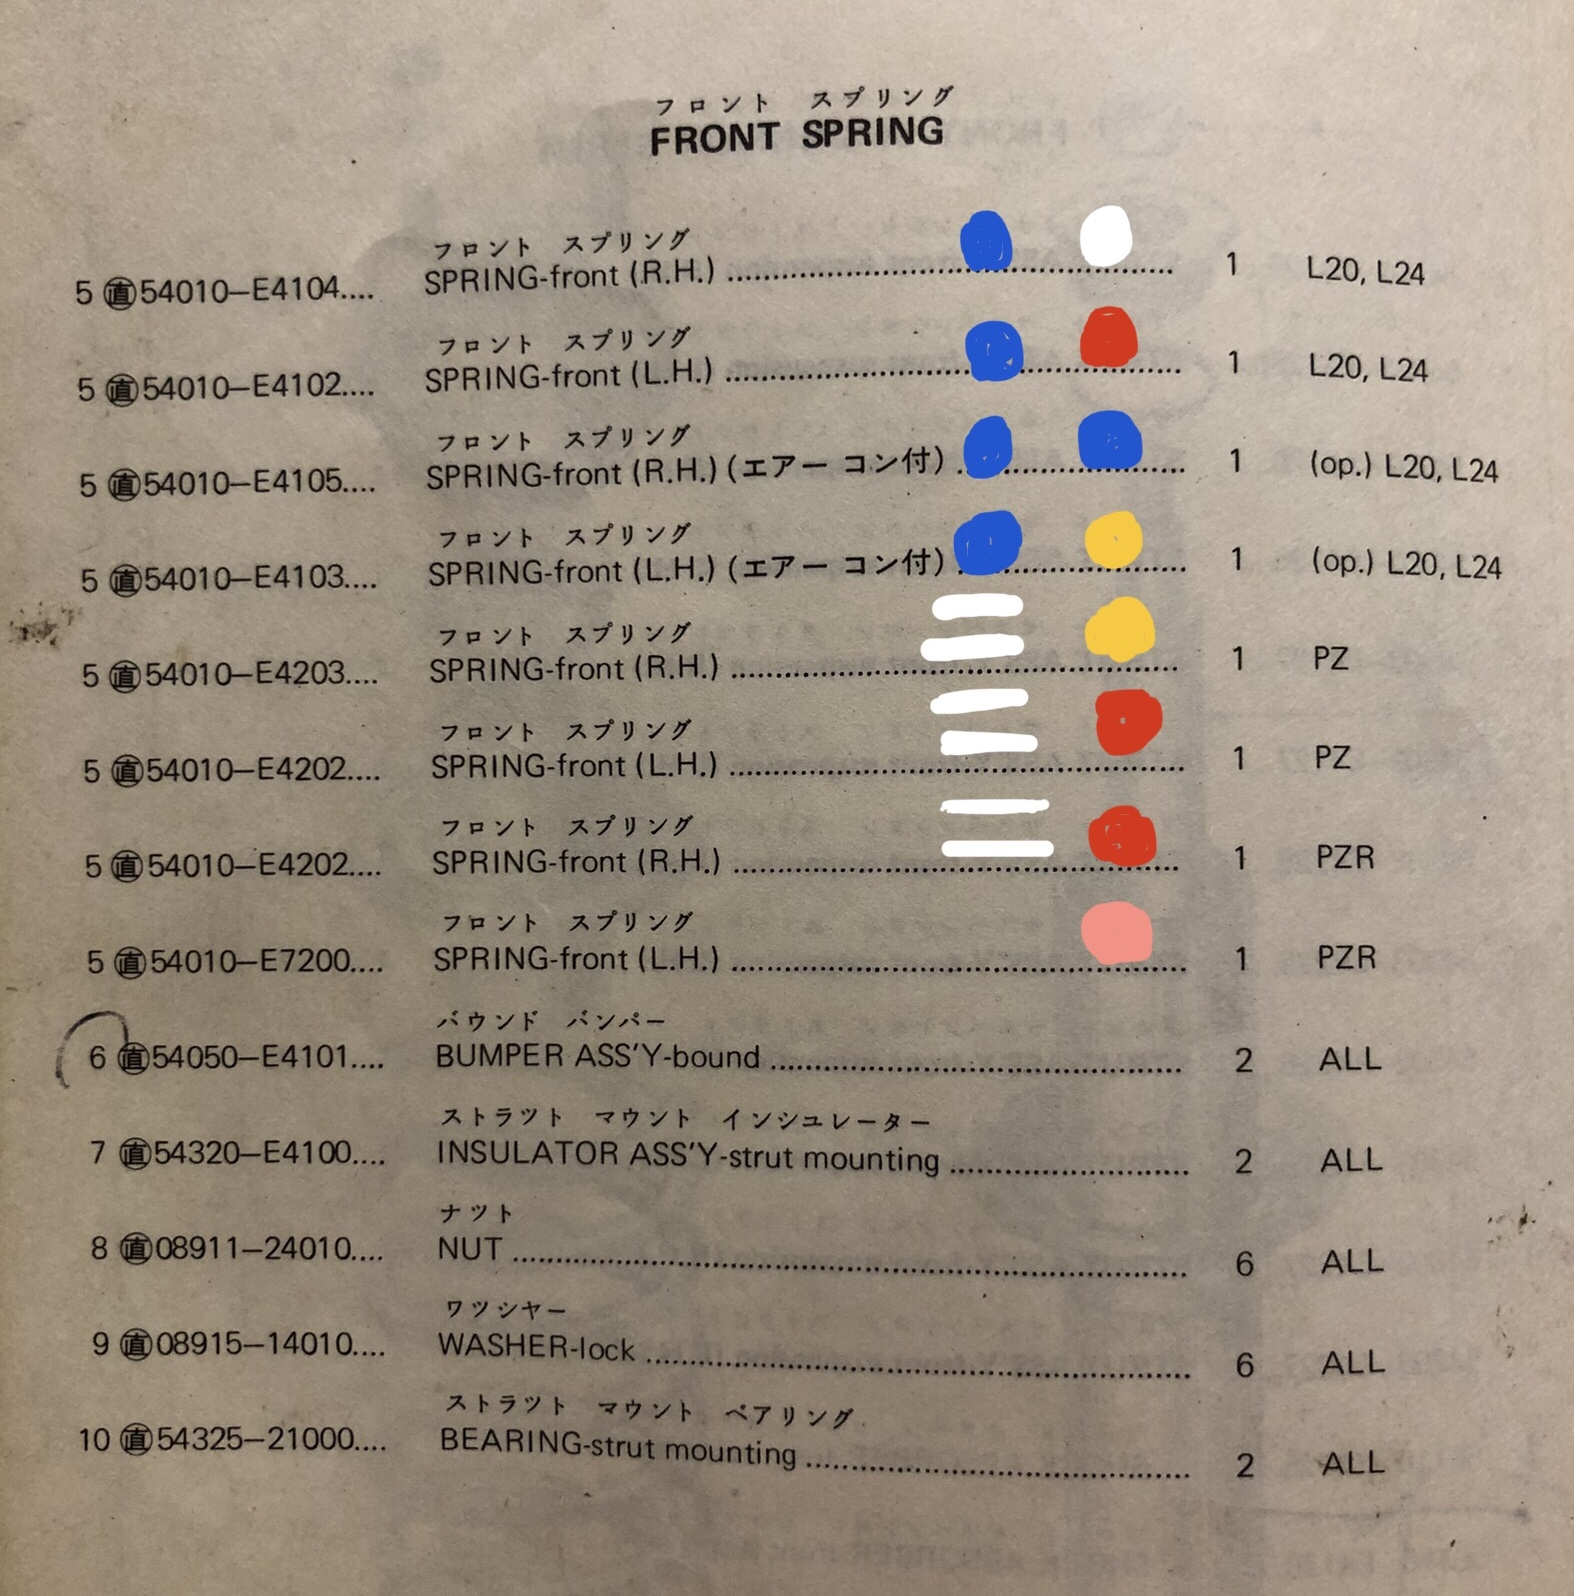
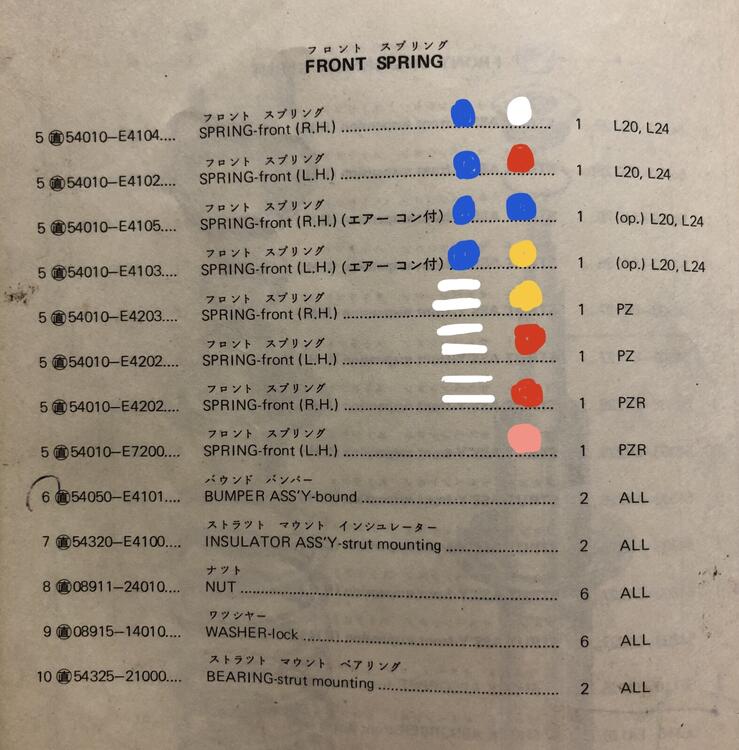
Yes you are reading it correctly. And yes they are different in free length. For the front, blue and white is RH 54010-E4104, blue and red is LH 54010-E4102. (Although the picture which I post in that thread had an error for the LH, it says -E4202 this is for PZ) Today I post this, from a parts catalog of Fairlady Z series 1972. This is correct. Kats
 1 point
 -
You know you are in trouble when the shop asks "is it OBD1 or 2?"🤣1 point
-
Surprised the mechanic let you/showed you this method. At least this explains the low compression numbers. If you can, do the test again with all spark plugs removed and throttle wide open. You'll get better results 🙂1 point
-
True but we never got it to move from cylinder #4 no matter what we tried. Maybe the oil ring is bad or the gaps in the compression rings aren't properly offset. Ive got no idea but there must be some cause and it seems like we tried everything else1 point
-
But, as I recall, the compression was good on all cylinders. Correct me if I'm wrong @jalexquijano.1 point
-
I know it has been frustrating. Some of the mechanics might have been inexperienced but if it's an internal problem, that's a little hard to diagnose unless the same mechanic works on it every time. After every other possibility is exhausted then it has to be something internal. I believe that is where your at now...unfortunately 😞1 point
-
It's just a bad engine. Bad rings or cylinders or valve seals/guides. You've got many miles out of it. Consider finding a replacement. Or run hotter plugs in the bad cylinders and hope the plugs stay cleaner.1 point
-
RabbitZ started a thread accusing Eiji of Datsun Spirit of scheming to steal his engine by performing work on it when RabbitZ just wanted him to store it for most of the year until he got his funds in order. Once RabbitZ showed the correspondence the bulk of the thread was spent explaining that Eiji had done nothing wrong and that RabbitZ had assumed things that were unreasonable. There was much back and forth and, I would guess that somebody complained directly to Mike, Mike just deleted the whole thing. The lesson learned is that complex personal subjects should not be discussed on the forum.1 point