


Leaderboard
-
.JPG.cfcada9cf1c1b502df3f5f2f2ca3ff36.JPG)
SteveJ
Free Member8Points9,683Posts -
Captain Obvious
Free Member5Points10,111Posts -
.jpg.017c2fbd9ed4c548138d9c6f6c49e029.jpg)
astrohog
 Subscriber
 4Points182Posts
 -
Patcon
Subscriber4Points11,183Posts


Popular Content
Showing content with the highest reputation on 09/05/2022 in all areas
-
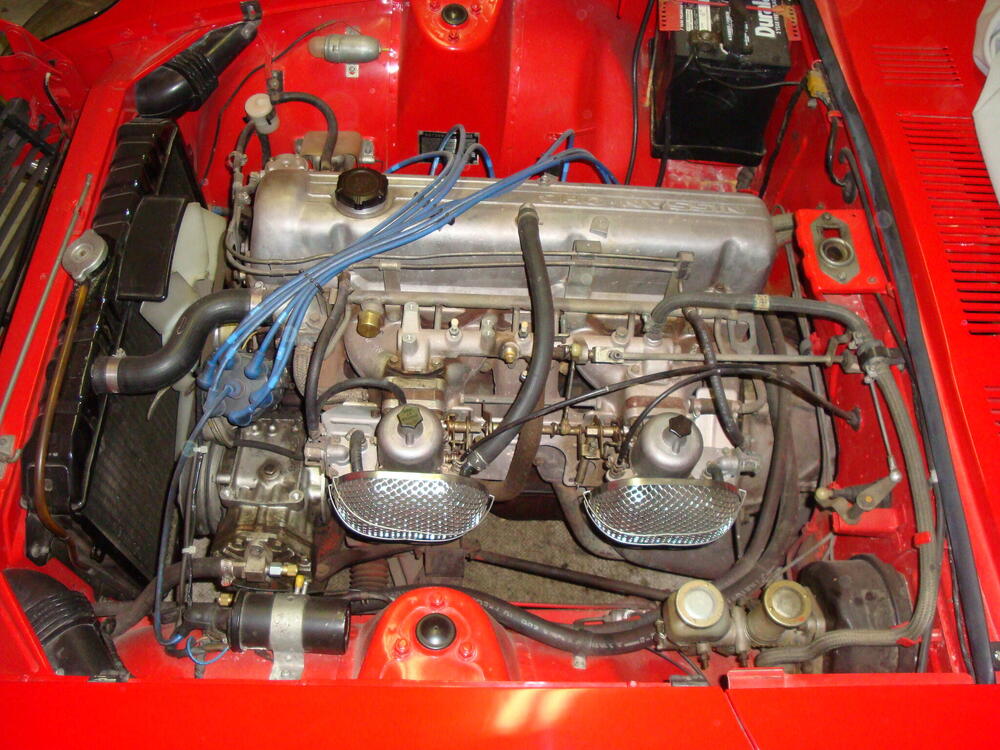
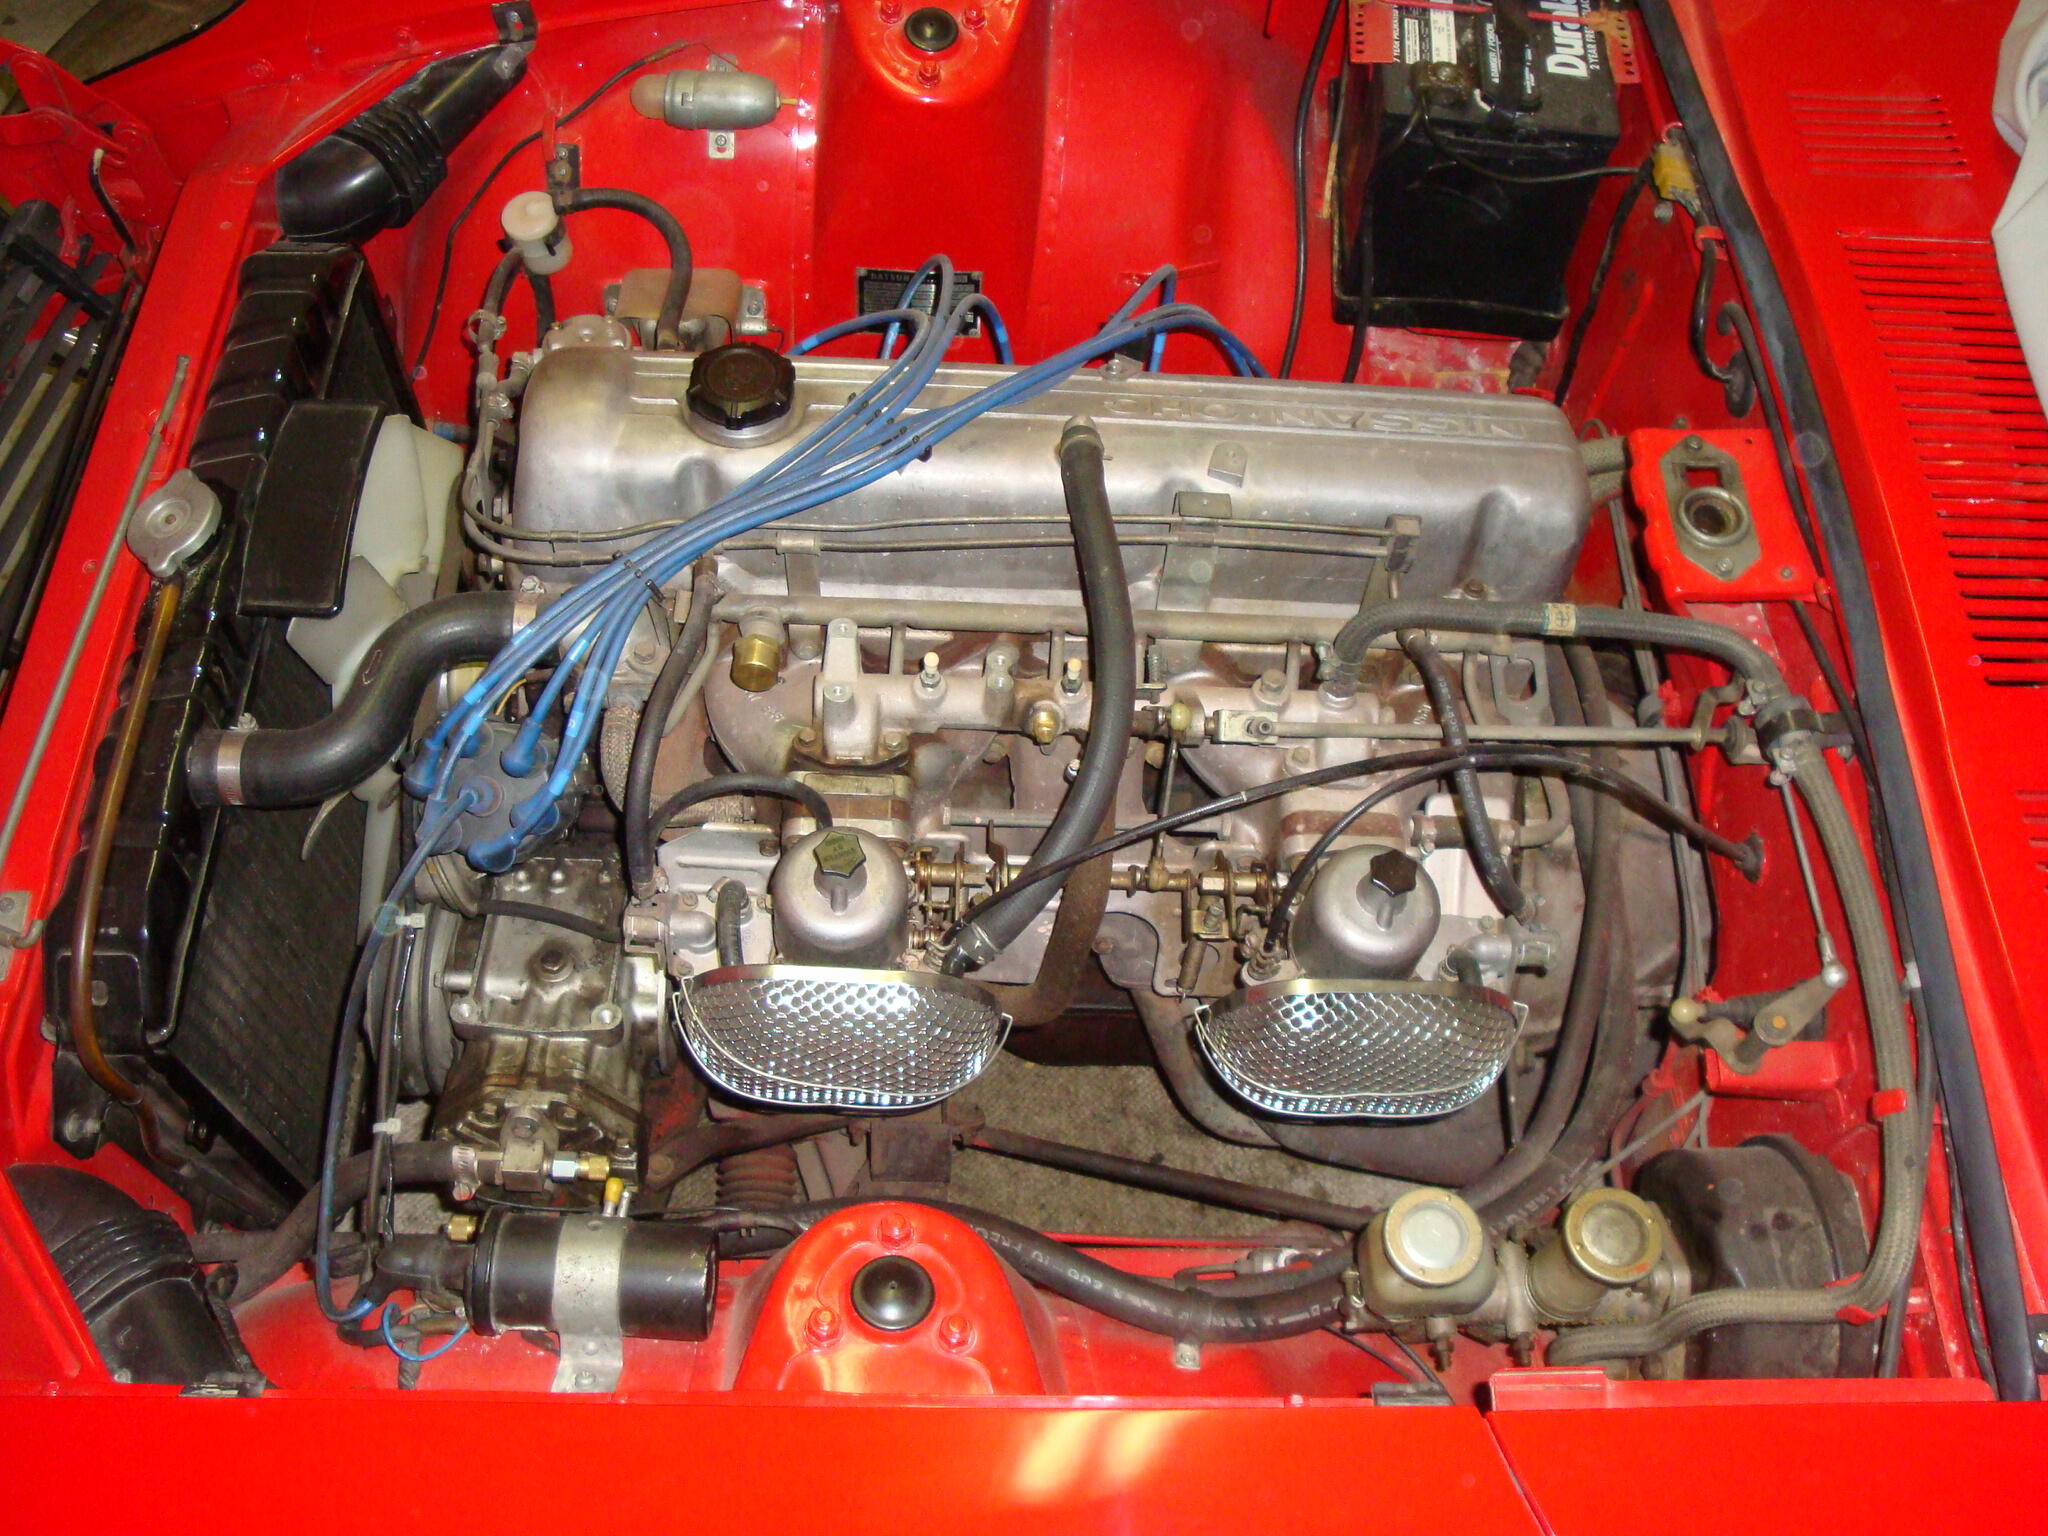
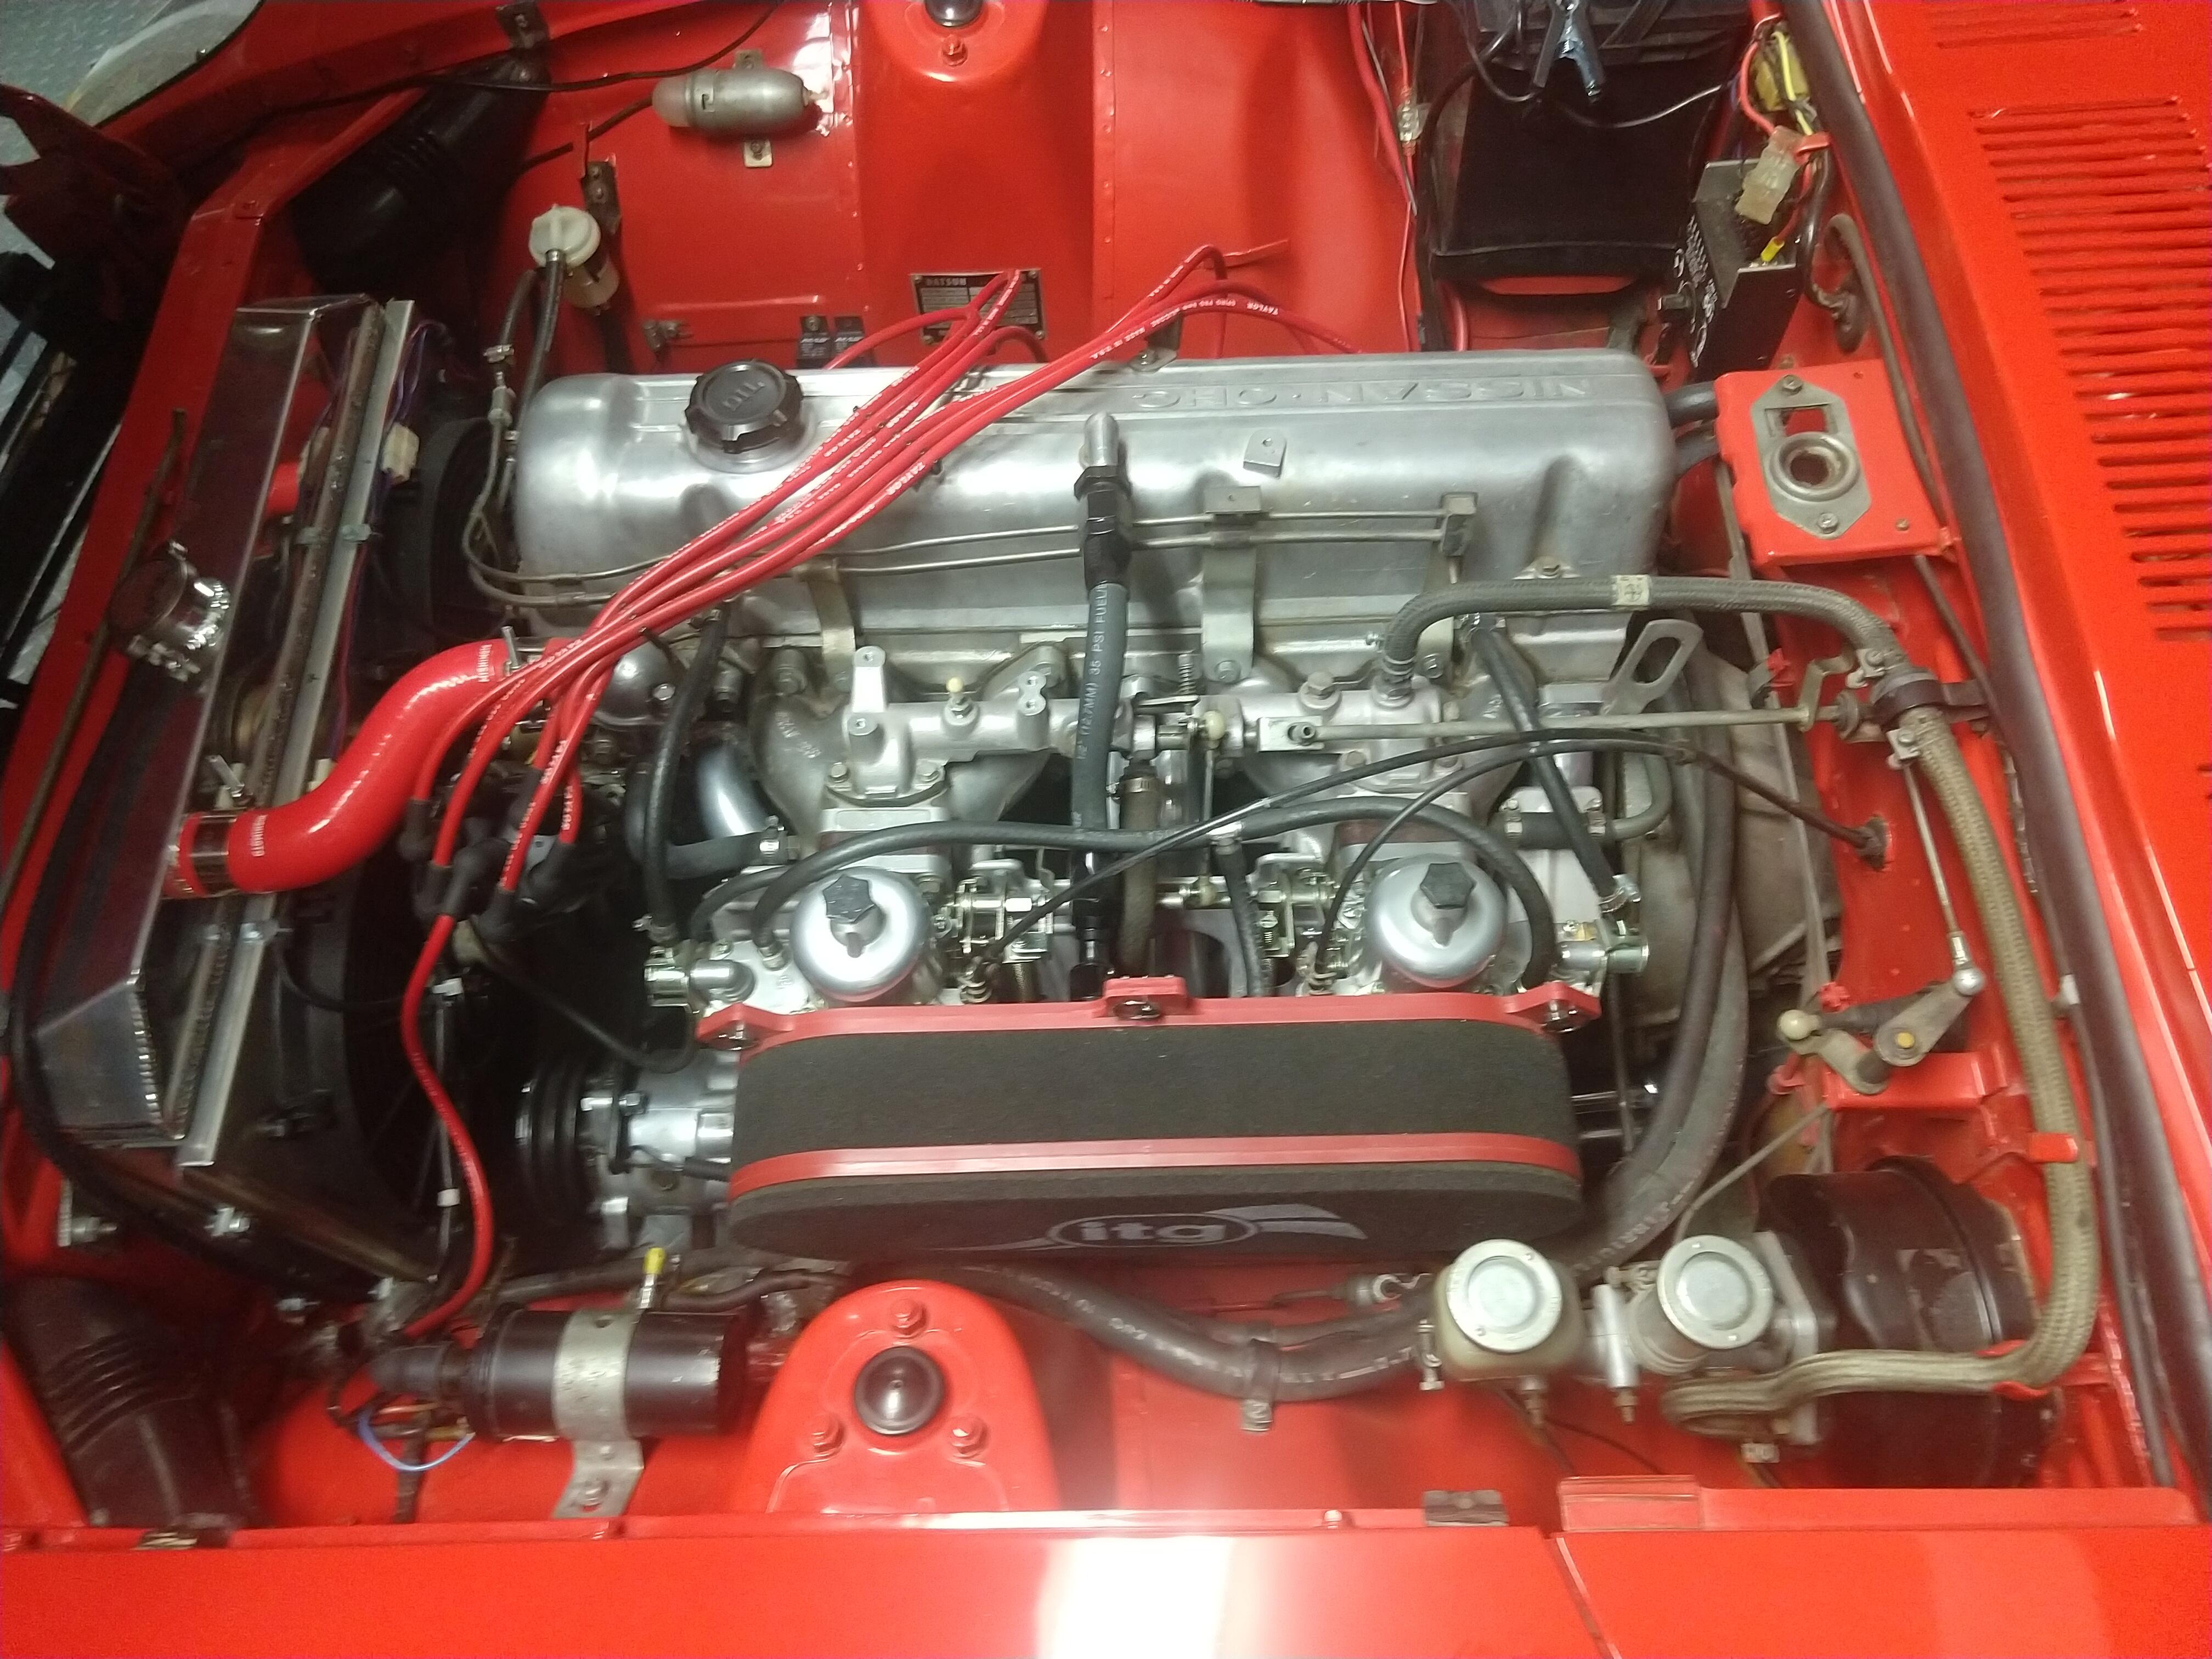
3 pointsI posted in another thread on air cleaners and had a funny thought. I've not been a purist in my Z ownership which may have had an effect on my feelings of "originality". Here's a couple of shots of my engine bay, then 2015 (but it hadn't changed since 1993) and now 2022. Interesting... Then Now Yea, I changed a couple of things.
 3 points
 -
Had tank exterior blasted and found one pinhole, so I decided to go the POR-15 route. Cleaned inside of tank with Super Clean and 3 pieces of 1/2" chain to bash all the crap off the inside of tank while I was waiting for the POR-15 to arrive. Used both quarts of POR cleaner/degreaser with the chain and a good rinse in between. Rotated tank for about 3 hrs. with the POR Metal Prep inside, drained and used my heat gun to make sure inside of tank was bone dry. Just when I thought it was dry, I kept seeing moisture inside. Turns out the inner seams hold a fair bit of moisture, so I slowly moved the heat gun around the outside of the seams and I could look inside and see the moisture evaporating out, leaving a dry, gray seam, rather than a dark, moist seam. Mixed up the coating and poured it in. Rotated tank for about 45 minutes before draining excess out of the drain hole. Continued to peer inside and rotate for another hour or so, until it looked like it was starting to kick and drained the rest of the excess. Continued to rotate and look inside to assure that I didn't have any pooling. When the coating was moving real slow, I set the tank upside down on the work bench. The bottom of my tank was pretty clean, the top of the tank was a little more corroded due to moisture vap, and the pinhole was also on the top, so I wanted any pooling product up to, that also assured it didn't pool at the drain plug, orthe small slits in the bottom of the one baffle. Checked on it a couple hours later and I have to say, I am pretty impressed. It looks so good! Tomorrow, I will give the outside a light sanding as some light flash rust has developed from all of the flushing/cleaning, and I'll give it a coat of satin black epoxy primer. I think this will help to bolster the pinhole from the outside. I've got all new braided lines and a new fill hose, so I'll probably be ready to install it on Tuesday. Next up, MSA premium exhaust install from the stock exhaust manifold back. Once that is in, I should be able to do a quick oil and tranny fluid change, radiator flush and get her back on the road! It's been a few years since I've had her on the road, hopefully it will be exhaust/gas fume free!.3 points
-
3 points
-
So far things are working out in the disassembly. I had one end link on the sway bar that didn't want to cooperate, and I was rounding the nut. I figured it was a great time to break out the induction heater. I heated up the end link a couple of times, getting it cherry red, put a smaller socket on the impact gun, and spun off the stubborn nut with ease. The rubber in the bushing was smoking a lot, and I wondered if it was going to ignite. On the other hand, the torch would have almost definitely ignited the bushing. I am happy with the induction heater so far and would suggest someone working on a bunch of rusty bolts should consider getting one.2 points
-
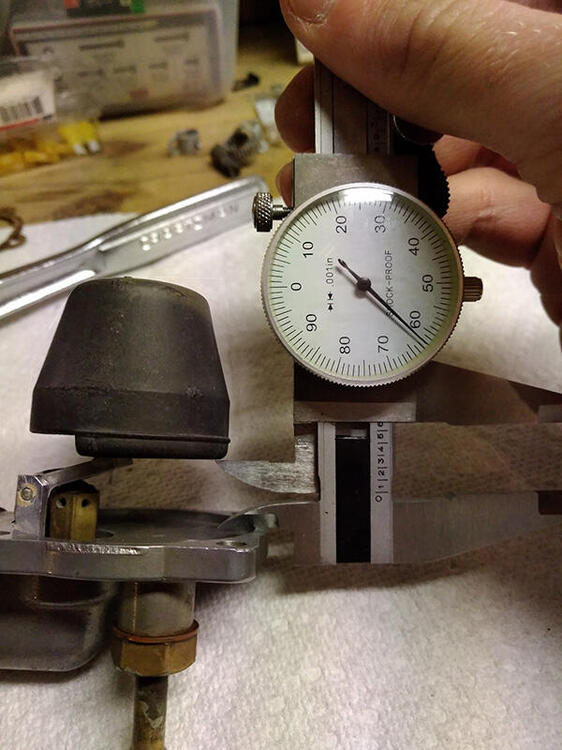
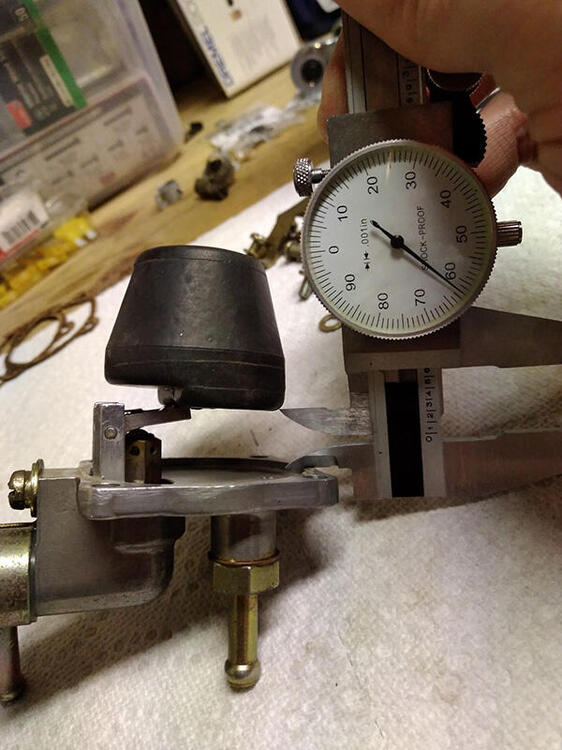
Well I'm not claiming to be qualified to check anyone's work, but I have a couple comments... First, the metal portions of those floats looks like they have bent away from the floaty portion of the float. And one of them worse than the other. From what I've seen, the metal hinge part of the float should be pretty much parallel to the top of the float foam portion. Yours look like they have been pulled away from the foam. Second, you are working on a pair of three screw round tops and they were designed to operate with different float levels in front and rear. So if you mechanically set both floats the same distance from the underside of the lid, I'm not positive that's going to translate to the same level once they are wet in the car. The other changes may come out in the wash, might not. And last, don't forget that the mechanical set you did there is just to get them in the ballpark. A wet set with a clear tube is the way to confirm that the levels are correct. Any mechanical means is just a preliminary ballpark setting that must be confirmed wet.2 points
-
1 pointJust ran across this rendering of a fantasy mid-engined Z and found it pretty cool! What say all the rest of you Z enthusiasts?
 1 point
 -
With the end link nuts being stubborn, I had a couple of more opportunities to use the induction heater. On the first top nut, I got the end link hot enough that the bushing caught on fire. For the other end link, I thought it would be a good opportunity to shoot a demonstration video. If you're not familiar with the induction heater bolt removers, I have a positive impression so far.1 point
-
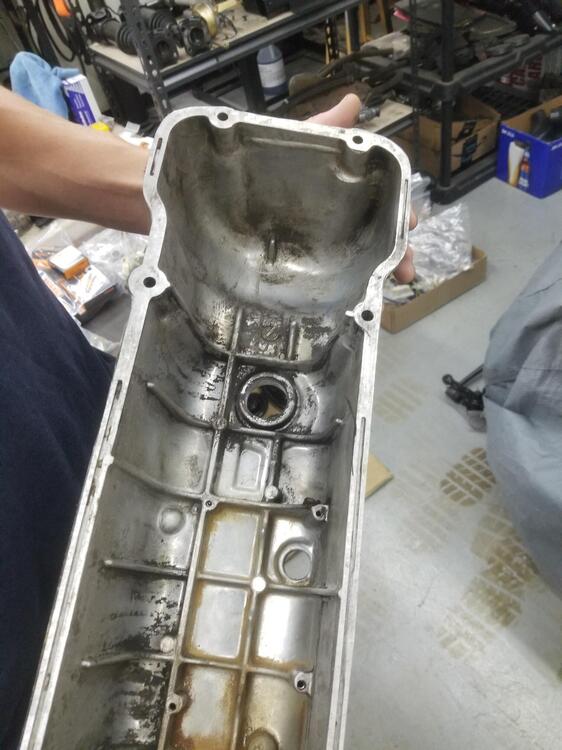
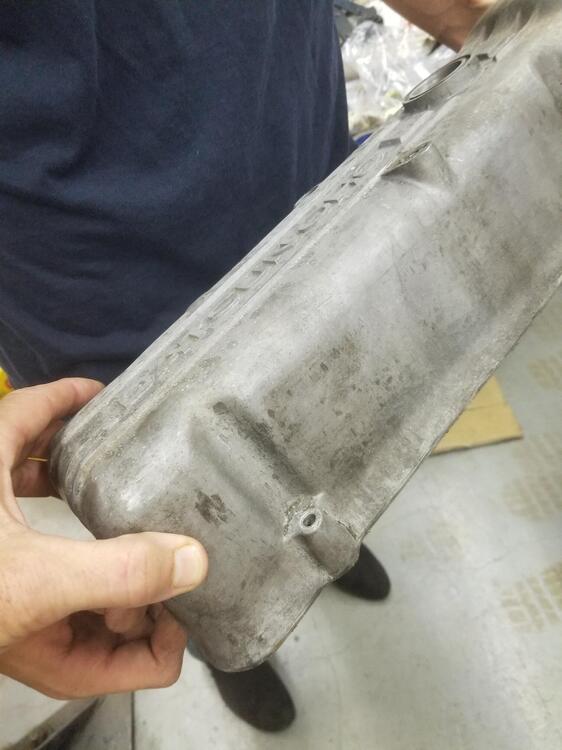
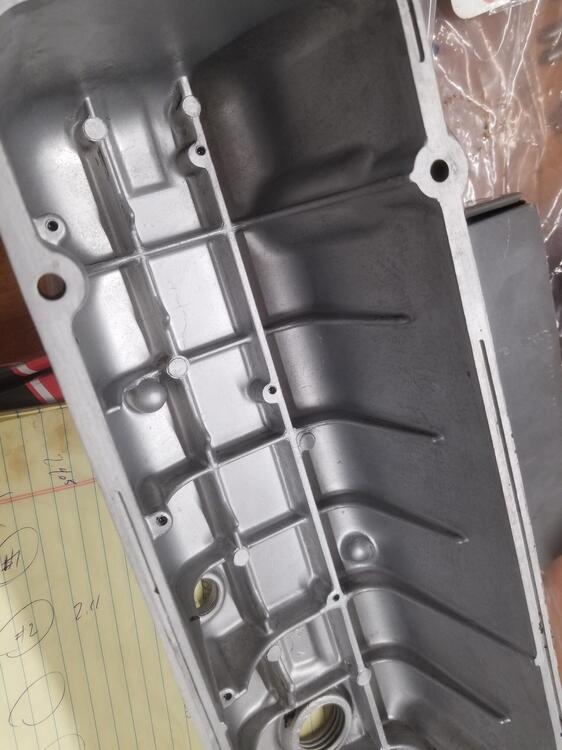
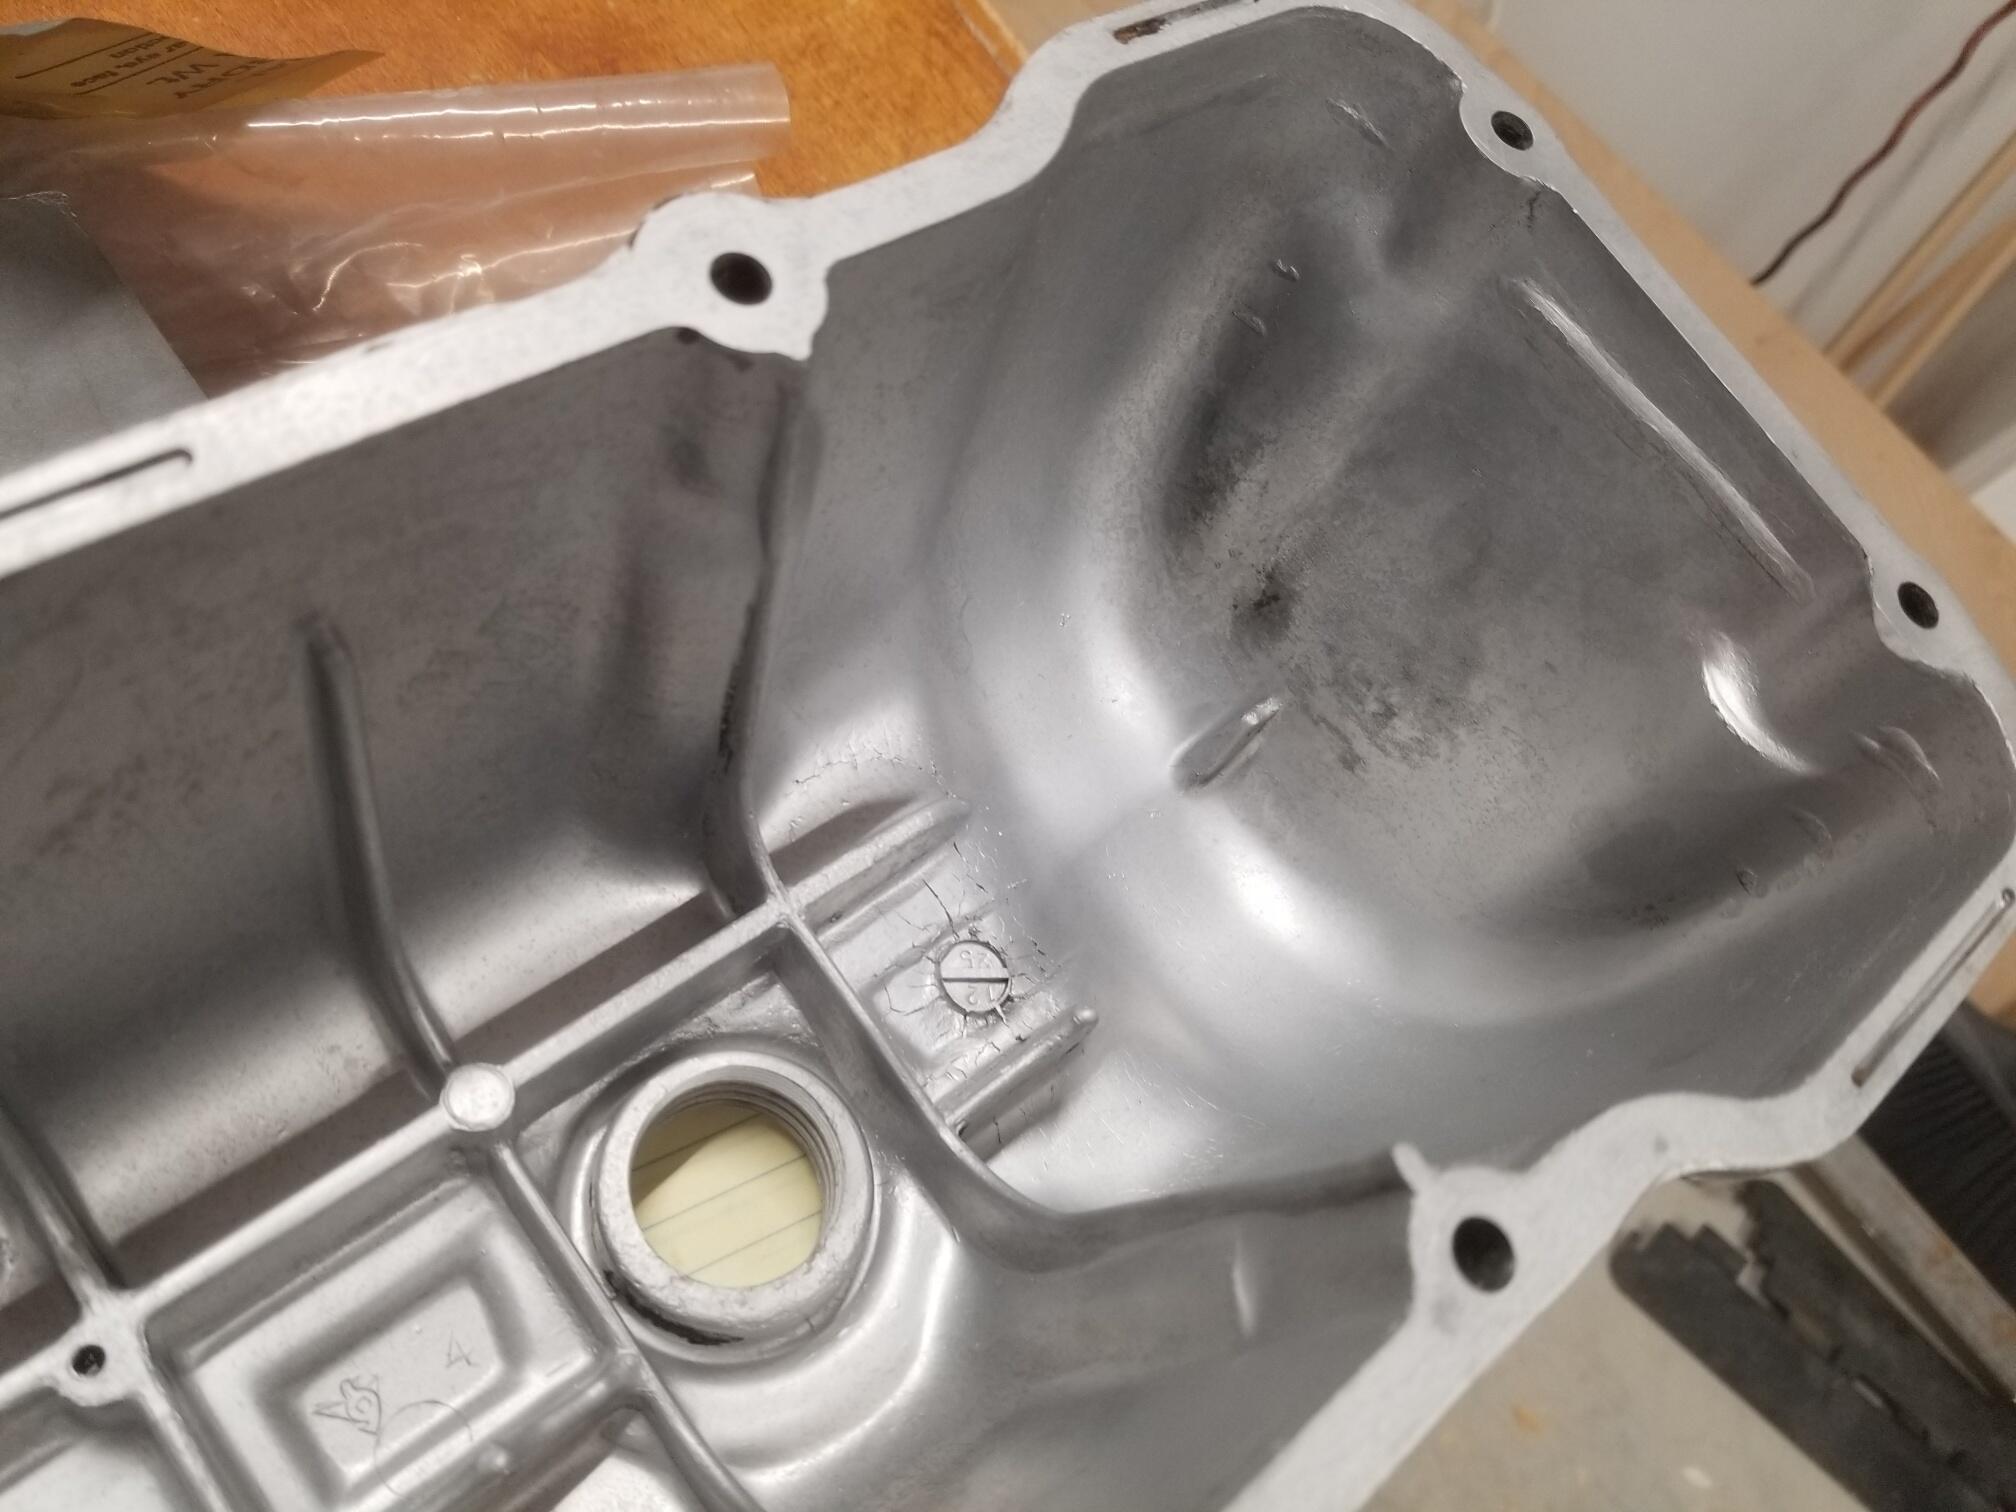
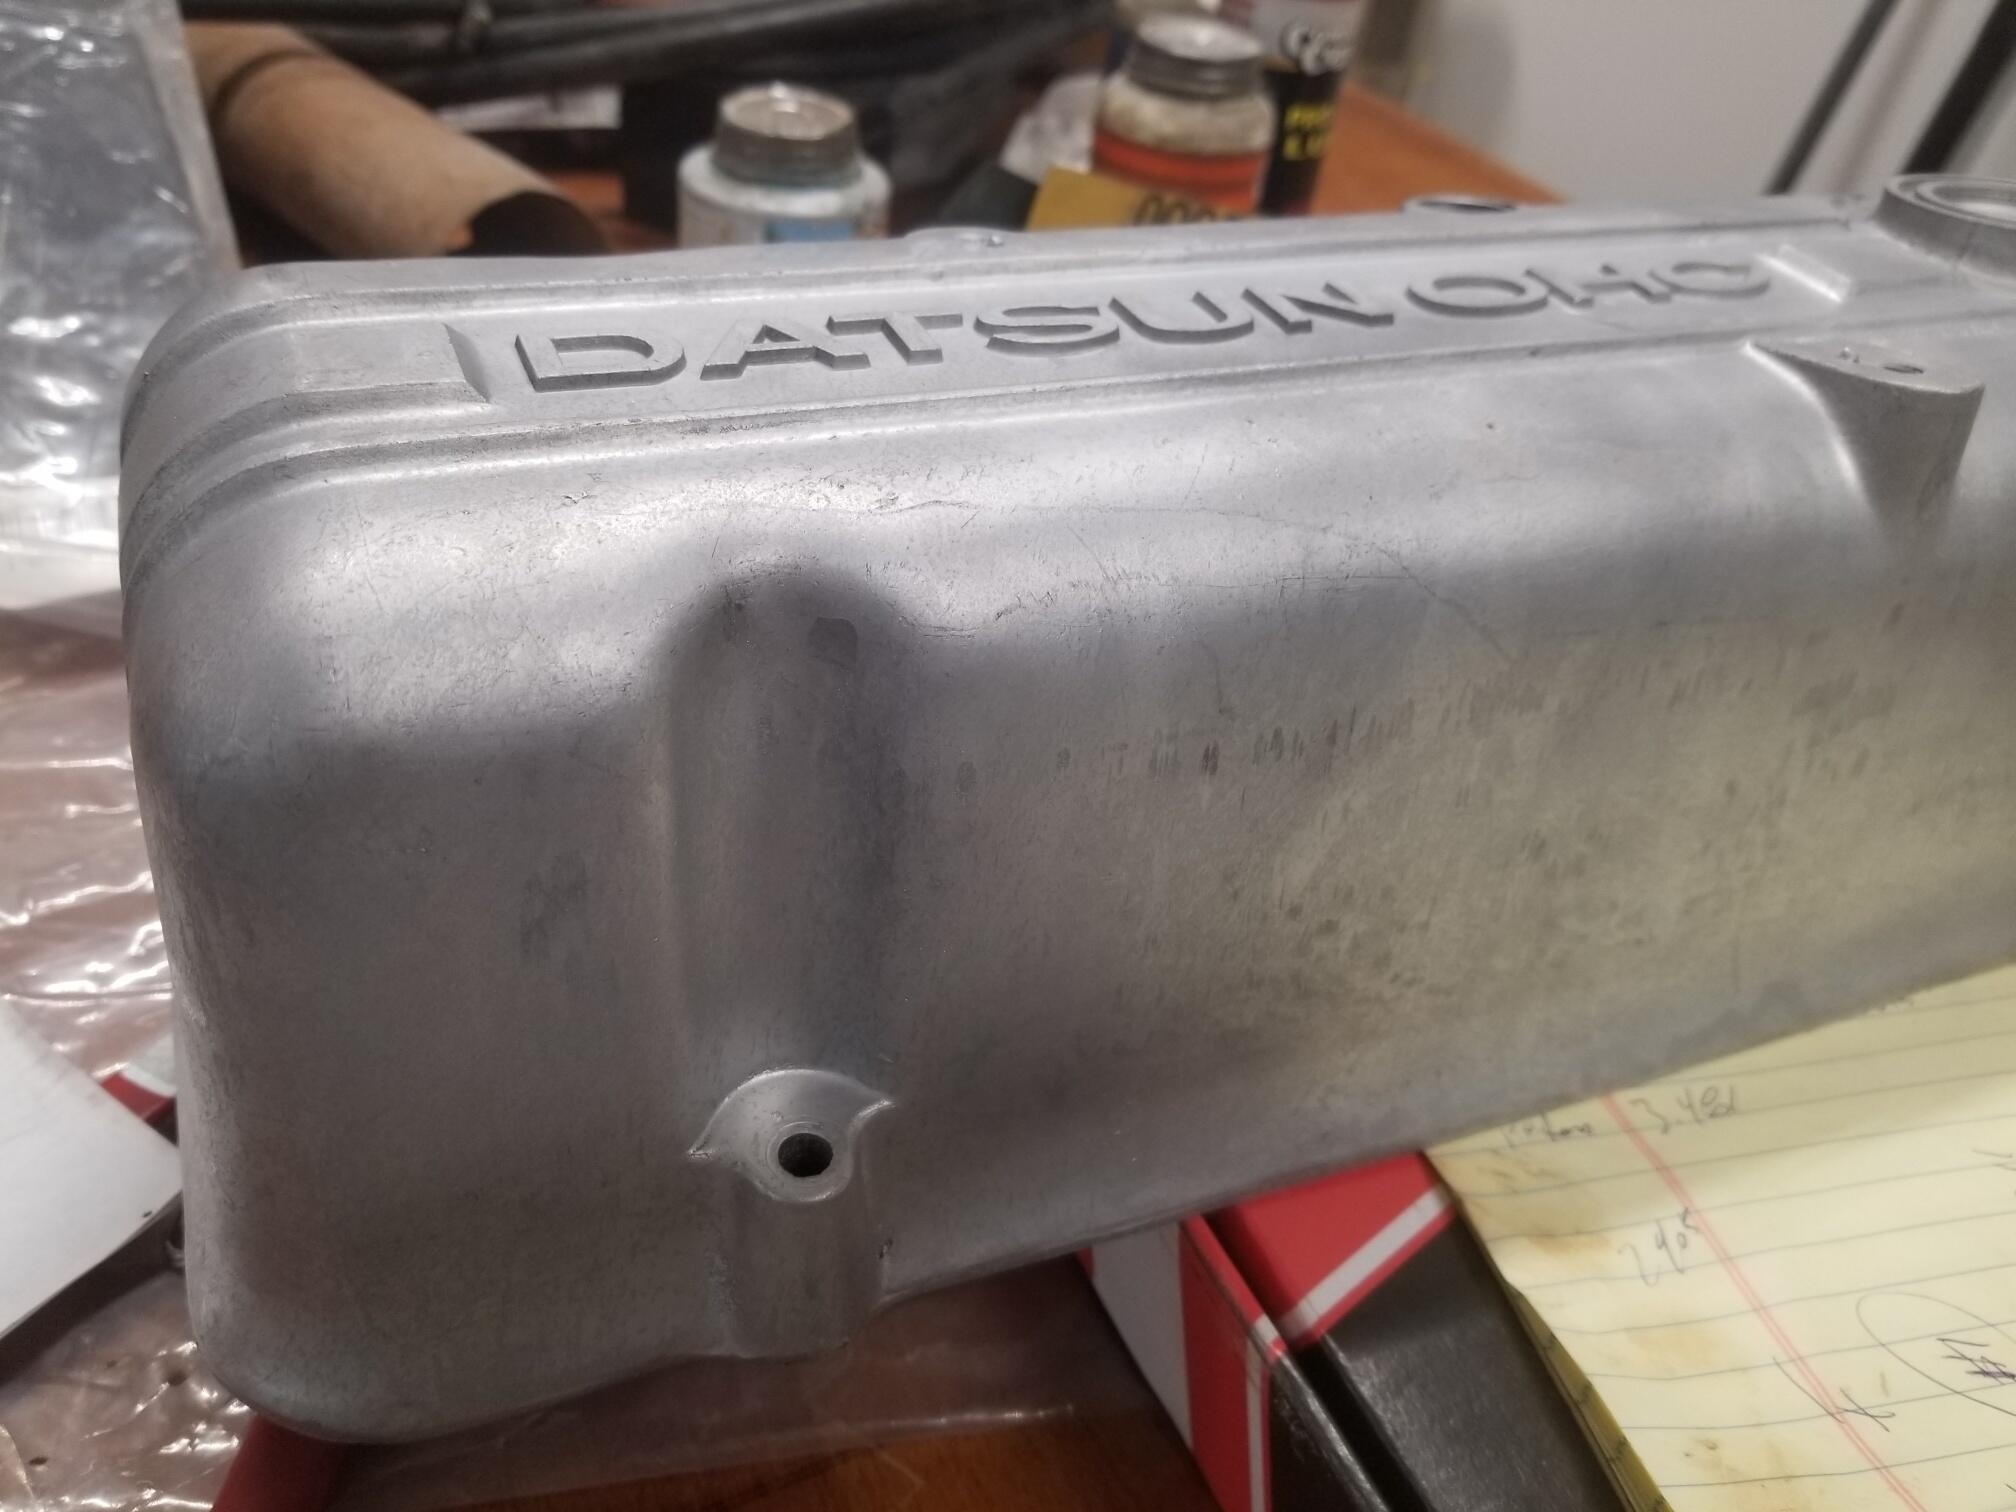
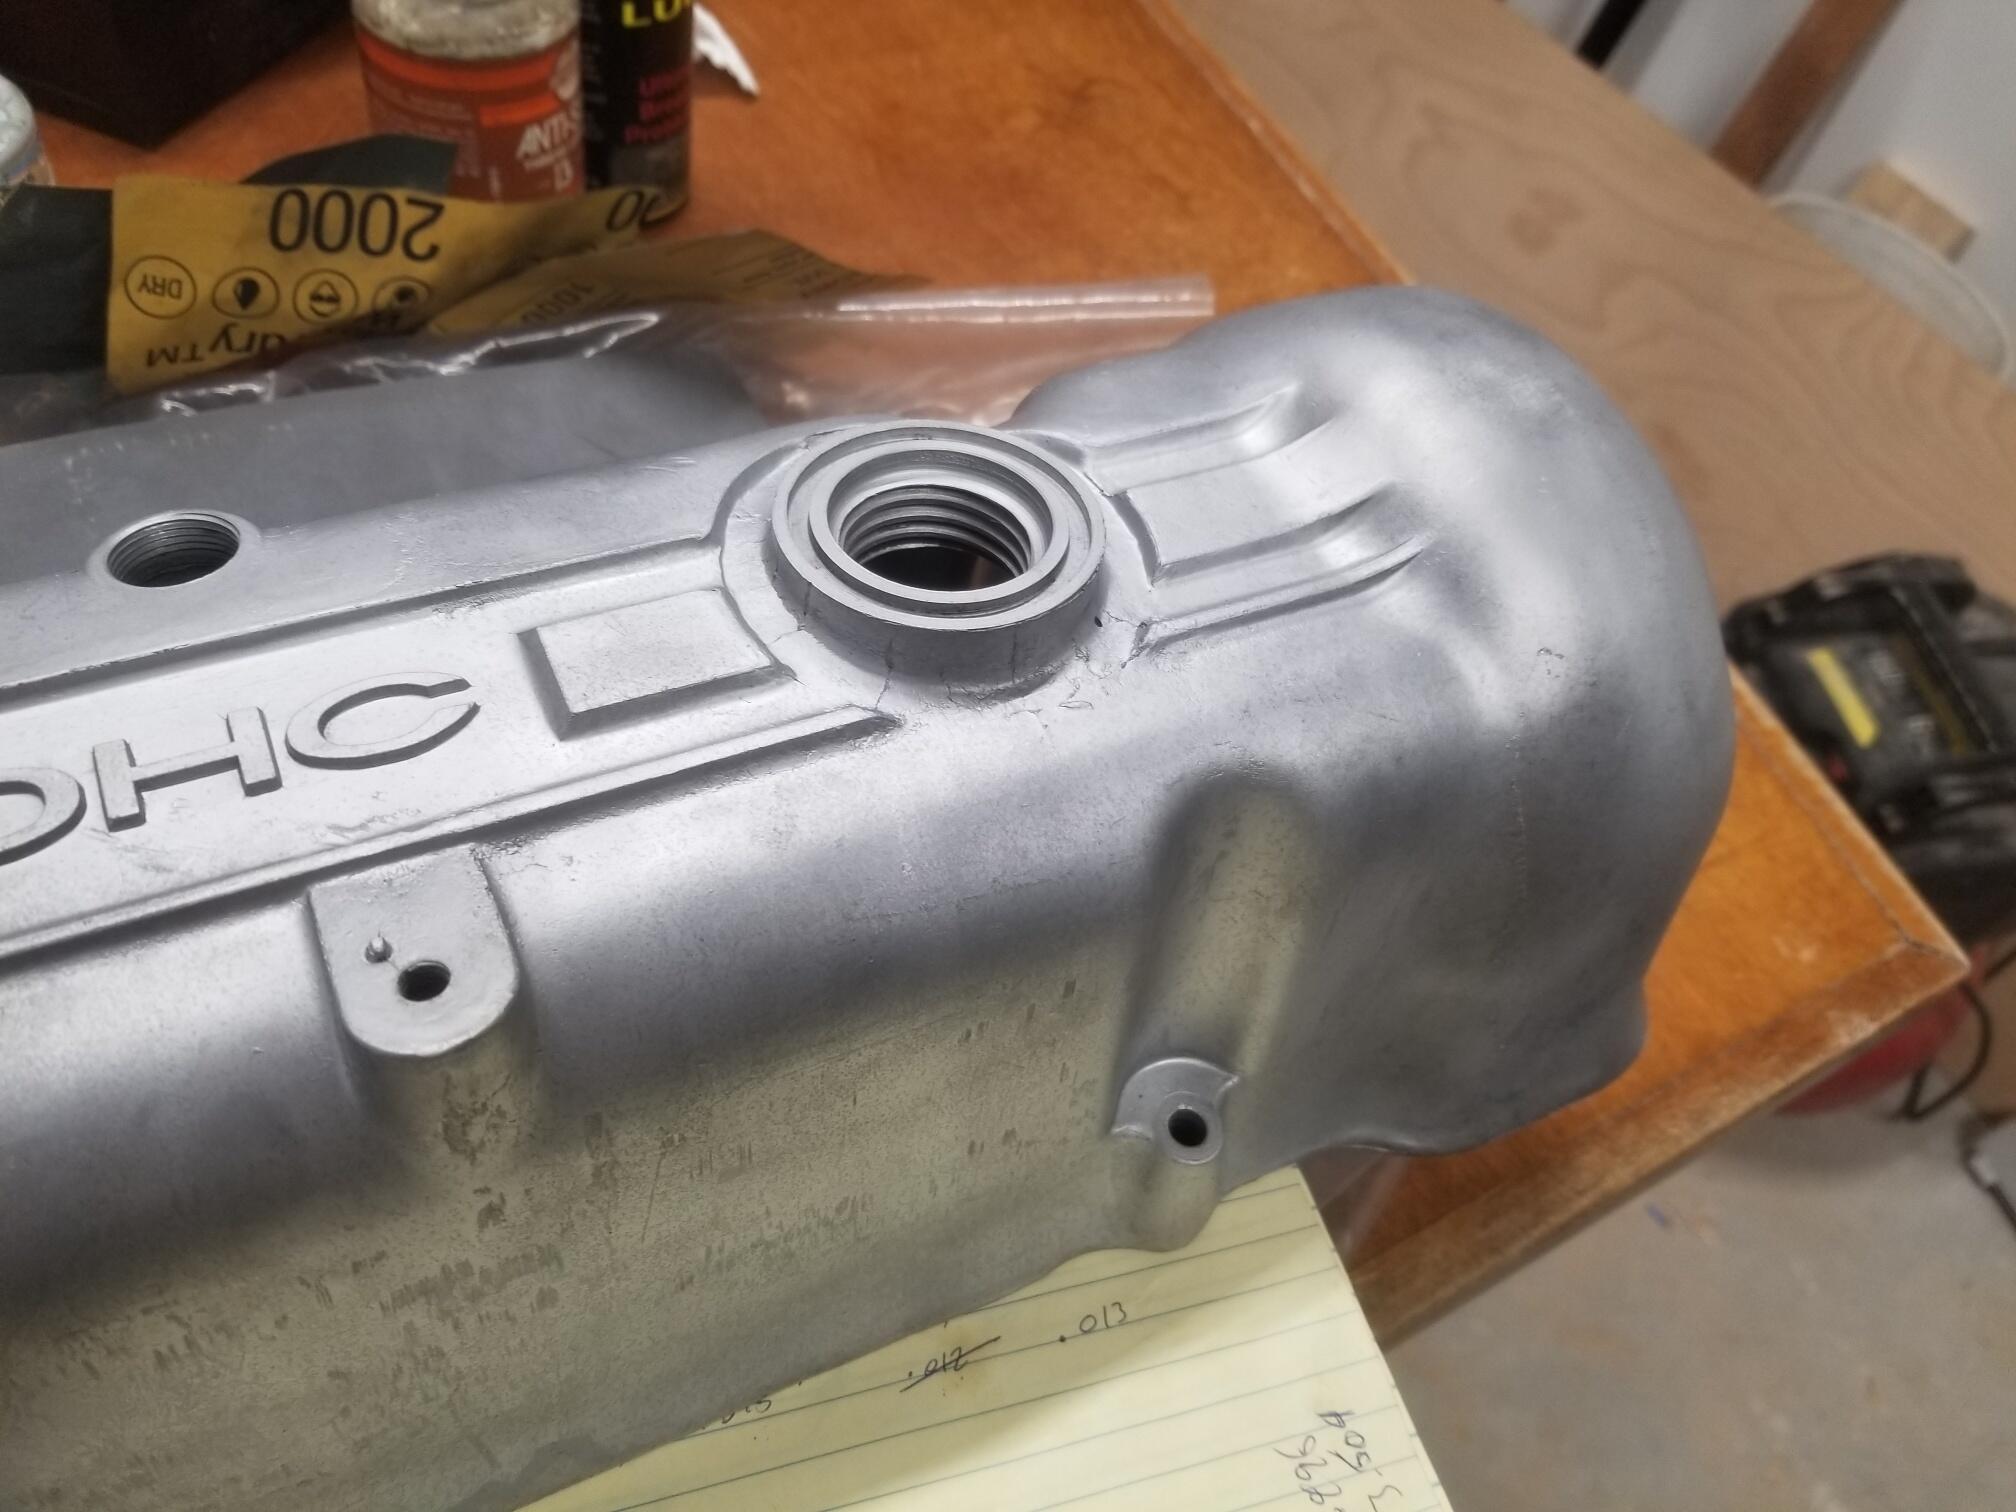
1 pointCody and I went to EMcCallum's today. He has a vapor honing cabinet he was kind enough to let us use. It is a really interesting thing. It has beads in it but it won't remove paint or paper gaskets but my dry cabinet with beads will. Before... After... We also did the timing cover, spindle and some small thermostat parts. They all turned out really nice It's also really nice to meet another forum member in person. I always enjoy that...


 1 point
 -
1 pointCan't say I am an expert, but I just got my car running near perfect after about 2 years of woes like this. I learned the little things are super important. First things first, make absolutely sure that your car has no vacuum leaks like you mentioned. Trust me on this. Even if you think you got them all, triple check. Even the smallest vacuum leak can cause huge issues. Sounds like you smoke tested it though. Second, if your plugs are fouled I strongly encourage getting a brass brush and cleaning them with brakekleen. Plugs make a huge difference, and often times when you are dealing with a sick engine they can get fouled pretty quick, so while you are trying to fix the motor, make it a habit to pull the plugs to inspect/ or clean if necessary. Ok, now this is critical. Don't just have "cleaned" injectors. I learned the hard way that even if they are clean, the motor can still run like crap. Make sure that they are "flow matched" so that each cylinder combusts evenly. In my case, it made a huge difference on part throttle and idle response. I am assuming that you checked your EFI coolant temp sensor. Definitely run the resistance check on this, because it can be a problem. Make sure the TPS adjustment is good too. You seem competent enough to have done/ know how to do this. Make sure each cylinder is firing at idle. Pull each plug wire one by one and see if it is, there is always the chance that your problem could lie in one particular cylinder. Check timing, I know 10BTDC is what the manual calls for, but sometimes it likes just a little more. Also I agree that your FPR regulator seems to not be working right, at idle it should be much less than 36psi due to vacuum pulling on the diaphragm and limiting the flow. Now last look at the AFM as the culprit. Very Rarely, especially on a stock engine, is it considered bad. In my case this was the very last thing I fiddled with on my motor. It was a rebuilt unit from zcarsource, and the tension cog was ridiculously out of spec (waaay to loose). Now a backseat diagnosis that could be wrong so don't take my word for it. your AFR at idle should be around 13.6. Apparently the L engines like to be rich at idle. You can fine tune this with the AFM mixture screw once you find the real issue on why the car runs poorly. Next, it seems odd that when you give it throttle that the AFR is shooting all the way lean. It is possible (considering the black plugs) that the AFR is reading lean because the cylinders are running so rich the mixture is missing causing the AFR not to get a reading. In my opinion (because it happened to me) if it was running that lean when given throttle it would pop like a SOB out the intake. Yours just sounds like it's bogging/ missing. I also (with the same AFR setup) have seen numbers showing my car idling at the infinity mark. It turns out it was so rich my engine was missing considerably, and the AFR gauge couldn't get a proper reading. If it truly is running lean at throttle, then I would once again make sure there are no air leaks, fuel restrictions due to dirty gas tank etc. Read the EFI bible. Once you get a full understanding of how the system works you realize there could be dozens of possible reasons for your issue, but only a few plausible. The more info you provide the more we can help!1 point
-
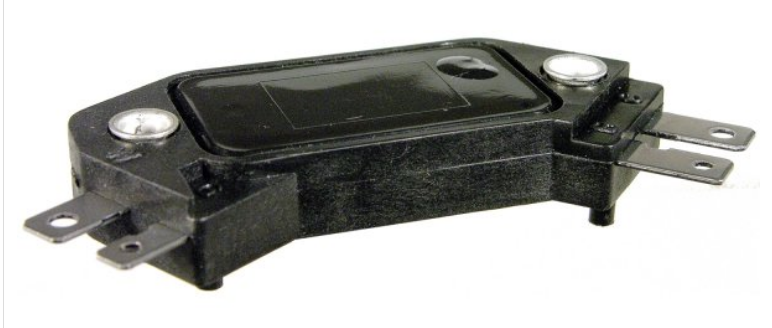
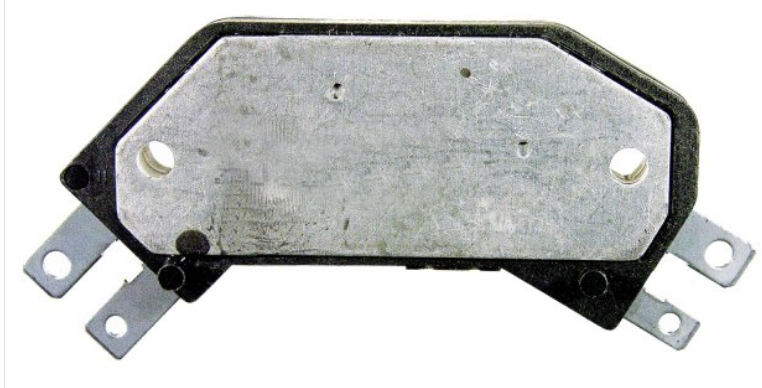
1 pointThere is a ton out there on the old internet about the mounting flange being a ground circuit. Guys have disassembled them, examined the circuits, drawn them out, and explained them. The sheer mass suggests that it is correct, but I can't find an official GM document. An electronics guy with a meter, and maybe a battery, could probably confirm it. I did find one thing that I had forgotten about - the two plastic locating pins on the bottom of the module. You need to cut those off so it lays flat, so that you get good conduction in to the heat sink. A pair of wire cutters works, the plastic is not too hard. I mounted mine across from the exhaust manifold on the fenderwell because there was a nice threaded hole there. Can't remember what it was for originally. So I built a small heat shield that I hung (hanged?) from the intake manifold. Just being careful...

 1 point
 -
Hi Charles…..It’s a durable clear, rock hard coating that seals the tank. I highly recommend it. Guy1 point
-
1 point
-
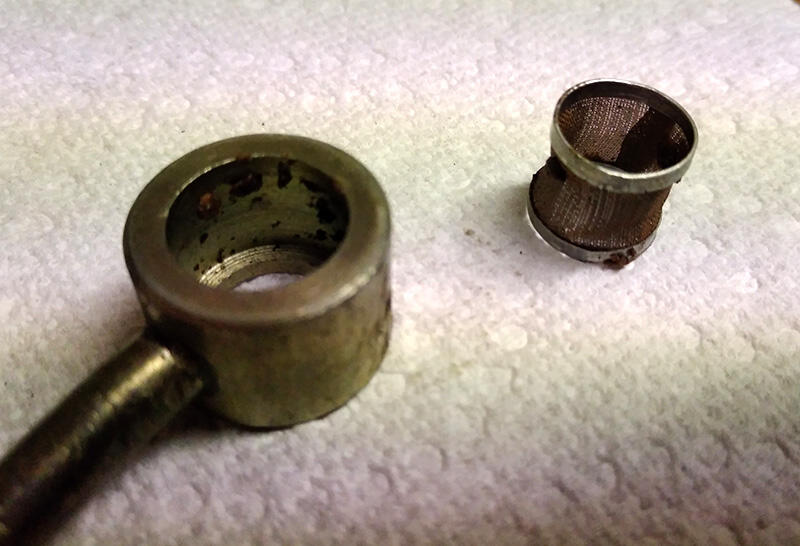
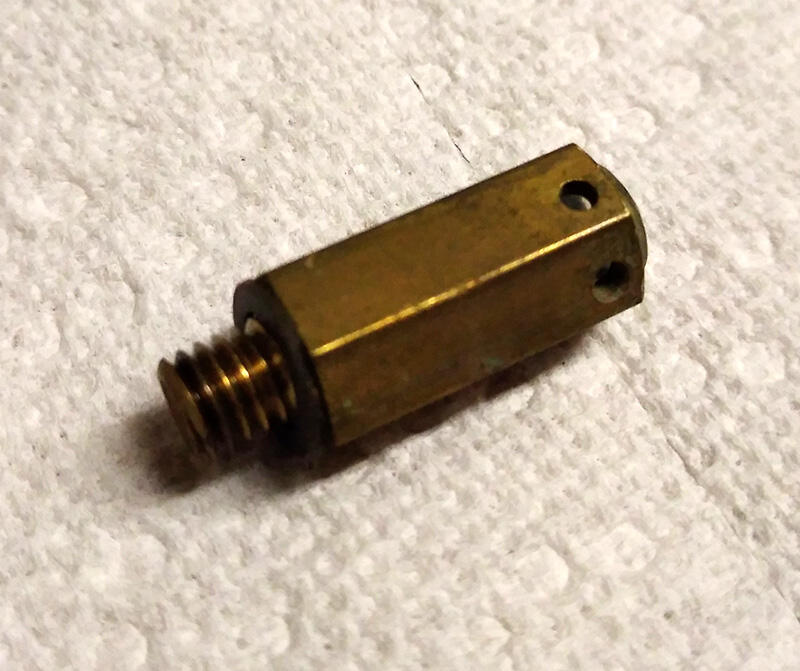
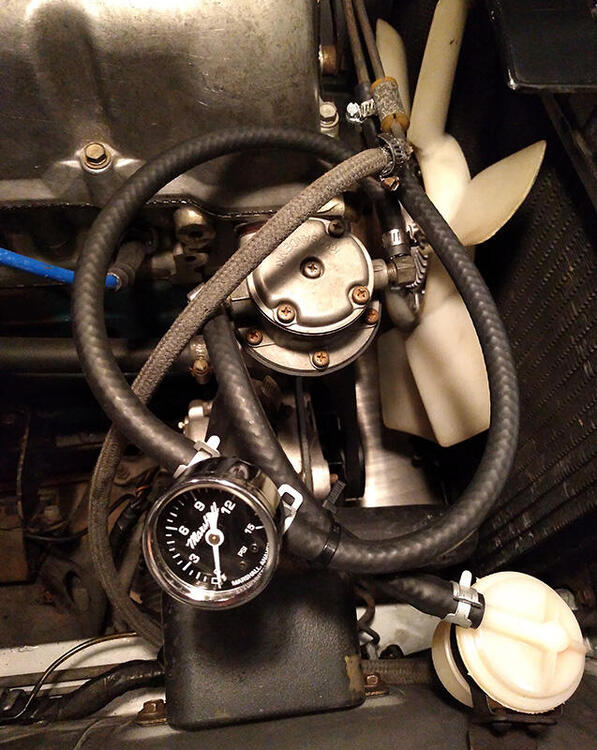
1 point1 pointIt wasn't bad to be honest, a guy in Eastern Europe did them, worked out about $70.1 point1 point1 point1 pointIt's a tiny meter, about 1.5 inches by 1.5. The nice thing is that if I blow it up, it was cheap.1 pointSo I assume from the banter about burning out the mustache bushing... I'm assuming you're putting poly in the old shells? And if you've got the hydraulic press, dealing with the outer rear bushings isn't that difficult either. Getting something fixtured square and supported correctly underneath is always the hardest part. In other words, once your sure you are getting all the force on the correct parts and in the correct direction, the rest is usually easy.1 point1 pointHaha!! Trust me... It'll be worth it. The video will help a lot of people understand what's going on.1 pointFor future reference, you can put the fuel pressure gauge on the line between the fuel rail and the carburetor. I found it easier than trying to connect it to the fuel pump.1 pointHad to take a step back for a couple of weeks 1) to get some other projects done and 2) for my own sanity and motivation. Dug back into it today. It's been raining all day here, so I didn't get a chance to test drive it. Can you guys check my work? Found some gunk in the last-chance filters. Front: And rear: Got it all cleaned out. Grose jets have 1 washer on the bottom: And I set the float heights to 9/16" (.5625). Front: and rear: Fresh float bowl gaskets also. Hooked up a fuel pressure gauge thusly: Reset the mixture screws to 2.5 turns down. Assuming everything looks good, hopefully I'll get some insight when I'm able to drive the thing again.

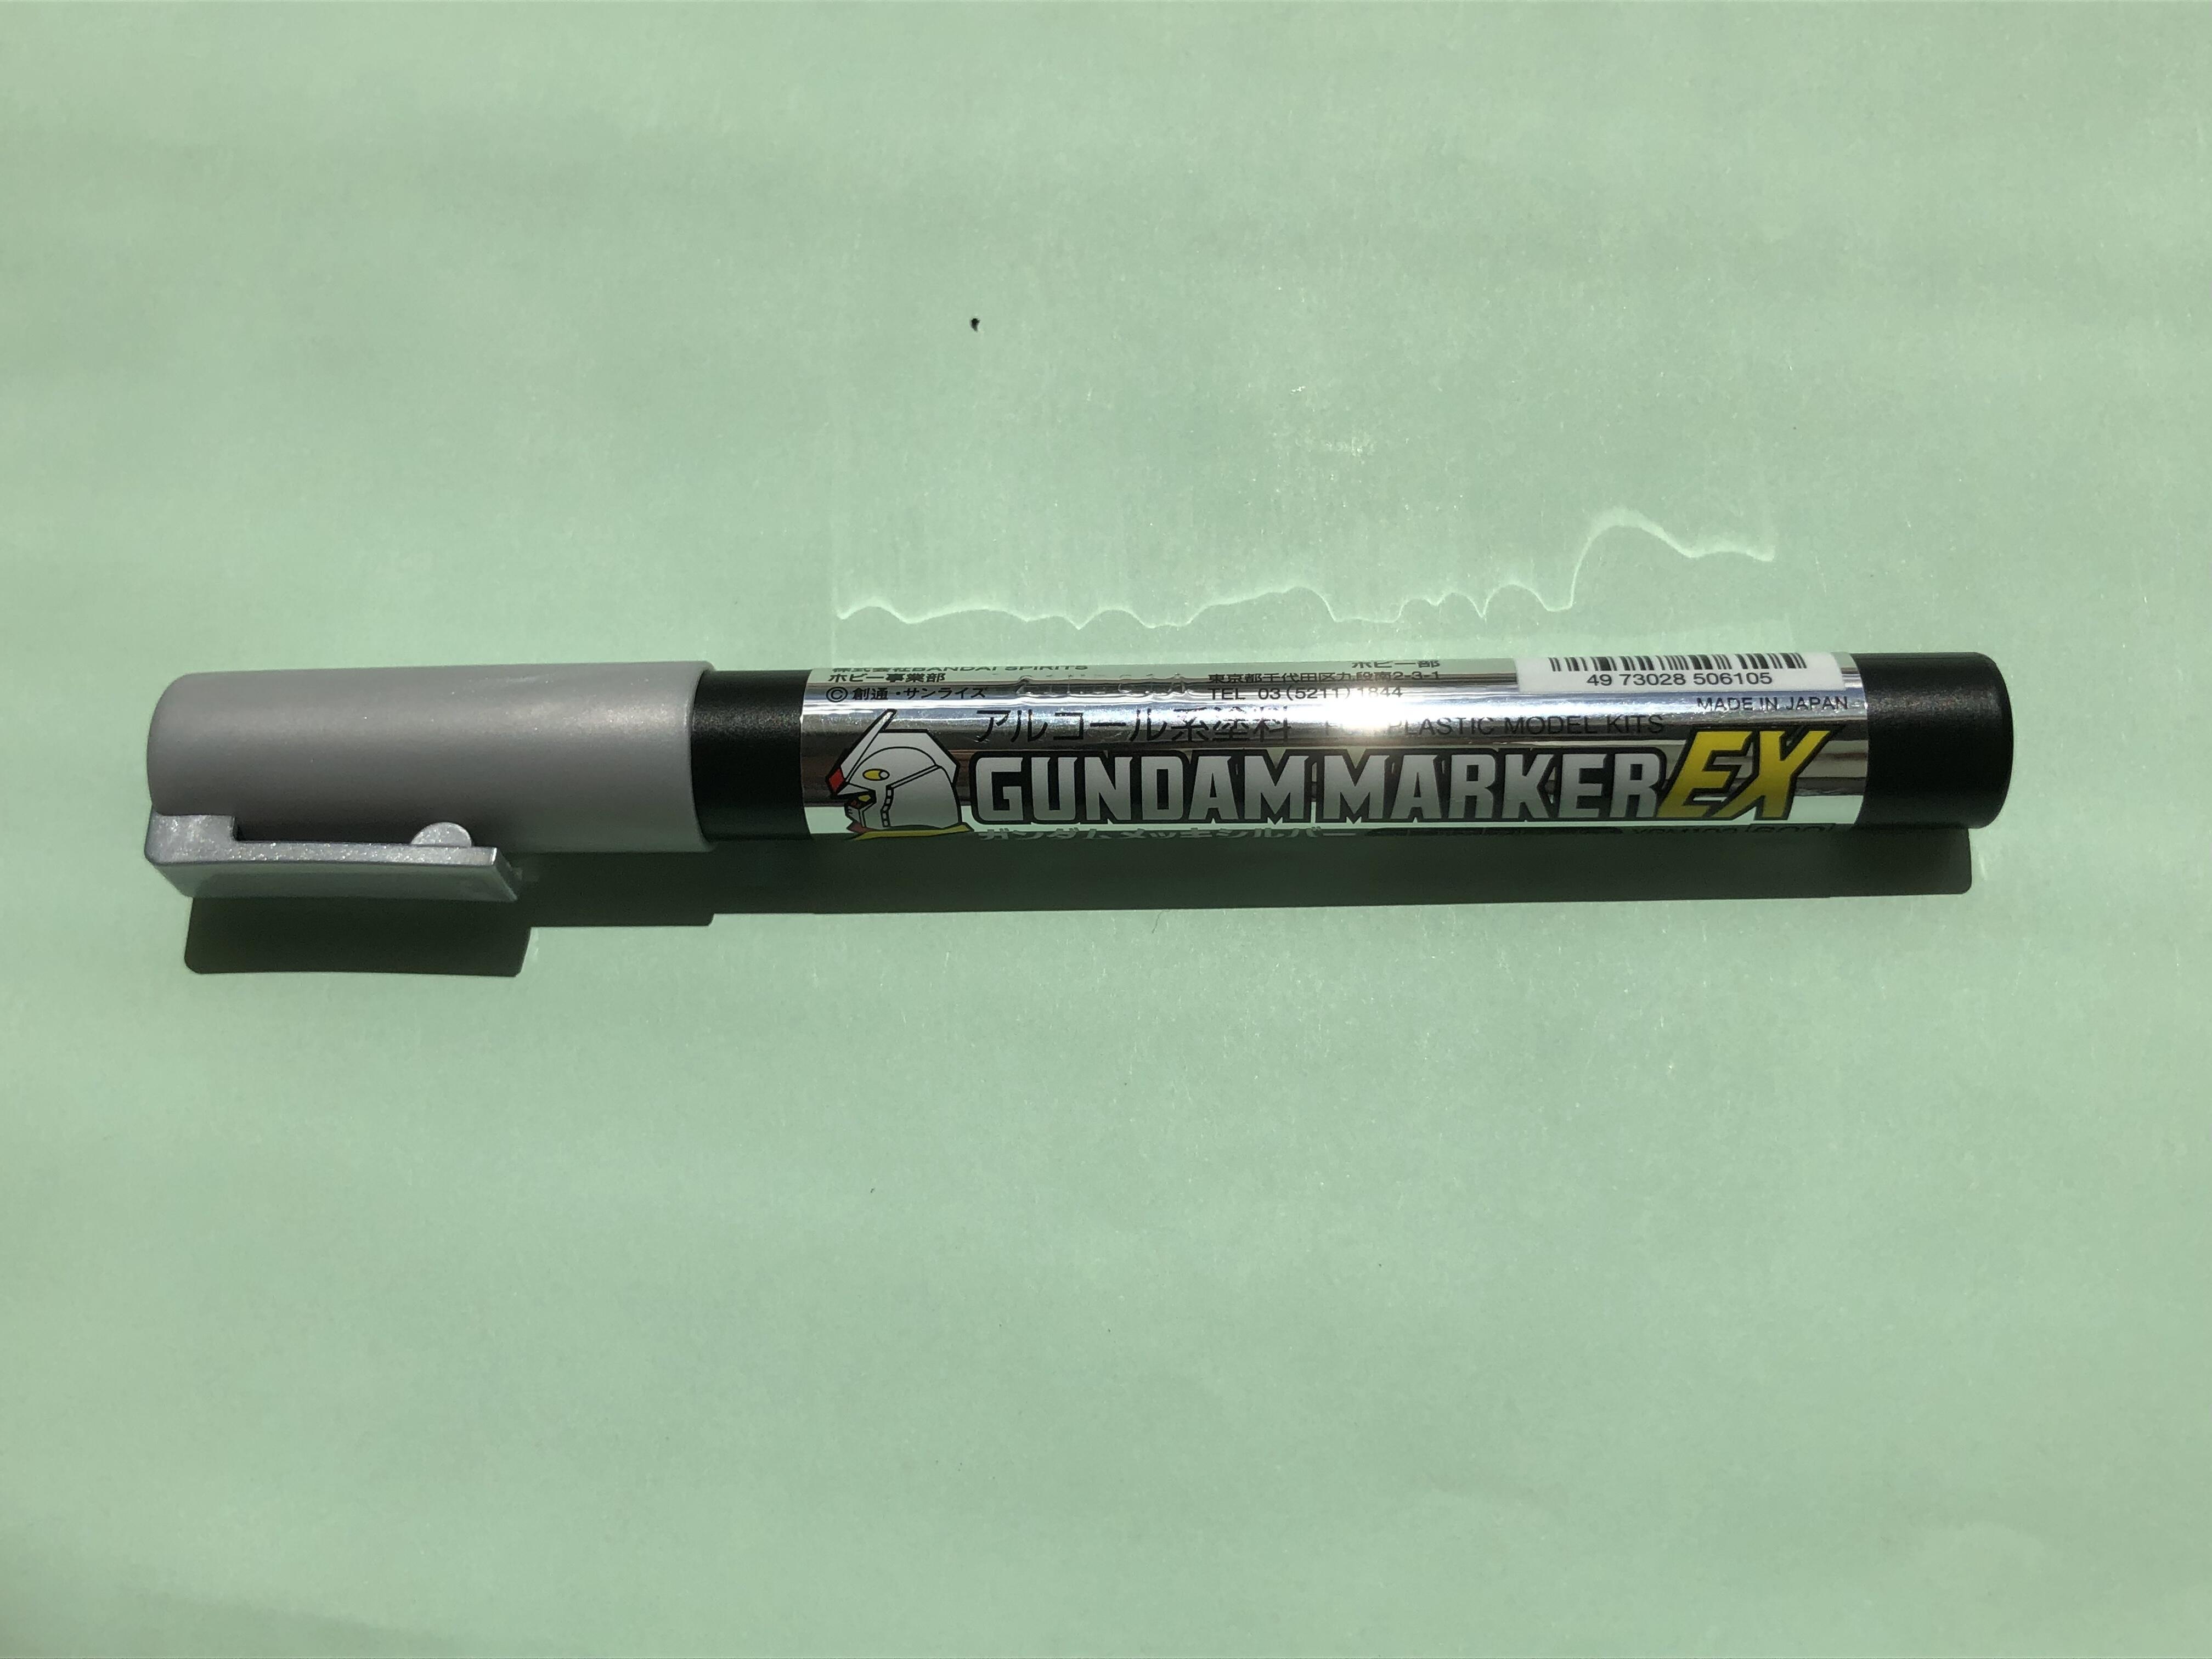
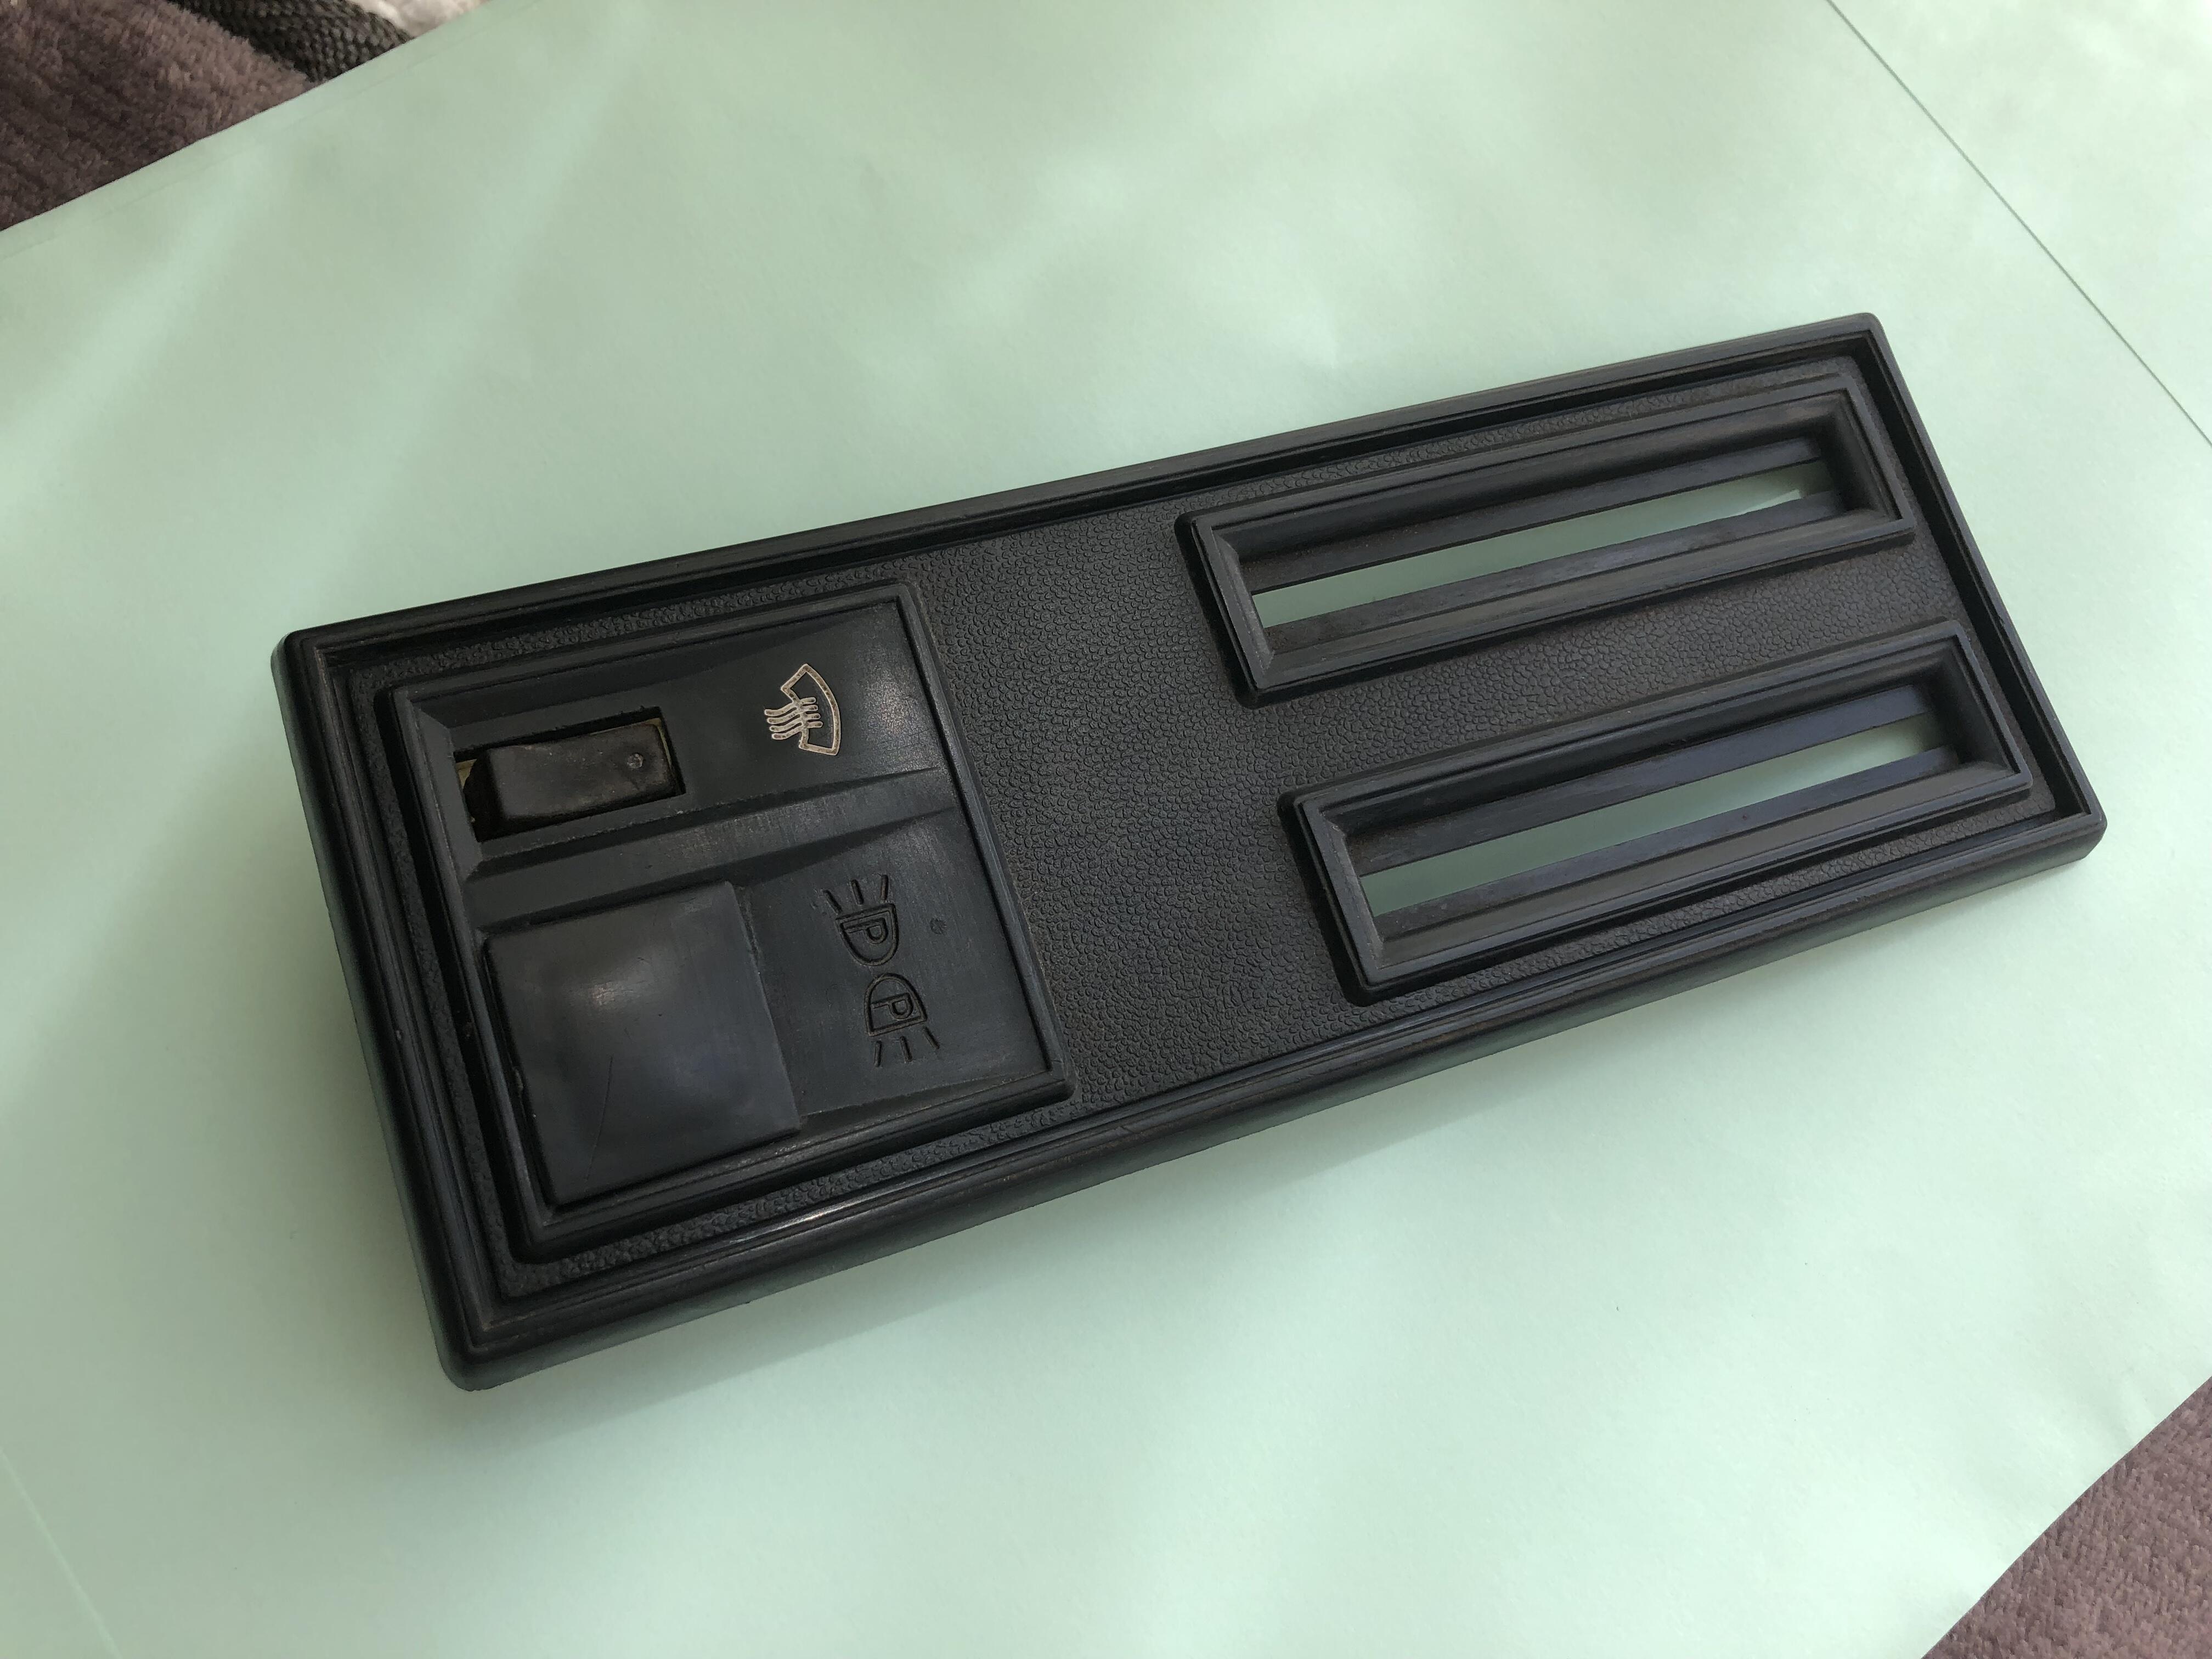
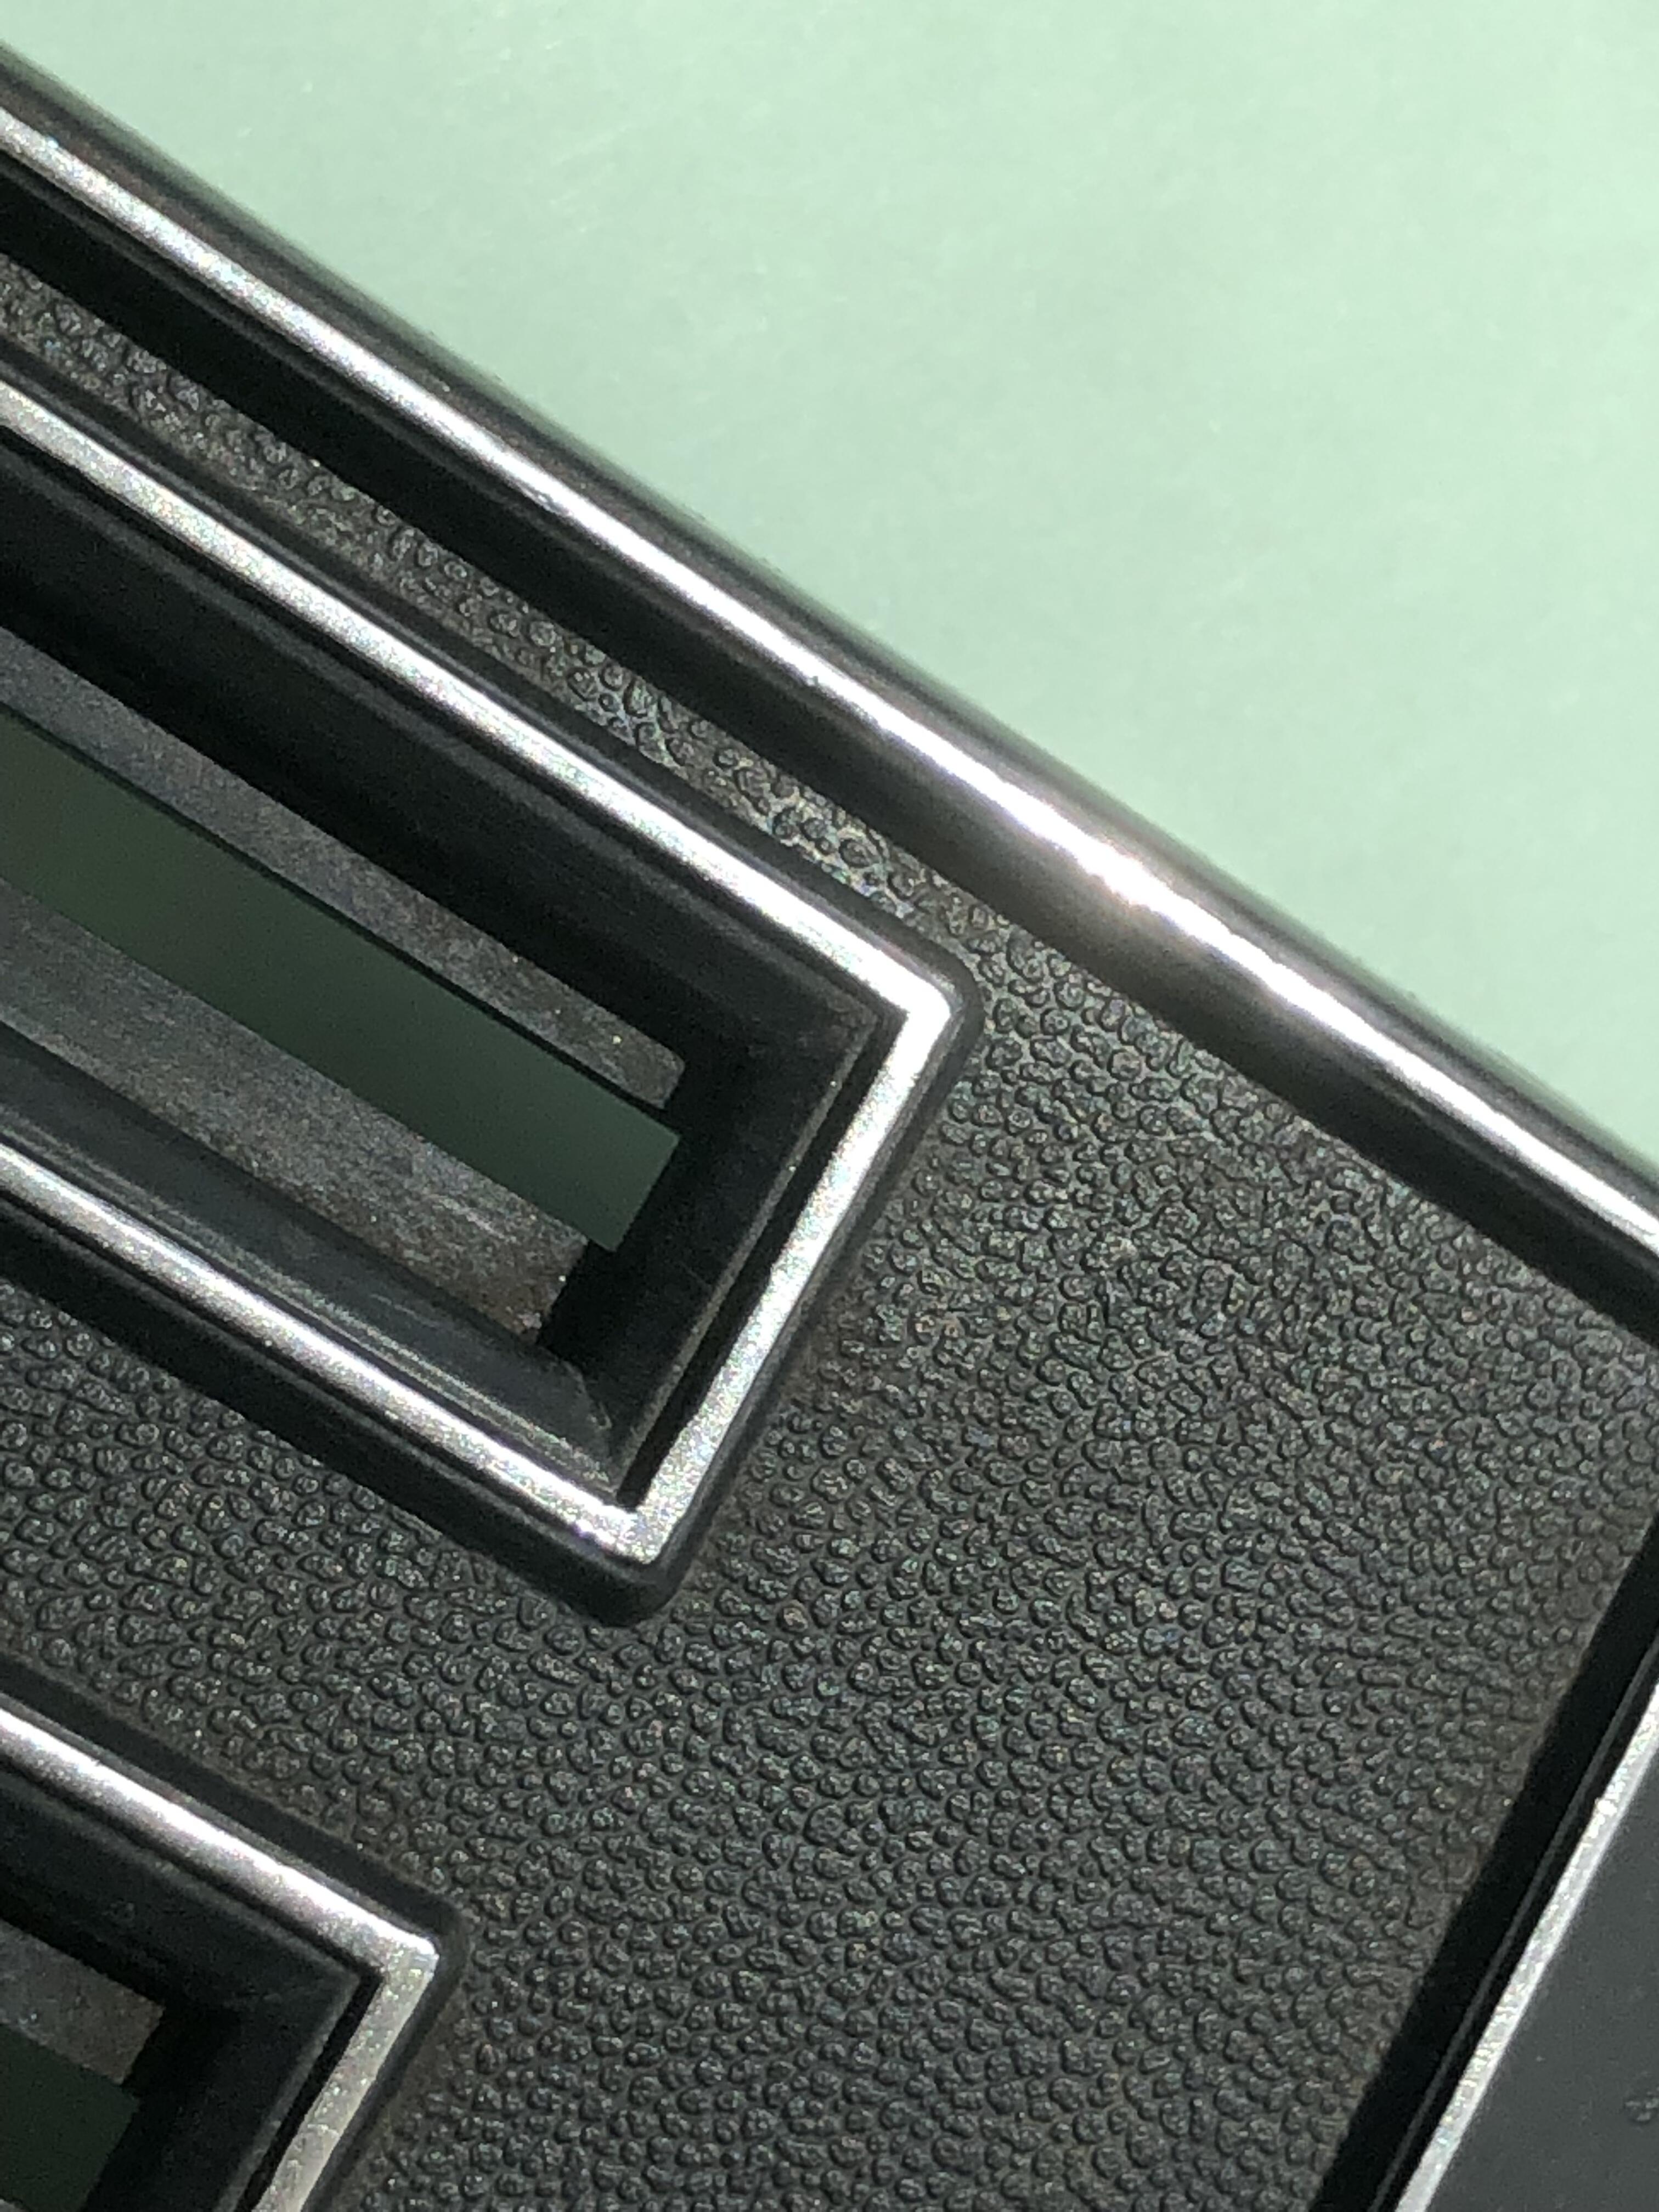
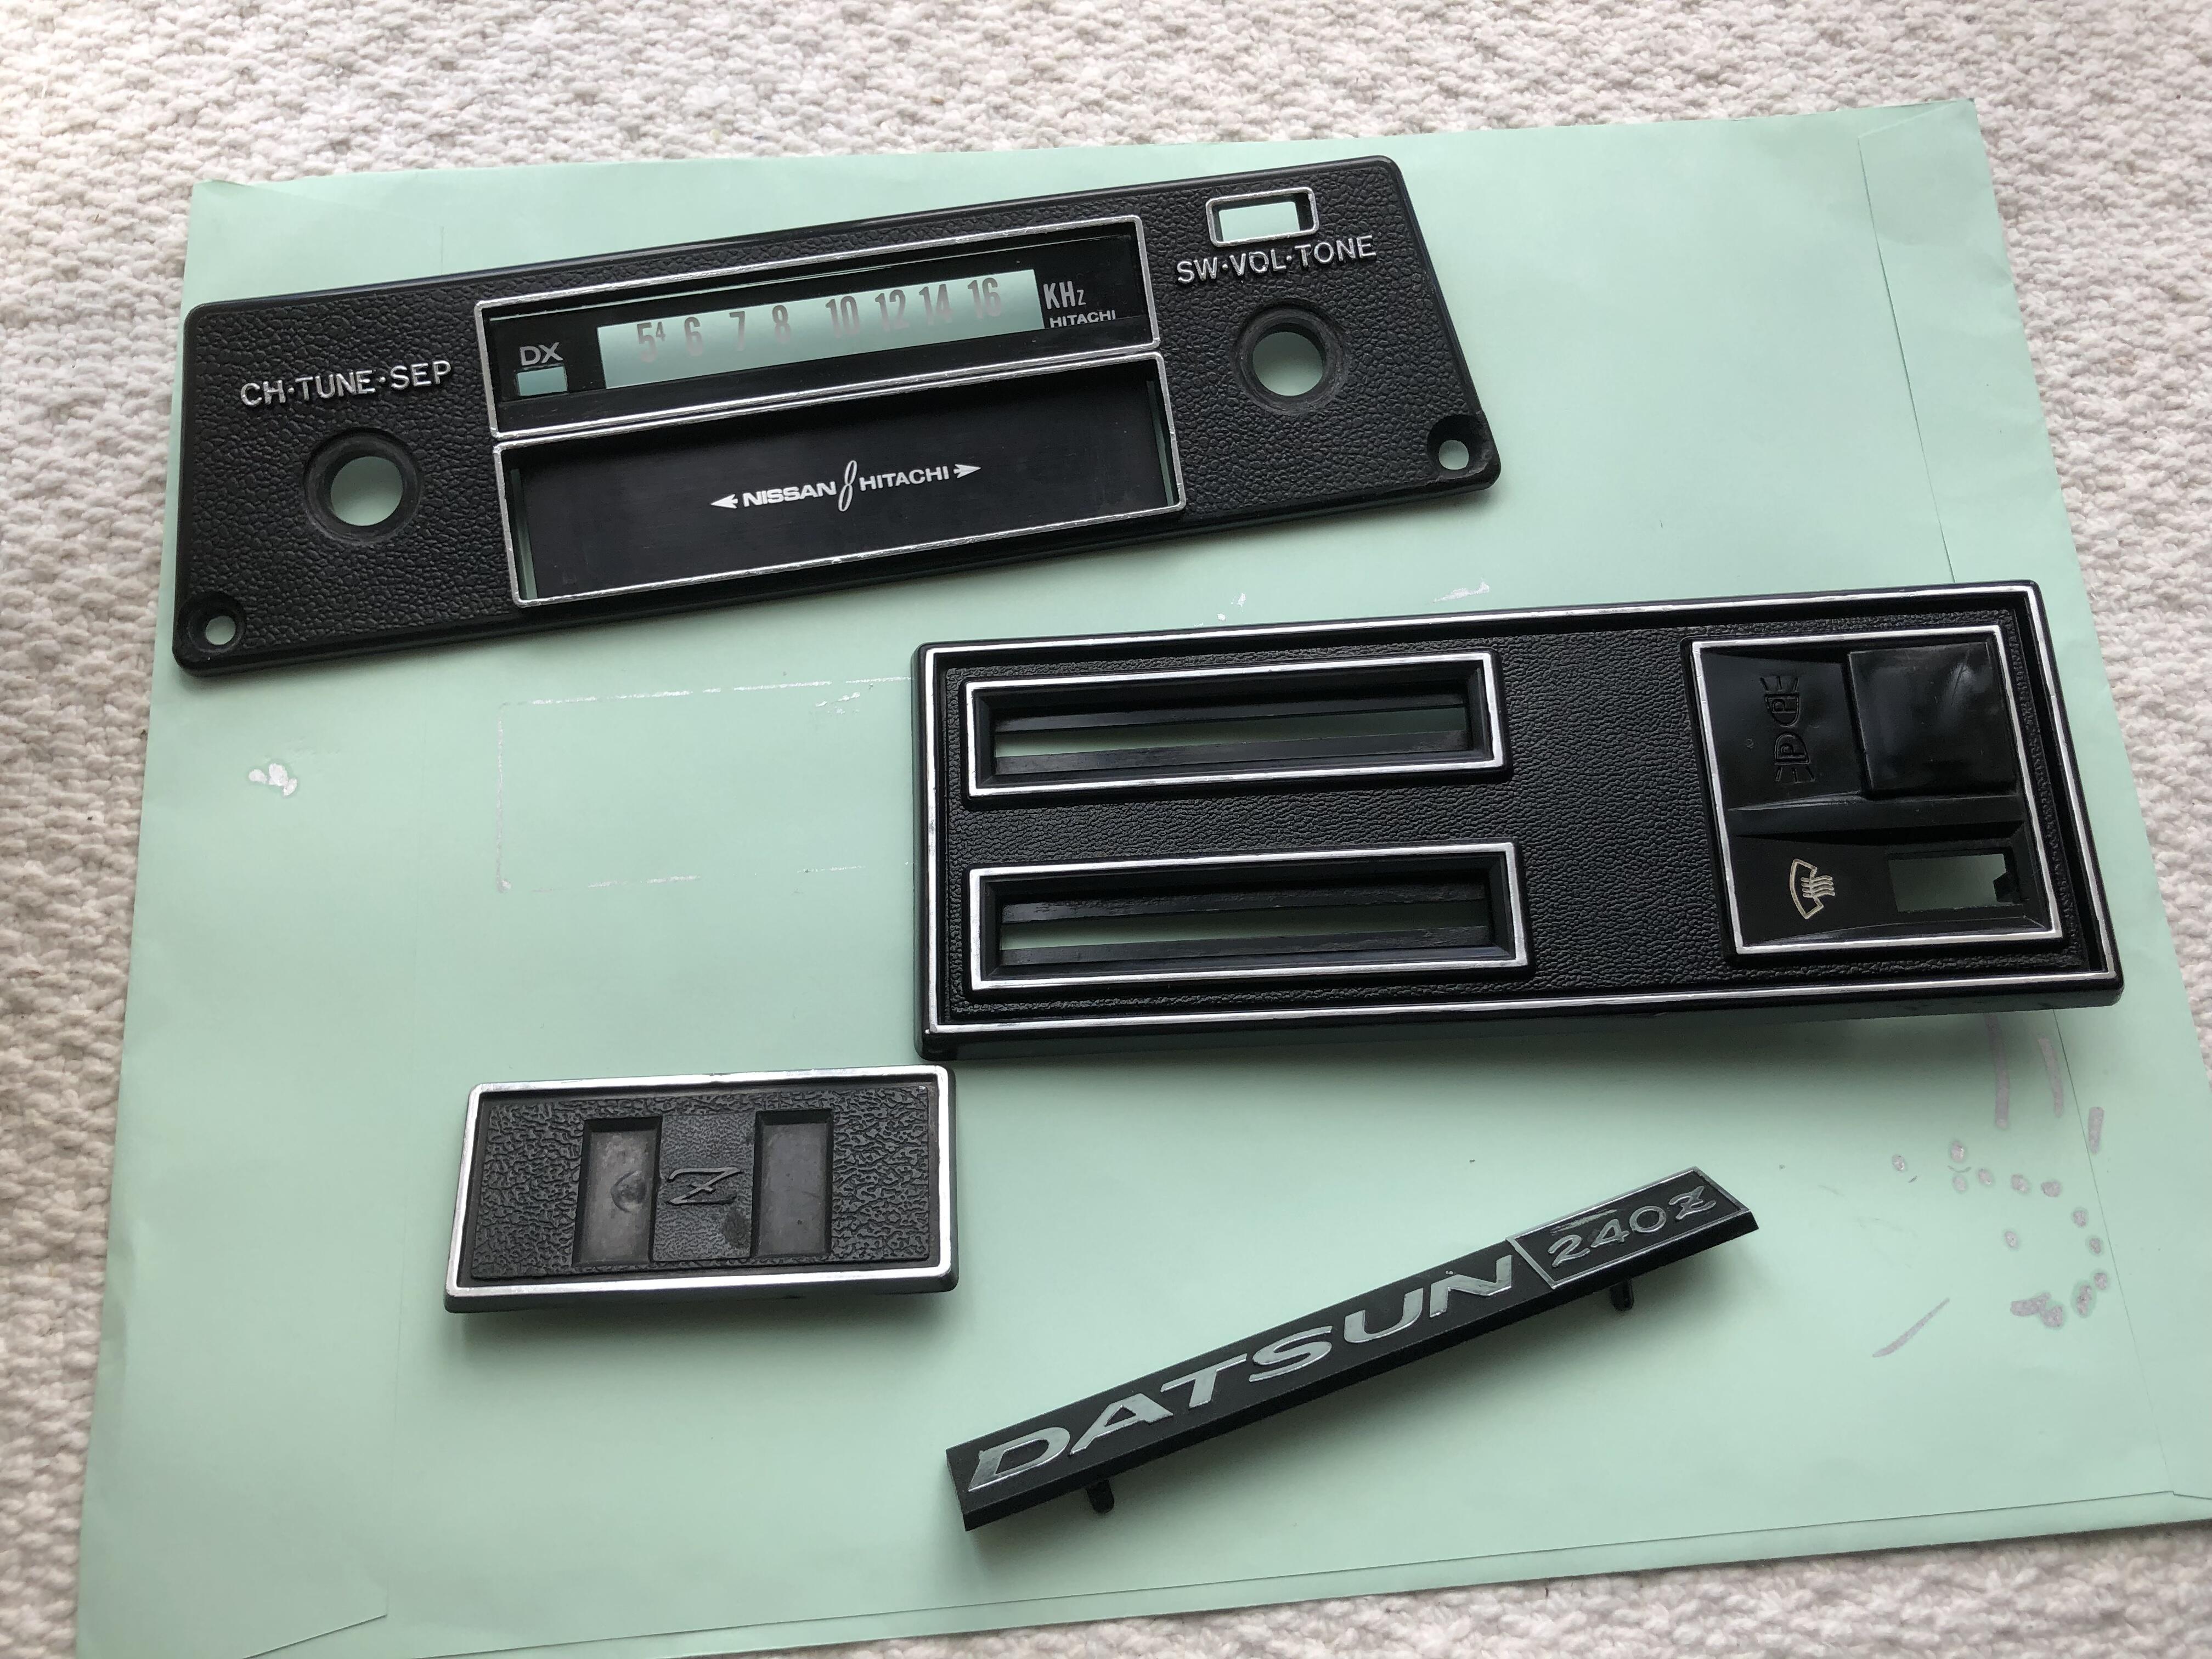
 1 point1 pointAccording to the ZTherapy VHS tape, someone did independent flow testing of a number of intake/air horn combinations, and the stock air horns flowed the best. Nissan got it right the first time, looks like.1 point1 pointI'm kind of thinking it reminds me of a Dino with fewer curves. Maybe it's just the orange.1 point1 pointAs a glacial update..... life has got in the way over the past few years, the below brings me to where I'm at.... Disc bells and brackets designed painted up the front panel 'factory style' had the radiator treated to a triple pass copper core. had a bit of a faff getting the finish correct on it. got there in the end. fitted the rear bumper antagonised over seats for a few years(Sorry Alan T!). However using one of his pics I managed to get something made in the same sort of 'feel'. The dream What I ended up with1 point1 pointI think that it depends on how good the mounting surface is grounded. It might be why the distributor has a ground wire attached (that sometimes gets left off). Who knows, it might be why your E12-80 failed. Can't hurt. A meter reading will tell a lot. Even if you use conductive paste the heat sink will need to be grounded. So it's kind of a question of which bolt is doing what.1 point1 pointUse a conductive adhesive between the HEI and heat sink. https://www.amazon.com/Conductive-Adhesives/b?ie=UTF8&node=4015420111 point1 point@siteunseen was referring to the return side of the fuel pressure regulator.1 point1 pointToday I touched up a choke lever facia of HLS30-02146 . I have heard of ‘ GUNDAM MARKER ‘ which is a marker pen for painting ‘GUNDAM’ robot. I tried , and I am so satisfied with the results. To achieve the best results, sand it and get it smooth before painting. Kats IMG_7584.MOV FullSizeRender.MOV
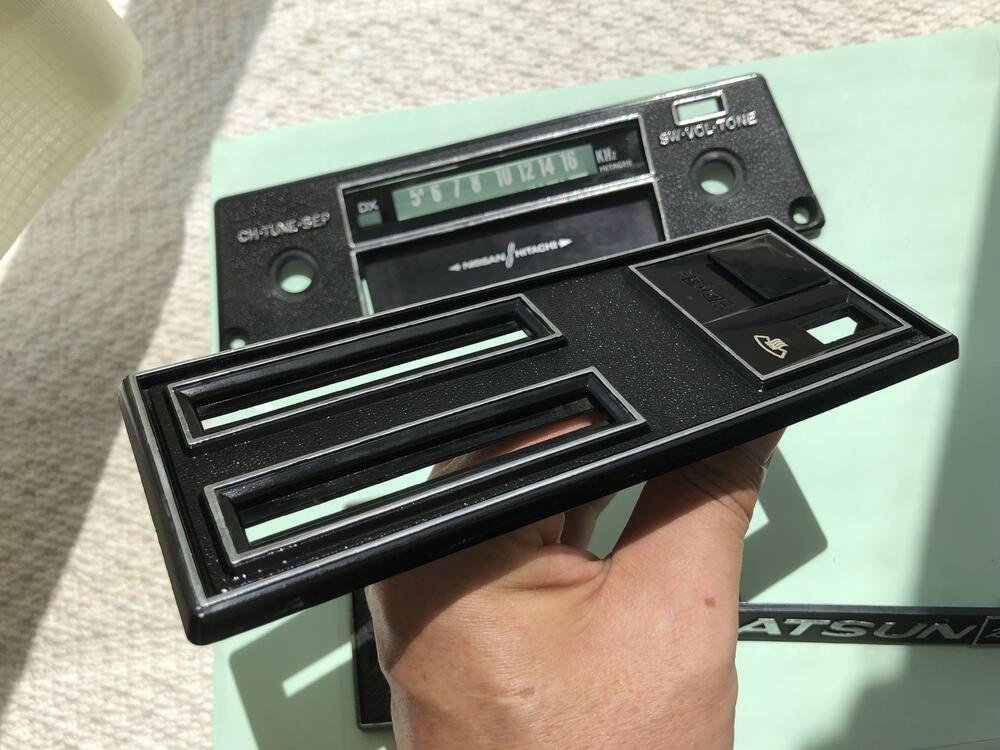


 1 point


Important Information
By using this site, you agree to our Privacy Policy and Guidelines. We have placed cookies on your device to help make this website better. You can adjust your cookie settings, otherwise we'll assume you're okay to continue.