Leaderboard
-
Captain Obvious
Free Member6Points10,081Posts -
Patcon
 Subscriber
 4Points11,142Posts
 -
motorman7
Subscriber4Points2,228Posts -

dutchzcarguy
Free Member3Points2,677Posts


Popular Content
Showing content with the highest reputation on 12/04/2021 in all areas
-
LOL!!! I'm honored to be a 1%er. I'll never forget the little people. Jingle. Jingle.4 points
-
Decided I would add my thoughts on this auction since it's free to post here (more comments from the peanut gallery). I was wondering if the guy who mentioned the '95+ Concours restoration' ever entered a Z in a car show. ZCCA judges on a 300 point scale, and most Concours judges have no clue what they are looking at when it comes to original Z's. An old Z sage once told me you could tell the judges that Z's came stock with V8 engines and blacked out engine bays and they would believe you. I have been in enough shows, ZCON's and Concours, to know that this is not far from the truth. Personally I thought the silver Z that sold a bit earlier for 36k was a better and more valuable car than this red Z. There were too many unfinished items on this car. The silver car was all there, very complete and original. I would have put the the value of this Z in the $50-60k range. As to restoration costs, someone who says it's near $100k has never restored a Z or is getting taken. My Z restorations for customers have been in the $50-60k range and are well documented on this site. If you do it all yourself it's even less, free labor. Most importantly, as mentioned earlier, it's good entertainment. Some people get a bargain (silver Z), some people get taken. Just my thoughts4 points
-
2 points
-
2 points
-
2 pointsOn idle the pressure seen on the meter can be very low.. It's a known problem.. To be sure you can always look under the oil fillercap during idle, but look out.. the oil can jump out the opening a bit.. If the camshaft is oiling good the rest is also good.2 points
-
2 pointsTesting your springs. Per my previous post, I'm in the process of a resto on a 73 Z. Currently working on the front suspension, replacing / rebuilding everything that I can. I wanted to change the springs but found limited options. Chevelle springs seemed the most viable option but entailed a lot of "trial and error" work. And, as you know, each time you put them on and take them off it's a real PIA. Especially since the car is on a rotisserie and completely disassembled. I wouldn't be able to get any real information until the engine, doors, hood, hatch ,etc were back on and the full weight of the car was on the springs. So, I decided to test the existing springs to see if they even needed replaced. Years ago,when I worked as an auto mechanic, rarely did we need to replace springs unless they were cracked or broken. So here is what I did: Needed : A hydraulic press, a bathroom scale (an old analog spring style, not an electronic digital), a yard stick, a piece of stiff wire (welding rod or coat hanger), some short pieces of flat bar for steel shims, couple pieces of wood" and a ratchet strap (optional, for safety). Set Up: Cut a piece of 3/4" plywood a little bigger than your scale and set it on your press. Set your scale on the plywood Set your spring on the scale. Because of the way the spring is cut, it will not set level on the scale. Place the metal shims between the spring and the scale until it sets level. Use the top spring cover from your strut and place it on the top of the spring. Fasten the yardstick to the press vertically alongside the spring Use the stiff wire to create a pointer and attach it to the spring (I used magnets to hold it in place, but duct tape will work too). Be sure to make the pointer long enough to reach the yardstick Place a small block of wood on the top spring cover and lower the press ram just enough to hold everything in place. If you prefer, wrap a rachet strap around the press to catch the spring should it decided to kick out (optional) The Test: Before proceeding record the reading on the scale (or adjust it to zero if possible). Also record where the spring pointer is pointing on the yardstick Check the spring specification in the service manual. I was working on the front springs and the rating was 83 pounds / inch Wear safety glasses (just in case) Slowly operate the press watching the spring pointer against the yardstick. Continue to operate until the pointer has moved one inch from the starting point. Then stop. Record the reading on the scale. Subtract your starting scale reading from your finish reading. This will be your rating per inch. In my case the reading was 92 pounds. Since spec is 83. I figured I'm good. A little red spray paint, and the look great. Saved a lot of time and money. Hopefully the rears will be good too. BTW: Be sure to mark left and right springs when you take them off, they are different lengths. The ratings are the same on both sides.2 points
-
2 pointsActually (in the real world) what probably limits the ability to accelerate your Z is the ability to get that power to the road. Nice equations. I'm hot.2 points
-
2 pointsToday’s mission was to install the rear bumper. Had to drop the tank and got it all bolted up. Left the drip edge on for now. Took it for a spin, and it ran great. Here is a video so you can hear the ZStory Classic Muffler. Sent from my iPhone using Tapatalk2 points
-
1 pointAnd as far as "spoon feeding" goes, I've had to do more with people who had "engineer" titles. At least you found the source, and as you have learned the same lesson as many of us, it's frequently the last thing we f'd with.1 point
-
There is neither a 400Z nor a Z35. It is a Nissan Z with a Z34 Series 2 chassis designation. Also the Z33 was 2003 MY to 2008. And the Nissan Z is 2023 MY.1 point
-
1 pointGotten used to these techniques with this old Datsun metal. It was getting to the point of being such a cold weld that it was causing more problems. Decided to cut a bunch out and patch it. I was just the area that was under the original floor pan up front where its seam sealed.1 point
-
Thanks to your comments and suggestions, I bought an extra 10mm and 12mm wrench. One can never have enough 10mm and 12mm wrenches. I also bought a spoon dolly for a couple of hard to reach dents I need to deal with. I have been wanting this dolly for quite a while.1 point
-
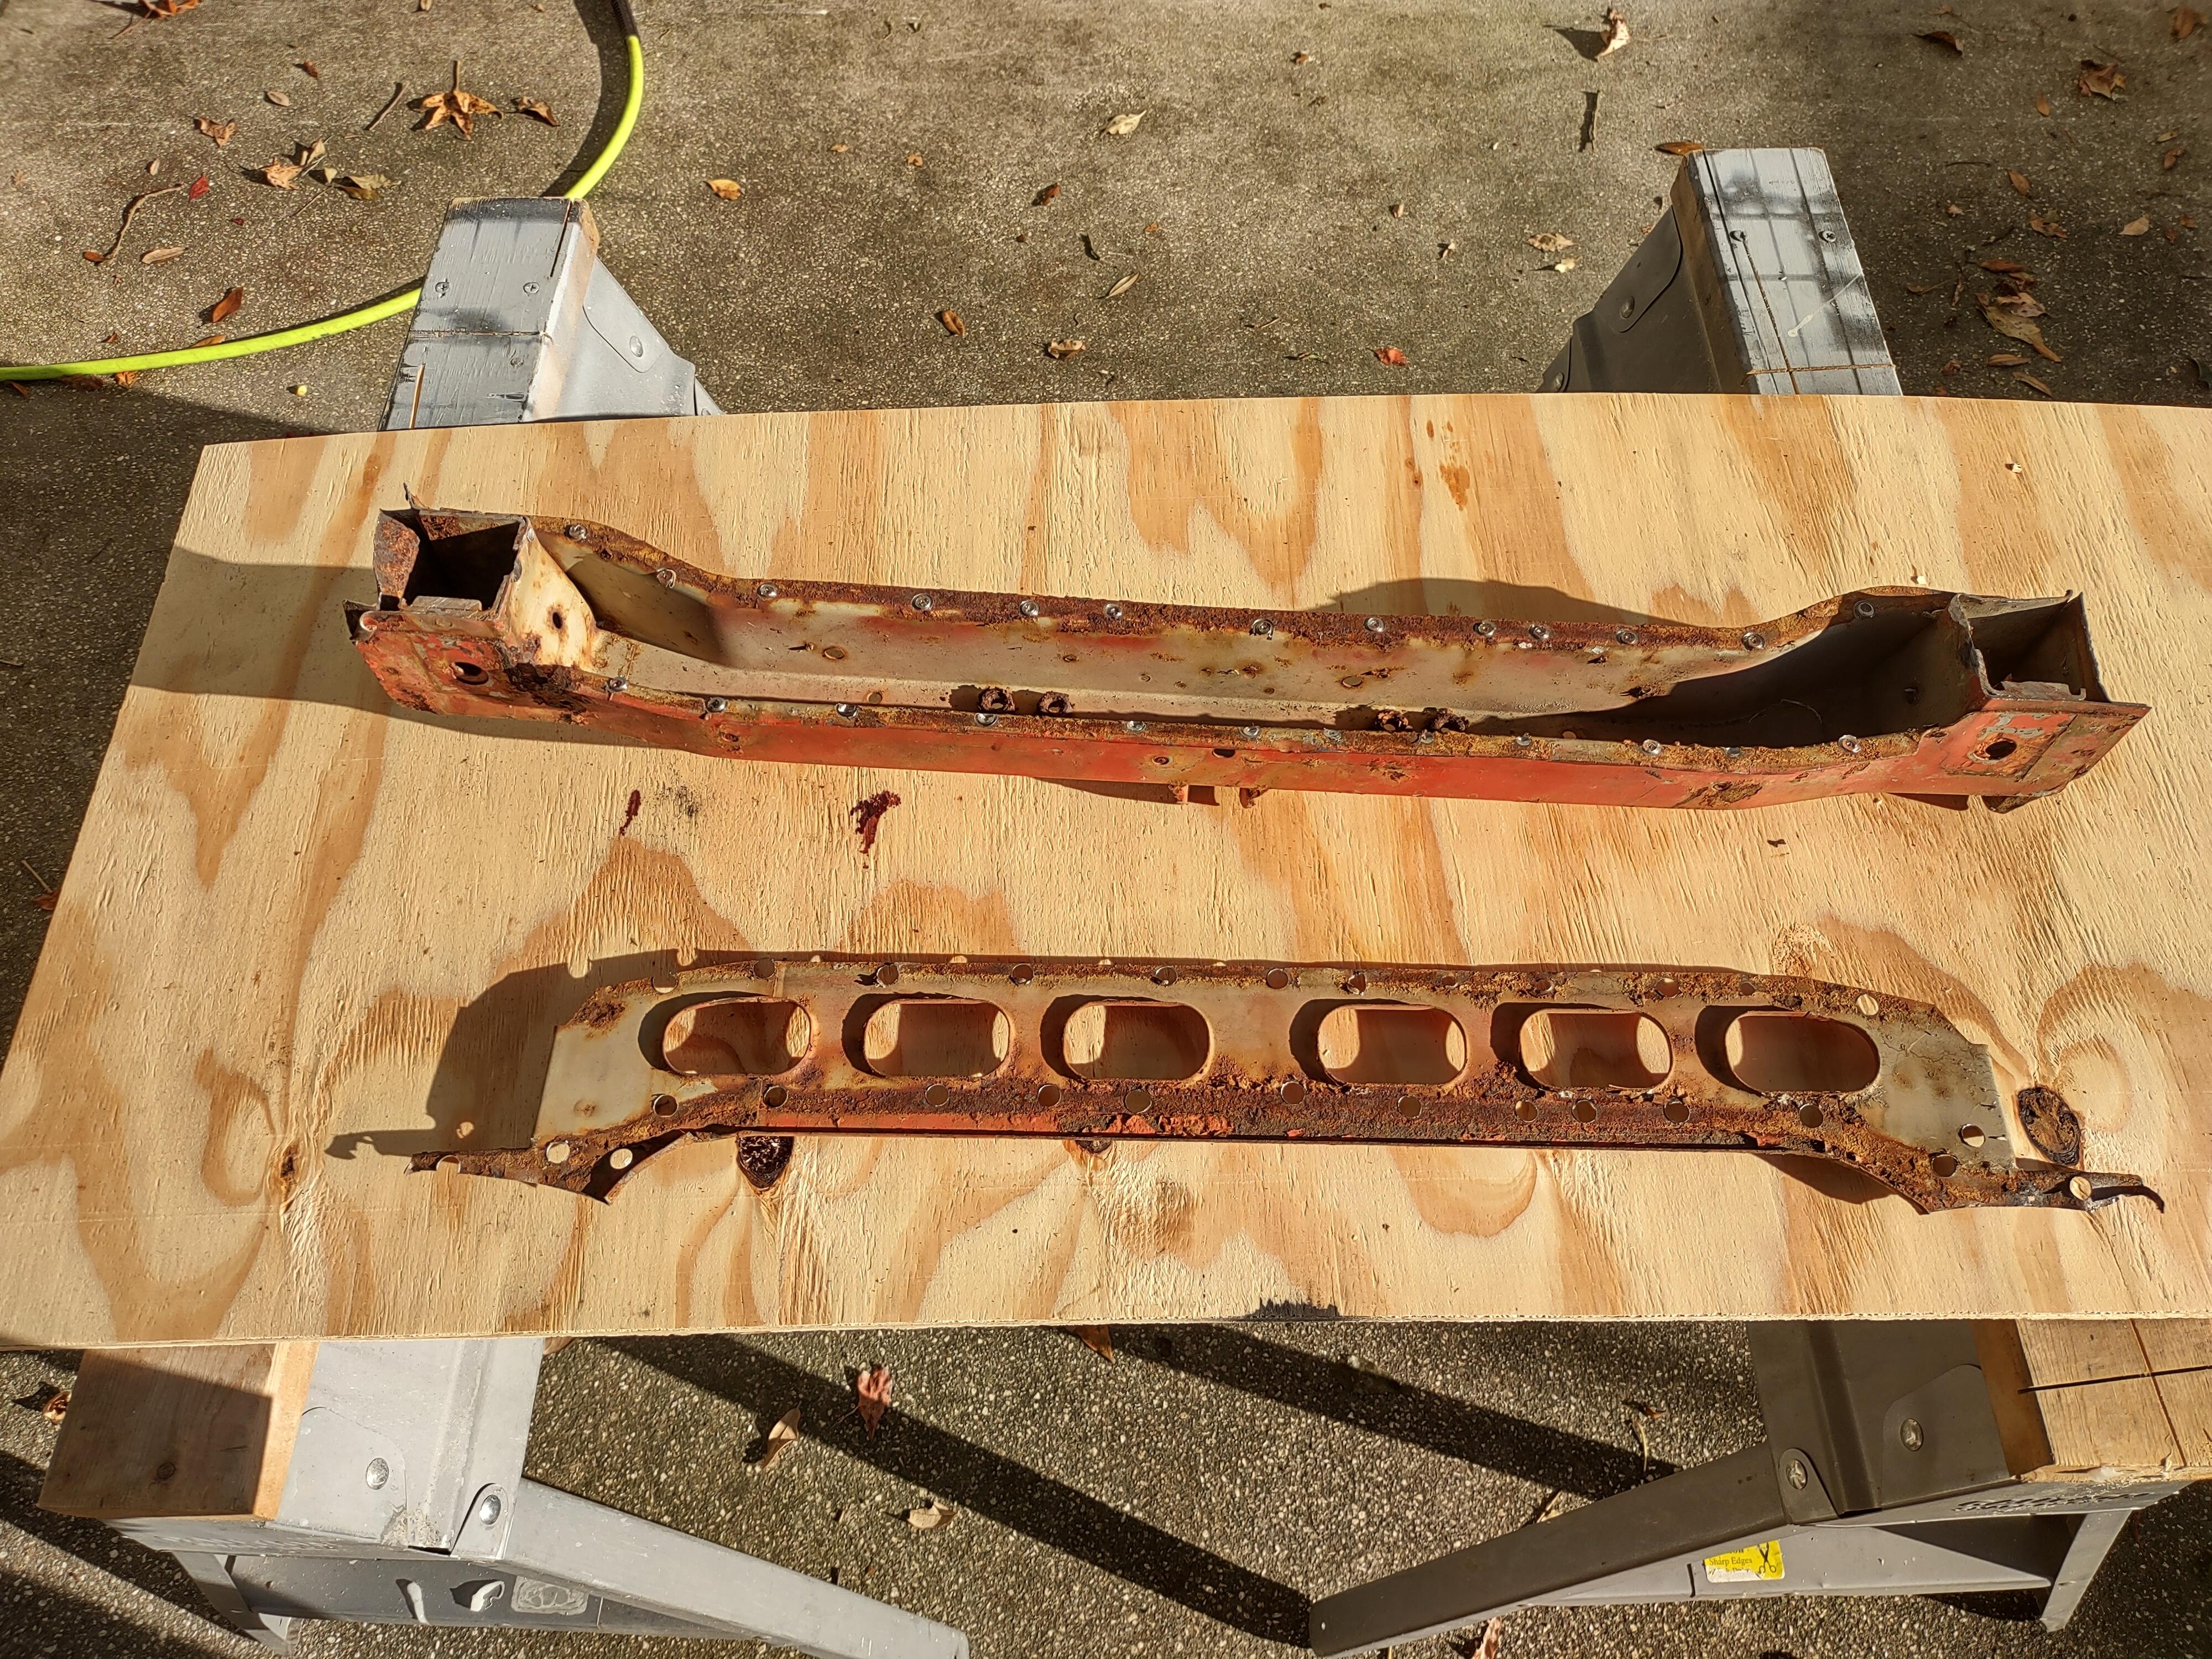
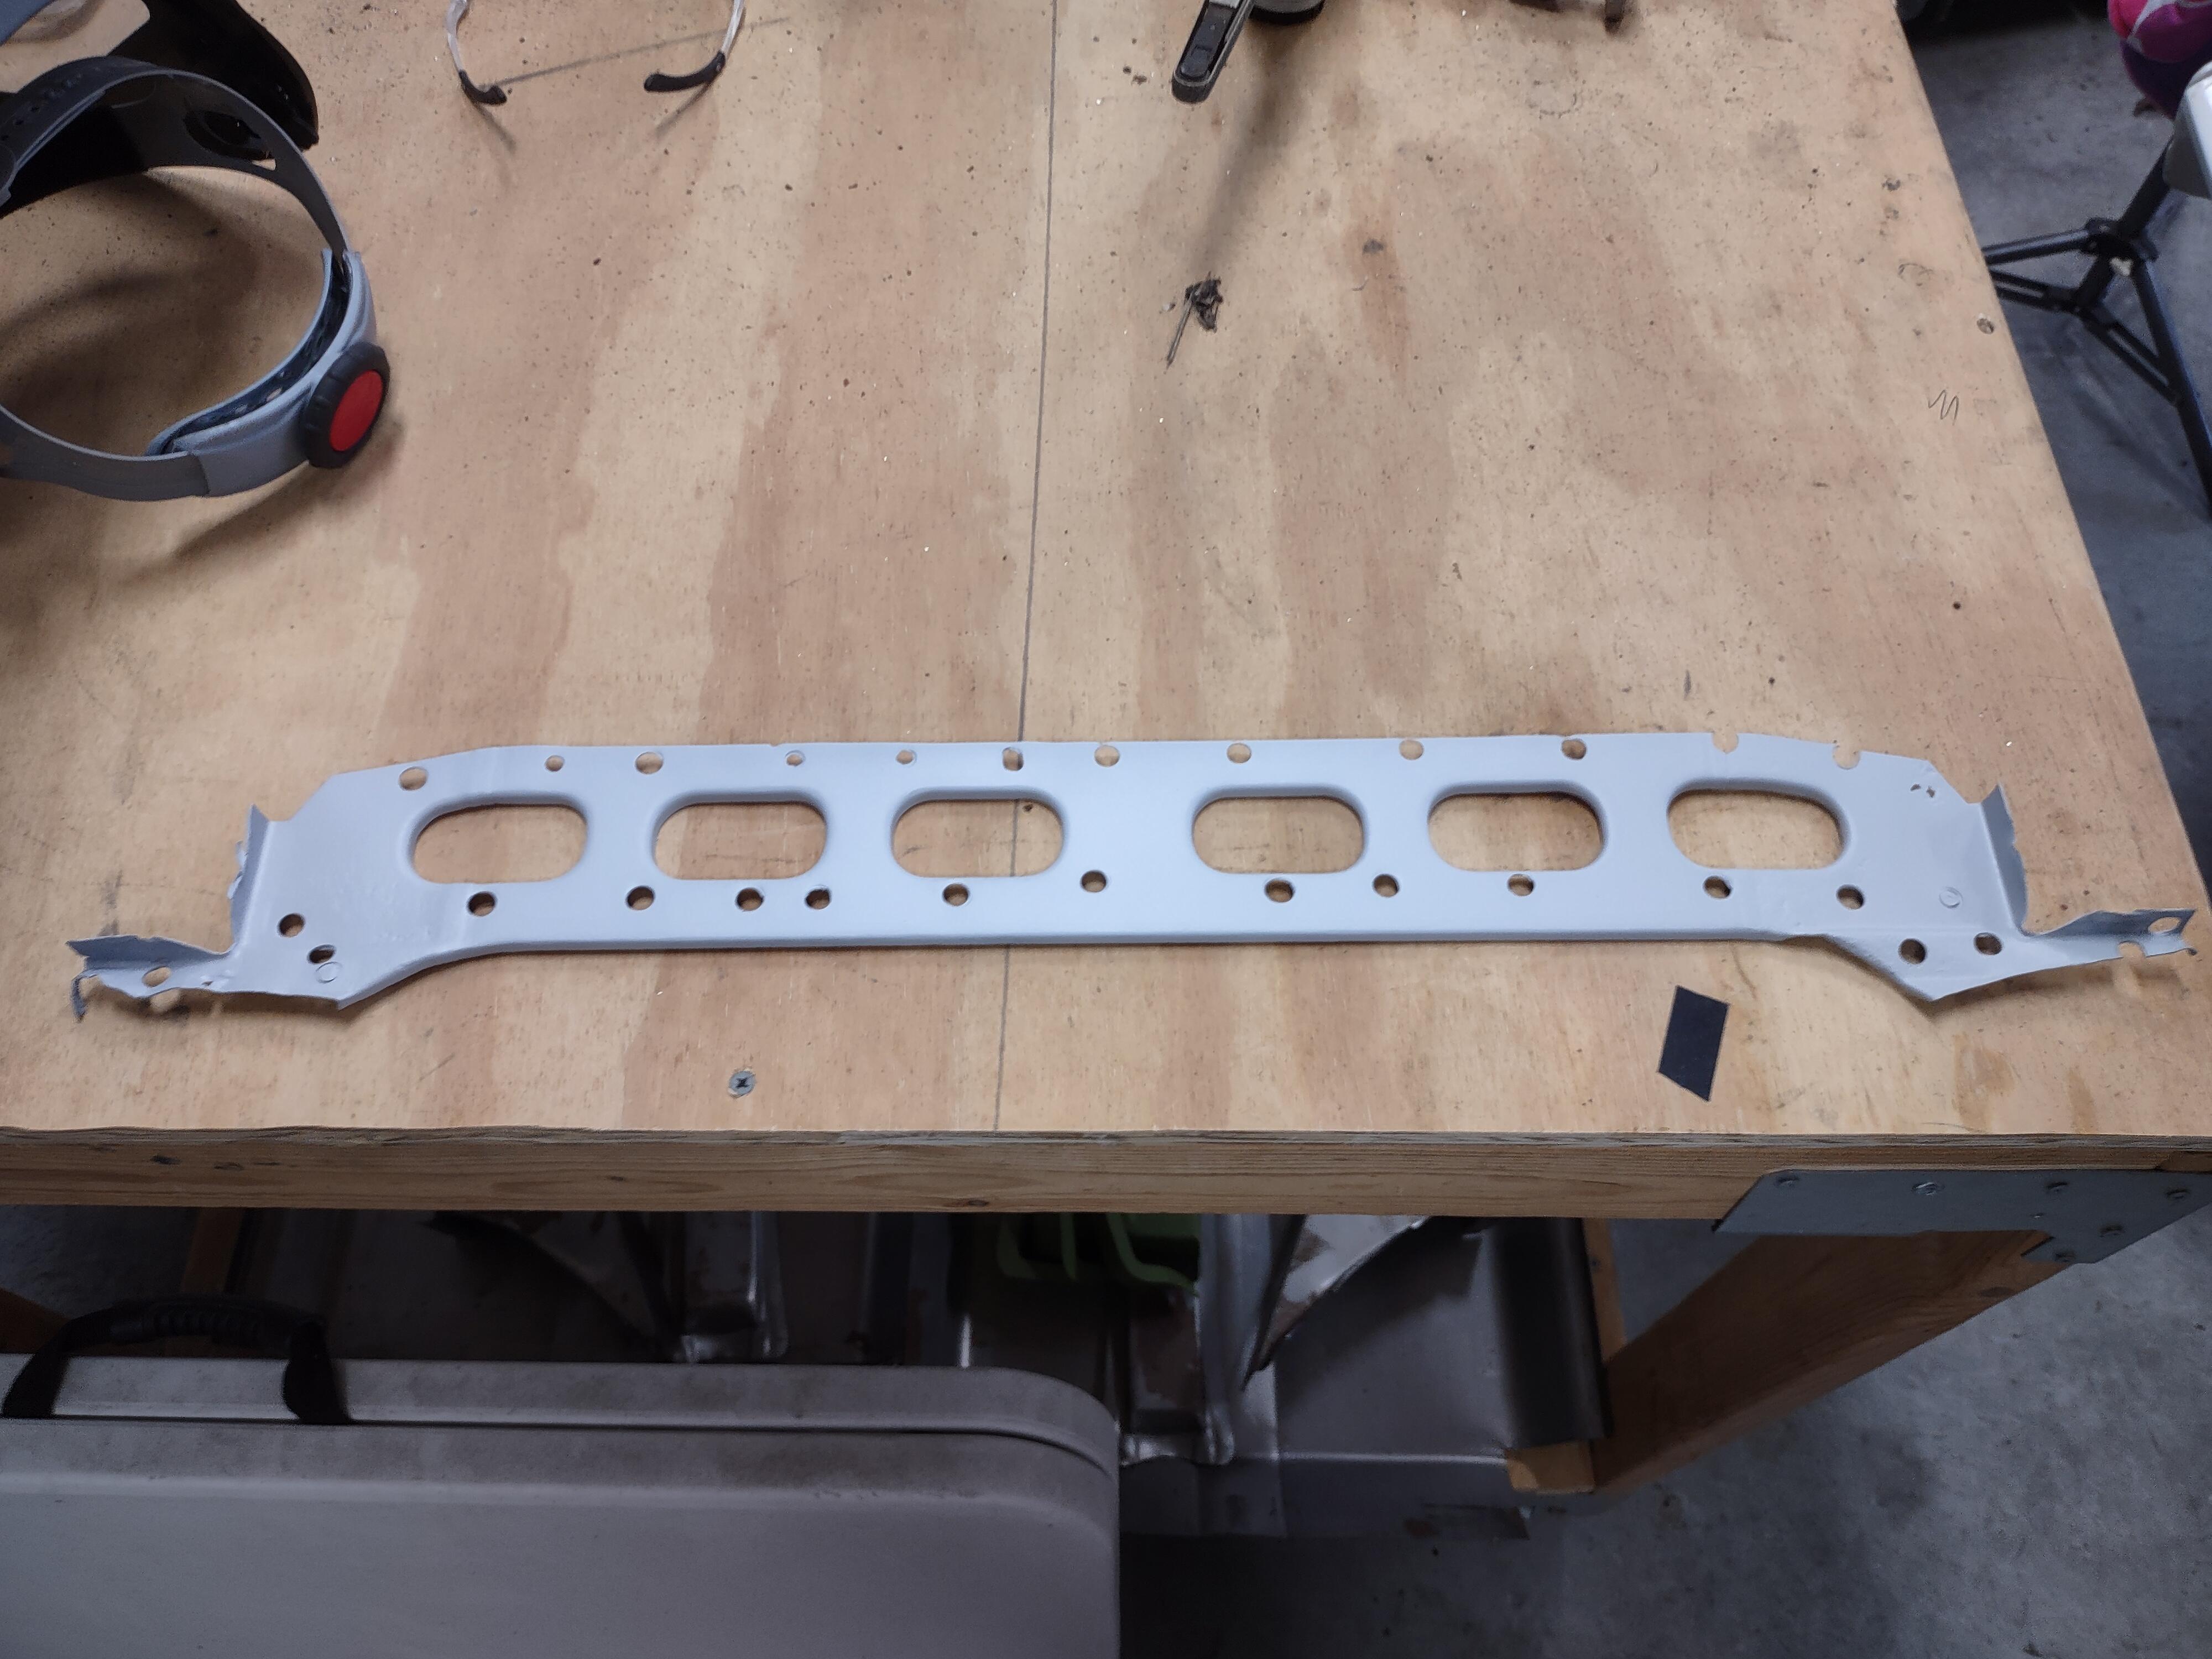
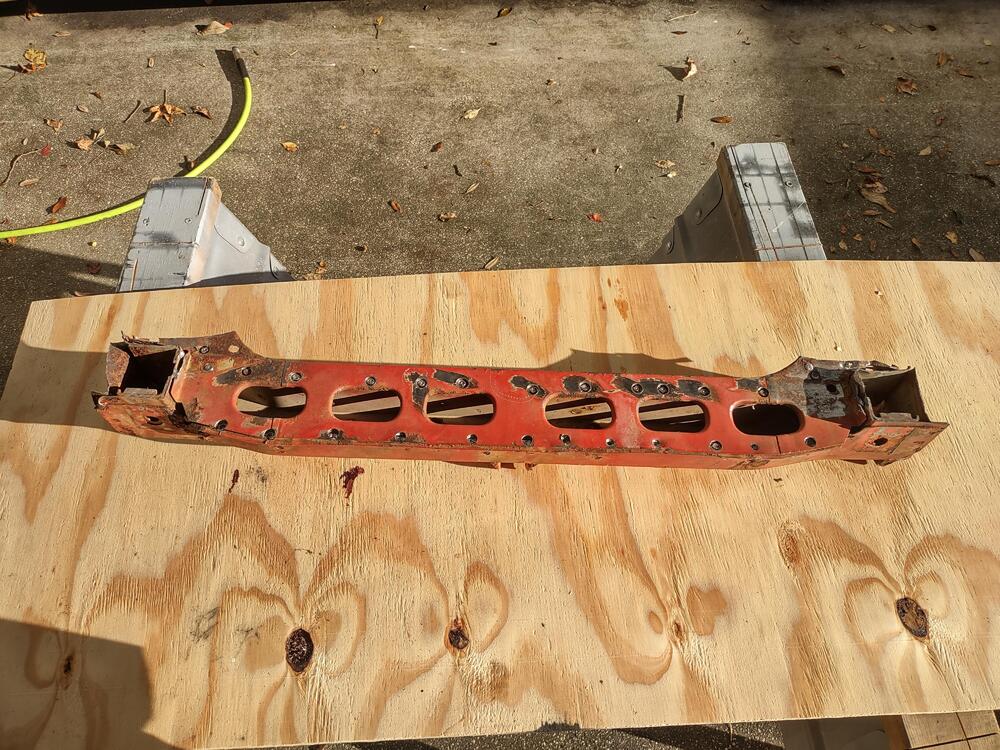
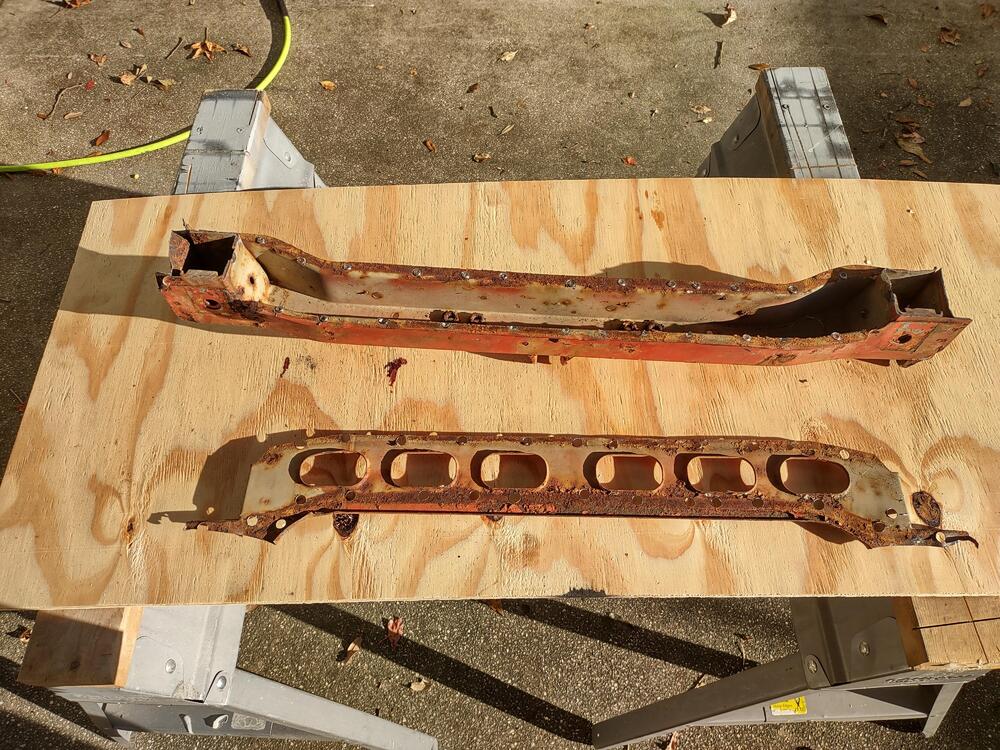
1 pointThanks to Terrapin Z (David), He supplied me with a spare lower radiator support for the rearward panel for my crunchy one that will need to be replaced.
 1 point
 -
1 pointYour car looks great! Congrats on the progress. I just hear normal injector tick, not exhaust leakage or valvetrain noise.1 point
-
1 pointAs a simple equation, most people divide the weight by hp 2300/325=7.0769 Thats close enough for government work. Anything below 10 moves really good; below 5 is scary fast! So 7 is really solid...1 point
-
1 point
-
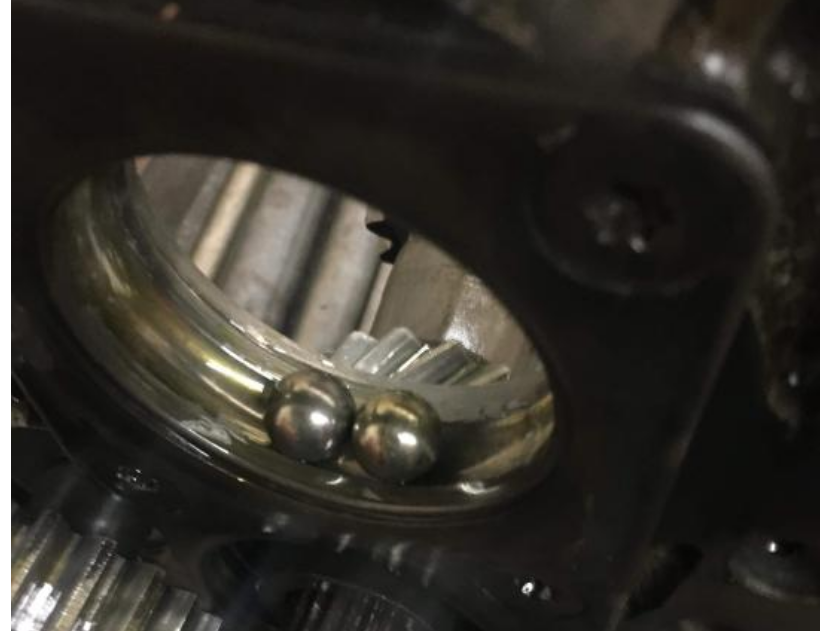
1 pointProbably the destroyed adapter plate bearing. I noticed that many of the shifters shown didn't have bushings which can also cause problems. Did you find any metal on the drain plug? That's a clue.
 1 point
 -
Speaking on behalf of Cliff and all the other 1%ers who have achieved GRANDMASTER status, relax, we'll be in the area all day. You'll know we've left the room when you no longer hear the jingle of our badges. 😎1 point
-
Agreed on all points! It was IMHO a very nice example, well presented by it's owner, which probably needed another $20K in parts and work to bring it up a level. Simple things, such as installing the correct hose clamps during a proper engine concours prep, would go a long way towards a better presentation. The buyer who pays in the $70k+ range is probably not going to care that an aftermarket AC was installed and removed, but will likely care that there are now several holes in the center console as a result. Leaving it for the next guy to repair is fine (and was properly disclosed), but leaving it as-is will affect current value. Getting money back on a full concours restoration on a car worth less than $500,000 typically only has a chance to work if you do most of the work yourself, you value your own time at $0/hour or less, and ignore the cost-of-money calculations. I've lost many $$ this way restoring cars too inexpensive to recoup the costs, but I can attest to the fact that it feels good to openly say otherwise, and lie about the financials. I keep telling my friends the same BS stories about how "I broke even" or "made a few bucks" - it makes me feel better about spending money, like a fool! :^)1 point
-
1 pointMy '71 240z had the orig. US type 240z springs in the rear and were very soft... i replaced them with euro 240z rear springs and can now load 150kg ( about 330lbs) without the exhaust on the ground! The wire thickness of the euro version is thicker.. they are also a bit stiffer. Also know that the front springs are different! One is stiffer than the other for as far i heard.. 600 dollar for a new set is reasonable i think... Look if they have different stifness in the front ones! then you know if they are really the right ones.. (Look in the serv.manual if a '73 240z has different stifness springs in the front!) SO... I looked it up for yah... The wire diam front is both 10,6 and coil diam. is 100mm coil turns 10 and coil eff turns is 8,5 spring constant is 1,48kg/mm (for both sides) now: !! Free length left is 373,5 mm (22.72 inch) and right hand side is 386mm (23.56 inch) !! (where would we be without a service manual hey???) So there is a big diff between length of R and L front springs.. Looked also for you on the rear springs, they are the same (L & R) and have: wire diam 11,4mm coil diam. 100mm 10,65 windings free hight of spring is 381mm and installed 225 mm spring constant 1,85kg/mm this came from my (euro/US?) 1971 serv. manual. i often wonder if we have different service manuals.. i do have the mm and inches in it also Kgm and ft-lbs ... so it's for euro and american service-men? ...1 point
-
1 point