


Leaderboard
-
conedodger
Free Member4Points12,517Posts -

Av8ferg
Free Member4Points1,538Posts -
26th-Z
Free Member3Points5,264Posts -
.jpg.697cae2dec04e3d7f78231df77a31622.jpg)
Ownallday
Free Member3Points198Posts


Popular Content
Showing content with the highest reputation on 11/30/2021 in all areas
-
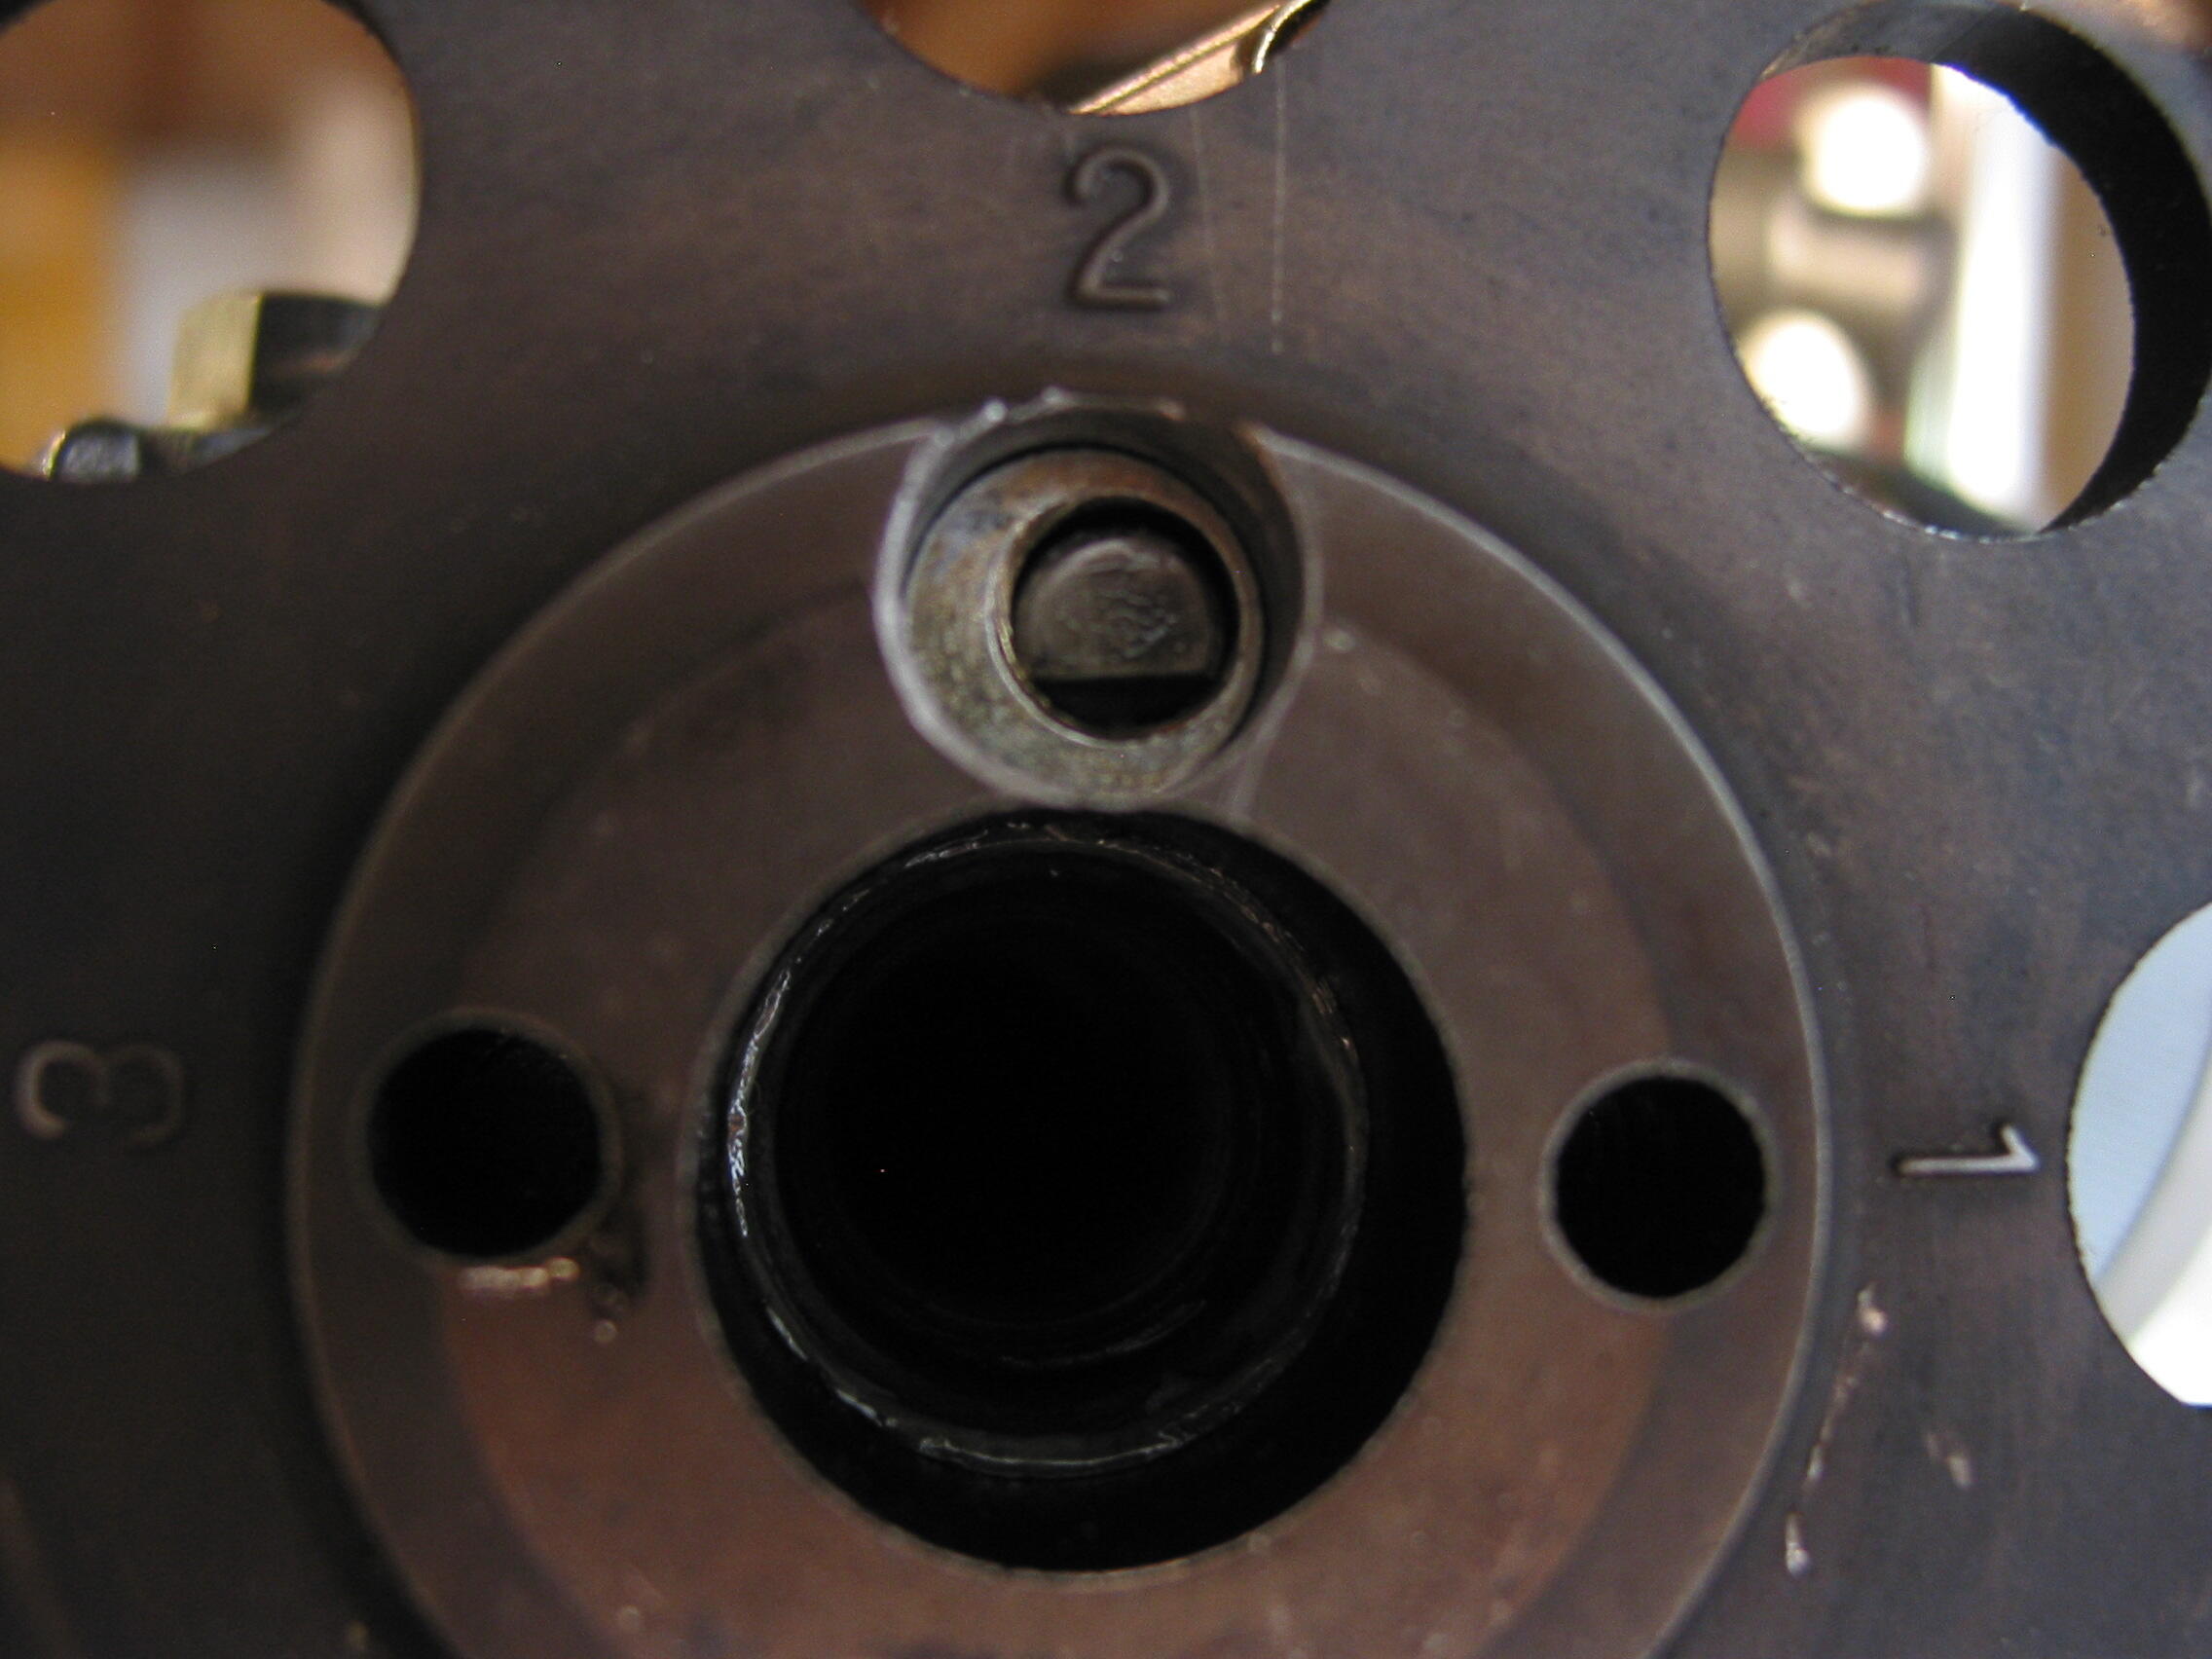
Thought I would leave the solution to my problem down. The timing was the issue. I should've caught it the moment I saw the RPMS raise up after the install and the fact that the timing wouldn't allow me to adjust lower than 18 degrees advance. The oil pump spindle is supposedly suppose to be installed at an 11:25 o clock position, however I removed mine and installed it one tooth over so I installed it at about a 12 o clock position. The rotor in the distributor lined up a lot better with spark plug 1 on the dizzy and I was finally able to adjust the timing to 0. I went ahead and set timing to 10 degrees advanced. On my drive home, the noise I've been hearing is completely gone now throughout the entire rev range and all gears. My car did lose power thought haha, but just happy I can finally drive her without having to worry. Gonna have to find someone who can tune webers soon, I got addicted to that power increase haha. Thanks everyone for the help!3 points
-
One can't have too many tools!2 points
-
2 pointsFor the odometer to register in kilometers, I would imaging that you would need a Japanese speedometer entirely. With the gearset for the metric calibration as it would be for home market cars.2 points
-
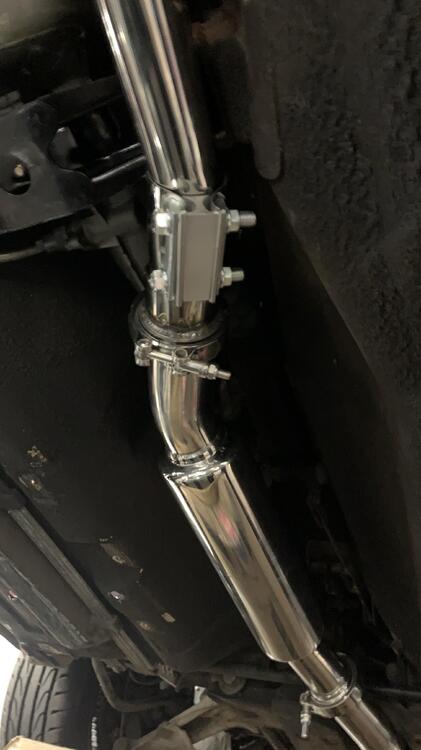
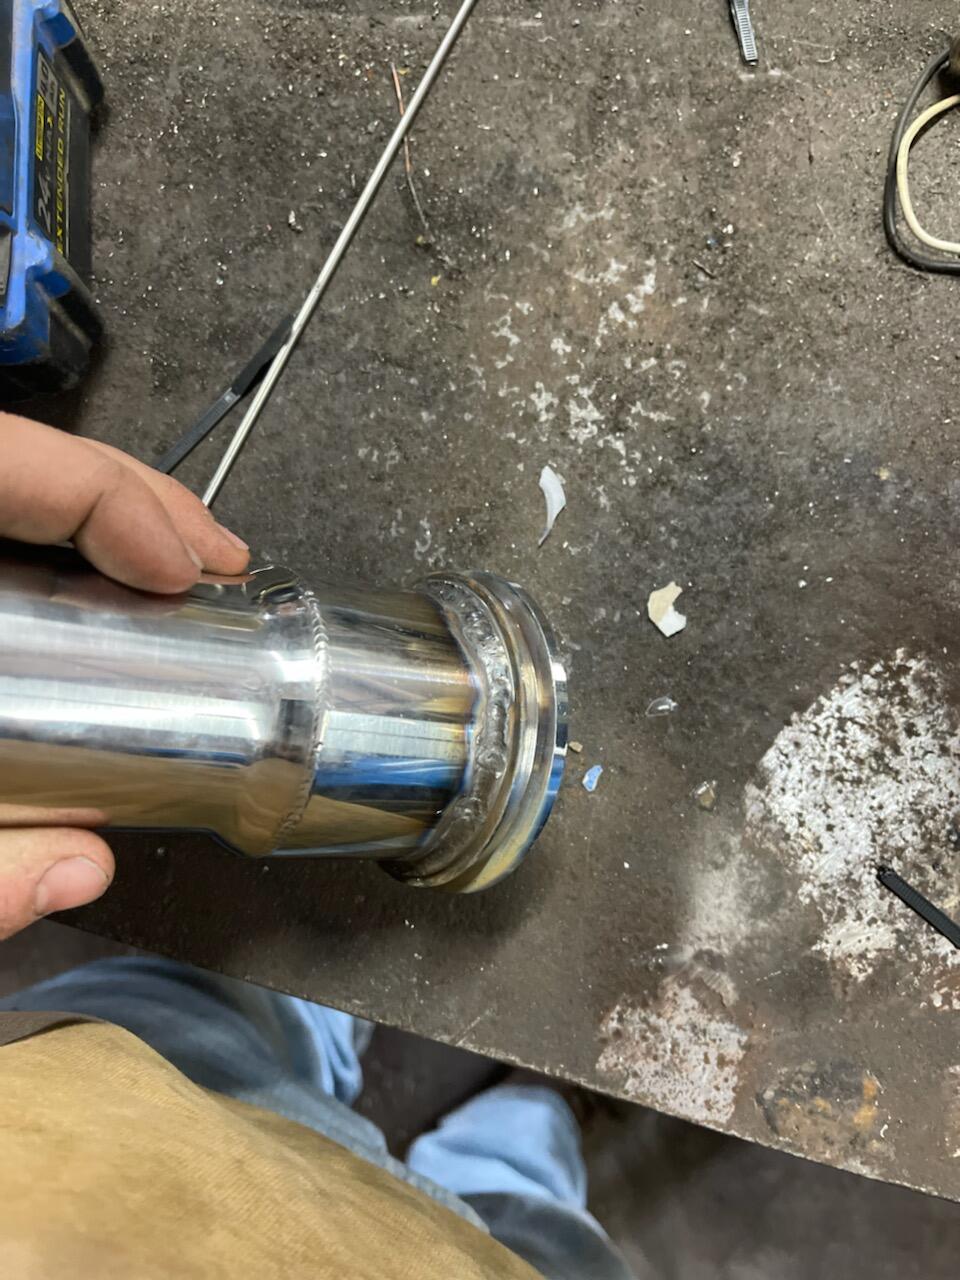
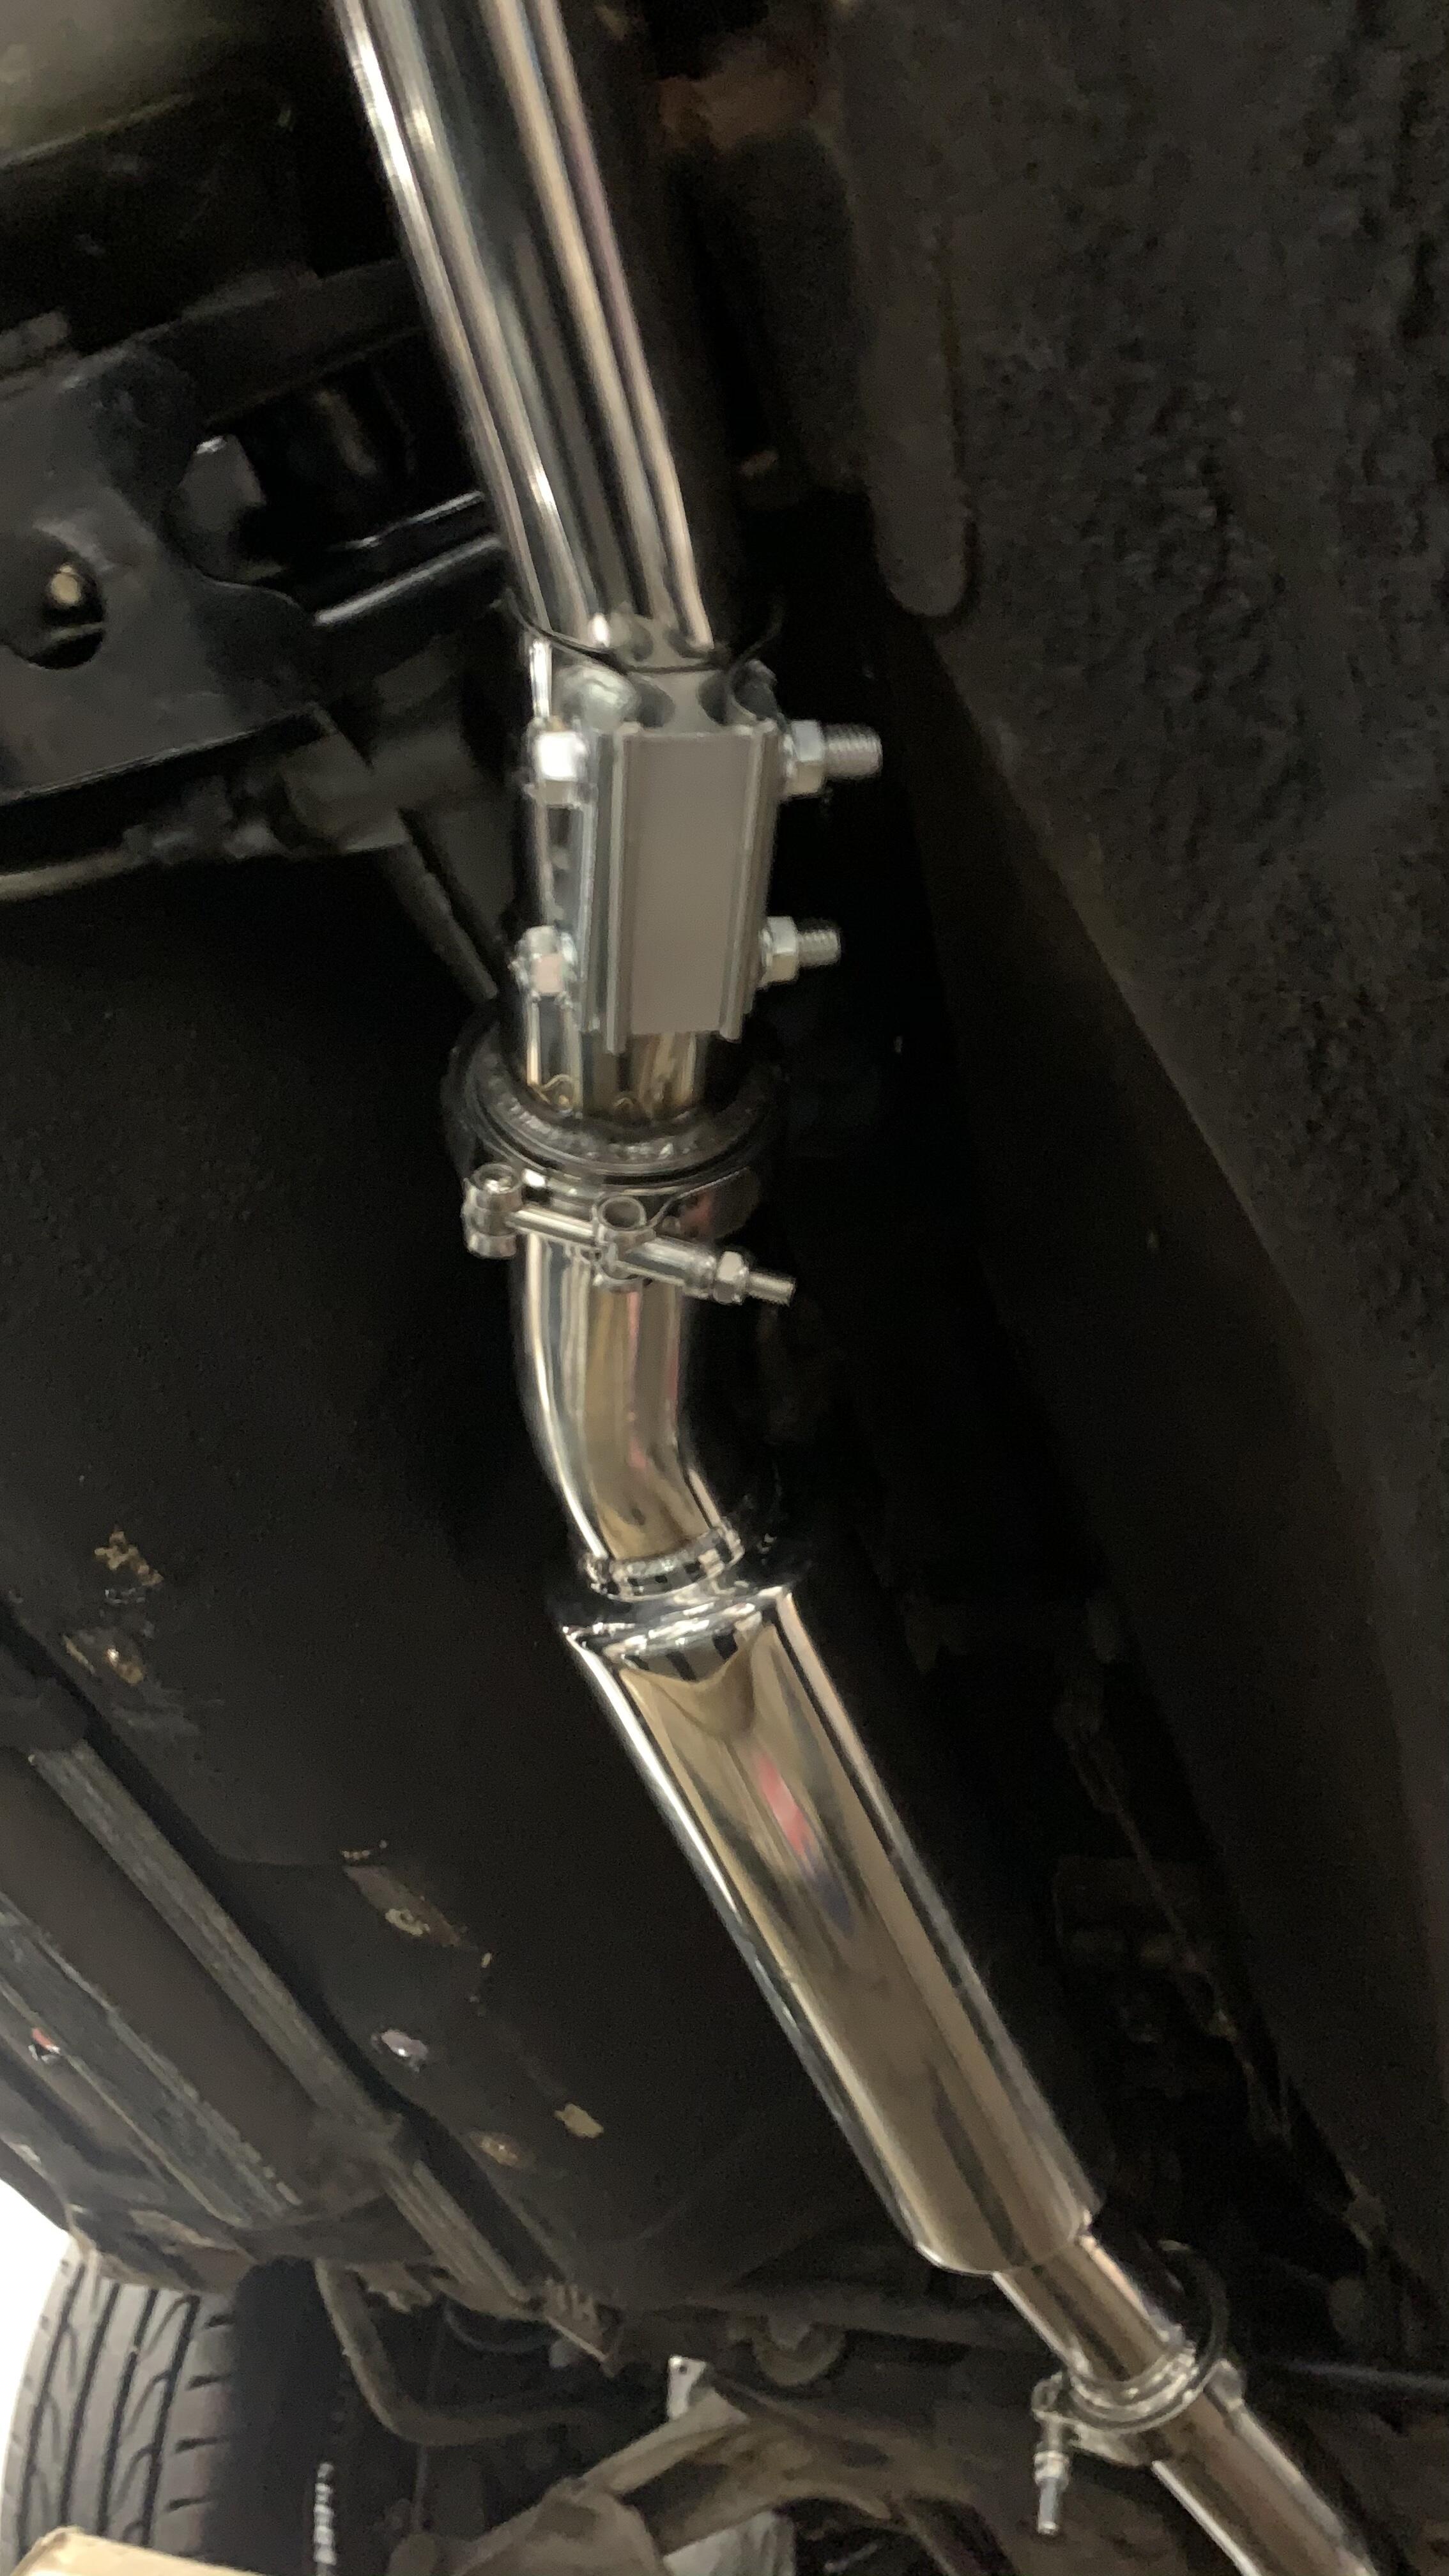
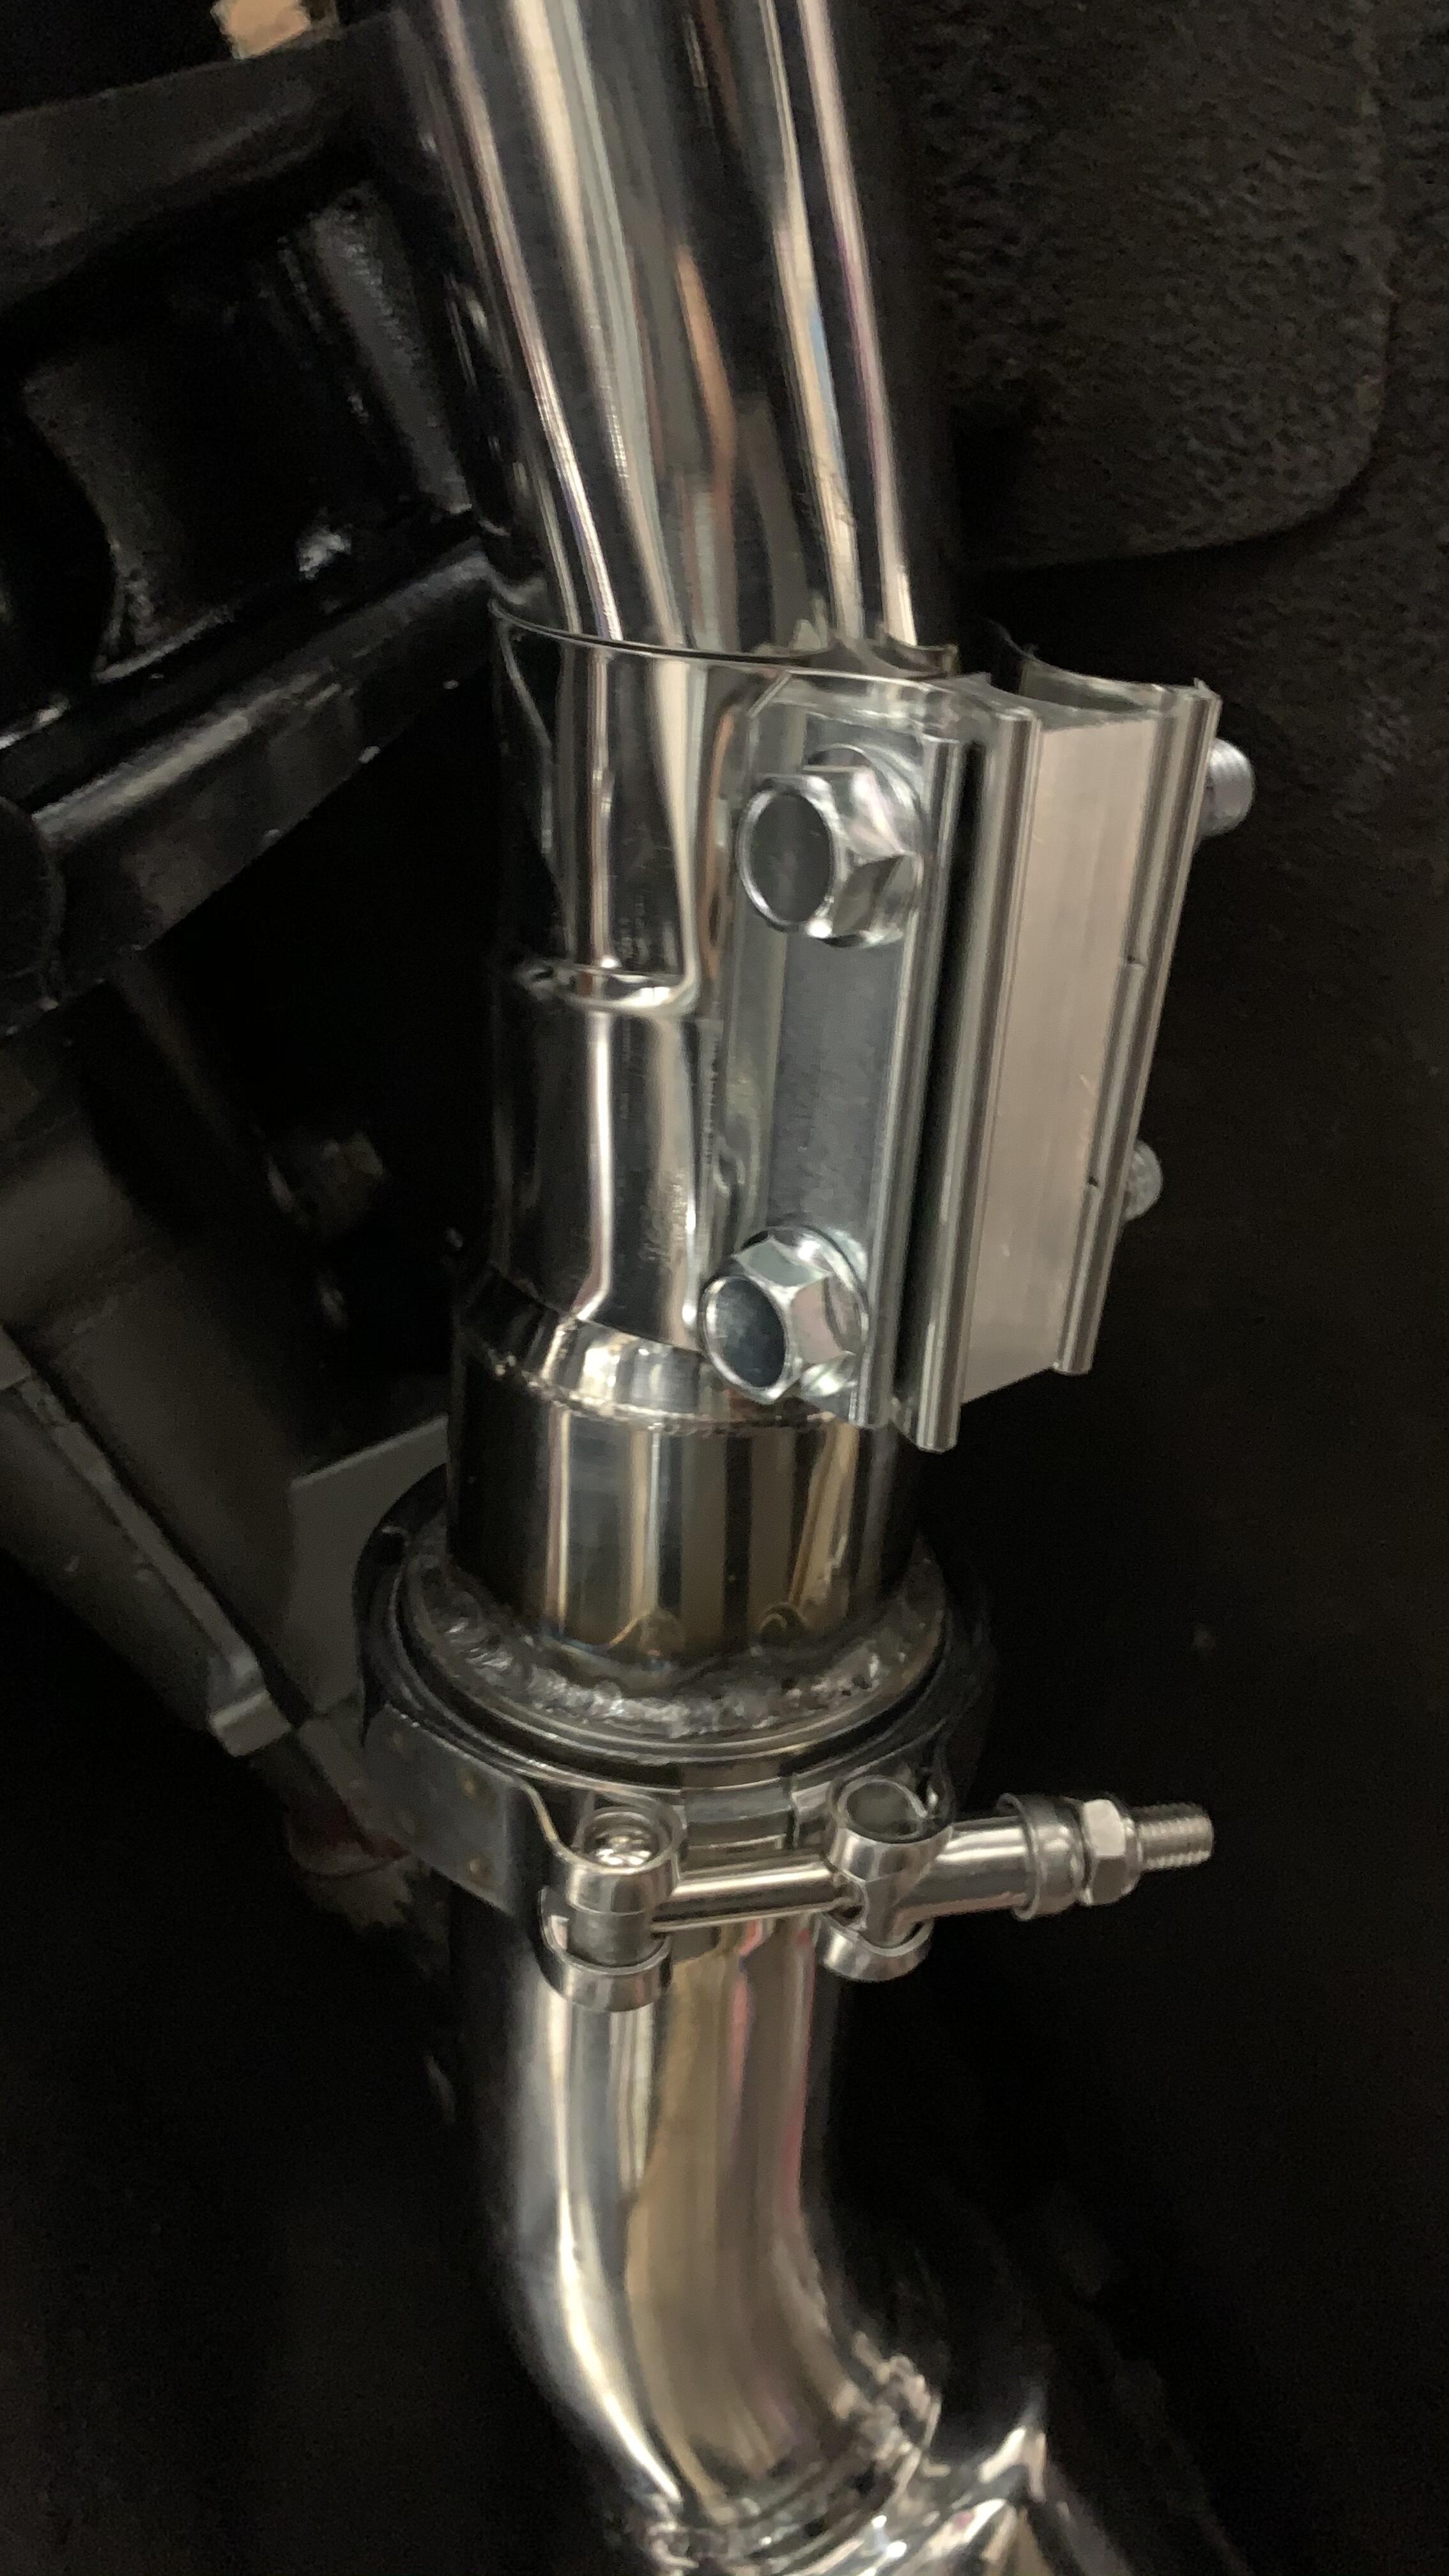
2 pointsFinally got the exhaust mostly installed. I still have some minor tweaks with hangars and I’ll be finished. Spent a couple hours today hunting down someone who could weld stainless steel. It began as a wild goose chase but finally found a guy. Charged me $40 to weld the V-band fitting to the pipe 2”-2’5” adaptor. Came out good and I got it all bolted up and the system sounded great. Will post a video tomorrow, once I’m done so people can hear the Z-Story classic muffler on a EFI L28.

 2 points
 -
1 point
-
1 pointNo problem, it’s been a long process. Drove the car around the neighborhood today, the light flywheel takes a little getting used to but only in first gear, otherwise its fine. I’ve been driving manual trans my whole driving life, it’s like second nature, so I don’t find it difficult at all. Sent from my iPhone using Tapatalk1 point
-
All the components were replaced with oem at that time. Including the evaporator. Over the years, the compressor developed a seal leak (had to recharge once a year) which motivated me to upgrade to the Sandon and new air dryer of course.1 point
-
1 pointYou could have the stock cam regorund if it wasn't damaged. But, the Z22E is an EFI engine and its engine management might not work well with a non-stock cam. 1982 is still pretty primitive, I don't think it's tuneable, besides the AFM and other parts designed for a certain cam profile. So, you might end up needing Megasquirt or one of the other engine management systems. https://www.racetep.com/engine-building/camshaft-grinding.html1 point
-
1 pointYes, steel liner. You wouldn't expect the brake pad to rub on aluminum.1 point
-
Not a Black Friday deal, but I found this universal drive 1/4 socket set comes in handy when removing the nuts from the studs on the intake and exhaust manifolds: https://www.amazon.com/gp/product/B0021I2KDO Note: I have a similar set with a 3/8 drive, but they can't fit into some of the nooks and crannies as easily as the 1/4 drive sockets.1 point
-
1 point
-
1 pointThe only stainless I've welded was in the shipyards on one of the Army Corps of Engineers dredges using stick welding rod. I found it to be fairly easy to produce a good weld. I think MIG would be easier than stick. I also found the stainless rod works well on cast iron probably because of the high nickel content.1 point
-
@jonbill You were correct, good remote diagnosis1 point
-
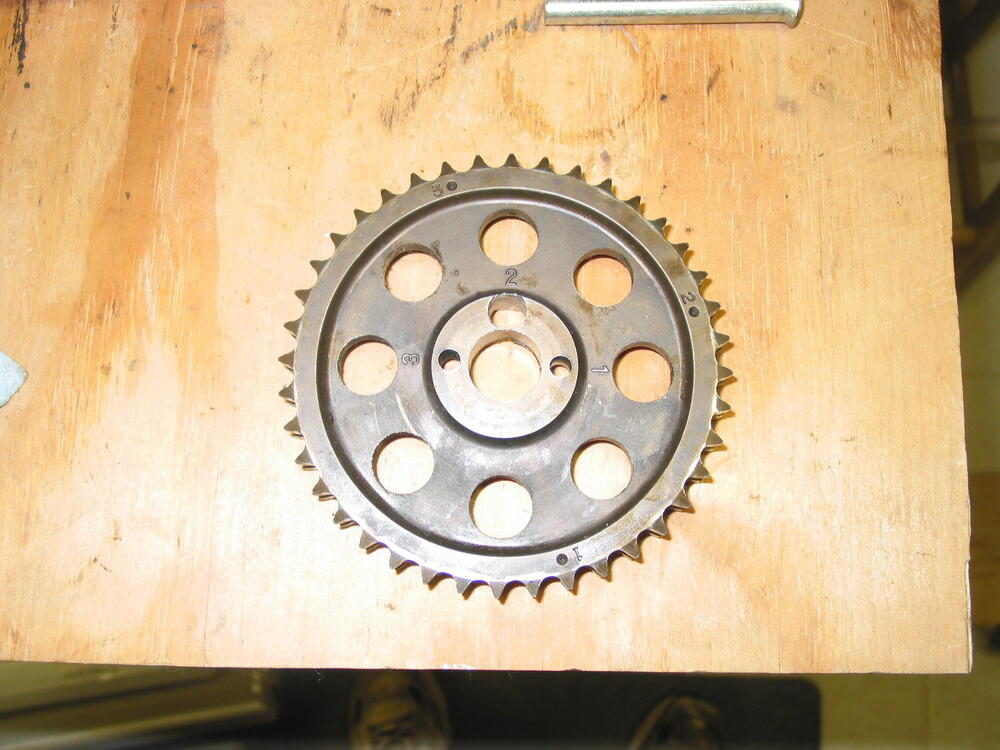
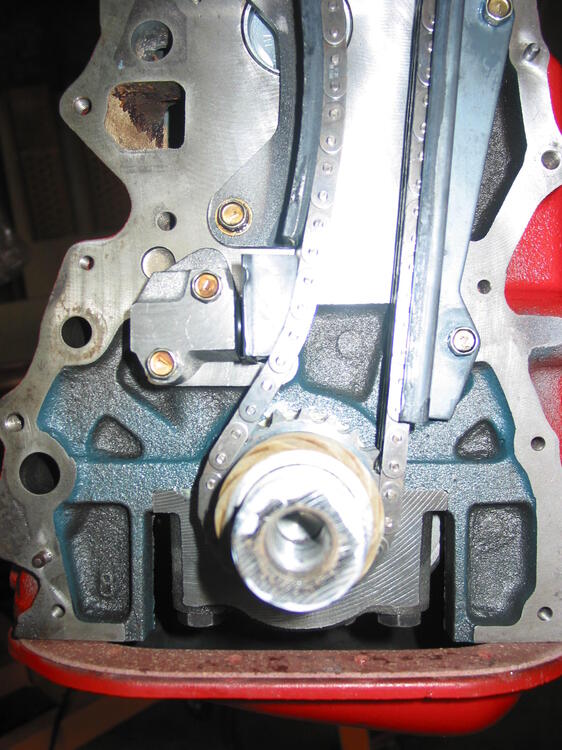
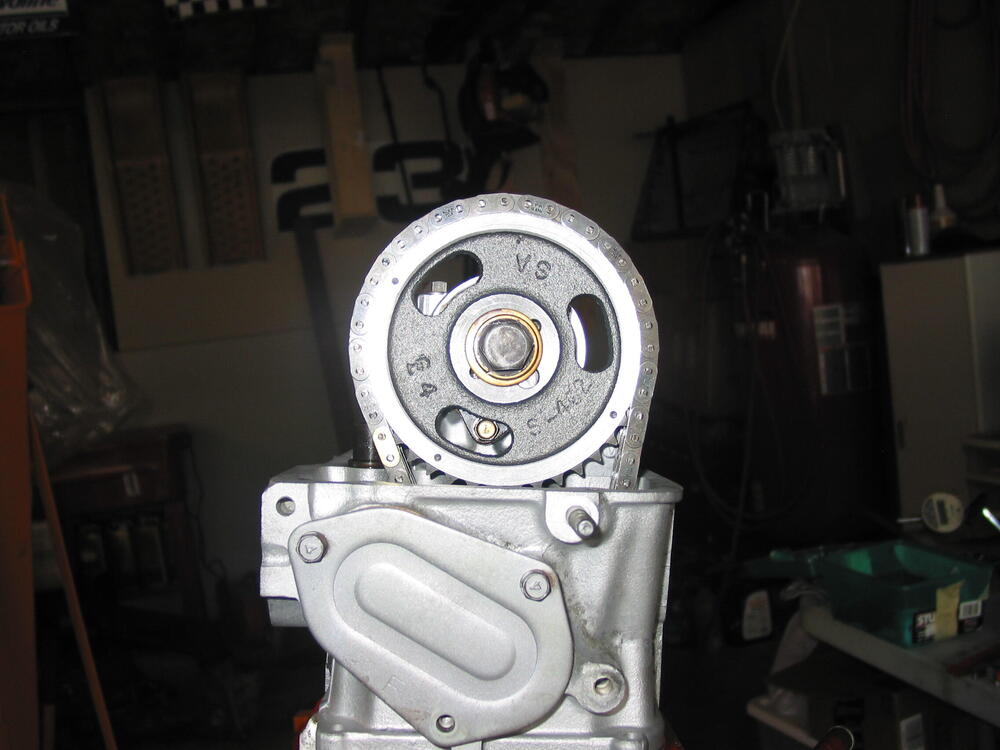
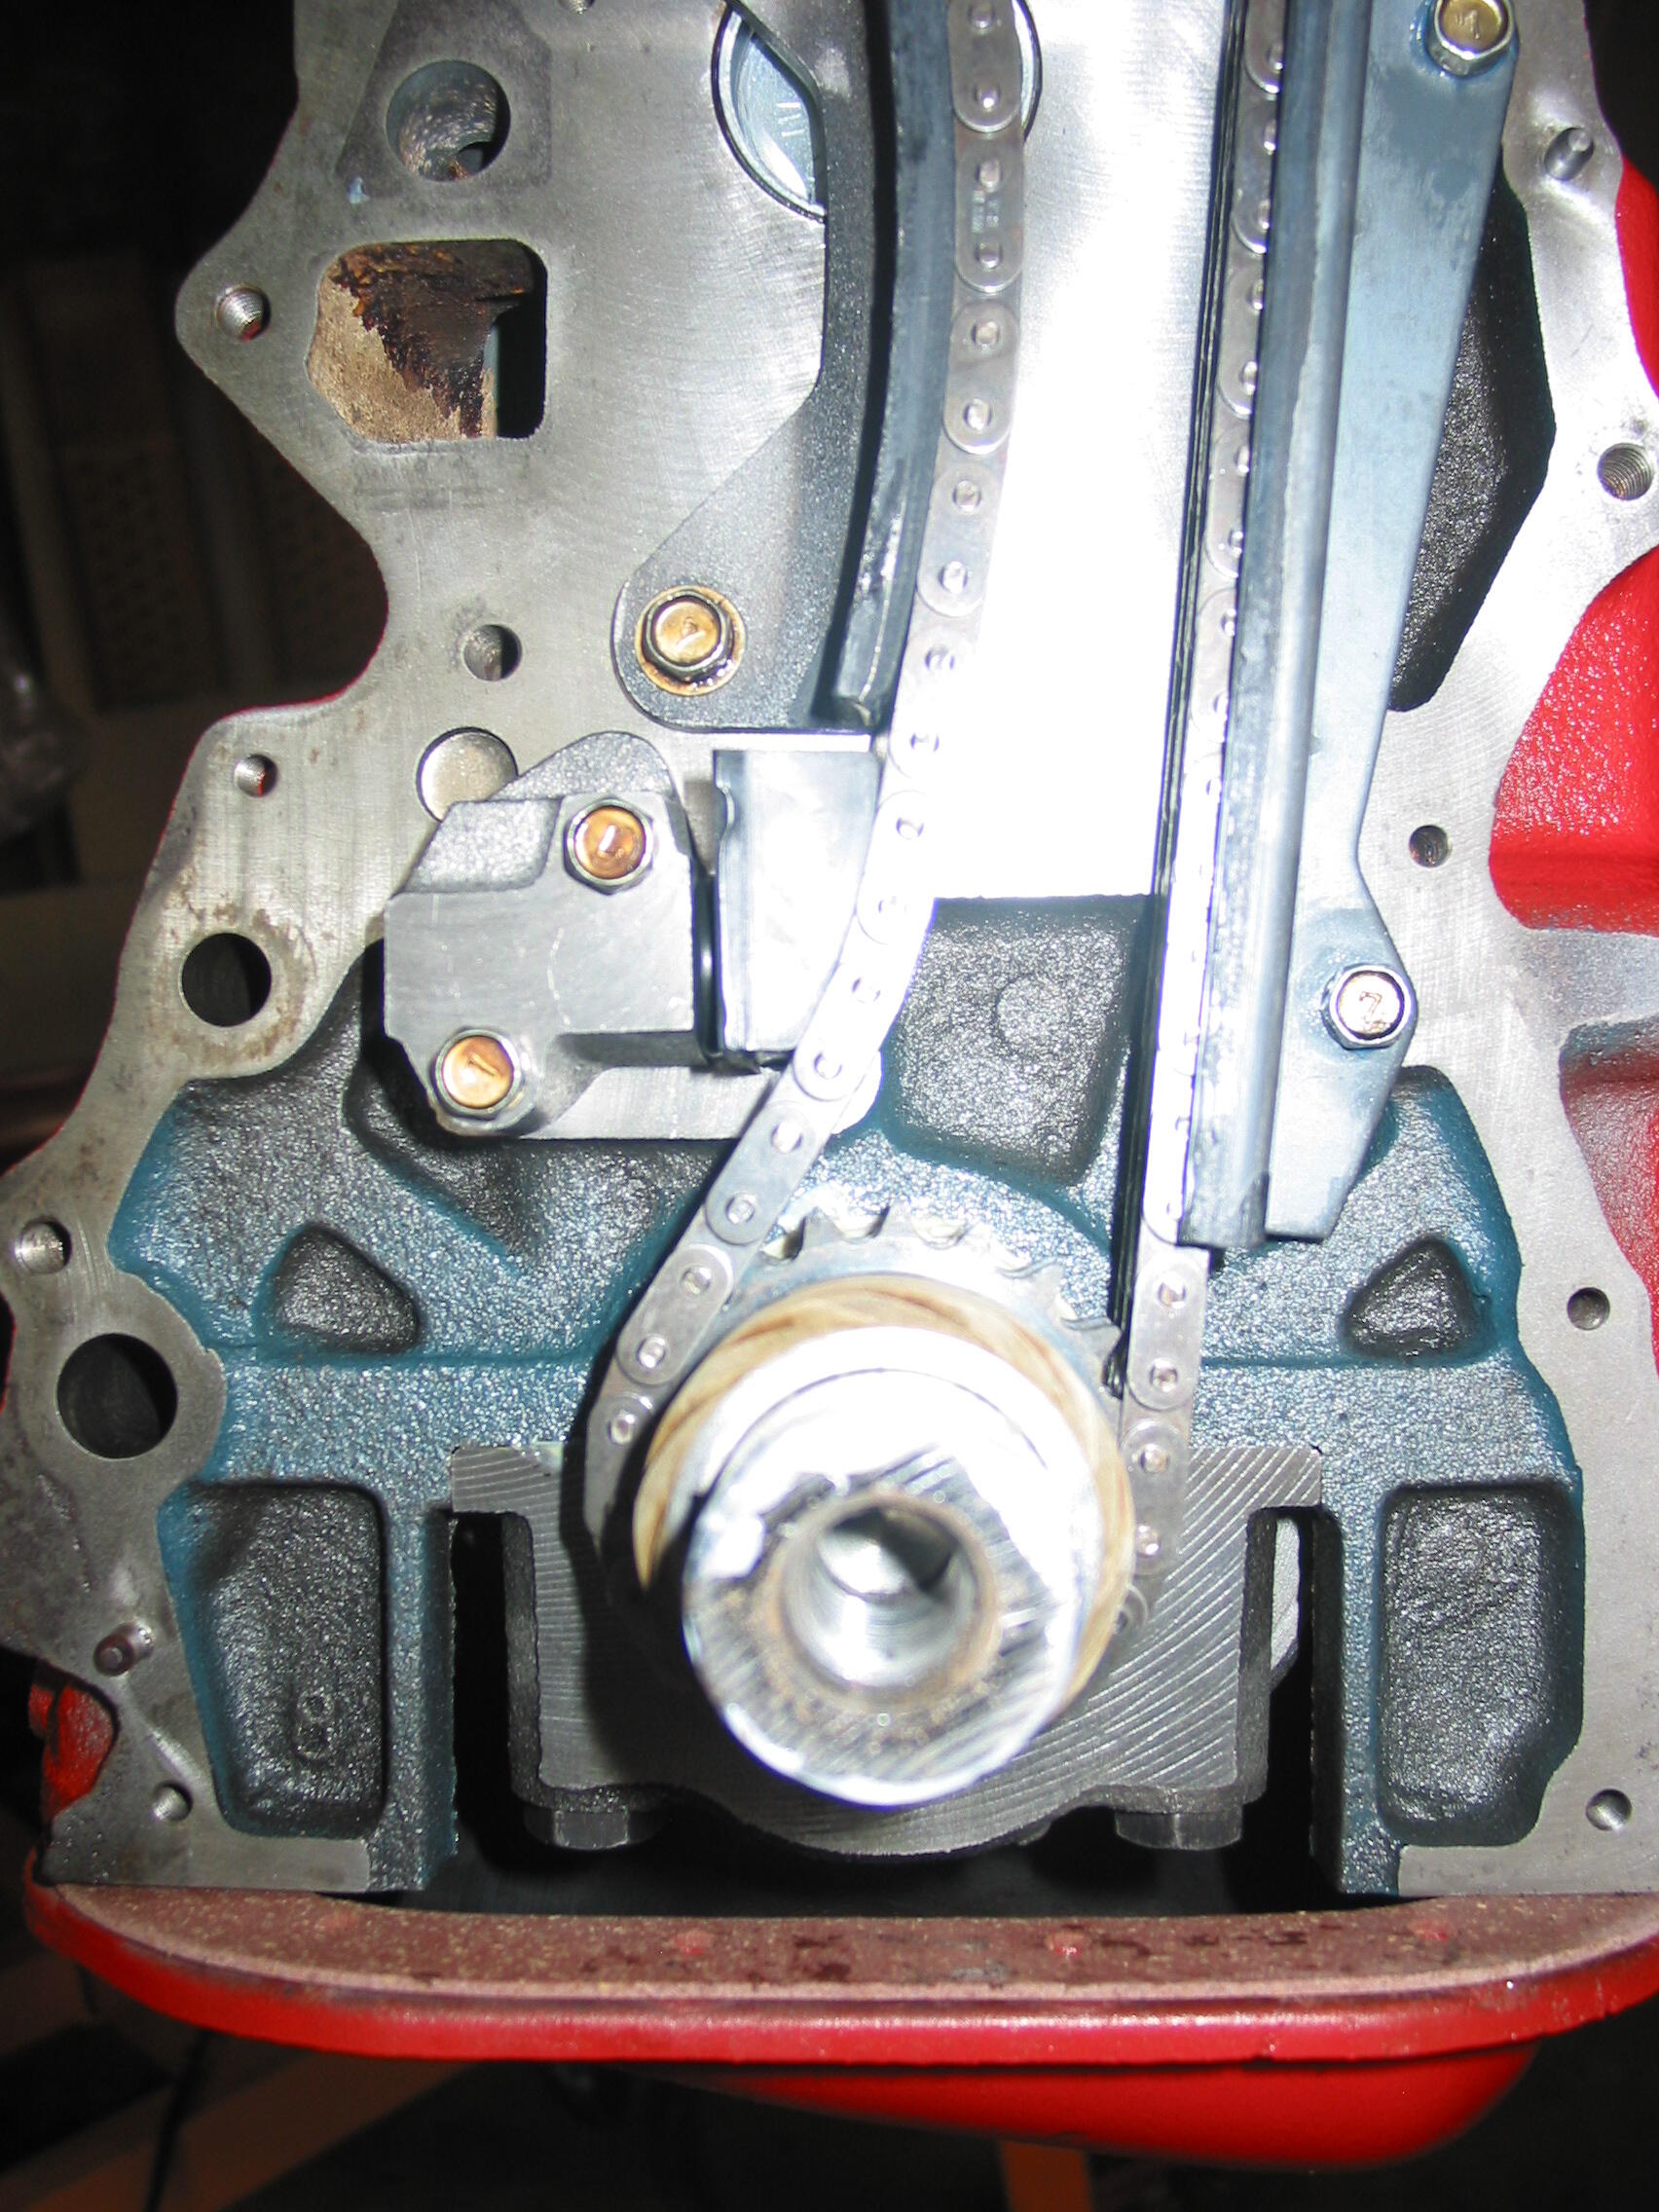
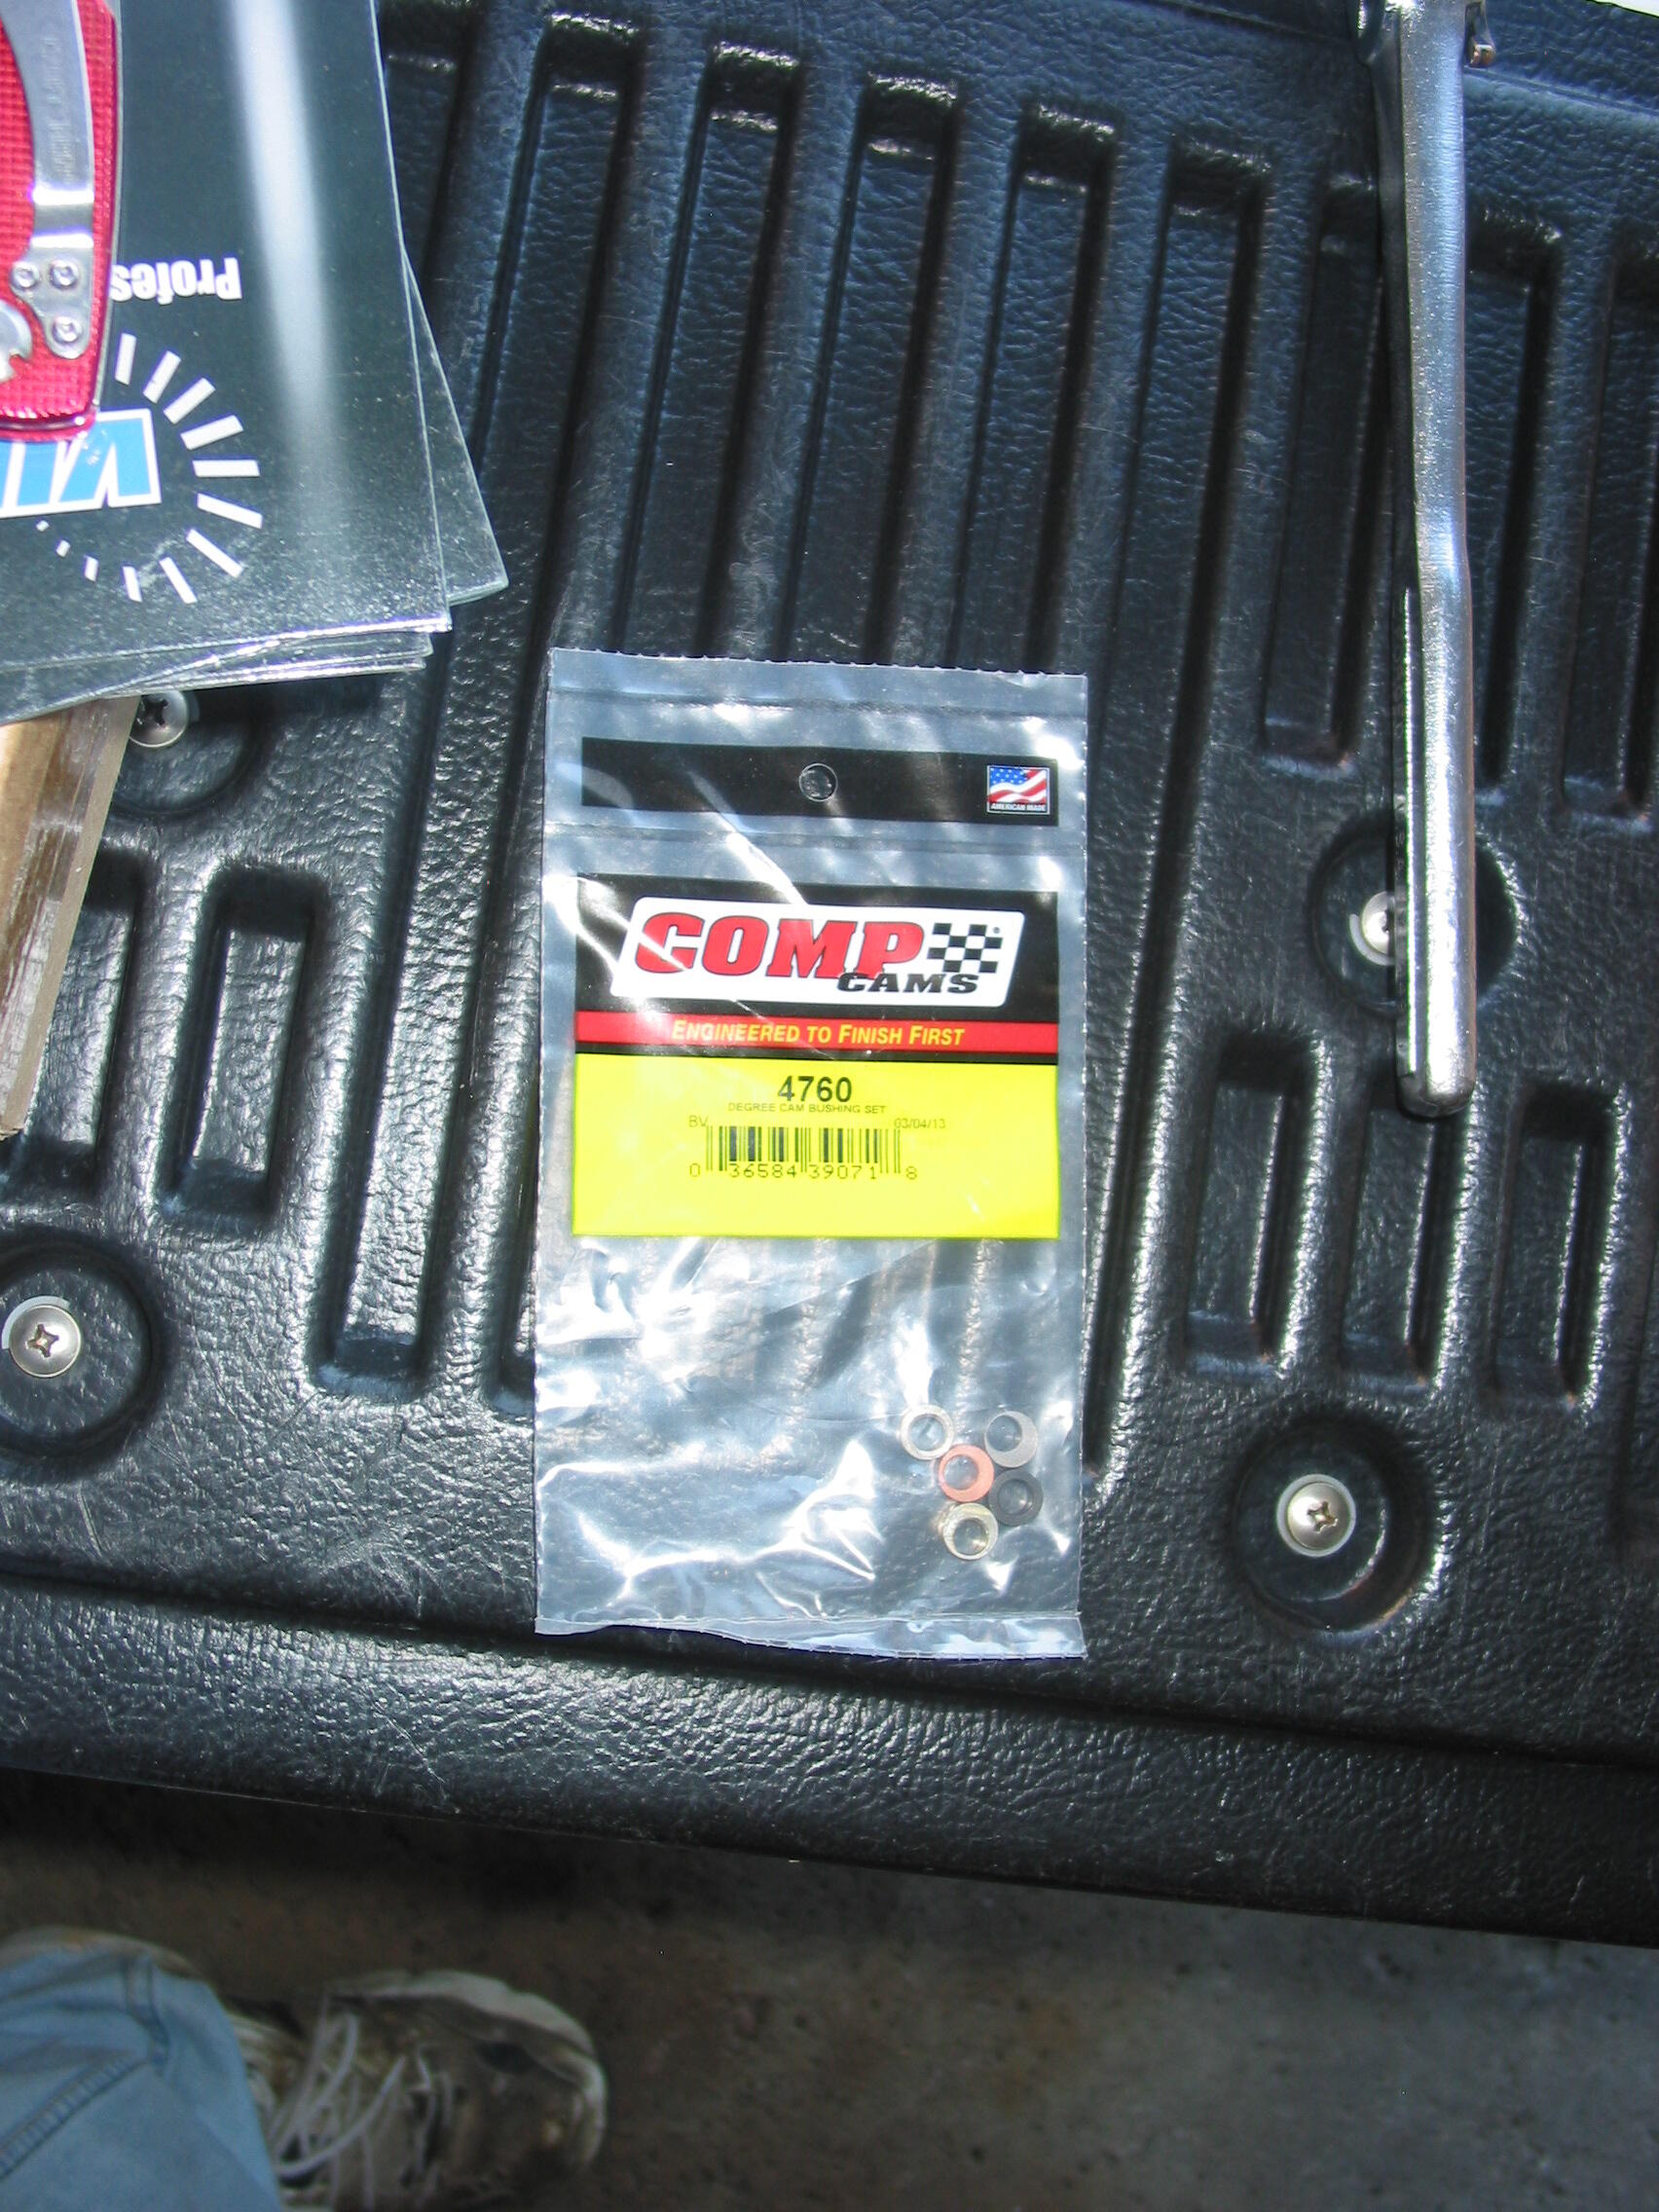
1 point1 point1 point1 pointI appologise for not fully comprehending your post, but I will give you my take on what you can do. I had my P79 shaved 0.050" and I did not shim the towers or change the valves. I slotted the chain guide holes to get the chain path correct and then I drilled the stock cam gear and used eccentric spacers per the "How To Modify..." book. With a degree wheel, I was able to dial the timing in to the cam card specs. The engine ran great and was endurance raced. The spacers were less than $10 from Summit Racing and the other mods were free. I started with a new quality Cloyes timing chain kit. EDIT: One thing I added was a plug spacer that fit between the cam dowel/eccentric washer and the cam retention washer. The eccentric washers are about half as thick as the cam gear hole, so the washer could walk off the end of the cam dowel. The plug keeps the eccentric washer in place. You can just see it in the last picture.


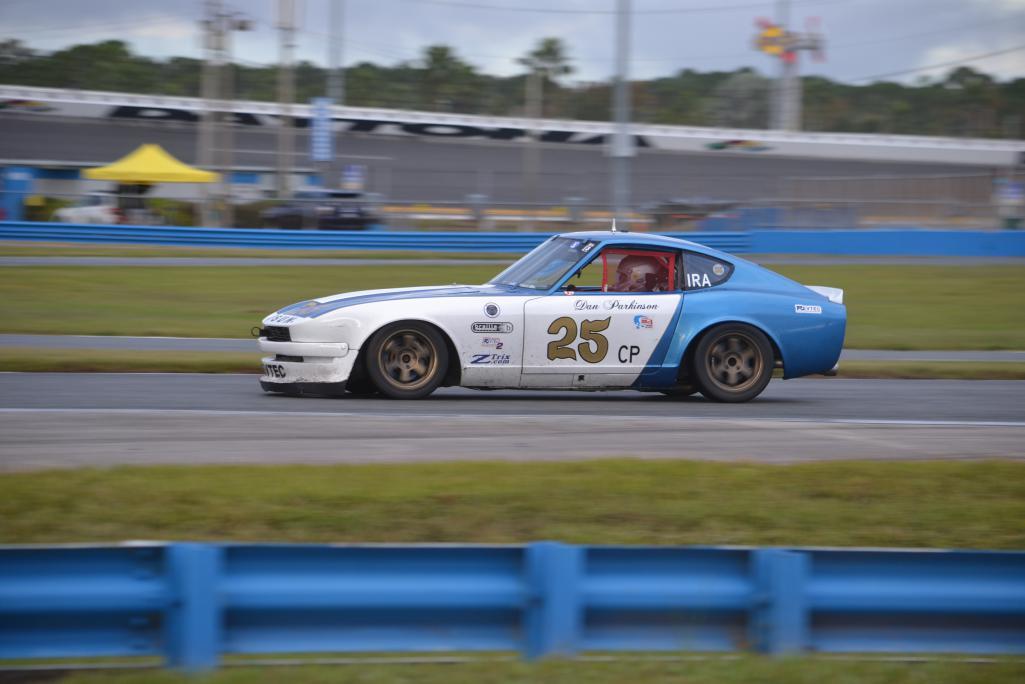
 1 point1 pointThat looks like a fun little weekend monster!
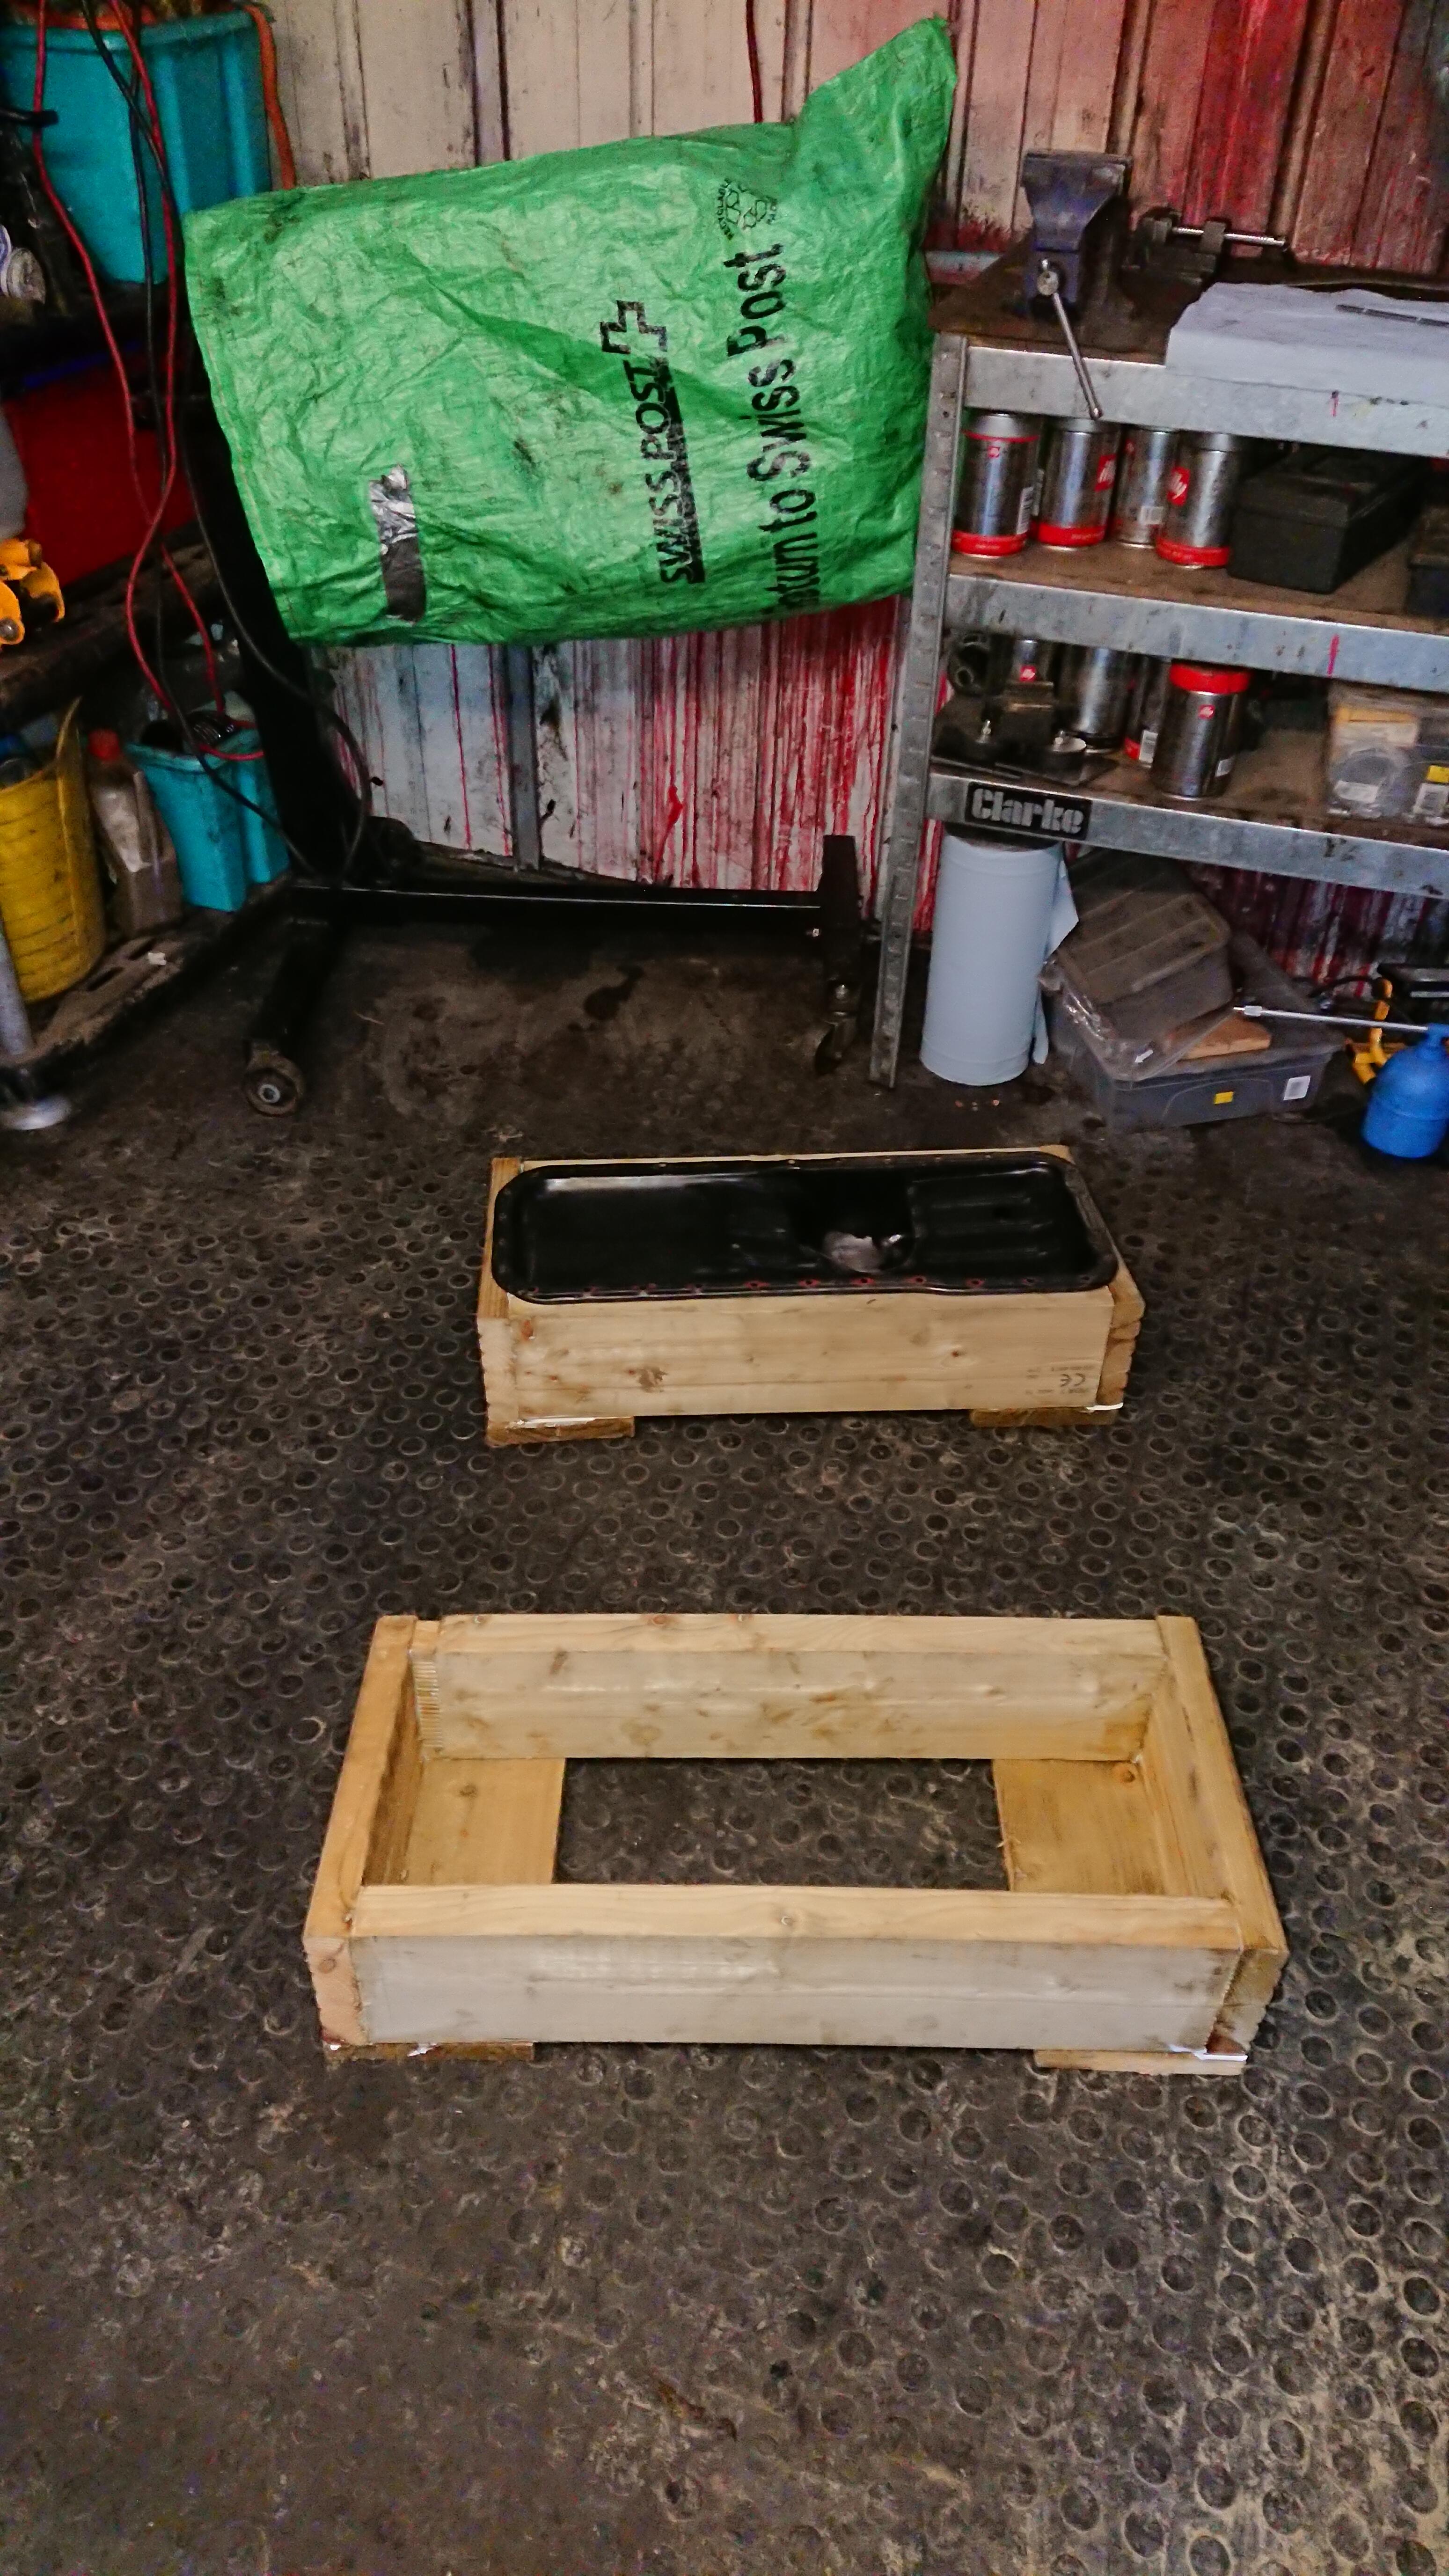
 1 point1 pointChas, thank you for the compliment. I wanted to get my wiring squared away because I’ve read on this forum how many issues are tied to bad electrical connections. Part of my motivation is just wanting to get it right and not be stuck on the road somewhere. I don’t think I’ve told anyone on this forum that before my career as a military pilot I was an avionics mechanic for the US Air Force. I used to work on A-10s. The schooling was about 18 months where I learned about electrical theory, radios, navigation and modern avionics systems. I built many cables during that 4 year period working on A-10’s. I will say Captain Obvious is far far ahead of me in this area, he’d have been my boss. I was just a pion in my unit so I wasn’t doing serious repairs the new and junior guys like me did the wizz ant work like building cables and replacing cockpit instruments. The senior guys replaced and repaired cards, benched check boxes with o-scopes and did the diagnostics. So, I snipped all the connections on my harness in the engine bay and soldered on new ones. I then put heat shrink covers on each weld followed buy a larger shrink wrap to cover both wires. I then wrapped the cable in a wire loom, to help protect from heat and chafing. Here is a link to the loom. https://www.amazon.com/gp/product/B07FW672R7/ref=ppx_yo_dt_b_search_asin_title?ie=UTF8&psc=1 For the smaller wires I used a different wire cover material. You this on new cars and something I picked up at the local auto parts store. It’s an accordion looking plastic sleeve. I terminated all the covers ends with a small zip tie. Cliff, thanks….without all the help on this forum I would have probably lost motivation due to frustration and sold the car at this point without all the help on this forum. I haven’t met most of you but I still consider you guy friends and hope to continue the relationship. It’s not just cars, but this type community is healthy and continues to make me a better person because it allows me to get other perspectives and viewpoints, I hope I’ve provided the same. Captain Obvious and I have spoken on this topic. I absolutely will pay if forward. My knowledge is still on the apprentice level but willing to help when I can. Bruce, thanks for the clear explanations on my latest questions. Looks like I need to pull my AFM back off to get the spring on. Yarb…thanks as well for the help.1 point1 point1 pointA wooden stand like this is handy for fitting the flywheel and clutch. its easy to make around an engine or sump with a bit of decking board. You can even put castors on it to roll the engine around. (corner needs to be cut away for the oil pump before use!)
 1 point


Important Information
By using this site, you agree to our Privacy Policy and Guidelines. We have placed cookies on your device to help make this website better. You can adjust your cookie settings, otherwise we'll assume you're okay to continue.
Account
Search
Configure browser push notifications
Chrome (Android)
- Tap the lock icon next to the address bar.
- Tap Permissions → Notifications.
- Adjust your preference.
Chrome (Desktop)
- Click the padlock icon in the address bar.
- Select Site settings.
- Find Notifications and adjust your preference.
Safari (iOS 16.4+)
- Ensure the site is installed via Add to Home Screen.
- Open Settings App → Notifications.
- Find your app name and adjust your preference.
Safari (macOS)
- Go to Safari → Preferences.
- Click the Websites tab.
- Select Notifications in the sidebar.
- Find this website and adjust your preference.
Edge (Android)
- Tap the lock icon next to the address bar.
- Tap Permissions.
- Find Notifications and adjust your preference.
Edge (Desktop)
- Click the padlock icon in the address bar.
- Click Permissions for this site.
- Find Notifications and adjust your preference.
Firefox (Android)
- Go to Settings → Site permissions.
- Tap Notifications.
- Find this site in the list and adjust your preference.
Firefox (Desktop)
- Open Firefox Settings.
- Search for Notifications.
- Find this site in the list and adjust your preference.