Leaderboard
-

CW240Z72
Free Member16Points229Posts -

siteunseen
Free Member3Points15,170Posts -
Patcon
 Subscriber
 3Points11,182Posts
 -

DC871F
Free Member3Points677Posts


Popular Content
Showing content with the highest reputation on 11/28/2021 in all areas
-
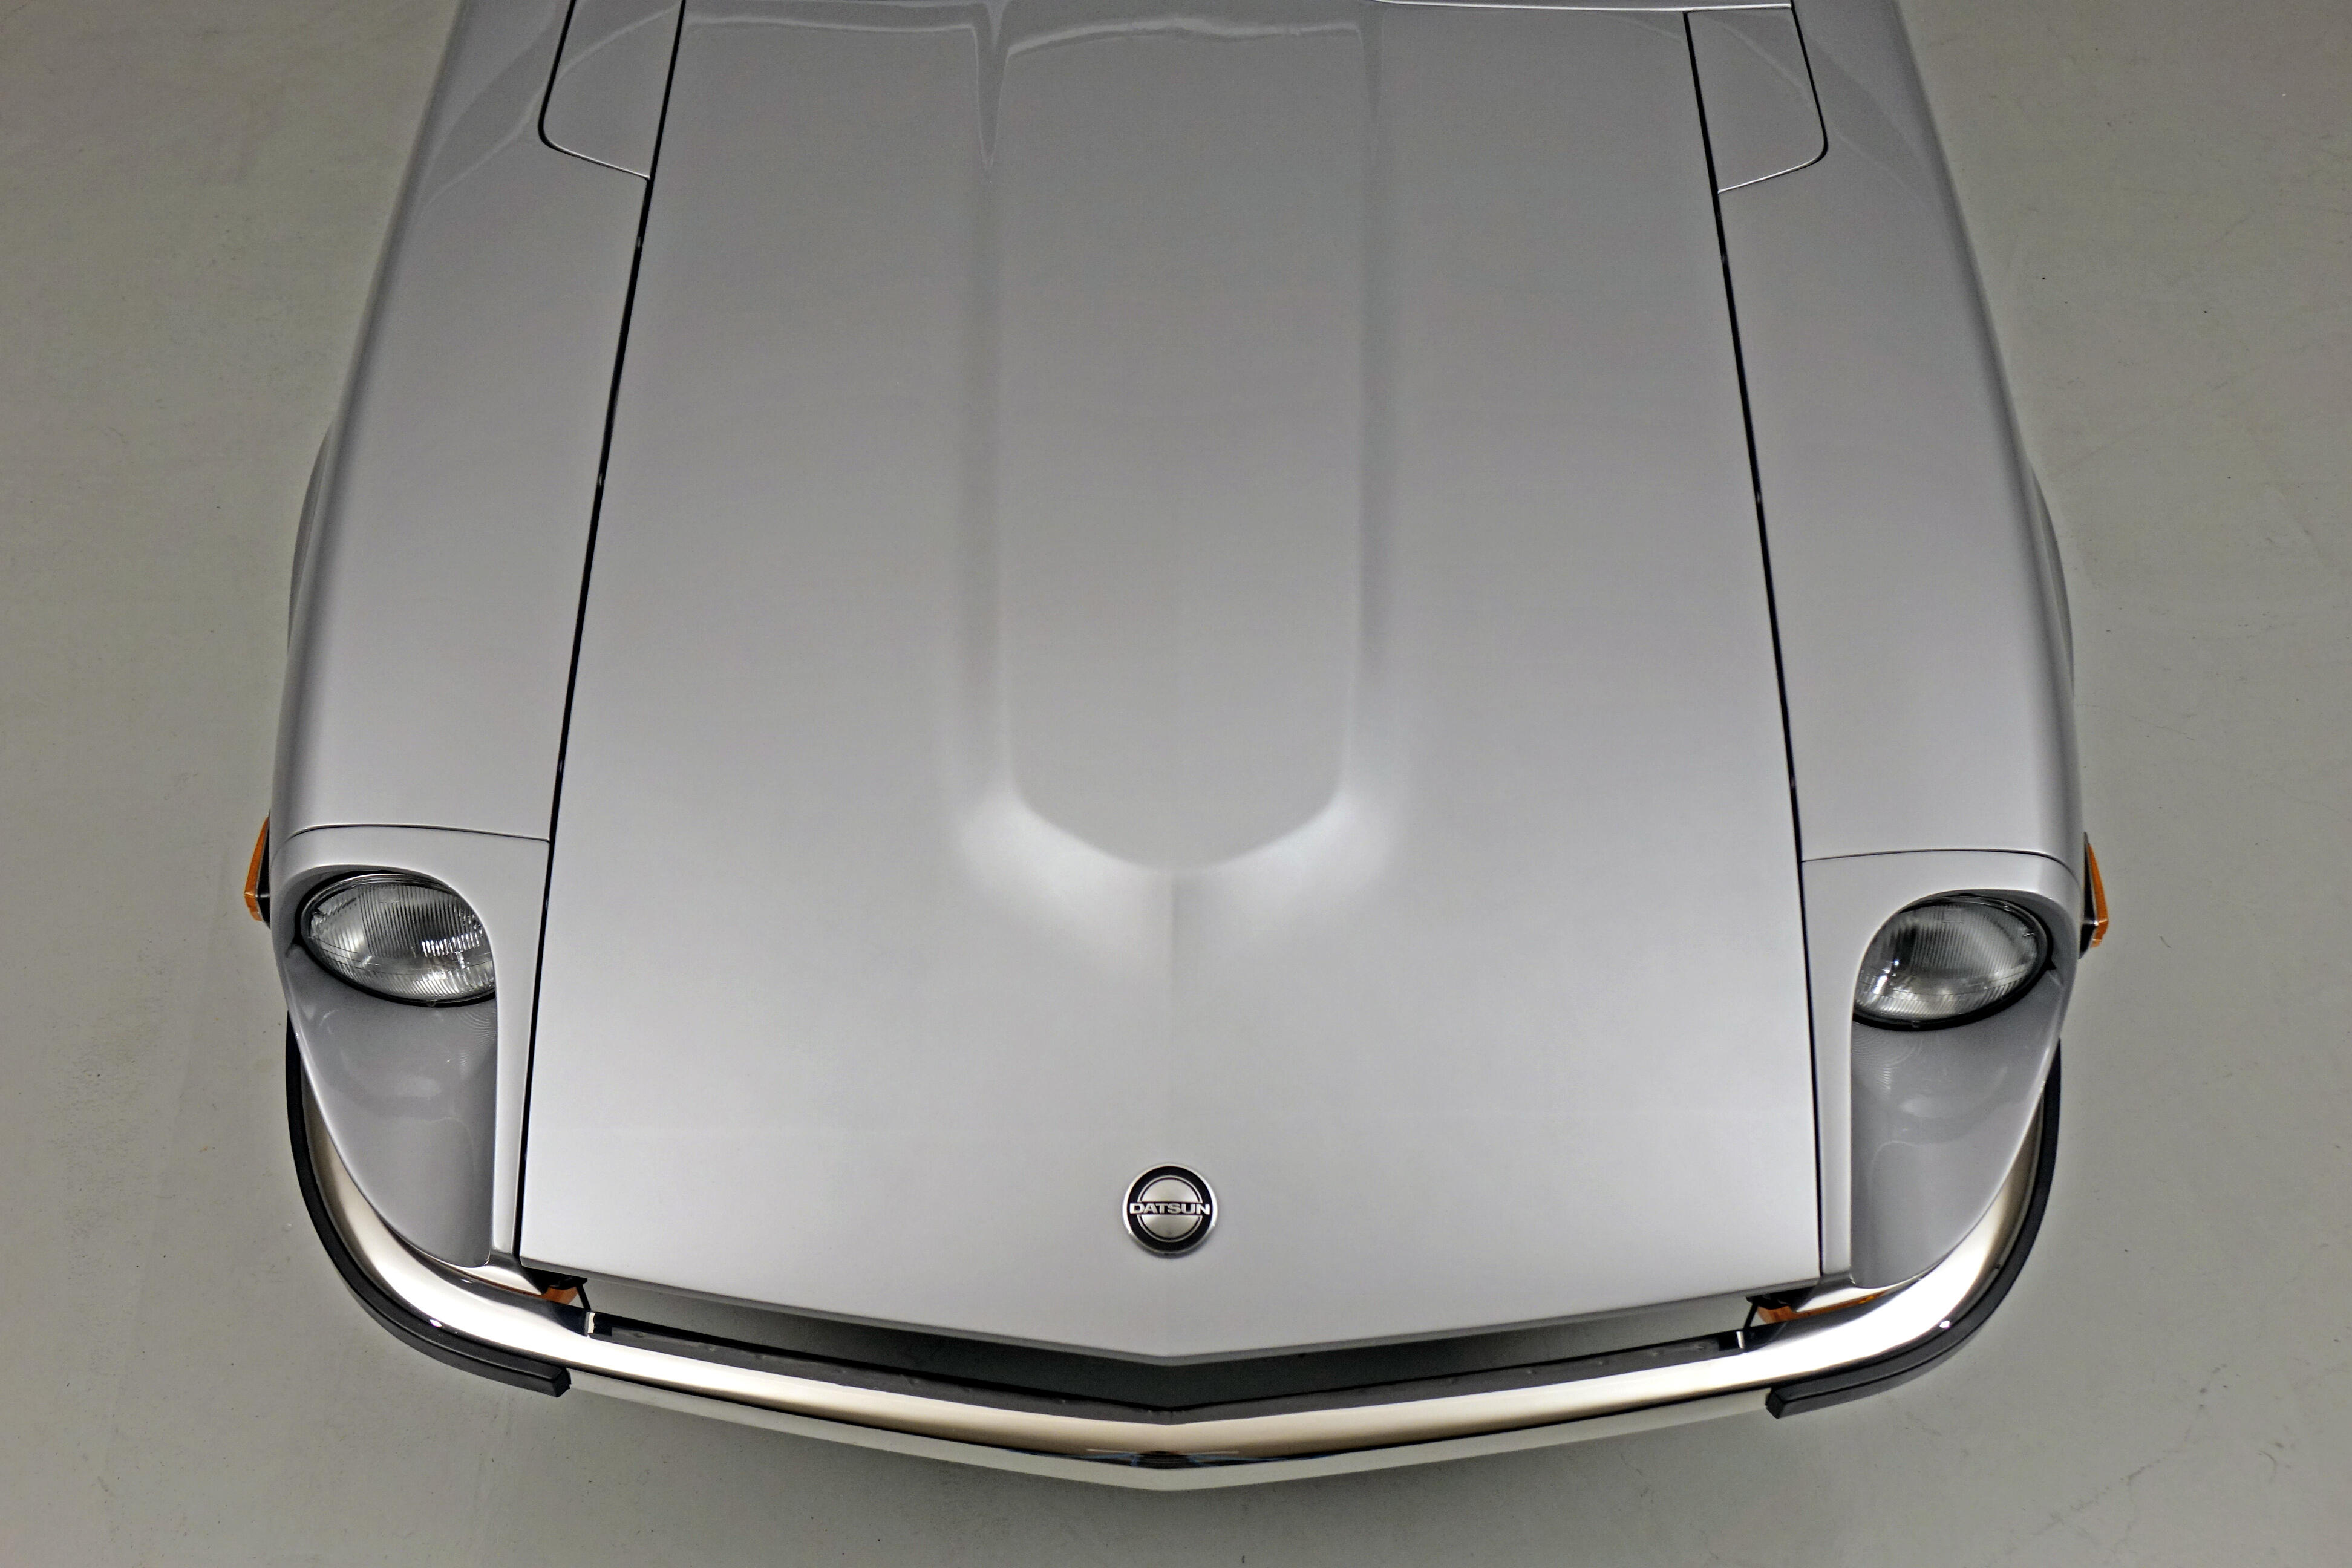
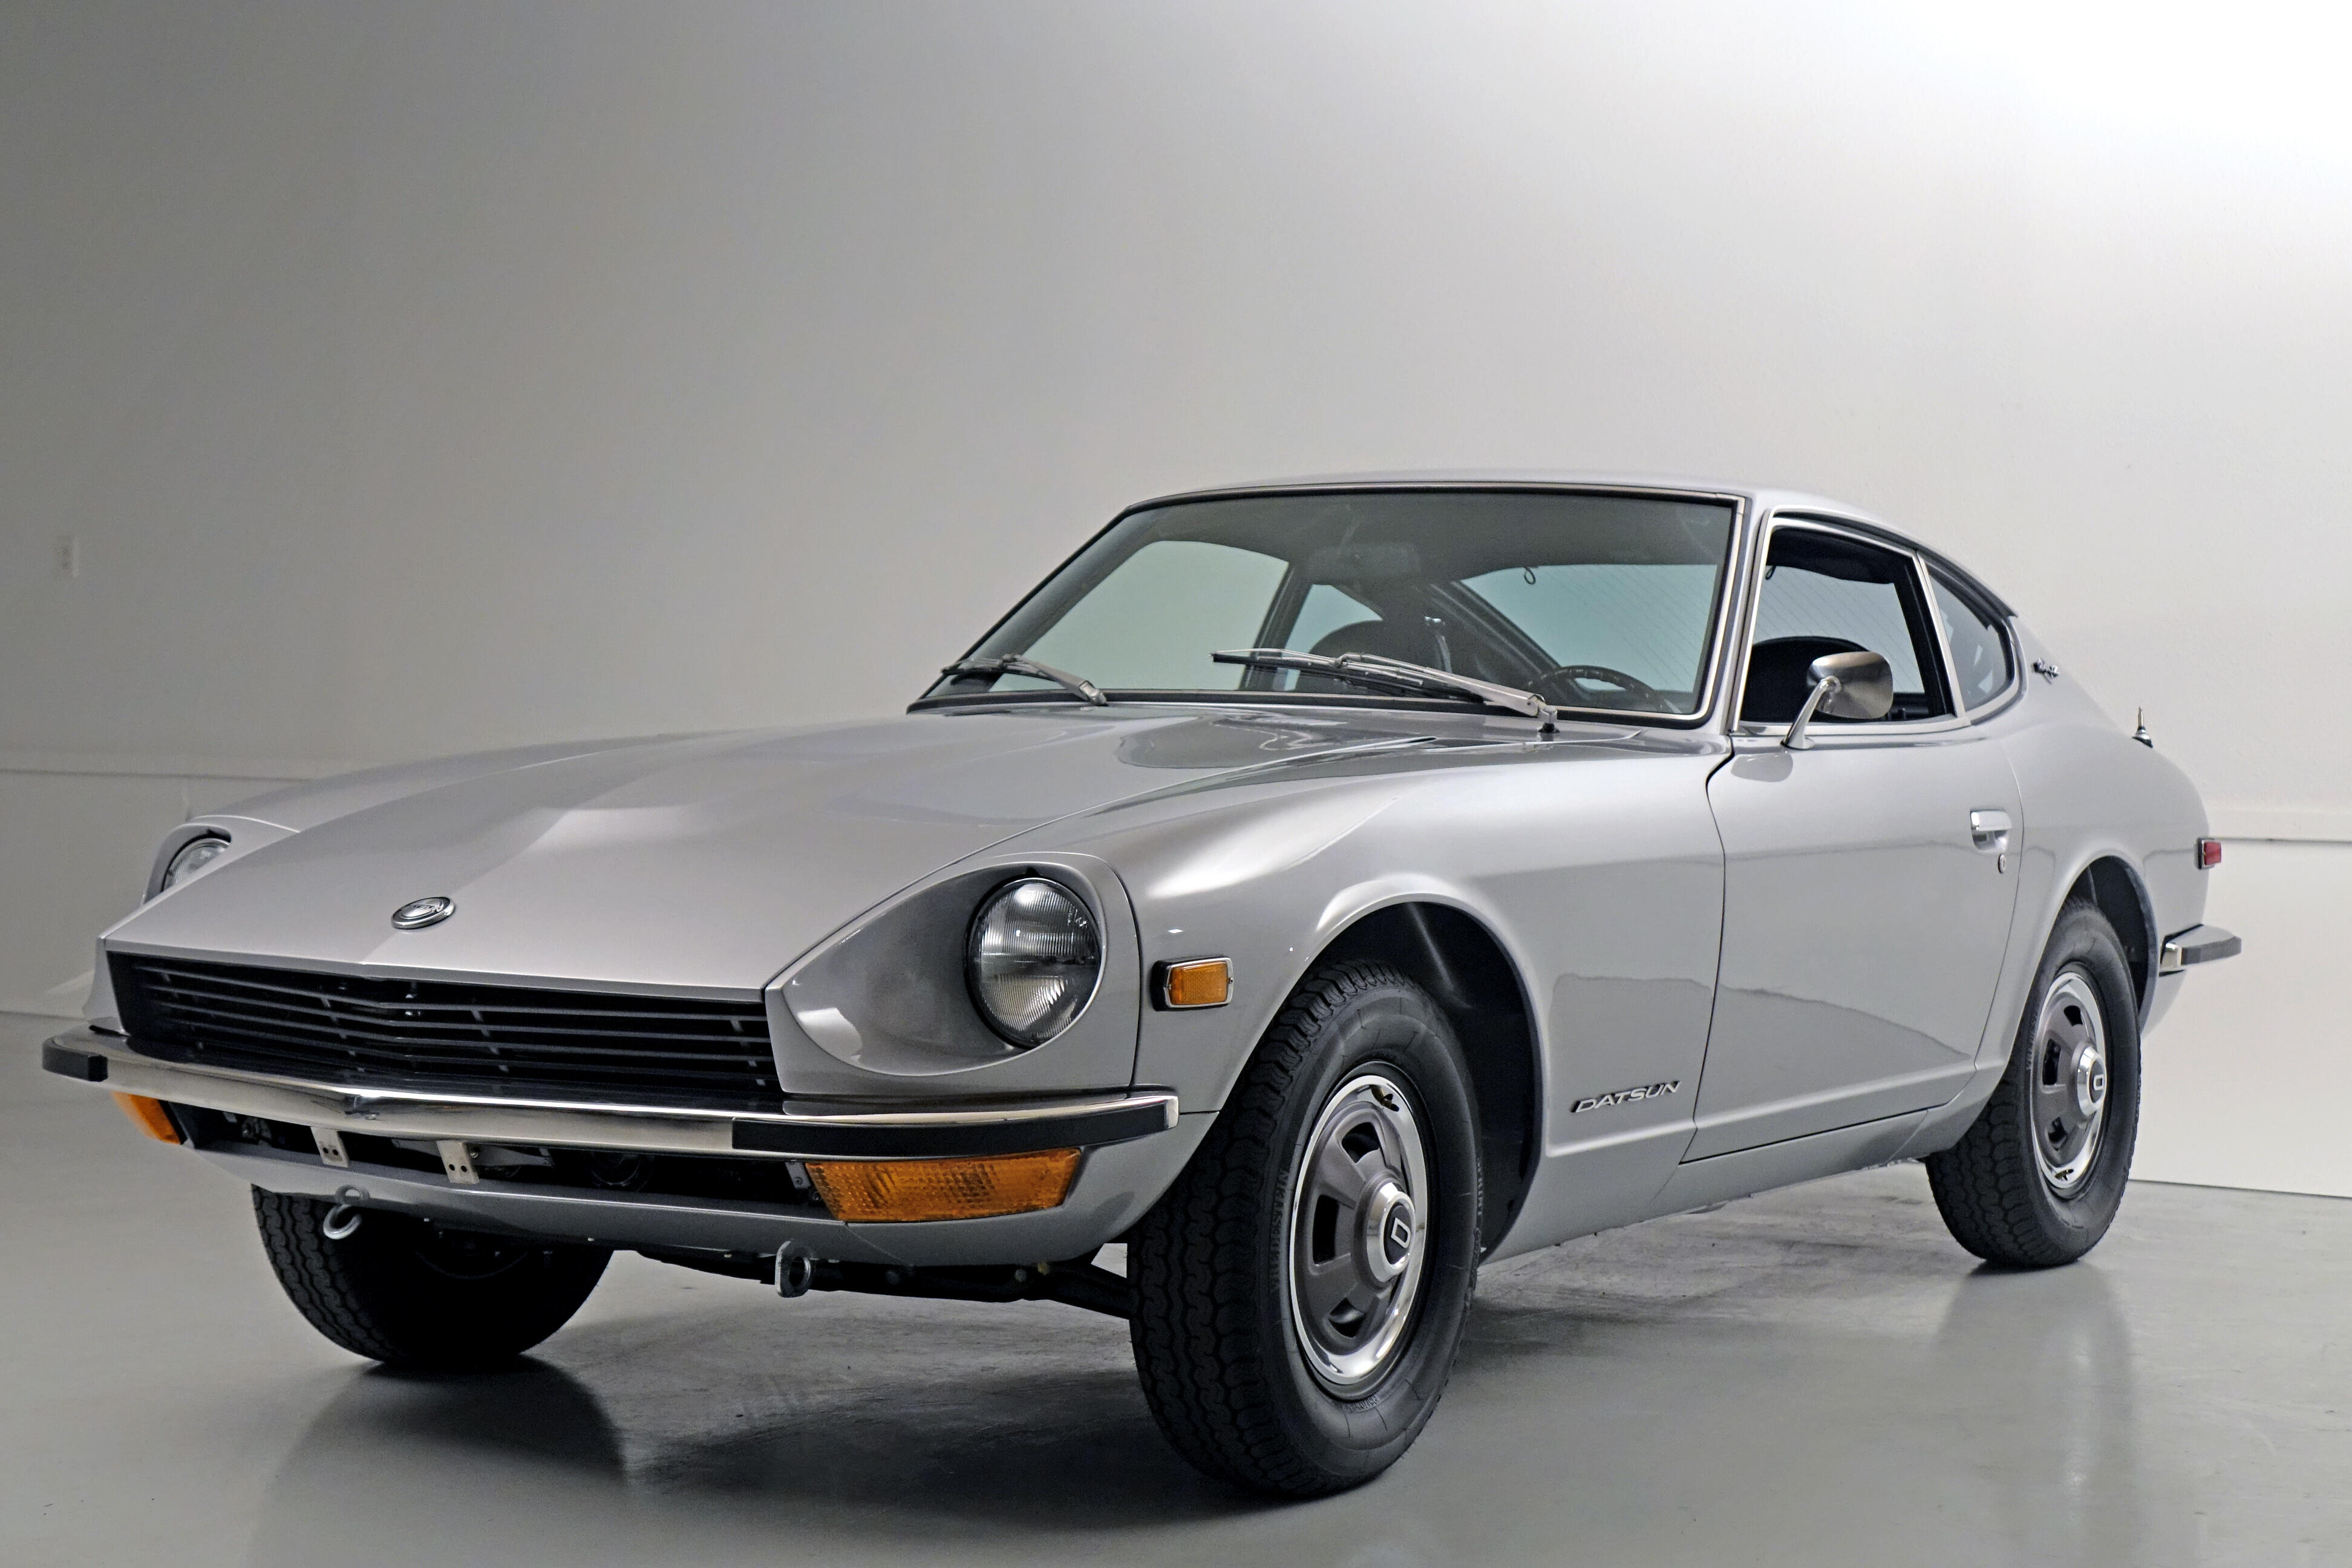
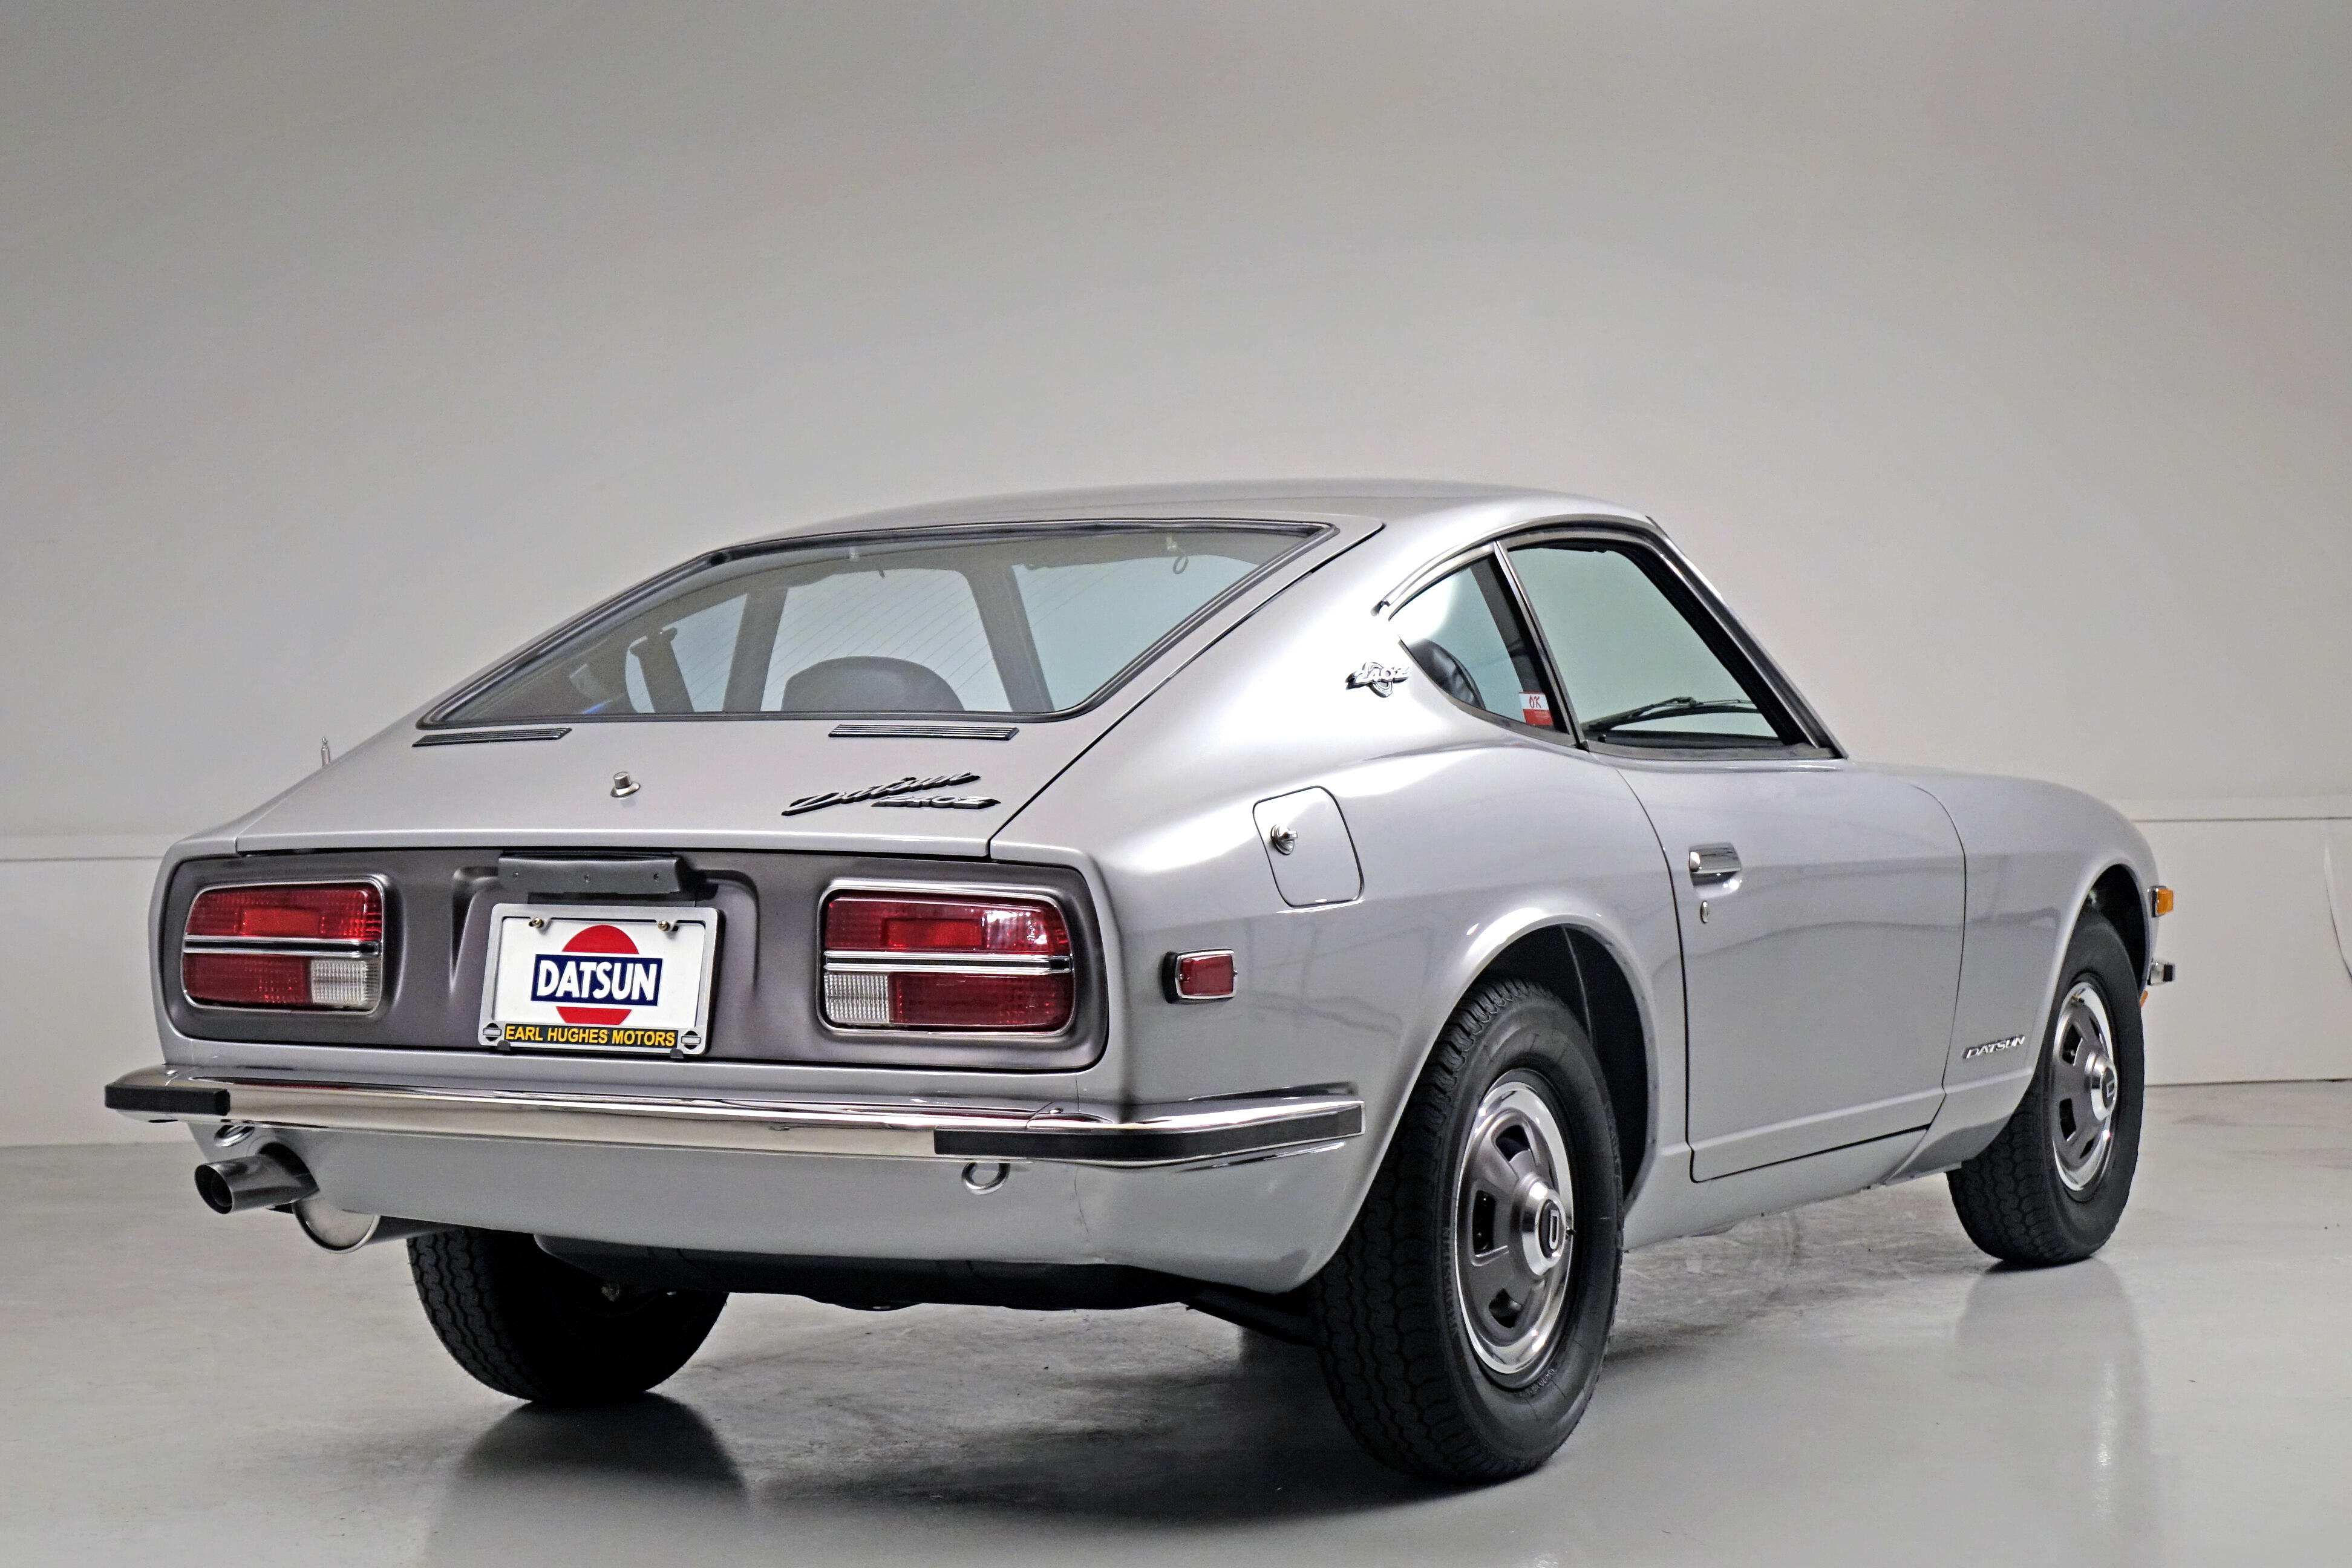
5 pointsHere are a few of the professional shots from yesterday's events
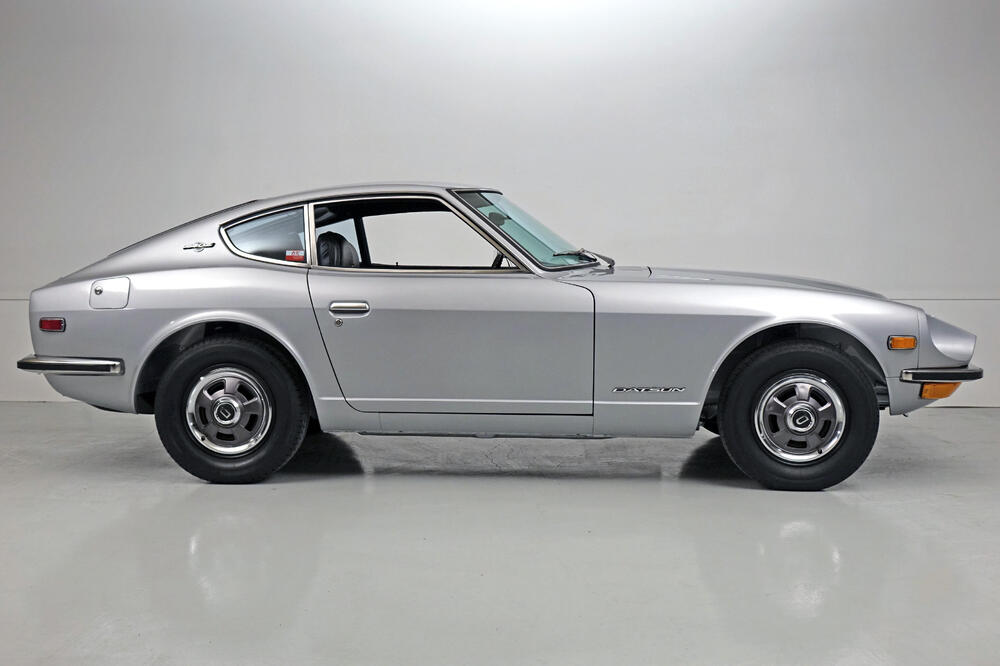
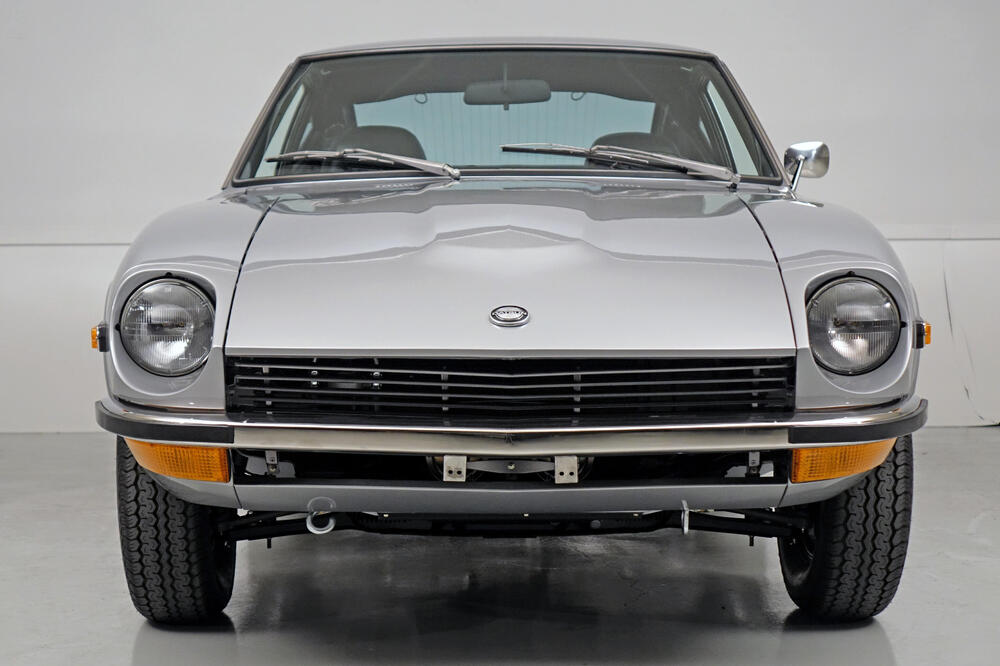
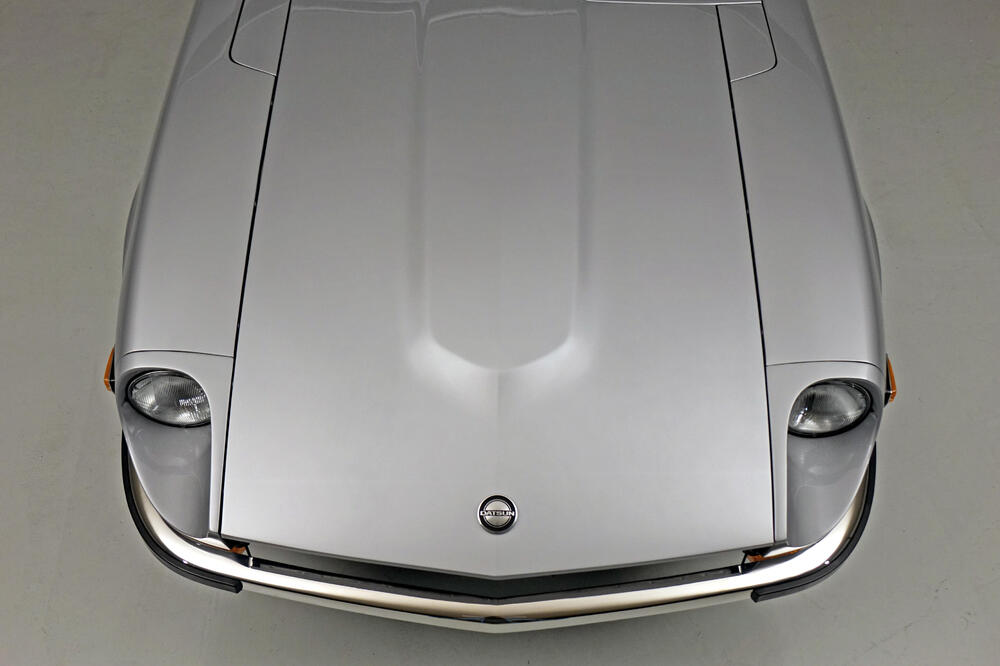

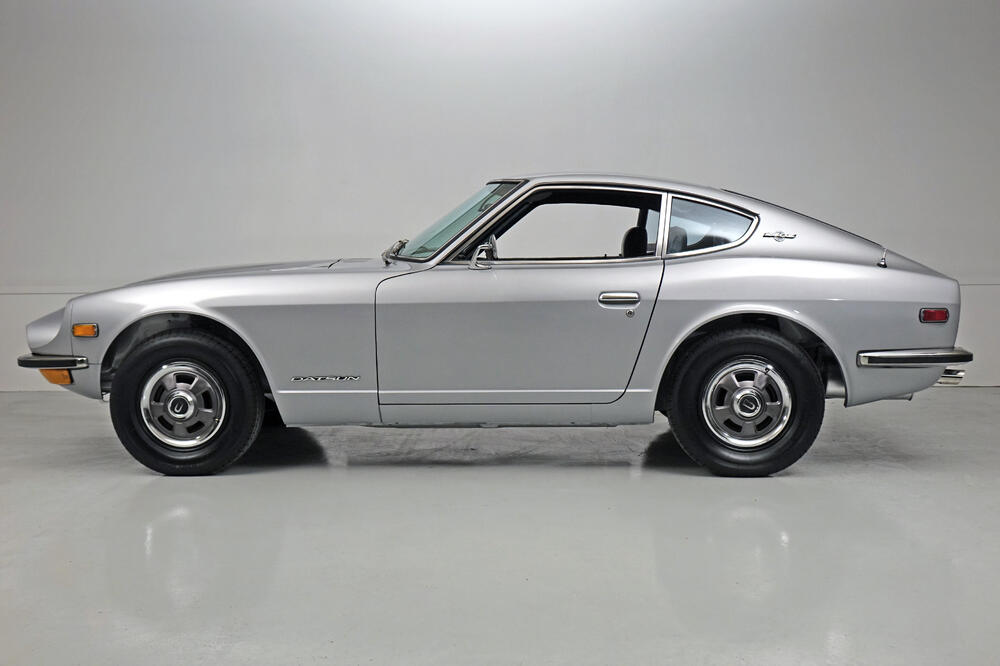
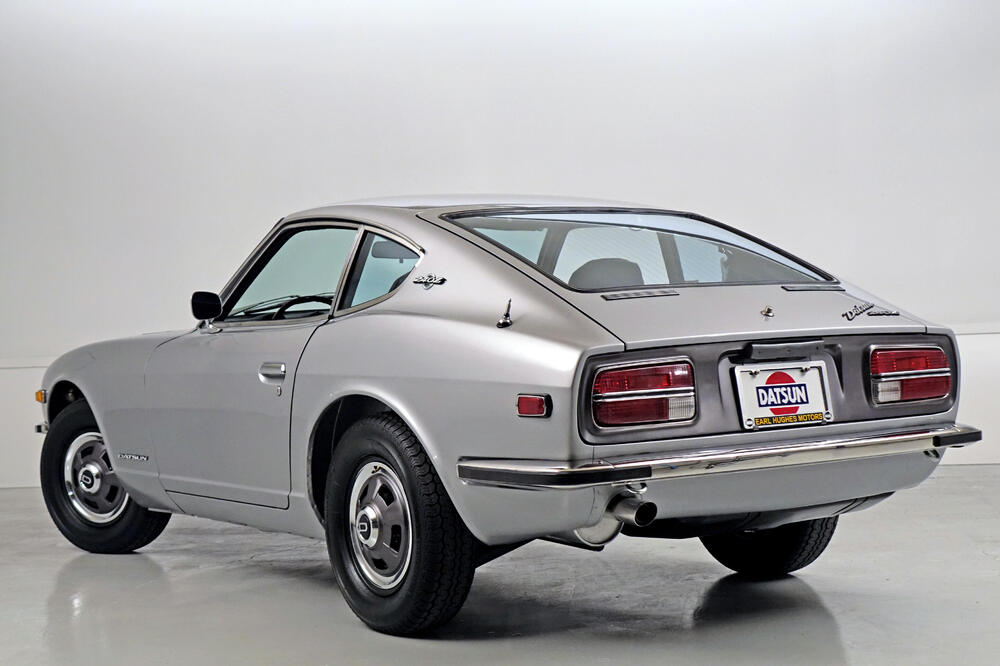
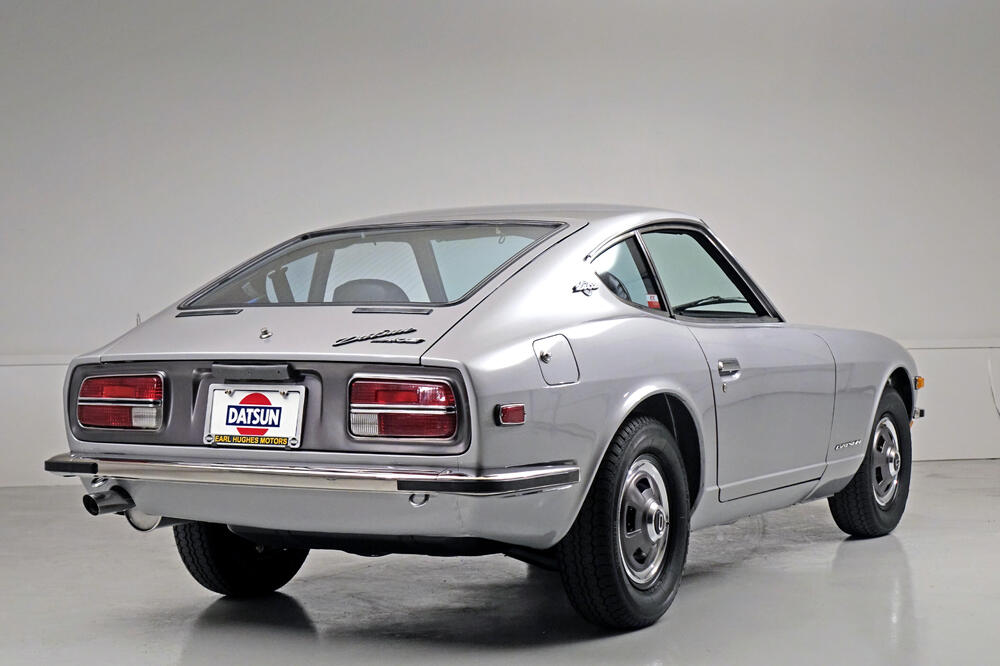
 5 points
 -
3 pointsI have my personal '72 sitting next to this one waiting for it's turn. Along with that I have a few non-Z Datsuns that need the same treatment. I really enjoy the build more so than having a car too nice to use sitting in the garage, so if someone else could enjoy it and enable me to fund the next one it's a win win situation in my eyes. For some reason I am a glutton for punishment. The increased popularity of these cars has definitely made scoring a "barn find" example difficult and more costly. On the flip slide restored examples are fetching healthy numbers, so in a way it all evens out. From what I have seen recently, a good restoration candidate can fetch $5,000-$15,000 depending on year, condition, rust, completeness, etc. Hard costs for parts and materials can vary greatly depending on the restoration direction - factory spec, resto-mod, track car., you name it. Labor will probably be the biggest factor in determining what kind of profit (if any) you can pull from one of these cars. Over the past 16 months we have racked up nearly 1500 hours to build this car. Being that combined we have 35+ years in professional auto body/paint and mechanical engineering, all the labor minus the engine machining was done in-house. I could imagine paying someone else to redo the interior, complete the body work, assembly the rolling shell, etc would quickly eat up any margins.3 points
-
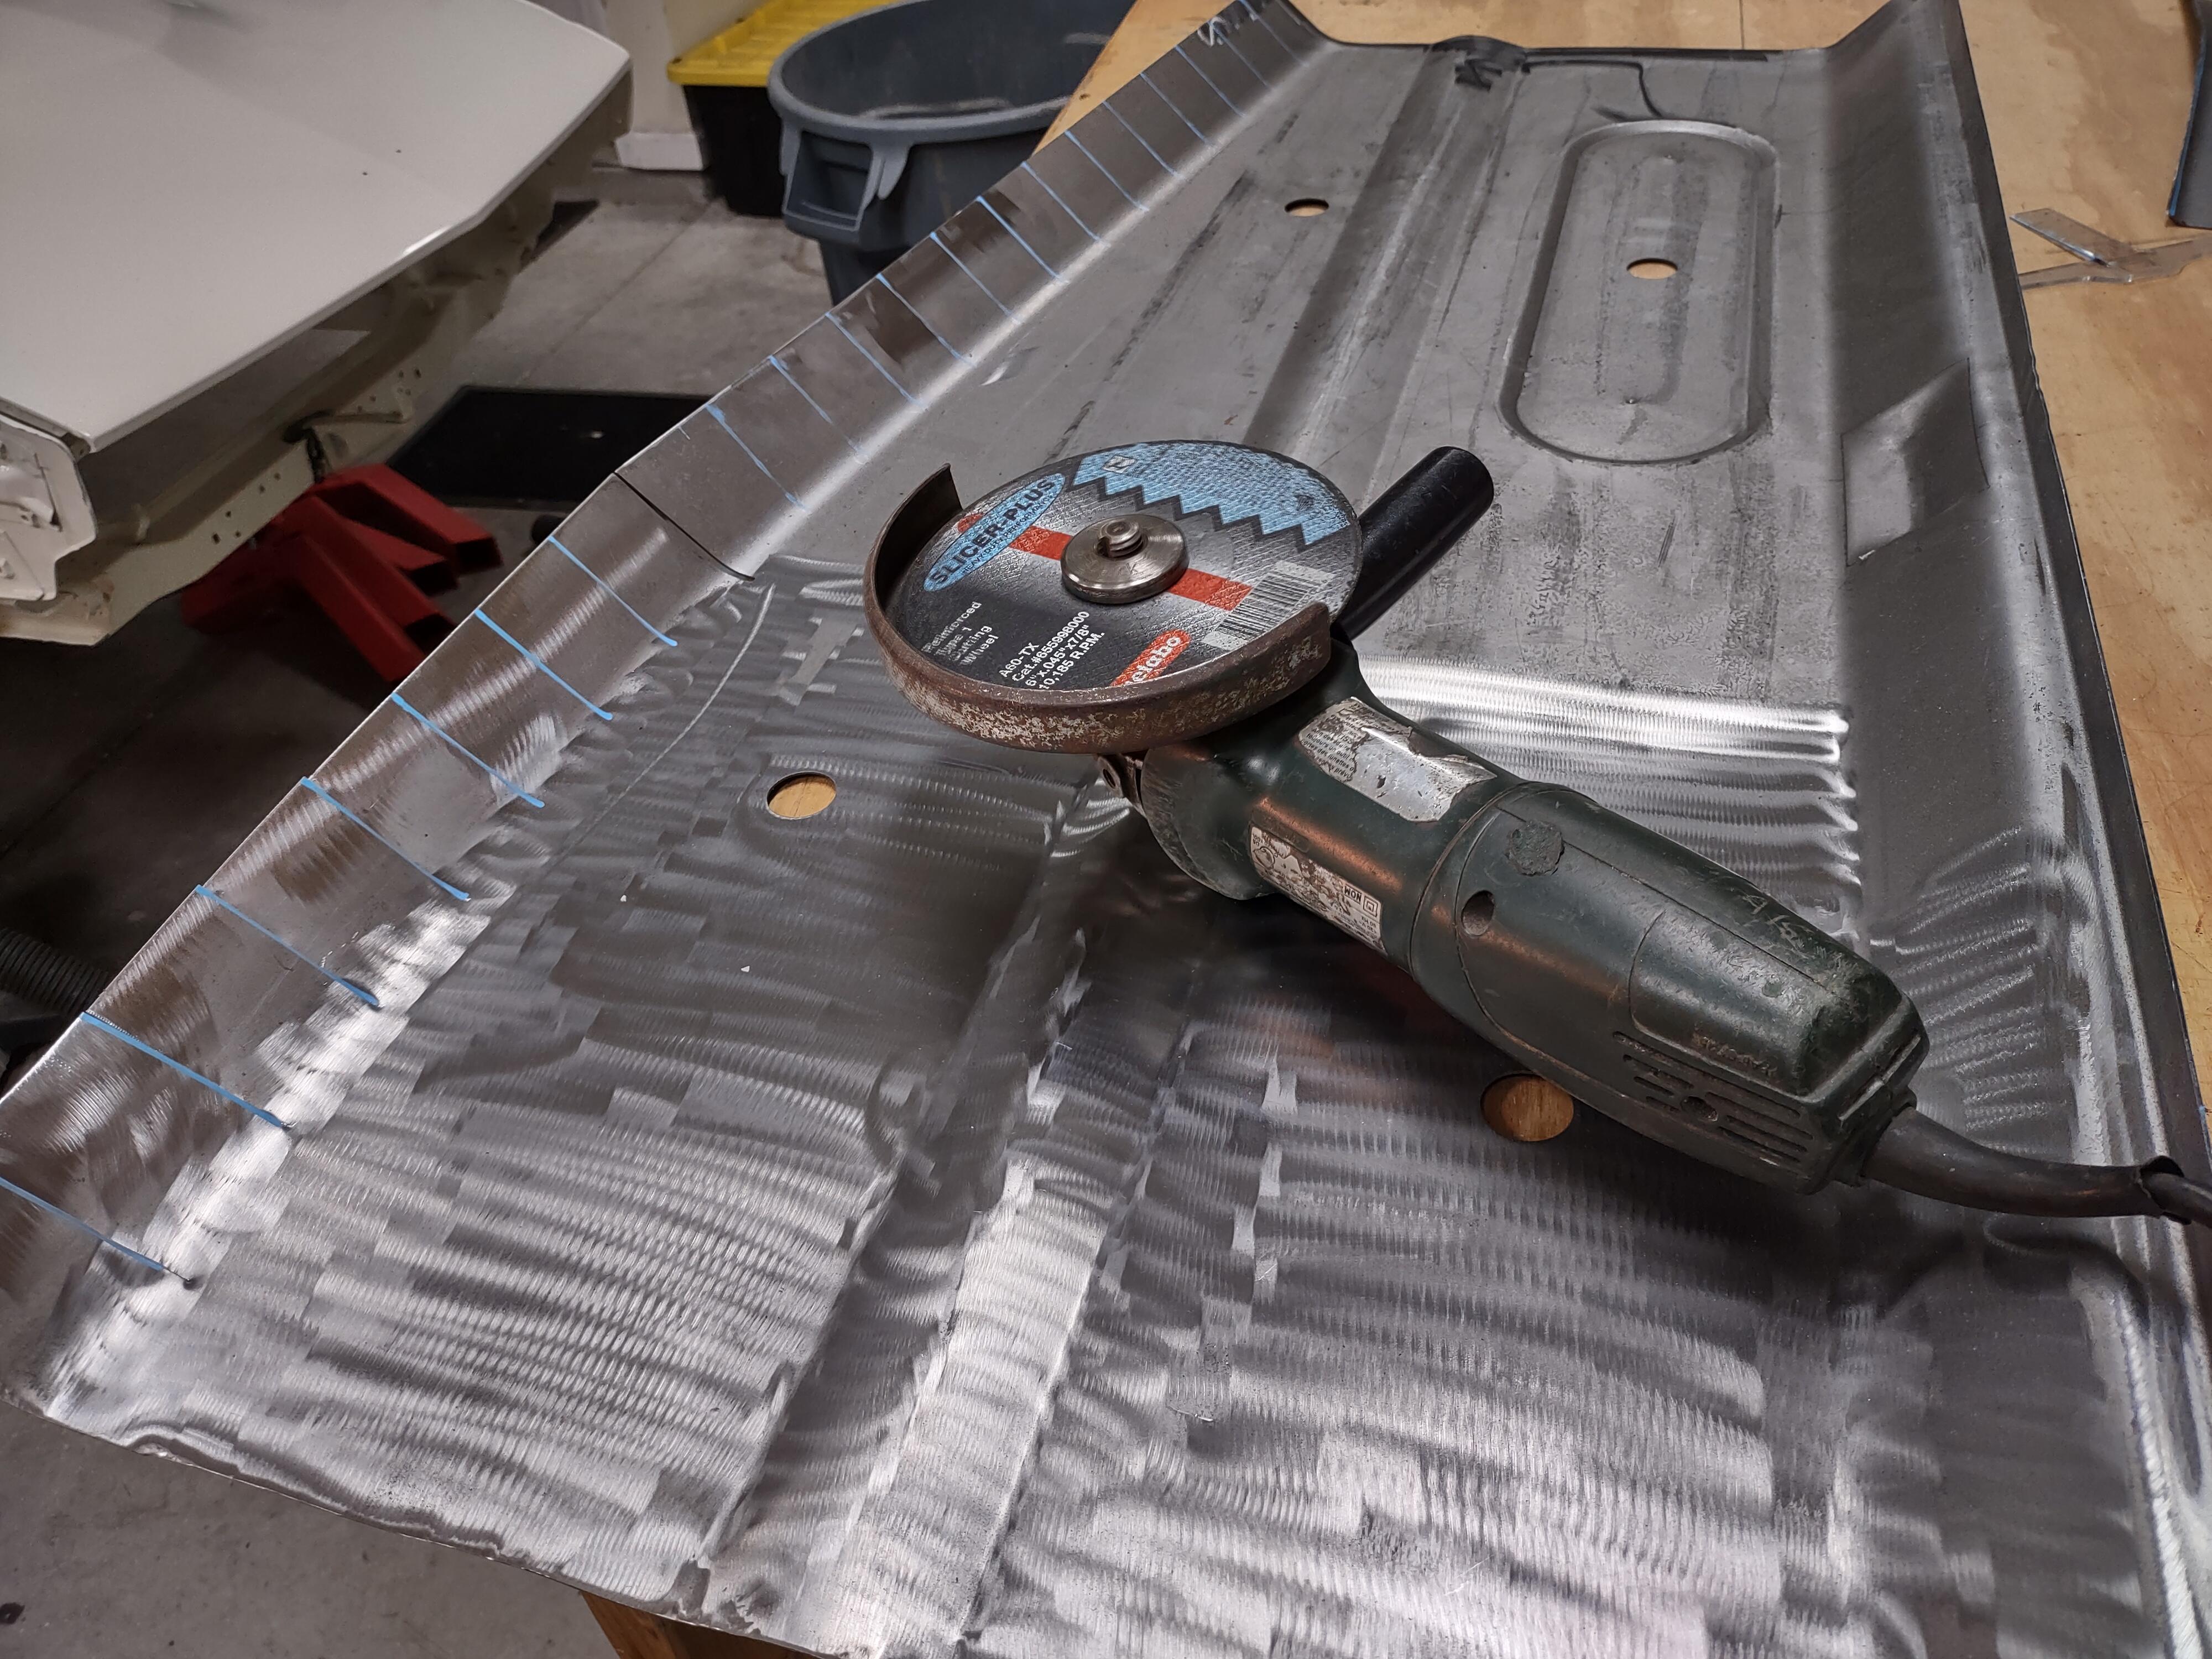
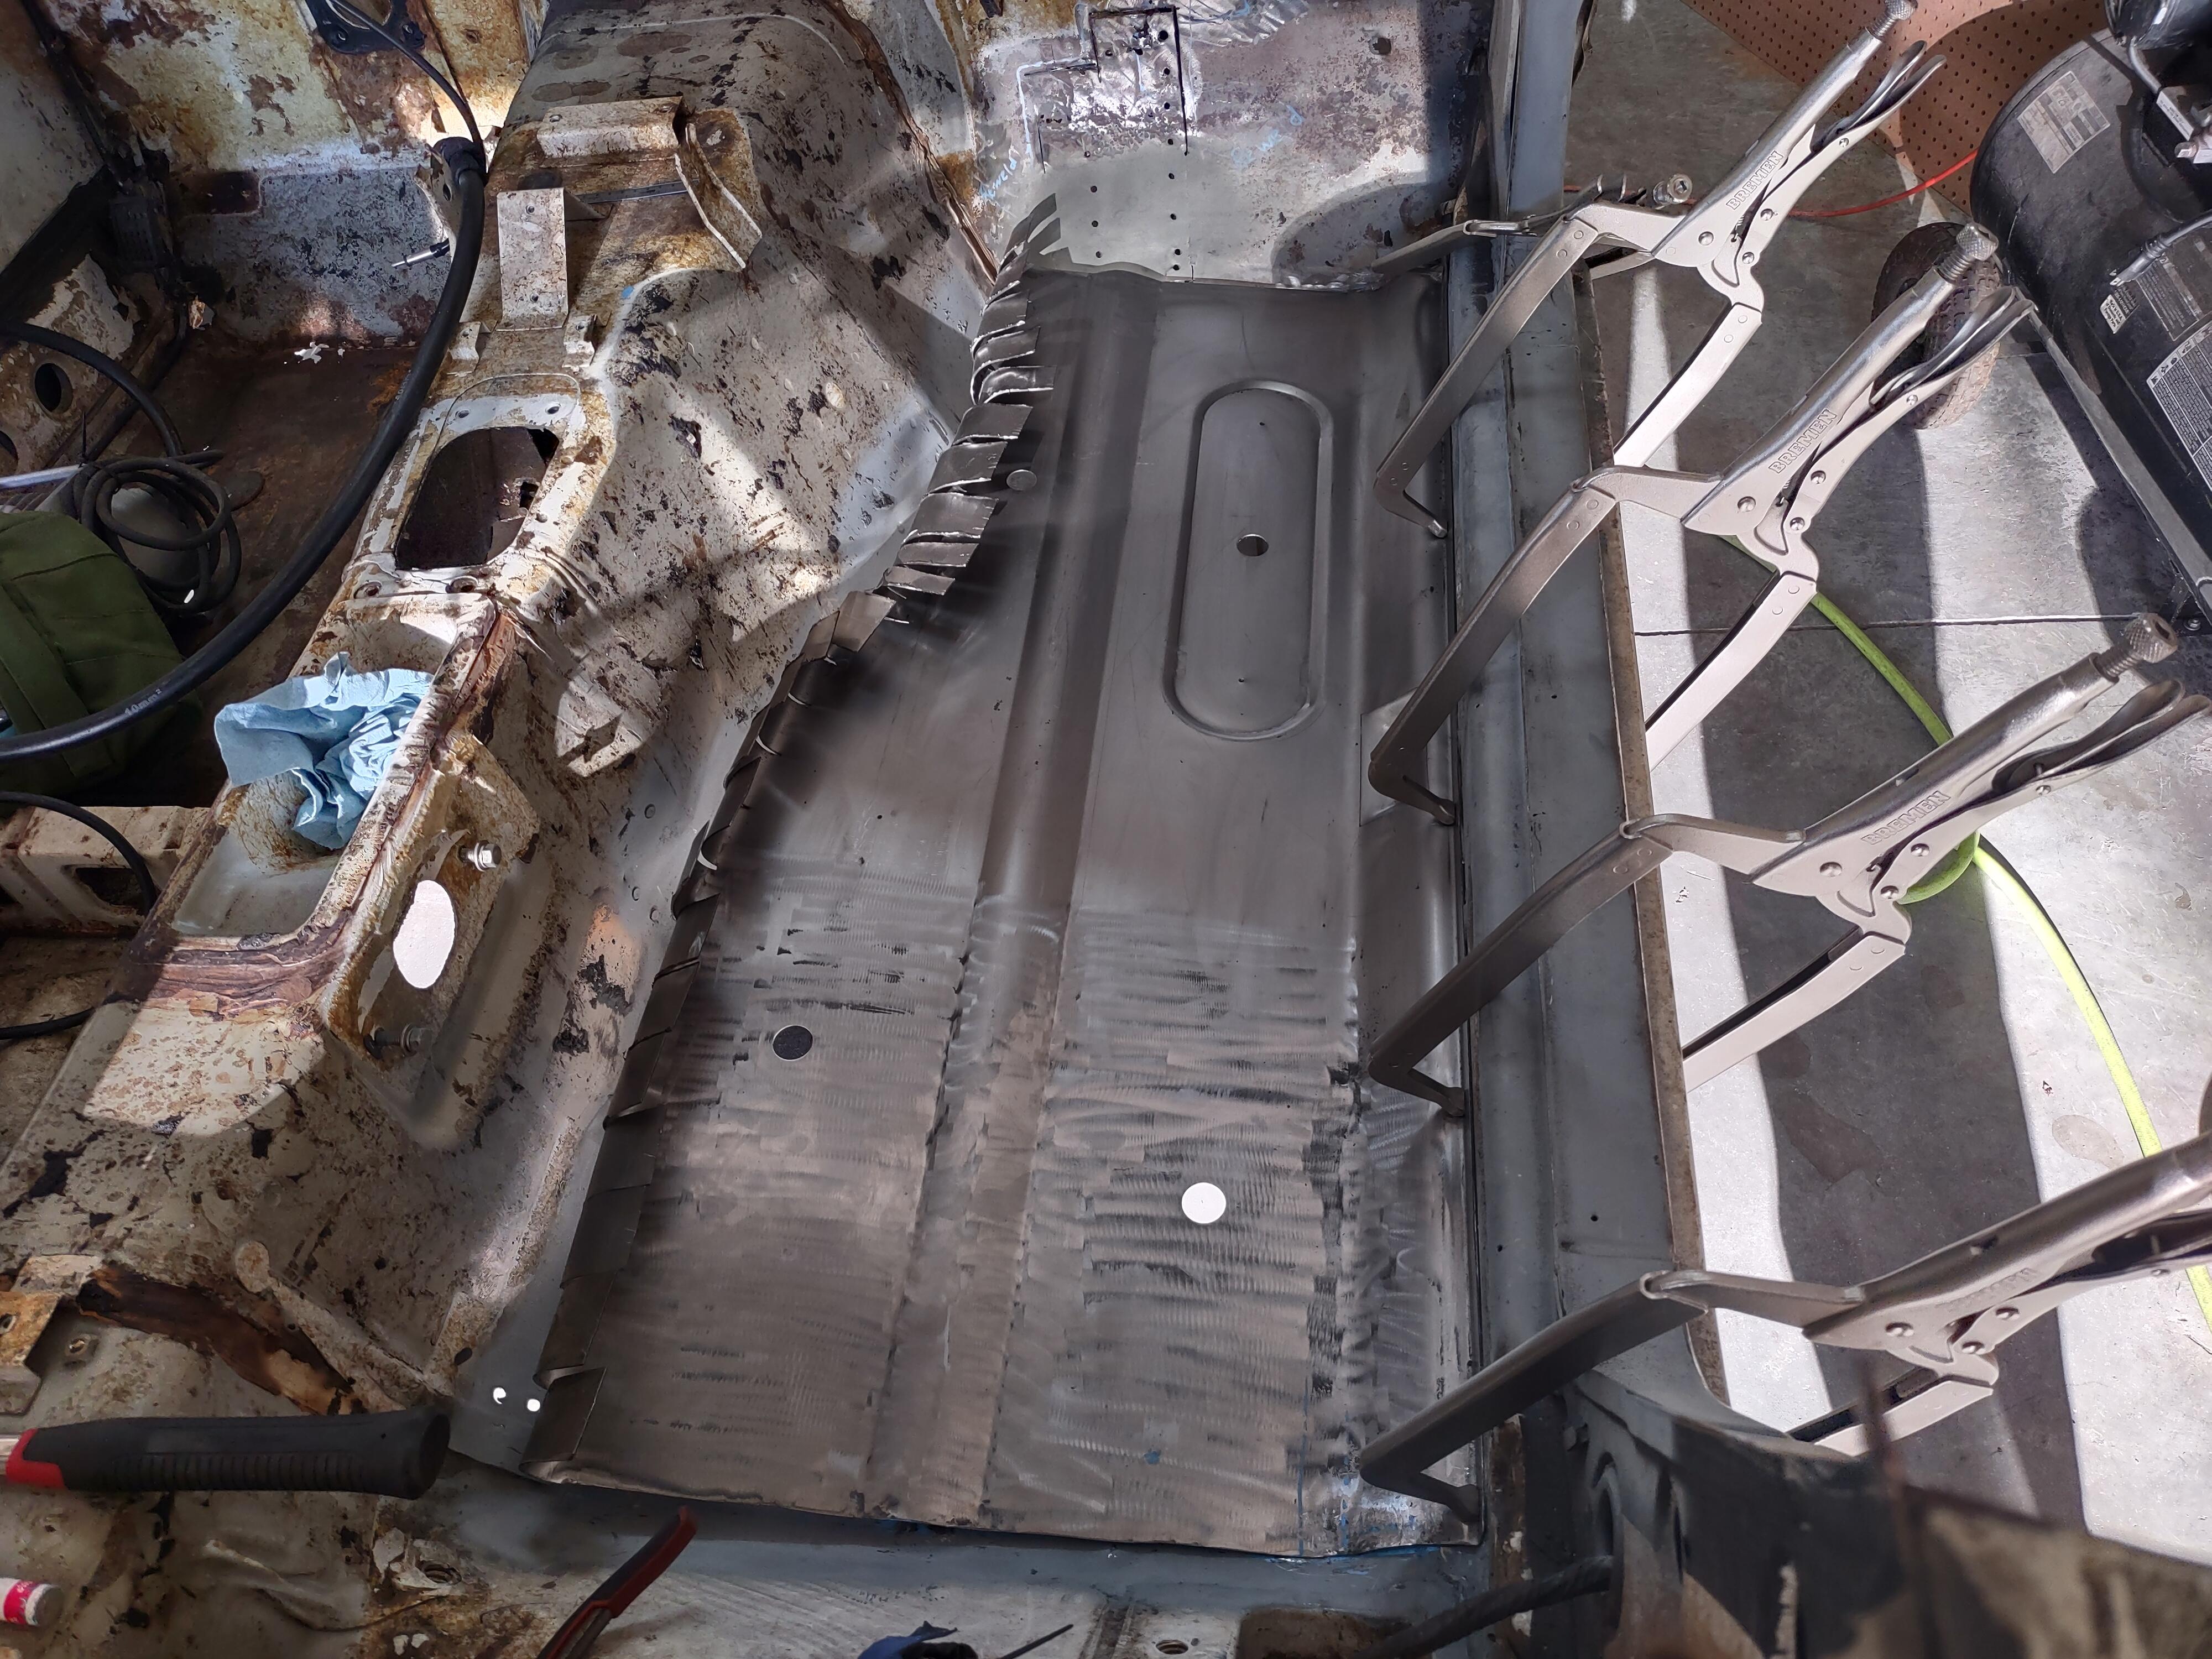
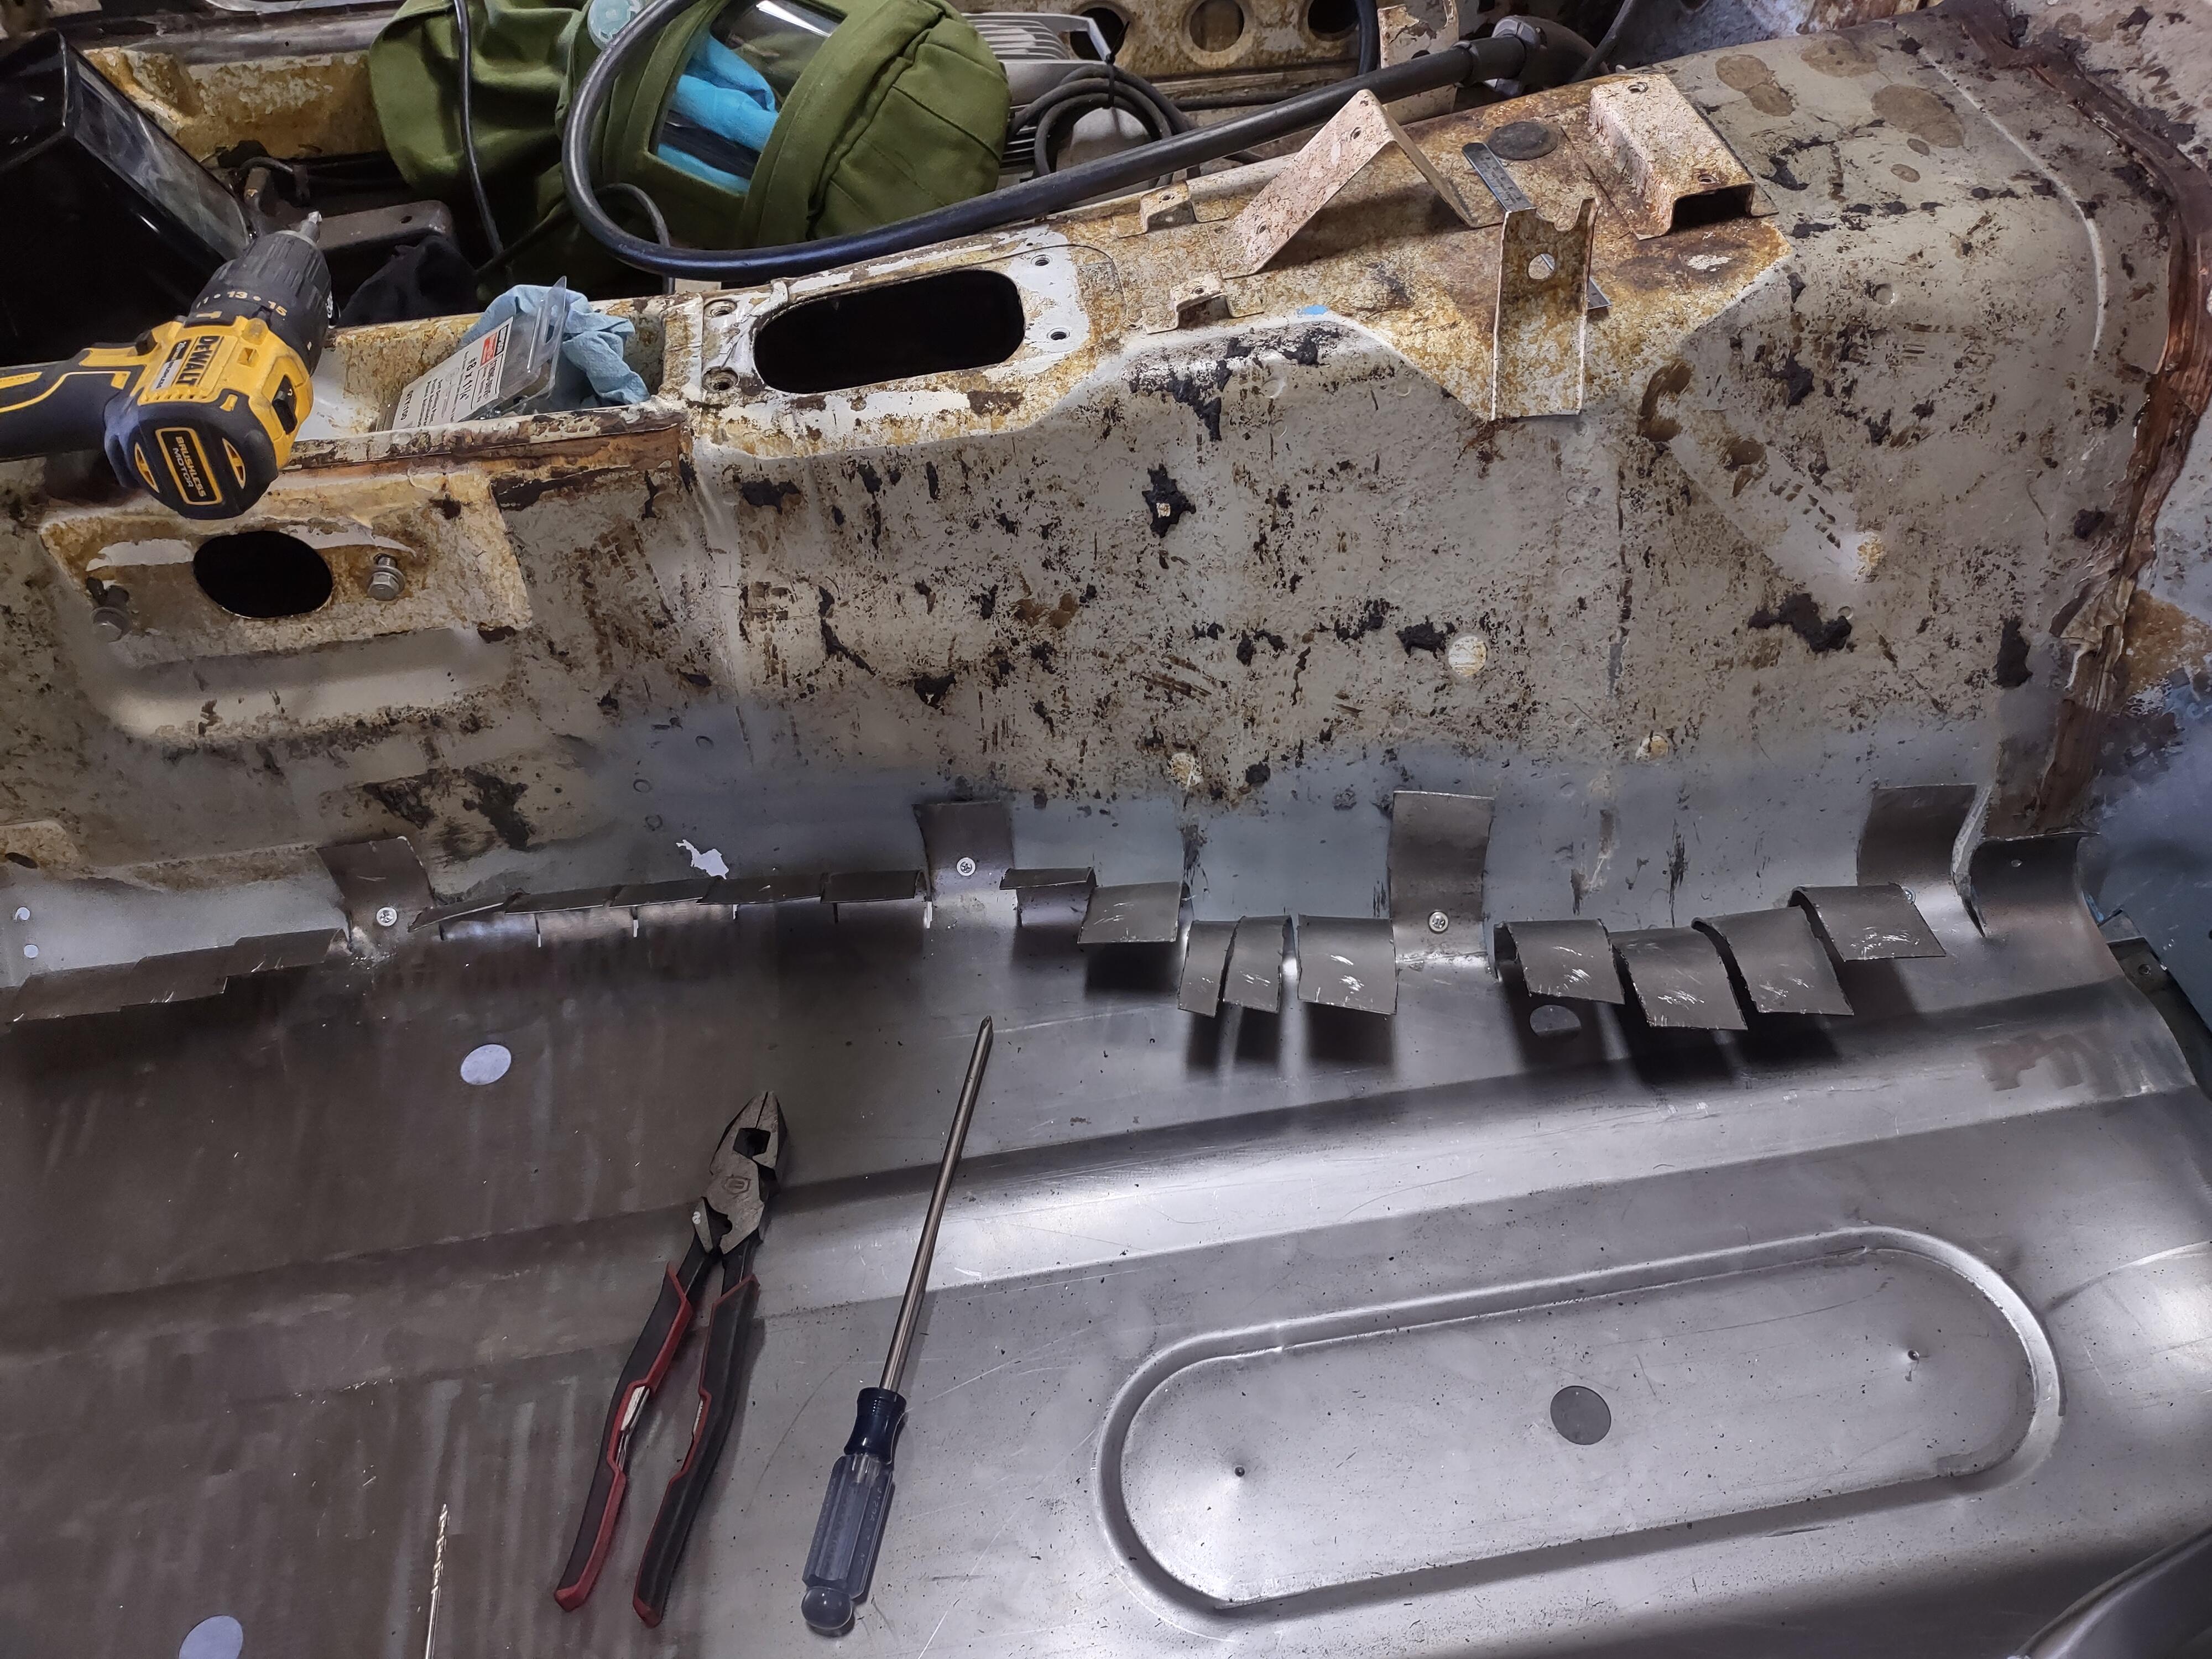
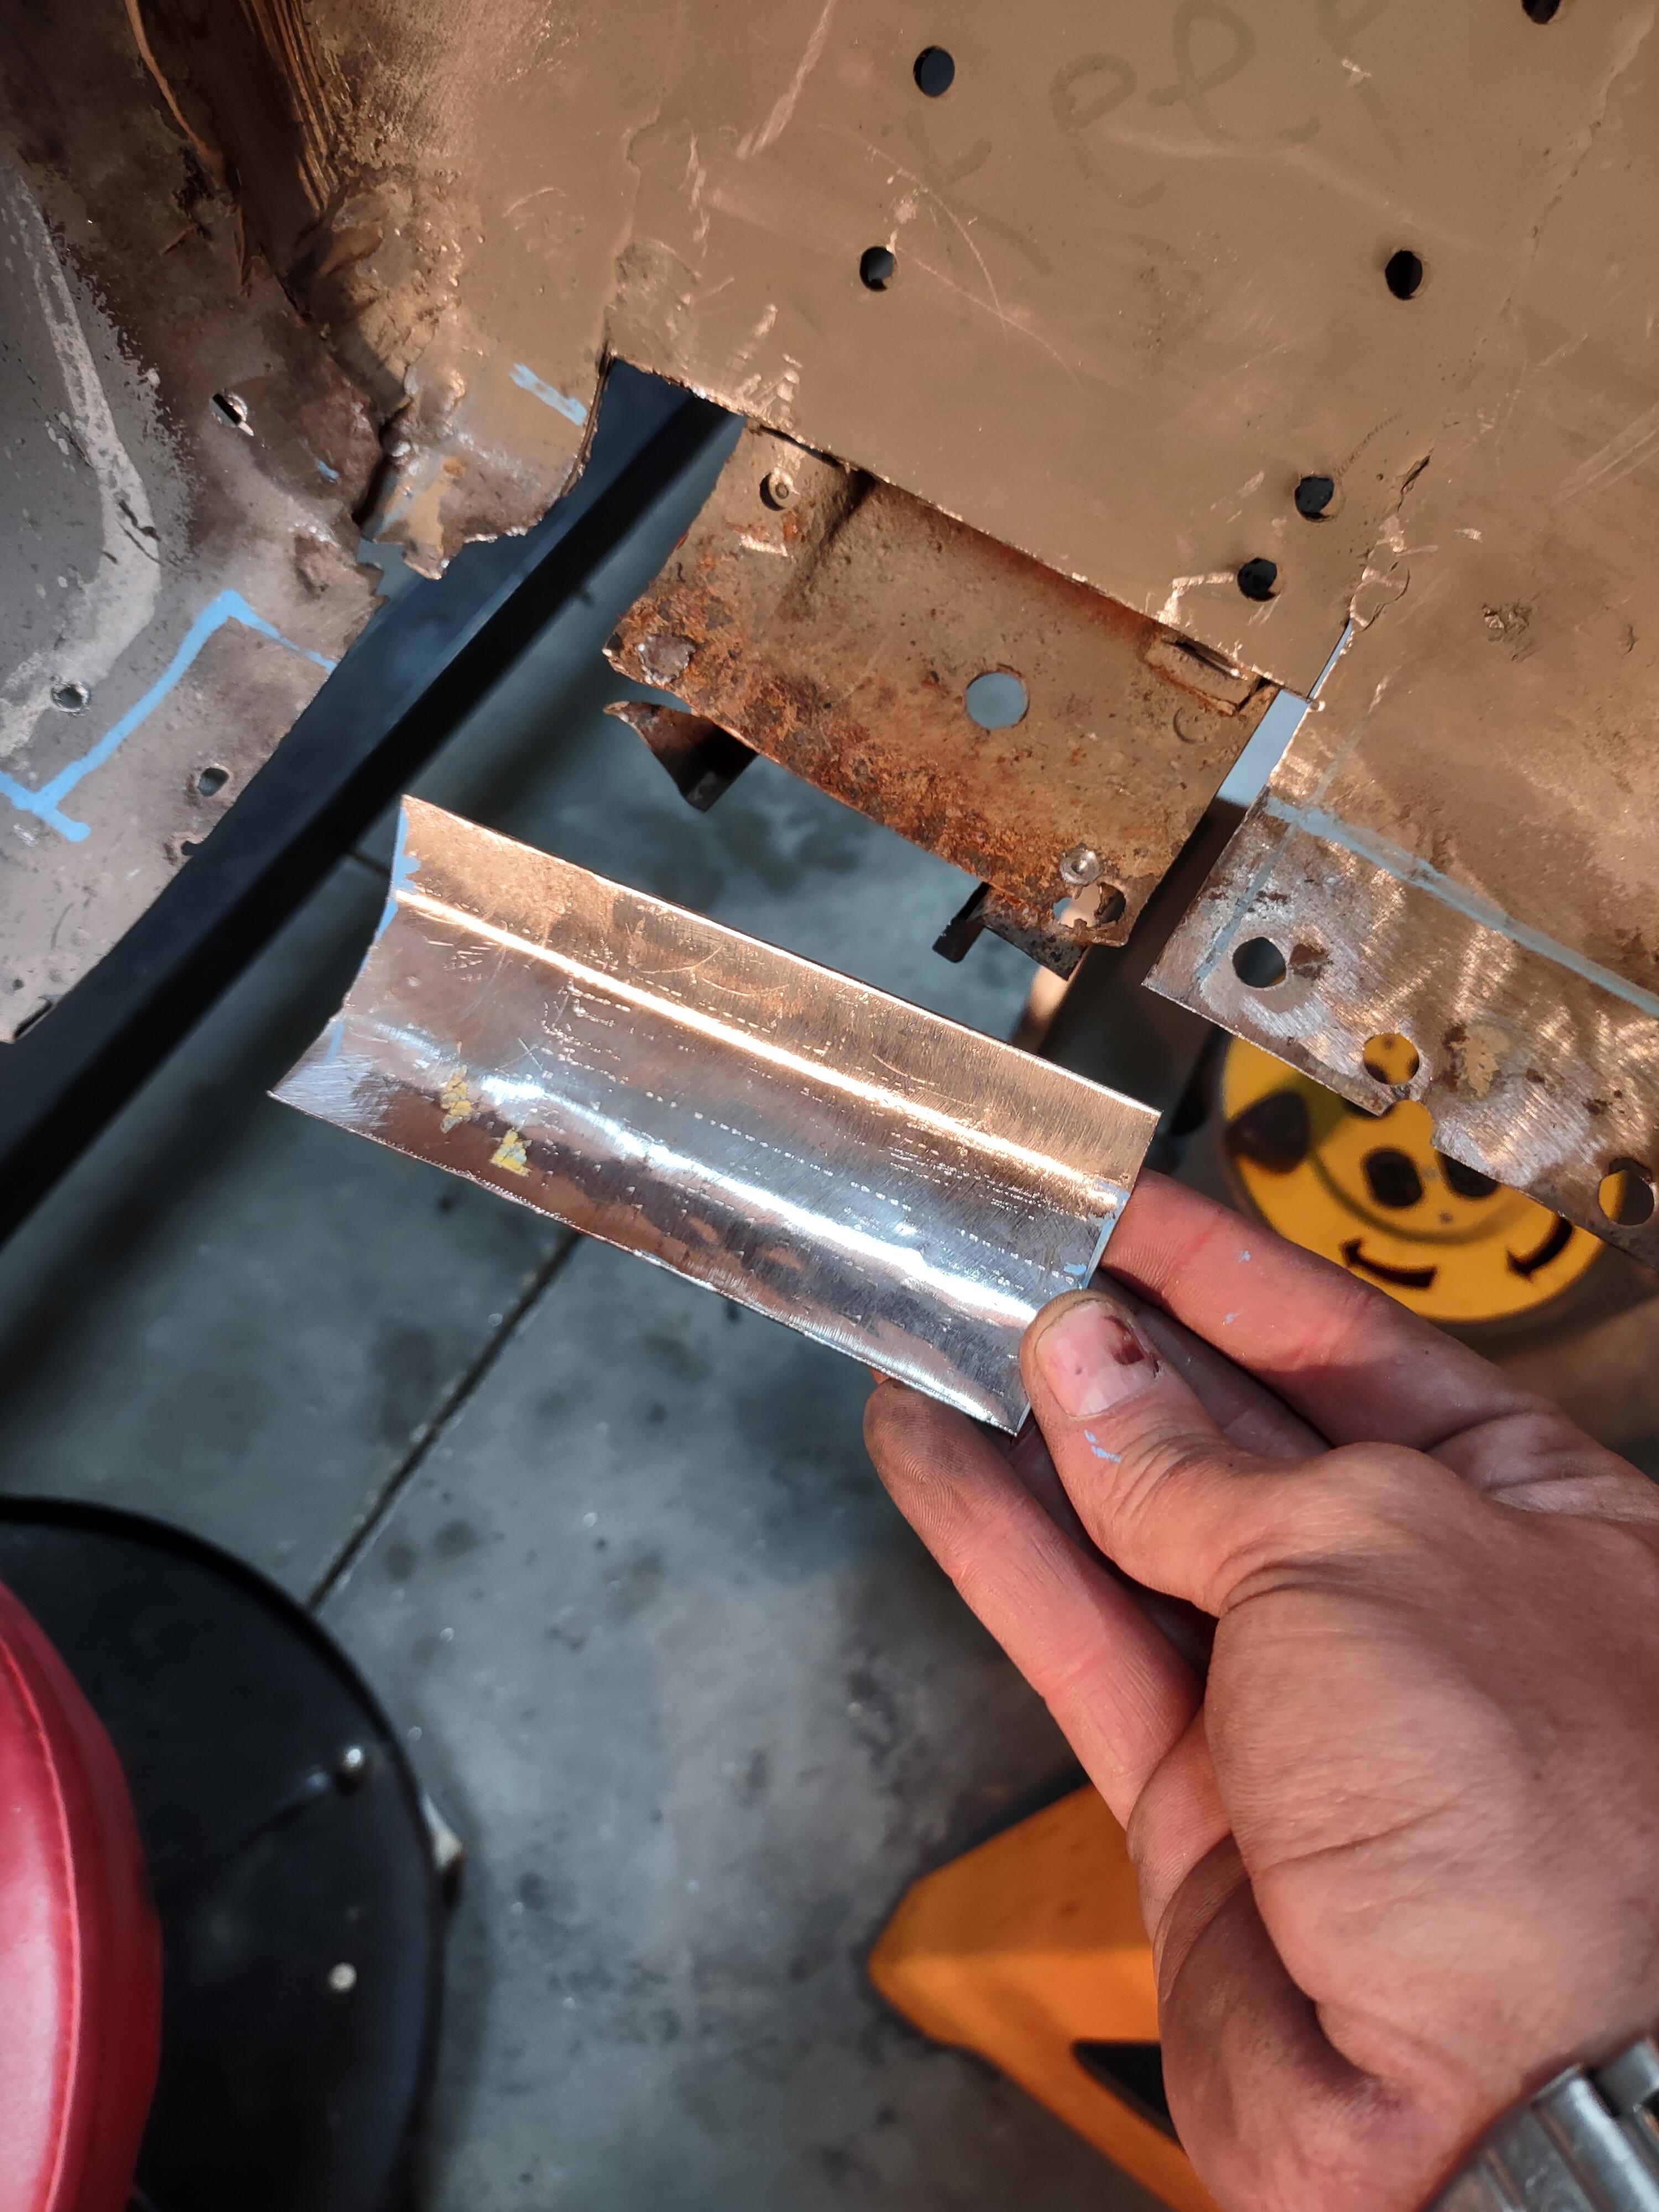
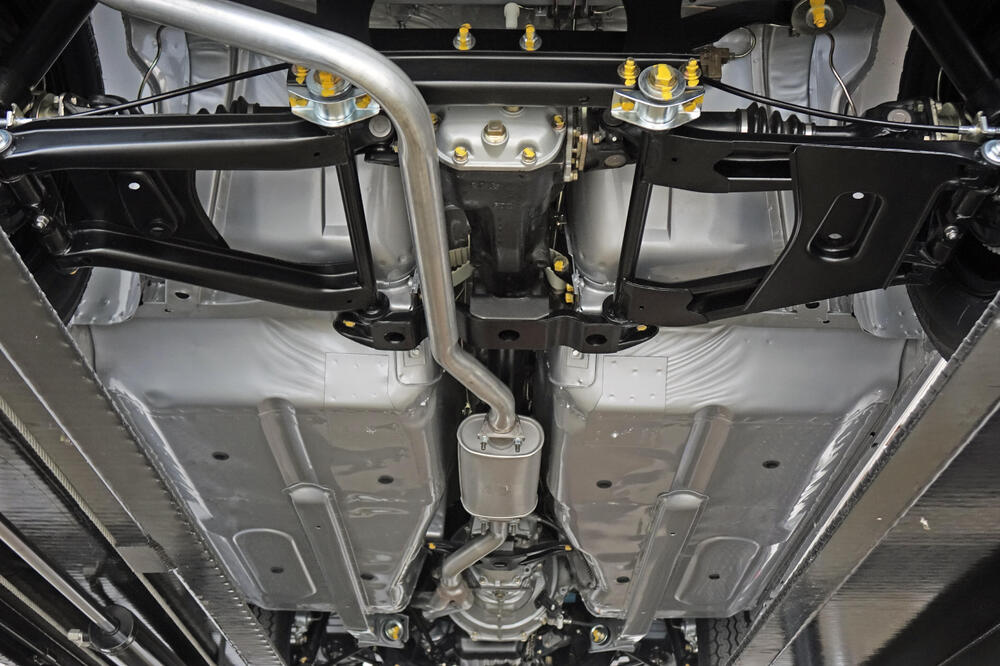
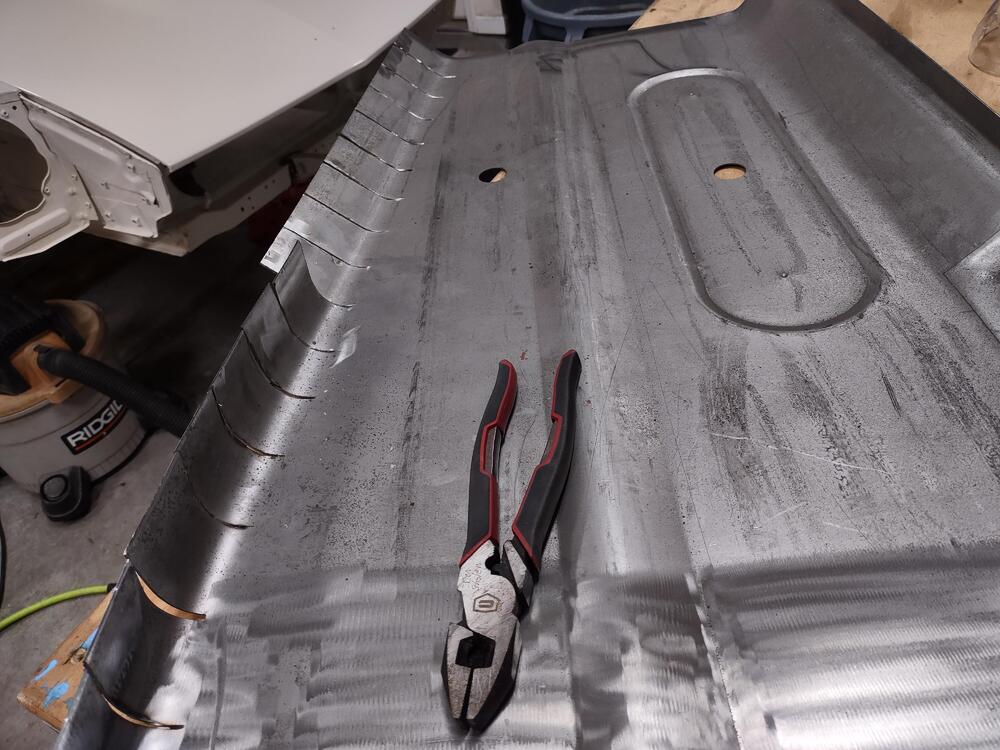
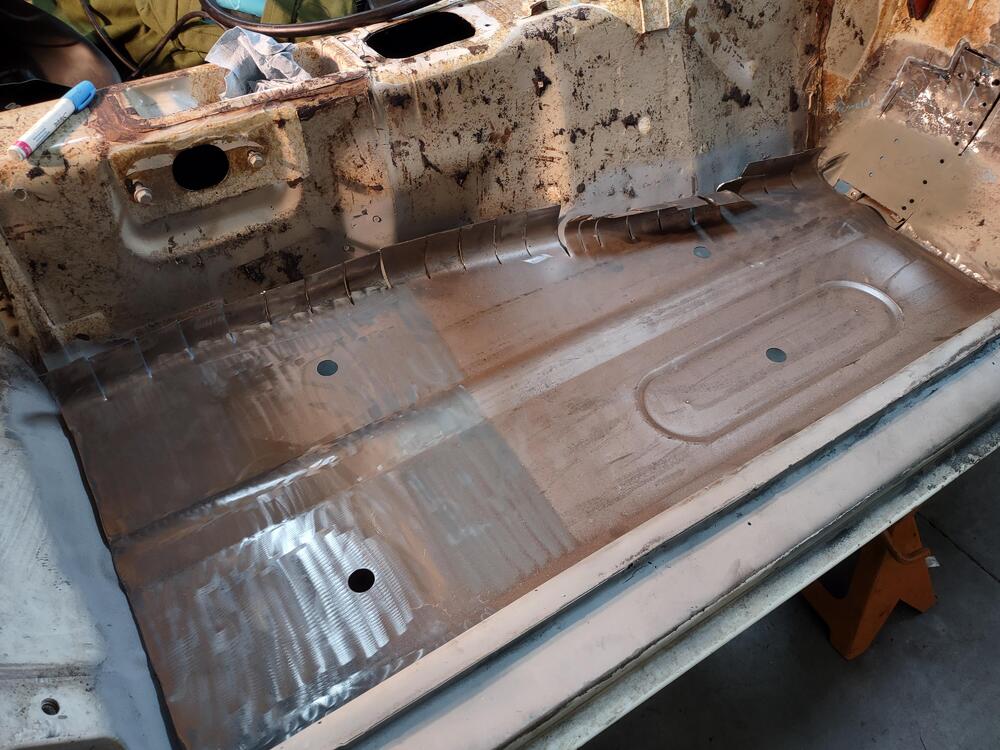
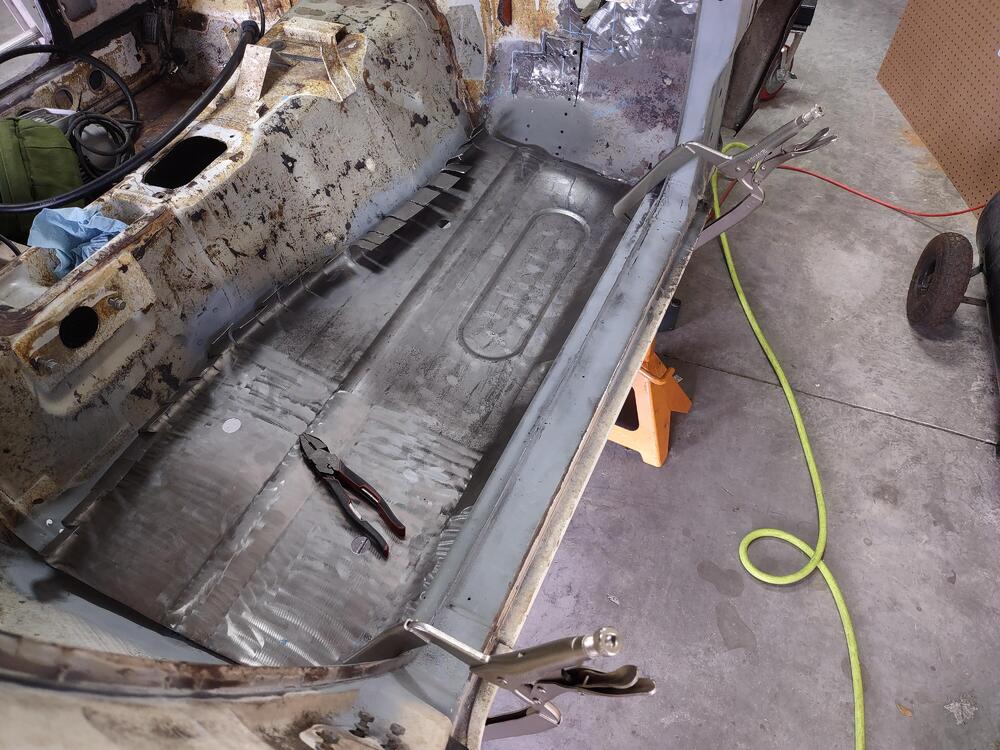
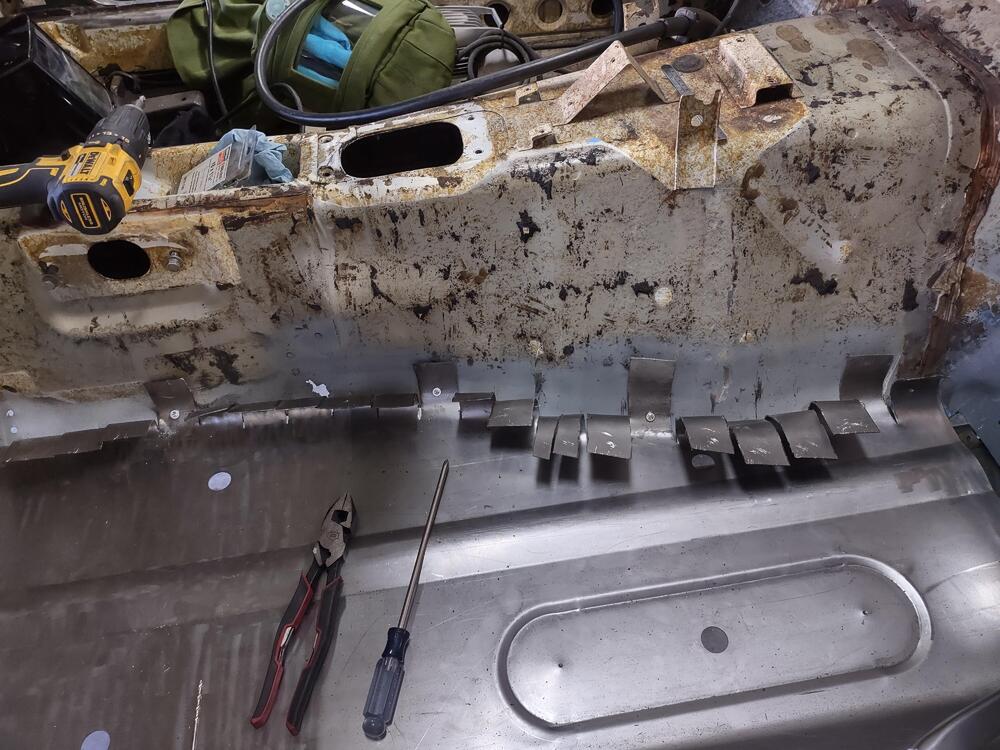
2 pointsPassenger floor pan installation. Lucky for me the tunnel is rust free except on small area where I will have to bring up the pan up the vertical slightly. These are pans from Zedd Findings.


 2 points
 -
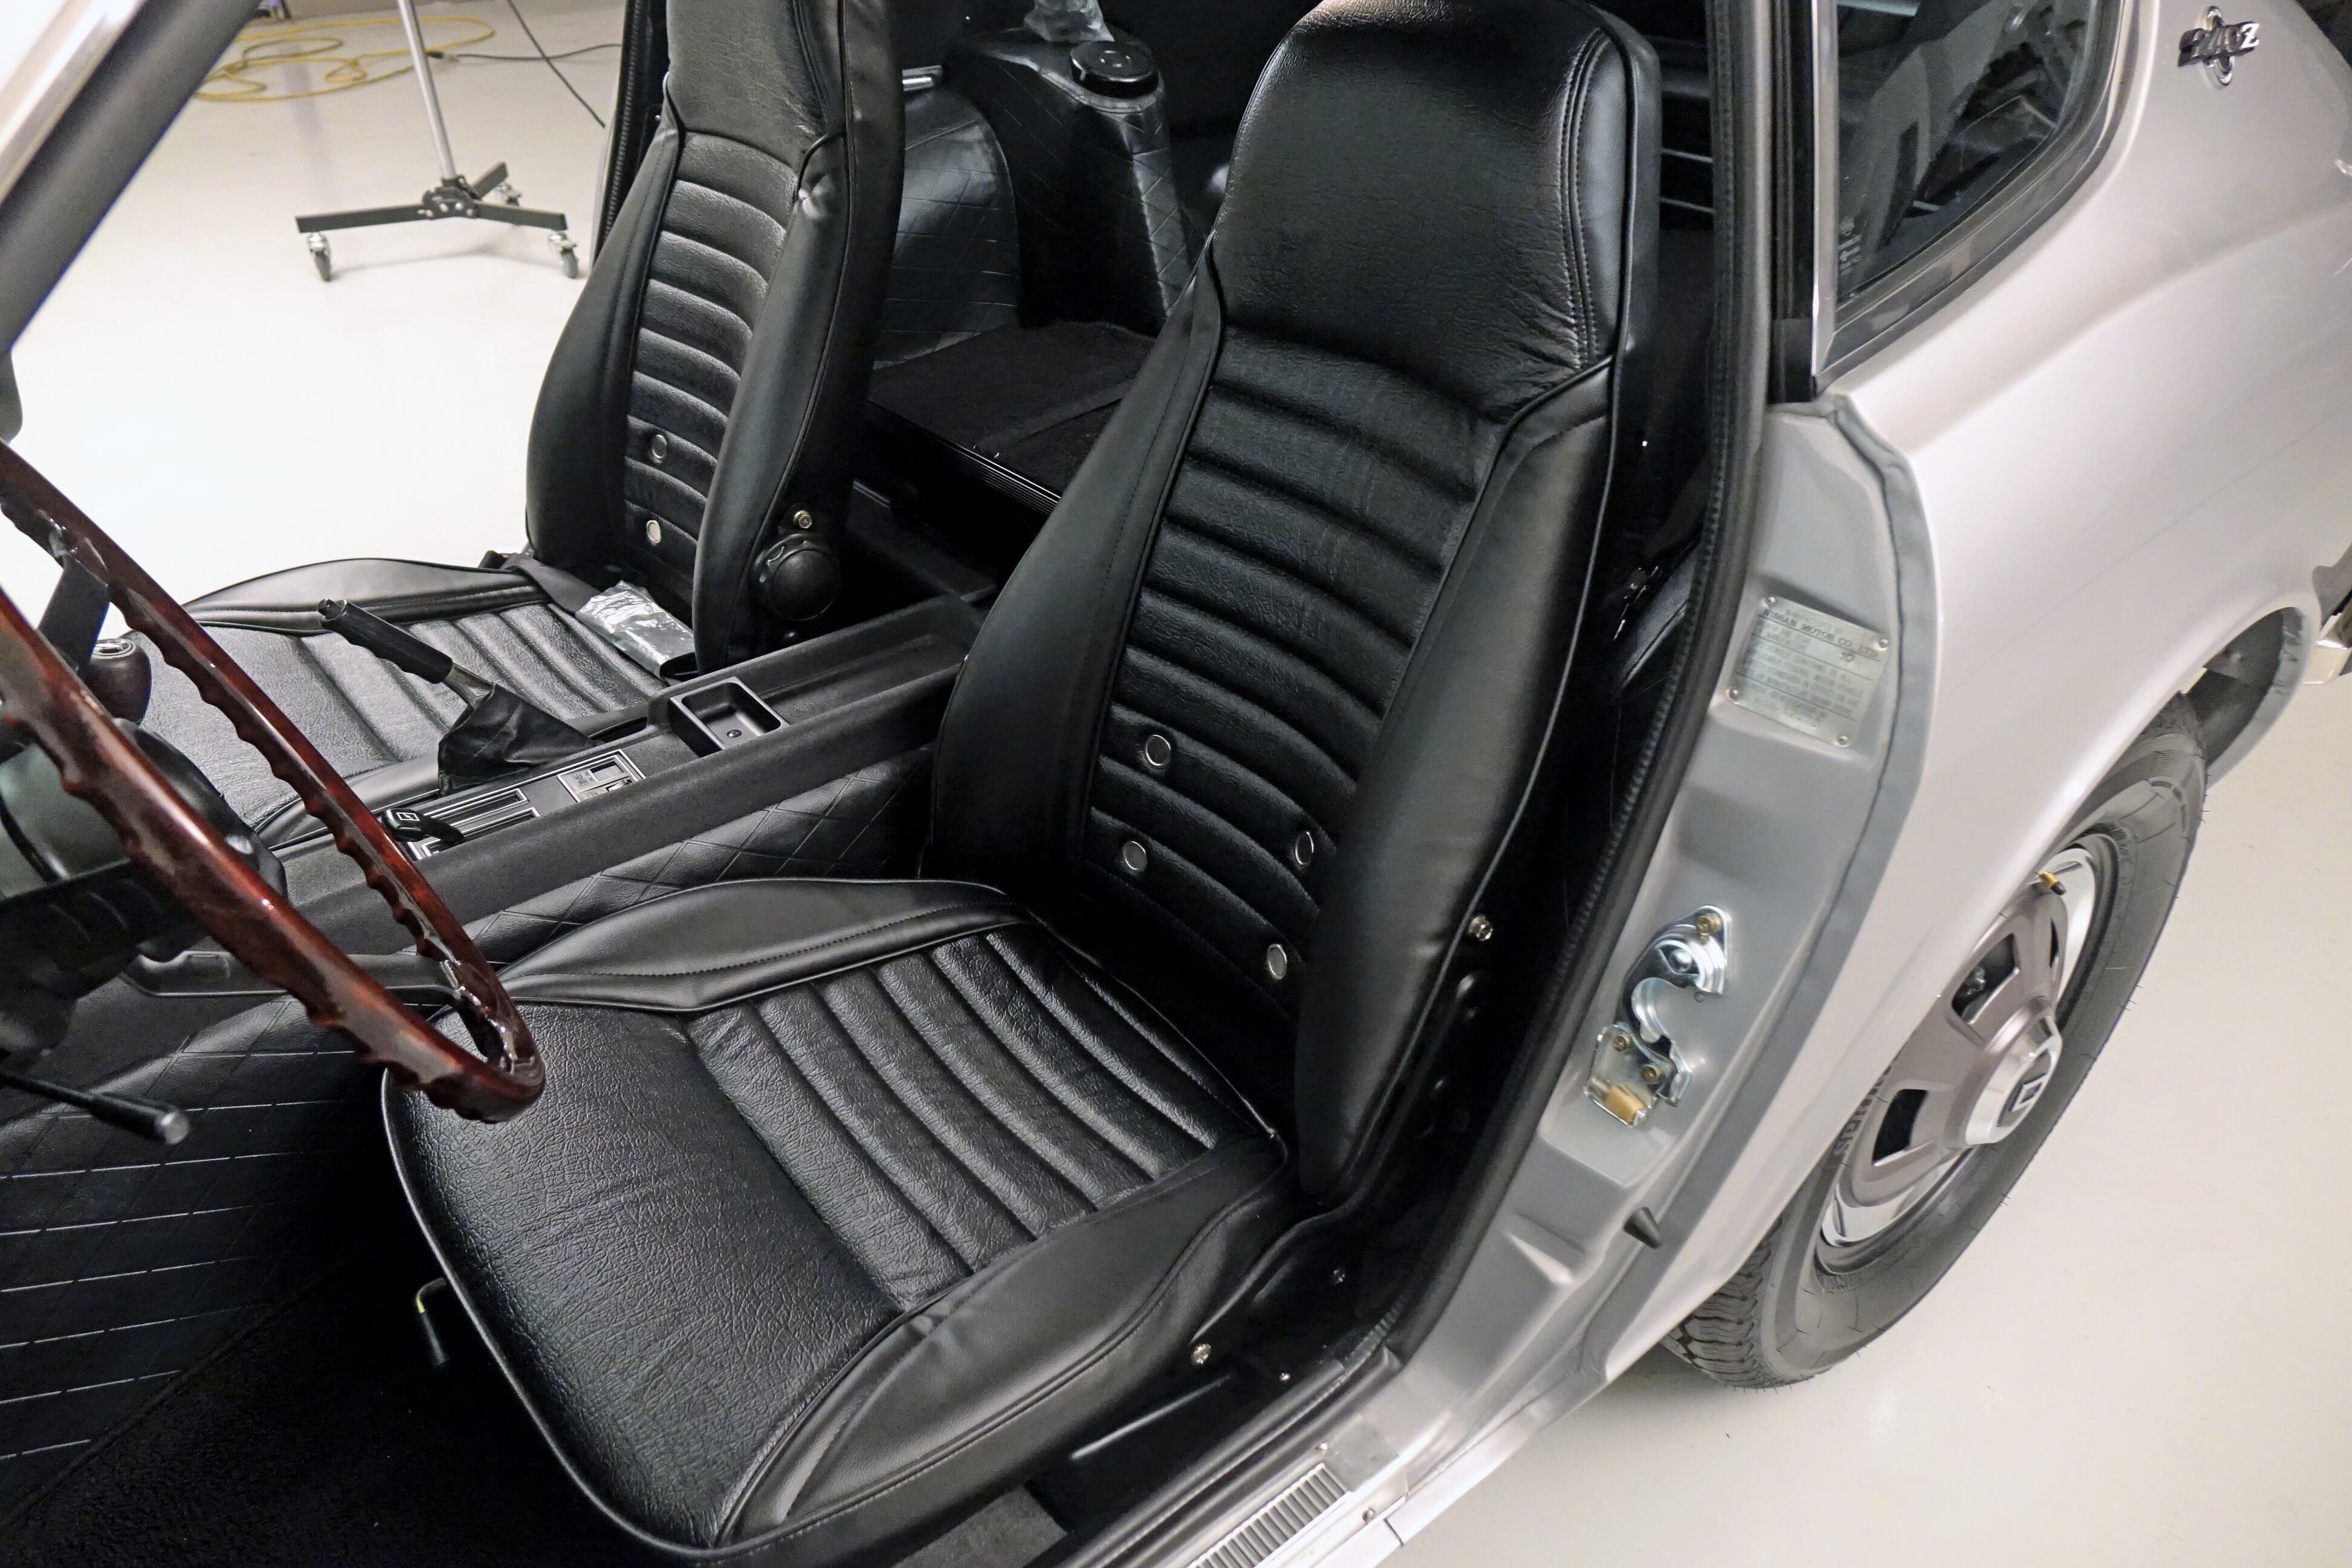
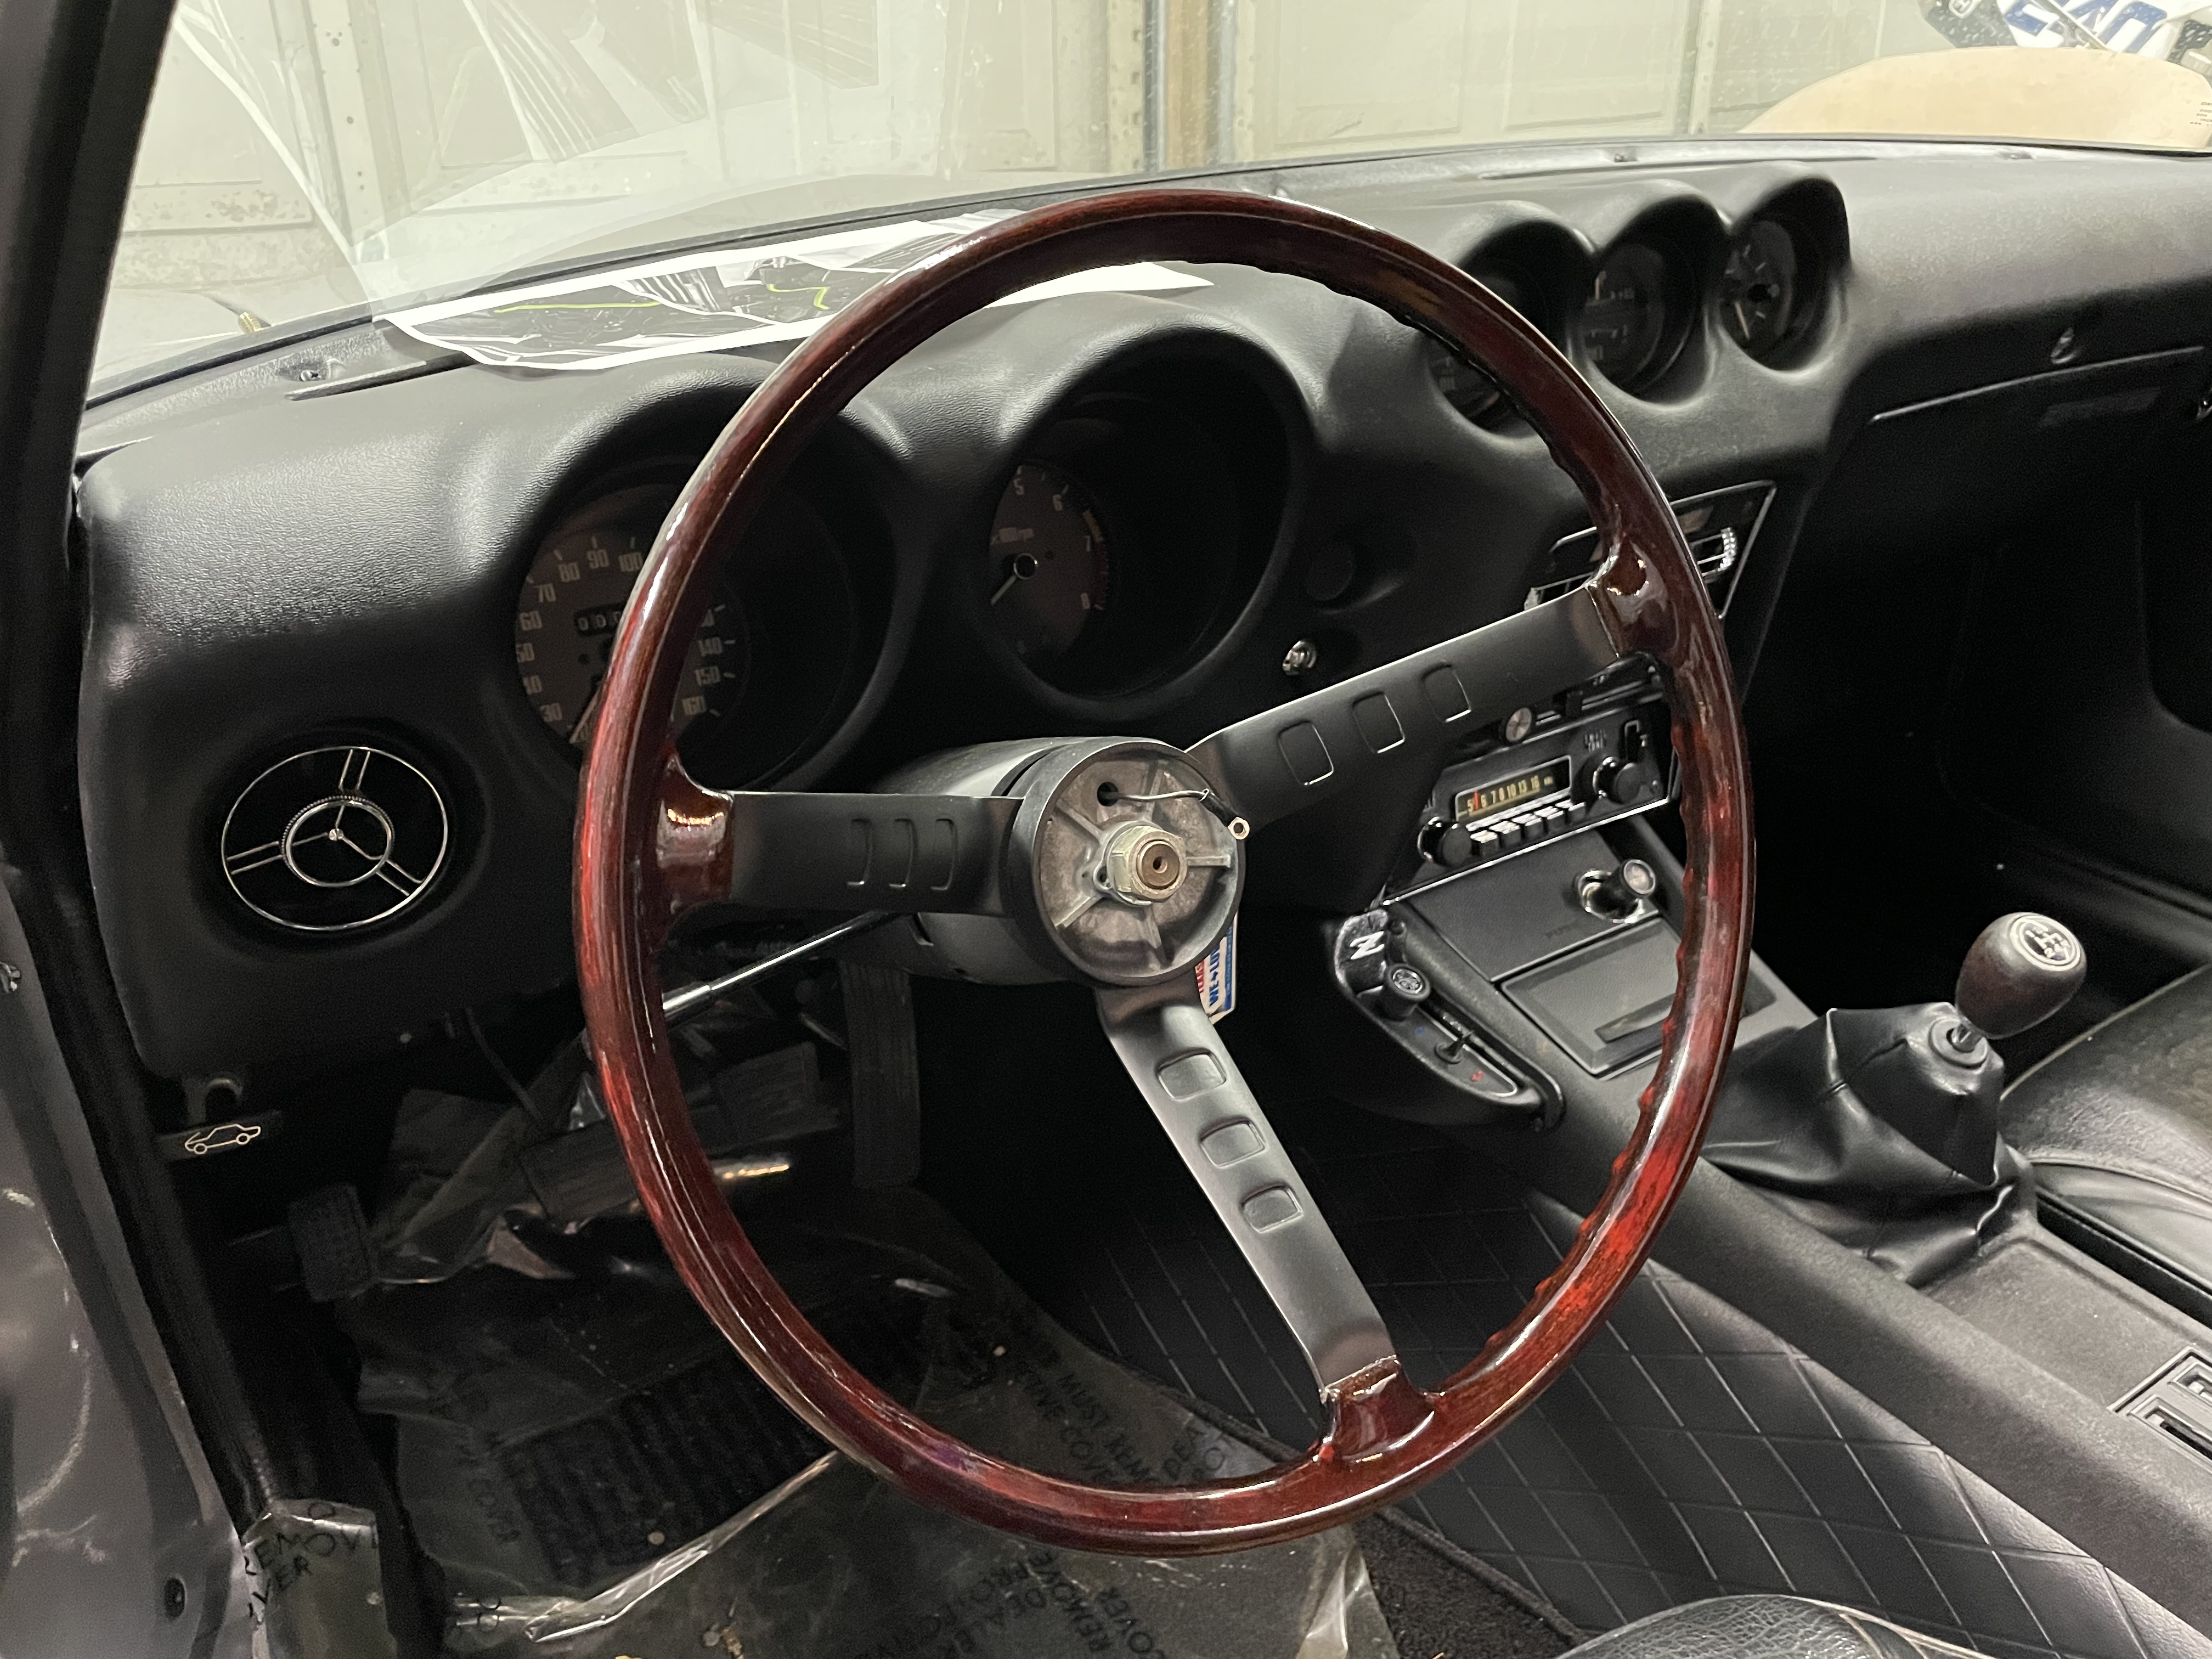
2 pointsCall me crazy, but that shift knob is original to the car, and unrestored. I had to leave ONE thing untouched 😀2 points
-
2 pointsUnique.. Unrivalled.. Unsurpassed! I cleaned out the dictionary hahaha... pristine! In one word perfect! You hit the nail right on the head!2 points
-
2 pointsI think the Devilbiss starting line guns are a great intro gun with out breaking the bank https://www.amazon.com/DeVilbiss-802342-StartingLine-Gravity-Spray/dp/B000KSTFJO2 points
-
2 pointsThank you. Yes, once the professional photos and videos are complete I’ll work on the listing. Most likely I’ll be going with BaT, have had great success with them in the past. Always hate to see these cars go but each one funds the next build. Can’t keep them all unfortunately.2 points
-
I have a prototype to fit between my line and the MSA 6-1......but I'm not keen on the 6-1 design for anything other than its' conceived role - that of track and drag-runs. It's not ideal for street cars- it makes noise but noise isn't performance. It creates exhaust drone at highway speeds whereas MSAs 6-2 doesn't. On both your drawings, you're missing a resonator which'll not only eliminate the exhaust drone from your 6-1 but will increase the scavenging effect. Fit one of my complete lines without the resonator and not only will it be noisier (no better sound, just more decibels to p*ss off your neighbours and the cops) but should be down as much as 30-40hp on a mildly-tuned performance engine. I'm not advocating buying one of my systems so this is what I'd reccommed : MSA (no-smog) 6-2 (Code: 15-6001 Price:$252.87) 2.5" pipe then convert that 2-1 pipe to become 1x pipe at the rear of the transmission then fitting a resonator before continuing out to your muffler. The header isn't expensive, sell off your 6-1 to recover something, get MSAs Performance exhaust (Code: 15-6021 Price:$174.95) With selling off the 6-1, it should cost you about $350 then spend some on extending that secondary pipe and fitting a resonator. You won't get better performance for less !2 points
-
2 points
-
2 pointsI painted an exterior door what I thought was close to Safari Gold. Boy was I wrong. It looks like a school bus ran into my house and the arse end is sticking out. I'm going to fix it tomorrow. I added more umber and white tint now it looks better in the can. Pictures on completion, it's cold down here.2 points
-
1 point
-
Some ding dong always manages to sand them, every one I have had looked like that. GL1 point
-
1 pointHaha! I totally get it! Wasn't sure which side of that fence you would fall on, but thought I would mention I had it.1 point
-
1 point
-
1 point
-
Examine the seals and feel how the joints move. If the seals are good and they move freely, replace the screws with Zerk fittings, grease them up and use them. You only need one Zerk, you'll only insert it for the greasing, then put the screw back in. They'll be tighter than brand new aftermarket u-joints.1 point
-
I prefer u-joints in the half shafts. They're not that difficult to swap and the half shafts (because they spin about 3 1/2 times slower than the prop shaft) aren't as prone to vibration if they're not perfectly balanced.1 point
-
View Advert NEW Datsun 240z Rear taillight body panel, and other sheet metal parts! Hey guys I just wanted to share a new product our company came out with. Its been a long time in the making but its finally available and ready to ship! Our Rear 240z taillight panel is a Newly manufactured part that hasnt been made before (to our knowledge), we sourced a rare NOS Datsun taillight panel to serve as the template. This is a common rust spot and this panel makes for a clean installation, without cutting and splicing, you can install it the correct way with spot welds, as this is a correct datsun body panel and not a patch. We have already installed one of these as a test and it fits great, the curvature on the exhaust valance is accurate and the spot weld holes line up. We also have other parts available such as spare tire wells and floor pans, if you have any questions feel free to contact me here or at our website Resurrected Classics thanks! Also here is the link if you would like to checkout directly from our store with paypal Resurrected Classics price for the taillight panel is $600 In the future we plan on making every removable body panel for the 240z and some non removable. So far we have samples for Hoods, hatches (vented and non vented), doors, fenders, headlight buckets, bumpers and much more. If you would like to be notified of new production items please follow our newsletter our our instagram @datsunhunters Advertiser maximus35 Date 09/05/2021 Price $600 Category Parts for Sale1 point
-
1 pointThe mailbox came powder coated black. I wet sanded it with 600. Then I taped off the flames, and shot the colors one at a time. I used two stage automotive base coat/clear coat paint. The color goes on and dries quickly, so each color can be done shortly after the previous one. By the time I had my gun cleaned and the next color mixed it was ready. After the colors were done I removed the masking, hand pinstriped a line around the flames, then mixed and shot the clear coat. It has held up well, the picture was taken after about 12 years after the paint was laid down. I wash and wax it once a year. My neighbors have all asked if I would paint their boxes, but shy away when I tell them how much it cost.1 point
-
1 pointYou've got a Patcon of painting. Send him a Go Pro and watch him. Excellent teacher, explainer.1 point
-
1 pointThis restoration is truly a benchmark. I have to be honest, when I do work on my 73, your car is in my mind. In no way can I be mistaken for a fabricator or restorer, but I have some skills that allow me to do this all the while making mistakes and then correcting them. I'm now at the point of having fun with my restoration, instead of yelling obesities, turning the lights off and stomping off for a beer. I have told my wife on many occasions, that I dont know what the hell I'm doing, but I still go back out there and try. You have inspired me with this build. I acquired another 240 that will need some restoration, and the more I learn from OJT and people like you, it only brings smiles. Thanks so much for sharing.1 point
-
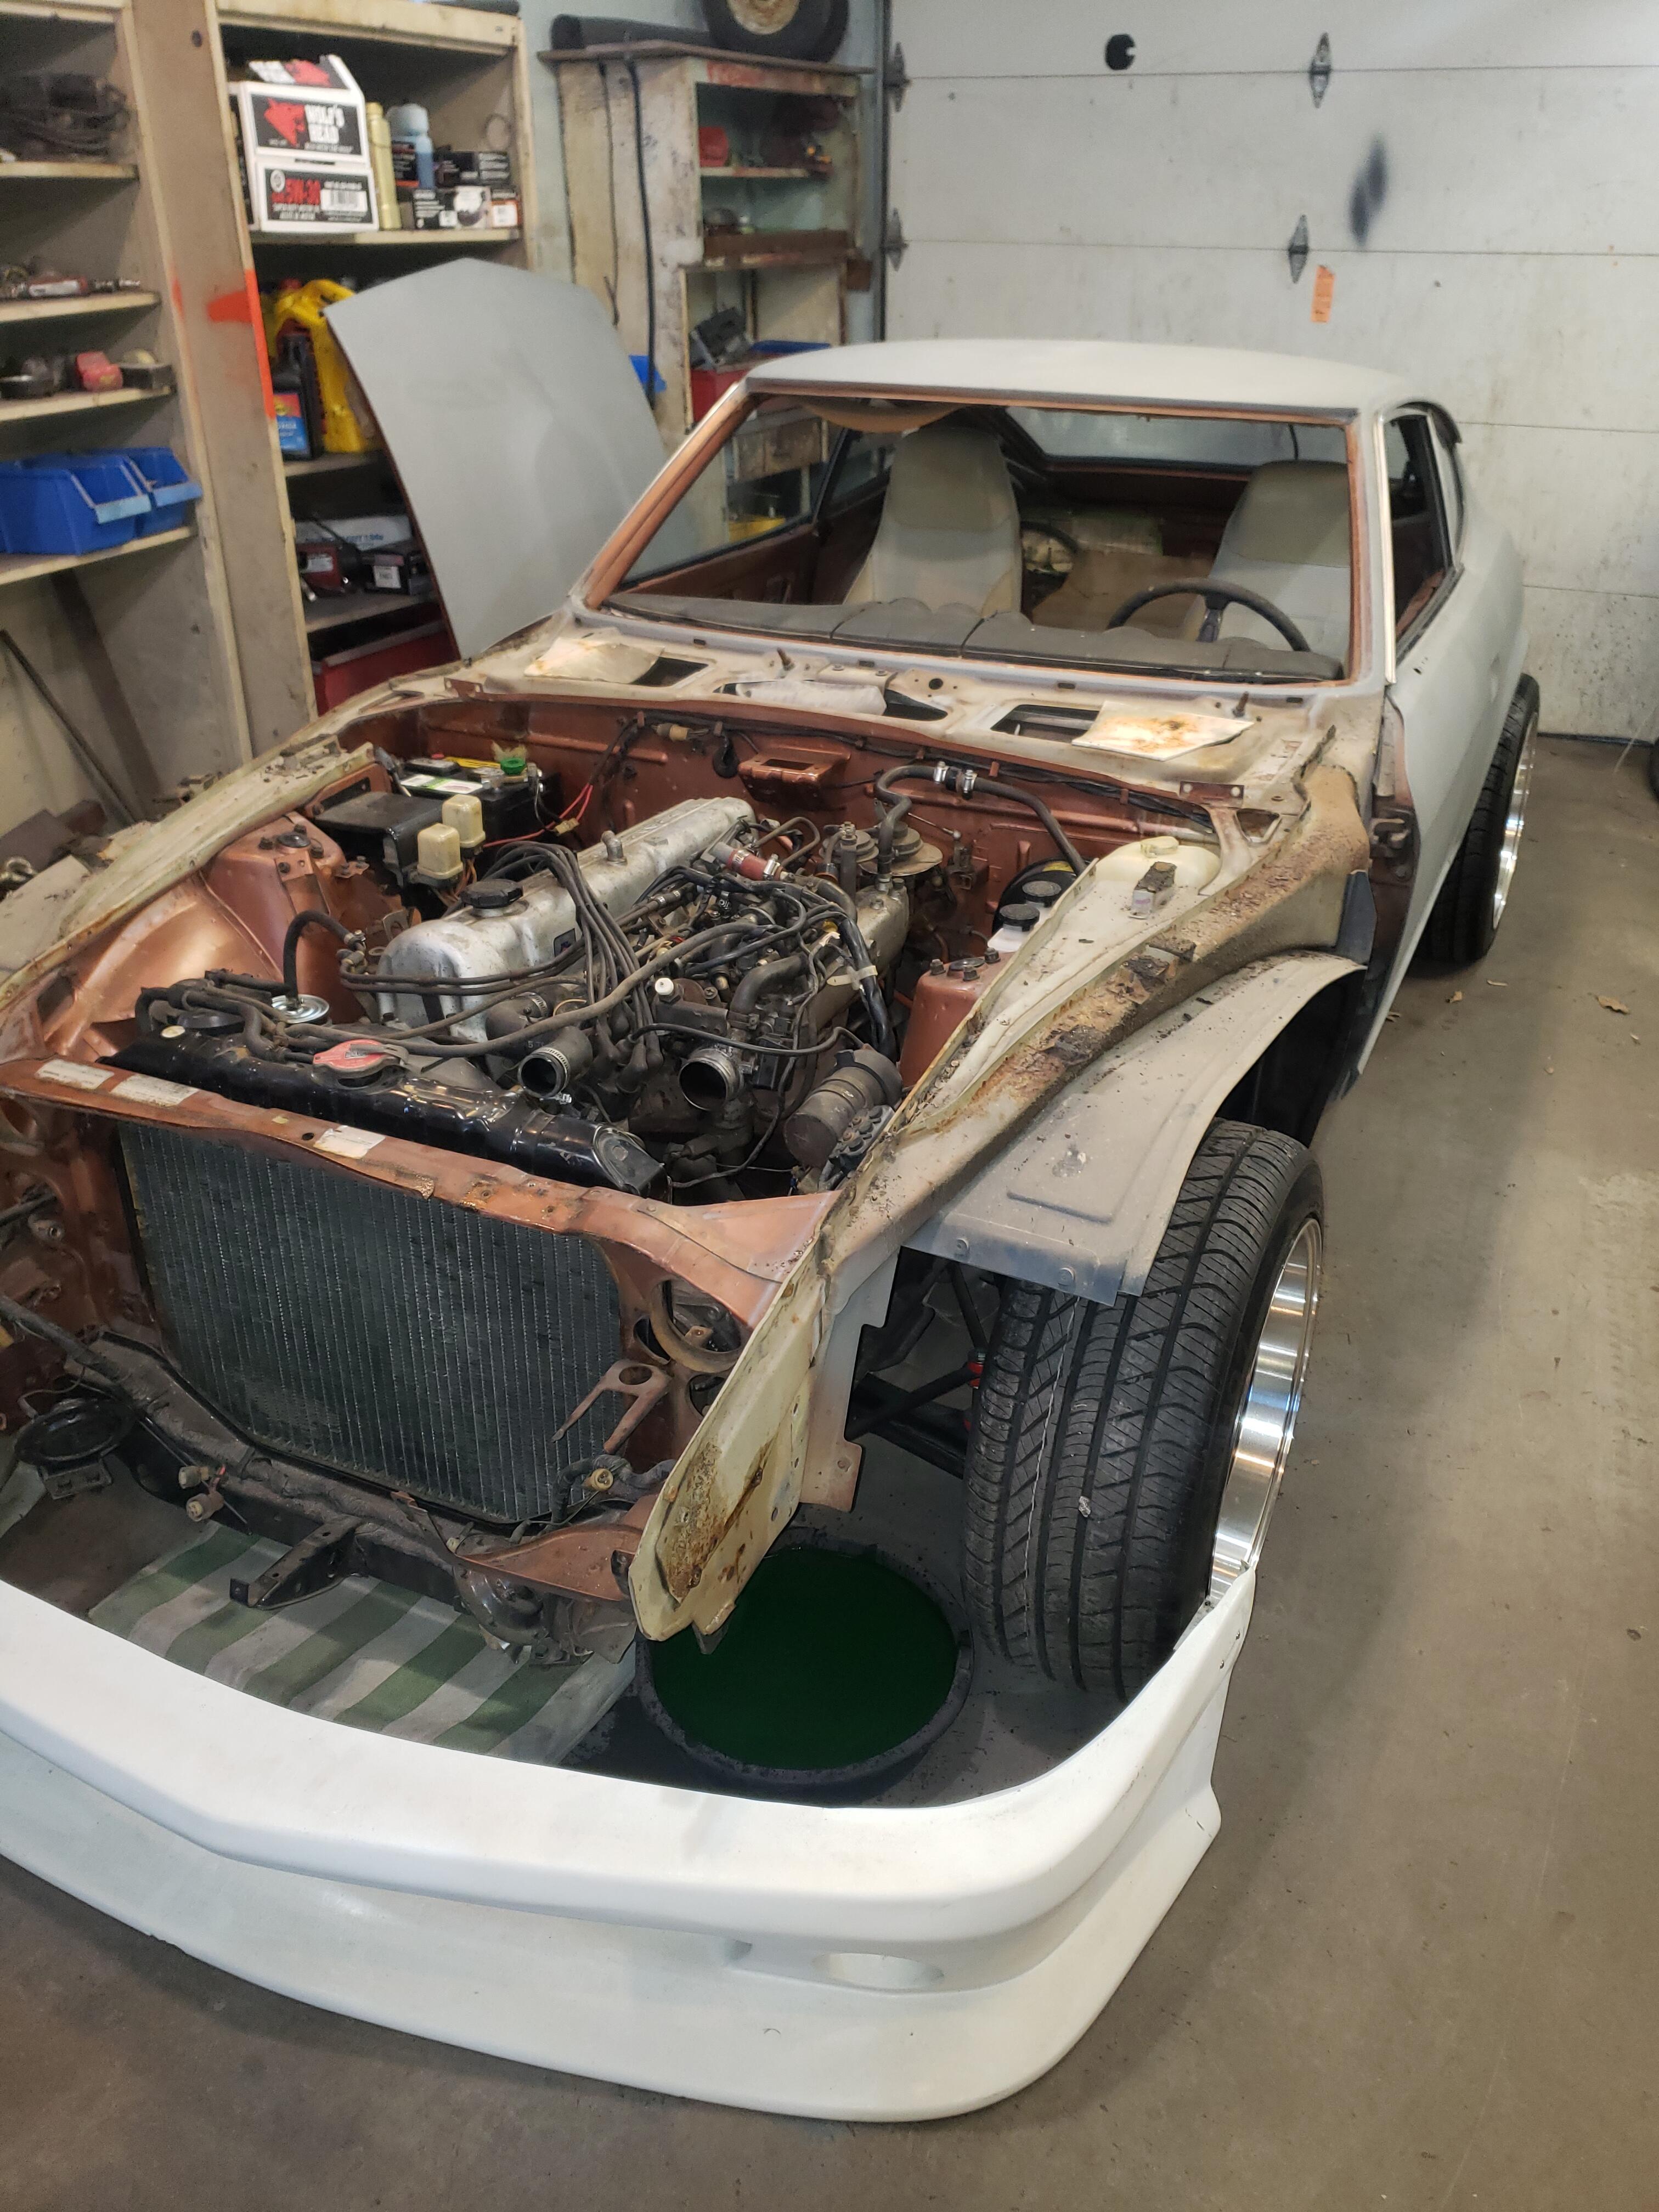
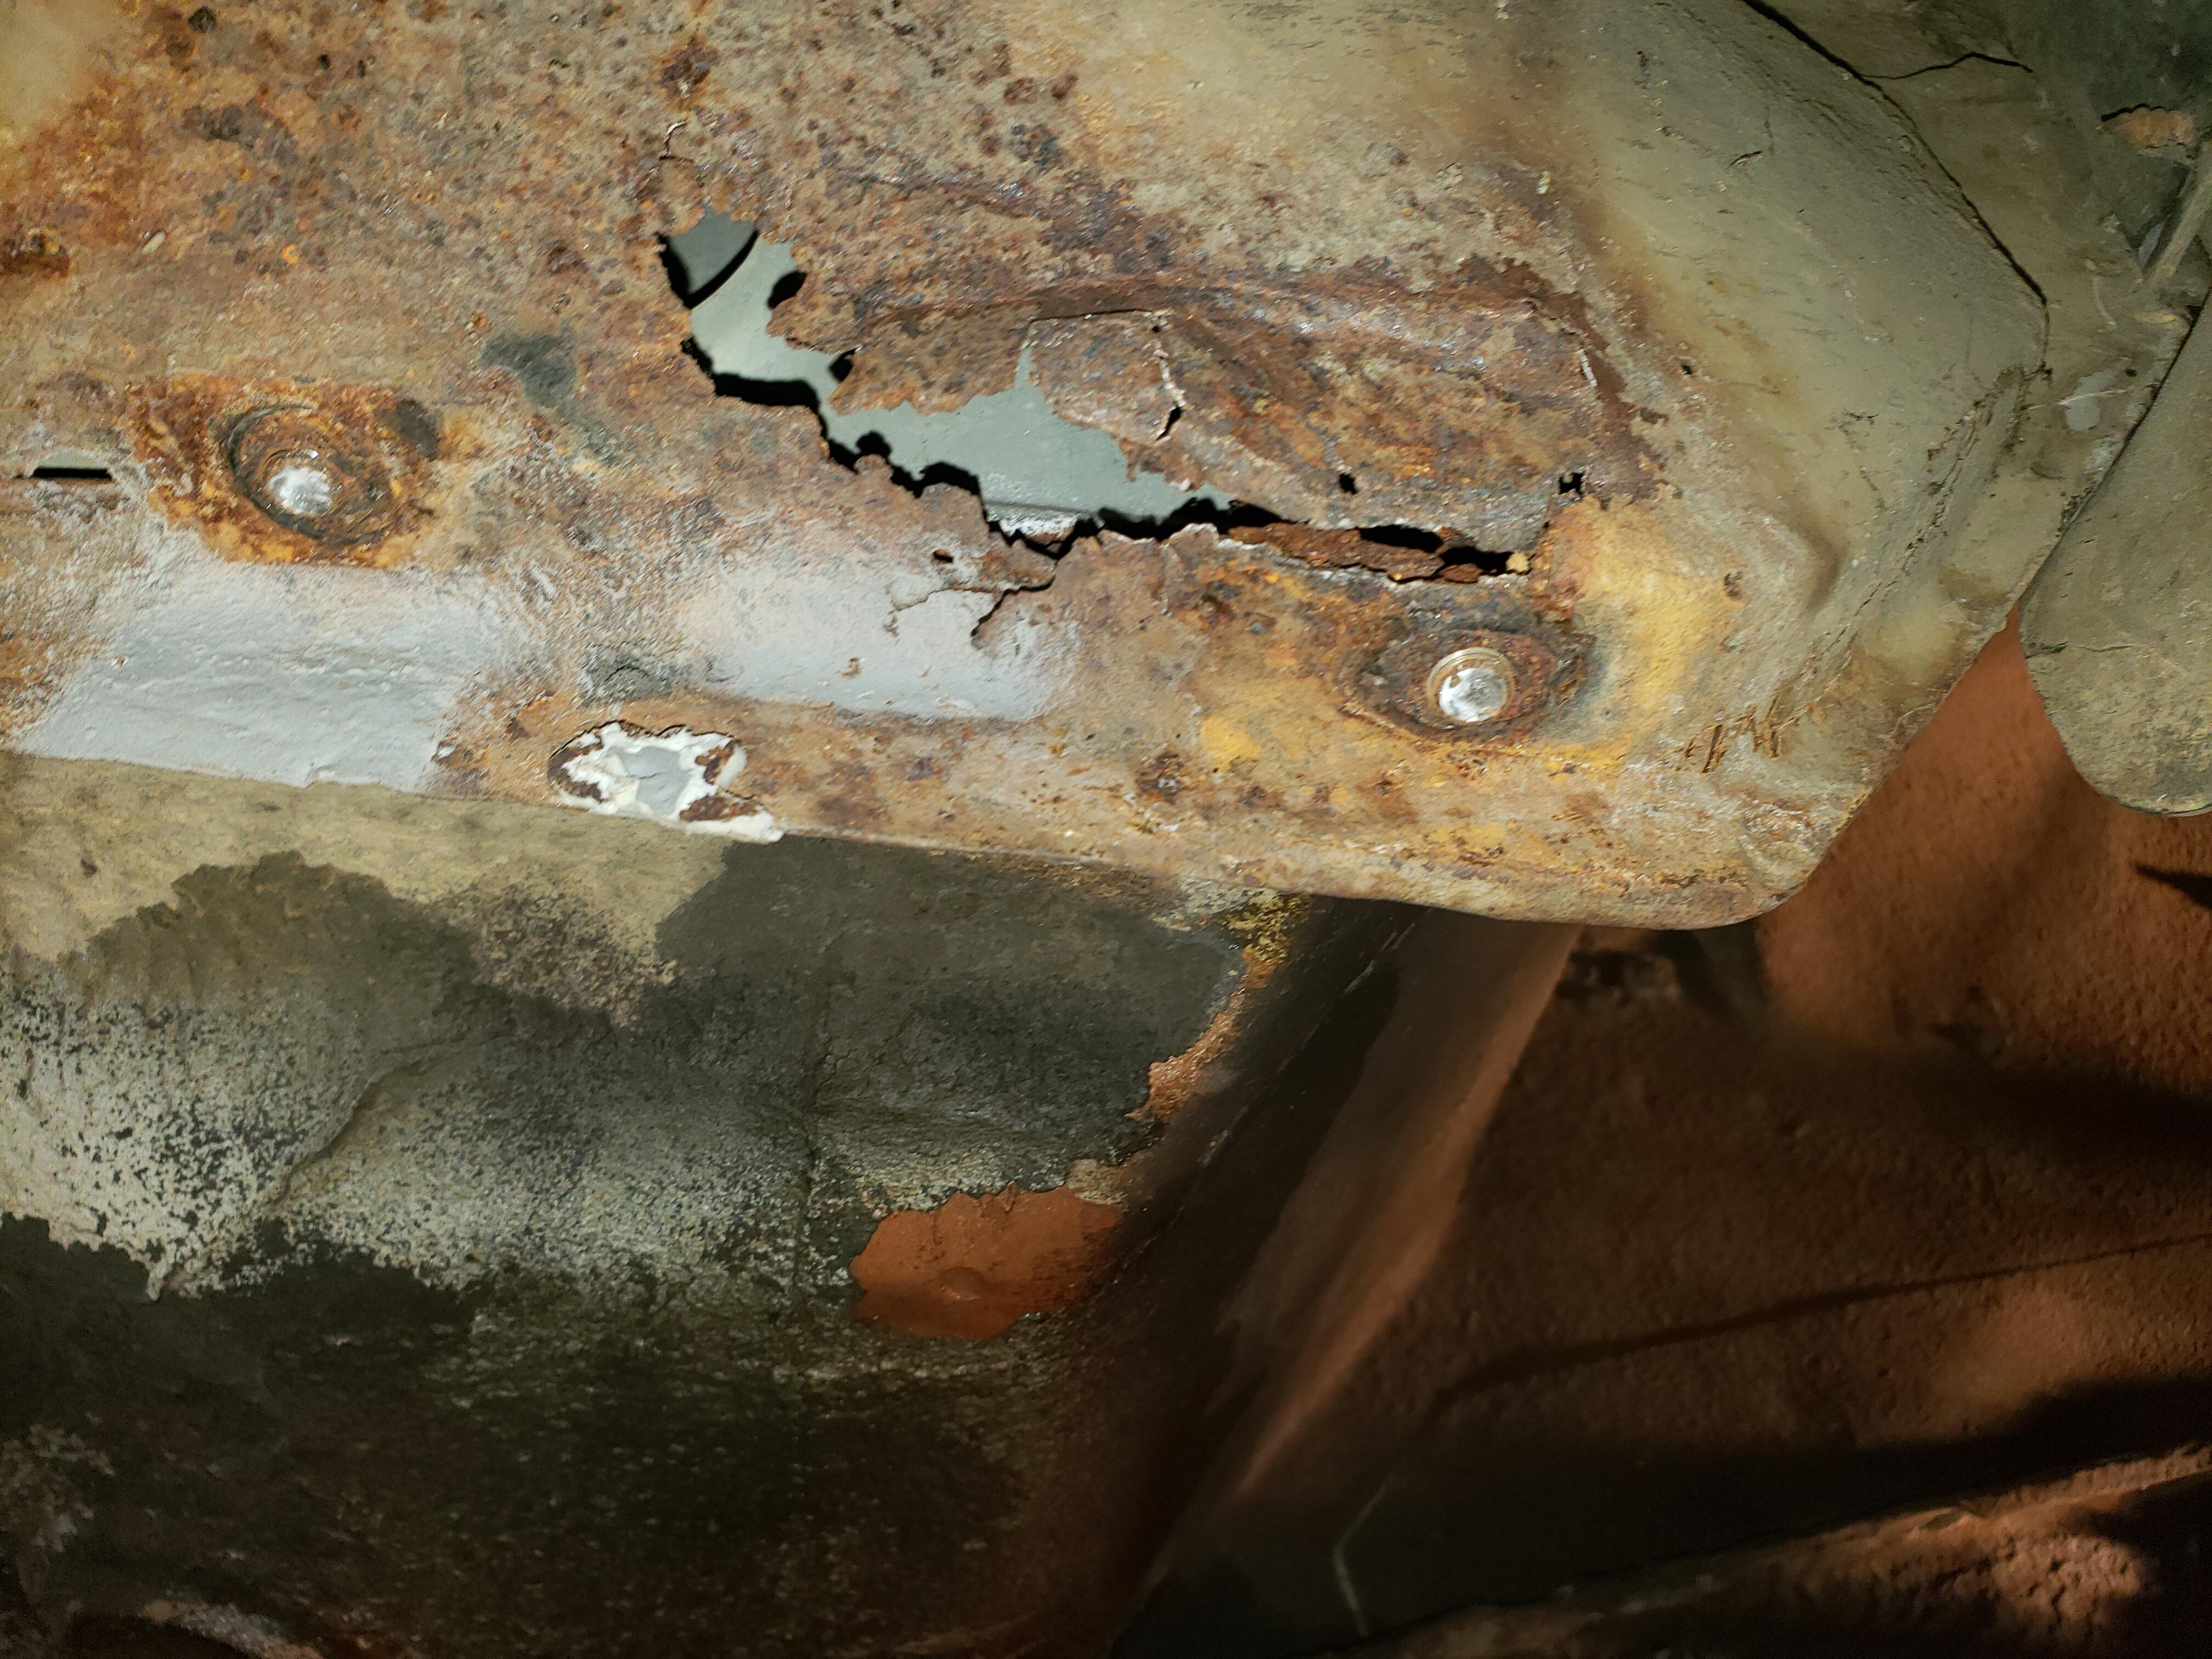
1 pointNo turning back now! Finally moved my car off the rack and started disassembly.... This will be a laborious task since I'm bagging and tagging every part. Found rot on both the front corners of the rocker panels behind the fenders. The driver side was repaired at some point long ago and did not hold up well. Are the front sections of the rocker panels sold separately or with the complete rocker? I checked zcardepot and they just have complete rockers.... and yes, I did shear off the two bolts holding the fender on... The driver side wasn't as bad..
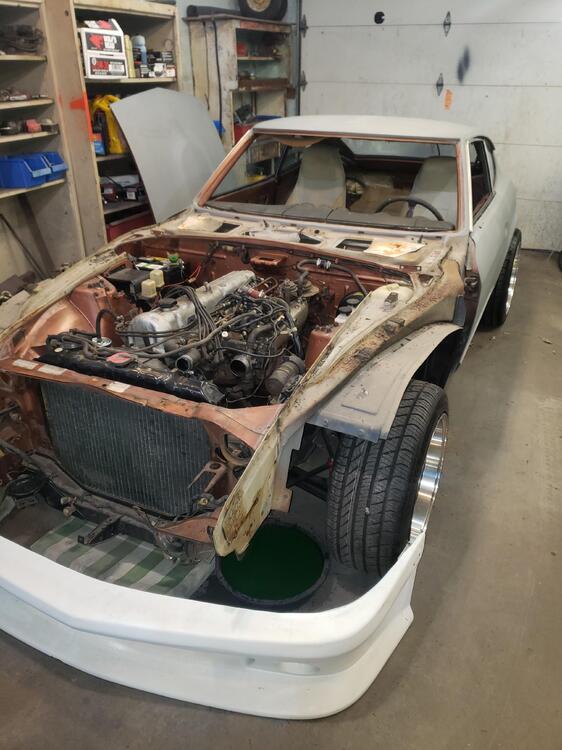
 1 point
 -
Surely if this is the only incident, then the system hasn't been installed correctly ?1 point
-
1 pointI know they can be relined (it's expensive), but I thought someone was making new aluminum drums Found: https://whiteheadperformance.com/product/datsun-240z-260z-280z-oem-aluminum-rear-brake-drums-nos-2/ https://www.thezstore.com/page/TZS/PROD/24-5050A So I would say out of spec is scrap metal. If they can be turned, I would do that1 point
-
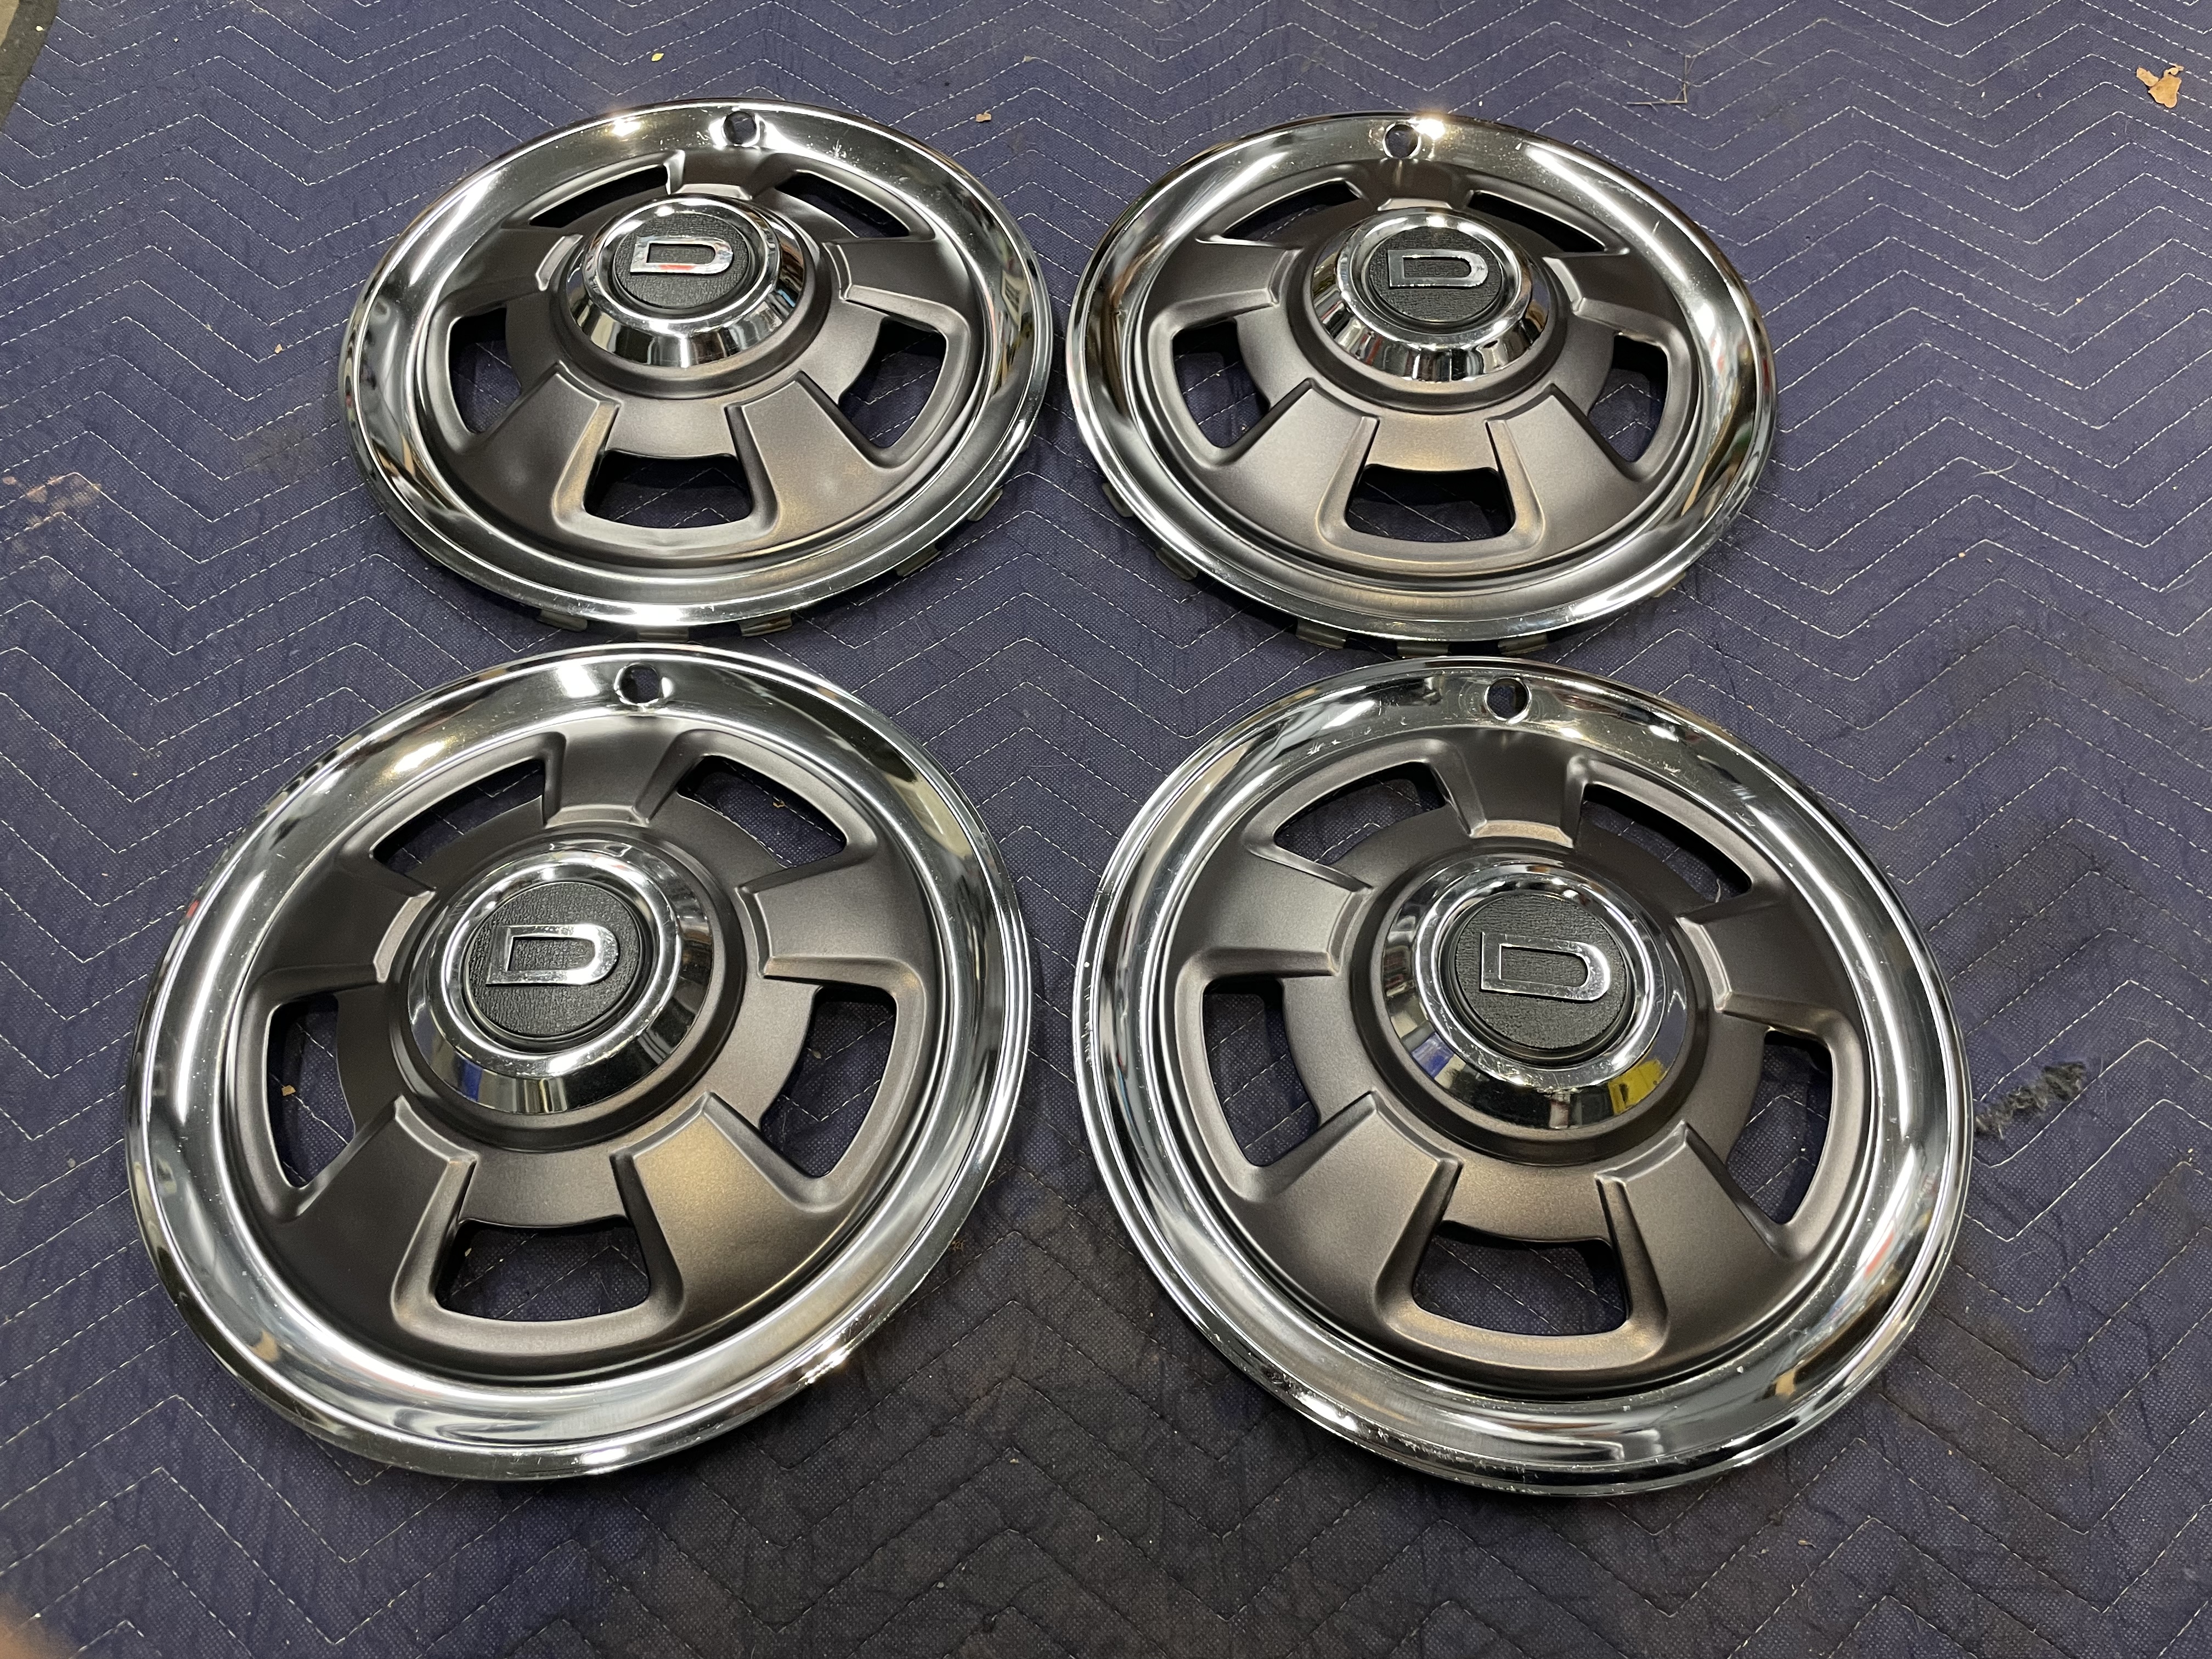
1 pointSome of the final details completed. Original hubcaps were cleaned up and painted. For being used on the Z for so long it’s amazing how clean they were. Dash area is just about wrapped up with only a few minor items left.


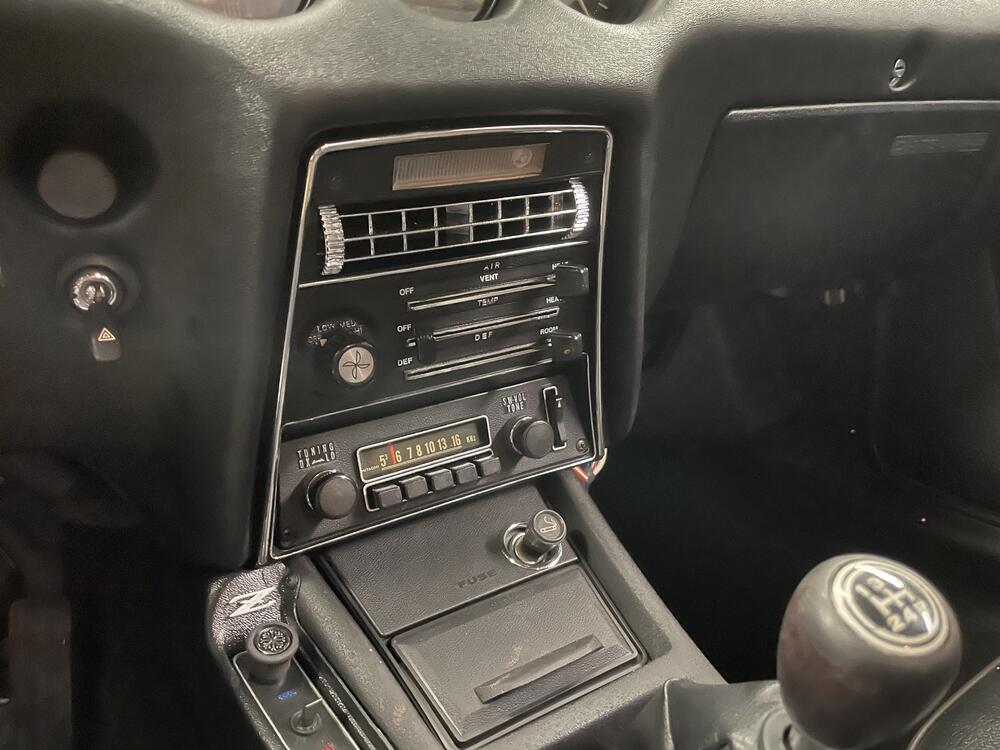 1 point
 -
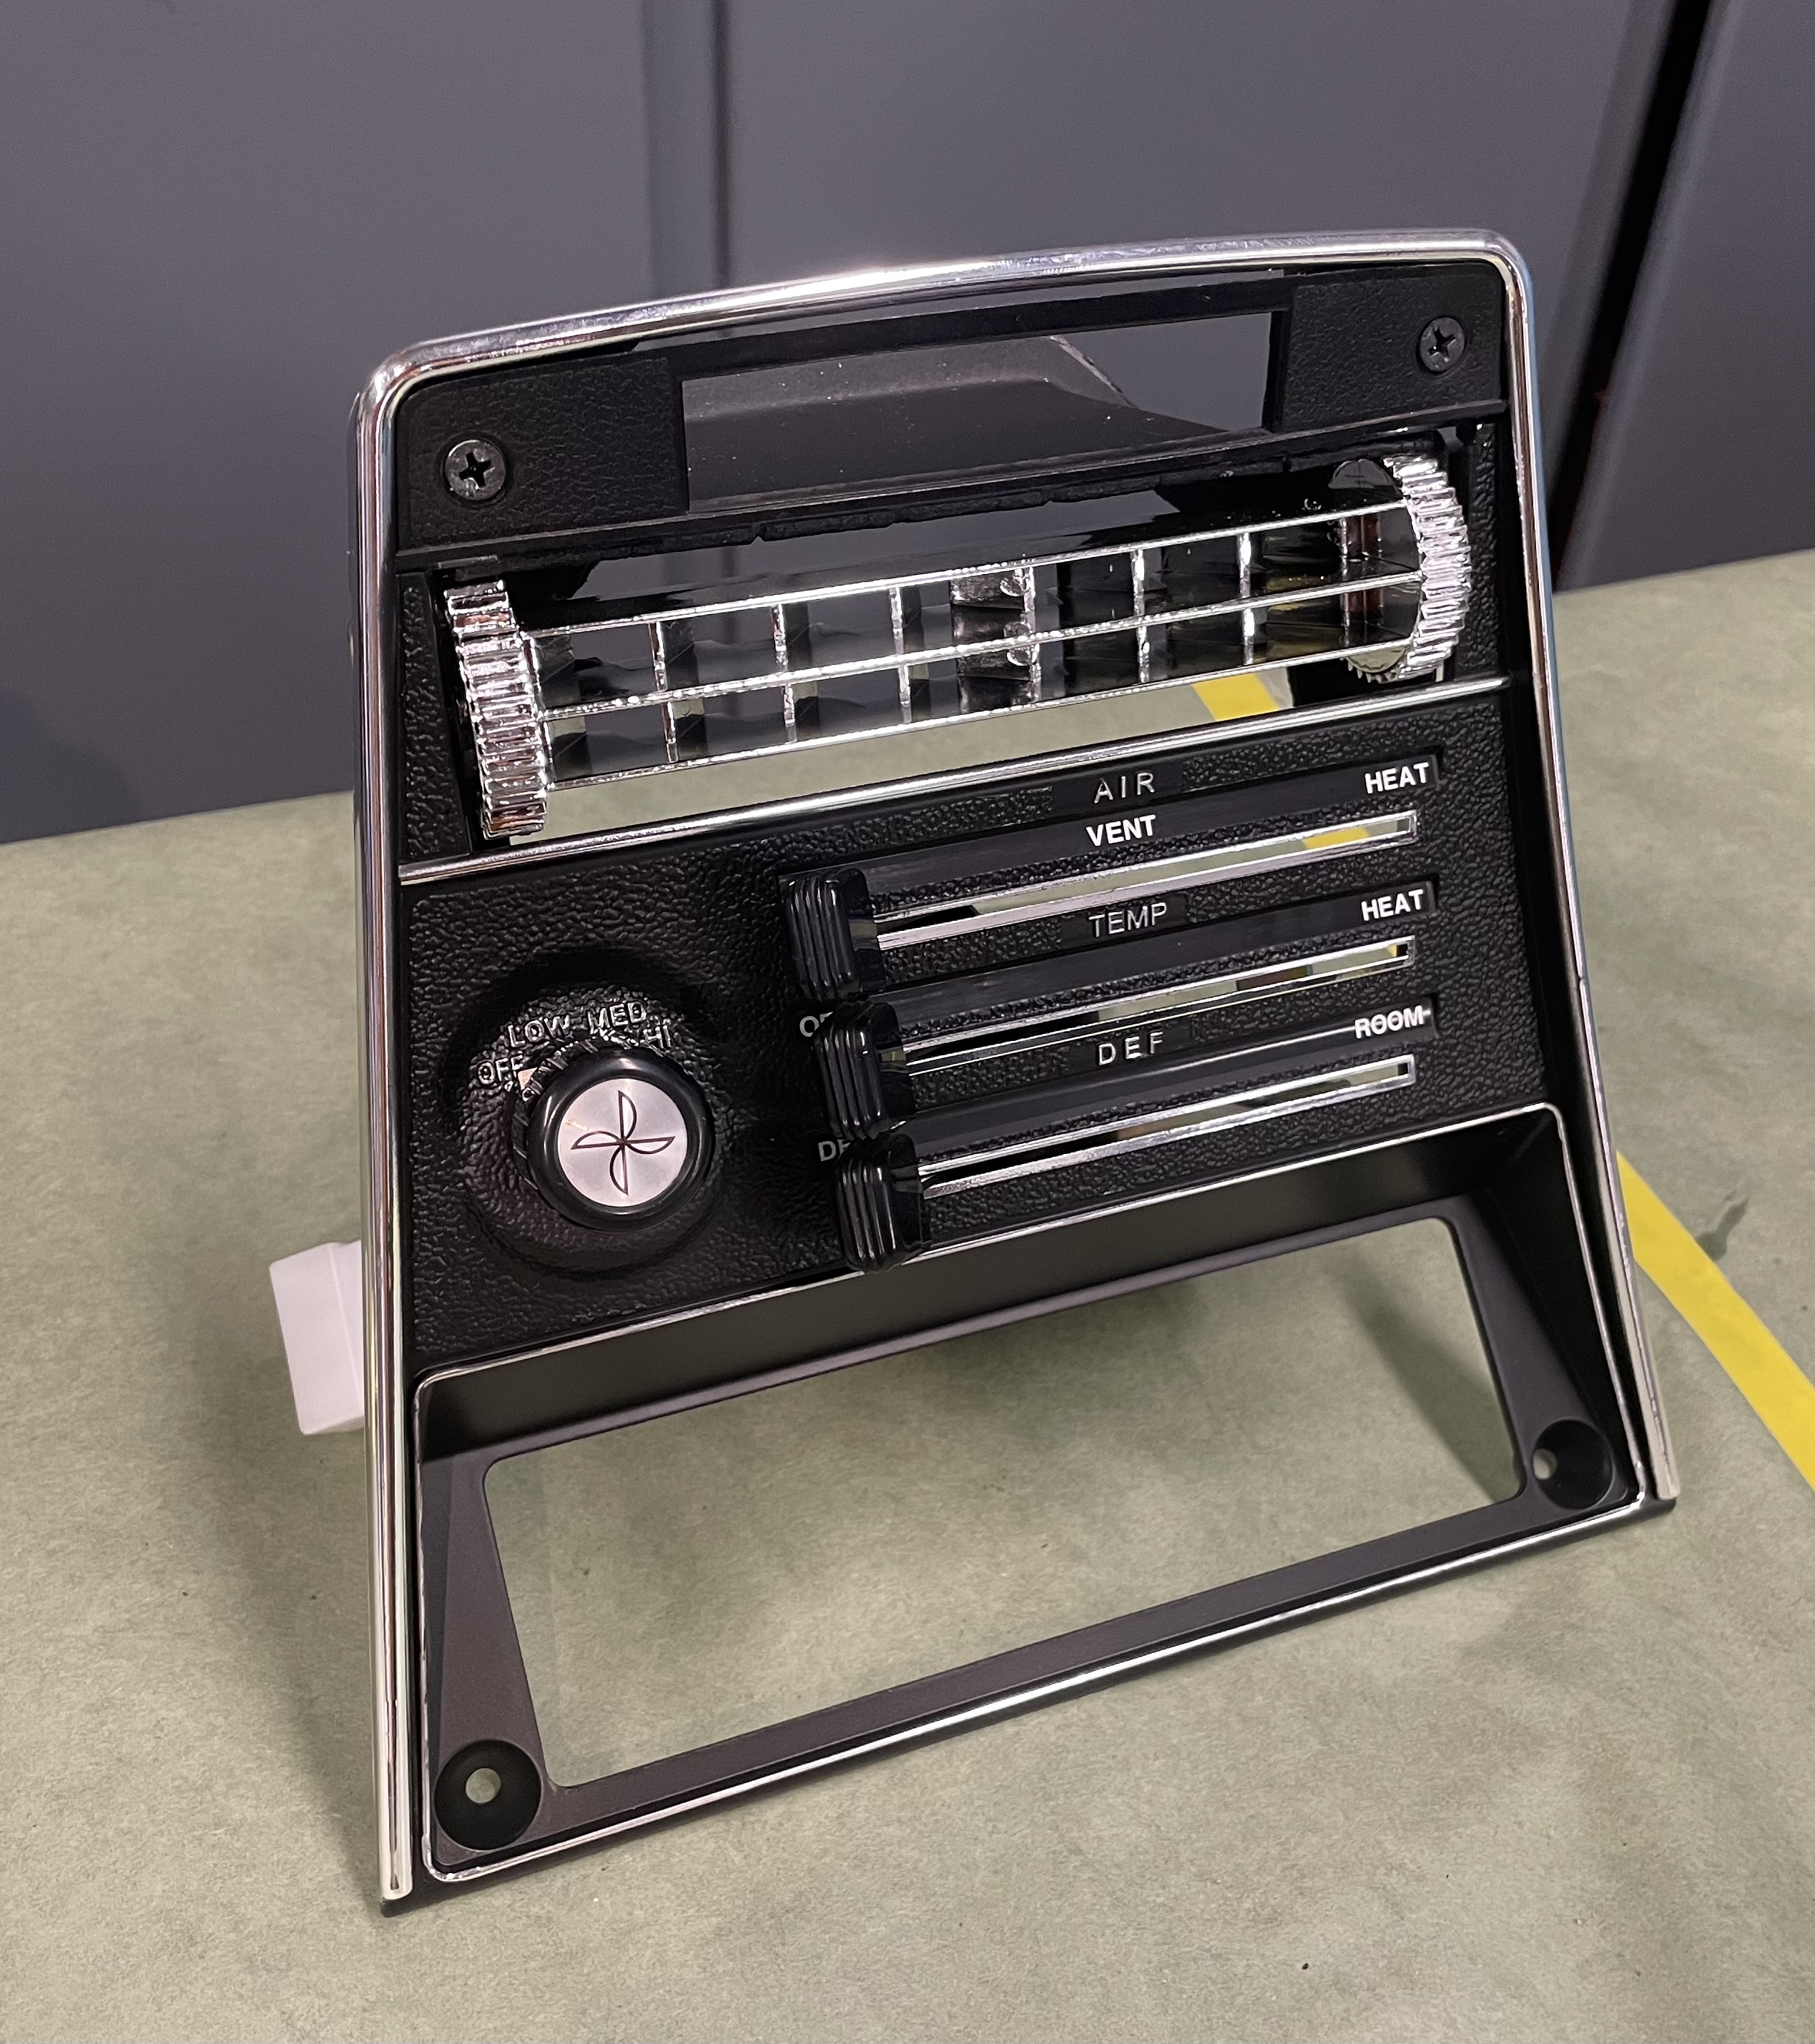
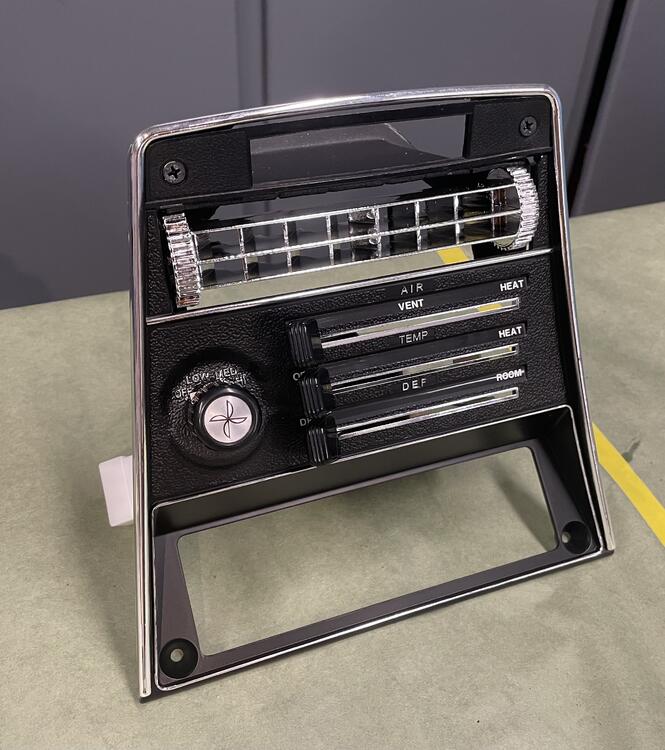
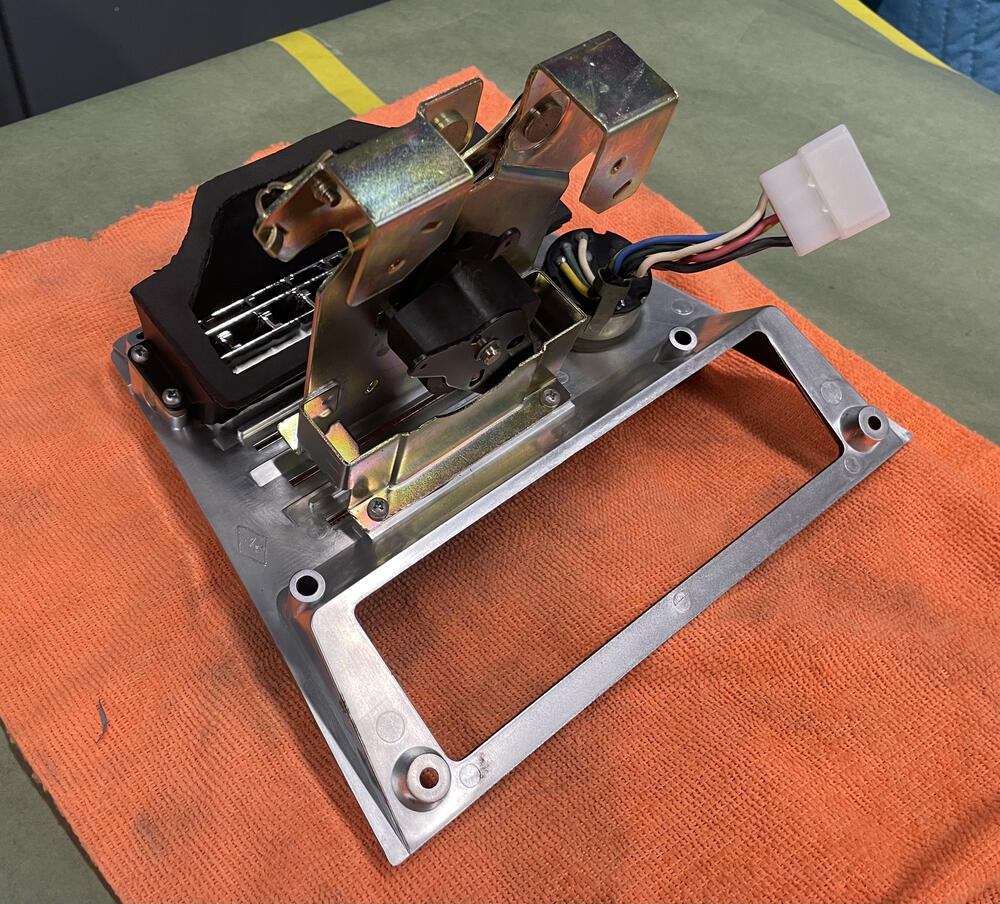
1 pointHeater control panel rebuild complete. Control mechanism was disassembled, plated, and rebuilt. New vent, freshened blower switch, and a new panel and decals to finish it off.

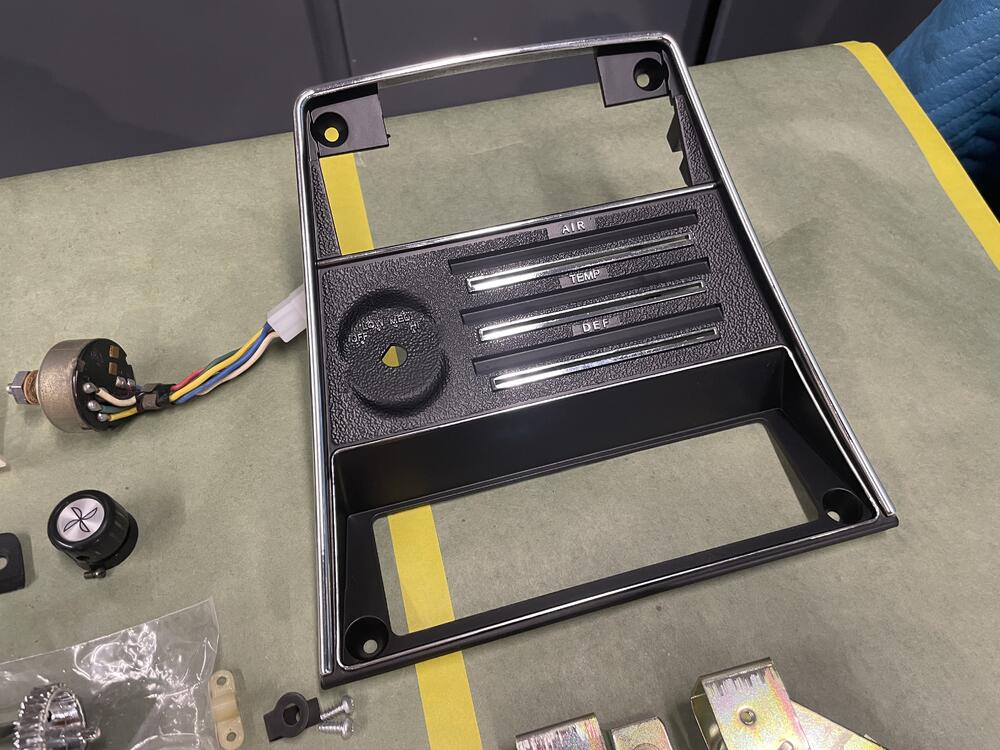
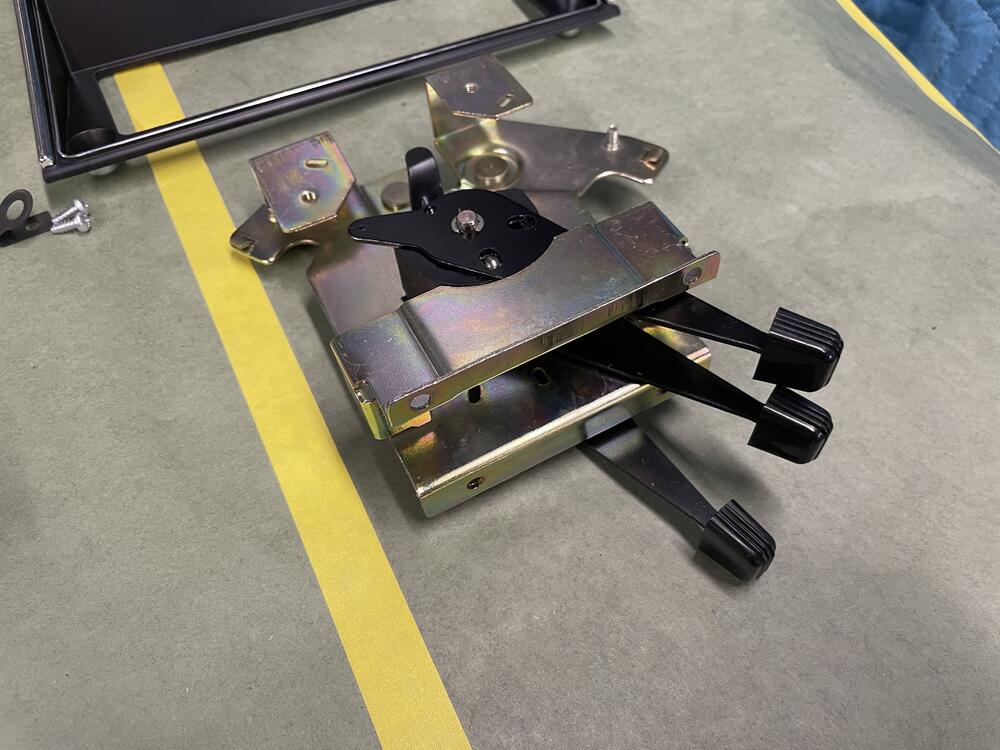
 1 point