Leaderboard
-
Captain Obvious
Free Member9Points10,081Posts -

wheee!
Free Member8Points4,607Posts -

CW240Z72
Free Member4Points229Posts -
Namerow
Free Member3Points1,553Posts


Popular Content
Showing content with the highest reputation on 07/04/2021 in all areas
-
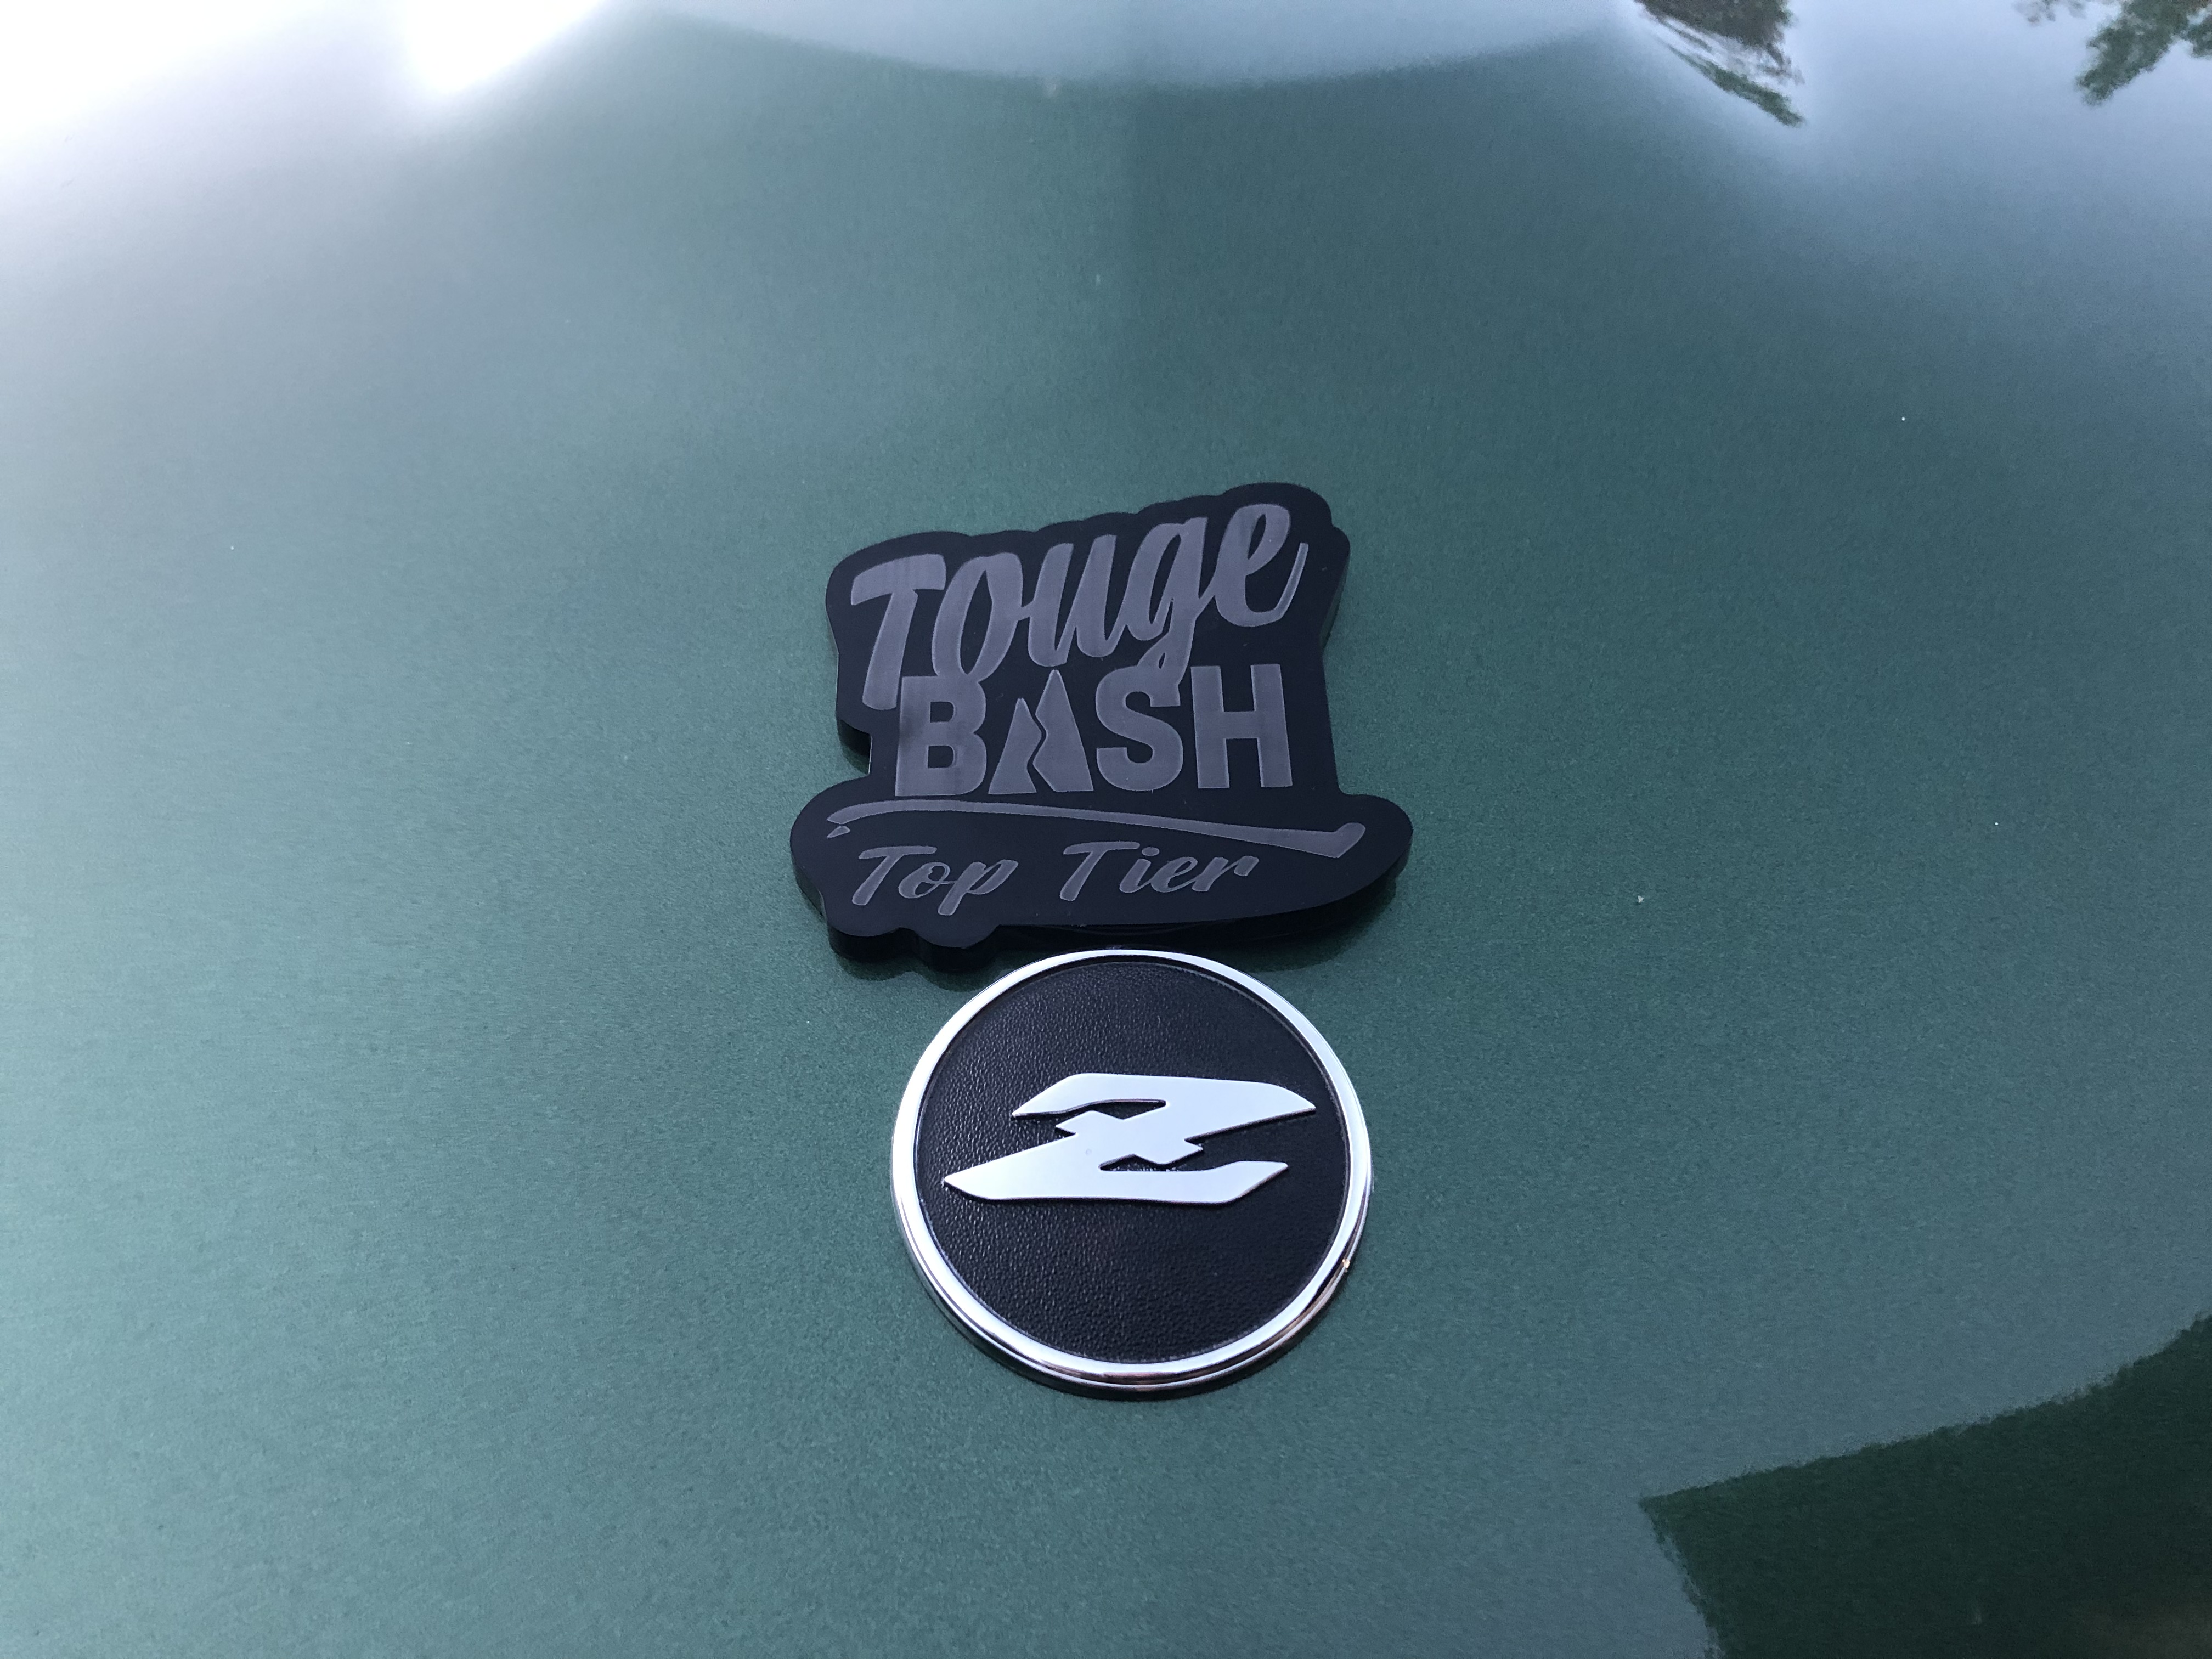
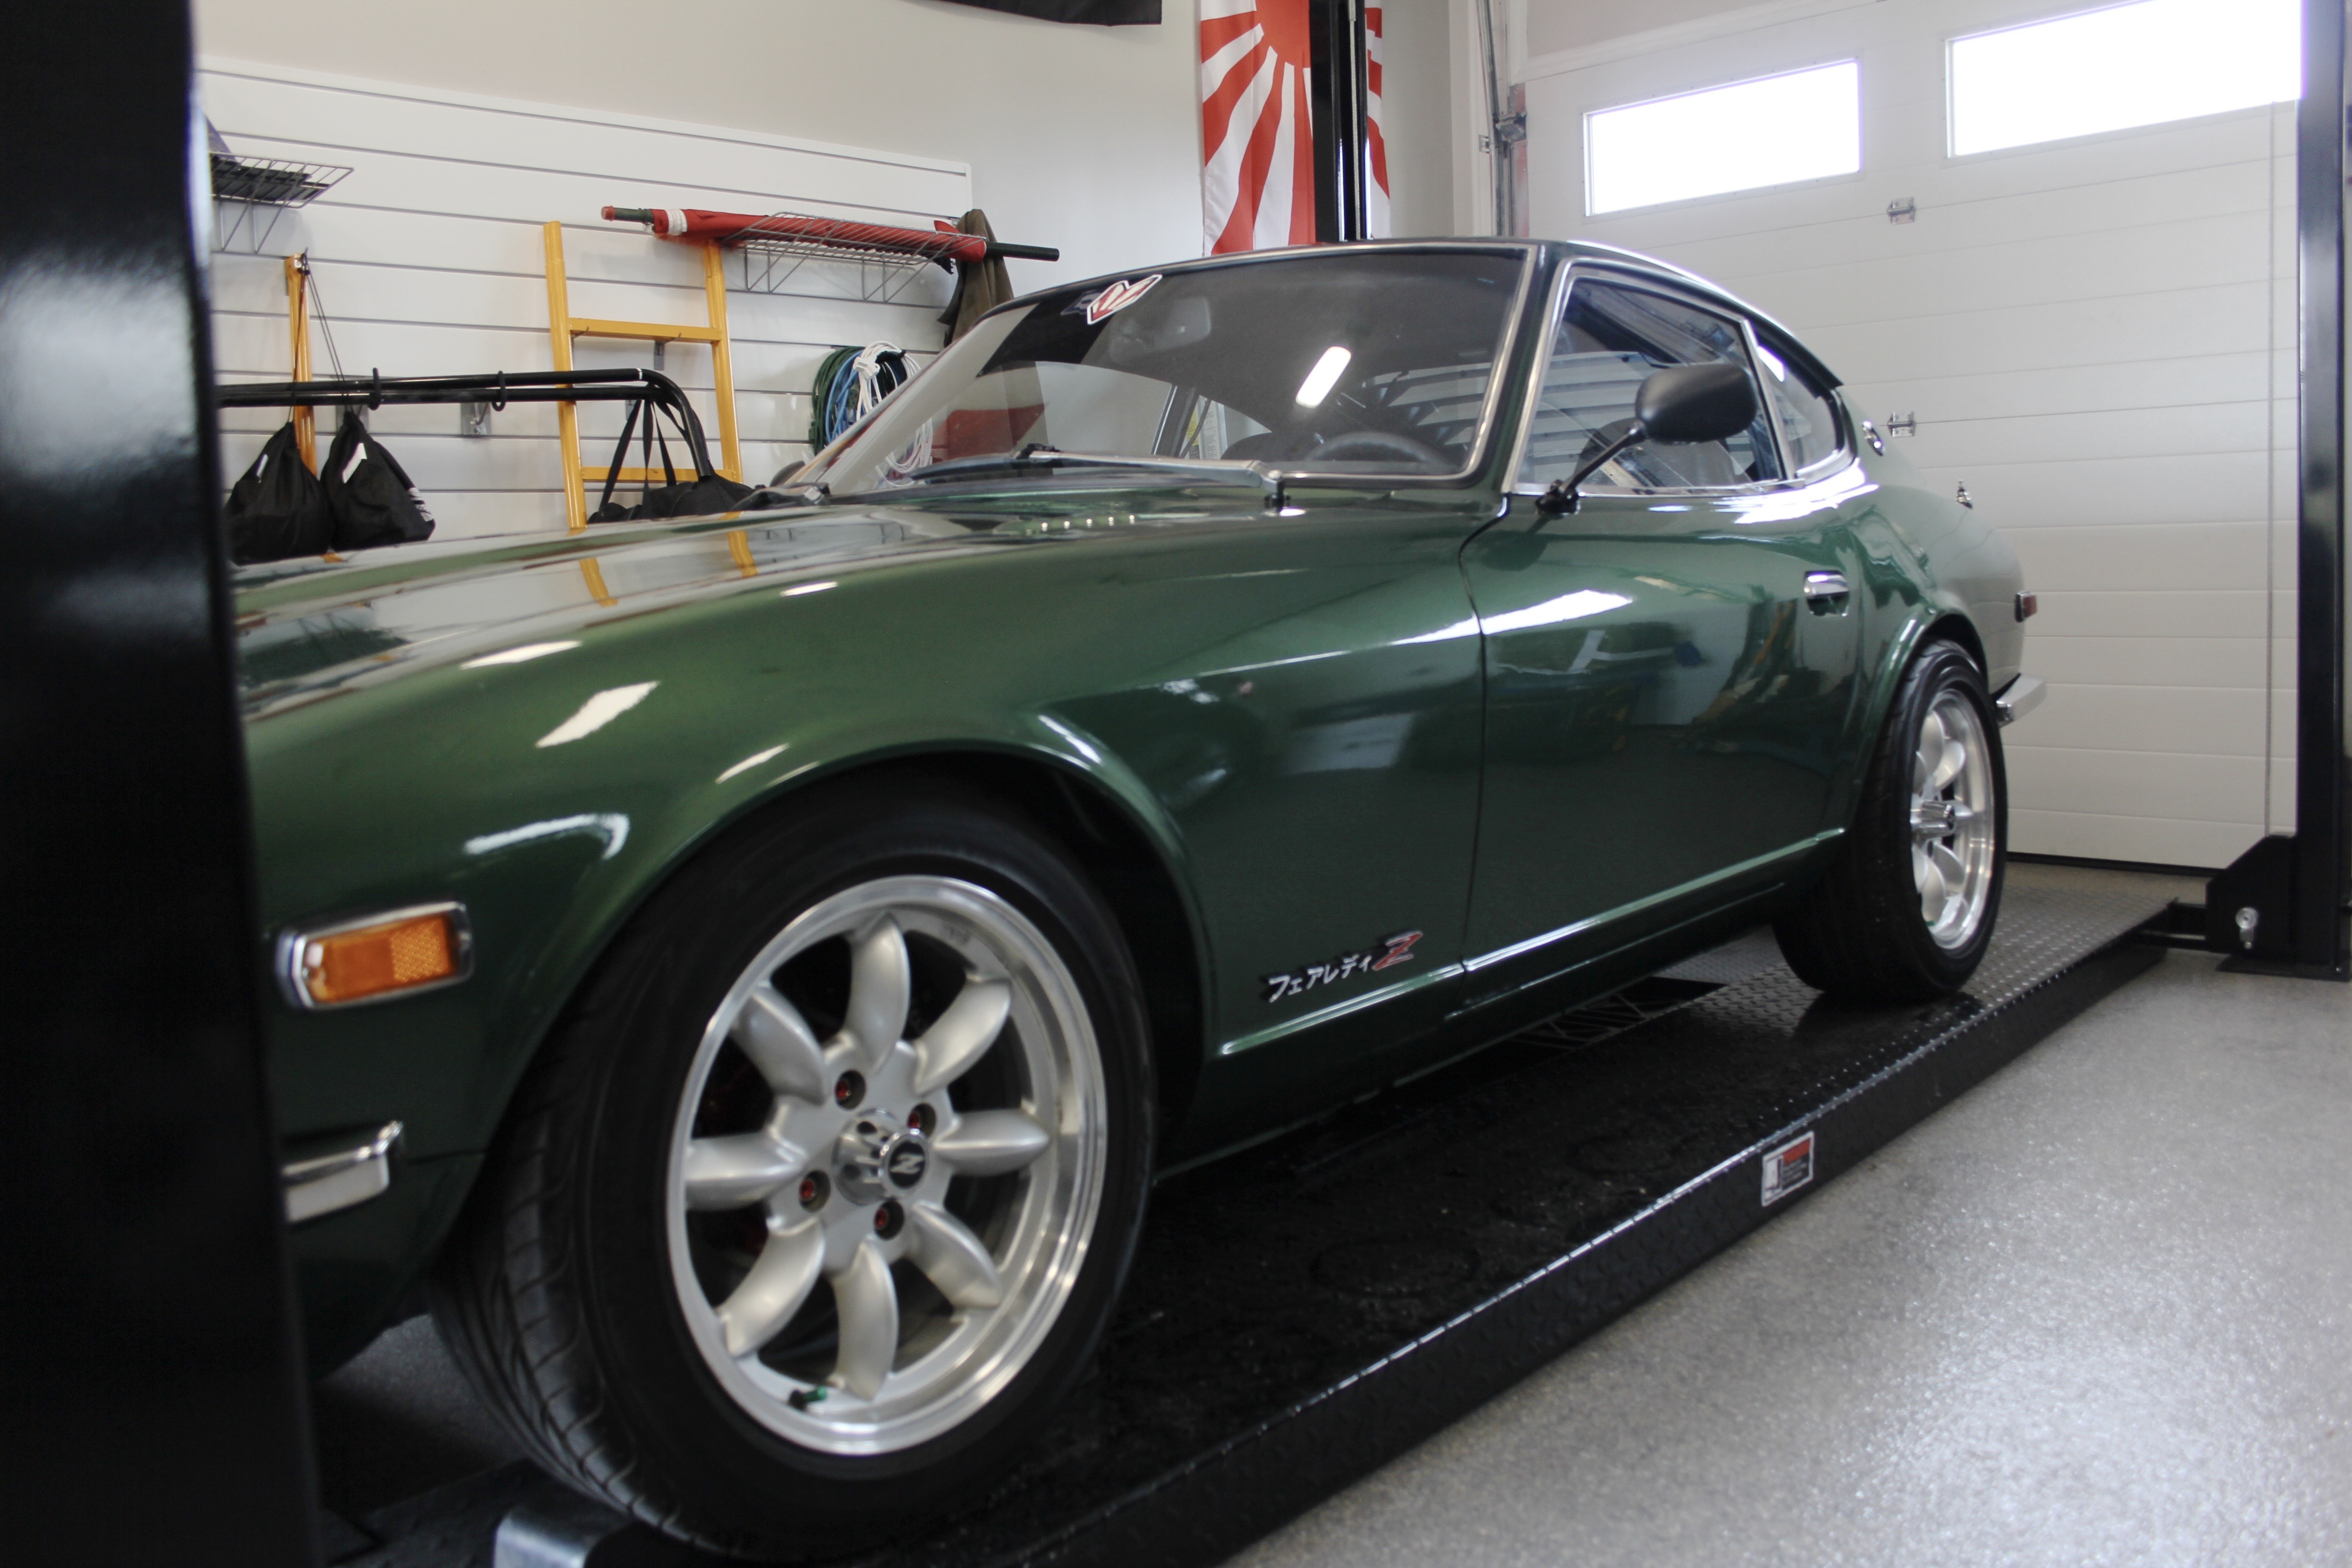
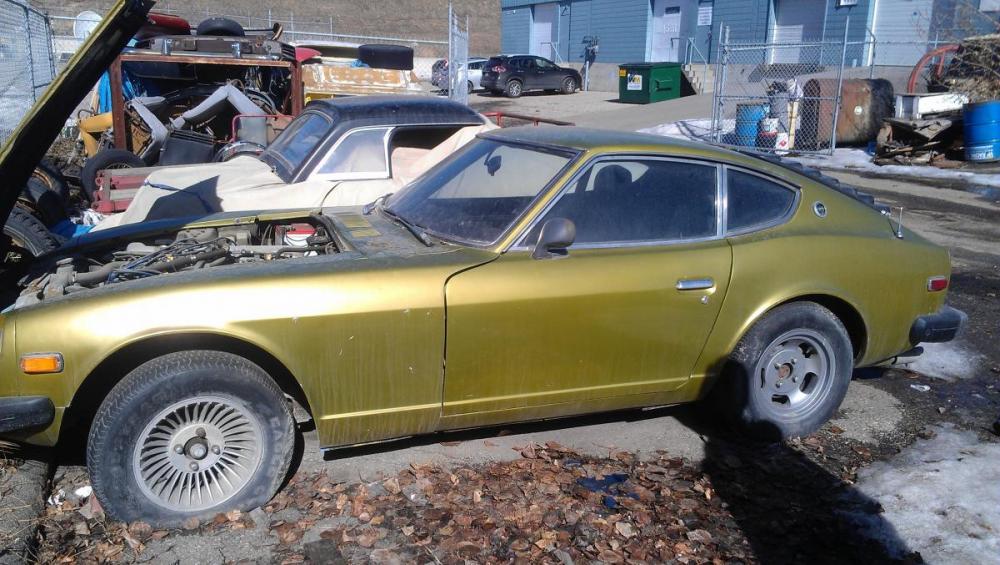
6 points14 miles on the car! Went to Touge Bash at Stratotech in Fort Sask and won a Top Tier award!

 6 points
 -
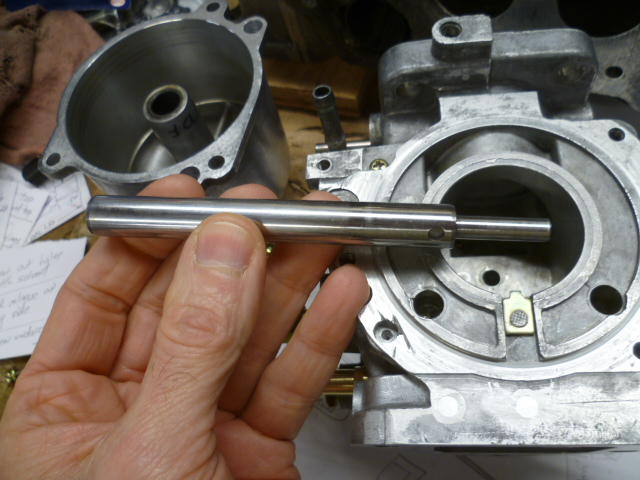
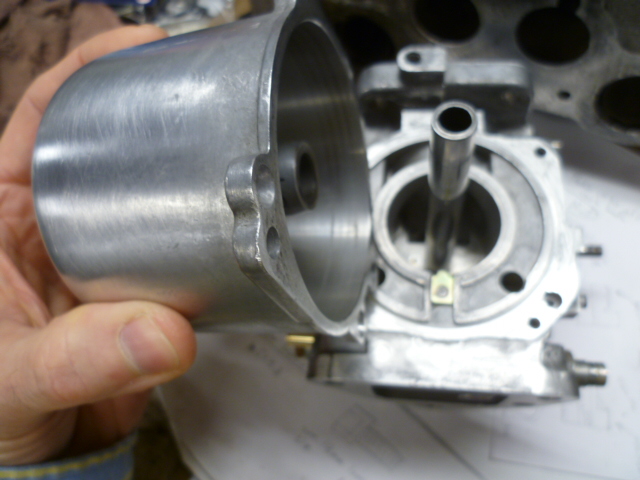
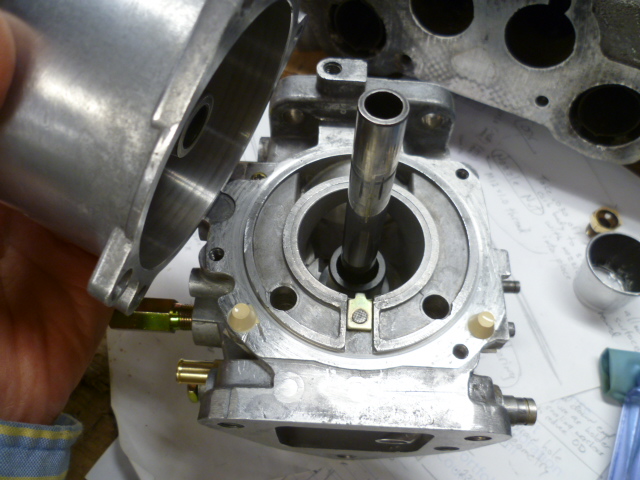
Oh, and all that about dome alignment... Here's my dome / nozzle sleeve alignment tool. Centerless ground precision stock. Sub-thousandth tolerance. Take out the suction piston and put this in it's place: So how do you use it on the 3-screw round tops? Well, if you still have alignment nubbies, then you don't need to align anything. It should already be aligned. But if one or both of your alignment nubbies are broken off... Insert the alignment tool into the carb body and put the dome on: And then while the dome is held in "perfect" alignment, you cast the alignment nubbies in place: Fill up the hole and then wipe off any excess: Then once the nubbies cure, pop the dome off, and presto... New nubbies! : The eagle eye might notice that carb is a flat top, but the 3-screws used the exact same alignment technique.

 5 points
 -
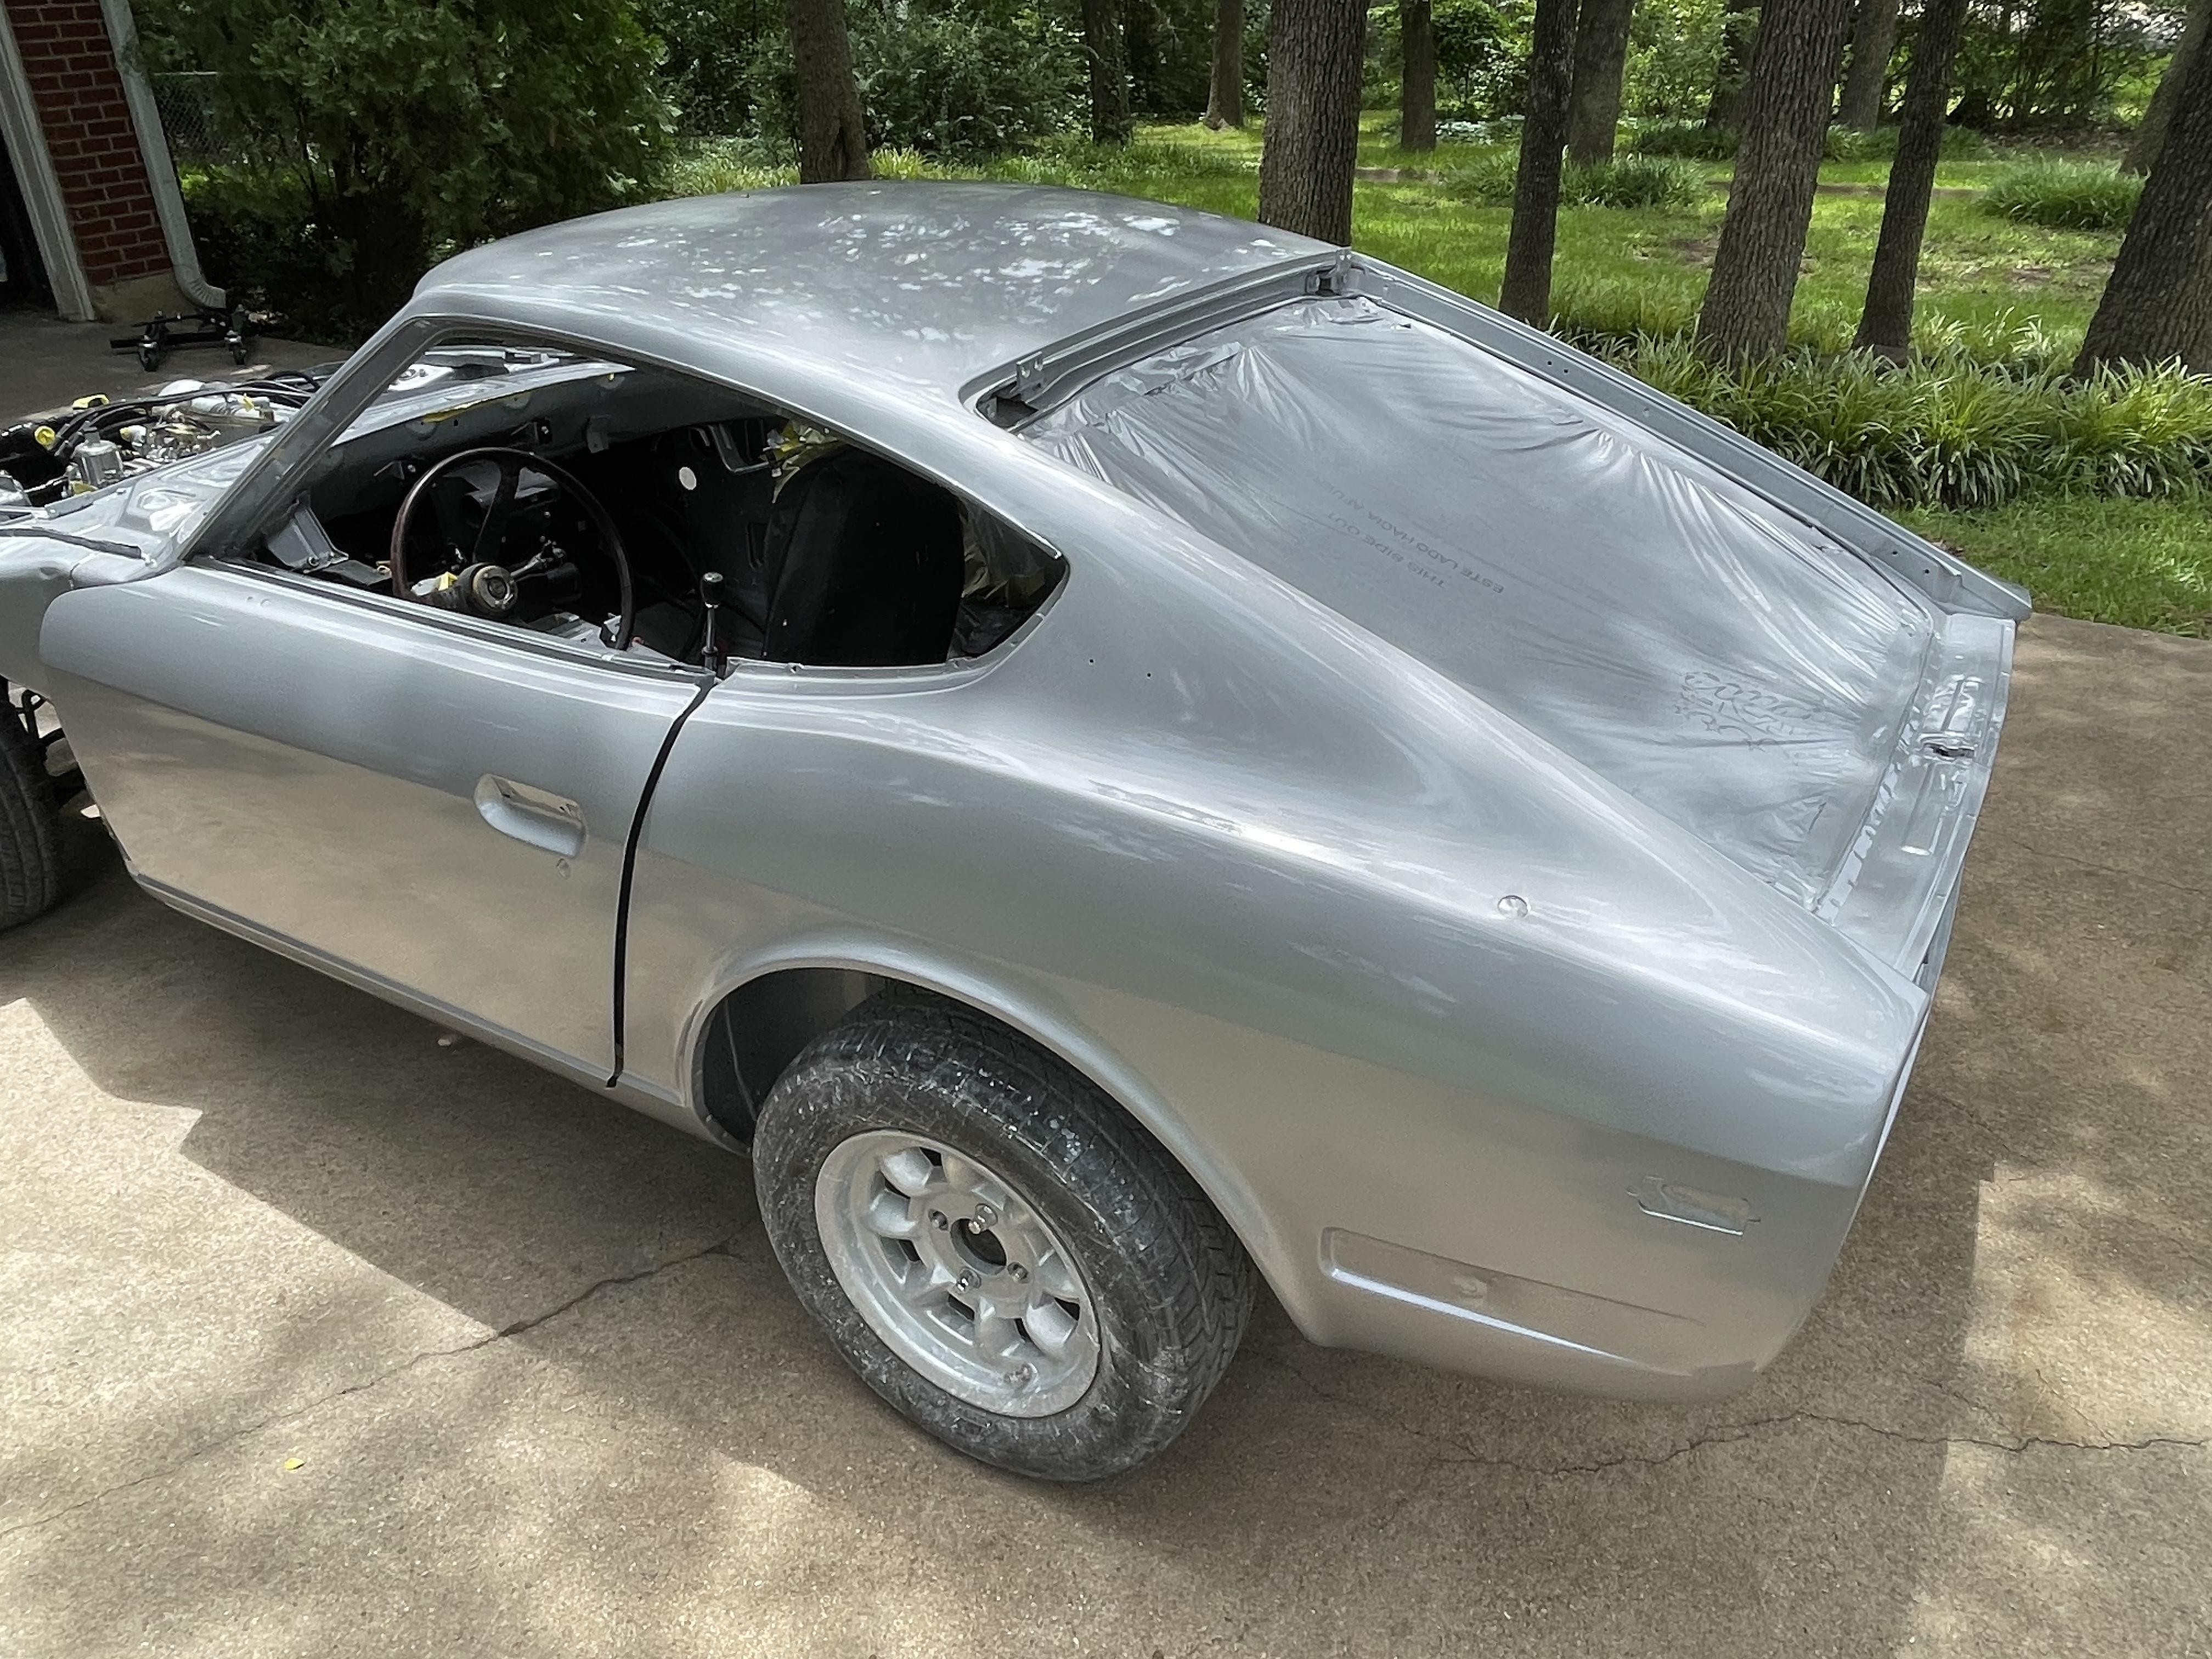
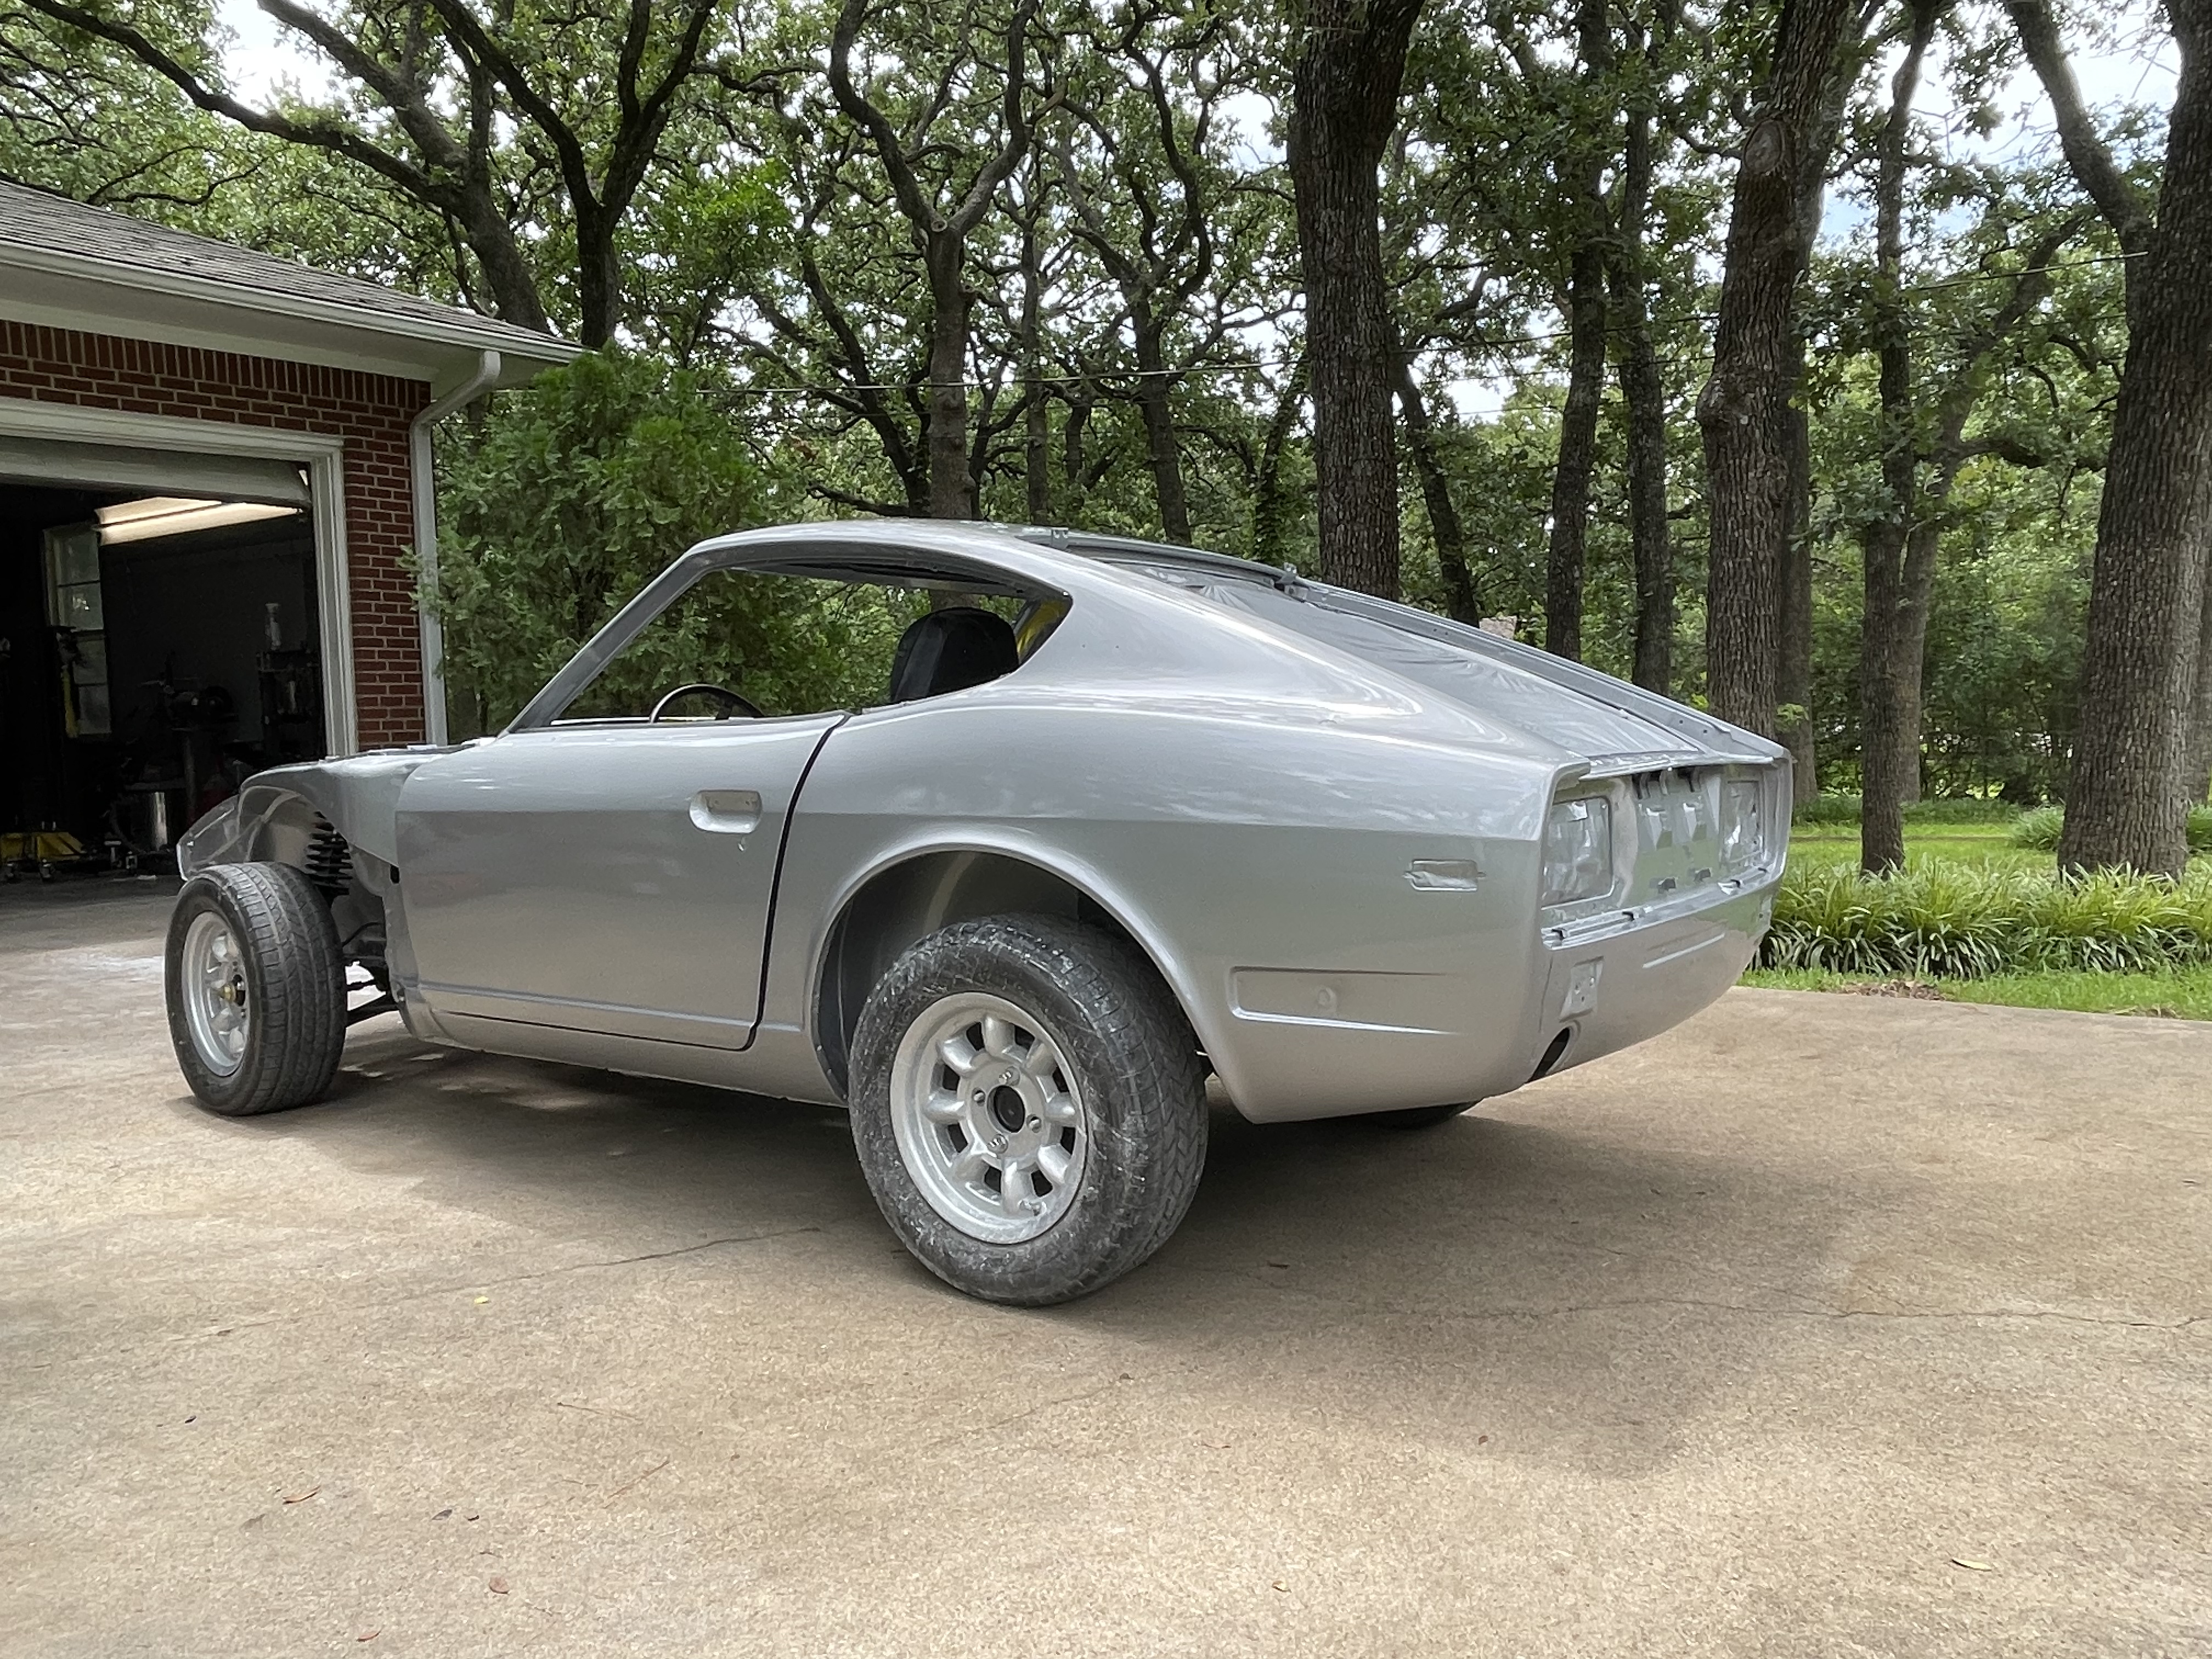
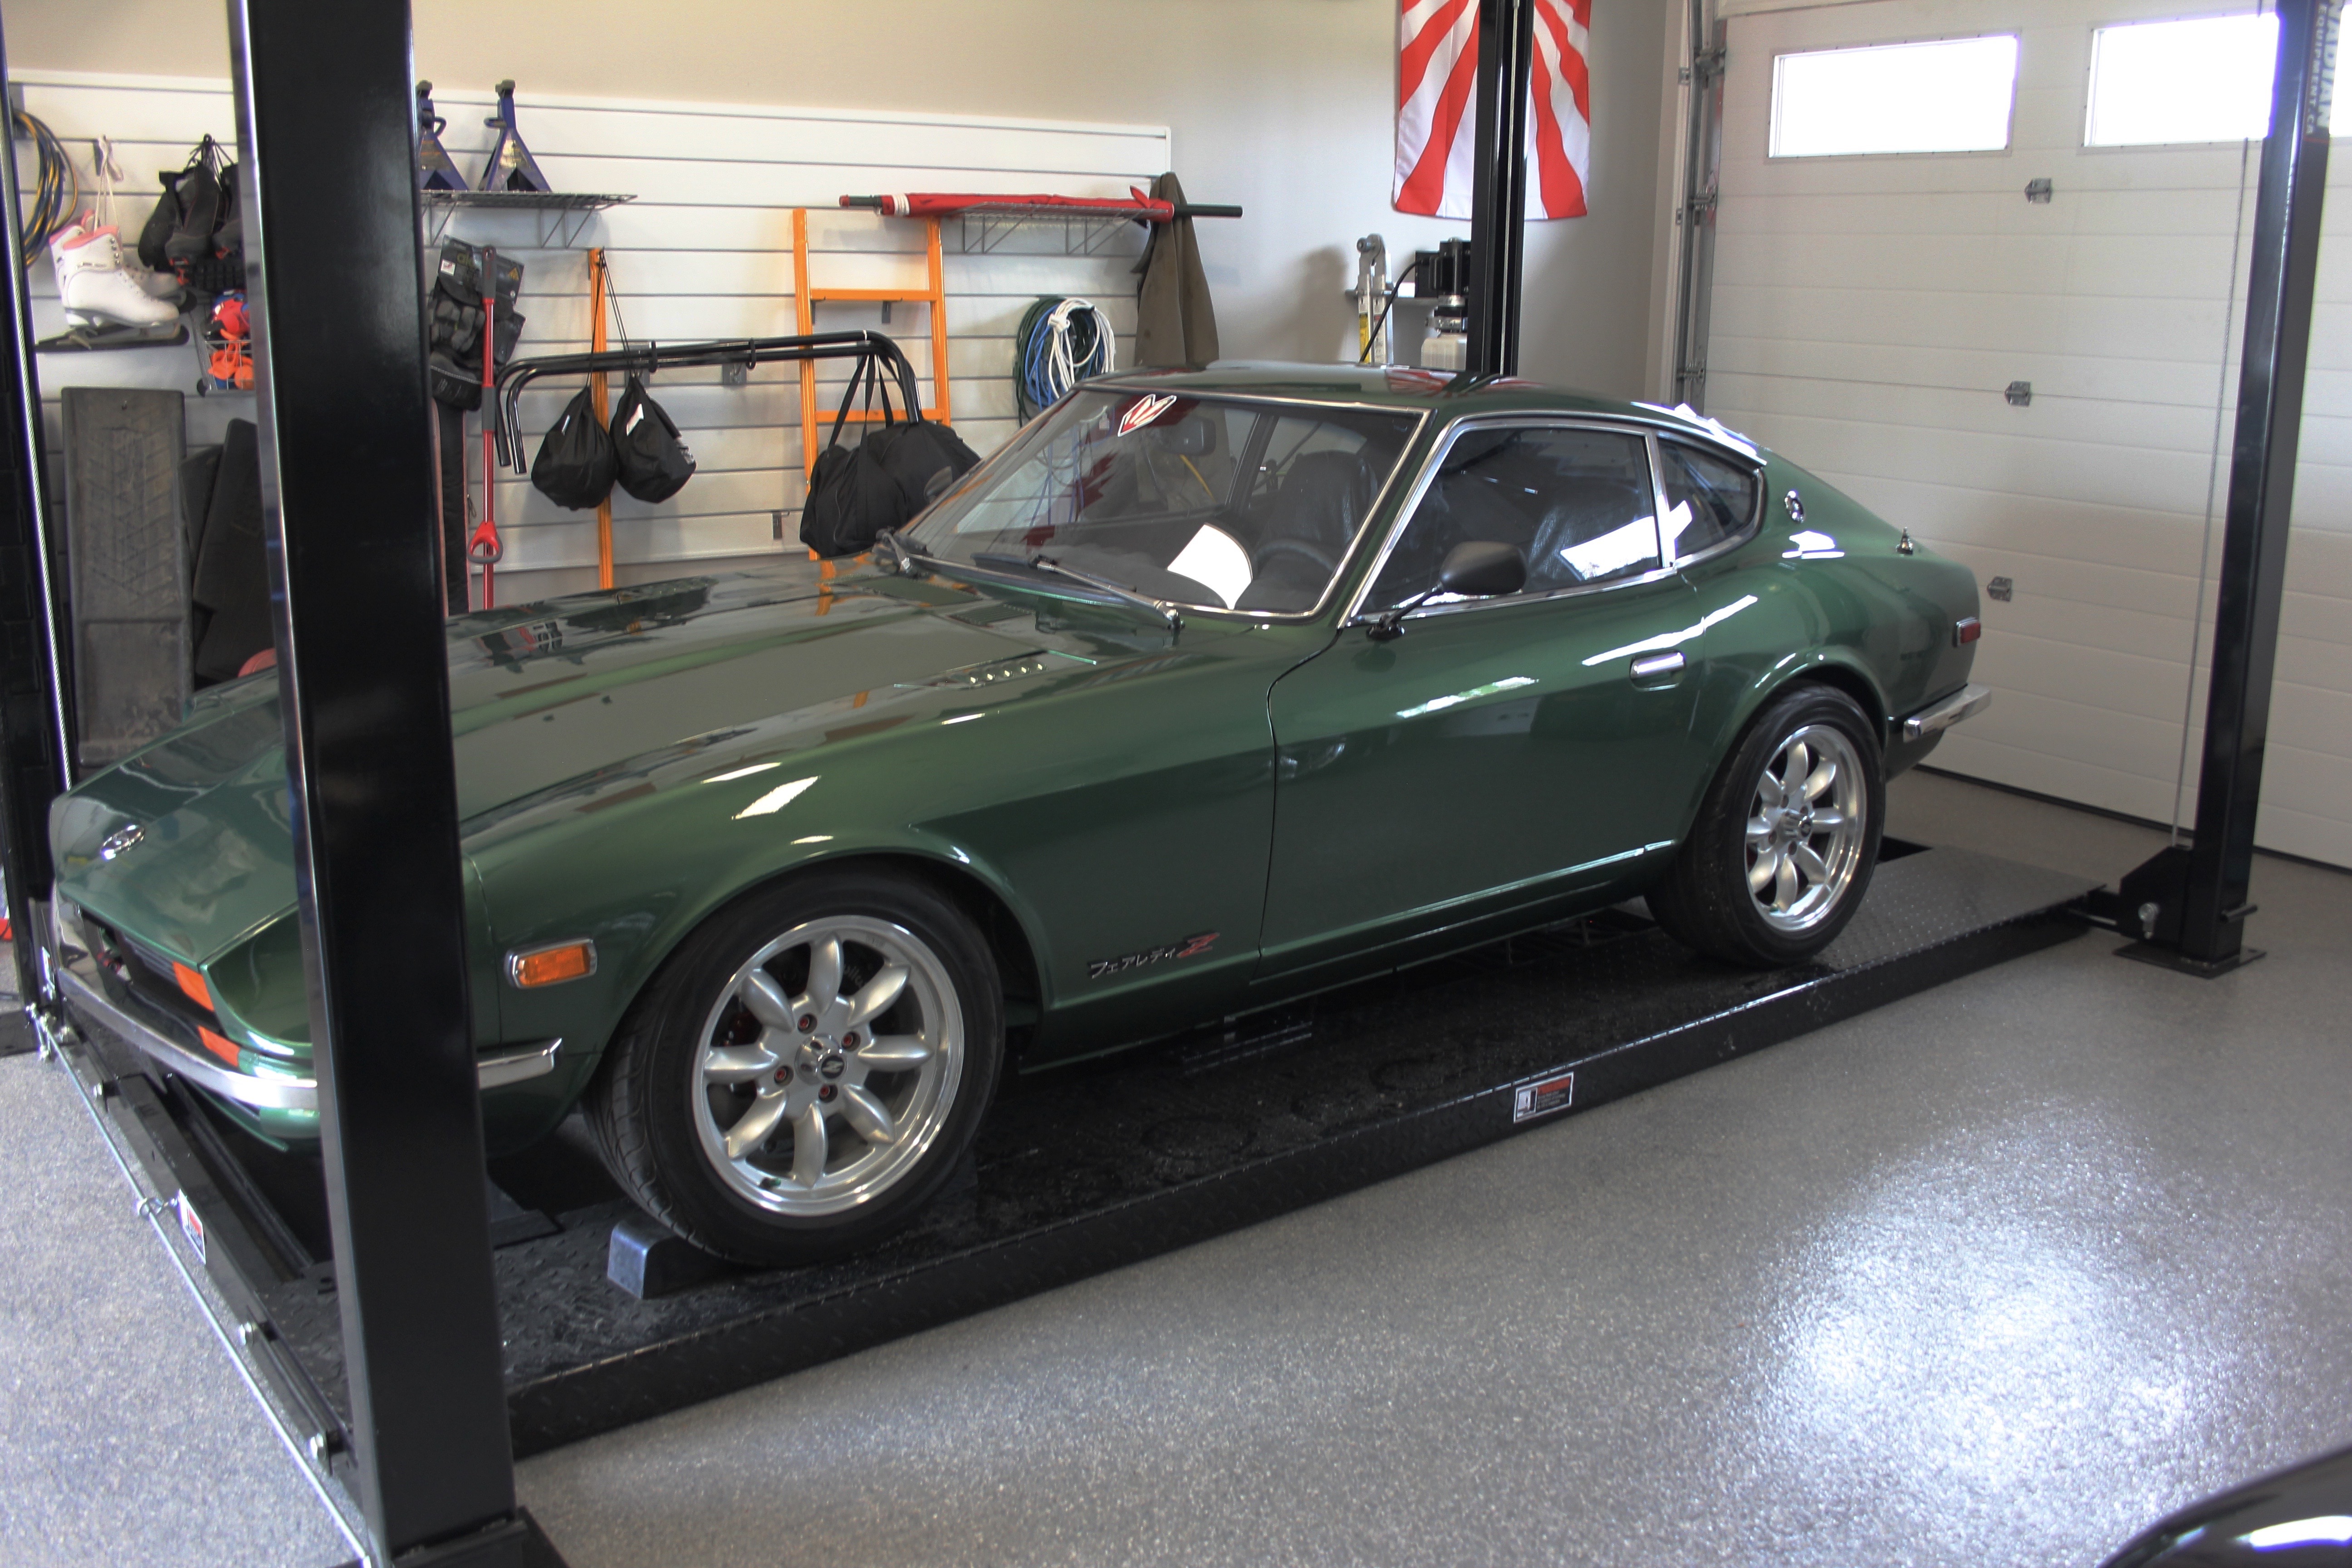
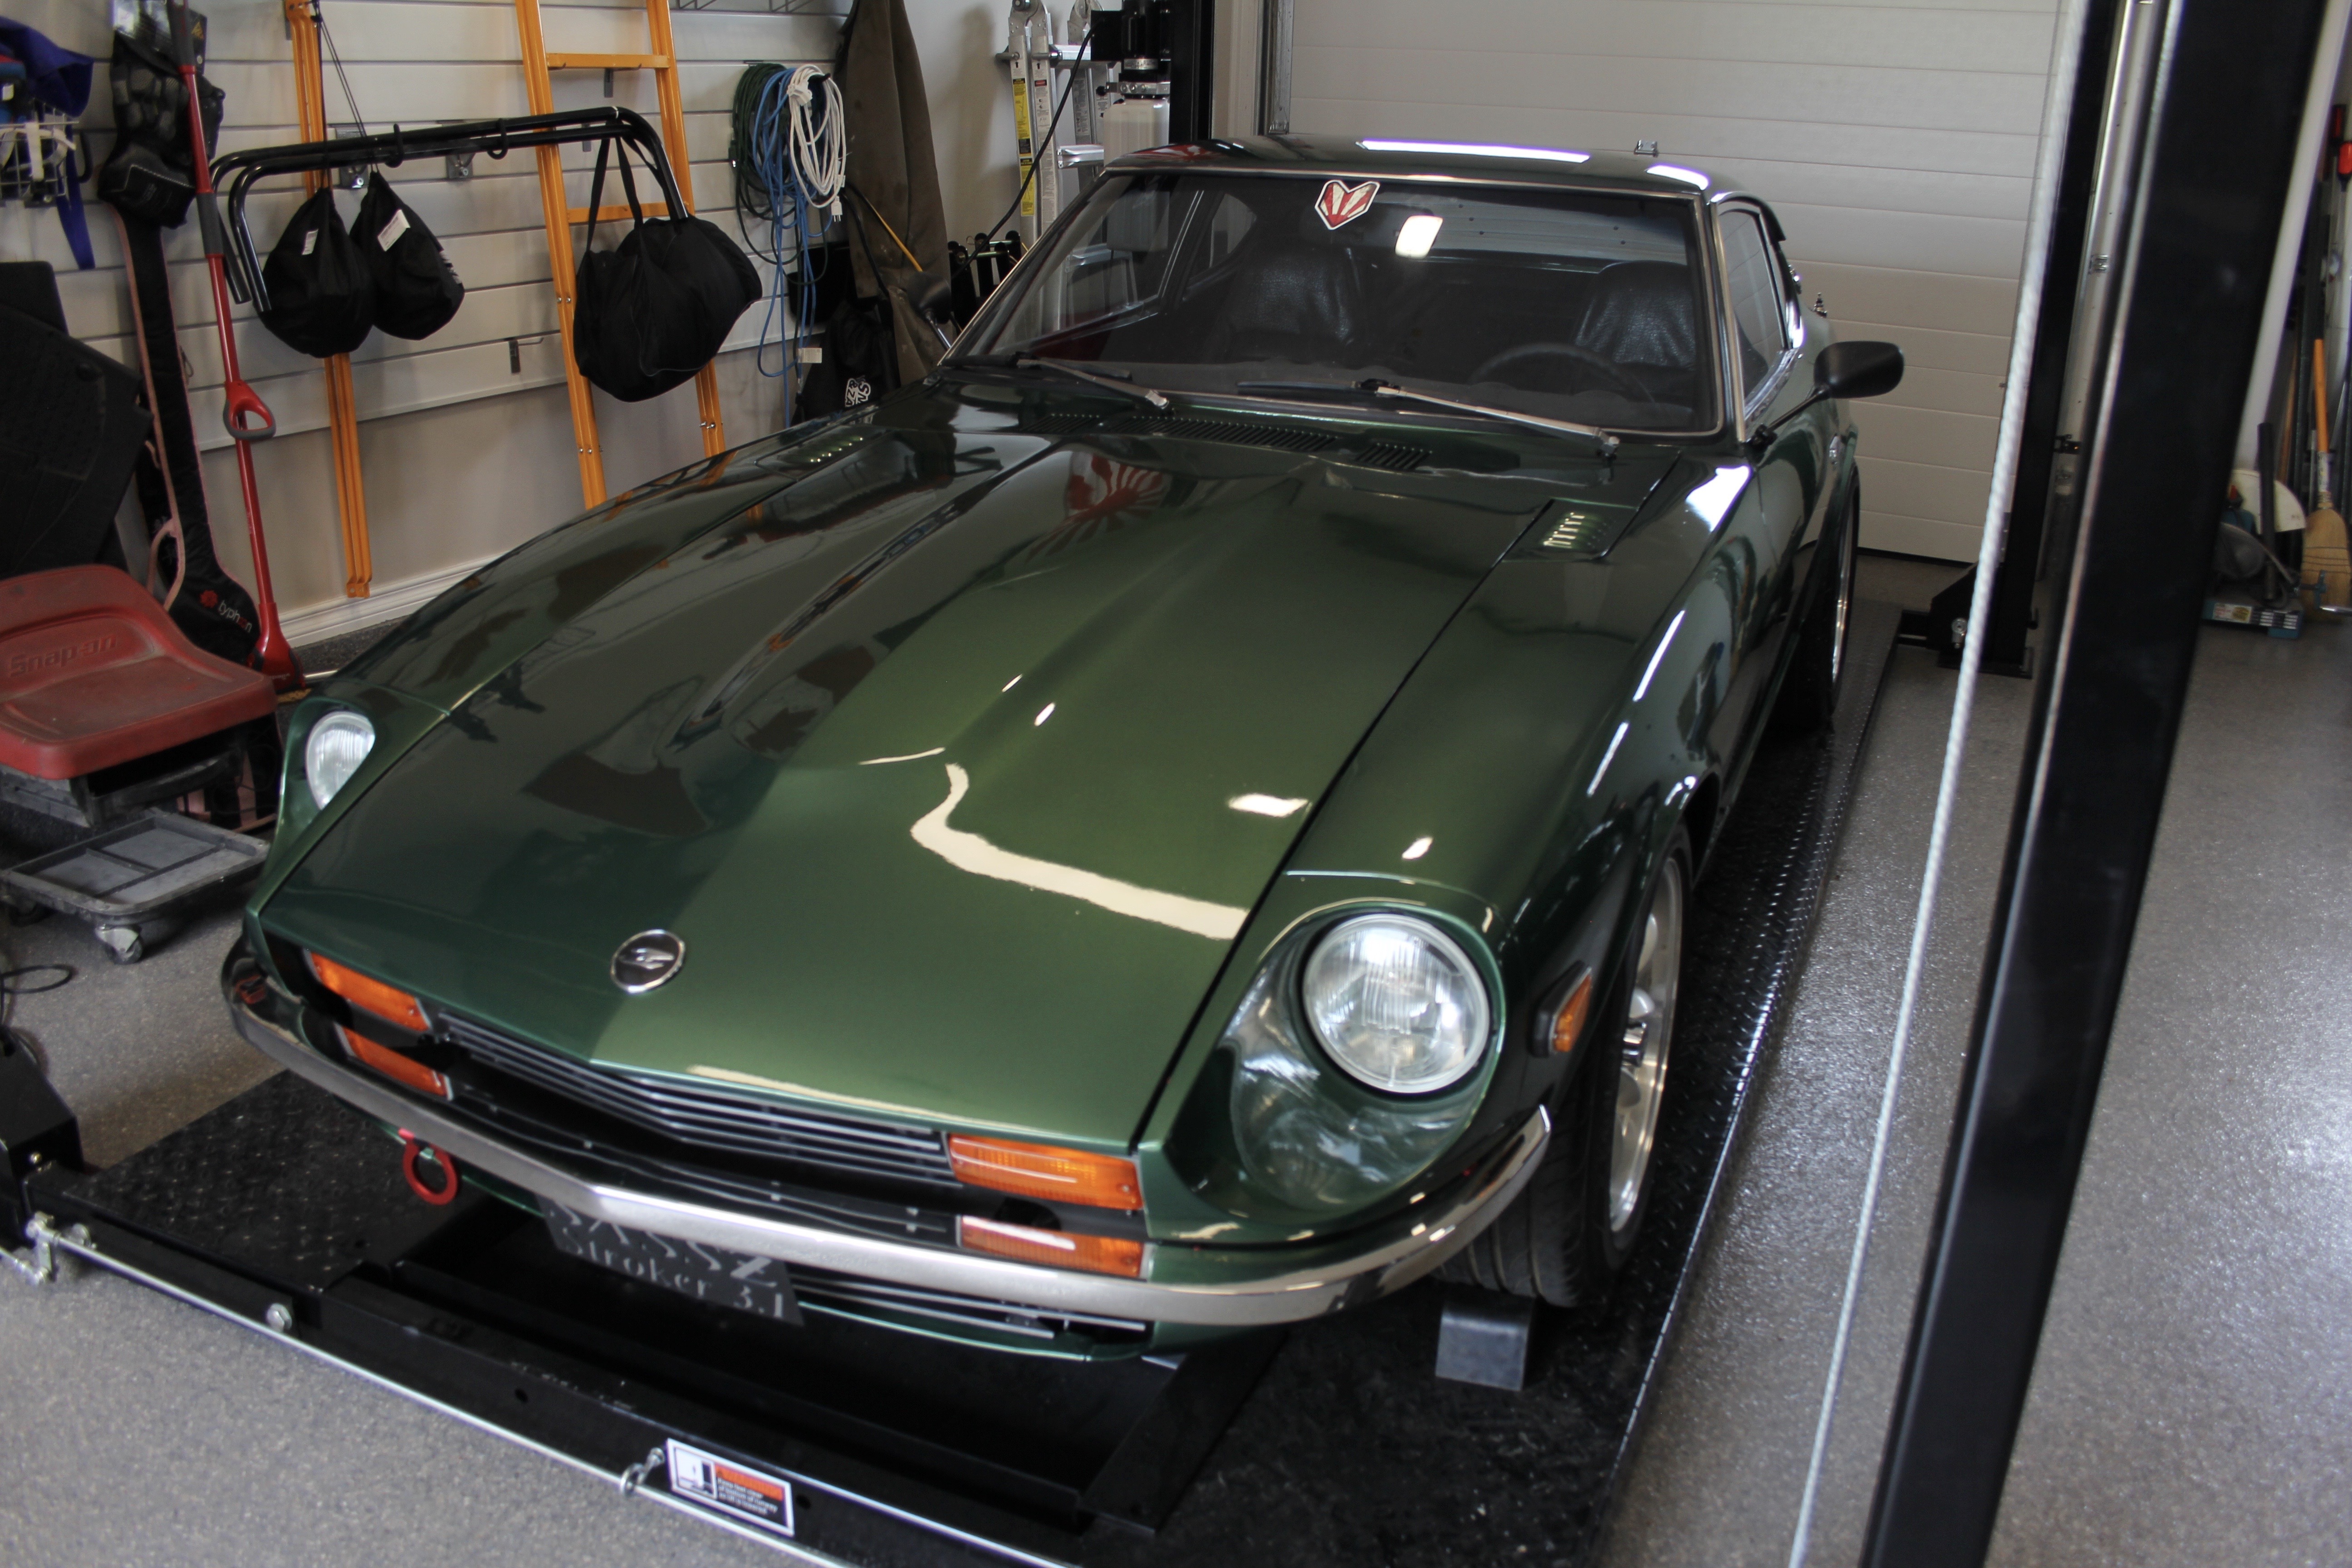
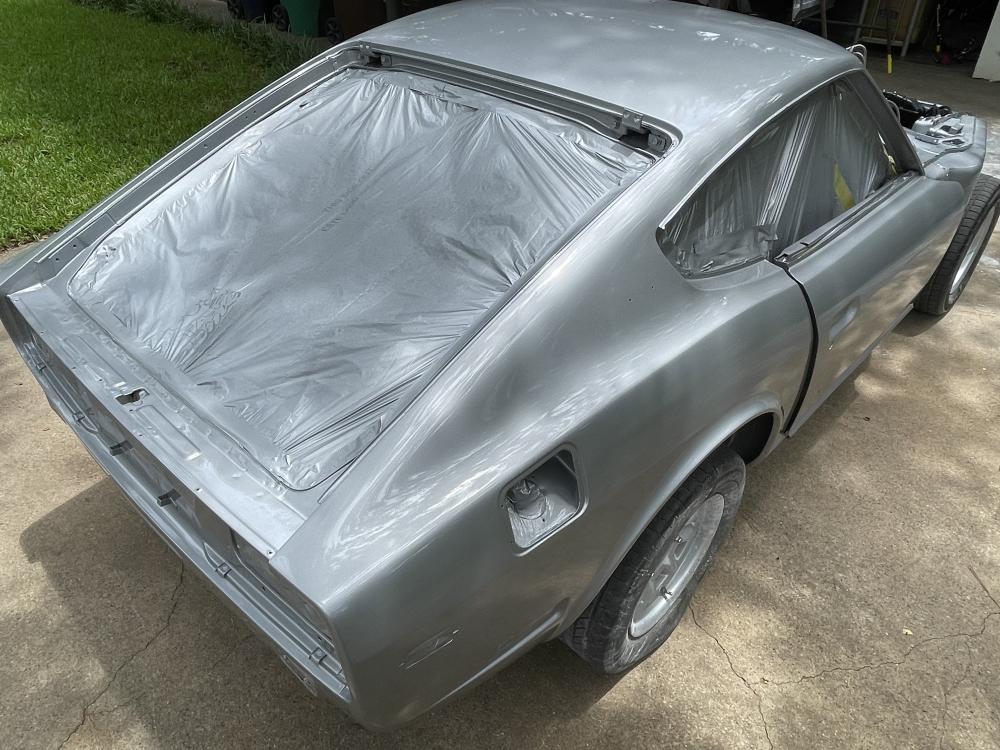
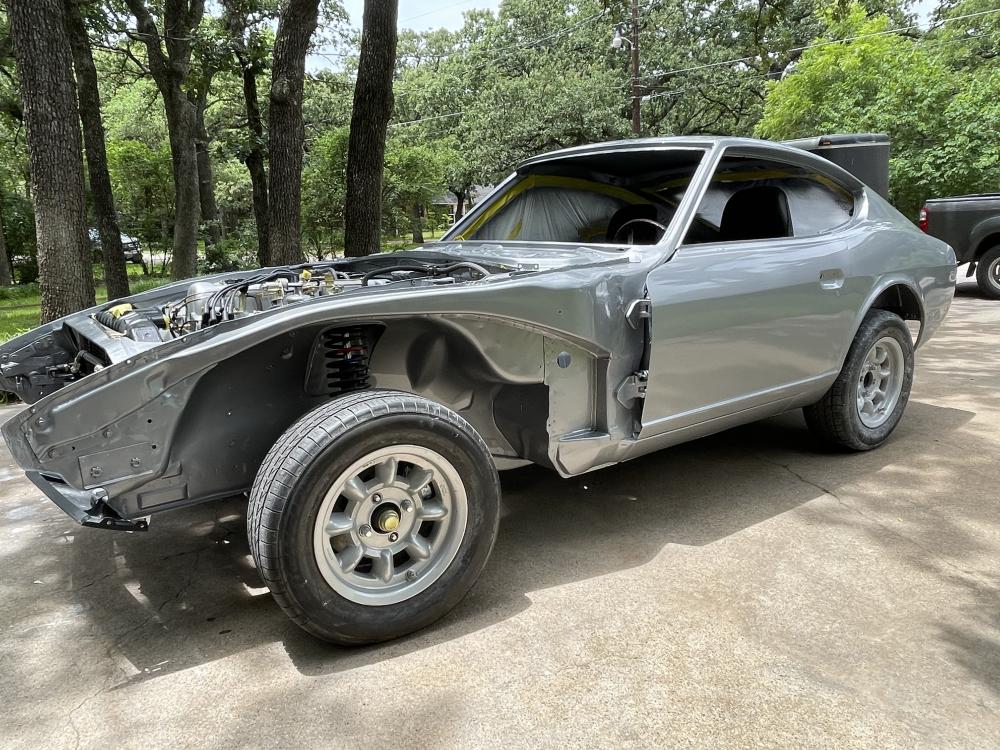
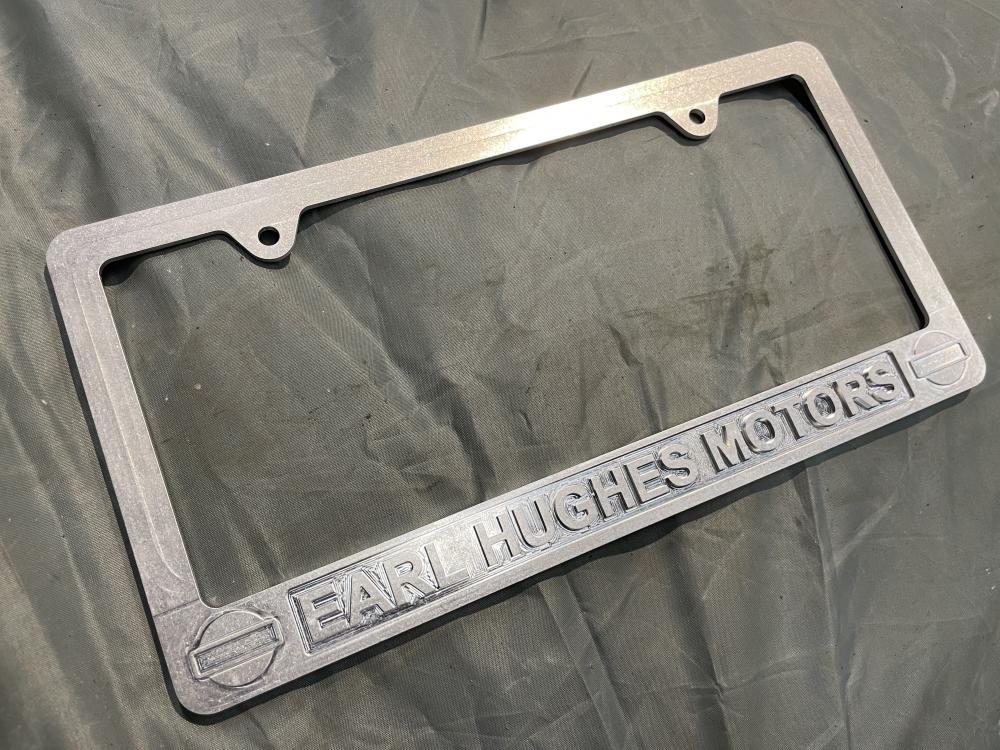
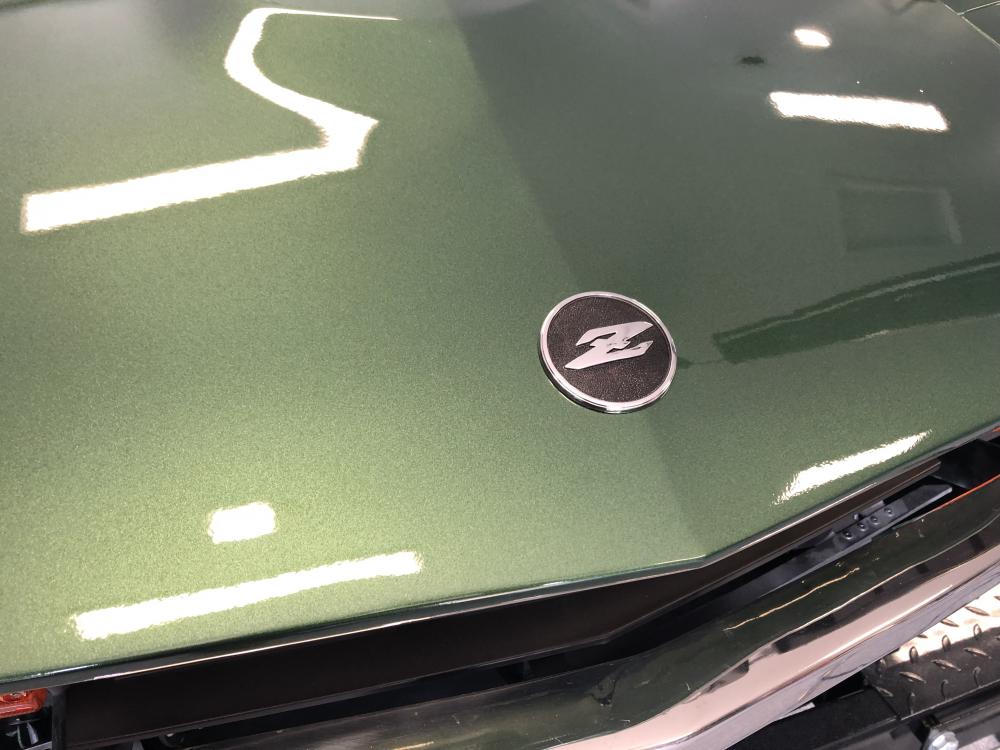
4 pointsBig update on the Z! Body is now painted and ready for reassembly. I also got in the custom made license plate holder for the Z. Modeled this one up to look like a period correct frame from the dealership the Z was sold by in Fort Worth


 4 points
 -
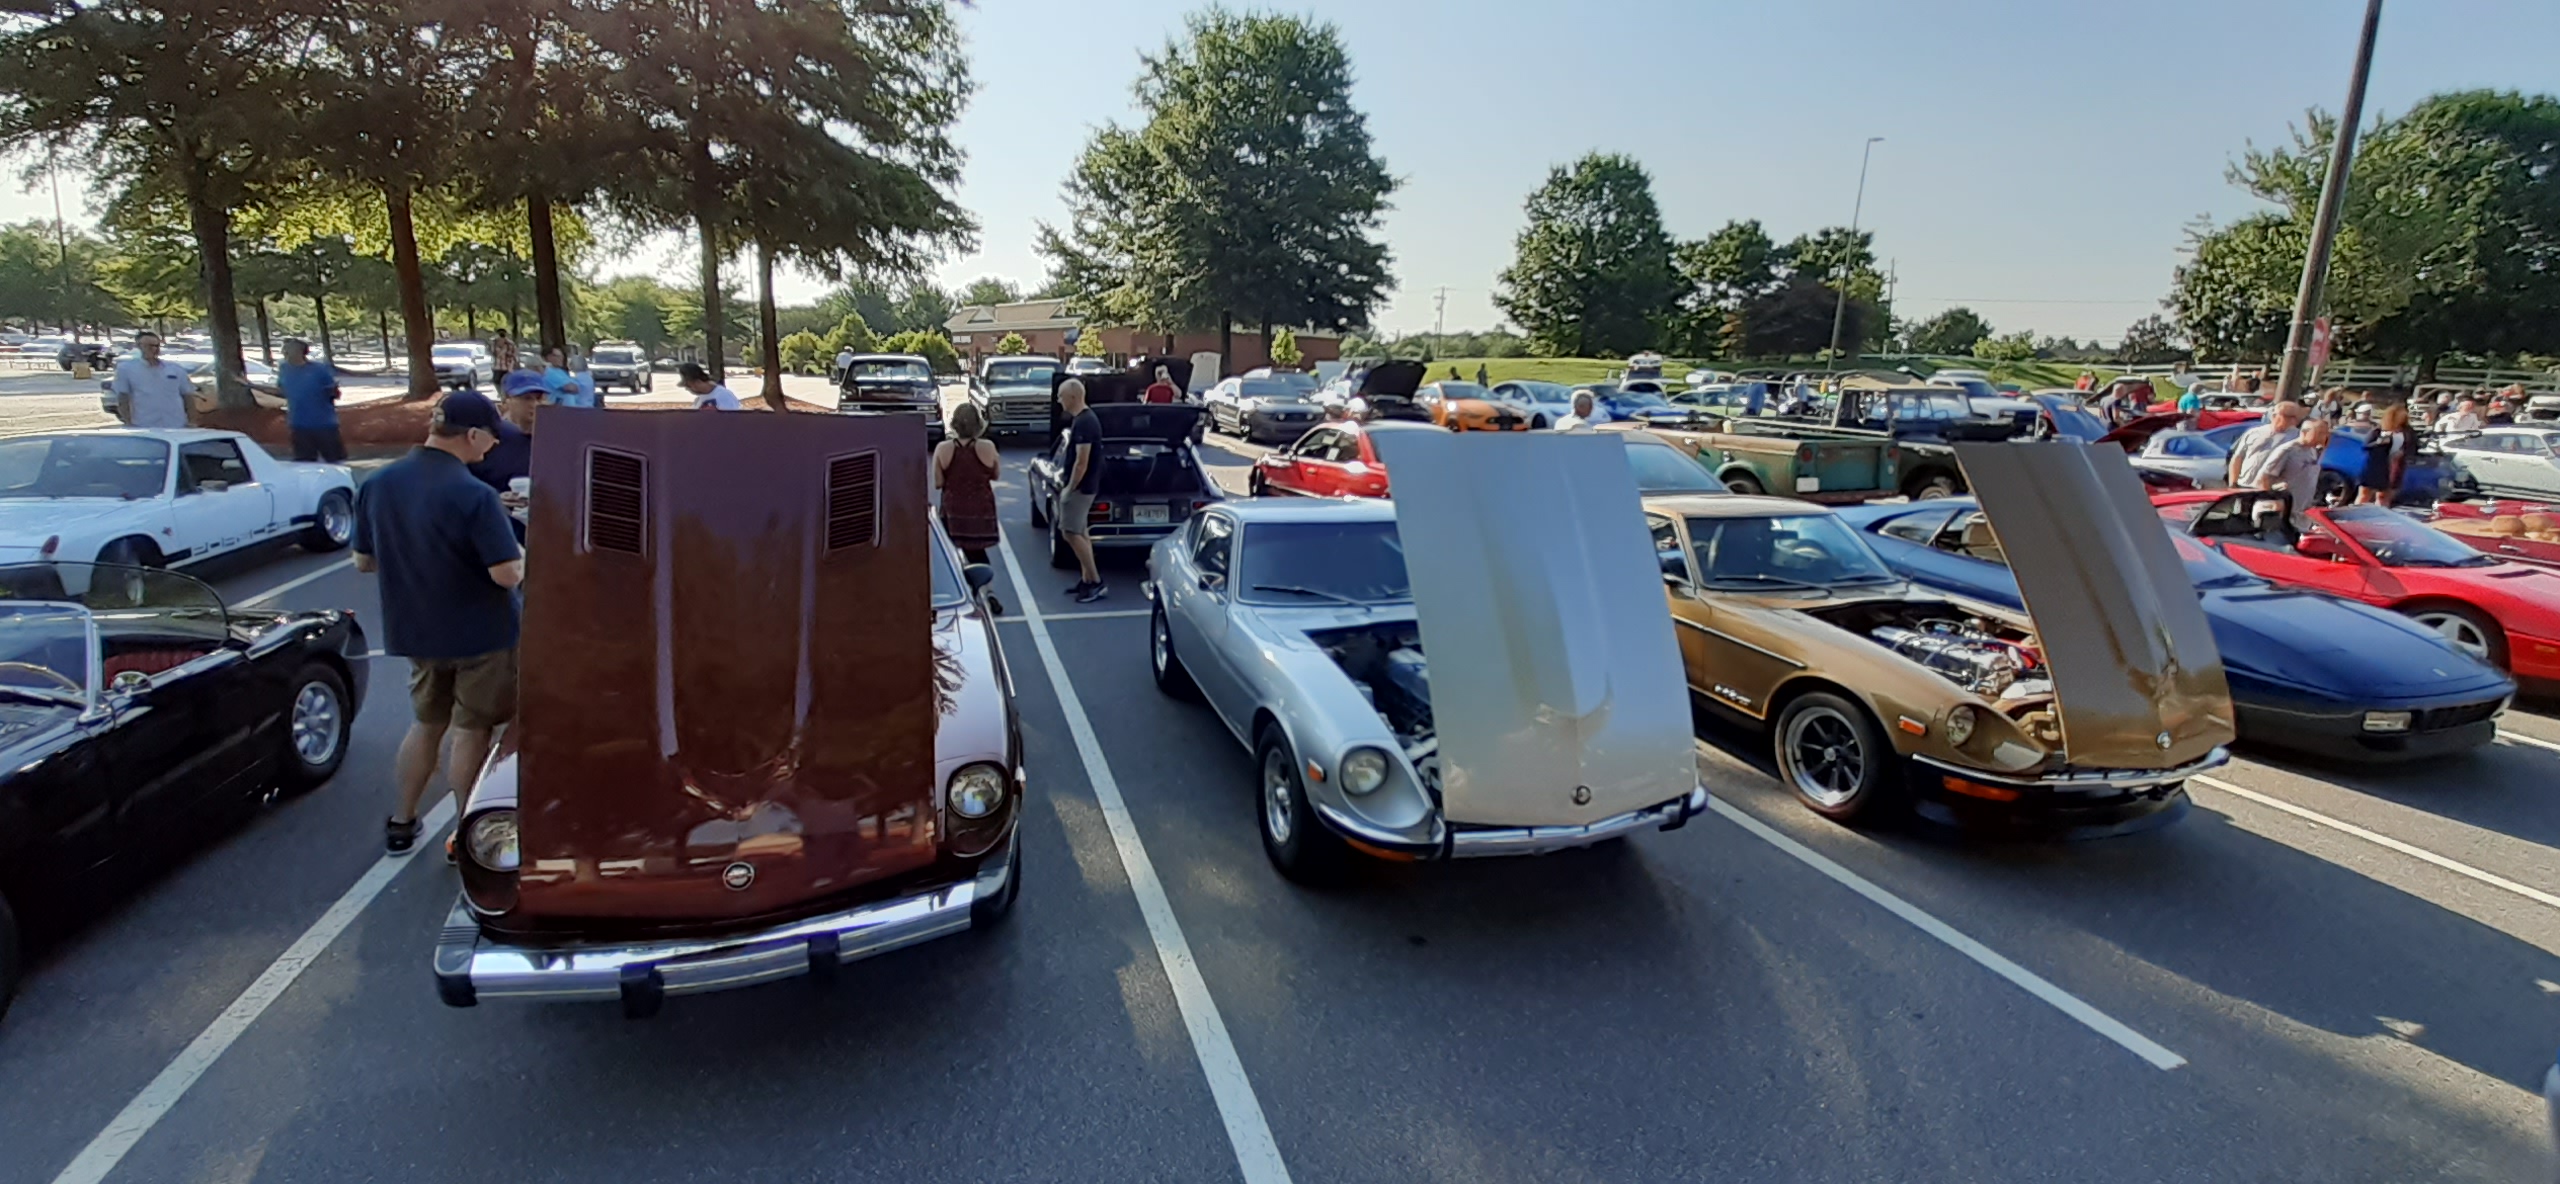
I took the Z to our local "Worship" car meet. When the local Cars and Coffee (known as Caffeine and Octane here) got too big, some people started a smaller show for the same time slot that attracts more of a "car people" crowd. Anyway, there were 8 S30s there with the 280Z being the most prevalent. I got to see @jonathanrussellfor the first time in about 4 years, too.
 3 points
 -
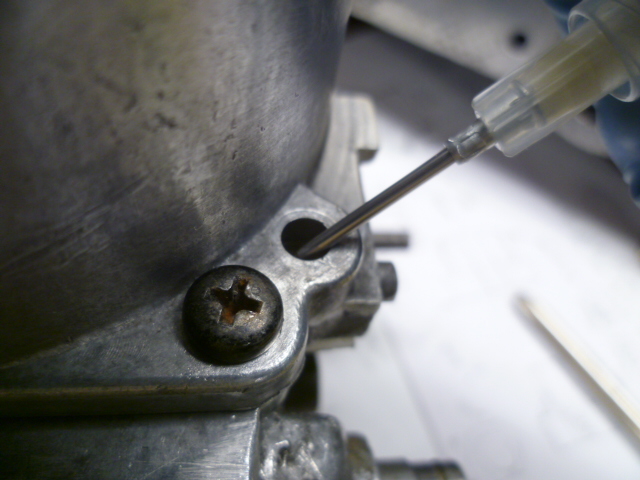
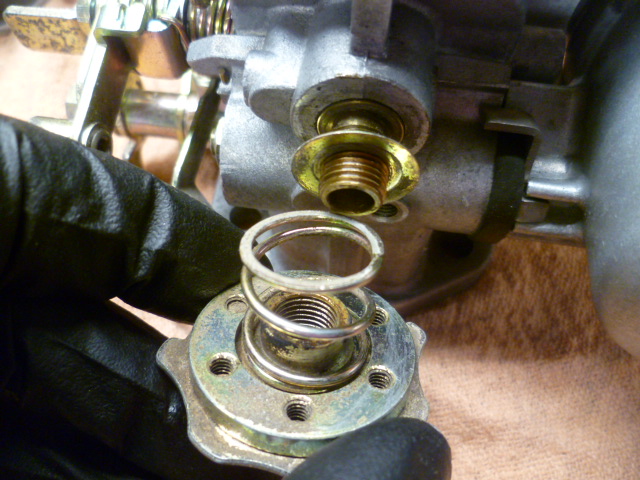
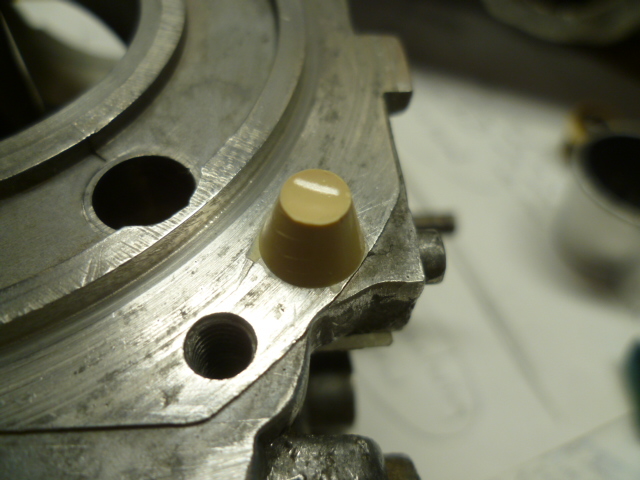
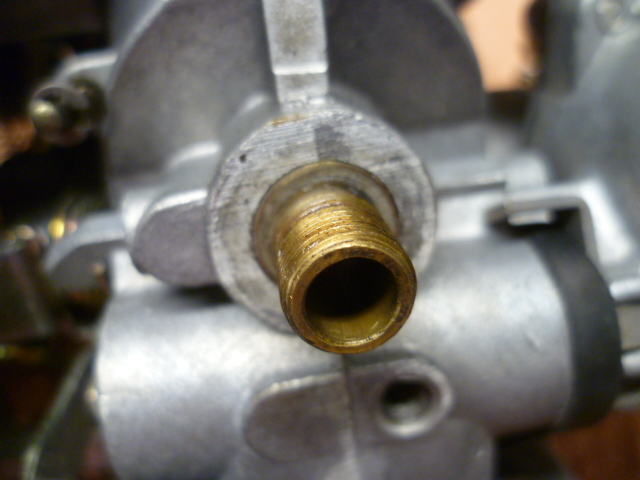
I respectfully disagree. That needle/nozzle alignment method will not work on the odd bird 72 3-screw round tops. The nozzle sleeve is not adjustable on the 3 screw round tops. On those 72 carbs, the nozzle sleeve is pressed into the underside of the carb body and does not come out. Once it is pressed into place, it's fixed. No adjustment: So since the nozzle sleeve is hard fixed, they do the needle alignment using the dome up top instead. The three hold down screw holes are intentionally sloppy allowing the dome to be positioned in the correct location. With that in mind, the needle alignment on the 3-screw round tops is set at the factory using the cone shaped alignment nubbies. Cast in place once the domes were aligned with the nozzle position. The alignment was set at the factory. Once and done and (assuming the original nubbies have not been broken off) nonadjustable after they leave the factory. I assume they took that power out of the owner's and dealers hands because they felt they weren't doing it right. Here's a 3-screw nubbie:
 3 points
 -
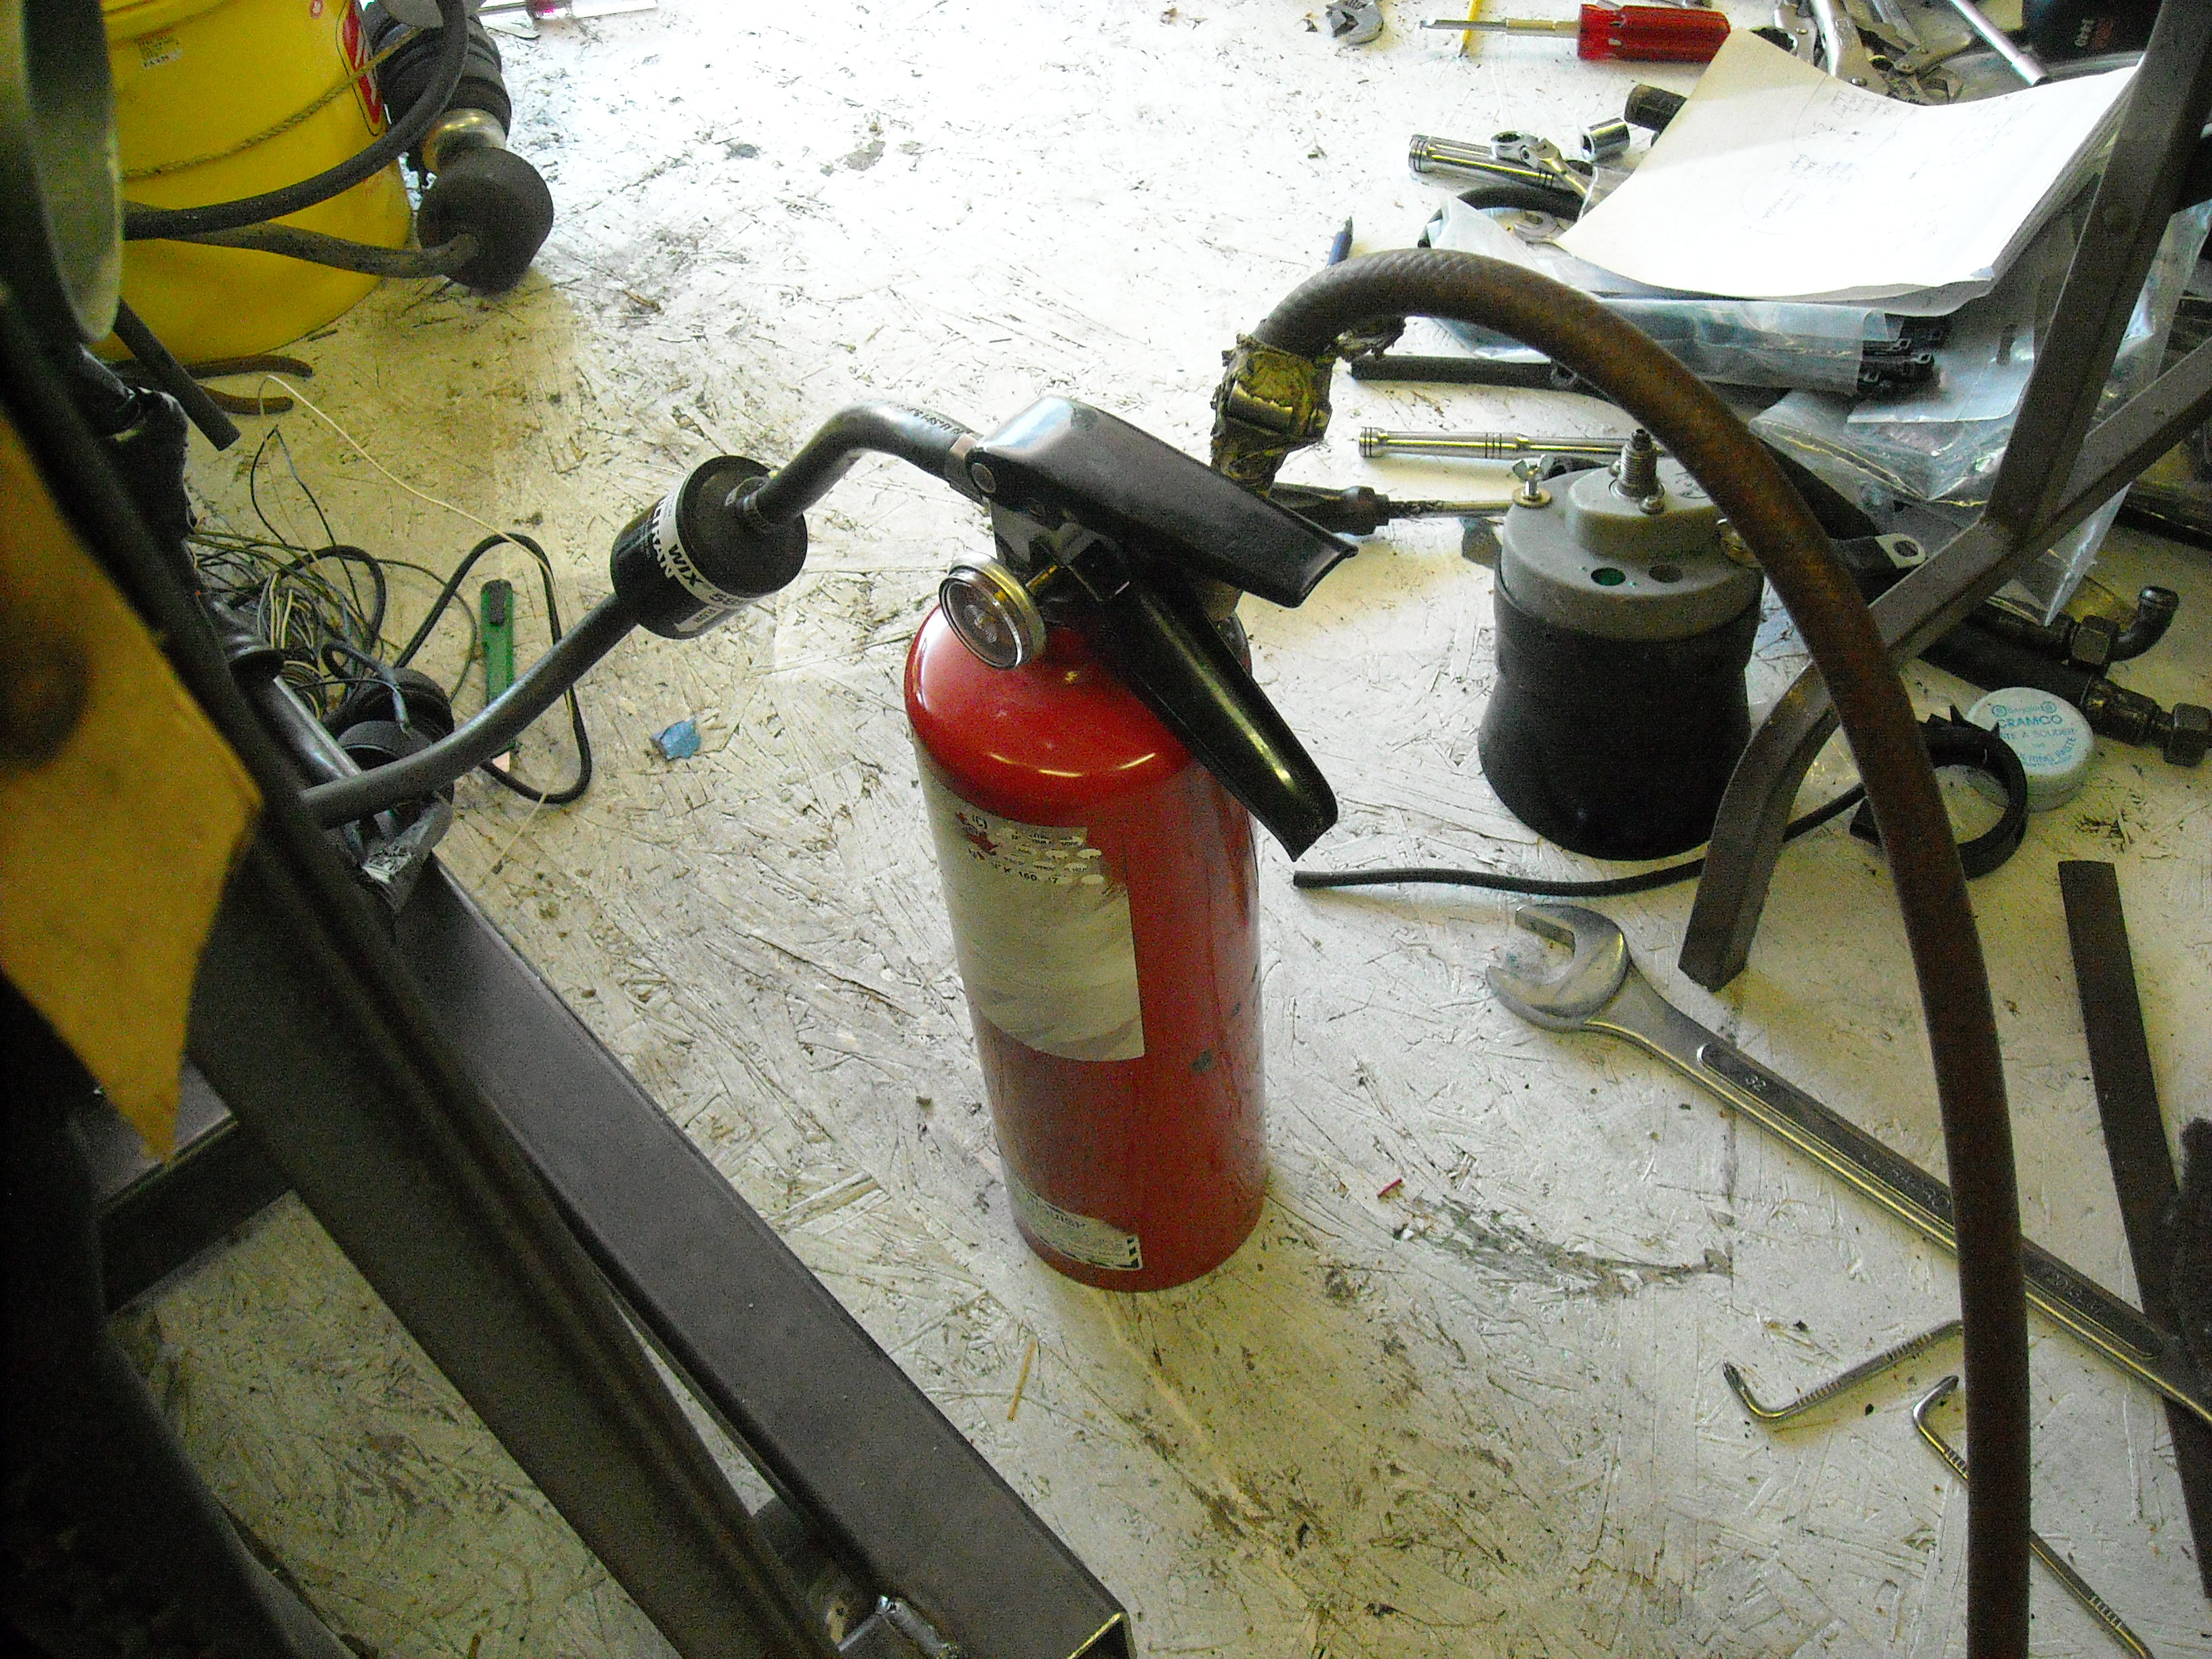
This is a pre-oiler I put together yrs ago, I use it for every engine rebuild just before start up or on engines that haven't run in a long time. The air hose attaches to the nipple I welded on, 2 liters of fresh oil goes in the canister, oil filter on the outlet hose, usually I screw the fitting into where the oil pressure sensor goes. Fill it with 90psi and squeeze the handle, the entire oiling system is filled including the engine oil filter.
 3 points
 -
2 pointsThat's a nice reward for all those hours spent on the restoration. Perhaps it's time for you to re-post a picture of what the car looked like when you started...
 2 points
 -
You kids and your late model modern cars!2 points
-
2 pointsCut and polish day. I was hesitant to do a full wet sand, and I may still do that one day, but for now a hard cut and polish was enough to get her shiny enough to drive. I have a few clear coat sags that need sanding out eventually but I can live with that for now. I wouldn’t want to burn through the clear and have to respray before I even drove it!! IMG_4763.MP4


 2 points
 -
As we all know, not all needs are answered by over-the-counter tools. As one example, my Z-friend Dieter Roth made his own special wrench for one particularly annoying Z job (halfshaft U-joint bolts, IIRC) by simply grinding off the excess metal from a standard open-end wrench so that it would fit inside the limited-clearance space. For my own efforts, I've enjoyed constant use over the years from a 18" length of 1"-dia aluminum tubing (from a TV antenna mast) that I squashed one end of so that it would fit over the end of open-end and box-end wrenches to give extra leverage. What's in your tool box?1 point
-
Hooked the trickle charger up anticipating a early morning drive. 62 degrees this morning so hoping for the same tomorrow. I think I'll take the dog?1 point
-
Installed some T3 coilovers. I like the look over stock ride height a lot better. It's pretty mean around the corners too. A little more reasonable rear ride height1 point
-
Yeah. the 72 carbs, even though they are mostly like the previous years, they do have their weird idiosyncrasies. I find it neat to see some of the changes put into play on the 72 3-screw carbs that were clearly stepping stones to the flat tops they used the next year.1 point
-
They do seem popular. This one sold for old fast modem speed. https://bringatrailer.com/listing/1974-datsun-260z-43/
 1 point
 -
The more scrub radius there is, the more effort it will take to steer the car. You are correct in your statement that positive offset wheels will reduce the scrub and therefore, the steering efforts. I've never really thought that the Z steers hard with its manual steering and zero offset 225 max performance summer tires.1 point
-
1 point
-
1 point
-
Last time I was on this forum you called me a "troll". Have I been upgraded? Listen, anyone who thinks they Know It All about these cars simply doesn't know how much they don't know. I'm always interested, and willing, to learn. I certainly don't think I Know It All, and nor would I even want to. Where would be the fun in that? There's always something new to learn, as you have so artfully demonstrated of yourself in this thread.1 point
-
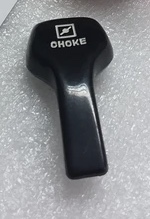
Before the DEA sweeps down on me…that is a CHOKE lever handle I am looking for.1 point
-
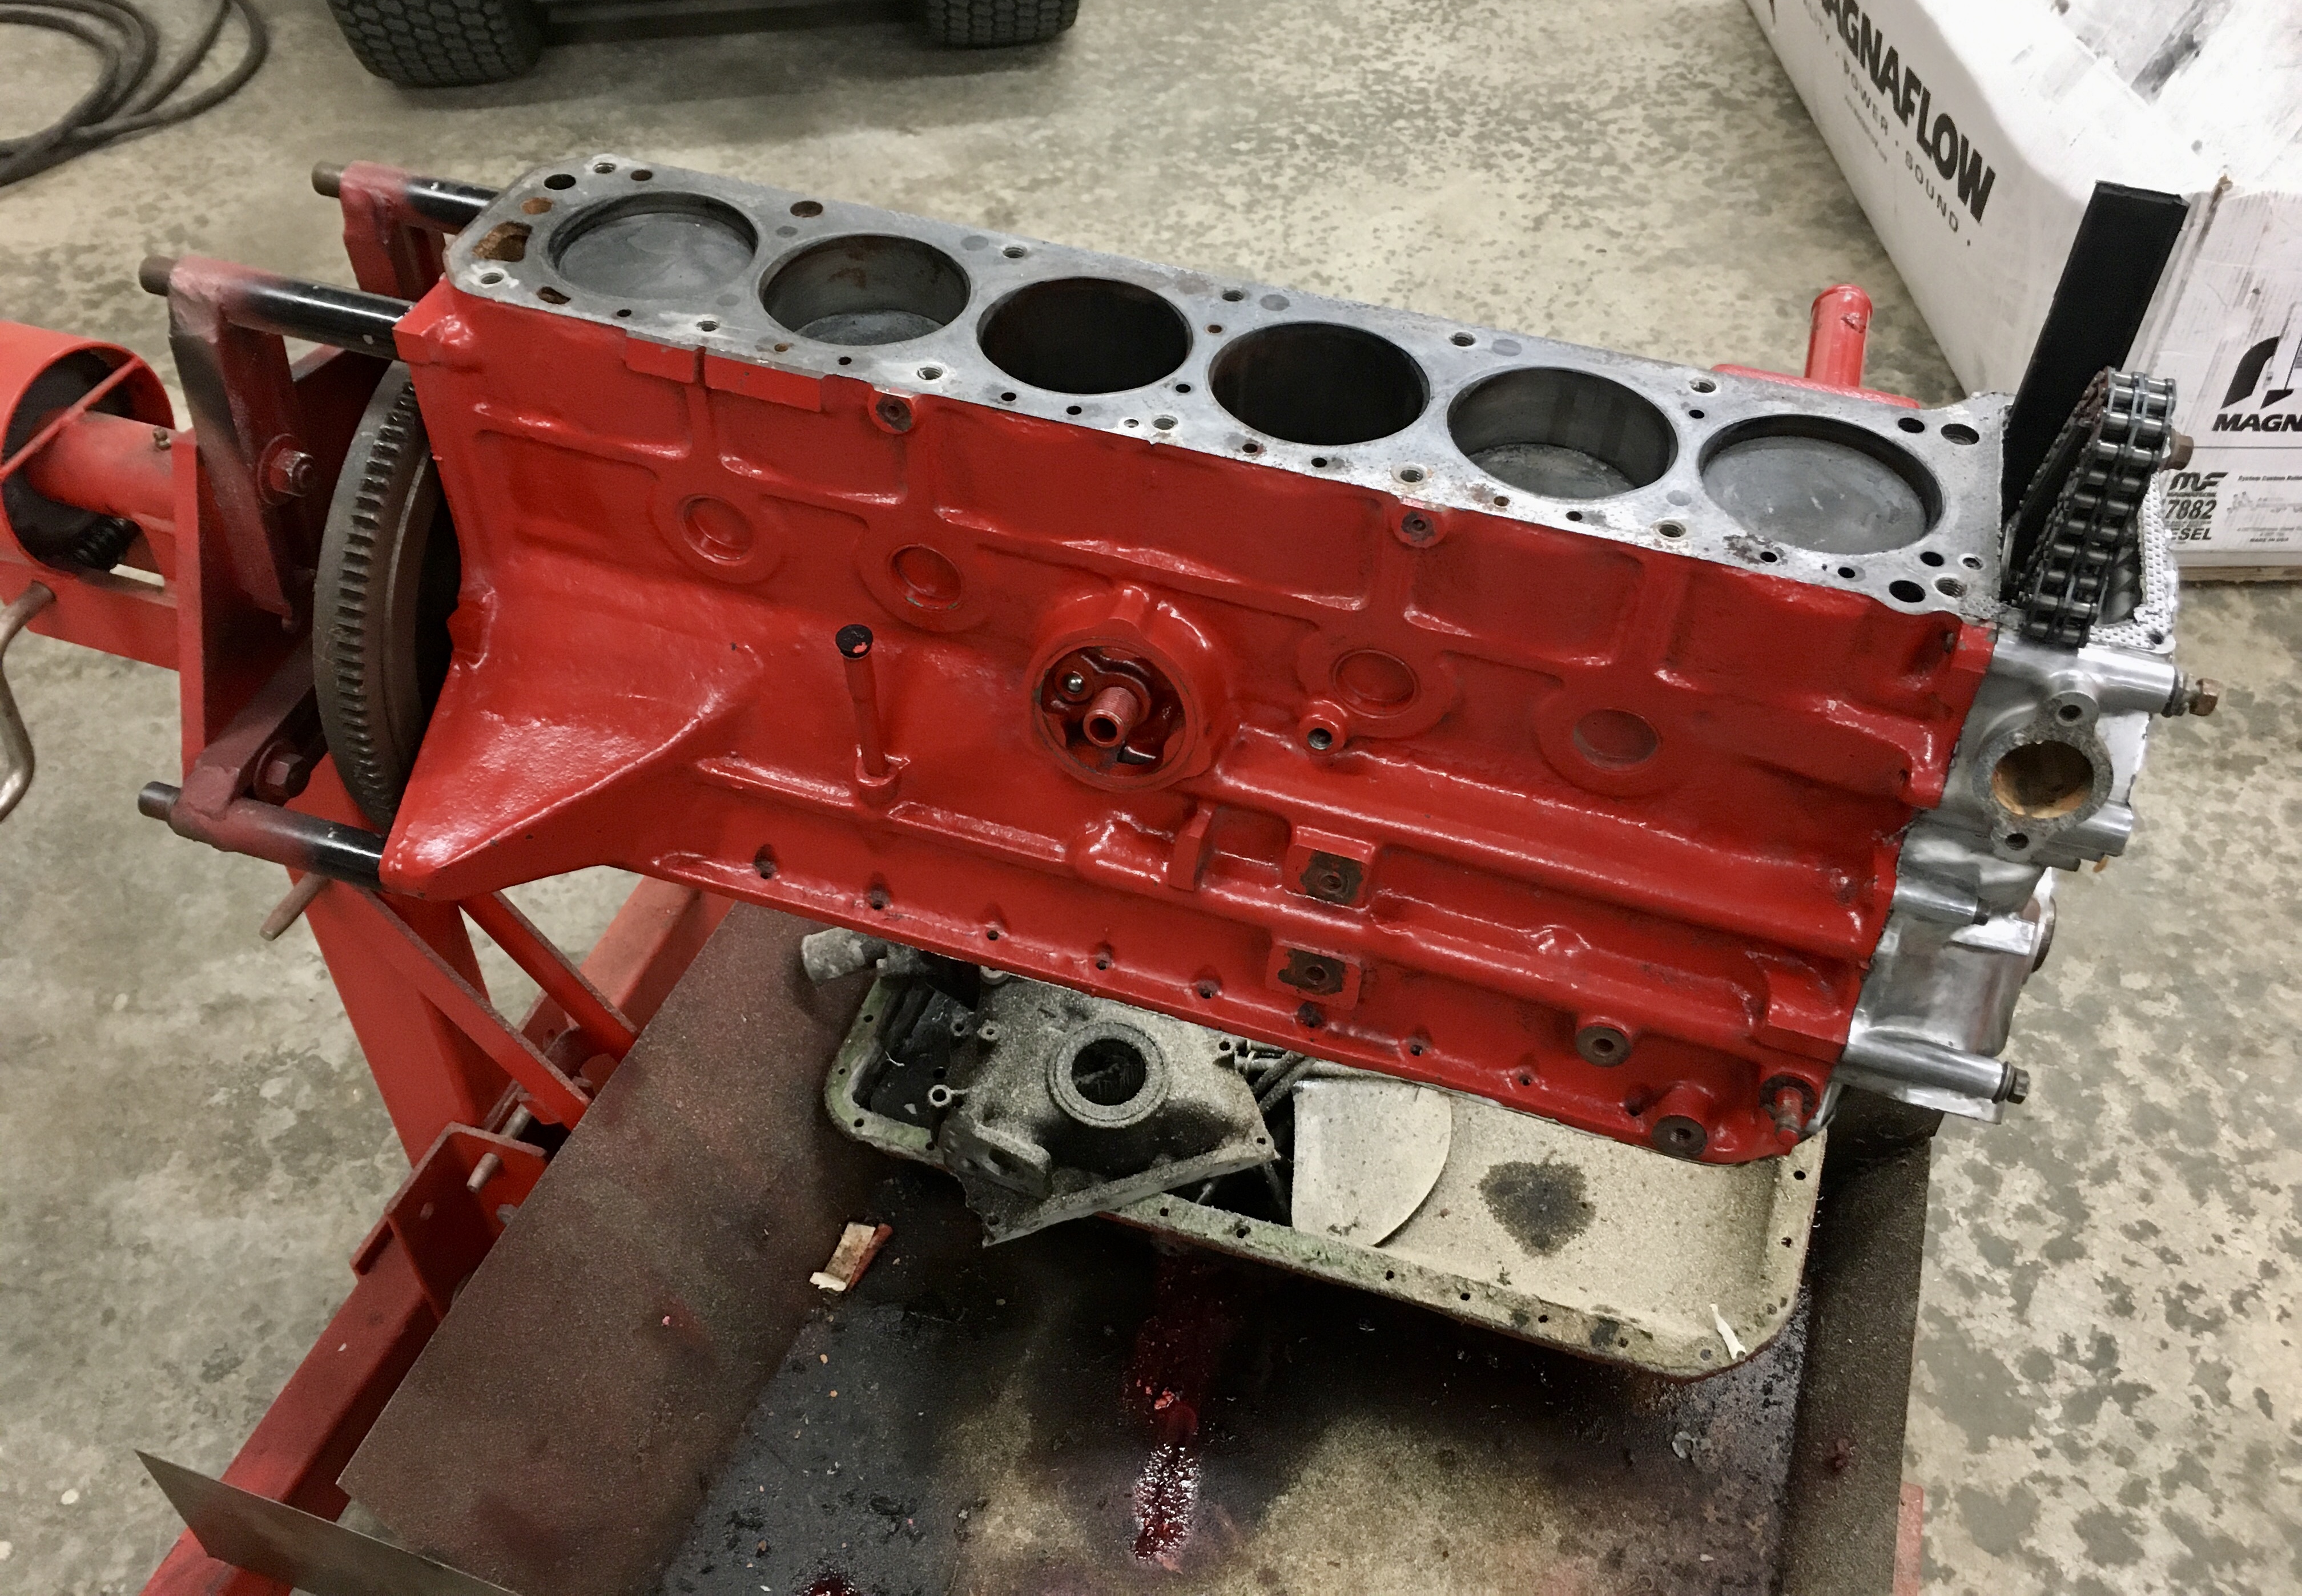
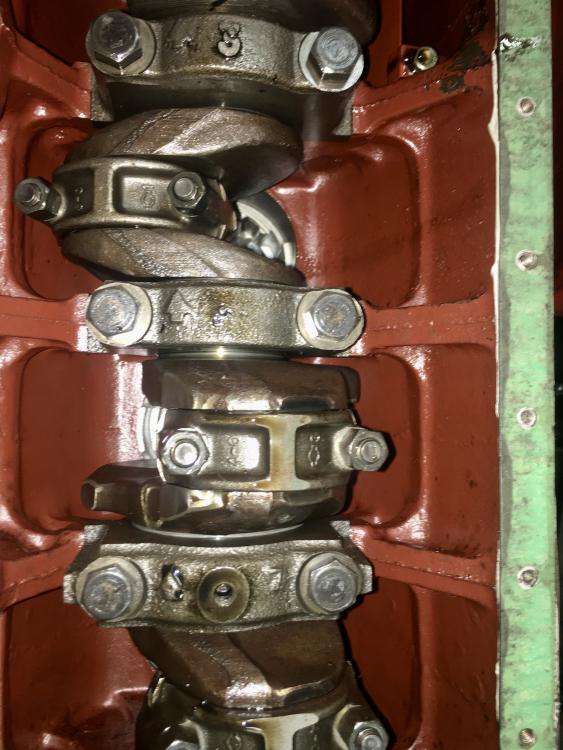
Took a different look at what to do so I can get my brown 72 in driving condition for the summer. I was building this engine for the car when I was married to Mrs. Racer 1.0. The bottom end was done and I had started on a head for it when we split up. Right after that I was at Portland with the race Z for an ICSCC meet and had a crankshaft break. I was leading the points in my class, and the next meet was Pacific Raceways the following week. I didn’t have time to build another bottom end, so I swapped the head and other stuff and ran it for one weekend. Took the head and other stuff off a couple weeks later and put it all and a fresh race prepped bottom end. That was about 24 years ago. It is an L24 P30 block, bored 0.030 over. The cylinders are eyebrow clearanced. The crankcase was smoothed and sealed with Glyptal. The head, intake and exhaust from my race car have already been on it once, so they would feel right at home. I don’t plan on returning to the class I ran the race Z in again, so that setup is available. Stay tuned, eh?


 1 point
 -
We have discussed differences in the dashes through out the various years, but I’ve never seen a discussion about the differences BEHIND the dash pad. There are wiring differences, 73 dashes have the lit controls and pull hazard switch, but I’m talking stuff you REALLY don’t see. This week I’m swapping a cracked dash pad for a Hung Vu reproduction dash pad on a fairly early 1970 240Z, VIN 27xx ish. I was having trouble fitting the old dash frame into the new dash pad, and wondered if the issues are related to the expected minor differences in the fancy new dash pad or something unique about the frame itself, There were a couple of screw holes in the HCP area that were obviously not in the same place in the new pad (there are lovely metal bars built in where the frame to pad screws bite, predrilled too!) so I wondered what else might be “unique” Downstairs I go to get another dash, this one from a 72. Removing the steel frame from the dash pad and comparing it to the early frame there are several very obvious differences. Most are related to strengthening the frame. I’m just going to post a series of pictures that compare the two. BTW, the 72 frame fits the new pad much better. Not entirely sure why.1 point
-
0 pointsHello Recently broke the choke lever handle on my 72. Trying to repair, but it is not going well. I am looking for a replacement. I have attached a photo of a correct handle for 72. contact me if you have one for sale. Thanks Jim
 0 points