Leaderboard
-

wheee!
Free Member7Points4,607Posts -
KenFirch
 Subscriber
 5Points271Posts
 -

siteunseen
Free Member4Points15,115Posts -

CW240Z72
Free Member3Points229Posts


Popular Content
Showing content with the highest reputation on 11/06/2020 in all areas
-
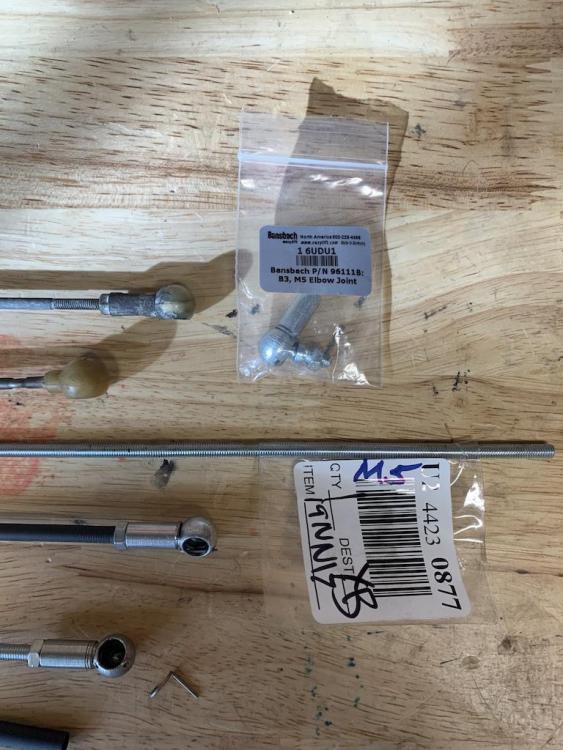
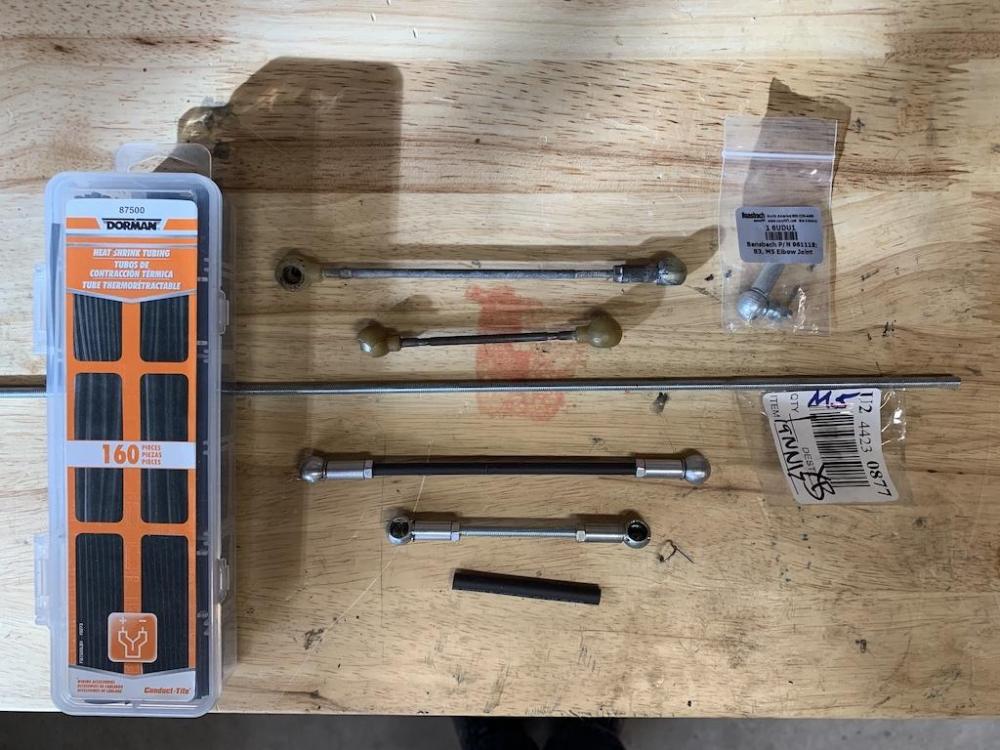
5 pointsOne of my throttle linkage rod ends was broke/worn enough that it occasionally popped off while driving, not much fun in traffic. Saw this thread that talked about salvaging the old plastic ones to create new linkages, but did this instead. Bought some 8mm-M5 ball sockets from Grainger and M5 threaded rod. I've seen them or similar on Amazon also, but wanted to see them before buying. Sockets have a wire lock pin, which definitely lock them onto the ball, but they are also pretty tight without the wire. I wish I had a lathe to remove the unused threads, so I used some shrink tubing to cover them up. Not factory looking, but works great if you're not into the originality thing, or just need time to round up some unobtainium originals.
 5 points
 -
4 pointsIn other news, I finally got the front garage converted from standard 8’ lift doors to 12’ lift doors. Same size opening but removed three feet of angle hangers from the ceiling along with the centre pull openers. Now I have doors that go to the roof and no messy hangers all over the ceiling! Lots of room for the future four post lift...! The direct drive side openers are super quiet and have built in Wi-Fi and MyQ as well.4 points
-
2 points
-
2 points
-
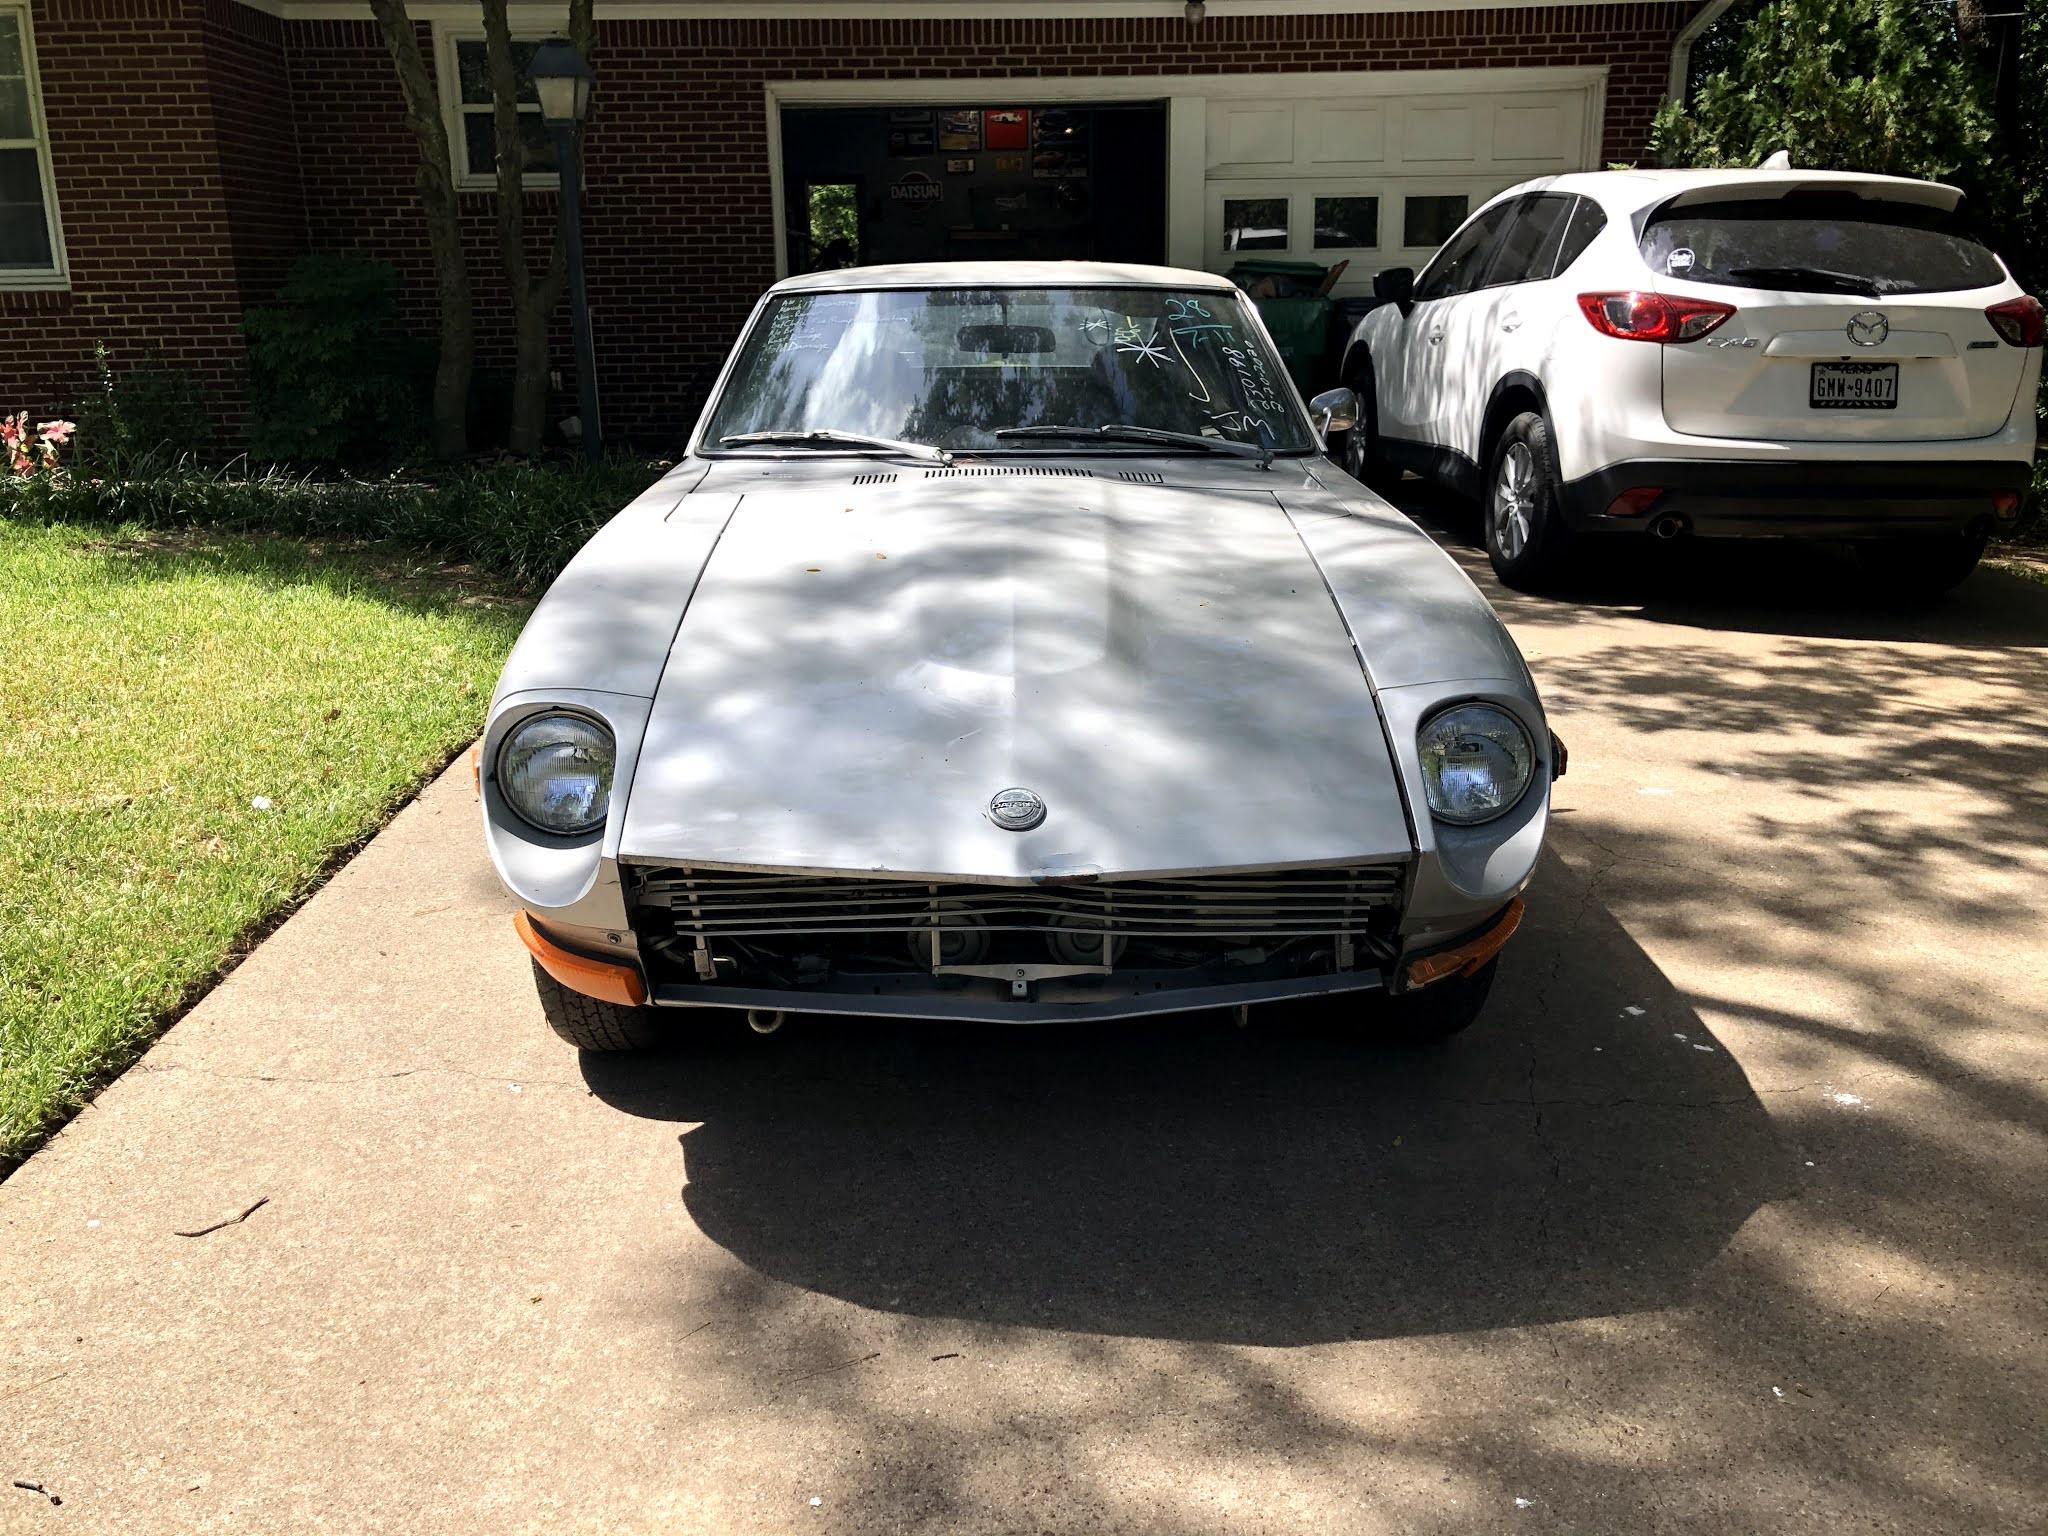
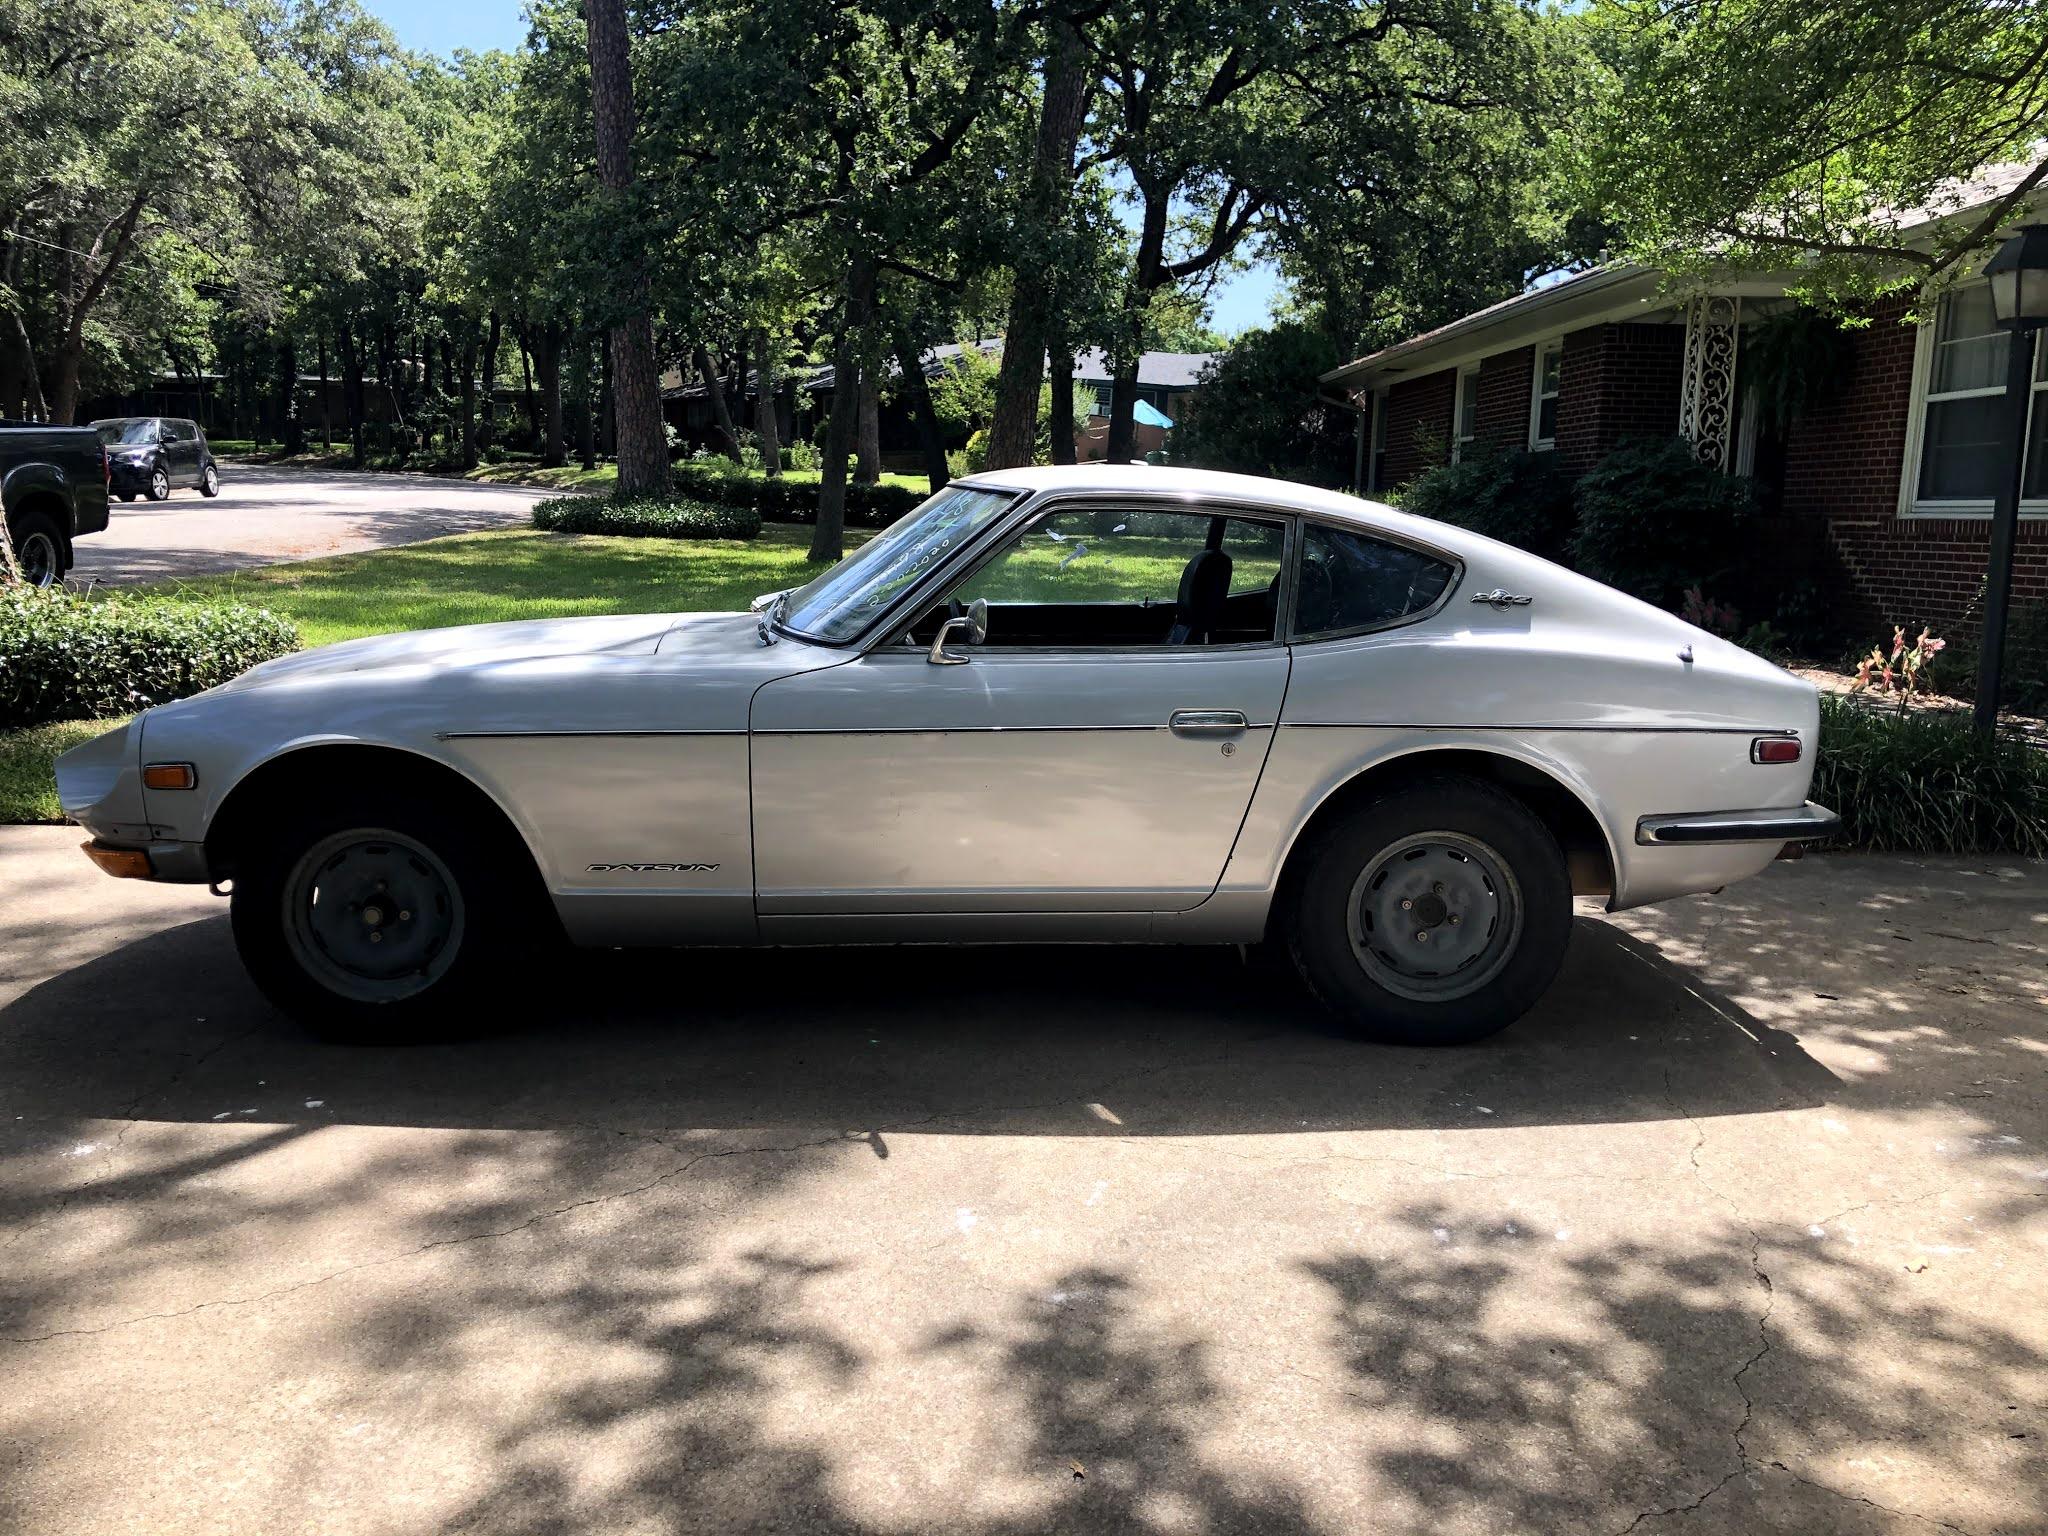
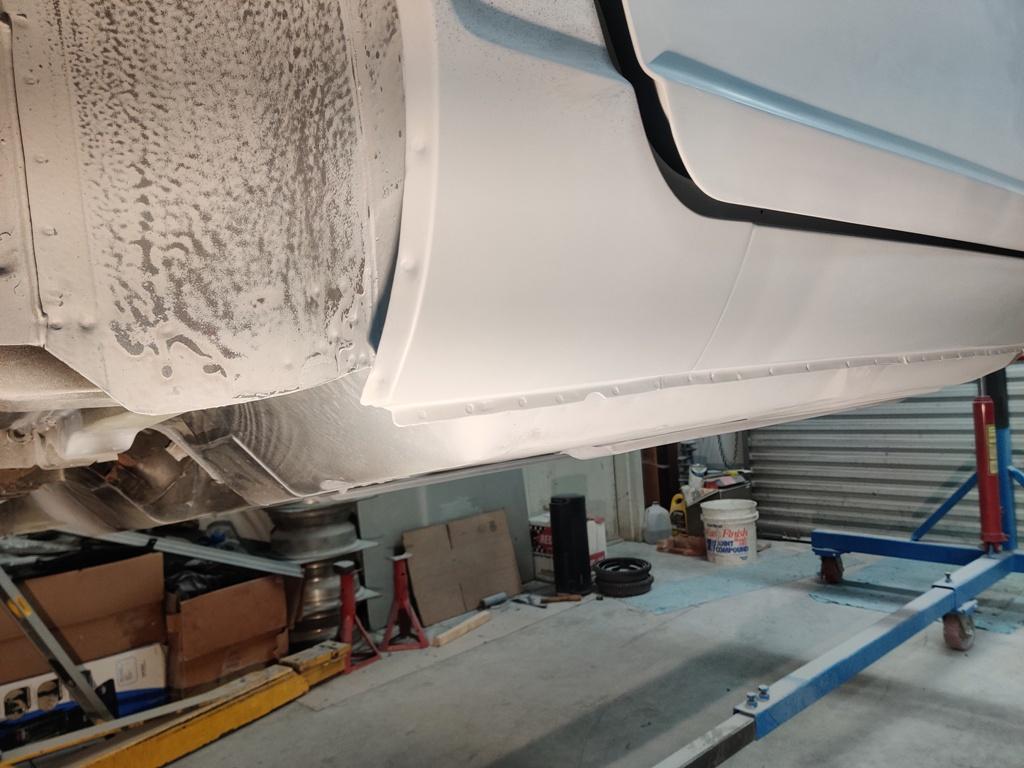
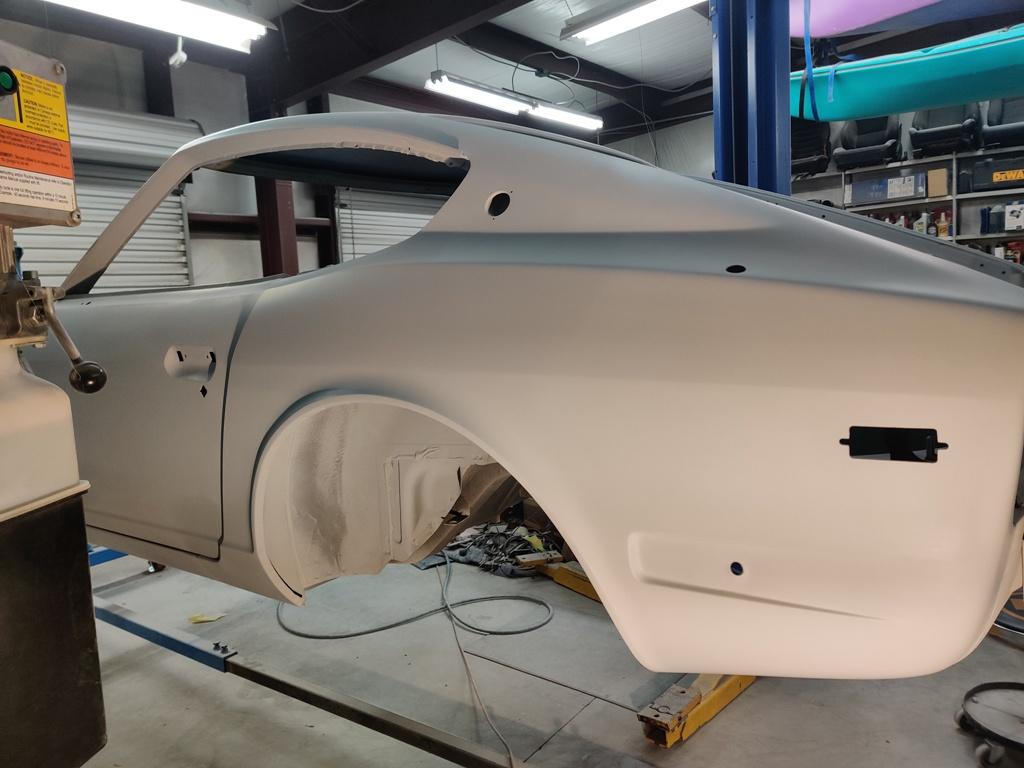
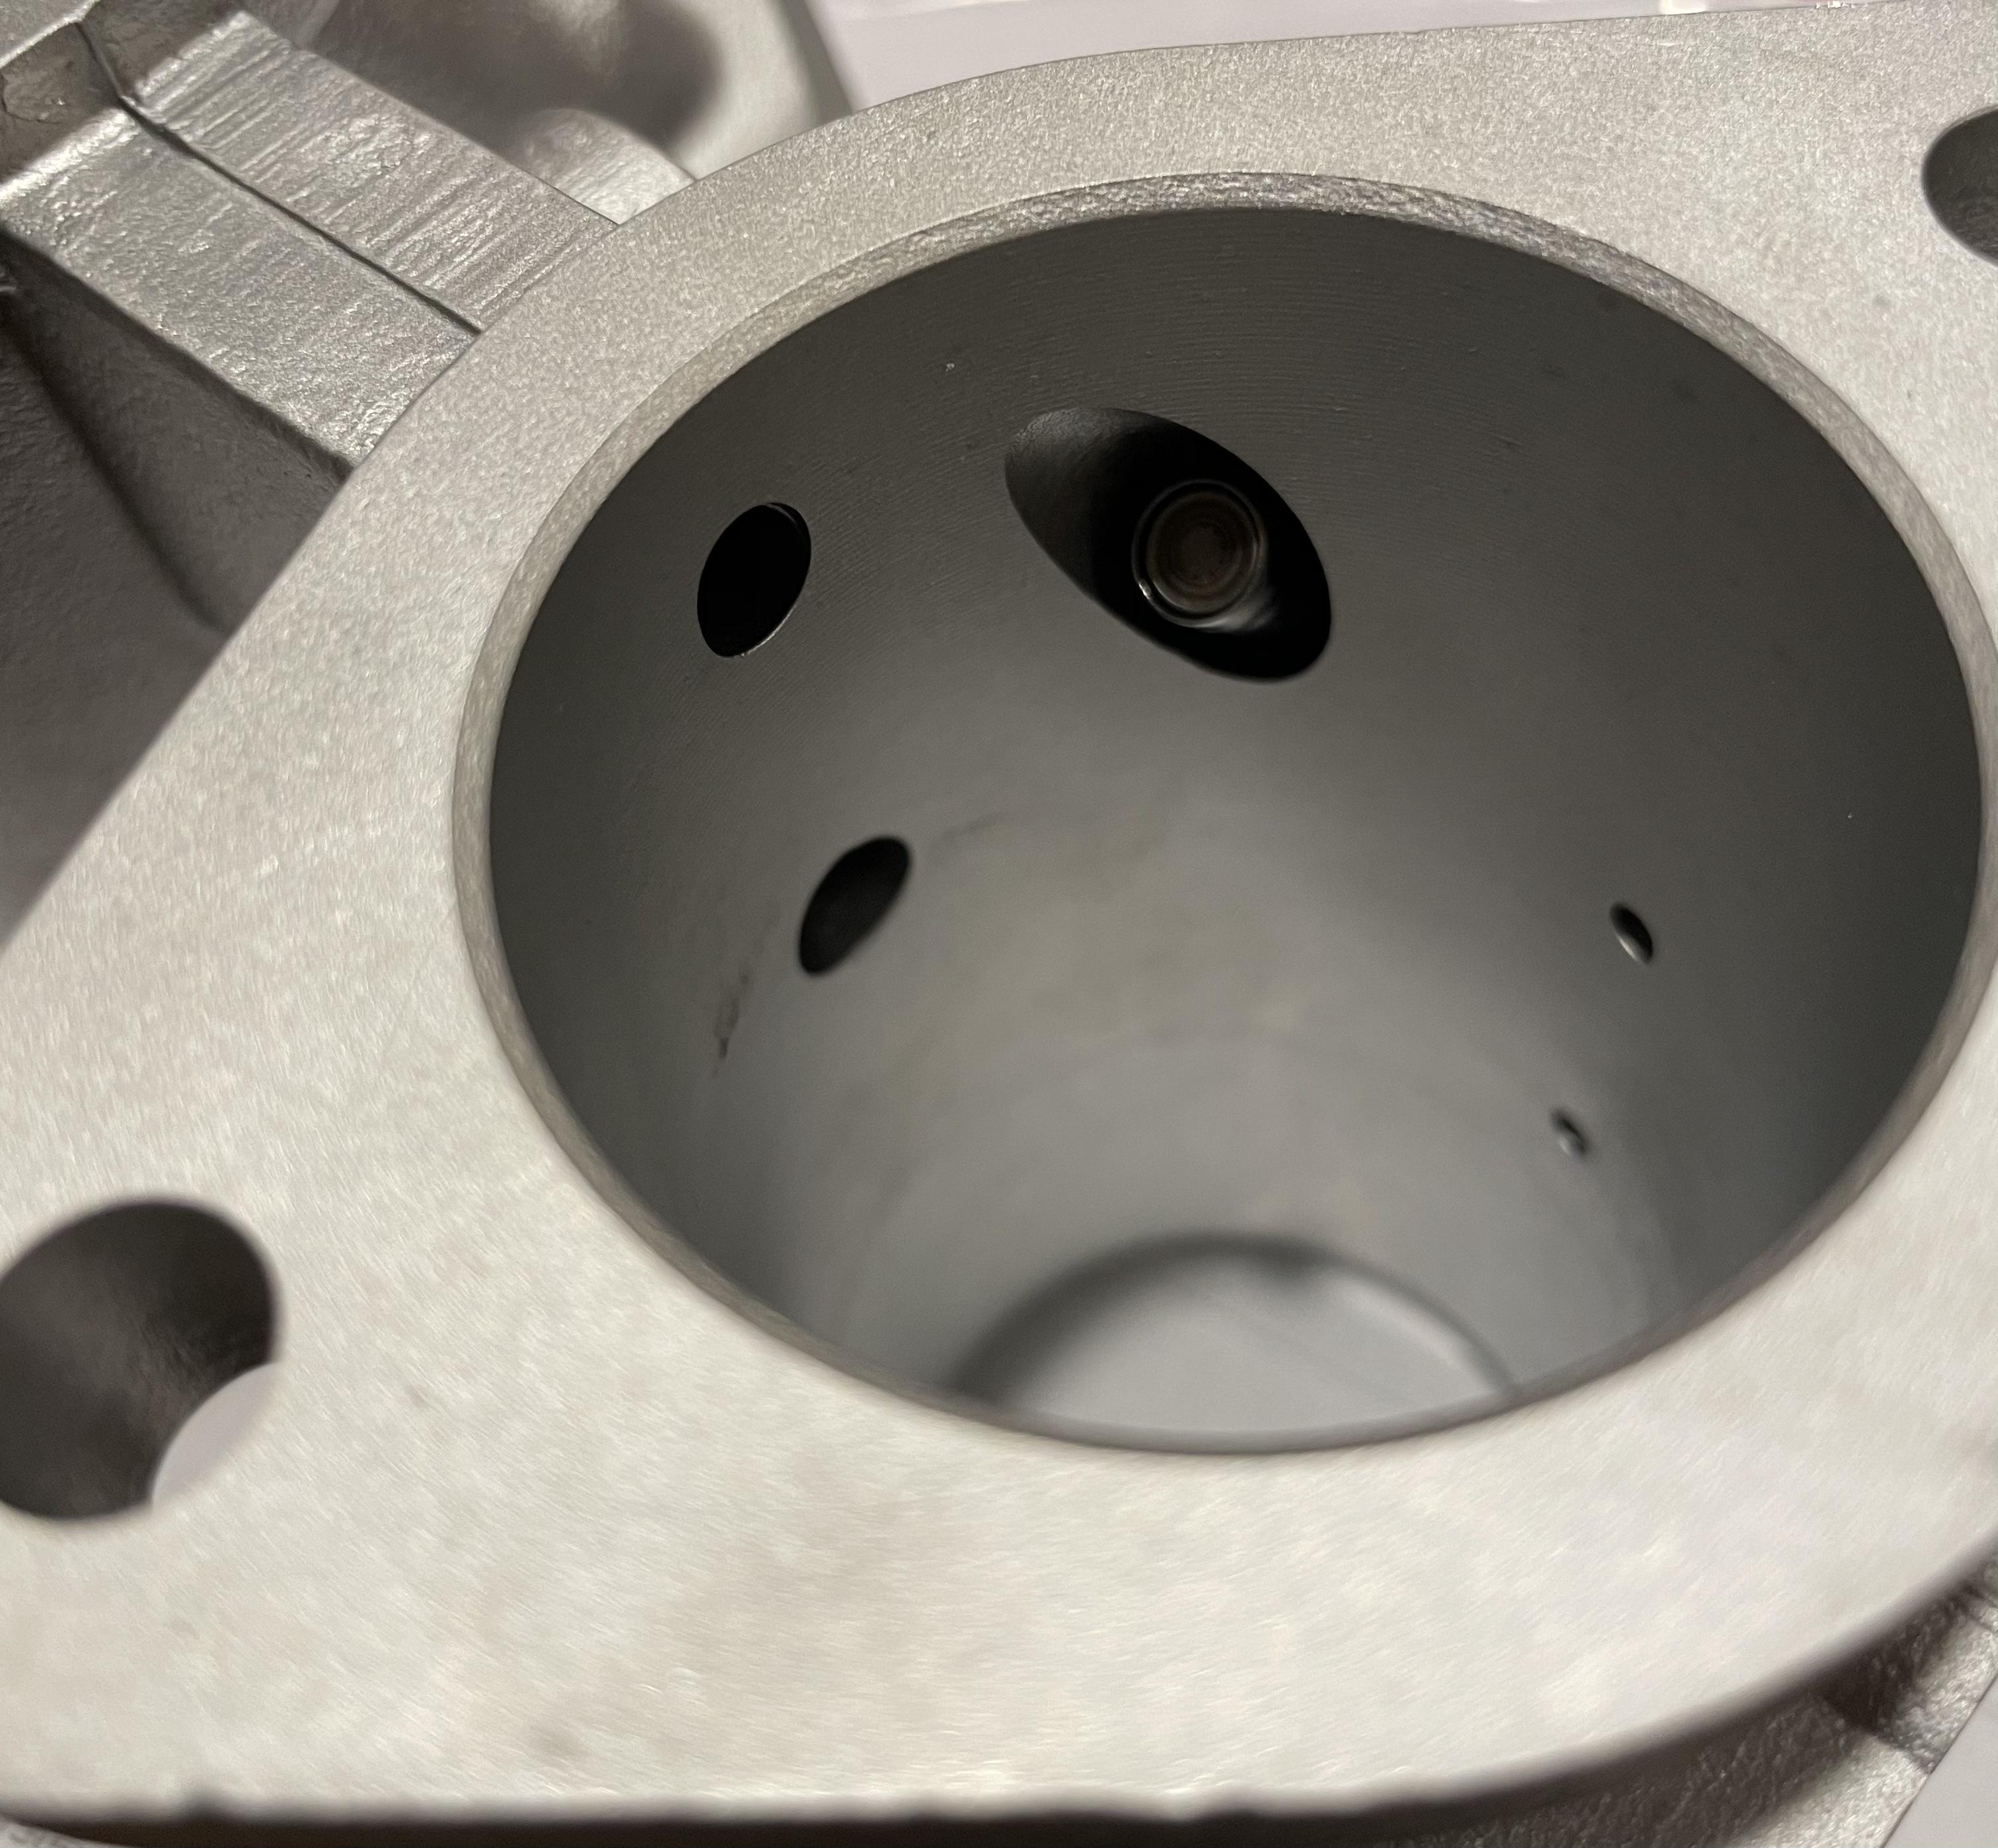
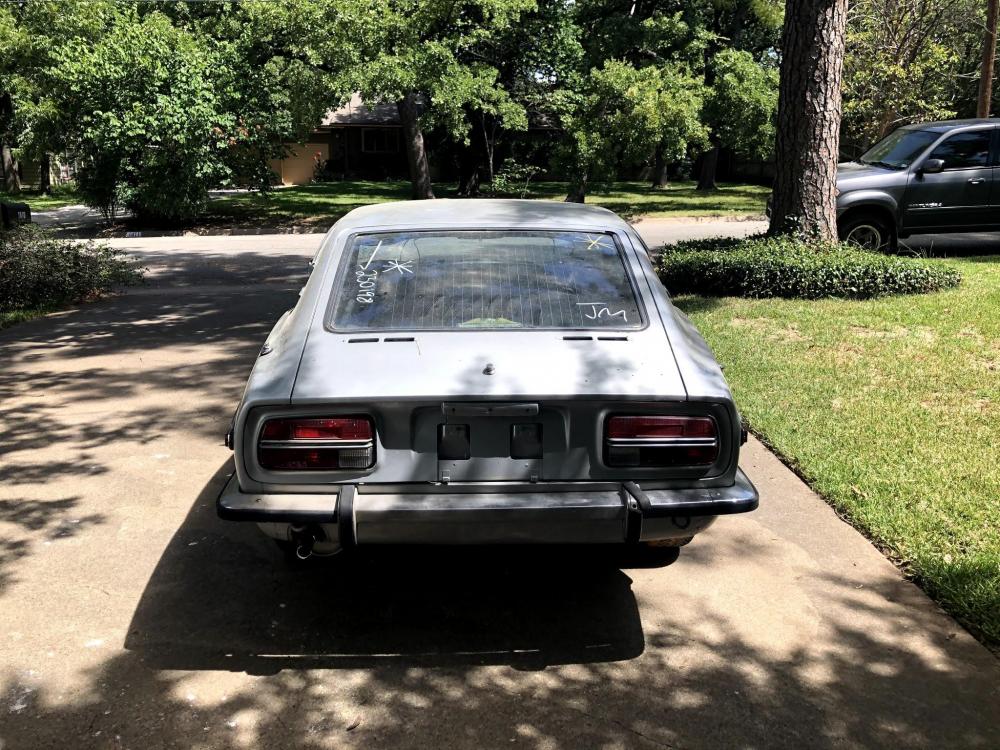
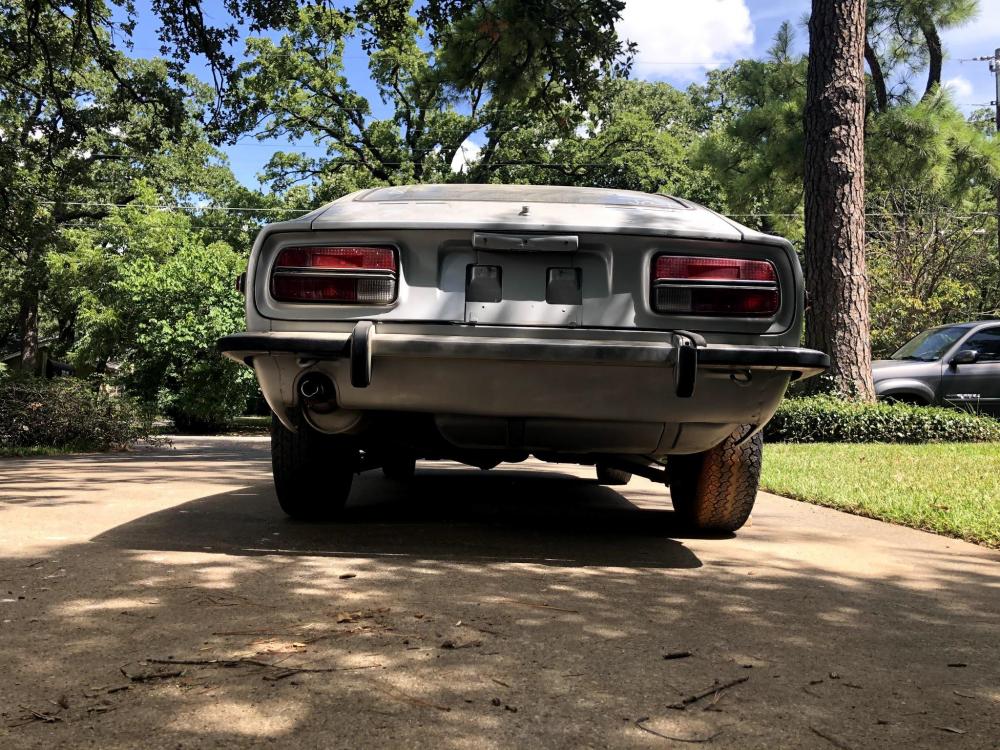
2 pointsWith the introduction post out of the way, here are a few more photos of the Z and more information about it as we start to dig into it. Car is sitting on the original steel wheels and the "D" hubcaps were stowed away inside. The RHR steelie was actually the spare (other steelie with the blow out tire in the back). It had a good amount of surface rust on it, but the spare wheel well cleaned up just fine and blasted cleanly (pics to follow). Other details on the Z: Original exhaust is still present and will be replaced with a similar setup Tail lights are in great shape with no chips, cracks, or discoloration Rear bumper is nearly perfect apart from the rubber coming off the over riders


 2 points
 -
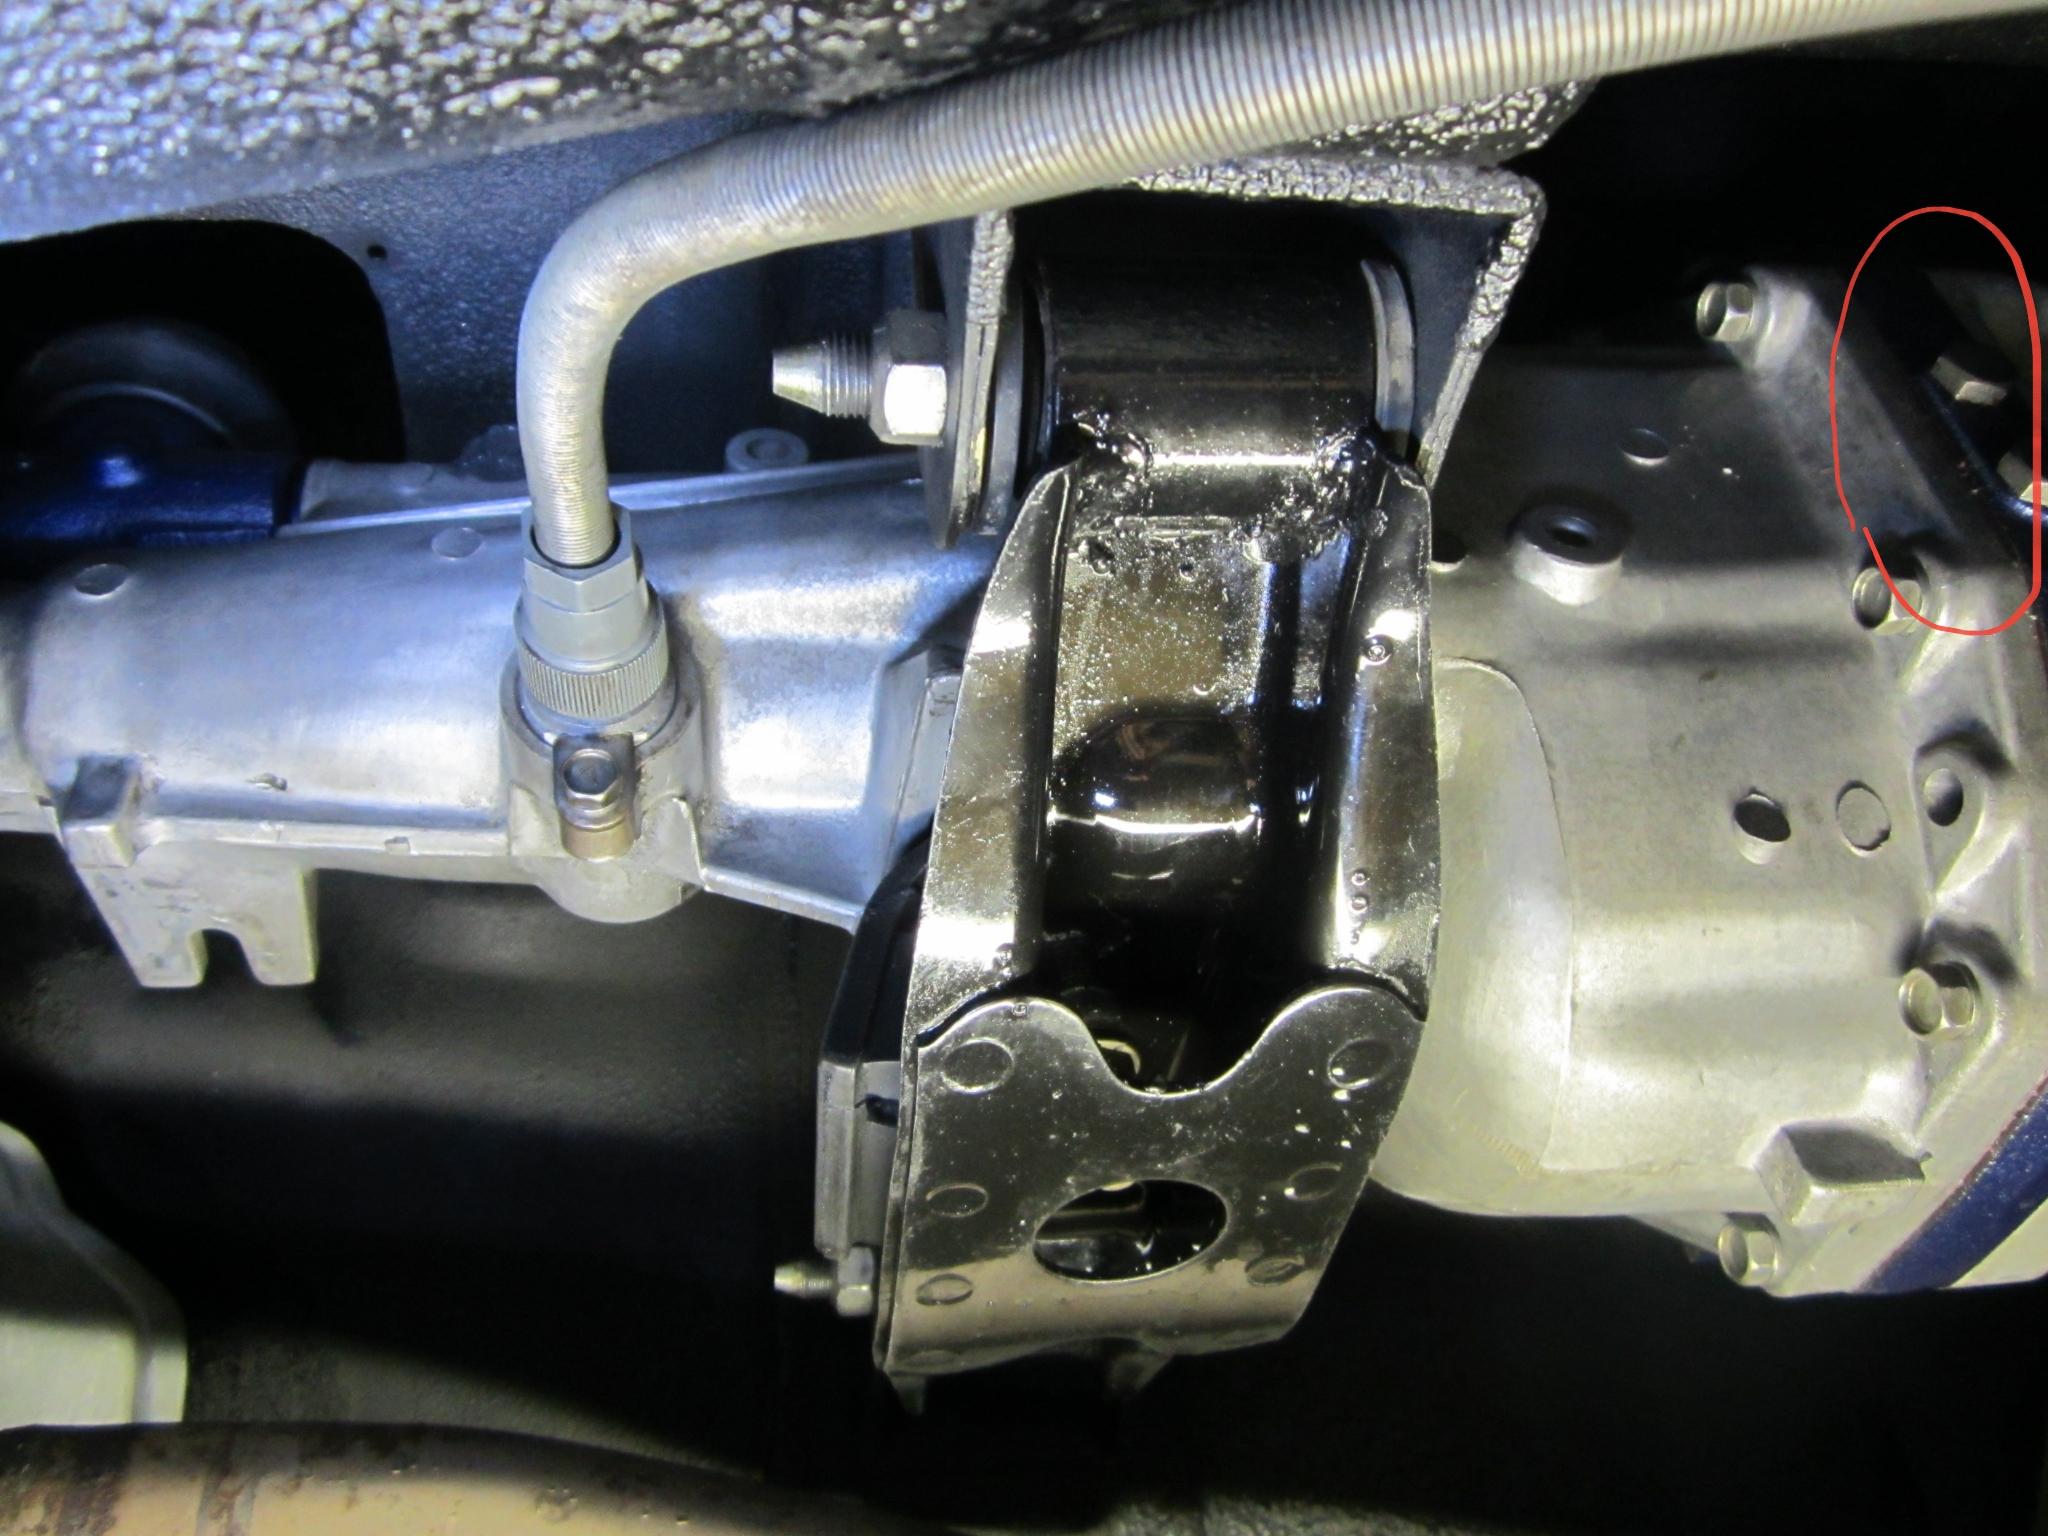
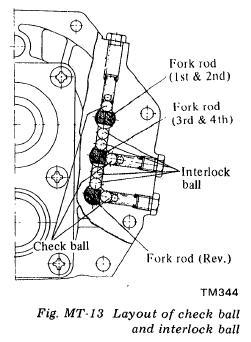
Here is a photo where you can just see the two side detents in the red circle ( 3rd/4th and 5th/reverse) the other one (1st/2nd) goes in from the top and is the hardest to replace. It helps to lower the rear transmission mount and crossmember to give yourself more room. You will also need a small pencil style magnet to remove the spring and ball.
 2 points
 -
2 points
-
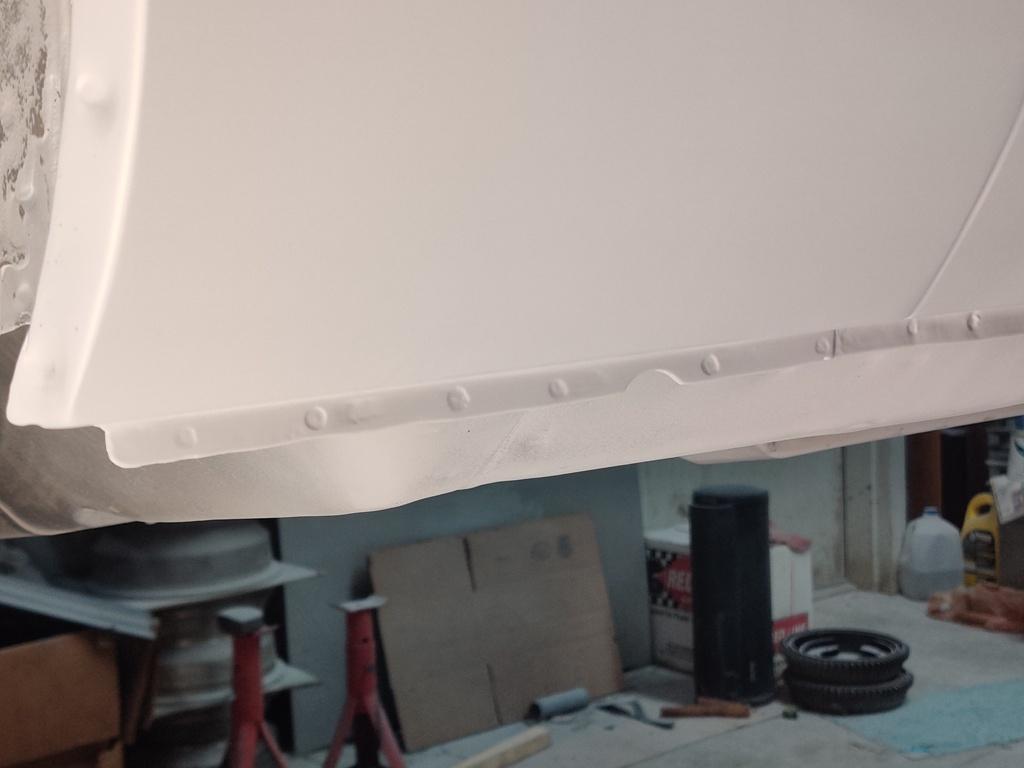
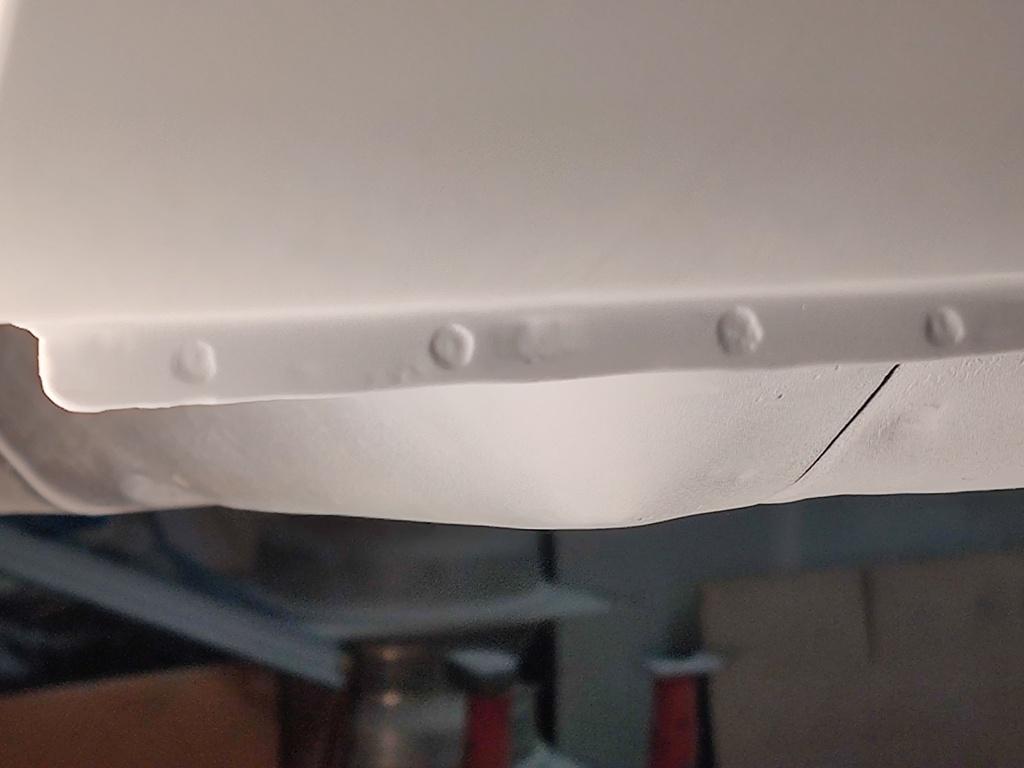
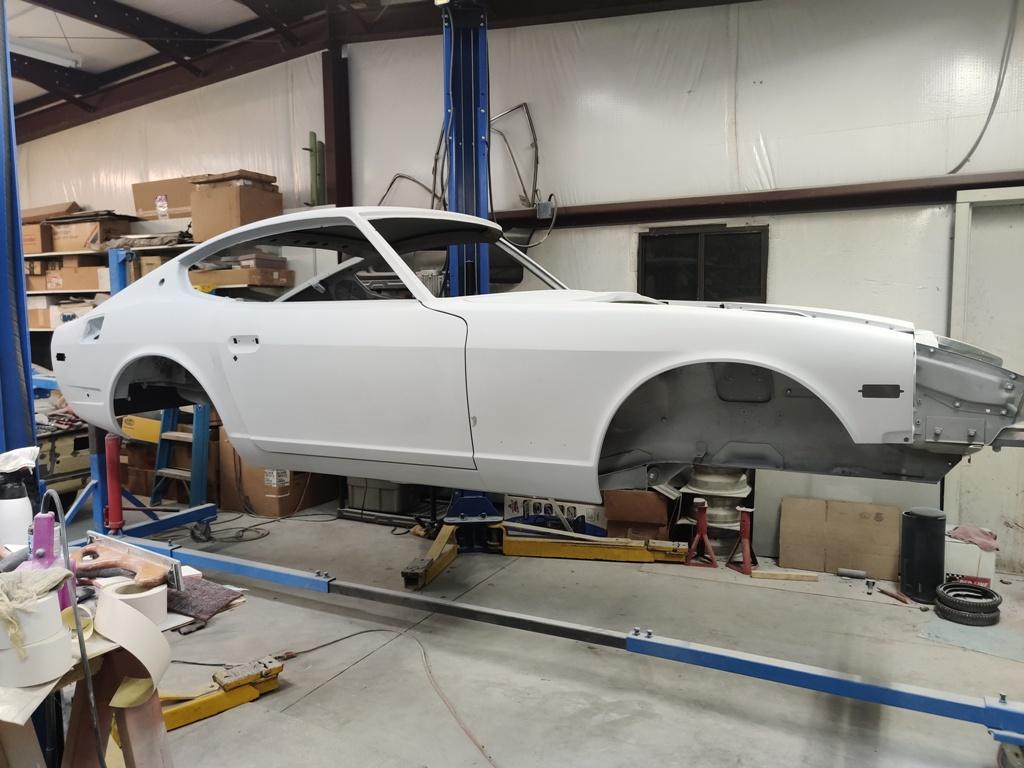
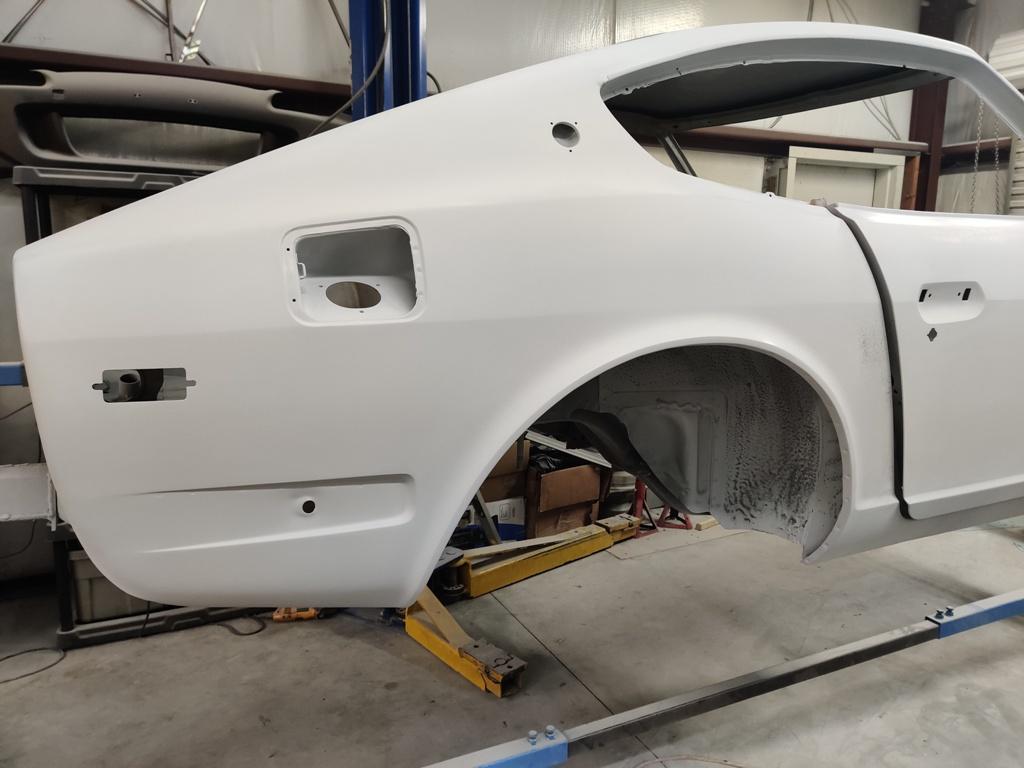
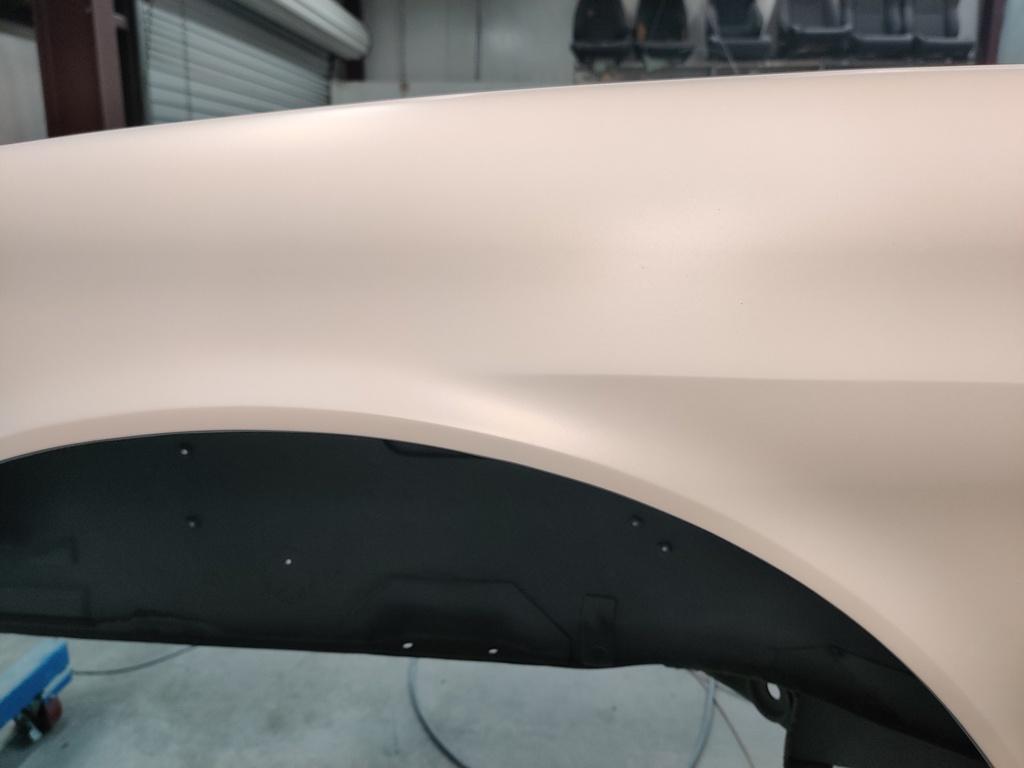
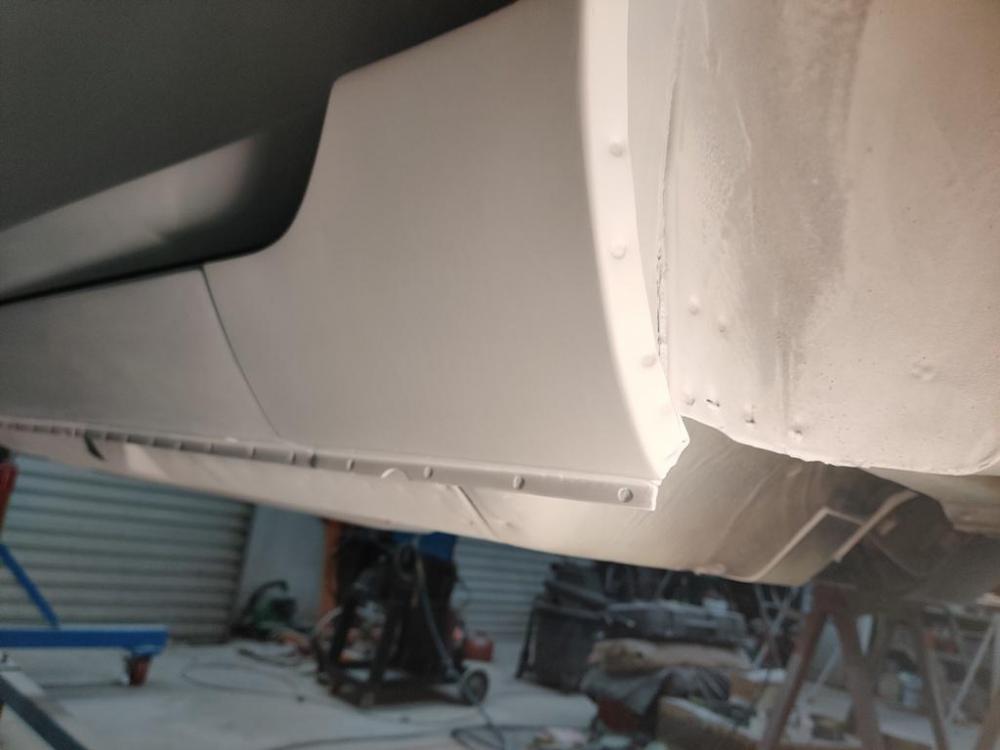
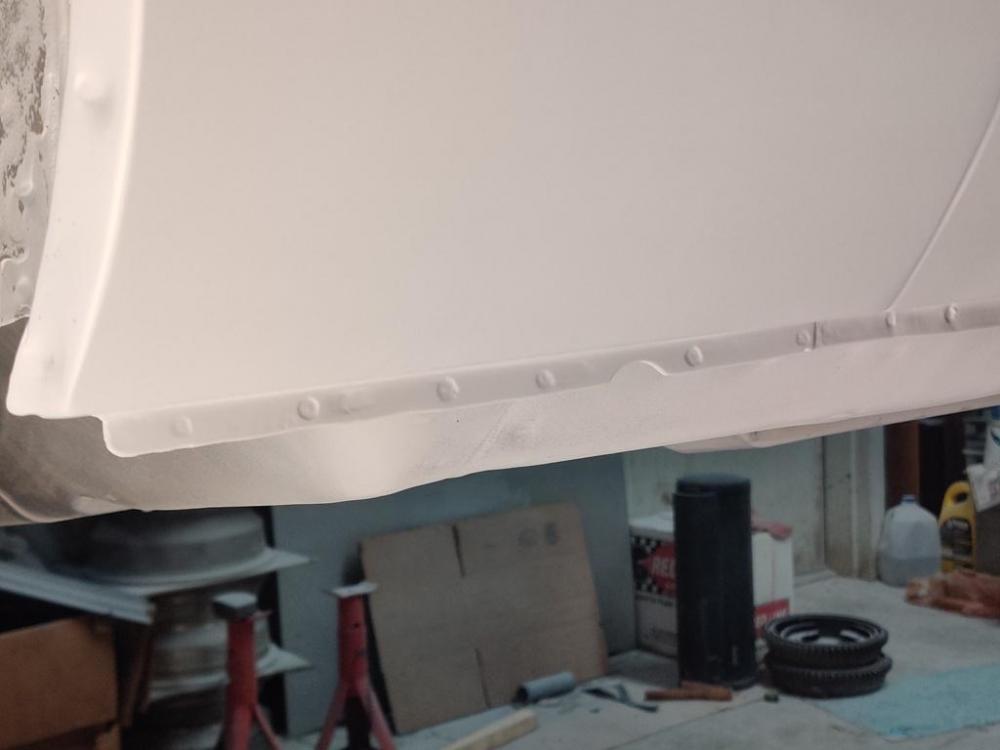
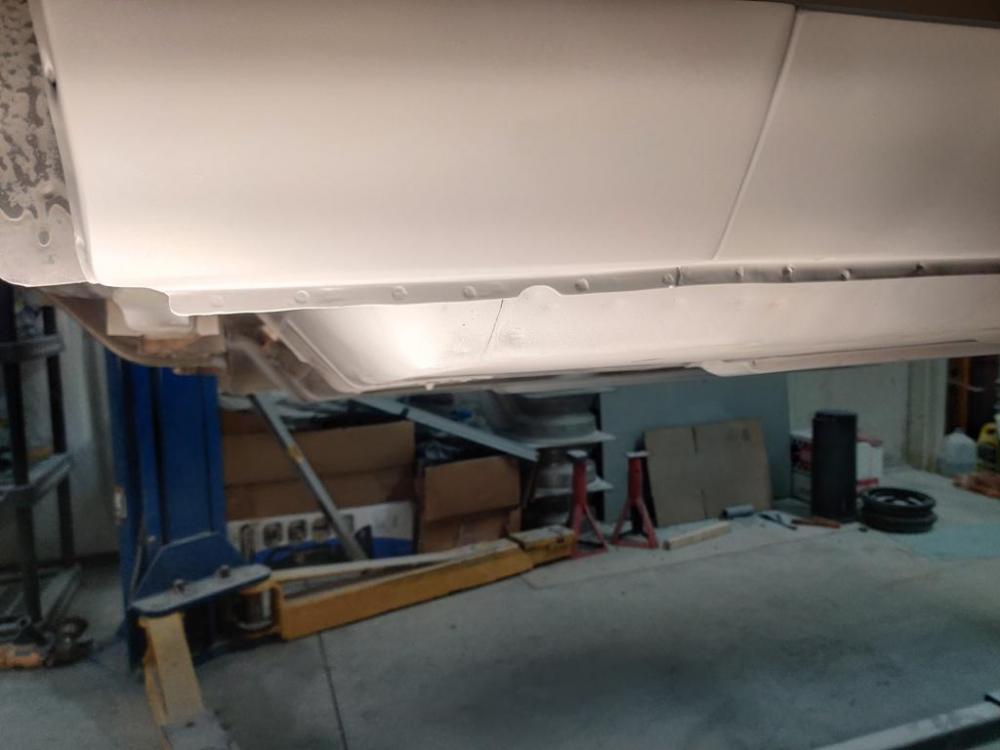
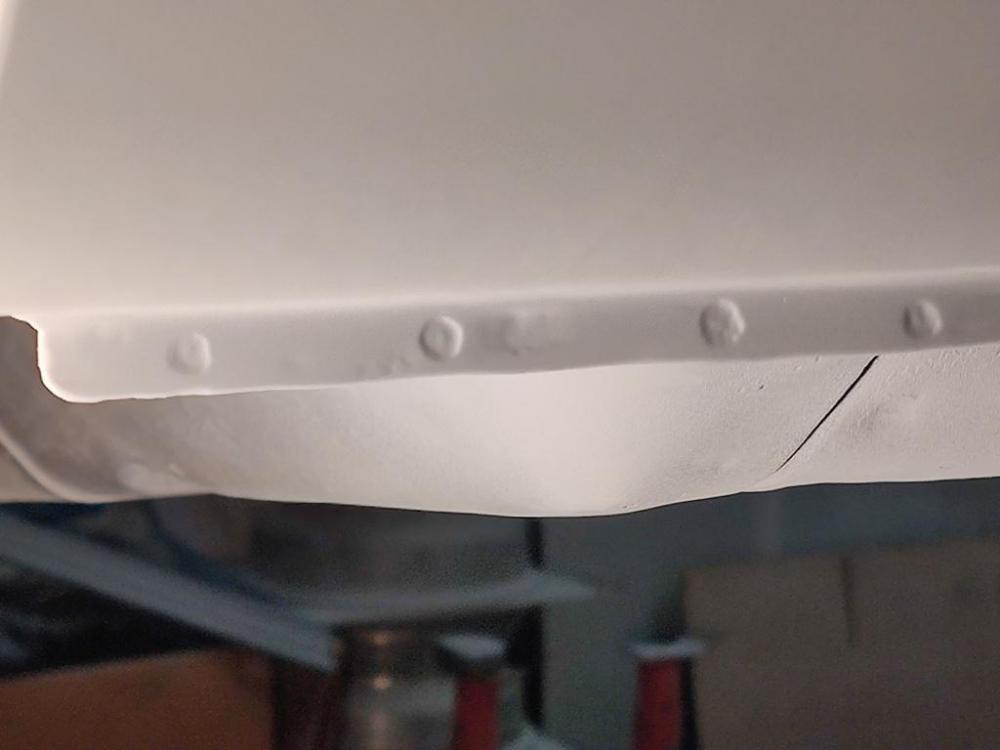
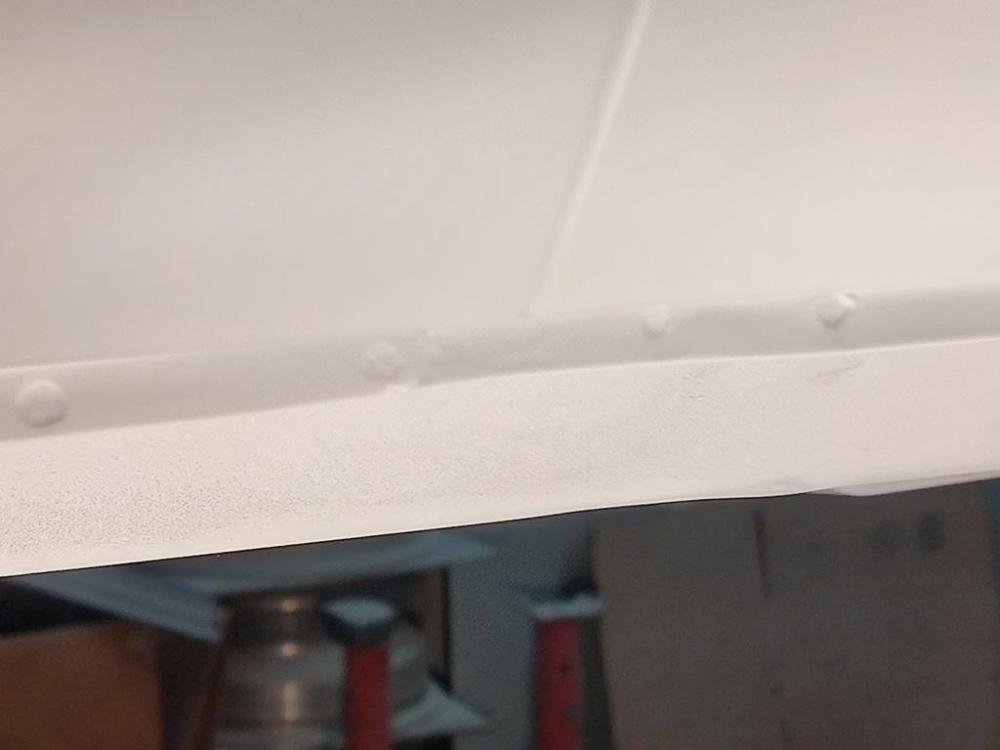
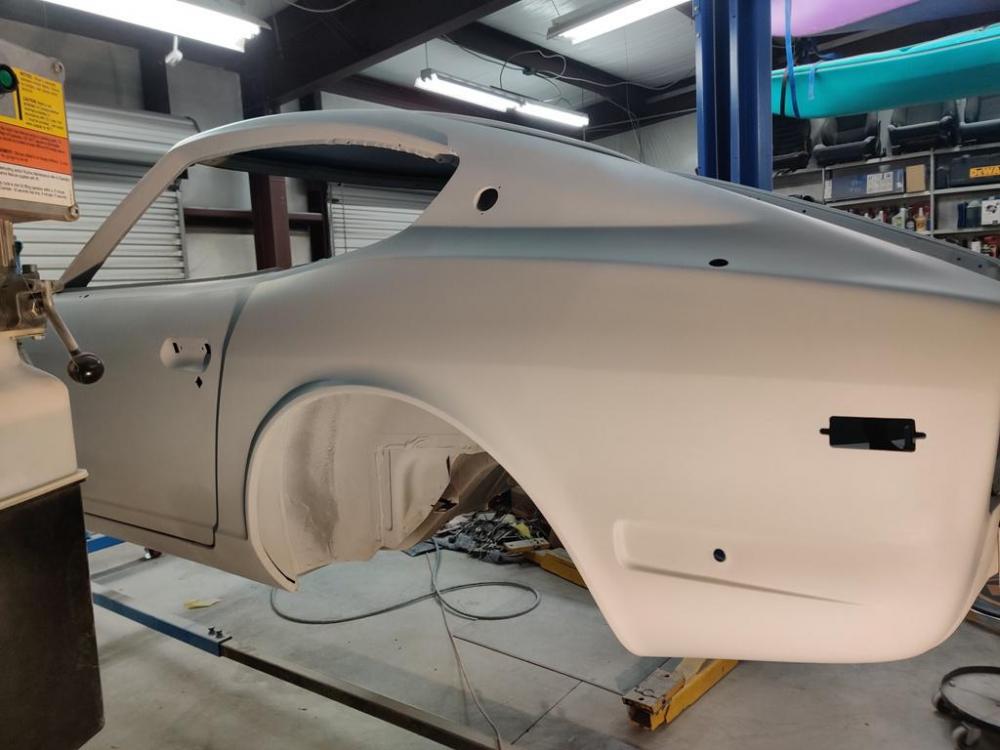
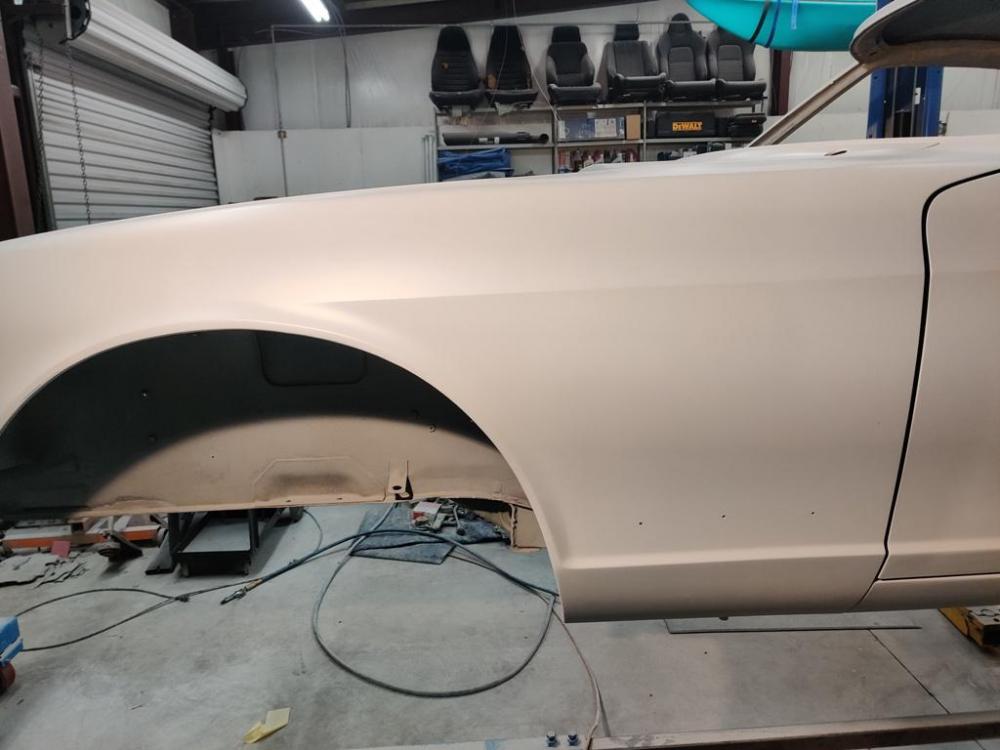
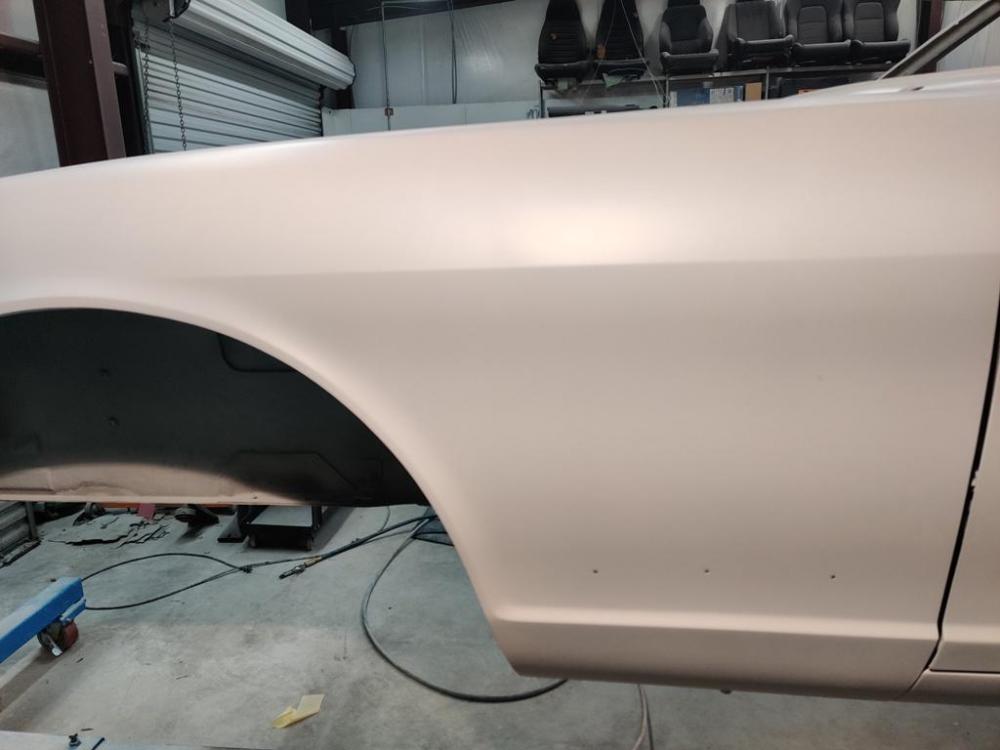
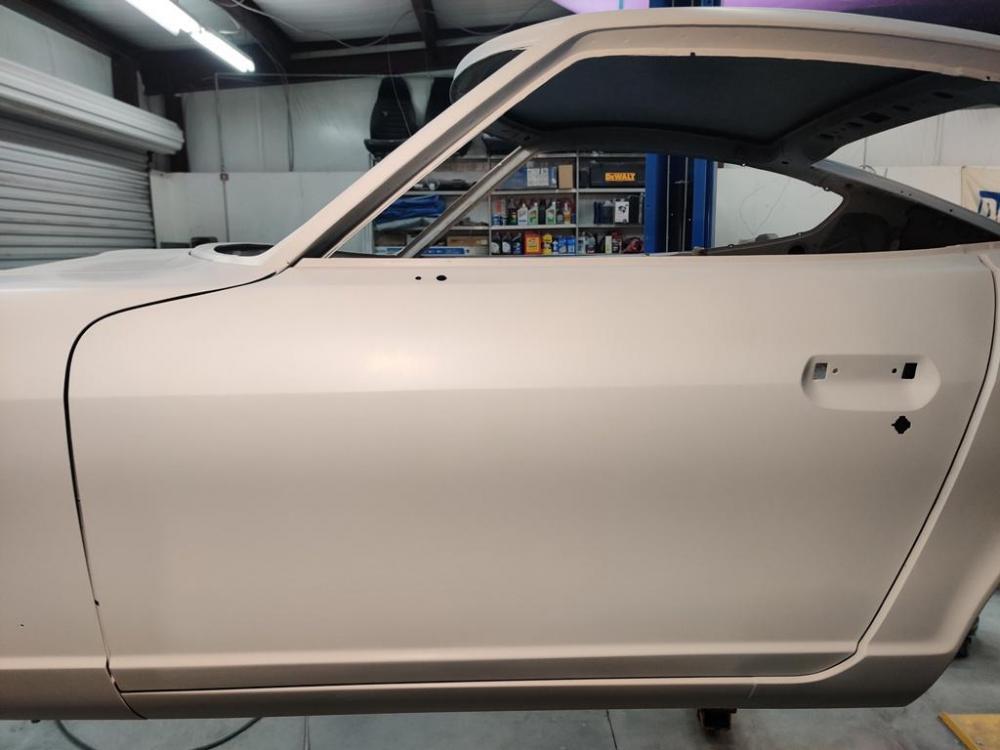
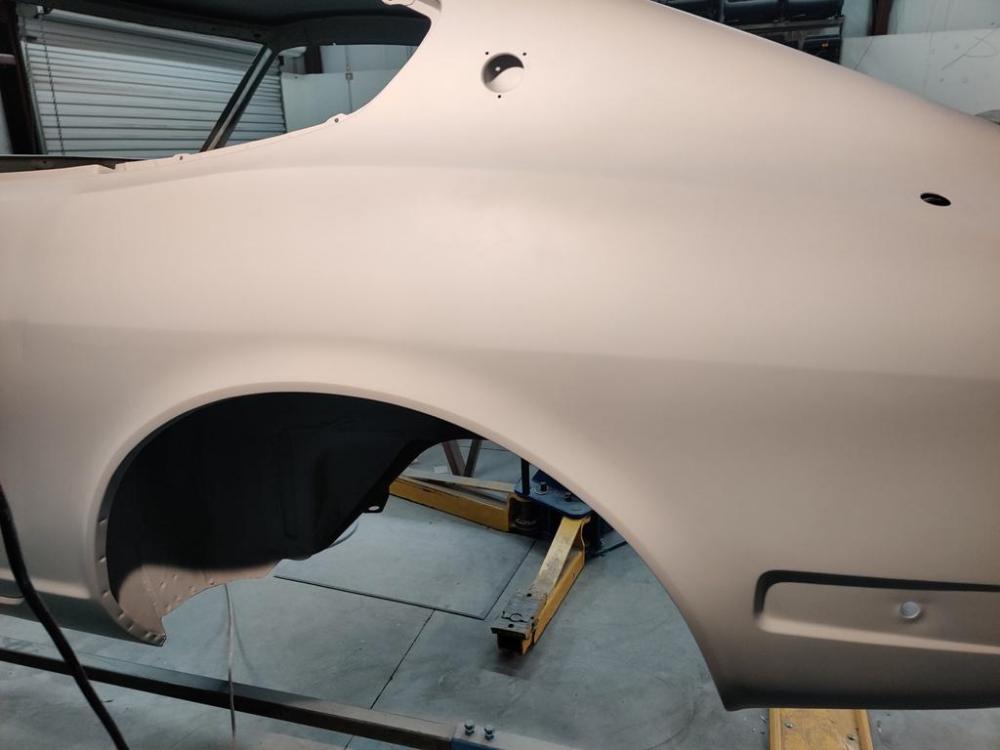
I took about a week and a half off and went to Florida for vacation. Lots of beach, swimming, and biking. Felt good to set aside this thing for a while. I am back on it now with blocking and primer application continuing. Getting panels near perfect is really a lot of work. How do you like my spot "welds"? 🙂 You may recall that I used the Mig welder to attach the cover panels (reused most of the original on right side, and fabricated a new one for the left). I used rosette welds on the bottom edge (drilled holes and filled them in with weld). However, I want the original look here on this bottom edge. Looks pretty good, right? All of the ones on the bottom edge where the quarter panel attaches to the rocker panel are fake. In the third picture just above, the two on the left of the visible joint are fake, the two on the right are authentic factory welds. To create the fake ones, I waited until I had applied many coats of primer as normal part of doing the body work. Then, in the original factory locations, I used a dremel tool and a round cutter bit to remove a circle of the primer back down to the base metal. And then I followed that up with another coat or two of primer. The spot welds on the wheel opening flange are authentic factory ones. Only the ones along the bottom edge where the quarter panel attaches to the rocker are fake. Authentic ones pick up again in front of the visible edge where the quarter panel to rocker panel transition occurs. The belt line is looking much better now. I like how they have turned out. I won't have to give this line much more attention before painting. This is the case for both sides of the car, from fender, to door, to quarter panel. I still have some low spots on the passenger fender and door to eliminate. After that, I should be able to prep the underneath of the car for undercoating. The tail light panel hasn't been worked yet because of the interference with the rotisserie. That will need attention before I can send the body assembly to the paint shop.


 2 points
 -
2 pointscan you describe the setup that results in the 45psi on #6? I am not sure I follow what a "live compression test" is. 45psi is for sure a problem. I assume the live test on the others was somewhat higher in psi readings? On compression test its all about being even or at least within 10% of the high number. My standard test is a warm engine, throttle plate open, fresh charged battery, use a remote starter, all plugs out, screw in type tester with a one way valve built in, then crank it till it hits highest reading, generally takes about 4 compression stokes to max out. Do this on all noting pressure, then I go back and squirt in some light oil, maybe a 1/2 teaspoon, take another reading. Look for even numbers wet and dry. IF you have an outlier, then do a leak down test, TDC compression stroke, pump up to about 100 psi with shop air, note leakage (should be no more than about 20% max) if more listen to exhaust pipe (exaust valve leaking) intake manifold (intake valve leaking) valve cover opening (rings leaking). Generally most of the leaking will be from the rings into the crankcase (valve cover opening). Very little if any should be heard from the exhaust or intake manifold (you can use a hose to ear connect hose to brake booster port on intake manifold for listening to intake).2 points
-
So finally finished the teardown.... took about a year.... my teachers always said I was slow.... now comes the hard part... check out the blu tack repairs toward the end...(don’t know what you call it in the rest of the world....it’s the stuff you use to stick your 240z posters on your wall?) Ryan1 point
-
1 pointThat's awesome dude! Congratulations, here again I'm jealous as hell.1 point
-
1 pointJust the panoramic setting on the camera. It’s a big front garage.1 point
-
1 pointSwim at your own risk! I was pretty surprised how bad it looked initially, and how clean it came out after blasting. Pics to follow...1 point
-
1 point
-
1 pointI got mine from local Nissan dealership. Brownish color. Here they are @zcardepot.com https://zcardepot.com/products/valve-stem-seal-set-oem-240z-260z-280z-280zx .1 point
-
1 pointI have a Prosport controller and gauge that I ran for a couple of years stand alone with carbs and distributor. it was very useful to see what the gauge was saying as I drove and it helped me identify problems with fuelling. when I switched to Speeduino EFI, I connected the Prosport controller in and started logging from that, which makes tuning it really easy. I would think logging would have little value if you can only log AFR - only useful if you have the AFR data against load (tps or map) and RPM. so there's the answer, fit a standalone modern ems and log everything 🙂1 point
-
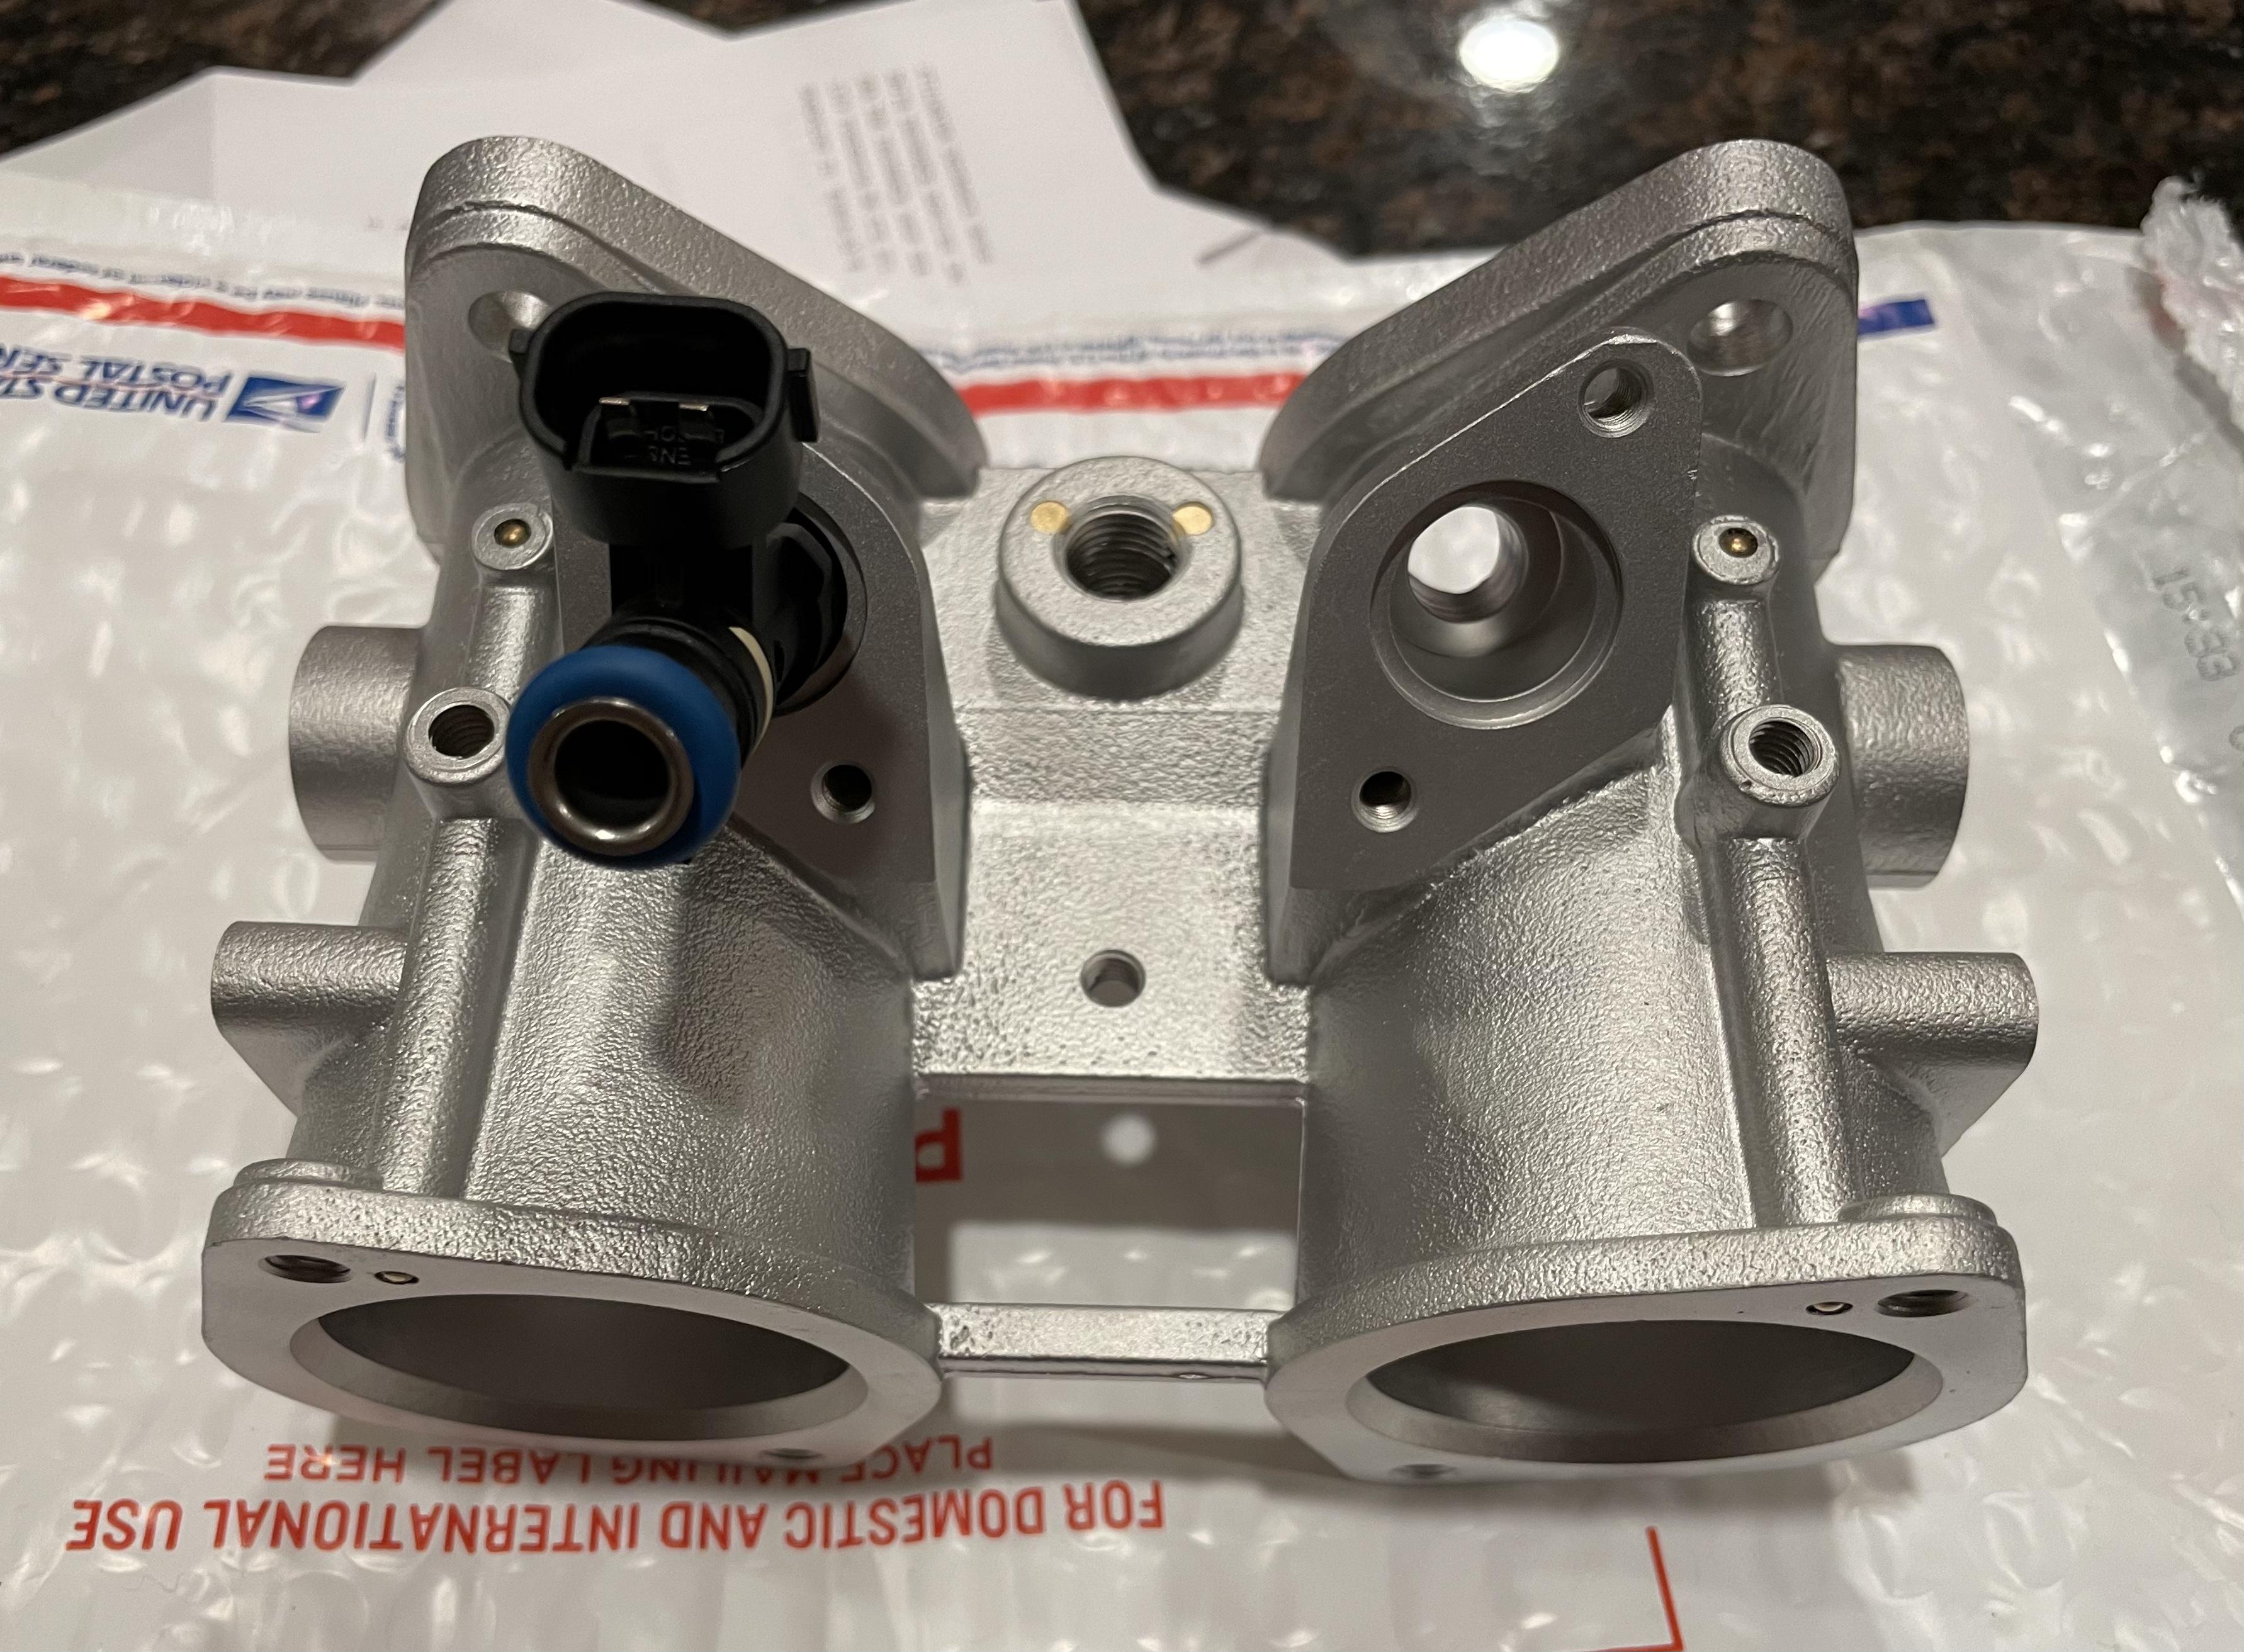
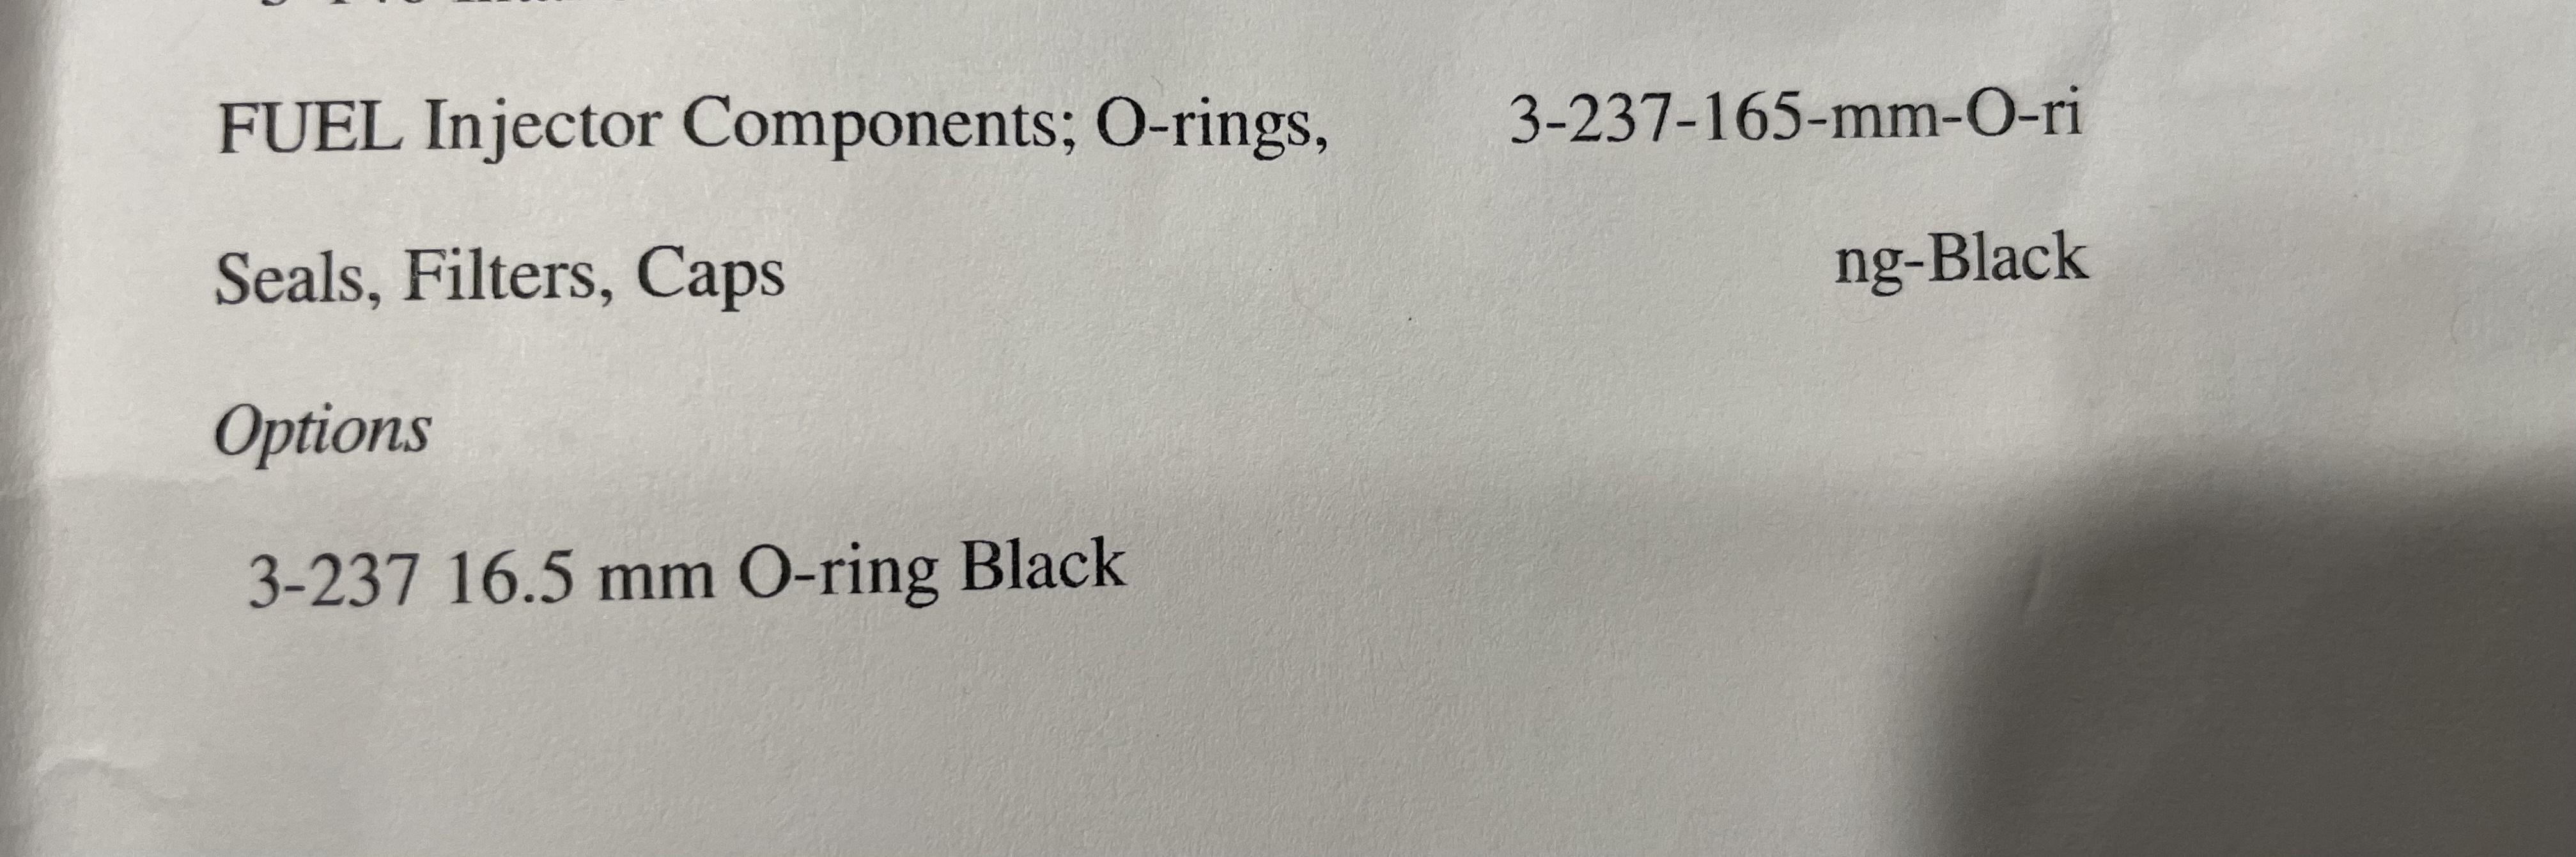
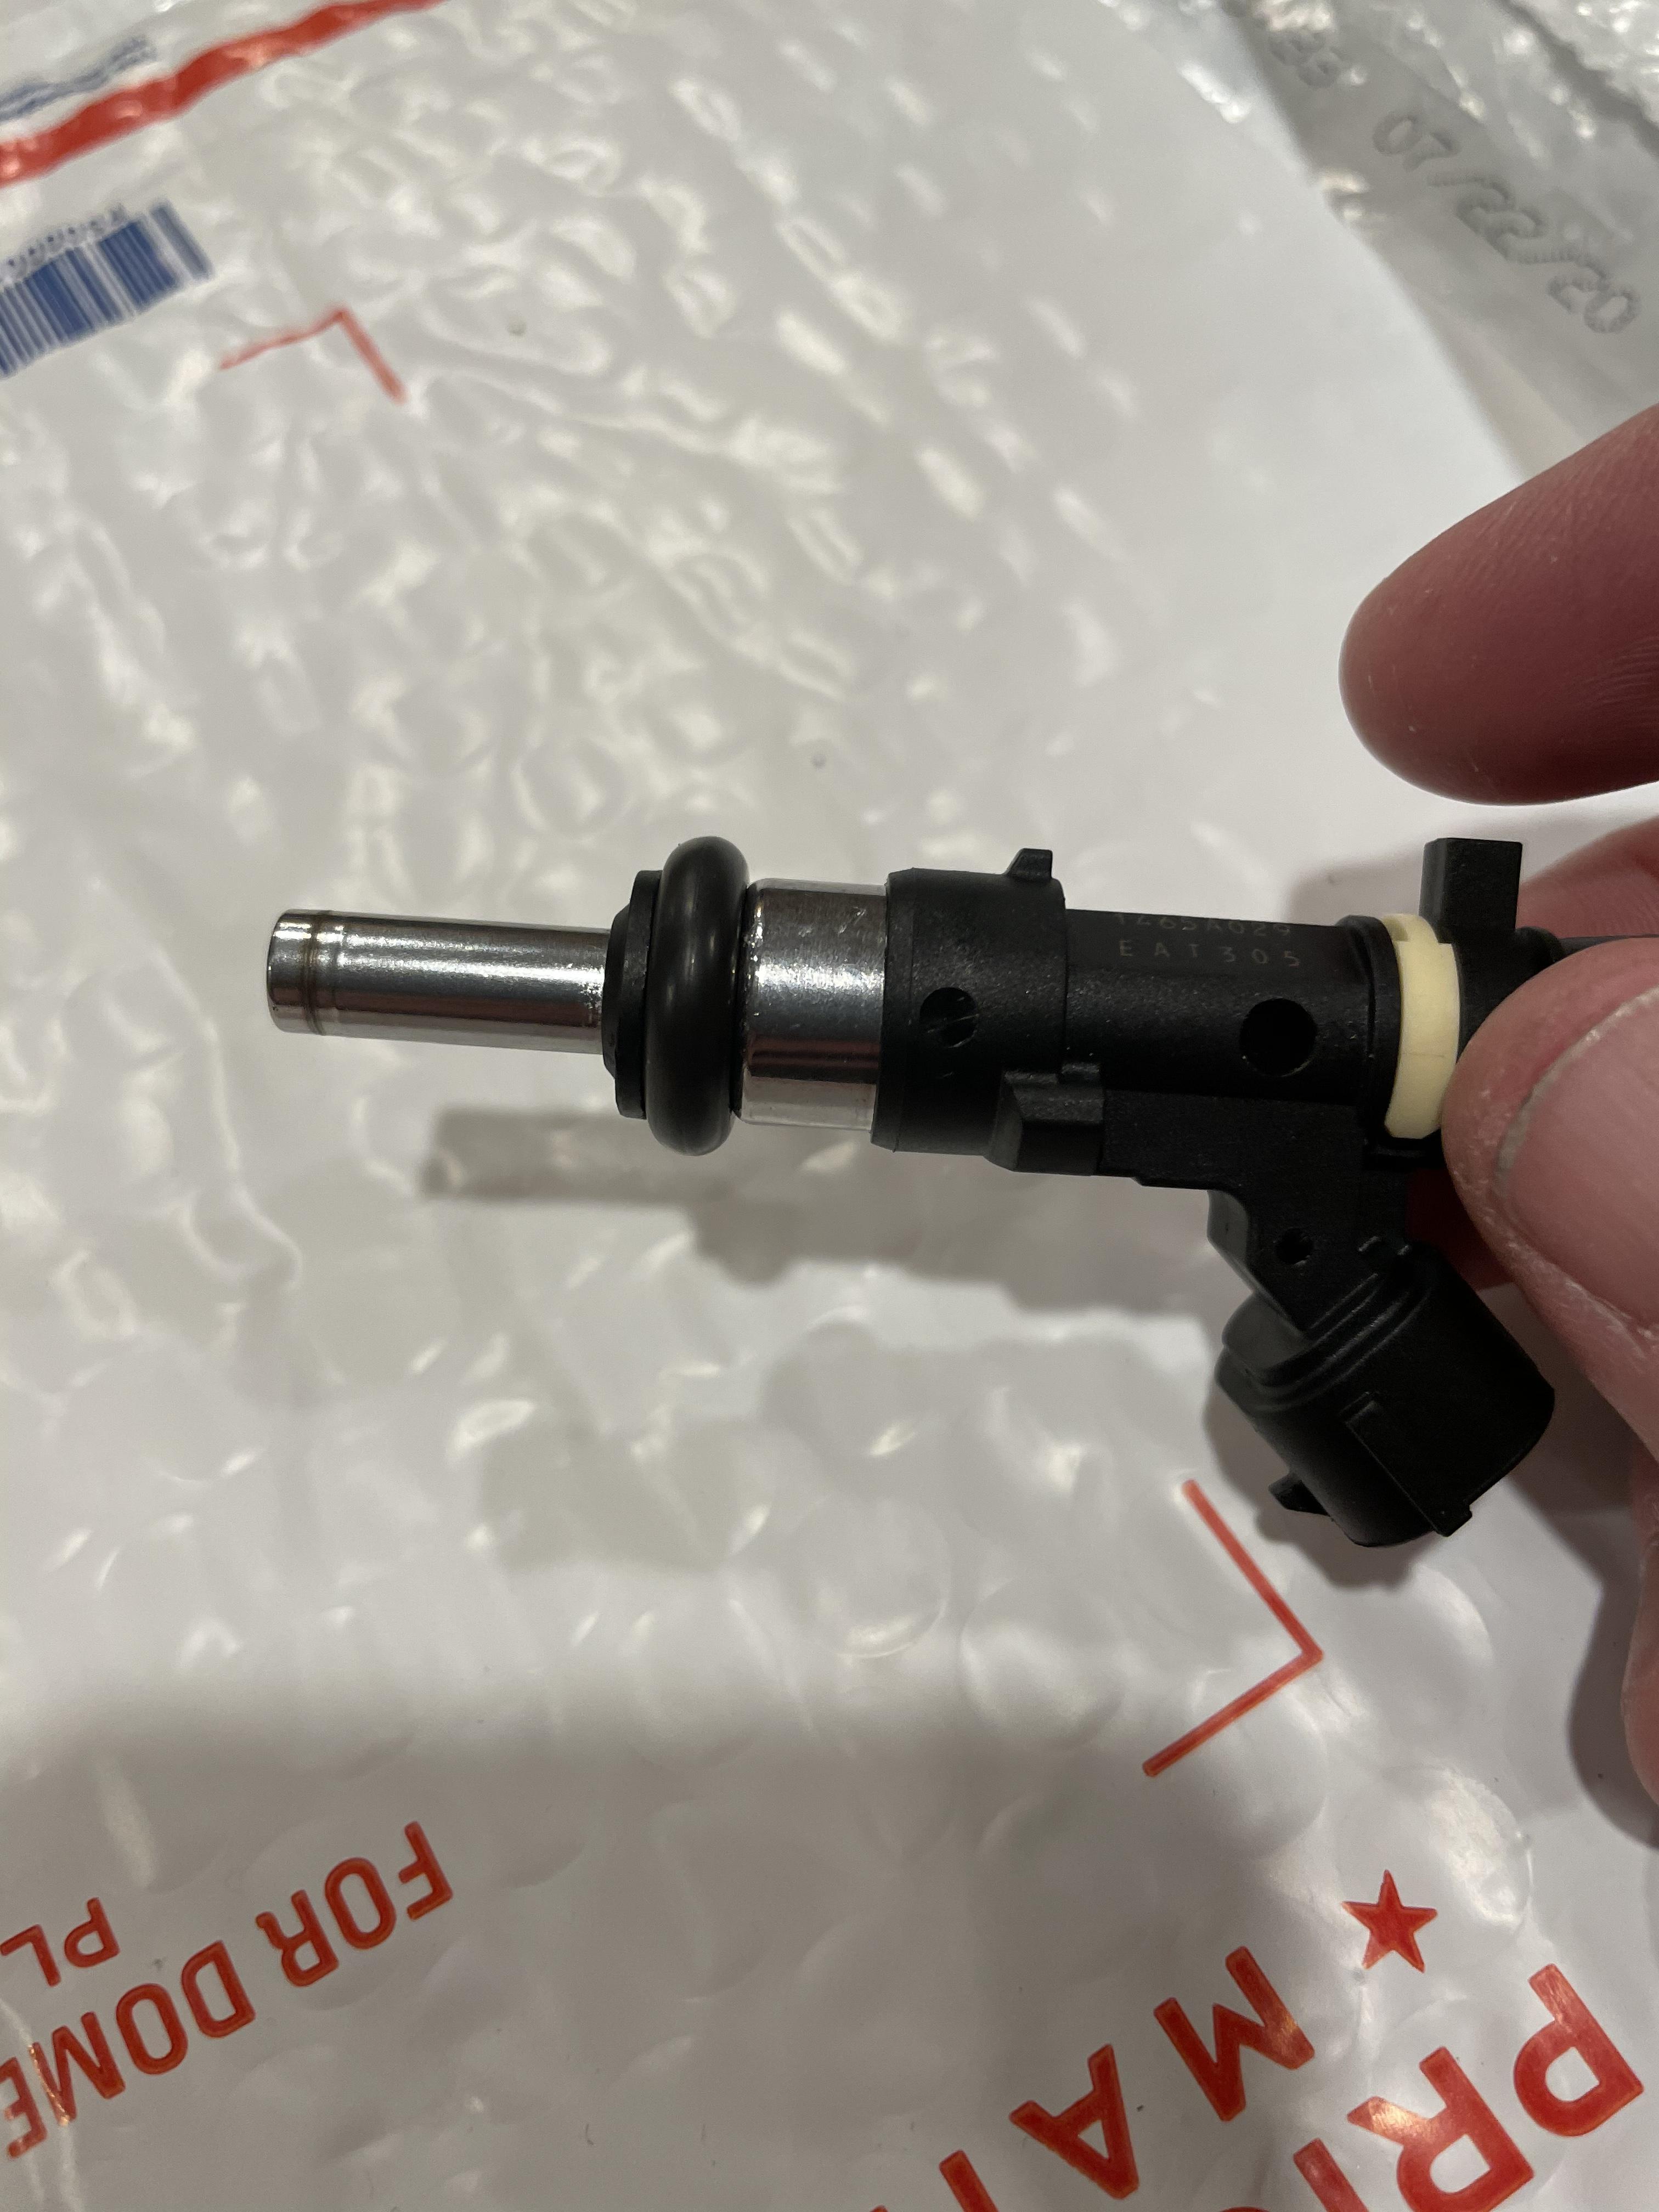
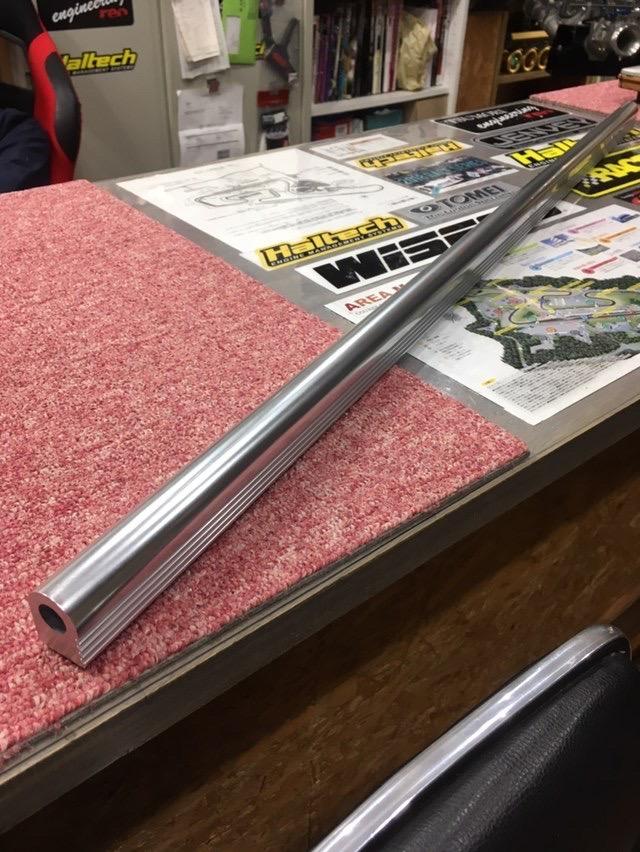
1 pointVintage Sk throttle body update. I think I found a injector style I like and a oring I like. The injector has a long nozzle and 8 tiny spray holes. The O-ring is some Porsche 16.5mm one meant to adapt newer style injectors, but fits perfectly. Almost too tight, but firmly presses in. Shouldn’t leak air at all and remain snug. I also picked a fuel rail for my vintage ITB. It’s the stock that Tsumori uses in Japan. I couldn’t find anything I loved. I will be doing clear anodized on the fuel rail parts.


 1 point
 -
Here are a few pictures of the late great Marty Feldman:


 1 point
 -
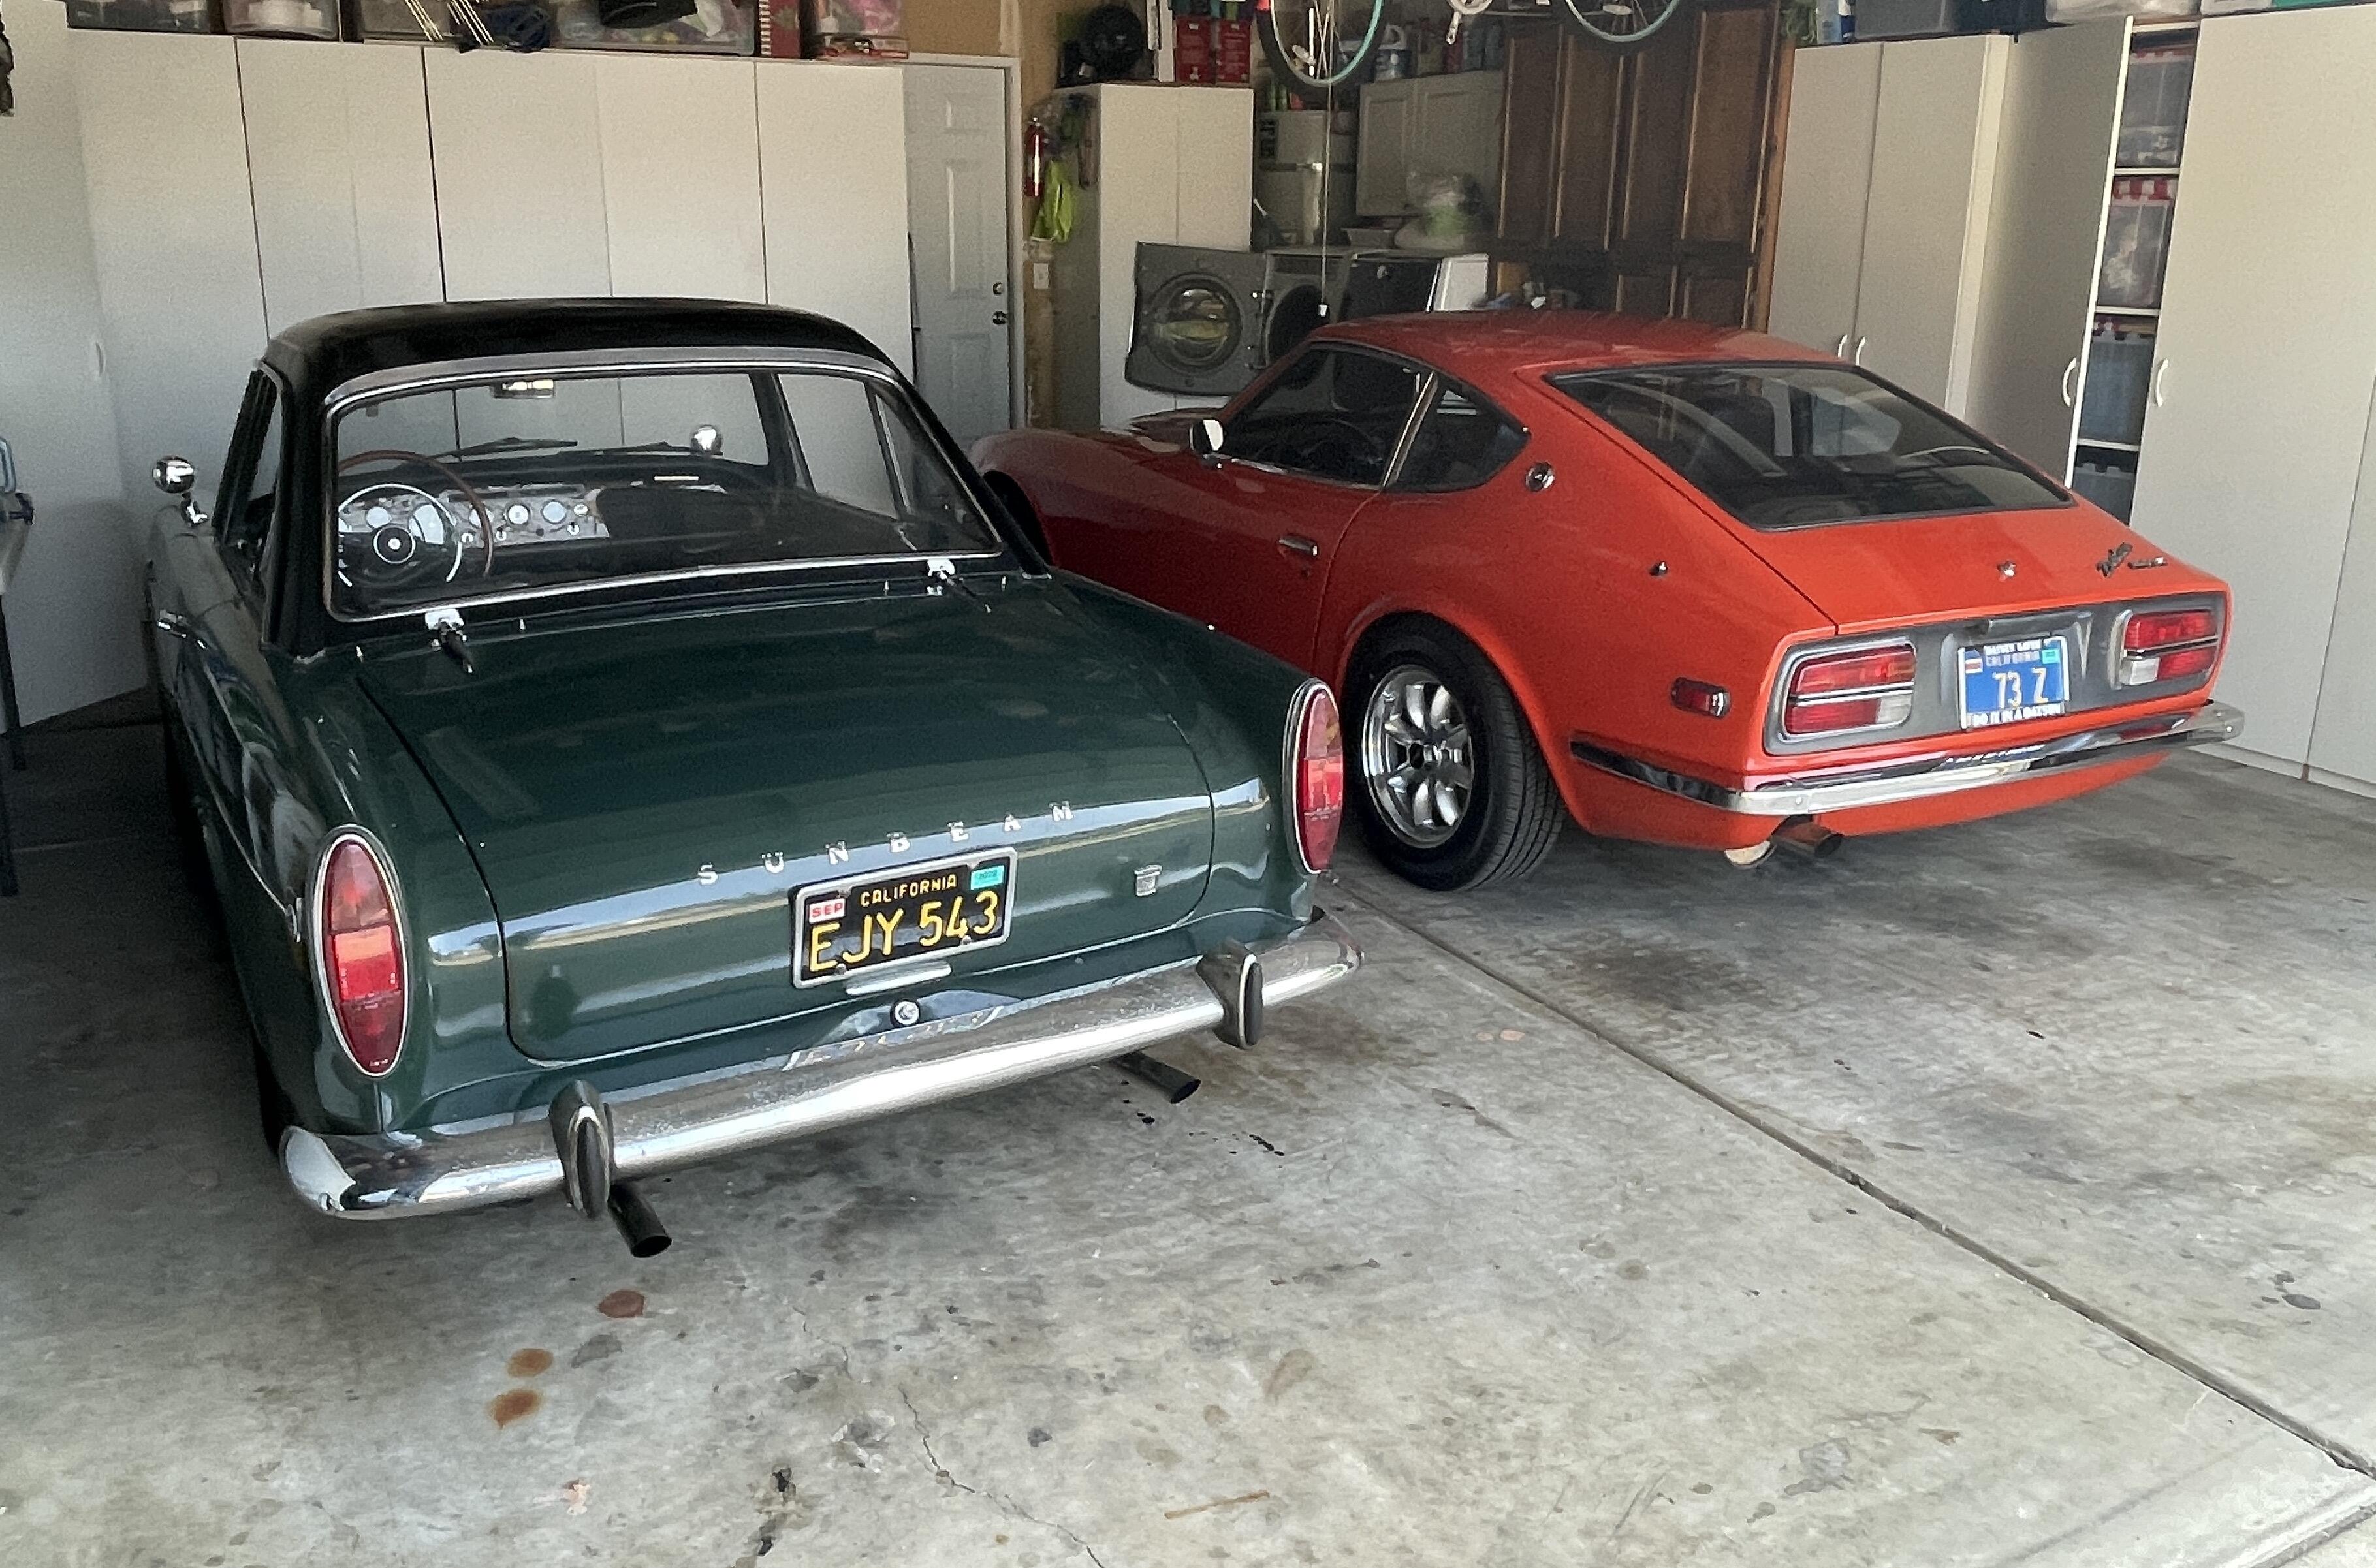
I did, they are Appliance wheels as I remember. The car is in Cali now so who needs wipers? It certainly had the original wipers when it left me.1 point
-
1 pointThanks to everyone for the help. Especially to @heyitsrama and @jonbill for the detailed analysis and suggested corrective actions. I passed them on to our Sys. Admin. and he was able to implement the cure. 🙂1 point
-
i'll split it with you. I think we both get half of nothing...1 point
-
GMB should pay zKars a substantial sum. If they follow up on what he found he probably saved a large percentage of their business. The valving design is common to many many other brands. It's all right there in his thread. The work has been done.1 point