Leaderboard
-
Patcon
 Subscriber
 2Points11,142Posts
 -

cgsheen1
Free Member2Points690Posts -

CanTechZ
Free Member2Points1,311Posts -
Captain Obvious
Free Member2Points10,081Posts


Popular Content
Showing content with the highest reputation on 10/05/2020 in all areas
-
Let me chime in on the transmission FILL and DRAIN plugs... (begin rant) I have no clue why people tighten these SO TIGHTLY! It's un-necessary. In my former life I was a licensed Journeyman Plumber (Ret.). Actually, I guess I still am a licensed Journeyman Plumber - just not employed as such... What in the crap does this have to do with transmissions you ask?? THOSE PLUGS ARE PIPE FITTINGS (well, they have pipe threads...) So, now that you know that I am eminently qualified to speak on the subject: - Go the Home Depot. Plumbing Department. BUY an entire roll of TEFLON TAPE. - Go home. Properly apply (ya, just wrap that sucker up with tape) the teflon tape following the manufacturers directions to the male threads of BOTH PLUGS - BEFORE you install them. - Tighten the plugs (BOTH PLUGS) ONLY ENOUGH so that they don't leak! There is NO pressure inside the transmission (like there is in your Natural Gas line or your galvanized water pipe) SO THE PLUG DOESN'T NEED 80 FT/LBS OF TORQUE. Seriously, you can practically screw them in by hand if you use teflon tape or good pipe dope (just kidding (exaggerating really) you need to snug them up.) But you really, really can stop over tightening those plugs. How do I know? Come and remove these plugs from MY transmission. Be a plumber - even if you don't want to - for me... (end rant);1 point
-
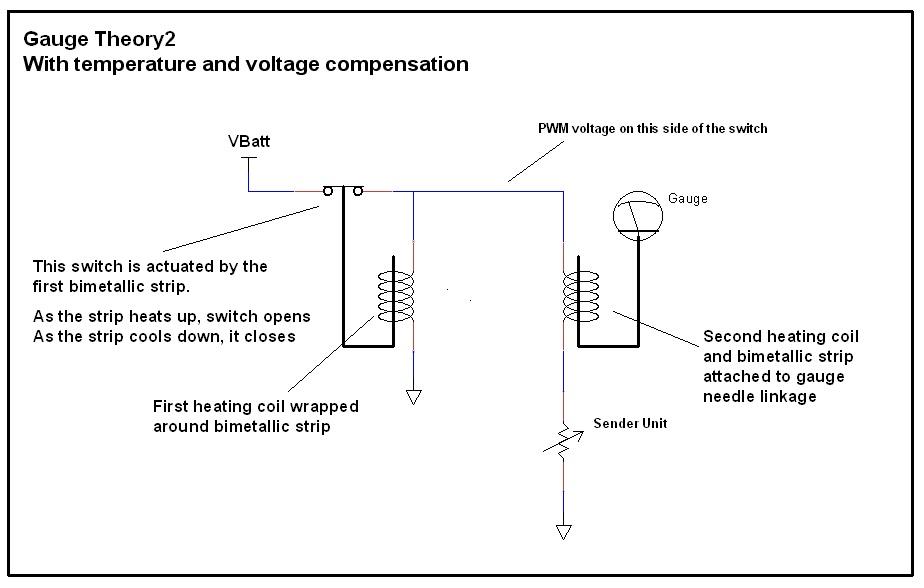
1 pointLOL. I'm pretty much out of TV shows too. I get it. There are two "stages" to the compensated gauge. One of those stages is he simple gauge we already talked about above. The other stage is the compensating or regulating stage. It's job is to compensate for changes in ambient temperature and varying system voltage. The compensation stage consists of another heating coil wrapped around another bimetallic strip. This bimetallic strip forms an electrical switch such that when the strip heats up, it breaks contact. And when it cools down, it re-establishes contact. The trick is, that it makes and breaks contact to it's own power source and the power source for the simple gauge stage. The result is that this second strip/heating coil combo will make and break the power source such that it will always achieve the same average temperature. Of course the temperature is rising and falling some, making and breaking connection, but the AVERAGE is always the same. Colder day? Power to the compensation strip will have to be on longer to reach the temp that bends the strip to the point where it breaks the switch connection. Hot day? Just the opposite. Power will be on for a shorter time. Low system voltage? Again, power will have to be connected longer in order to heat the strip to the desired temperature,. And conversely, if the voltage is higher, it'll take less time. The result is that the compensation stage creates an ON/OFF/ON/OFF pulse train whose duty cycle and frequency will change depending on the ambient temperature and system voltage. This effectively creates a voltage source that will always supply a constant amount of POWER to the gauge system under all conditions. Clear as mud? Connect that constant power source to the simple gauge from above, and you have this: If you put your key in and turn it to "ON" you should see the gauges start to rise. Don't start the car. Just pick a needle and watch carefully. You'll see the needle start to rise, but probably before it reaches it's final position, it'll pause... Then start rising again. Then pause again. This will continue until it finally reaches it's final position. And even then, if you watch carefully, you'll see the needle actually wiggles a tiny bit. This effect can most easily be seen with a needle that's moving well above minimum like a full tank of gas. That pausing and wiggling is the compensation stage opening and closing.
 1 point
 -
Thanks X! Yes they cause more damage than repair usually... its a Holden Torana LX or LH, I’m not an expert on holdens, always been an import freak... but these are very rare to find unrestored. It isn’t mine unfortunately.... though my uncle does have a fully restored Holden Monaro GTS HQ which does make the knees go weak, I’ll see if I can get a photo sometime, it doesn’t see daylight often unfortunately.... Ryan1 point
-
1 pointAwesome, that's looking great! Wait until you pull it out into the sun - you'll be astounded.1 point
-
1 pointSometimes adjusting the rockers can be a challenge. The pivot may also be worn, though I haven't taken enough of the hazard switches apart to know if that could be an issue.1 point
-
1 point
-
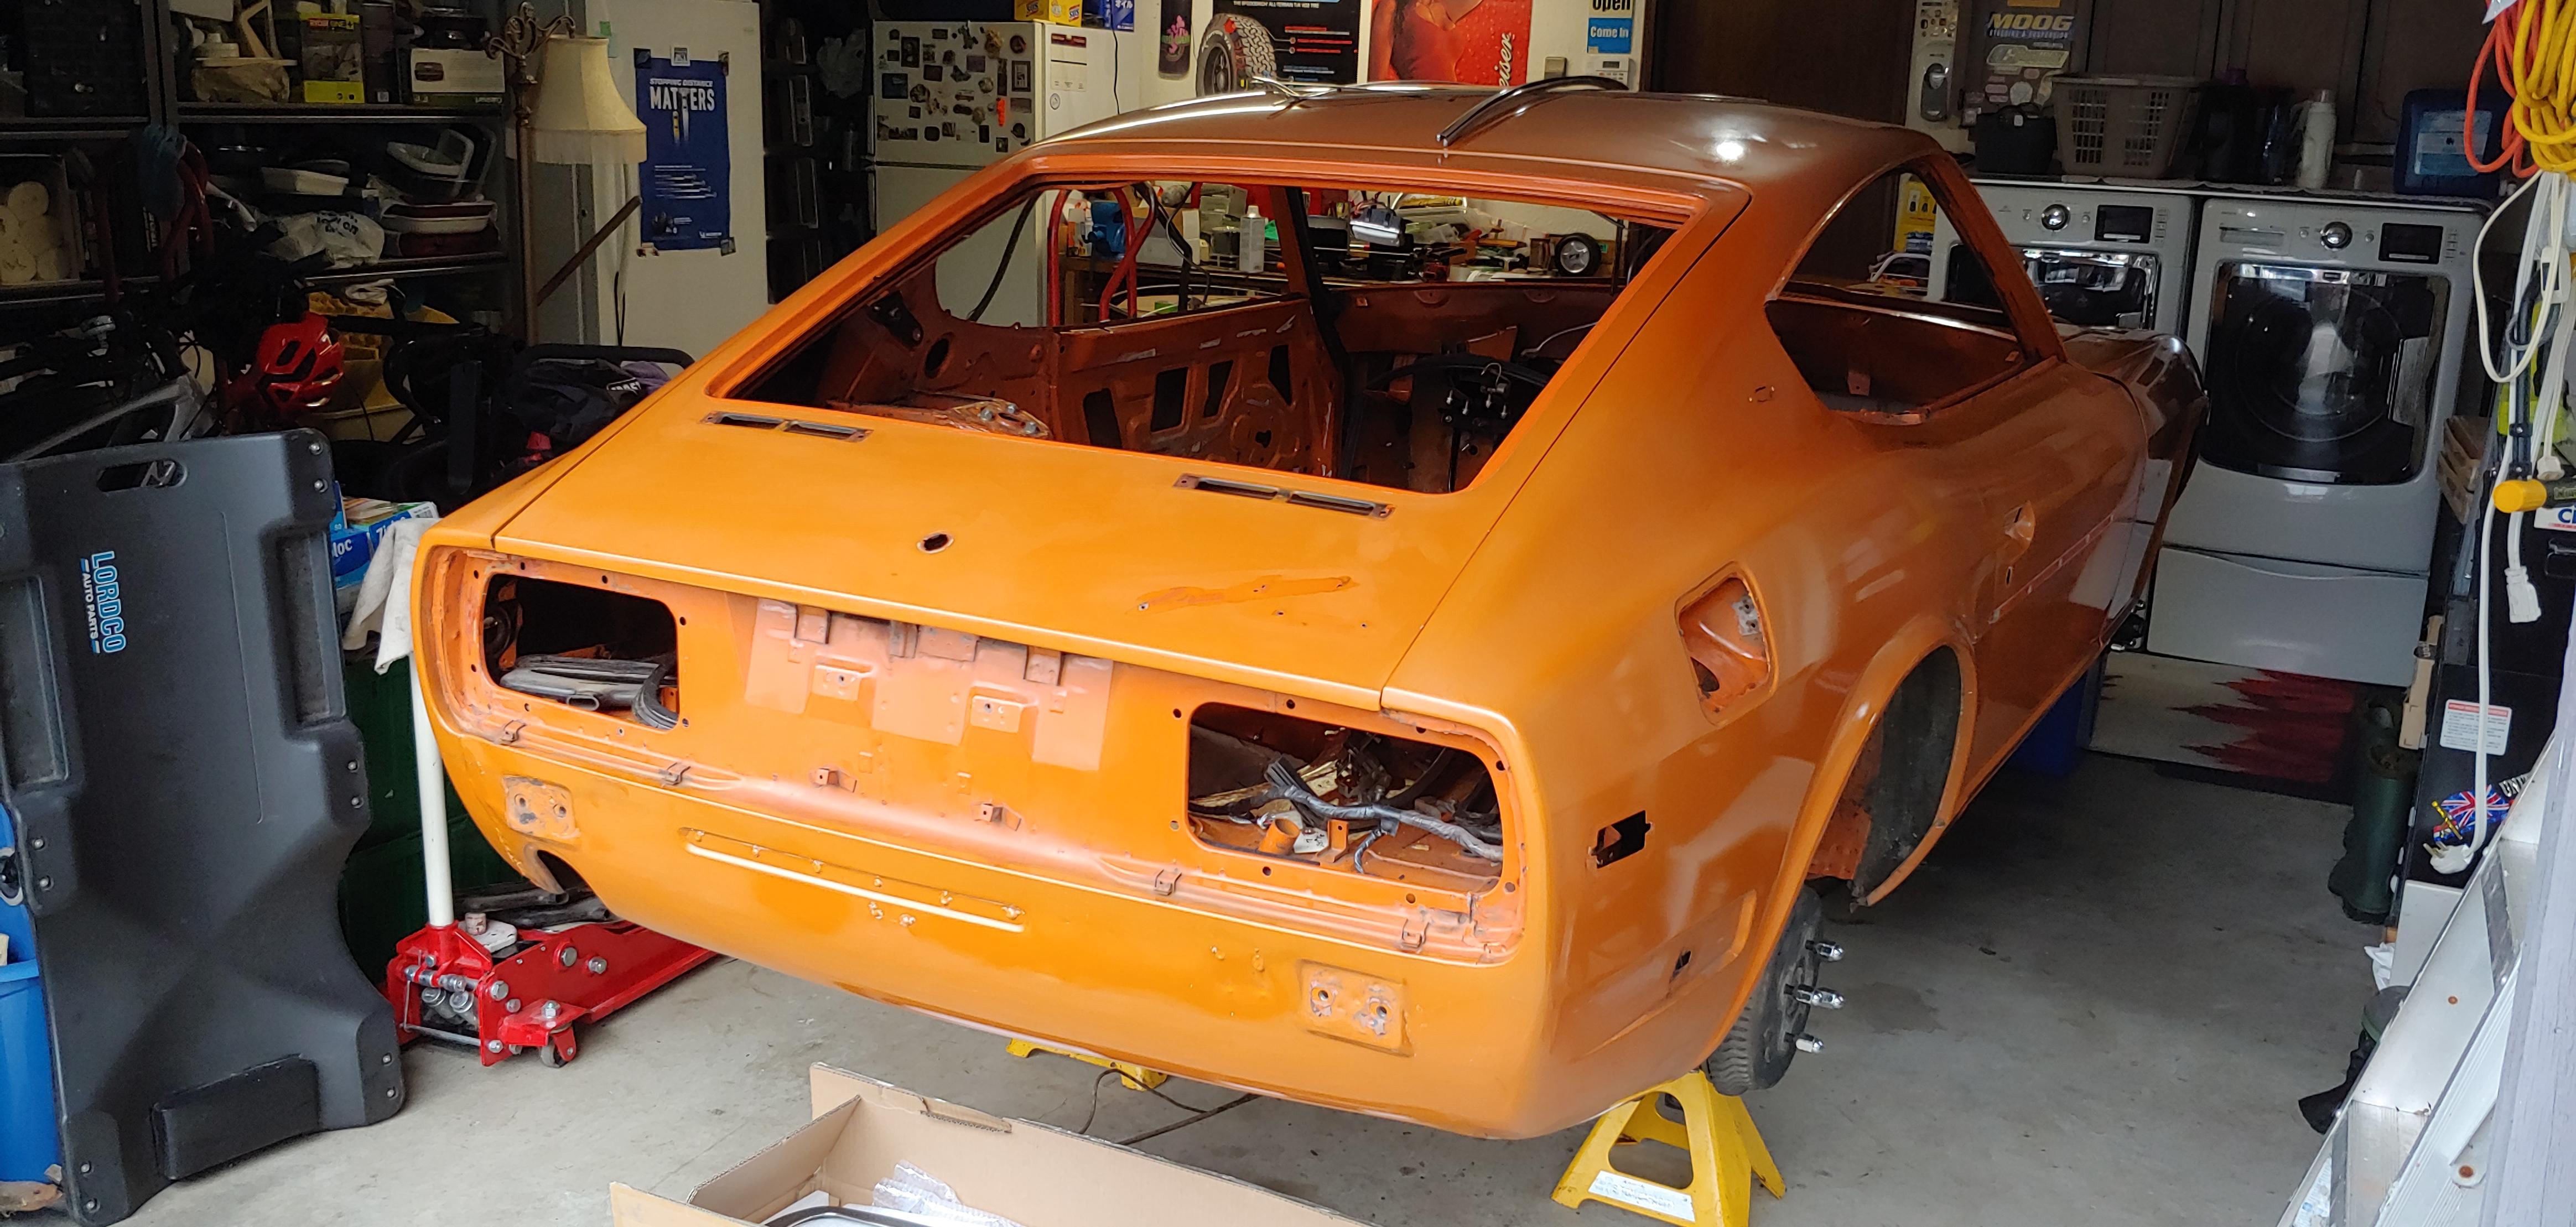
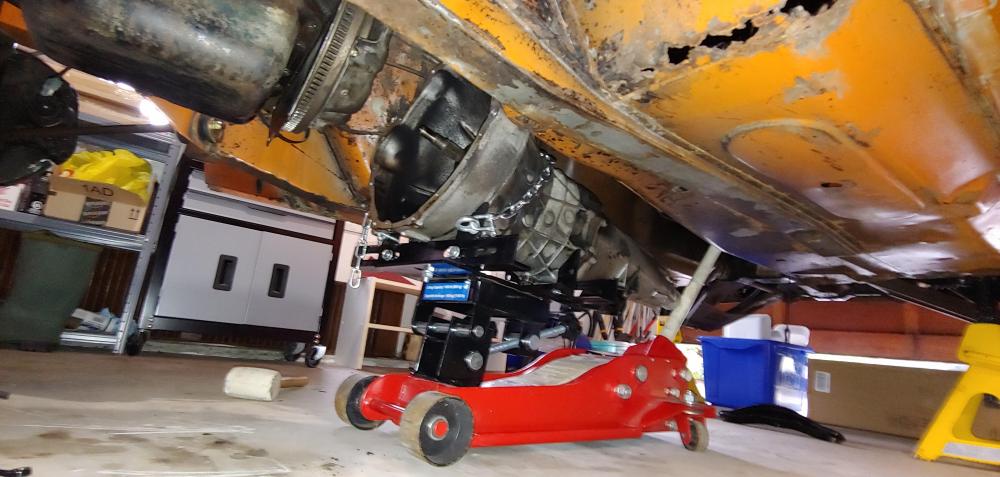
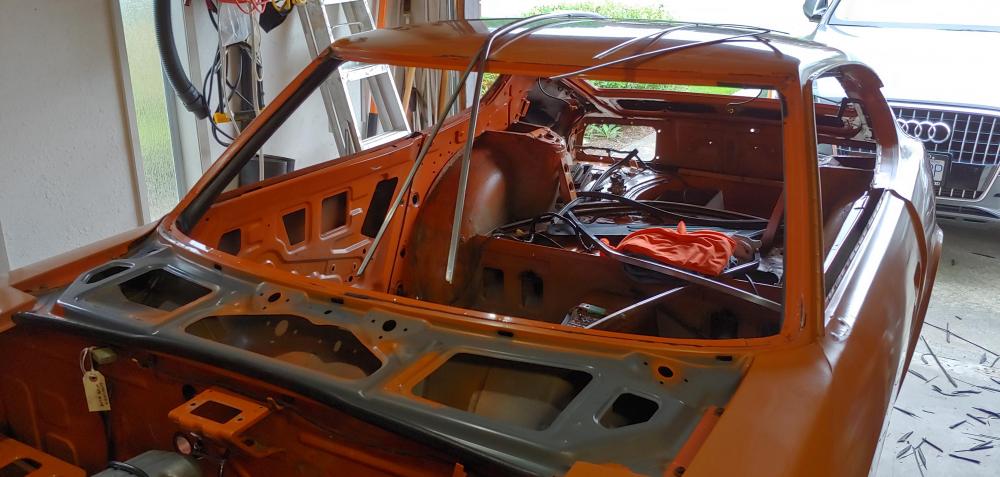
1 pointIt's been a while since I've made a progress report so I thought today is a good day to do that. Firstly I had a good meeting recently with my body man Jody. I will be sending the bare shell to his shop in mid November. We looked the car over to see what repair parts I should order, and decided on the following: 1. Zedd Findings - LH and RH front frame rails 2. Auto Panel Solutions (UK) - LH and RH outer repair panels above T/C box 3. KF Vintage JDM - LH floor panel and full frame rail, toe board, rear floor repair section - RH full frame rail, toe board If other parts are required we will address as we go. Since last report I have removed the starter and transmission and finished stripping the doors of window frames and latch/lock hardware. Removed the quarter windows, windshield, hatch glass and all seals. I also stripped all ventilation system parts from the hatch. I will be pulling the engine soon.
 1 point
 -
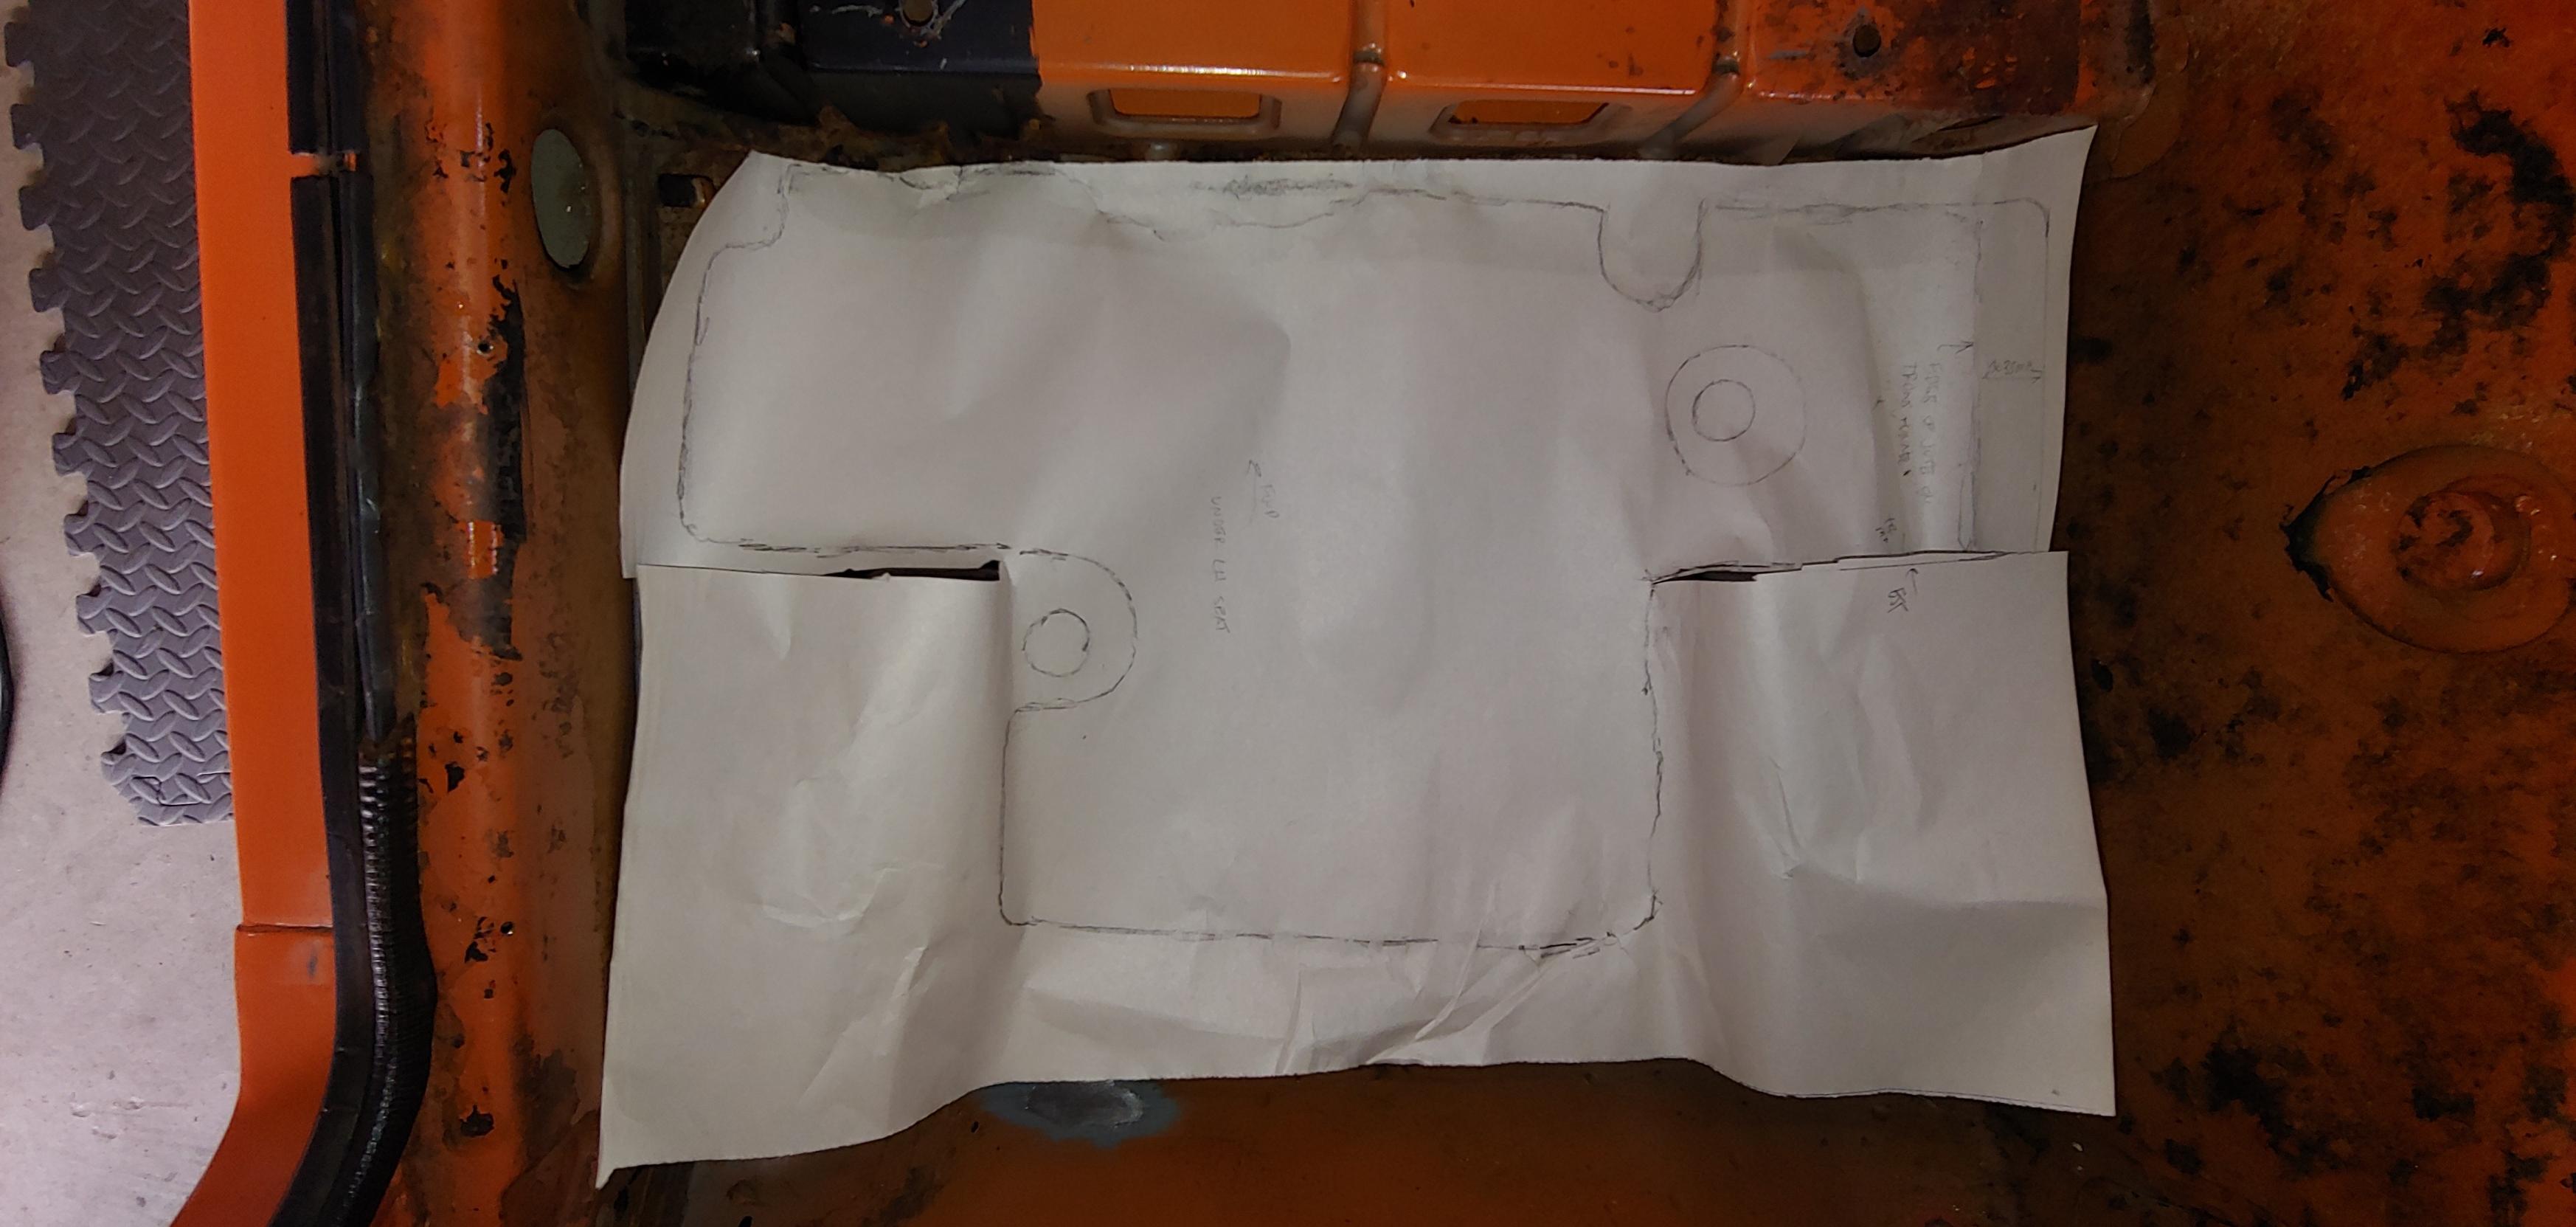
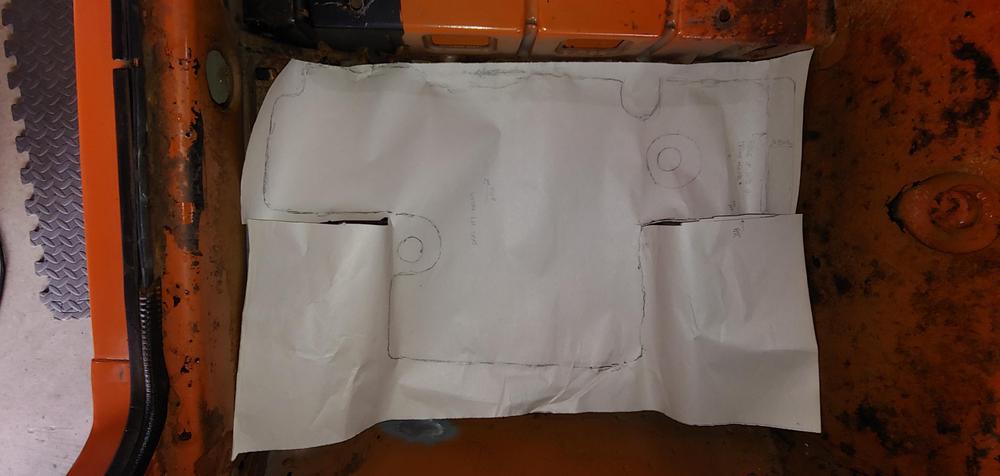
1 pointYesterday I finished the front floor template cad files and uploaded them to the cad files section, I'm hoping that others, besides me, can make use of them.
 1 point
 -
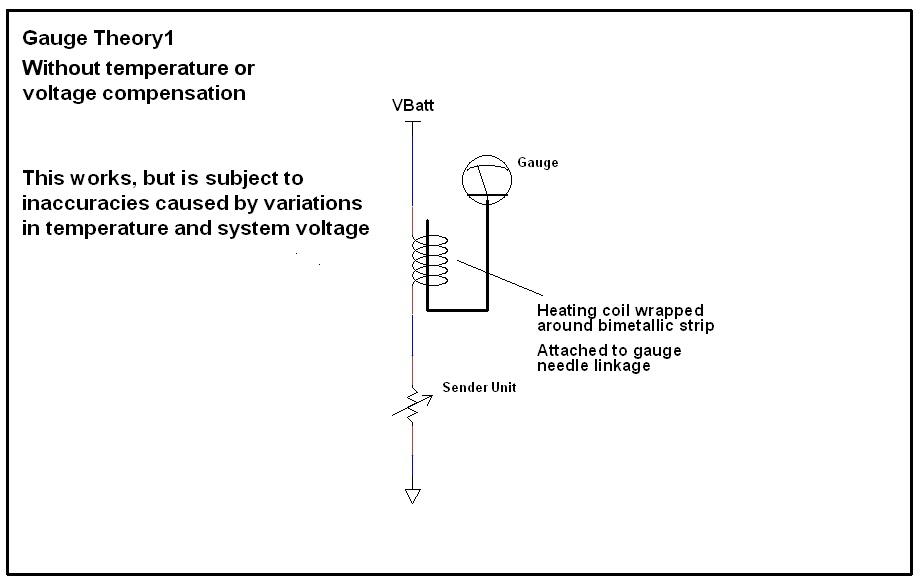
1 pointOK, I promised to describe how the gauges work... Not sure it should be here in this thread, or if I should start a new thread for this. I'll put this here for now, but if people think it should be separate let me know and I'll start a new specific thread about gauge theory. So in order to understand how the gauge system works, I think it would be a little easier to first understand how they DON'T work. I think everyone already has a good handle on this simple system, but it's an important place to start. Here's a pic of a simple (uncompensated) gauge design. Wrap a heating coil around a bimetallic strip and mechanically attach that strip to the linkage of a gauge needle. Flow current through that heating coil and to a sender unit who's resistance reflects the level of whatever you're trying to measure (temp, oil, fuel, whatever). As the resistance of the sender unit changes, the current through the heating coil changes and that changes how hot the bi-metallic strip gets. The lower the sender resistance, the higher the current. The higher the current, the hotter the bimetallic strip gets The hotter the strip, the more the needle moves. Here's a pic: This simple uncompensated gauge system does "work", but it is subject to a few real-world outside influences that can affect the accuracy: First, since the whole thing works on the temperature of the bimetallic strip, the gauge will read differently on a hot day than on a cold day. And second, since the gauges are powered by the battery system of the car, changes in that system voltage will affect the gauge readings. The gauges would read differently sitting with the engine off than they would with the engine spinning at 3000 RPM when the alternator has kicked up the voltage a bunch. The system voltage can vary from about 12V to over 14V and the gauge readings would change as the voltage varied. So the basic gauge system above sorta works, but these two real-wold effects are undesirable. If the above basic gauge system makes sense, I'll get into how they compensate for those two real-world effects.
 1 point
 -
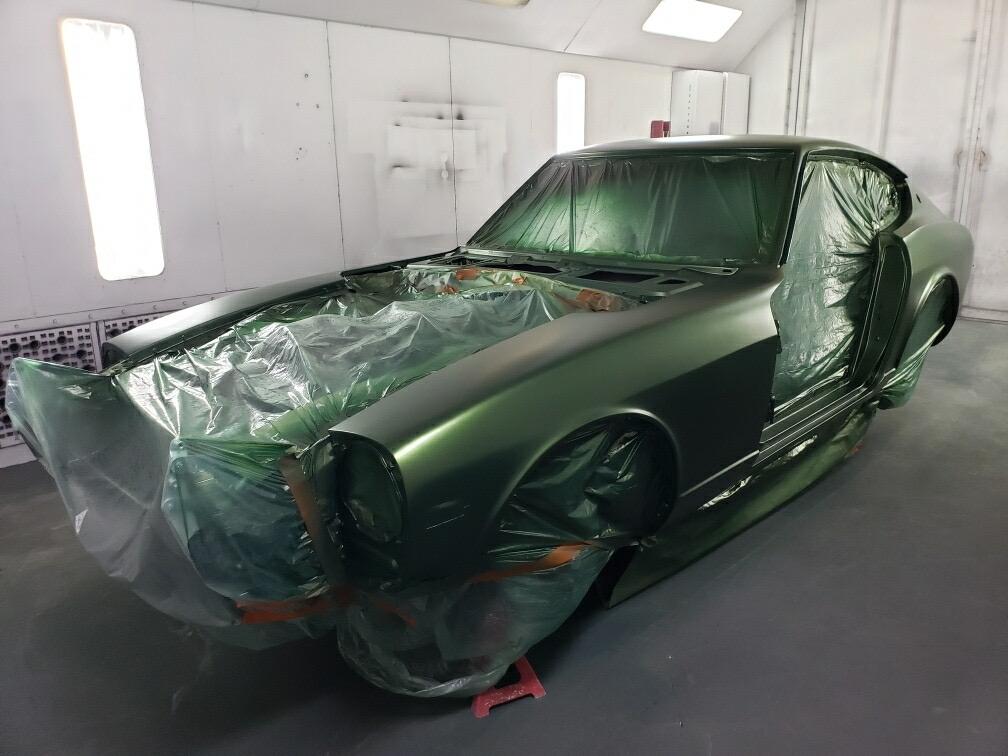
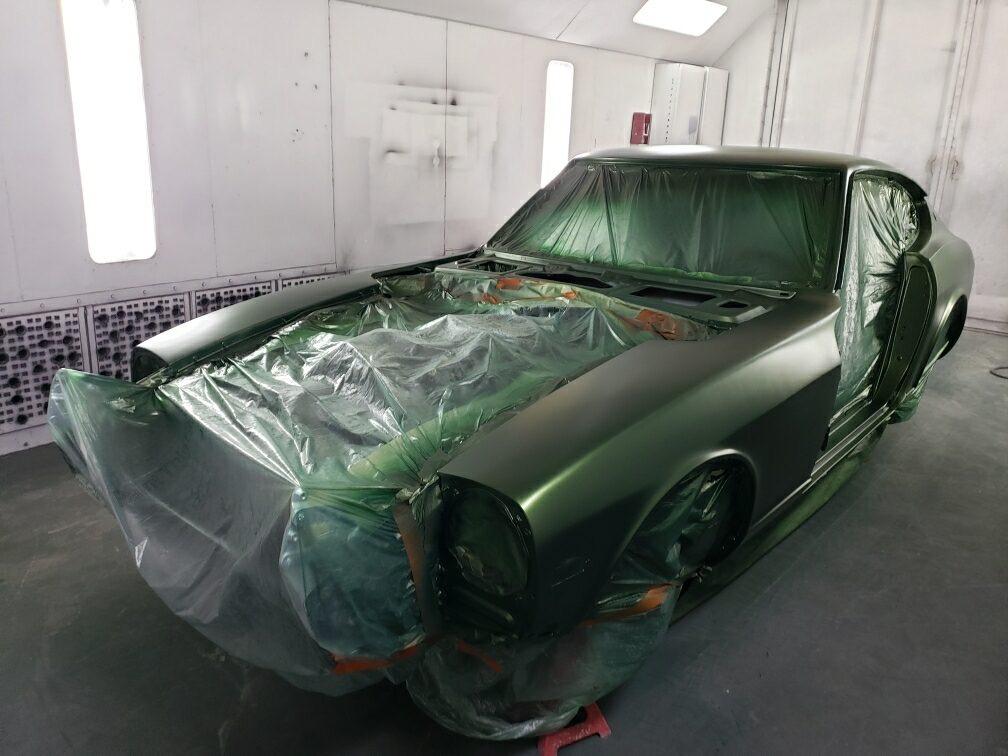
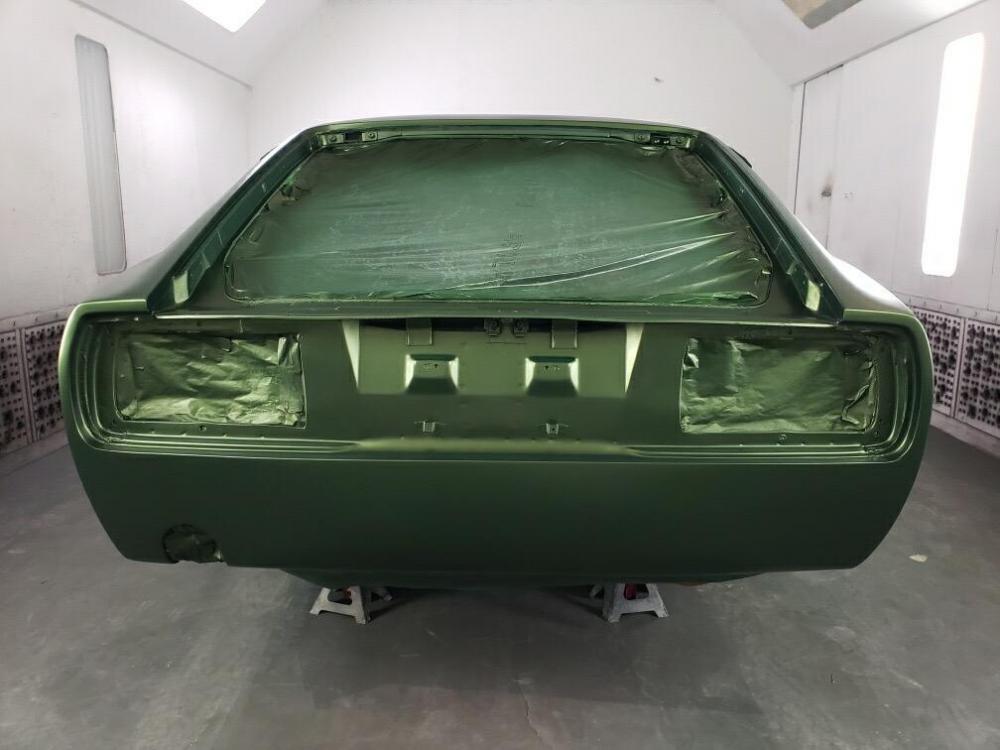
1 pointSneak peek into the restoration. The 304 color looks good with the dark grey sealer. This is PPG mixed color 304. Can’t wait to see after cut and polish. Gonna go see it in person in December!
 1 point
 -
Also loosen the fill plug before draining it! They can be stubborn. Aweful to drain it then not be able to fill it.1 point
-
Thanks pogden, detailed! And everyone else. I should make a time lapse video of install. Waiting for a couple parts, and maybe get my 16 year old grandson over to help. But I'll probably keep him away from the hoist lowering valve as engine is dangling over the car.1 point
-
The paint looks fantastic - nicely done, man. Sent from my iPad using Tapatalk Pro1 point
-
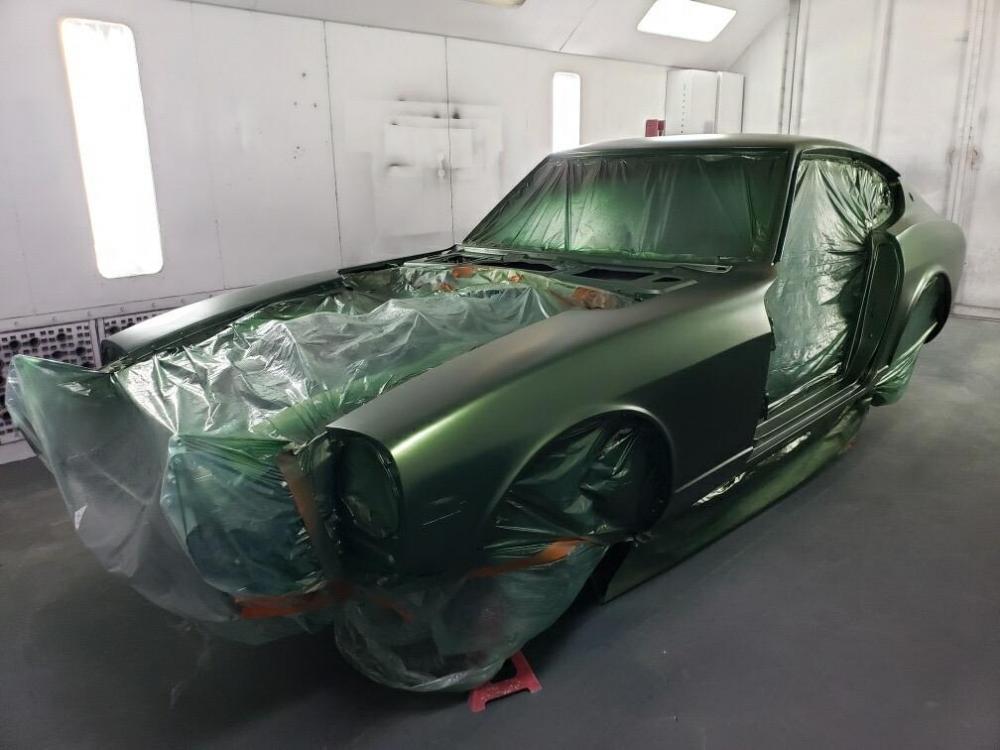
Wet sanded all morning and then coated with green sealer. In booth and base coat applied. Leaving to dry over the weekend and then hit it with clear coat on Monday.


 1 point
 -
I used these folks. They were easy to work with. You can send them your unit to rebuild or buy theirs and send in a your core. They will also powder coat the booster if you like. Mine came back with a nice primer coat ready for paint. Very reasonable. Little over $100 a few months ago. North Power Brake Exchange, Inc. - San Jose, Ca. Phone: (408) 292-1305 Fax: (408) 294-6817 South Power Brake Exchange, Inc. - Bell Gardens, Ca. Phone: (562) 806-6661 Fax: (562) 806-35701 point
-
You can also raise the back end of the car, that will make the angle of the engine/trans less and therefore easier.1 point
-
I've been hesitant to pull the brake lines apart. When you do anything in a restoration, you risk the part not being available and in the case of brake lines, you might have to make them. That is possible as the tools and tubes are available. In fact, I think I've had a rudimentary flaring tool in my stash since the 1980's. A remnant of working for my uncle at his gas station before going to school and learning to put people to sleep and keep them pain free while a sadistic bastard cuts them up. I guess that makes me complicit doesn't it! But yesterday, I watched a video of a guy named Francisco Gutierez as he put in new brake lines in his Z. I checked his source which I had to determine by looking at the box as he tried to dump the contents out. Turns out the tubes are available and they are $329.99. So I called and heard the sweet sound of her yelling "order up." Know your date and year of production. I think they have 3 different tubing sets available for the Z. Pretty sure Francisco is a member here. His channel is Panchos Garage. https://Classictube.com1 point
-
why do you need to cut the head off? I would take a flat head and pry it open1 point