Leaderboard
-
S30Driver
Free Member2Points1,580Posts -
JDMjunkies.ch
Free Member1Points637Posts -
Yarb
 Subscriber
 1Points1,935Posts
 -
Namerow
Free Member1Points1,553Posts


Popular Content
Showing content with the highest reputation on 06/02/2020 in all areas
-
I have run my SUs without a tube attached for 15+ years. Do not plug them.1 point
-
1 pointI like to see the history of things myself. I probably would have set the unique valve cover on a shelf or brought it to the shows and found a different cover to put on the show car engine. You have a one of a kind valve cover, but there's going to be a bunch of identical lookiing cars at the show. That's the thing about the shows, everyone's trying to make their cars look identical. No offense. I'd put those labels under glass so you can show them.1 point
-
1 pointAt one point in my Z career I was a ZCCA chief judge. I orchestrated two significant shows, including the ZCCA ZCON 40th anniversary in Nashville 2010. I think I can offer some insight with my opinion on this matter. I think the valve covers came with some sort of aluminized paint finish that comes off with acetone. I think that a bead blasted valve cover leaves a textured finish and that some judge dinked you for "over-restoration" if not an improper texture of the finish. I think the the natural valve cover should have a uniform aluminum color with a cast aluminum finish "sheen" and very smooth. I also think that judging a car is a significantly subjective endeavor. Car show judges in most car shows are all volunteers with widely varying experience and the comments can easily vary between "sharp eye" and "are you outa your f'ing mind?" In that respect, I don't put a lot of stock in the perceived value of an award. It's sort of like racing; some days you're lucky and some days you're not.1 point
-
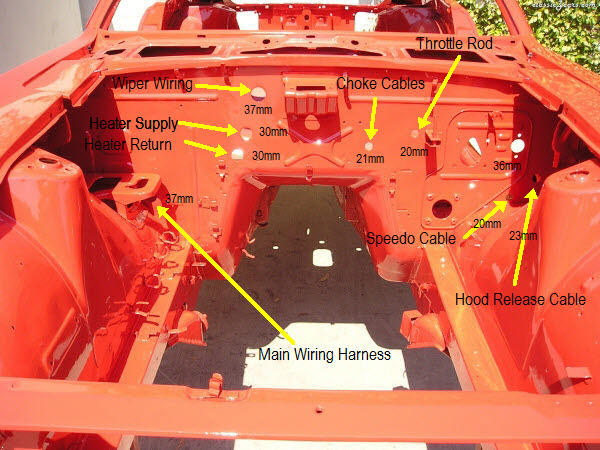
1 pointOne of the members of Canada's Ontario Z-Car Owners Association (Ziggy?) produced this photo guide several years ago. It's for a MY-72. I have confirmed these measurements with the ones that I took from my own 72. The early cars (MY 69-70-71) are, I think, the same -- except for maybe the choke cables hole and the brake m/c hole.
 1 point
 -
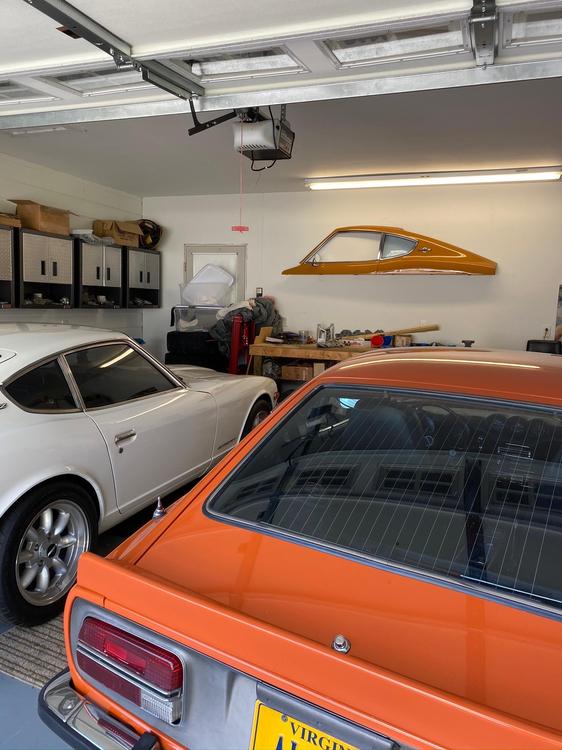
Last week i got a bit of en unexpected Phone call. My bodyshop got himself a personal project which he wants to finish and needs the space, so i had to get my car back to my home temporary. So first i cleaned the whole garage and made sure it's nice and tidy when the old lady comes to see it the first time ? Went and picked up the car with the help of some nice guys from the road support team: After a short ride home The car now is in it's new home: That doesn't mean the project is stopped or paused, though. I have some parts arriving over the next few days and i made myself a little to-do list and also got some tasks from the bodyshop to complete before it goes back. Im sure it will stay with me for a few months before panel beating starts again but im fine with that. It gives me the chance to have a closer look at some details:1 point
-
1 pointI have the oem hatch gasket (its cost is reasonable), and last fall, installed a new windshield with the precision gasket. Quite happy with the result. Right now, the windshield oem gasket is under $300 and if I was doing it now. would go that route. It was well over $400 when I did mine.1 point
-
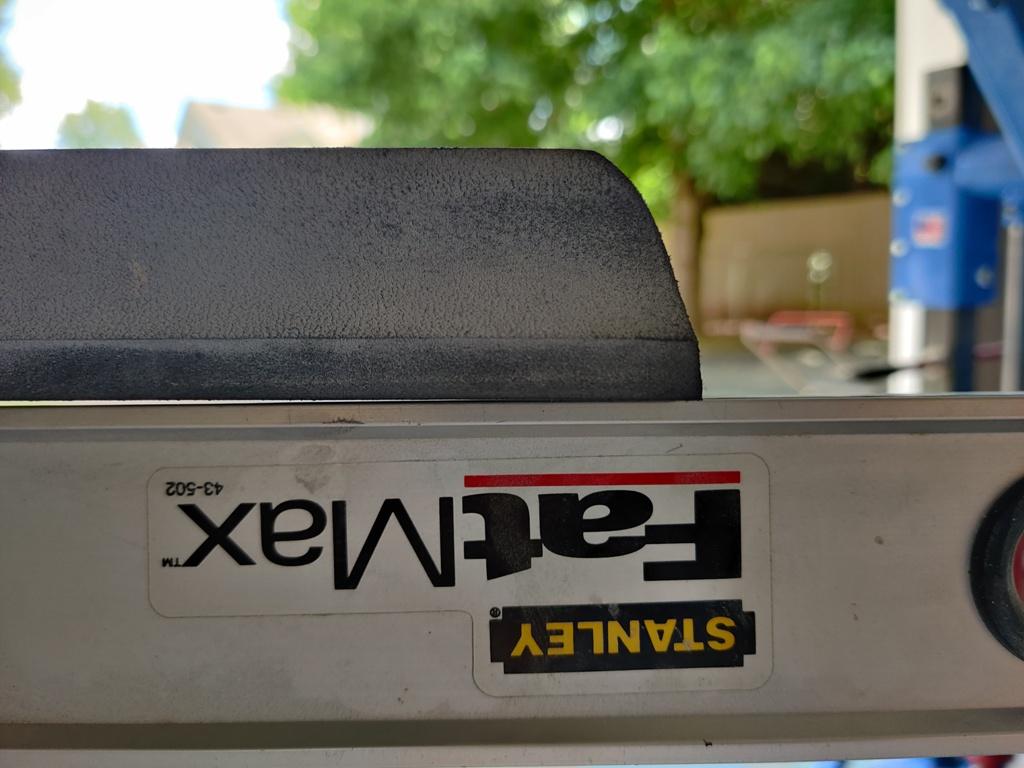
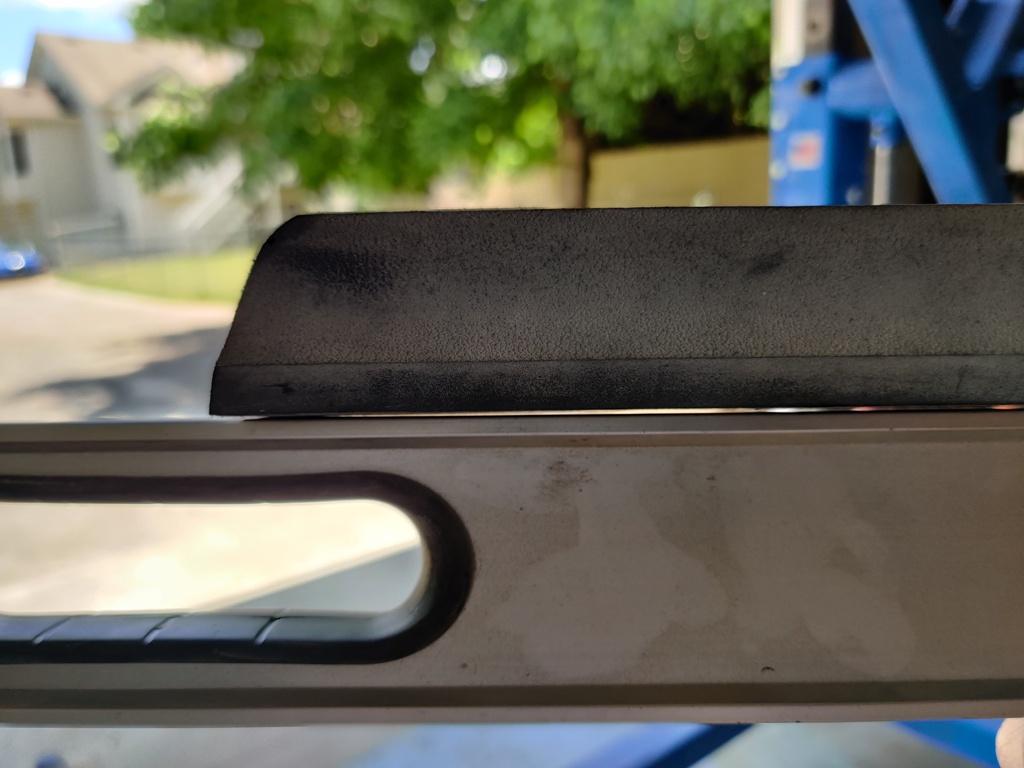
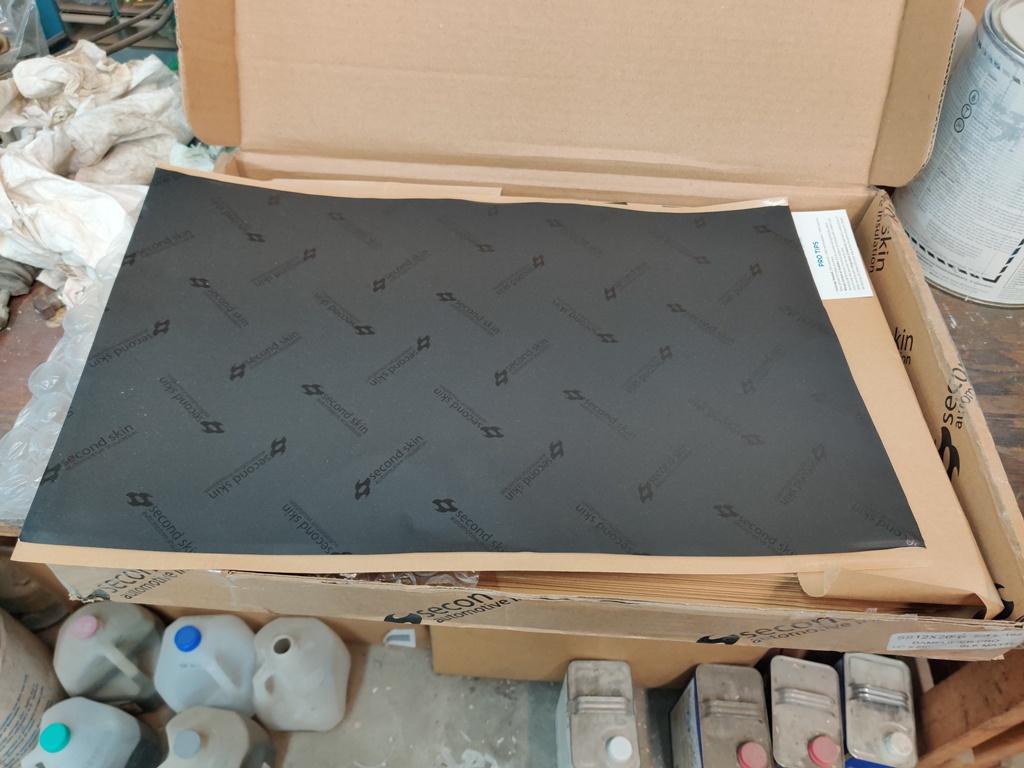
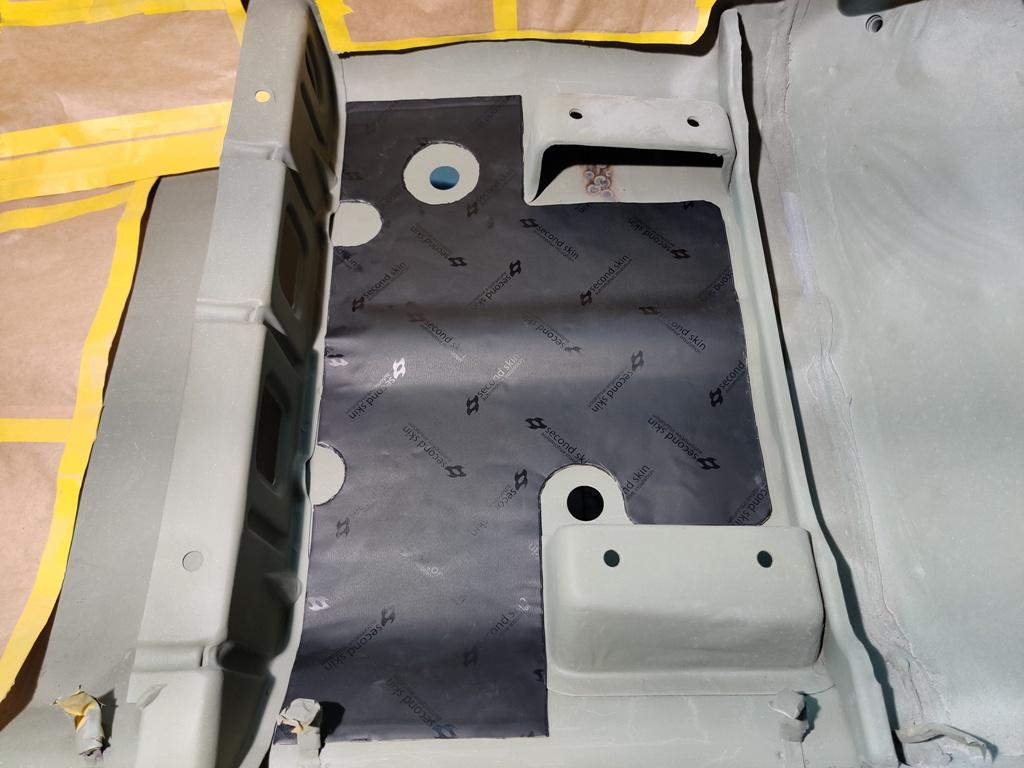
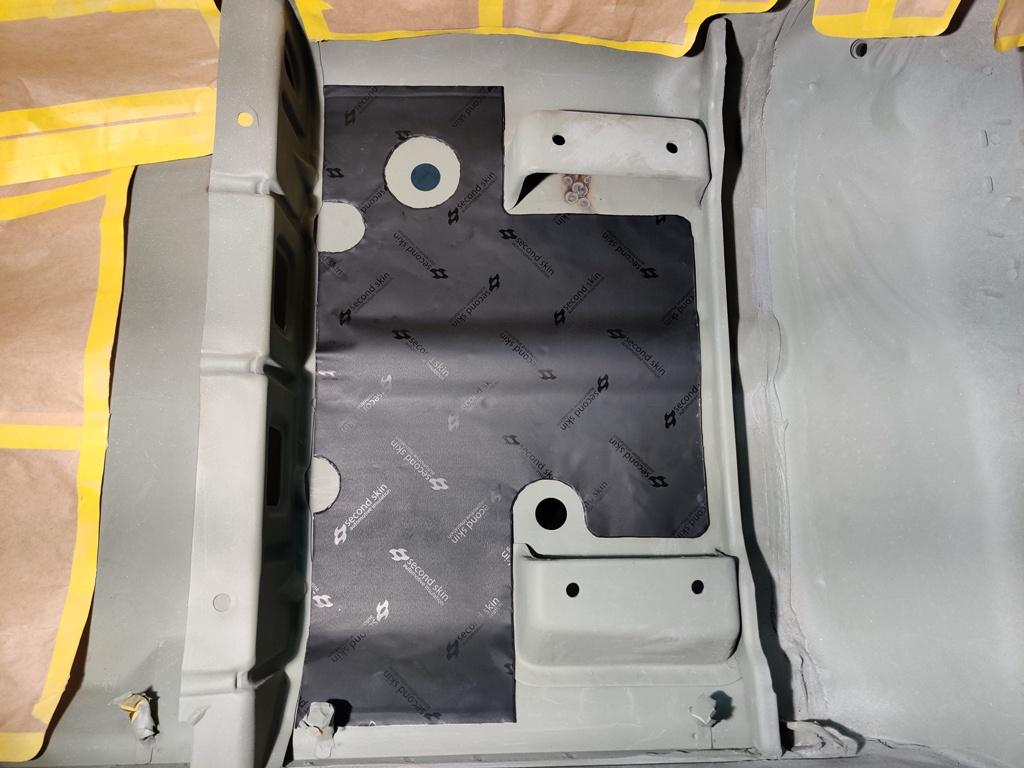
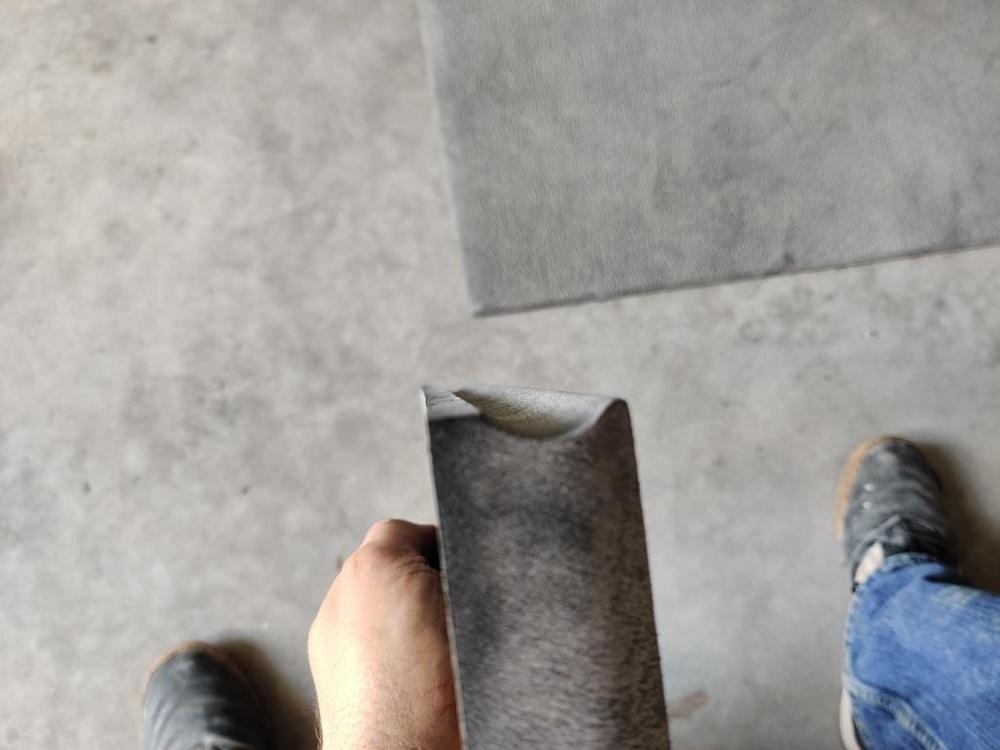
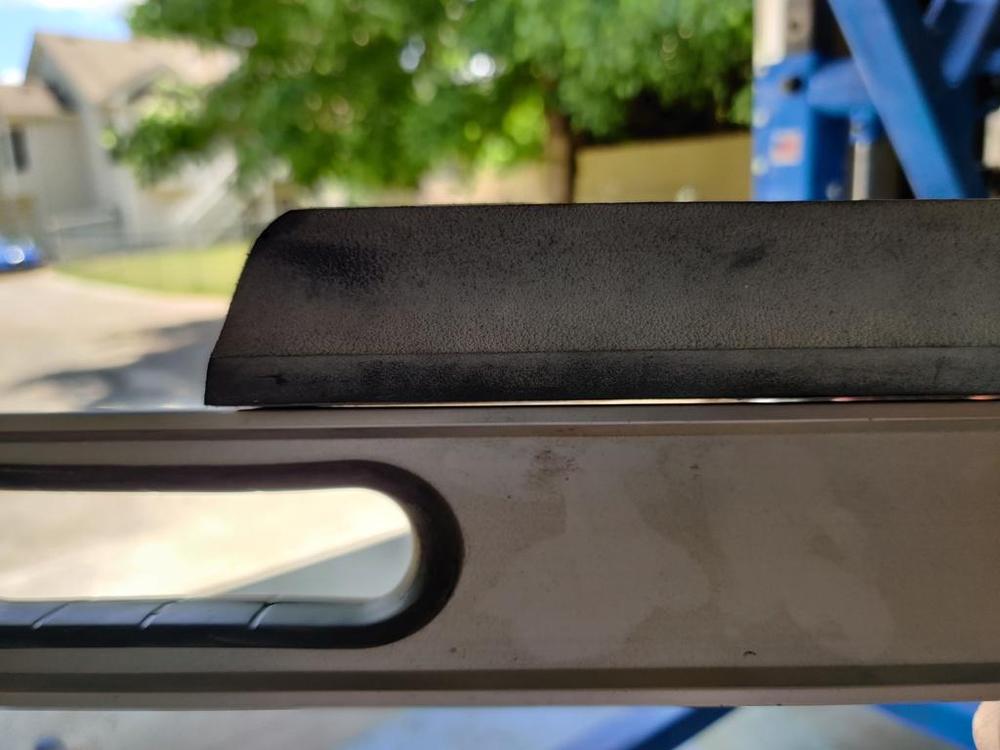
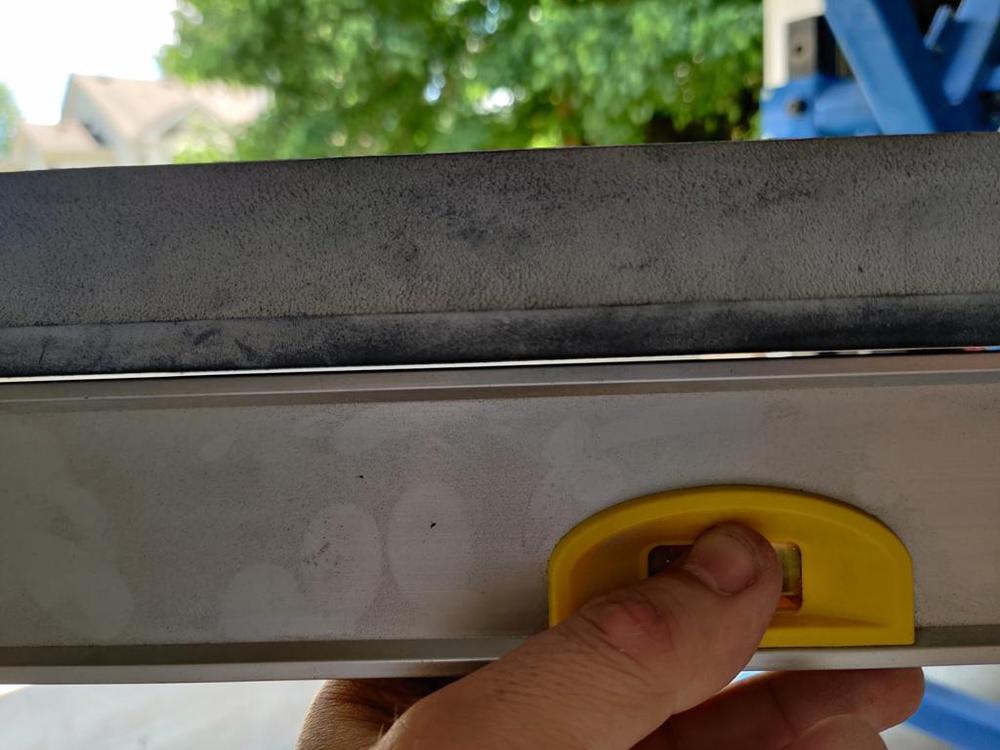
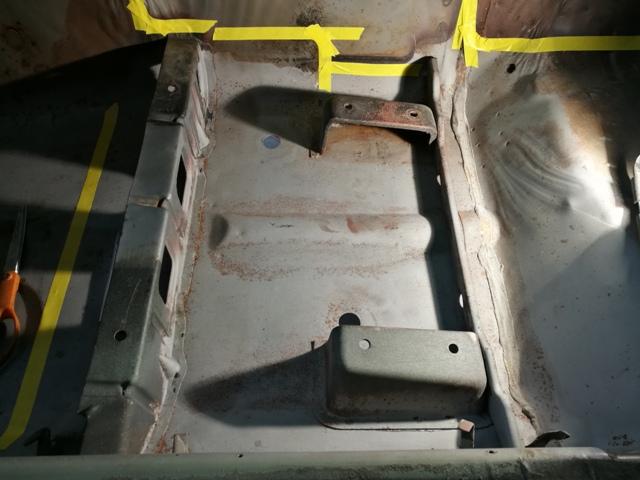
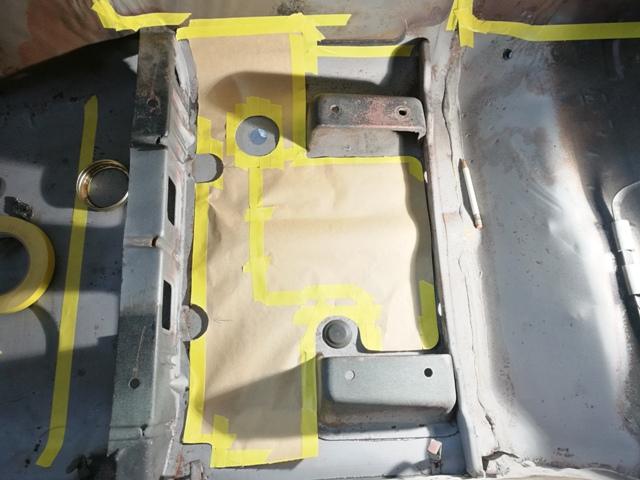
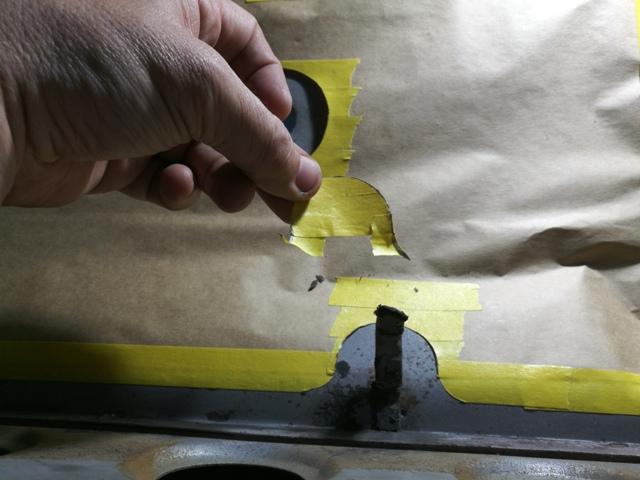
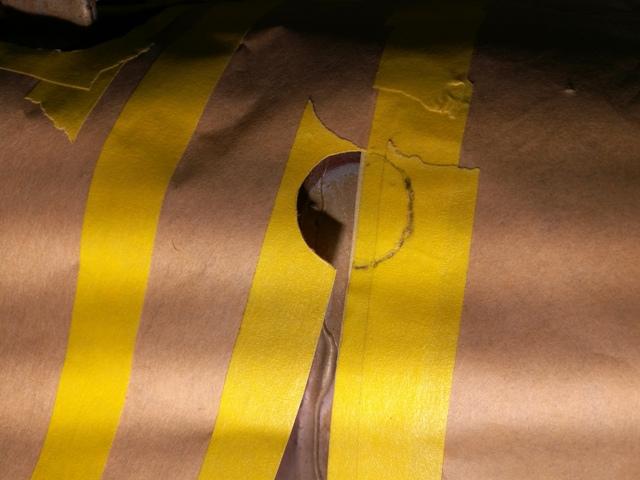
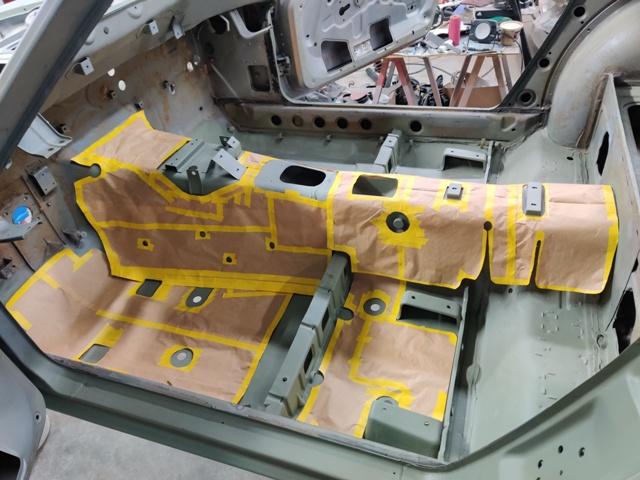
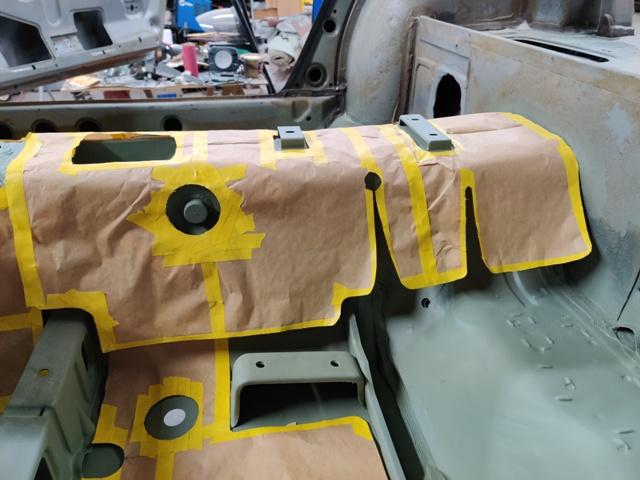
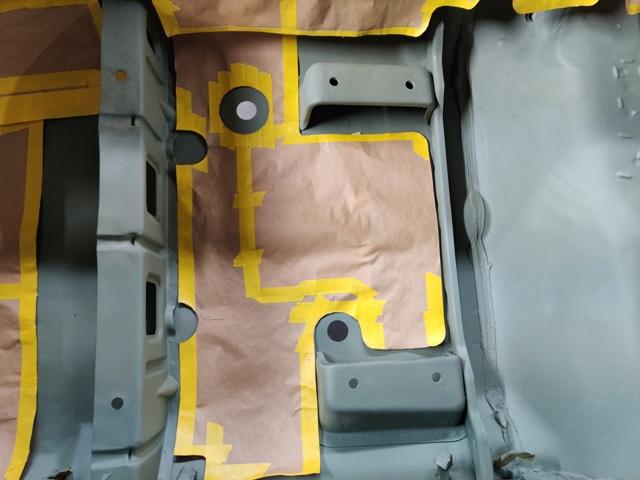
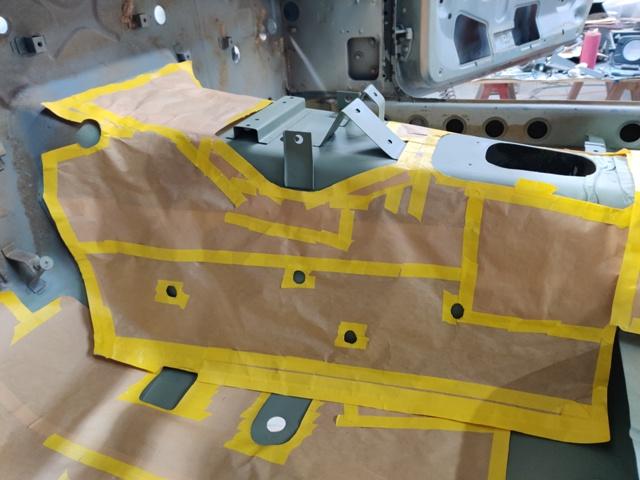
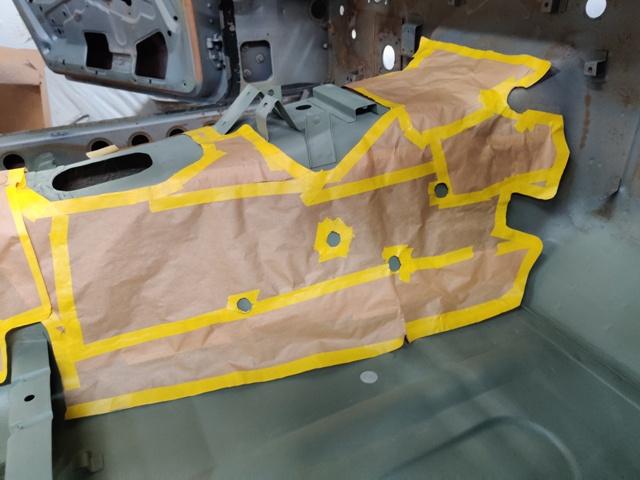
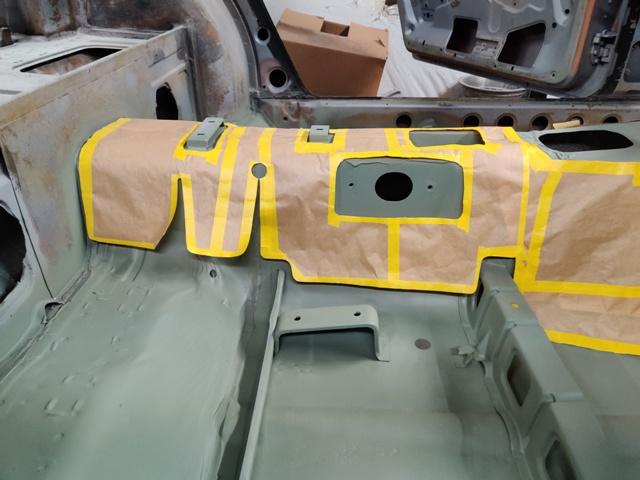
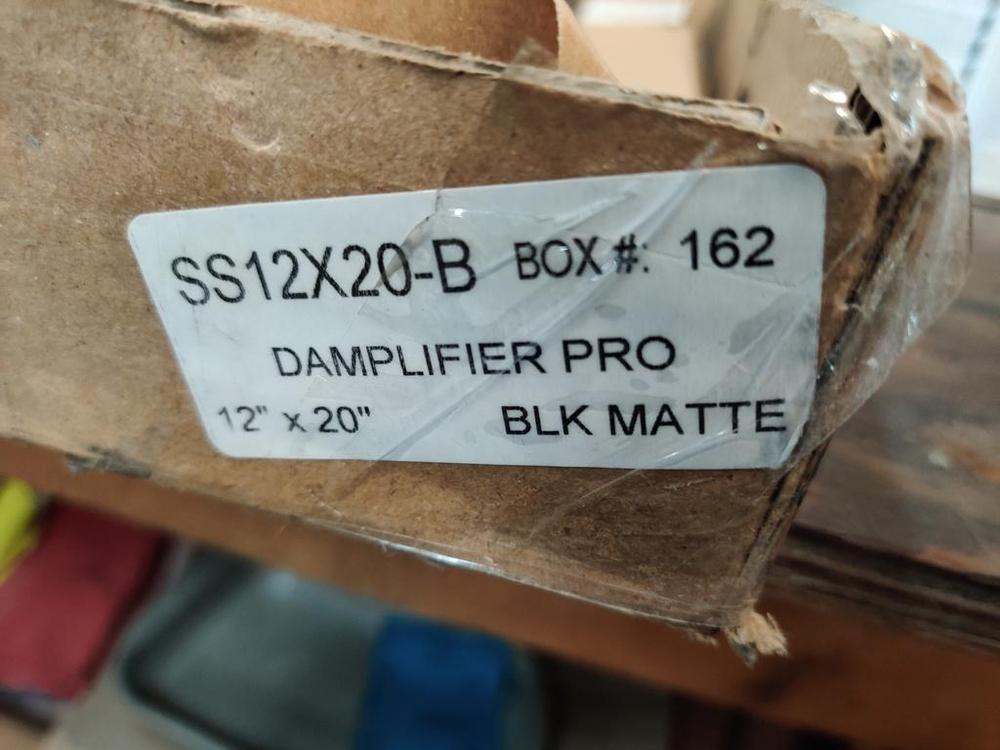
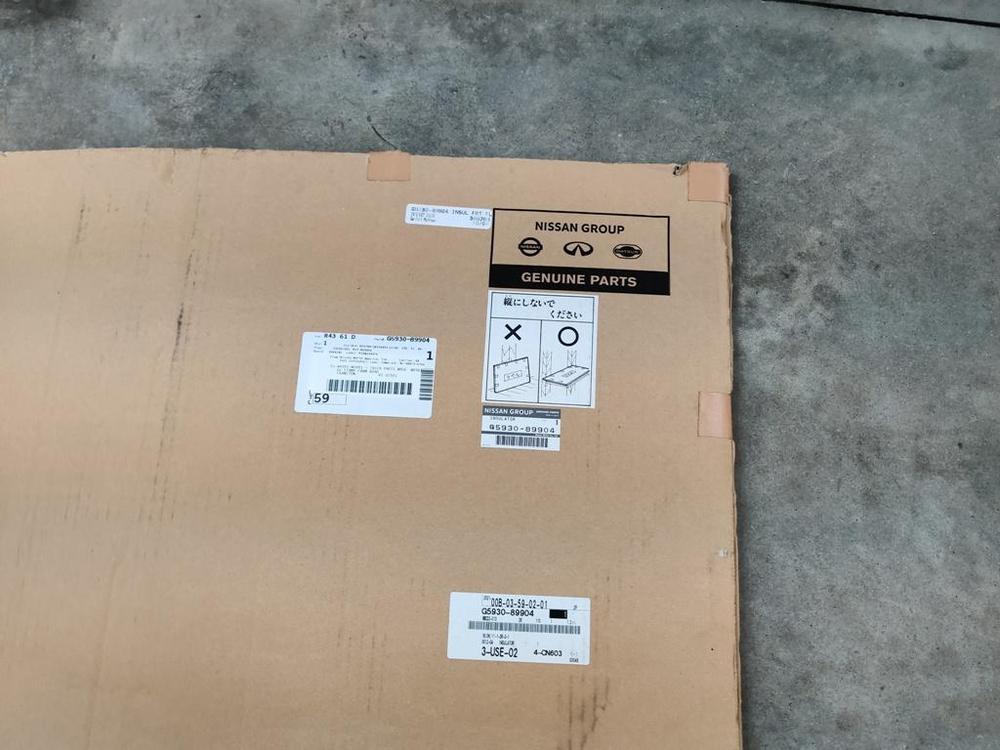
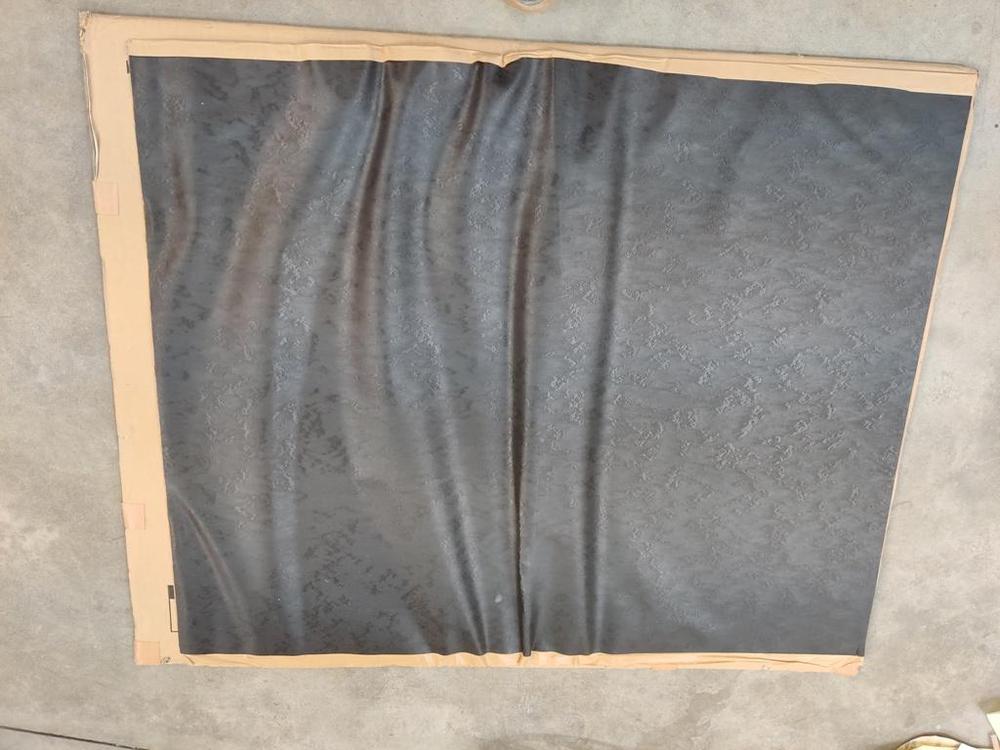
I am again reminded how how inefficient I am at doing high quality bodywork. I am now on my third "last" application of high build primer. I am obviously repeating this process too much. I don't know how many coats I have put on the body now. If I had to guess, I am at like... a coat of epoxy primer, a layer of body filler, (then a round of sanding), another coat of epoxy primer, more body filler, (another round of sanding), two full coats of high solids primer, (more sanding), spot primer in low areas along with another 2 full coats of primer on the body (5 coats in areas), (yet another round of sanding), and now, two more full coats of primer with certain low spots getting a total of 4 more coats. I have run out of my gallon of HS primer. A gallon without hardener costs $360. So... this is a very expensive way to build up low spots. Take my own advice. Apply as skim coat of bondo to the whole panel and then sand it down one time. Apply several coats of high build primer, and then guide coat and sand that to perfection. This will save you massive amounts of time and money. And again, I will certainly experiment with spray filler with the next time I do a full respray on an old project car. With all that said, I have learned a couple of things that might be helpful to others. First, I can now say from an experienced standpoint, don't use commercially available sanding blocks as they come straight out of the box. I have bought several, and most of them have needed to have their sanding surfaces "trued". Take a look at this Durablock, for example: Hard to see from those angles... but here it is on a long level: Durablocks are "pretty firm", but they are also easily bent with standard sanding pressure. So, you can imagine how flat your panel would not get when using this. With light pressure, it sand with more pressure at each end. Hard pressure will allow it to conform a bit to the panel's existing surface. Softer foams are even more problematic. They can be useful in various contours, but they should not be used on large flat areas, not if you are trying for perfection. For those areas, use rigid sanding blocks. A block of wood that has been sanded flat is a great choice! Switching gears a little bit, (I find it best to rest my shoulders, elbows, and hands after 17 hours of sanding time over two days of the weekend), it is about time to put the new sound deadening mat in. I have choices! Not sure how I will proceed just yet. I don't think I have yet shared the pics showing my template creation. When I bought the car, the tar mat was gone from the floor surfaces and almost half of the tunnel. I spent many hours marking off lines (based on paint lines and existing tar mat pieces). As the tar mats are applied from the factory before primer and paint, some of the pattern was easily determined by looking at where there was over spray and where there was not. Other than those two things, I stared at pics online to determine the shape in areas I could not decipher. The templates are made from masking paper and masking tape. Regarding sound deadening, I originally planned to put the OEM stuff that I was able to source, but it is only about .060" thick. The original bits I have (mostly from the tunnel) are more like .130" thick. So, I could try to double up (I have four sheets like the OEM one pictured, which should lay down flat and be usable after sitting in the sun for a bit. However, being that we are now 50 years later than the original build date, there is some stuff on the market now like Damplifier Pro. It is a butyl rubber product (no asphalt - and not bitumen) with a thick piece of aluminum foil on the top. It would be far better for sound dampening and for heat insulation. I used my template and cut one piece for under the driver seat. It is not glued in place yet however. I will think on how to proceed some more.


 1 point
 -
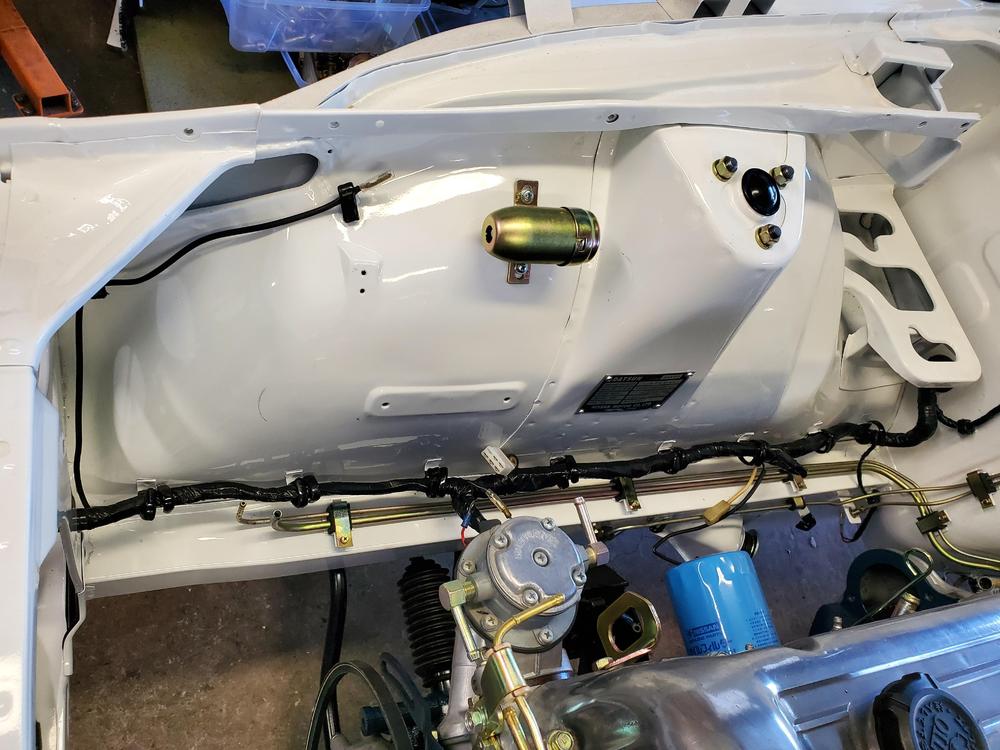
1 pointI recently purchased a 79 280zx booster from Power brake exchange. I’m in the early stages of the installation. The booster does fit without modifications at the firewall. Leaves just enough room for the clutch master. I’m using the same 15/16 master cylinder as well. Working on other areas of the car right now and have not gone any further with the install.1 point
-
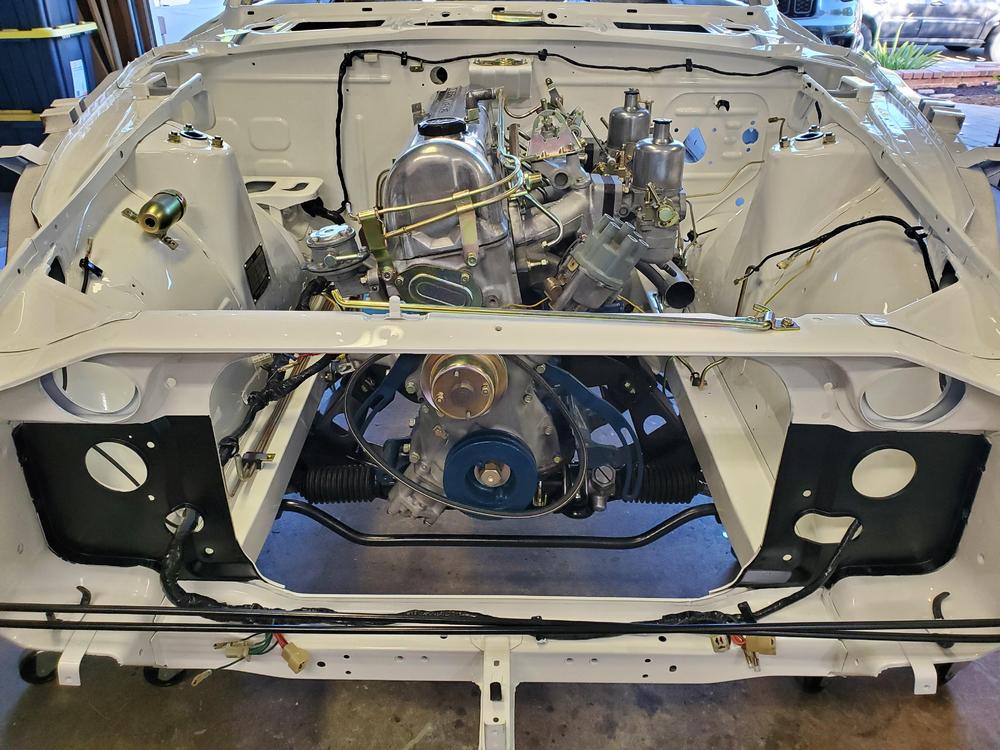
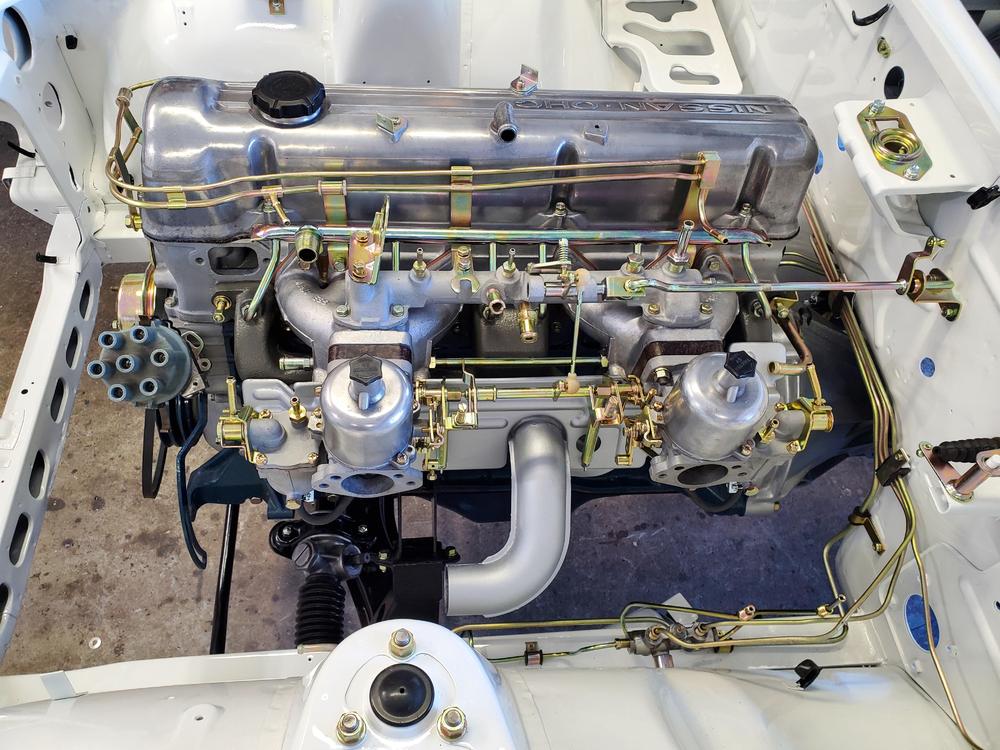
I plan to get rid of the downdrafts and in fact already have a new stroker motor in development. Will probably be going ITB’s on this build.1 point
-
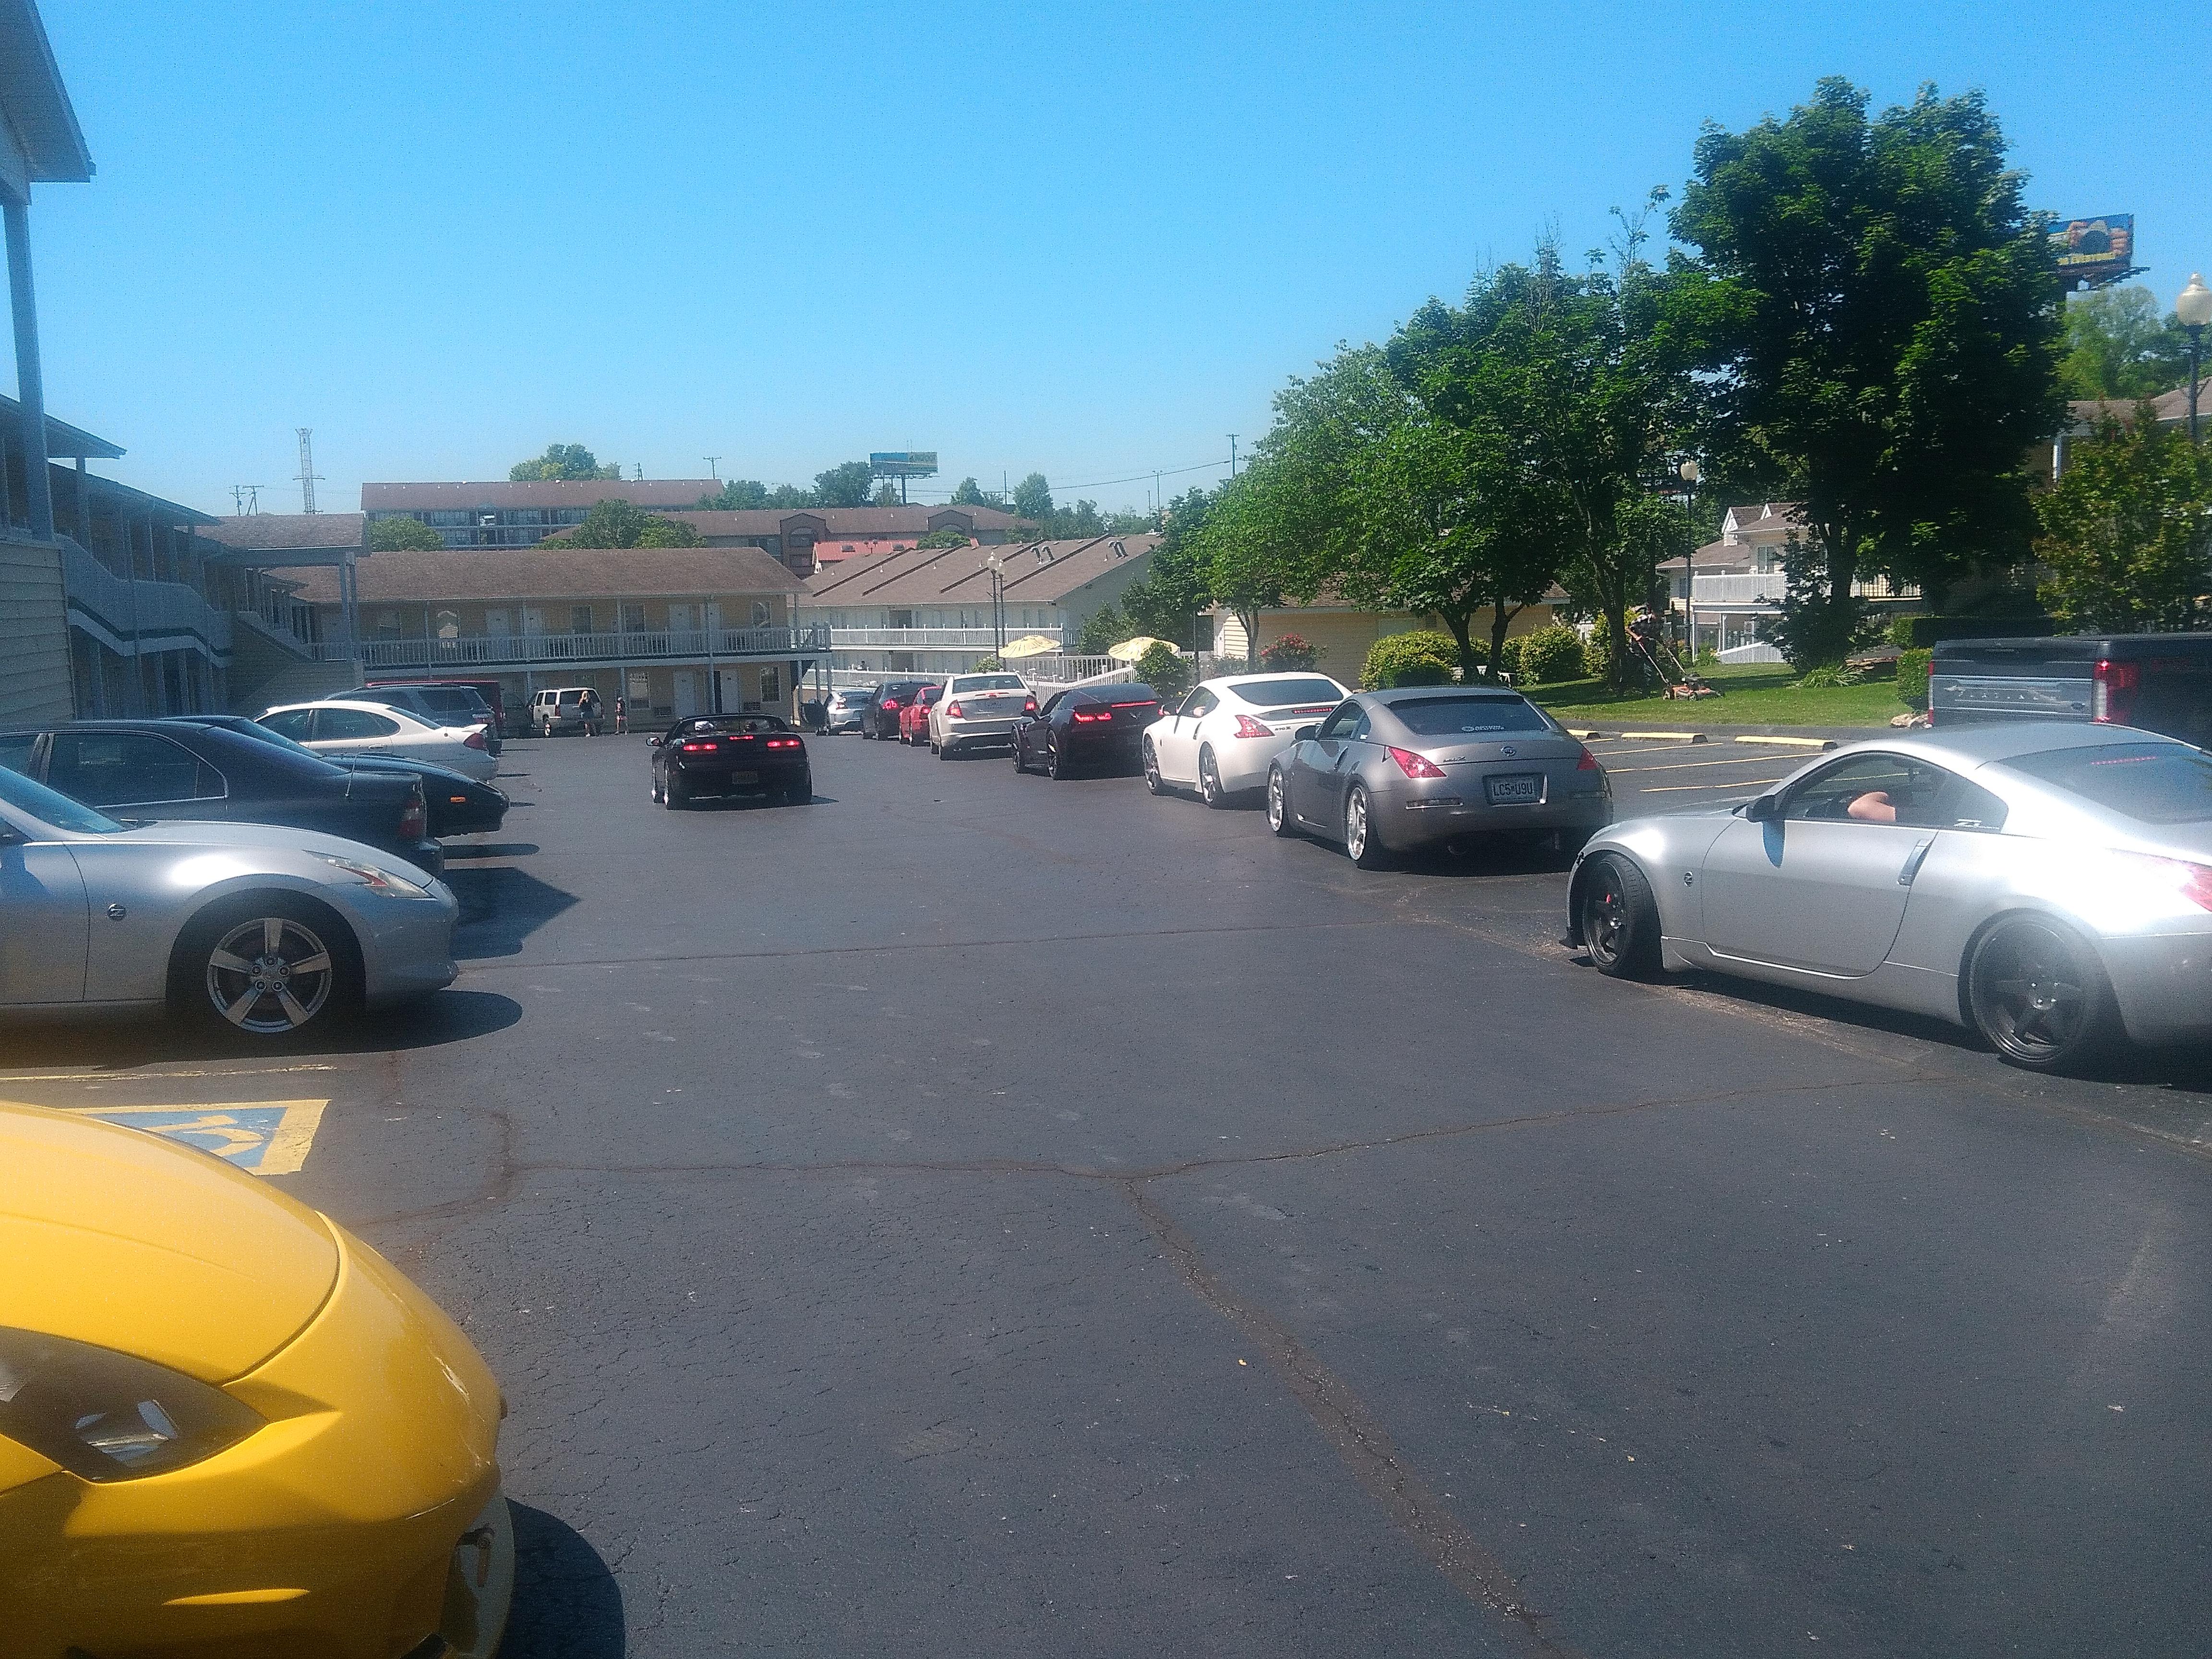
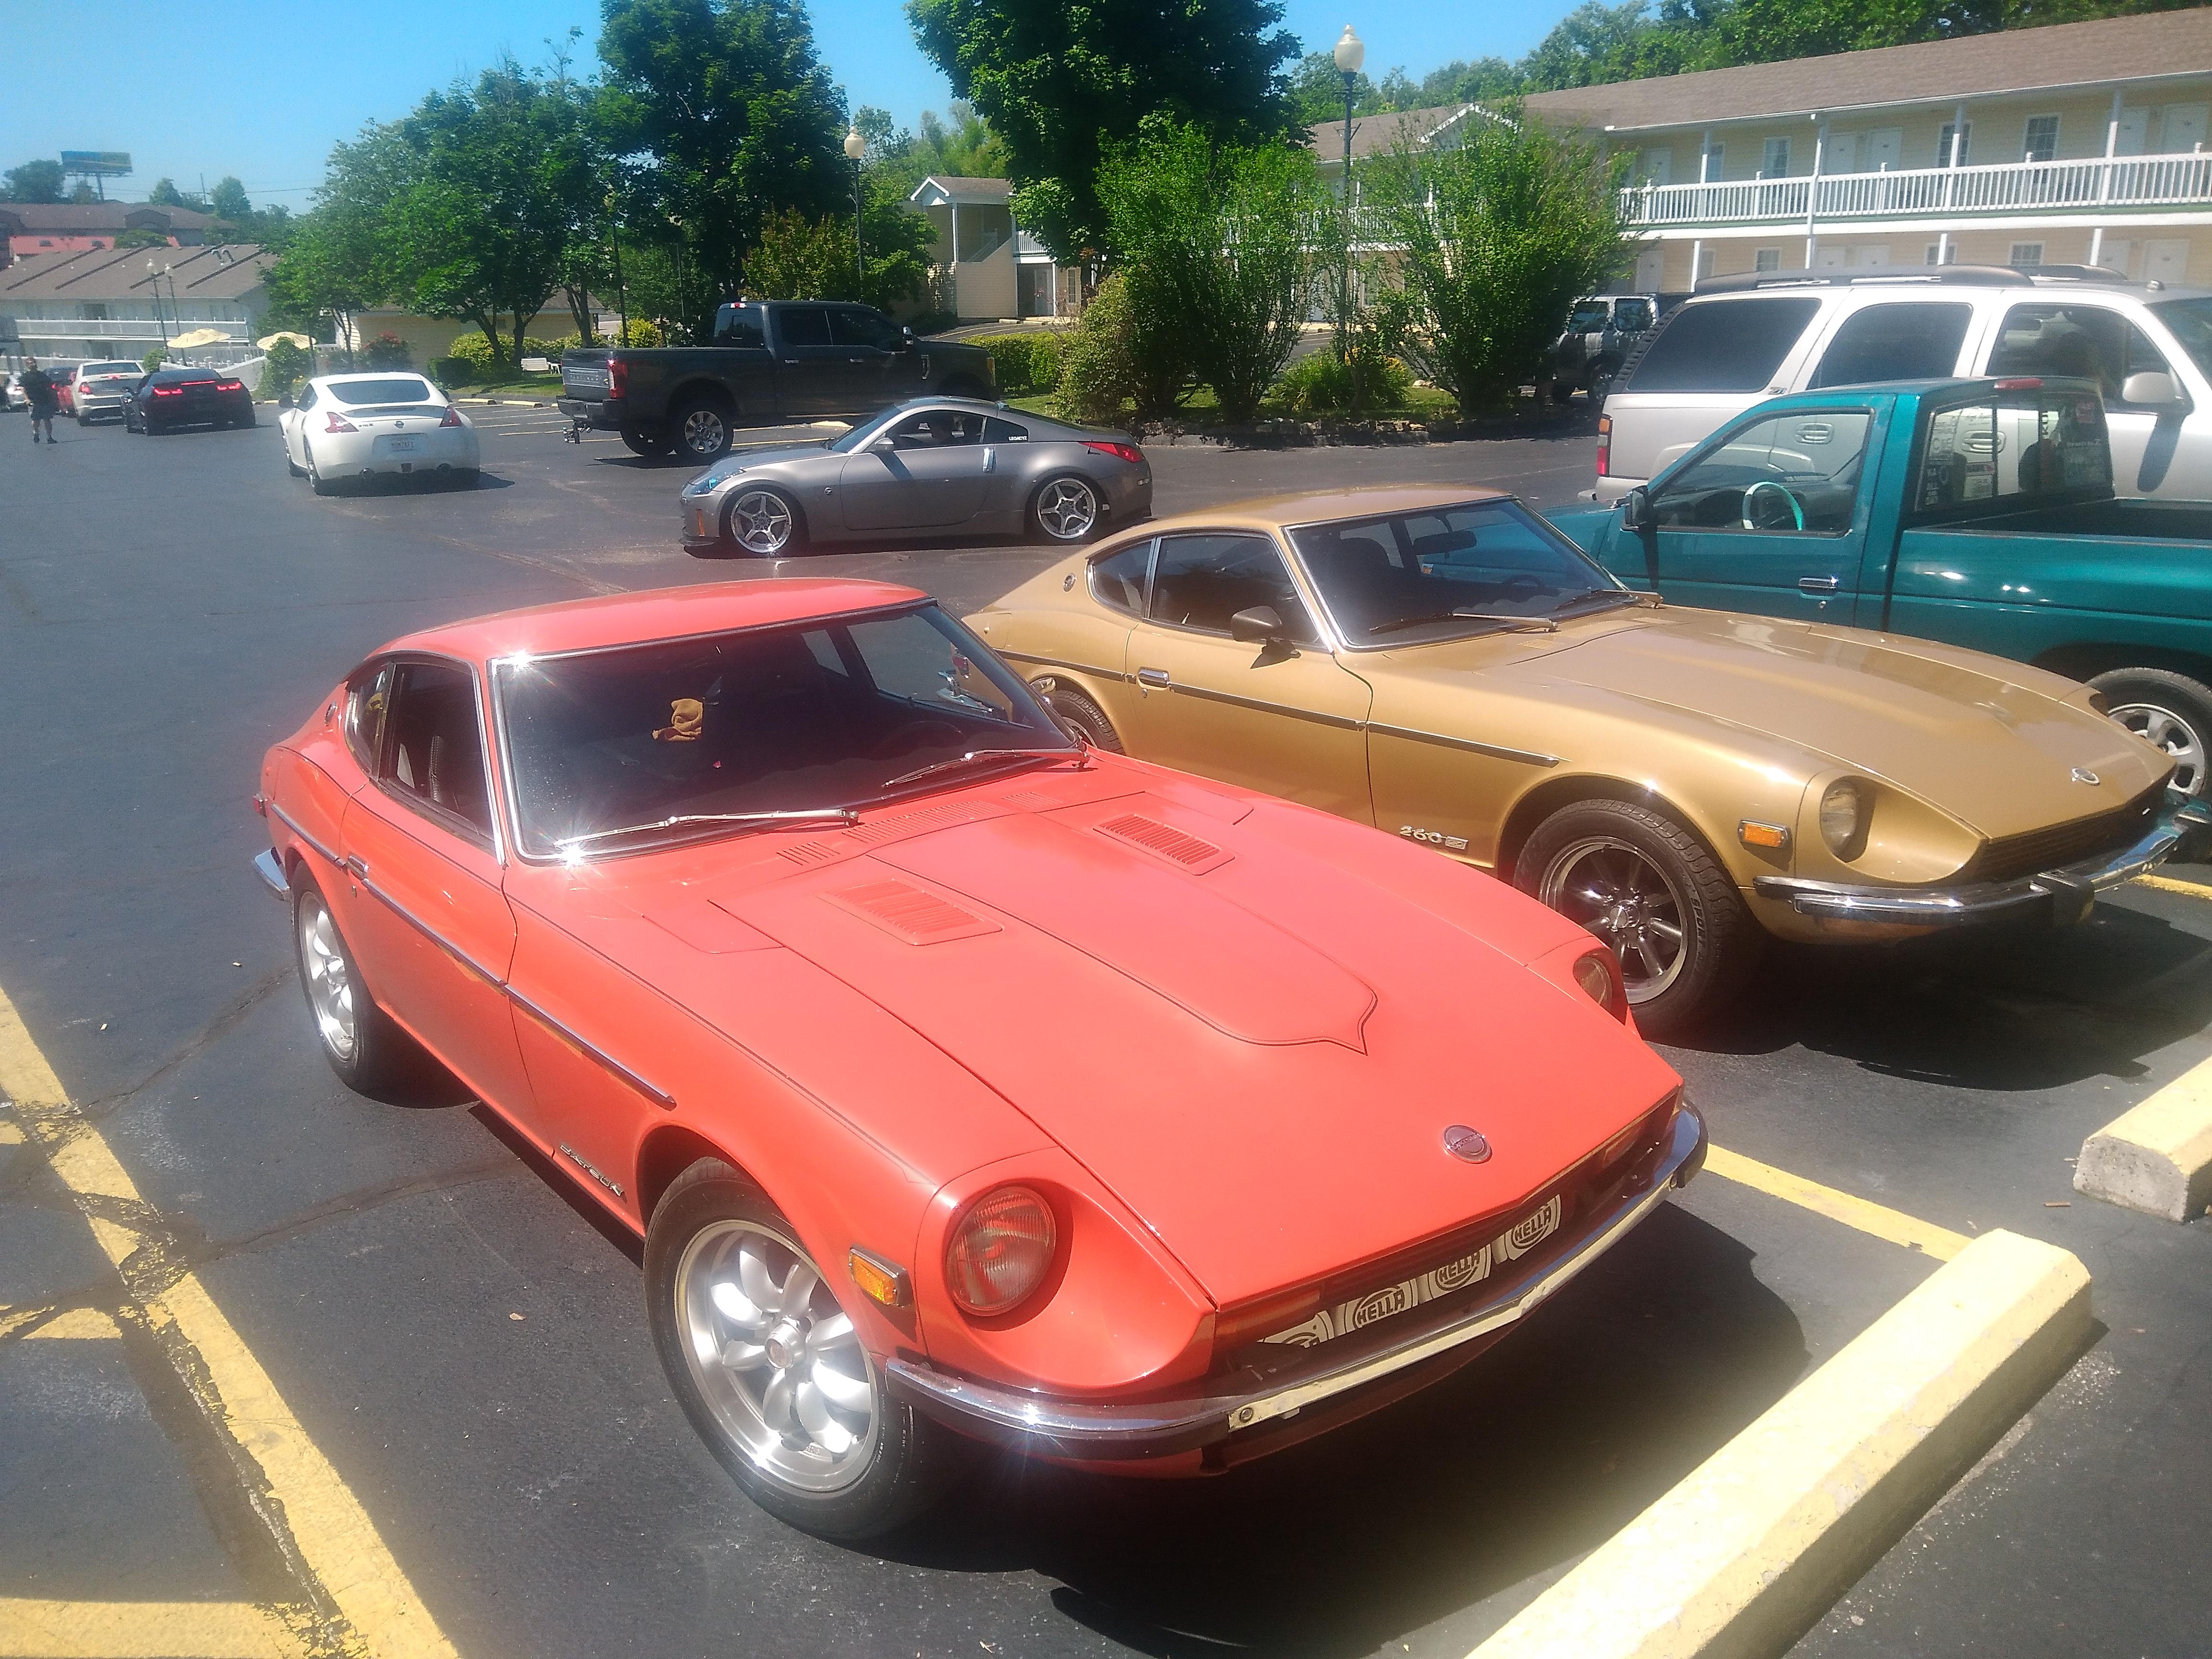
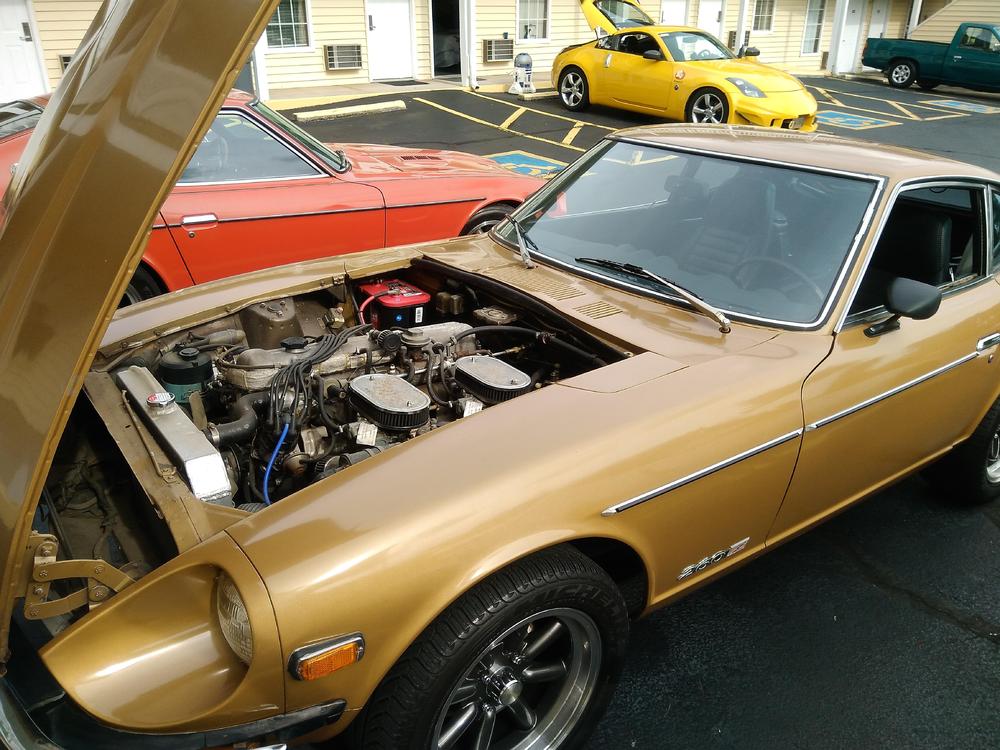
Branson event in the covid era. Every year at this time, Branson hosts Zfest, a fun fun event with great driving roads, lots of food & beverages. This time around, it was of course cancelled, however a rebel group was rumored to hold a informal Z get together. MikeW decided to make the trek from Austin to cure a case of cabin fever, and with that, it put me over the edge to go for a few days. I figured if he was coming all the way from Texas the least I could do was drive the 120 miles and join him. We had a great time, about 20 people and 15 Z cars were there. The area's venues are closed, our hotel was lightly occupied, and we bought our own food, barbecued our ribs, burgers, chicken and brats. We went to no restaurants, and only visited a supermarket for additional supplies once. Among those in attendance were Chris and Robbie from the ZCCA. The 350, 370z was the strongest in numbers. MikeW brought his current 260z project and we had the only S30's present. Can't wait to see how he transforms that car in the near future. Thanks Mike for a great time and keeping me fed! Mikes latest 260 project, what carbs are those? @Captain Obvious would know they are webers, @Zup would hope for flat tops ....


 1 point
 -
1 pointThanks Site.....this will be my last one.....cost more than my first Z.
 1 point
 -
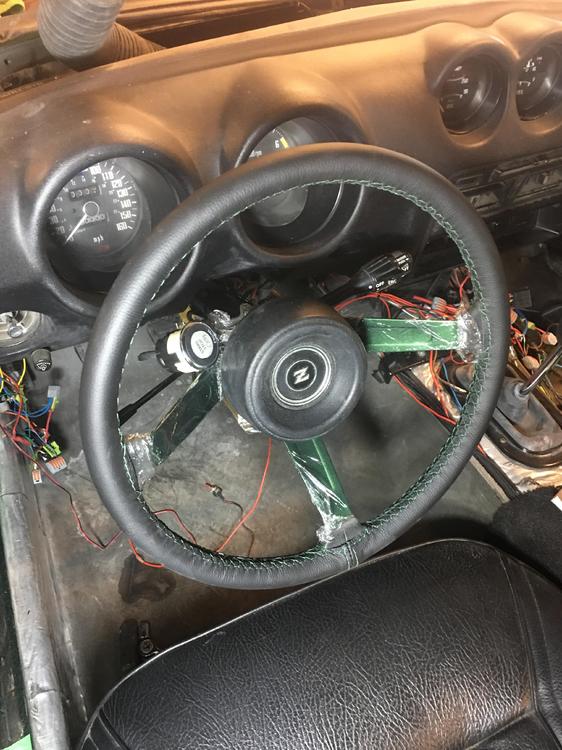
1 pointReassembled the horn components and placed the wheel for effect. The cling wrap is just there to protect the paint for now.
 1 point
 -
1 pointThanks everyone. I need to update my profile as I am now in Rhode Island, but same issue with being close to the coast, and a lot more humid here thank in San Diego. I got the clutch broken free as Carl Beck suggested. Many thanks. I then adjusted the rod on the slave cylinder and can now feel more pressure on the clutch pedal, but still not quite right. I can start it in gear with the clutch depressed, but have trouble putting it in gear with the engine running. Also, when I drive it, it appears that the clutch is slipping when I punch it. Will play with it for a few days. Step 1, re-bleed the clutch system. I used a vacuum system to bleed it this last time. Also, the slave cylinder came with the bleed valve installed under the hose line, where as the previous slave cylinder had the bleed valve above the hose line. I swapped them out to be like the original was, figuring air goes up and will bleed better if it is coming off the top of the slave vice at the bottom. Hopefully that will get me the travel that I need on the slave cylinder rod now that the clutch plate is broken free from the flywheel. Again, thanks for helping me out. I want to get started on my project car, and am grateful for the responses on this forum.1 point
-
1 pointBart, the fan and clutch shown by Zkars above, is what came on my series 1 when purchased new. These fans were heavy and often caused premature failure of water pumps. It was fairly common for dealers to switch these out for the later plastic fan and clutch assembly when they became available on later Zs. I have the plastic fan assembly on my car and only put the metal fan on for shows. If you use this metal fan, I would make sure it is well balanced and has the correct resistance in the clutch.1 point
-
1 pointFound them. K&N 62-1340 is the 5/8" K&N 62-1370 is the 1" Sent from my SM-G950W using Tapatalk1 point
-
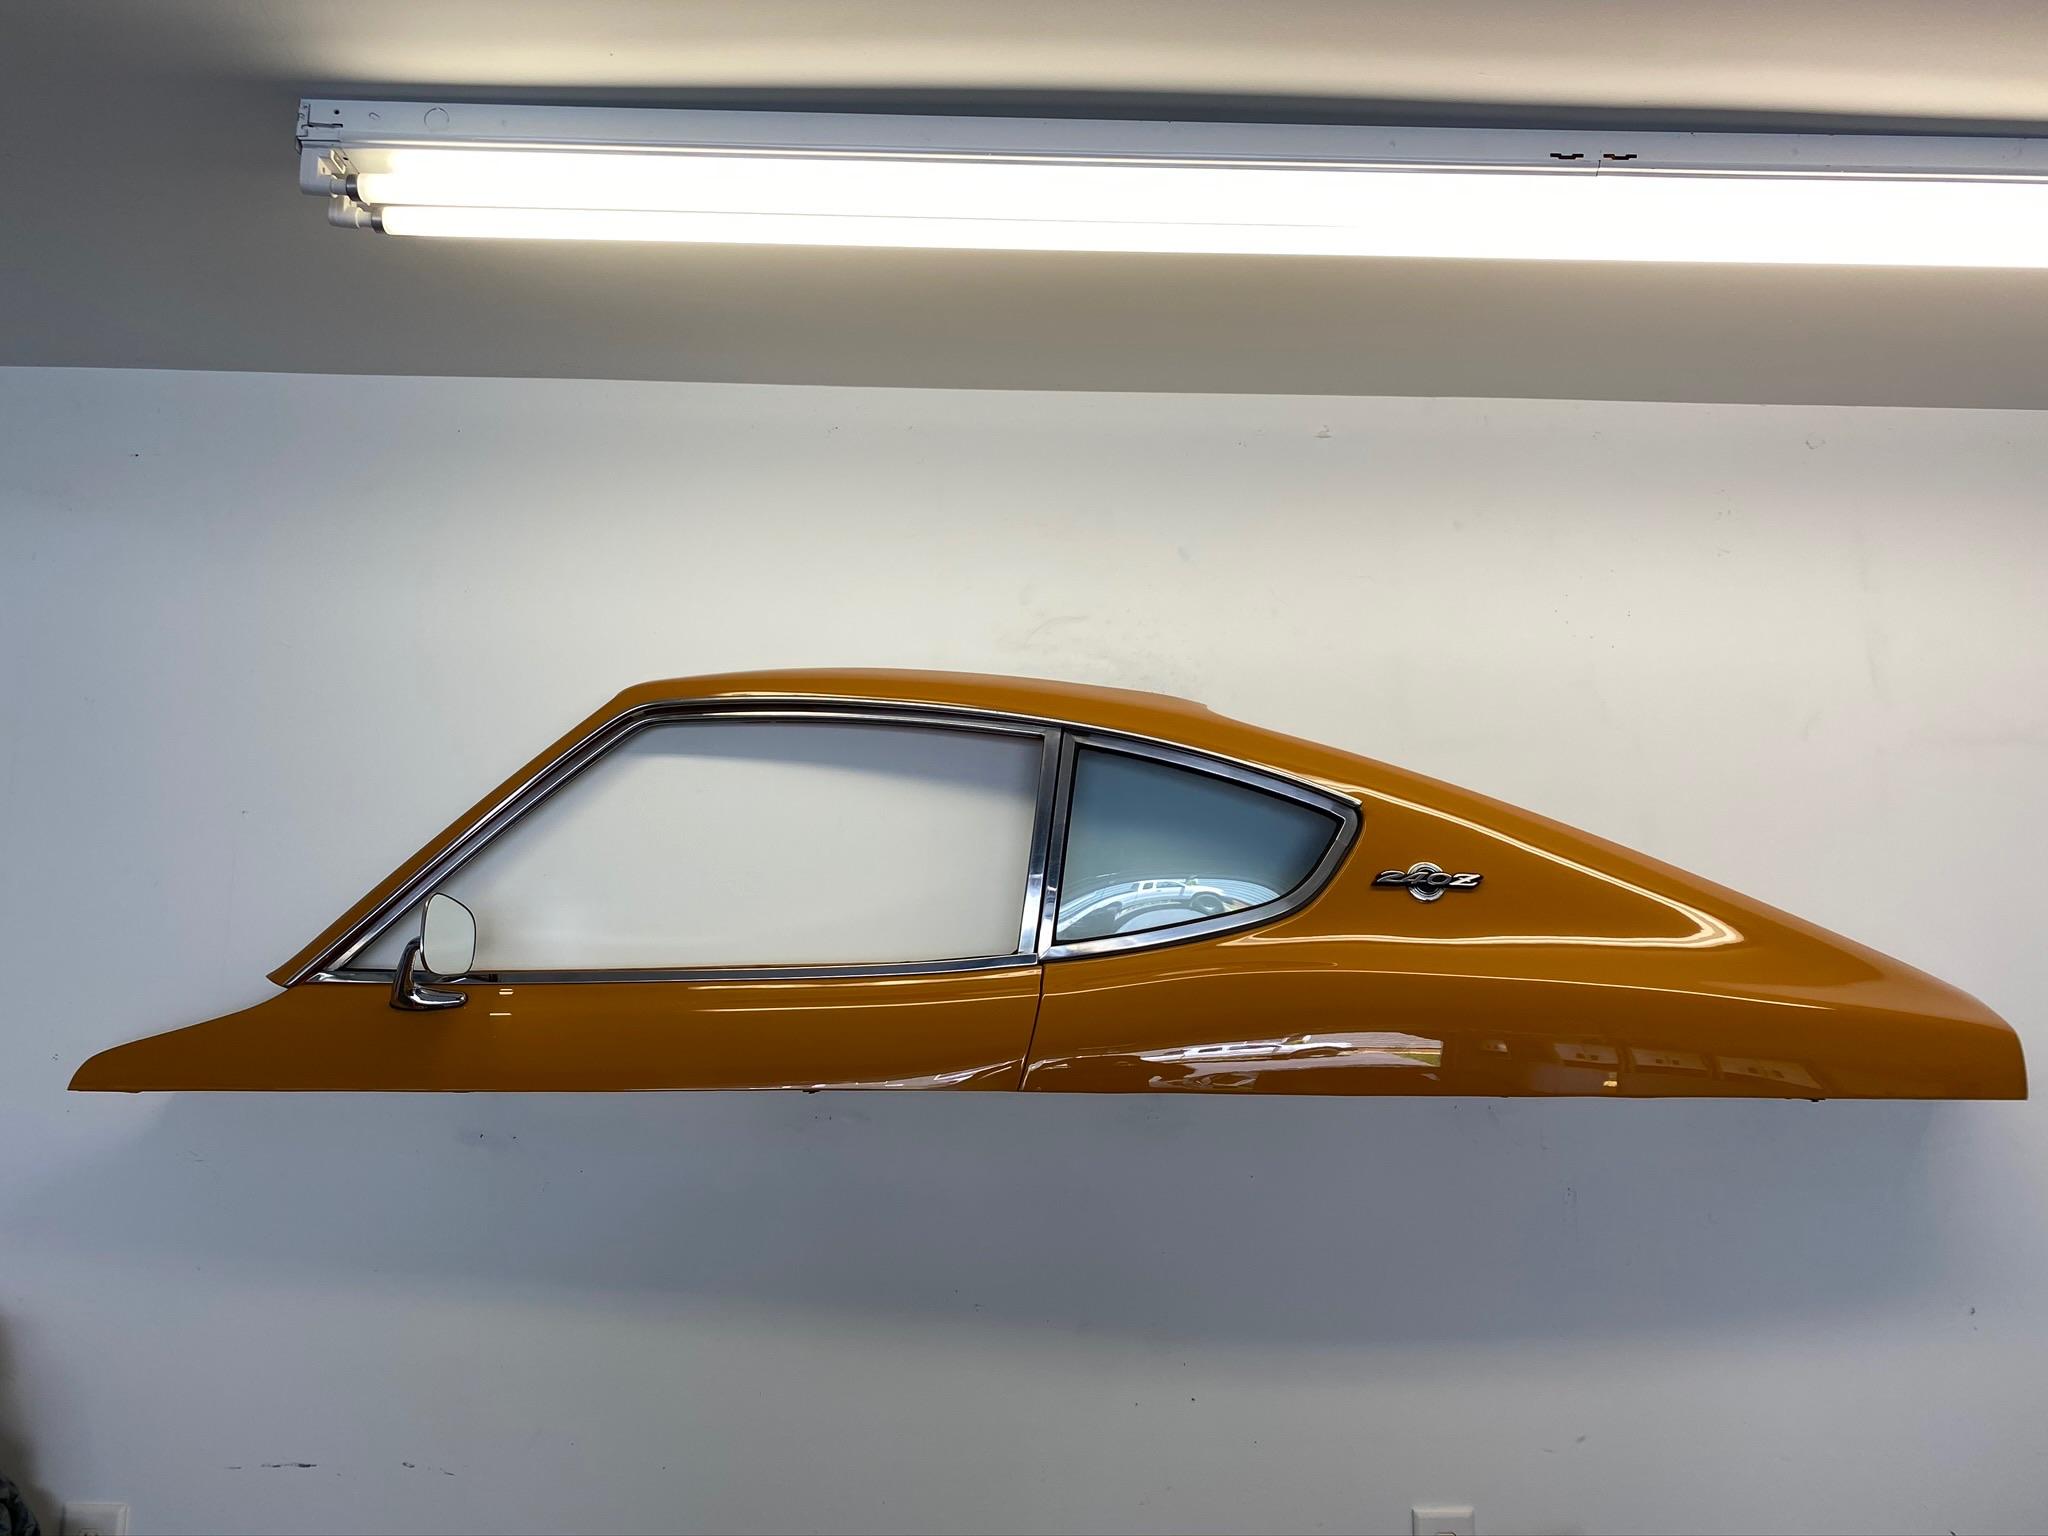
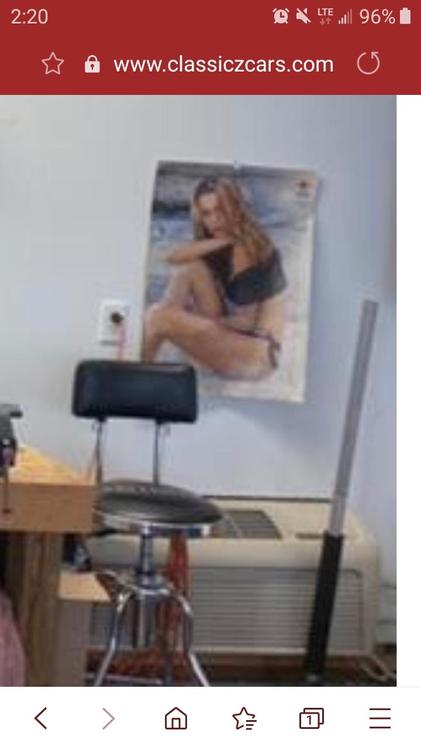
1 pointIt's adjusted to that poster! Guy knows what he wants to see. I think one for your office is next? It looks fantastic!
 1 point
 -
1 point
-
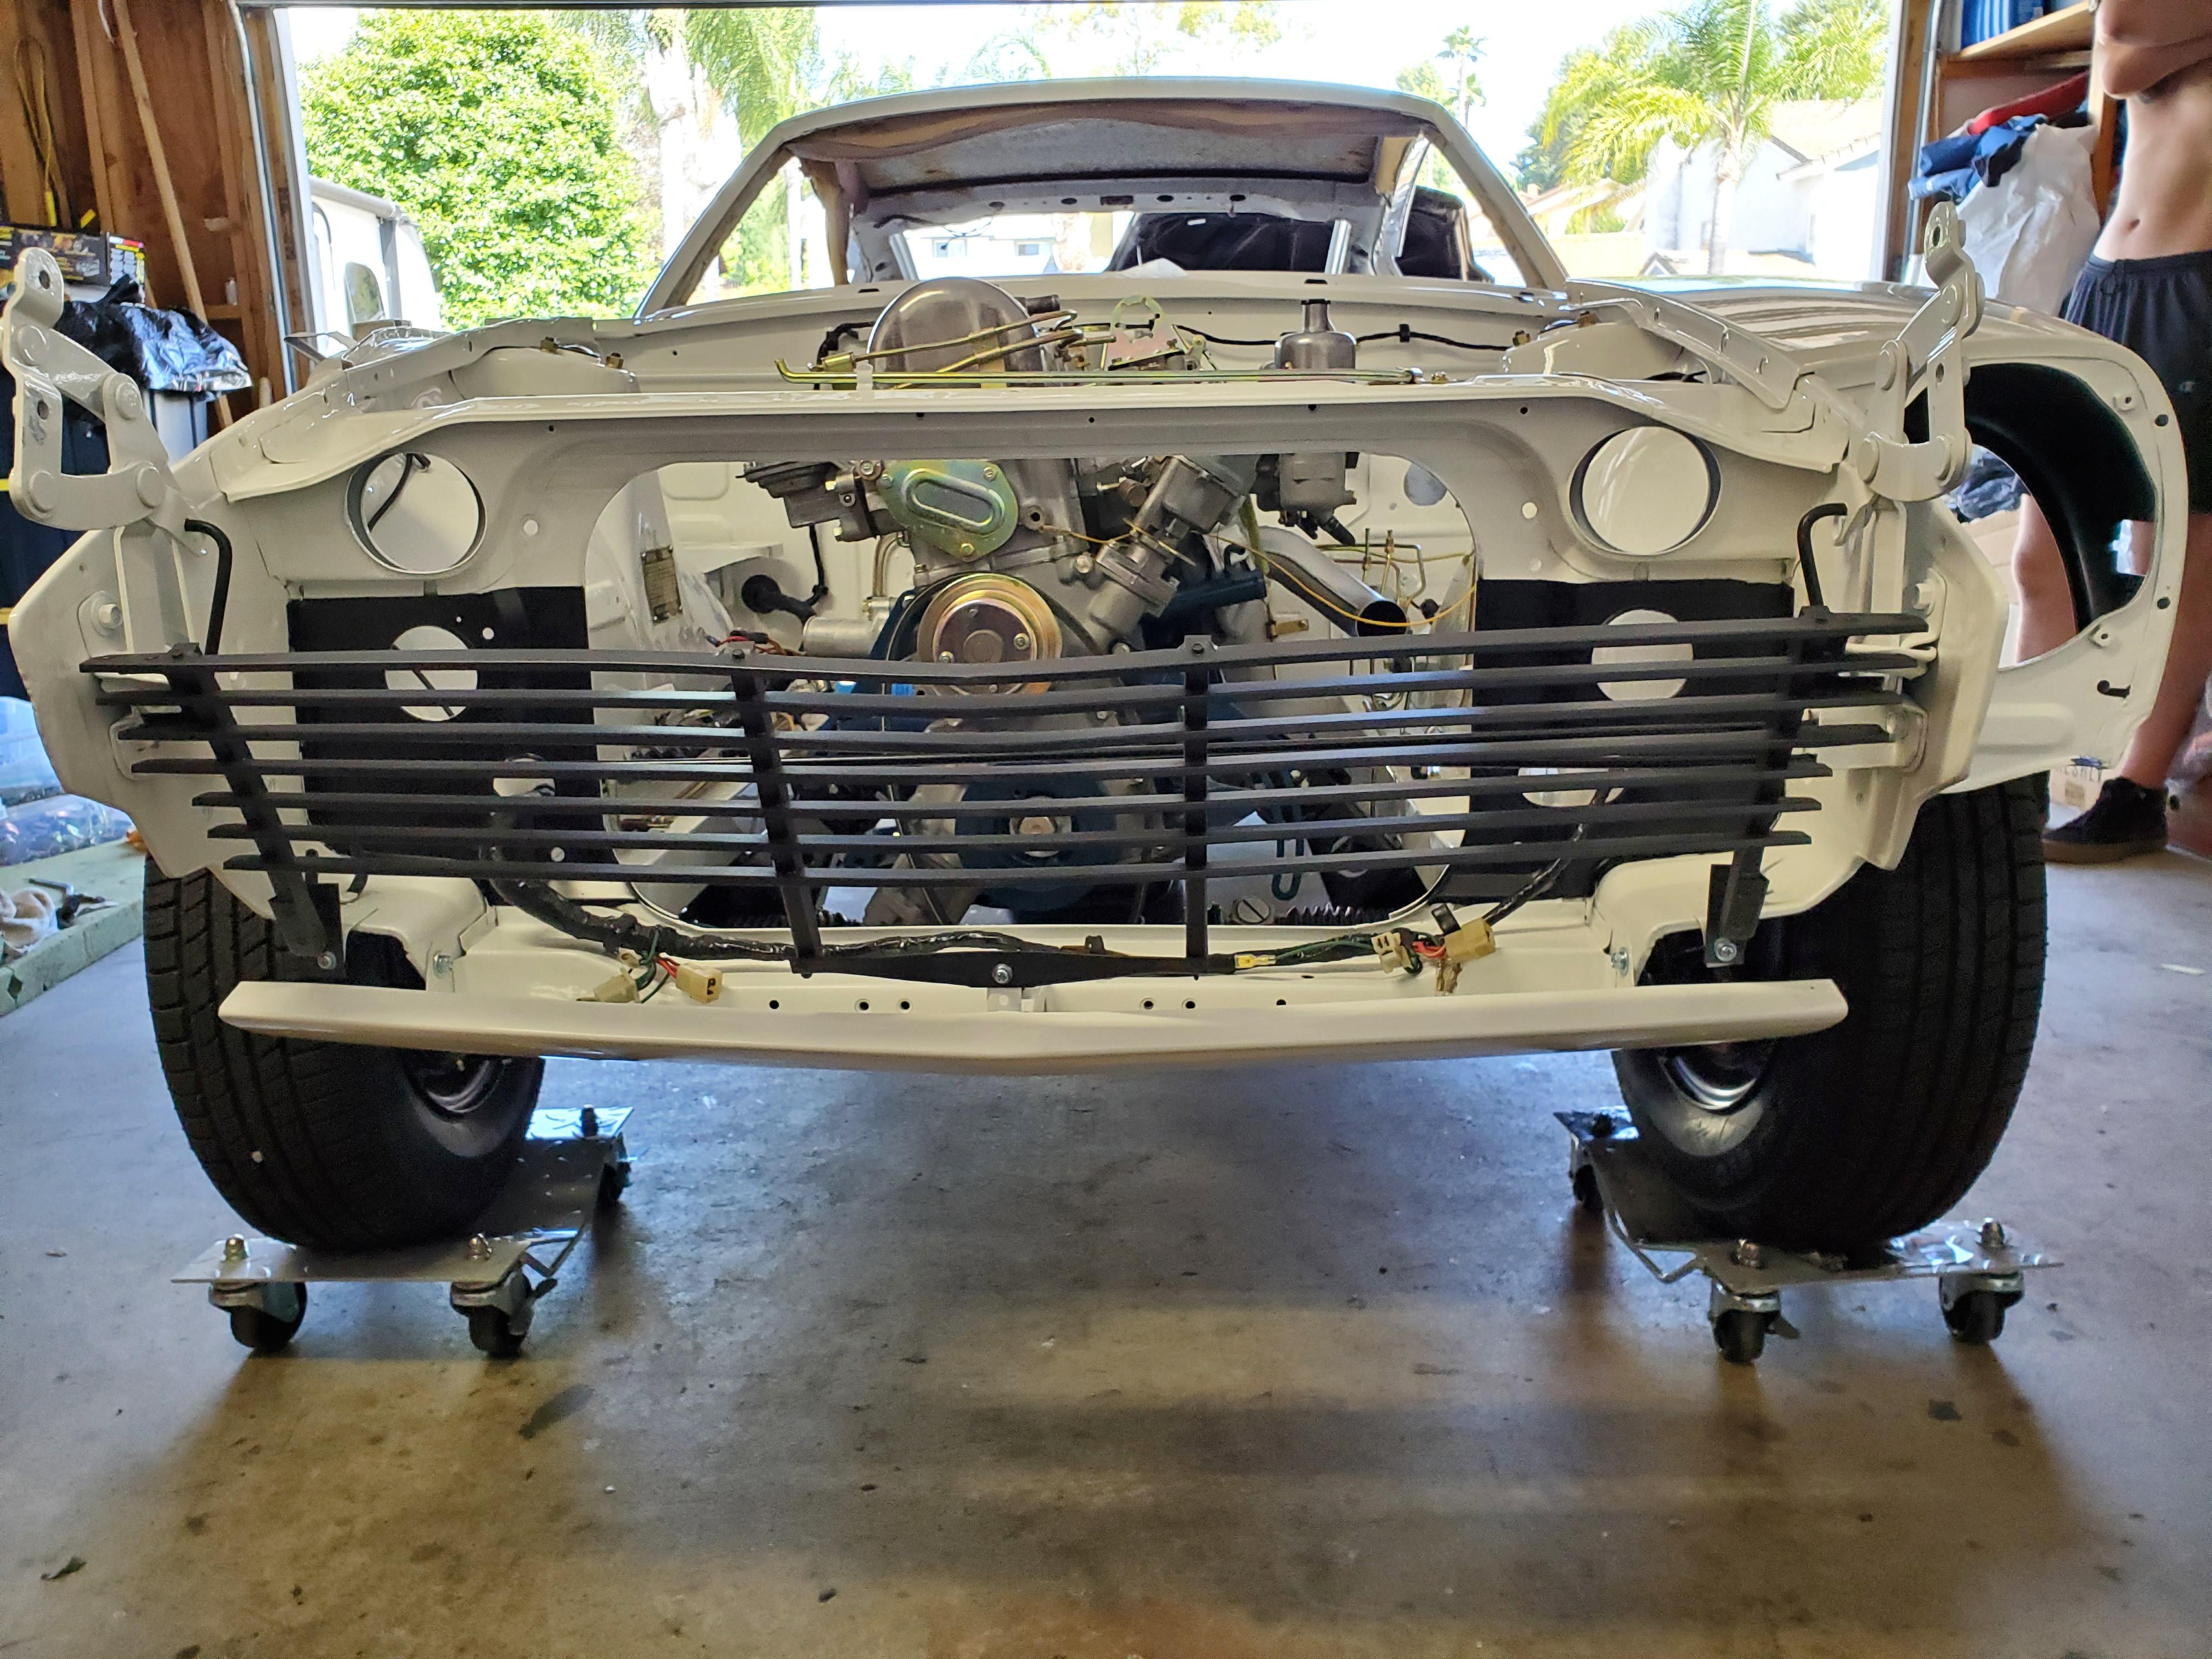
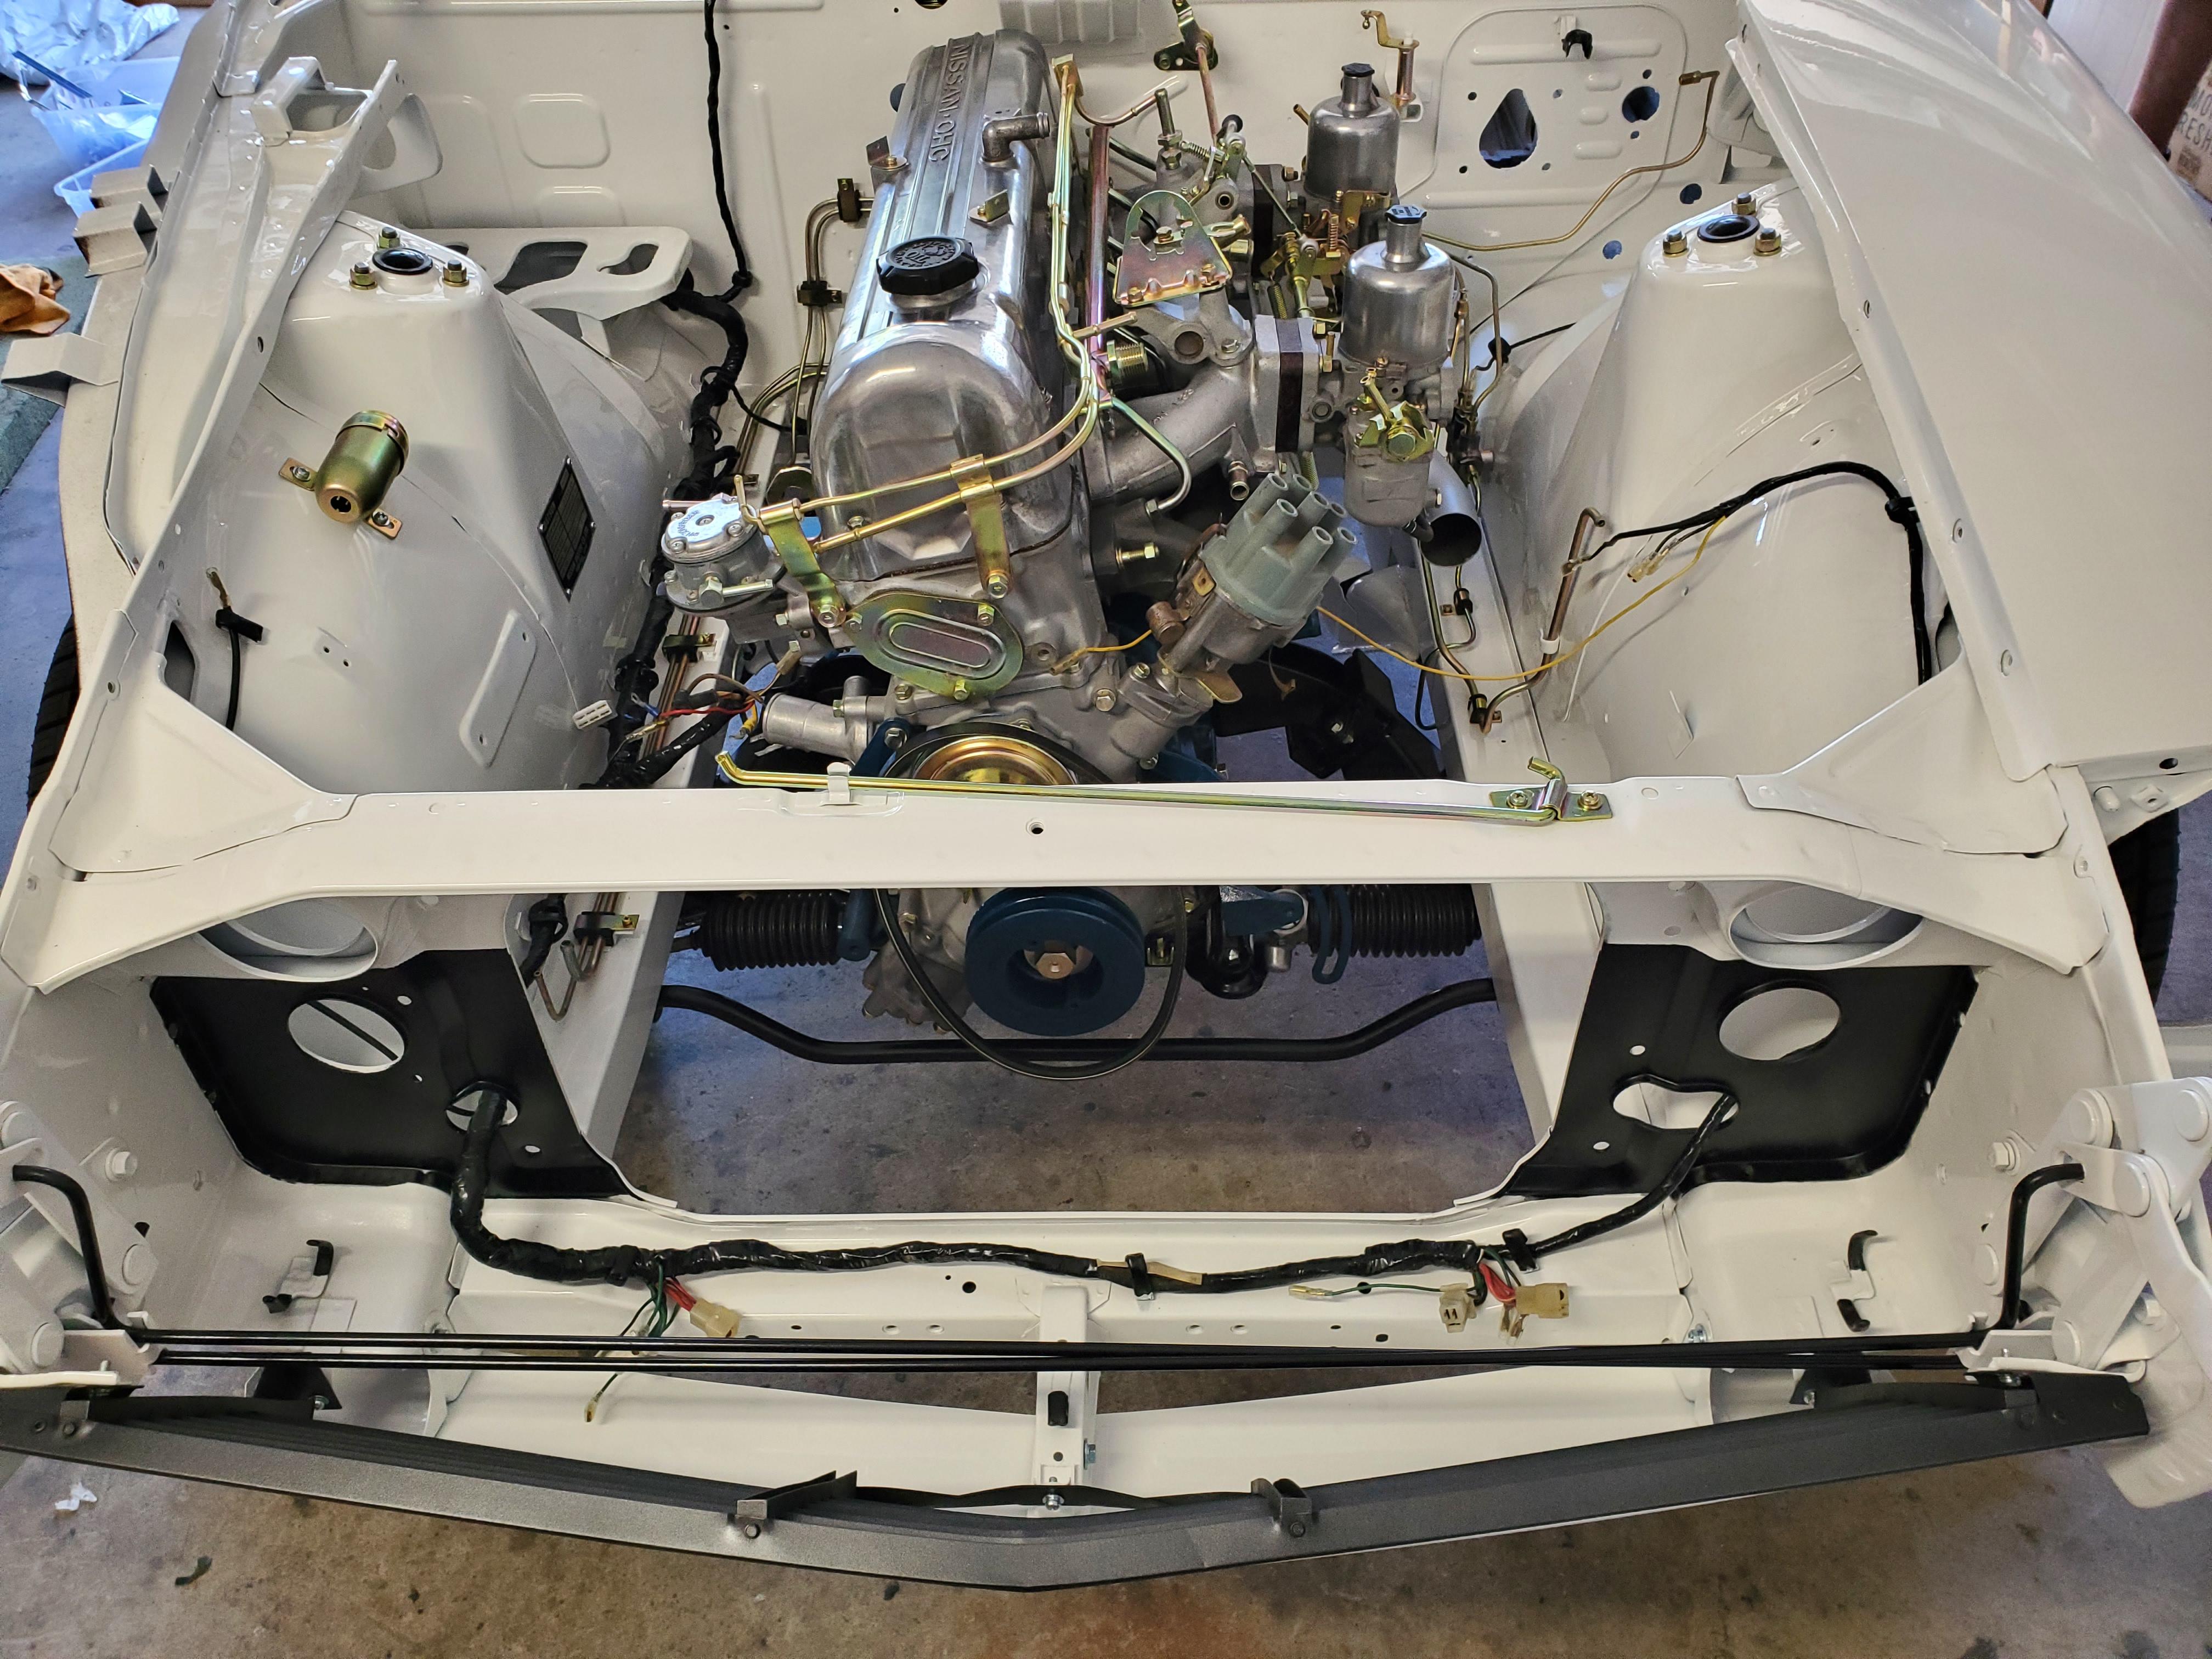
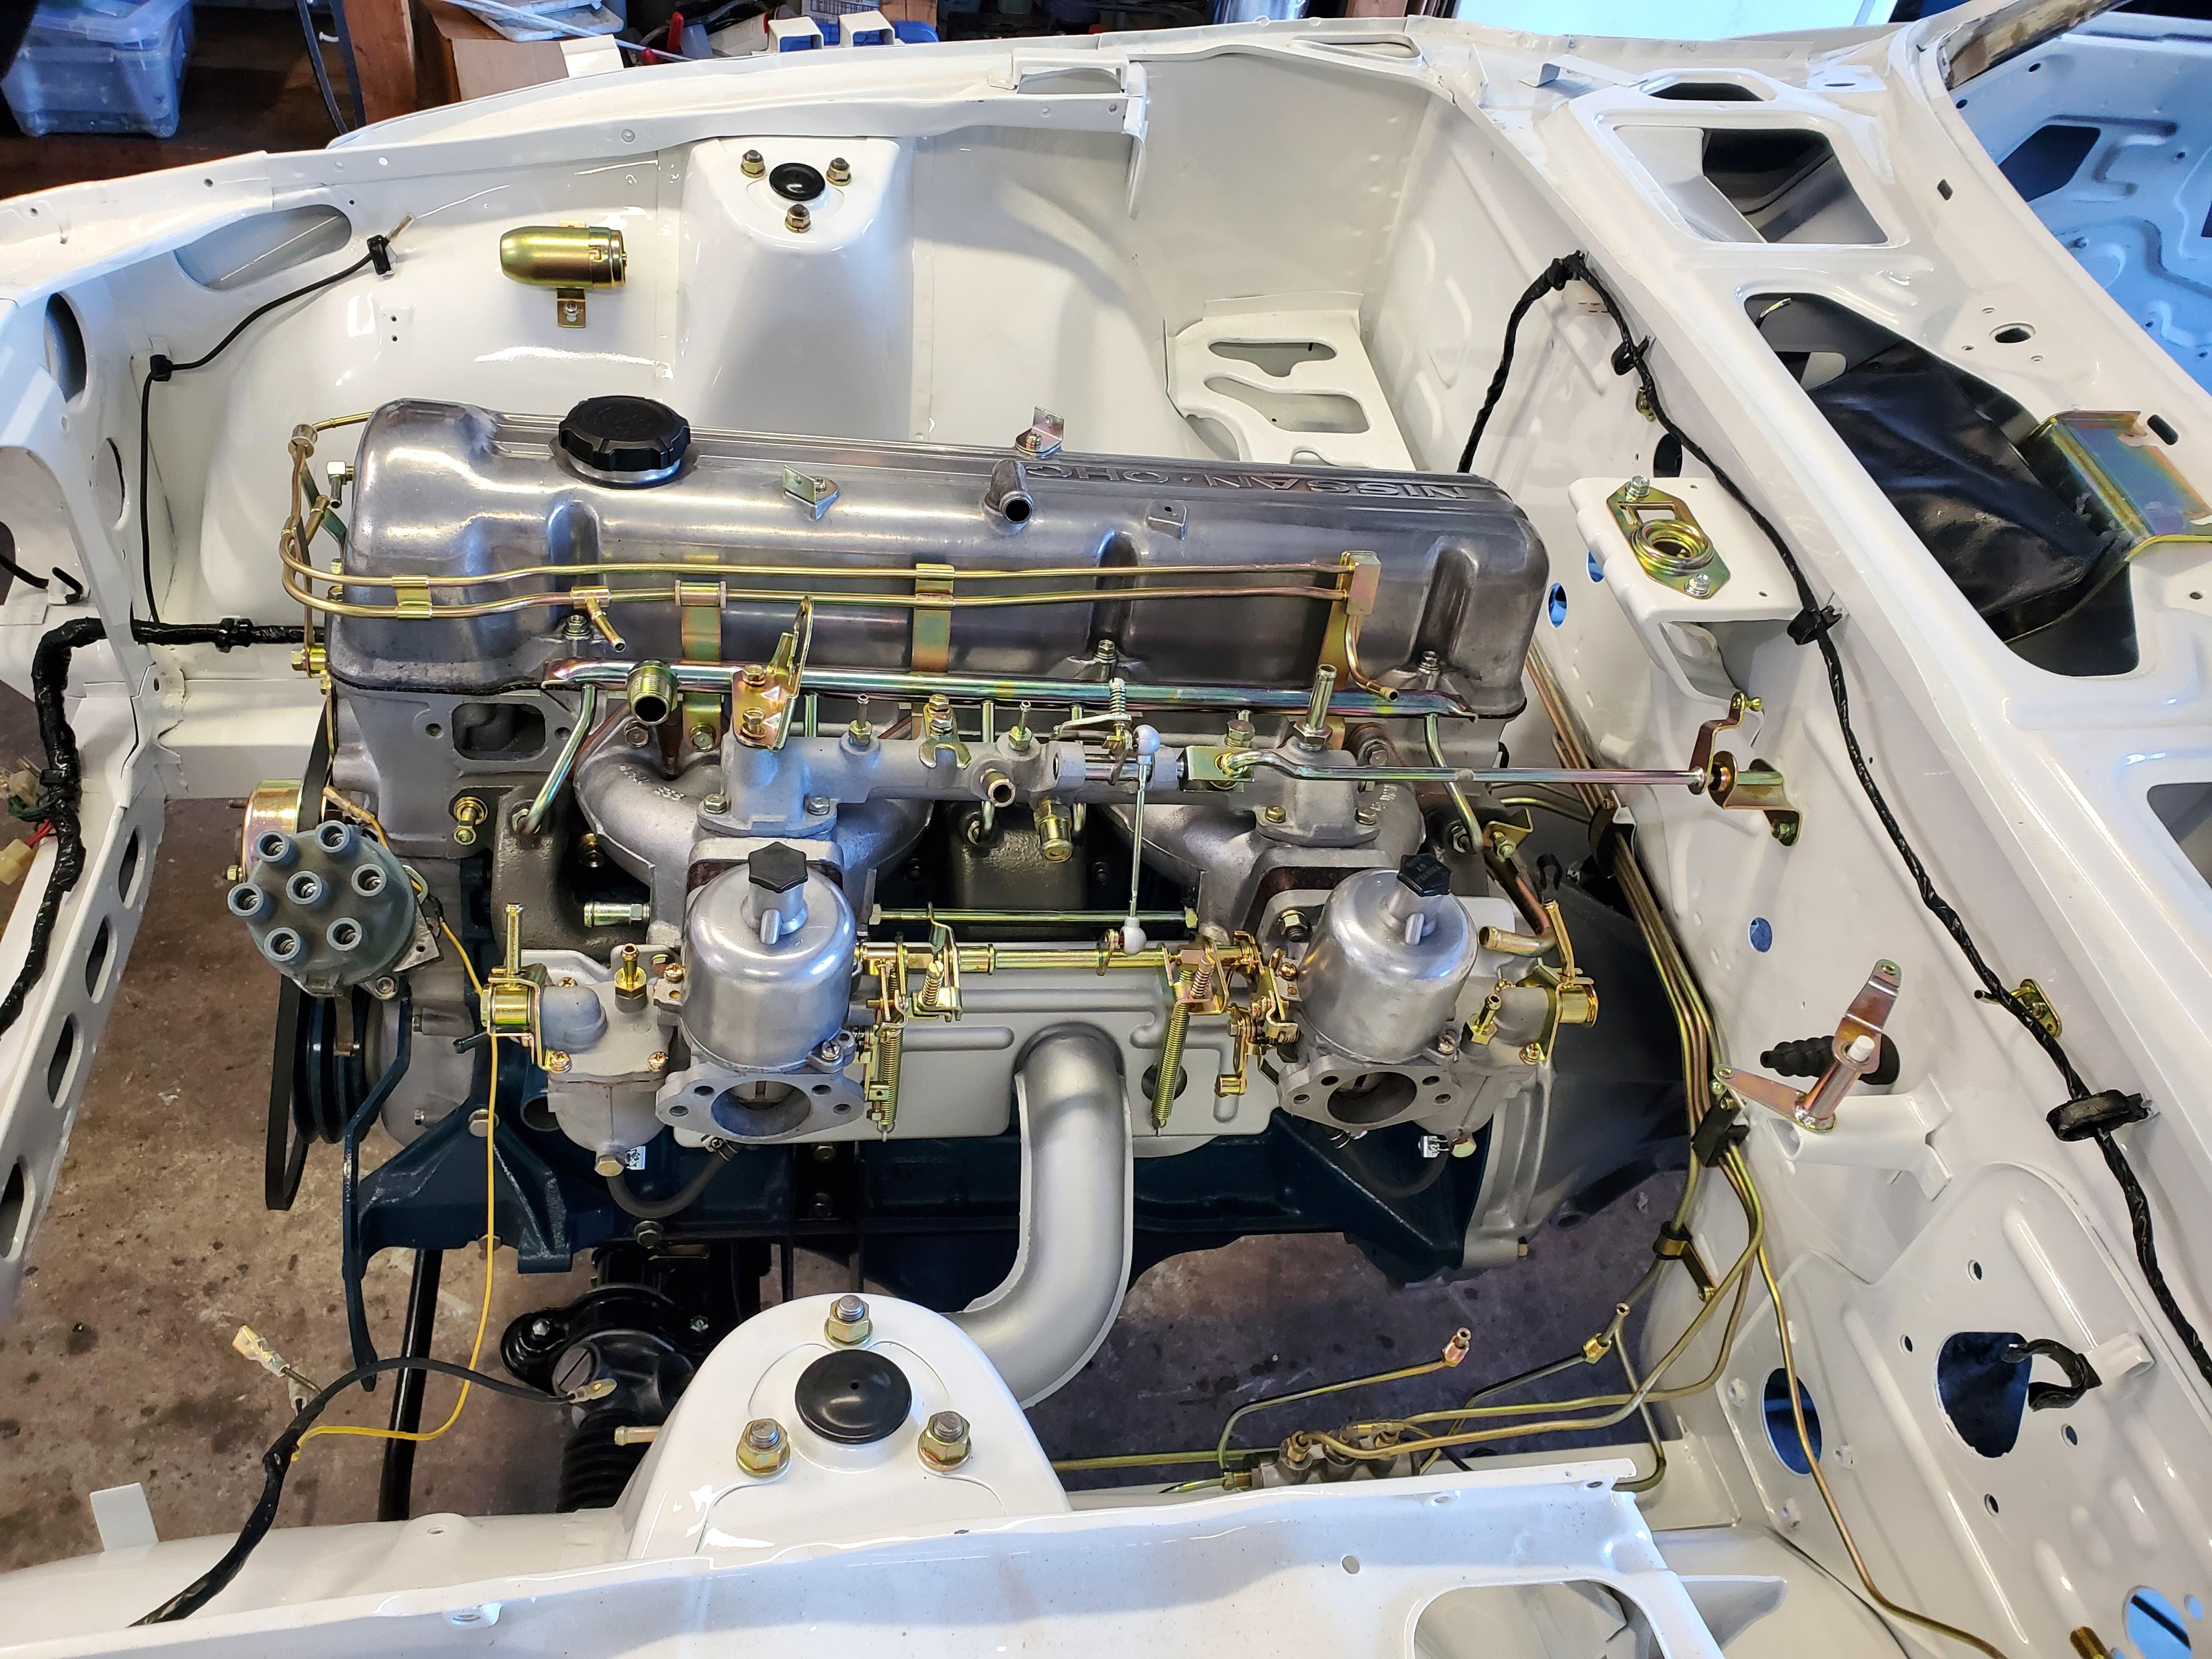
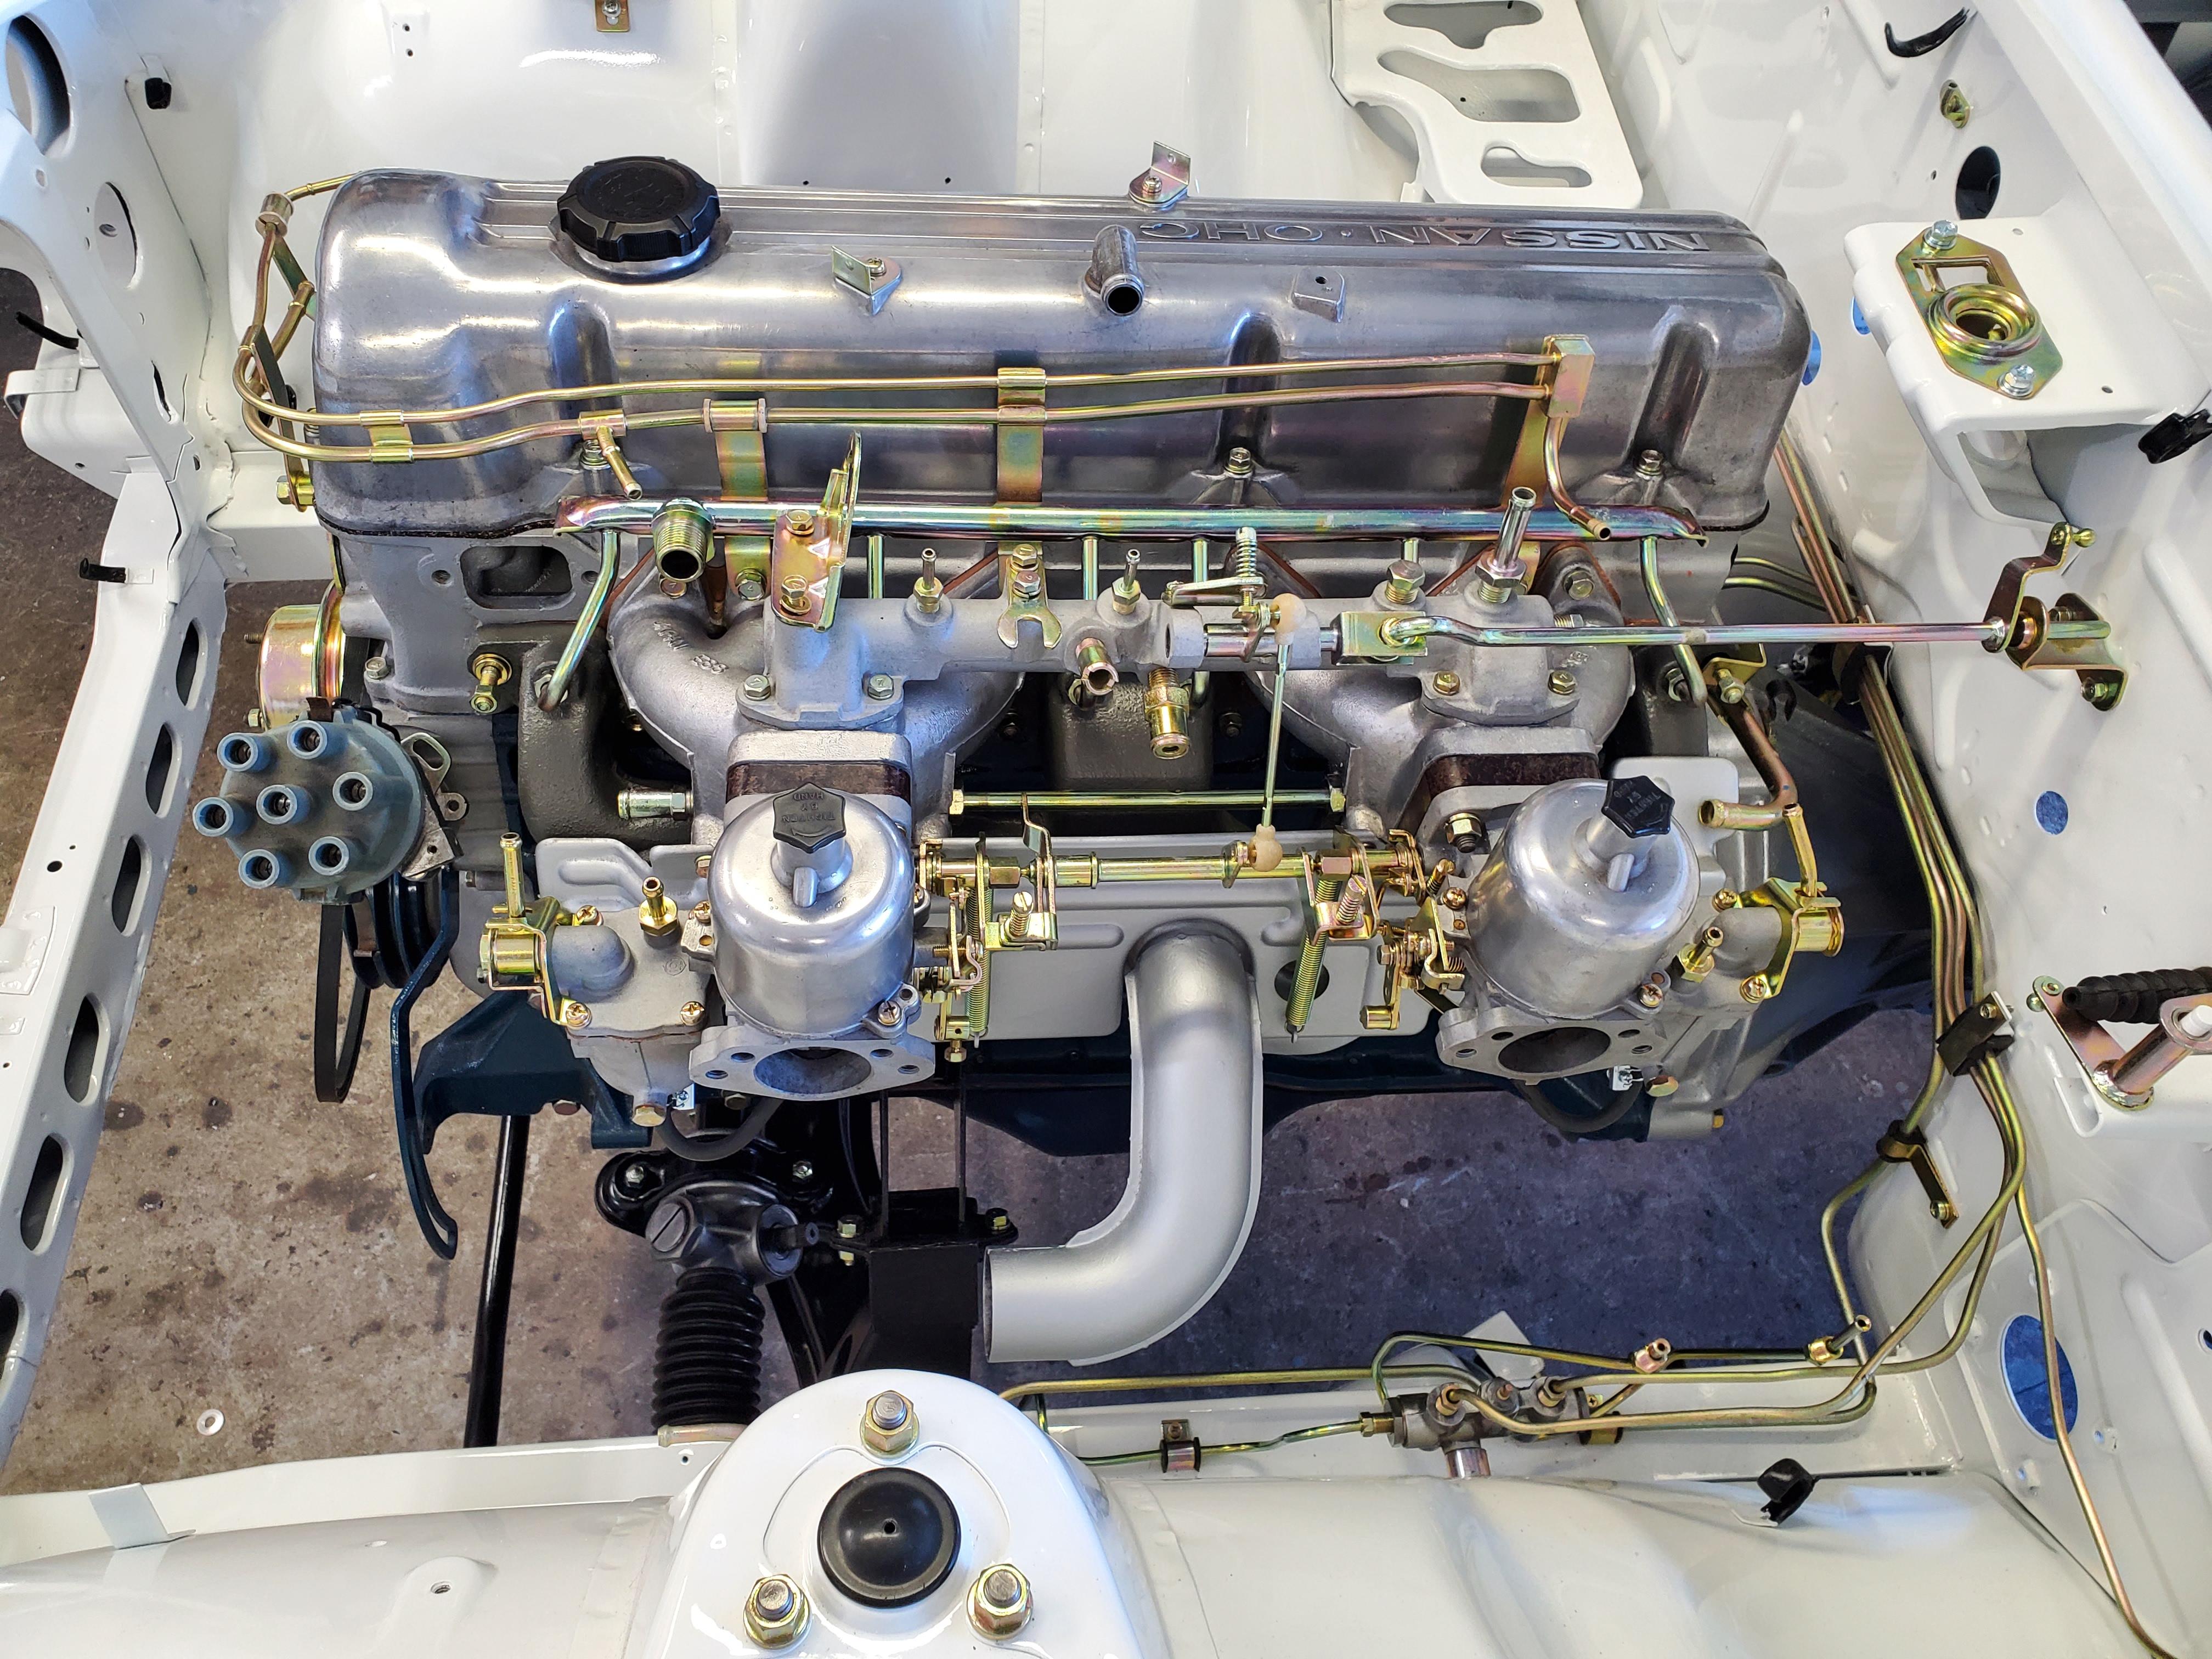
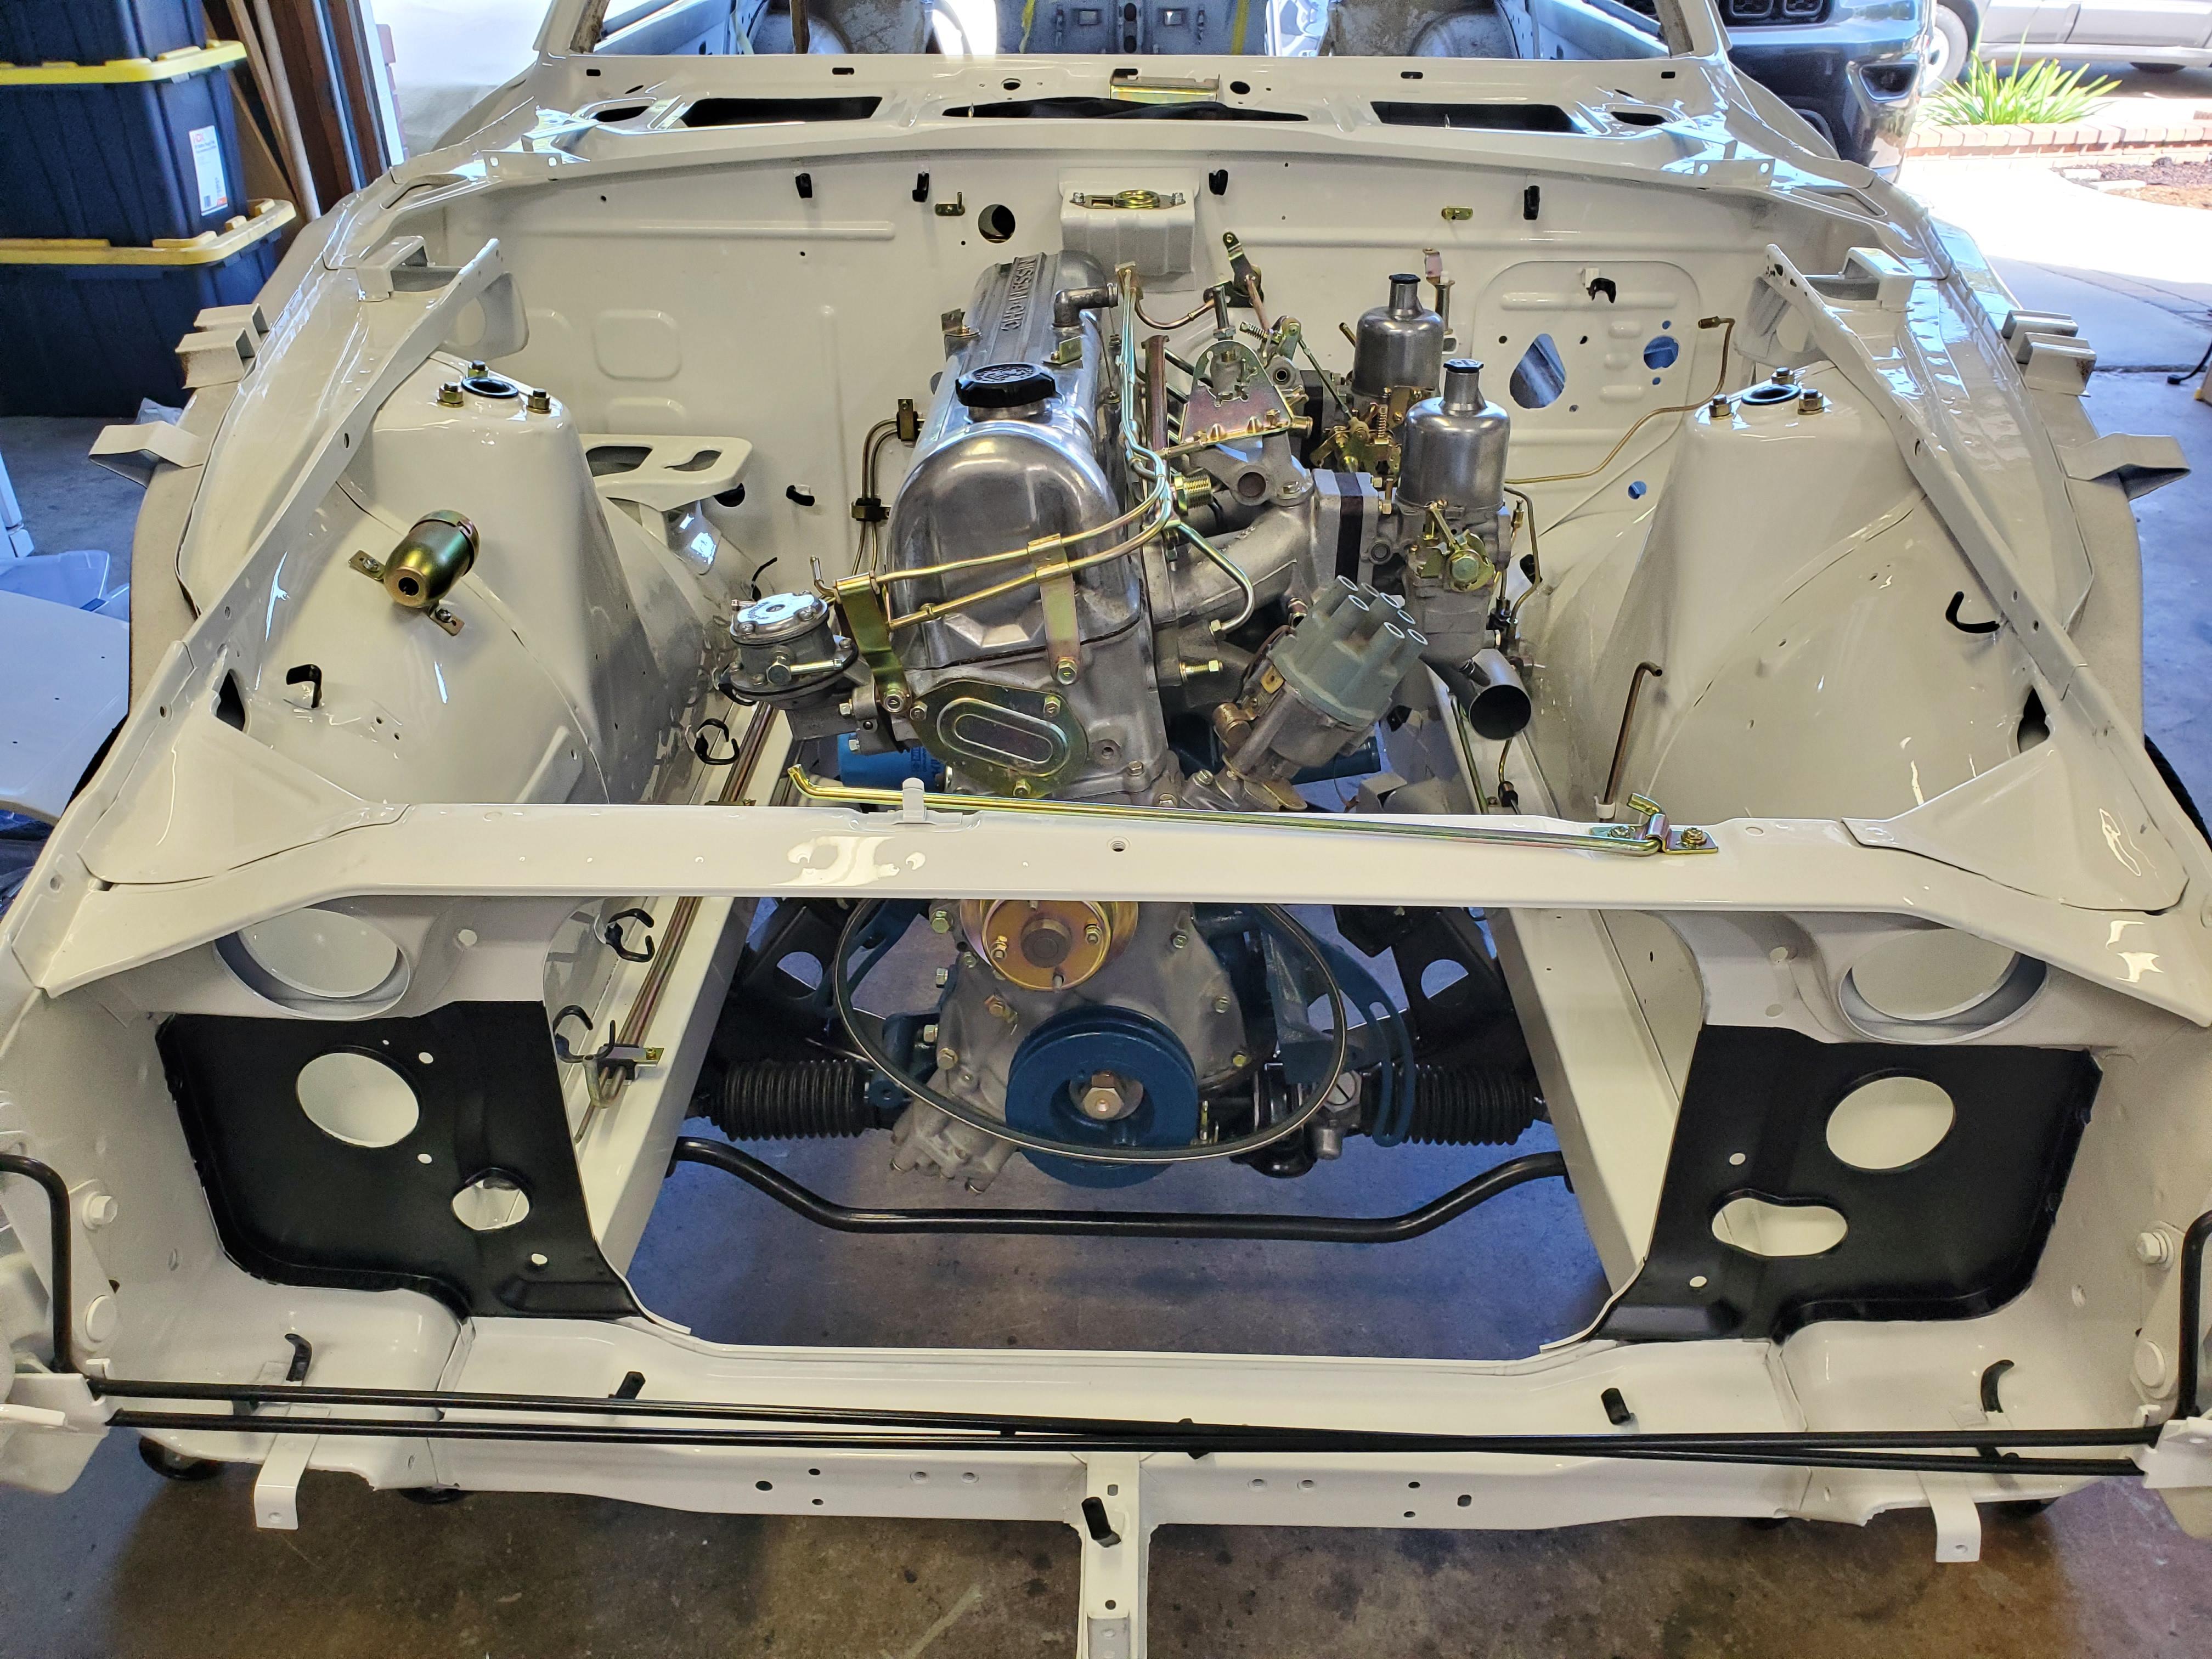
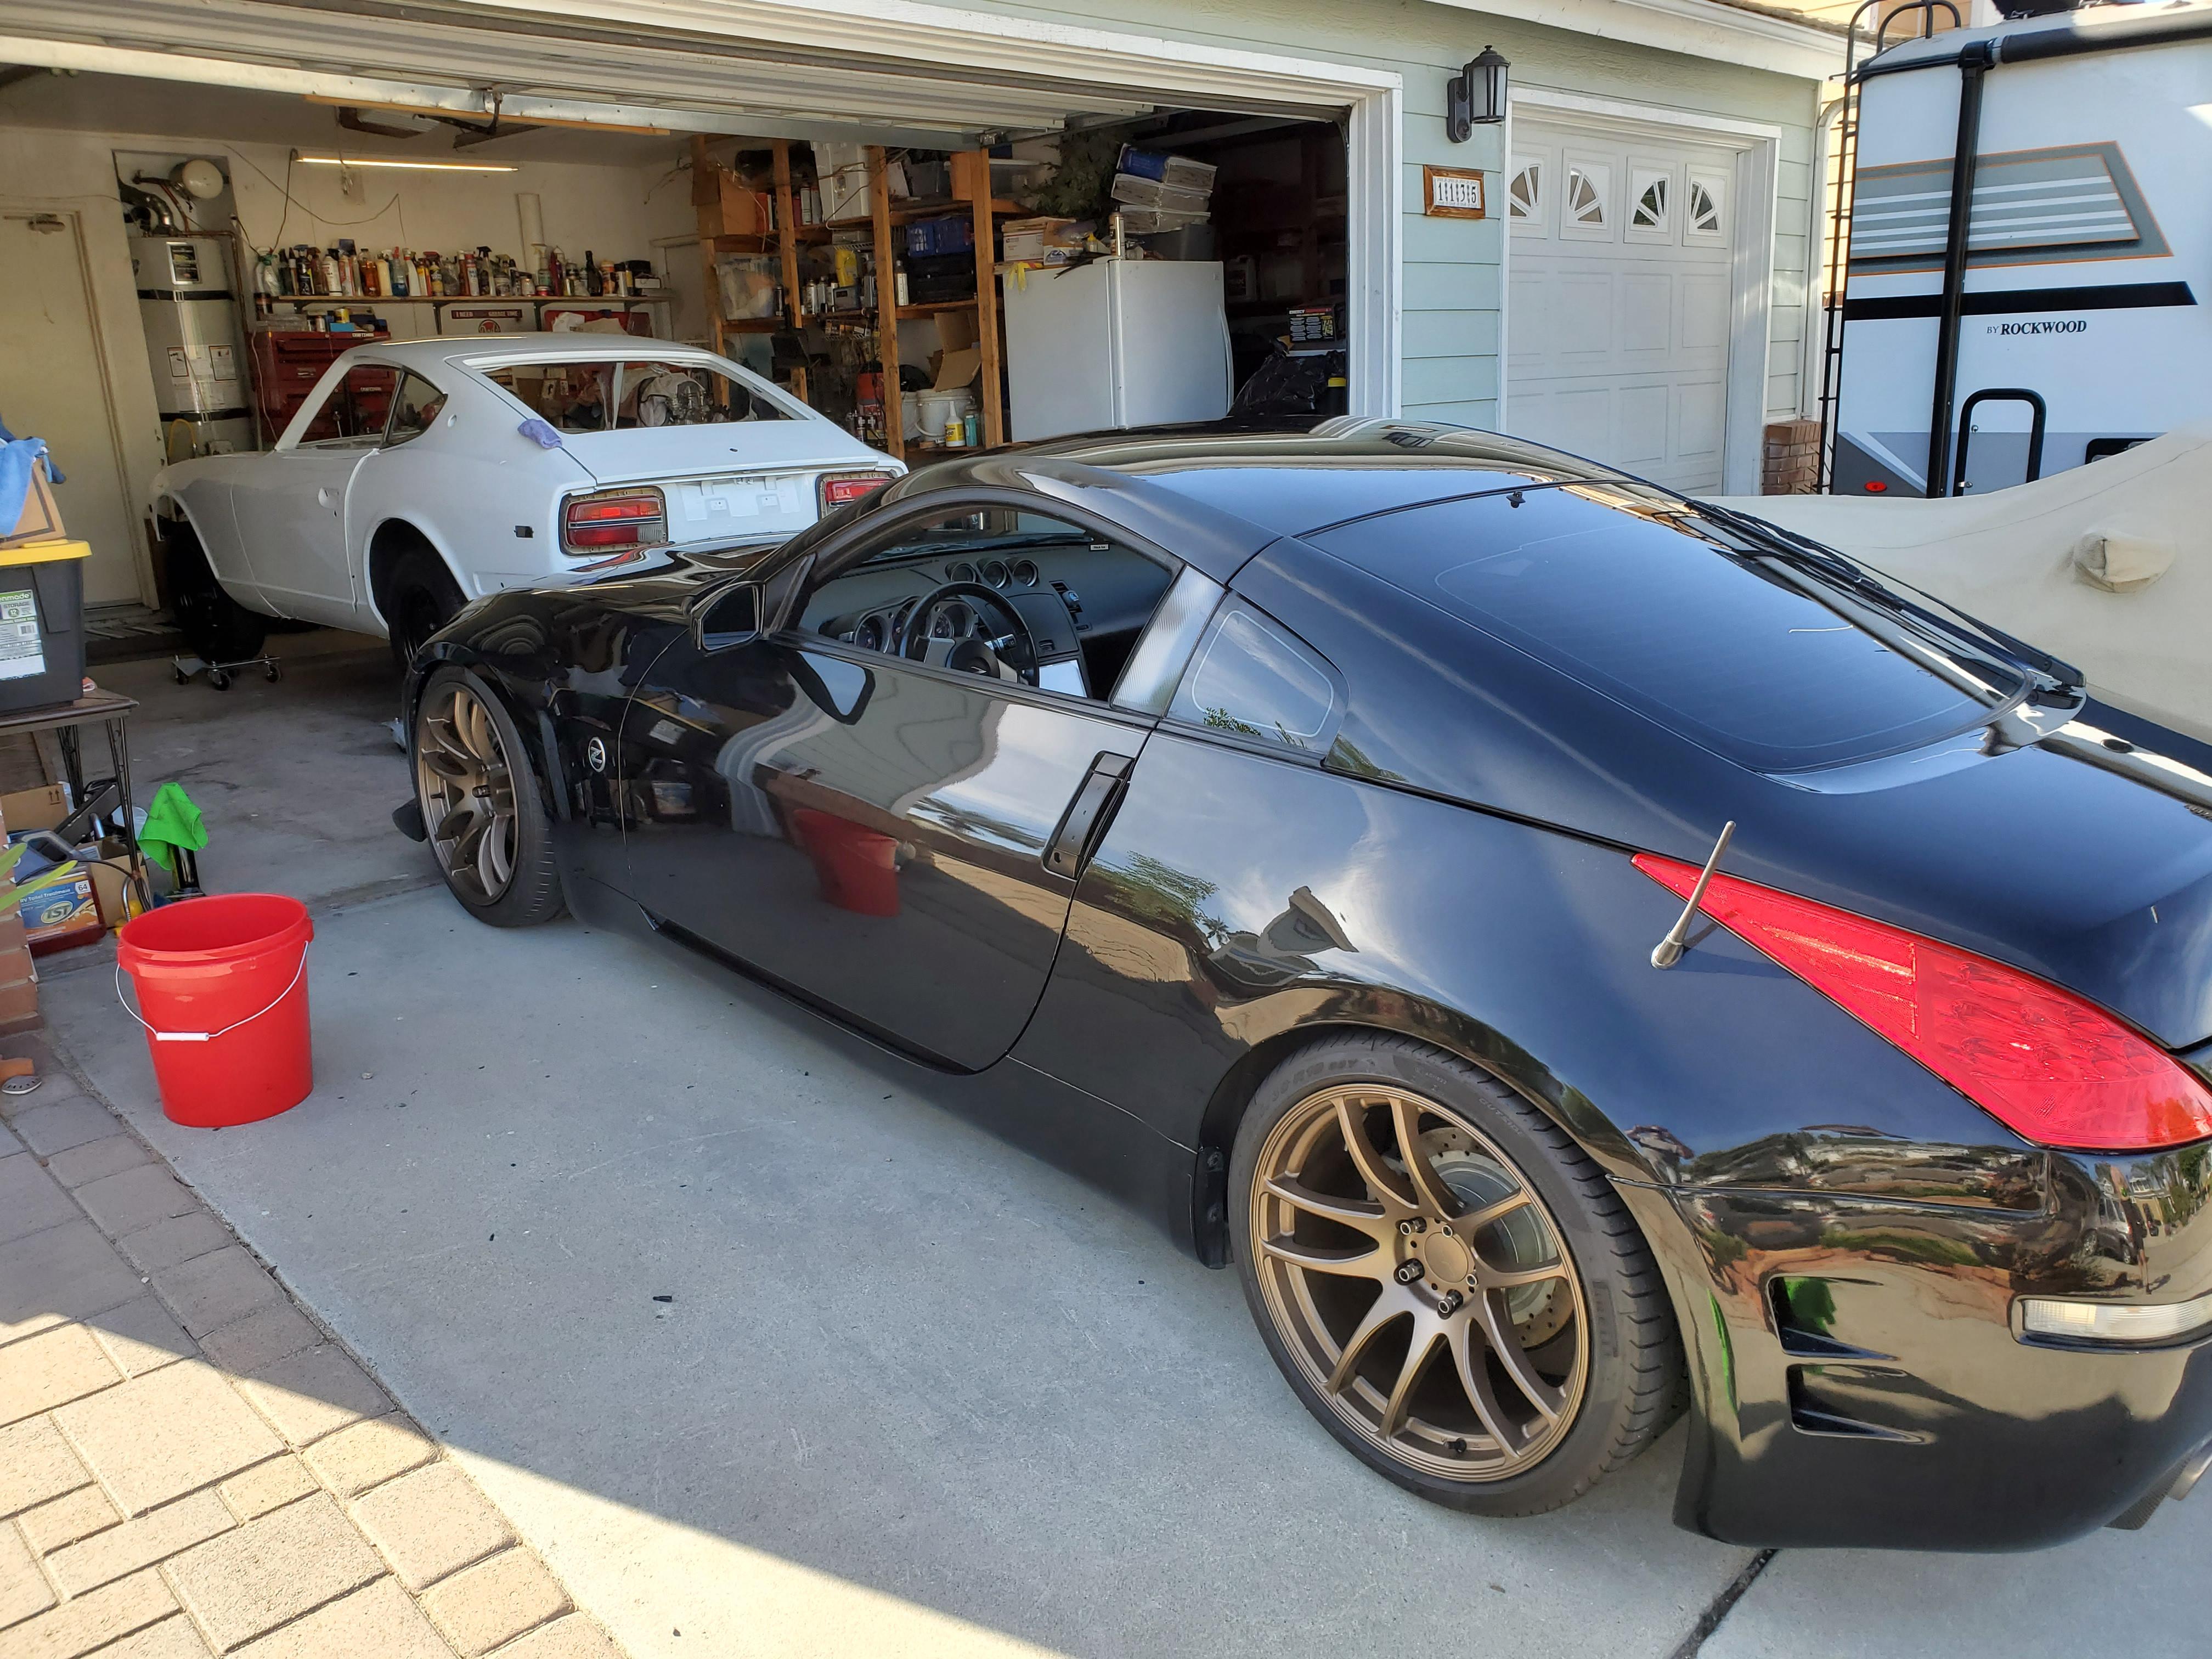
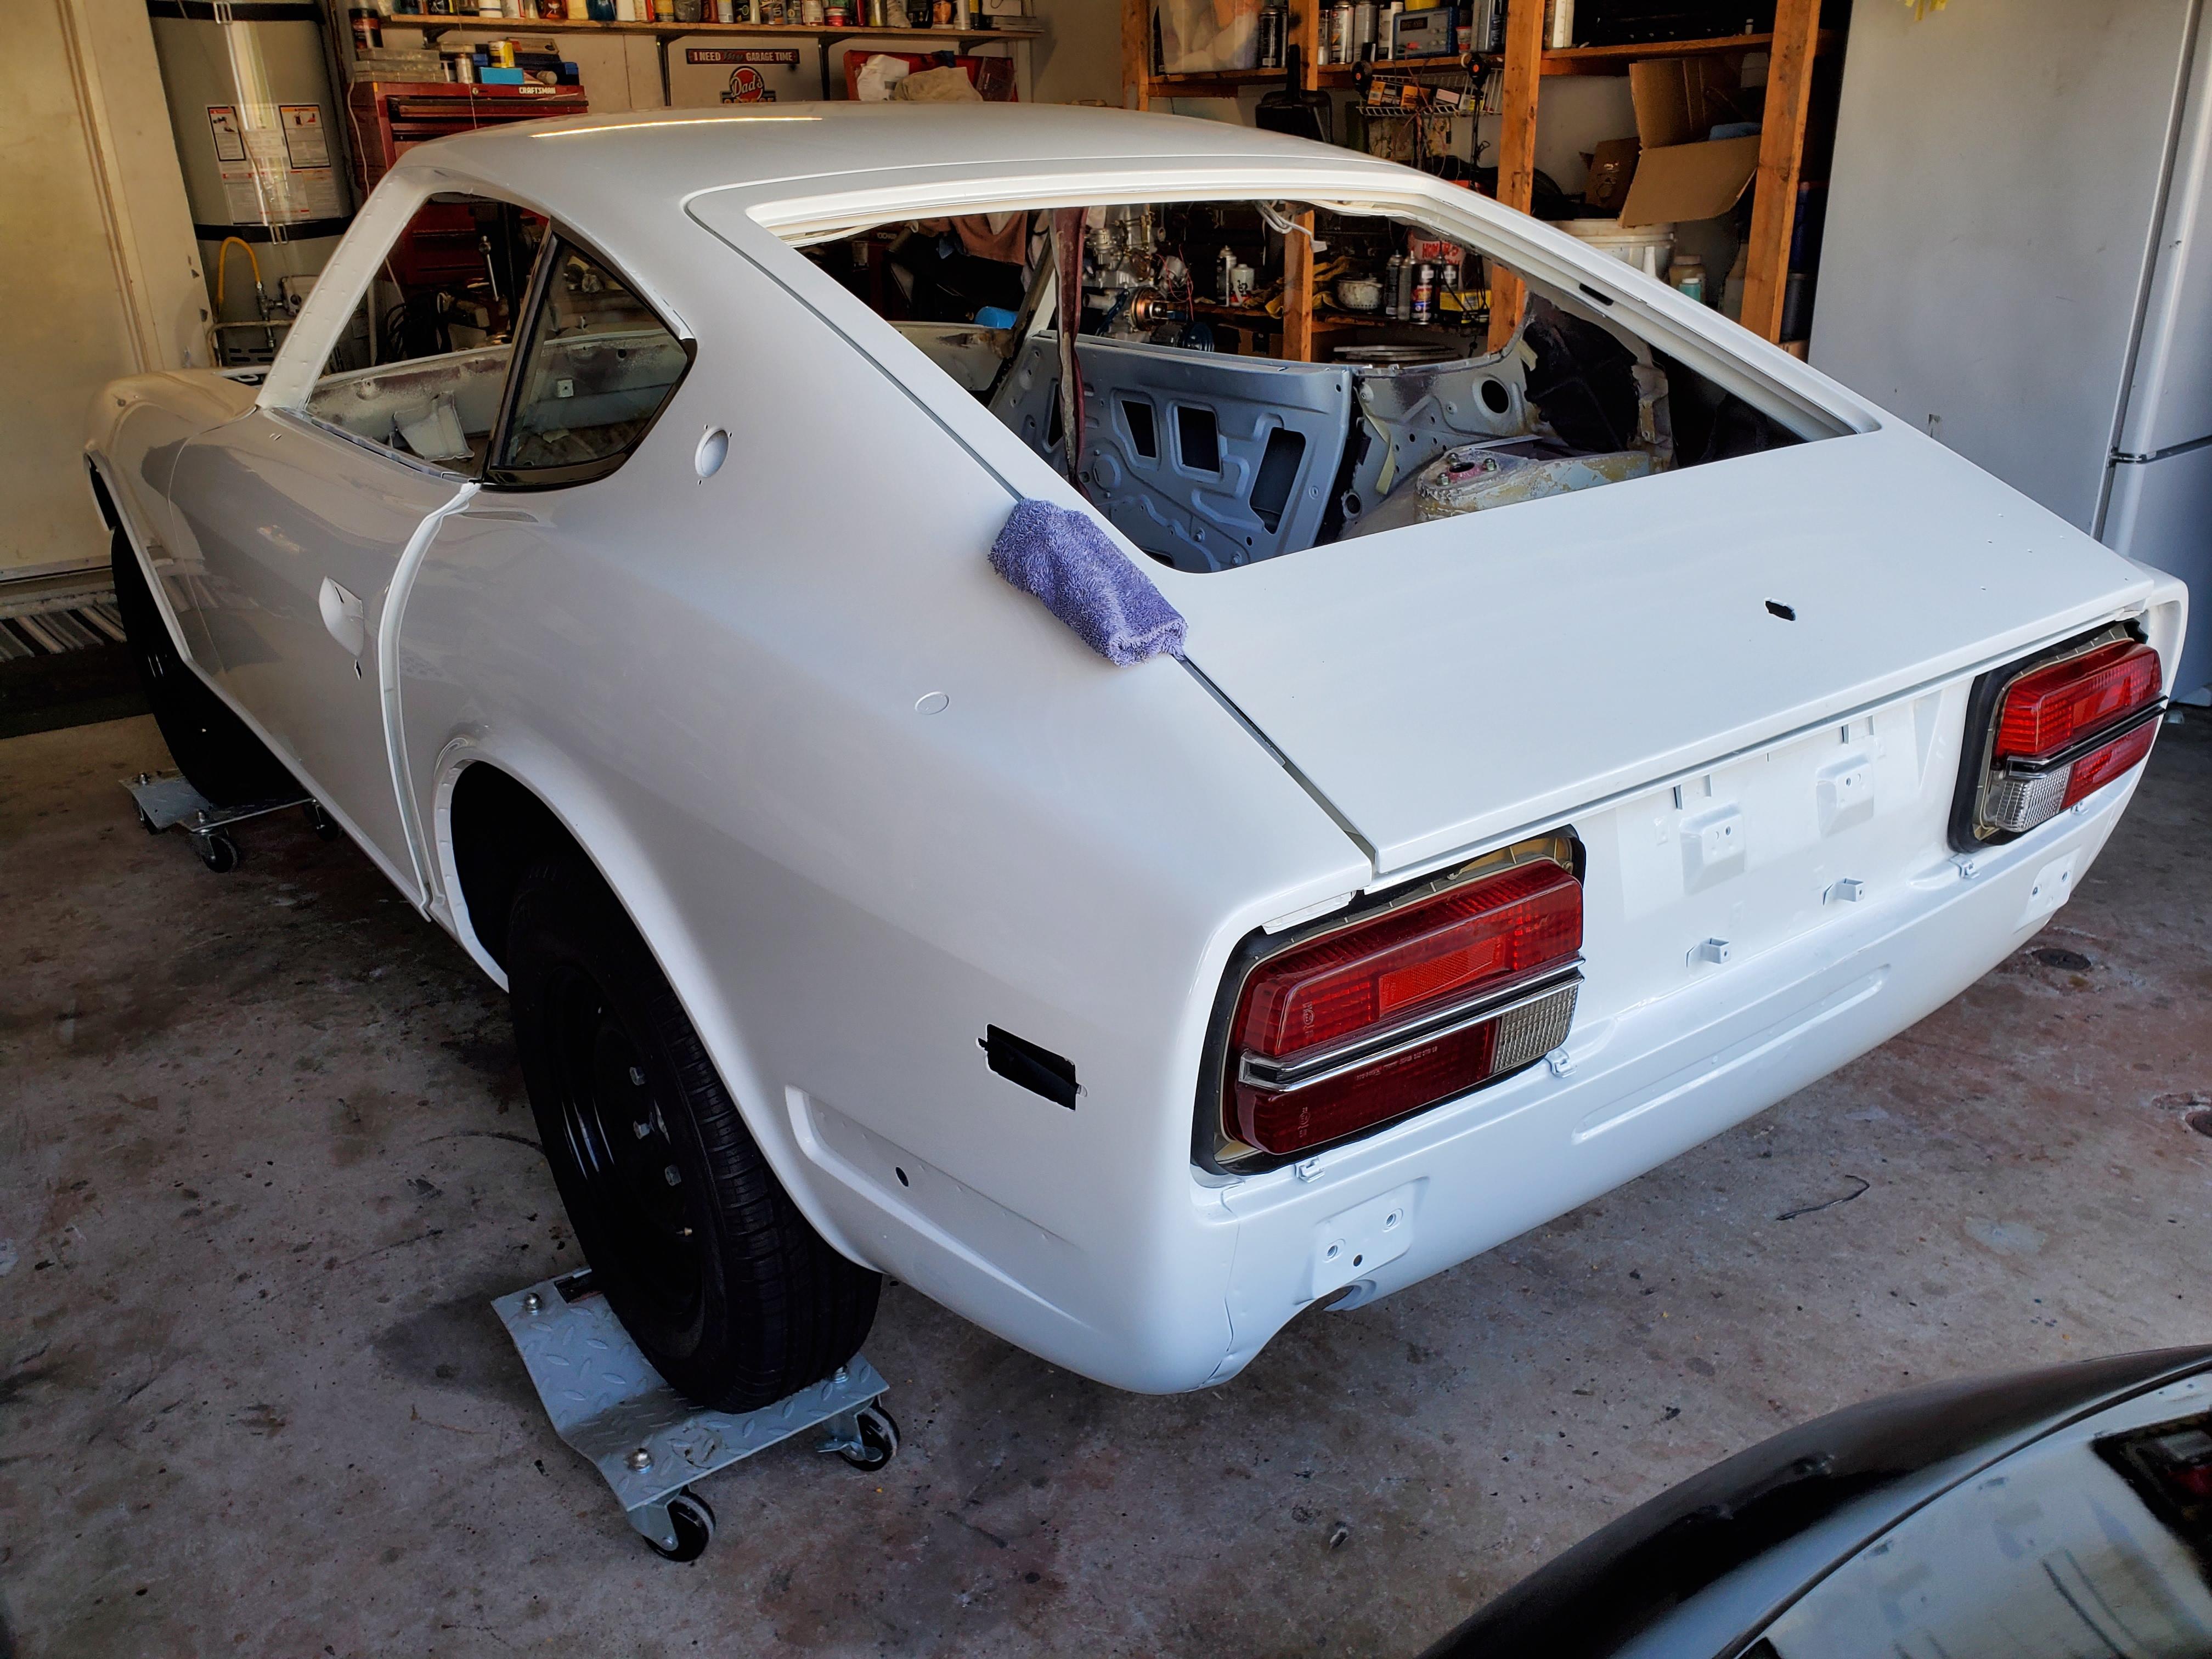
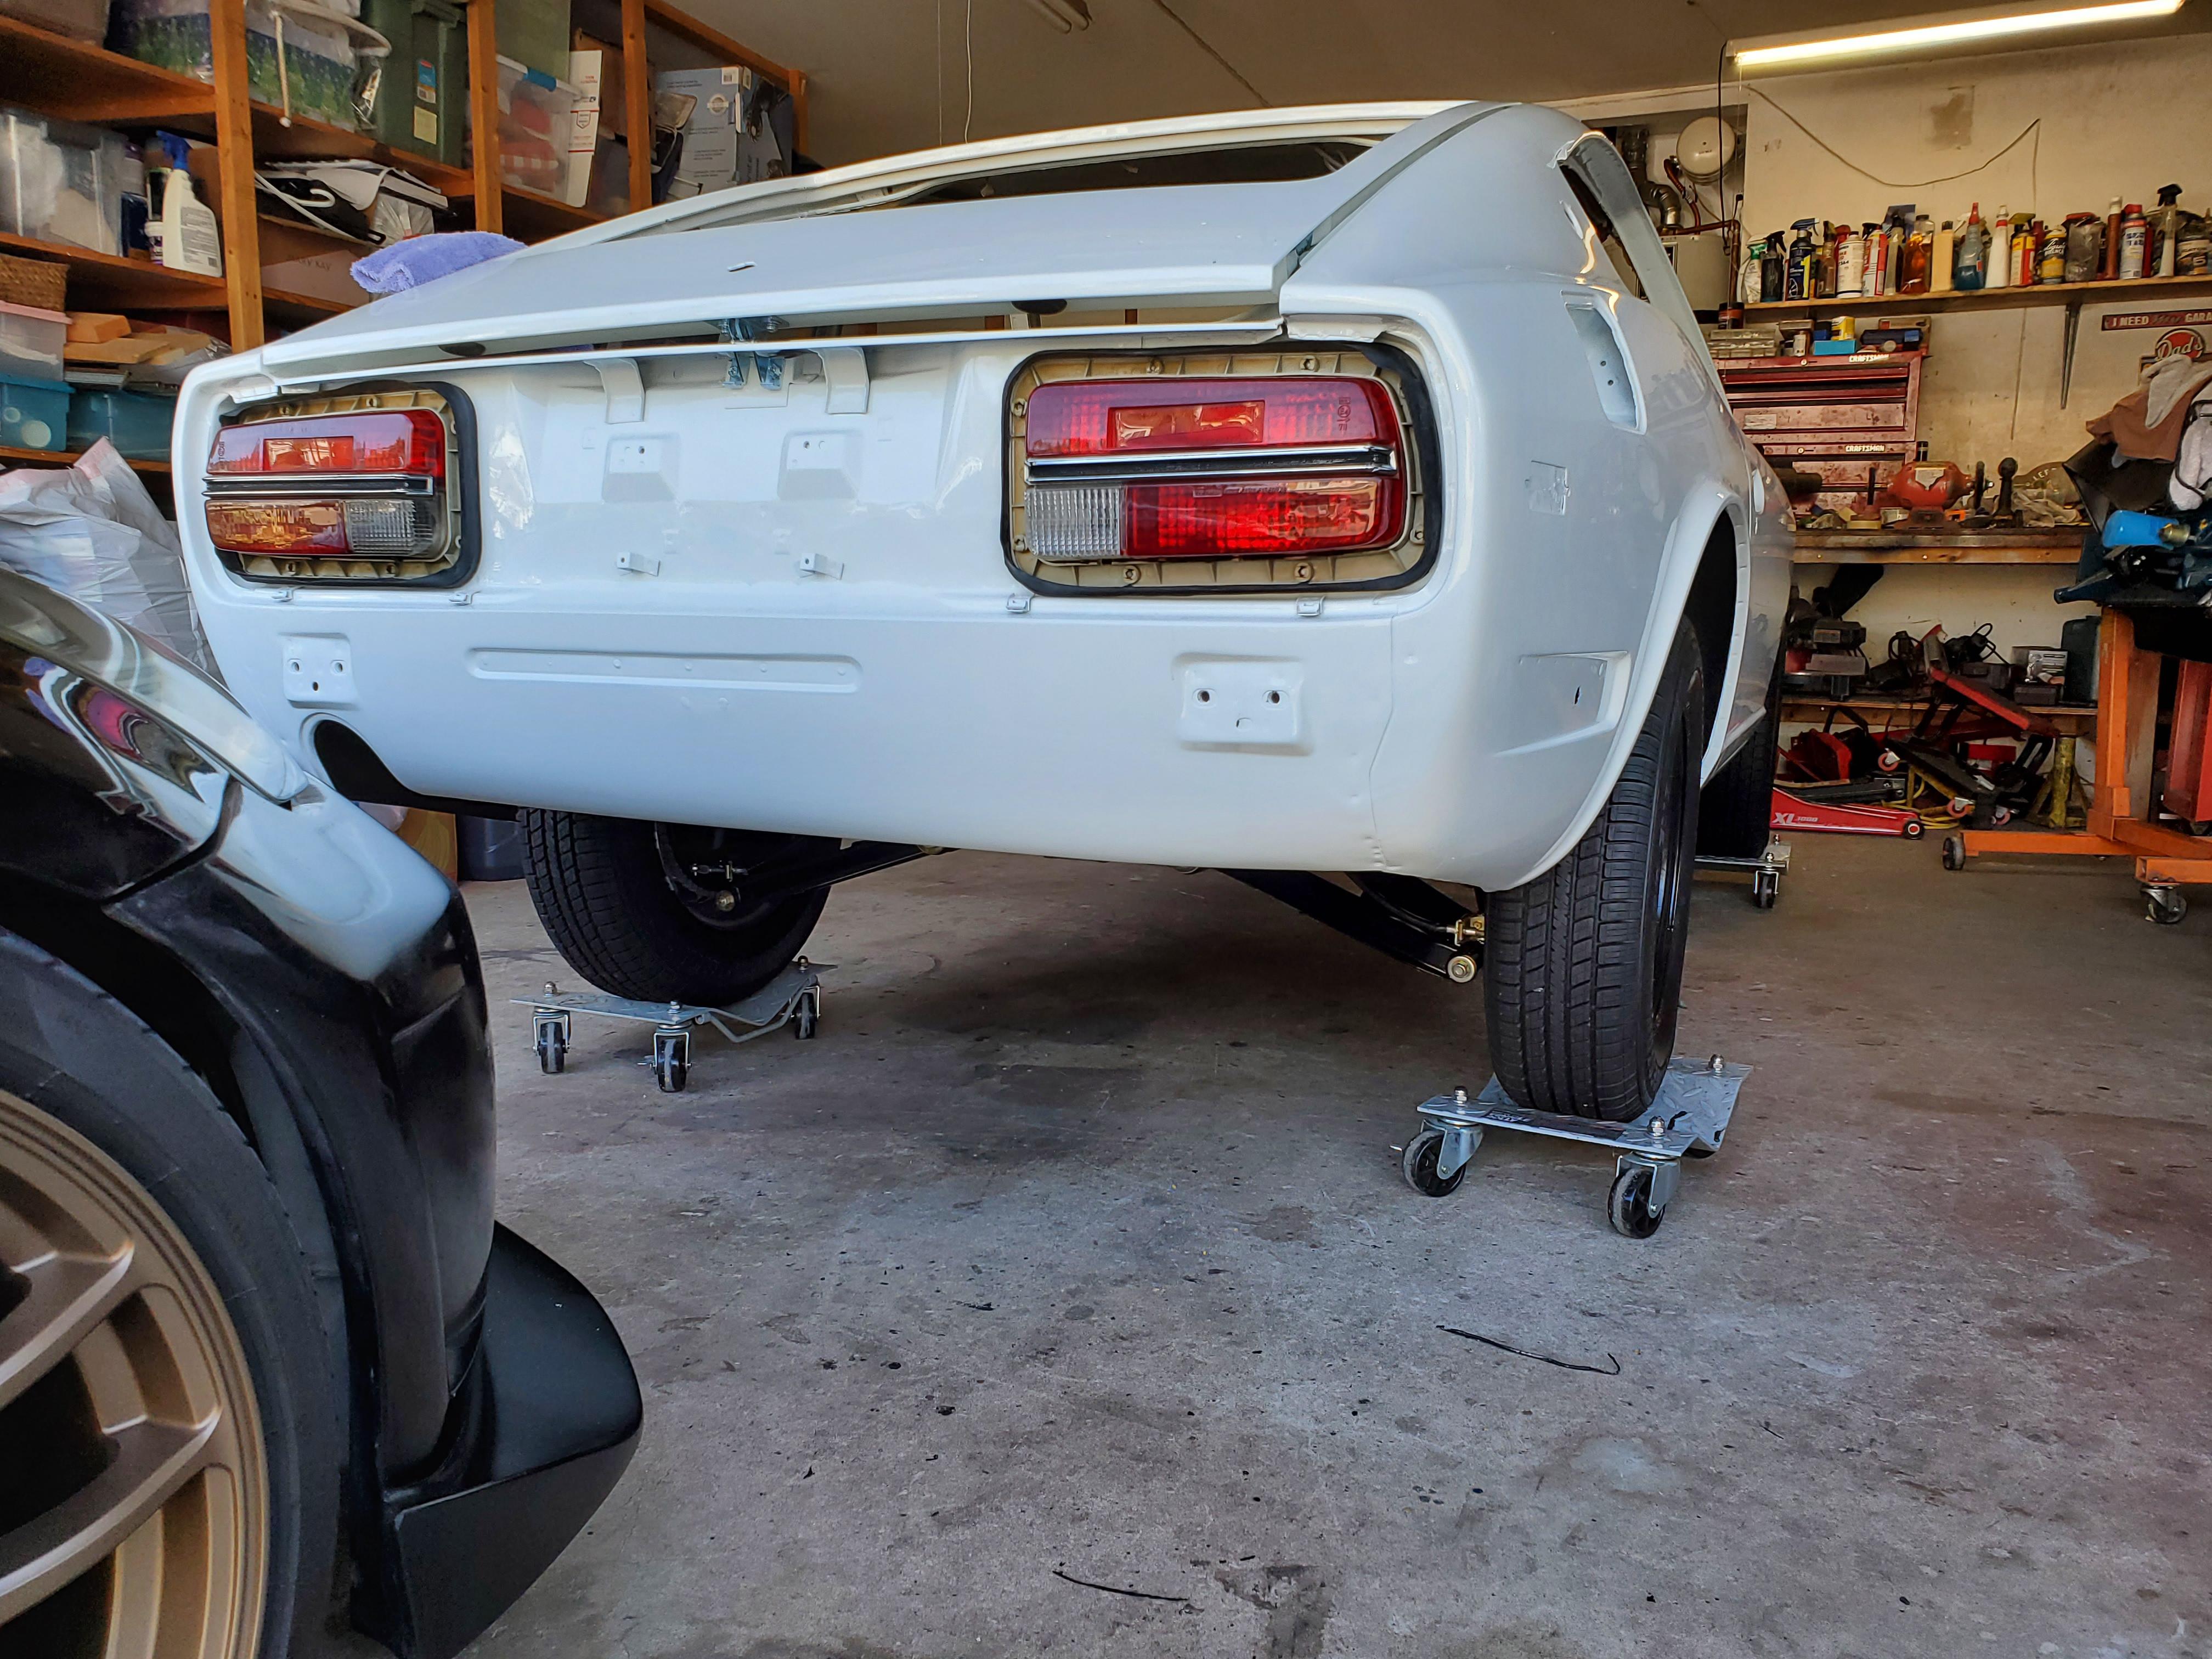
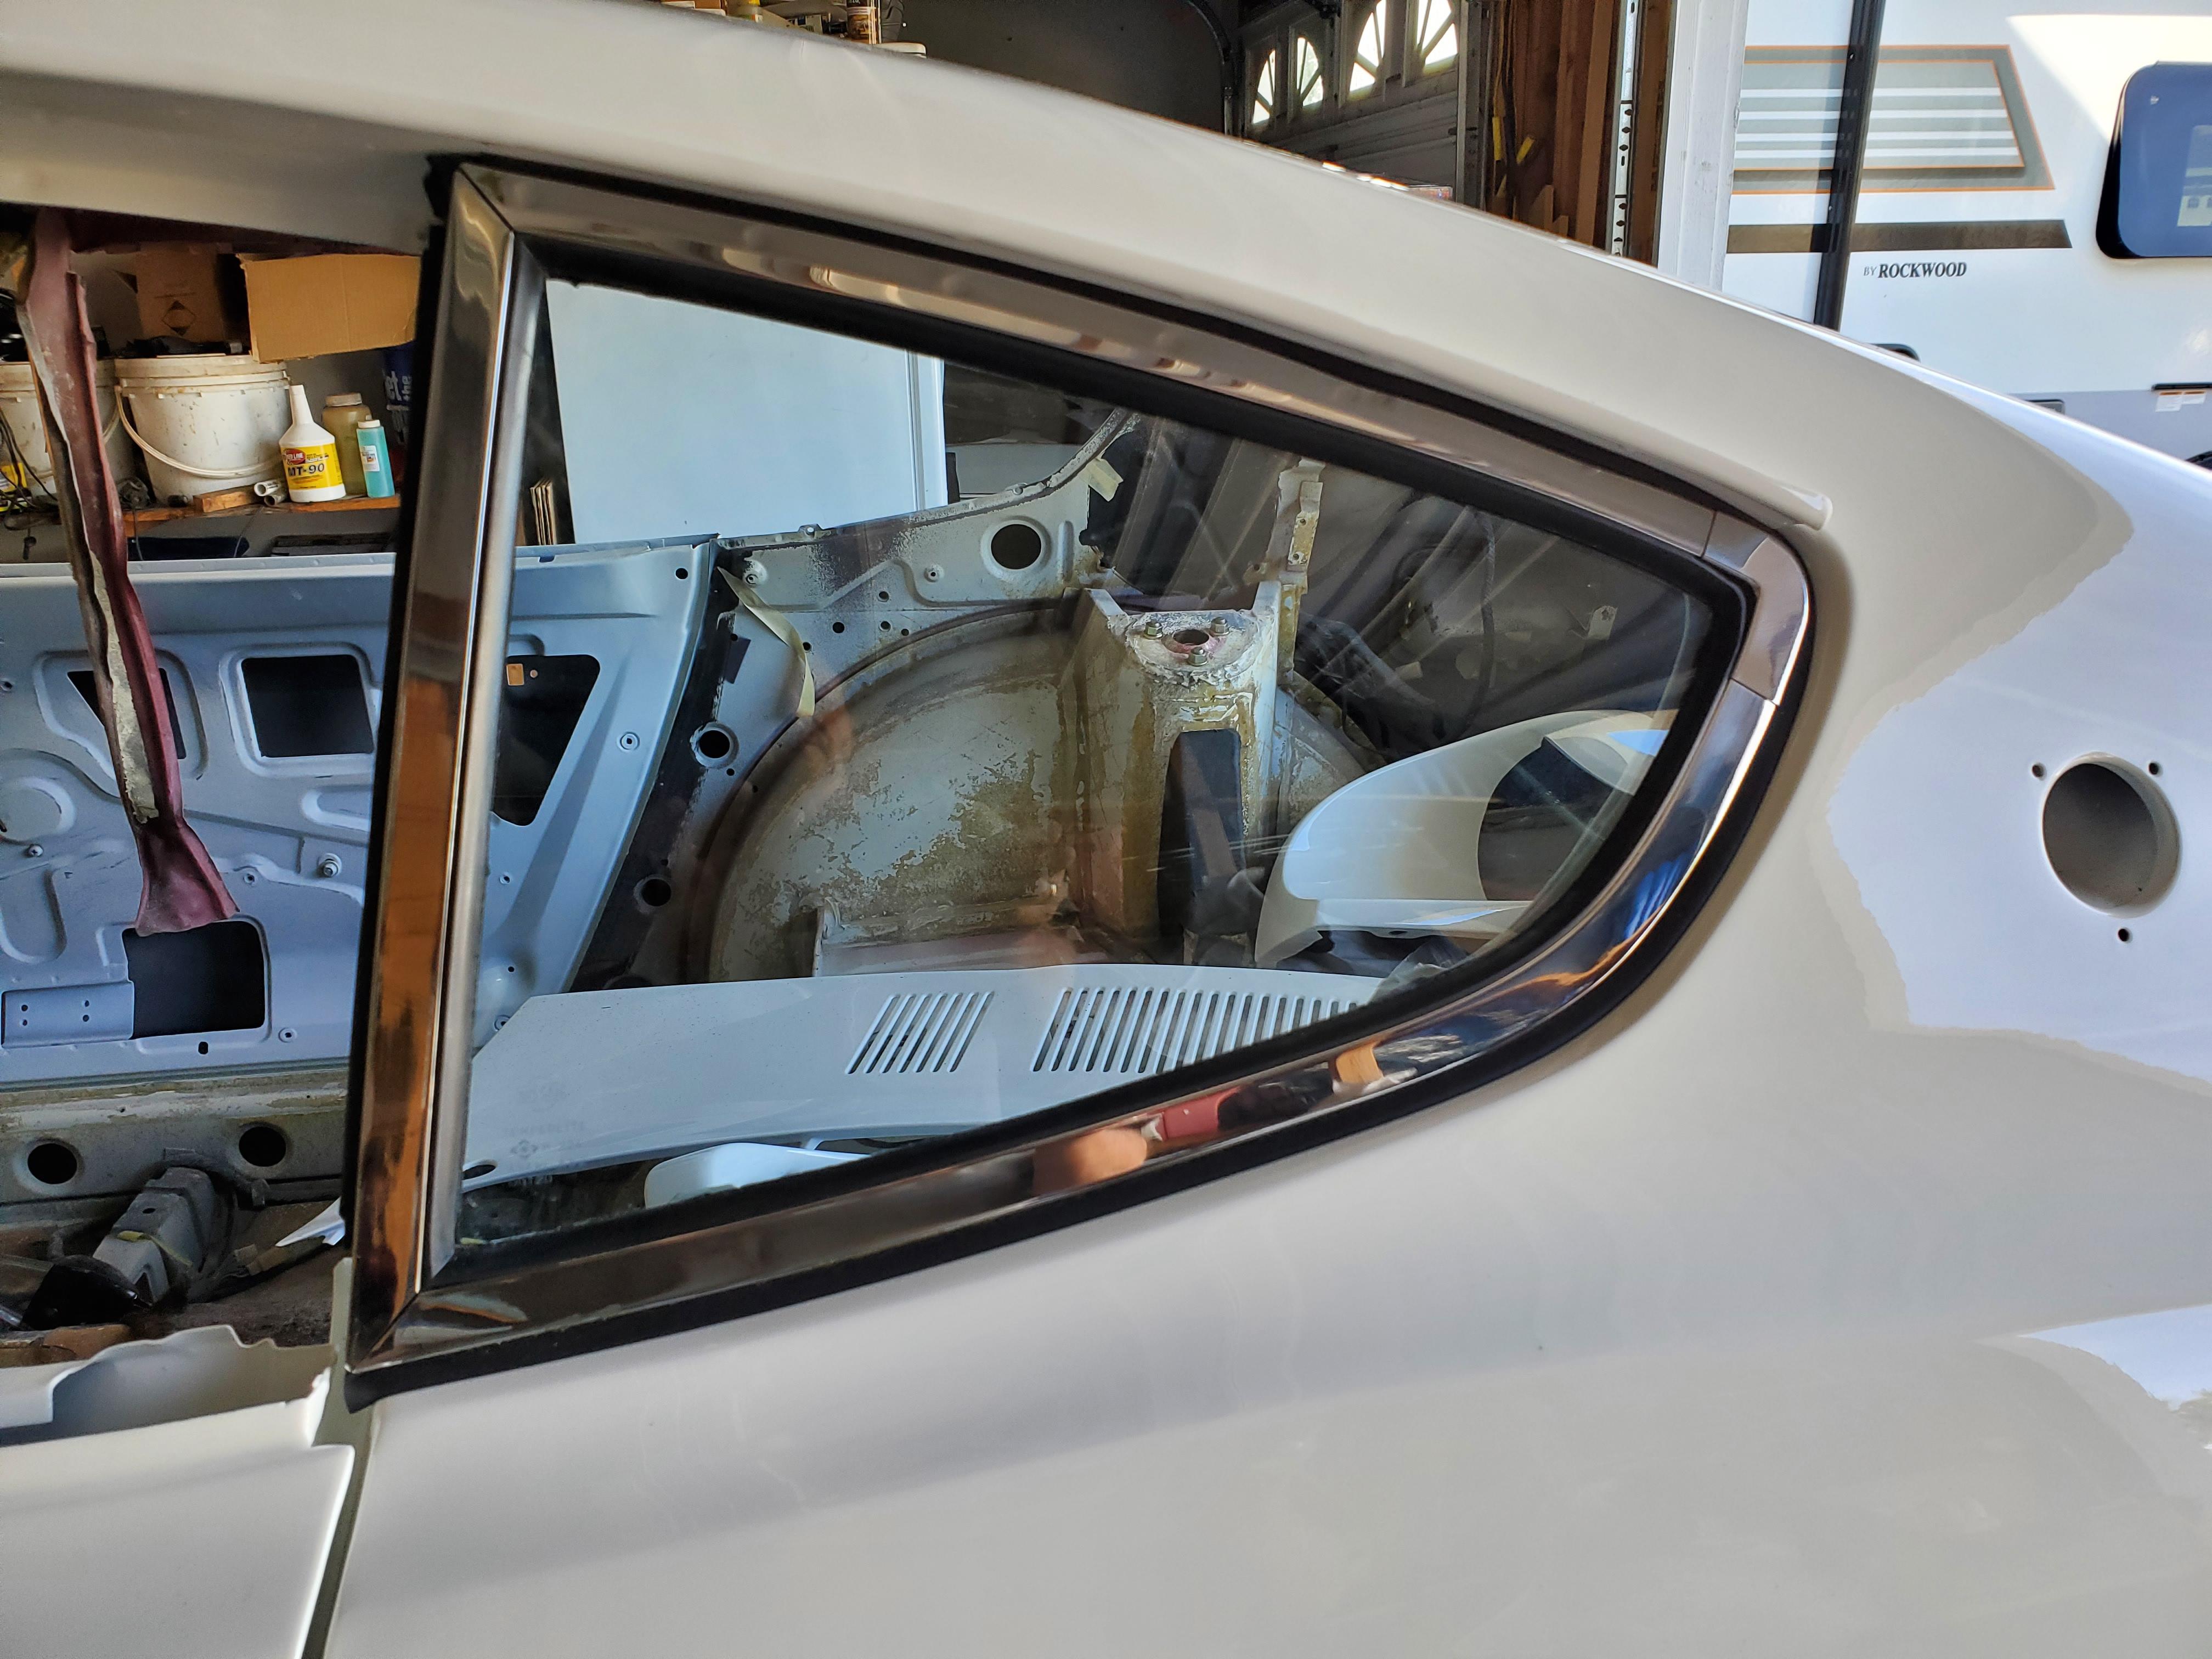
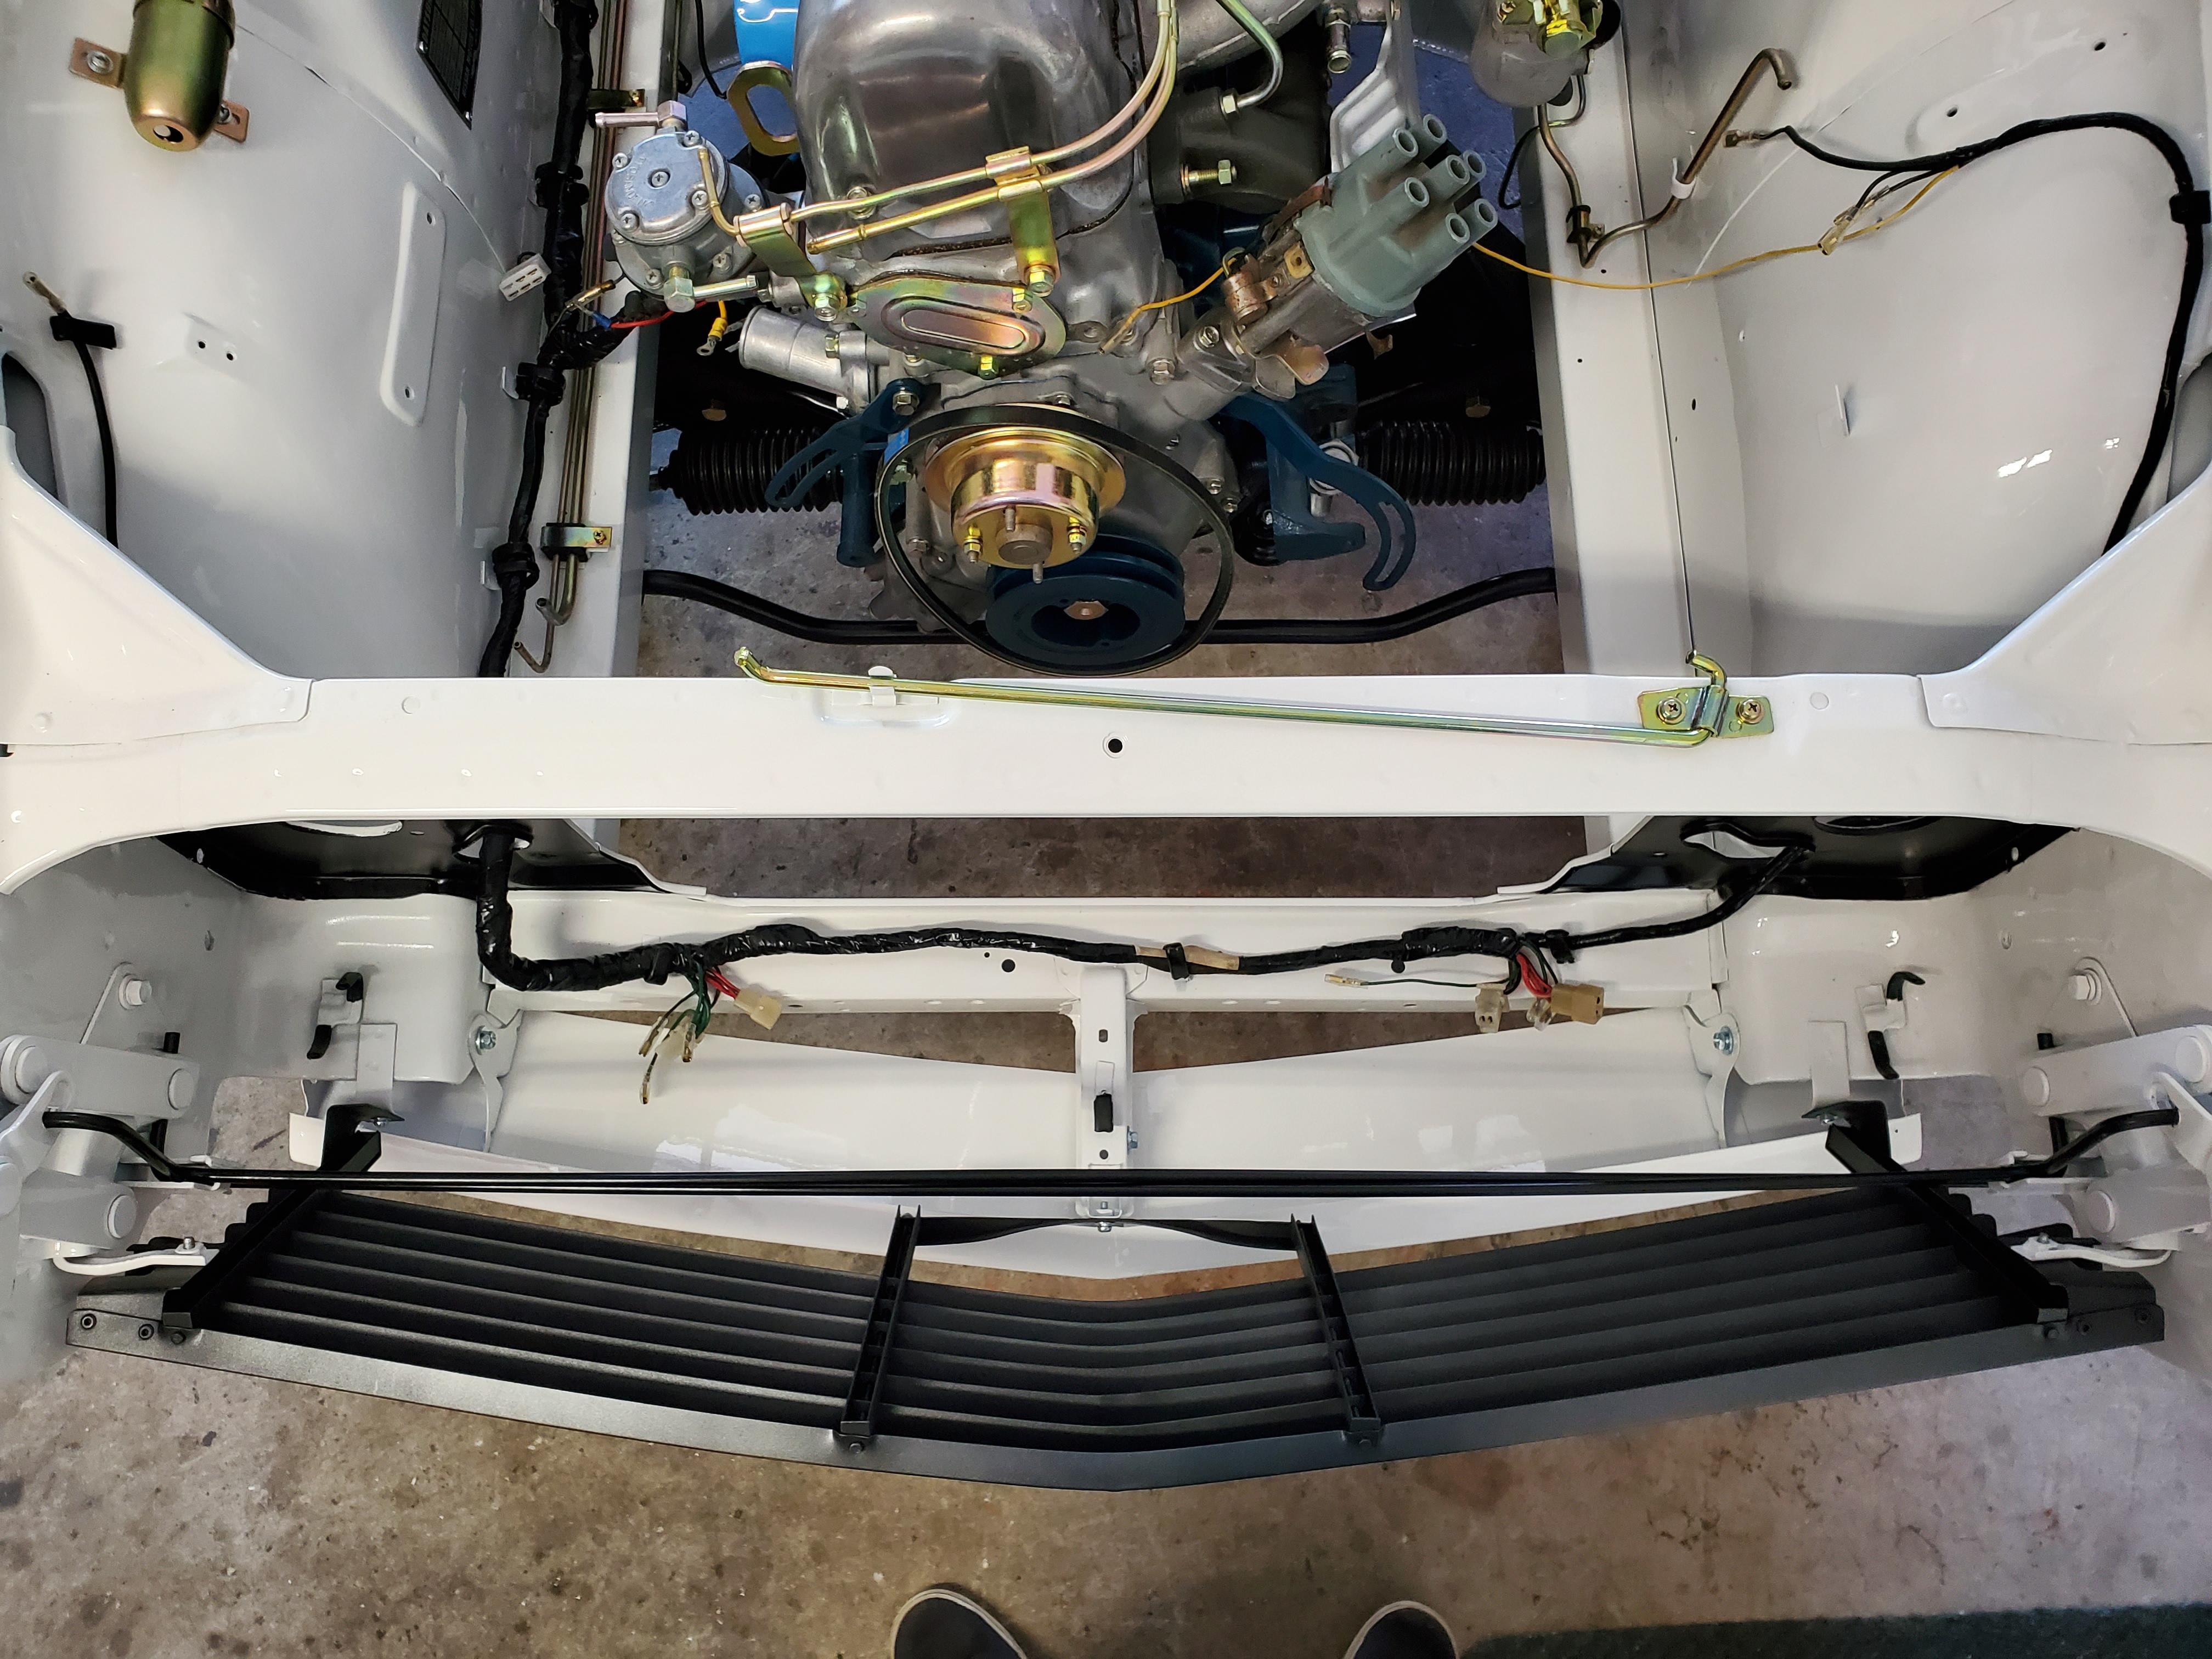
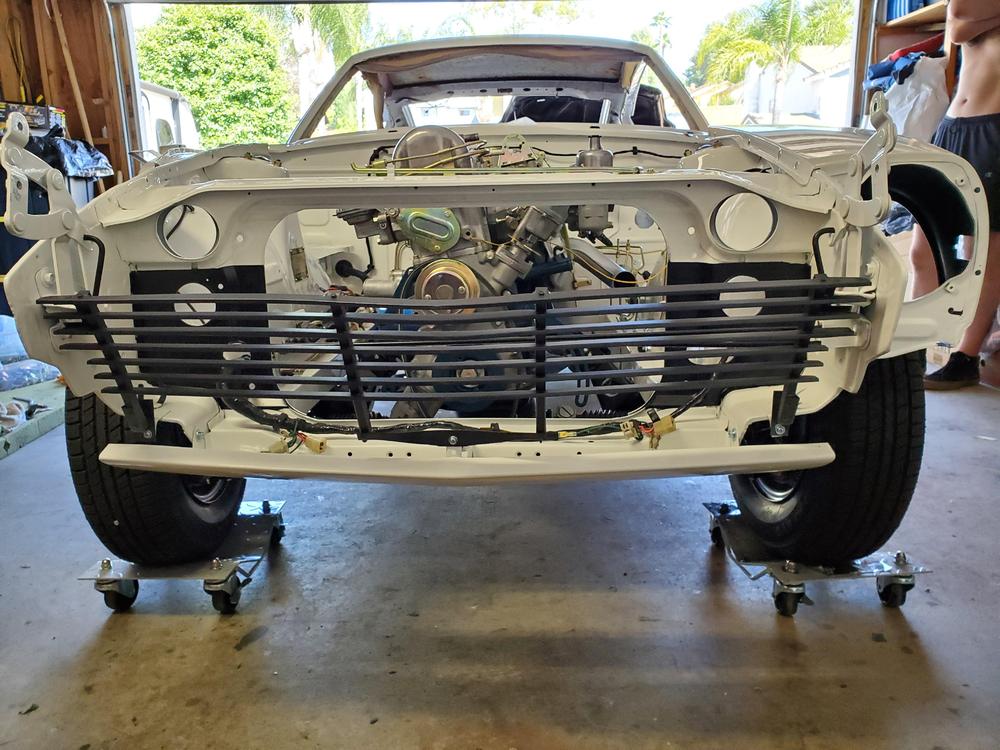
Thanks! Got the engine harness tabs painted and engine harness installed. Also painted front of radiator support the hood hinge tension rods. Started installing glass. My son stopped by to wash his 350Z, so it was nice to have a bit of company while doing the assembly. Here are the latest pics.


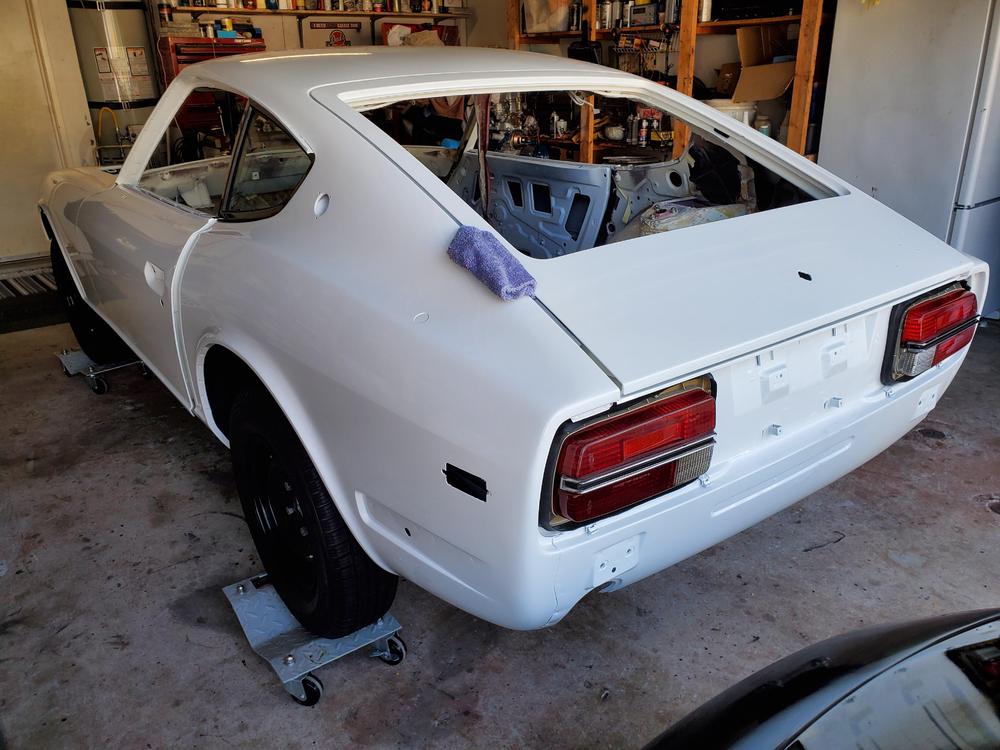


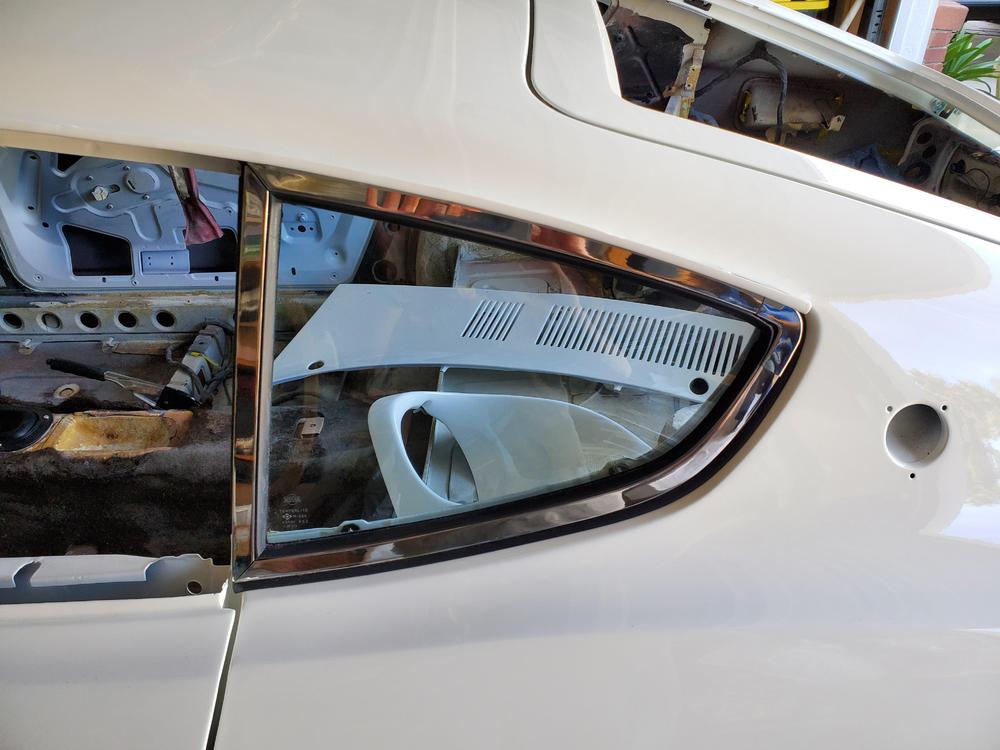
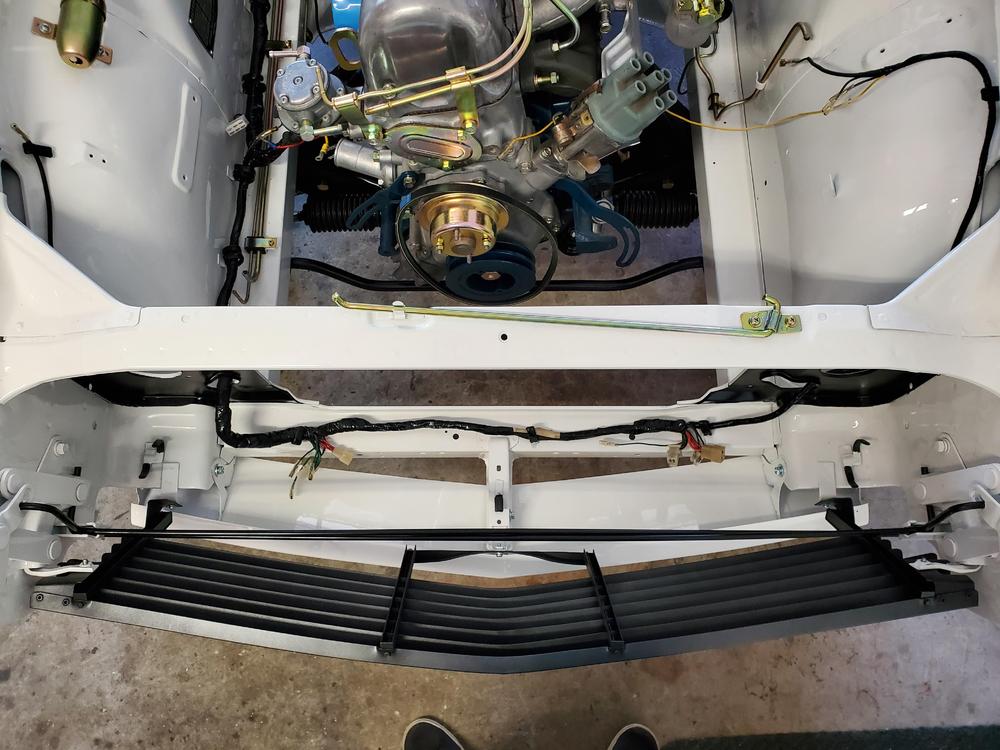 1 point