Leaderboard
-
conedodger
Free Member9Points12,513Posts -
Patcon
 Subscriber
 5Points11,142Posts
 -
Woody928
Free Member3Points123Posts -
gnosez
Free Member3Points1,633Posts


Popular Content
Showing content with the highest reputation on 08/17/2018 in all areas
-
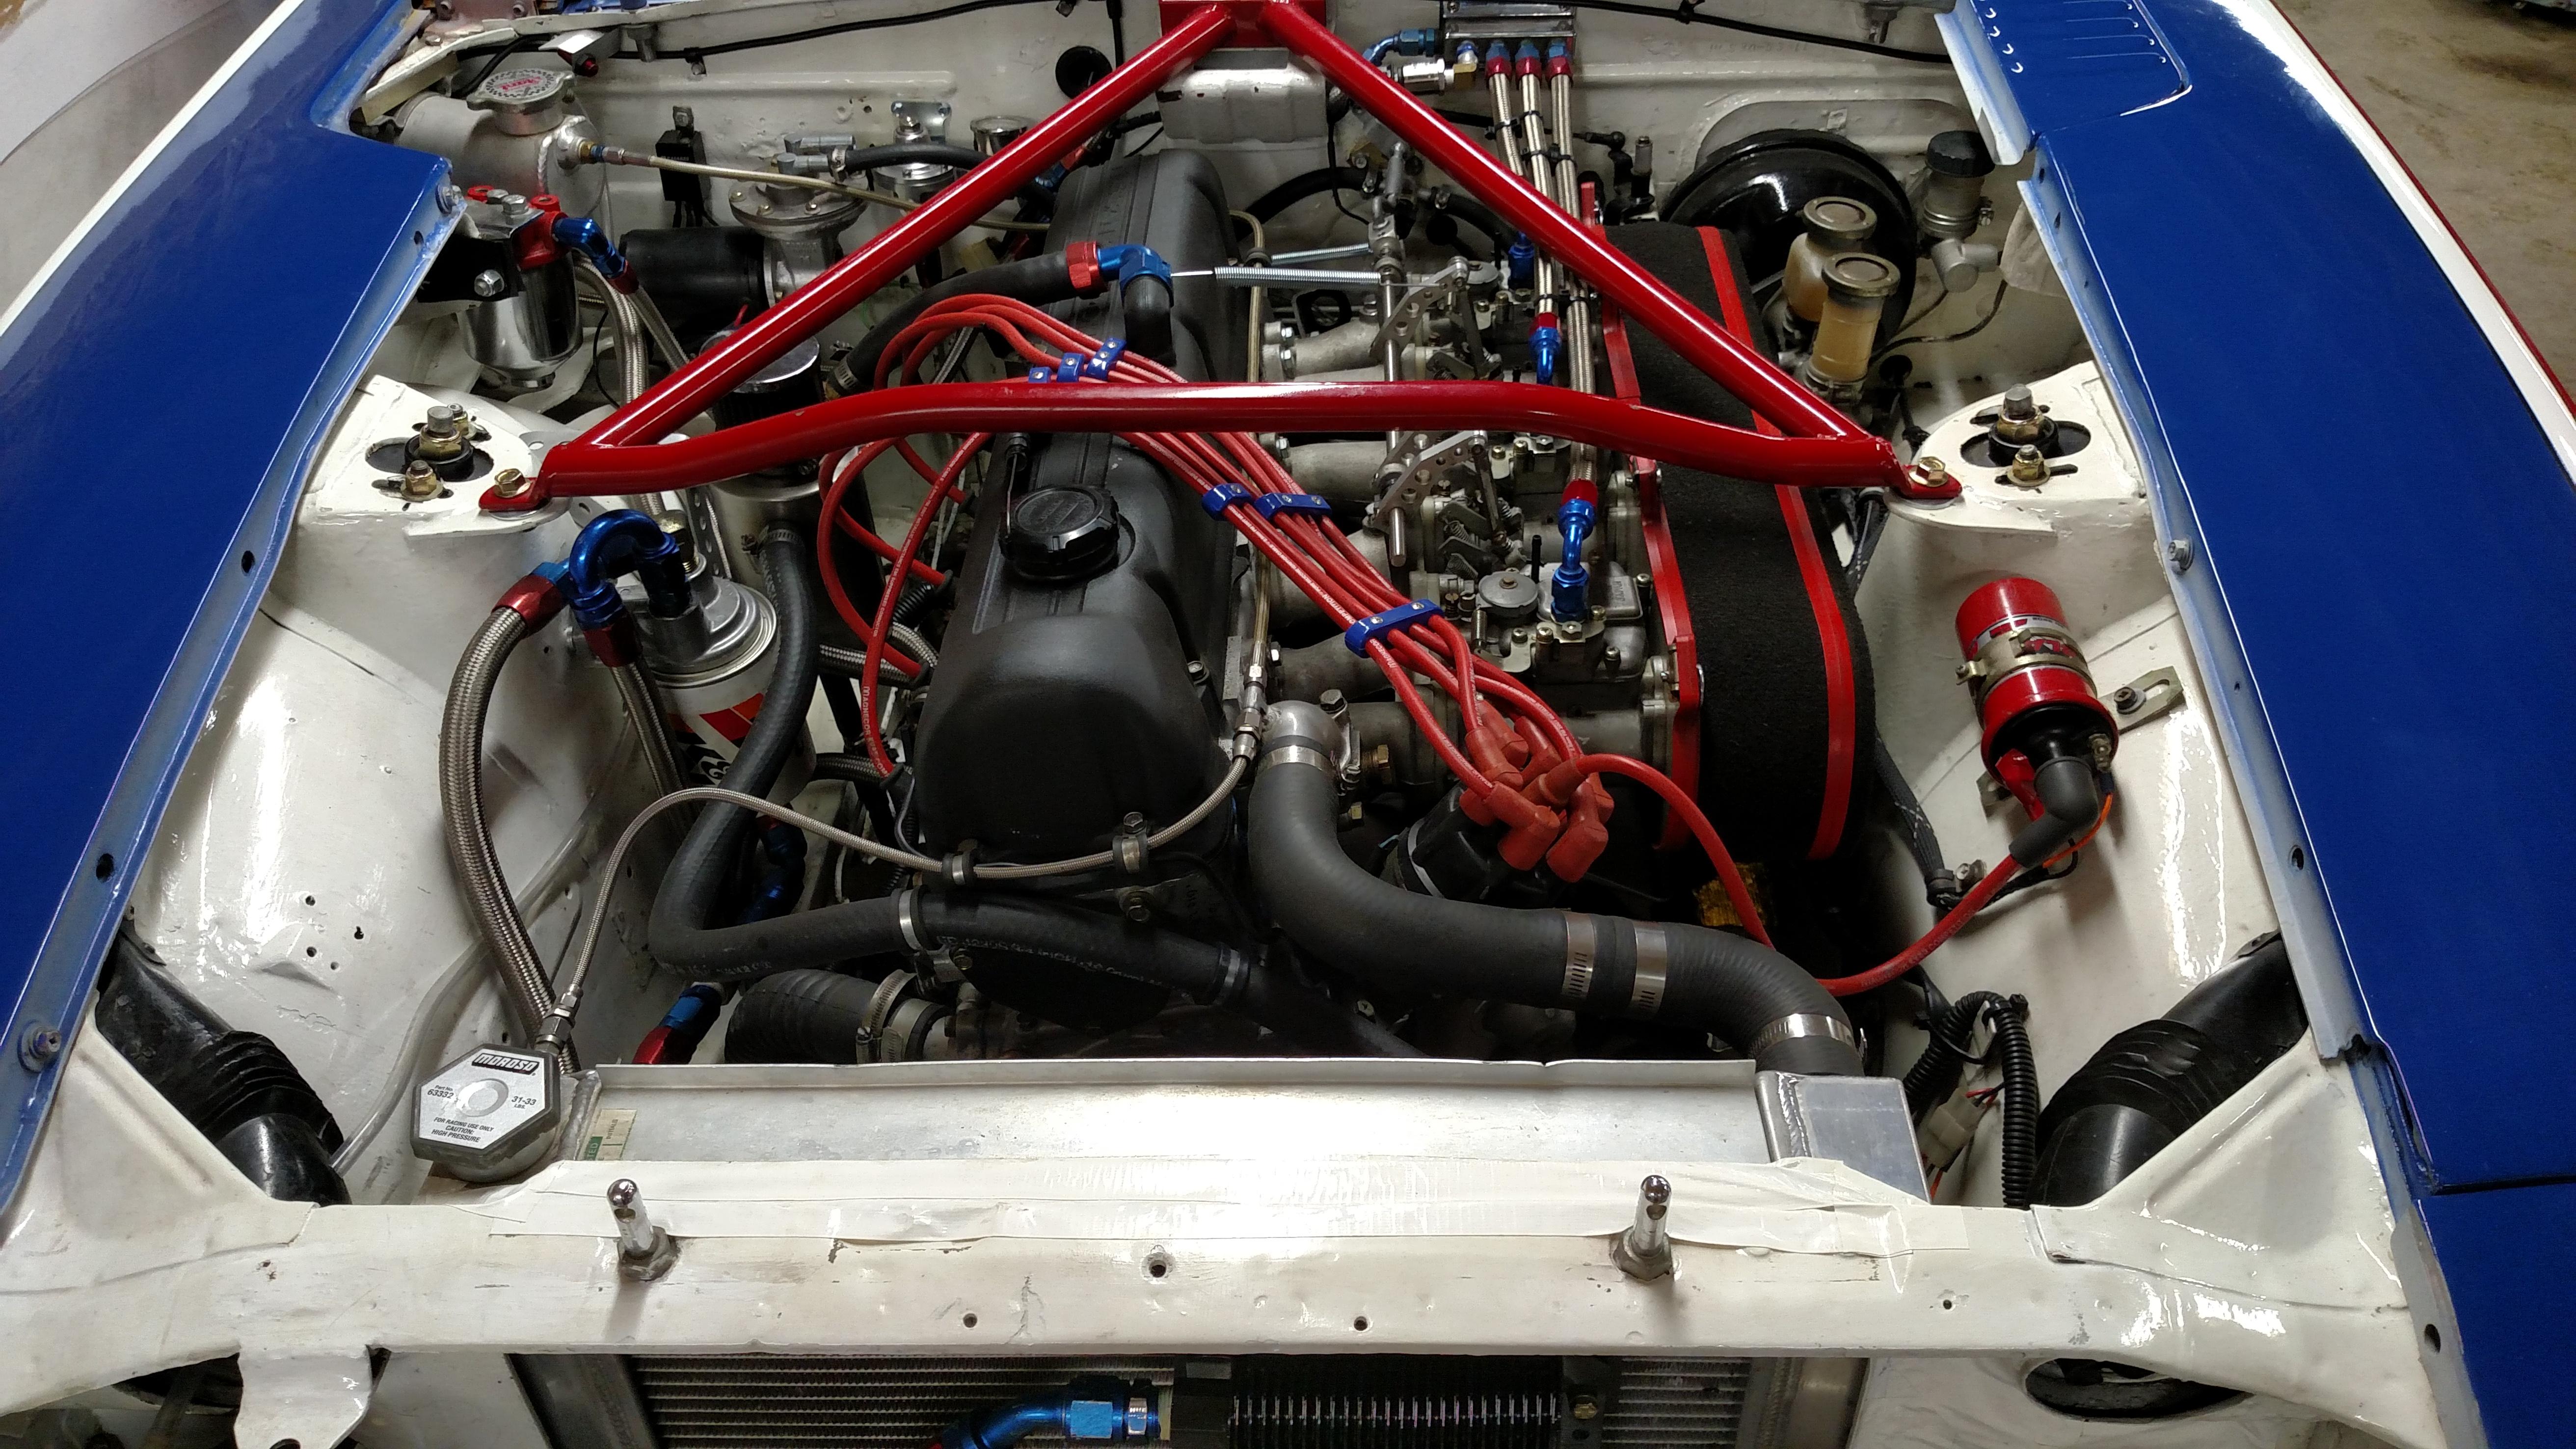
3 pointsThis is what was done on the L-series race engines built by BSR. The radiator was tapped to run to the "T" fitting welded on the thermostat housing which was plumbed to an expansion tank which then had a line to an overflow bottle. The expansion tank has the pressure cap. The radiator tap, the thermostat T and the expansion tank are all positioned as high up as possible. I doubt you want to ruin your Z with these modifications and I show it only to illustrate how some folks tried to keep these engine from overheating.
 3 points
 -
2 pointsI've ordered the tanks-inc pump. Great feedback about your pump's performance in low fuel Steve. It has a small baffle tub and a sock - like thing on the inlet so it should be ok in all but near-near-near zero fuel situations. Actually my favorite way to be caught in the "Im out of gas again!?!?!?! Nooooooo" situation is to have everything going fine, then start going up a hill.... That last quart sloshes to the back, and the damn car dies; half way up said hill; and funny thing you can't push that Datsun that is now blocking traffic on the busiest freeway in town up that same said hill and out of the freaking way...... because you're on a hill !!!! Arghhhhh". I'm moving back to southern Saskatchewan where there are no hills. Or trees. Oh right, the point of that copious rambling. Going to mount the pump in the BACK of the tank rather than in the middle. Going DOWN a hill and running out of gas is actually fun.2 points
-
2 pointsIn the scenario in the diagram above, the cap at the radiator would be a cap with no disc or spring attached at the bottom. The overflow tank would then have a standard pressure radiator cap installed on it2 points
-
Well I thought I'd put together a little update, the car is getting lots of use at the moment getting to various meets and going out on runs and drives just for the fun of it. I'm not sure exactly, but the car has definitely done well over 600 miles since the recent overhaul. There are still points to address however I'm too busy enjoying the beautiful weather to worry for now. I'm still finding the attention the car gets comical, I feel like some sort of celebrity driving it around half the time, the engine bay is now also getting lots of ooohhh's and aaahhhh's and wowing people. Lots of comments that its got a proper engine fitted, it was pretty swamped at most times during its recent visit to the Goodwood Breakfast meet. Even when I've just dropped into Waitrose several people have stopped to take photos, compliment the car and chat before I've got near the store. I even met an Audi Motorsport heritage engineer in a traffic queue at Goodwood who has a German market 260Z +2 and has worked on several of the winning LMP1 Le Mans cars over the years that I've watched. It really is incredible who you meet... I'm pleased to report that it's running very well, the engine in particular. The fuel economy is now where we'd expect it to be now with it being about 23-24 mpg with my enthusiastic driving and over 30mpg possible on motorway cruises now which has really impressed me. The engine is super rev happy, albeit stops really performing around 5.5k rpm and in reality is getting used to between 4-5k for spirited use. Handling wise now the car is very impressive, it needs the uprated front roll bar to dial out some under steer however on a recent drive out with the MR2OC it had no problems keeping up with cars with over double the power in several cases. It certainly surprised a friend in a Noble M12 at its ability to corner and get around roundabouts. It handles incredibly well for a car that is almost 48 years old now. As you can imagine it's no straight line monster and was left slightly lacking in that regard, however I've been too busy smiling and listening to the soundtrack to care! The car has just been accepted into the show and shine competition at JAE this year so I'll actually have to give it a proper clean and see how I get on, not something I've ever contemplated before however she looks so nice at the moment I thought what the hell. I've got a few show weekends coming up so more time to show her off to people and enjoy. DSC_0071 by Mark Woodrow, on Flickr DSC_0081 by Mark Woodrow, on Flickr2 points
-
2 pointsPretty close to fully qualified! I lack the racist behavior that is evidently necessary per Wikipedia but I drive a 15 year old Ford, have 2 drooling great danes and am sometimes not polished enough, but I am comfortable in my own skin. Like ZedHead said "some rednecks do good work". There are not many things I can't make and I tend to have a perfectionist nature. It's all good though. I know myself ...2 points
-
More than likely, as an example of what a bodykit can do here's what mine has looked like, now back to stock bodywork. I still think they're the biggest performance bargain to be had out there! As a JDM Turbo model mine will do 60 in just under 5 seconds with bolt on mods, handles superbly and can embarrass much more expensive cars quite easily. They may get properly appreciated one day... IMG-4507 (1) by Mark Woodrow, on Flickr IMG-5647 by Mark Woodrow, on Flickr1 point
-
1 pointI used the Tank inc for my EFI Z. So far very happy with the results. Tank Inc version does require cutting into a tank. The Holley mat would probably eliminate posssibility of cavitation, but I have yet to starve my motor out yet and I run it low on gas a lot.1 point
-
1 pointMy (early) version of the bottle - which came with a radiator-type pressure cap - would theoretically be suitable for that type of setup, but I just can't see a scenario where the pressure in the 'reservoir tank' is higher than that in the engine/radiator - allowing coolant to flow back? Here's the factory parts list showing the 432/432-R system: If you look at the radiator cap, it seems to be a simple sealing cap with no pressure relief valve. In this setup, the pressure relief cap is on the 'reservoir' tank. I think this would allow overflow/cavitated coolant to pass from the radiator into the reservoir tank, with excess pressure and/or coolant to be vented via the drain tube. The pipe connecting the radiator and the reservoir is radiator hose type quality, pressure resistant and with proper clips. Nissan clearly did away with this system later, using a simple cap on the 'reservoir' (it has a small hole in the top to vent air) and a normal pressure relief type radiator cap. The later GT-Rs were like this too. My KPGC10 has a slim, unpressurised overflow catcher tank next to the radiator.1 point
-
1 pointI believe to have the coolant flow both ways the bottle and the line will have to be able to hold pressure the same way the radiator cap does. Also the radiator cap will have to be able to allow the coolant to flow into the radiator versus the current set up where it simply allows over pressure discharge1 point
-
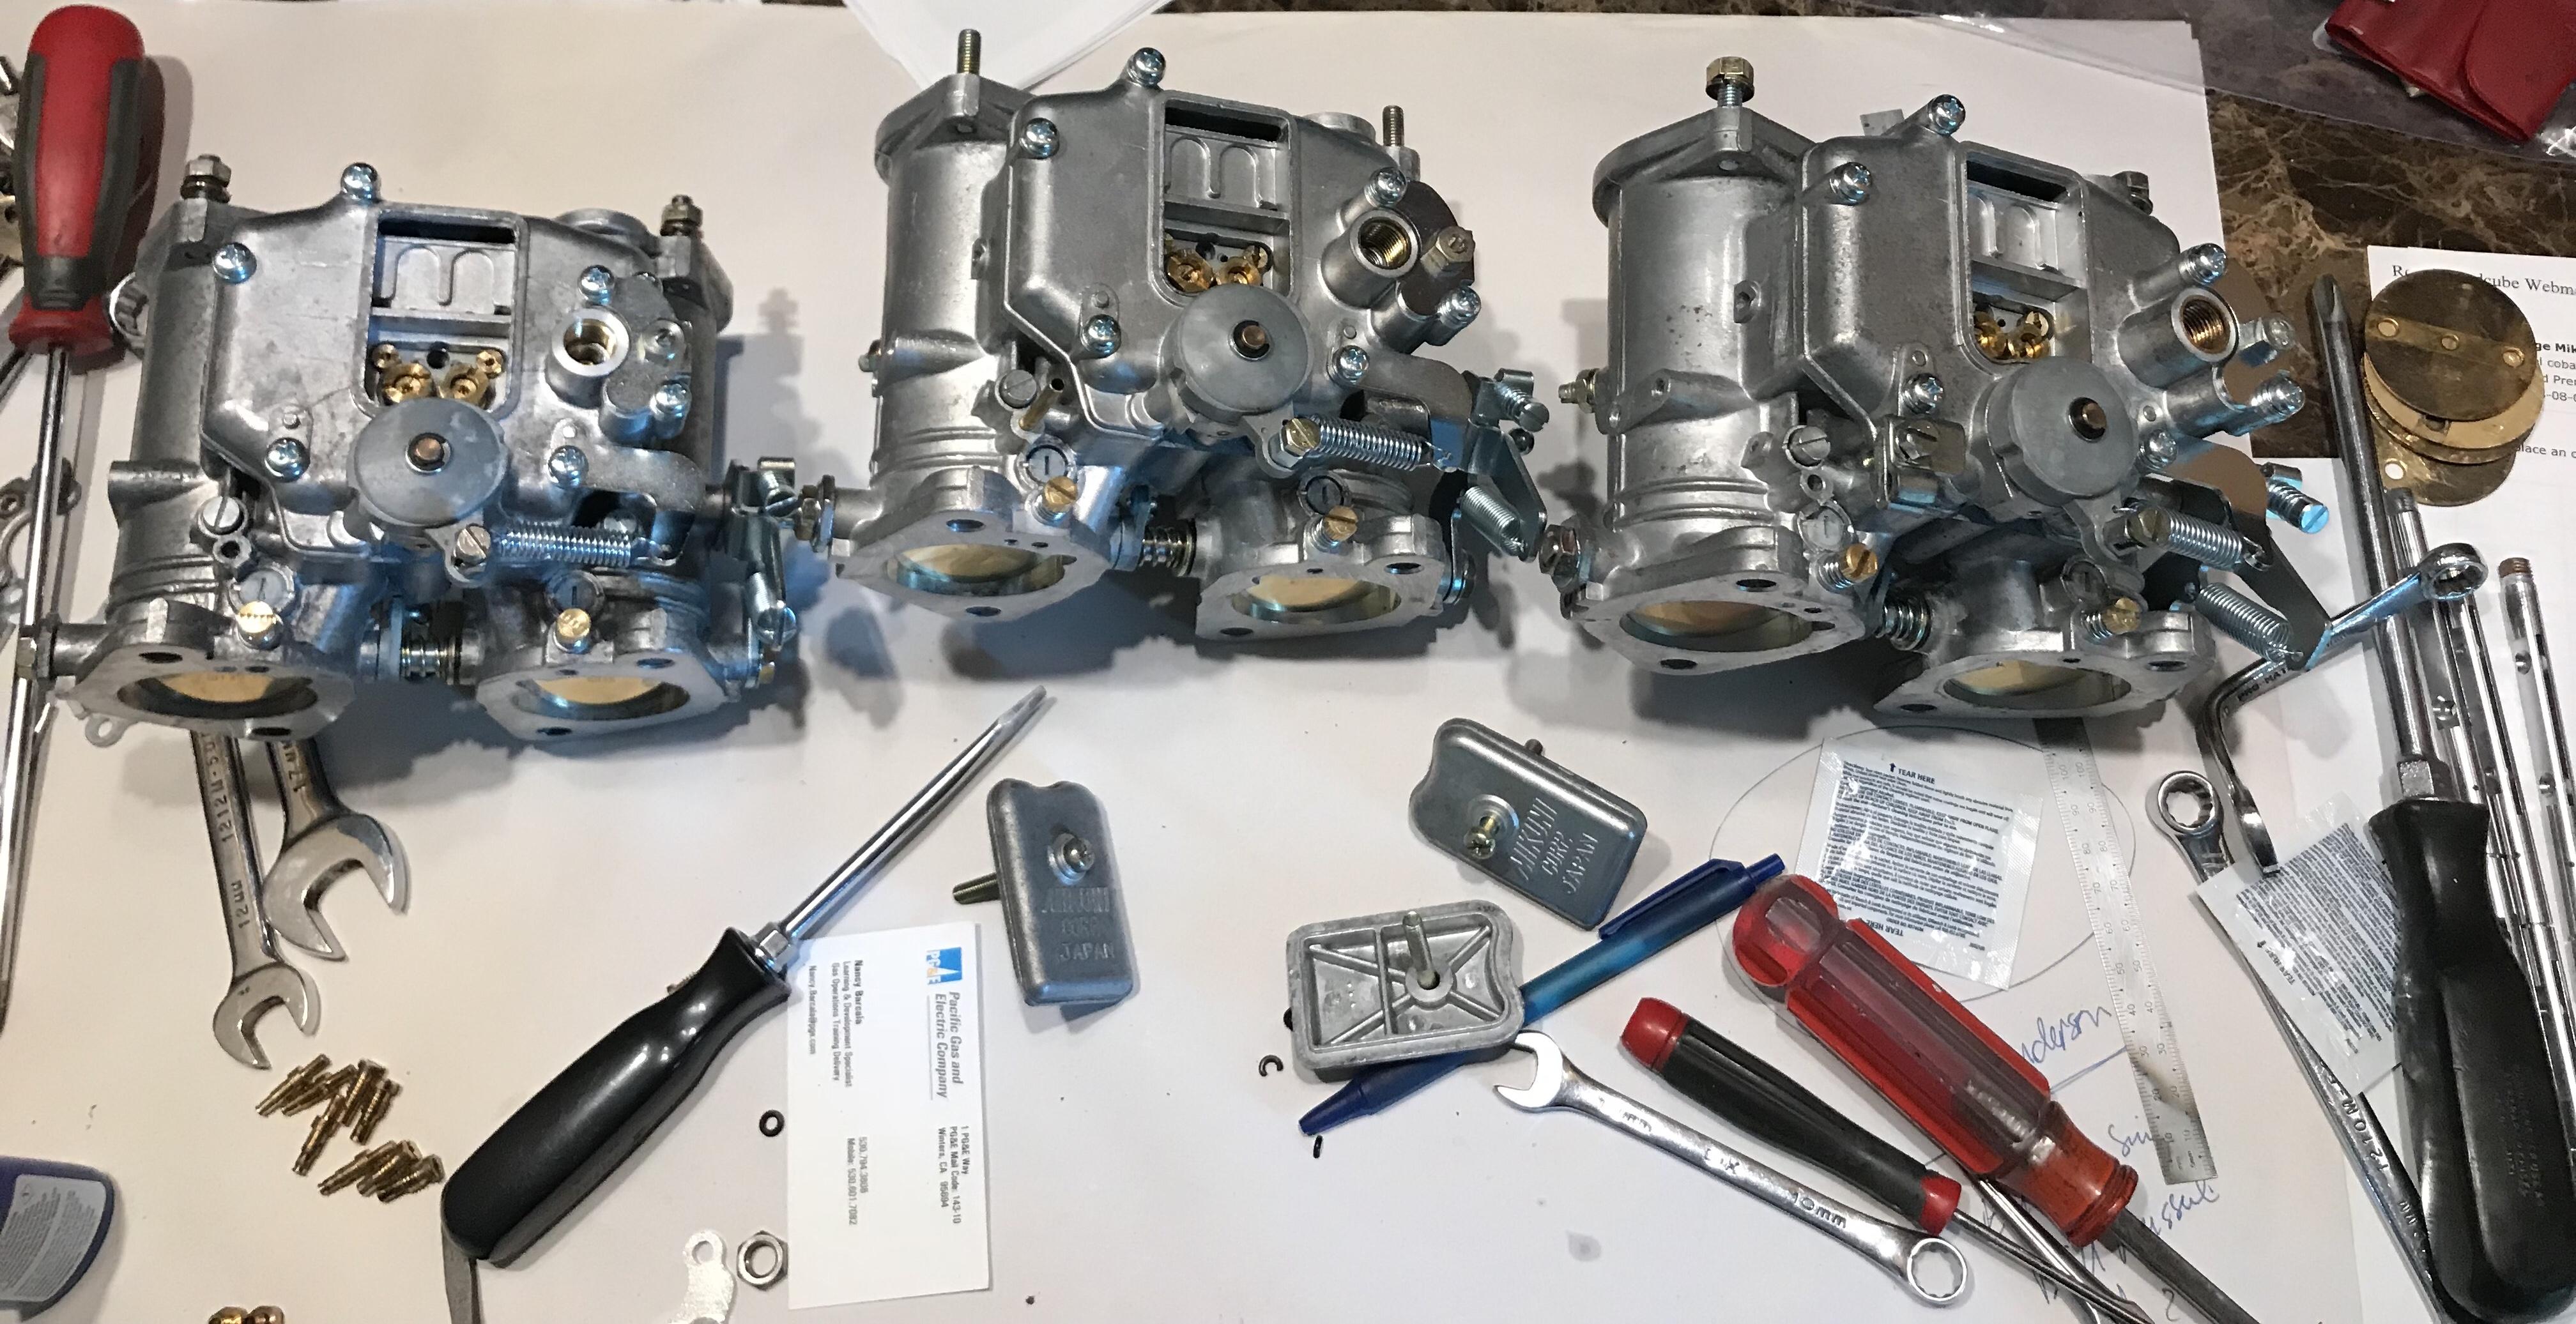
1 pointOne set of my 11 Mikuni's are coming back from Premo! They are currently setup for my stock 2.4L. These are vapor blasted and they will go on that cnc intake I'm making, I think they will look good next to that. I'm hopeful this makes my motor sound more like what I want, and I don't have to build a motor for my series 1. I have another set of triples that were so nice I didn't want to blast, they will be setup for a stroker build. 45 Pump Nozzle 57.5 Pilots 145 Main Fuel 200 Main Air
 1 point
 -
1 pointKats, the S20-engined cars had the tank/bottle acting merely as an 'overflow' catcher. There is no return path to the radiator as the coolant/air can only move in one direction so it's not the same as a 'header tank'. Generally speaking, it was a characteristic of high rpm/high performance engines of the period for them to cavitate their coolant somewhat, and the tank is simply a way of avoiding the slightly embarrassing scenario of, er, uncontrolled spillage... Nissan called it a "reservoir", but as far as I can see the only way that it can be used as such is if you manually pour the coolant caught by the "reservoir" bottle back into the radiator when it has cooled down.1 point
-
1 pointI'm surprised the price is so low, frankly. It's authenticity is easily verified, I believe, if you know anything about Scarabs. So chalk the comments about documentation up to ignorance. There's a ton of information about Scarabs in the archives.1 point
-
1 pointThis weeks job was to mount my seats to the car, but nothing ever goes smoothly, and there is always that last bit of rust...1 point
-
1 pointI'm pretty sure that this is the car that Mike Runnels went out to see. It's a real Scarab. IDK if he's on here but he is on Facebook. And about rednecks...ah, the things we do to fix our cars at the race track. A couple races ago a Z all but came to a stop in a high-speed turn. Jeff's 240Z slammed into the back of another 240Z. We pulled the nose straight using a truck and tie downs. He stood on the hood to finish getting the bends out. It actually looked pretty good when done. I think he went on to win the next day. Chuck1 point
-
1 point
-
An assumptions here. The engine doesn't cut out, it just runs out of power under load. I had a similar thing happen years ago. While driving my 240 down the freeway my speed dropped to 45 mph. Kicked in the clutch and revved it to 6 grand. Put it back into third accelerated at full throttle. It wouldn't go past 45 mph. Second gear, same thing. 45 mph was the limit. My Dad knew immediately what it was. Lack of fuel. Mine was corrected (temporarily) by blowing thru the firewall filter in reverse direction. Then a new fuel filter. Hope yours is that easy.1 point
-
The FSMs says the following for the 280Z (75 - 78): Front springs for 75-78 two seater - 1.84 kg/mm or 103.0 lb/in Front springs for 75-78 2+2 - 2.06 kg/mm or 115.4 lb/in Rear springs for 75-78 (both 2 seater and 2+2) - 2.28 kg/mm or 127.7 lb/in So it appears there is a difference between front and rear as the rears are about 25% stiffer. Of course I've never measured any of that for confirmation or accuracy, but that's what the documentation indicates.1 point
-
I connected mine up to my vacuum pump. Used a little valve cracked a little as a regulator so I didn't suck the booster down to absolute zero. You don't have to blank off the master cylinder port. The rubber vacuum seal on the output shaft should keep the vacuum in the clamshell.1 point
-
l would shave the block. Just make sure you attach the timing cover to shave it also. .020 can be adjusted for with the chain. Degree your cam . Im at 150 rwhp now with less goodies .1 point
-
It is easy to do. Just connect the mityvac to the port on the booster and draw vacuum. It just takes ~ 30sec to pull 15". There are adapters in the kit to connect larger diameter vinyl tubing to the smaller tubing on the gun. Pressing the clevis will release the vacuum. It does not really test much apart from checking normal functioning. The two main tests are: 1. [Basic Leak Test] Will the booster hold vacuum for 10min with the rod in relaxed position. 2. [Rod to Rubber Seal check] Will the booster hold vacuum as the rod is manually pulled out a couple of inches and returned. Pitting in the rod will leak air. You may have to move a rod seal, lubricate a seal, or even sand down a rod to make one work nicely.1 point
-
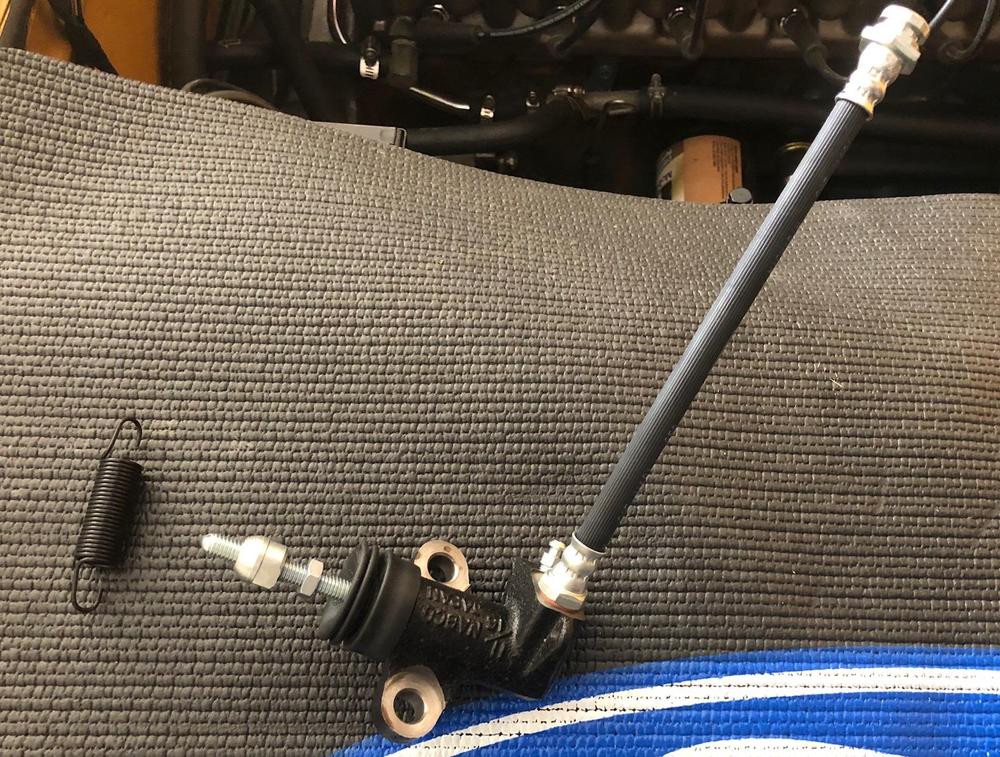
1 pointOld clutch slave decided to leak. It probably didn't like the nice new clean brake fluid:) NOS clutch slave, spring and hose going in today. I hope it this is the last thing that breaks for a while.
 1 point
 -
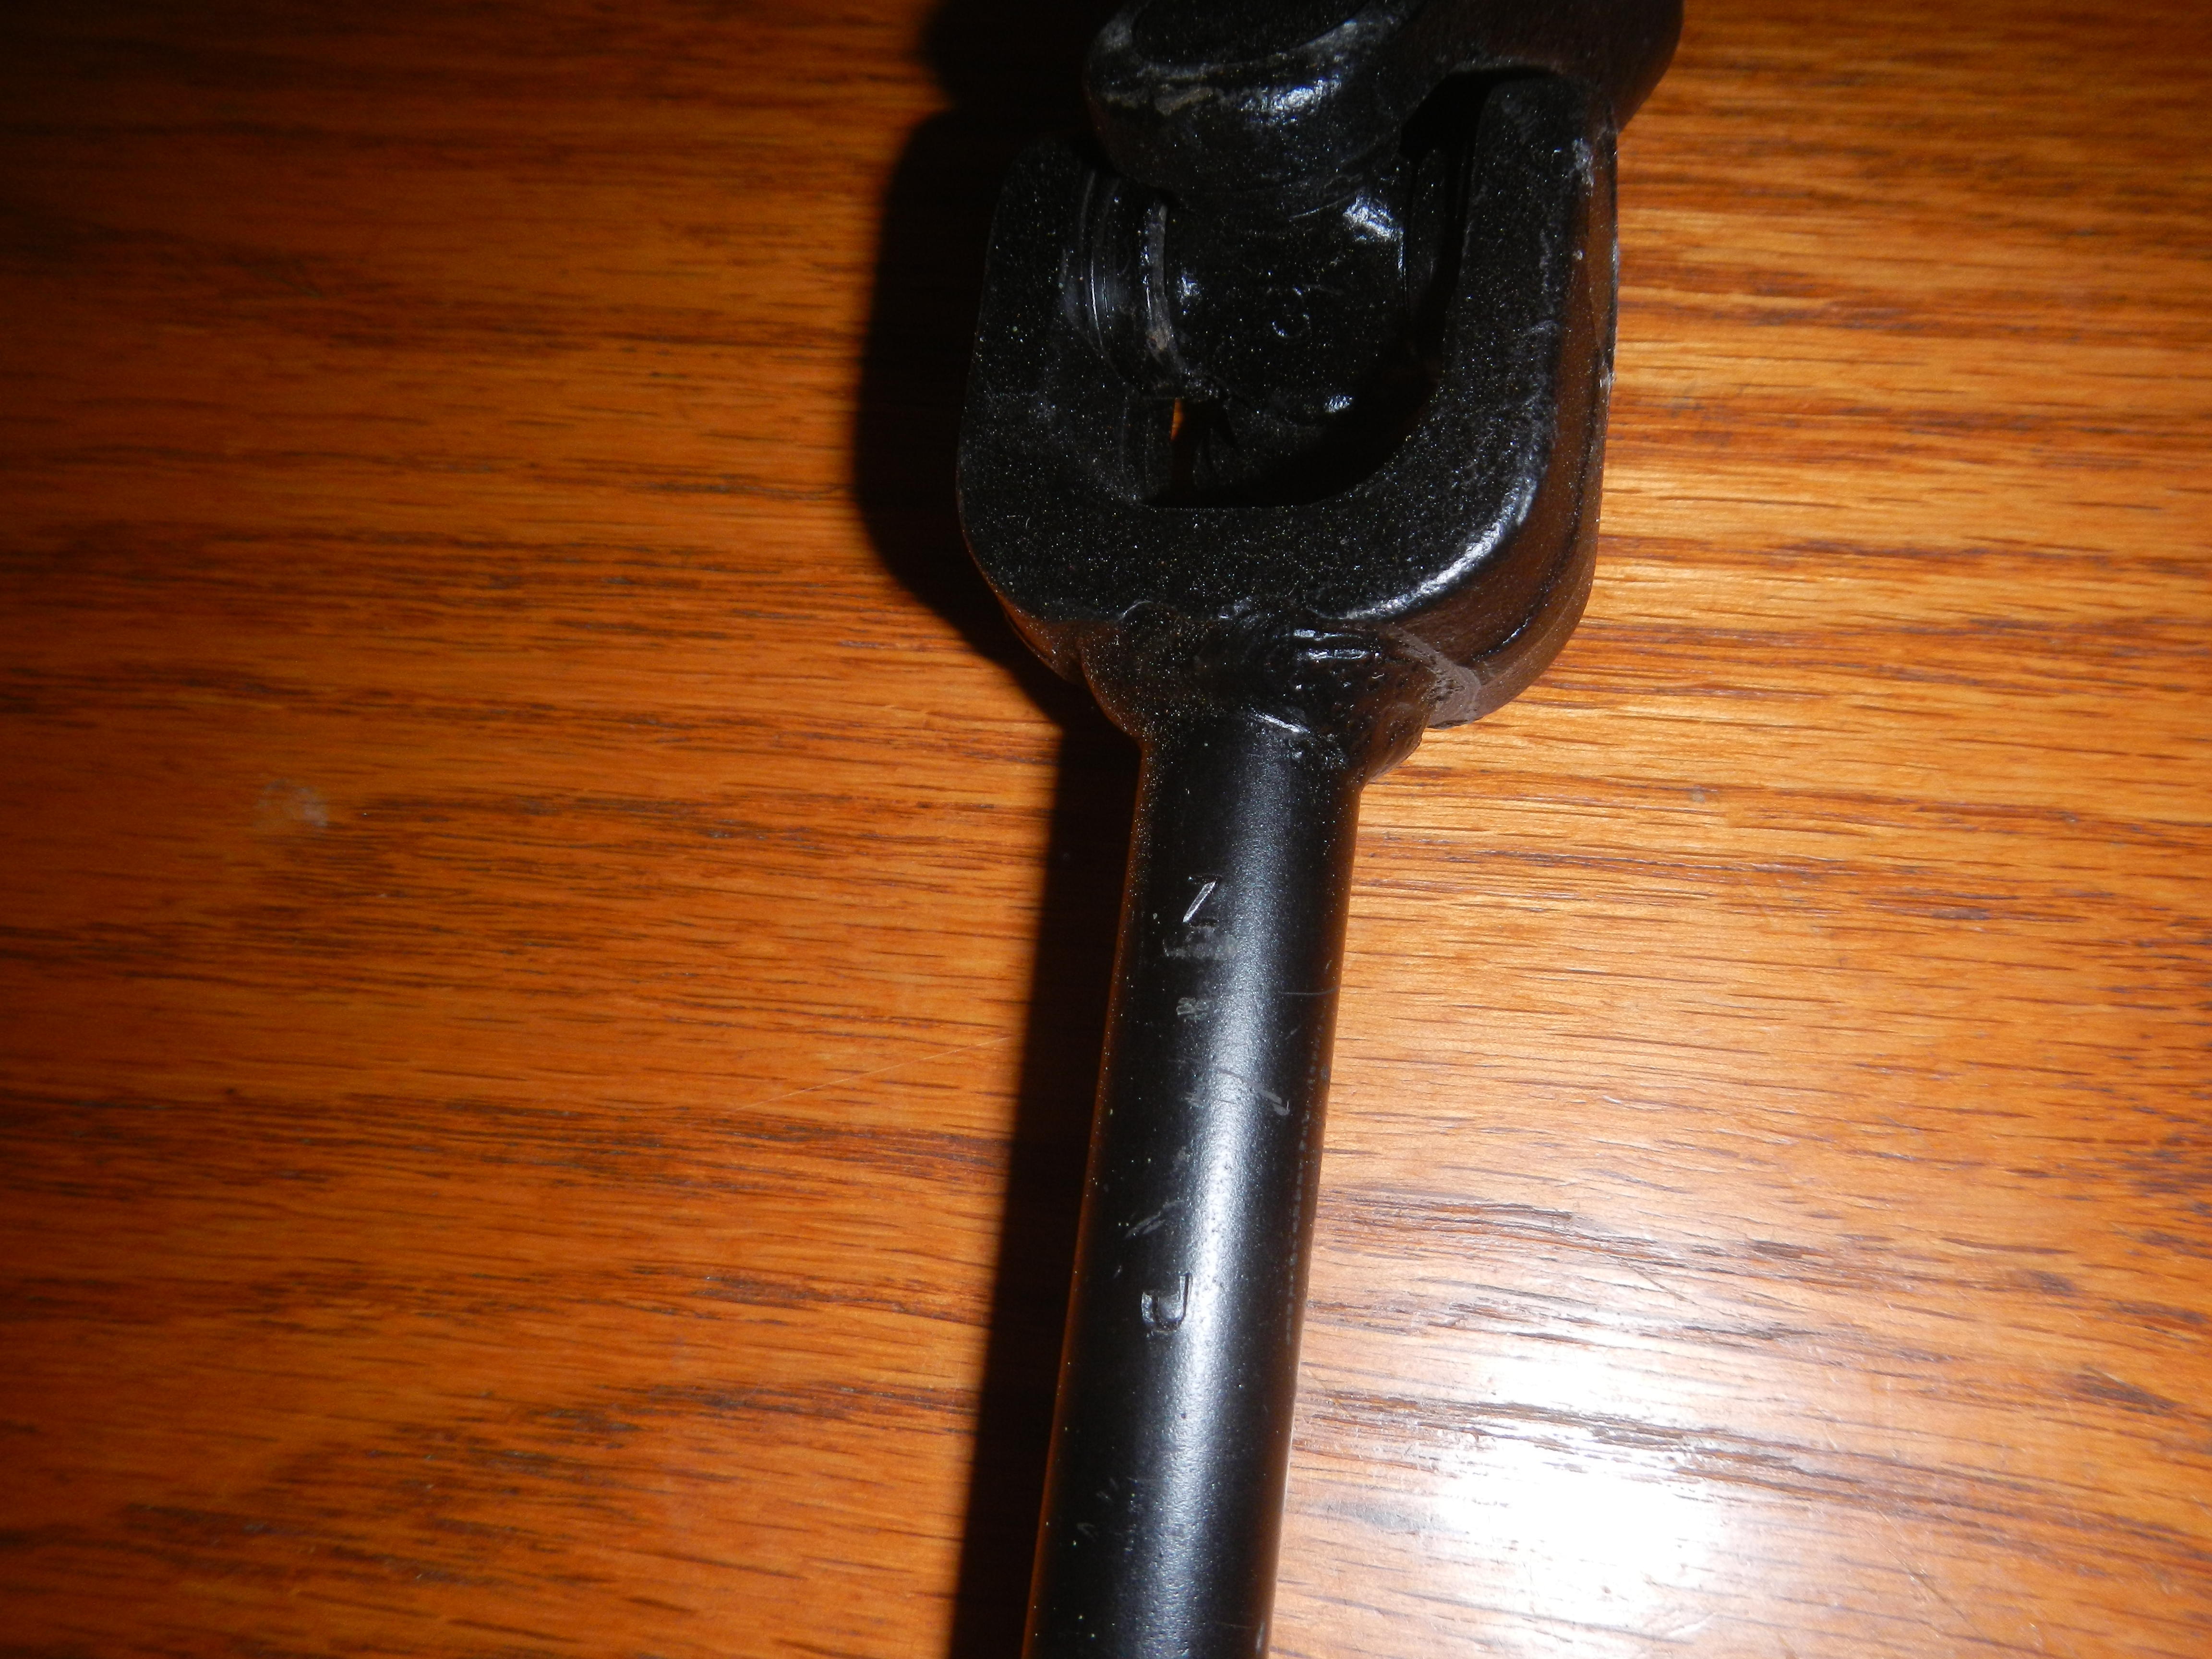
0 pointsMine has a Z J stamped on it, no other marks. It's from a 12/70 series 1.
 0 points