Leaderboard

 Subscriber


Popular Content
Showing content with the highest reputation on 07/18/2018 in all areas
-
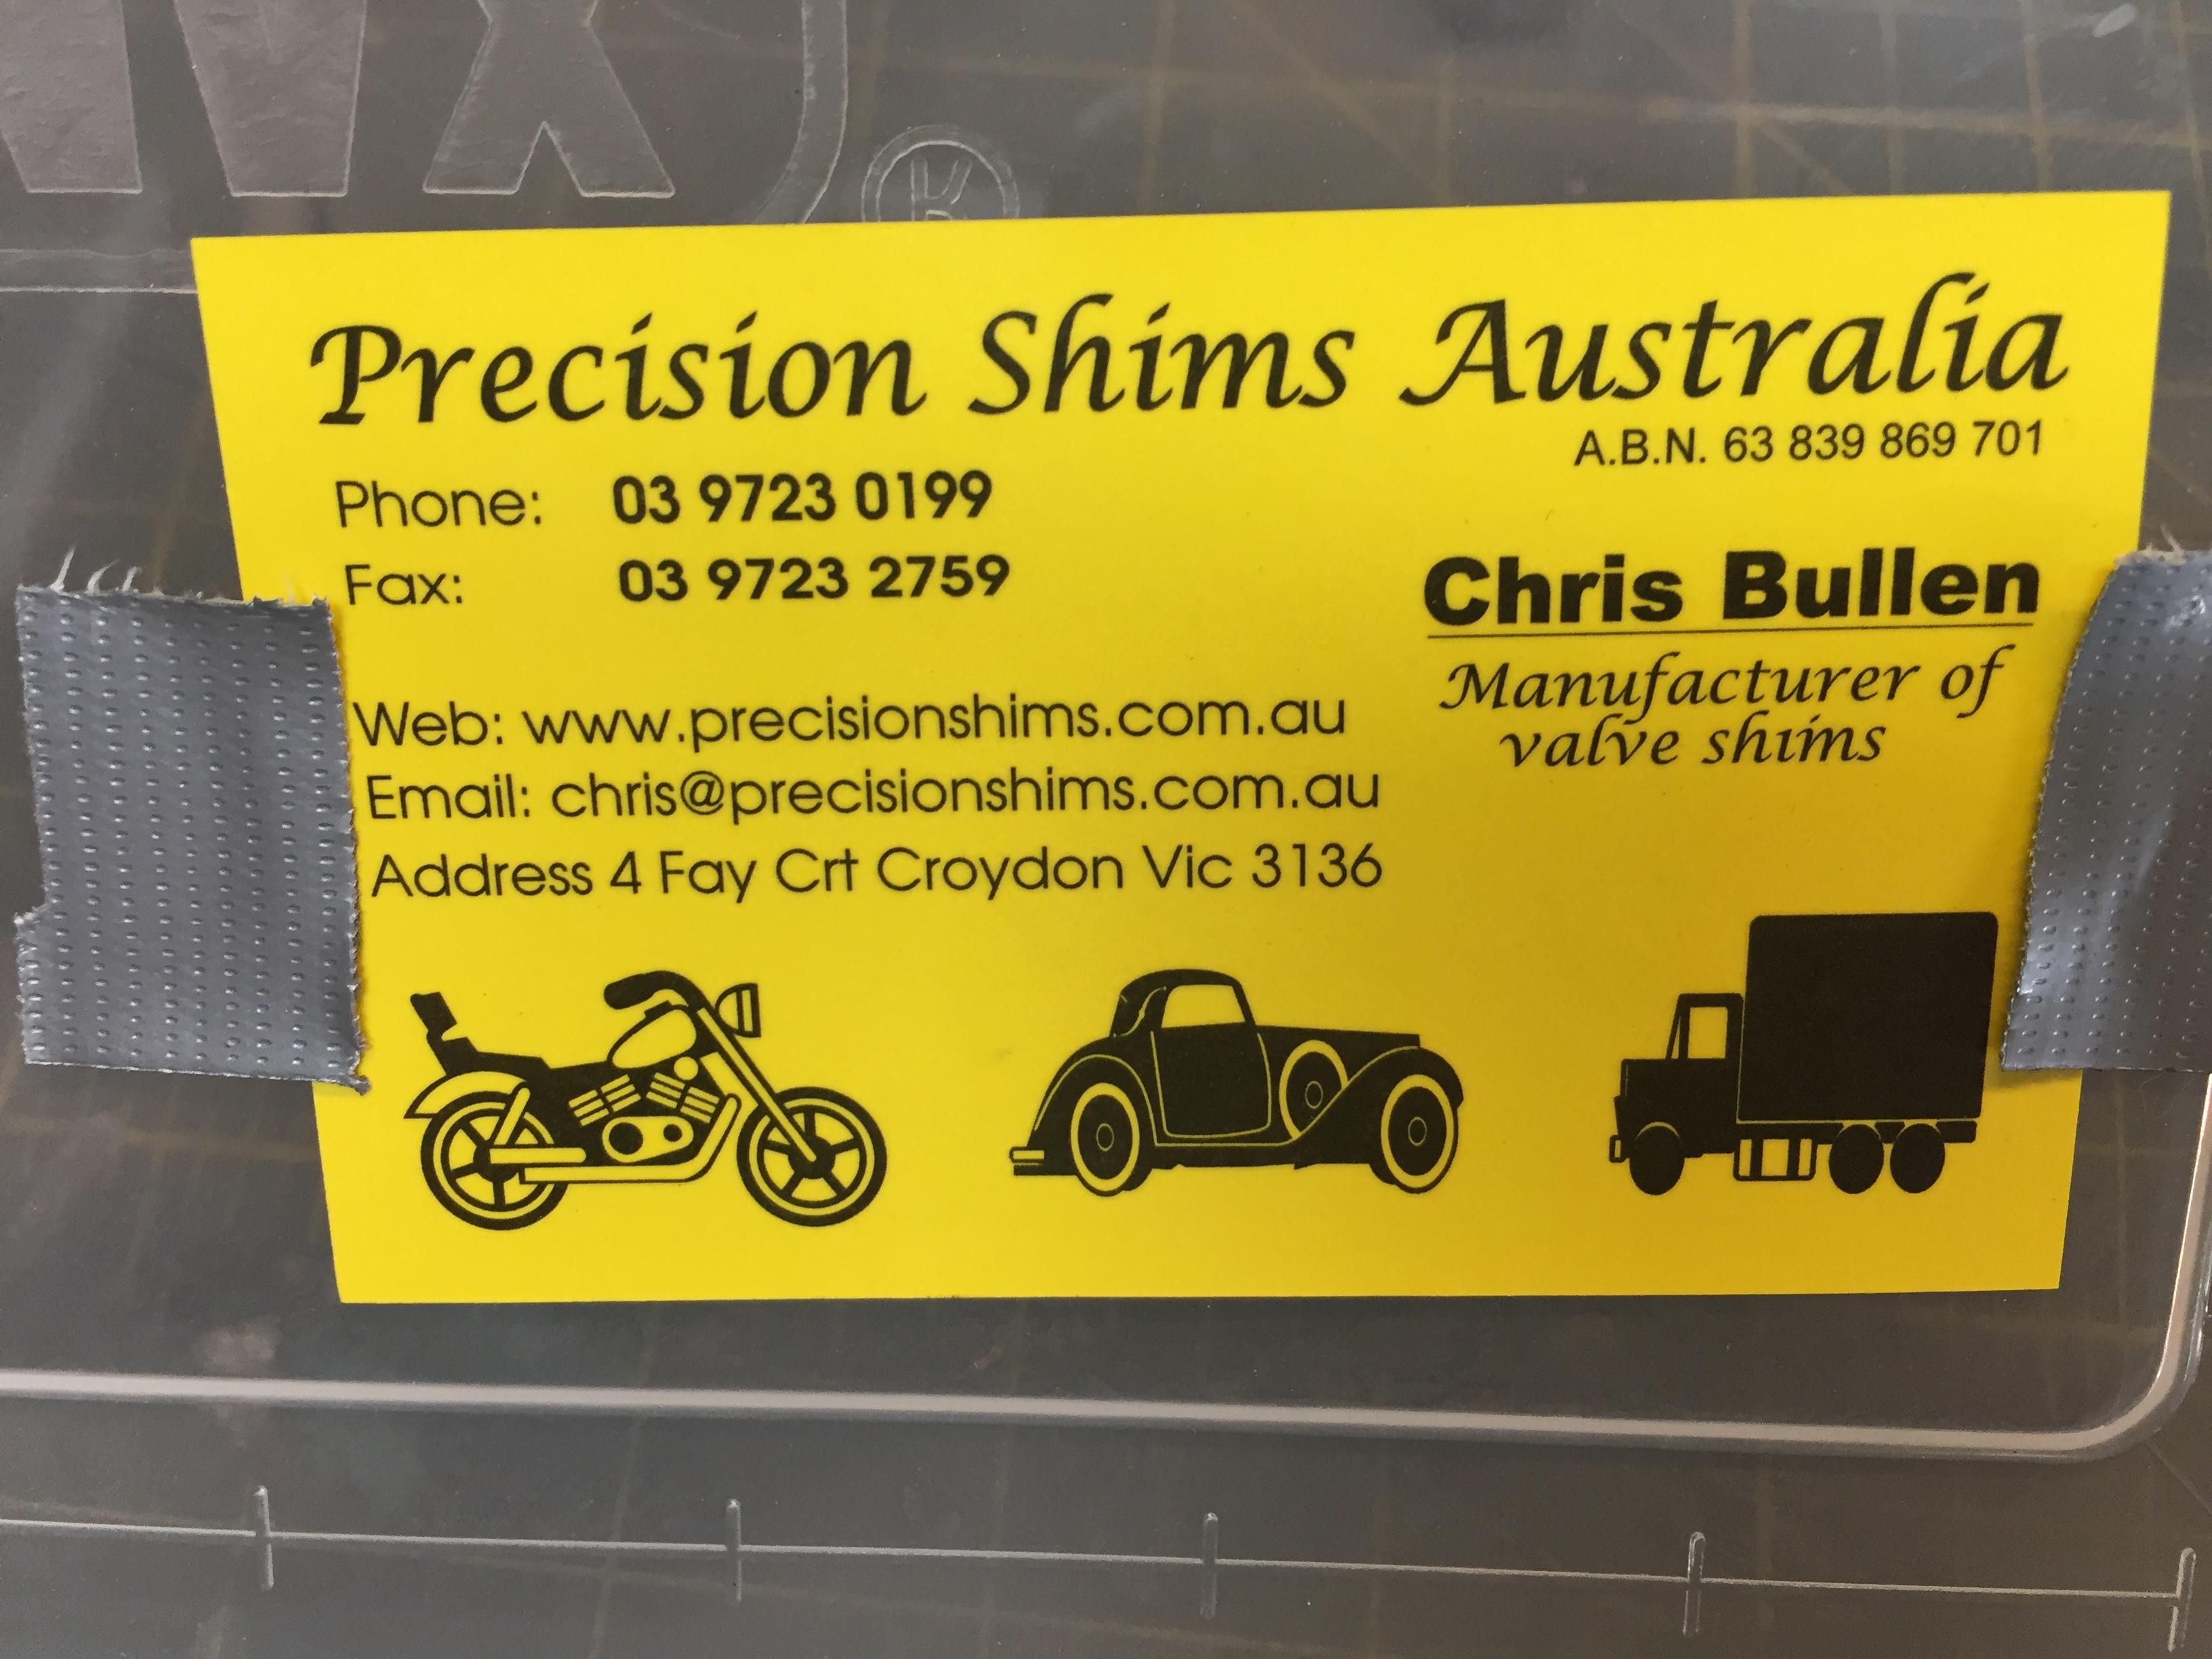
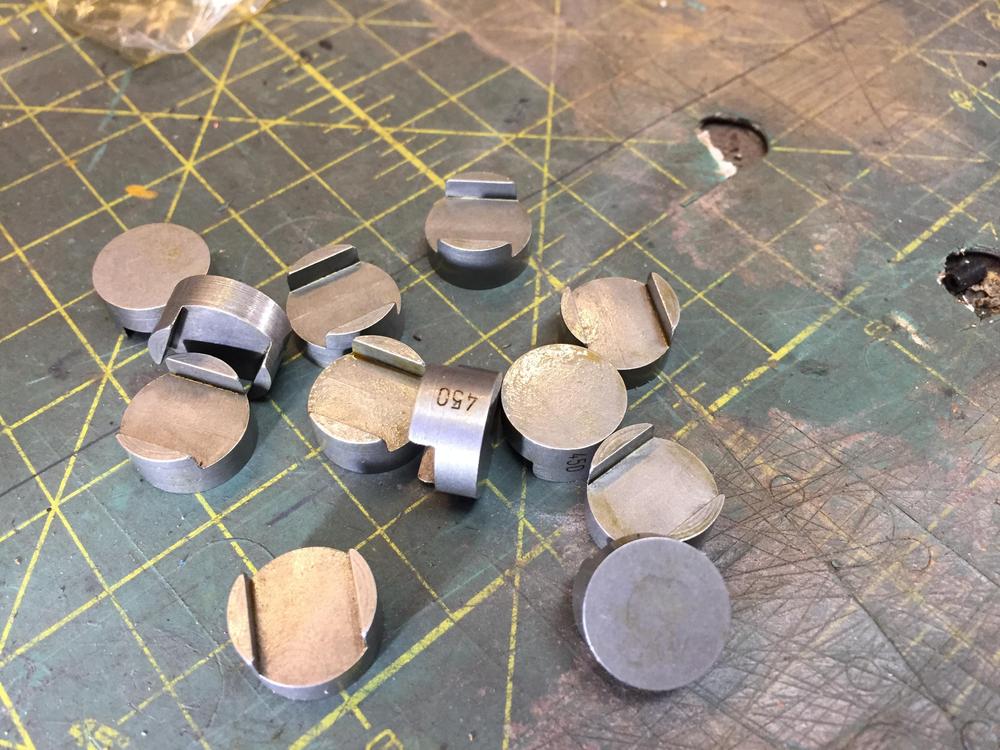
3 pointsSomeone on hybridZ from the UK mentioned a source for lash pads from a company I had not heard from before. They are Precision Shims from Australia precisionshims.com.au They have both flat bottom and recessed bottom (like stock) lash pads in any thickness. They have stock thicknesses in 0.5 mm steps, but will make you any thickness. They make shims as they call them for many many engines. They even have the size printed on the edge! Now the best part. Price. They are $9 AUS each for the flat bottom. For Canadians, this is fantastic, as the dollar is near par with Auzzie land. In fact I had about a 1% advantage in exchange rate on the day I bought some. US folks will win even further with a 30%+ advantage. Anything Datsun I can buy from Australia is an easy choice. Datsport for 510 stuff like weatherstripping, is another favorite. Chris Bullen the owner was great to work with and very responsive. Shipping was fast (about 10 days) and three sets (36) in a padded envelope was $30. Highly recommended!

 3 points
 -
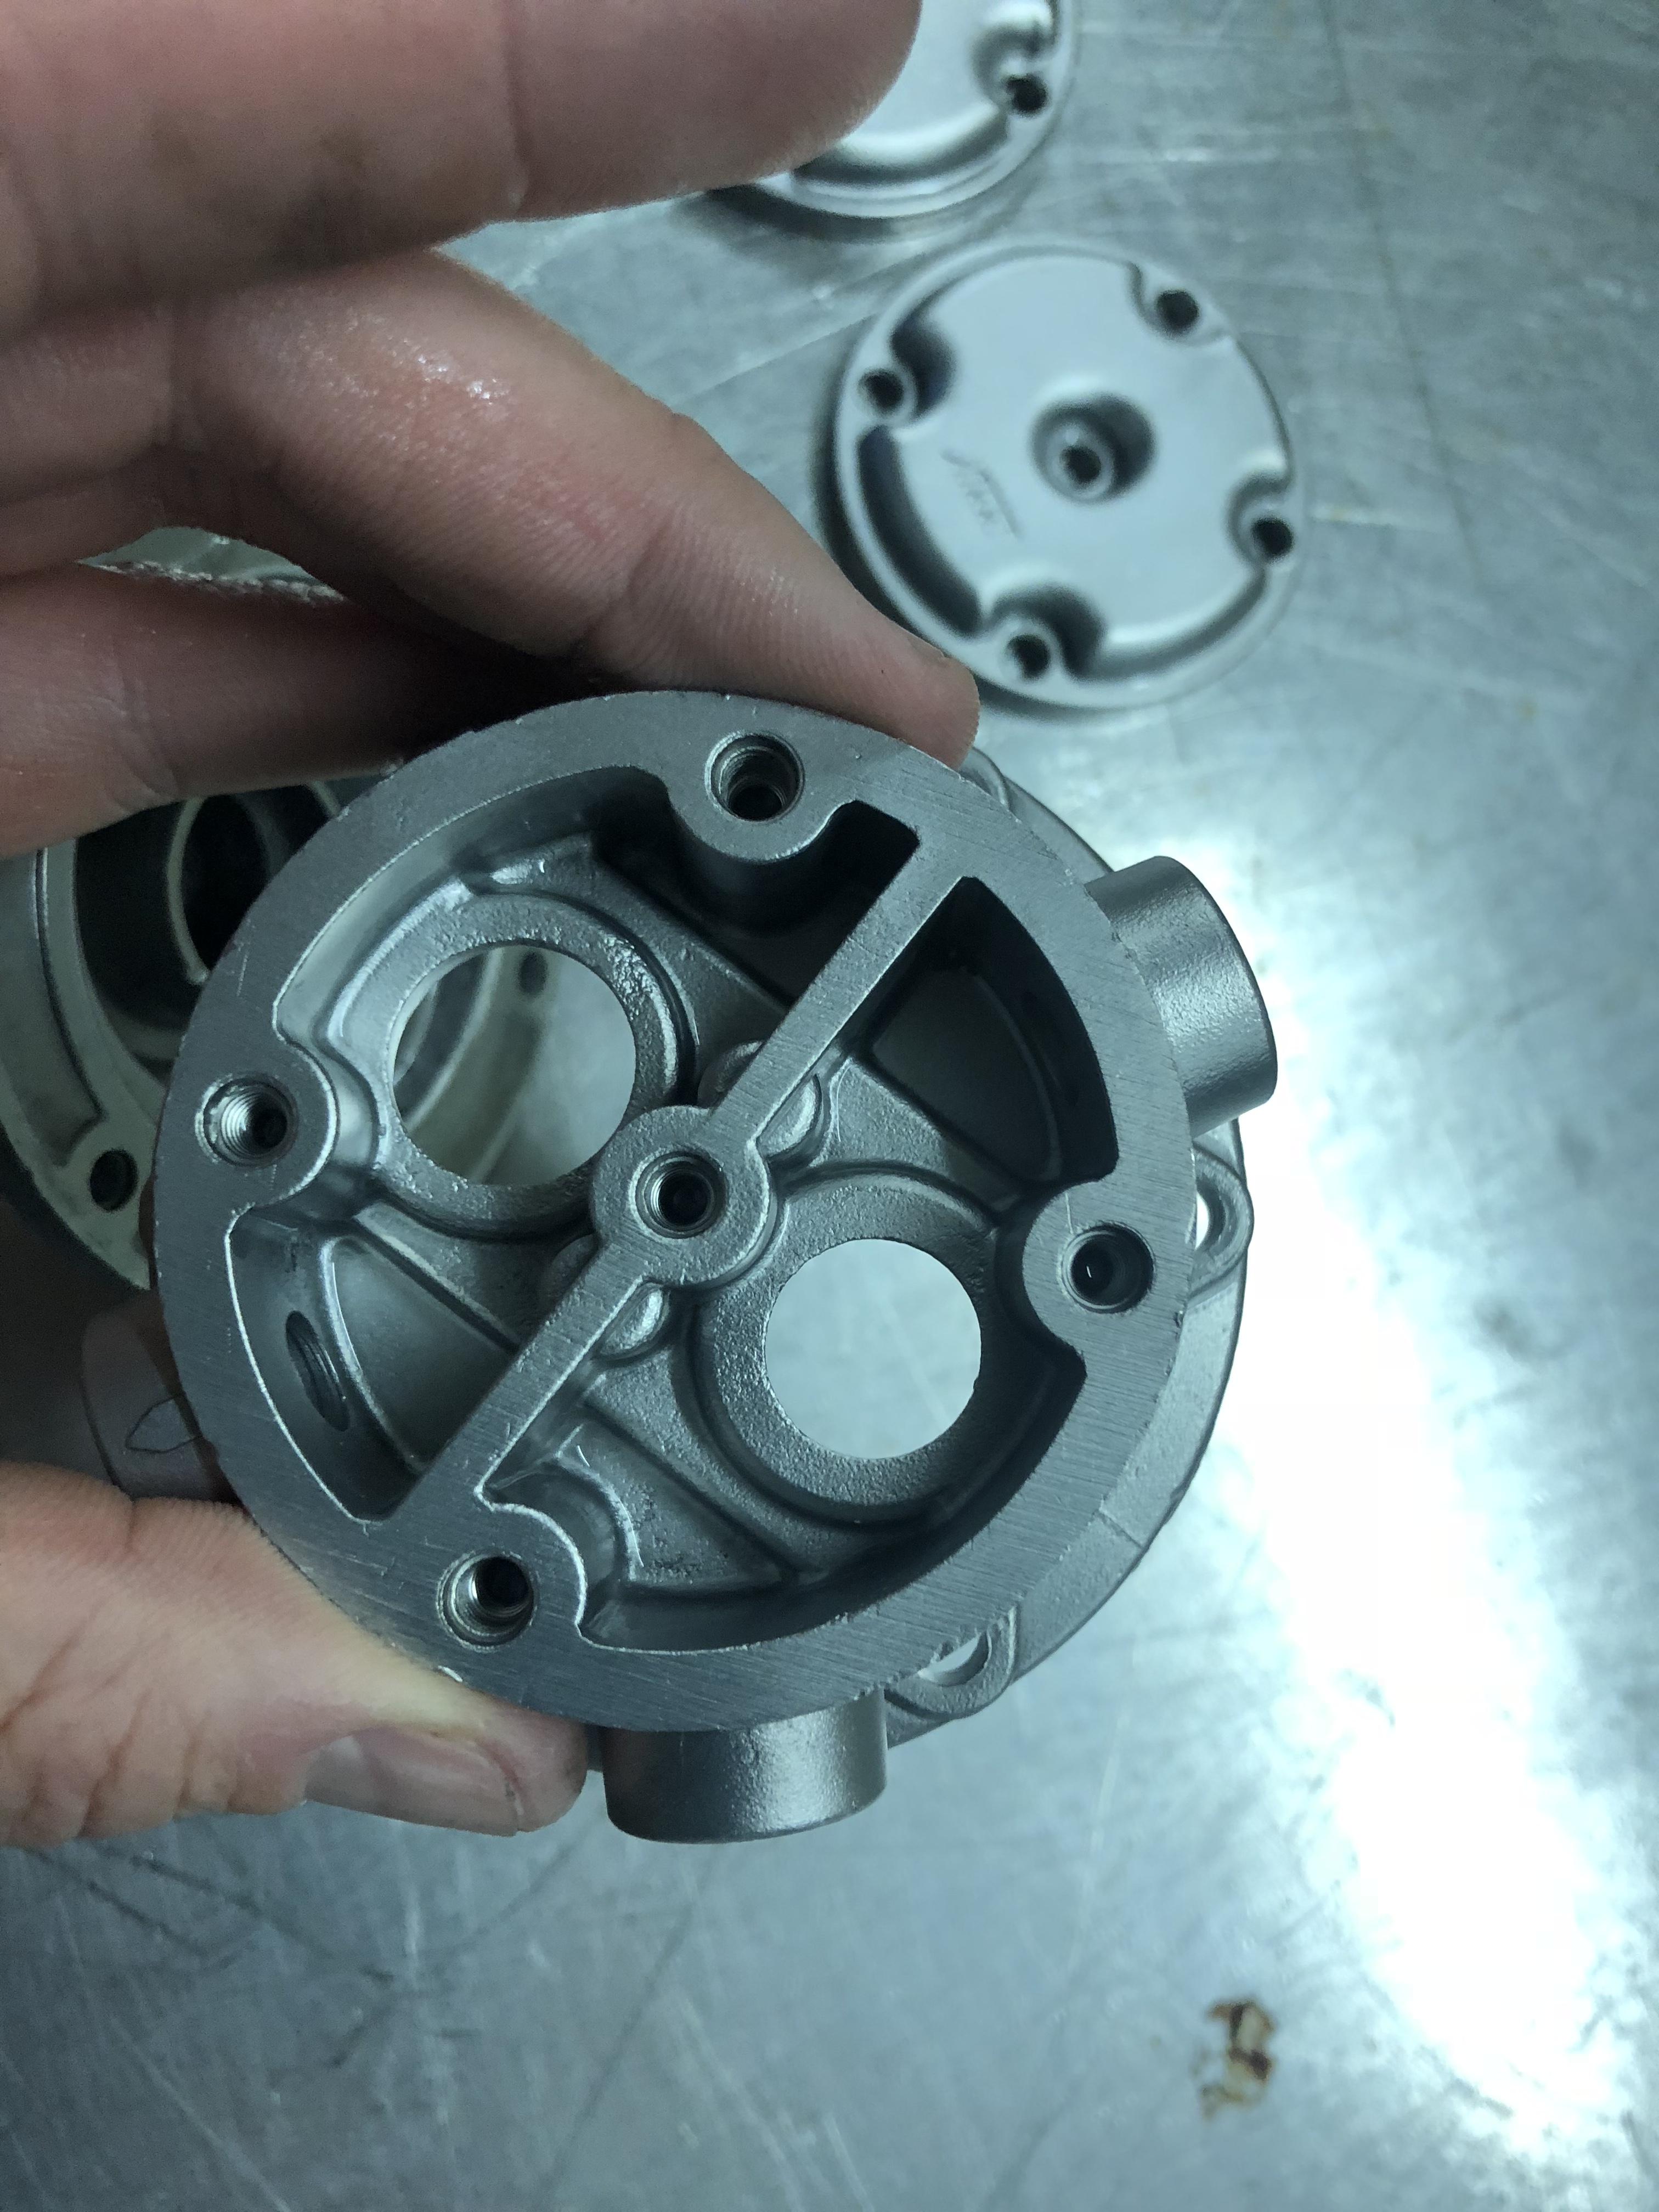
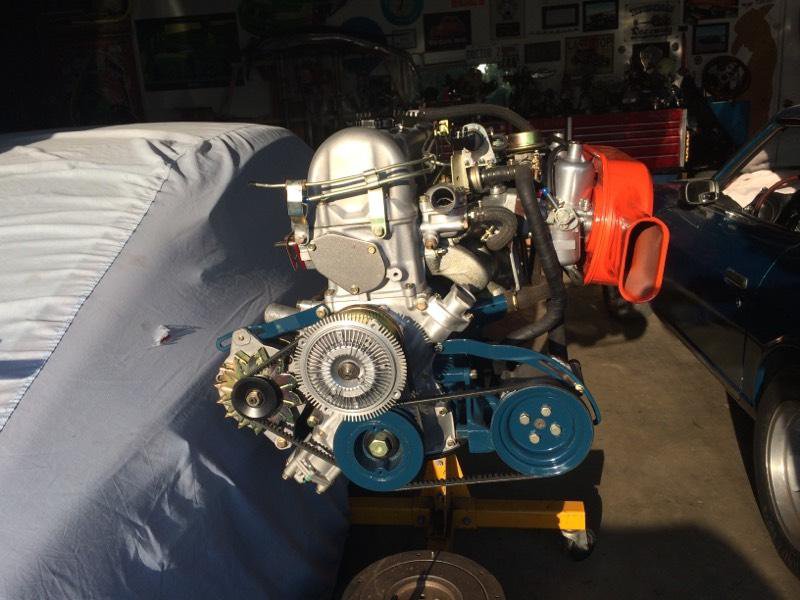
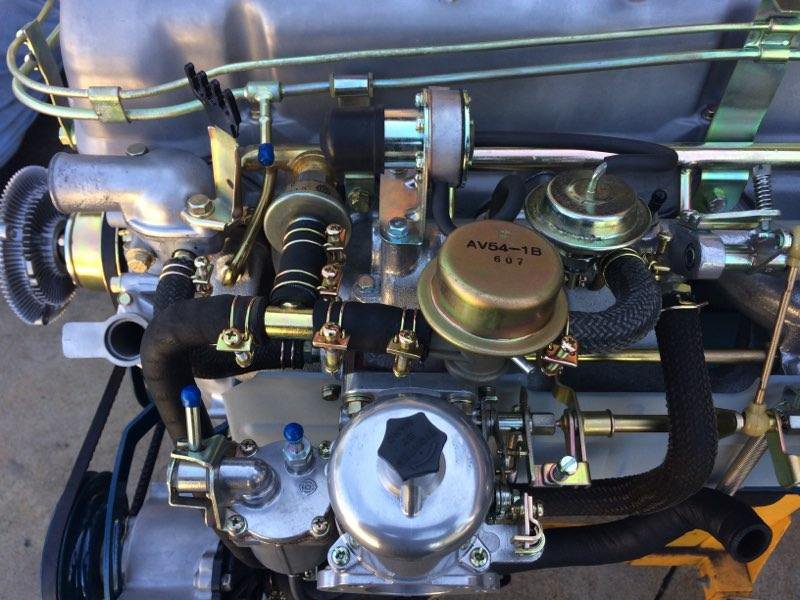
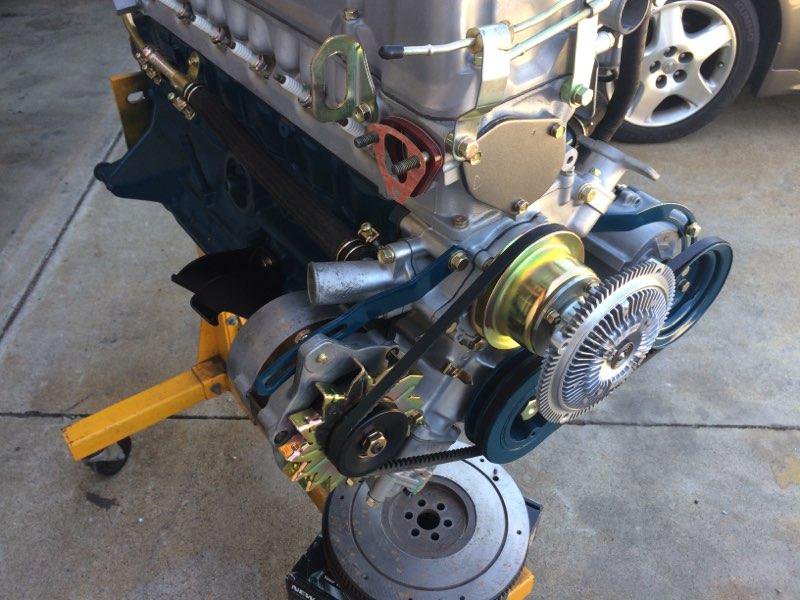
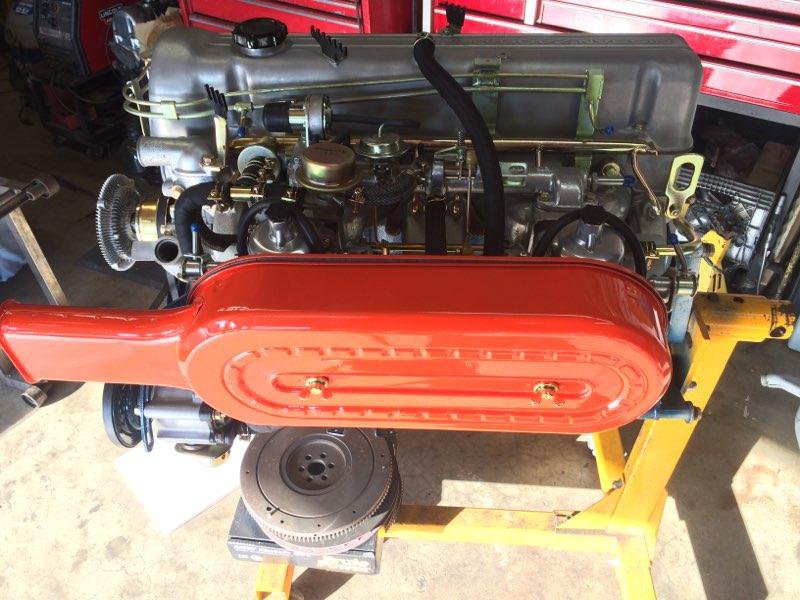
2 pointsHere are the parts back on the engine with the air box. The tubes and clamps are also specific to the 69 builds as well. Sent from my [device_name] using http://Classic Zcar Club mobile
 2 points
 -
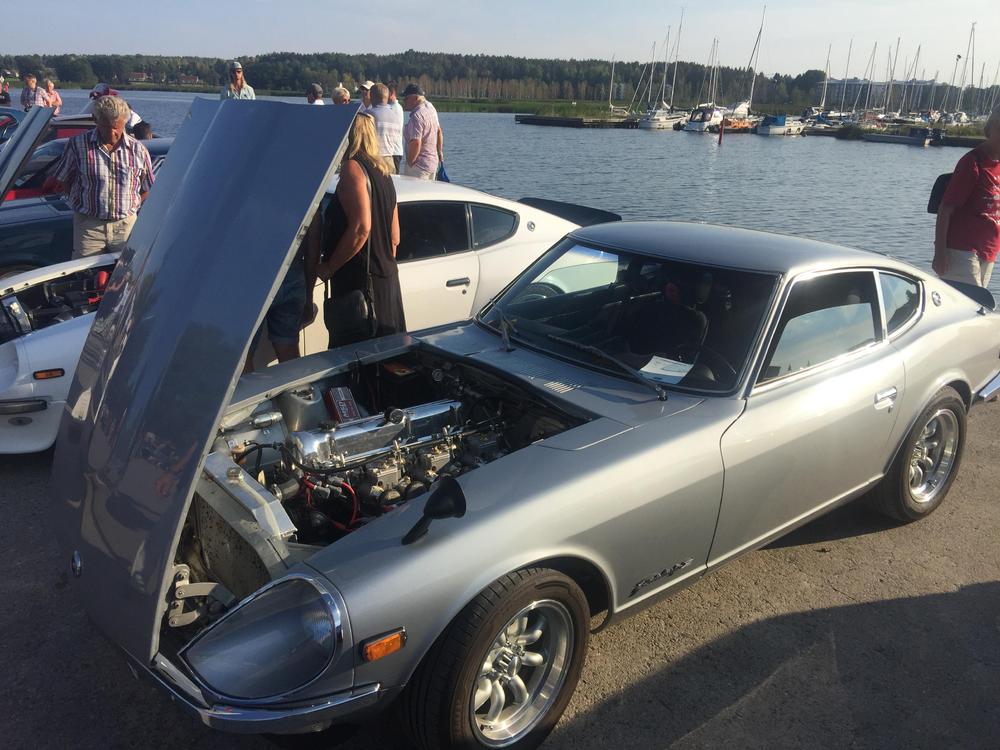
350km total drive to and home from a car meet today. Over 30 degrees celsius. Car didn’t hesitate even once. The heat shield i built for the carbs workes i guess. I on the other hand was sweating like a ——————


 1 point
 -
HaHaHaHa, no beer was spilt thank goodness. Although underwear was damaged and I had to use make-up for a few months. Ah hell, I still use it!1 point
-
1 point
-
Actually, my daughter in law is an beautician and I think that the picture is referring to an eyelash implant/additive procedure... but what would I know!
 1 point
 -
1 point
-
1 pointFront carb is leaner than rear carb from the plugs. Rear carbs look better. You can lower the front jet 1/4 turn to balance the fuel better.1 point
-
1 pointProb more rust, if you have it dipped or soda blasted... you can see what's really left of it :O Yeah to bad the engine is not there..1 point
-
1 pointThe November 1970 issue of Road and Track has a cover story on the BRE 240z and it said the BRE car came from the first shipment of 20 cars that arrived in LA in January 1970. The first service on my #480 was done on 2/11/70 at 667 miles. The really interesting thing to me is the service was done at "N.M.C. in USA" (Nissan Motor Corporation USA) , as were the next three services through 9/16/70 at 7,283 miles. Yes, I'm familiar with Gab's old #48 car. Jim Frederick brought it from him. It was originally a US (WA state) car that Gab bought and restored when he was in Vancouver. He found some really rare parts when he was restoring the car, like a NOS set of rubber mats.1 point
-
1 pointI think it’s about the money at this point. Honestly, if the values have not increased to the levels they are at who would take on such a project. Of course there are those who just love the challenge of a restore. I keep thinking about the tractor guys, who spend thousands of dollars restoring a tractor that is only worth 3k when done. They just love tractors.1 point
-
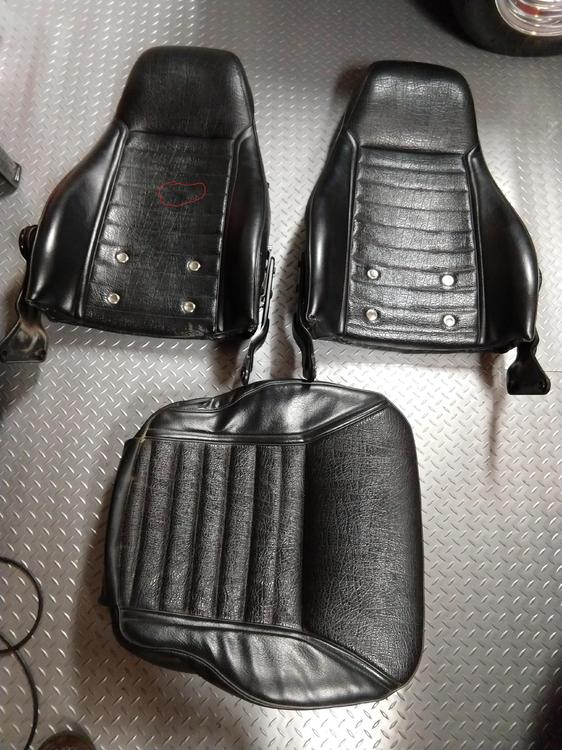
1 pointsome 71 seat parts. two complete seat backs, drivers seat bottom. NO SEAT BOTTOM RAILS, used them for a seat swap of 77 seats into my 71. All side mounting hardware for both seats. Full disclosure... Red circle identifies electrical tape over tear in drivers (left) seatback Naugahyde. Yours for the shipping. I don't need or want them so they will go away one way or the other.
 1 point
 -
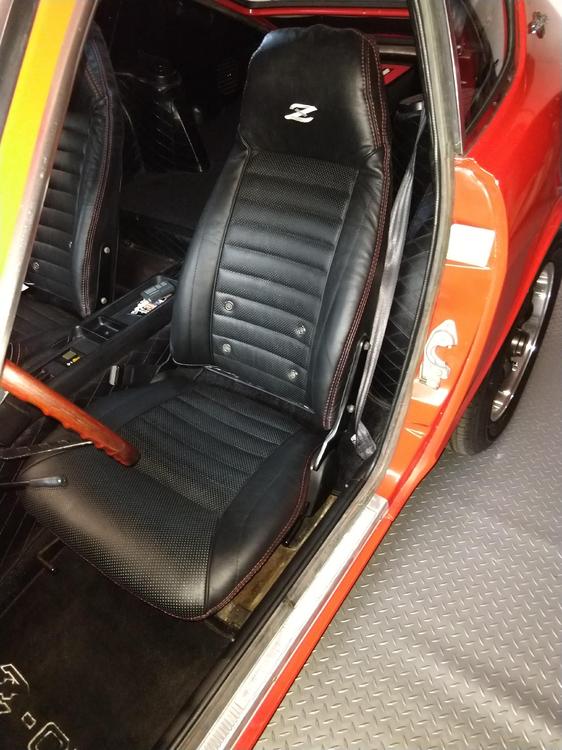
1 pointFinished and in the car. I think they turned out very nice. The spring bottoms in the '77 seat bottoms vs the old 47 year old straps in the '71 seat bottoms raises you about 1.5 in. which is noticeable. I can now comfortably put my elbow out the open window.
 1 point
 -
1 pointOkay, jalex this is the body and paint forum. If you want to discuss performance issue, please start a thread in the appropriate forum.1 point
-
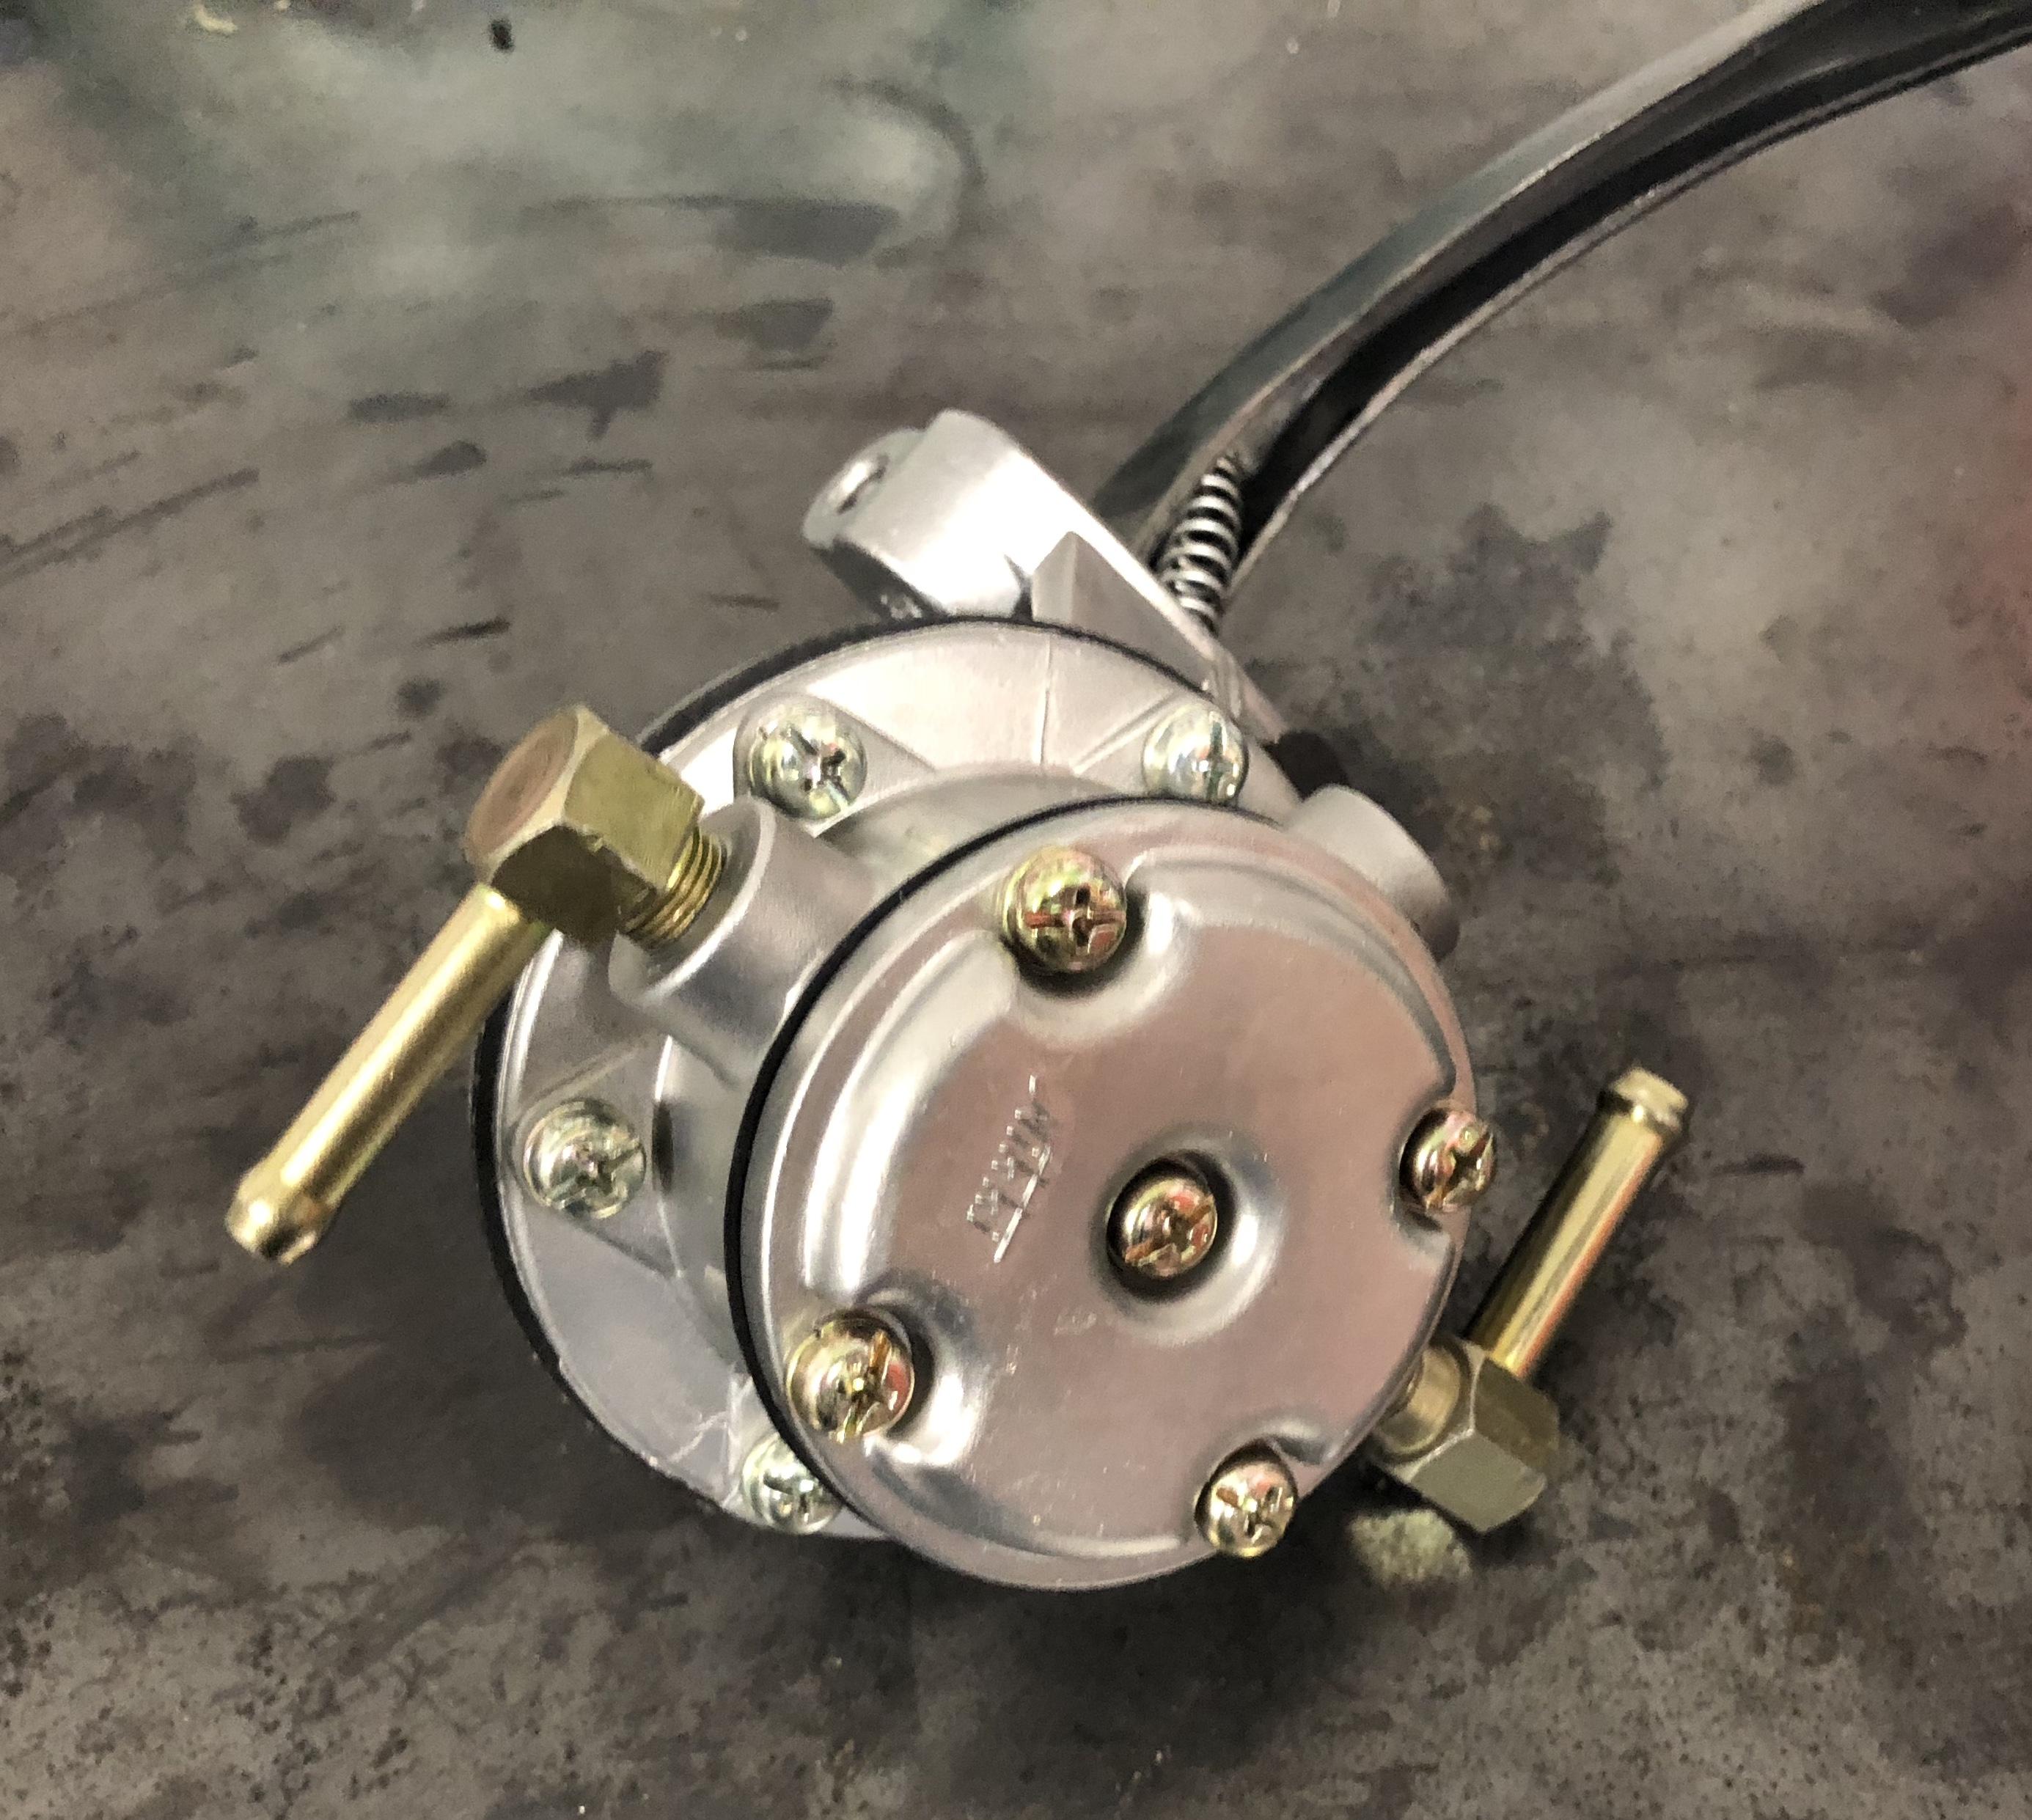
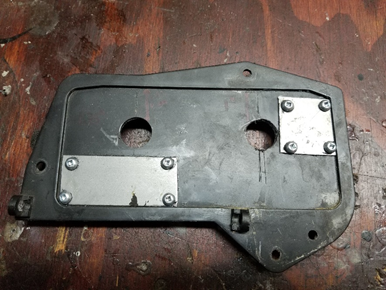
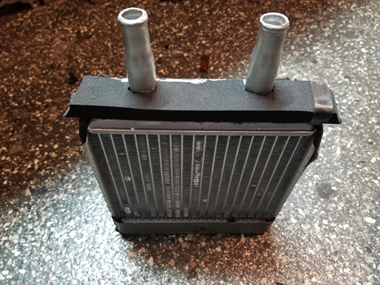
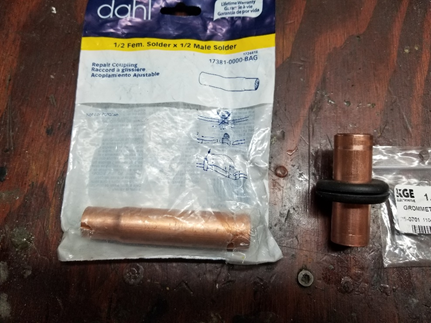
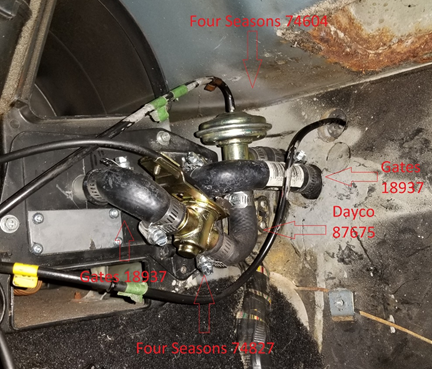
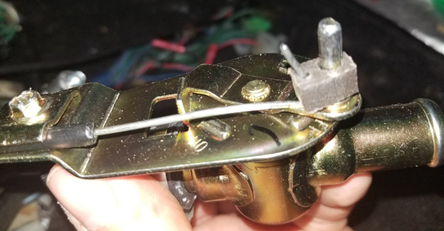
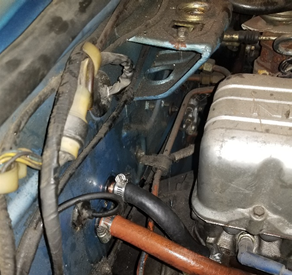
It took a while but I think i've finished my conversion. It looks redneck compared to Captain's beautiful Stainless Steel work. It's more of a bush fix. I’ll try to detail it so the next guy can use it as a starting point to make a better job than me. So modifying the the airbox door is easy. Used a little piece of steel and some epoxy glue and screws. Must trim the screws flat on the other side. Trimmed the pipes about ¾’’ and made some sort of a bead using a DIY bead roller made with old vise grips, a washer and a welder. Room for improvement here… but it will do. Also added a piece of foam to the top since it is a bit shorter than the stock one. The foam keeps it nice and snug in place when the airbox door is bolted in place. I looked for an alternative to drilling the firewall. I realized that 11/16 grommets enter perfectly in the stock hole. I then found these ‘’slip on’’ adapter for plumbing. They are just the perfect size to enter the grommet tightly. A 5/8 coolant hose slides on them nice and tight. You just have to cut the small end. I kept all the valves inside the cabin for now. I used a dayco 87675 hose which I trimmed only the wye part. I went to the auto part store which had a Gates 18937 hose. It has two nice tight 90deg bend in it so by cutting it in half you can finish the rest of the job. One part that took me a lot of time is adjusting the cable. It needs to be trimmed shorter, and bent correctly but also, the stock valve has a linear front to back movement, the 74827 has an arc to it’s movement. The stock stiff cable did not like that and would bind up. So I made a little adapter using some Delrin. Works like a charm. Take your cable out of the sleeve, polish it a bit with some steel wool and lube it at the same time. There is a good amount to be trimmed off, so trim a little bit at a time until you get the hang of it. Connected inside the engine bay. If you are quick you don’t need to drop the coolant. Mine was looped , lifted it up above the rad, uncoupled and quickly coupled it again. No major leakage, Everything looks as tightly packaged as stock, so i'm not too worried about space. I'll confirm once everything is operational.

 1 point
 -
1 point
-
1 point
-
1 pointIf "launching from traffic light in 1st gear" is why you have your Z, perhaps swapping in an LS1 engine with 5.7 liter displacement would better meet your needs. Dennis1 point
-
1 point
-
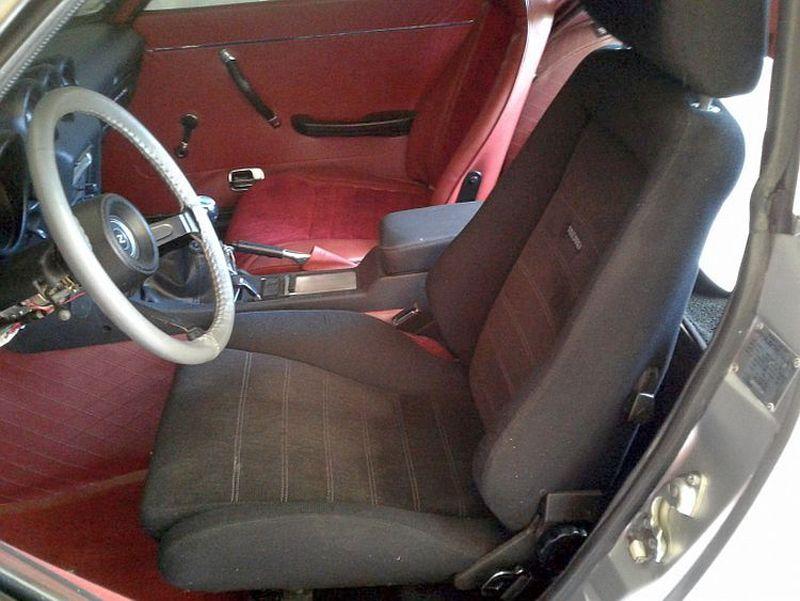
Installed my Recaro seat I found on Craigslist. Feels and fits great. Put my 240Z sliders on it. Did not come with any.
 1 point
 -
1 point
-
1 point