Leaderboard
-
zKars
 Subscriber
 4Points3,770Posts
 -

Diseazd
Free Member4Points3,362Posts -

siteunseen
Free Member3Points15,115Posts -
Joseph@TheZStore
Vendor2Points105Posts


Popular Content
Showing content with the highest reputation on 11/15/2017 in all areas
-
2 pointsThat's easy. FIELD TRIP! I got to go to farmers field with a Z buddy and drag its rusty a$$ onto a trailer in the snowy Canada North winter, freezy many unmentionable parts, then have lunch at A&W. A treat I rarely get these days.... sigh.... That and the BOAT LOAD of valuable series 1 parts that it contains for the other S1 car I recently aquired. 'Tis only the body that's worthless... And even then there are several little tid bits that must be kept, like rear tail light trim lower clips, and a pedal box for Auto-manual conversions etc etc etc.... Even a neighbor that makes his living by hauling scrap metal benefits. Circle of life baby, circle of life...2 points
-
Old picture Cliff......there’s 2 Z’s under those blocks now.
 2 points
 -
2 pointsMight not need a Saws-all for this one. Just pretend its a juicy crab leg...2 points
-
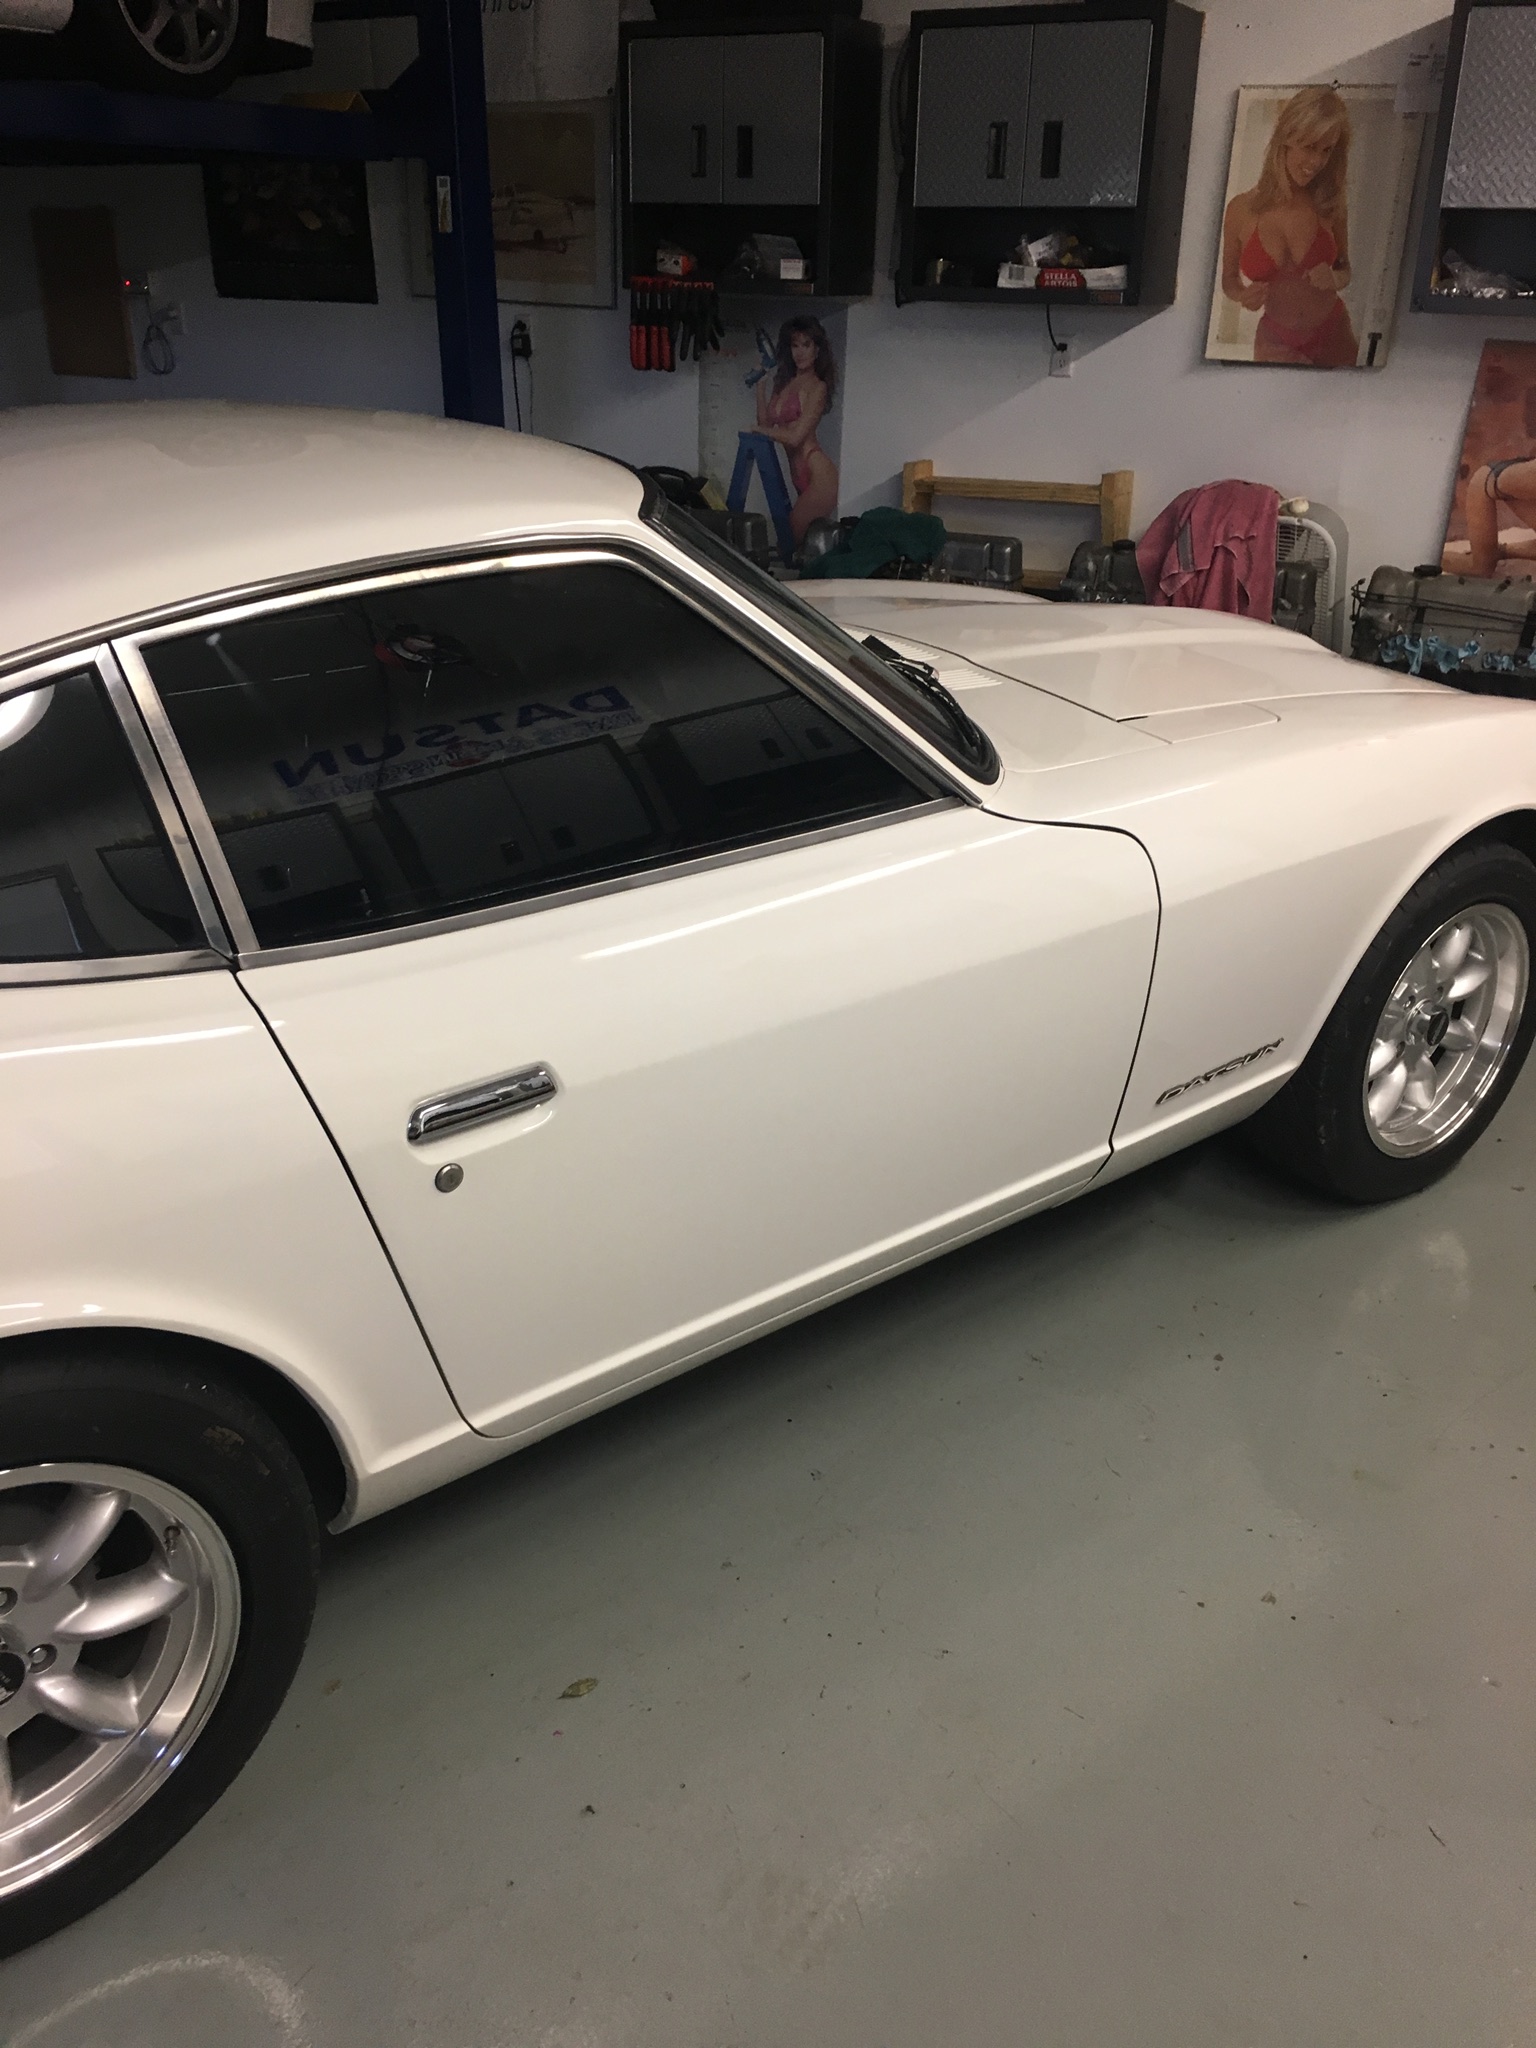
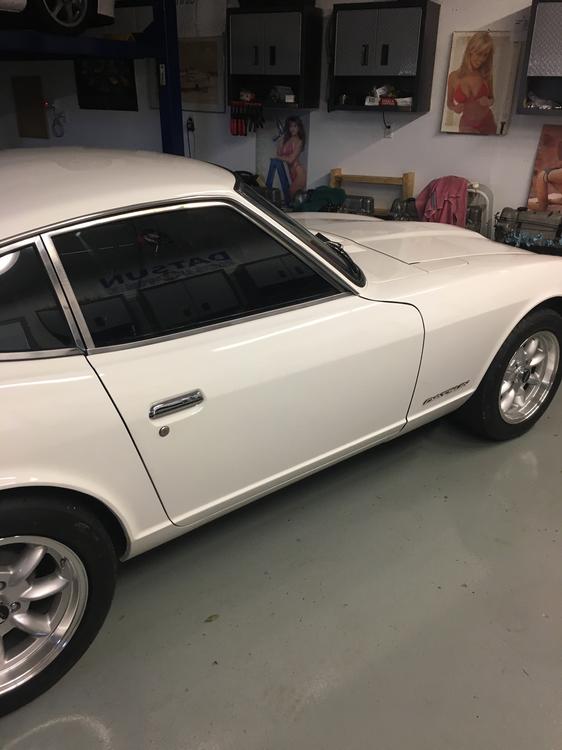
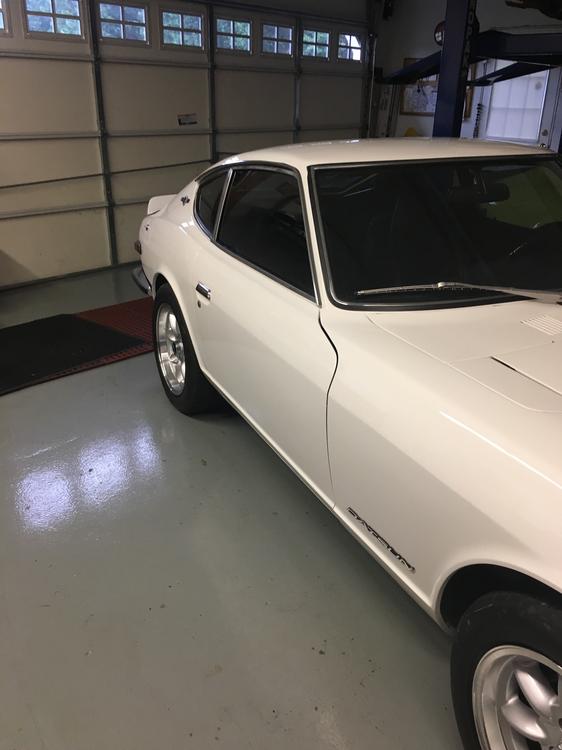
Got Chuck to remove the passenger side mirror from my white 70........it’s always bugged me!
 2 points
 -
2 pointsWe are sorry you have had an issue with our header, and would like to refund you the price of the header for your troubles. Please contact James@TheZStore either here in the forum or by phone (800-633-6331) or email (james@motorsportauto.com) so we can pull up your information and process the refund or store credit, whichever you choose. Since we’ve literally sold thousands of this model header, we would like to get as much information about how it arrived to you as possible, to give to the manufacturer. If you have any other pictures with the straight edge (the one online was difficult to see clearly), we would like to show that to them along with the other images. If you measured the gap that image was trying to represent in any spot, please note that as well. To add to the information we give them, please let James know the approximate pattern you used for both the initial torque and re-torque, as well as what torque specification you used. The manufacturer also cares about this and wants to review all the facts to see what happened. If our representative assumed that you installed it incorrectly, again we apologize for that. While we believe you that you did install and torque properly, unfortunately we have had cases where headers were not installed properly (like torquing from the outside in, or not re-torquing hot at 200 miles, or using worn out studs), and a similar leak resulted. To be clear on “checking it” when it arrives, that means for shipping damage and the like, which unfortunately does happen from time to time, and would have the potential of bending pipes and flanges. Some of the shipping damages we’ve seen over the years are hard to comprehend, wondering if they stacked refrigerators on top of the box or something! Thanks again for communicating. James will follow up with any other questions or concerns from anybody in this thread.2 points
-
1 pointI just bought an early car out of a salvage auction in Miami. It's always a little bit of a gamble when you do that. The car appears to have been recently painted so I took a chance they didn't spend money for paint on a rusty pig. Well guess what?! They painted a rusty pig!!!! It's number 7848...the lowest number I've ever owned. Now I need to decide what to do with it. I really don't want another huge project right now. I am also trying to figure out which of the early parts are missing. I know the following: Vented hatch and vertical defroster glass is missing Early steering wheel is missing 20 mph speedo is there No badges on the qtrs - missing Center console may be wrong too What else would be on an early car? I searched the forum and got 322 pages of hits. Went through 3 pages of results before giving up and used google to try to find the answer too1 point
-
1 pointNice hard plastic wiper cover, it will look good once the overspray is cleaned off.1 point
-
1 pointWorkes like a charm ; ) But I bought my axels from John Williams not from silver mine. //Andreas
 1 point
 -
1 pointSo, tell me why you bothered dragging that dog home? Where there even any good parts on it? Wait, maybe some are already headed my way!!!1 point
-
With bolts on the top row it makes installing the intake very easy. The big washers on the lower holes hold the intake in place while the bolts are installed. If there were studs everywhere it might be hard to slide the intake in place. I should know soon since I'm disassembling an L24 with two studs in the top row. Chuck1 point
-
1 point
-
1 point
-
I'm no expert but when it happened to a set I bought I disconnected the hose and twisted the nozzle until it would pull out. It just old gas/ varnish that has it stuck. Pull the hose and slowly turn it until it loosens up.1 point
-
My early 71 (12/70 build date) has bolts on the top row of intake manifold.1 point
-
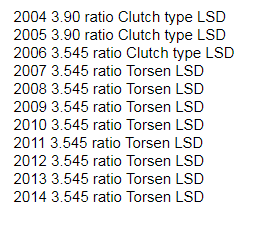
1 pointYou're in Greece George, which seems like a foreign country to us. Shipping costs make those options not worth considering, for us, over here. The Traction Concepts product and others like it are generally seen as cheap, low quality options, to get both wheels to spin. Not "real" performance products. More of a gimmicky work around, one step below a welded diff. I don't think I've seen anyone on any of the Z car forums I've been around actually buy one and use it. It's surprising that the product is still available. One interesting thing about the Subie diffs are that there are two types, Torsen and clutch. So you have to make that choice, if it matters to you. Another thought is that it's actually fairly simple to change gear ratios, via a new ring and pinion gear set. The cost comes in having a good shop set the clearances back to spec. correctly, after installation. One thing that's fairly common to do is to assume that the backlash and the bearing preload will stay in spec if only the carrier is changed. I know that certain skilled people on this forum have done that with R200's and been fine. It's common across OEM diffs, the housings are the wide-spec. parts but the carriers are typically precise and accurate. They can be swapped, across gears and housings. But then you can have those night sweats that gnosez gets. I just went through all of this with a Ford diff, swapping an LSD diff and carrier in to an open diff housing. There's a bunch of different ways to get it done, but that means there's a bunch of different ways to make a mistake too. There's a ton of videos and instructions out there. It's a fun DIY, and even if you choose to have a shop do it at least you'll know what they're talking about. And here's another option, the Cusco, which seems to get good marks. https://www.rallysportdirect.com/part/limited-slip-differentials/cus-lsd-182-l15-cusco-rs-rear-lsd-1-5-way-r180 Obviously, the work will make you chew your nails... eeeew...
 1 point
 -
Mart those are prob the quiet version (should be glasspack and round tips.. see video). Yes they do rust quickly.. it’s an Italian quickie for me . Anyway I’m set for now. Not exactly the same. These are the ones I was looking for. 12/70 2.6 block E88 heads Mallory DCOE40 3/2 Twice pipes Tokico 1, 3/4 in sways, ext oil cooler1 point
-
This may get a quicker response? @Apoc6281 point
-
I concur. I like to remove the jet and clean with a scotchbrite pad or fine sand paper. Spray the tube where the jet slides with carb cleaner1 point
-
Disconnect the flat linkage attached to the jet nozzle & see if that allows the nozzle to slide up & down smoothly.The linkage occasionally needs a bit of a twist to align perfectly with the bushing & screw. Slide the nozzle up & down with & without the jet needle in place & do the drop test on the piston to ensure the nozzle is aligned with the jet. Lube tho outside of the jet nozzle before reassembly.1 point