Leaderboard
-

siteunseen
Free Member4Points15,115Posts -

Zed Head
Free Member4Points19,228Posts -
sweatybetty
Free Member4Points1,119Posts -

CanTechZ
Free Member3Points1,311Posts


Popular Content
Showing content with the highest reputation on 04/08/2016 in all areas
-
2 pointsFor me, the 10mm method (without the engine running obviously) works and accomplishes a couple of key things. First and most fundamental, this method allows me to adjust mixture to around 2 turns down on both carbs and have an idle that is slightly rich based on a colortune sparkplug reading….plus other techniques documented where you lift the piston and analyze what happens to engine speed and recovery. Second, this method allows me to achieve a good colortune mixture off idle, at 3k rpms for instance, dependent of course on the needle profile being used. Also, if the fuel float level is set higher or lower, then it quickly becomes impossible (for me) to adjust the mixture to be more rich or more lean. And, if the fuel float level is set higher or lower, then a given piston/needle position ends up meeting the fuel float level at an unintended position. So, I am sure everyone has their own technique, and there are many, but for me this method makes logical sense in my brain and yields good results where mixture screw turns actually cause logical changes in mixture. I am no expert at all on the science and theory of how SU carbs work but I don’t really see how having the engine running matters. There is no fuel pressure once fuel is past the needle valve. The fuel float level should (in my mind at least) remain fairly constant as long as the fuel pump can pump enough volume to keep up with consumption…..but without overwhelming the needle valve.2 points
-
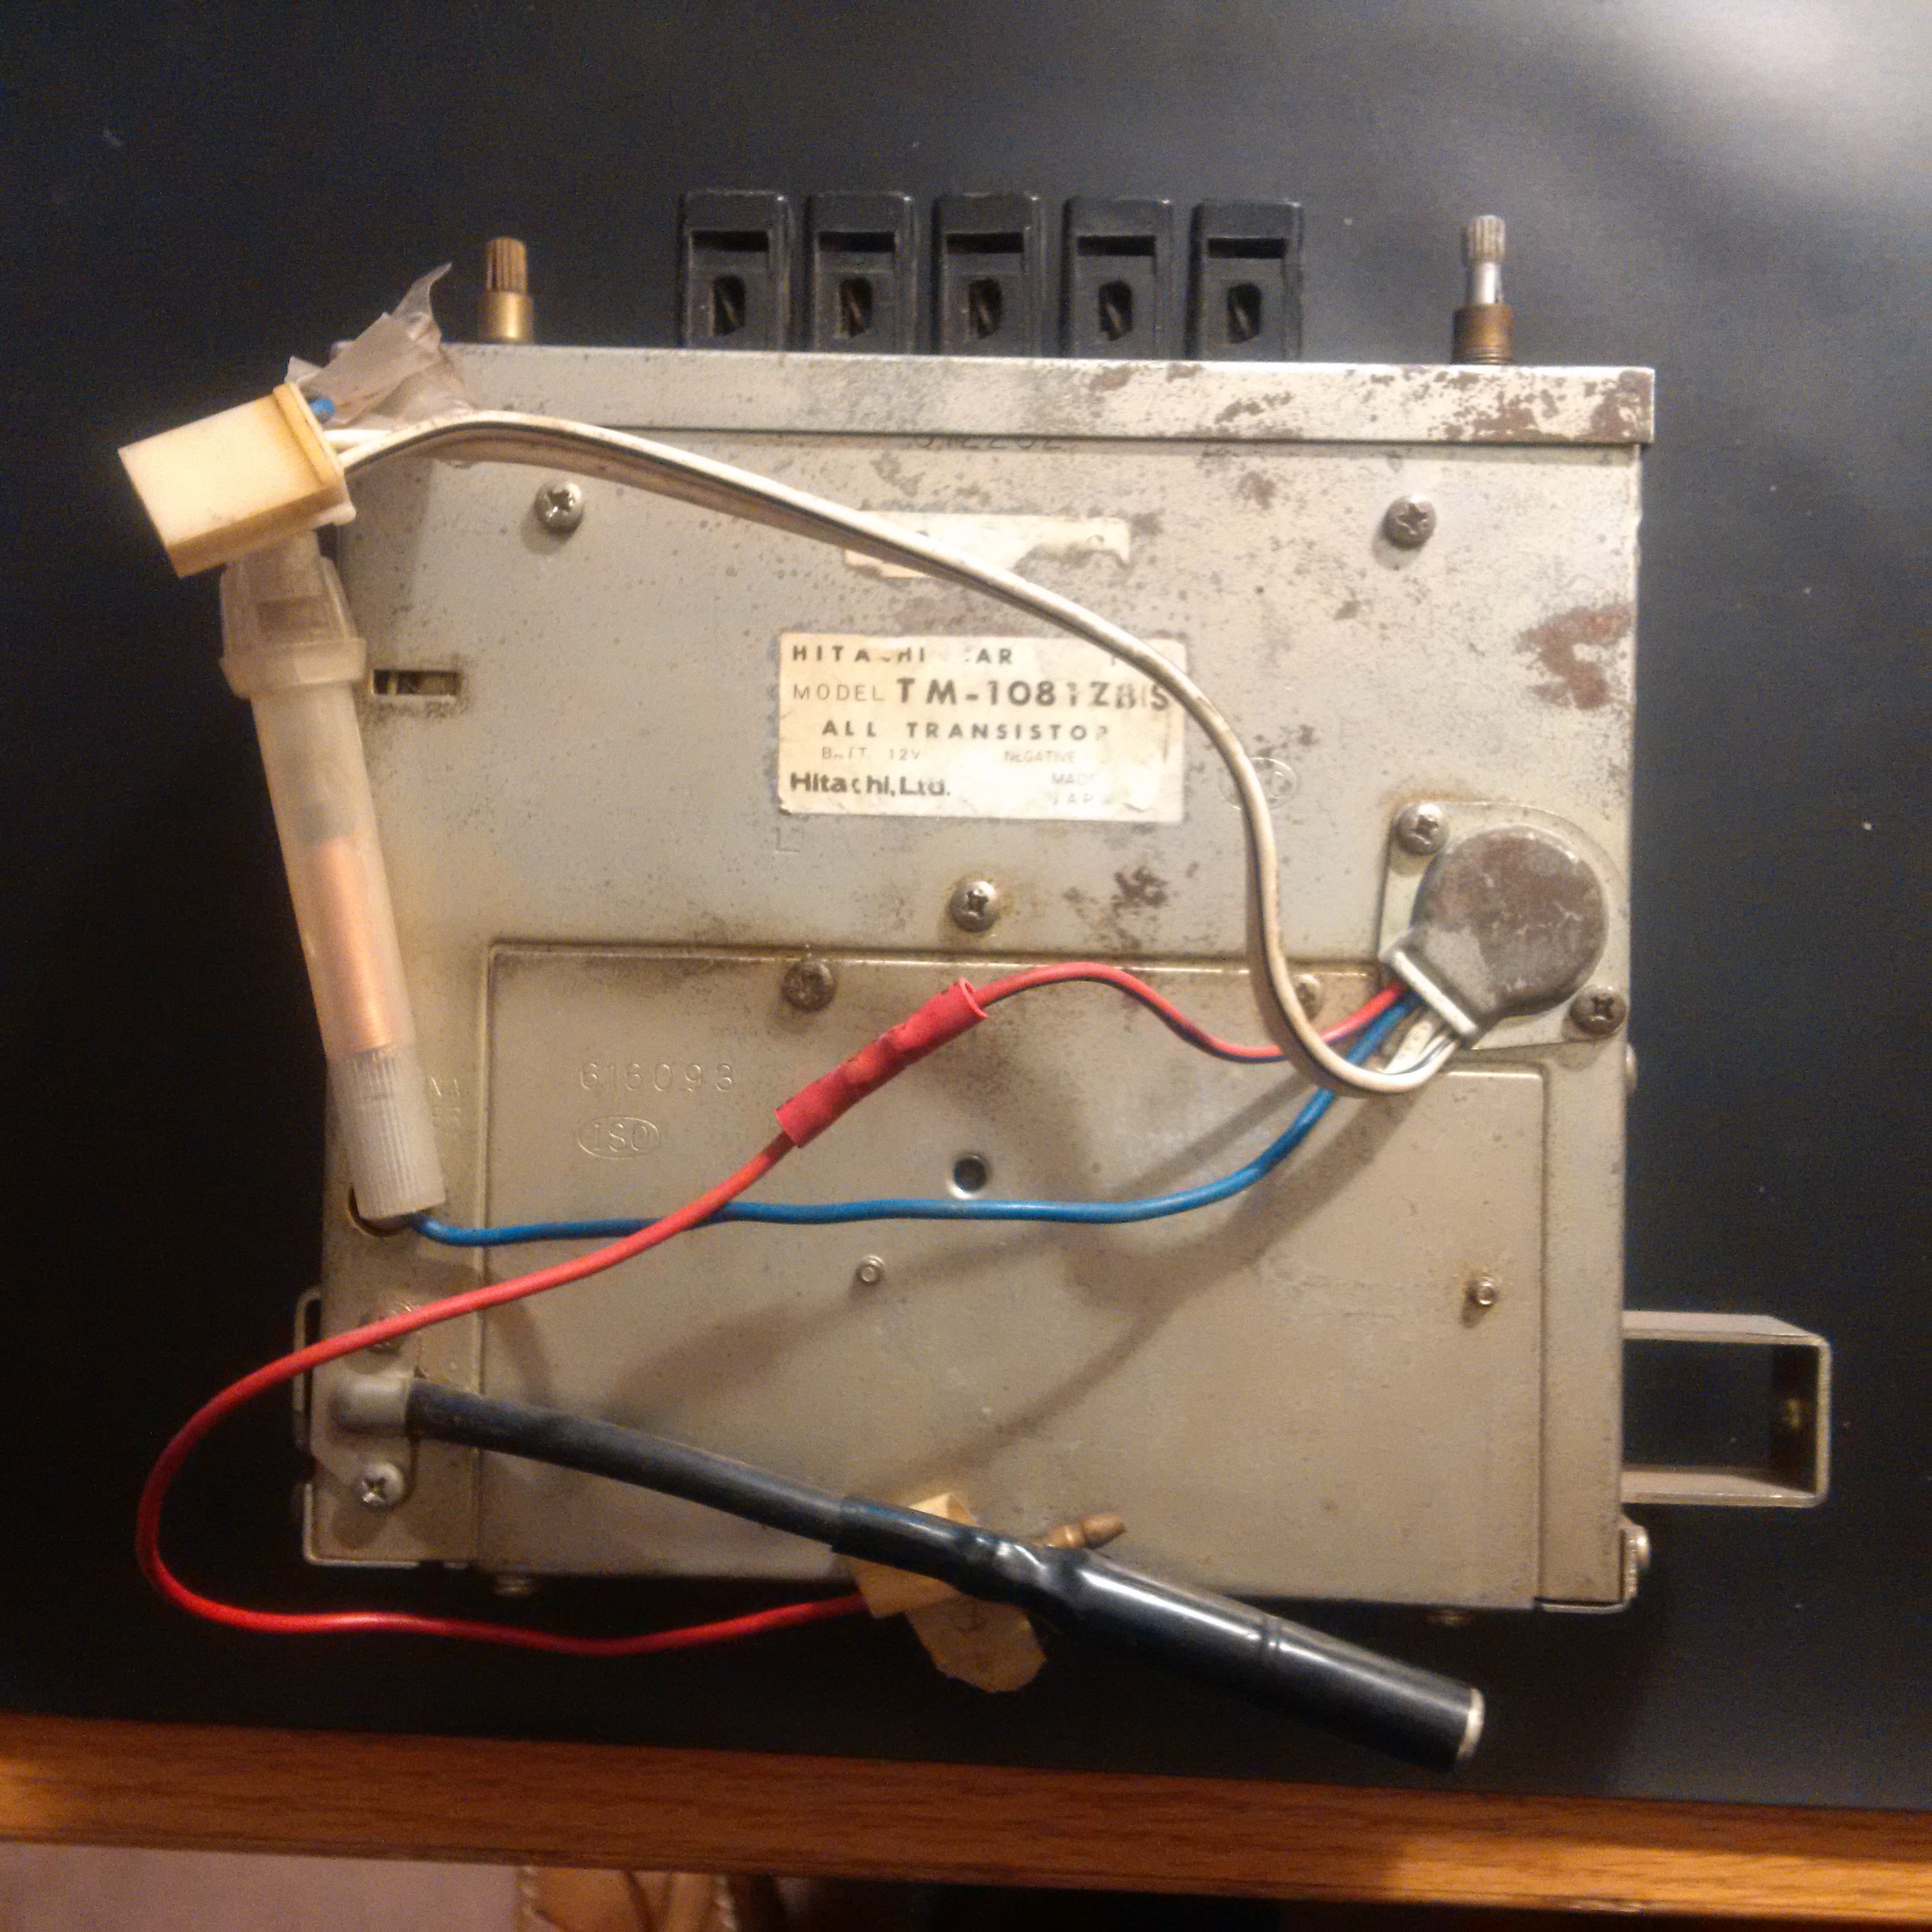
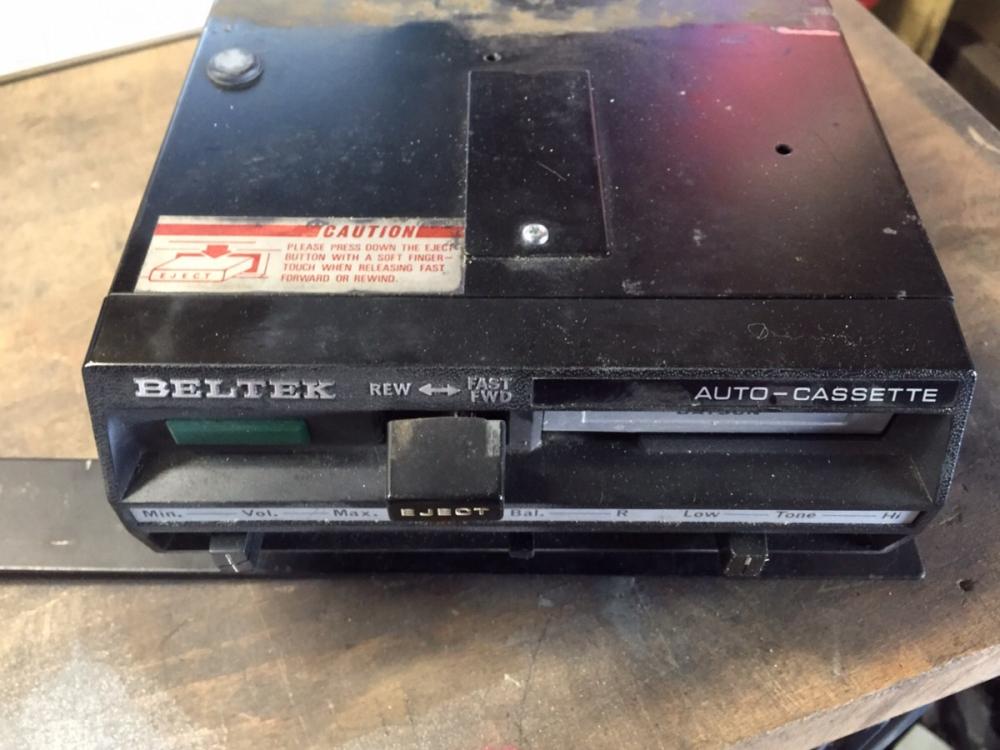
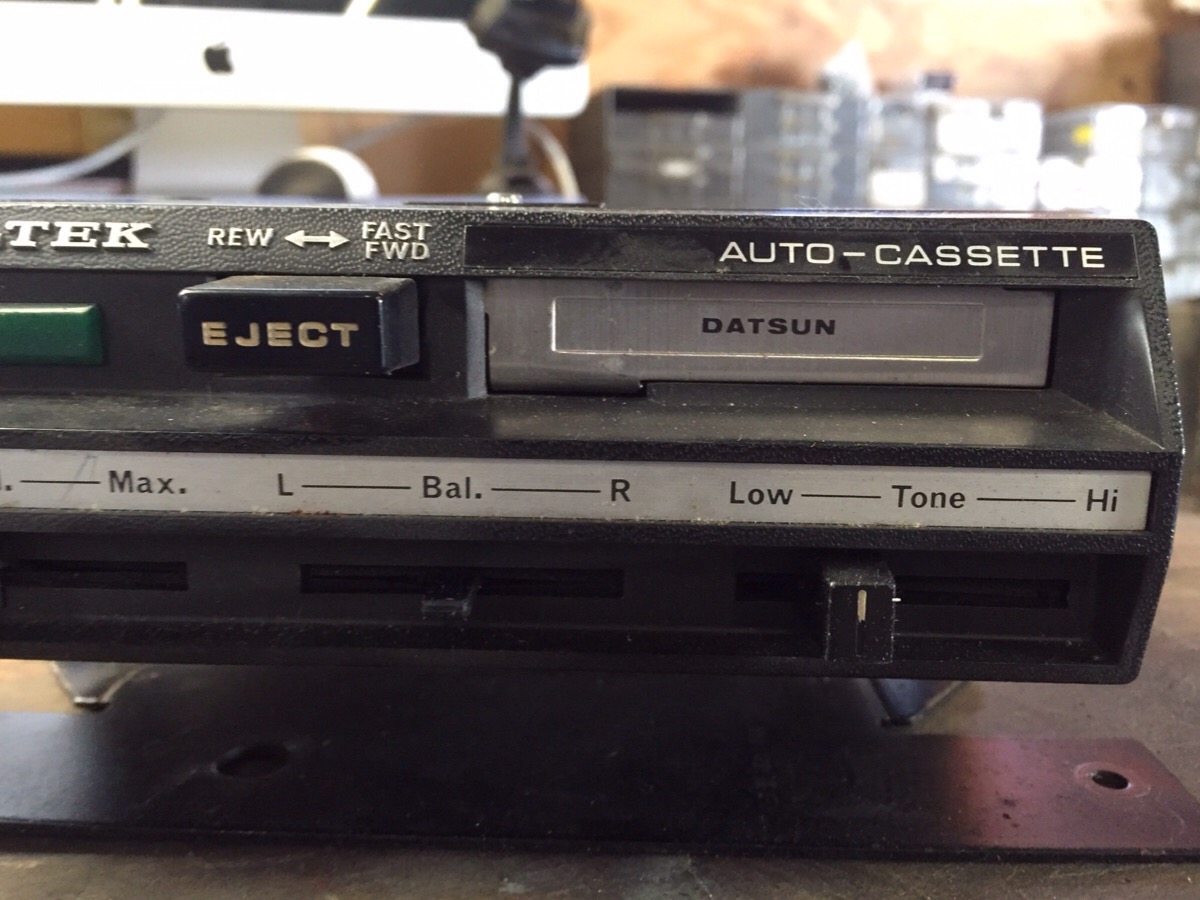
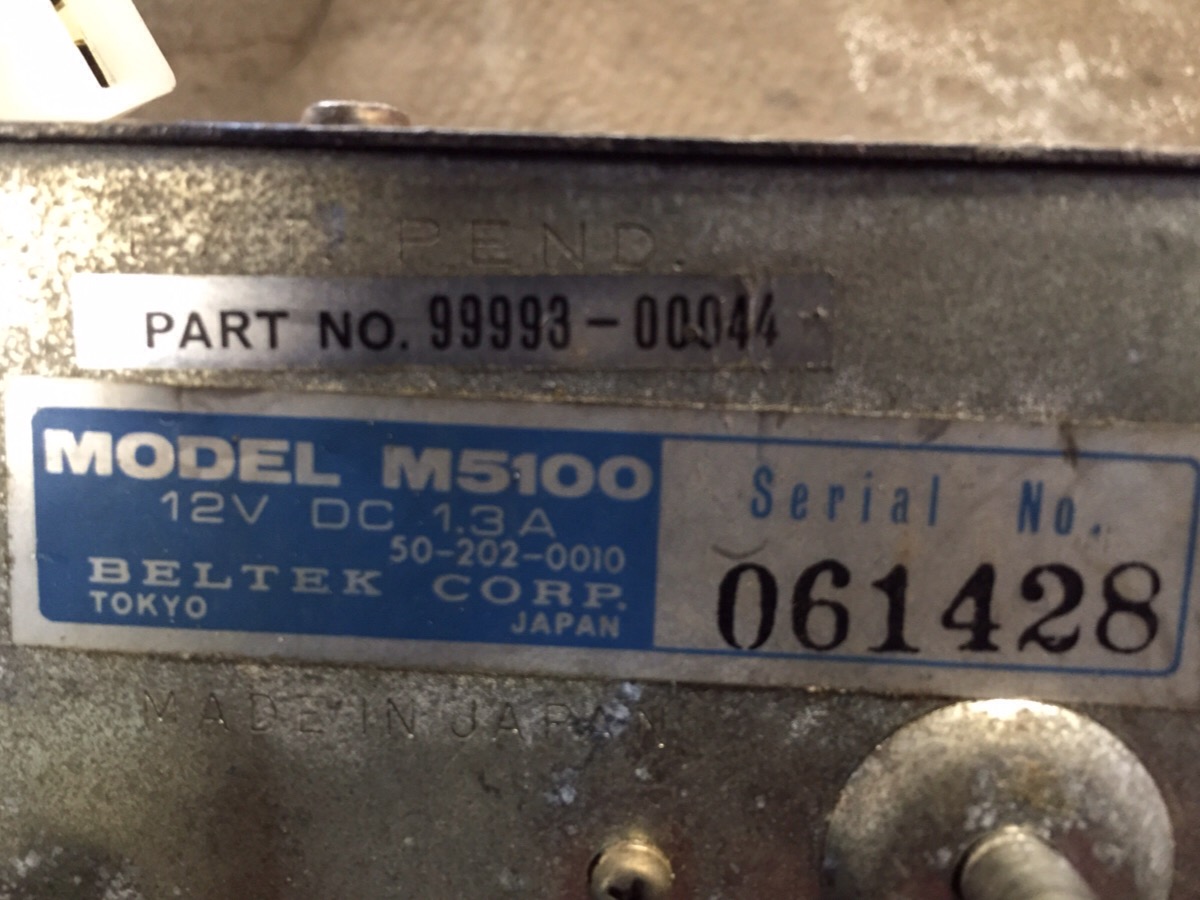
I recently traded a pretty nice dash from a 73 240z (and other goodies) in exchange for a nice L28 engine I had laying around. A local friend is building up his 73 and had several items he scavenged over the past few years he no longer needed, so naturally they had to come live at my house. He jokingly mentioned there was a cassette player in the glove box. Yeah, some POS I'm sure.... I didn't actually look at it for several days. Just popped the glove box today, Nearly dropped my drawers! It even has a Datsun part number!! 99993 00044 Don't know if it works yet. Have to find a cassette somewhere! WHY did I throw them all out 10 years ago! Arggggghhhhh


 2 points
 -
2 pointsHere's an interesting site showing a water pump modification. Just to give an idea of the variation people see. A good understanding of how the pump works and an inspection of what you get is probably worth doing. http://www.wallaceracing.com/water-pump-mods.php Here's the link it came from - http://forums.maxperformanceinc.com/forums/showthread.php?t=411256 I love talking about stuff like this... Edit - just noticed that the thread I linked went on for 1324 posts, over a year and a half. I've only made it through page one, post #20.2 points
-
2 pointsthere was a little, maybe 2 tablespoons full if that much. to open it up, i clamped a pair of vice grips on the stamped "V" that locks the 2 halves together. then i put a crescent wrench on the vice grips and twisted. this "undid" the "V" and and the 2 halves popped apart with a small whack of a hammer. my thinking is this: if it IS broke, try fixing it, you got nothing to lose, and you learn something. if you do fix it, you are $$$ ahead.2 points
-
2 pointshr369, My take on water pumps (in order of desirability): Atsugi---not easy to find Pauraut--not easy to find---but very good--it's what I've used on 2 cars Aisin--plentiful and cheap with cast impeller GMB---plentiful and cheaper, but I found the bearings are not very good for longevity.2 points
-
2 pointslove well-made diy tools! my grandfather was a typsetter (lead letters in wood boxes) and had all kinds of cool specialty tools that he made from various household items to perform tasks for which no tool was available at the time, and i have a few of them even though i have no real use for them - just cool to look at and know he figured out how to solve a problem and made his own devices. one of the tools that i actually have used many, many times is a chisel he made from a table knife - sounds goofy, but it's incredibly handy: the blade is cut square at the top and sharpened, the corners are beveled to blend the blade surface around the corner so it doesn't dig into the material and the back edge of the blade is ground flat as well as the butt of the handle so it can be used to scrape or chisel in either direction. not nearly the level of fabrication you completed, but it's kept in the toolbox and every so often i use it for some odd task and think of him2 points
-
Jarvo2@, KiraK@ is looking for the front one too.1 point
-
May have found it. I undid the locking nut and the allen bolt and the spring loading the bypass plunger onto the seat in the body just fell out. This piece moves to regulate the pressure output by the pump. Very simple design. However, the brass cylinder was stuck against the fuel body and would not move a bit. I had to pry it out. Apparently a piece of sludge or something got in there and held it up hard. I took it out and ran a brass 9mm gun cleaning brush through it and it slides in nince and falls out easy. It actually operates. I would be willing to bet this was my issue. I will install it back into he car and see what I can get. It may be time to install a new filter in there. I have been running the same one for years.1 point
-
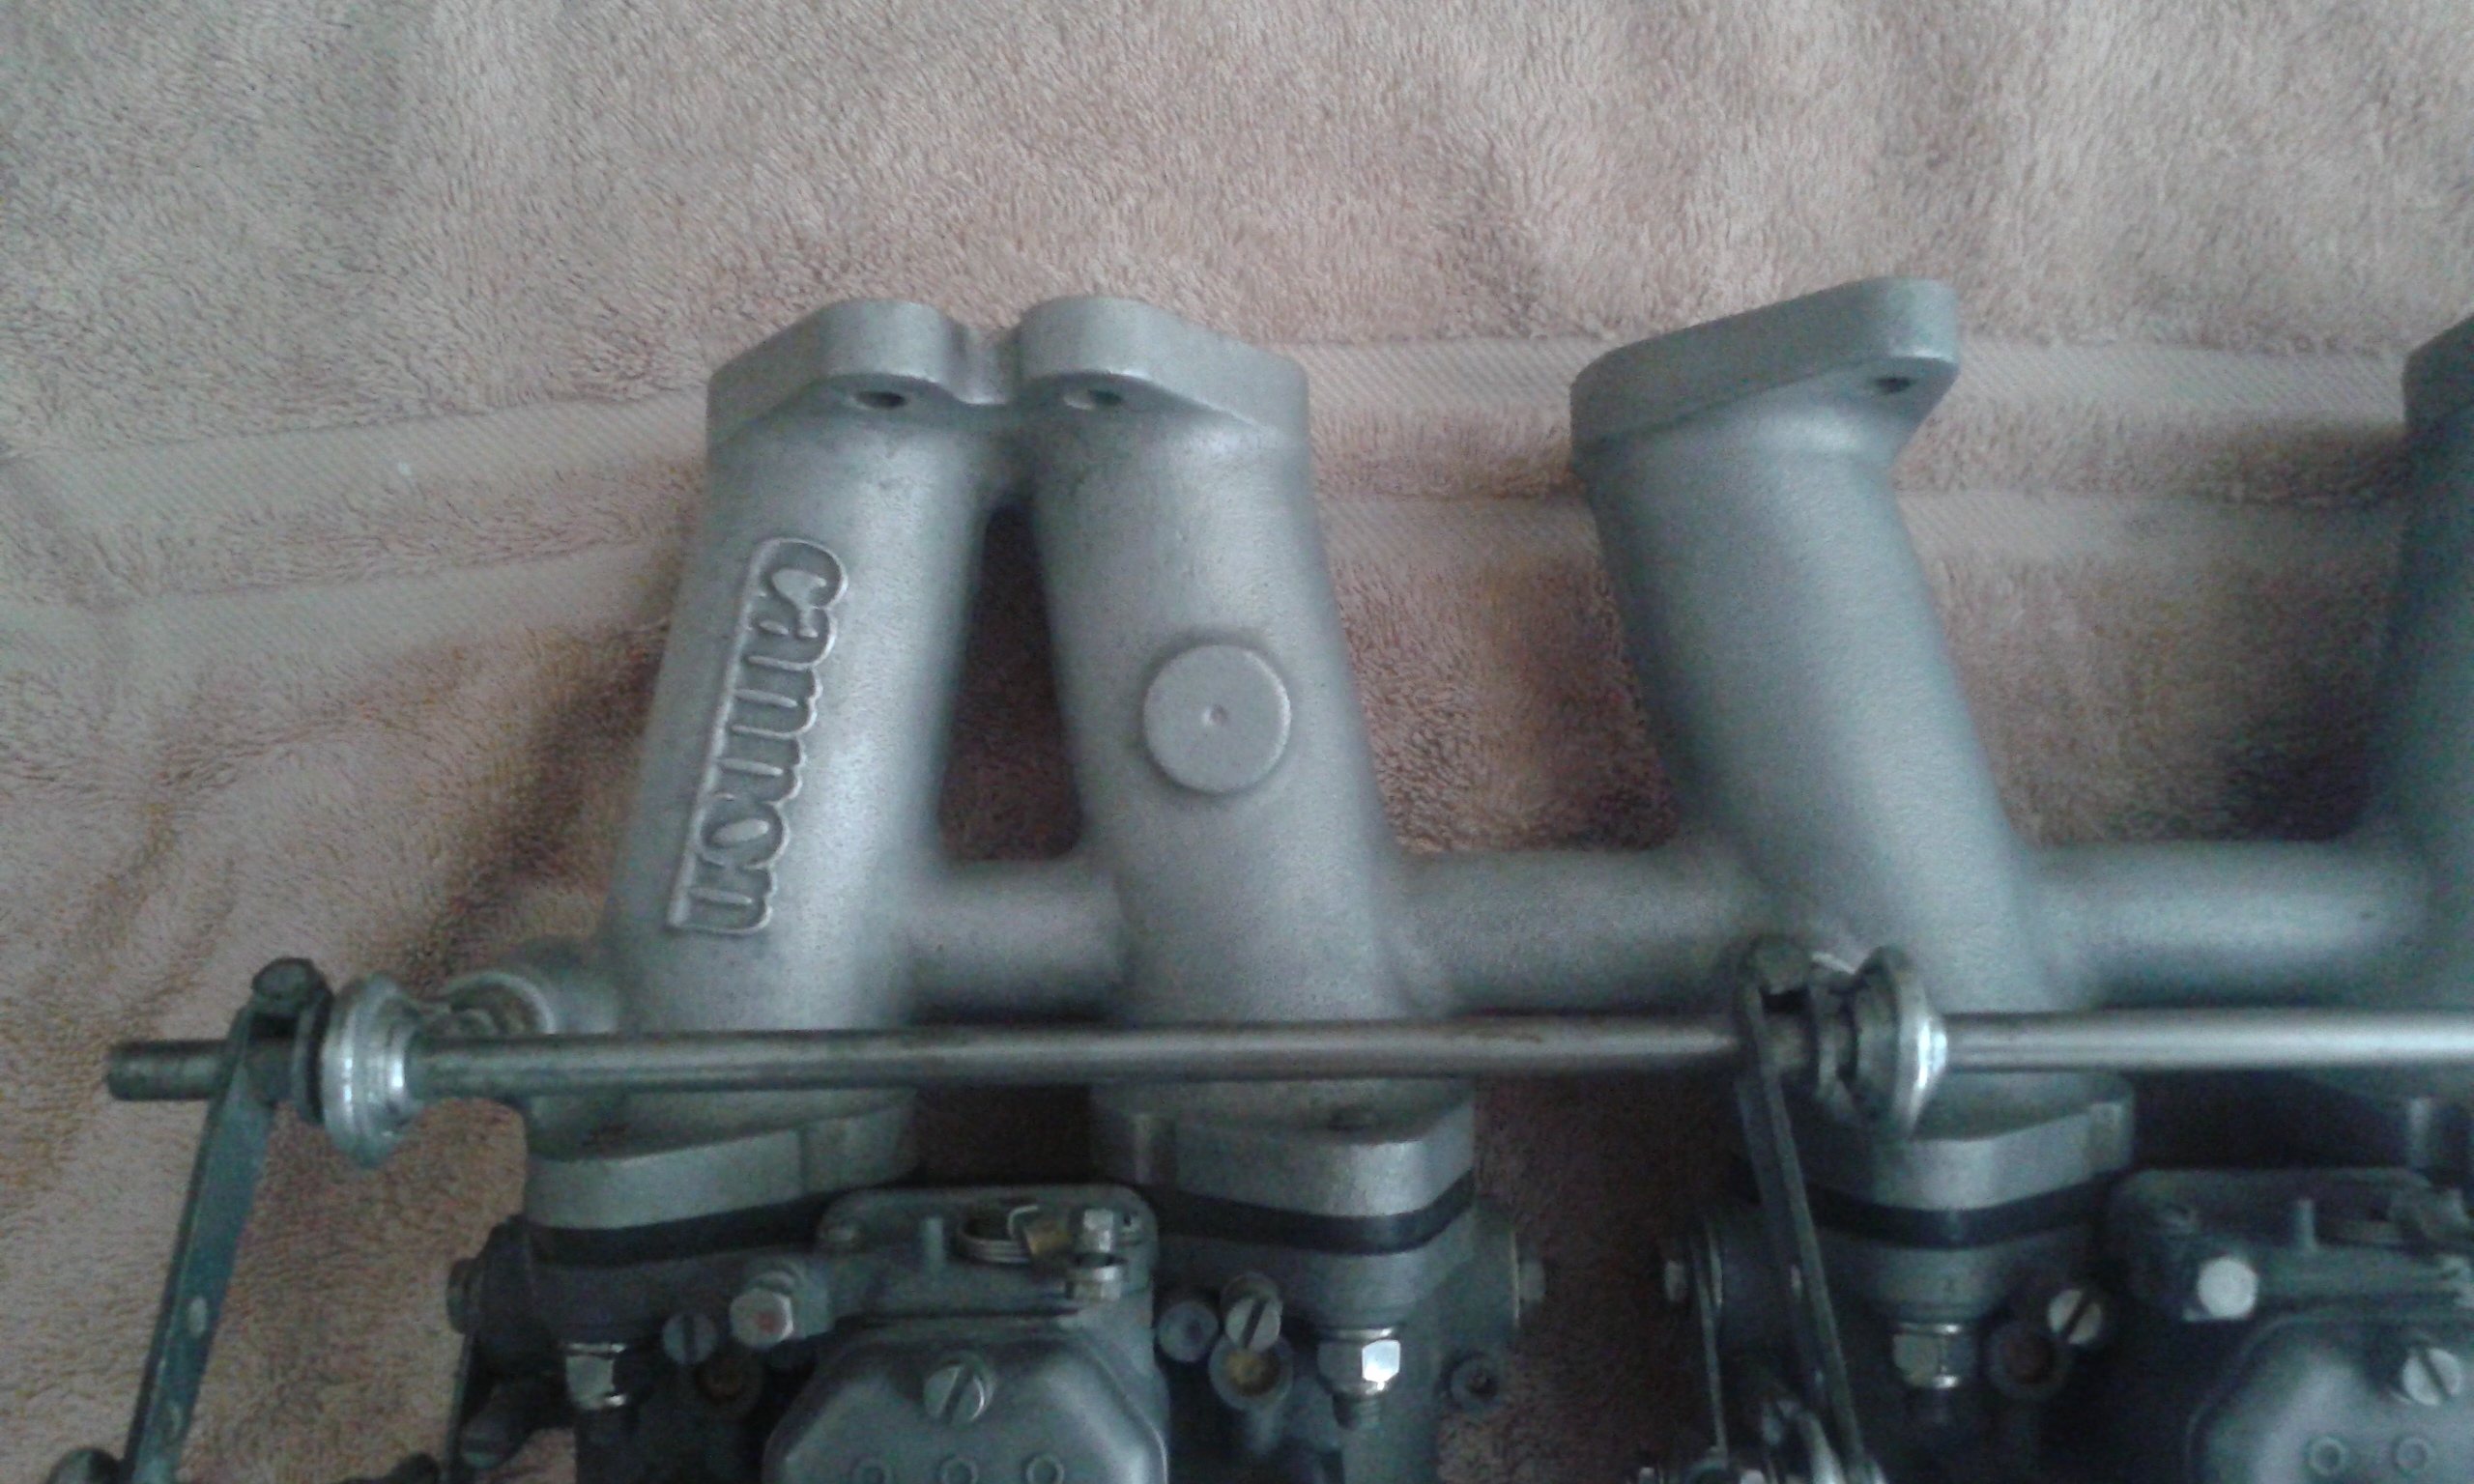
1 pointThere's a flat spot on the second runner that looks to be there for tapping.
 1 point
 -
1 point
-
1 pointIsn't the bigger hole just for inspecting the core plug area? They probably closed it to keep things cleaner. Look at the all of the clutch dust that would make it past the old one. I'd use the newer one.1 point
-
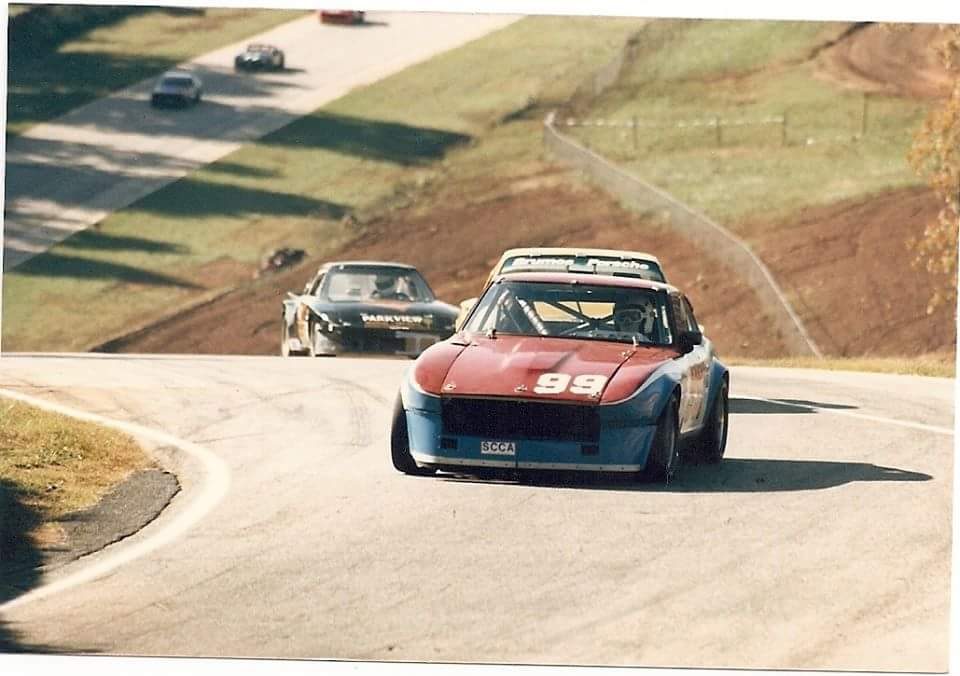
Used to Autocross Z cars in Mod class way back in the mid 70's. Goodyear 21x 8 x13 soft compound slicks. No G meters back then, but car handled like a slot car. Had to be pulling well over 1 G. No oiling issues ever with stock oil pan. Also ran a D-Production Z car ( ICSCC ) in the late 70's on Goodyear slicks. Had a very expensive Aviad oil pan ( 7 qts, fully baffled, windage tray ). Pan leaked like a sieve because it was built improperly ( Twisted ) . Replaced it with a stock 240Z oil pan and ran the car for two years with Zero oiling issues. Won quite a few races with that car. Stock pan is well designed and more than adequate for Streetuse, Autocross and Track days IMHO. FWIW.1 point
-
I painted the interior of my Grandparents house about 15 years ago. After being married 60 years they'd quit closing doors. One morning I regrettably saw my Grandad's sagging close to his knees, looked like two baseballs inside some pantyhose.1 point
-
1 pointThanks. That kind compliment earns you the top spot on the sign up list. I'm happy to report that the tool worked wonderfully. Each photo is in order, and has the associated time stamp from when I took the photo. Setup @ 8:45PM (heated spindle section for 2 minutes with MAPP gas) [no photo] Started @ 8:47PM (a few turns of the lead screw) Midway Point @ 8:52PM (a checking for binding & reseating, and then a quick reheating ) She's out @ 8:55PM View of the threads (well preserved on both ends) The other side was the first one I did, and it was a little tougher because it was my first go, so setup and greasing and positioning the huge channel locks I was using took an extra 10 minutes of getting used to. The Hex nut is 1.5" on the 1" ACME gear nut, so I couldn't use the 1-3/8ths large wrench. There was no 1-1/2 available so I made due. Since the tool worked so quickly and didn't take much energy from me (i've only so much per day!) I managed to then proceed to remove the entire drivetrain/powertrain and undercarriage/running gear (which was thoroughly soaked in liquid wrench, 2 or 3 times... many cans used). This is all for another car that I will make another thread for- but this new tool deserved an update. Amazing what some good tunes and a quiet place to work can do for productivity. Maybe I should transfer this to another thread because it has nothing to do with this car's restoration- but I got excited.1 point
-
more than likely the belts are rotten and it wont work. but, there is hope! http://www.vintage-electronics.com/ http://www.marrscommunications.com/pioneer-cassette-belts and help http://www.tapeheads.net/forums.php?s=c764cb5f815e0f881d768b44fcf41de91 point
-
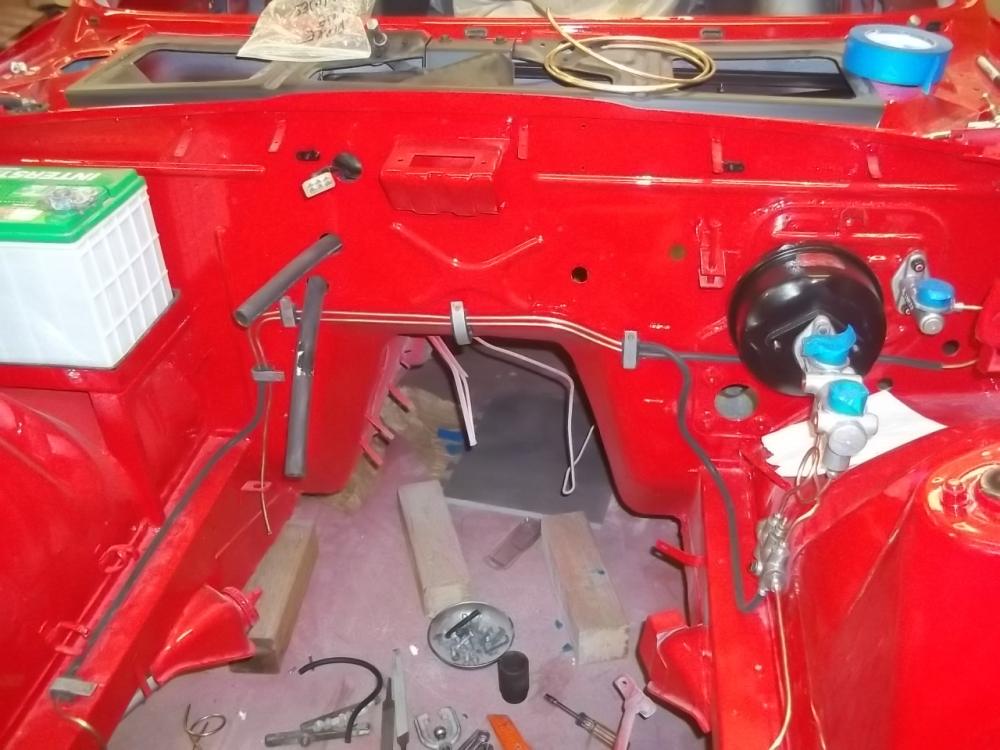
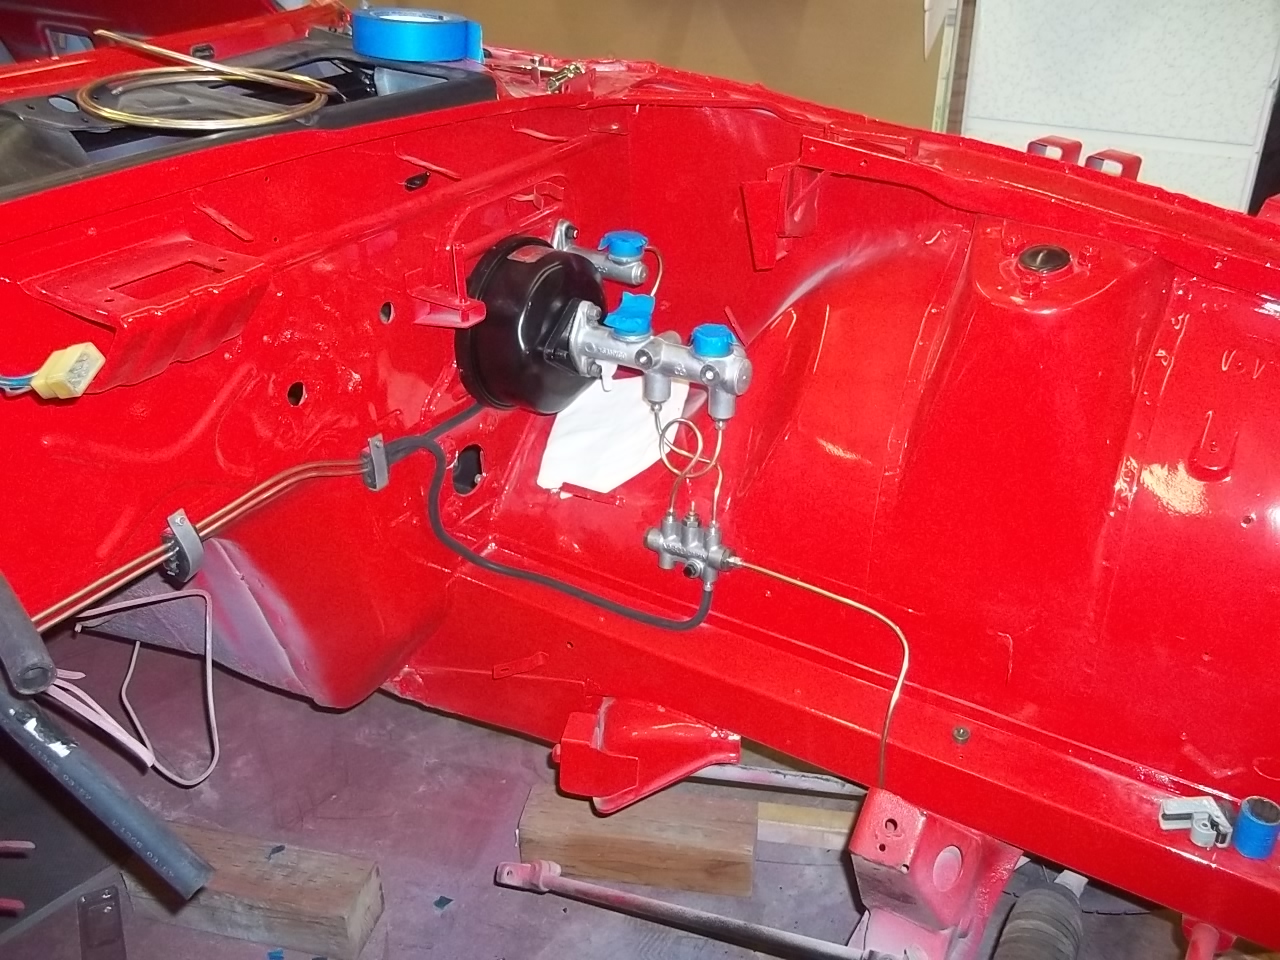
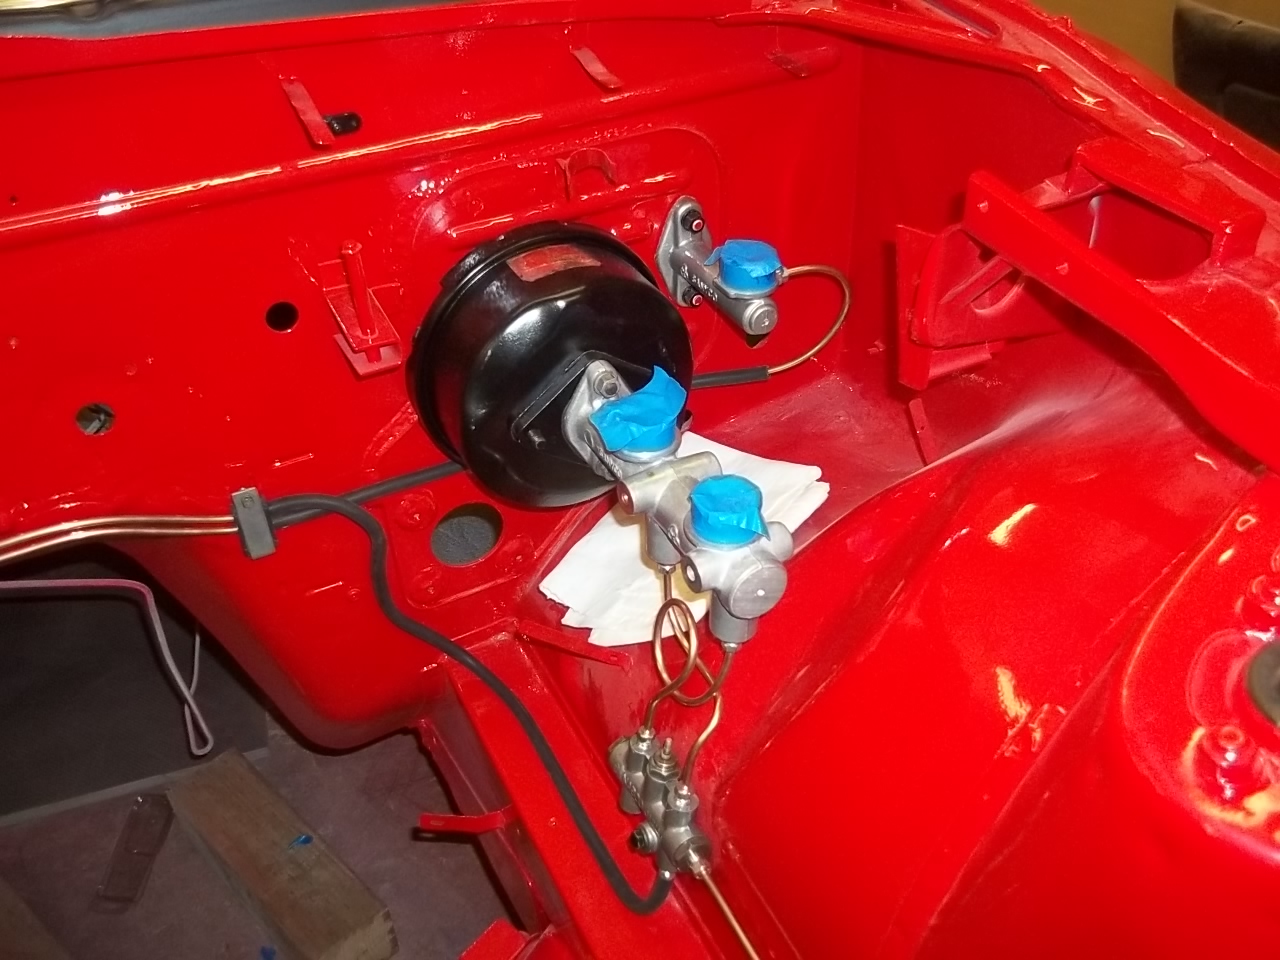
1 pointbrake line replacement. i covered some of the tubing with 7/32" vacuum tubing where it is close to metal. maybe protect it from wear. this is a copper type of brake line. VERY easy to work with. easy to bend without kinking. i think i paid $44 for a 25 foot roll

 1 point
 -
1 point
-
1 pointI've always used movers' blankets draped over all four sides of the bay. I predict you'll have little, if any, trouble doing it yourself. It'll slide in there just fine. Cushion anything of value, take it slow, think ahead and don't tighten any one bolt in an assembly until all the bolts are in. Easy Peasy.1 point
-
1 pointNo polarity. The ground is after the reverse light so the body of the switch is insulated, not grounded. To zKars's point - use a heat sink on the base of the terminal, to save the insulation. Pretty sure I just crimped my new wires on, but soldering would work. Page BE-16 shows the whole circuit but here's the short one.
 1 point
 -
1 point
-
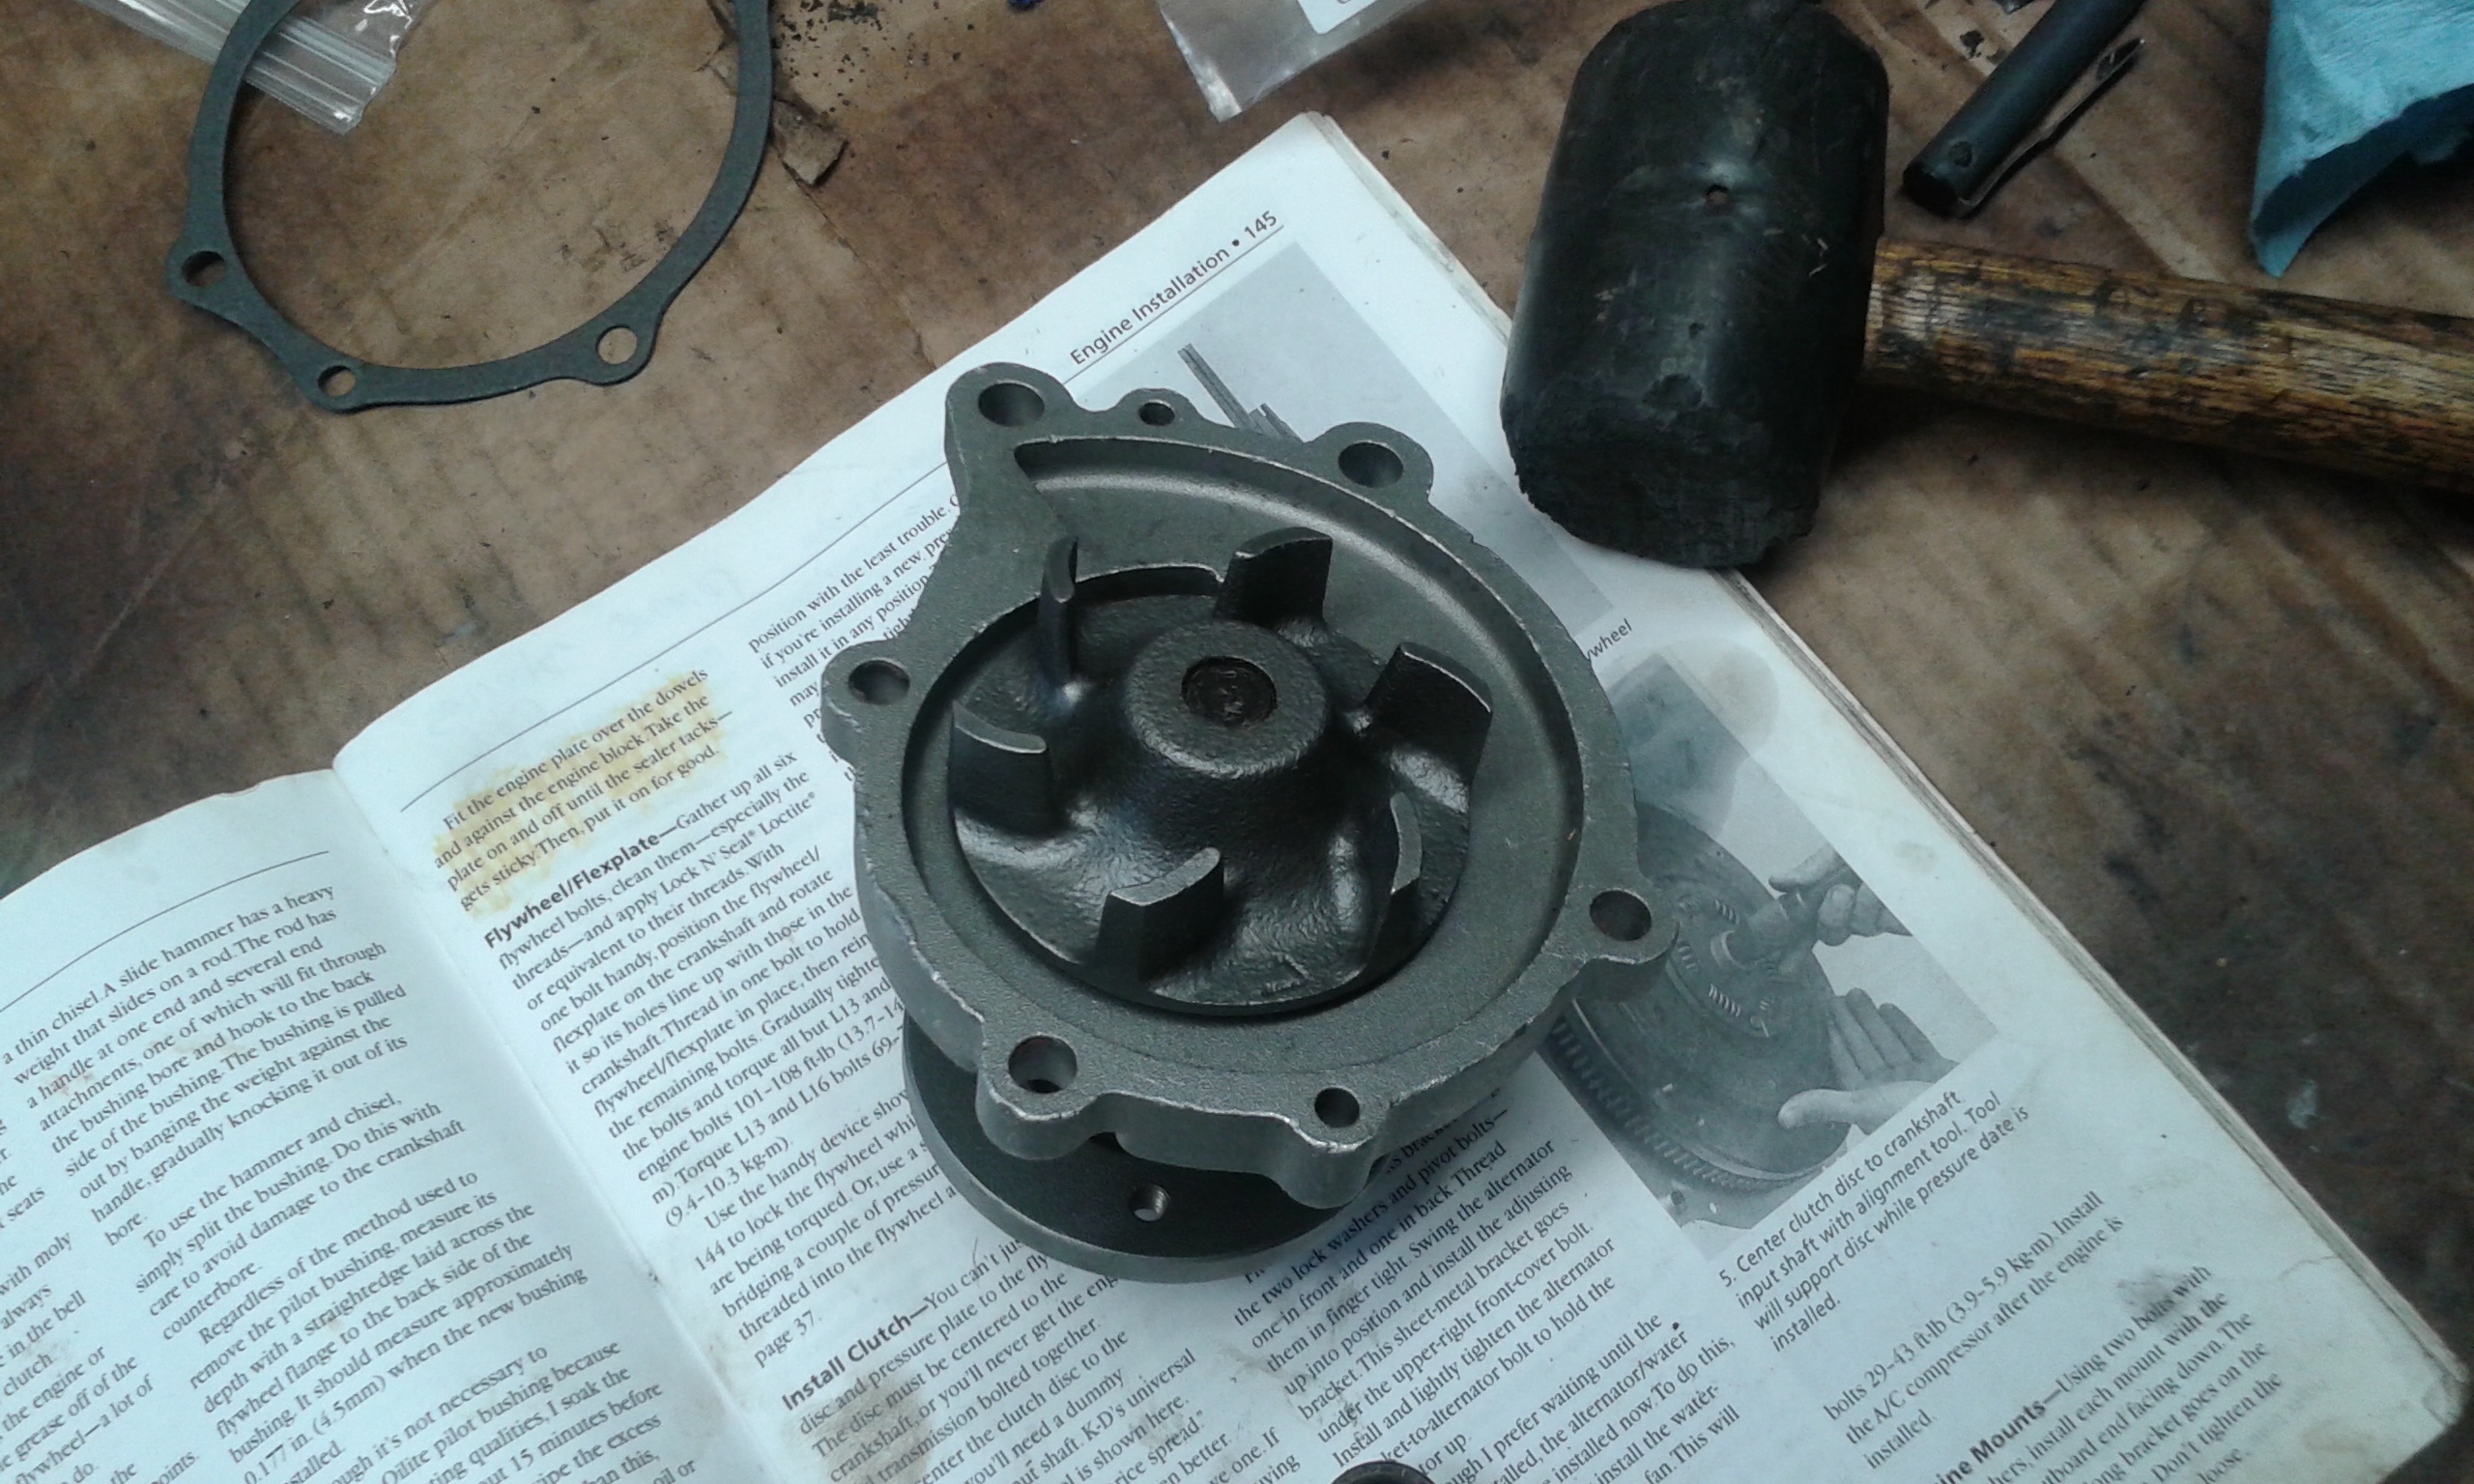
The main functional difference between the steel and cast iron impellers is that with poor cooling system maintenance the steel one will disappear while the Iron one wont. If your cooling system is maintained then there is nothing to worry about with using the steel one. But... there are pages and pages of debate about which is better. My own personal experience is good with the japanese made pumps that are stamped steel and cast. I've got an Aisin with stamped impellers on my MX83 toyota that has 160k miles on it. I pulled it out to replace it and the impellers looked brand new and there was no shaft play so i just put it back on with a new gasket.1 point
-
I'm getting confused as to who actually supplied nissan for water pumps. All the ones i've ever taken off are Atsugi but others here say Aisin and bonzai motorworks says GMB. Can't go wrong with Bonzai and his price is good. Bonzai motorworks Edit: i'm guessing all 3 were suppliers1 point
-
http://www.rockauto.com/en/moreinfo.php?pk=1872184&cc=1209158&jsn=13 Don't think you will beat this price from a reputable seller. Part Number: WPN013 Click "add to cart" on the page above---- then click on "continue shopping" It will take you to the cart and show the pricing---$22.791 point
-
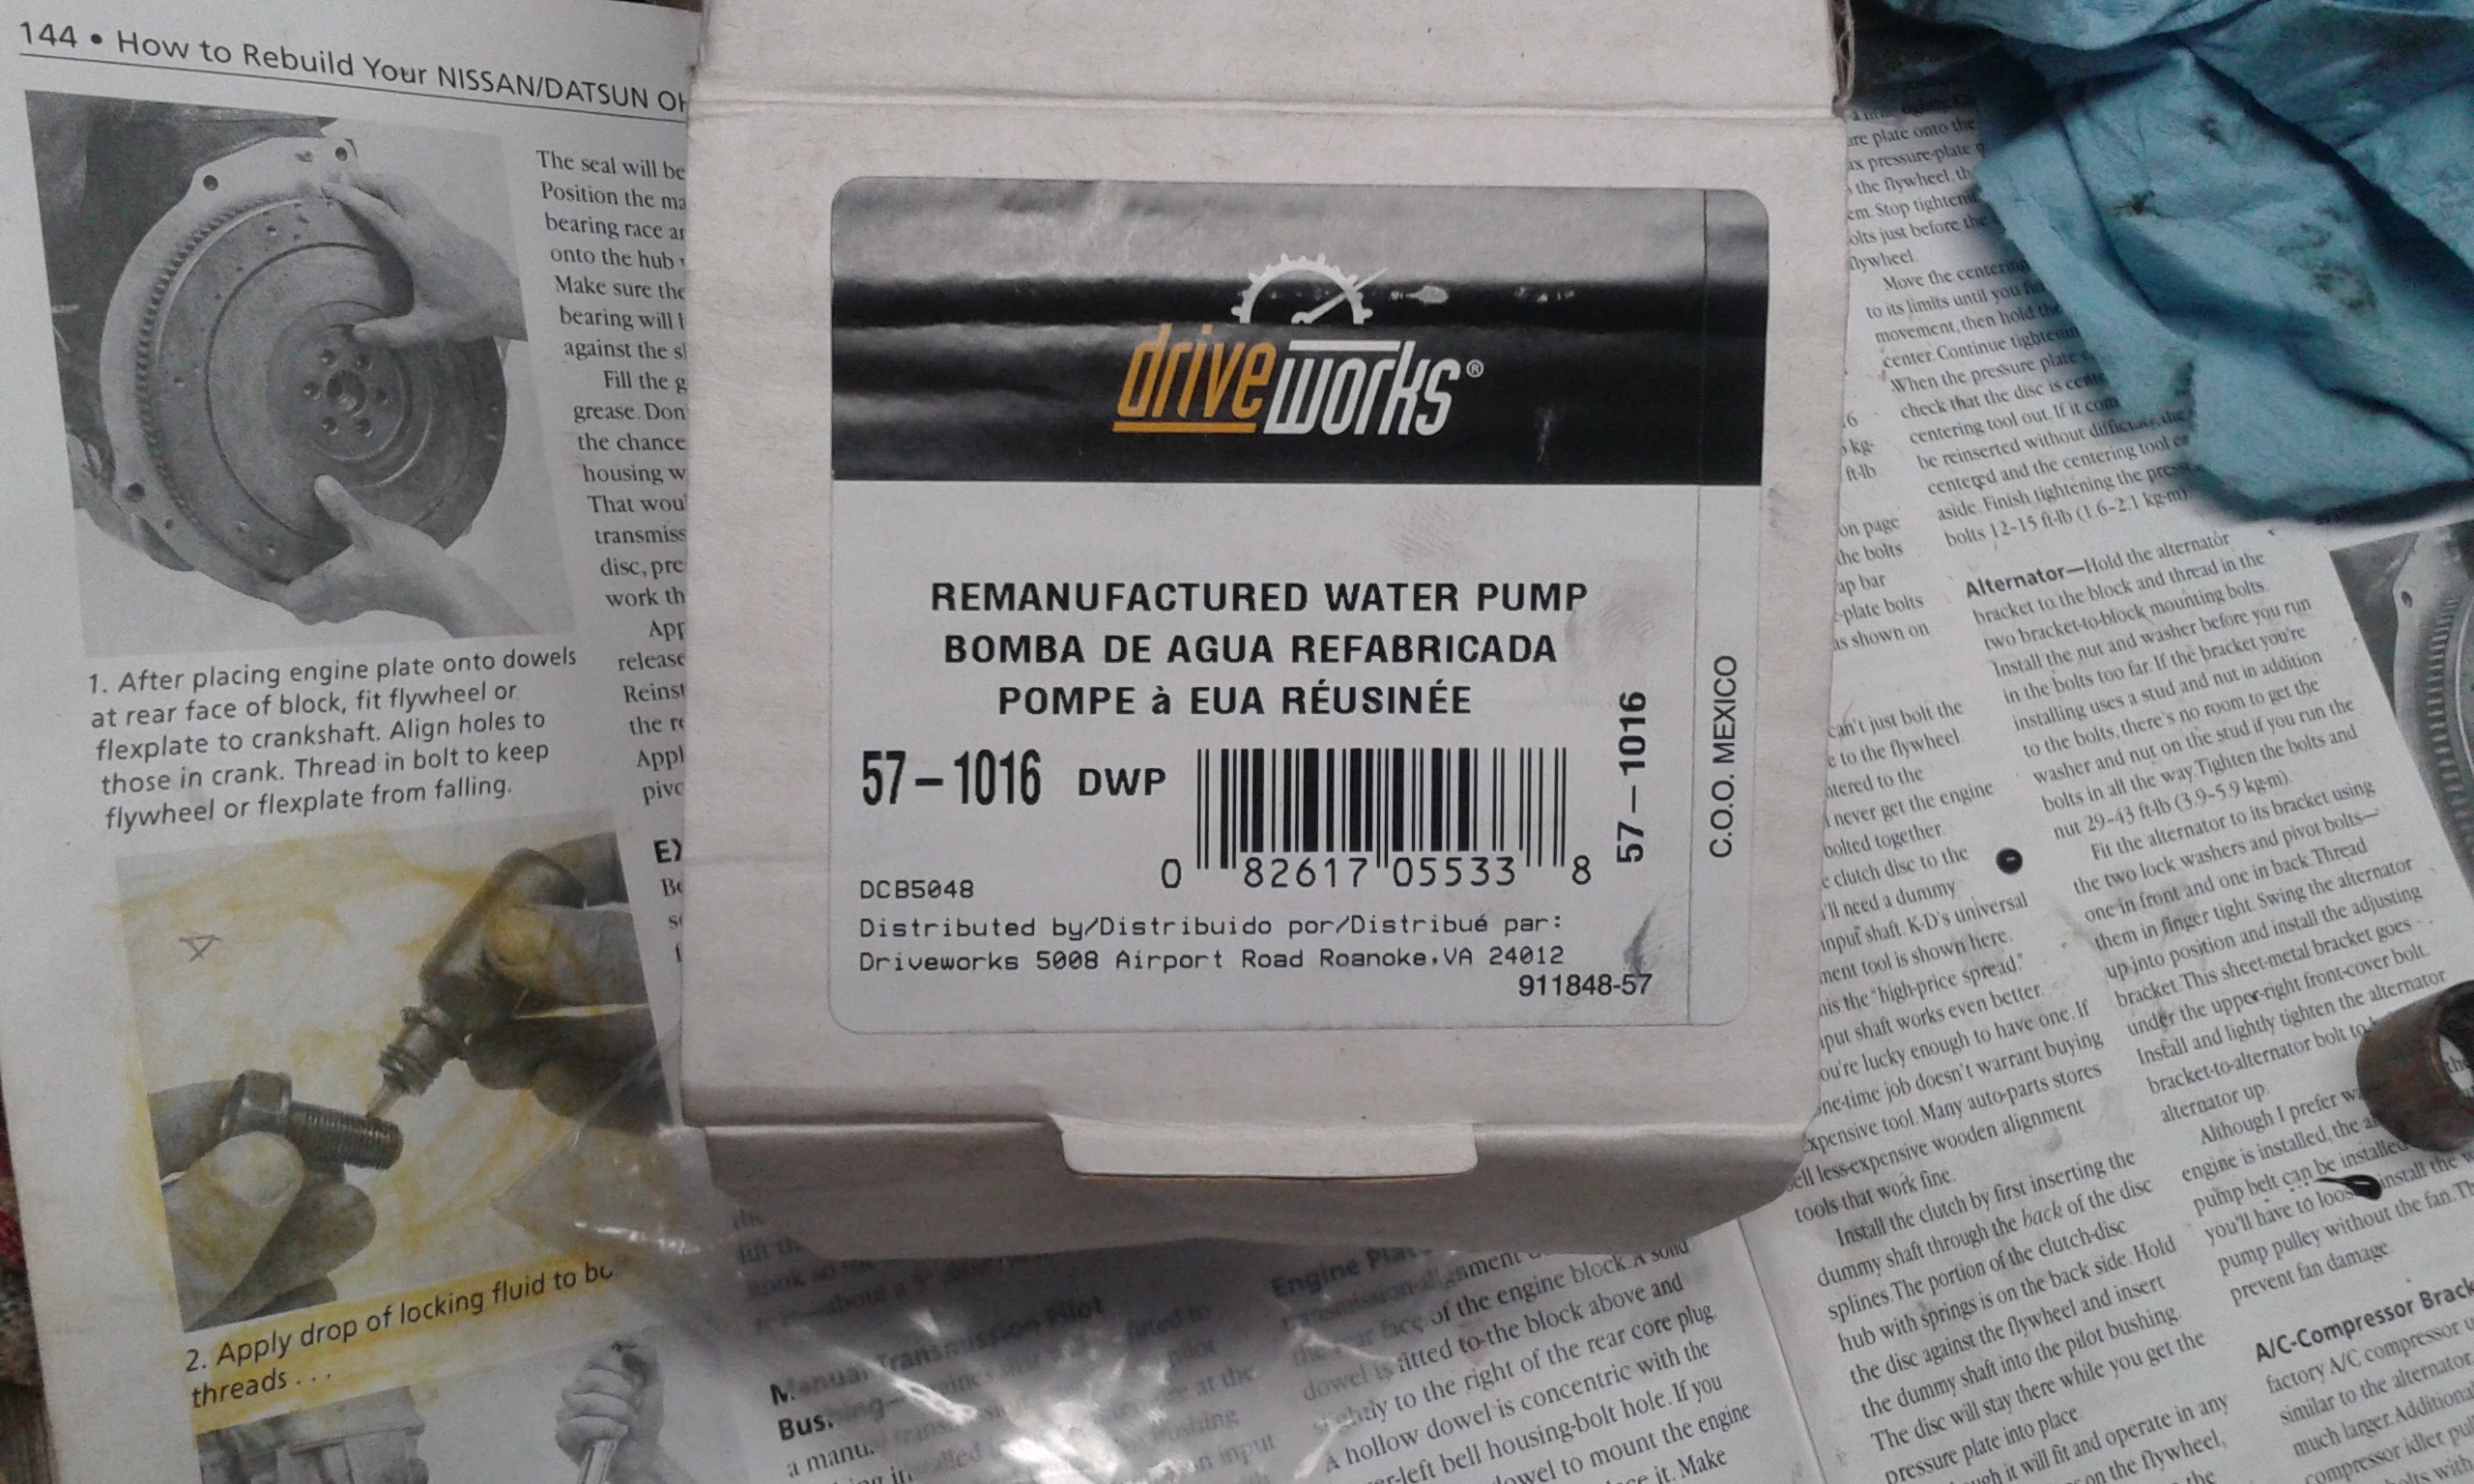
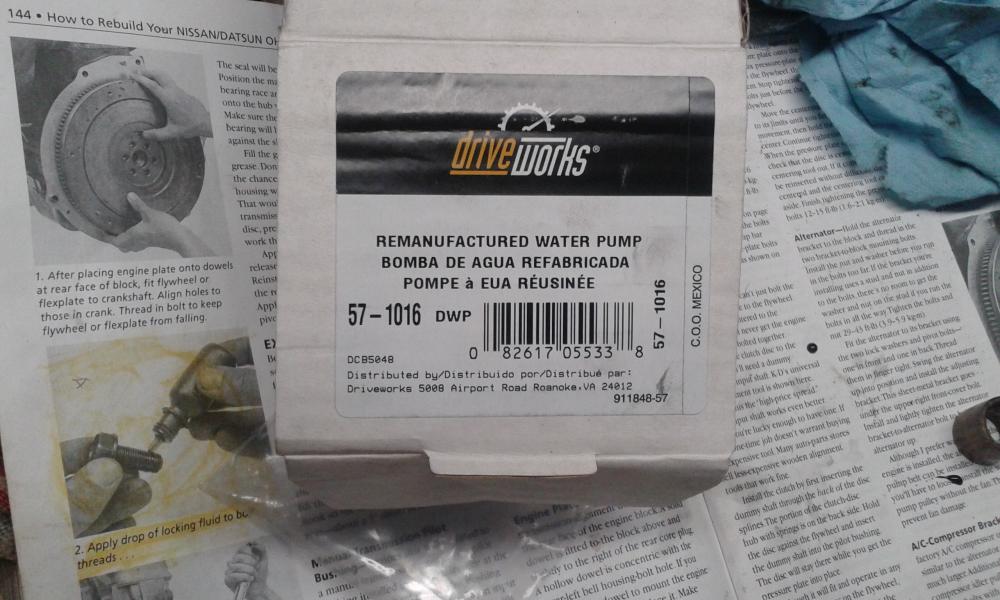
Google drive works #57-1016 I just now put that one on, from the picture posted earlier. Came from advance auto or O'Reillys. It's a reman Aisin.
 1 point
 -
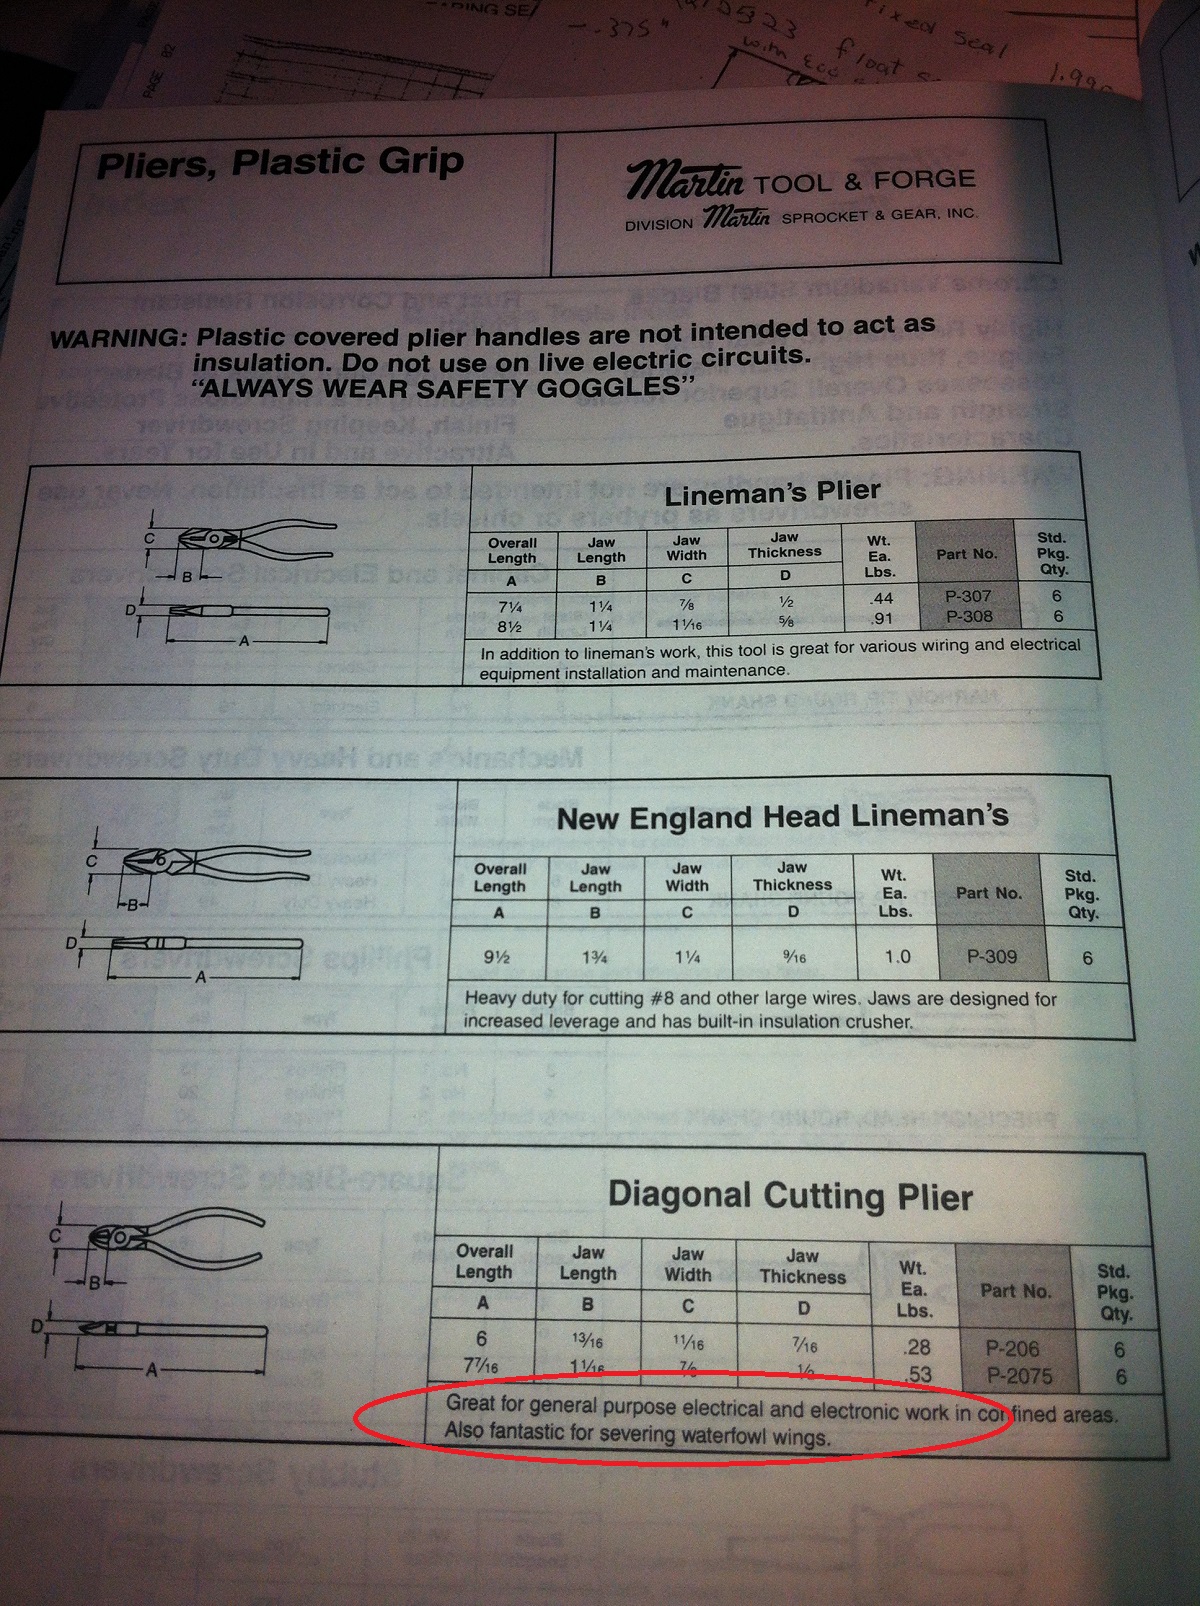
1 pointMartin does have good products, I've used their industrial machine parts as well and they have a good sense of humor. Here's a page from my old Martin Catalog:
 1 point
 -
Anti-seize on the threads. Gasket adhesive on the pump side. Aisin pumps at amazon.com. make sure they have the one piece impeller. That's OE and will last forever.
 1 point
 -
1 point
-
1 pointYou can get pdf versions here, to see the differences. Unfortunately they don't have the '71 owners manual yet. http://www.xenonzcar.com/s30/ownersmanuals.html1 point
-
1 point
-
1 point
-
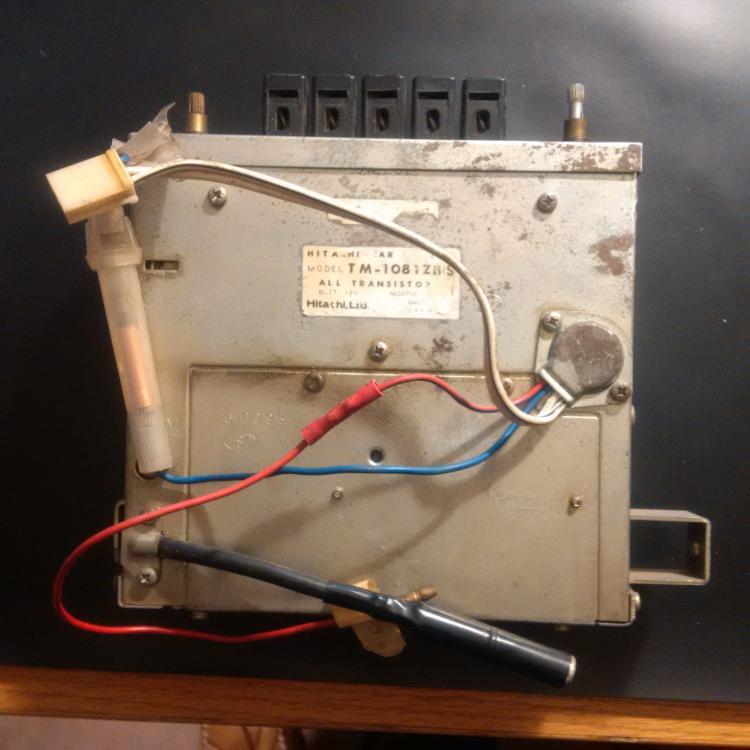
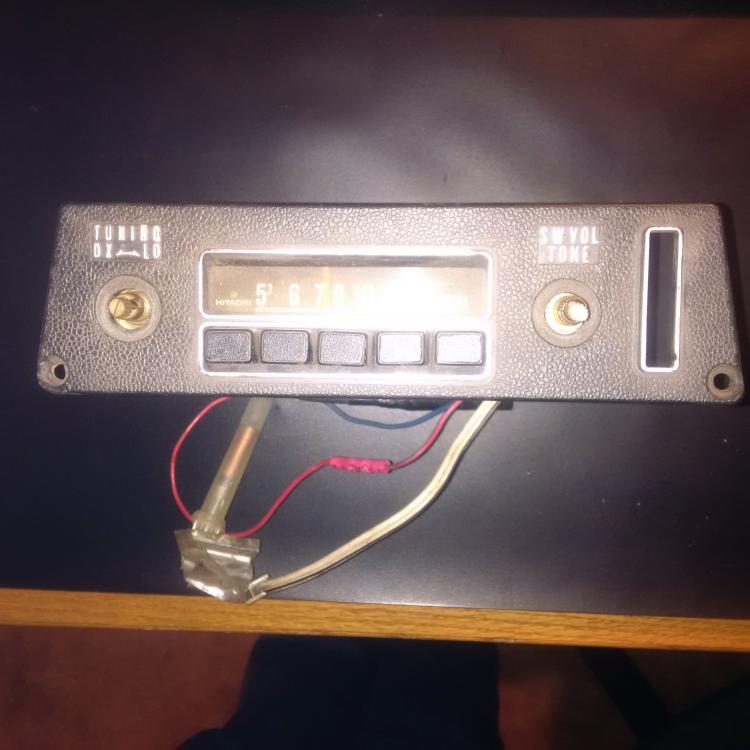
1 pointSteve, thanks very much for the link. That's the radio I have but it appears to be missing the power antennae switch. My yellow stock Z already has the original a.m. radio (did not remove it from the car during the resto so I didn't know the serial number), and in the silver restomod, I have an original AM/FM radio from a 1972. I'm not yet sure what I'll do with the radio - have to put a think on it. cheers
 1 point
 -
1 pointWTB: Analog clocks, (quartz and mechanical) from 240z--280zx clocks. Please contact me with what you have and price. Thanks...ron@zclocks.com
 1 point
 -
1 point
-
all part of the fun... but you don't have to live with electrical gremlins! it just means replacing, cleaning, re-working the electrical system - a pita yes, but once it's done it's done (for another couple decades). mine is a DD so it has to start & run each day or i miss work. for this reason i started at the battery and replaced the entire primary system with all new marine grade wire. brought the feed into the cabin with 4 ga. and installed a maxi fuse block, getting rid of the fusible links. moved all the relays inside as well, mounting on a bar on the firewall just below the fan. the next step in reliability was to yard out the entire efi system, harness, ecu - the whole steaming heap - and replace w/a set of su's. there's no more wiring in the engine bay other than the ignition system, lights and the dash gauge sensors. i used up my AAA towing allowance in the first year of ownership due to that miserable efi system - it was literally a roll of the dice as to whether i'd get to work and back under my own power. now i pull the lovely choke lever, twist the key and off we go. that's the joy of classic car ownership!1 point


.jpg.fd196e05516f3ec50f29fd479cf64dac.jpg)