


Leaderboard
-

siteunseen
Free Member8Points15,115Posts -
rossiz
Free Member5Points1,109Posts -
conedodger
Free Member5Points12,513Posts -

CanTechZ
Free Member4Points1,311Posts


Popular Content
Showing content with the highest reputation on 04/07/2016 in Posts
-
You need my address for shipment? Looks great!4 points
-
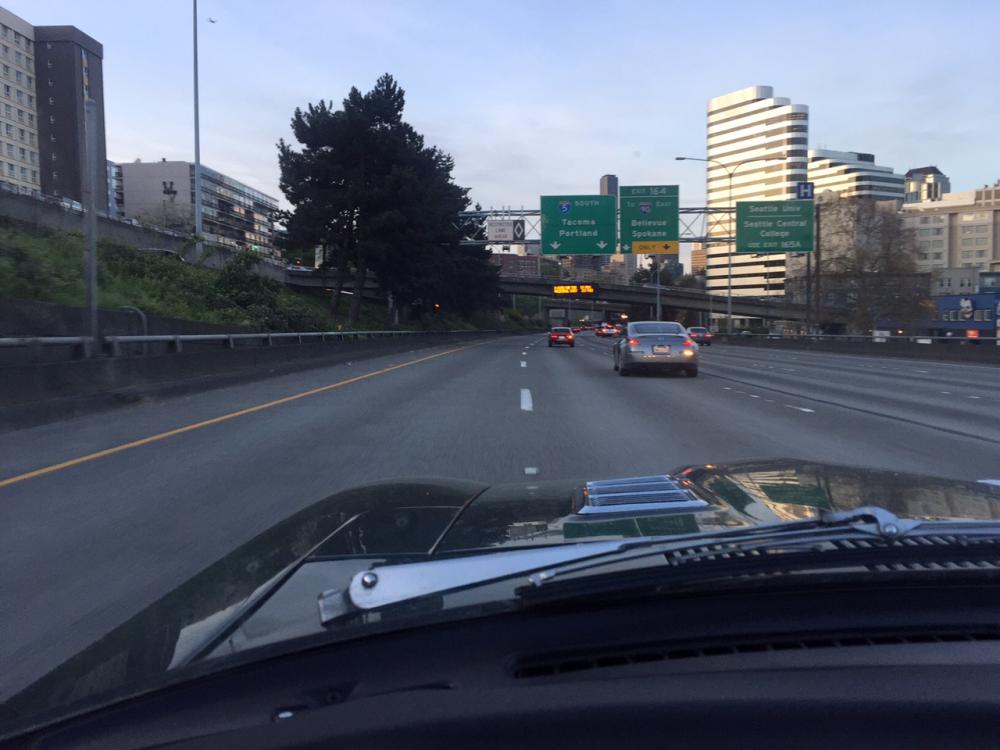
3 pointsmorning commute - getting on the freeway so i pass the 350 and pull up alongside the lovely 240, we exchange waves, i pull away w/a light stomp to let her sing, settle back down to 60 and flashing lights appear in the mirror. nice. fortunately the trooper was a good-natured individual and i escaped unscathed...
 3 points
 -
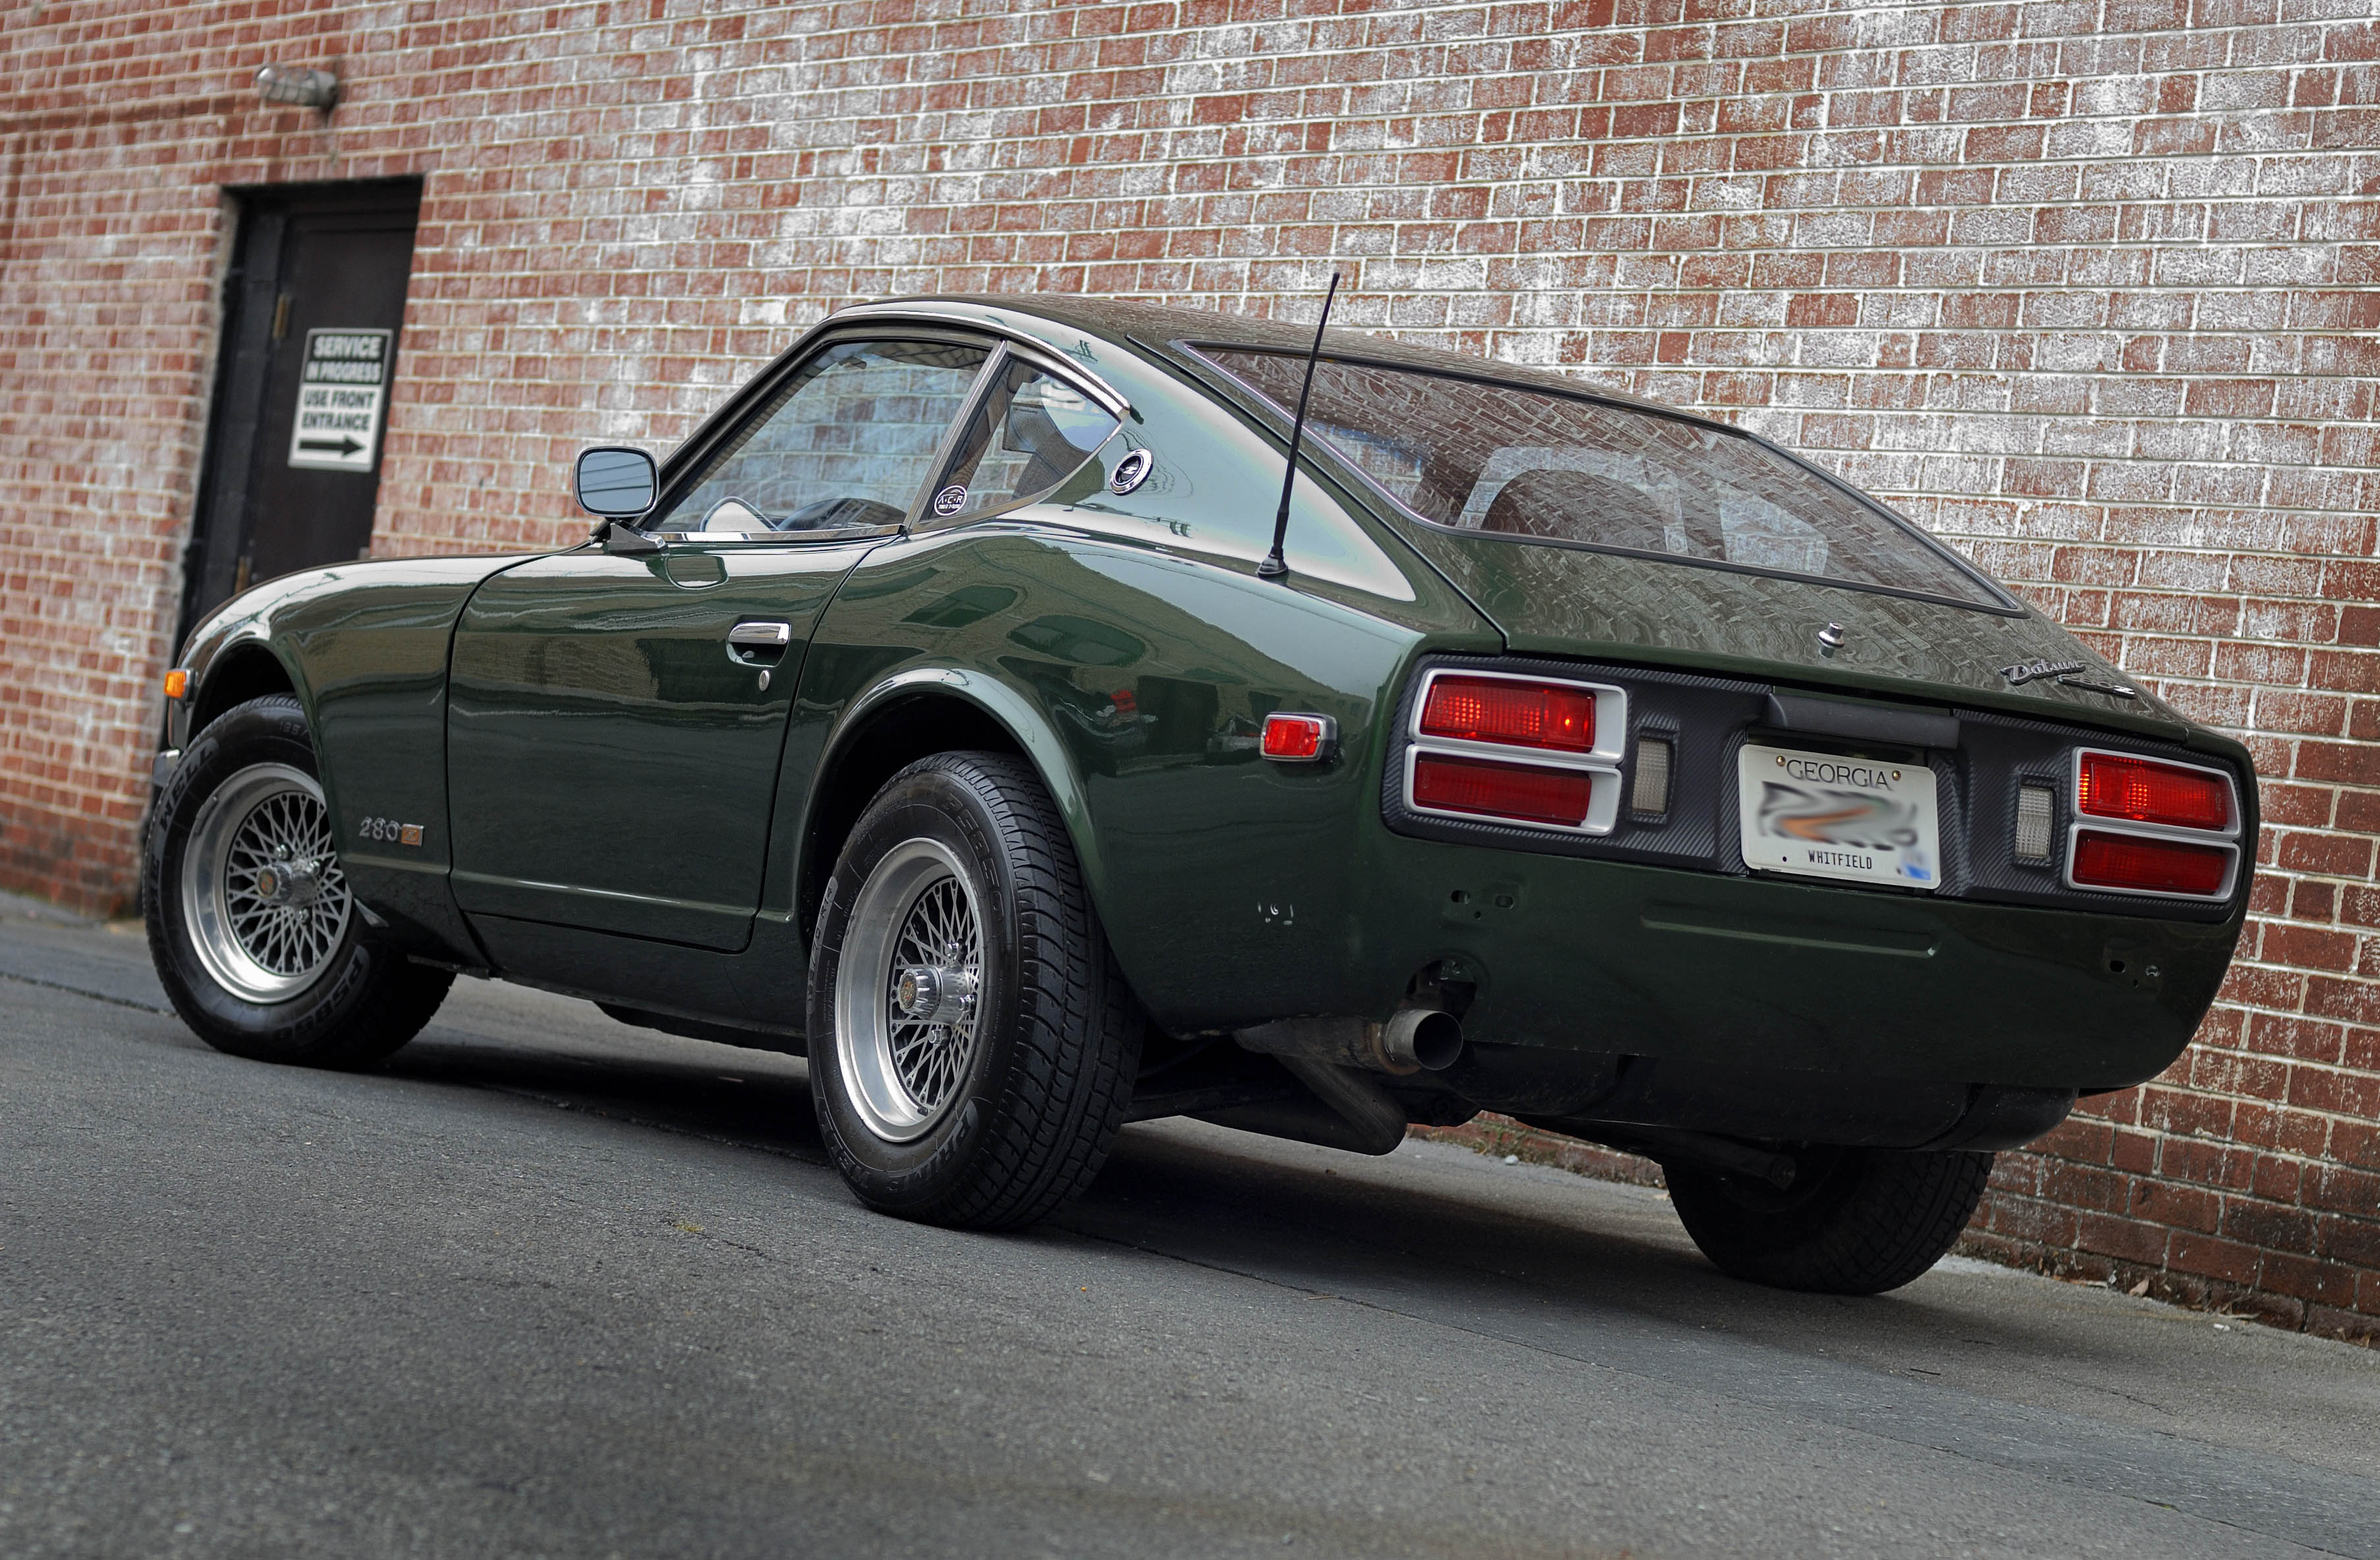
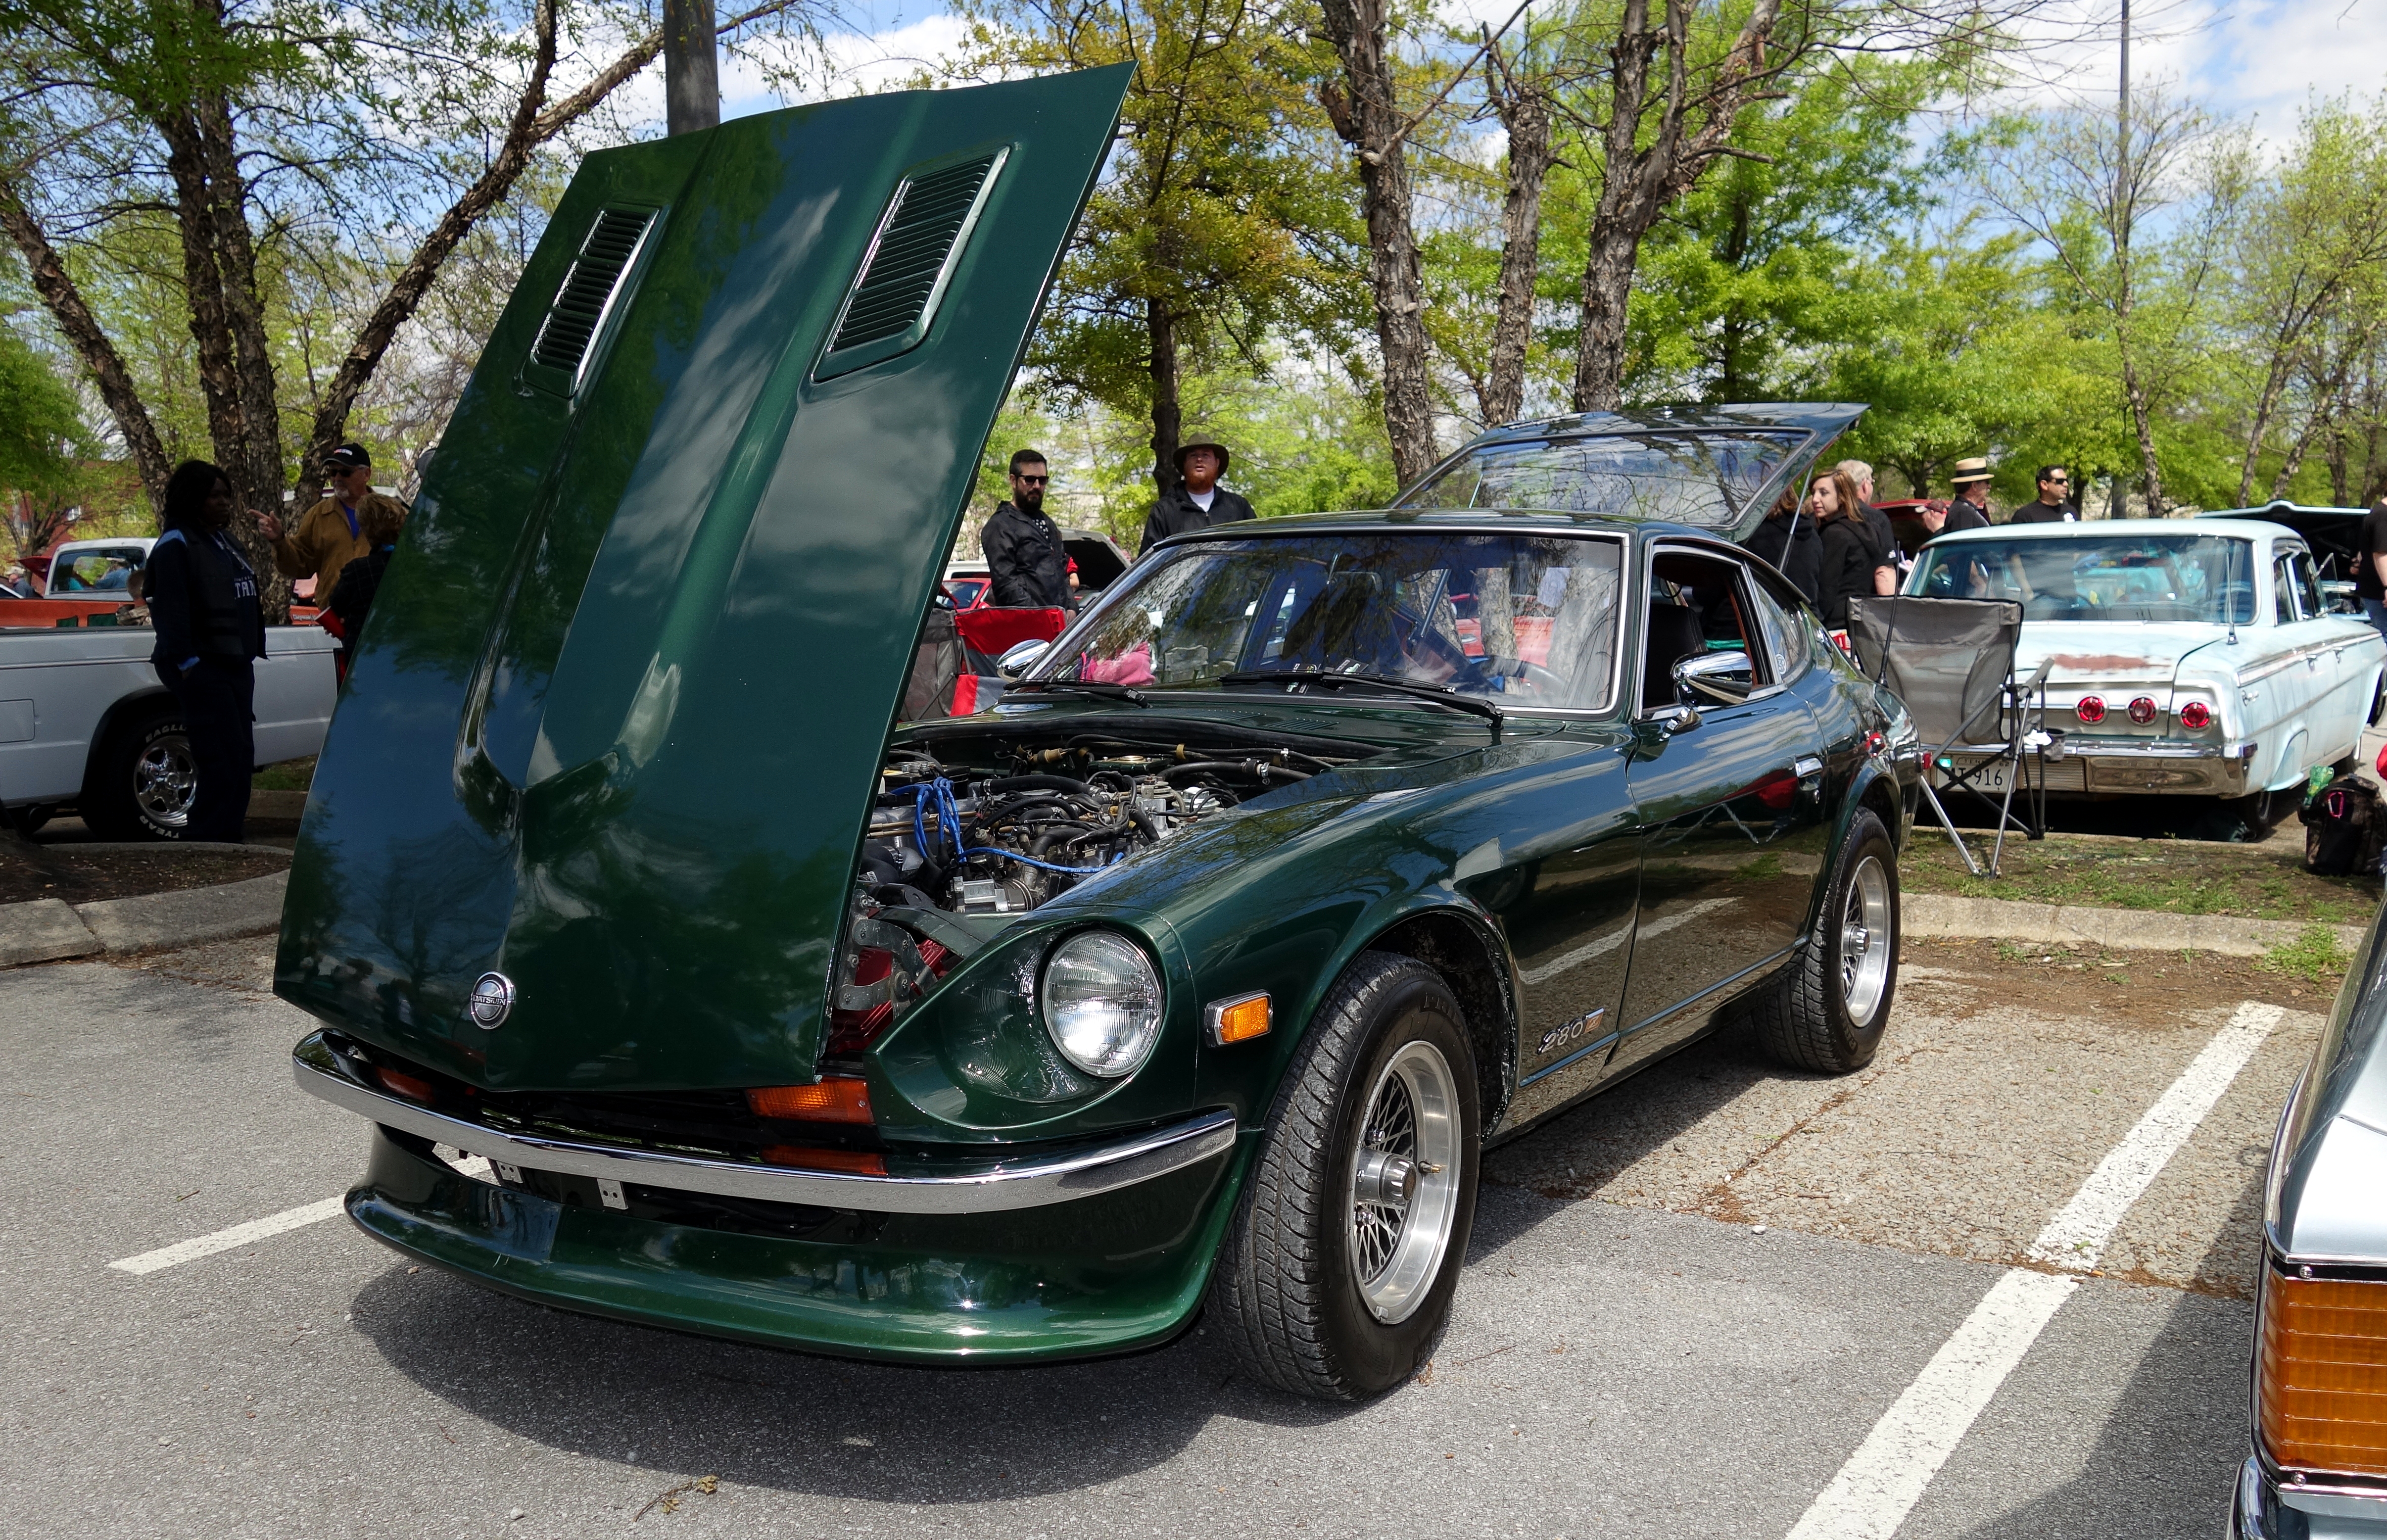
3 points3 points3 points3 points2 points2 pointsSounds like a good club fund raising opportunity. I would be in. Anyone have a publishing connection. Cheers Mike2 points2 pointsThere is a Georgia Z Club meeting today, so I drove the Z to work. I told one of my coworkers to park next to me.
 2 points2 pointslove well-made diy tools! my grandfather was a typsetter (lead letters in wood boxes) and had all kinds of cool specialty tools that he made from various household items to perform tasks for which no tool was available at the time, and i have a few of them even though i have no real use for them - just cool to look at and know he figured out how to solve a problem and made his own devices. one of the tools that i actually have used many, many times is a chisel he made from a table knife - sounds goofy, but it's incredibly handy: the blade is cut square at the top and sharpened, the corners are beveled to blend the blade surface around the corner so it doesn't dig into the material and the back edge of the blade is ground flat as well as the butt of the handle so it can be used to scrape or chisel in either direction. not nearly the level of fabrication you completed, but it's kept in the toolbox and every so often i use it for some odd task and think of him2 points2 points2 points2 points2 points1 pointSite & gang o' beautiful ZZZZZ'z, My photos are not nearly as nice as yours----but here is one that sorta works. Thanks for thinking of me!
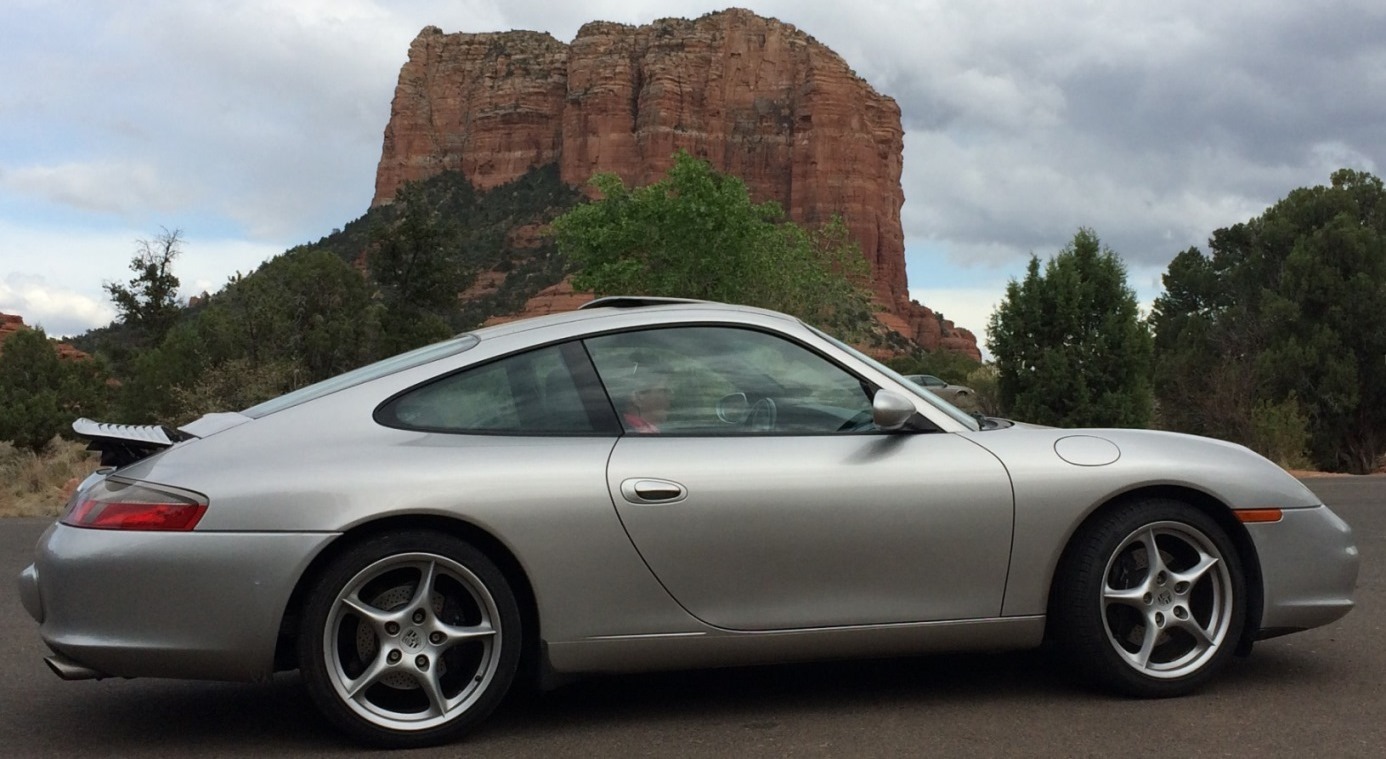
 1 point1 pointPut several layers of protective tape on the hood latch assembly and wrap it down into the tunnel to protect your paint. Also remove your hood prop rod and tape a WD40 cap over the prop rod spring clip. Many clips have snapped off from oil pans catching them.1 point1 pointI'd buy one too. Muscle car calendars are OK but I'd rather have a Z calendar any day. Maybe a joint effort, CZCC and our beloved aftermarket parts suppliers could get it done.1 point1 pointIf we had two more we'd have a nice classiczcars calender. I buy one for sure.1 point1 point1 point1 point1 pointJames, I also ask that you credit the owner of each photo as well as mention they came from the Classic Zcar Club. Thanks!1 point1 pointMini-Update: Been working on this car here, and Zup sent me some much needed stuff to put in place the sound deadening that was not installed in the car when it was repainted. He also gave me great tips on getting me set up to tackle the interior of the vehicle starting from its current stage. So far I've done the following: Attempted to repair steering rack. It came out great... except the pinion was worn out in the rest position and had a noticeable clunk when turning. I am going to attempt to transfer over the guts from the "rebuilt" rack if it's ok, and see how that works. That will allow me to drill out the hole on that rack to accept the oiling bulb. *** SIDENOTE *** anyone have pics of how the original steering rack boots were attached? Safety Wire? Band Clamps? Can't seem to find the answer. Installed some engine bay stuff. Ignition coil, voltage regulator, Inspection lamp, brake vacuum lines, throttle linkage, misc hoses. Did a lot of shopping around for other parts. Re-assembled distributor, but had issues with the cam weight advance plate (there's a thread I need to update too!) Finishing up a purchase for lots'o rubber parts from classiczcar community favourite, Steve. Only things left underneath are e-brake cable, speedo cable, KH brake valve and lines, gas tank, and exhaust Doing lots of interior research. I seem to be missing some parts (no surprise), but I'm still learning. Sandblasted many door/window parts, ready for plating- but that will be held off for a bit... Bought the carpet from JIM @ Chester & Herrods. I find it really awesome that an original and integral part of the history of these cars is alive and well (The person. not the carpet), and he is still producing the parts he made back when it all started (the carpet, not the people. lol) I've also been shopping for some jute as well. I think I narrowed down my search to the ones I like for matching the ones in this particular car in terms of original colour and weight/construction. I got it close. The variance in old/new jute is too wide of a range to be perfect within, but it's close. Hey- if it's available, I'll use that instead of something that just "does the job". Speaking of doing the job. I got another one on hand that I'm working on (more on that soon), and I have to extract the spindle pins, so I made this handy dandy spindle pin puller. Just as I was about to borrow some threaded rod from a friend and make my own tig-welded coupling nut to use on the spindle pins (so I wouldn't have to buy or ruin his threaded rod which was for his own custom tool), I walked into his shop and saw his trusty vice in two on the floor... And it was doomed for the garbage bin. My friend also has a lathe, so I drilled it about 50mm deep on center @ 27/64th inch drill size (it also already had a pilot hole started too). And in the lathe with the machine off and foot on the brake, I tapped the inside at M12x1.25, and it took forever. The steel is very hard (chrome vanadium?), and I had to back the tap out every 1/8th of a turn to clear it out and stop the tap from binding on the swarf/chips. But it all the way in very cleanly at the end of it all, and it went about 40mm deep with thread. My whole right arm felt like I was pitching fast-balls all day. Then I bought a "tapered needle roller banded thrust bearing". Apparently, banded just means its a thrust bearing set with the top and bottom race encased in a housing rather than provided separately as thrust washers. It's essentially a throwout bearing... I bought a thrust roller bearing but it was the 3 piece loose set, and the races were too thin and would get caught in the ACME threads. It had a small 1mm deep, 3mm wide step on the back for the bottom race, so I stepped the end of the DOM tube which I bought from the cut-off pile at my local metal distributor for $5, gave it a tap or two with a rubber mallet to get it on there nice and good- and then fuse welded the inside with a TIG welder so that the bearing doesn't go anywhere. I didn't want to ruin the shiny and clean aesthetic of the outside of the tube, so I chose to weld inside by extending the tig electrode farther than usual- but it was a good fuse. I then cleaned up the HAZ marks on the outside by putting it in the lathe and hitting it with some various grit sandpaper- and what you see there is the end result. Probably gonna shark hide it. It took me a little while, but I don't come across free ACME threaded rod often, and it was $110 for a 3 foot section at the fastener store, so I figured I'd make a proper tool that will outlast many spindle pin jobs. Price List TIMKEN T101 Bearing: $20 1" ID Seamless DOM Tube (1.5" OD I Believe): $5 1" ACME Nut: $5 Vice Gear Screw: FREE Lunch for lathe use: $15 TOTAL: $45 (ish) not including gas driving here and there- but whatever! Lets call it $50 bucks for a tool that will probably last longer than I do. The only thing that I'm not sure of is the ACME nut seems a little loose, but I have the original threaded slug from the vice that I can always cut and grind some flats onto, but it only seemed a little tighter. I'll try this first.1 point1 point1 point1 point1 point1 pointI always look forward to seeing pics of Guy's collection. I haven't done much with the Z cars lately since spring hasn't sprung here yet, but I did pick up a new toy. I bought a 996 and drove it 2000 miles home from Phoenix.
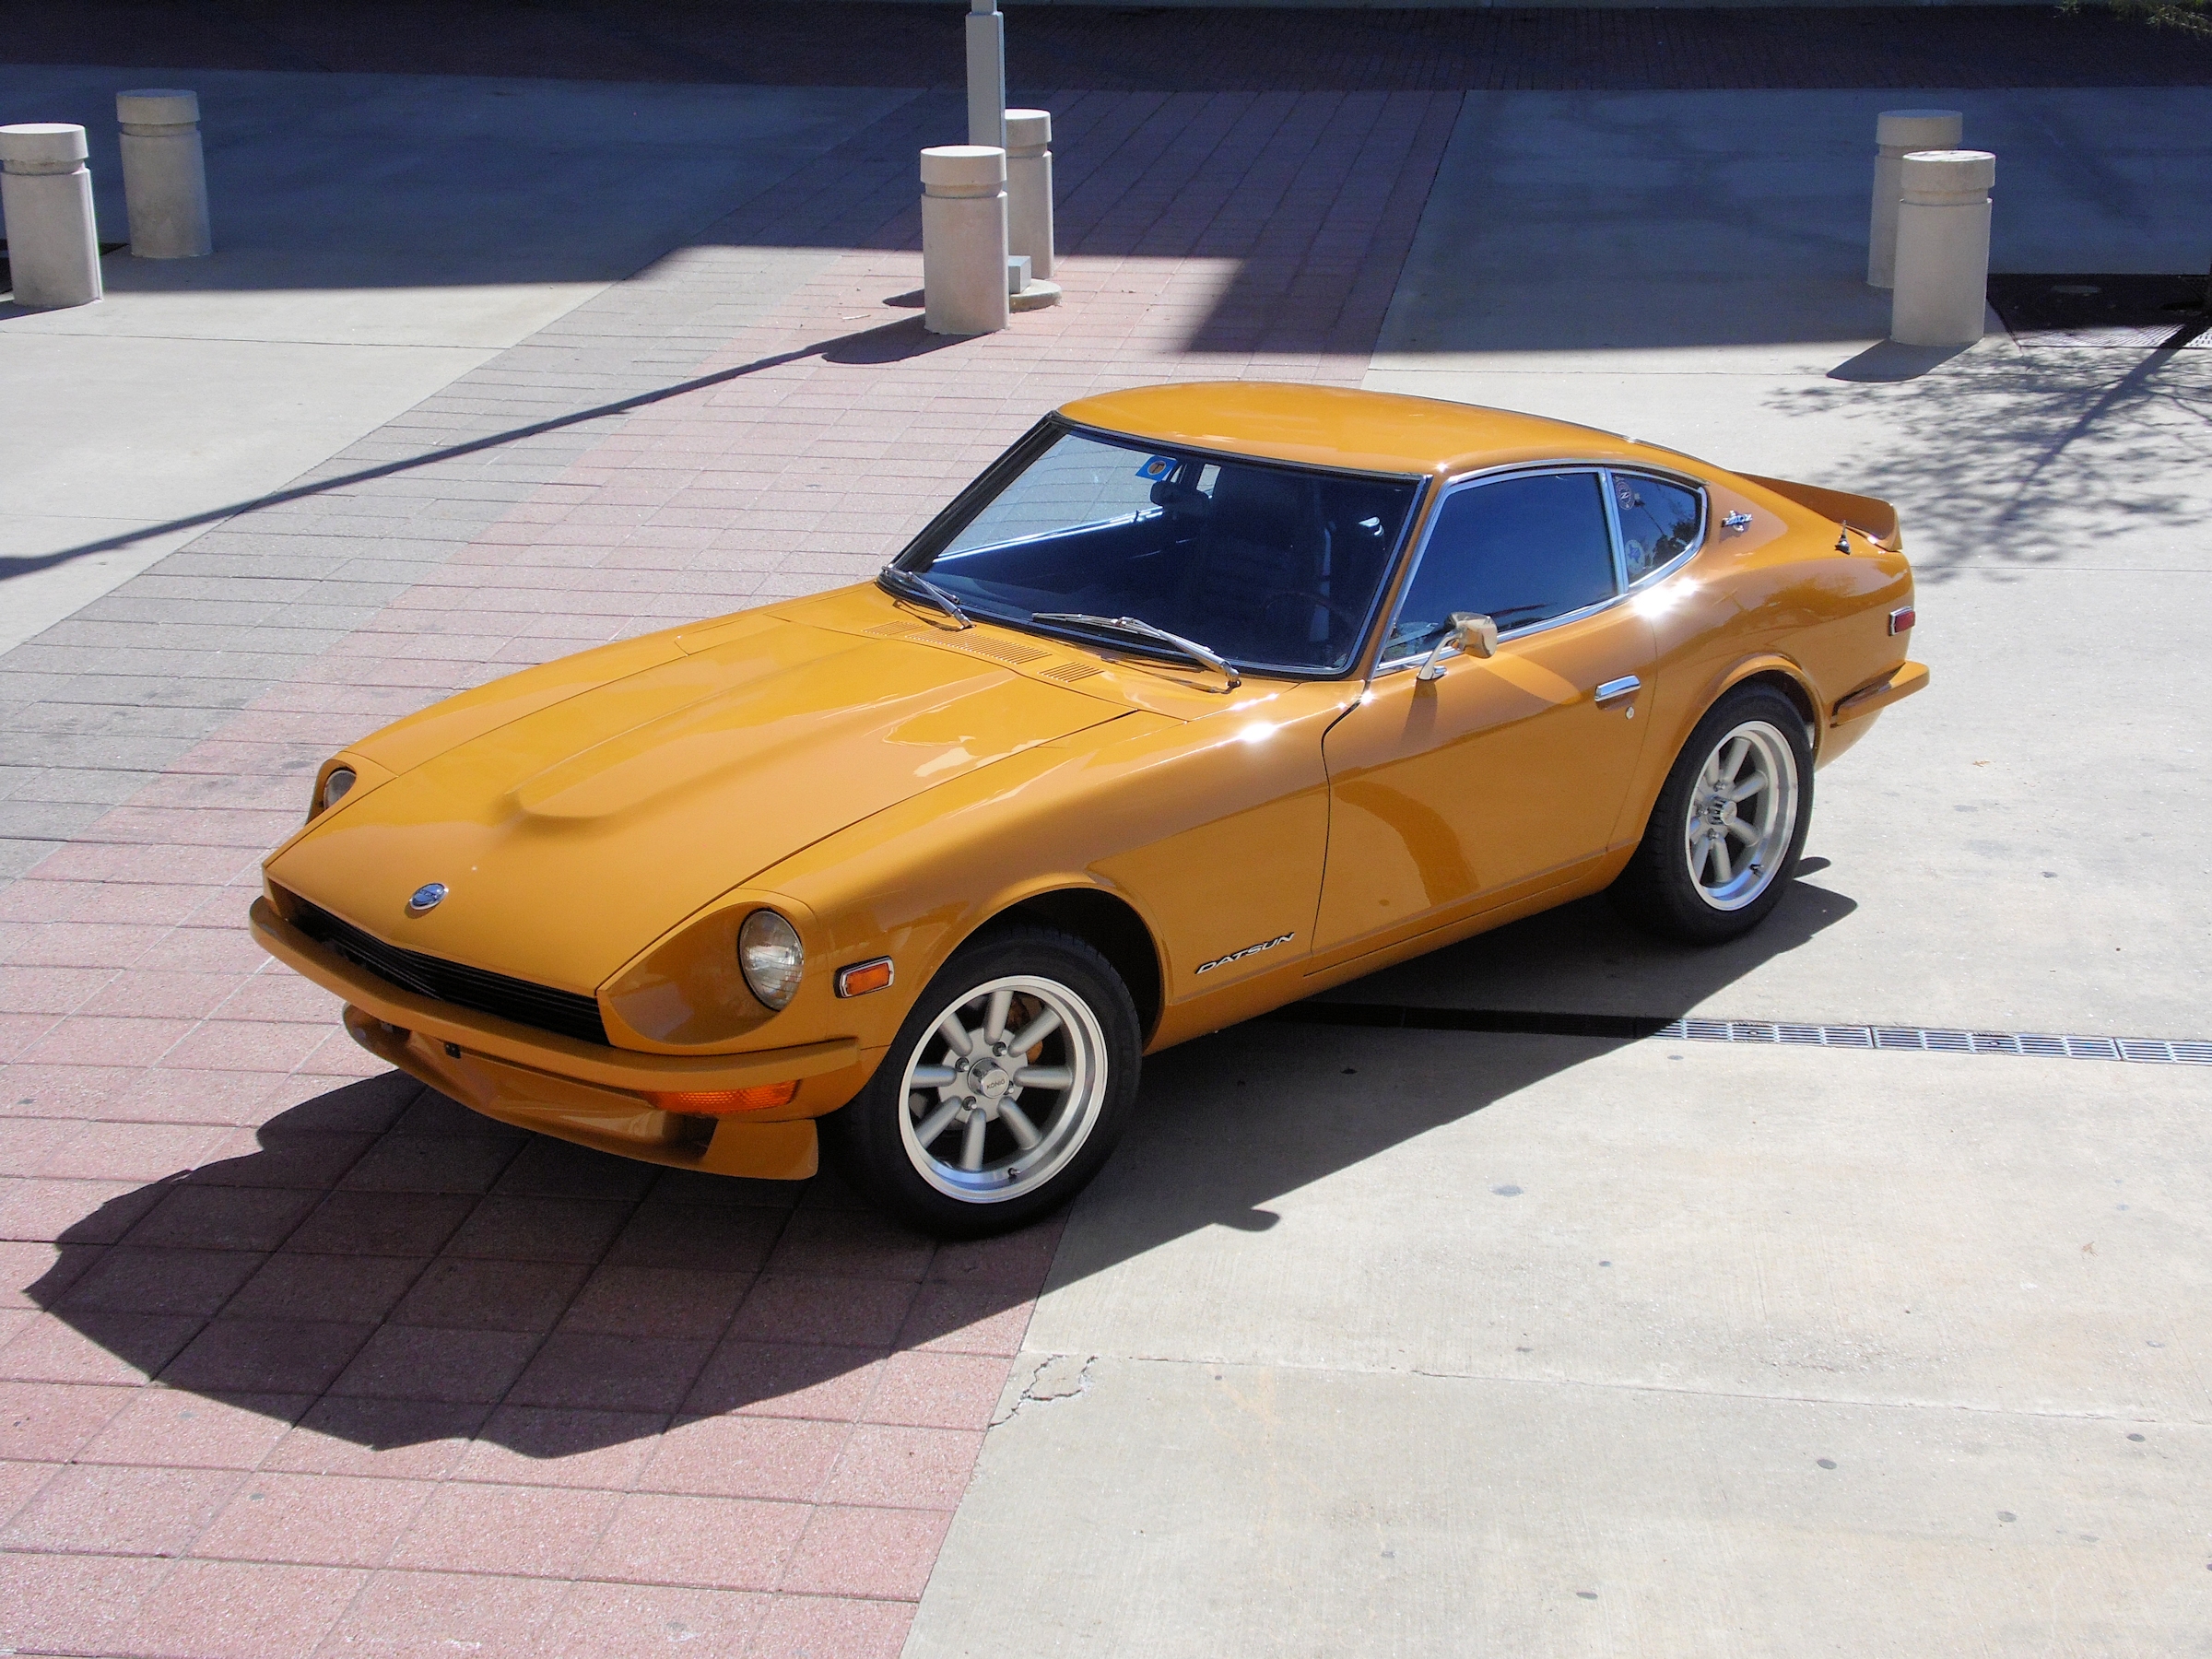
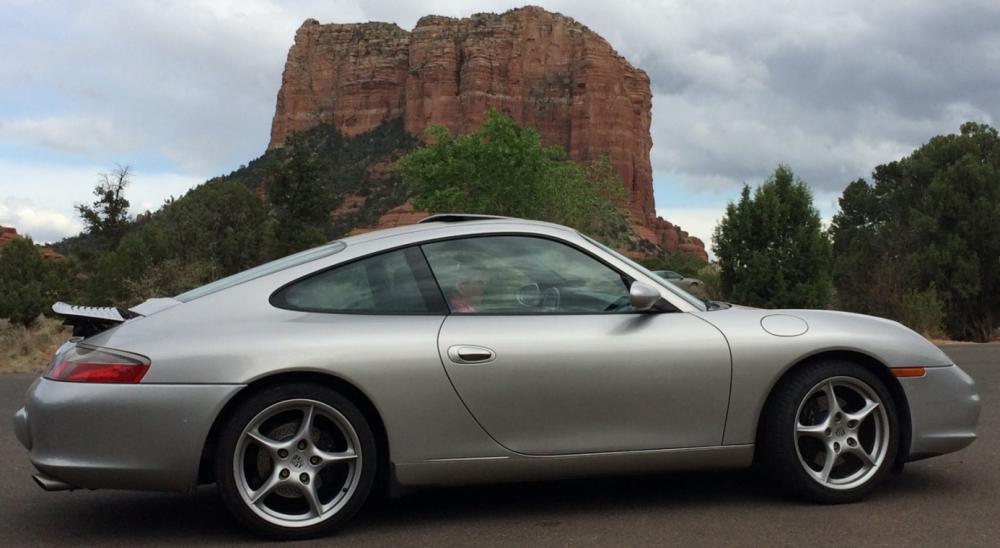 1 pointAnother 918 orange car....my son's 72 510 (can't believe he sold it)!
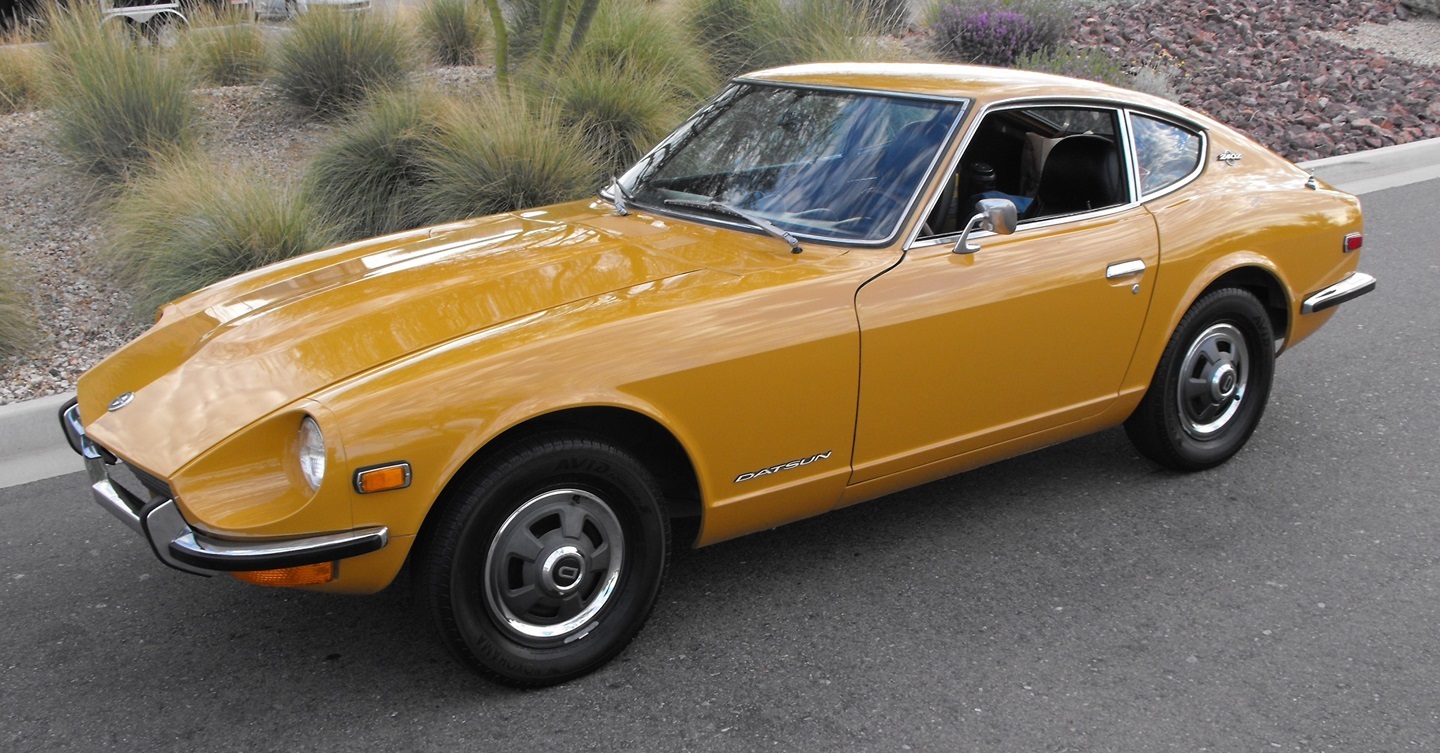
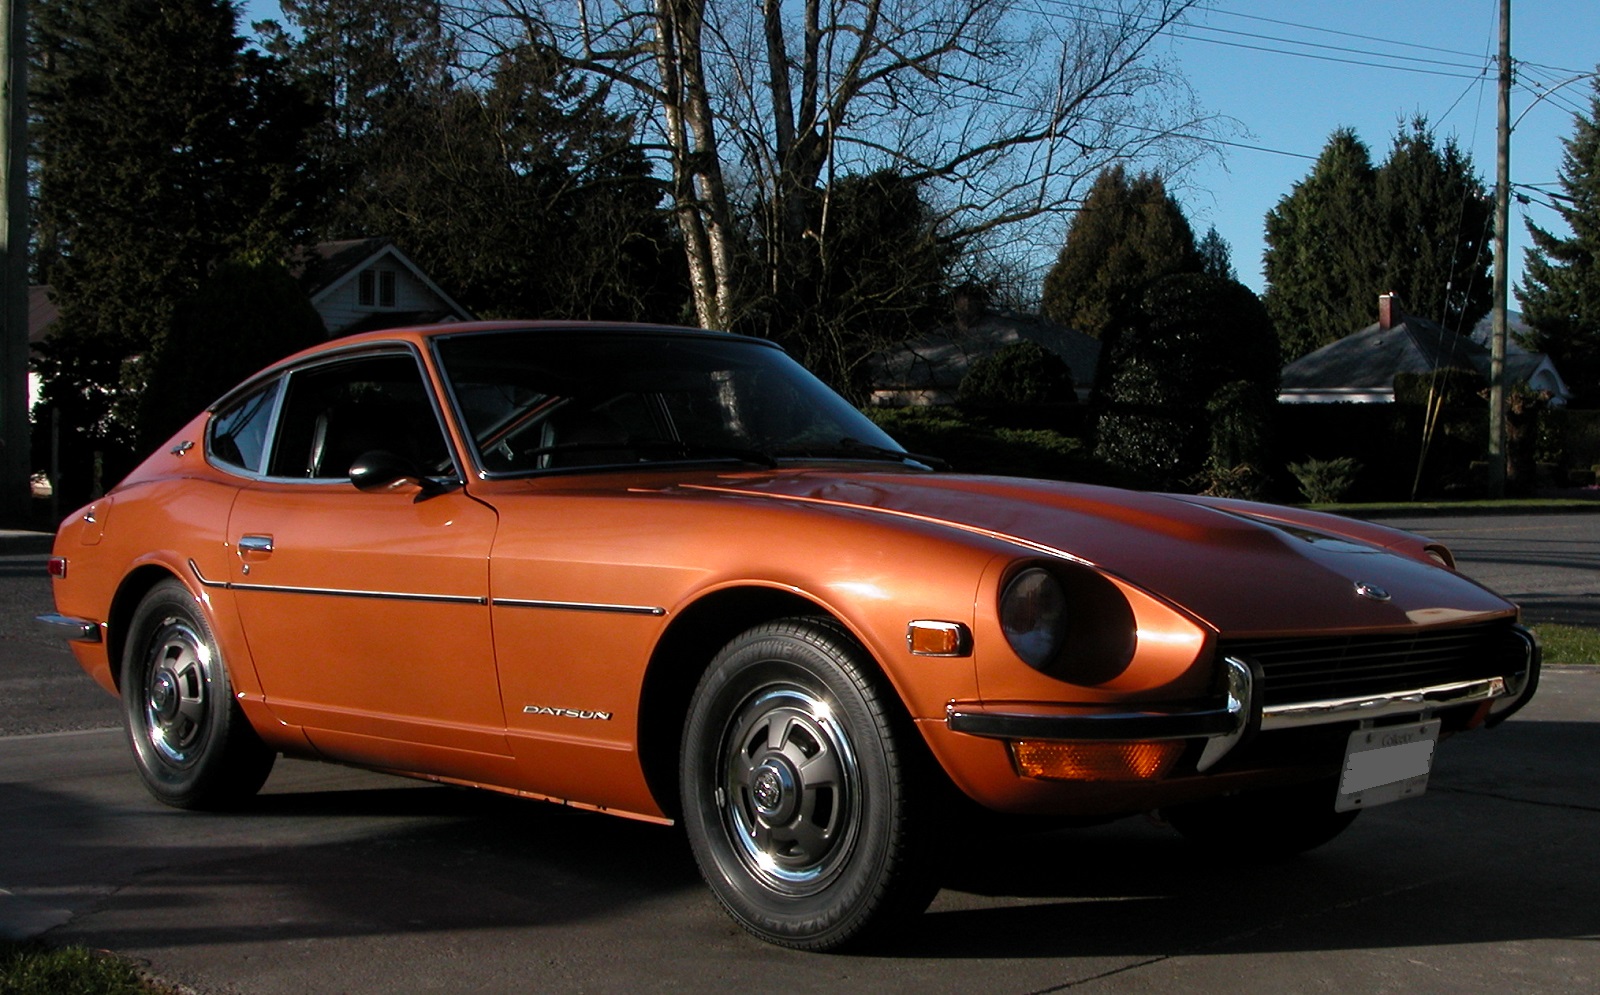
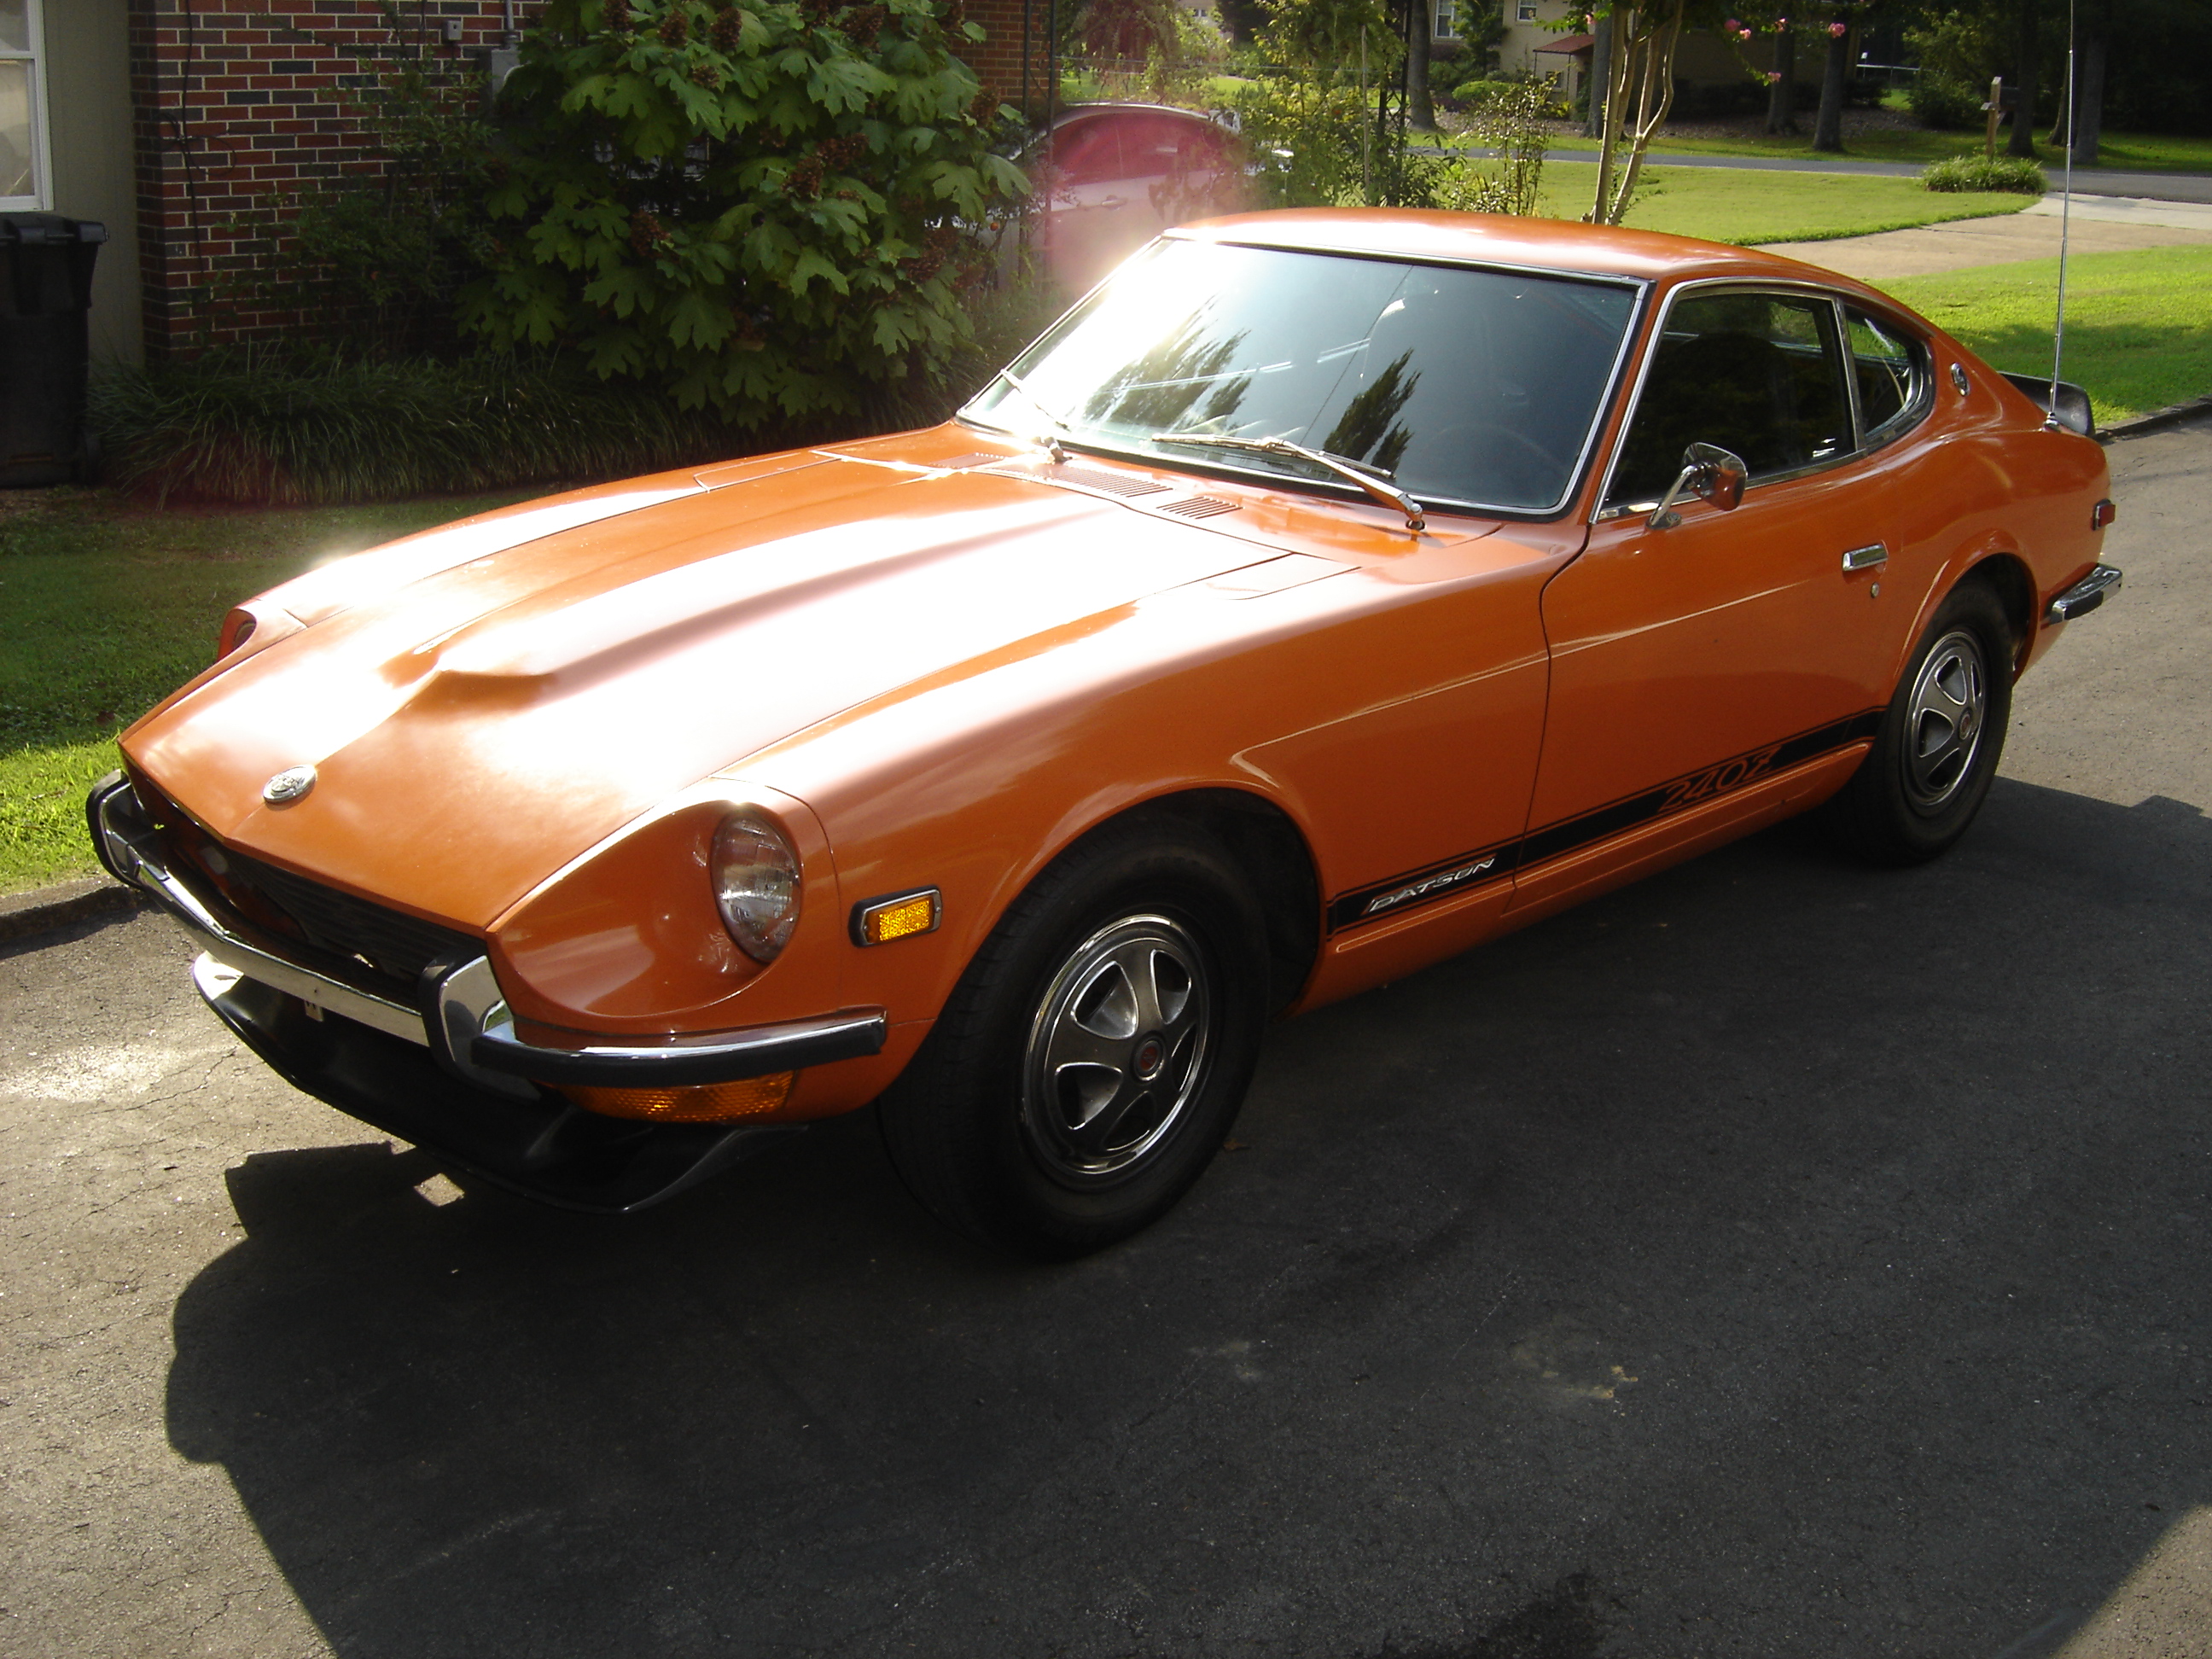
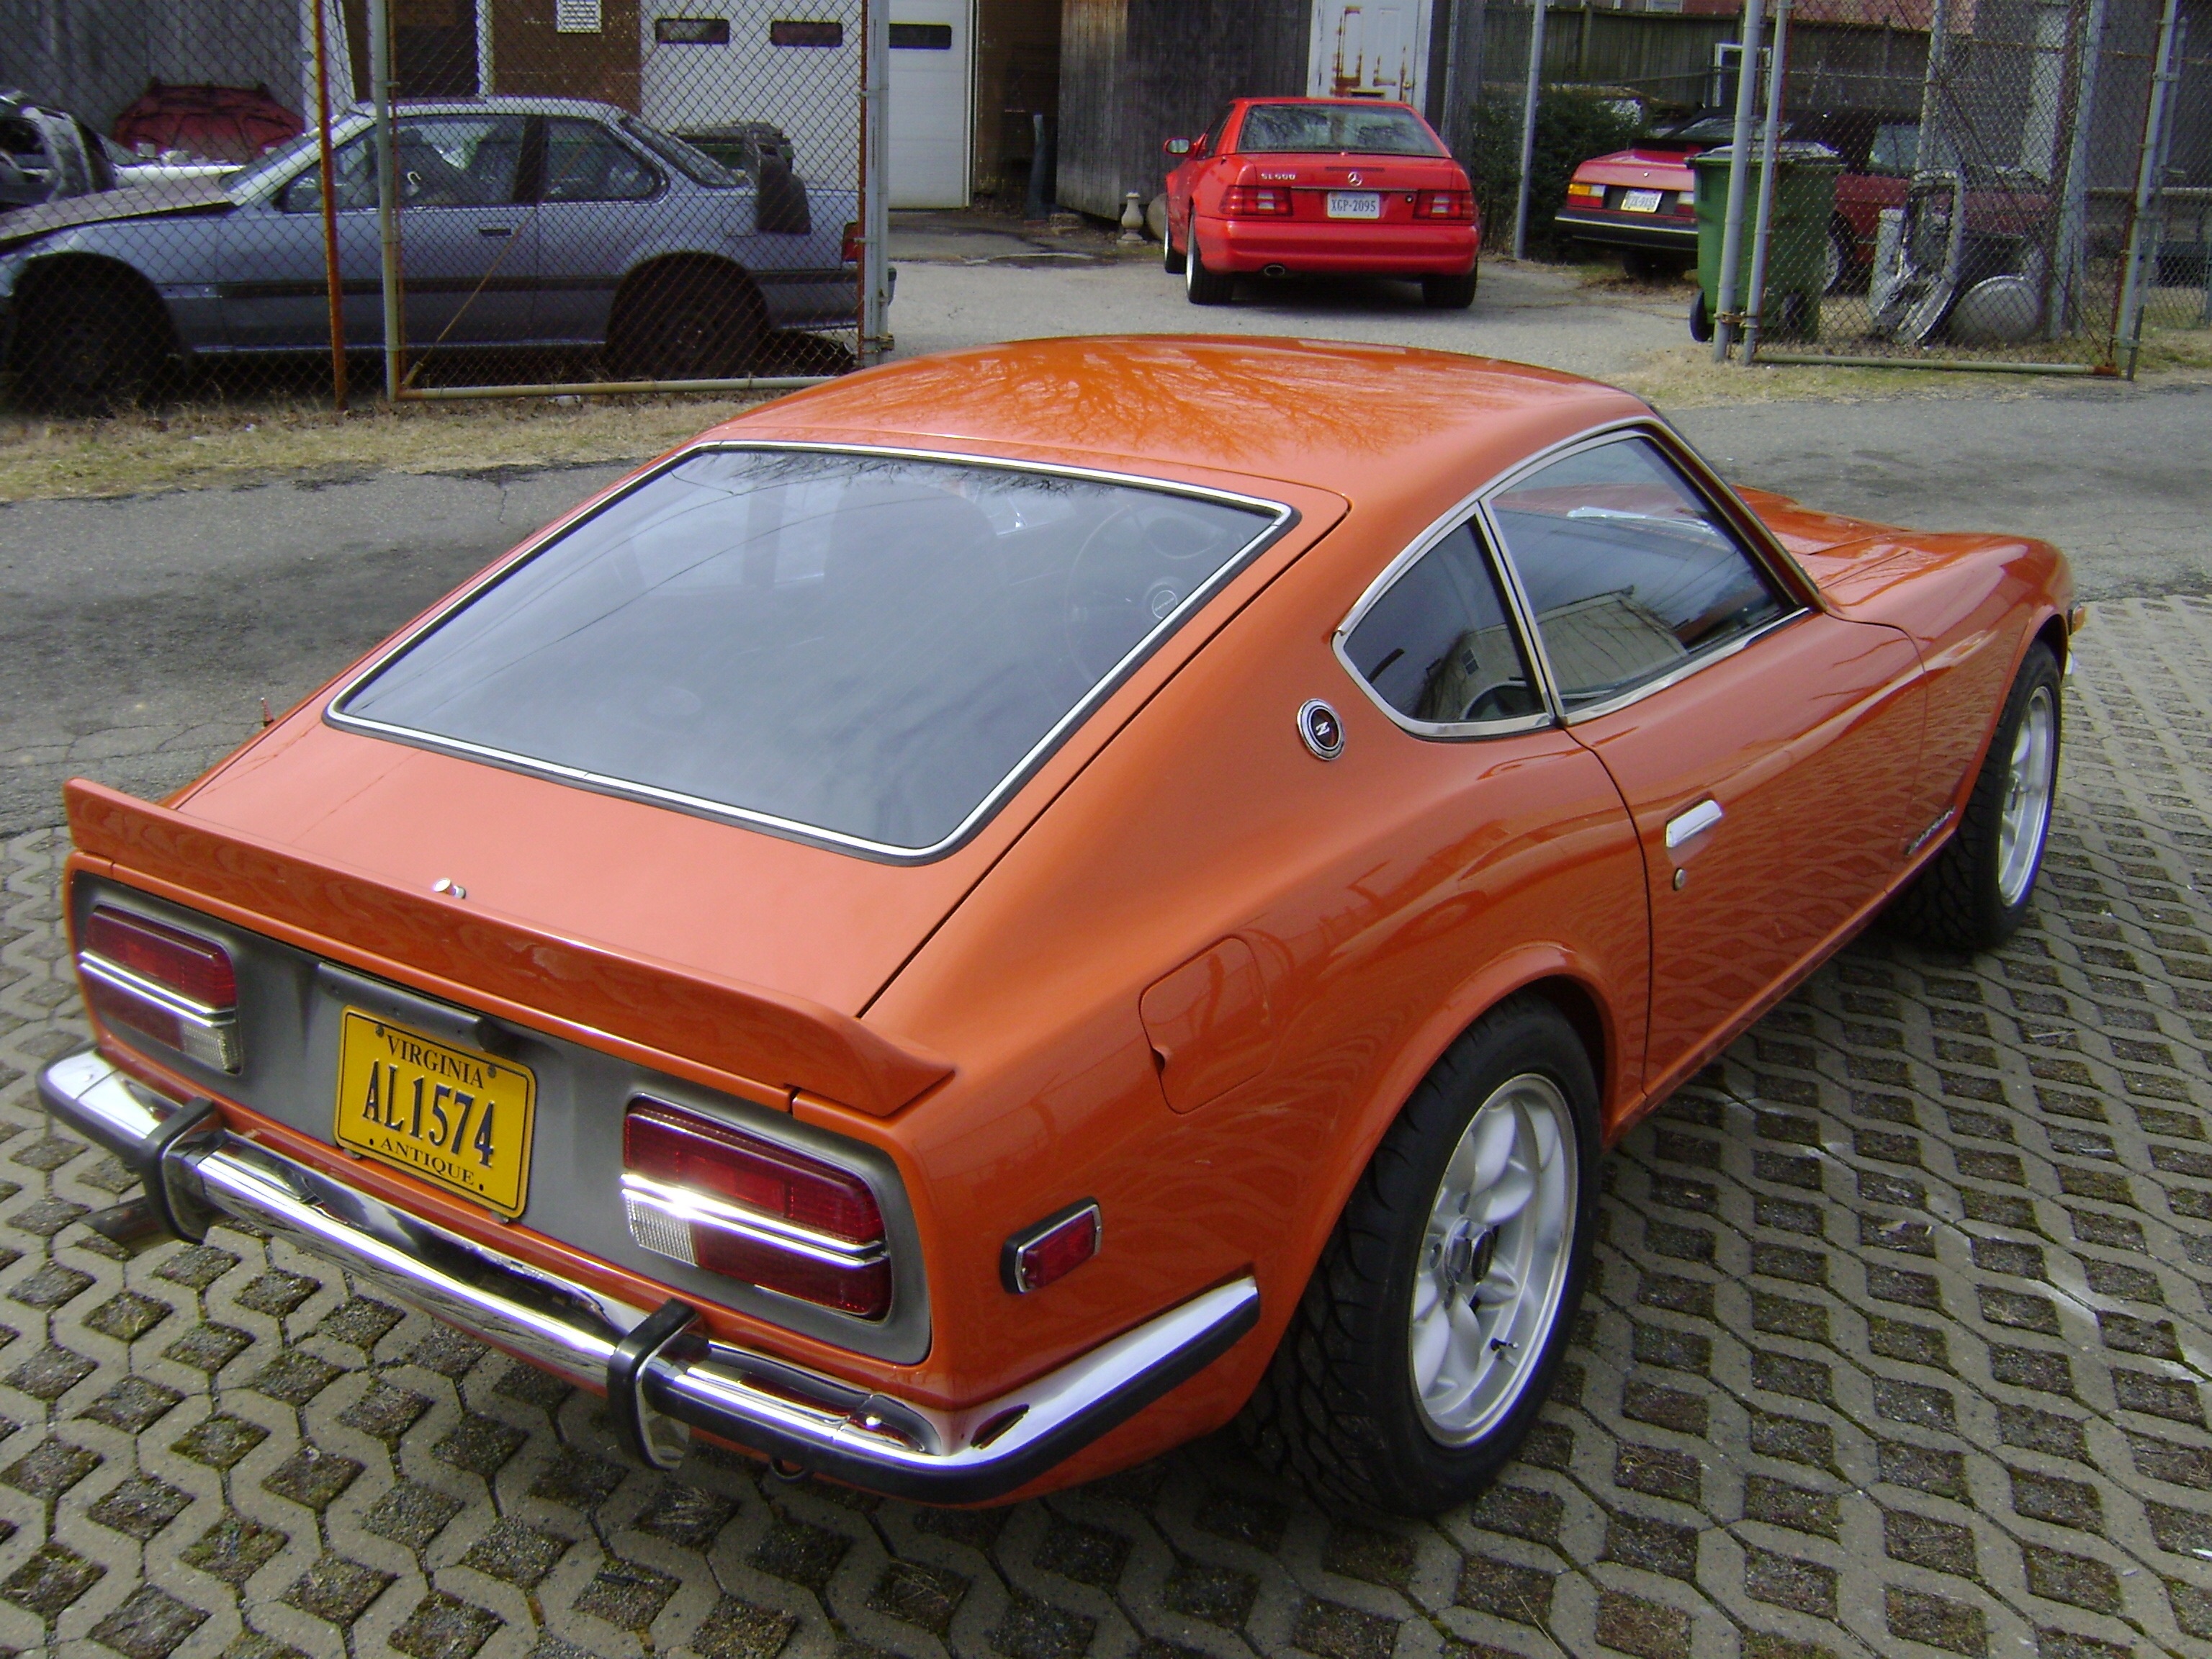
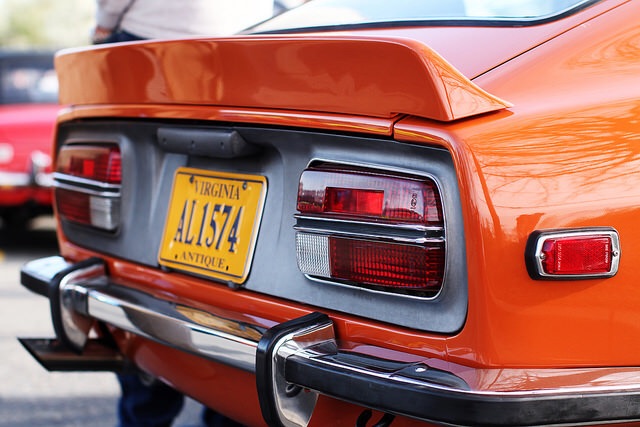
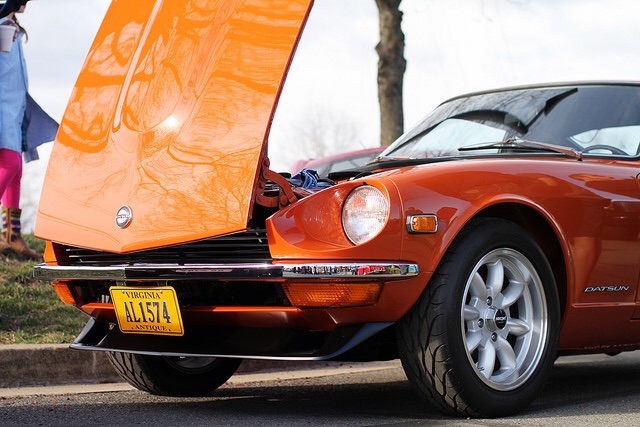


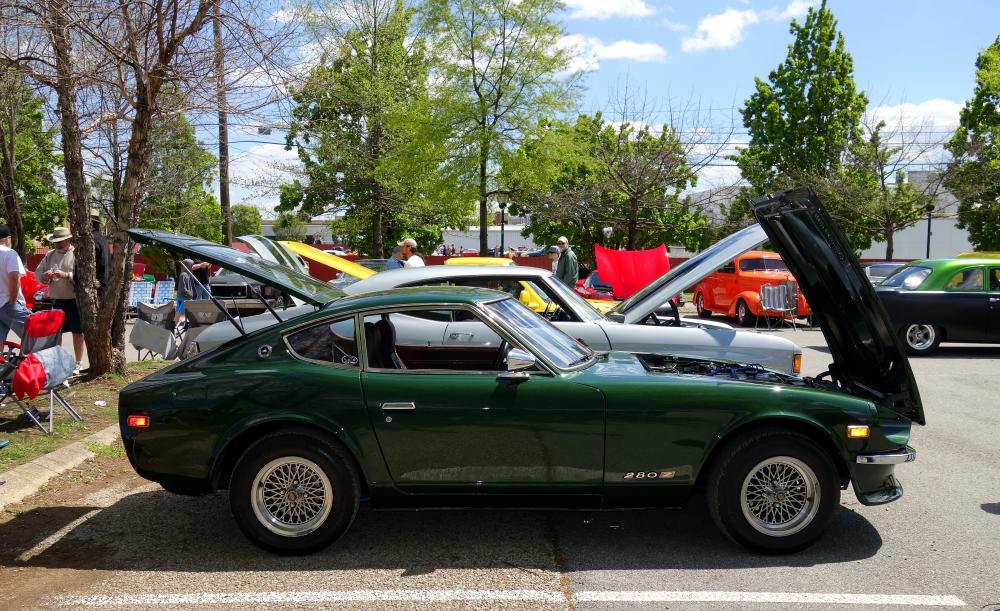
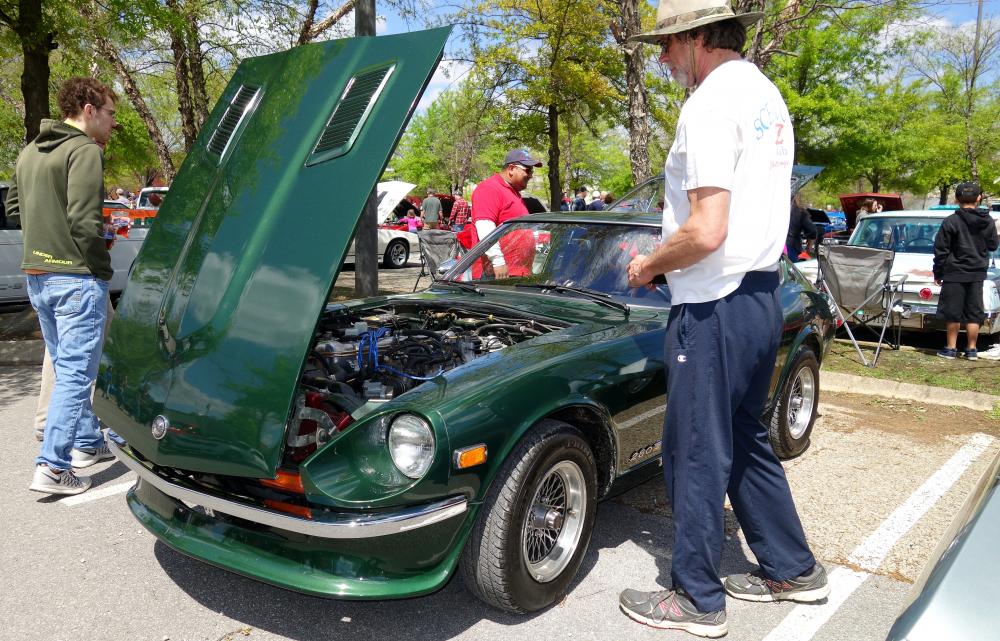
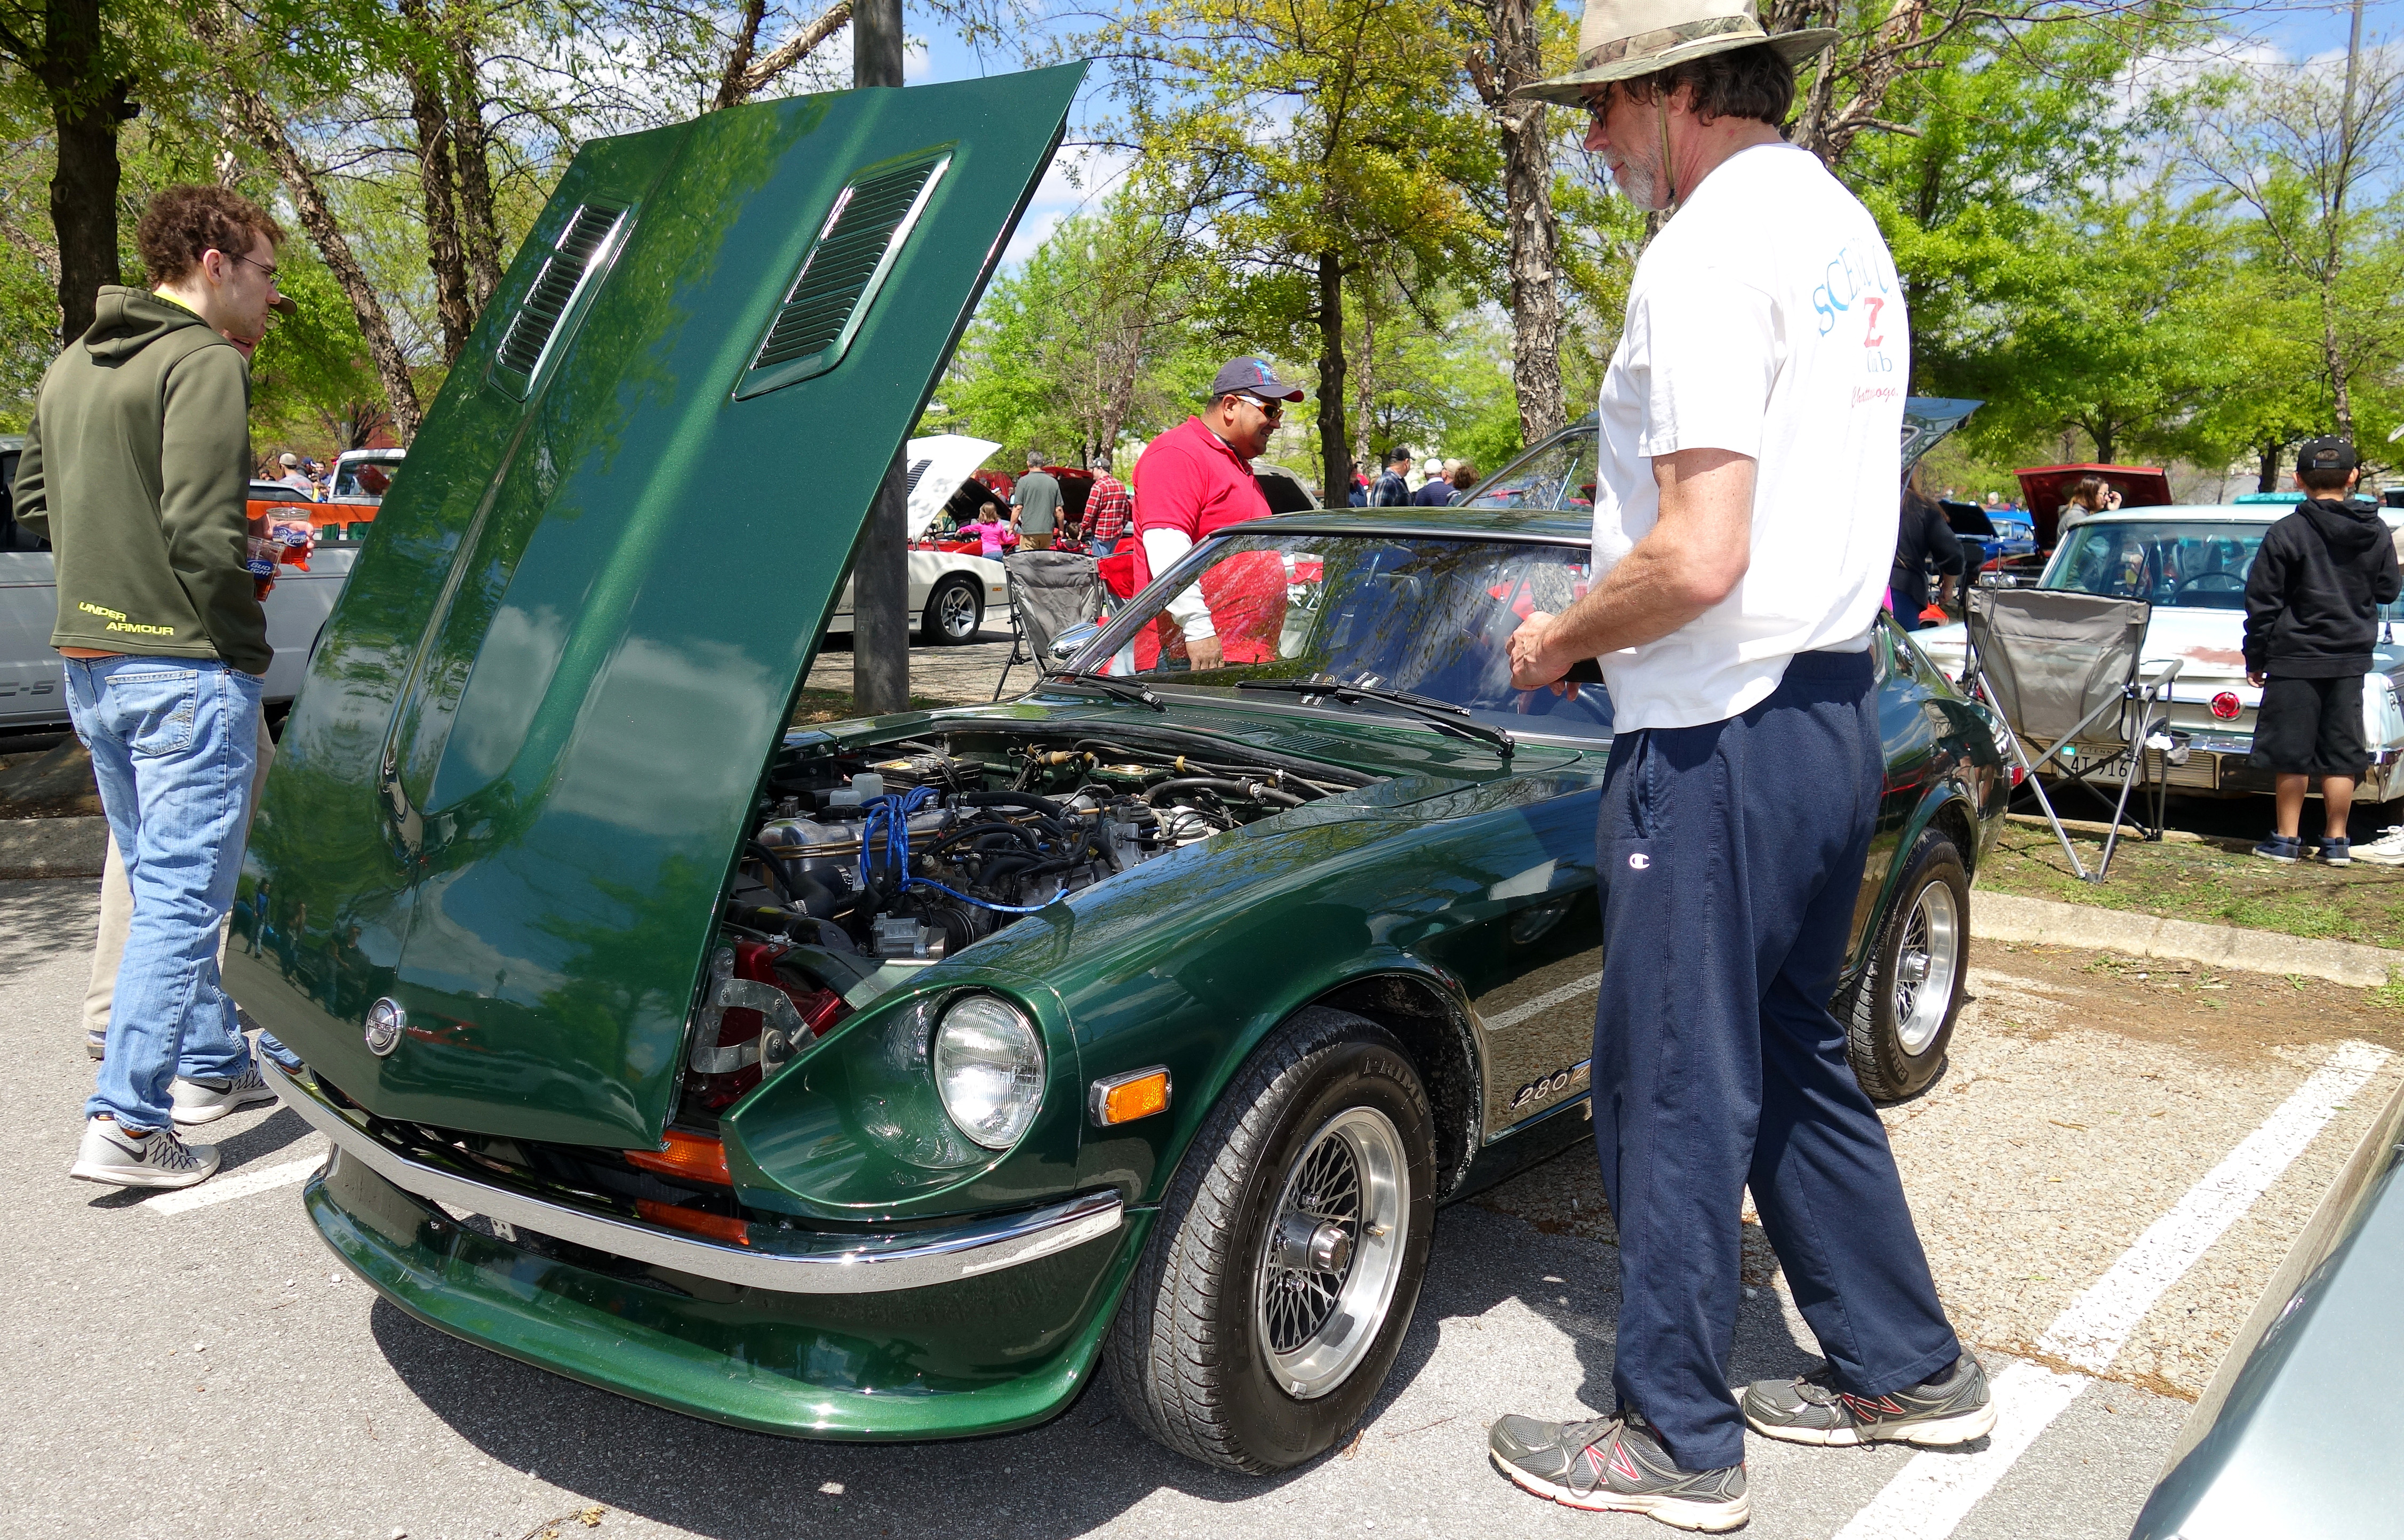
 1 point1 point1 pointPut my 77' in it's first car show today. Got a lot of love from a lot of folks!
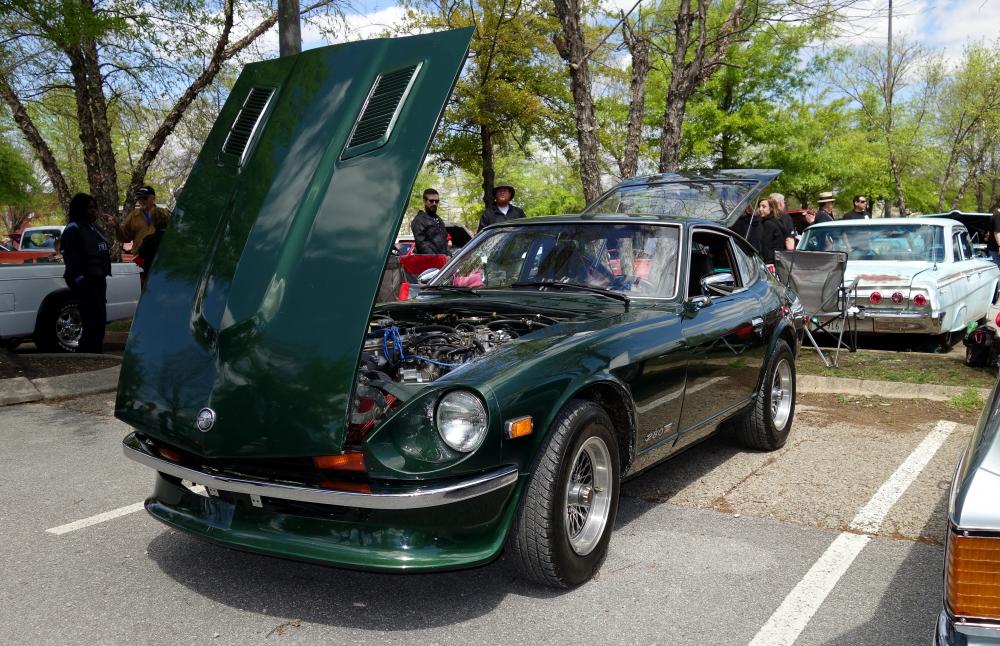
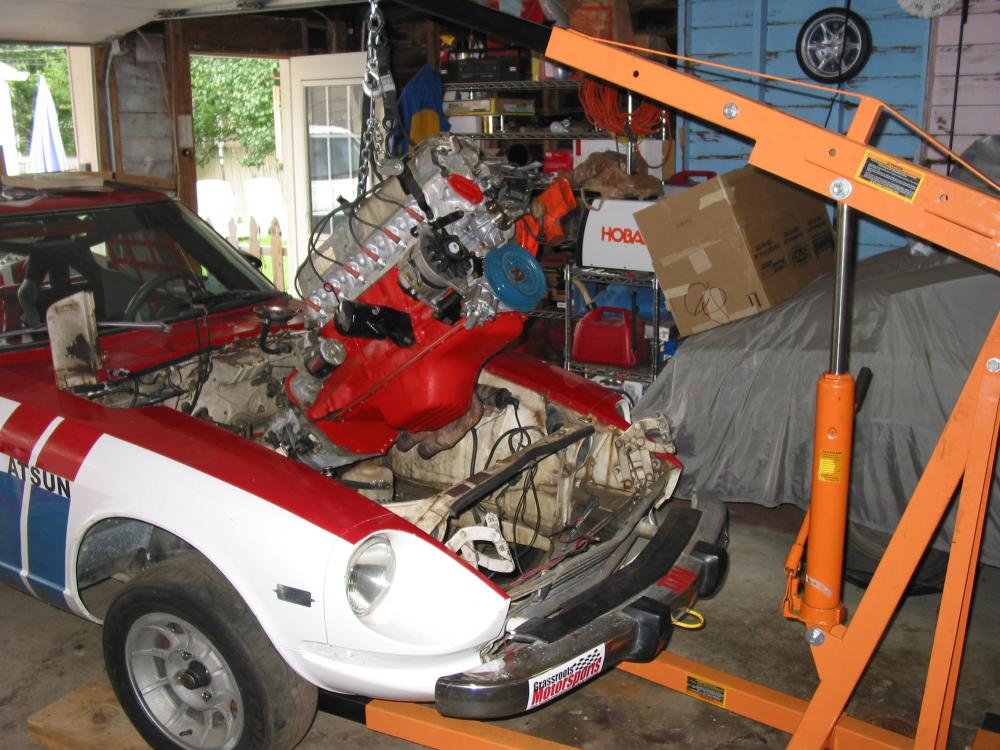
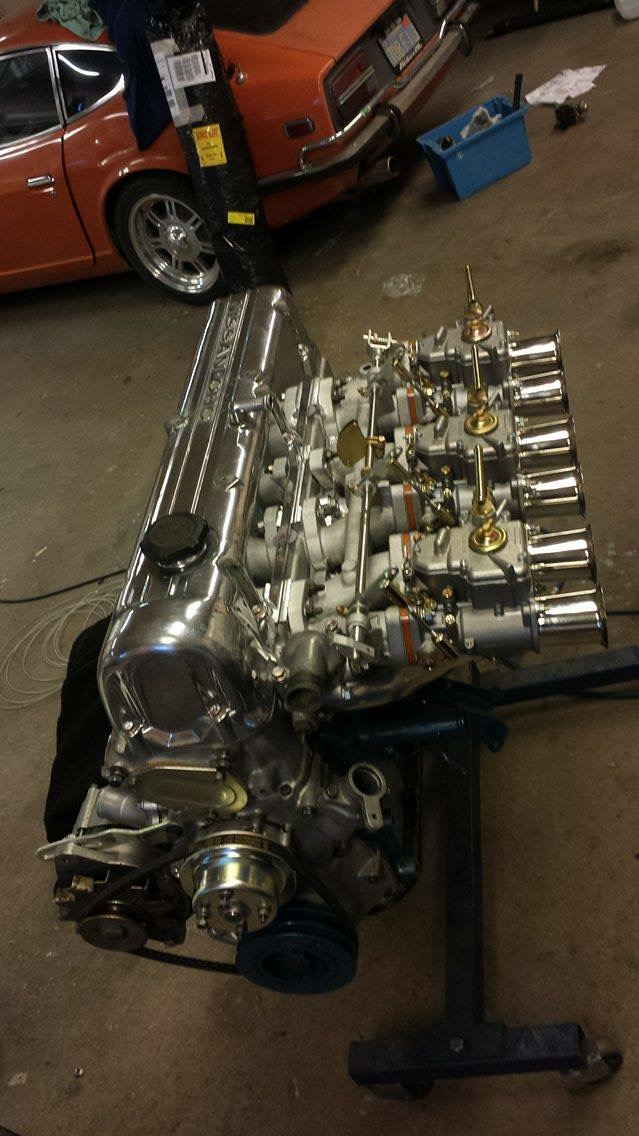
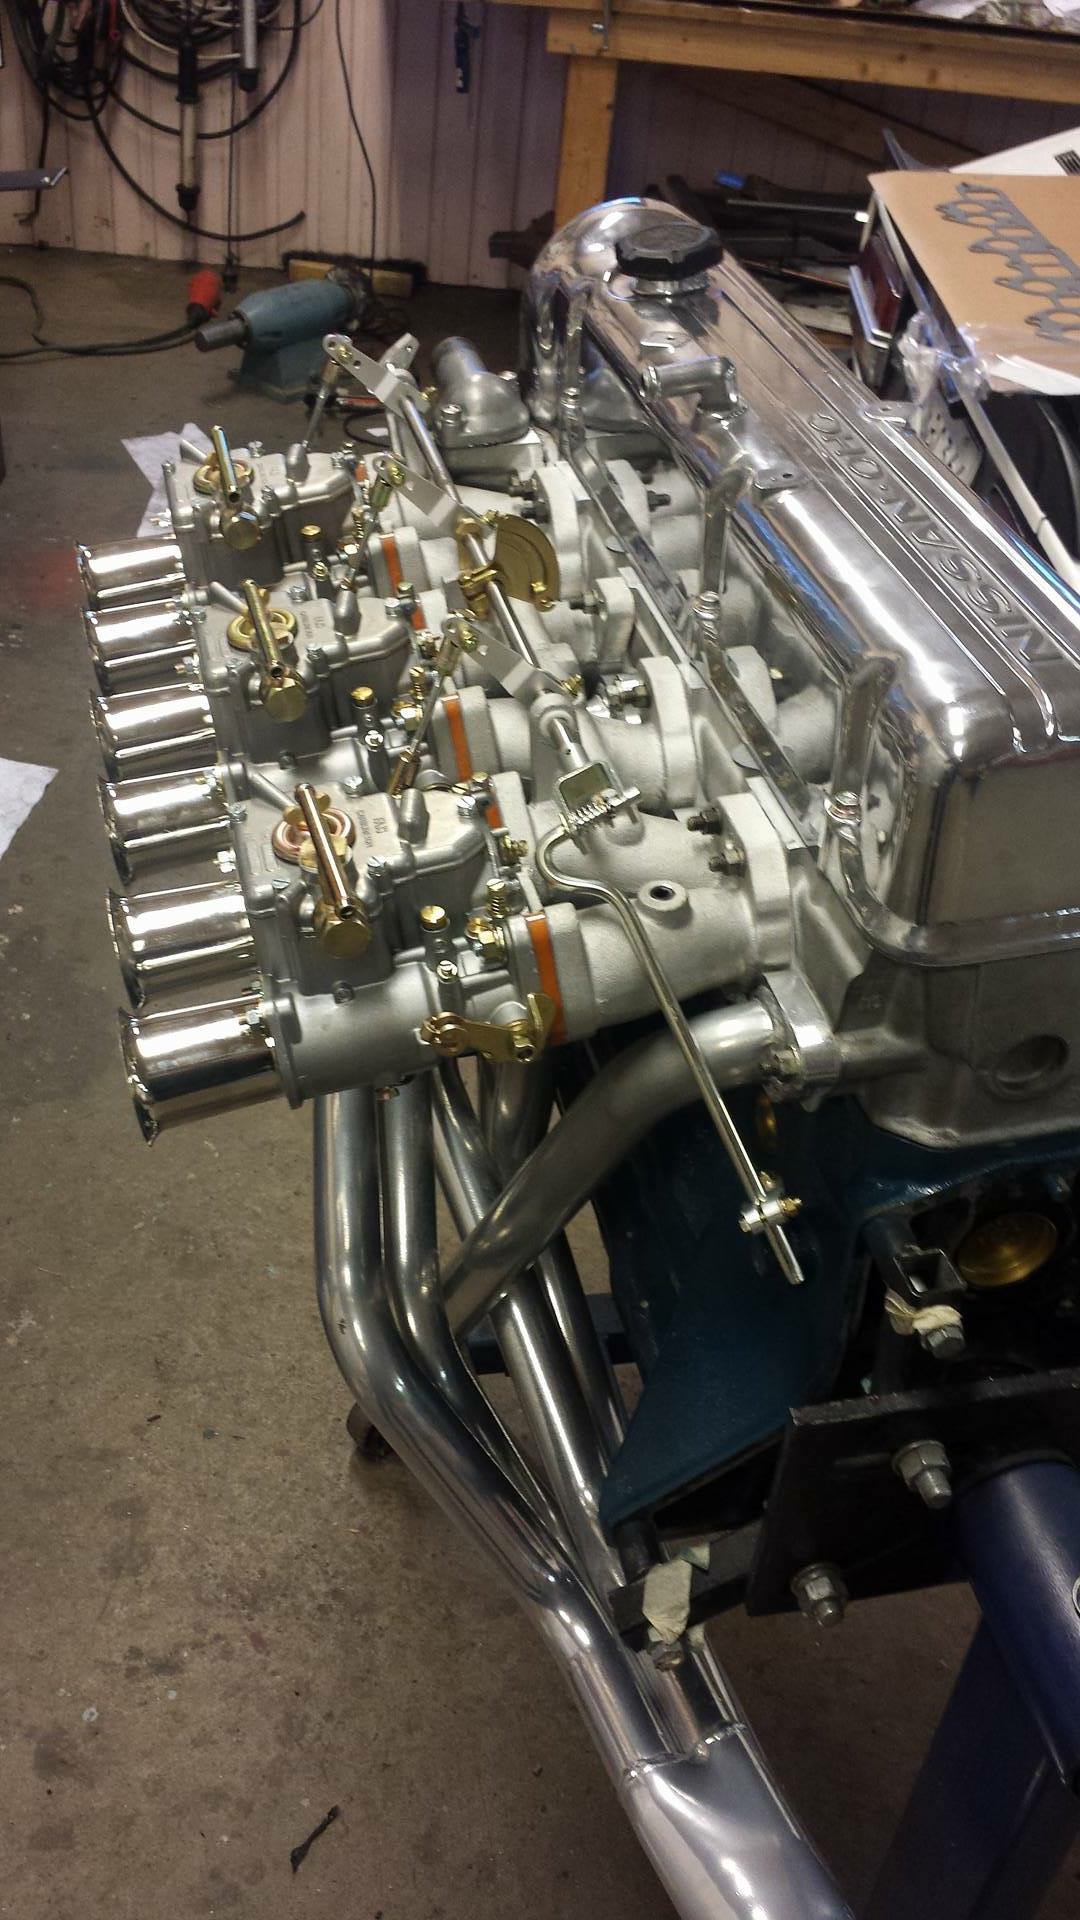
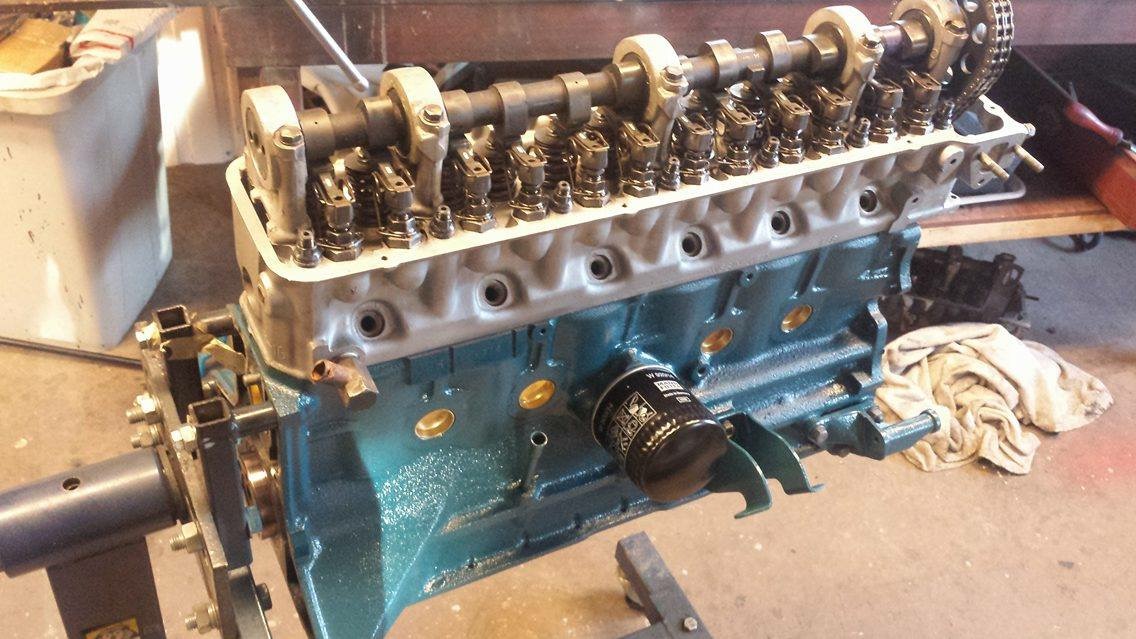
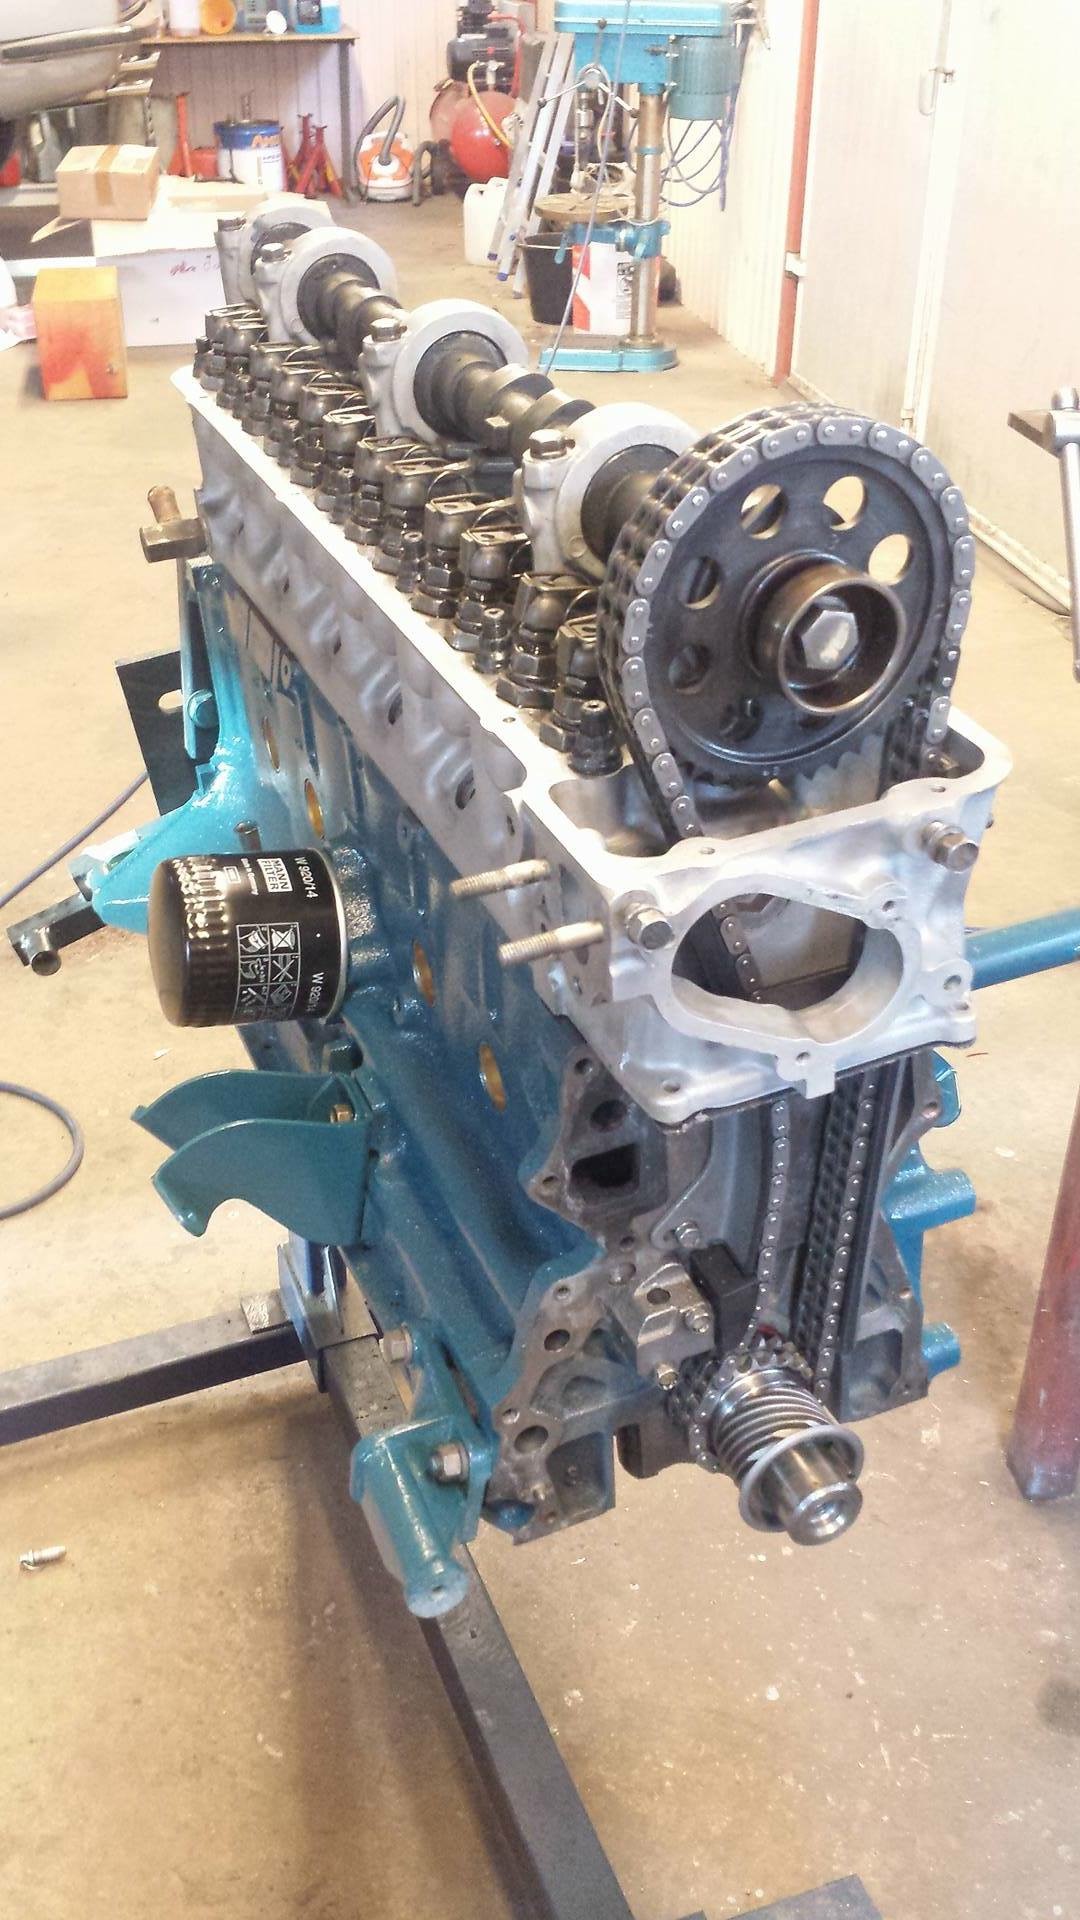
 1 point1 pointEveryone, I just listed my 240Z on ebay. http://www.ebay.com/itm/-/262364545121? Thanks, and pm me if you want more information.1 point1 pointDon't change gearing to fix an exhaust problem. Add an 18" resonator in the tunnel.1 pointYES Cliff, it is easier to install with the header while the engine is out of the car. I roll the stand to the side so the flanges are up at a 45 degree angle for easier access. I then install the carbs and even the air cleaner assembly before decking the powertrain. It's very easy to make sure everything is properly tightened when it's looking right at you. I've done it this was about 15 times over the past 35 years in various Z cars.
 1 point


Important Information
By using this site, you agree to our Privacy Policy and Guidelines. We have placed cookies on your device to help make this website better. You can adjust your cookie settings, otherwise we'll assume you're okay to continue.
Account
Search
Configure browser push notifications
Chrome (Android)
- Tap the lock icon next to the address bar.
- Tap Permissions → Notifications.
- Adjust your preference.
Chrome (Desktop)
- Click the padlock icon in the address bar.
- Select Site settings.
- Find Notifications and adjust your preference.
Safari (iOS 16.4+)
- Ensure the site is installed via Add to Home Screen.
- Open Settings App → Notifications.
- Find your app name and adjust your preference.
Safari (macOS)
- Go to Safari → Preferences.
- Click the Websites tab.
- Select Notifications in the sidebar.
- Find this website and adjust your preference.
Edge (Android)
- Tap the lock icon next to the address bar.
- Tap Permissions.
- Find Notifications and adjust your preference.
Edge (Desktop)
- Click the padlock icon in the address bar.
- Click Permissions for this site.
- Find Notifications and adjust your preference.
Firefox (Android)
- Go to Settings → Site permissions.
- Tap Notifications.
- Find this site in the list and adjust your preference.
Firefox (Desktop)
- Open Firefox Settings.
- Search for Notifications.
- Find this site in the list and adjust your preference.