All Activity
- Past hour
-
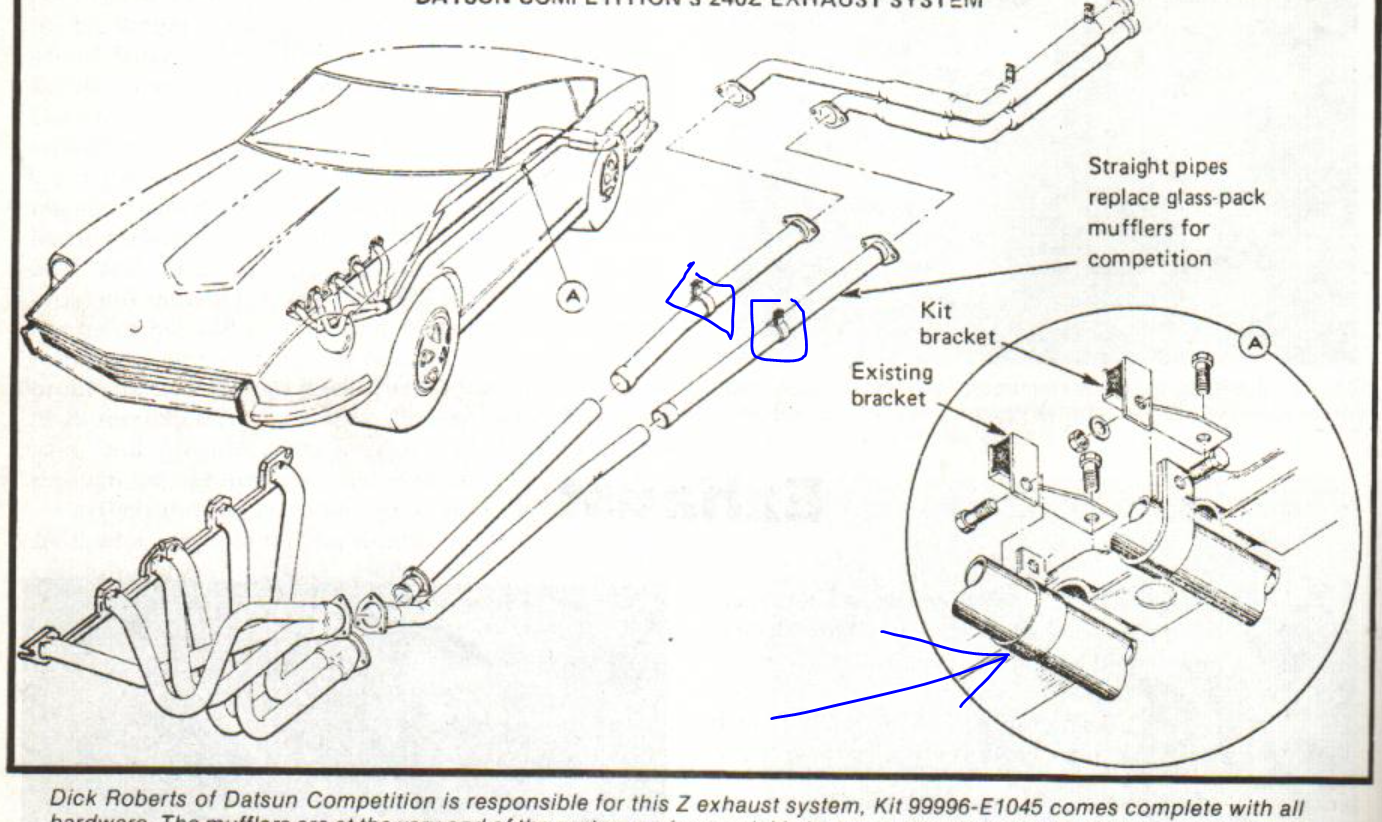
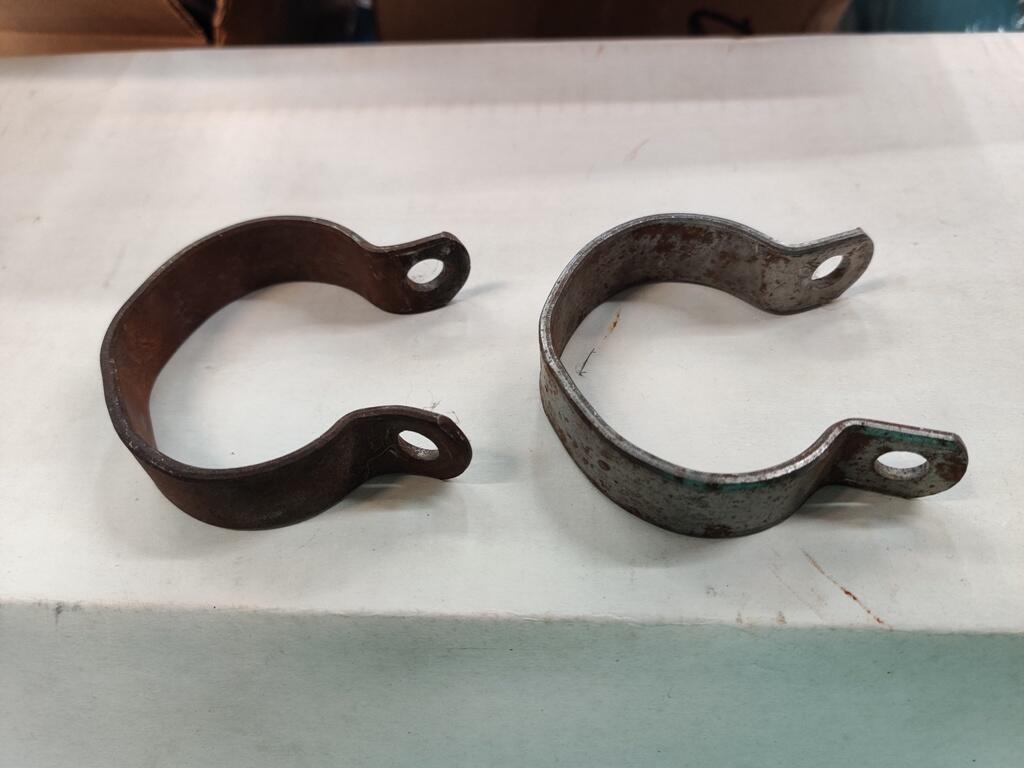
 Price is $10 plus shipping for both brackets These are original Datsun Competition exhaust system brackets. Figured I would see if anyone needs them before I toss them in the trash. PM me with questions.

-
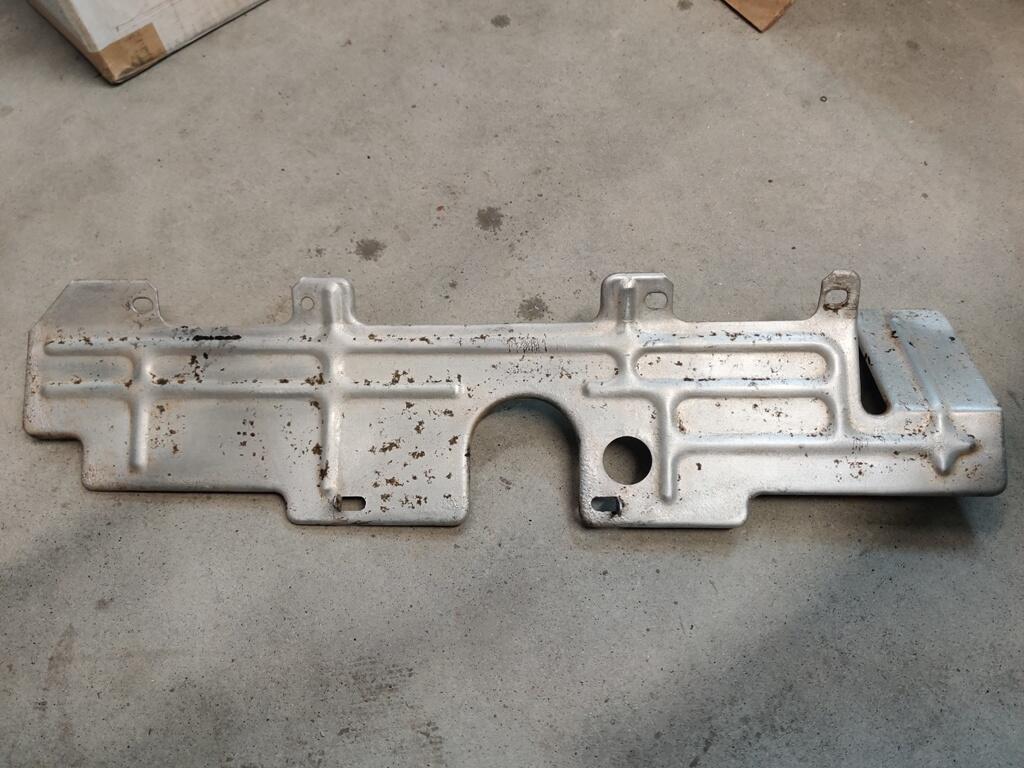
Price is $50 plus shipping Stock 1971 240z carburetor Heat Shield - I think this is what you need for the 1970-1972 Z's. PM me with questions. ---Garrett In very good condition:
-
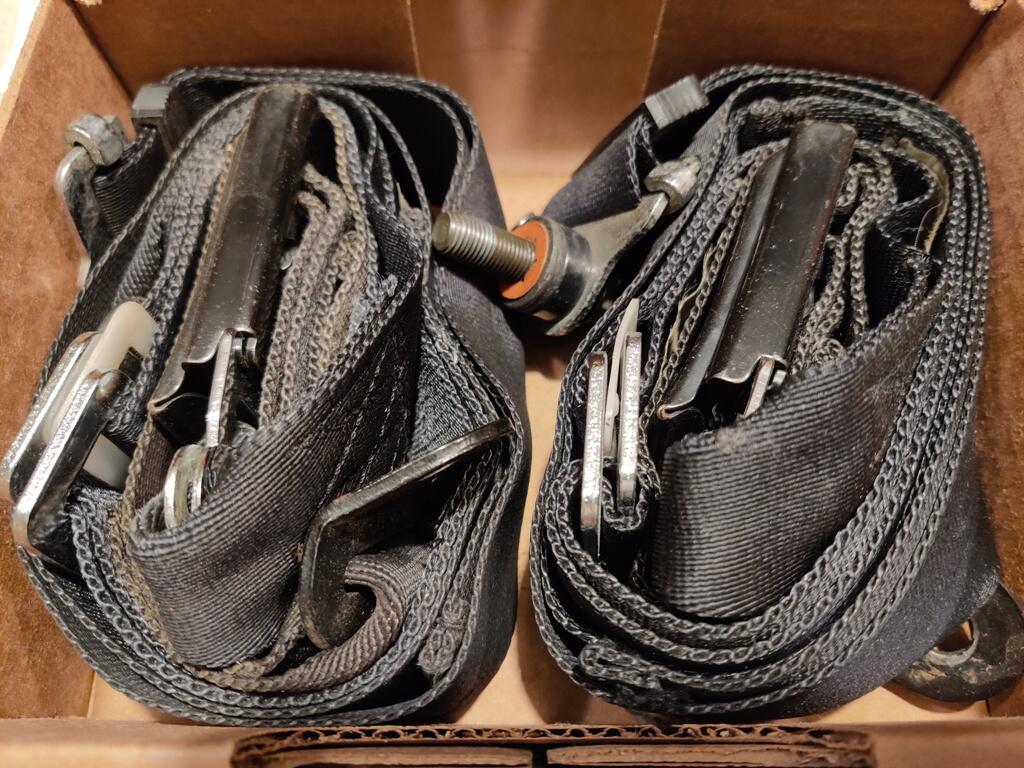
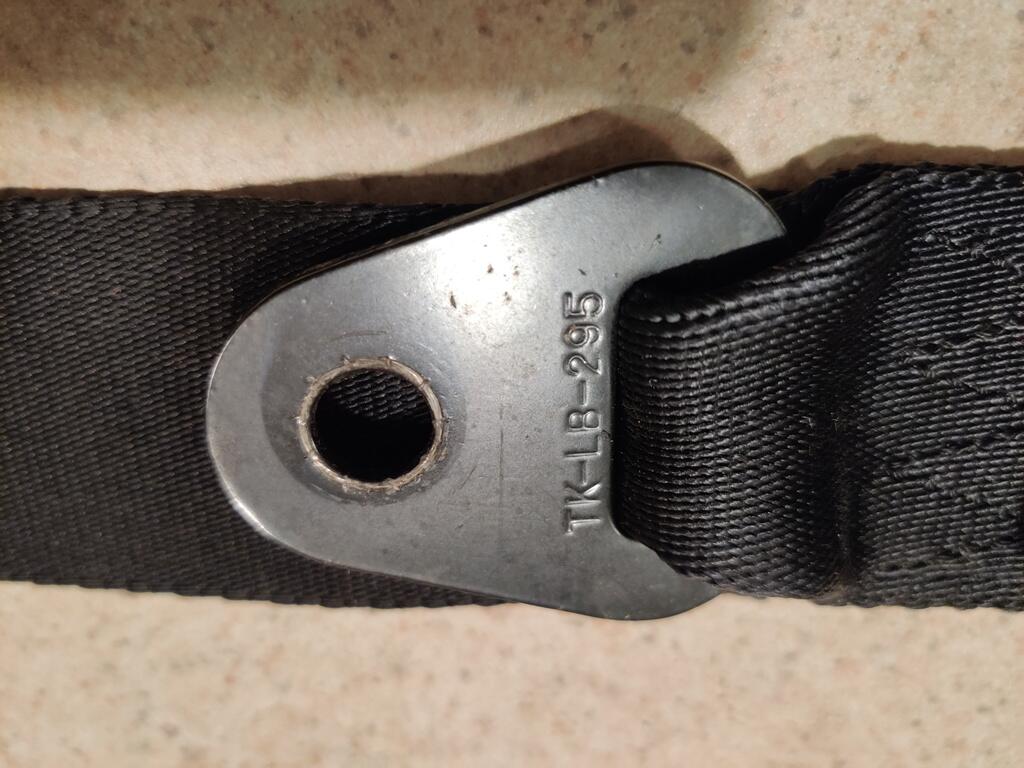
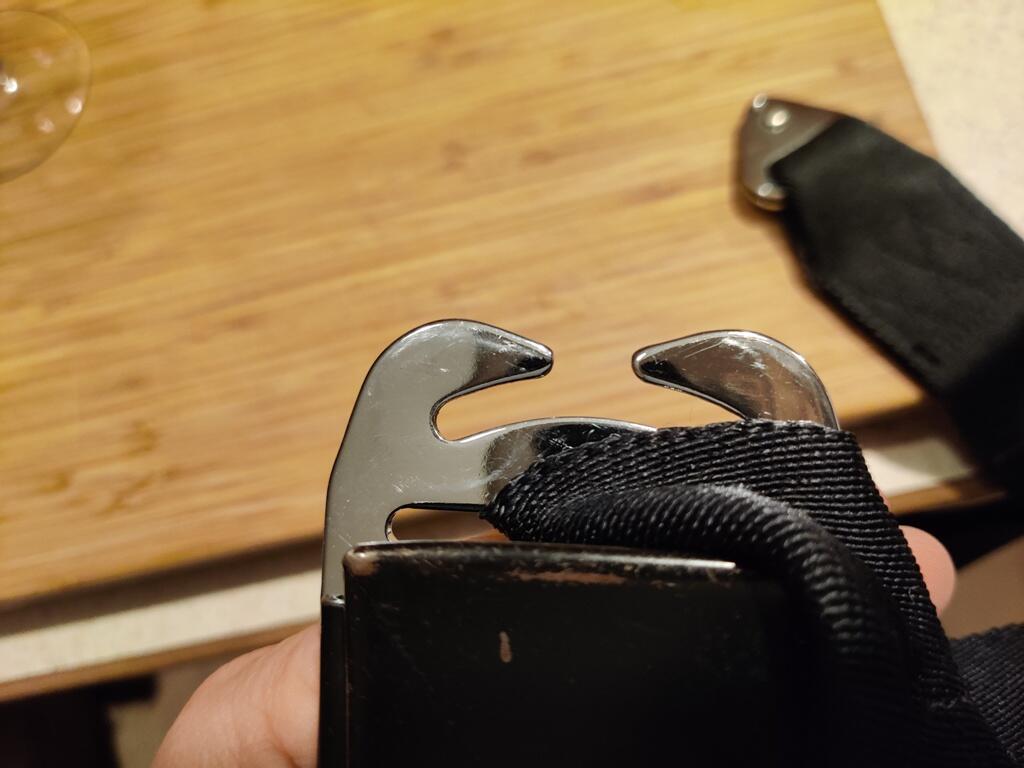
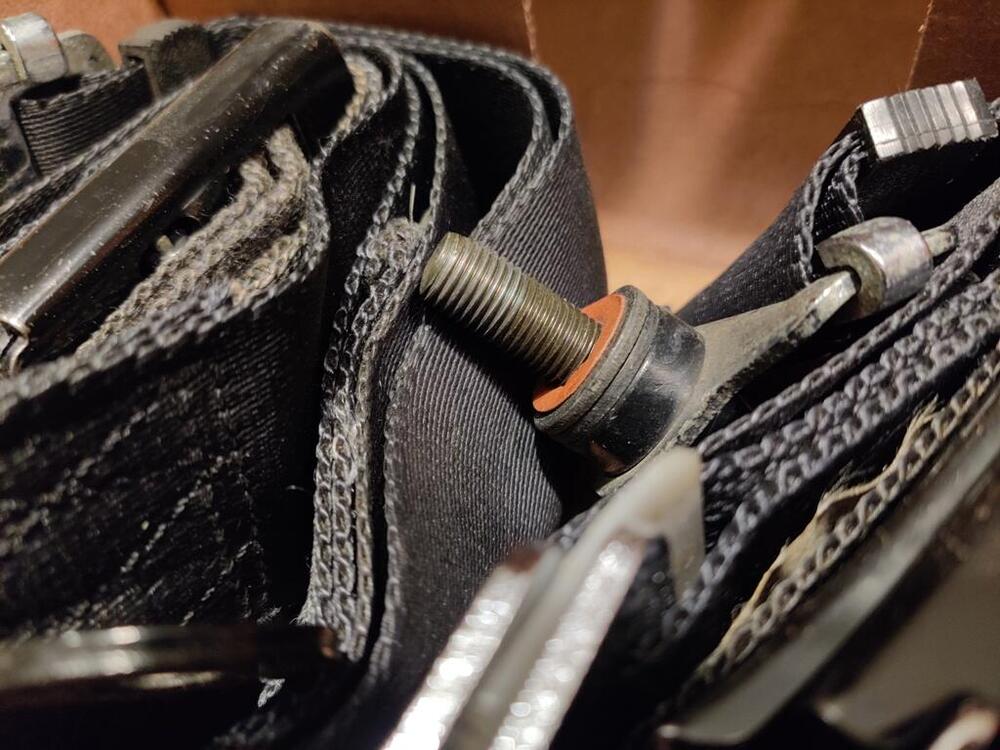
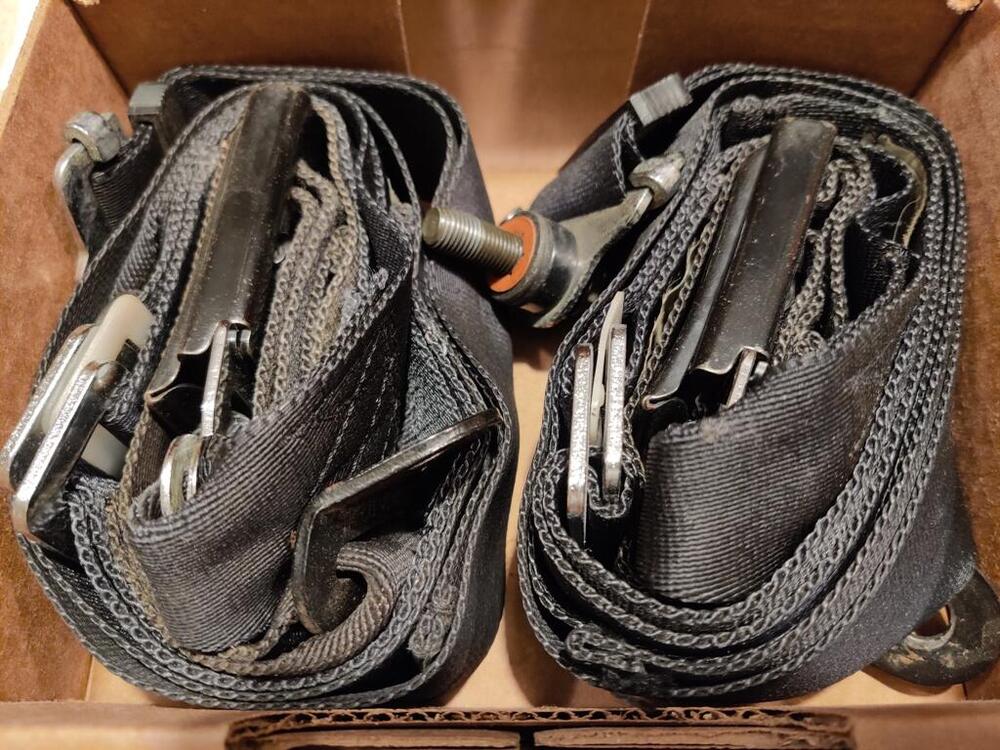
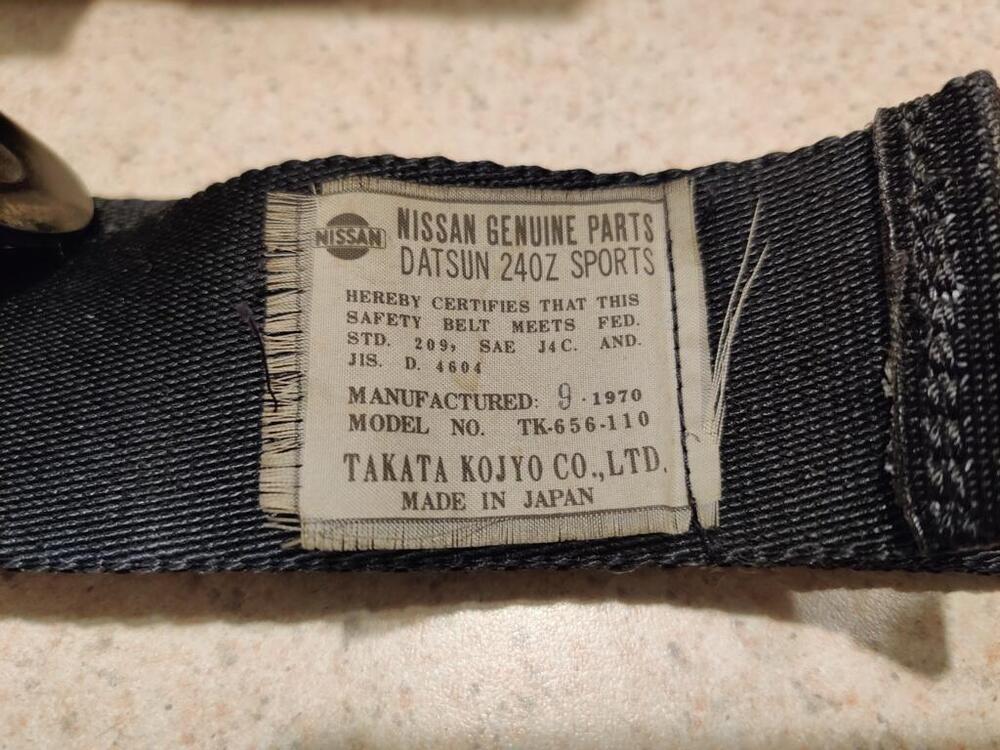
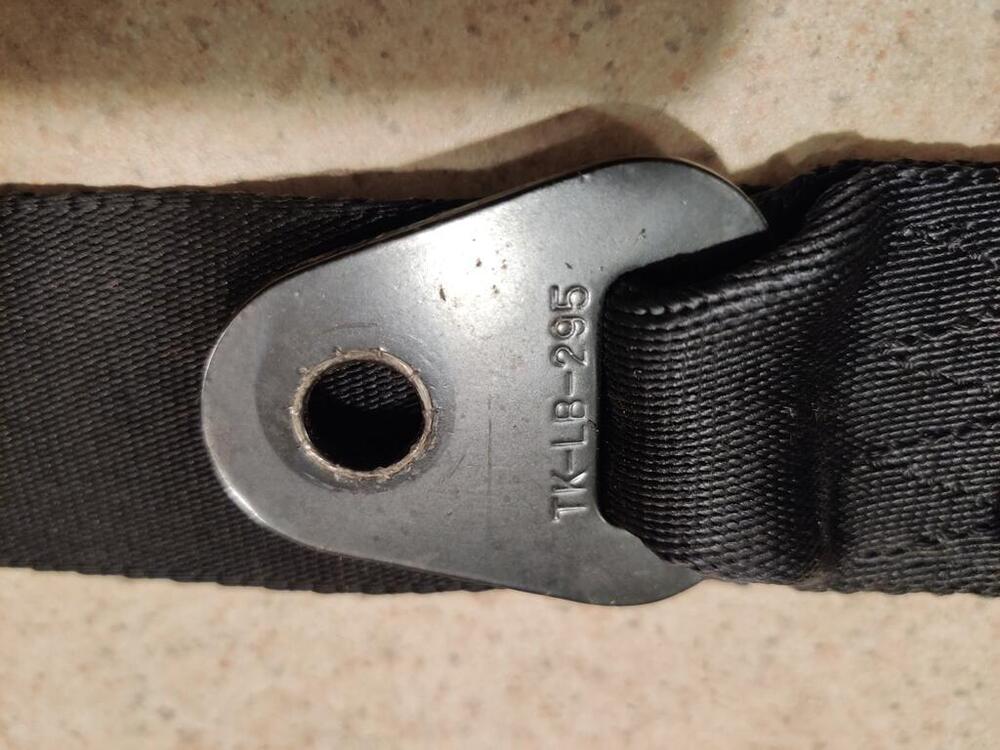
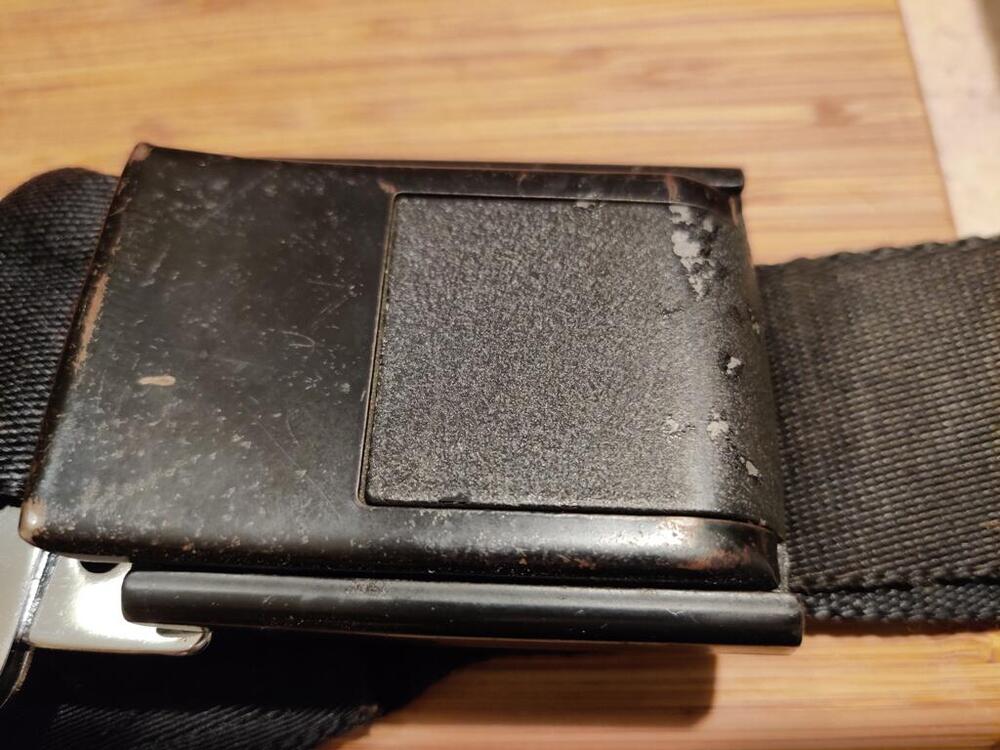
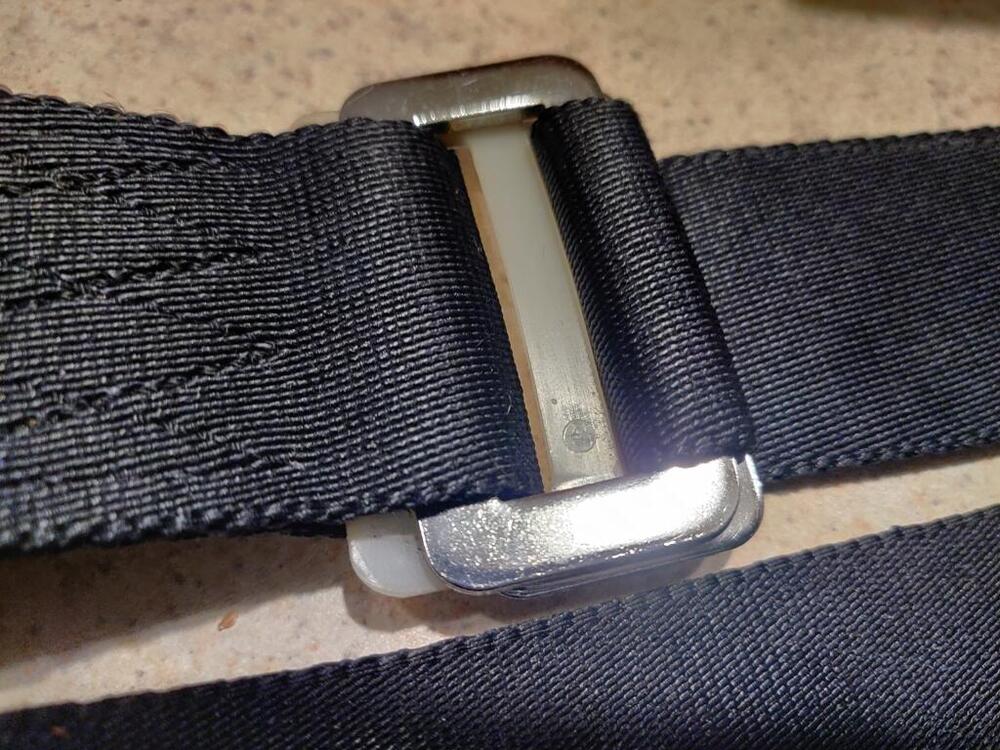
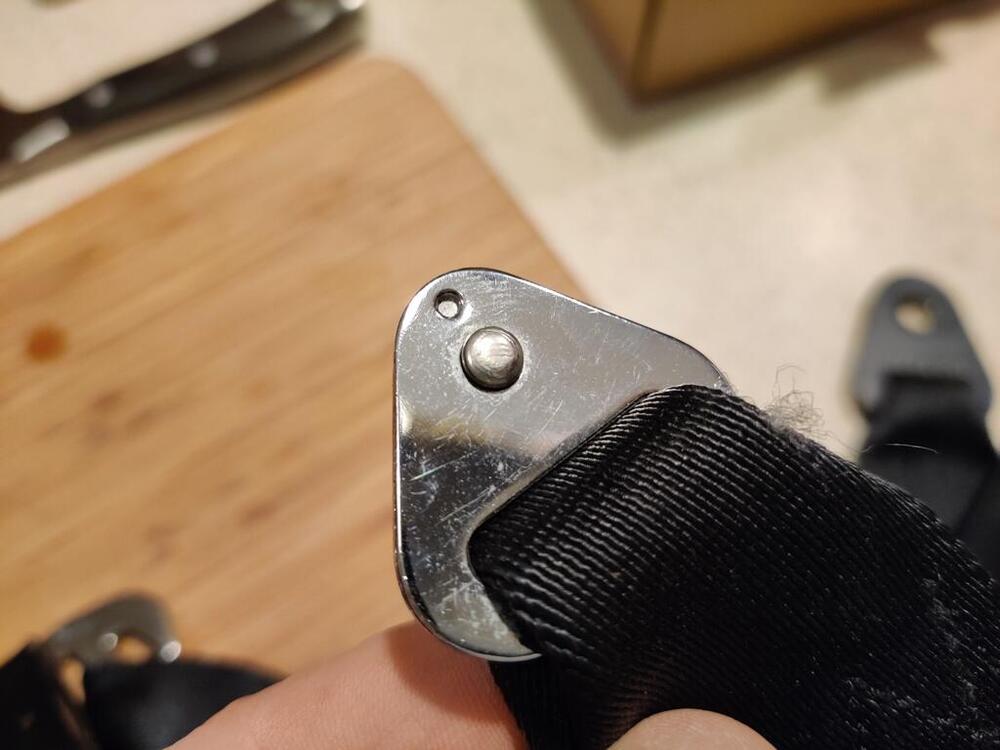
Price for the set is $400 for this complete set of seat belts Complete, original Datsun 240z seat belt set from 9/70 in what appears to be very good condition. The webbing is is excellent condition. Chrome looks very good. Buckles are fully functional. Even mounting hardware is present! PM me with questions, additional picture requests, etc.

-
 Apple Pie (1975) Funky street dance scene in NYC, music by Hall & Oates. Looks like 1974-ish 240z.....?
-
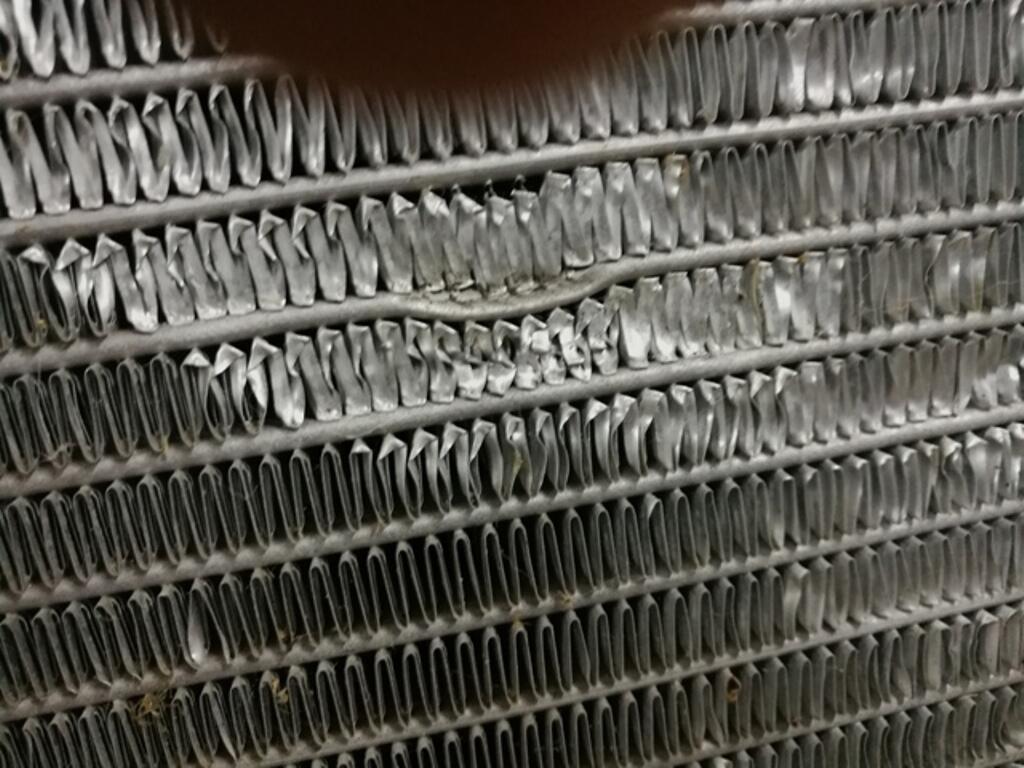
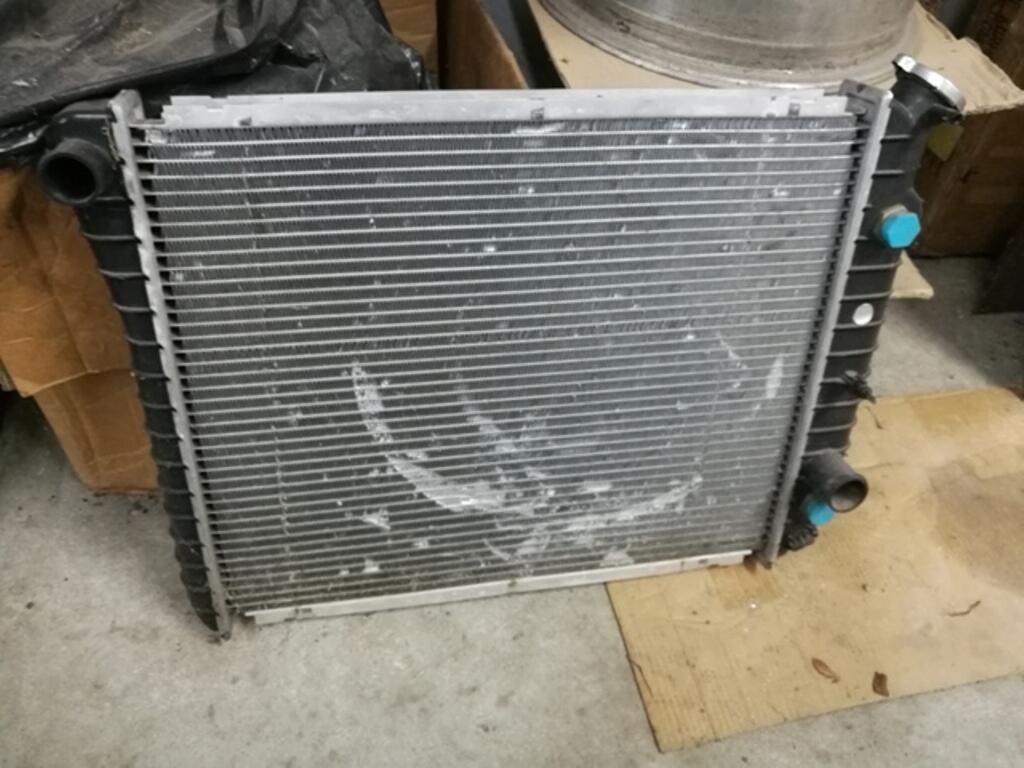
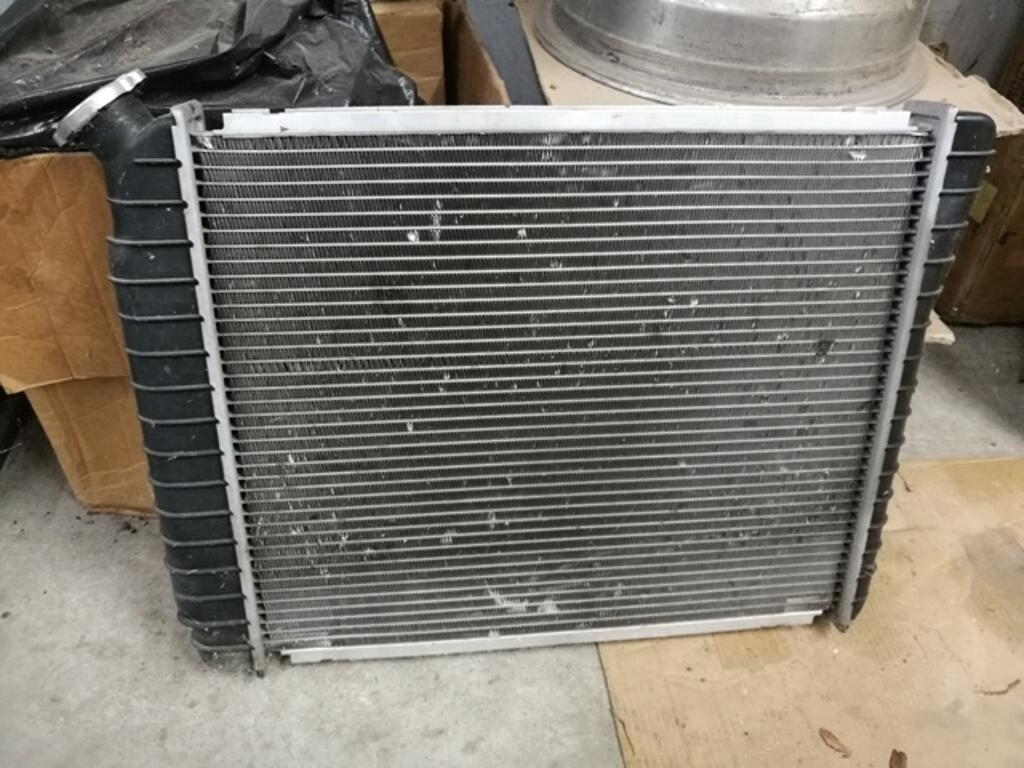
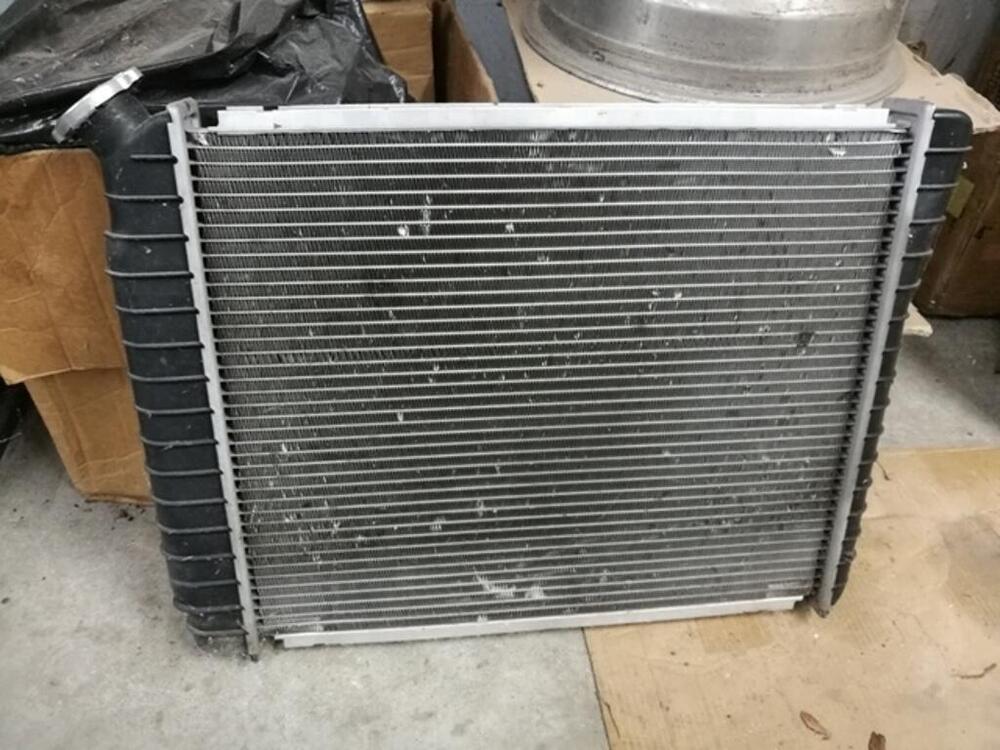
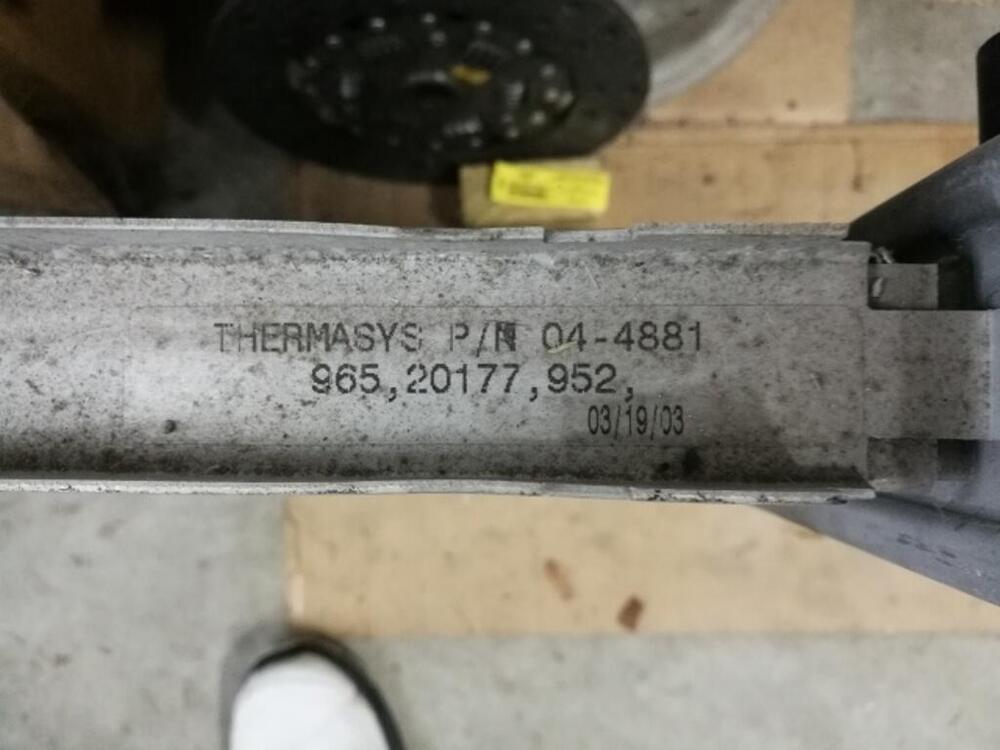
Price for the radiator, mounting brackets and hardware is $50 plus shipping Originally purchased from and now discontinued by Jagsthatrun.com. This radiator features a core with two extra large cooling passages. You get the radiator, mounting brackets and mounting hardware. Not pictured below but pictured here are the mounting brackets: http://jagsthatrun.com/products/v8-datsun-radiator-mounting-bracket-kit See this PDF supplied by JTR for more information about this radiator: https://cdn.shopify.com/s/files/1/2586/1438/files/V8-DatsunZ-Cooling-System.pdf?16627445939611620968


-
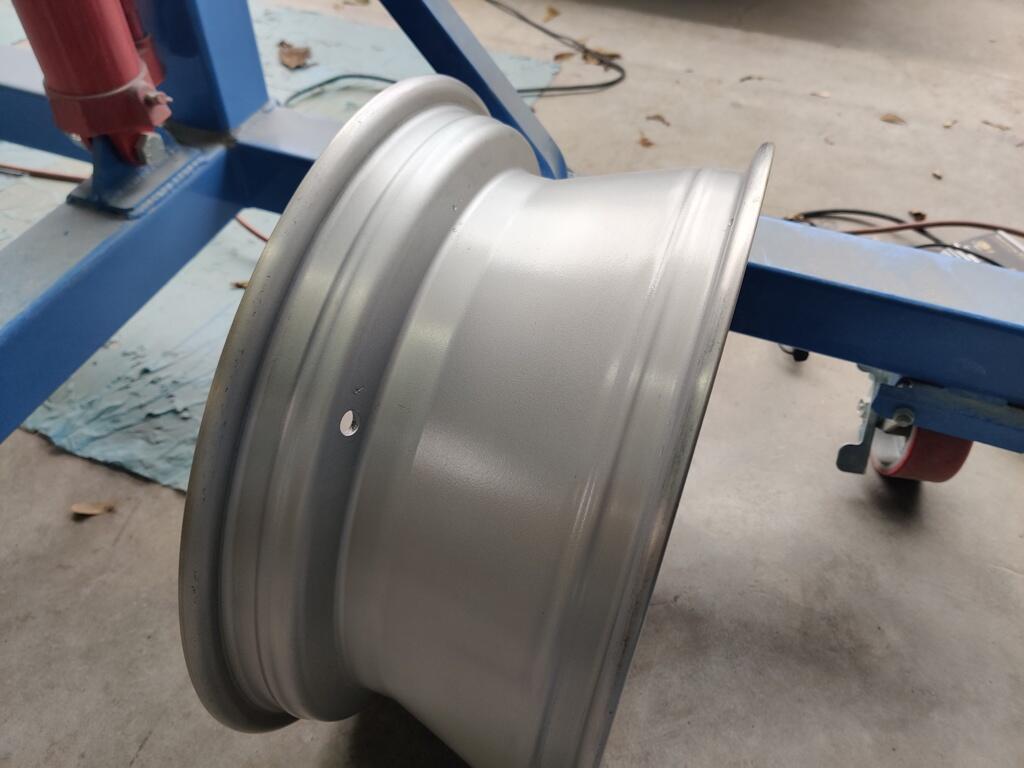
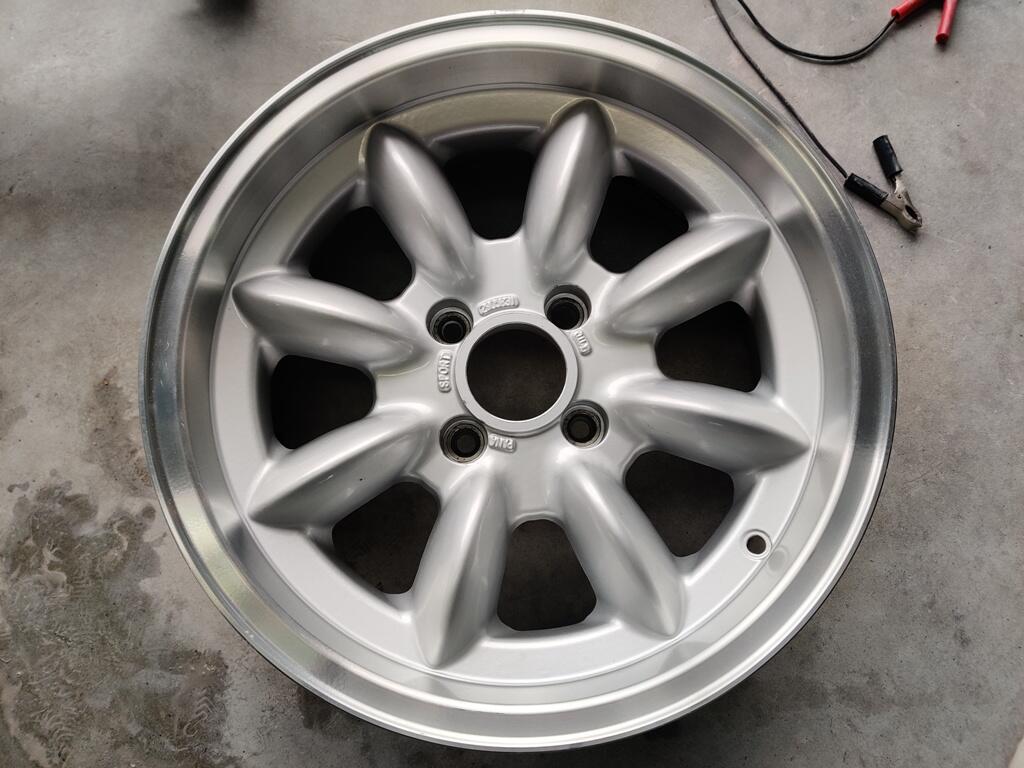
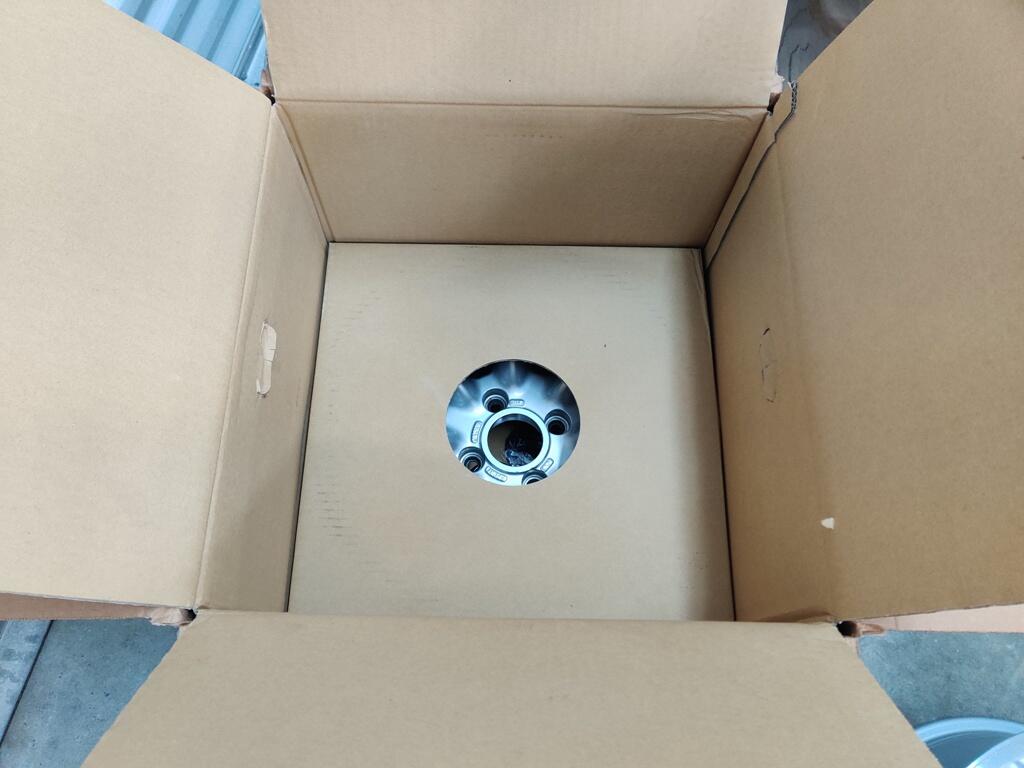
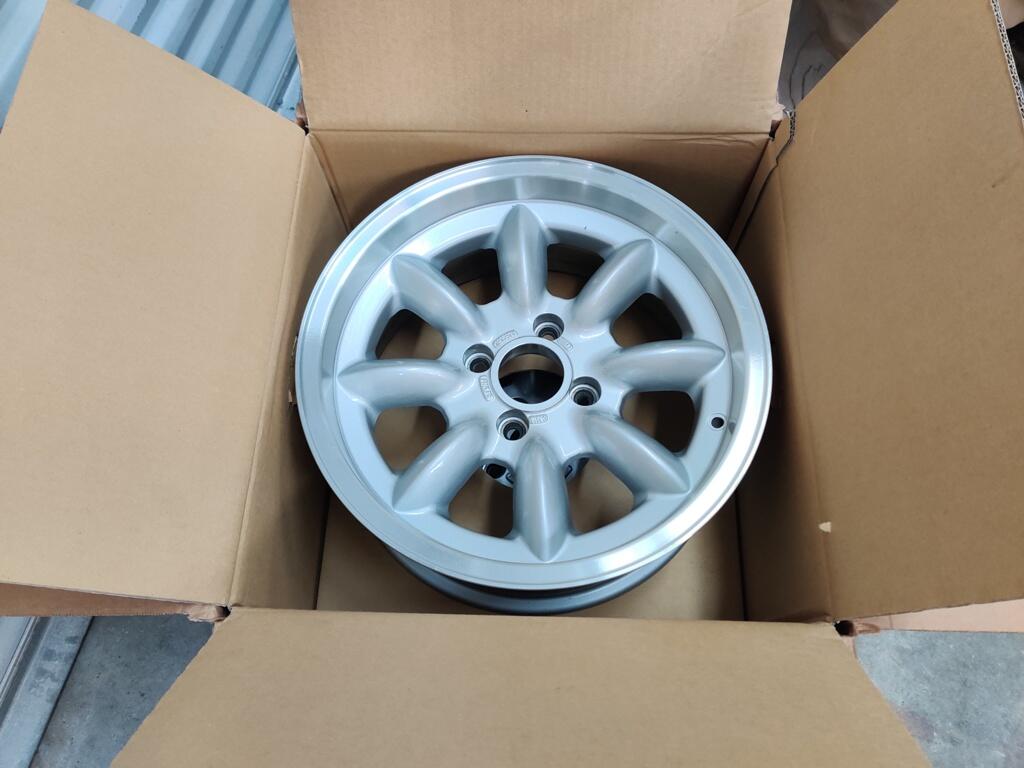
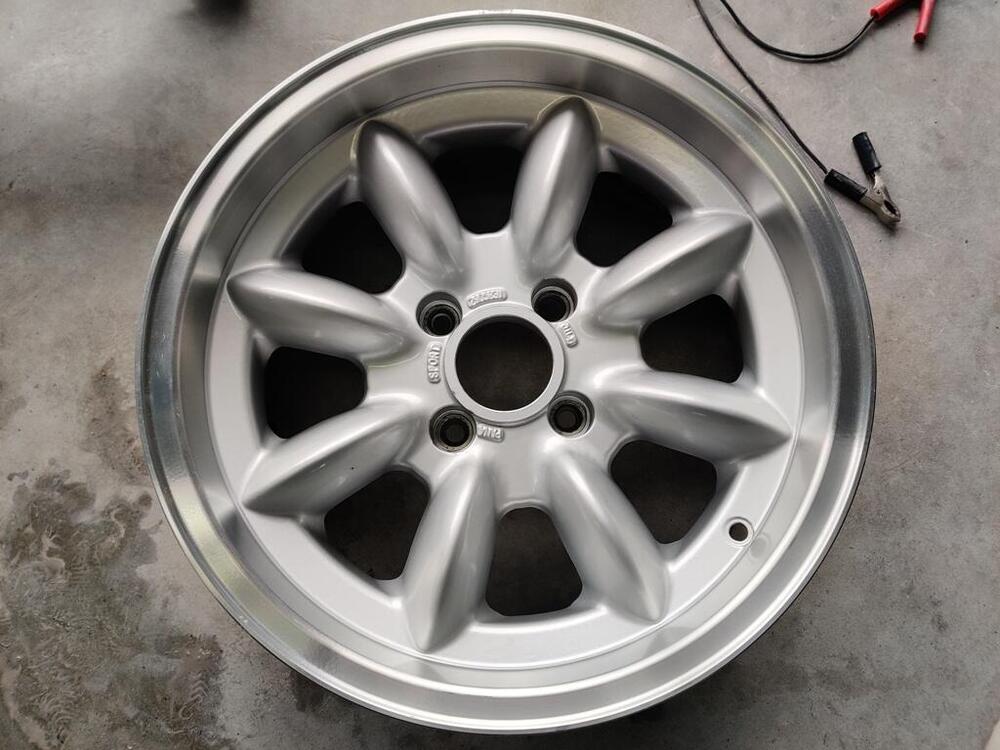
Price is $450 plus shipping for both wheels Description: These two wheels are lightly used - straight - correct offset for Datsun Z cars. PM me if you have questions. --Garrett For reference, 16 X 7 Panasports are still available new for about $380 each plus shipping here: https://www.sportsandclassics.com/parts/non-british/datsun-non-british/datsun-roadster-2000-fairlady-16x7-panasport-z-light-wheels-new-production/


- Today
-
 I agree with @Namerow this a great, and very useful post. I believe the 7/16-20 SAE threads are for the seatbelts. Possibly to meet North American standards of the time? For the JDM market I wonder if the seatbelts used M12 x 1.25 fasteners? Or was the SAE spec used worldwide?
 -
 Bright light and a magnifying glass will tell you a lot. Inside of the cone at the end of the metal line and outside of the cone down the hole. You might see a crack or deformation. You could even polish the surfaces if they look rough. Also polish the surface that the fitting rides on. It needs to be smooth so that the fitting can apply even pressure across the bell shape at the end of the metal tube. Focus on the surfaces that make contact. The threads are only there to apply the force.
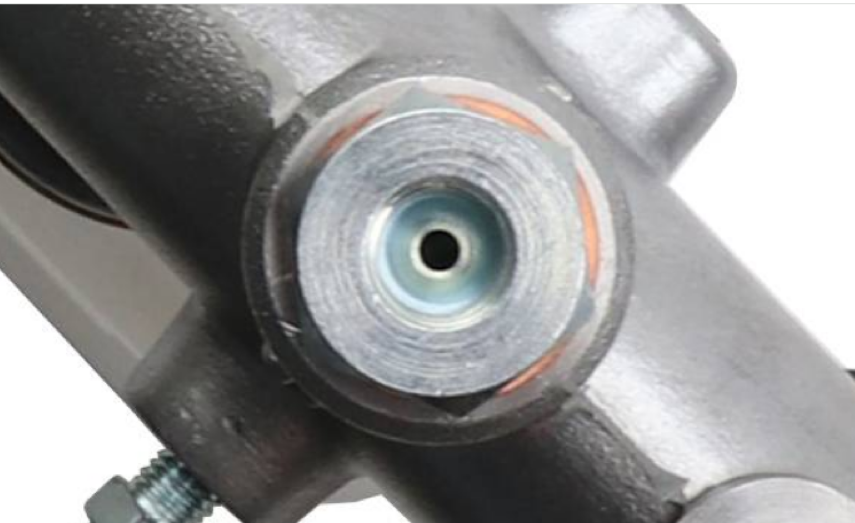
-
From the 70's.
-
 Great post. This info really needs to be added to 'Knowledge Base'.
 - Yesterday
-
 I use a power pack. https://www.walmart.com/ip/20000-mAh-Portable-Charger-Power-Bank-Dual-USB-Battery-Pack-for-iPhone-iPad-Galaxy-Android-Pixel-and-Tablet-Black/3303493713
 -
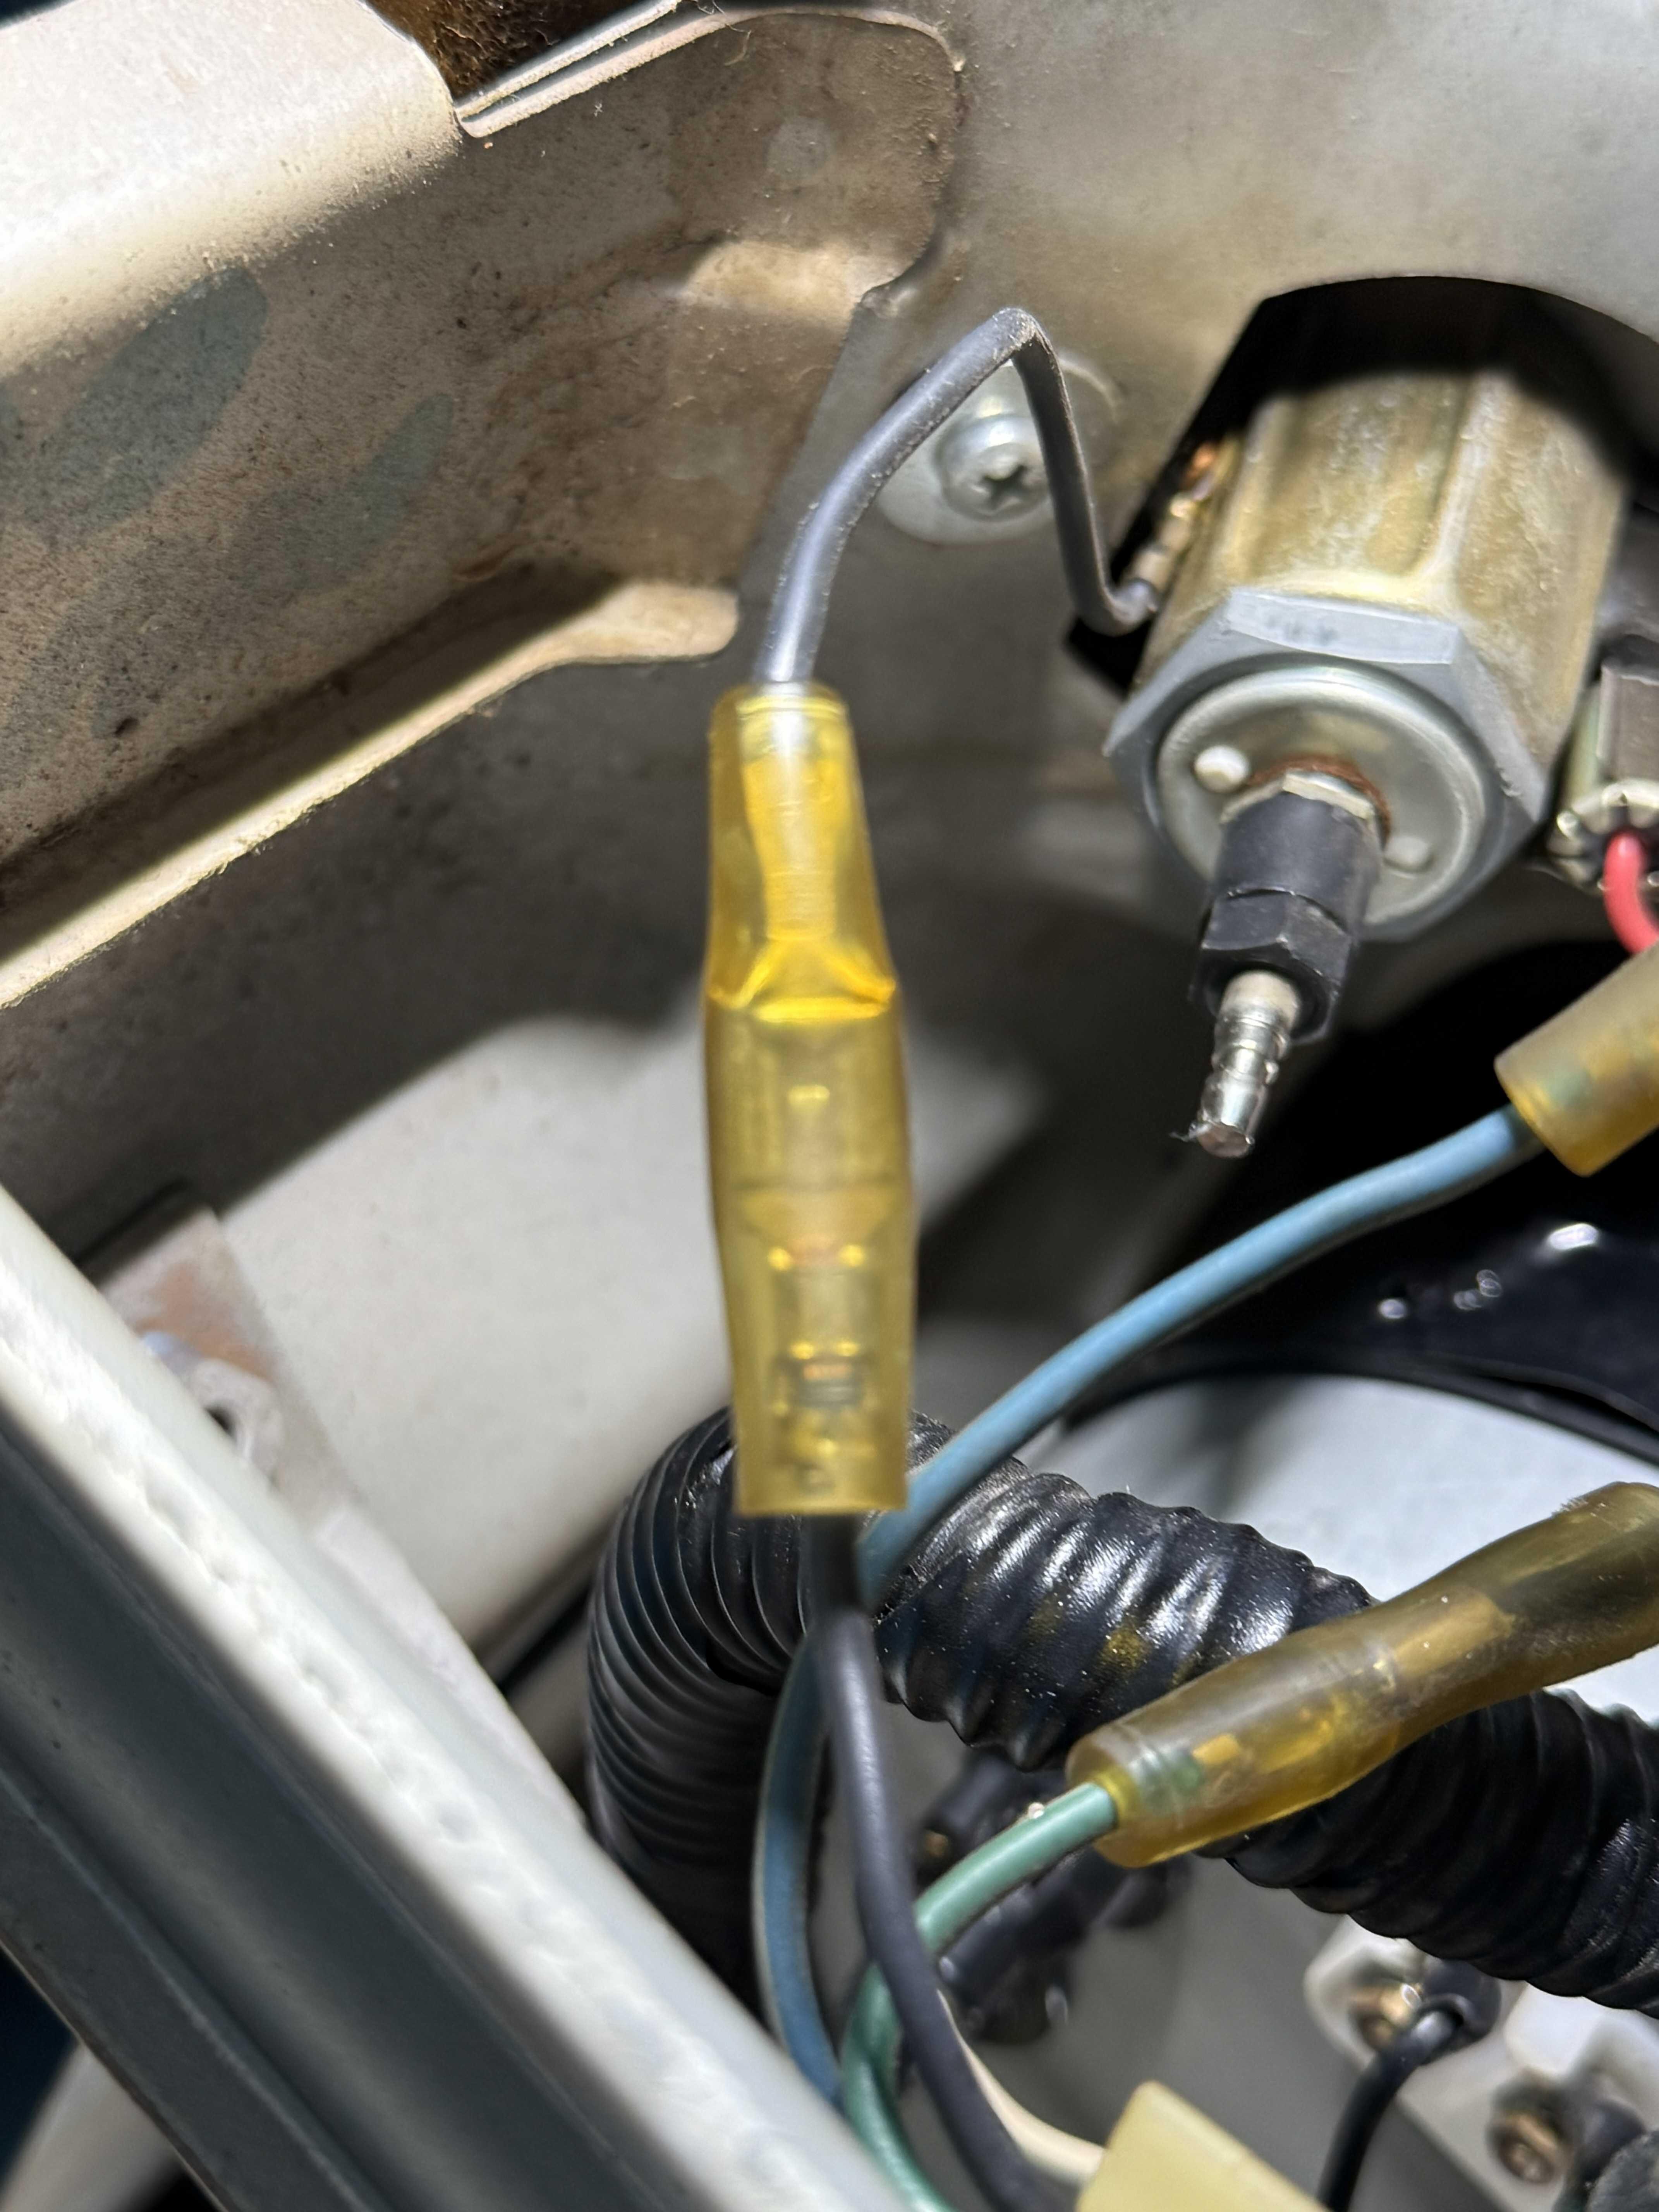
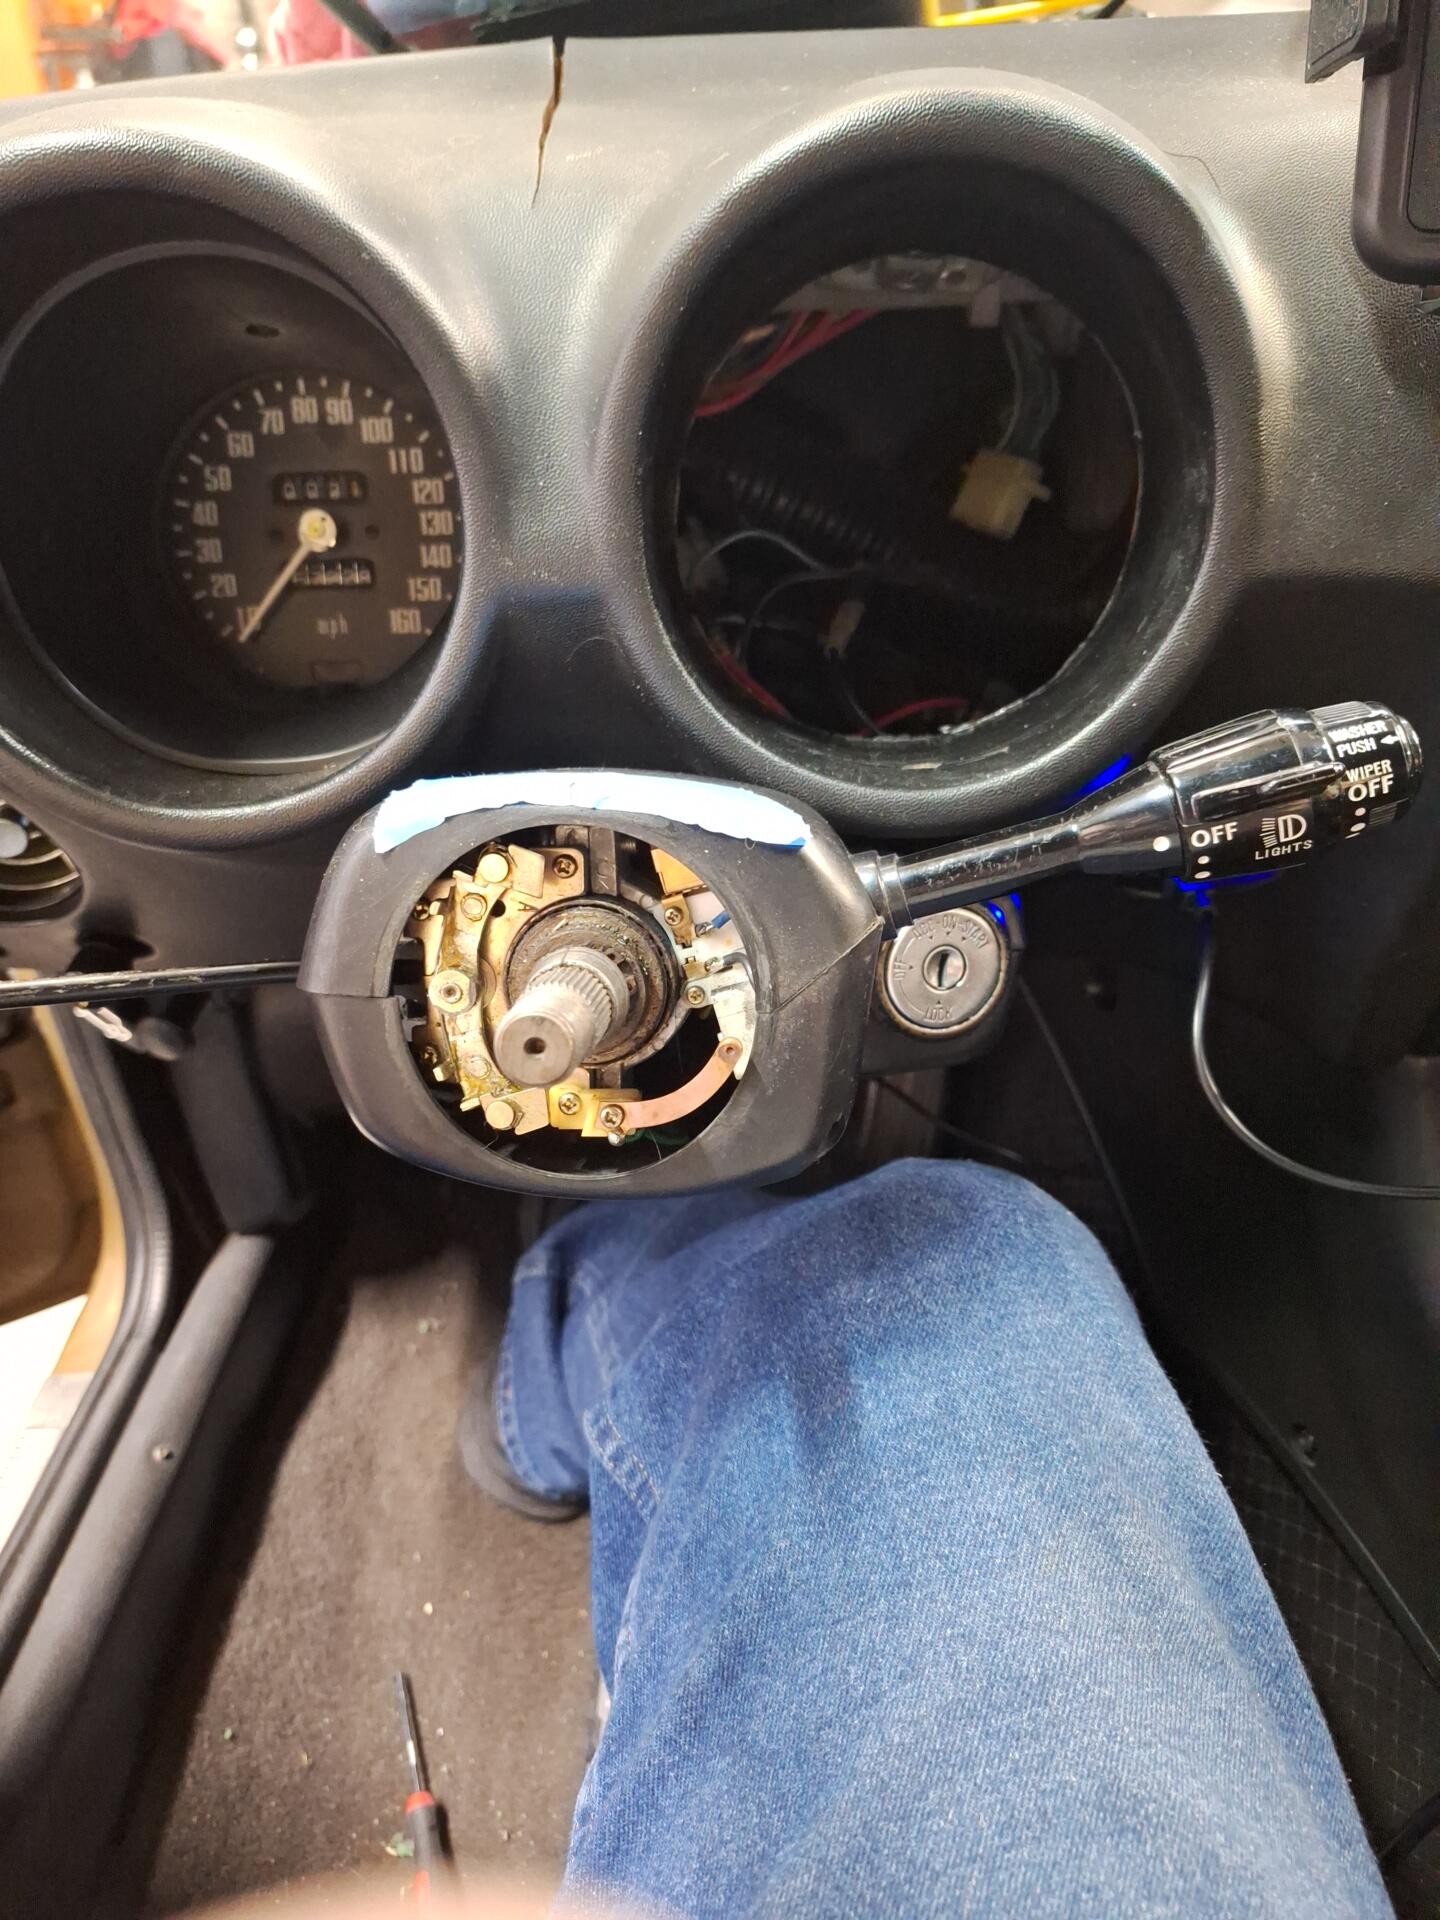
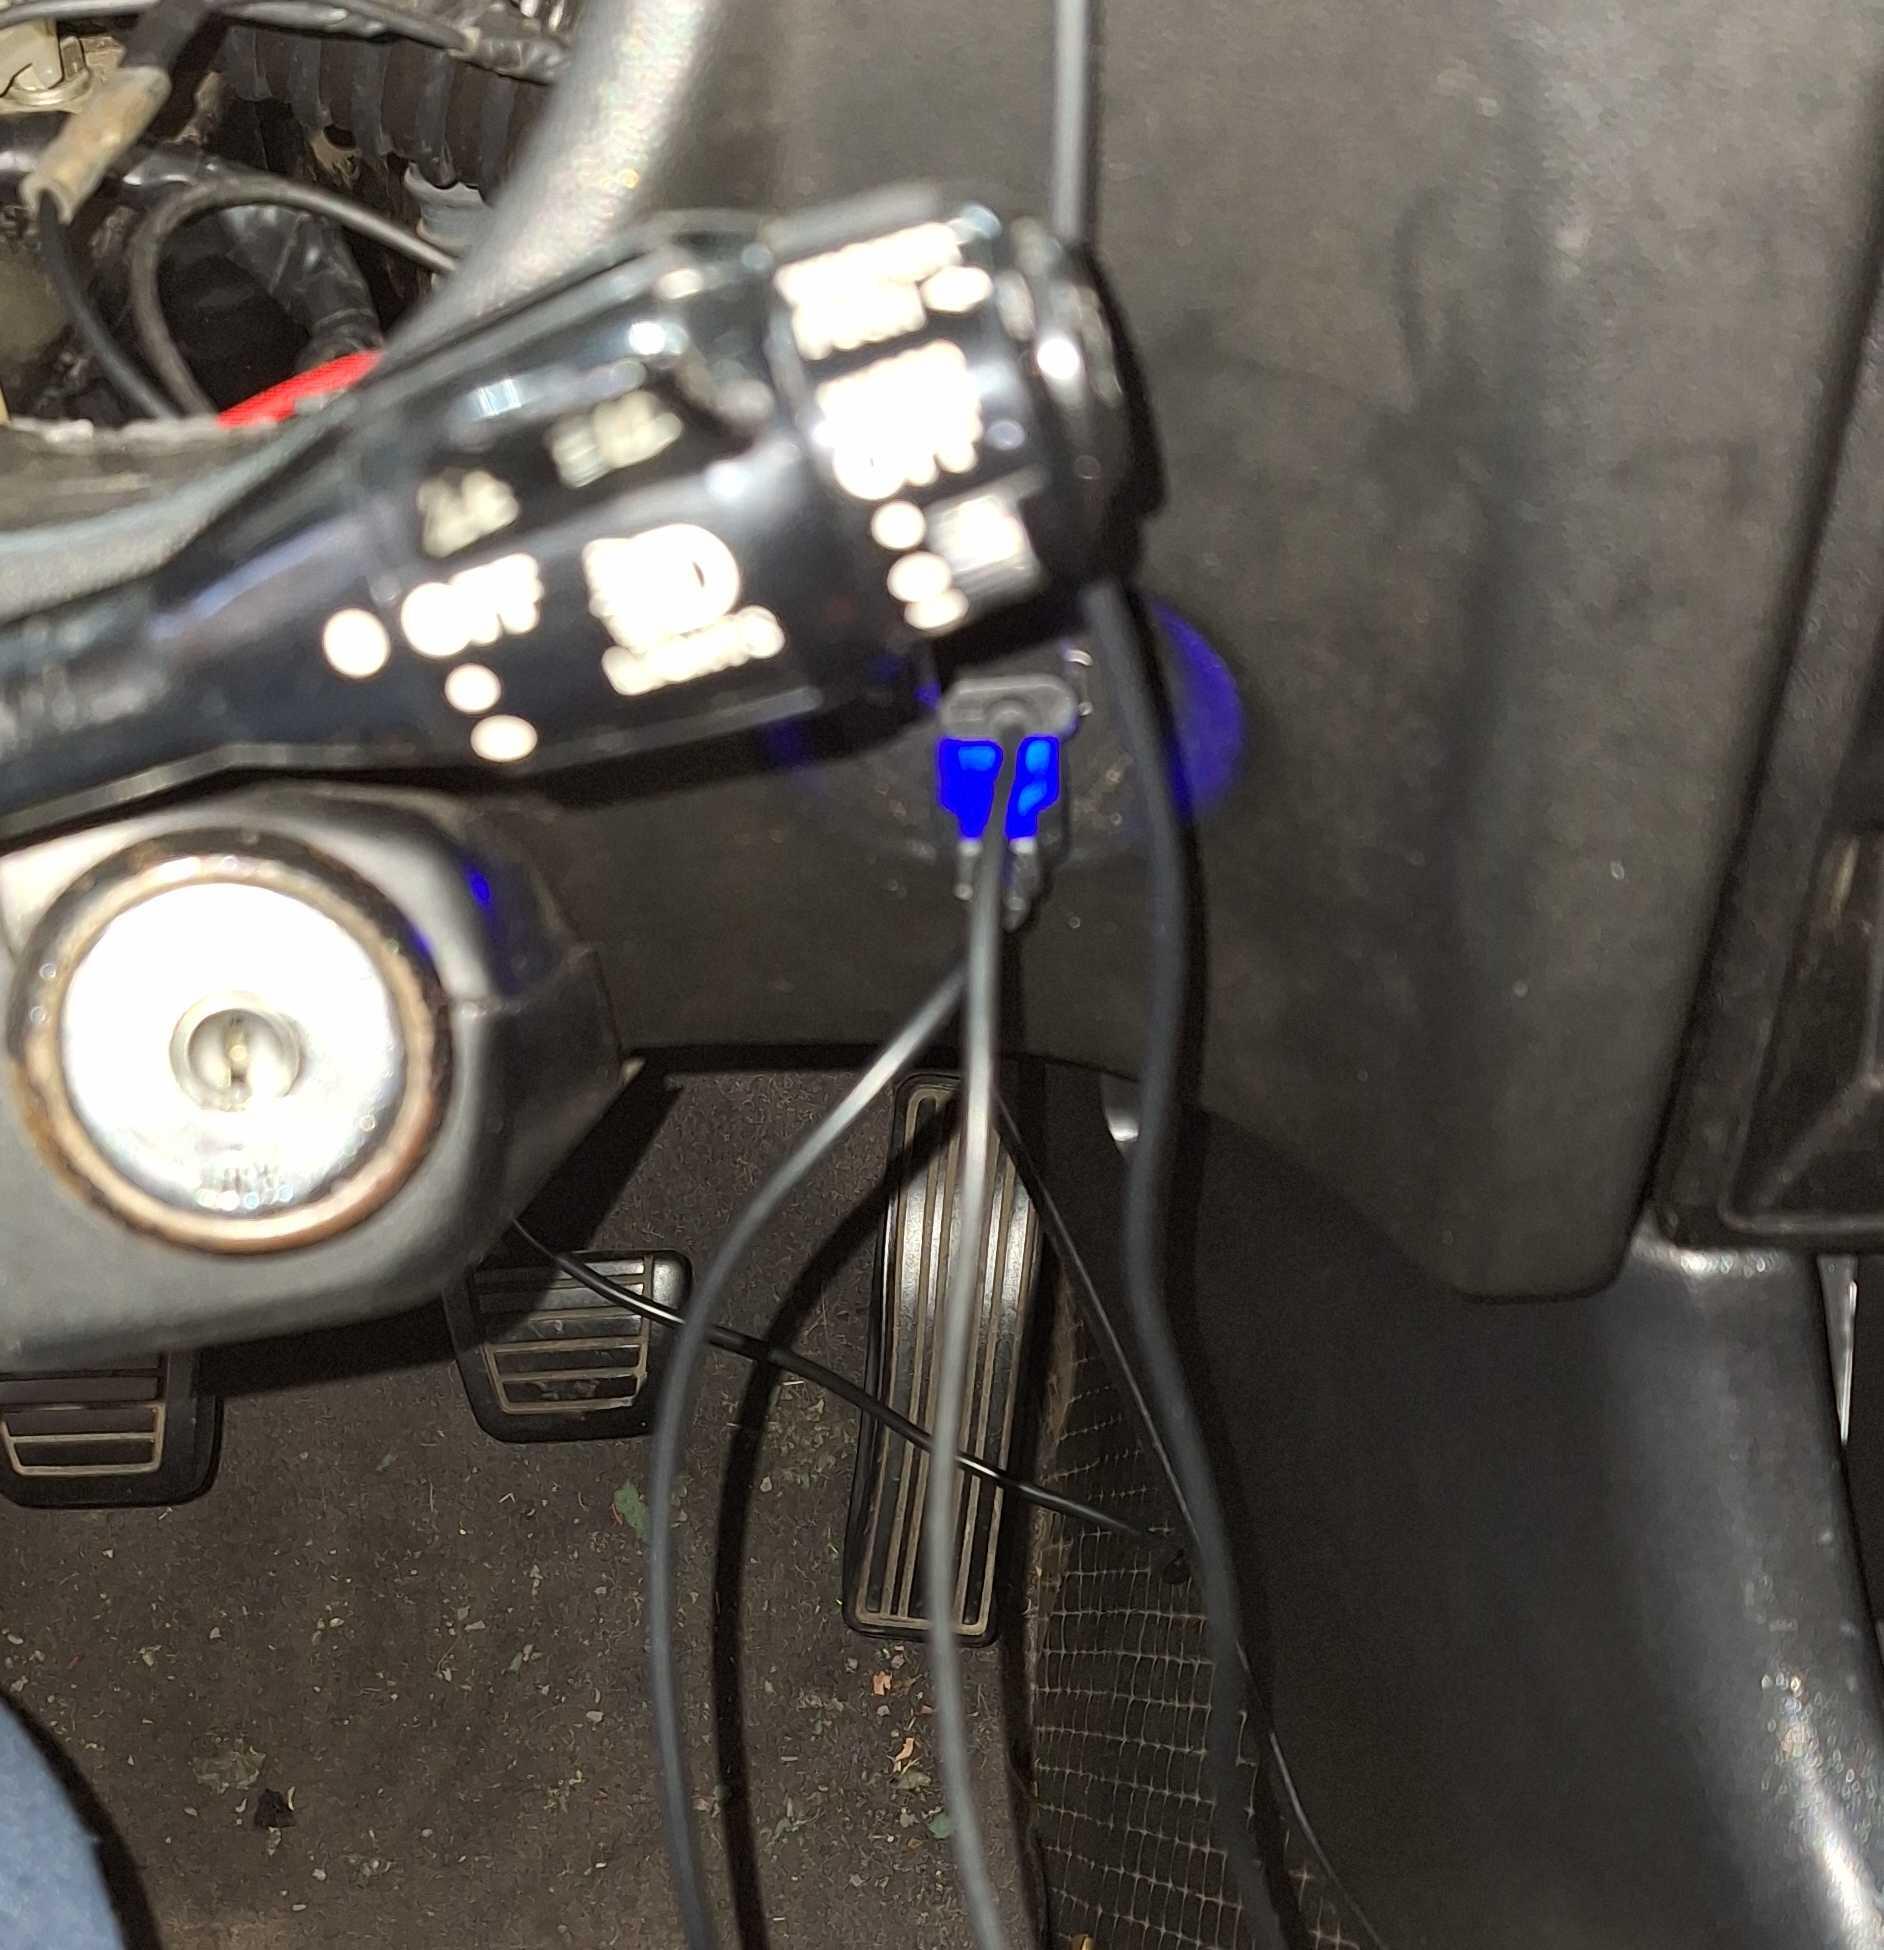
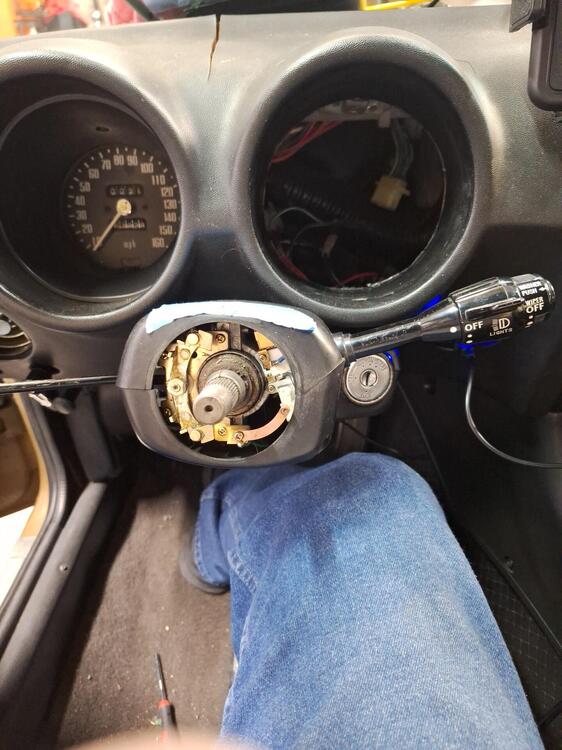
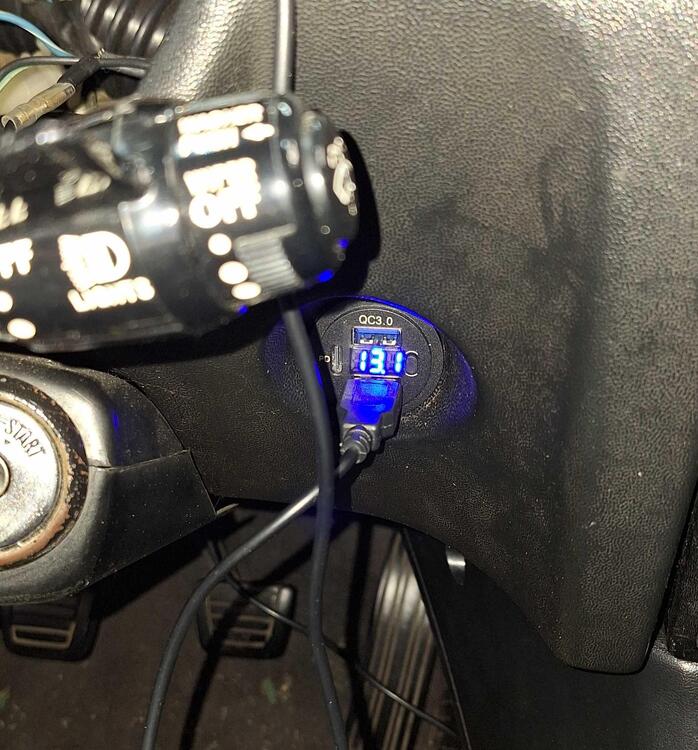
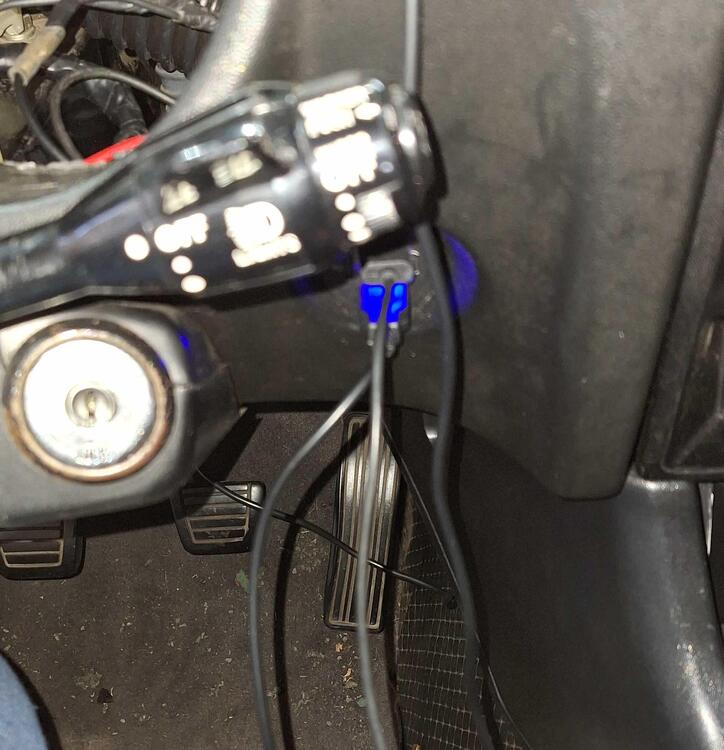
 I finally did something with my 260Z today. I replaced the cigarette lighter with a USB port adapter that has 2 Type A ports and one Type C port. If you're interested in doing this, you may want to buy one with an on/off button since the circuit for the lighter is hot all of the time. To match up with the car's wiring, you'll need to attach a male bullet connector to the positive wire and a female spade (6.3mm) to the negative. Installation: Remove the fuse for the lighter. (For 280Z & 260Z) Remove the fuse for the horn so you don't honk the horn while trying to get the horn button off. Remove the steering wheel. Remove the tachometer. This gives you access to the back of the lighter. Remove the retaining nut on the back of the lighter. Disconnect the negative and positive wires. Tip: Slide a pick under the insulation for the negative to break the adhesion. Pull out the lighter and remove the surround. Use a step bit to enlarge the opening to 28mm or 1 1/8 inches. Video below. Once the hole is the correct size, insert the USB adapter and install the retaining nut on the back side. Two tips: 1. Plug a cable in the USB adapter to hold it in place while tightening the retaining nut. 2. I used a 90 degree pick to turn the retaining nut when the dash frame made it where I could no longer turn the retaining nut with my fingers. Connect the positive and negative wires. Replace the tach, steering wheel, and horn button. Replace the fuses. Enlarging the opening: While the adapter has a voltmeter, it is recessed in the lighter opening and blocked by the headlight switch. You could lean over and see it, though, as long as you don't have a cable plugged into the top port.
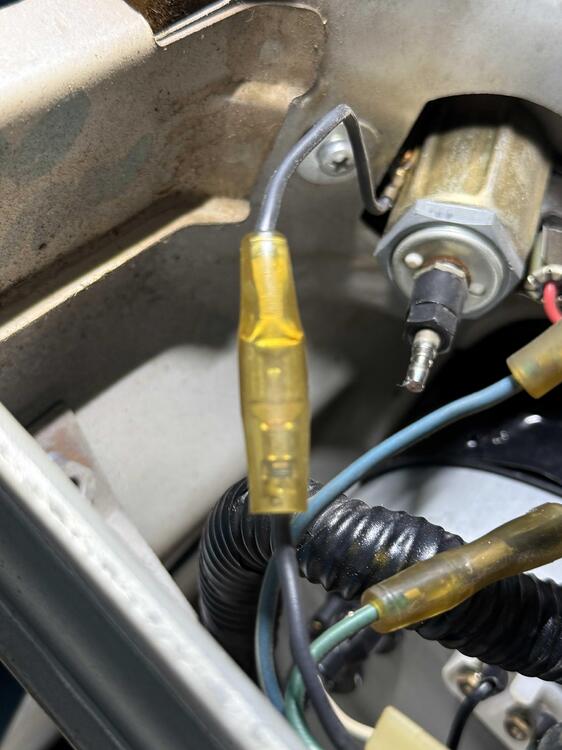
-
Cast impeller water pump: https://www.amazon.com/Aisin-WPN-013-Engine-Water-Pump/dp/B008EEZ2XY
-
 I would still pull that water pump to see if it has the stamped steel impellers . May have some rusted away or broken as found on some. That would solve most of it if bad. Replace with cast iron type pump.
 -
 I ended up taking it to a guy that did the vapor blasting on my valve cover $75 Seemed like a nice guy but the product didn't turn out that amazing. So it's been glued and screwed to the cylinder head now and I'm wondering if anybody knows a compound that I can rub on the aluminum to spruce it up a bit thanks in advance for any tips
 -
 Hmmmm... not shown on the fiche and not on my ride.
 -
 Thanks...I will need to correct that.
 -
 Those are mine too. However, one has to be careful as the application dates ARE NOT fixed in stone. PS I have some NOS early pick-up parts available including an extremely rare factory clock
 -
 Your Master Vac appears to have the 74-75 decal. Is this correct for your vehicle? (Photo below from ZStore website.) Keith
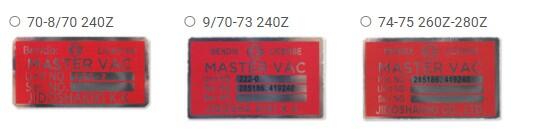
-
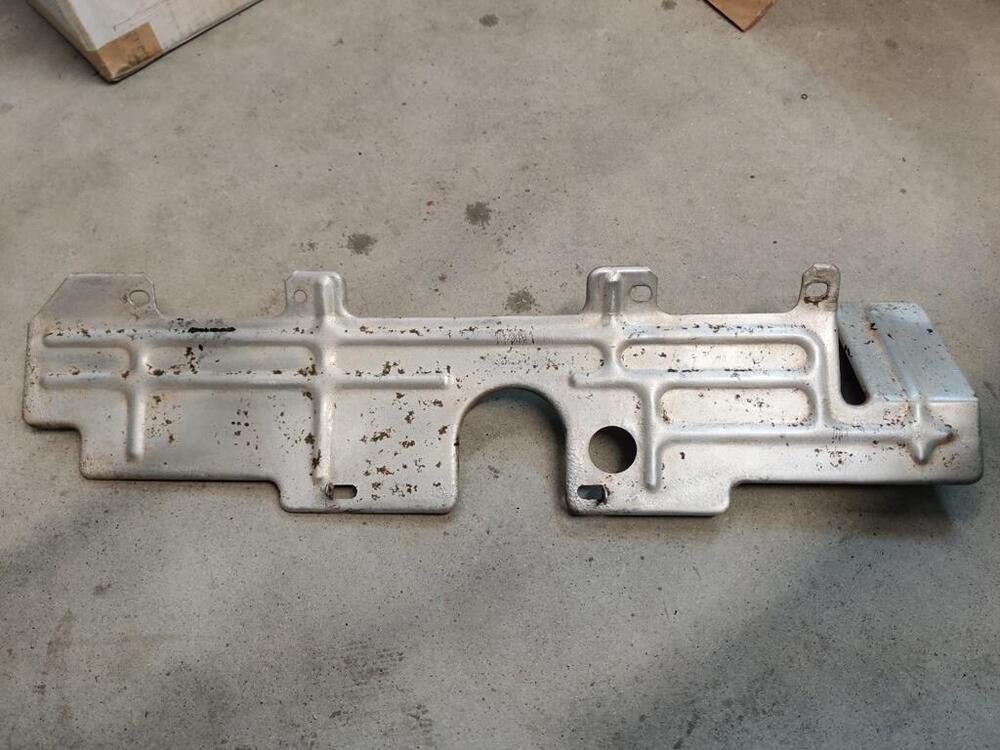
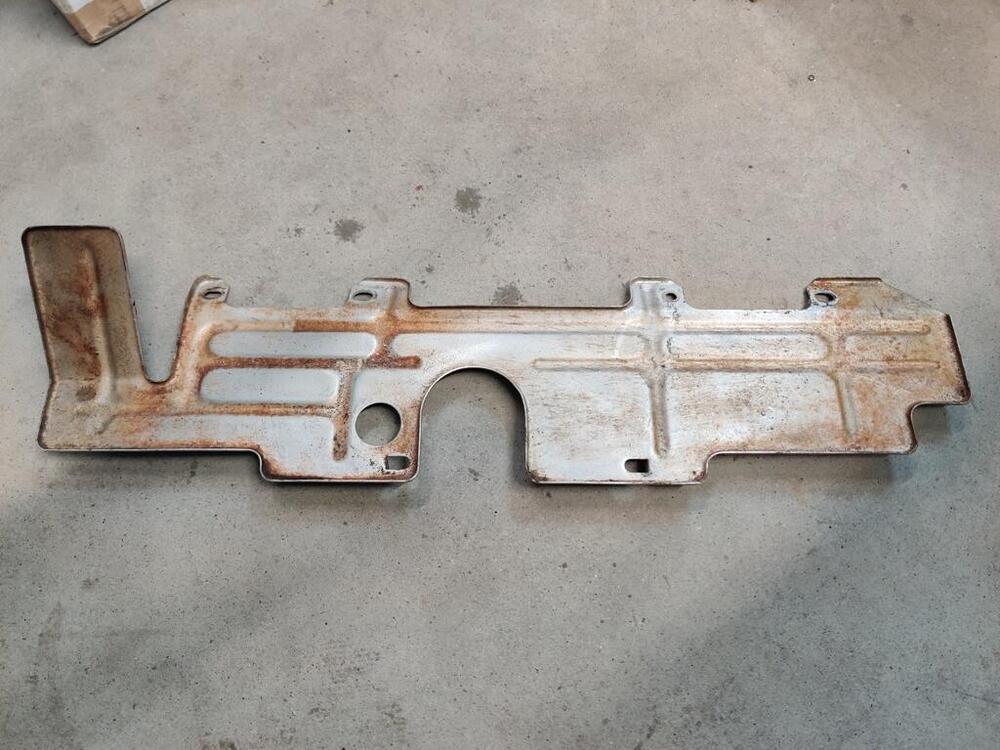
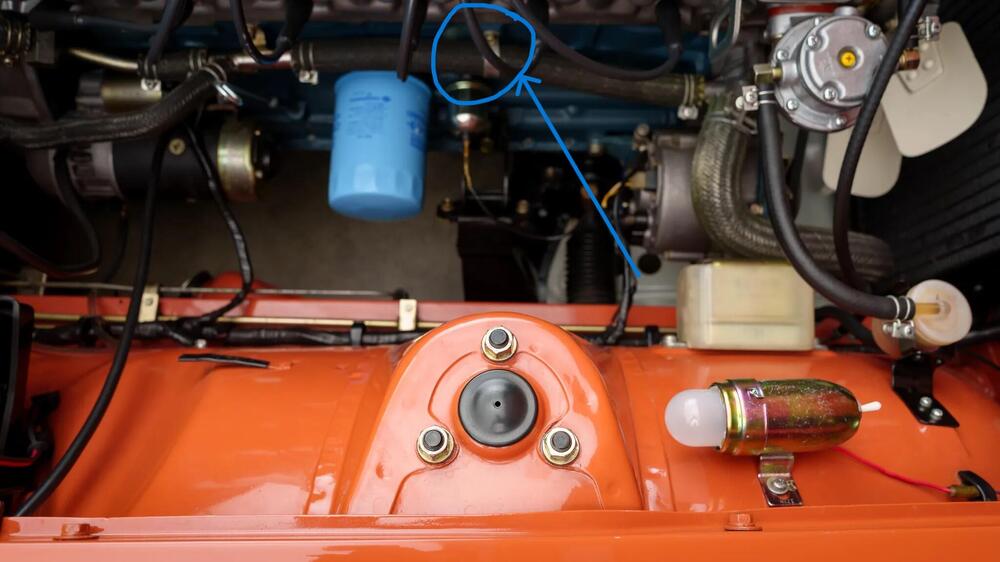
What model years / production dates Is this coolant line hose bracket correct? Thanks, Keith
-
Looks like one of my wiper motor harness firewall grommets
-
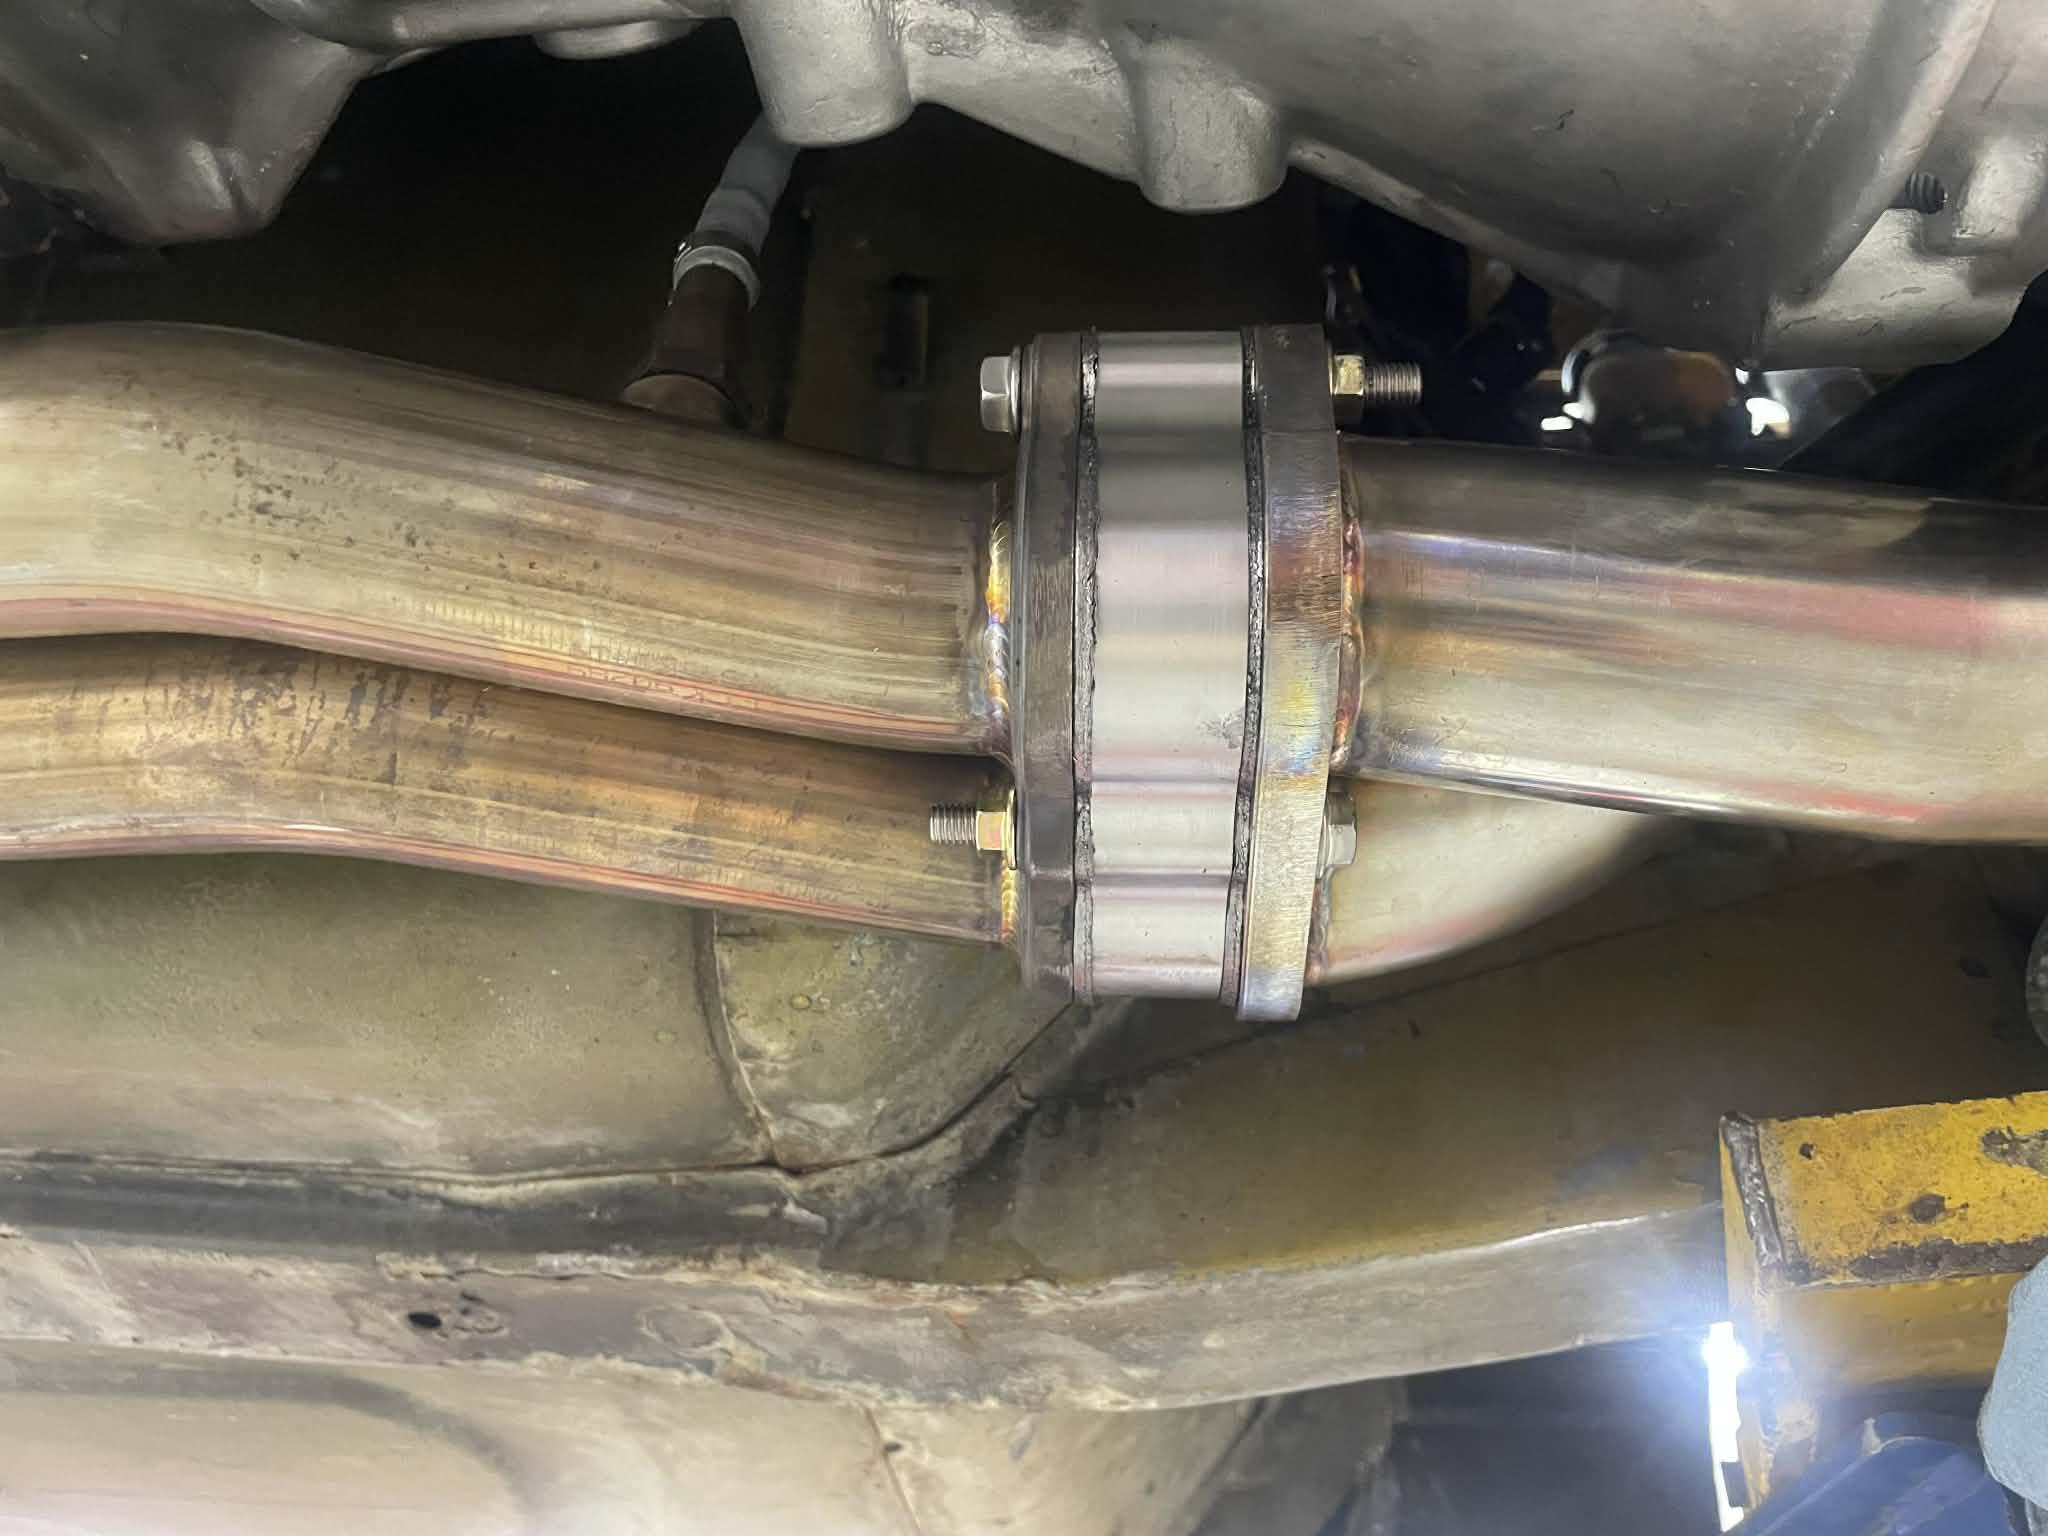
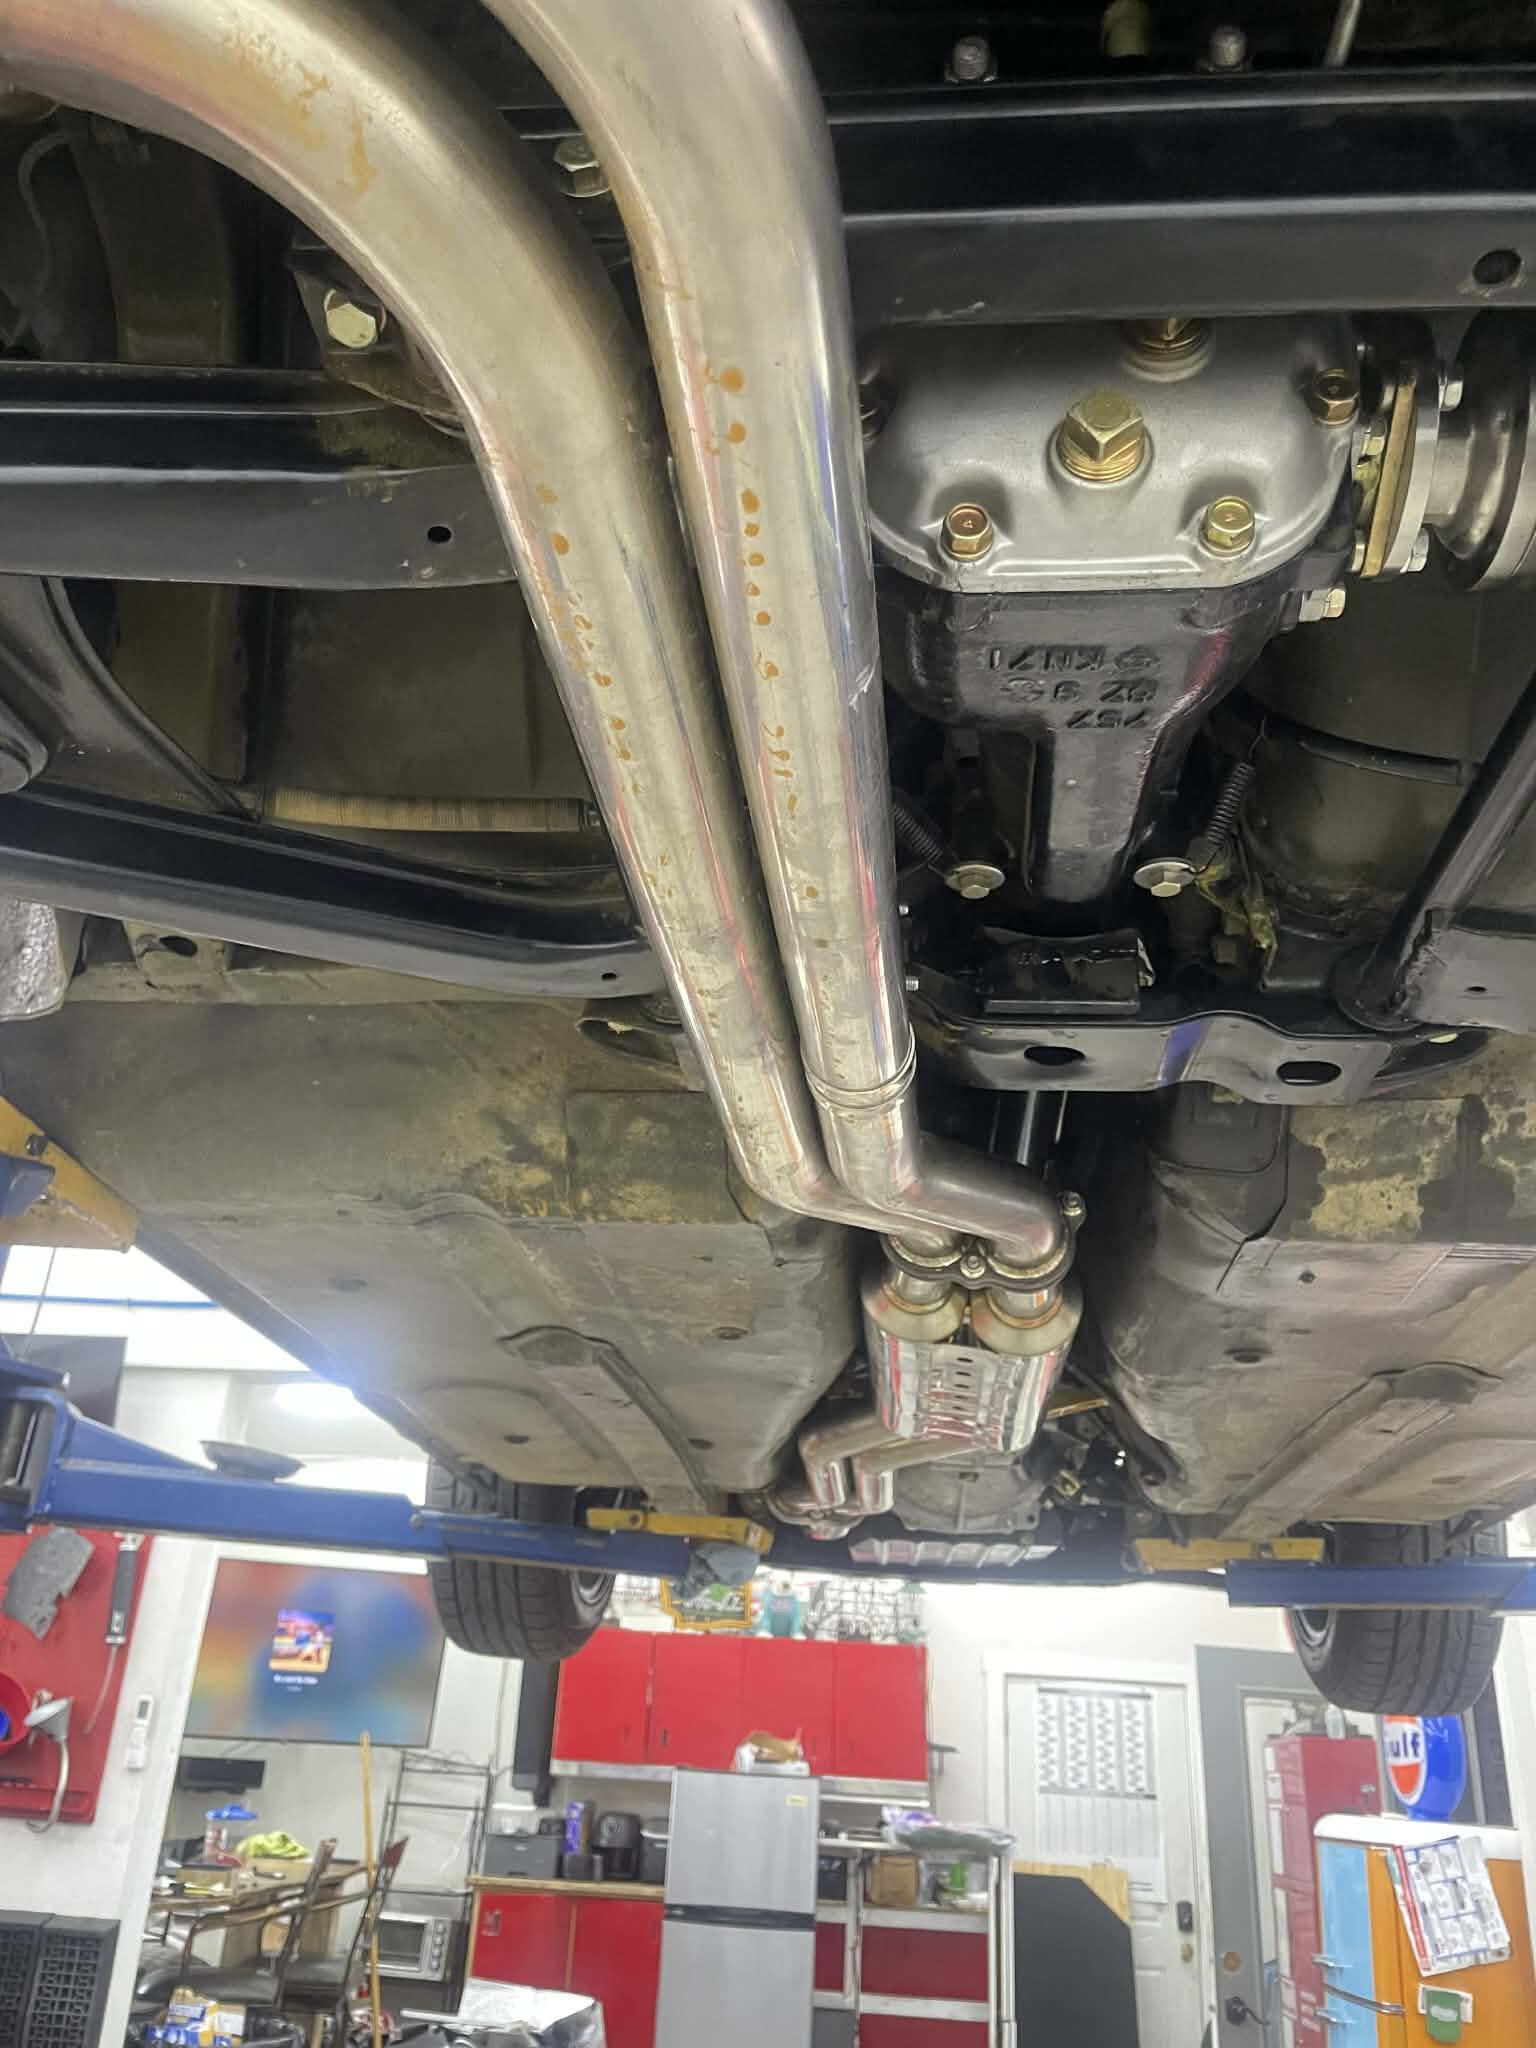
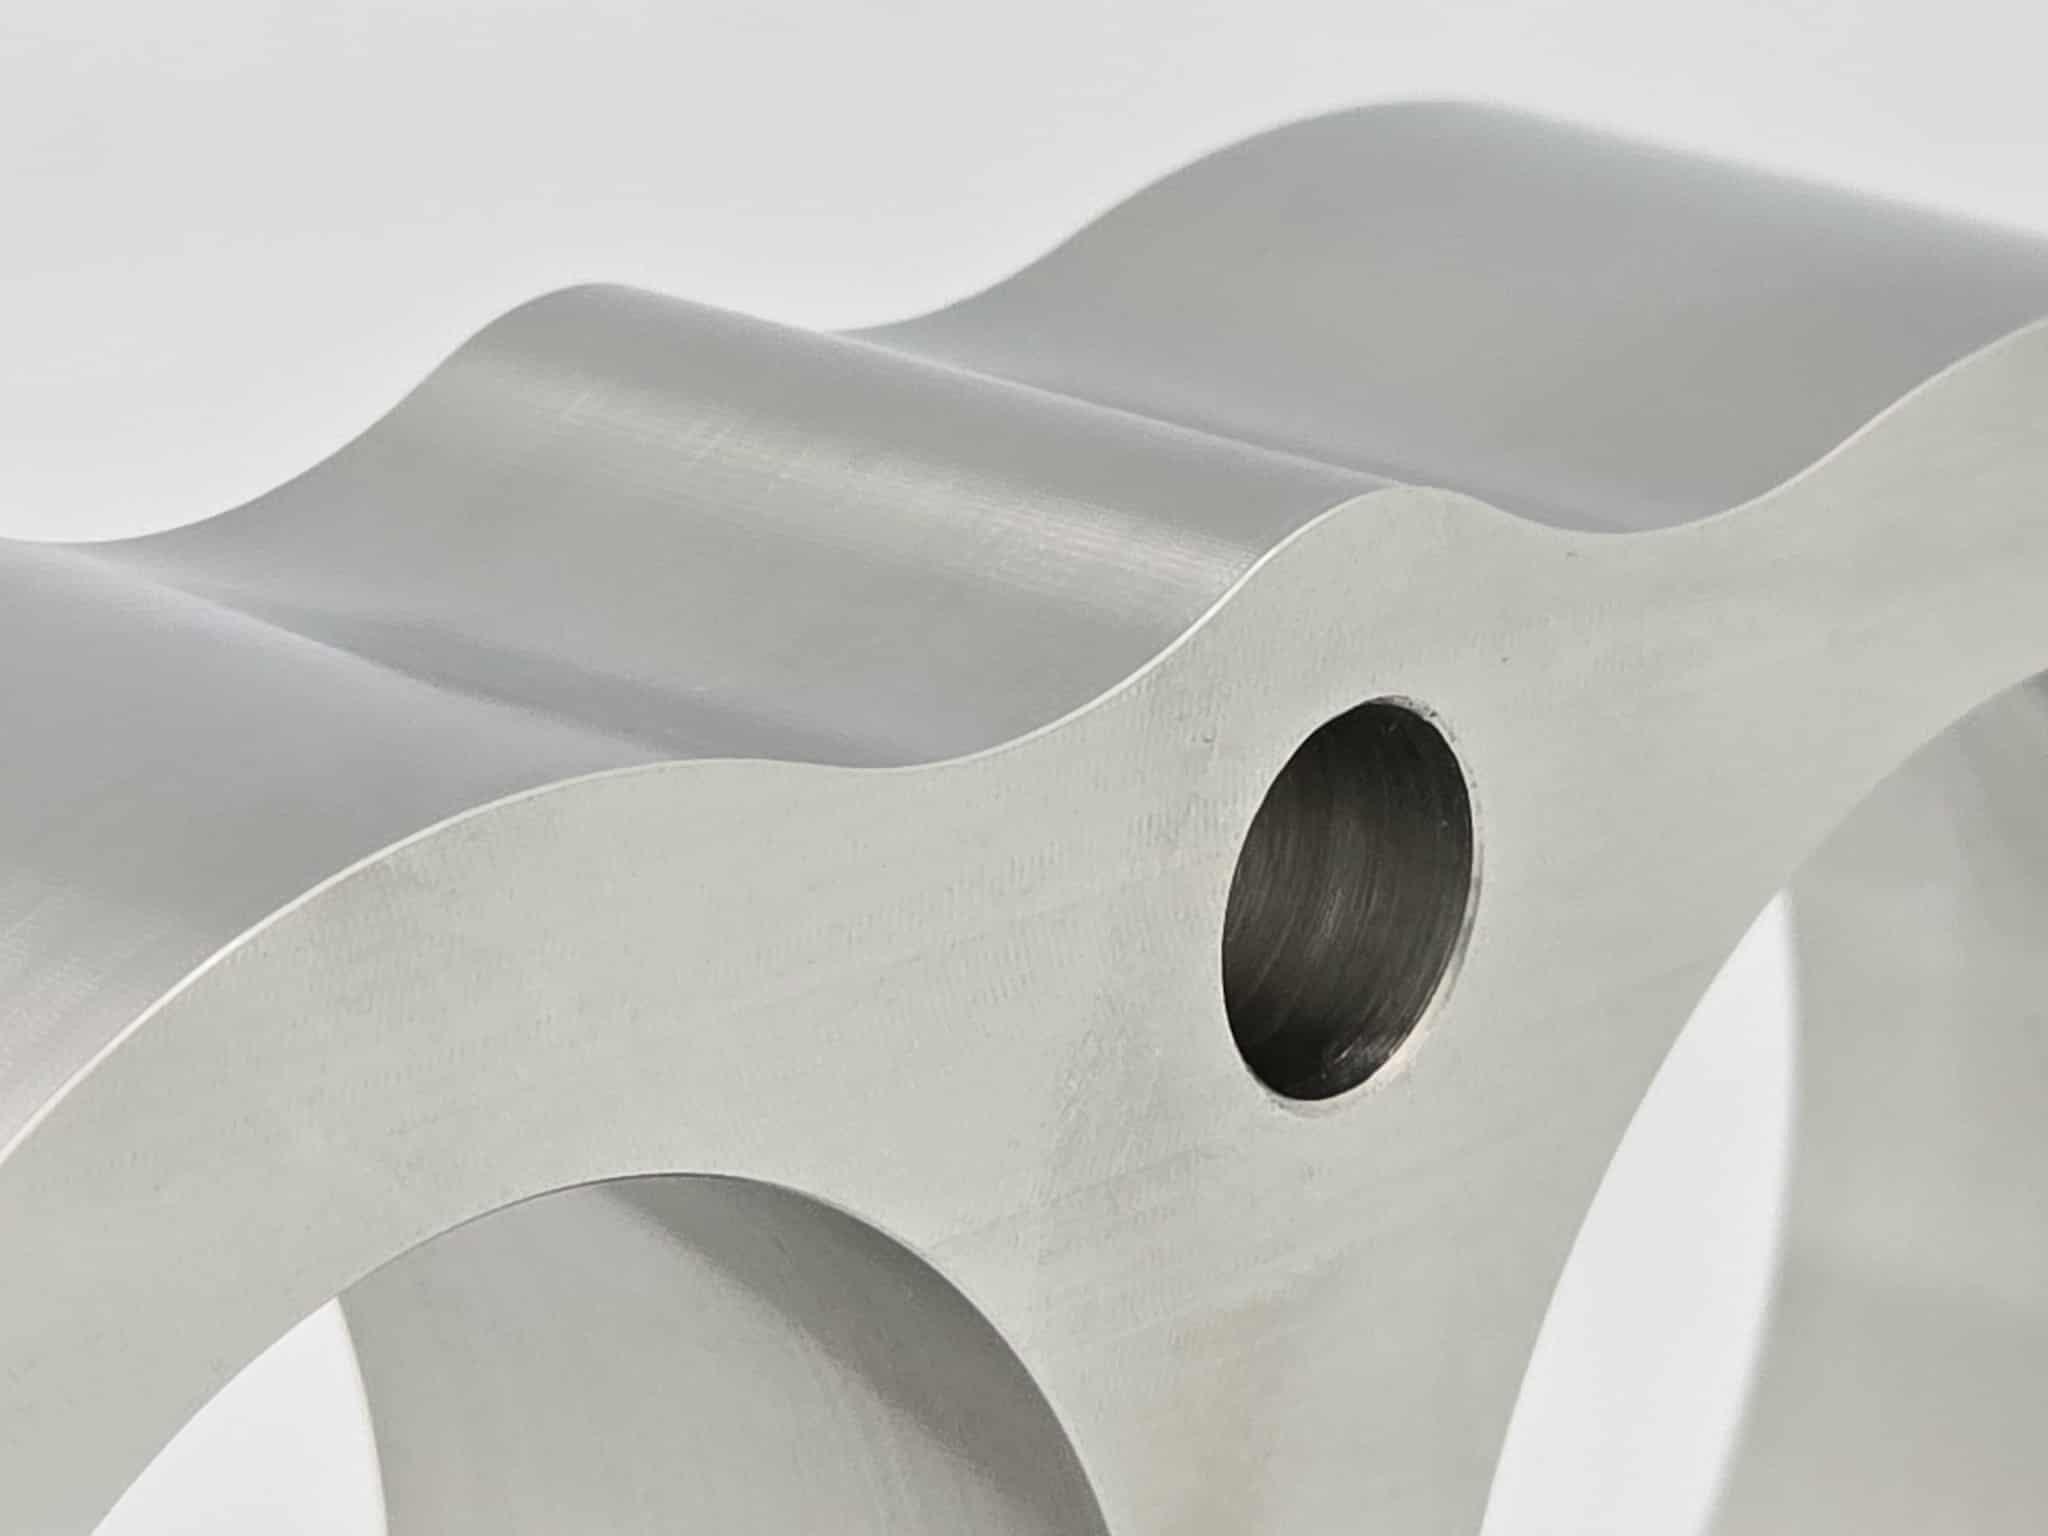
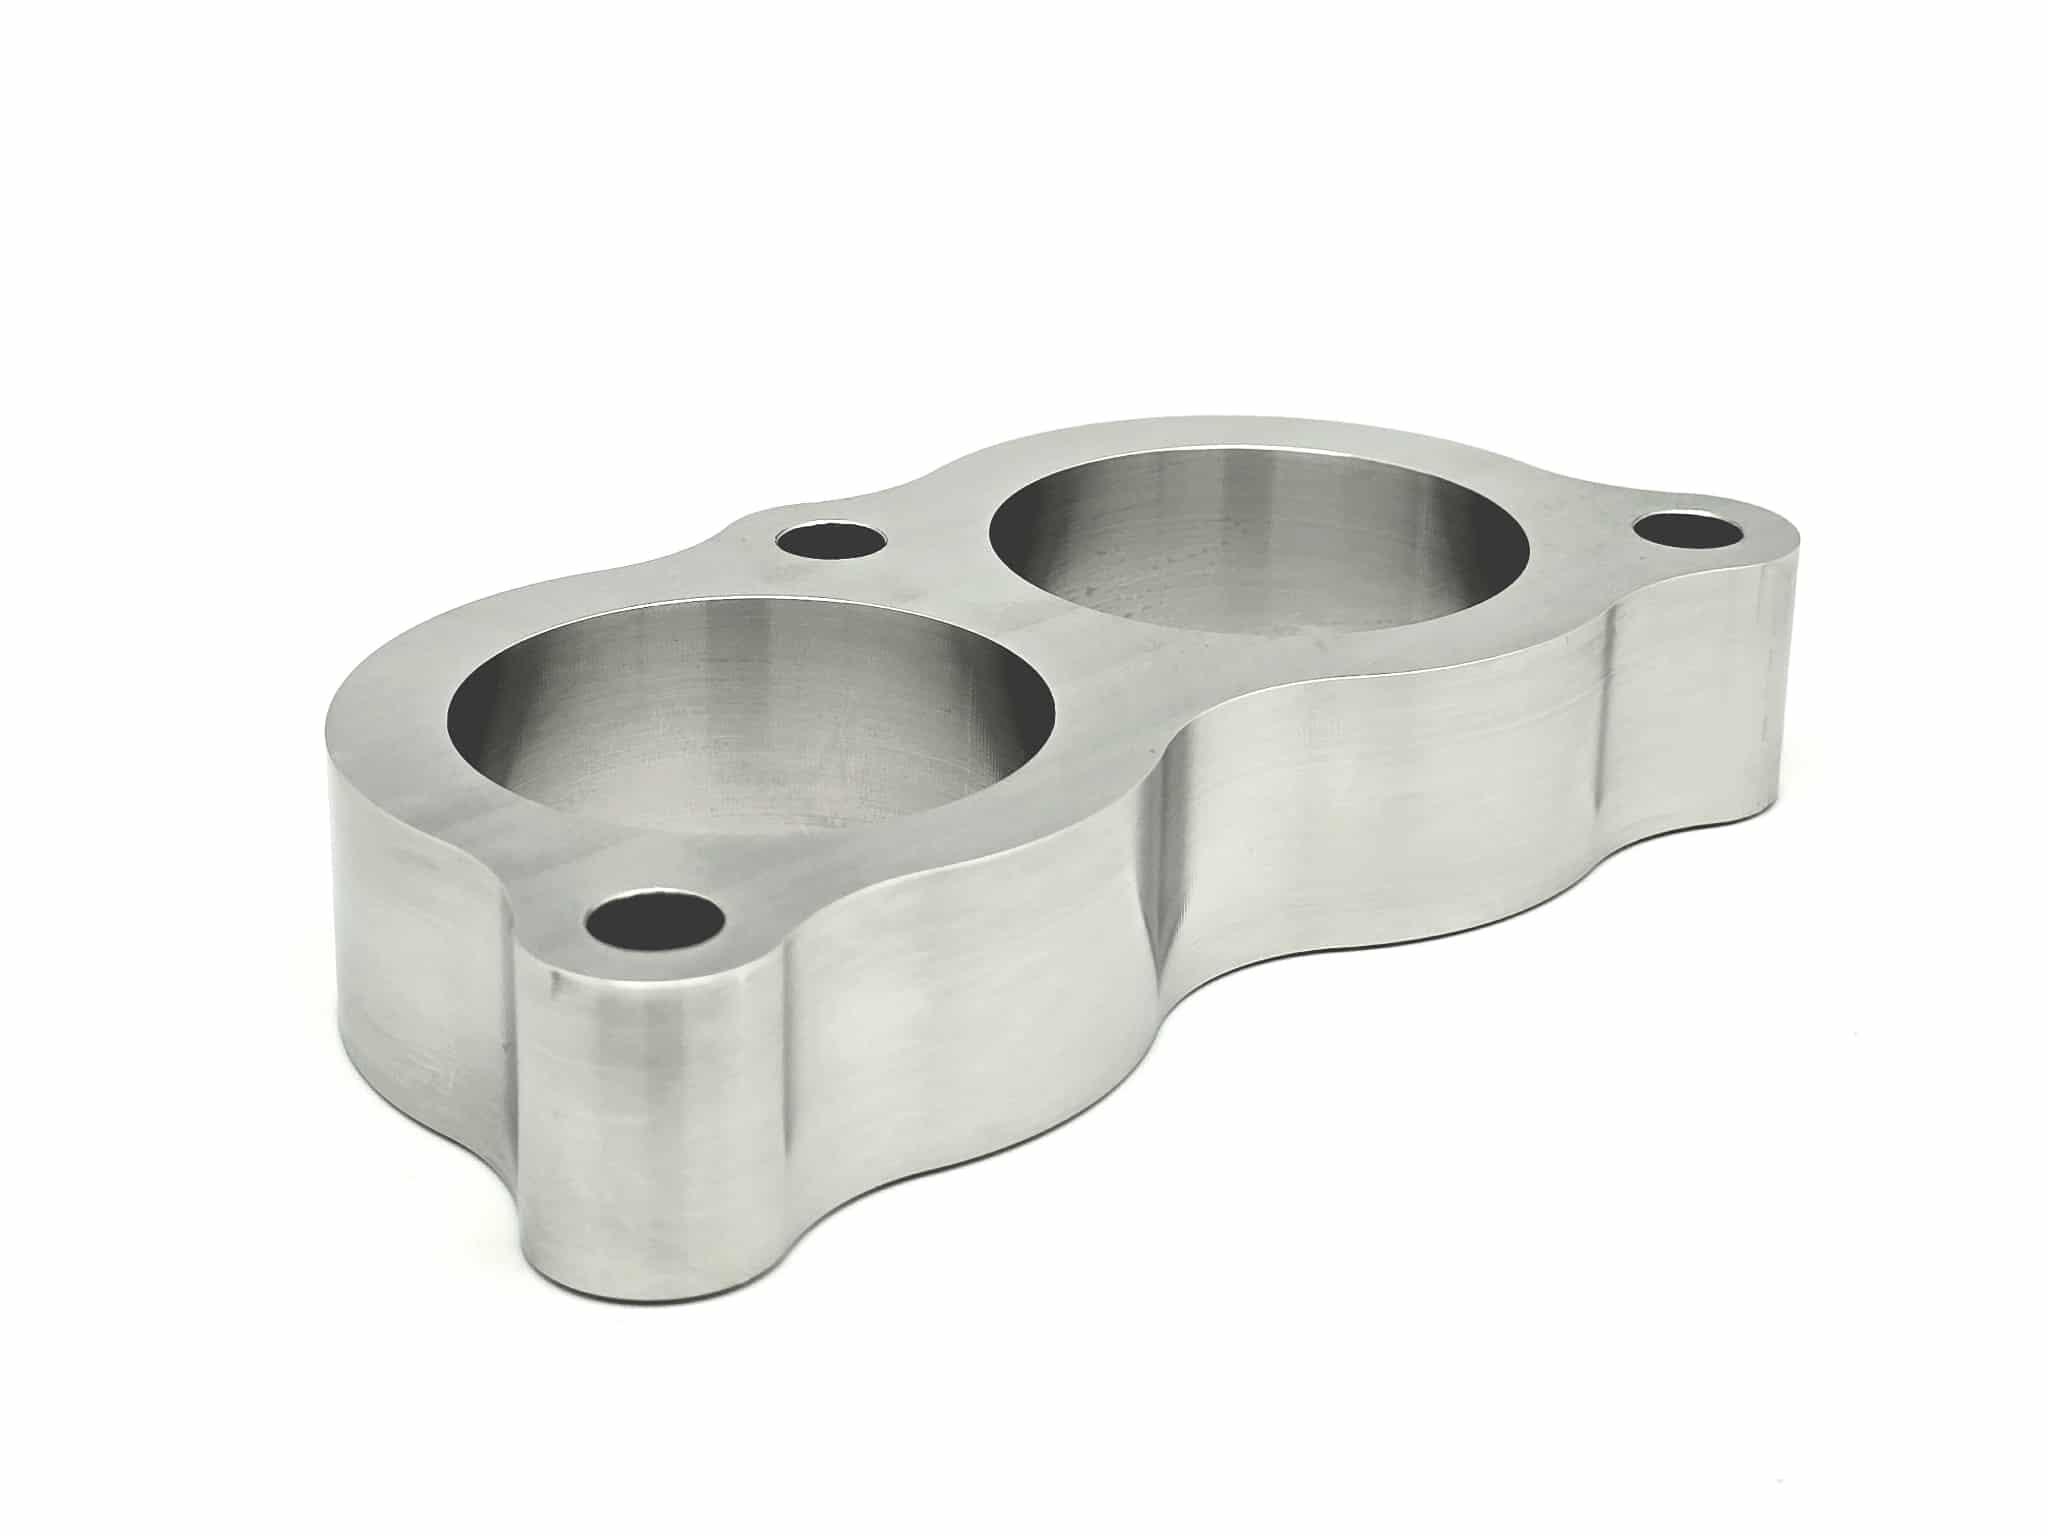
 Here are the thread rules. Again. For any hardware you are likely to encounter. 4 x 0.7 5 x 0.8 6 x 1.0 8 x 1.25 10 x 1.5 - bolts that thread into the engine block. Trans, head, brackets, 10 x 1.25 - All other M10 bolts, ie suspension and body are 1.25 12 x 1.25 - wheel studs, front spindle to steering arm, trans mount (later), TC rod ends, Flywheel , spindle pins 14 x 1.5 - diff strap bolts, front control arm pins 16 x 1.5 - Crank bolt 20 x 1.5 - Rear Stub Axles Threaded pipe fittings are all BSPT, A/C and EGR excluded. There is a 1/4x28 SAE thread somewhere for you to find as a test. There are 7/16-20 SAE too. Another test. And what the heck is up with those short fat rear control arm bushing bolts? And why do I have 2 or 3 dozen of them? The first 7 on the list are the ones you should have taps and dies for on hand at all times. Better yet the thread restoring kind, not the thread making kind. Print this out and post it on the shop wall.
 -

-
 Yesterday, the postman delivered a big package from Japan again. This time with a load of cool documents. The first one (Bottom right) is the Race and Rally preparation manual. I bought this one for a friend, since I already own one. But it's always cool to see those. The second one is a combined S30S(A) / GS30S(A) brochure for the standard Fairlady Z / Z-L and the 2by2 versions. See also Color samples at the bottom right: For whatever reason, one of the Japanese lots included a US-Market 240Z Brochure. Not something I would usually buy, but since I didn't have it in printed form yet it's cool to have it anyway. From the Japanese market again, I got this Fairaldy Z / 240 Operation manual, which also includes the Z432 versions. These are particularly useful to find some details of the interior for my knowledge posts. This is the later version that also covers the ZG and other HS30 variants (the early versions only covered the Z / Z-L and Z432): Then I got two of the Japanese marked fold-out Fairlady Z sales brochures. It's basically a brochure on one side and a ZG Poster on the other side. I was buying one, when a second one was included in a Lot of documents. Once I got them, i realized that i already had one, So now i end up with three. But, I intend to frame one as a Poster and I realized that there are different versions. Both the Material (paper-weight) and print is different: For me no doubt the coolest item is this Nissan Racing school brochure: With the Checkman Sponsored GTS-II Works car on the back. Especially this version of the car with the "Batmobile" rear aero. I just love everything about it. The sponsoring, the aero, the livery. Another Magazine was the "Nissan Graph" Customer magazine from April 1985. Which also included some racing school details. I'm working on a knowledge post about this, that's why I started to collect some information about it. One general 1971 Japanese Nissan brochures also included the ZG: And the general lineup on the inside. I guess this magazine was issued at a Car show in 1971 or at the dealerships? It also included some cool drawings of the 216X Concept car: Another similar brochure (without date) from Nissan Tokyo, which again shows the ZG and some other nice cars: On the inside you find the lineup from that time, but with a regular Fairlady Z and Z-L shown. Another cool book is the J's Tipo Fairlady Z Archives (002). J's Tipo is a Japanese car magazine, and this book is basically a collection of all their Fairlady Z related stories from various years, compiled in one book. After I met Morita san, the Author of the Fairlady Z Story and History books, in Japan recently, I had to get "Volume 2" of the book. I've owned Vol 1 for a long time, but never the second one, since it wasn't so relevant for the S30. But now I had to get it :-) Then i also got this Jack and tool stowage reproduction Sticker from Germany. I had this Genuine Datsun Parts sticker for a long while and always wondered how I can present it. When I found this piece of Aluminum sheet, I got the idea to make a sign out of it. So I cut the aluminum. And then put the sticker on it. So I ended up with this cool sign. And found a good little Spot for it: I also found a nice place for the NISMO sign, but it looks a bit small on this big wall, next to the huge Datsun sign. I have some projects planned for the next week and hope I can get back working on the car itself, so stay tuned for some updates, soon.
 -
A cloth buffing wheel with fine polish compound on my hand drill. I will show a picture tomorrow. I have a bench mount buffing wheel as well that I use to polish all of the window frames, but the knob is too small for that.