zKars
Supporting Member
-
Joined
-
Last visited
Everything posted by zKars
-
Press fit. You should not be able to push it or take it out by hand. It's tight. You can use something like bearing retainer compound like LocTite 609 to help keep it in if its not really snug.
-
-
Fairly typical winter weather for Calgary. Been -20 to -25 C for a couple of weeks, more snow than usual. Now -4C, forecast for early next week is +16!!! We get these warm spells in the winter routinely due to our location near mountains and weather patterns. Mind you, last winter, spring started in early March and stayed until later November. Remember the difference between weather and climate..
-
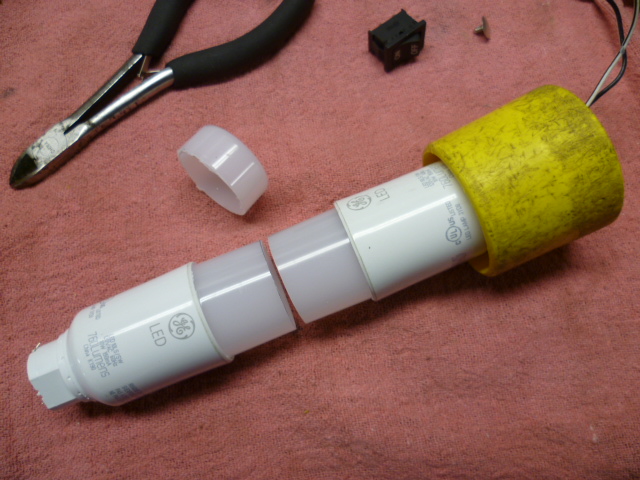
Brilliant solution! And it looks like those cut off caps could be another source for new inspection light lenses!
-
I like the tube straighener a lot, been meaning to build one for a while. I spotted a bunch of sliding door hardware at a good door and window supply store in town (Chinook Glass on 16th near Center). There were several of these grooved style wheels in a variety of sizes, all metal, and some much smaller than the close line wheels. Not sure size matters in THIS case, but... Everytime I go to replace yet ANOTHER broken window crank or window opening mech. on a couple of the "better" window's in the house, I see them, can't remember the size I need, leave without them and the cycle repeats. http://www.chinookglass.com/product-category/parts-catalog/sliding-patio-door/roller/
-
Now where have i been? Dang Christmas party-ing.... Richard, I have a plastic evap tank for you down here in Calgary if you decide to go that route. Get me at z240@shaw.ca.
-
Wow, I just spent likely the same time you did staring at their little diagram, and the only thing I can imagine is that you have to drill a hole through the horizontal section of the rear cross bar To have a place to mount that angle bracket. That's not going to be an easy hole to drill with Canadian tire quality bits. I've looked at that before and thought you use the existing bolts that connect the uprights to the cross bar. Guess not...
-
Held in by four pesky little 4 mm phillips head bolts. You have to remove the inner plastic trim panel that surrounds the window to expose those screws. This is the tough part. The plastic rivets that hold it in are removed by punching out the center with an 1/8" punch, then remove the rivet. Merry Christmas!
-
-
The resemblance to a real choir is un-canny! I'll bet their sound is kinda tinny though I sense a theme will develop here. Silly car related Christmas pictures. Here's mine. Merry Christmas everyone!

-
Brought it up with the wives this evening at dinner. Didn't cause any sort of negative reaction at all. Not sure how to take that. I'll pretend it's a good sign for now. Haven't driven to Texas since 1980 in '69 510. It's about time to do that again I think. Just read the first sentence again. I do not have multiple wives. That's just silly. Had Persimmon240 and his wife out for dinner.
-
I'm sure I have one is someone else closer doesn't chime in. Being an avid water craft enthusiast, I love collecting boating accessories.
-
Brilliant! I love the simple solutions. Great work. Note this only works for the 77-78 doors. I wish the improvements in all of the components in the 77-78 doors are arrived sooner in the line. Alas....
-
Thank you for not making me find that picture again!
-
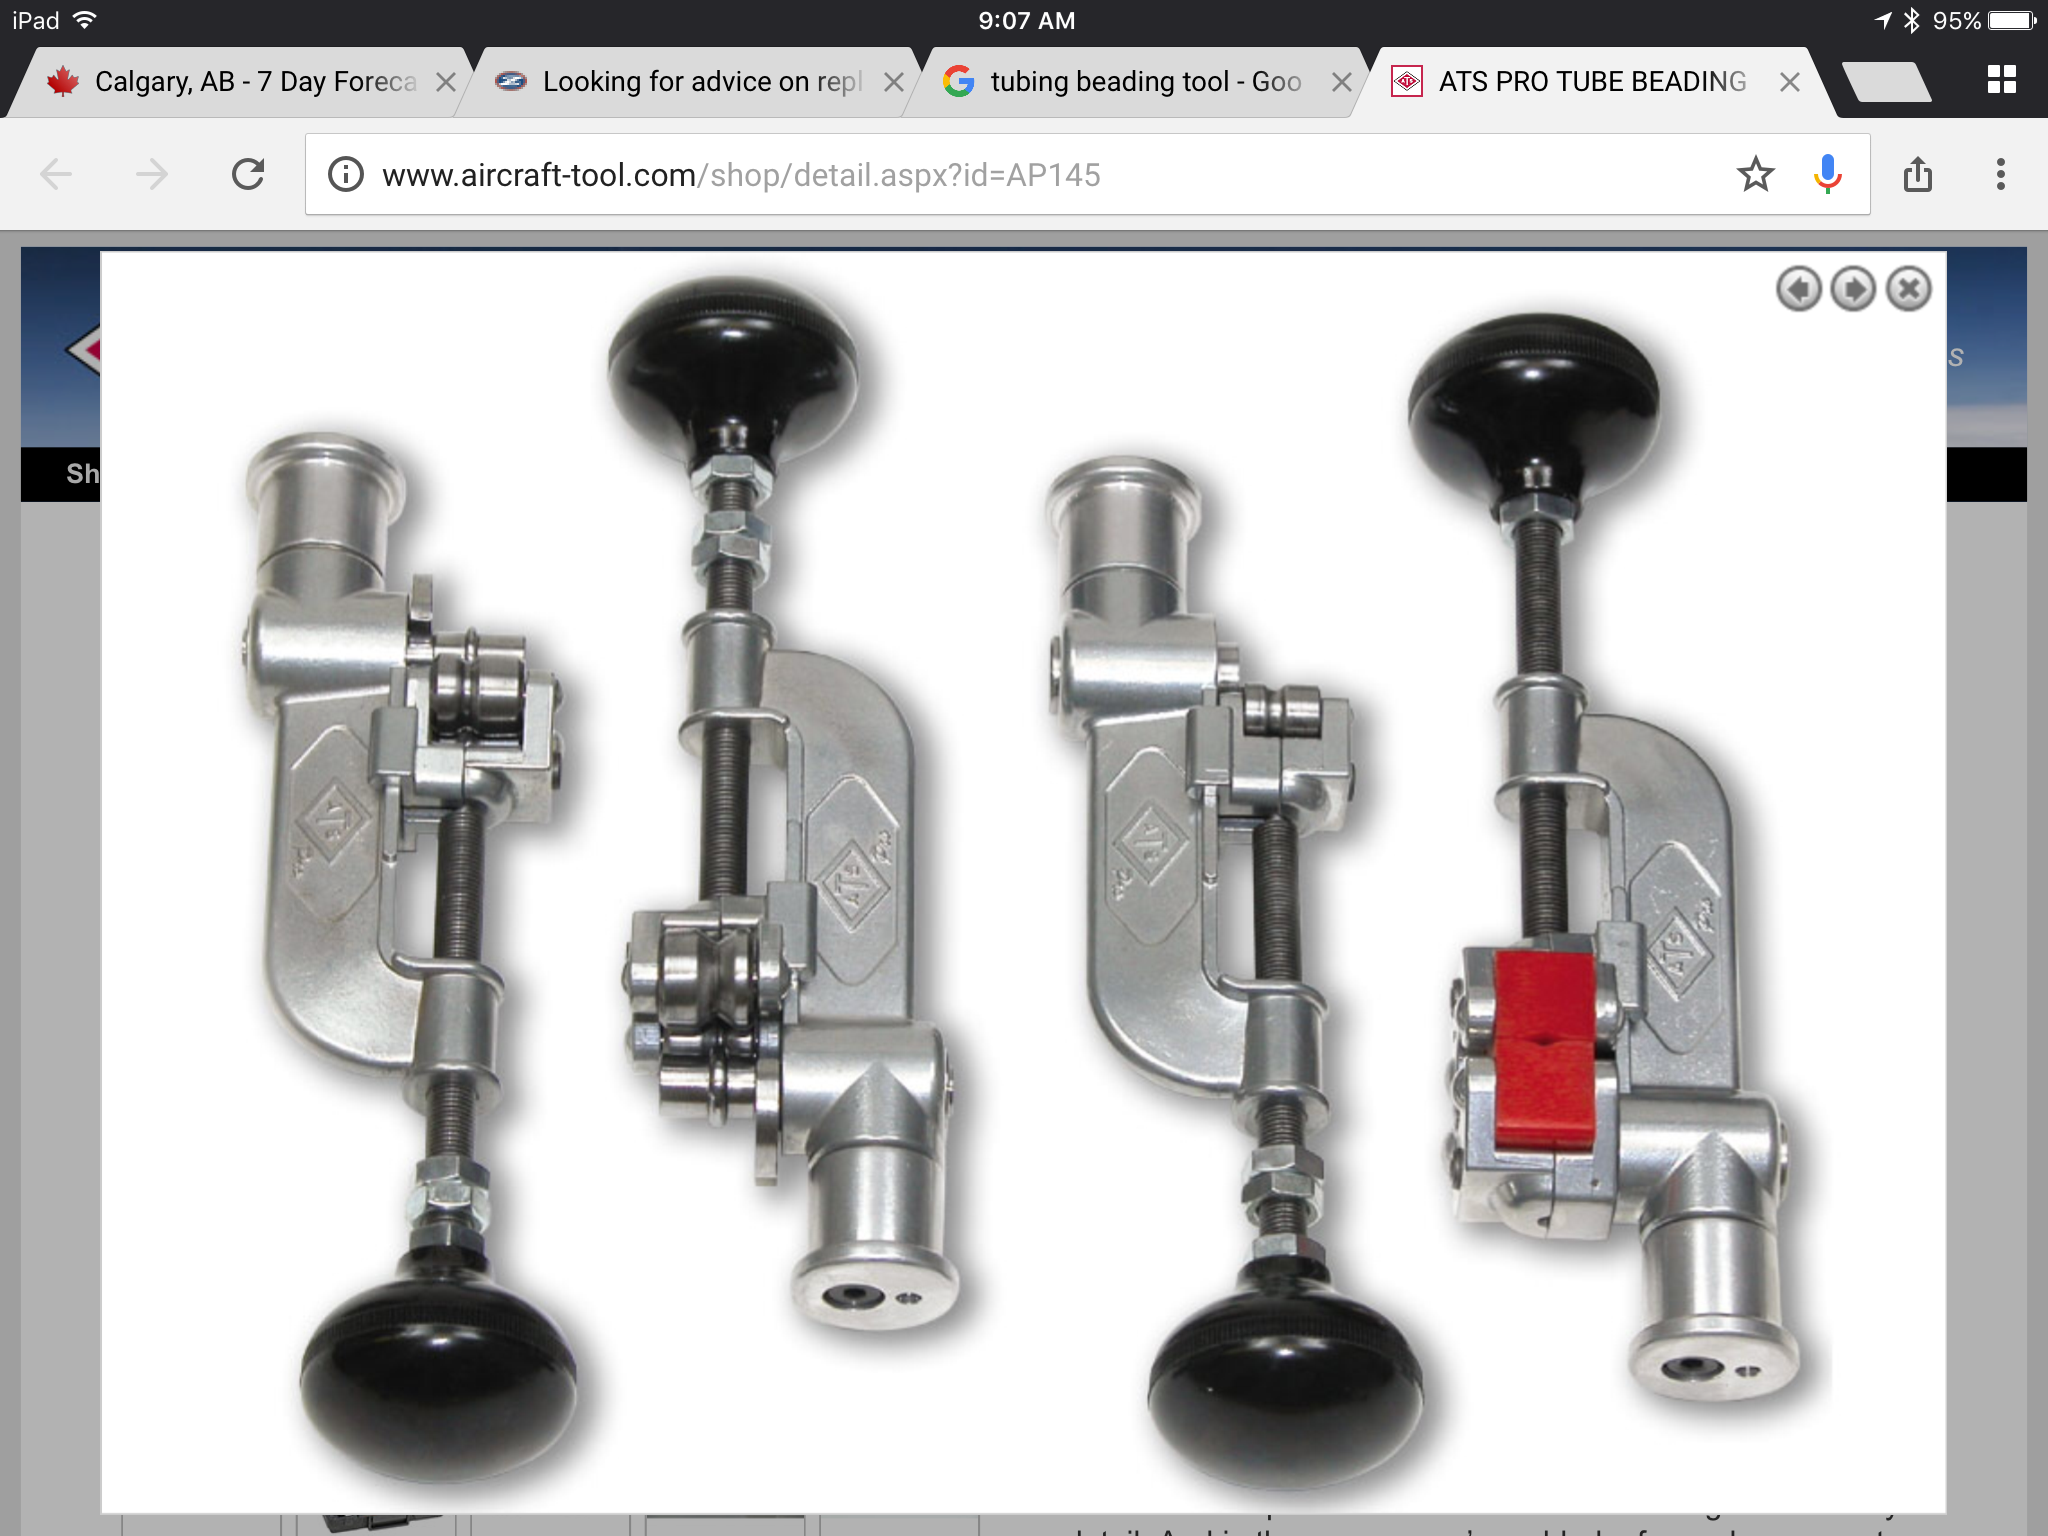
The ATS tool I linked to goes down to 1/4" tubing. I guess that leaves out 3/16, but I would think that would be small enough for our uses. I bought the graham small tool for 1/4 and 5/16. Works just great. Sorry Wheee! You're not borrowing from my crib! http://www.grahamtool.com/smalltubebeadingtool.aspx
-
The tool to form that ridge is called a beading tool. http://www.aircraft-tool.com/shop/detail.aspx?id=AP145 OF course there are a hundred DIY tools on Utube...

-
What has happened to our DIY culture on this item? Let's see, what do we need? 1. Use a hated polyurethane bushing as a pattern and source of the four steel hole lining bushings. You can also laboriously extract these bushing from your old rubber one too. 2. Acquire a chunk of rubber. Get a few different durometers. If your get 1/4 thickness of various durometers to build a sandwich and experiment with the steering feel until you get what you like. McMaster carr has a large variety of rubber types, some even with reinforcing layers. Rubber suppliers are surprisingly common. This stuff is not high tech. 3. Size and drill the holes using the old poly bushing as a guide. 4. Press the steel bushings into the holes. 5. Assemble on the car and go for a drive.
-
I believe I made it clear above that you "easterners" would be better served by finding some closer to home. This is your official dispensation from any Gibbs related corporal pushishment.
-
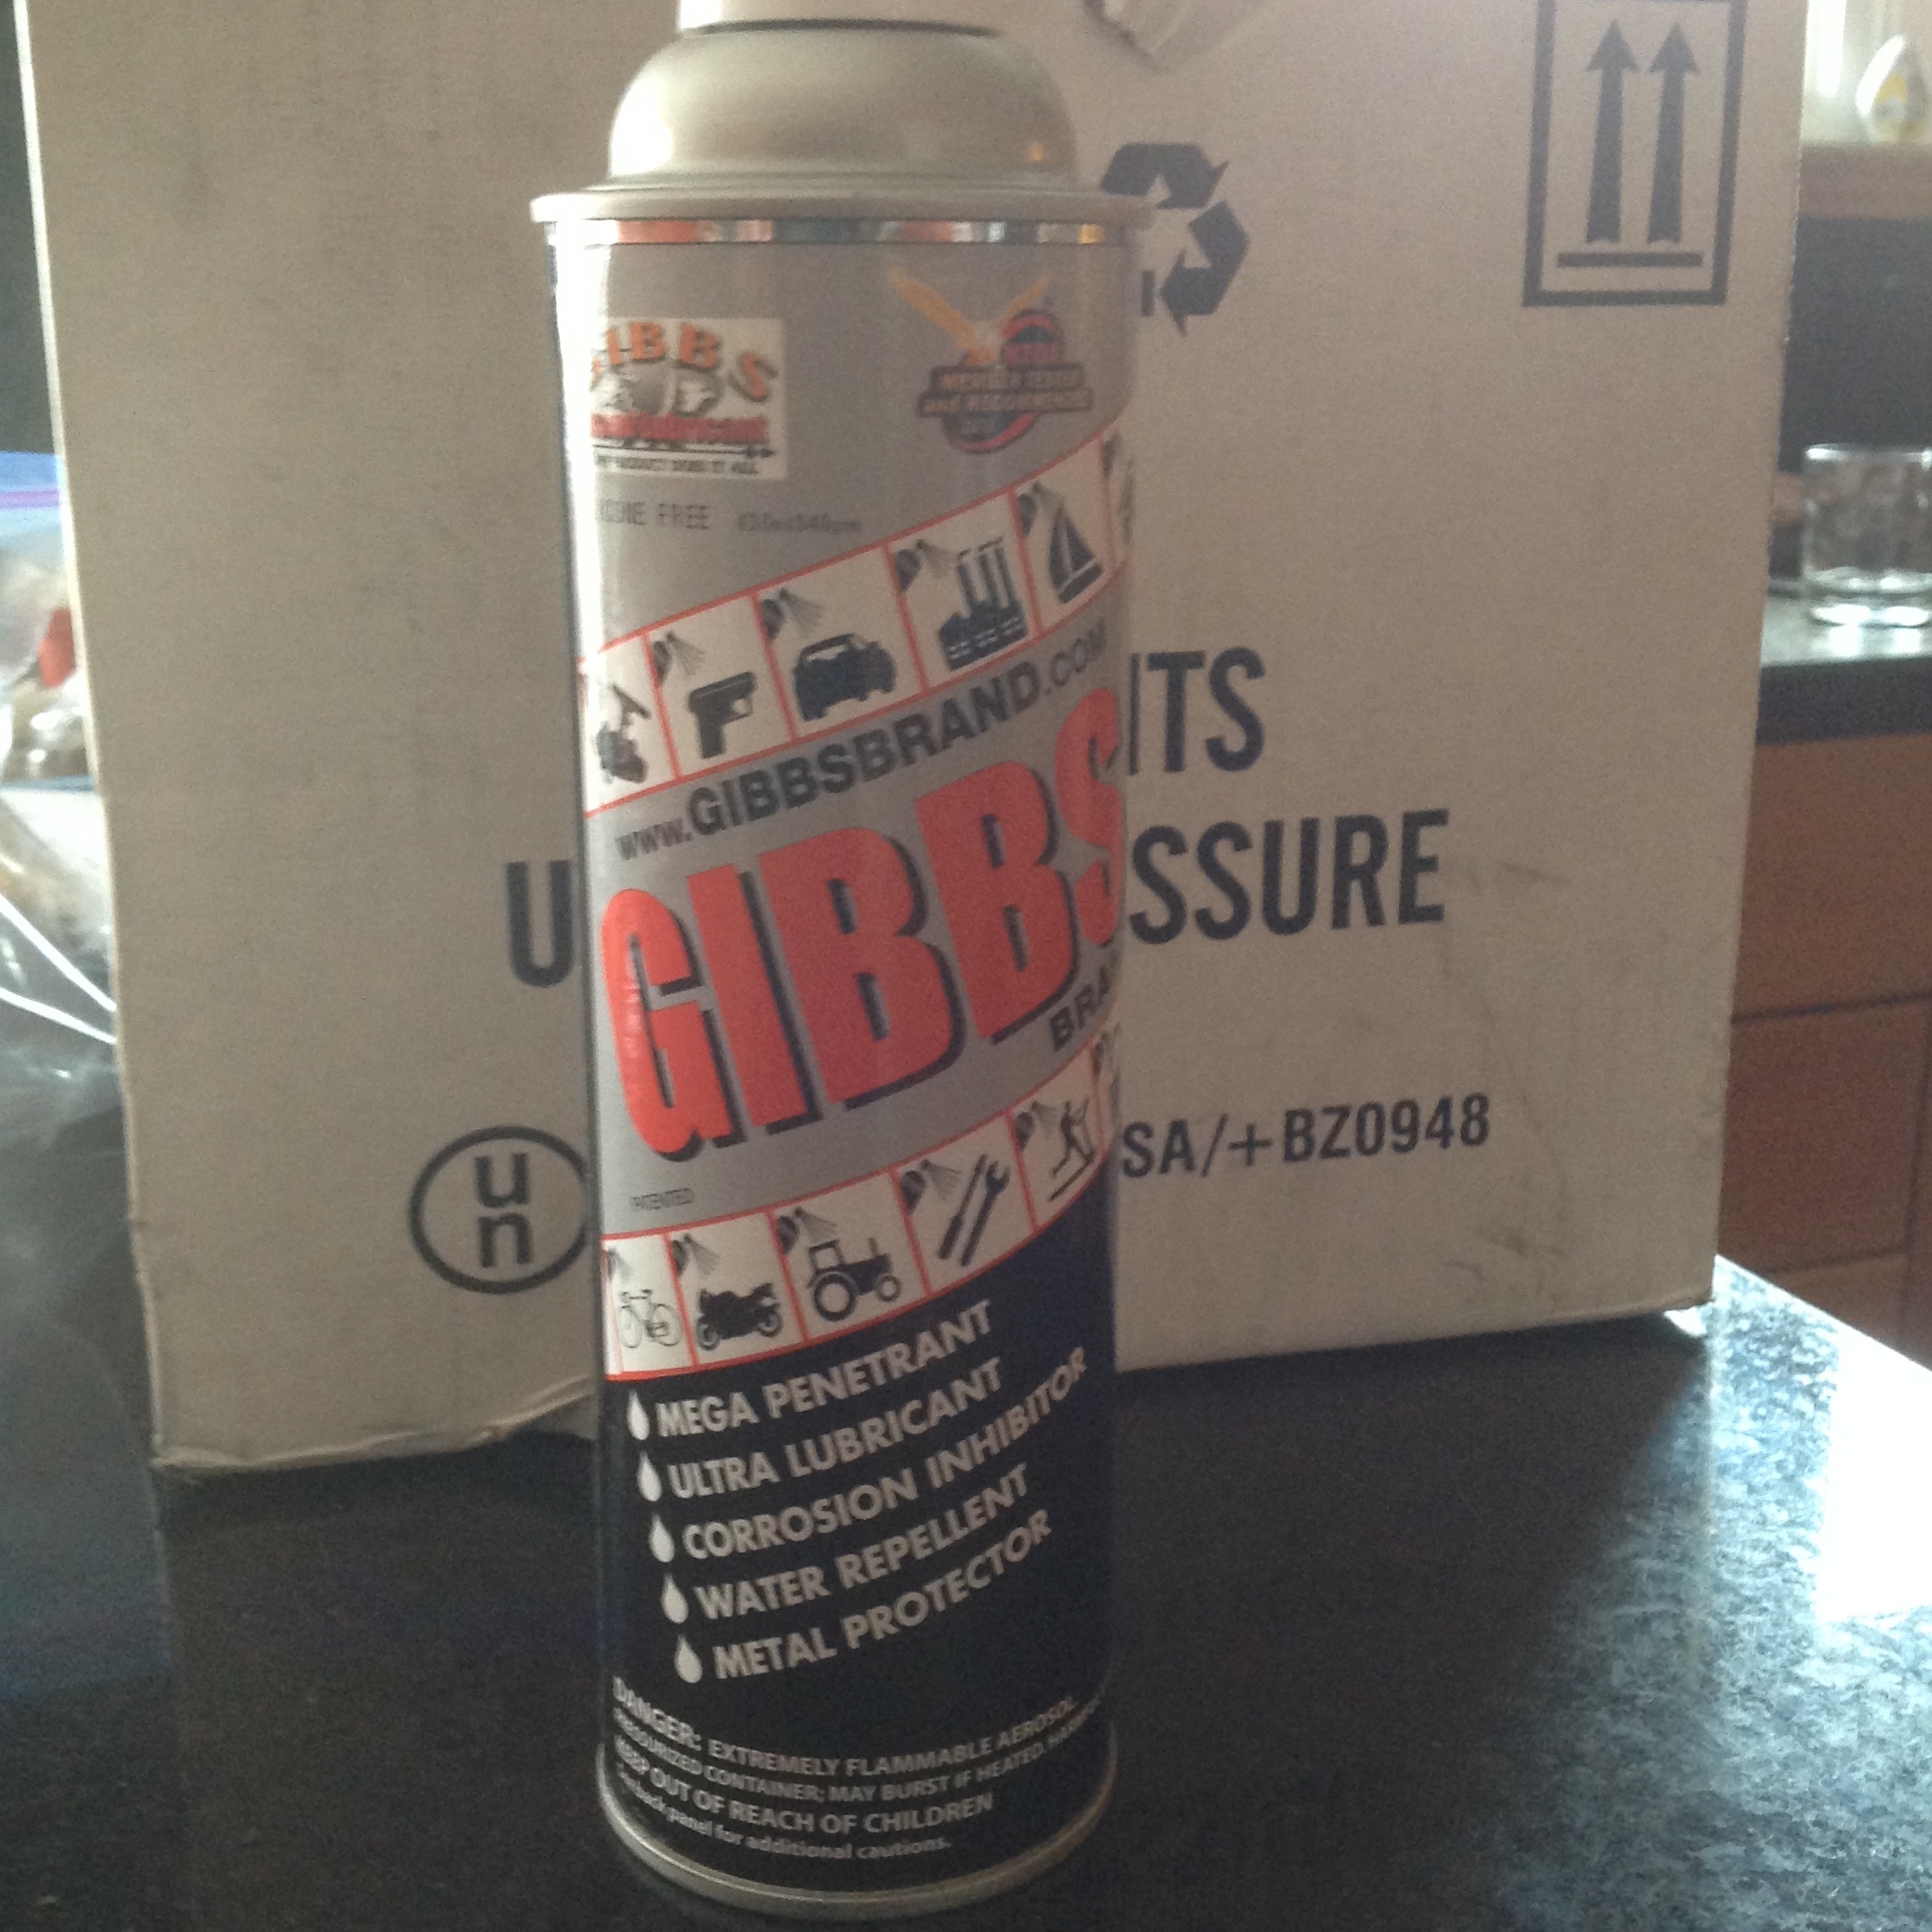
And the magic elixir has arrived to keep them lovely for all time. Anyone can pick one up locally off me for $20. And who better to be the spokesperson for this amazing product...


-
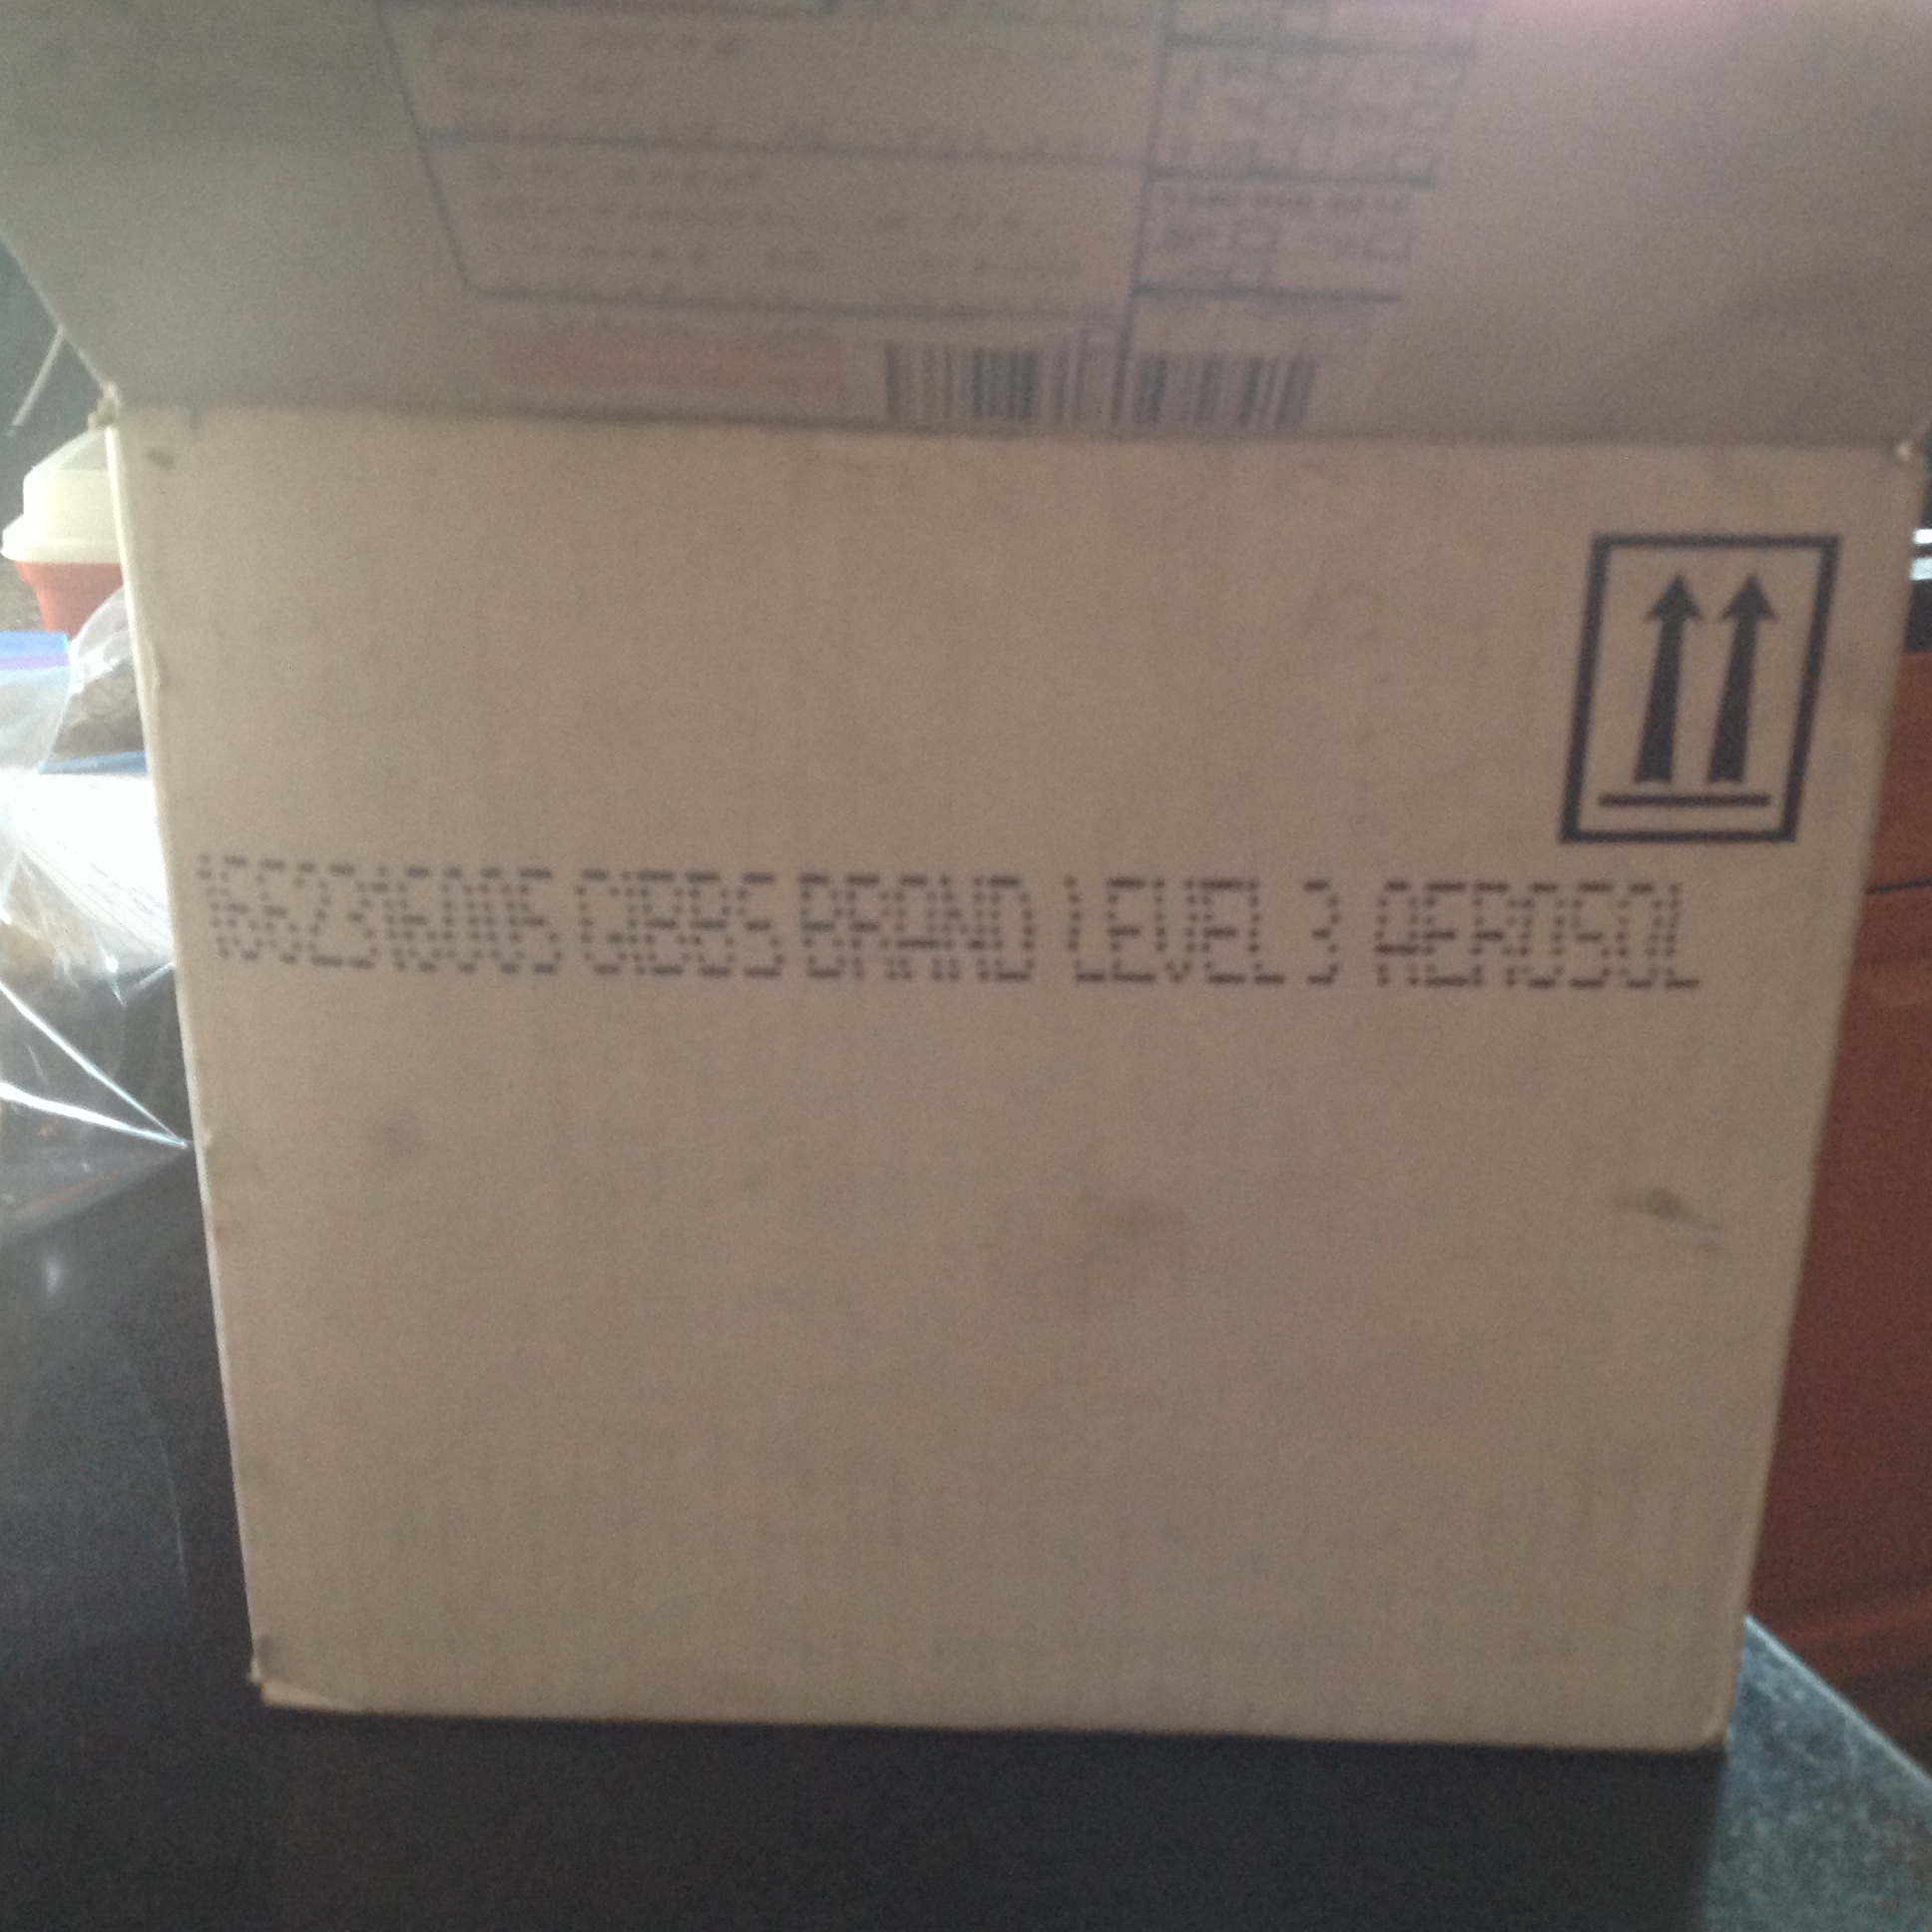
Here is the deal with the Gibbs stuff. Finally contacted my "local" supplier. He is sending a case today. He ships via Purolator, as they will ship small quantities of Dangerous goods such as aerosols via ground. He is confirming a cost for me for the case I'm asking for, but believes the last one he sent here was $25-ish. Here is Purolators web site info on how to handle the packaging. http://www.purolator.com/assets/pdf/dangerous-goods/Shipping-Dangerous -Goods-Aerosols.pdf Canada Post, and all it's wonderful cheapness, will not ship dangerous goods, aerosols are on that list. This may make my distribution of products to Eastern Canada non-cost effective. Since all (most, sorry Blue) of the above interested parties are in Ontario, I'm willing to bet you will be better off (ie spend less $$) if you order from one of the local suppliers near you directly. Here is the contact page. http://www.gibbscanada.com/20080825/dealers.html Let me know that doesn't work out, and I'll get my roll of strapping tape and boxes ready.
-
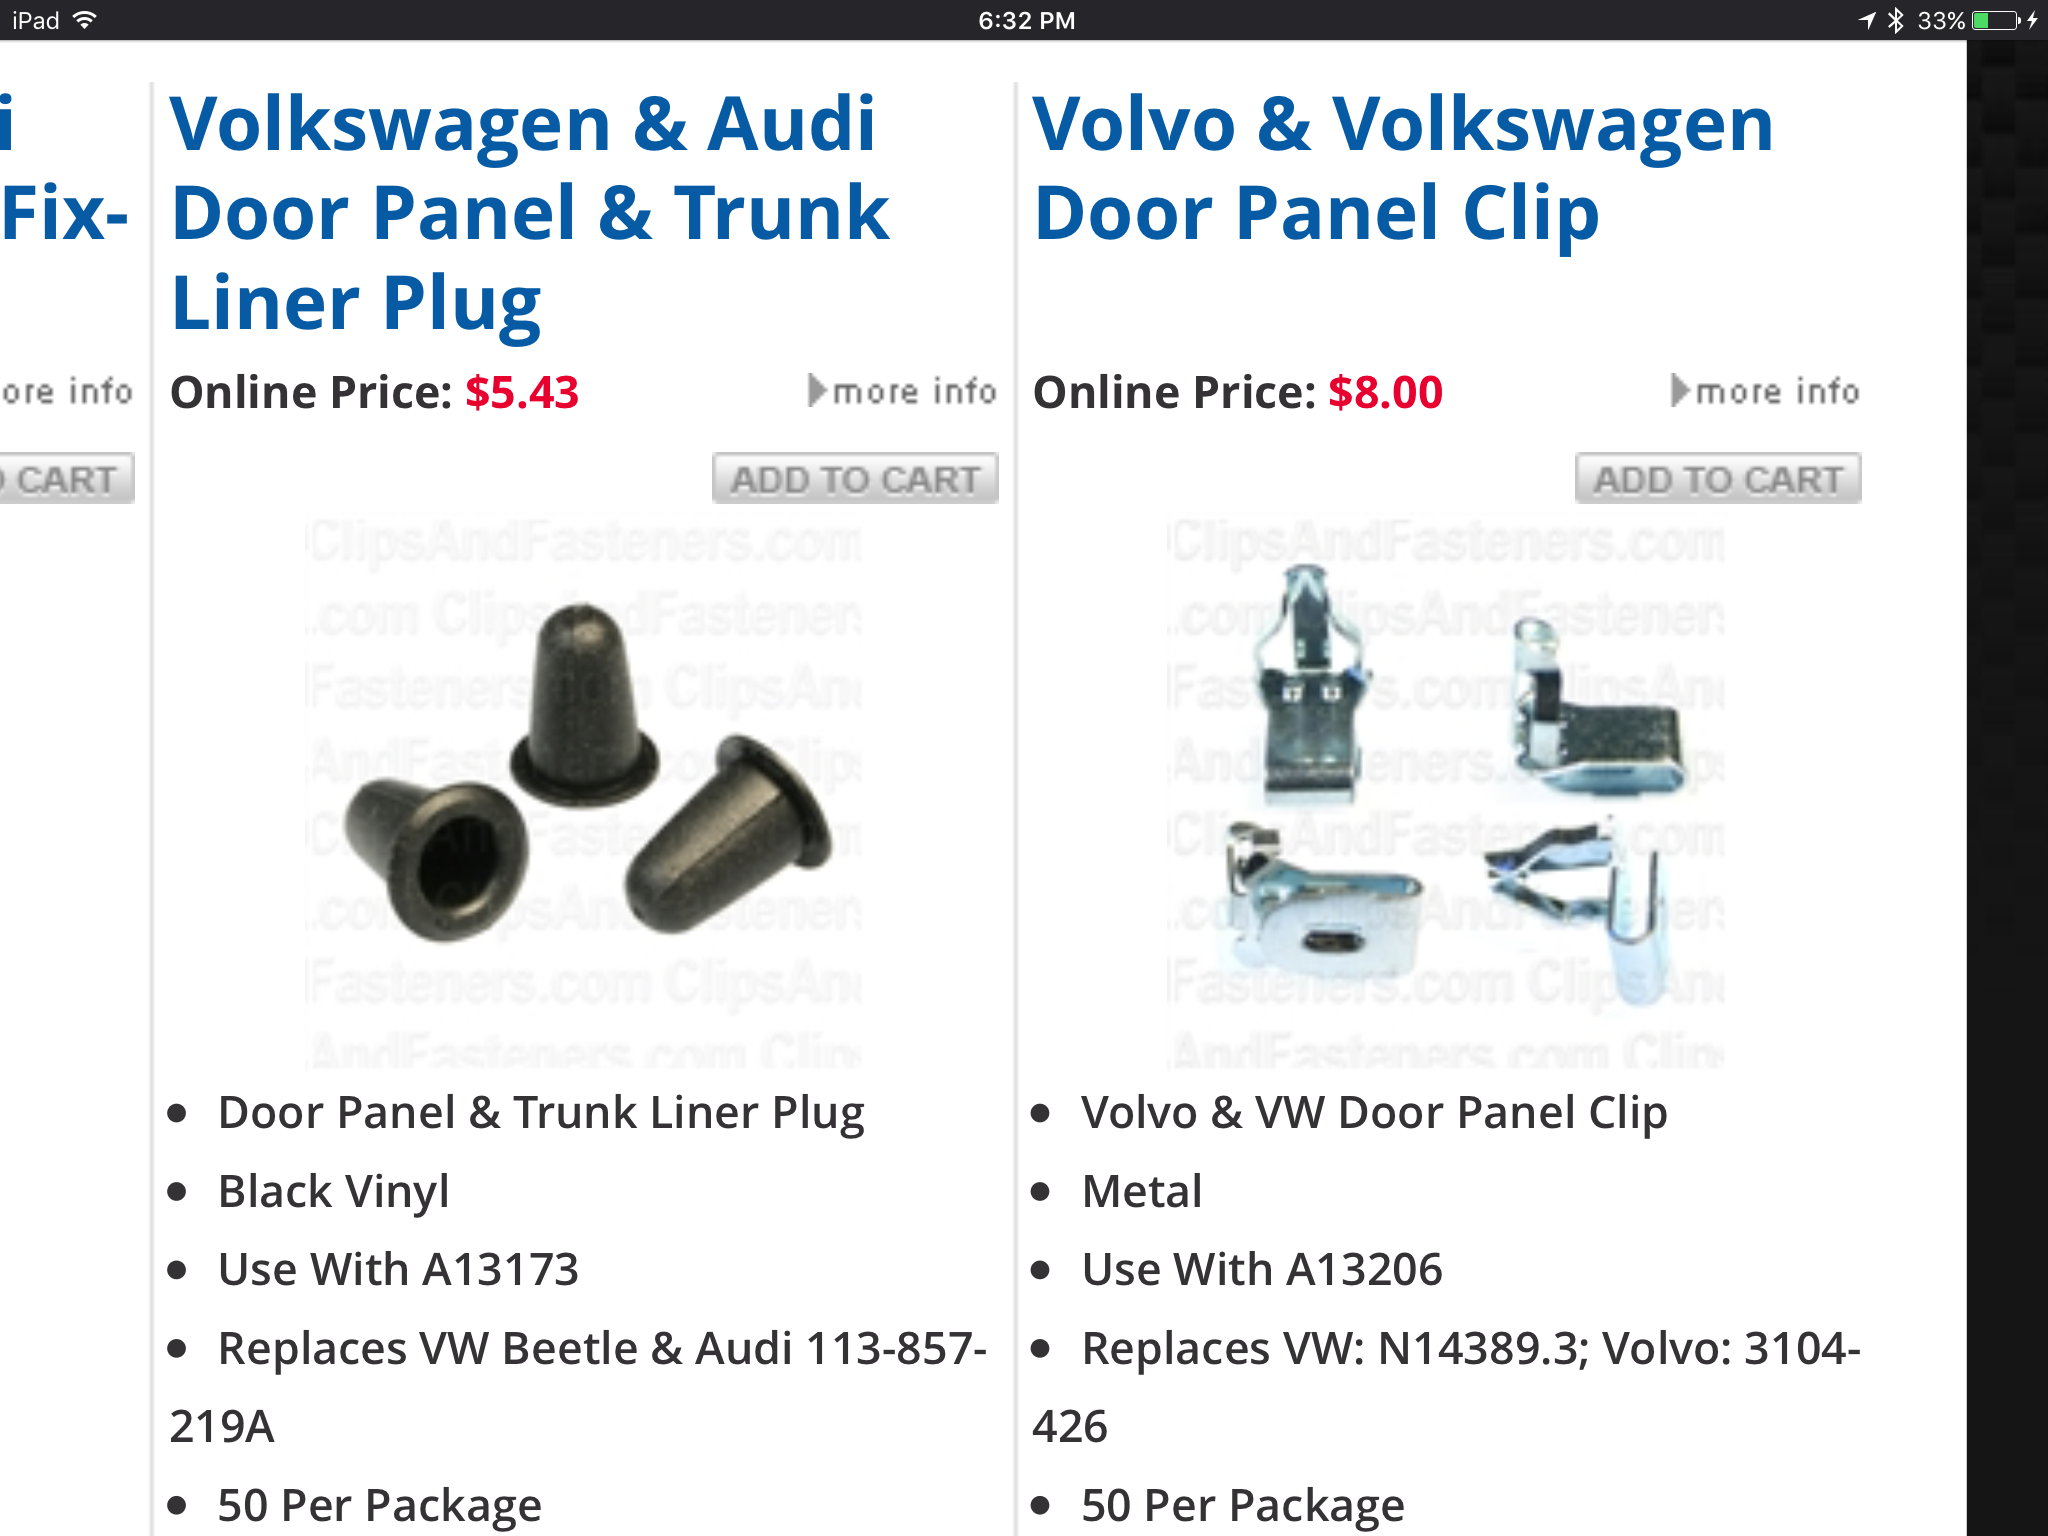
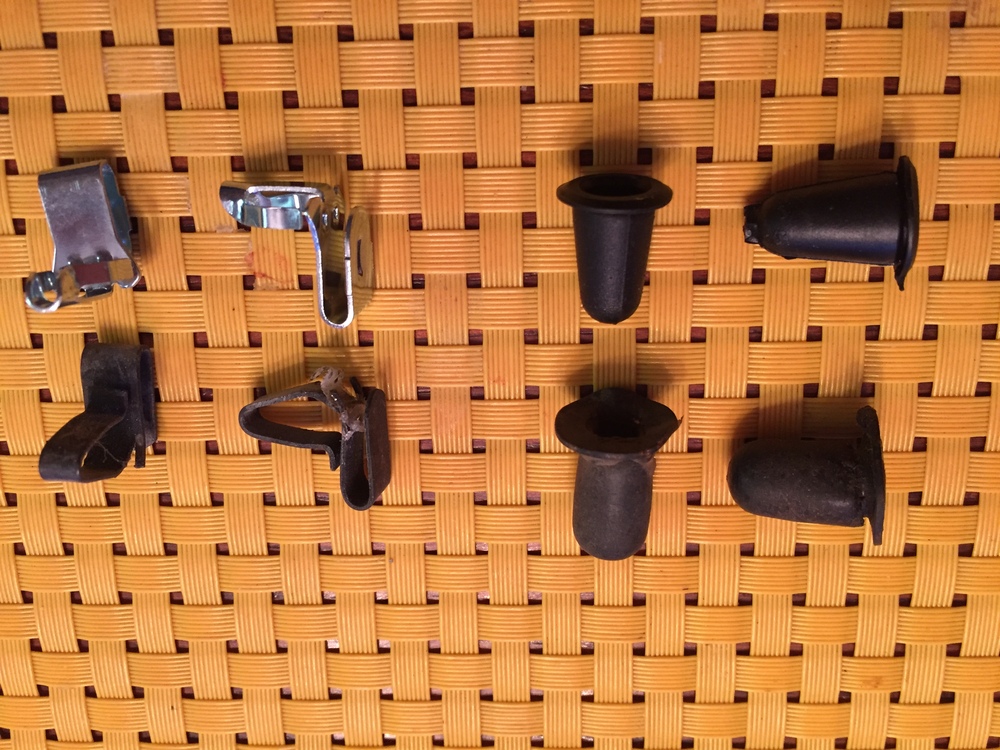
Nice find! there you have it, all S30 covered for mere pennies. Now if only clips and fasteners had new hardboard door cards so these fancy new clips had something solid to clip onto!
-
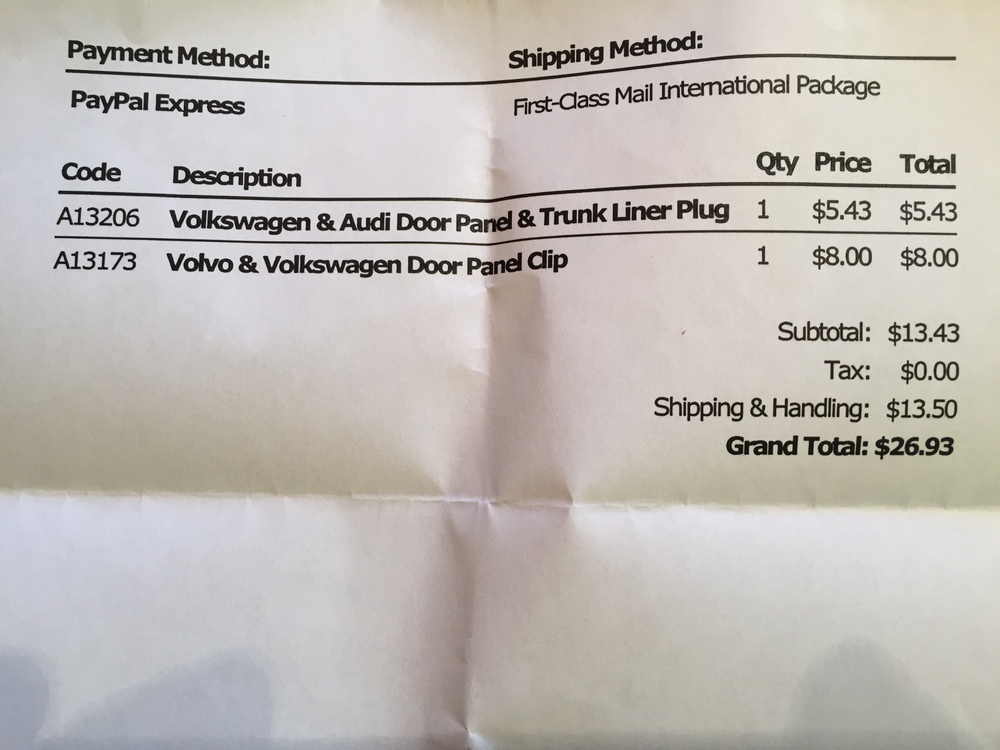
While looking through one my of favorite parts suppliers web site for "stuff", I spotted these beauties. ( Clipsandfasteners.com) They seem to be near perfect replacements for the 240z door panel card clips and receiver cups, but since there are no dimensions, I had to order some and find out. Good news! Here is a comparison between a couple of each, old and new. But dear god the PRICE!!! Don't get me started about shipping costs and GST, and exchange rate etc. I searched a bit to see of anyone had found these before. There was a post from @Mike W about his having found these, but he didn't divulge the part numbers. Now you got them. And they fit 510 door cards and doors too! Bonus!


-
Will do Granny. Still waiting for a reply....
-
I'm chatting with the Gibbs dealer in Edmonton. No one in Calgary yet. His price is $21.50/can + shipping, or $15 a can if you buy 12. Once I get a shipping quote from him, I let you know if its worth me buying 12 and shipping them to you Canuckers a bit cheaper. May be an issue with shipping aerosols that makes it a bit pricier.
-
Functional differences are small between them. Most street users will never know the difference. As Mike W says, the real difference is availability and parts access. Webers win hands down. Mikuni prices are going a bit crazy too. Like stroker cranks and S1 console fuse box covers, they are better investments than any stock I've seen lately