Jump to content
Remove Ads

Leaderboard

Popular Content

Showing content with the highest reputation since 06/01/2025 in Posts
  1. eBay UKDatsun 240Z Ashtray Snuffer Plate Reproduction In Stainle...Datsun 240Z Ashtray Lid Insert / Cigarette Snuffer Plate – Reproduction Part High-quality reproduction of the original Datsun 240Z ashtray snuffer plate, designed to match the look and fit of the f... Datsun 240Z Ashtray Lid Insert / Cigarette Snuffer Plate – Reproduction Part High-quality reproduction of the original Datsun 240Z ashtray snuffer plate, designed to match the look and fit of the factory part found in 1970–1973 models. Precision-cut metal complete with M3 bolts and nuts for easy installation. Fitment: Datsun 240Z (1970–1973) Material: Stainless steel Slotted snuffer design, includes M3 bolts and nuts Ideal for restoration projects or replacement of missing, broken or corrodedl parts
  2. Went on my first road trip of the year with my BC Z club friends. About a dozen of us left from the Vancouver area, I joined from Chilliwack and we made our way to the BC Okanagan. Our original plan was to take the Coquihalla Highway to Kelowna, but a large sinkhole closed that route. We ended up taking the more scenic Hope-Princton Highway. For me it was a 436 mile (700km) return trip. My1970 Zed performed flawlessly, even in high mountain terrain and temperatures in the mid 30's C, (93 F), Our first stop was in Princton, for fuel, and to meet up with a few more Z club members. Here's a pic of a few of us in Princton. Our end destination was Kelowna, where Kelowna Nissan generously us hosted for a welcome event. They put on a great BBQ and offered up some Nissan swag. With other club members that met up with us along the way, there was close to twenty Zeds. The Zed to the left of me is fellow forum member @Chickenman, with his 1976 280Z. Thanks Richard, for the "way home" route ideas. The next morning, quite a few had decided to stay an extra day and enjoy the awesome wineries in the surrounding area. I and others, make the trek back, with most taking the faster, more direct Coquihalla route, as sink hole repairs had been made. I like to take the road less travelled, so I did a solo drive on a longer but more scenic route. This route included highway 5A from Merritt to Princton, that runs beside a seemingly endless series of beautiful lakes. Another bonus was that I was almost the only car on the road, with that route. 🙂 All in all, it was a great weekend. I'm looking forward to the next road trip.😎
  3. The door latches I used Tail light chrome pieces. They weren't very flat. So I heated them slightly to reshape them. I did cause some wrinkling in the finish on the one that was pretty warped. I probably should have sent them back and exchanged them but for now it's fine Bought some washer to hold the trims on Installed Some butyl to hold the lens in The center post of the chrome is supposed to be long enough to go all the way through the back and get another star washer. The posts on my repops aren't long enough for that. So hopefully the lens don't fall out Felts for the bottom lens drains Shop dog More Belmetric Lights in place Finishers Badges, because everyone knows badges make cars run better!! ;)
  4. 5 points
    So cool! Fun build and I love following along. Gosh I hate facebook compared to forums.
  5. That's a midlife crisis screaming out loud car. I'd end up wearing shoes without laces. 🤪
  6. Gang - I'm also in a classic British car restoration forum and they had a really cool thread idea that I wanted to bring here: Did you buy your Datsun brand new and you still own it to this day? If so, please post the oldest photo of you & your car in this thread, and maybe write a little story about what prompted you to buy it at the time! * Also welcome in this thread are stories & photos from Z owners where another family member (parent, grandparent, etc) bought the car new and it has stayed in the family until present day Looking forward to reading your story! I know @jfa.series1 has one!
  7. Looks like I never finished this thread. I replaced the front yoke and took the propeller shaft to a local shop for balancing. It was there opinion that the shop that did the shortening of the prop shaft did not balance it. When I went to install the shaft into the transmission, the "slop" (the amount I could push the yoke radially) was a lot. As an estimate from looking, I'd say I could move the yoke in any direction about .020". So, that is about a mm of movement radially. It might have been a bit more than that. So, I decided to replace the bushing that is in the tail shaft of the transmission. Looking back on it, I think the bushing developed wear because of the driveshaft being out of balance for the first 500 or so miles I put on the car. I think that the bushing was sacrificial - meaning made of softer material than the yoke. Anyway, after putting the new bushing in (removal and reinstallation of the transmission was required), the new yoke was tight (no discernable movement at all radially). With everything back together, the vibration that caused me to start this thread is gone!
  8. You've got to be kidding!!! Five minutes after wearing that, my wrist would look like this:
  9. What a fantastic shot! That could be a poster.
  10. Here's the latest wiring diagram. I changed the ground distribution scheme to add the dedicated ground strap directly from the battery terminal to the firewall, and also labeled the ground connections that are through the engine metal. Hope this helps depict how the car is actually wired. I also changed one of the wire colors leading to the fog light switch. Might only matter to people in other parts of the world who have fog lights. <V8.0> _obvious 240Z Wiring Diagram 8.0.pdf
  11. Nissan were caught out by changes to motor vehicle 'Construction & Use' regulations with regard to lighting for 1971-up in several European markets. Height from road level was particularly difficult to solve. The regulations even required changes to the illumination of the rear license plate. Of course such regulations applied to NEW cars and many private owners took the opportunity to move these aesthetically unpleasant front turn signals to a position UNDER the front bumper, or - even better - to revert to the configuration that the gods originally intended... A legacy of precedence. You may have heard of Mr James Watt? He found it necessary to use a unit of measurement in order to compare the power of steam engines to that of working horses. Of course he used the IMPERIAL system as METRIC horsepower didn't exist at that point, the Industrial Revolution not being a Continental phenomenon... You may also have heard of Sir Isaac NEWTON? That's him in your Nm measurement. (Posted from The United Kingdom of Great Britain and Northern Ireland, a small place off the coast of mainland Europe which used to rule much of the world for a while... LOL)
  12. 4 points
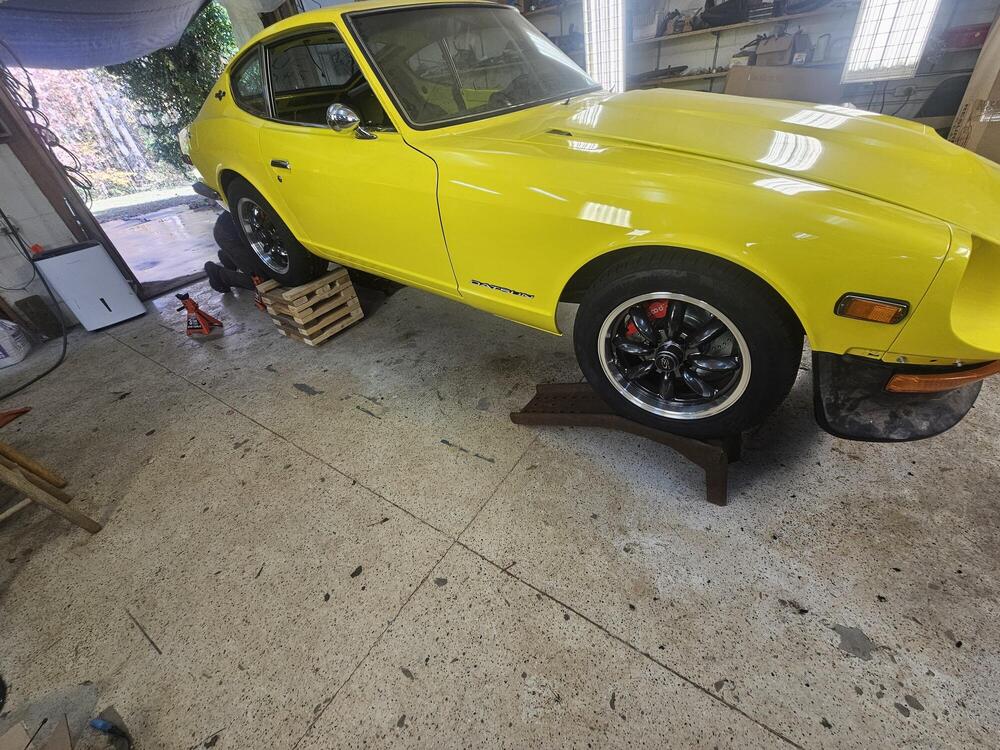
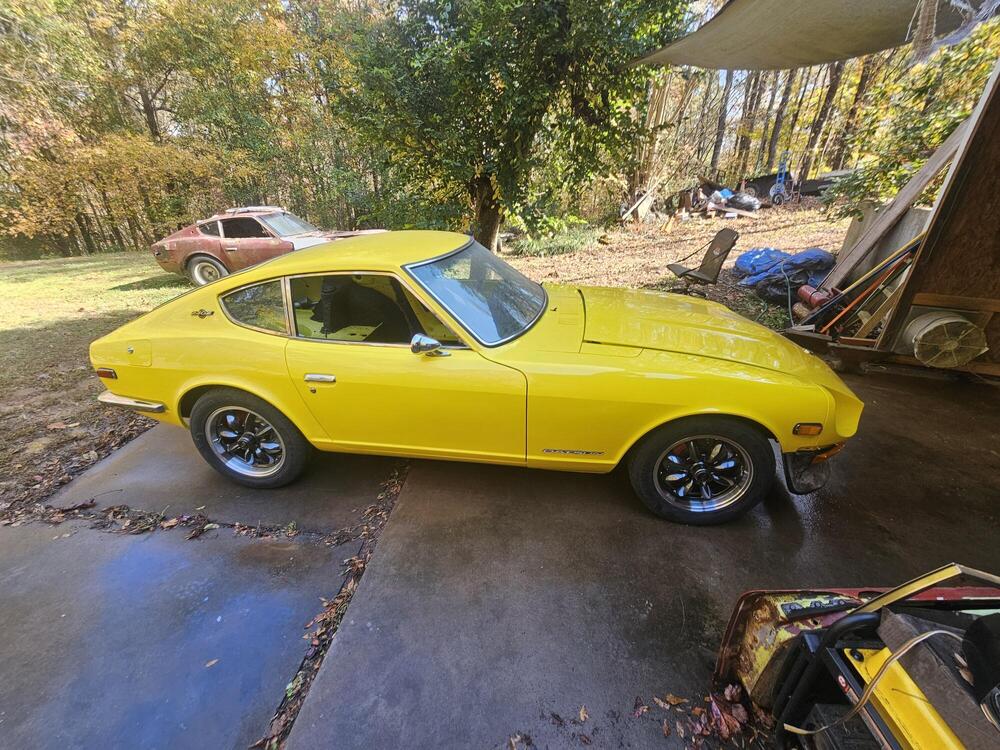
    Okay, it’s been a minute so this post will be all over the place… I’m going to start with baby steps that feel like giant steps. I was able to install the left side headlight bucket. It seems small, but I hadn’t been able to get to all of the weatherstripping that goes under the fender so I put it off. This was the first time I’d seen it together (on one side) since it came back from the painter. I found there was a sizable gap between the bucket and the fiberglass air dam and I didn’t know how far the dam was going to flex. It ended up working out when I got the blinkers on, but it’s not a crisp clean fit. More on that later. ••• I didn’t do a great job documenting this, but I did a complete refurb of my marker lights and turn signals, inside and out. Left side is before, right side is stage 2 of the 3 step polish. The left front TS and three of the marker lights were pretty beat up. The white plastic was nearly brown inside and the mirror of the fronts and metal housings of the marker lights were all rusted. I stripped these pieces and painted the metal parts with highly reflective silver spray paint. The plastic housing I sprayed white inside and left the outside raw, painting the mirror the same as the marker lights housings. The lenses were sanded with 400 grit wet/dry paper, then up through 5,000 grit, and finally polished with Novus plastic polish. Surprisingly, I was able to reuse all of the OEM rubber parts. They just needed scrubbing with a green scotch bright pad. I decided to replace all of the hardware with stainless bolts instead of sheet metal screws because the right rear screws are uncomfortably close to the fuel vapor hoses. I wasn’t able to get JIS screws quickly enough so I just went with generic M5 cap head bolts, with fender washers and lock nuts on the inside. The ones in back got rubber caps on the bolts, too, just to be safe. All of the wiring and connectors for these were replaced. The OEM sockets and rubber boots were refurbished. I ran out of bullet connectors so I used Yamaha sealed connectors for the front marker lights. I’m a bit bummed that the rubber covers from Vintage Connectors for the turn signals are so short. I’m wondering if I need to do something like wrap them in tape to keep the water out. The bulbs are color matched LEDs from Super Bright LEDs, which I think look nicer than using white ones under the colored lenses. The color is much richer while still being… uh, super bright. The gaps around the air dam closed up a bit after I got all of the hardware on, but the curves of each piece (headlight bucket, air dam, and blinker housing) don’t match, which is irritating. I’m hoping it will disappear once the bumper is on. ••• I FINALLY finished my throttle cable setup. I looked at a bunch of off the shelf options and a few specifically for Z cars, but the prices and not quite being what I wanted pushed me into making my own. The two challenging pieces were the bulkhead and the bracket. I made the bulkhead out of a stainless steel drain plug that a friend drilled out and tapped for me on his lathe. We broke a tap and probably dulled a second to the point of not being usable any more. If I did it again I would use aluminum. It’s held on with an M18 nut and has the cable adjuster for a triumph motorcycle brake lever screwed into it for the cable sleeve. That’s probably also unnecessary as I could have made the bulkhead so it acted as the cable sleeve seat on its own. The bracket was another Send Cut Send job. I had to wait until everything else was figured out to design and order it, but I made four versions with the hole for the throttle cable adjuster at various heights. I opted for the second tallest, but I’ll change it if this ends up feeling wrong. I’m definitely going to have to ad a bend along the long edge to reduce flexing. I went with a progressive cam from @duffymahoney and had to make sure there is no interference when all said and done. The shortest bracket looked the best but was uncomfortably close to the cam at full throttle. All of the cable bits and pieces I got from Venhill Engineering for a song. The reason there are two adjusters in the photo is so the bracket can also hold the choke cable, which I am repurposing to operate the starter valves on the Mikunis. I doubt I’ll ever use them but I don’t like having inoperable parts in the car. The cable is affixed to the ball socket by a m5 lamp bolt that was decapitated, crimped to the cable, rethreaded, and soldered. So yeah, the throttle half of this project is done for now. I just need to change the screw holding the cable to the cam to be a set crew, cut the excess cable, and cap it off so it won’t fray. The bracket will definitely need to be stiffer, but that’s for later. ••• Unfortunately I keep forgetting to take pictures, but I can show you how I ran the AC drain so it minimizes the size of the lump when I install the transmission hump upholstery. The Vintage Air evaporator came with a black hose, but I swapped it out for some hose with a thicker side wall, which should keep it from compressing under the upholstery and inhibiting the flow of condensation. A nozzle connects to the hose with a 1/2” barbed splice fitting. The black piece is from sun roof drains on GM and other vehicles and its X-shaped aperture should create a Venturi effect when mounted perpendicular to air flow to pull water out and prevent anything from traveling back up the hose. Pretty generic and available on Amazon for a few bucks. I cut the insulation to make a channel for the hose to rest in. A 5/8” hole and some RTV to make sure it doesn’t pop out and I’m good to go. I also finished the passenger side door window and the rest of the interior firewall work the same day. Now to check the refrigerant plumbing for air leaks. 👍🏻 ••• After I was finally able to get all of the firewall work done, I put the dash in and plugged it all together. Nothing major to report since I’ve discussed the details in previous posts. This time I took more care to tuck the wiring away nicely. The few loose ends are wire for a set of foot well lights that are switched at the doors, a feed for a USB plug I intend to put in the center console, and the power/ground and control wires for the evaporator. The biggest challenge was getting it back in with the air ducts installed. This corrugated tubing from Vintage Air is nice but it’s not flattened/ovular like the OEM stuff so it requires some persuading. I still think it’s better, though. It’s tough to see in the center but it’s really well fit to the evaporator without any clamps, which keeps it clean and free of things to chafe of the hose or wiring looms. I’m hoping a harness cover will clean up the mess around the relays, but I’m going to zip tie some of this up tight before any cowls or covers go on. ••• And here it’s starting to feel like a car! Or, at least I am staring to get some storage space back. 🤣 I’m really pleased with how the Vintage Dashes dashboard looks. The glove box door needs adjusting, but after hitting the finisher with some Landau Black SEM Color Coat it all came together. It seems the internet was correct about that being the right color. I’d heard these aftermarket windshield gaskets leave a bit to be desired compared to OEM, and it’s true, but I think you can finesse it into shape. The gaps in the corners were really bad until I put the steel trim in. That stretched them out a bit, but it’s not perfect. I’ll let it settle for a while and then might just pump the gaps full of weather strip adhesive until it’s filled in. Speaking of steel trim, that’s a fun chore. 🙄 ••• My spare tire cover was FILTHY. Luckily it cleaned up well and didn’t pucker or warp. The orange flecks in the fiber board are a nice touch. ••• Lights! No before pictures but here’s everything put together. I used the same process on the lenses as the blinkers. The housings were scrubbed and then wiped lightly with acetone to get the last of the adhesive off. Thankfully I didn’t need to recondition the mirrors. The center lug on the replacement chrome trim is too short to function as the only fastener holding everything together. I used a M5 threaded socket left over from installing the blinkers along with a rubber washer. It worked fabulously, but I think it would be really easy to screw up if over tightened. No wiring yet. I just wanted to close up the cabin for the next step. ••• Looking clean figuratively and literally. I picked up the basic carpet set from Newark Auto in black 80/20 loop. It’s really nicely made, but I don’t think it’s meant to go with an insulation kit like the one I have. There are a few places where it would have fit better if there was no insulation, and there are a few places where it is just straight up wrong. Overall give it a 89 or 91 out of 100. Worth it but could be improved. I’ll be using the vinyl kit from MSA on the sides. I’m going to cross my fingers and hope my original interior pieces clean up nicely. I just put them straight into storage without unpacking them when I bought the car, so who knows what shape their in. If they suck I’ll be new replacements. But yeah, the car is starting to feel like a car.
  13. I made it back into the shop again, finally. I got a batch of clear zinc back from the platers and went through and reworked some door latches. I used the kits that Steve Nixon sells for the rubber bits inside the latch. I also bought a couple of spring assortments because one of the latches was missing the return spring Interestingly I have two different styles of latch. I have the style with the coiled return spring and then I have one latch that has the two flat springs in it. The one with two flat springs has a small notch on either side of the latch arm slot. Steve's rubber parts are designed for this style of lock. On the other locks I had to take a little rubber out of the semi circular pieces to make them fit properly and I glued them in place with some black super glue There are also three squarish rubber pieces that fit over the ends of the arms to cushion them The hardest ones to get on are the one that go on the door striker. There is very little little clearance to get the one side in Here are my two styles side by side. Maybe someone else can add some info on when these parts changed? Even the flat spring on the latch pawl is a different design between the two... I also put the dovetail on the edges of the doors and the spring loaded door poppers into the door jambs. Minimal progress but something. Now that I have the latches back, I can work on assembling the rest of the doors and glass
  14. I thought I posted this up already but I didn't see them over the last few pages... I had to trim the ears on the R200 diff for a little more clearance on the new SS exhaust This is an untrimmed side Trimmed I made a bracket to connect to the mid span support on the top of the new exhaust. It will attached under the diff arrestor strap nut Template Under the car Finished
  15. About this Vintage Z - As I recall - this one first showed up for sale about 20 miles North of me. New Port Richey or Holliday Florida. A friend of mine went to look it over, and reported that it was very poorly cared for. The next time we saw it, was its first sale on BAT. My fiend remarked that it had been very well detailed for that sale and looked 100% better than his personal inspection. Now we see it again, with an owner that put some significant funds and I’m sure elbow grease into it - to bring it up to better condition. Will the customer modifications hurt its market value? Not as much as the current market itself, the mod’s might hurt it a little as most collectors don’t want to mess with fixing anything.
  16. 3 points
    While at a car show this past weekend, had a very interesting conversation with a gentleman. His parents opened a Datsun dealership in Moose Jaw, Sask. The year was 1966, he said that the family home was on the same property and he grew up working in the shop. He remembers the day the Datsun Training trailers pulled into the yard and all of the mechanics spent a week going through the courses. He gave me three of these plastic bags, he says he has lots more Datsun stuff . I am working on getting a chance to go shopping through his collection.
  17. This pic is from a mid-1970 car. I believe it is original. (I have no reason to believe otherwise):
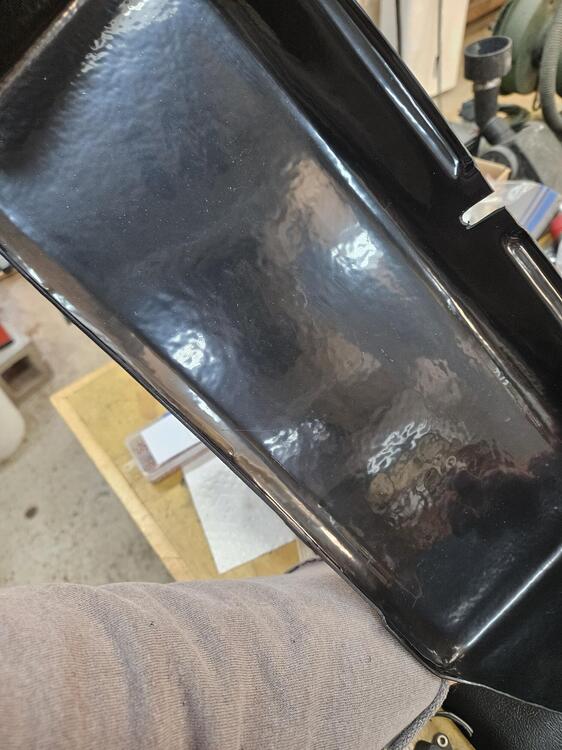
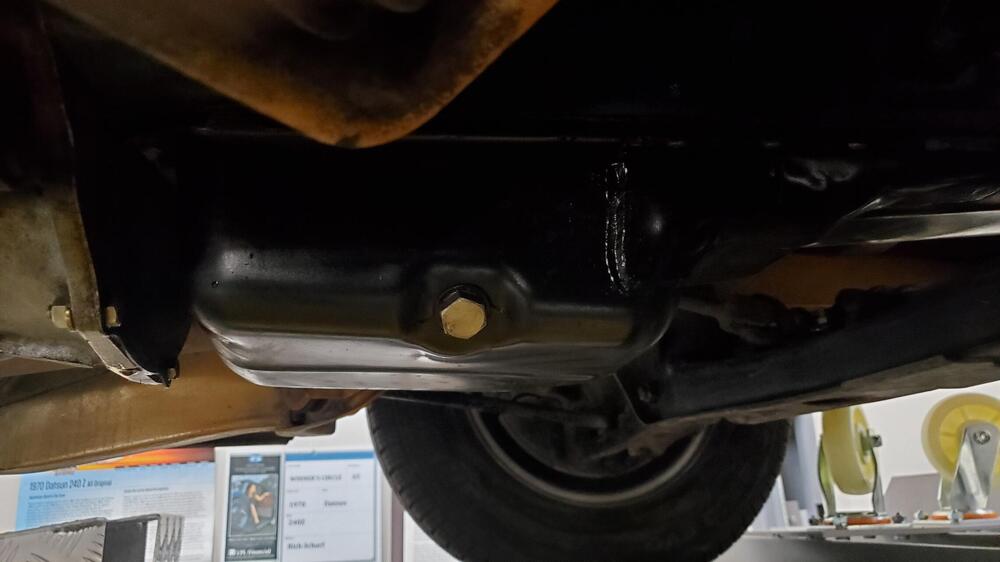
  18. I didn't trust my ability to hermetically weld the tank. So I assisted a friend while he tacked it together. He then took it to a mutual friend with a TIG welder and finished it up. At this point, I poured more Red Kote into the tank and allowed it to flow over all of the seam. I let this sit for about a month to cure. Then, I sealed off all of the openings and blasted off the remainder of the external paint. Interestingly, there were dozens of small hidden rust spots beneath the paint. You couldn't see them through the paint. But when the media hit it, the paint would flake off, revealing a brown rusted spot. After blasting, ready for paint. I primed and painted it with Rust-oleum automotive paint in rattle cans. It turned out decent. No one will be looking at it. Note I didn't remove the original rubber blocks. They were stuck on really well, and not damaged. I did remove the original foam rubber piece near the sender hole because it was falling apart. I replaced it with a similarly-sized piece of 1/8" (3mm) thick EPDM rubber, just to make sure nothing would rattle. You can also see where I masked off the factory marking, just in case anyone might ever care if the tank was original. Lastly, I leak tested it by putting a few gallons of gasoline in it and allowing it to sit on each edge for 30 minutes. The sun was out, so the tank heated up and pressurized, which was a good sign. I'm happy to report that I've reinstalled the tank in the car, and it works fine. No leaks. And no more plastic gas can bugeed to the rear shelf.
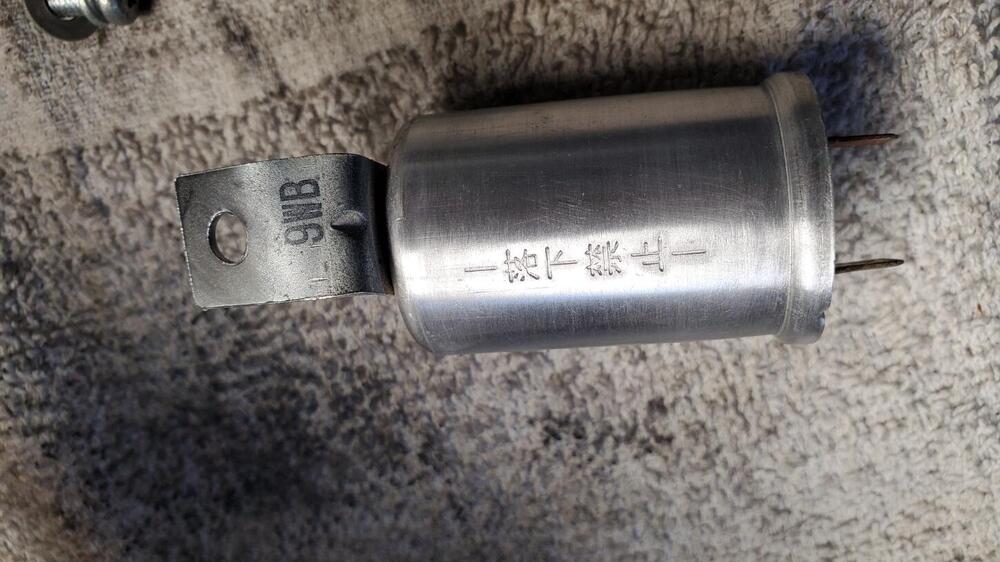
  19. Huge thanks to Charles for coming over and helping me get the tank back in. It feels indescribably good for her to run under her own power with a complete fuel system. I'll circle back to my fuel tank restoration thread with an update. But in brief: cut tank open, bead blast clean, drill spot welds for screen canister, cut suction pipe to access screen, remove screen, Red Kote everything, reassemble, slosh more Red Kote around seam, bead blast outside, paint. Easy, lol. Tank restoration thread: https://www.classiczcars.com/forums/topic/68742-efi-fuel-tank-restoration/?&_rid=30865
  20. So we worked on the 280z some more yesterday. Put the restored tank back in it and added some fuel. Fuel pressure came up after cranking but wouldn't come up in the "On" position. Cranked up first time. Bolted some wheels on and went for a quick spin!! 20250613_194943.mp4Don't know how to add a video...??
  21. I think both those GMBs are aftermarket and agree that an Aisin with the cast iron impeller will be as close to OE that you'll find today unless you can find one using the part number on this box.
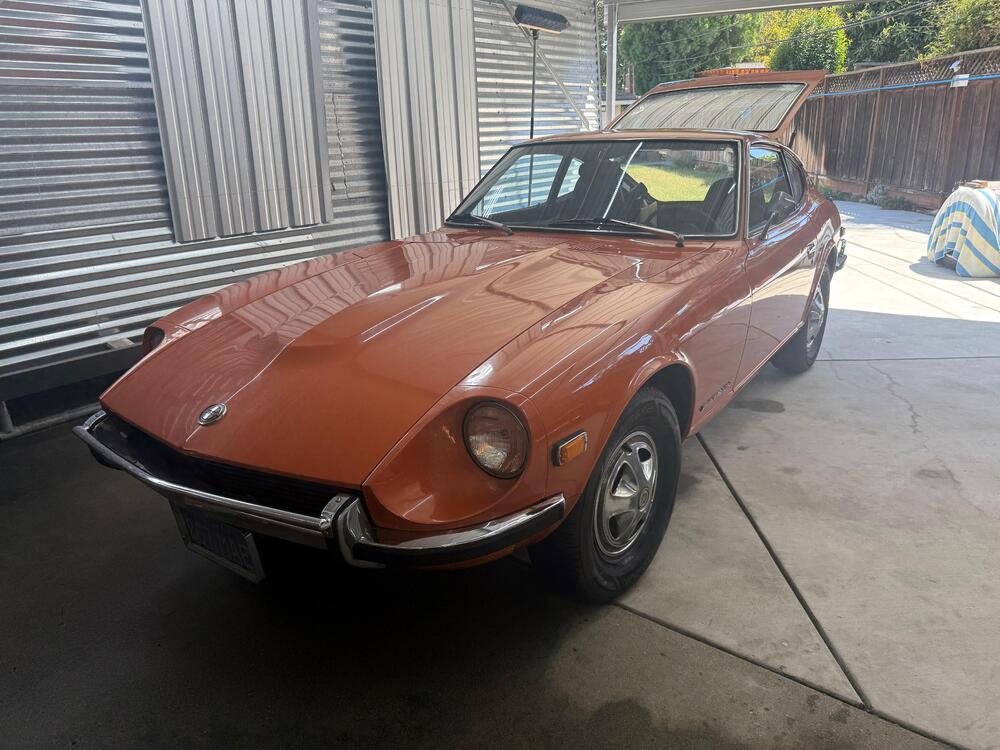
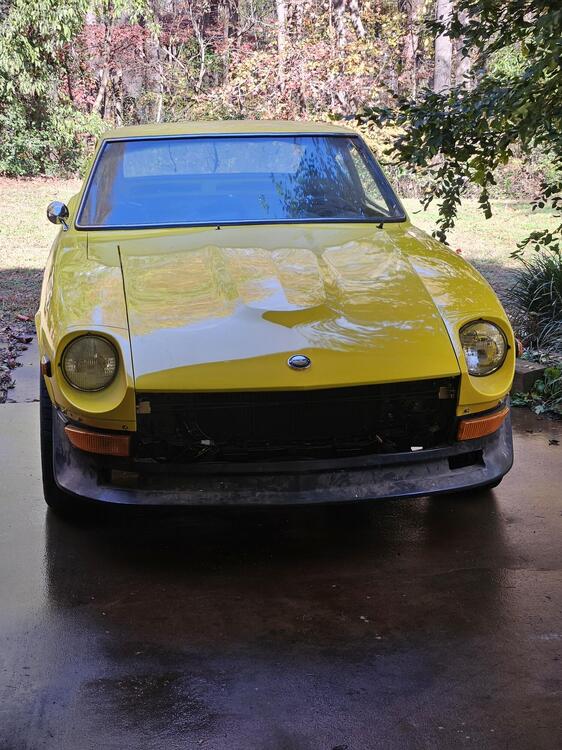
  22. The integral lower turn signals are too low to meet regs at the time. So the left and right valance have impressions but no holes and the signals are moved to the bumper
  23. I never had any pushback and I have friends getting work done there now.
  24. So I received my chrome work today. Most of it looks pretty good. I have a few things I'll ask about. Its expensive work! I have no idea how I ended up with four drivers and two passenger?? Two ash trays 2 sets of visor brackets & three cig lighter rings Four buttons for hatch locks and 2 gas doors I need some help ASAP! Is this a Datsun part?? I'm thinking no...
  25. The lock core has its own date code. Below on the left is year 0 (1970), month 3. On the right is year 9 (1969), month 7. The lock assembly also has its date code. This one is Left, year 0 (1970), month 4, day 16 (I think). This pic is the assembly for the 0-3 lock core above. Just for grins, here is the lock assembly for the 9-7 core above, note the difference in the slot as you noted on one of yours.
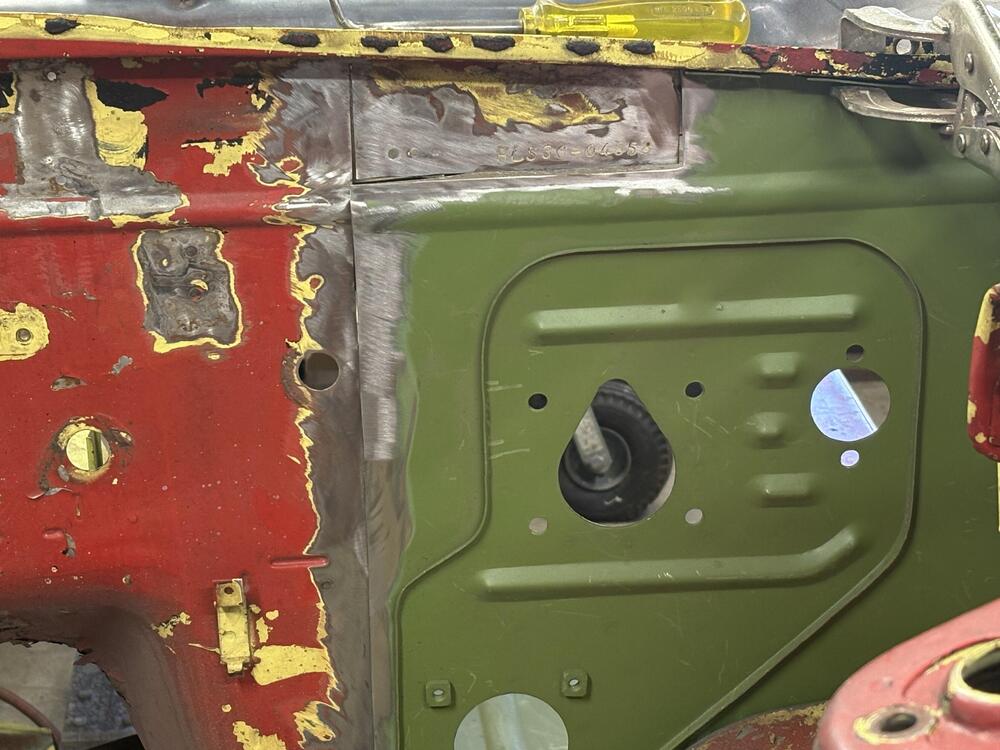
  26. I don't know if it's the ONLY reason for it's existence (seems unlikely), but that is where they printed the identifying markings:
  27. 3 points
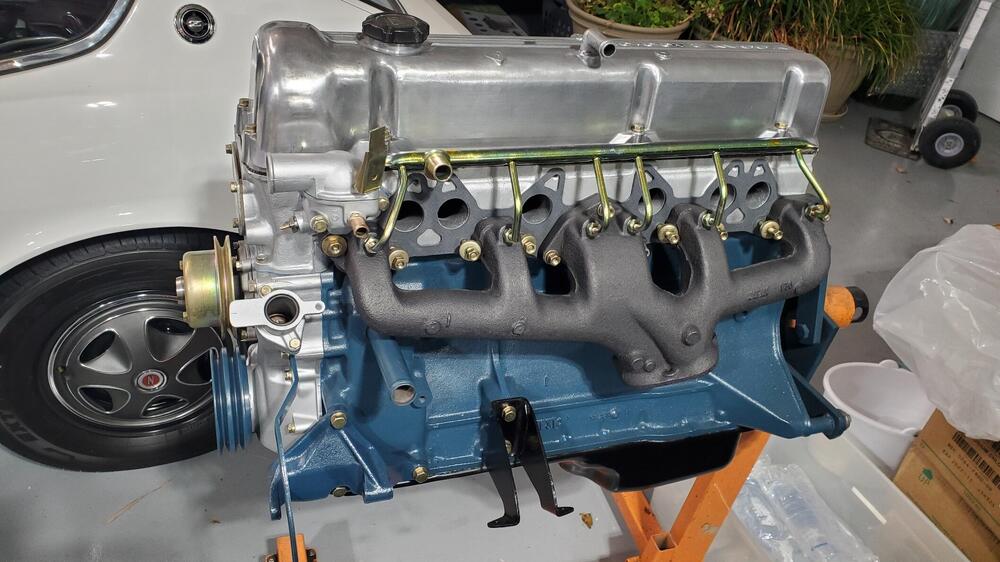
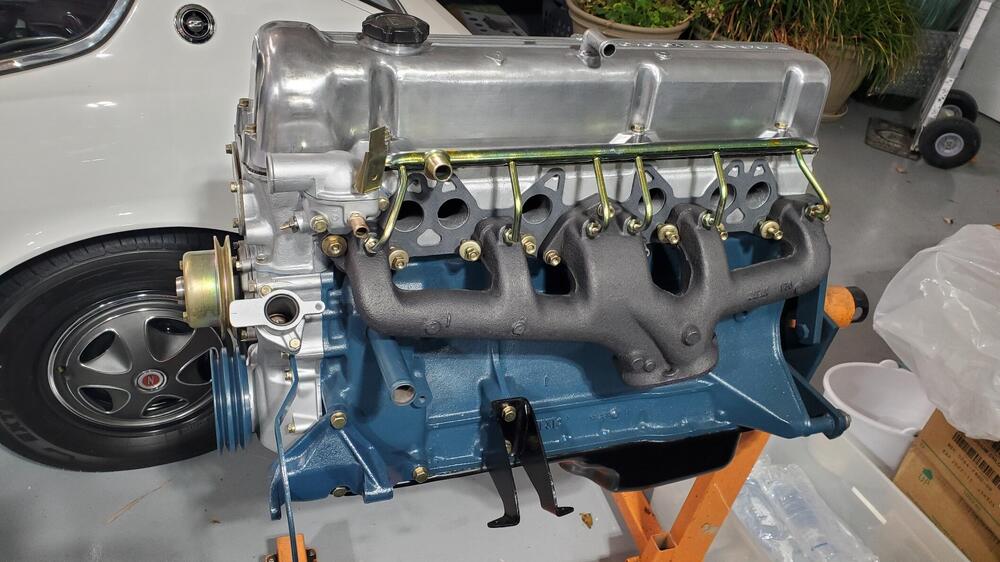
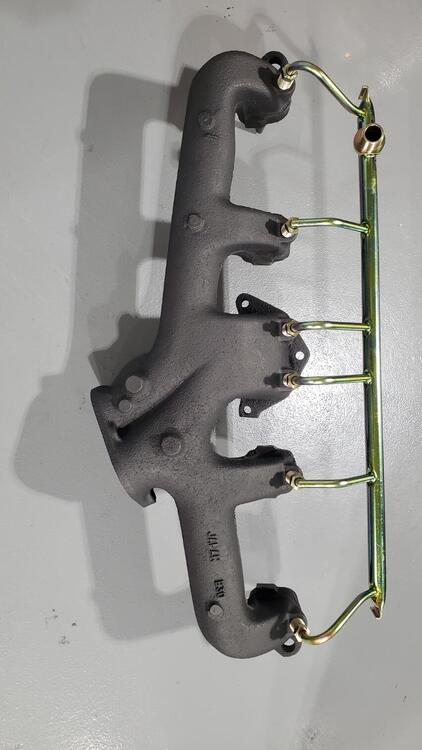
    I worked on Cody's car some Friday Hung the header, intake manifold and carbs The header is a pretty tight fit! I still need to come up with a way to hold the parking brake cable over Got the radiator in and have the alternator most of the way in
  28. Quick one today. After working out some kinks in the wiring (thanks @SteveJ) I’m nearly done with it. I refurbished the wiring for the tail lights this week. I’ve always planned to rework the arrangement to be more like (but not exactly like) the euro tail lights. I’ve read a ton of stuff about these cars getting rear ended, so I wanted to make it as clear as possible that I’m braking. I still plan to add a third brake light, but I think this is substantially better than the original US tail light configuration. Driving lights are the outside top lights only. IMG_4744.mov IMG_4745.movTurn signals are the outside bottom lights only (thanks to @w3wilkes for the flasher recommendation). Brakes all of the top lights. Now I have to figure out what I’m going to do with the front turn signals. These LEDs are so bright that when the driving lights are on you can’t tell they flashing from more than a couple feet away. I’m wondering if there’s a way to make it cut power to the driving light wire only when the turn signal is working.
  29. I never knew they made a black 240Z? Learned something today!
  30. That's the same as mine, door guards and all. Your paint looks a lot better though as mine has never had a respray. Yours's is my good vs bad comparison.
  31. I accept paypal. at chaug@bis.midco.net. 30.00 for the bearing retainer that goes in the breaker plate. I make them for the 74-78 electronic pickup distributors and for the 79-83 matchbox distributors. Both come with 6 new ball bearings 35.00 for a stator magnet. 60.00 for both as most distributors need both the retainer and the magnet. Free shipping to lower 48 USA I will know what the money is for when it is sent to paypal. You can also email me, or text me at seven zero one-471-fifteen thirtyfour.
  32. Her name was Elizabeth.
  33. @dutchzcarguy those are funny! The Richard Pryor baby is my favorite but it's a little coarse for all members. Héy Site, that picture reminds me of those vid's about the farm from Jeremy Clarkson, diddly squat farm.. (on Youtube) where toddlers play the rolls of all the people in the series!
  34. I doubt that hairline crack is the source of your problem, That crack probably doesn't go very deep. Hopefully it's just a surface feature. So, the first thing I would check are the nuts on the top of the strut insert (down in the recess in the top center of the strut insulators). If one of them has worked their way loose (or were never tight to begin with), you would get a noise like what you describe. And you can't just "check for play" with the strut assembly off the car. That spring will extend to take up any available play. There would only be play with a load on the strut that has partially compressed the strut insert. So was this noise always there, or is it something that has developed over time?
  35. If someone is looking for an original Bosch version of the 280Z auxilary air valve here is one in NOS condition. Its for a 1976 Porsche 924, but it's a very similar system. Marktplaats≥ Lucht by-pass regelaar Porsche 924 ('76-'88) — Motor en...Lucht by-pass regelaar Porsche 924 ('76-'88)Lucht by-pass regelaar Porsche 924-Porsche 924, 2.0liter-Voor koude start regeling (lucht)-Bosch-Getest en
  36. Thanks John! It is nice to start thinking about plates and car insurance after all this time! Sixteen years... 😮
  37. I have lights. No one is going to not see this thing. These LEDs are significantly brighter than the lights on my Subaru. Unfortunately, somewhere between testing it on the bench and installing the dash, the speedo and tach illumination stopped working. I think the main branch of wiring coming out of the dimmer is messed up. I also don’t have any blinkers for some reason. That one is going to be harder to figure out. Worst case scenario is that I made a mistake in the engine harness.
  38. Thanks guys. I will add that dedicated wire. Even though there is a path through the alternator and you don't really "NEED" that ground strap for the system to work, I was a little uncomfortable counting on pass through the alternator case as the only way for current to get back to the negative battery terminal. Hmmm... Now how to depict that on the diagram that makes it clear... ☺️
  39. 1971 United Kingdom market HS30 'Datsun 240Z' with low recorded mileage. The usual inaccurate salesman's flimflam in the Bonhams write-up, but a nice car: https://carsonline.bonhams.com/en/listings/datsun/240z/62327cfd-fa98-45e5-9035-b38d20db87e2
  40. Just for completeness, the Nissan part number is 48750-E7705.
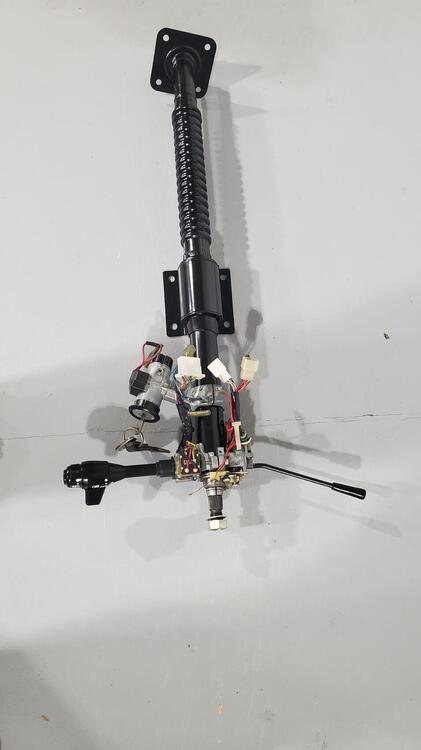
  41. IMO, The ignition key should not be your problem. It merely turns a blade that connects to the ignition switch module. I would just order the switch itself which mounts to the back side that’s held in with two small screws. You are going to end up with mismatched keys. Original set to unlock the doors and the new set to start the car. Just a suggestion
  42. The seller said he could see holes for an AC system. So he assumed that it had had AC. Who knows. It almost broke 100. 95. The winner didn't play the small bid game, every bid was a big jump. https://bringatrailer.com/listing/1970-datsun-240z-133/
  43. 2 points
    They have this kit and one with several more pieces, which I assumed was for 280zs.
  44. This is all great info regarding date codes. I had to check my parts on this as the drivers door on 00042 was obviously replaced, passenger door is original. Drivers door has a 5-5 date code, while passenger door is 9-8. Amazingly, I checked my stash and I actually have a 9-8 driver's latch. Guess I will swap those out so they both say 9-8 Last pic shows the two spring types
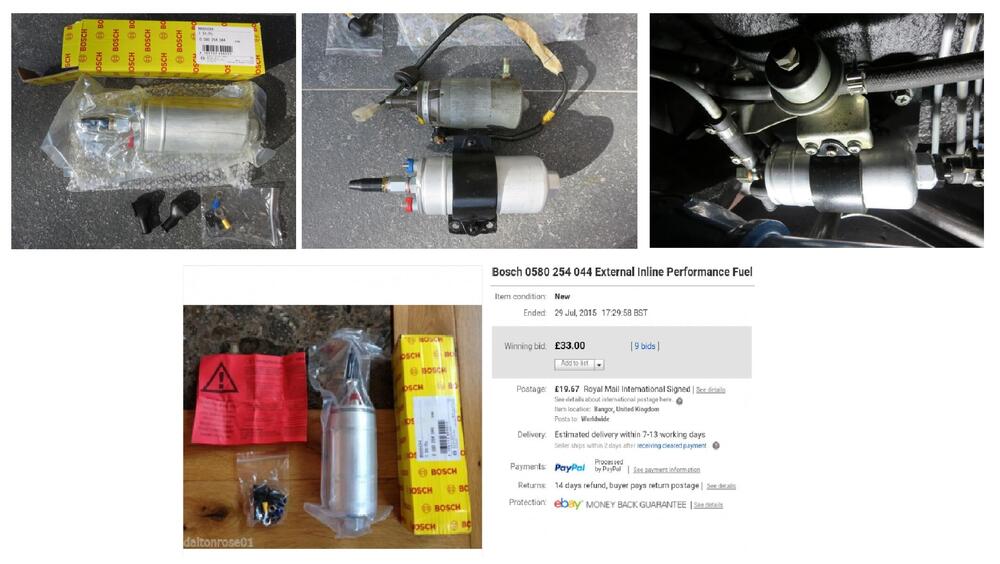
  45. You could do an inertia switch in the jumper loop on that plug. Duralast Fuel Pump Inertia Switch SW1771
  46. Sigh. Of course you did. Right after I did this: Yes... Before you ask. Yes, I made the little plastic washers.
  47. Haha!! Thanks for the pic. And I'm glad you put one up. because..... Respectfully submitted, your springs are on wrong. I made up a cheat sheet last time I was into mine:
Remove Ads

Important Information

By using this site, you agree to our Privacy Policy and Guidelines. We have placed cookies on your device to help make this website better. You can adjust your cookie settings, otherwise we'll assume you're okay to continue.