Leaderboard
-

siteunseen
Free Member5Points15,174Posts -
motorman7
 Subscriber
 3Points2,236Posts
 -
Patcon
Subscriber3Points11,184Posts -
conedodger
Free Member2Points12,644Posts


Popular Content
Showing content with the highest reputation on 02/01/2025 in all areas
-
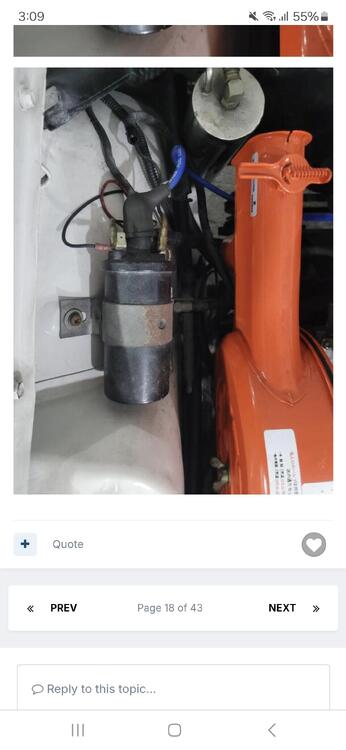
This is odd though. Kind of suggests low current to the starter solenoid. There's no relay, power passes through the ignition switch directly to the solenoid terminal. Edit - It's an automatic!!! The path from the battery through the fusible link to the ignition switch and on to the starter solenoid would be worth checking. But it could be that the starter solenoid is too weak for the ignition switch current but the jumper gives it just enough to get over the top. I'm not sure that the parts store test will catch that. Might be worthwhile to just tell them it's bad and get a replacement if it's one of the "lifetime warranty" starters.2 points
-
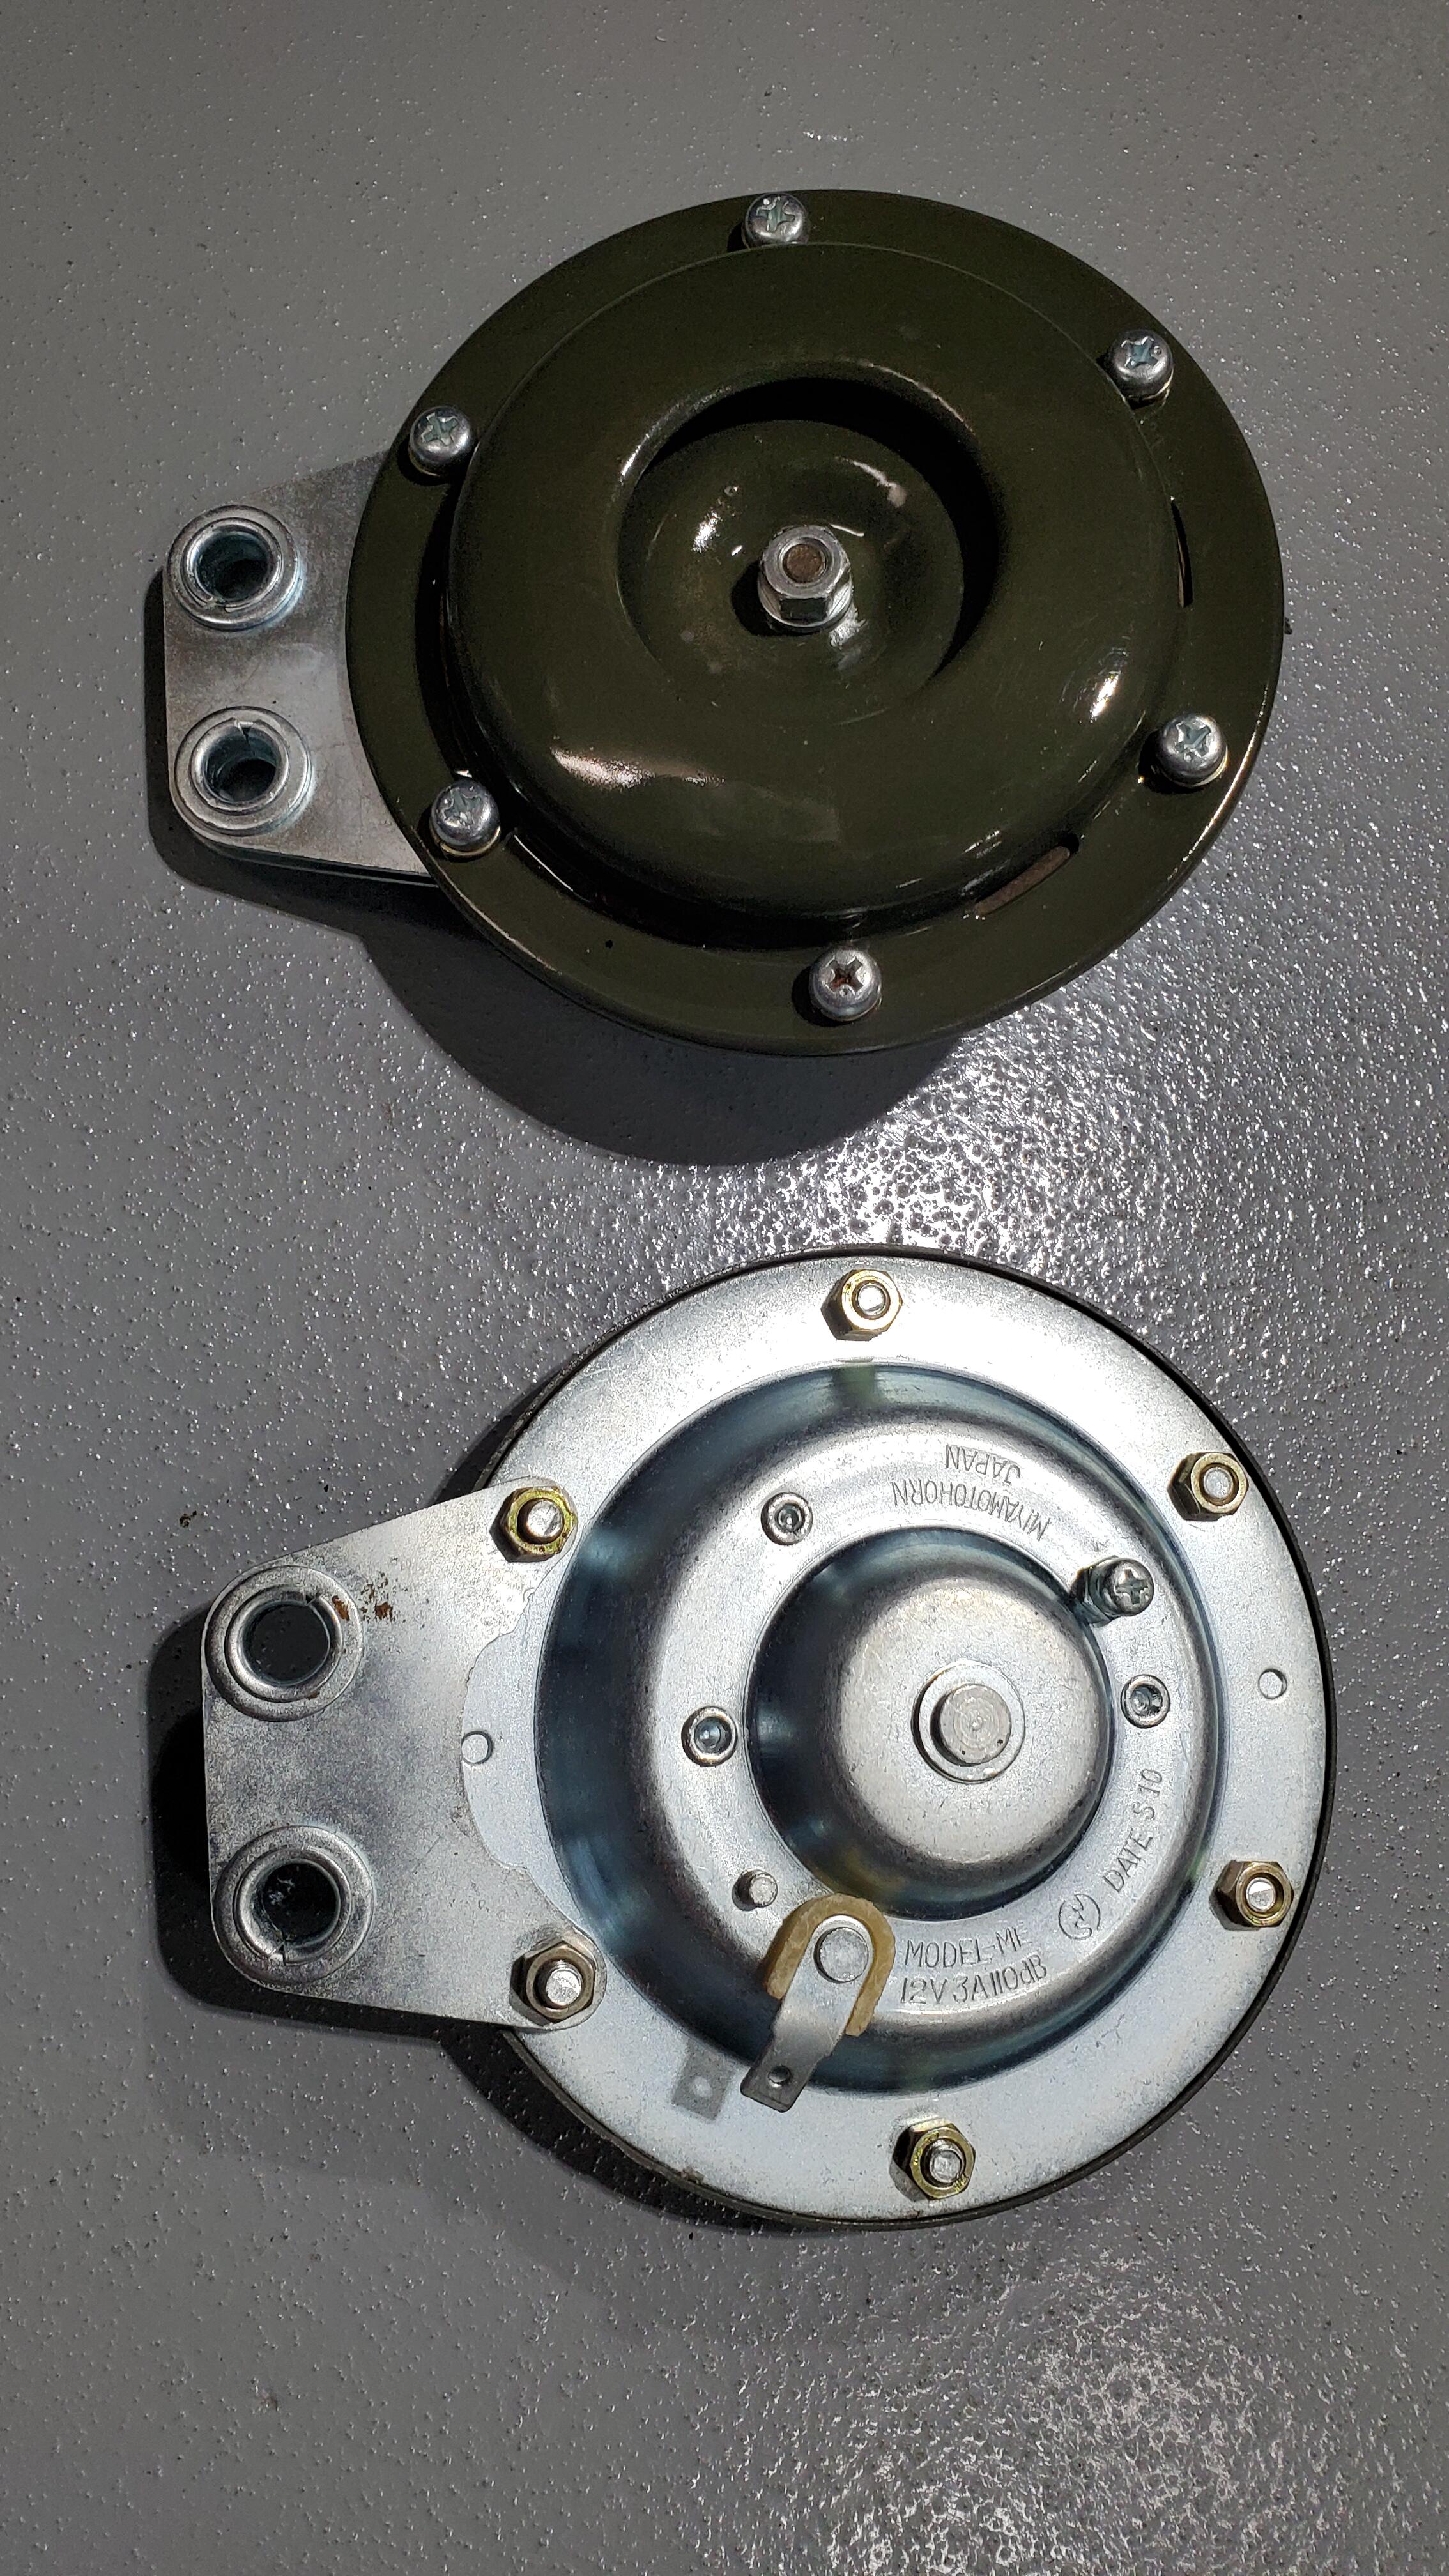
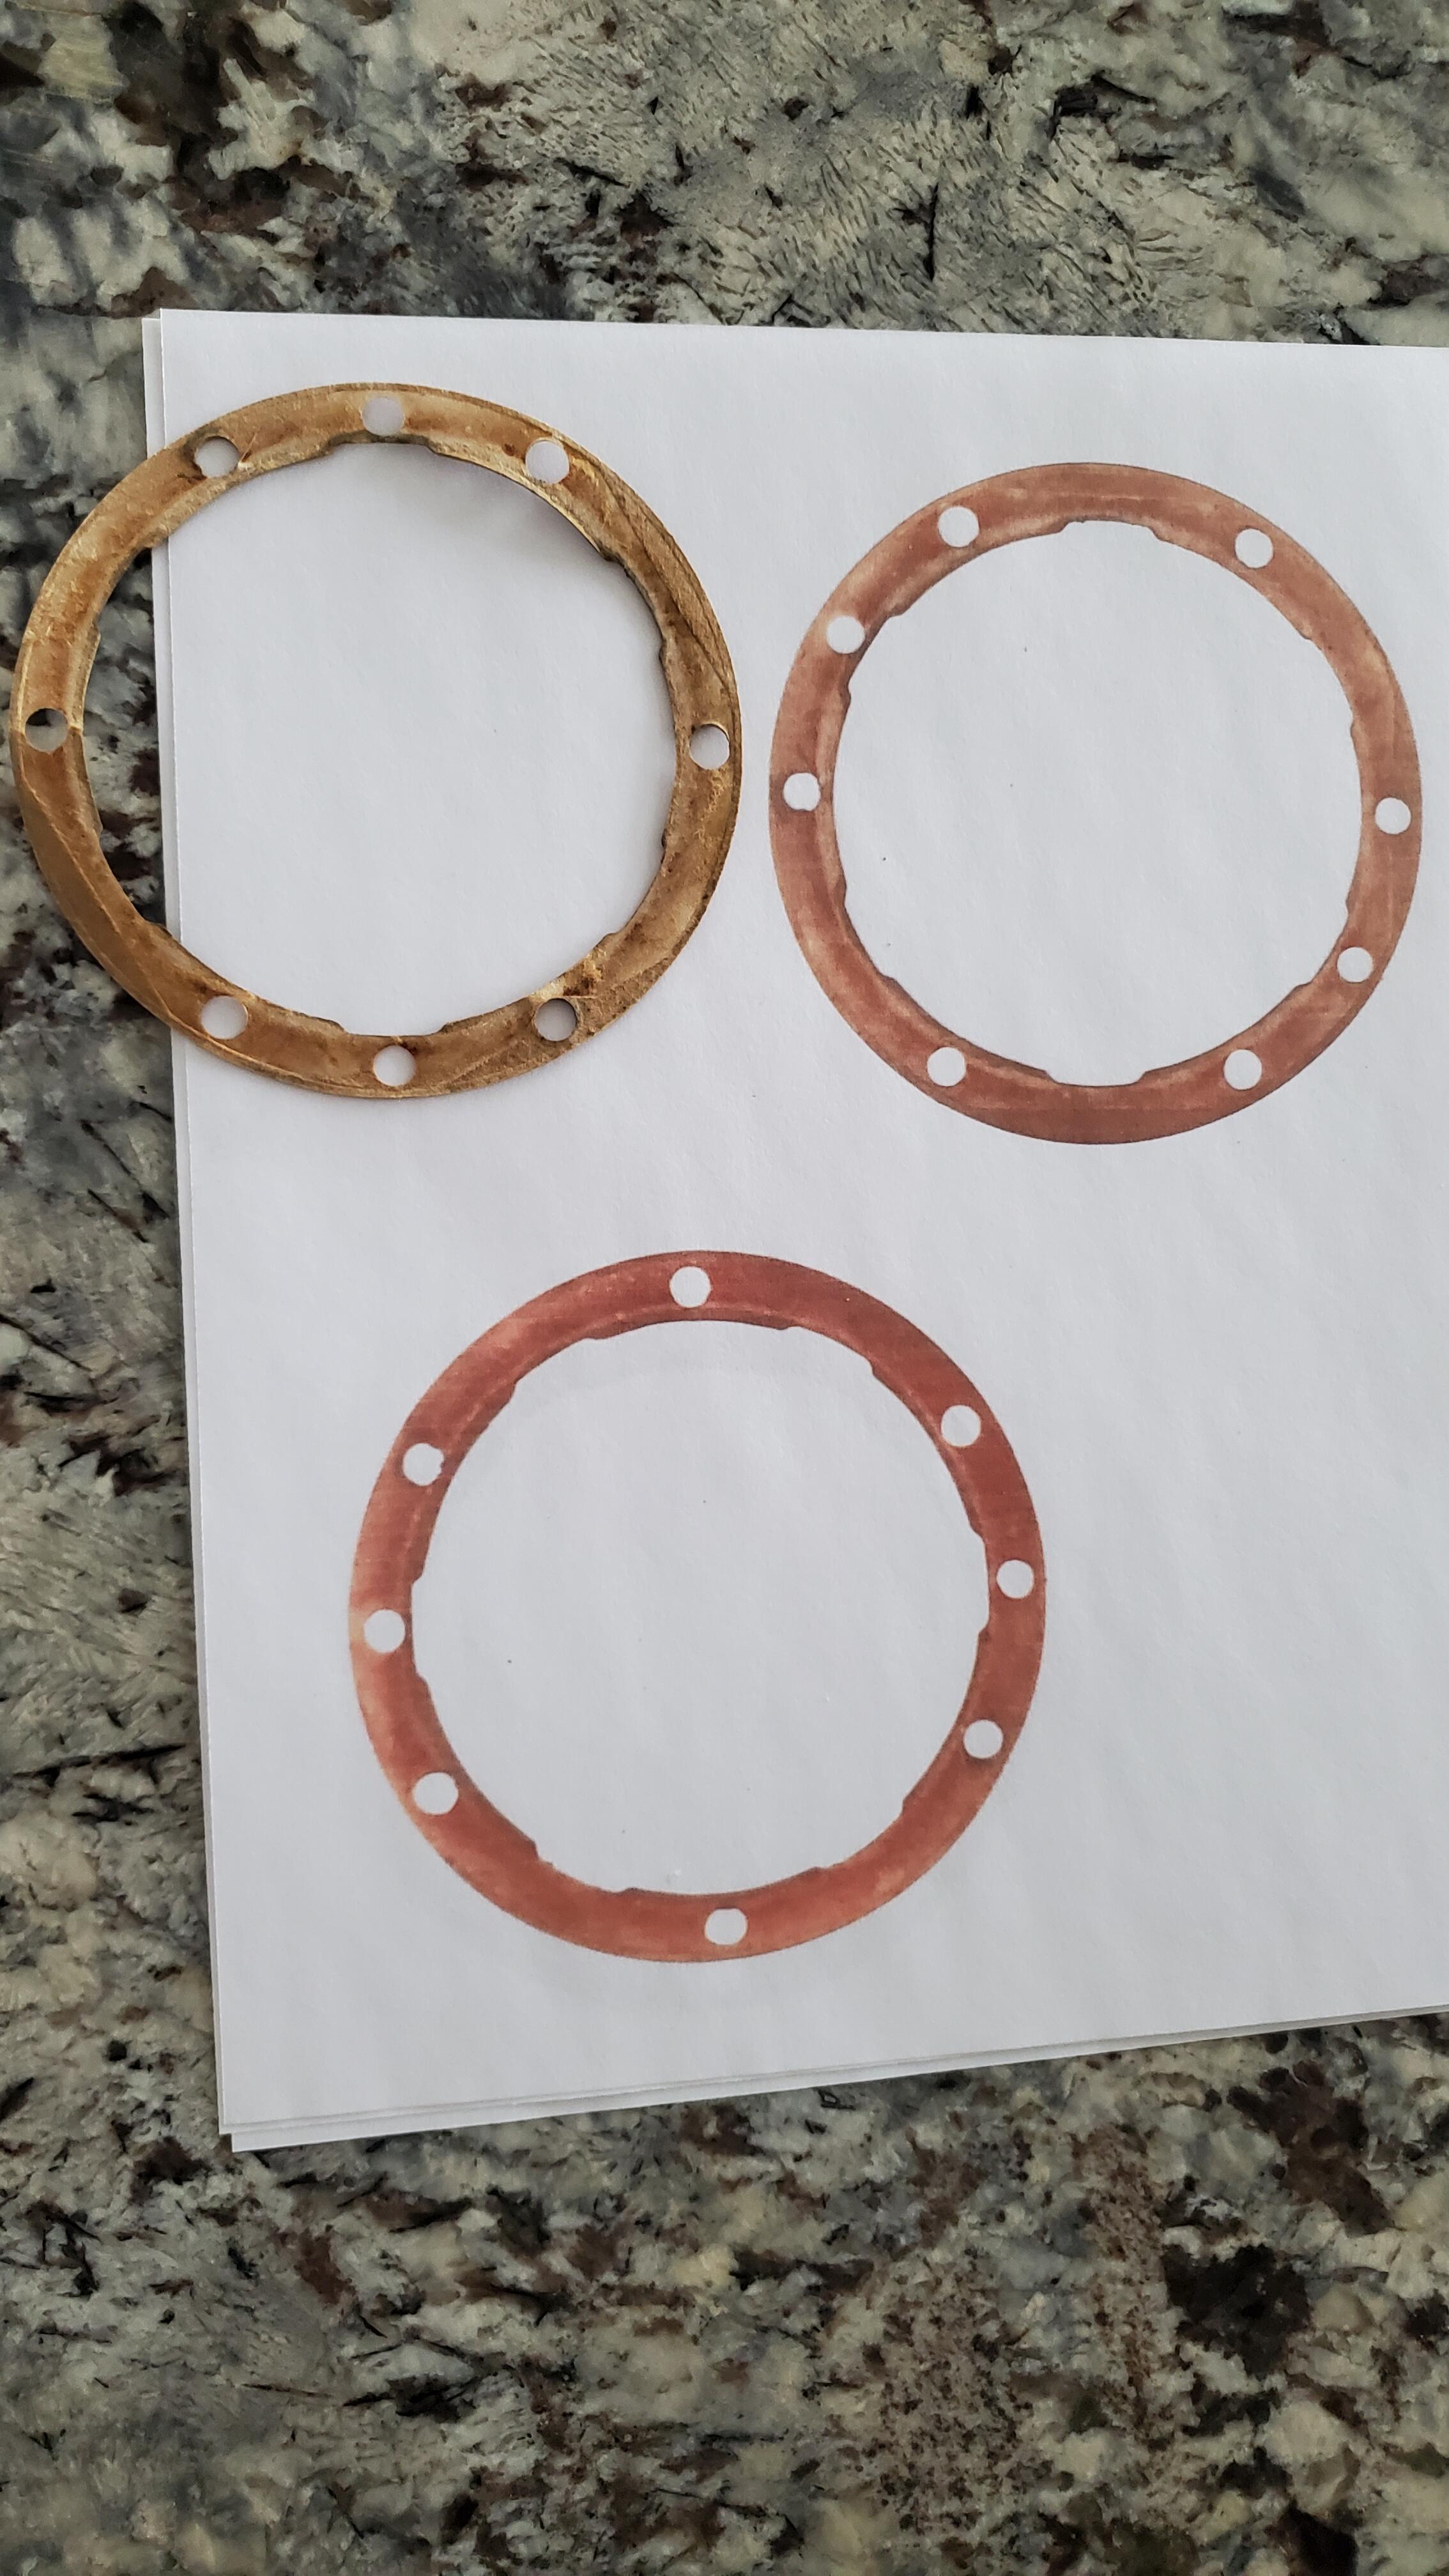
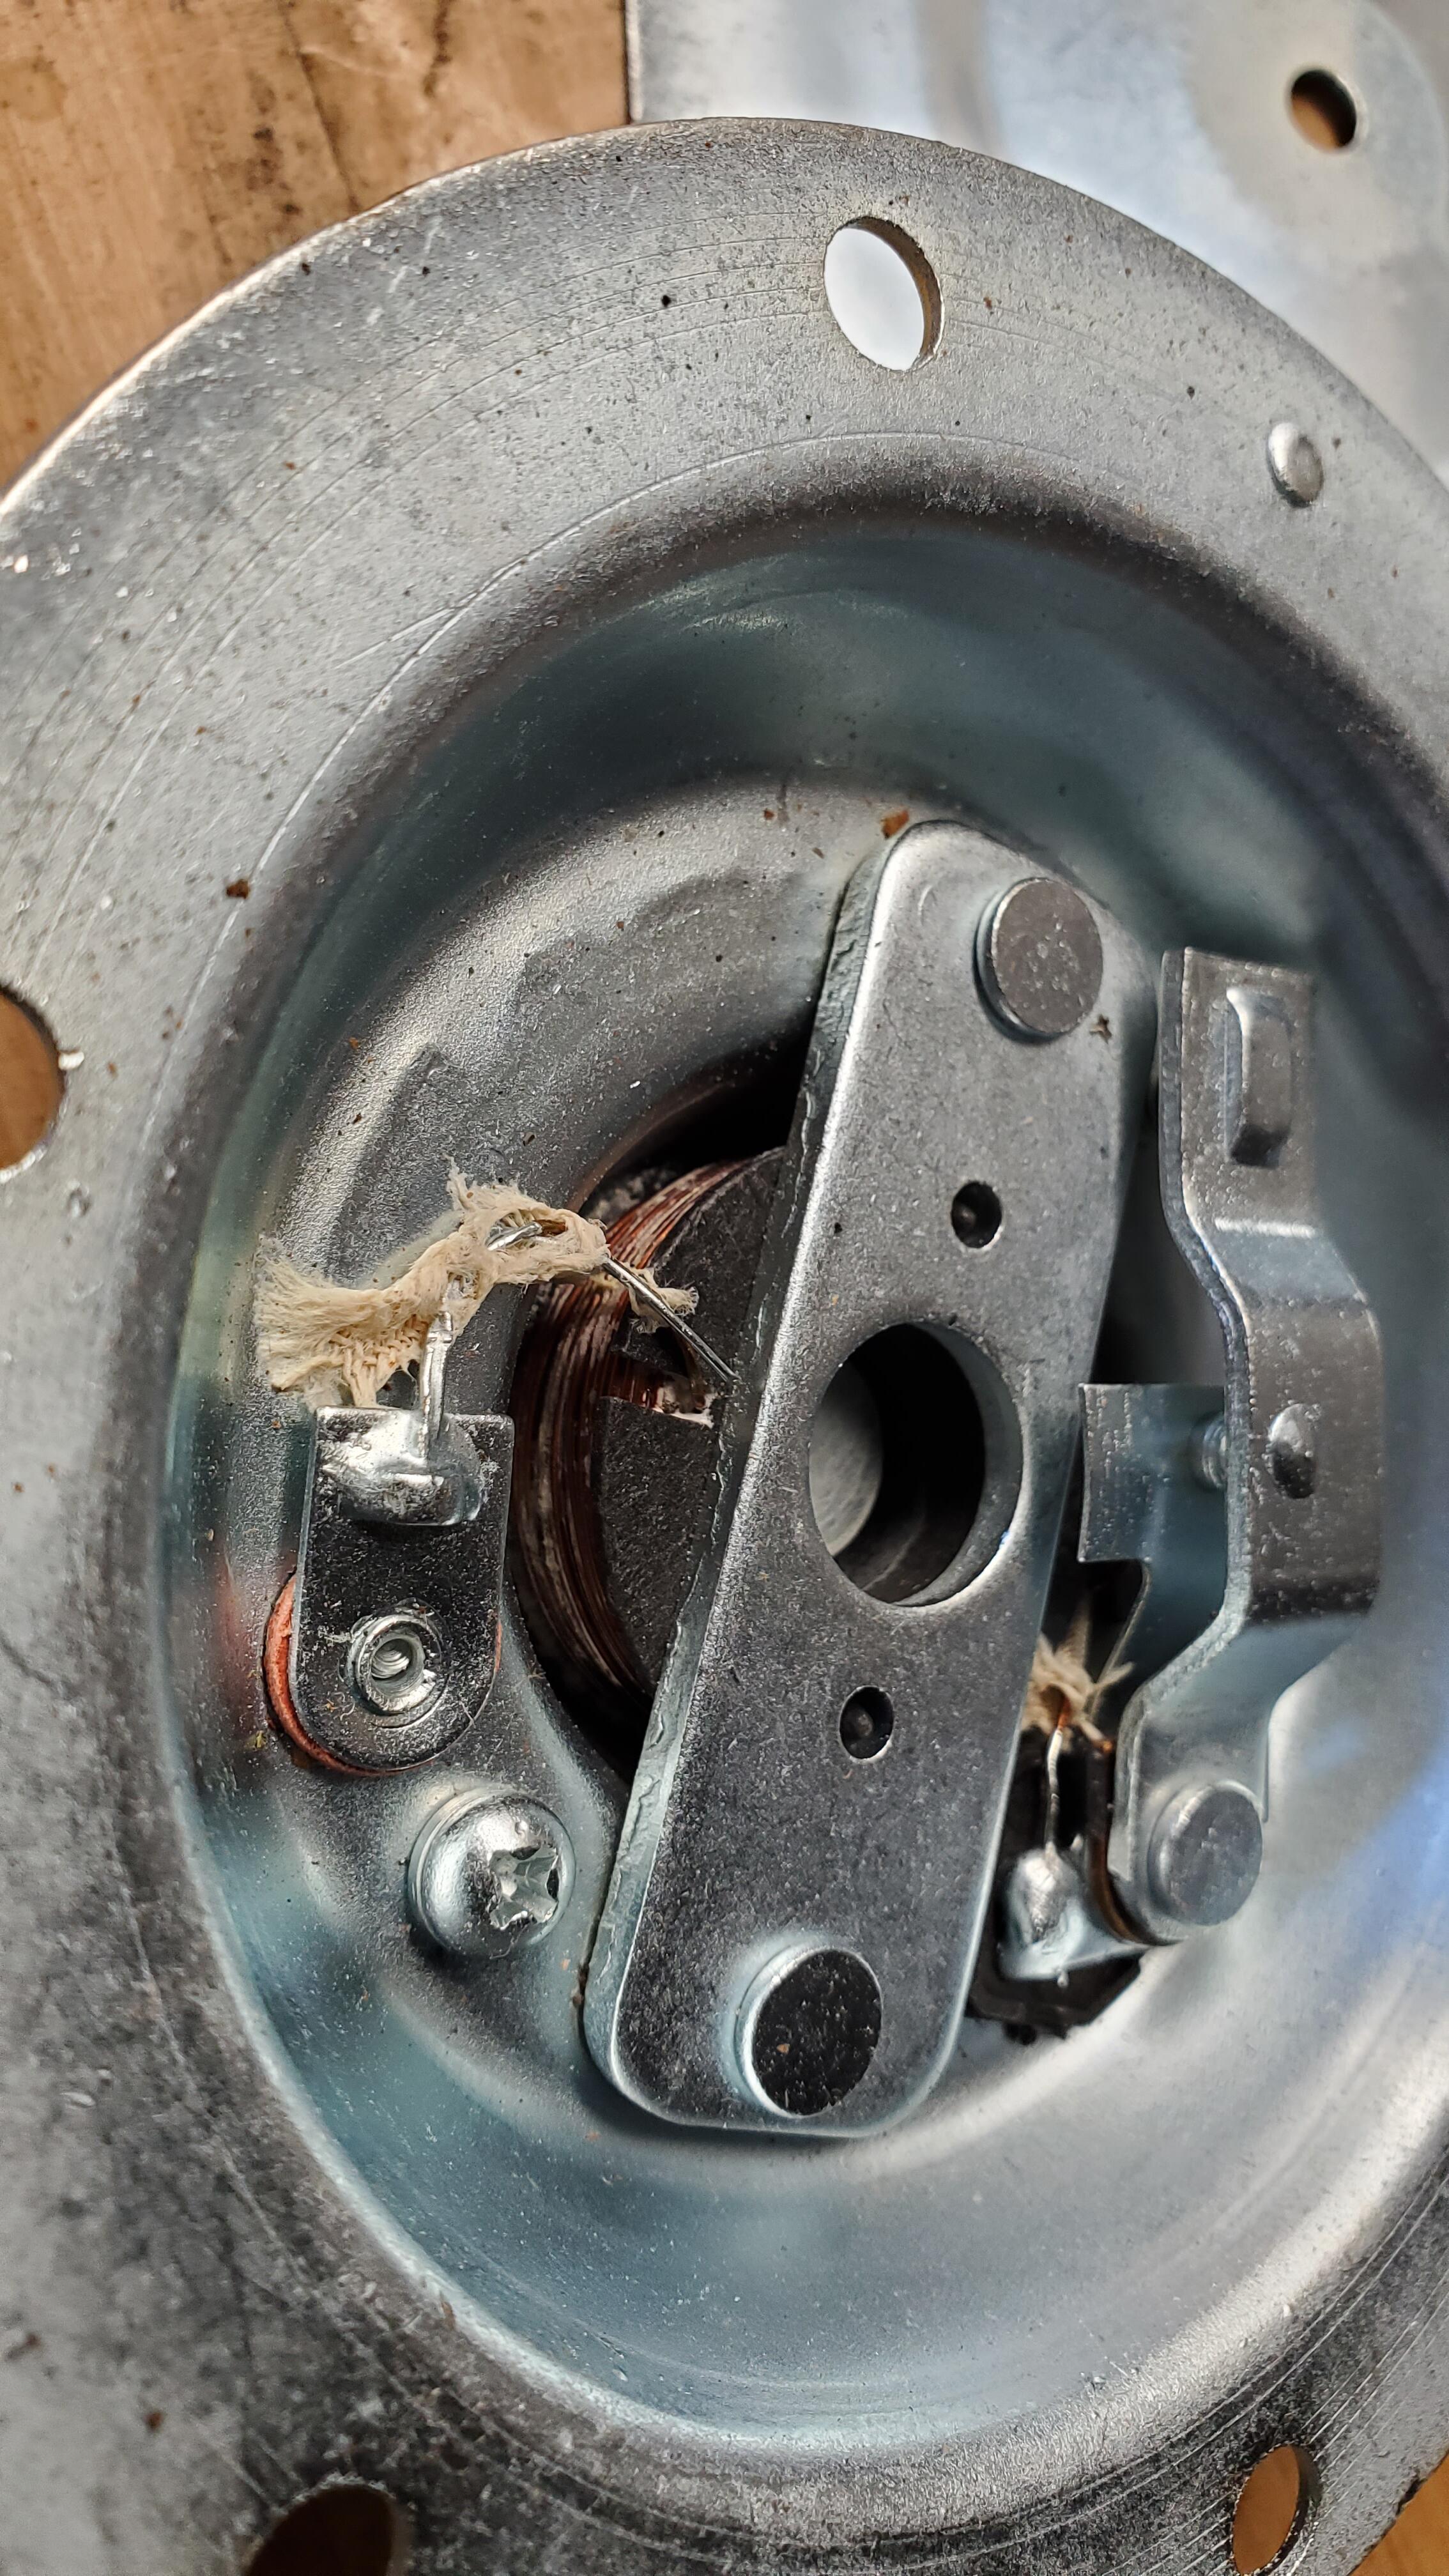
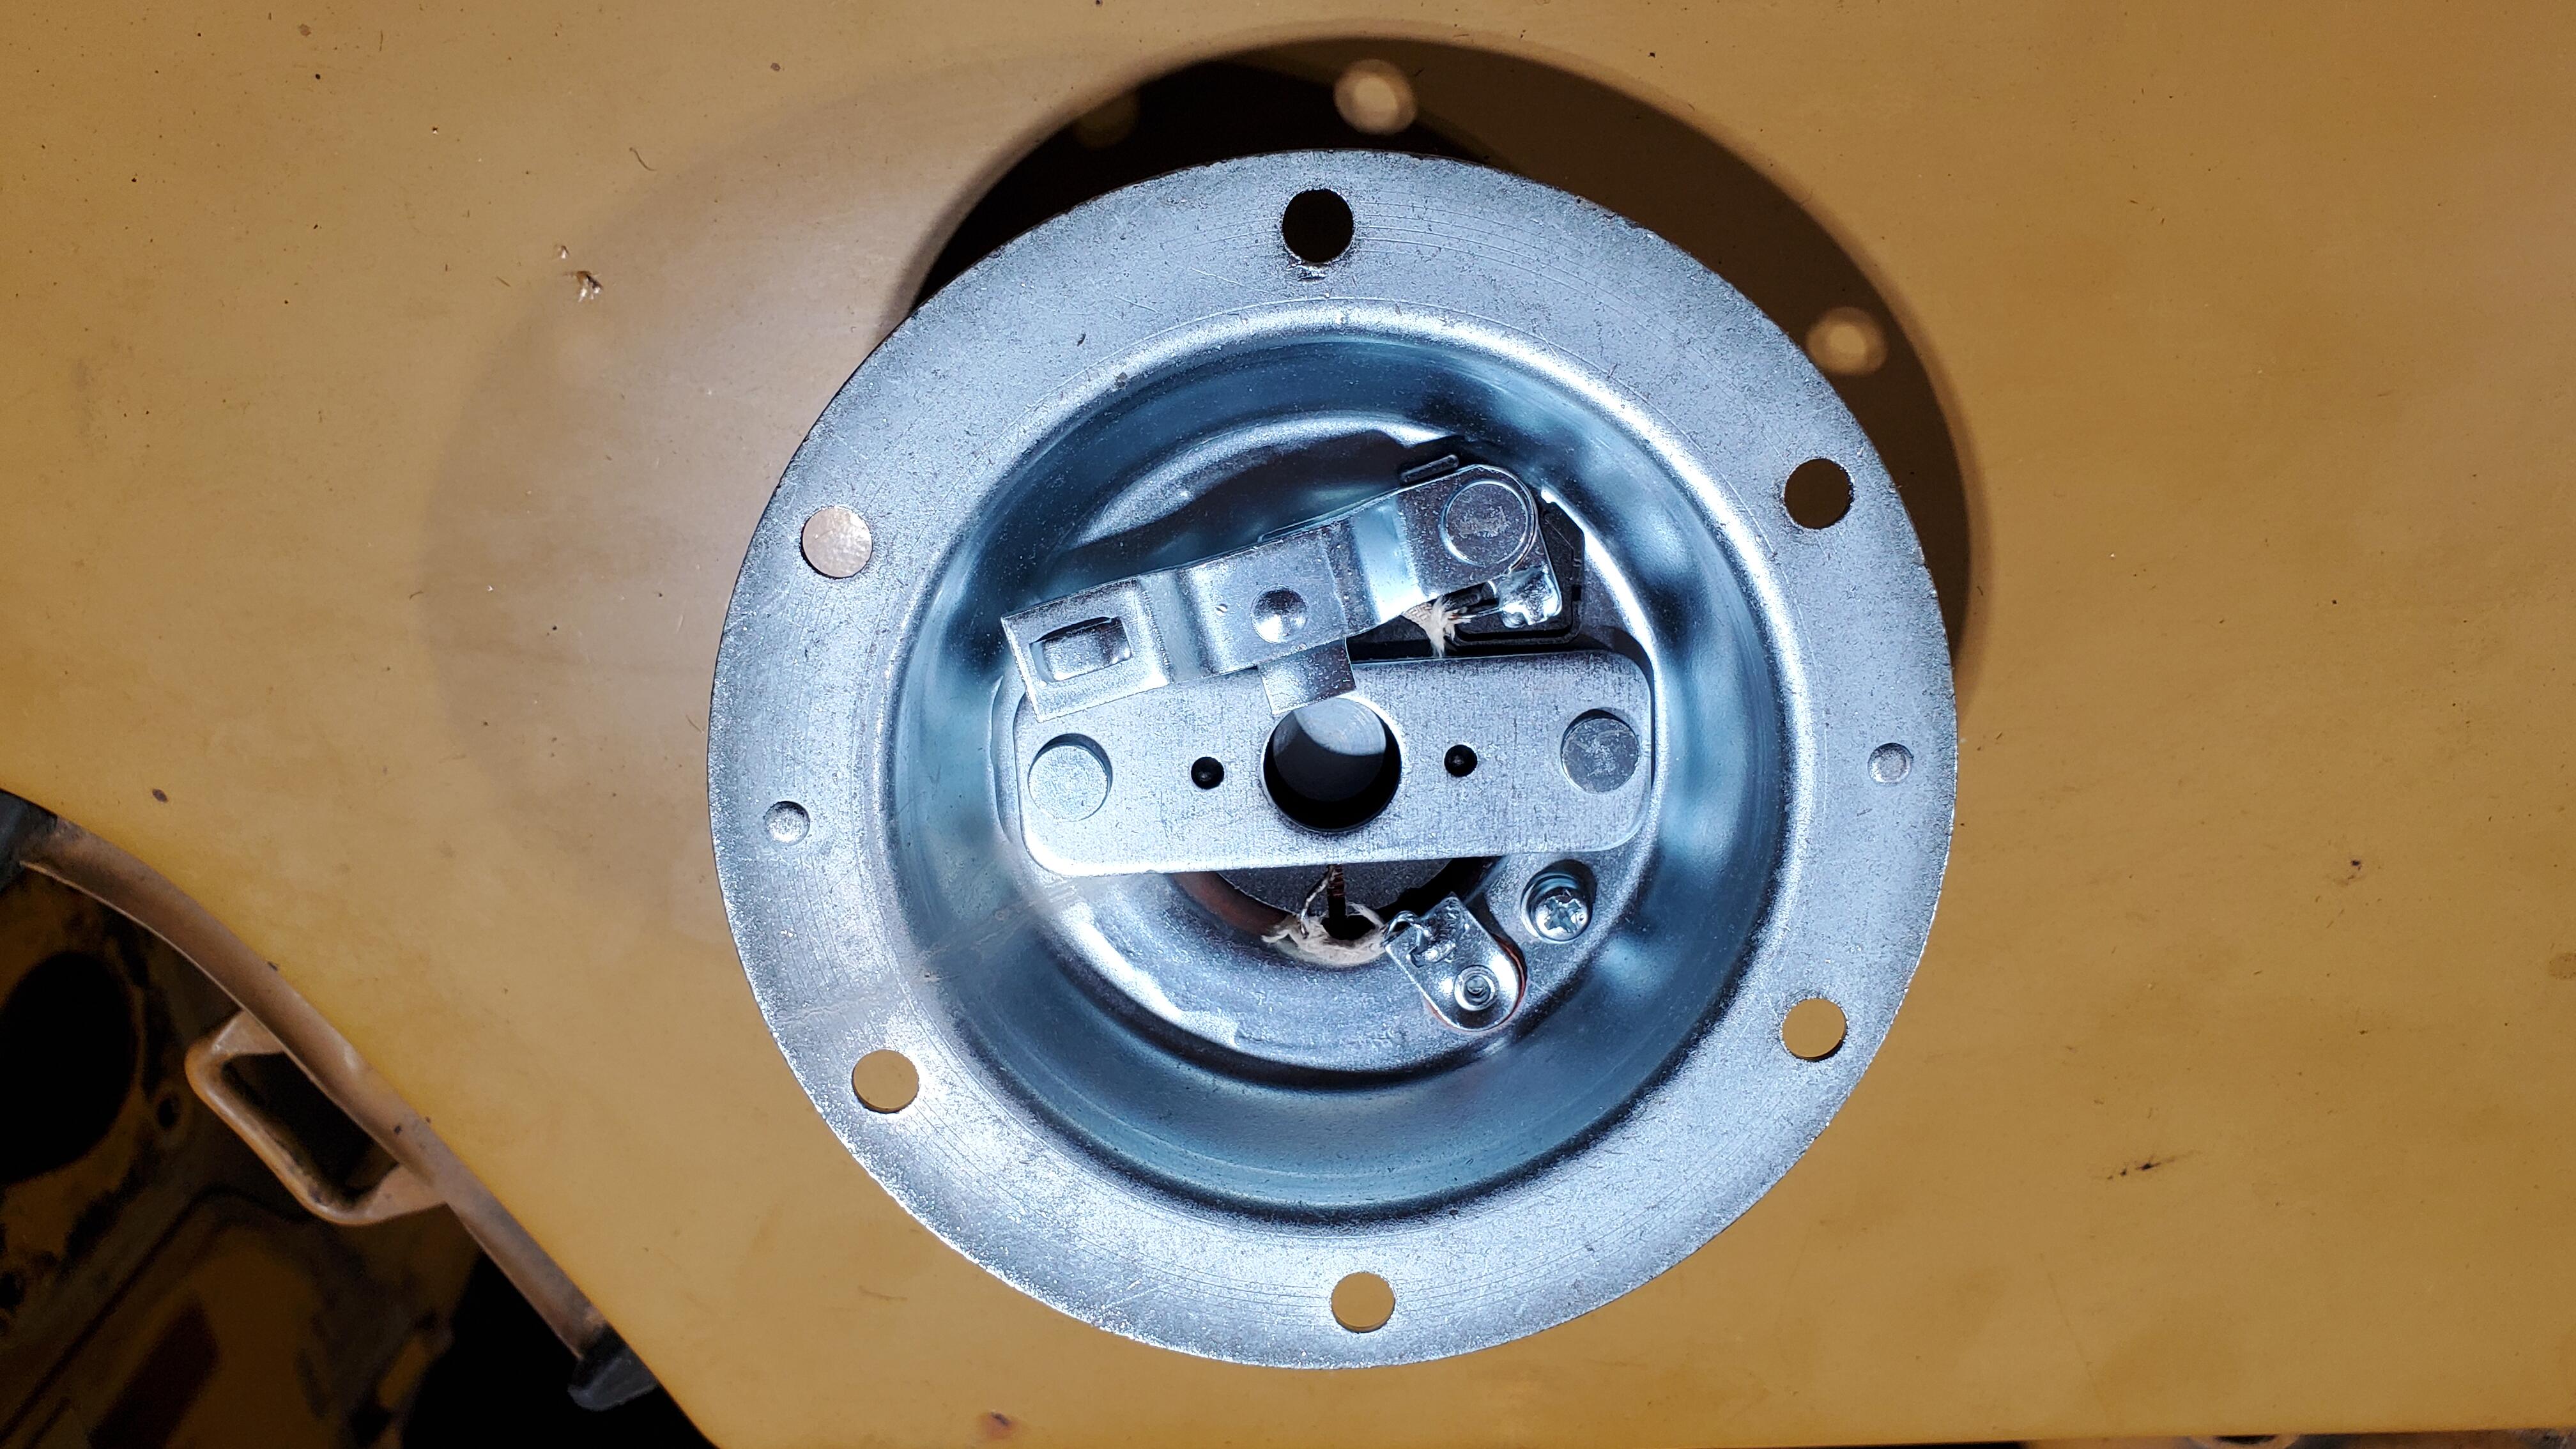
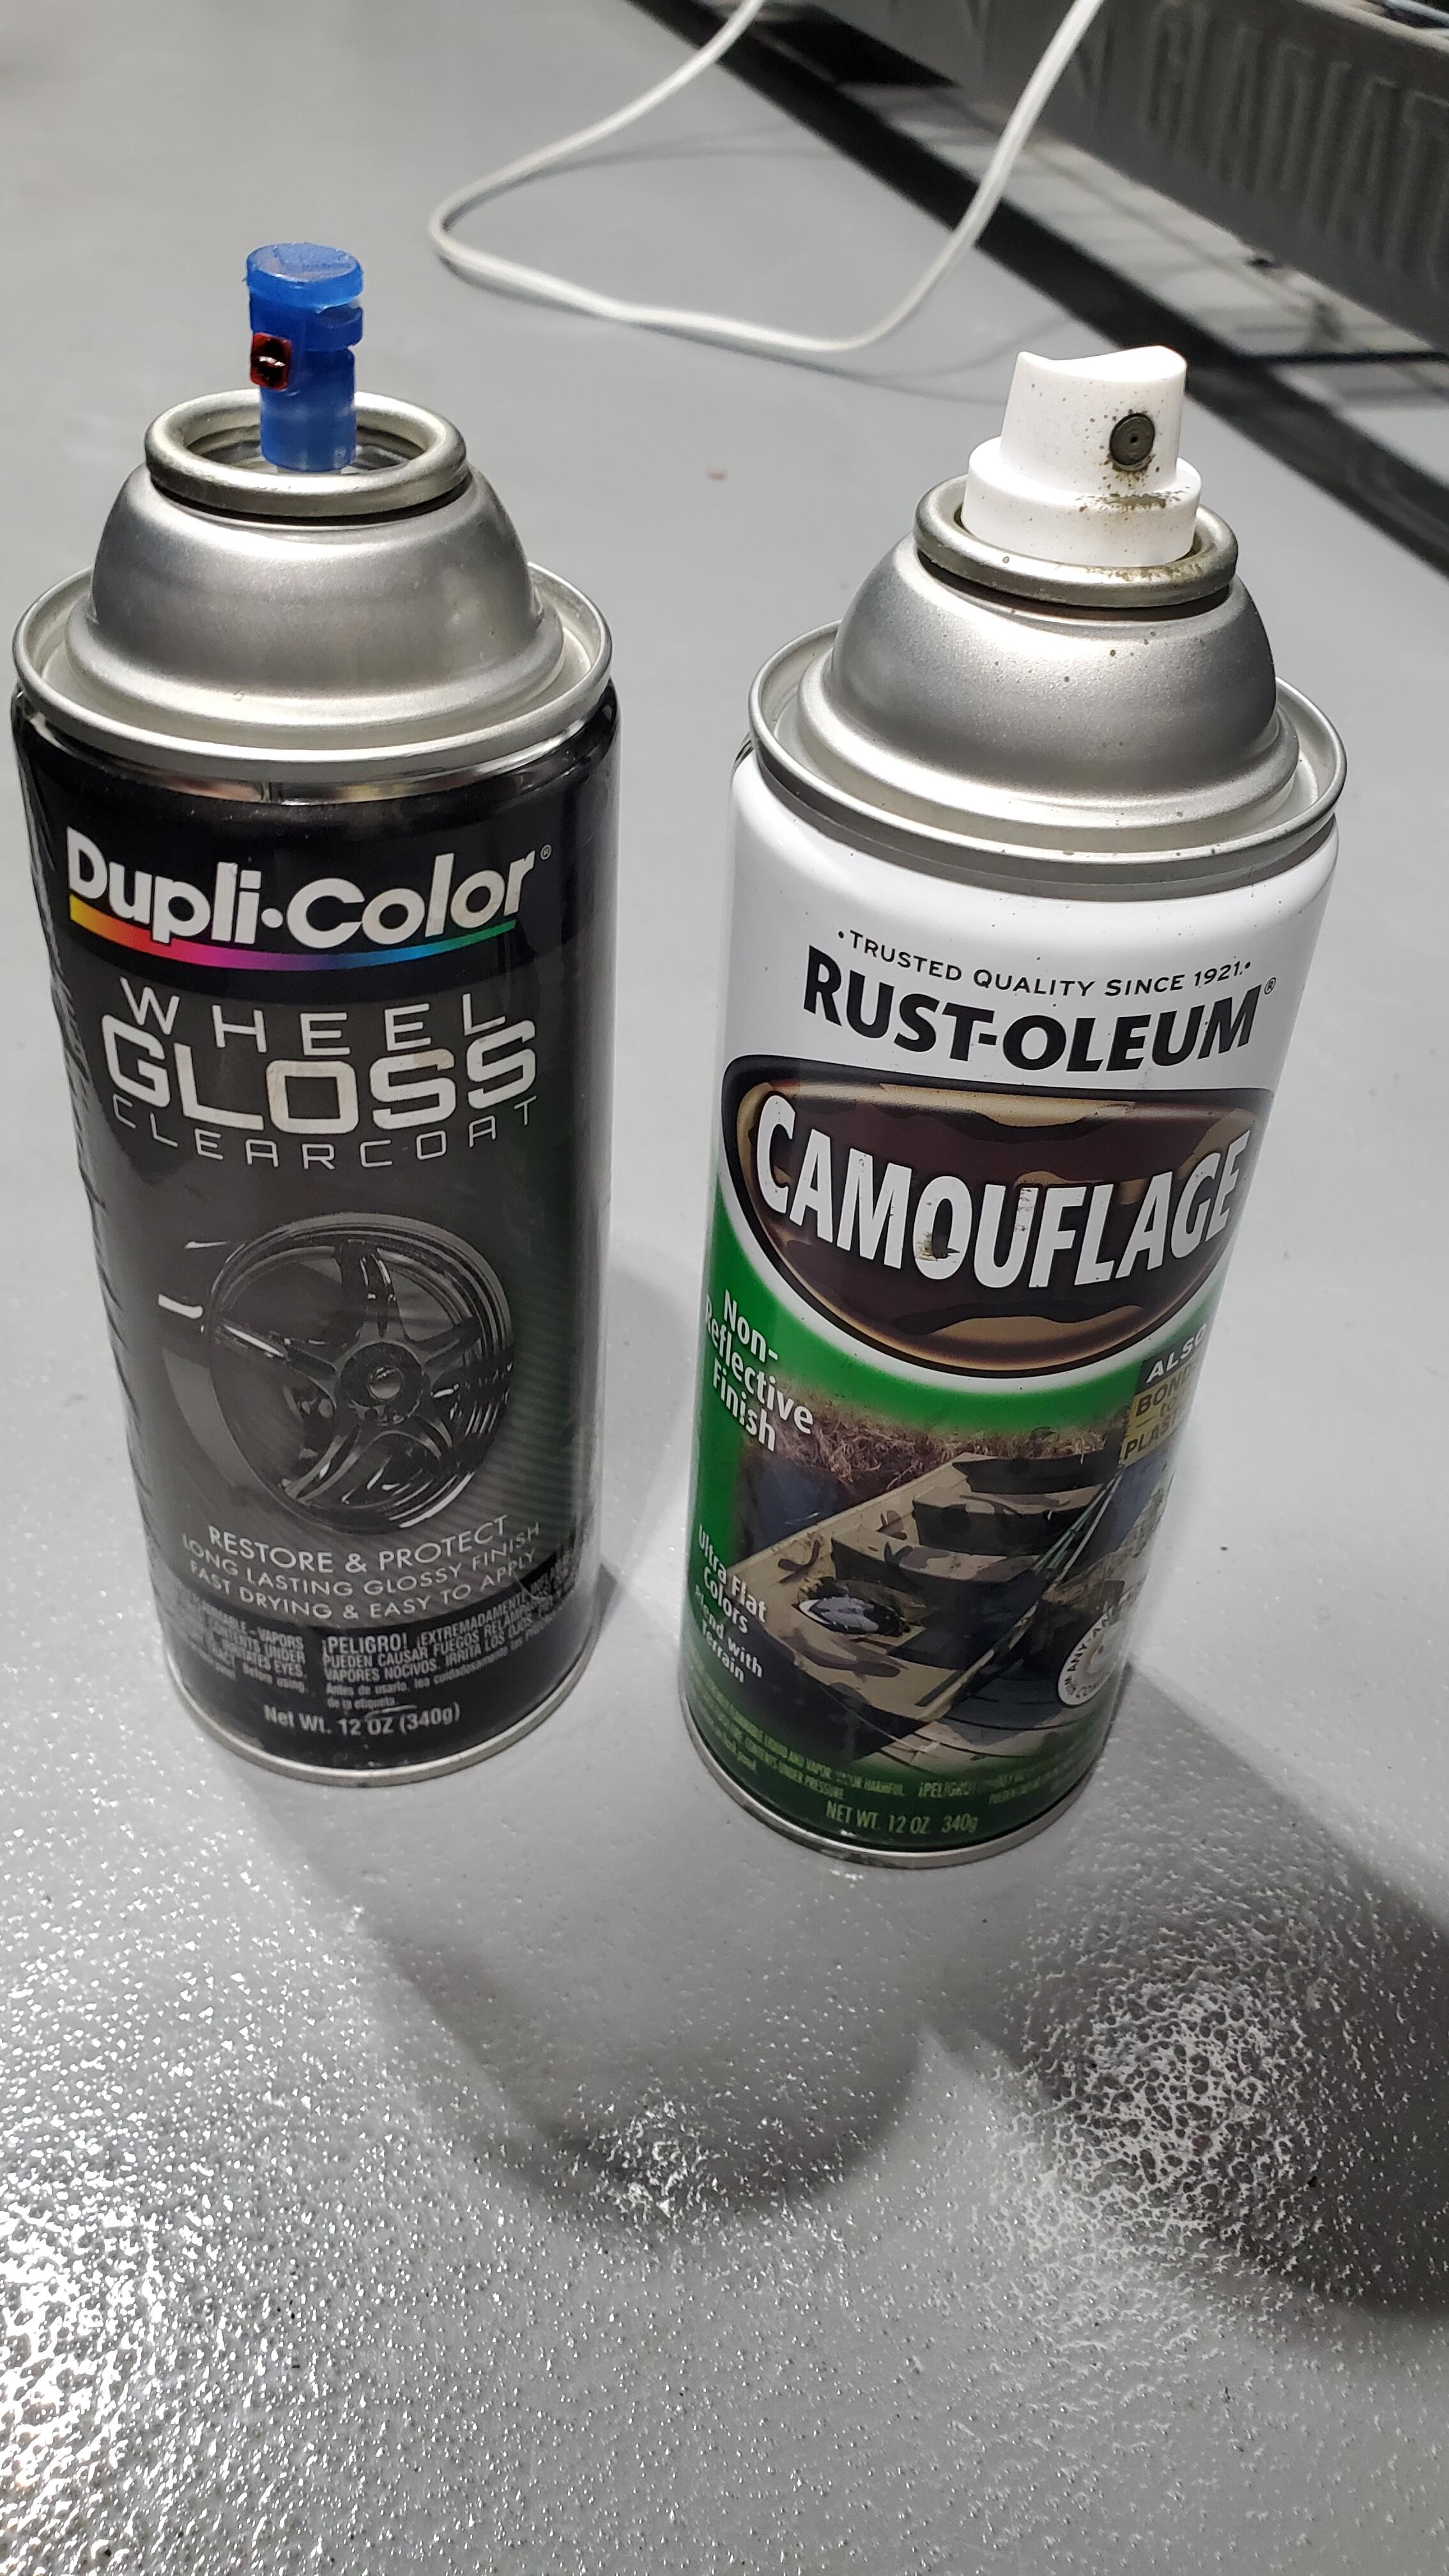
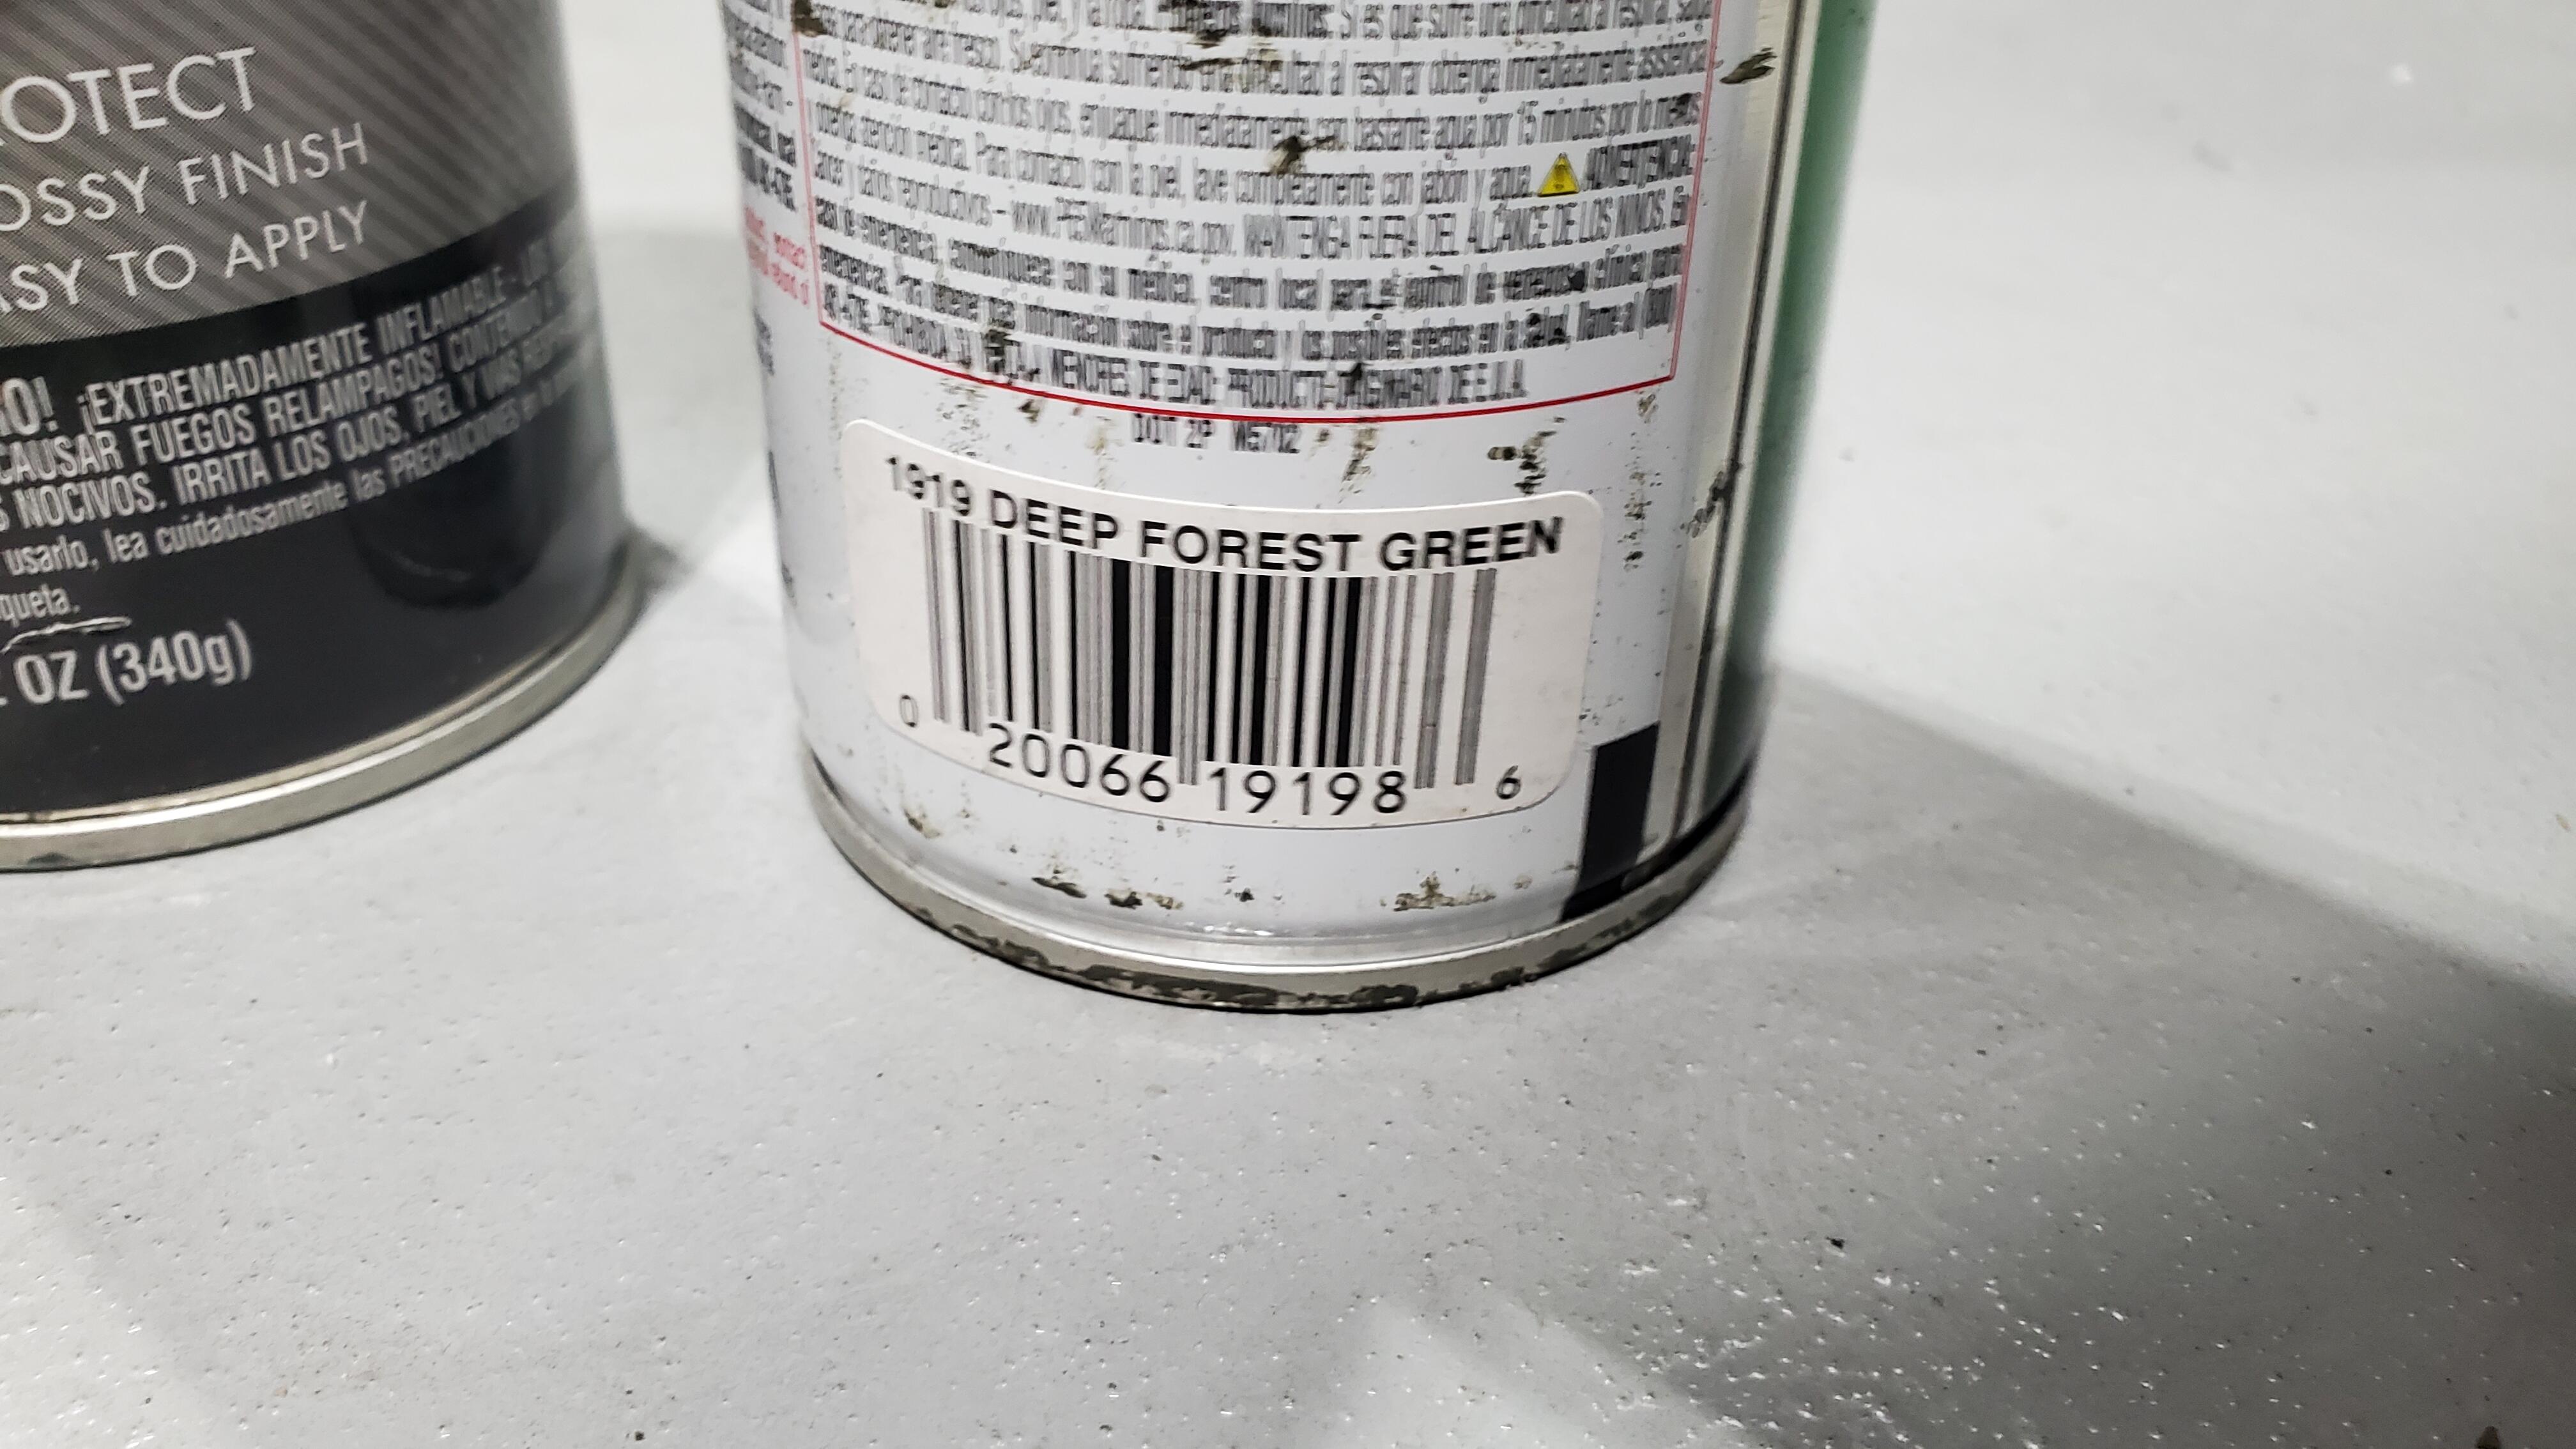
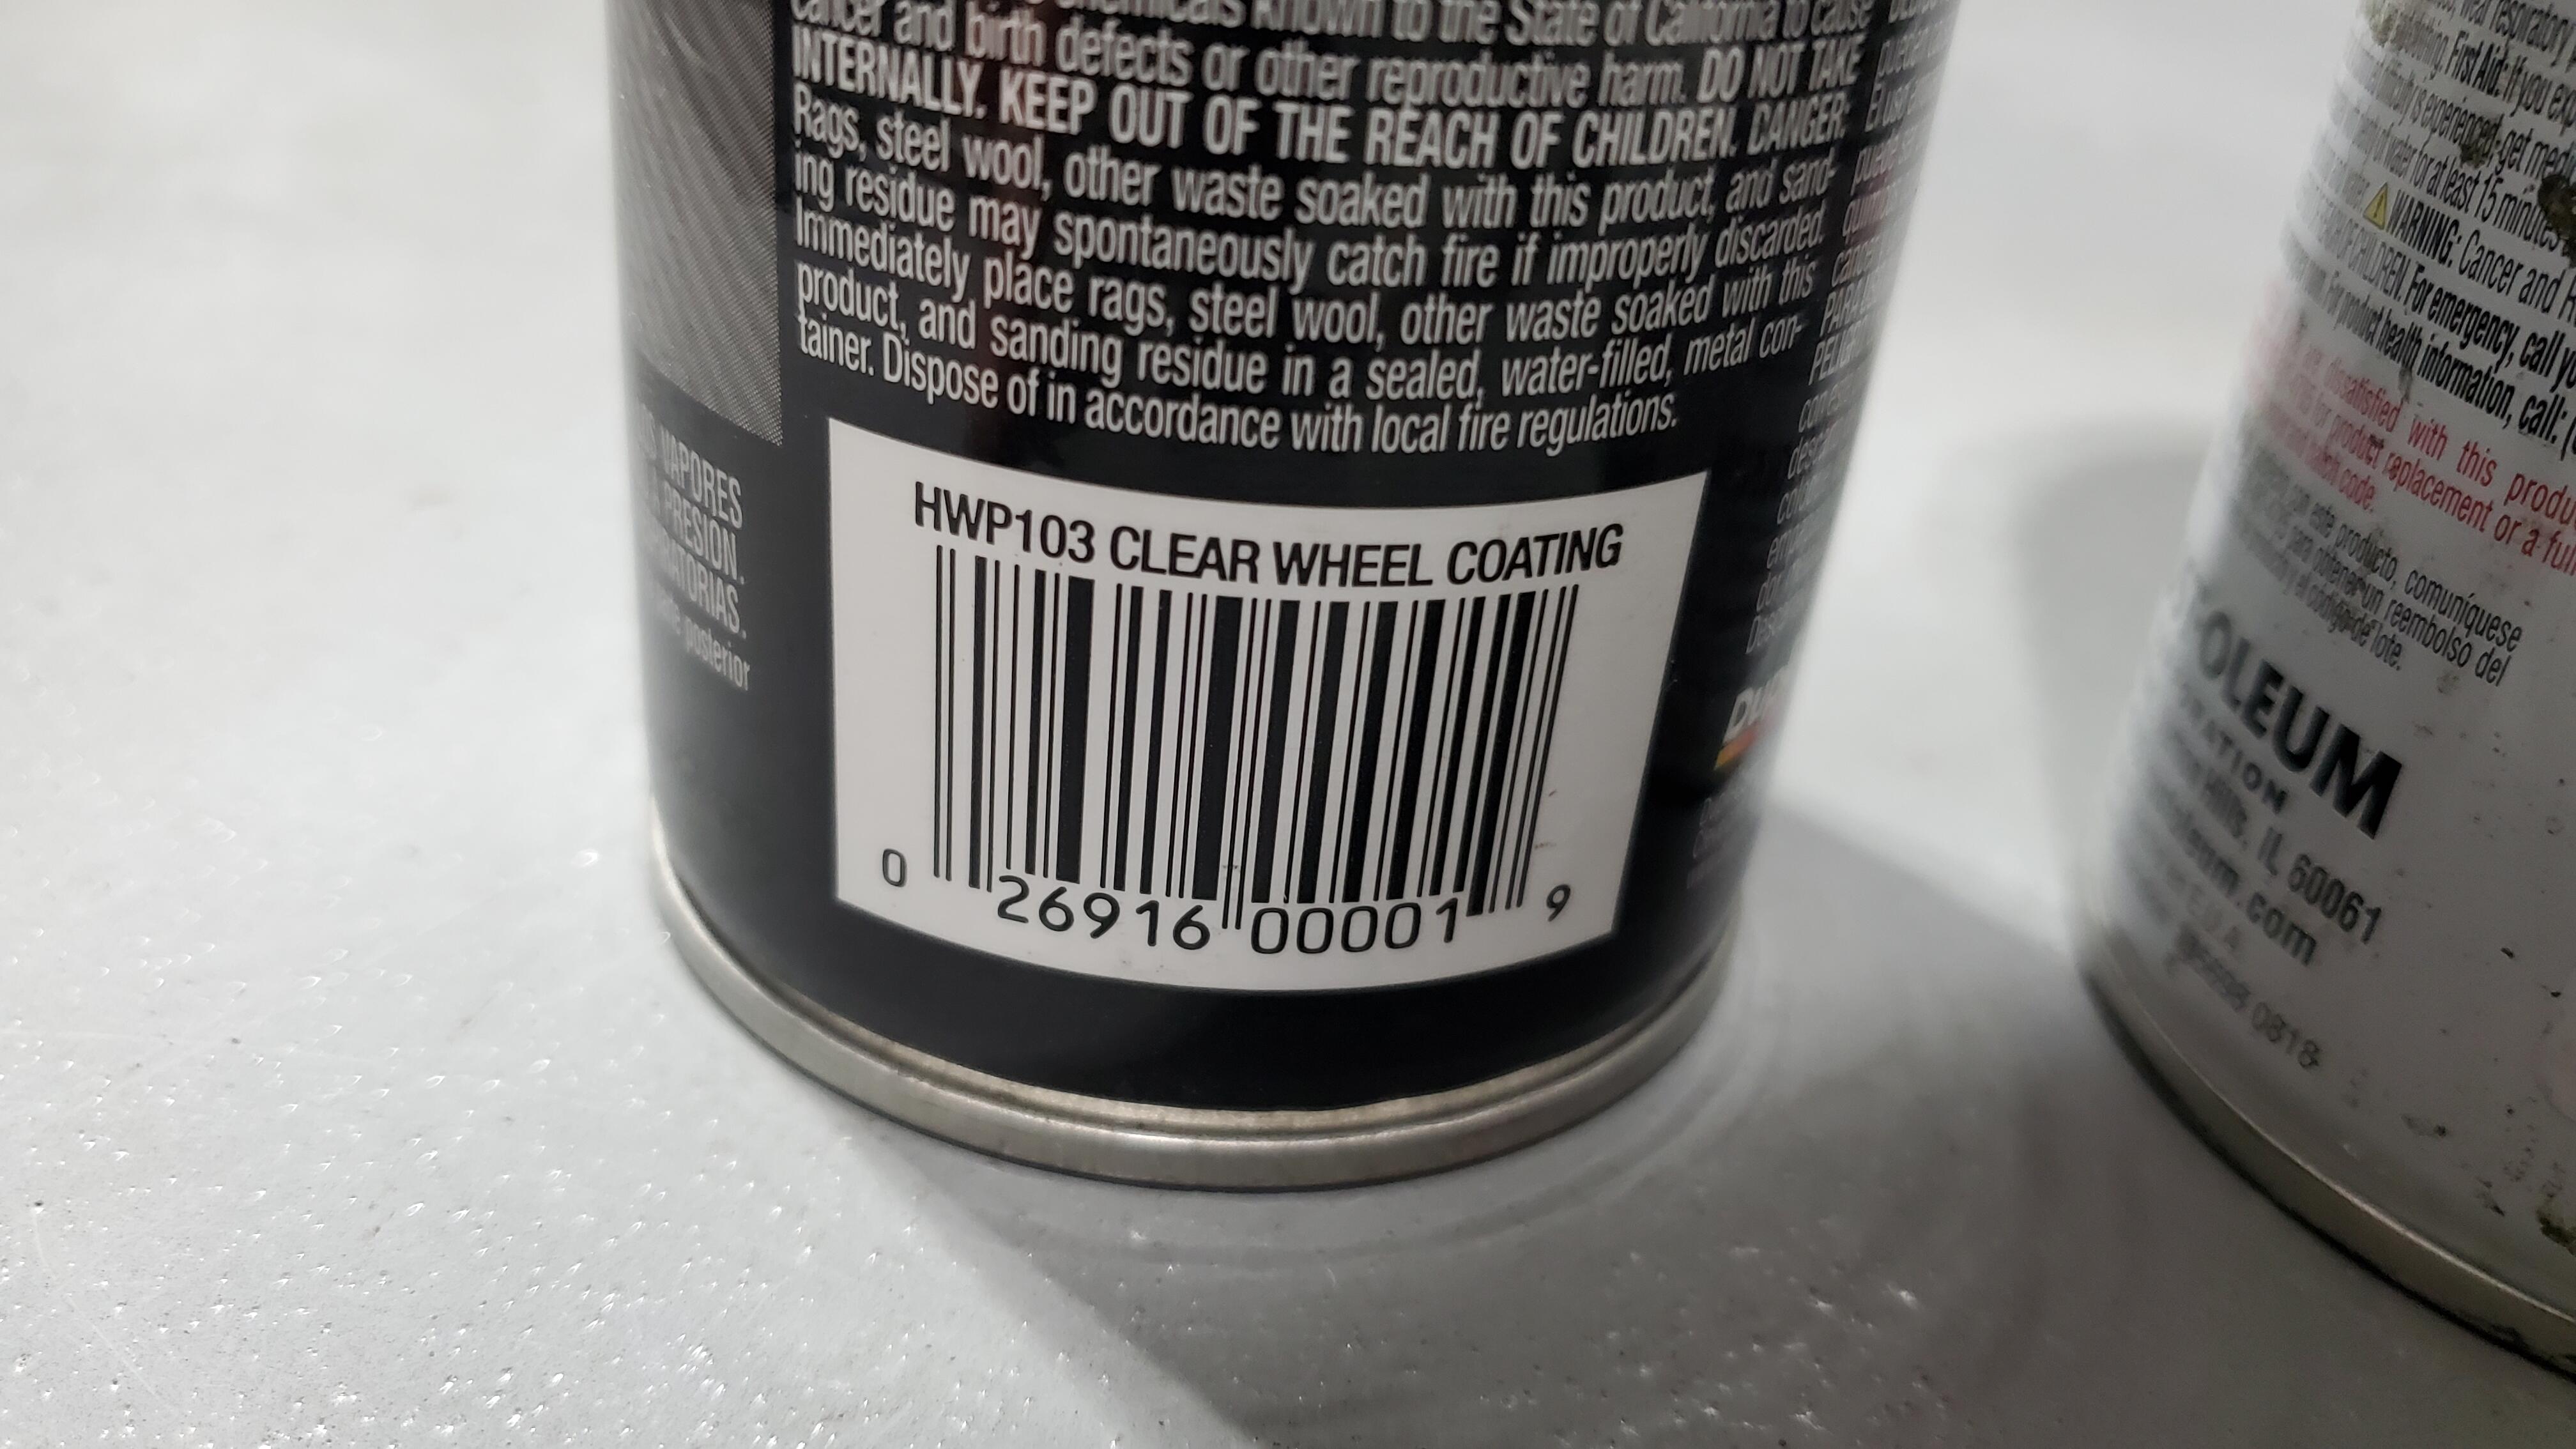
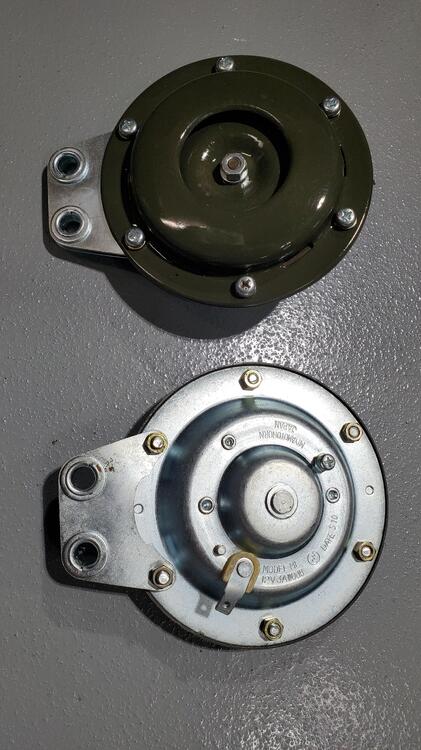
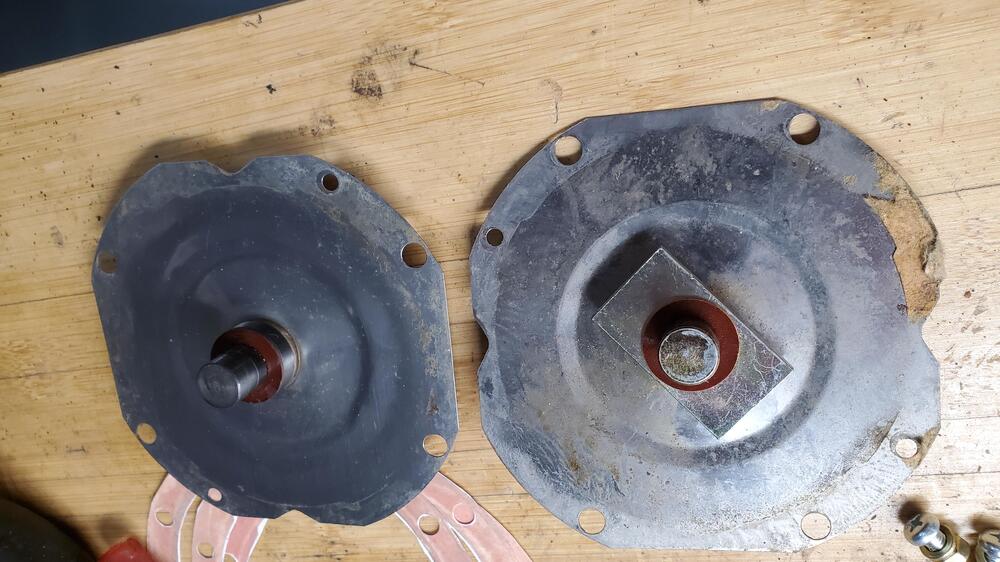
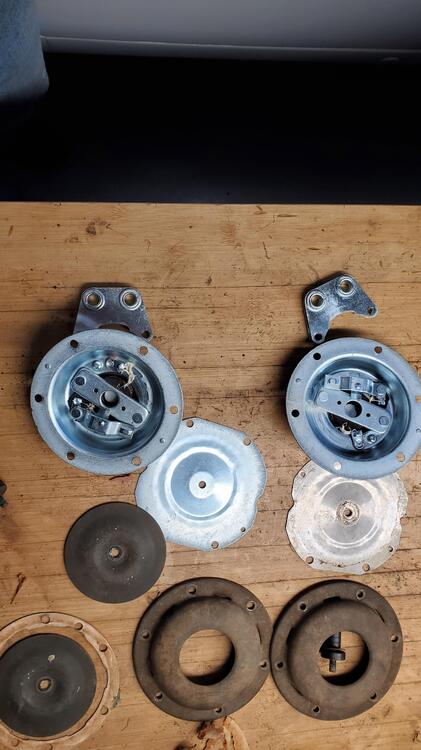
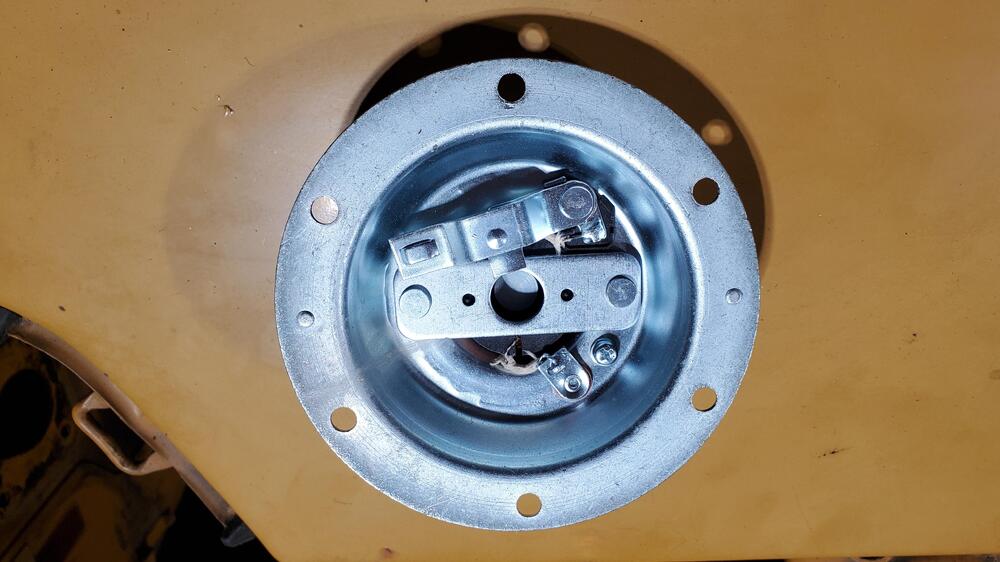
2 pointsSince we were on the subject of horns, I just went ahead and rebuilt them. Pictures are below. I added a view of the horn coil. You can see that the copper is not plated. (Also, aluminum or any material other than steel will not plate) Also, I noticed the inside of the horn has a round metal part versus the later rectangular part. Maybe that is unique to the early car horns? I am pretty happy with the color of the horn front cover in its match of the original. I used a dark forest green camouflage paint with a clear coat for the color. I was only able to salvage one gasket from the original horns out of four, so I scanned the gasket and made 3 more.


 2 points
 -
2 pointsIt's about as difficult as changing out the spark plugs. Loosen the compressor on the bracket, push it towards the motor. Loosen the alternator on the bracket, push it towards the motor. Take the belts off. Take the belts to an auto parts store. They will measure the length and get you replacements. Put the new ones on and use something like a broom handle to pry the alternator and a/c compressor away from from the motor to tighten. I get them tight enough that they will twist about a quarter turn. Check the tightness after you've driven your car some. It's easy.2 points
-
Thank you all for your comments regarding the suspension and the carb restoration. I have some good ideas now how to proceed. Vapor or dry-ice blasting seems to be a good solution. For the moment, they will remain in the box until i completed some other projects. So a few days ago, I got this delivery of a Nissan Factory adjustable Competition / Sports option / NISMO suspension set, and I finally found the time to do the research. First some Details, I got the two sets (front and rear) from two different sellers in JP, and it's a lucky coincidence that they actually fit / belong together. The Part numbers are: Front: 54303-E4622 & 54302-E4622 (Atsugi) Rear: 55303-E4622 & 55302-E4622 (AMPCO) On all four strut housings, each of the two platforms / adjustment rings are adjustable in height, and none is fixed, like they are on some other kits. I assume that those sets were made by both Atsugi and AMPCO, that's why they have two different brands stamped on them, as most factory suspension for the Z was available from both suppliers at the same time. The suspension set is listed in the January 1978 US sports option catalogue as "Gas variable type" and you can also see the Spring length of 171,5mm (front) and 205.5mm (rear). The same set is also listed in both Marc and September 1978 Japanese sports option catalogues. It is also mentioned that those parts are approved for Group 3 / closed circuit racing and are harder than the factory suspension setup and allows you to lower the car. The older race and rally preparation manual still lists the predecessor with the end numbers -E4621. Please note that the springs remained the same -E4621, even with the new -E4622 suspension. As the older -E4621 is also listed in the March 1976 Competition parts catalogue, my guess is that this kit was introduced around in 1976 or 1977. According to Alan Thomas, the term "gas filled" refers to a system where the "open design" dampers are oil-filled but gas-charged to help stop the oil from foaming during heavy race use. Unfortunately, the previous owner opened the rear suspension and now that gas is gone. See here for more details on the open / cartridge strut inserts comparison: https://www.jdmjunkies.ch/wordpress/2017-01-19/240z-the-ultimate-guide-to-factory-suspension-and-options/. According to Alan, there are companies that add a threaded hole to the upper strut section with a valve, so you can add gas again later. But he also mentioned, that the Gas is only really required for heavy race use and it will work without it. Alan was also kind enough to share this photo of the factory gas filling setup / tool. To be honest, i don't really know how it works but it looks nice 🙂 You may have noticed that the front struts came with these additional aluminum spacer disks. According to the above competition manuals (Part no 12), those were used on two-seaters built after 1974 and all four-seater cars, but they were meant to be used on the Rear suspension of the car. It appears that people used them also in the front to gain additional ride height. The competition manual mentions that they are made from aluminum (which mine are) and are 20mm thick. I quickly measured the thickness, and it appears I was lucky to get a free set of probably rare Nissan competition spacers included with my suspension. Remember that mystery adjustable suspension I bought a while ago? I never figured out which car it belongs to. It seems it's not listed in any of the competition / NISMO / Sports option catalogues i found. But now, i finally got to compare them, and it appears that it's definitely not for the 240Z / Fairlady Z. (Left = Mystery, right = 240Z) The length of the strut housing, the length of the thread, the strange upper mounts, and most obviously the brake caliper / brake dust protection shield mounts are completely different. Also, the mystery set got an integrated switch to adjust some settings. Lower = mystery, Upper = 240Z: Since the mystery set is quite incomplete (it only came with one spring, some of the adjustment rings seem not to be original, etc). I think the best I can make out of it is to keep the original adjustment rings from the mystery set as spares for my original set. The smaller, lower adjustment rings have a strange size of 101mm. That shiny one, which seemed to be an aftermarket / homemade item, had a diameter of 100mm, while all original Nissan ones had 101mm. So I'm very happy now to have a complete set, even though from two different manufacturers, but that doesn't really matter, as it's only a small stamp on the strut housing which is different. I will yet have to figure out how I can restore them back to factory, especially the strut inserts might be tricky to find a good solution, but it's definitely doable and definitely worth to bring back this set to former glory. A big hat-tip goes out to Alan for all the Inputs and the nice photos. Your knowledge is of huge value to me, a and I owe you at least a gin-tonic next time we sit at a bar again!1 point
-
1 pointI suggest verifying that the engine is actually heating up beyond normal temps by checking it with a laser temp gun. After a complete restoration of my car, my temp gauge is reading higher than yours, but the temps at various locations on the head and thermostat housing are 175 to 195. I plan to remove the gauge and adjust it's reading by changing the position of a certain "adjustment" screw inside the gauge.1 point
-
It is a little awkward. I usually need to let my back rest after I do it.1 point
-
This is what I used. I initially used an Olive green but it was too light, so I went to Ace hardware and got a darker green. I used the center part of the horn as the 'master' as it was in the best condition. The Camouflage paint is flat, so I added the gloss clear. A thin semi-gloss may be a little bit better replication. I think the green is maybe a bit on the glossy side, but they do look pretty doggone close to the original.


 1 point
 -
BTW don't buy a 3d printed part for that duct seal. It is supposed to be a soft rubber seal. If you see the soft rubber seals for sale, they came from Steve. He is the only one who makes them on the planet!1 point
-
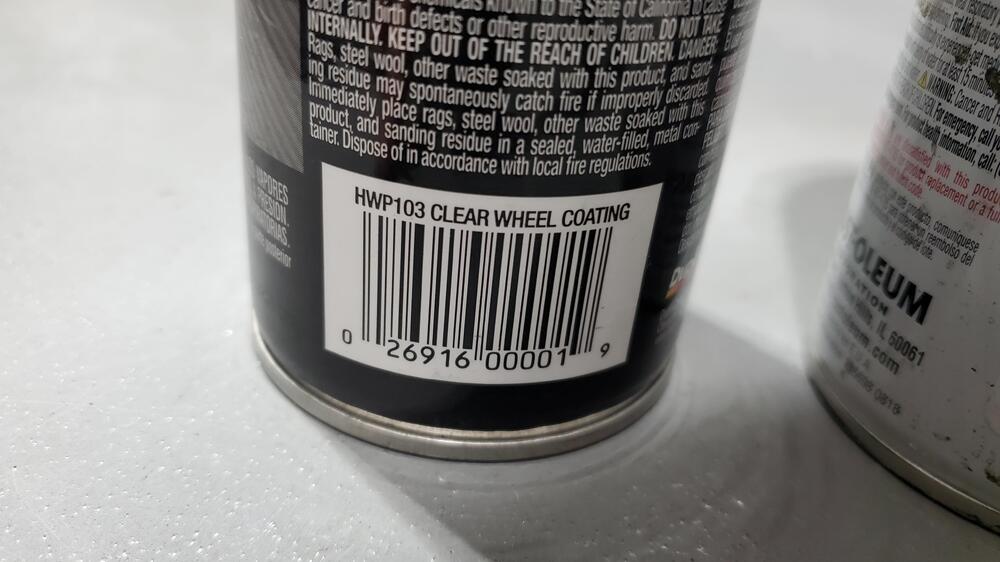
I would get those from Steve at 240zrubber https://www.240zrubberparts.com/product-page/240z-series-1-hatch-vent-duct-system-gasket-set So to recap: to my knowledge the hatch vents were always plastic. You need the grills The small barrel nuts the small clips that latch the ducts to the hatch The duct seals The ducts and the short tubes that connect the ducts to the hatch exit holes Pages 74 & 751 point
-
I would have the starter tested for sure. It's easy to get off on these cars and free testing at chain stores. Also clean and tightening the wires really good could help. Might be a bad ground or the spade connector on the solenoid needs cleaning and crimping down a little tighter. I did that backwards . Check the wiring 1st then pull the starter. Sounds like a shitty remanufactured starter to me. I've learned to have them tested before I buy. Starters, alternators etcetera. You should check the voltage on the battery when it won't crank, possibly low of water/acid or a failing battery. Do a 24 hour 2 amp charge and make sure the fluid is topped off. Leave the covers off while charging and put an old rag or towel around the acid/water holes. Should show around 14 volts while running, 13 at least. Cold weather is a battery killer.1 point
-
What is it that welders put an oven to heat up before welding? My Dad's welder guy had a refrigerator and an oven in his shop when I was a kid, WTH? I asked, welding rods in the fridge and the oven was to bring up the temp on some kind of metal before he started working on it. That's something I never learned, like playing guitars, that I regret. Practice, practice, practice...1 point
-
You are also going to need the duct/plenum that fits behind the grill to catch water and direct it to the drain hole in the bottom of the hatch. The duct should have a short flex tube to span the end of the duct to the hatch. These are from the UK: https://www.ebay.com/itm/167065483403?_skw=240z+hatch+vents&itmmeta=01JJZ66Q30BWTMV8WR2YXXYR5R&hash=item26e5e0f88b:g:bcoAAOSwr3pnKRvn&itmprp=enc%3AAQAJAAAA8HoV3kP08IDx%2BKZ9MfhVJKm55FiopAQ%2BmVZ1ZX8nTu4WANBVgSI2wRbT%2F87JeaqQn4RJ3JIUmQIjSLV%2BS%2B5C3B%2BMGINXJ9GUPkY55%2BP0ulAoKuxp8XzGIgrgH8Zq%2Fo5TbqAAECga28ib5sLfKEo0D5q9RFCqumfRSdRkSWvgPhJuZM0gfBticYck6z4N7Q2yfNGUu27HC8PwllwQyGhf42O6aEVaLgcH4siWsi9bMDhphRQIbvNgwshcX%2BZRKOIgX5Zytv1b%2BEIu07lKbF4vaB%2BPLBn59HxH6Z2rW9R9qot0vPB%2BusOj4XKLCAOzK2BiDw%3D%3D|tkp%3ABFBM-PGa5pdl1 point
-
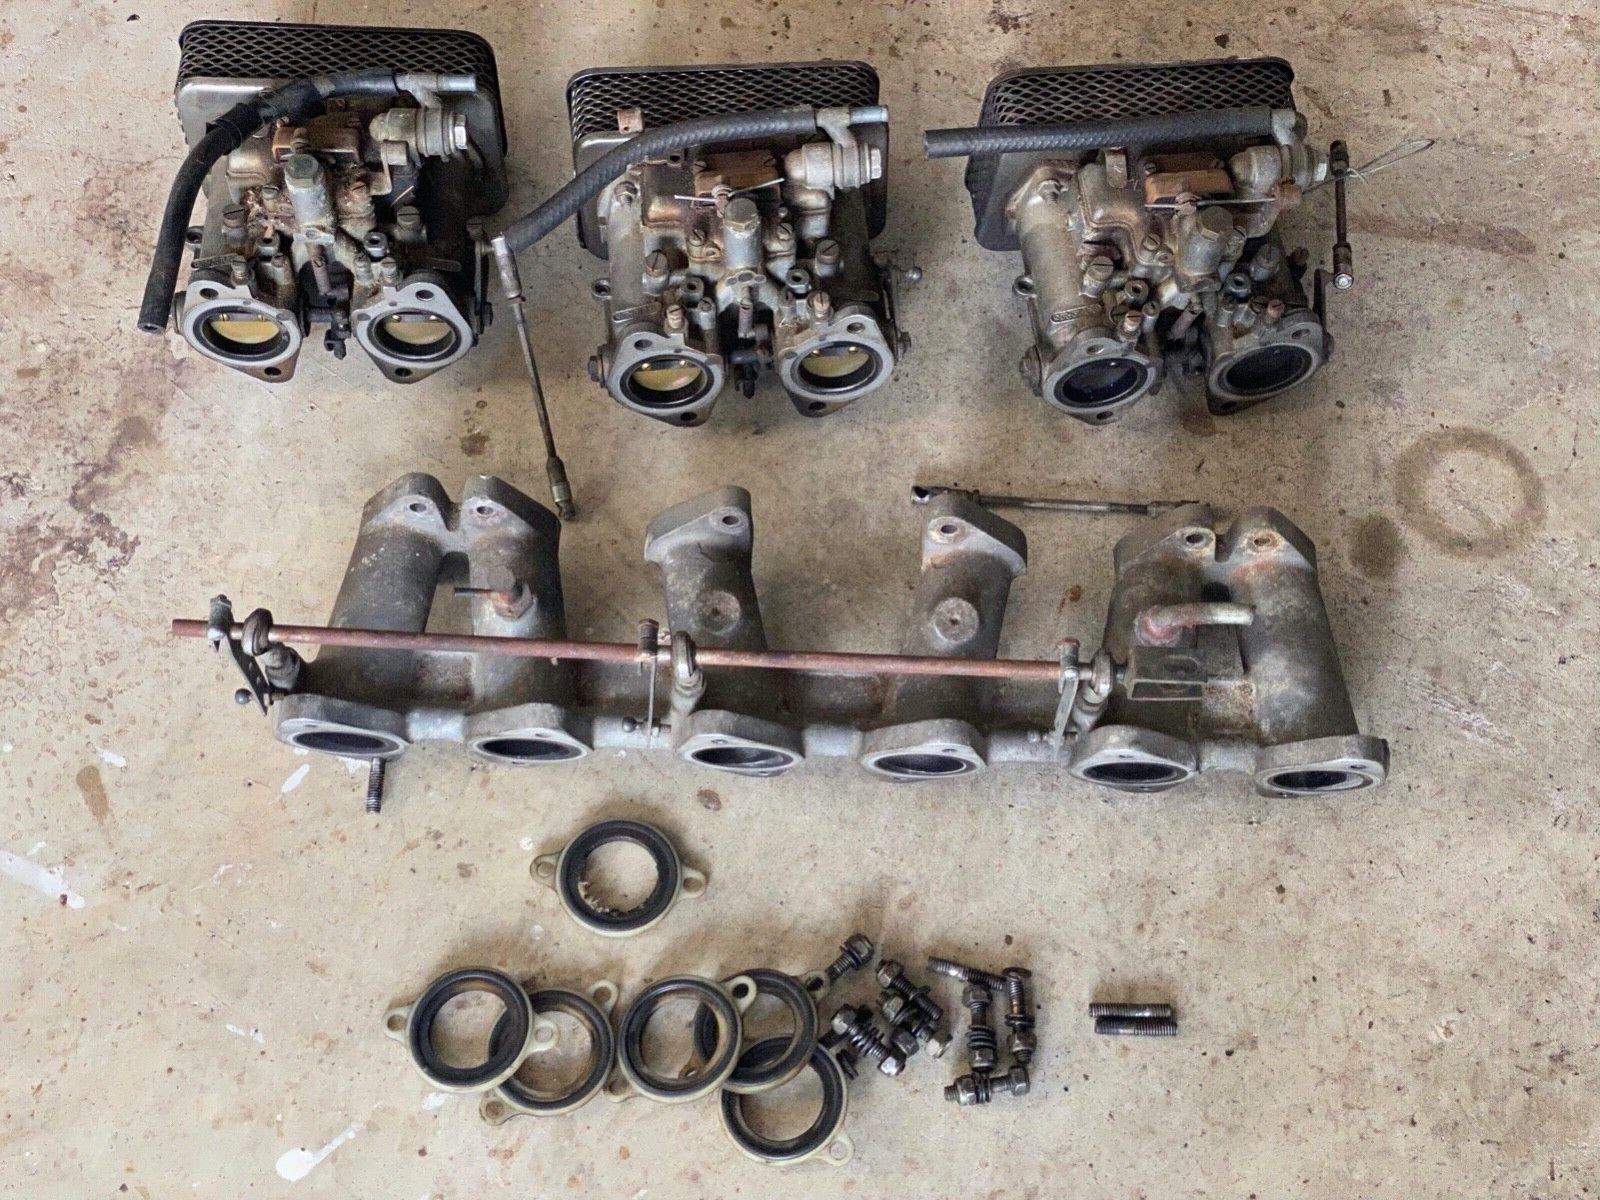
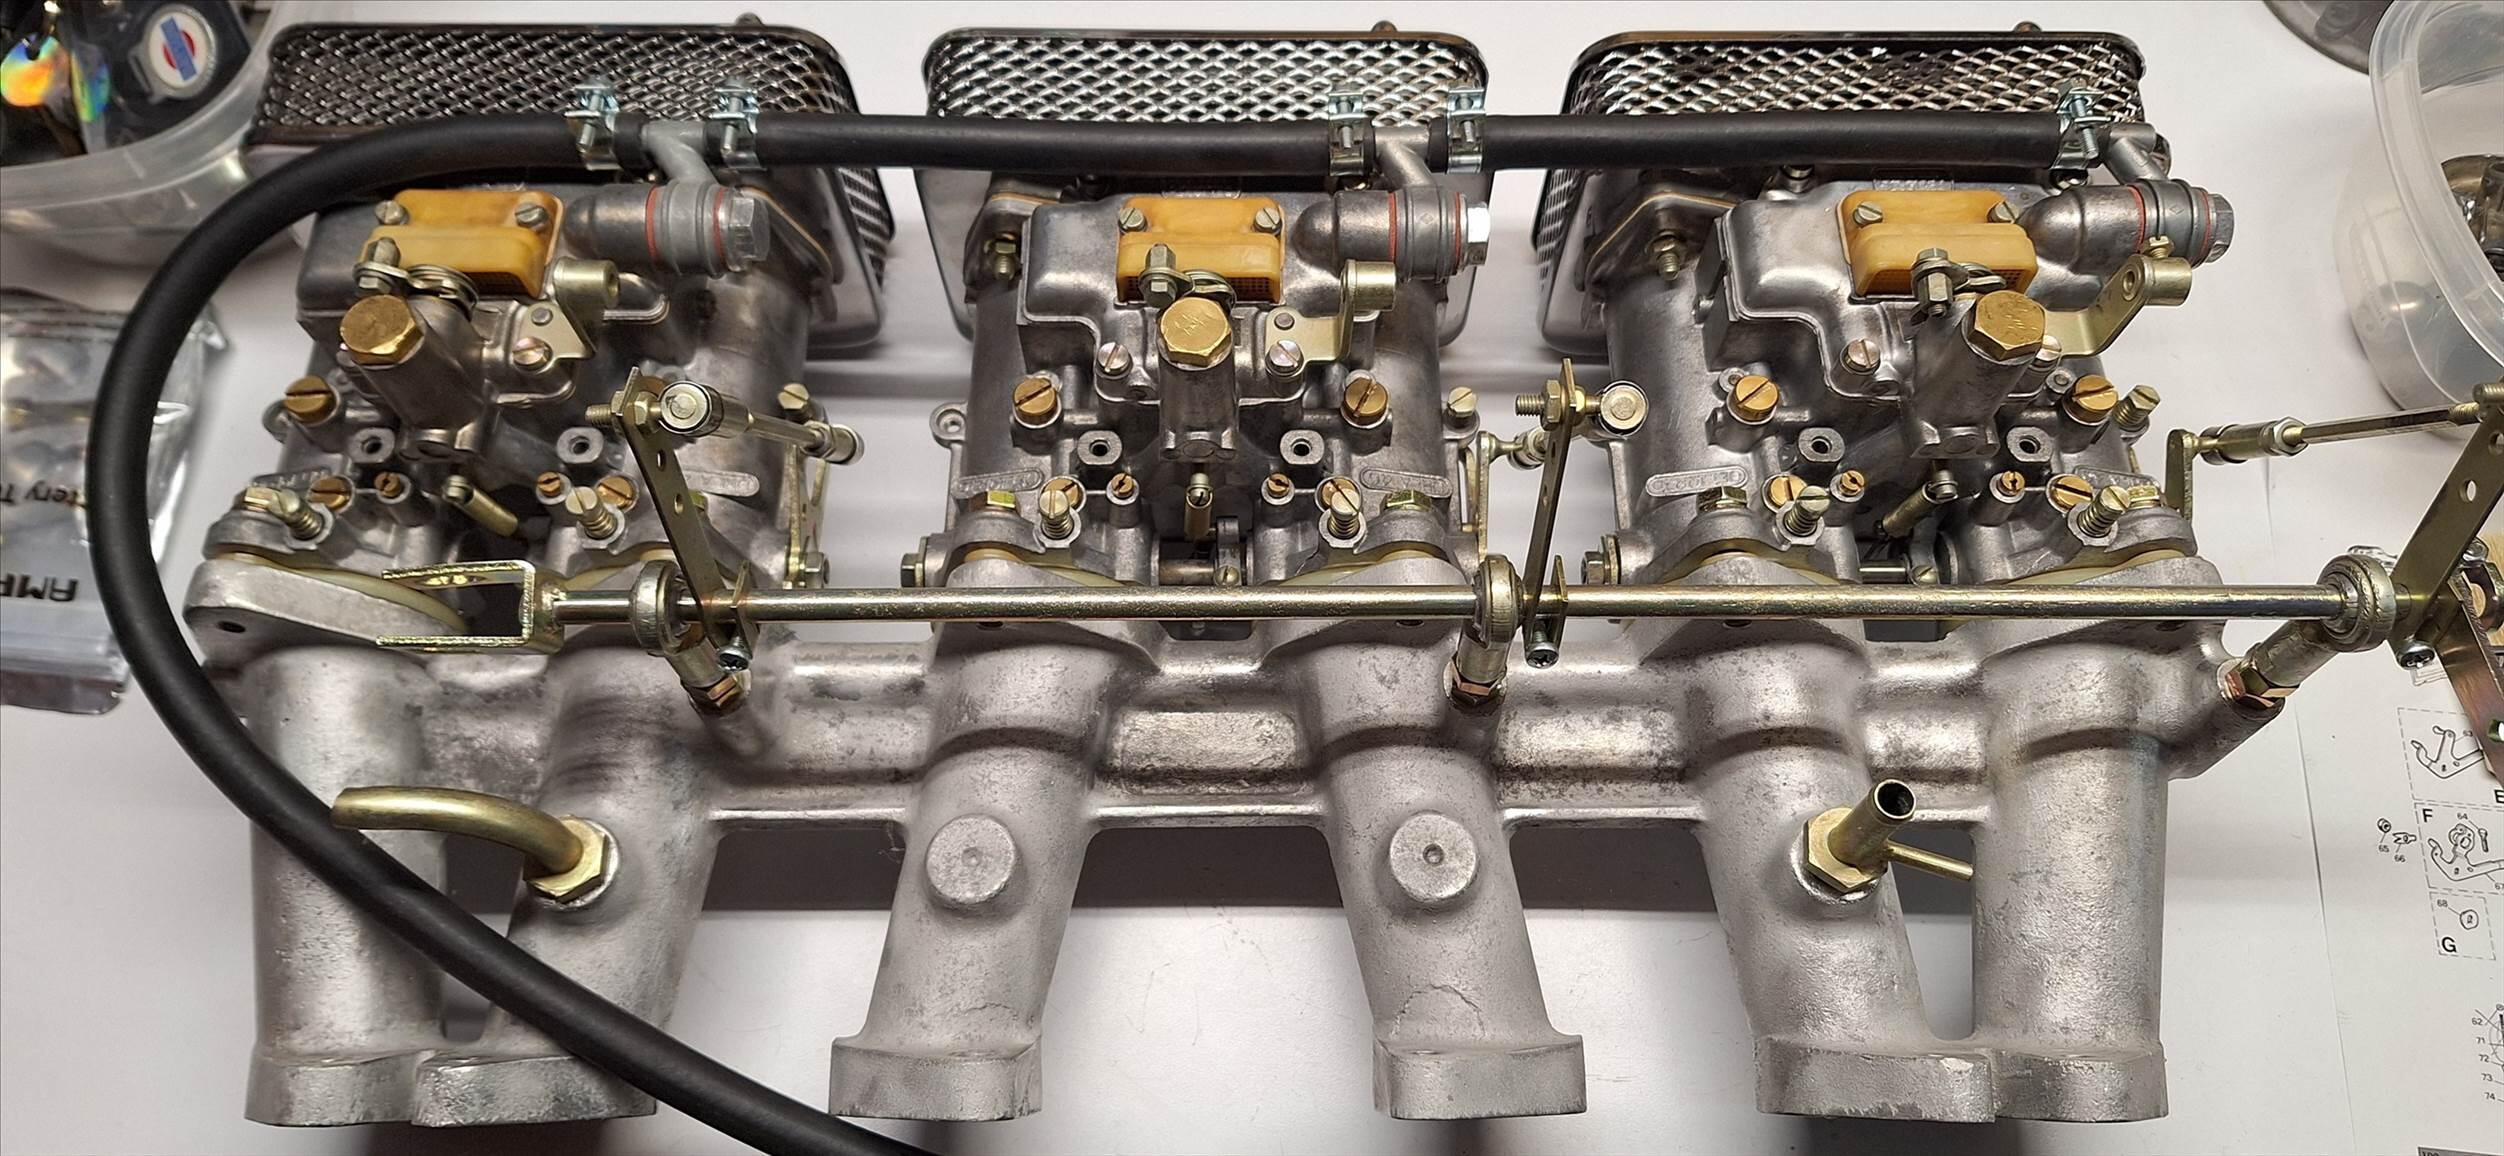
If you have access to an ice blaster, that's where I start with a rare set of carburettors. Very gentle on the original castings and doesn't remove any metal in the process. For less valuable carbs using the ultrasonic cleaner is the easiest way to go. The trick is the right combination of chemicals to gently remove dirt/oil/corrosion. For the metal parts I strip them with EvapoRust before plating. Here's some 50 year old Dellortos I did for my 240Z restomod. I did a special set of factory development Weber 50IDF carbs for one of my V8 Vantages 20 years ago using ice blasting. They still look pretty good.


 1 point
 -
1 pointThis is about the best tutorial I've ever seen. It's a 280 which is a little more difficult than pulling the head on a 240.1 point
-
Sorry, I wasn't referring to the texture on the carbs you restored. I figured that was previous corrosion. I thought your carbs looked great. I was referring to Nils comment on texture after blasting. Vapor honing or wet blasting with glass beads should help provide a nice finish to his carbs1 point
-
You probably already have this data (?), but the March 1976 dated Nissan Sports Option list for the RS30 and GS30 models includes the E4622 suspension kit. It shows that they still used the previous E4621 springs with the kit, giving free lengths for the springs as 171.5mm Front and 205.5mm Rear. The same March 1976 Sports Option list gives a part number of 55037-E4620 for a "Spacer Rear Strut MTG", stating that it is made from Aluminium and with a thickness of 20mm. Seems to fit the bill. I've seen these used on the front as well to give a little extra lift. I have some that are made from steel, but don't know if they are (later?) factory items or if somebody copied the factory items. Yes, they are the original 'Wet Leg' type dampers. If they match up with the strut tube length then I reckon they could be re-used effectively without the gas-filling (it was only there to help mitigate aeration/foaming of the oil under hard use) and indeed the early standard struts used the same system without the gas-fill (and - years ago - the 'hot tip' to upgrading these was to replace the factory type Nisseki A-1 oil with a heavier grade oil) as long as you are not planning on heavy track use...! They are actually very nice to use and I reckon the thicker piston rods are a boon. A friend of mine in Japan made up a system to re-fill the gas charge (he added a valve on the lower body) but it's a real hassle. On the other hand it is easy to convert these struts to use cartridge type dampers as long as you choose the correct length of cartridge (and Bilstein would be nice!). I've had Nissan Sports Option (and even some Works rally version) struts through my hands in the past which - when opened up - revealed aftermarket cartridge units inside. Obviously replaced some time in the past. Yes, those springs are not correct for the Sports Option adjustable platforms. They should have a flat lower section to sit on the platform. You can get springs made to suit the adjustables. There are certainly companies here in the UK who can make to spec. Let me know if you can't find a supplier.1 point
-
This worked great for me. Both with loosening, and then re-tightening with engine out of the car: I'm not sure if all the flywheels had these holes along the outside edge, but I used a tight fitting punch (8mm or 5/16) in the hole and then blocked rotation with a bolt threaded into the block: This may be old hat to you engine guys, but it worked great.

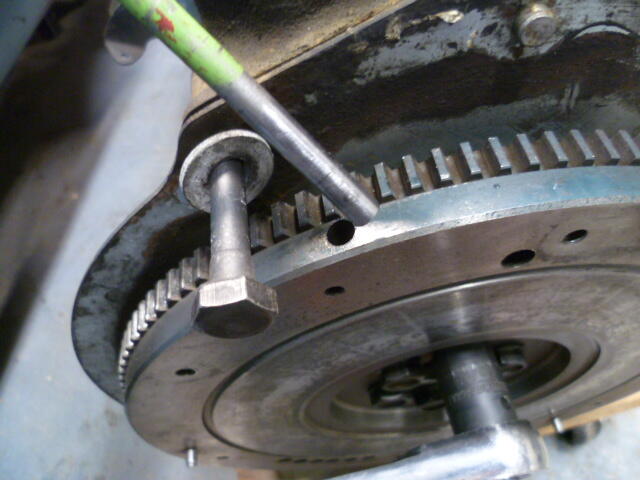 1 point
 -
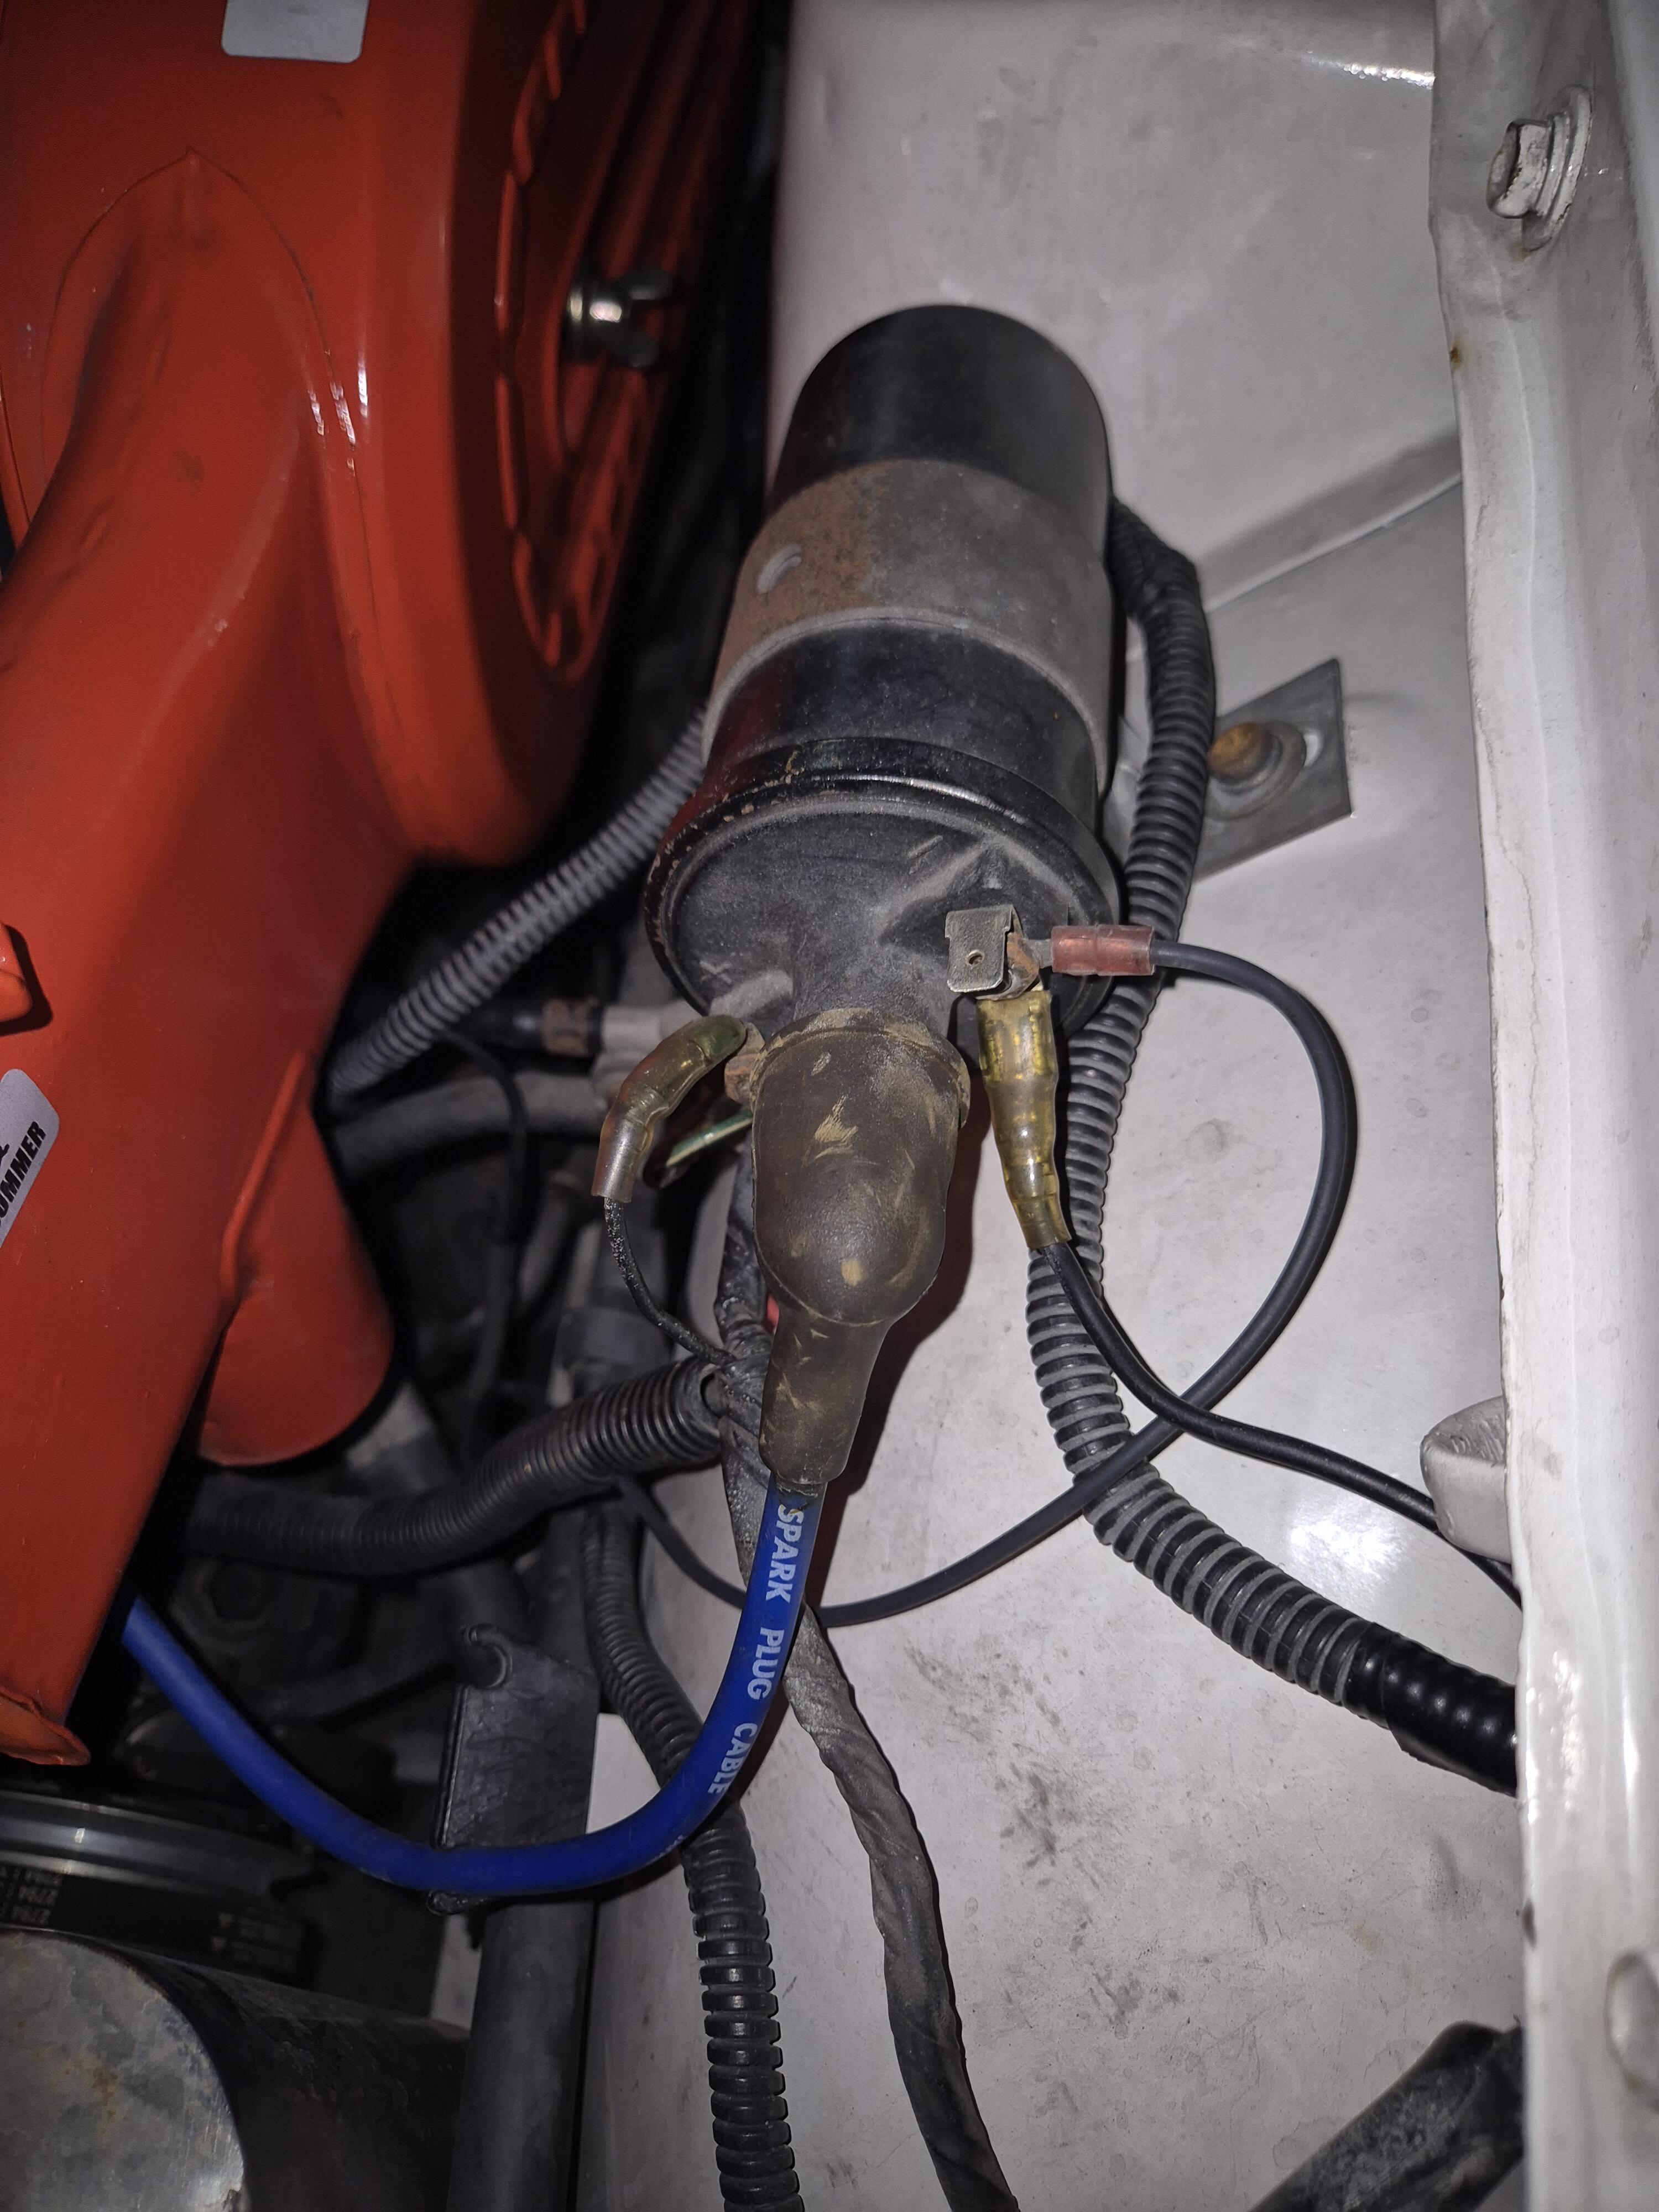
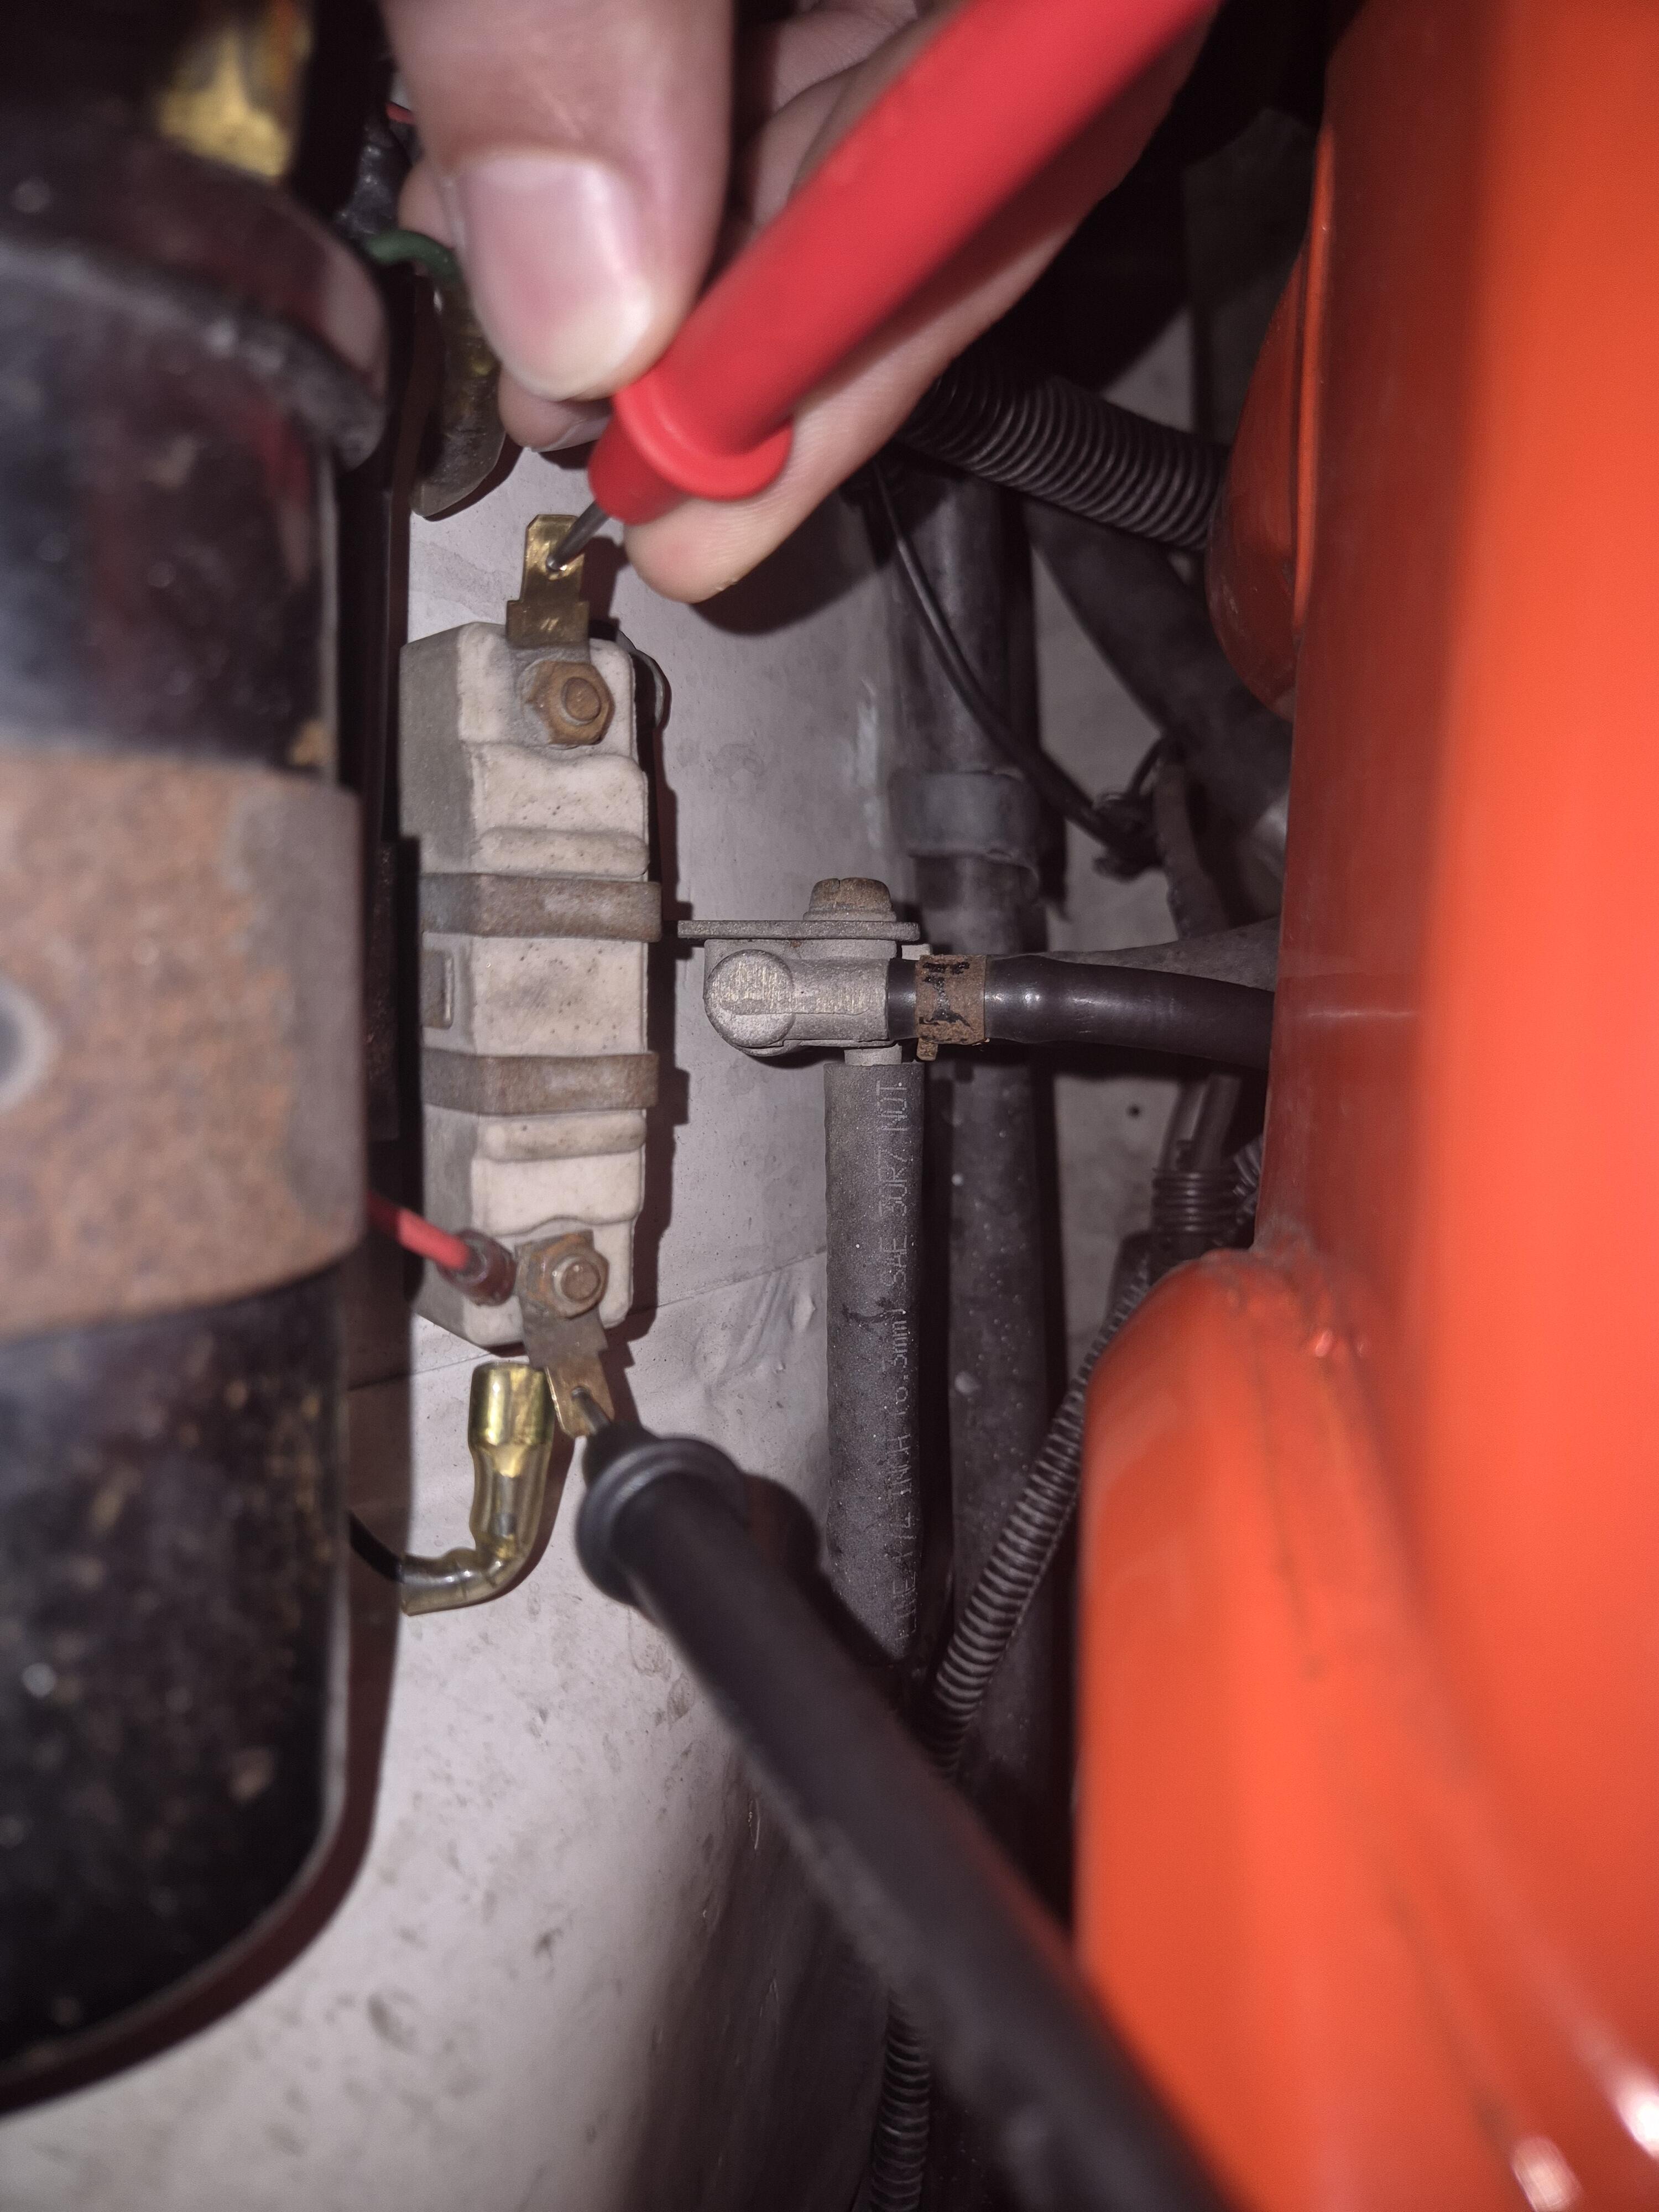
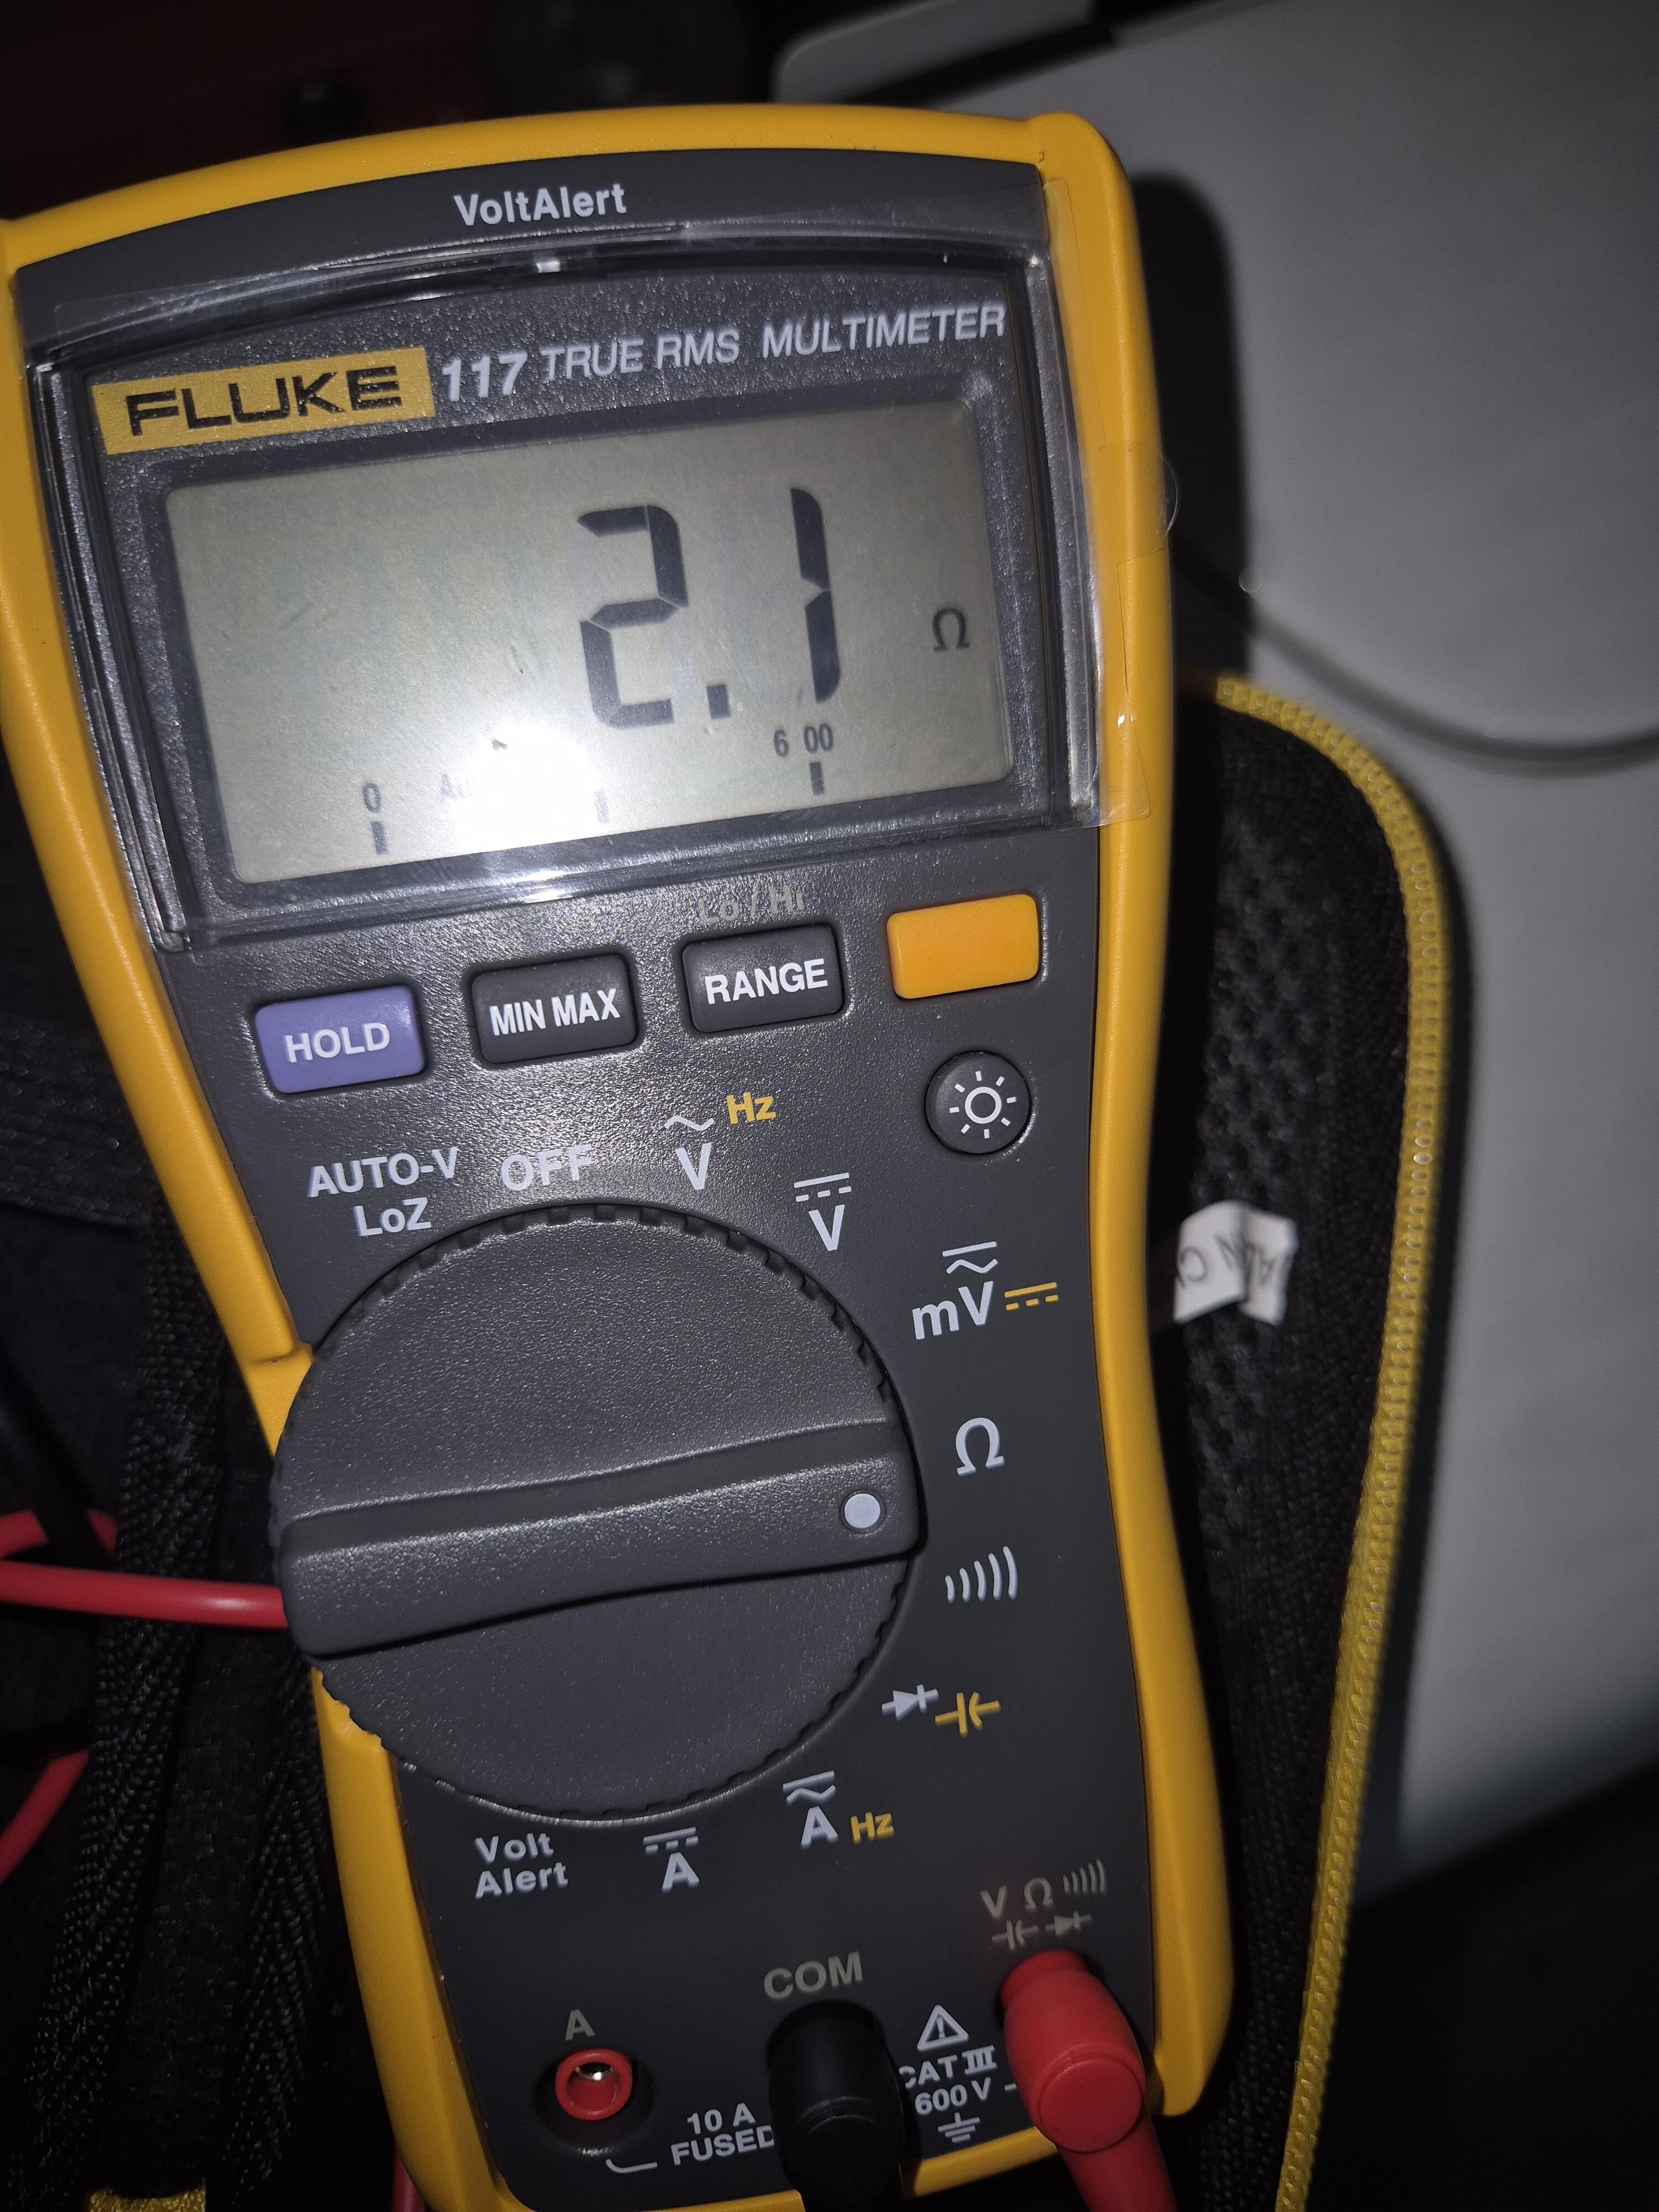
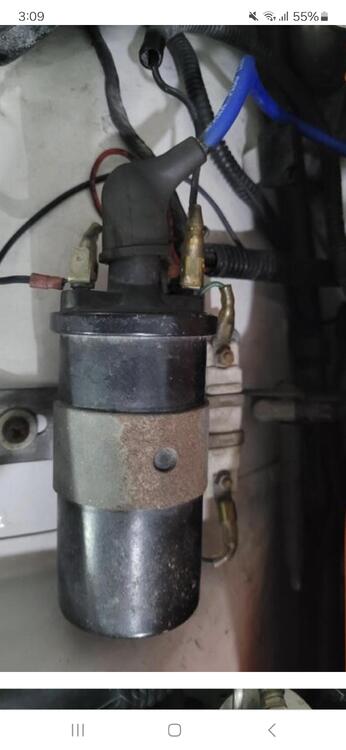
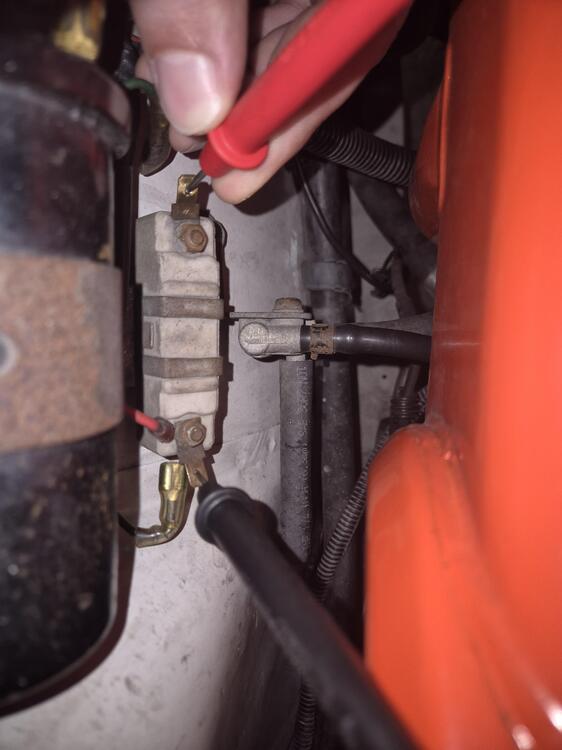
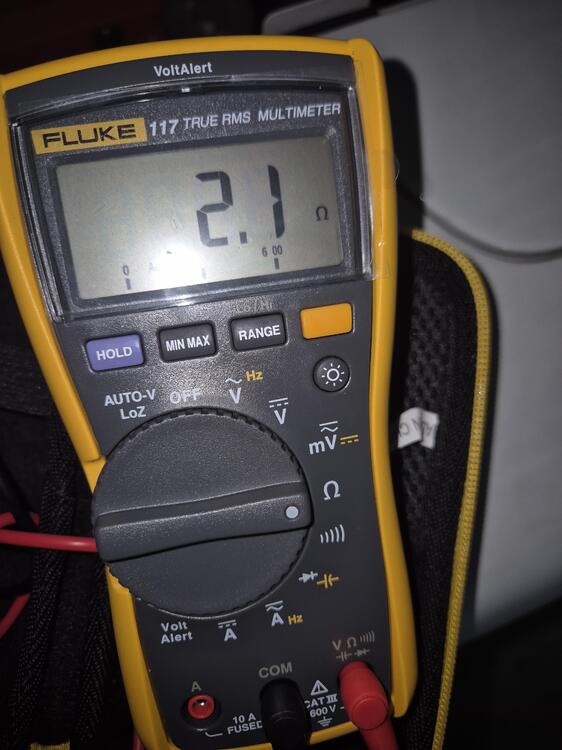
Hi Gundee, Today i noticed a strange noise coming from the car at low rpms meaning lower than 2000 rpm. Like a vibration noise. It seems the black wire that is connected to the coil and goes to the air conditioner evapotator causes this. Coil is measuring 1.6 ohms and resistor measures 2.1 ohms although it gets hot as hell during traffic jams. Really dont want to spend money with an ac shop to fix this. Maybe there is a way around this.

 0 points