


Leaderboard
-
grannyknot
Free Member8Points5,158Posts -
woof
Free Member3Points24Posts -
jfa.series1
 Subscriber
 3Points2,733Posts
 -

siteunseen
Free Member2Points15,115Posts


Popular Content
Showing content with the highest reputation on 04/28/2024 in all areas
-
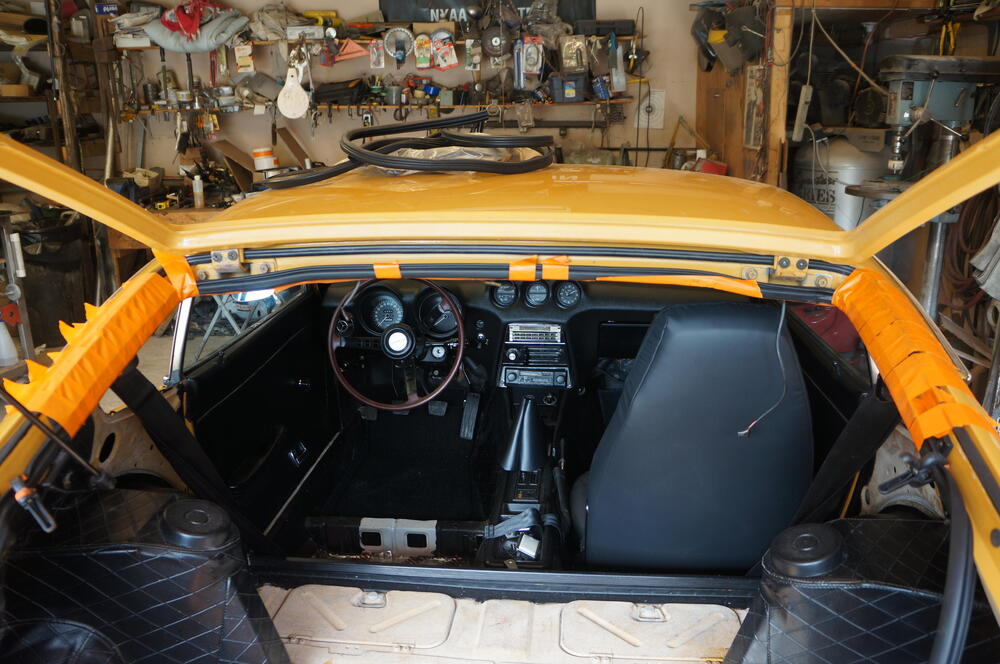
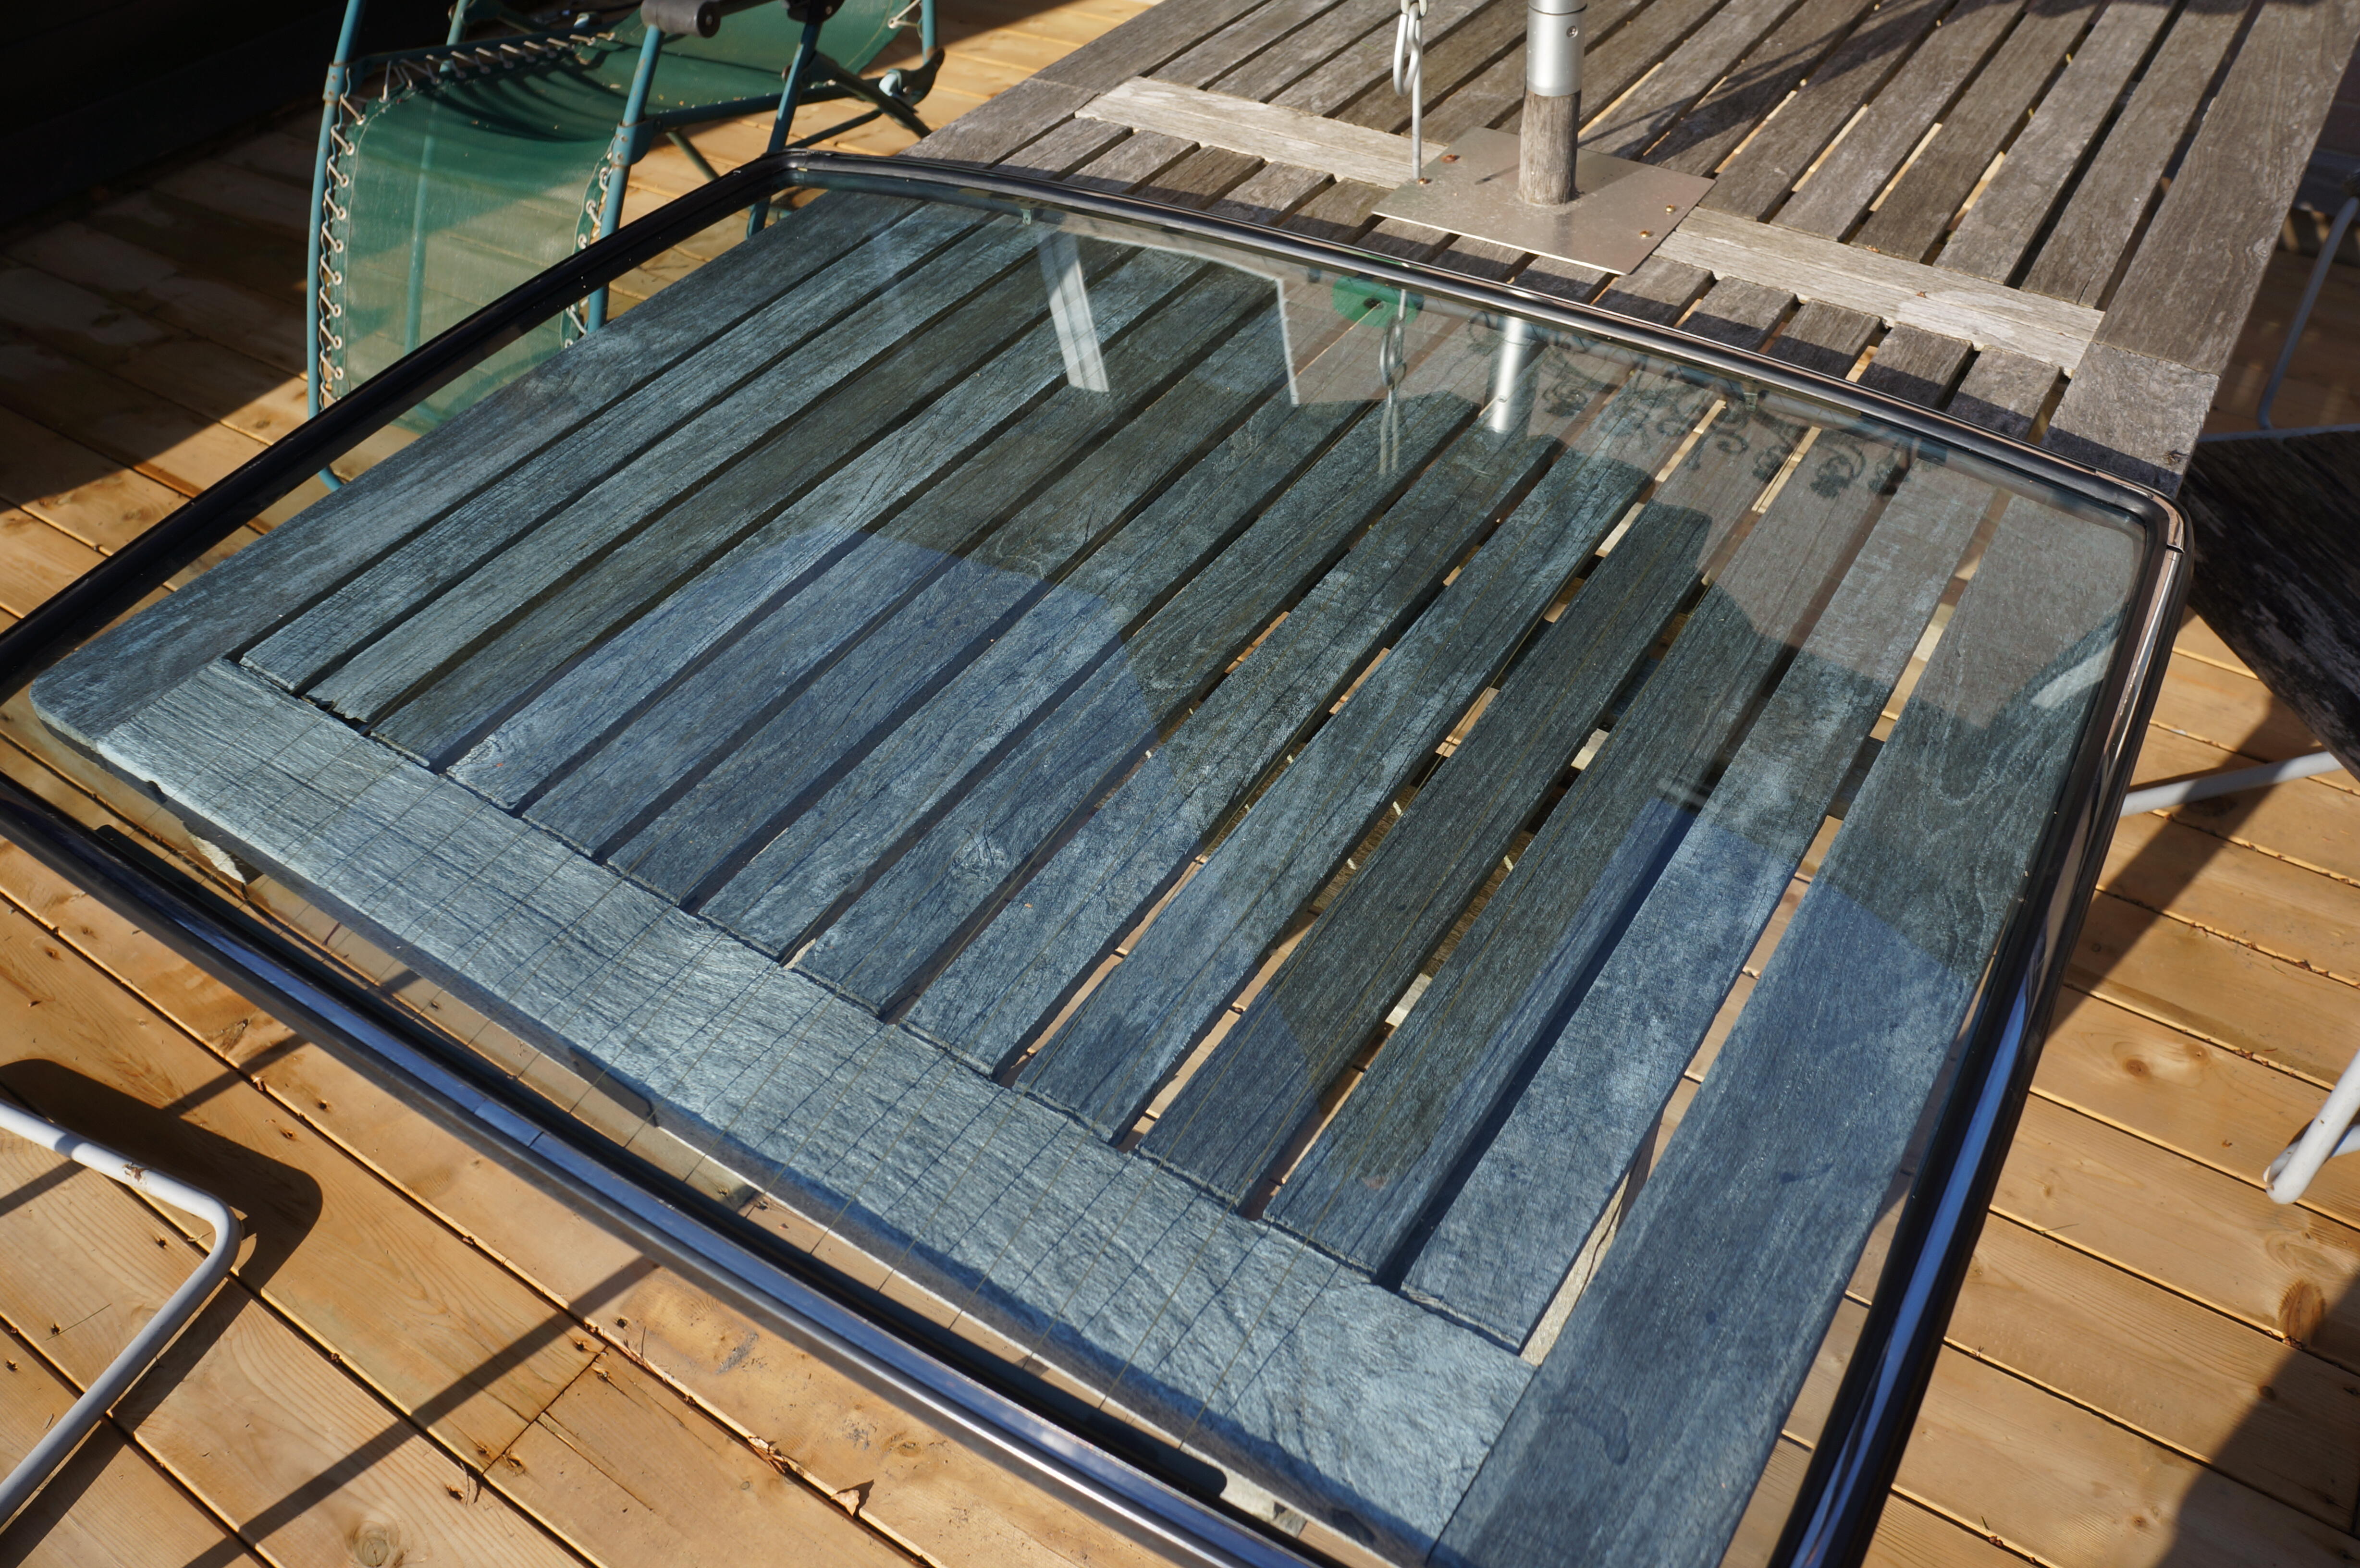
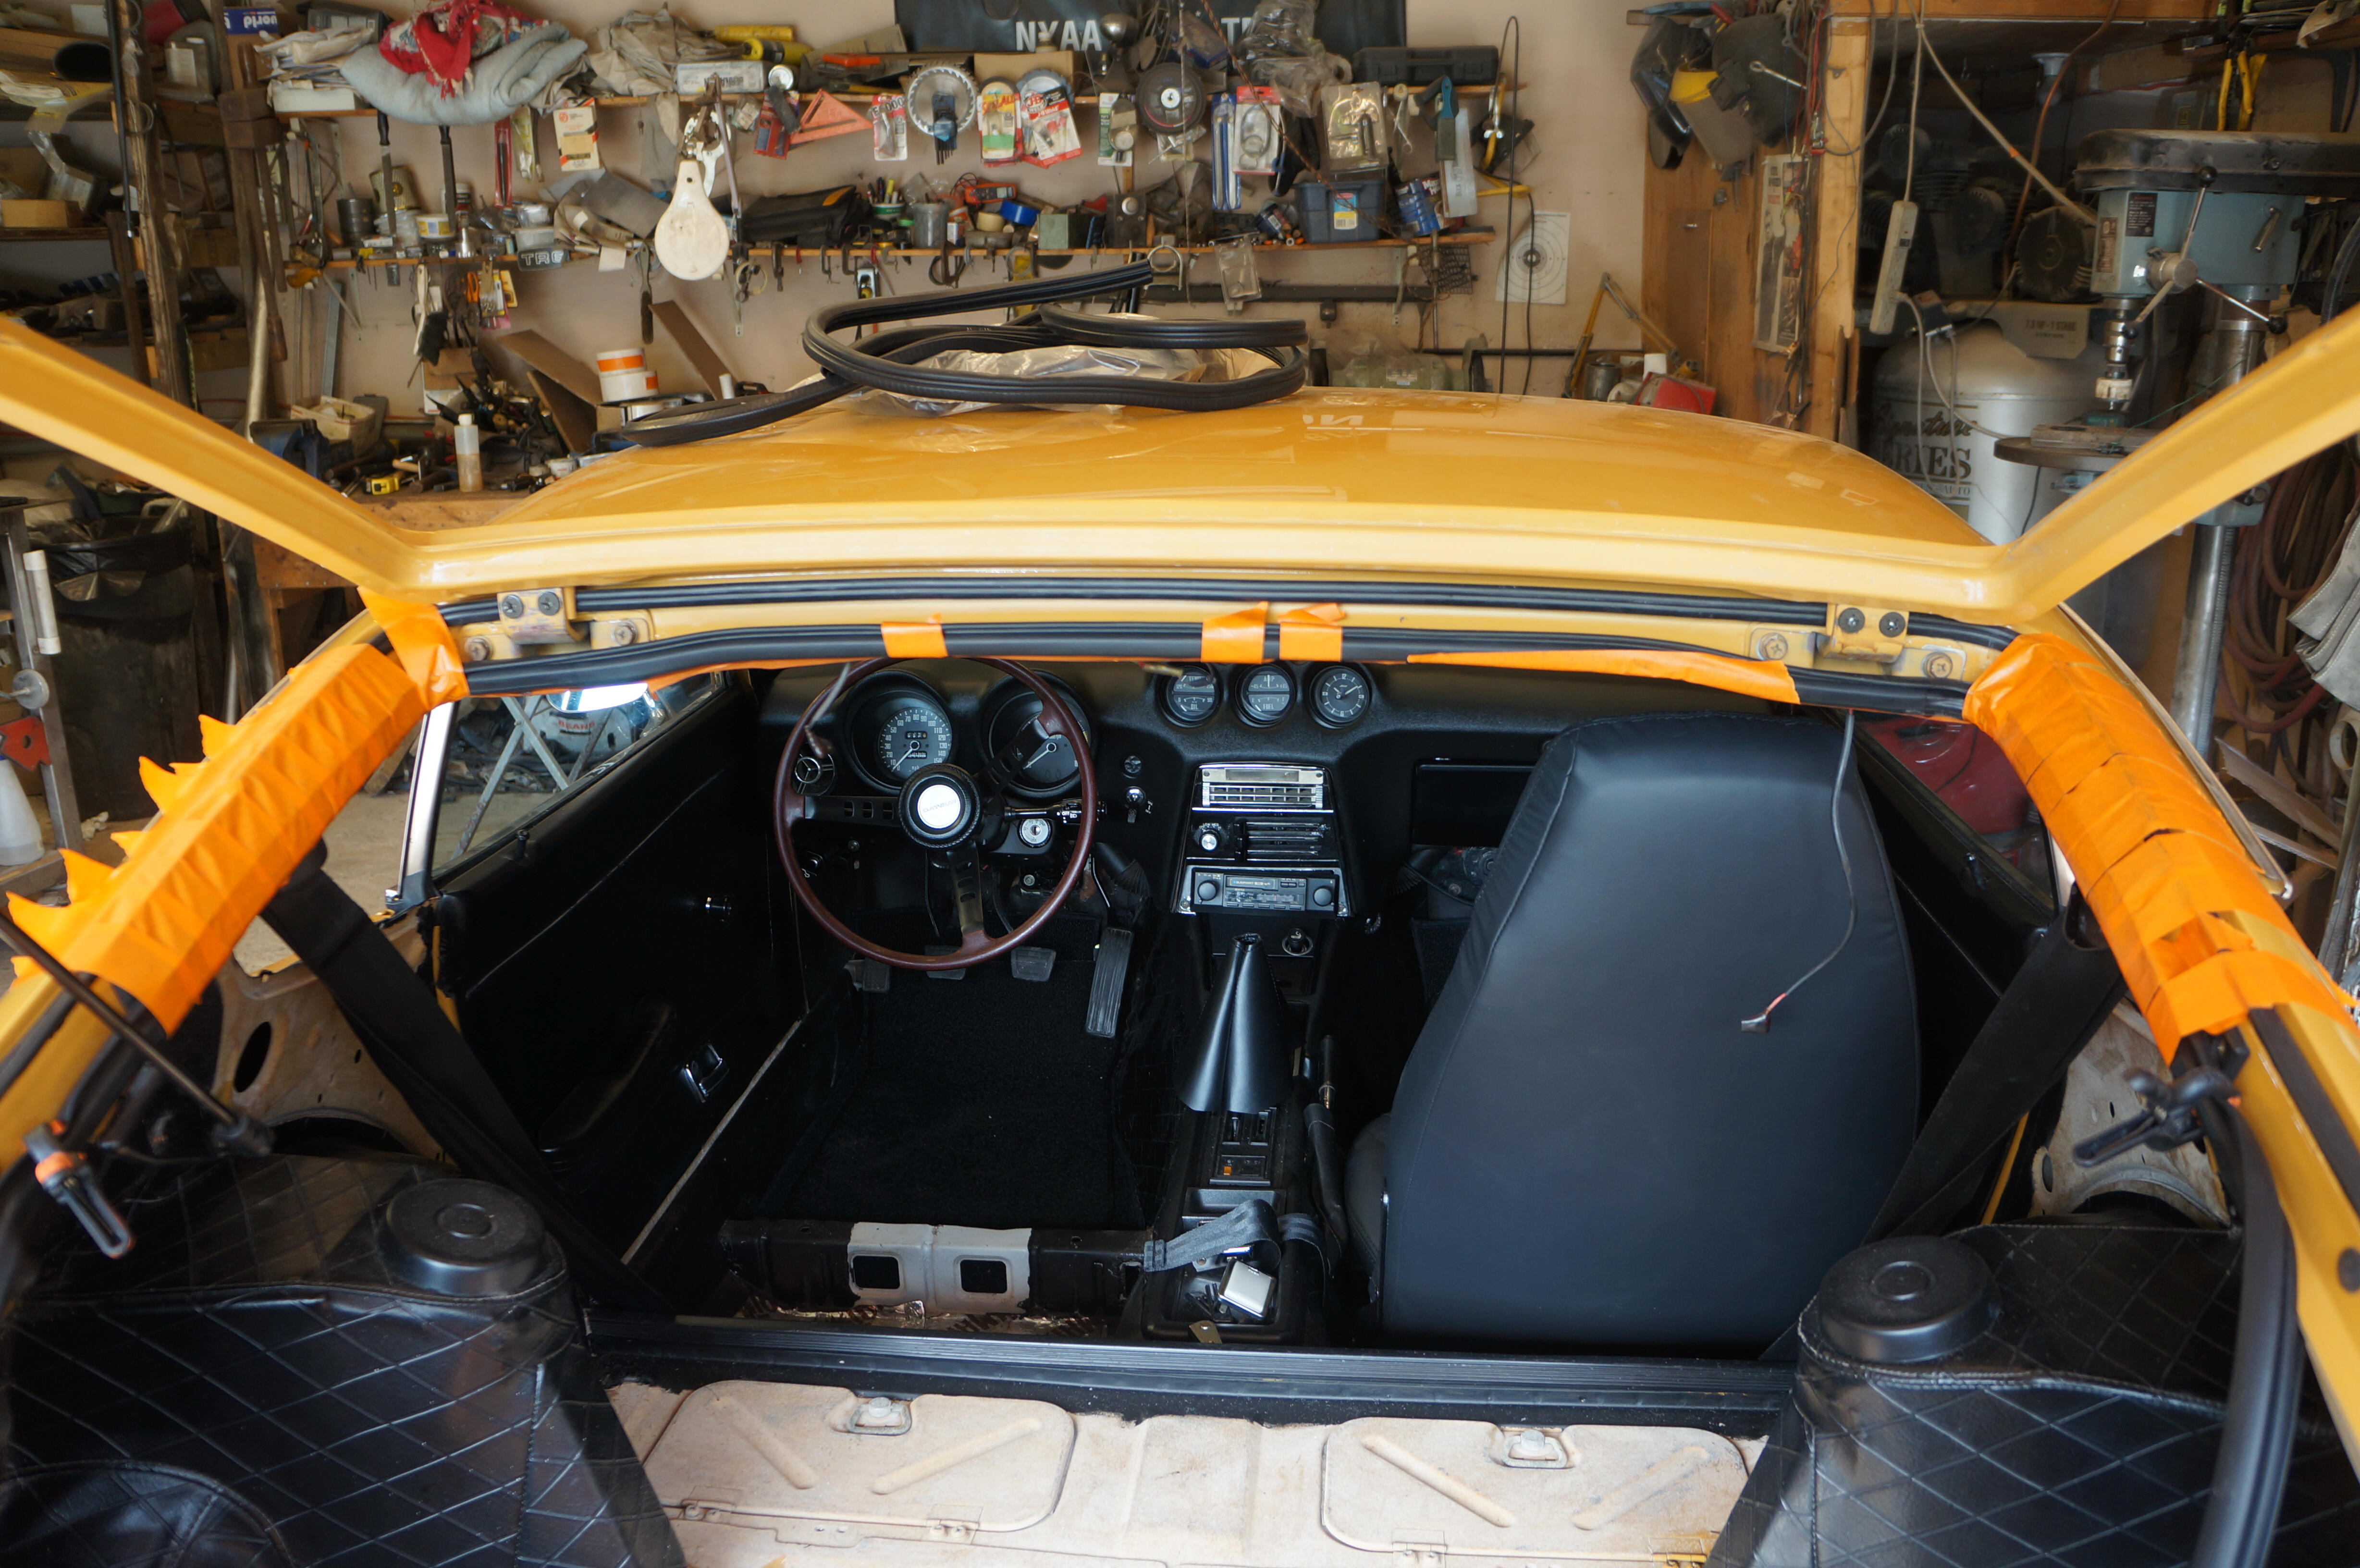
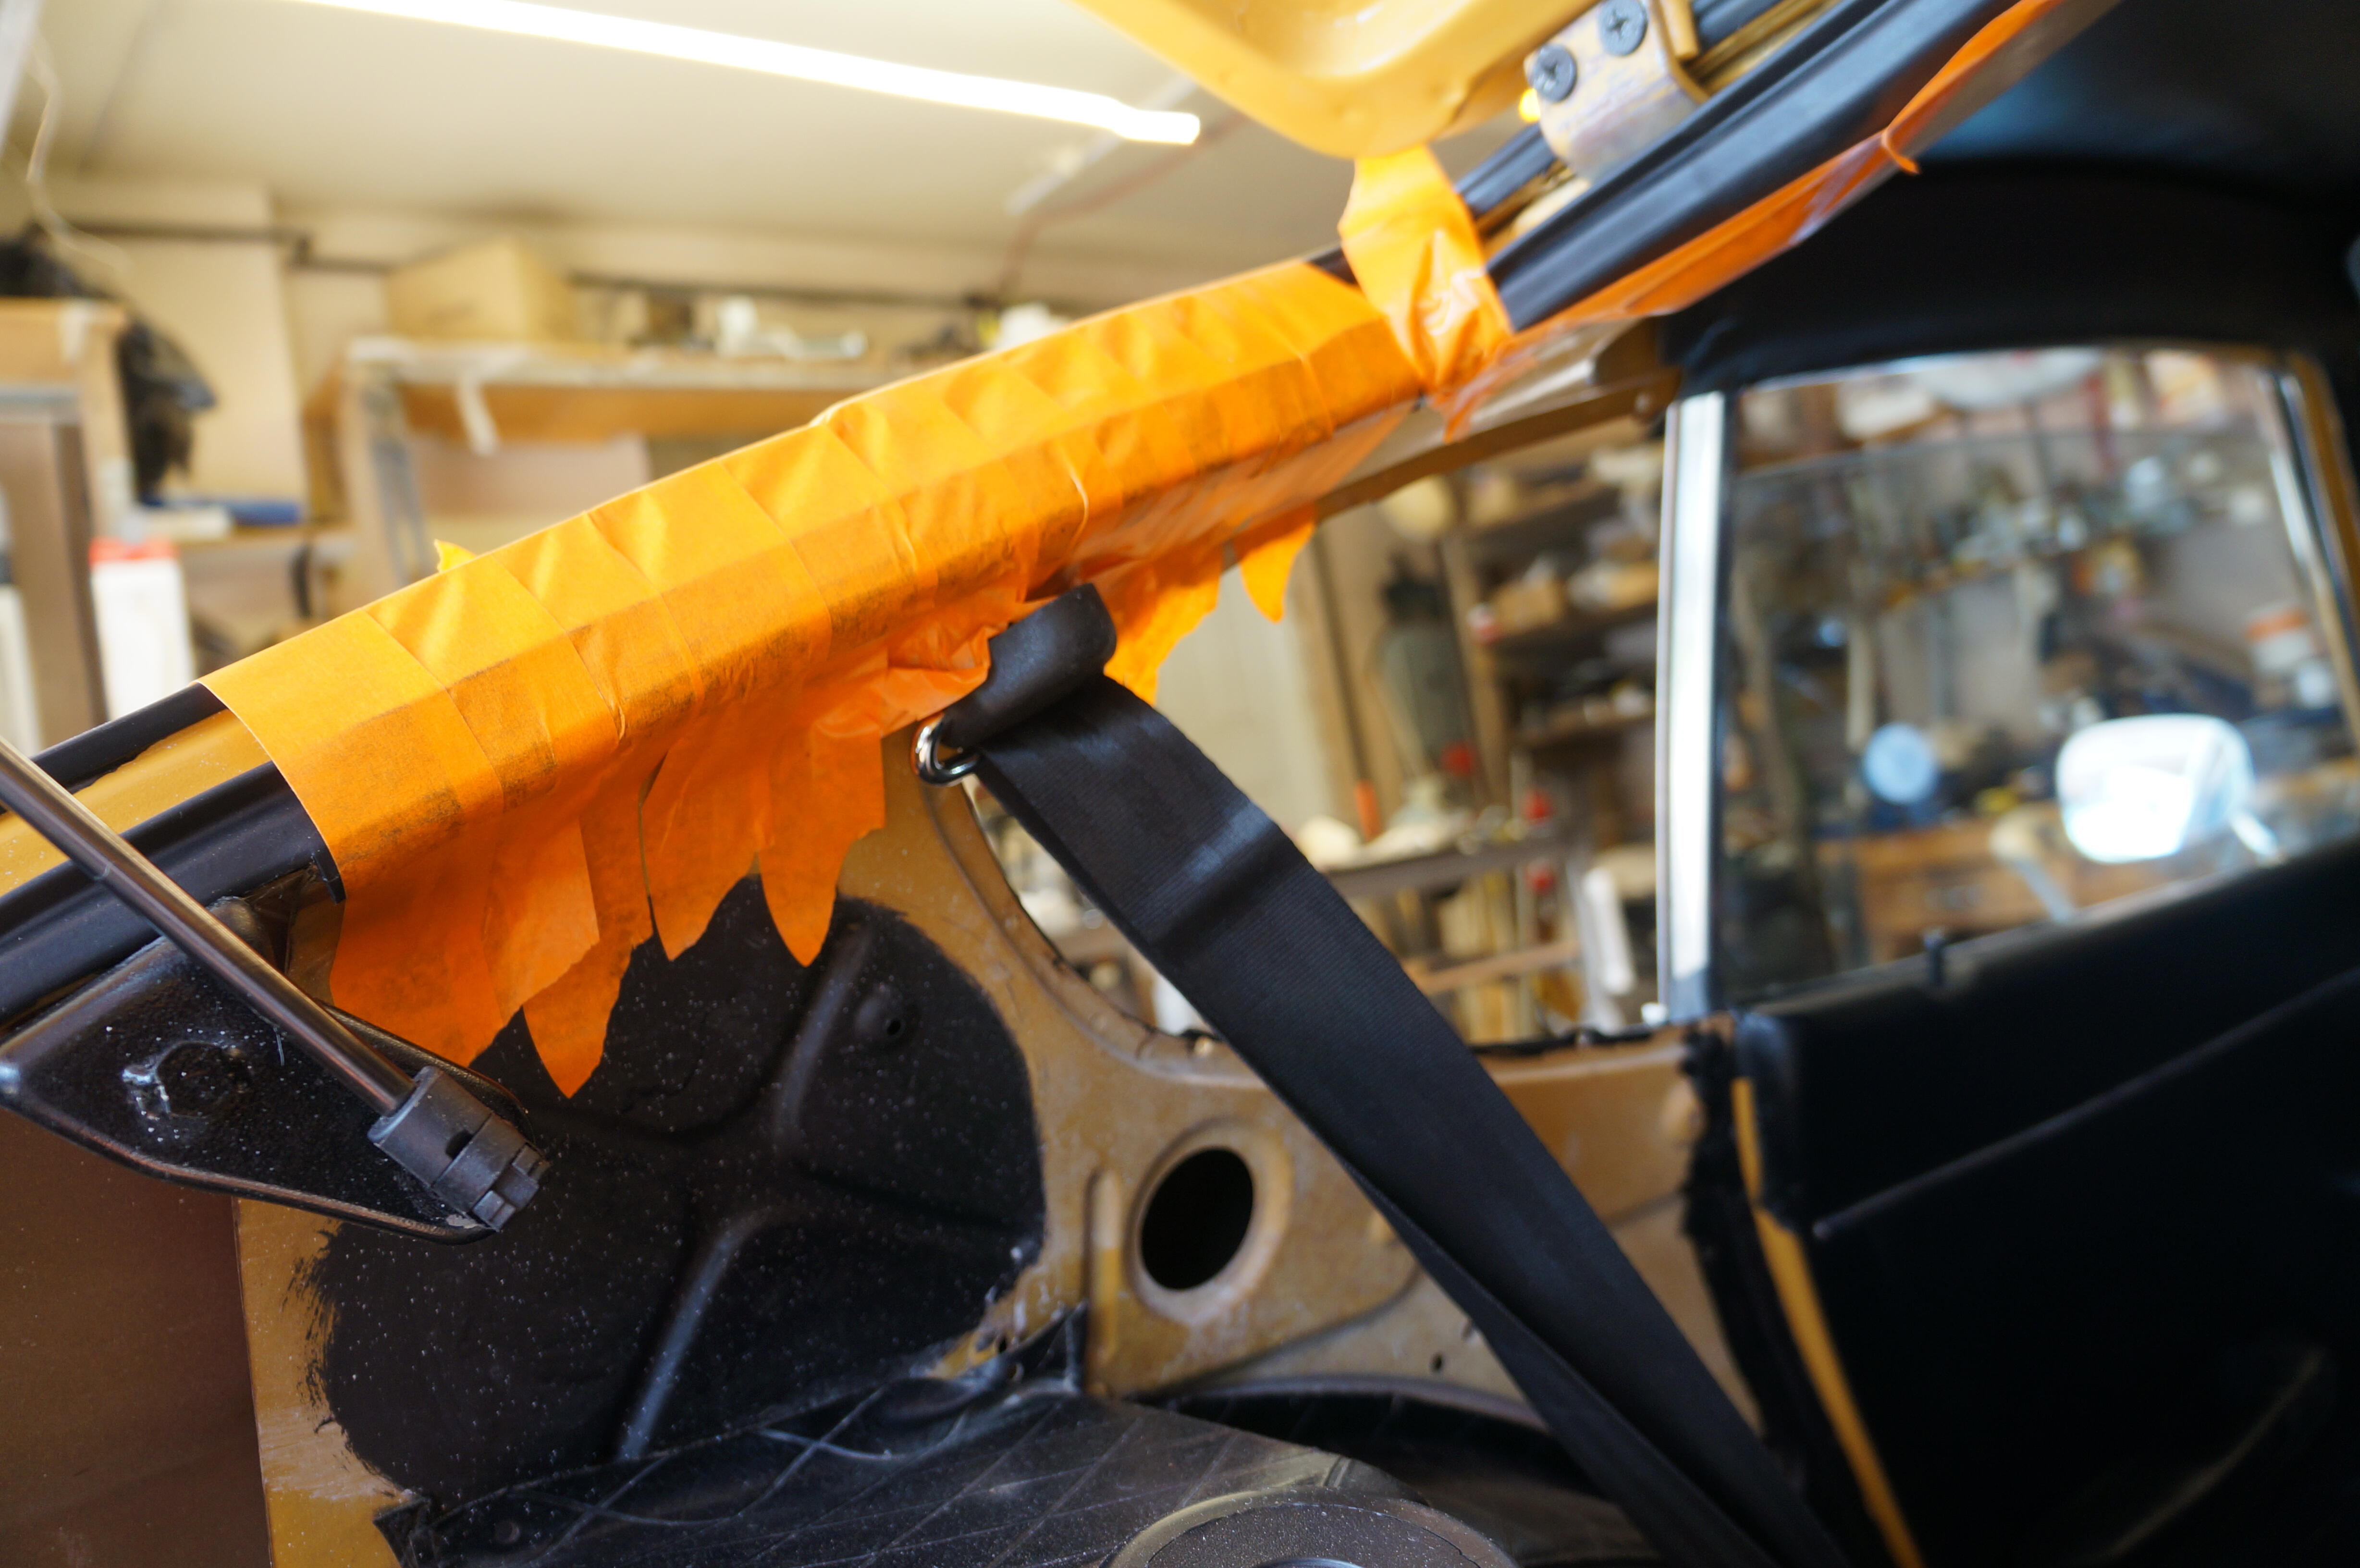
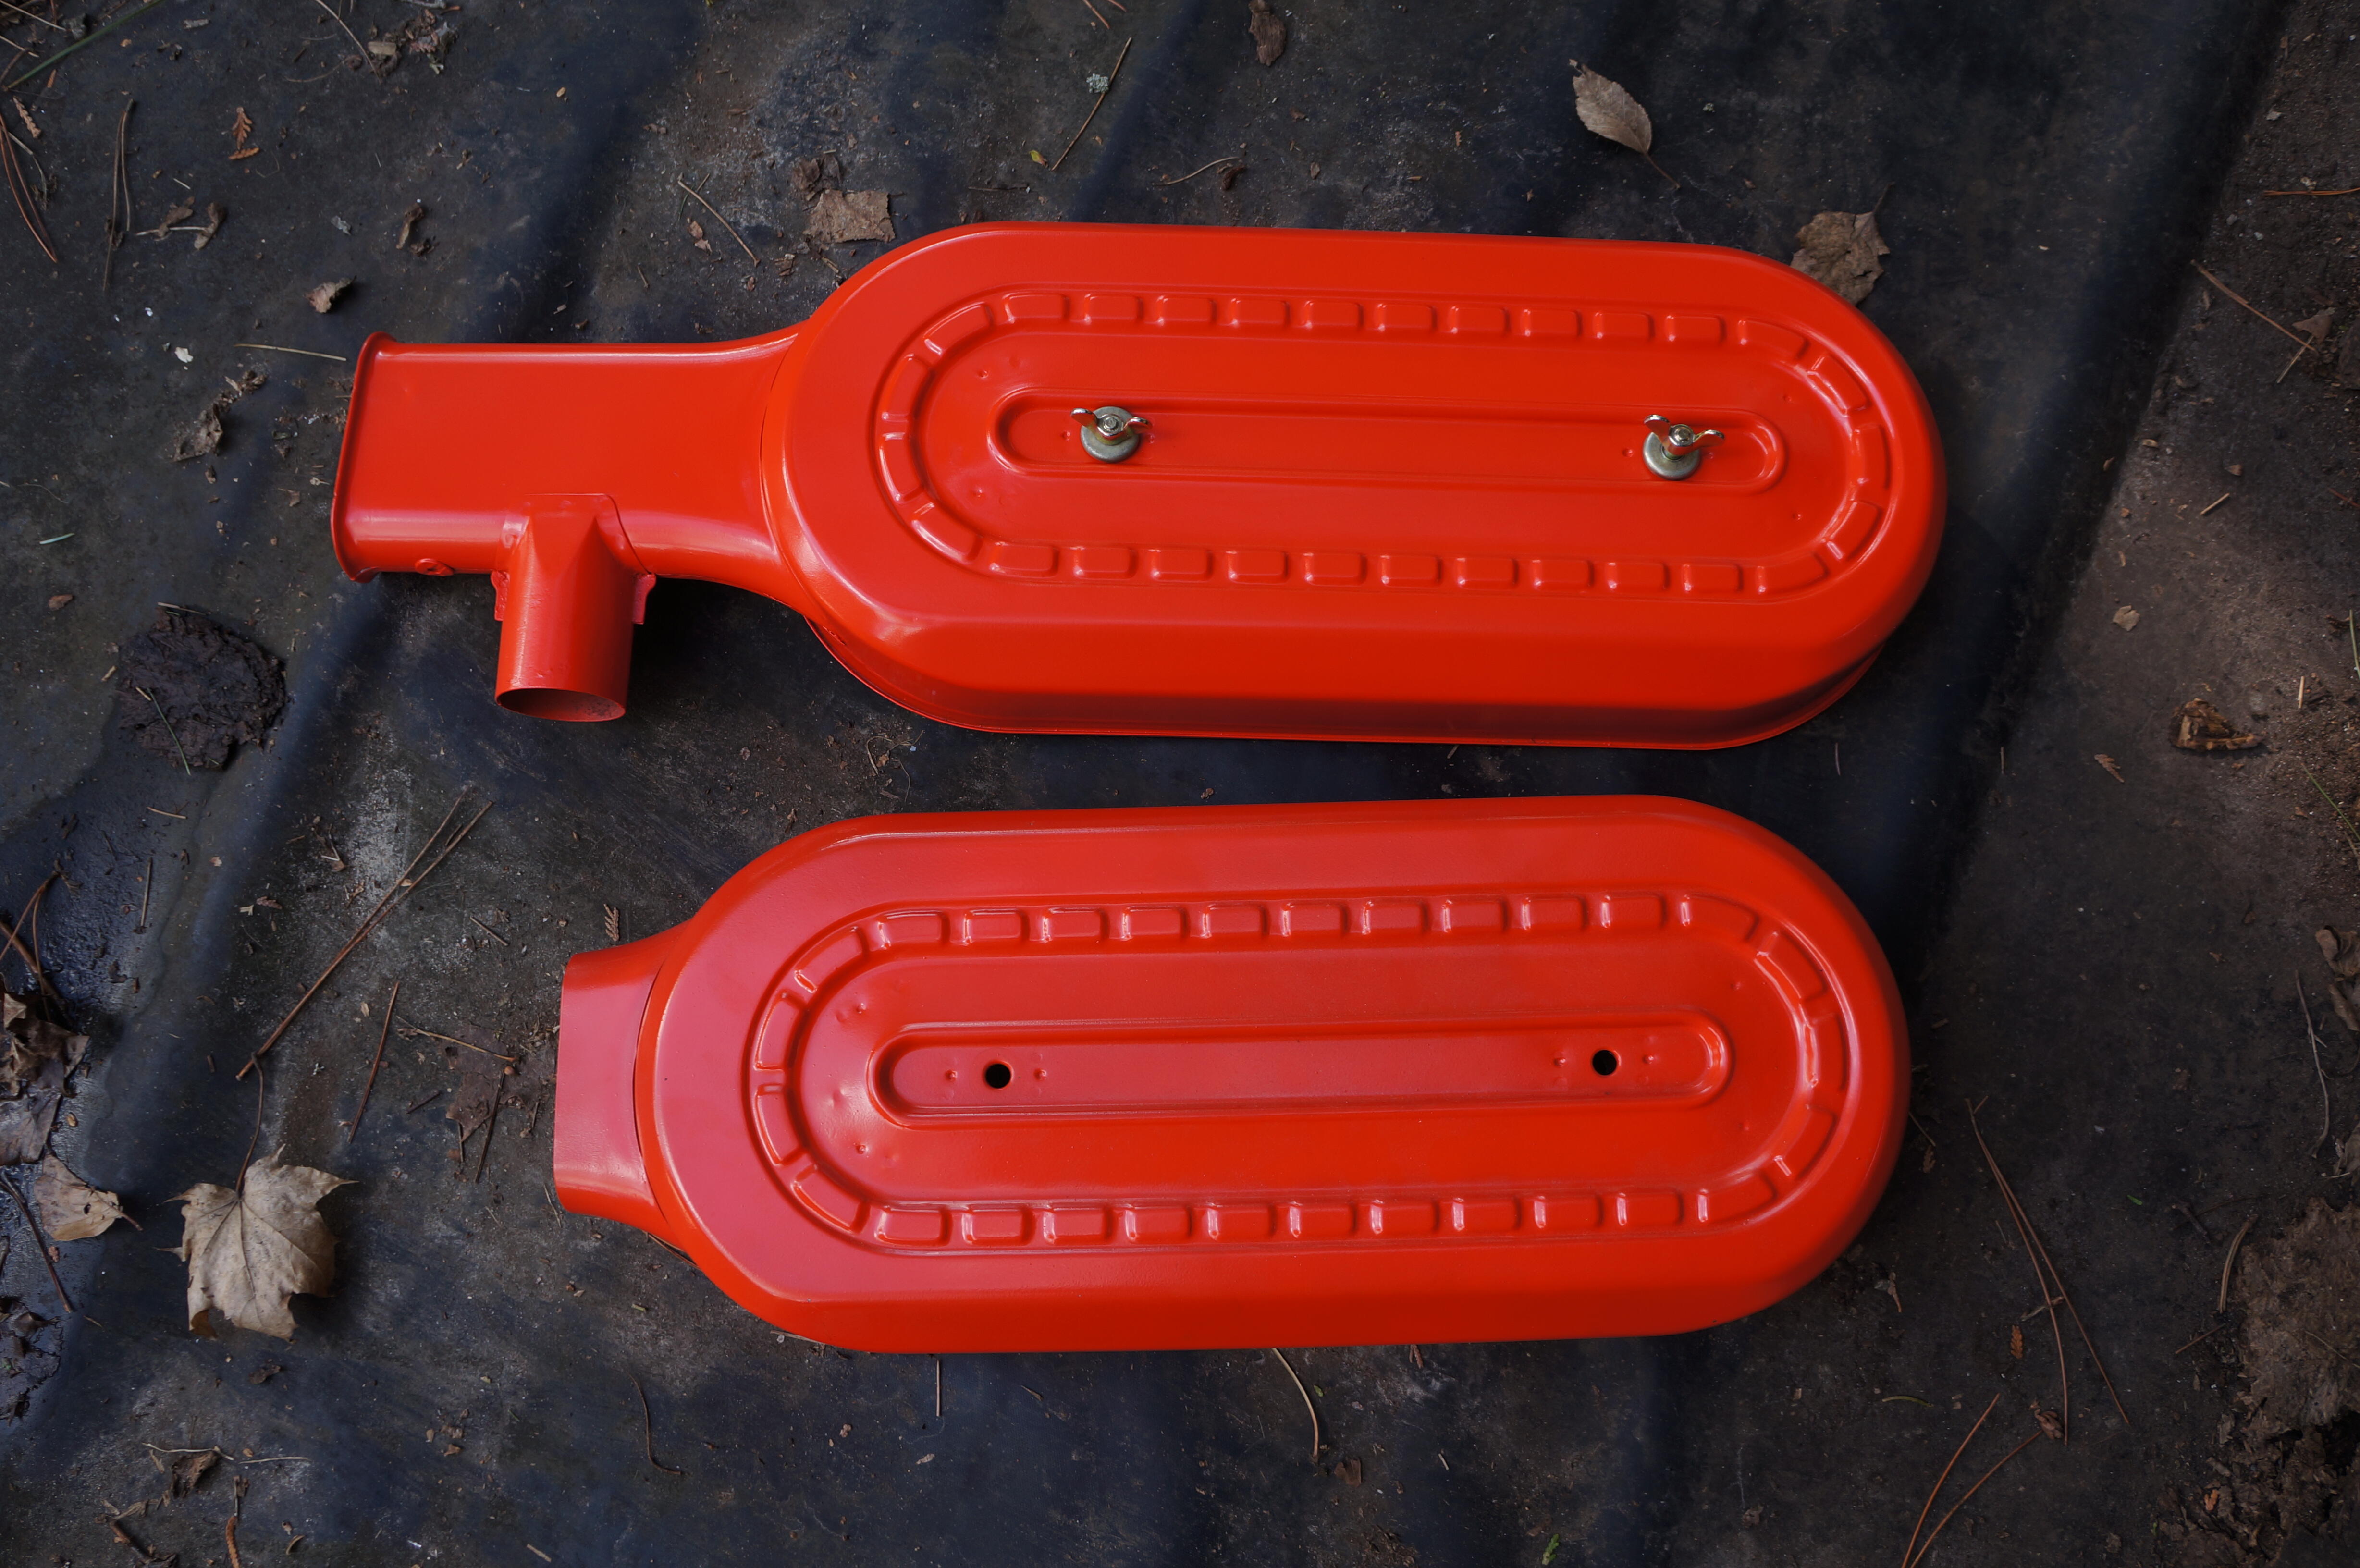
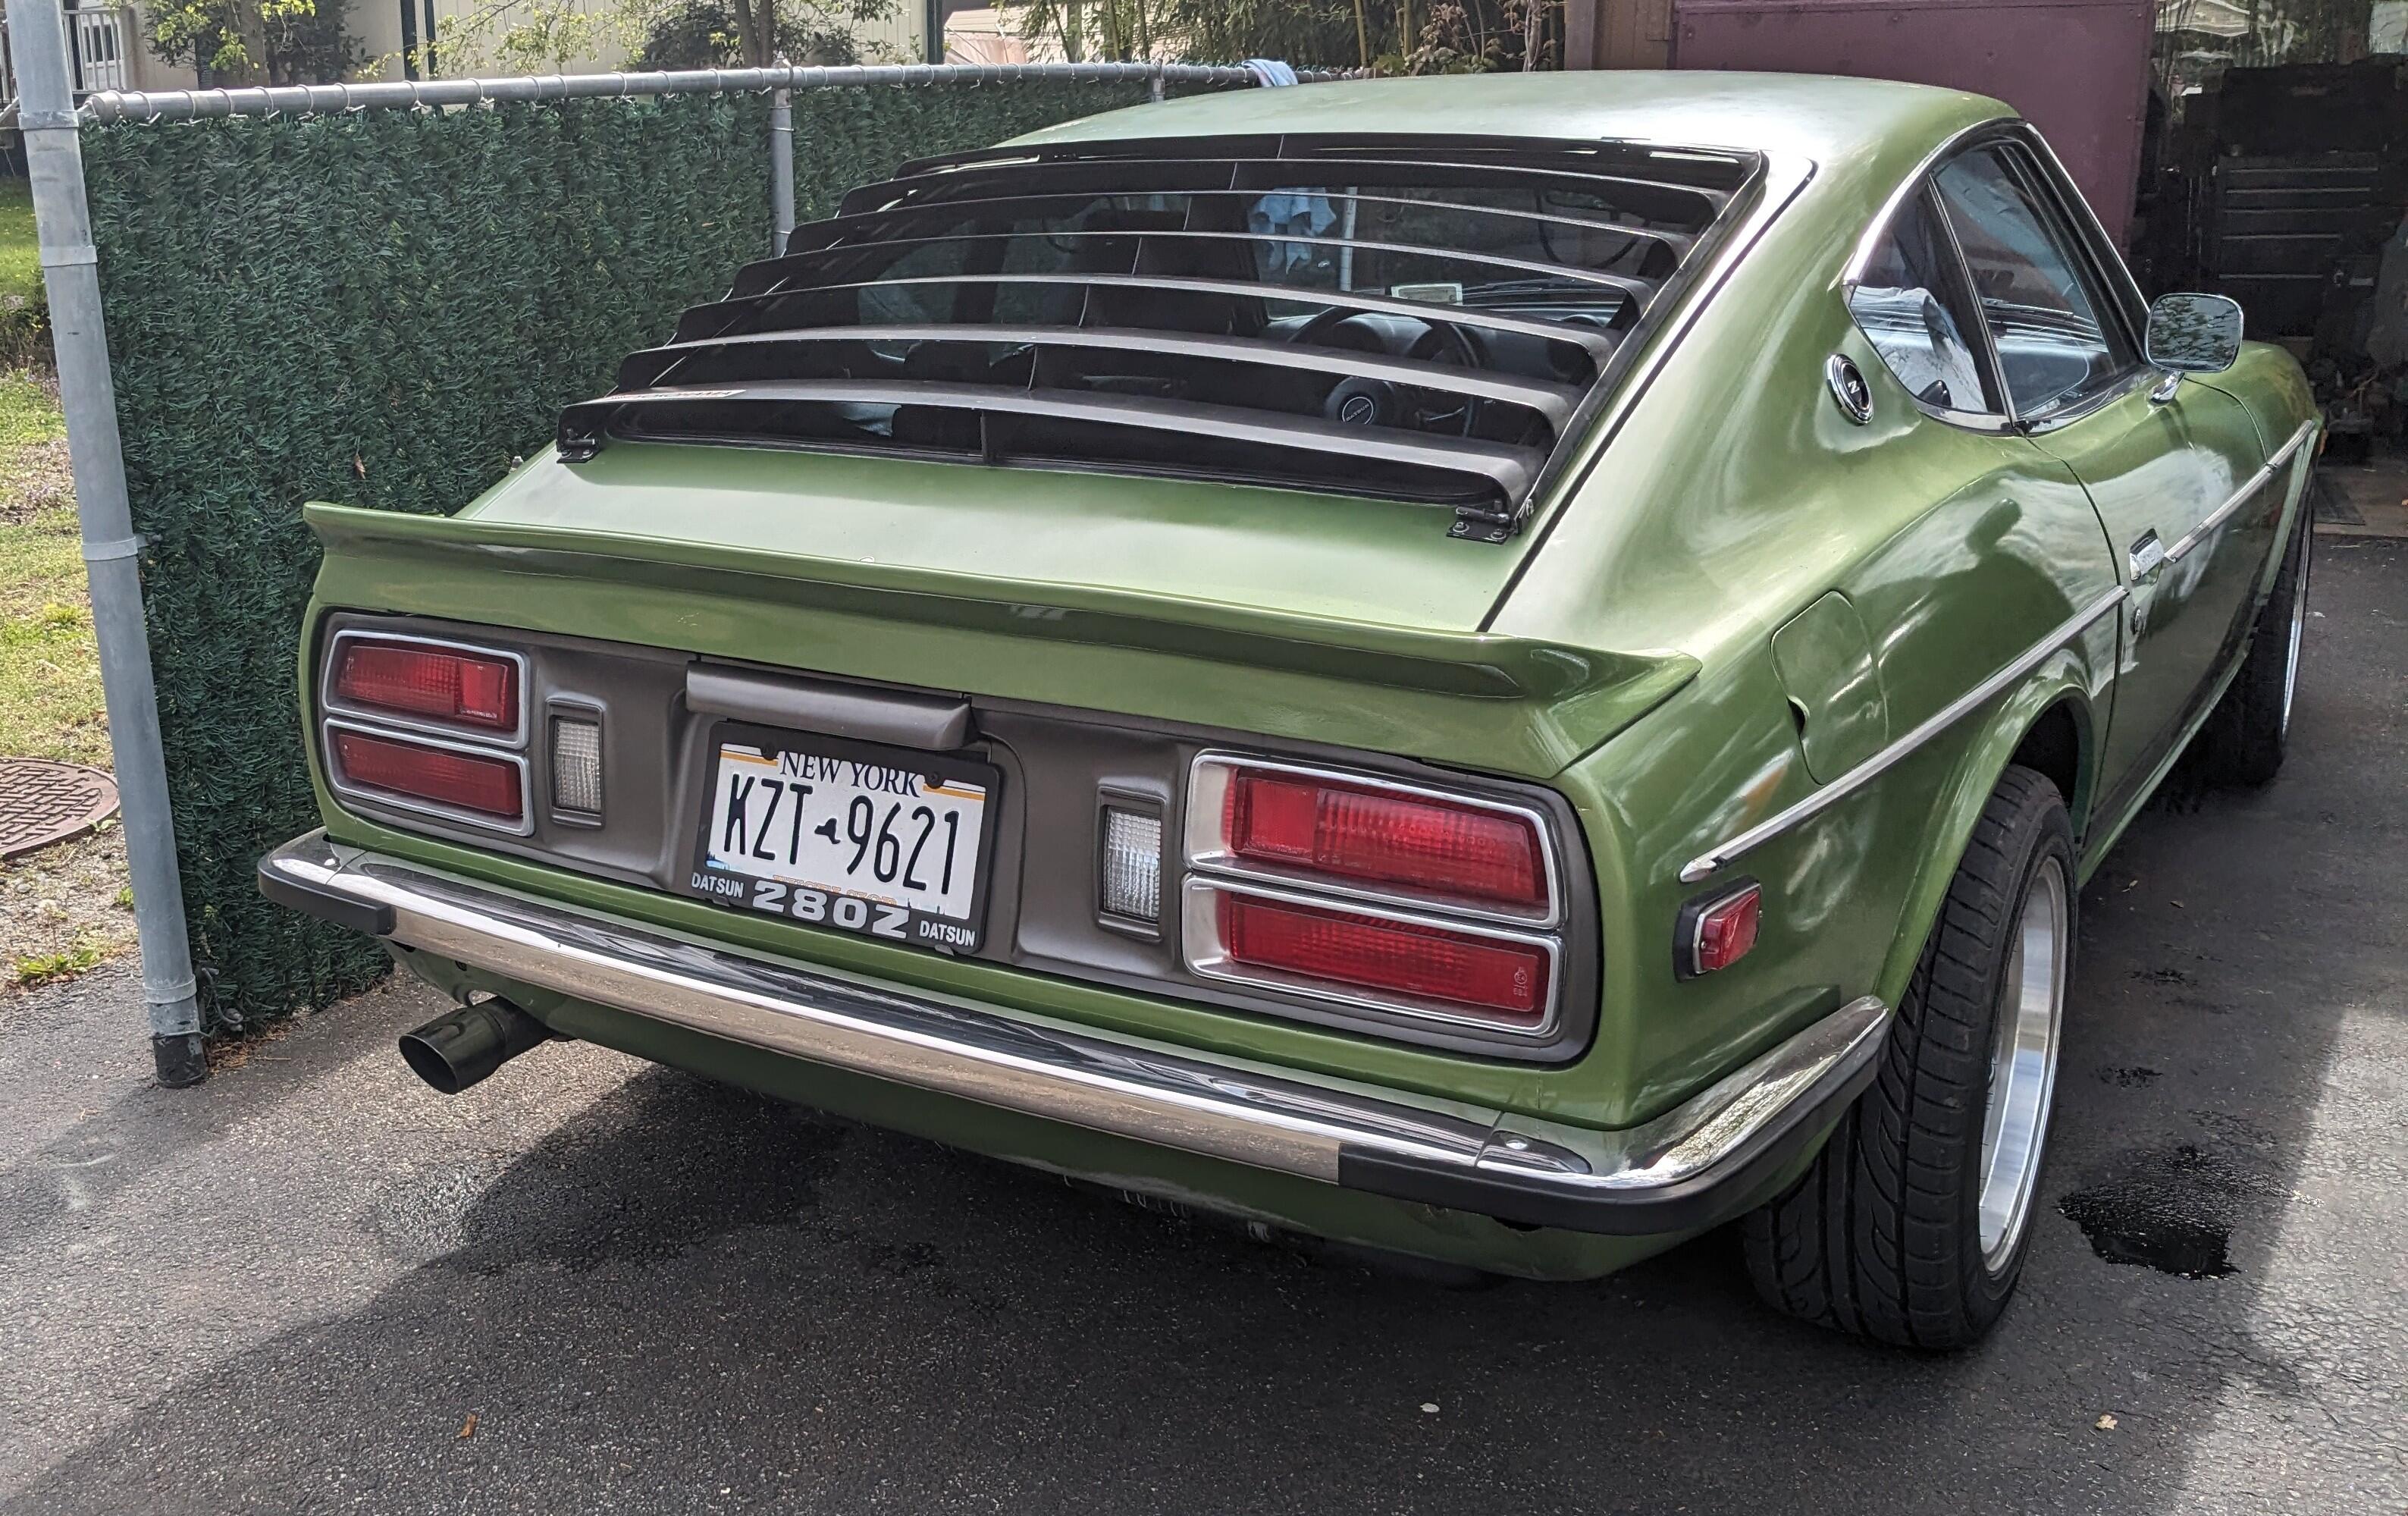
3 pointsThe weatherstrip kit finally arrived, only 10 months and 3 vendors, Hallelujah. I got the hatch glass seal on and will let that settle in for a few days before we install it. Started the top half of the inside hatch weather seal today, I tried to use the clamps again like I have in the past but could not get them to work this time so resorted to masking tape which worked out well. For a seal this complicated I like to mount the seal while cement is still wet so I have lots of time to move it to the correct position without it getting stuck prematurely, I'll let that cure overnight before doing the lower half. I also p/u some better parts than the ones that were already on the car, a complete air box, an ignition switch that works smoothly, a stock clock with a modern quartz motor behind it, and never installed old stock chin spoiler.


 3 points
 -
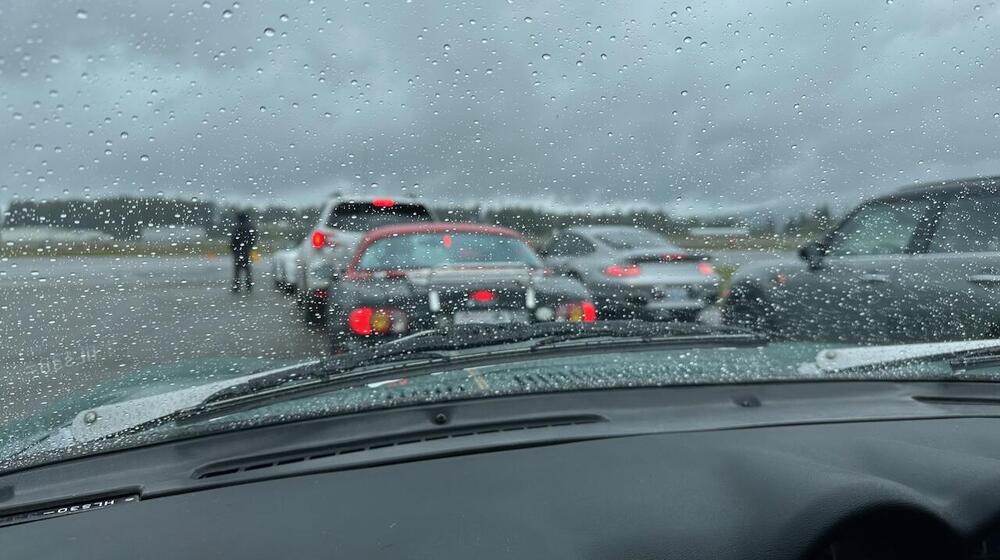
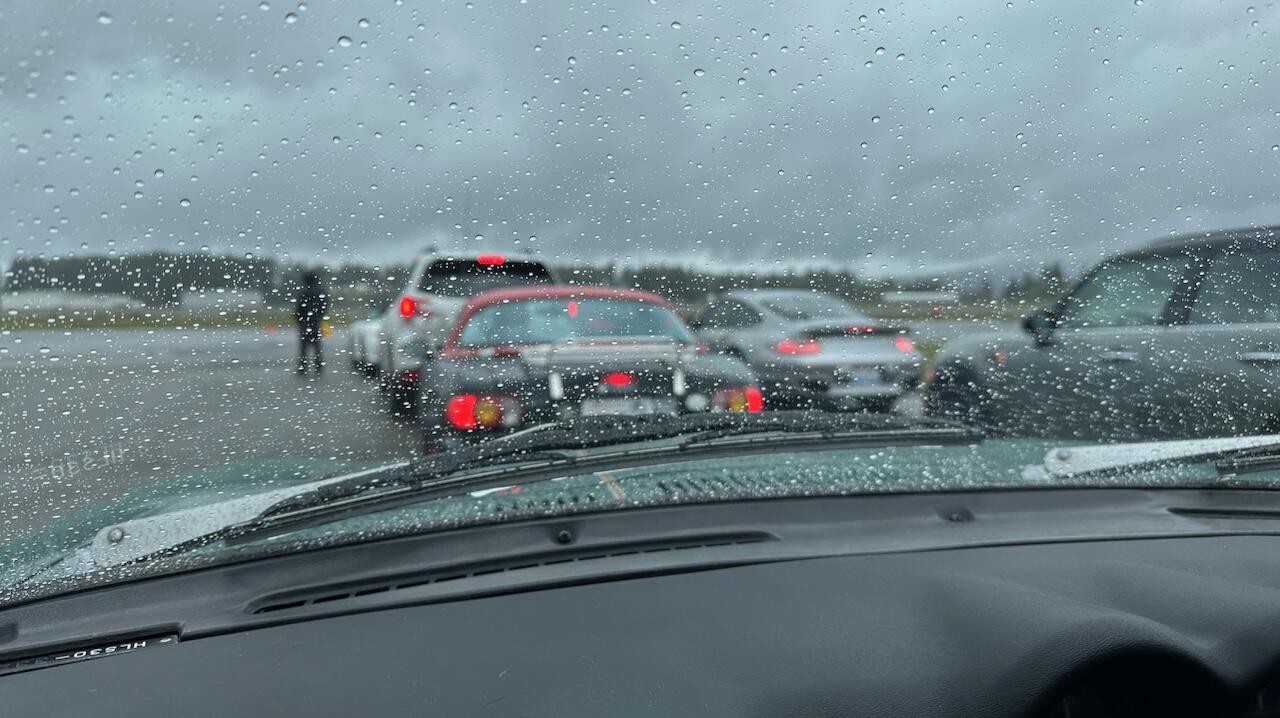
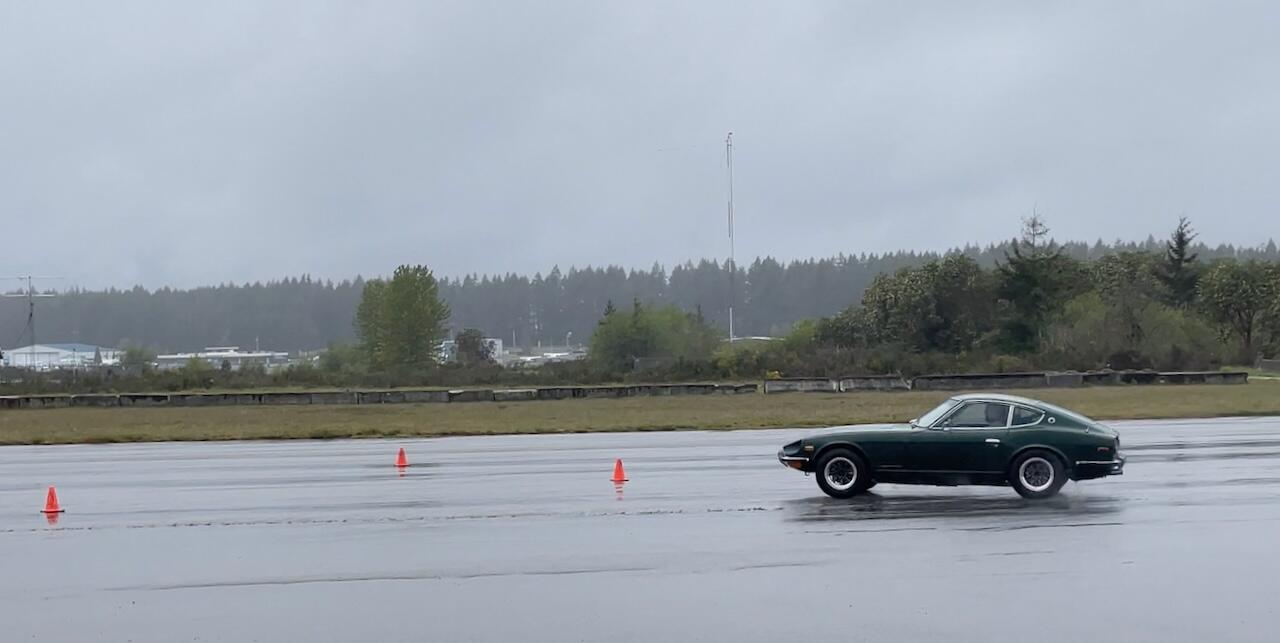
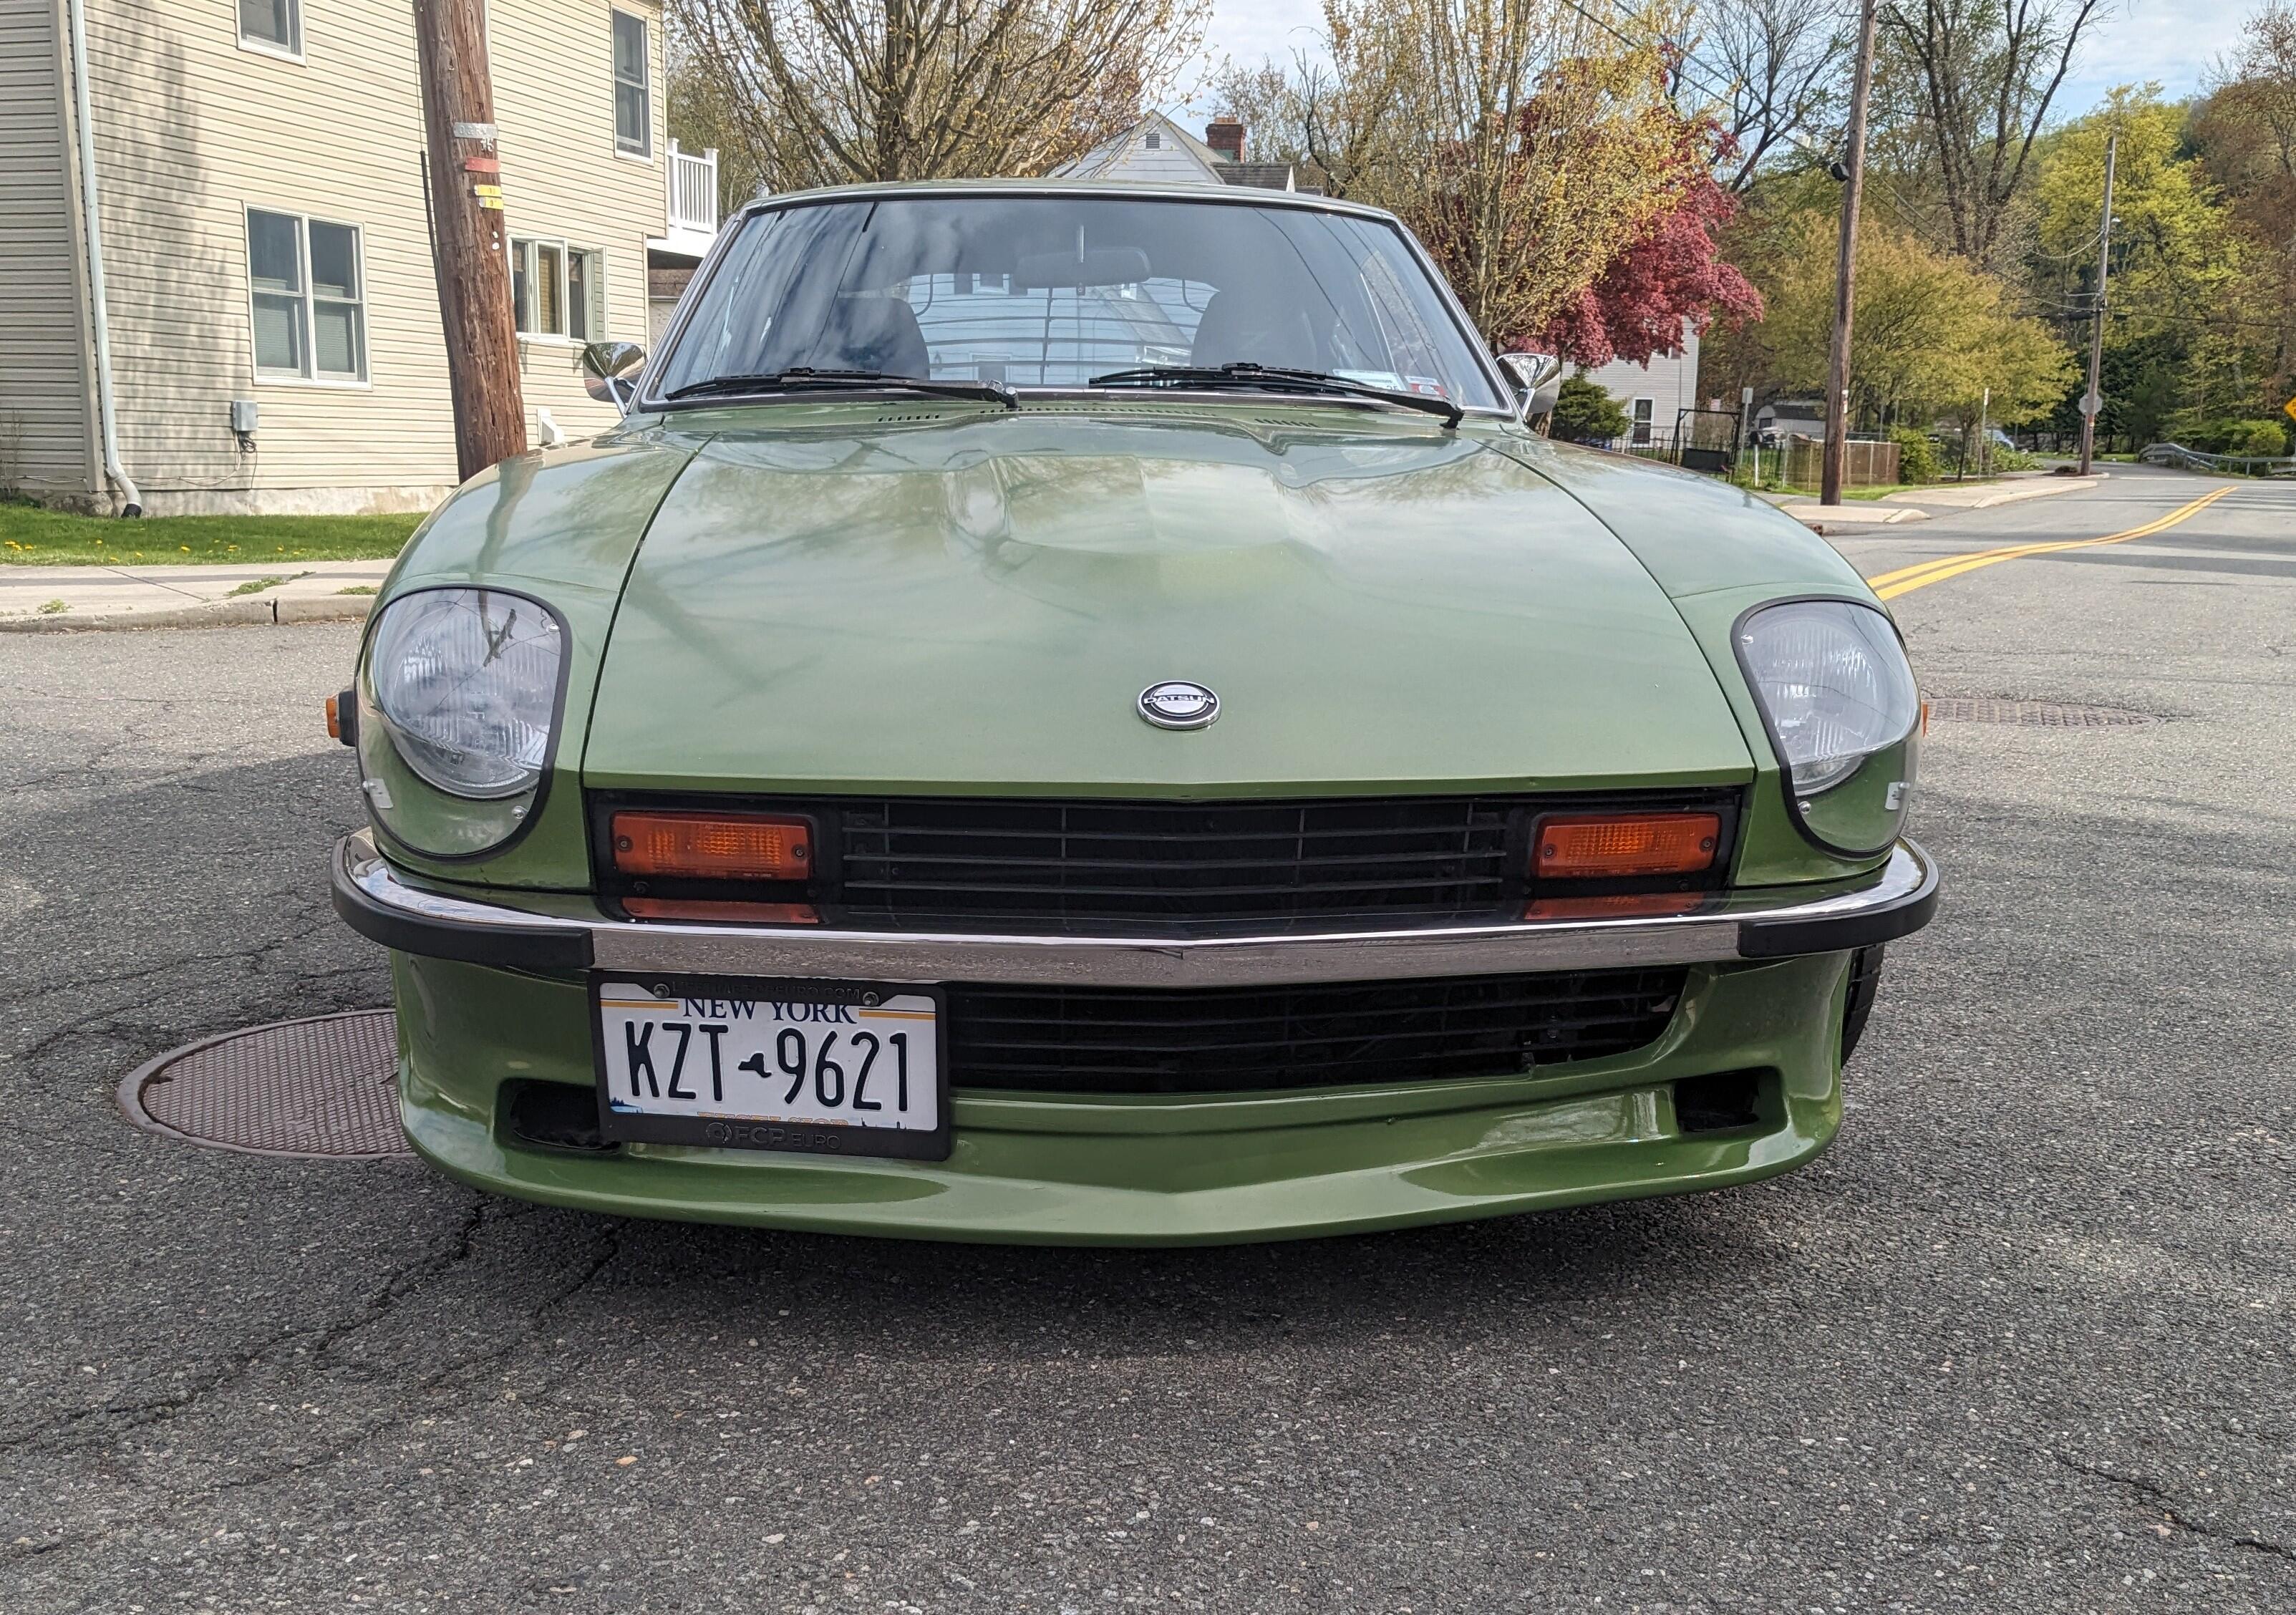
Love it, lots of expensive high performance cars there but everyone is hanging around the Z, of course.3 points
-
I went to a Driver's Skills event hosted by the local Audi club. It was an absolute blast. I learned some new skills, and got to play with (and push) the Z with an instructor in the passenger seat. There were all kinds of cars there - lots of Audis and Porsches, a couple Toyota Tacomas, a 4Runner, and even a Subaru Forester. My Z was the oldest car there by some margin. Aside from a minor coolant leak (quickly solved by tightening up a hose clamp), no issues. HIGHLY recommended.

 3 points
 -
View Advert Combo Light Switch 1971 240Z (from 01/71) Completely refurbished! Light switch for a LHD 1971 240Z with a build date of 01/71 or later. Fully disassembled and cleaned, all elements of the plastic stalk polished to a high gloss, symbols refreshed. Electrical contacts inspected and polished. All functions of the lights and wipers have been checked and verified for proper operation with a ohm meter. The switch operates smoothly and crisply through all settings. $250 includes standard domestic shipping, foreign shipping available at actual cost. Payment via PayPal, PM if interested, thanks. Advertiser jfa.series1 Date 04/28/2024 Price $250 Category Parts for Sale2 points
-
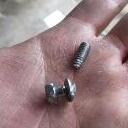
2 points2 pointsBasics basics basics. You’ve checked the power to the + side of the coil. Good. Do the points open and close as the dizzy rotates? Are the contacts clean? Bit of sand paper in there dragged through to scuff them a bit. There is a gap spec, 0.018 or so? The terminal that connects to the dizzy that connects to the points. Is it dirty? Does it fit snug? Put it on and off a few times to scrape it clean, Start there, report back2 points2 pointsI did. The originals, although intact, were stiff and discoloured. I found some clear vinyl sheet of suitable thickness and made new ones, using the old protectors as templates.
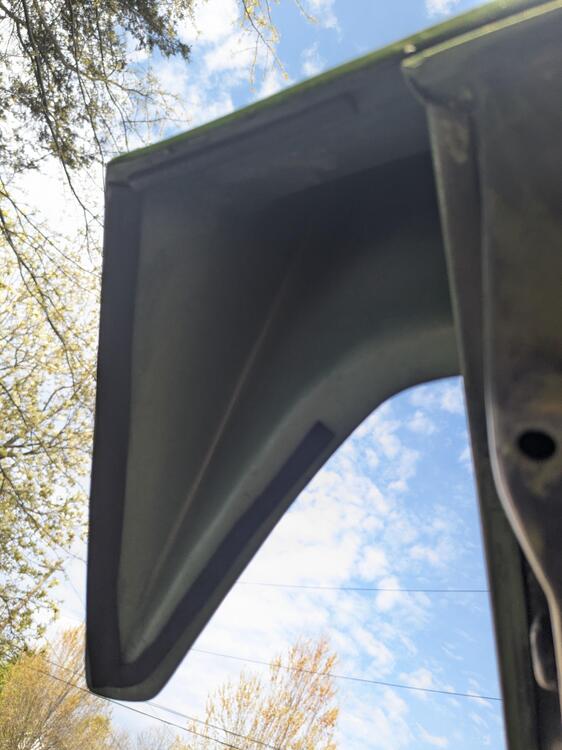
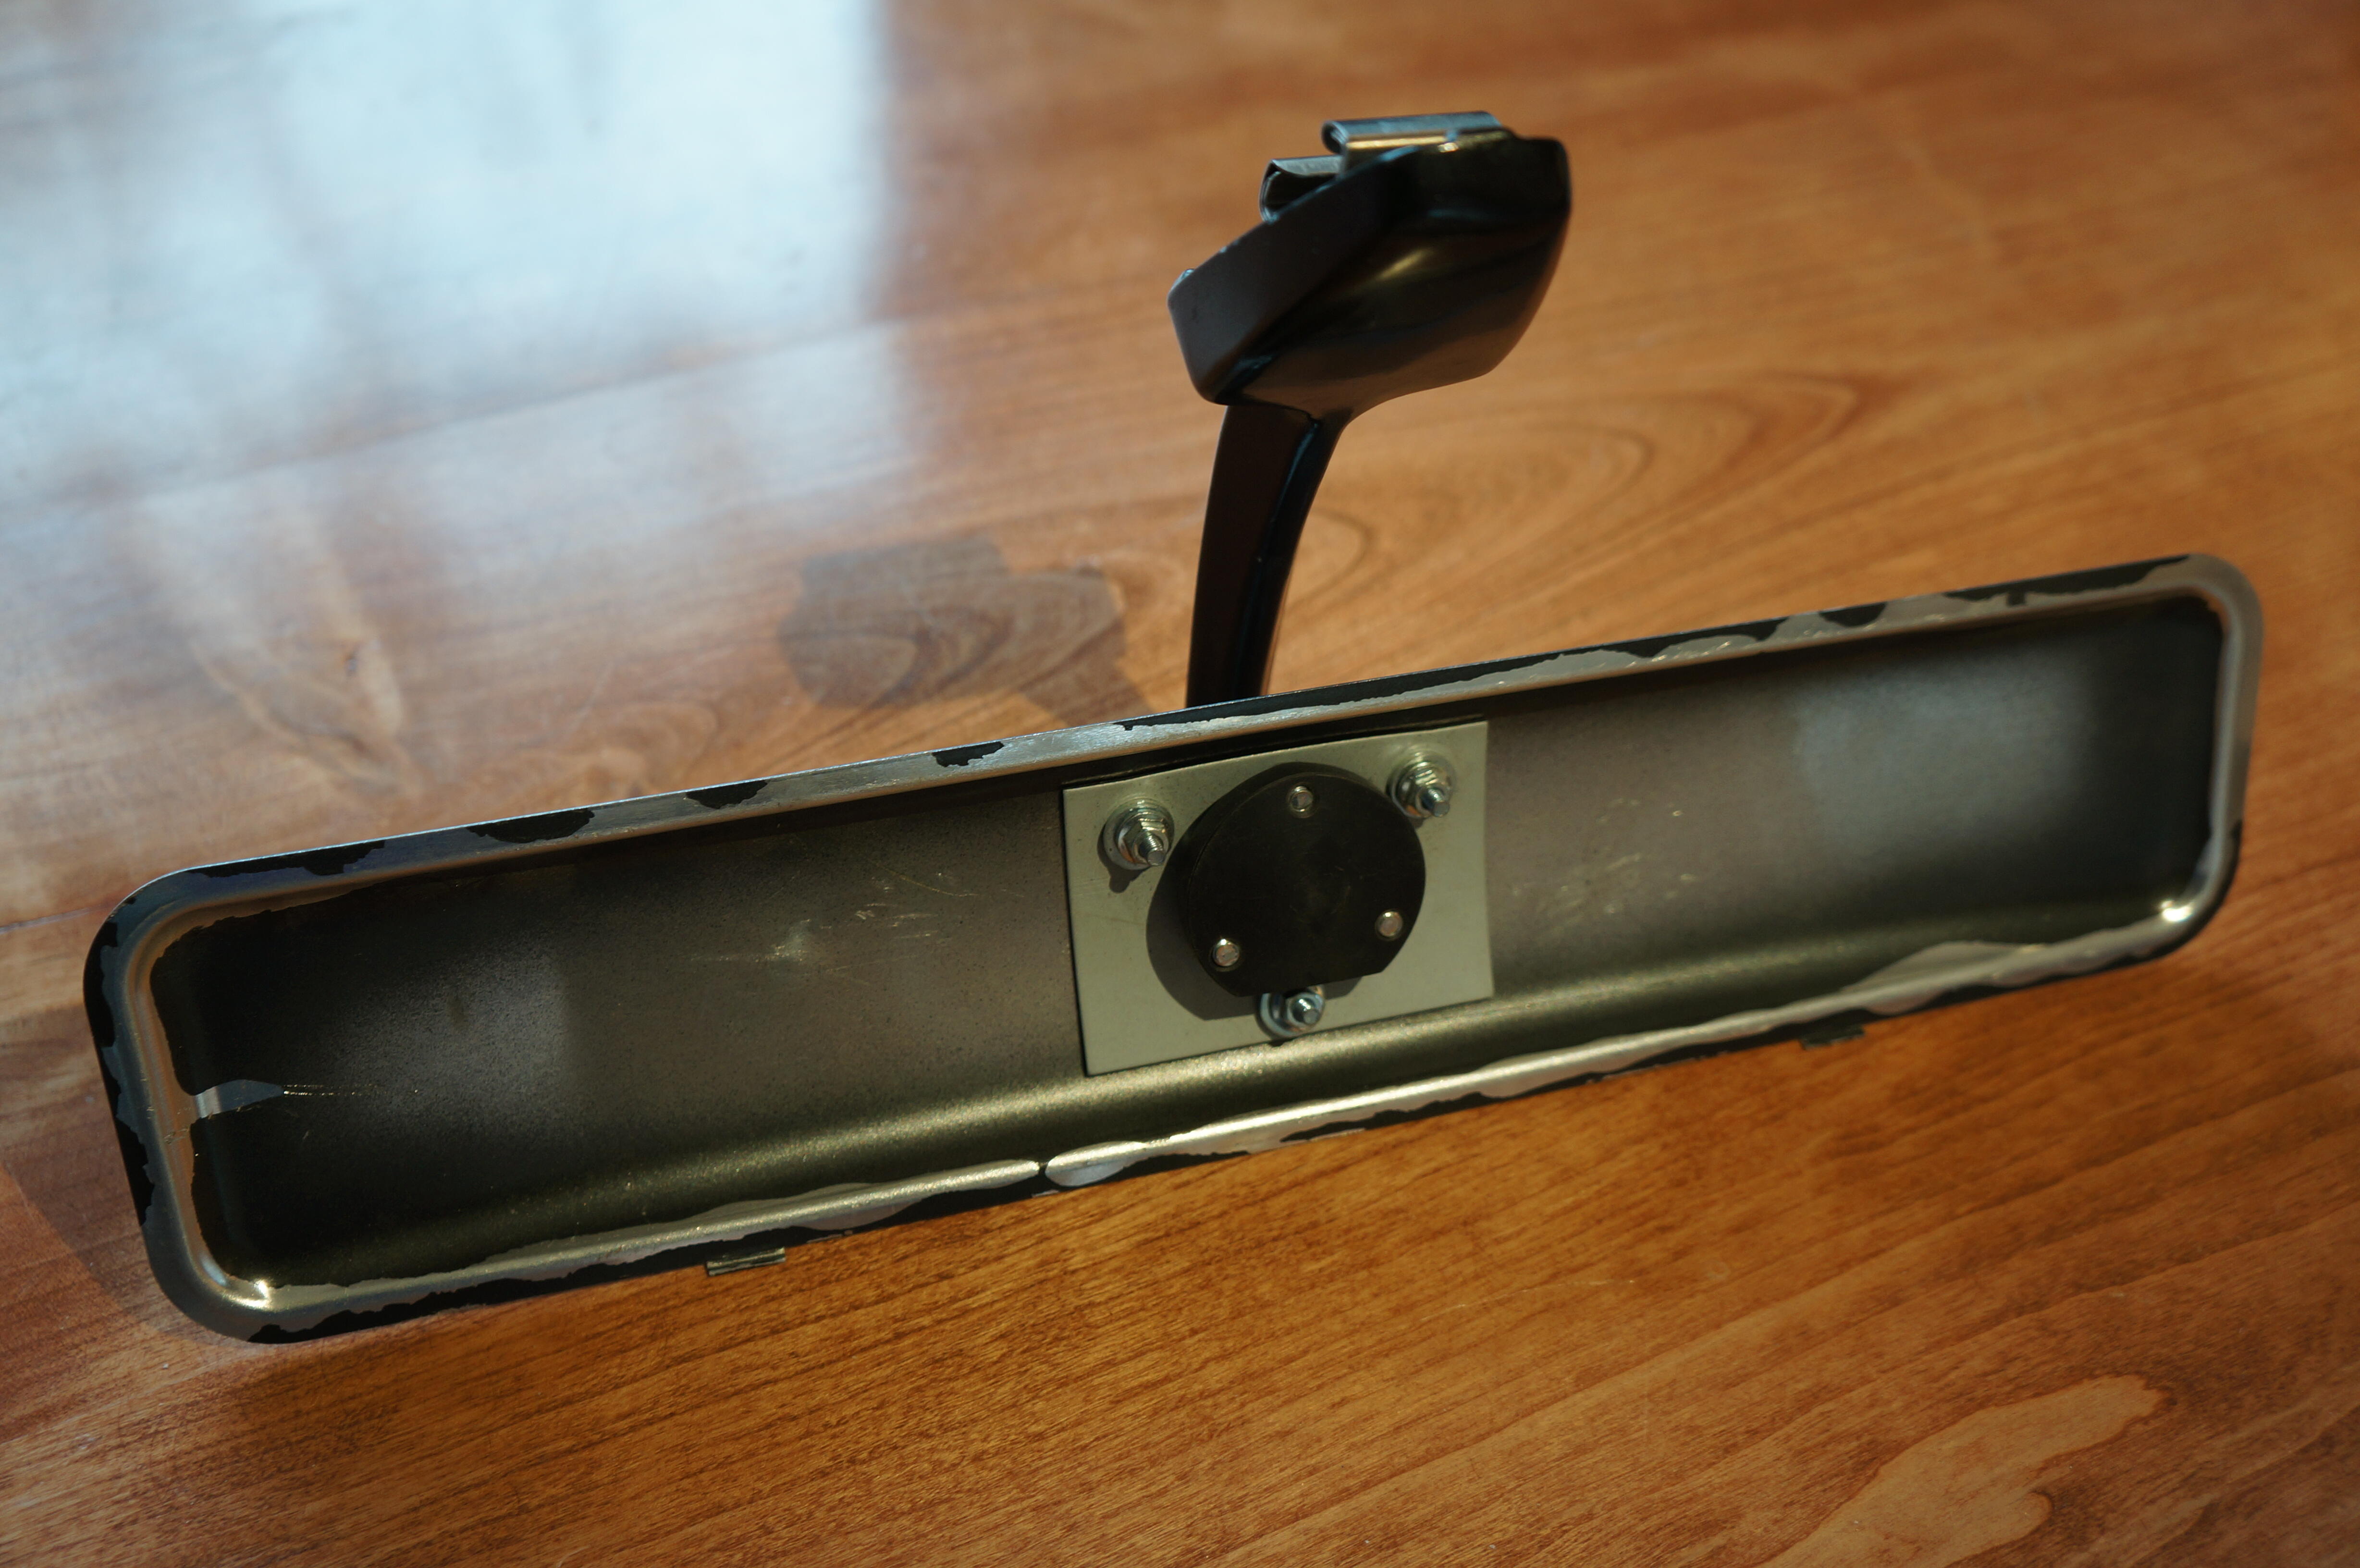
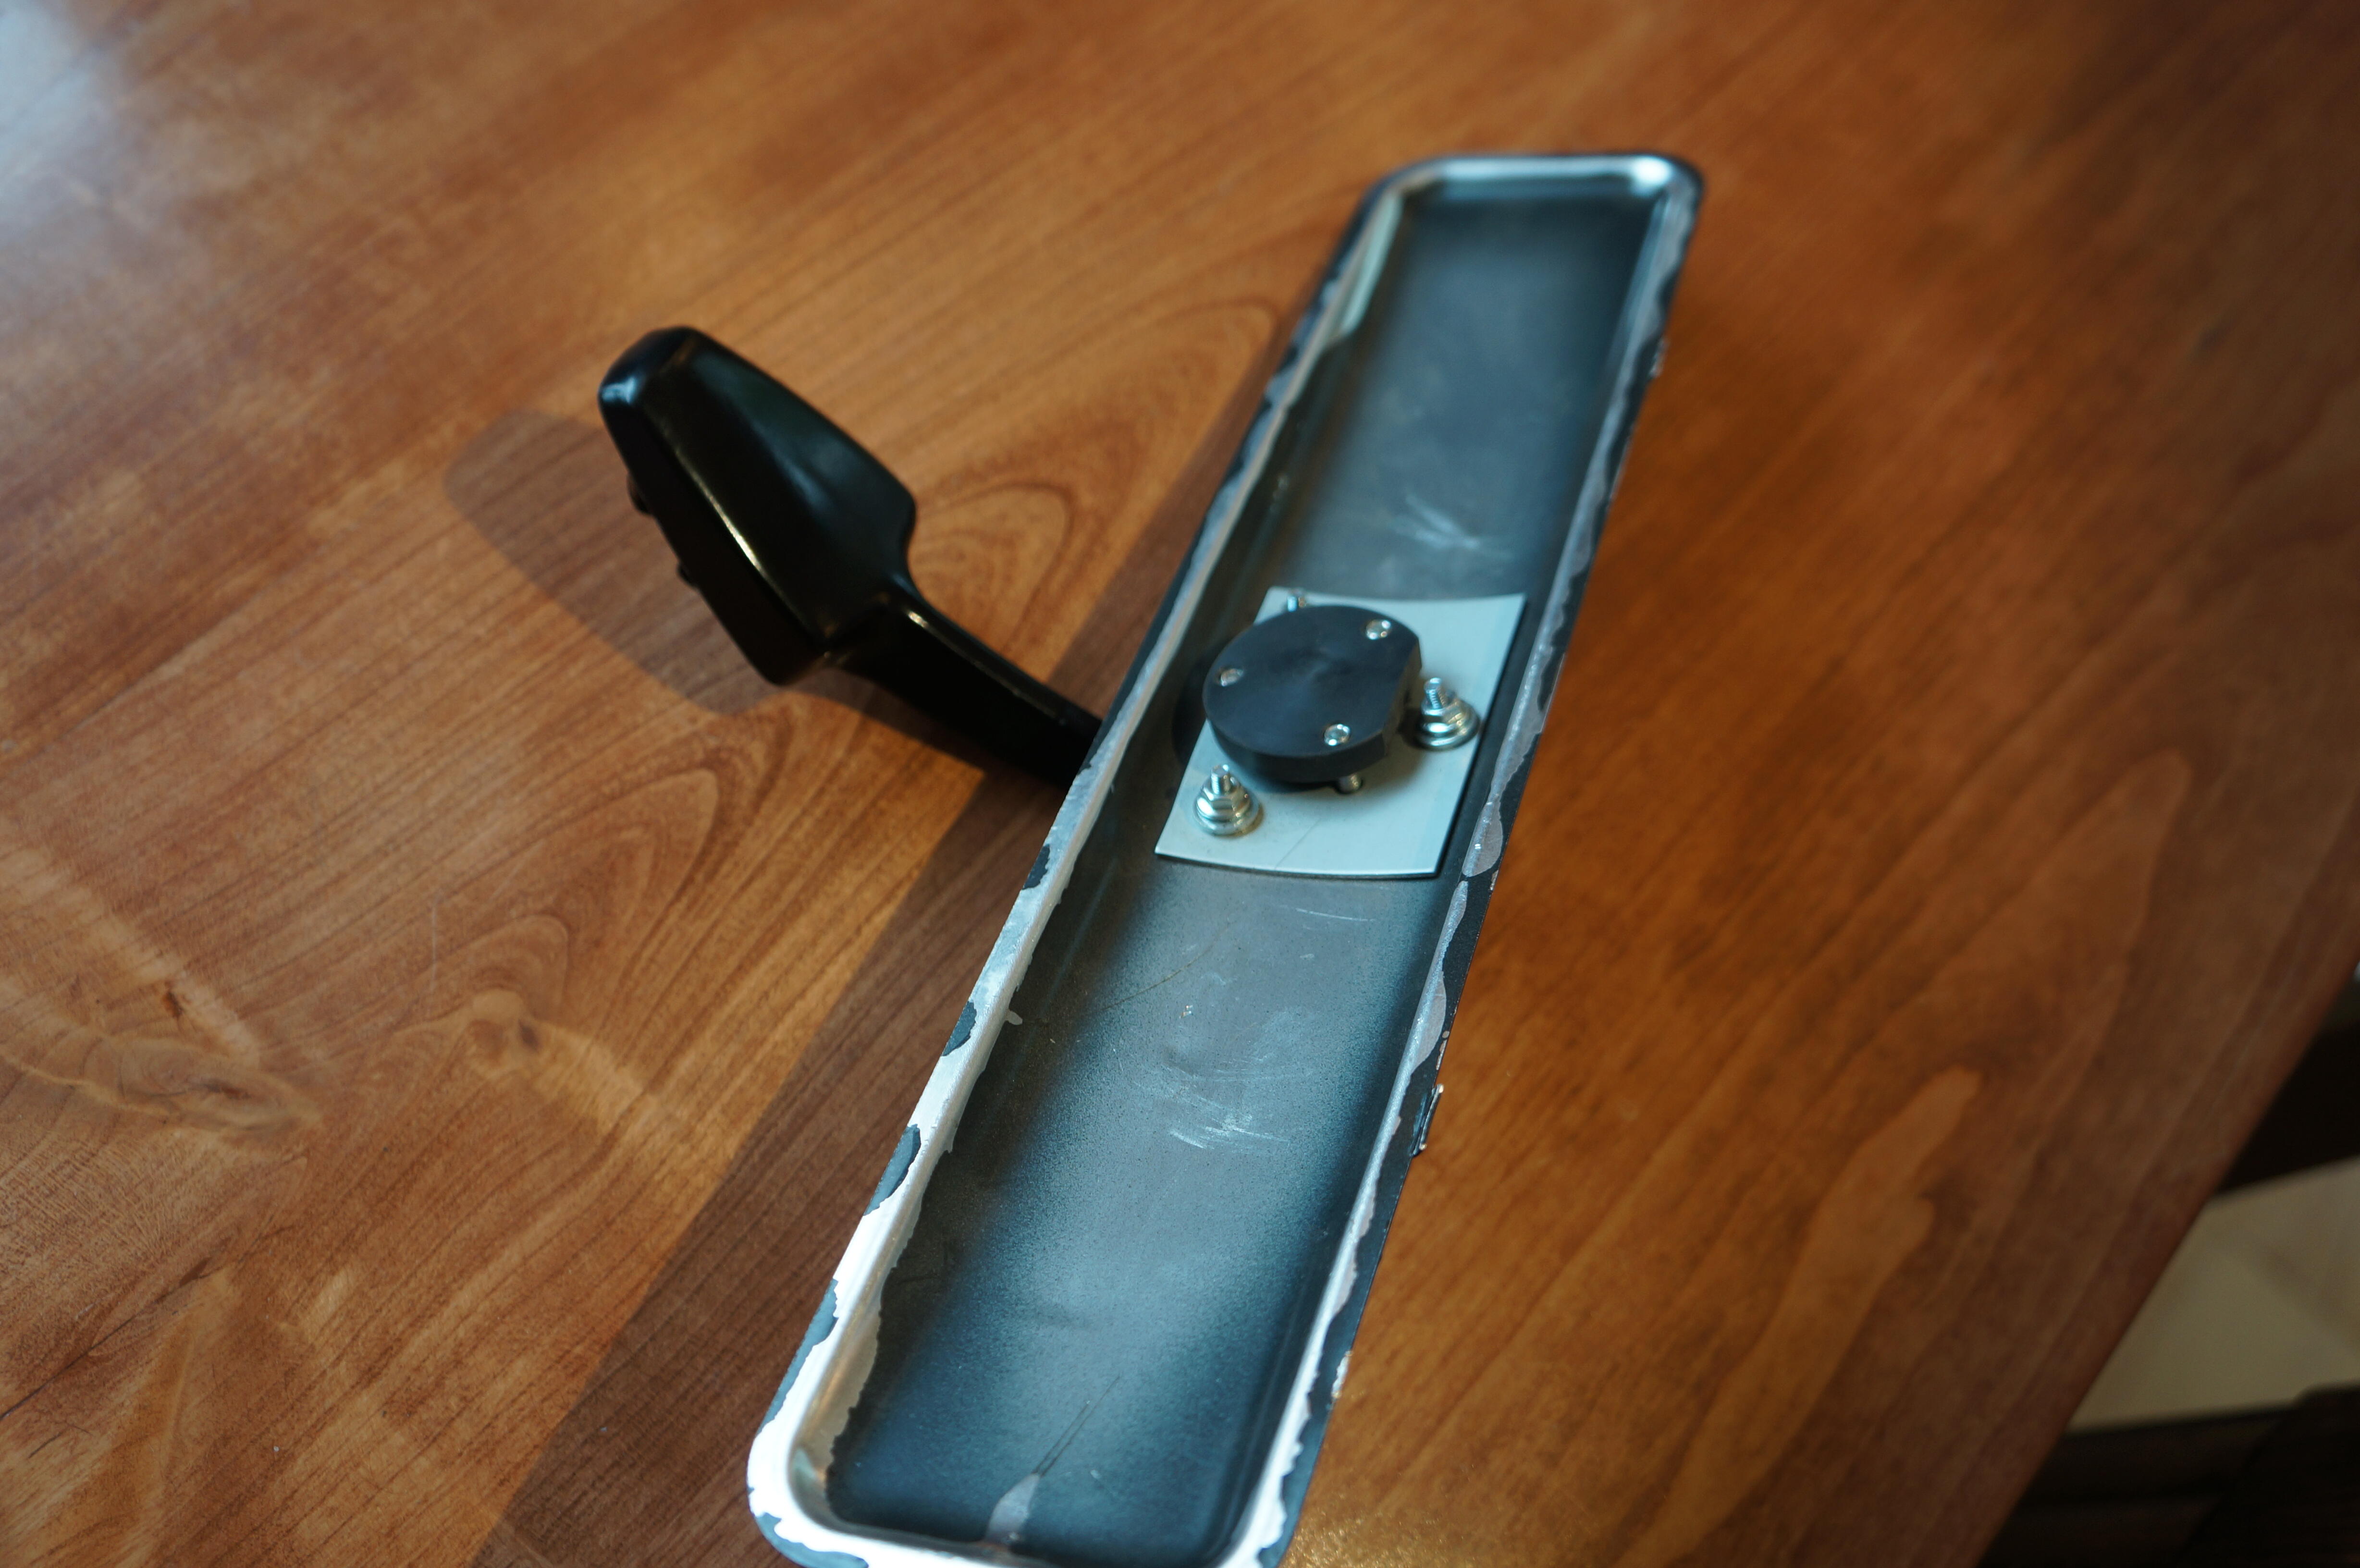
 2 points2 points2 pointsThe mirror is a (relatively) recent re-pop of the factory Race Option interior mirror. I have one in my KPGC10. Here's an original in use:
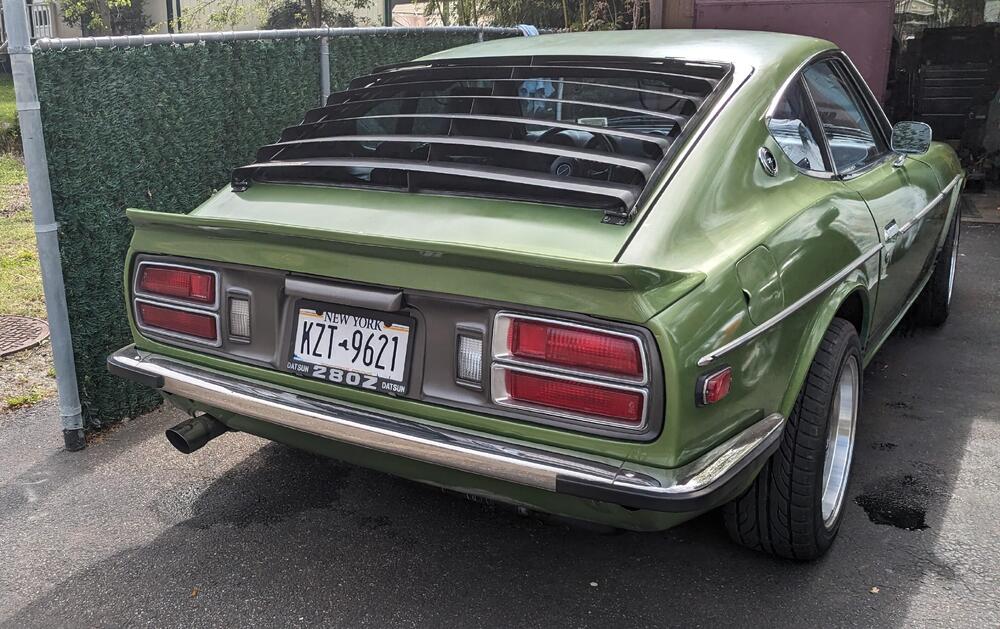
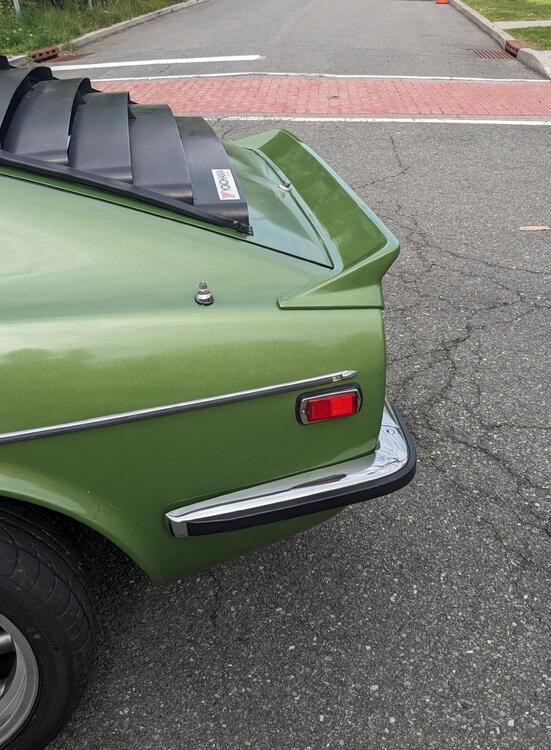
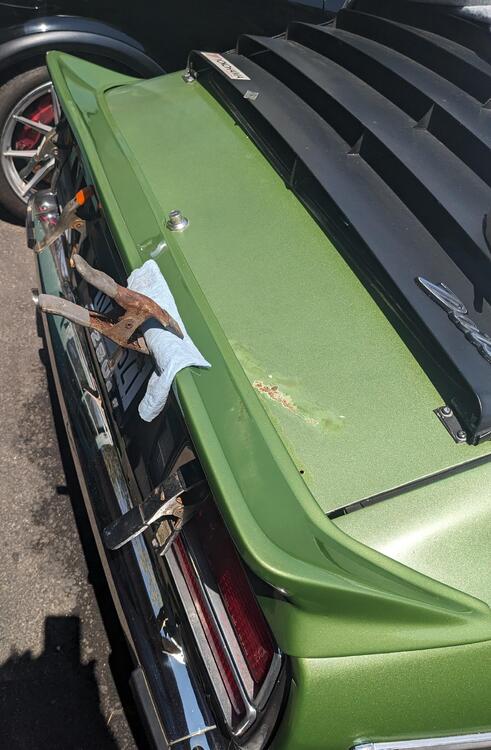
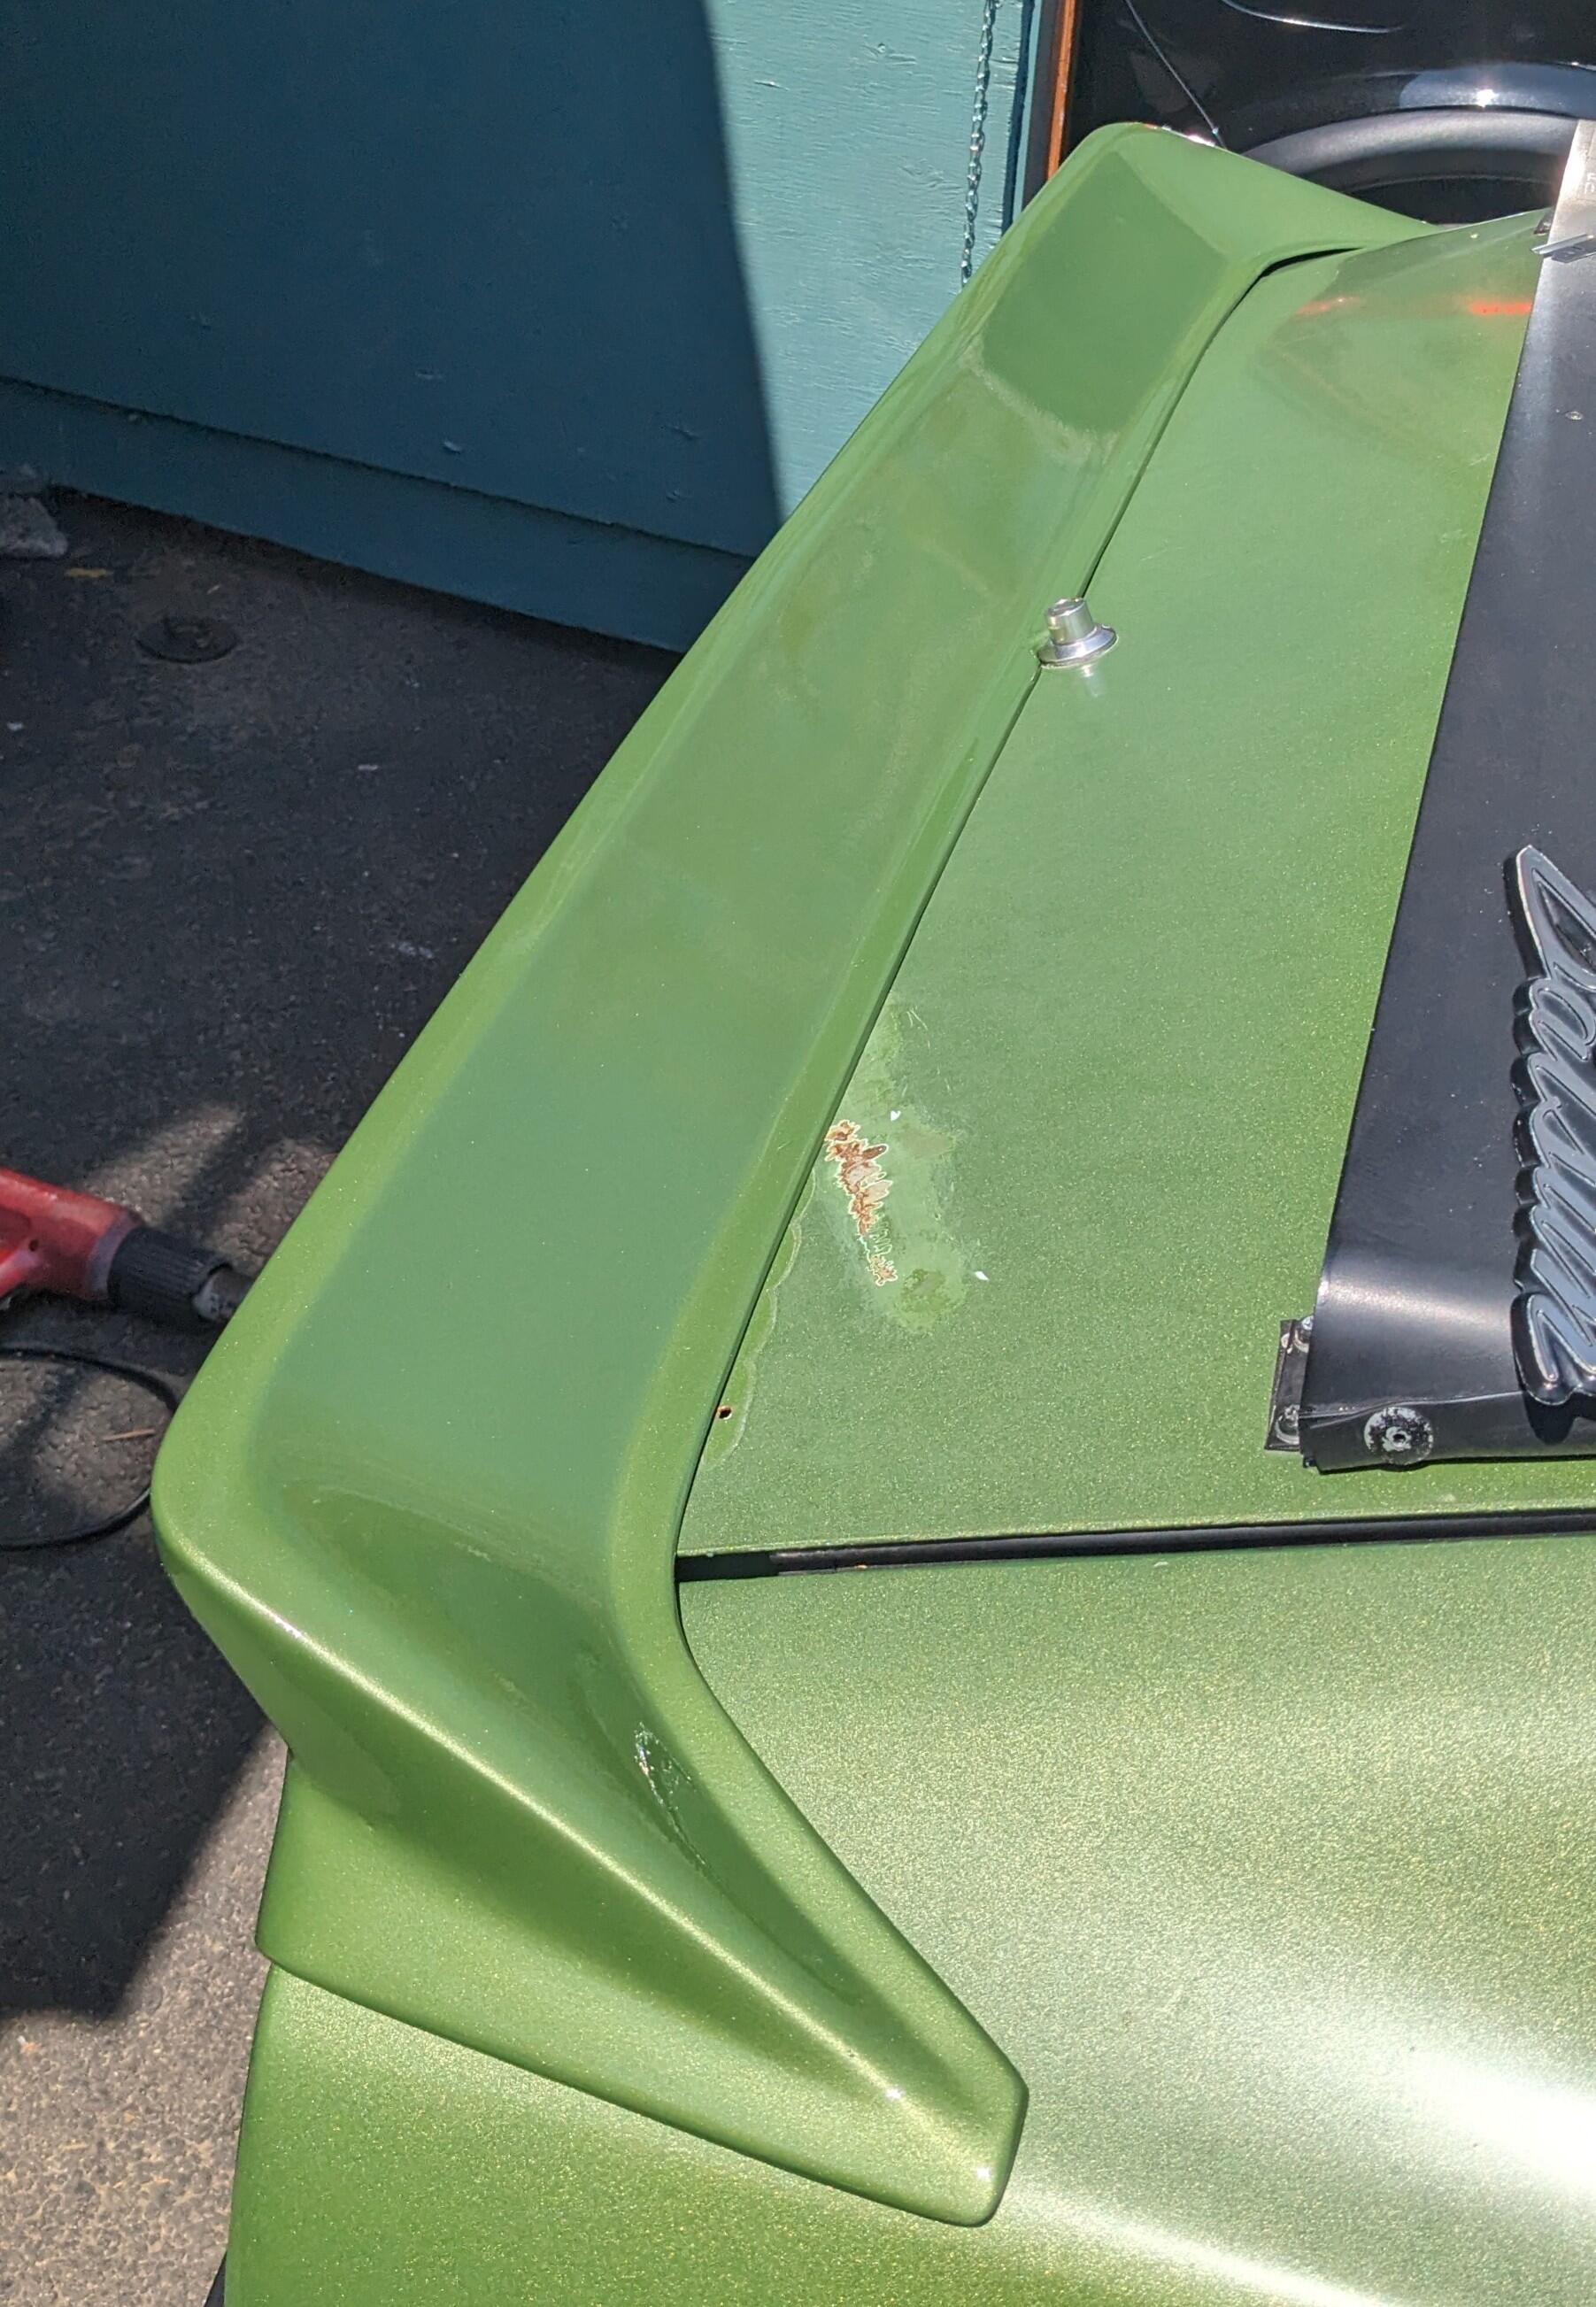
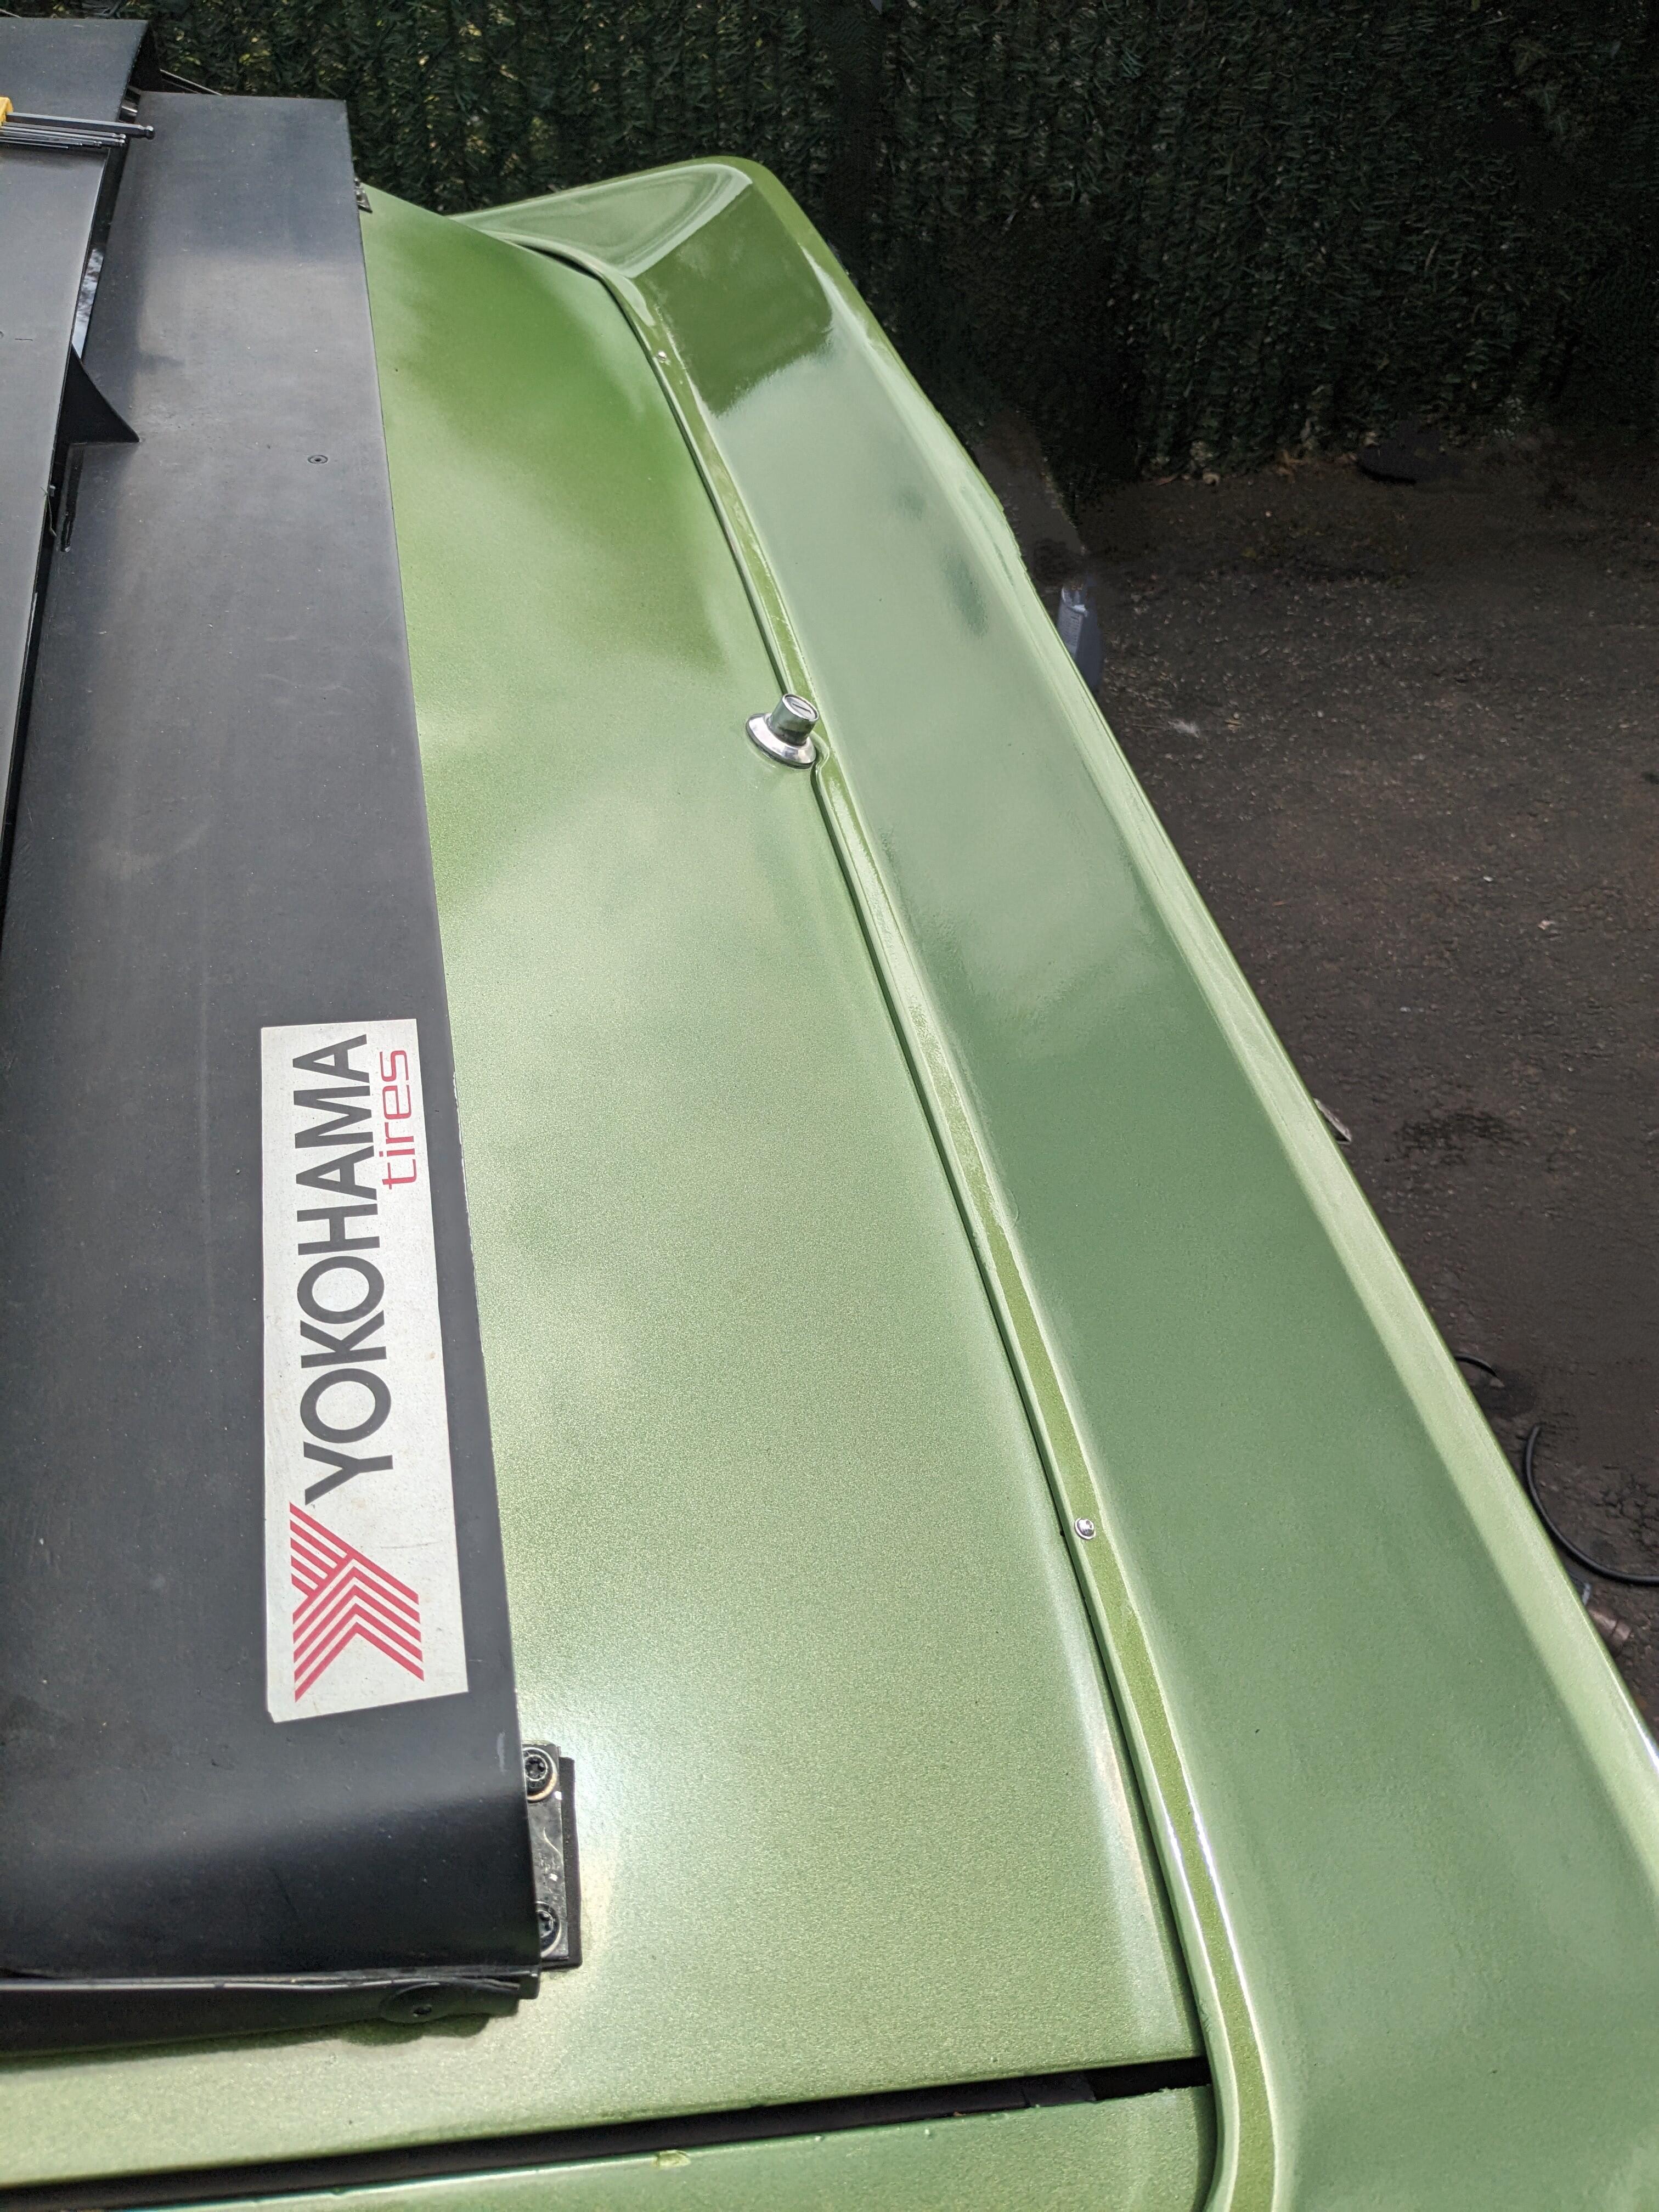
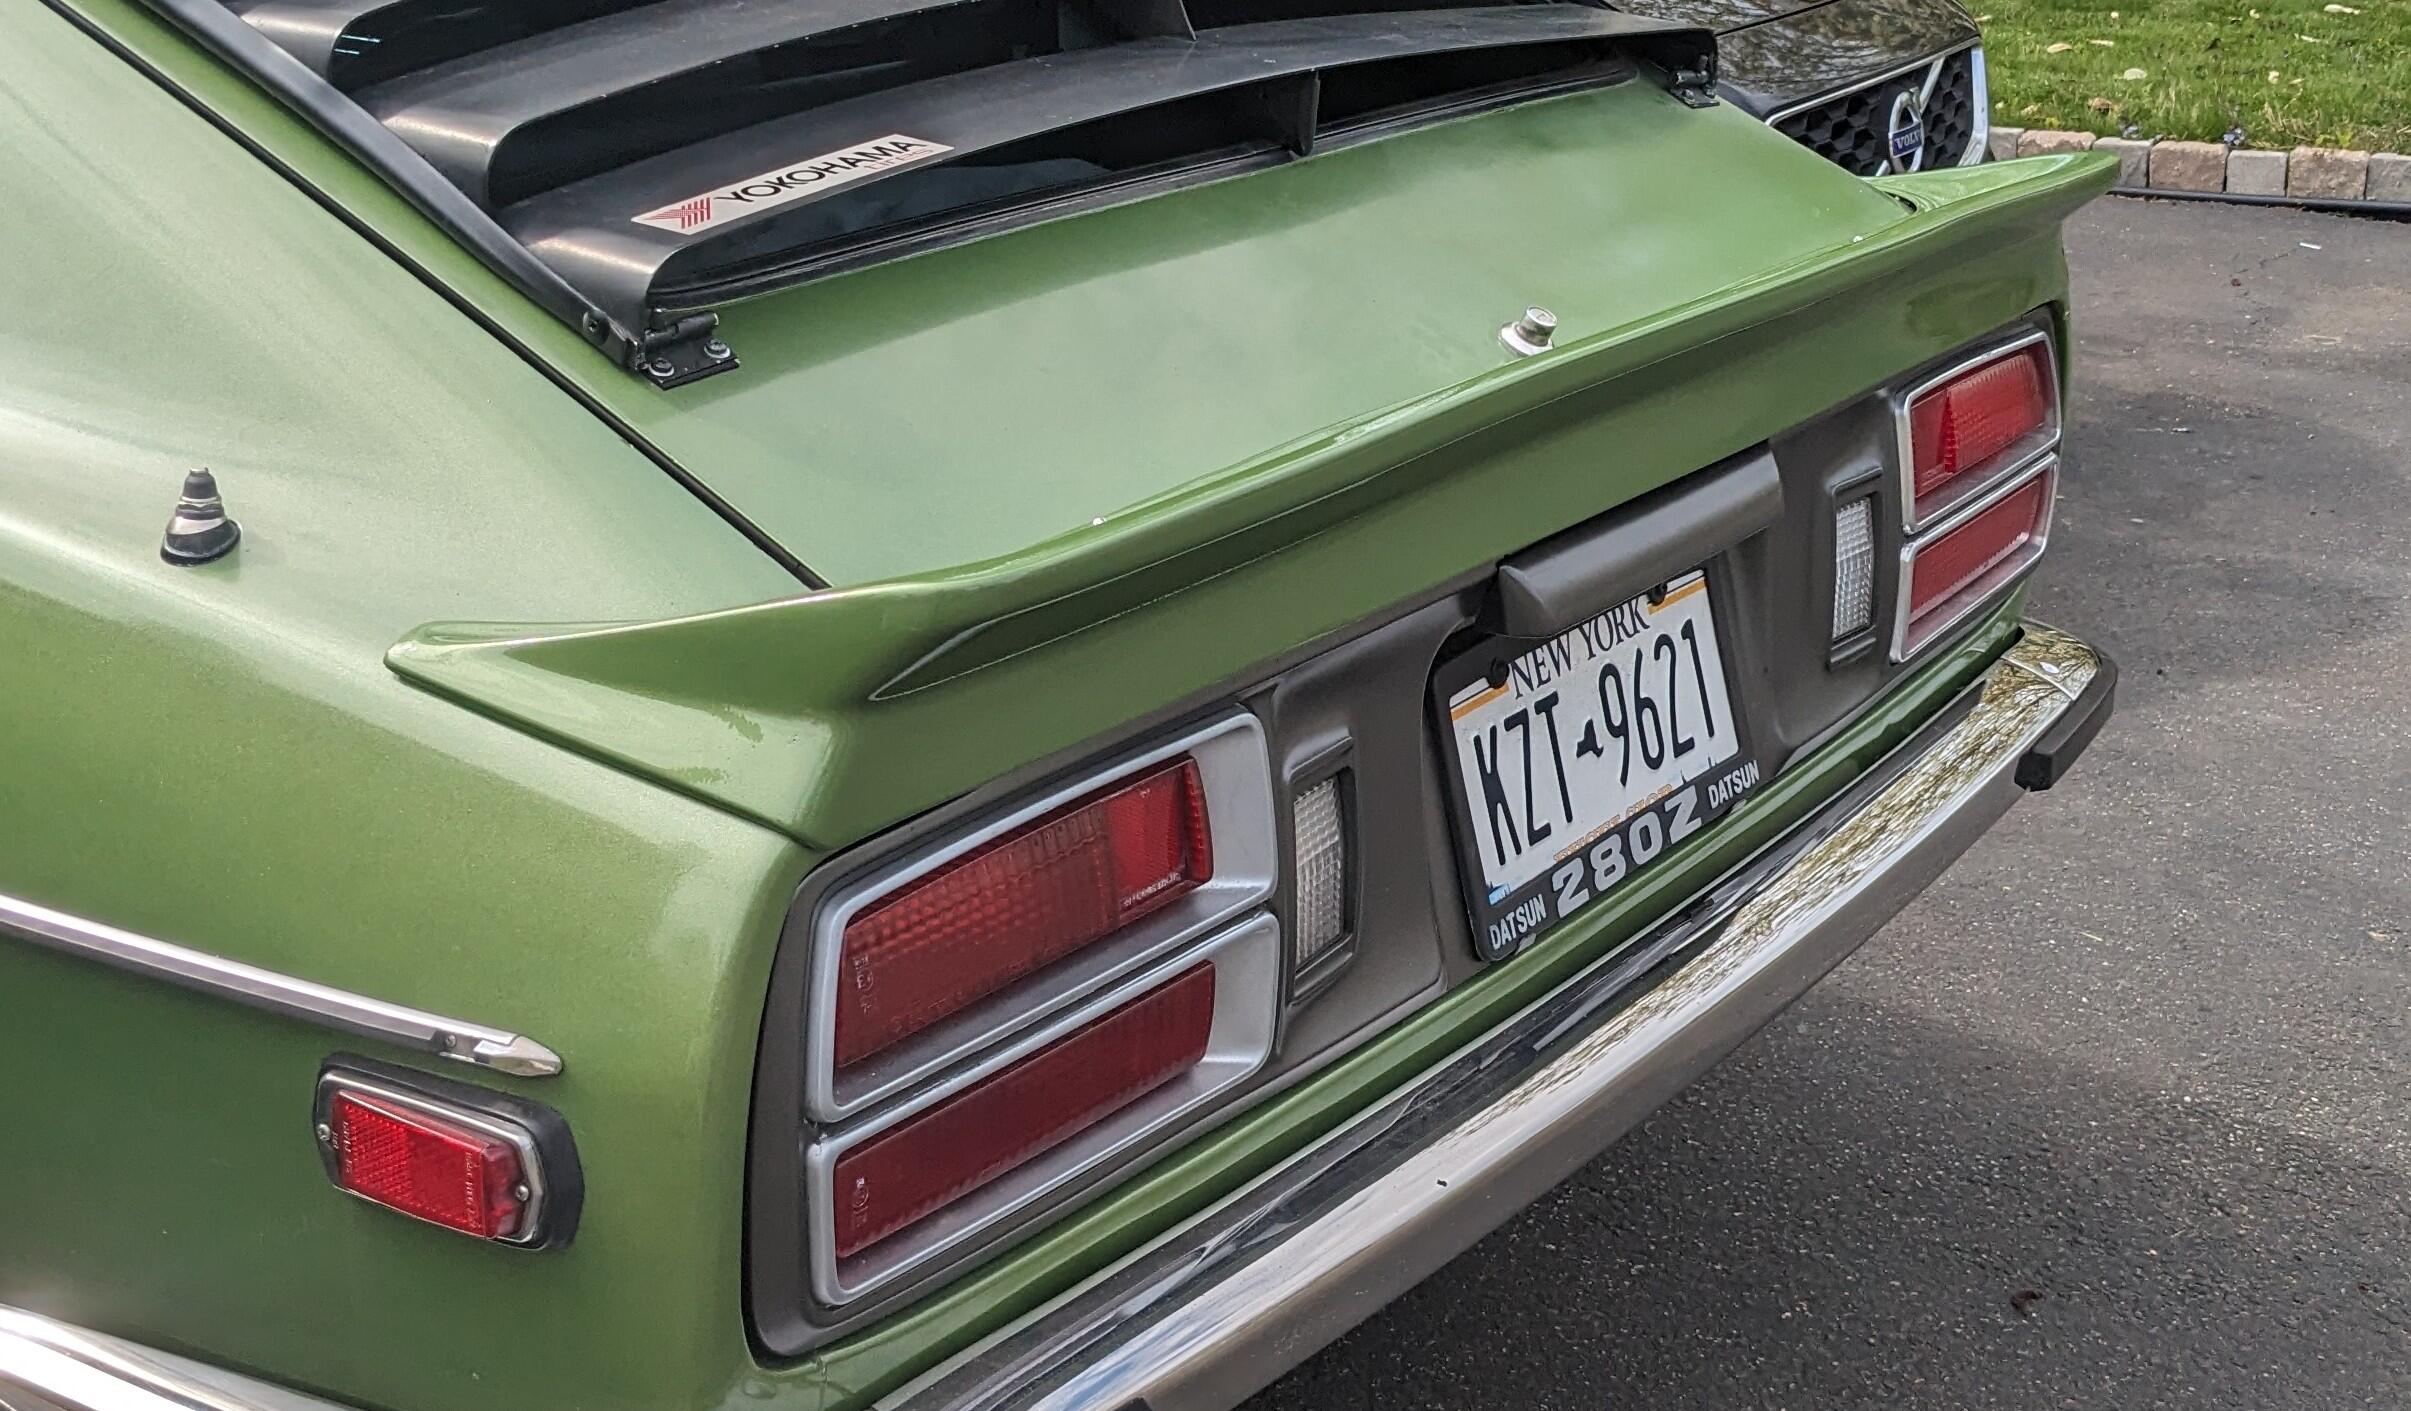
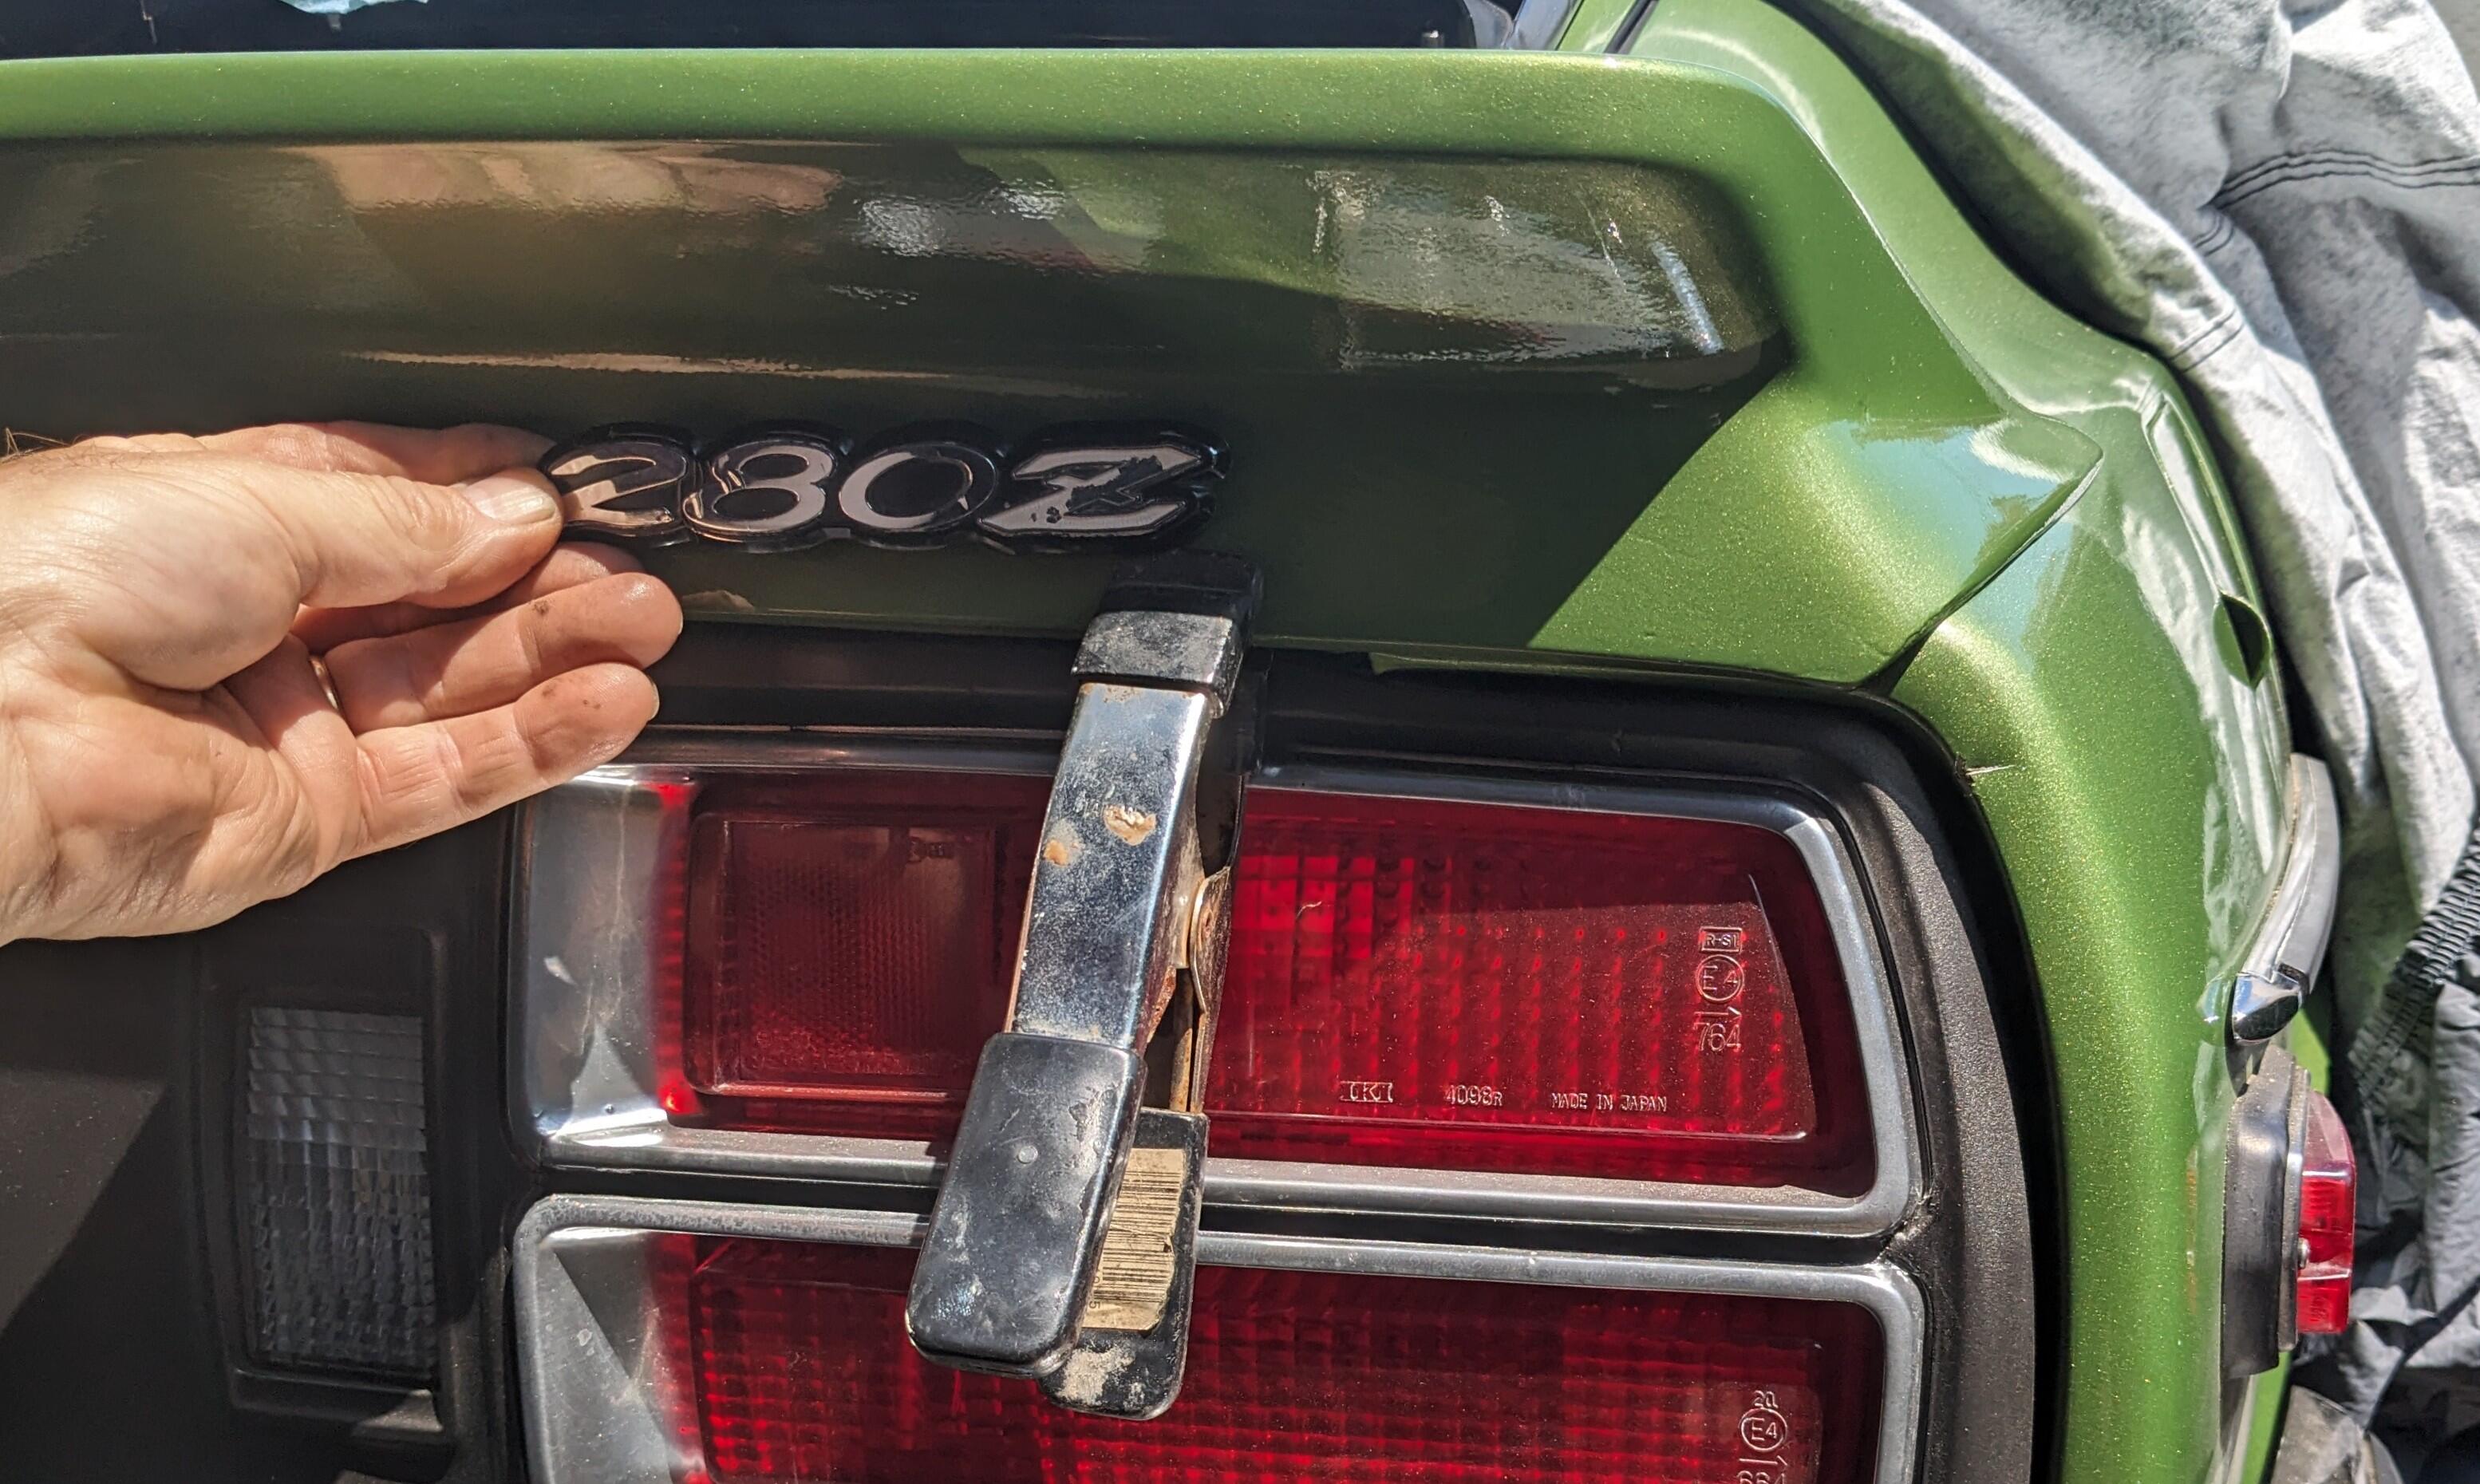
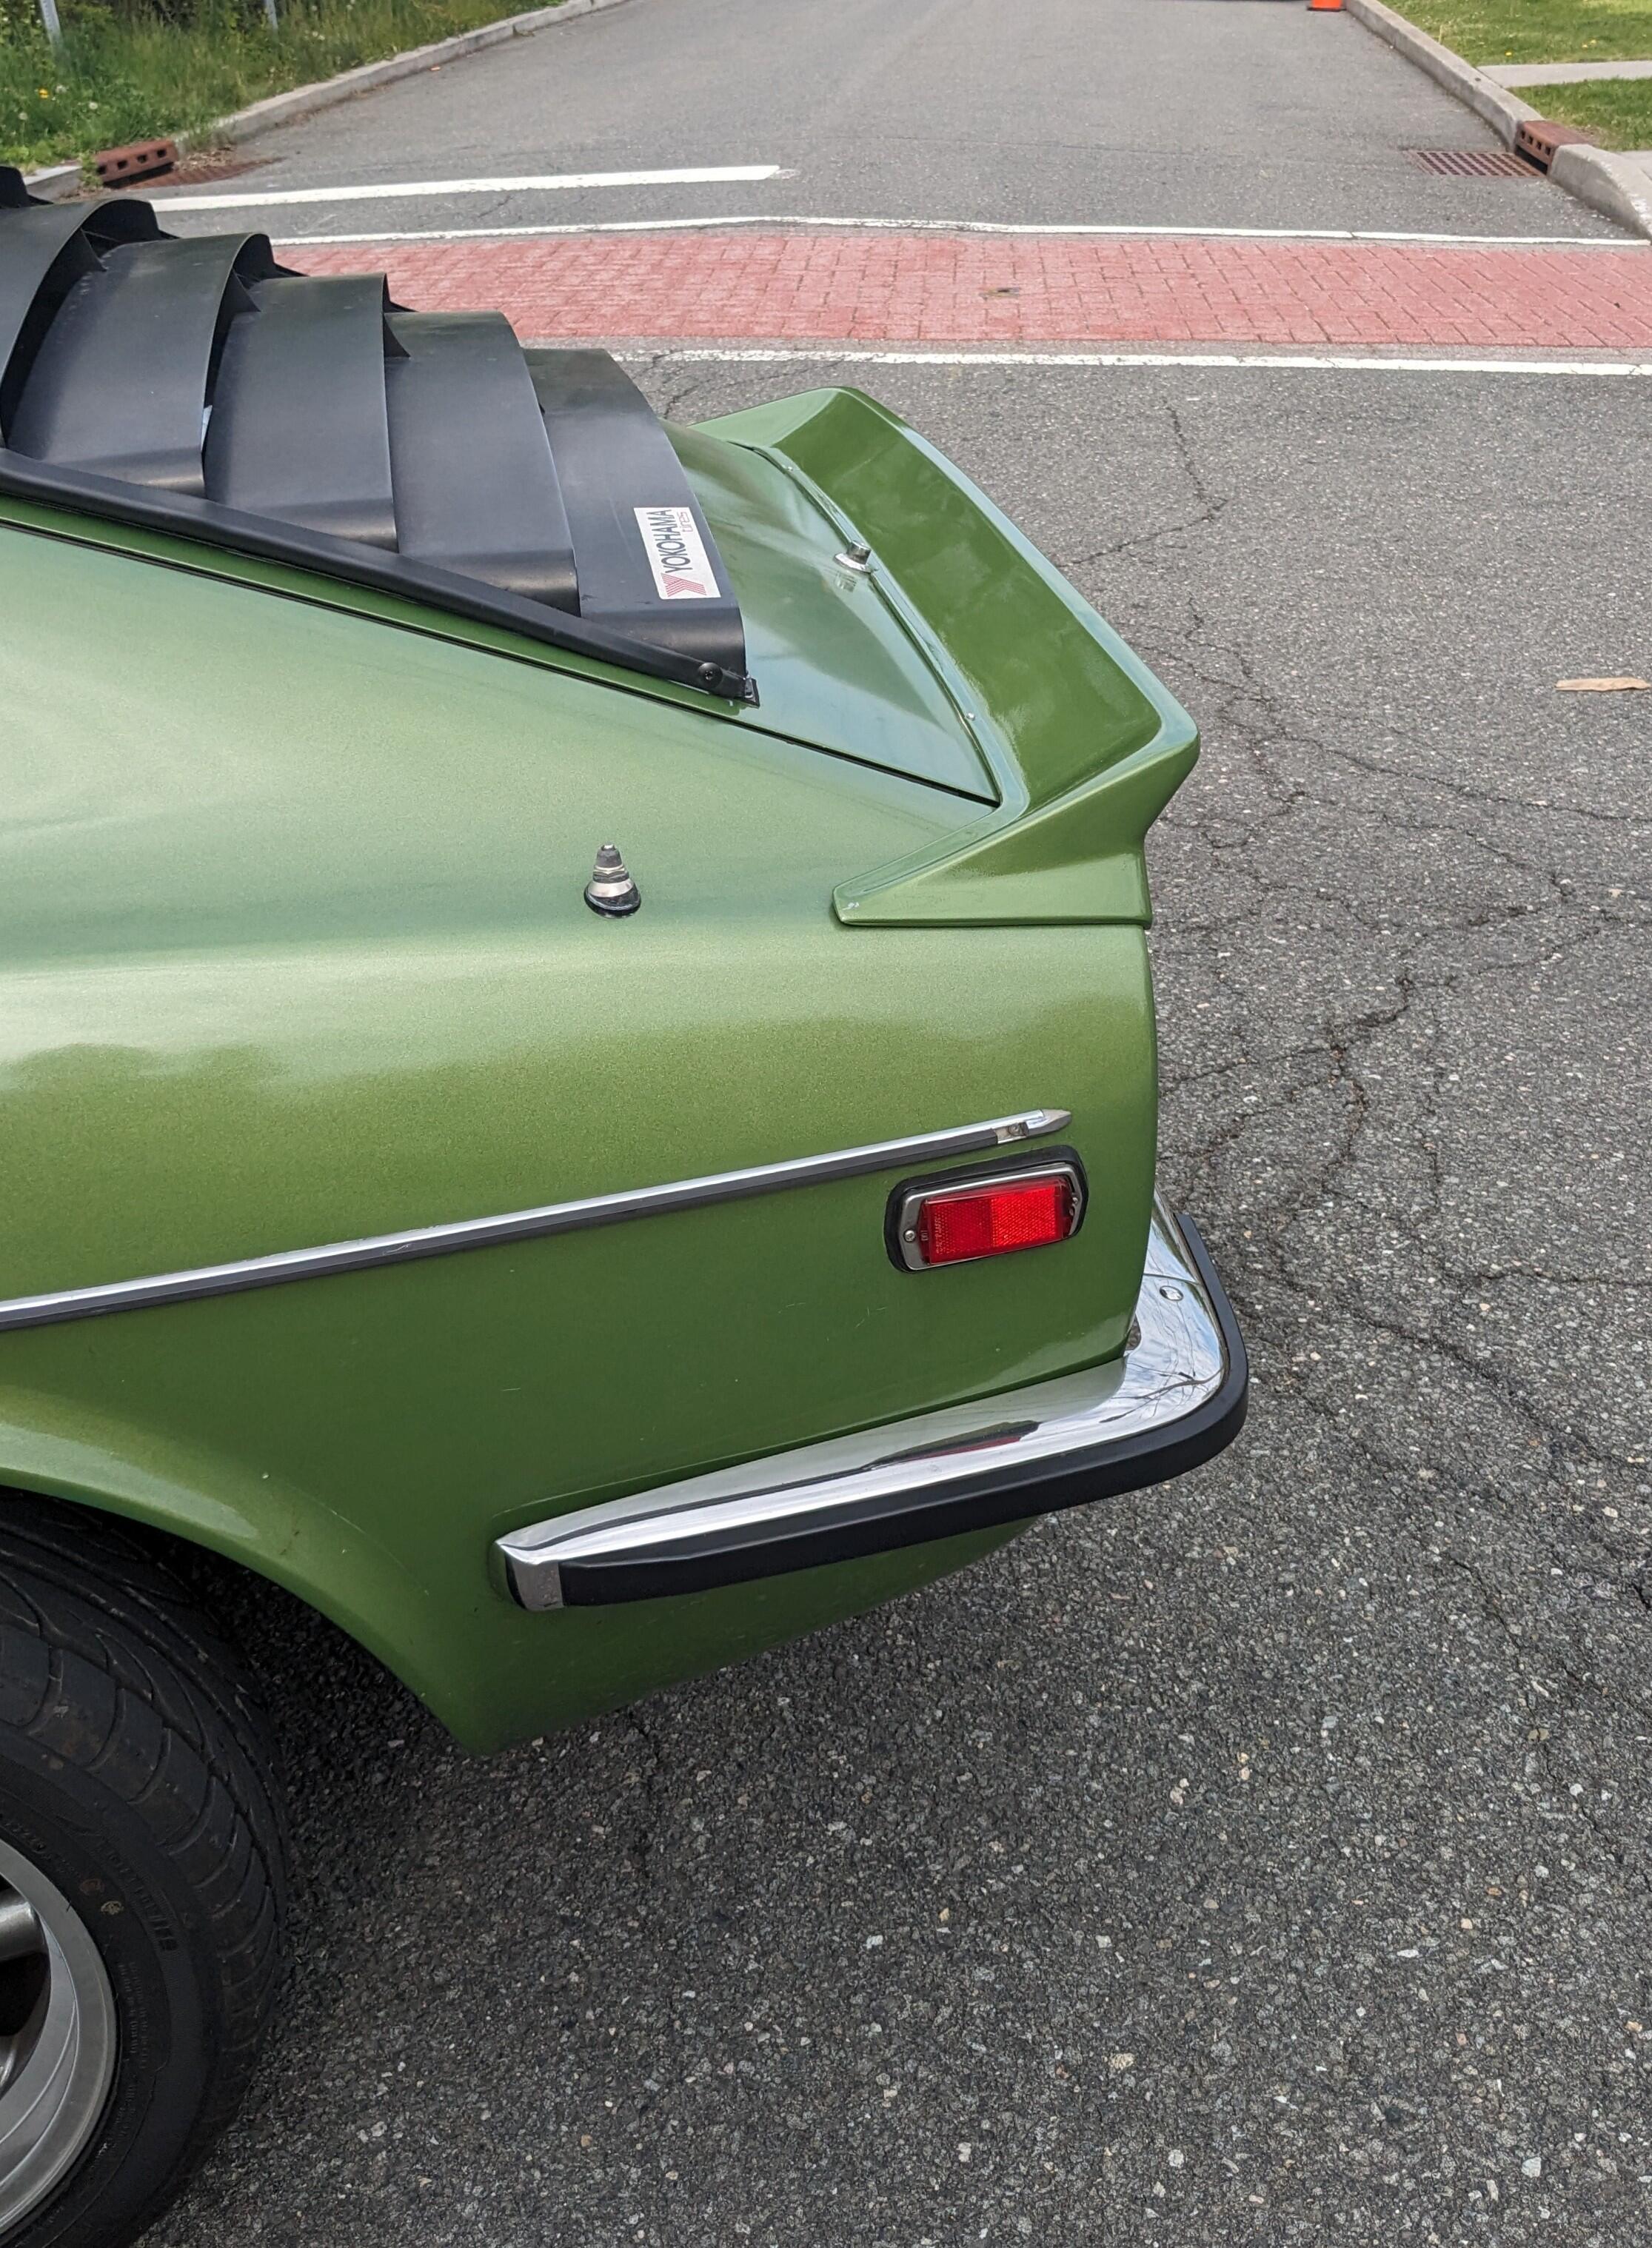
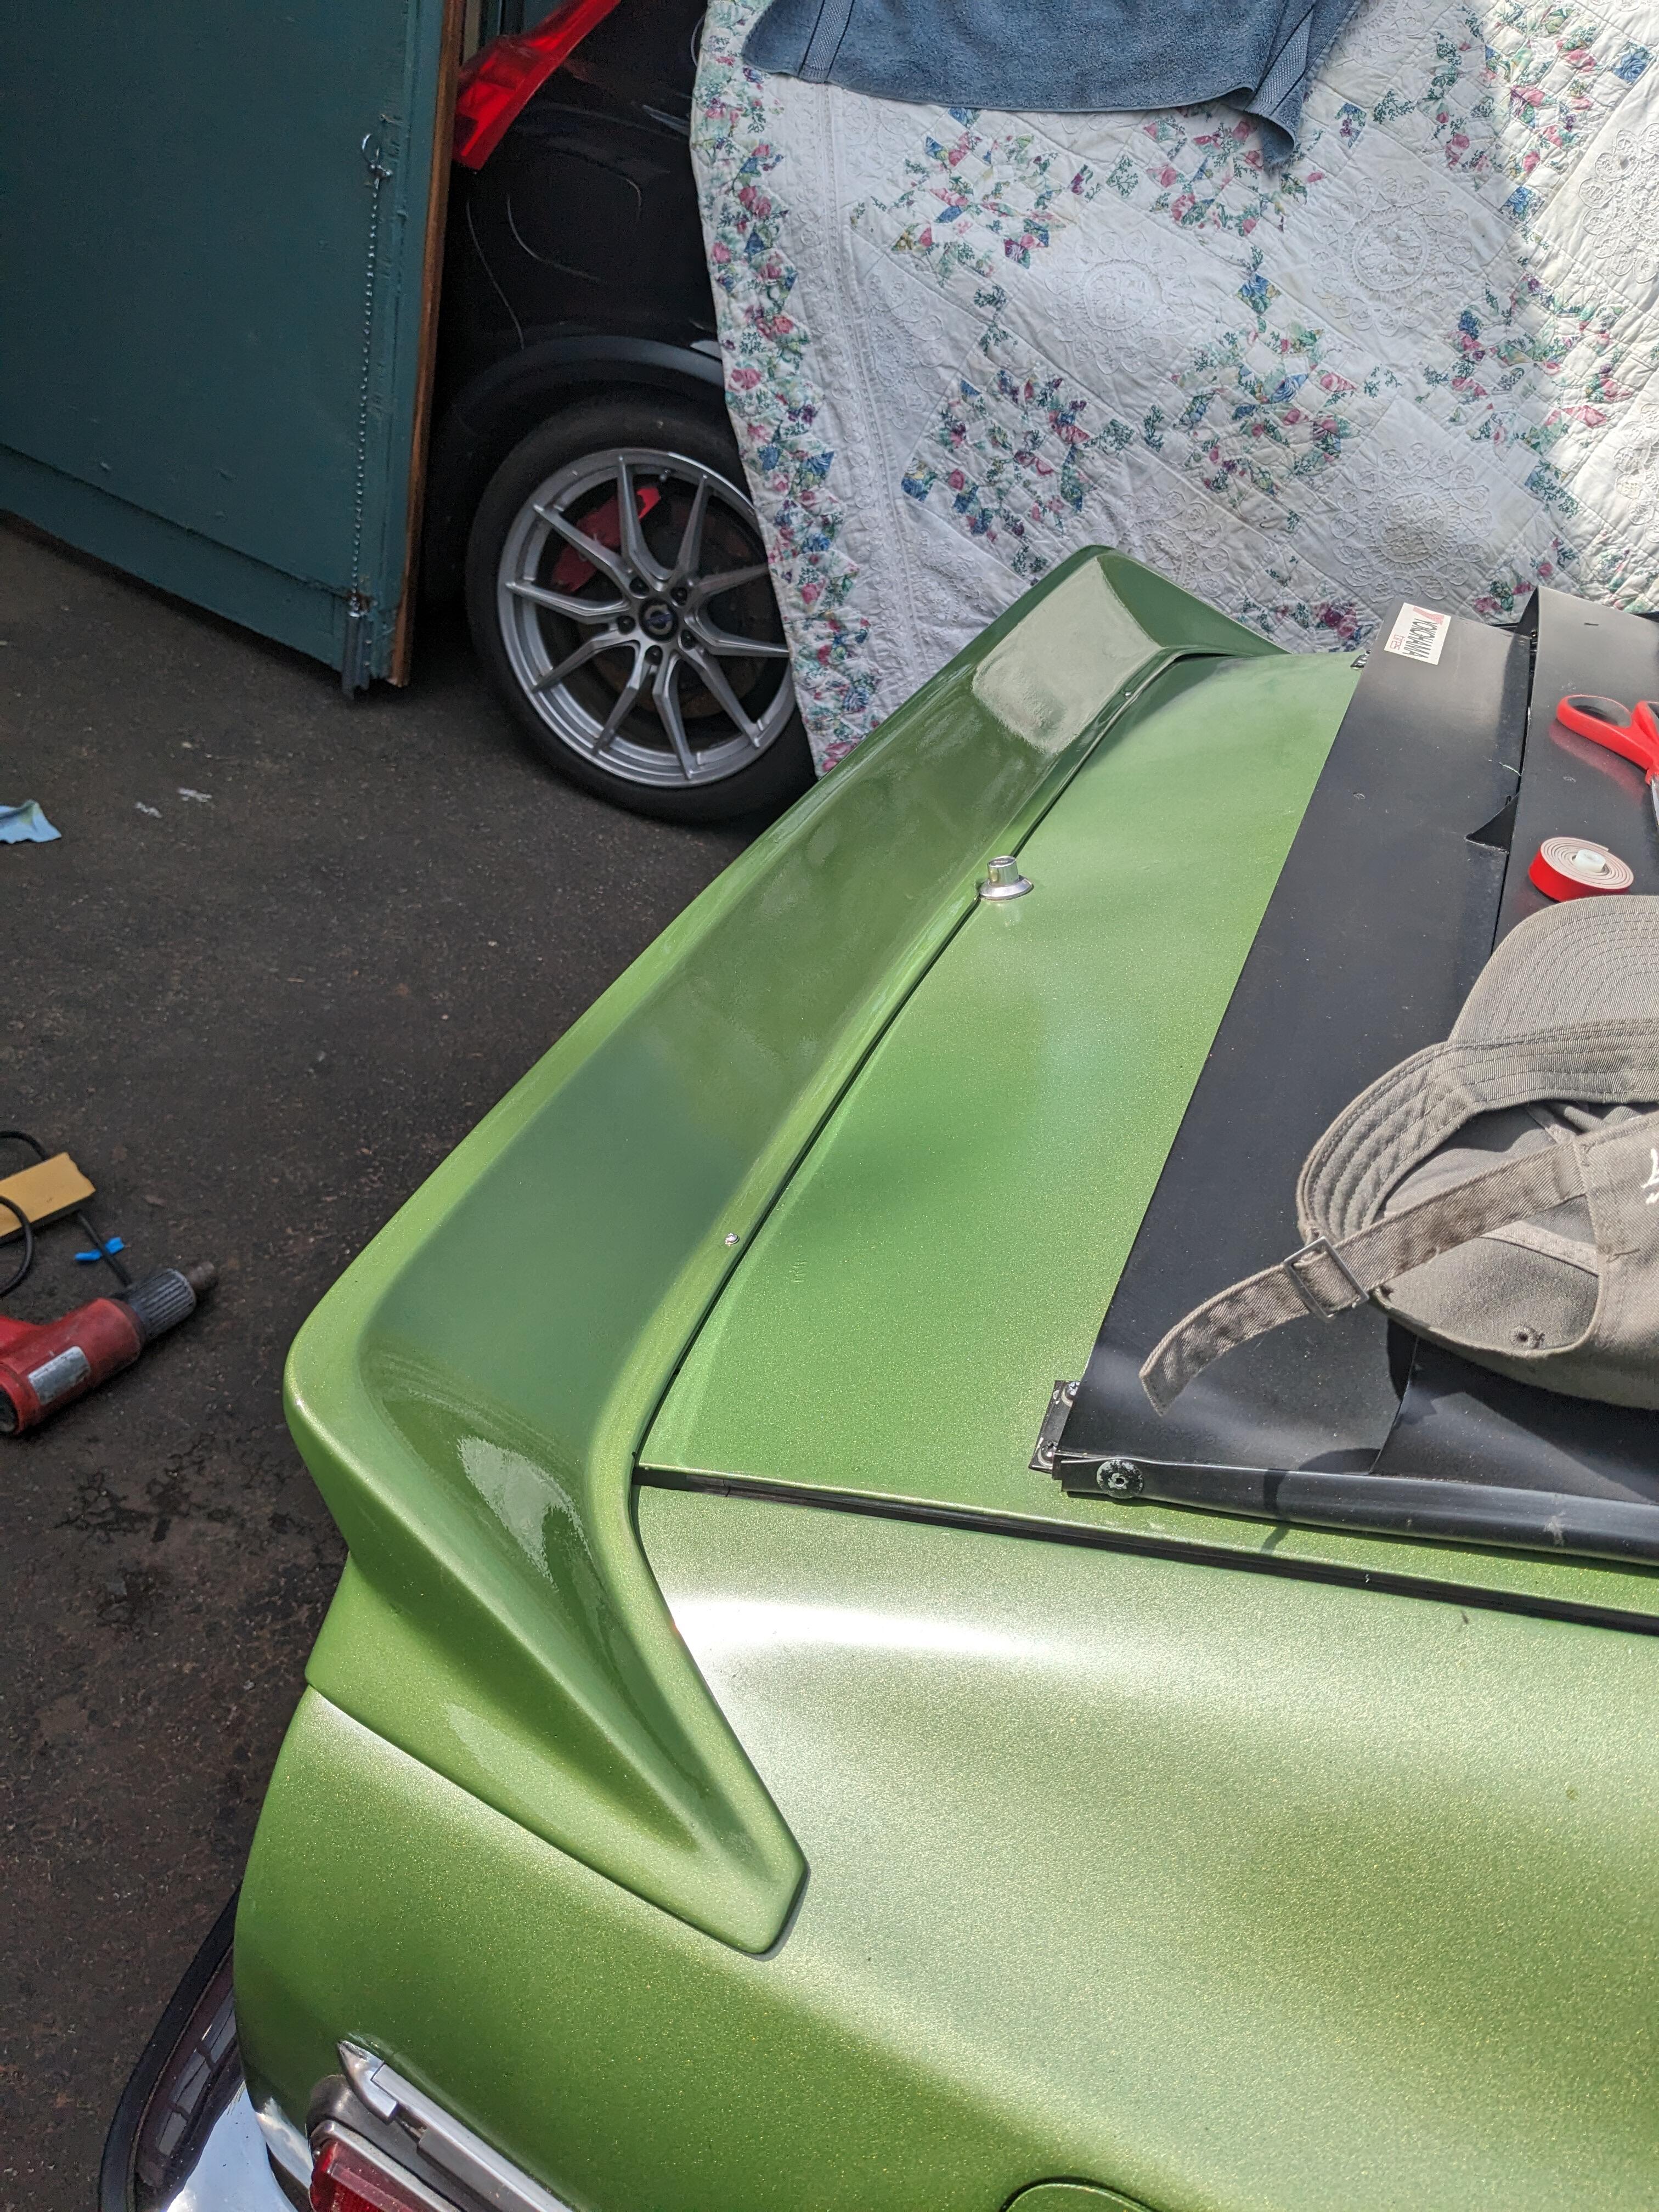
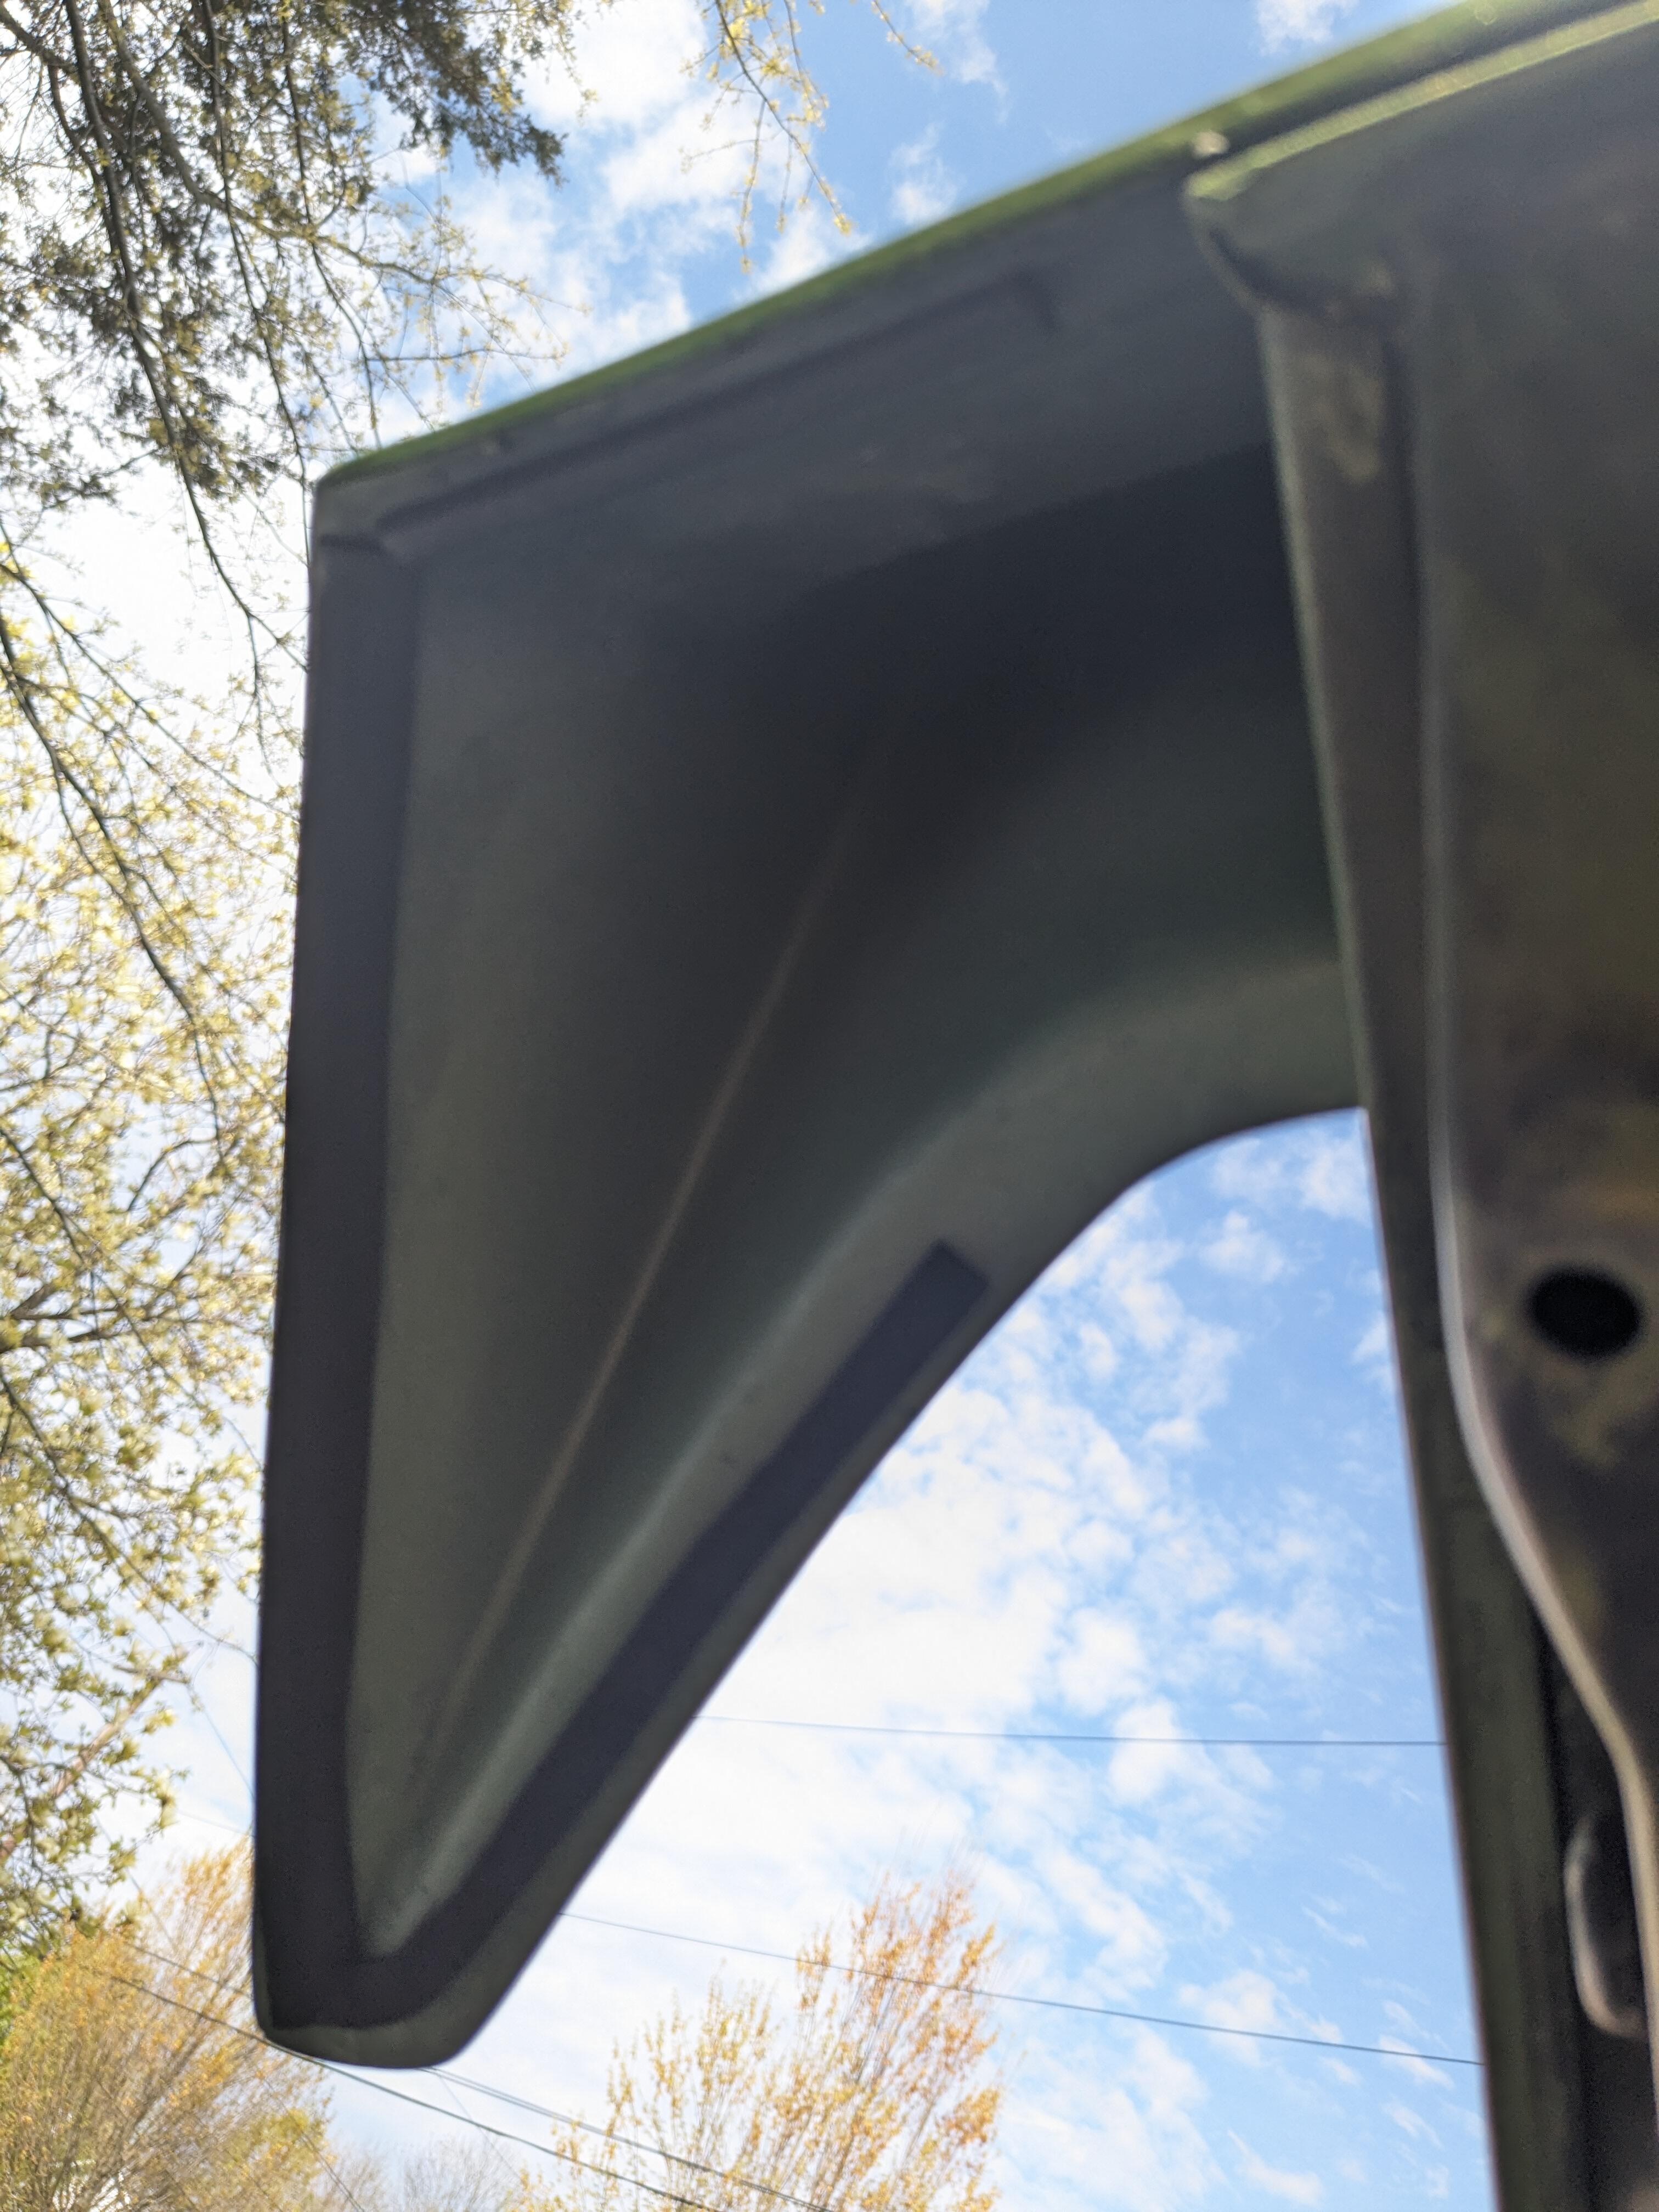
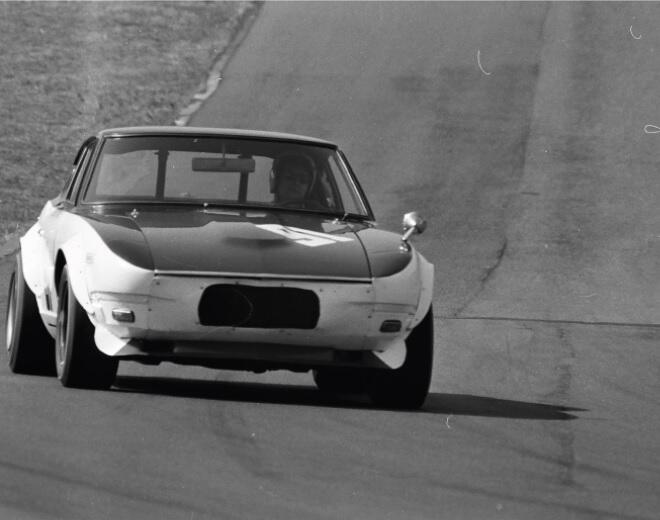 2 pointsPlenty of sun today, so I clamped the rear spoiler to the hatch along the back edge & let it bake awhile. That actually resolved much of the misshapen issues, added a clamp on top which pushed the wave that was present on the right out. Had to address the paint under the emblem also After paint repair The directions say to drill & use two sheet metal screws in the forward outer region, after the spoiler is taped in olace. I used the existing inner "280Z" emblem mount hole, drilled out for an M4 riv-nut, and did one on the other side to match approx 5" in & 3" up from hatch lip, prior to adhering the spolier. Those helped me align the spoiler and adhere the back edge to the hatch lip knowing that the placement was correct in relation to the lock. I added closed cell foam to the outer fender overhangs as per the instructions (although not provided ) Need to add the 280Z back Also heated & shaped the lower spoiler edge to minimize the wave that was present
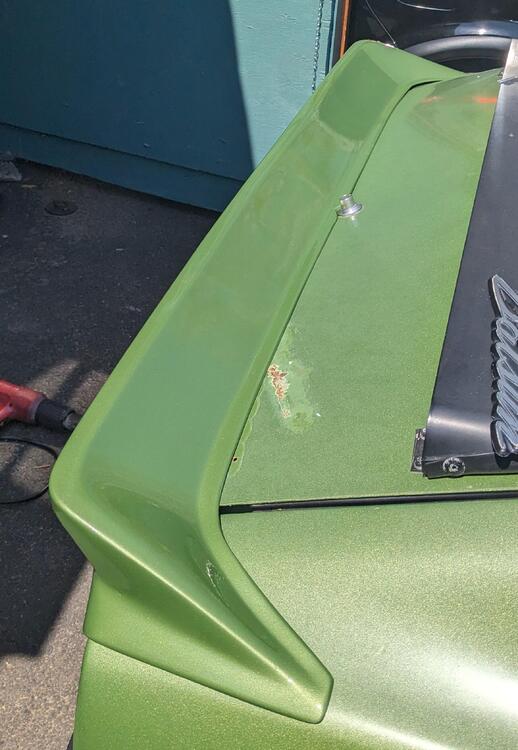


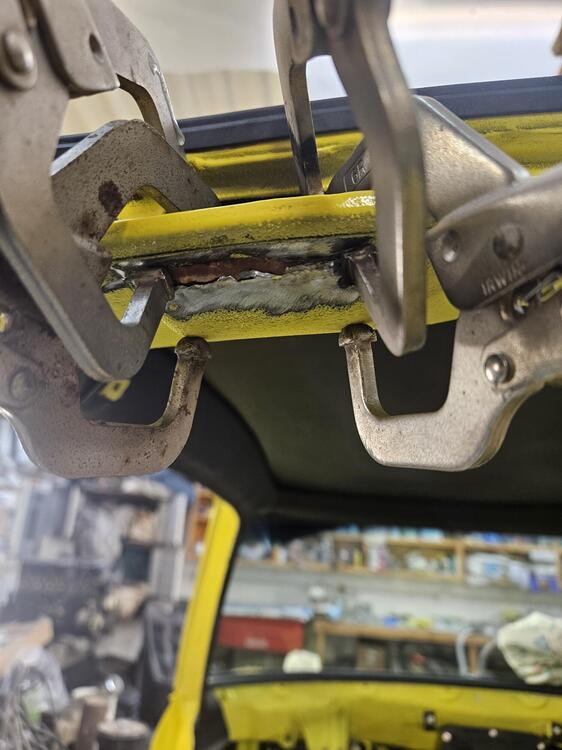
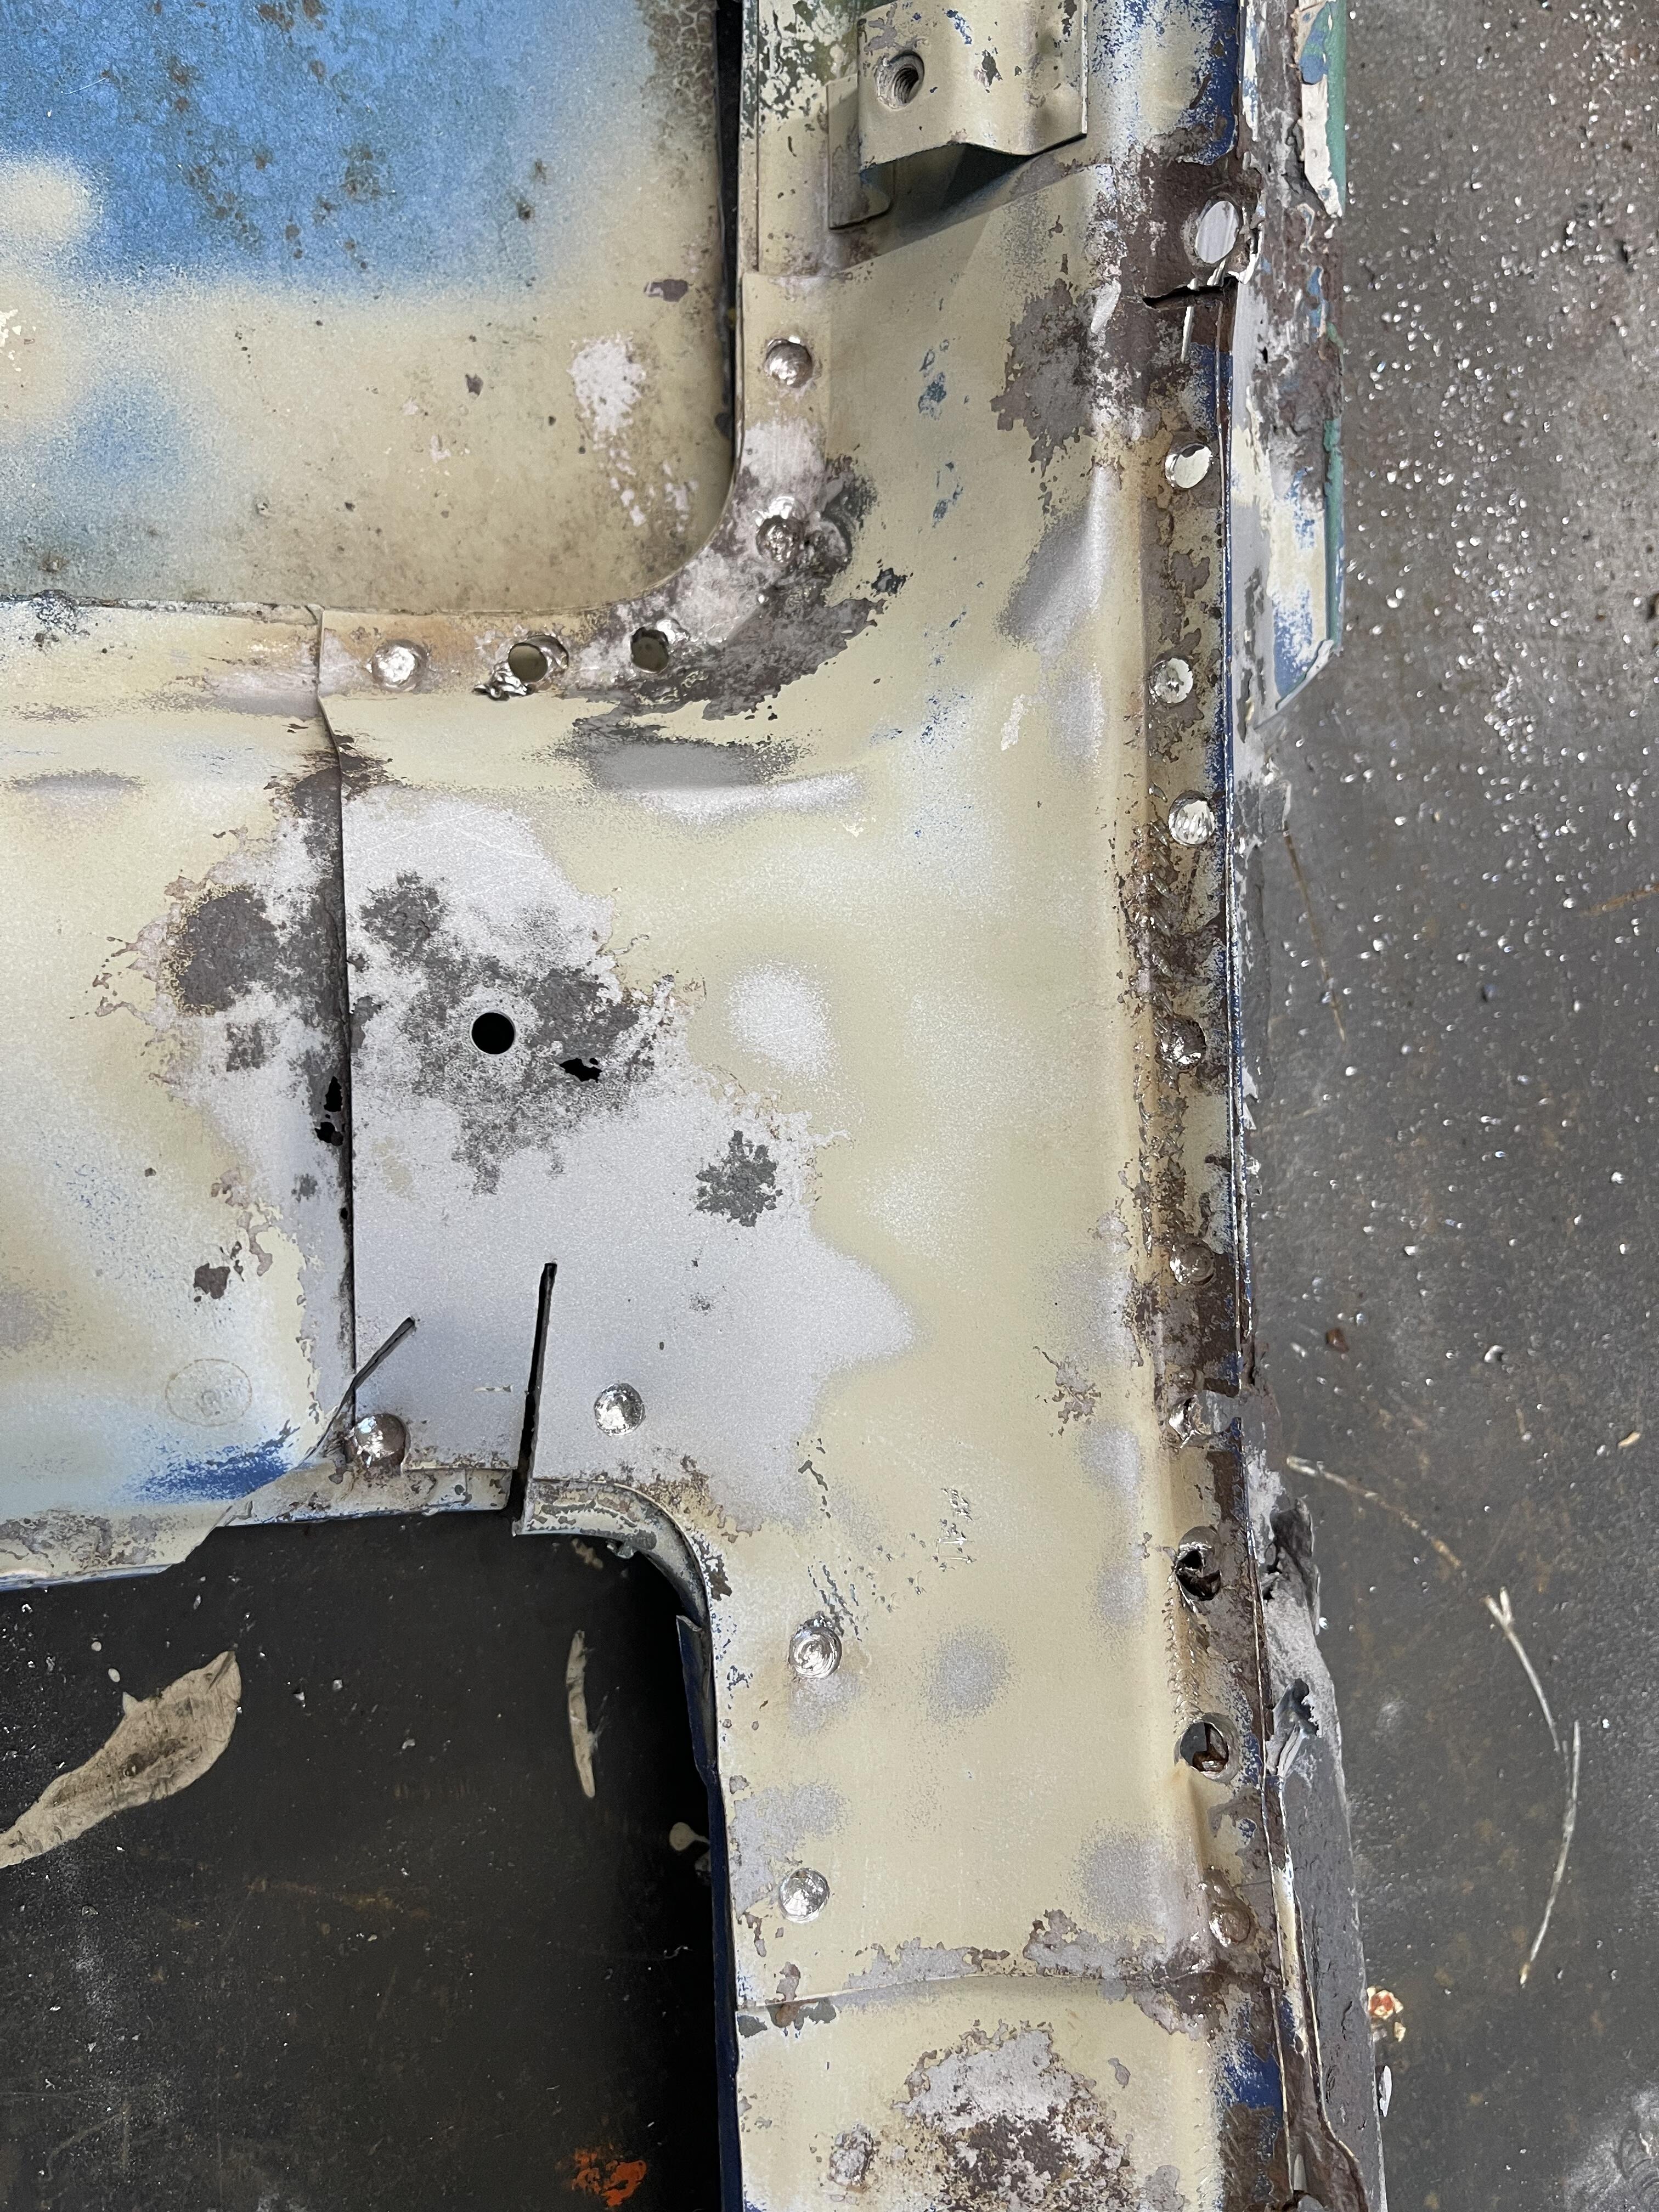
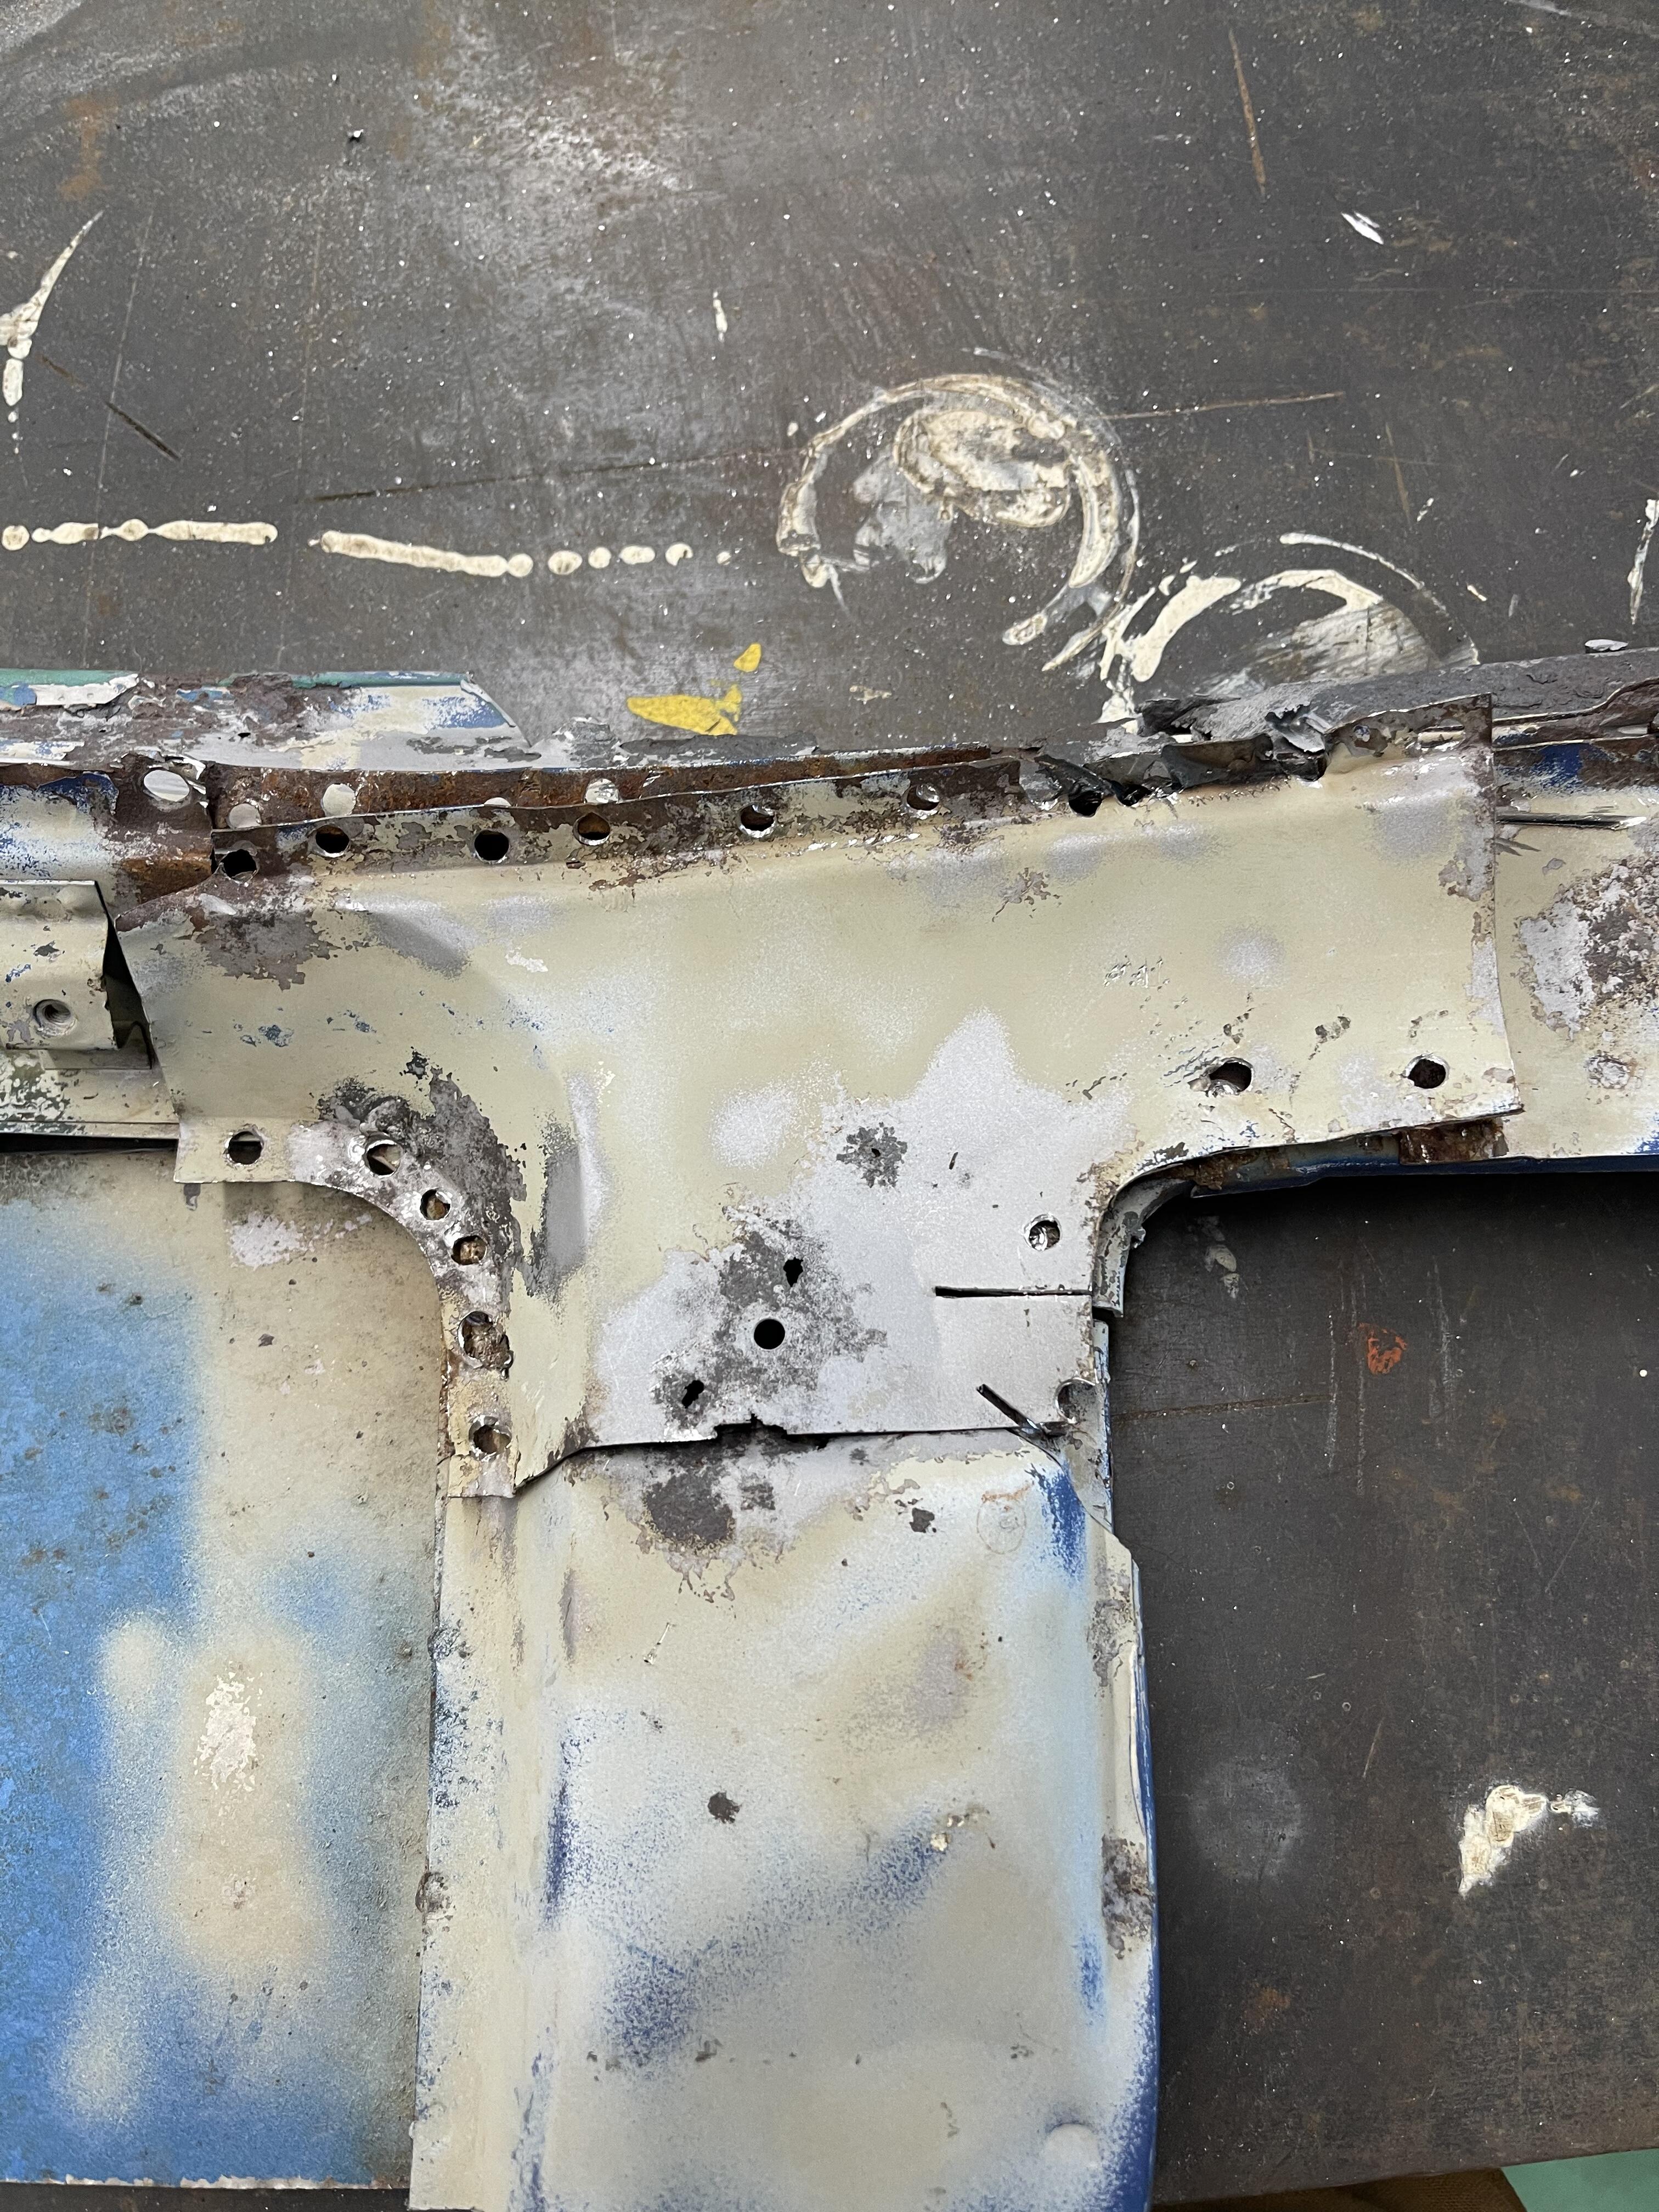
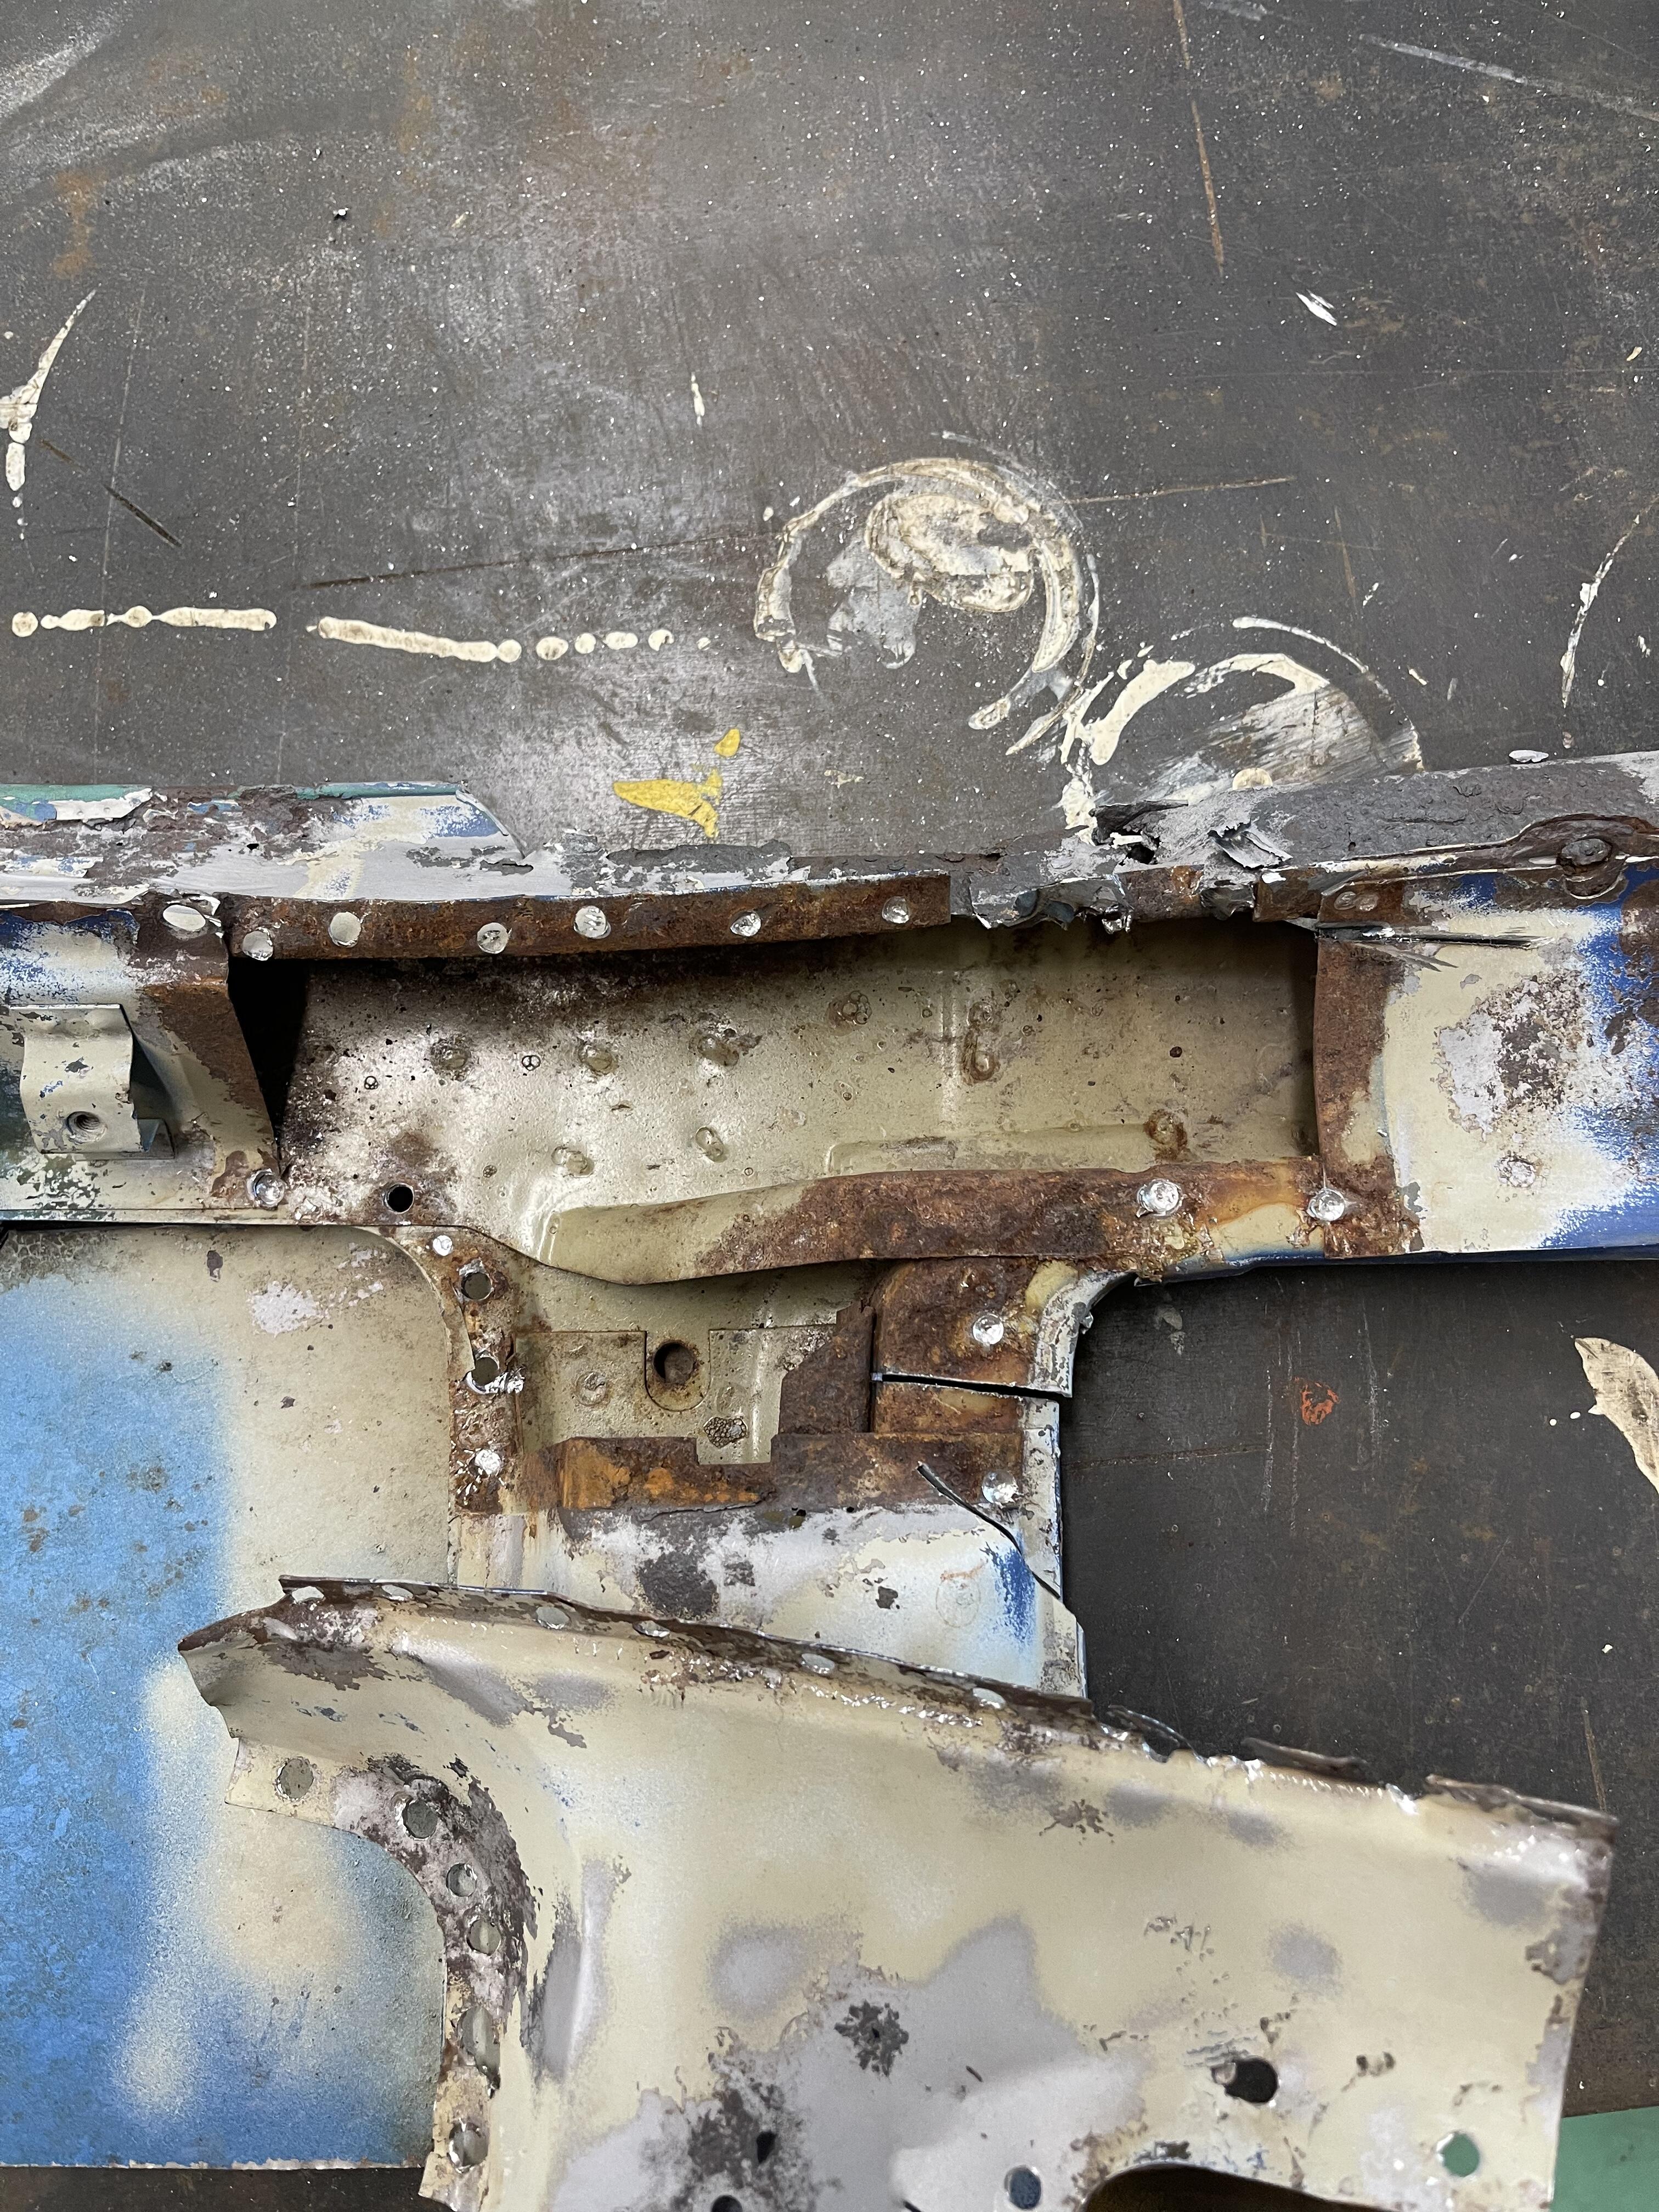
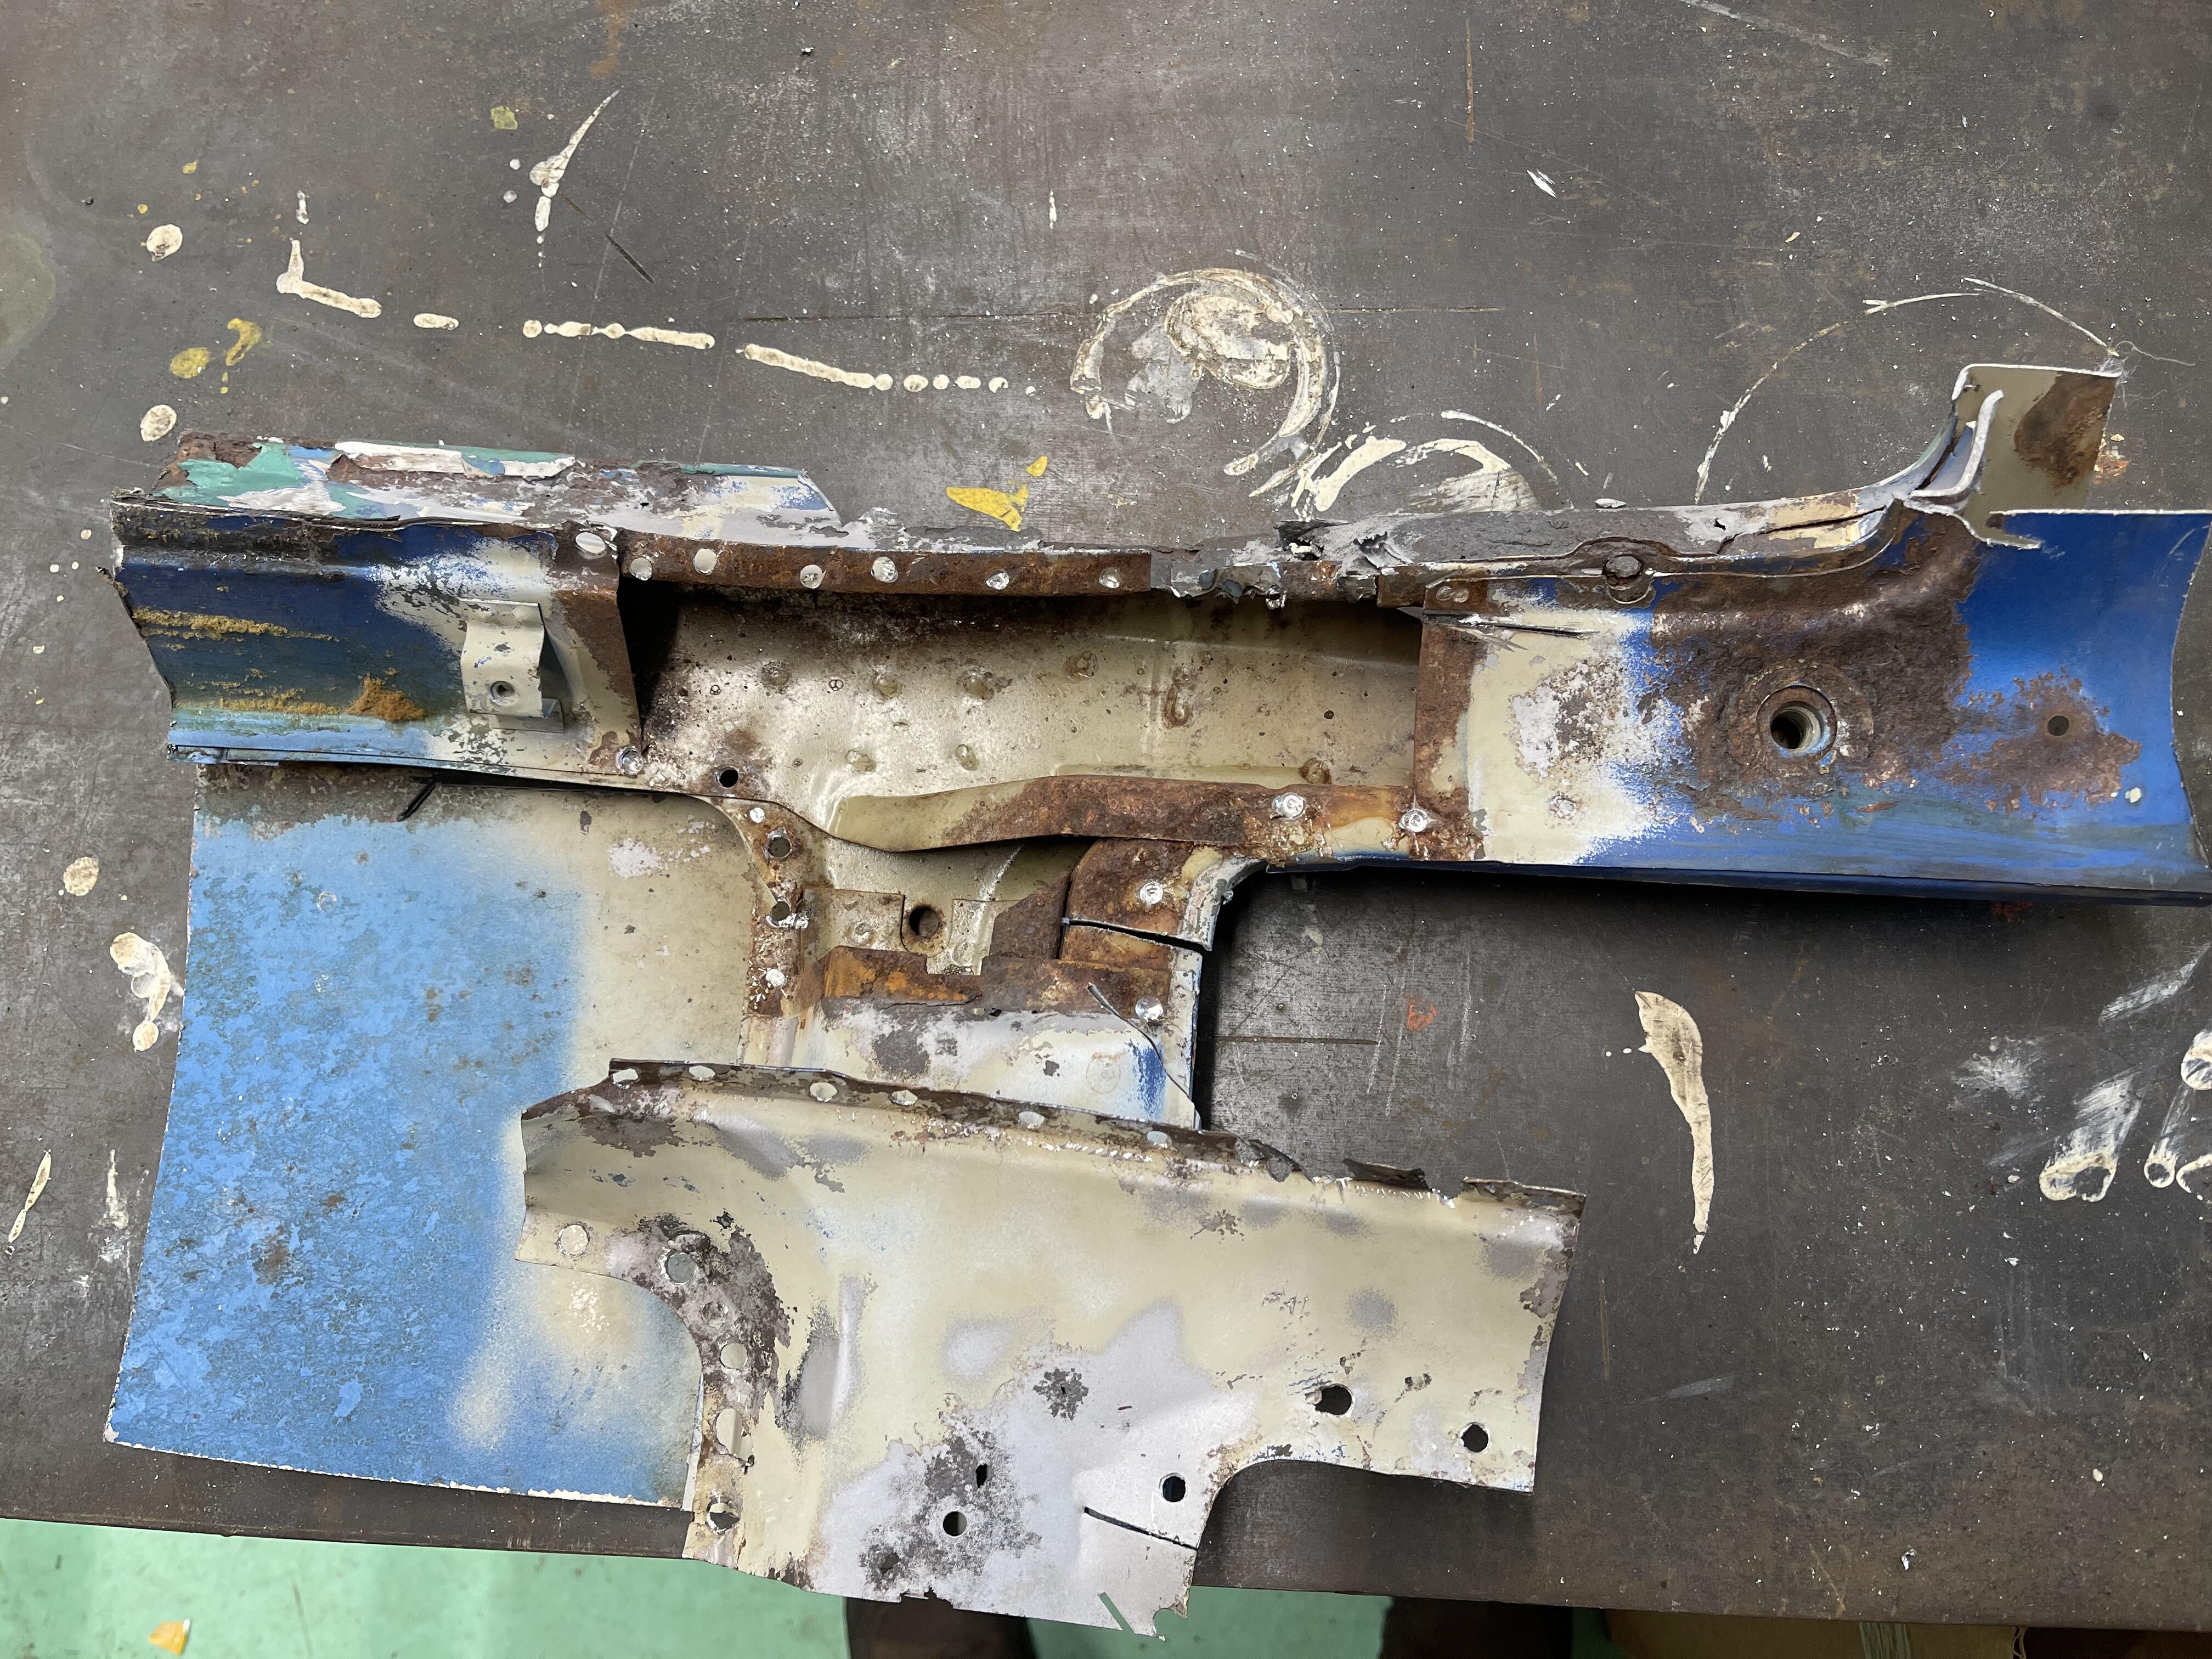
 1 pointAttached via stitch weld for sure, then “hidden” with the lead filler spread over and smoothed. Properly shaped wooden paddles for the front and rear, and the self leveling tendencies of molten lead, smooth and flexible. Pulled apart the interior side of panel junction at corner of rear roof area…. 6 panels held in place/reinforced by a “t-plate” of sorts…. All spot welds in this area.


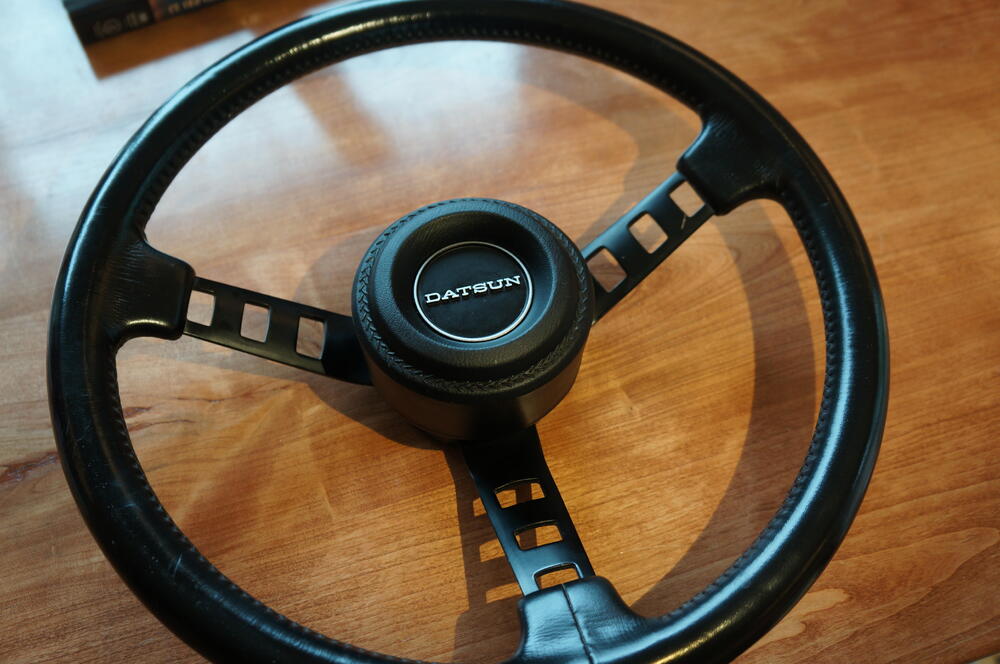
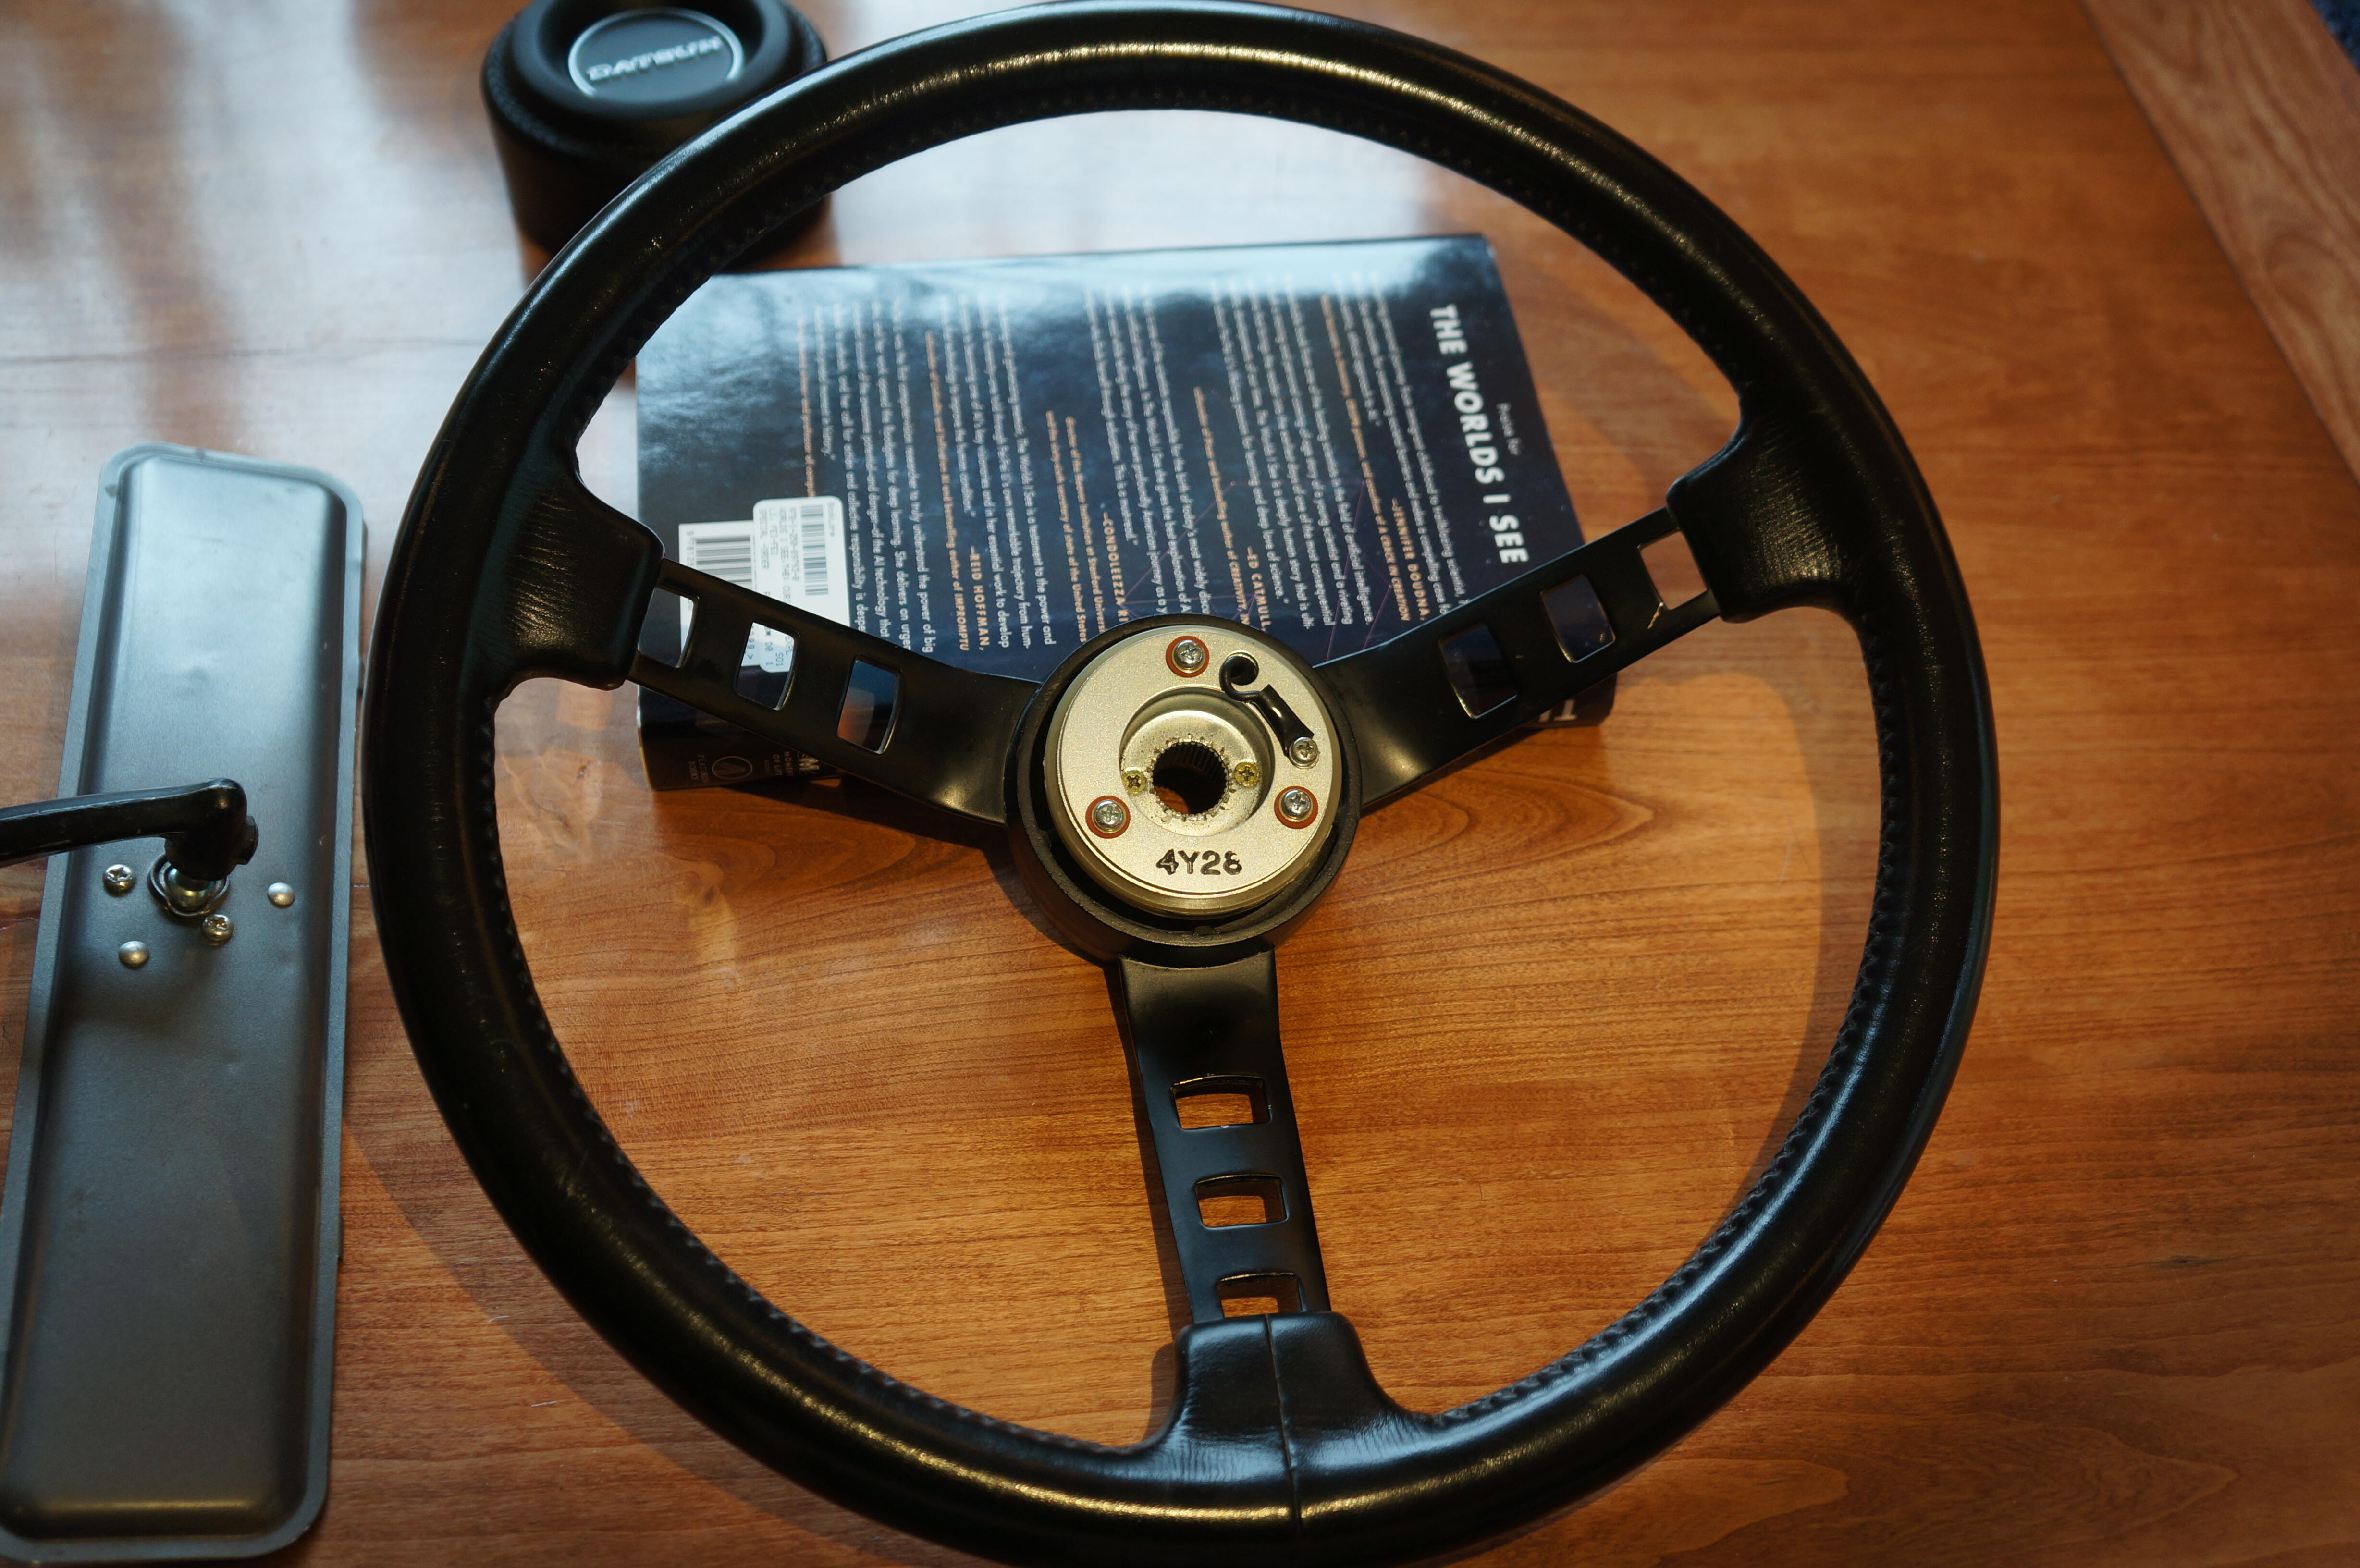
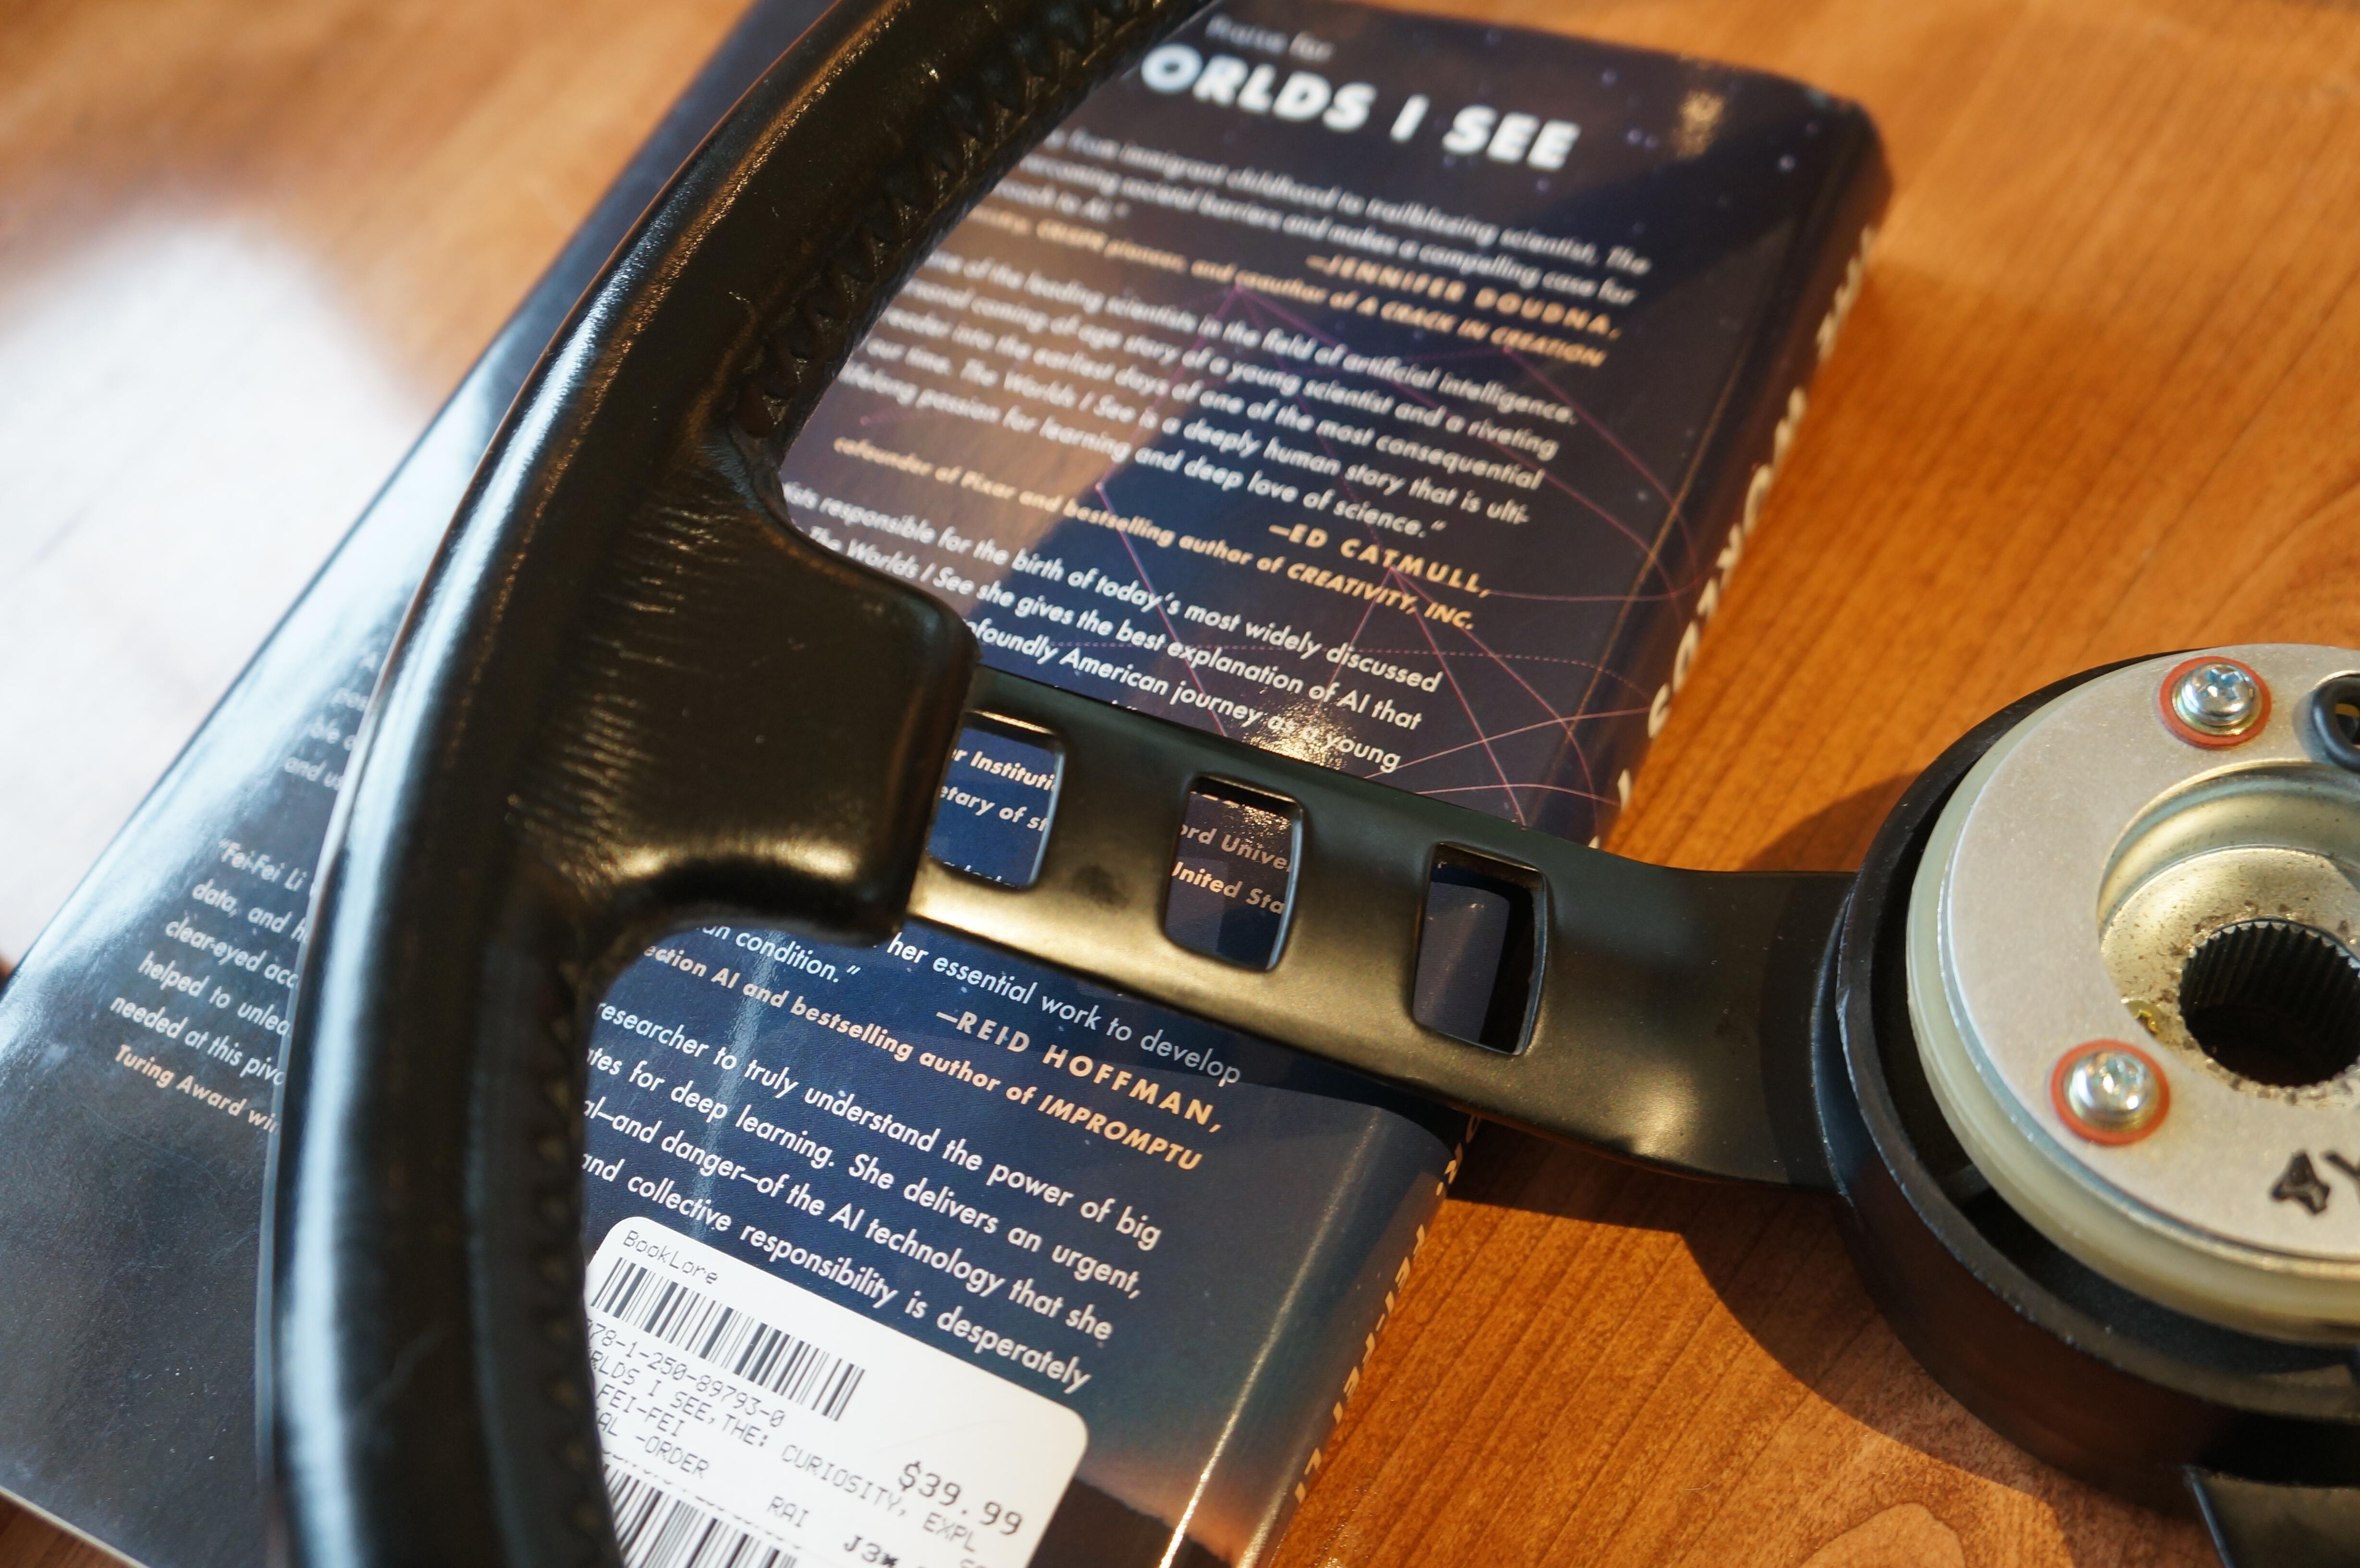
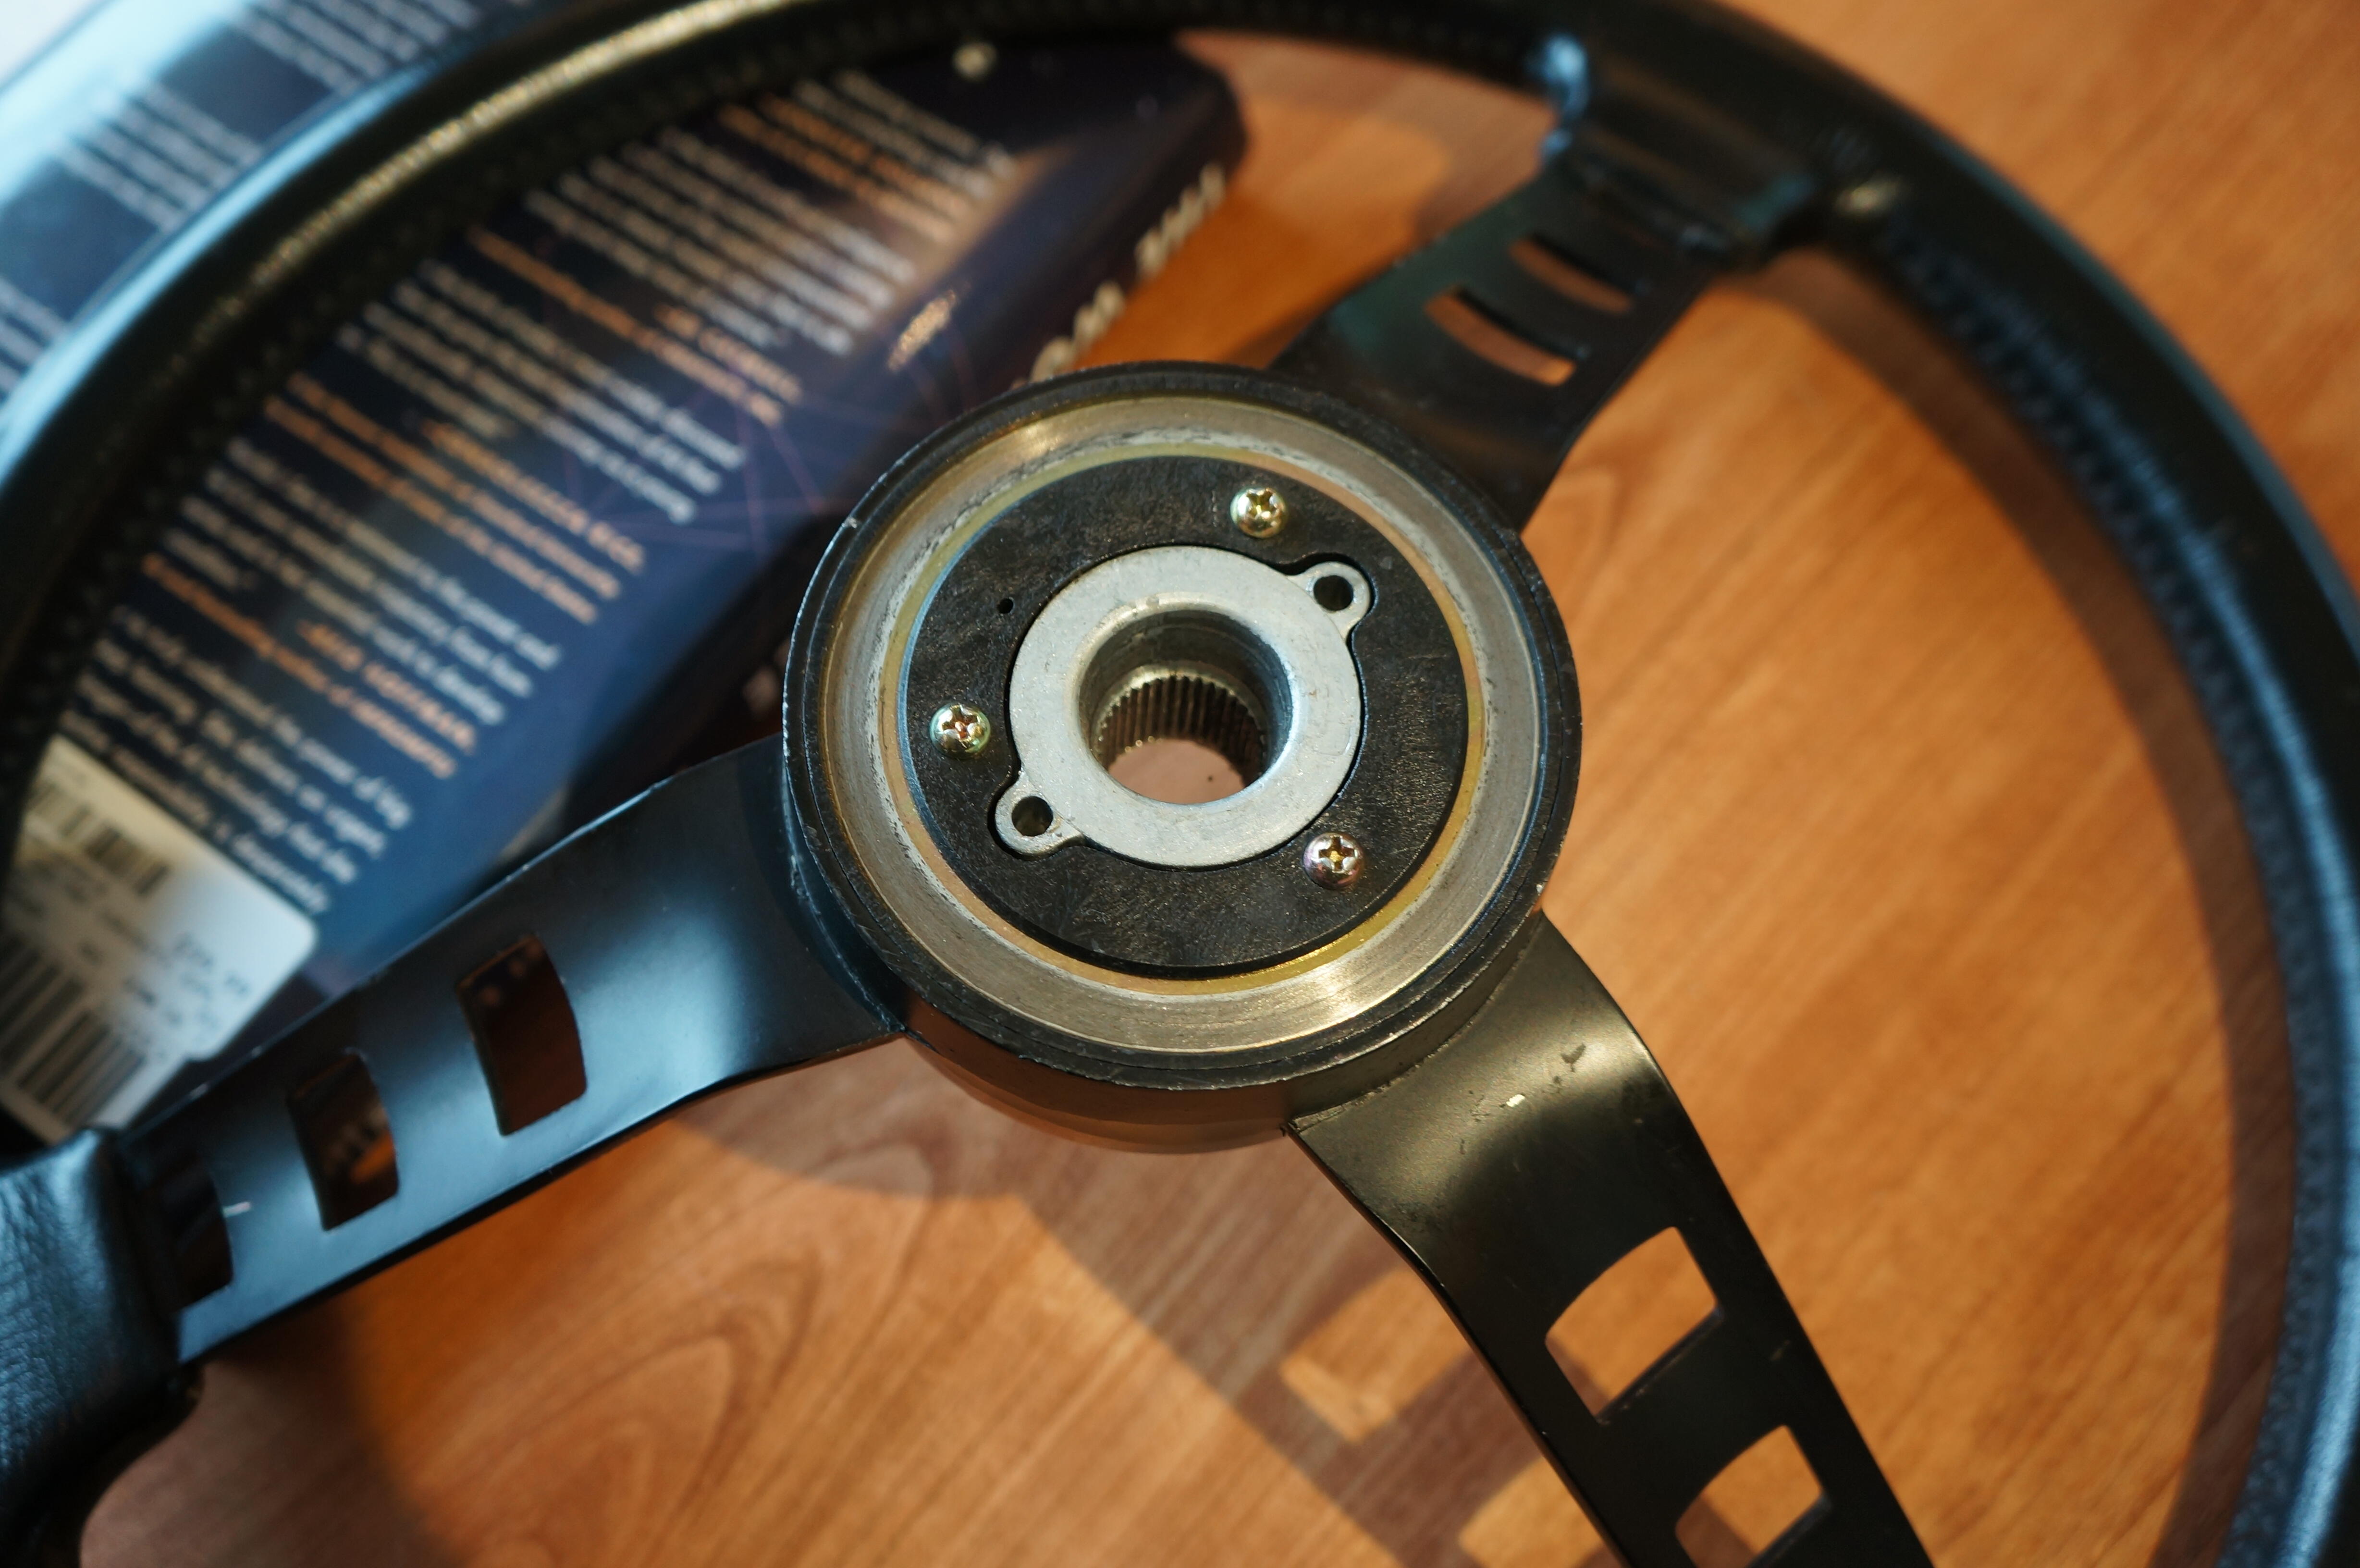
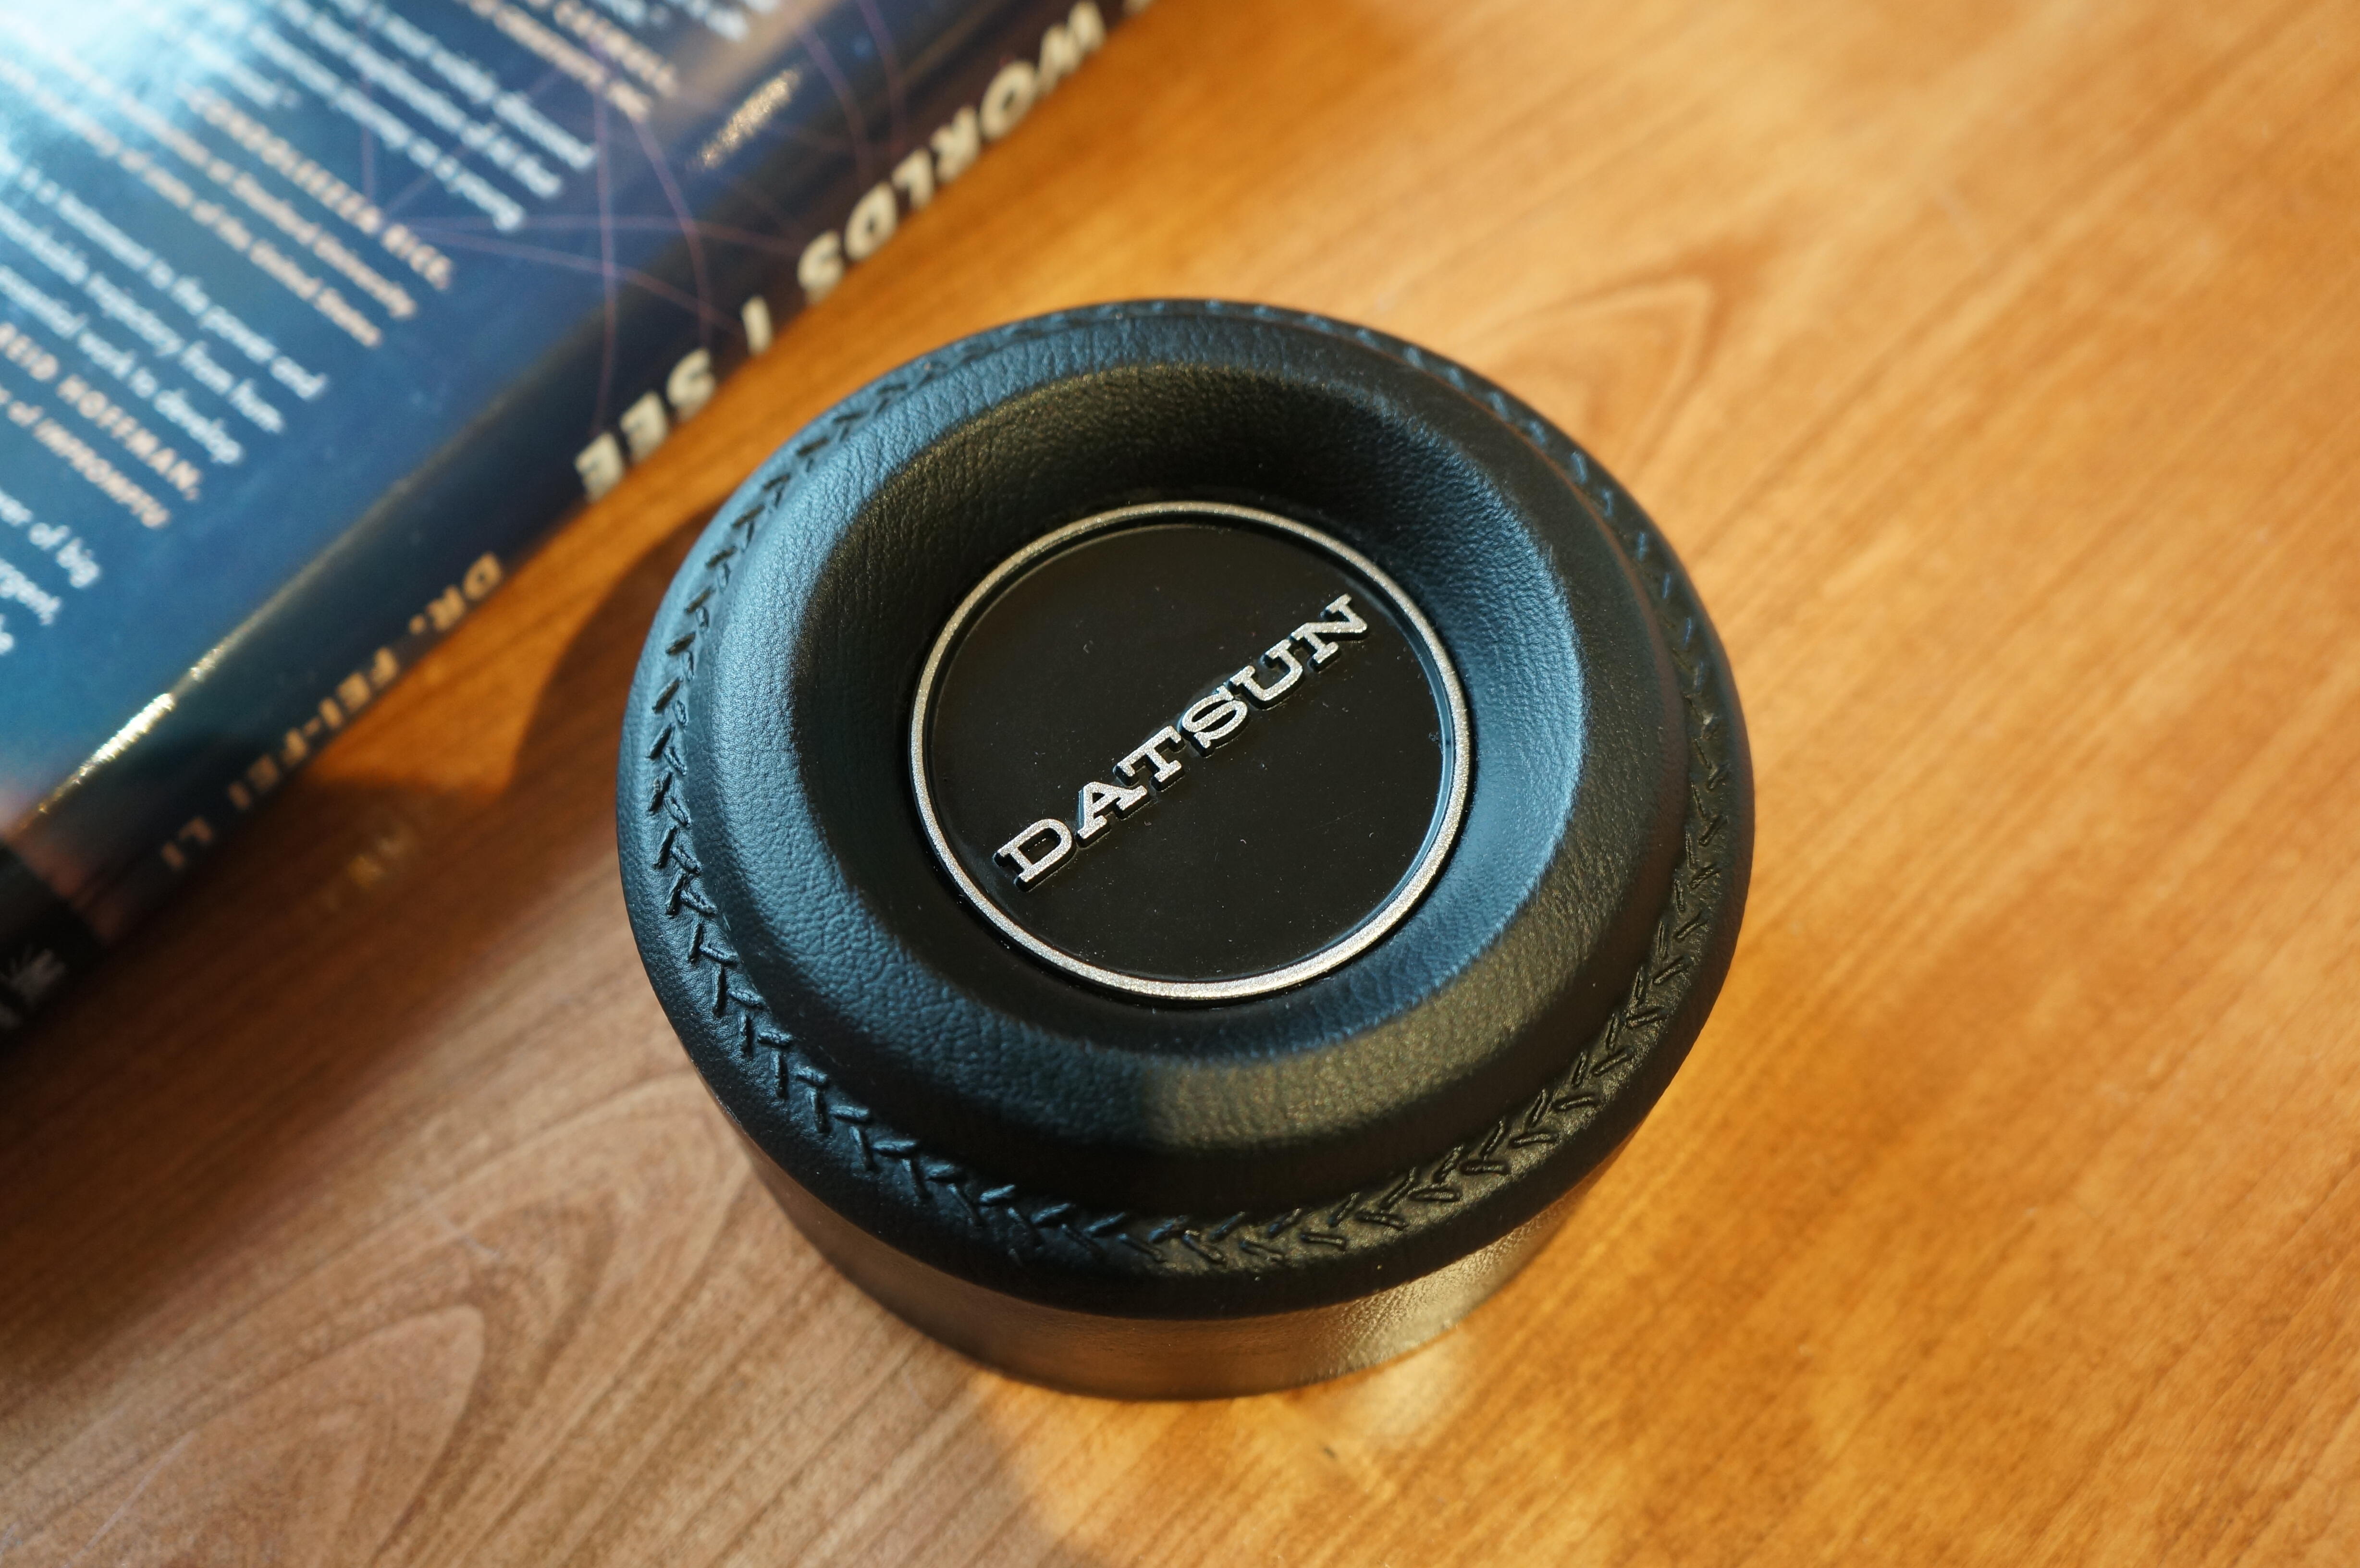
 1 pointI picked these up today at our local club spring swap meet, seller said he bought them online off of a Japanese auction site at some point in the past. They have spent time in a car as there are a few scuffs on the leather and a bit of chipped paint, also the mirror is missing the original convex mirror. I have found a few pics online that look similar to the competition wheel but almost nothing on the mirror. Can anyone fill in the blanks for me? Thanks


 1 point1 point1 pointSeems like you might be misunderstanding how the igntion system works. It's kind of magical. The spark does not come directly from the power that enters the coil. It comes from the collapse of the magnetic field when the power through the coil is interrupted. The part that you need to focus on is called the primary circuit. It's the current that enters the coil, passes through the points and on to ground. The condenser does not pass any current, it is connected as a branch on the circuit to absorb the peaks of the current pulses as the primary circuit is opened and closed. Anyway, the places to probe for voltage are the two posts on the coil and both sides of the points. You also want to check the grounding of the distributor body since that is where the current flows after it passes through the points. The most common problem with old points is corrosion on the contacts. Open the points and file these surfaces.
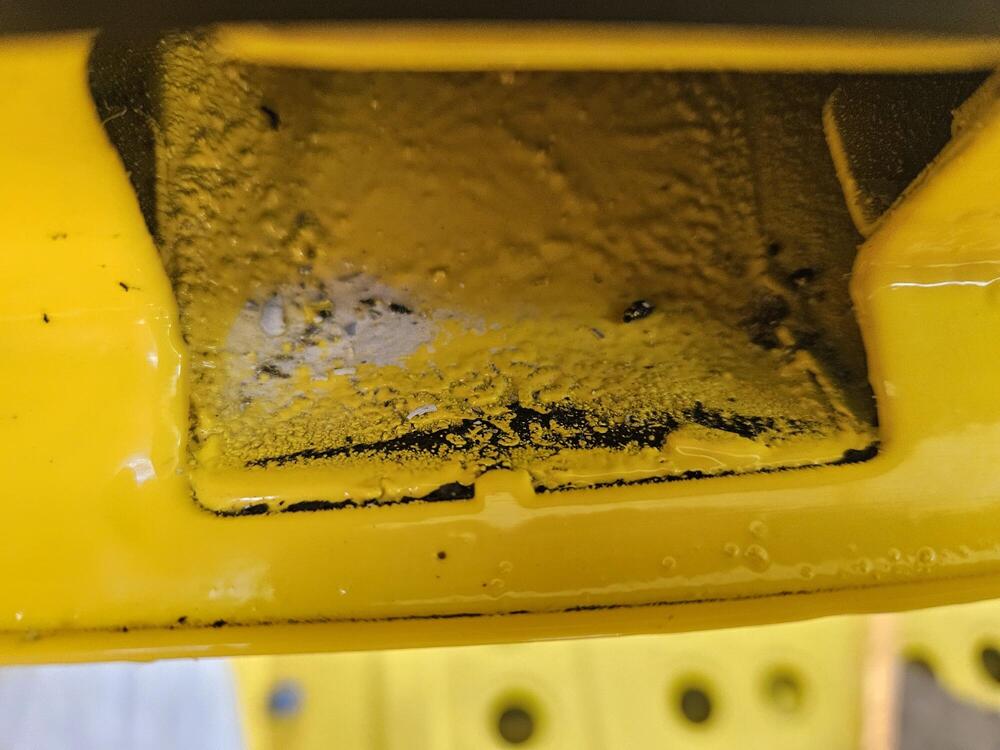
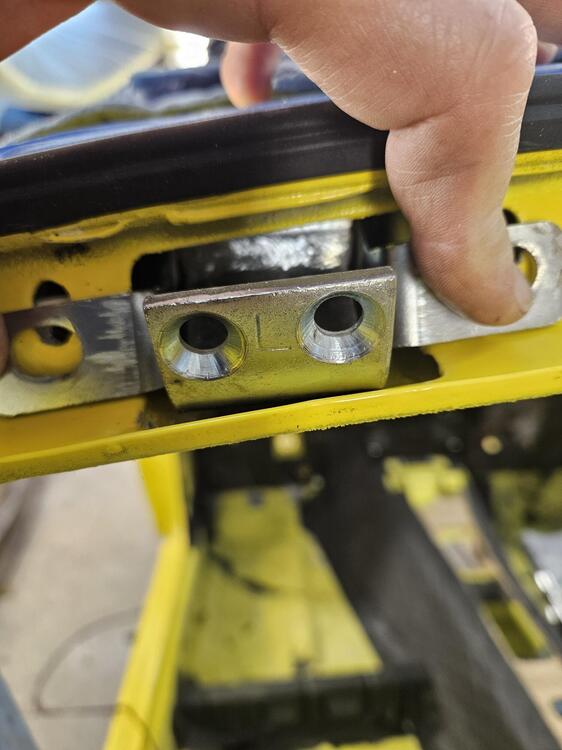
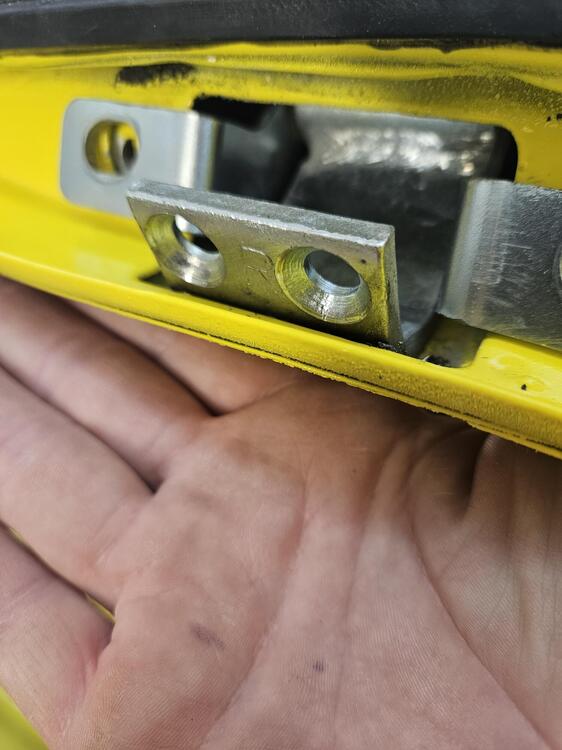
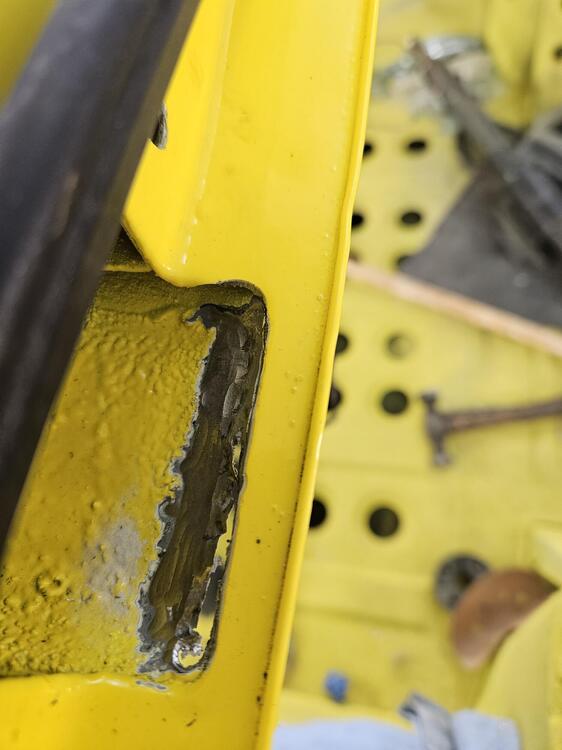
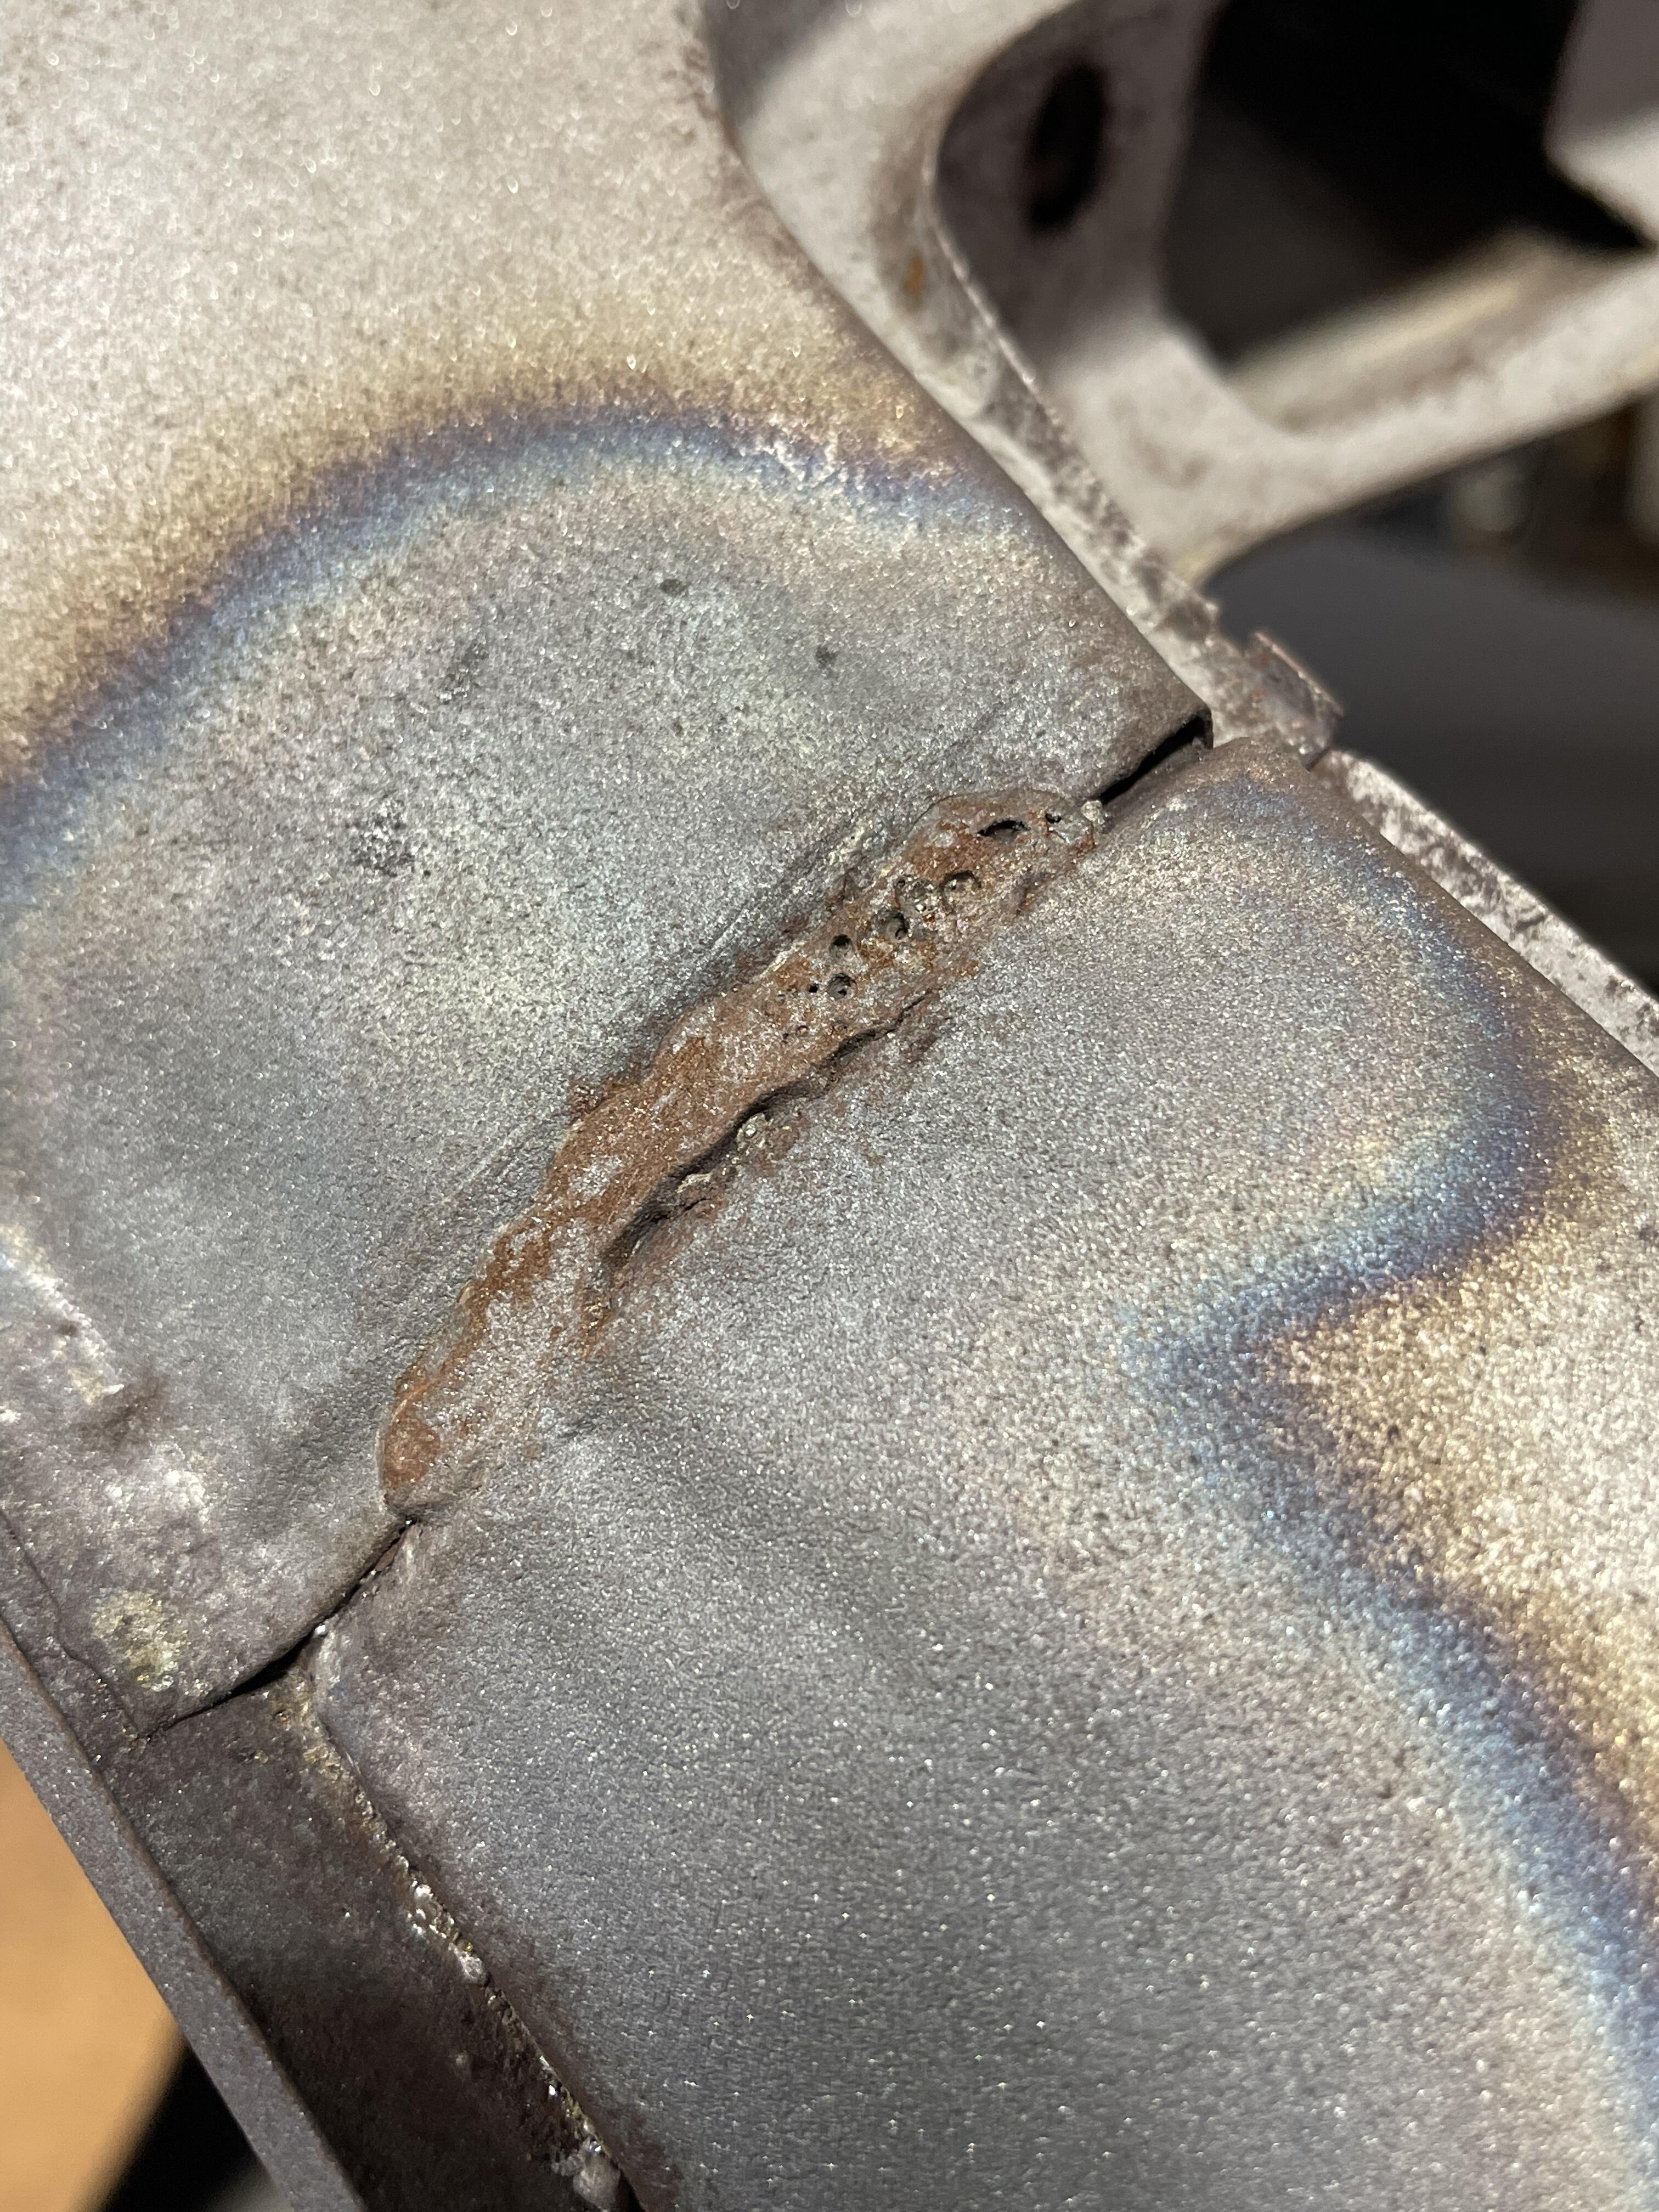
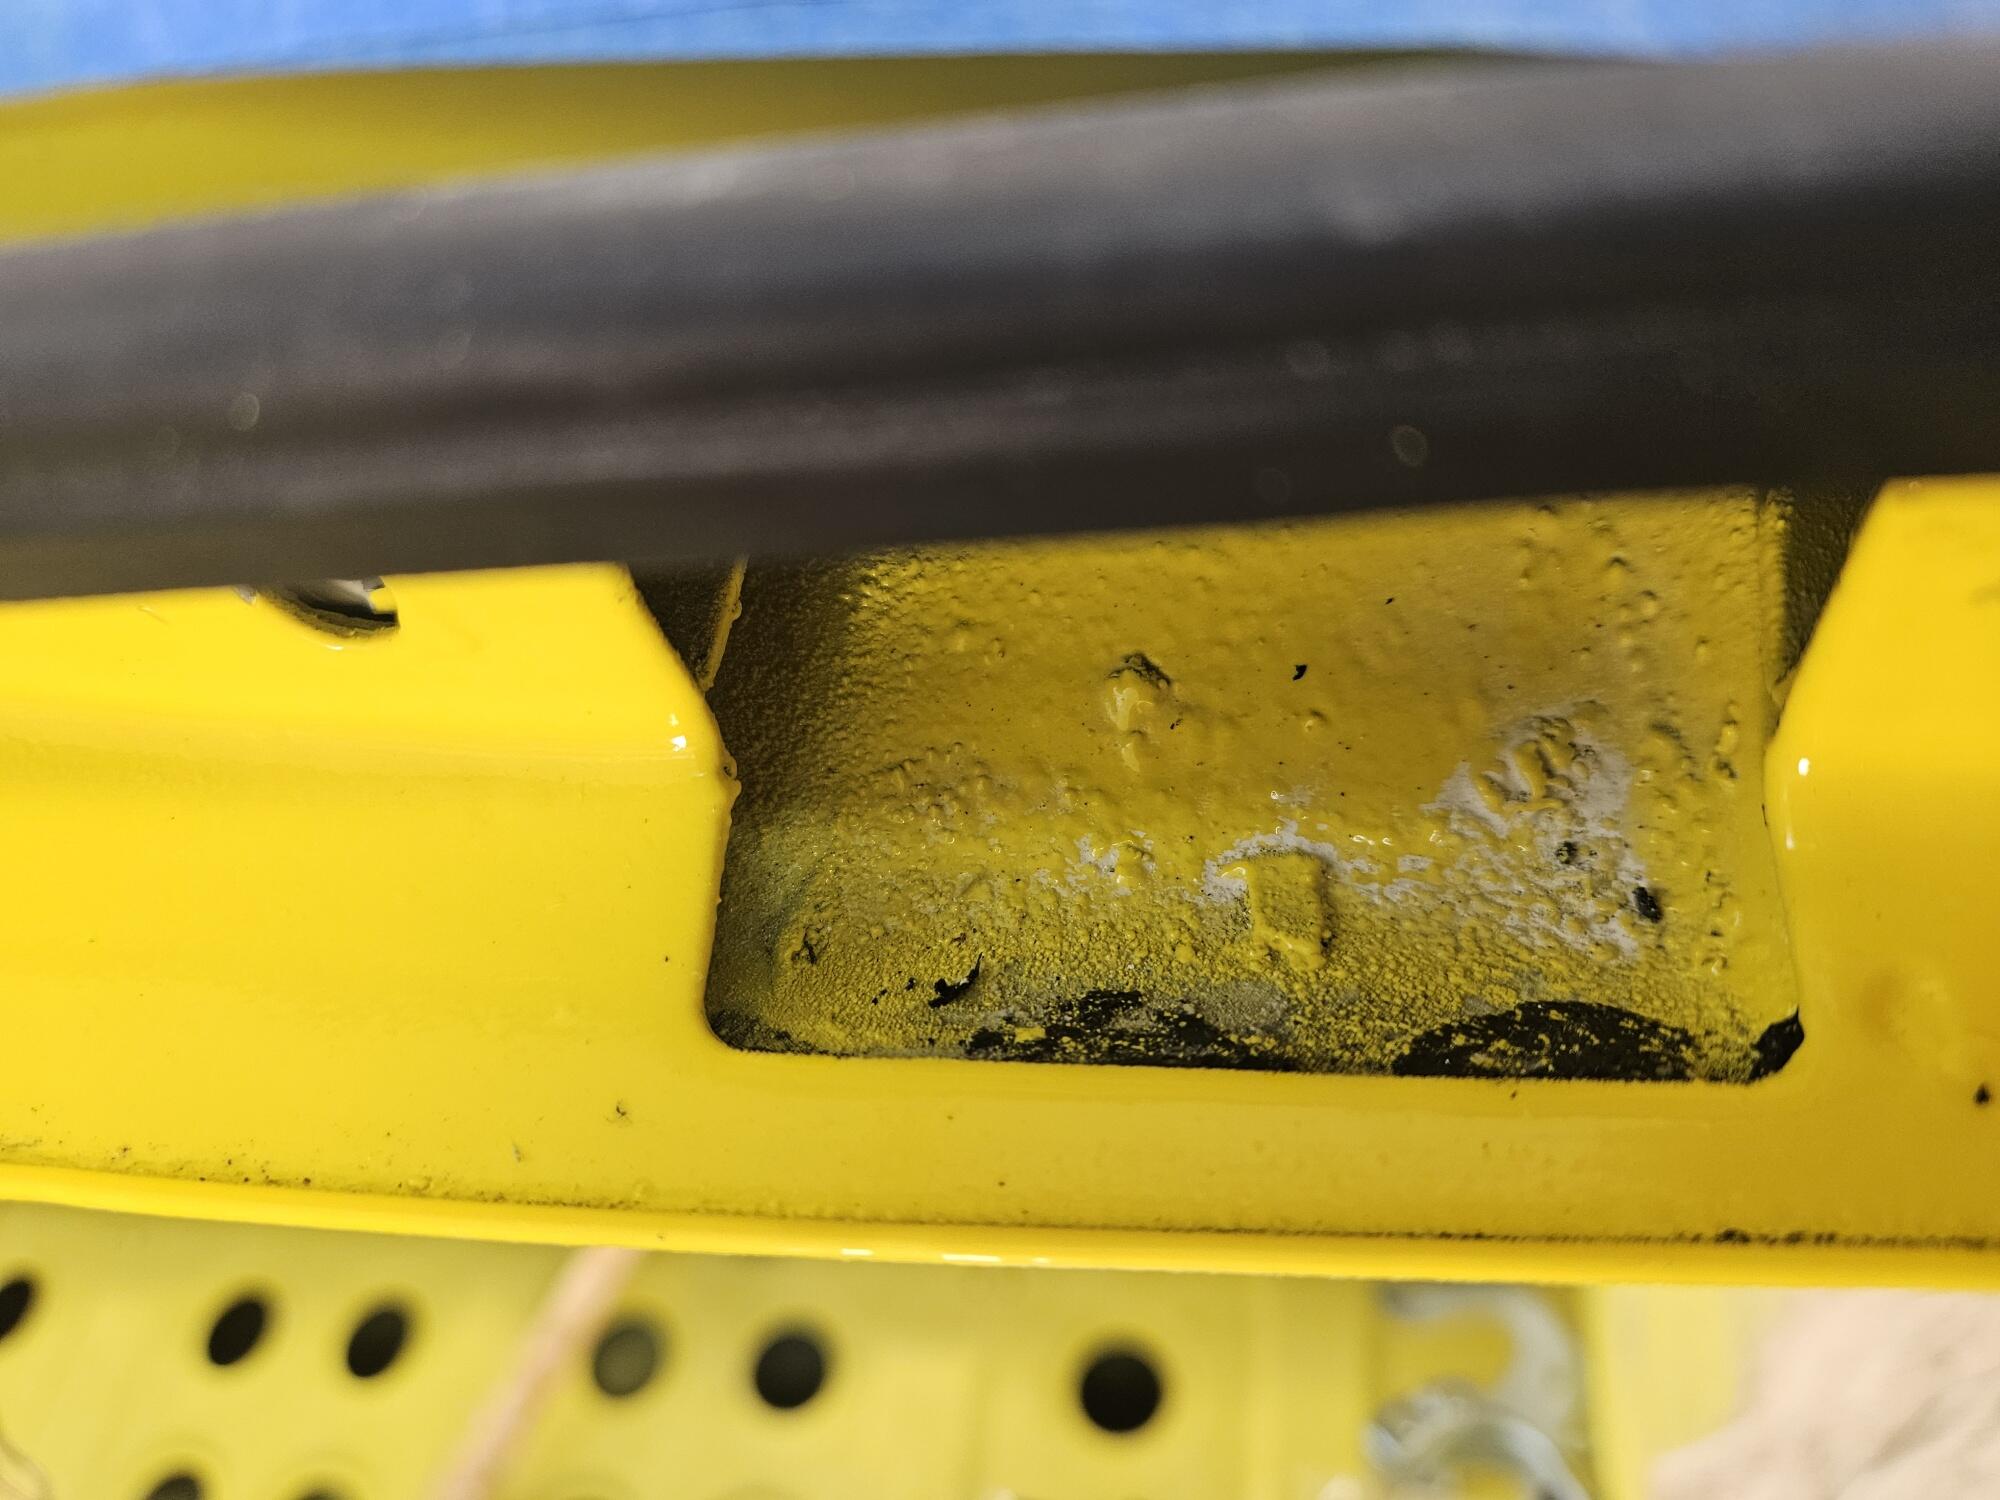
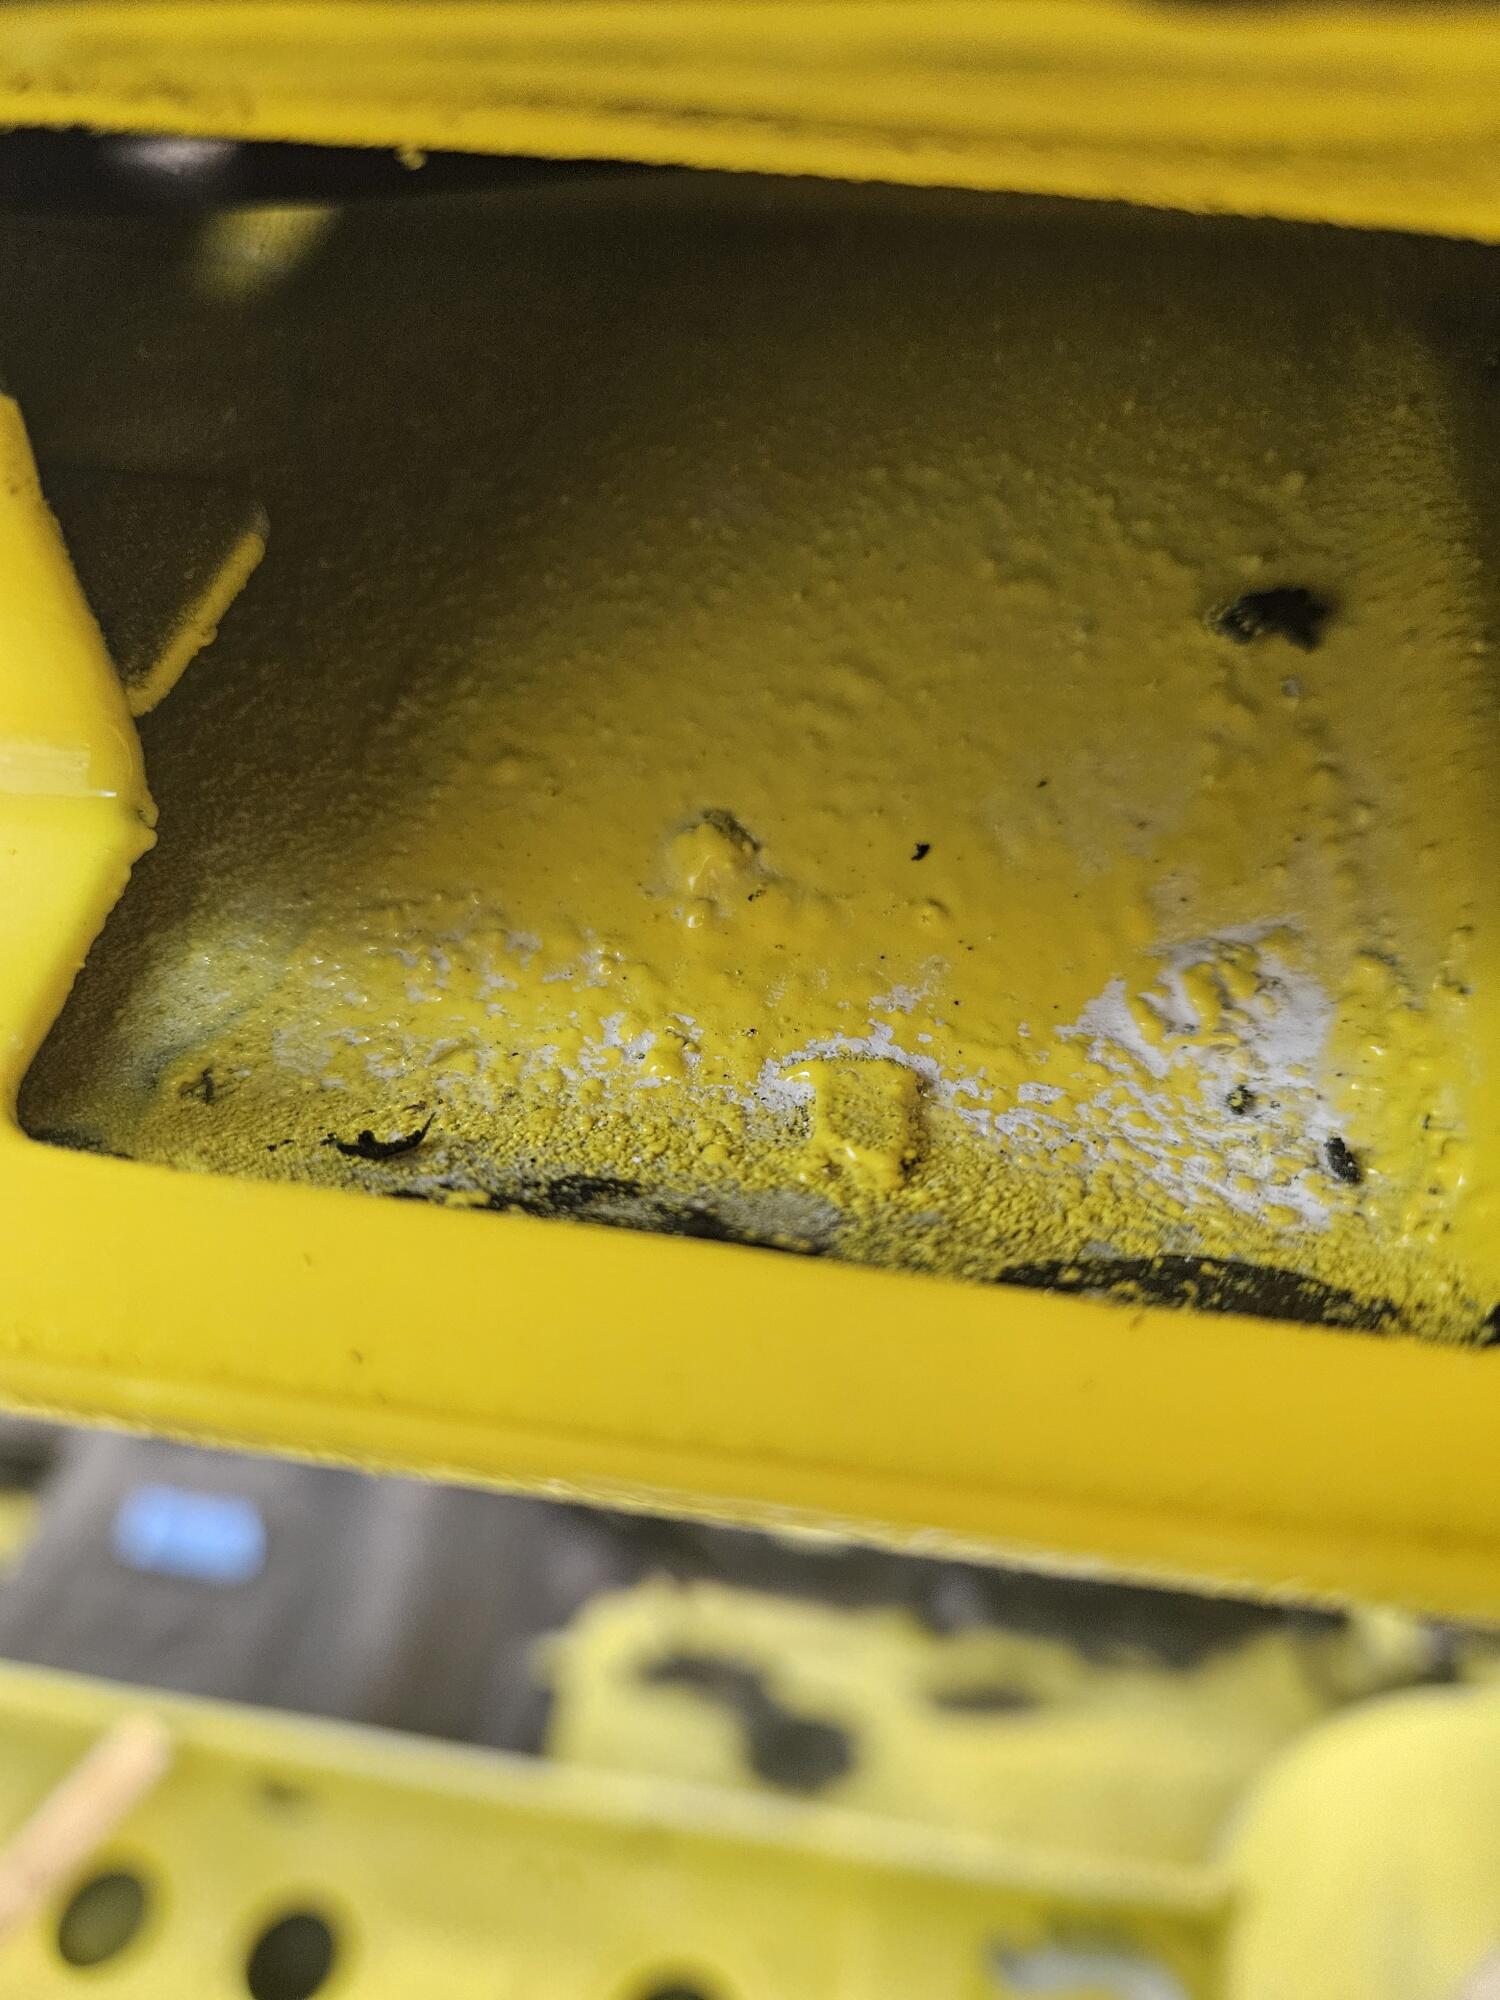
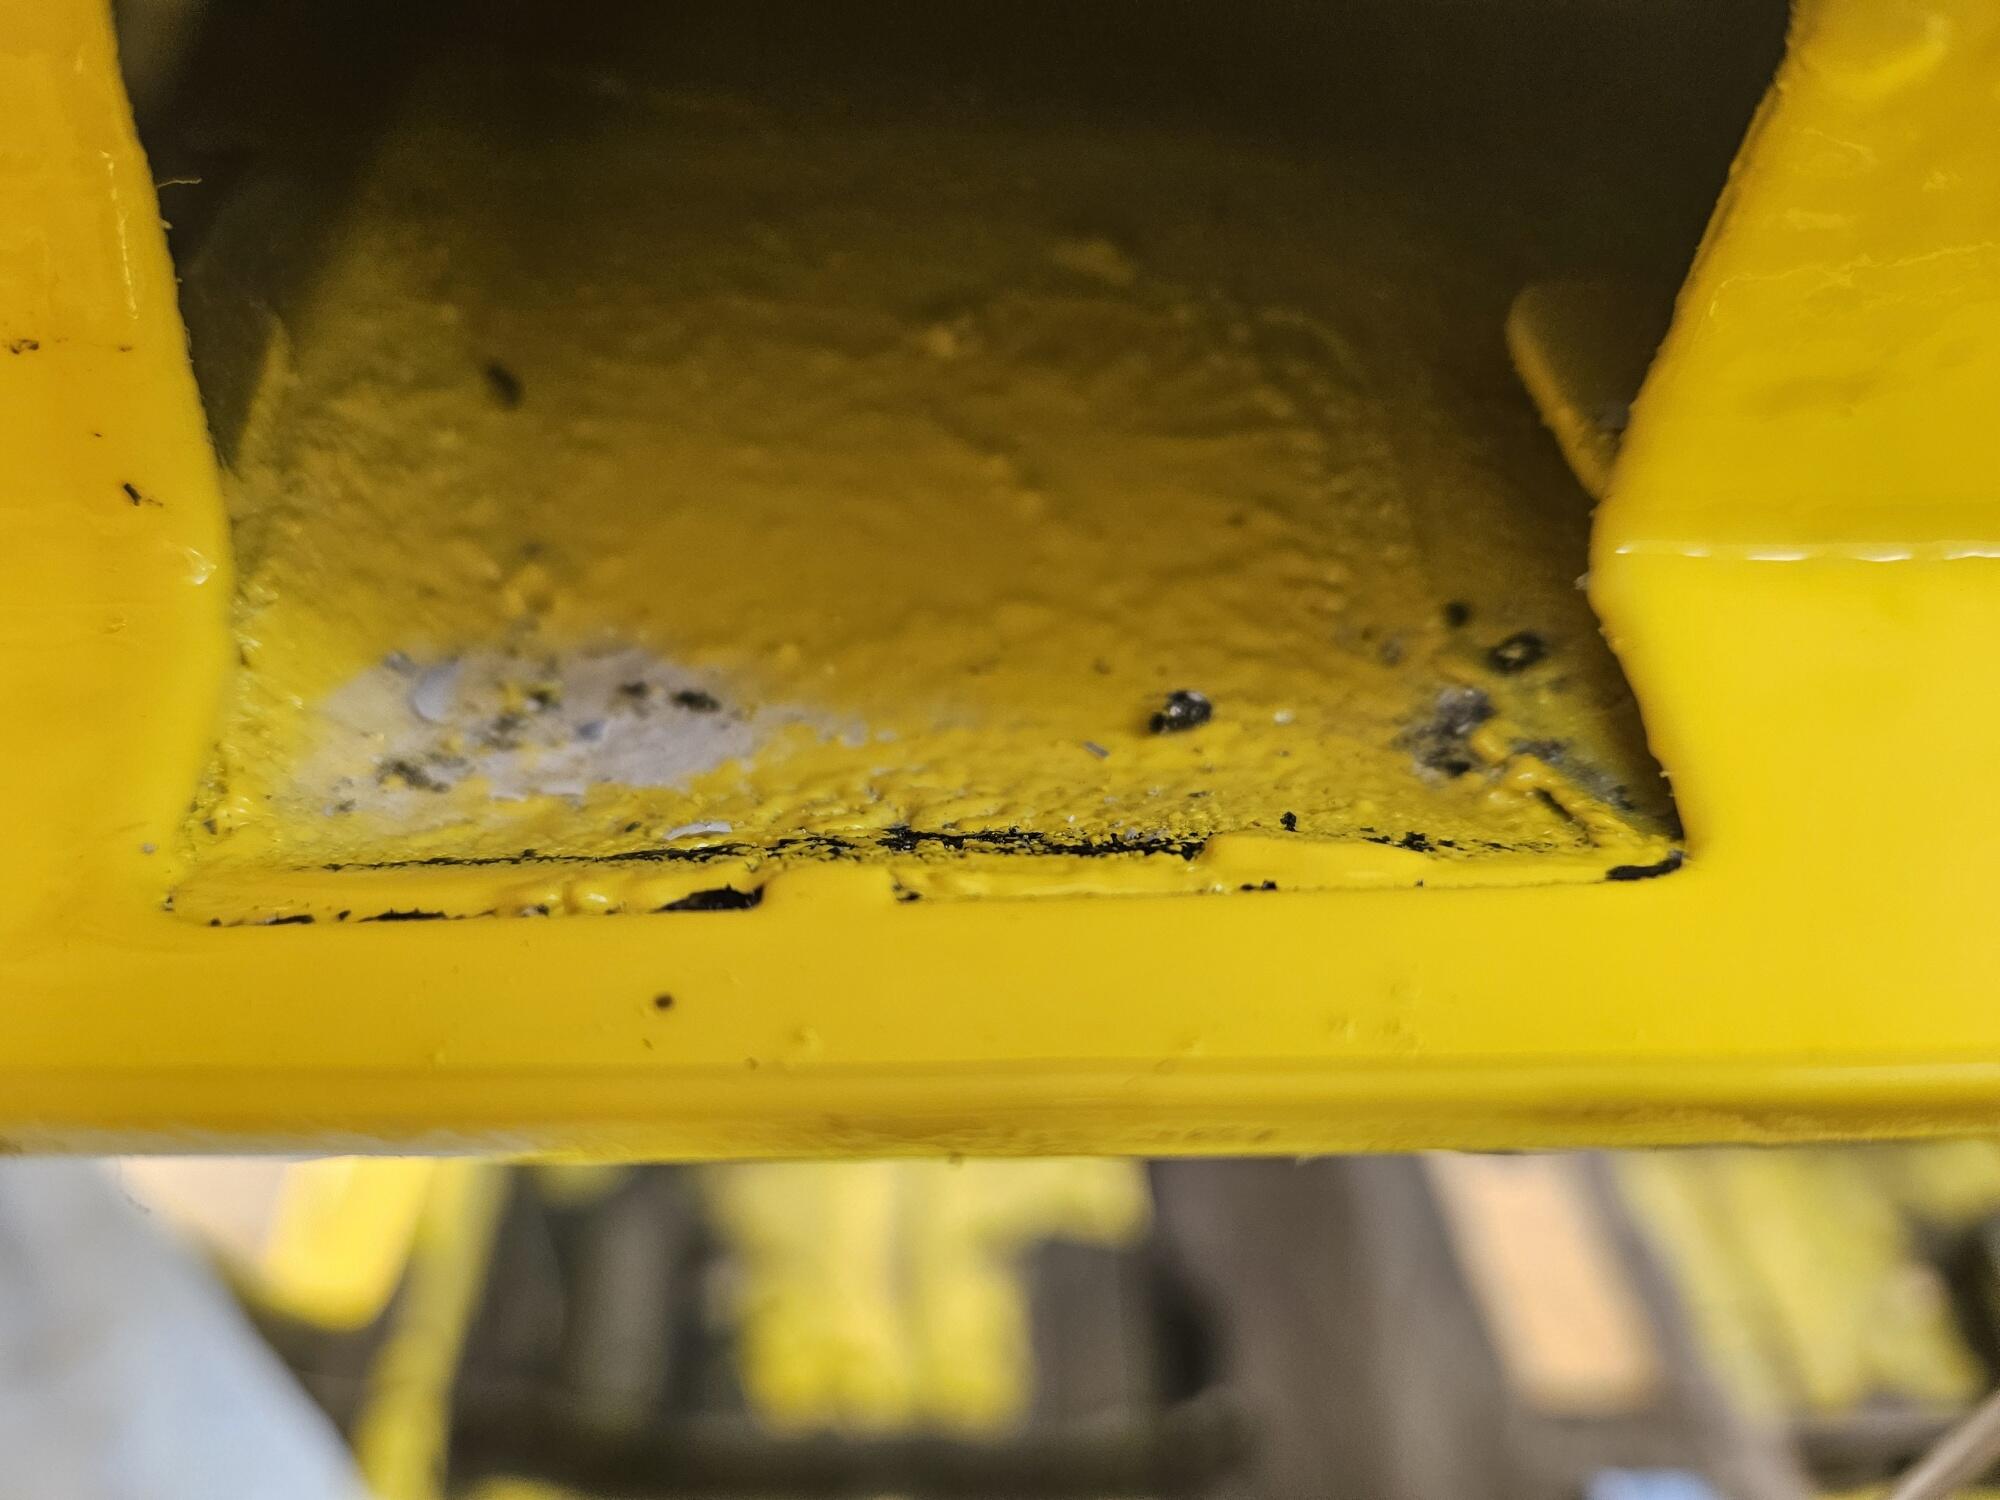
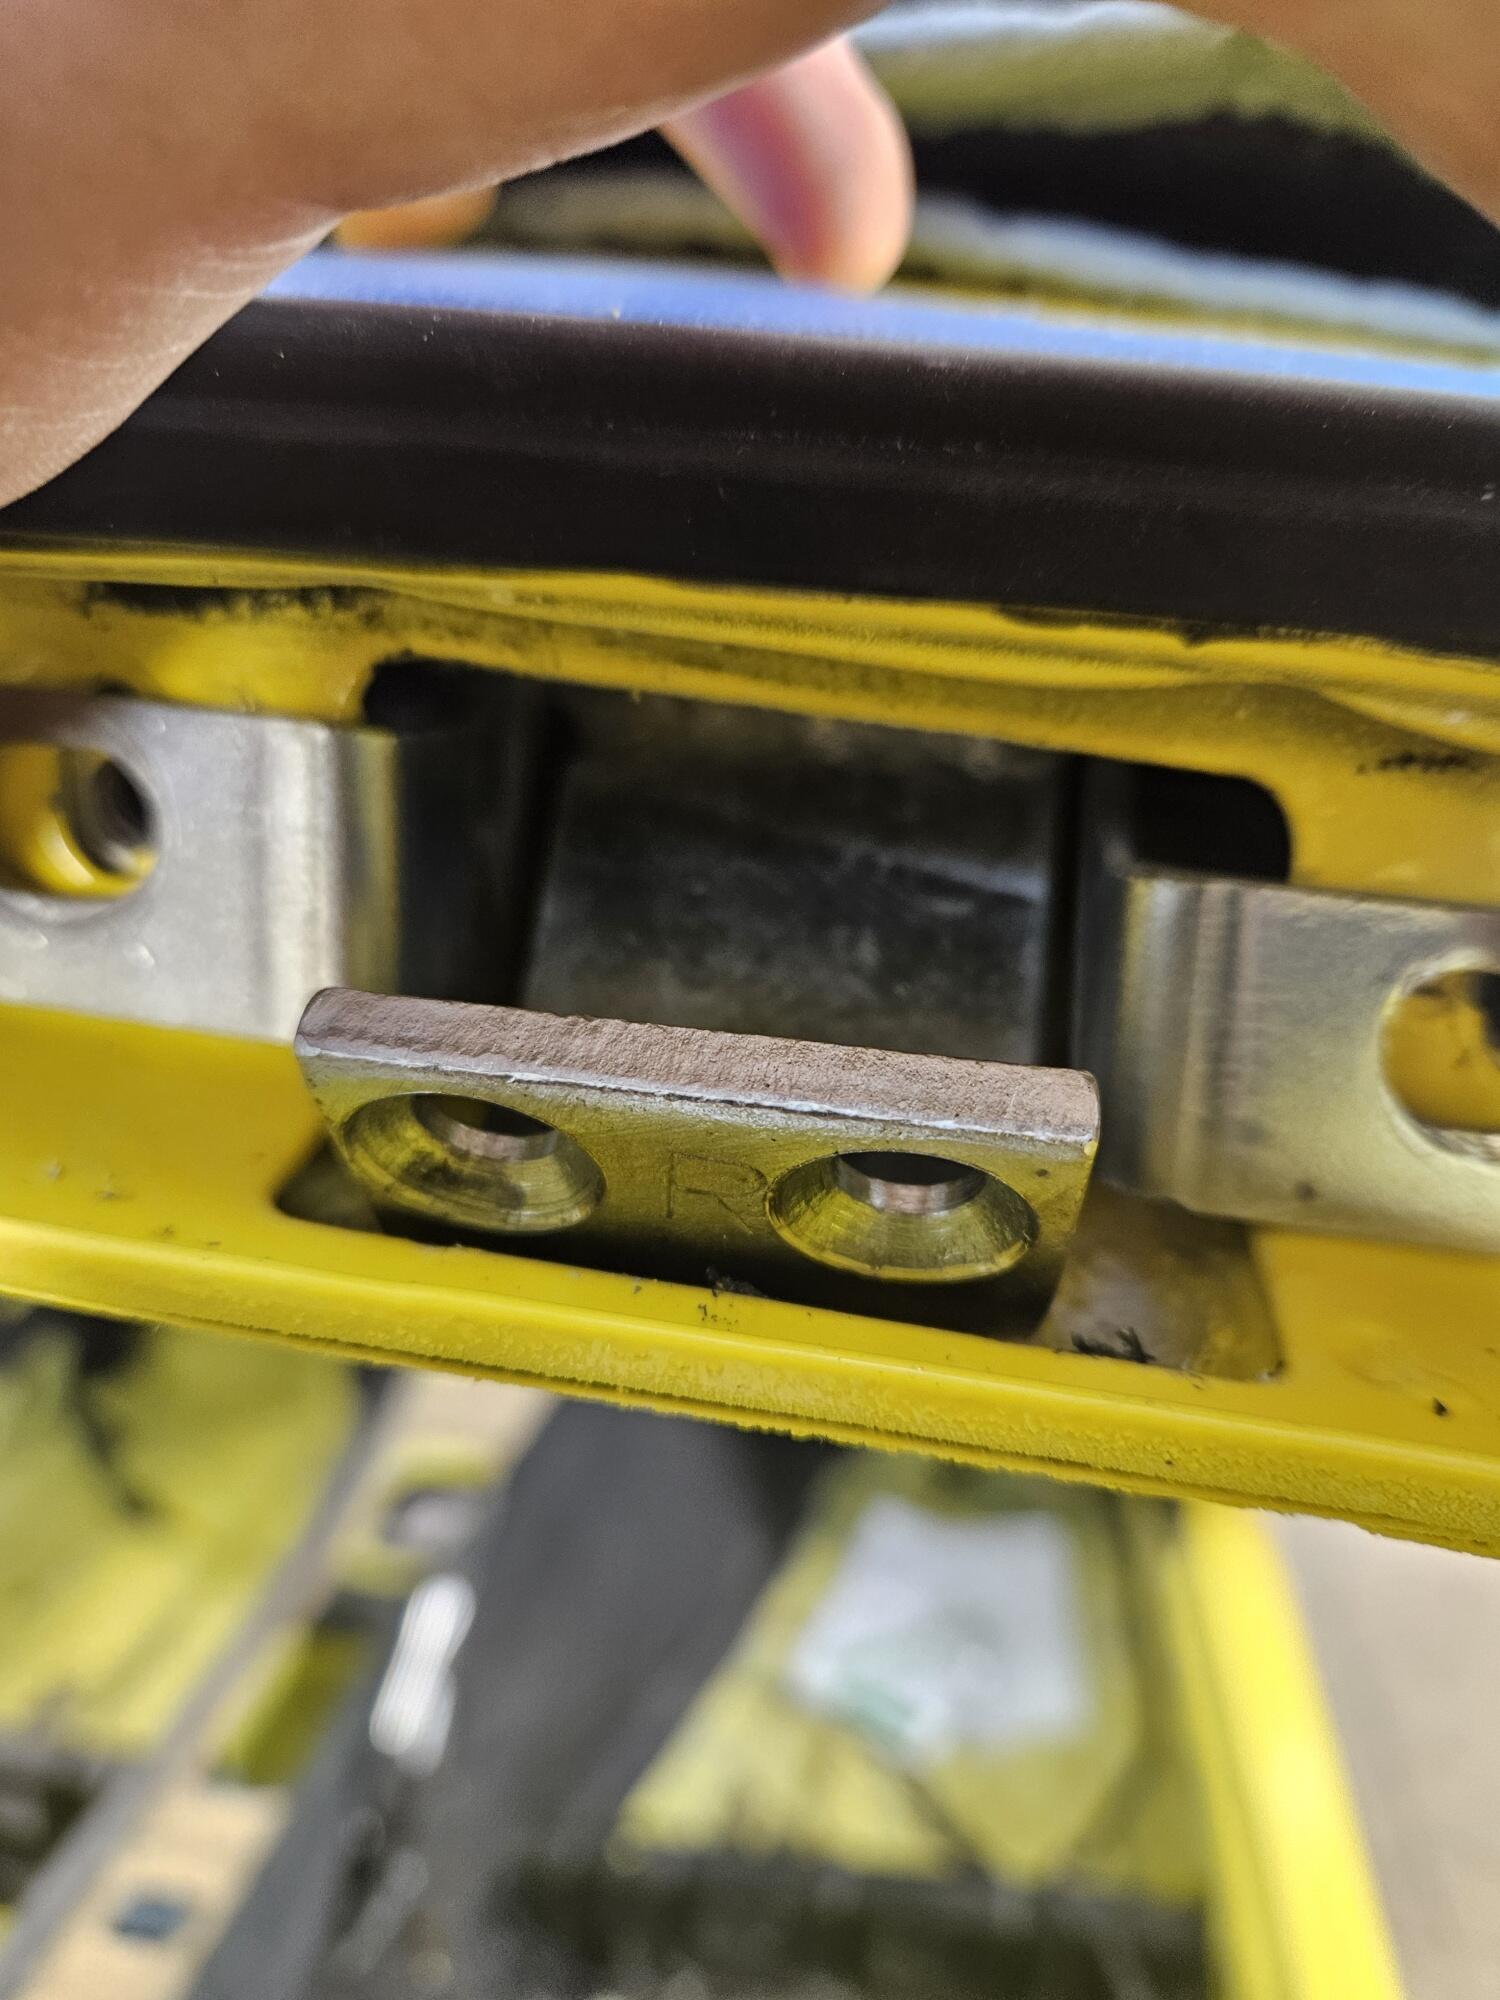
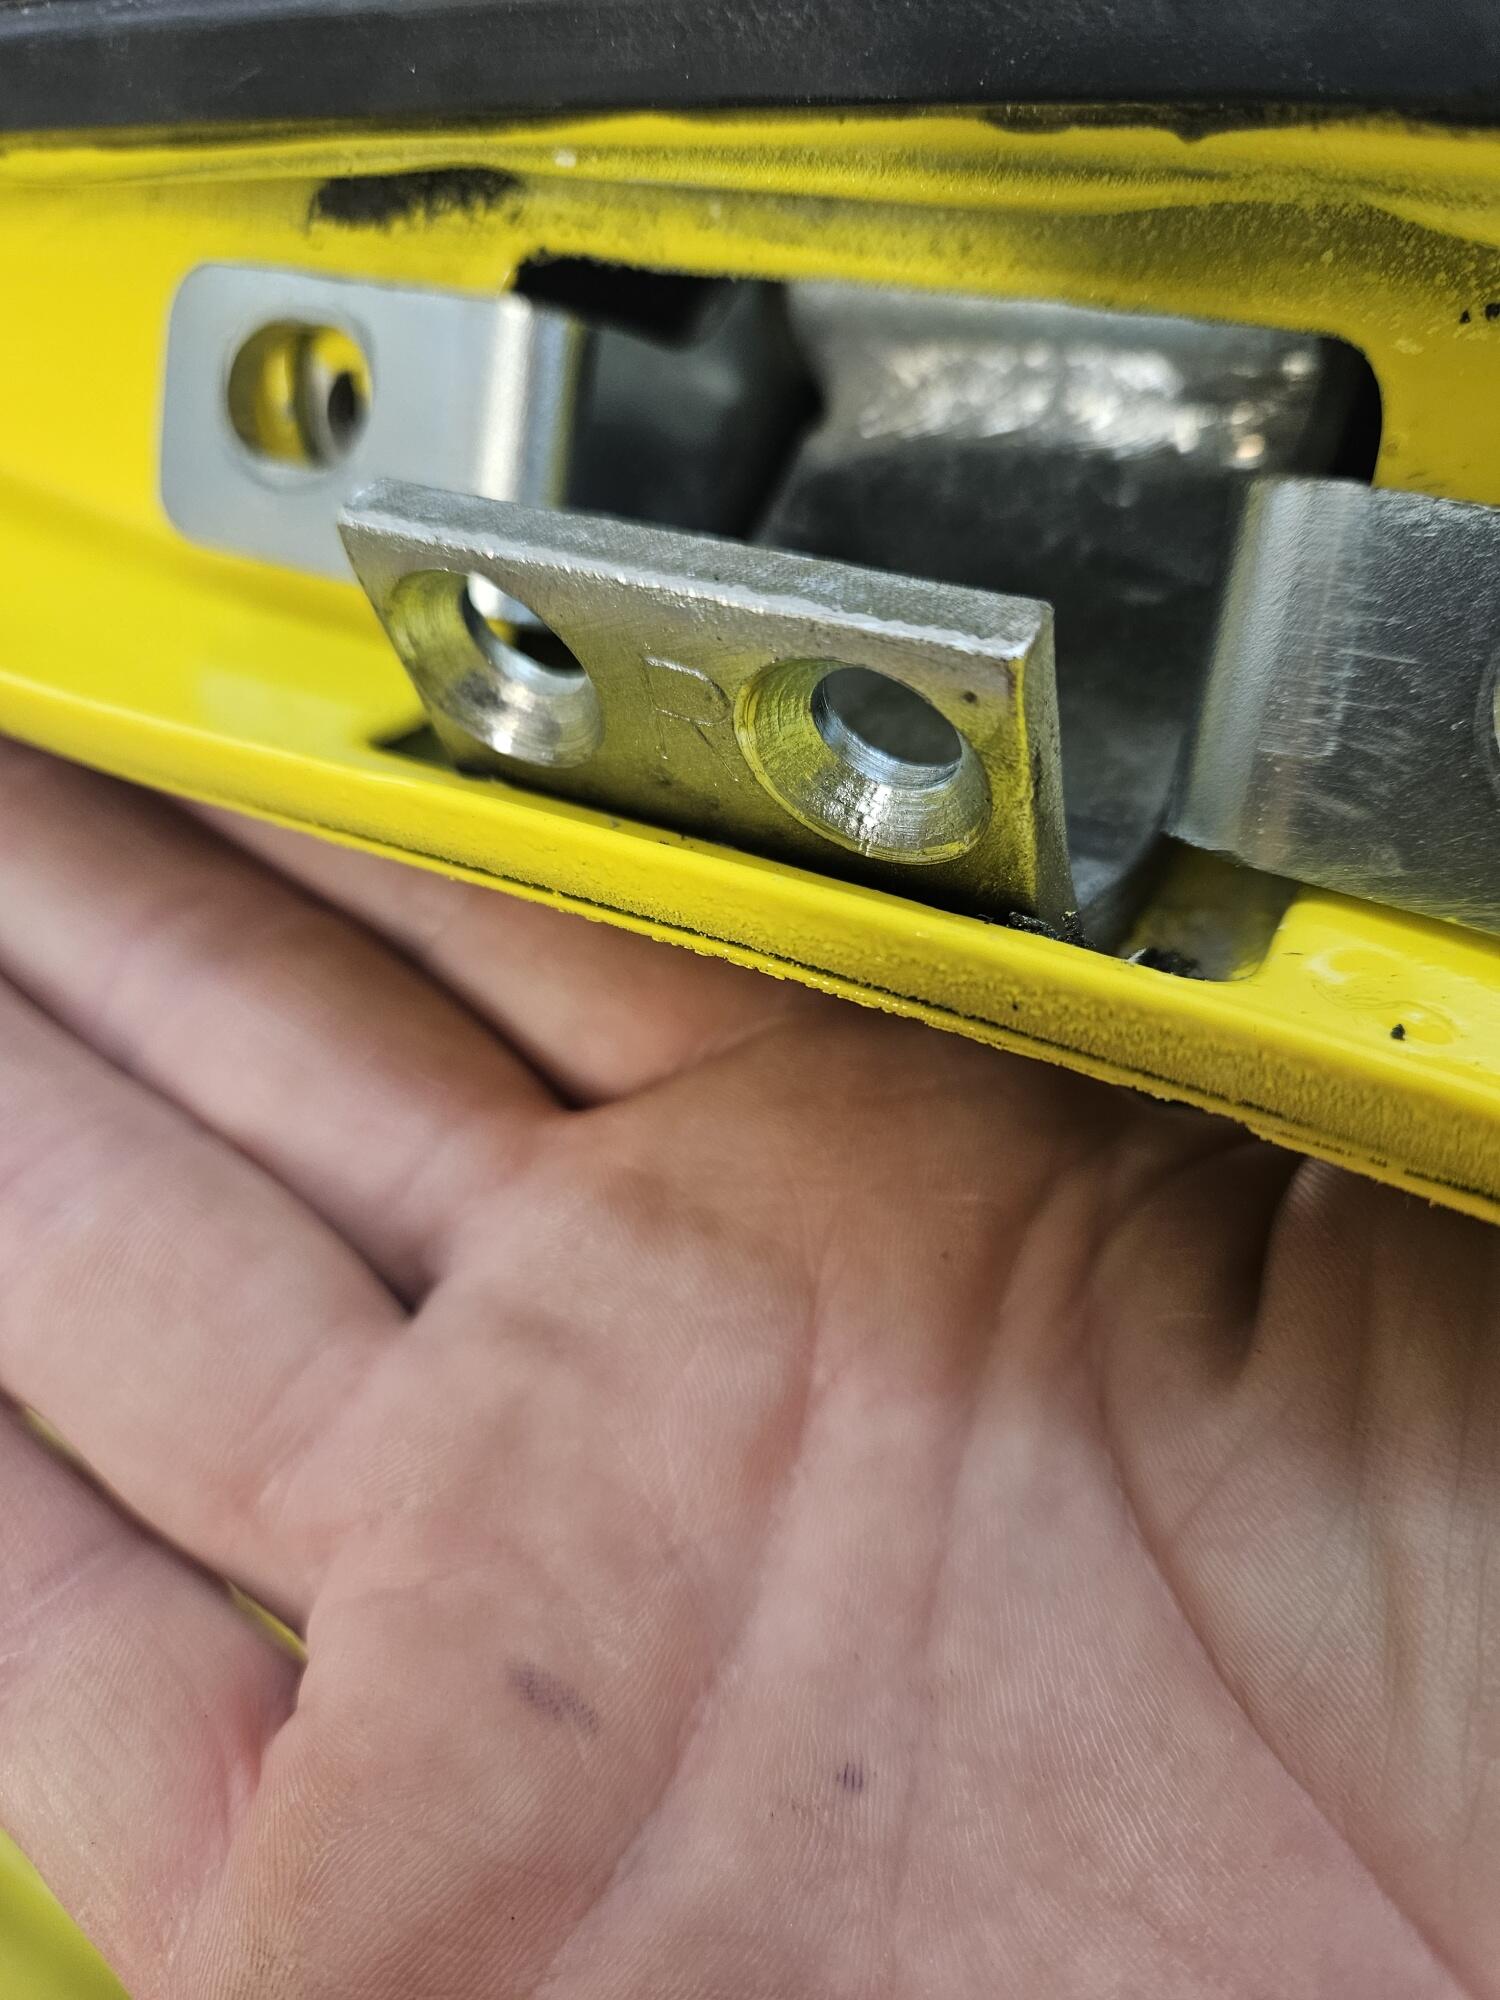
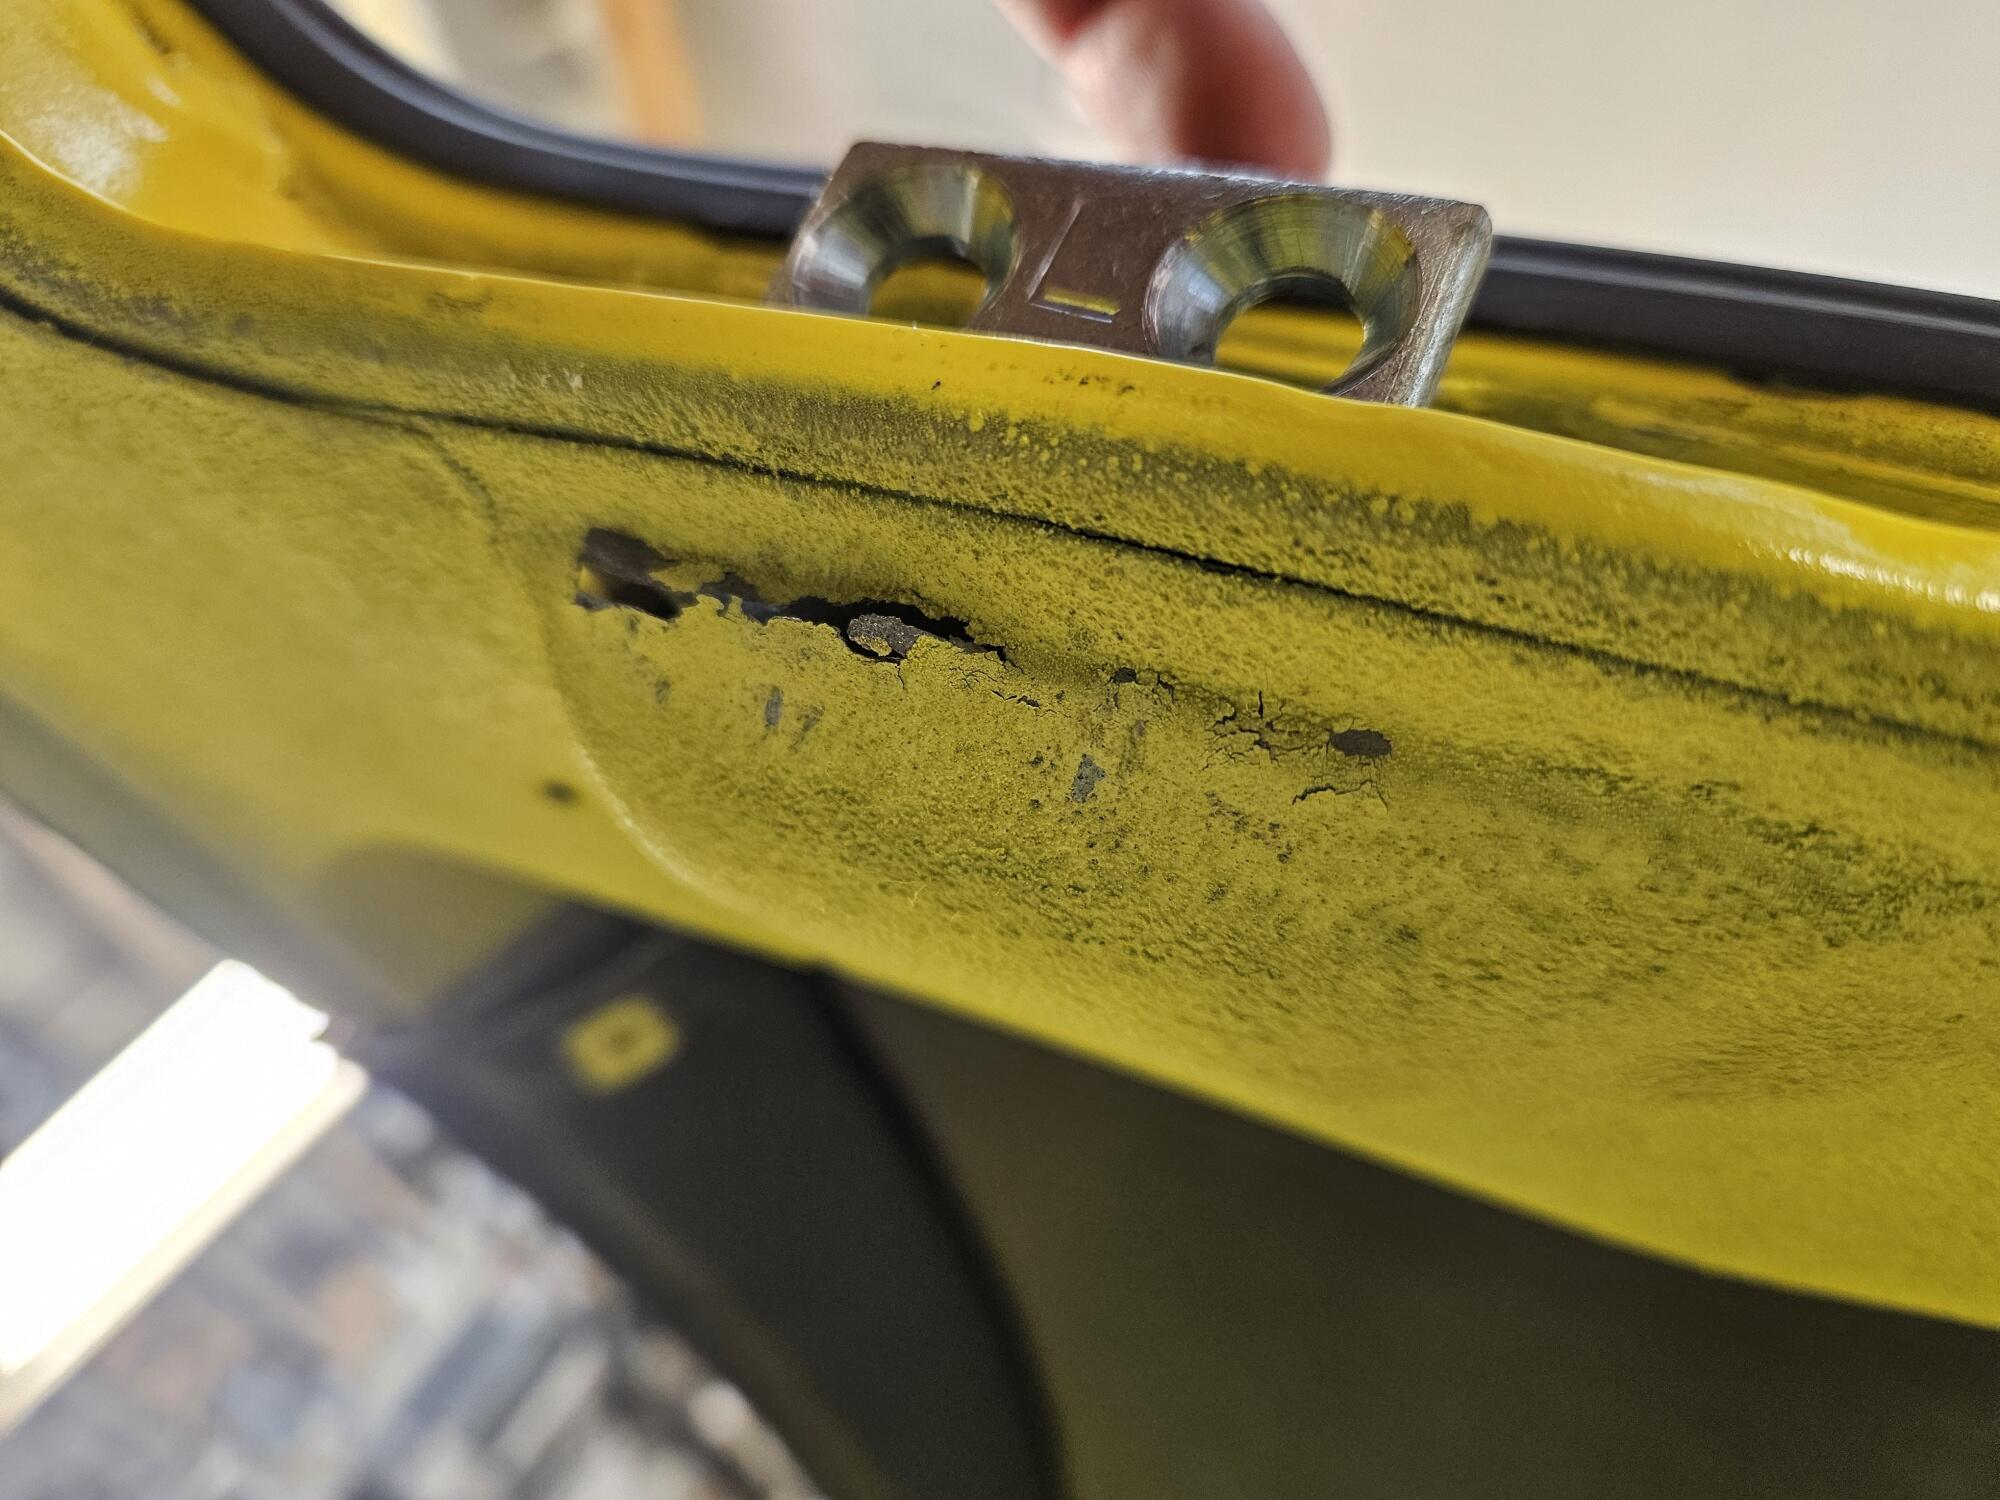
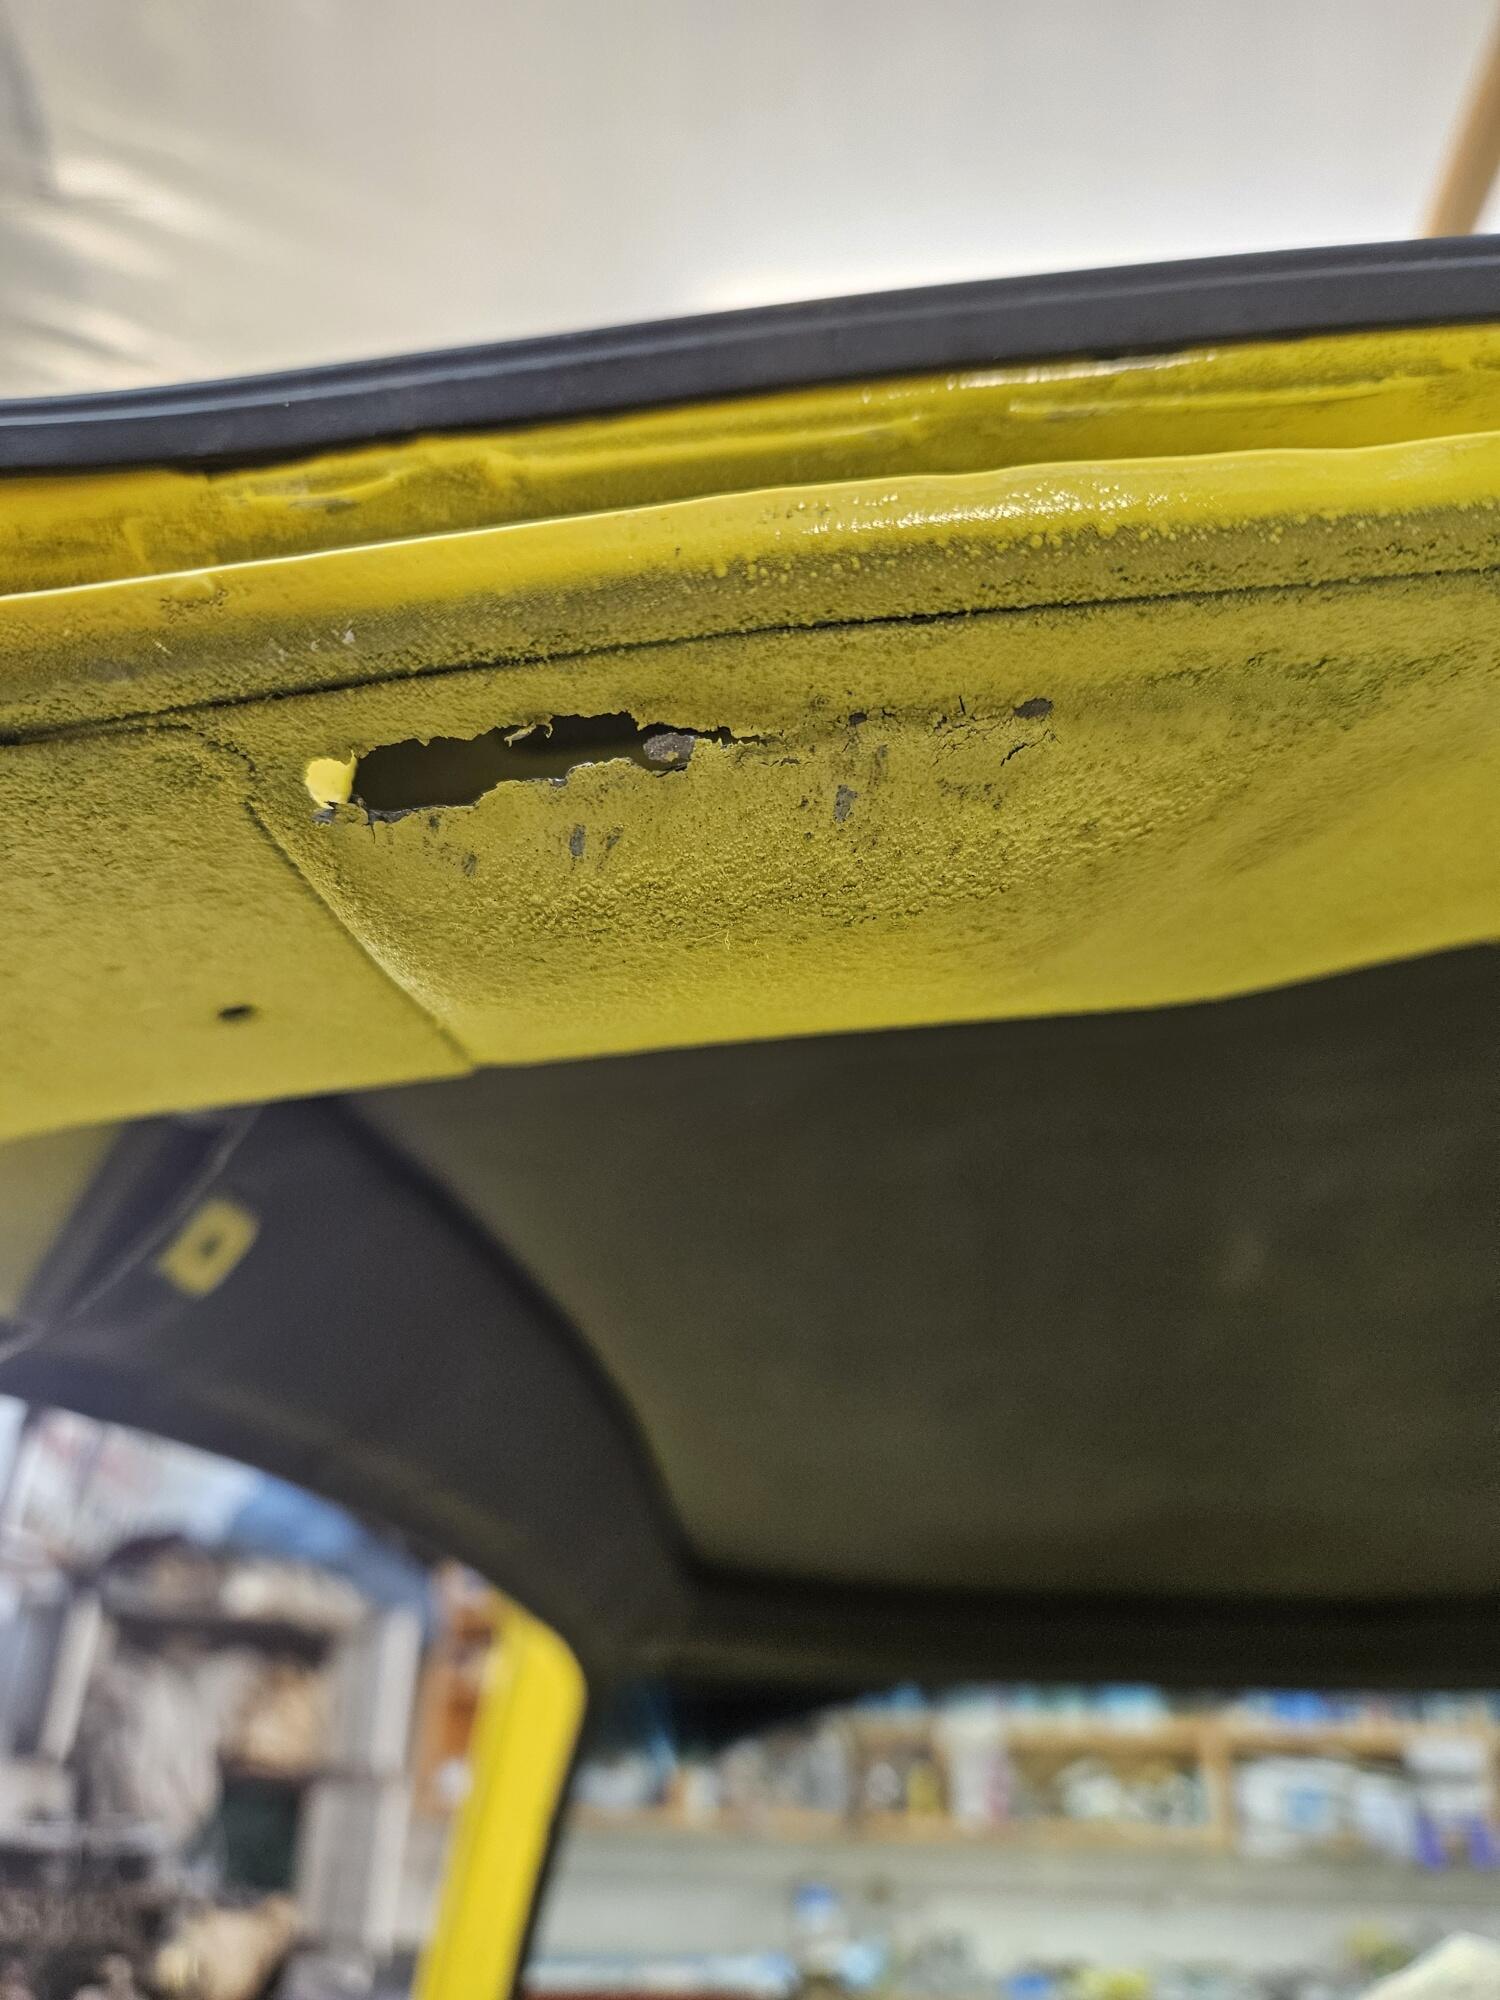
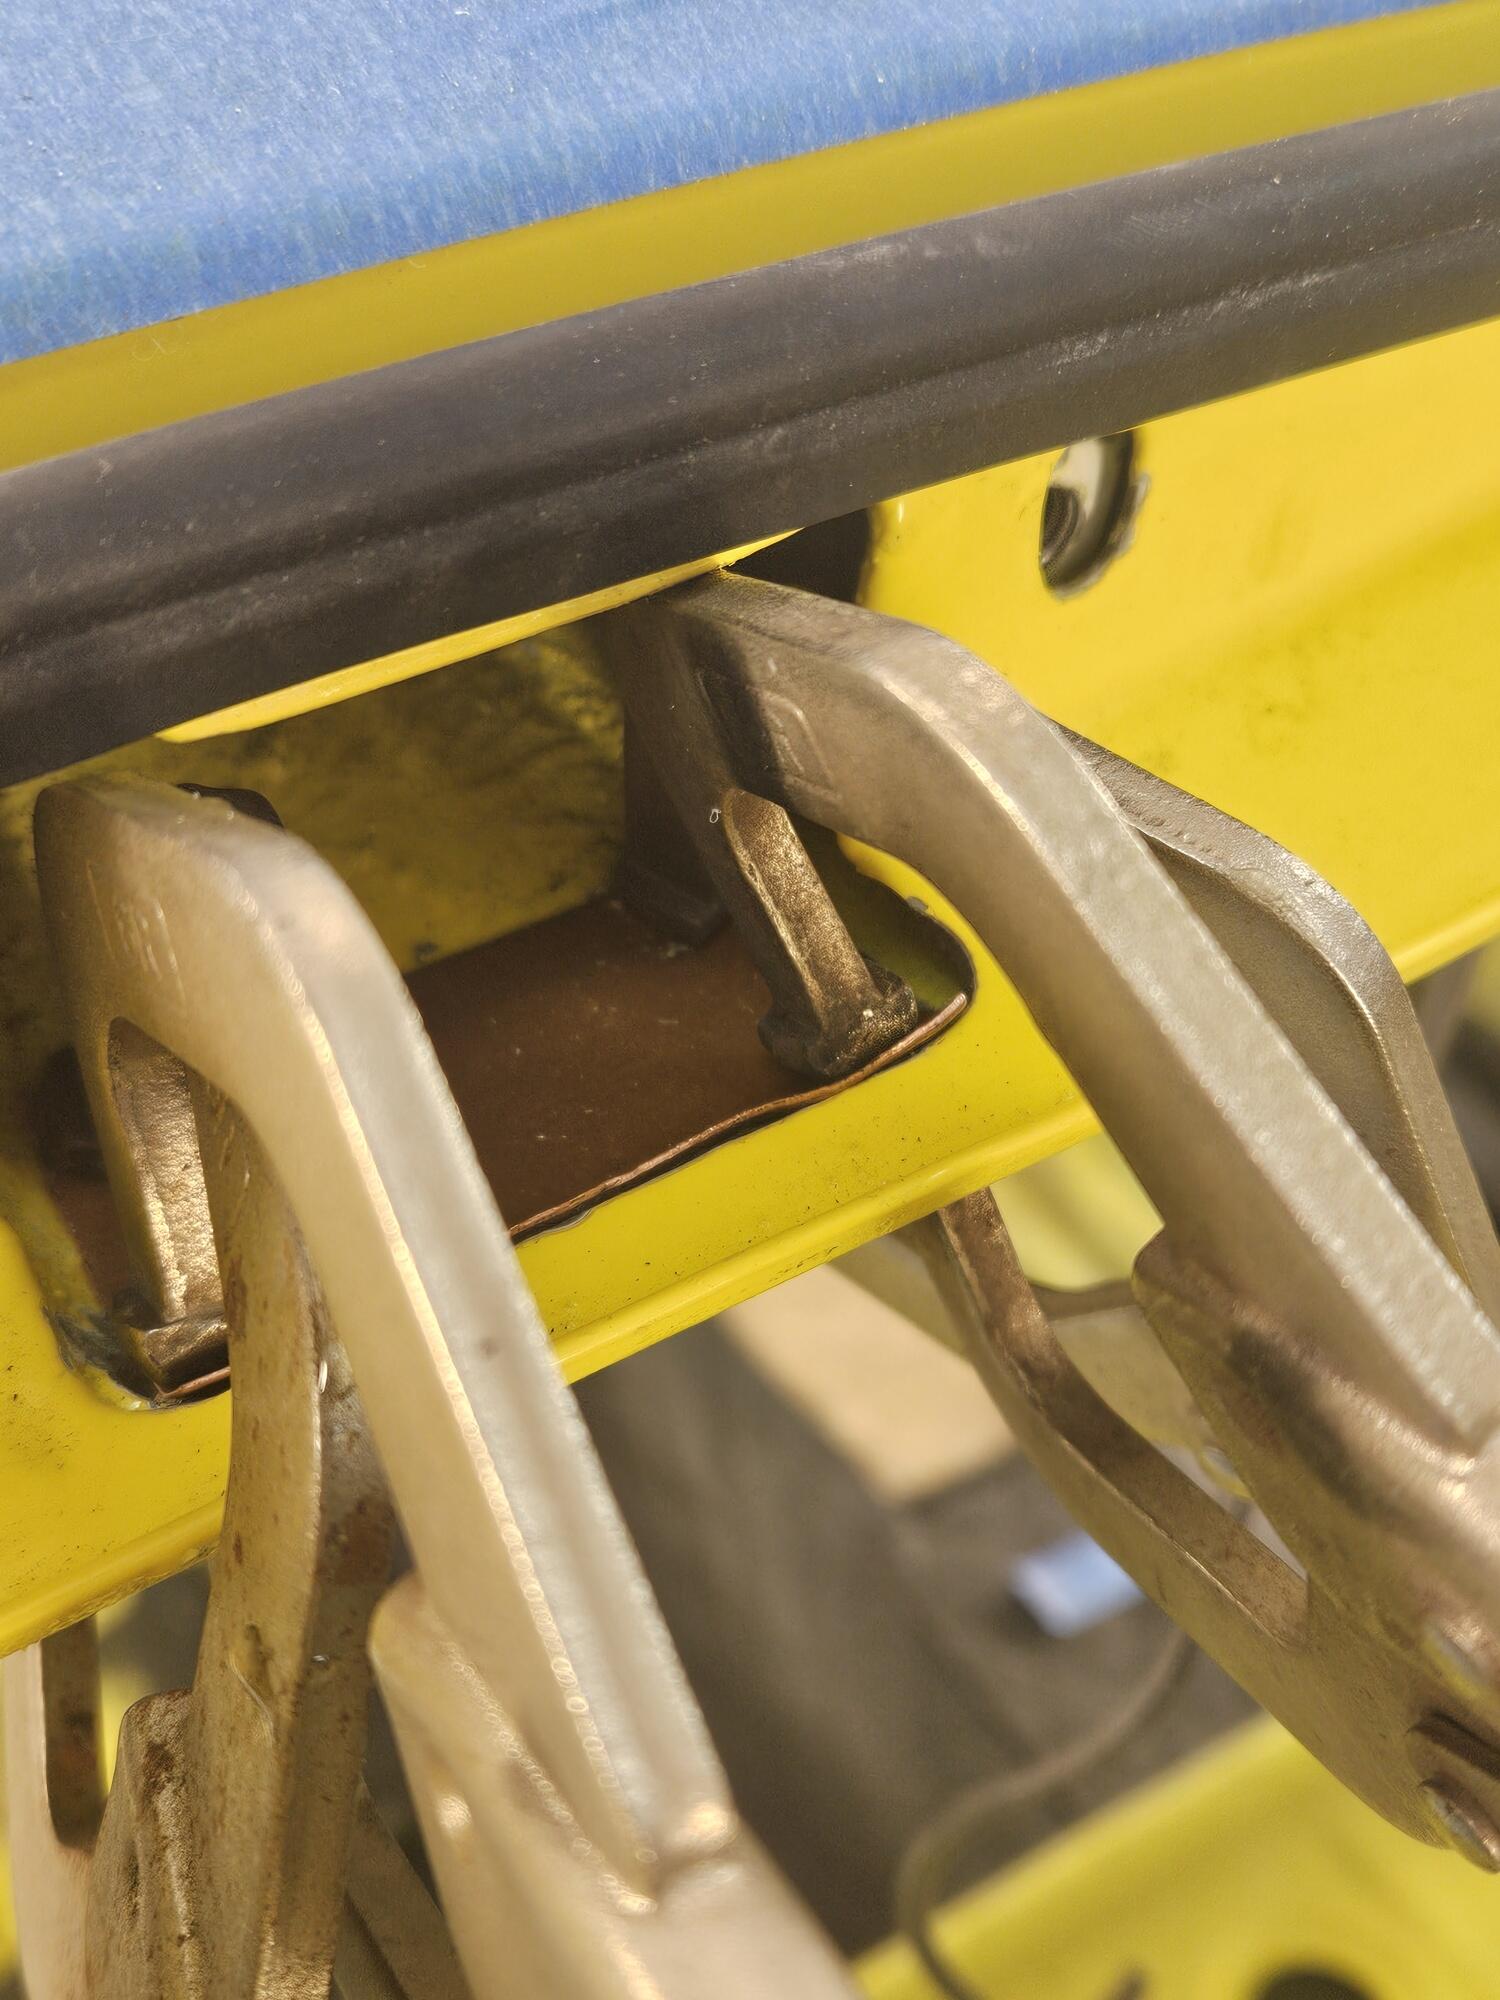
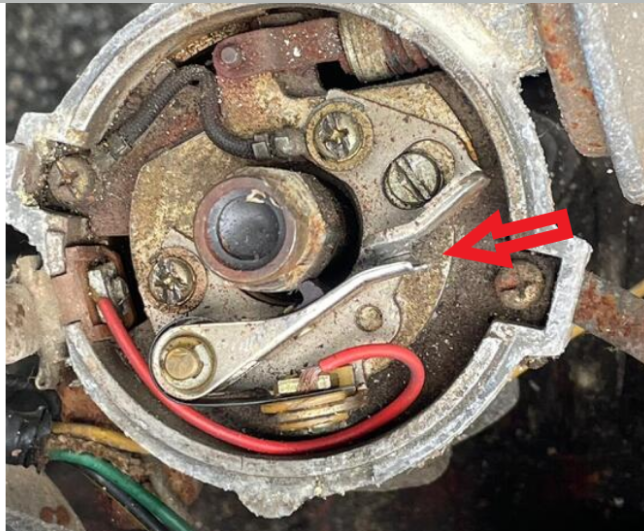 1 point1 point1 point1 pointWell I messed with the hatch hinges today. Big sighhh... 😞 I took the bolts out and pulled the hinges, backer plates and the hinge cups out. I cleaned off the excess sealant and set the hinges back in place. At the the lowest location here is the RH hinge all the way down... Edge of the bolt holes almost even with the gutter Here's the LH side No where close! That's weird...?? It's hitting the pocket. The RH pocket The LH pocket Different locations!! Look at the panel edge under the gutter RH LH The car was not assembled even on both sides from the factory!! So I took the die grinder to it and clearanced it. Then drove it down some more with a punch and hammer. Unfortunately, I have a hole now. So let's weld on our nice yellow car. 😞 Backed it with a piece of copper. I'll procrastinate on this for a few days probably. Will be an awful welding position and will probably get burnt some. As I recall I had to weld one or both of the hinge tabs back to the hatch years ago when I was doing body work. I'm betting that was the LH side that broke from being flexed back and forth from years of use. I could go look but I'm too lazy to dig through 80 pages of posts. So note to others check these pockets for clearance before you get this far along. 😉


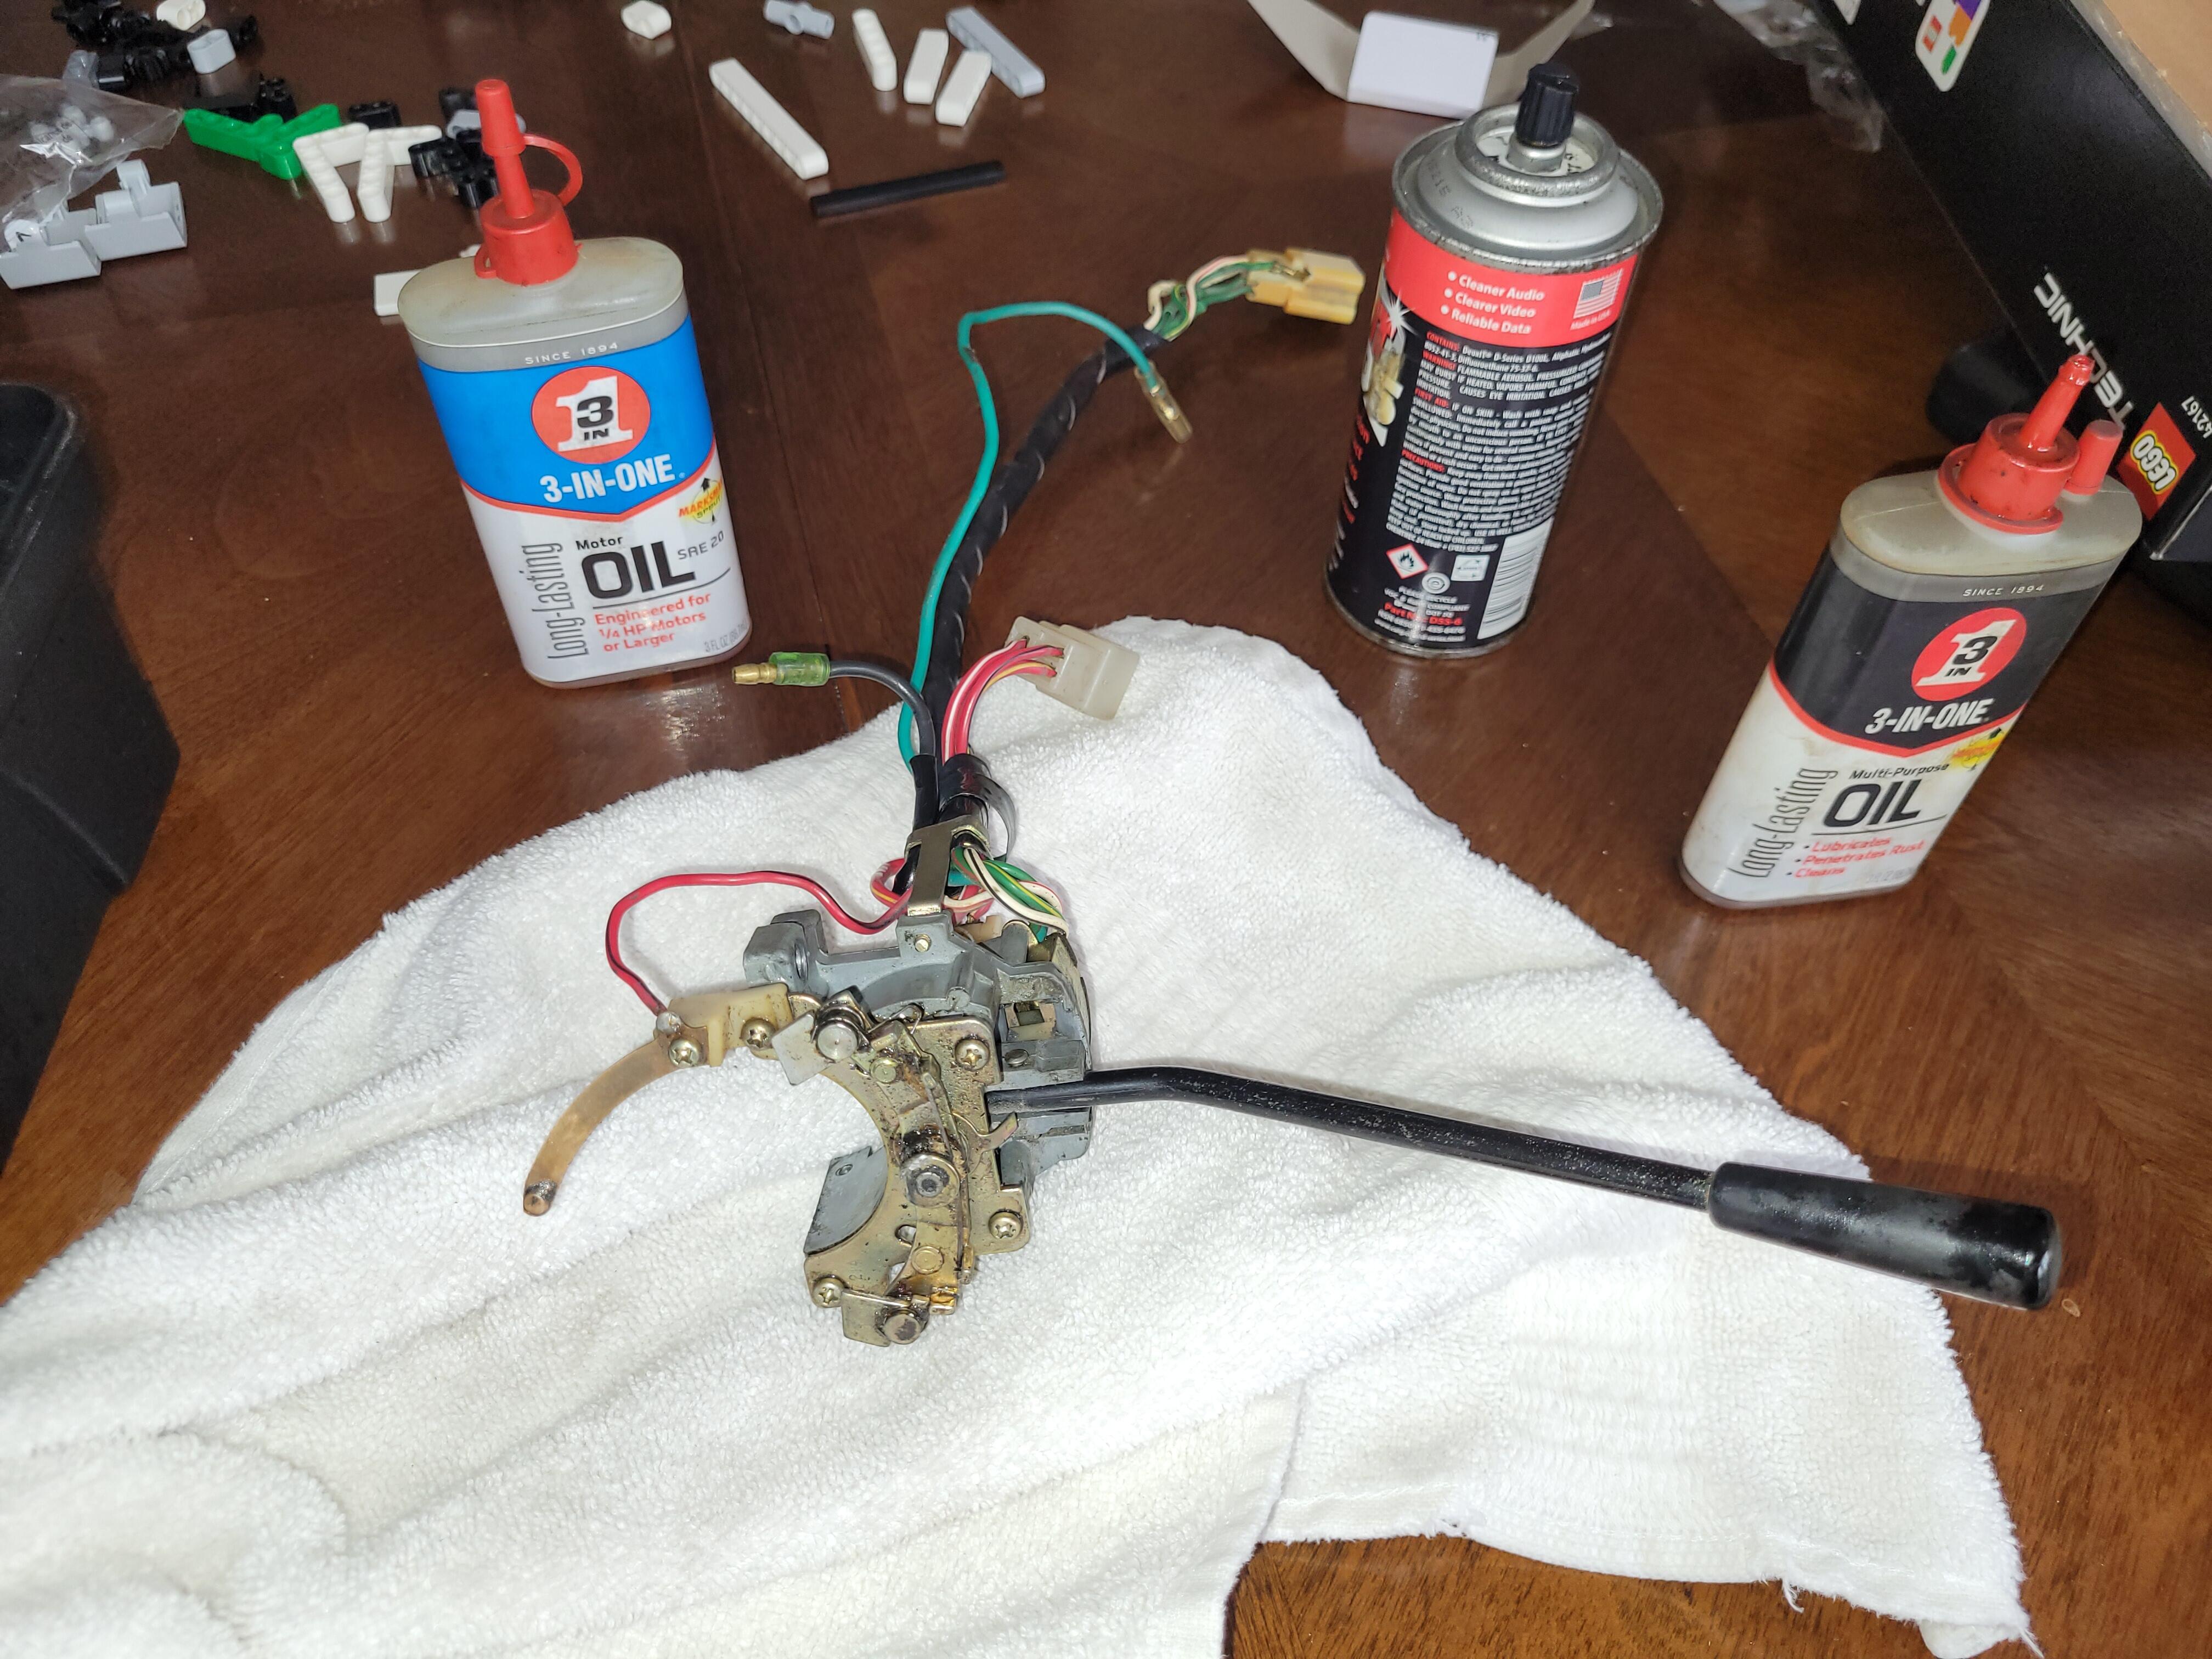
 1 pointYou do not need to replace the entire seat back and bottom, just obtain LH side brackets and sliders. (Note, the seat belt hook mounting screw hole would have to be drilled in the left (outer) side of the seat back.) Keith1 pointView Advert Turn Signal Switch 1977-78 280Z Completely refurbished! Dismantled and cleaned, electrical contacts polished, lever stripped and refinished in gloss black. All switch contact positions tested with a ohm meter to ensure proper function. $250 includes standard domestic shipping, foreign shipping available at actual cost. Payment via PayPal, PM if interested, thanks. Advertiser jfa.series1 Date 04/27/2024 Price $250 Category Parts for Sale1 point1 pointGood deal. I hope karma shines your way for your contribution to the community.1 point1 point


Important Information
By using this site, you agree to our Privacy Policy and Guidelines. We have placed cookies on your device to help make this website better. You can adjust your cookie settings, otherwise we'll assume you're okay to continue.