Leaderboard
-
conedodger
Free Member6Points12,513Posts -
inline6
 Subscriber
 4Points1,282Posts
 -
grannyknot
Free Member4Points5,158Posts -
Zpenman
Free Member3Points97Posts


Popular Content
Showing content with the highest reputation on 01/30/2024 in all areas
-
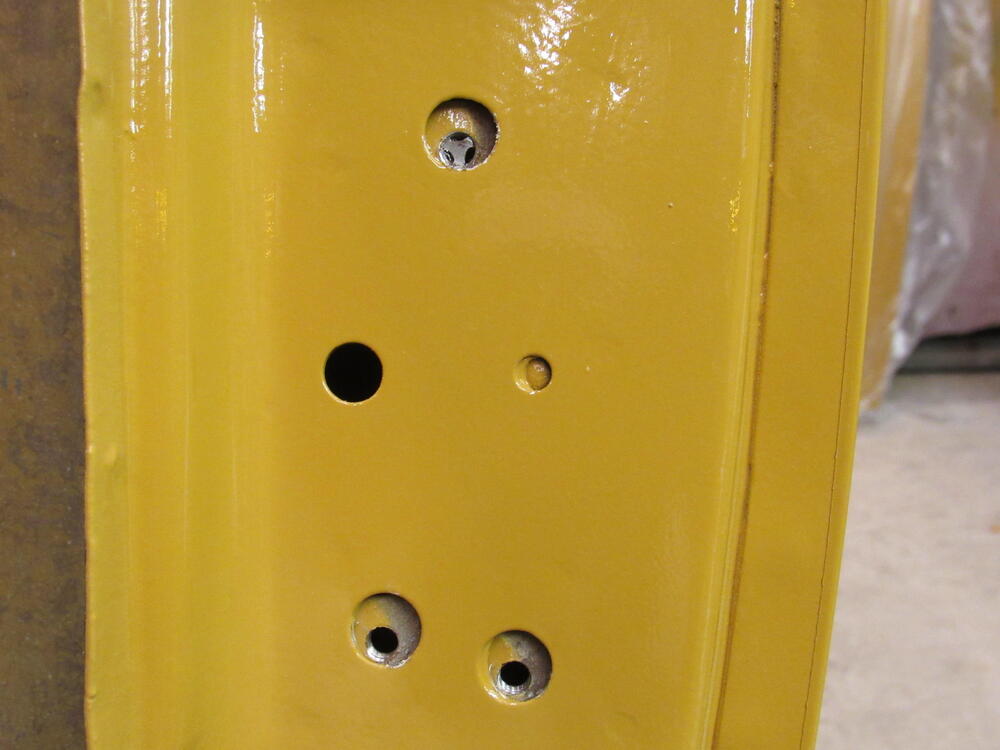
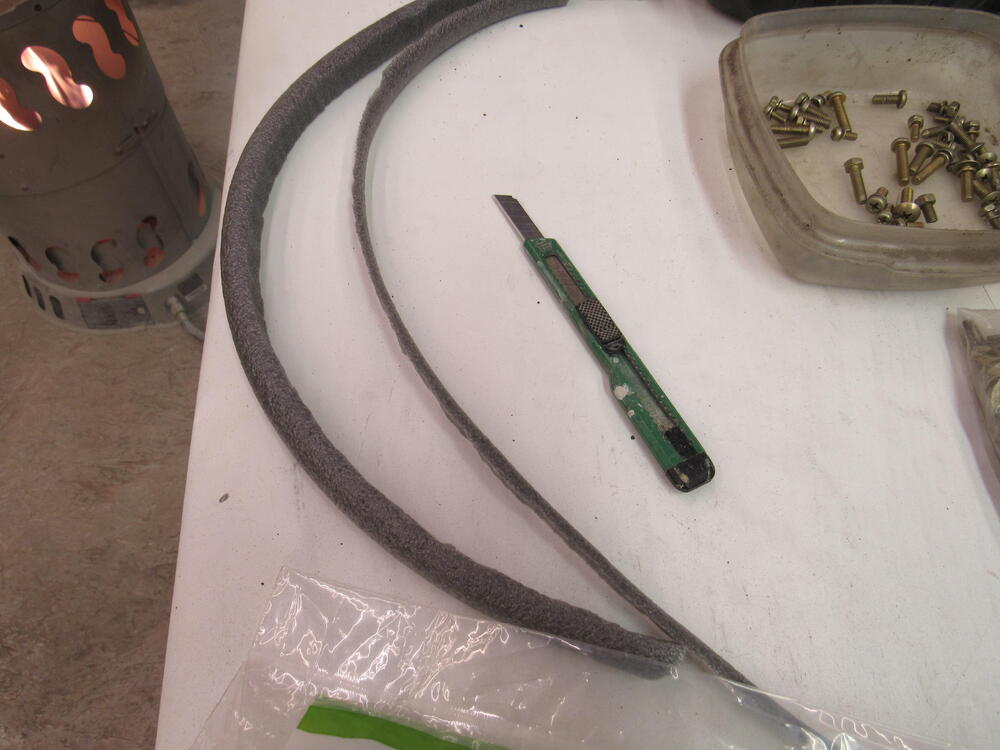
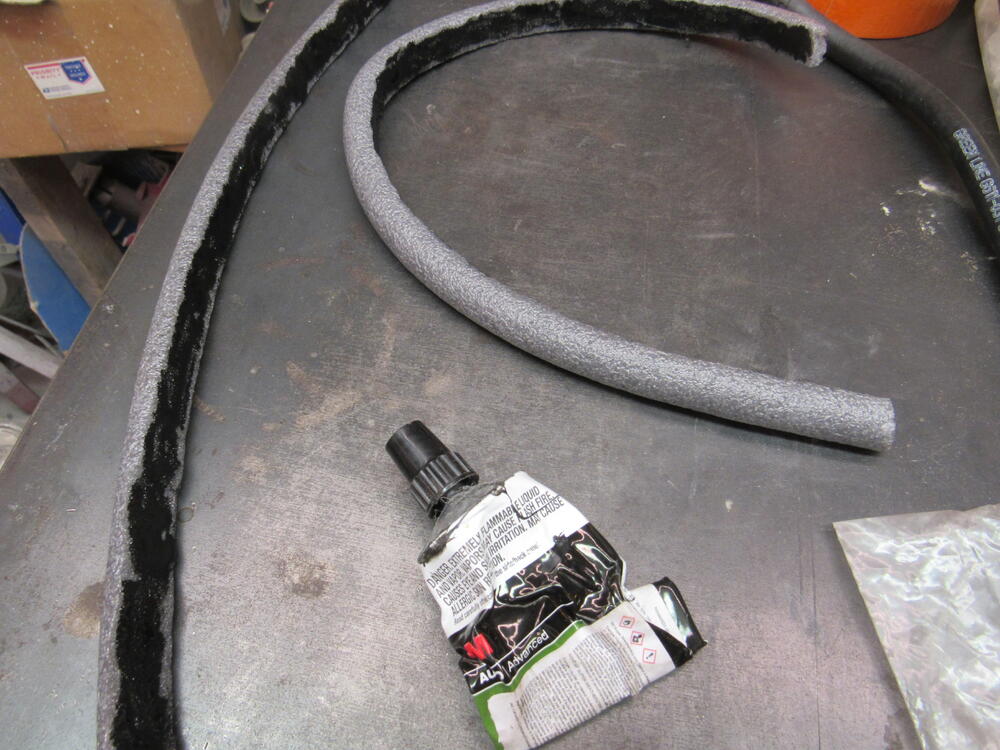
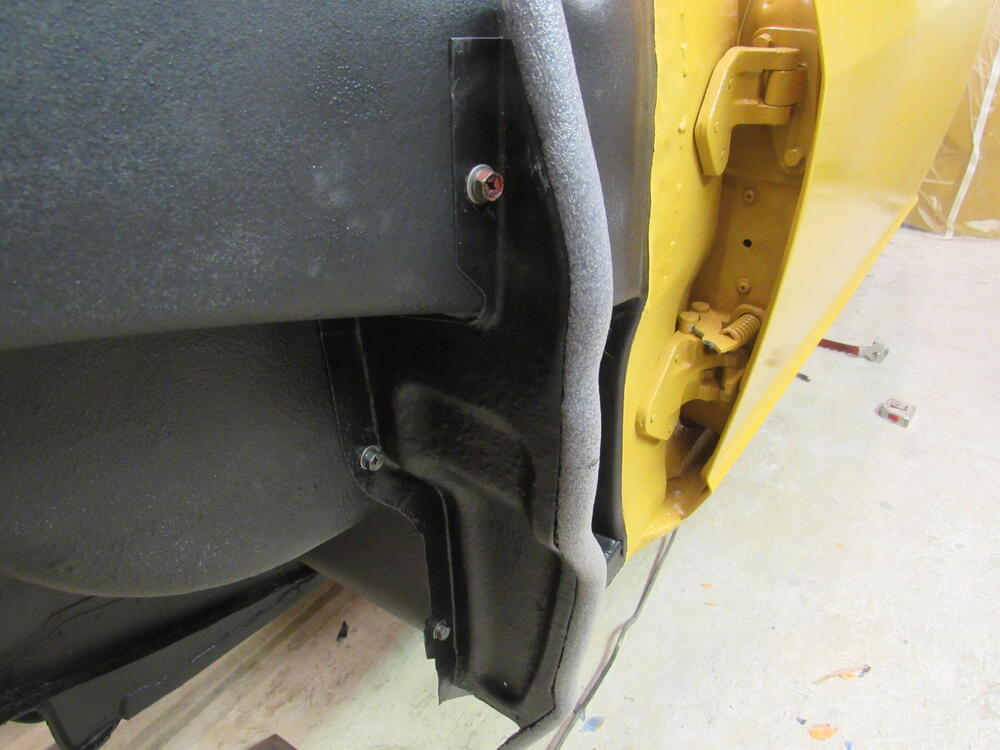
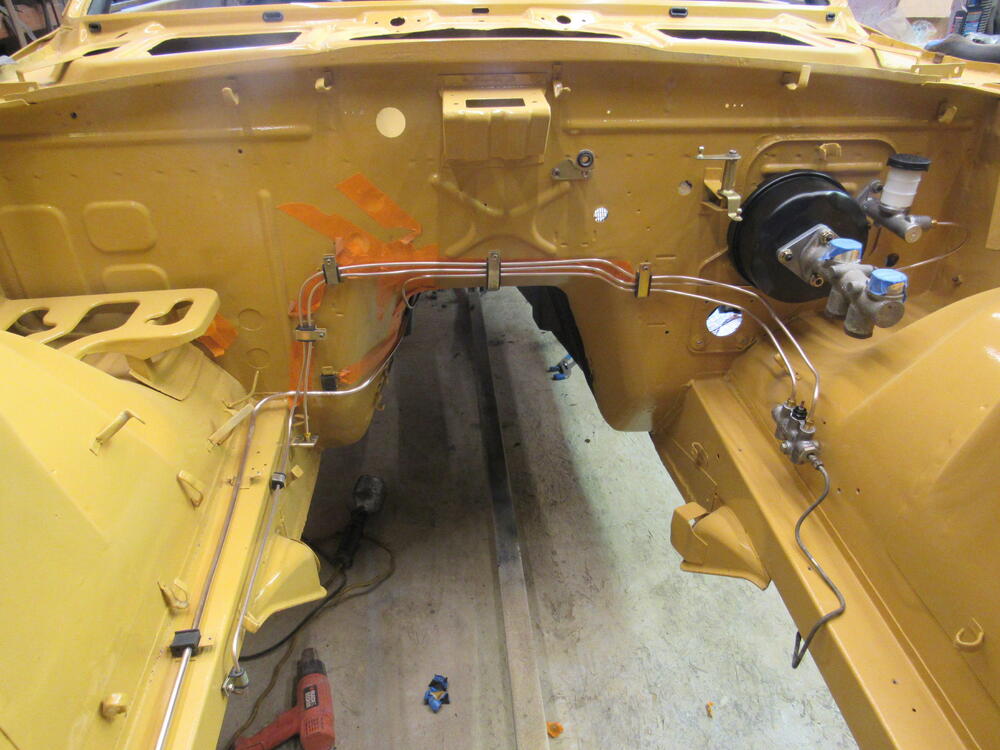
4 pointsI got all the threads on the body chased yesterday, of course I broke one of the taps but I knew those broken dental picks would come handy one day. I have been asked a few times what I use to seal the mud guards to the inside of the fender, household weather strip closed cell foam rope, 3/4" in dia. then slice off a 1/3rd of it so you have a flat area to adhere to the edge of the mud guard. Sometimes you may have to shave off a little more of the outside curve to get a good fit. I have most of the clutch, fuel and brake lines roughed in now, still want to try and straighten them up a bit more.

 4 points
 -
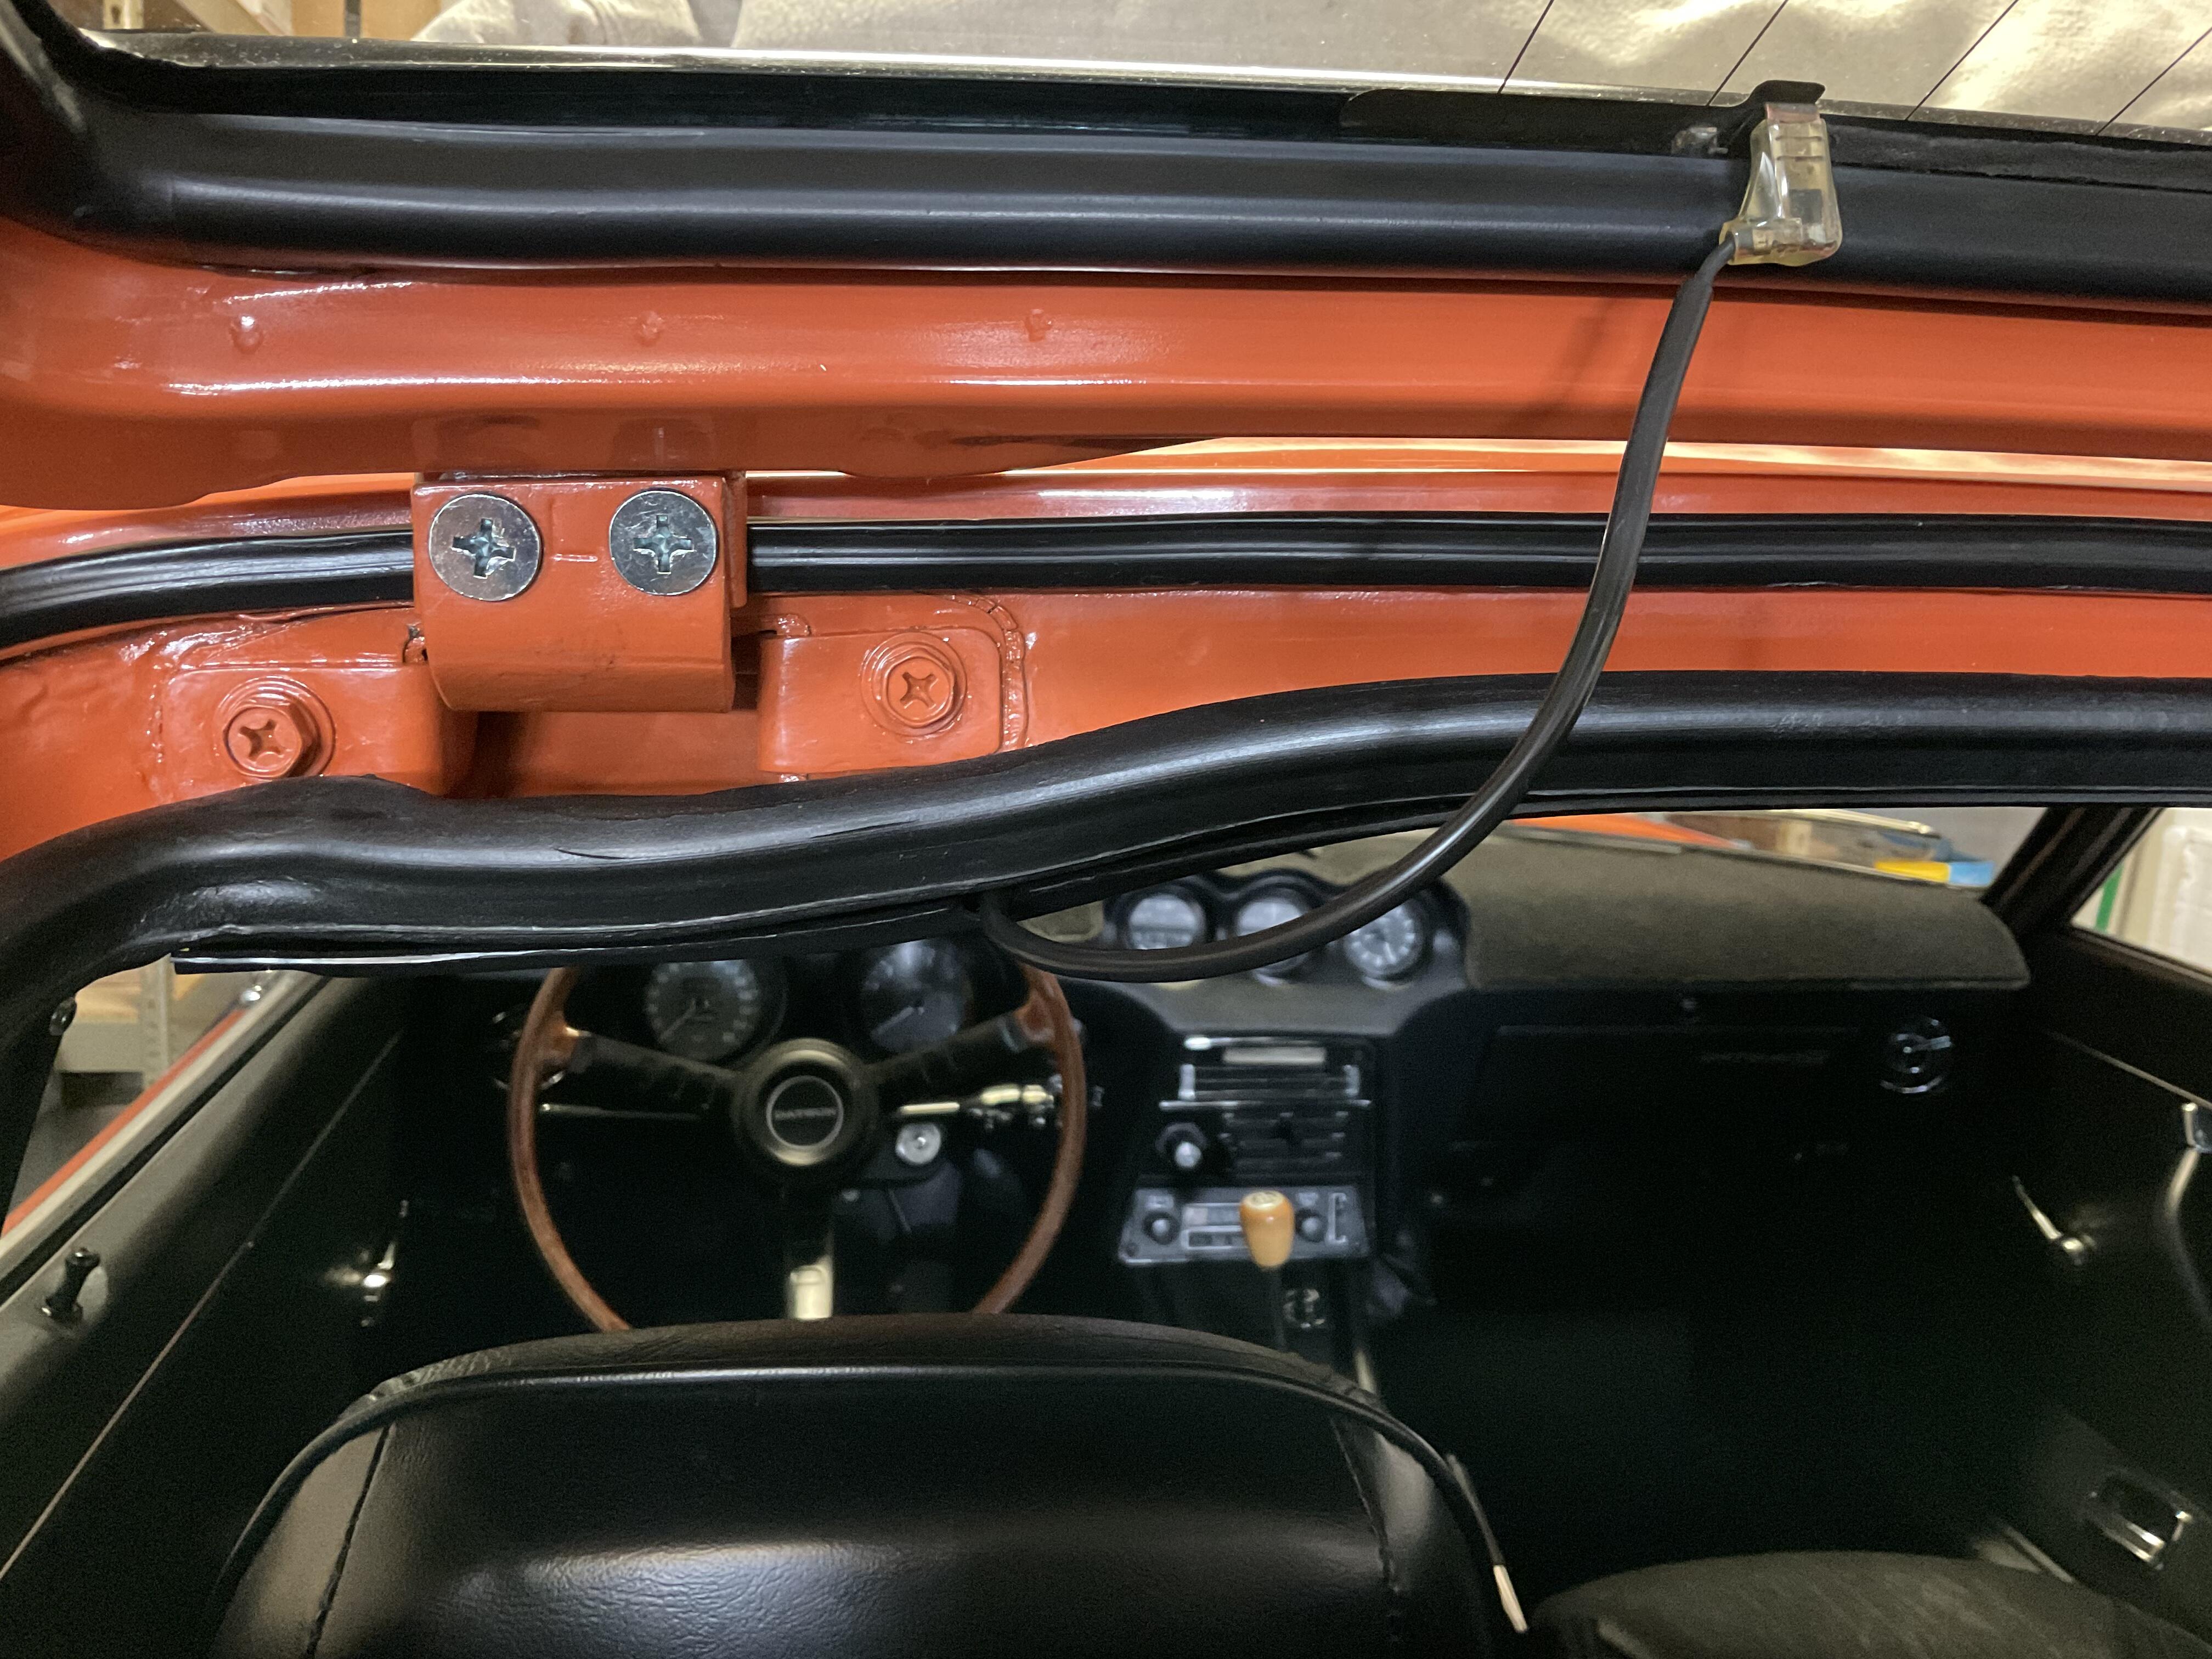
3 pointsI ordered a Pertronix coil and inductor to replace the points-based ignition. Going to keep the original dizzy. Finally took the advice from many of you to do this conversion. Realize this doesn't belong on the carburetor central thread anymore but it would be kind of pointless to move it now, right? During troubleshooting I was getting some fluctuating voltages at the coil with the varying key positions so I decided to change the electrical portion of the start key (back-end). Bought a Beck/Arnley ignition switch from Amazon and was pleased with how easy it was to change out. Didn't want to replace the whole ignition switch as it is original and the same key opens both the door and hatch. Will post once the new ignition is installed. Thanks for all of the support!3 points
-
2 pointsMy local dealer searches the USA and Canada. Shipping doesn’t cost me anything and they nock 20% off.2 points
-
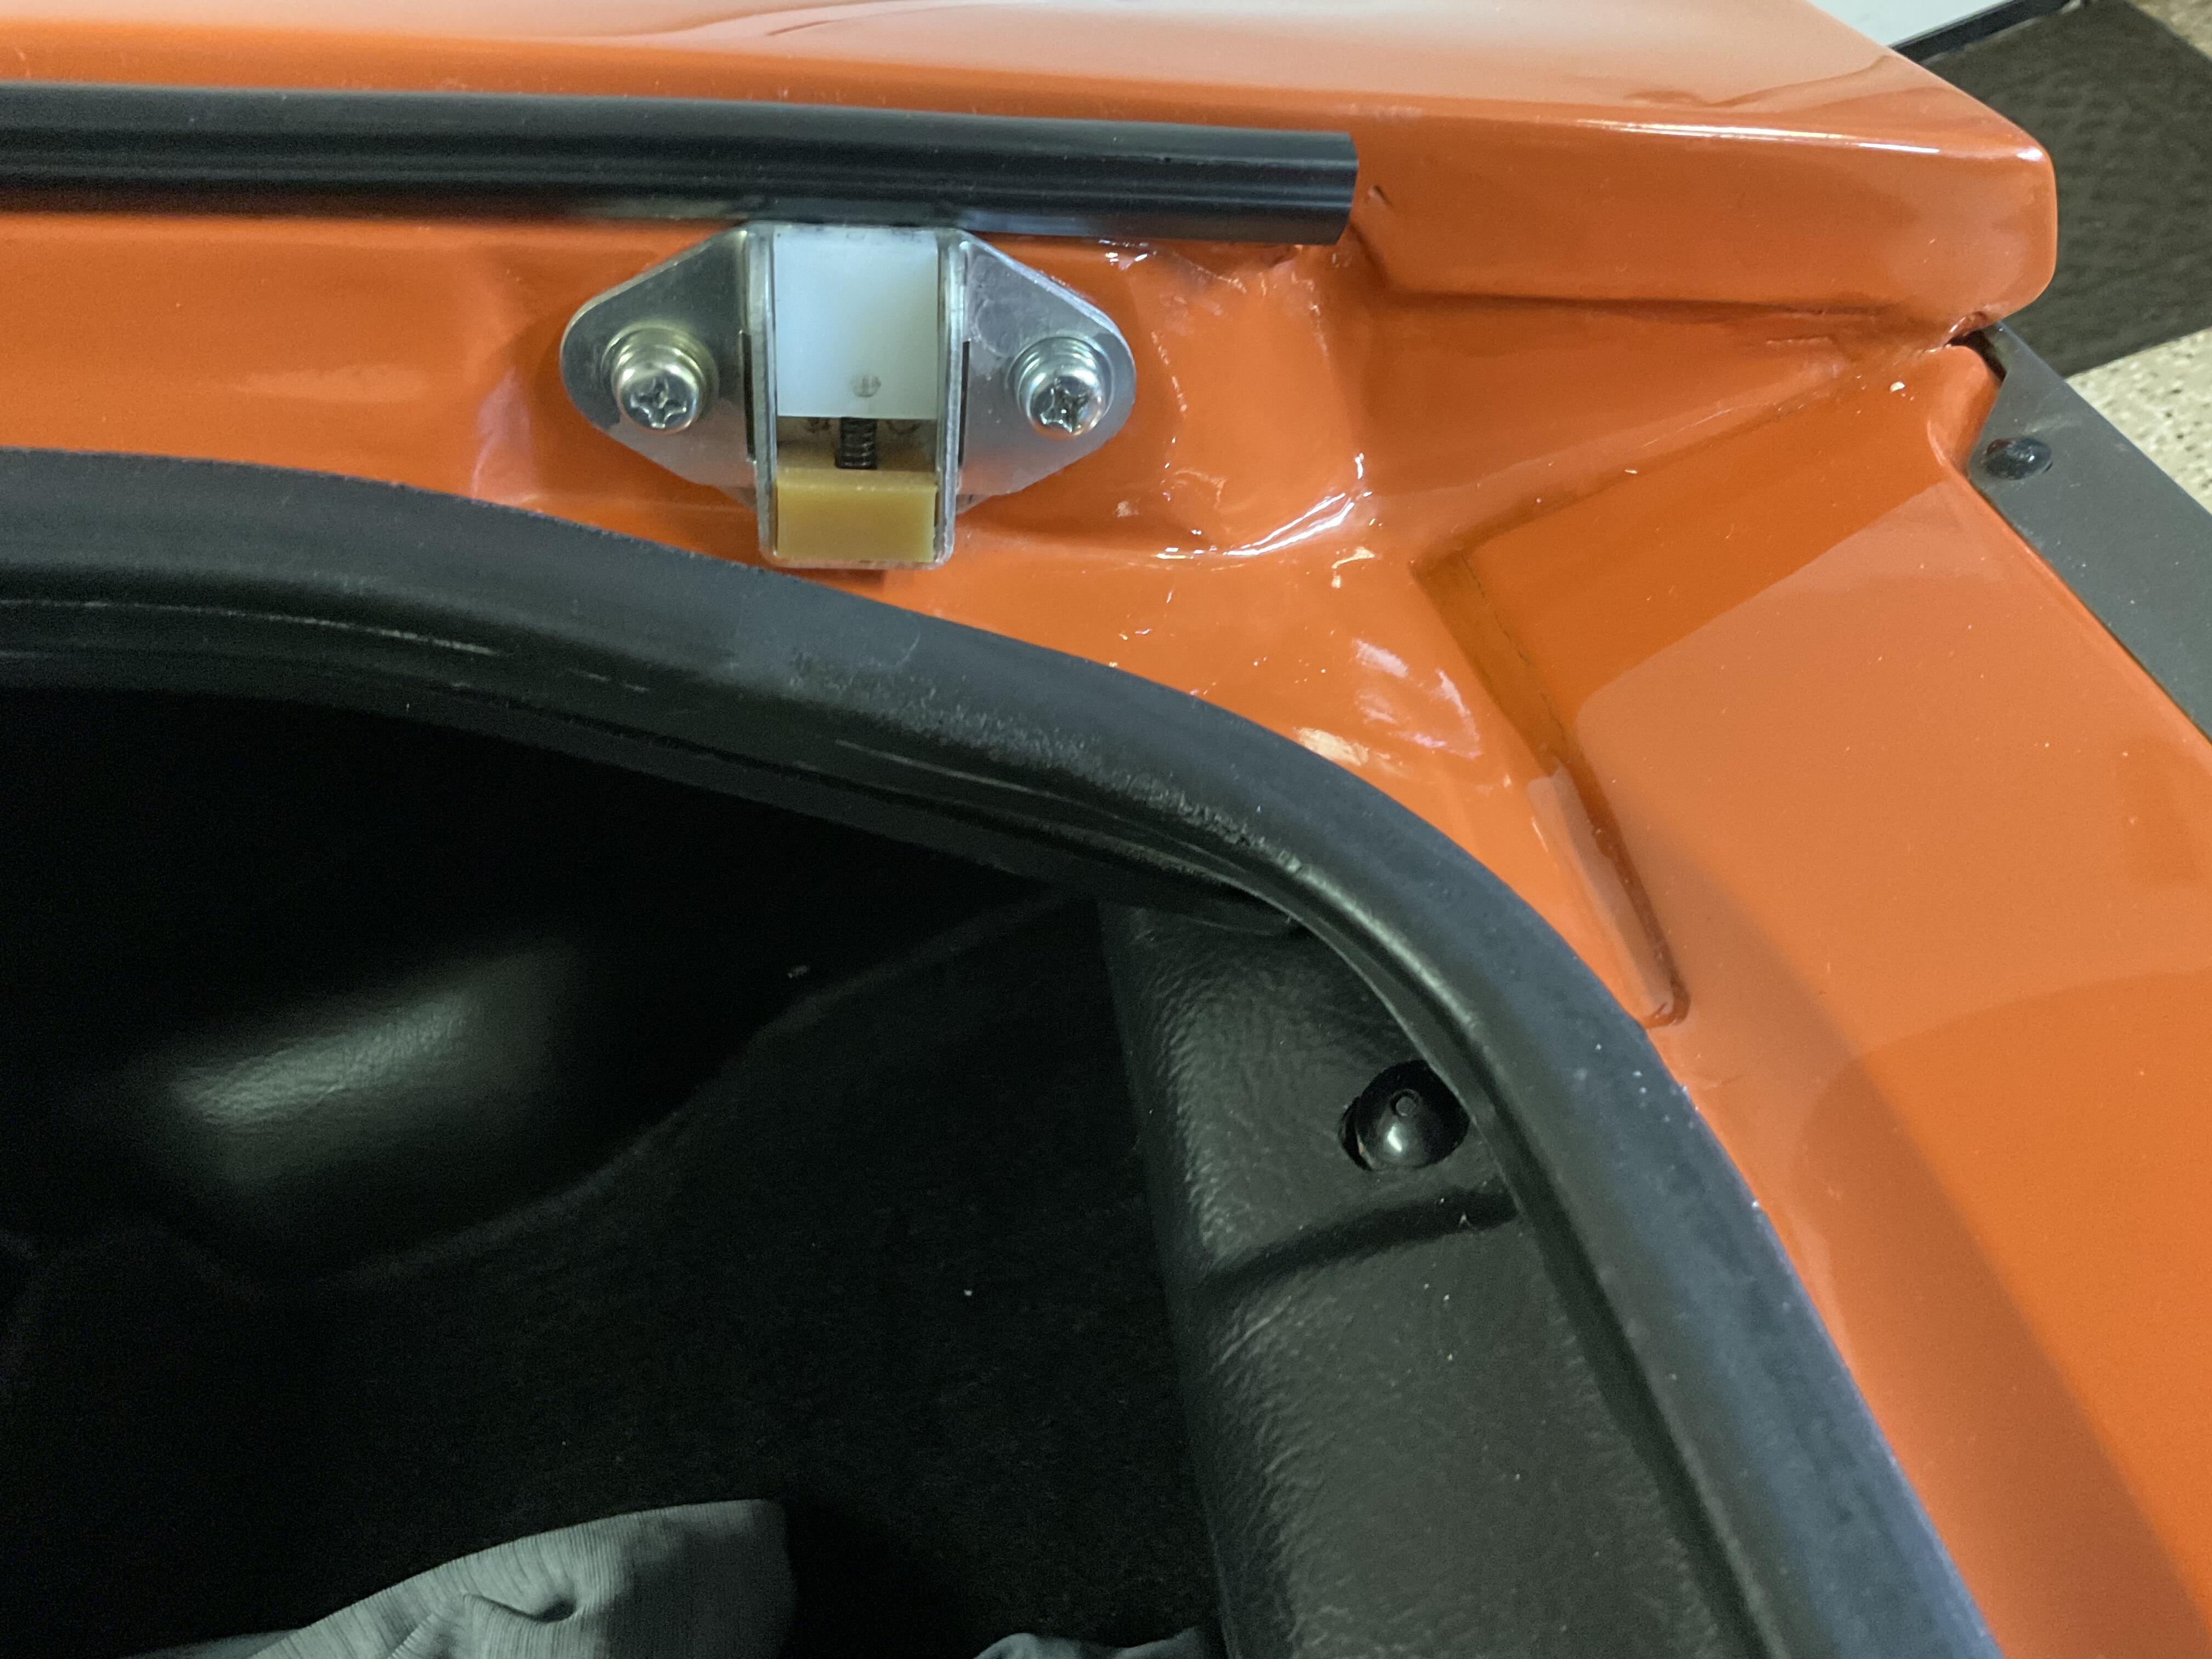
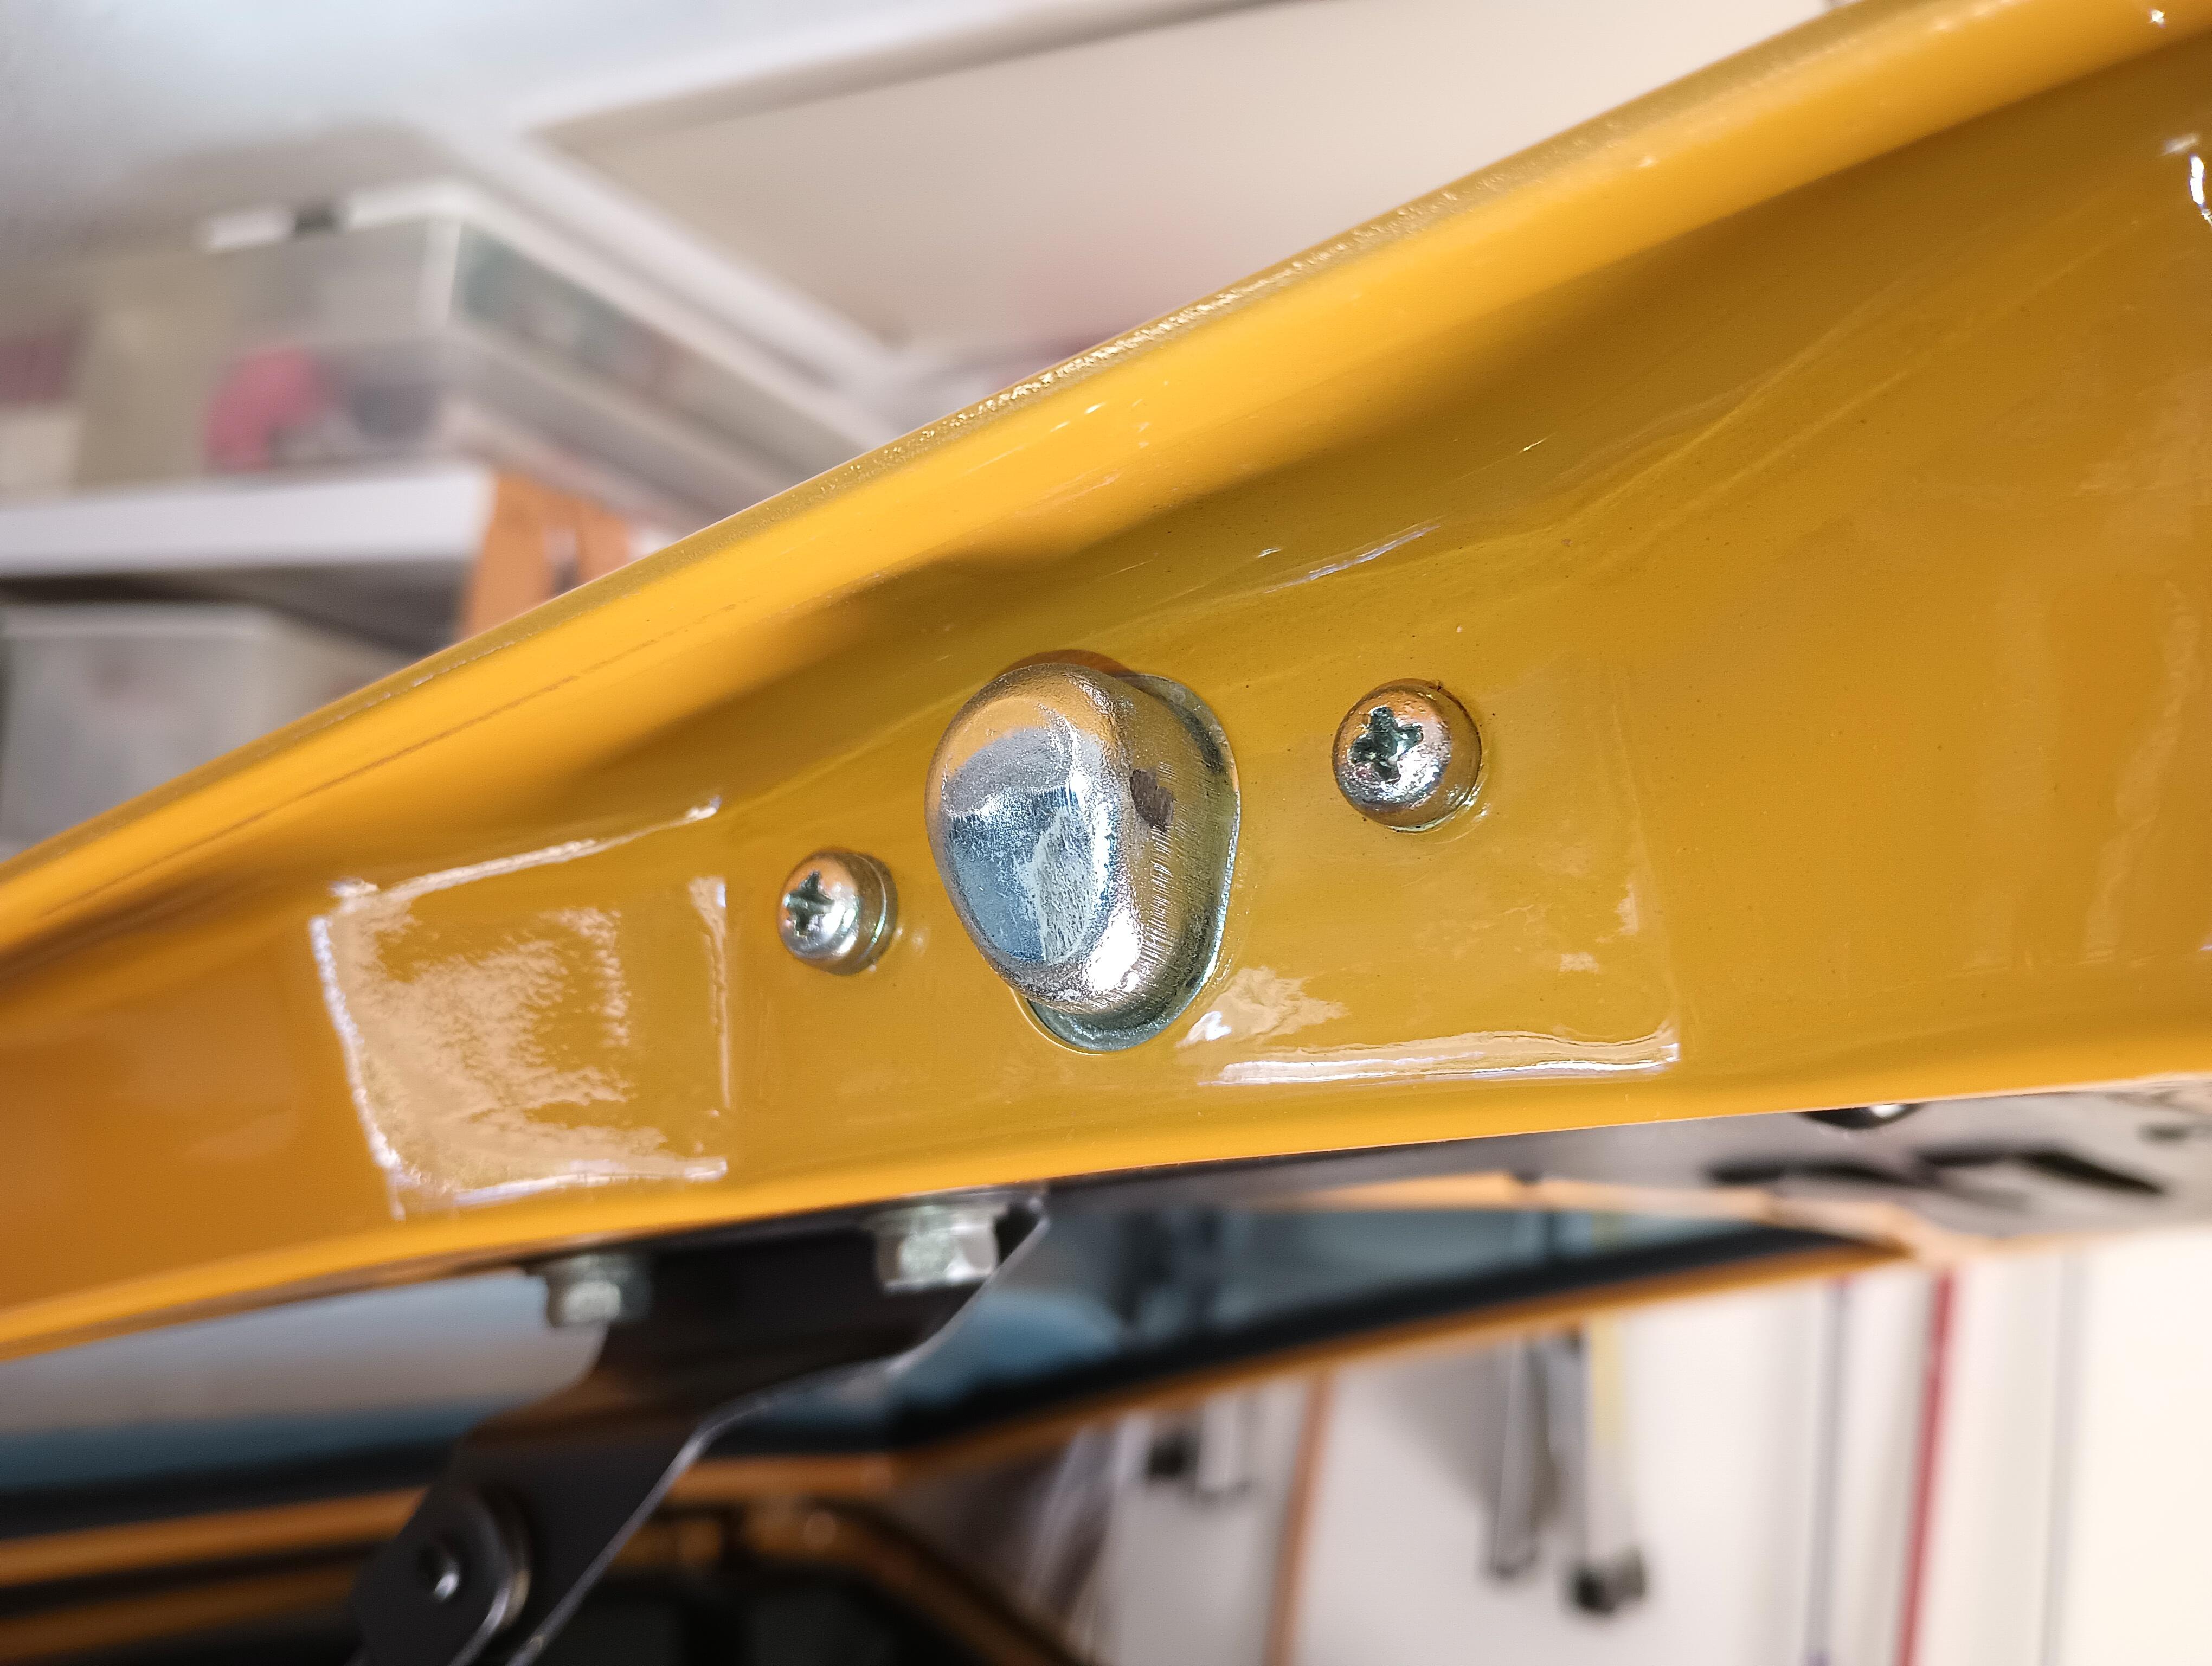
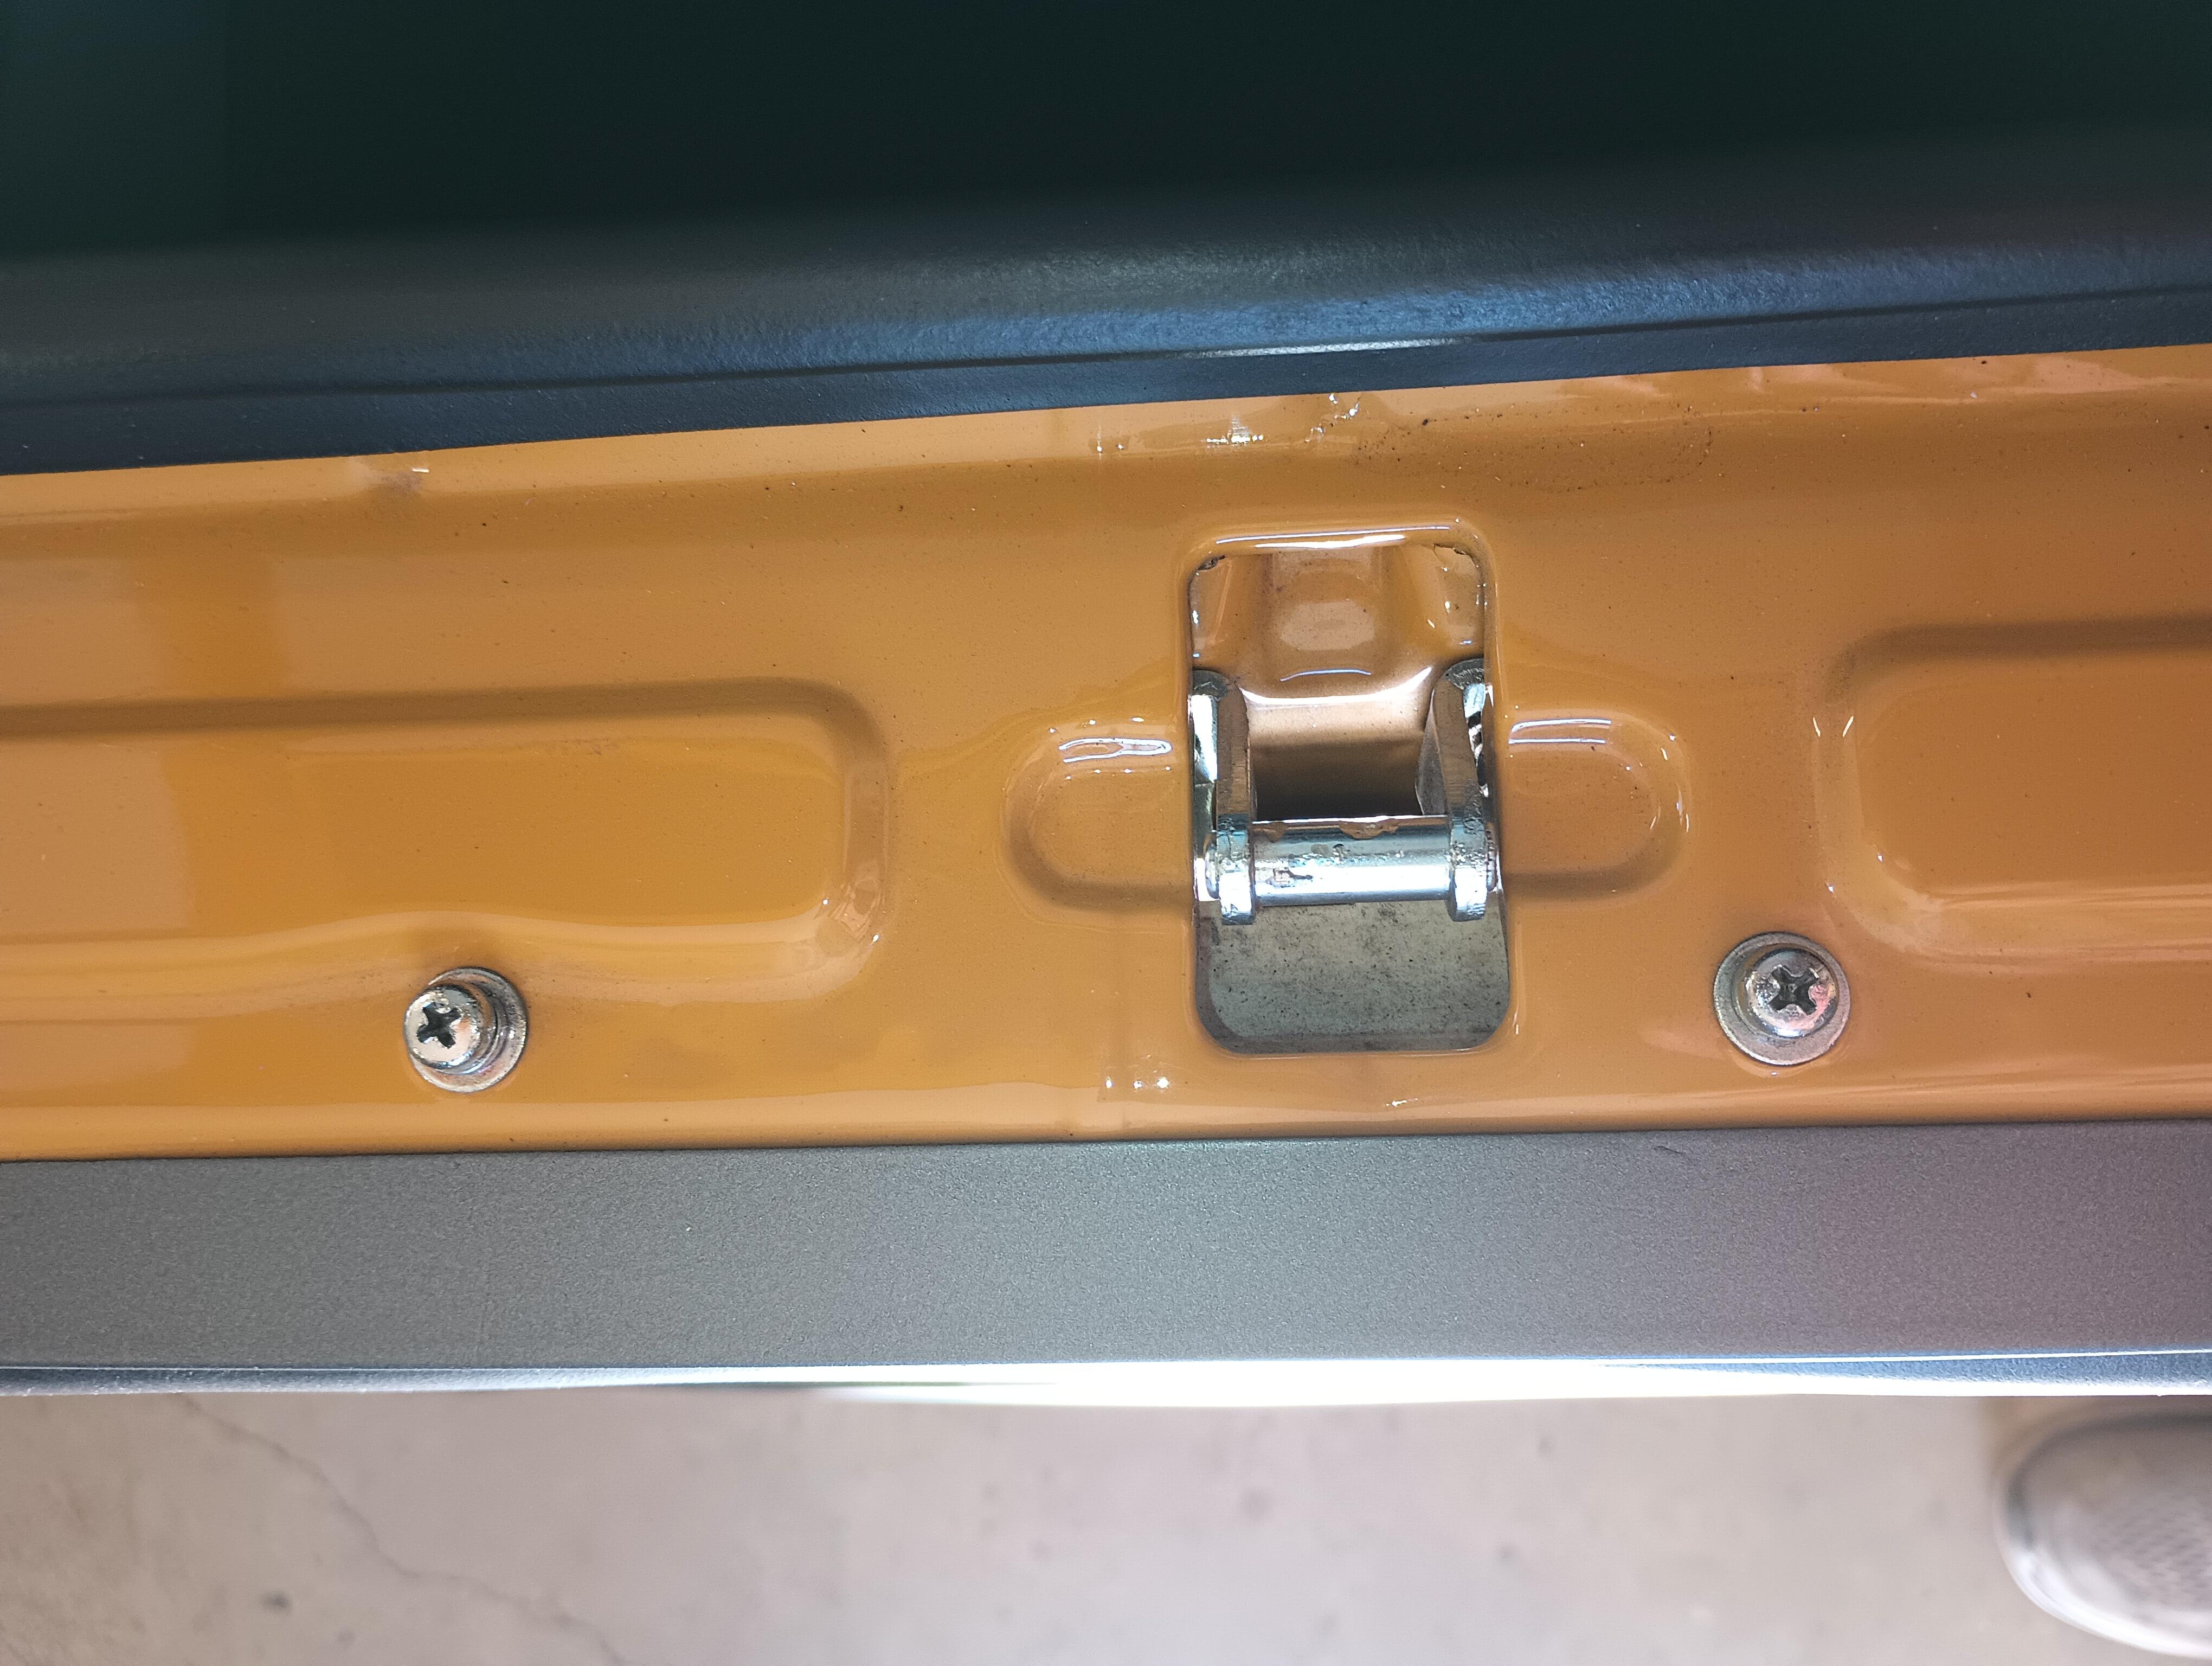
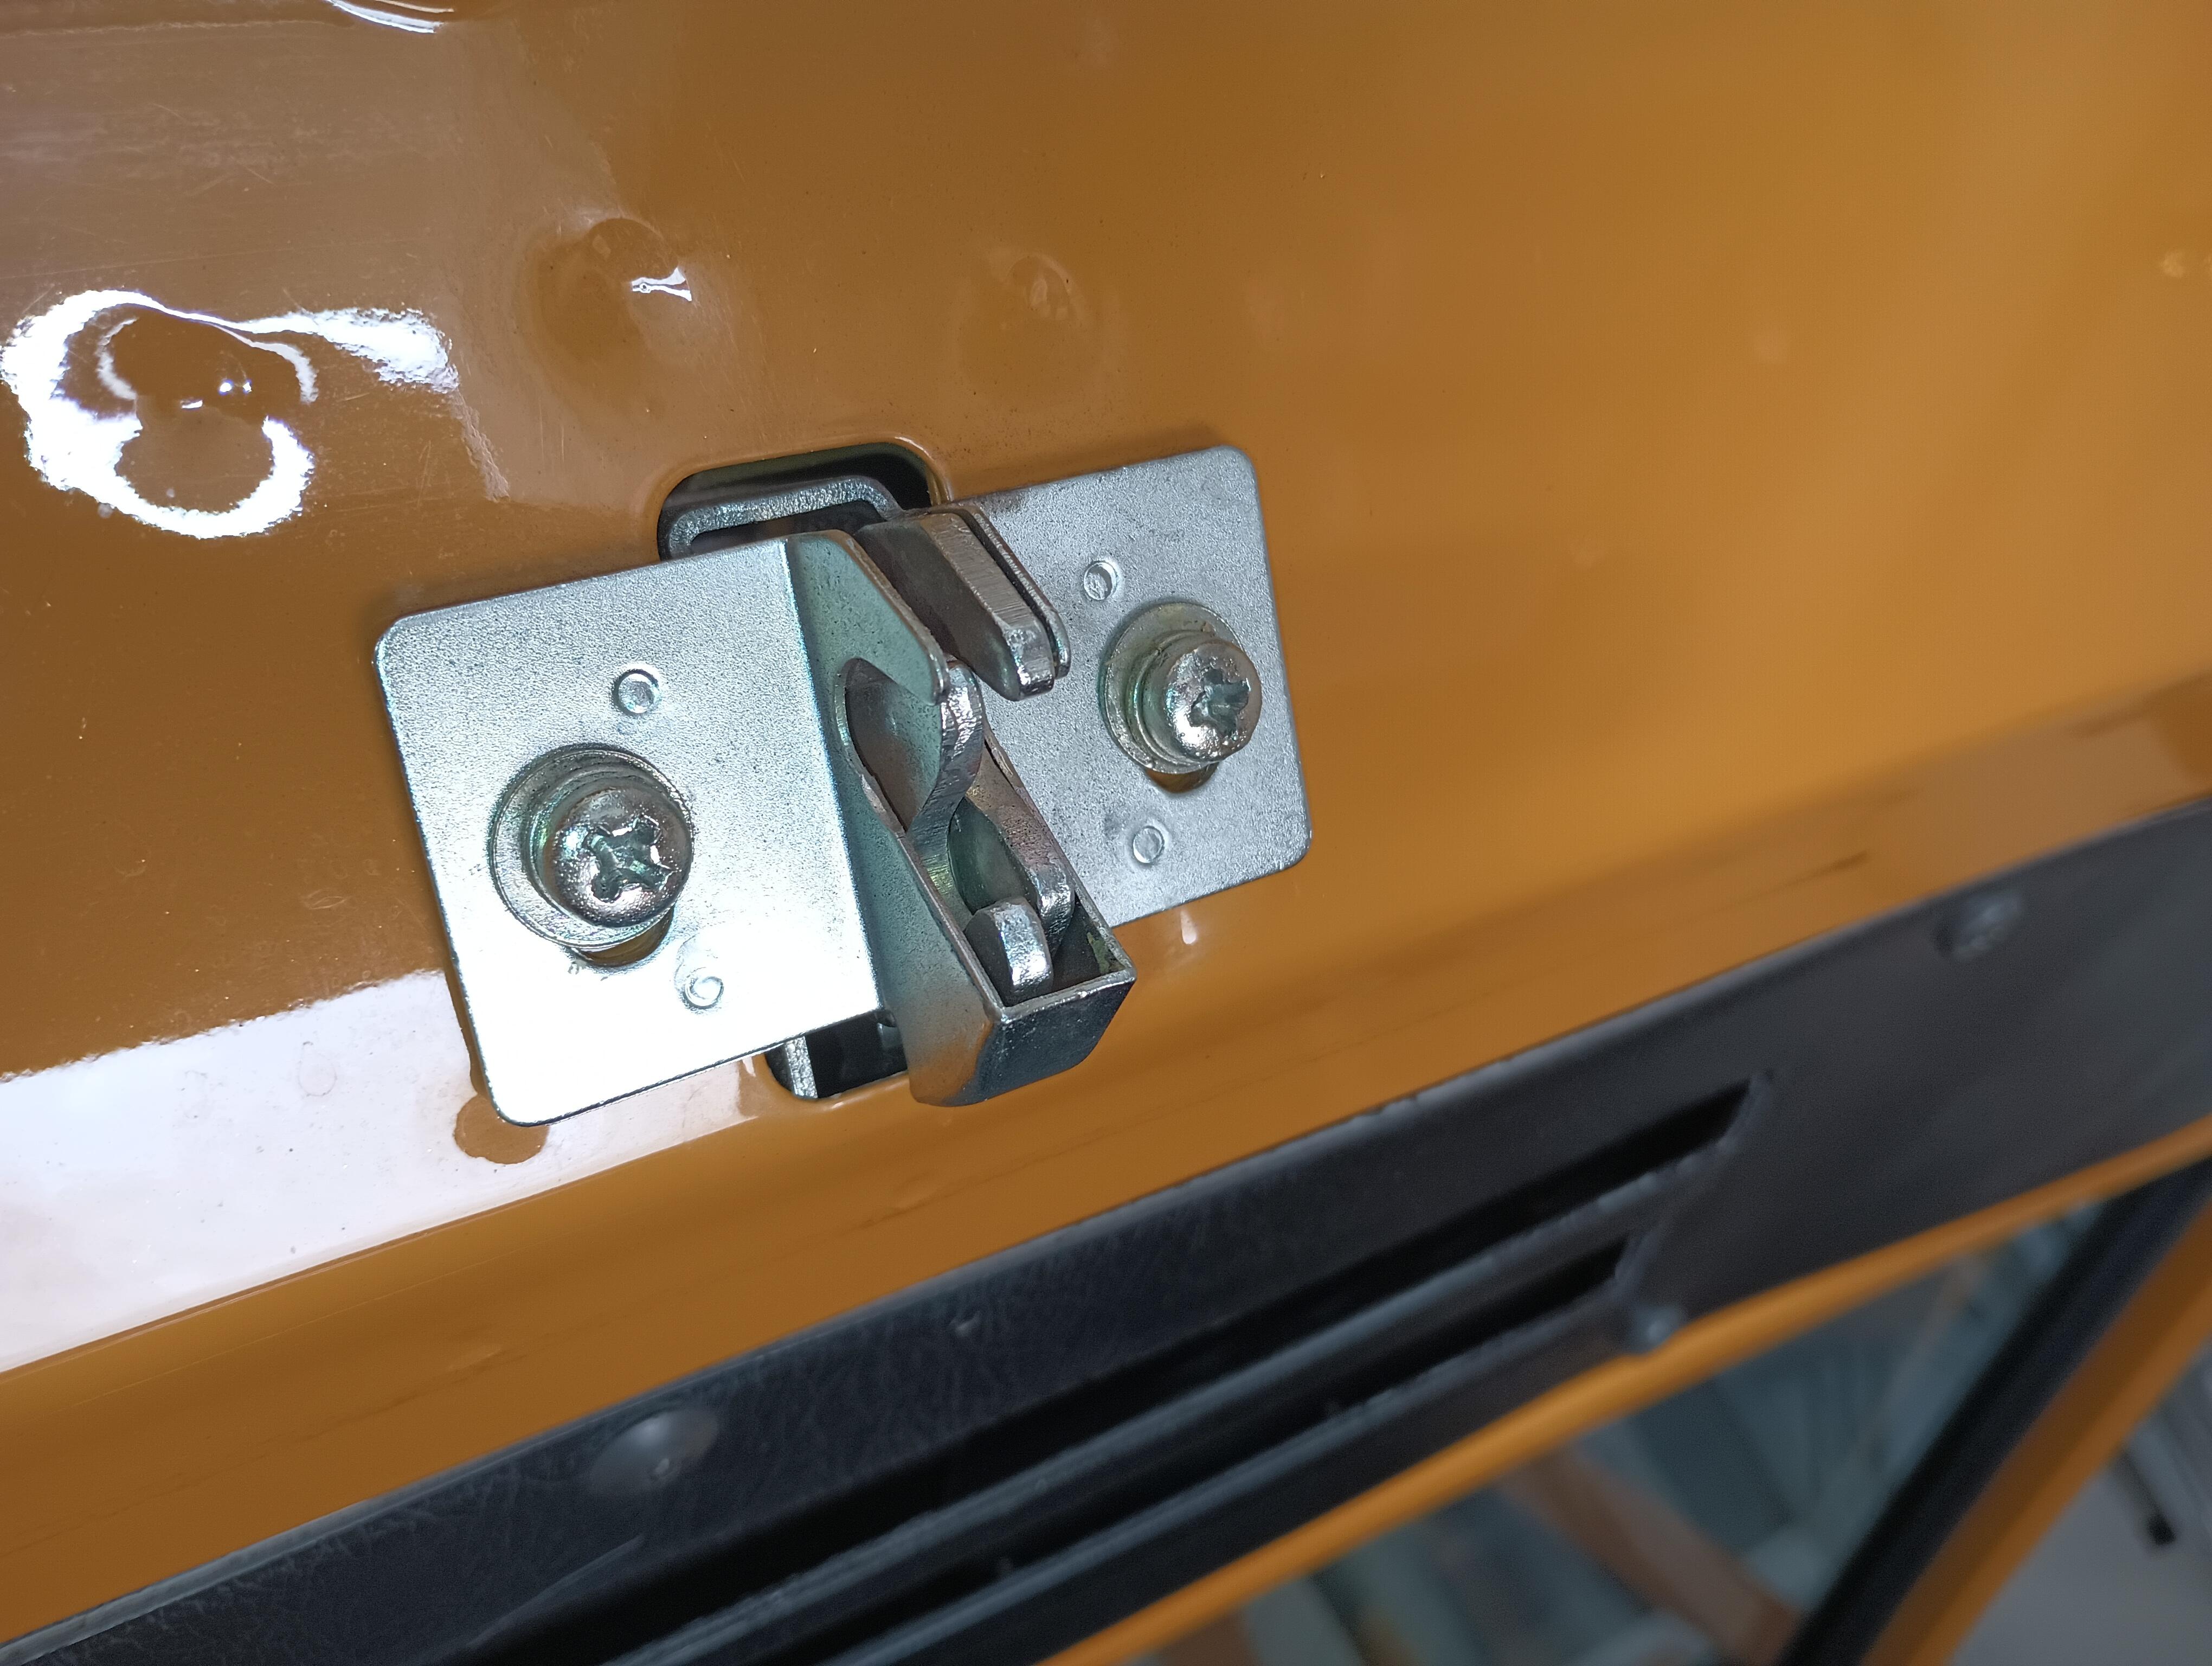
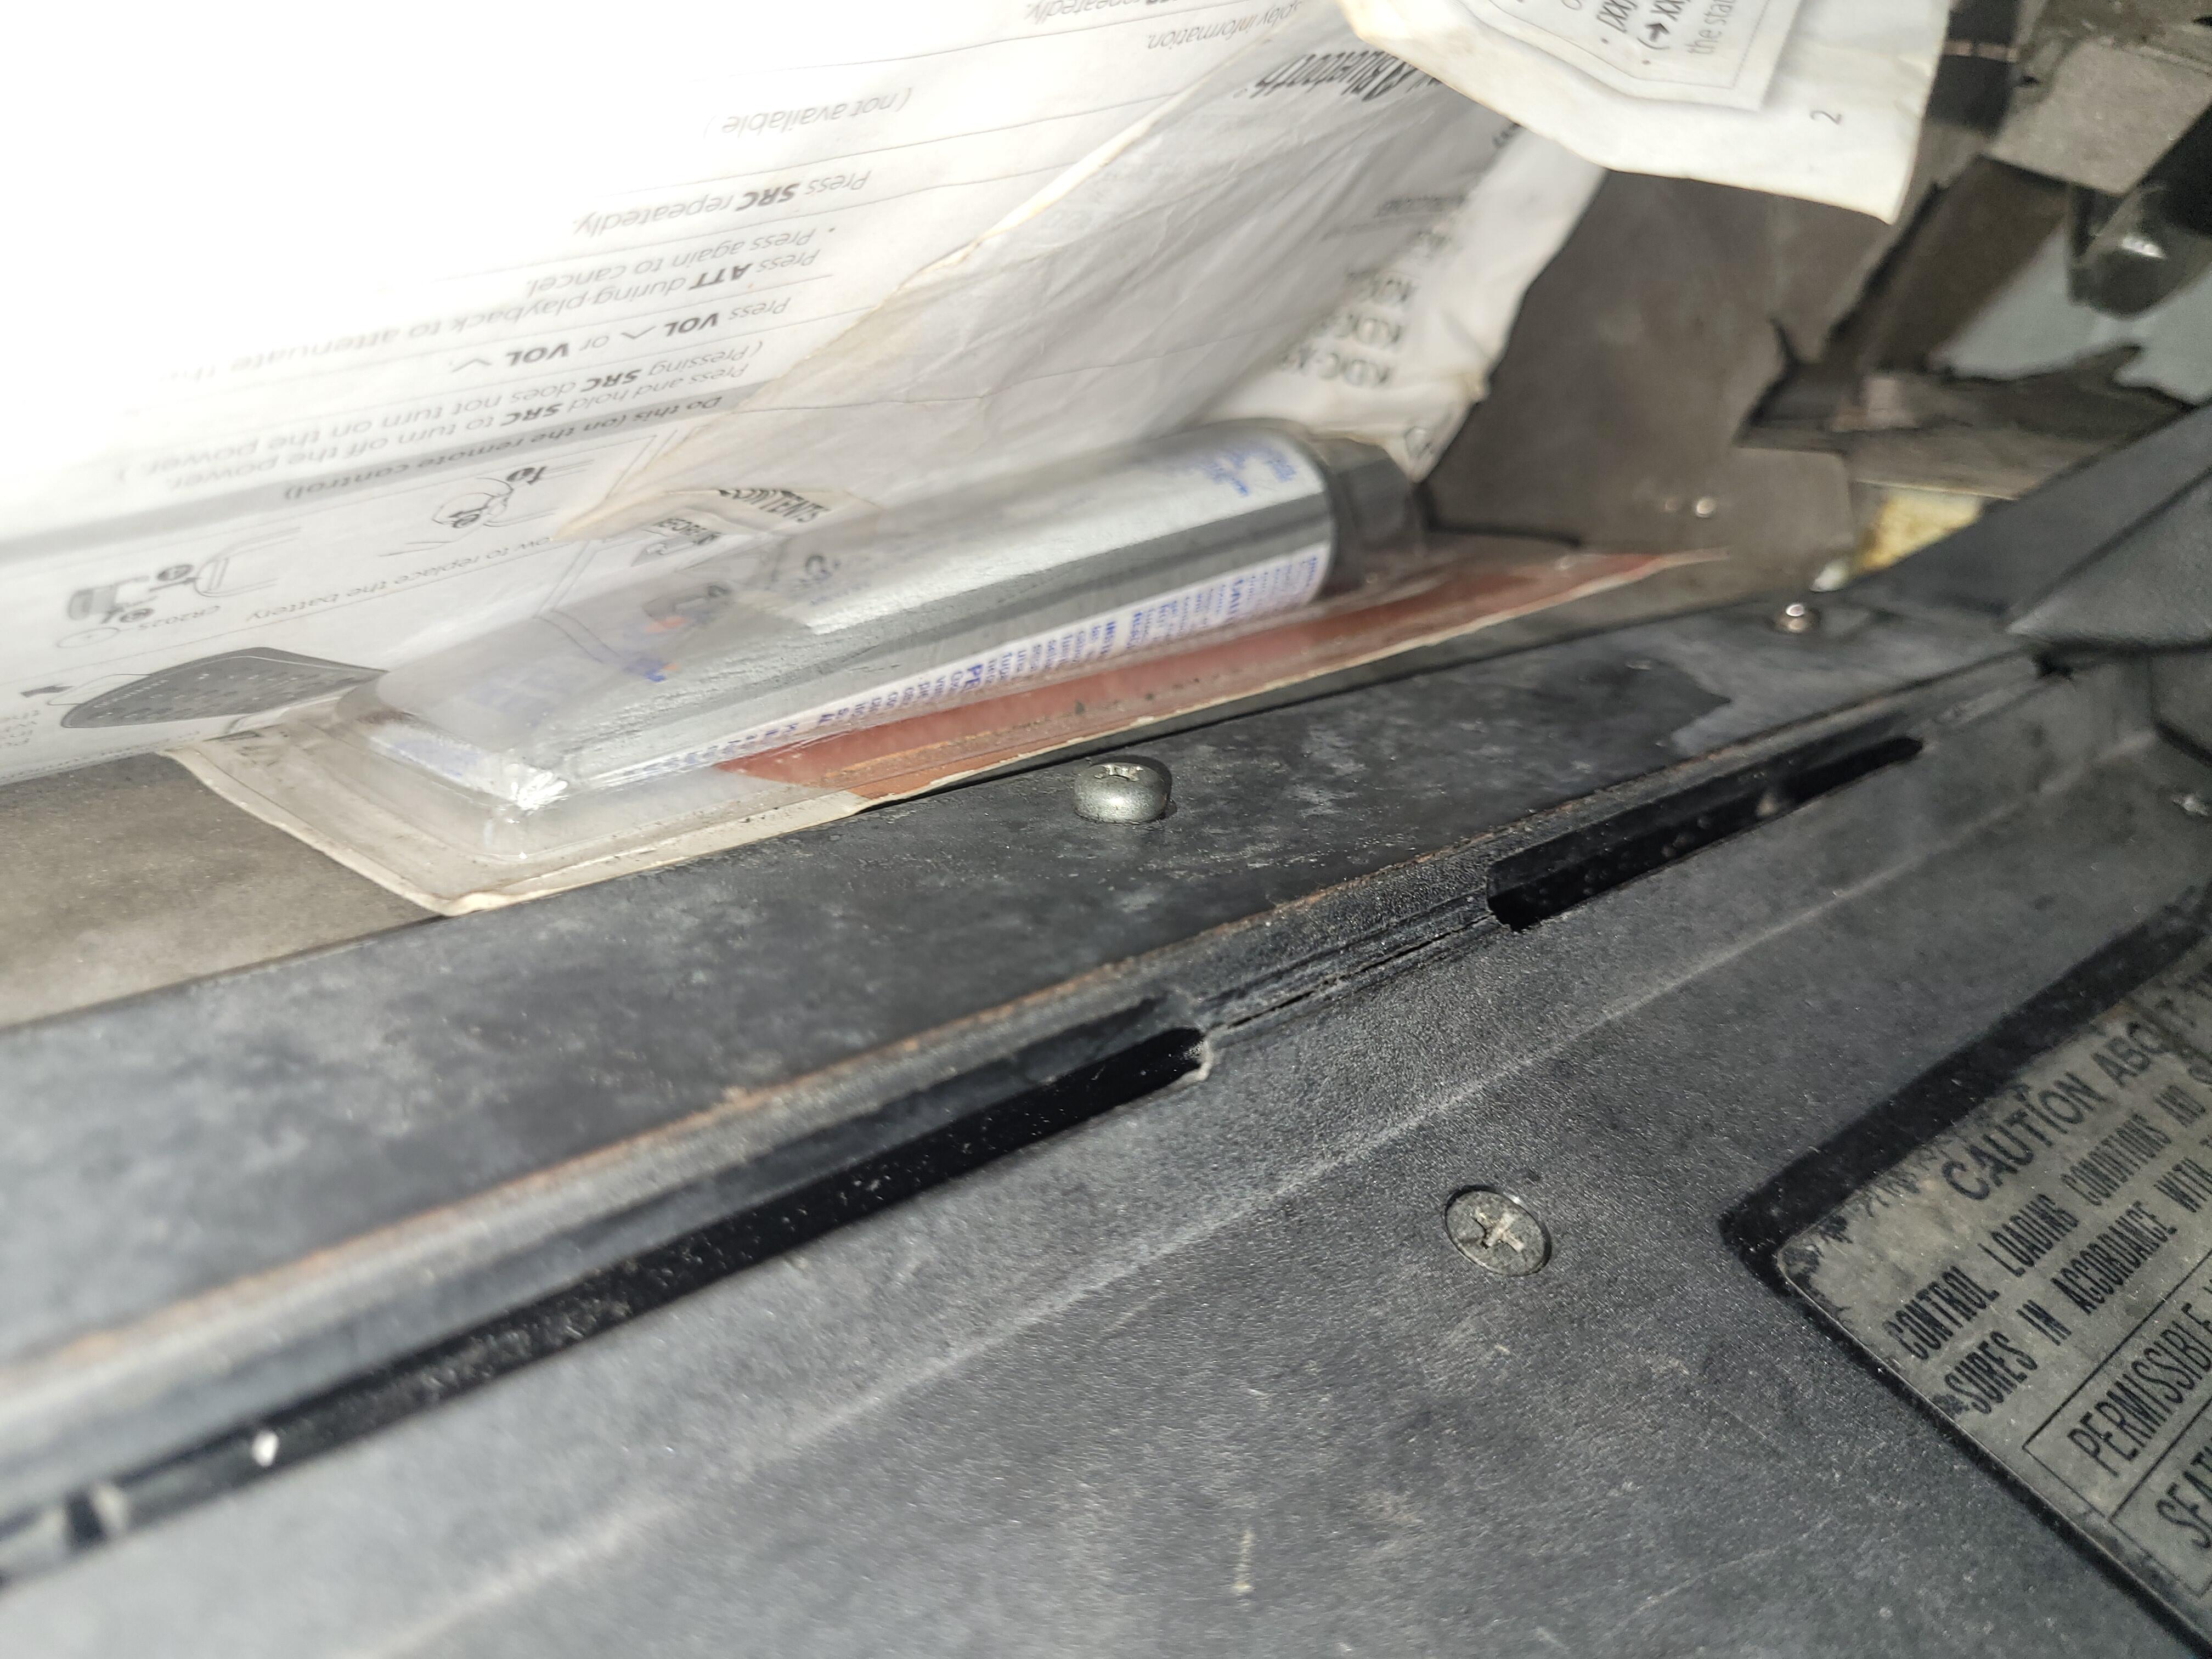
2 pointsAlso, I have updated my 240z fastener information at this Google sheet. The hatch hinge hardware is in the body section. The other related hatch hardware is in the body exterior section. I need to organize things a bit better in the sheet.2 points
-
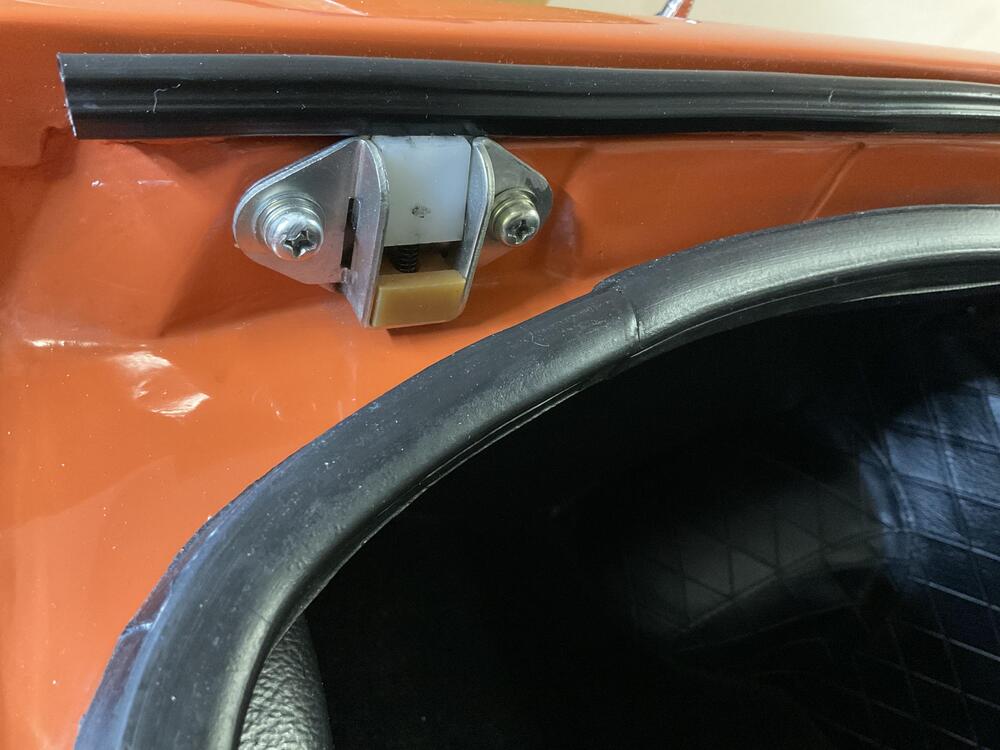
2 pointsThe hole in the inner corner of the hatch is a drain and needs nothing. Picture of hatch hinges may be of help as my car is a total stock restoration.


 2 points
 -
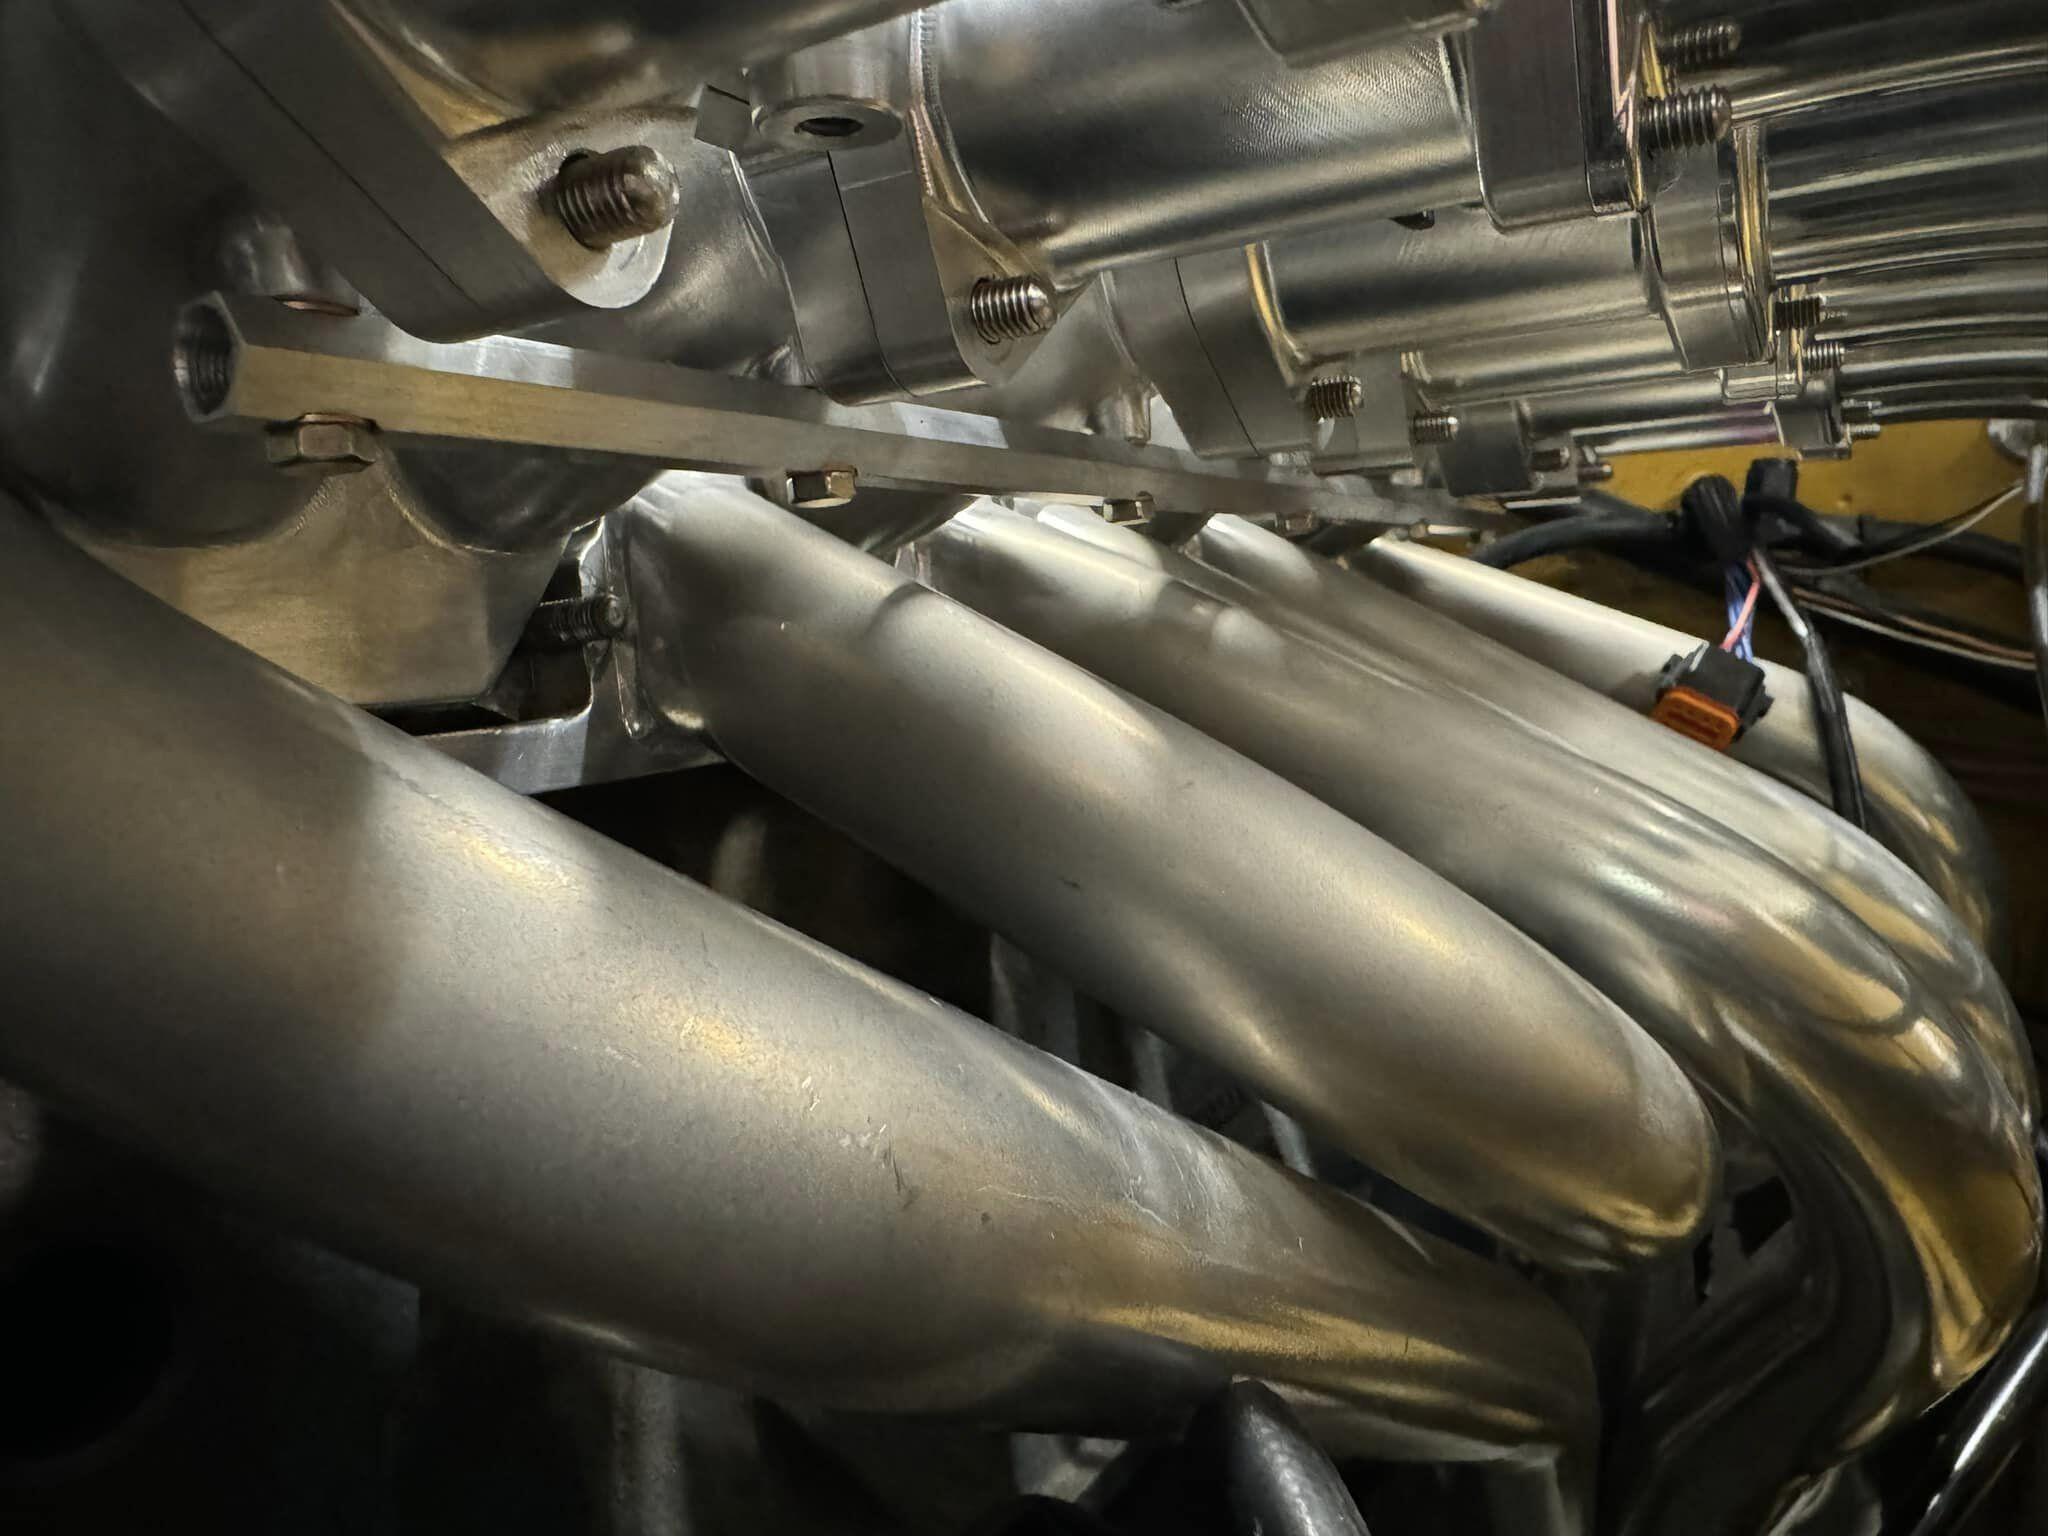
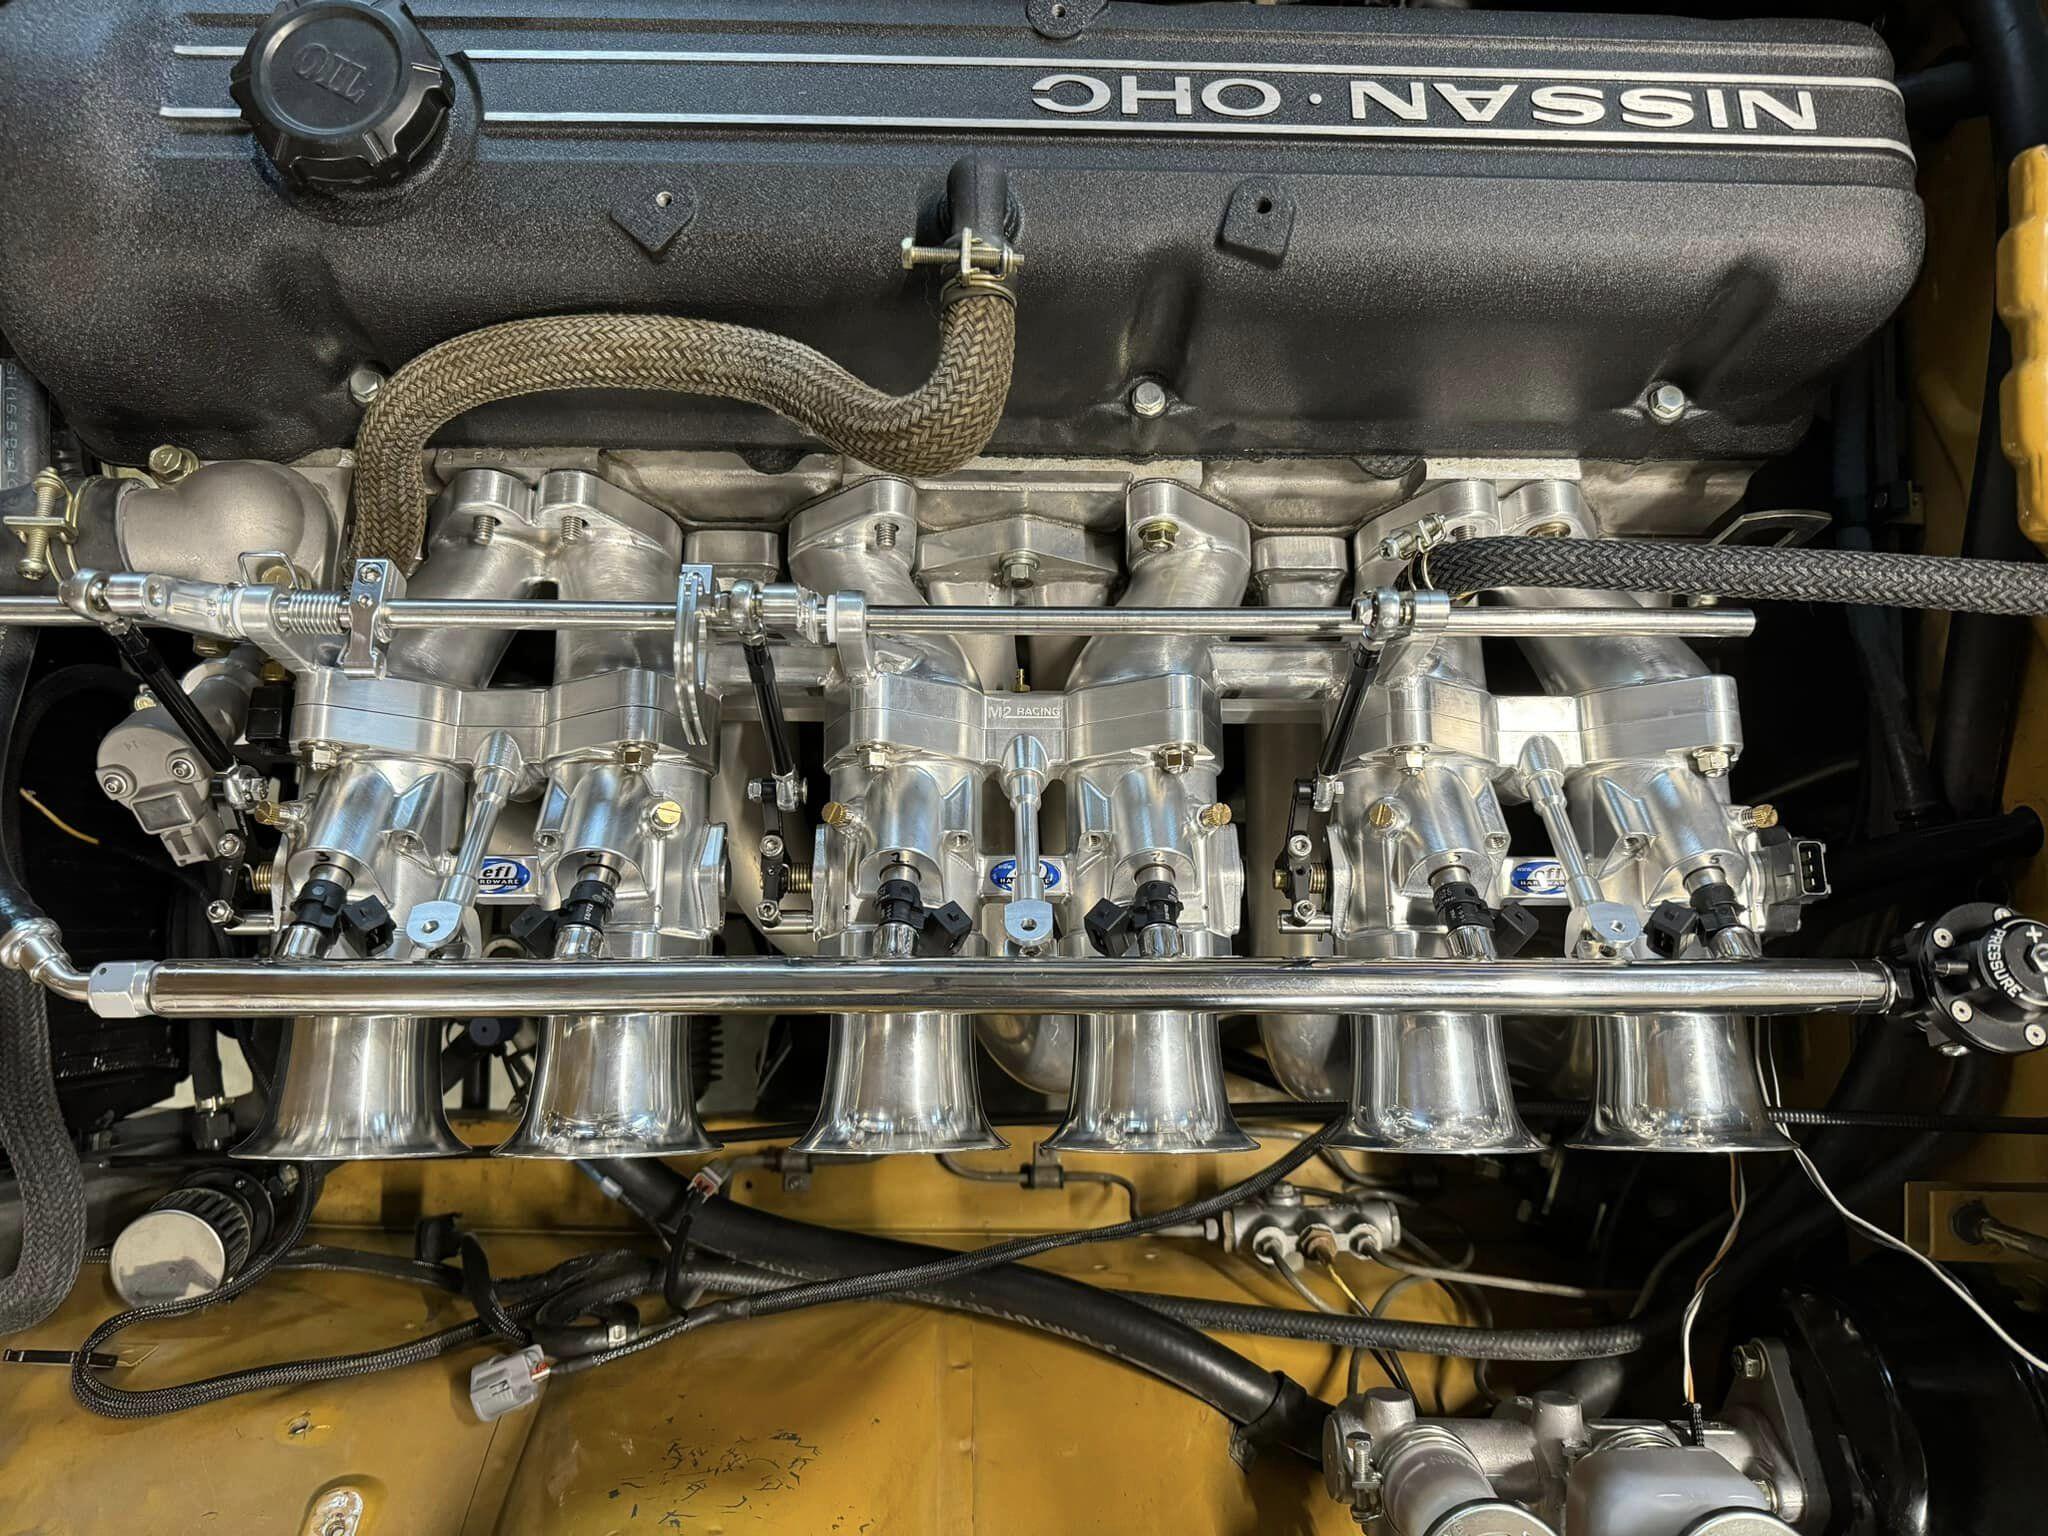
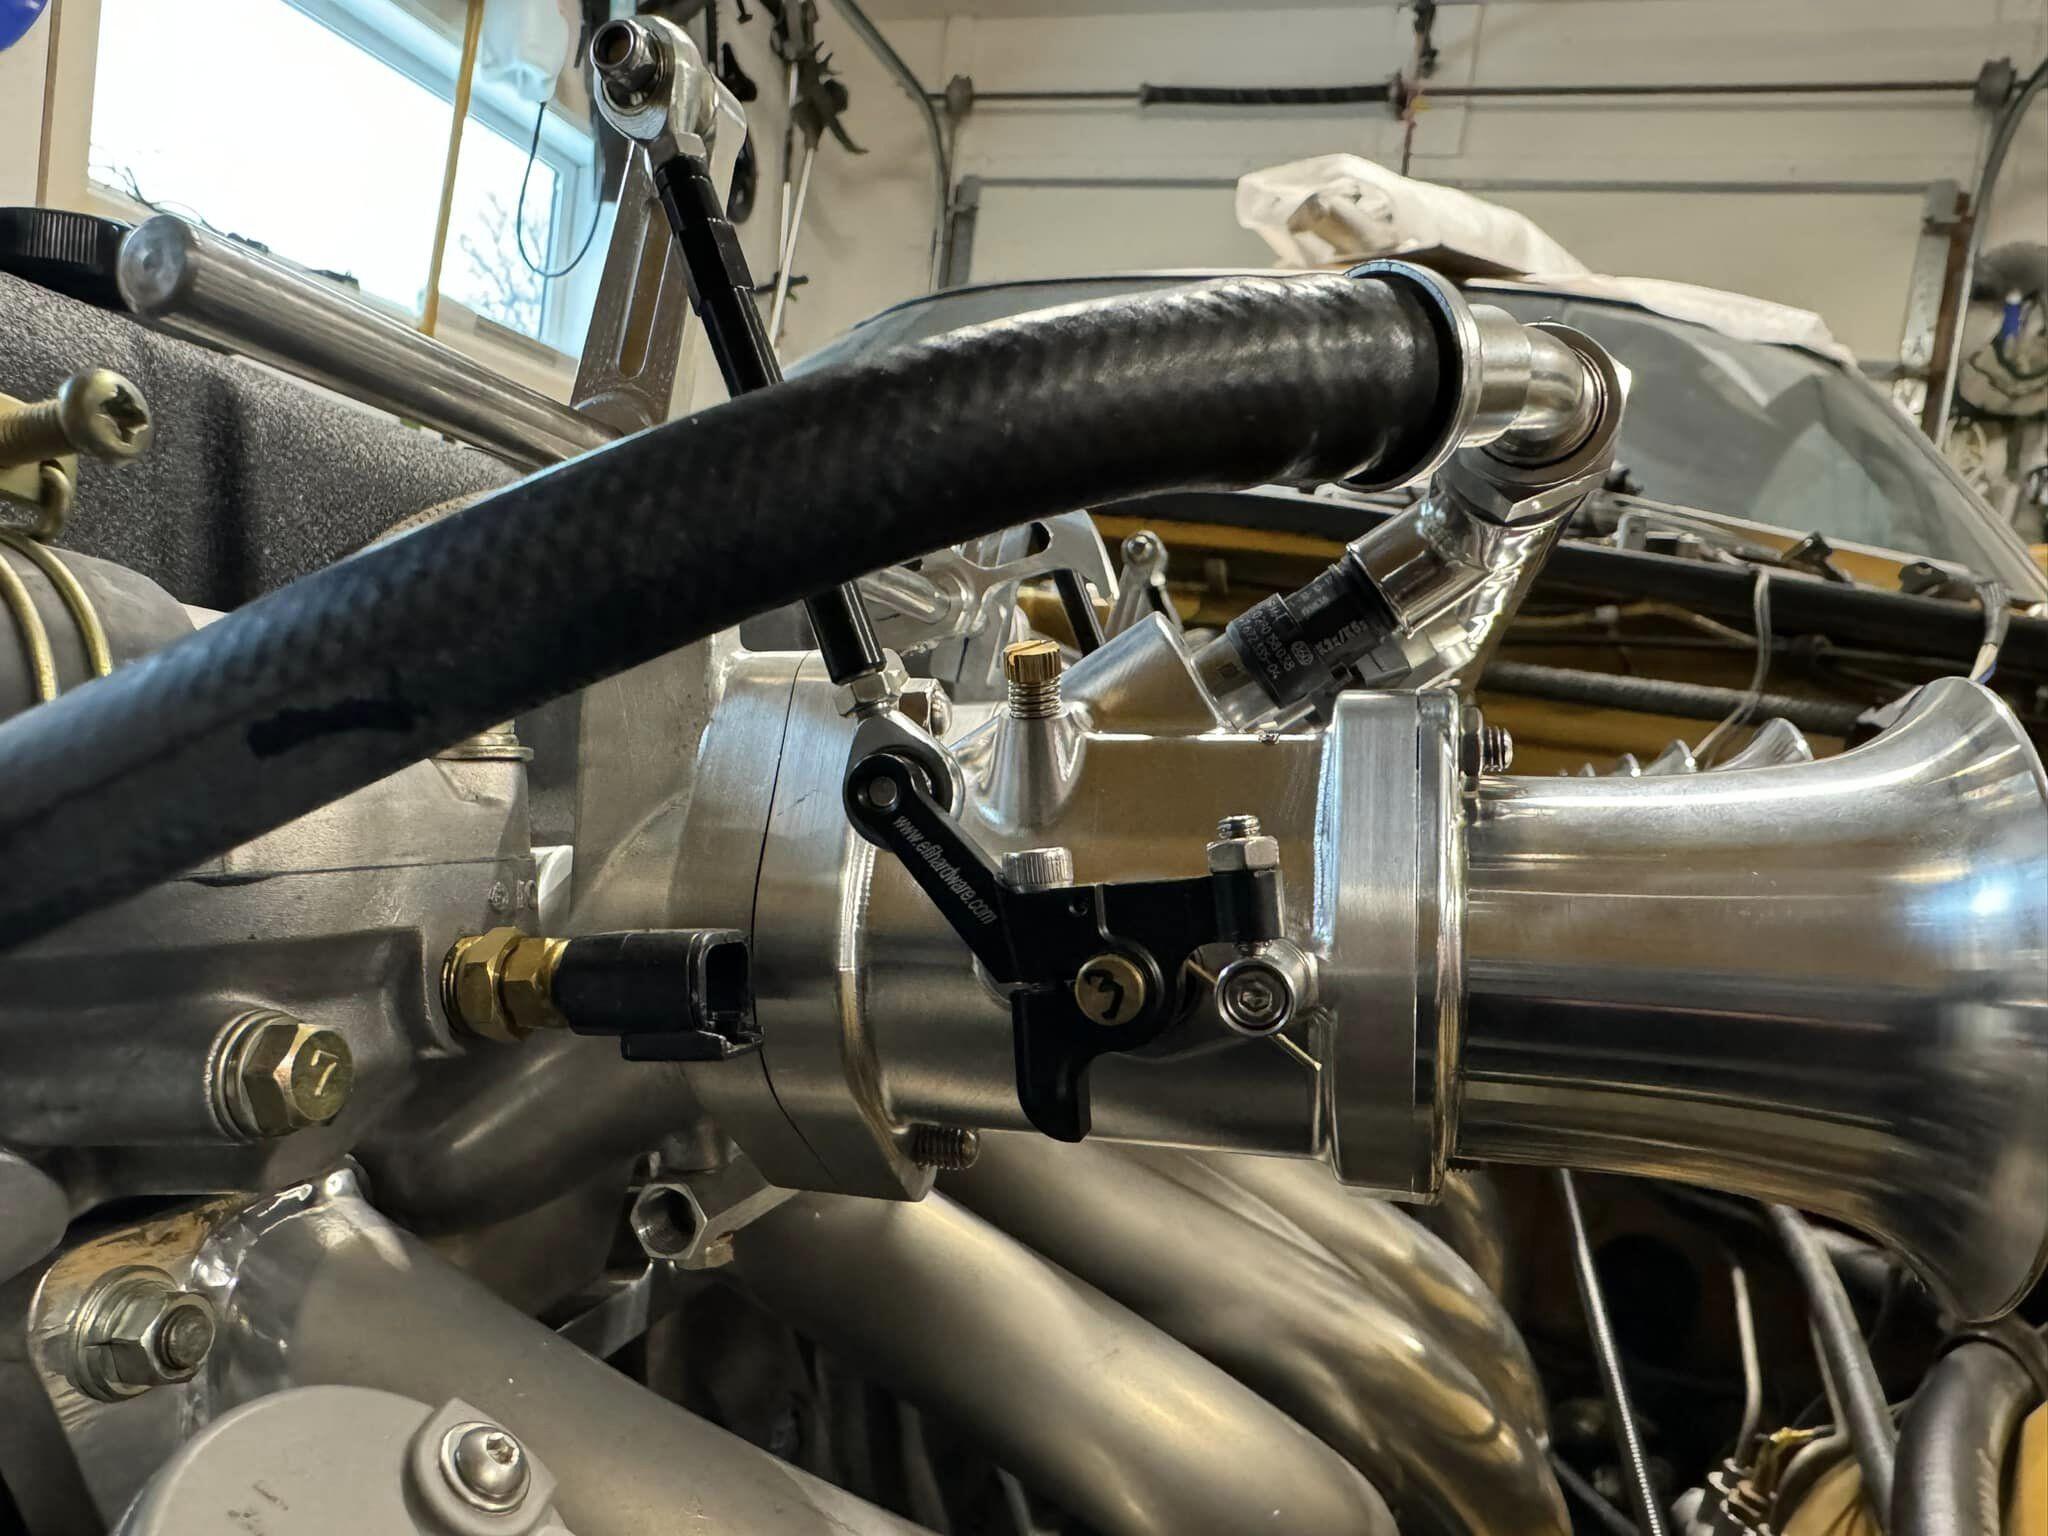
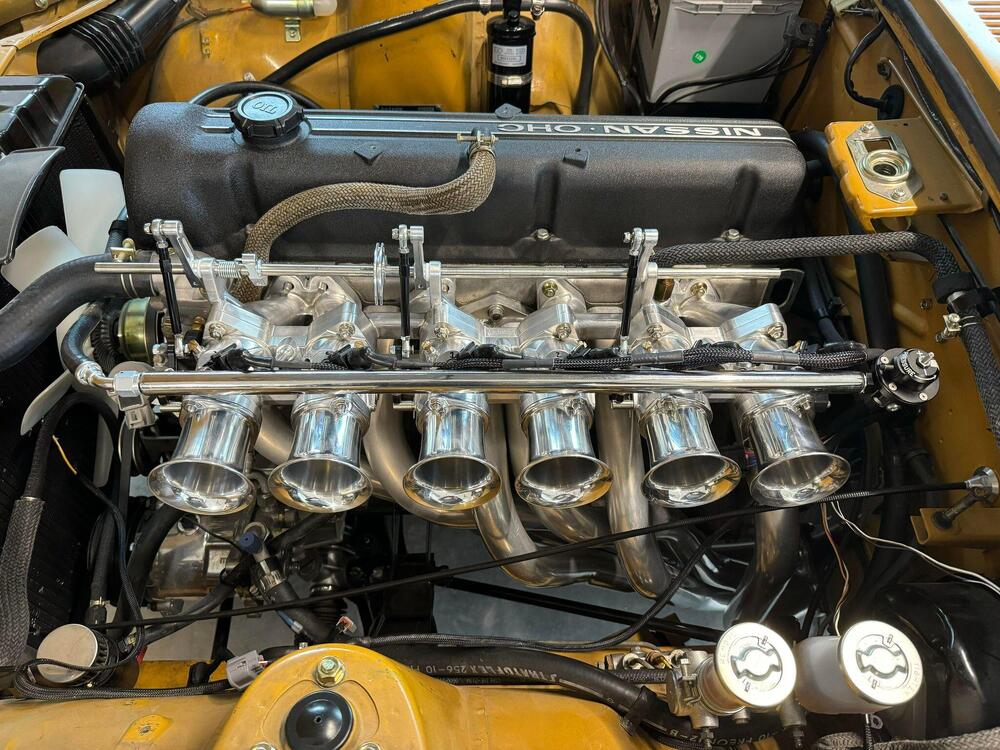
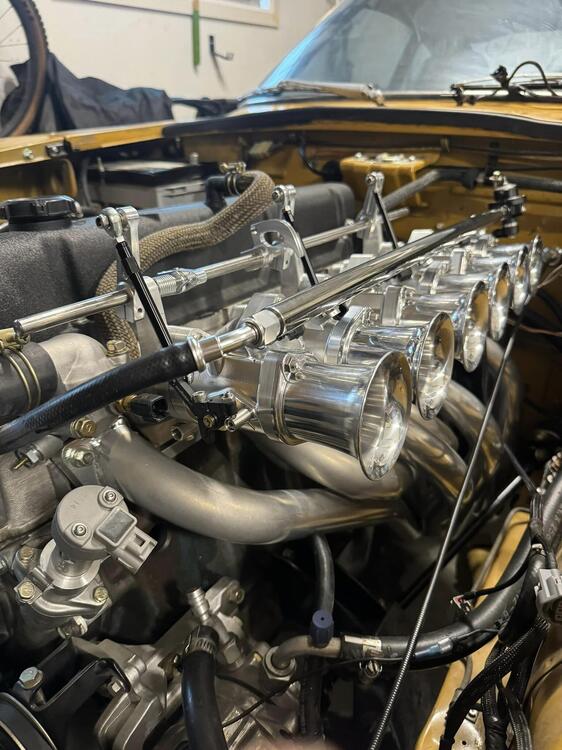
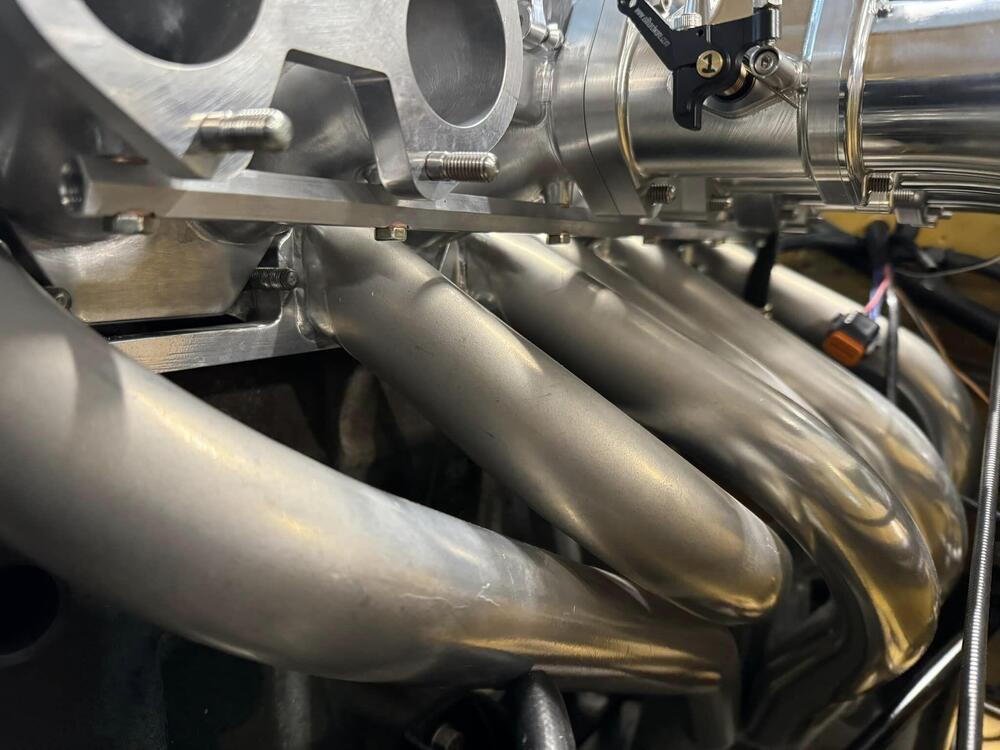
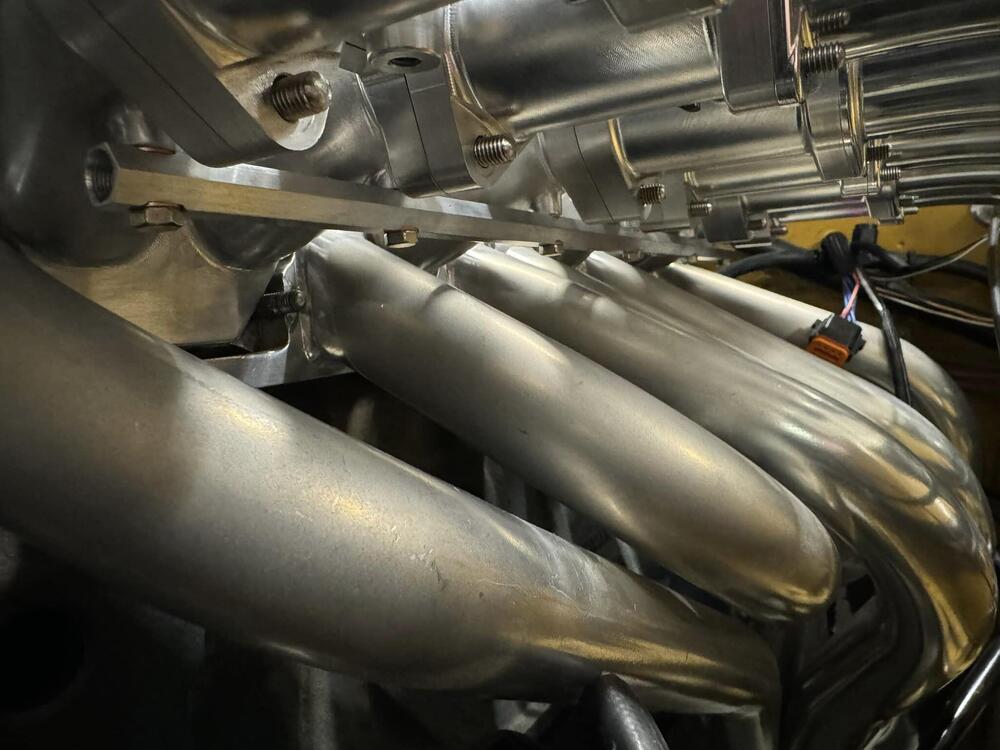
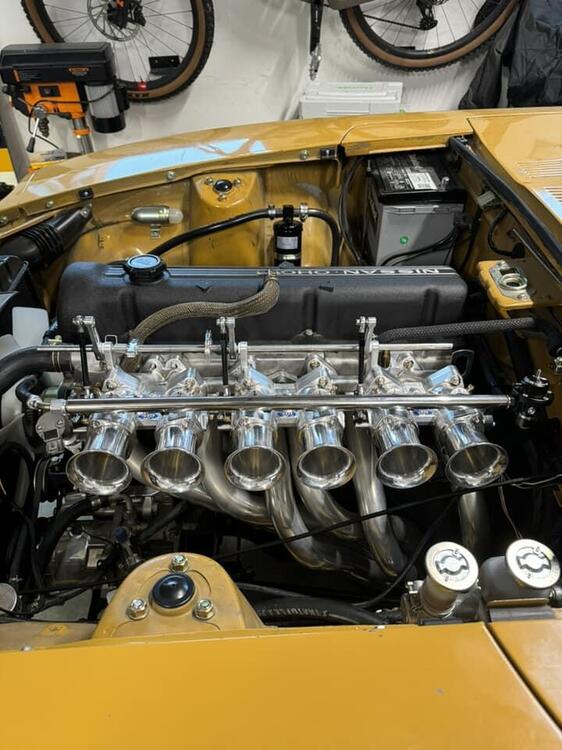
2 pointsWell I got my cnc intake! Honestly surface finish isn’t what I was hoping for. But will be nice with some effort. I think it’s almost too much bling. I might go satin glass bead on the intake. It has pretty heavy machine marks Balance bar bolted on exactly as I planned, with 6mm banjos. The injector angle looks spot on as well. Pretty happy with it overall. Next rods need to be shortened and I need to figure out a progressive throttle location on the overhead bar and a cable mount location. Then moving the ecu temp sensor.


 2 points
 -
1 pointCourtesy is probably like most dealerships in that they do not keep seldom ordered parts in their inventory but rely on a warehouse for those items. I think everything I've puchased in the last few years have been warehouse supplied and I use store pickup to avoid shipping charges.1 point
-
1 pointI'm close by, will try to swing by there and see what is happening. A very good friend for all of us - David House, has worked there for years, hope all is well for him. I heard a story that the dealership has changed owners to the Clay Cooley group.1 point
-
1 point
-
1 point
-
1 pointWe can hope that temporarily means temporarily. Meanwhile there is still Nissanpartsdeal.com and Nissanparts.cc. You can also try https://www.lynchburgnissan.com/parts/center.htm#parts-lead-form1 point
-
That is a good idea. He's looking for a left window for me currently. I'll ping him. Thanks for providing a picture of the Banzai headliner. It does look nice.1 point
-
1 pointUpdate: I picked up Costco's Interstate battery (1624505 this one) for $120 and it works great.1 point
-
Contact Adam at Datsun Rescue. He may have one. https://datsunrescue.bigcartel.com/product/s1-head-liner1 point
-
Perforated interior soft trim finishes were one of the defining features of 1950's German autos (Porsche 356's, Benz SL's, etc). I don't think anybody else did this (Alfa Romeos, maybe?) and it eventually transitioned from being 'quirky' to full-blown 'iconic'. I always liked the fact that Nissan's interior stylists picked up on this when they were laying out the Z's interior design back in the late 1960's. Save those headliners!1 point
-
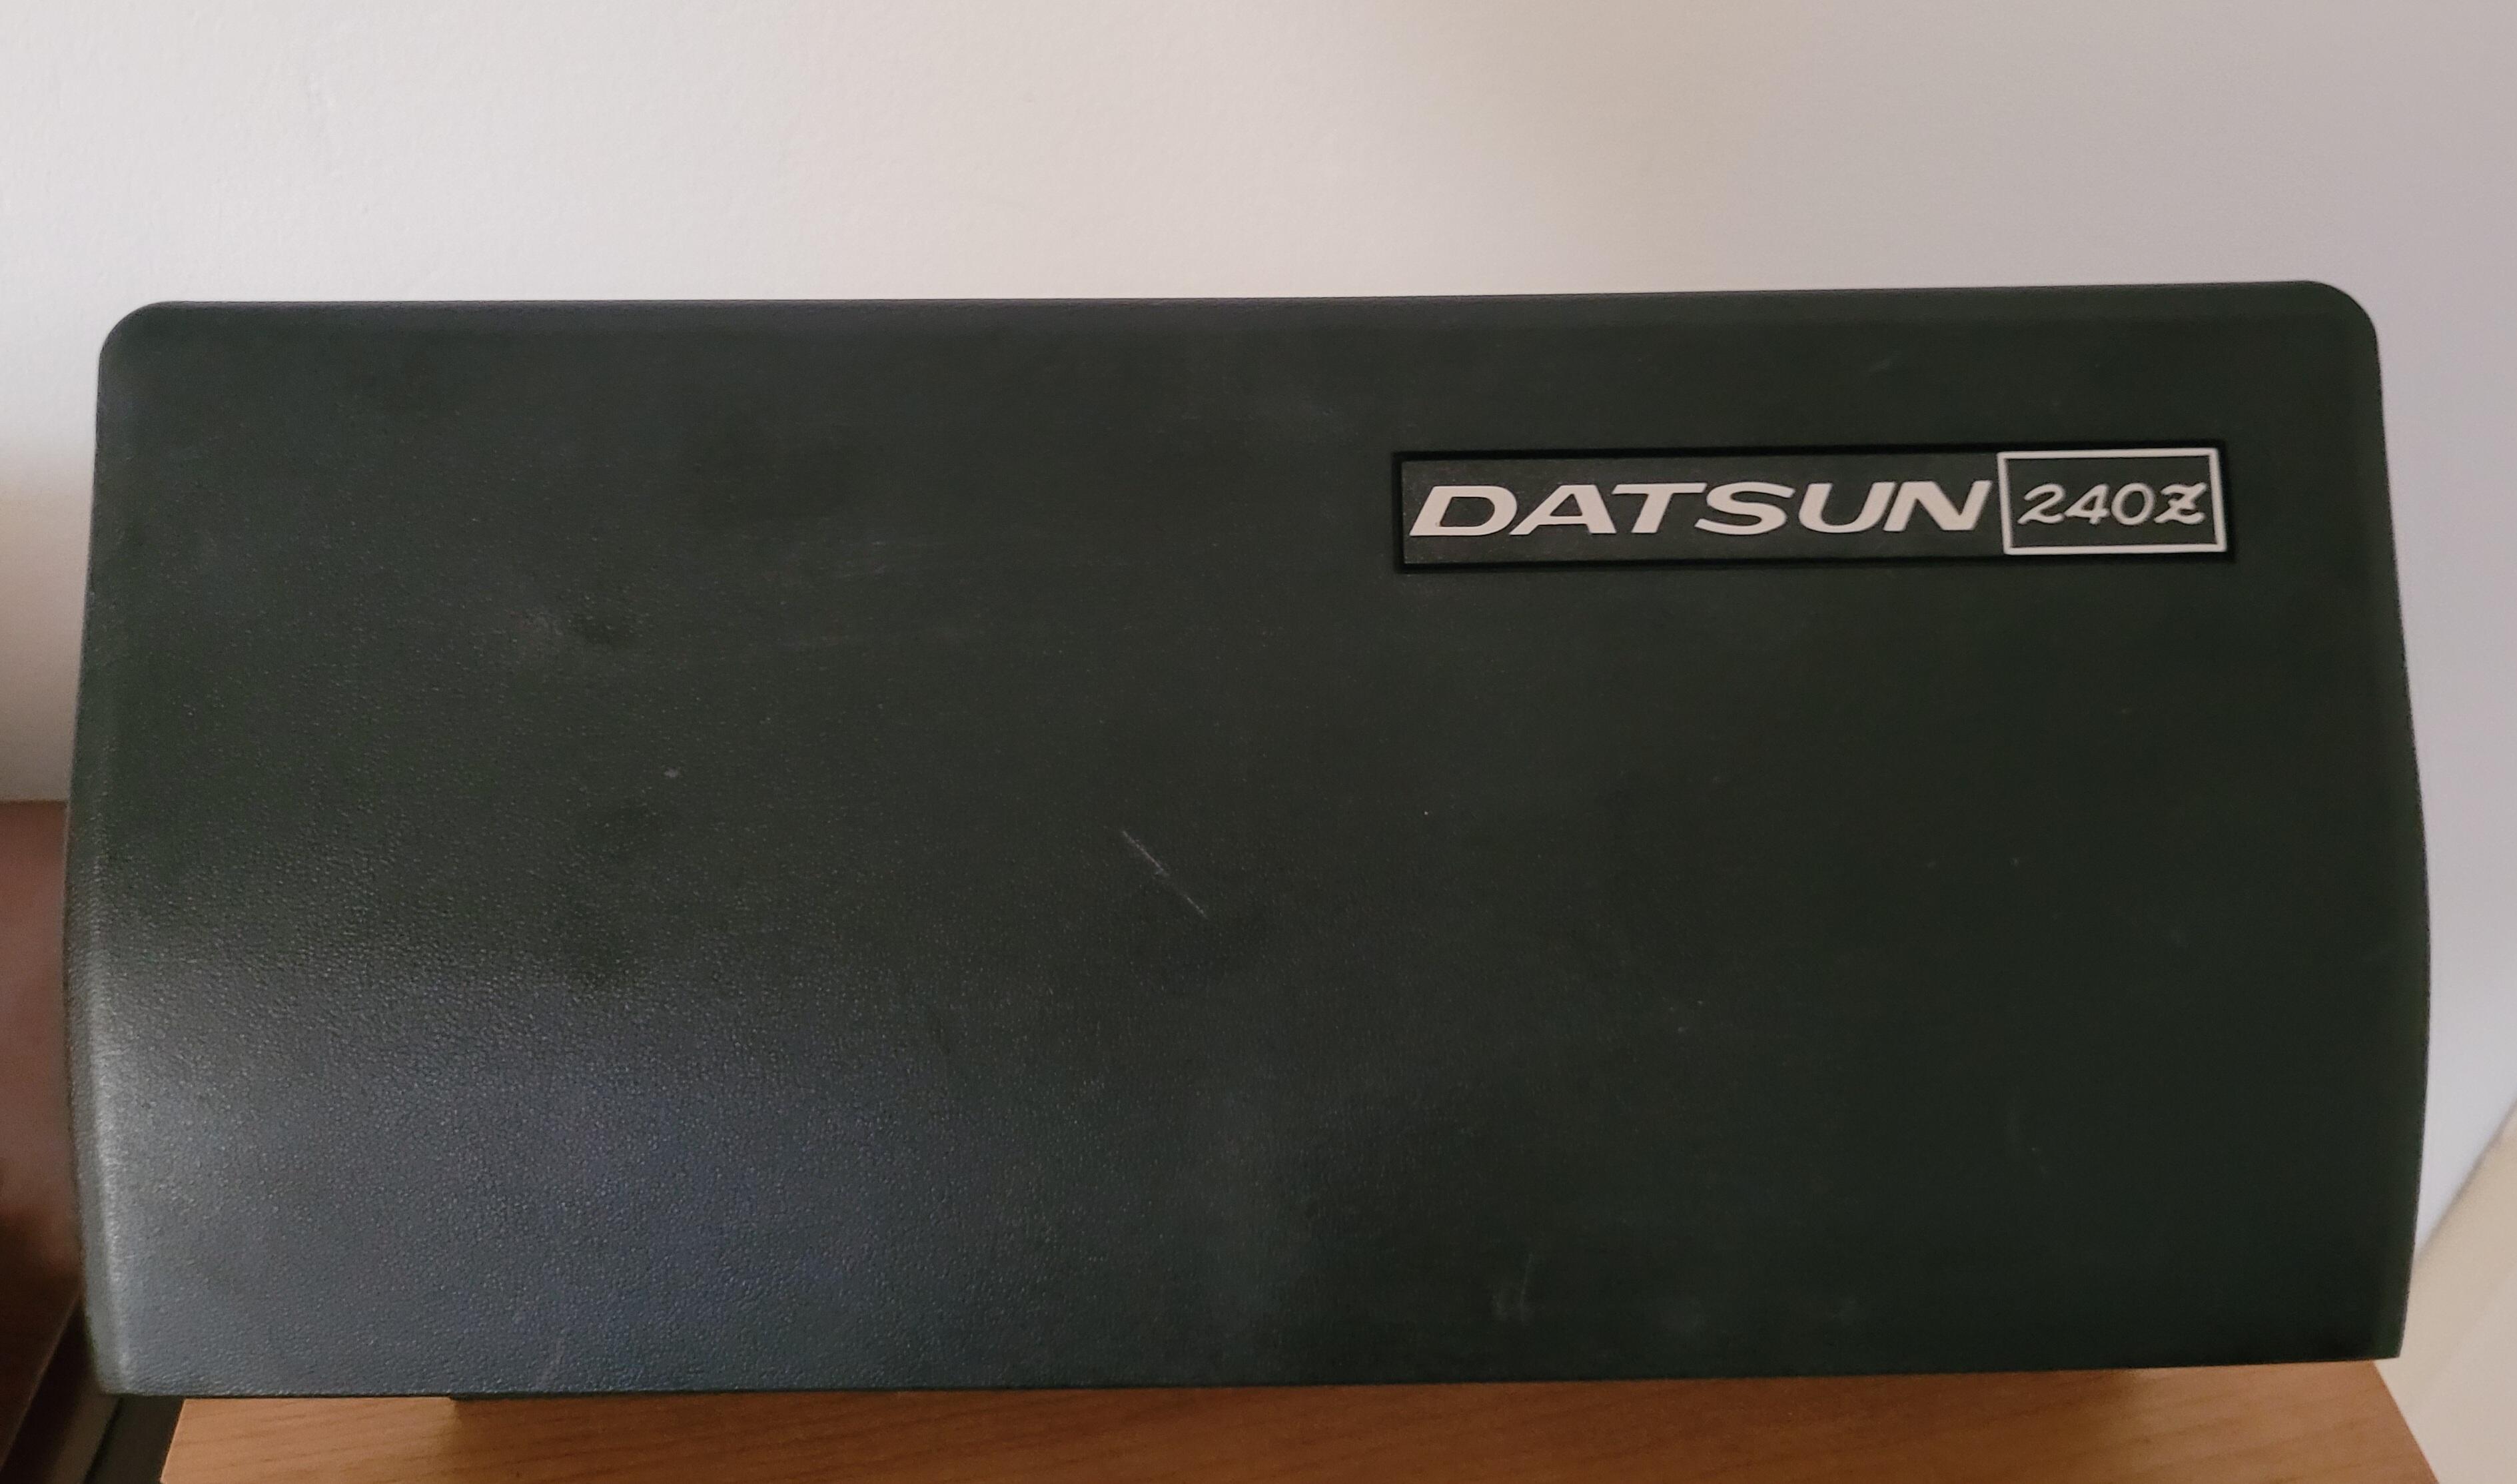
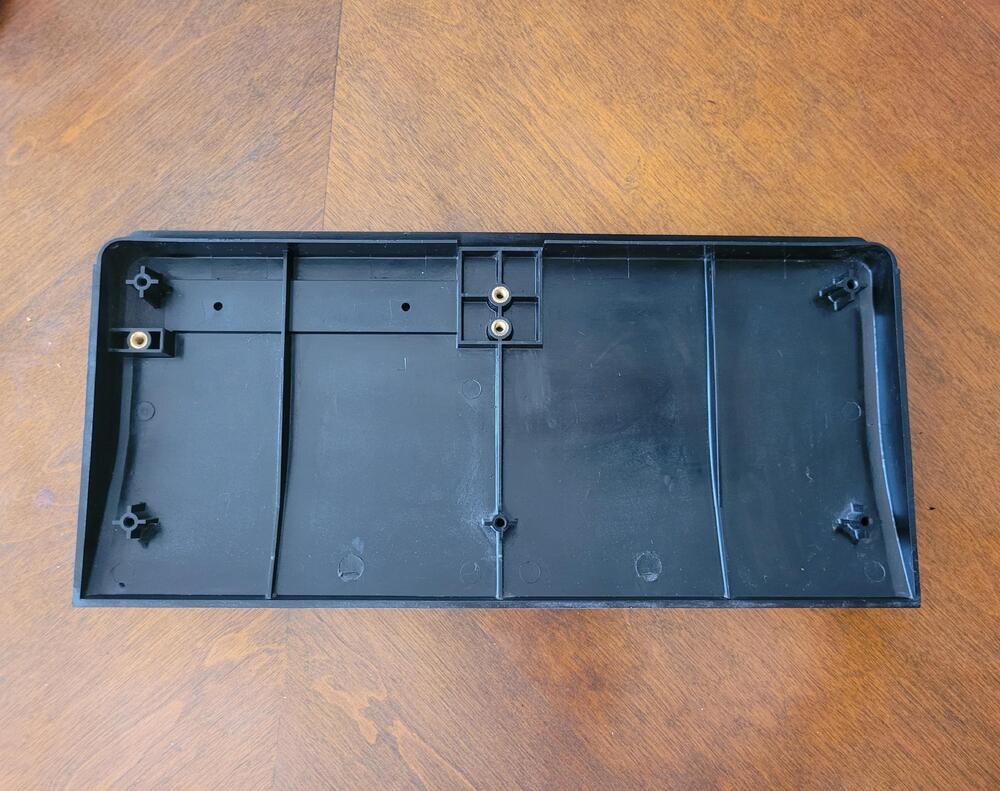
Already installed the emblem. However, while adjusting the height so the lid could close properly 2 of the plastic tabs broke. I decided to order the skillard aluminium glove box and rear lid.

 1 point
 -
1 point
-
If you are like me, the only reason you remembered that you had it was because you saw it when yo threw it away! I will admit I threw one away this weekend that had been folded in a square and looked pretty dry and rough. It was from a 280. Must be clean up shop time of year. The aftermarket one I used was really nice. Came from Mike at Banzai.1 point
-
Well based on the application (king pin shims), I would assume they are relatively hard and would be suitable for the differential application. You can get a quick and dirty idea of how hard they are using a small hand file to see it it will cut those new shims. The corner of a small file will a) cut like butter, b) completely skate across the shim without cutting, or c) somewhere in between. You want "in between". Another thing you could try is if you fold one of those shims in half... Does it fold easy and stay pretty much completely folded? Does it snap into two piece? Or does it fold but springs back a bunch when you let it go. I think you want the third option. I know this is all just subjective words, but from a distance, that's all I got. And I may have mentioned this already, but I can run a Rockwell hardness test on parts if necessary to determine the Rockwell rating. Although I'm not sure it will be accurate on something as thin as .005.1 point
-
0 points@inline6 I had thought about taking your spreasdsheet and adding thumbnail pictures of each fastener in my "spare time". Also in other news the Courtesy Nissan parts store is evidently now closed... Not closed, moved to a different website...0 points
-
0 points