Leaderboard
-
JDMjunkies.ch
Free Member9Points641Posts -

kats
Free Member6Points2,219Posts -
Patcon
 Subscriber
 5Points11,183Posts
 -
Jeff G 78
Free Member5Points3,007Posts


Popular Content
Showing content with the highest reputation on 10/05/2023 in all areas
-
Thank you, it was indeed a bit of a hunt 🙂 I already started the assembly and it's so satisfying and fun. A few days ago i got a call from my Panelbeater that they finally got the chassis out of storage again and re-started work on it. This time with two people. Nice! Today i went over to have a look and discuss some next steps and details. Well the progress was much better than expected. First i was greeted by a more or less complete upper front end body. Here you see the two masters in charge of my project. They also proudly showed me their spot-welding machine when i asked how they weld some of the parts. I'm unfamiliar with spot welds but it is quite the machine 🙂 So what happened since my last visit? The right-hand floor pan and inner door sill has been completely replaced and the original seat rail mounts are in the proces of being reinstalled. The bodyshop claimed that some of the welds from the previous bodyshop were not so good so he ended up ripping out everything in order to get it done professionally and replace the self-made panels with the spare KFV Panels i had given them for "just-in-case" requirements like this. While it is extra work and cost, i absolutely approve what they do and i'm more than happy i switched to these guys. True masters of their craft. So the floor / Firewall / Front end section is more or less complete. except maybe for the RH outer side sill which is still under debate: On the LH the KVF lower outer side sill has been modified to fit (still needs some adjustments). What is left missing is the line in the door, which some of the previous owners thought was cool to "shave", so they have to hammer it back in. The roof skin (which was full of small hammer-dents due to a previous damage / repair) is meanwhile also repaired (i wasn't able to see it today, as it was in storage), so after they adjust and finalize all the small details, there are mainly three big tasks: - Fit the rollbar - Replace the LH Rear quarter (and inner wheel well) - Replace the roof skin. Of course there is also hours of detailed adjustments and a chassis-alignment scheduled, and primering of all uncoated surfaces to prevent rust. I have to bring them some parts in two weeks to proceed, until then i'm on a business trip and i really hope they keep up the pace until my return. There is also a new timeline due to various delays and another big (bentley) project, so the body should be ready in Q2 next year. Fingers crossed... Oh, and a bit off topic, but i also managed to find a NOS 240K-GT (Aka GC110 Kenmary skyline) Radiator and Hose at a very old radiator shop in switzerland, which will now be used in my mate Stefan's Datsun 240K-GT Restauration.4 points
-
Congratulations on your hunt! Me too bought the complete set. I wanted to have the series of magazines and the DVD, they are so interesting and rewarding, highly recommended. I am not interested in the model car so I still let all the pieces un opened, properly never will be assembled. Because I have 1/1 cars to play. Kats4 points
-
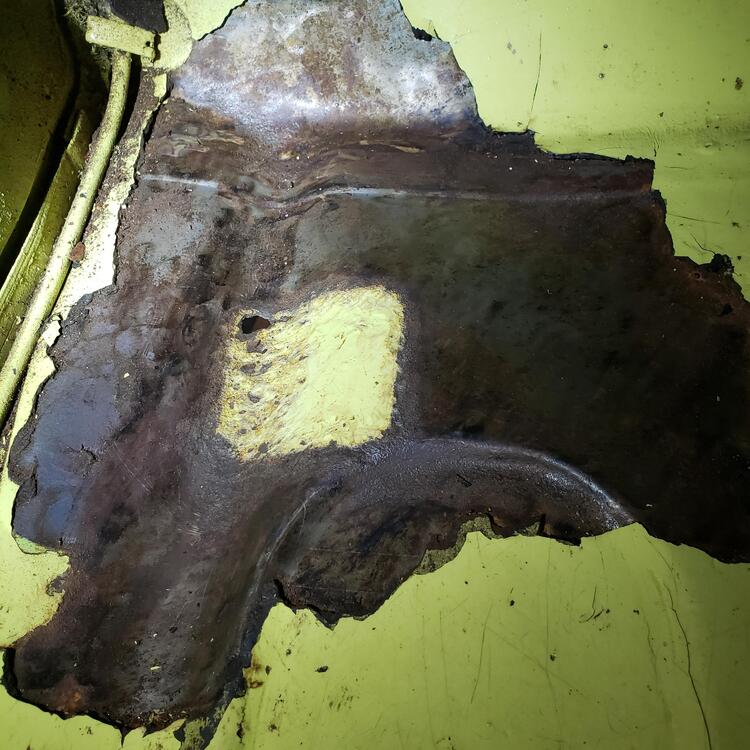
Per suggestions from Patcon and grannynot I've pulled up some of the floor deadening material around the hole in the drivers side floor pan. Most of it came up readily with the help of a large flat blade screwdriver and a stiff bladed putty knife. There was no rust where the tar material was still firmly attached to the floor but in all areas where there was any separation there was some rust. I went over the area with a worn down wire wheel on my Dremel which cleaned it up pretty nicely. It looks like the main problem is still with the yellow painted patch where the pencil was inserted in the first photo. Attached is a progress photo. Lighting is not the best in that small space. Will continue until all is removed. Just wanted to post an update for anyone else looking at this situation themselves. More spaces left to uncover. To be continued.
 3 points
 -
The point of getting the car running right now, was so I could vacuum & charge the AC system, to make sure there are no leaks - so I can put the dash back together & reassemble the interior... I found that one crimp I had made was insufficient. The high side line fitting to the orifice tube leaked with the system under pressure. I re-crimped it, and was able to then fully charge the system. Pressures seem OK for an 80º afternoon, and it blows cold. Condenser fan doesn't come on until high side hits about 250, but then drops pretty quickly. Anyway, I now know the AC system is functional. blurry pic of recrimp. Fortunately it was a fitting I could access & didn't have to remove the hose to do the job.3 points
-
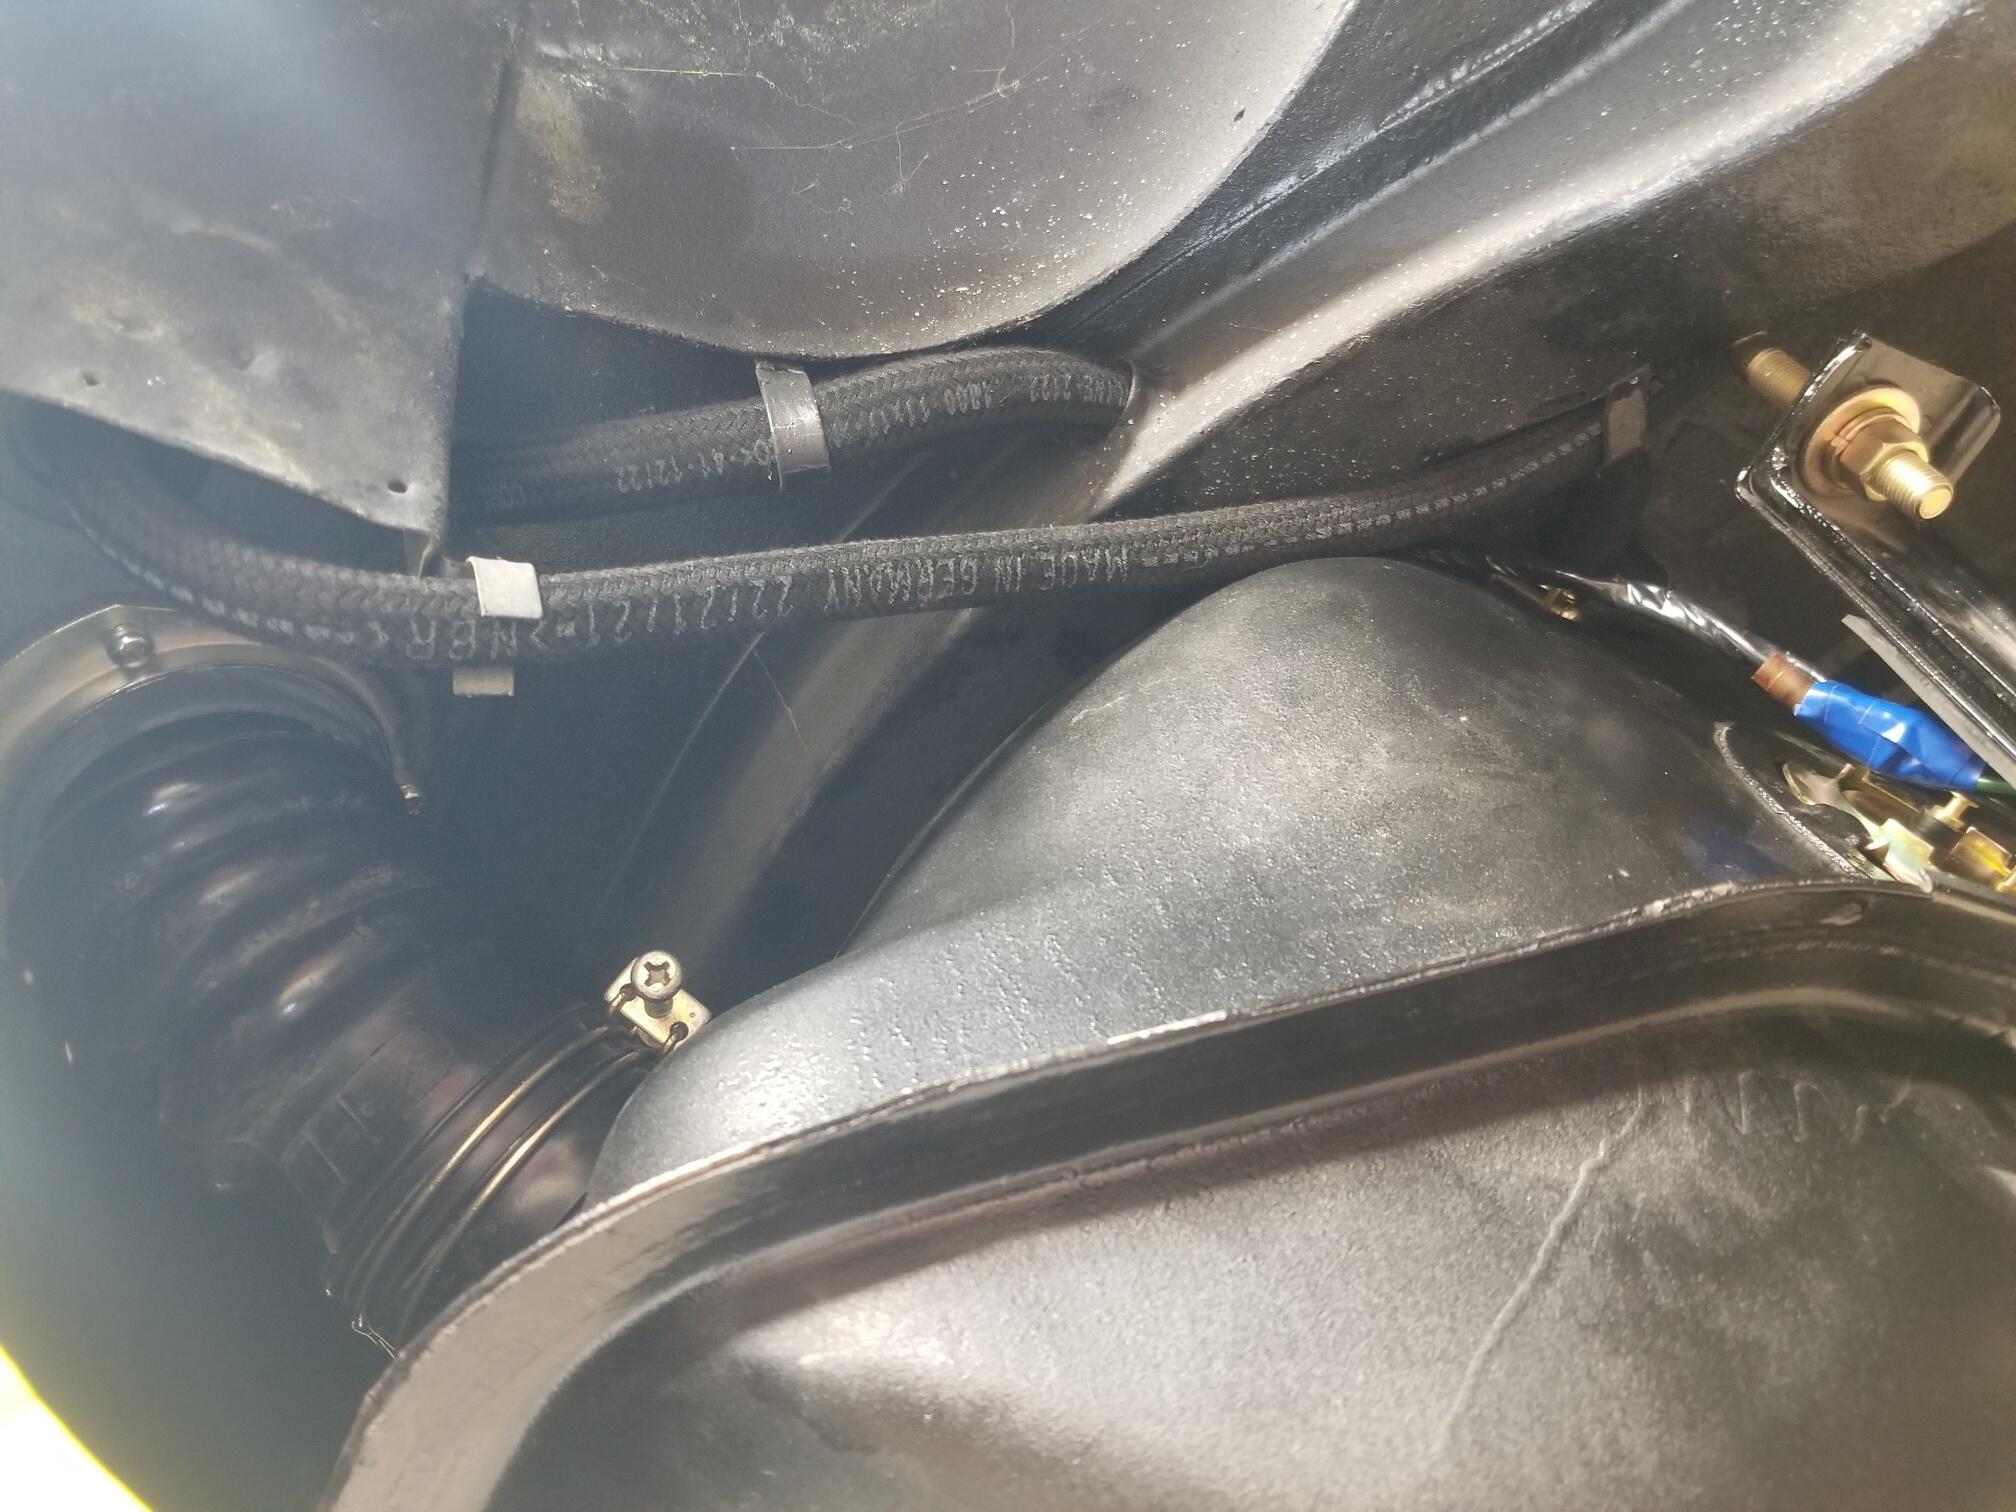
If I had any lawn mowers, or other small engines, I would drain the tank, but I have nothing to burn it in these days. When I moved to AZ, I sold off all of my gas powered equipment. As for debris in the tank, I have a '78, so I was able to pull the sender and see inside the tank. It looks perfectly clean, so I don't think I have anything to worry about there. The sender looked like new with no signs of varnish. I did clean and seal the tank about 15 years ago and it looks just like it did after I finished. I will replace the fuel filter once all the old fuel has been run through. The underbody hoses are all original, but I'm guessing most people on here are in the same boat. I did replace all of the underhood hoses and injector hoses about 20 years ago when I replaced the injectors.2 points
-
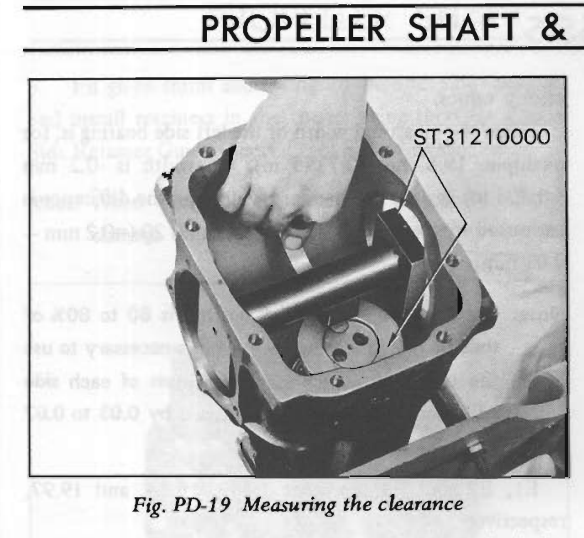
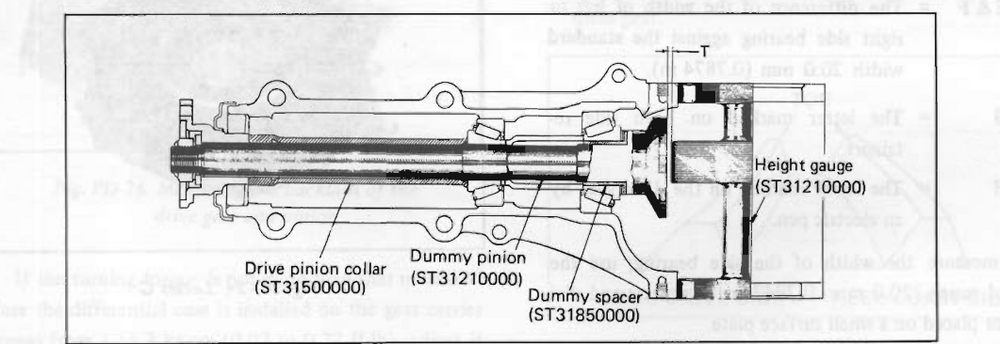
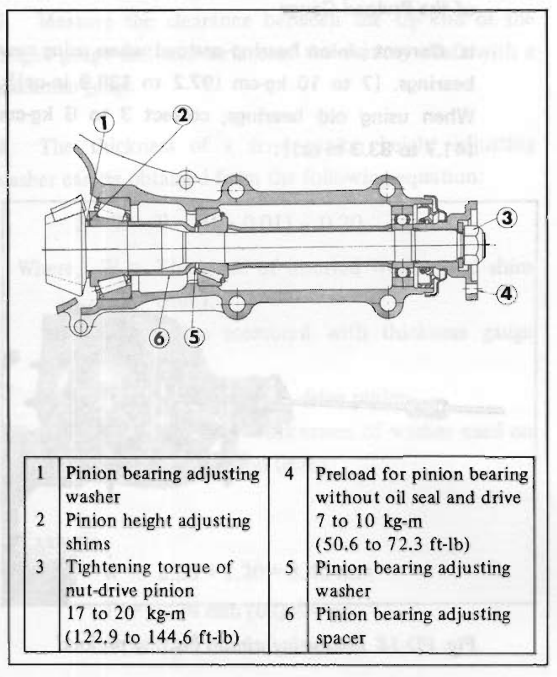
Picture 1 and 2 is using the standard method. Pictures 3 and 4 is just my idea to see if it is any more clear to see the contact areas. The pattern can be hard to see clearly. For what it is worth... here are pictures of the tools for setting pinion gear (height): There is a fake pinion shaft and a bar with square ends. The plan at this point includes removing pretty much everything and pulling the bearings off of the pinion to get to the washer that is #1 in this picture: There were no shims (#2 in the above picture) on this differential. There was only a washer. I need to measure the thickness of this and then either, add a shim (#2) of the correct thickness, or replace the washer (#1) with a thicker one. On Subaru websites, I see only spacers (#1) available: https://www.subarupartwholesale.com/a/Subaru__STI/49247923__6023356/DIFFERENTIAL-INDIVIDUAL/G11-195-03.html Nissan websites show both the spacers and shims as discontinued.
 2 points
 -
2 pointsI can’t tell “how” with my poor English skill but I am sure we can tell the difference if we have both in hand. I see the difference on the surface of the rubber, it looks different and feels different in touch. But some reproductions are useable without serious problems I think. Kats2 points
-
I got the Z's title changed over to AZ and plated it today, so I gave it a maiden voyage of sorts. Before I went, I pulled the fuel sender to see if the tank was clean or a disaster and get a good sense of how the 13 year old fuel smelled. The fuel has just a whiff of old smell, but it's surprisingly mild and still smell like gasoline and not varnish. The sender came out spotless and the tank is clean as well. Sta-Bil is amazing stuff! The fuel gauge reads about 1/4 tank and there is about 4" of fuel in the tank. I've only put 61 miles on it since I filled it 13 years ago, so I'm not sure if some evaporated. The car ran amazingly well tonight for very old gas. The oil pressure is perfect, temp is right where it should be, the alternator is charging, the fuel gauge seems to work and the clock still keeps time. Just to be safe, I did take a fire extinguisher which I will keep in the car for a while. It has no leaks now and the exhaust sounds pretty decent. It isn't too loud, but has a nice tone. So far, I haven't heard any drone, but I didn't get over about 50 mph on the surface streets. I did a 20 minute drive and tucked it away for the night. I'm torn between filling the tank now, or running the old fuel down via short drives before I put fresh gas in it. I'm not as worried about the old fuel based on how well it runs. It idles smoothly at 700 rpm and accelerates cleanly. It doesn't have the higher RPM power it should, but I'll accept that.2 points
-
Today i got a package from japan with something i've been searching for for quite a while: A complete Eaglemoss airlady 1/8 Scale magazine Model car kit: It is a set that was issued around 2014. It consisted of a weekly subscription magazine wich came with a box including some parts, so each week you would build your part of the Fairlady until you had a complete, huge 1:8 scale model: It is incredbly detailed too, with lots of electronics, mechanically working details And lots of small bits and pieces to assemble: Most parts are bolted and not glued, but of course there's also glue involved: The body parts and chassis are made of metal and the kit is quite heavy: Each magazine includes a lot of history about the Z-series cars and Japanese Car culture of the time in general, Assembly instructions, interviews with involved people and much, much more. This is the first complete kit i've seen for a reasonable price. The reason might be that some parts (very few) have already been assembled, and probably 2/3 of the boxes have already been opened. but since i plan to assemble it anyway and i was also quite interested in the magazines, i don't care. The set also comes with a display stand: And three folders, where you can store all the magazines. It also included a tool-set in a (sadly missing) nice pouch, a little cleaning towl, a Z hood ornament key chain and a CD with some nice movies of the real S30 fairlady development and testing and additional background information. I guess i know what to do in those winter days 🙂2 points
-
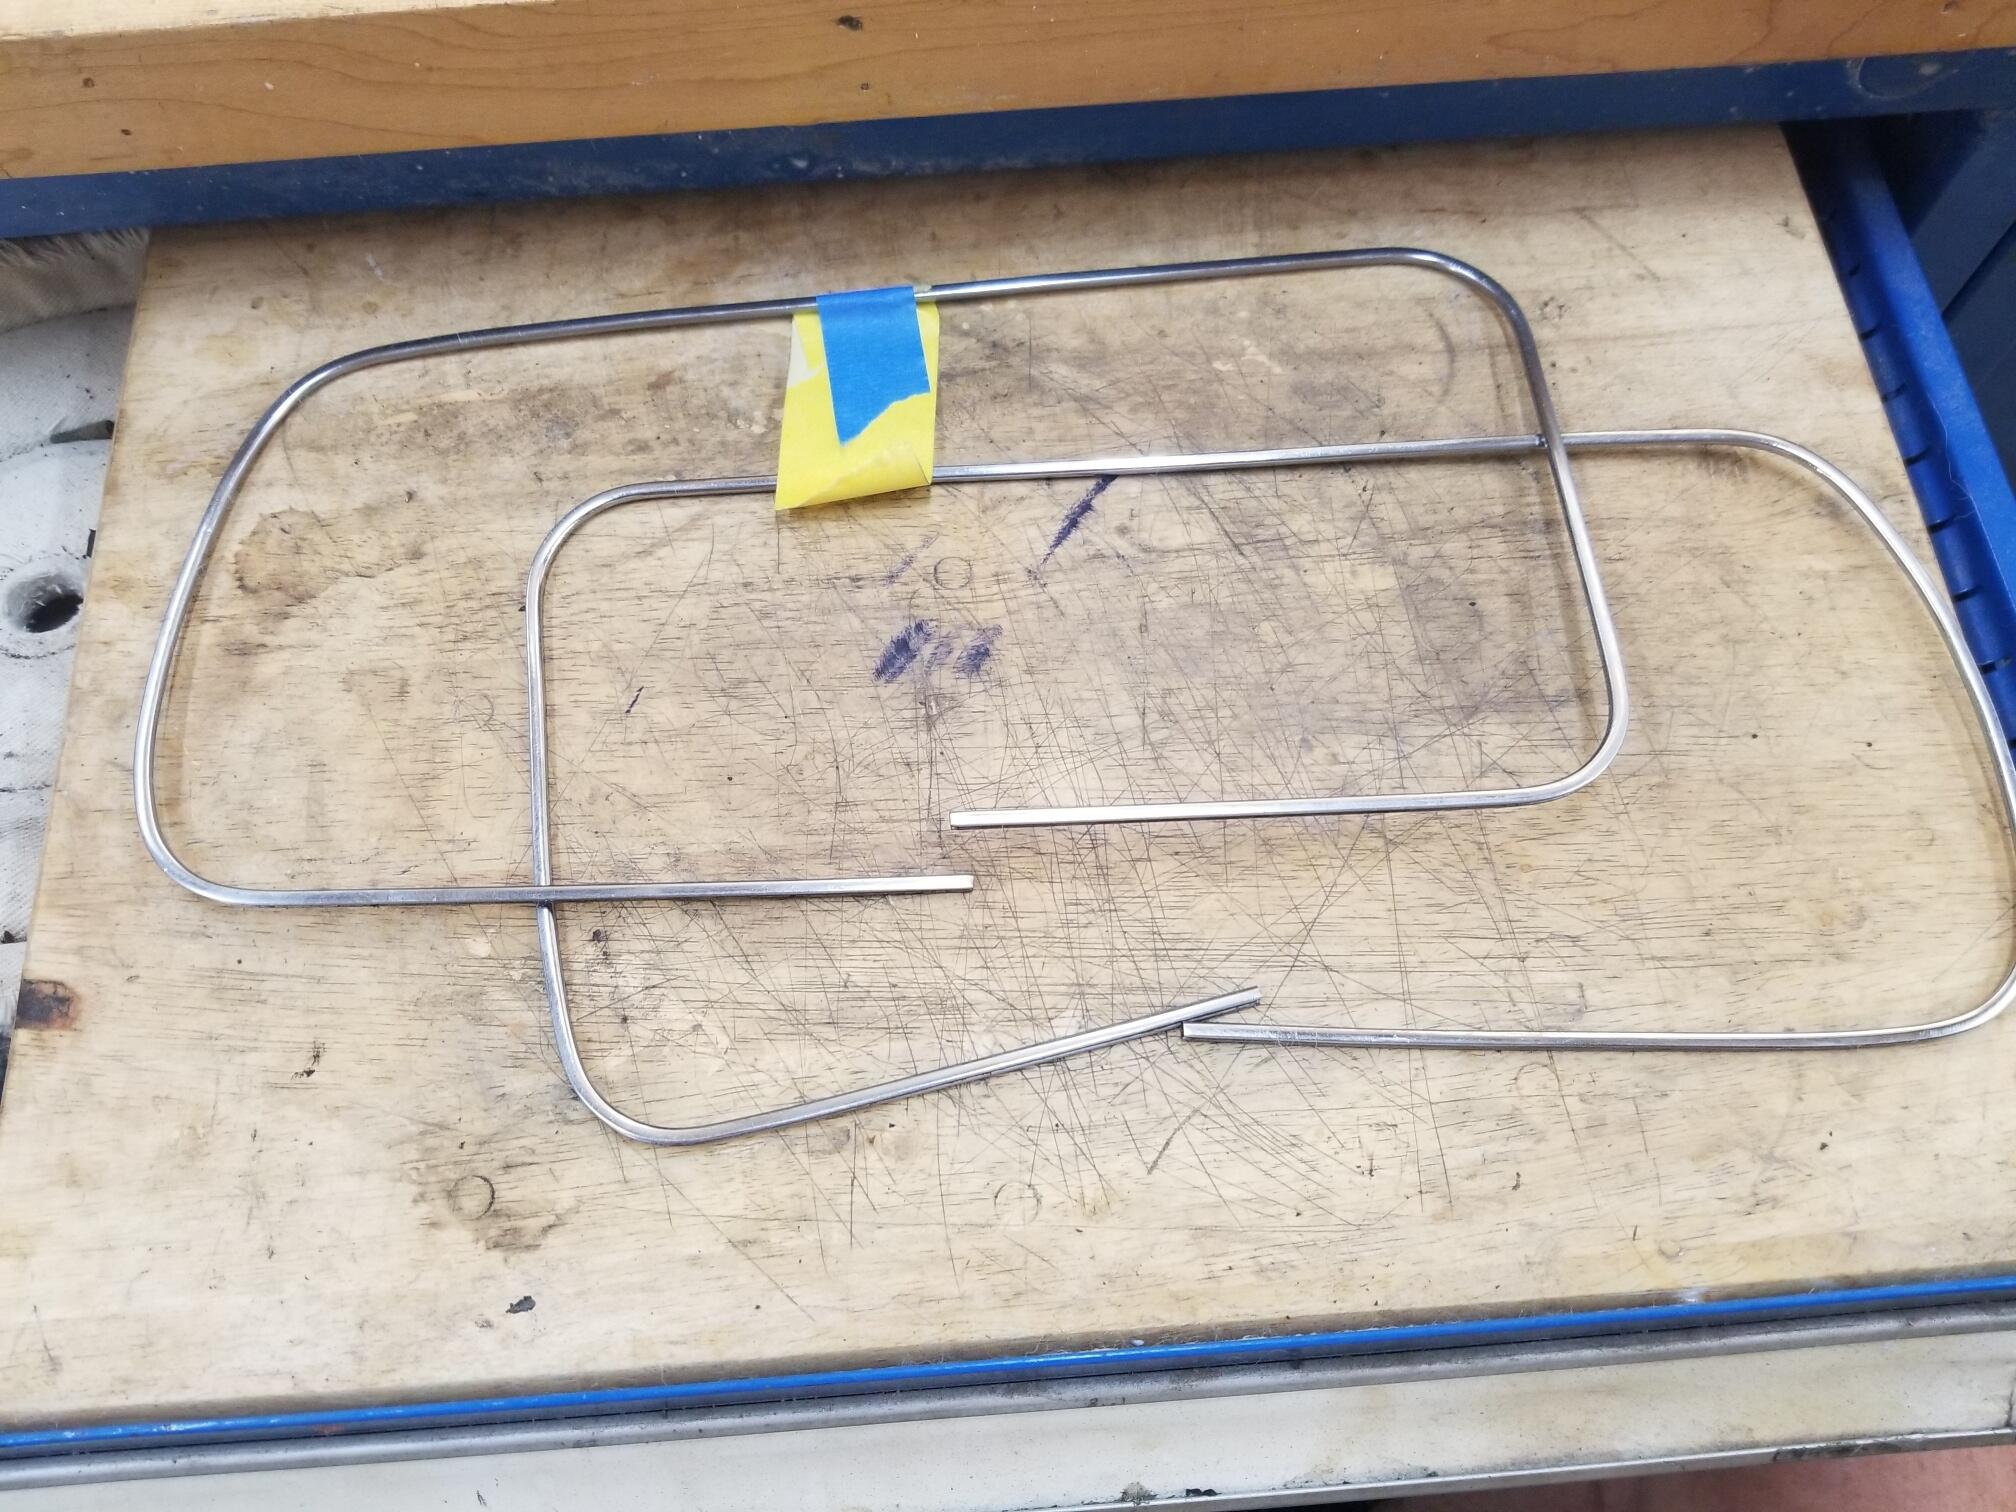
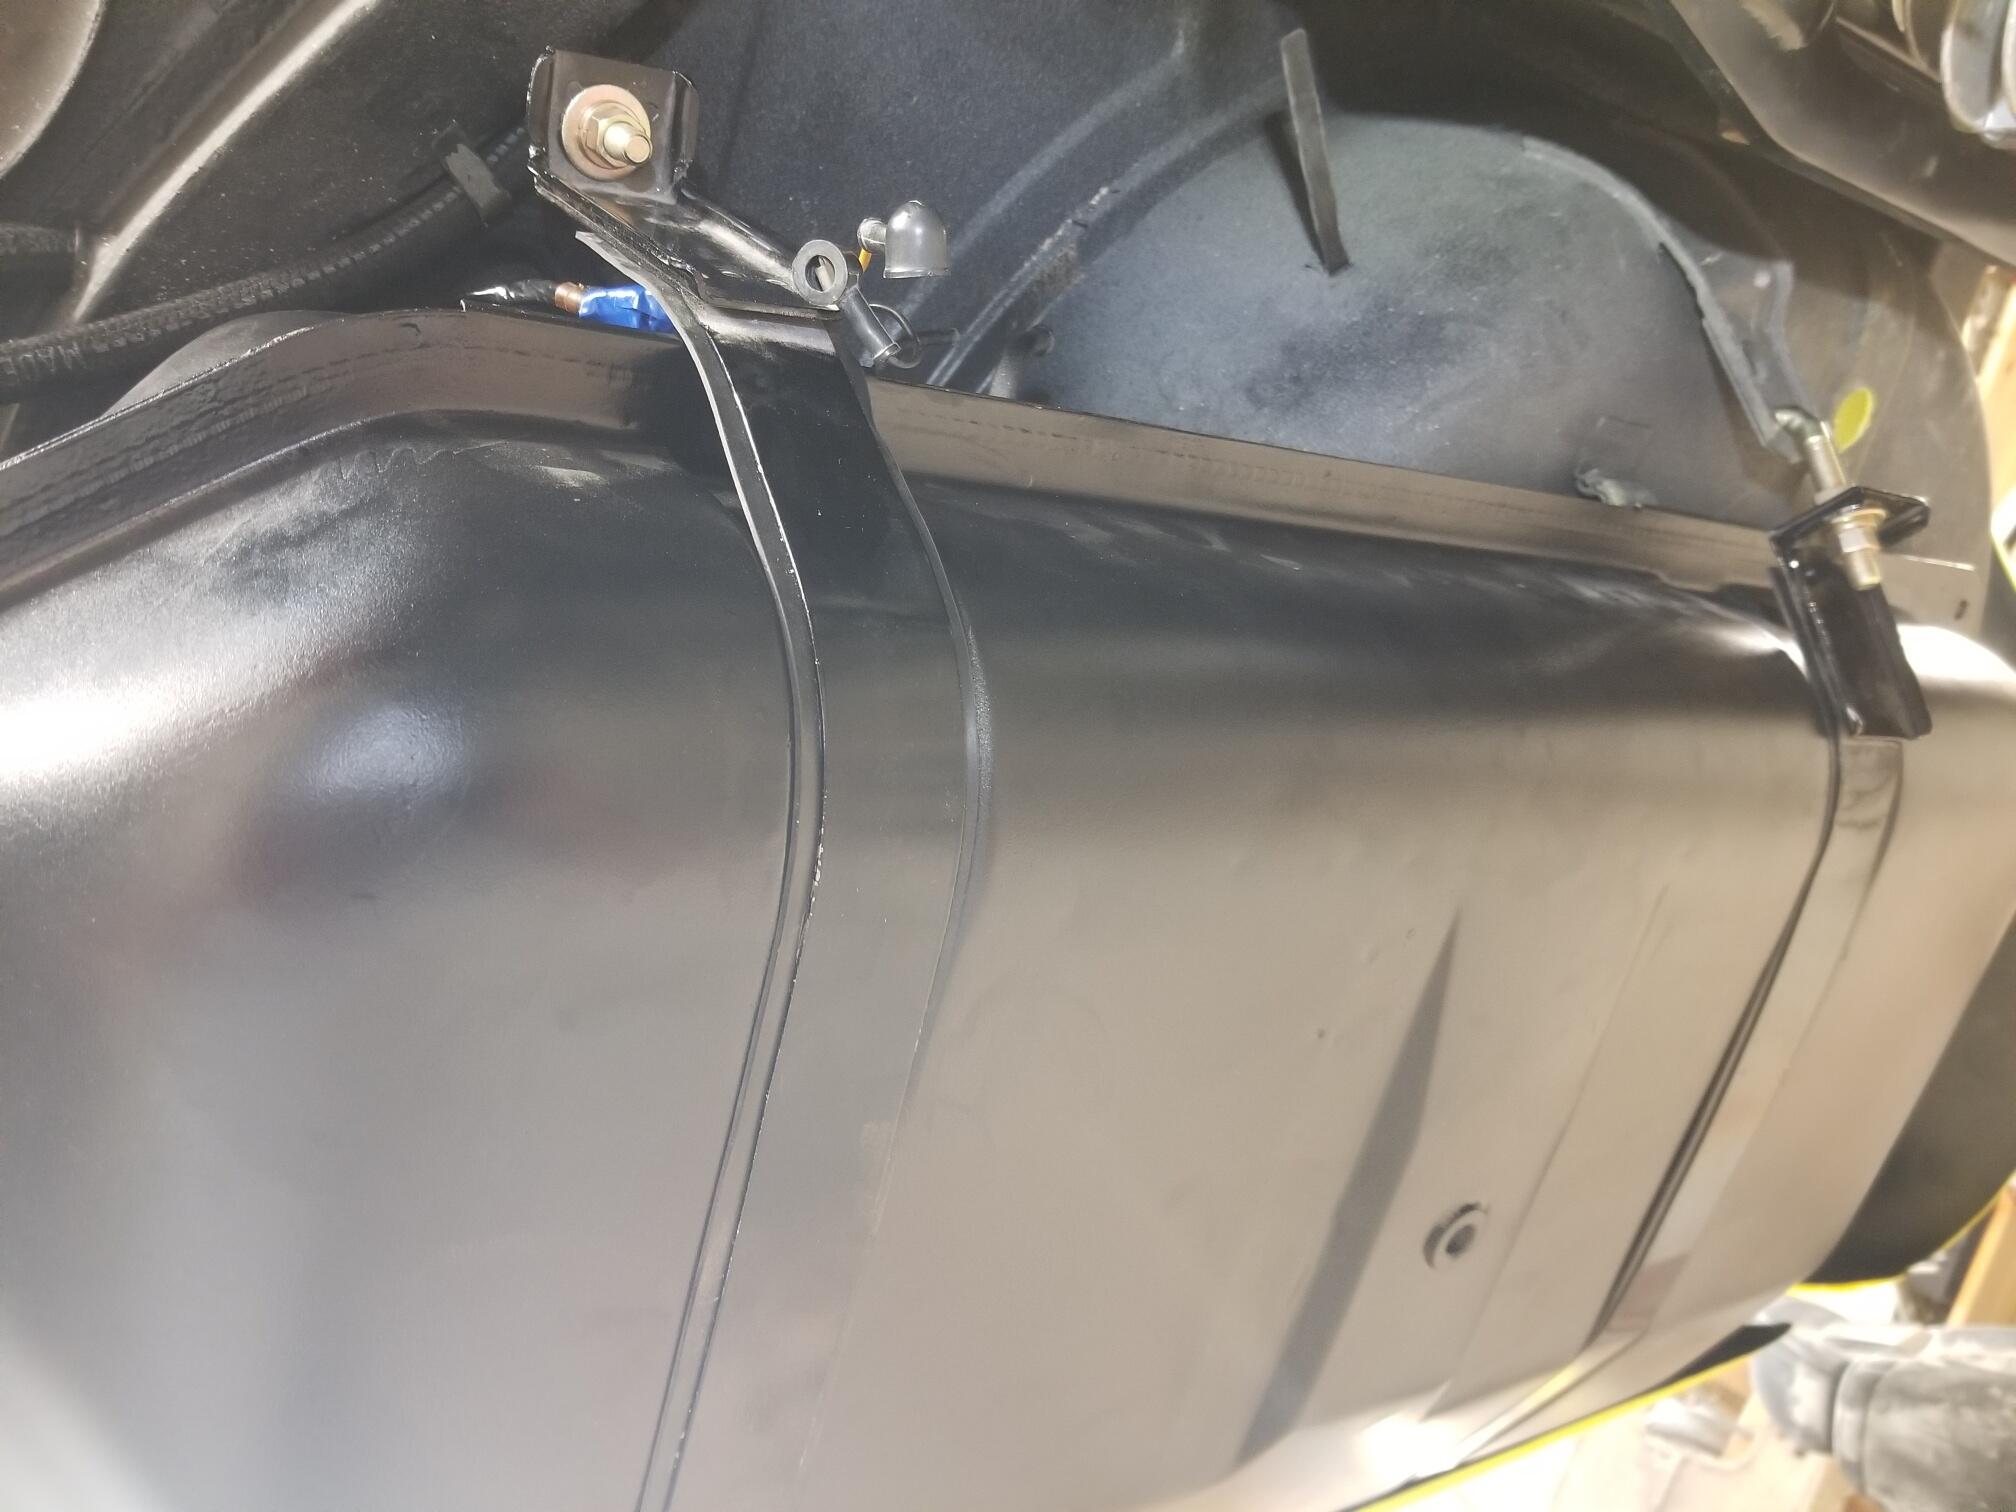
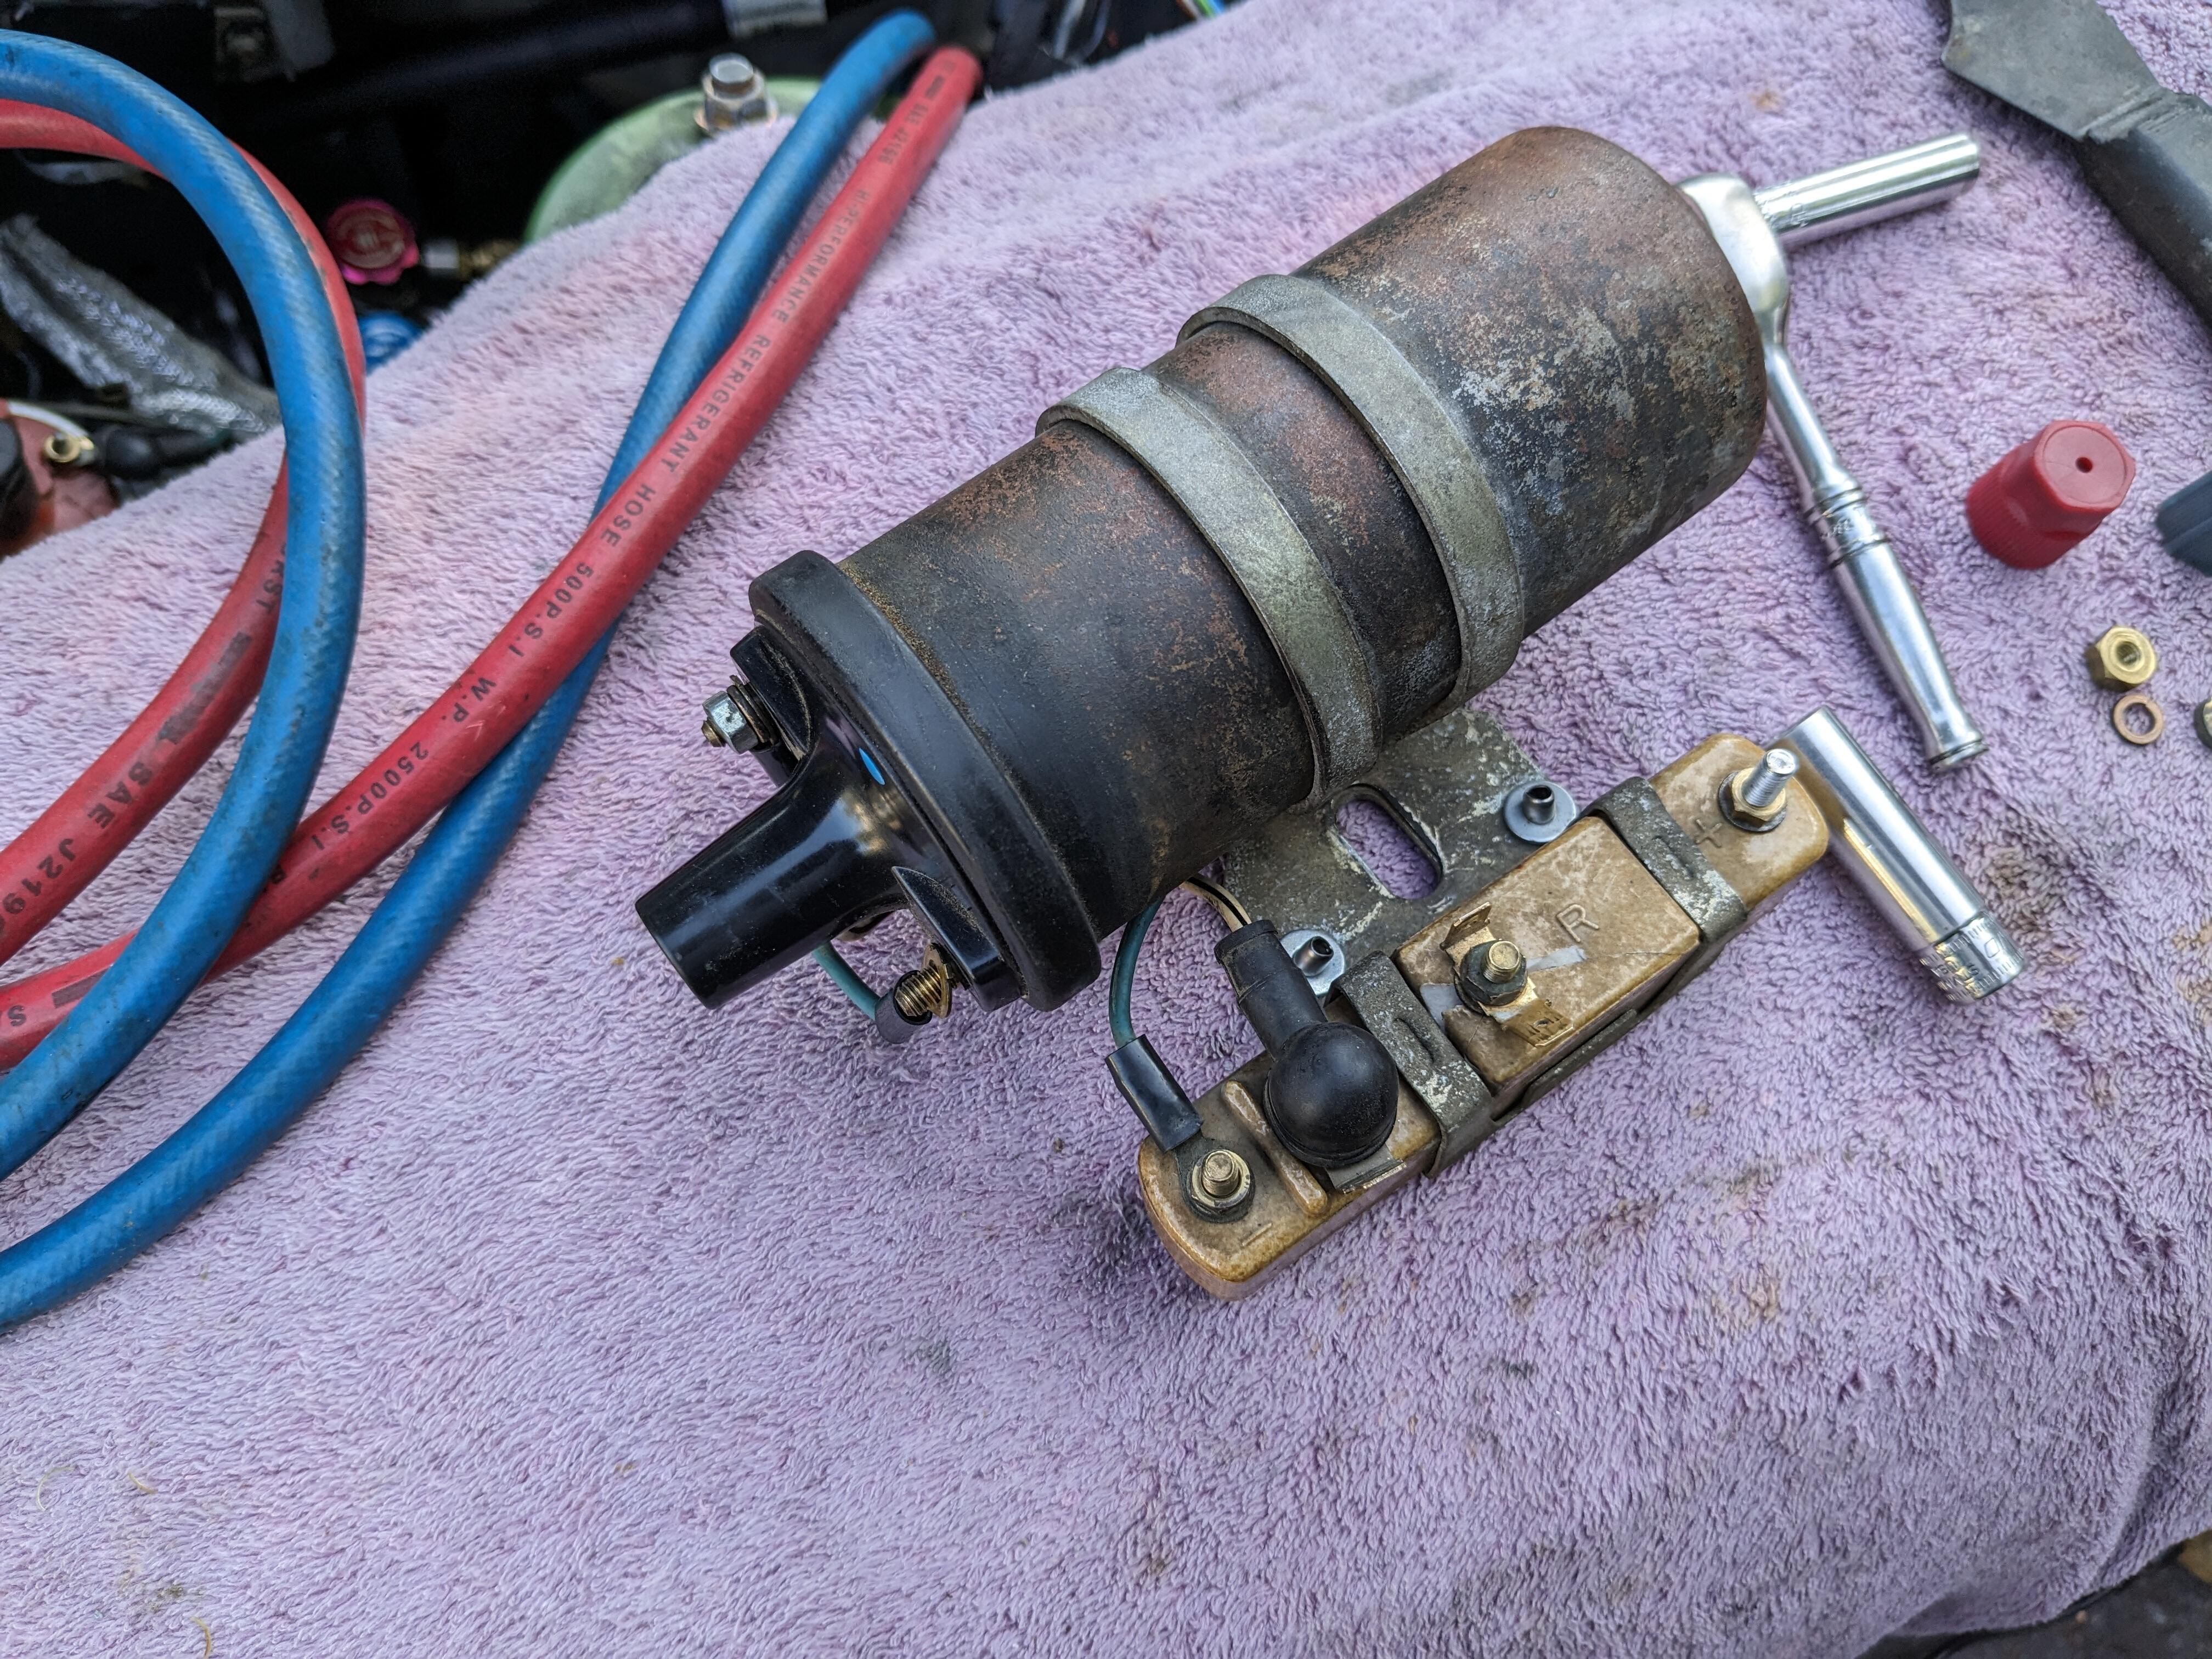
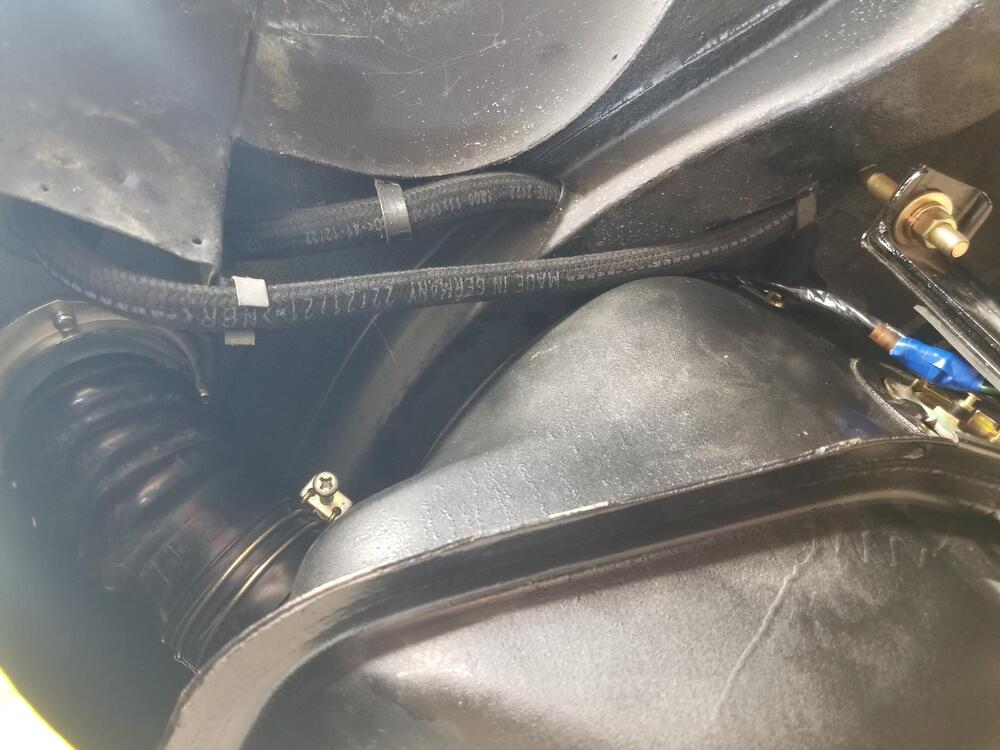
2 pointsI also sprayed the rear tail light panels with clear matte today per Jim A's recipe. I worked on the trim for those panels also. I removed it to make it easier to paint them and polish the trim. We will see how hard they are to get back on. An interesting note, these piece are carbon steel and must be plated. They are magnetic. I was surprised they weren't stainless! I also got the last vent line at the tank worked out by lining it with a spring. I then got the tank straps installed and the filler neck all setup. If I could have found all the clamps I needed I would have gotten the vapor tank all taken care of too


 2 points
 -
1 pointI was reading the service manual last night and thought it would be a good idea to have a form to track tune-ups etc. Has anybody created a form they use that is based on the Service Manual? If not I'll probably make a pdf or maybe a little database for the iphone. I'm sure a log book is enough, but I'm retired and can make something if it hasn't already been created.1 point
-
The hydraulics are good. Before I woke it up in 2021, I flushed the brake fluid, but I forgot to do the clutch. After a few miles of driving in AZ, the clutch slave puked. I replaced the clutch slave and flushed a bunch of fluid through the system. I did buy a new clutch master just in case, but it will sit on the shelf for now. The brakes feel great, so for now, I will just monitor. I'll probably flush the brake fluid again when I get a chance. I will probably go ahead and fill the tank with fresh gas.1 point
-
Would it work to use a non Apple phone too Ali? @AK260😜1 point
-
I'm torn on whether to drive the fuel lower or dilute it. I think I would add some premium to what you have. Maybe 1:1 or so. That way maybe you could make some longer trips. How are the hydraulics?1 point
-
Watched the video. The problem seems ready made for a timing light for a plug wire and a noid light for an injector. I don't think that "hunt" is the right word for the problem. Sounds like you're losing either ignition (which will also kill injection), or just injection. You're losing all six cylinders at the same time, not even a sputter. Seems electrical for sure. A noid light in parallel with an injector and a timing light on any plug wire, pointing at your face while you sit in the driver's seat, while you do that test should tell you something.1 point
-
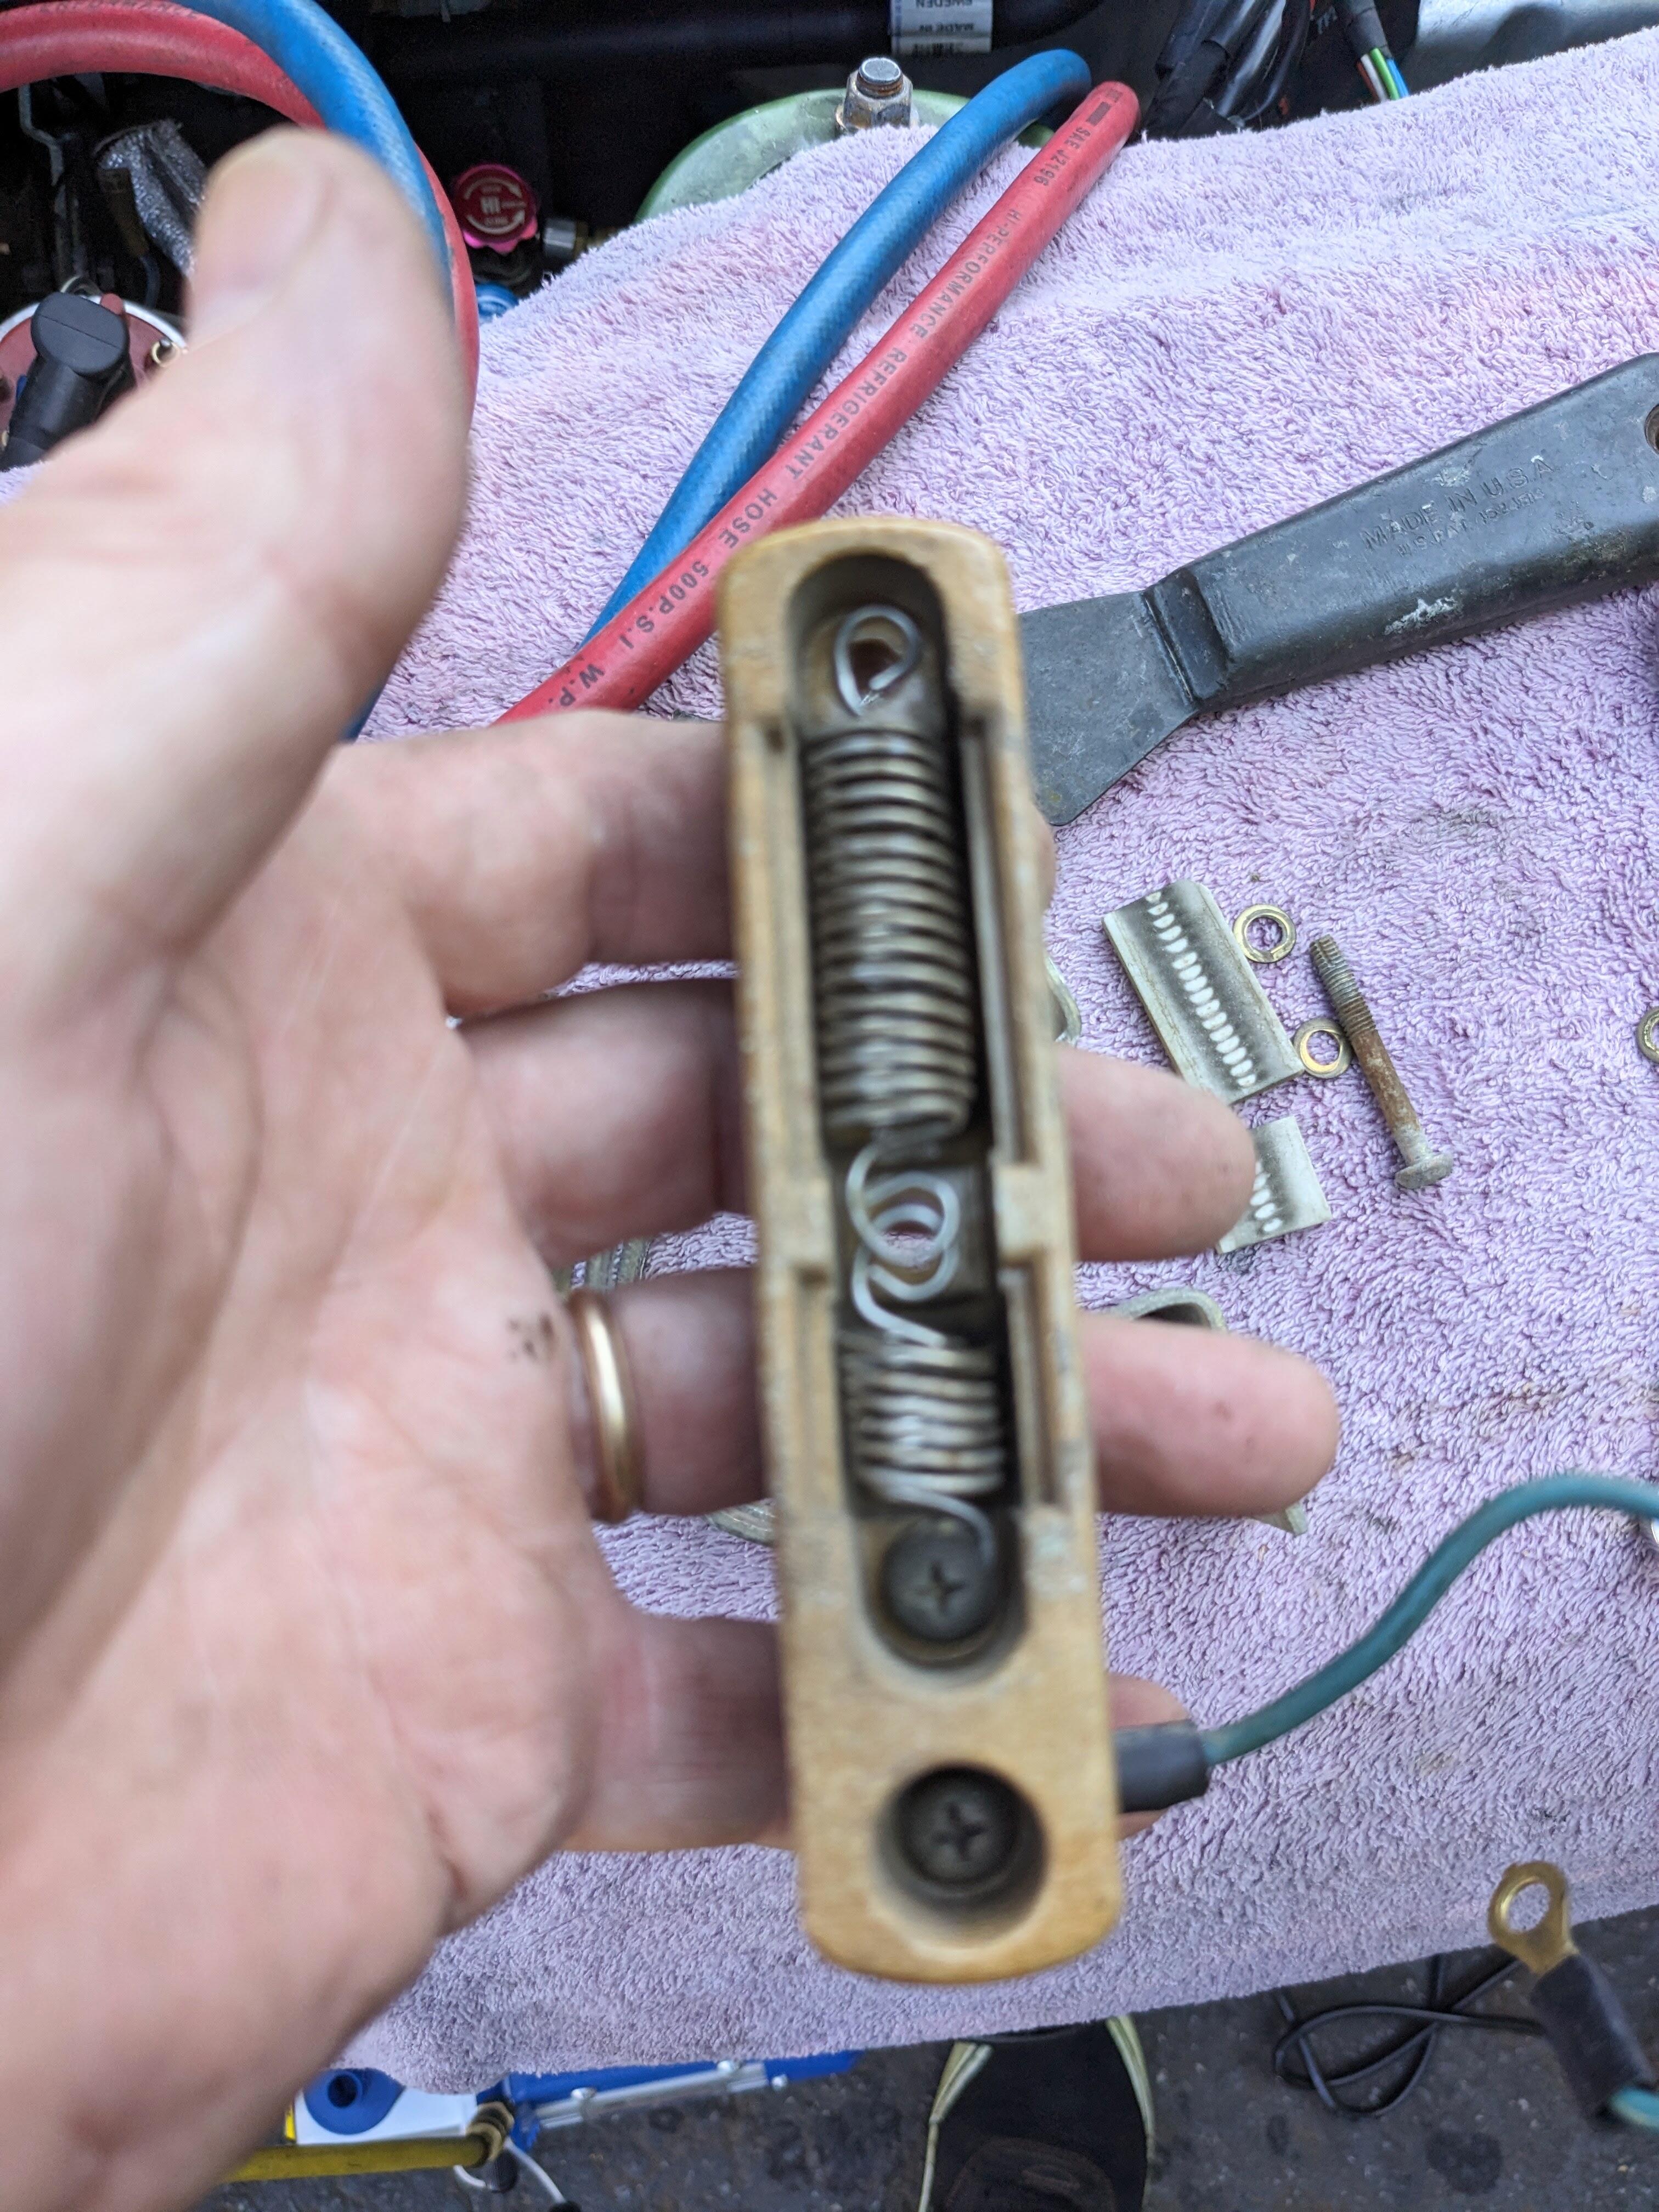
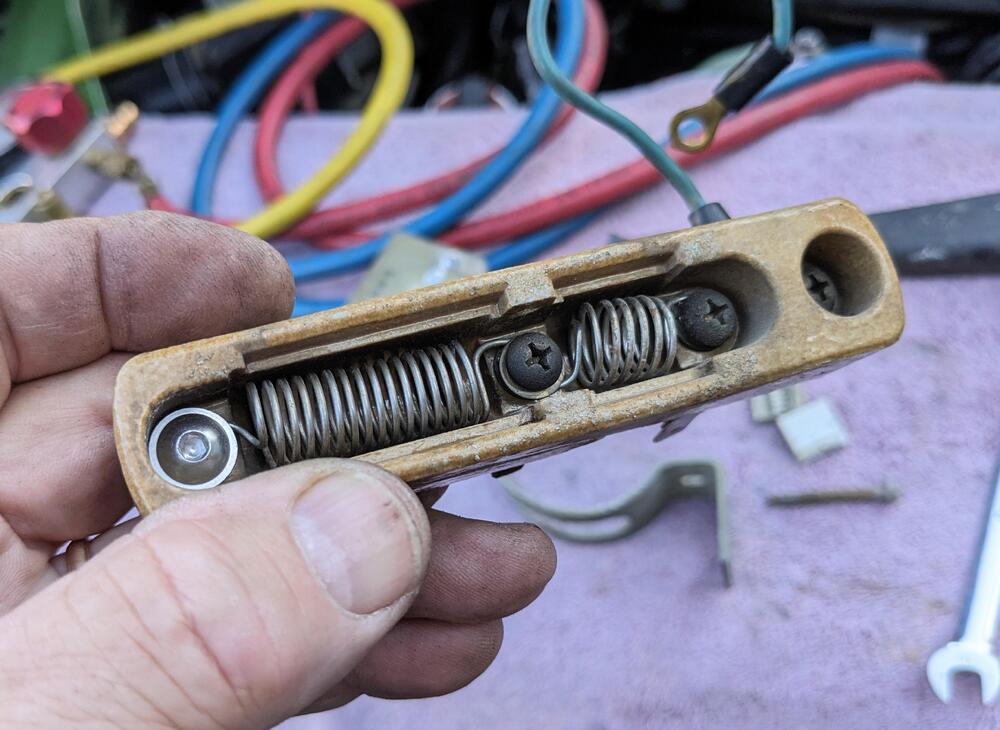
So the issue with the ballast was that without the center post, there is no continuity. repaired, then reassembled in outer casing Started right up....but.... still hunts 2500-3000K rpm with stock module setup. So, moving on from ignition as the cause, most likely at this point would seem to actually be hunting due to lack of fuel volume - possibly crud in the fuel rail, since I did have all that apart to change the hoses. YT vid of symptom


 1 point
 -
@Namerow I saw your requested and just wanted to post the exactly same picture. so there you go. However looking at my pictures, it seems that my car came without a rear wing, overfenders and with the factory Steel-wheels with hubcaps. I have to see, maybe there are some option parts in there, going step by step. Today i got another thing i've been looking for for quite a while. Factory Nissan "Race and Rallye Preparation Manuals". The one on the right side is the "early" version which i had and wrote about already before, but the slighty thicker later version (on the left side), has always been missing in my collection. Luckily i stumbled upon a set of both recently, so i had to get it. The book describes how to prepare your S30 Fairlady Z, 240Z or Z432(-R), with some generic modifications and settings, but also using all kind of "Sports option" or Nissan "Competition" parts. The difference between the early and the later version is, the later versions has a few additional information about standard car parts and competition parts which were introduced after the first version got released, otherwise they're more or less the same. Before you ask. the double "early version" book is not for sale, it's already promised to someone. The third book i got is the "Private Club" LL型 (L-Gata / L-Series) Tuning book. Funnily "Carboy" later released a very similar book with almost the same photo. Not really sure if and how the two brands are related. It's all japanese with many photos and basically describing how to tune and modify your L-series engine for performance and reliability: It's split into different chapters such as block, head, carbs / intake, exhaust, etc.. Tomorrow i'm going to visit my bodyshop to check out the car. There are some rumors they started working on the car again... An'd im going to pick up something very cool and rare for my Friends C110 Kenmary Project which i found close to where i work. So expect some updates soon.1 point
-
Impressive level of detail. I originally intended to ask whether you have any pictures of what this kit looks like once fully assembled, but then I found this video on Youtube... I'm really impressed. These kits can be disappointing if the proportions are off. This one looks perfect. Except for the wheels...1 point
-
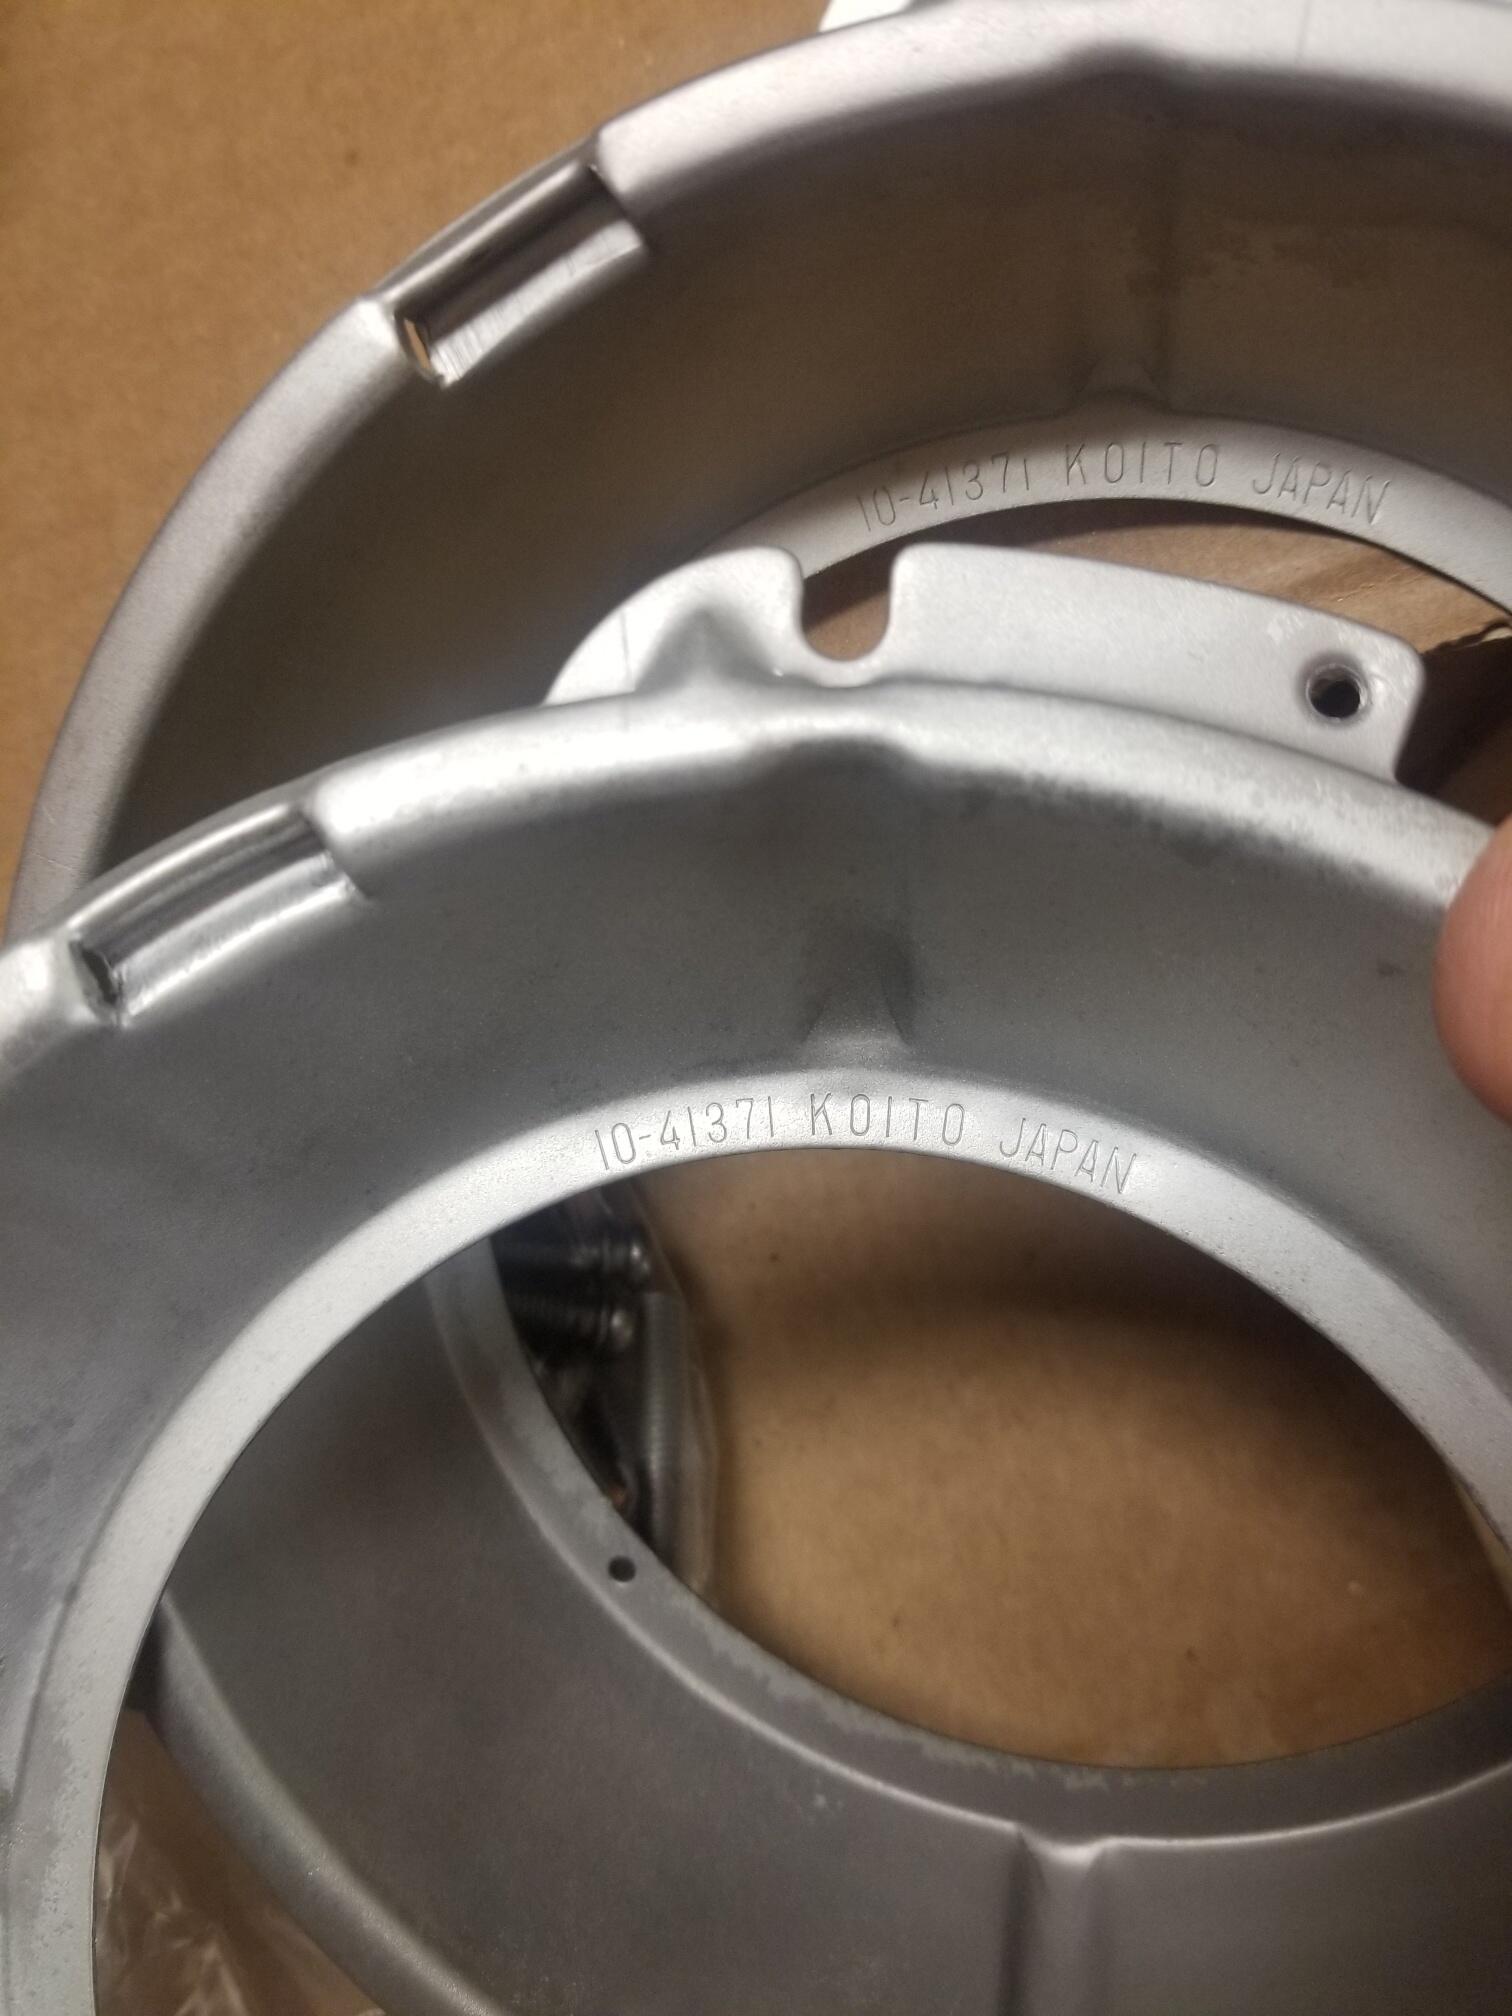
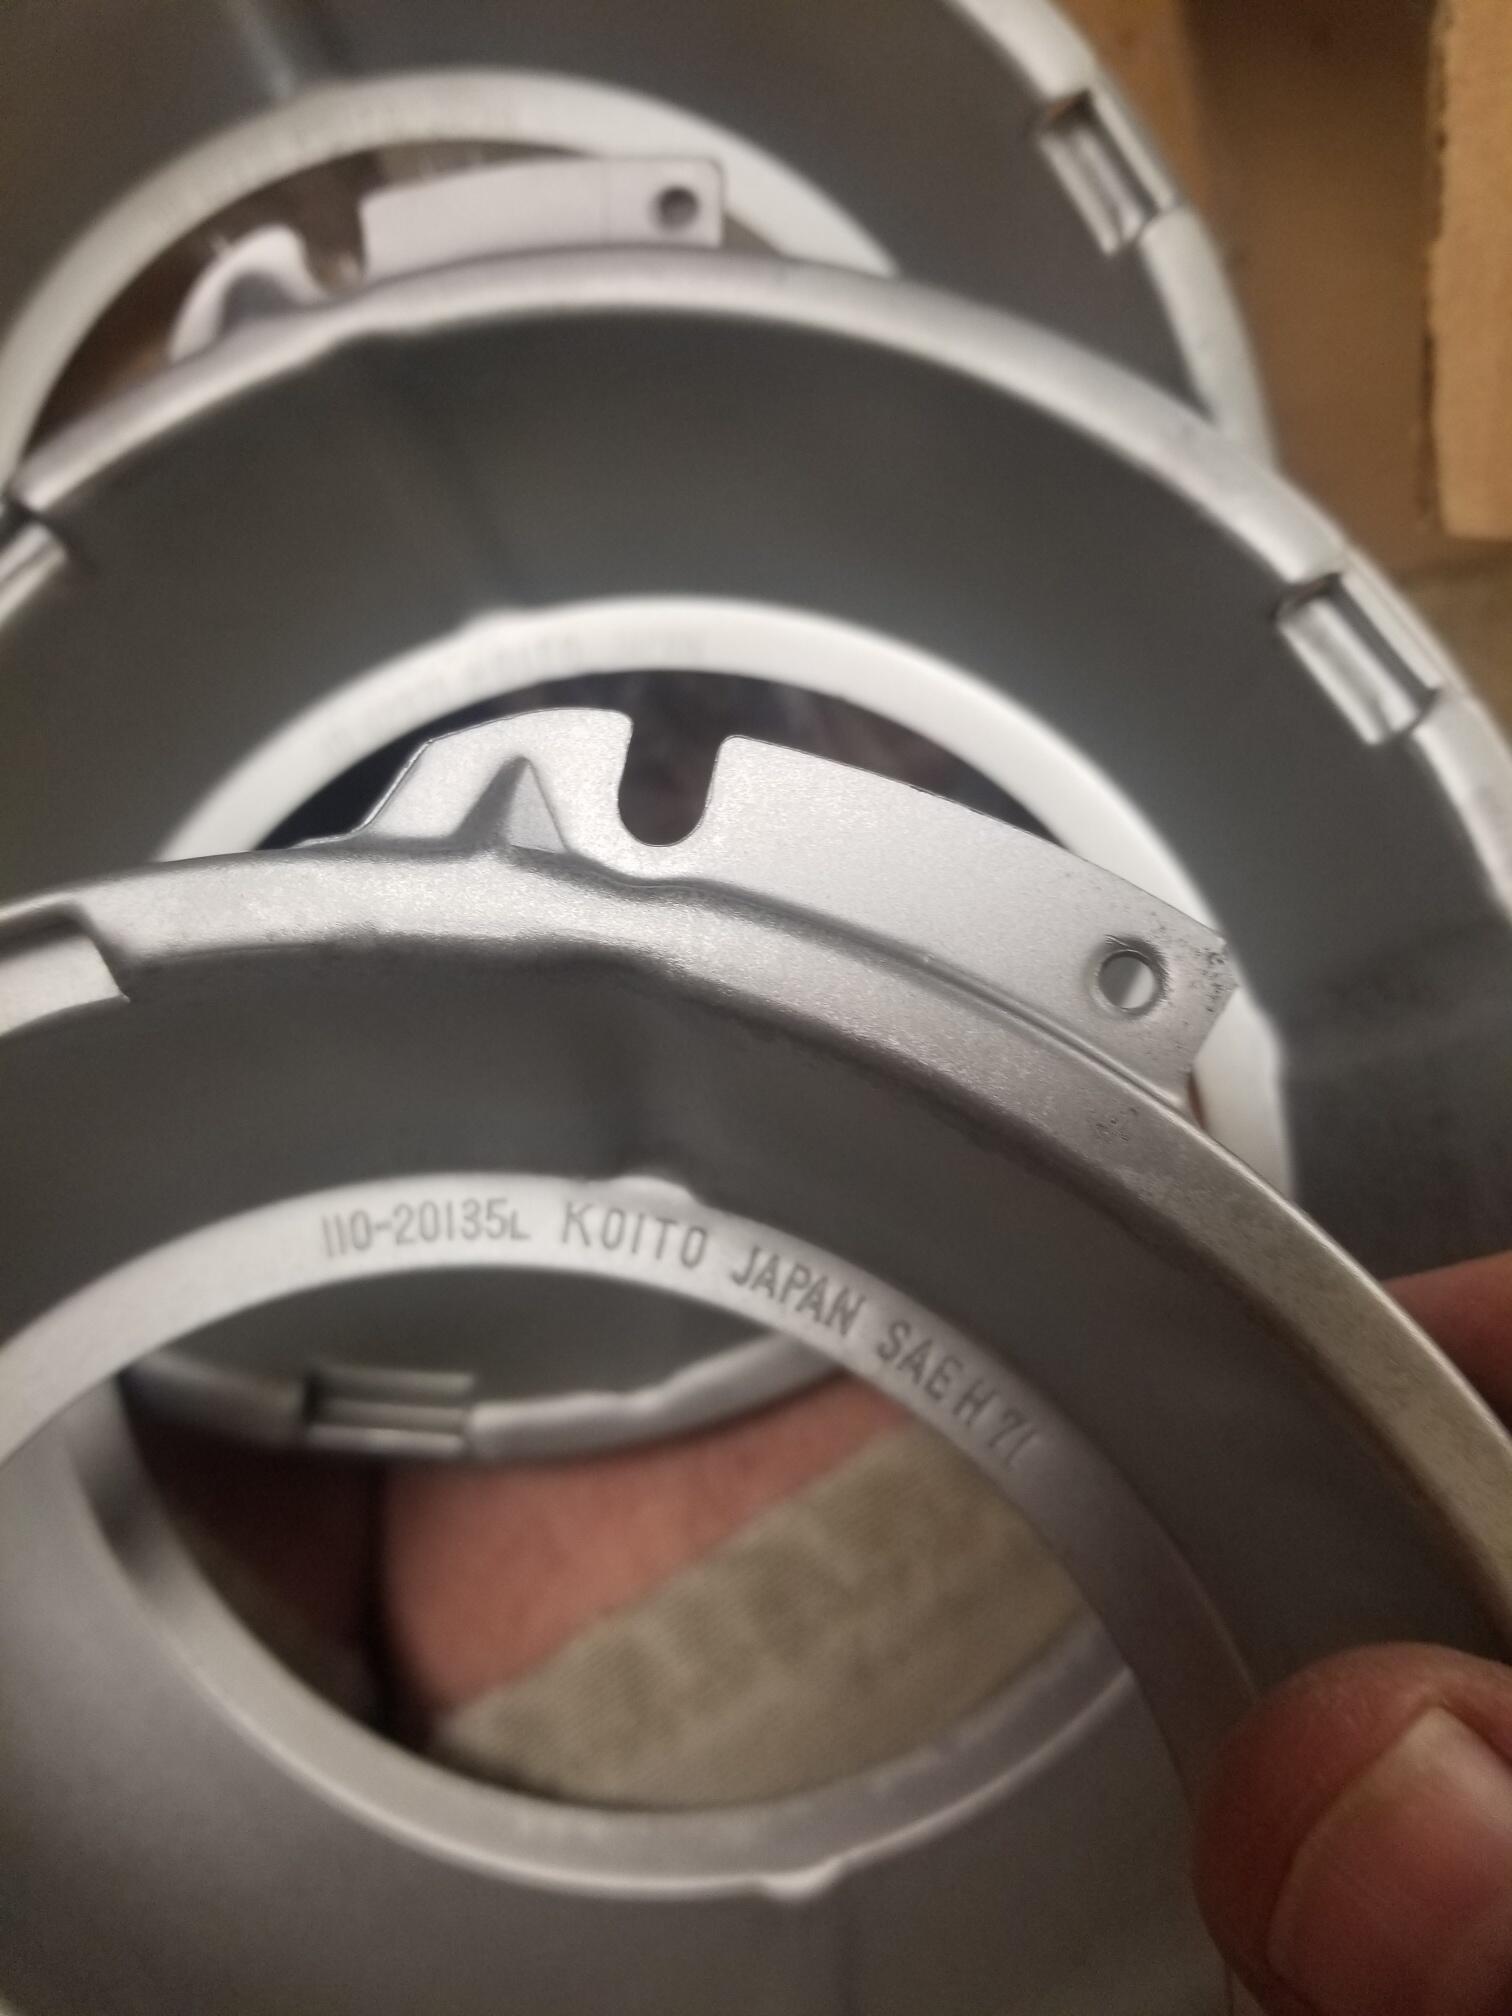
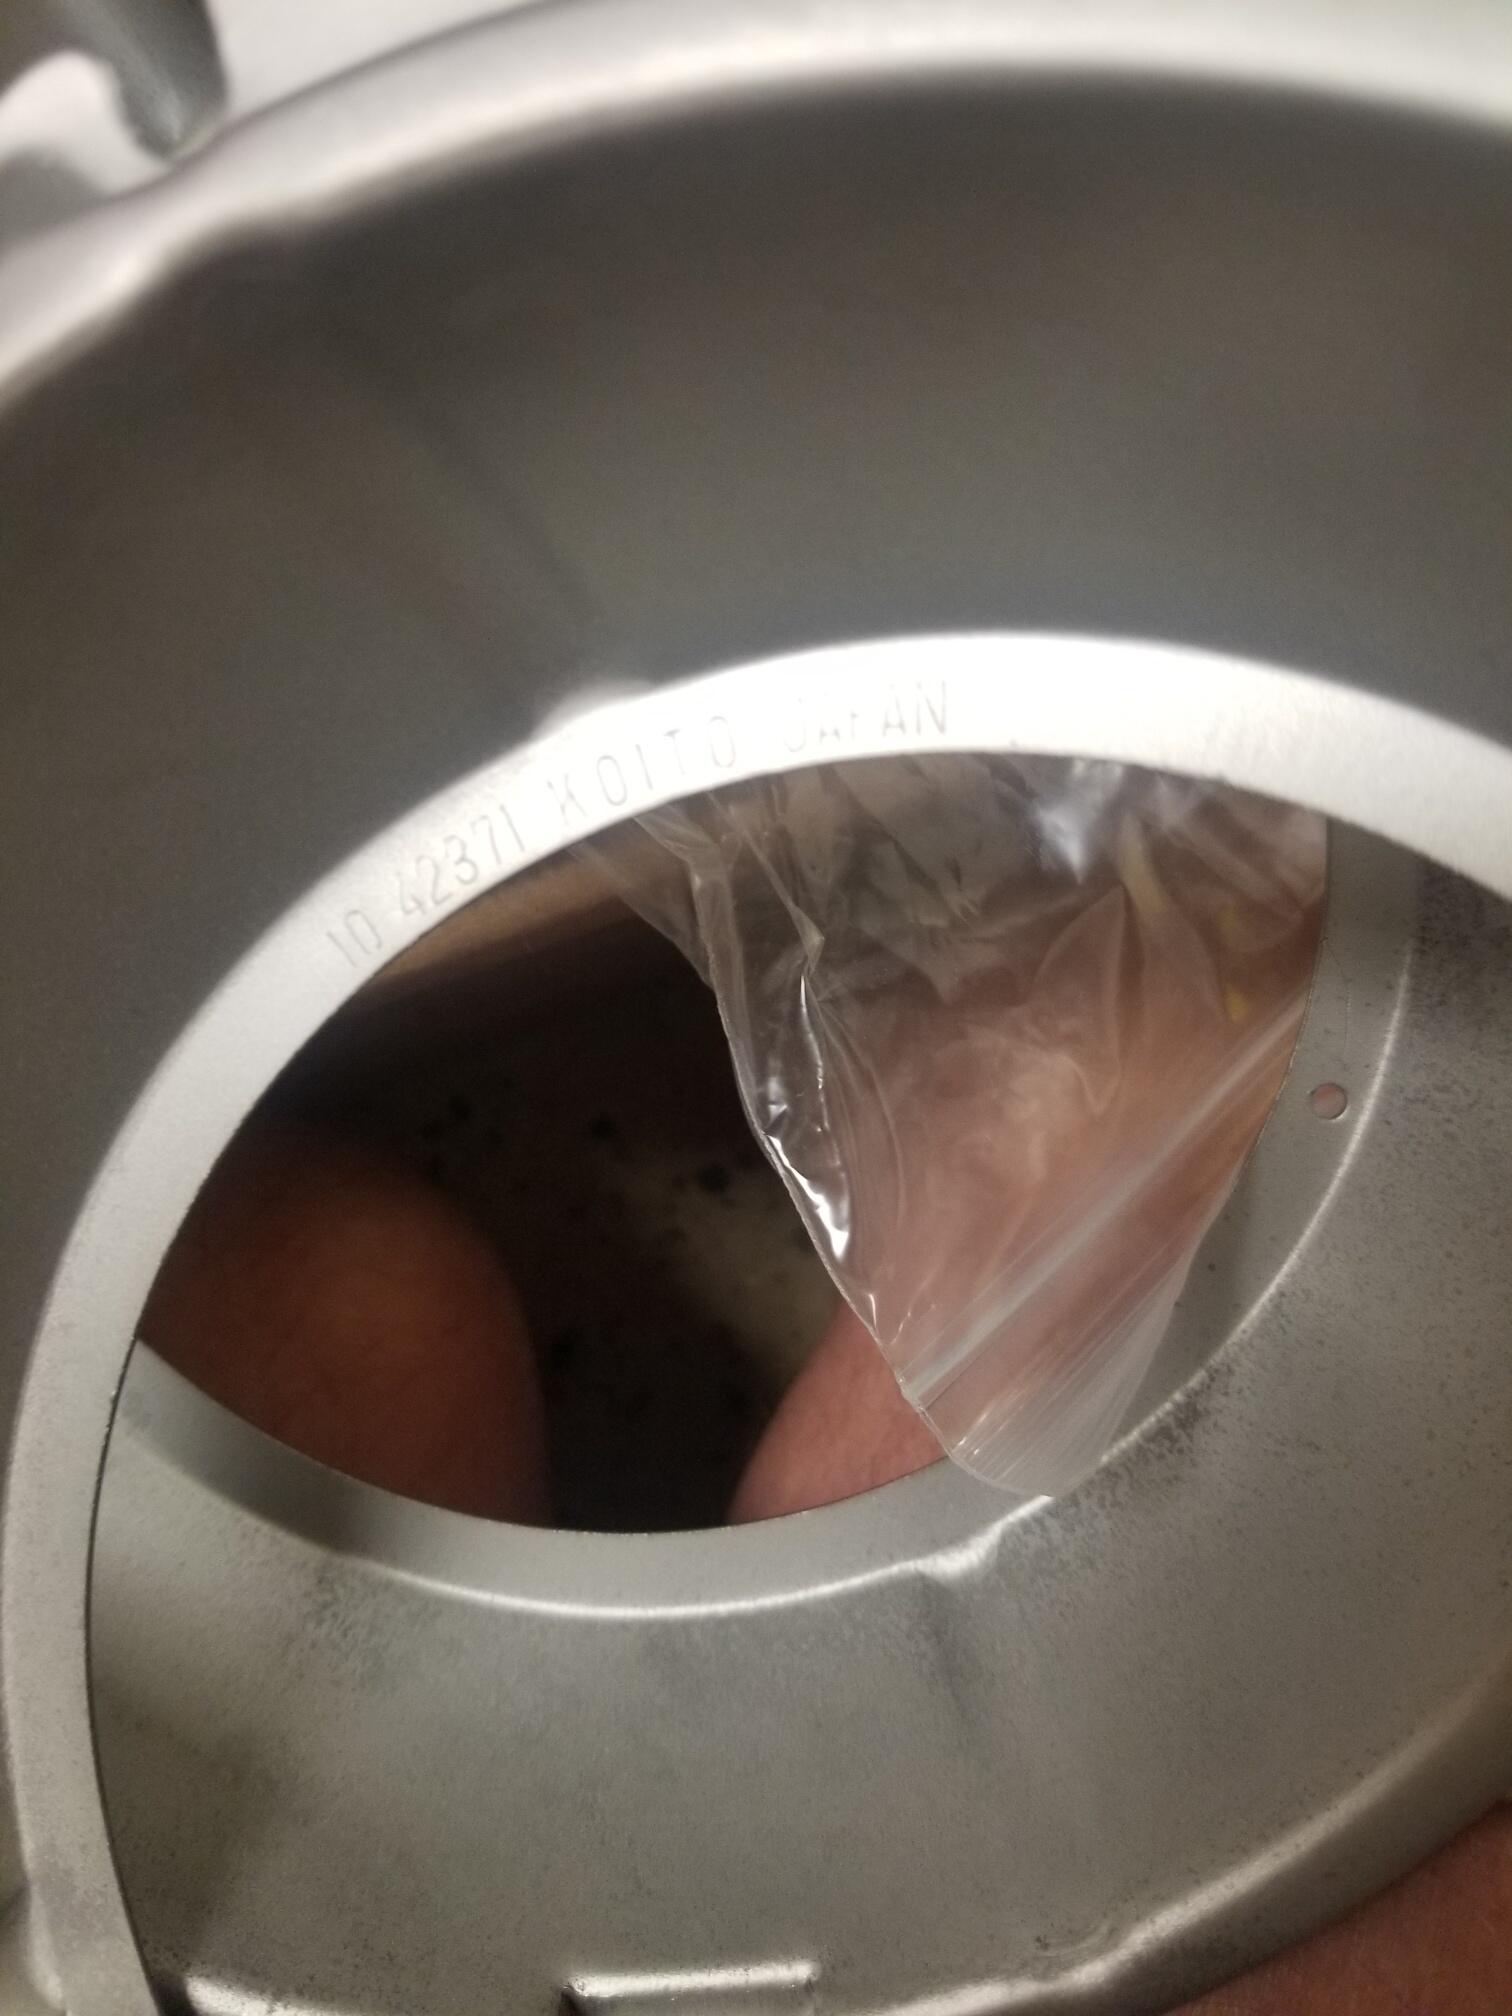
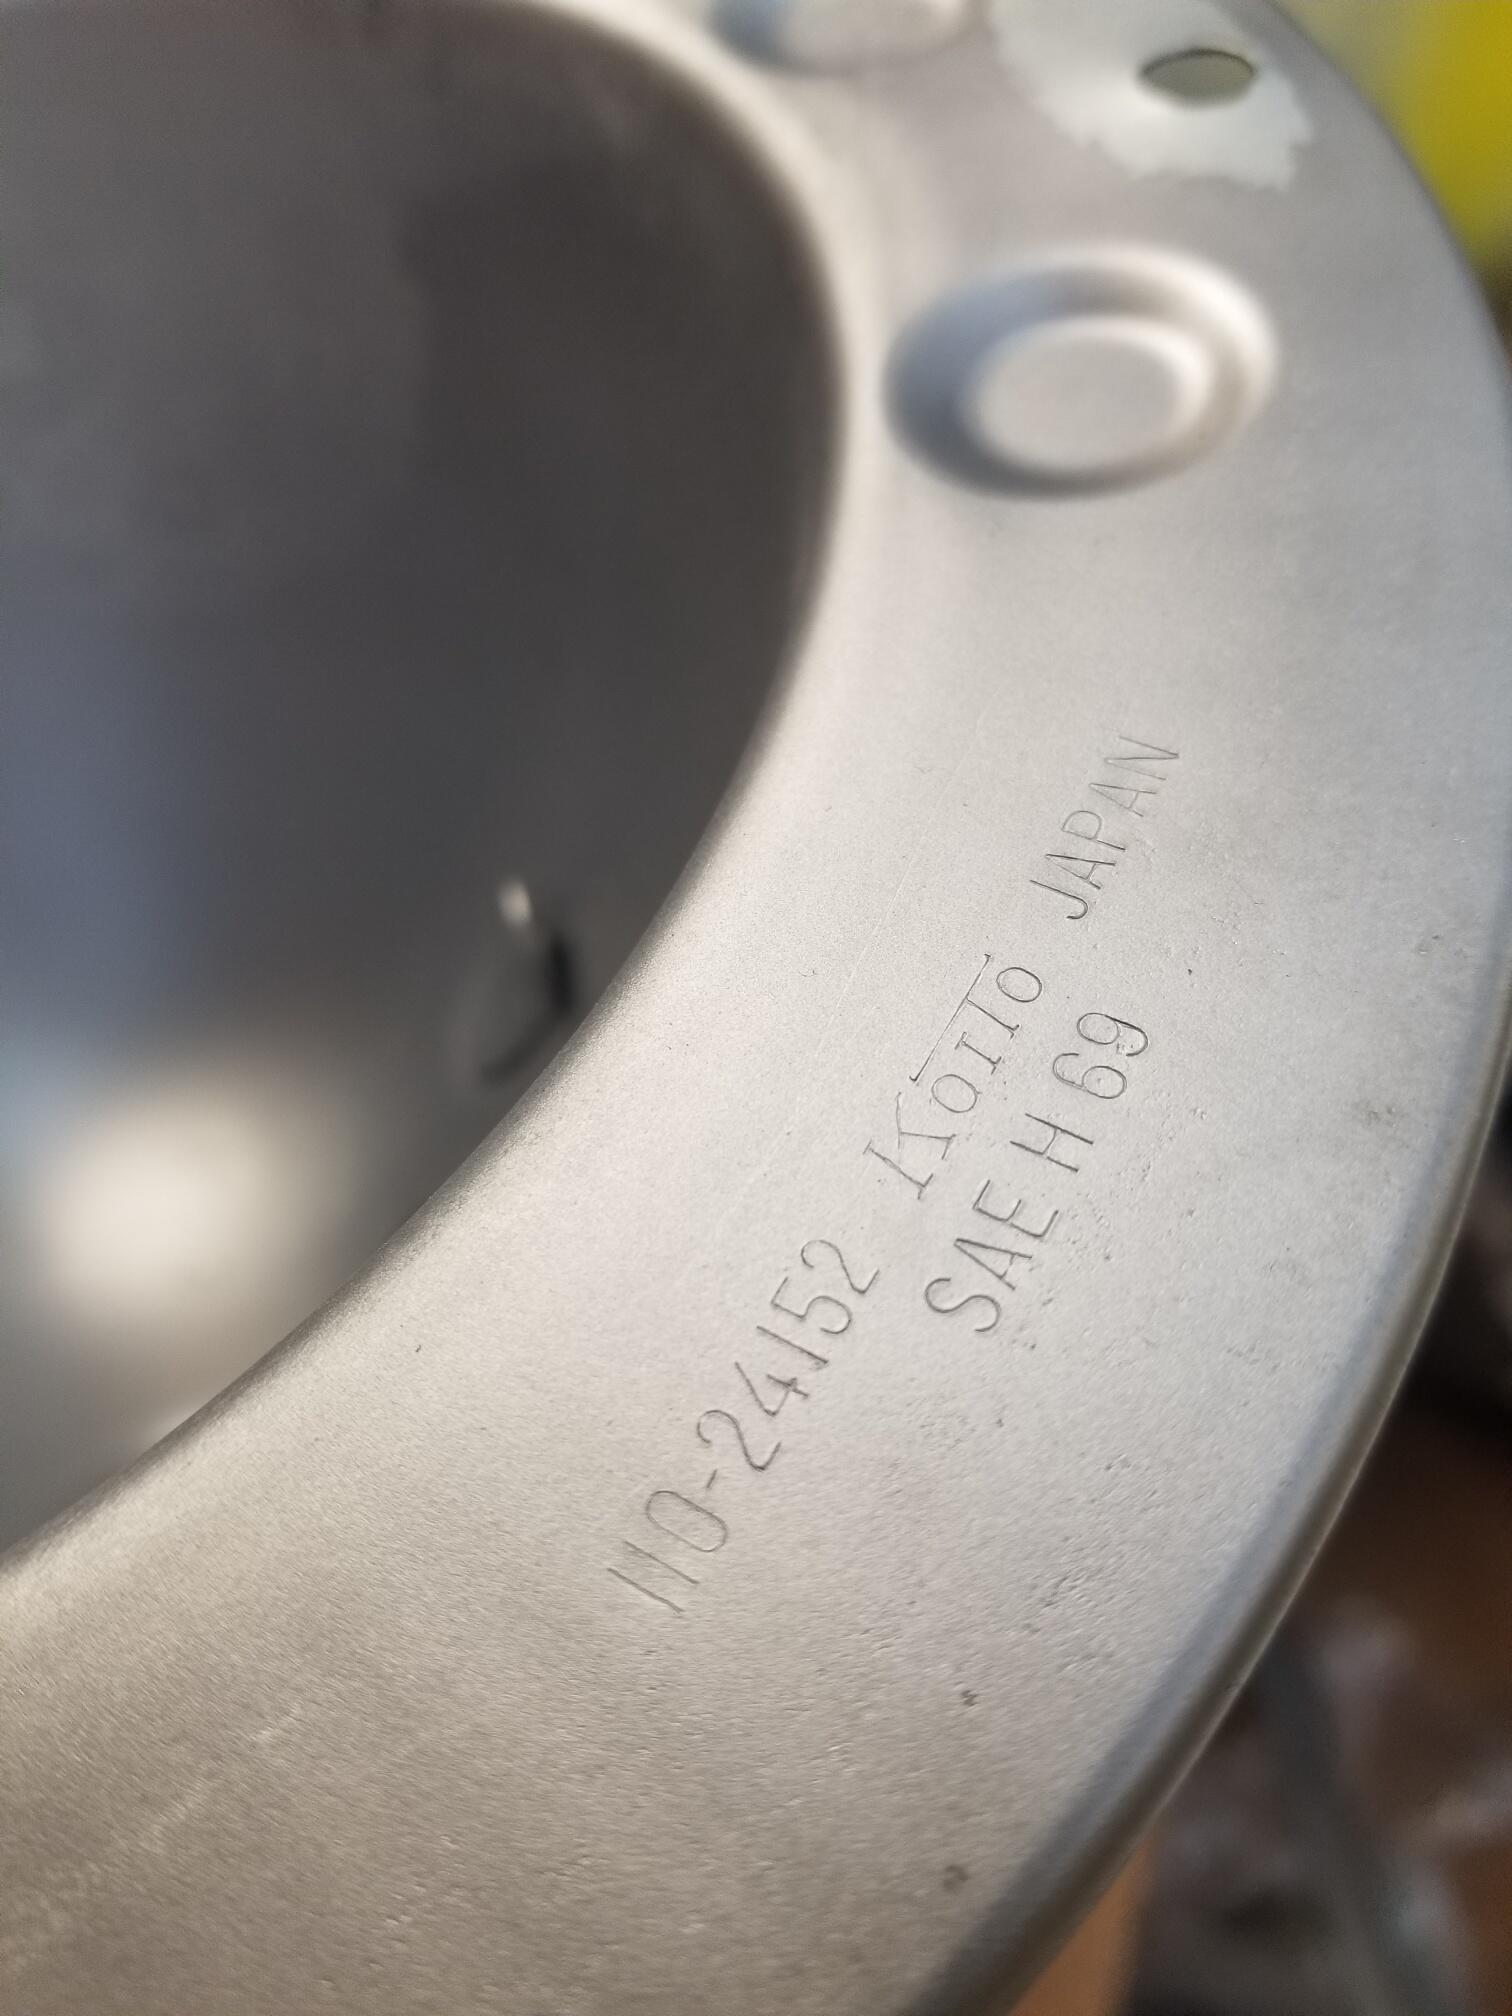
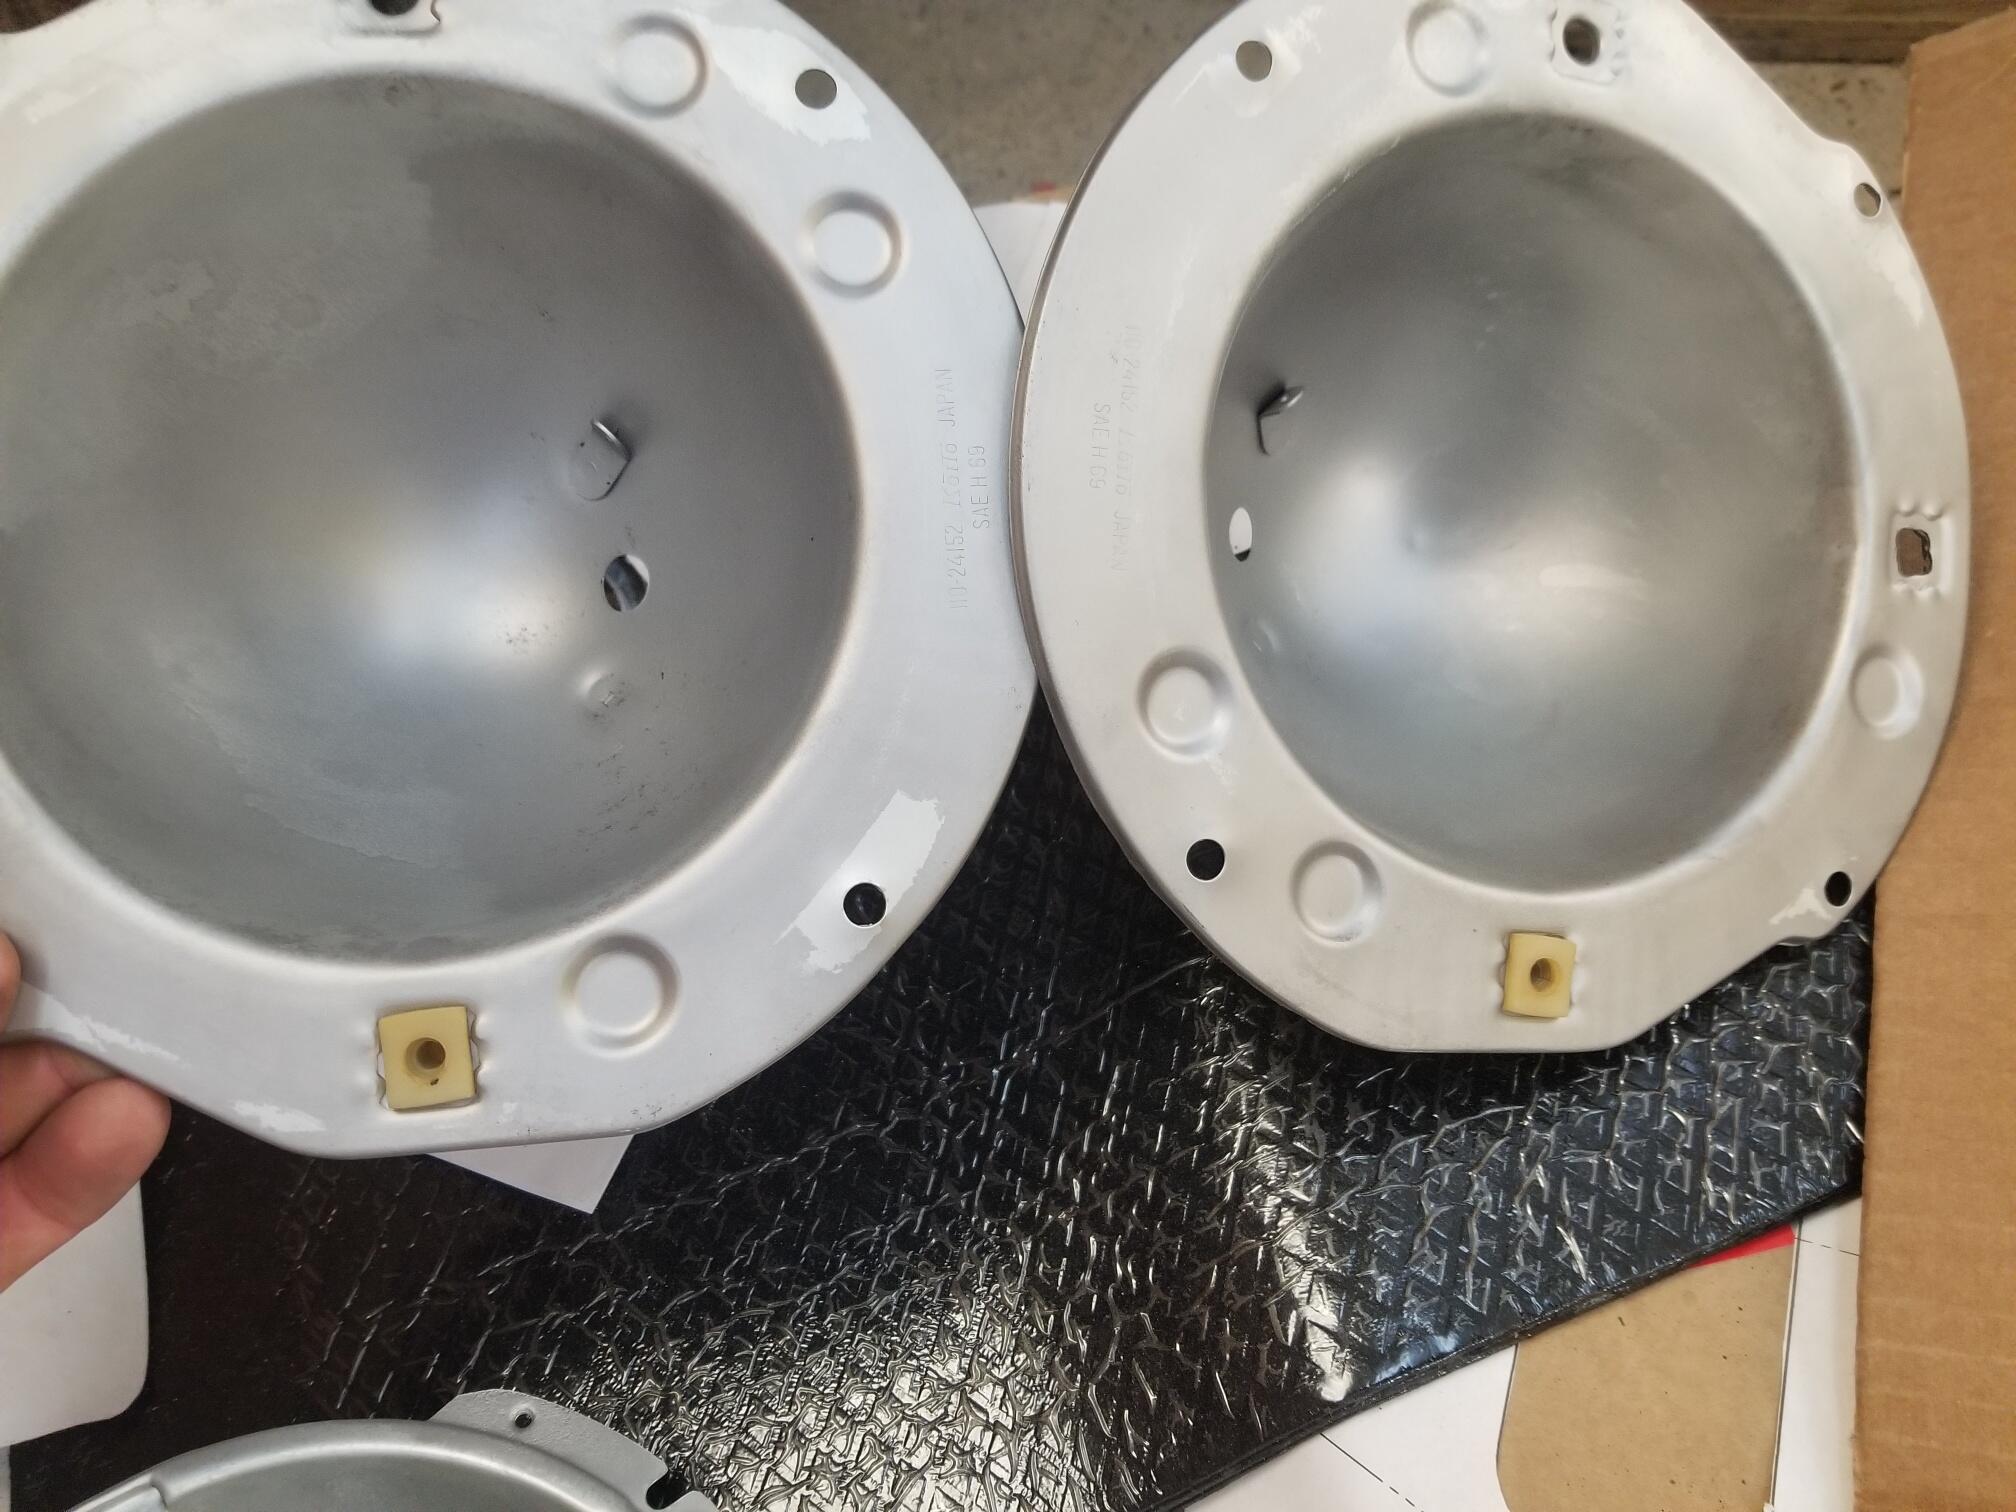
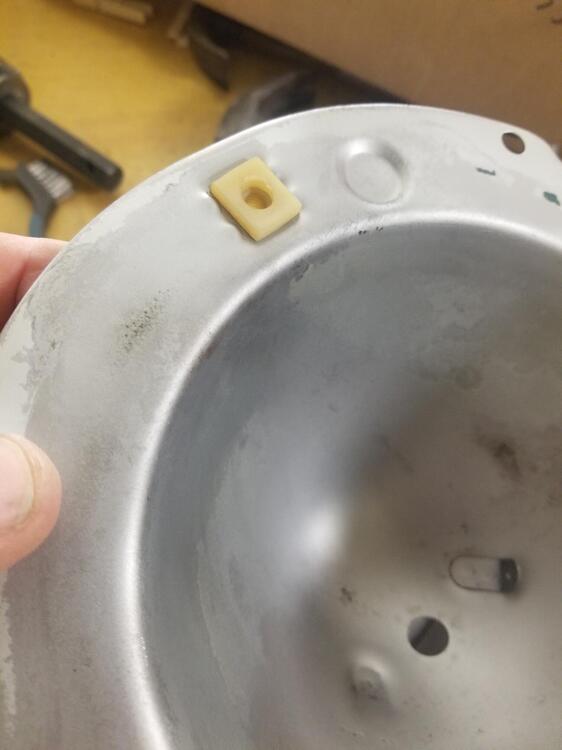
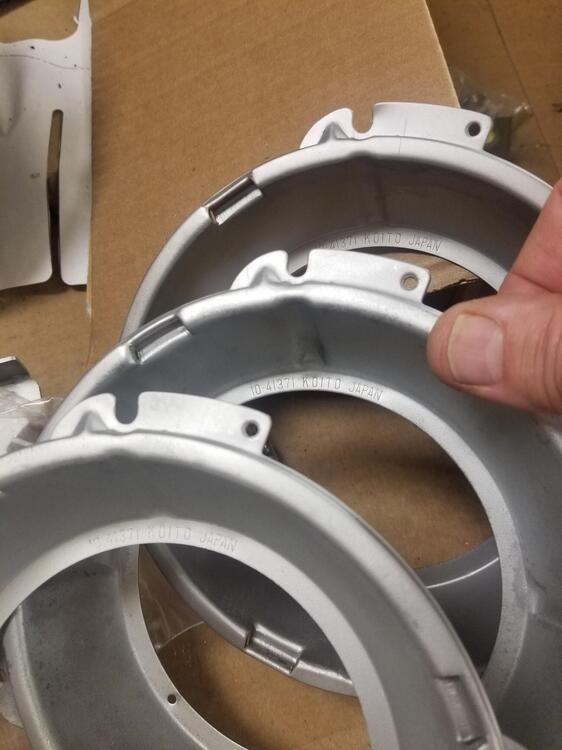
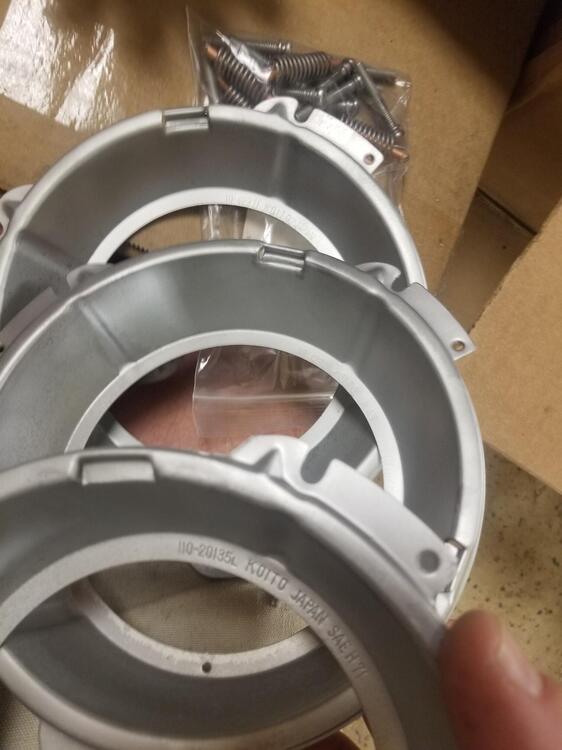
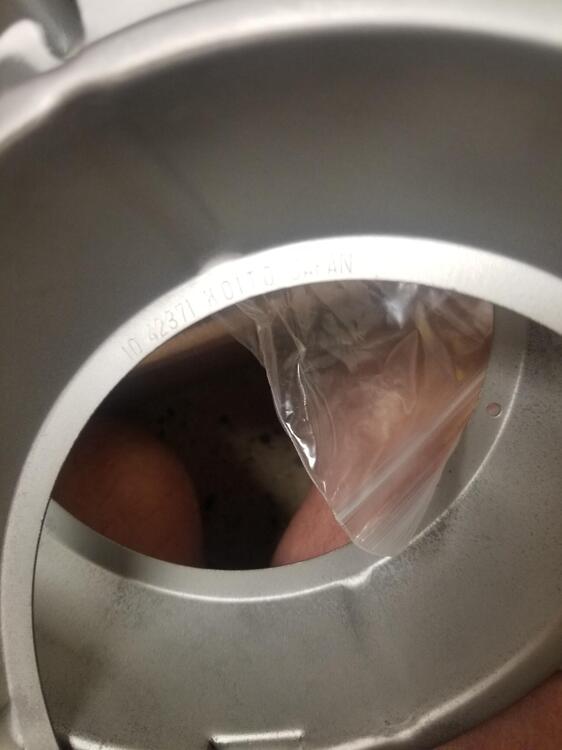
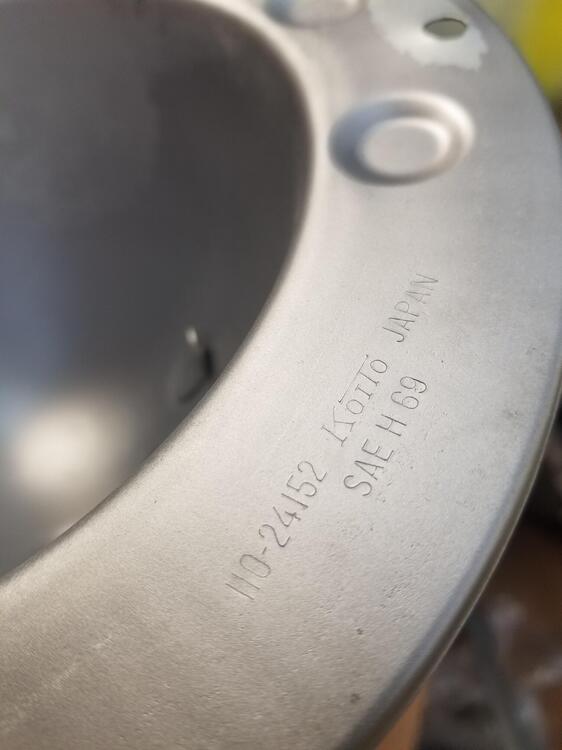
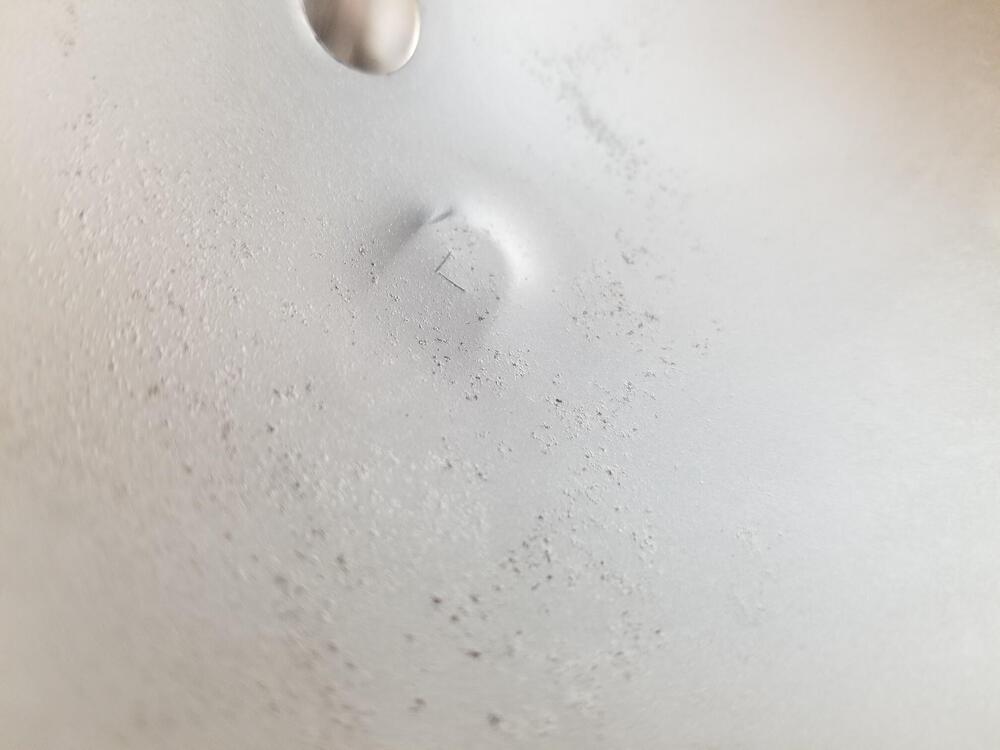
1 pointI have been pulling some larger items together for plating. I have 3 pairs of headlights and thought I would post up some observations on the factory parts The buckets themselves look like they are probably all the same stamping. They clock them 180d out to make L and R side buckets. Then the spring tab gets added, which covers the R or L stamping location The headlights buckets have the exact same part numbers no matter L or R The lamp rings are made for either the left or right side


 1 point
 -
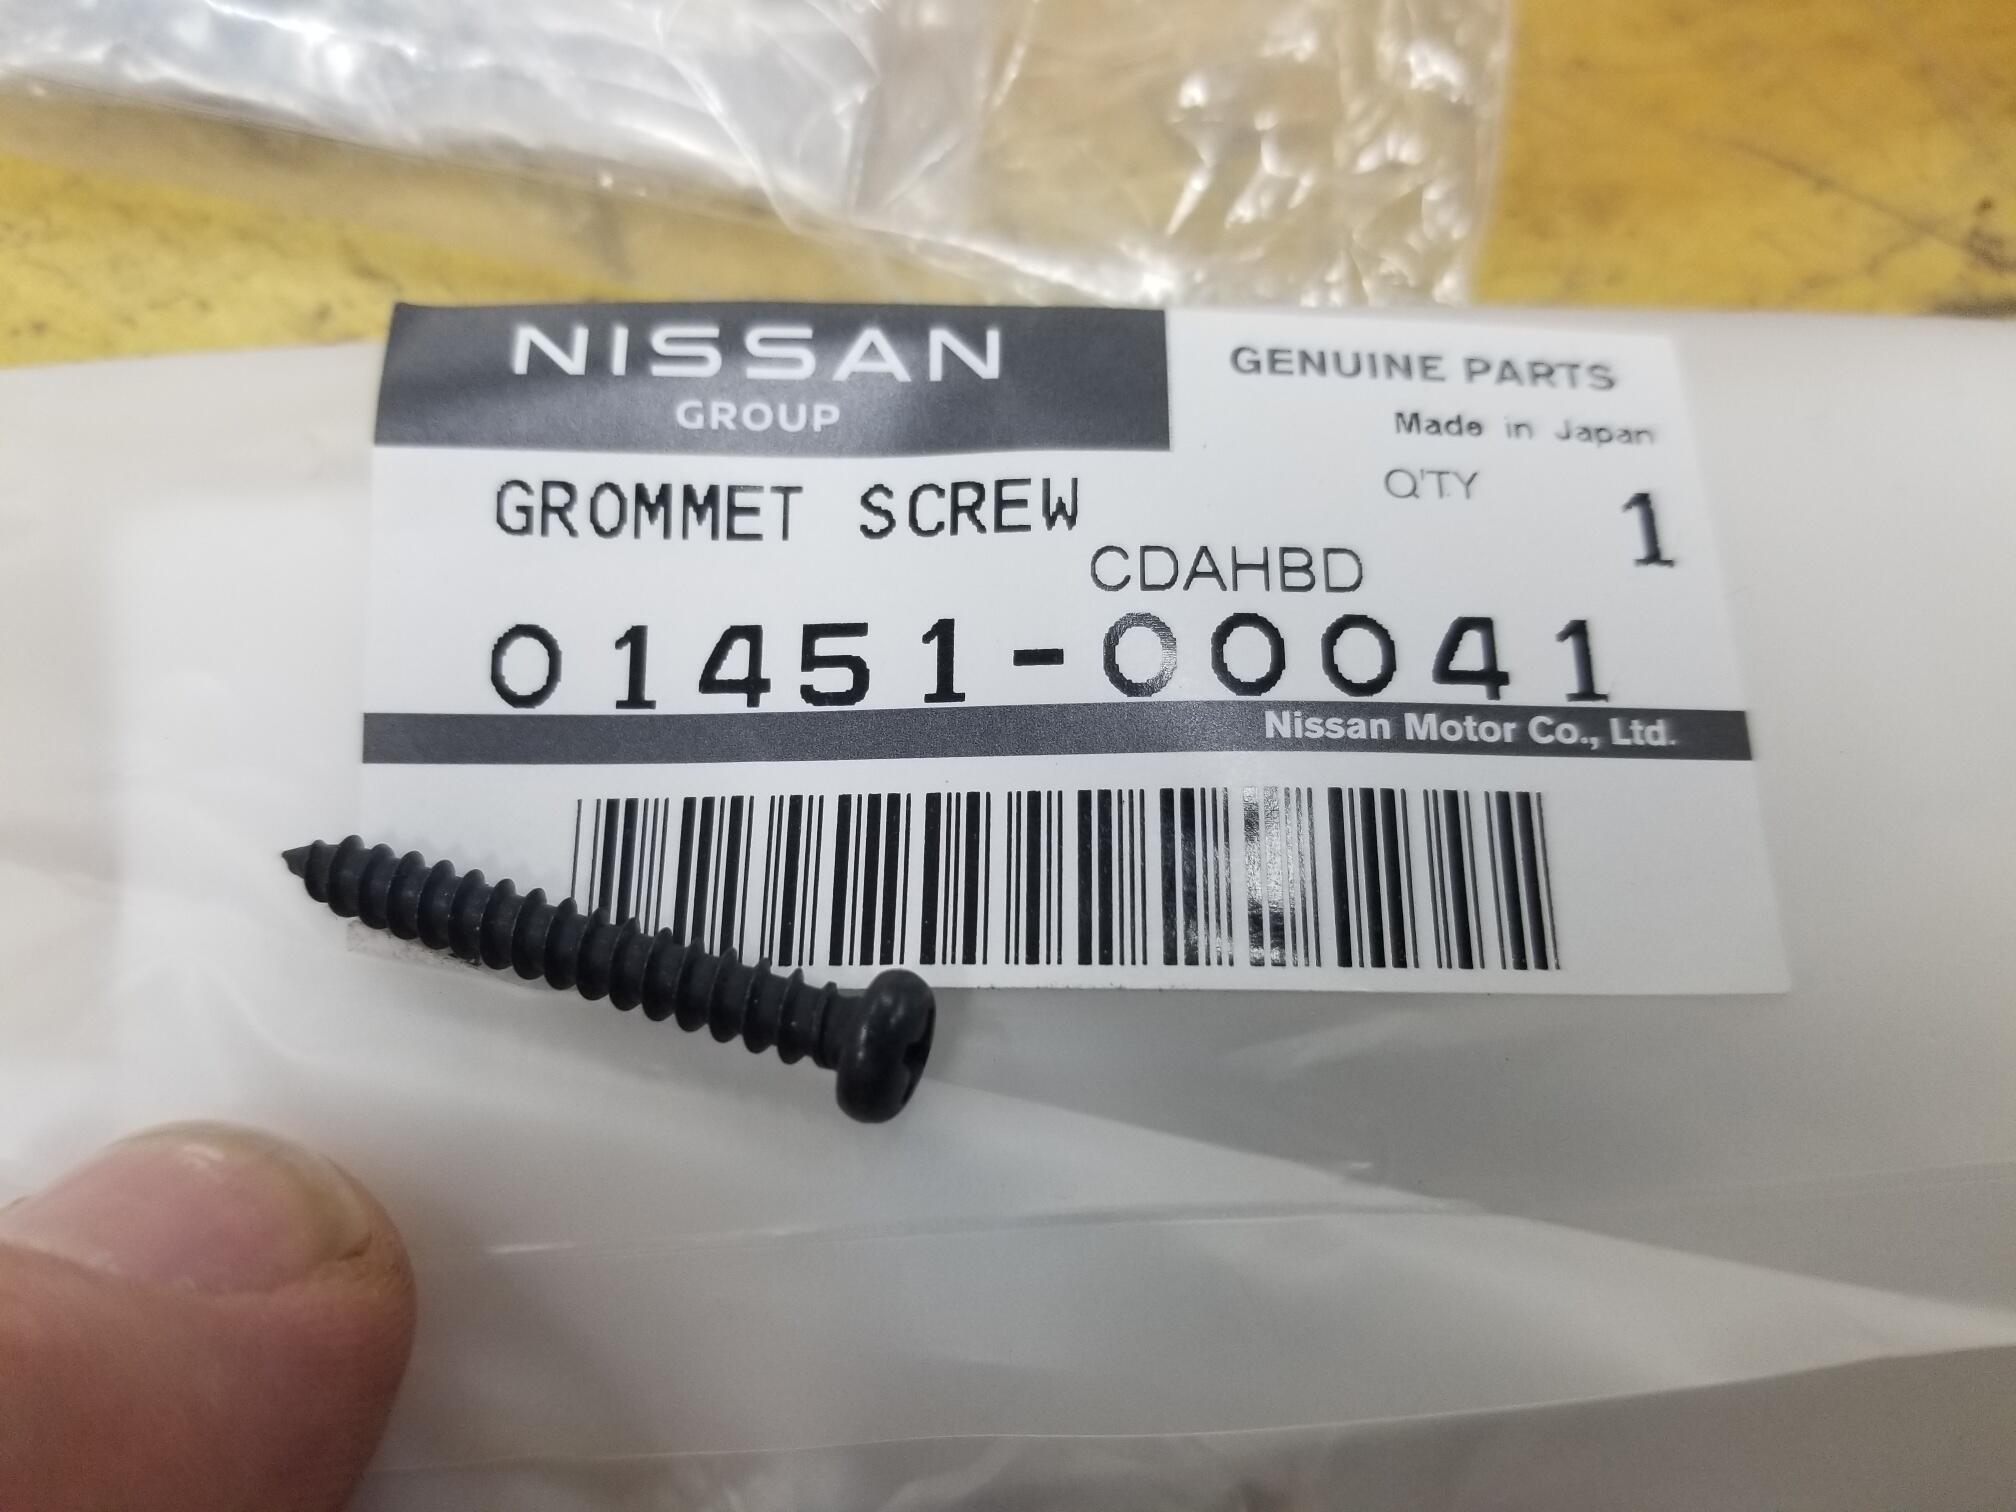
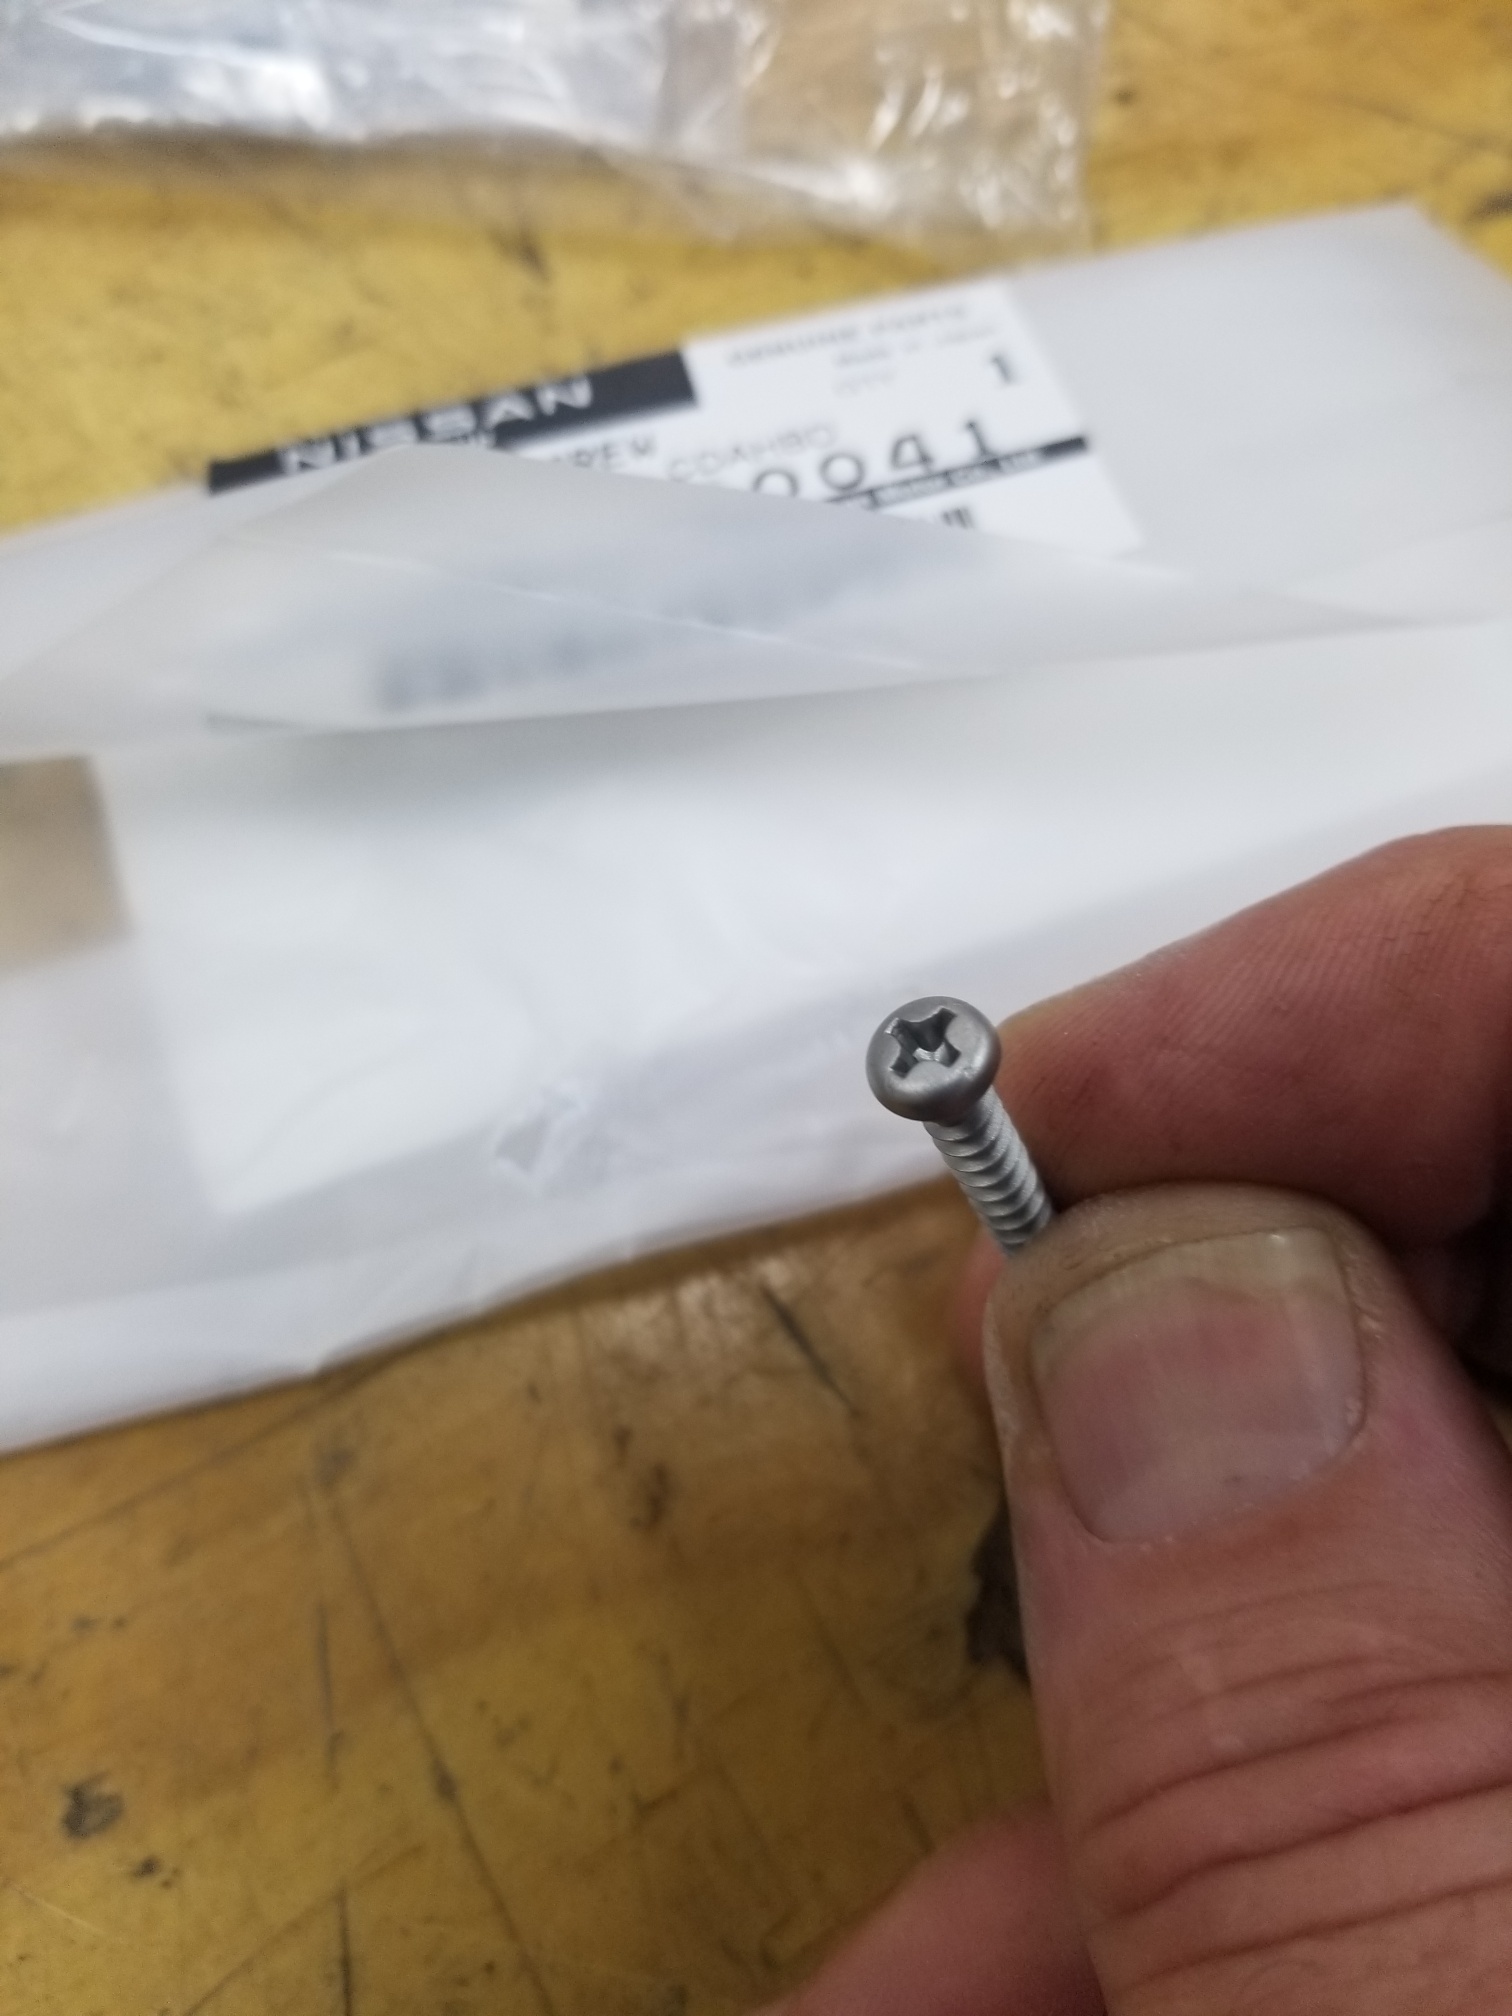
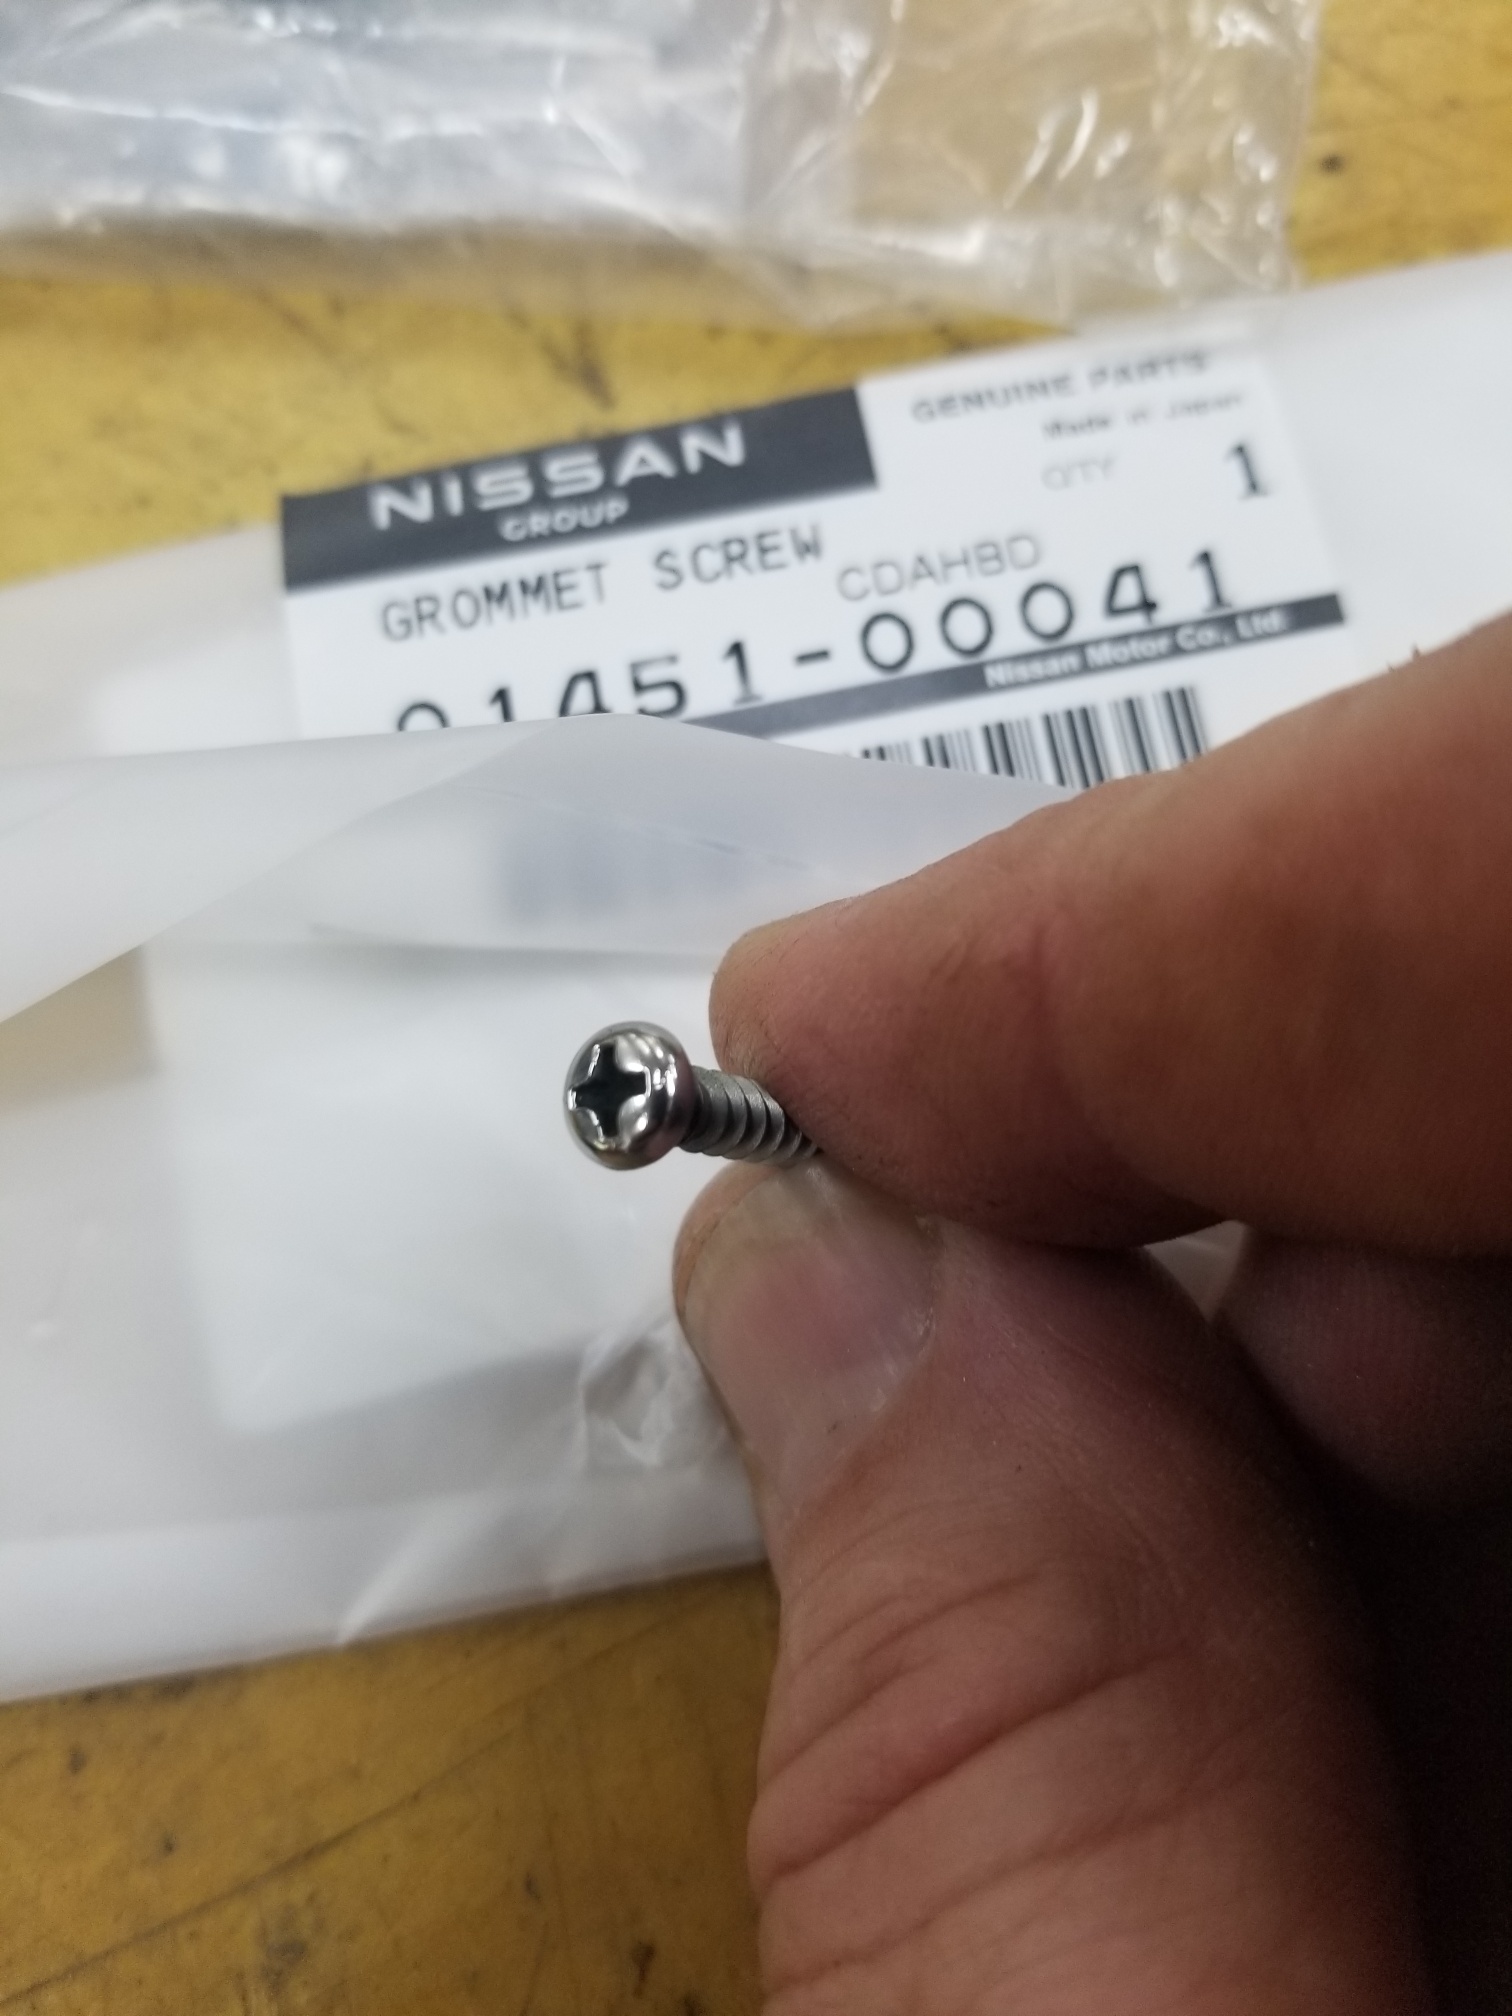
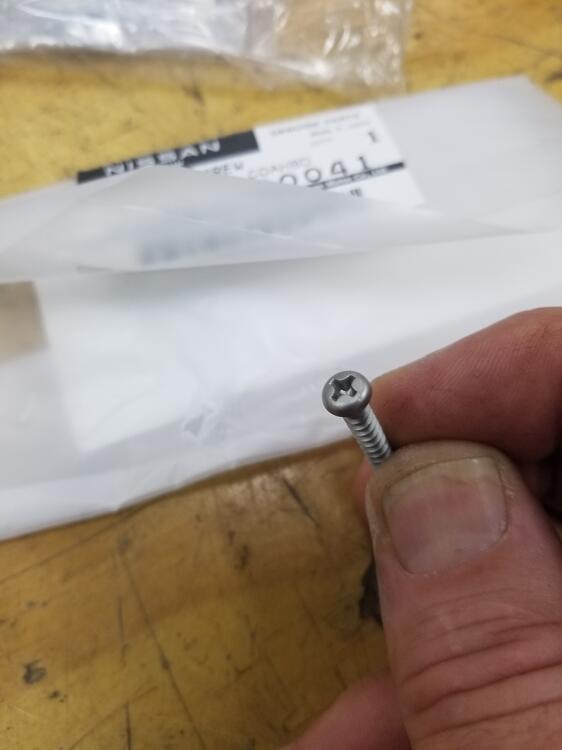
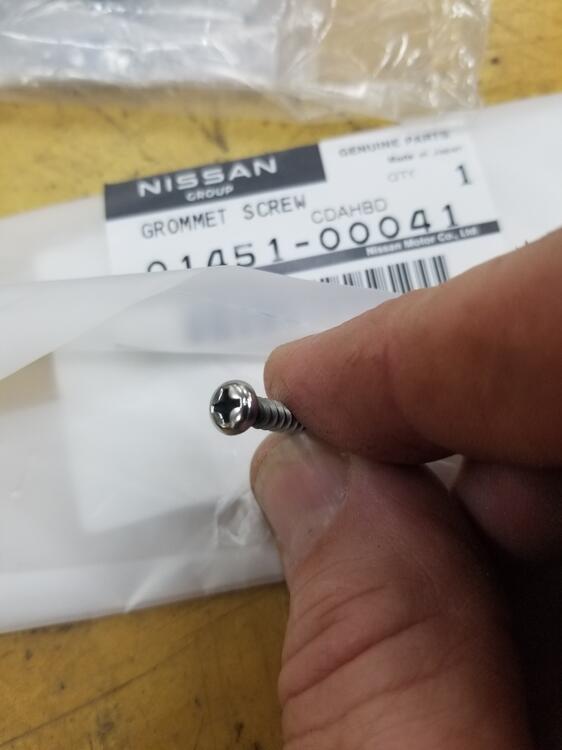
1 pointAlso to update on marker light screws Yes, the come black and they are stainless So I bead blasted it Then I buffed it for about 5 seconds That should work...

 1 point
 -
Recently i went shopping a bit in japan again and the first delivery arrived today: It consists of two pieces: the first one is a NISMO generic purpose electric fuel pump: I'm not sure if this will end up in the Z, but since i stumbled over it while shopping i thought i better secure one of those, as long as they're still available: Here are some specs from the NISMO racing parts catalogue: The second interesting thing i found was a Japanese "change of service provedure" manual. In my opinion it's basically the japanese version of the "technical bulletins" that were vailable in all kind of variants both as single sheets or the better known "Service Shuho" books. I have never seen something similar before, and the price was low, so i just secured them for my collection: This one was particulary interesting because it had the wiring diagrams for the S30 and GS30 inside: But also some changes in the clutch procedure: Ans some other stuff, which i still have to translate:1 point
-
Haha, Fahren is german for "driving". fährt = "drives". So it means "Jeff Turner drives Nissan". But as a funny coincidence "einen fahren lassen" = let one rip 😂1 point